Tableau is french for “living picture”, meaning a picture is staged to give it a sort of snapshot effect. The image usually contains two or more models interacting with each other or props and their environment and are usually stationary and silent. props may be used as well if relevant to the context.
Paul M Smith
Paul M Smith is a UK Based tableau photographer who is most well known for his portrayal of the image of typical, working class “lads” in the 1990s. His work explores the ideas of the image of young juvenile males and their friendships and working class lives
Here are some examples of his work
These two particular images all include Smith as every character in the image. This effect was achieved by utilizing multiple images and photo editing software to give a multiple exposure effect. Essentially multiple photos are taken of the same character in different outfits in different positions and then layered over the top of each other.
Some of Smith’s most prolific work is in collaboration with Take That! star Robbie Williams. Smith was tasked with creating album art based around William’s love of football. The set features images associated with playing and watching football and helps perfectly paint the picture of the working class in the late 90s.
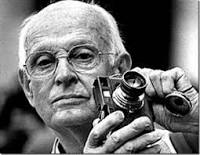
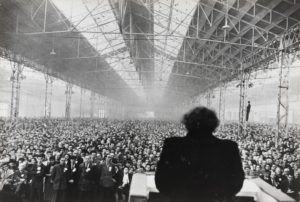
This is my favourite photo by Bruce Gilden; mainly because of the genuine expressions on the women’s faces. The photo also captures textures and motion really well. It being black and white helps focus attention on the facial expressions instead of the background.This is a photo of what Bruce Gilden looks like.
Bruce Gilden is a street photographer who is most known for his up-close photographs of people. He was born in Brooklyn in 1946 and has received many awards including the ‘European publishers award for photography’. The main reason for him starting photography is the film ‘blowup’. Being influenced by this movie, he went and bought his first camera and started attending night school photography classes.
He doesn’t try to be discrete at all when taking photos. He prefers to approach people and take photos of their initial reaction. He also aims to take photos of people who either stand out, or people he can portray as different.
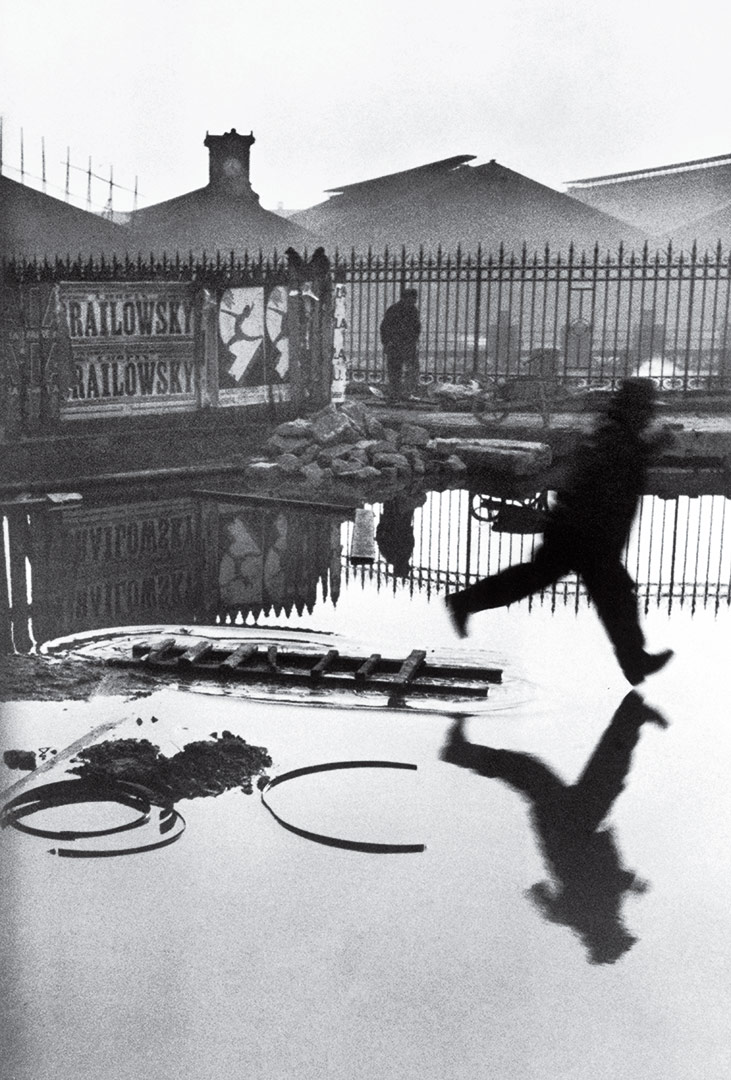
Henri Cartier-Bresson was a French humanist photographer considered a master of candid photography, and an early user of 35 mm film. He pioneered the genre of street photography, and viewed photography as capturing a decisive moment. He was also one of the founding members of Magnum Photos in 1947.
This idea of capturing the decisive moment can definitely be seen in this photo; if the photo was taken a fraction of a second later the person in the foreground would have stepped in the standing water, which would have caused ripples and ruined the clarity of the reflection on the water.
These two photographers are very different but they have one thing in common, they both focus on the decisive moment. For Henri Carter that is the whole frame (like described in the photo above), and for Bruce Gilden it’s the moment people react to him taking a photo of them.
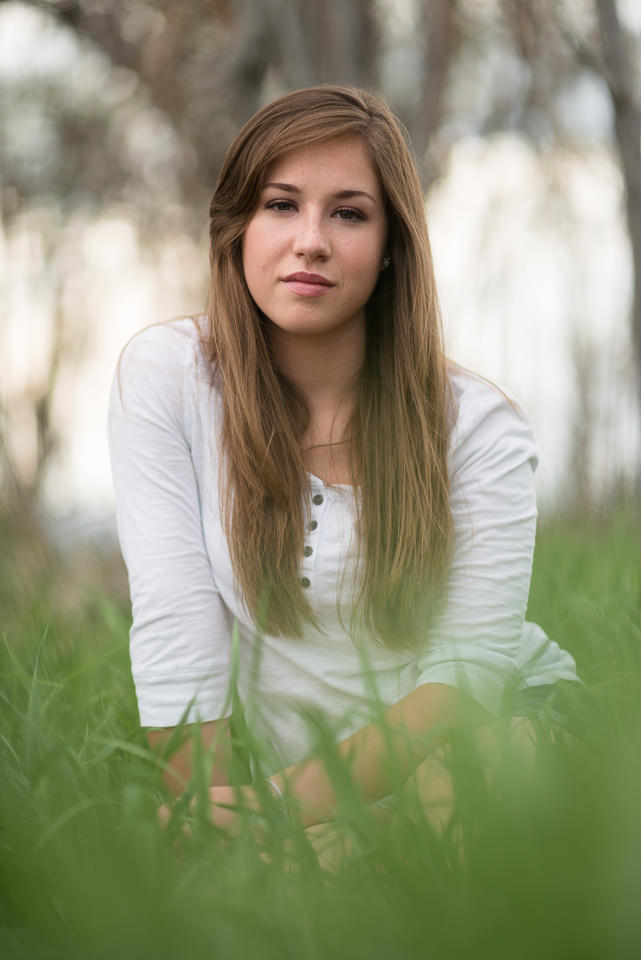
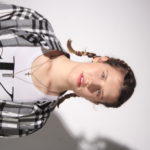
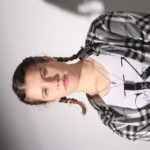
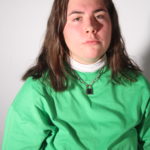
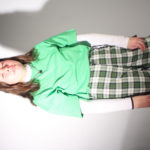
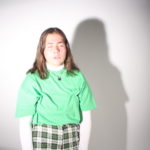
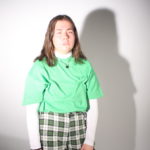
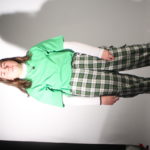
WHO – for this photo shoot, I selected two models for my shoot which I thought would be suitable to photograph, people who are quite photogenic in nature.
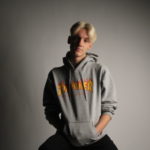
WHAT – the main objective of this photo shoot was to try out different lighting techniques. Fill lighting, 2 point lighting, 3 point lighting and even four point lighting.
WHEN – the images were taken during school time, regardless of the time of day, artificial lighting lit the photo shoot.
WHERE -the images were captured in the school studio, specially designed for taking photographs.
WHY – to understand the different effects that studio lighting provides and the subtle differences between them.
HOW – I used my regular DSLR camera for this photo shoot, using the artificial lighting provided.
DIFFERENT TYPES OF LIGHTING:
TWO – POINT – LIGHTING:
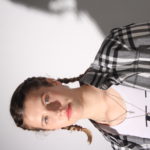
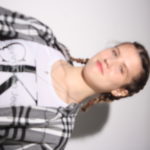
A two point lighting set up can produce highlights in the eyes and some shadow. The secondary source of light is used to eliminate shadows that are created by the key light, it will soften contrasts and make more of the subject visible by enhancing the illumination of the face from the key light.
THREE – POINT – LIGHTING:
Three-point lighting is a standard method used in visual media such as theater, video, film, still photography and computer-generated imagery. By using three separate positions, the photographer can illuminate the shot’s subject (such as a person) however desired, while also controlling (or eliminating entirely) the shading and shadows produced by direct lighting.
A photo using three point lighting
FILL – LIGHTING:
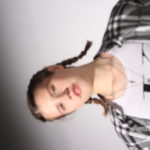
In television, film, stage, or photographic lighting, a fill light may be used to reduce the contrast of a scene to match the dynamic range of the recording media and record the same amount of detail typically seen by eye in average lighting and considered normal.
CHIAROSCURO LIGHTING:
Chiaroscuro is an Italian term which means light and dark and basically refers to the high contrast light/dark style used in Renaissance painting and later in cinema.
an example of chiaroscuro lighting from a previous photo shoot.
REMBRANDT LIGHTING:
Rembrandt lighting is a lighting technique that is used in studio portrait photography. It can be achieved using one light and a reflector, or two lights, and is popular because it is capable of producing images which appear both natural and compelling with a minimum of equipment.
RING LIGHTING:
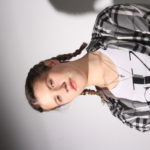
A ring light is a handy multi-use tool for all types of shoots, from a sharp music video to a portrait of a ladybug. They provide uniform light coming straight from the camera’s point of view, which is great for even light, and helps eliminate shadows.
We used a dim ring light in order to create this image.
REFLECTORS:
In flat lighting, a reflector can add interest or drama to the shot. Some photographers use reflectors as hair lights outdoors. Many reflectors have a black side that can be used to block out light instead of to reflect it. Reflectors are also great for bouncing a flash when there’s nothing around to bounce off of.
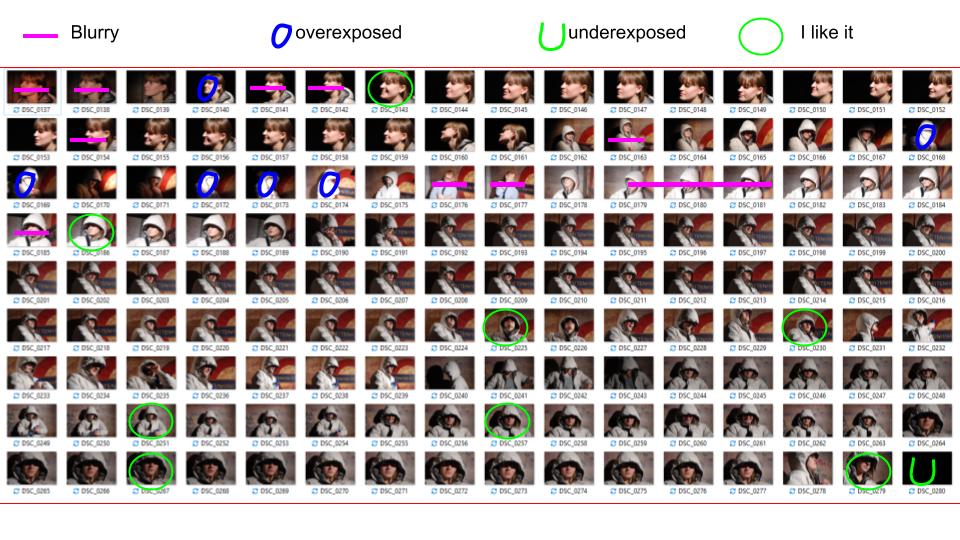
CONTACT SHEETS:
One of the main issues that came up during this photo shoot was overexpose. When using 3 point lighting, the ISO of the camera has to be set very low in order to avoid overexposure. The red heads and soft box provides light which is very powerful.
You will be completing the PORTRAIT UNIT during a day of CONTROLLED CONDITIONS (exam rules apply) at the end of January.
The preparation period begins NOW and continues through the month of January.
Your stimulus is IDENTITY AND PLACE.
We will be exploring tableaux vivants, composite / cut-n-paste / collage portraits, self -portraiture and more over the coming weeks to ensure that you have successful final images ready for your exam.
Exam Arrangements
Periods 1-5 | Breaks as normal | Exam Starts at 9am each day
Group 12 C | Wednesday 30th January | Photography 1
Group 12B | Wednesday 30th January | ICT- MEDIA
Group 12E | Thursday 31st January | Photography 1
Group 12A | Thursday 31stst January | ICT-MEDIA
What do you do in the exam itself…?
Select your final images
Edit and manipulate your final images
Add your final images to the print folder
Show the above process clearly in your blog, including screen-shots of your editing AND annotations
PRINTING : choose at least 1 x outcome for each of the following…
response to “identity and place”
response to photo-montage
response to tableau / staged reality
response to studio lighting
response to street portraits
response to environmental portraits
Print size images = 4000 pixels on LONG EDGE
BLOG SIZE images = 1000 pixels on LONG EDGE
Ensure you have enough evidence of…
moodboards
mindmaps
case studies (artist references)
photo-shoot action plans / specifications
photoshoots + contact sheets (annotated)
appropriate image selection and editing techniques
presentation of final ideas and personal responses
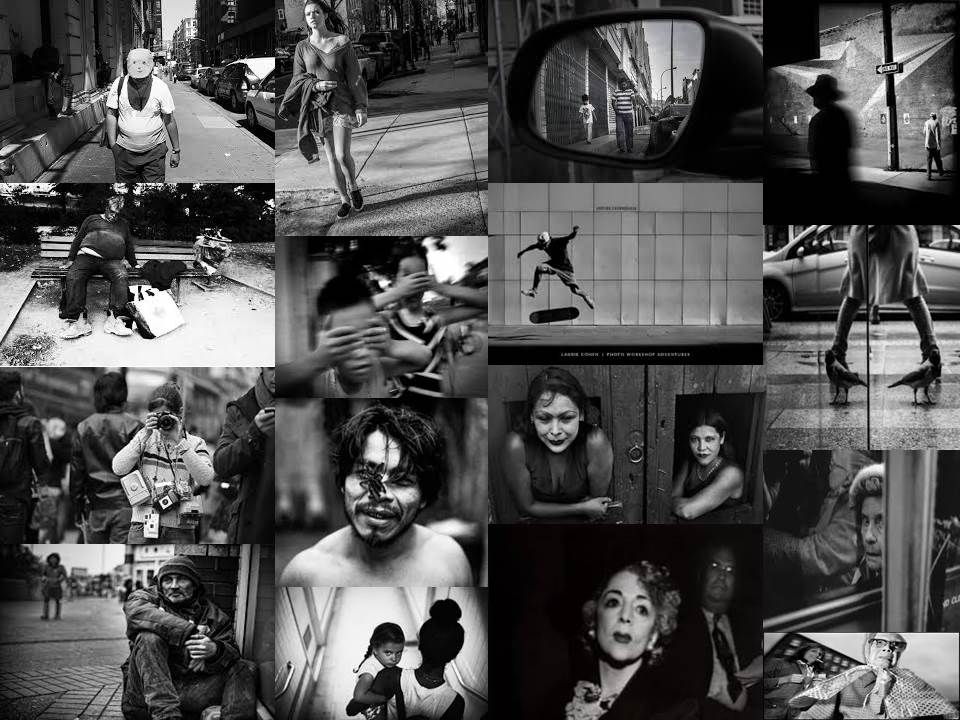
Street photography is photography conducted for art or enquiry that features unmediated chance encounters and random incidents within public places. Most street photography does not necessitate the presence of a street or even the urban environment. Though people usually feature directly, street photography might be absent of people and can be an object of environment where the image projects a decidedly human character.
MOOD BOARD..
Henri Cartier-Bresson
Bresson was a French photographer, who thought of photography as a way of capturing a decisive moment. Bresson’s passion of photography came at an early age when he used to capture moments of his family holidays. Due to this small hobby developing he has made it into a career and has also made a large contribution towards photography.
Emotional response
The children in this image draw us in a cause us to develop an emotional attachment to them due to it looking like their homes have been destroyed because of the wreckage behind them. The facial expressions on the children also draw us in due to there expressions not being happy which leads us to wonder what else is wrong and realise that something isn’t right.
Technical response
This edited black and white image shows the destruction in the image in more detail (eg. the detail of the hole in the wall), as well as the children’s moody faces. The hole in the wall sort of acts like a frame and is a large subject of the image. The children being outside this wall as well as in it ( the boy on the right hand side) suggests that they don’t have much to play with which is shown by the boy of the right hand side smiling while climbing the unsafe wall. The formal elements of this image is shown through the use of the children in the location. The whole pictures is in focus, however the background is slightly less out of focus which gives the image a large depth of field. There was a quick shutter speed used due to the non existent blurring, as well as the image being taken in natural lighting in the children’s natural environment.
Conceptual Response
Not looking at the context before hand- I think that this image was taken to show children who have to live in poverty due to countries being at war. And the hold in the wall acts as the subject matter of the image as the hole shows how war has effected the children.
Contextual Response
This image was taken in 1933 right before the Spanish civil war which is sad due to the children playing in the last wars wreckage and now they will have to experience another war.
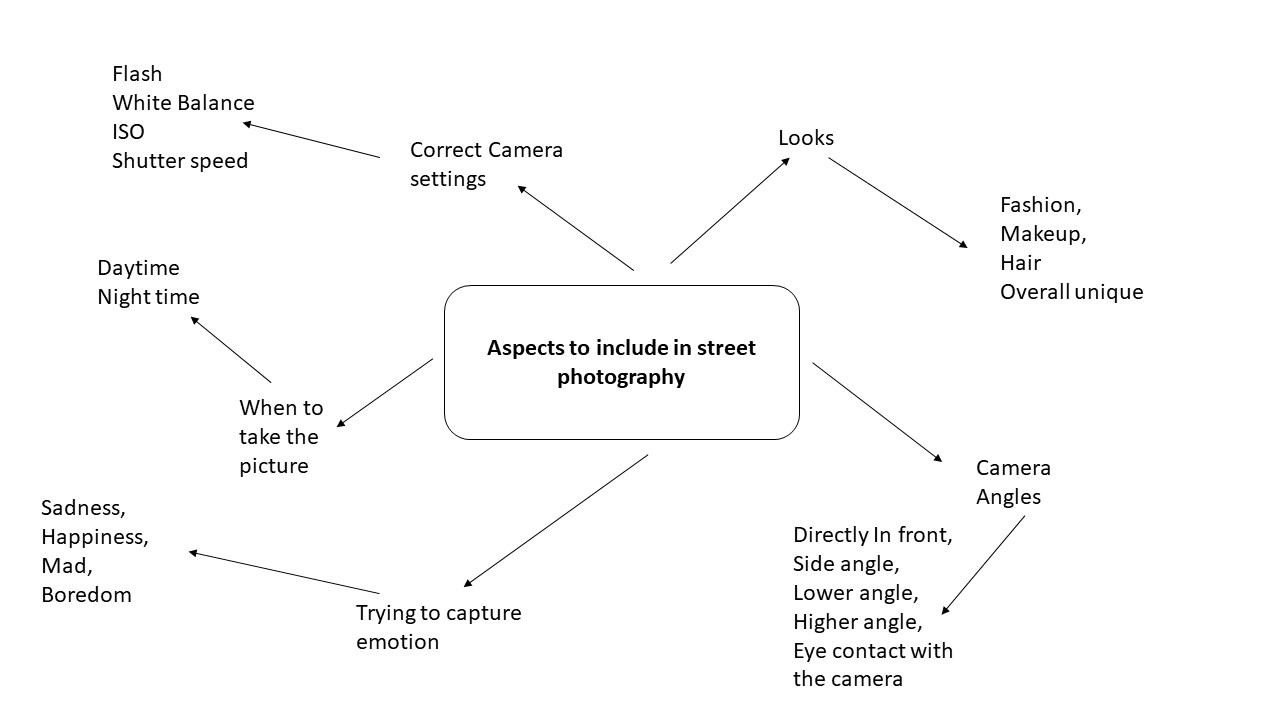
Planning my photo shoot
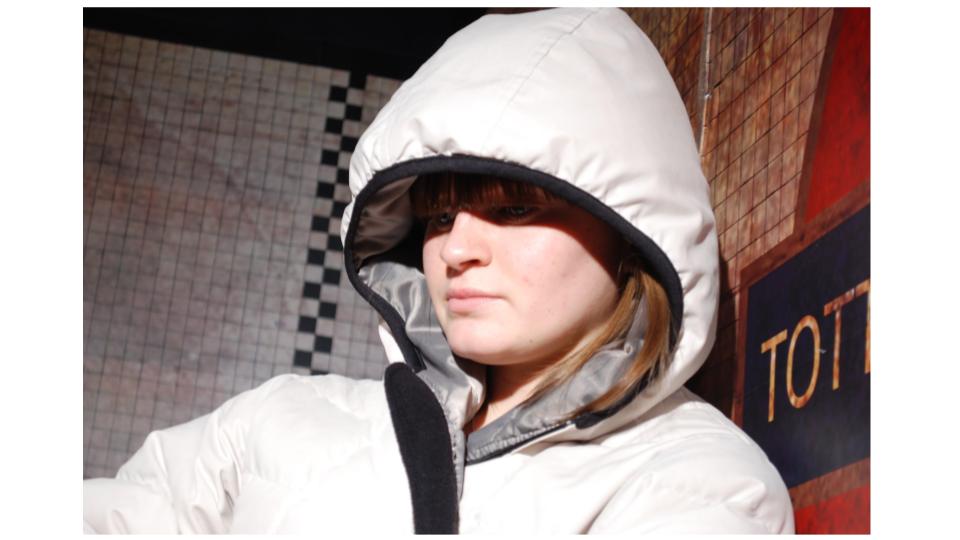
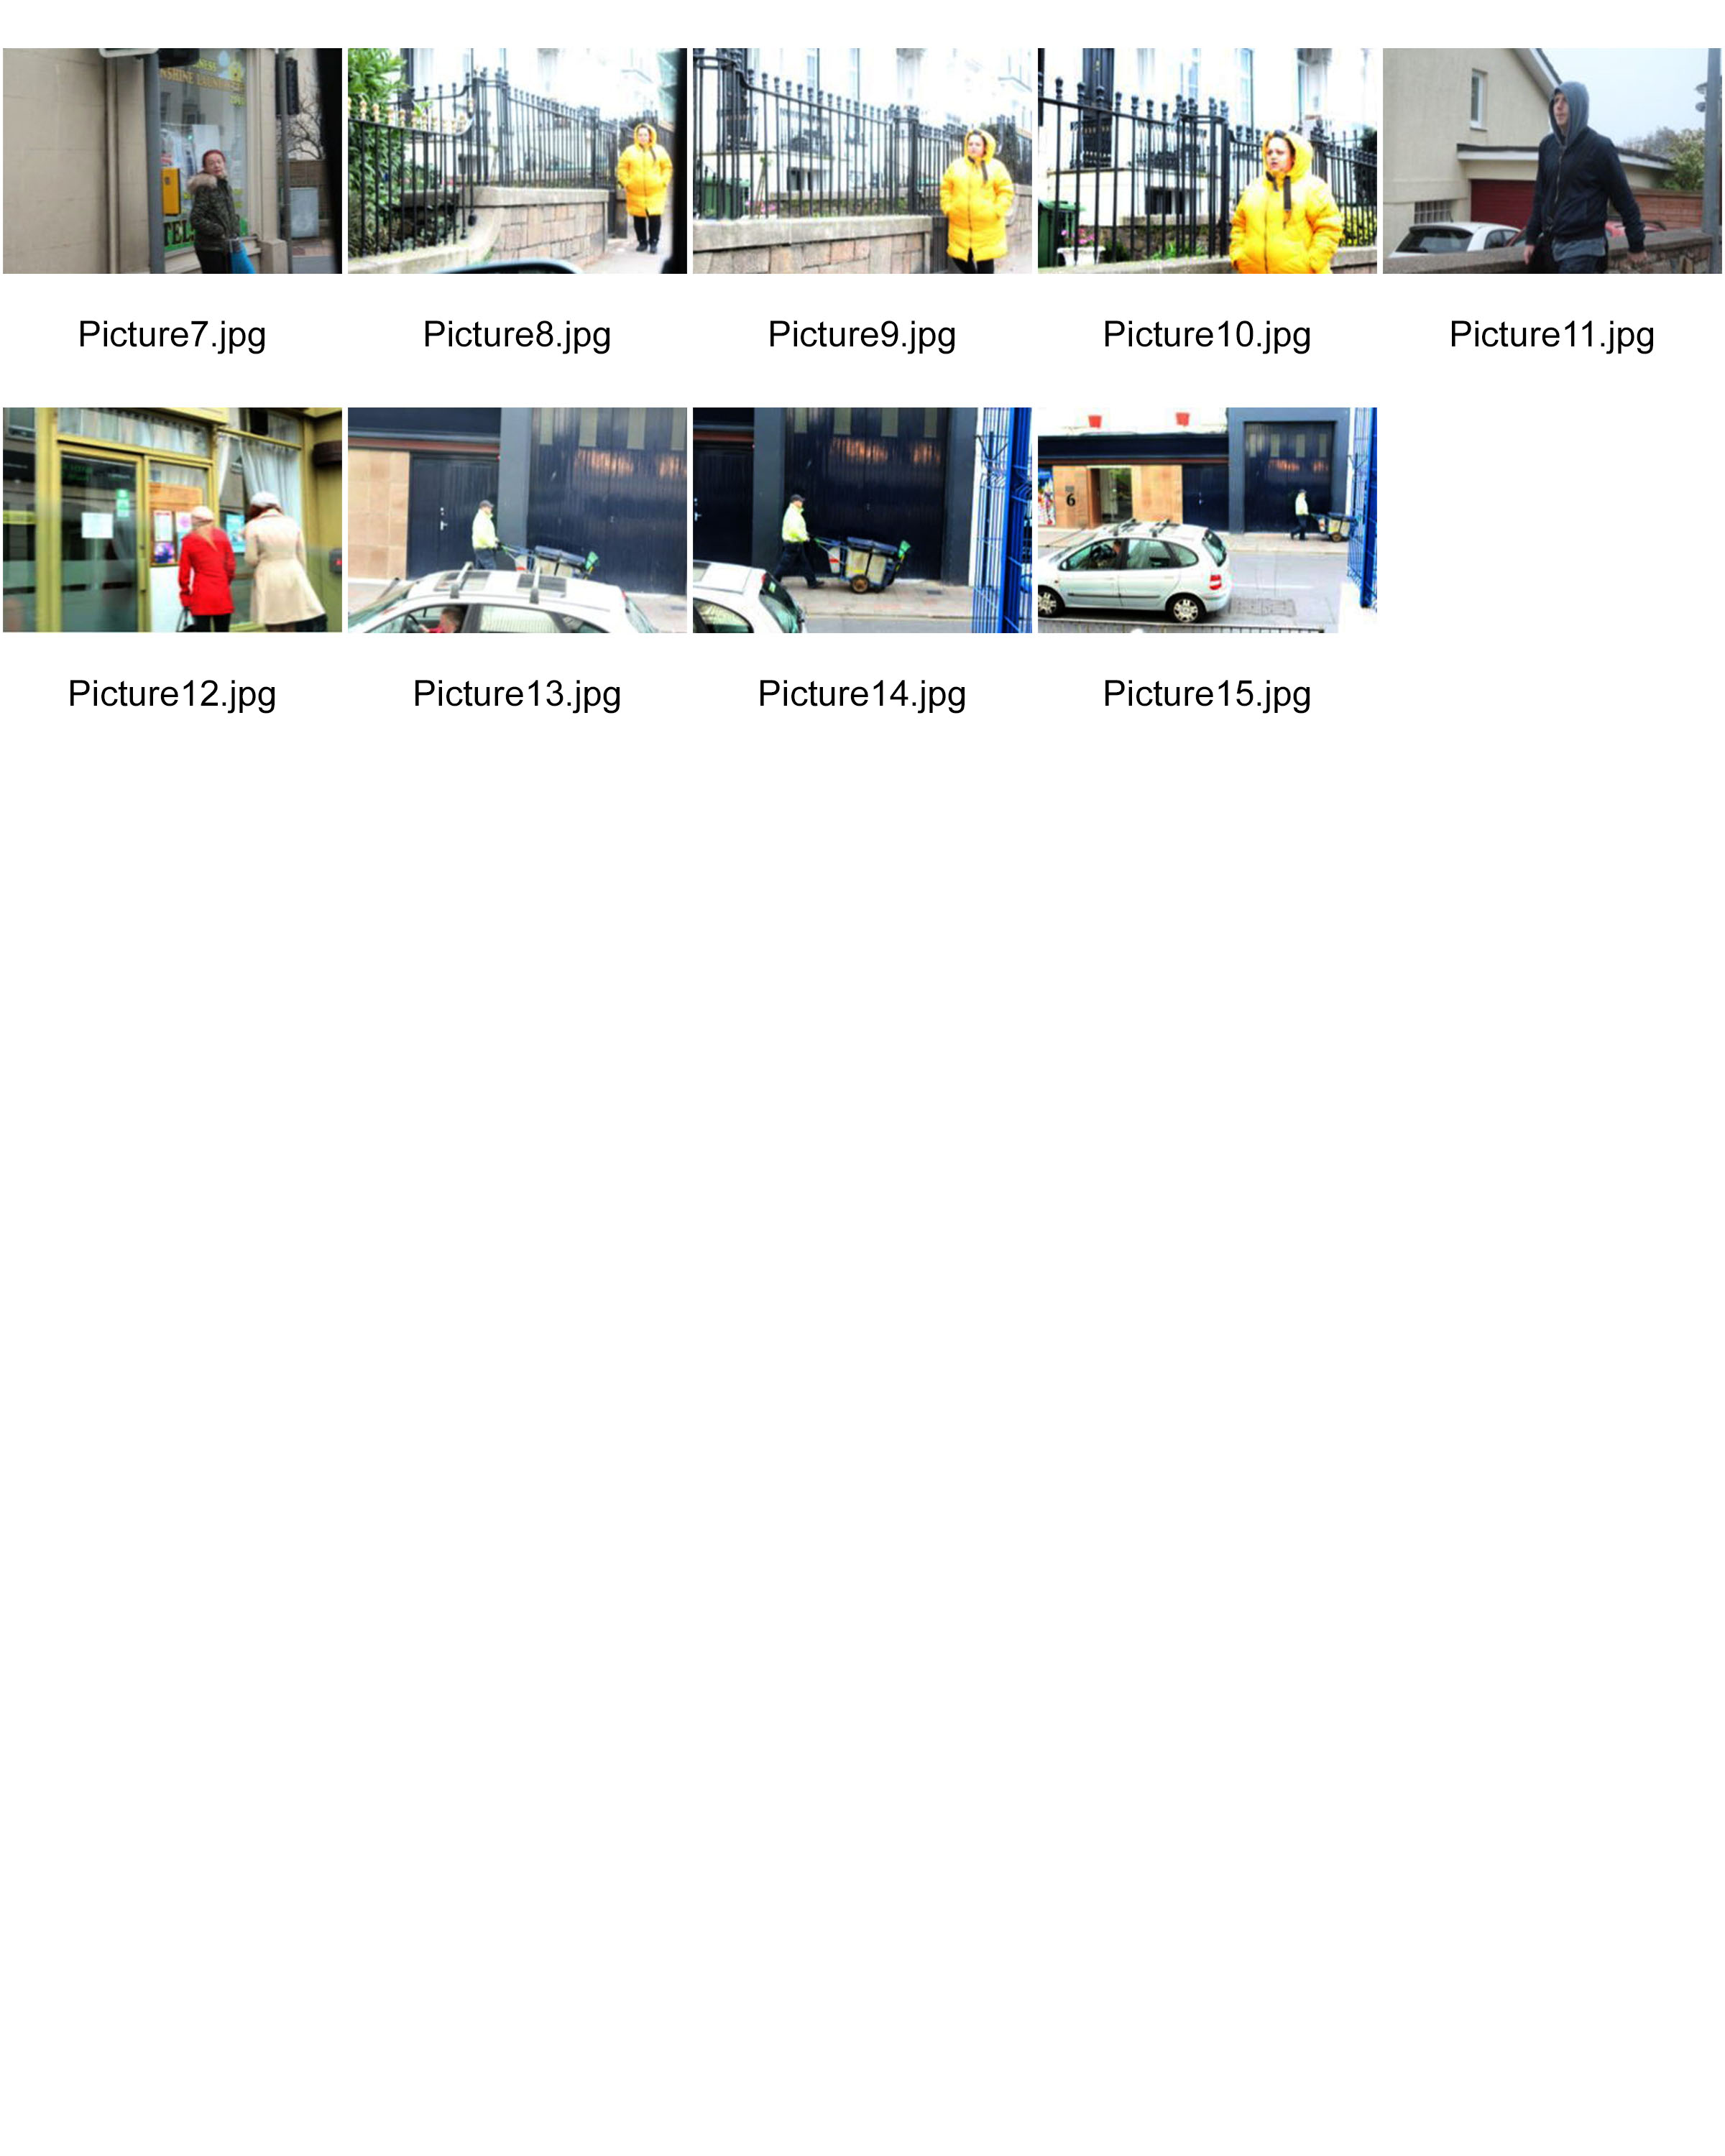
I will be capturing my ‘ Street Photography’ images in town during the late afternoon. I will be walking around looking for interesting characteristics. The lighting will be natural and i will keep my camera setting on a manual focus due to wanting to have a quick shutter speed so i can take many images. I plan to be very discrete so i can capture people unaware and just doing the tasks they would normally carry out. I will also do this same plan in the passenger seat of a car.
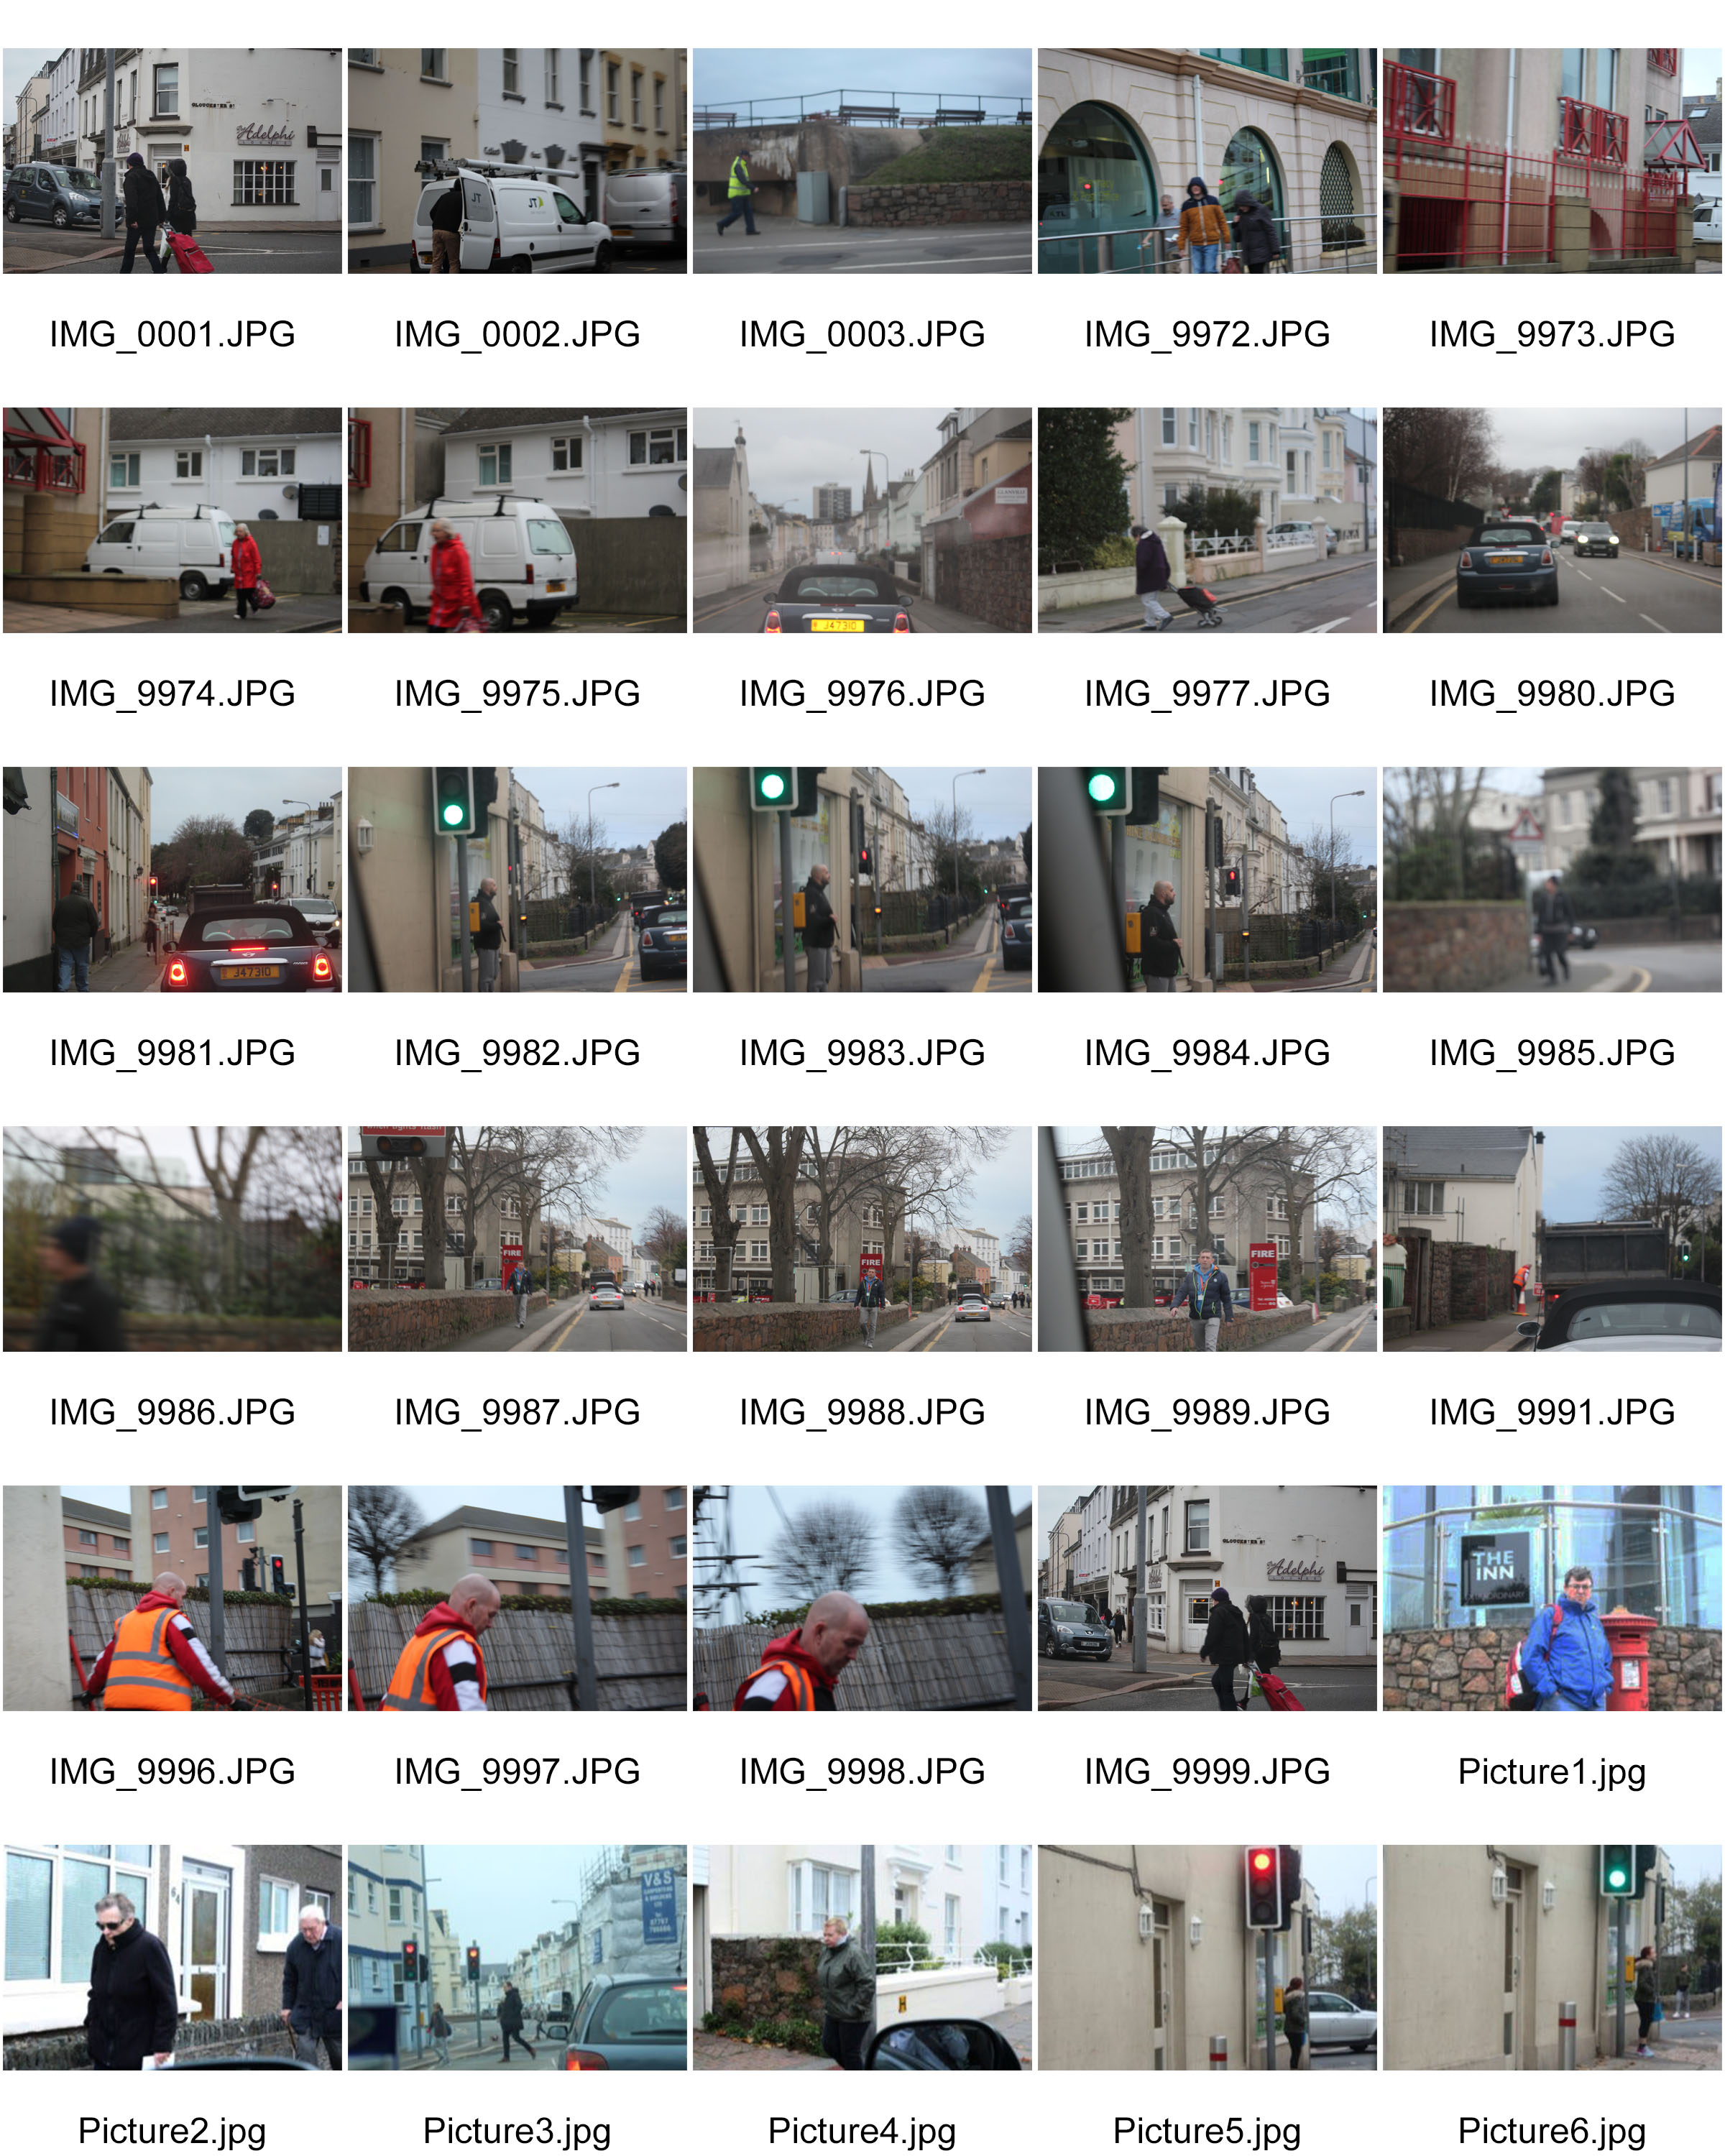
Contact sheets
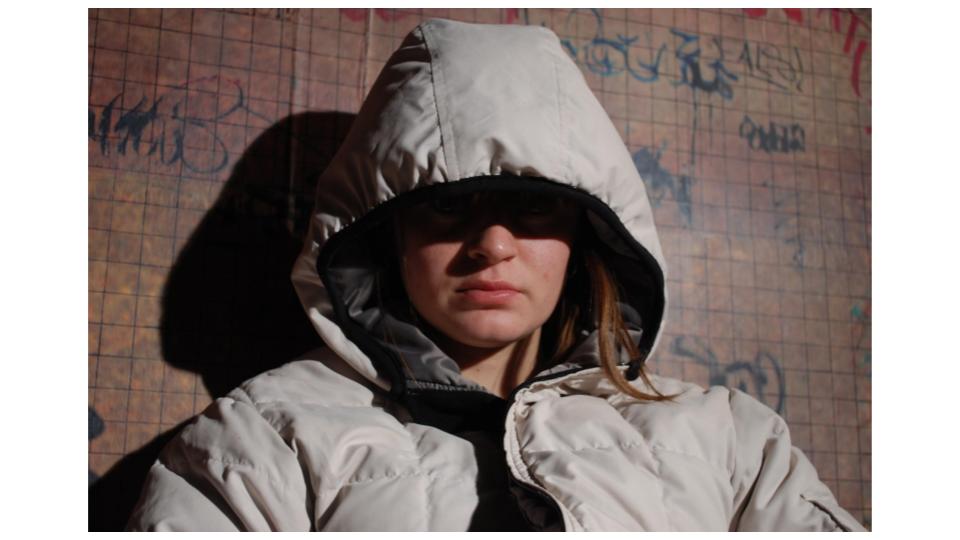
Best outcomes
Technical analysis
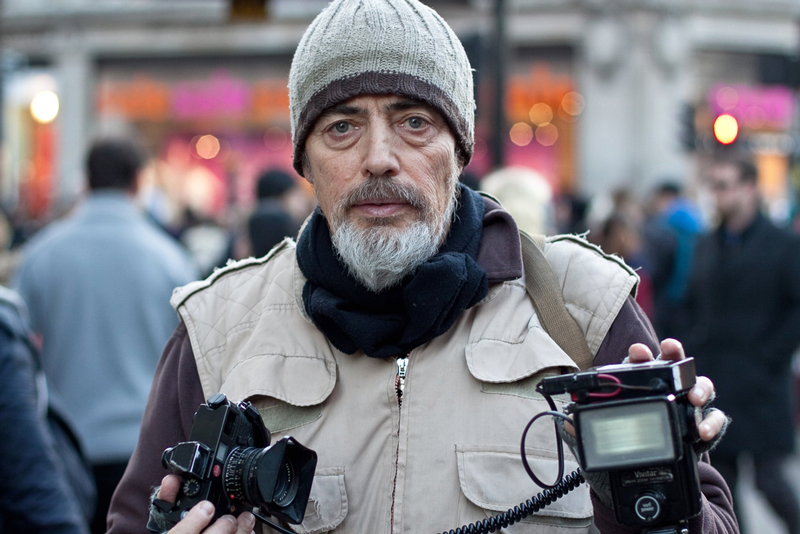
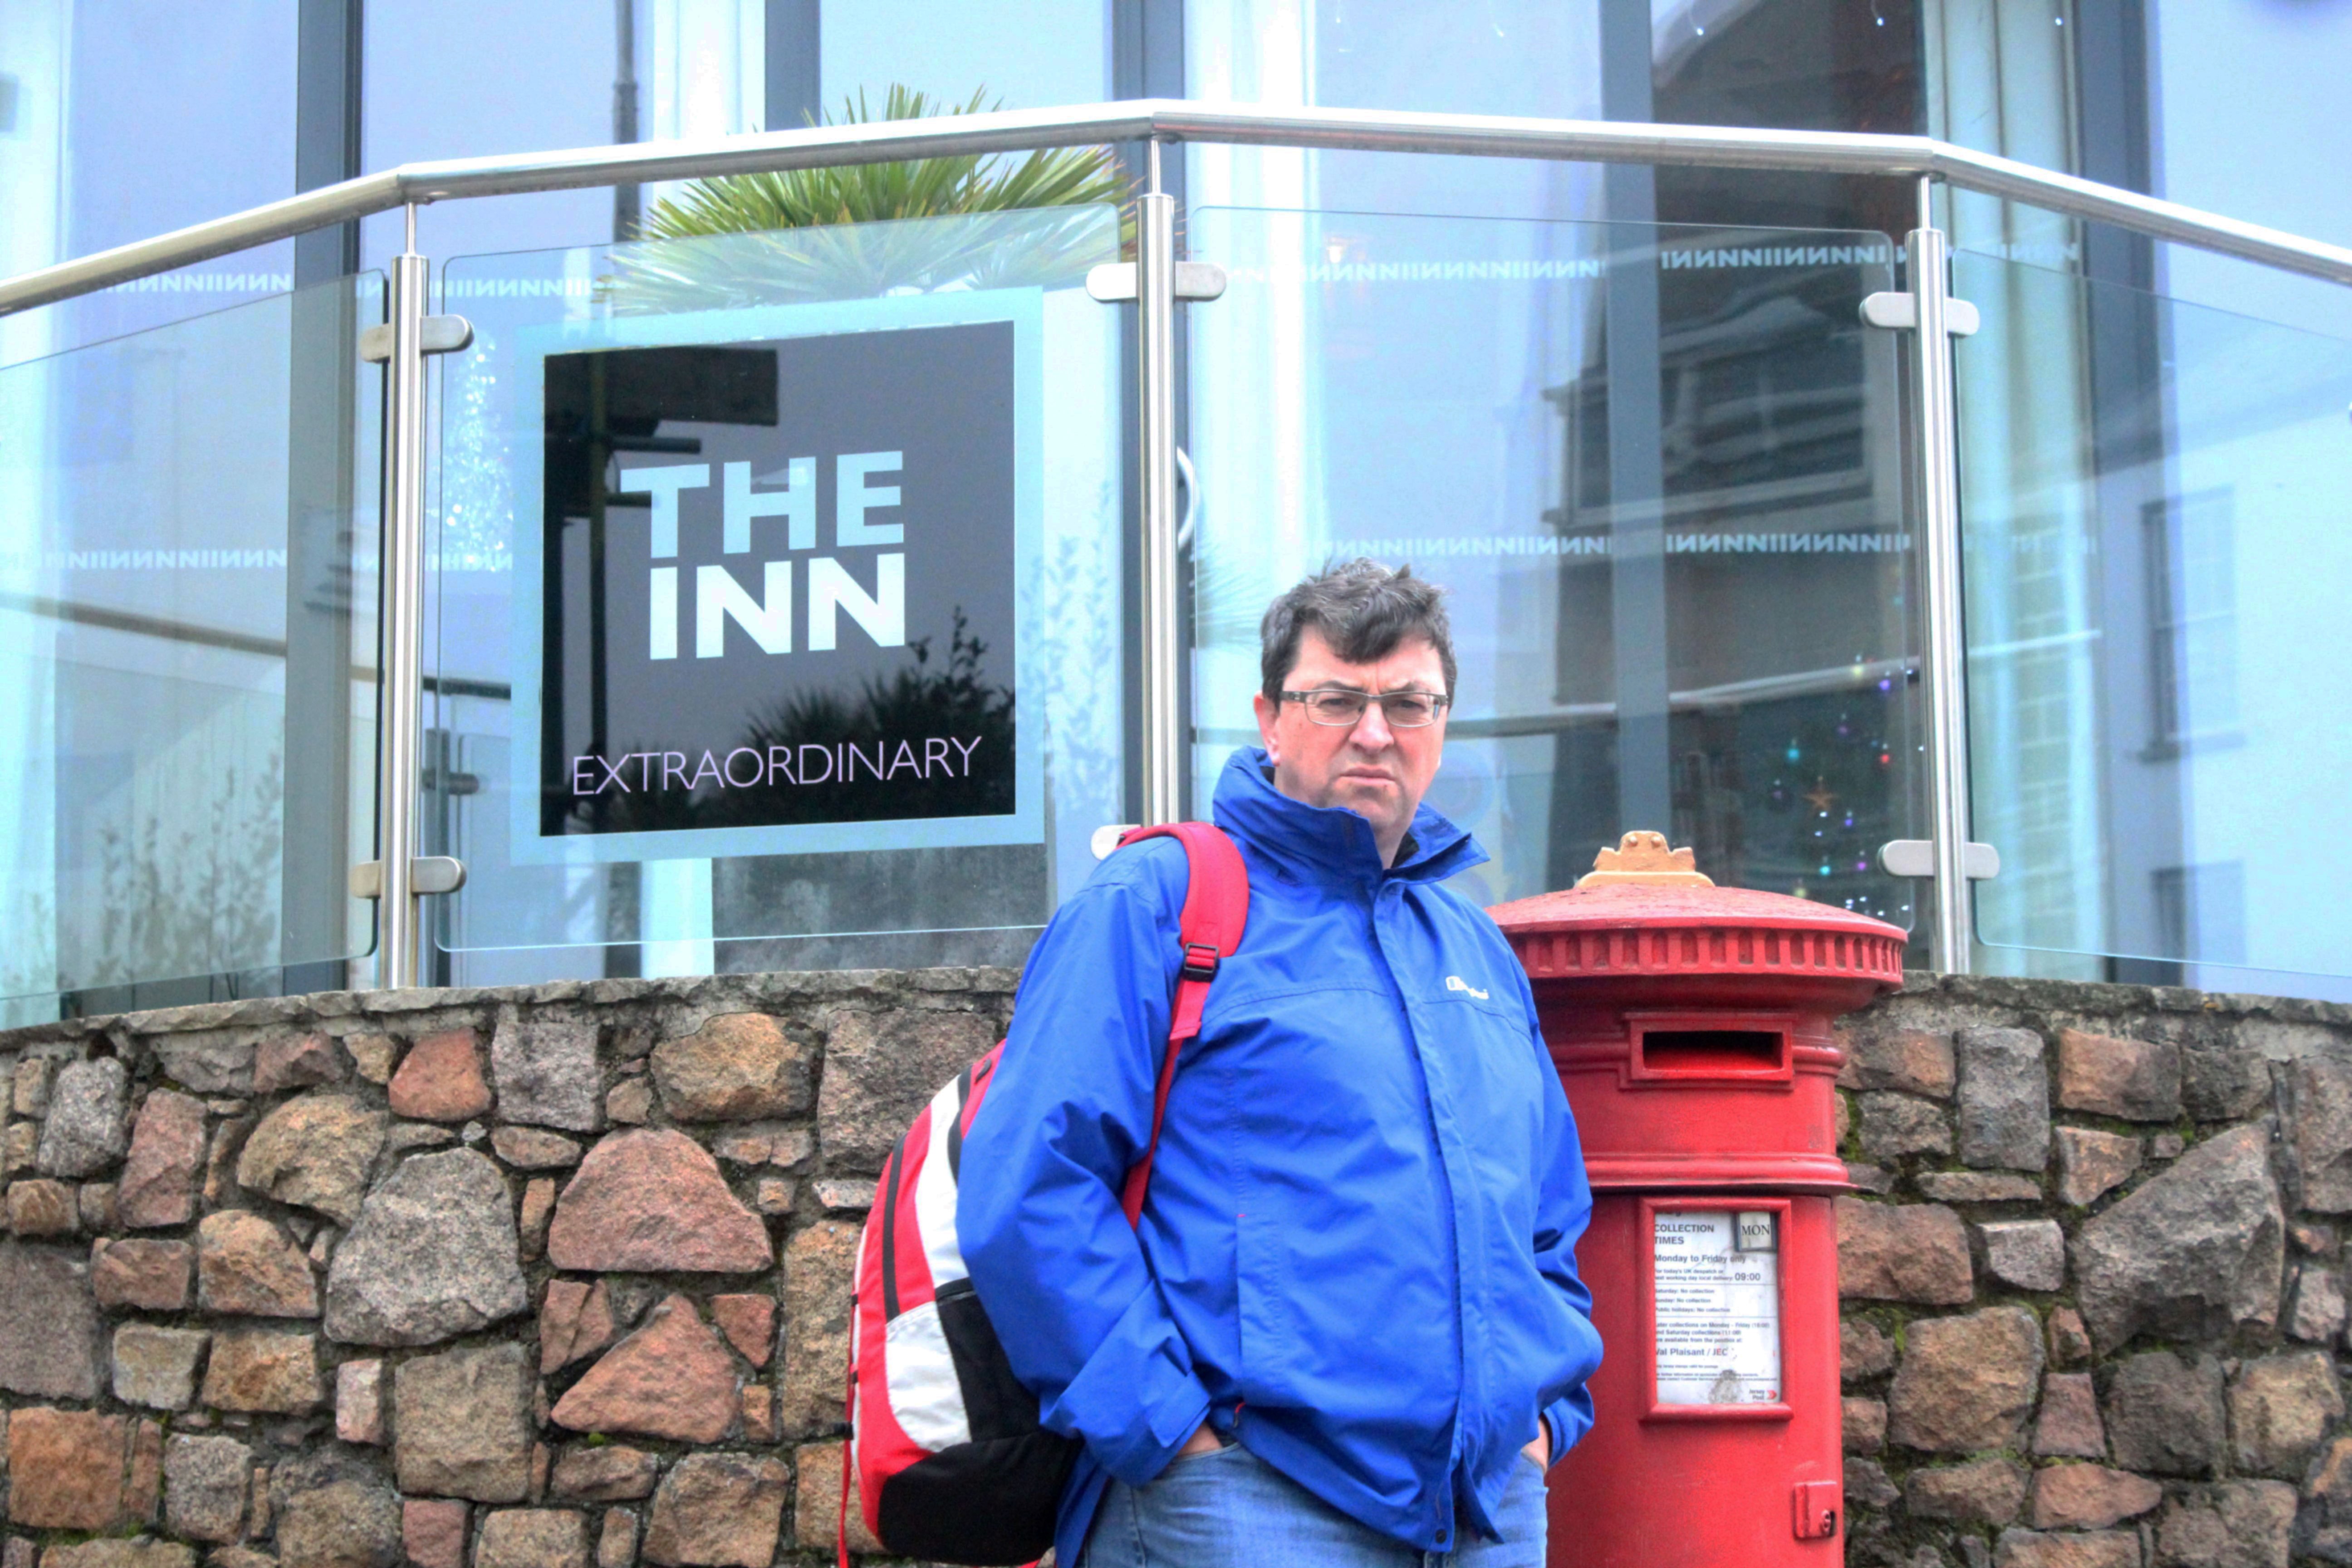
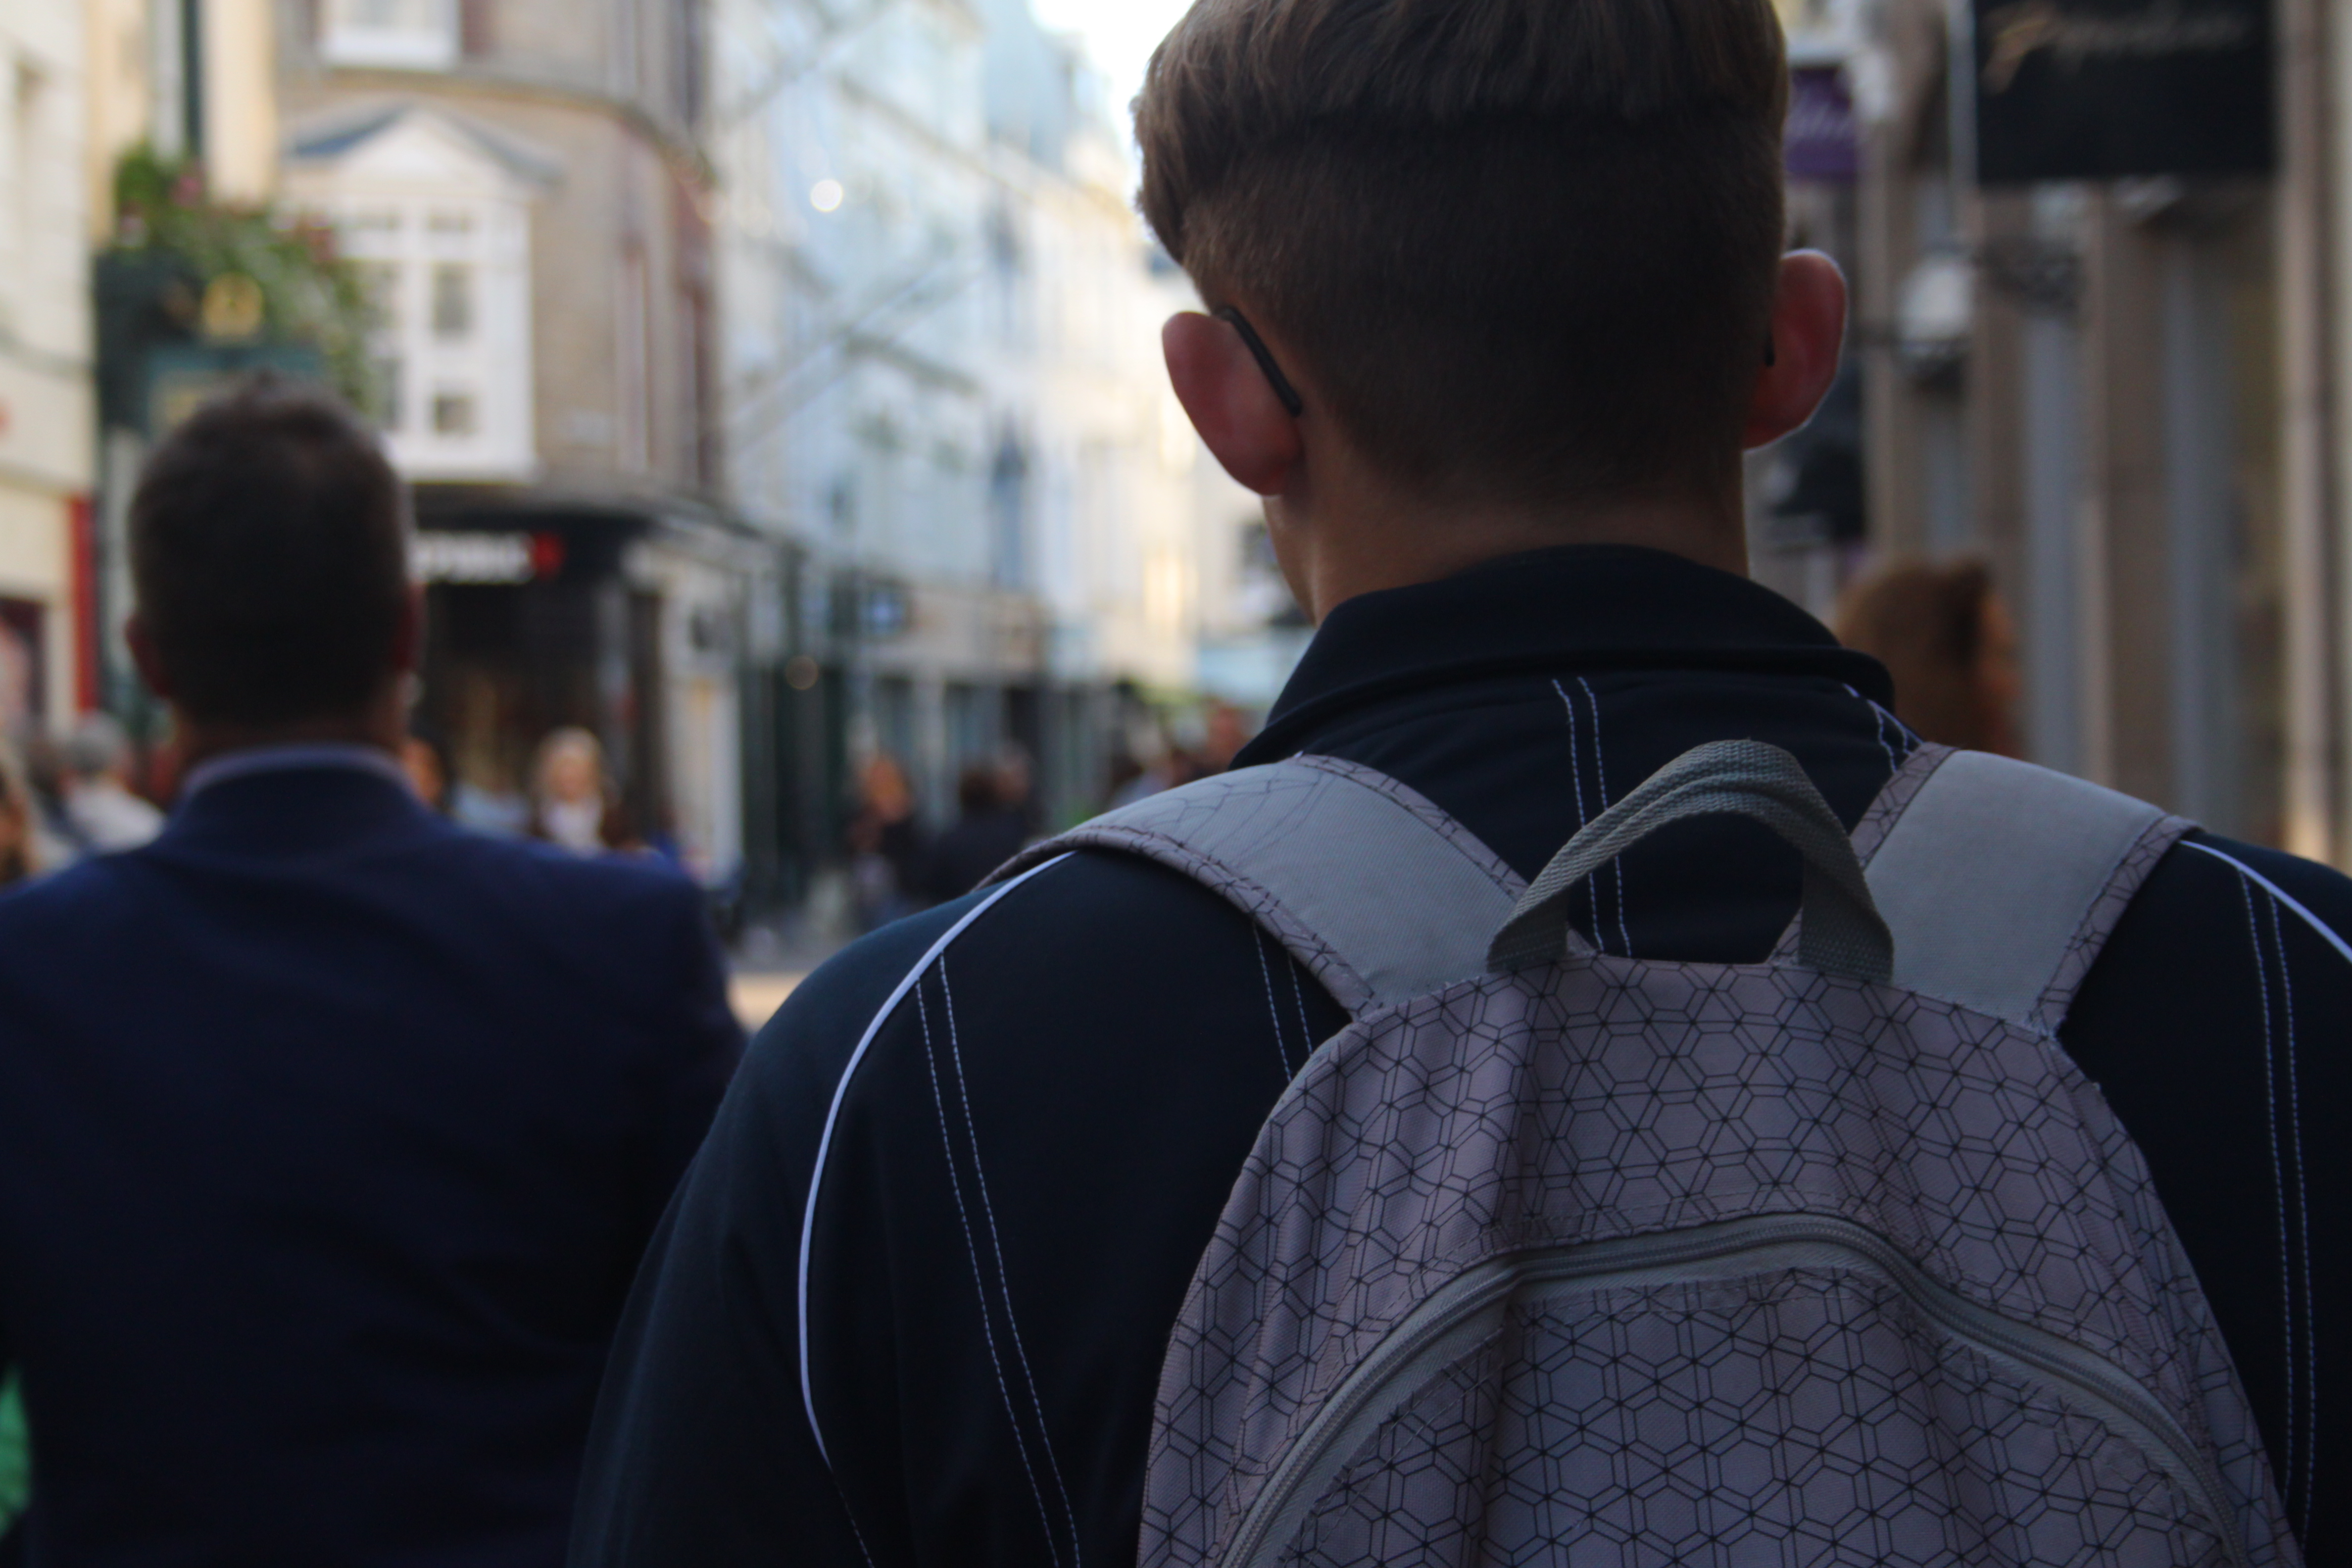
In this street photography experiment, i used a Canon EOS 1300 D and the image was taken in Manual Focus. Using Manual focus allowed me to change the white balance to cloudy as this image was taken in natural light, as well as being able to change the shutter speed to 1/250 and experiment with the zoom lens.
Visual analysis
Visually we can see that the man seems to be waiting for something as he has his hands in his pockets. He also seems a little annoyed that he see’s a camera pointing at him which we can tell by his frowned face.
When taking pictures, being able to determine the intensity, colour and direction of light will help you to know how to position your subject and which camera setting to use.
Intensity of the light
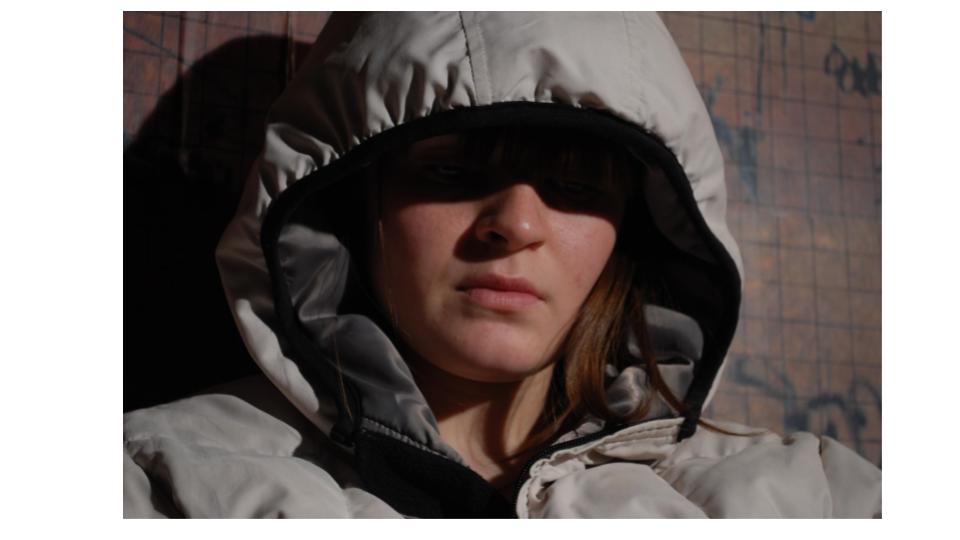
The intensity of light is a measure of its harshness or brightness and determines how much light is present in a scene. It can be referred to as the quantity of light. You can estimate how intense light is based on the balance between shadows and highlights. This distinction between highlight and shadow is called contrast. Light is mostly intense at noon when the sun is directly overhead; This means that the contrast is high. On the other hand, light and contrast are less intense early in the morning or evening. Direct intense light can be harsh. You often find these conditions on bright sunny days. Harsh light intensifies the contrast between light and shadows which can result in unflattering images. When using diffused less intense light, contrast is lower and the light is more flattering. When the sun is shining brightly overhead there are a few things you can do to diffuse the lighting:
Find some cover as shade can be a great diffuser. Photograph your subject under the cover. When working in shade make sure the subject is evenly covered by the shade.
If there is no shade in your area you can diffuse the light with a scrim. You place the scrim between your subject and the light source.
Overcast days are good for natural light portrait photography because the cloud cover acts as a natural diffuser
If you are taking images inside and are relying on a window as your light source, move your subject away from the window to lessen the intensity of the light
Direction of the light
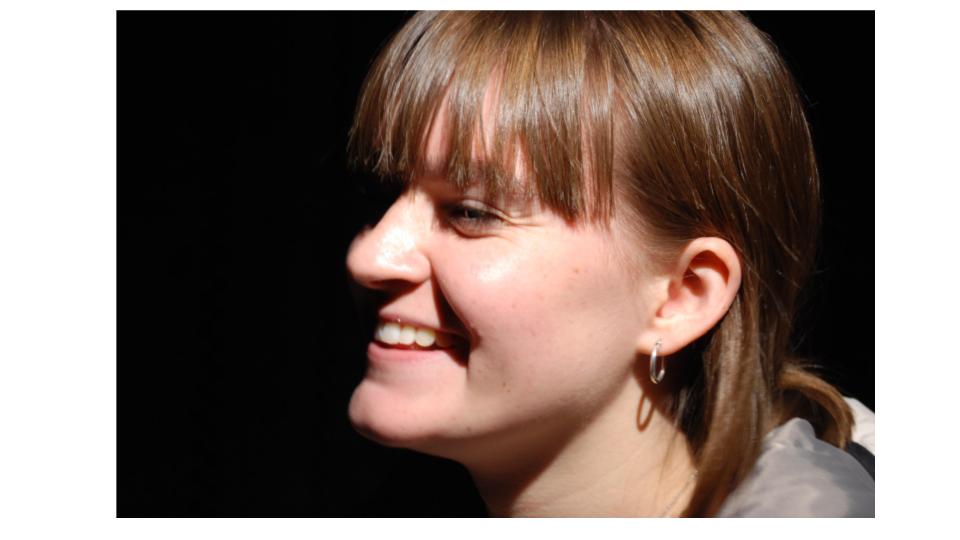
Depending on the time of day, the direction of light changes due to the sun’s movement. Knowing where the light is coming will help you know where to position your subject to get the best images. Try positioning your subject with the sun behind them instead of having the sunlight shine directly into the face to light up their features. The backlight this provides will cast nice highlights around the hair.
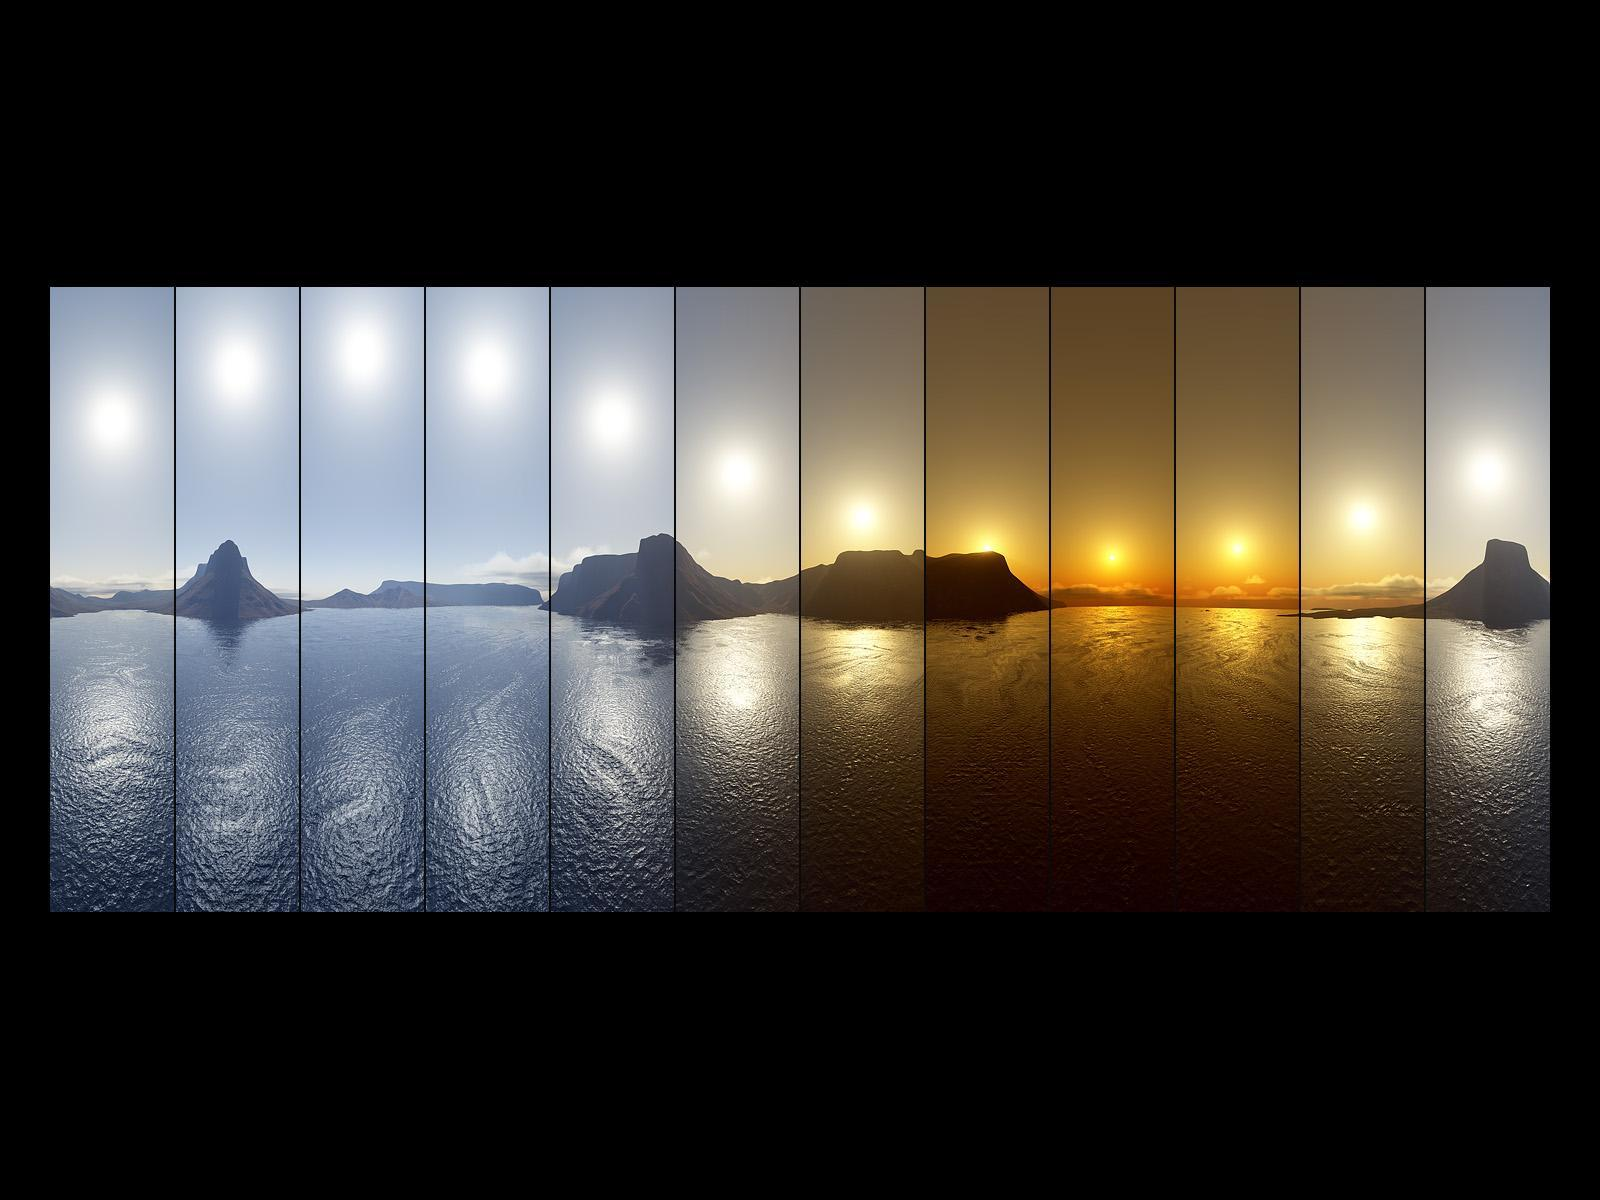
Temperature of the light and white balance
Colour temperature is the various shades of colour that are produced by different light sources. It is measured on the kelvin scale, from the cooler blue tinged end of the spectrum to the warmer, reddish coloured end. Colour temperature changes throughout the day, depending on the time and the amount of cloud cover. At dawn the sky appears light blue, at sunset the sky appears orange, and at dusk the sky appears violet blue. Our eyes naturally adjust to changes in the colour of light to keep colours looking the same in various lighting situations. Since our cameras don’t do that white balance is important.
These are my final edited images from another photo shoot in the studio. The main purpose of this shoot was to experiment with different lighting techniques/colours.
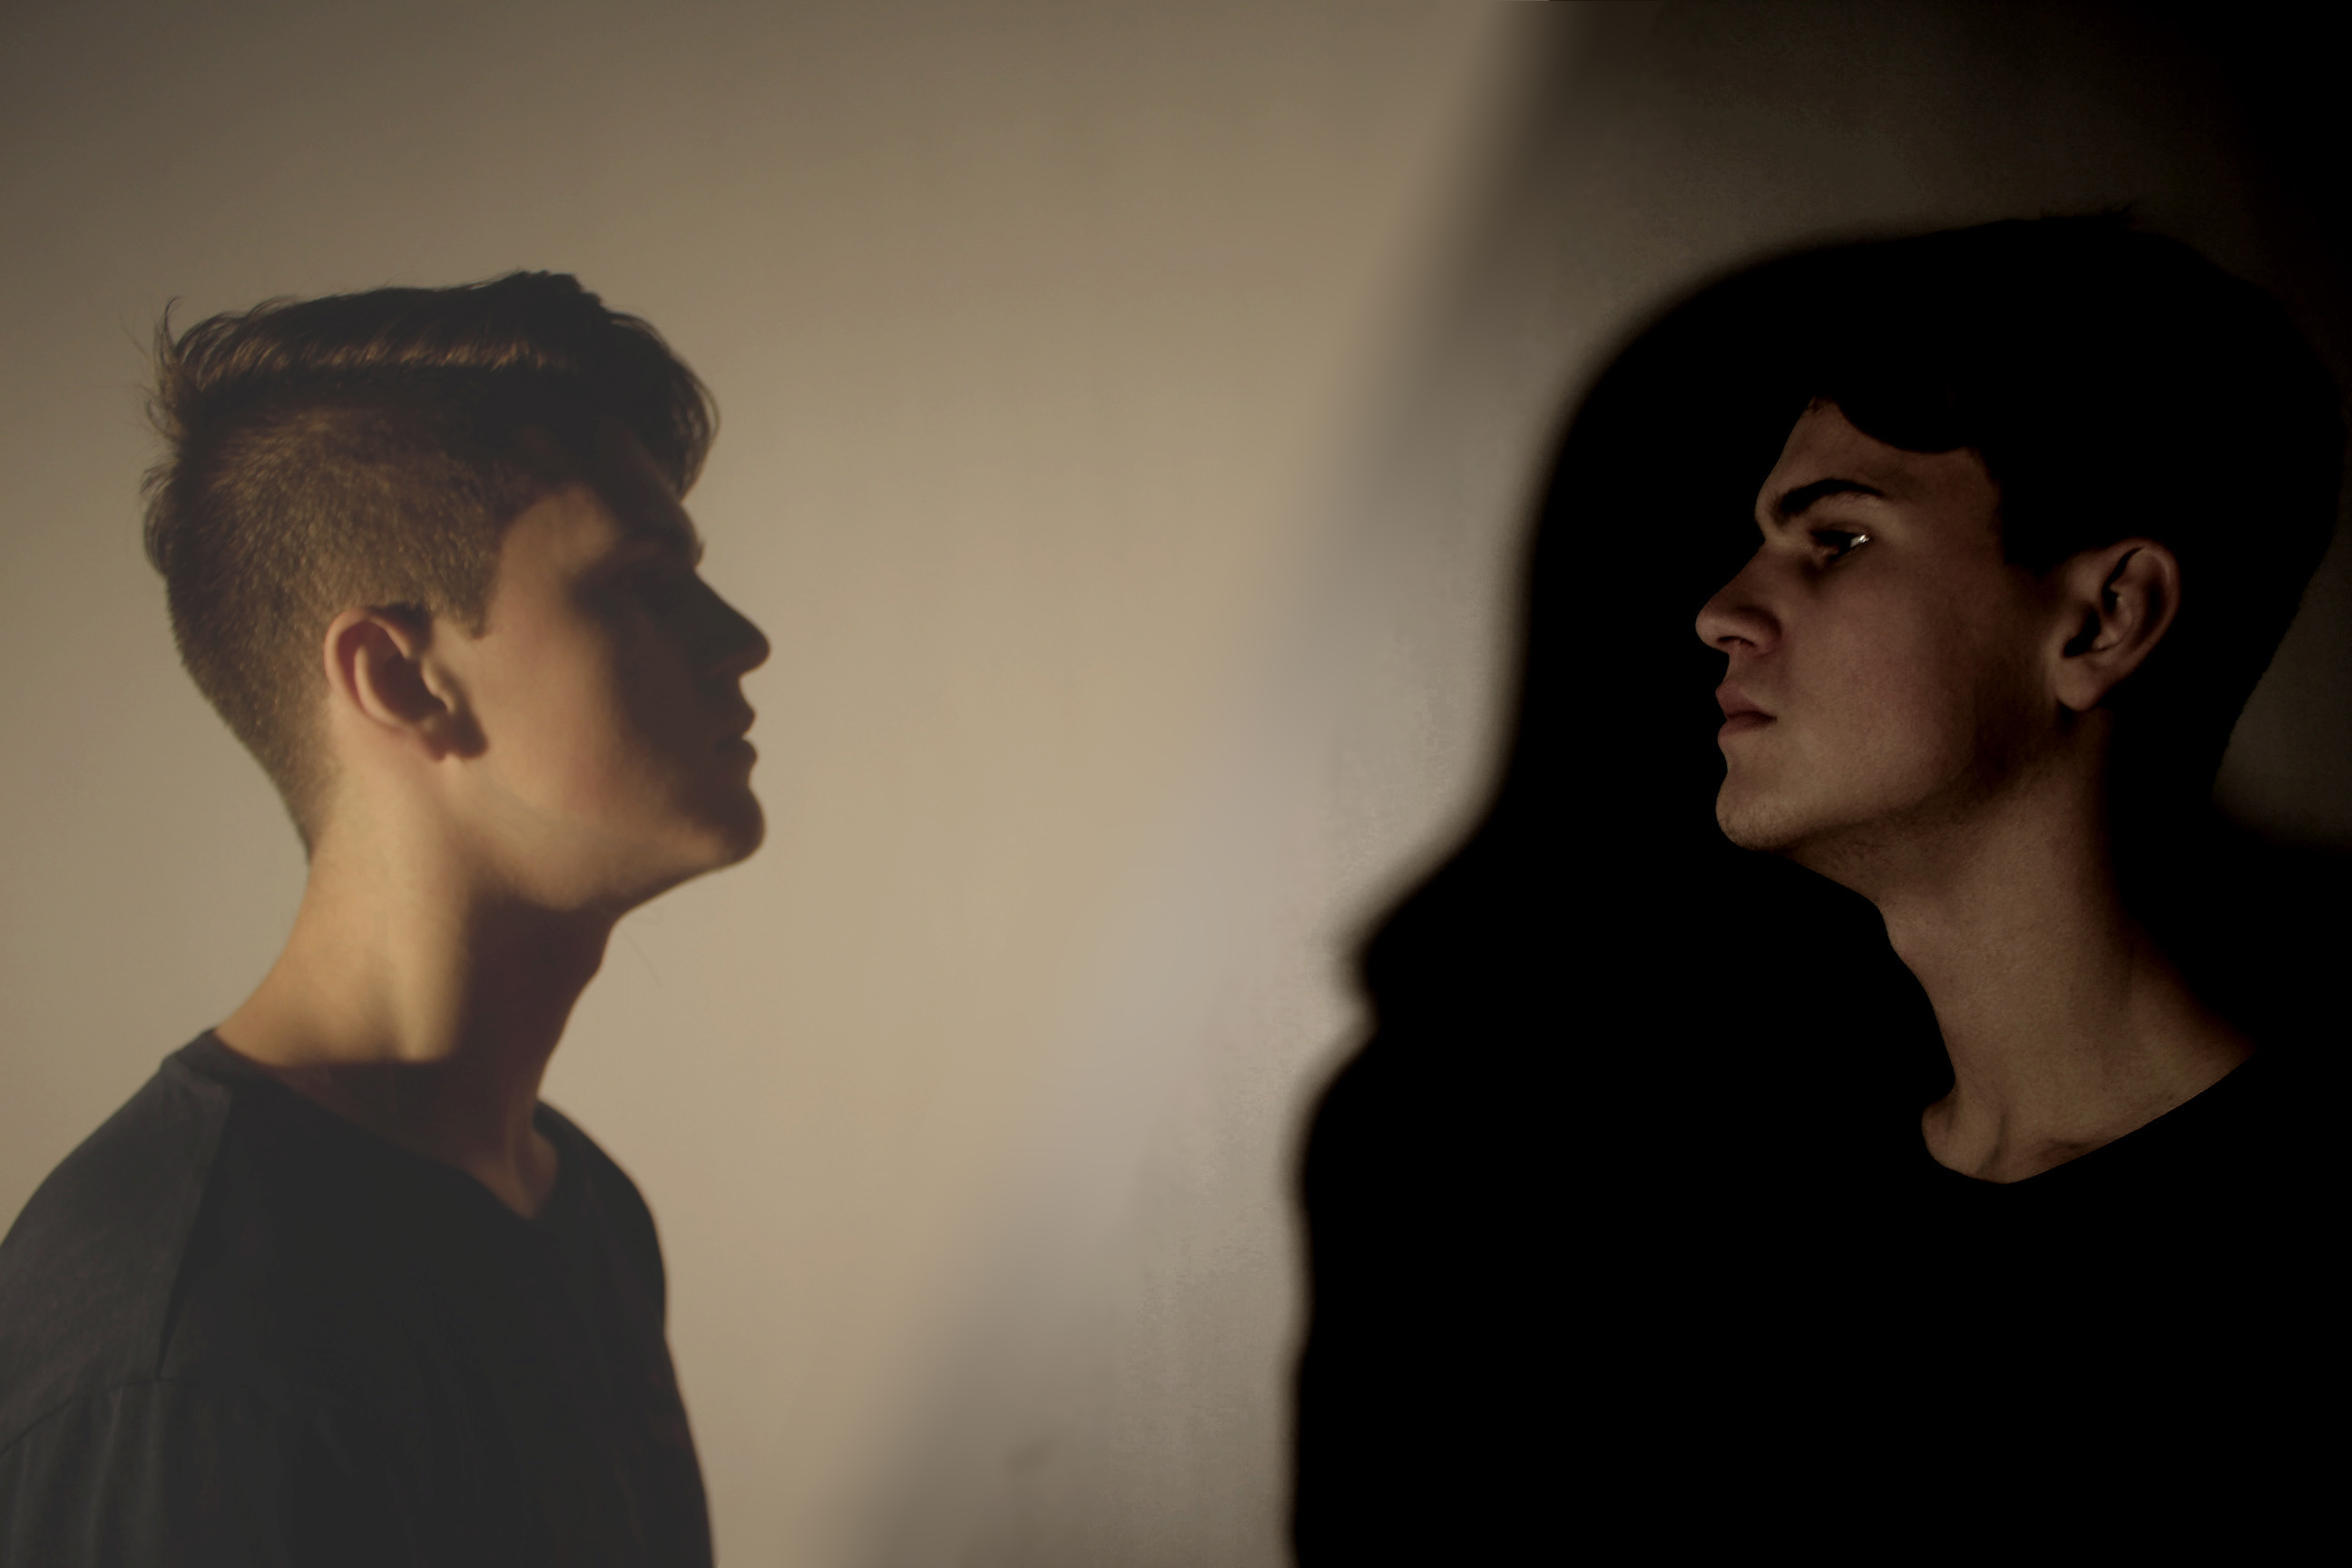
This is two photos edited together. The original was two different people staring at each other, but I decided to take another darker photo of myself and edit it into the previous one. This give a bright/dark good/bad side effect.
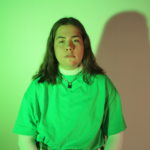
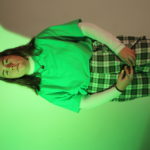
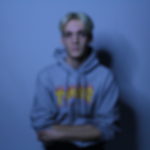
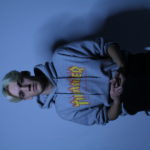
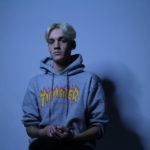
This photo used two-point lighting. A spotlight with a green tint to the left, as well as a ring light positioned directly in front of the camera. The ring light isn’t visible as the camera was placed in the middle of the ring light. This results in a brighter image, but still keeps the colour lighting.
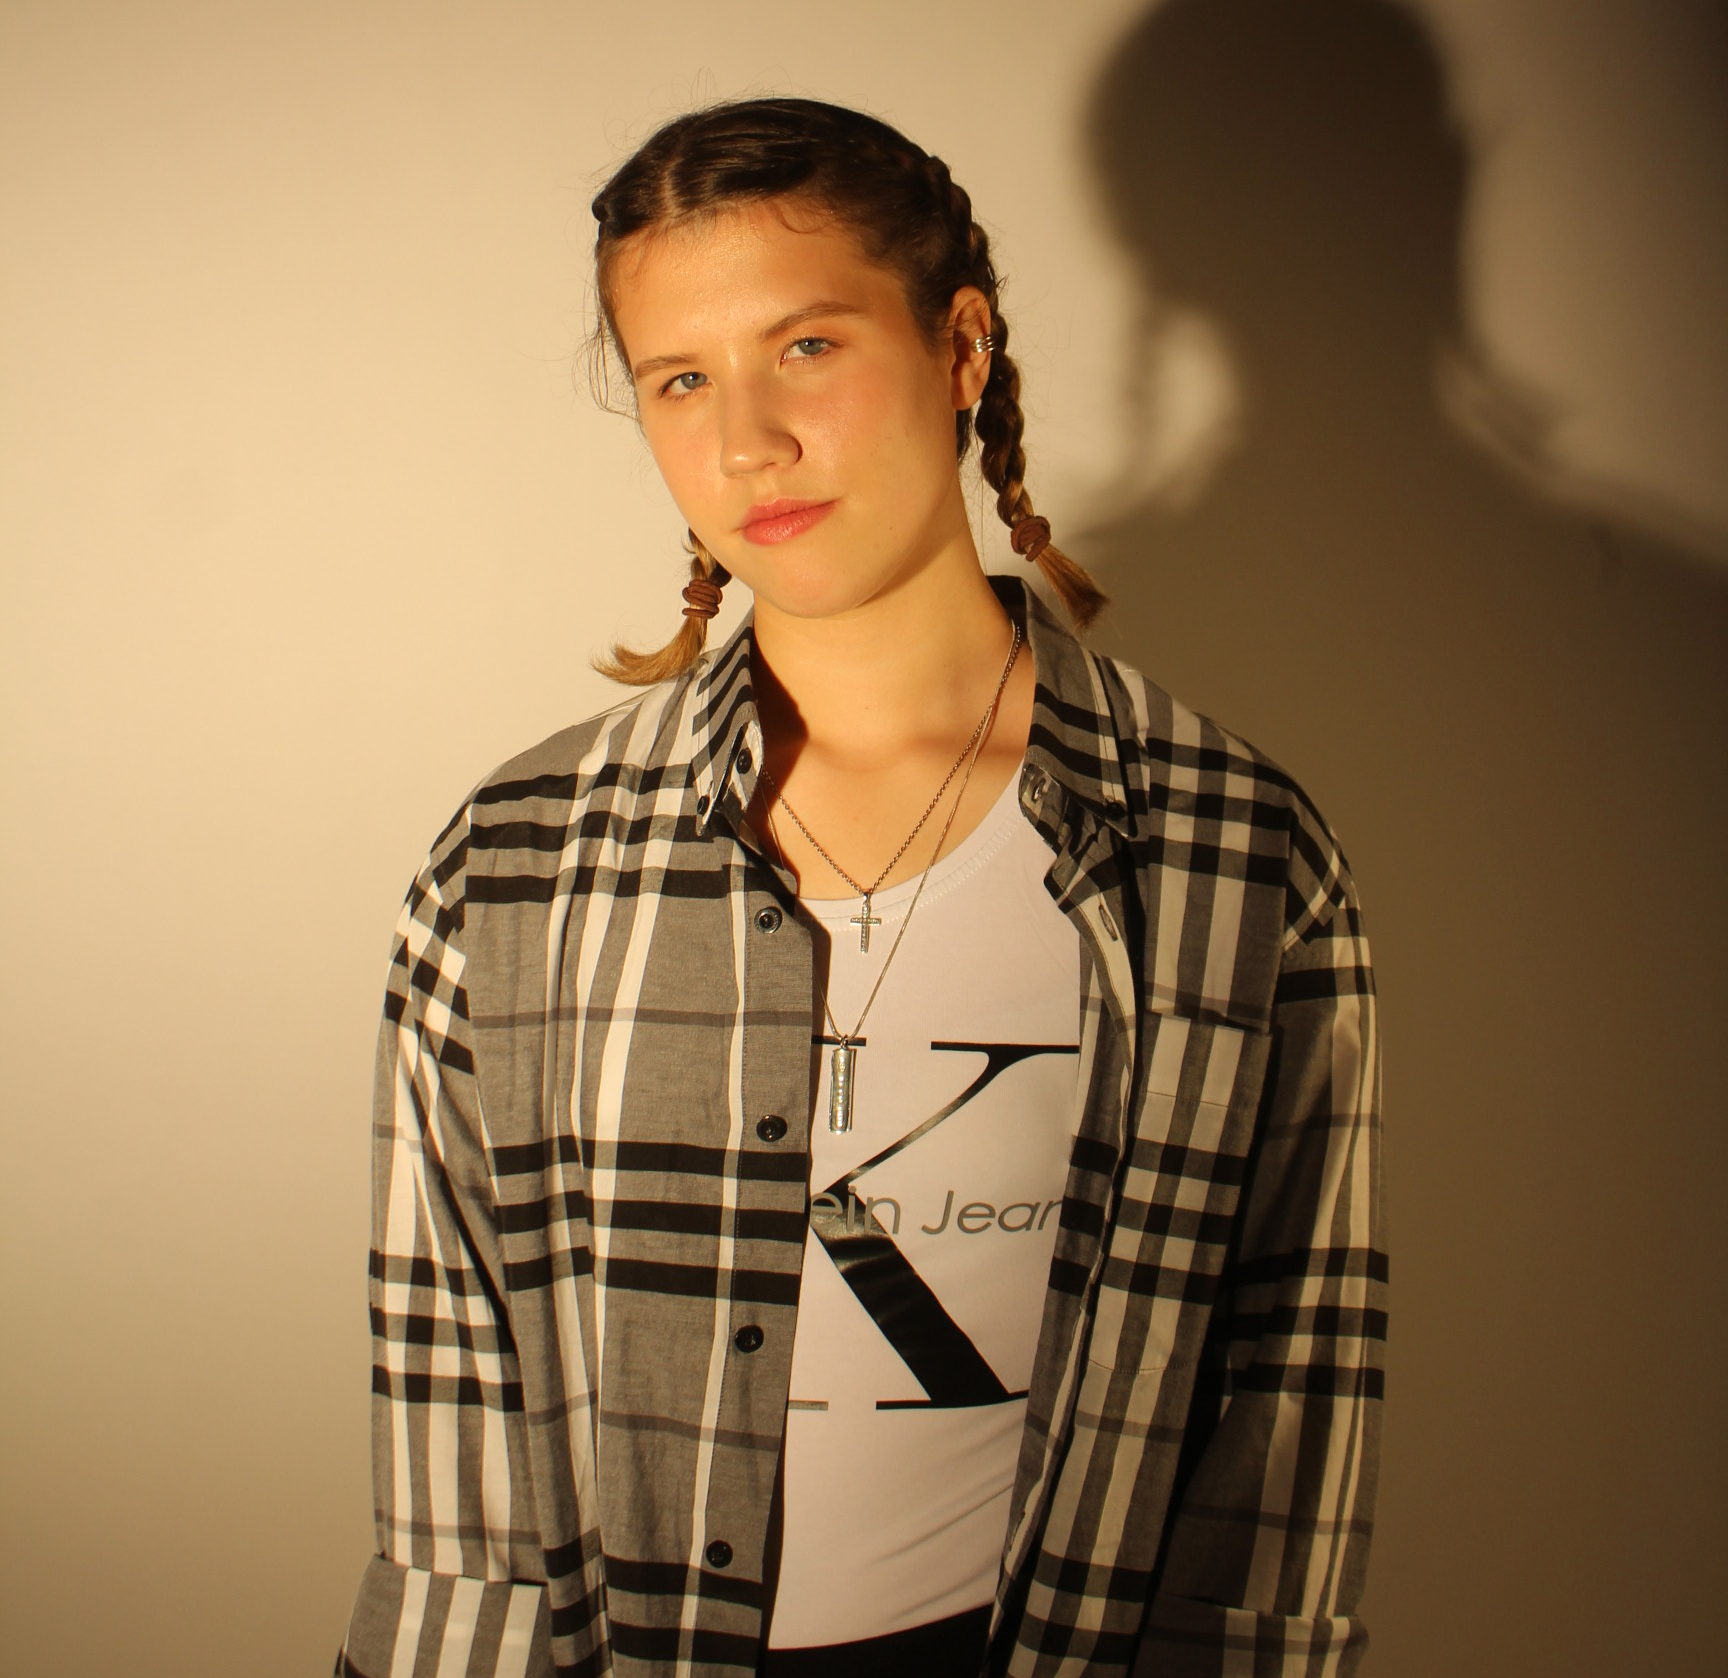
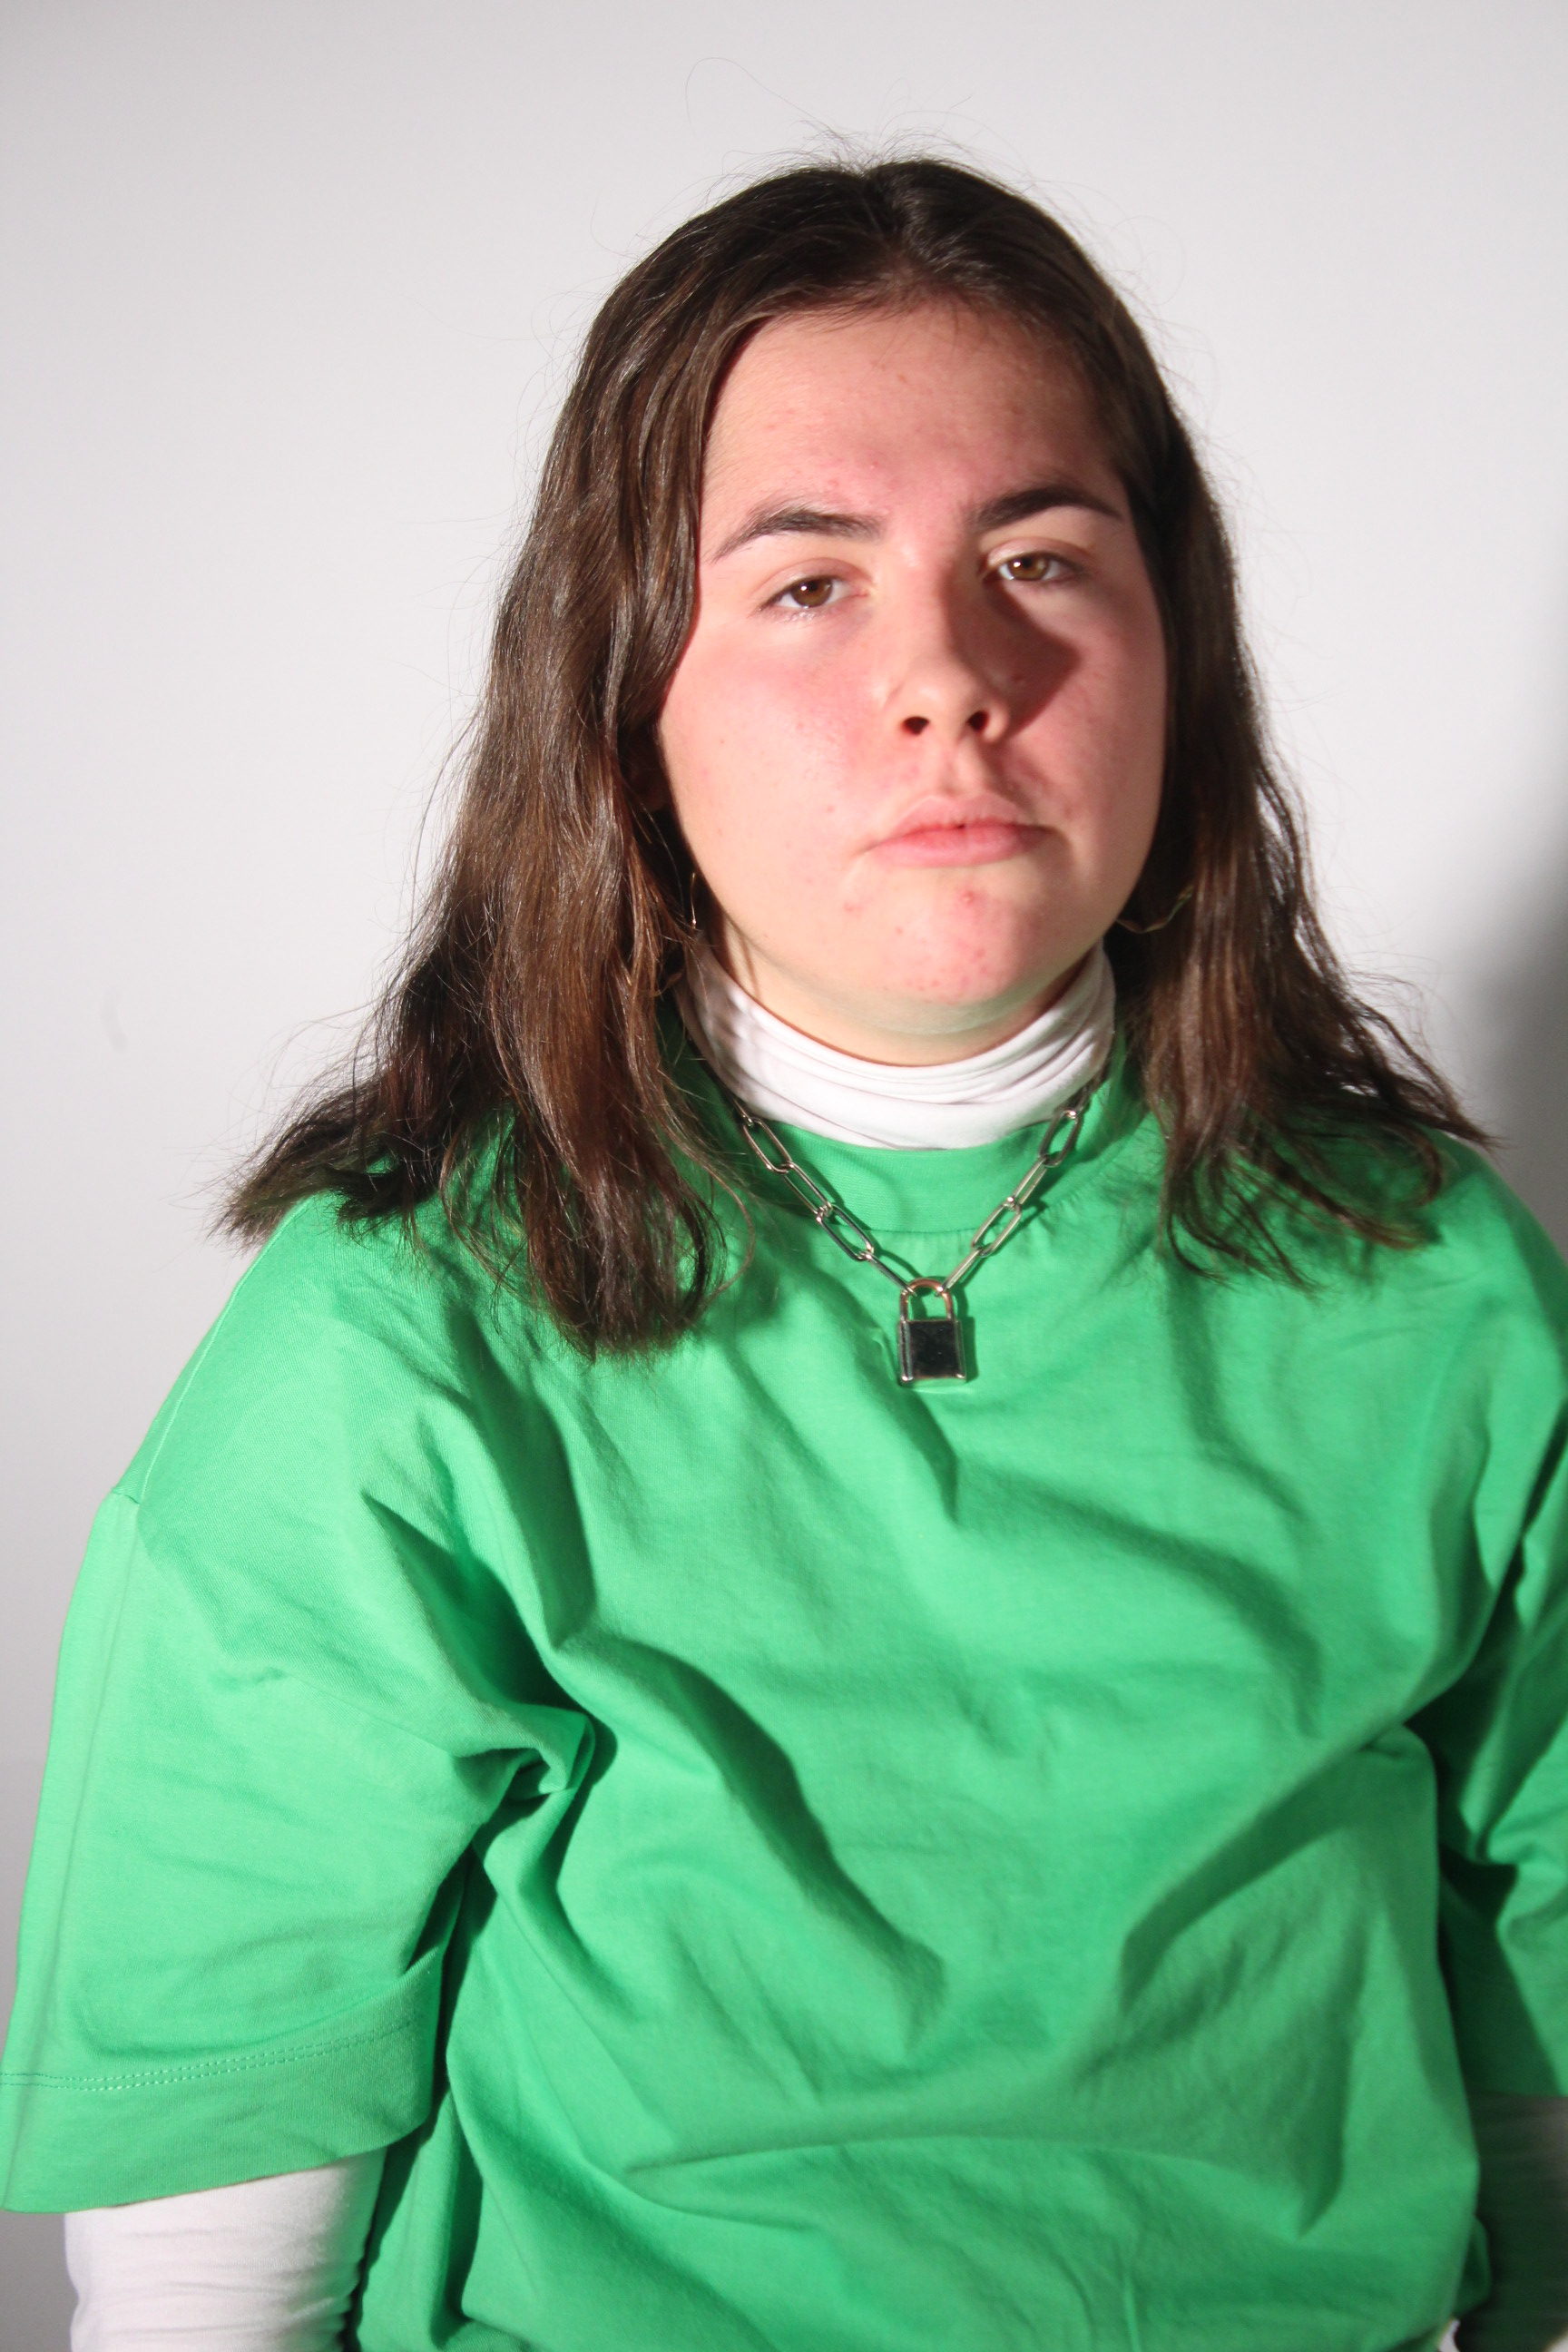
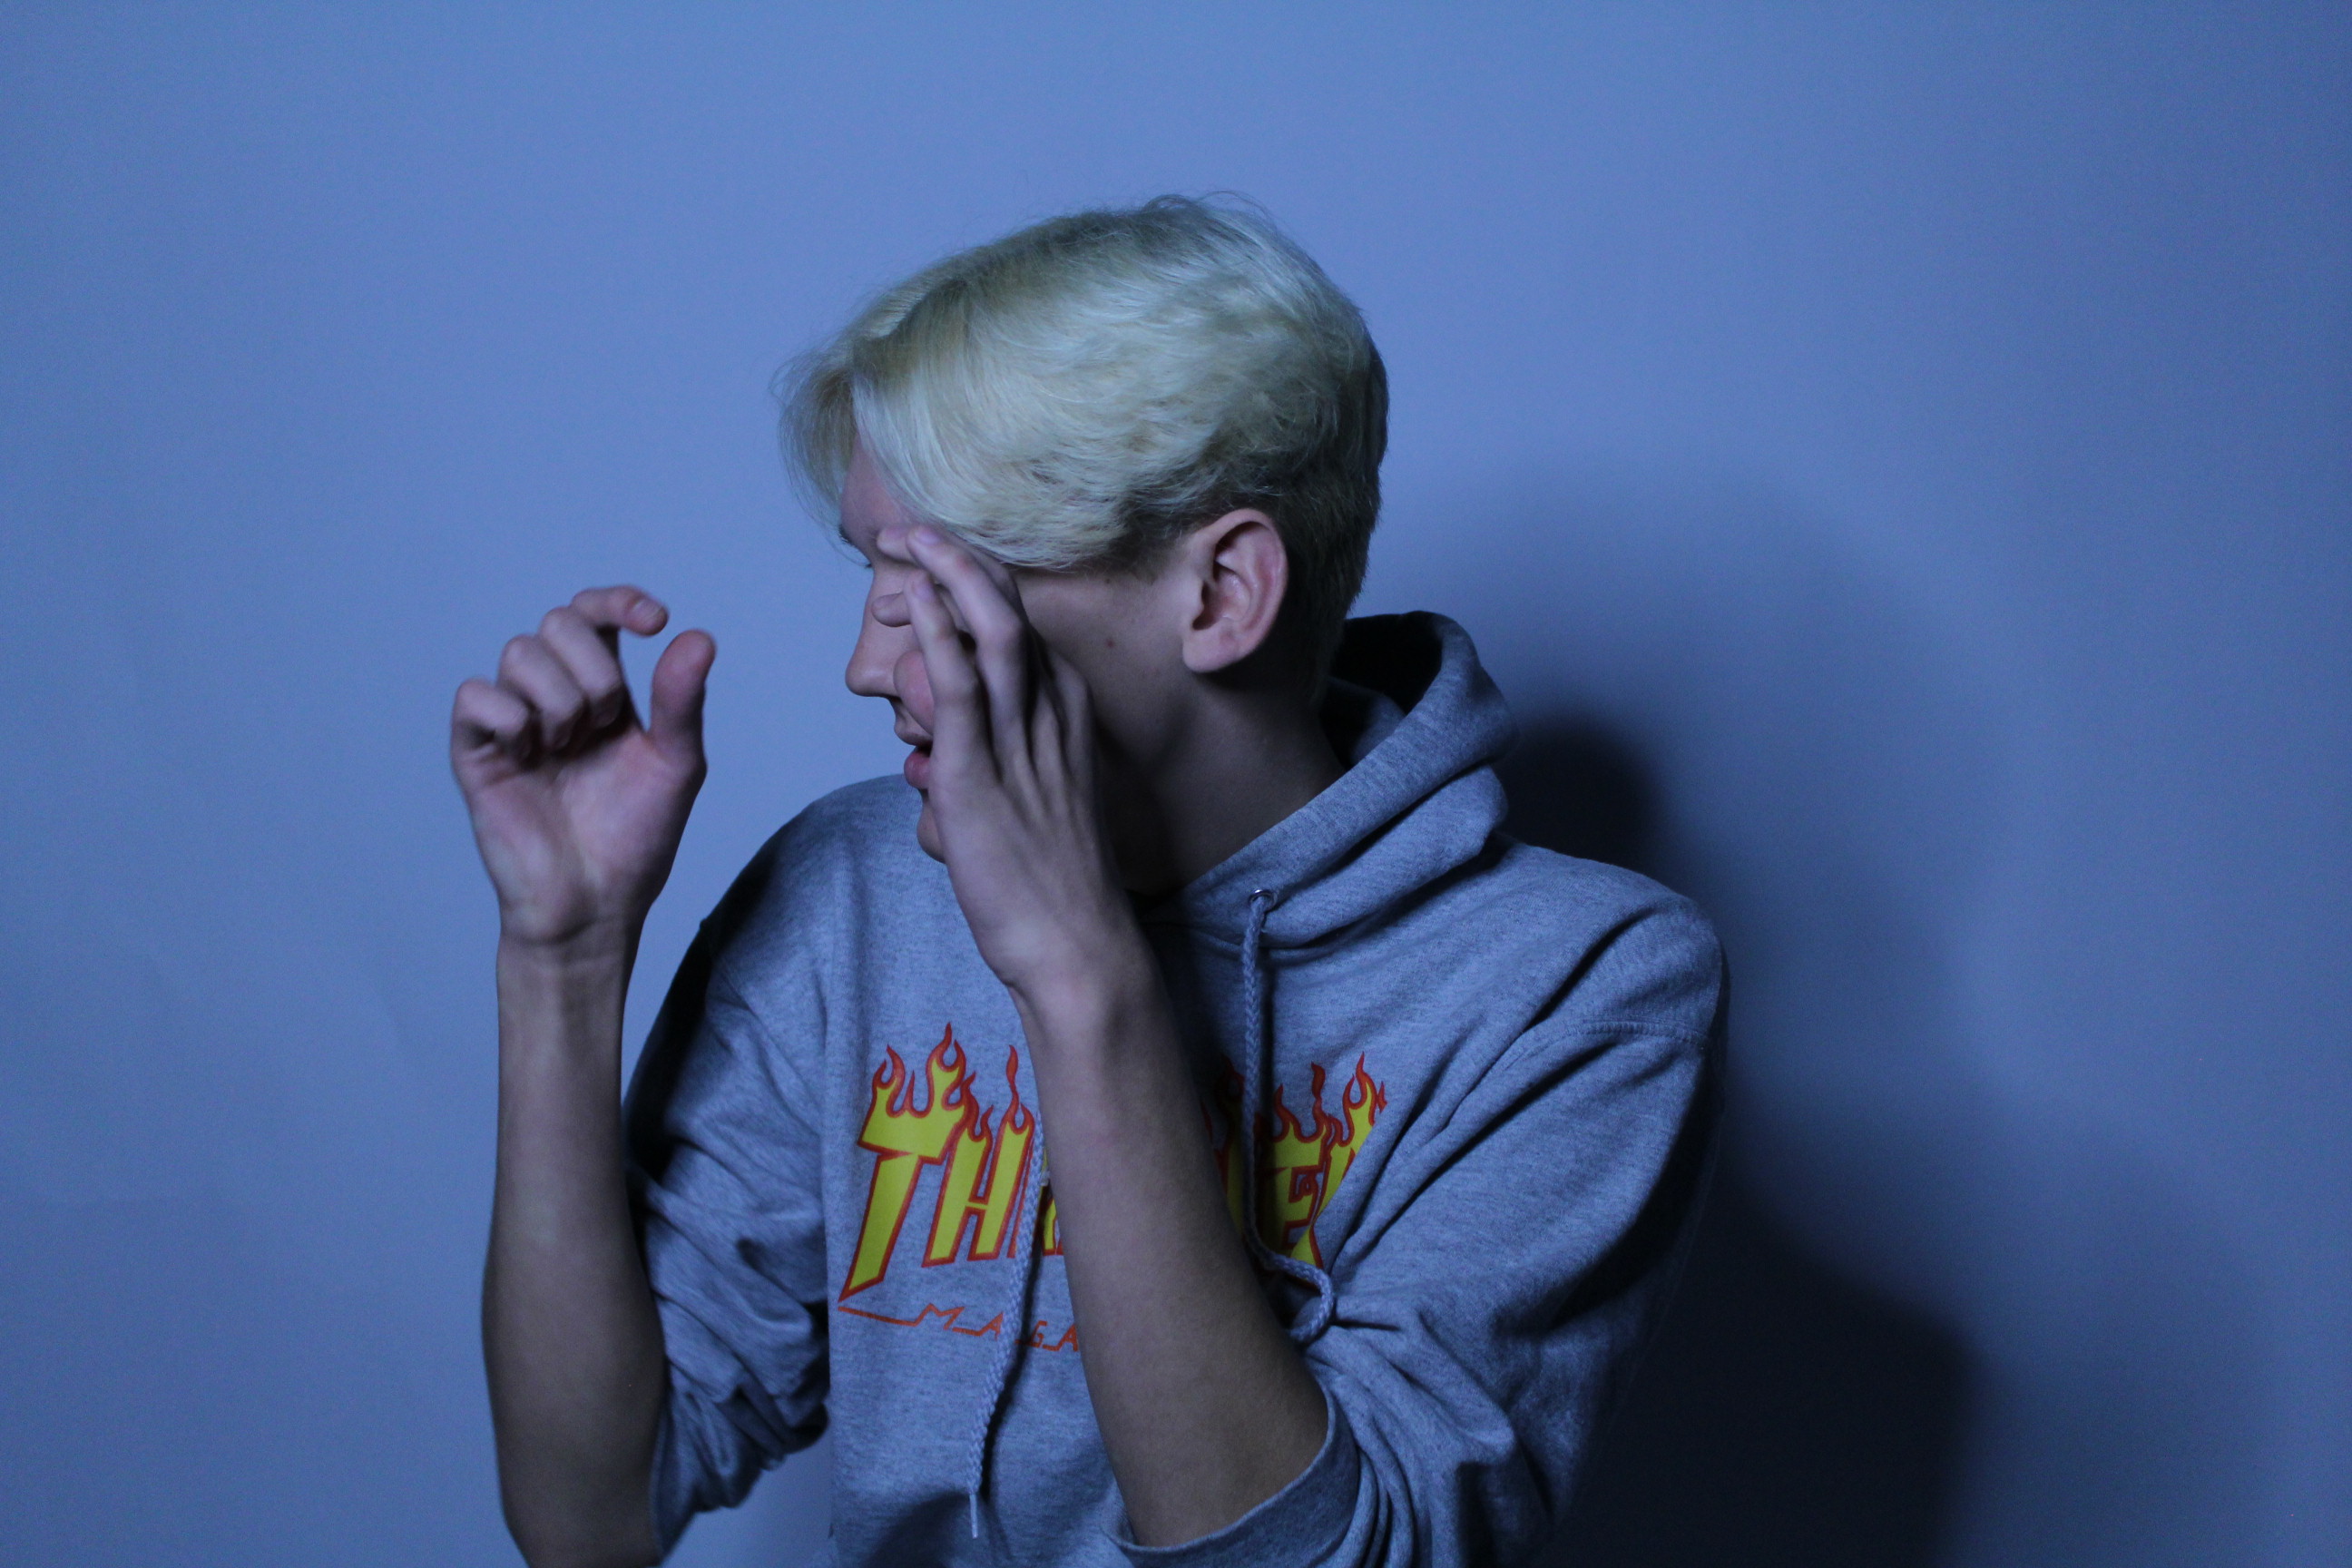
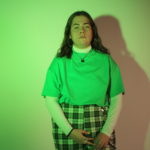
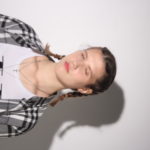
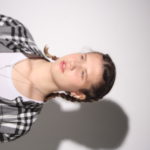
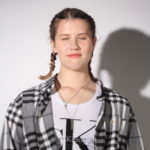
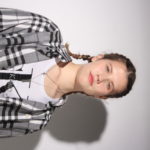
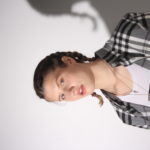
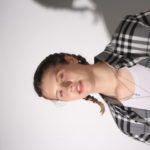
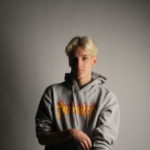
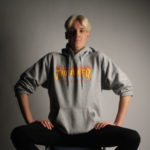
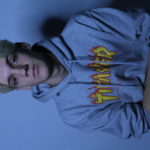
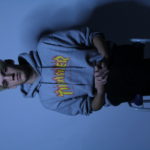
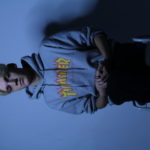
In both this, and the following photo I have used only one light source, this lights the model in the centre evenly with one colour, it also gives a big clear shadow to one side.
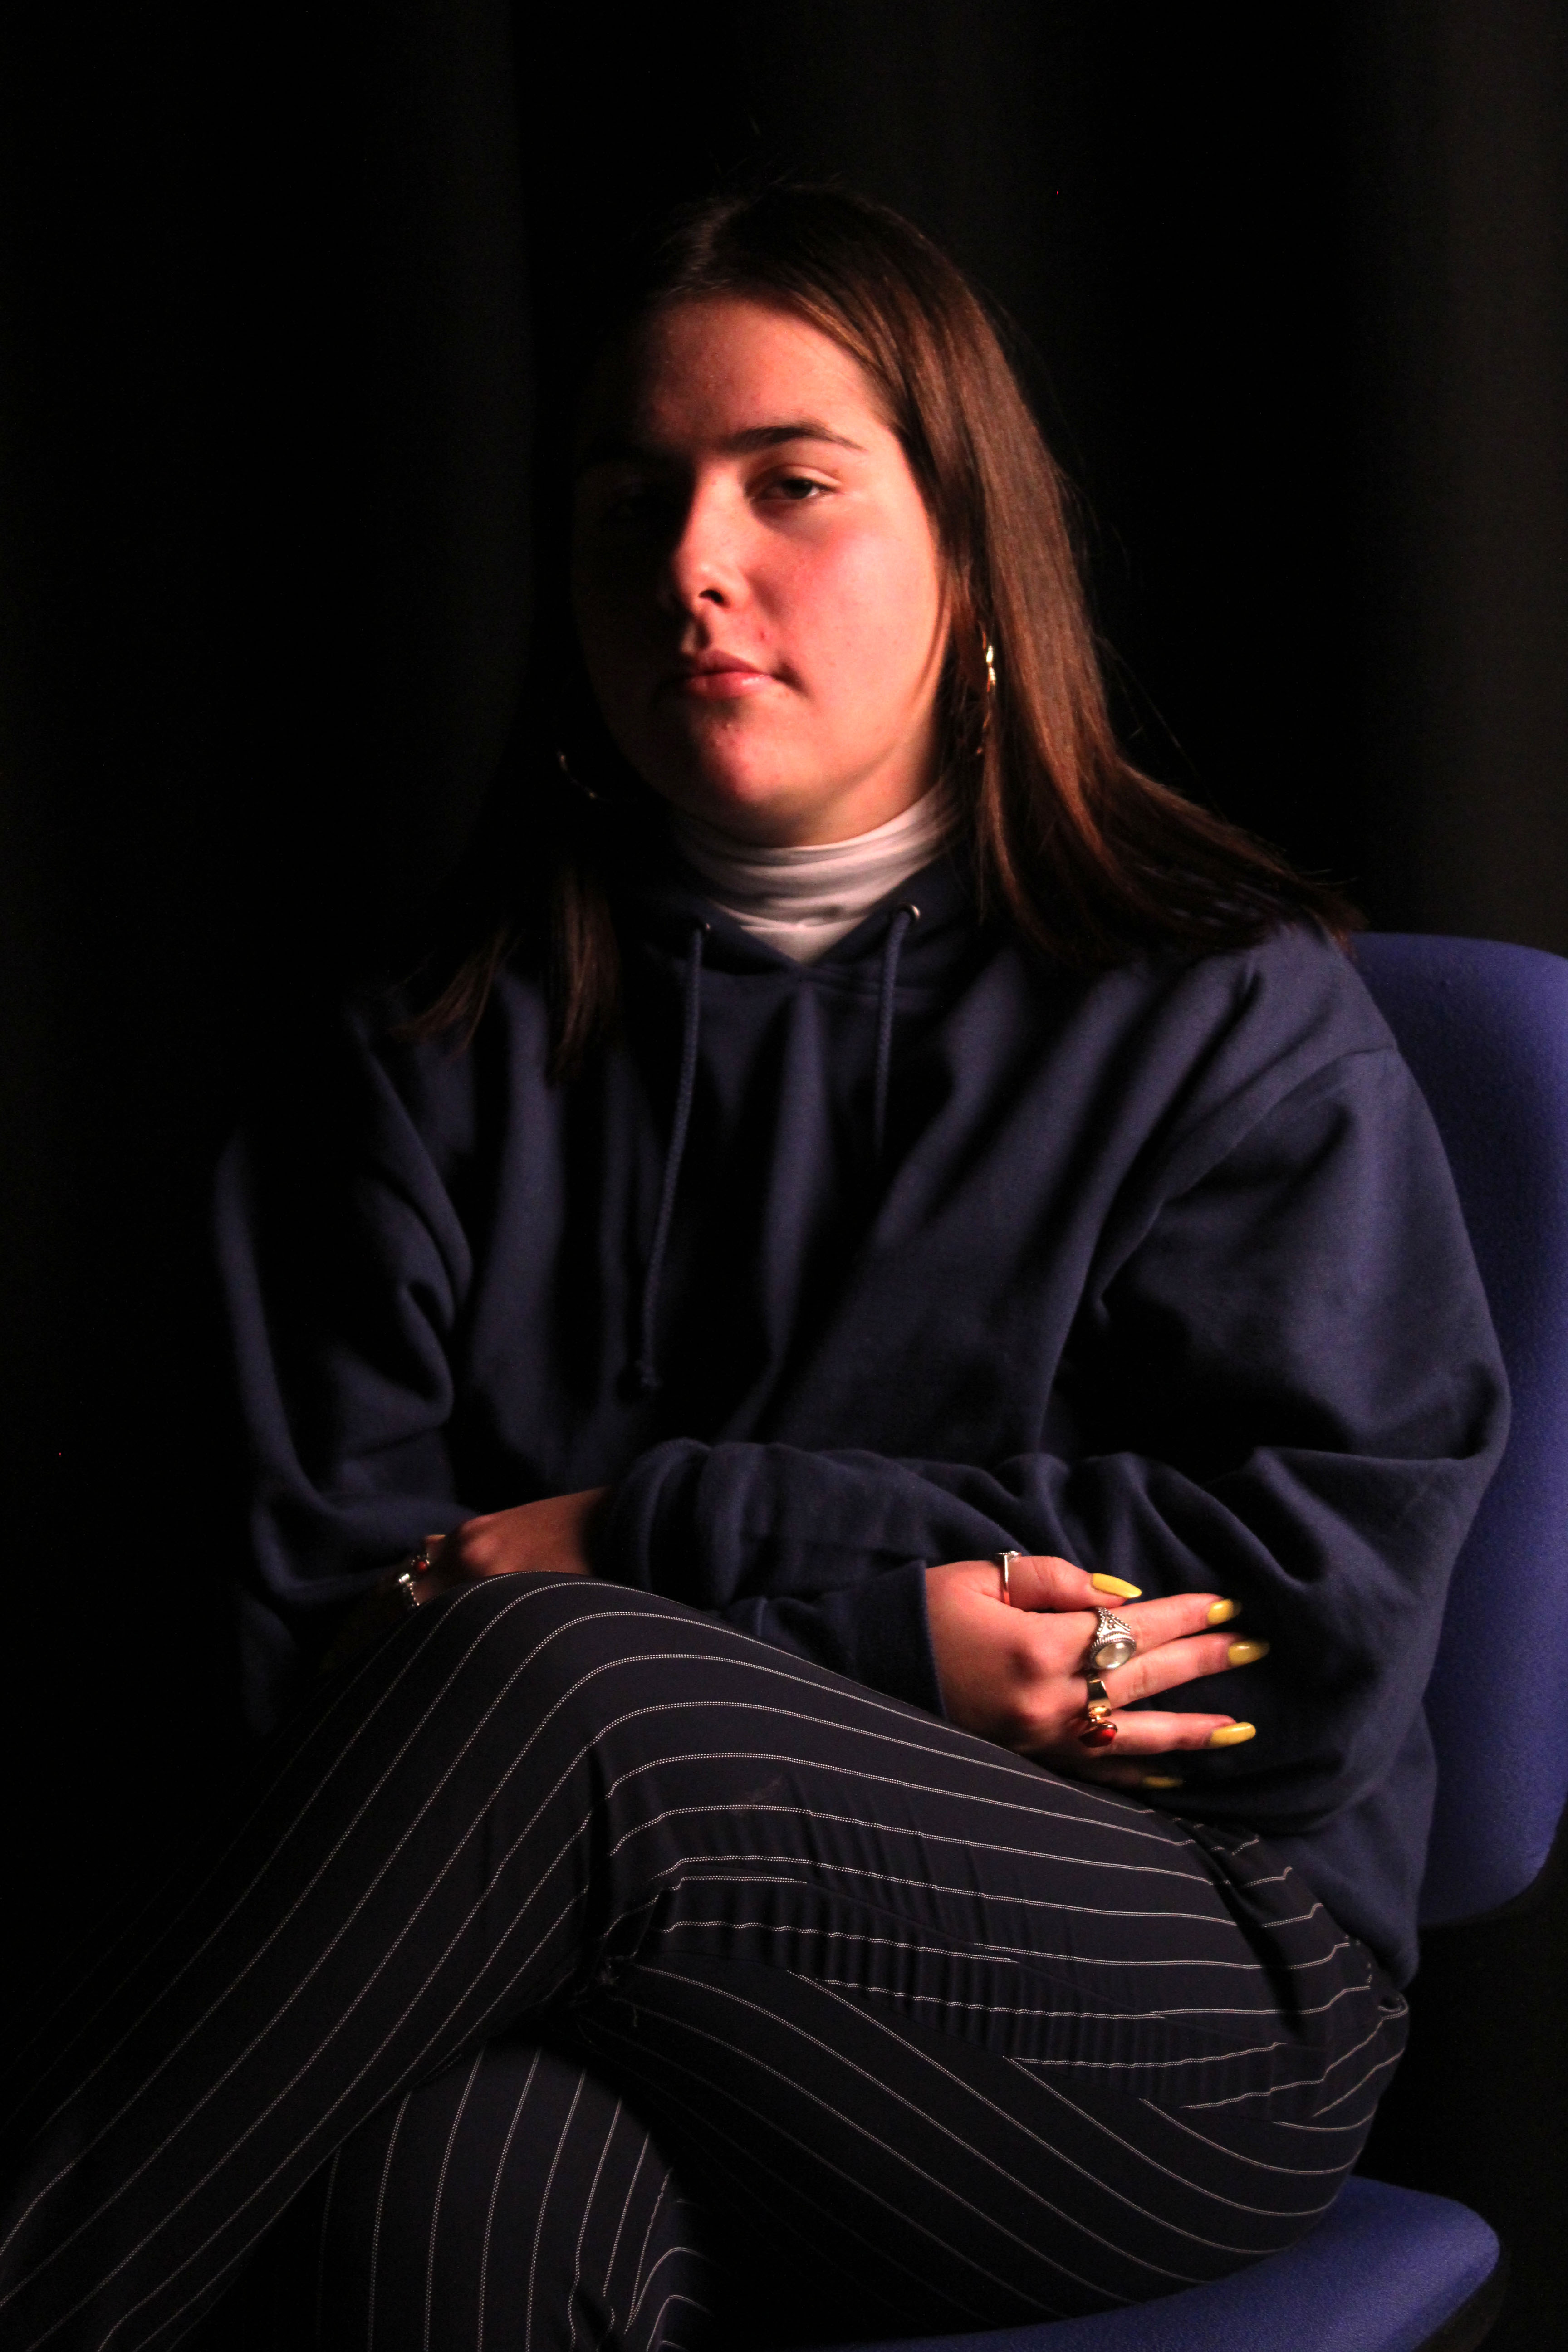
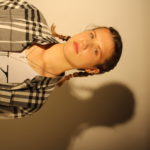
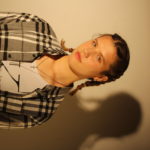
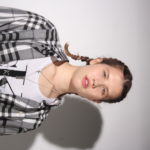
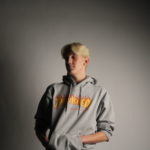
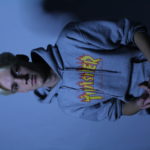
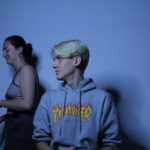
In this photo I used two-point lighting. There was a softbox placed to the right side at a slight angle, and a spotlight with a purple cover placed on the other side. This creates a warm and colourful effect.
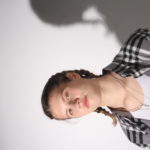
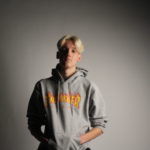
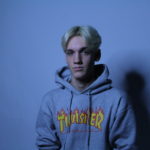
The same lighting was used for this photo as the previous one. Only in this photo the camera is positioned nearer the purple tinted spotlight, which gives it a bigger overall impact on the face.
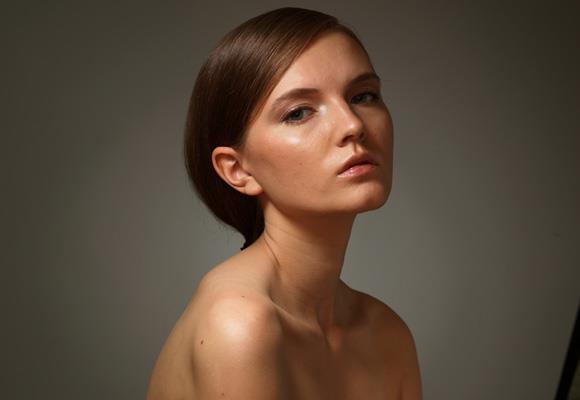
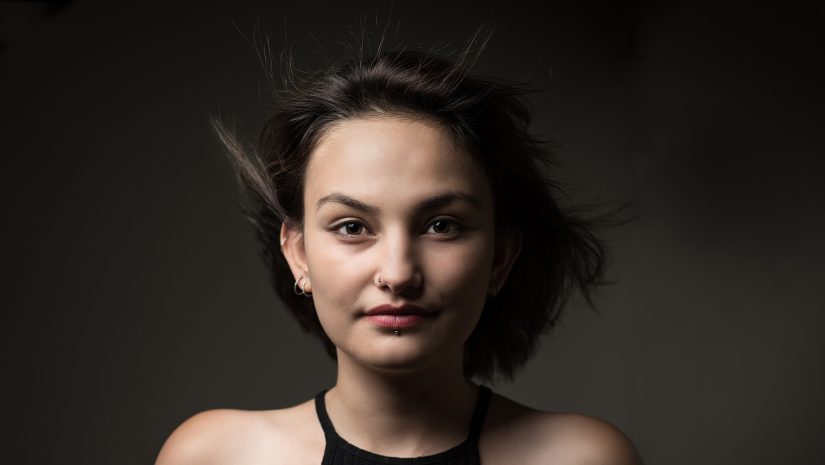
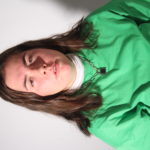
For this image I used light-room to lightly retouch the image, below you can see the settings that I changed. the only edit not shown in this screenshot is that I cropped the image slightly. This however can be seen in the comparison between the original and the retouched image. I mainly played with the exposure, black and white levels in order to produce an overall lighter image.
The art of destruction: Exploring manipulated studio portraits with Rankin and his collaborators.
Who is Rankin?
“Rankin made his name in publishing, founding the seminal monthly magazine Dazed & Confused with Jefferson Hack in 1992. It provided a platform for emerging stylists, designers, photographers and writers. The magazine went on to forge a distinctive mark in the arts and publishing spheres, and developed a cult status forming and moulding trends. It is responsible for bringing some of the biggest names in fashion to the foreground. Today, Dazed Media is a leading online fashion and cultural brand.
As both a photographer and director, Rankin has created landmark advertising and editorial campaigns. His body of work features some of the biggest and most celebrated publications, brands and charities, including Nike, L’Oreal, Dove, Pantene, Diageo, and Woman’s Aid. He has shot covers for the likes of Elle, Vogue, Esquire, GQ, Rolling Stone and Wonderland.”
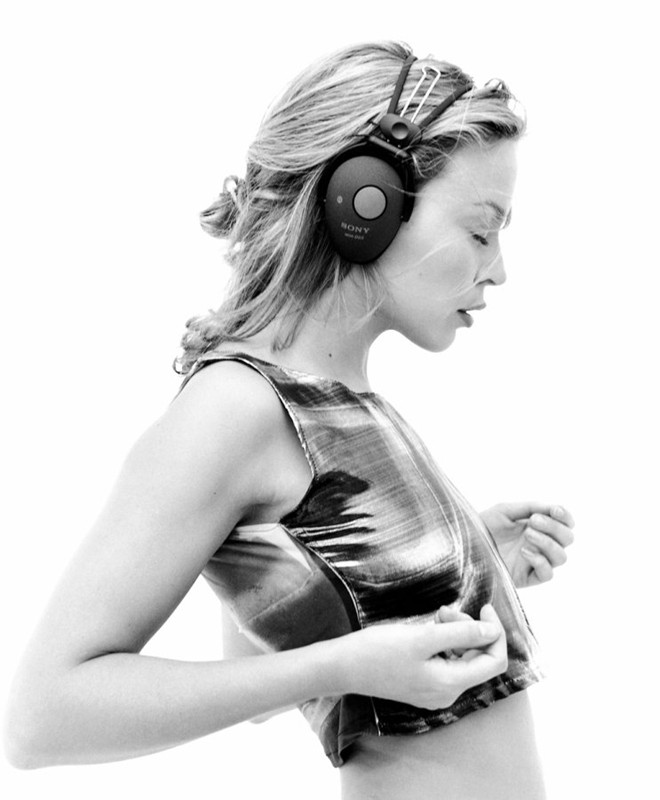
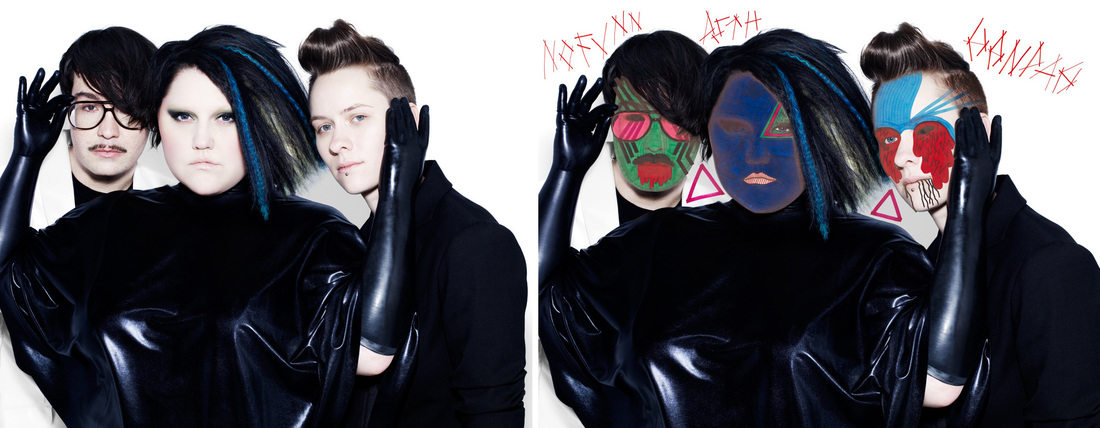
What the project is about:
Words from his website –
“This short project formed part of a unit of work entitled Photographic Techniques & Applications with my Year 10 class and took the form of a Controlled Assessment. To celebrate Youth Music’s 10th Birthday, celebrated photographer Rankin asked 70 musicians and visual artists to ‘destroy’ their own portraits. The participants included Joe Strummer, Ian Brown, Marianne Faithfull, Andre 3000, Michael Stipe and Kylie Minogue as well as bands like Pete and the Pirates, The Enemy and The View. For example, Florence Welch drew over her portrait with a metallic pen, inspired by her school days of decorating photos from magazines and Debbie Harry burnt, masked out, painted and stitched-up her picture to make a series of six ‘destroyed’ portraits. Damien Hirst painted over the portrait of Joe Strummer. Asked about this approach he said,“I tried to keep it about him as a person. I kept looking at the thing on the hand, where it said ‘Joe’. Joe Strummer was a great guy who I met, who was much more of a hero in real life. You don’t meet many people like that,”
I was keen to encourage my students to create proficient studio portraits, considering a range of technical issues, before destroying them, thinking about the particular strategies they might use to add other layers of meaning.”


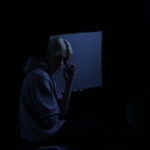


 This is two photos edited together. The original was two different people staring at each other, but I decided to take another darker photo of myself and edit it into the previous one. This give a bright/dark good/bad side effect.
 This photo used two-point lighting. A spotlight with a green tint to the left, as well as a ring light positioned directly in front of the camera. The ring light isn’t visible as the camera was placed in the middle of the ring light. This results in a brighter image, but still keeps the colour lighting.
 In both this, and the following photo I have used only one light source, this lights the model in the centre evenly with one colour, it also gives a big clear shadow to one side.
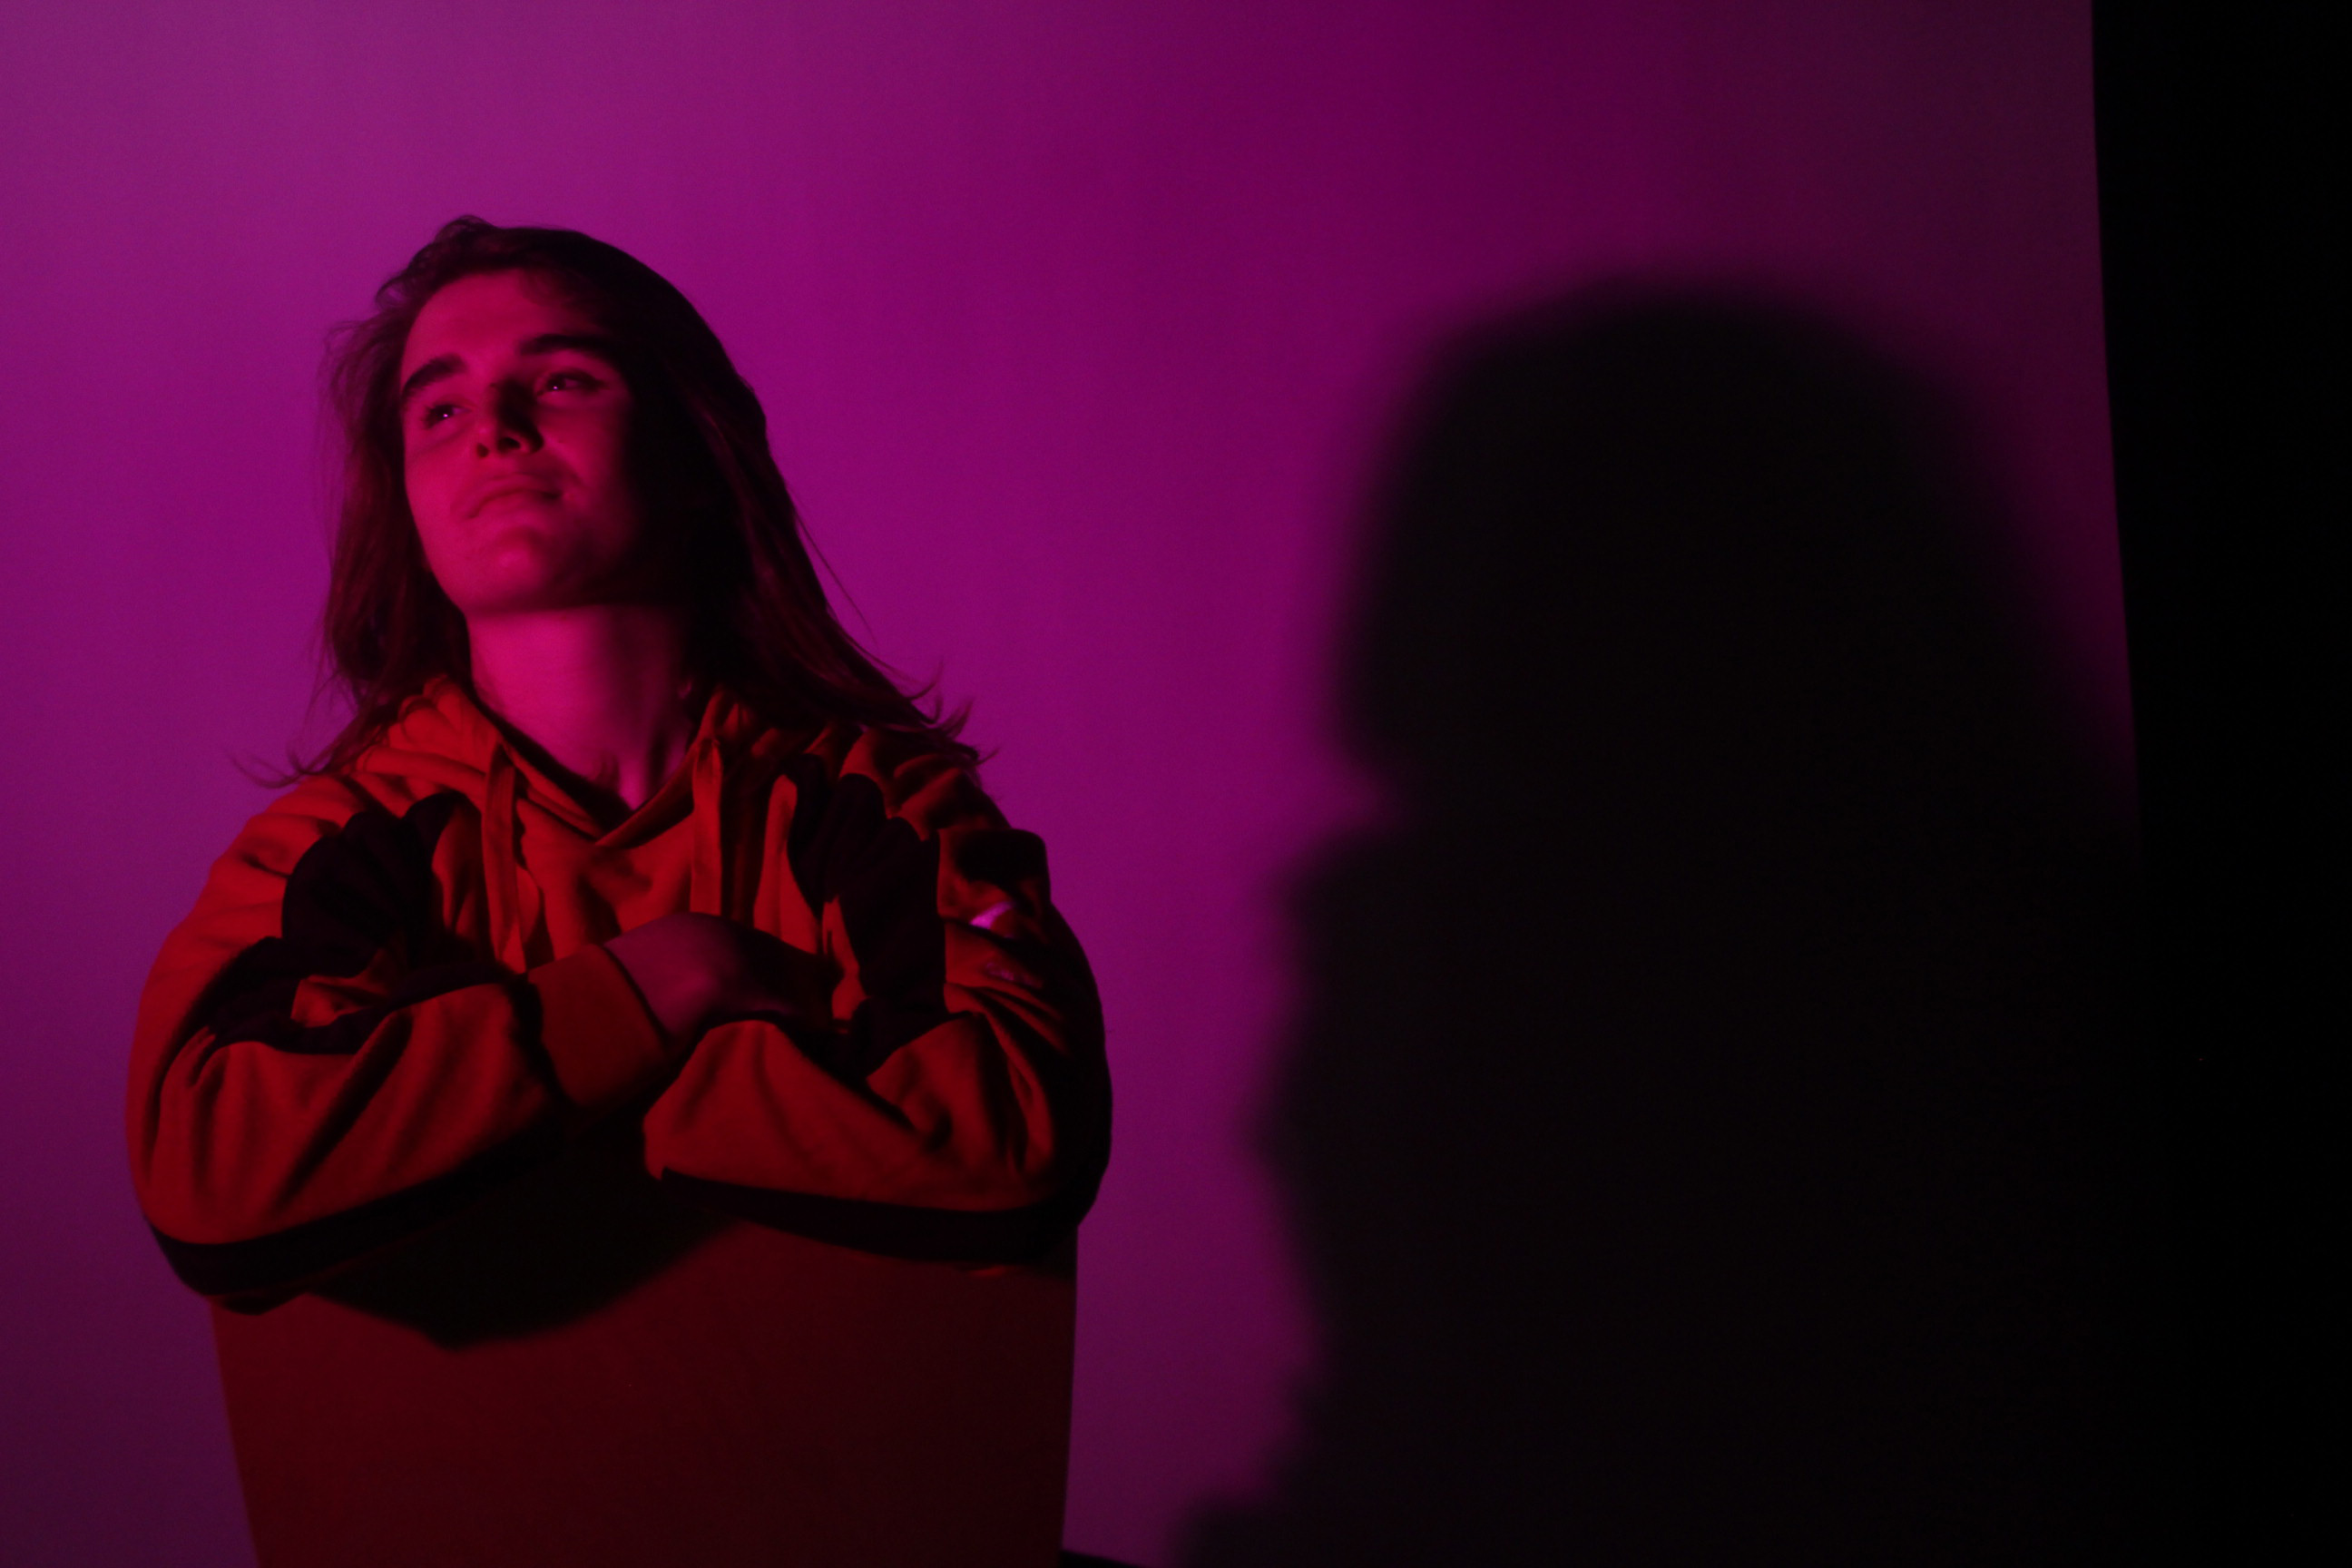
 In this photo I used two-point lighting. There was a softbox placed to the right side at a slight angle, and a spotlight with a purple cover placed on the other side. This creates a warm and colourful effect.
 The same lighting was used for this photo as the previous one. Only in this photo the camera is positioned nearer the purple tinted spotlight, which gives it a bigger overall impact on the face.
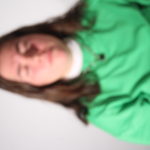
 Original
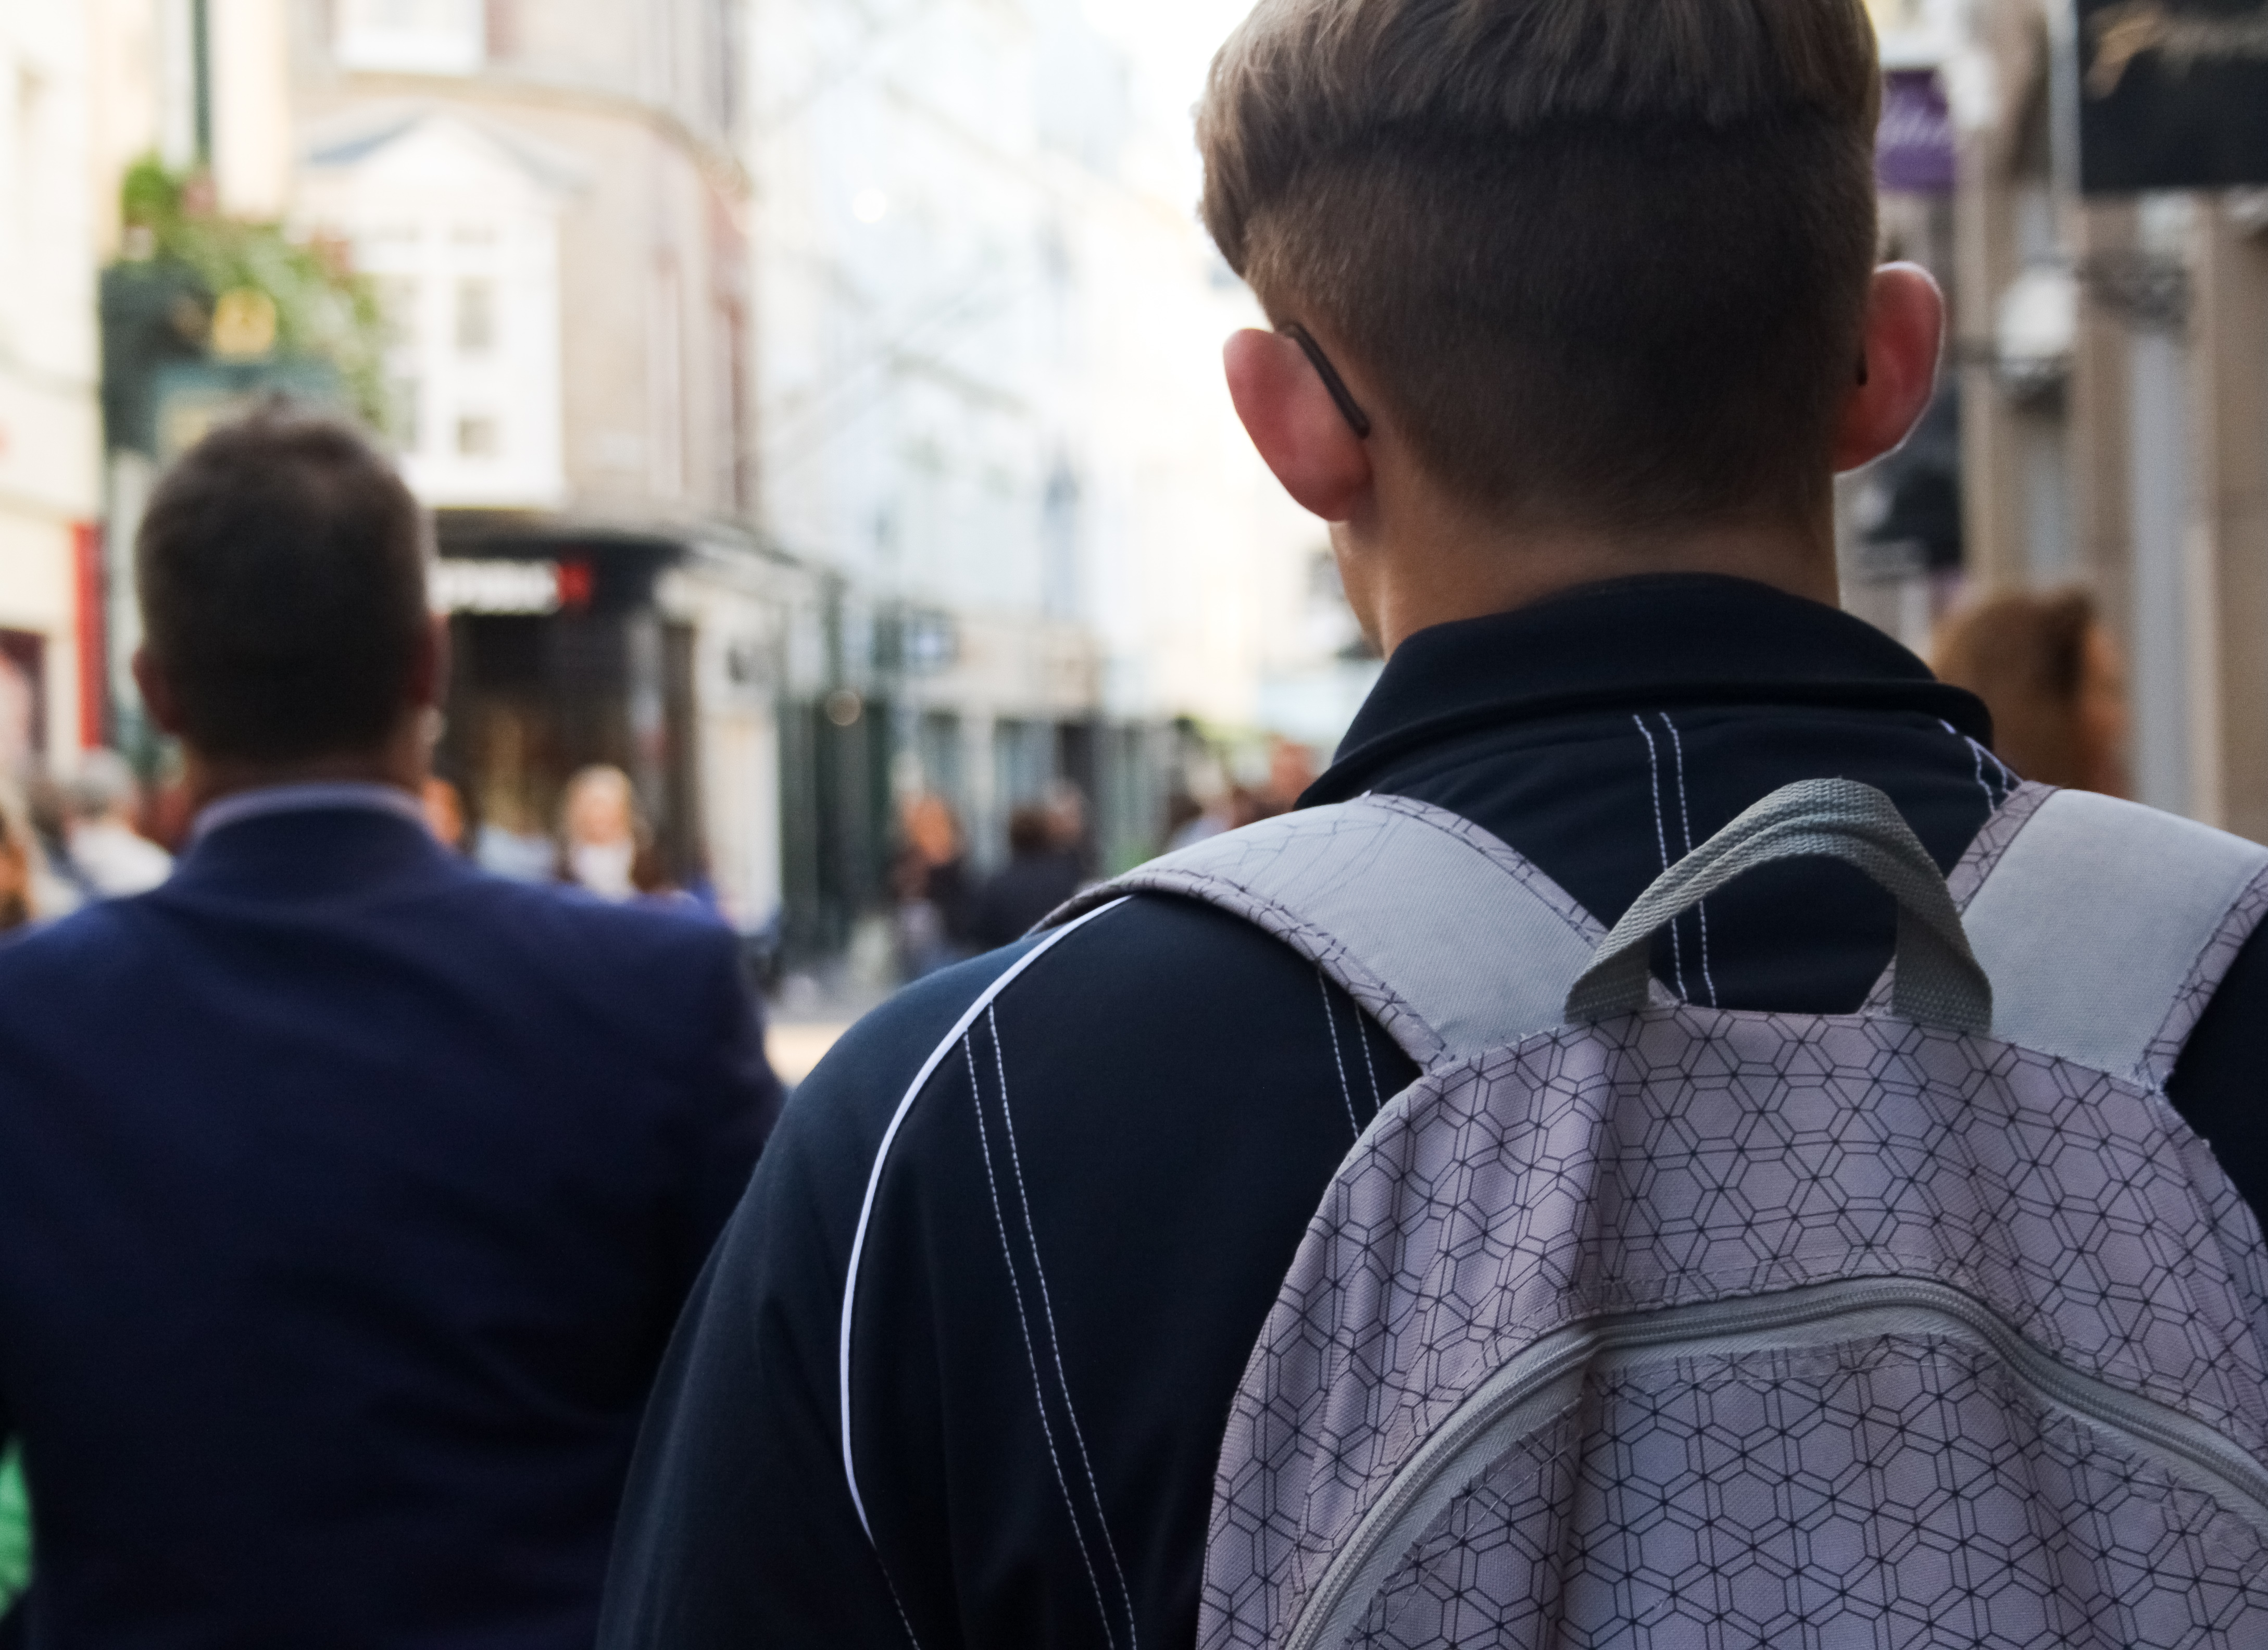 Retouched