A tableau vivant, French for ‘living picture’, is a static scene containing one or more actors or models. They are stationary and silent, usually in costume, carefully posed, with props and/or scenery, and may be theatrically lit. It thus combines aspects of theatre and the visual arts; a group of models or motionless figures representing a scene from a story or from history.
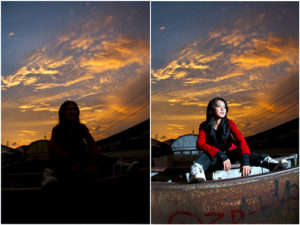
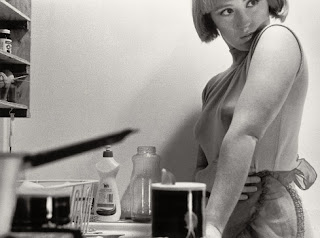
Paul M Smith, uses MULTIPLE EXPOSURE TECHNIQUE
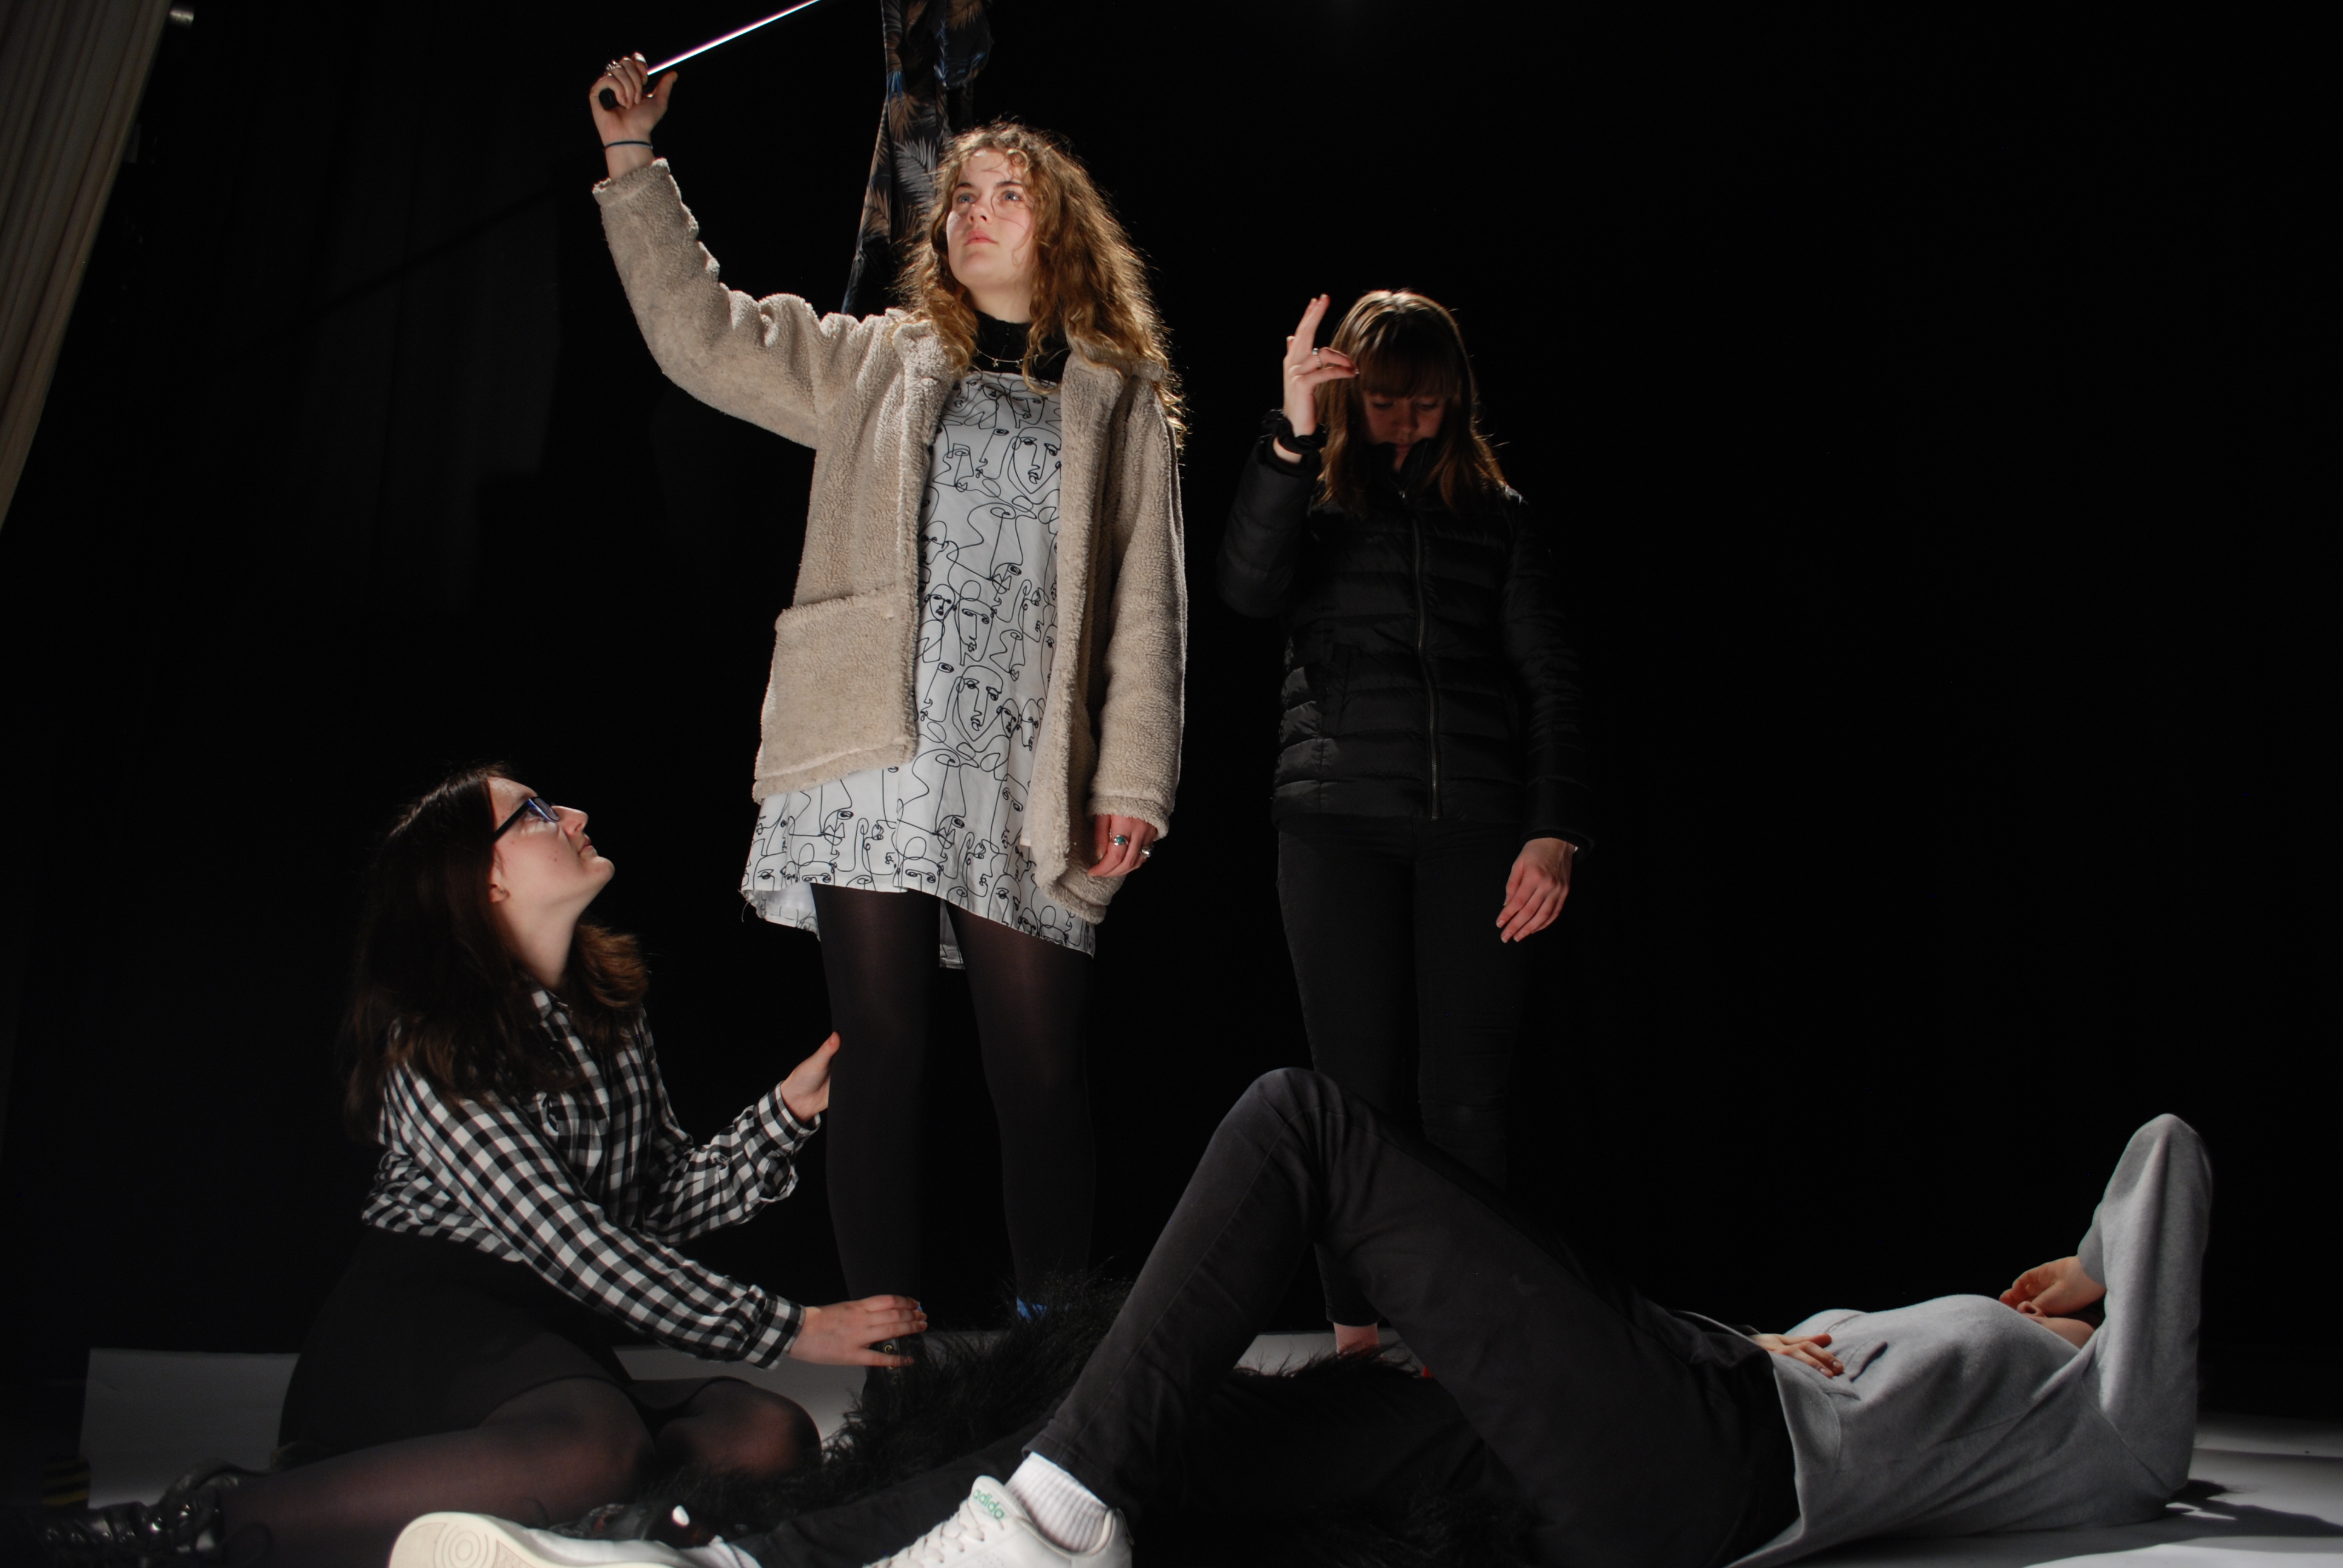
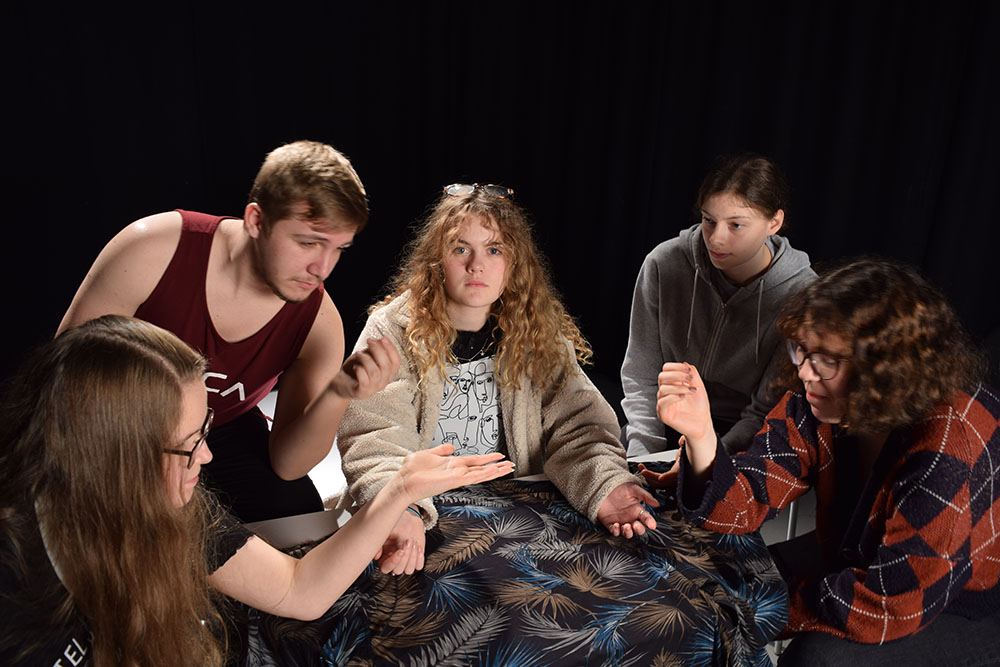
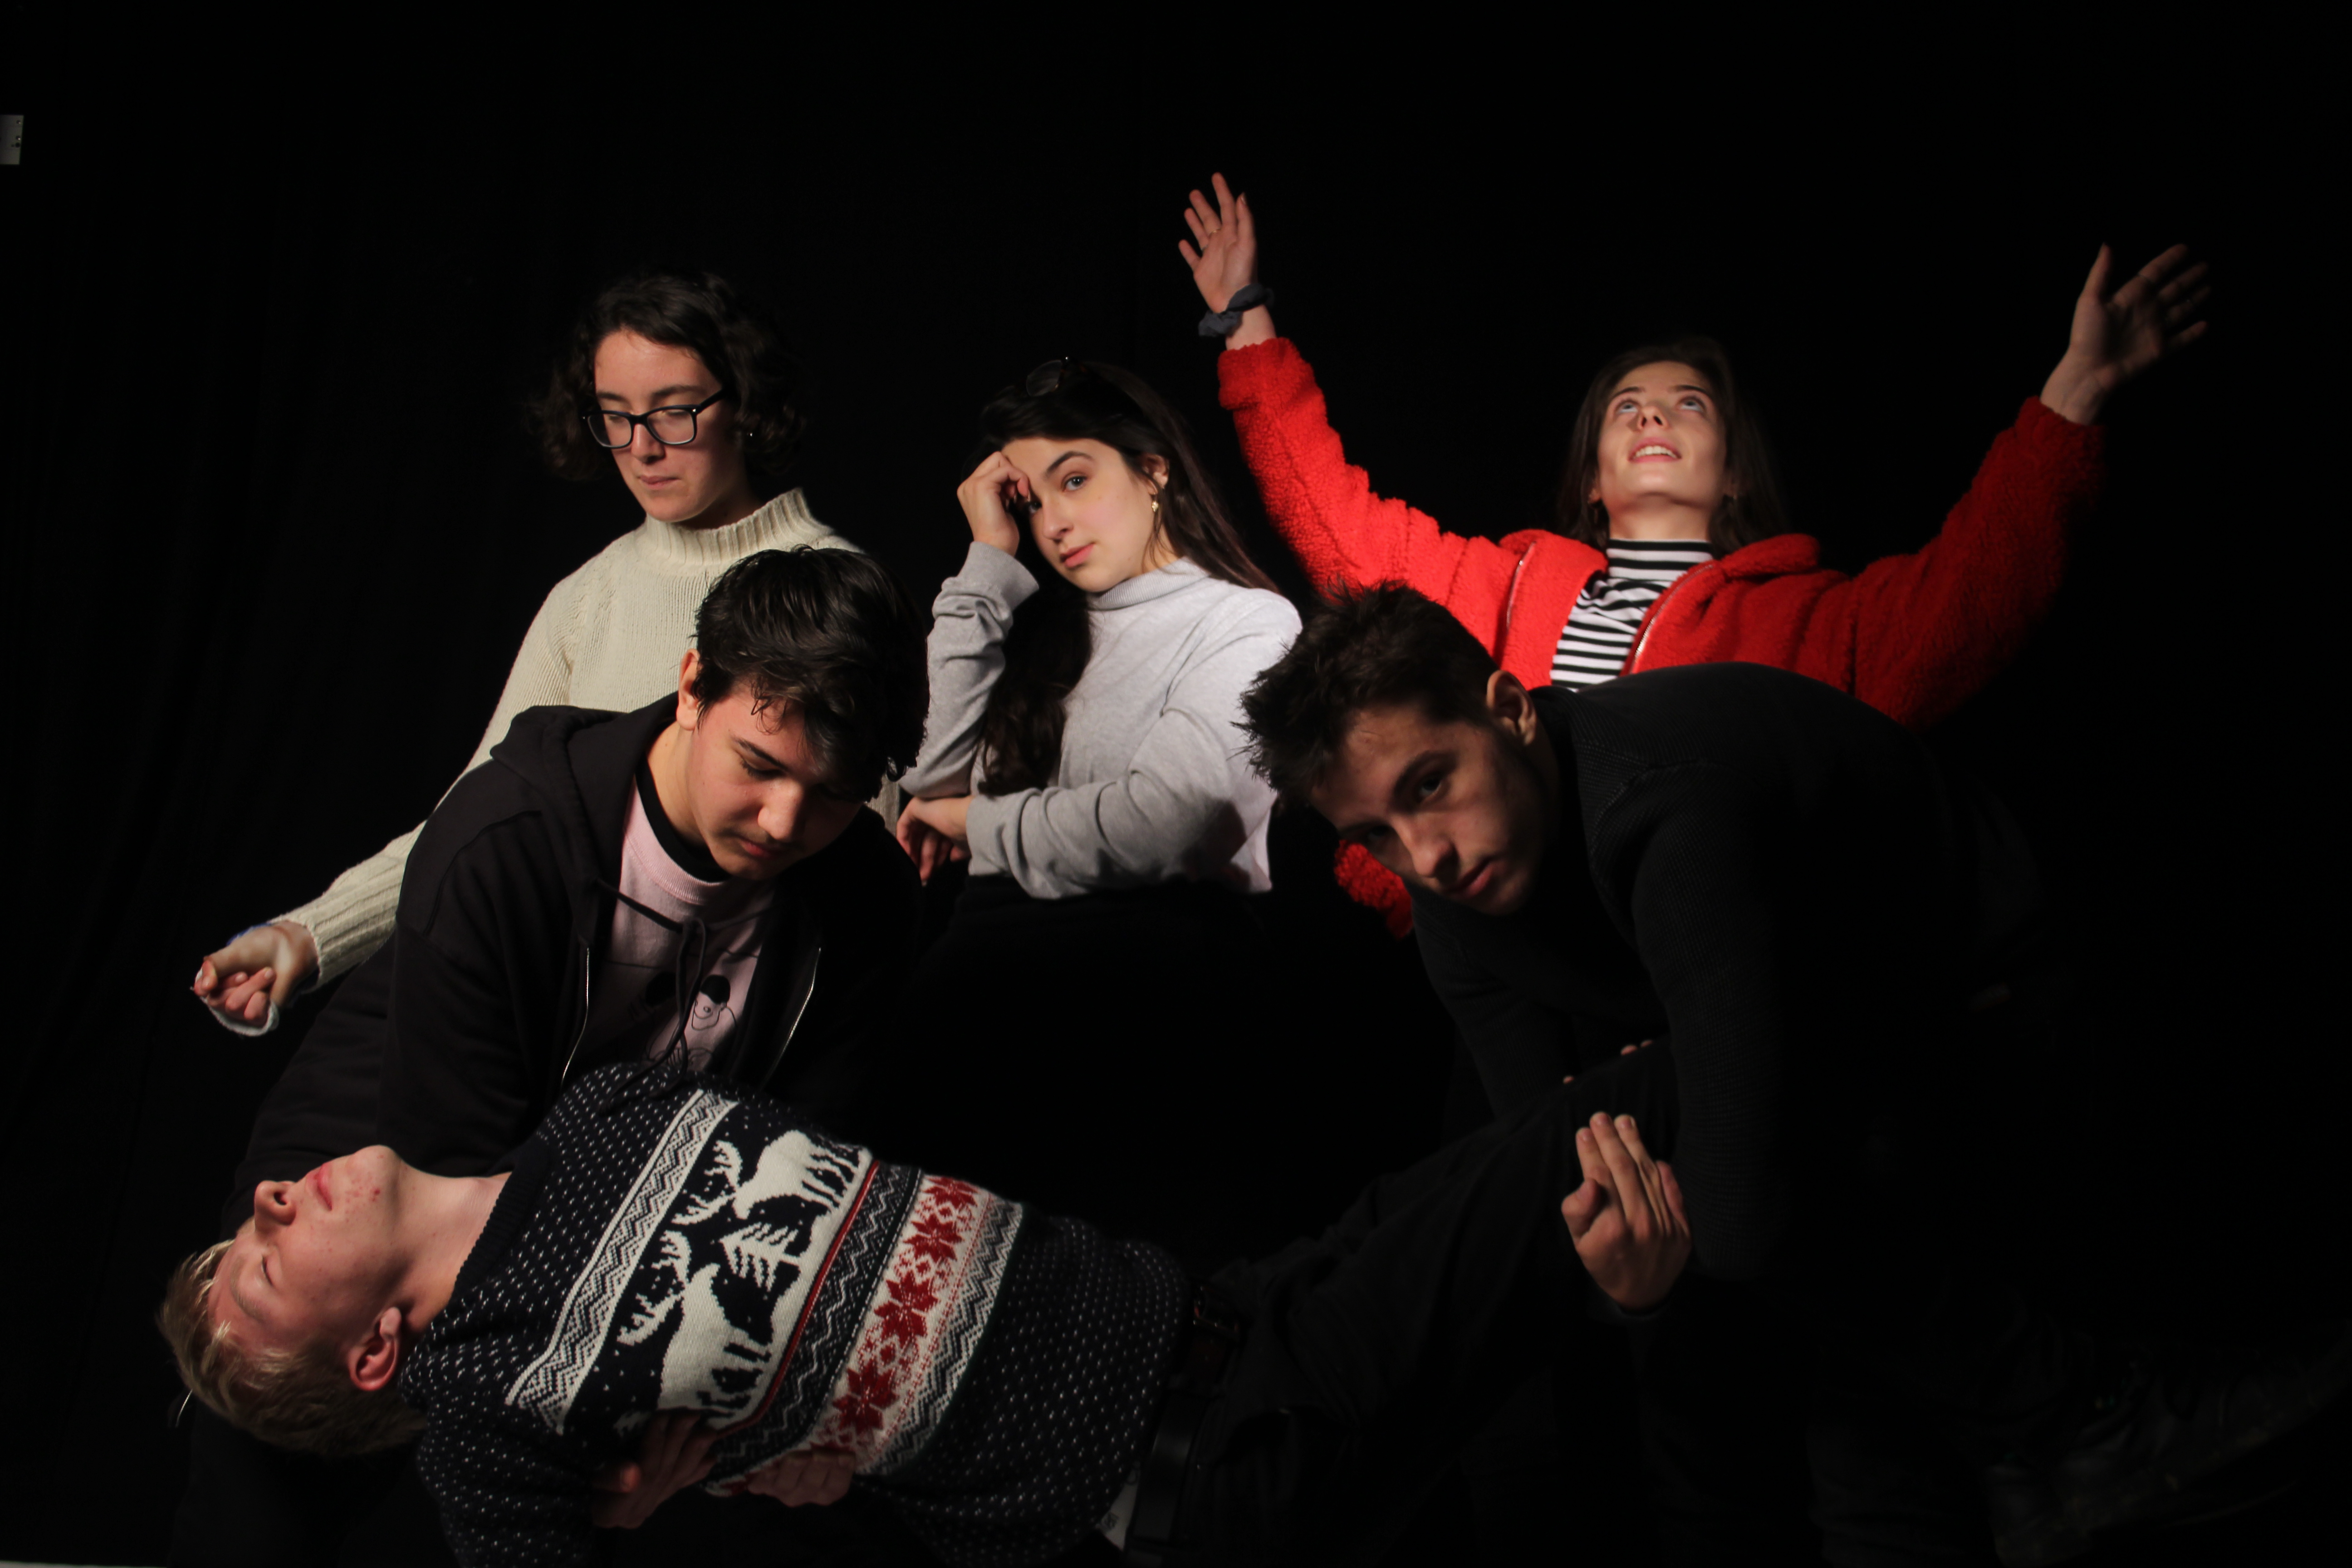
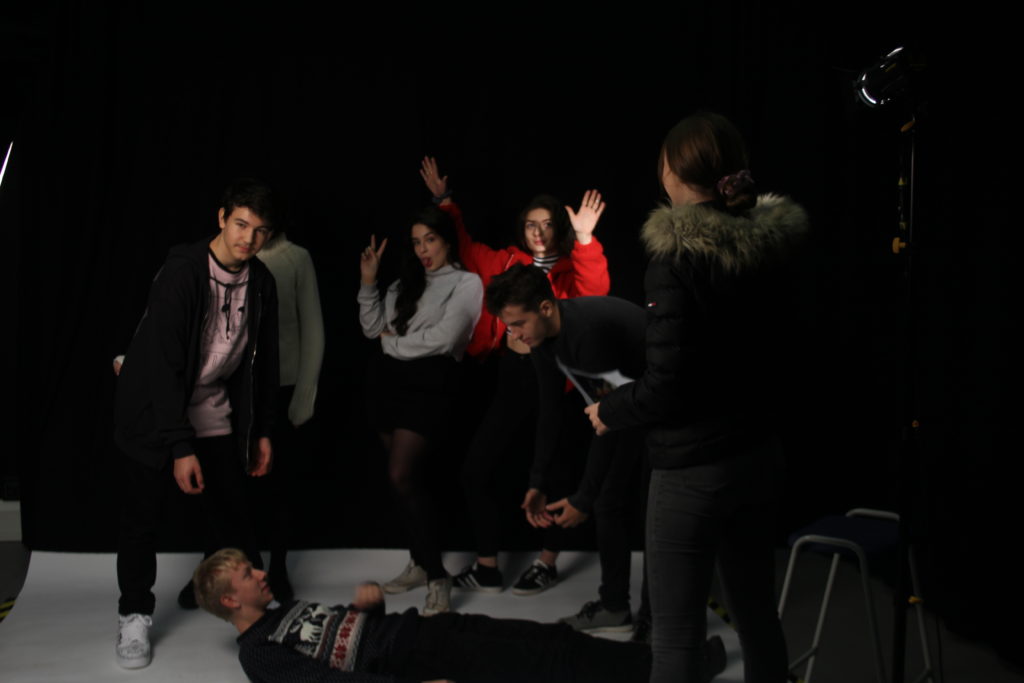
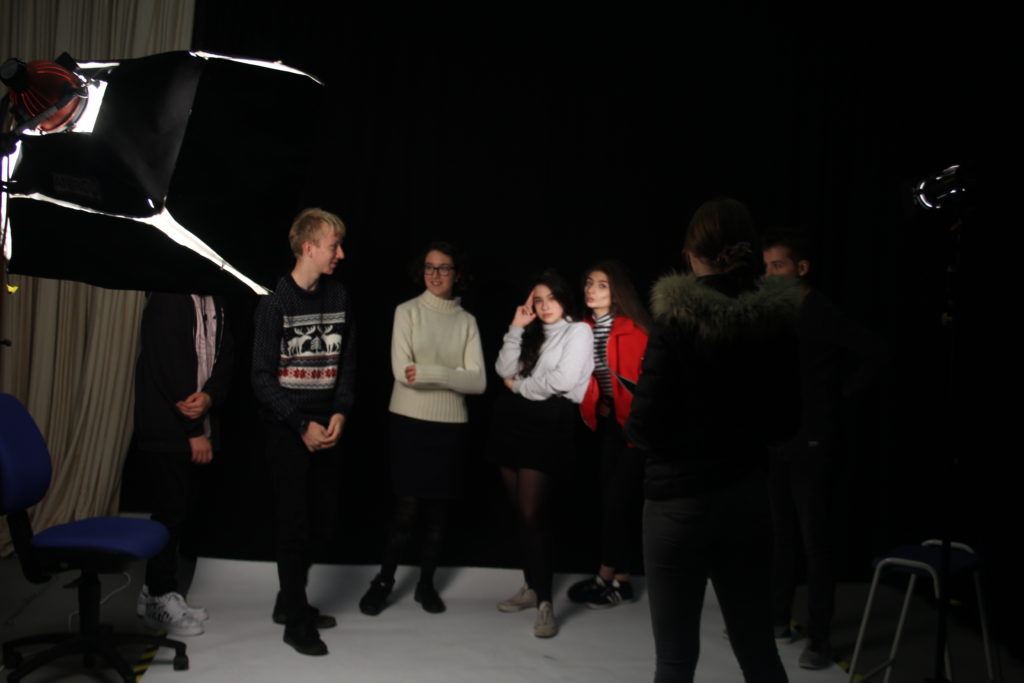
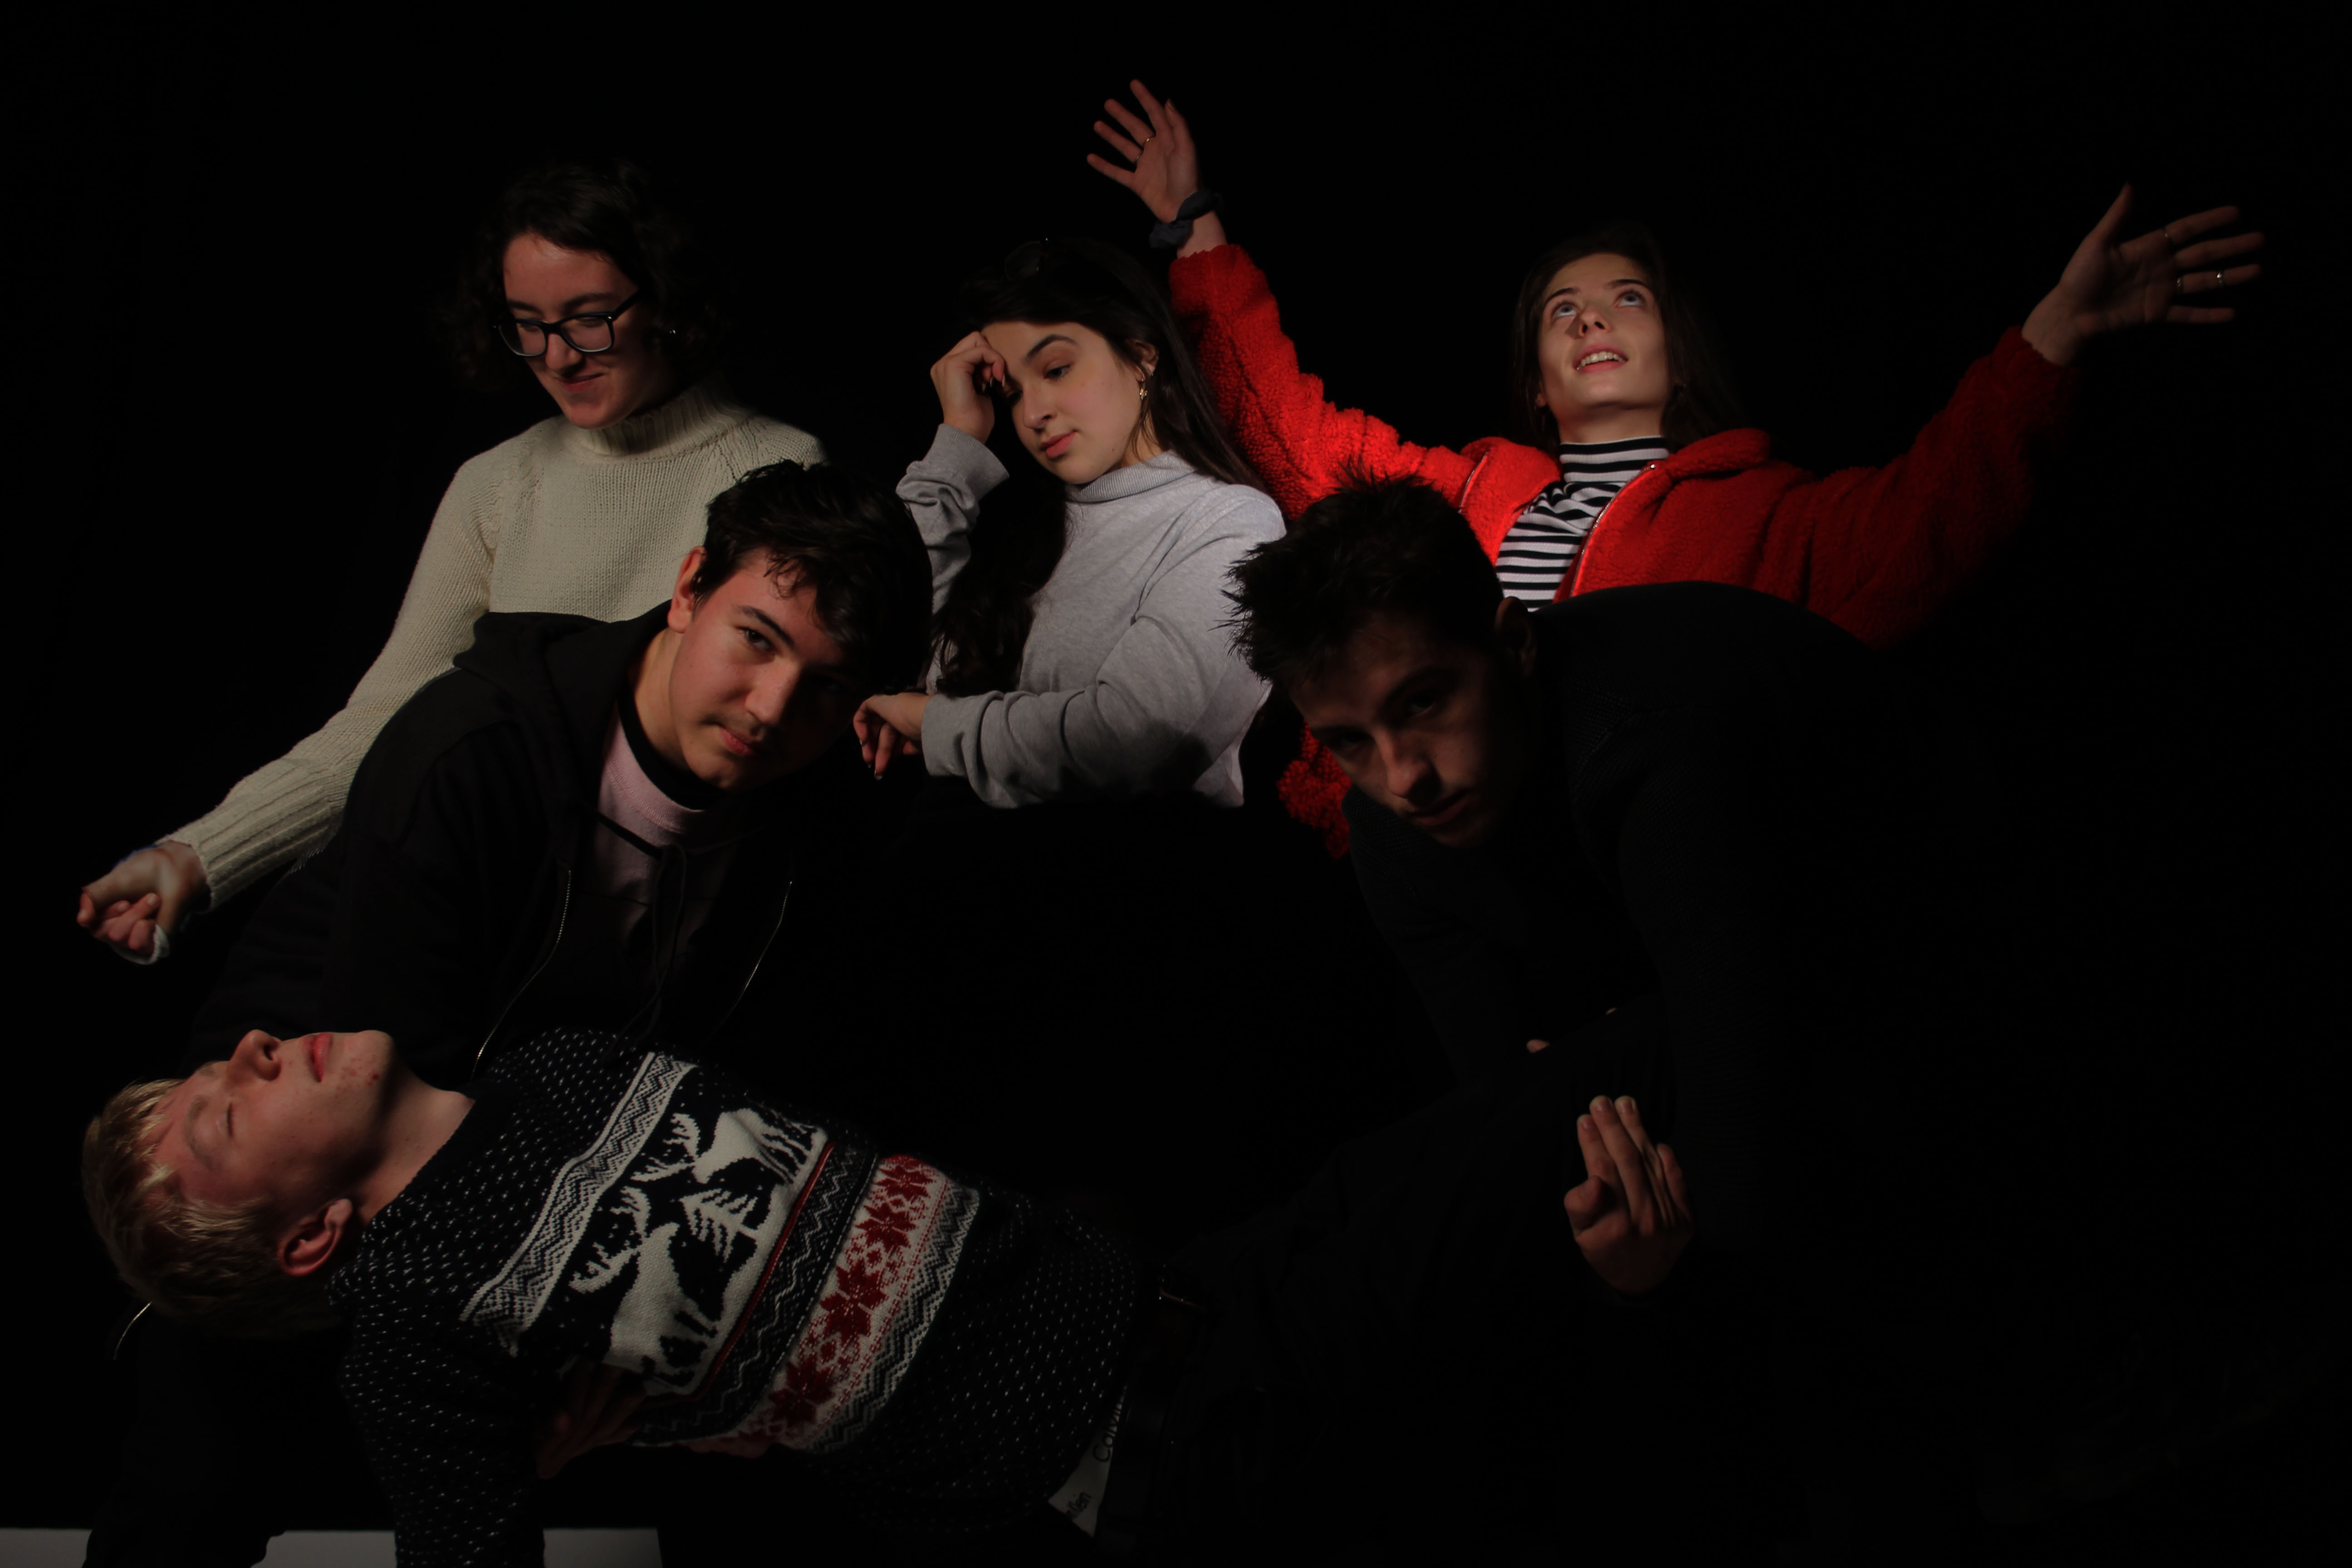
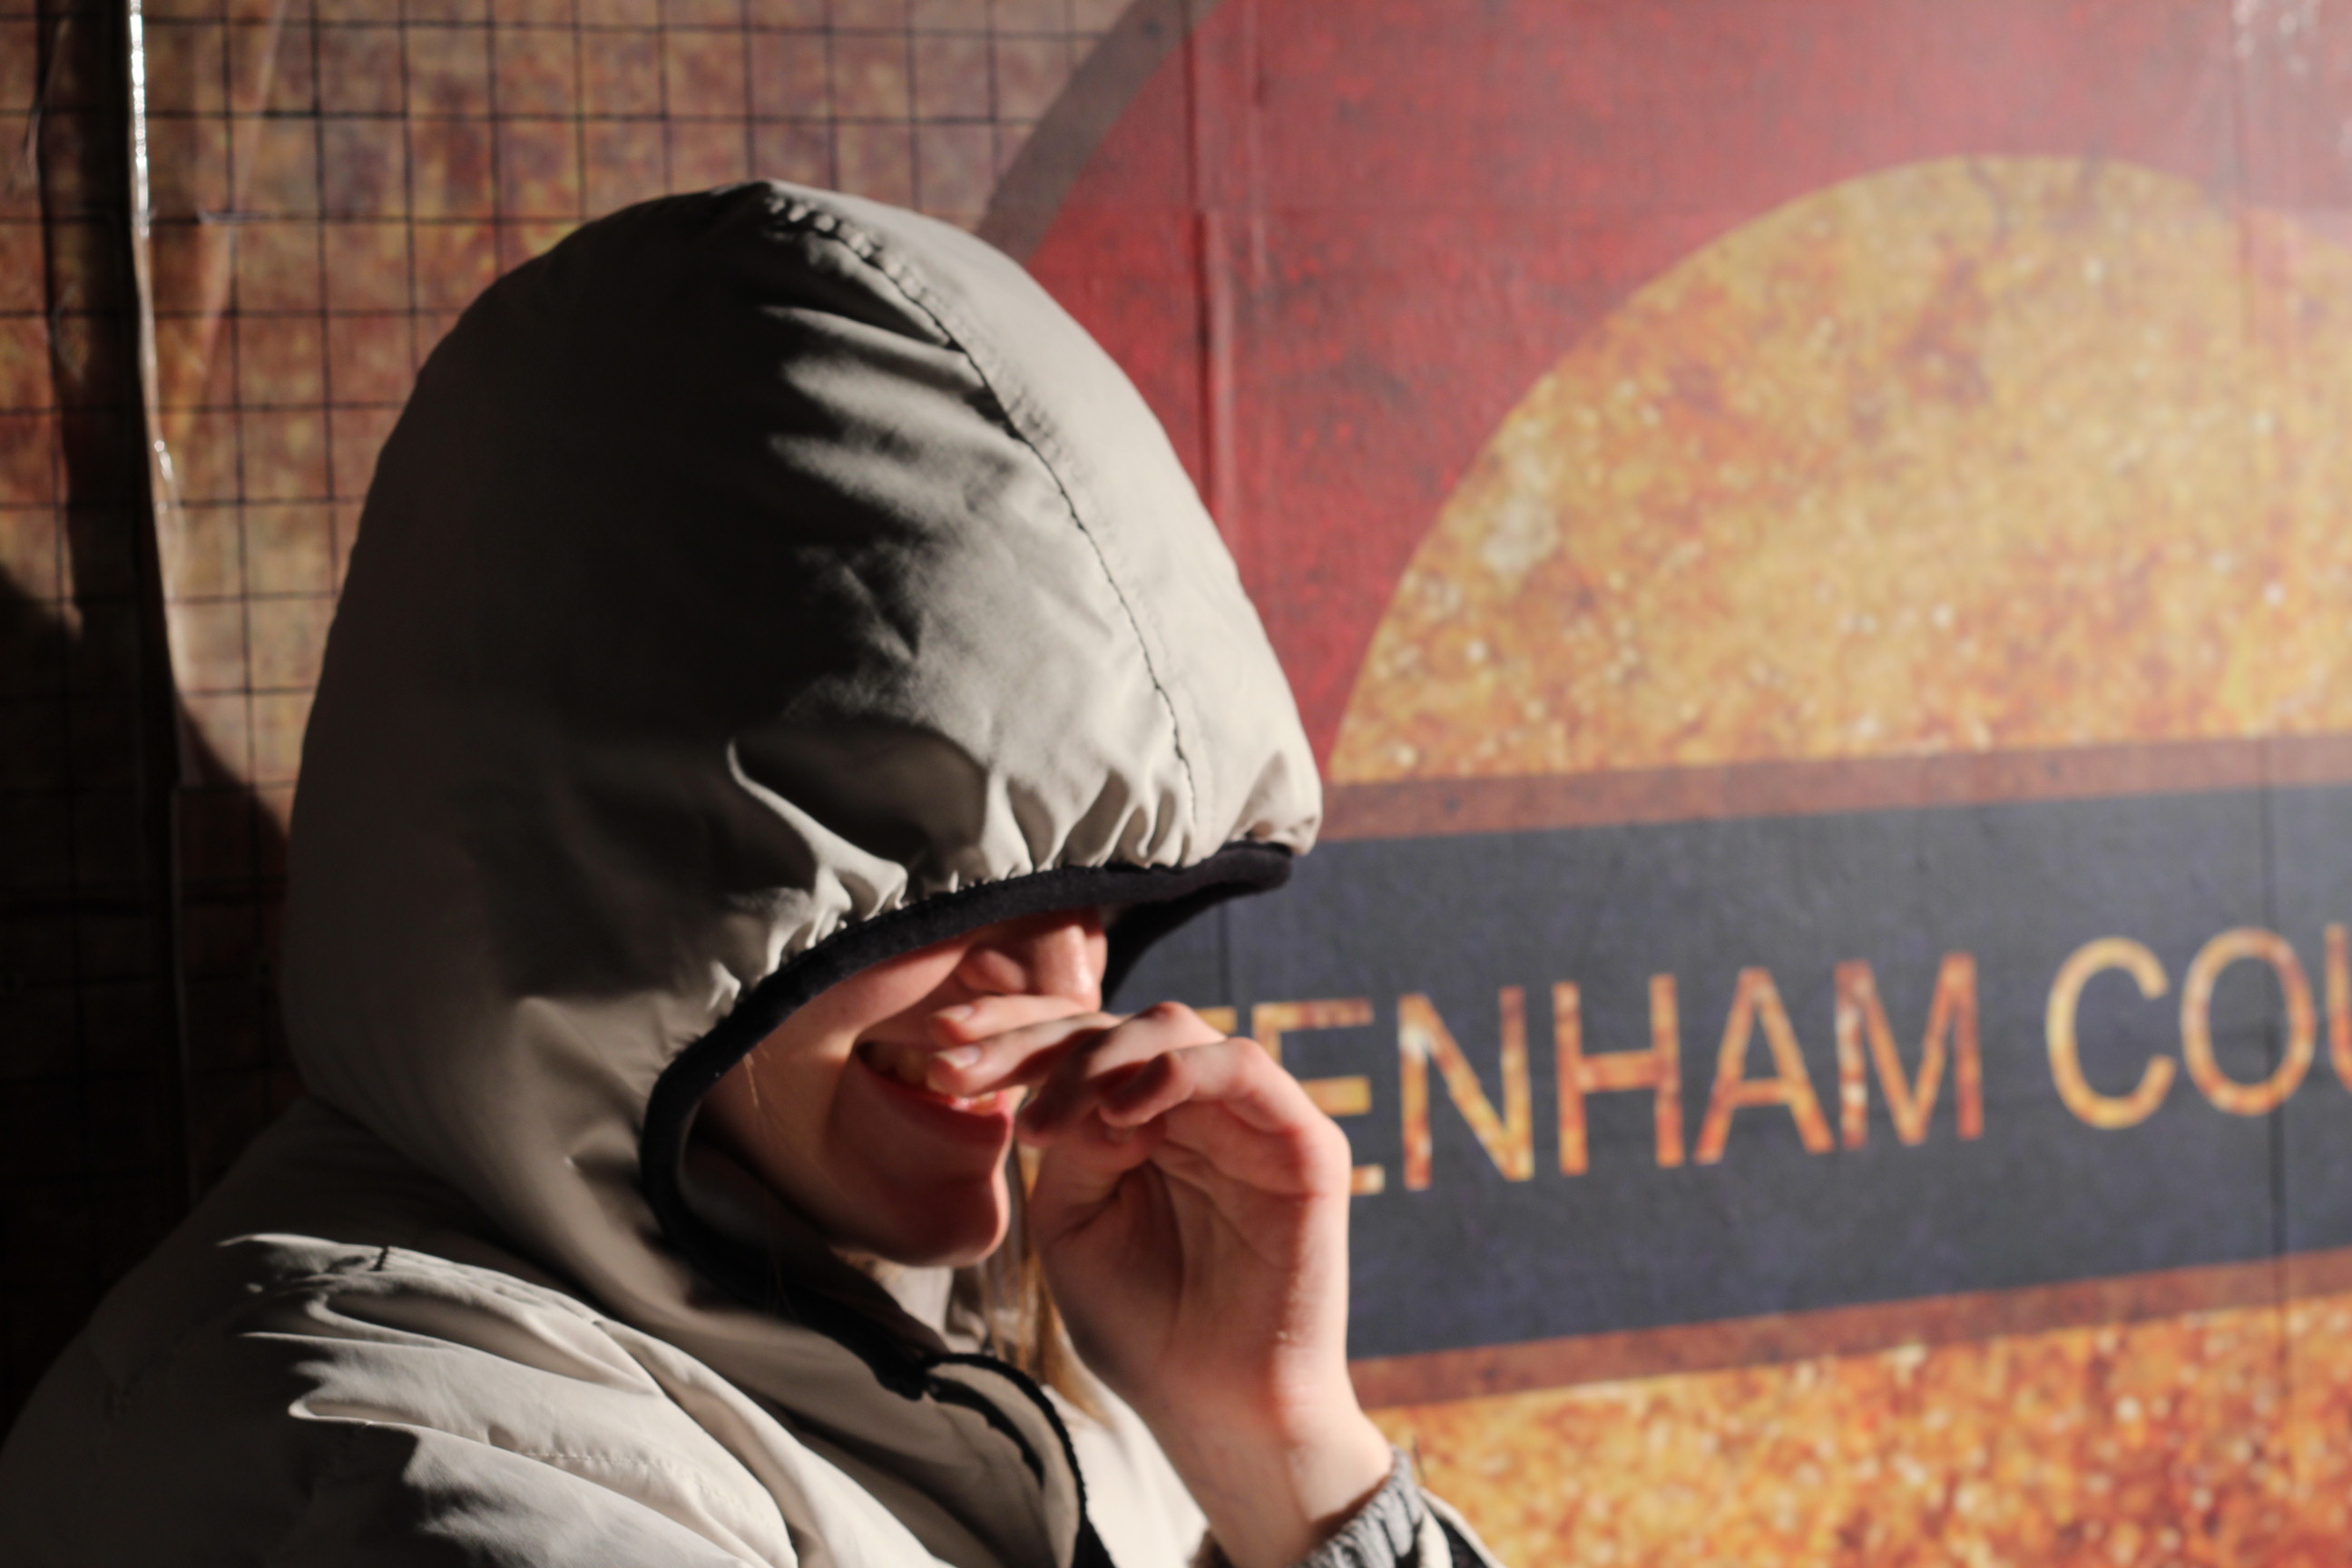
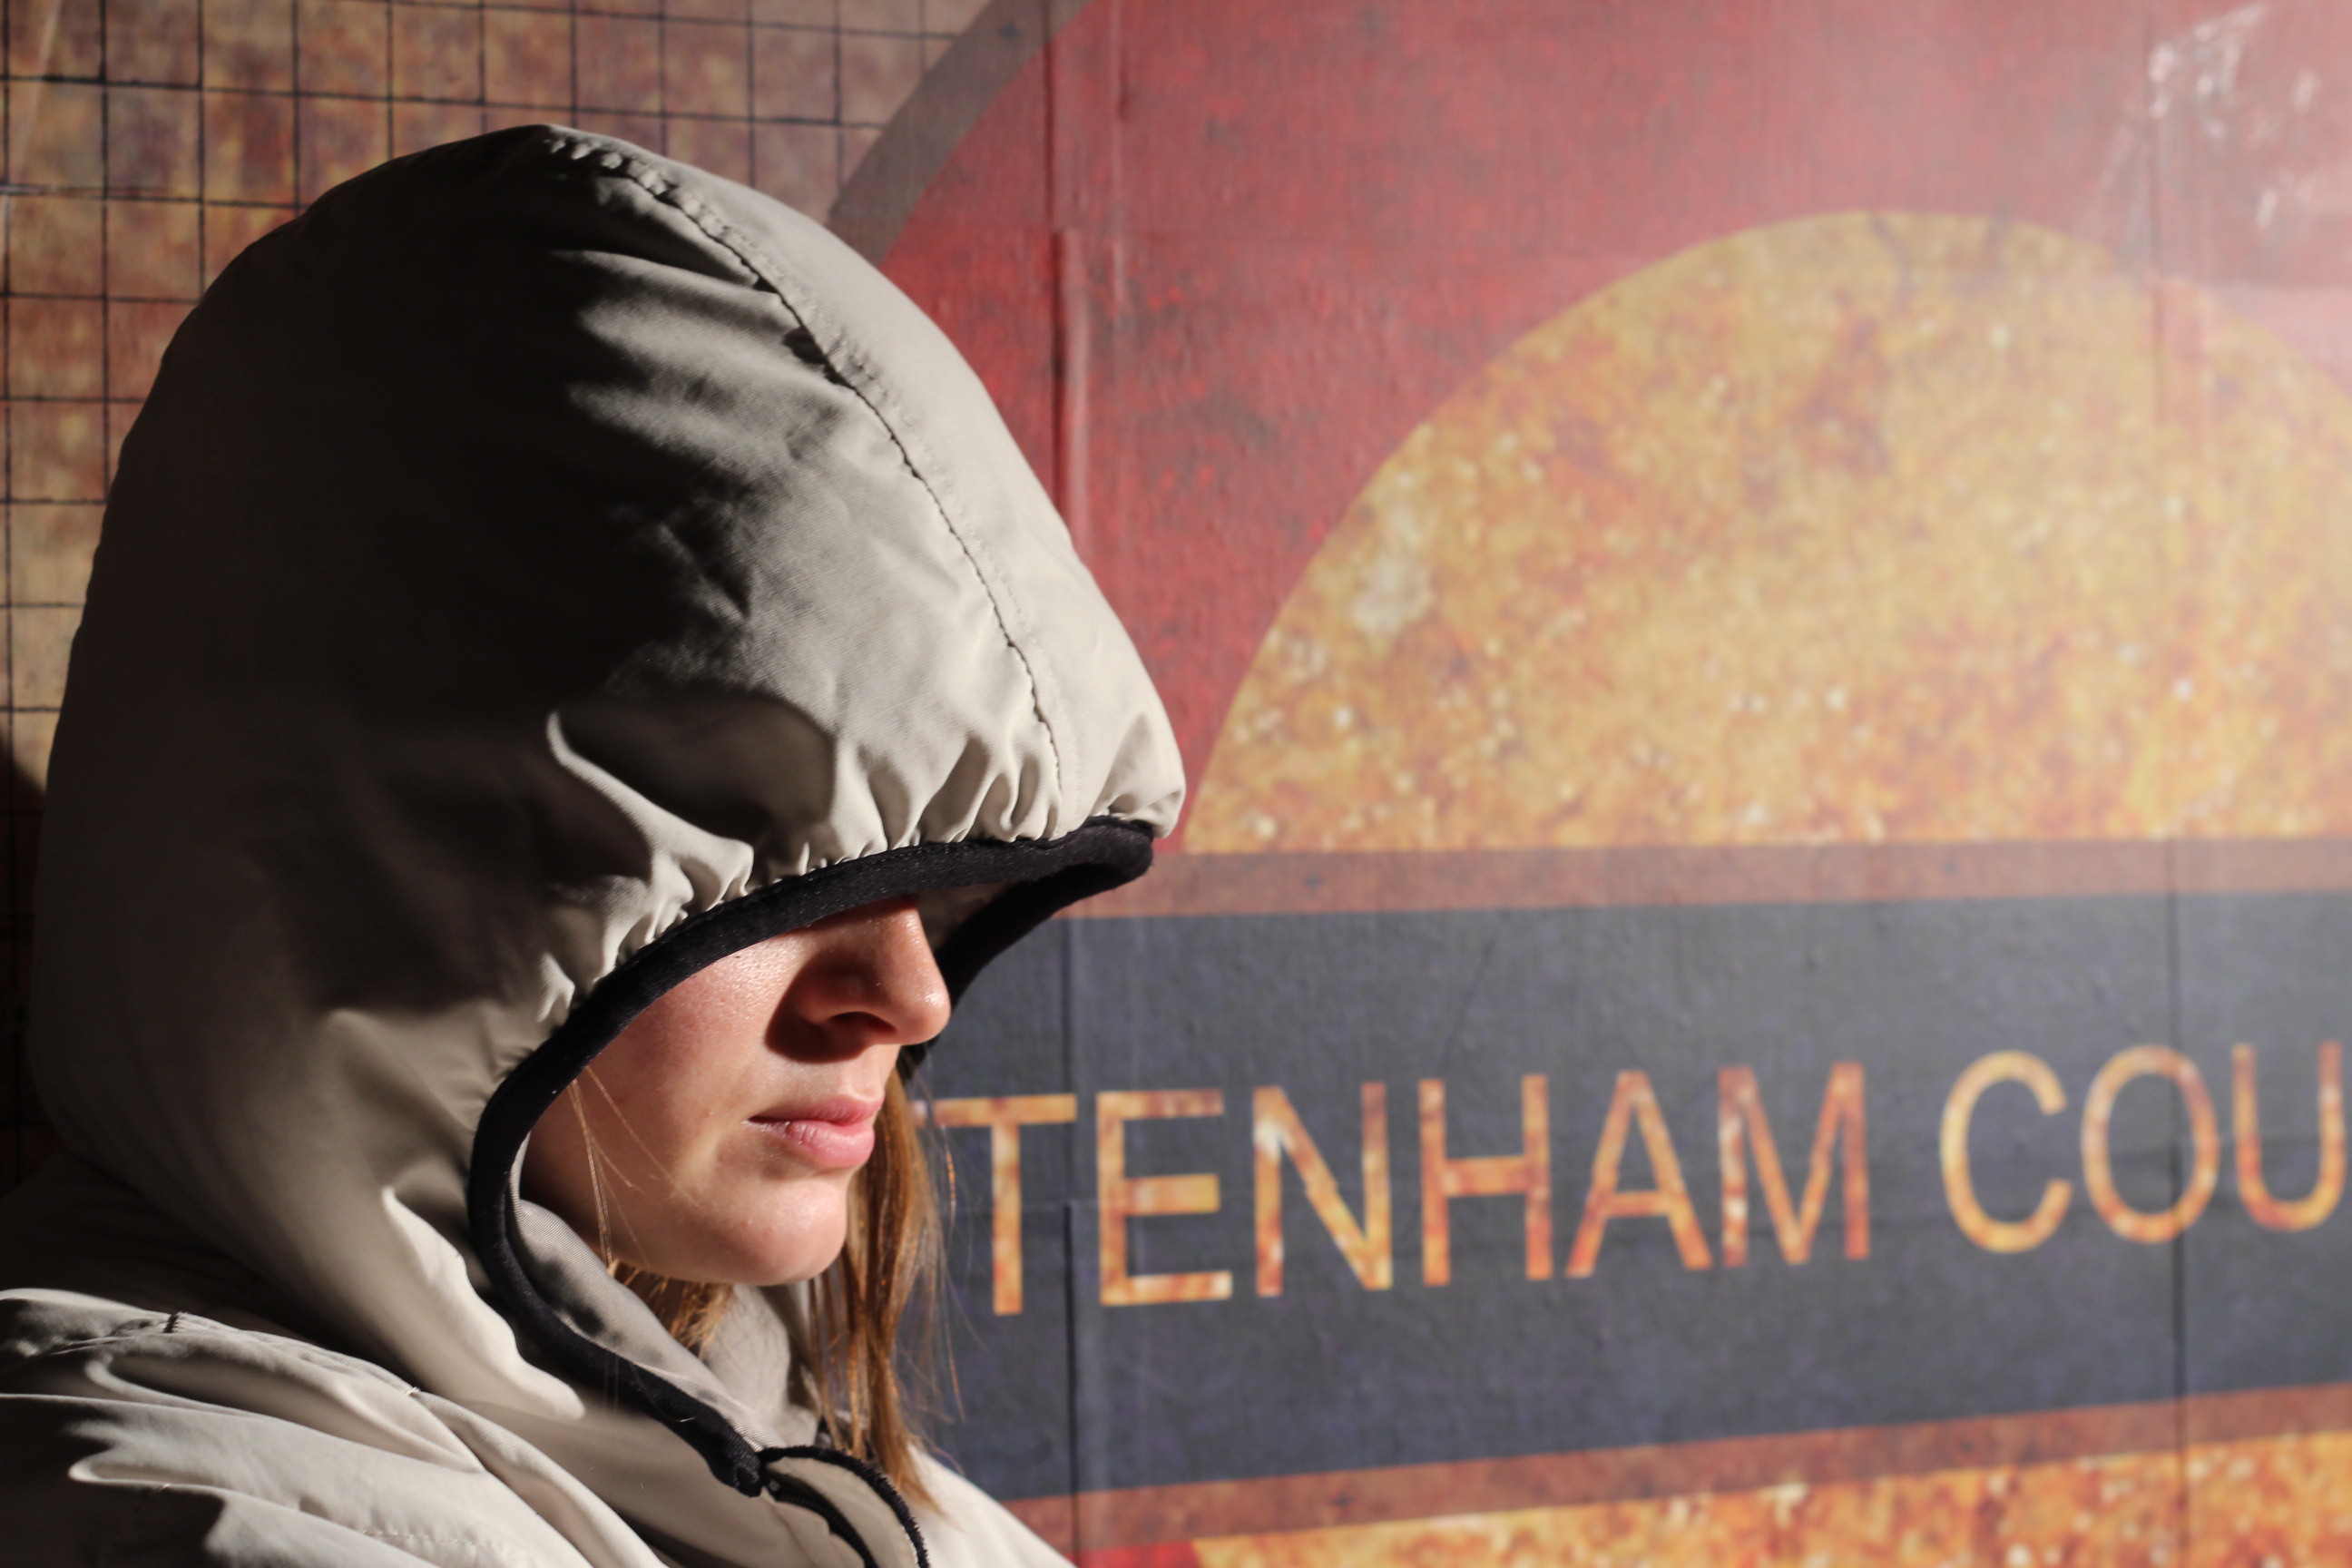
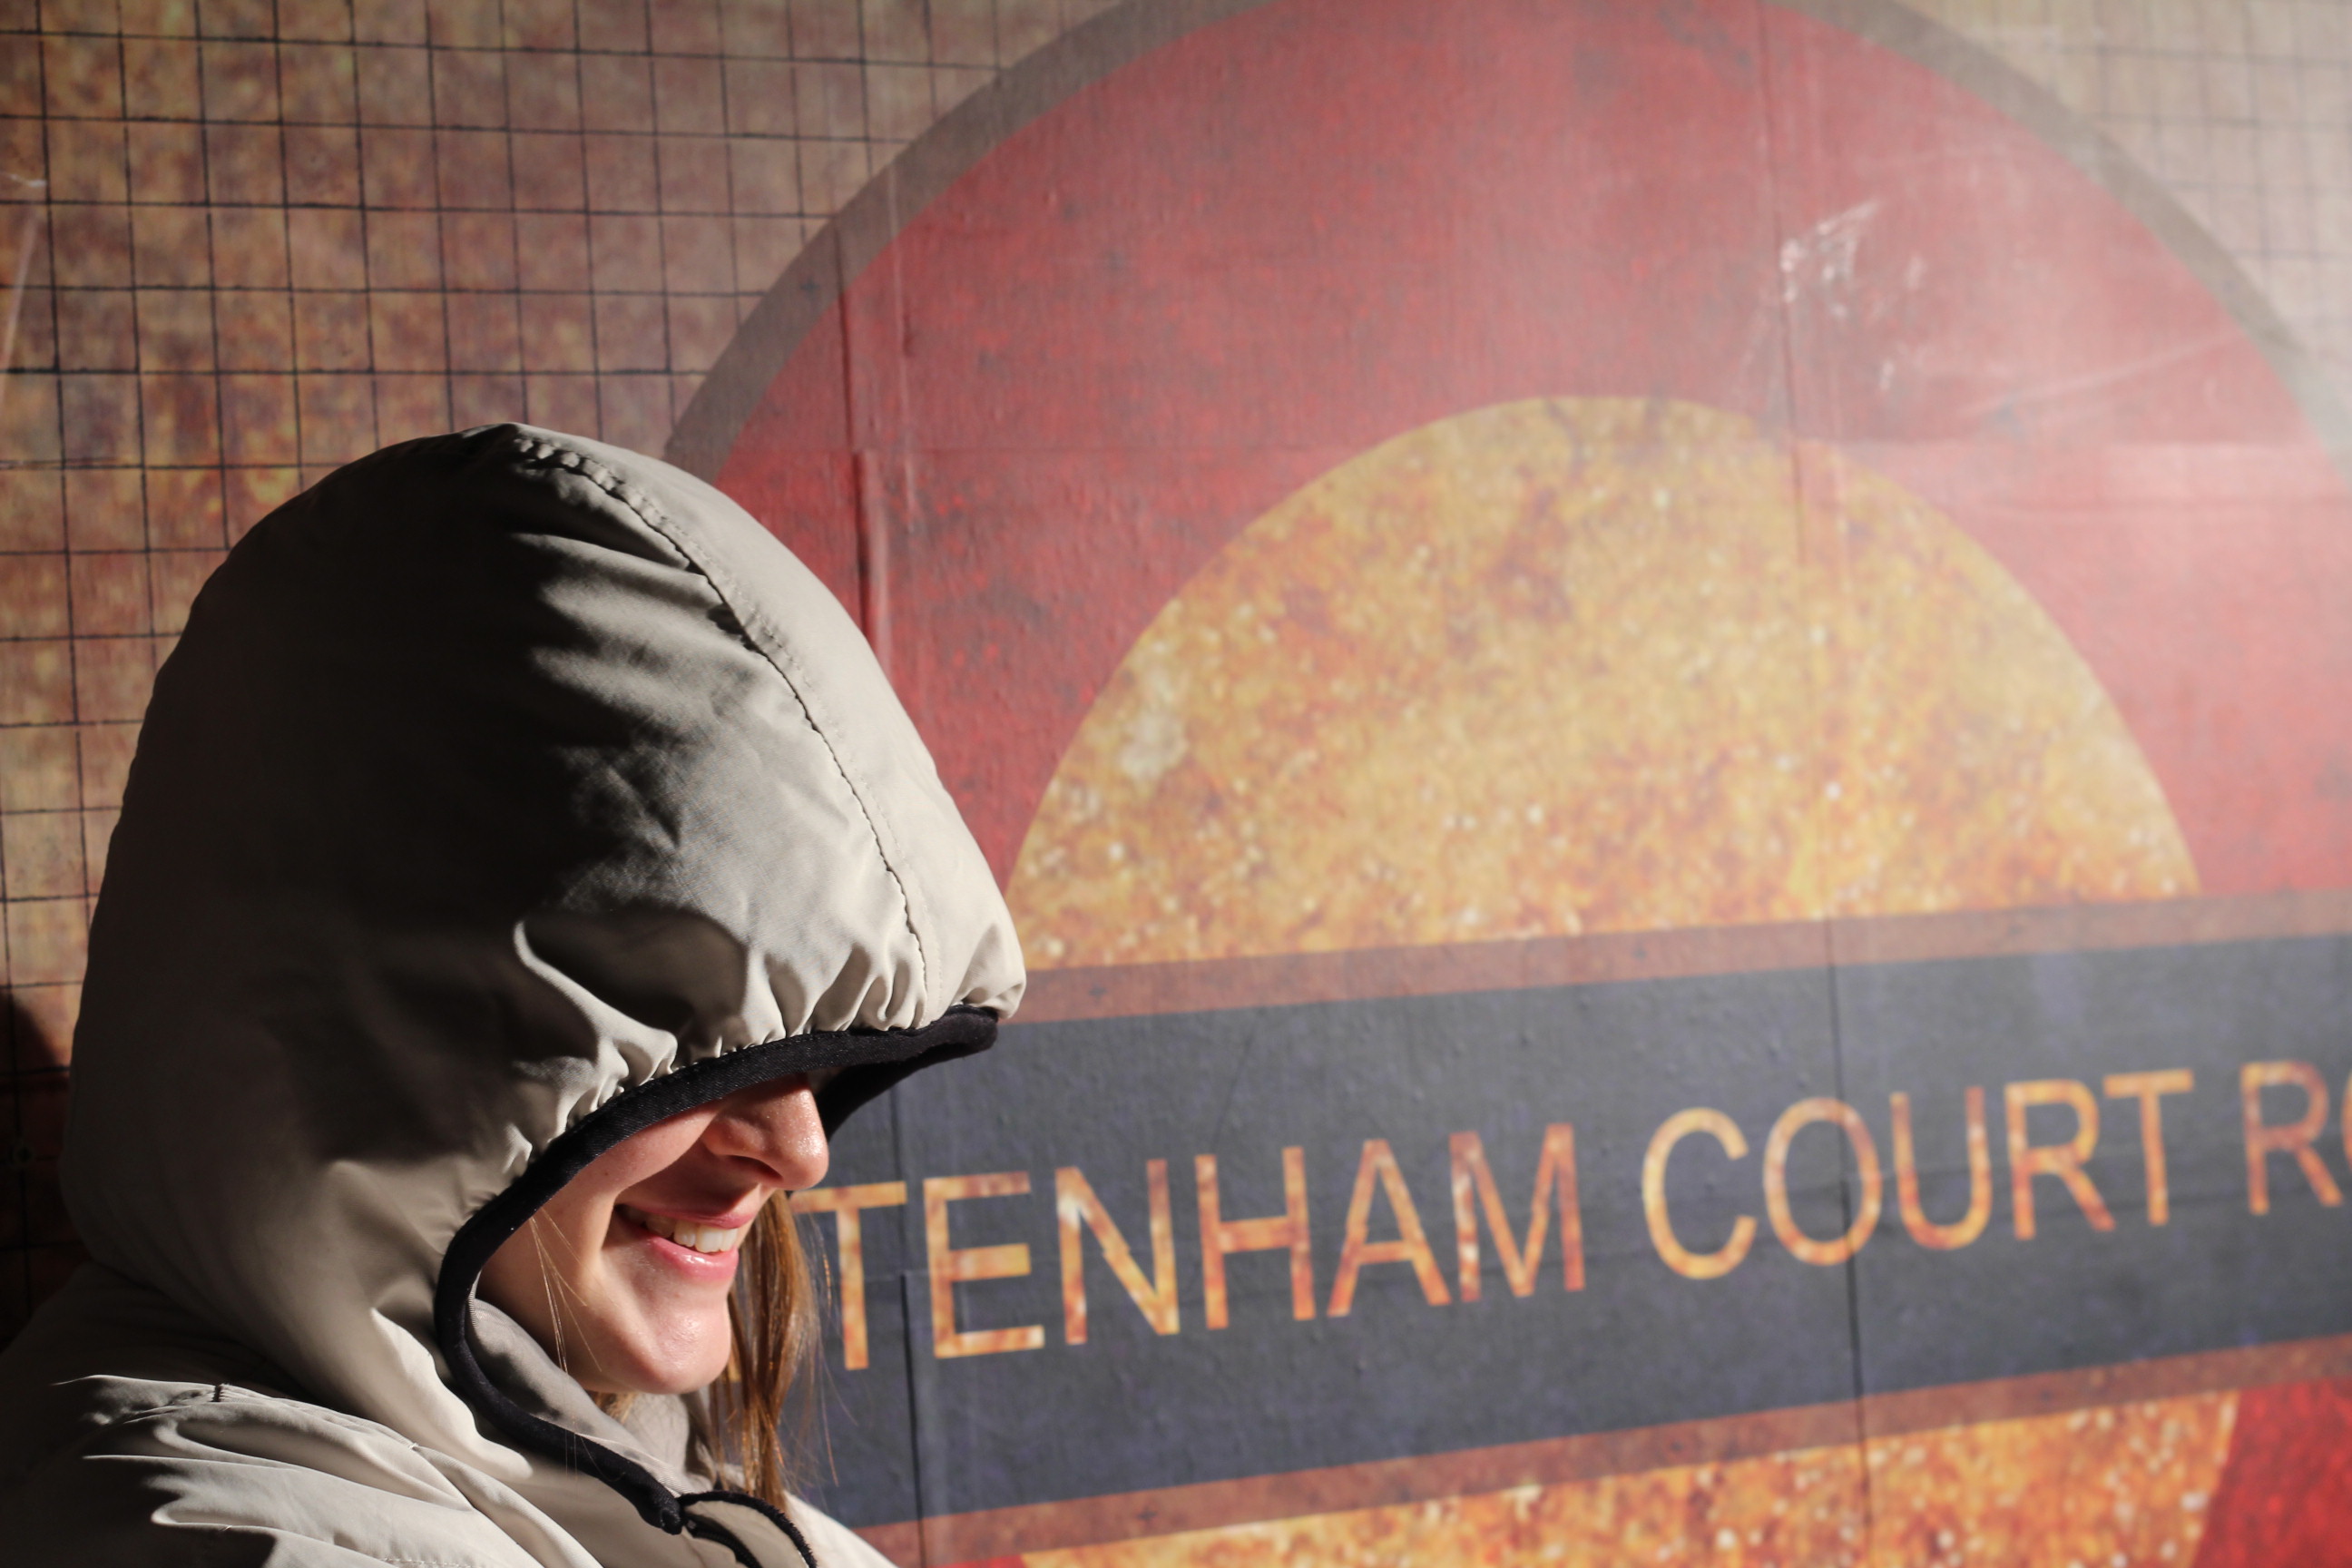
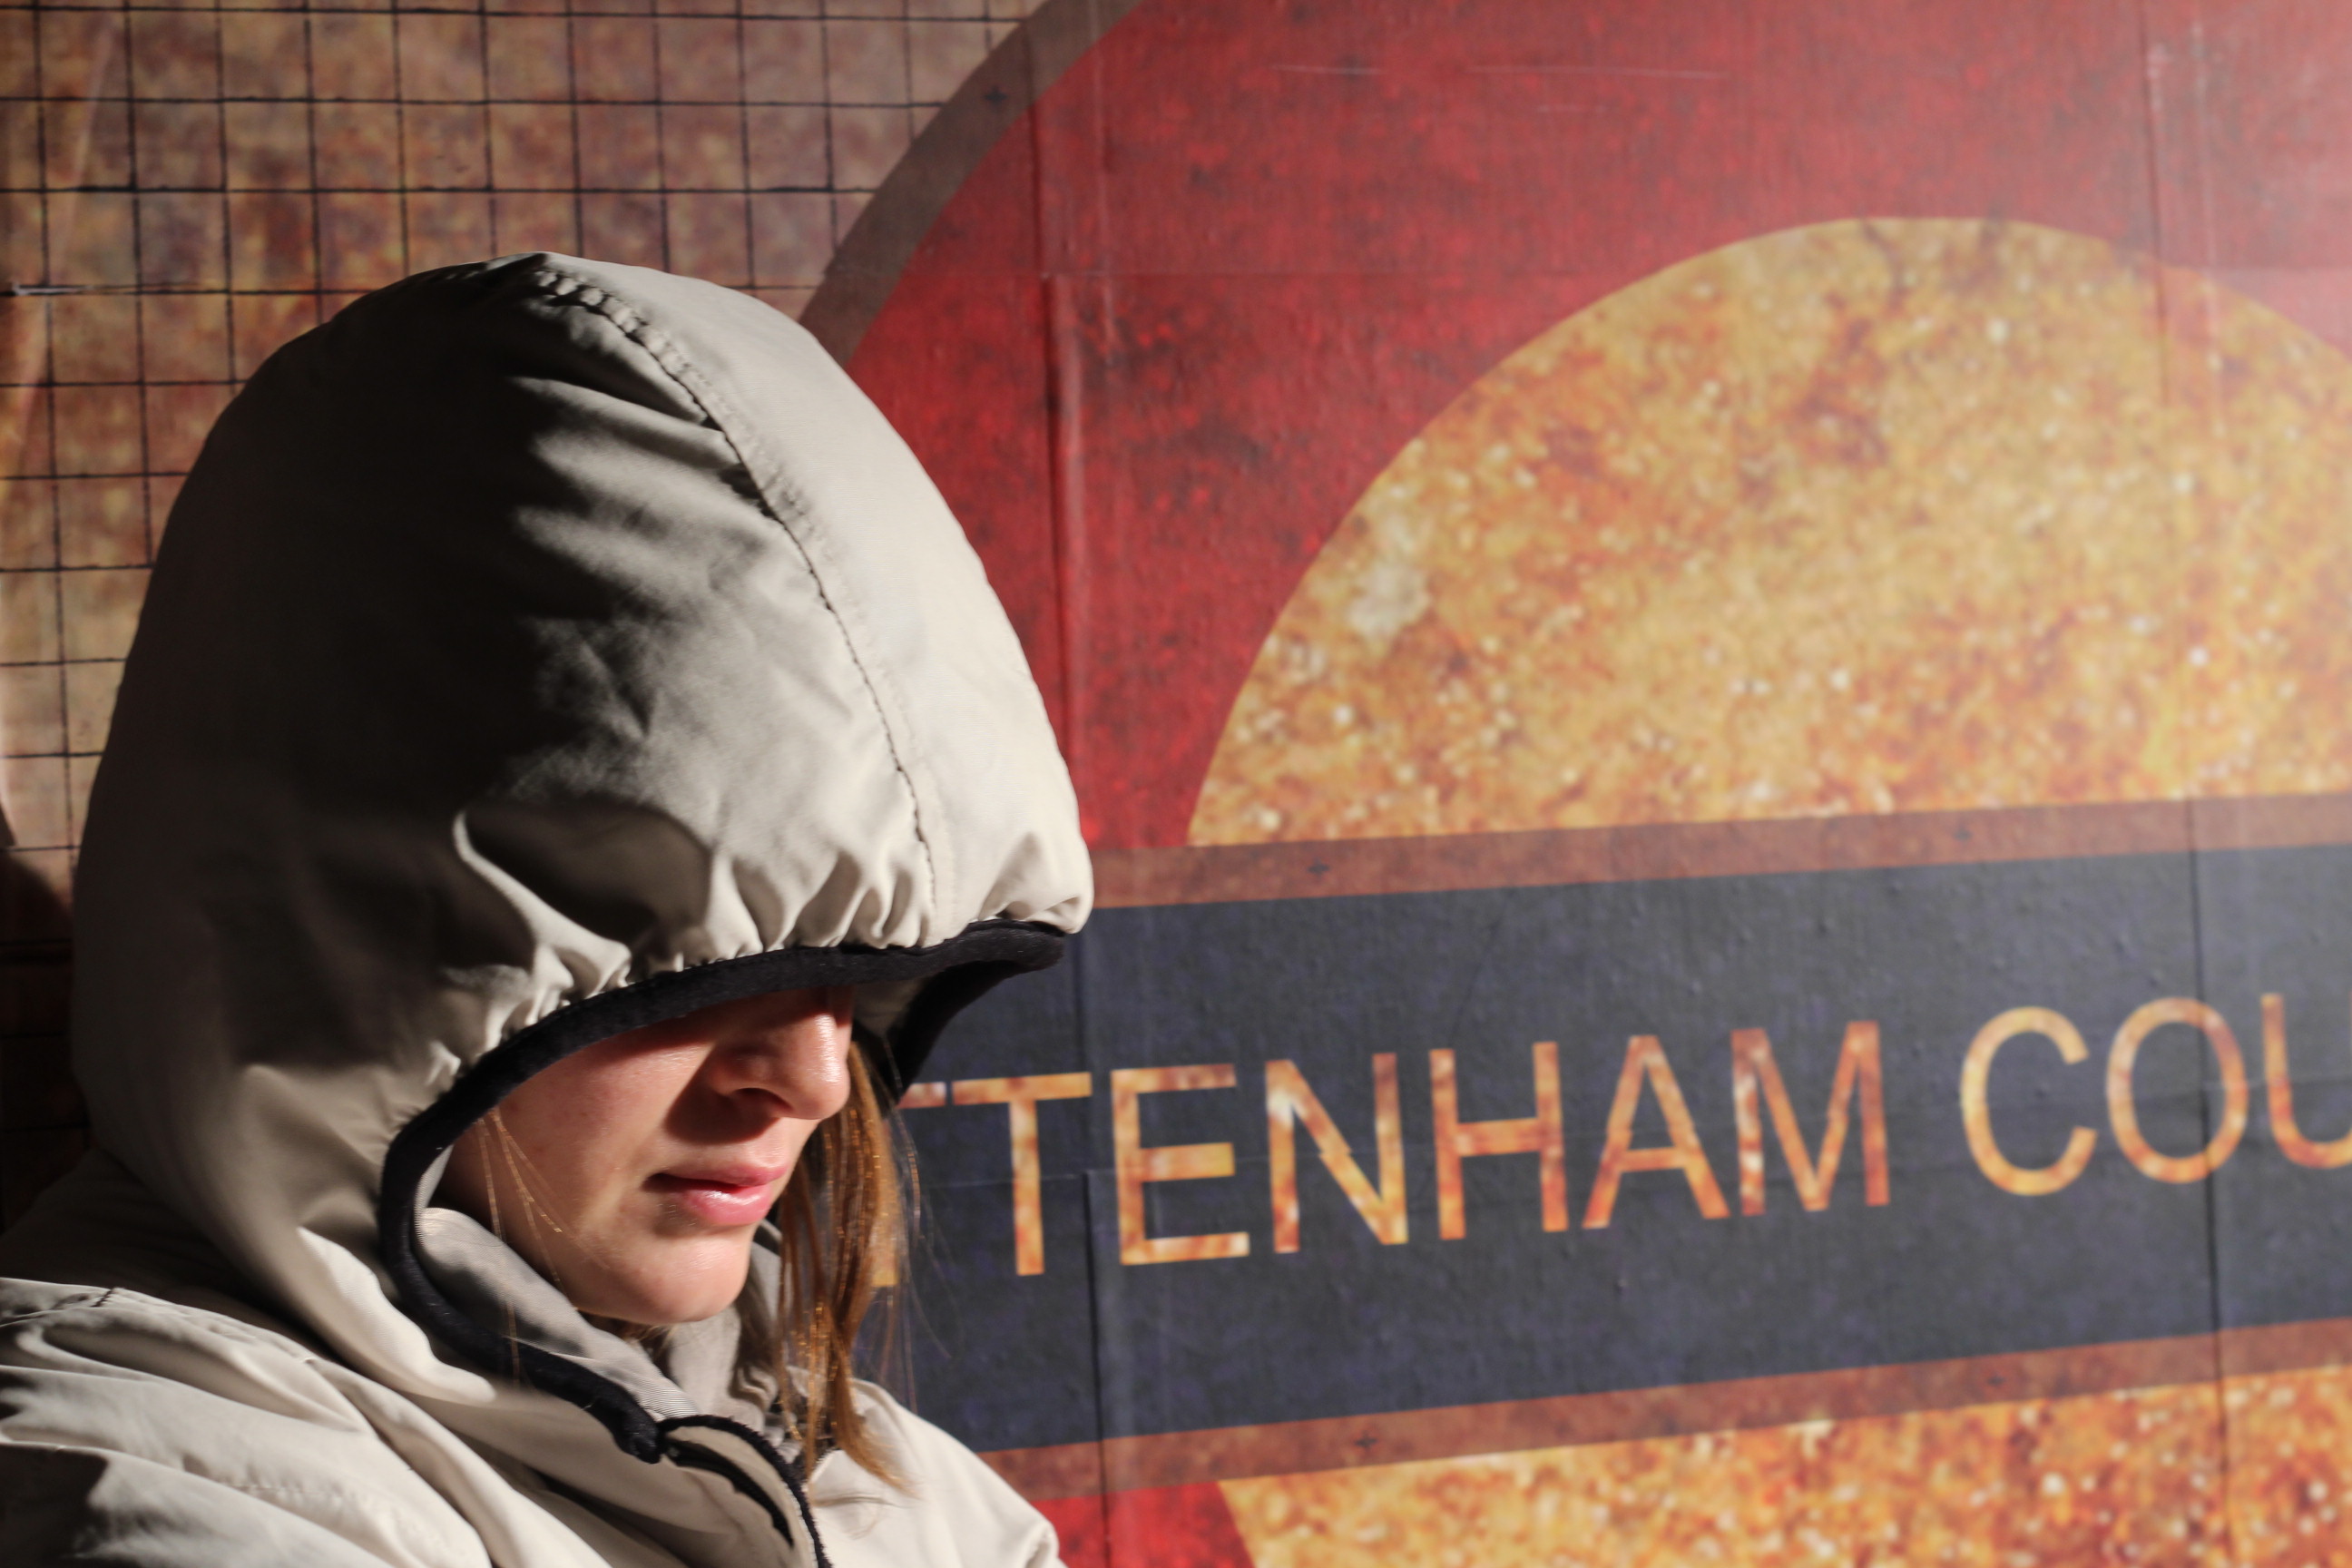
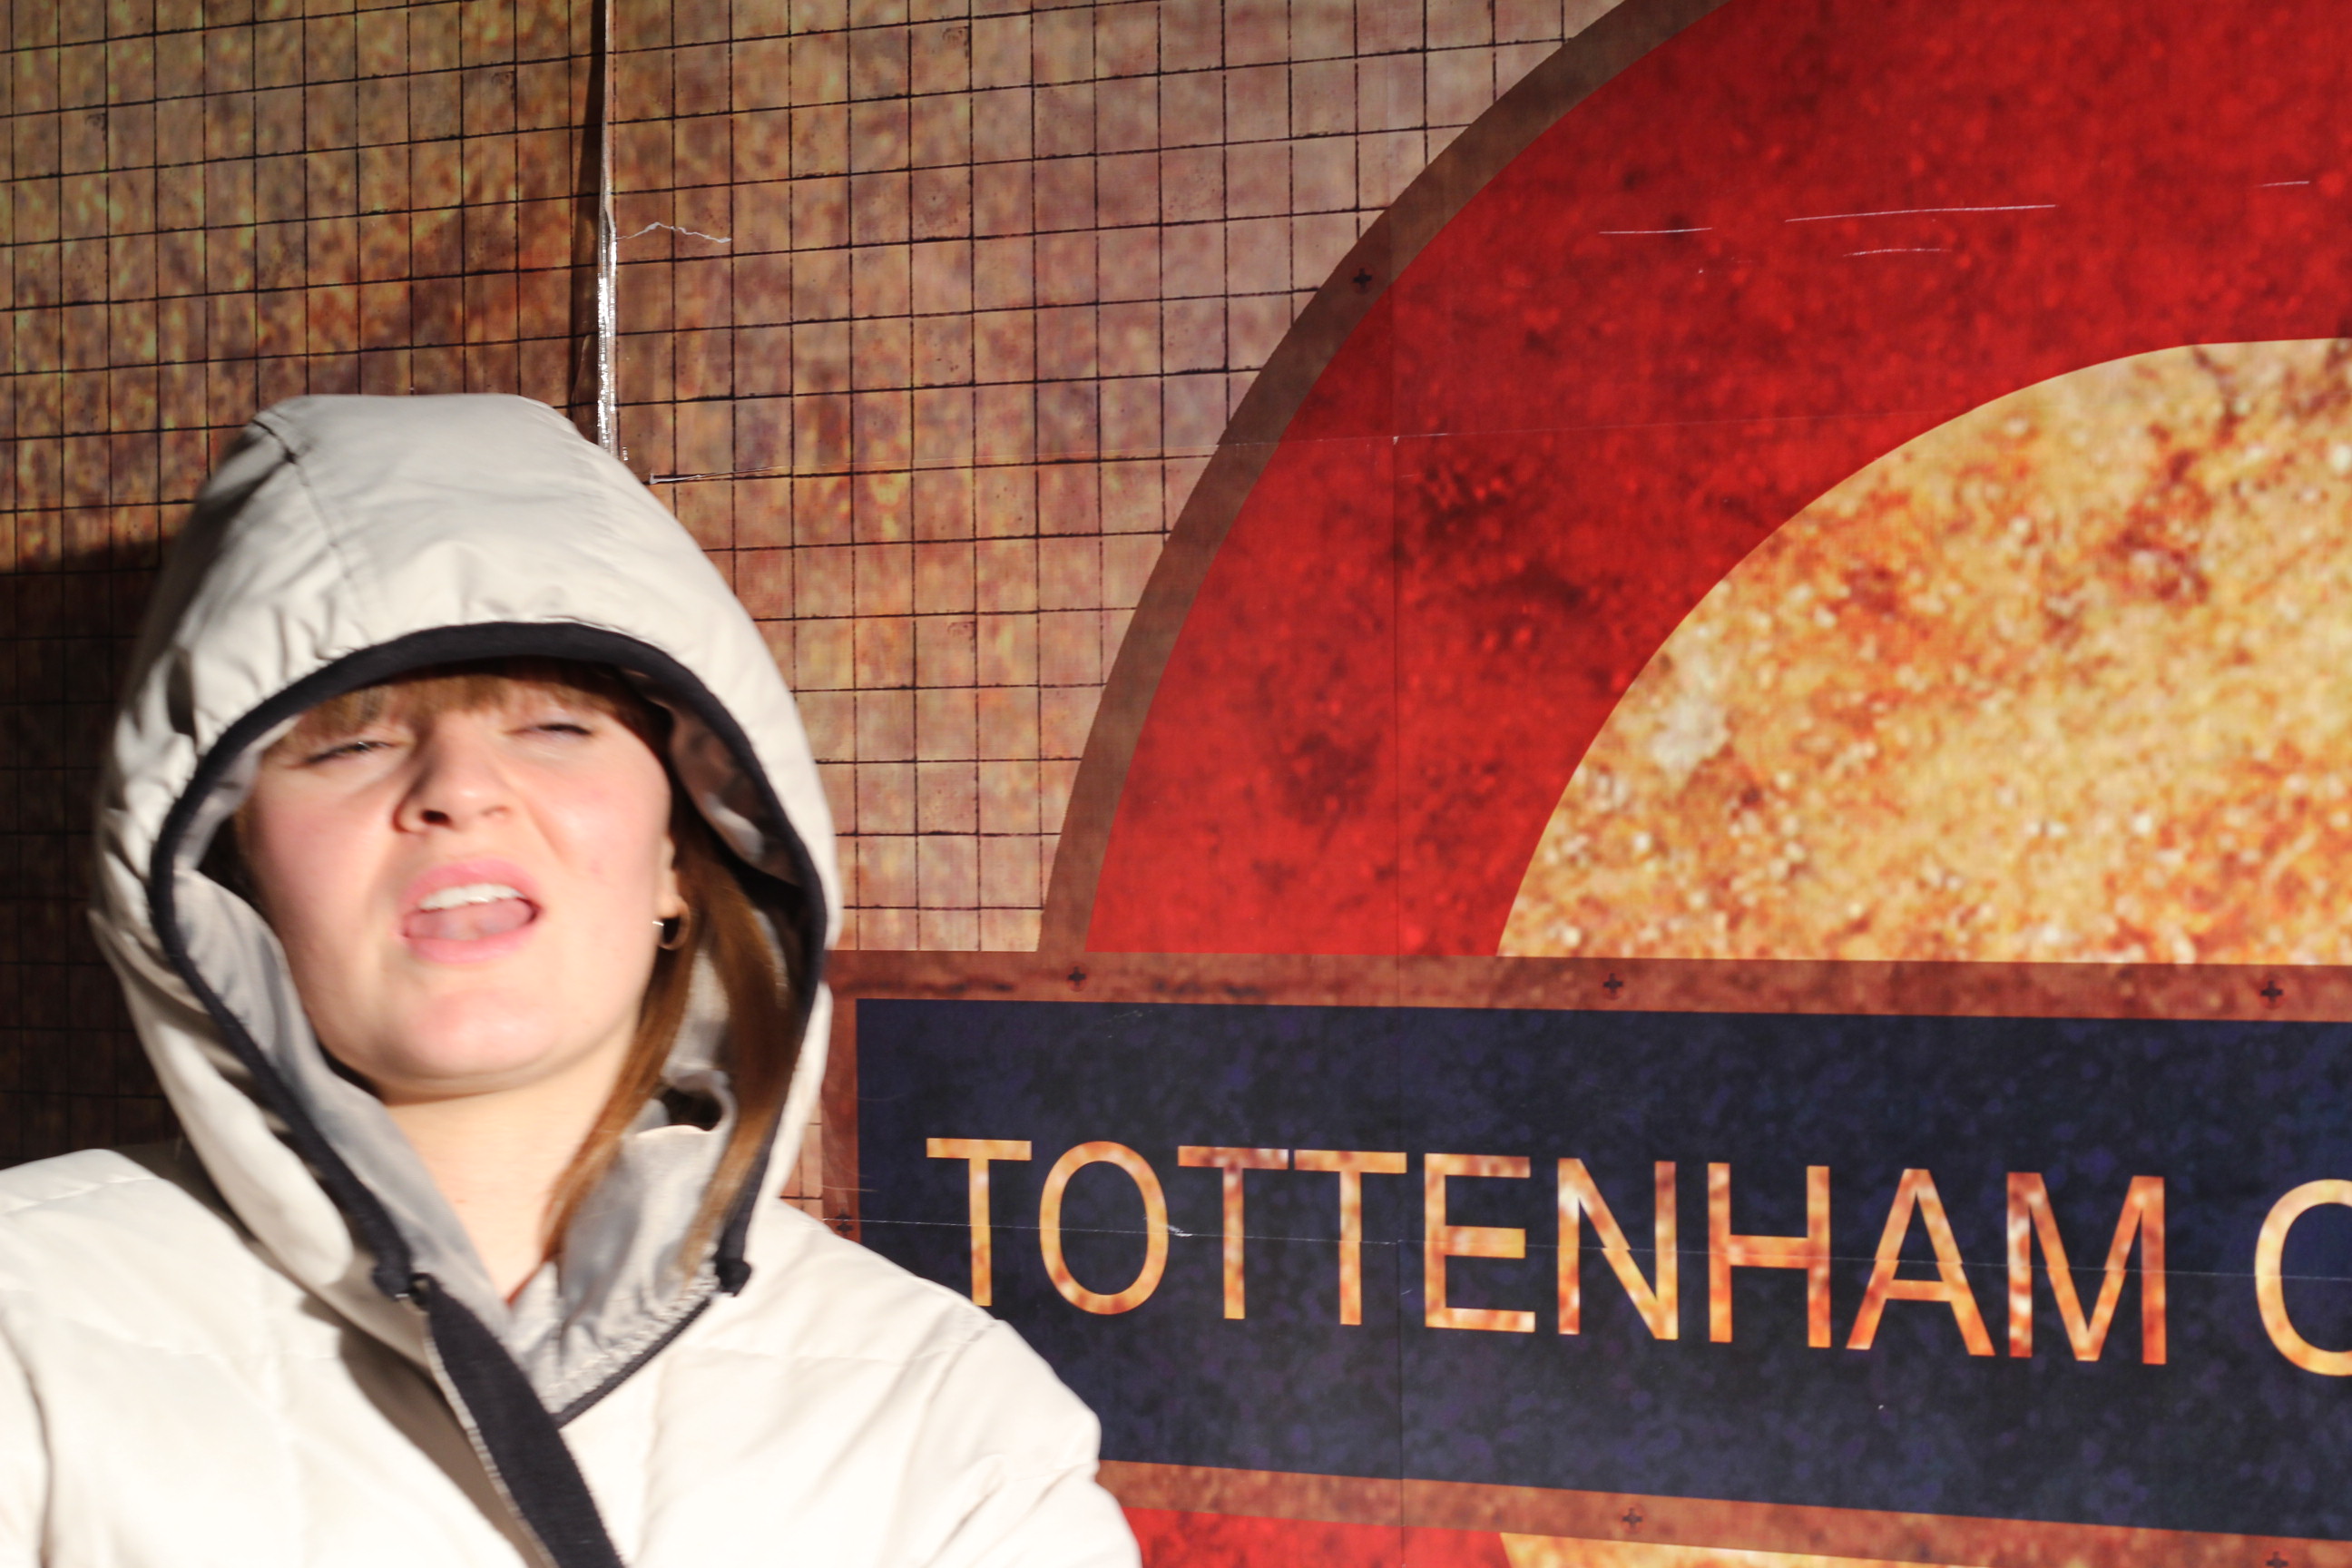
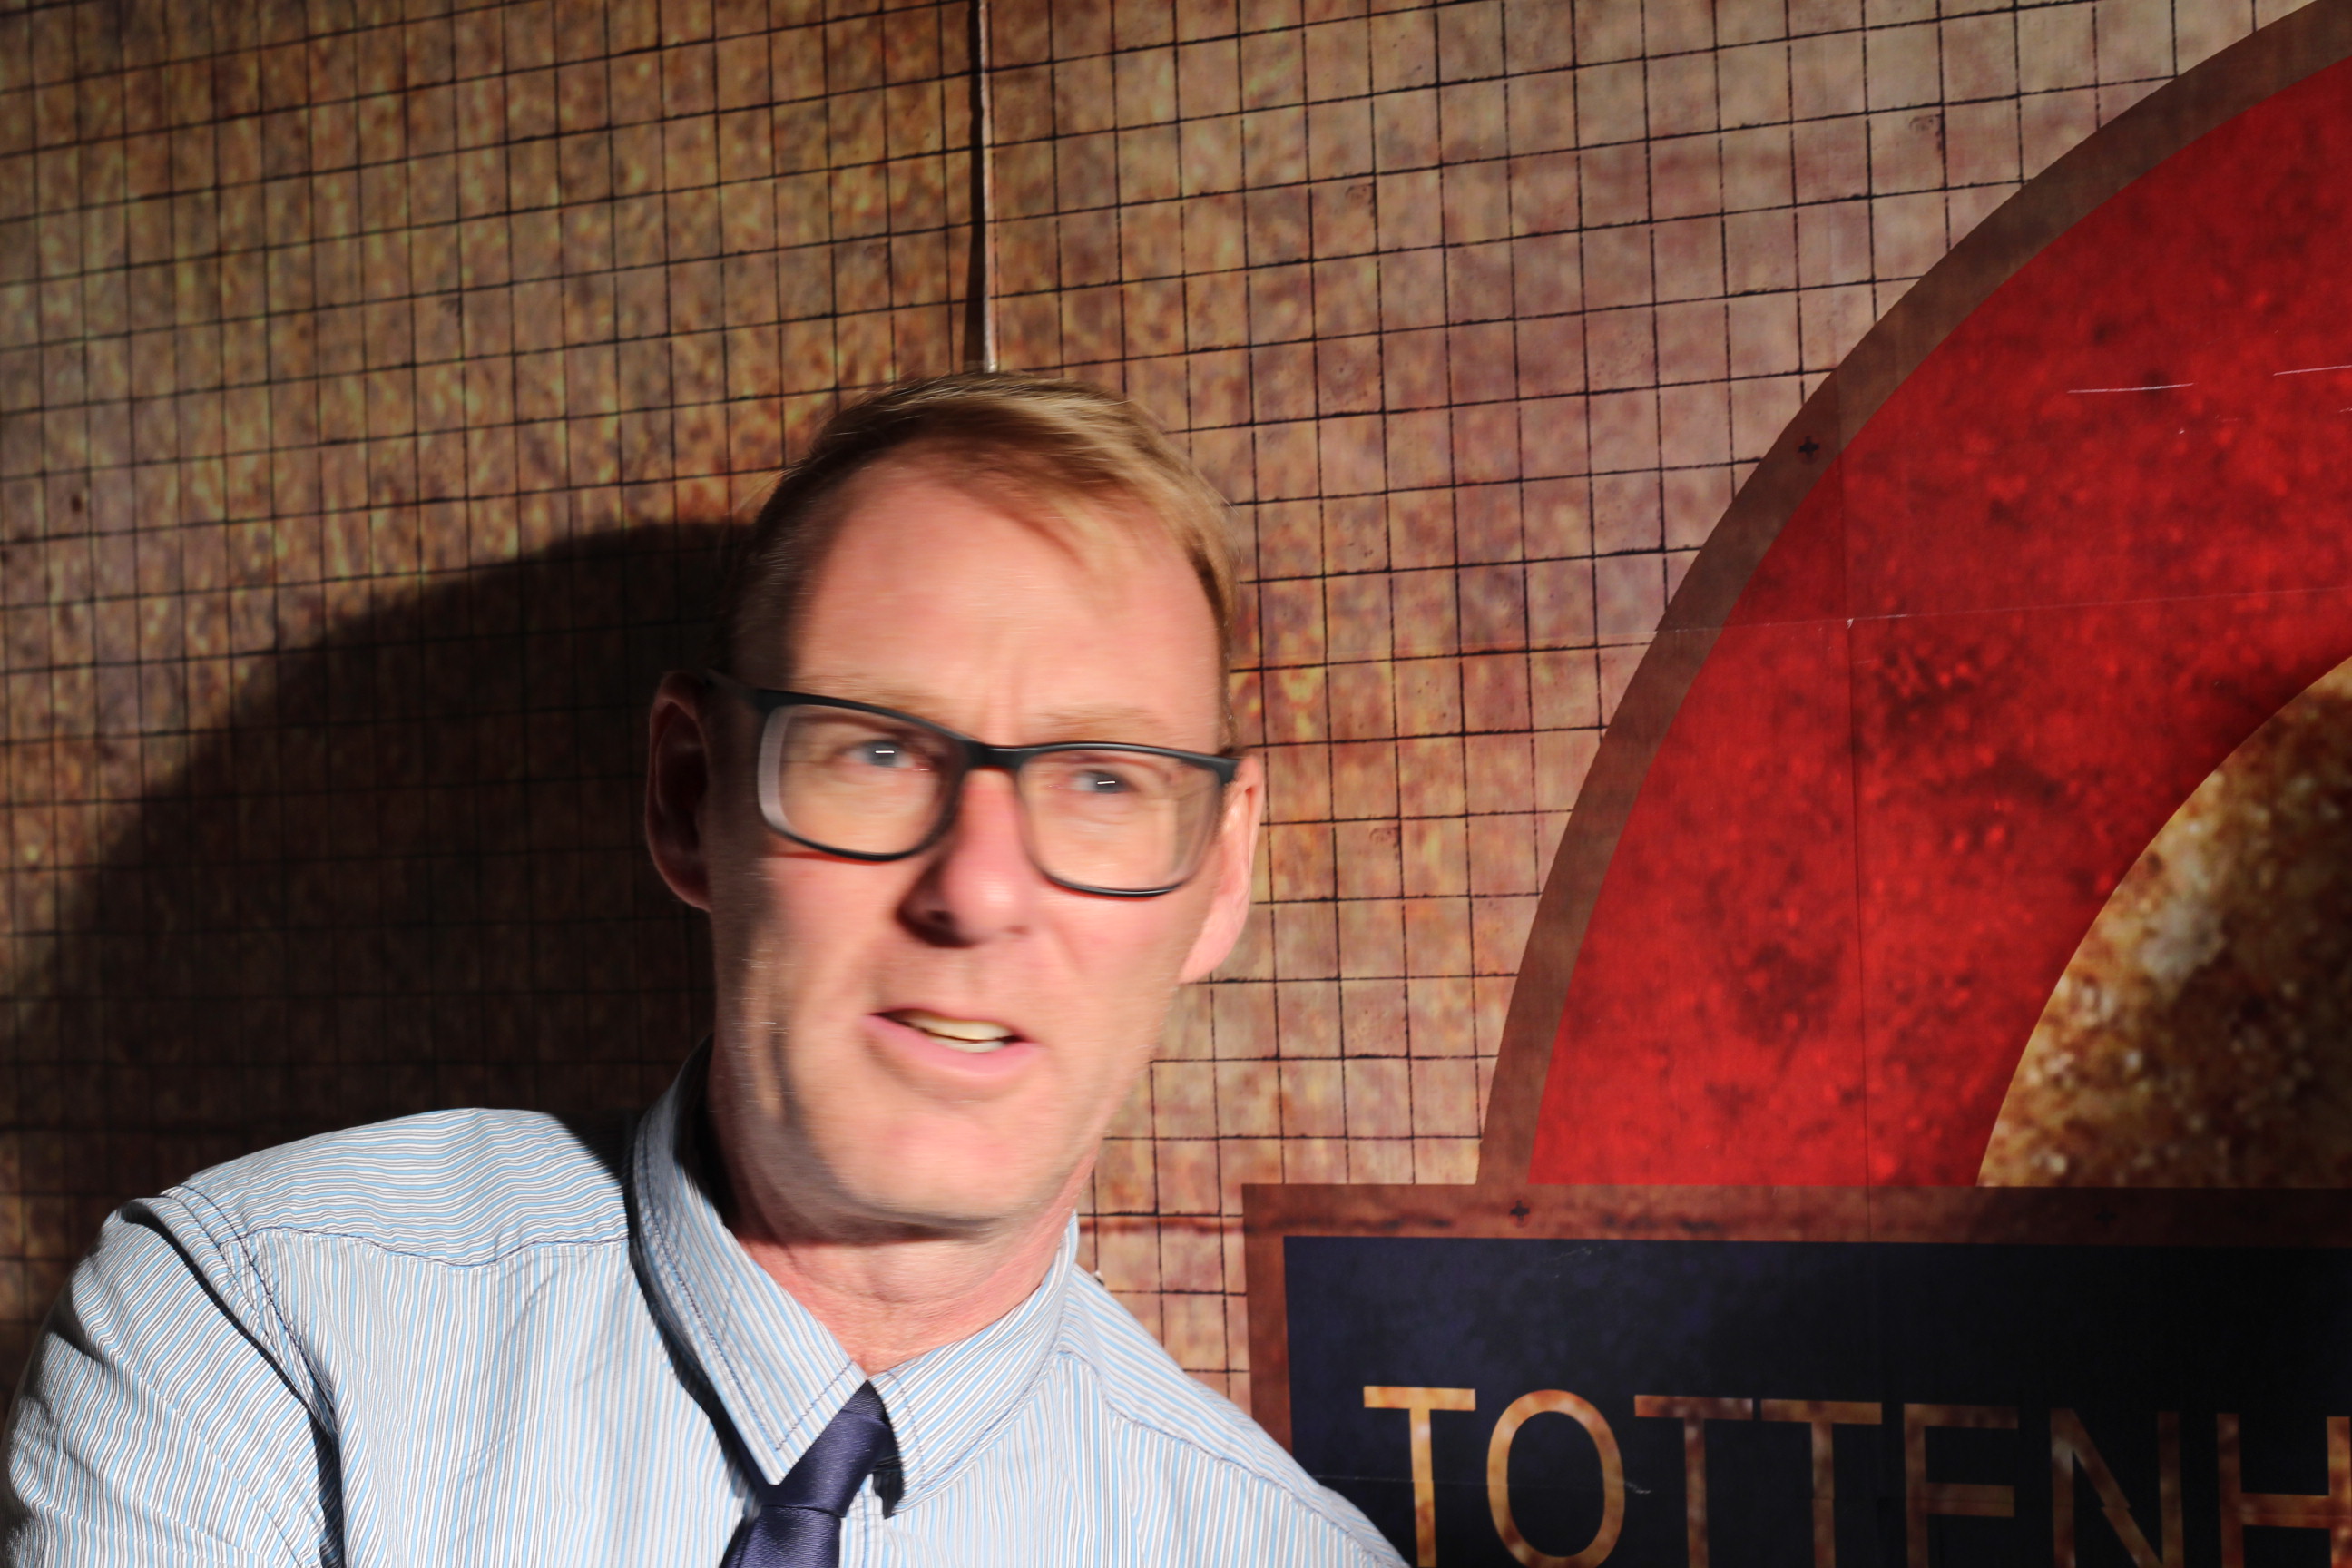
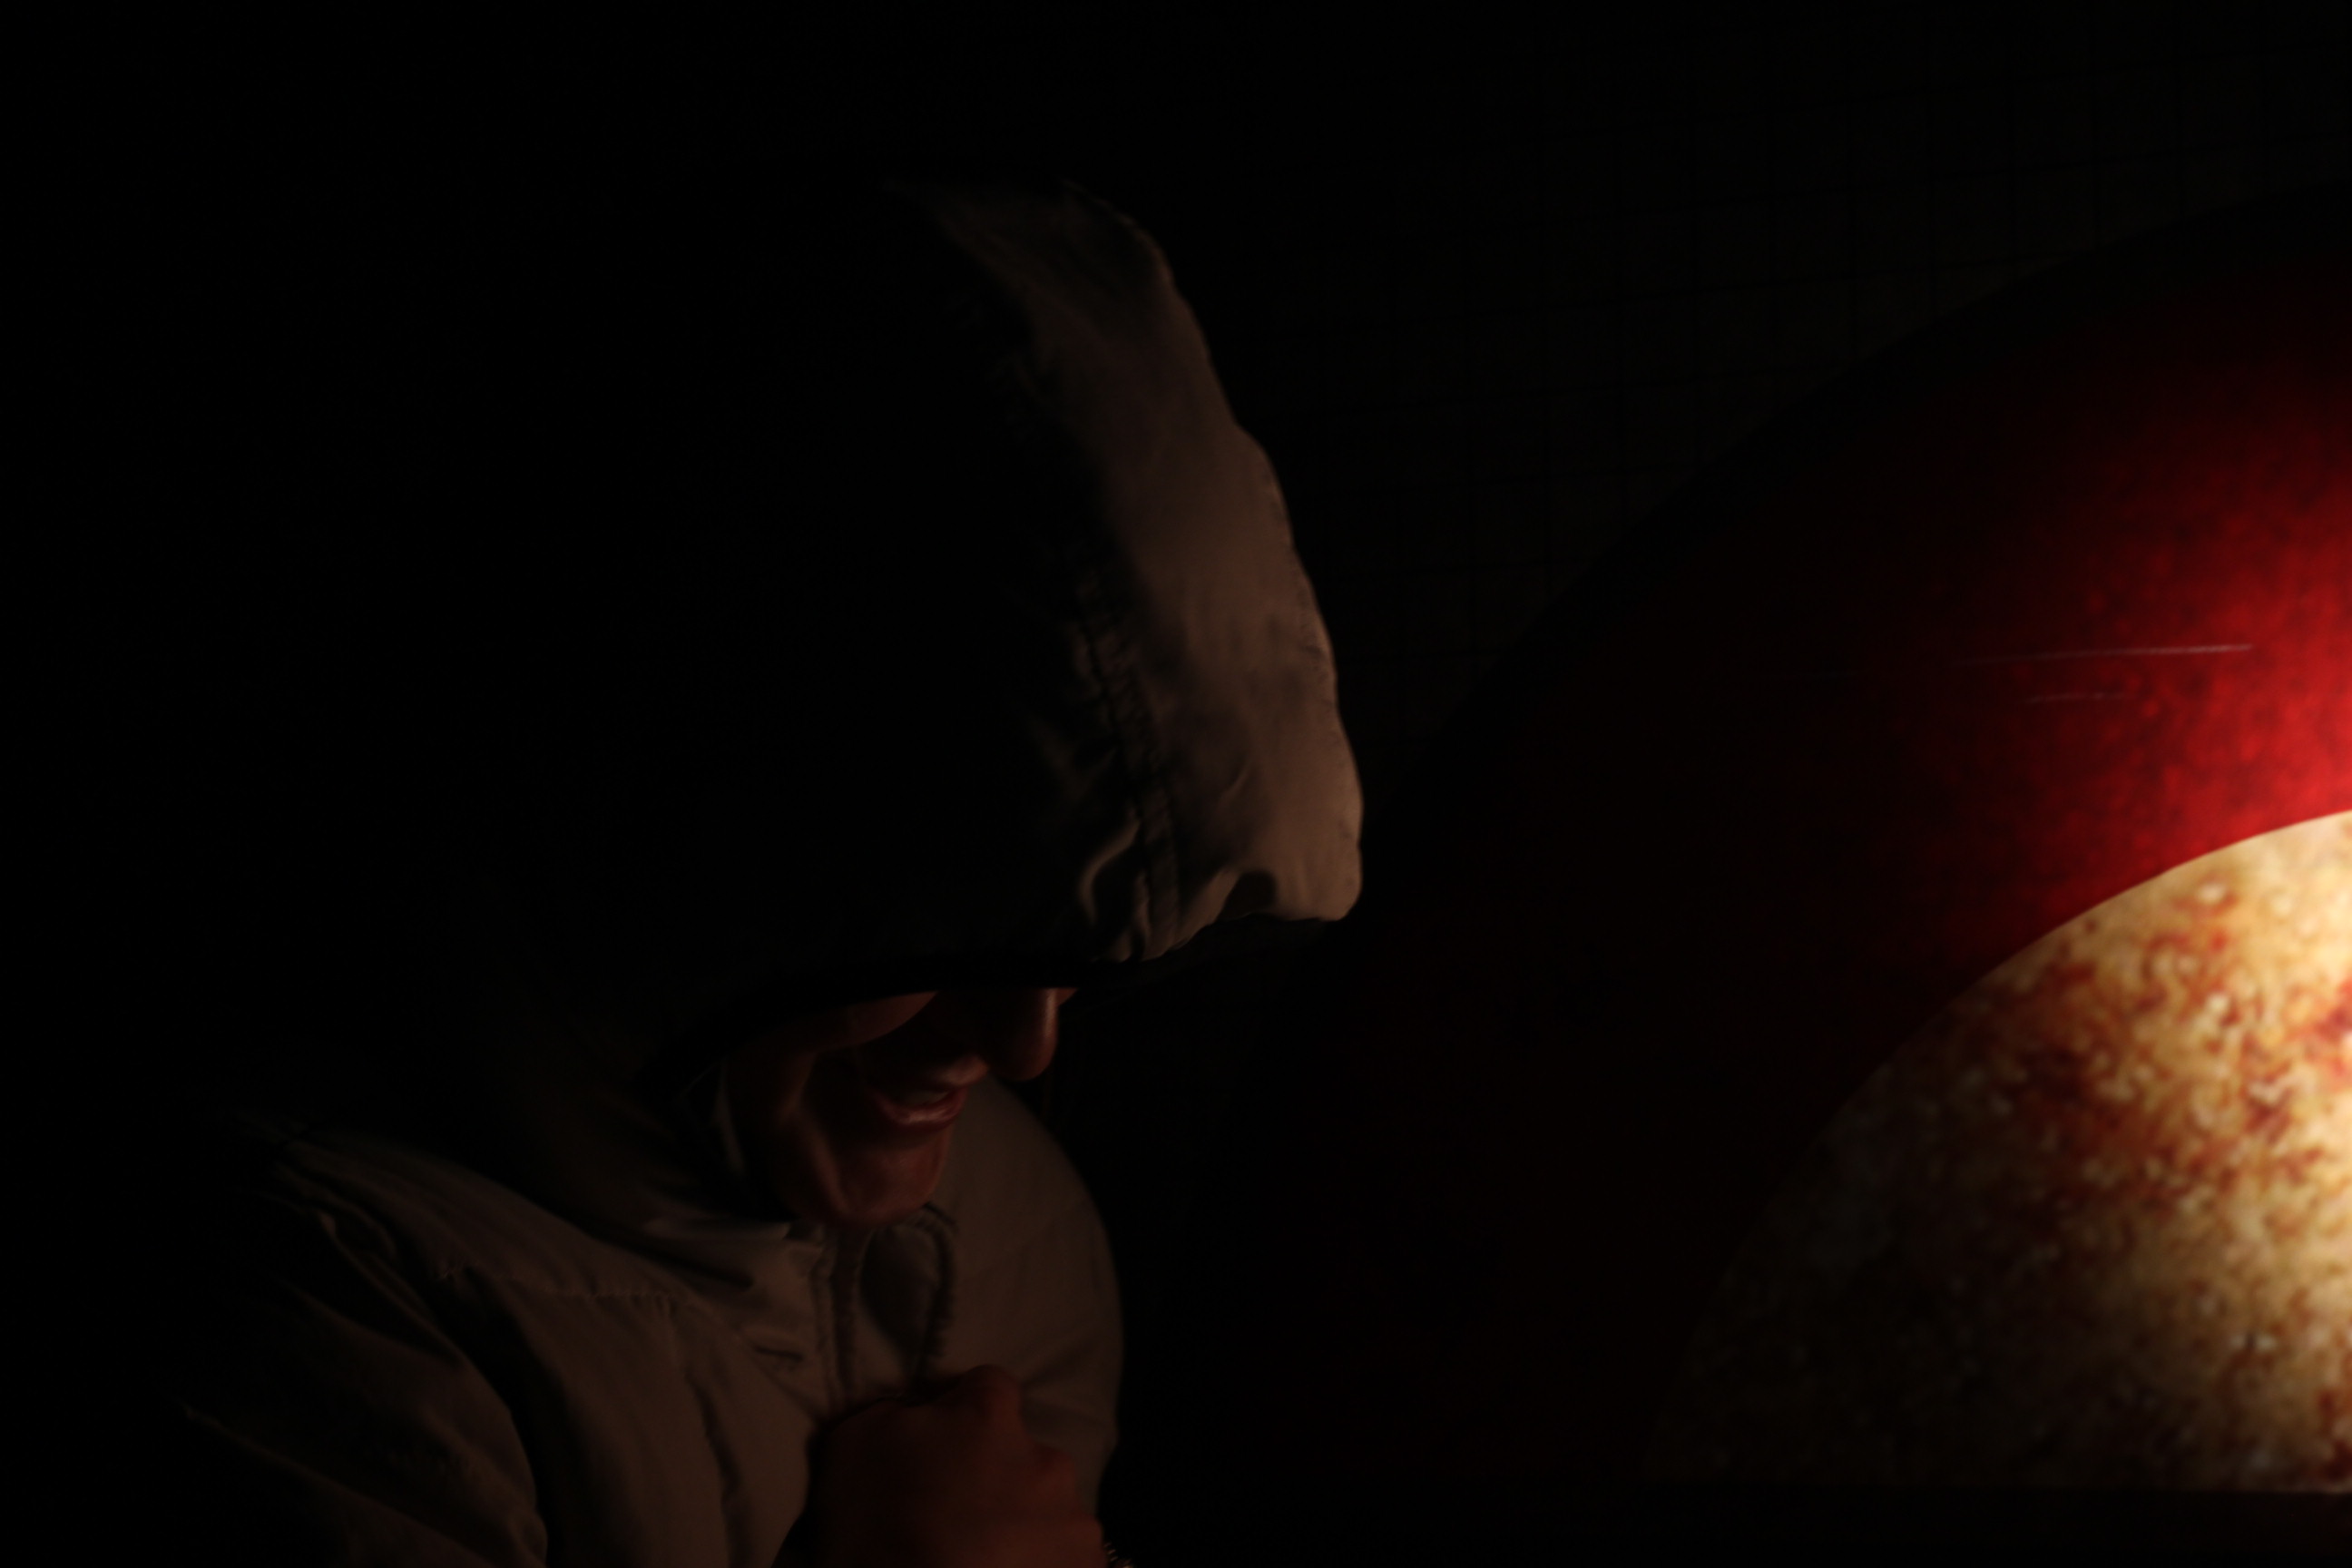
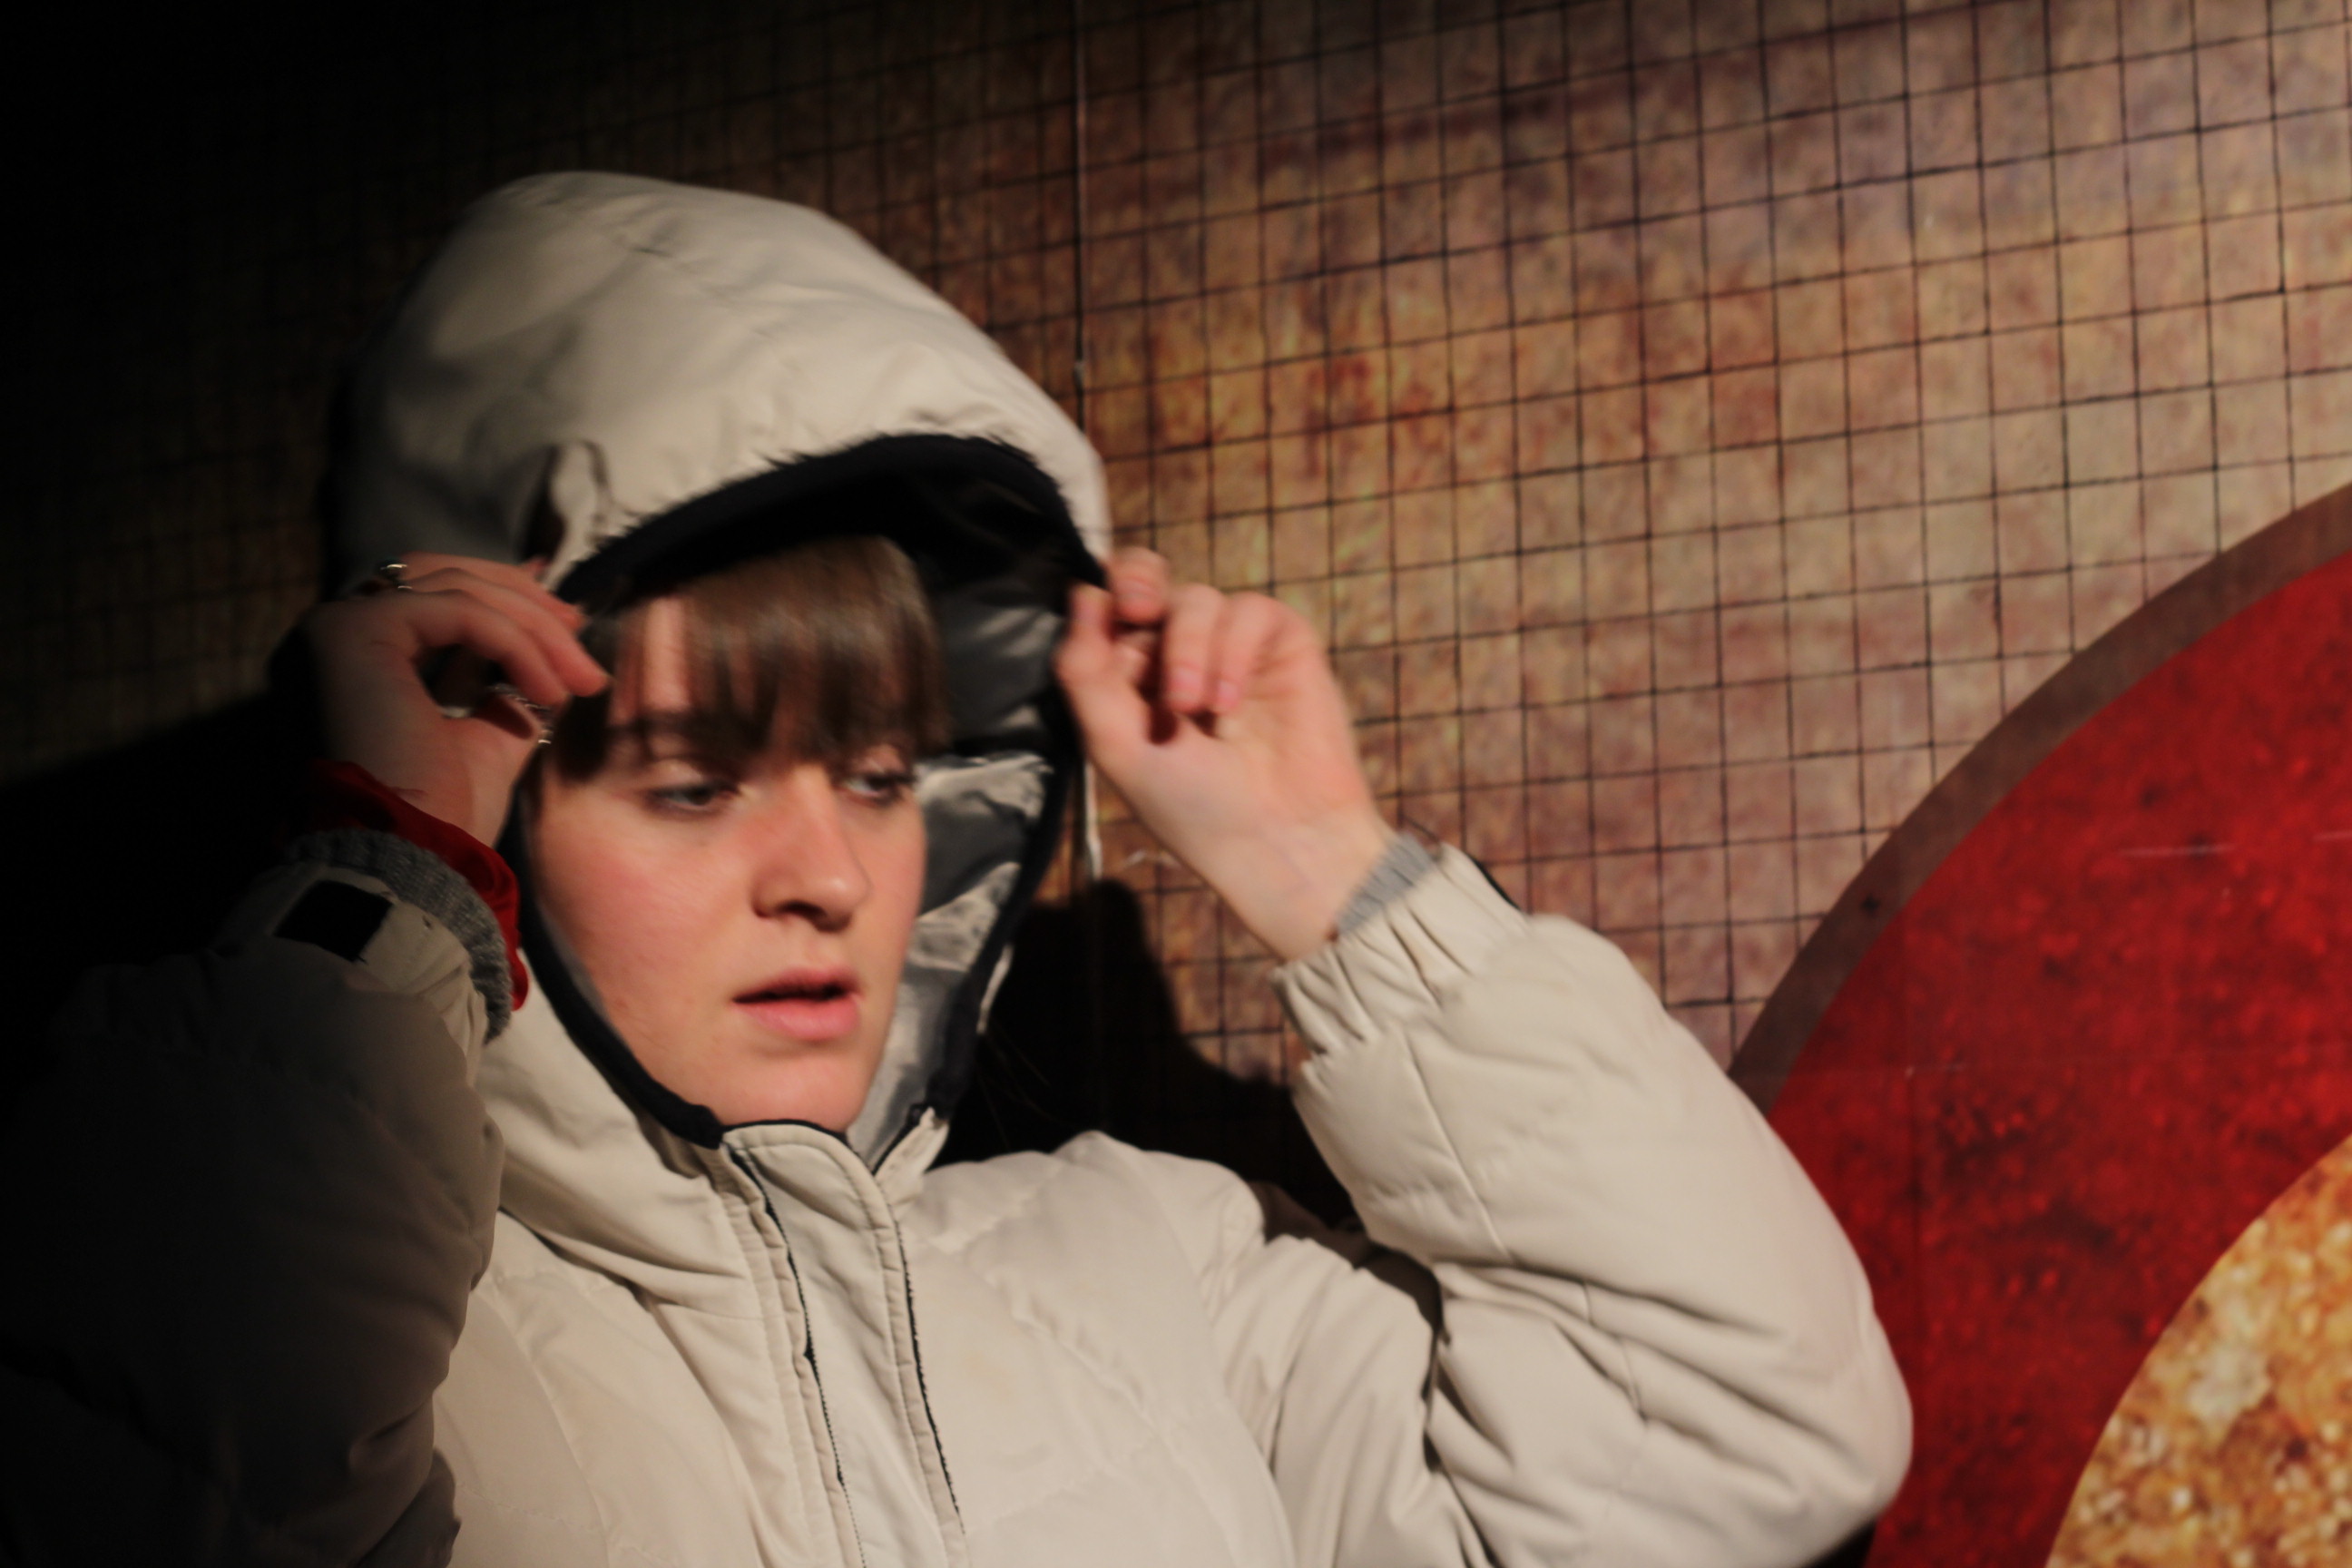
Tableau In Class
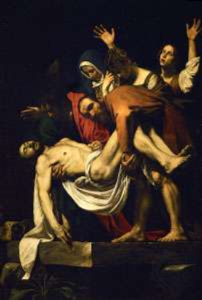
The two paintings which the class recreated were “Deposition / The Entombment of Christ” by Caravaggio, and “Liberty Leading the People” by Eugène Delacroix.
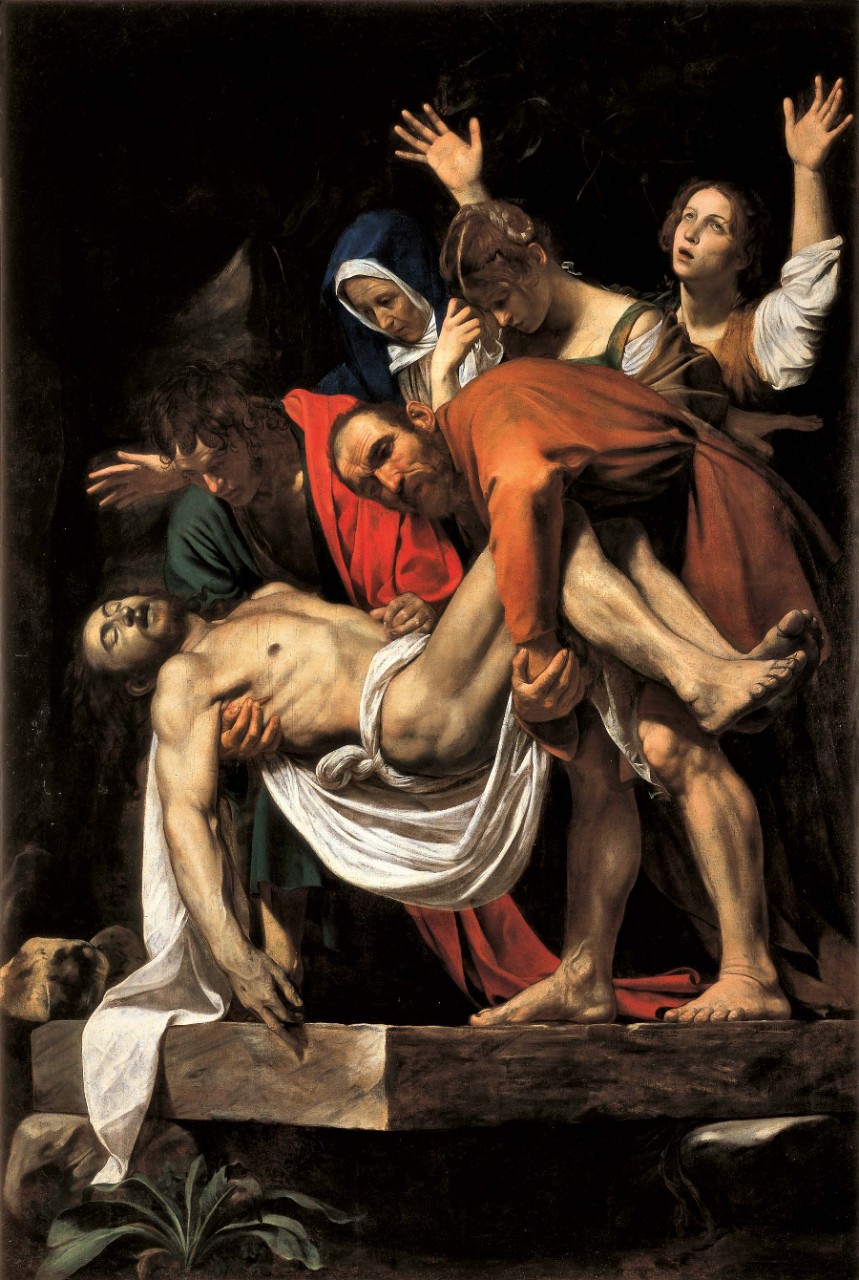
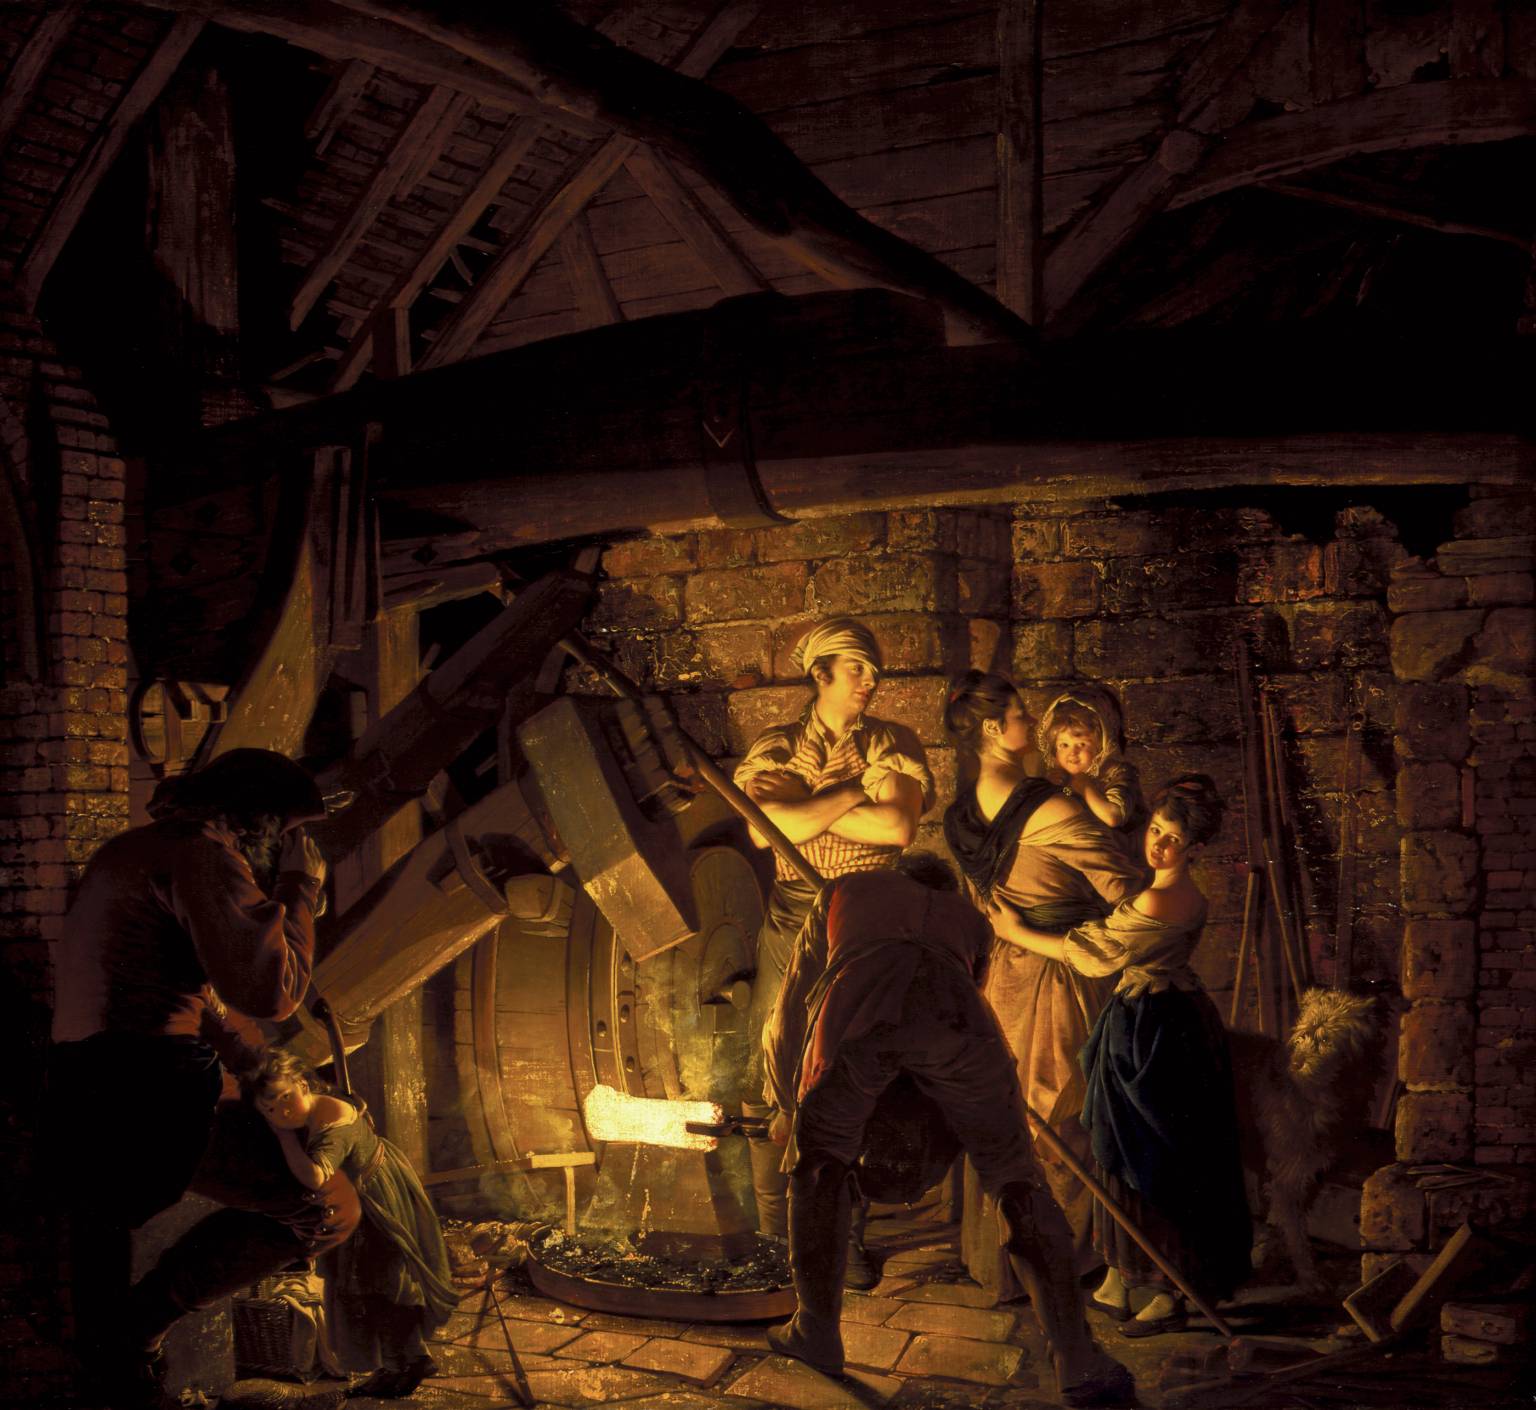
The Entombment of Christ – Caravaggio

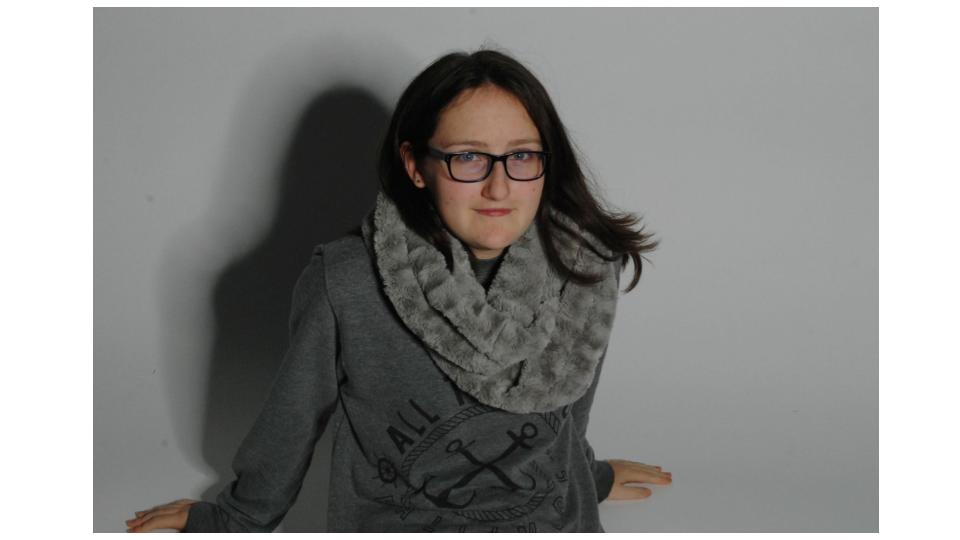
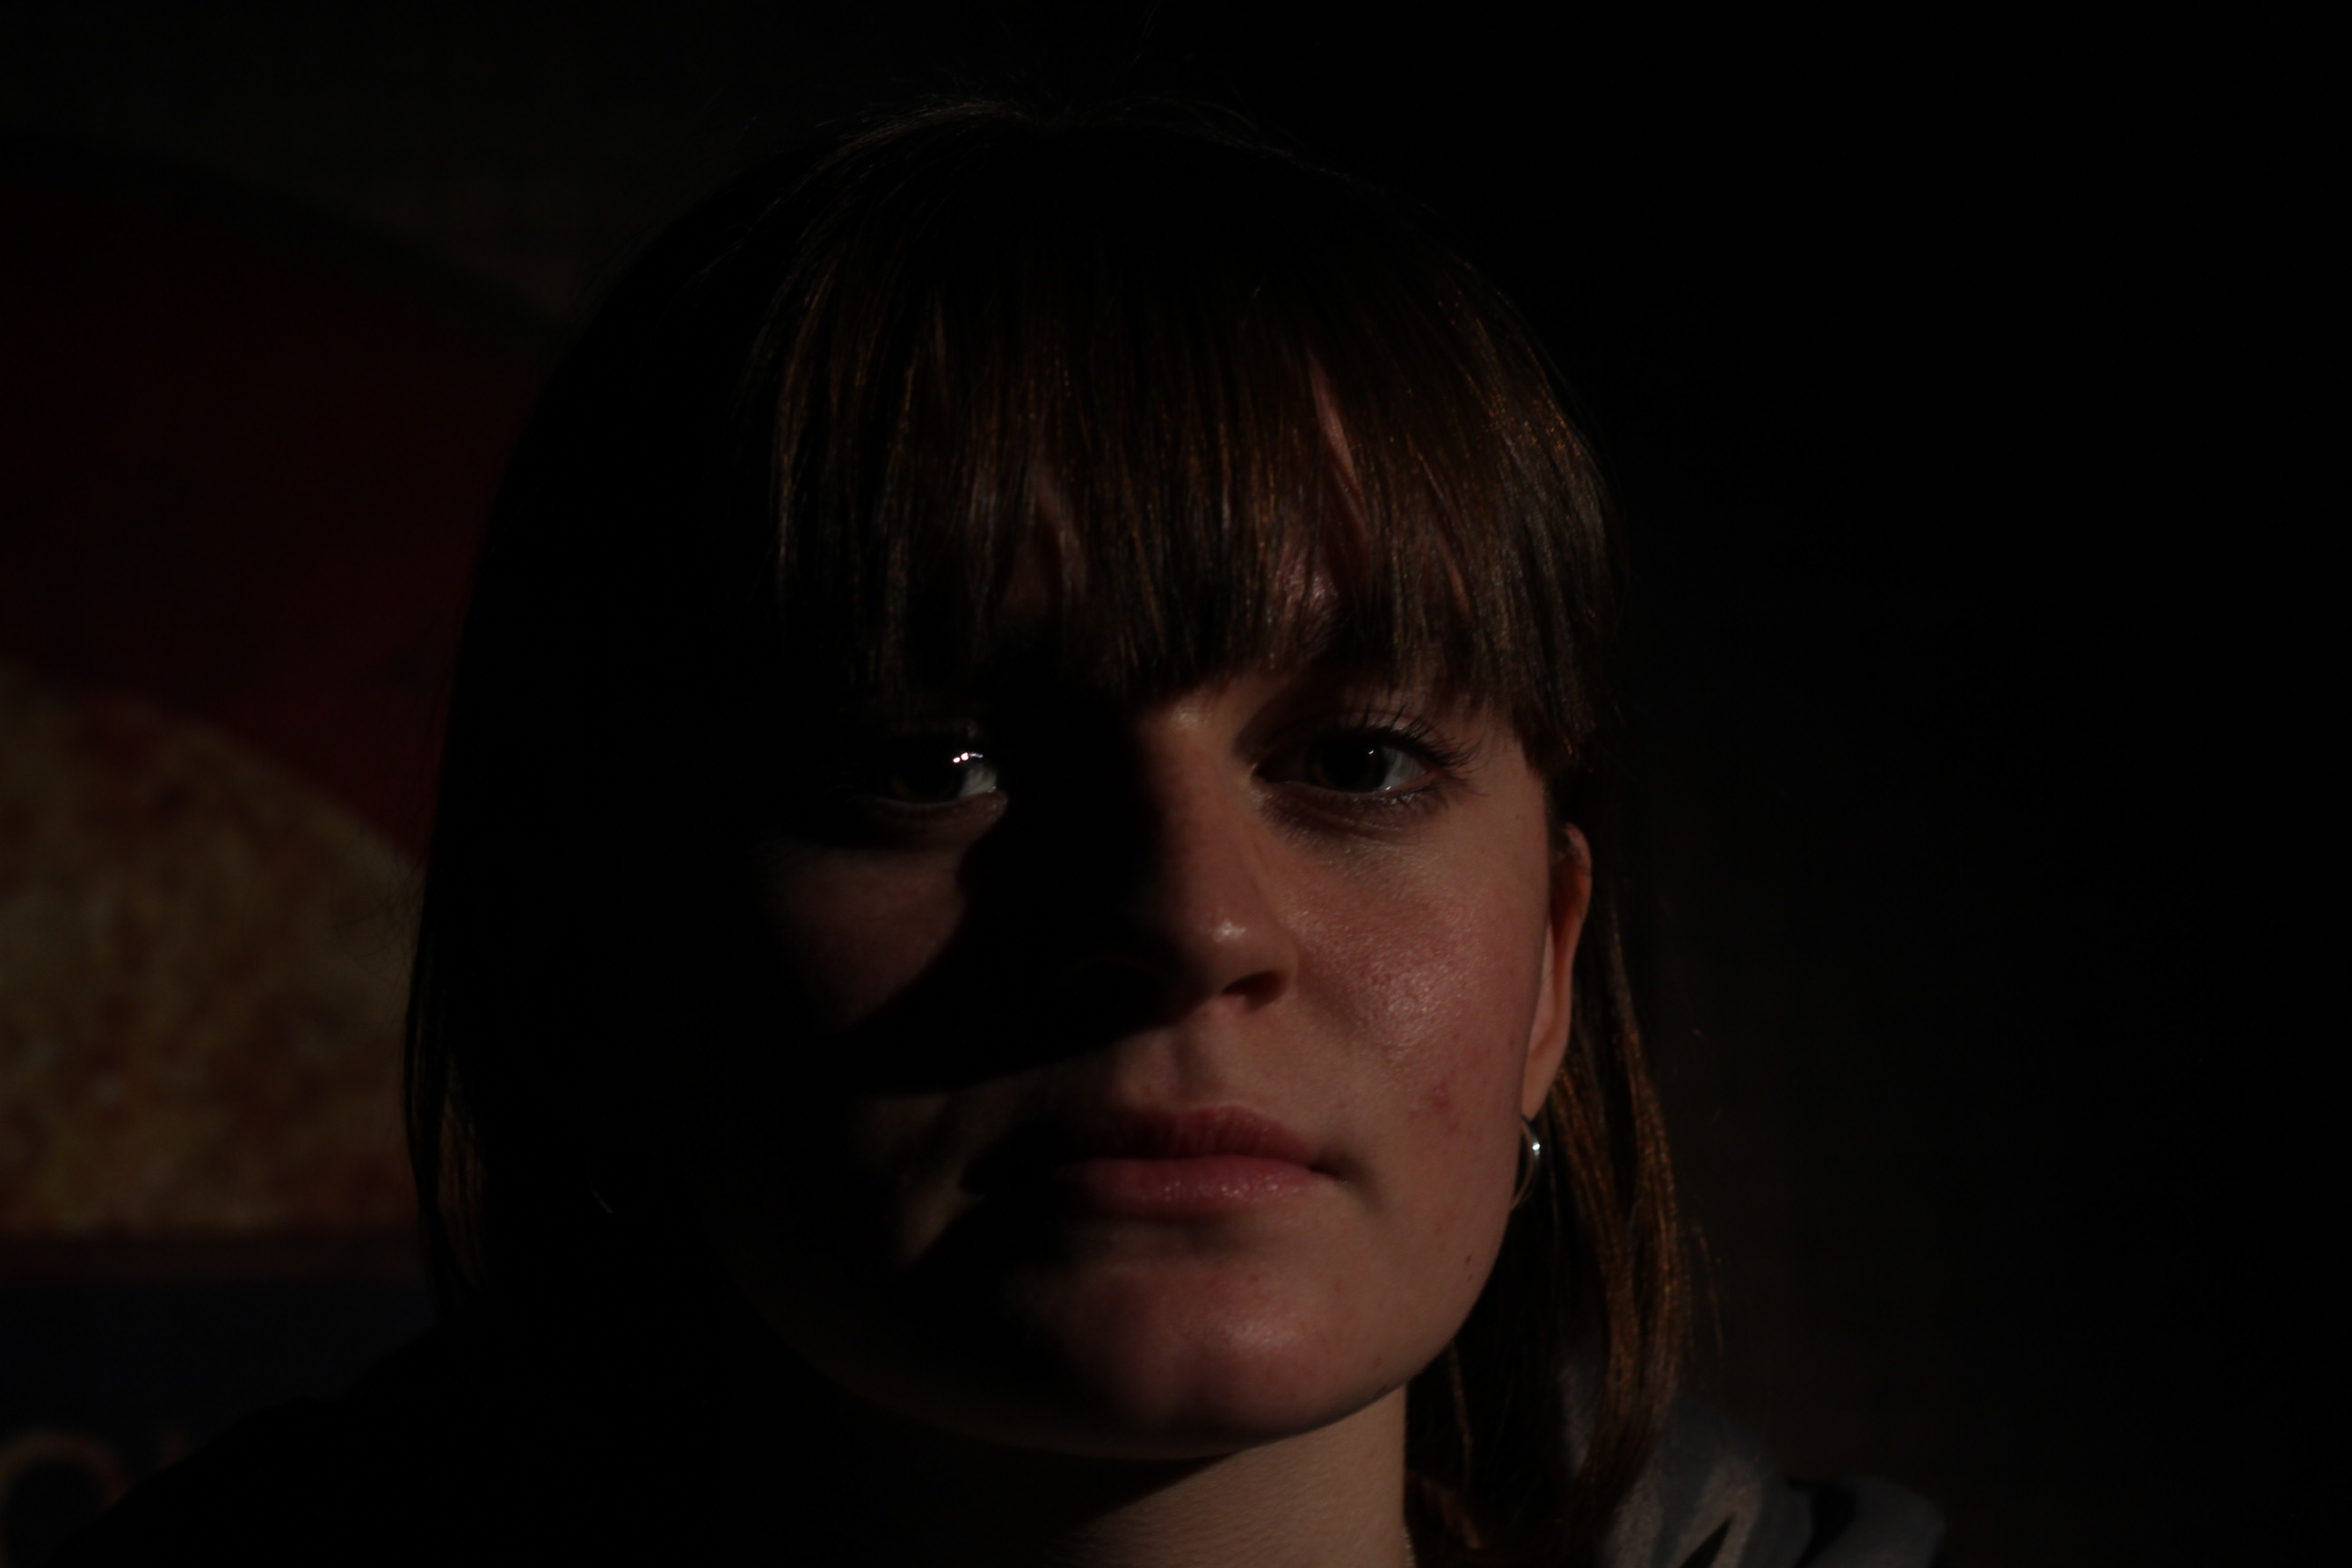
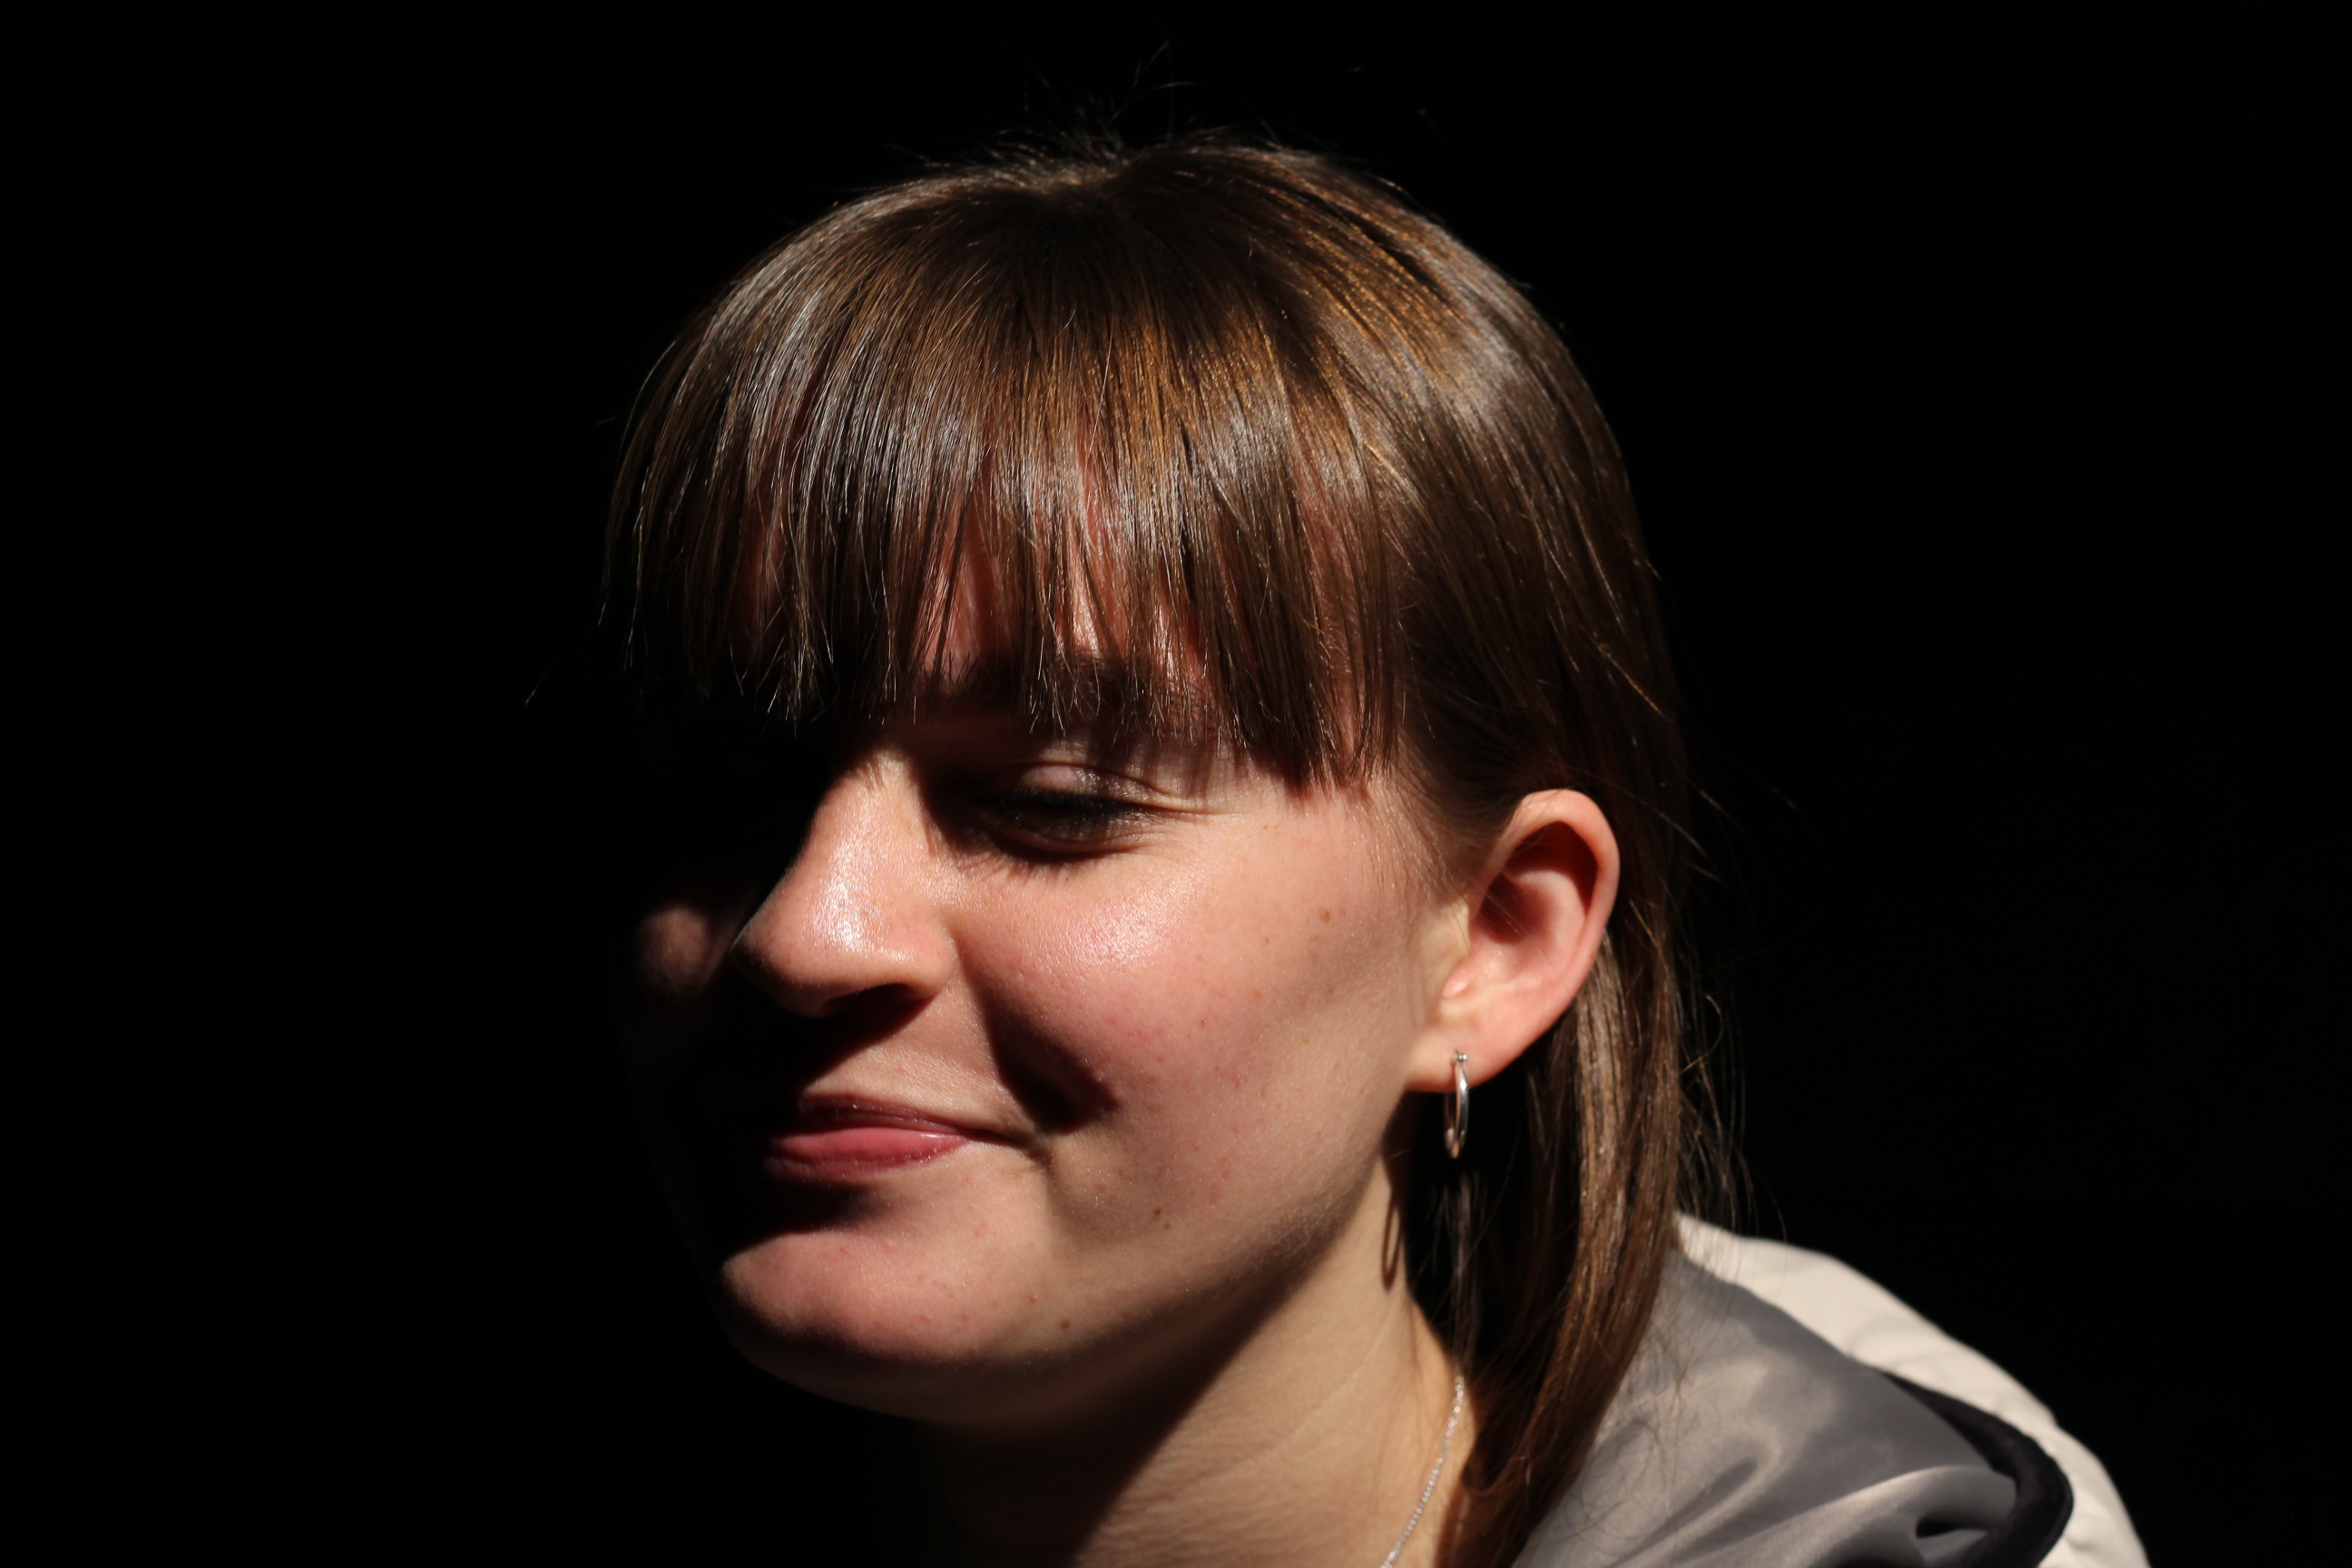
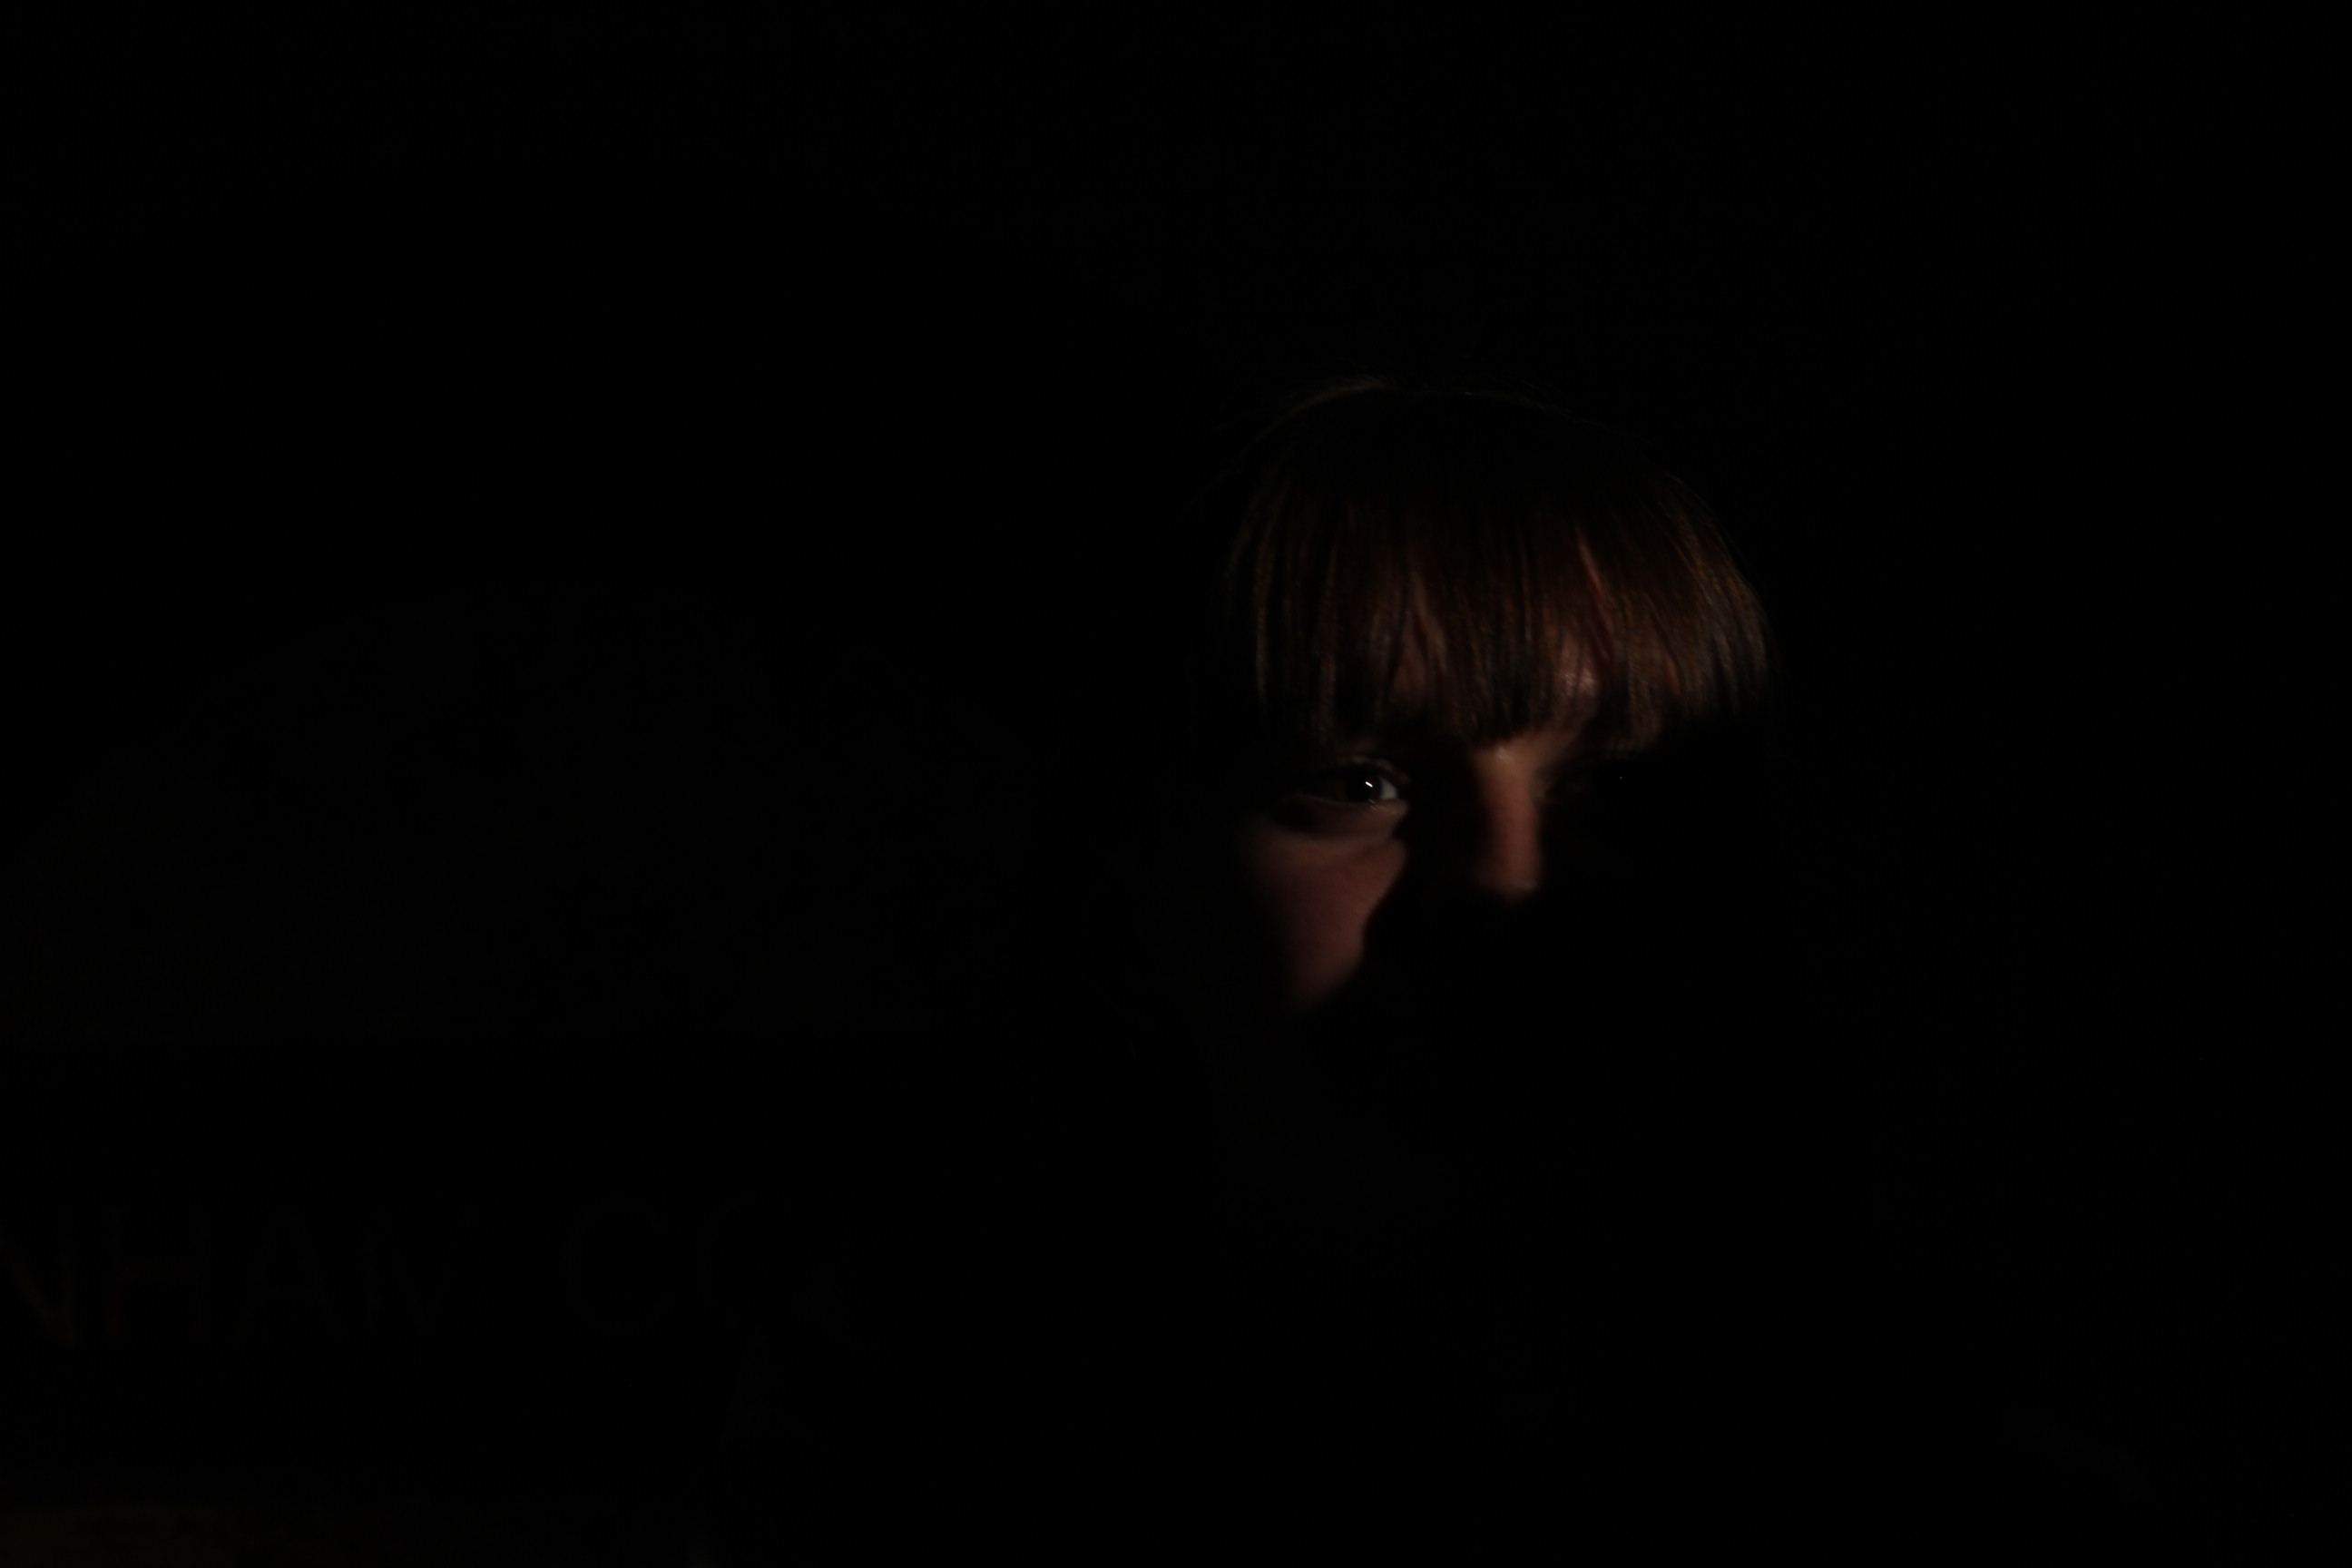
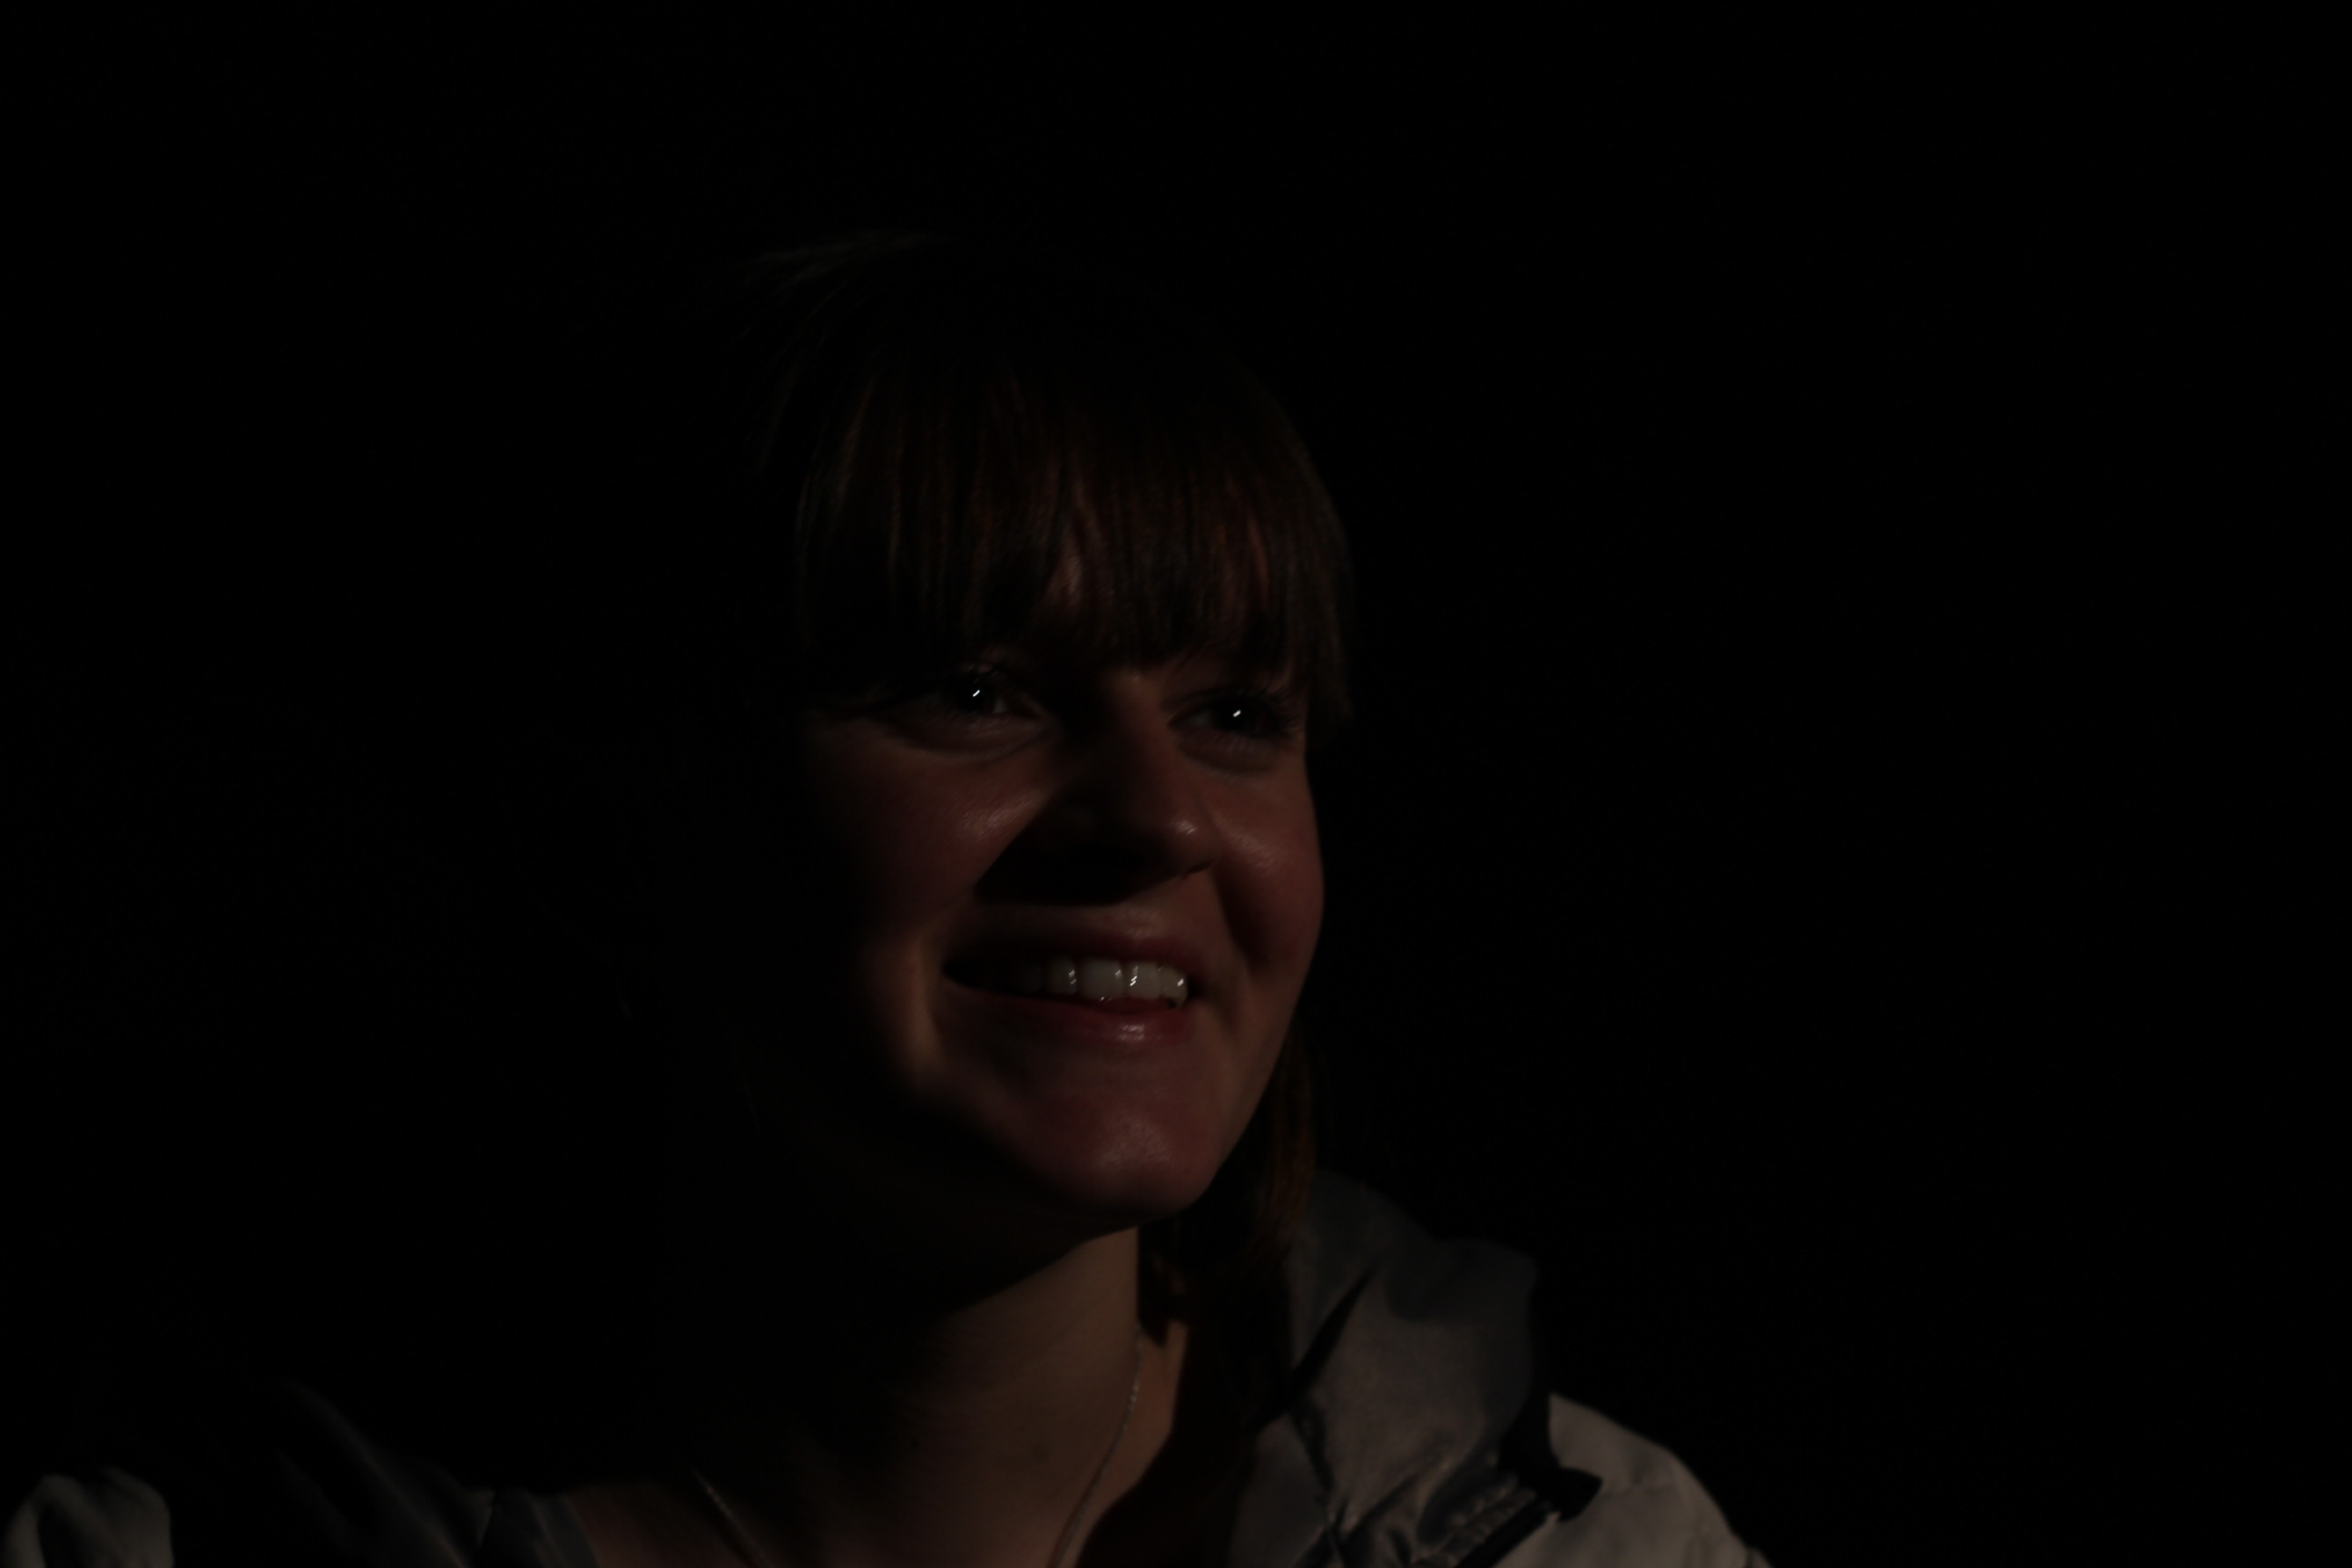
Class Responses
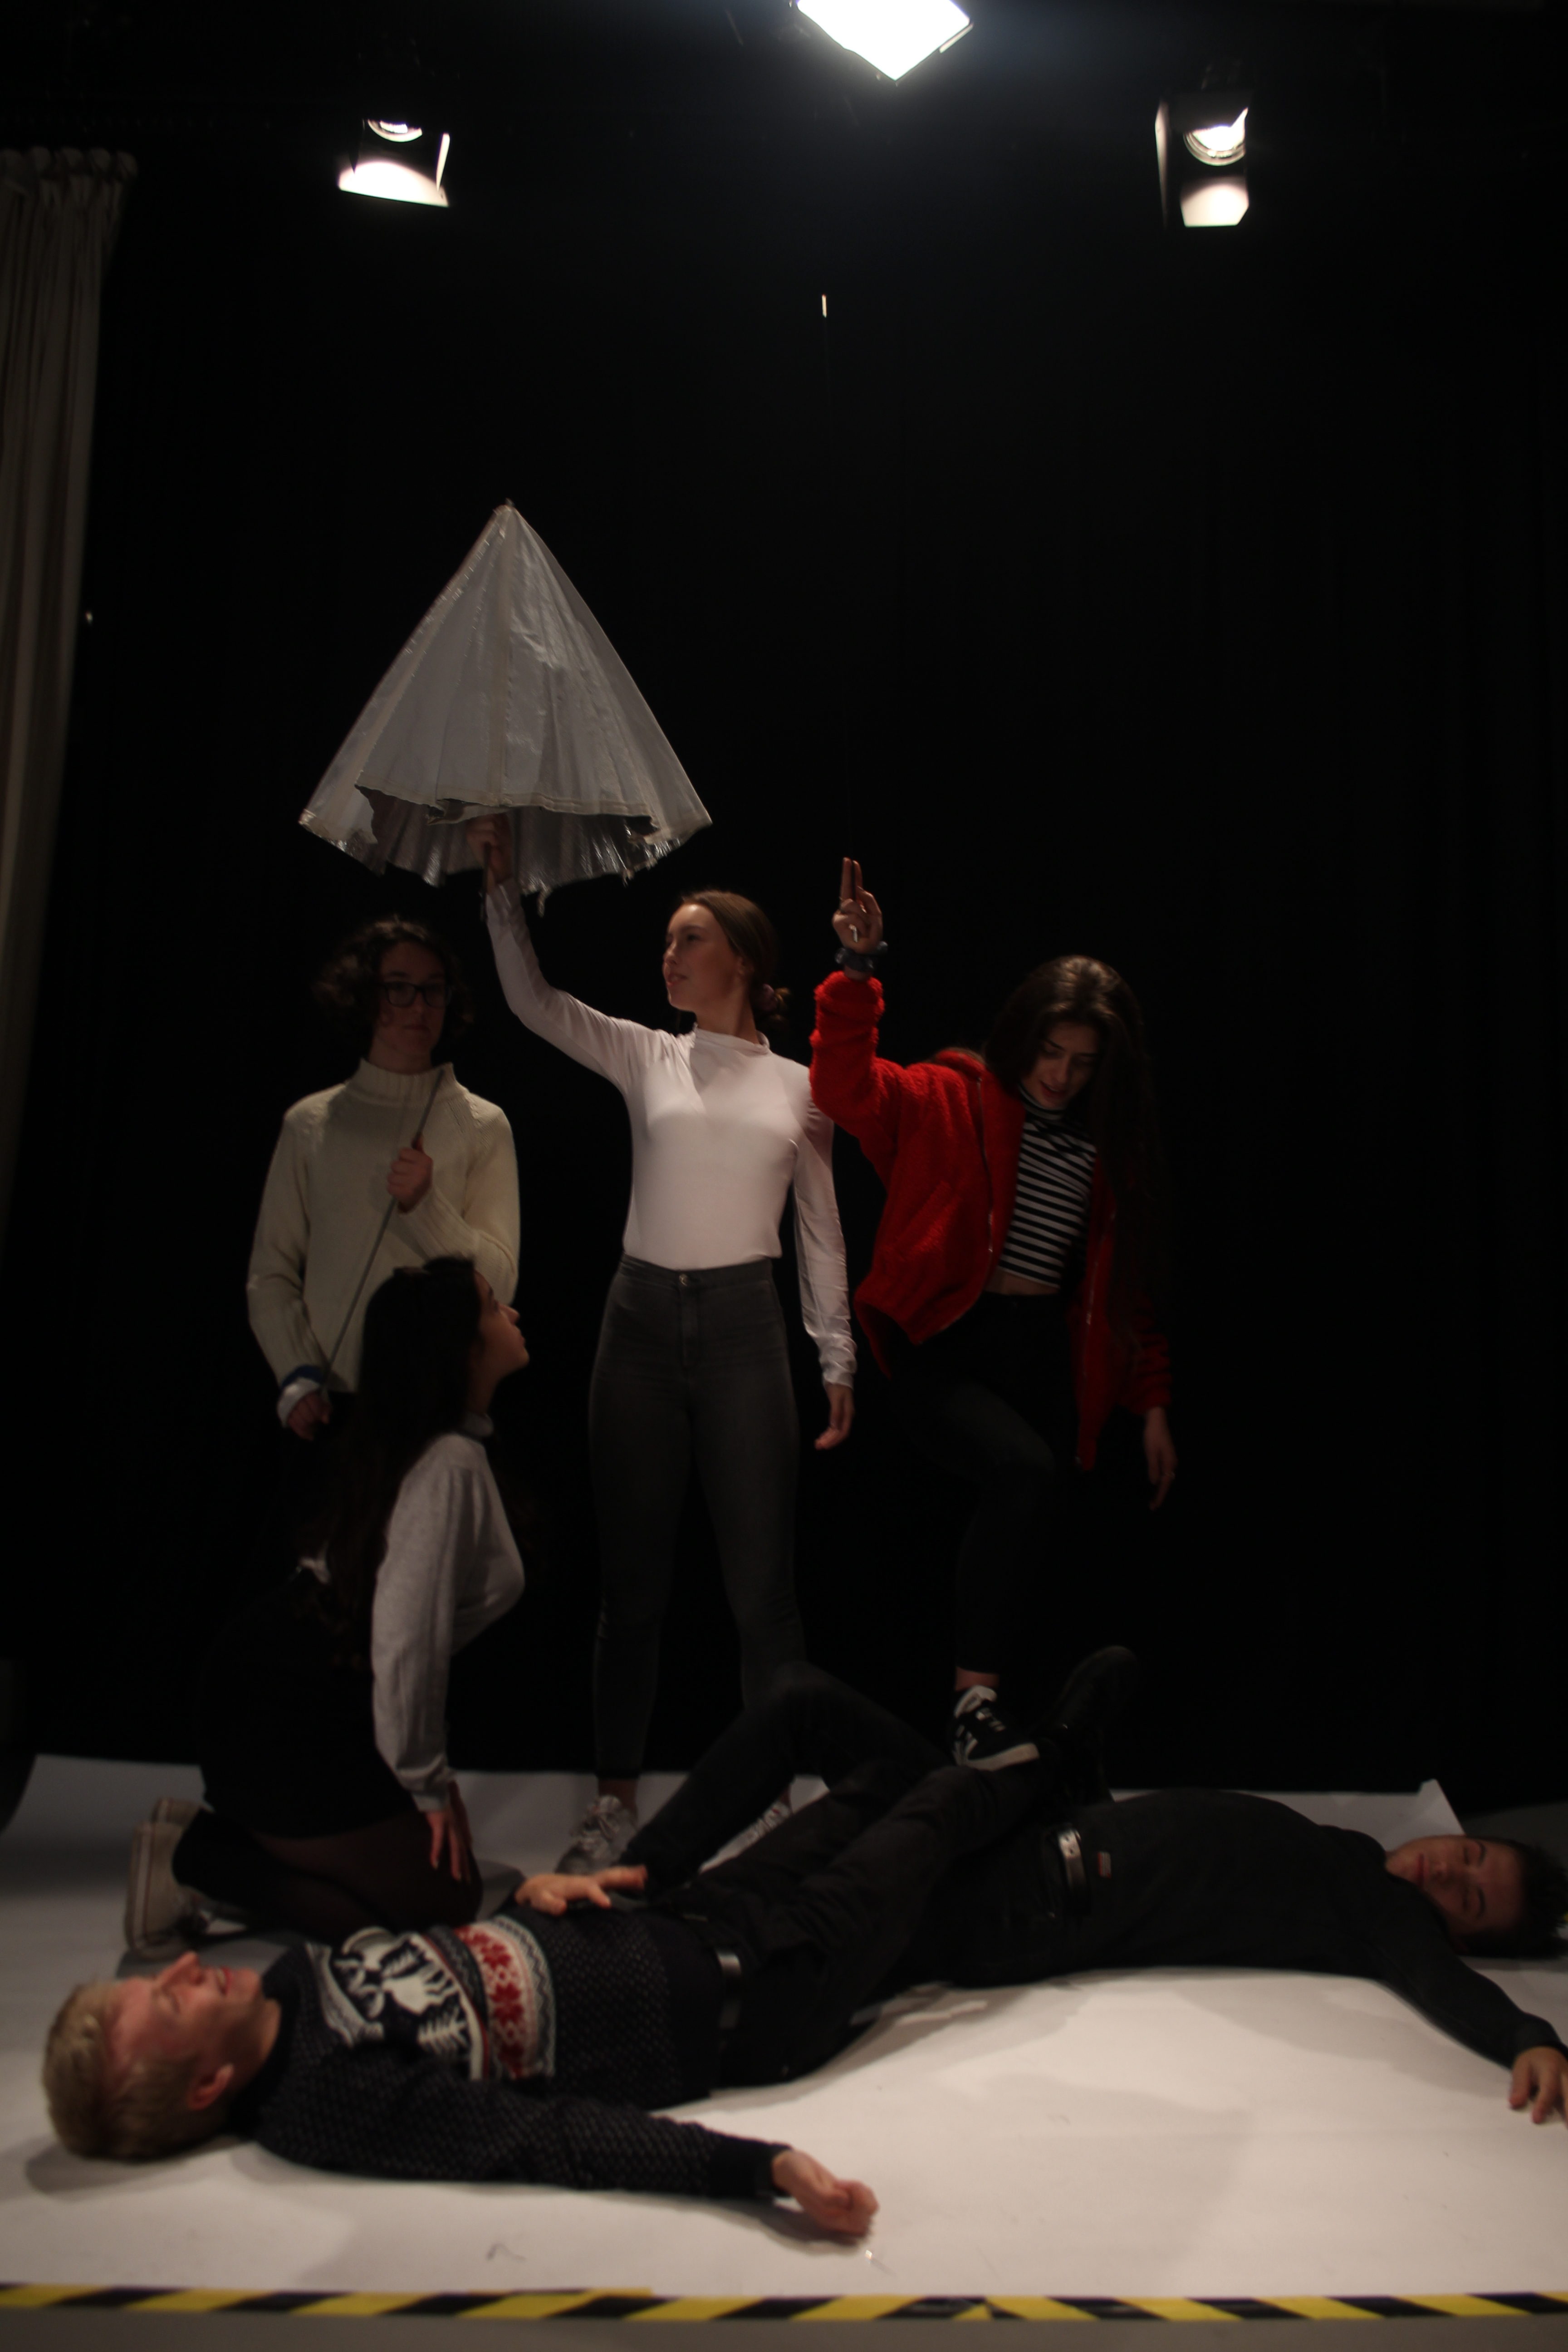
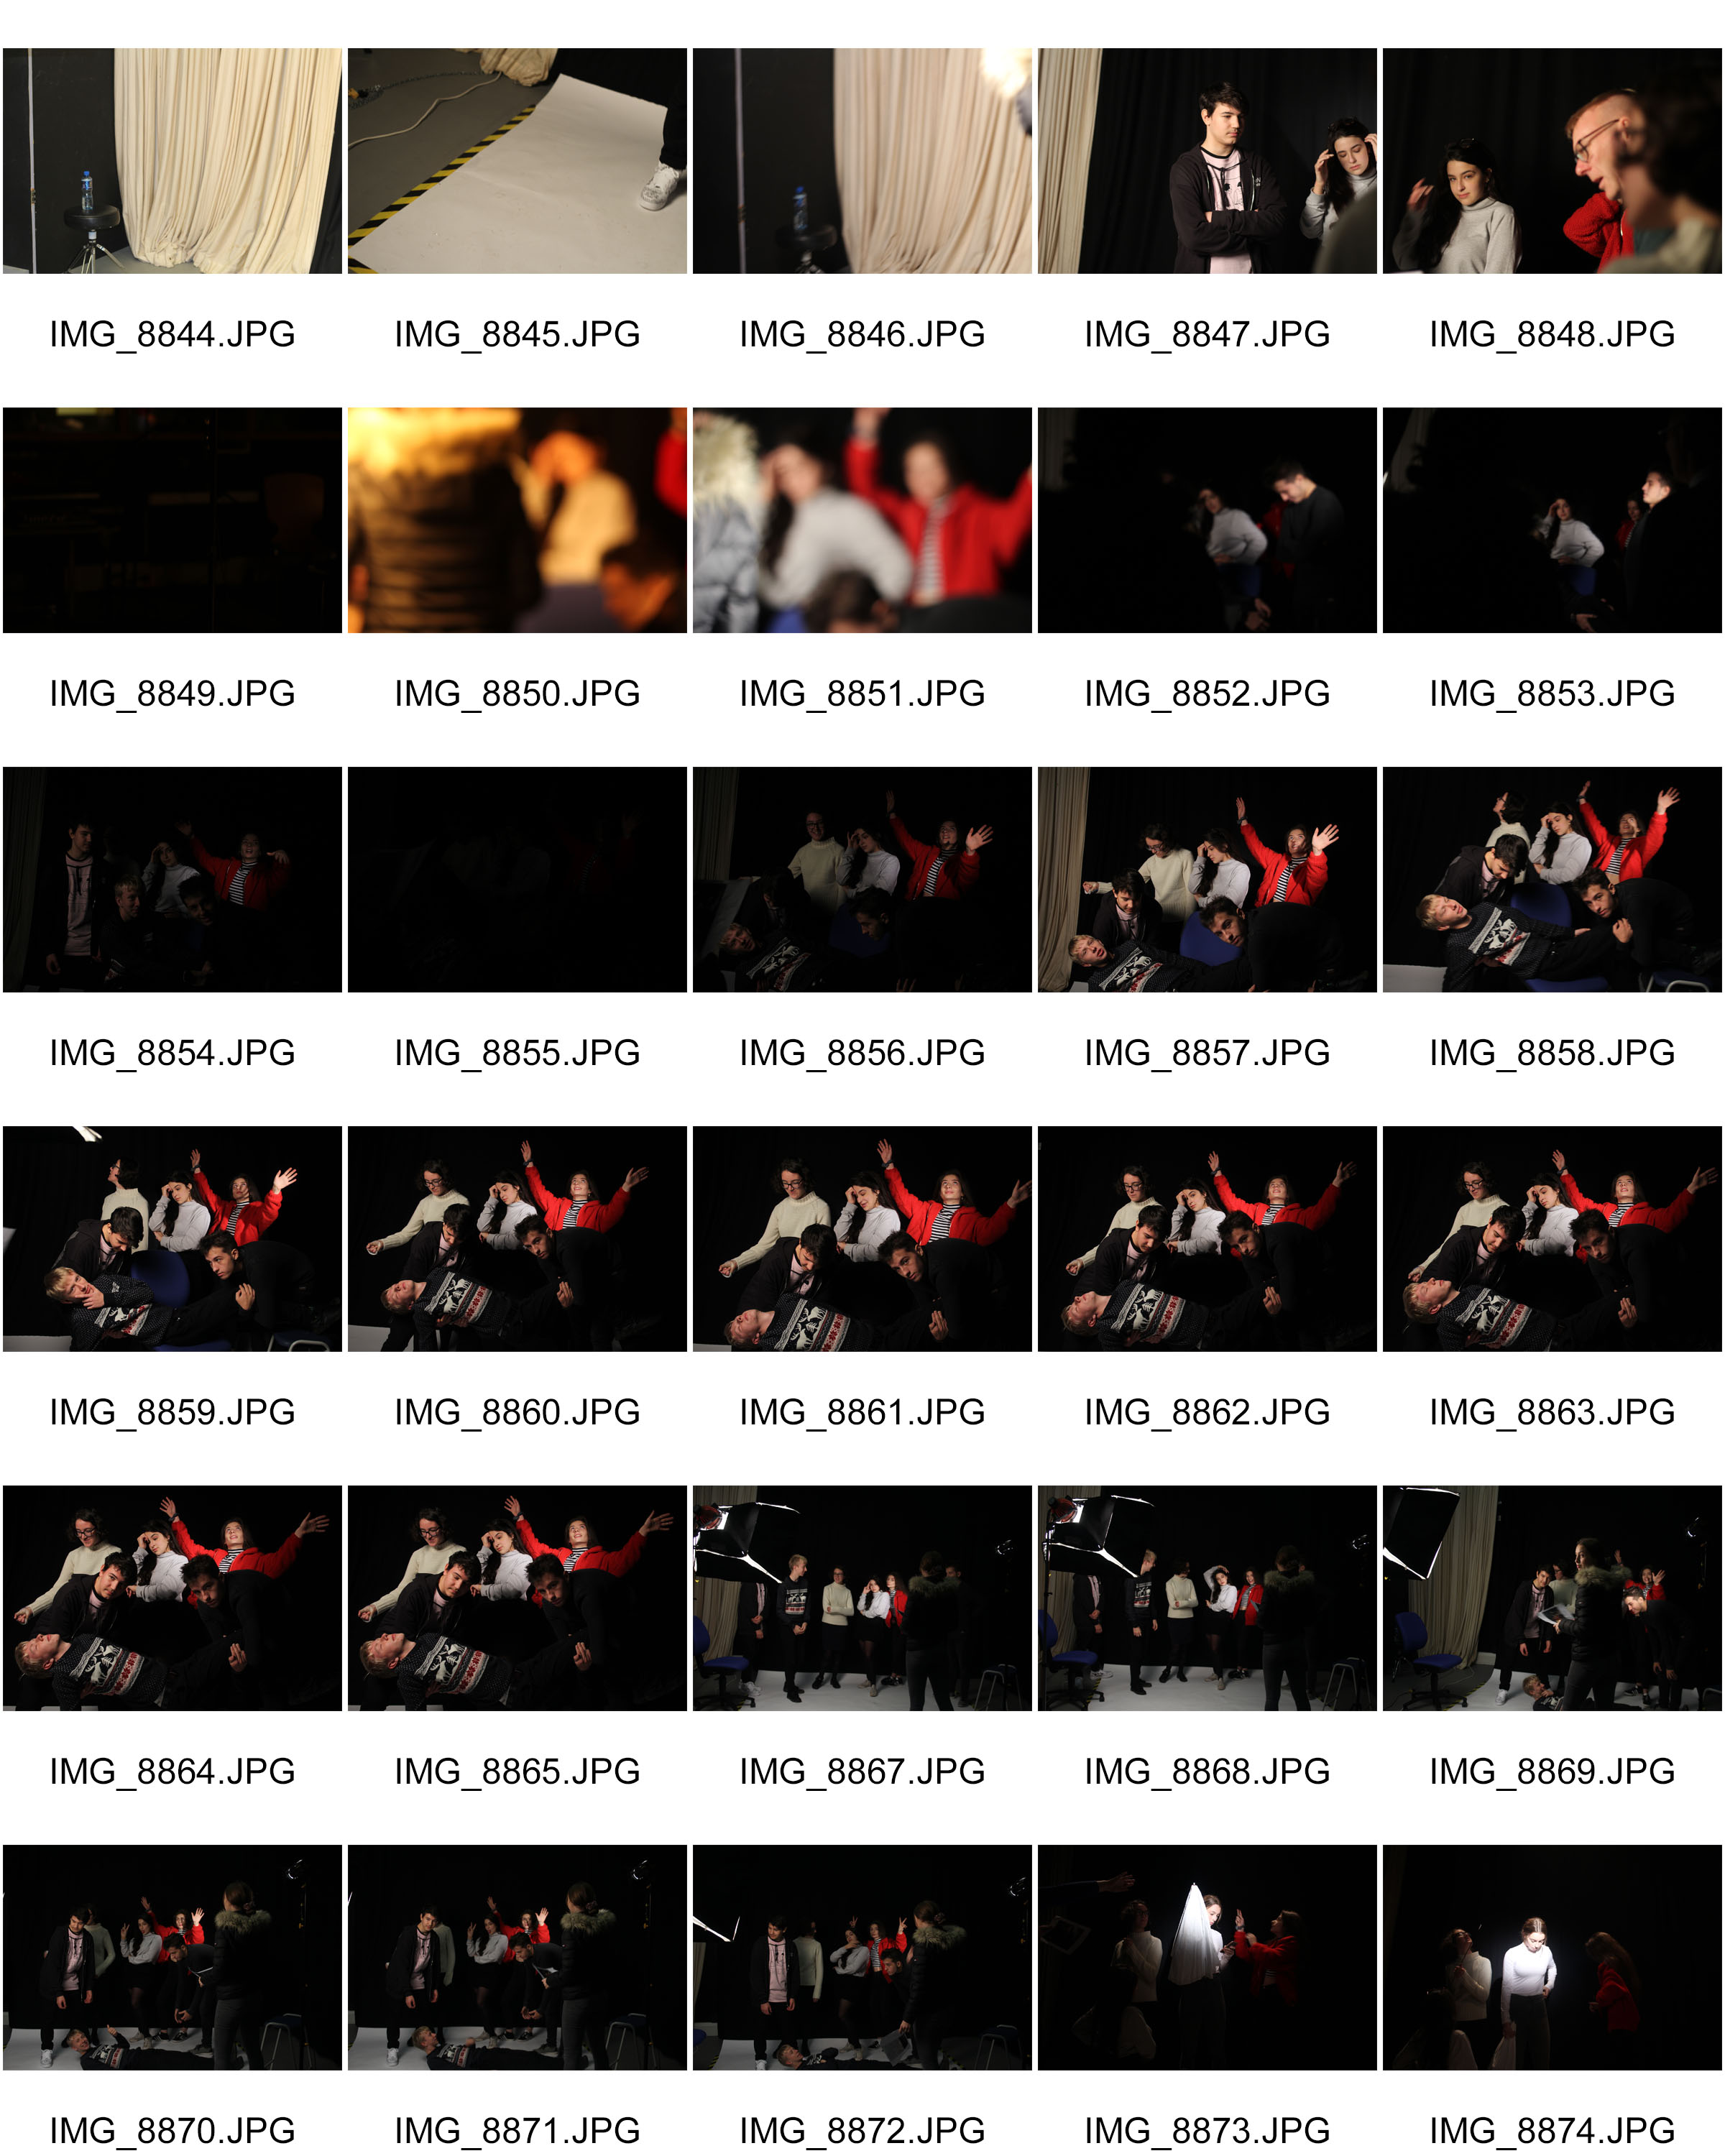
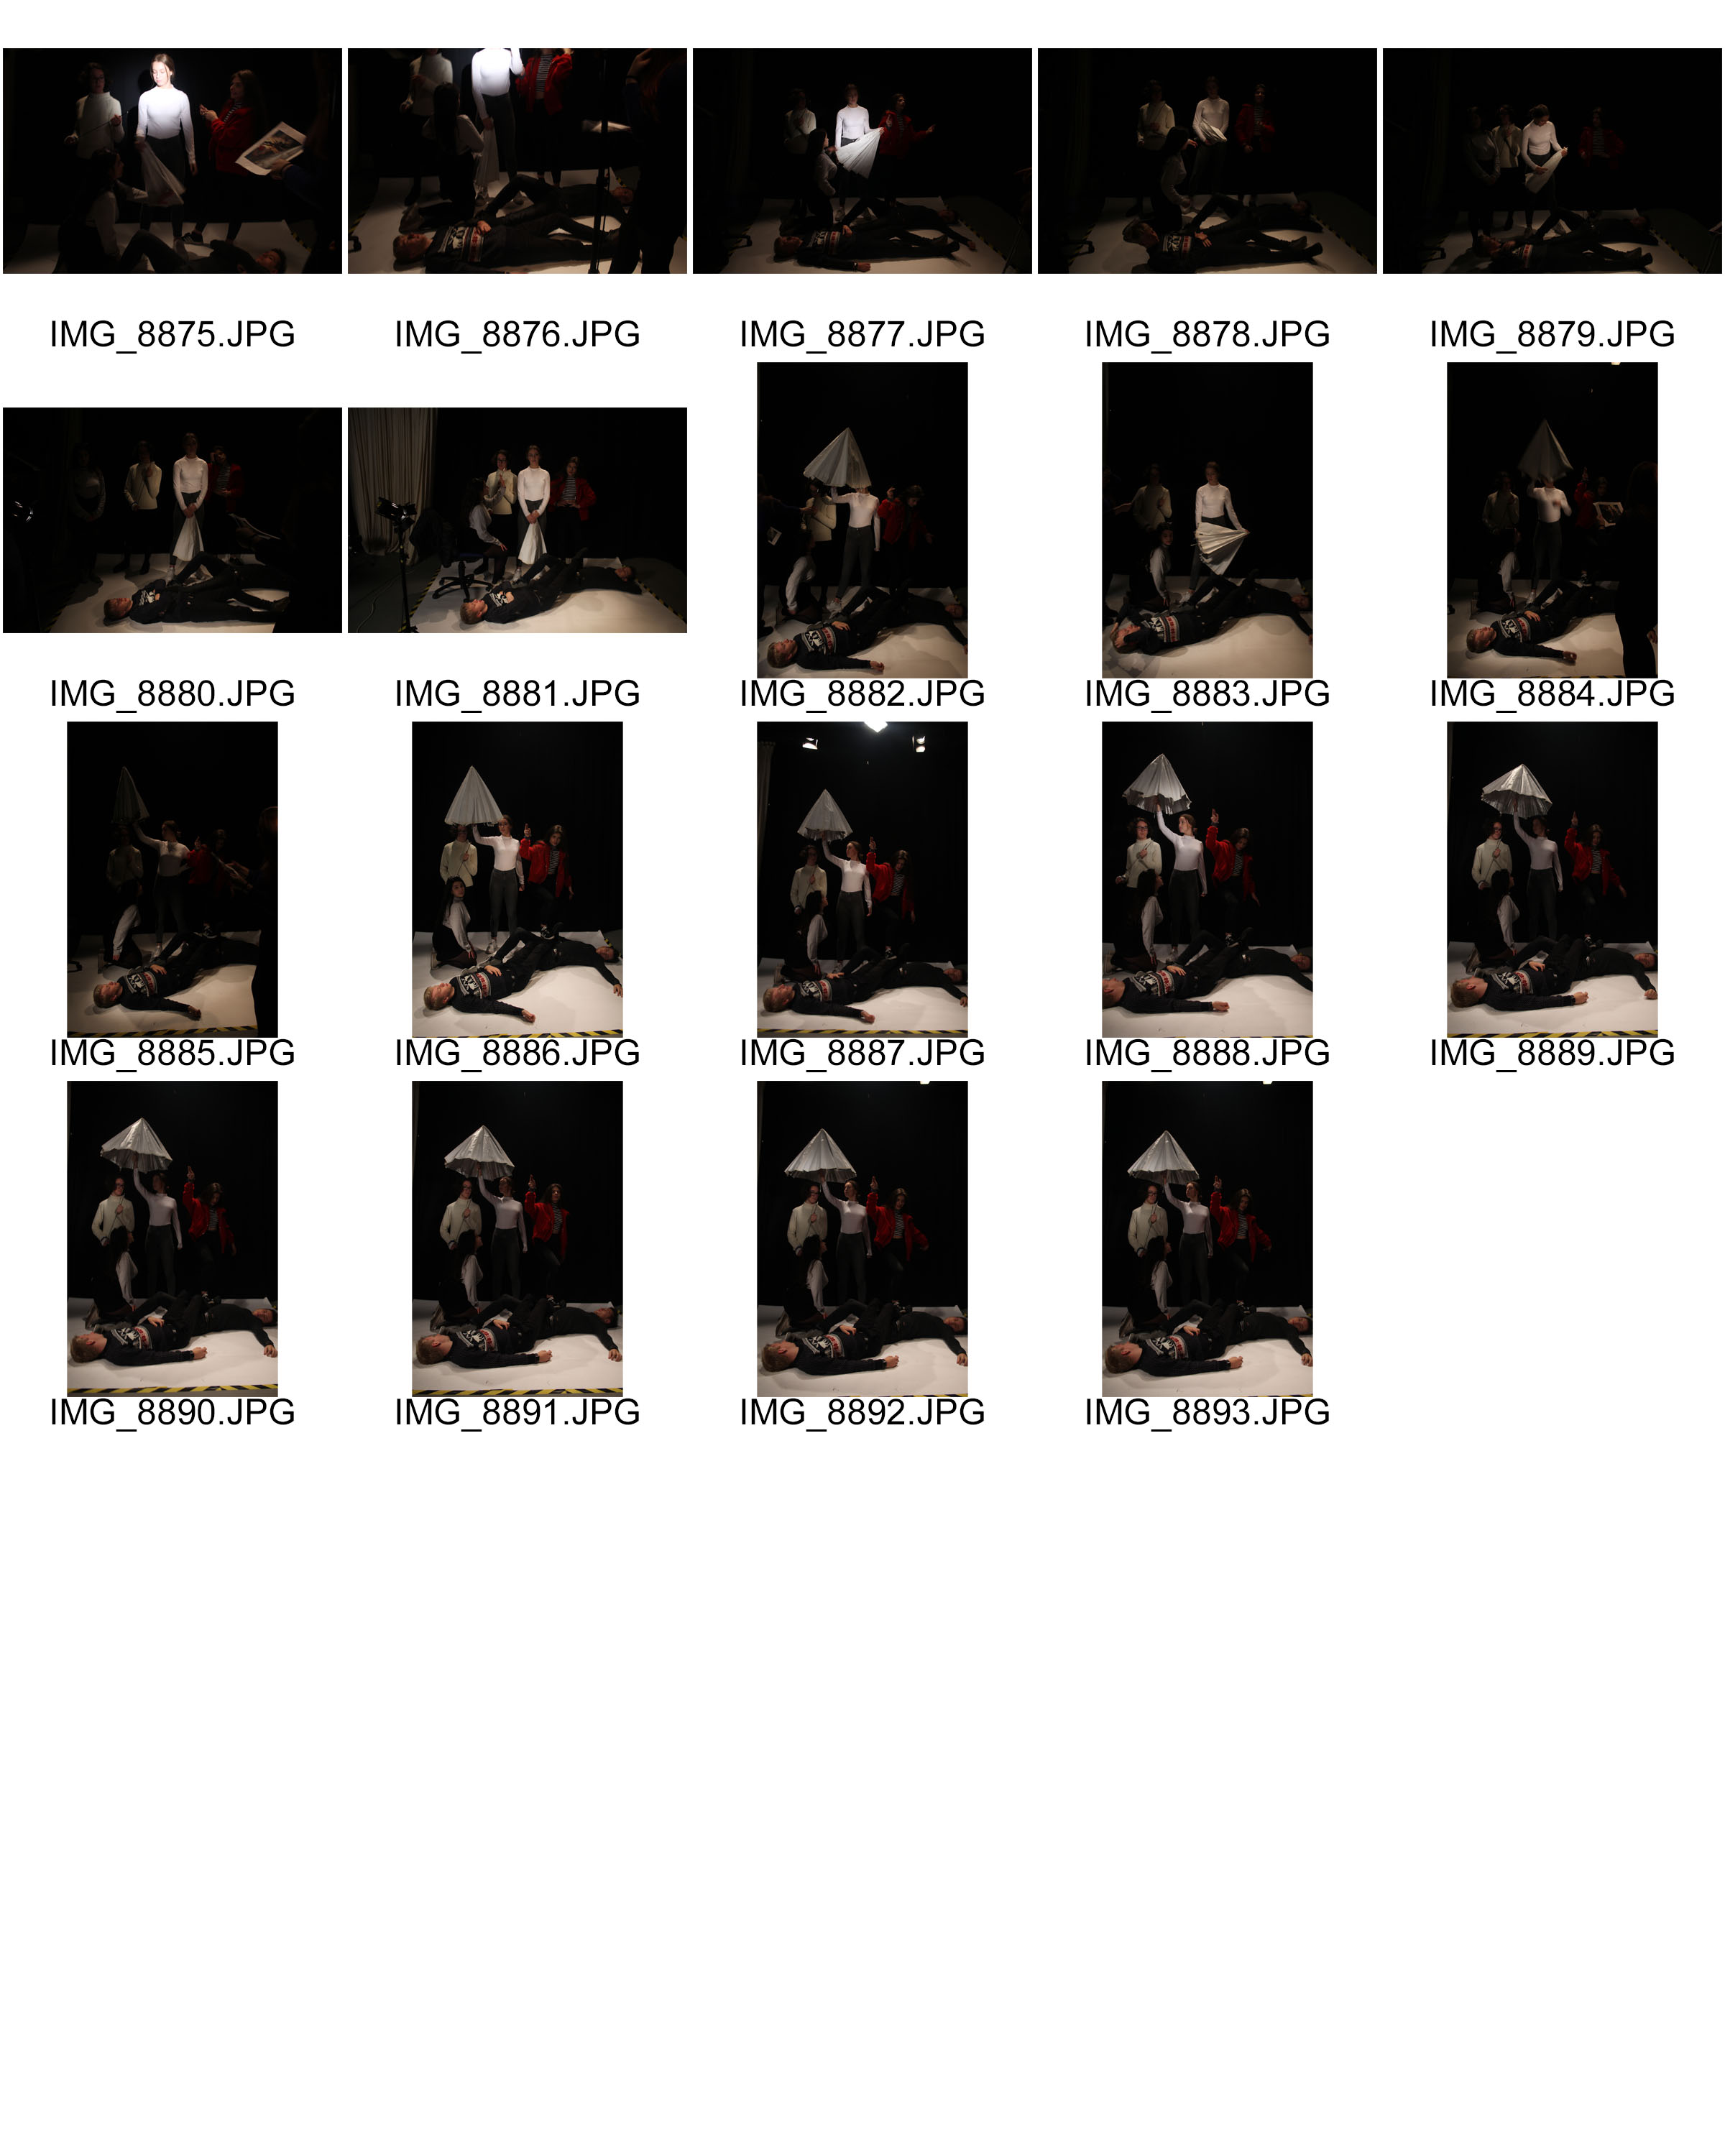
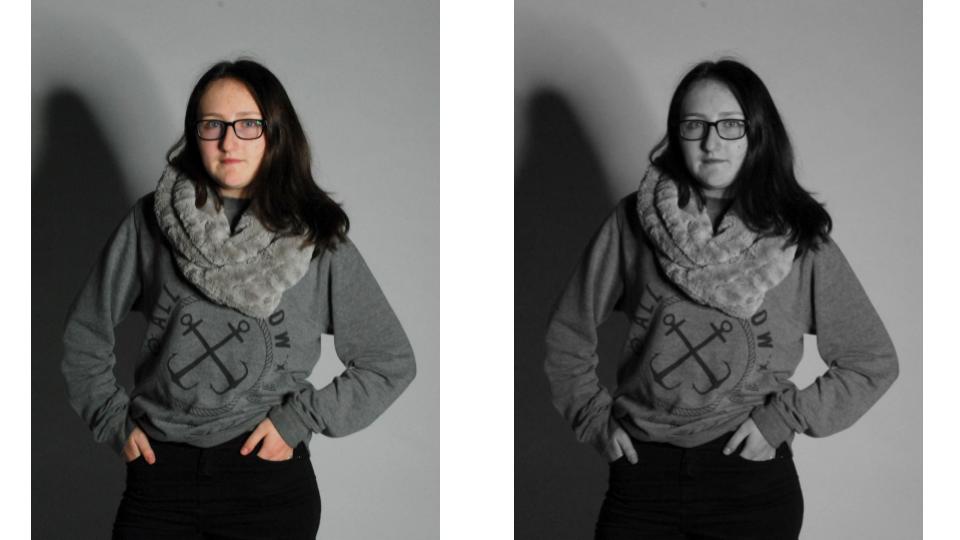
Editing Of Class Response


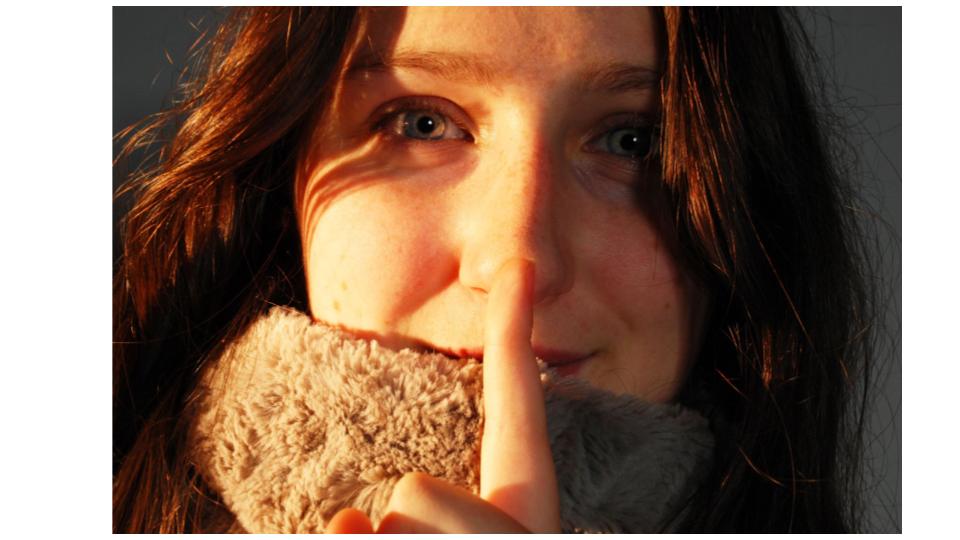
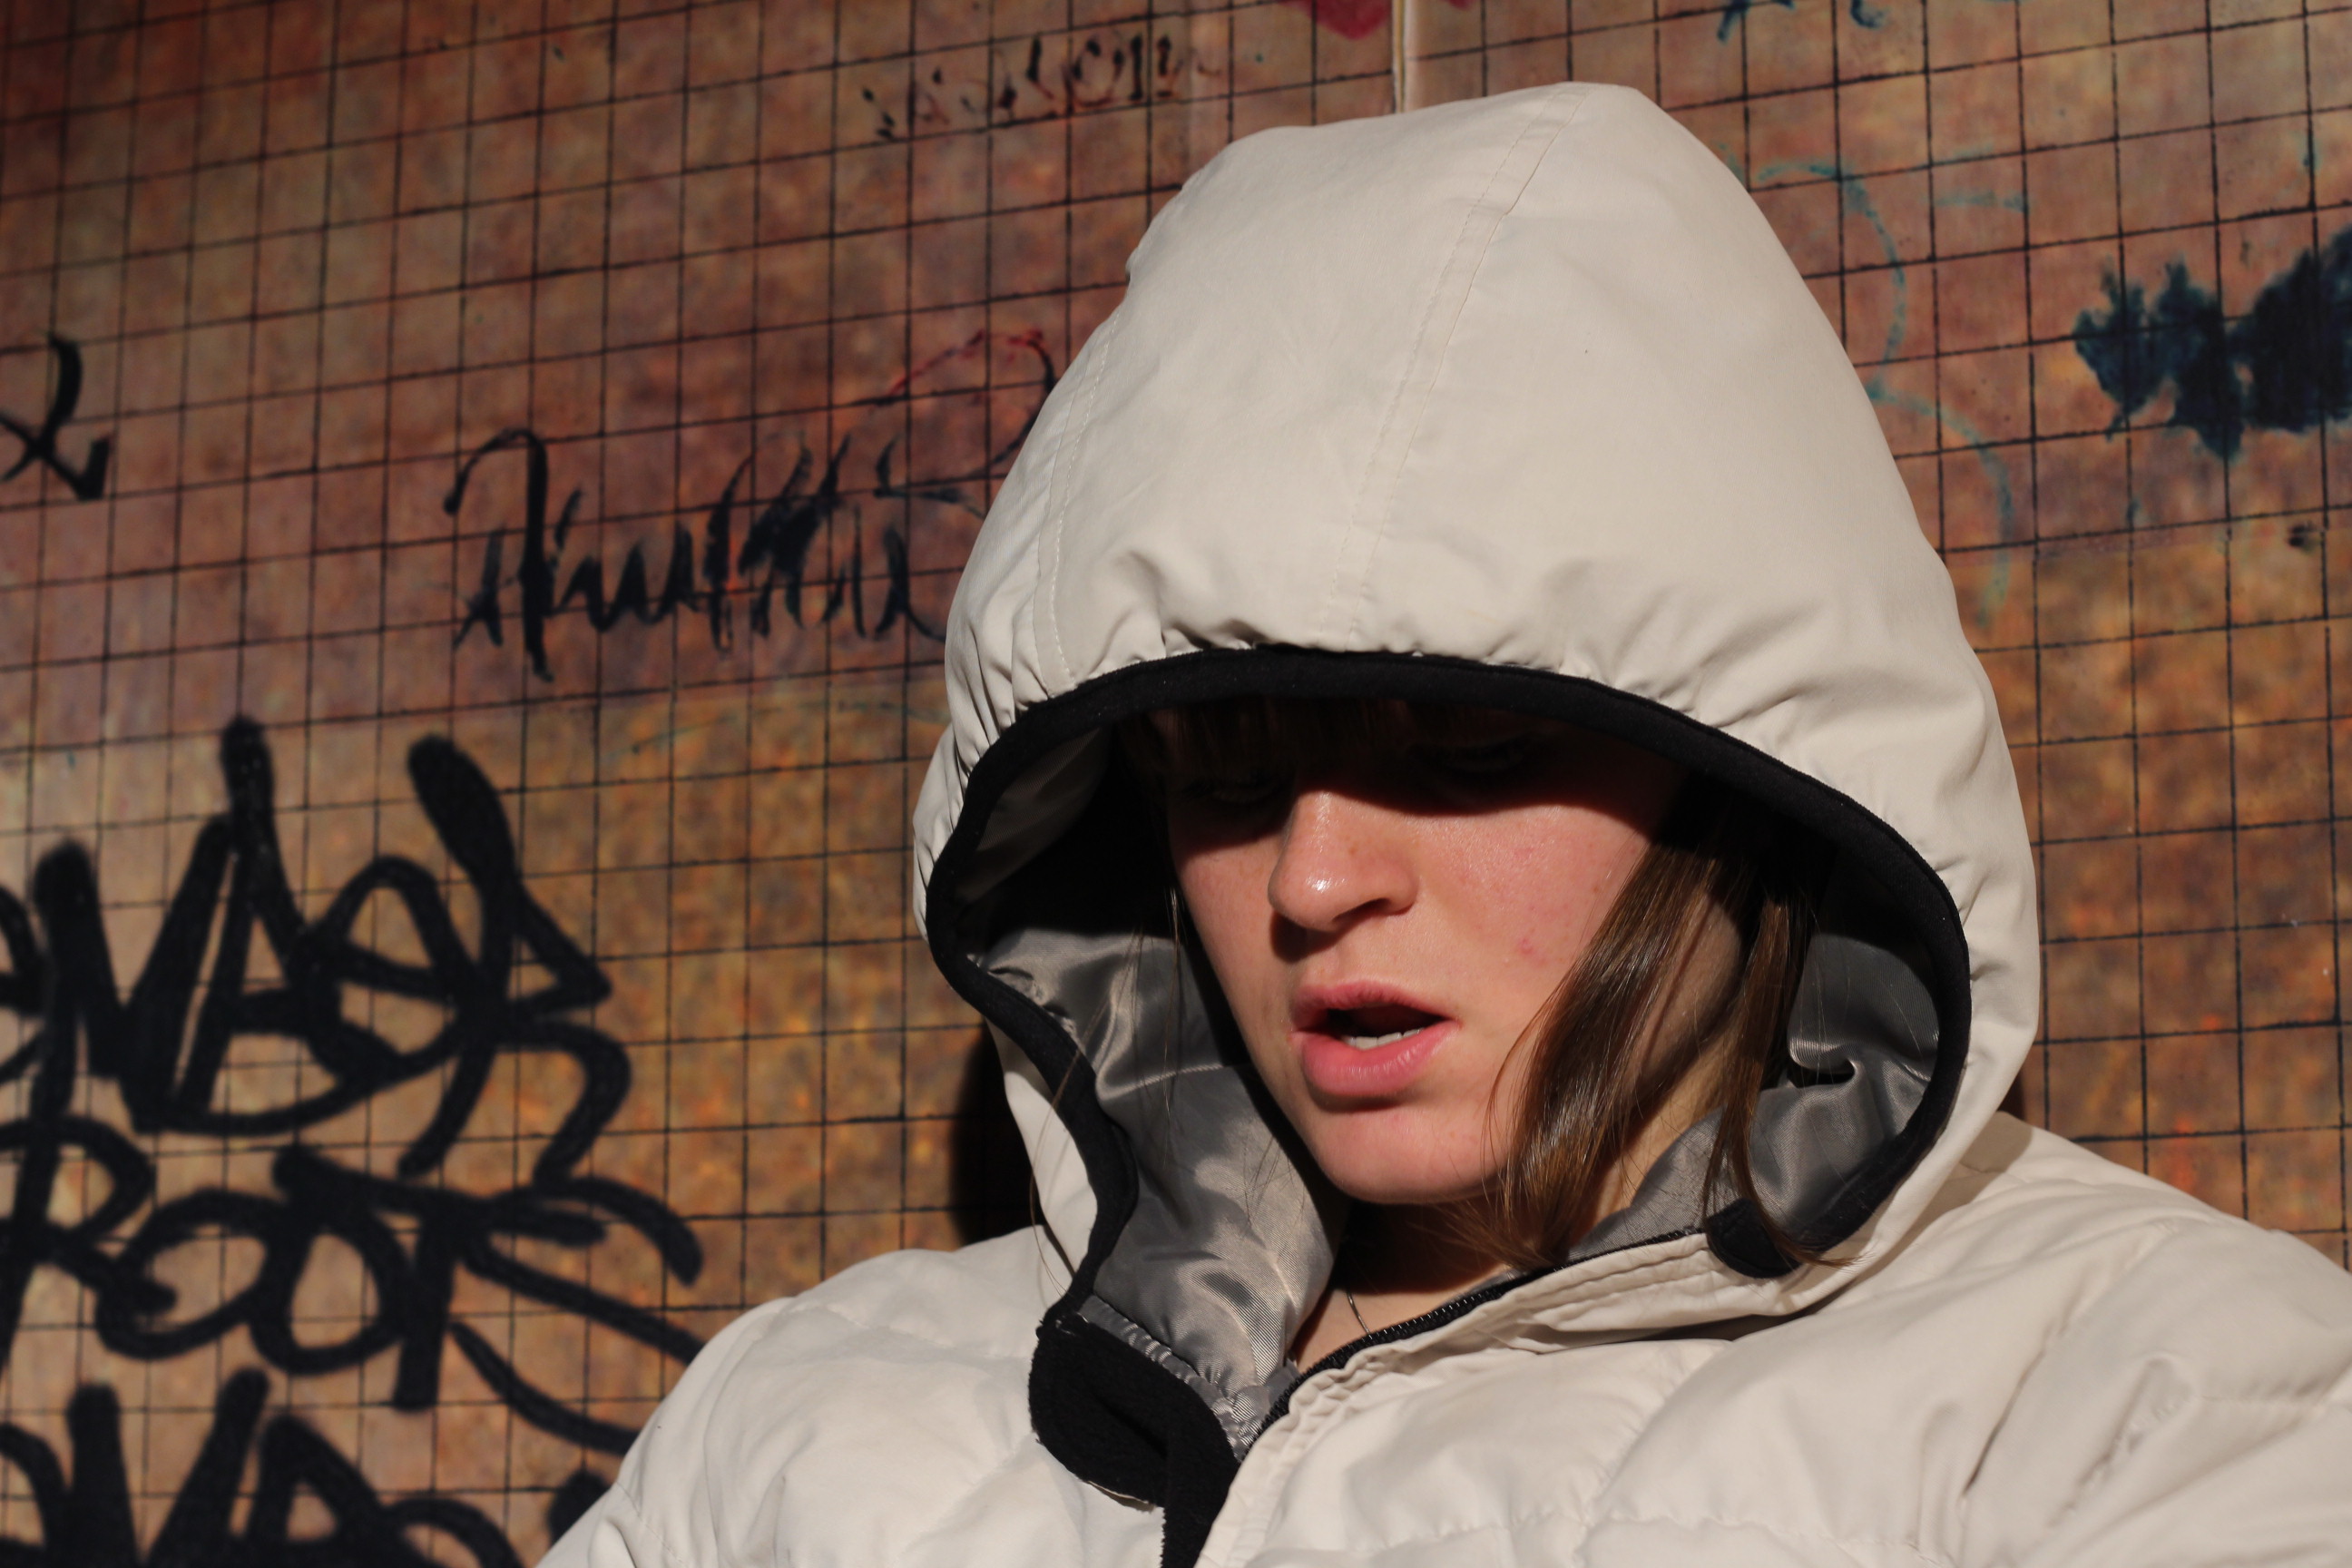
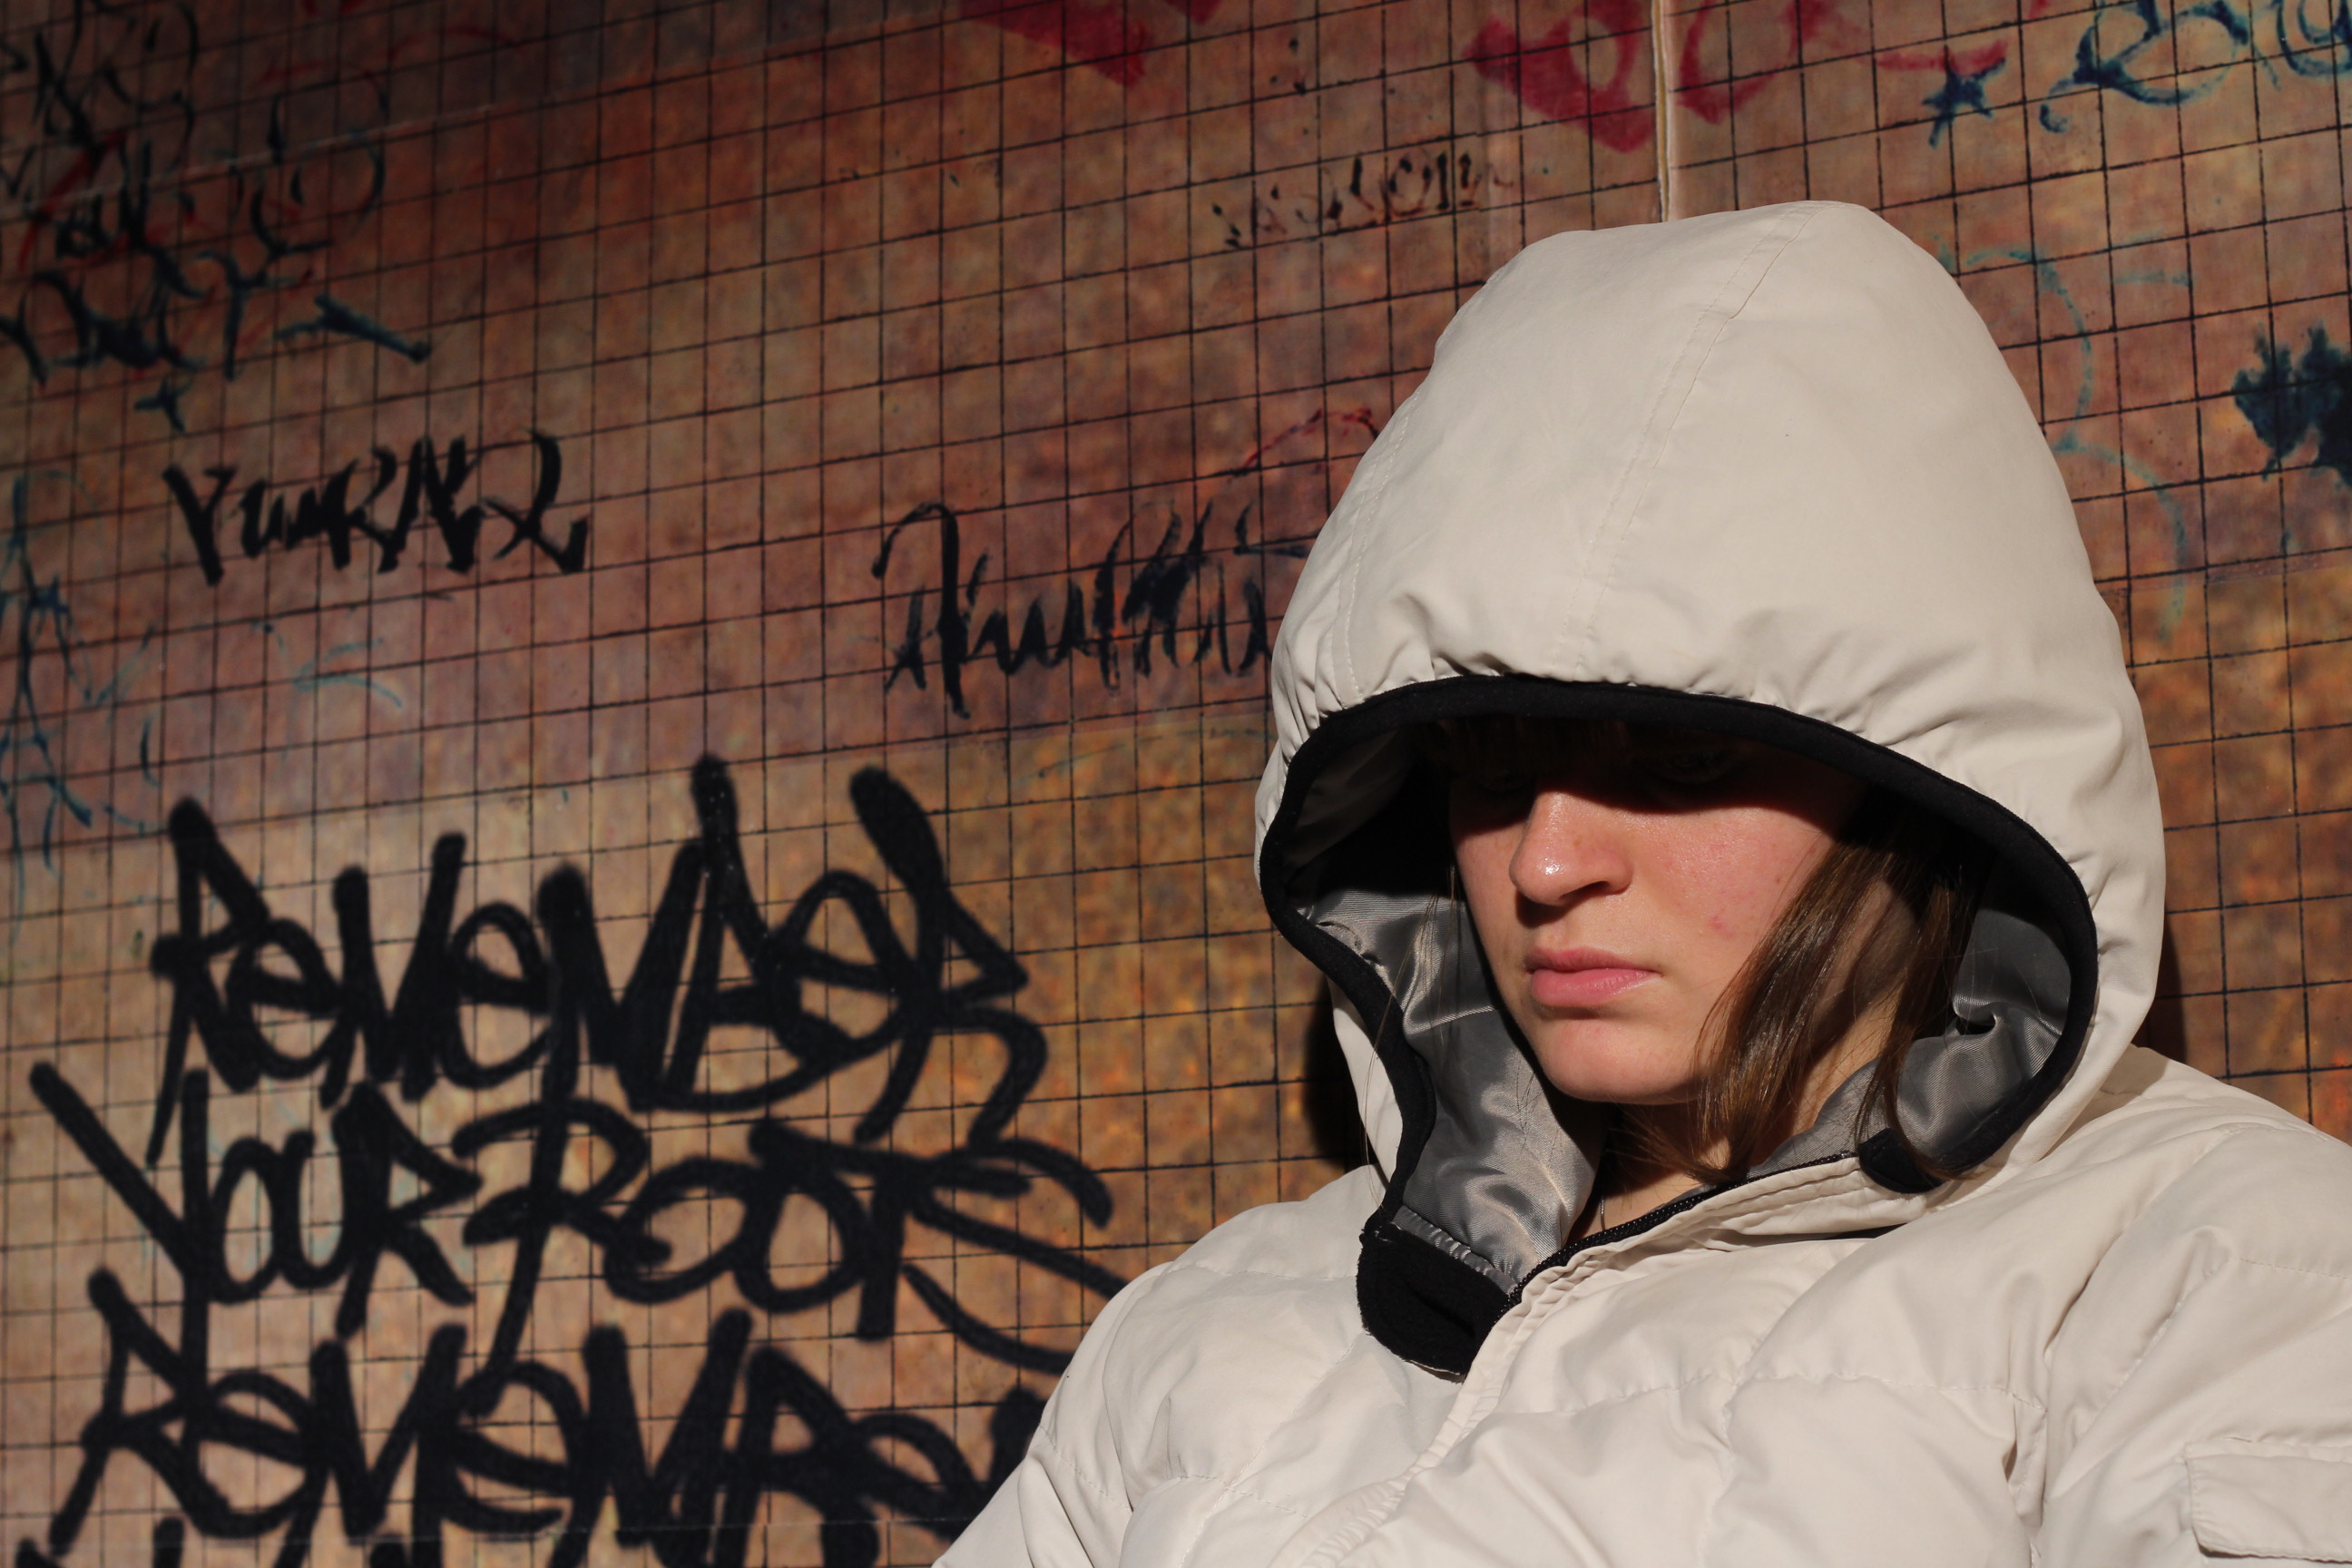
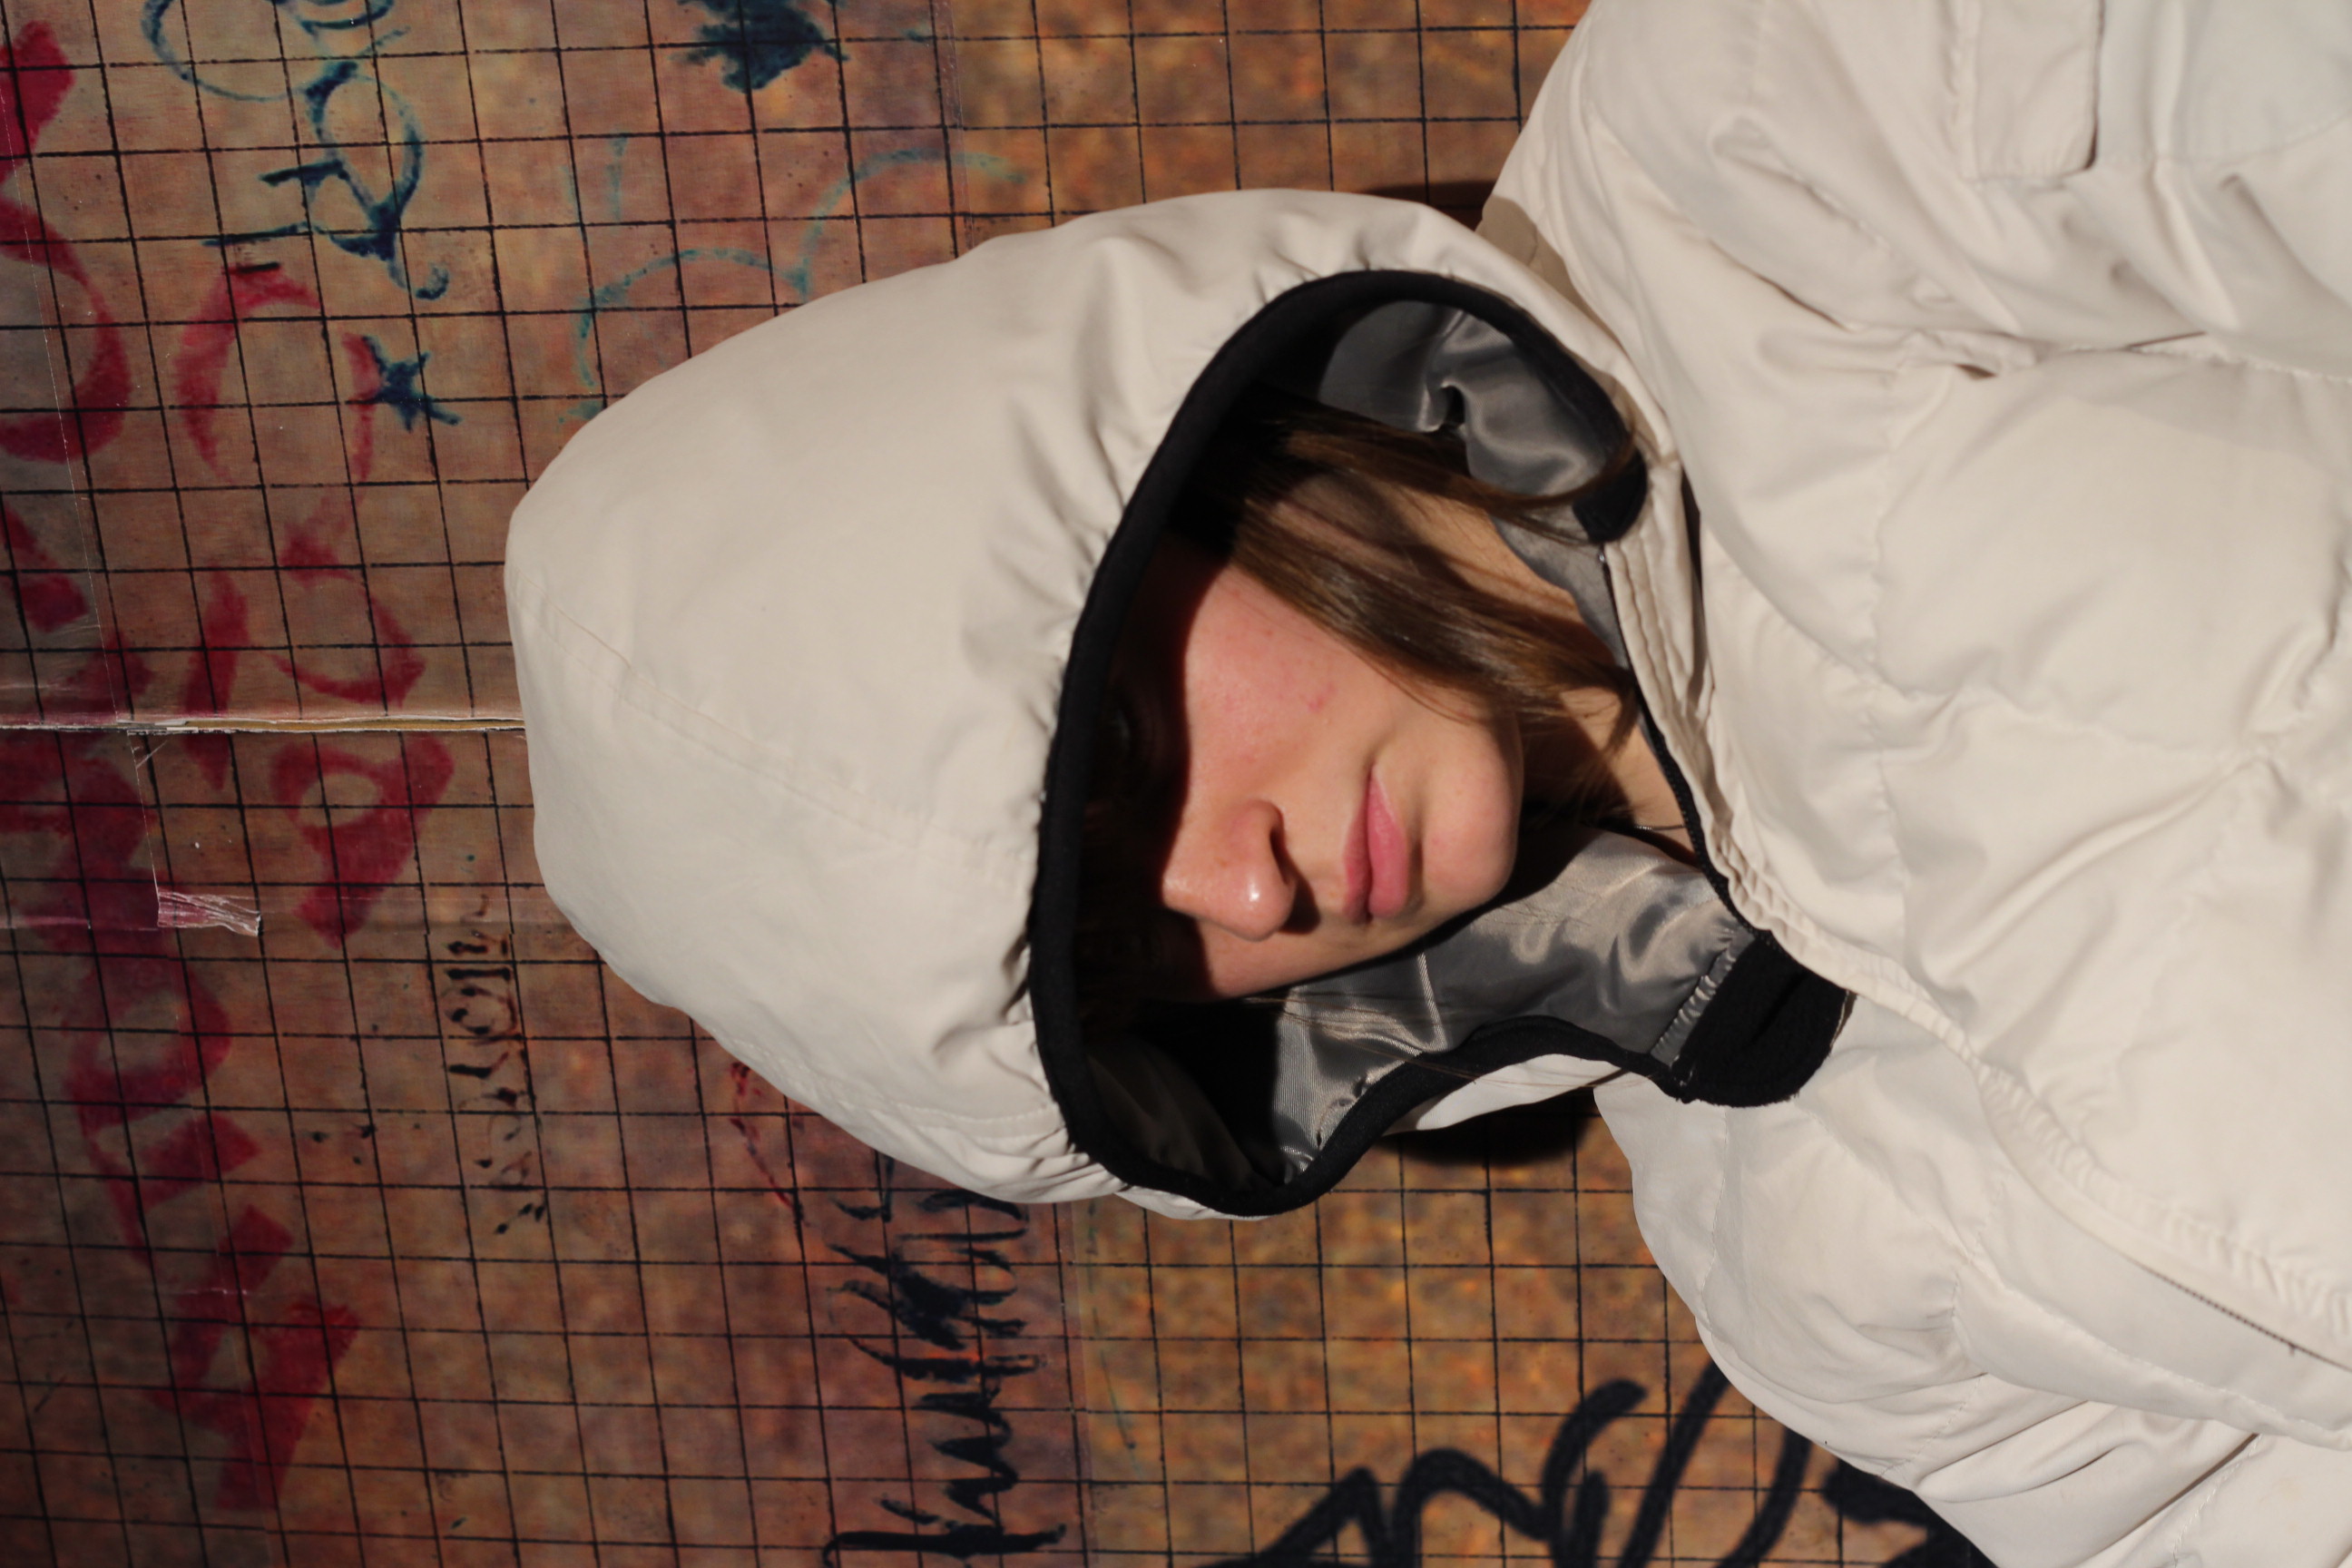
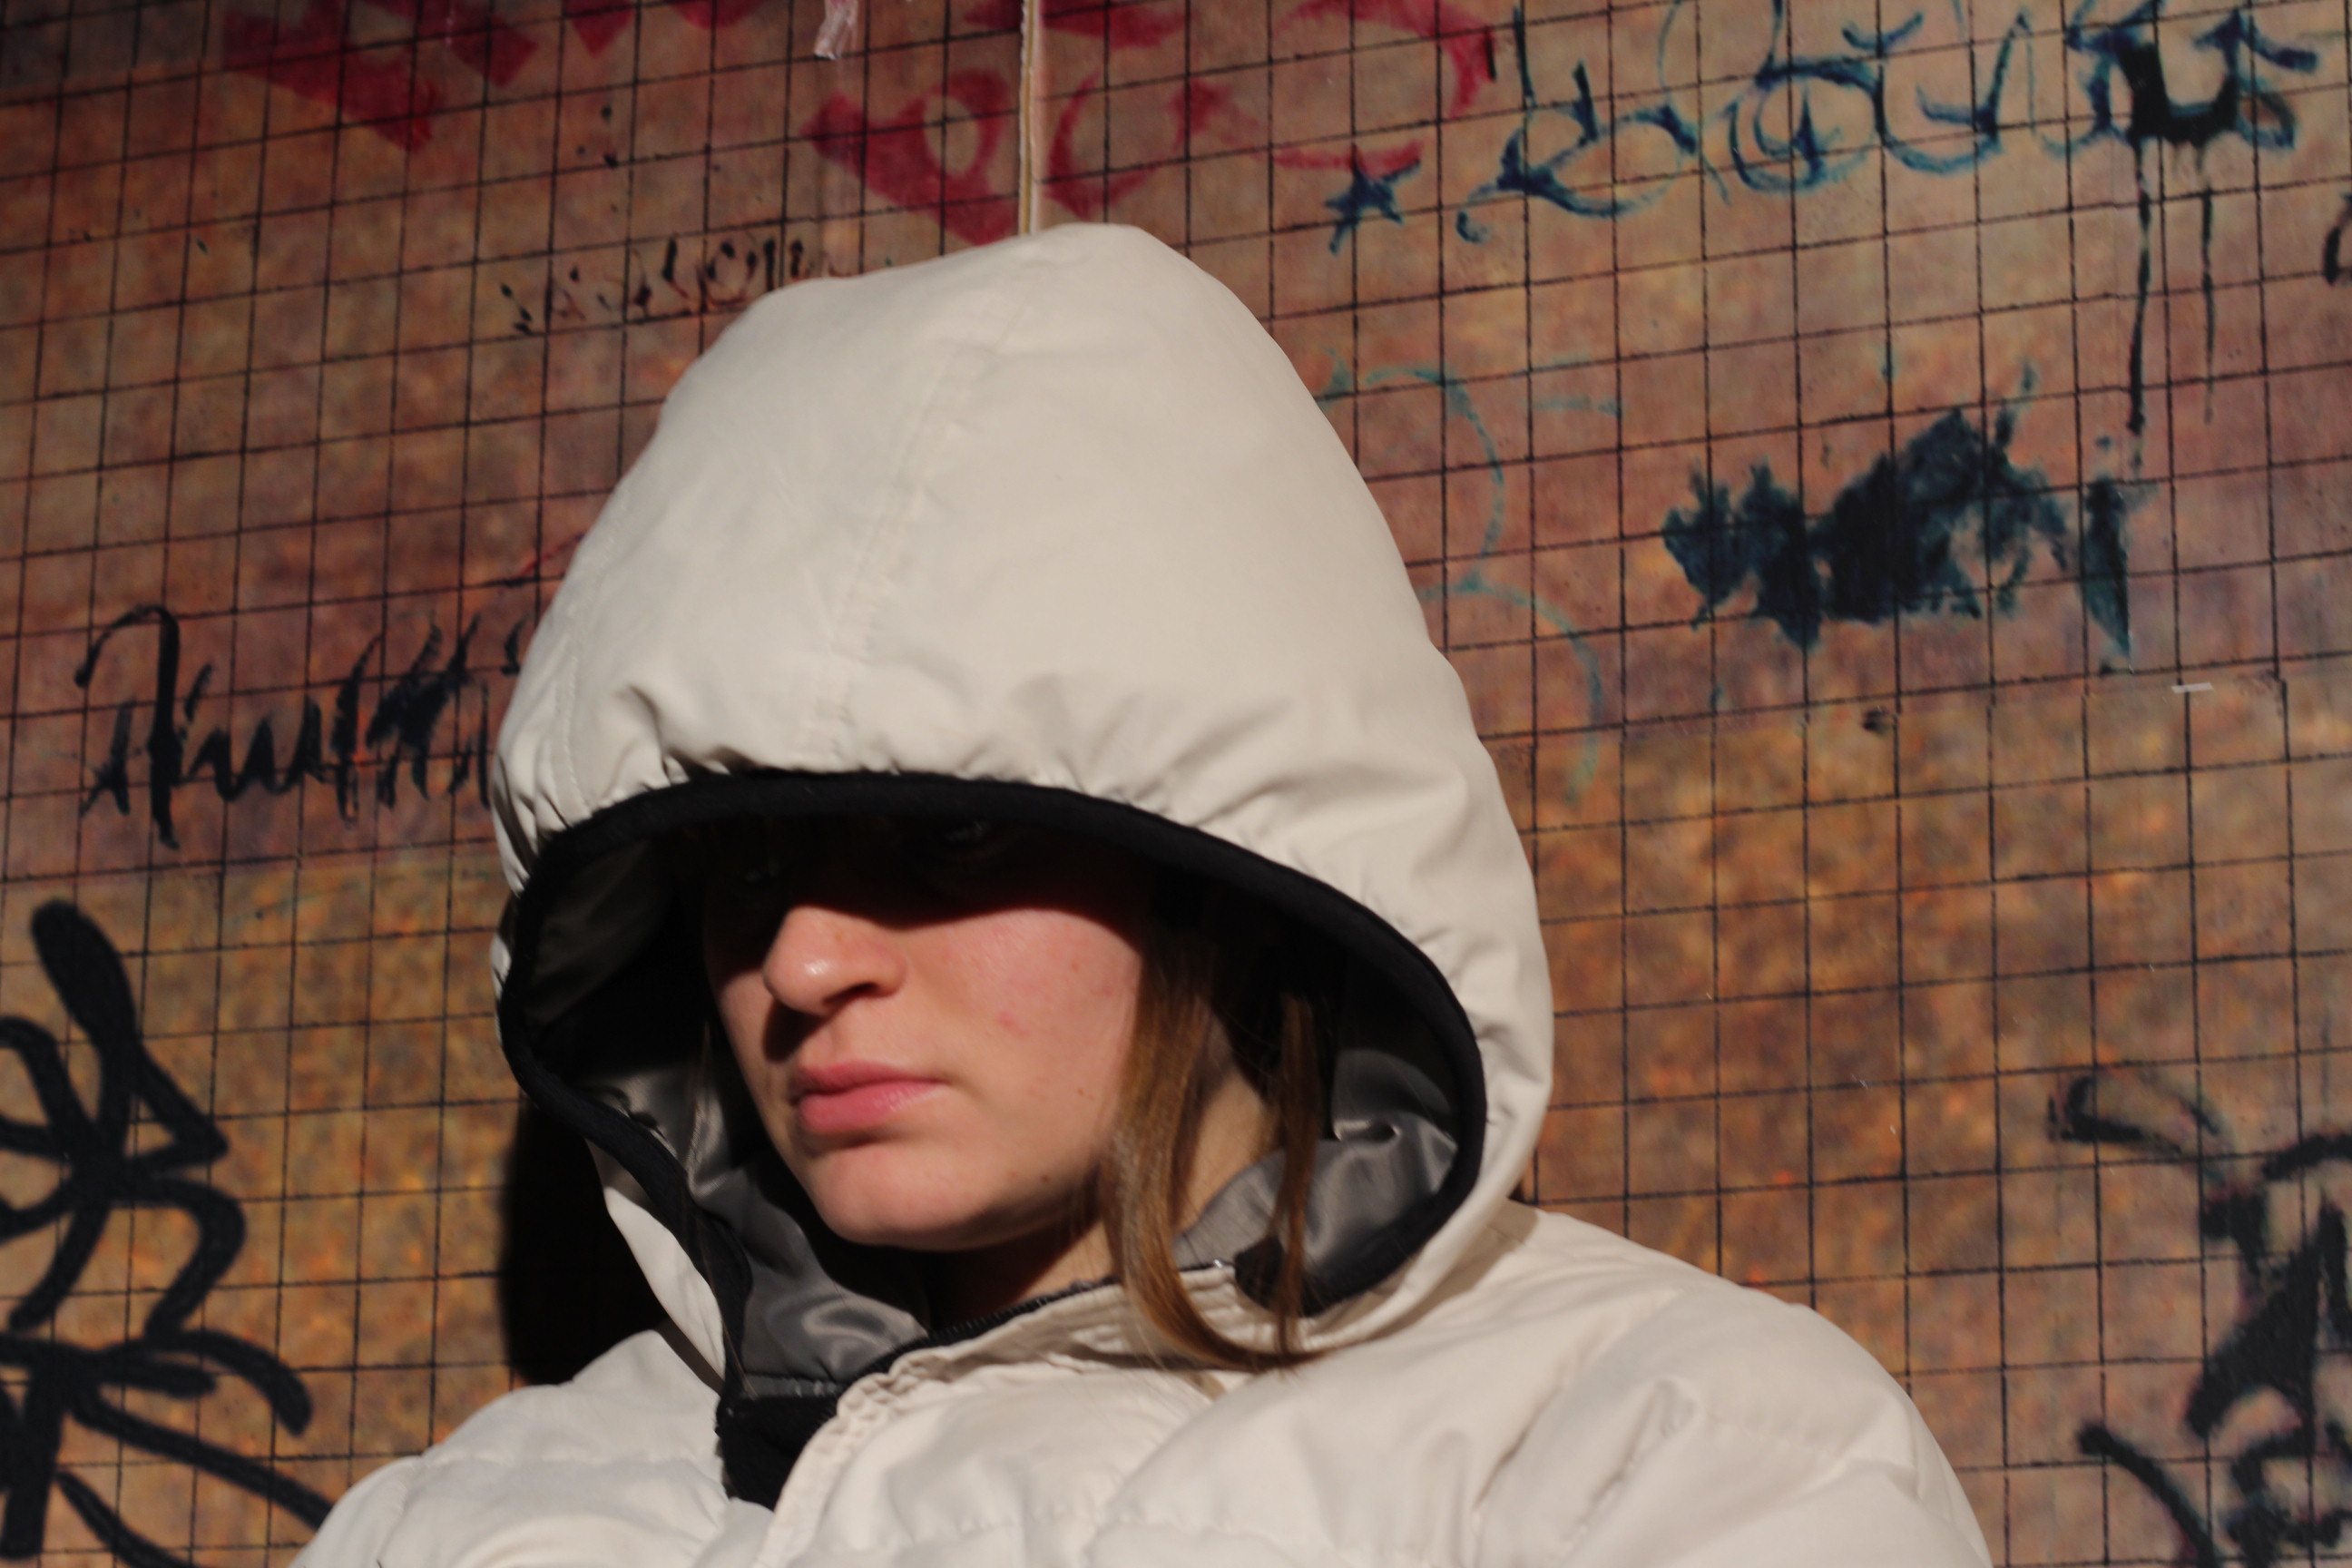
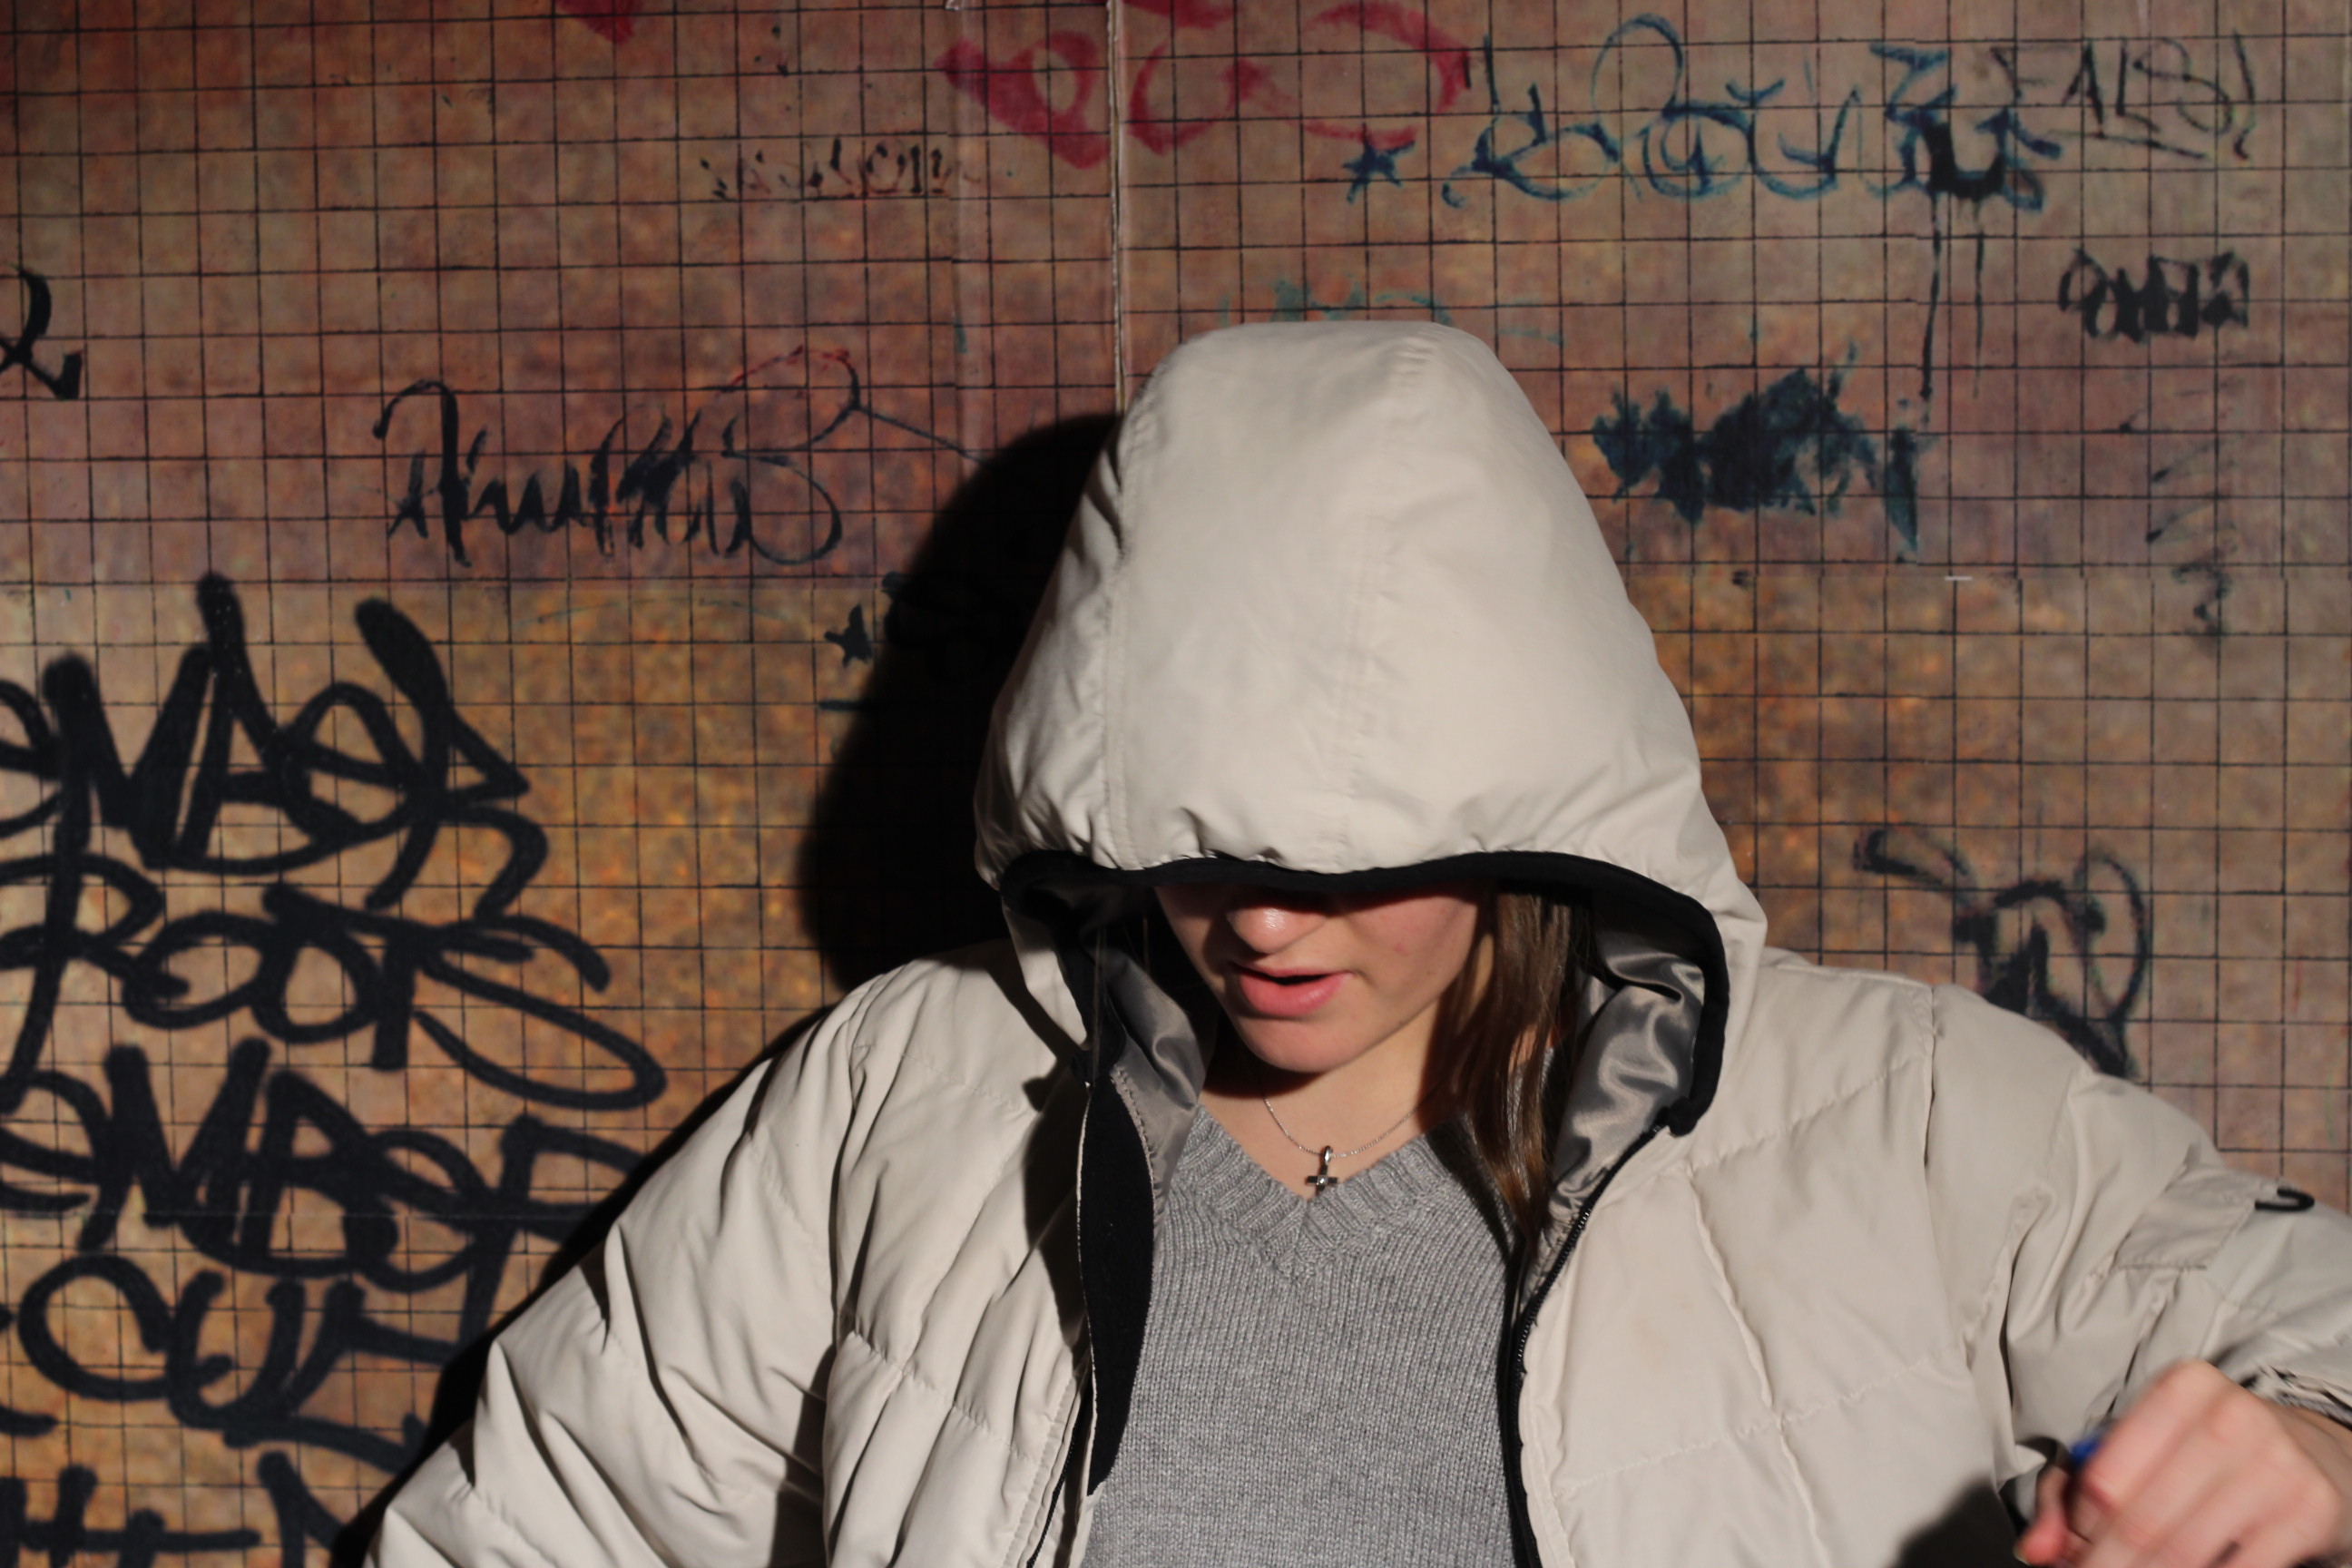
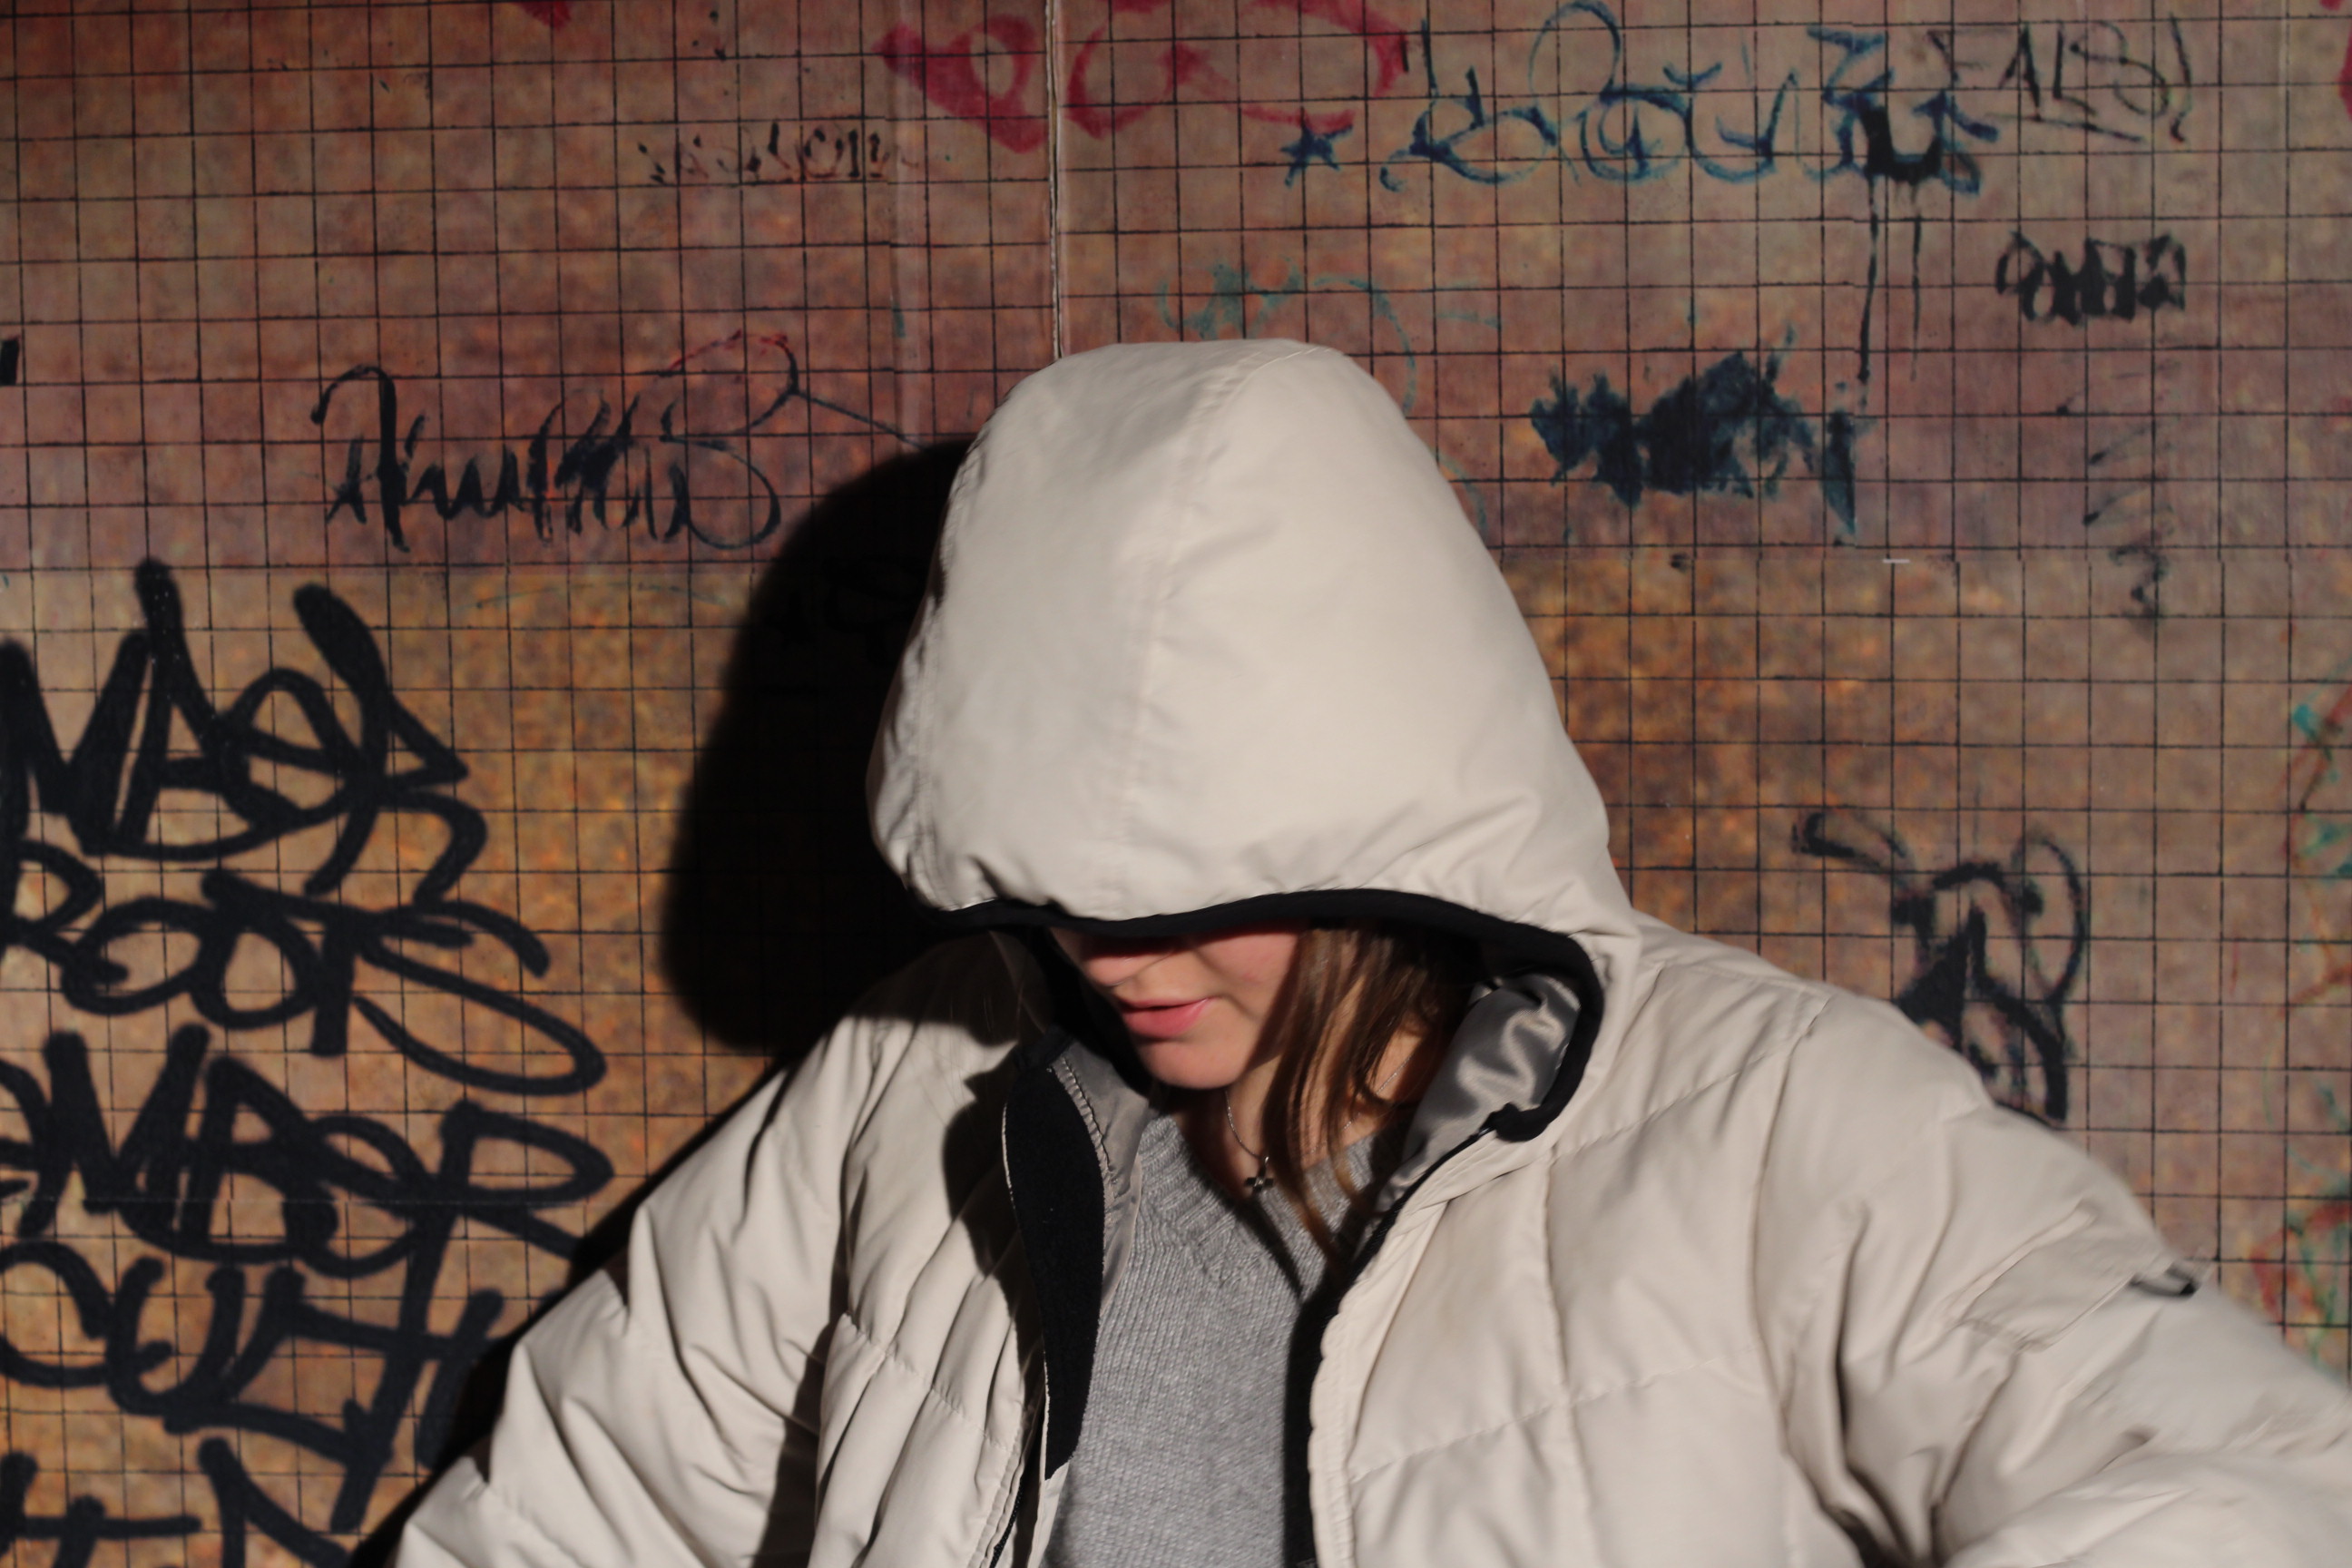
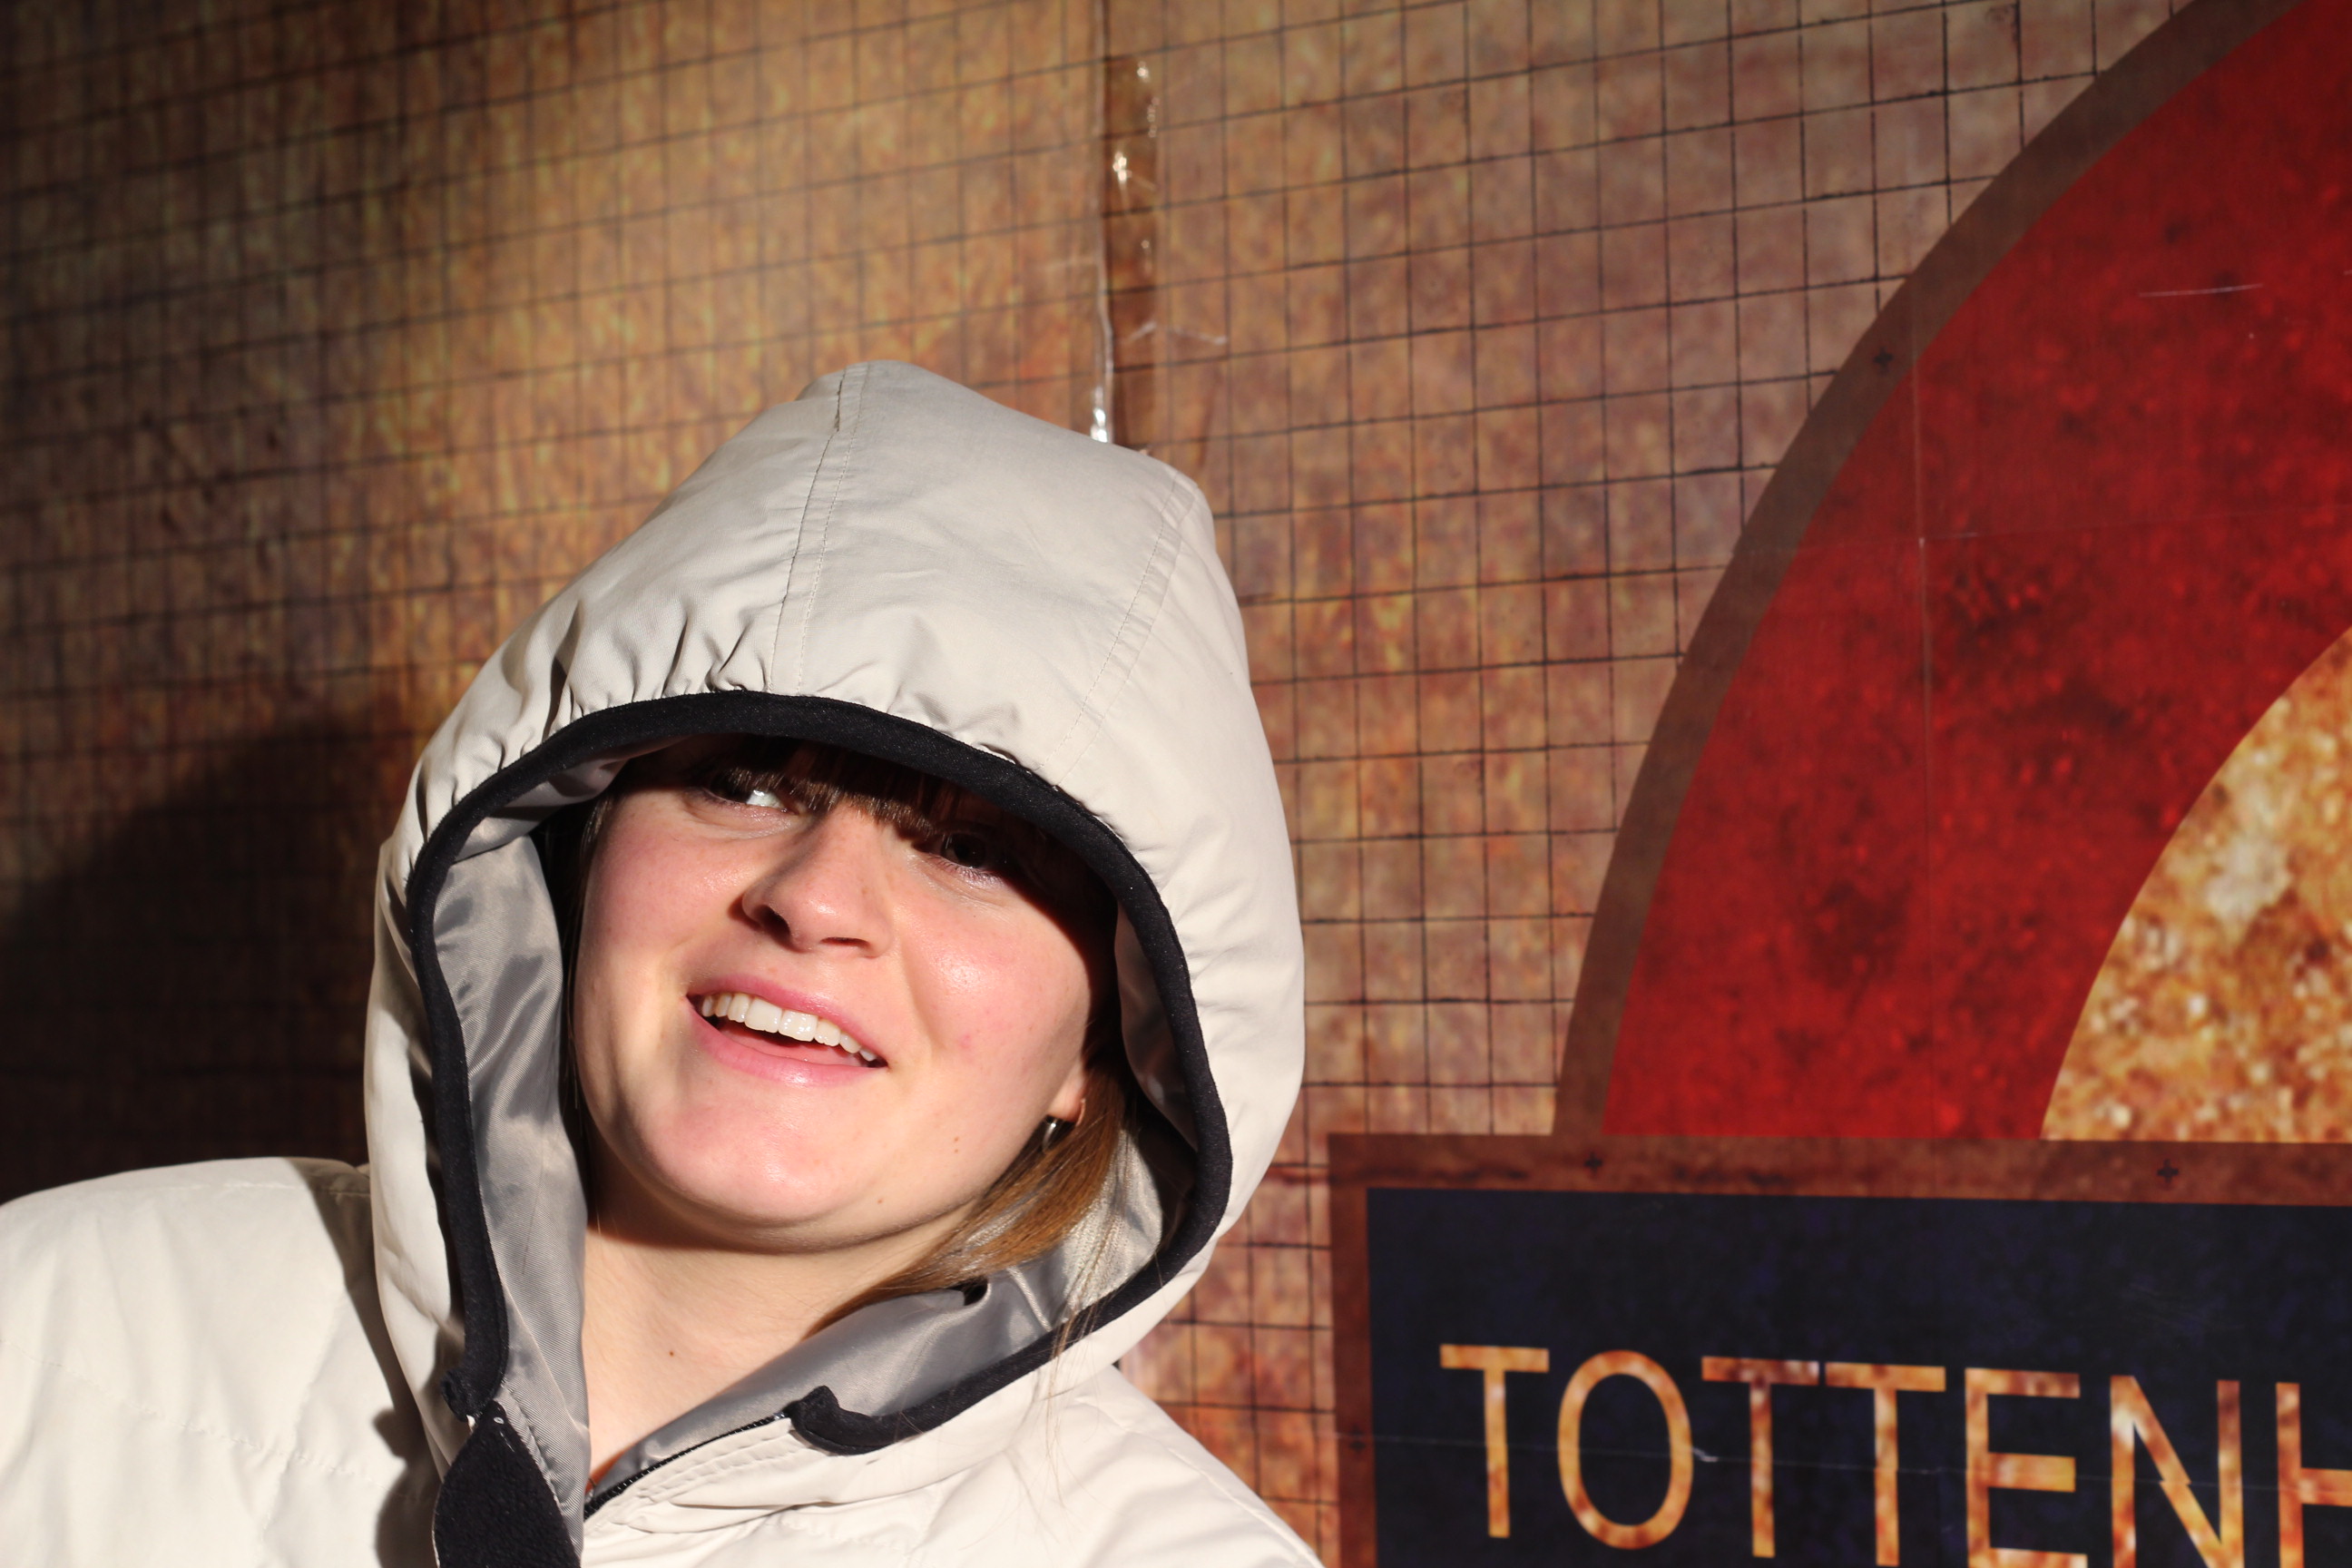
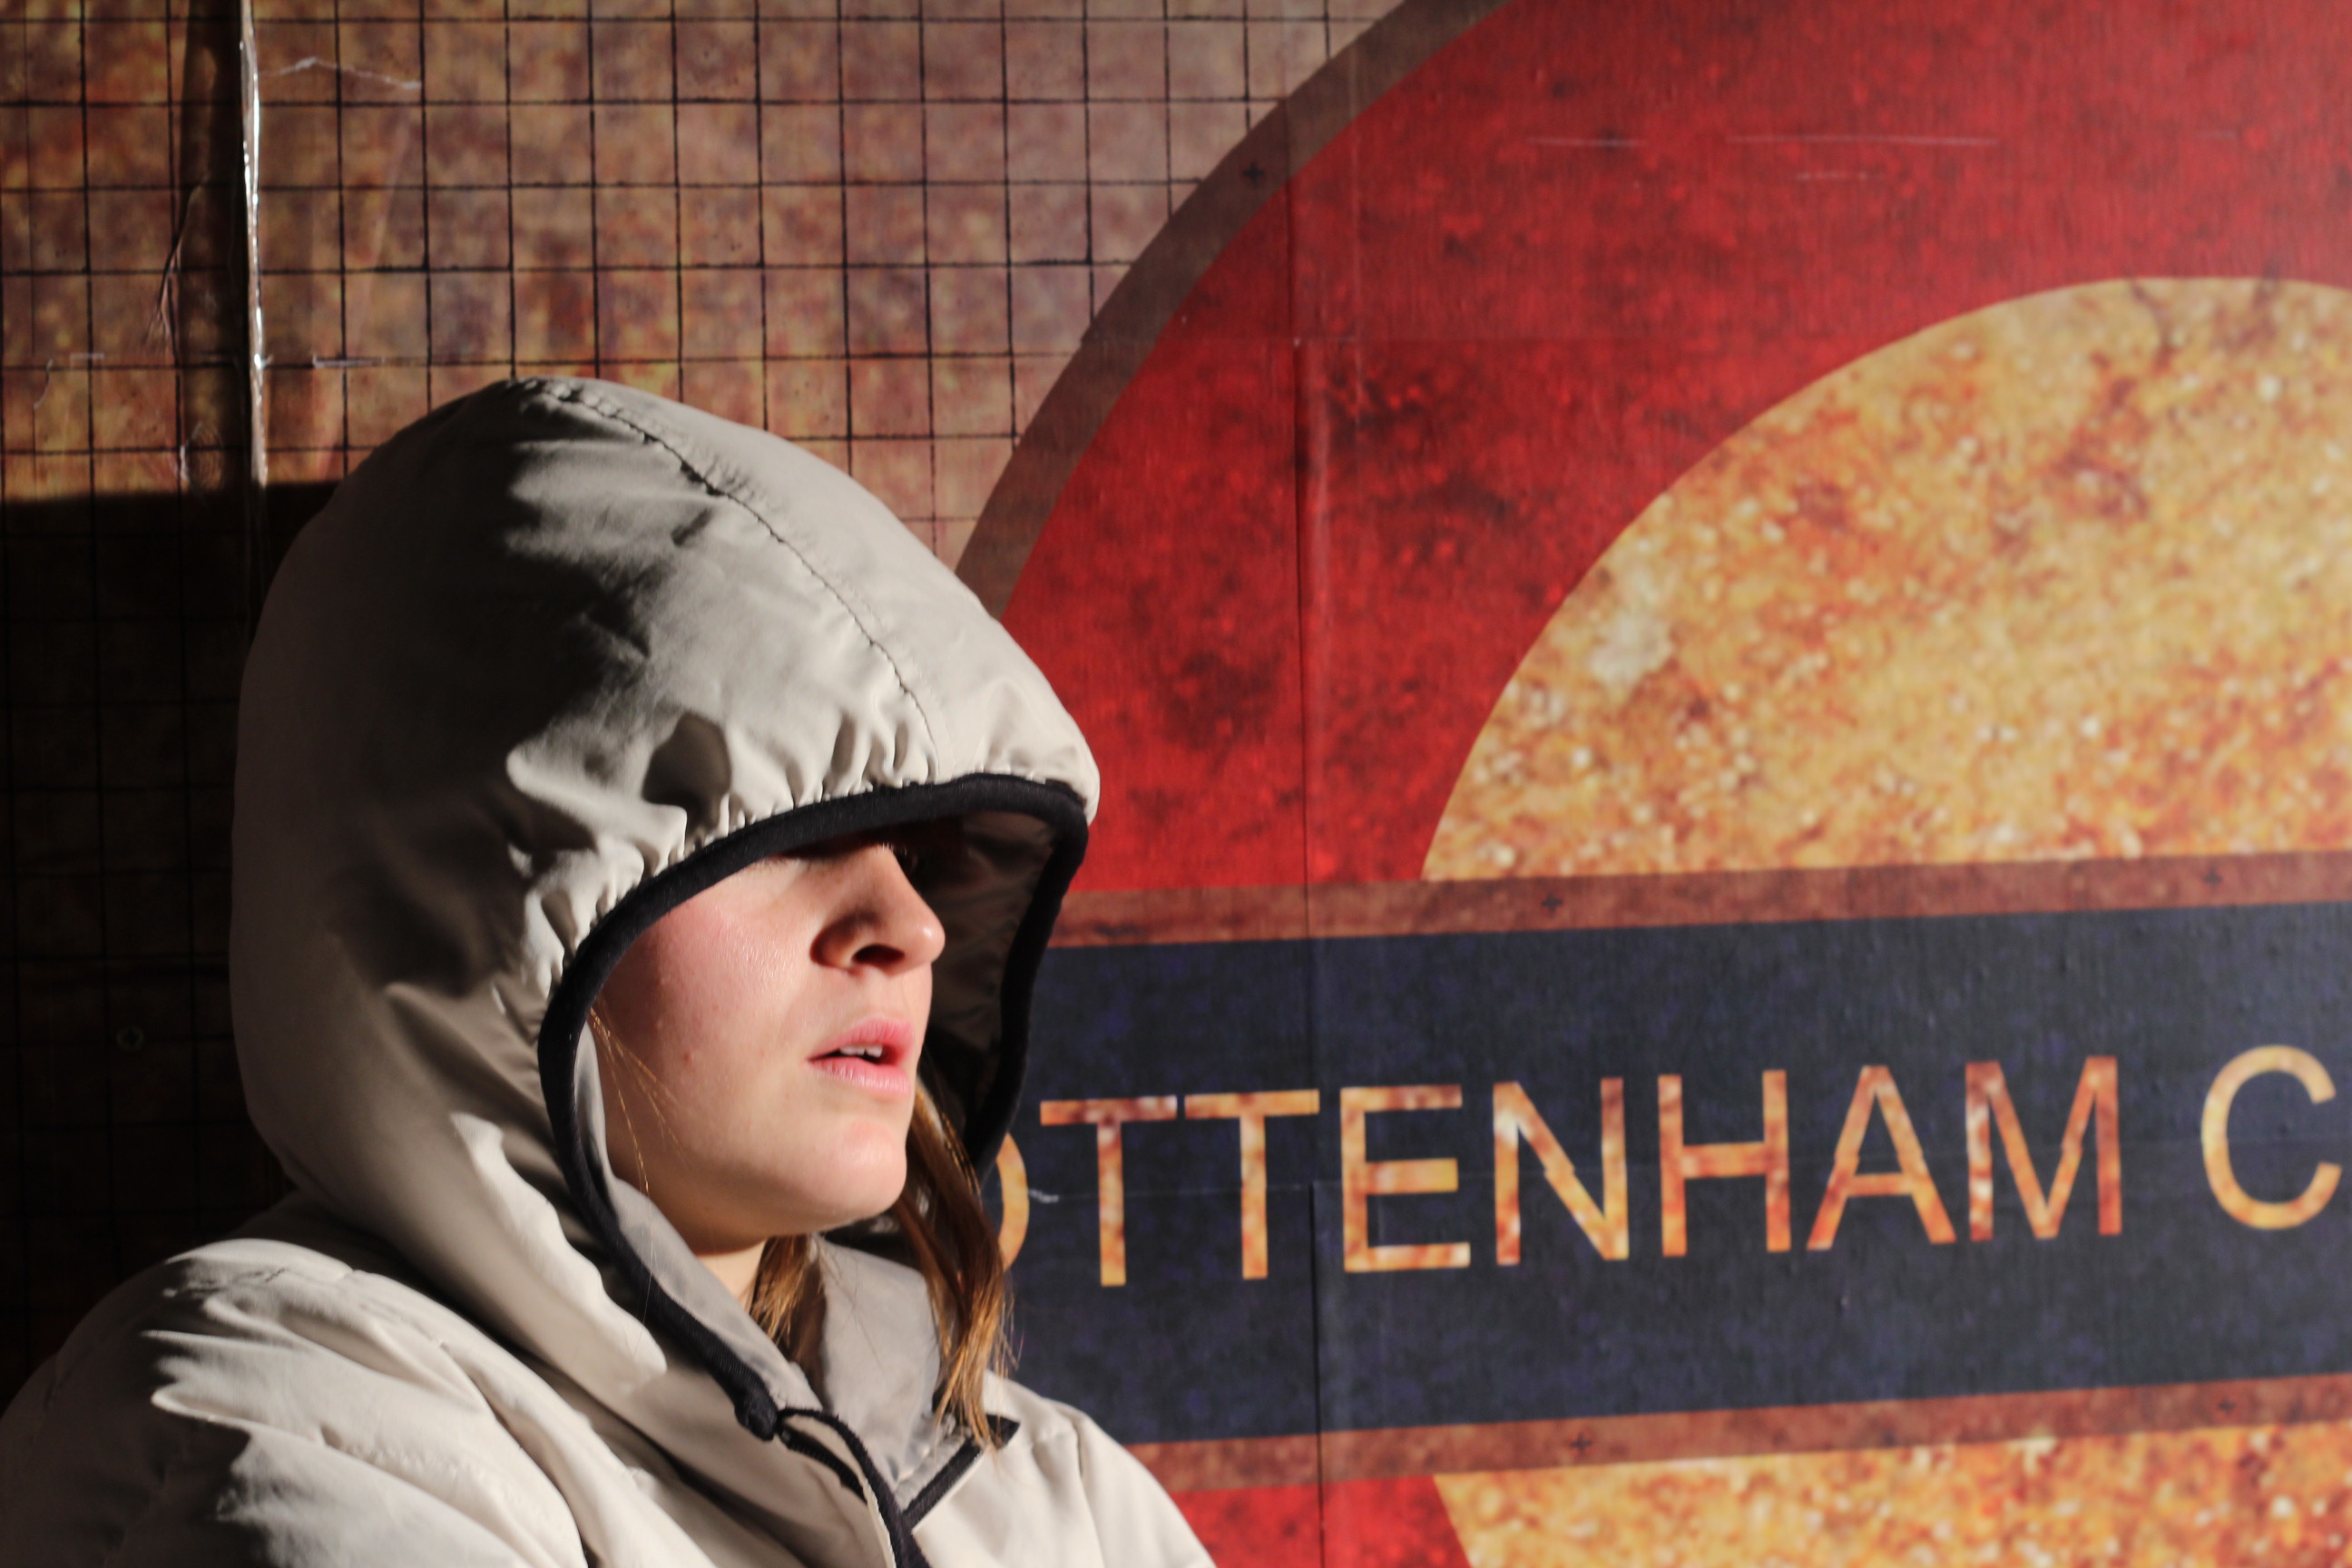
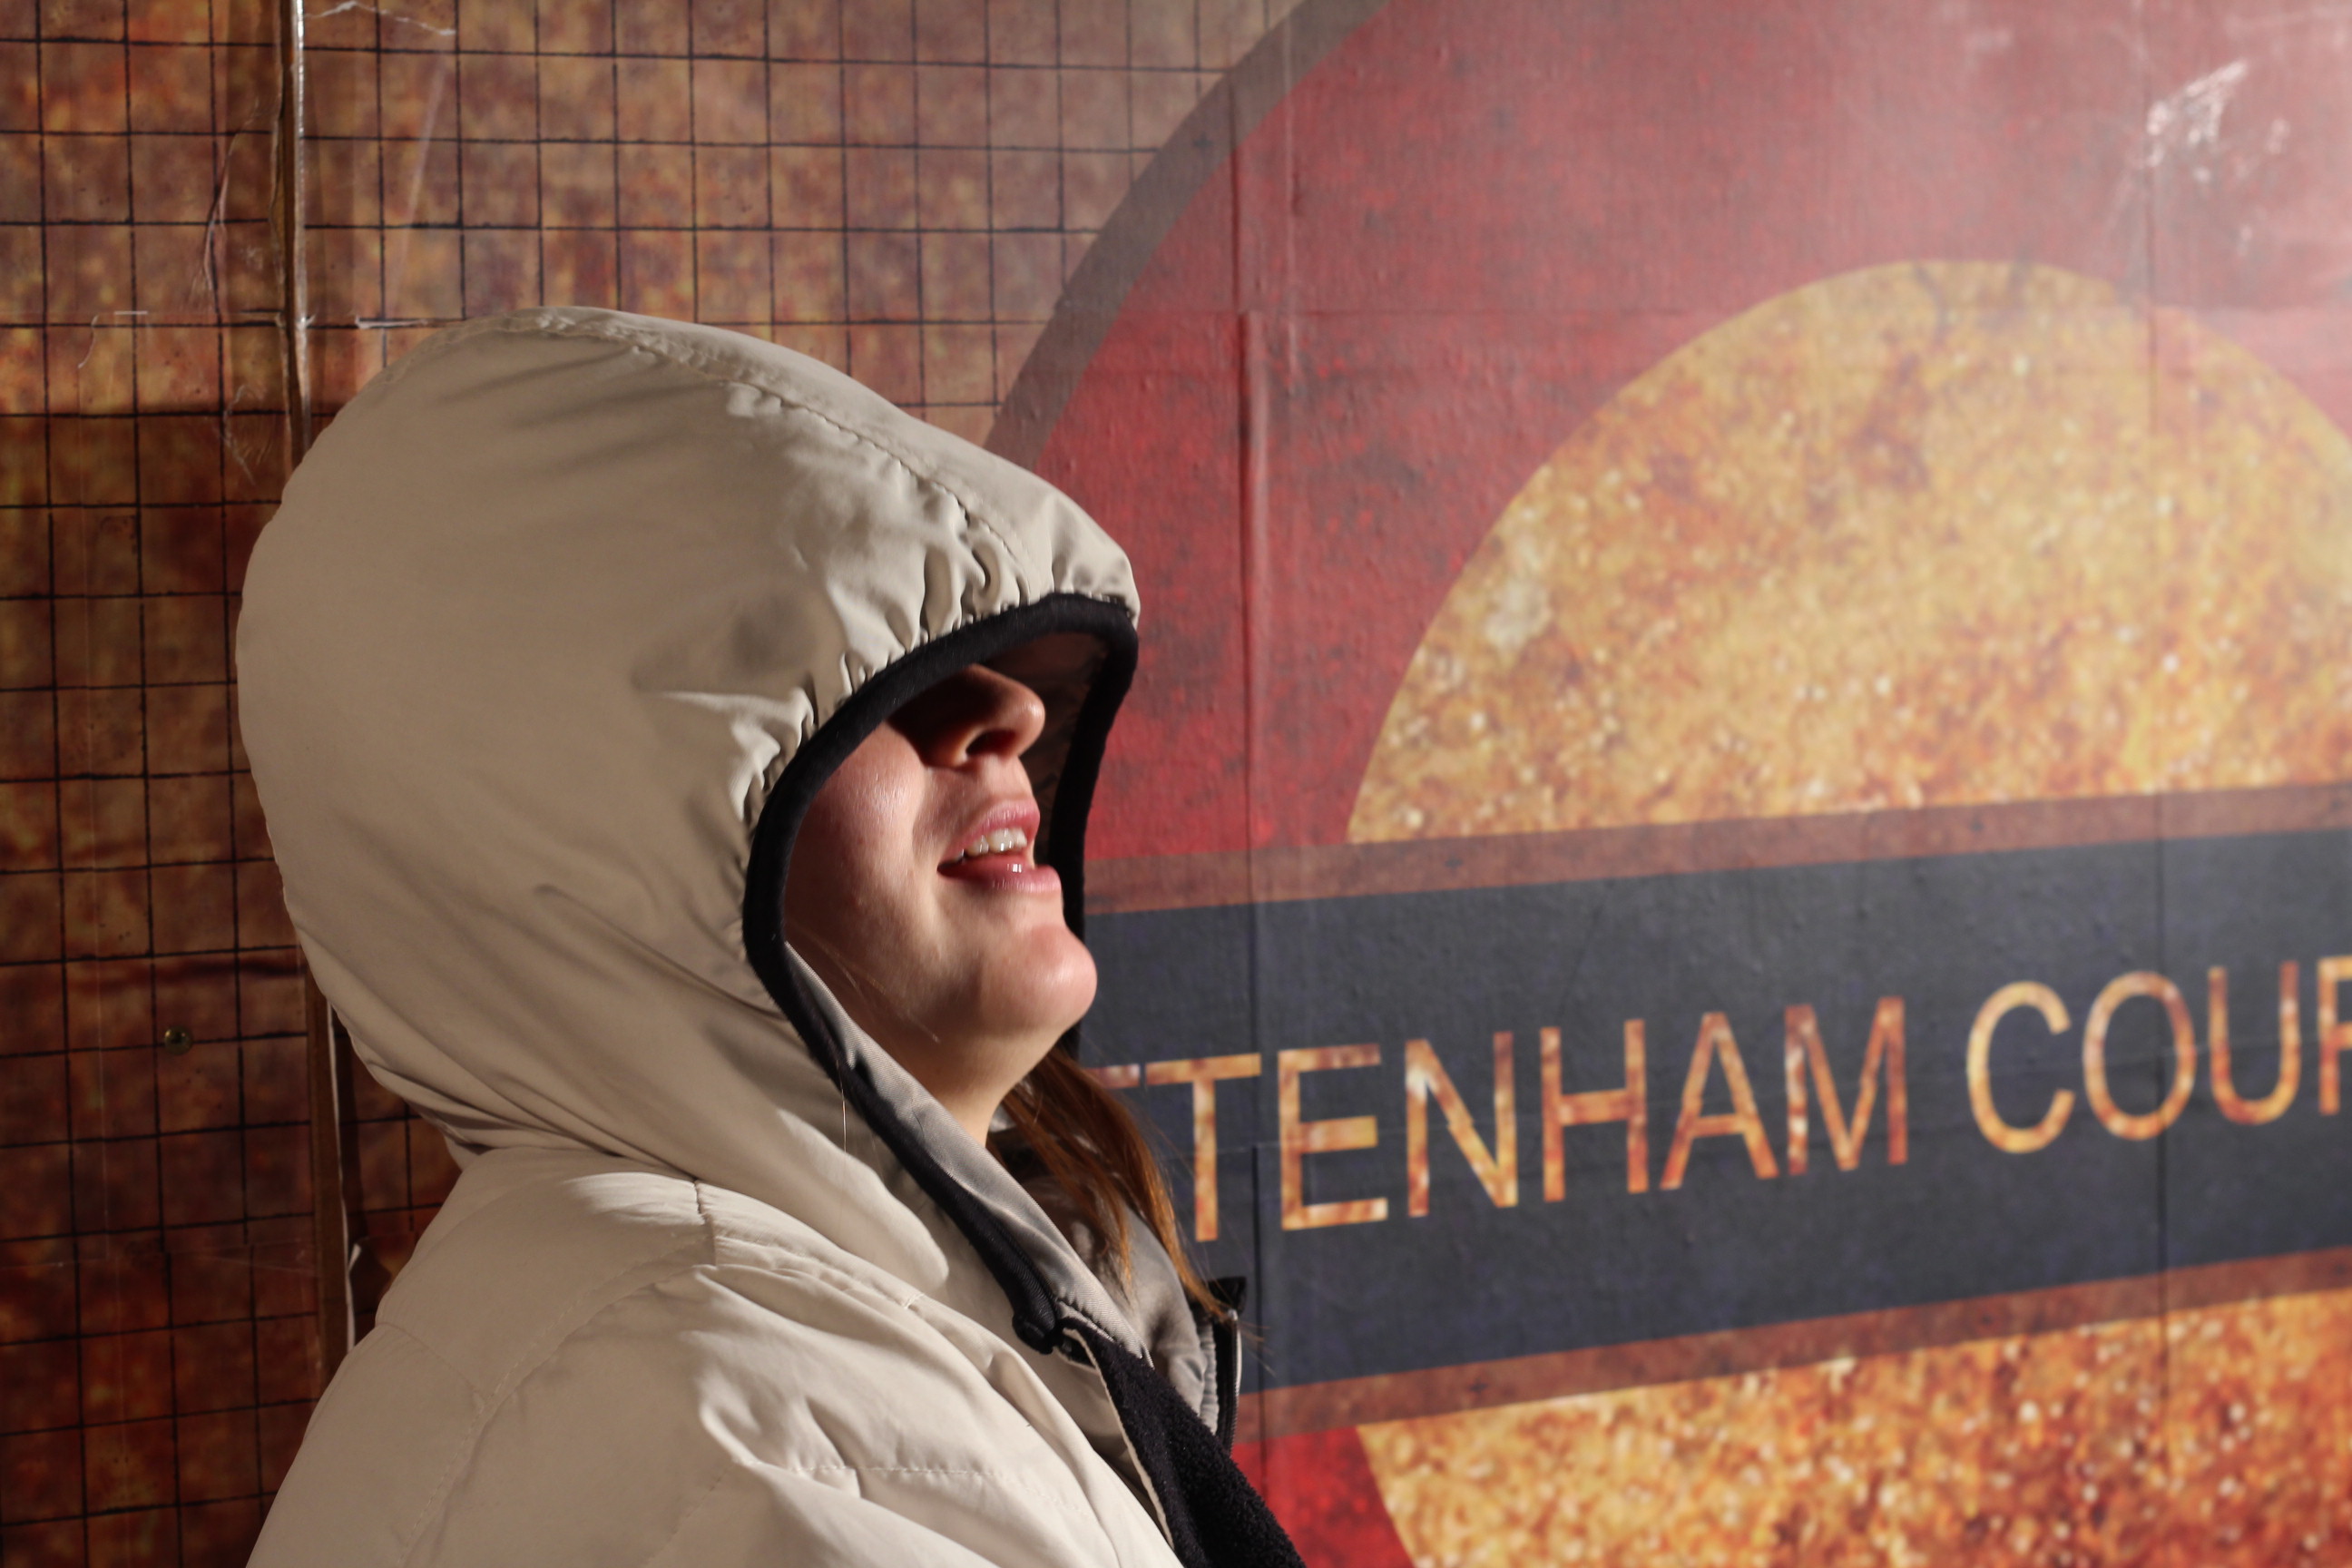
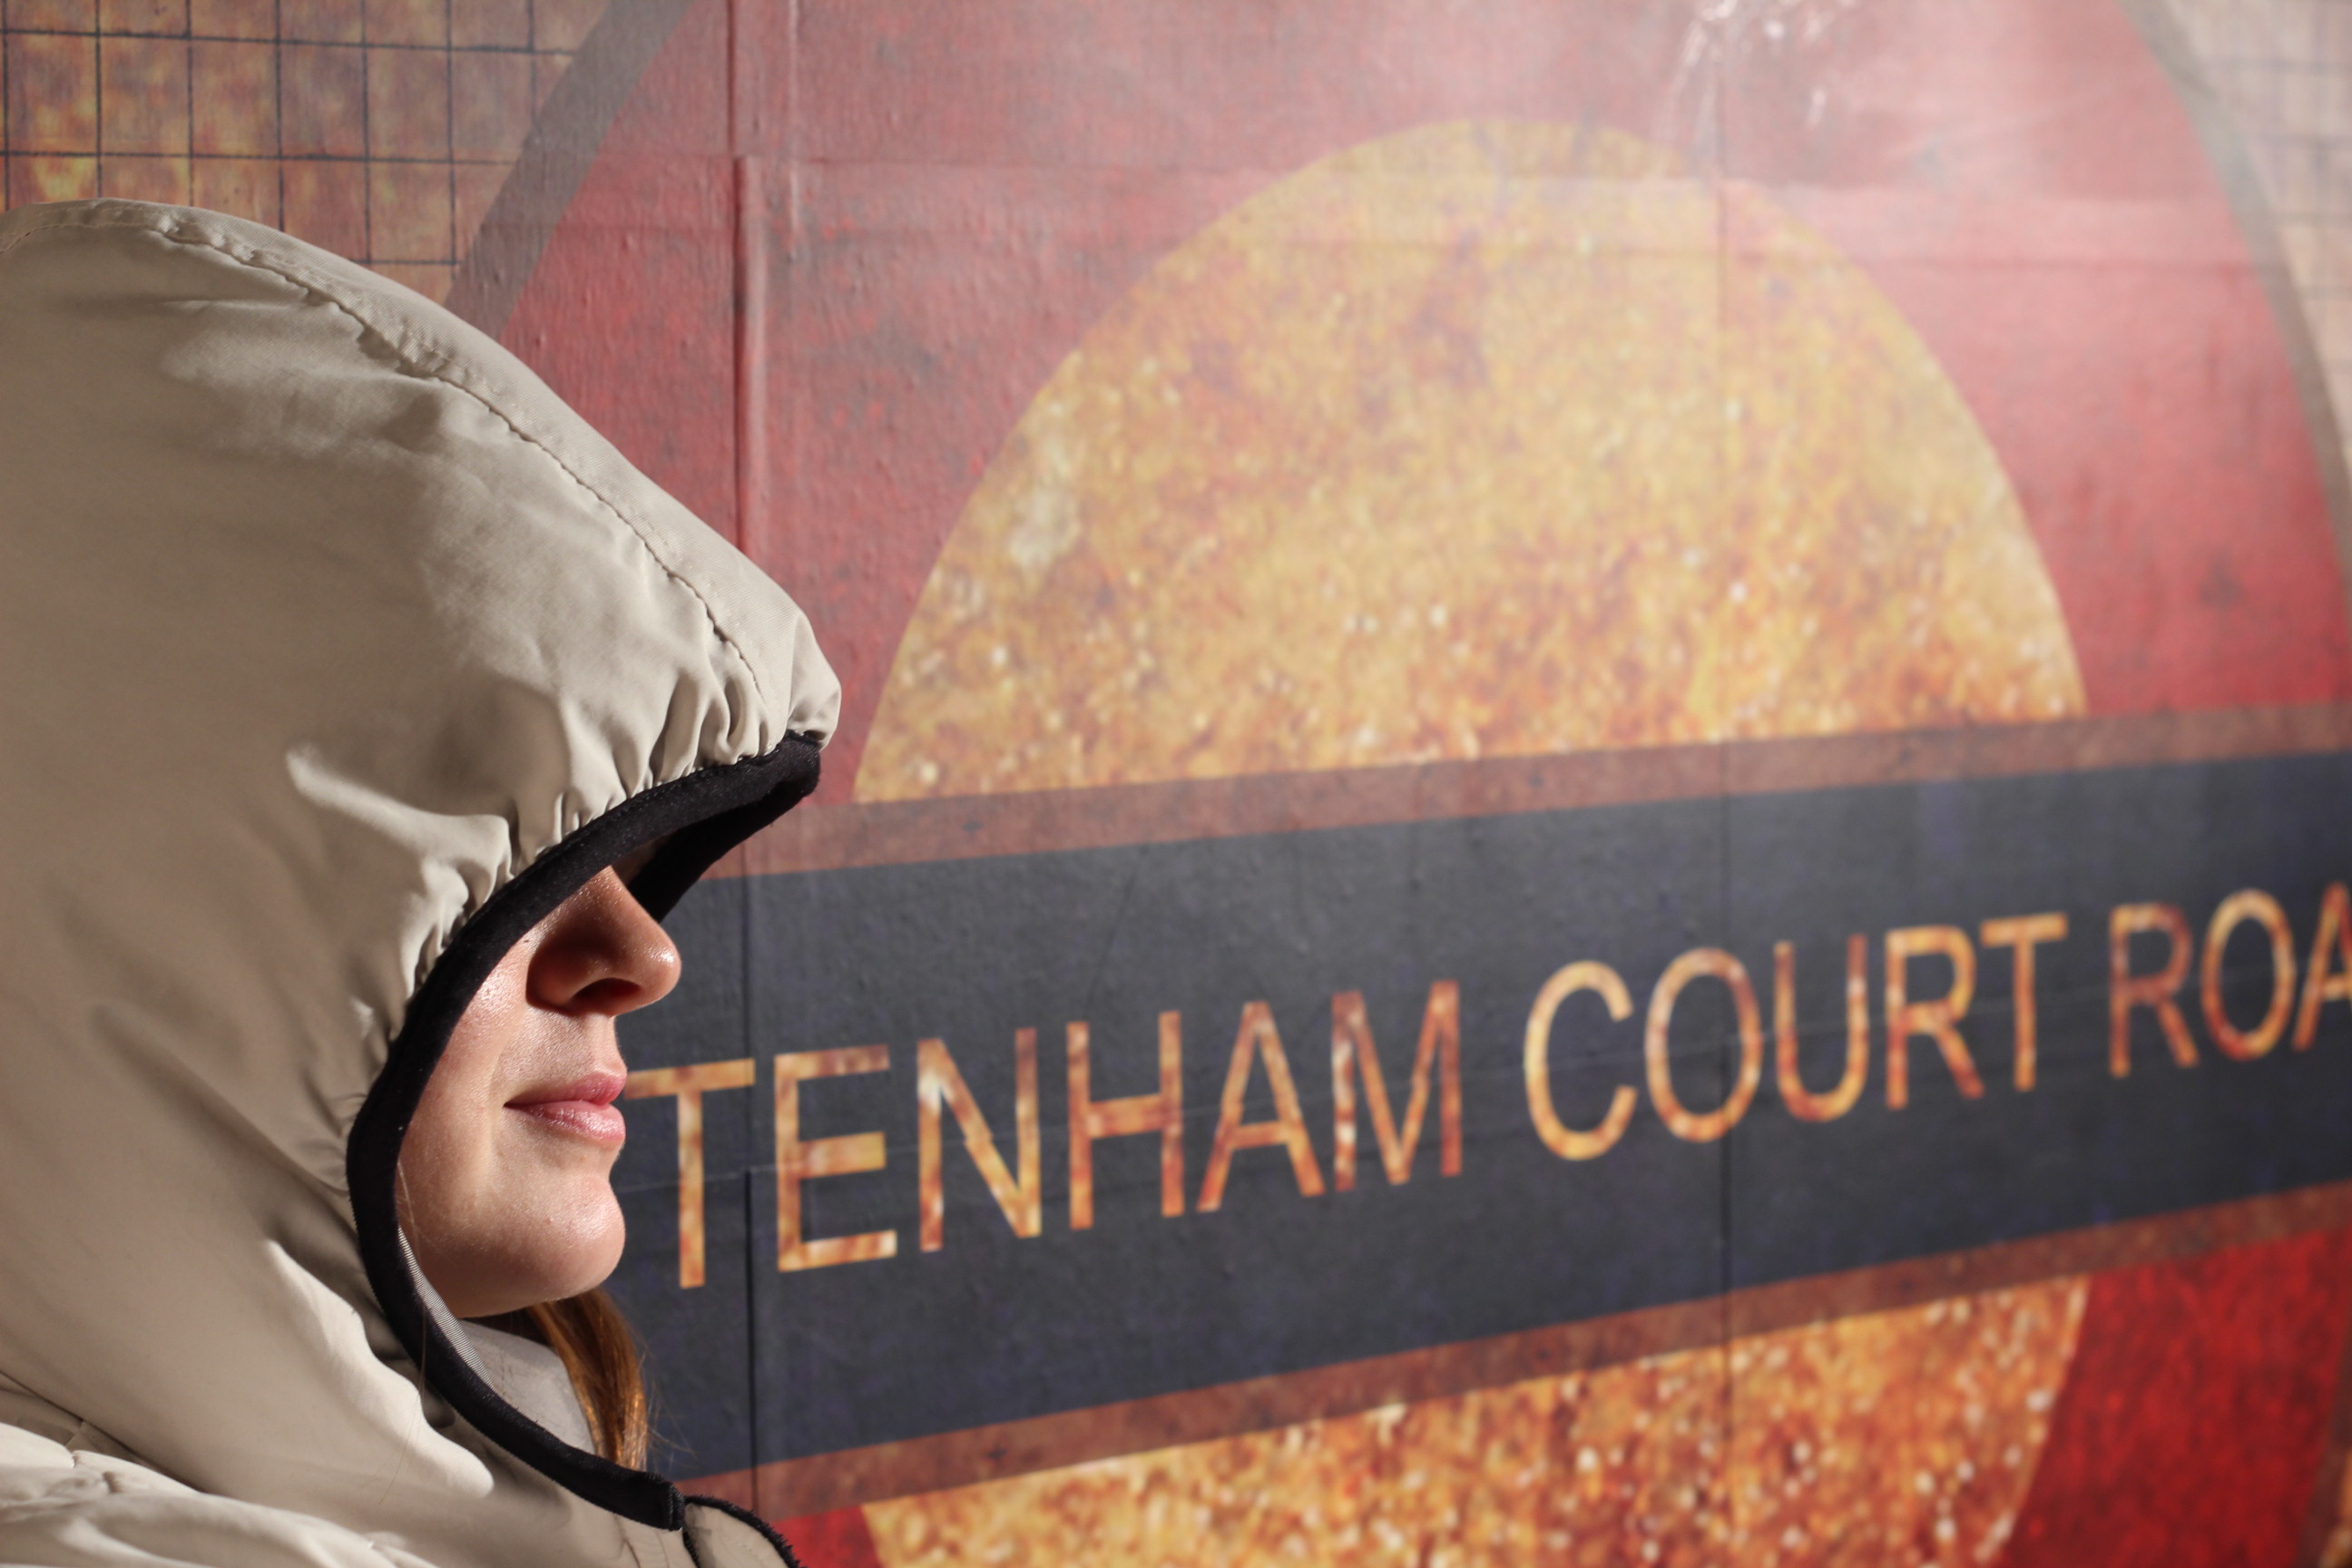
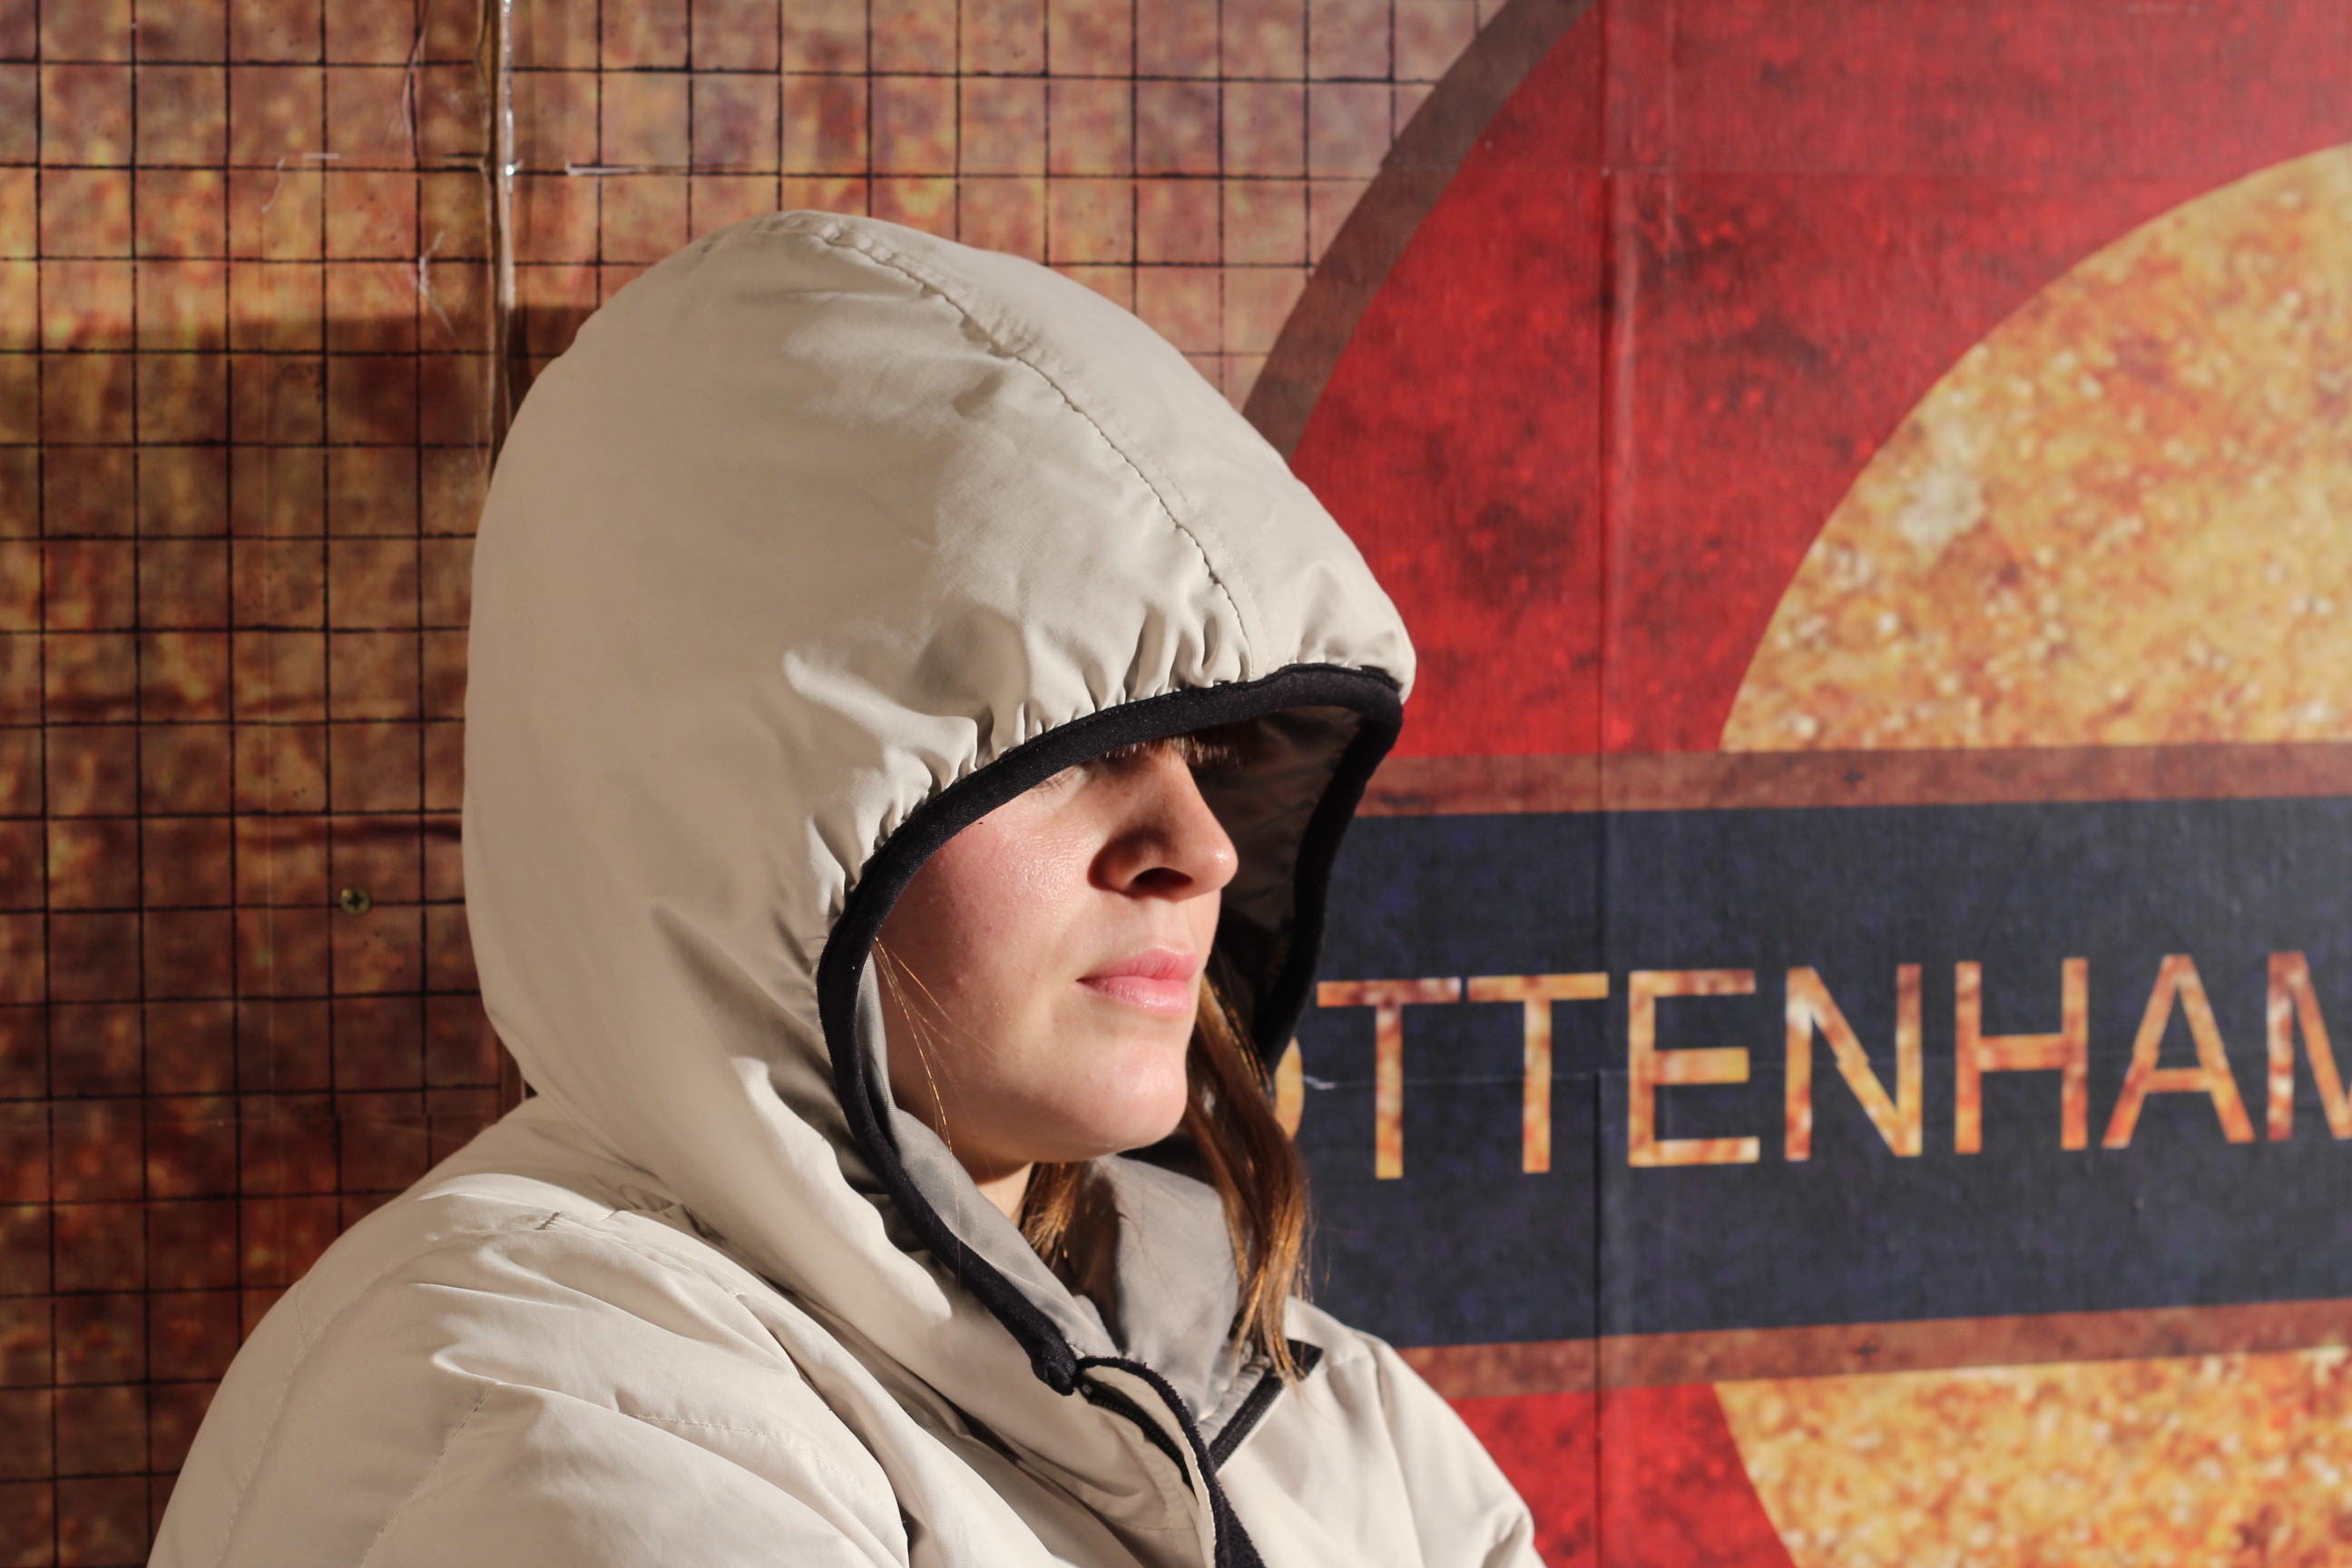
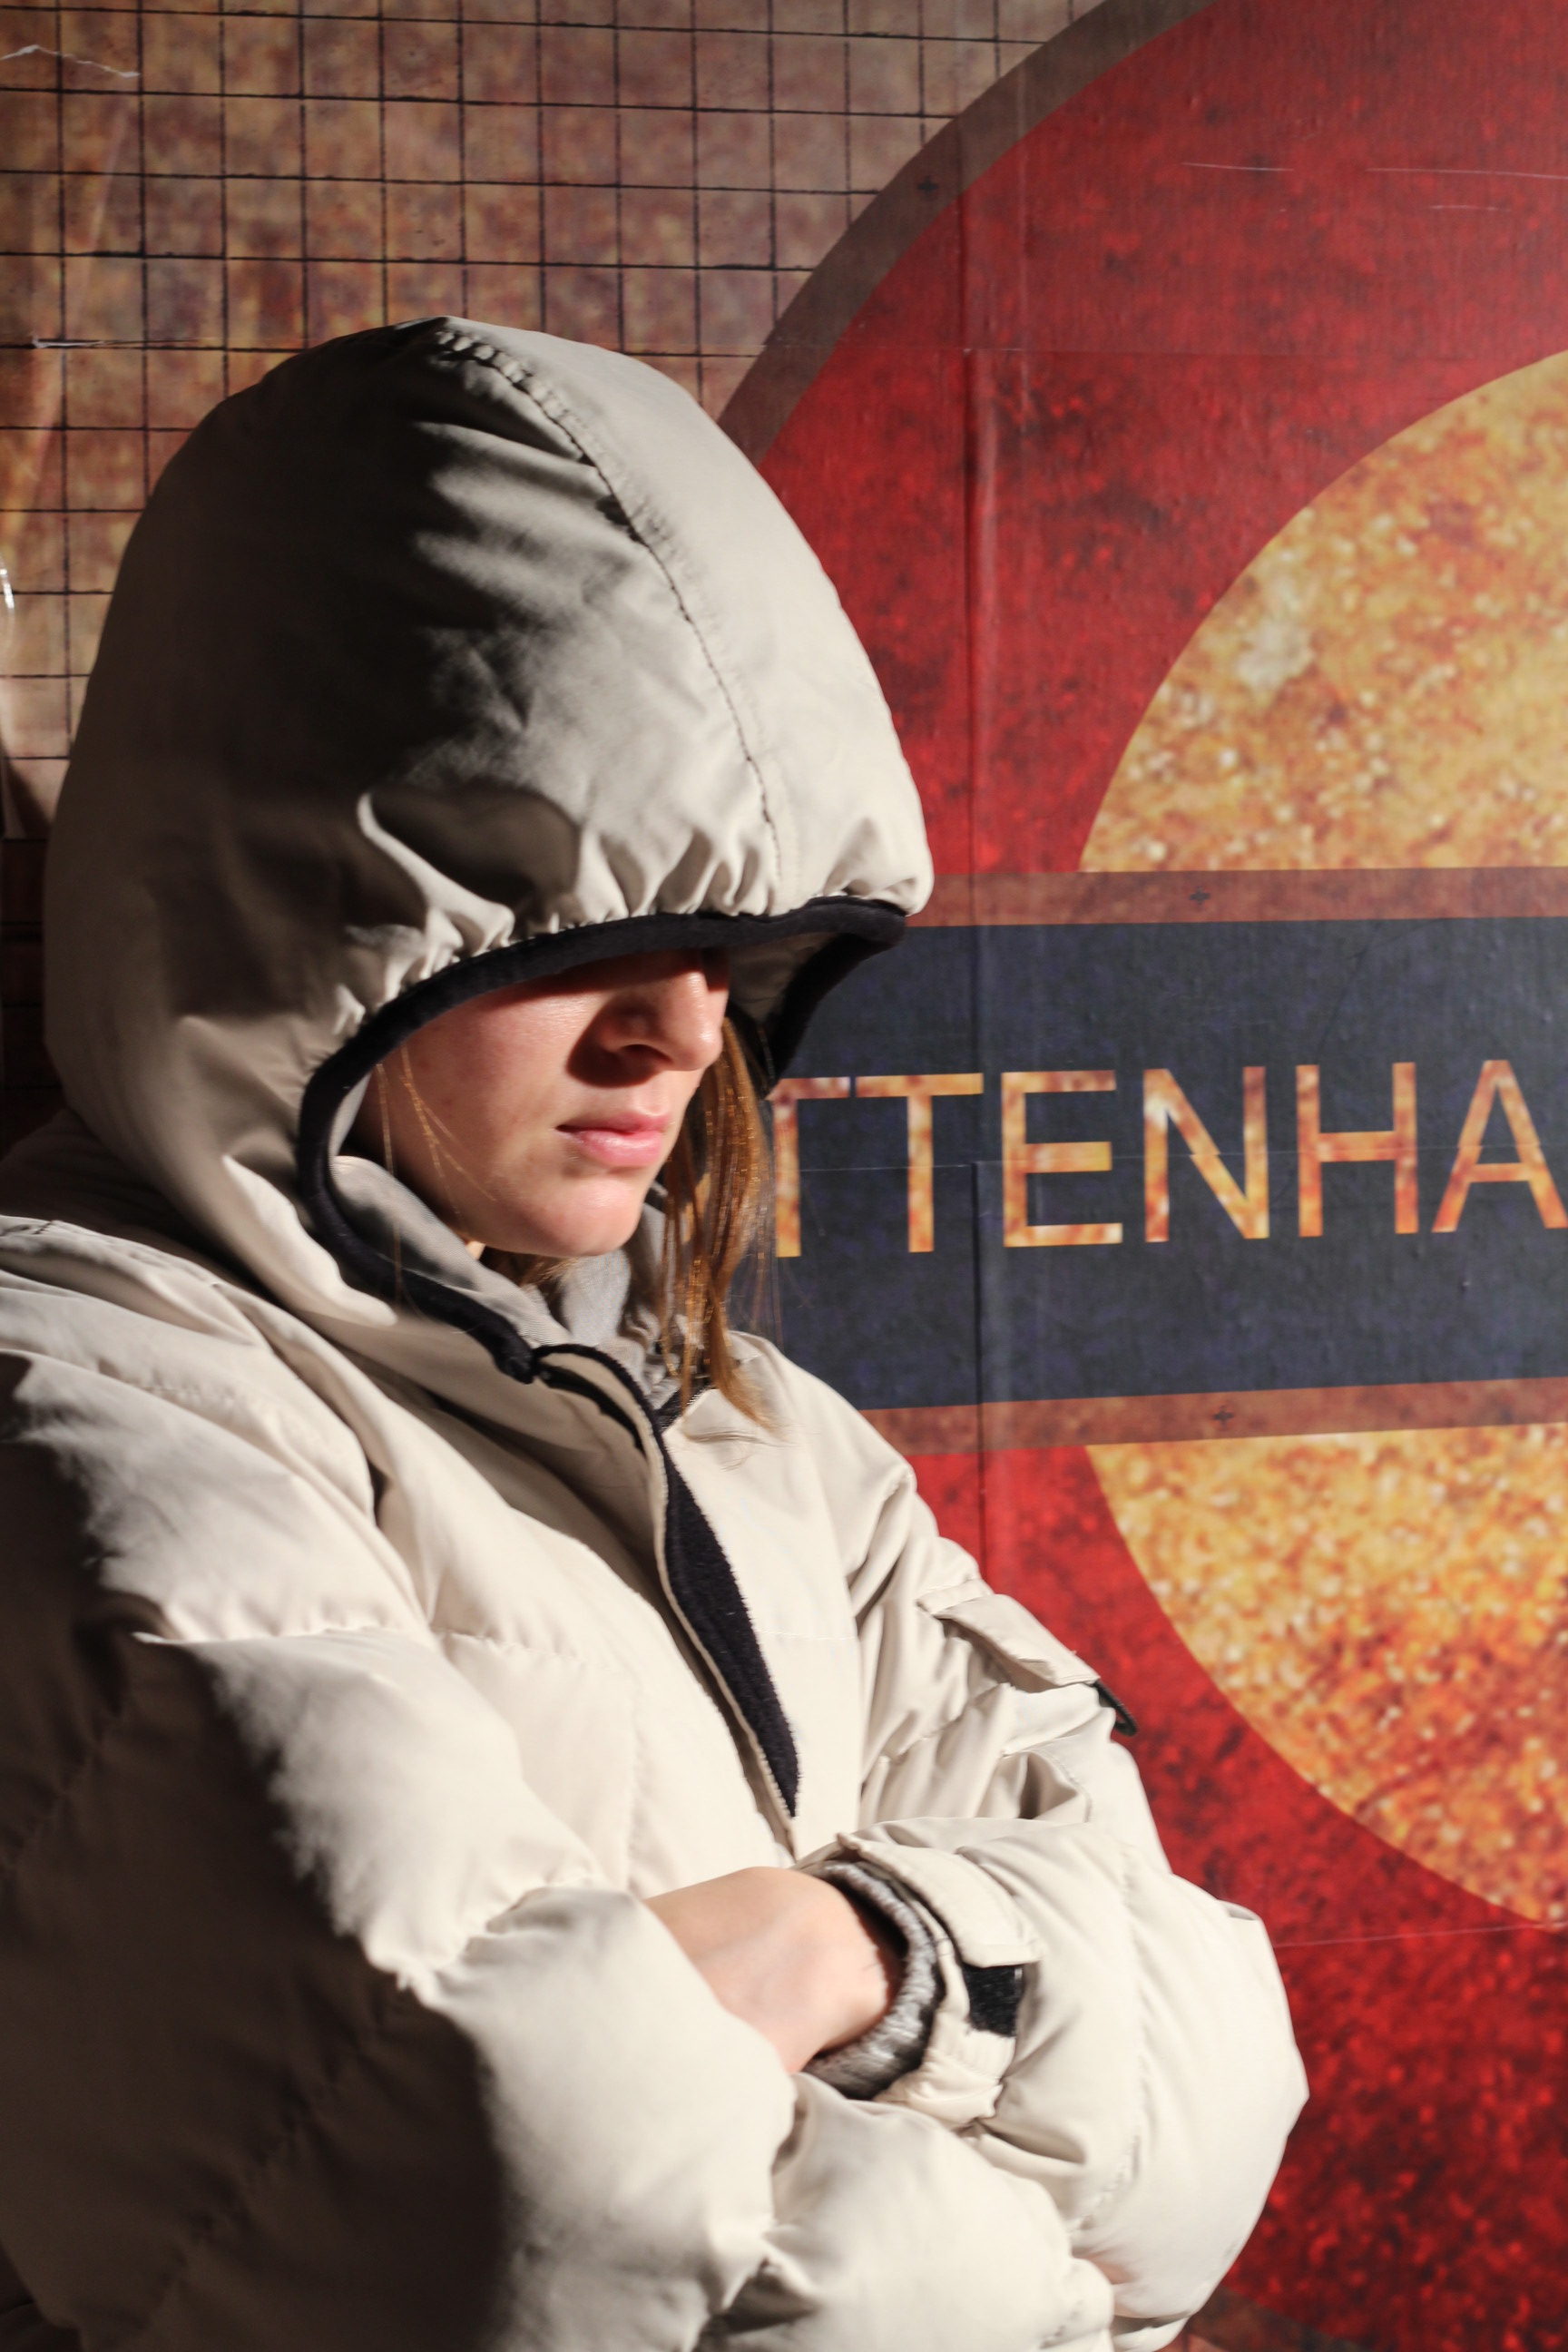
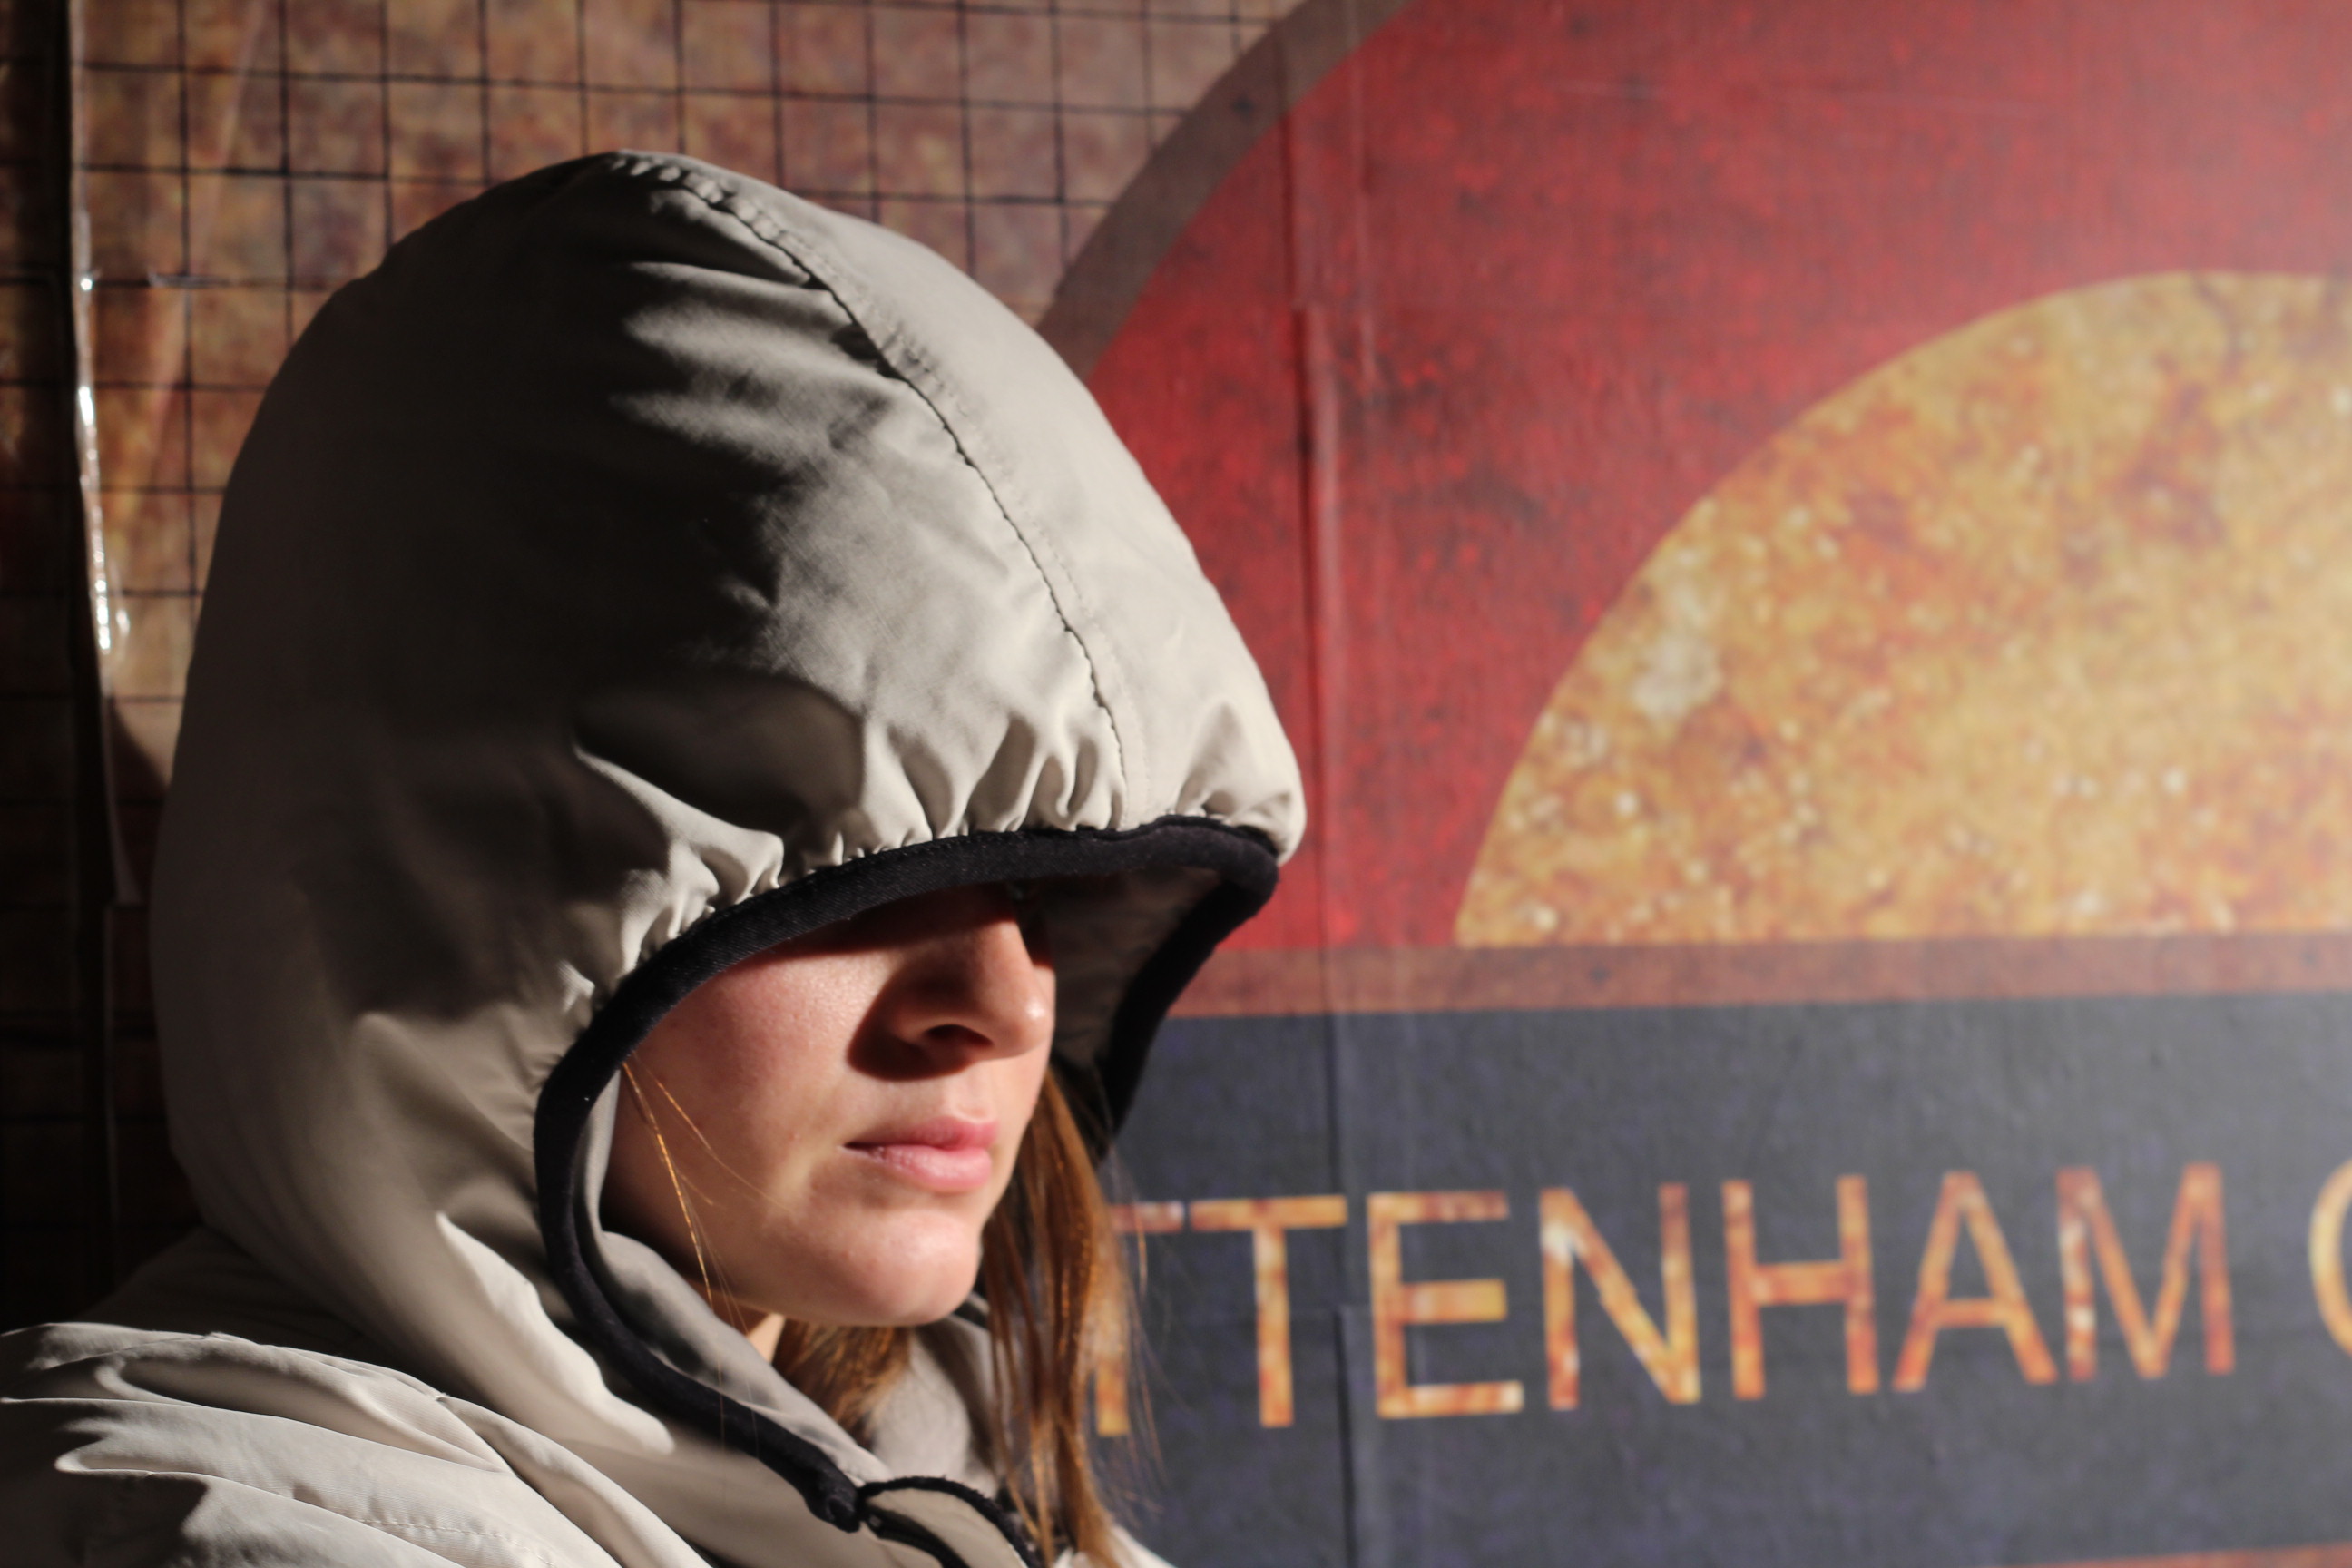
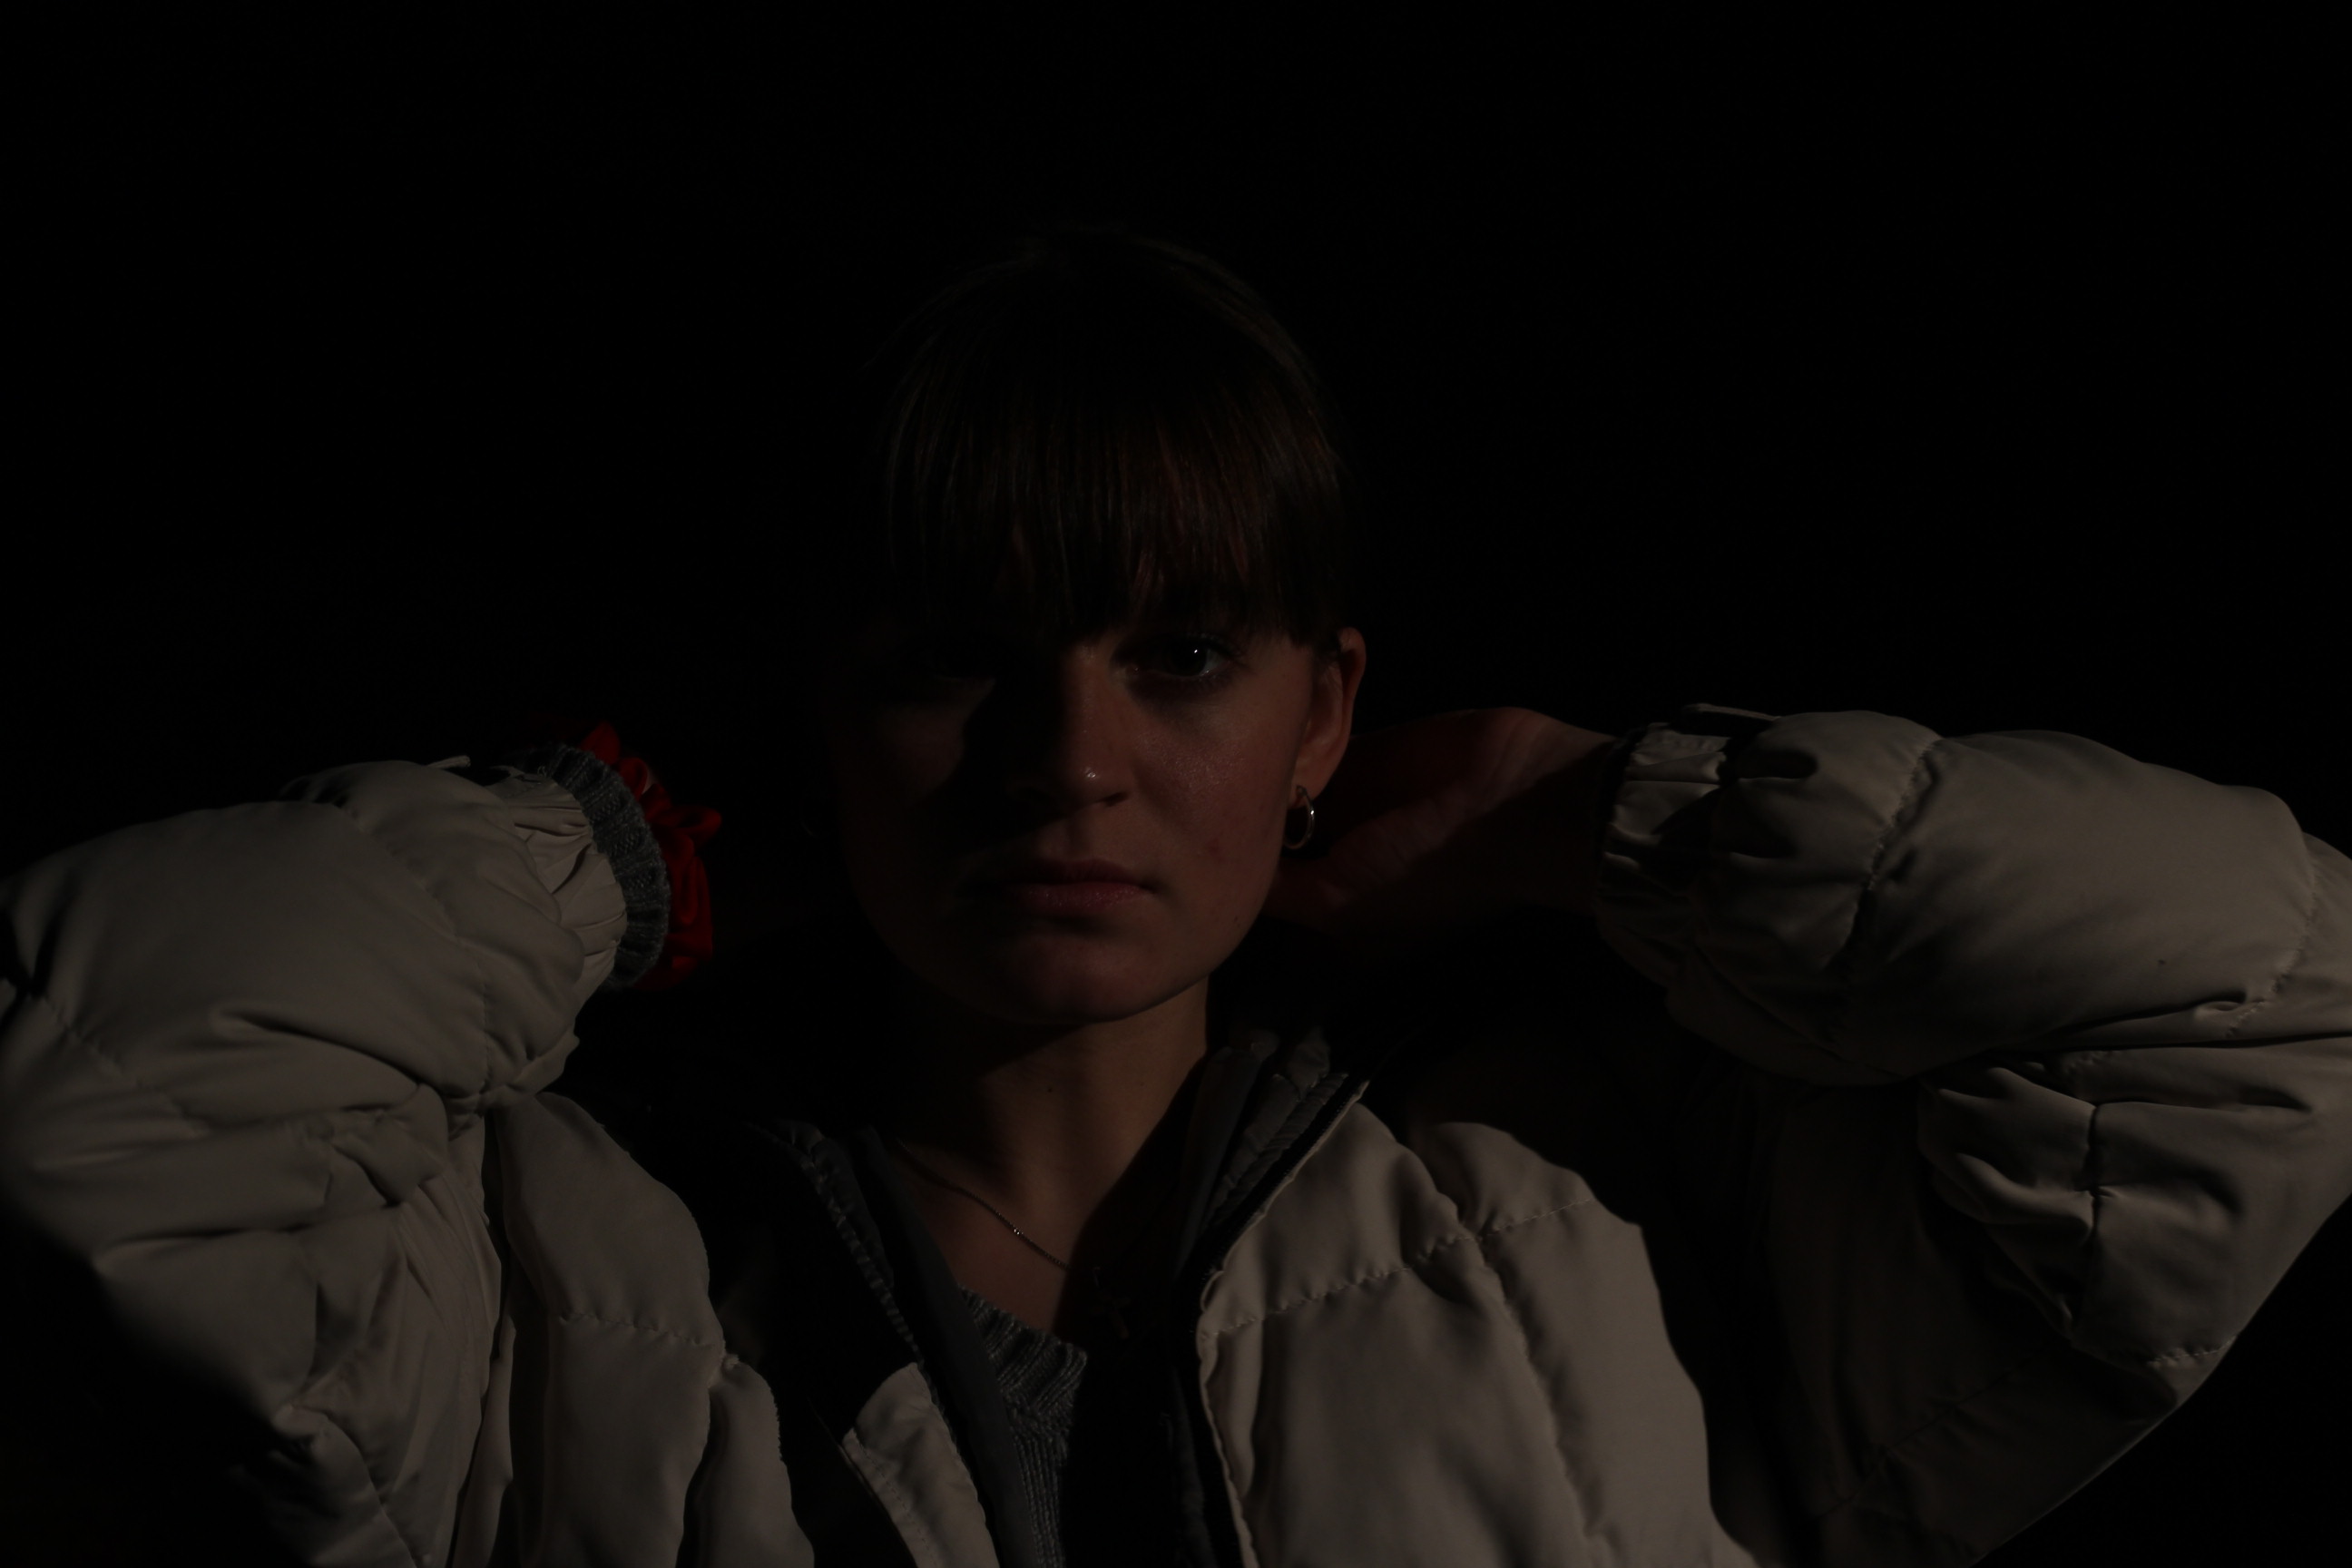
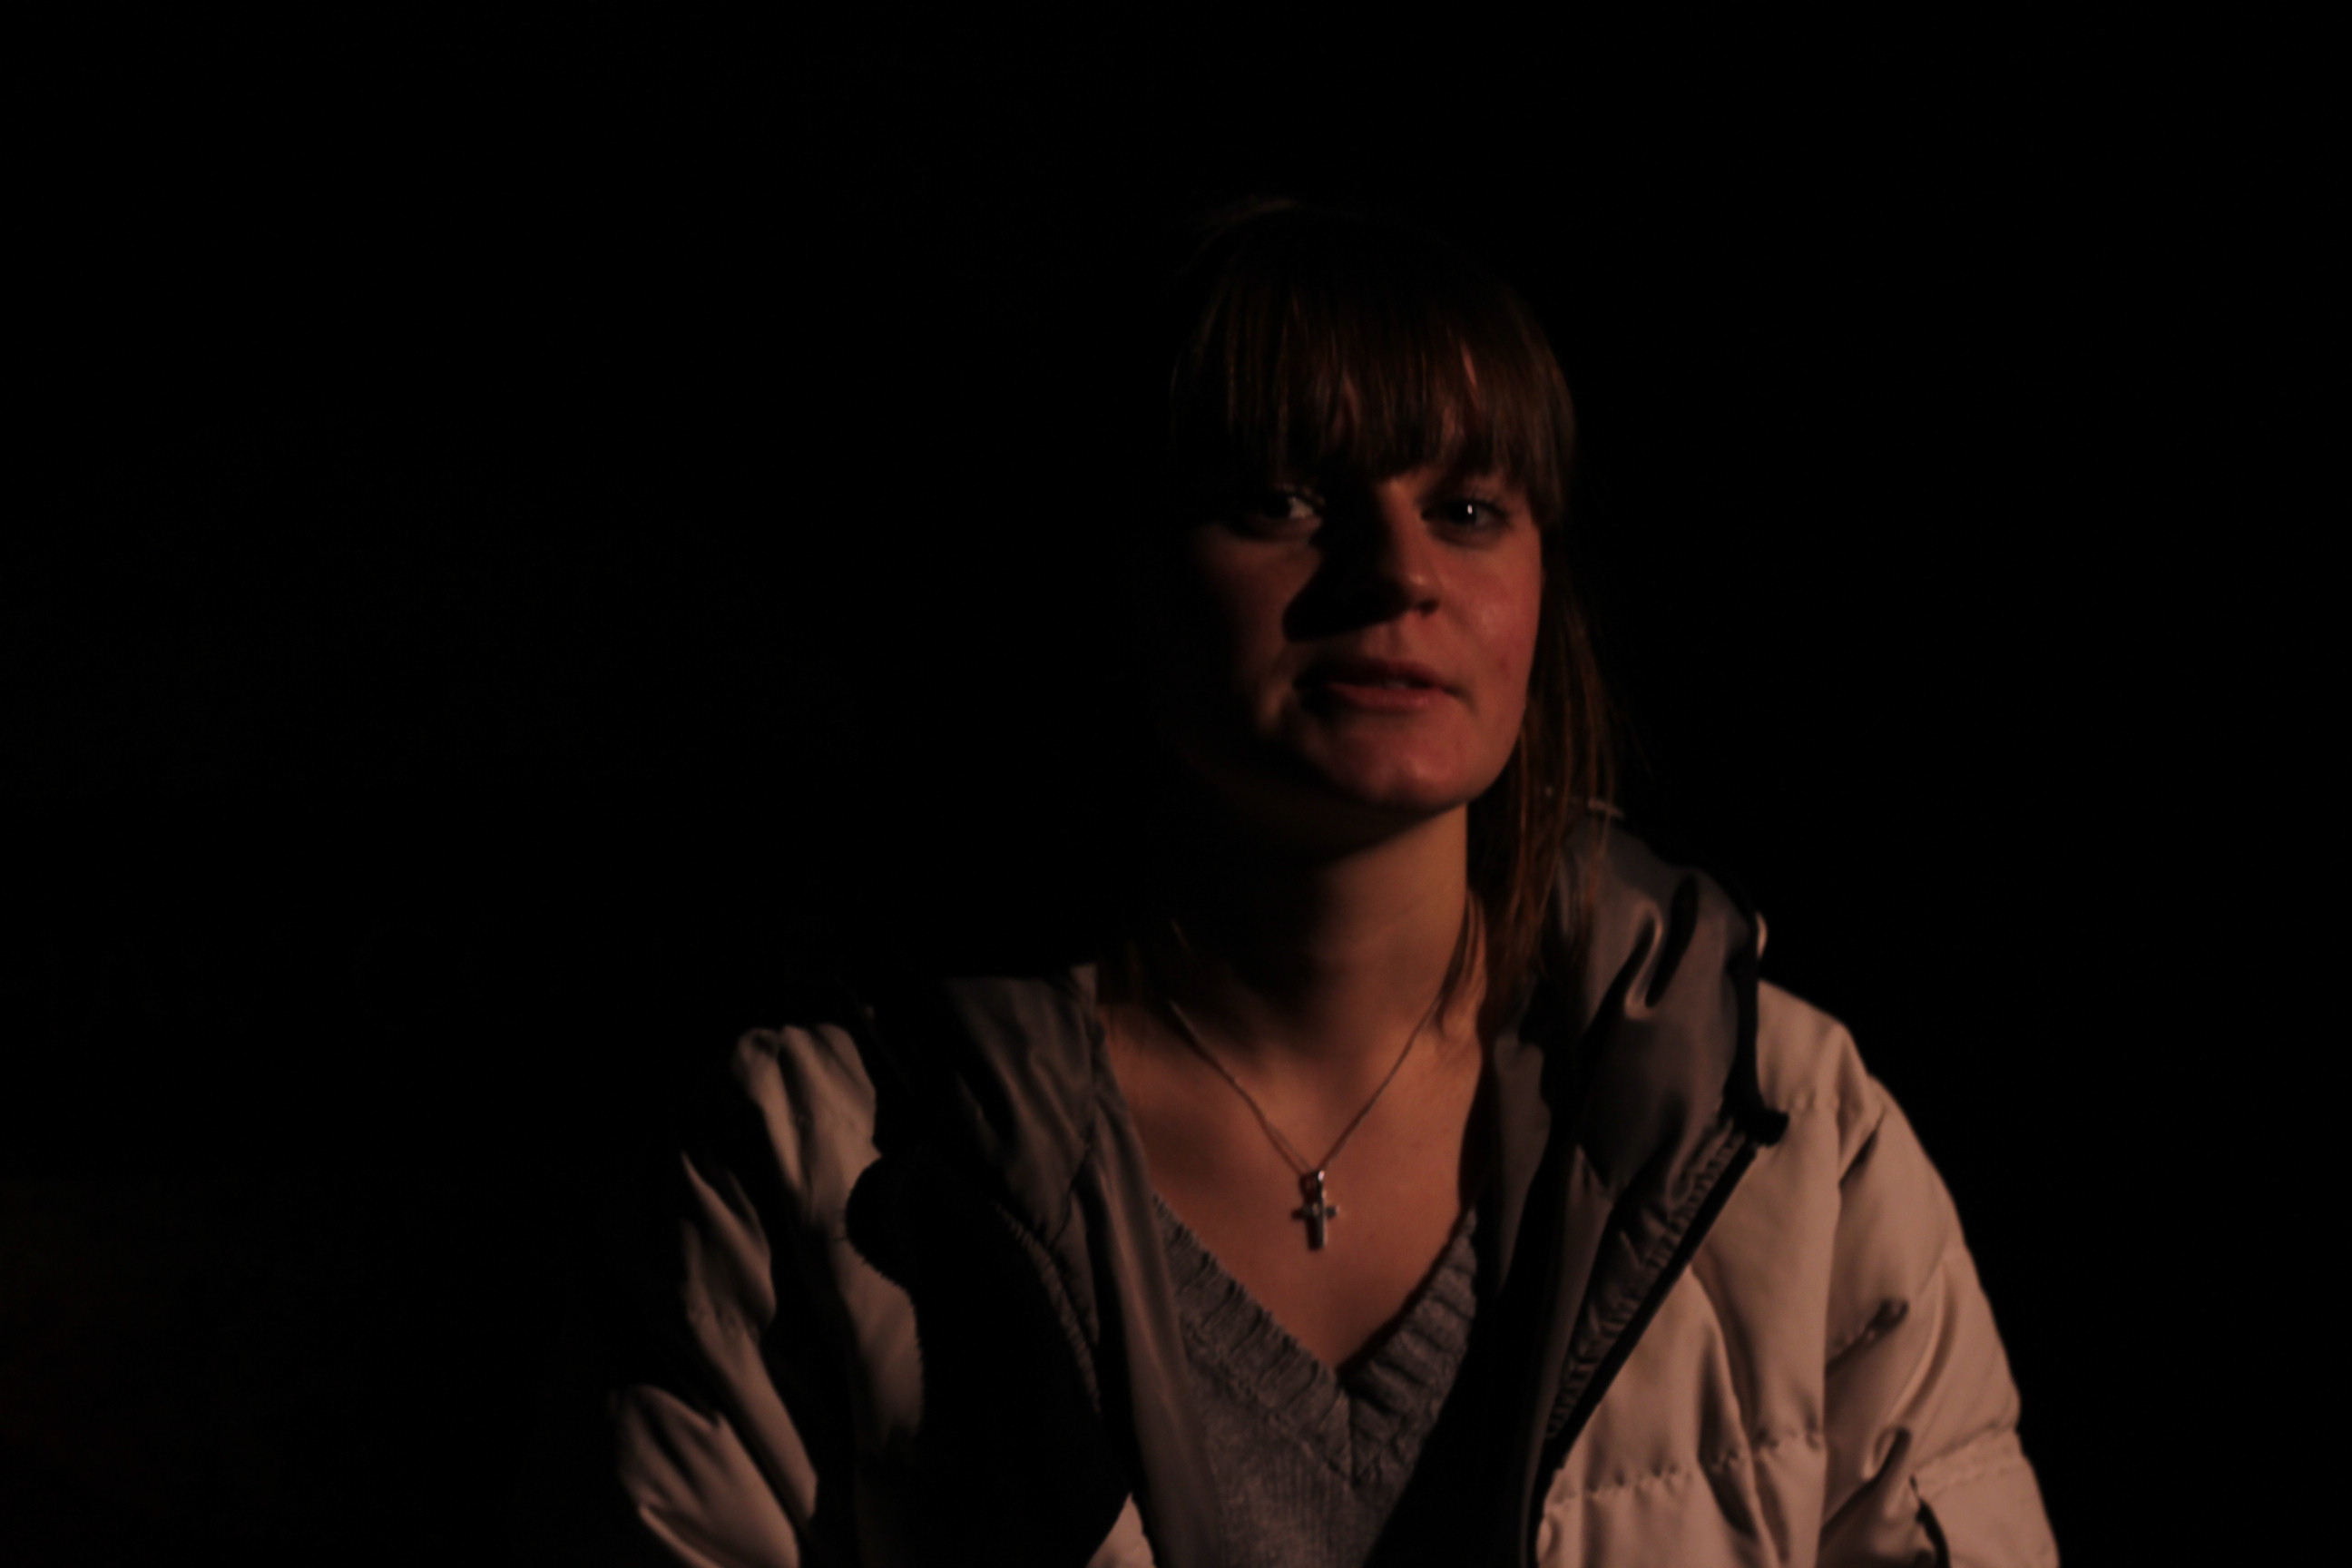
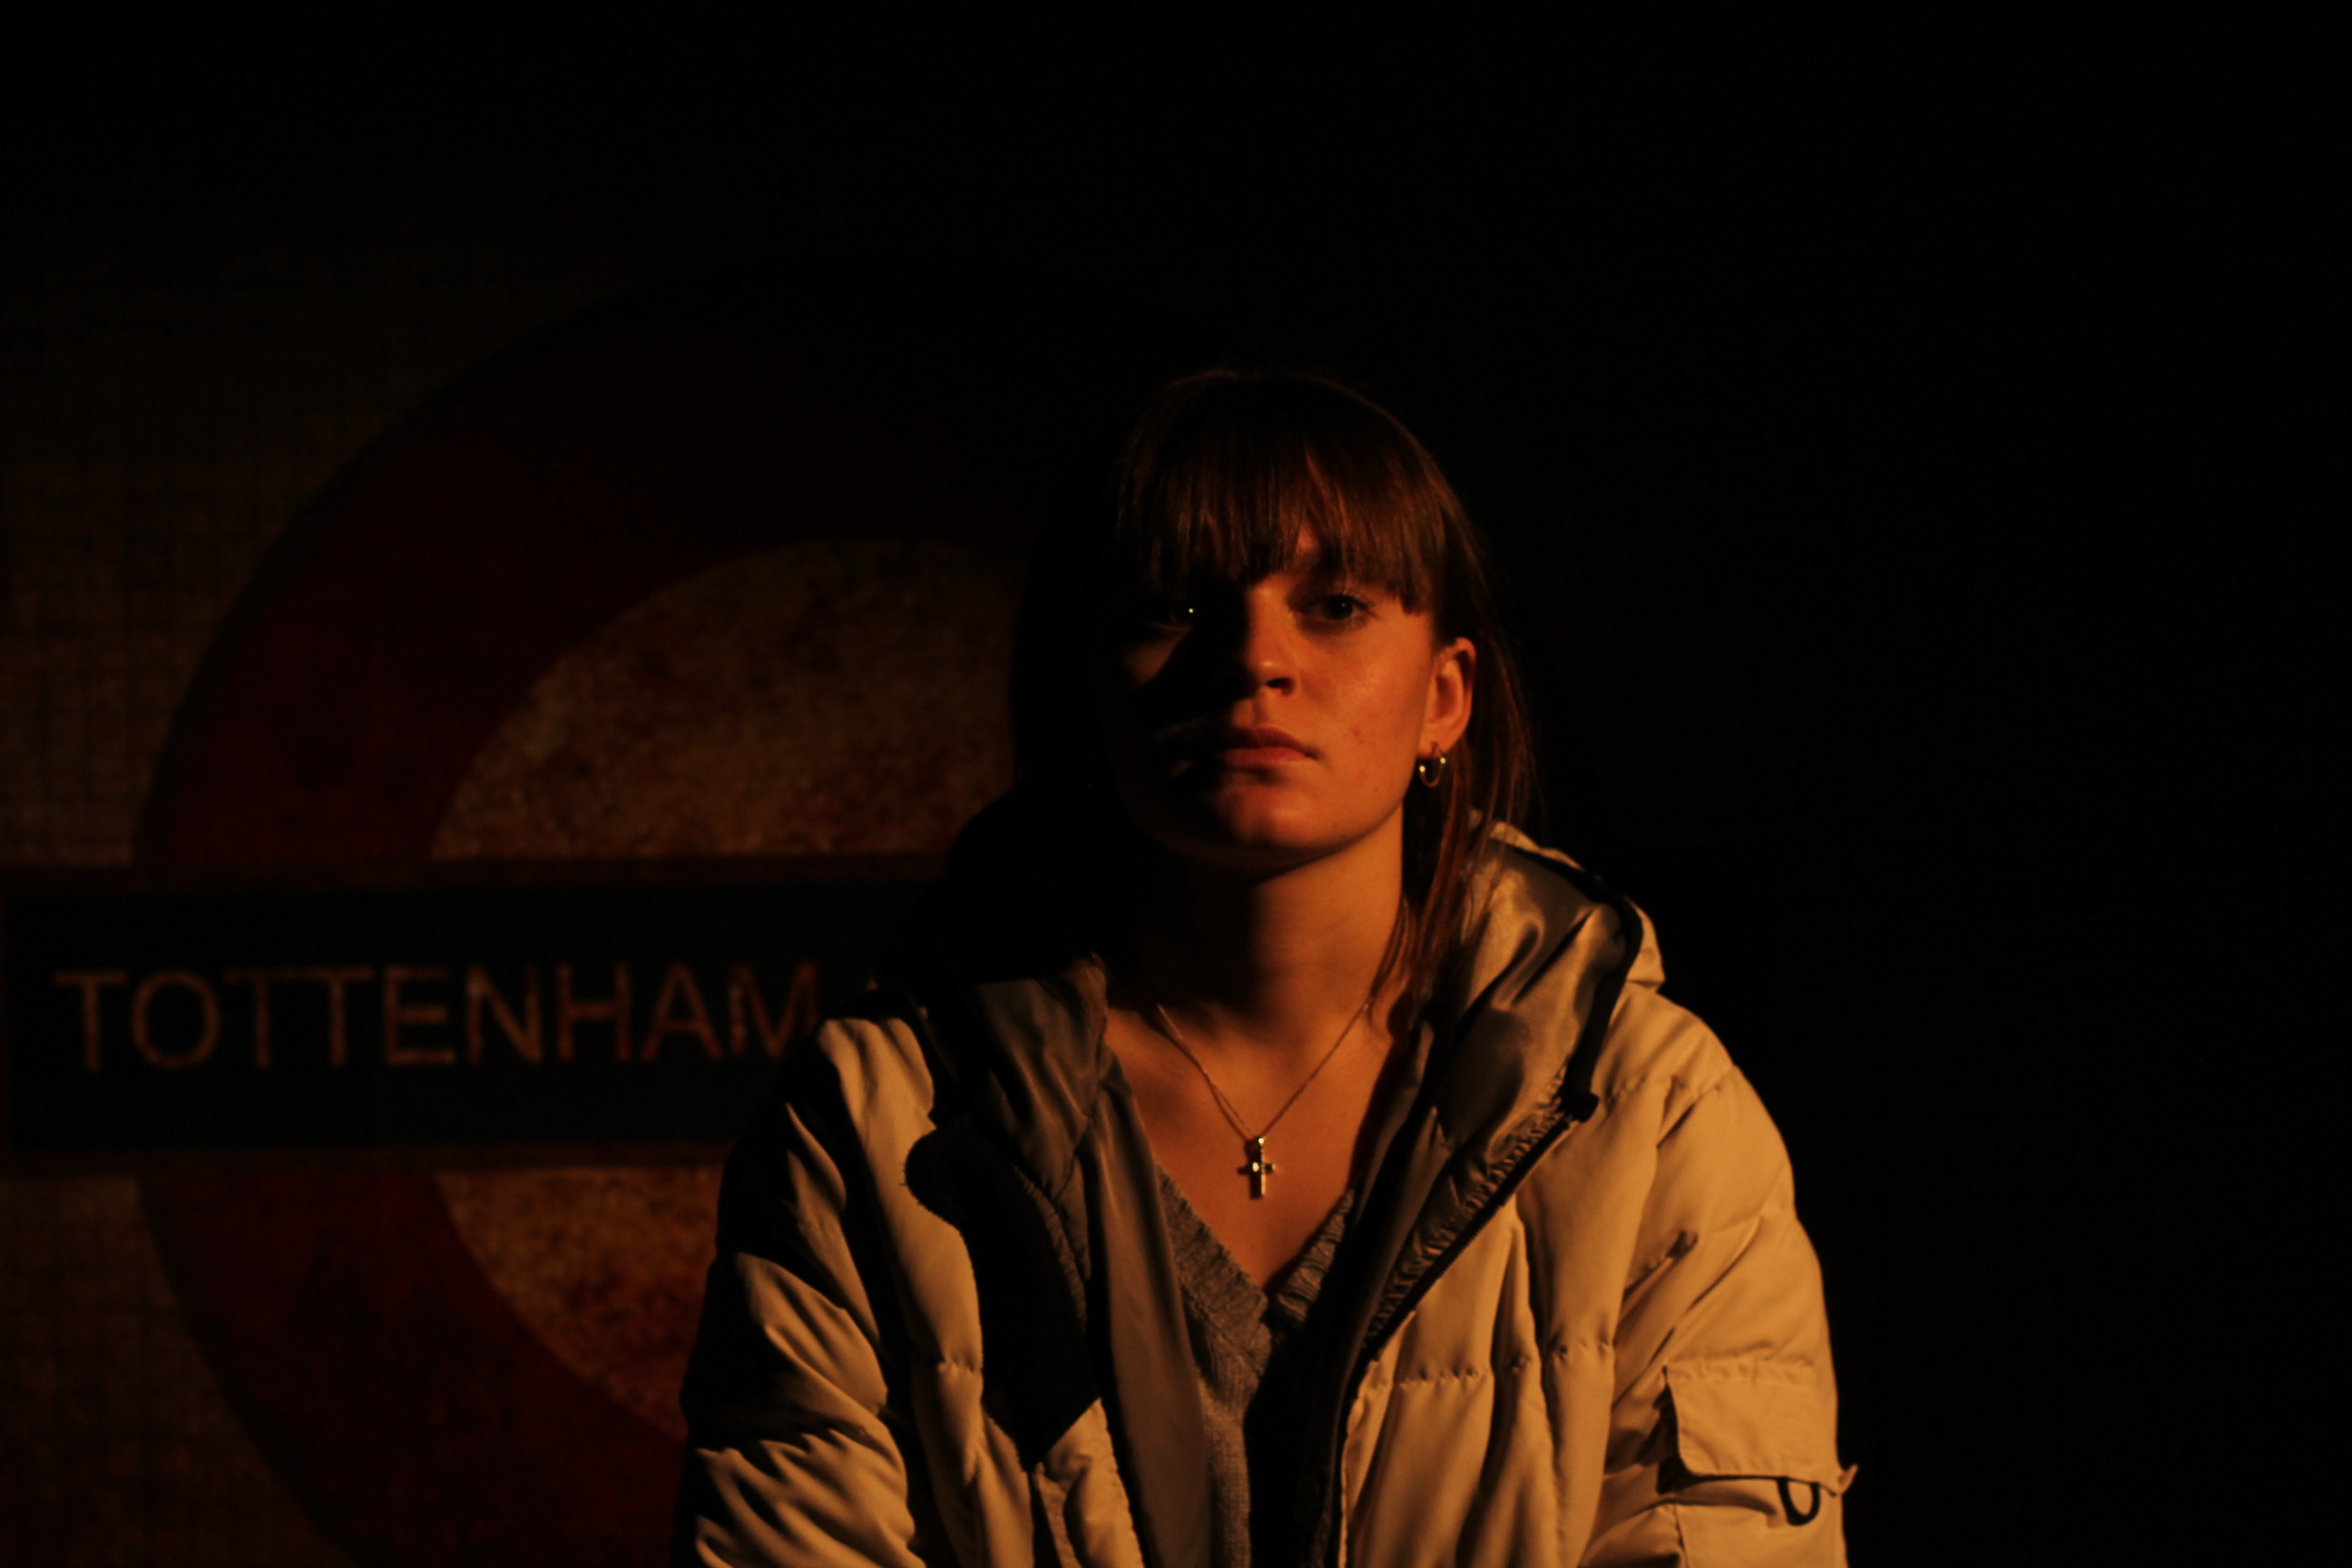
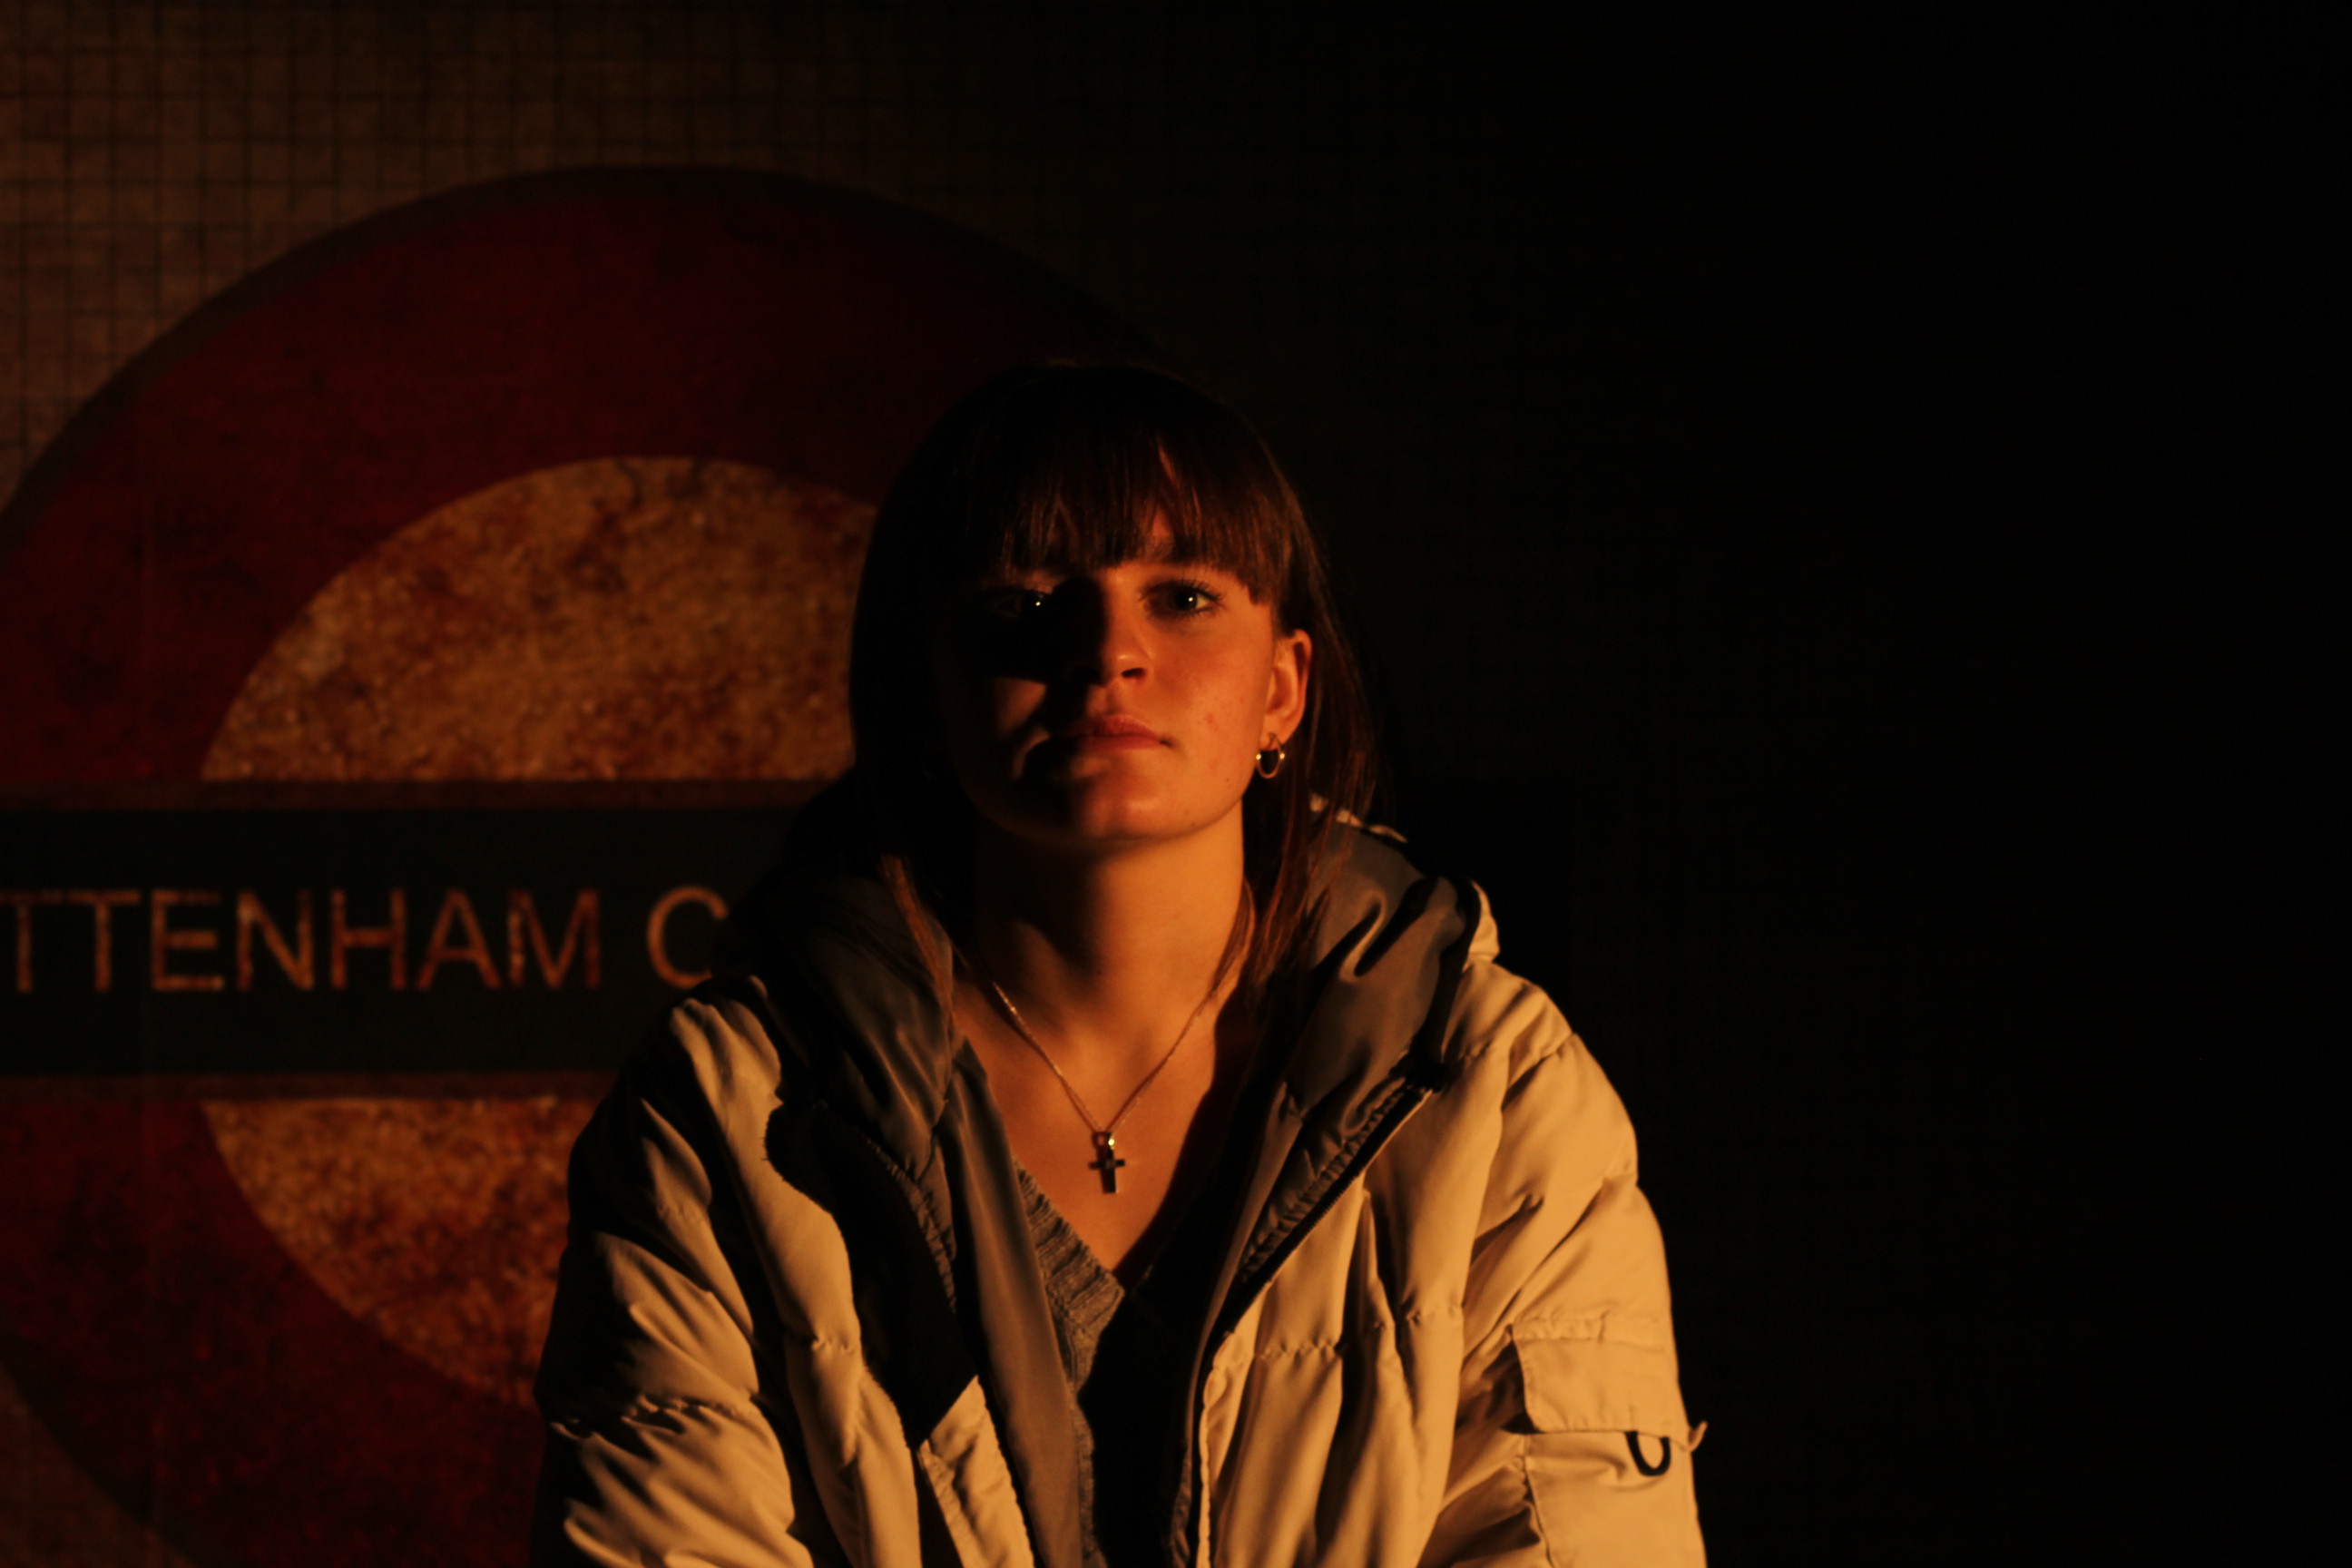
Own Tableaux Response
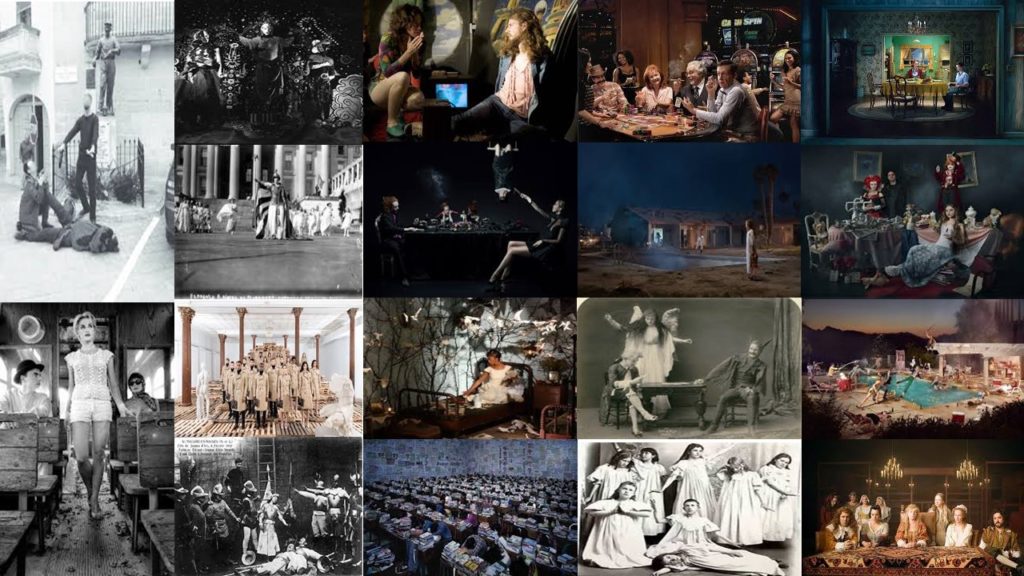
Using Paul M Smith’s work as inspiration


Images by Paul M. Smith, from the collection: “Make My Night” http://www.paulmsmith.co.uk/
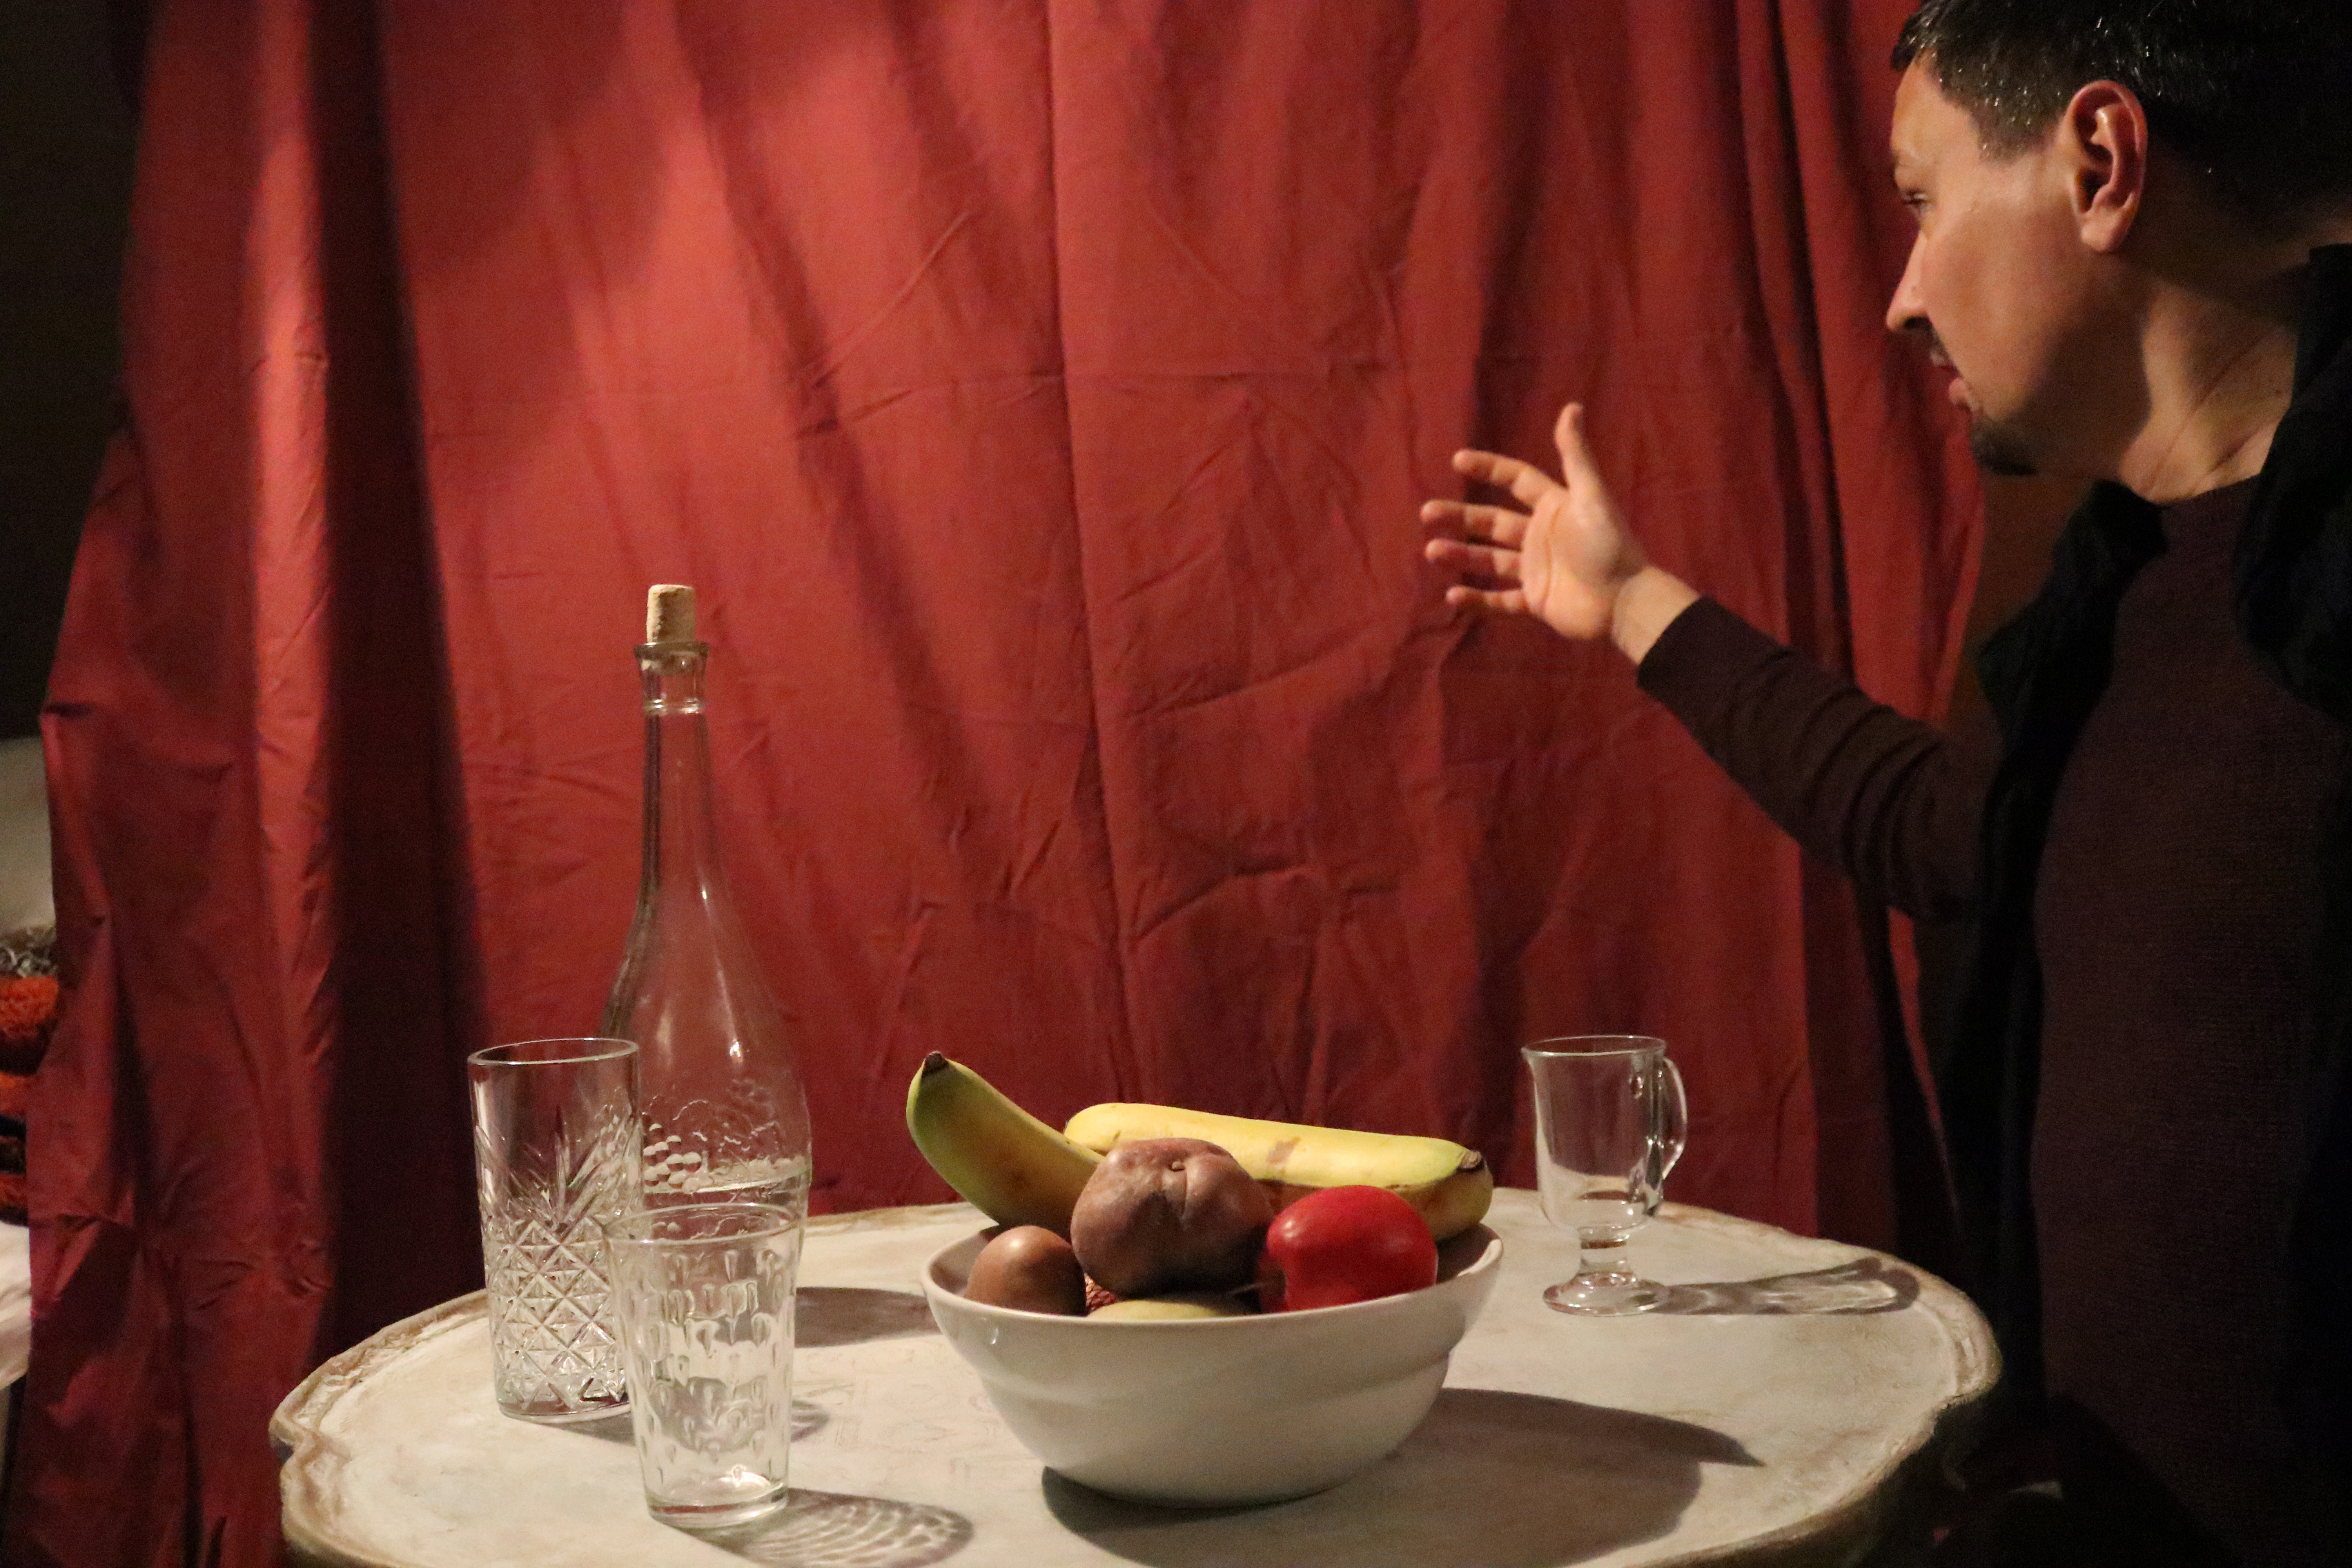
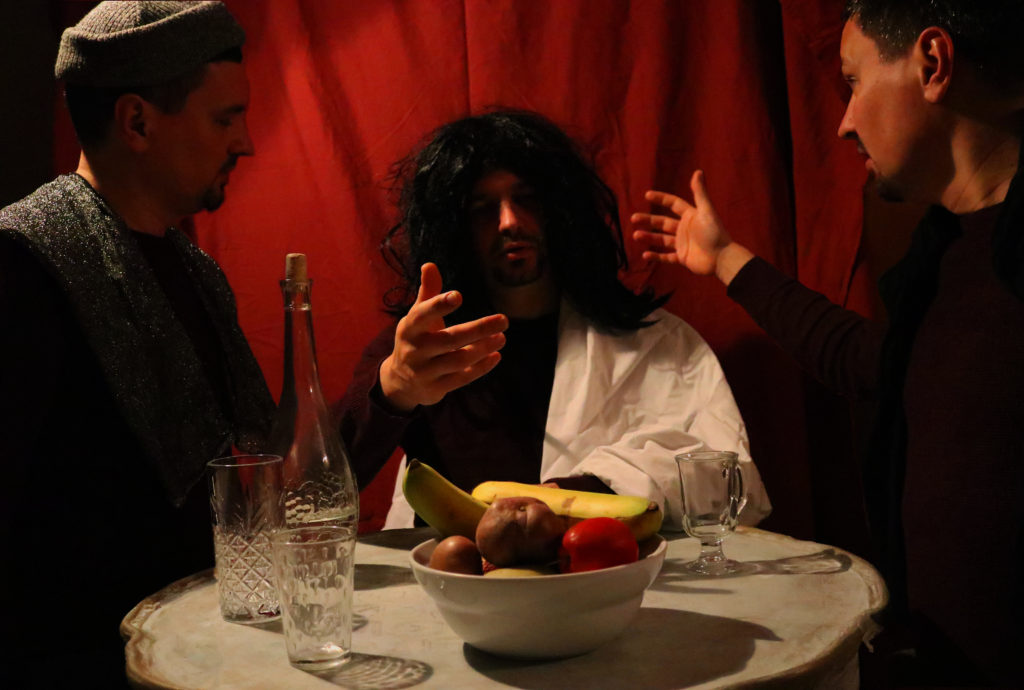
For my Tableaux Vivant and Paul M. Smith response, I would like to merge together and edit three separate images of the same subject; wearing different outfits, in different poses, and the in the same frame.
I will be responding to the renaissance work “Supper At Emmaus” – by Caravaggio; featured below.
Images
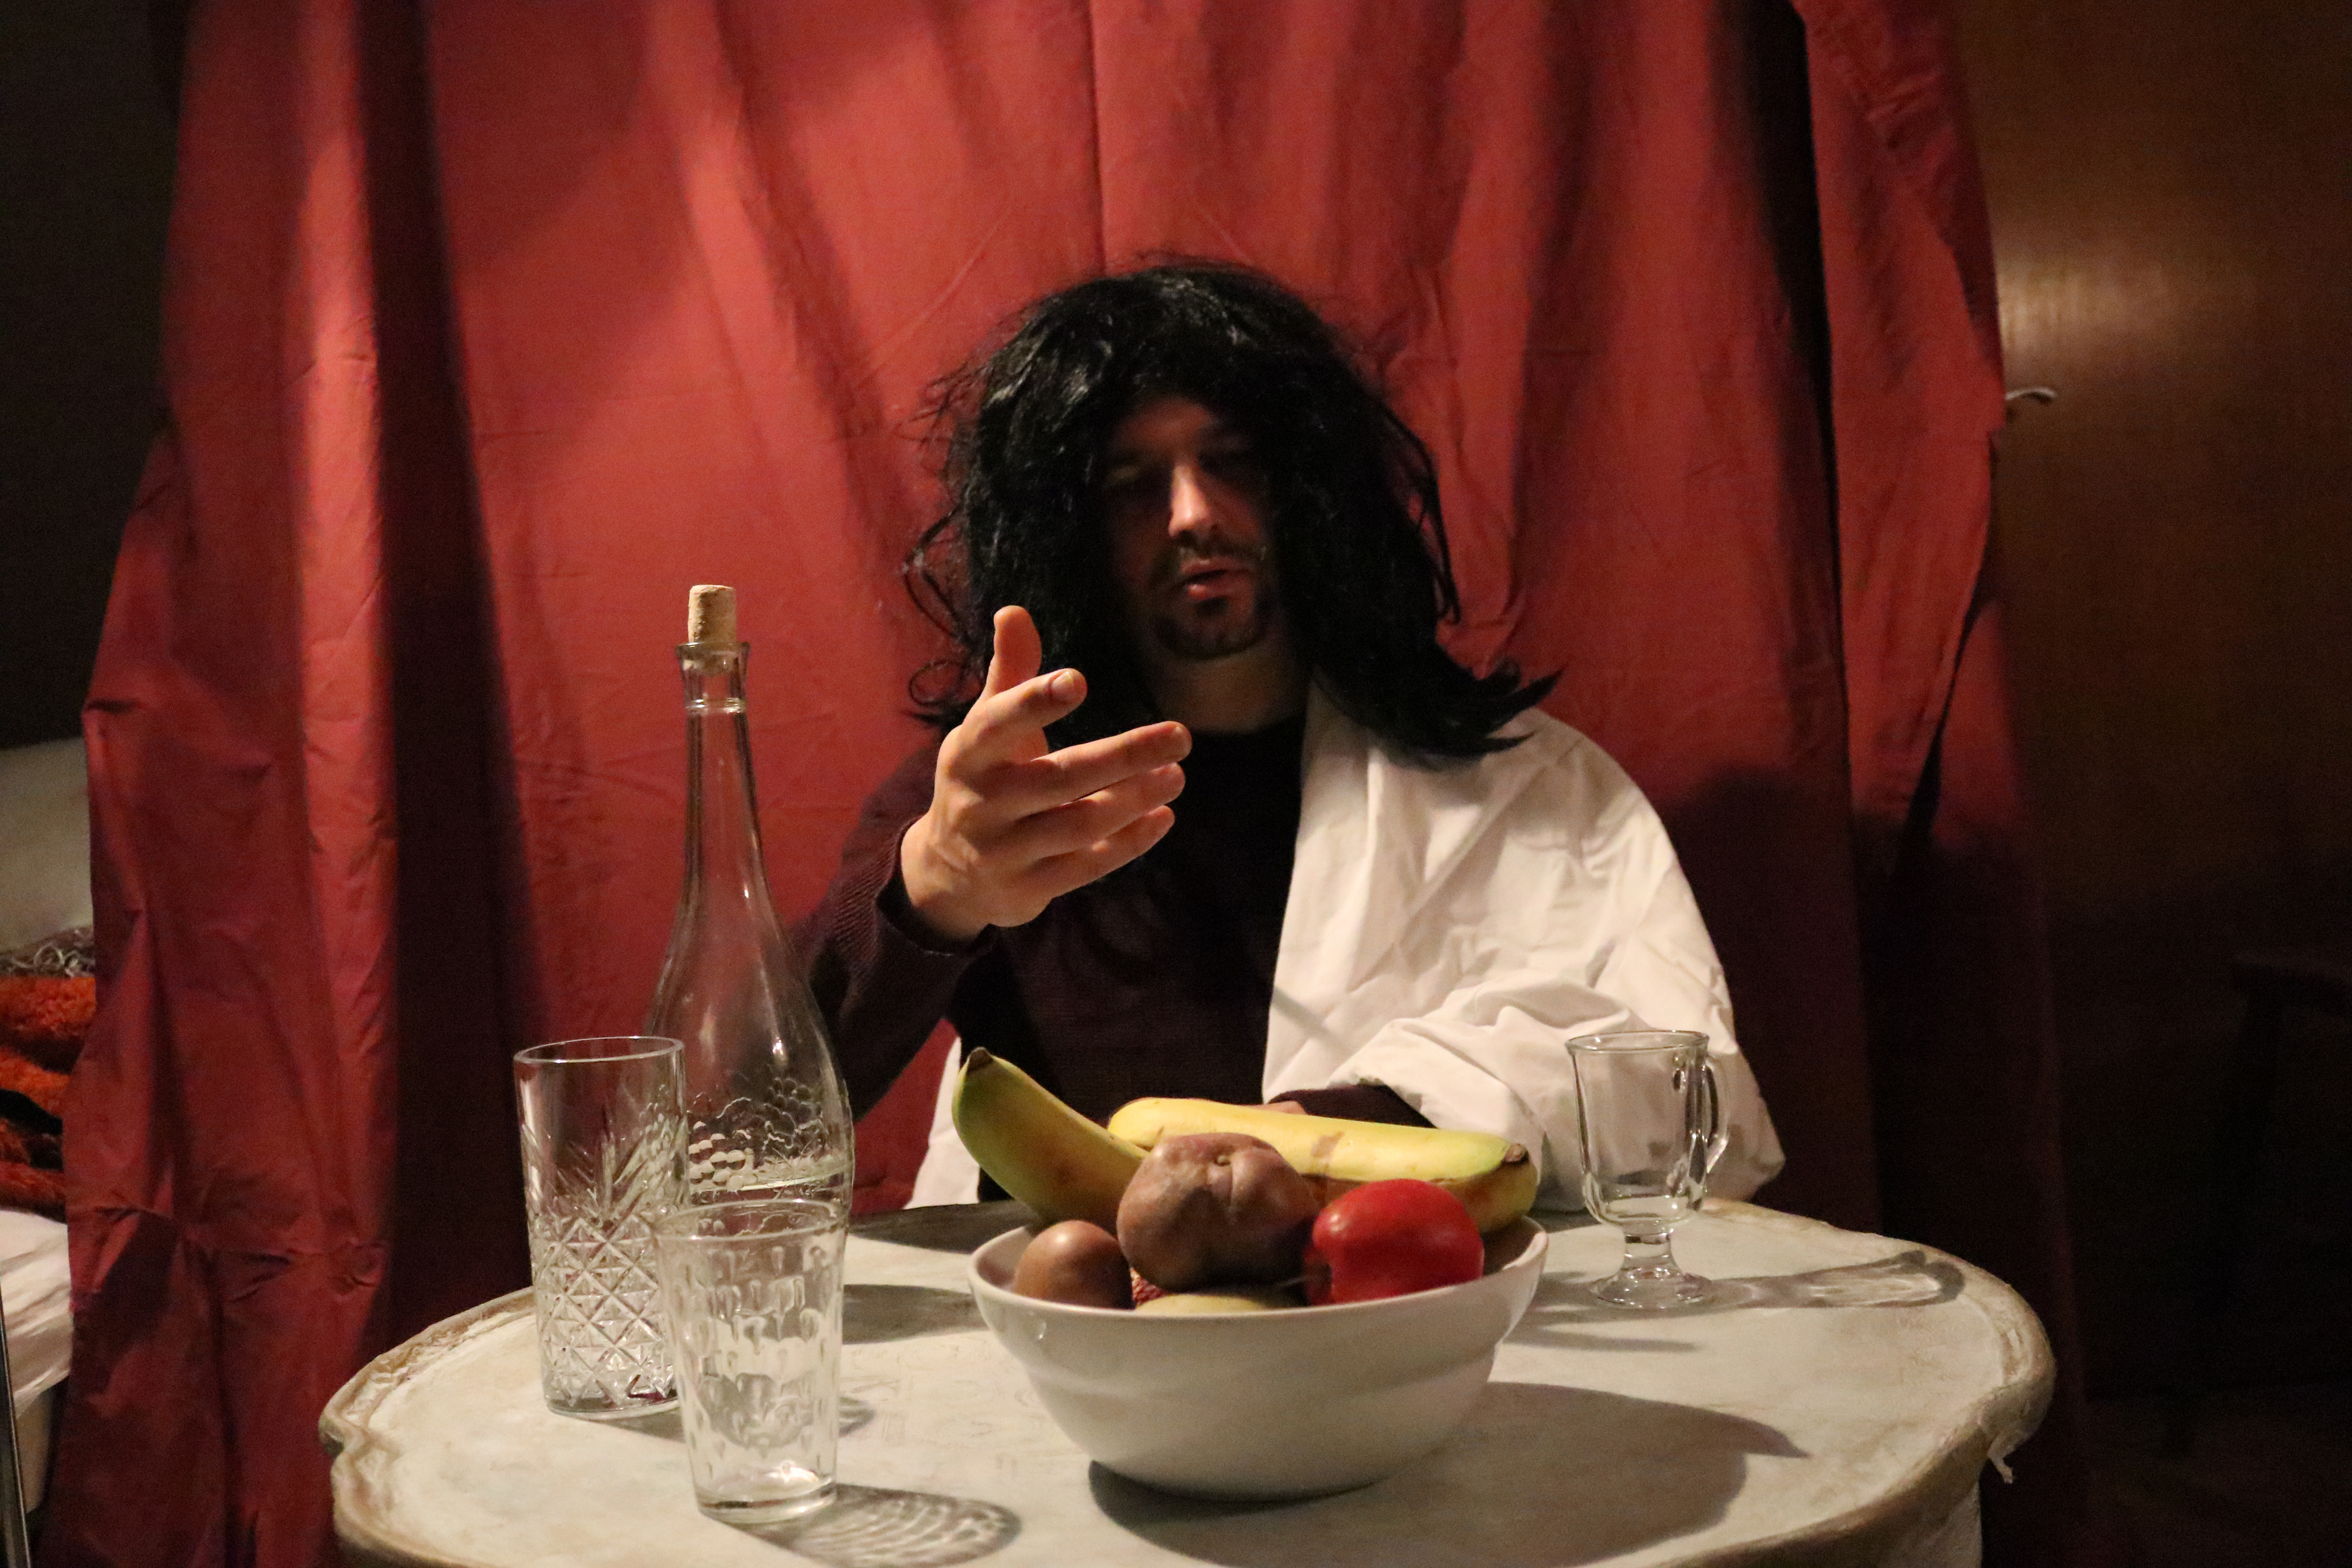
Image 1; used as base image for the final edit.

Edit
I have edited this image by using a base image as an anchor-point to synchronize the other images and the props, to do this I have also set the opacity of the other images to 50%.

After wards I cut out and set new layers for the crucial parts of the layering images e.g: Shadows, subjects. And then used the eraser tool with low hardness to ensure a smooth transition between the anchor image and the layer images.

Final Edited Image


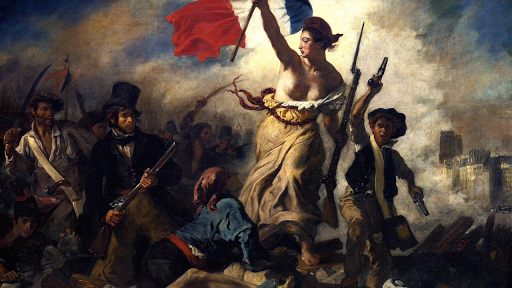 Eugene Delacroix ‘Leading the People’
 Carravagio ‘Deposition’
 David La Chapelle ‘The Last Supper’