Category Archives: Unit 2 Portrait

Filters

Author:
Category:

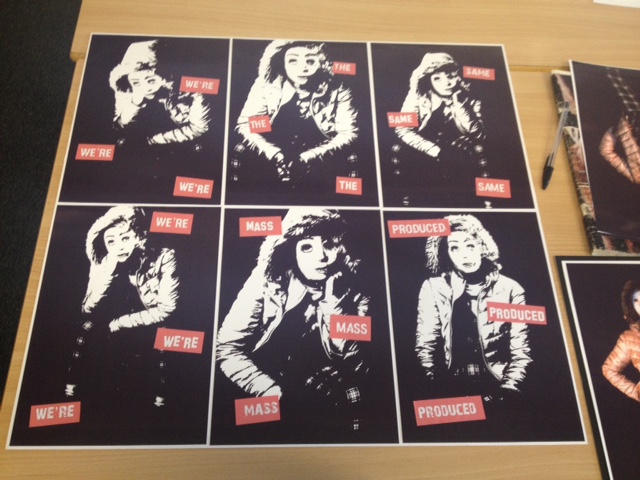
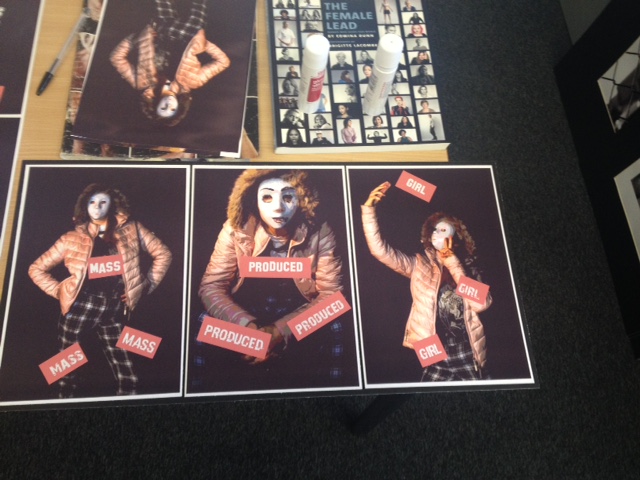
Final Outcomes

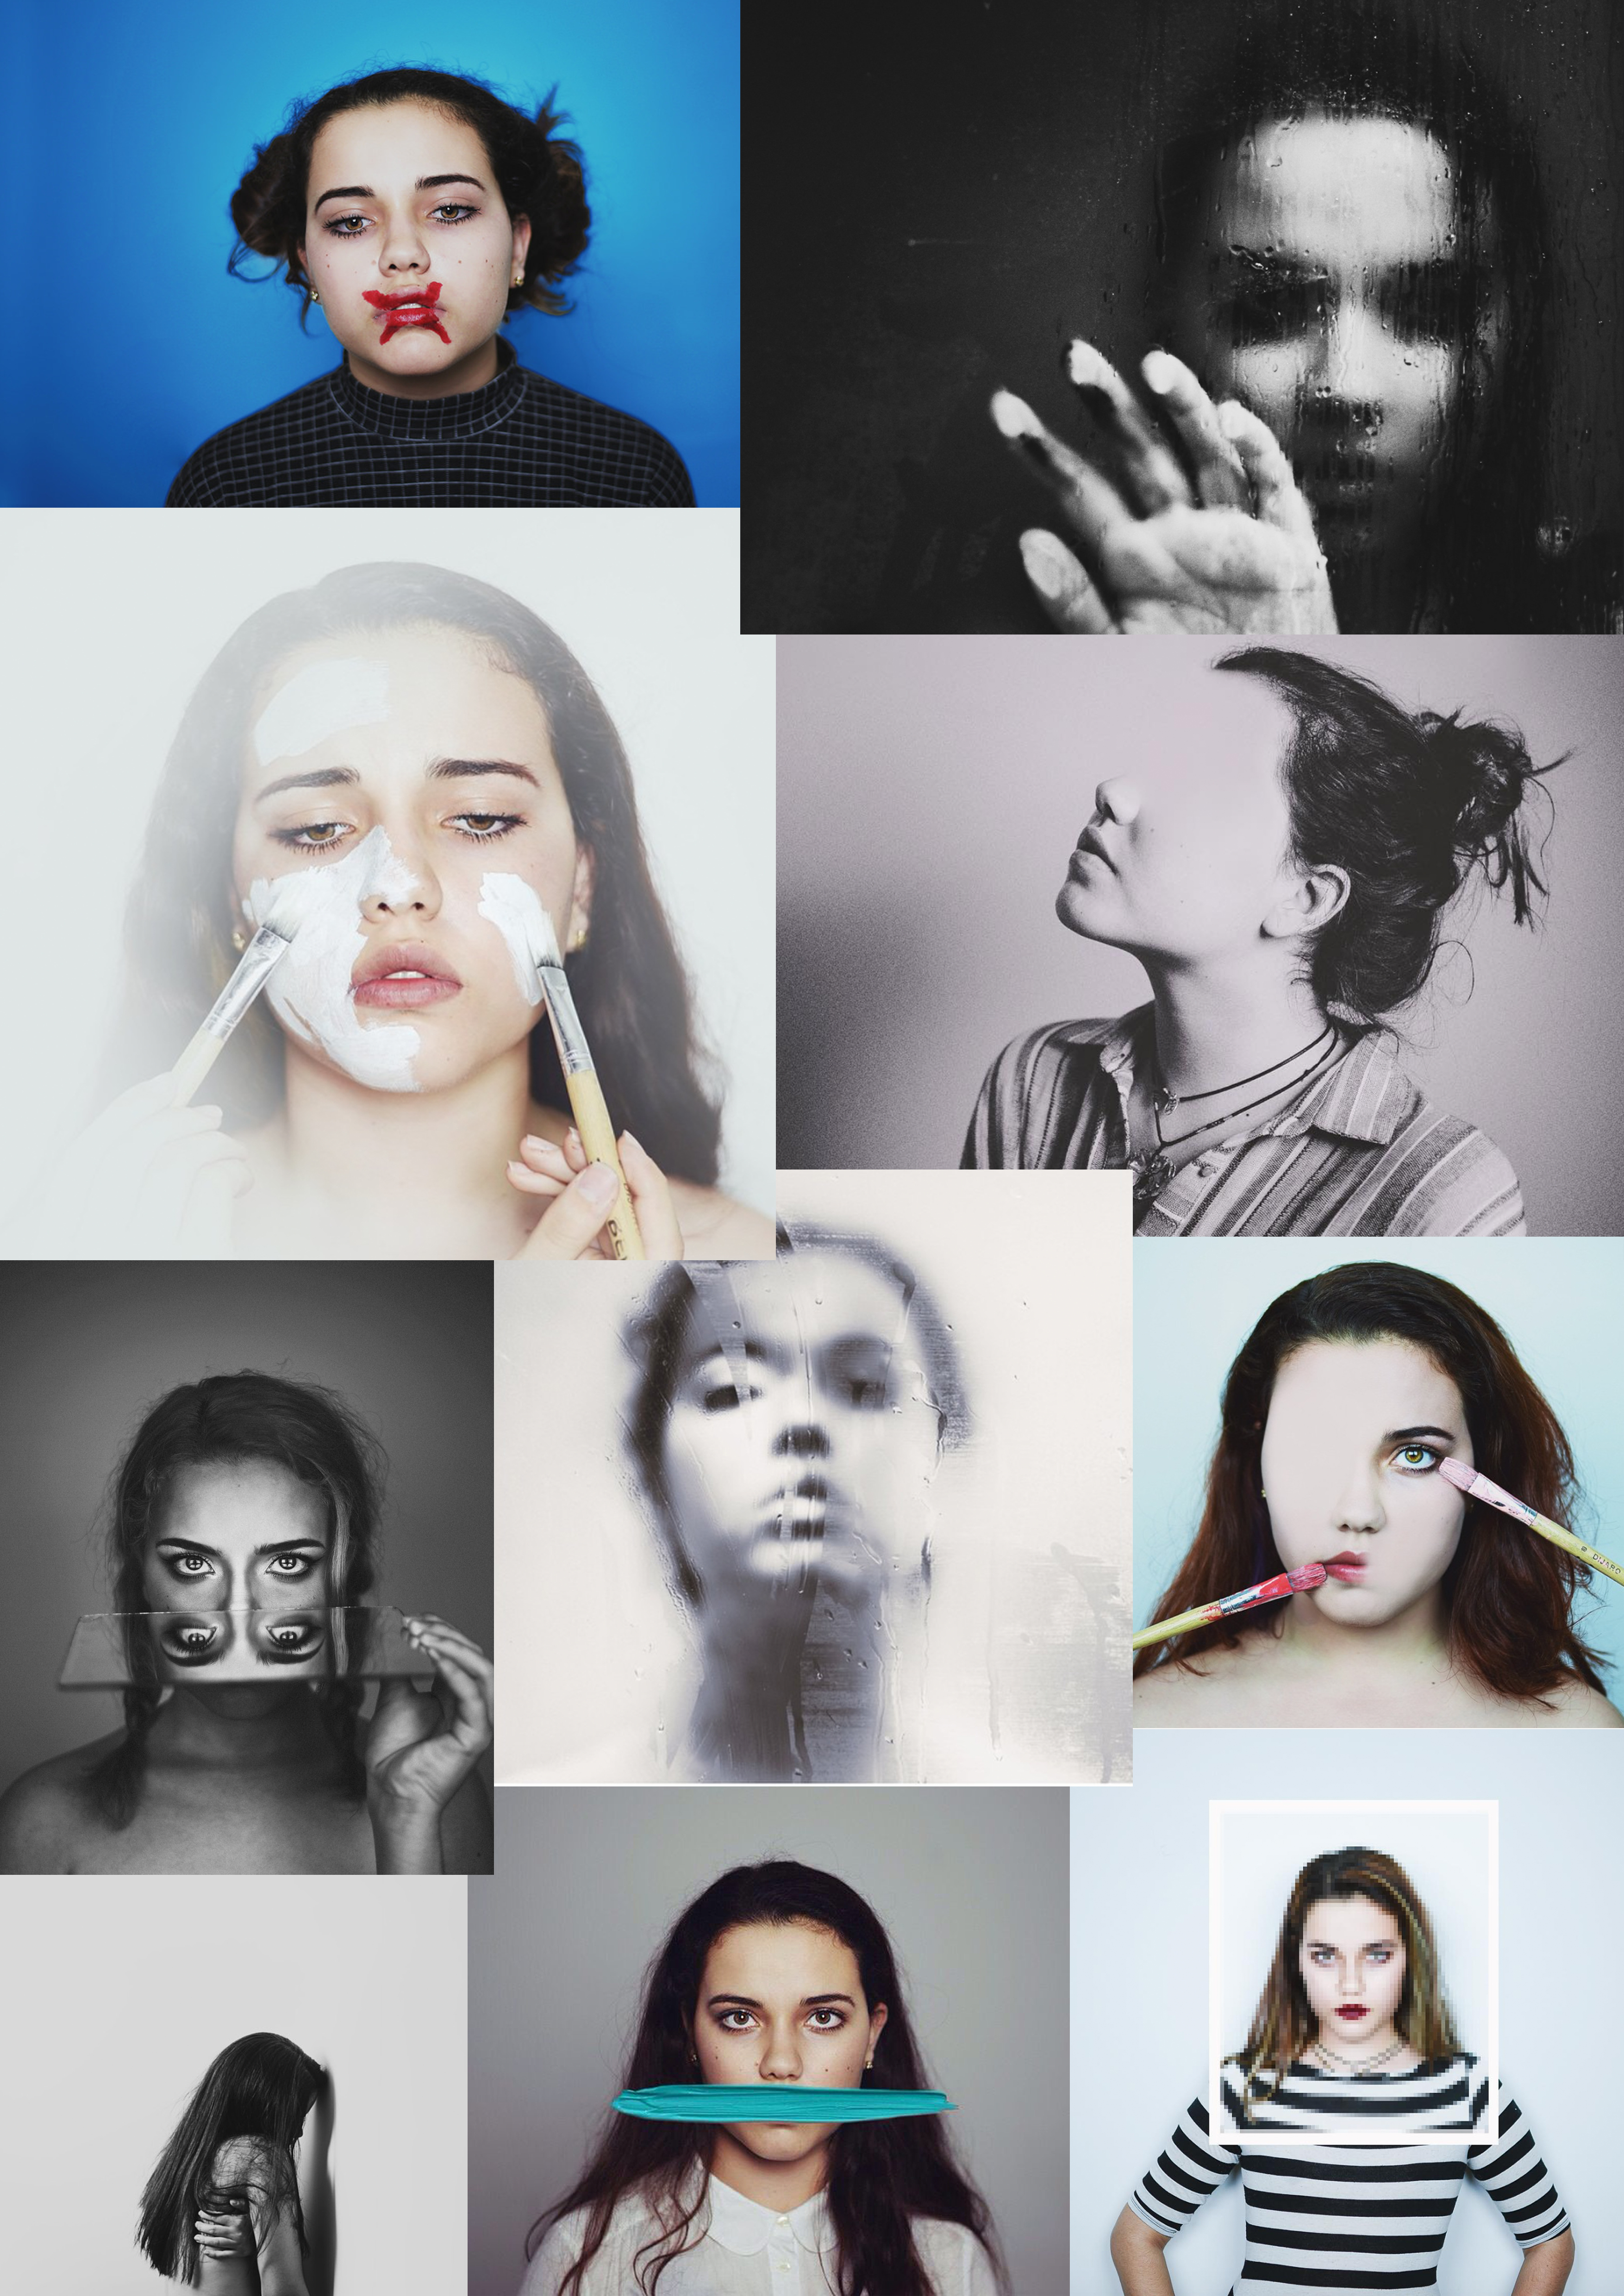
Final Outcome Options

showers of screams
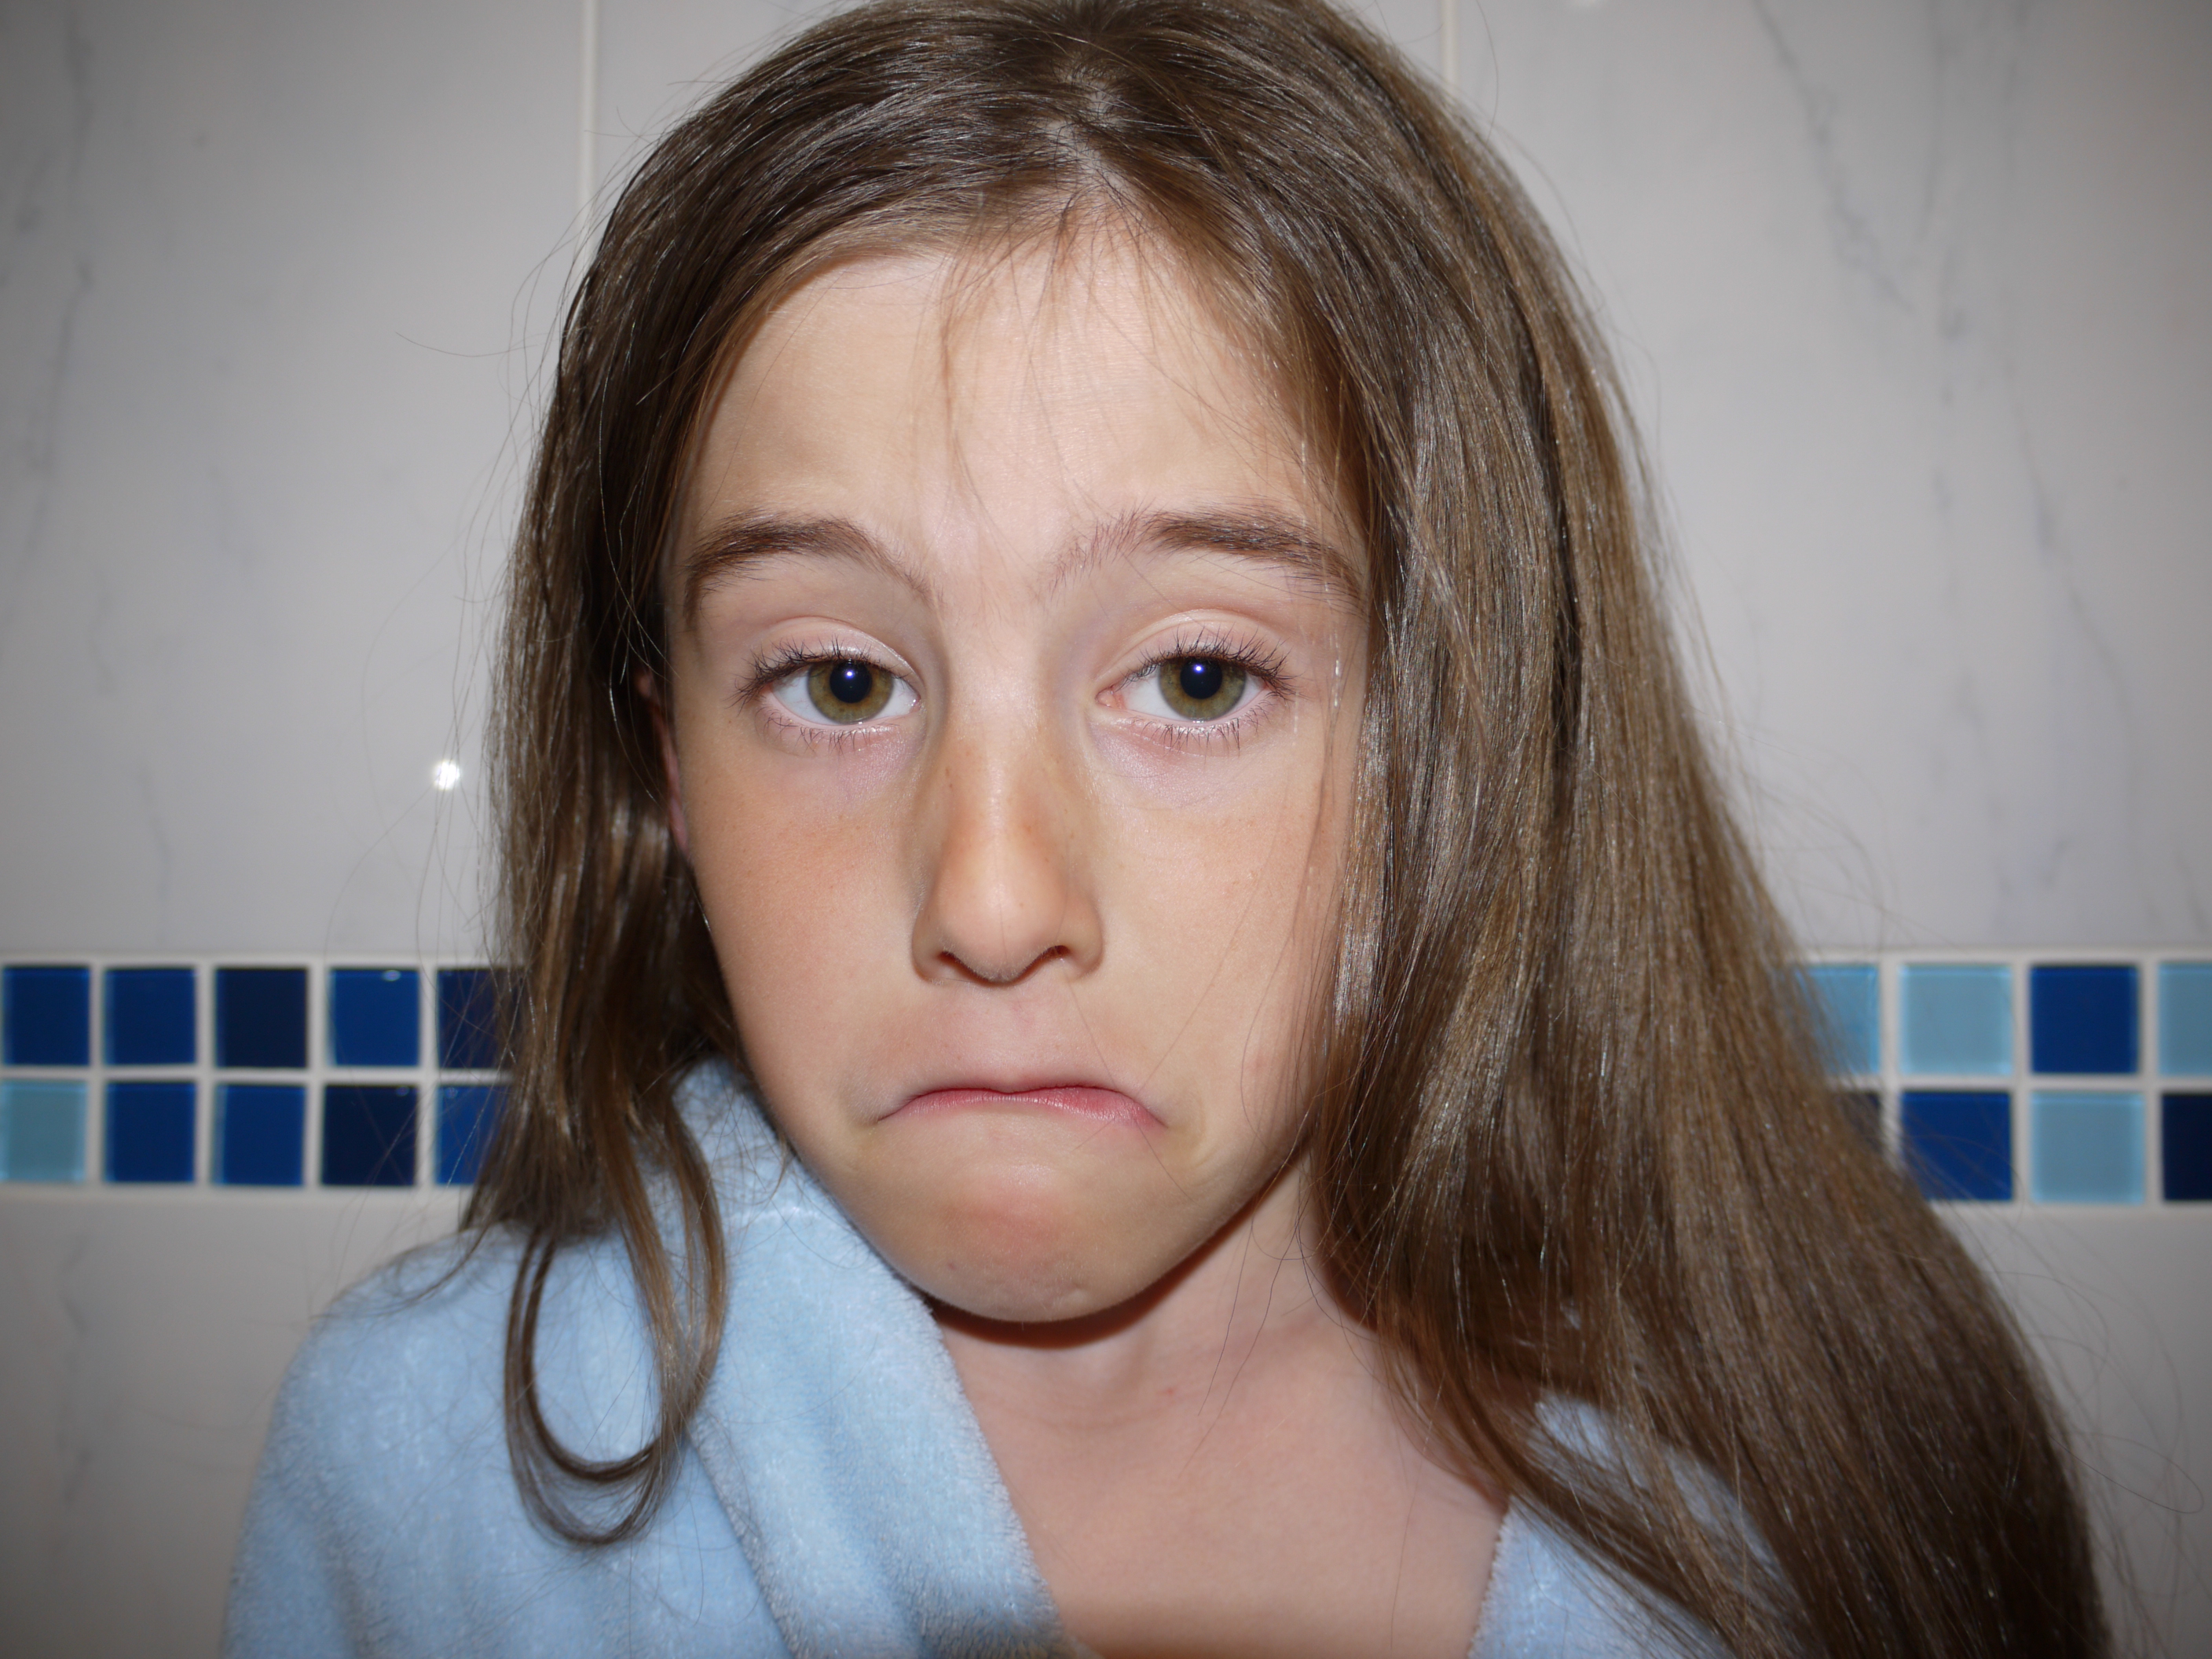
dontsmileatme
sleepparalysis
familyfeud
blackout
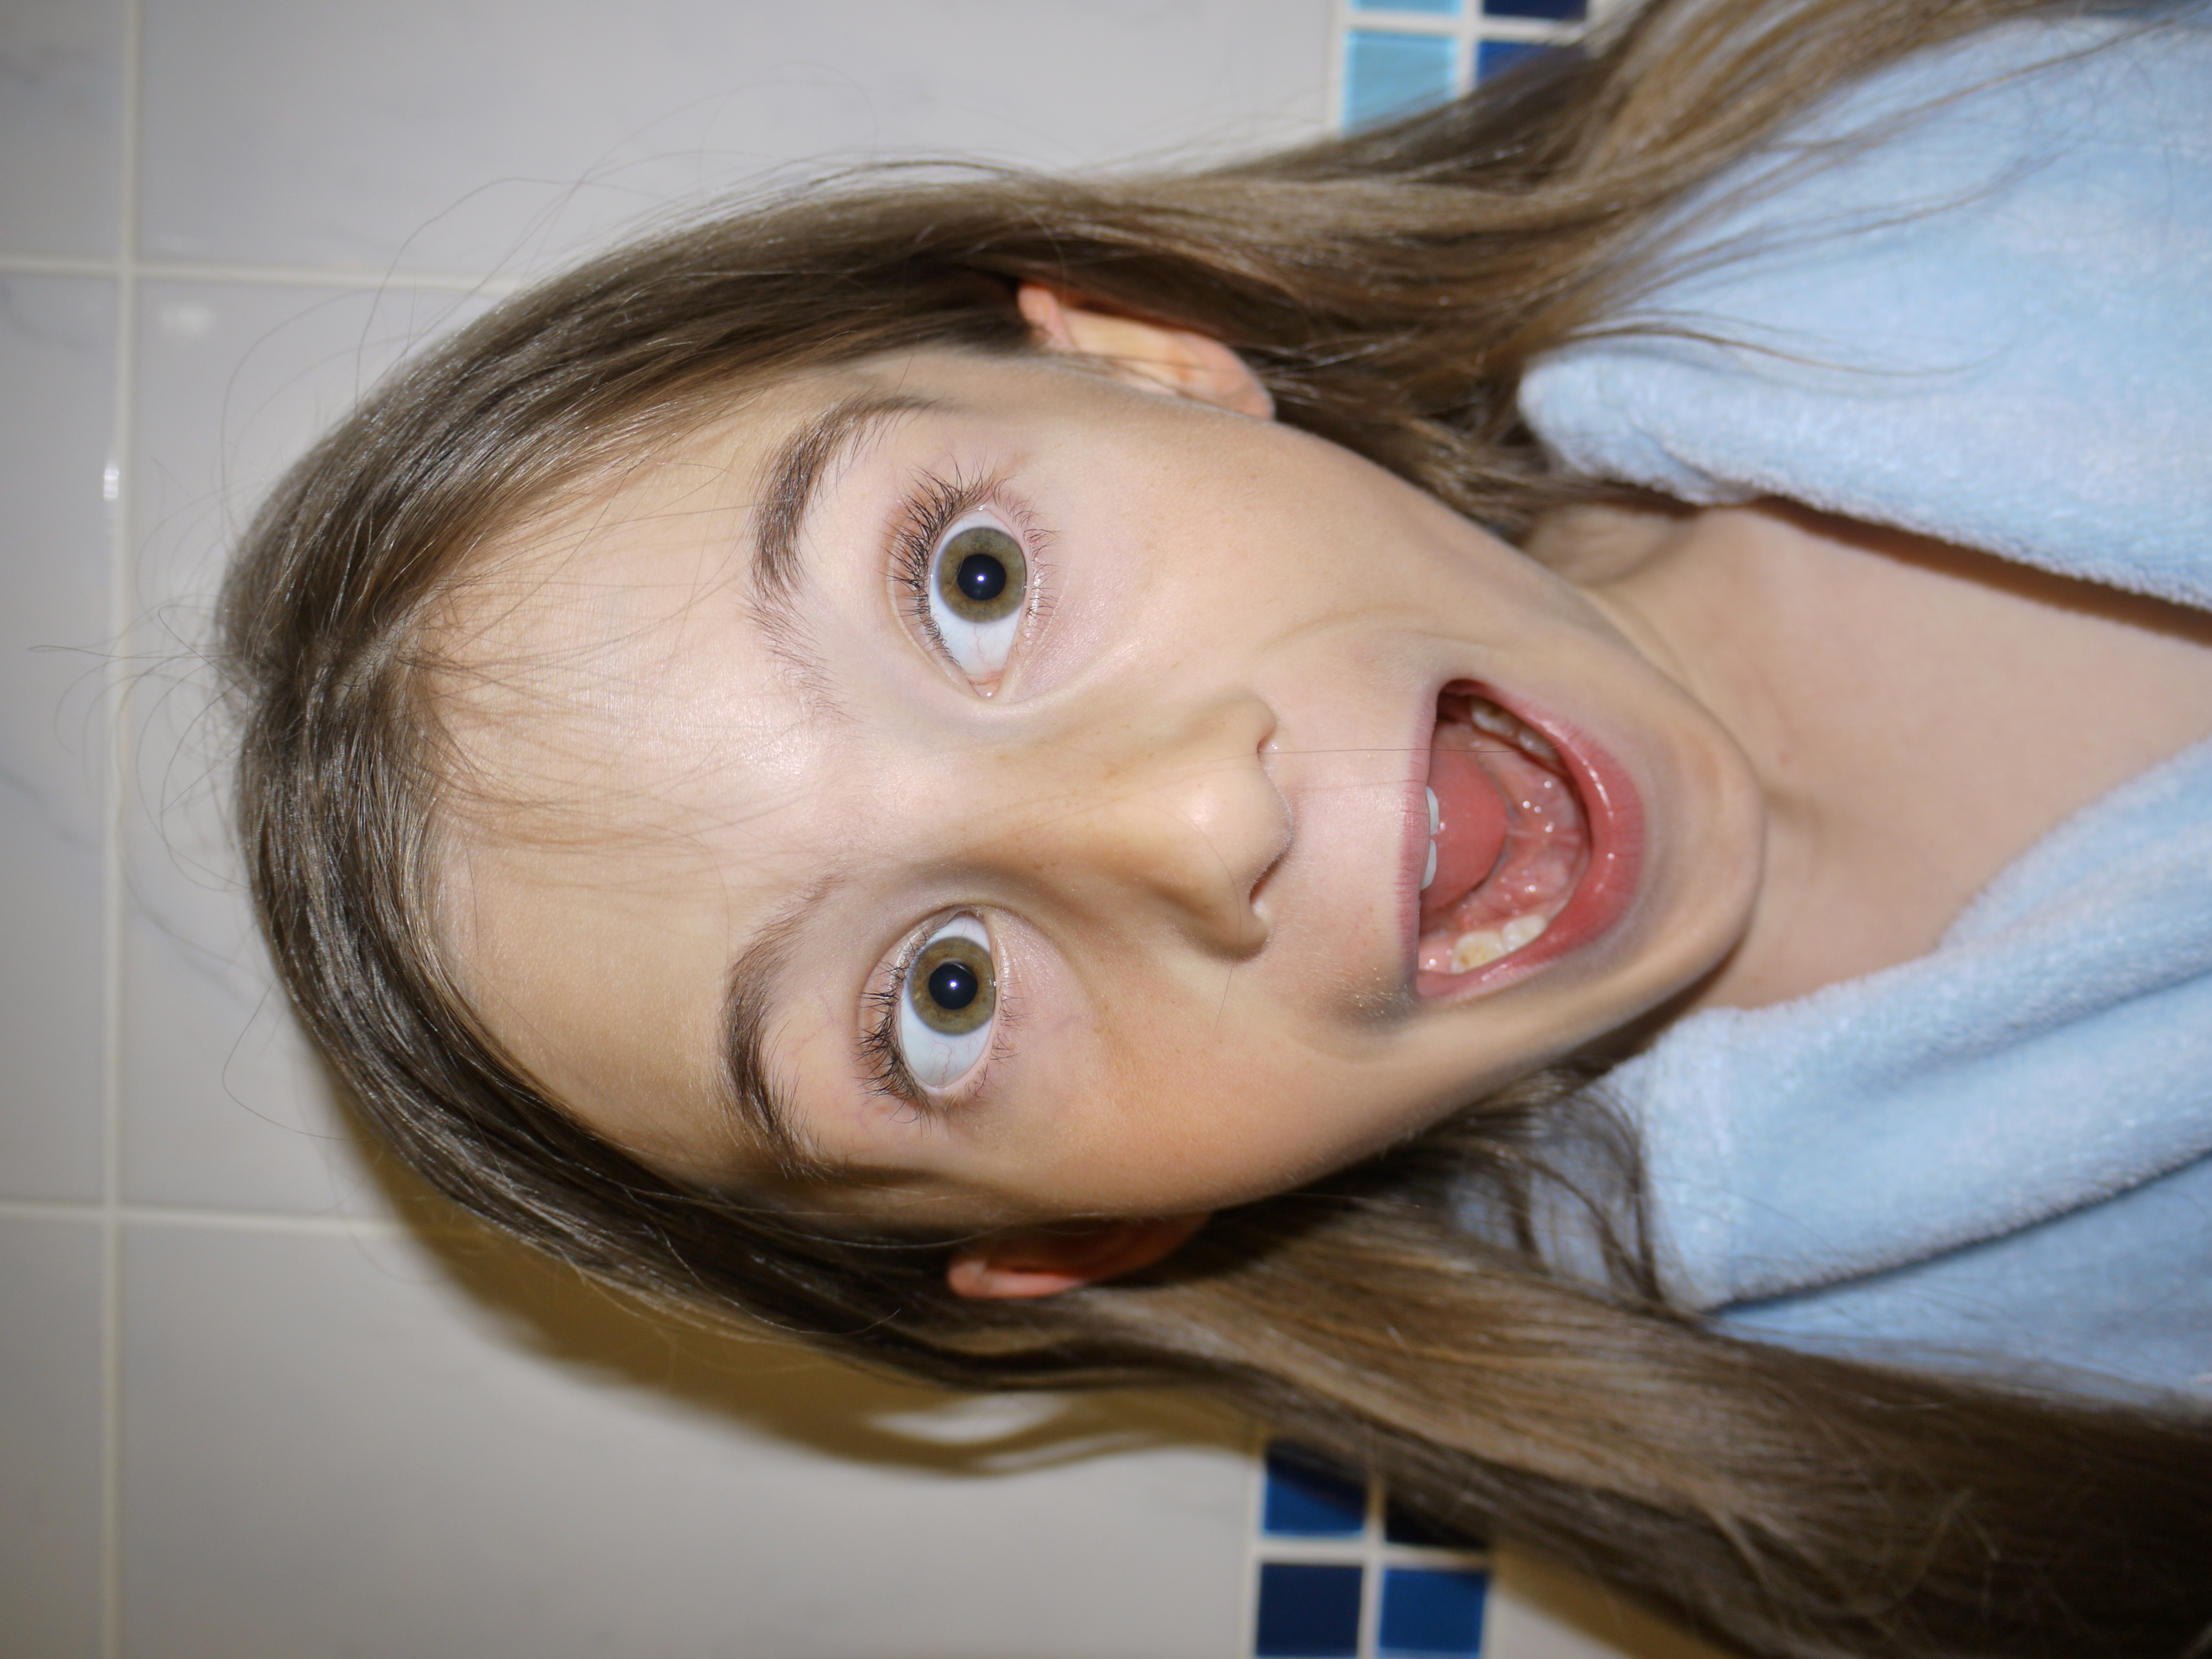
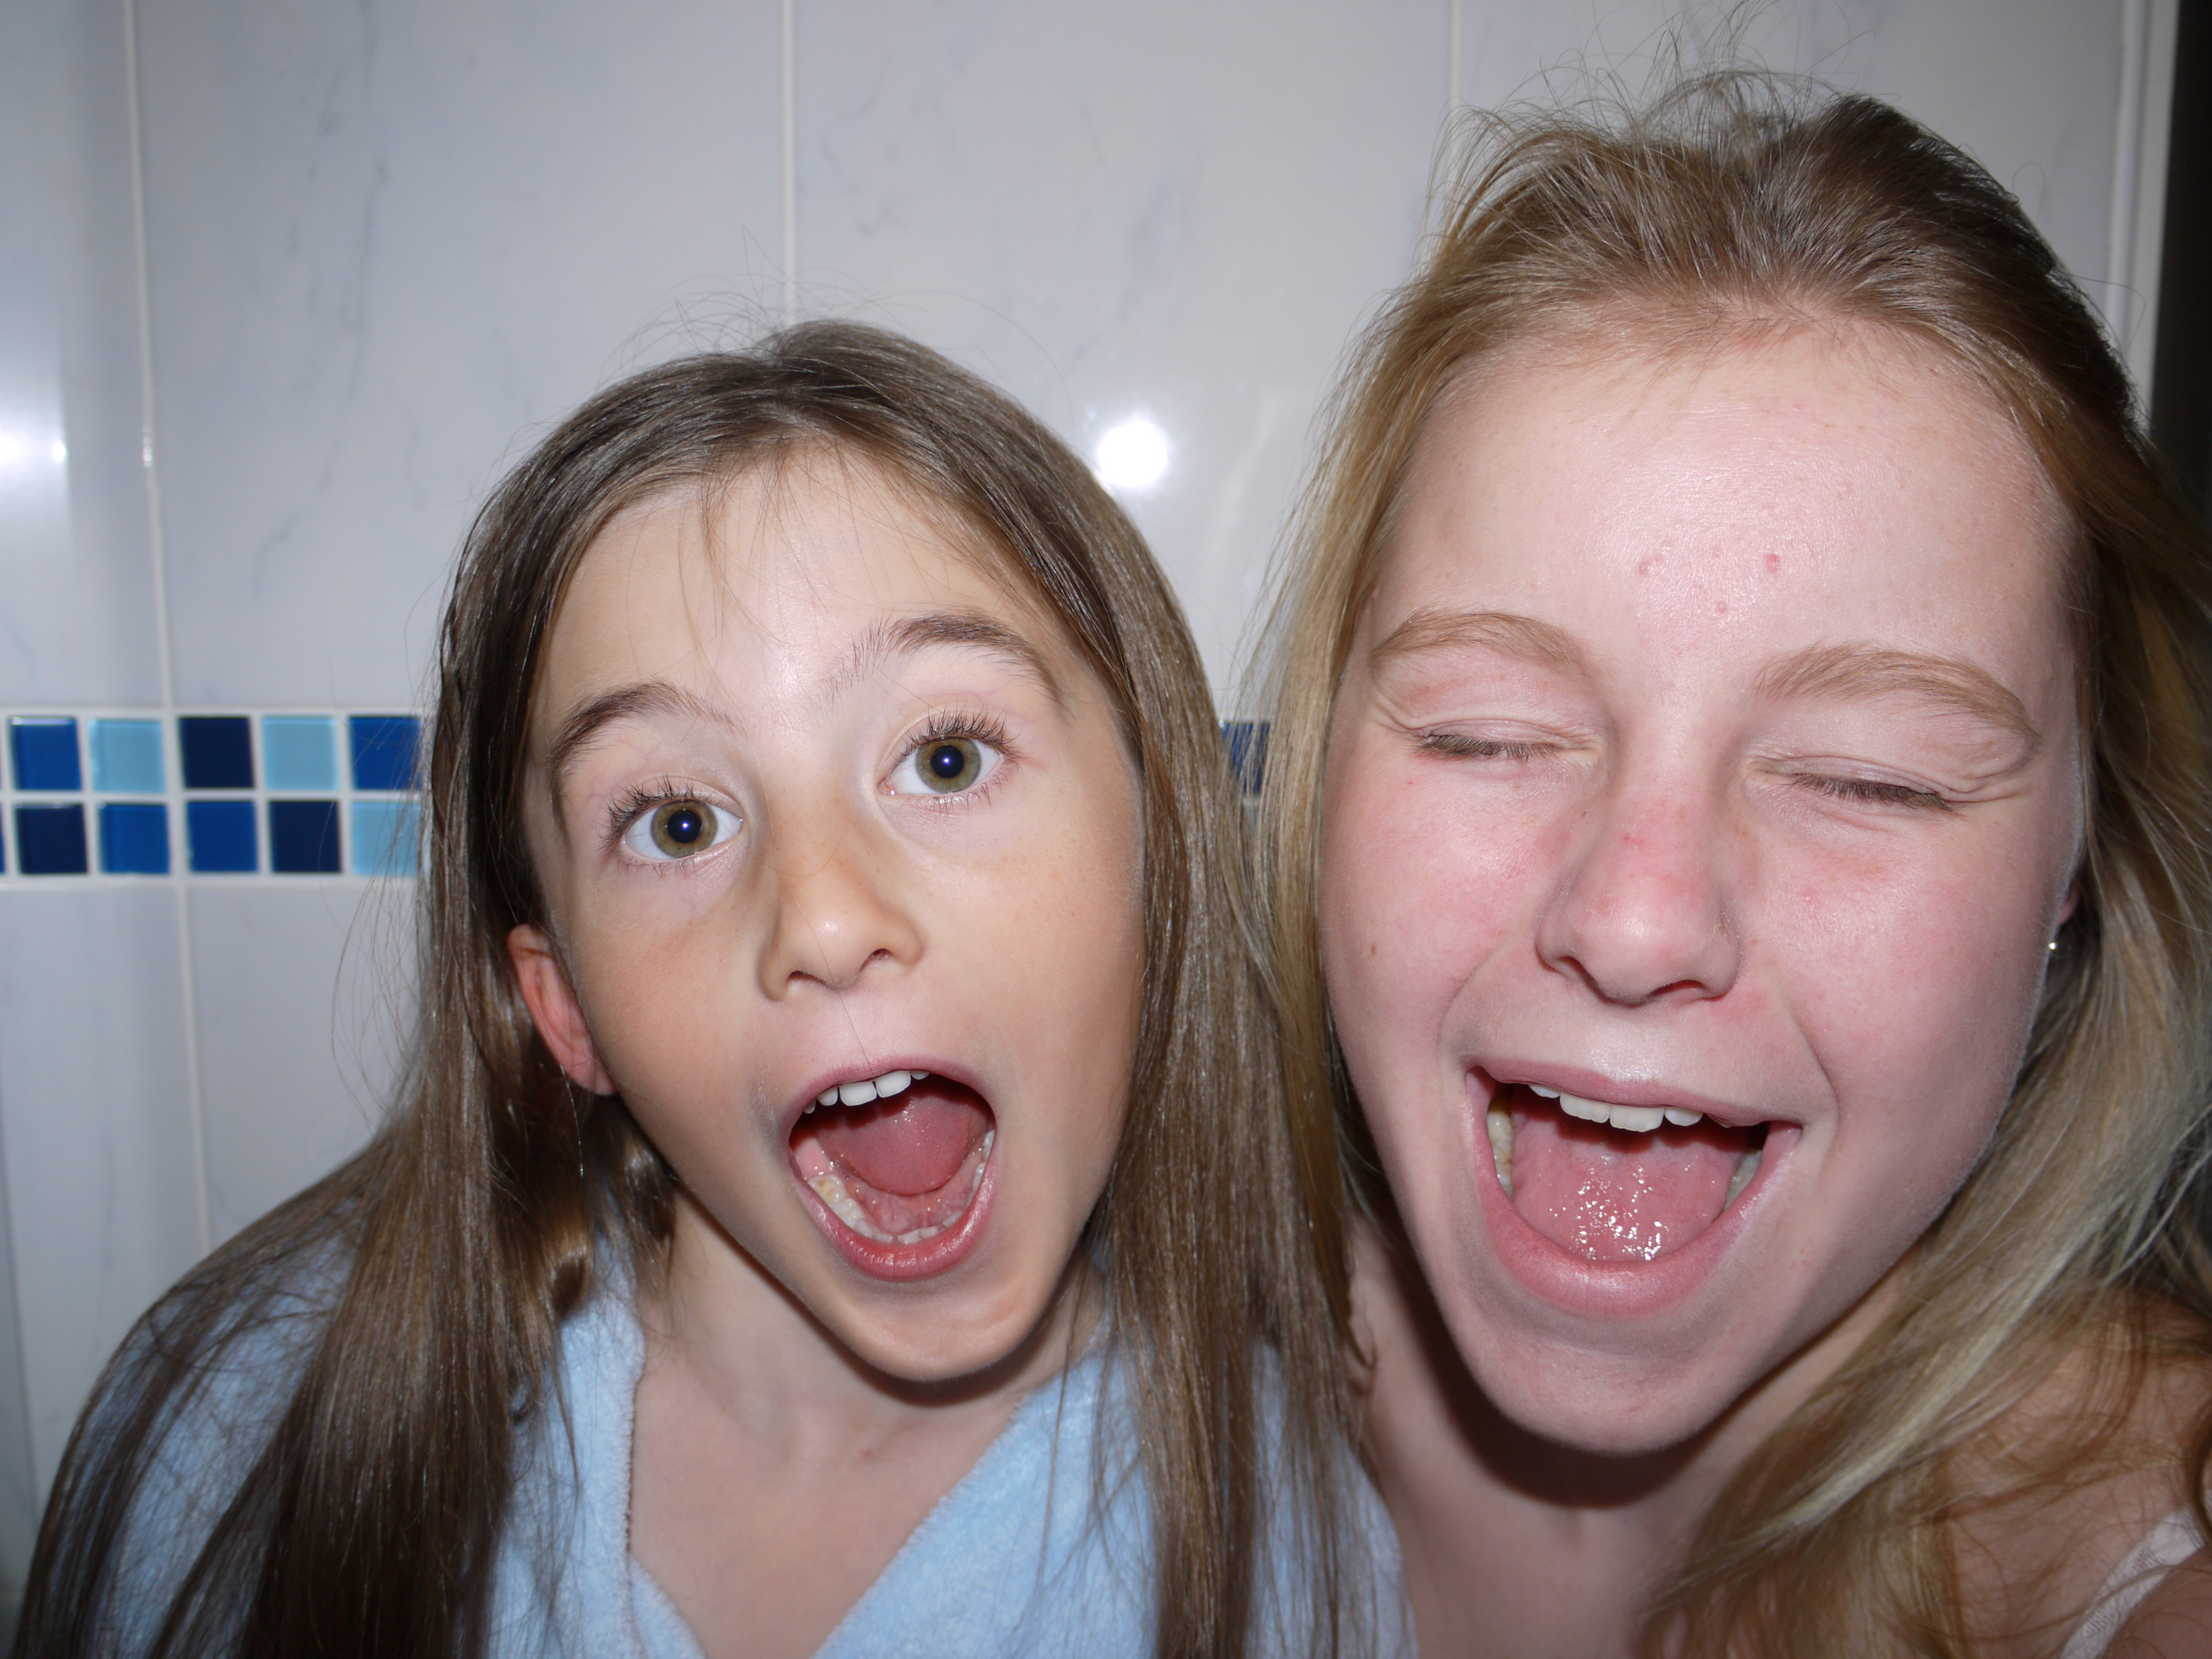
clowningaround
fridafeeling
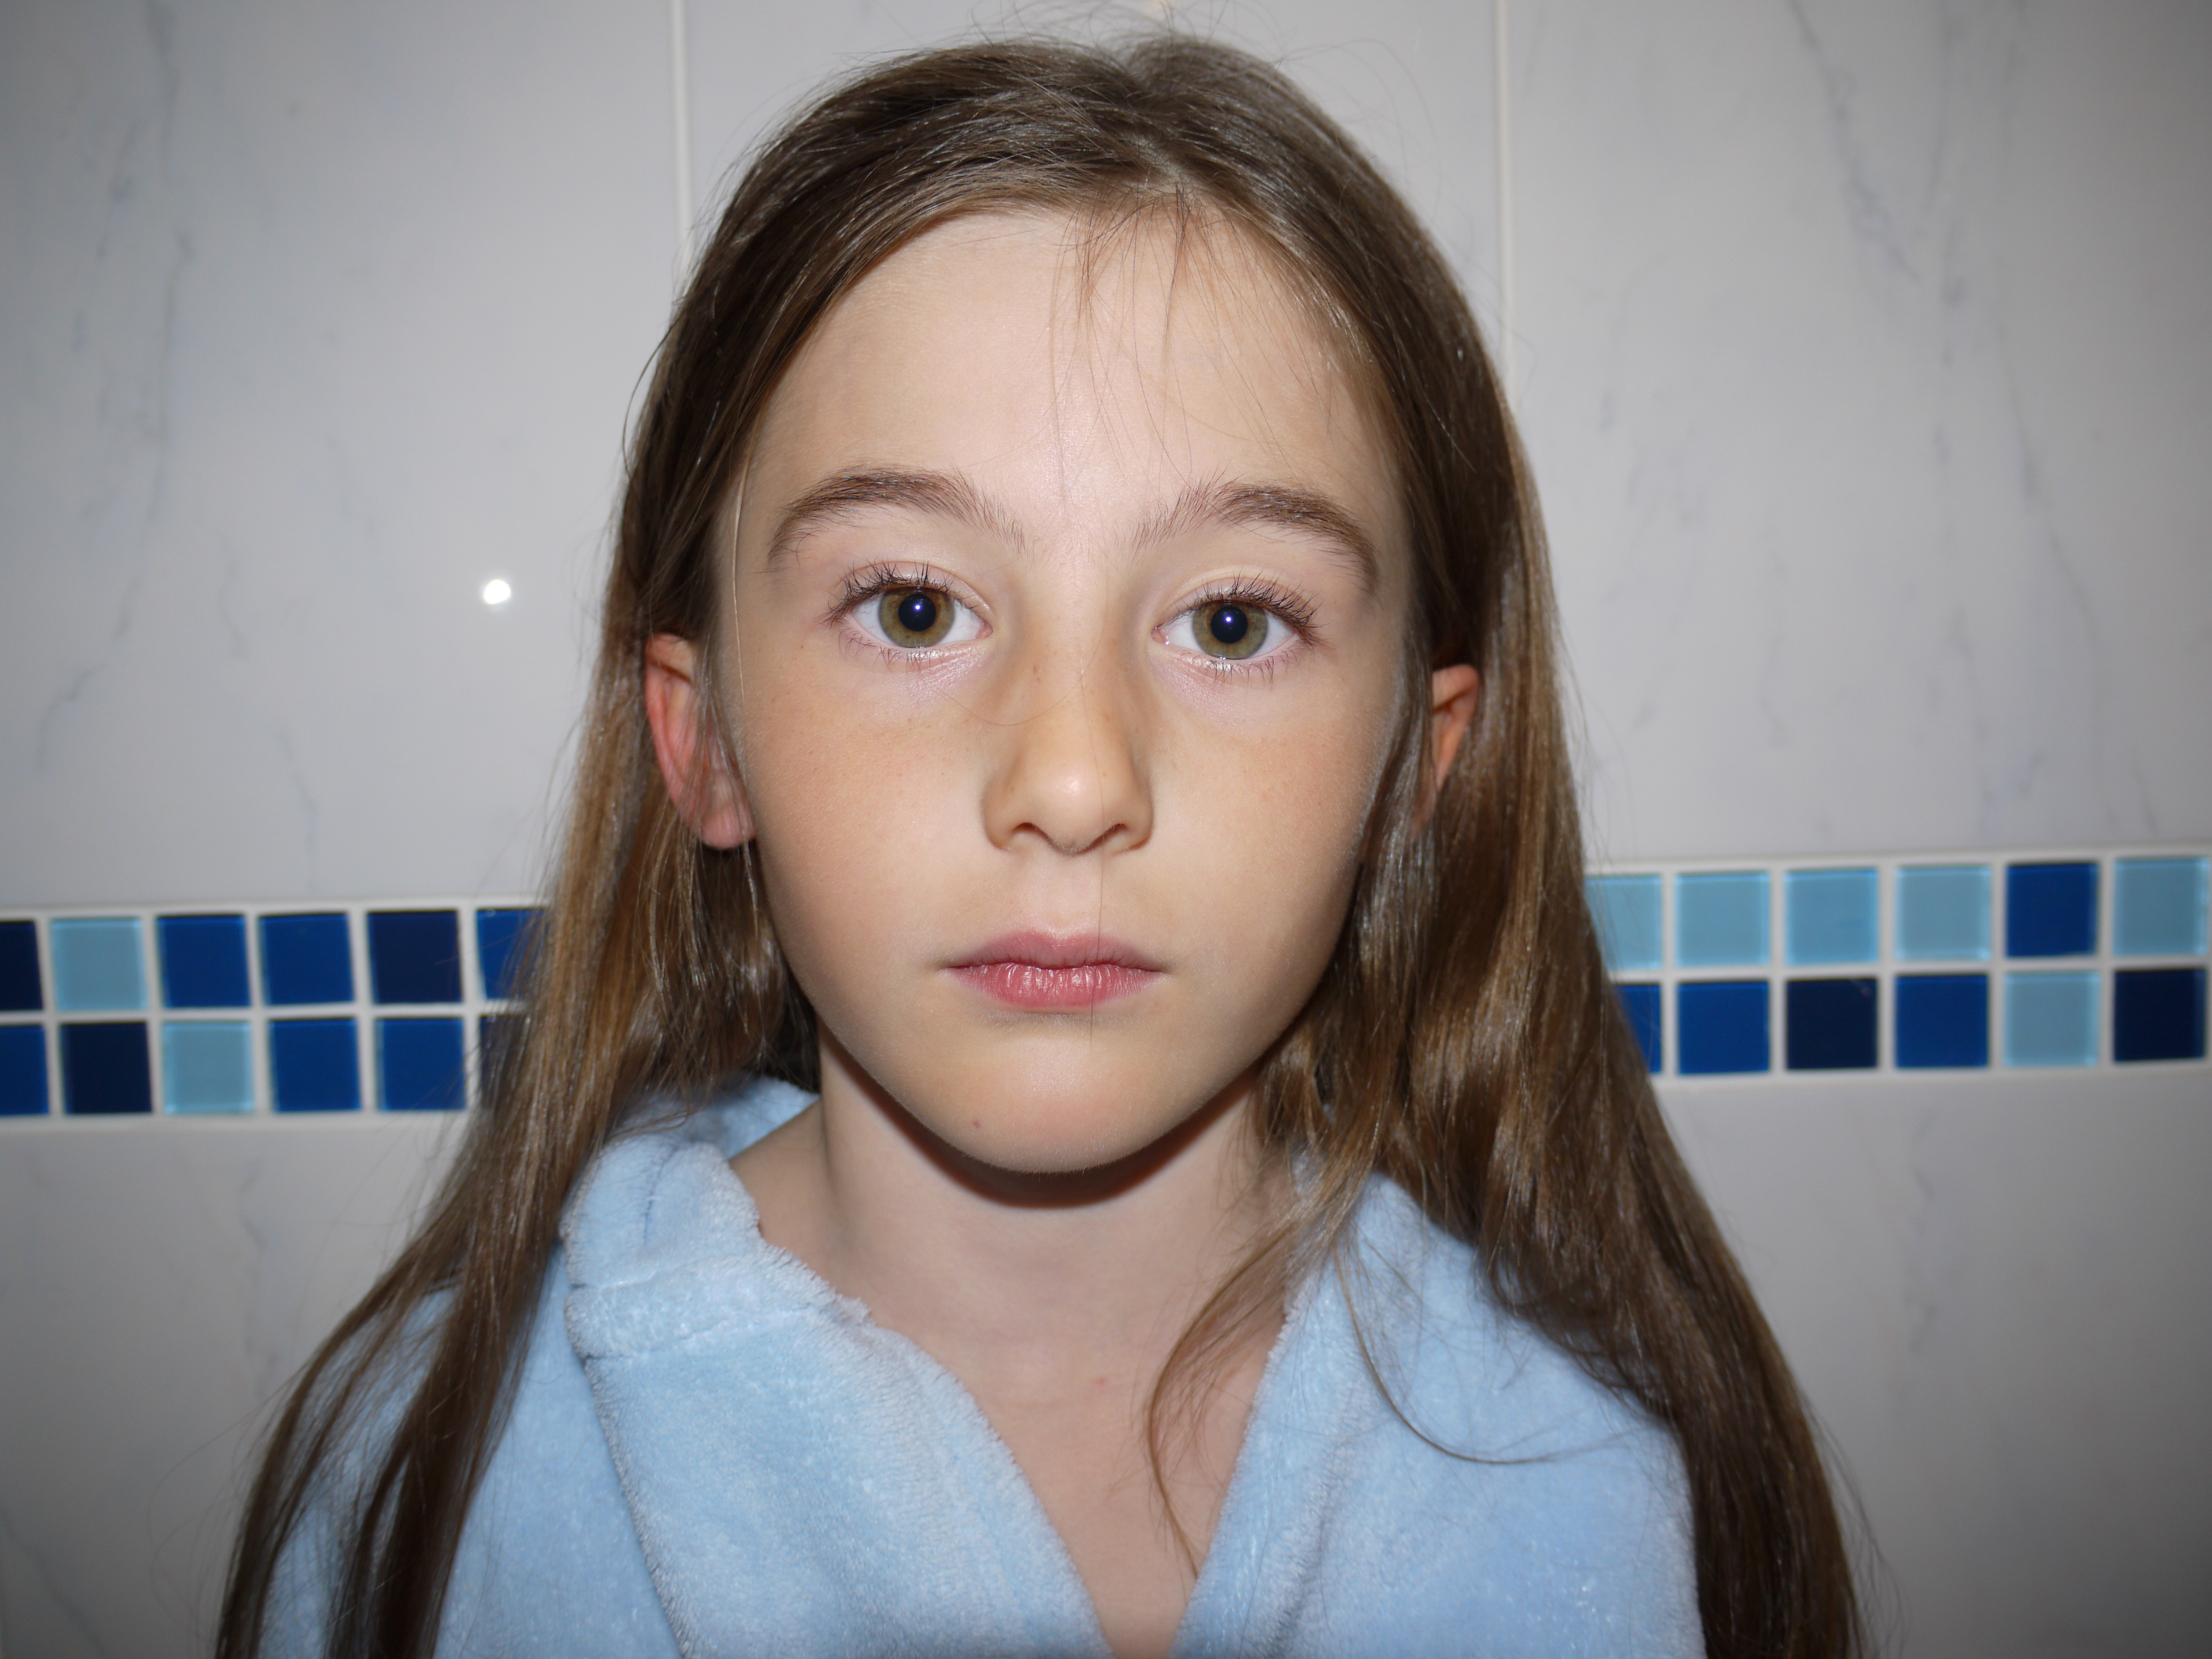
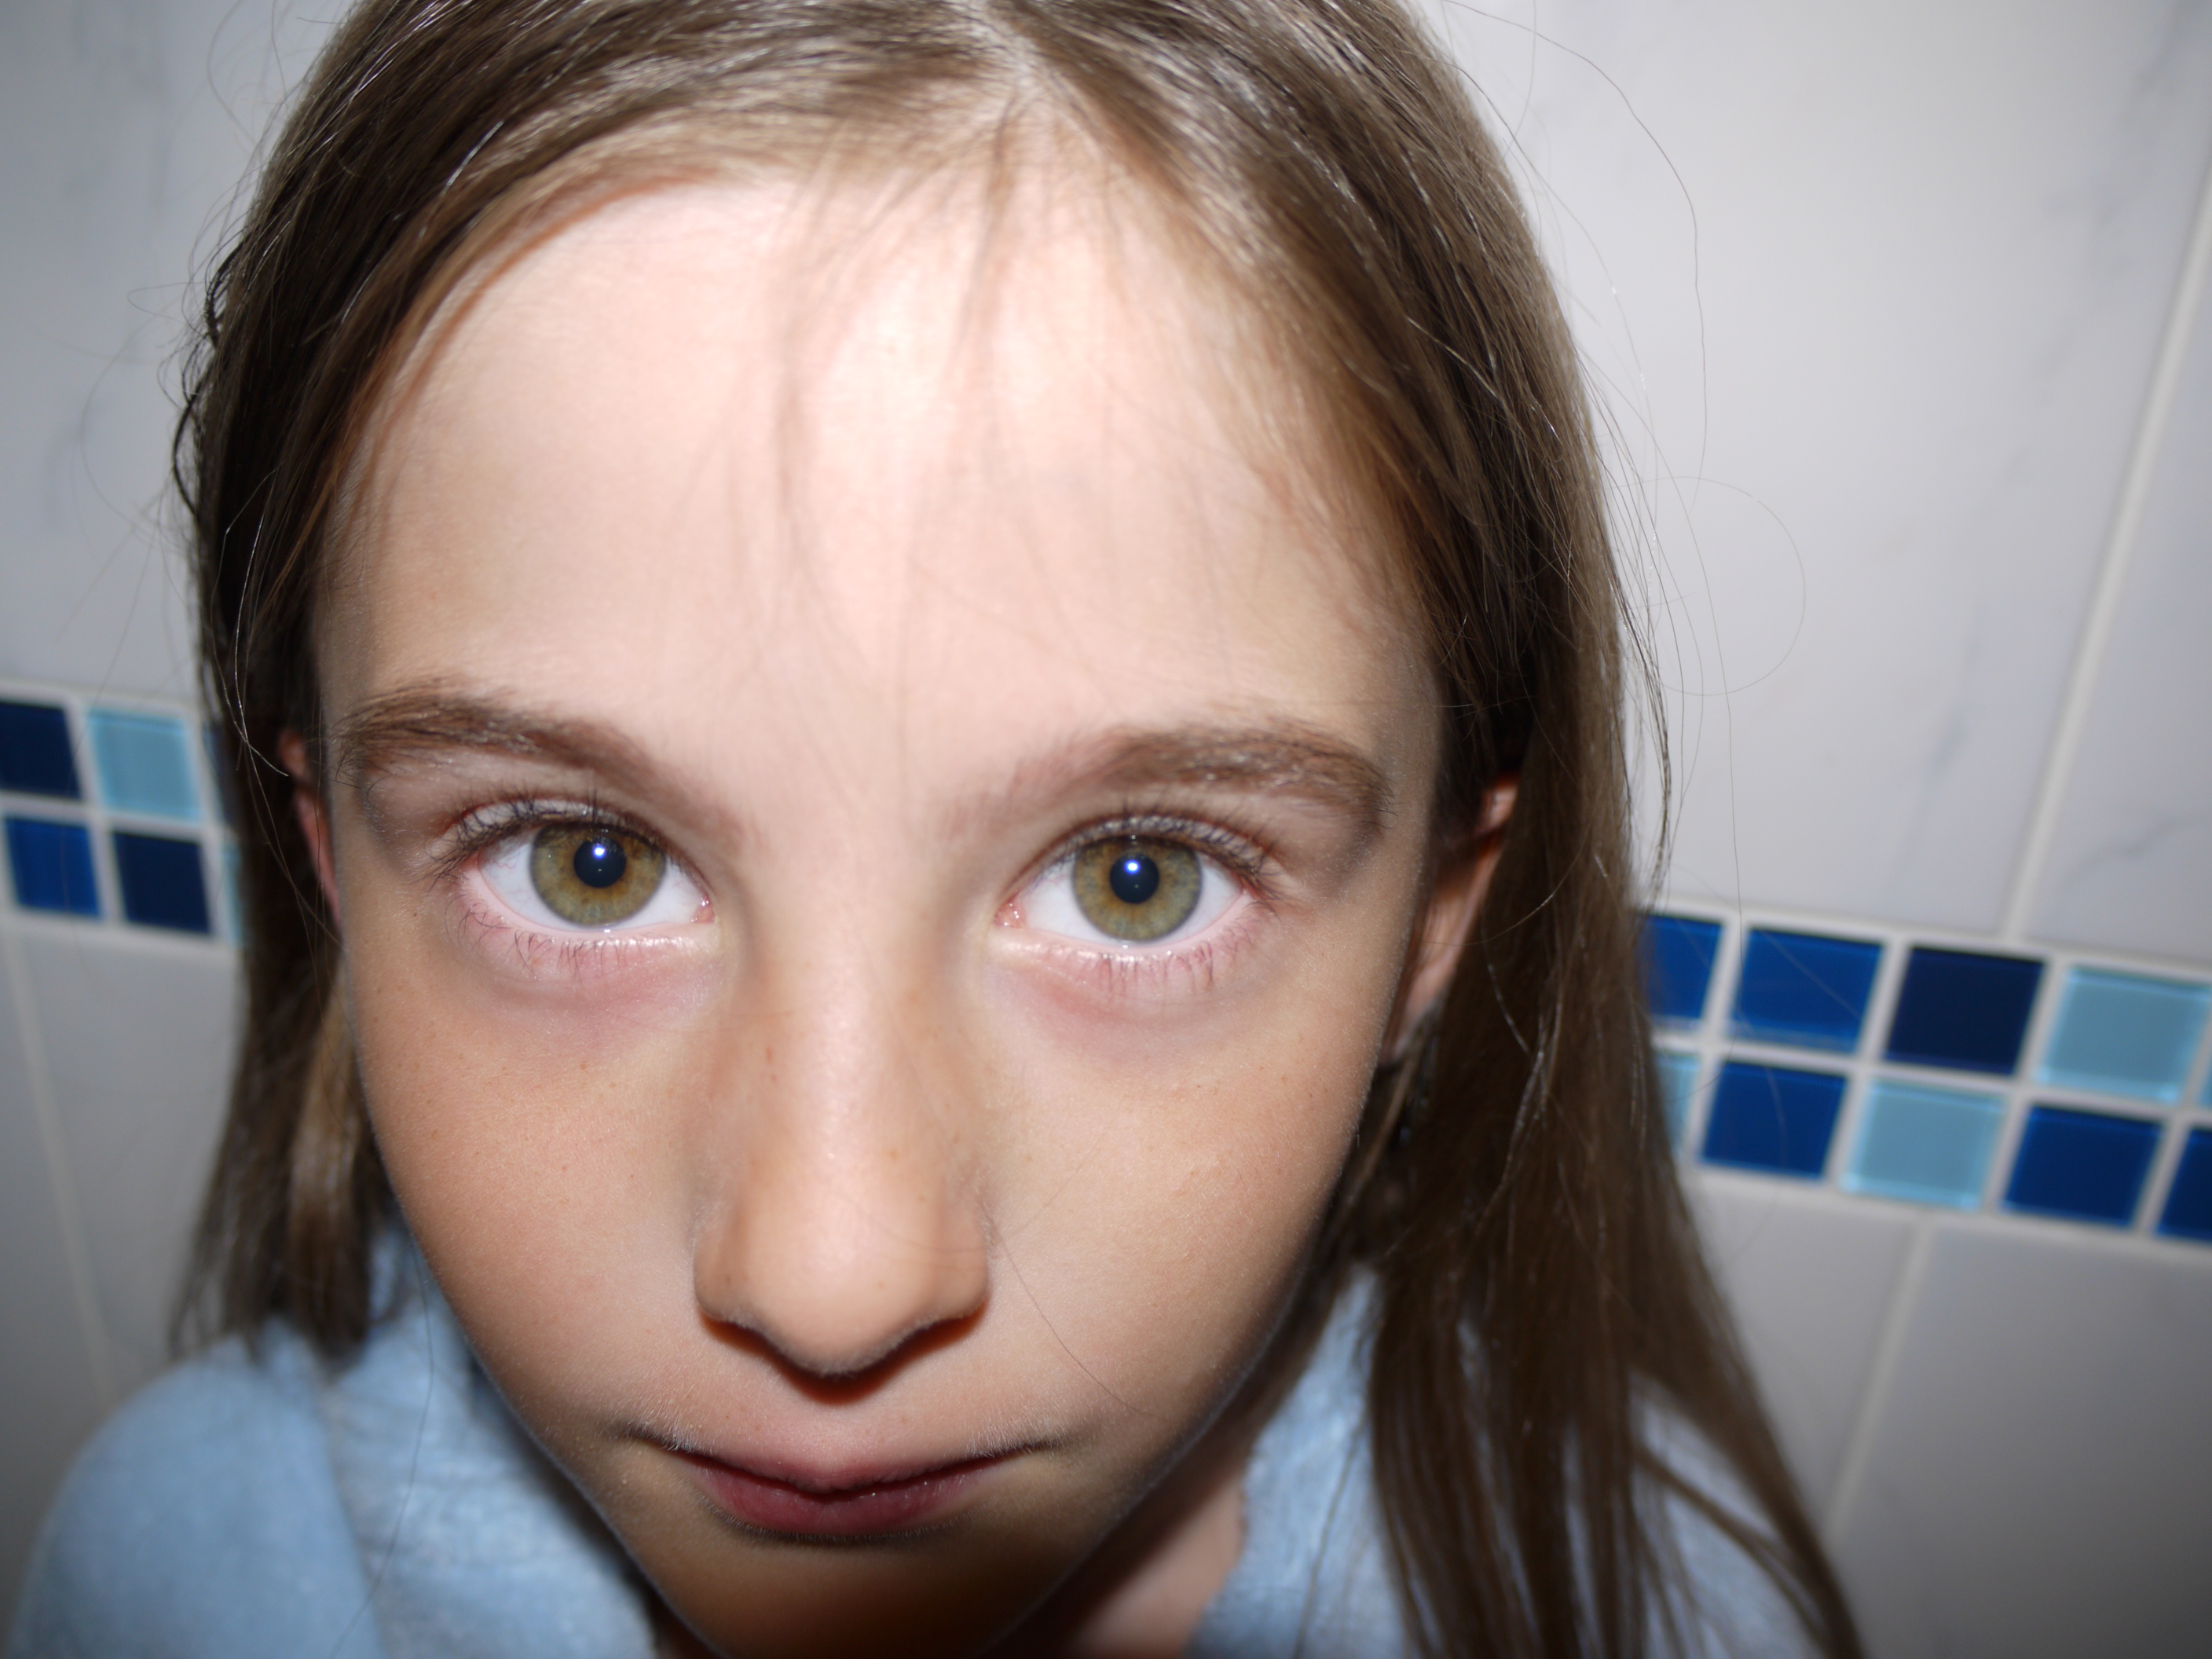
staring

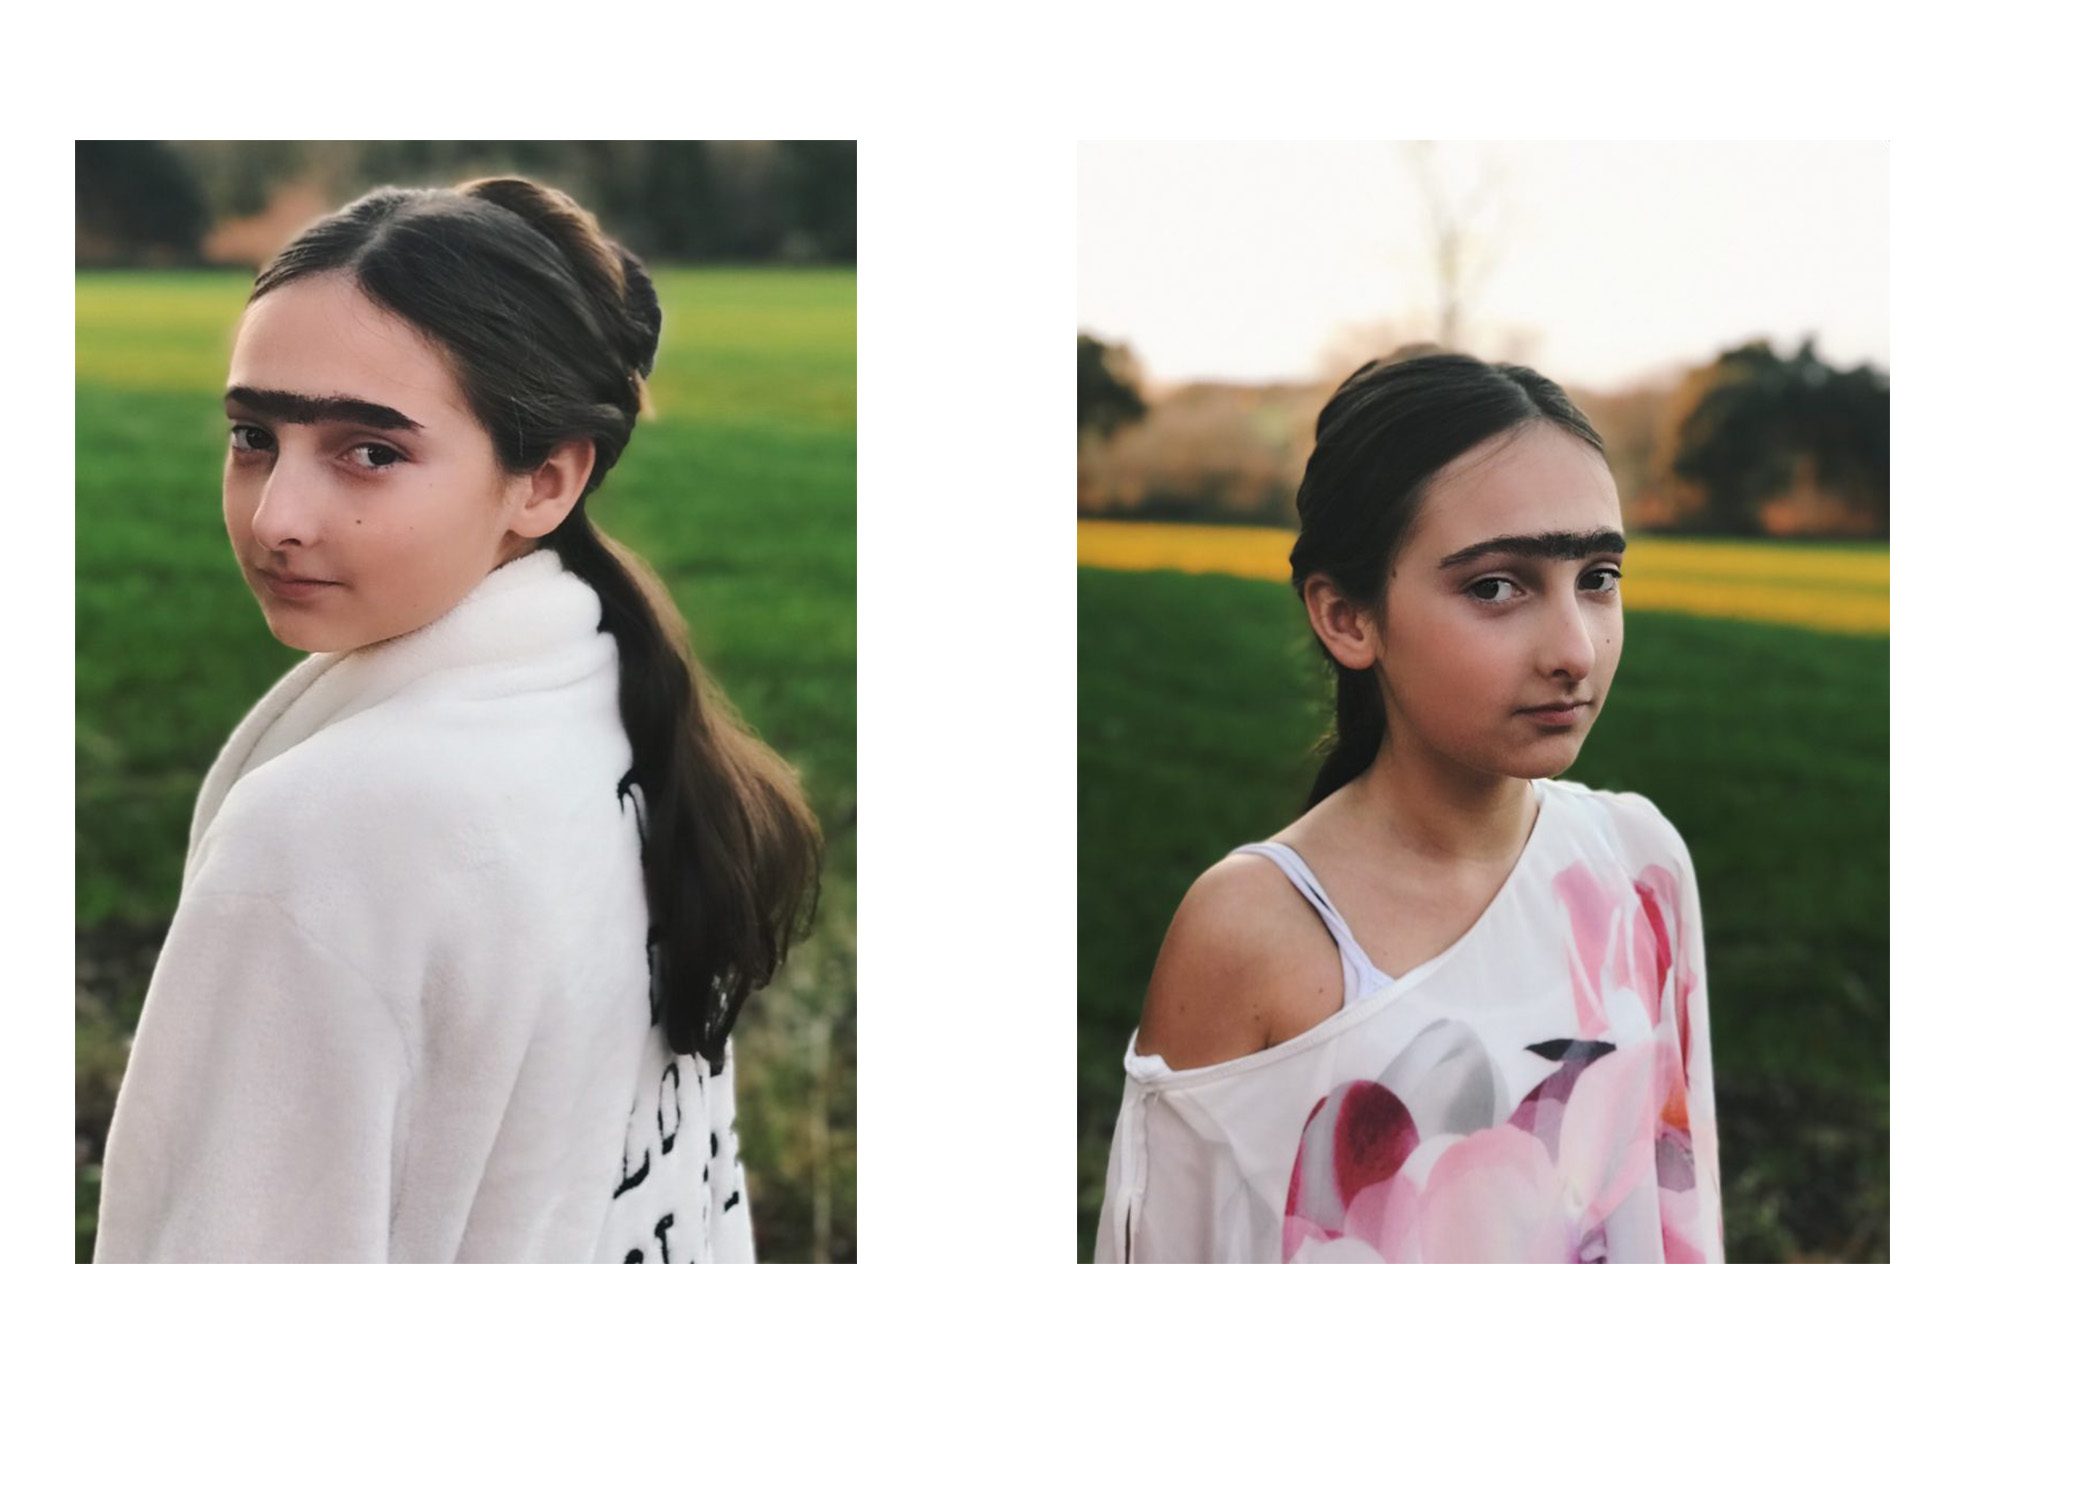
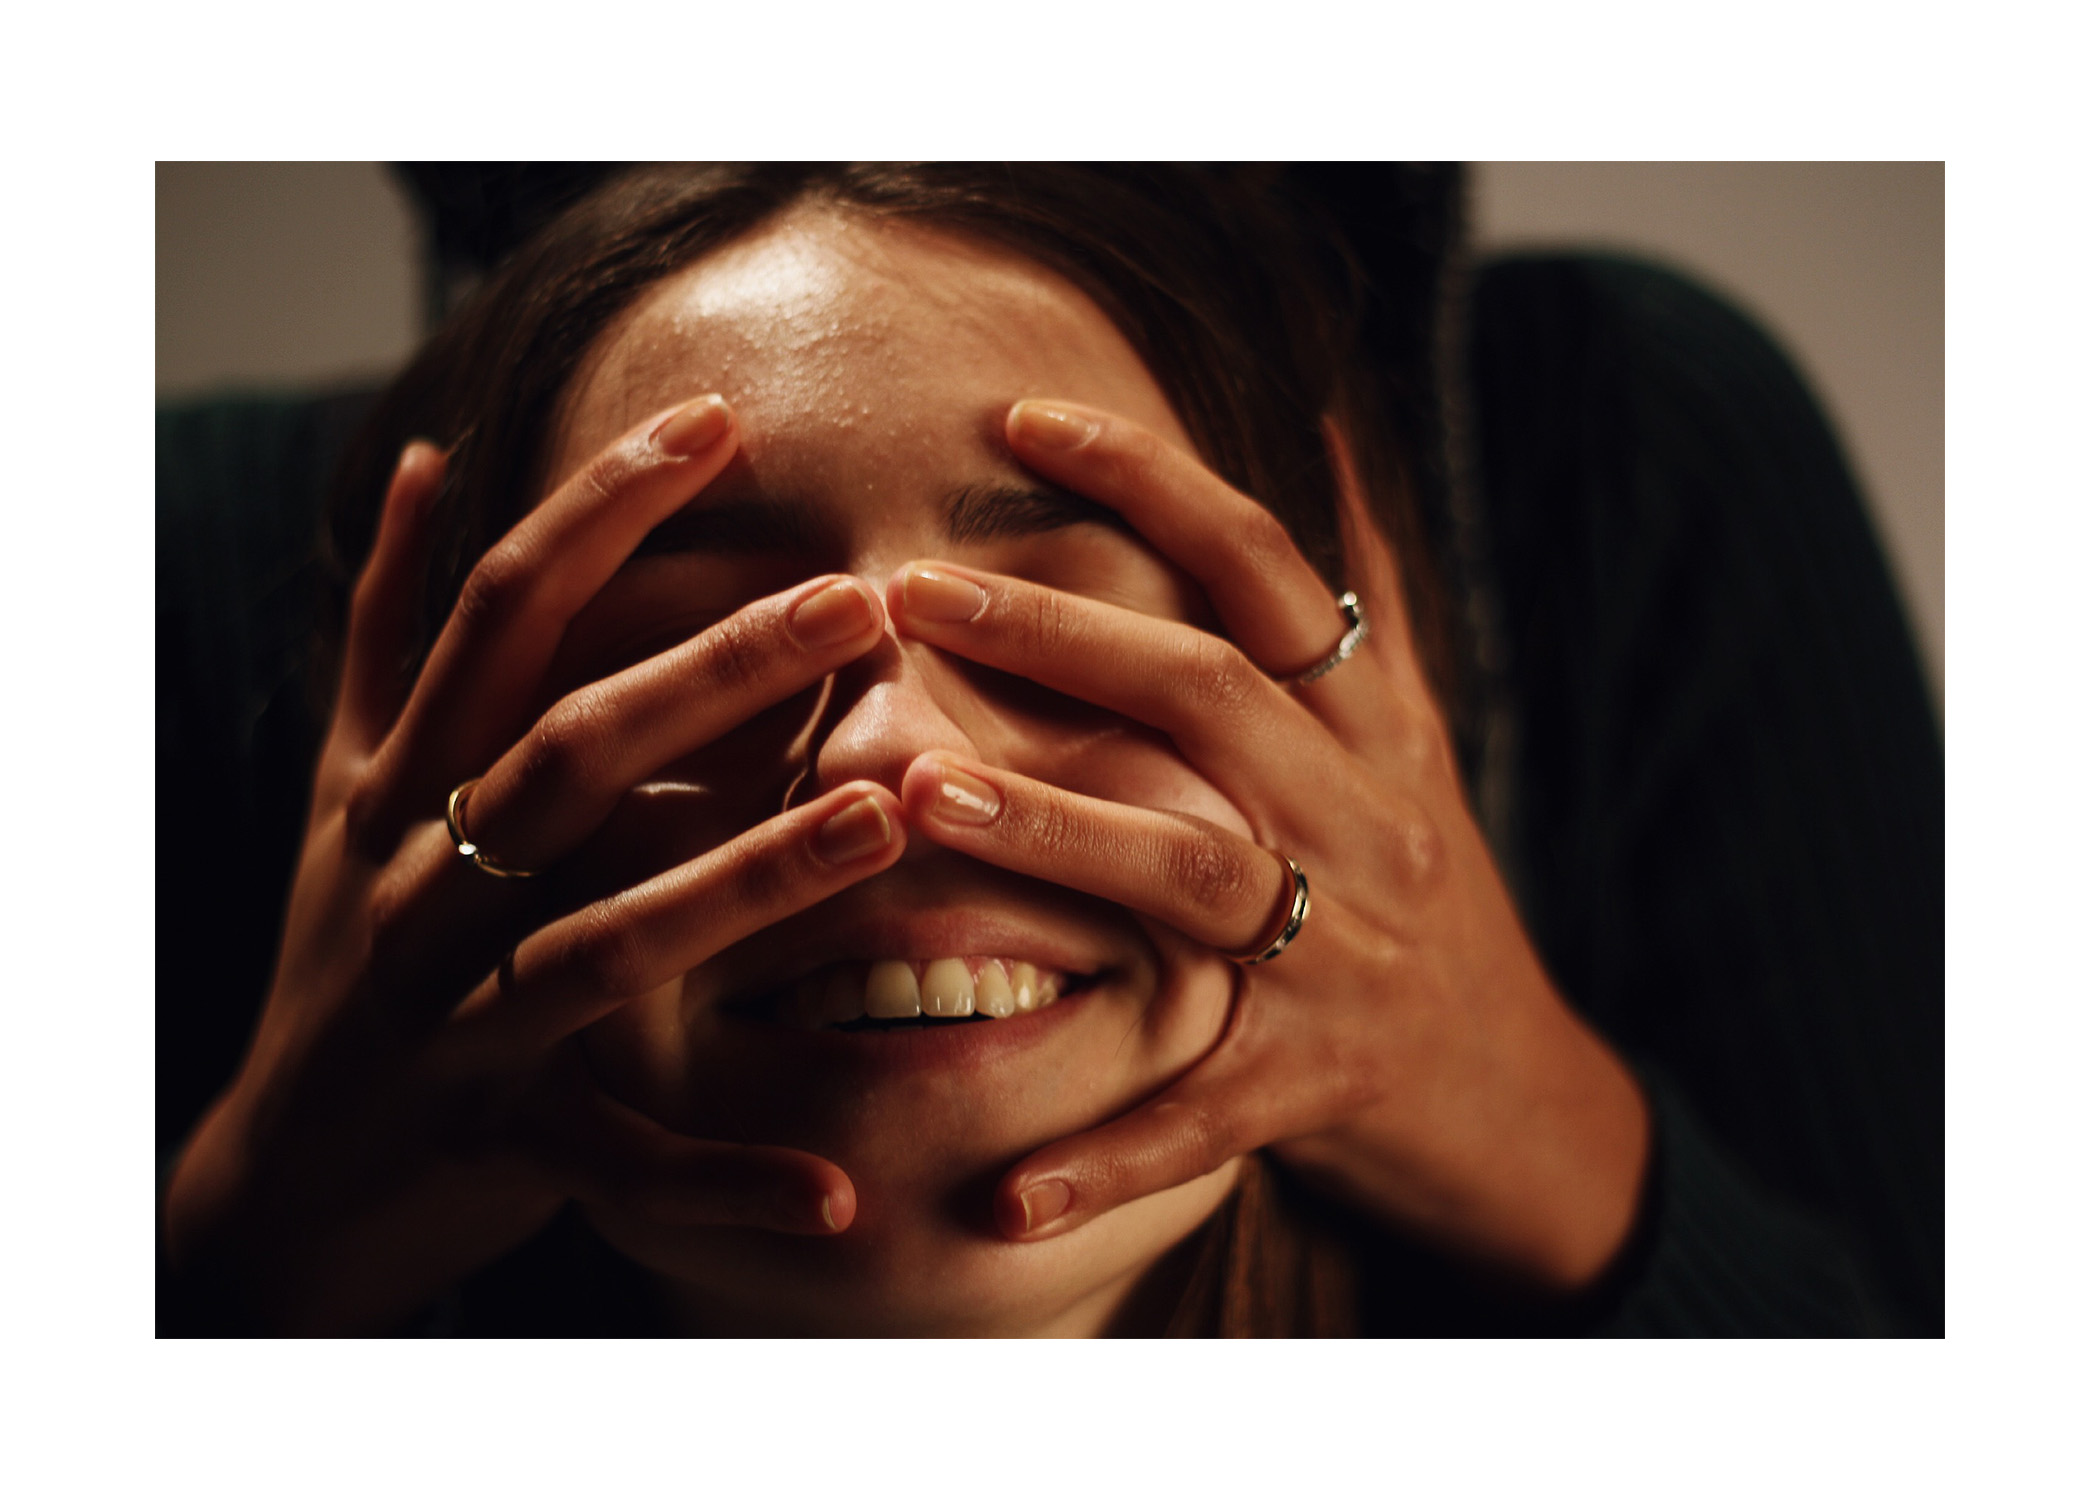
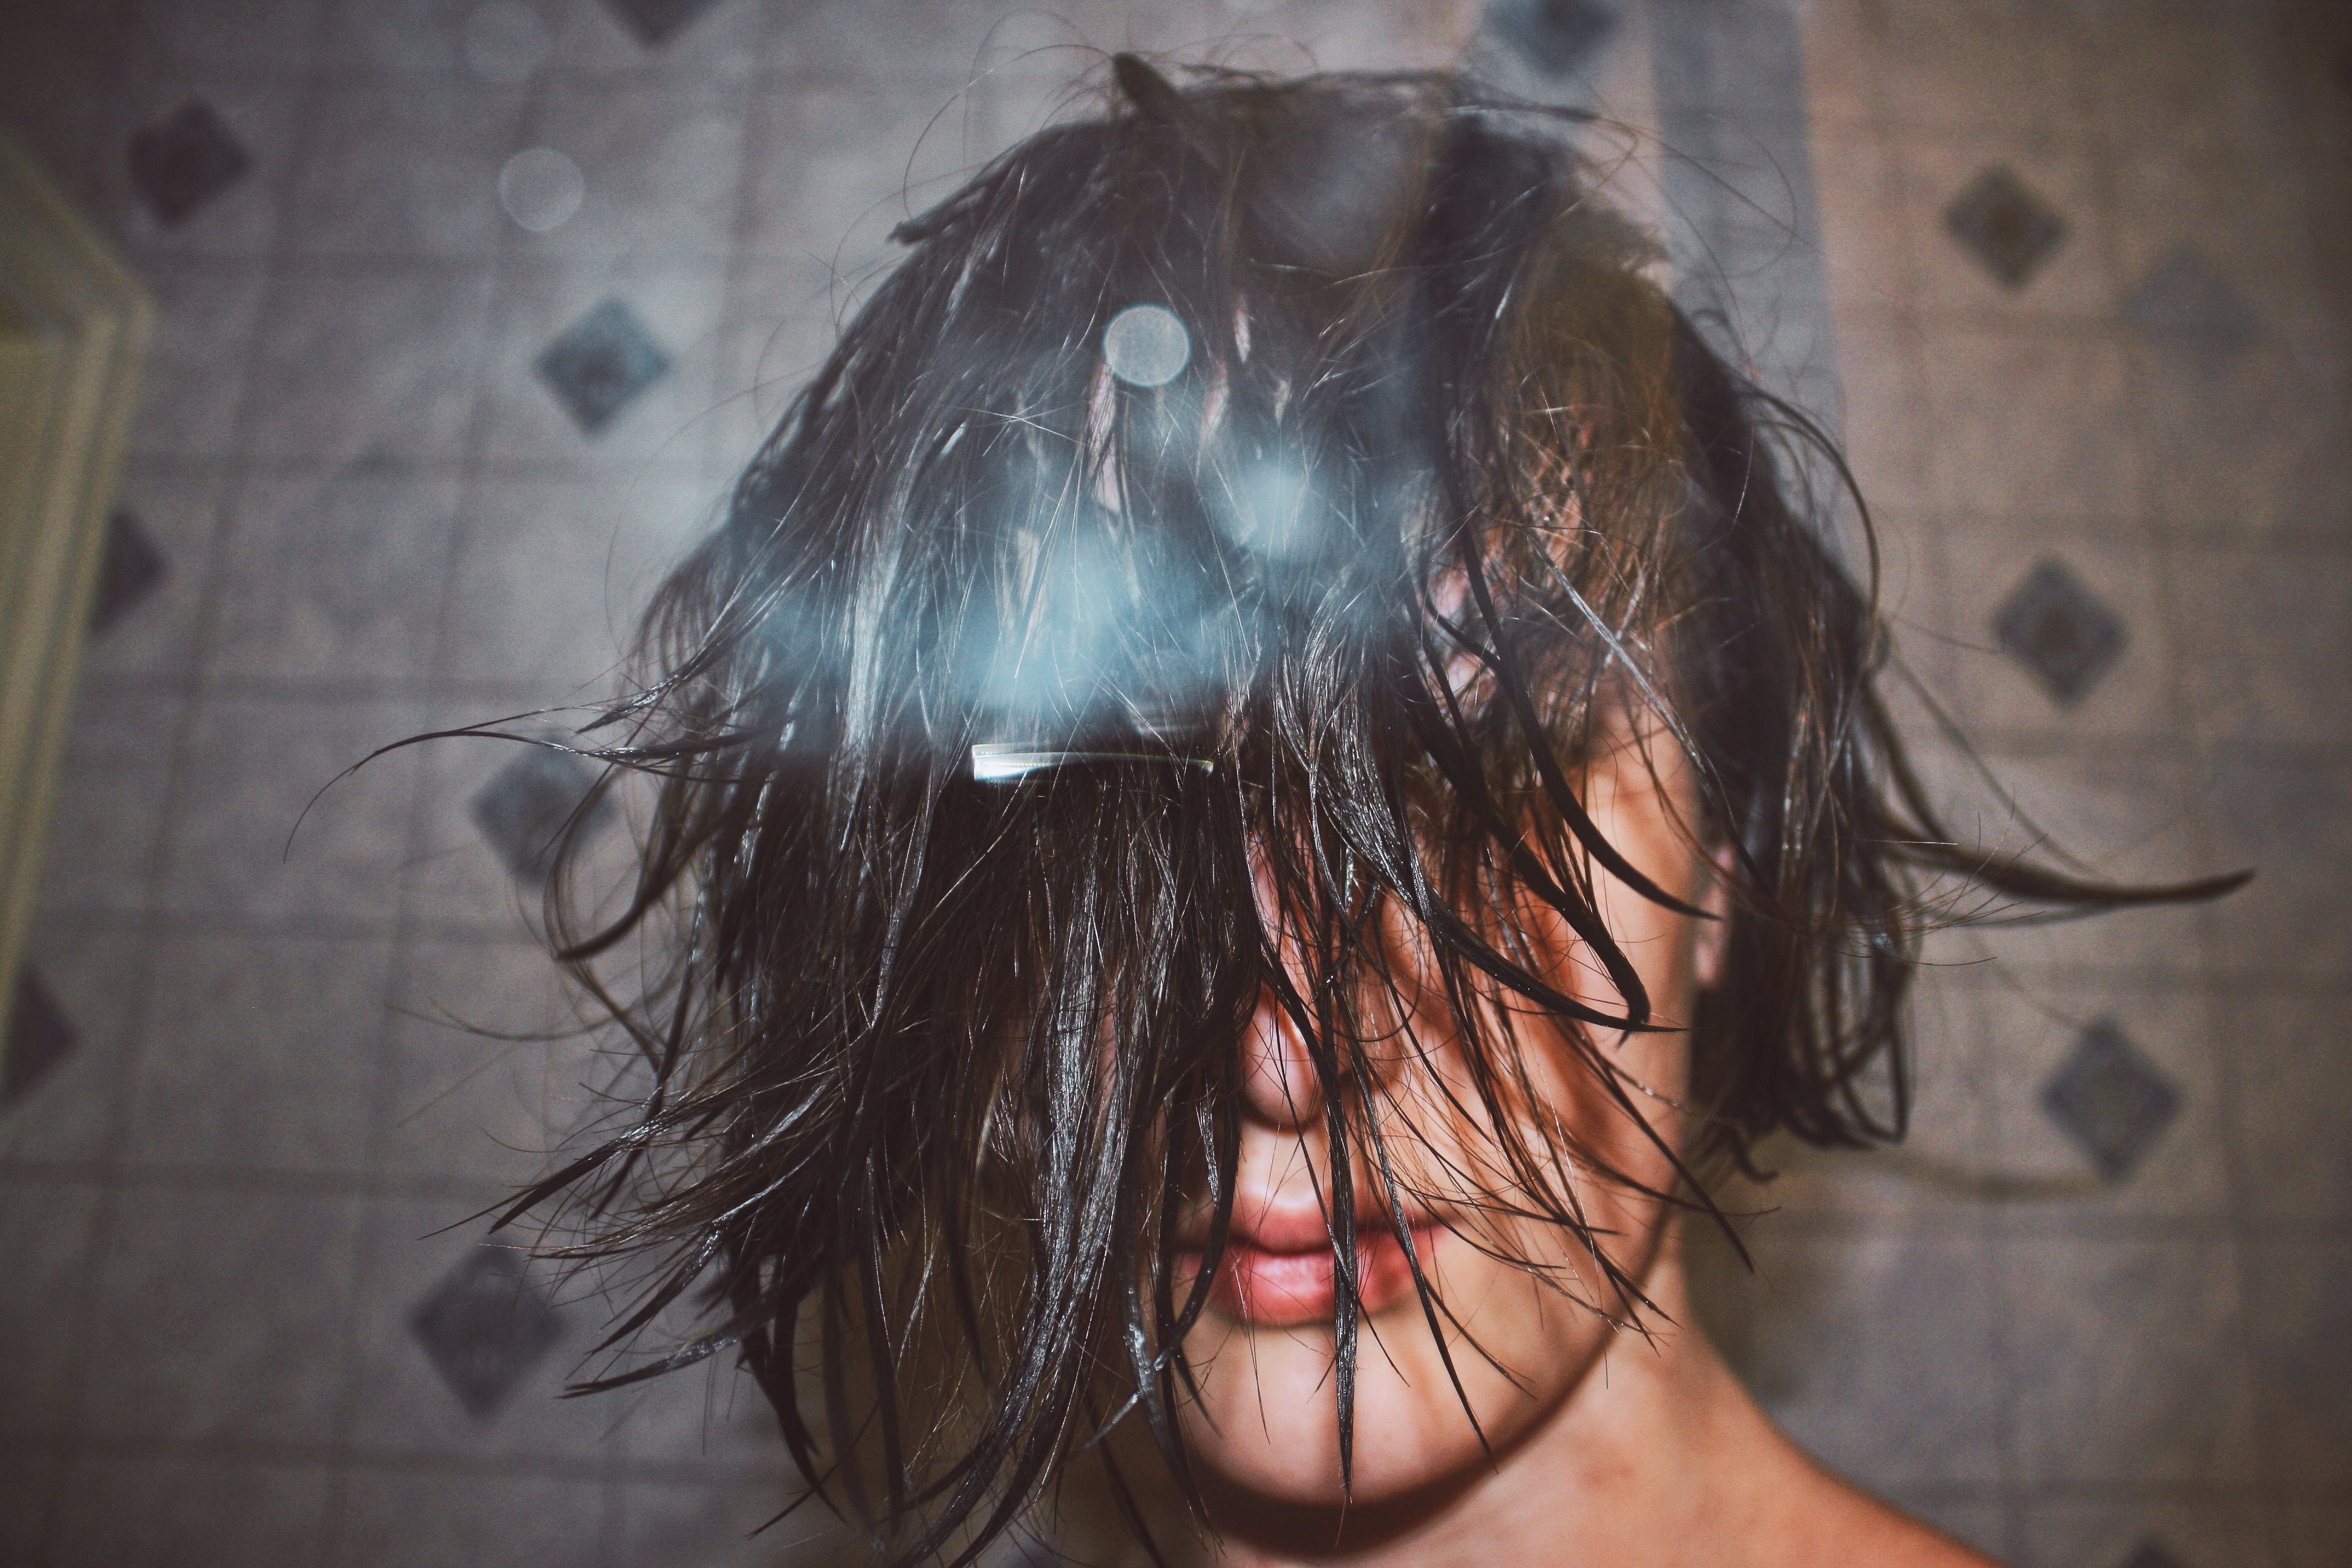
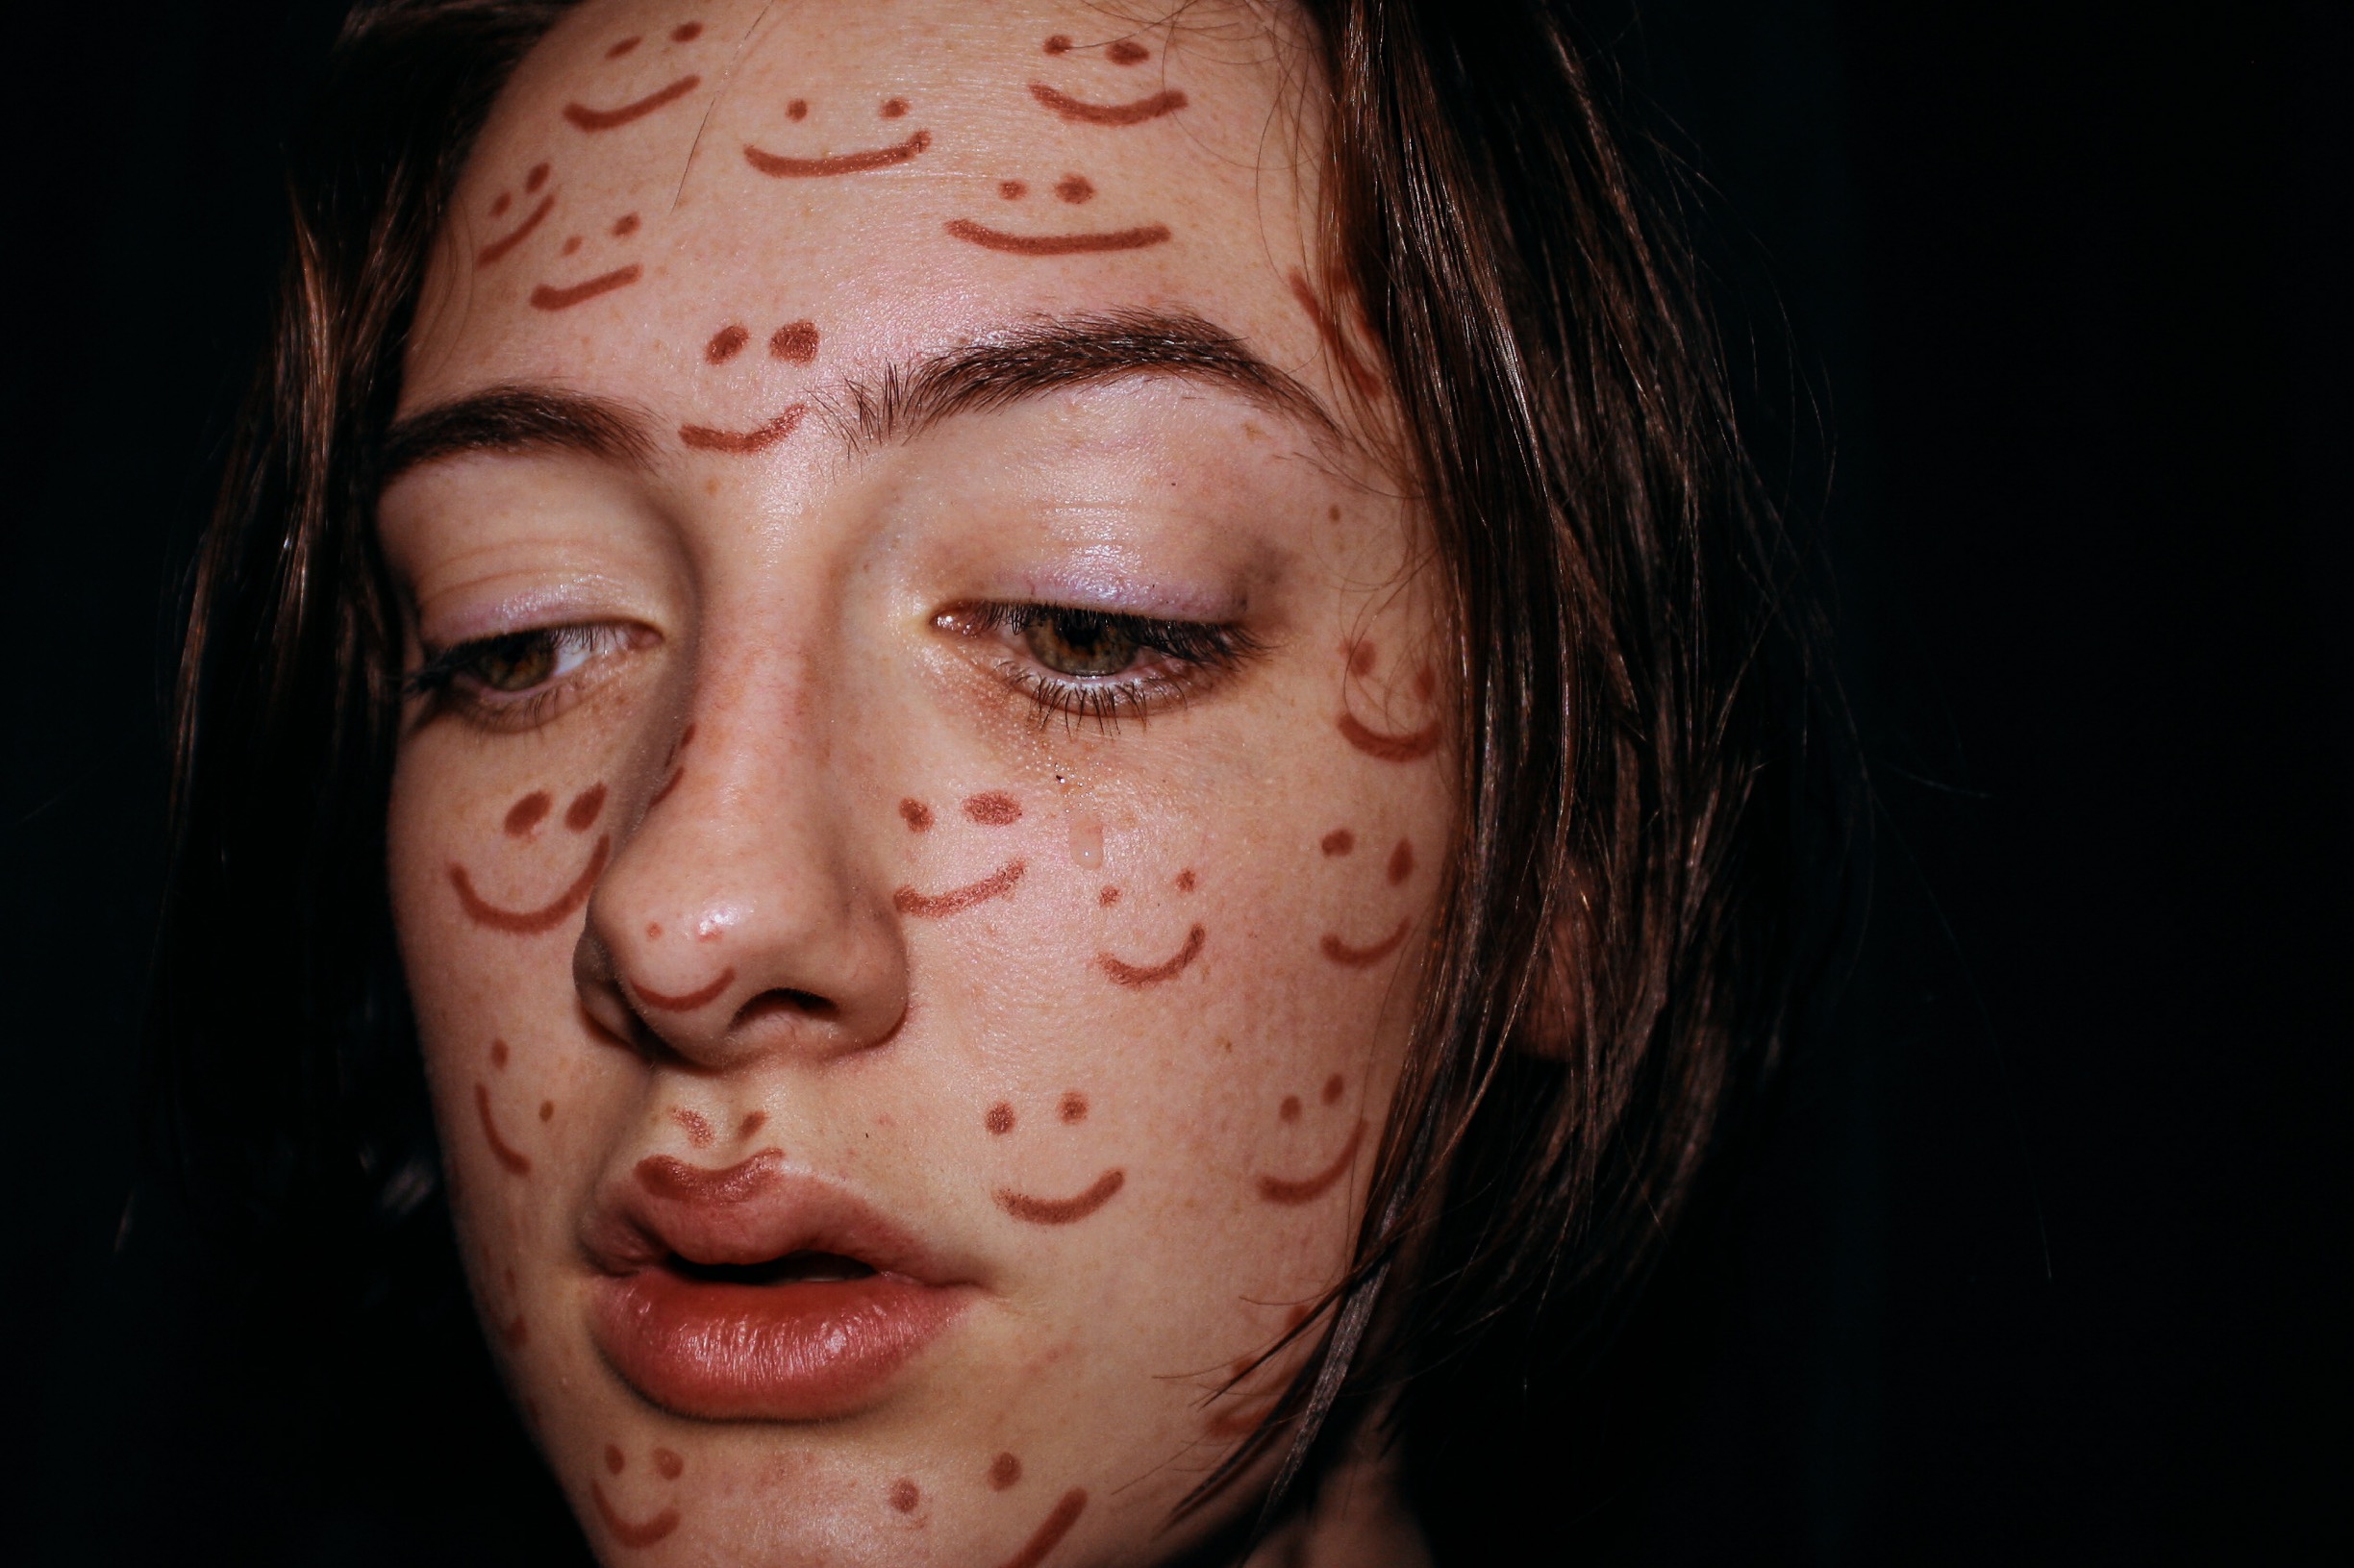
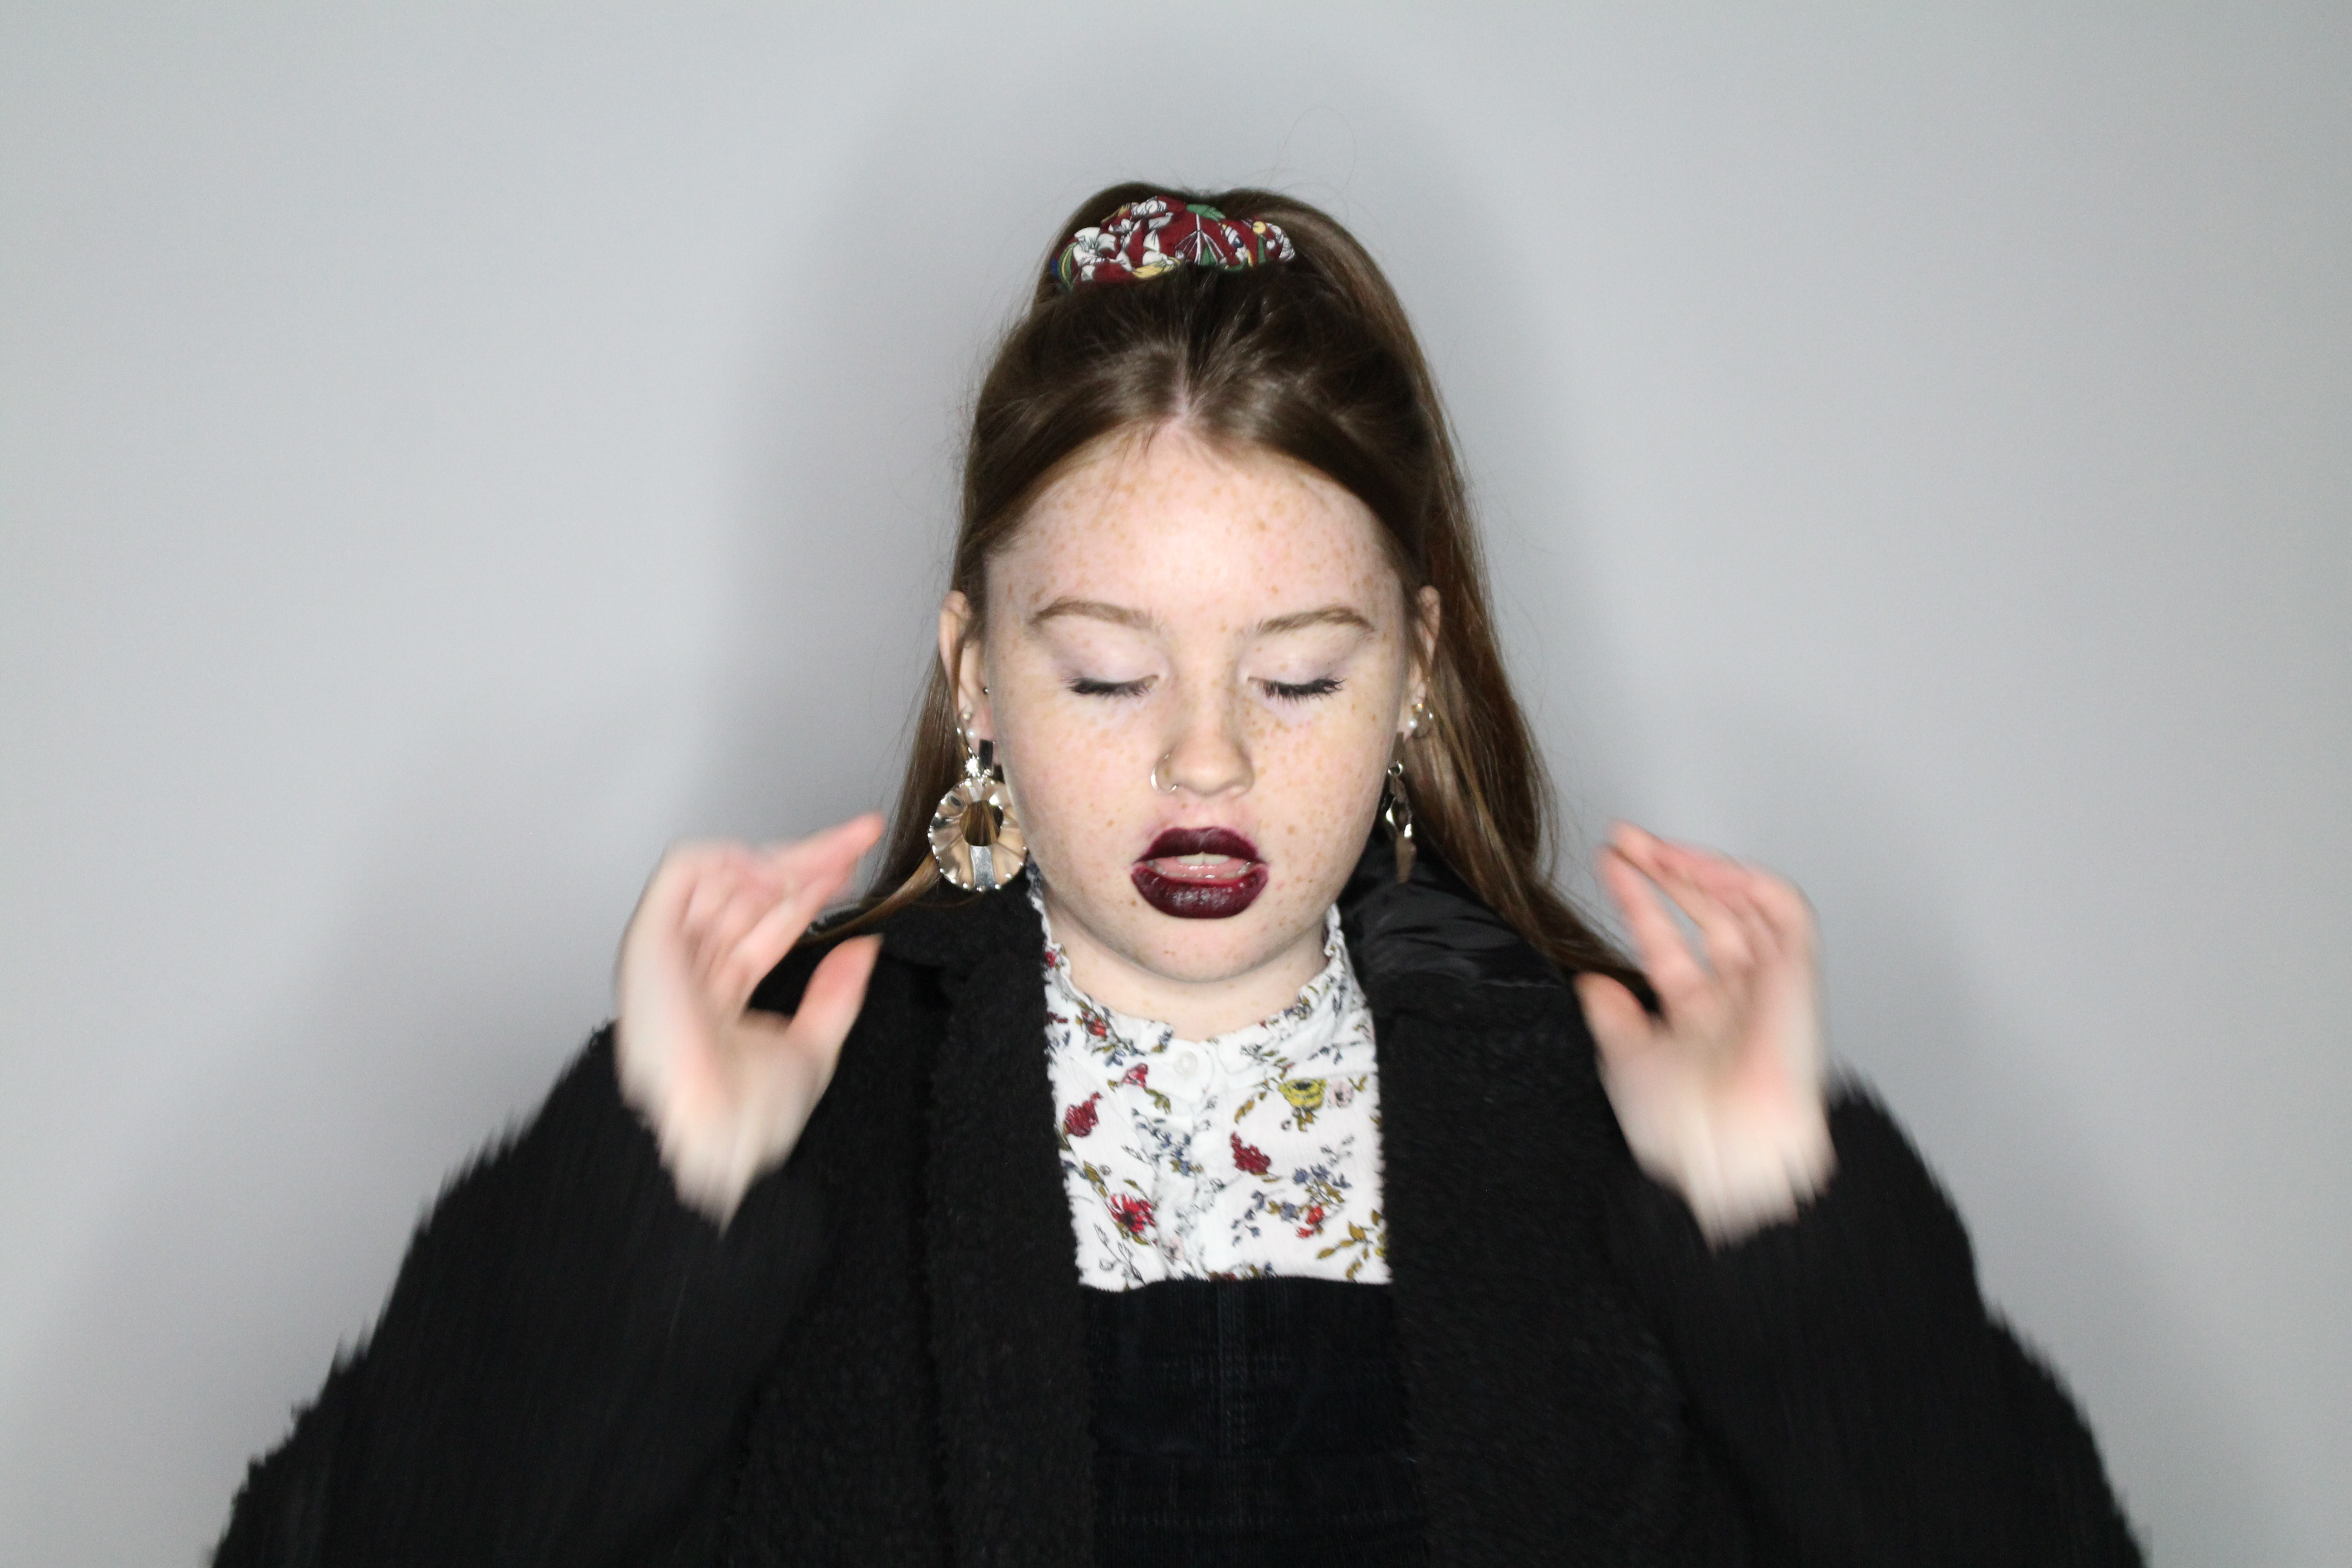
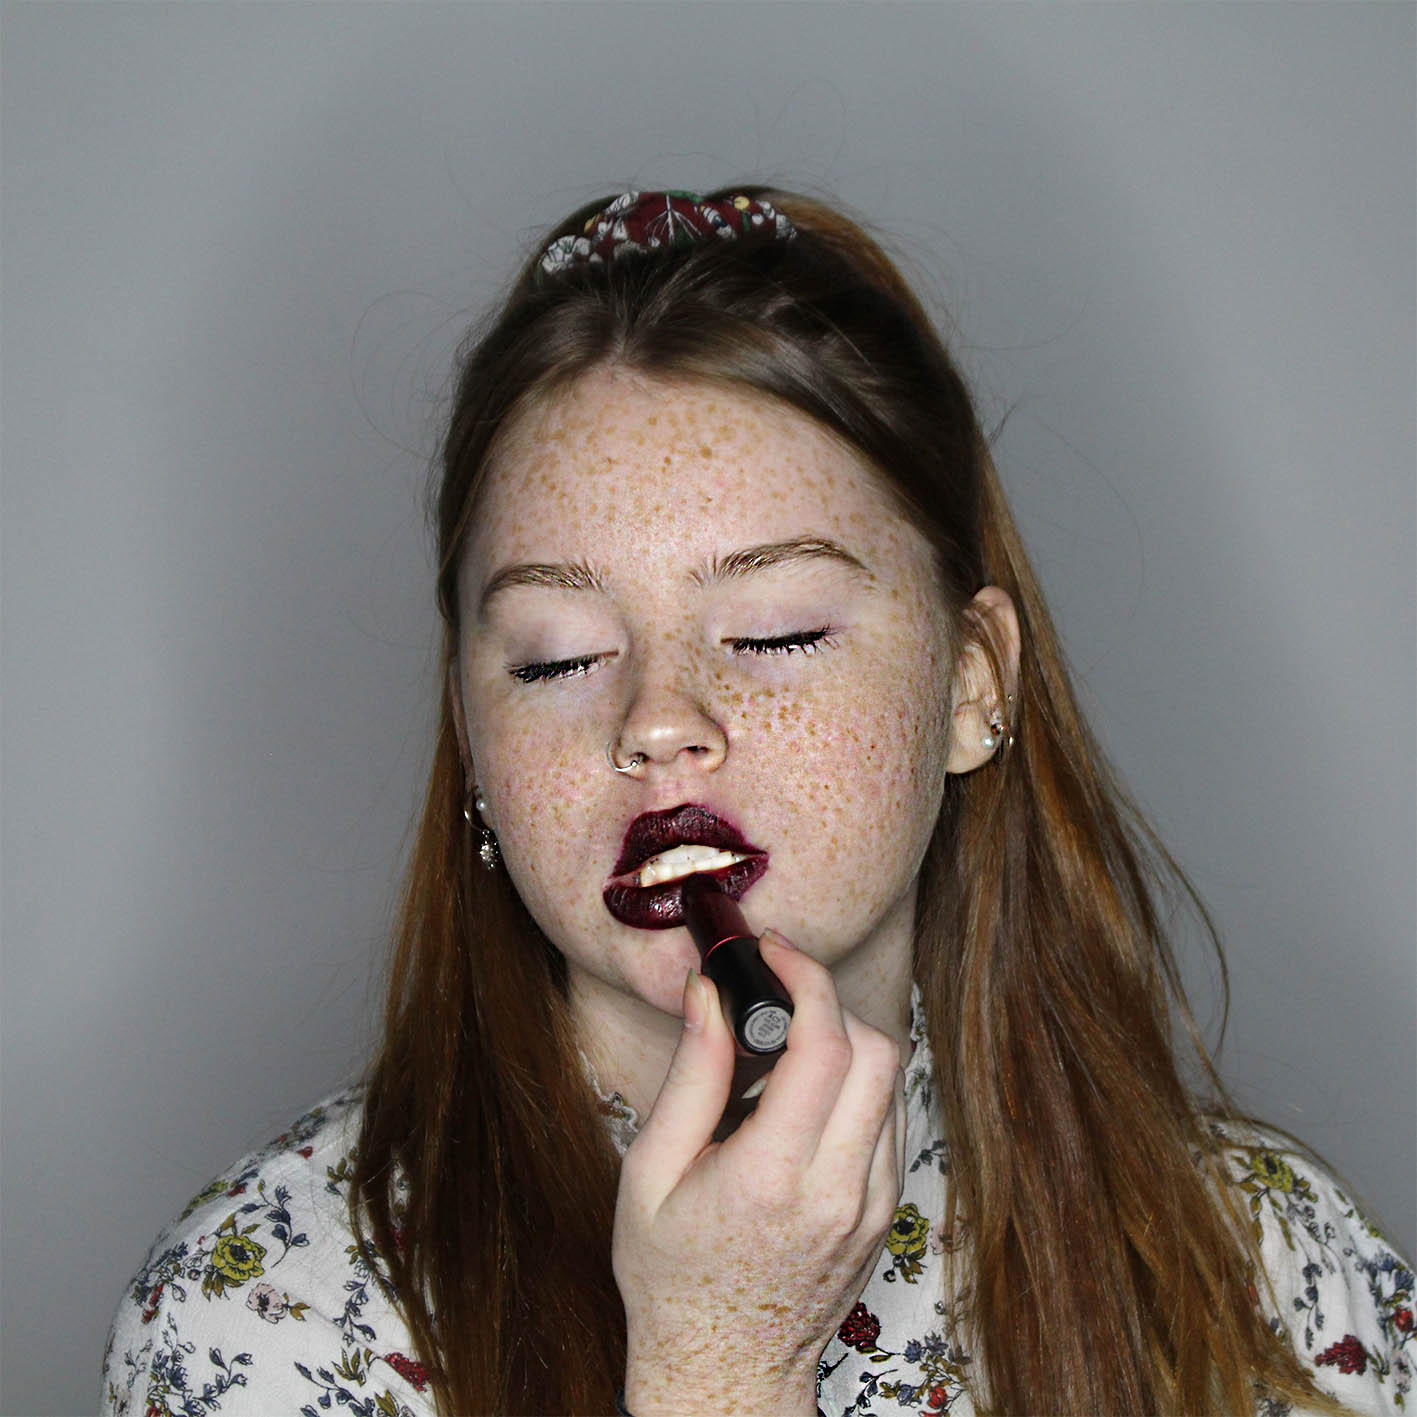
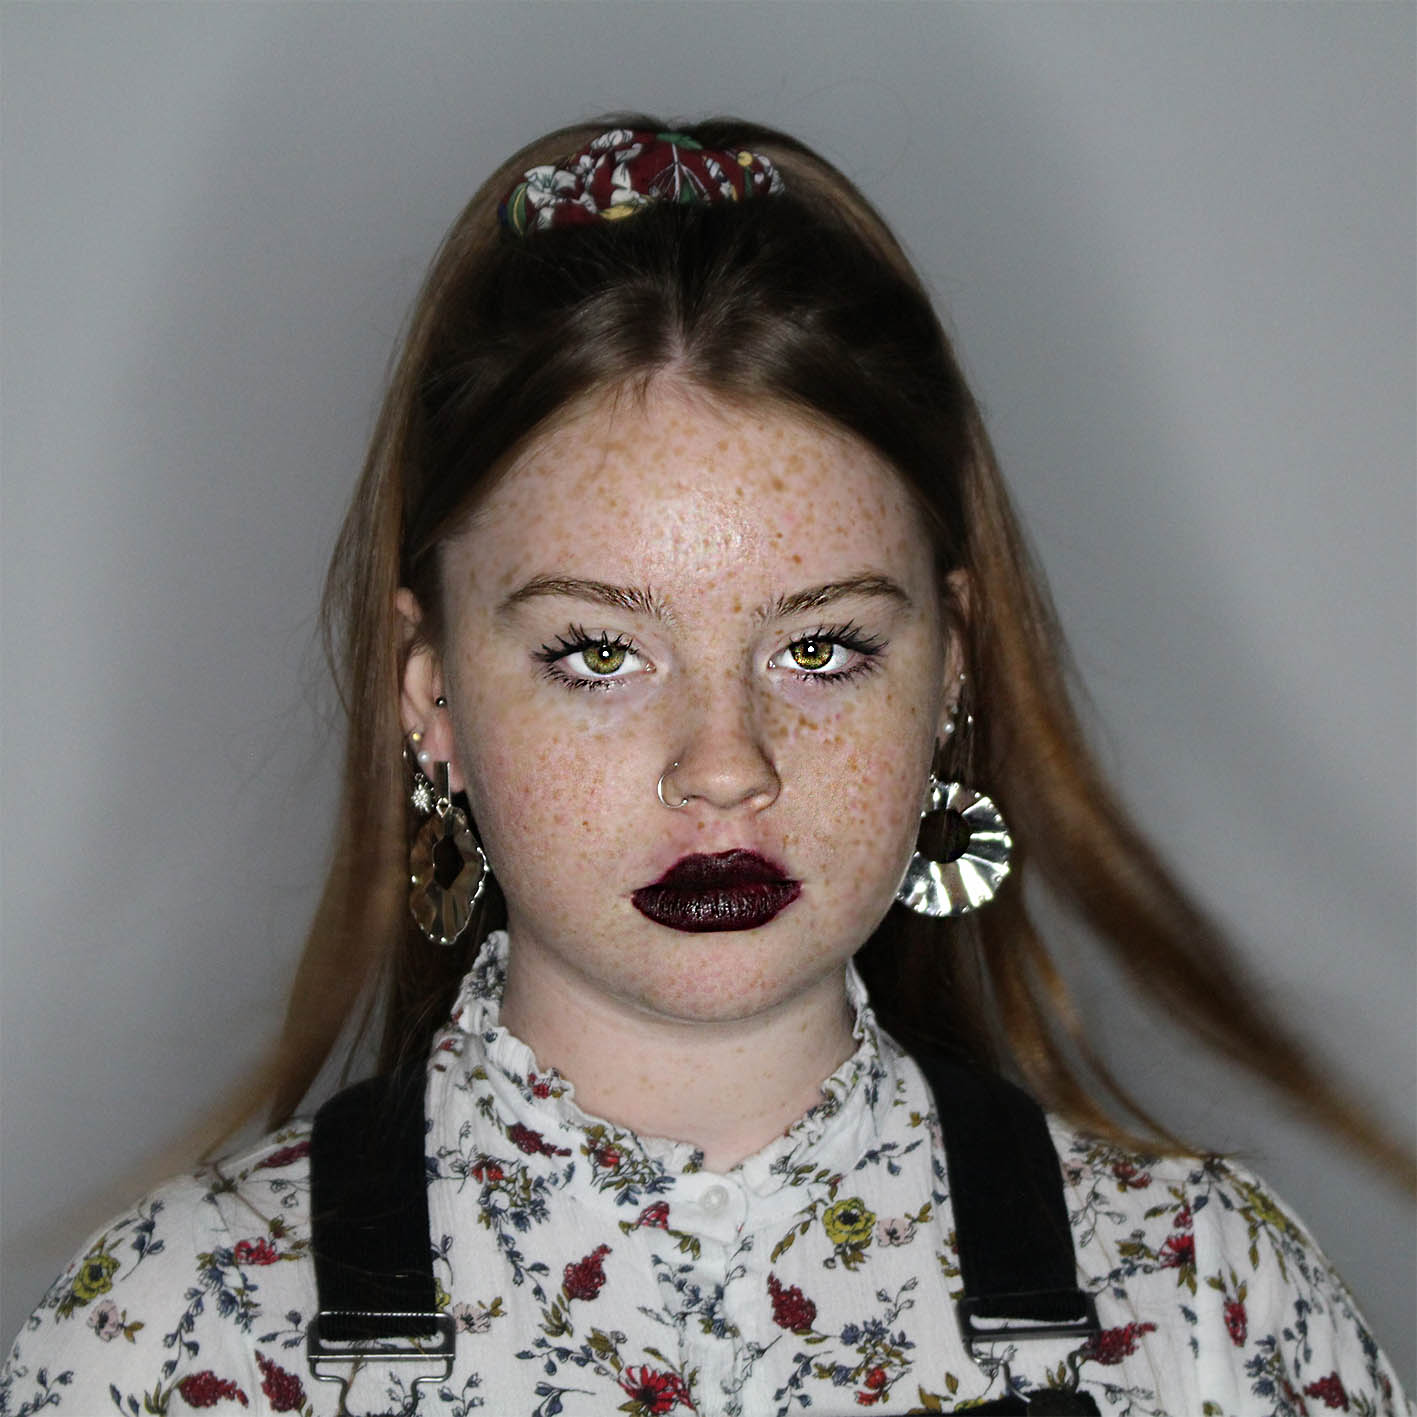
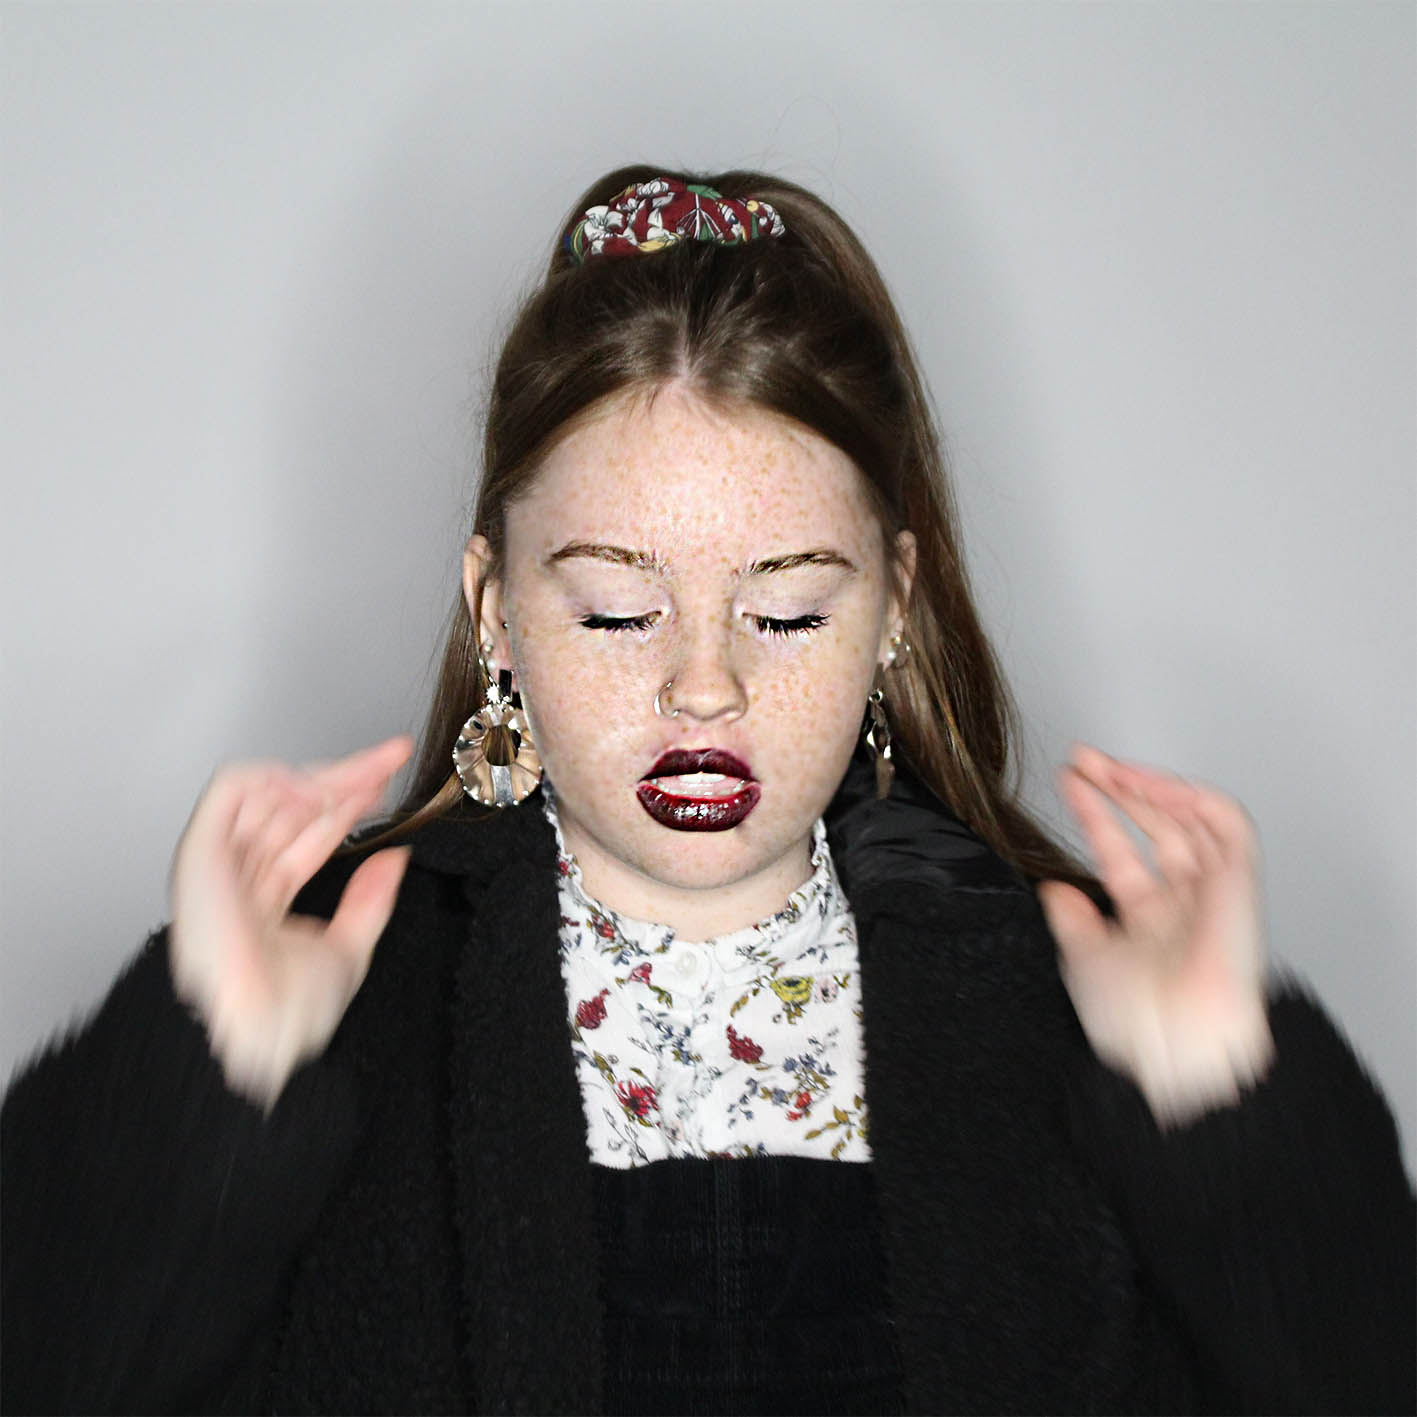
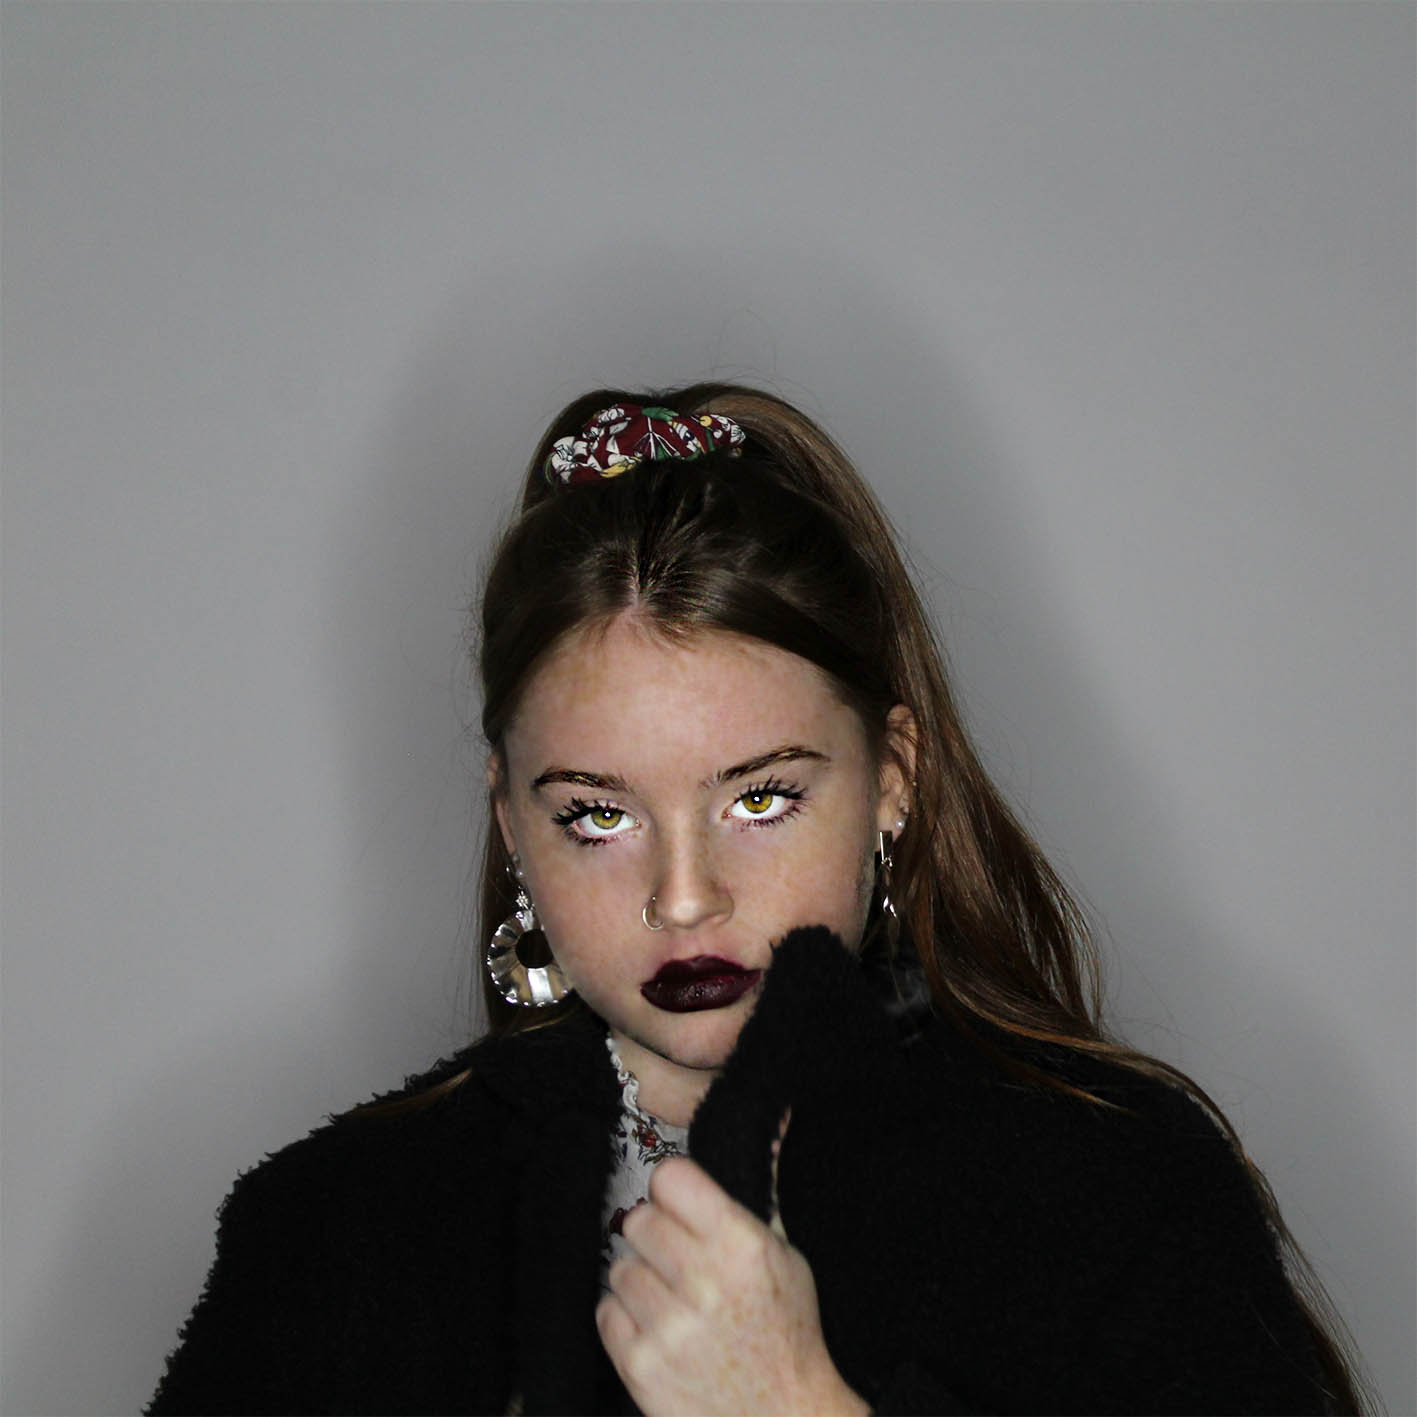
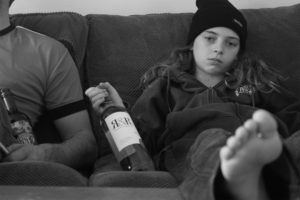
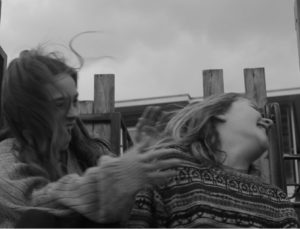
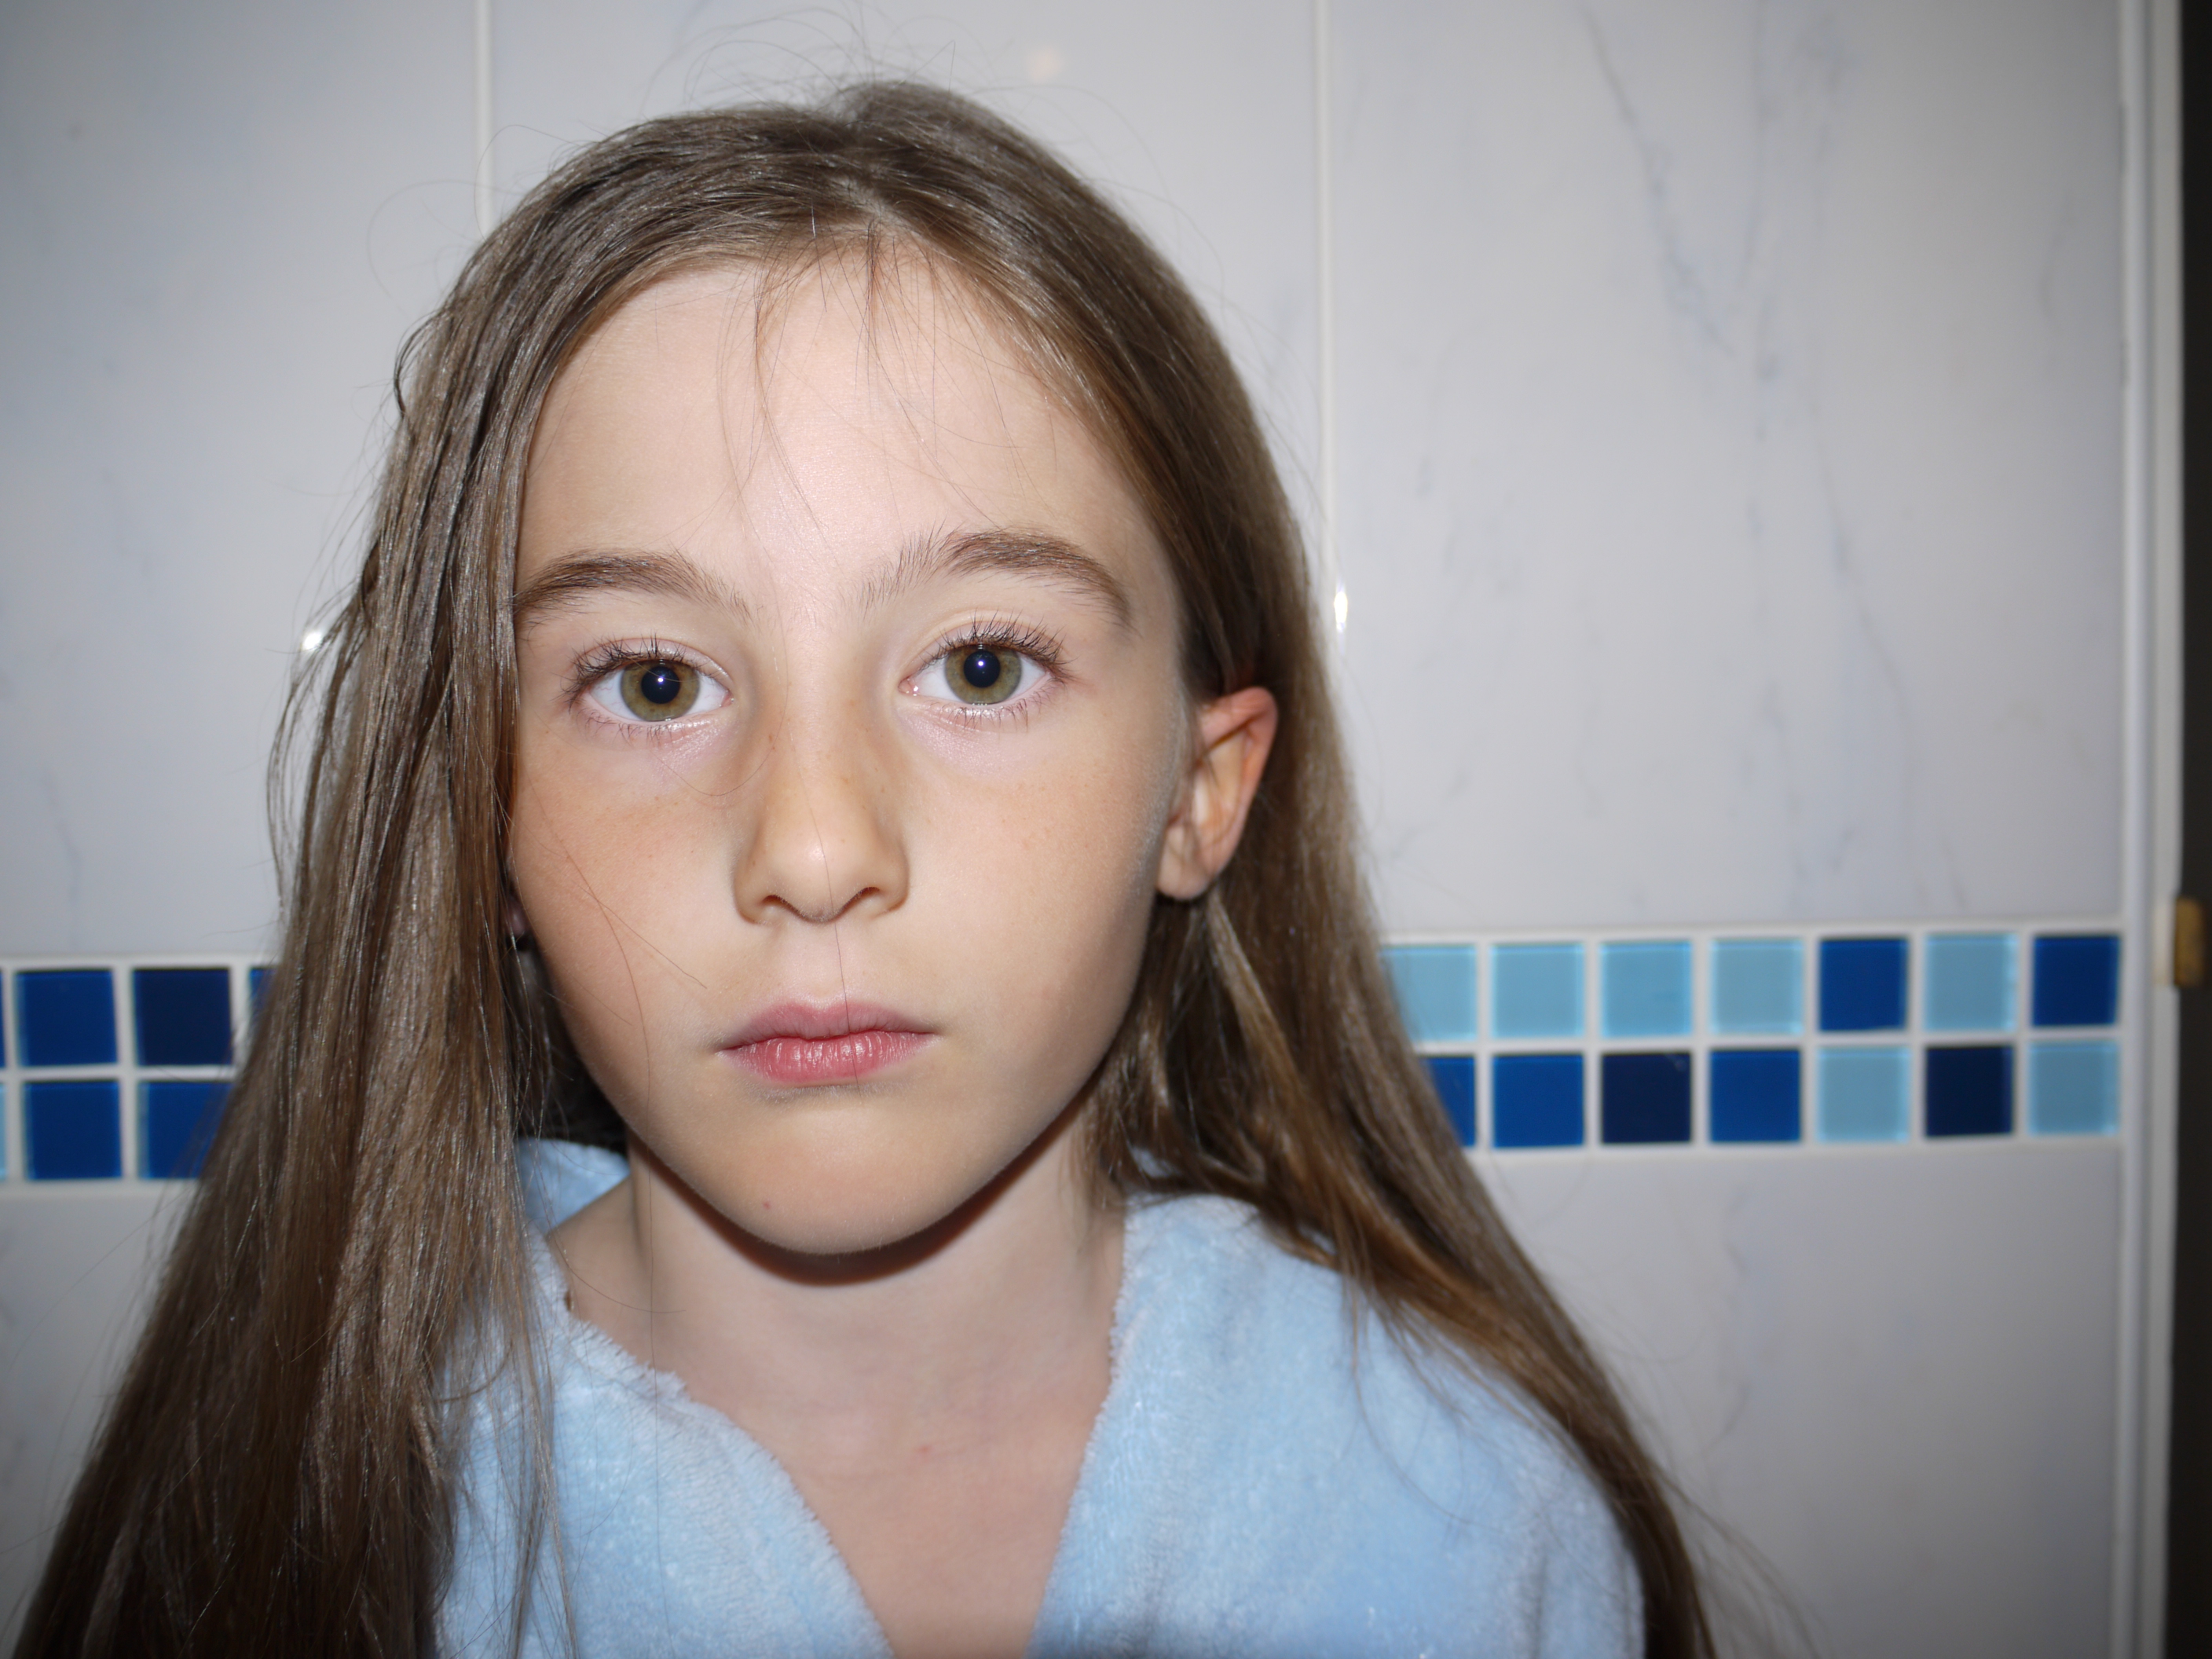
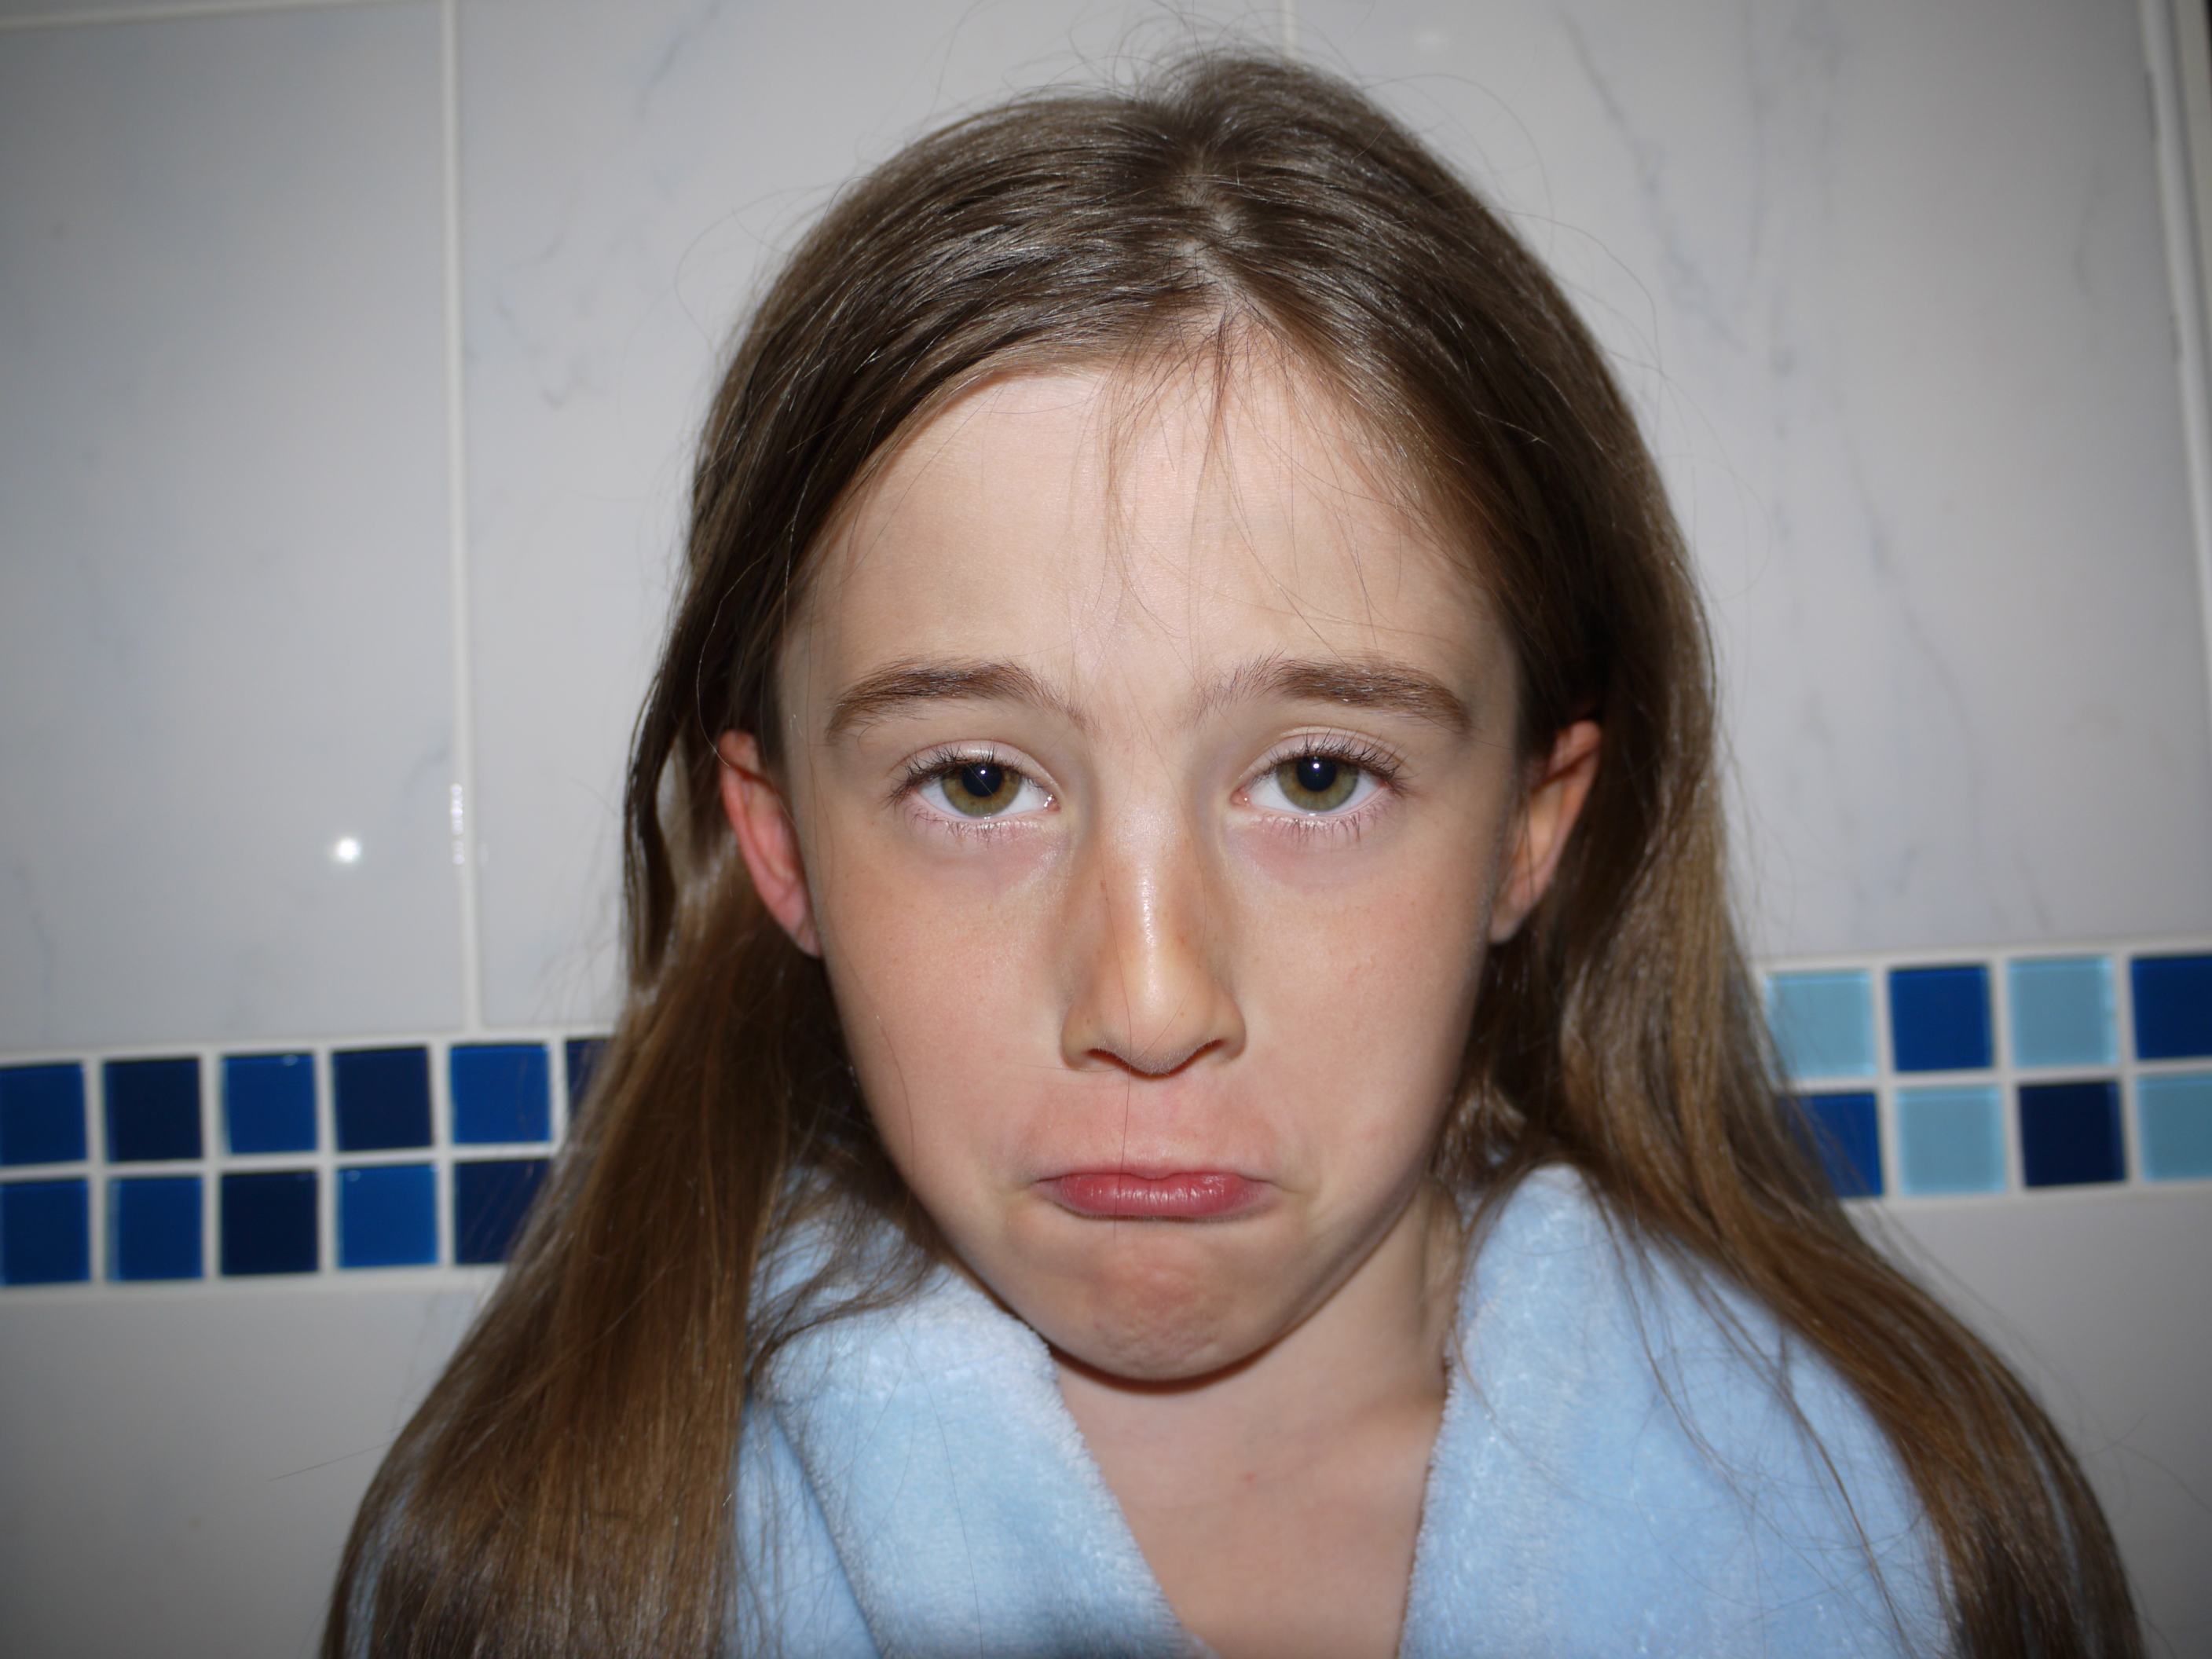
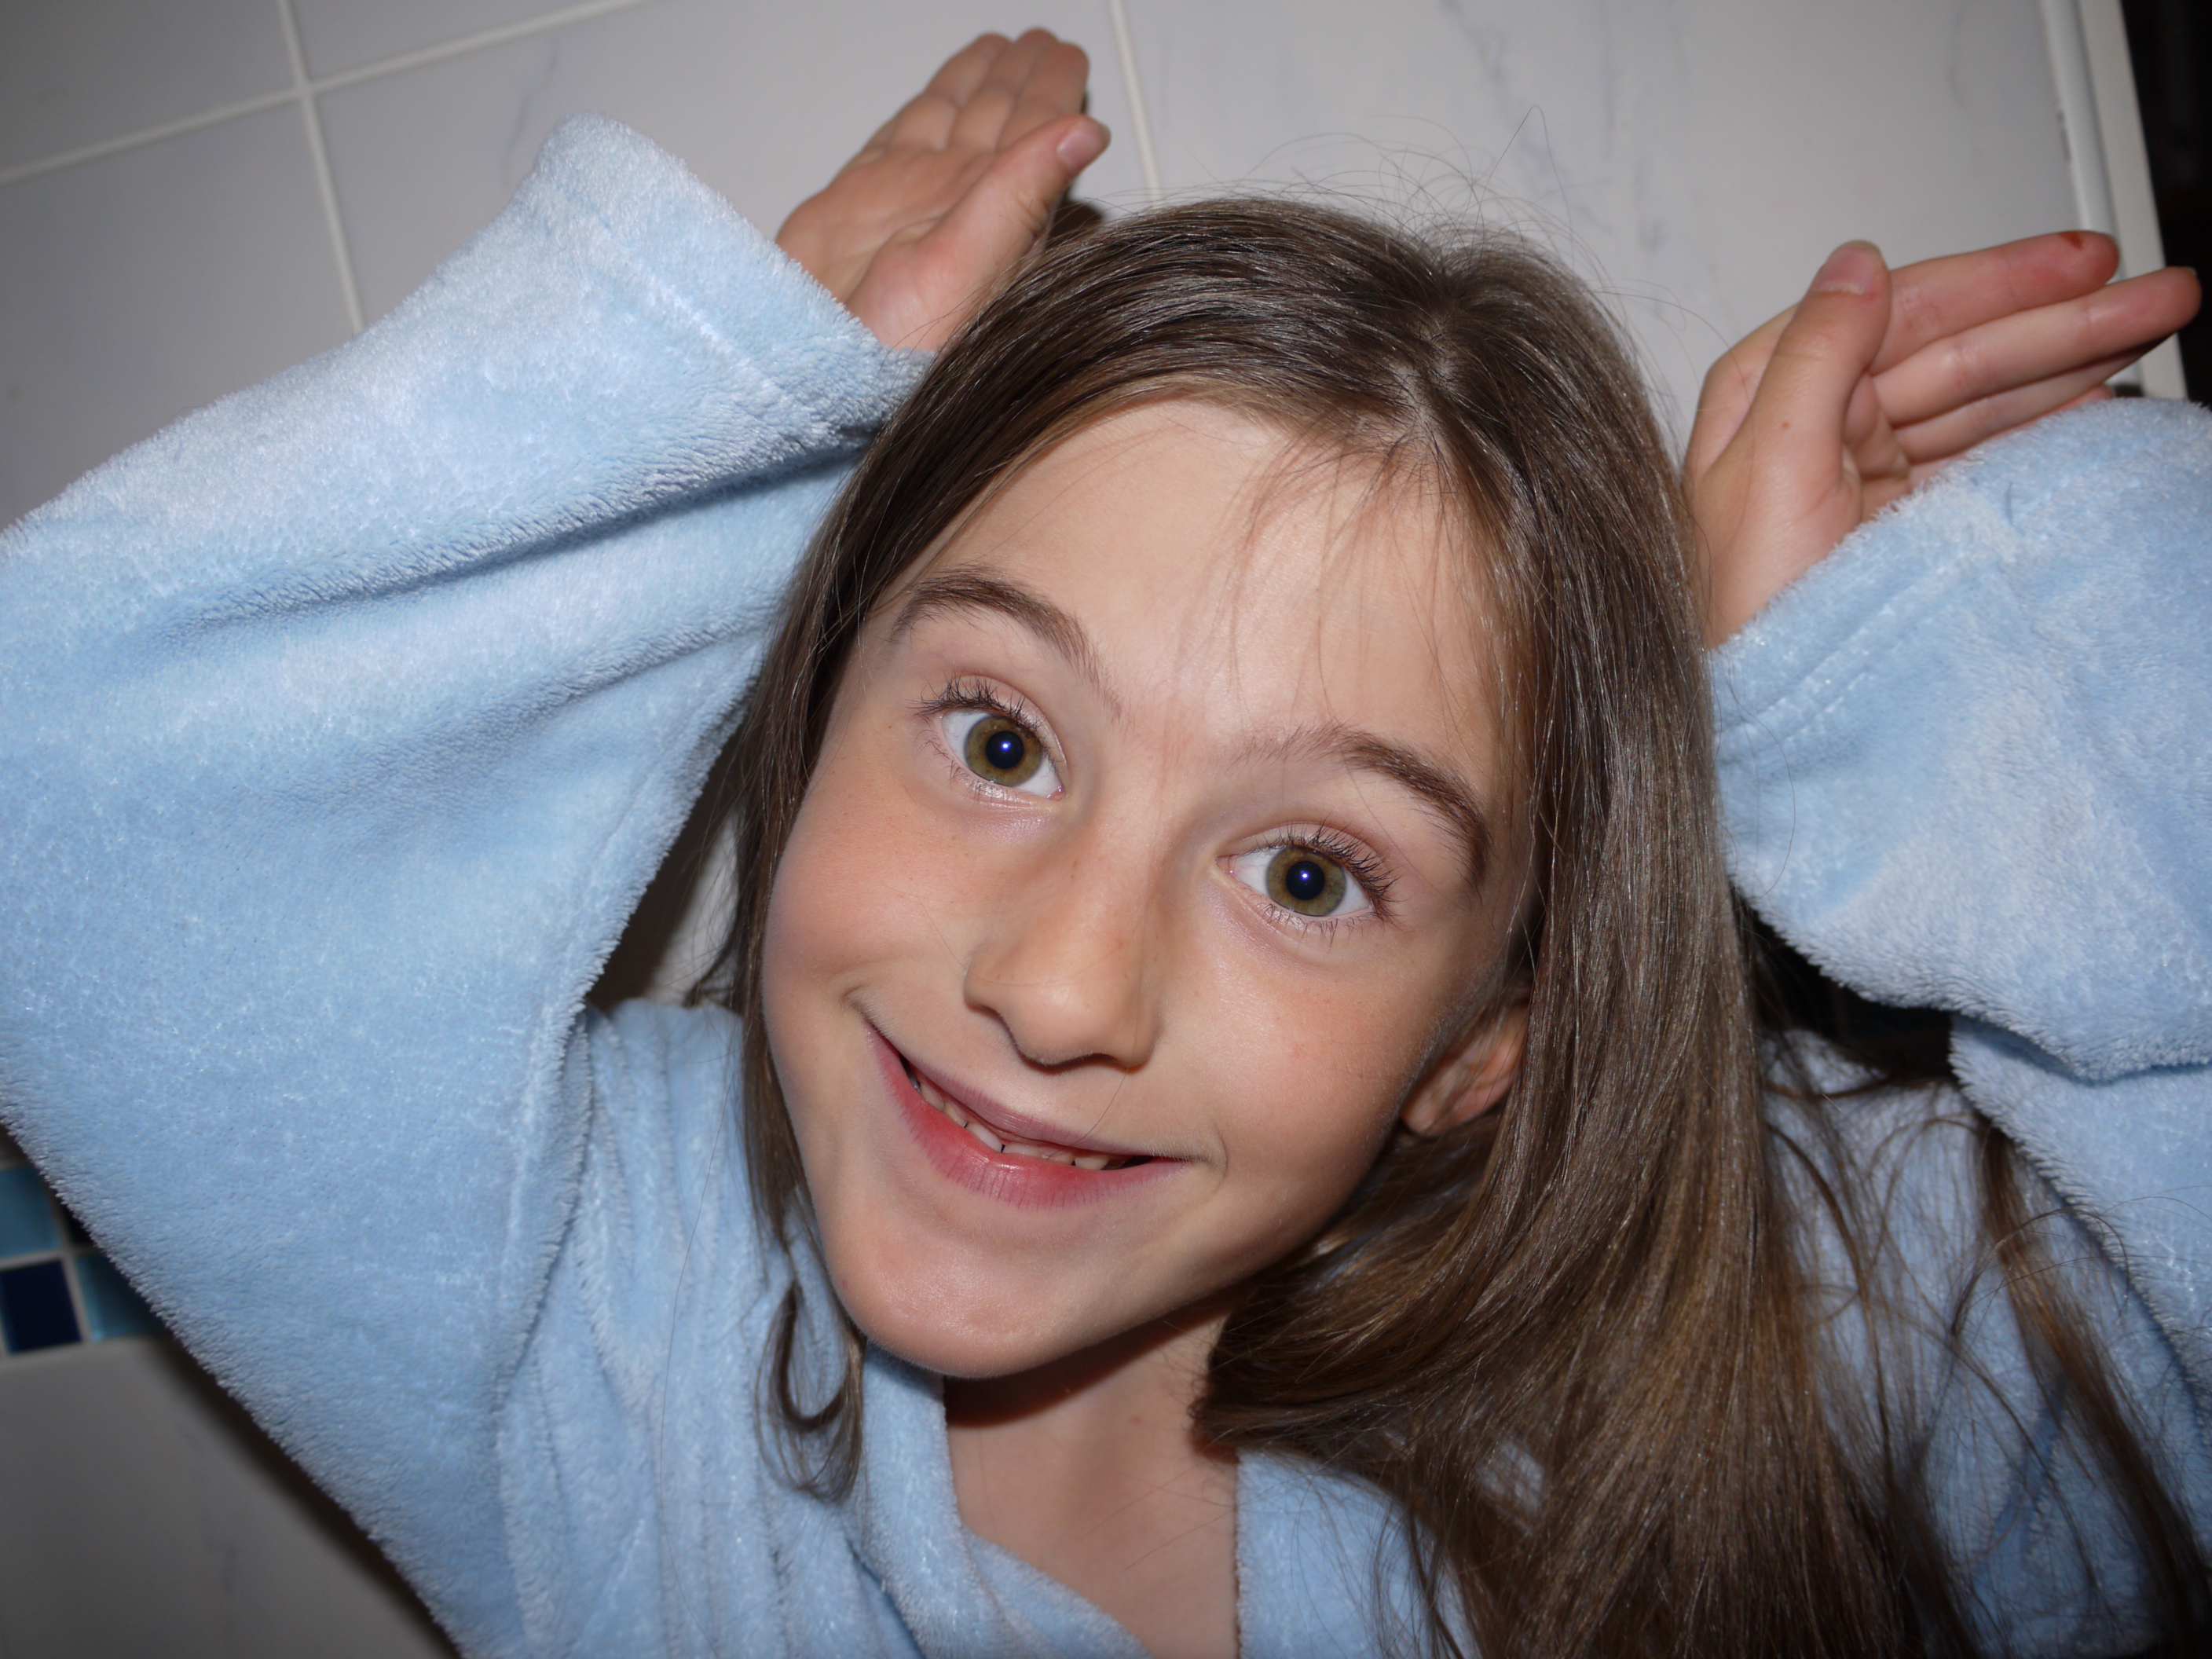
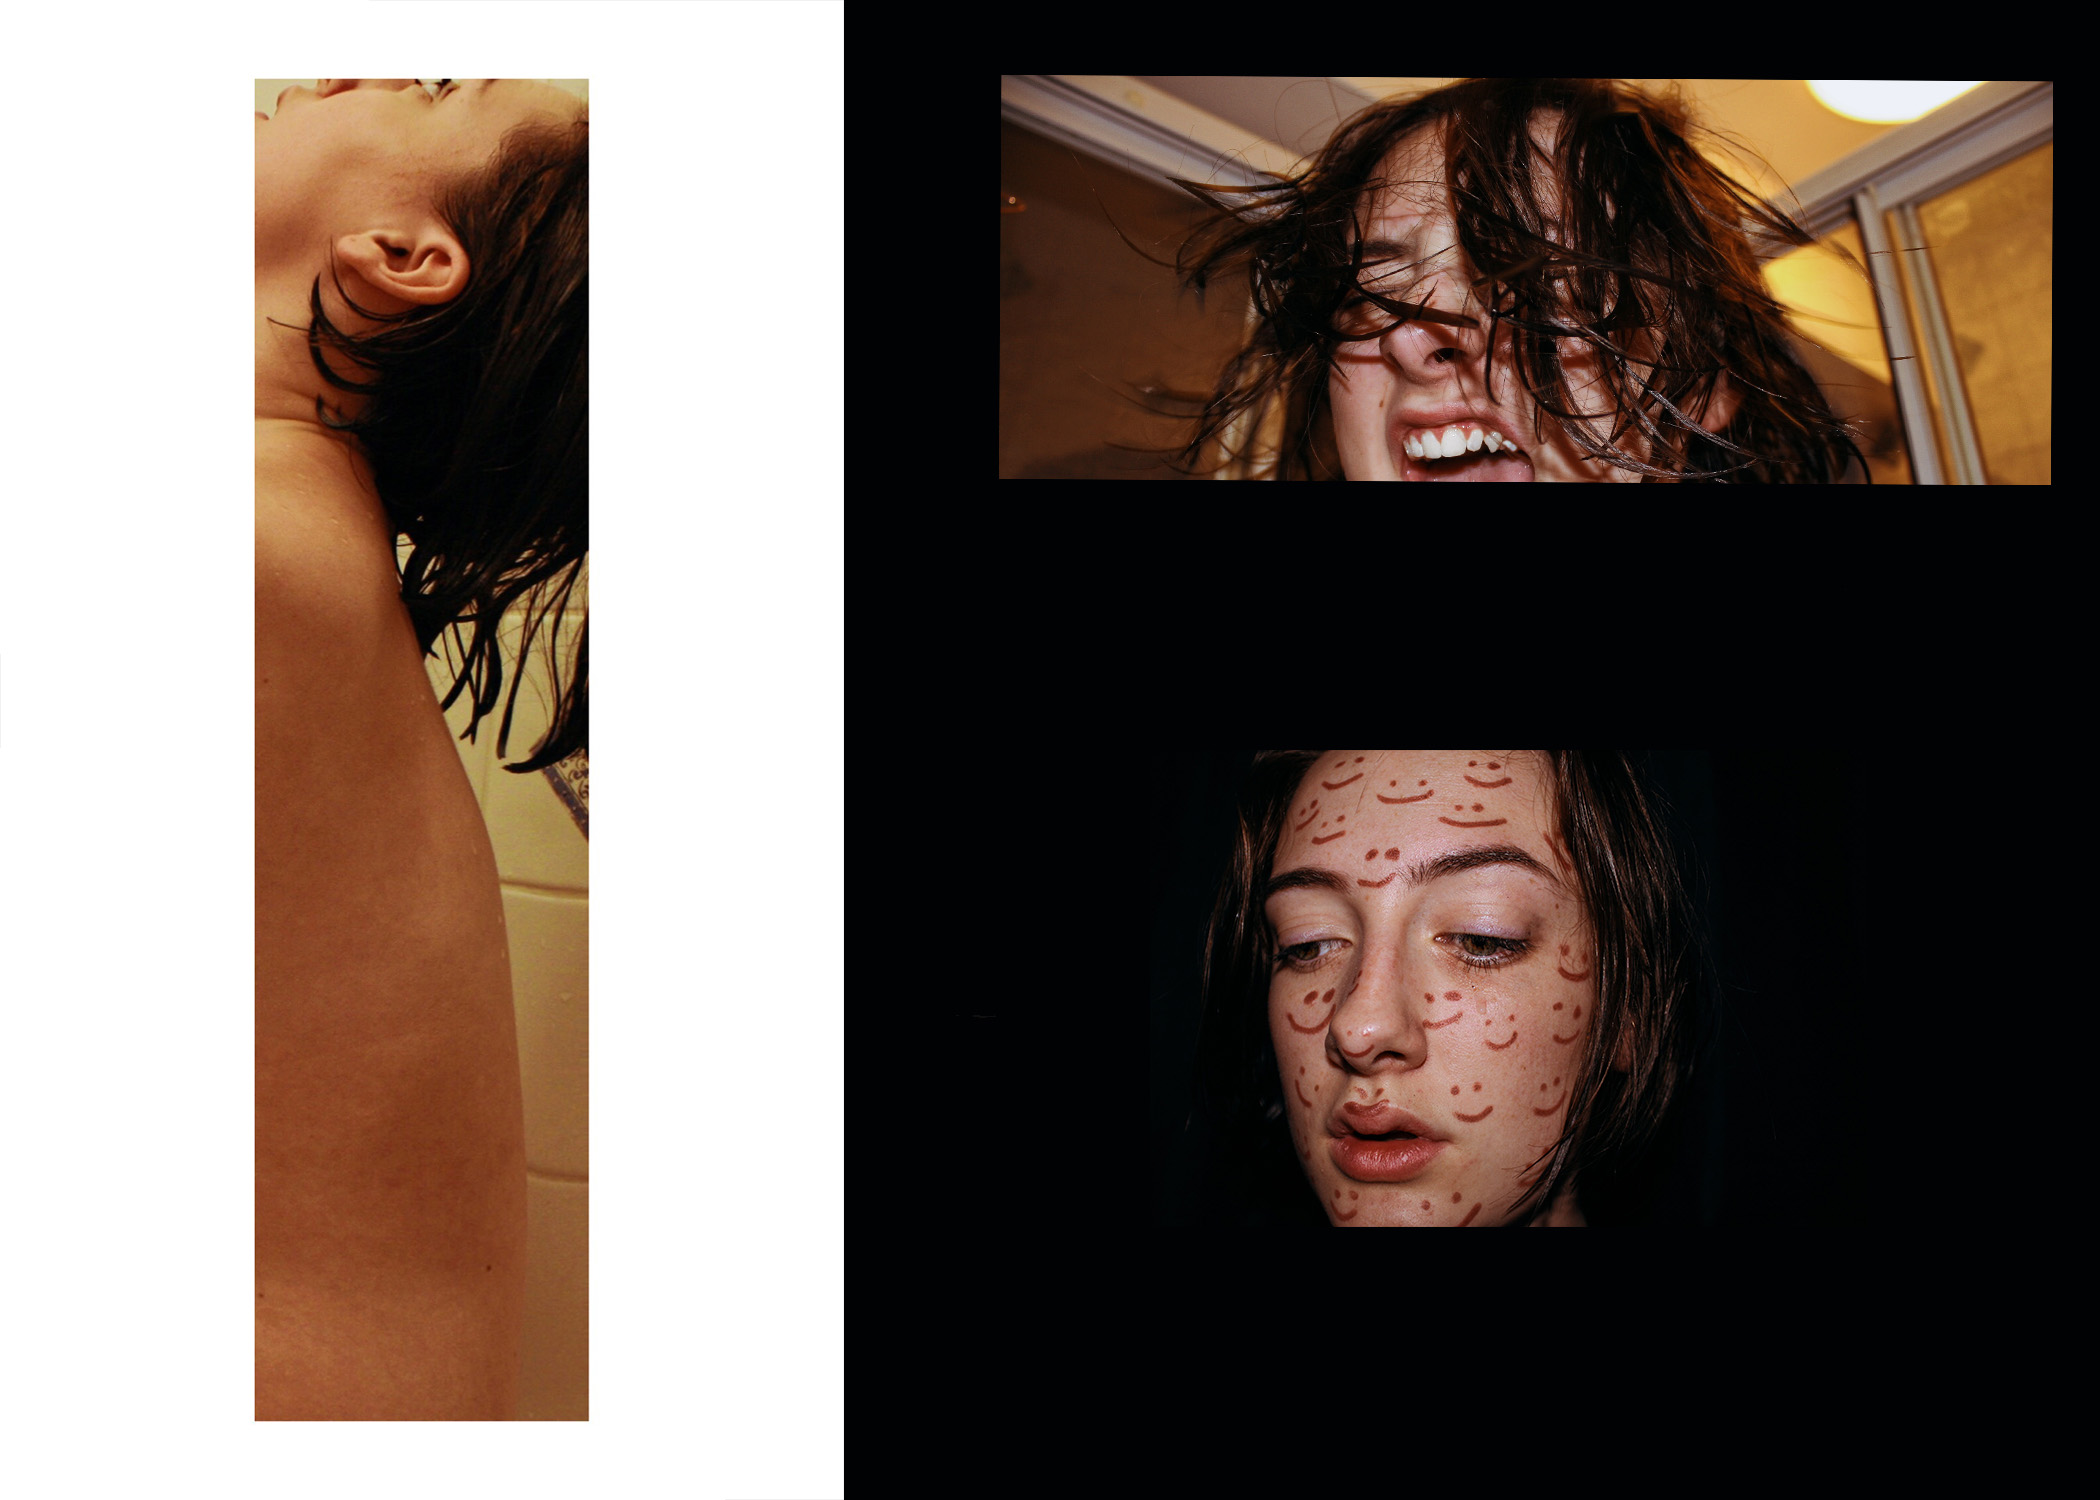
Each one of my final outcome options in my opinion reflects my wanted message. I wanted to put across, within this stimuli, how that you can have a family support system around yet still feel like you don’t fit in. These images all together work together in my opinion because it all correlates to the same ideas.

Actual Final Outcomes

Identity 1; Final images, Editing&Evaluation (Jan 2019 Mock)

SELECTING FINAL IMAGES 

Image 1;

Image 2;

Image 3;

Image 4;

Image 5;

Image 6;

Image 7;

Image 8;

Image 9;

EDITING

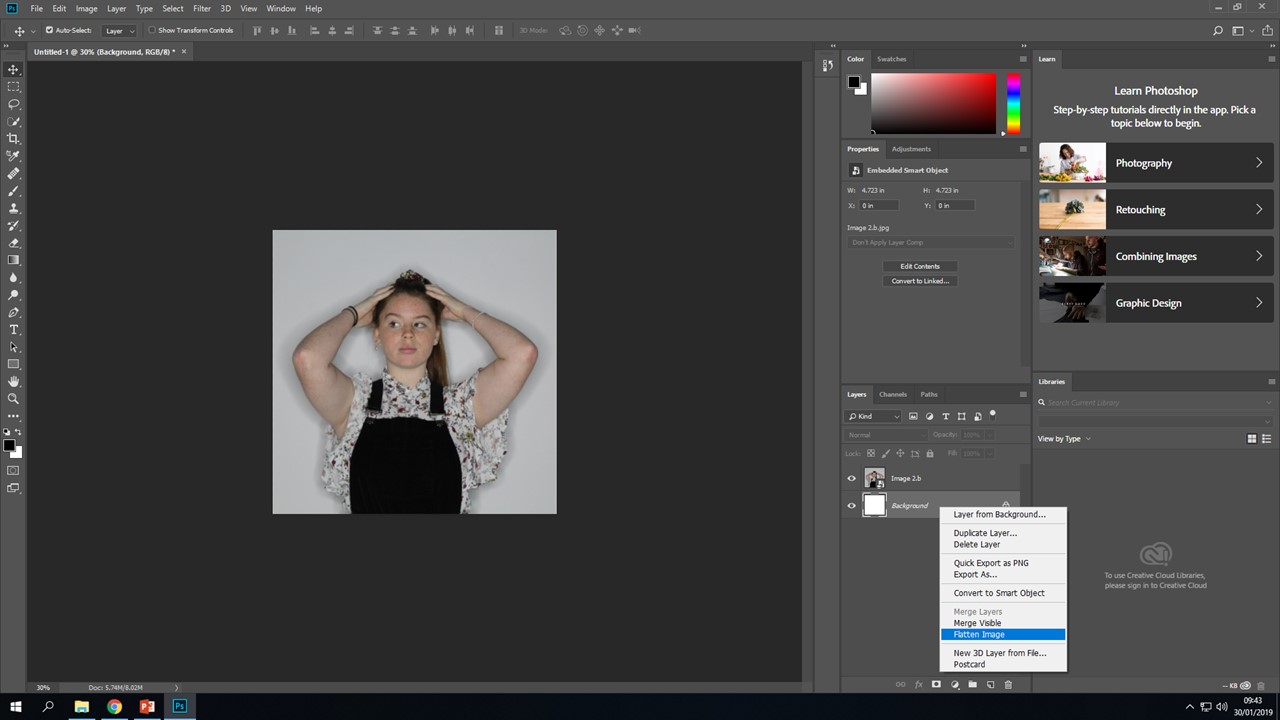
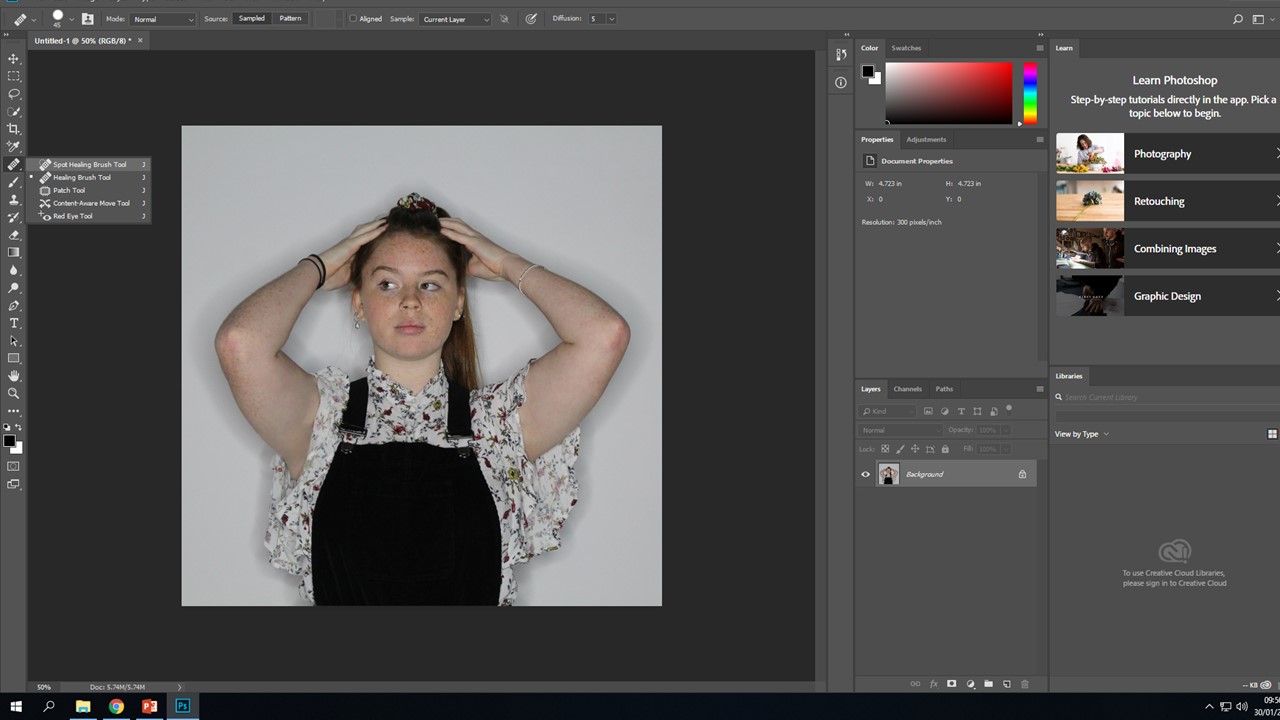
 I will repeat this process for every photo, using the healing brush will allow me to even out her skin tone and remove any blemishes within the photo. Certain photos may require me to use more tools, I will show how I used them and what the effect it had on my image;

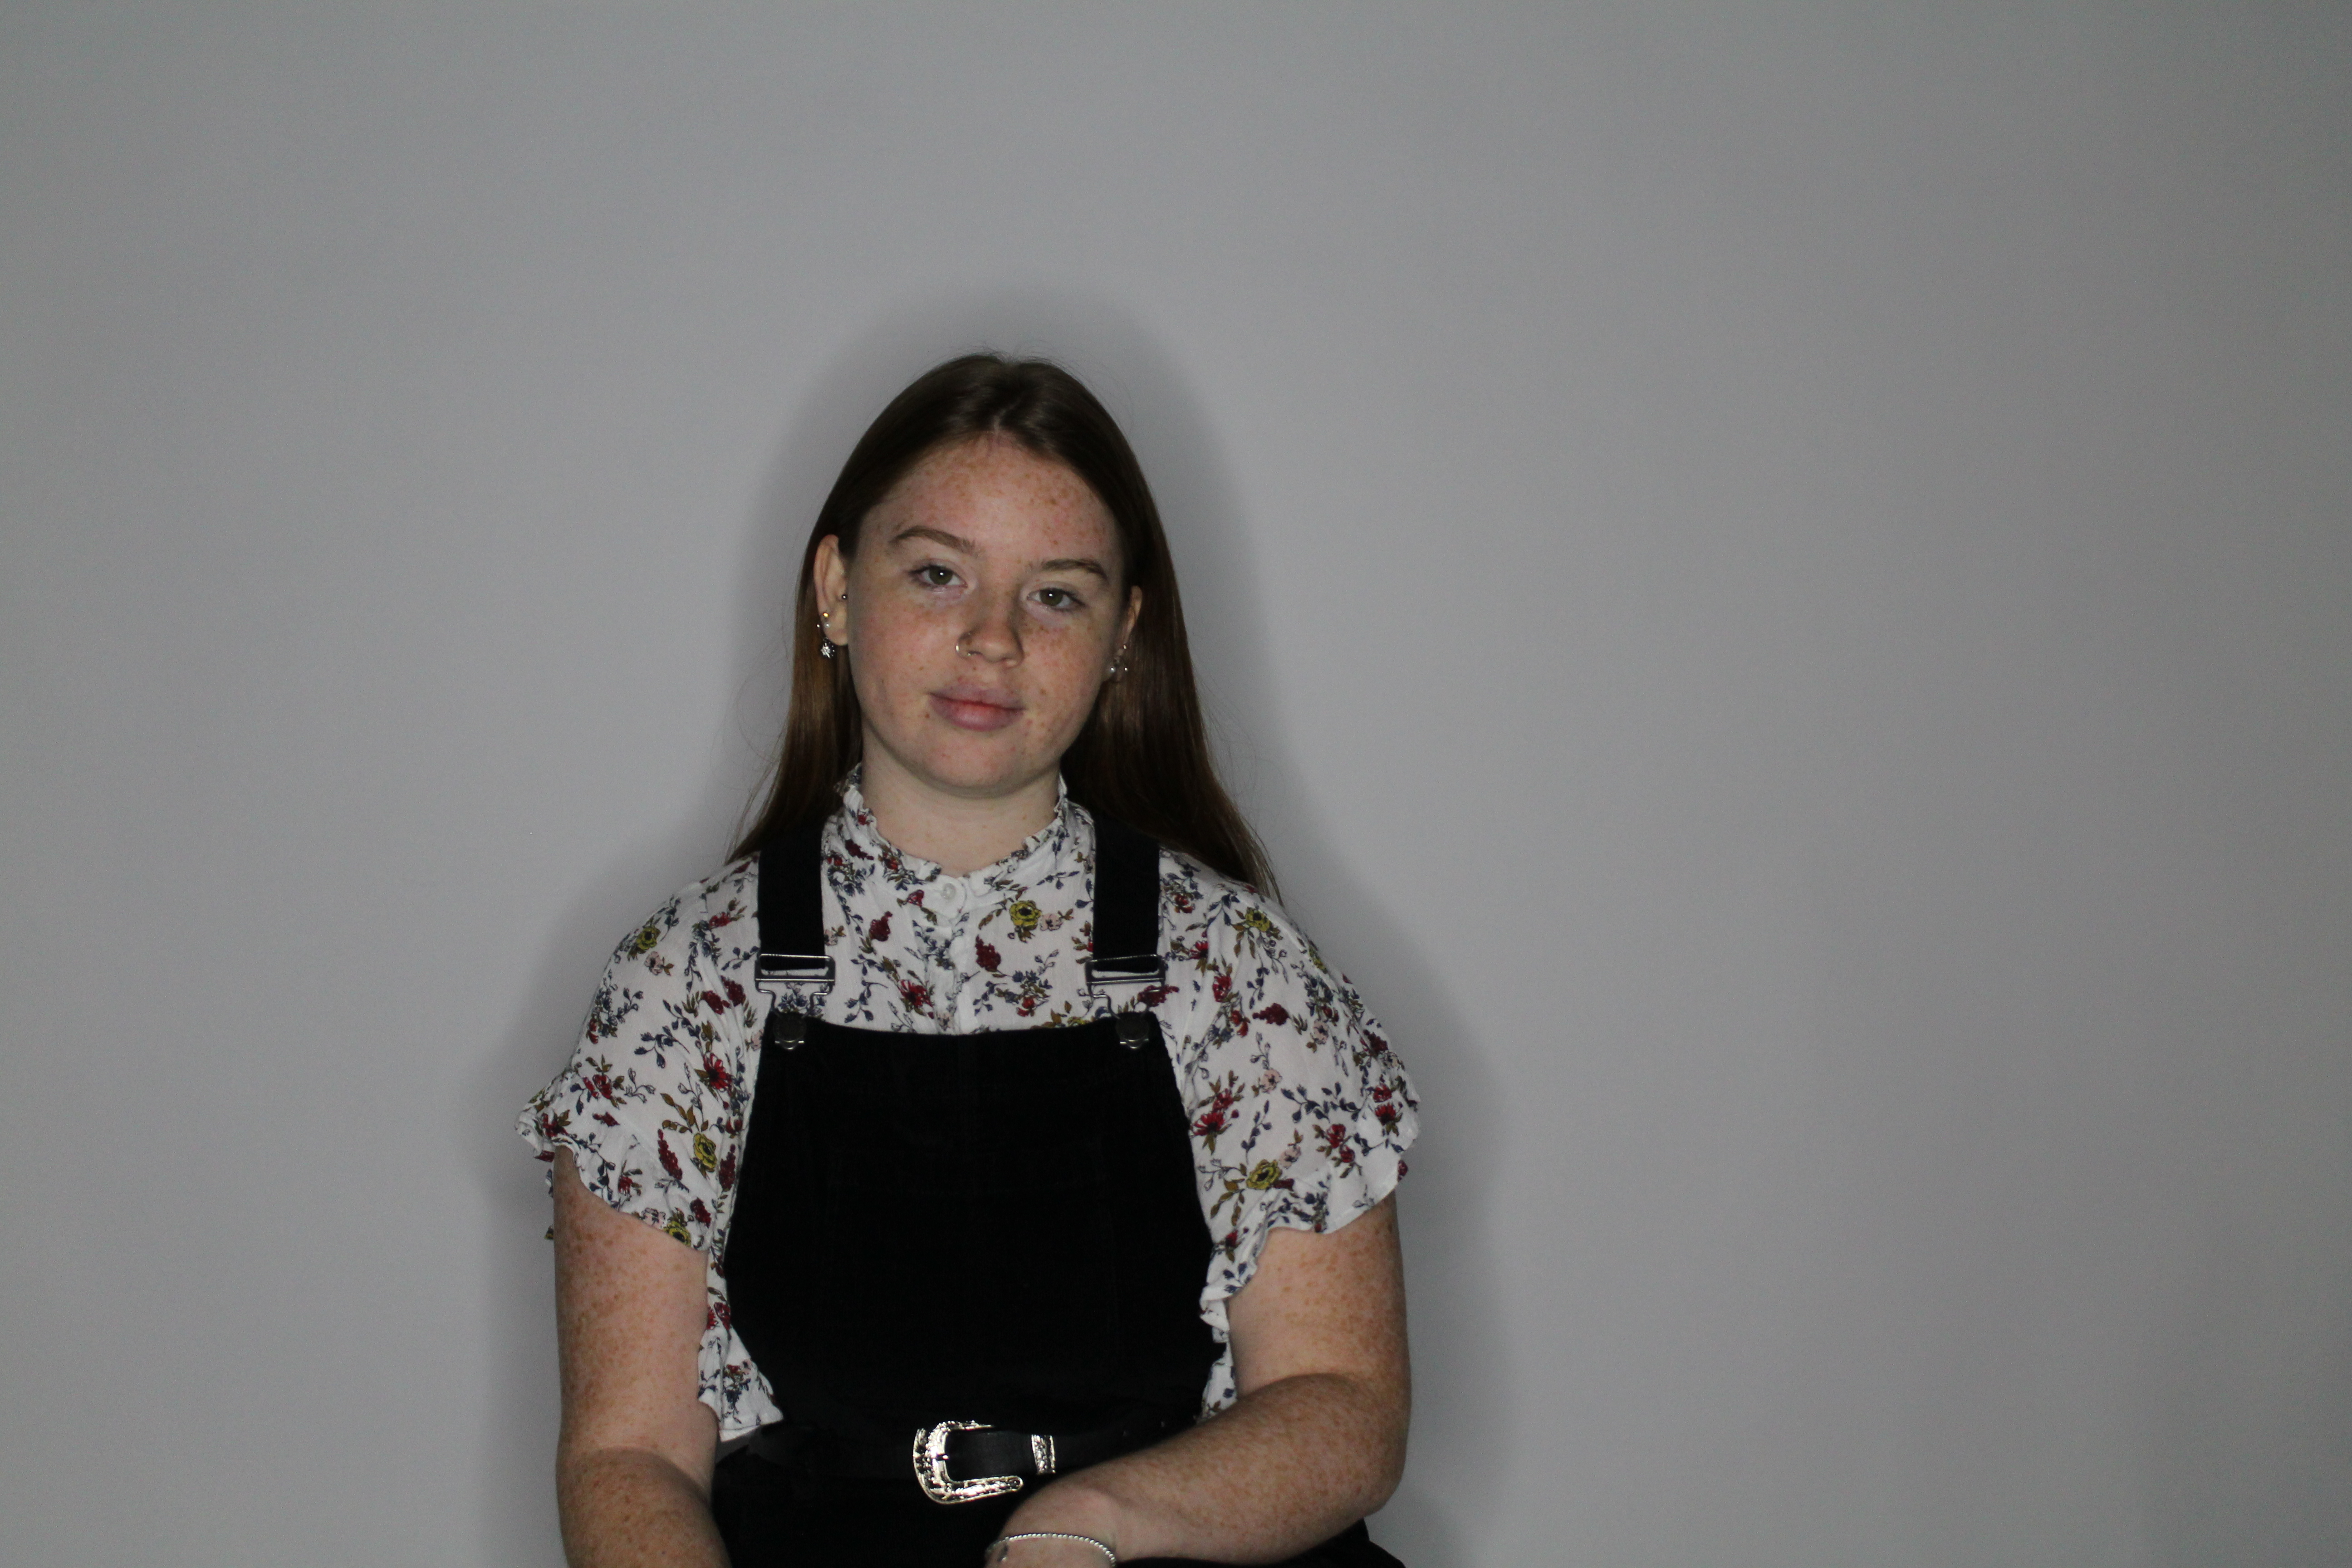
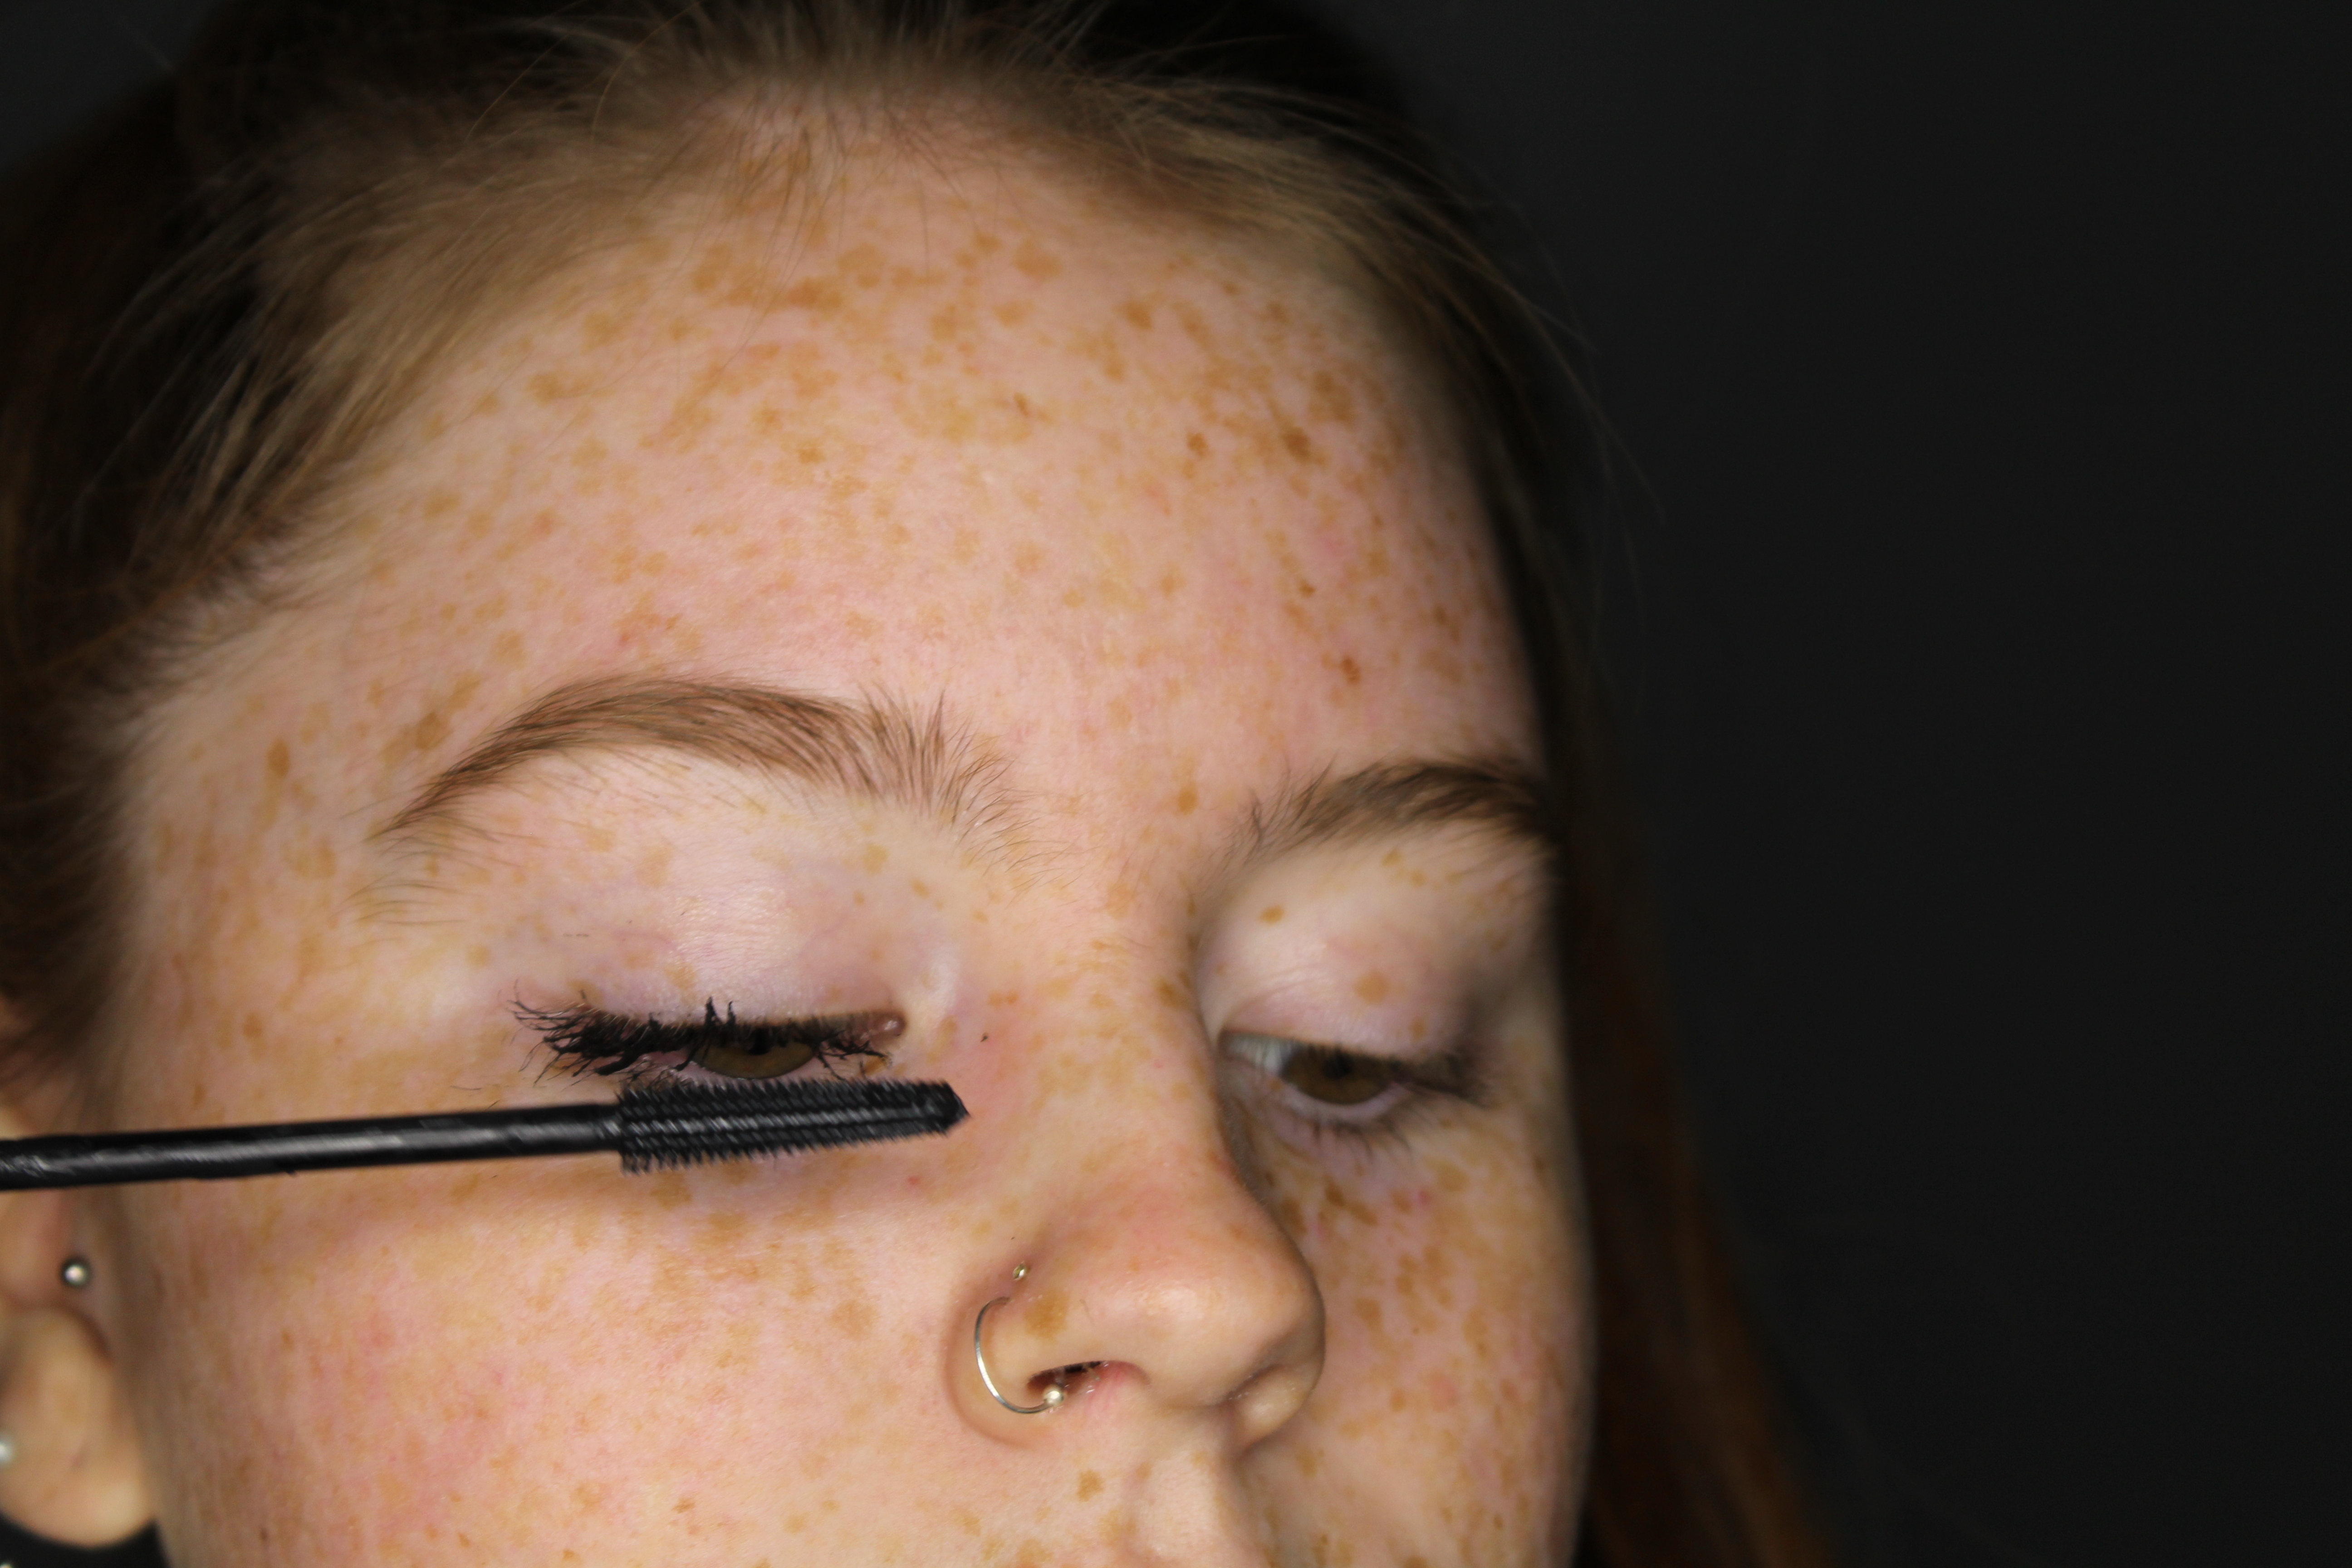
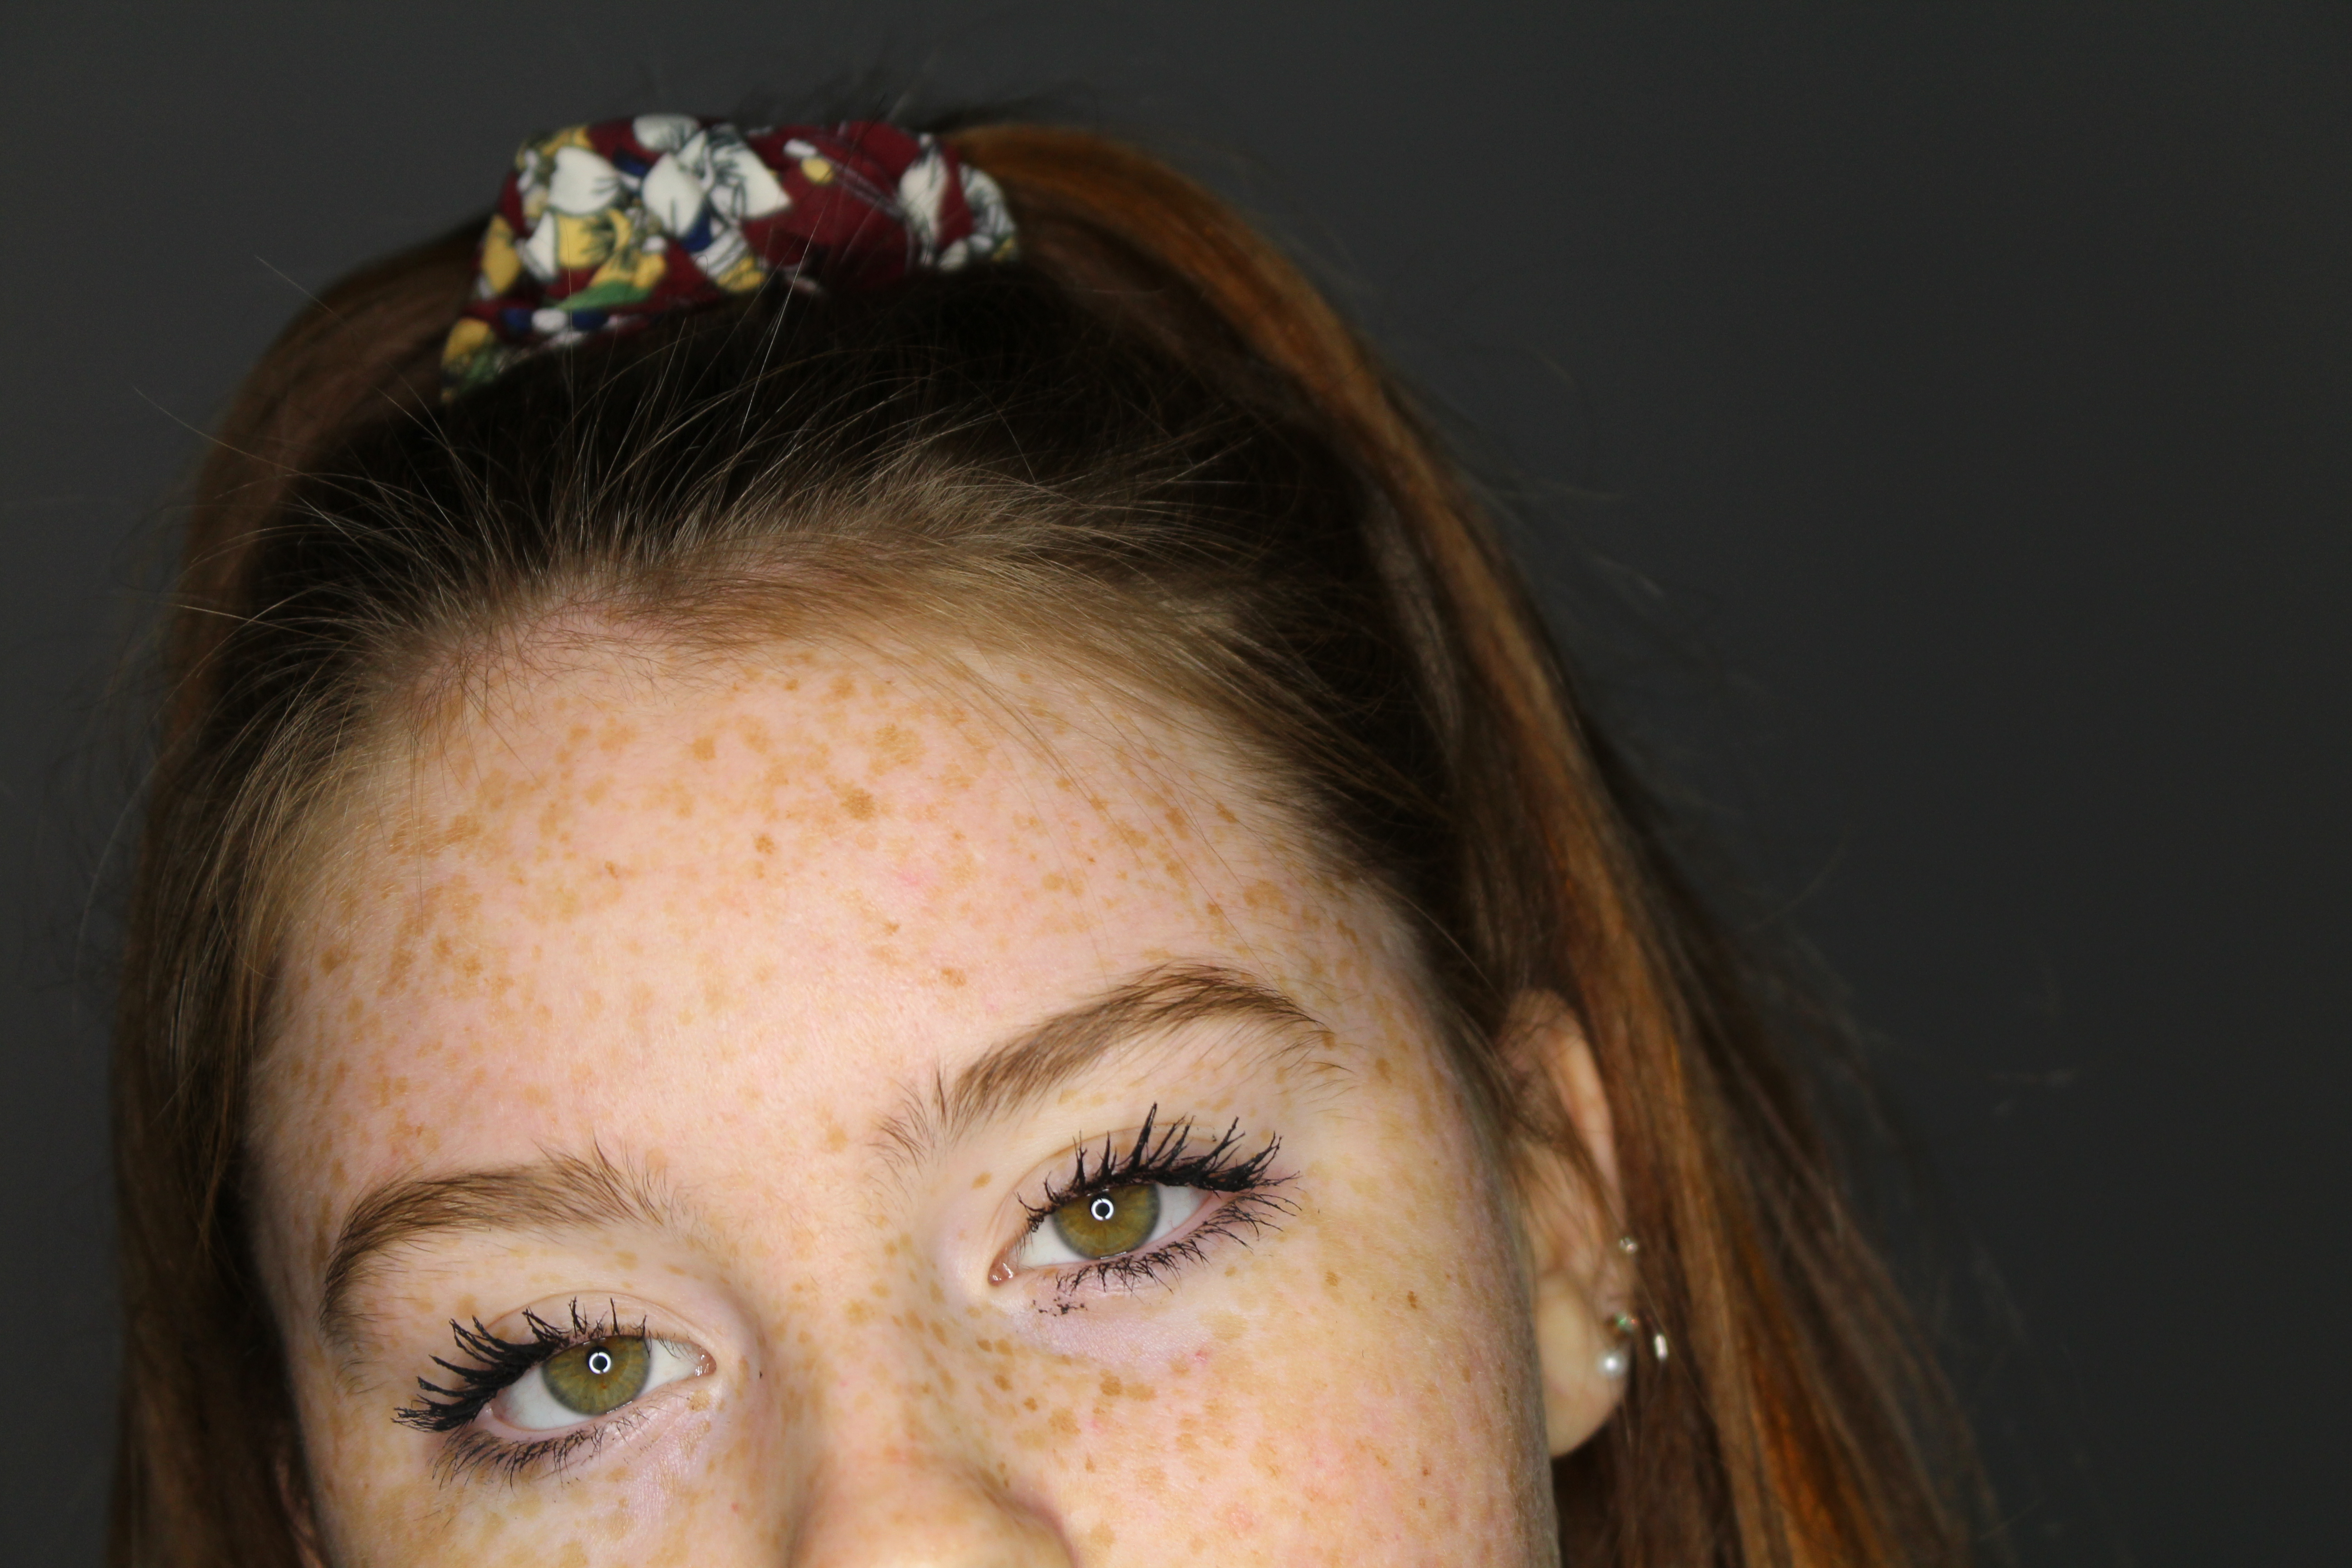
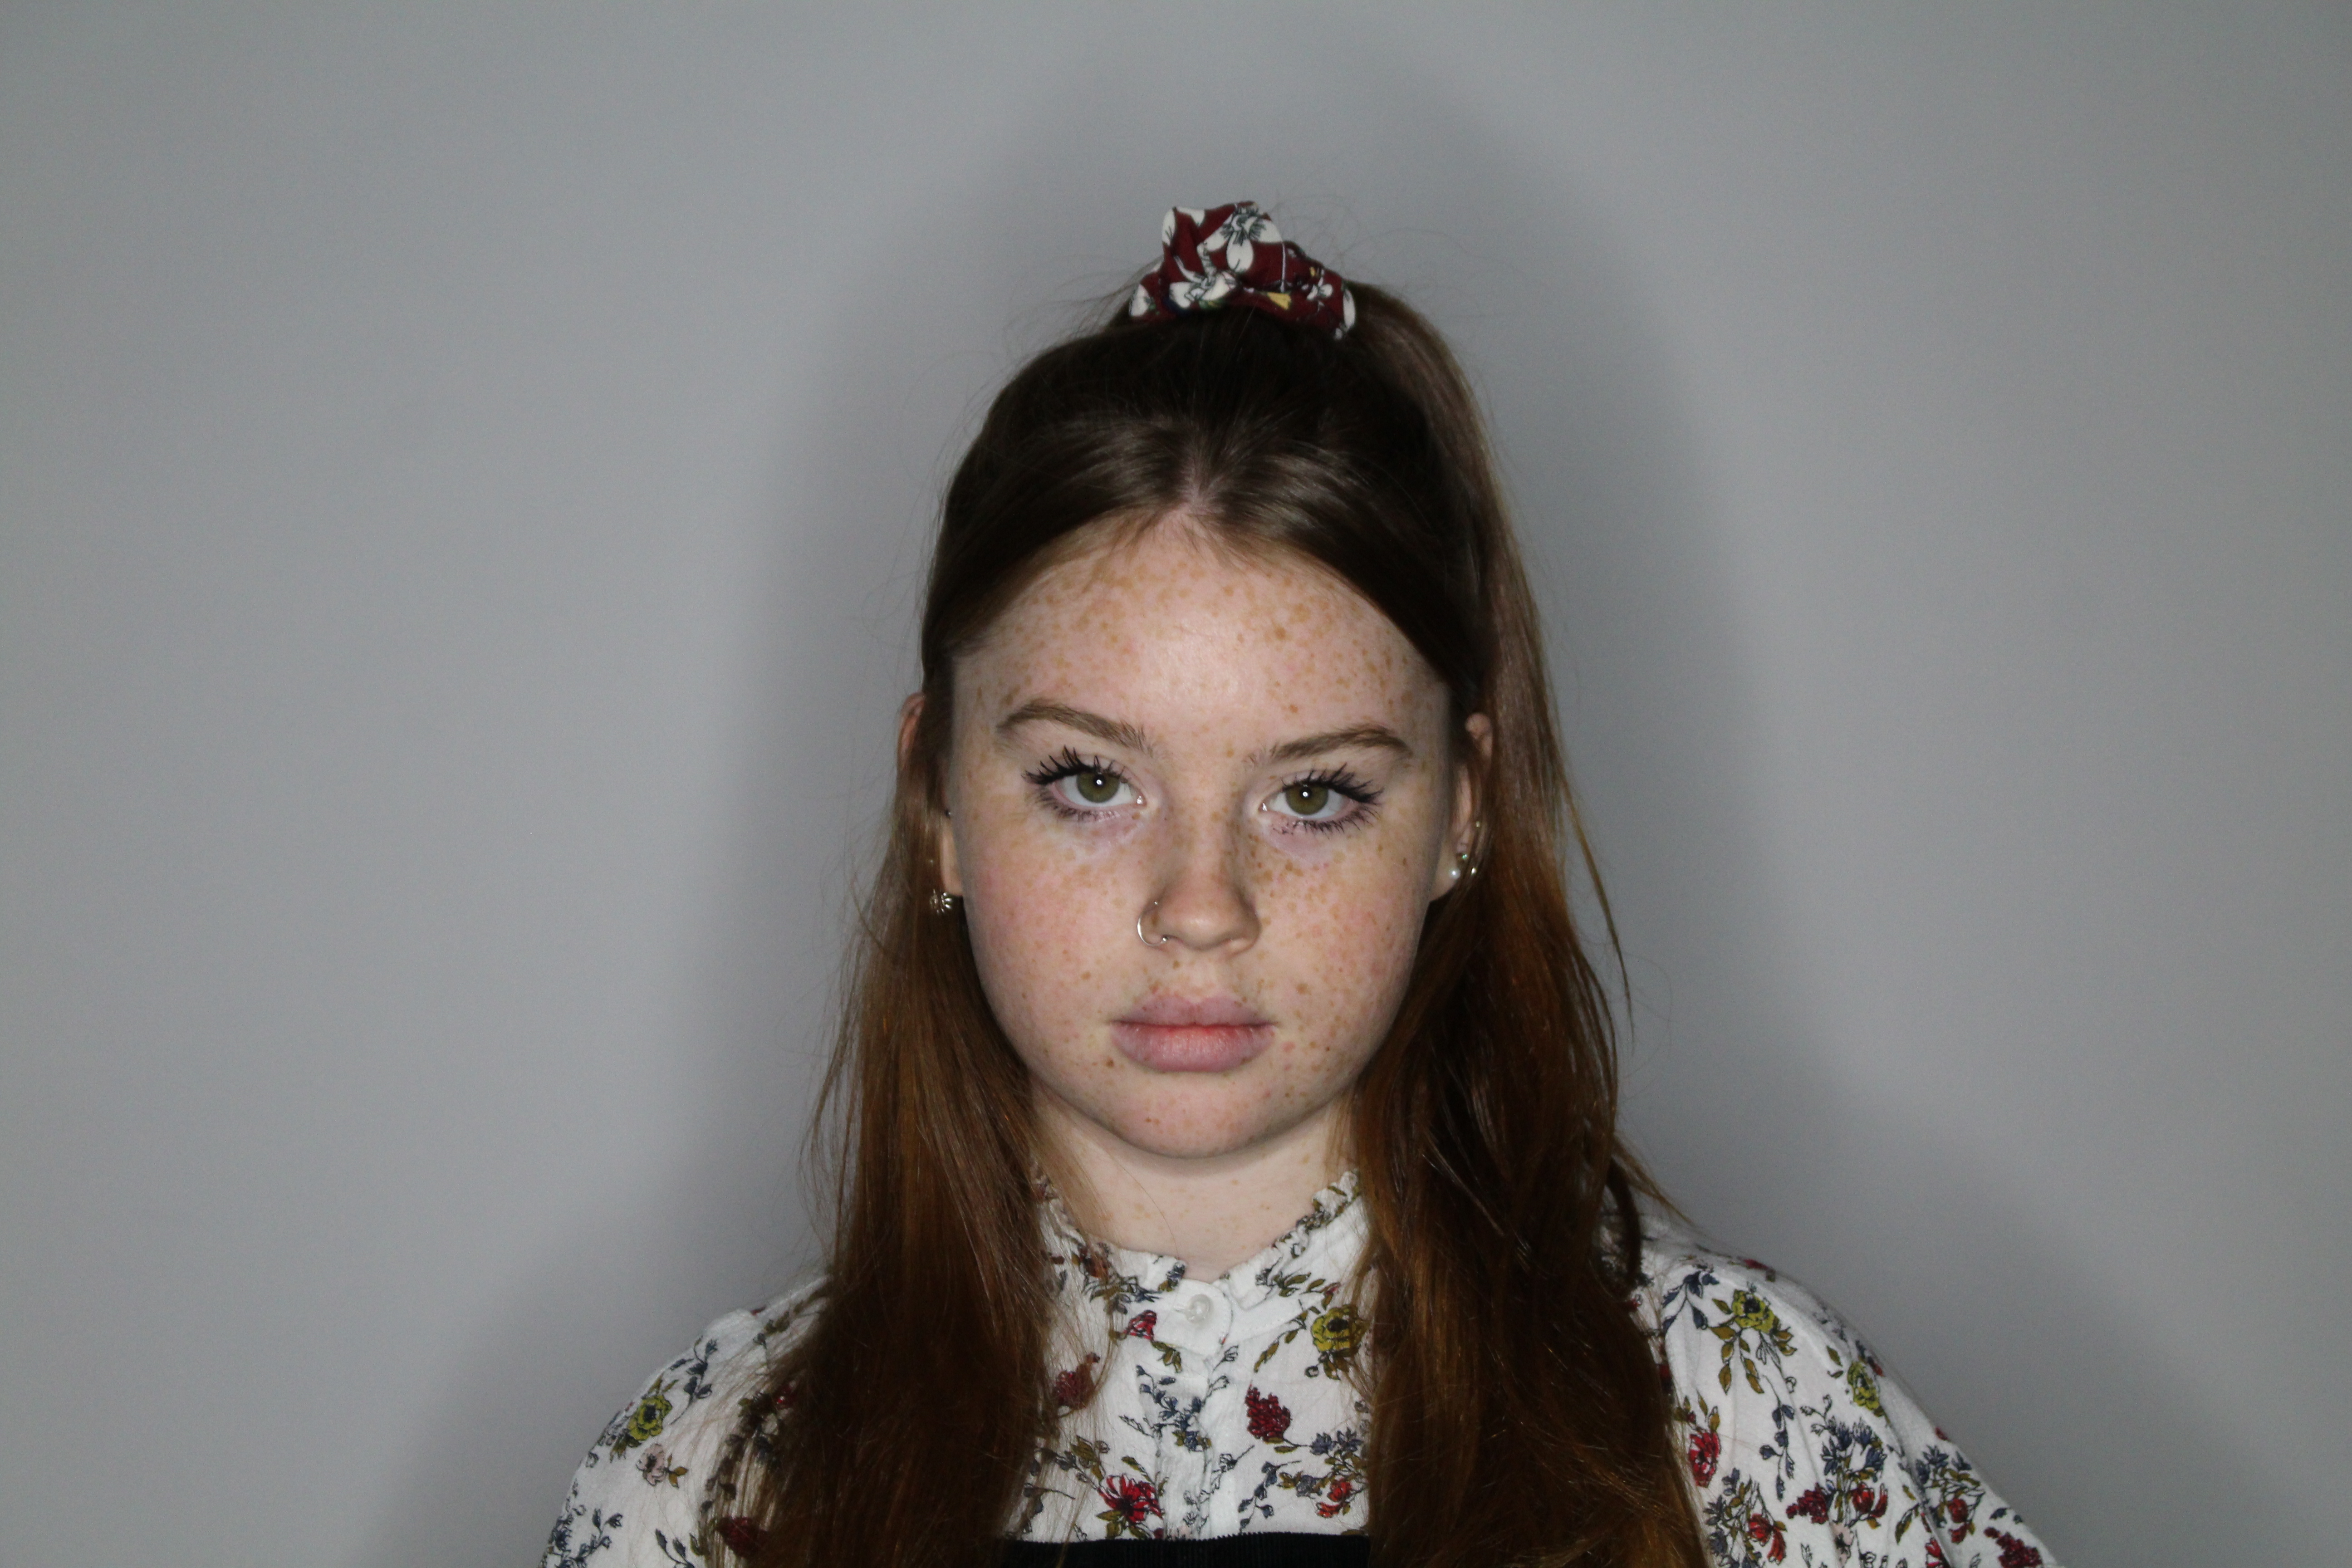
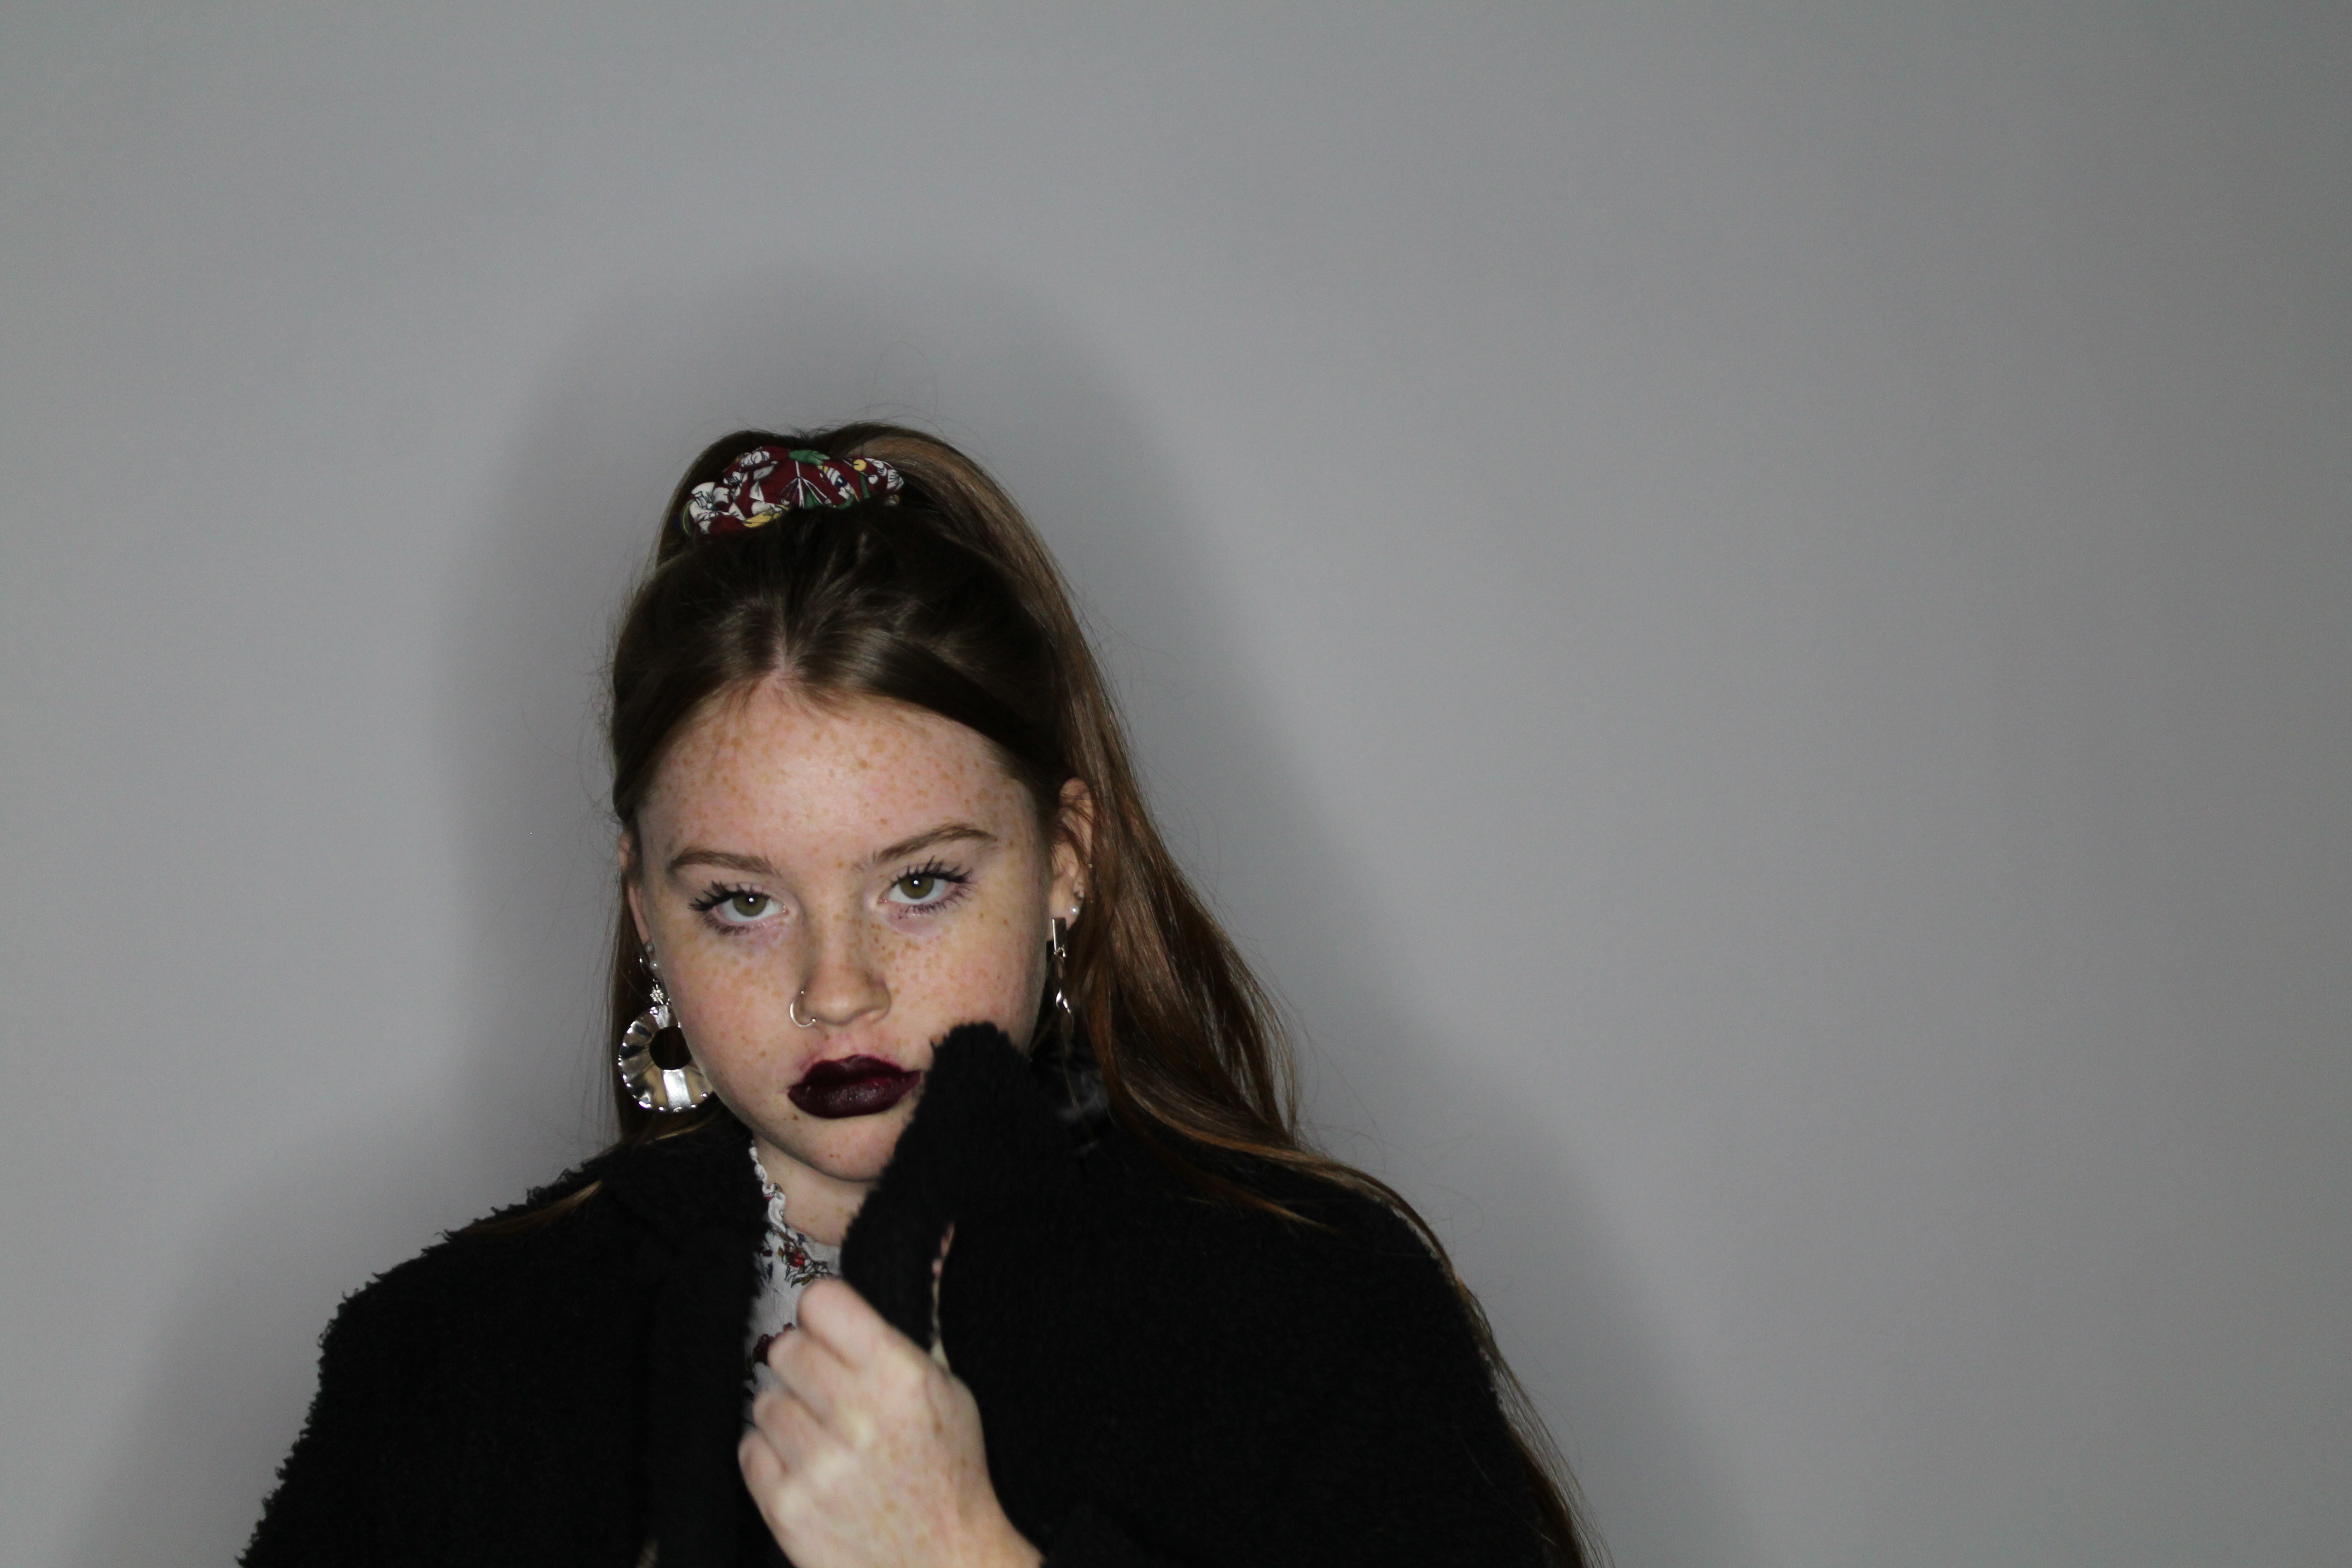
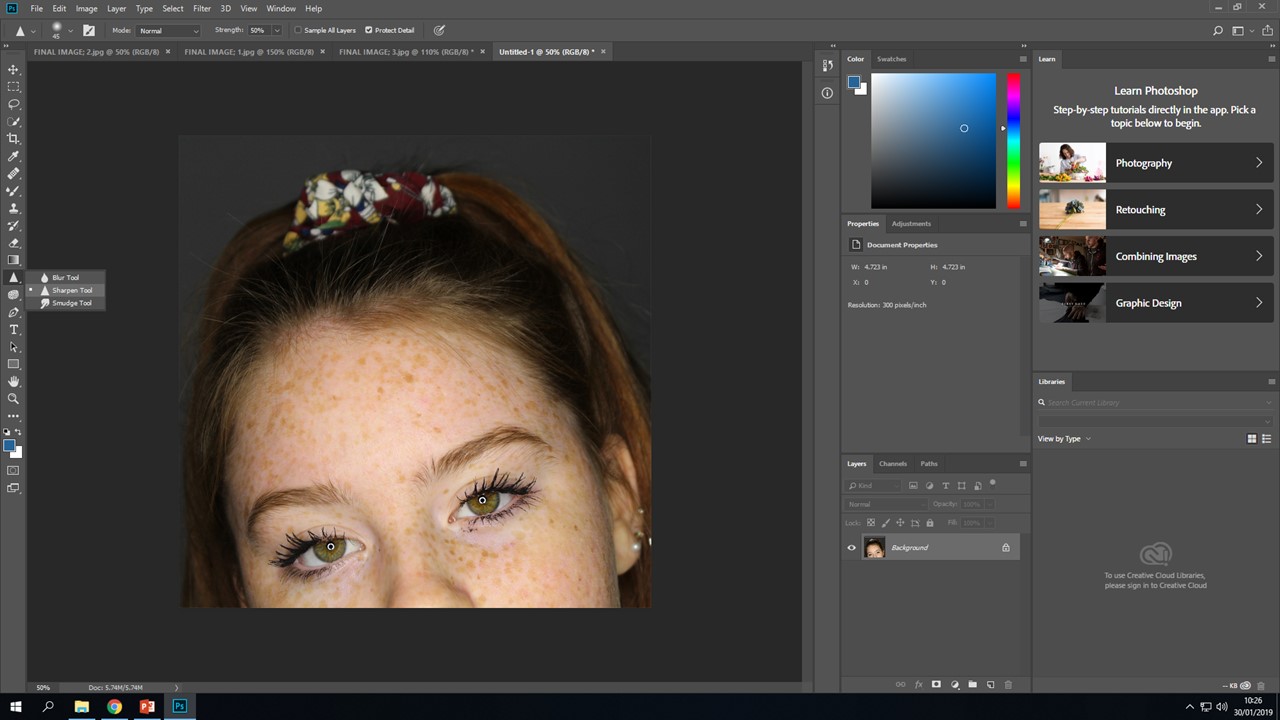
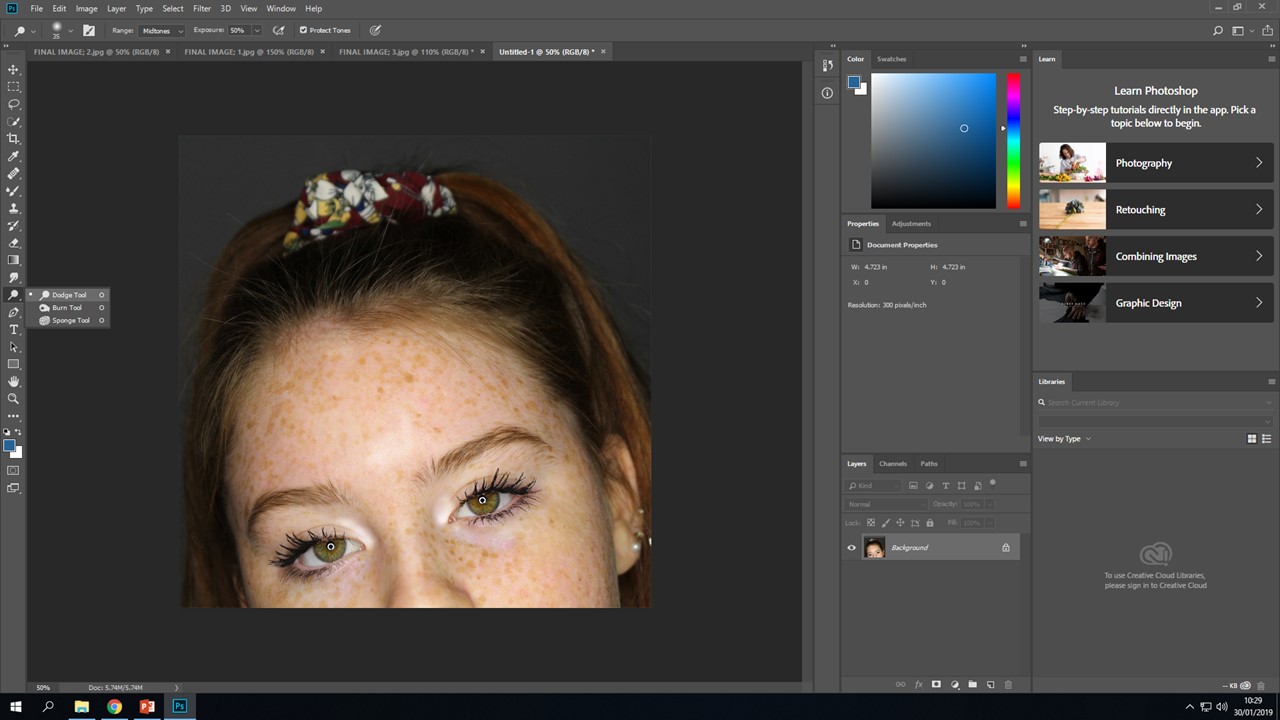
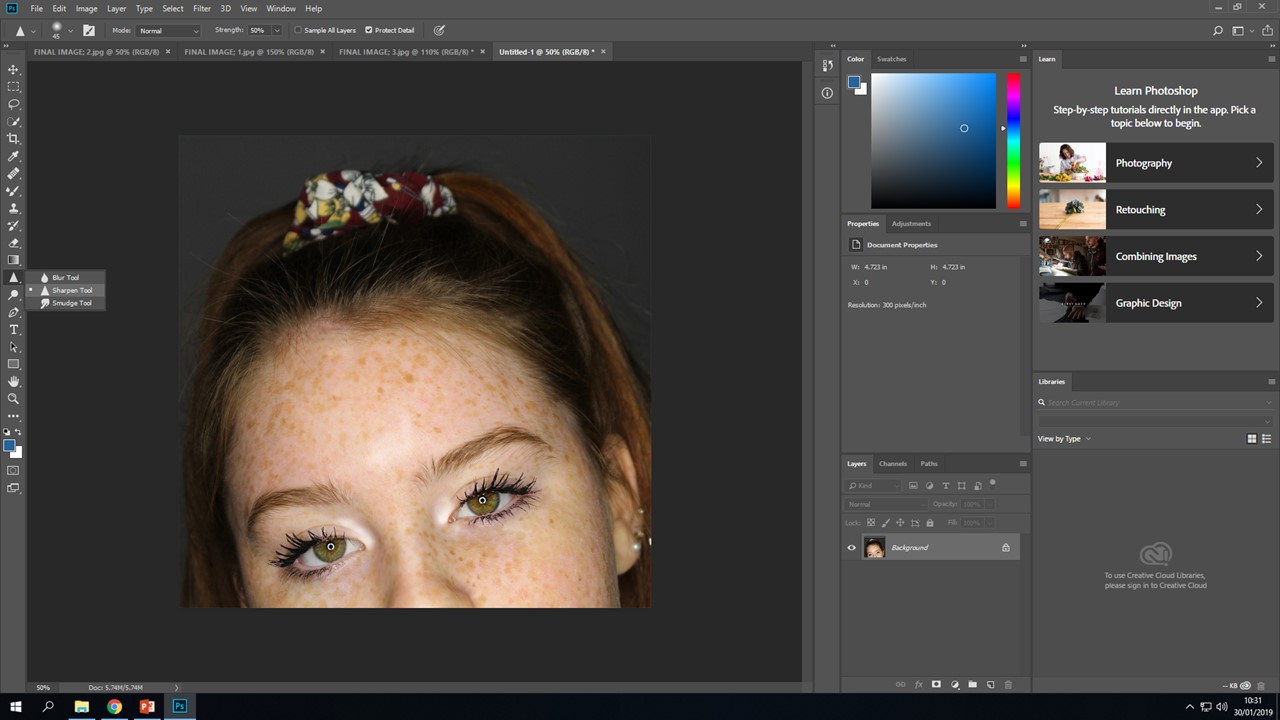
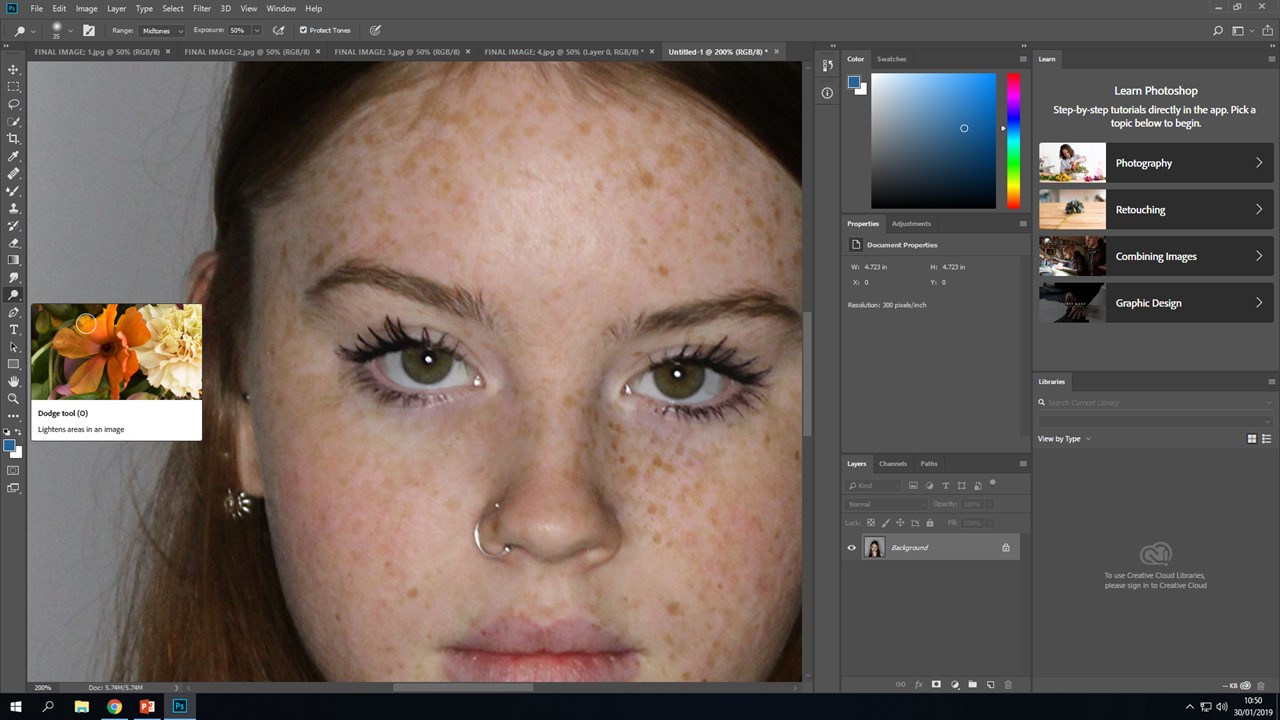
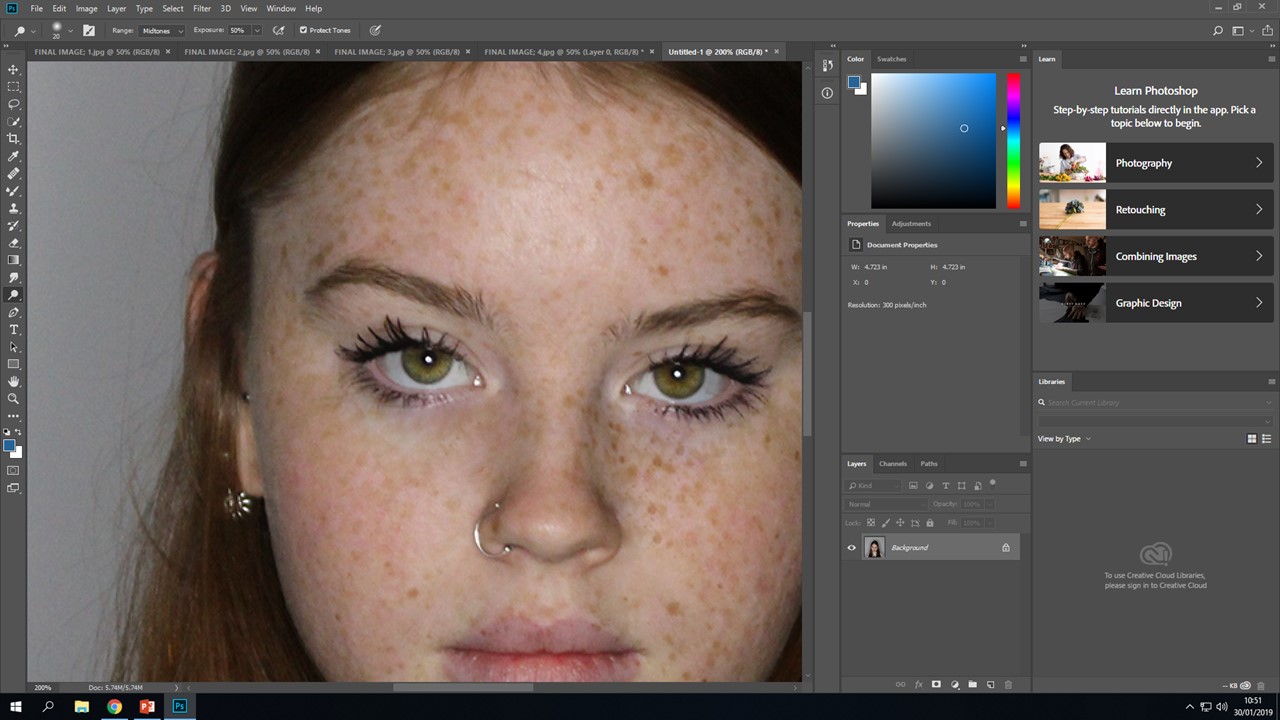
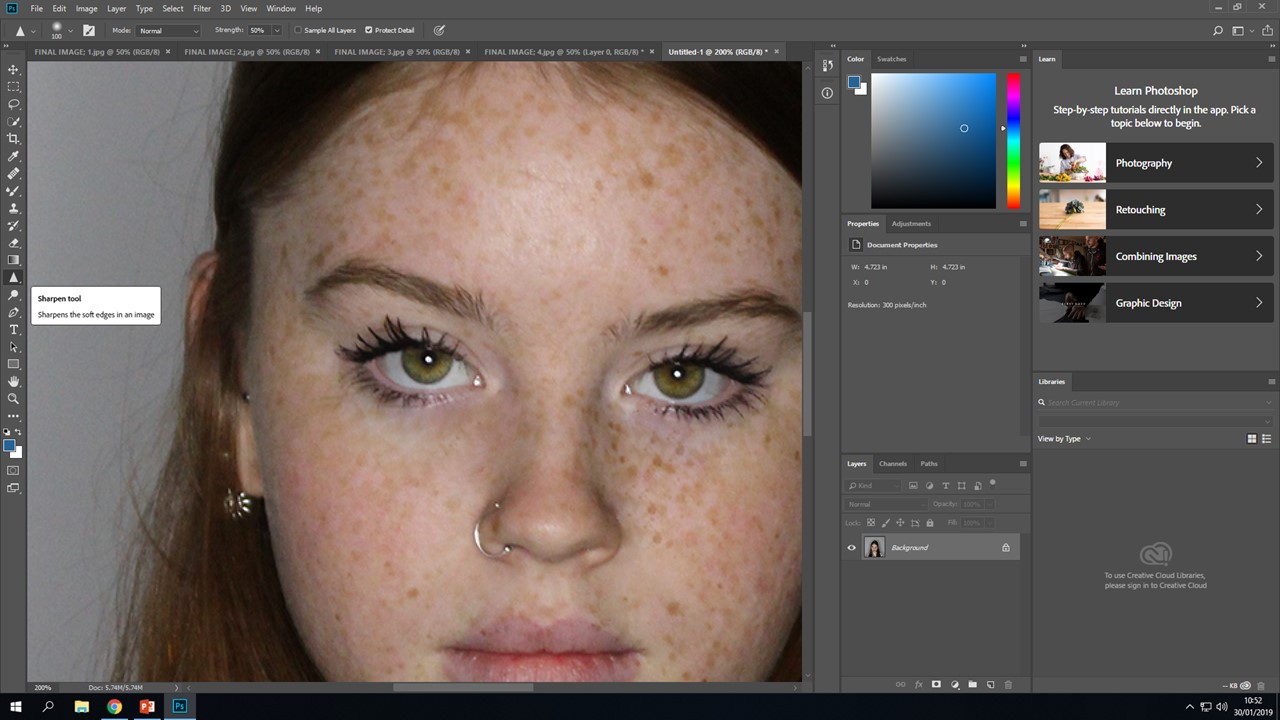
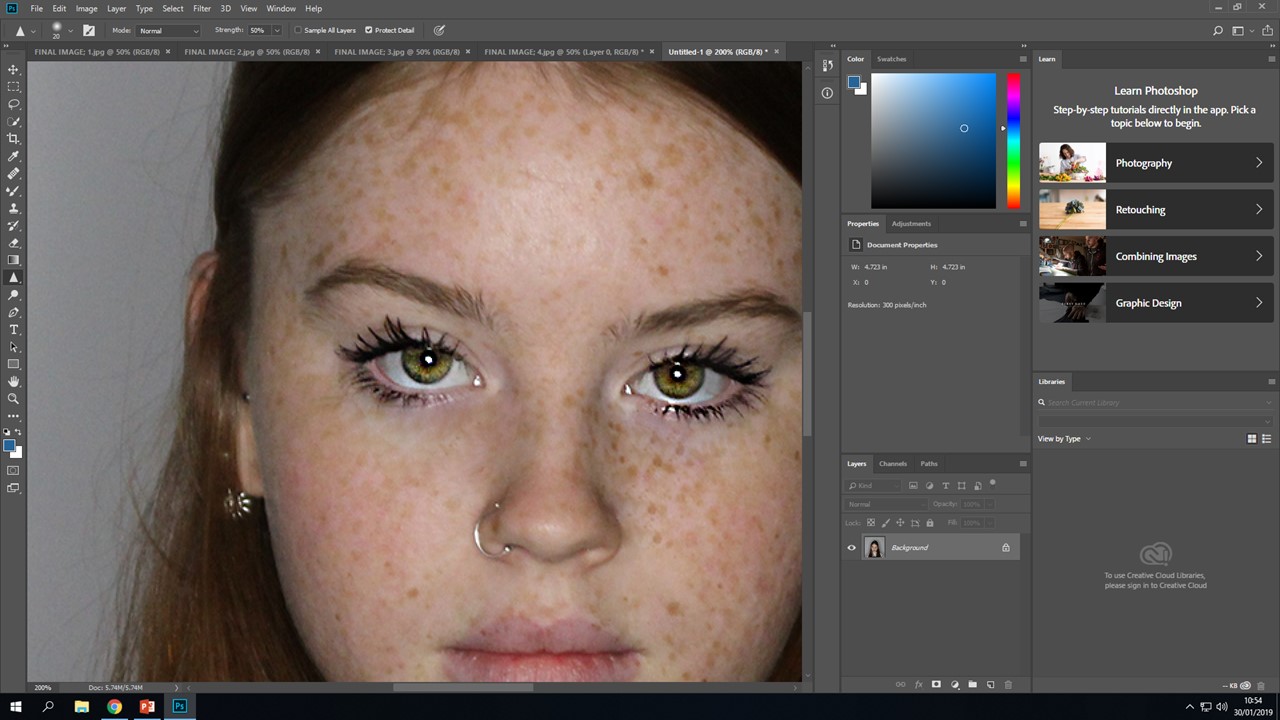
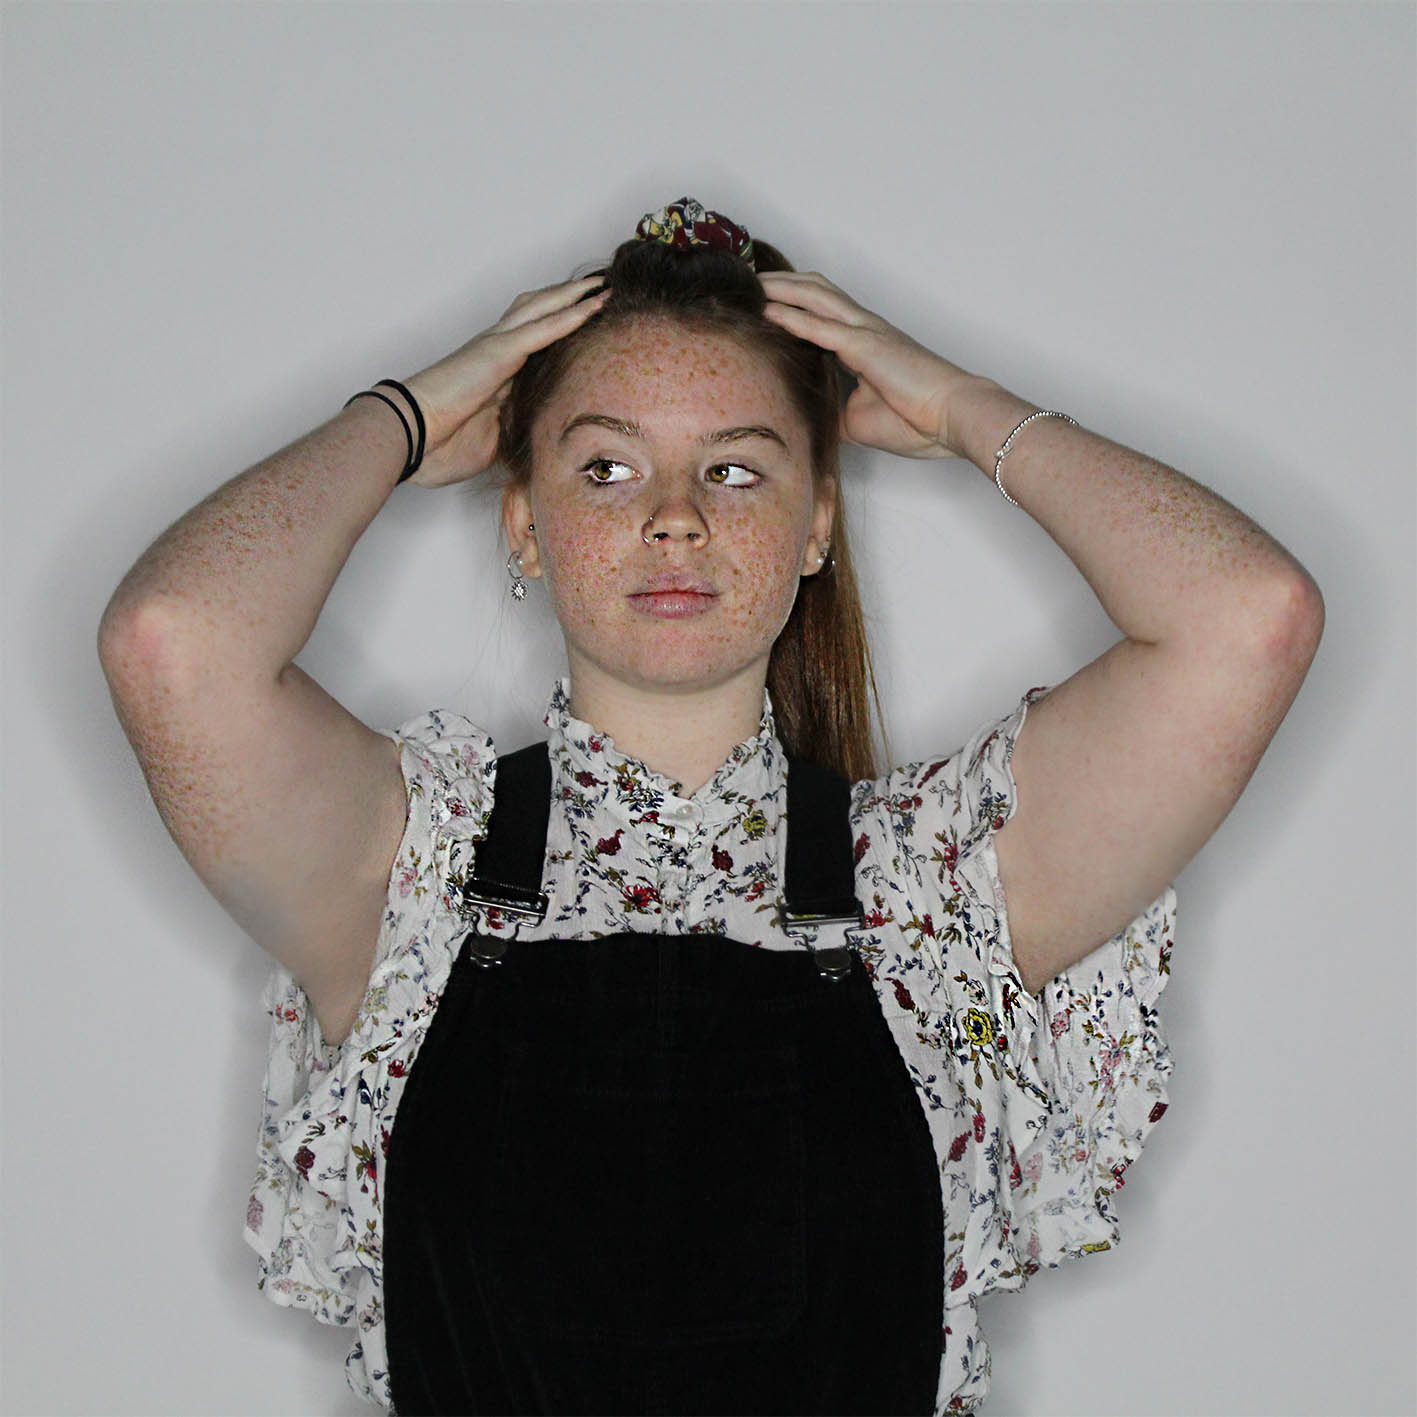
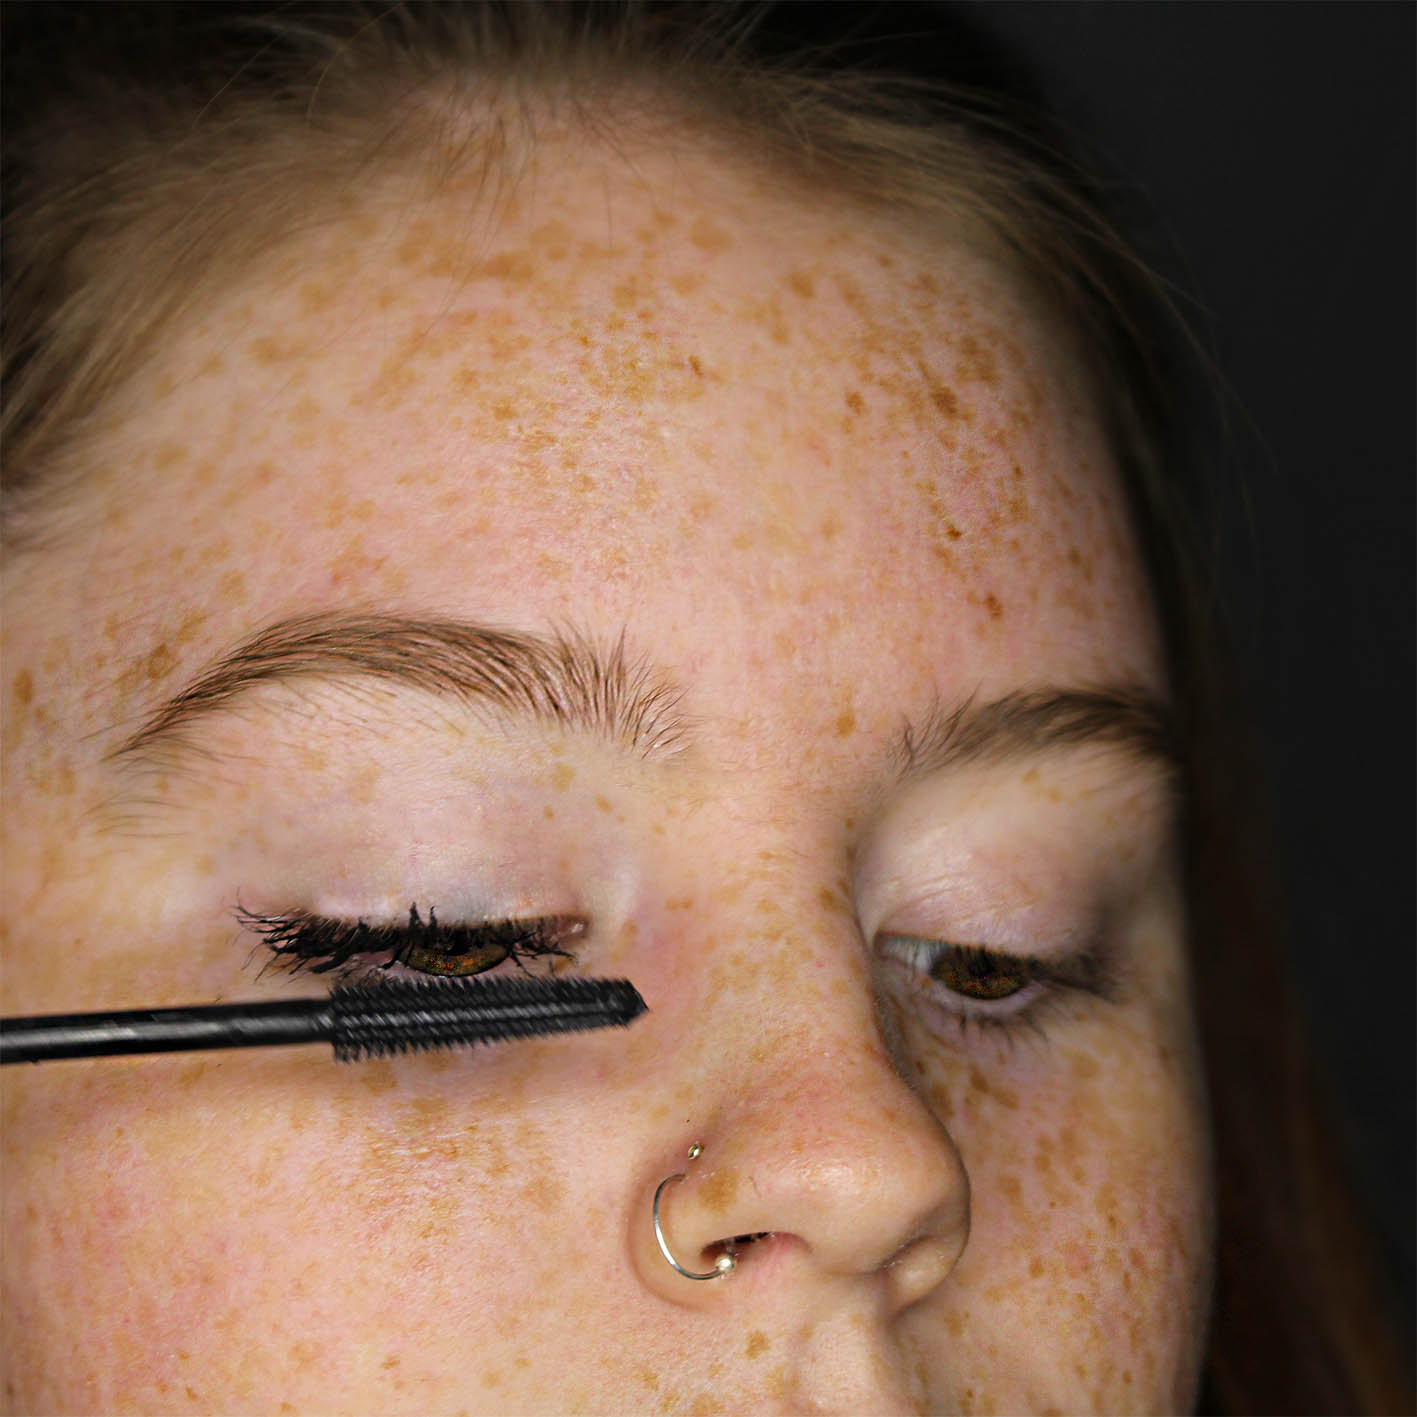
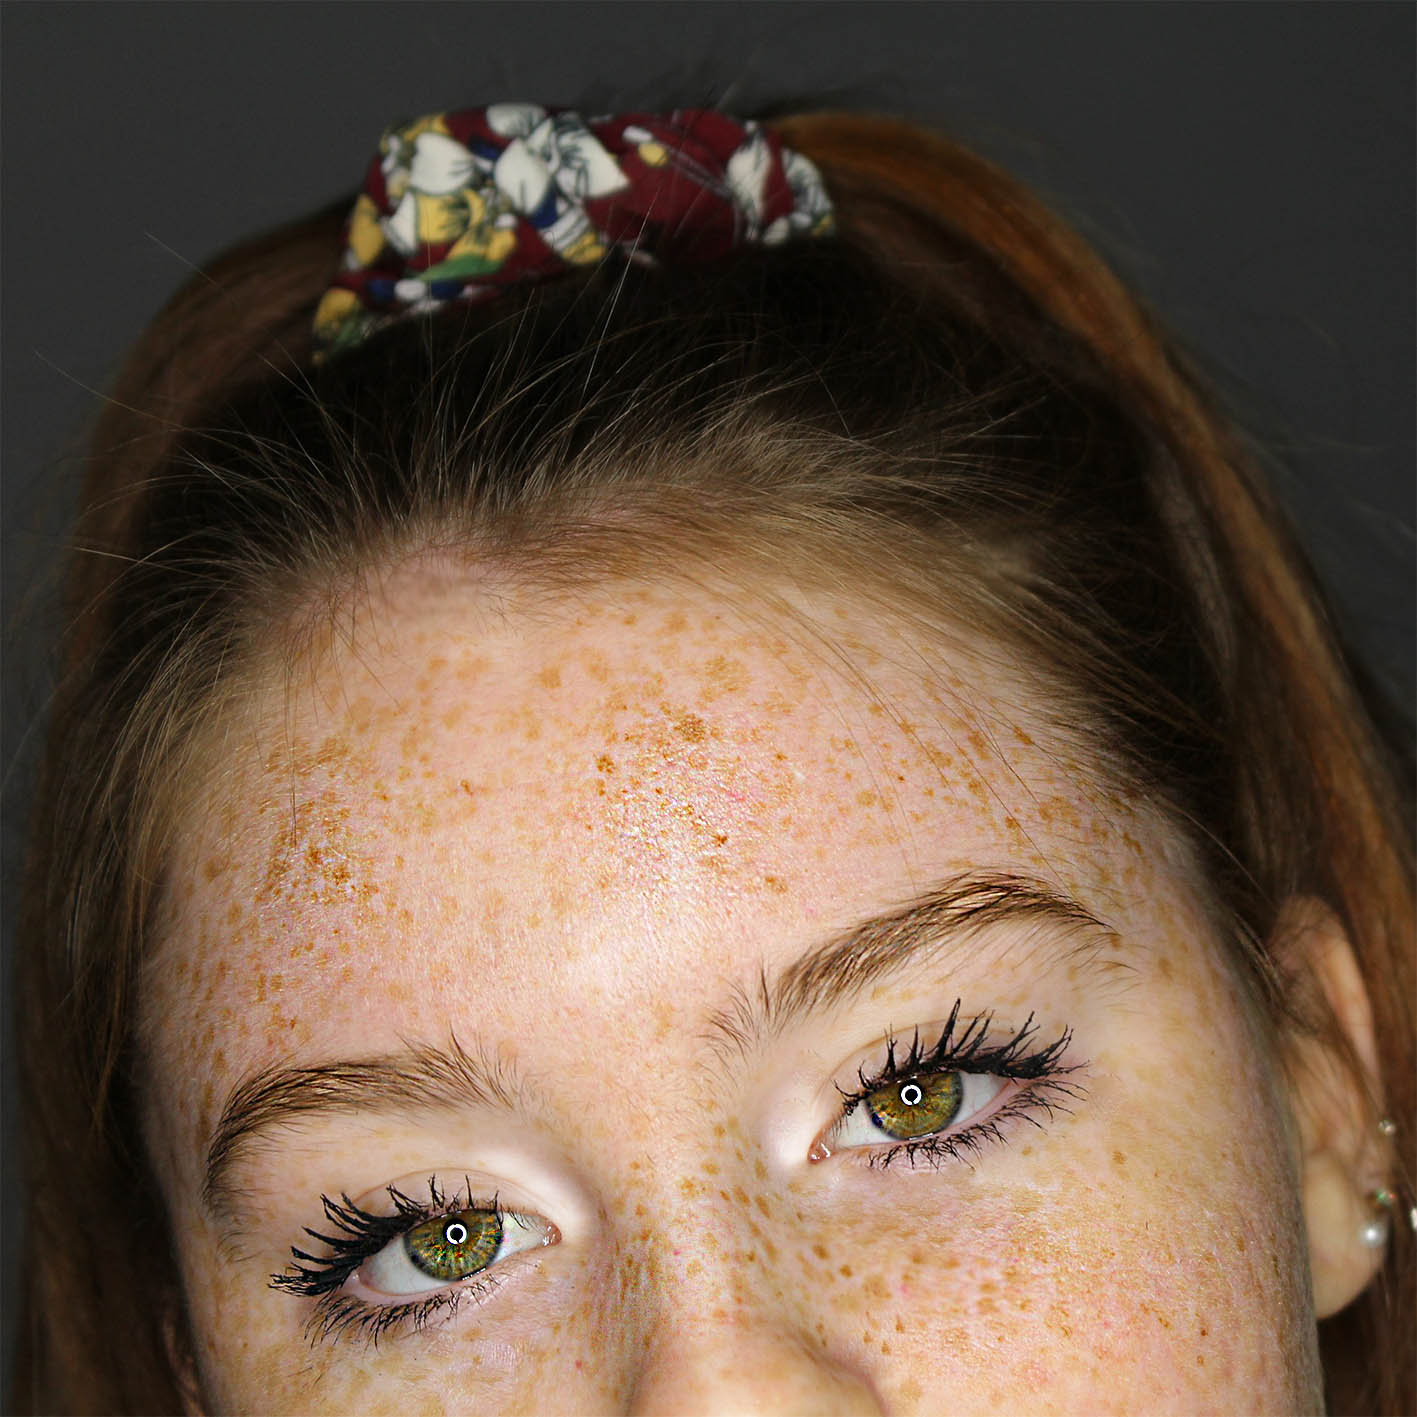
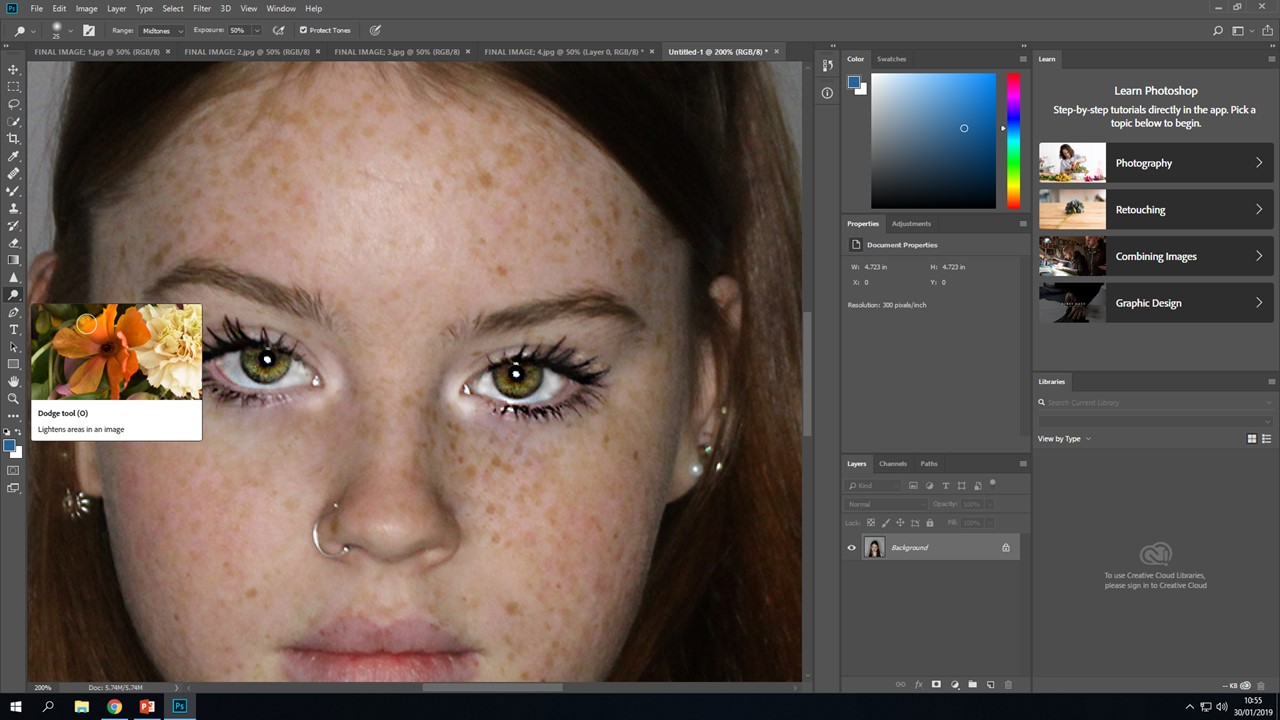
This sequence of photos bellow, show me editing this specific image as I wanted this one to stand out more and be more dramatic, this is because it was a close up of her face, so features needed to pop more and be brighter. I firstly used the sharpen tool, this allowed me to make her features more dramatic, I then used the healing brush to hide the mascara that she got on her face and cover up some redness, I then went in with the dodge tool, this allowed me to make parts of her face brighter, I highlighted the features that needed to be brighter, such as under the eyes and straight down the nose, I then when back in with the sharpen tool to go back over the eyes to make sure they stand out and are capturing. These three images show the changes and what they did to her face;

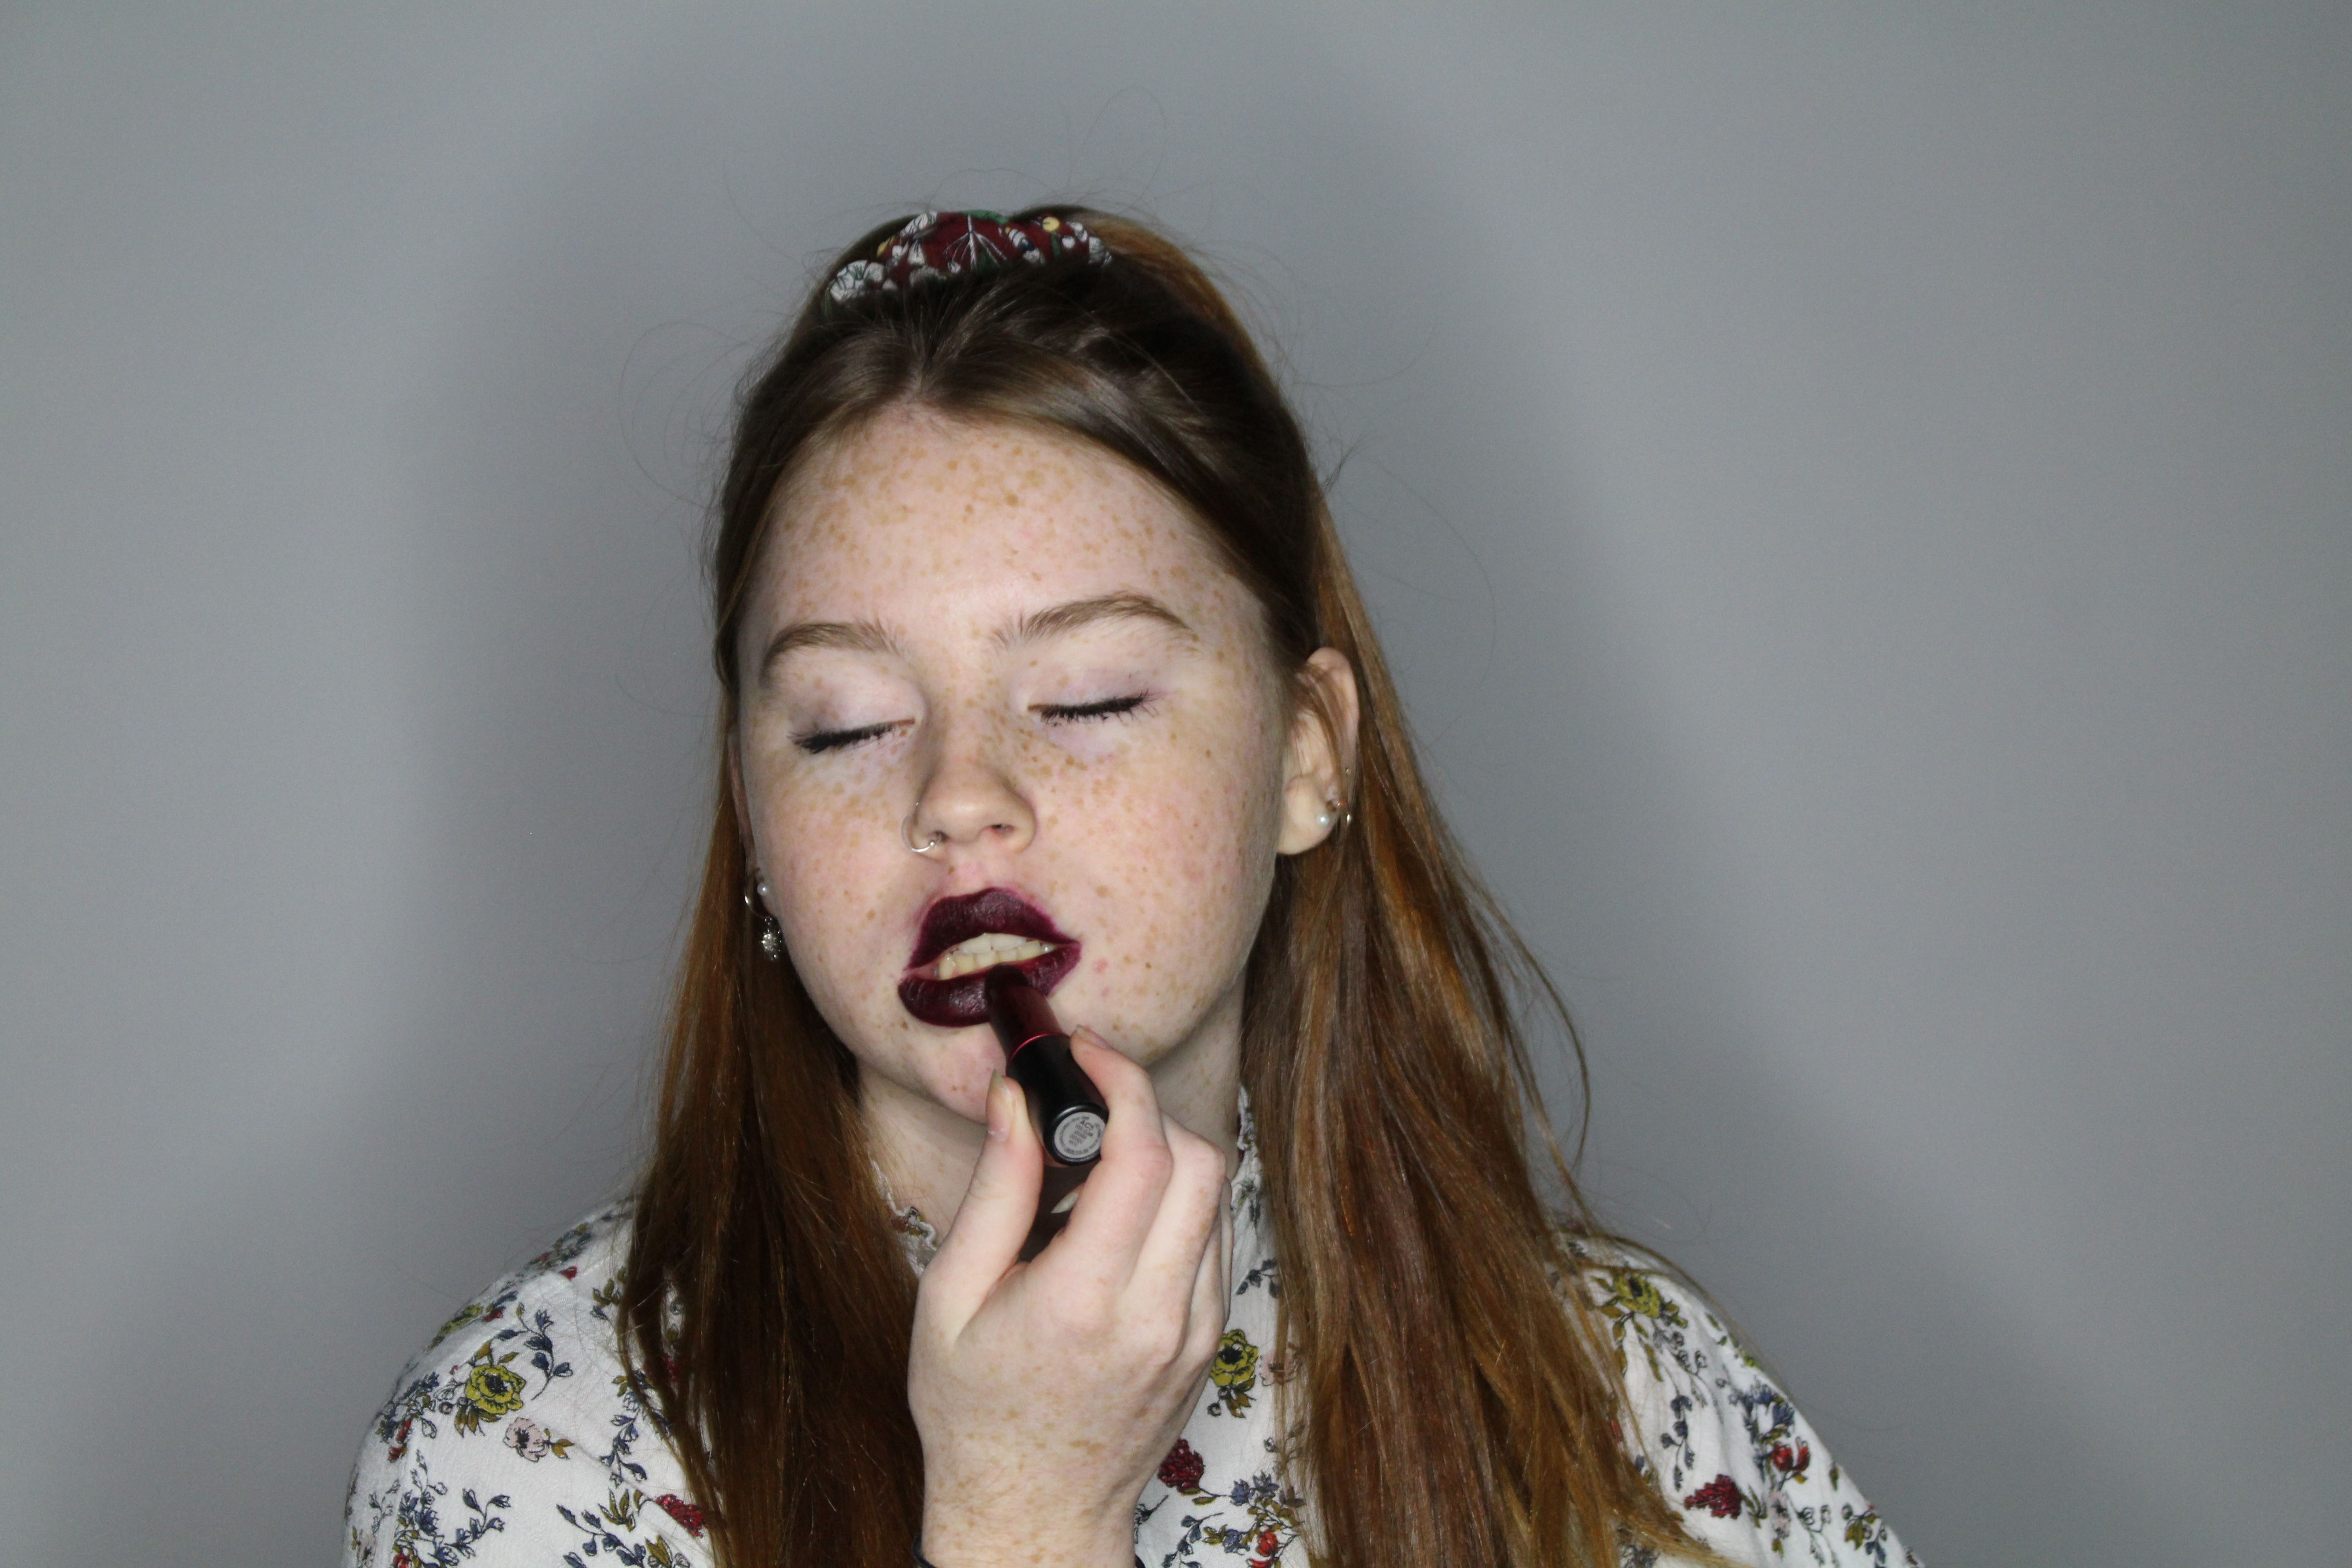
These screenshots show how I made her eyes brighter and more dramatic, it shows the steps and results of me using certain types of tools. I decided to brighten up the eyes and make them the most dramatic part of this image, as I want to show the change from going from having no make up to then applying it,. This is to make the ‘transformation’ from going from her self to society norms more dramatic, as did Leigh Bowery, he made the makeup on his models so dramatic, so I have decided to dramatize certain features to really show the change. This is what I have done;

MY FINAL EDITS

1;

2;

3;

4;

5;

6;

7;

8;

9;

PRESENTATION

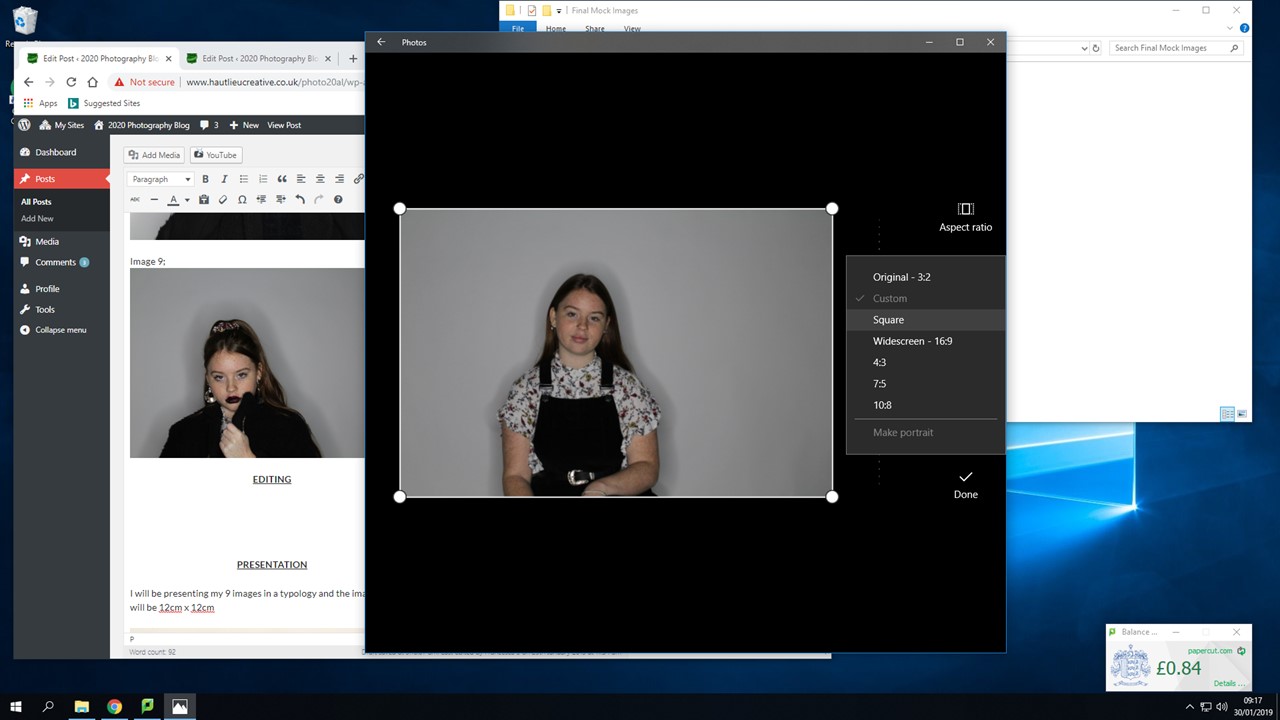
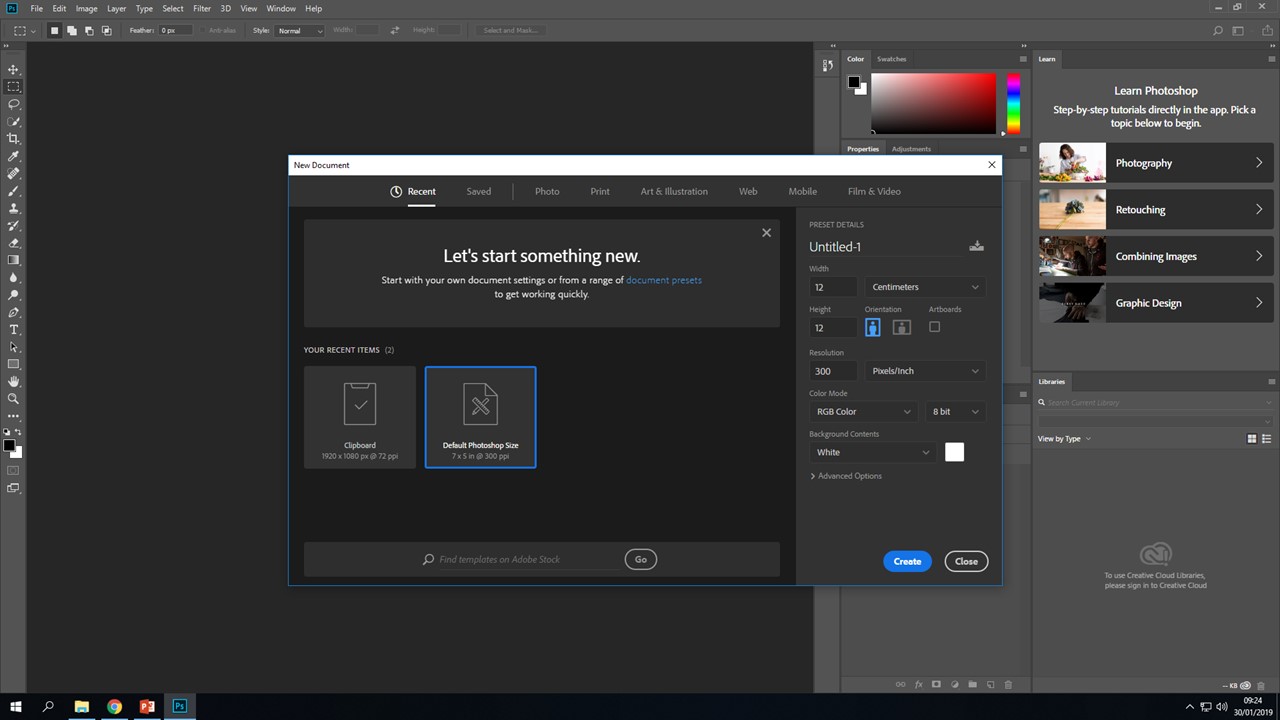
I will be presenting my 9 images in a typology and the images size will be 14cm x 14cm;

This is a smart way to present my work and it will be easy to show the images in order from start to finish. I am going to mount my images onto individual squares of foam board, and then mount the individual squares onto another piece of foam board, this will make the presentation of my images more interesting.

EVALUATION

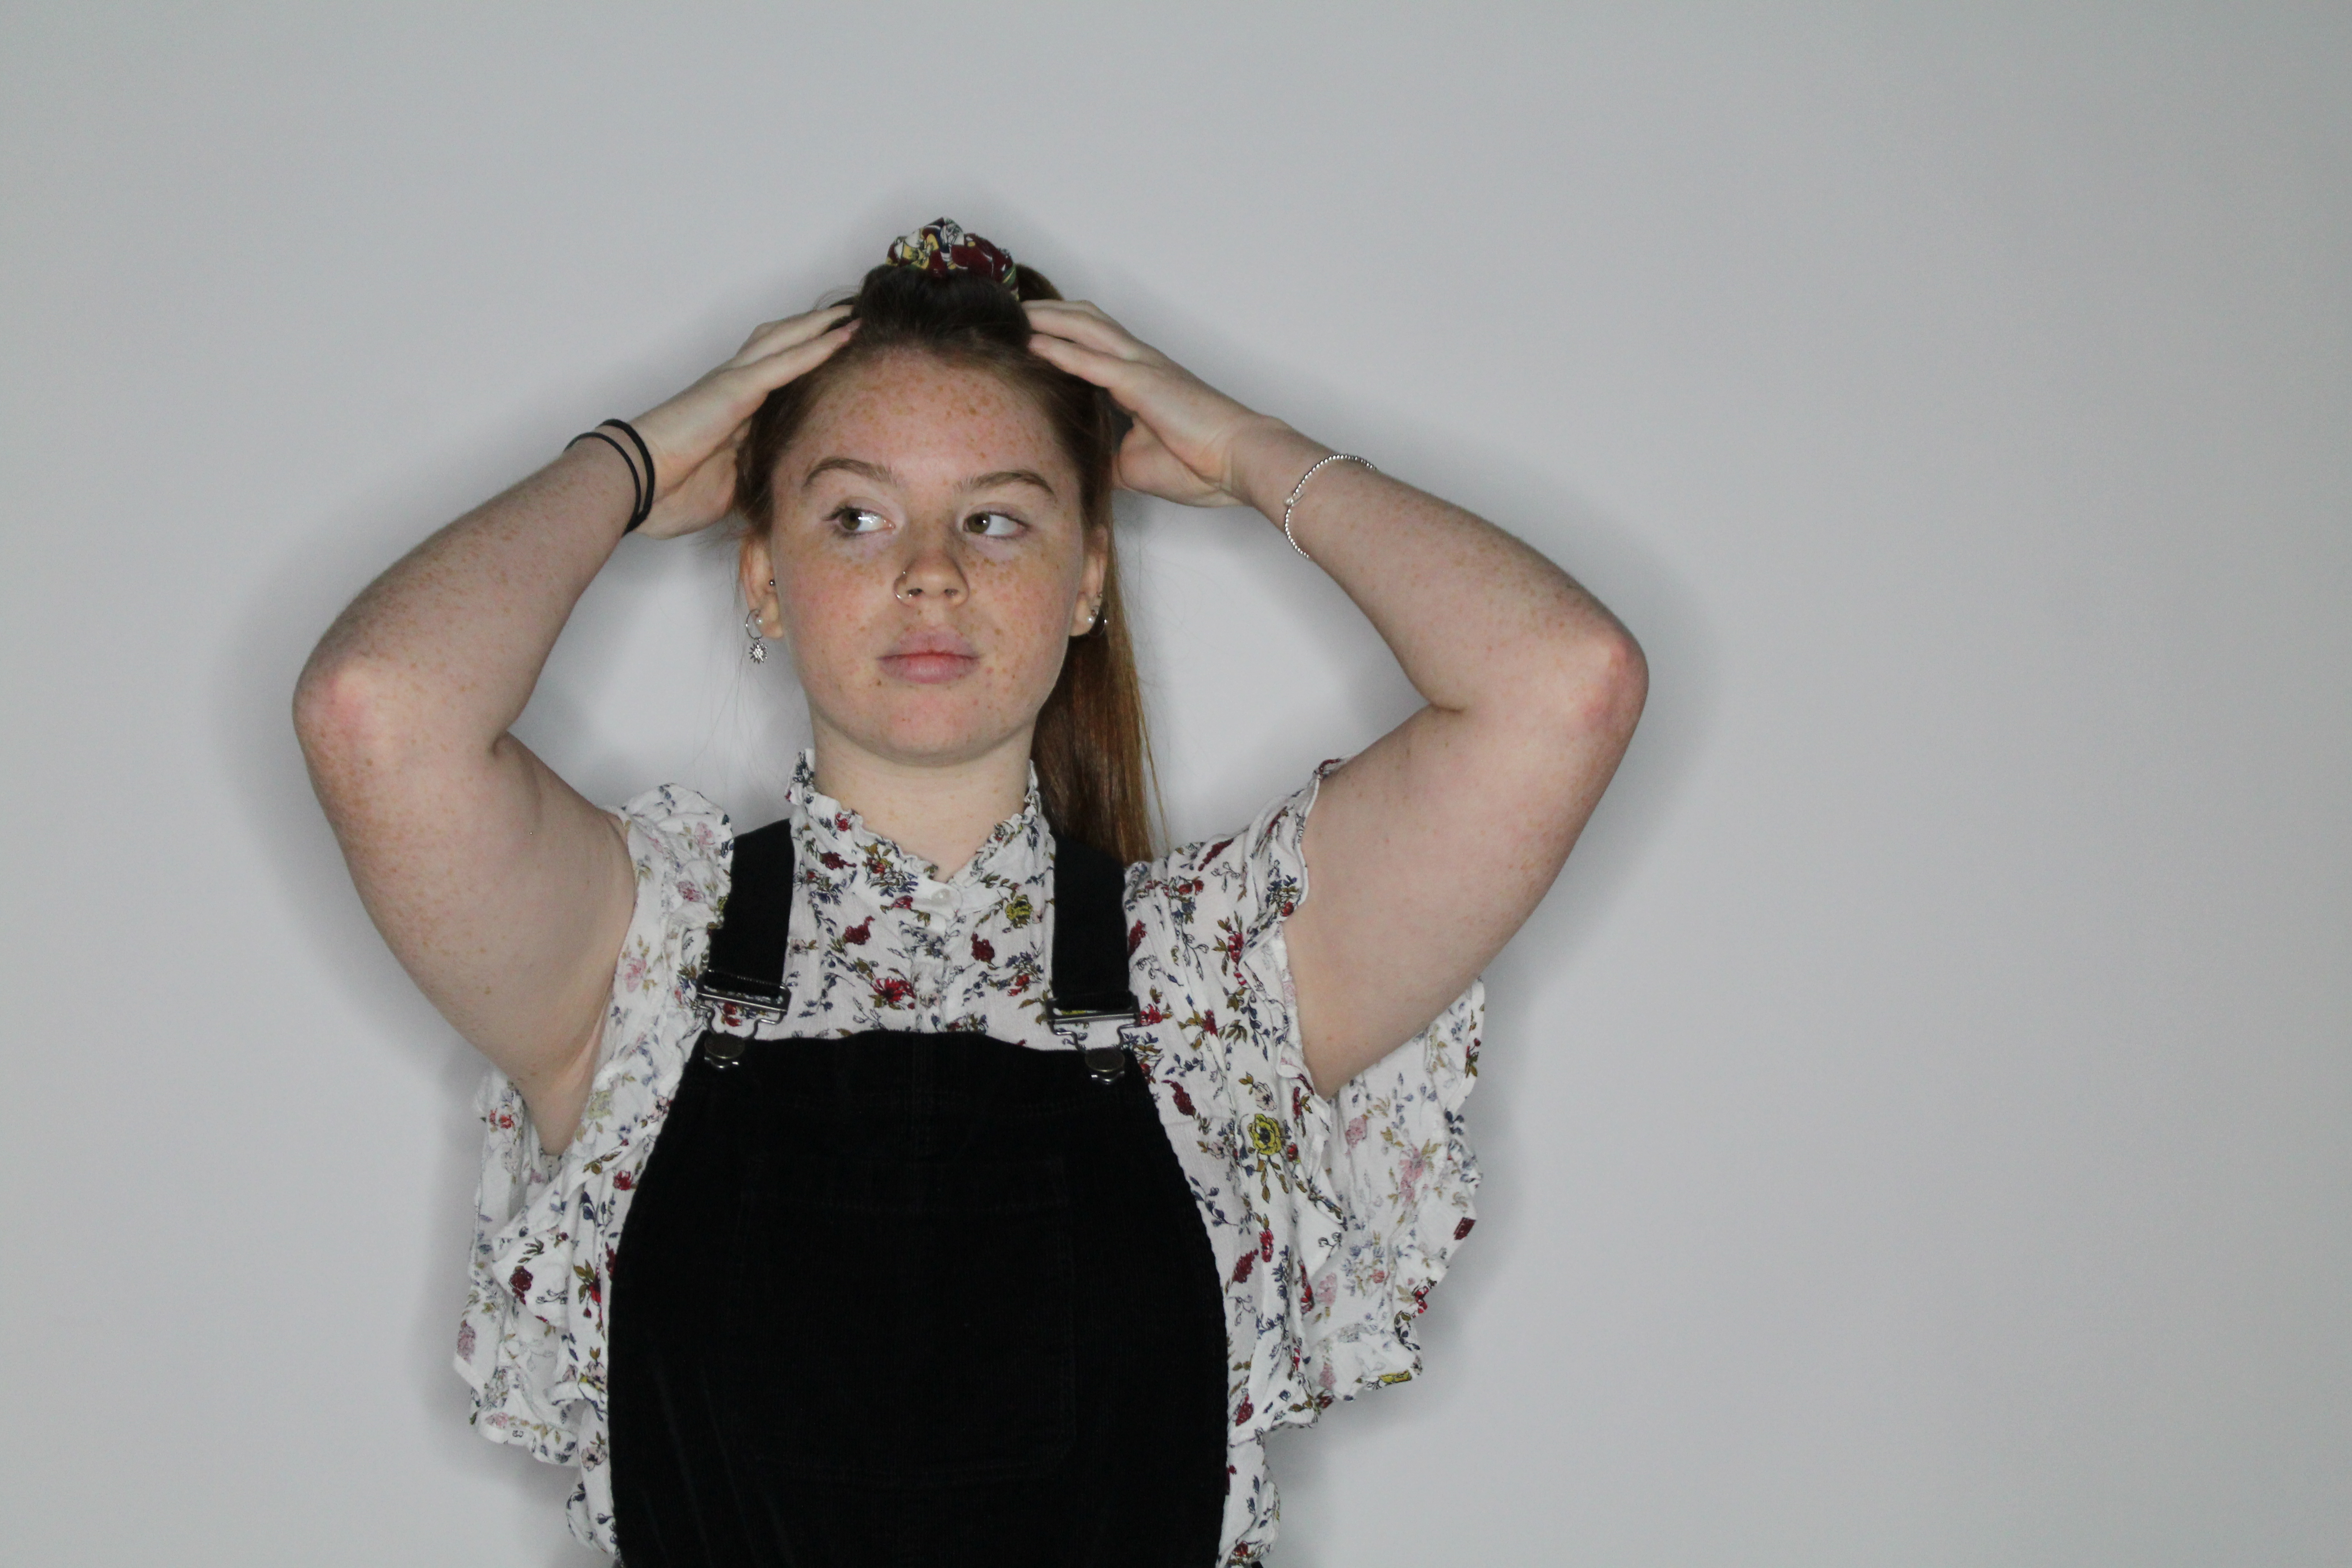
Overall during this project I have researched about identity. I chose Leigh Bowery as the artist I would take inspiration from. Bowery’s images where exaggerated to mock the changes people make to themselves to fit into the ‘norms’. I mainly focused on how women change themselves, by showing some of the steps but also wanted to show the drastic changes they make to themselves and how it makes them look like a completely different person.

This project allowed me to go back into the studio to take  images for this section, along with using my knew skills learnt to put towards this project, such as changing settings on the camera to fit the type of image I wanted, along with figuring out what type of lighting would be best, such as the angle it is coming from so I would highlight specific facial features and finally cop-orating with my model, by encouraging them and giving them feedback on what they should do next and what was good during the shoot. As I had more knowledge, my shoot in the studio went a lot smoother than previous experiences. It helps that I had already planned ideas (on previous blog) as that allowed me to focus in on what I needed to be doing instead of taking longer, it meant I could get more photos on certain things I needed instead of having a couple of random photos, instead I had catches of images for specific reasons.

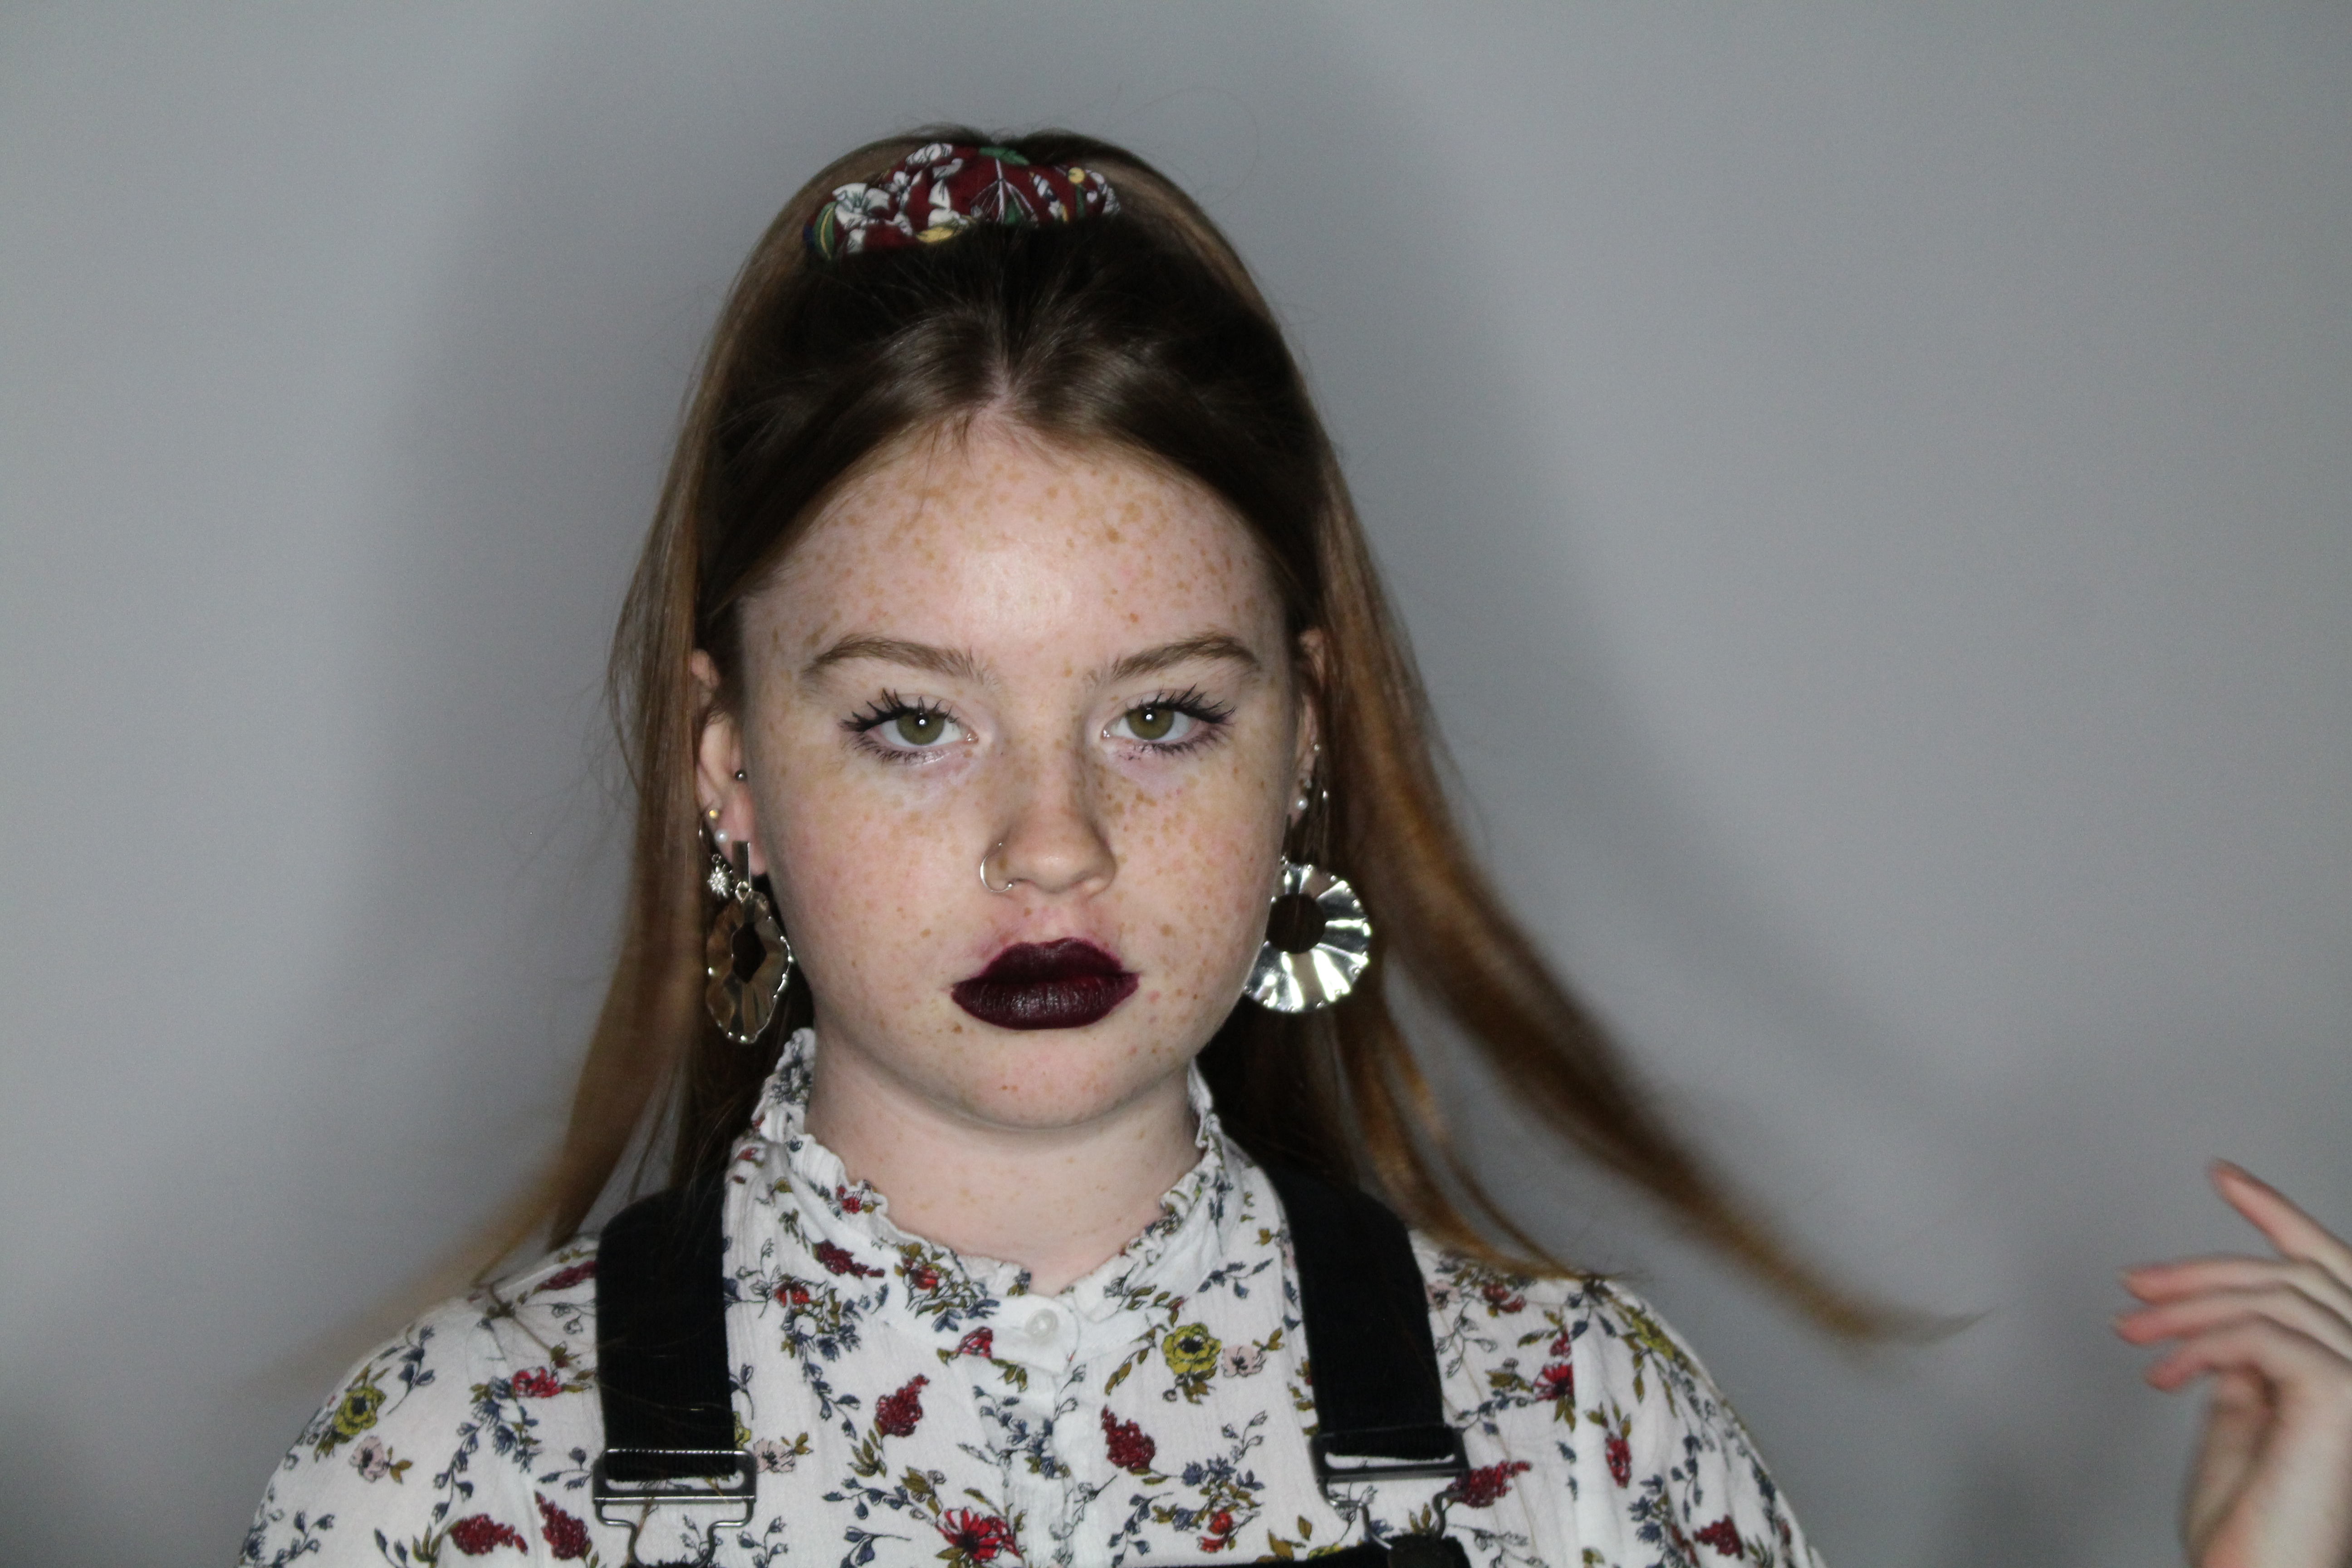
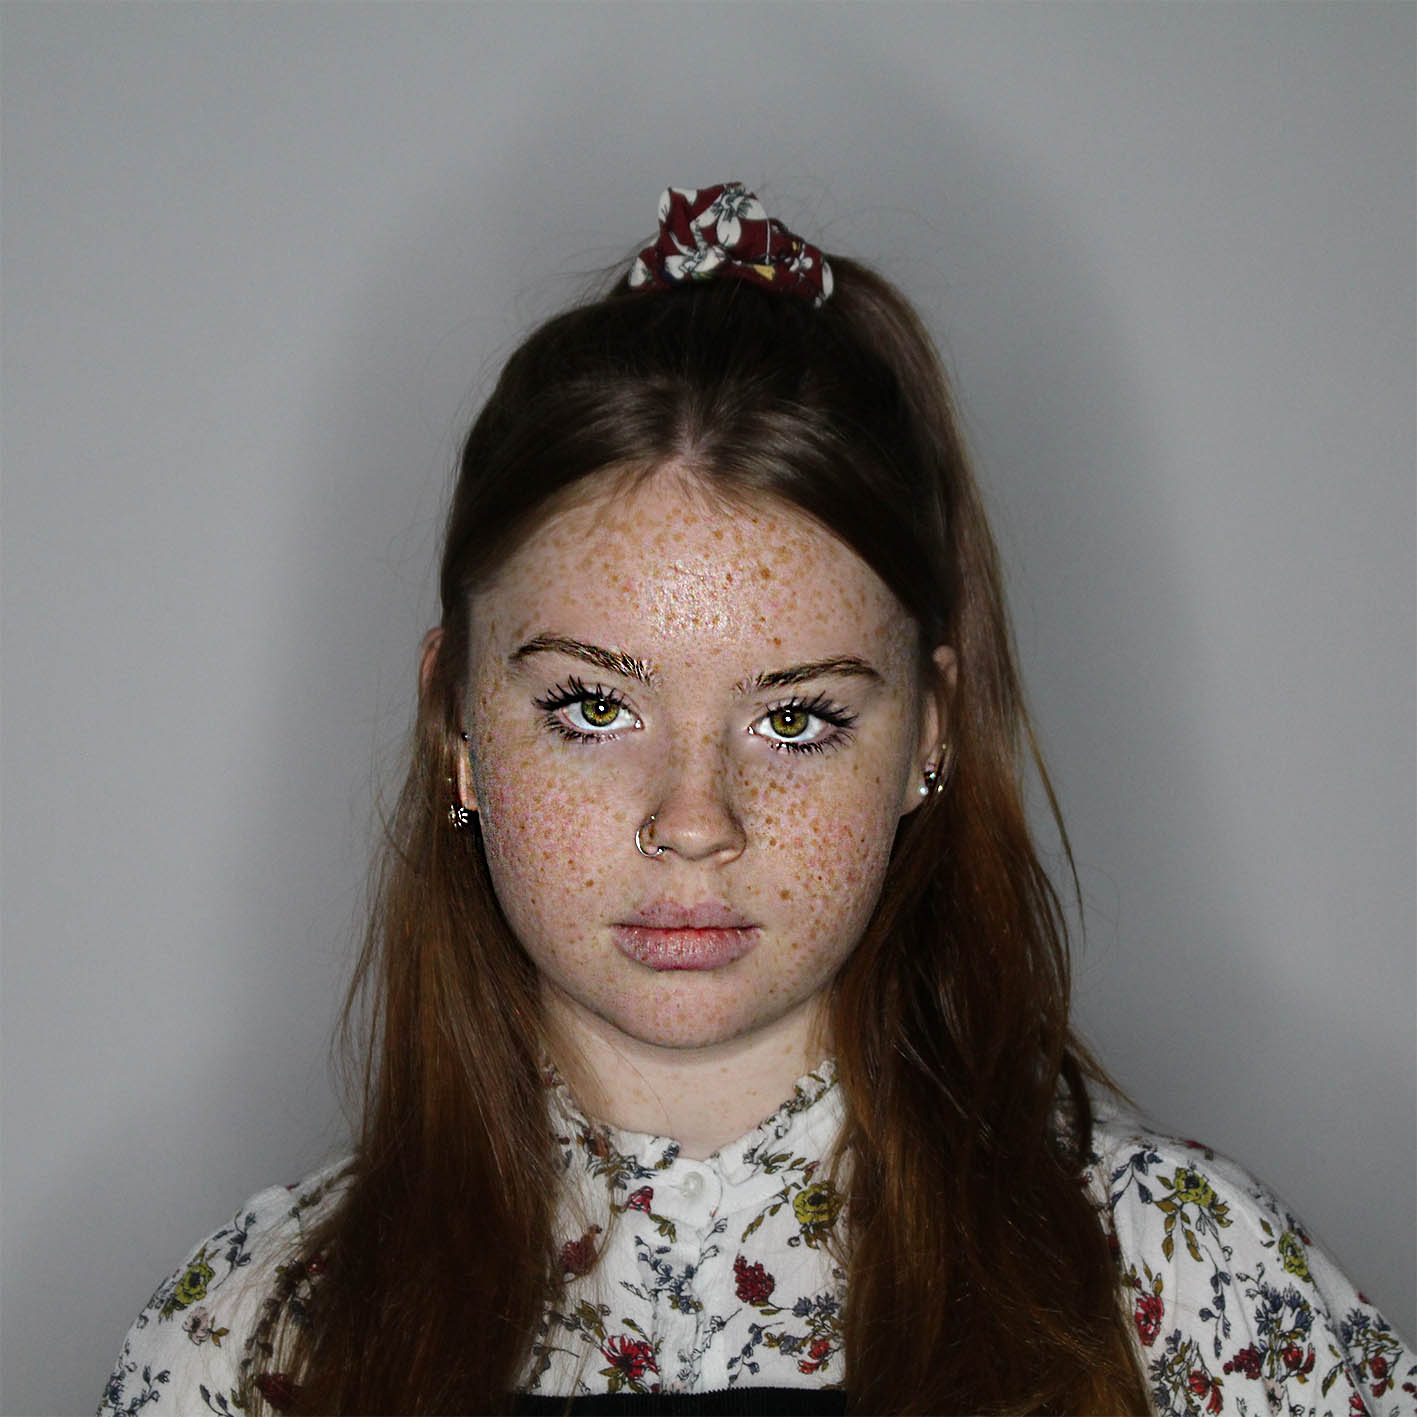
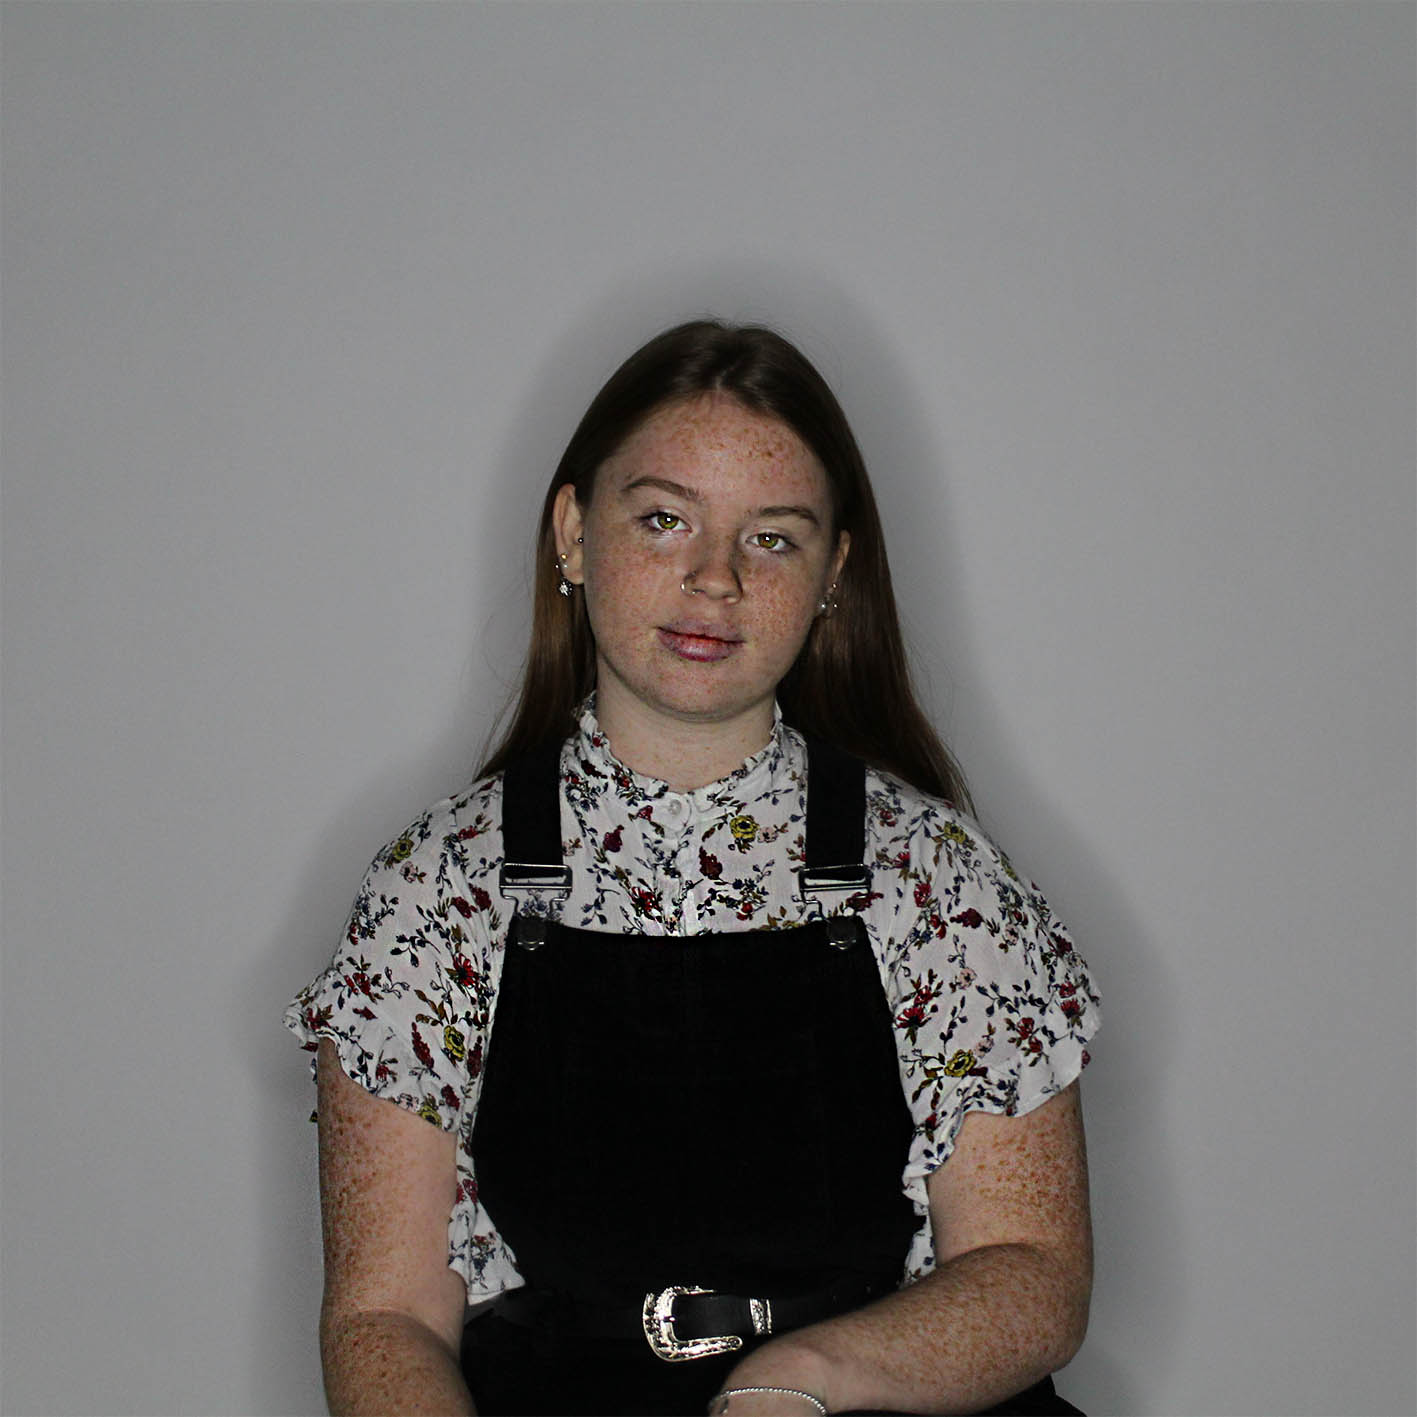
When editing my photos to get my final images, in the first few photos I really focused in on exaggerating her natural skin, so I sharpened up her freckles to make the bolder and stand out more, also making her eyes more green, this presents a more natural look. As the images go on I edit them more and more, such as the last image I have edited her skin to make to look flawless and her eyes big and bold as this is representing what women feel like they need to look like and what other people think women should look like, with the flawless skin and perfect features.

Some of the images I took needed to be improved by adjusting the focus, to make sure the image was sharp. My first image before it was edited wasn’t that clear, it almost looked hazy, but by adjusting it on Photoshop I was able to make the image look stronger. The silhouette around my images add an extra part of interest to my image and I did this by using a white background so shadows could be projected onto them as I was shinning a light directly towards my model, the middle of the the ring light was in line with her eyes, this made her eyes pop as you could really see the color that was spread throughout her eyes.

Identity: Photo-montage of Archival Images

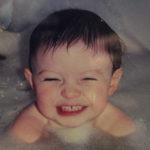
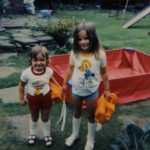
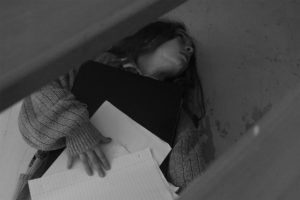
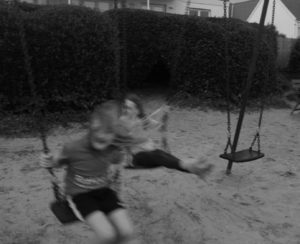
As well as producing original images, I also decided to use images from my own childhood and the childhood of members of my family. I feel that by using real images from the past, the documentary style of photography that Murtha exhibited in her own work, will show through more genuinely in mine.

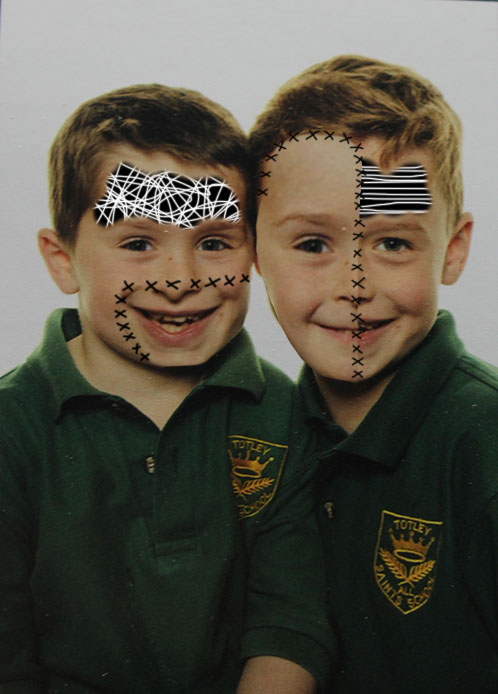
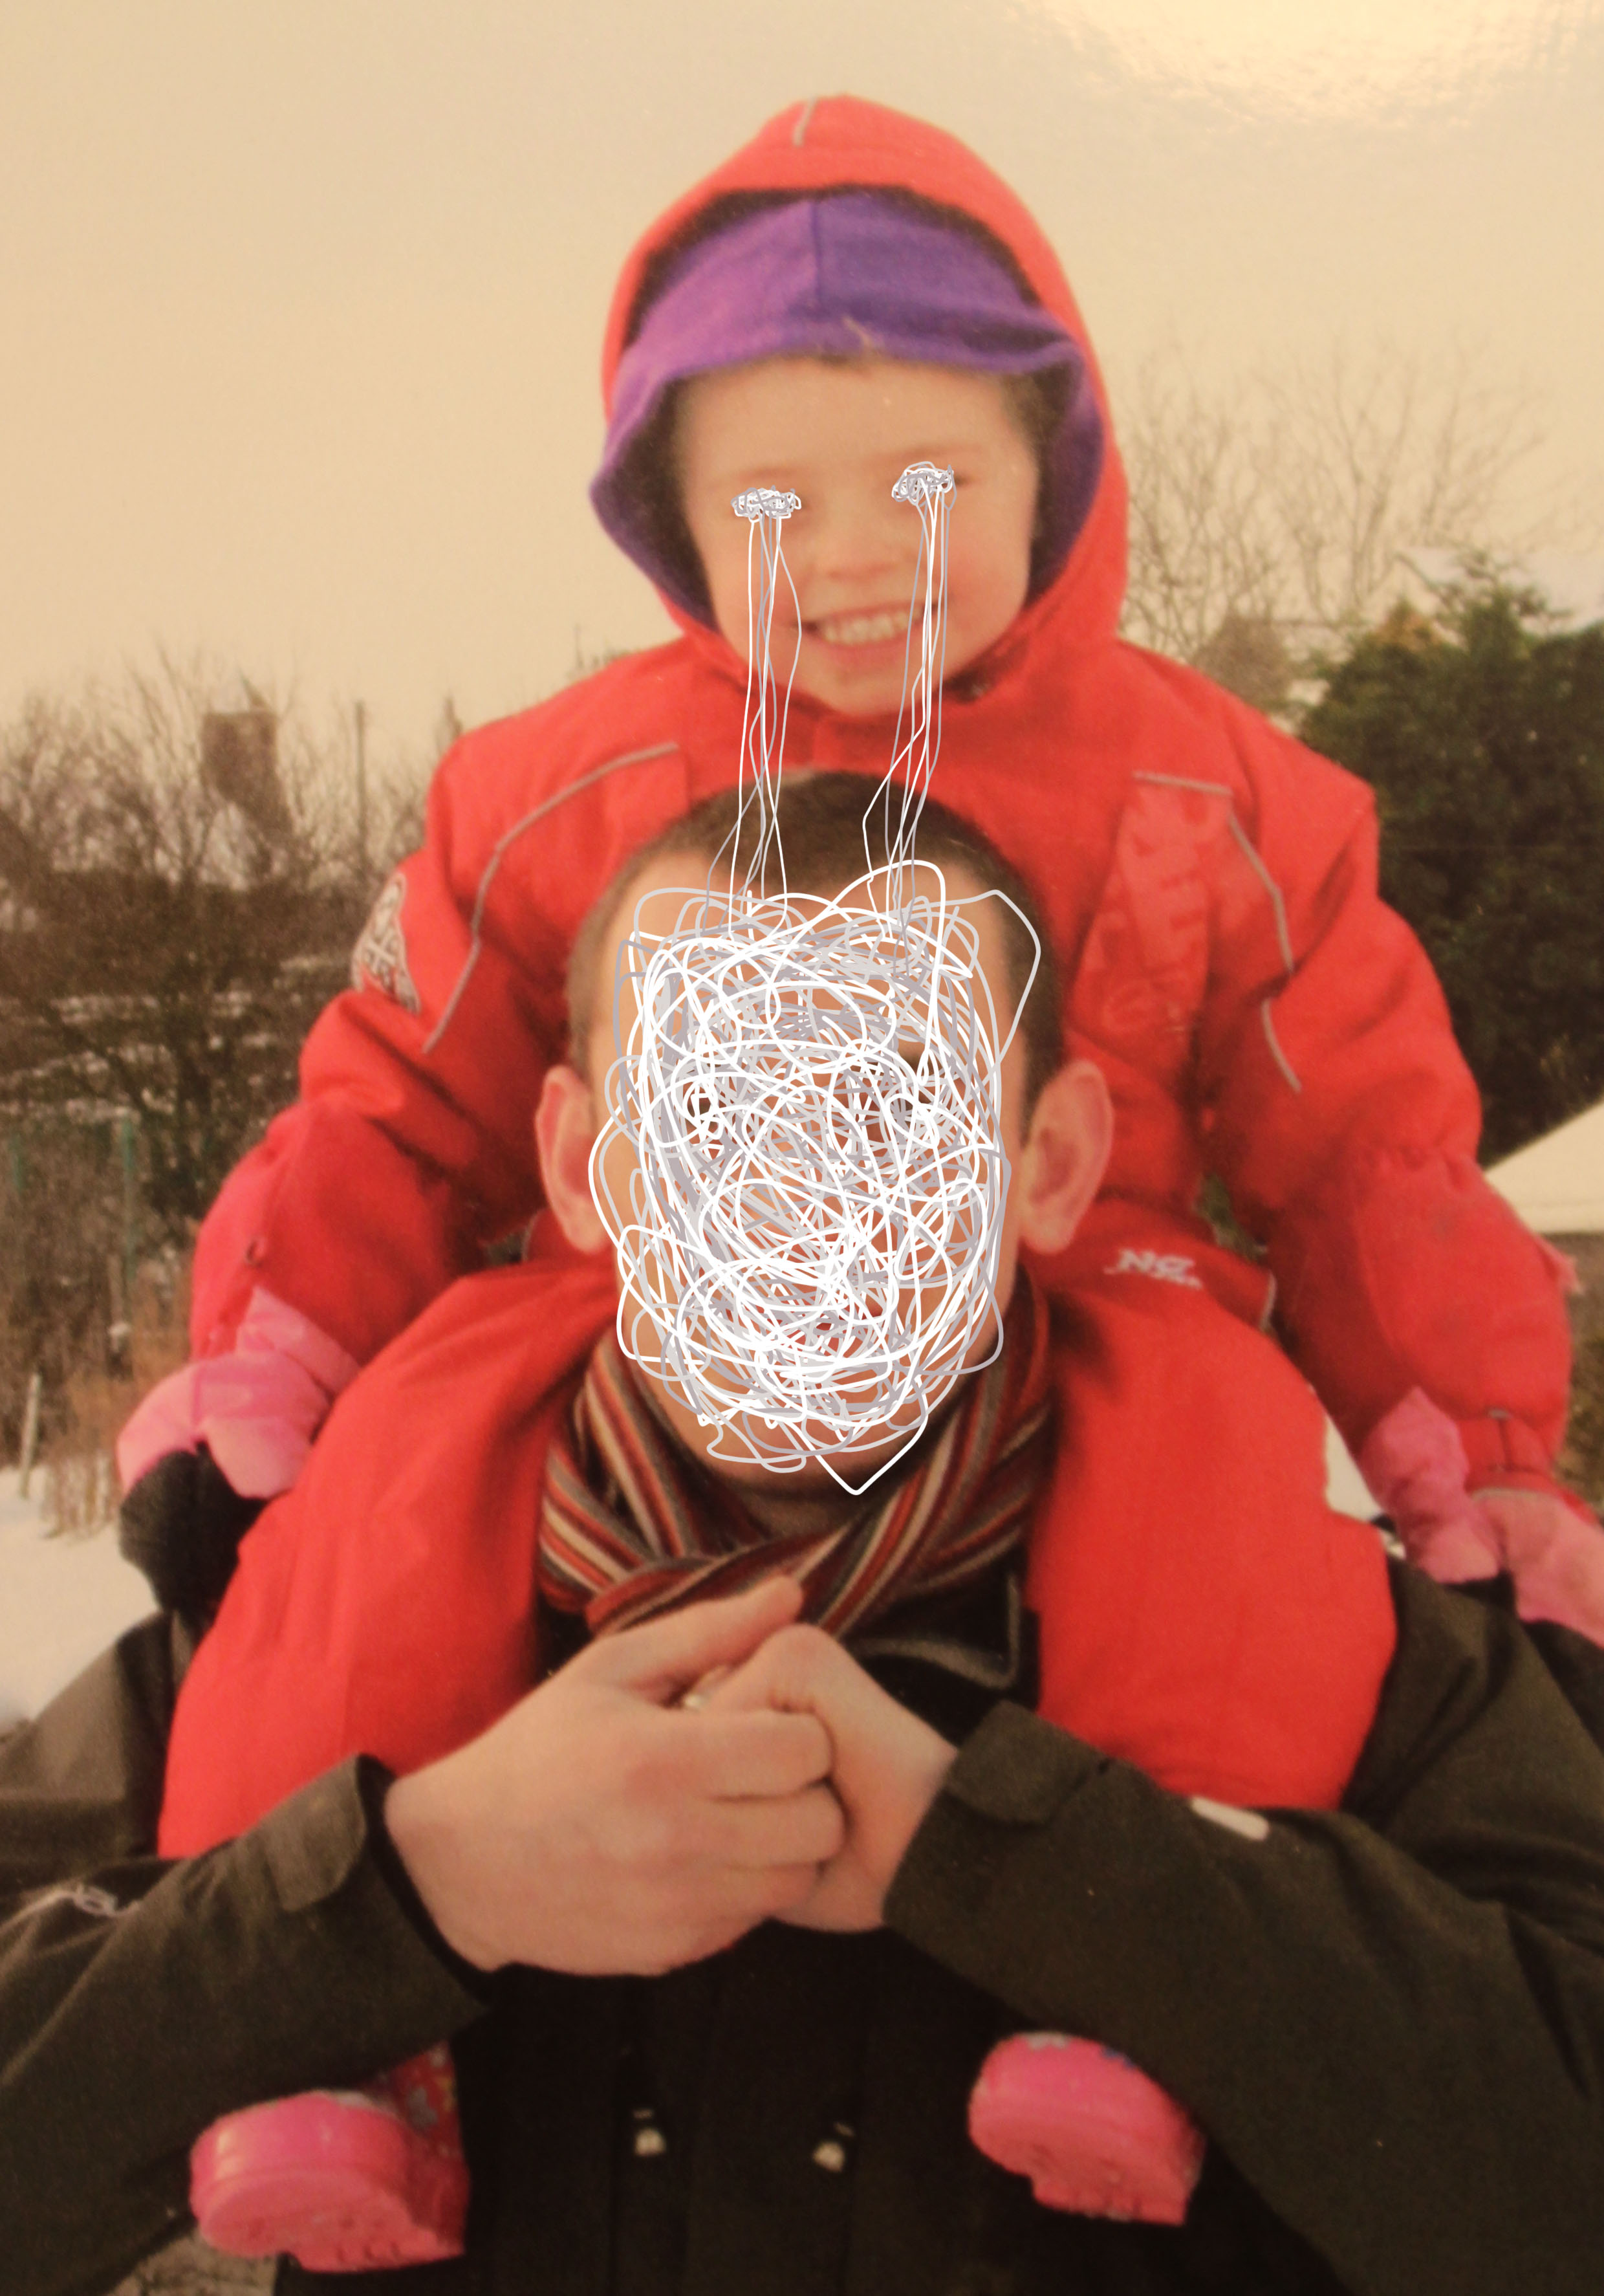
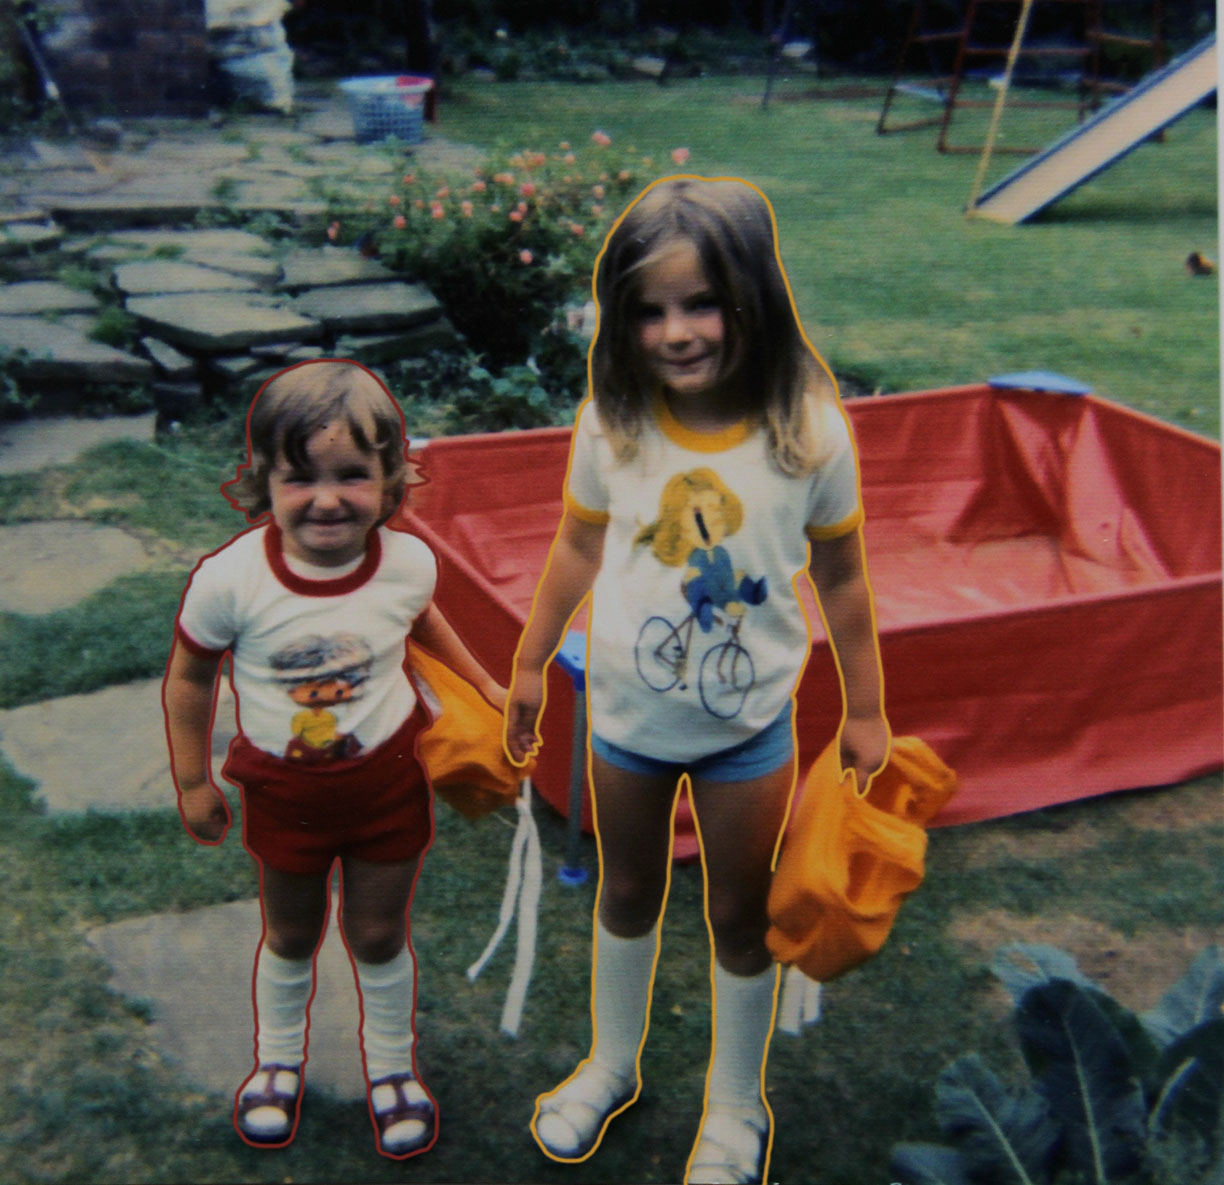
The below images are the ones I selected to use as part of my identity project:

(all subjects in the above photographs gave consent for their images to be used)

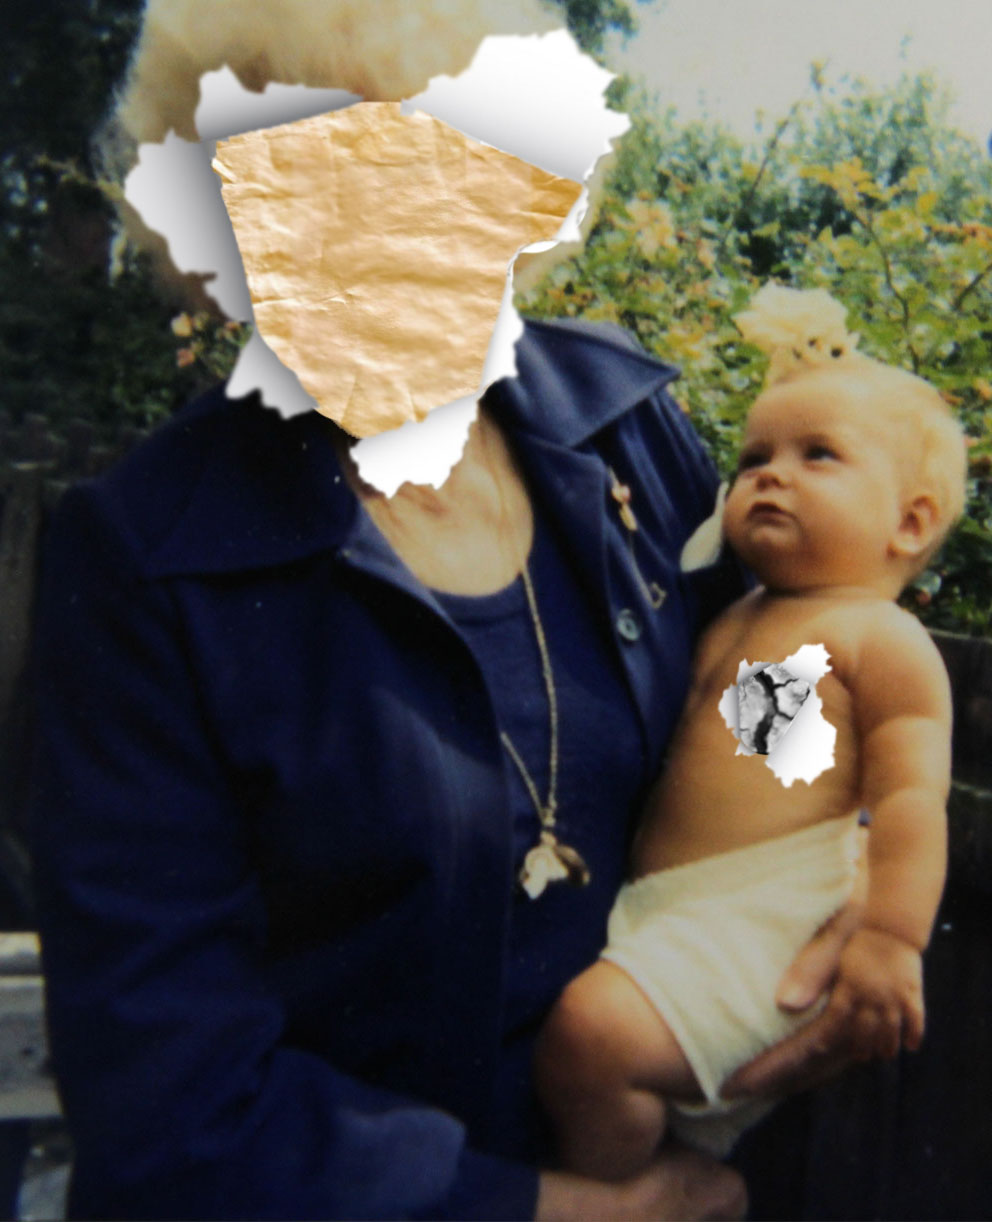
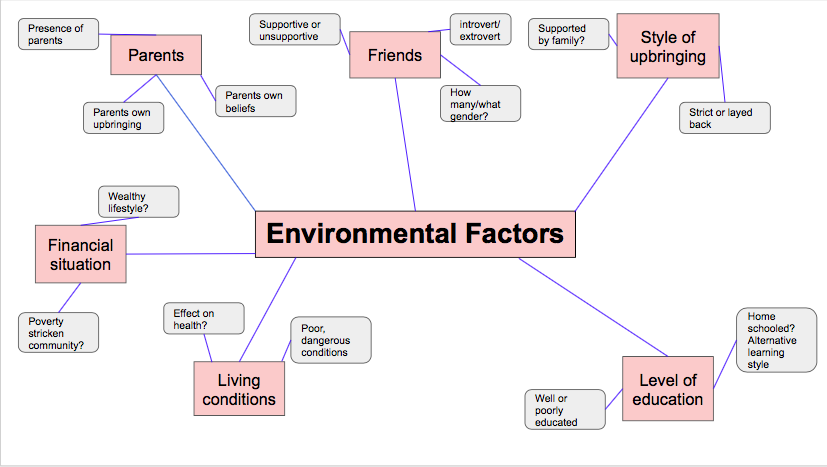
In order to convey the message that different factors can influence how the identity of children develops, I have developed a range of photo-montages in order to split each image into 2; one side conveying the identity of the child, and the second showing the factors that influenced the child (such as parents, environment e.t.c). The final results can be seen below:


For the above images, I took a bit of inspiration from the photo-montage artist Peter Kennard, yet the style of photography remains documentary, and so inspiration is also taken from Murtha.

I used archival images, as they provide more opportunity to use photographs including children as subject, which is required for my project. Using these images also allows for me to focus on the editing process, which, for the archival images, I have decided is the p[process that I will use to make reference to how external factors influence child’s development of identity. The above images explore the idea of loss, imitation, and the idea that children copy what they see their role models act out.


Photoshoot 2 + Editing Ideas

Action Plan

Me and a group of friends decided to explore an area of woods just outside of our local town, as we had heard people talking about a potential old German bunker being found in these woods. I decided to bring along my camera and capture some portrait photographs at the same time. The images are a mix of images of my friends taken by me and portraits of me taken by them and sometimes self portraits taken by placing the camera down and using a self timer

Due to the complete absence of natural lighting in the woods, I had to constantly rely upon my camera flash, so as a result, there are some over exposed images and negatives. I took all images holding the camera as I find tripods way too immobile for a situation like this.

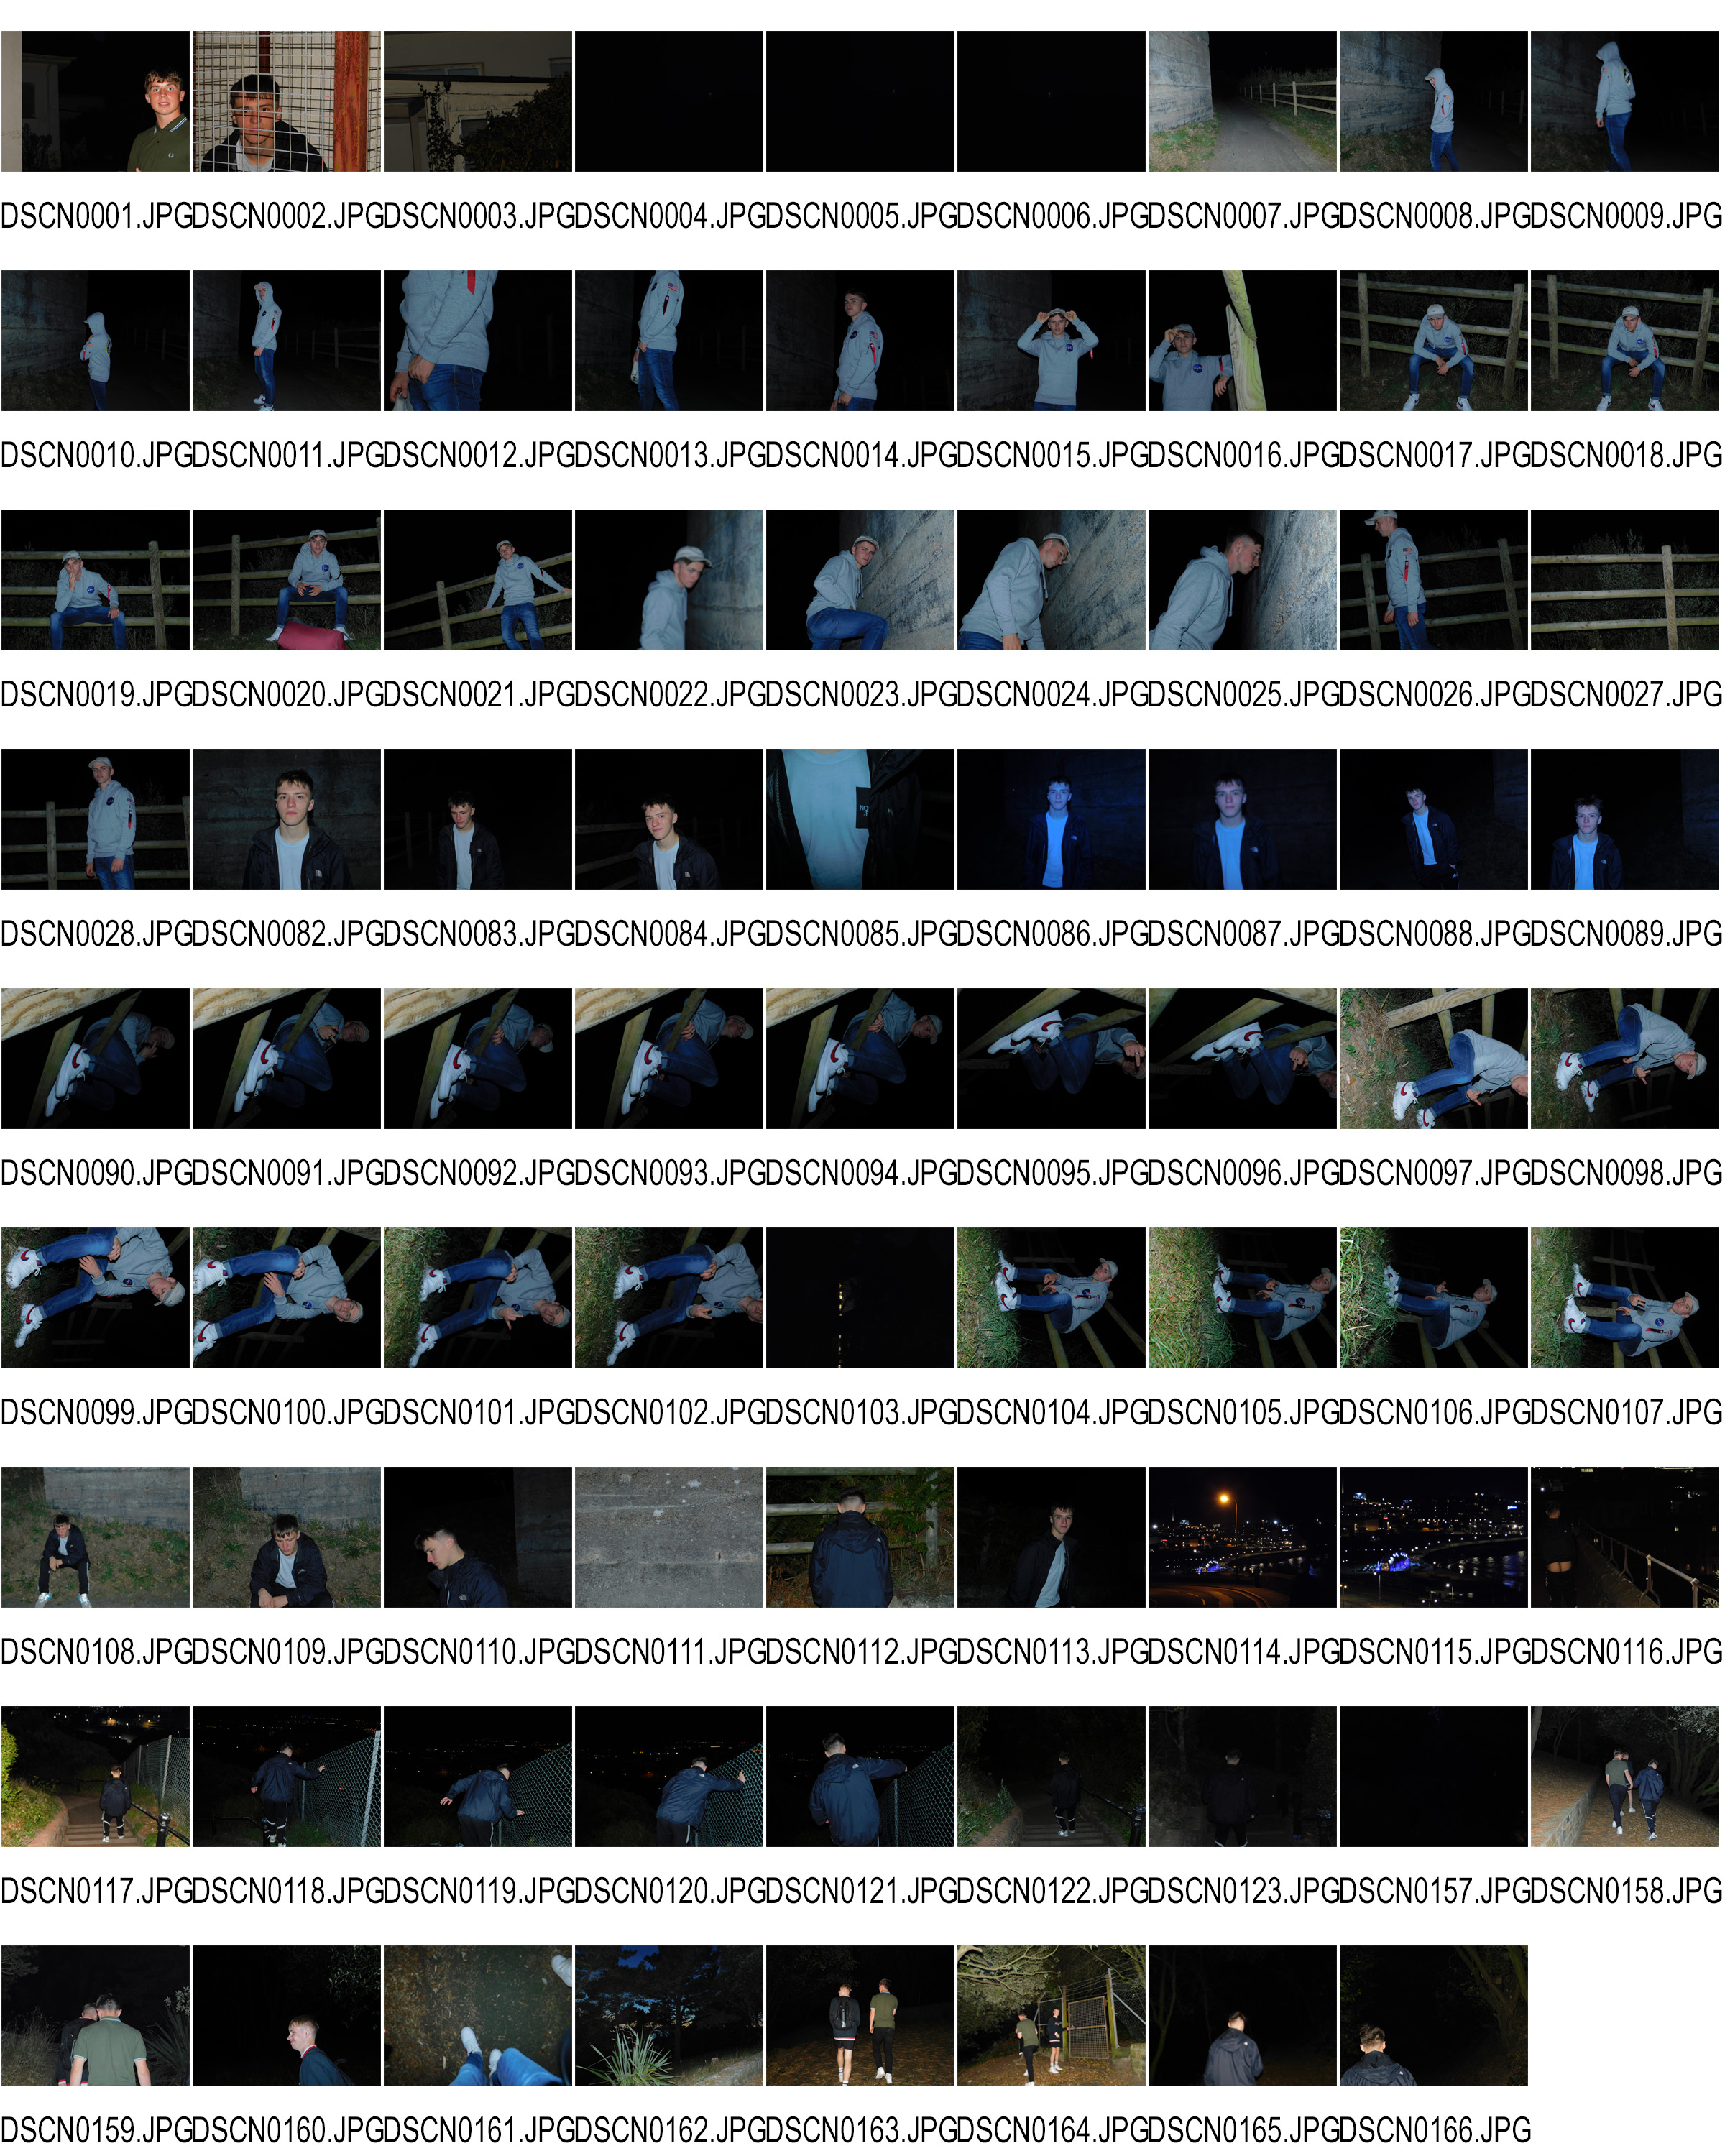
Contact sheet

Here is my contact sheet from the shoot. I have included all images from the shoot and I will use this sheet to aid me in eliminating any negatives and unwanted images. Here is the contact sheet
Standout Images

Here are some images that I find stand out from the shoot. I will also include my thoughts on the nature and composition of the images.

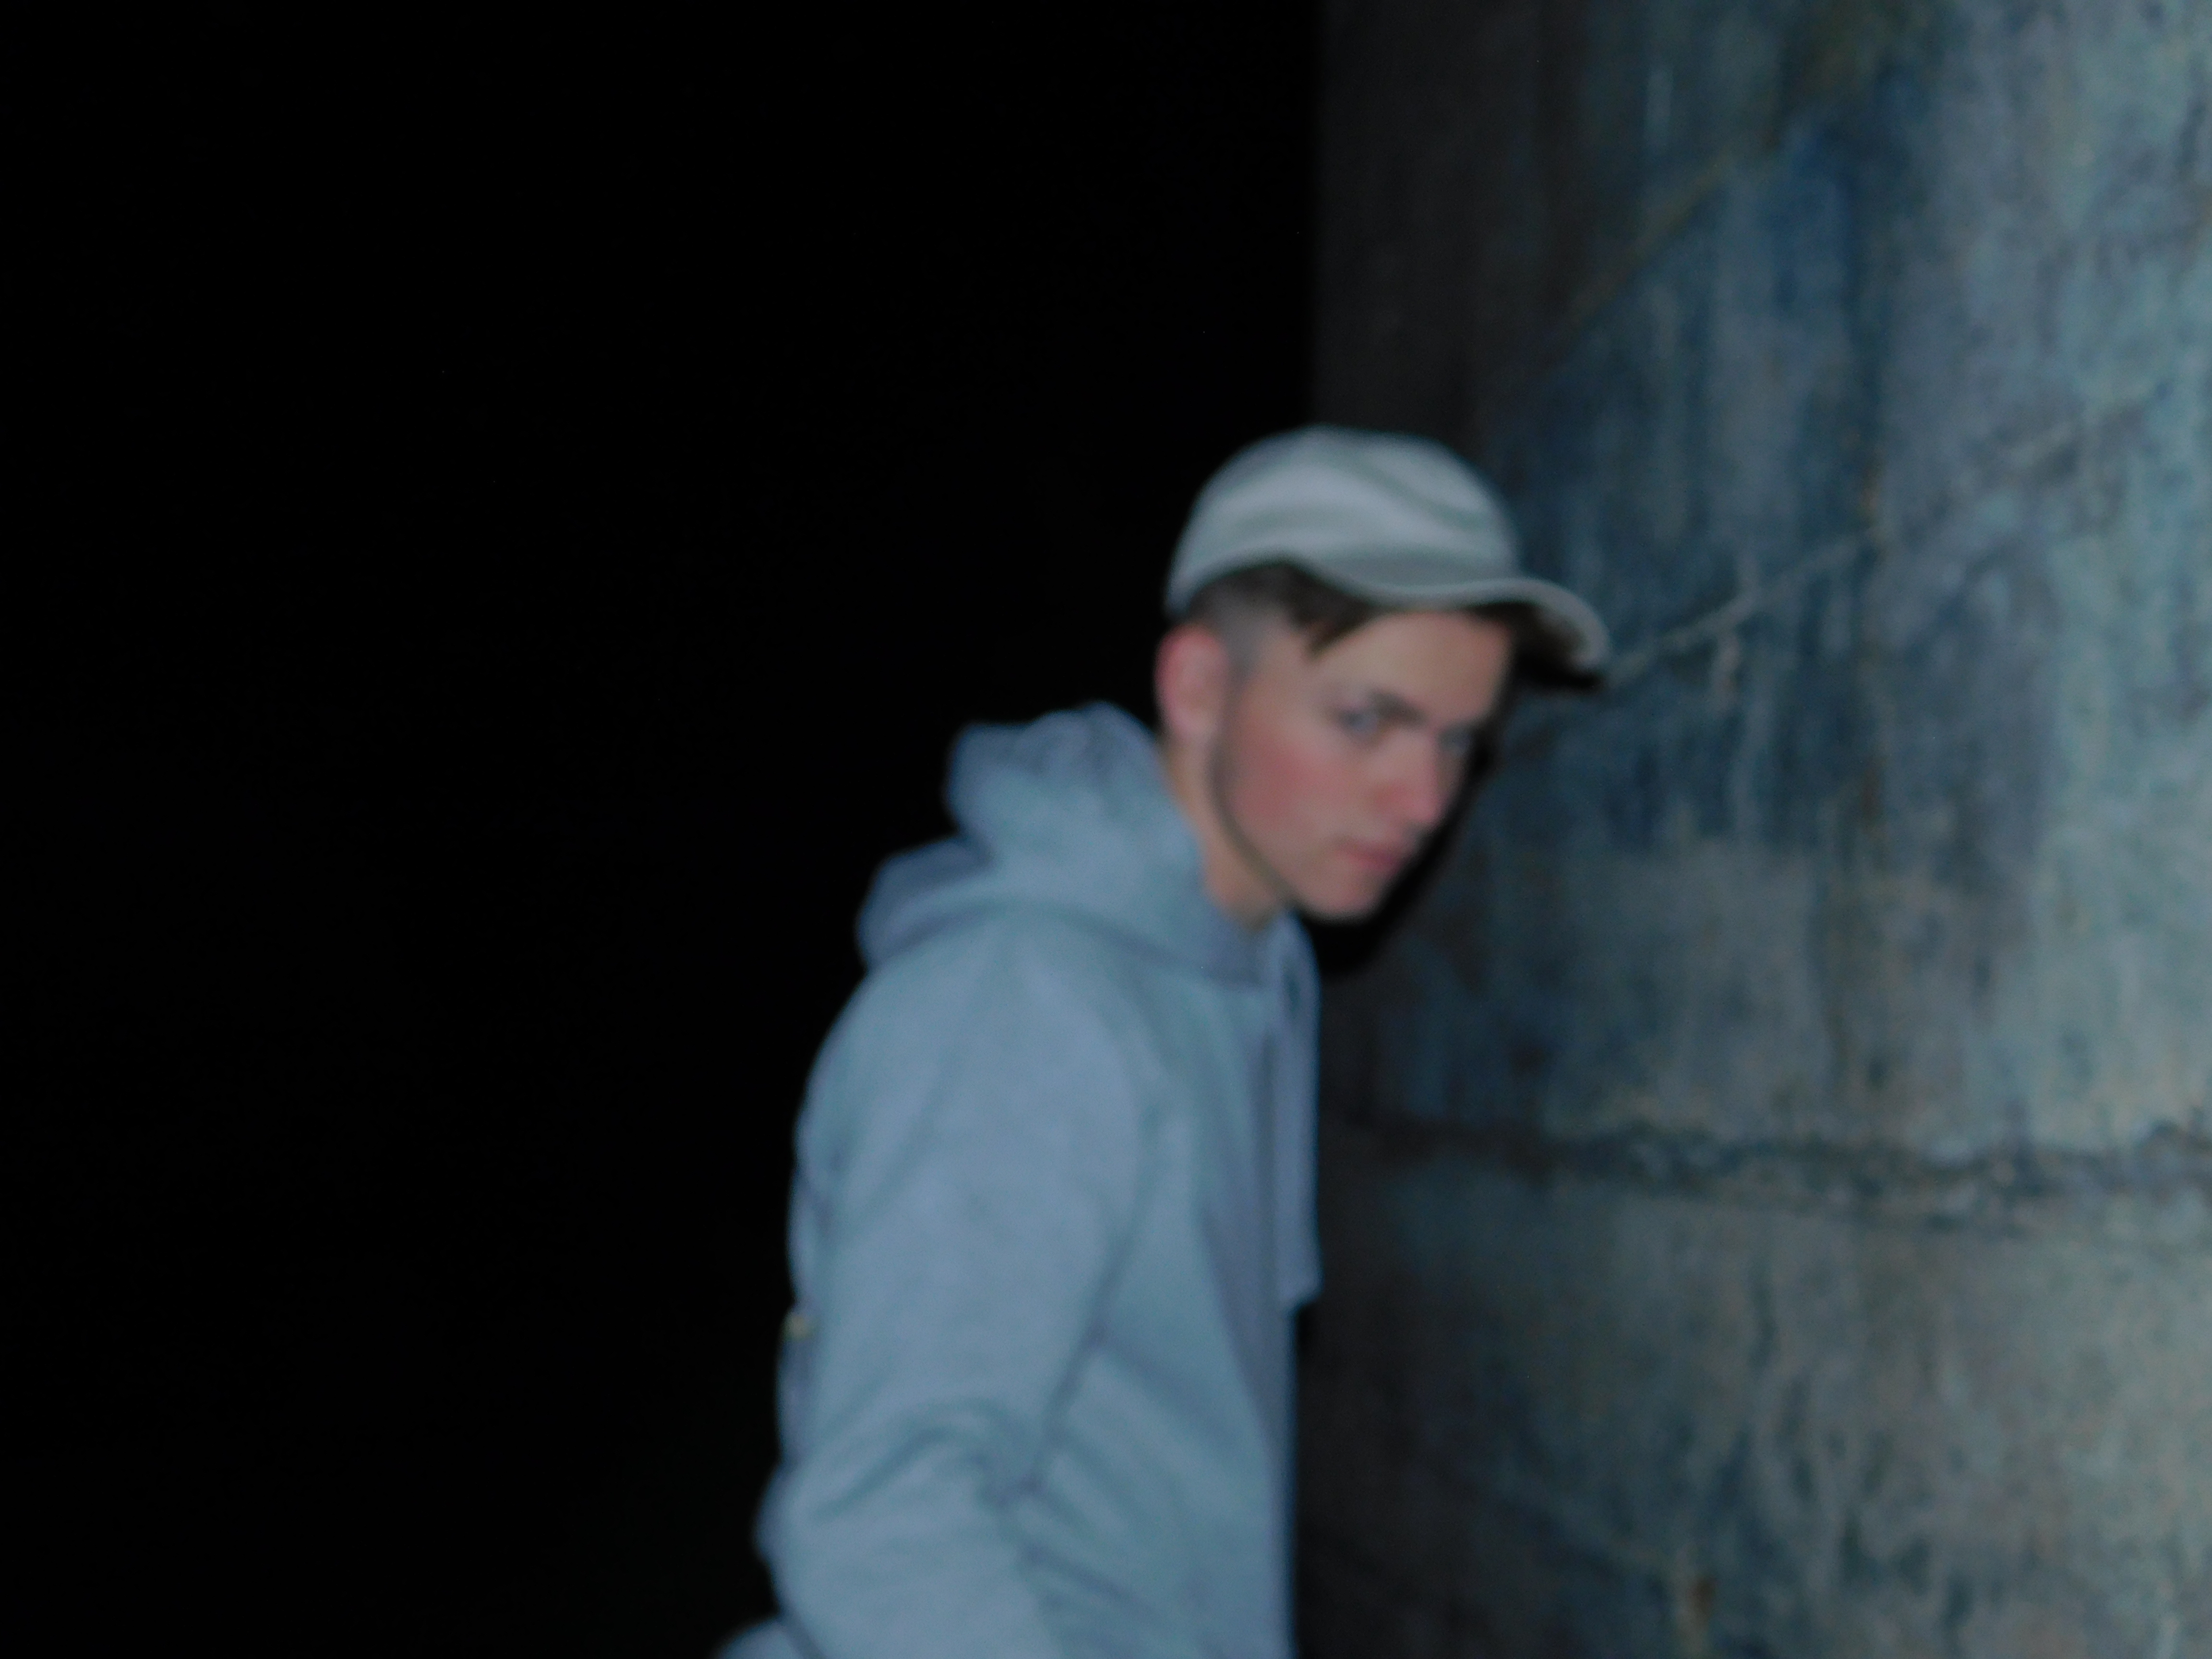
Image 1
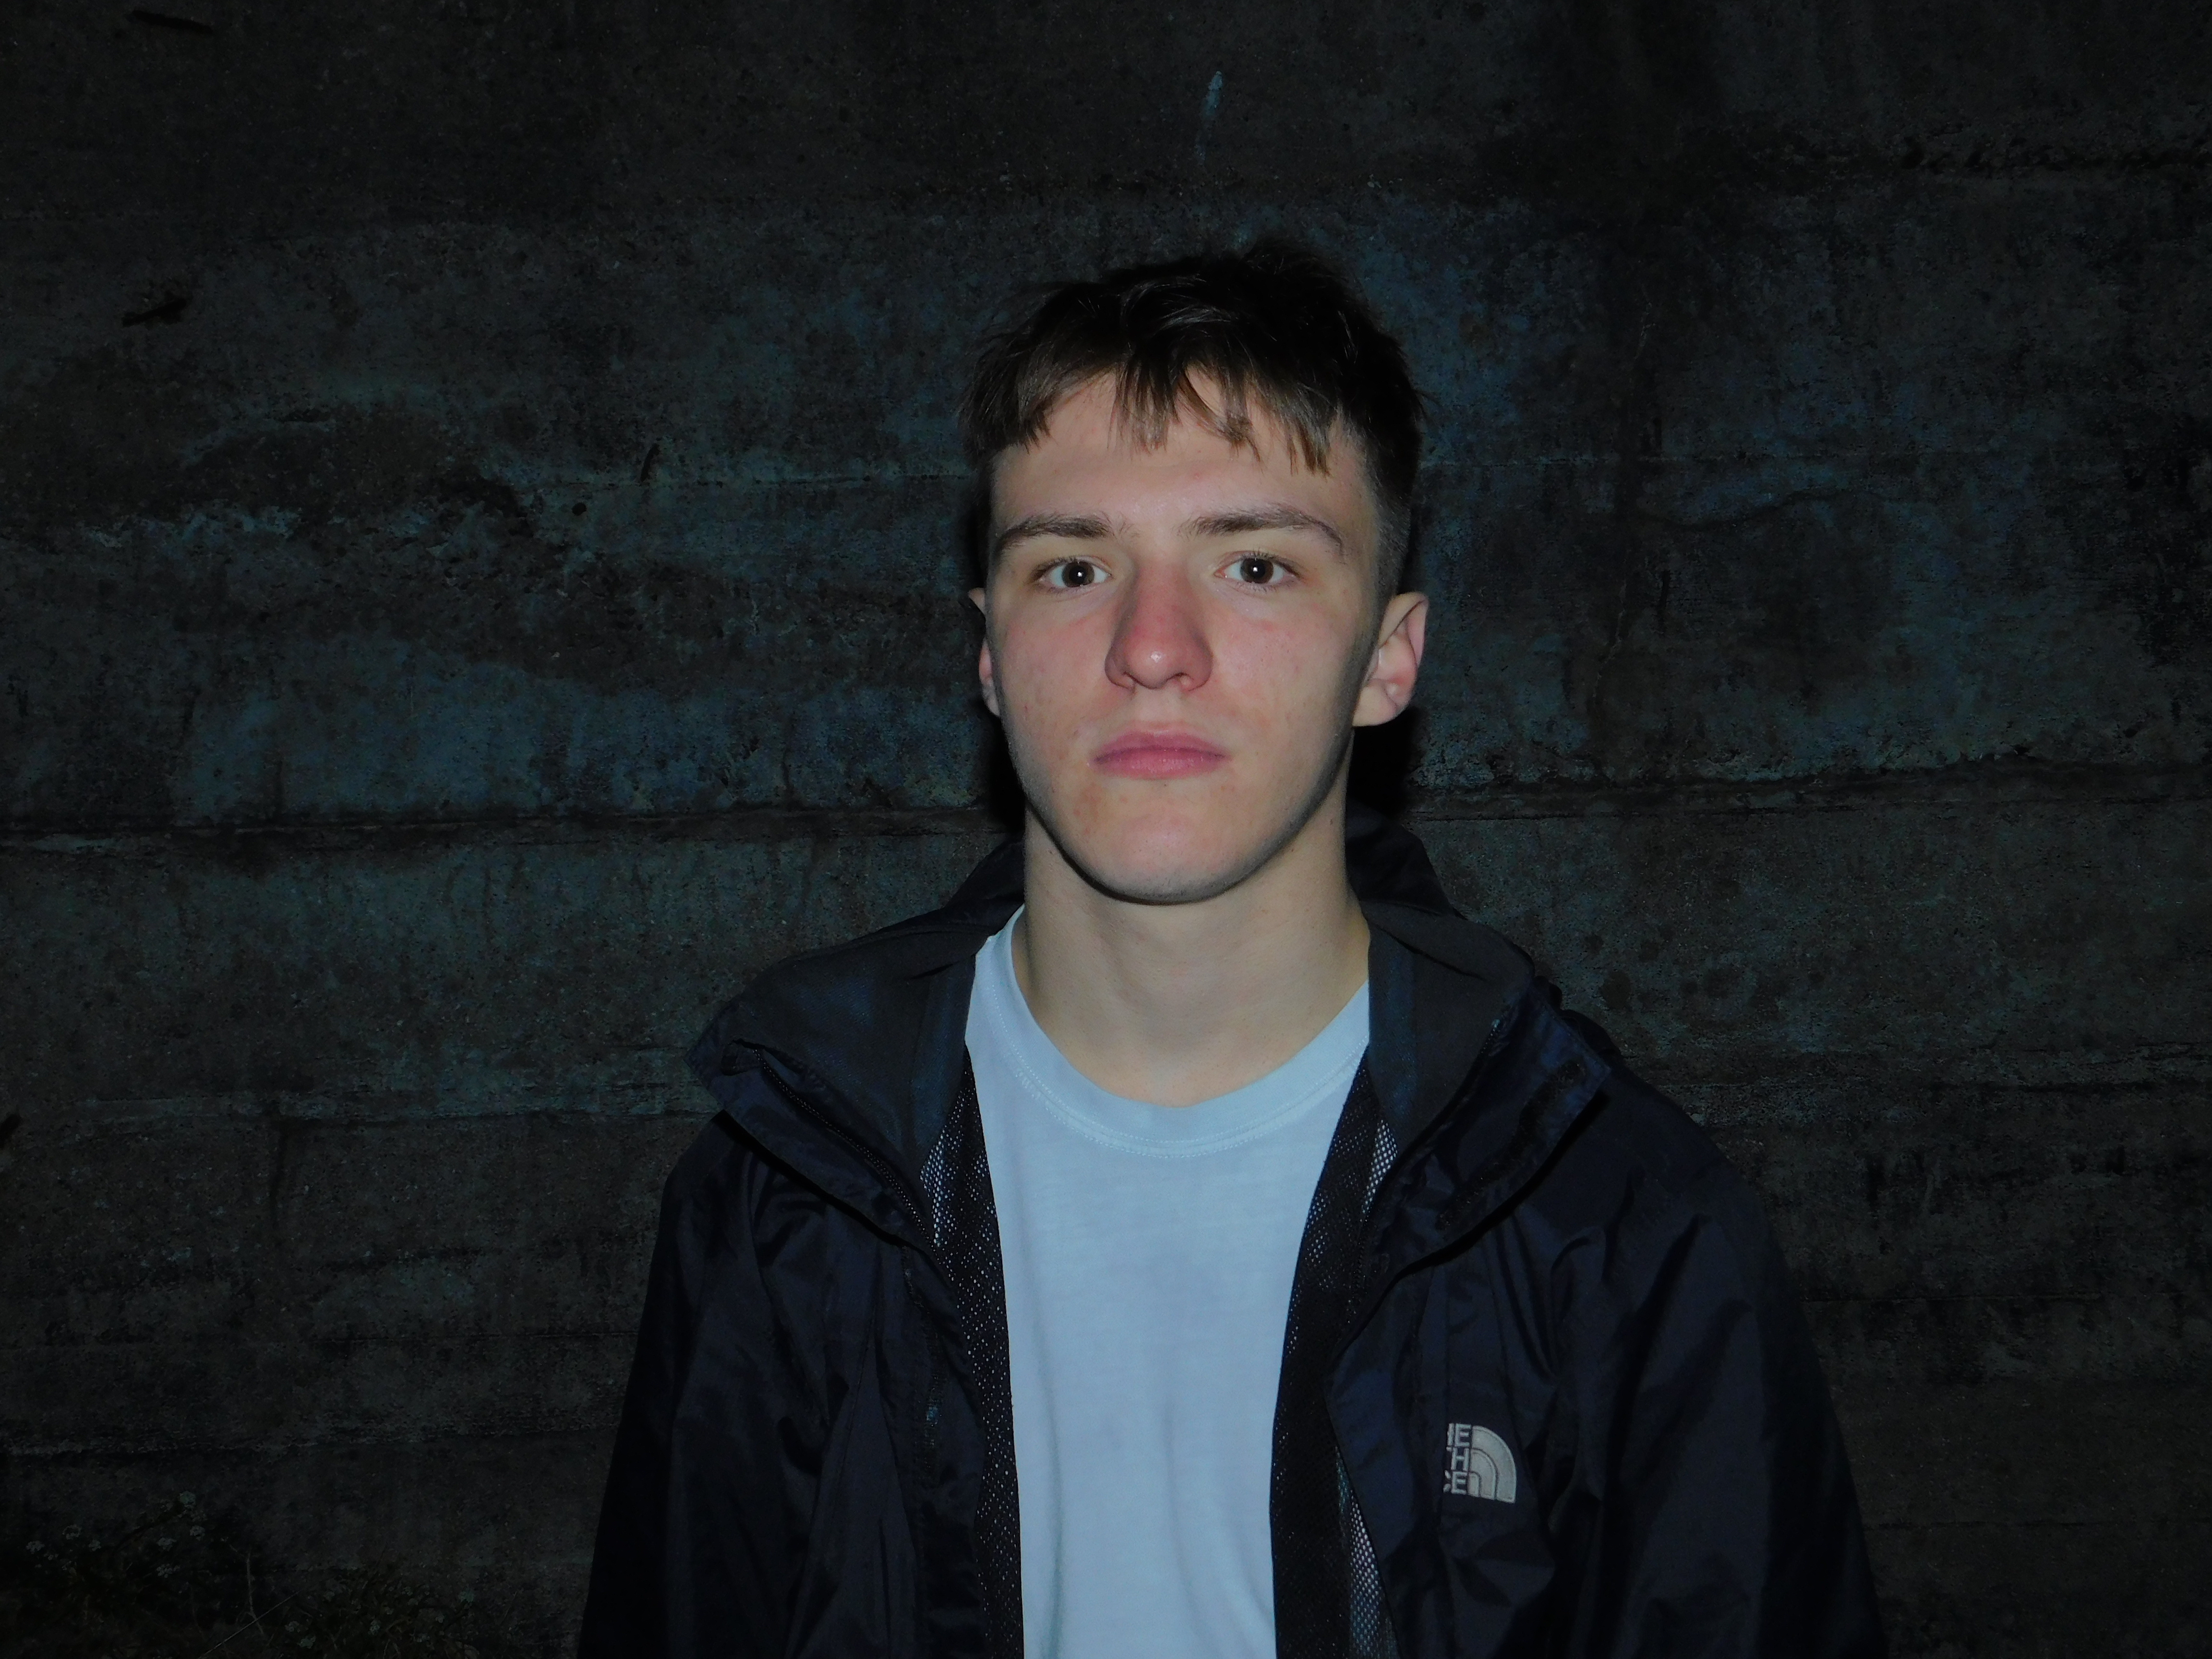
I like this image due to the subject standing out from the background. This is achieved through the background, Being the wall of a 1940s era German Bunker, featuring signs of decay and age, In comparison to the subjects clean manner. The brighter colors of the subjects skin tone and T shirt help to create a nice color contrast and make him stand out much more. I find that the image will require a slight bit of cropping due to an apparent vignette around the corners of the image.

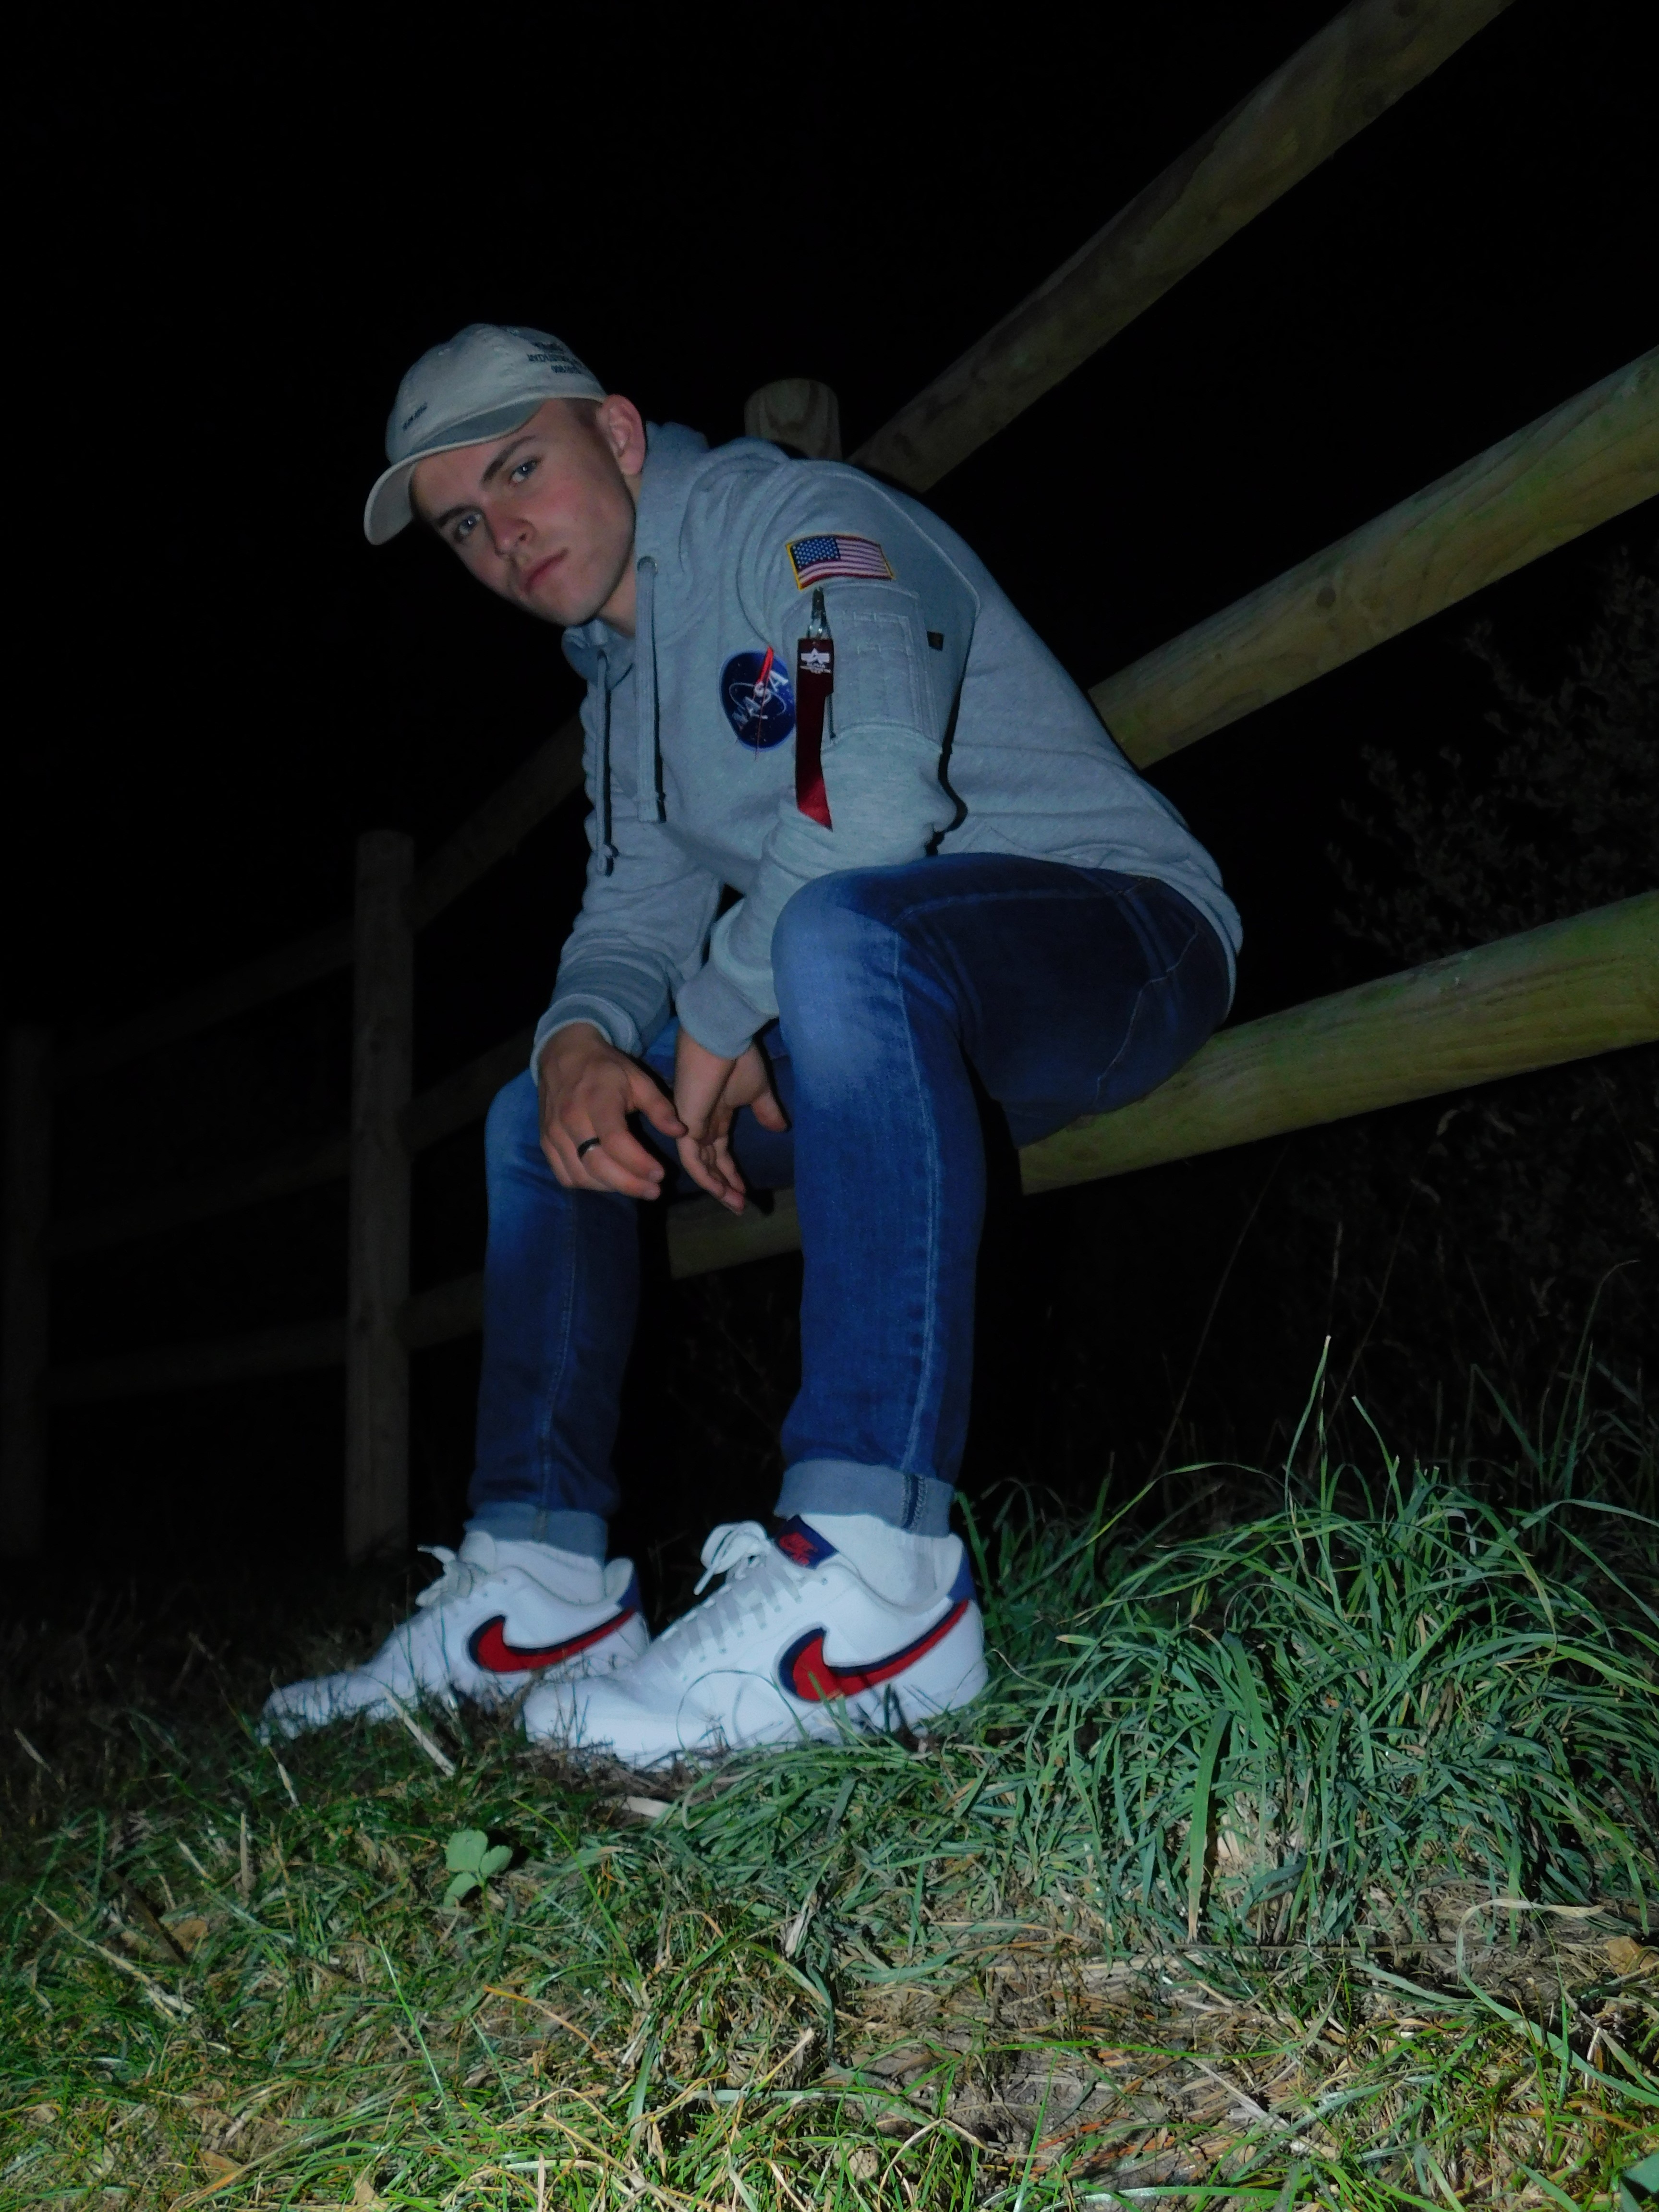
Image 2
This image features myself and is taken by a friend. I particularly like the composition of the image and the out of focus nature, which creates and in camera form or blurring, Meaning that I will probably only have to edit this image slightly in order to achieve the effect I am looking for

Image 3
Here is another Image where I have utilized self portraiture. The photo was taken on a 10 second self timer and I adjusted the Hue setting on my camera to give the image a very slight blue tint in order to highlight the blue colors in my outfit. I Like the angle of the image as I had propped my camera up on a rock and I am happy with the angle and how it turned out.

Physical editing Ideas

For Photo shoot 1, I outlined my ideas for manipulating the images through photoshop. I would also like to experiment with editing the Physical photograph itself. I will achieve this through the processes of taping and tearing. Taping will involve either black gaffer tape or grey duct tape on top of a printed image and Will be used to conceal the identity of the subjects in the images. Tearing will be used to remove facial features and features of identity by physically tearing up a Printed image. I would also like to experiment with scratching an image with sandpaper to give off a distressed effect to the image.

Here are some outcomes of my different physical editing techniques

Taping

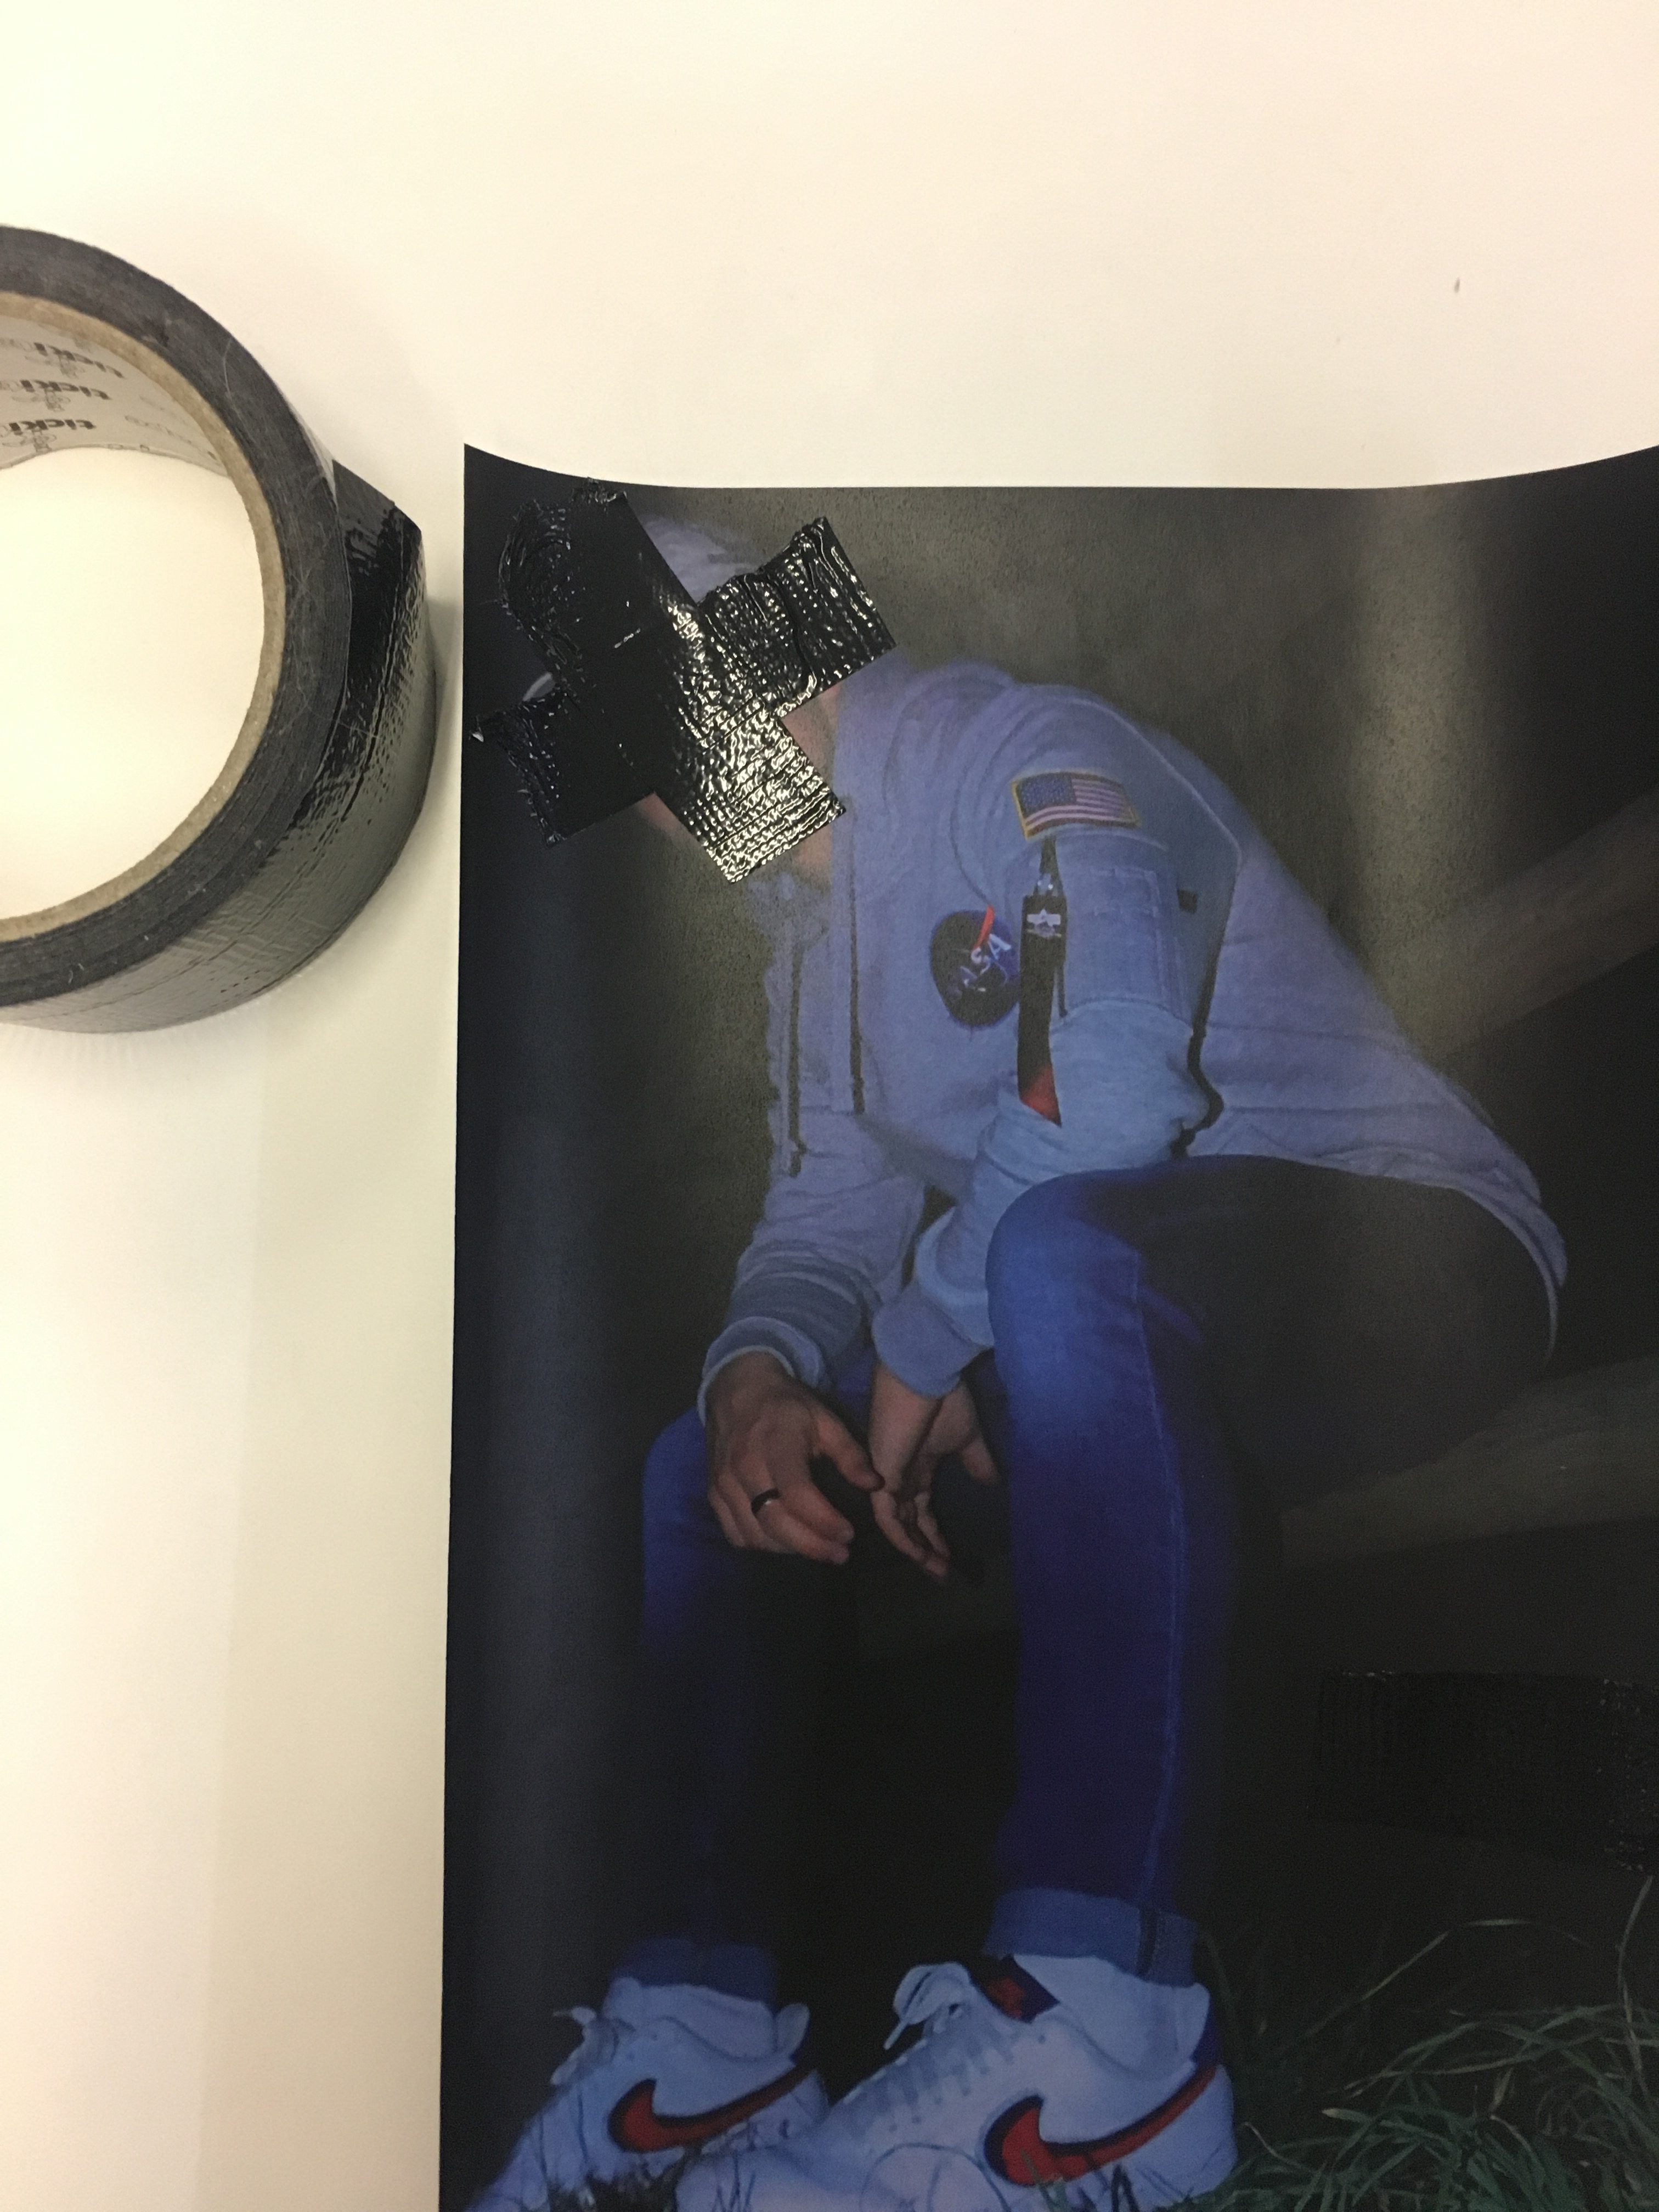
For this particular image, I have decided to utilize black gaffer tape as I feel it gives off quite an industrial attitude towards the piece. It is also quite an interesting texture and I like the patterning on it. I have cut the tape into strips and created a cross to give off a “patchwork” type effect. Here is my Image with the taping method applied:
Tearing

I find that tearing out the face from an image is a great way to remove the identity of the person photographed. This method has spanned from michal makus idea of gellage, the sense of physically transforming an image by tearing. I however,  Am focused on tearing out facial features and removing the identity of the person so all that is left is their figure and clothing. Below are some images of the tearing process
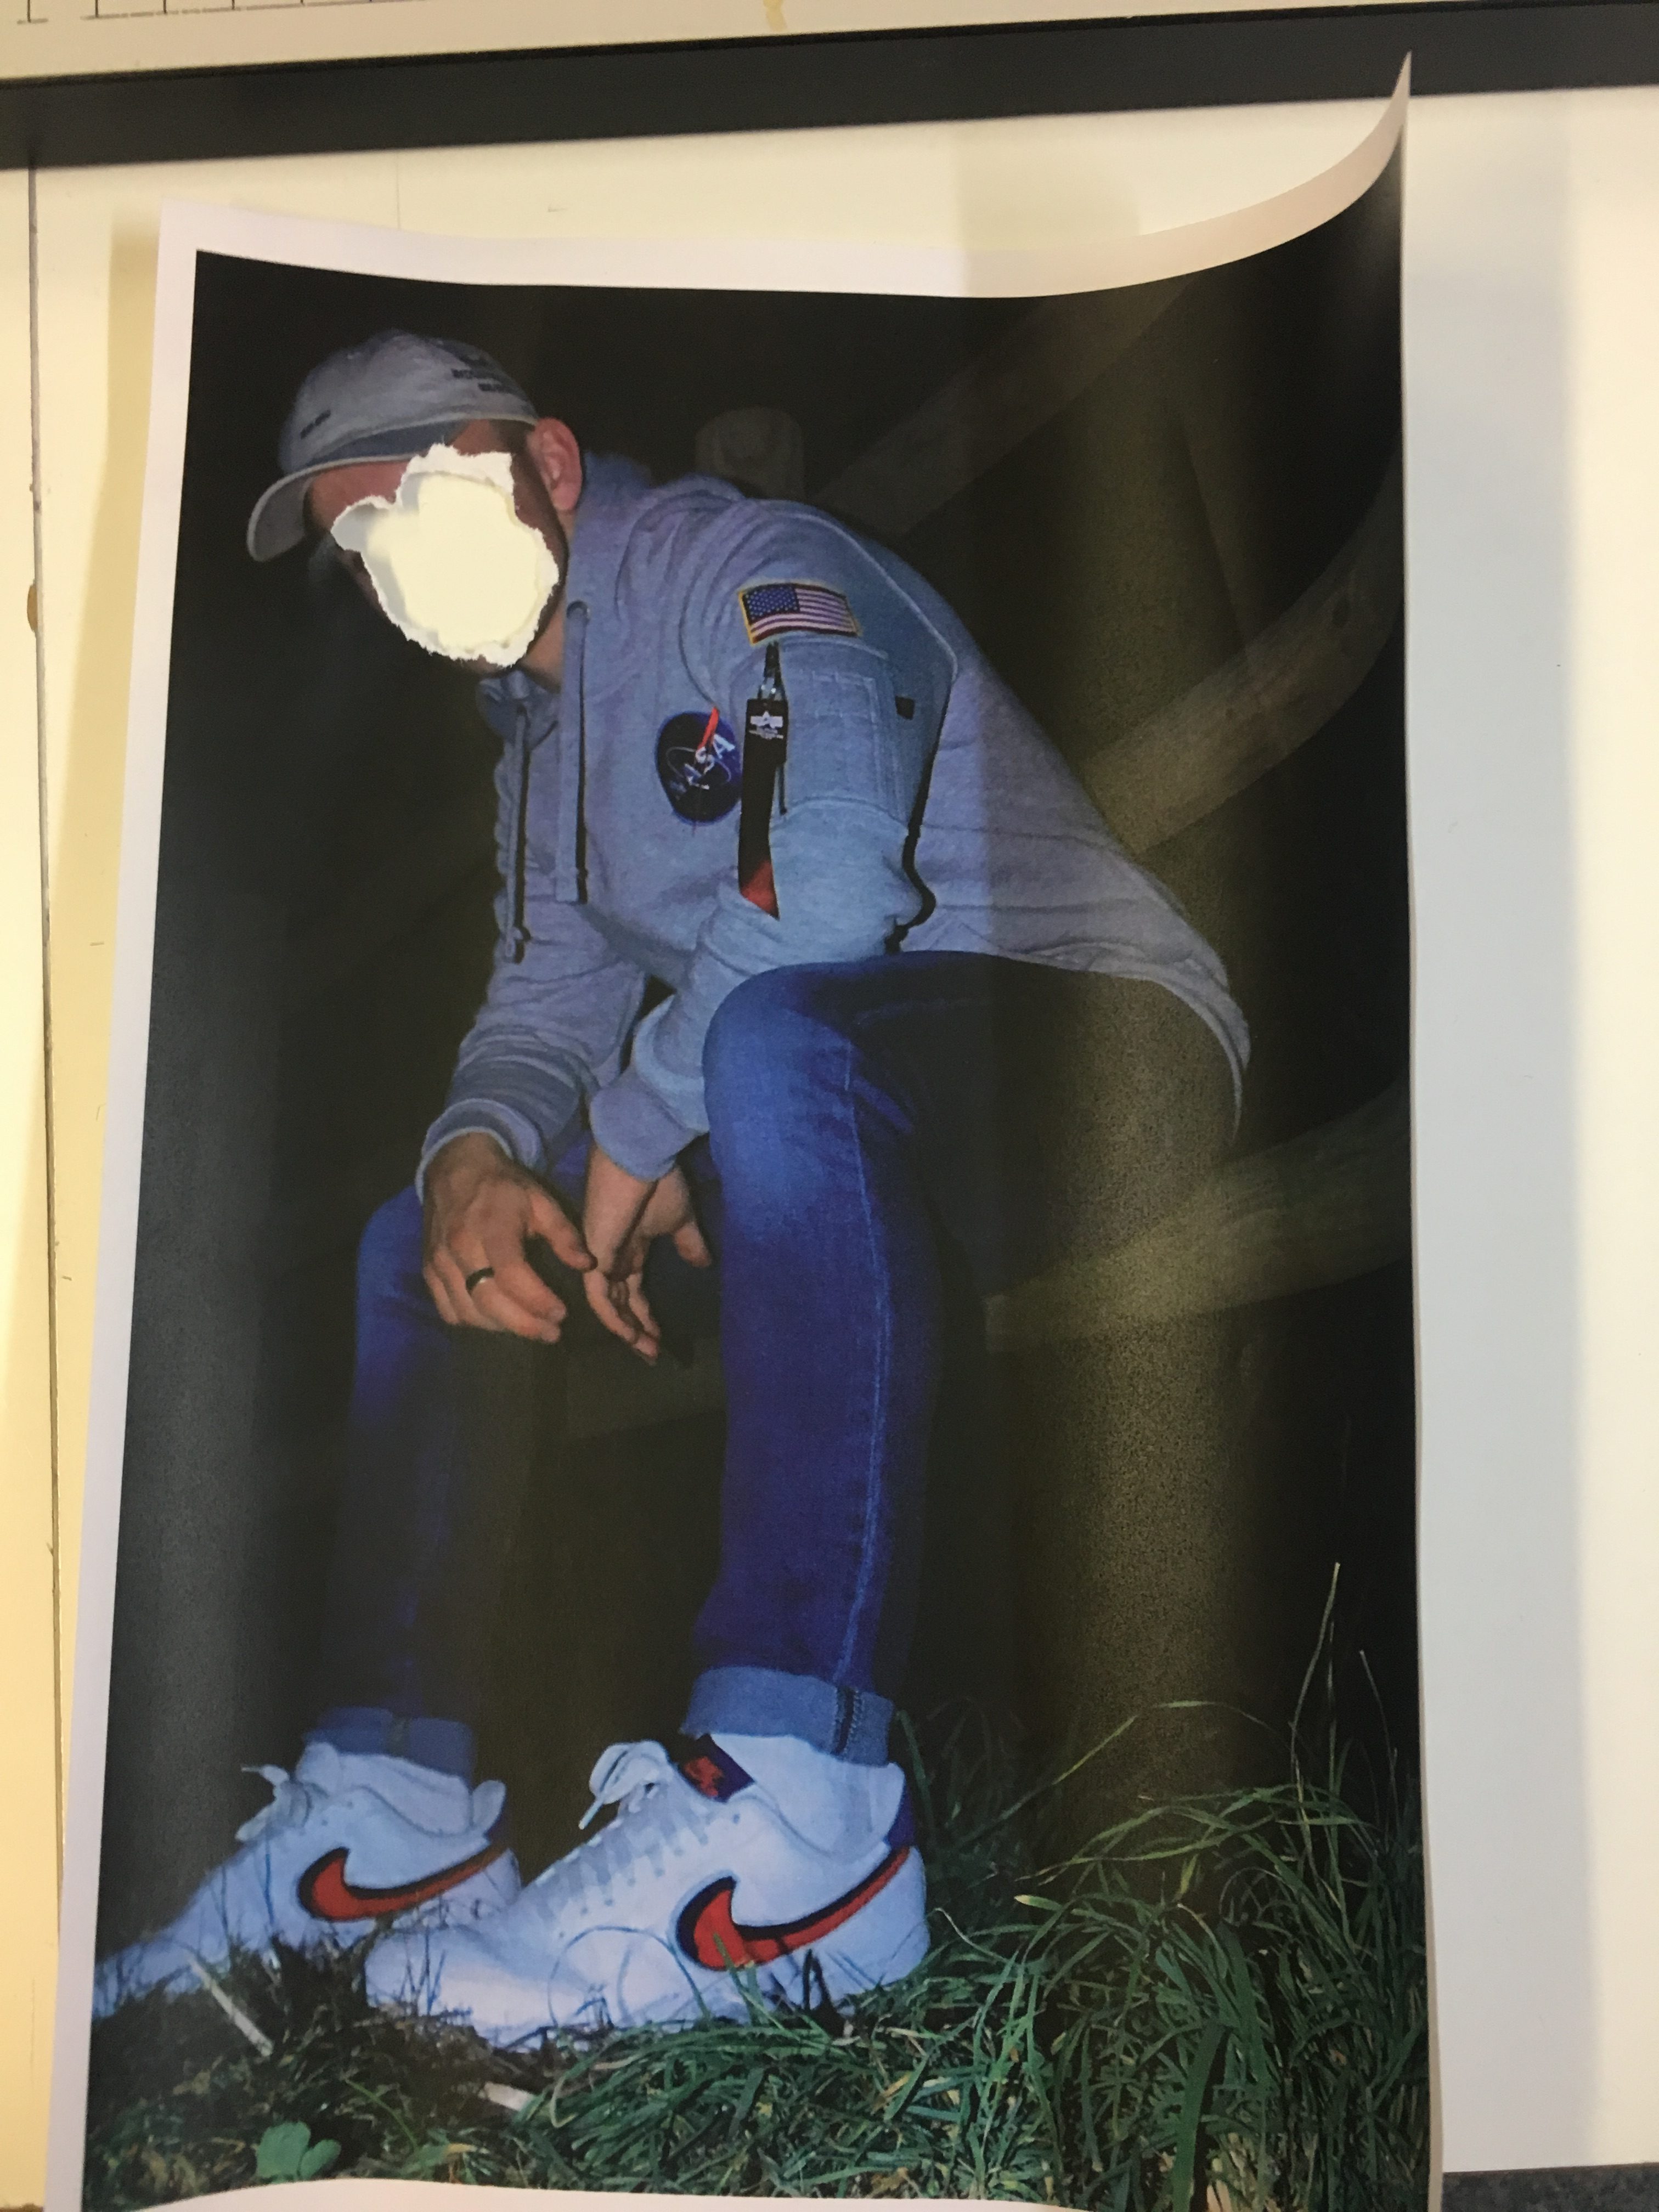
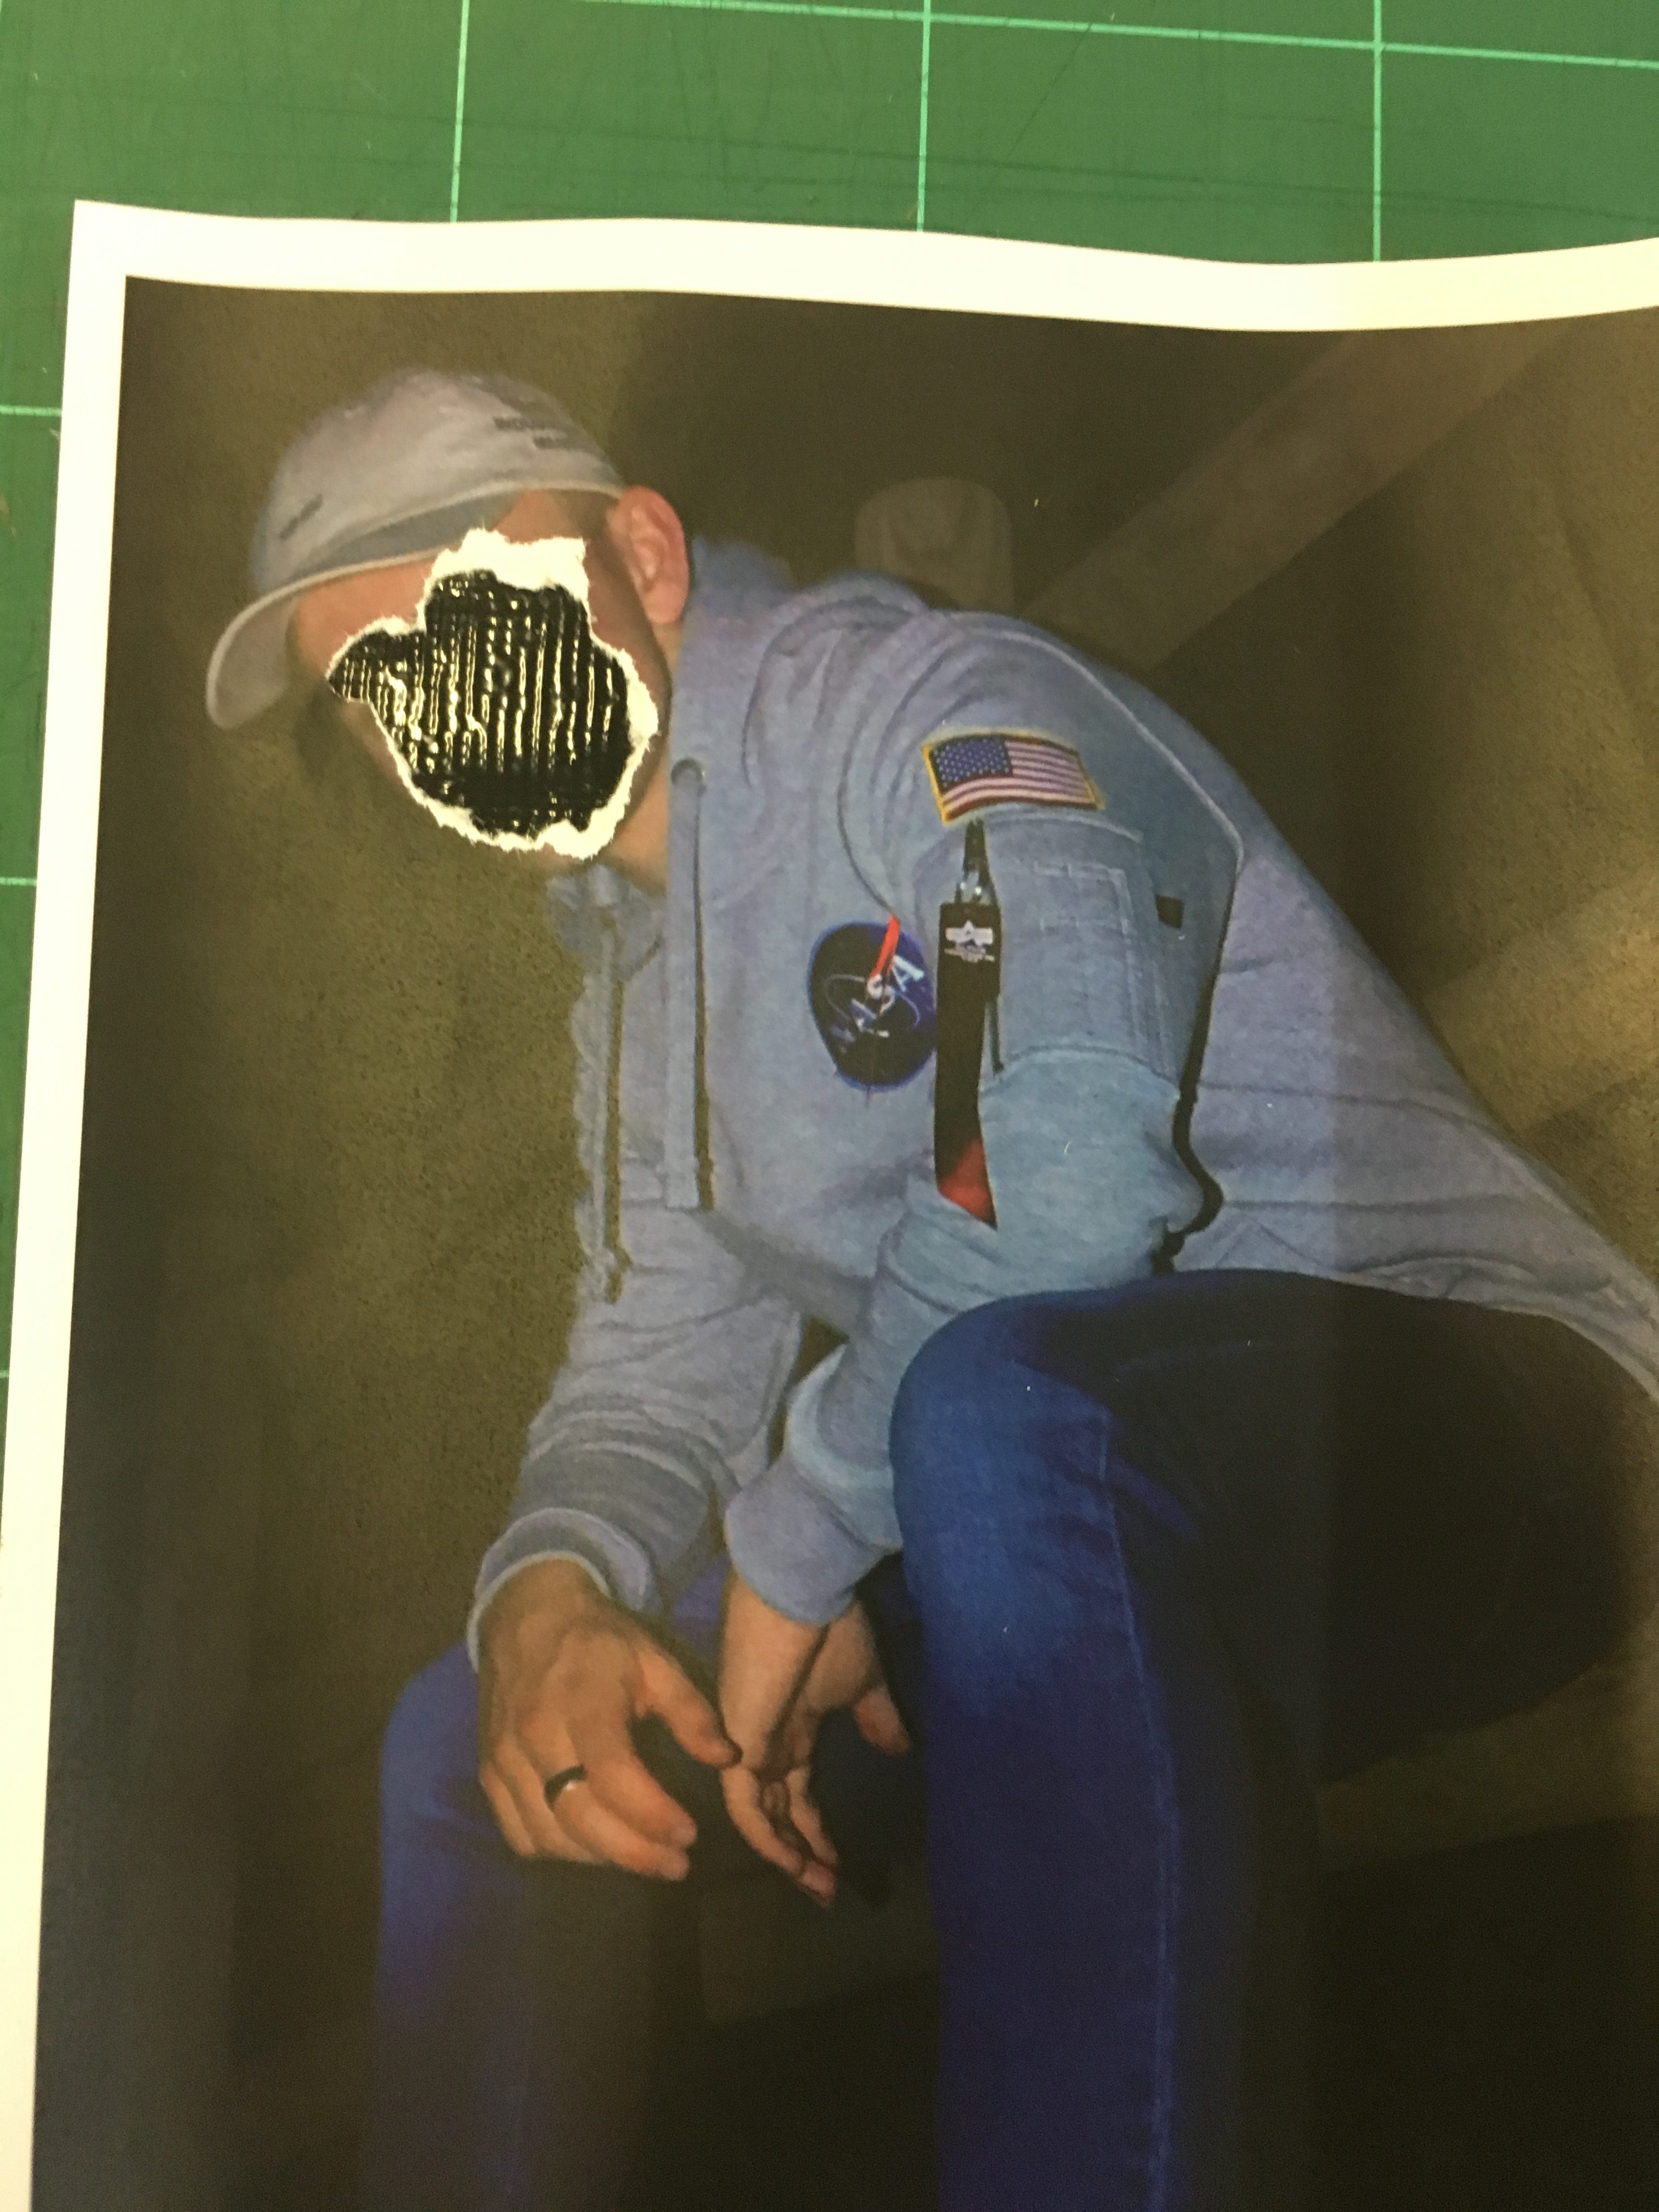
During the process, I also experimented with the idea of tearing and placing black gaffer tape underneath the image to give the tear a background. It portrays quite a dark sense of loss of identity but is effective at making the image bold at the same time by adding more texture and detail to it.

I have also explored the idea of tearing for aesthetic. I wish to give my work an aged and distressed feel, Which will easily be  accomplished through the scratching process that I will discuss later on in the post, However Tearing for aesthetic can also help me achieve this distressed look. Here is an image where I have added in an element of tearing that does not necessarily involve the obscuring of the face
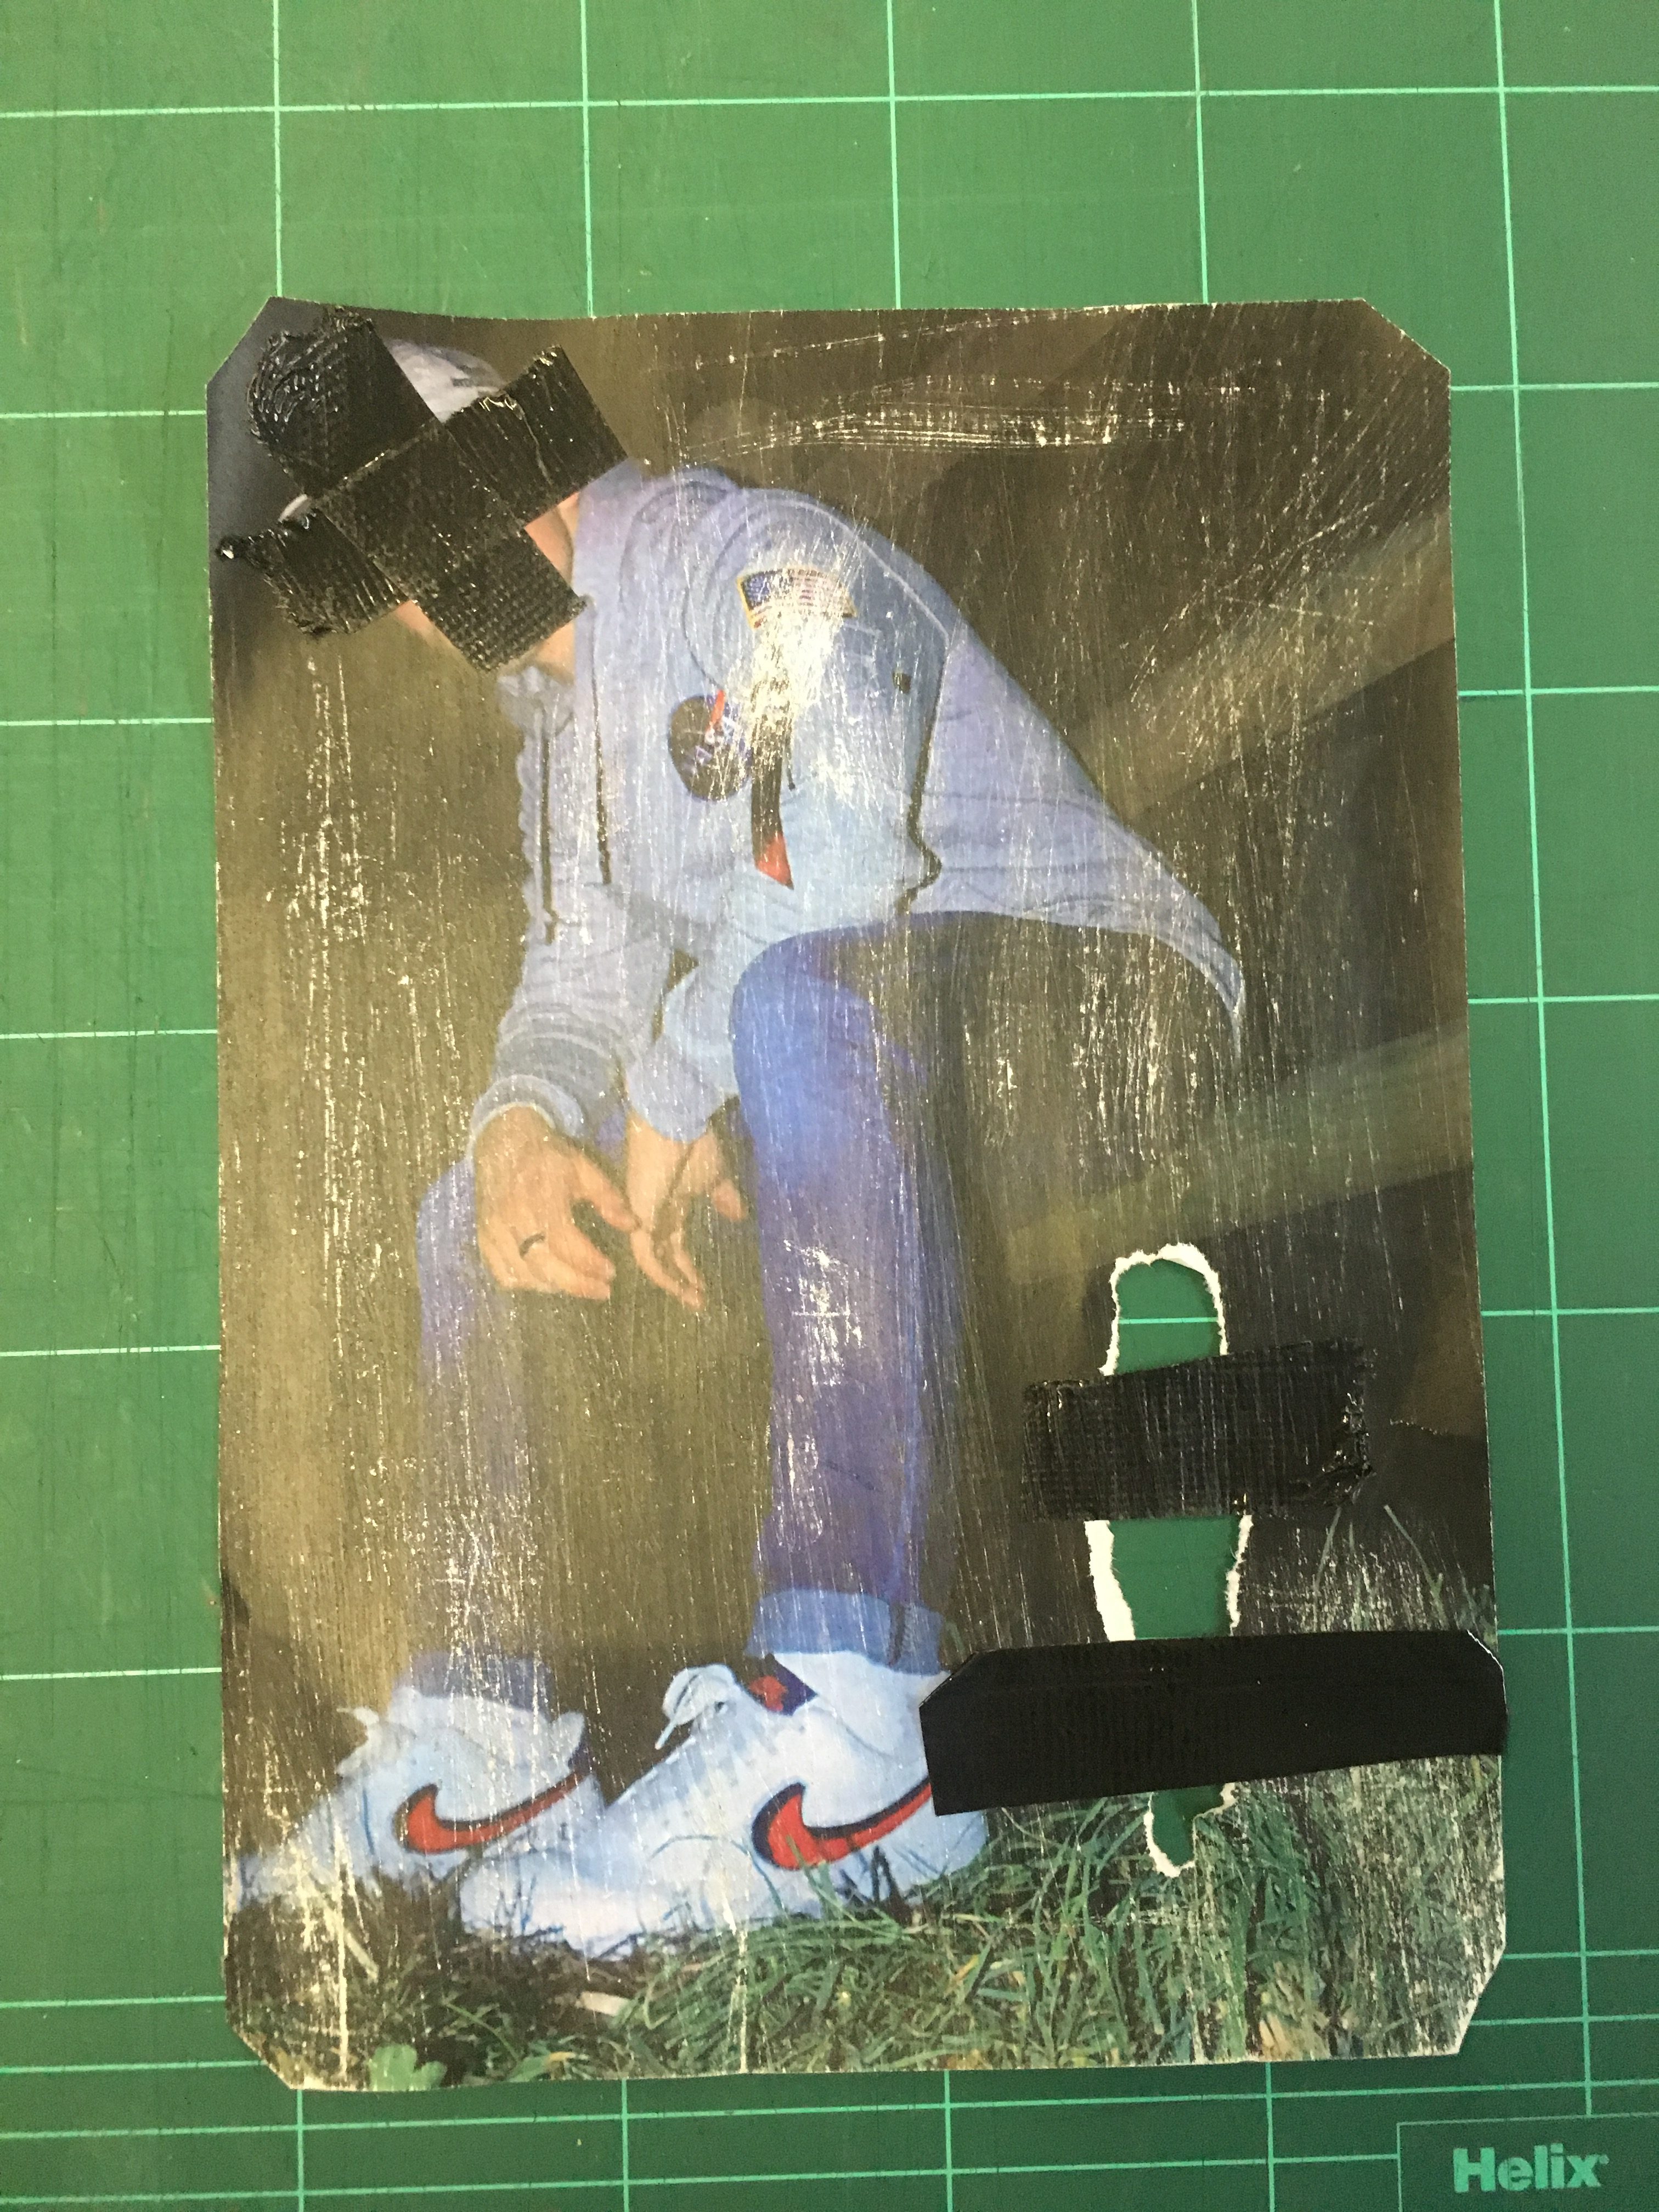
I have incorporated the tear into the bottom left hand corner of the piece and taped over it to connote the idea of attempting to reconstruct and repair the image.

Scratching

Scratching a printed image can give off quite a worn, distressed feel to the image. It also alters the texture and makes the image unique. I achieved this effect through the use of sandpaper and rubbing it on my physical print. In some areas I have applied more pressure in order to create variation throughout the image. Here is an example below
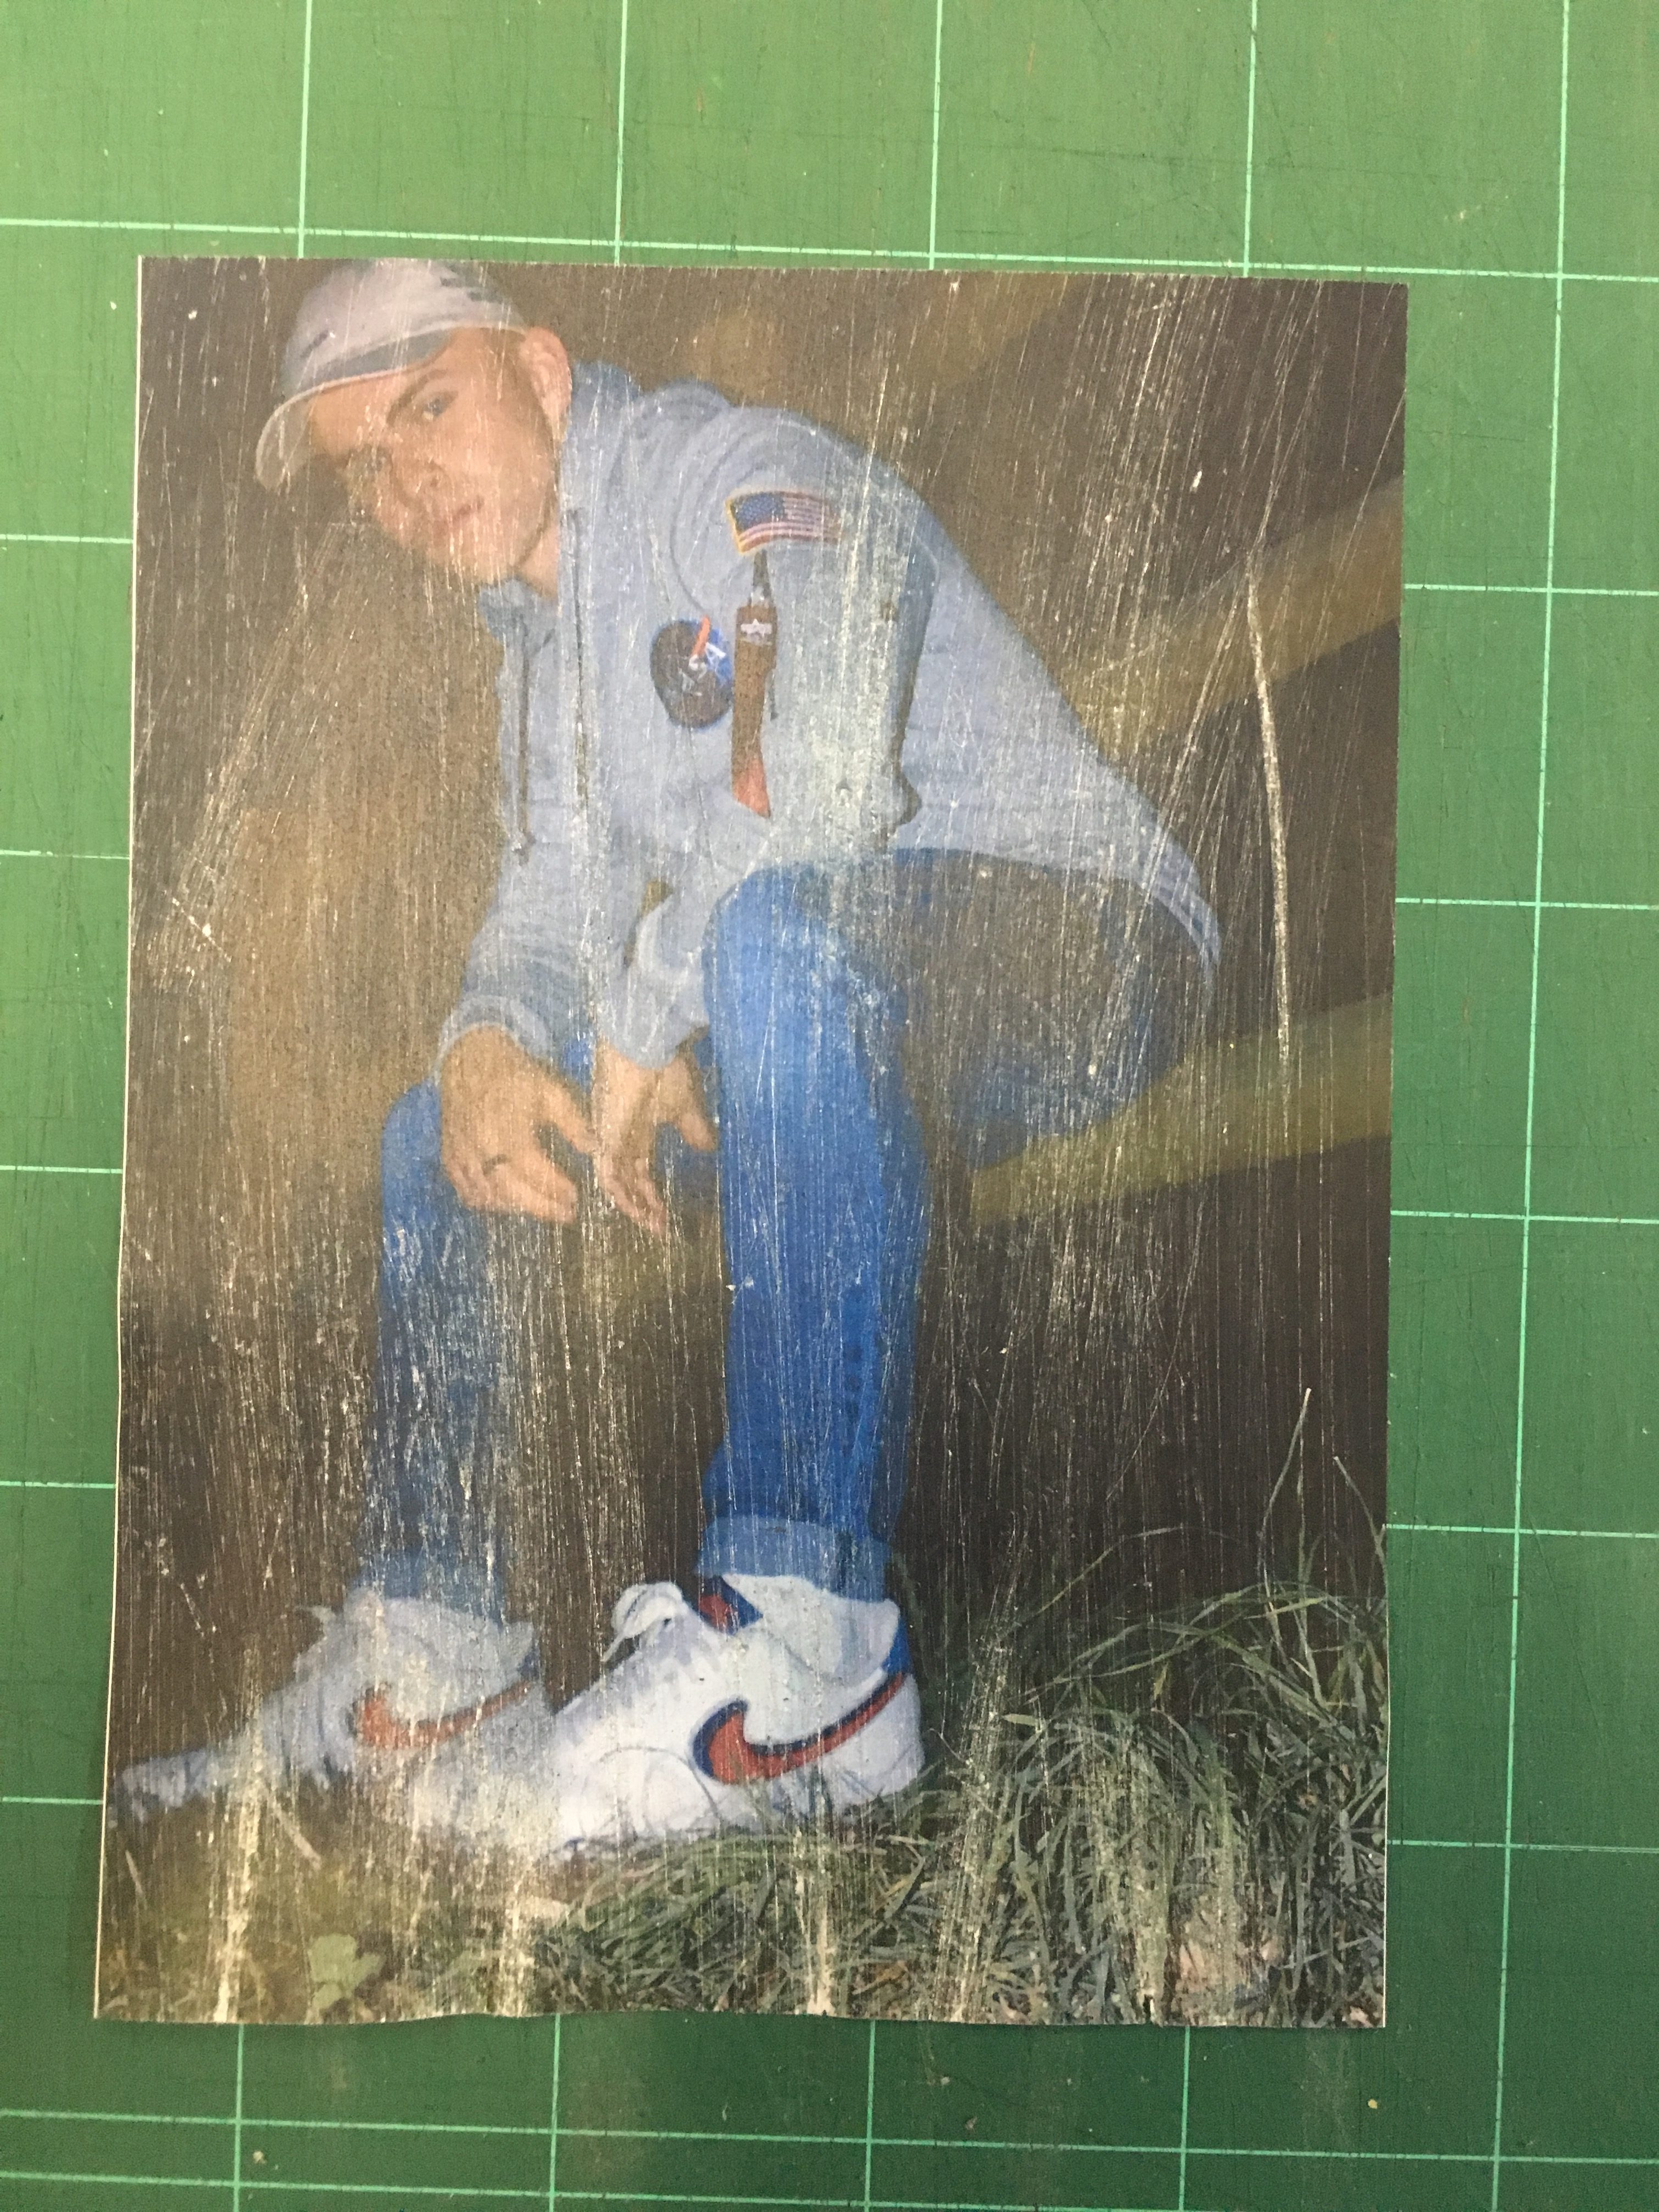
I like the idea of scratching all over, purely for aesthetic but as you can see in the next photo, I will also use scratching to obscure identity as I find it is an effective way of achieving the effect I am after.
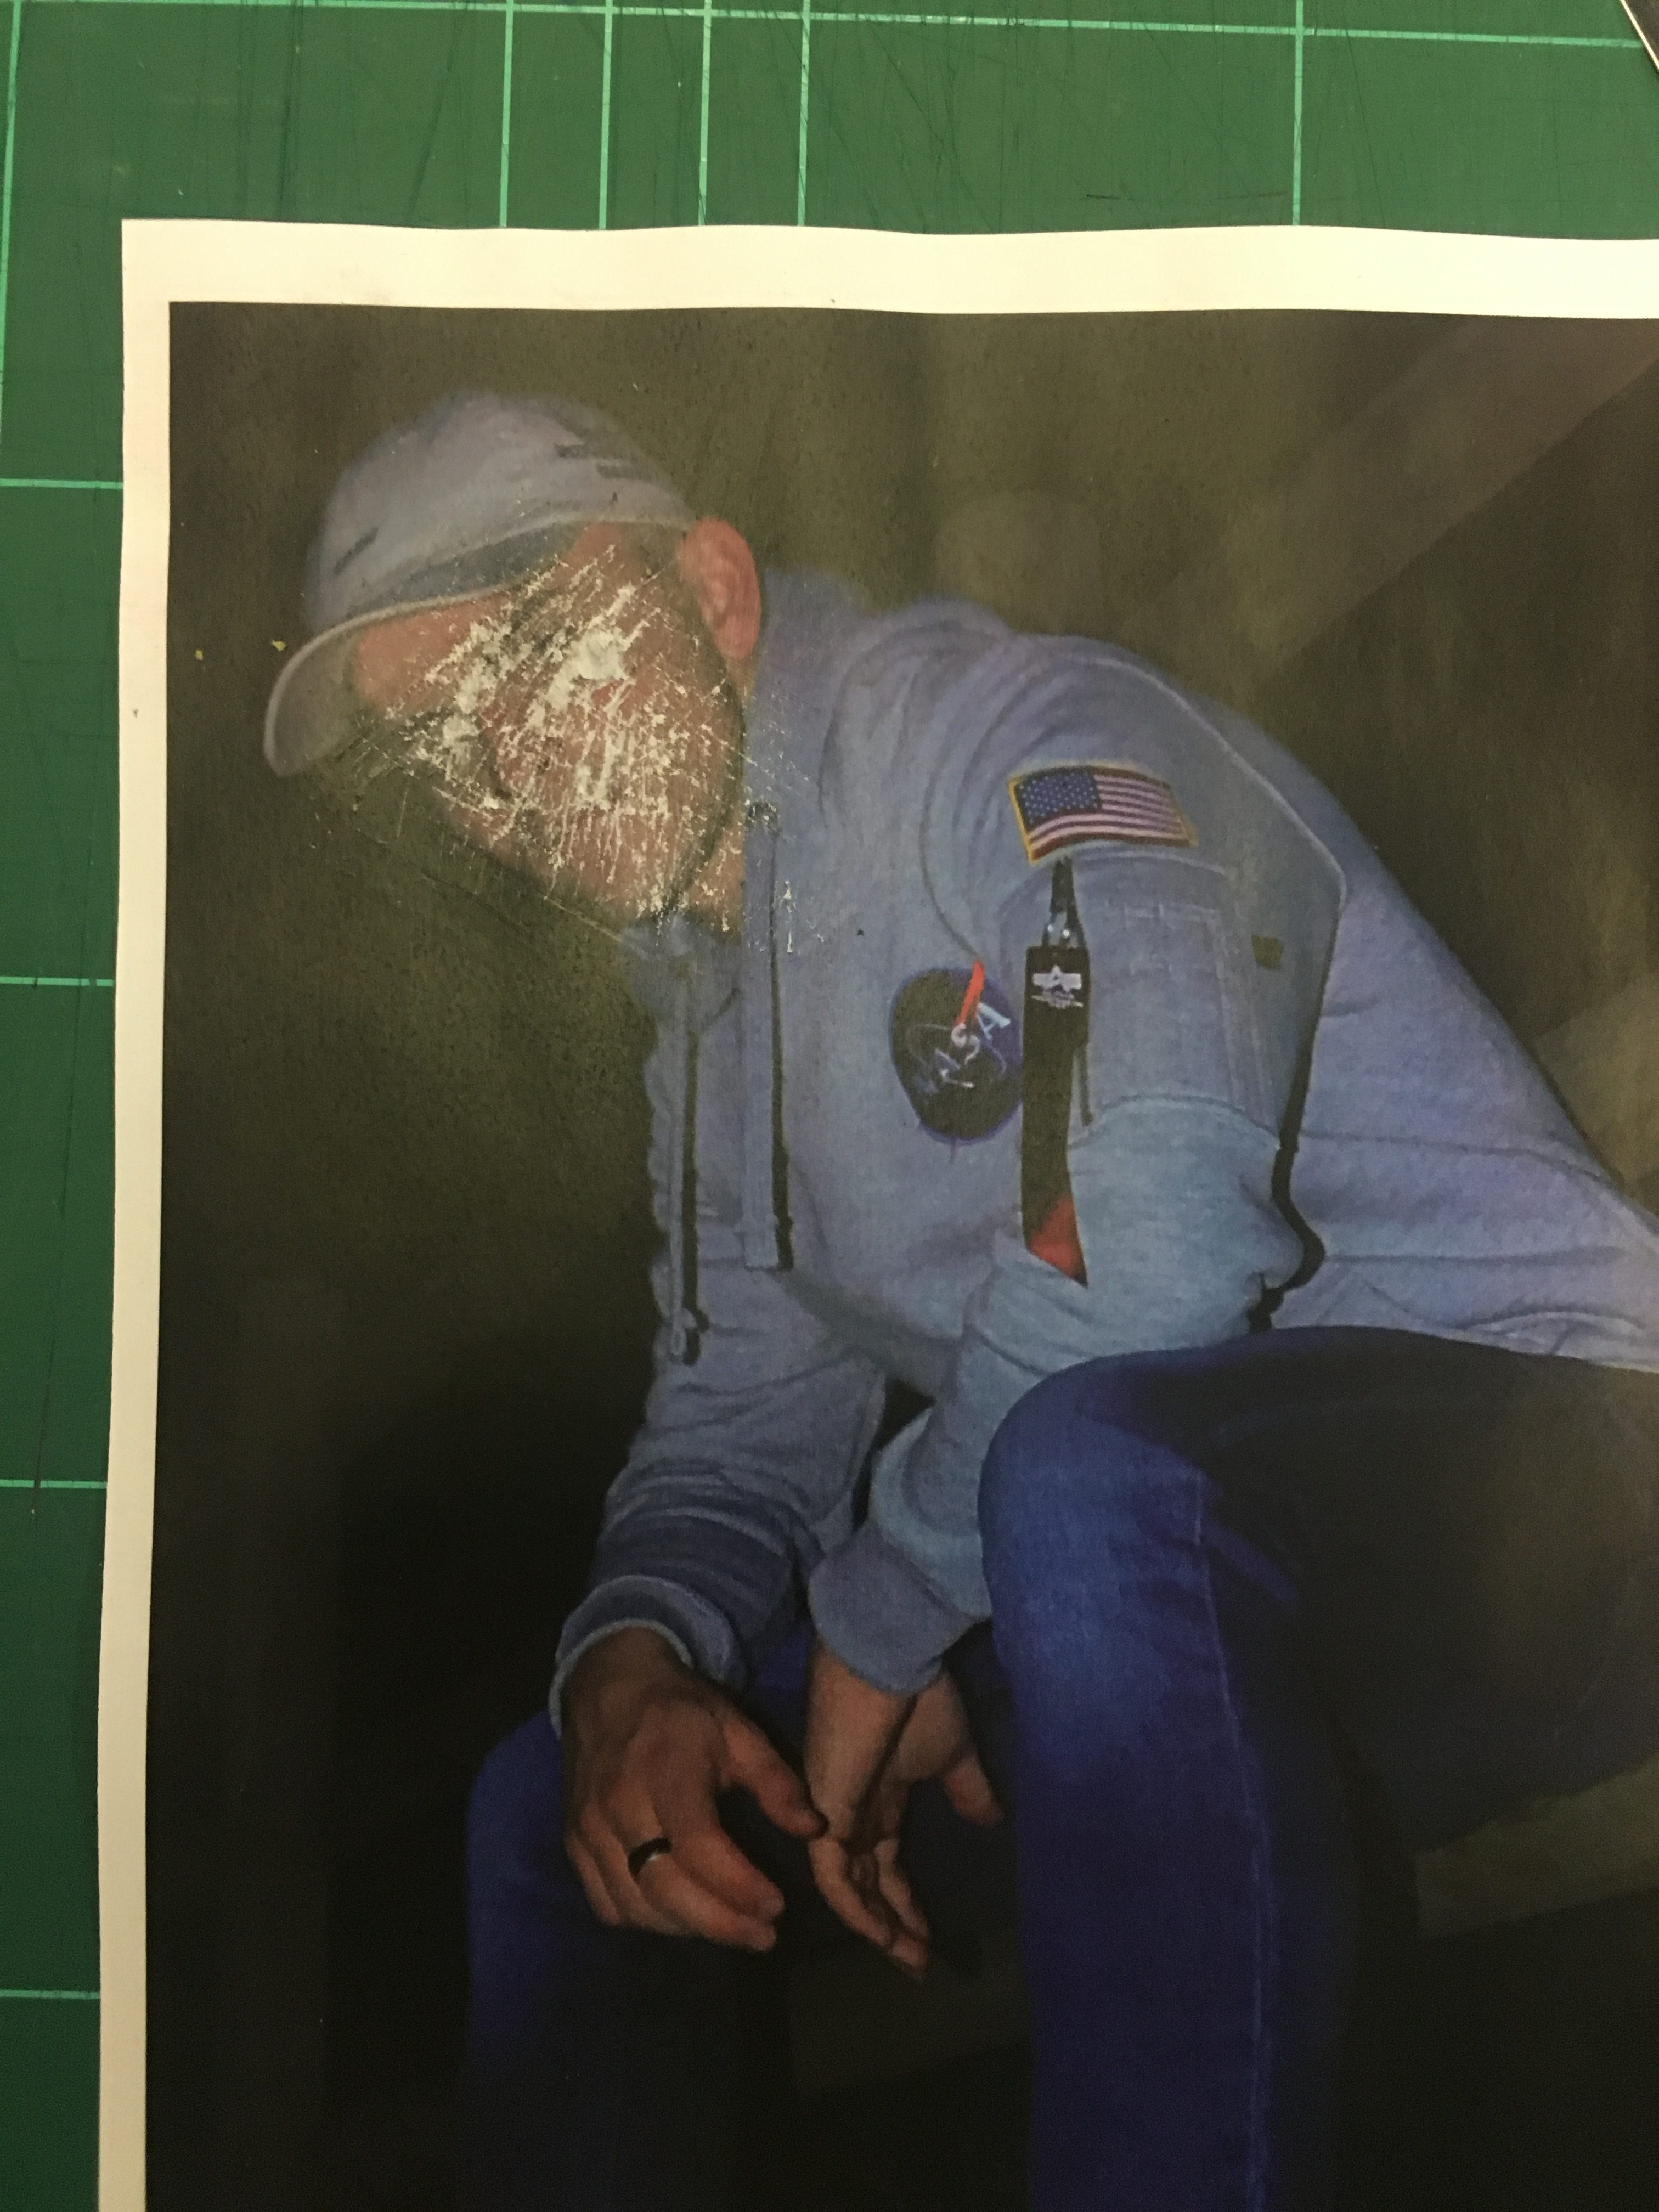


Identity: Concept and Ideas

For my project into identity, I have decided to focus on the different factors that help to develop and influence the identity of young children. I feel like this is a relatively broad topic, as the factors that influence children and how they perceive themselves range from the influence of parents, to the influence of media and their peers. I will be focusing on how the different factors that play into children’s everyday lives effect and influence them, either positively or negatively, and help to shape how they identify themselves and others around them.

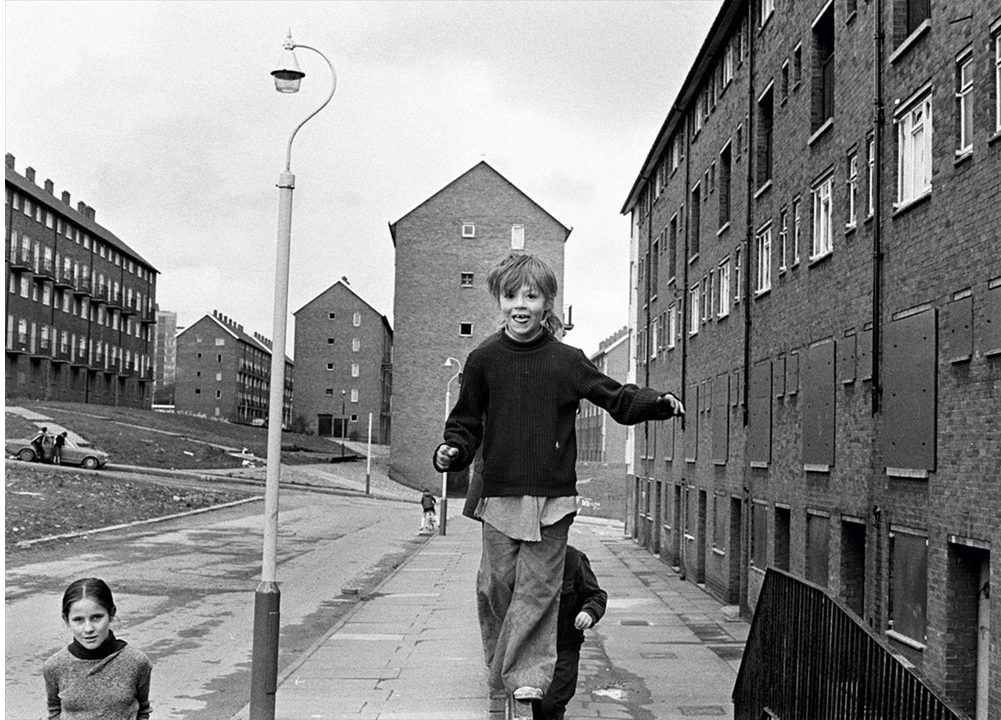
I will be taking inspiration from the artist and photographer Tish Murtha, as I feel that her documentary style photography of working class subjects in the mid to late 20th century documents how social, political and economic factors in their lives influences and shapes their social identity and behavior. I will be taking inspiration from Murtha’s documentary style photography, as well as using the concept of external factors influencing identity in order to complete my project into how children develop their identities.

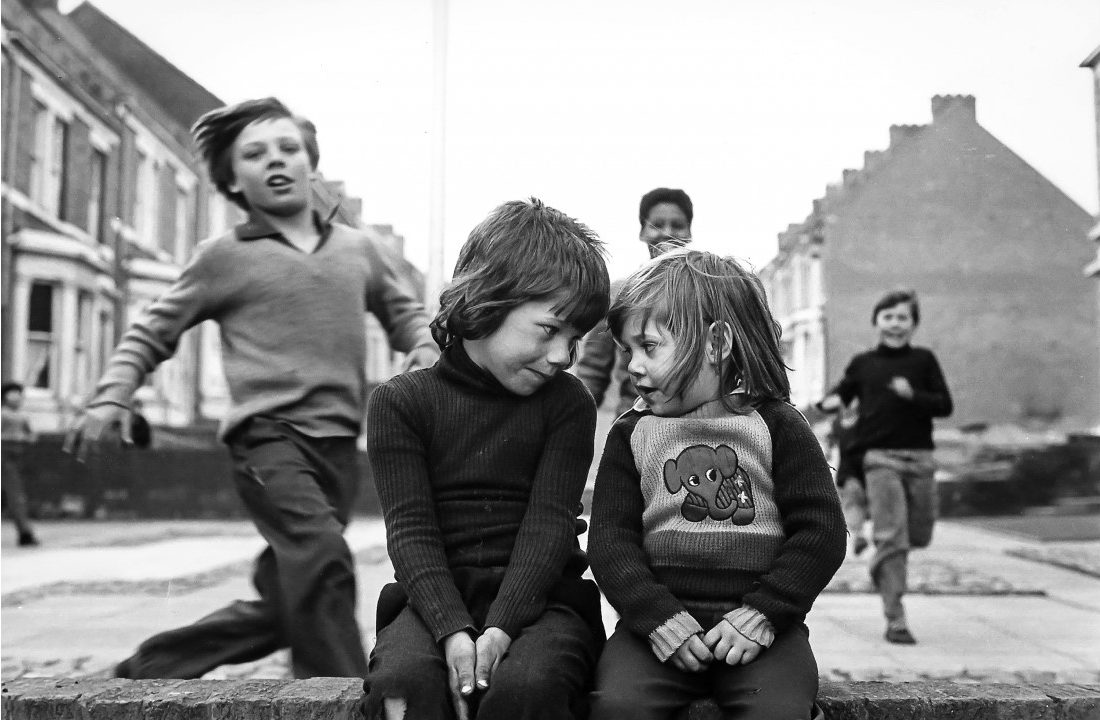
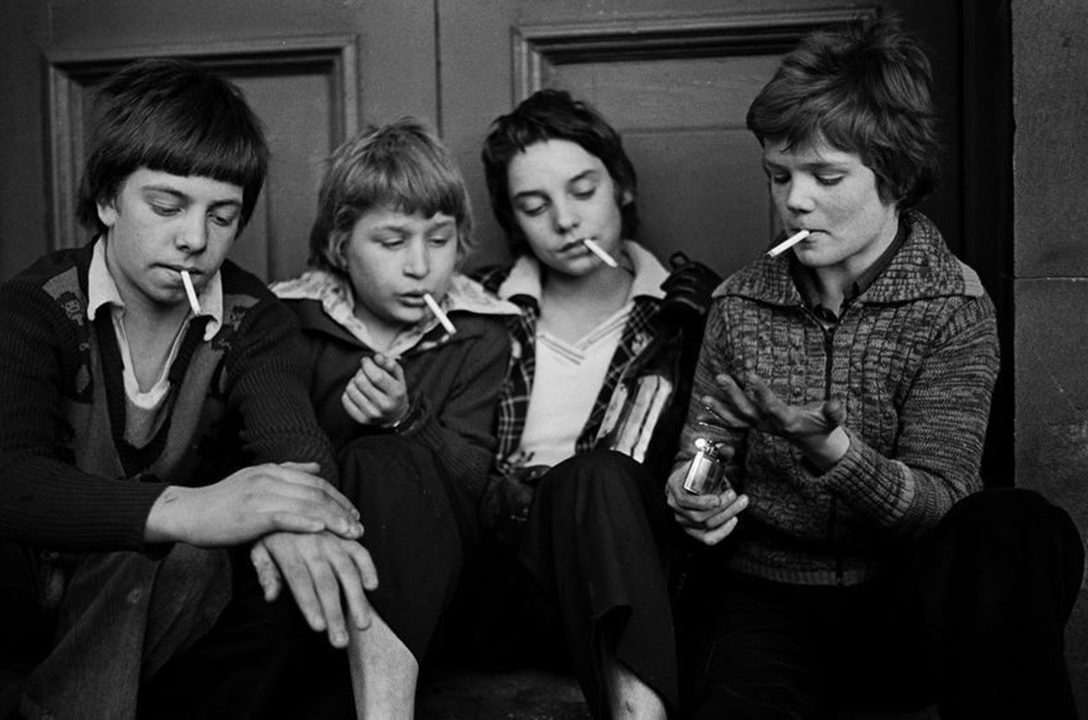
The below images are examples of where Murtha has used children of subjects in order to display the complex nature of the social dynamics of children’s relationships with one another. Murtha’s work also shows how children’s external environment effected them during the 1970’s-80’s, as the children depicted in her images are often shown to be playing freely and with little supervision:

I conducted a range of photo-shoots in order to collect images that can be used to present my theme of how factors influence the developing identity of children.

A portion of the images I took use the documentary style that is also utilized by Murtha, as the subjects are captured in candid, natural poses. As well as the images that make use of documentary style photography, some of the images are posed, inspired by the close up shots that Murtha took of children in and around the area in which she worked.

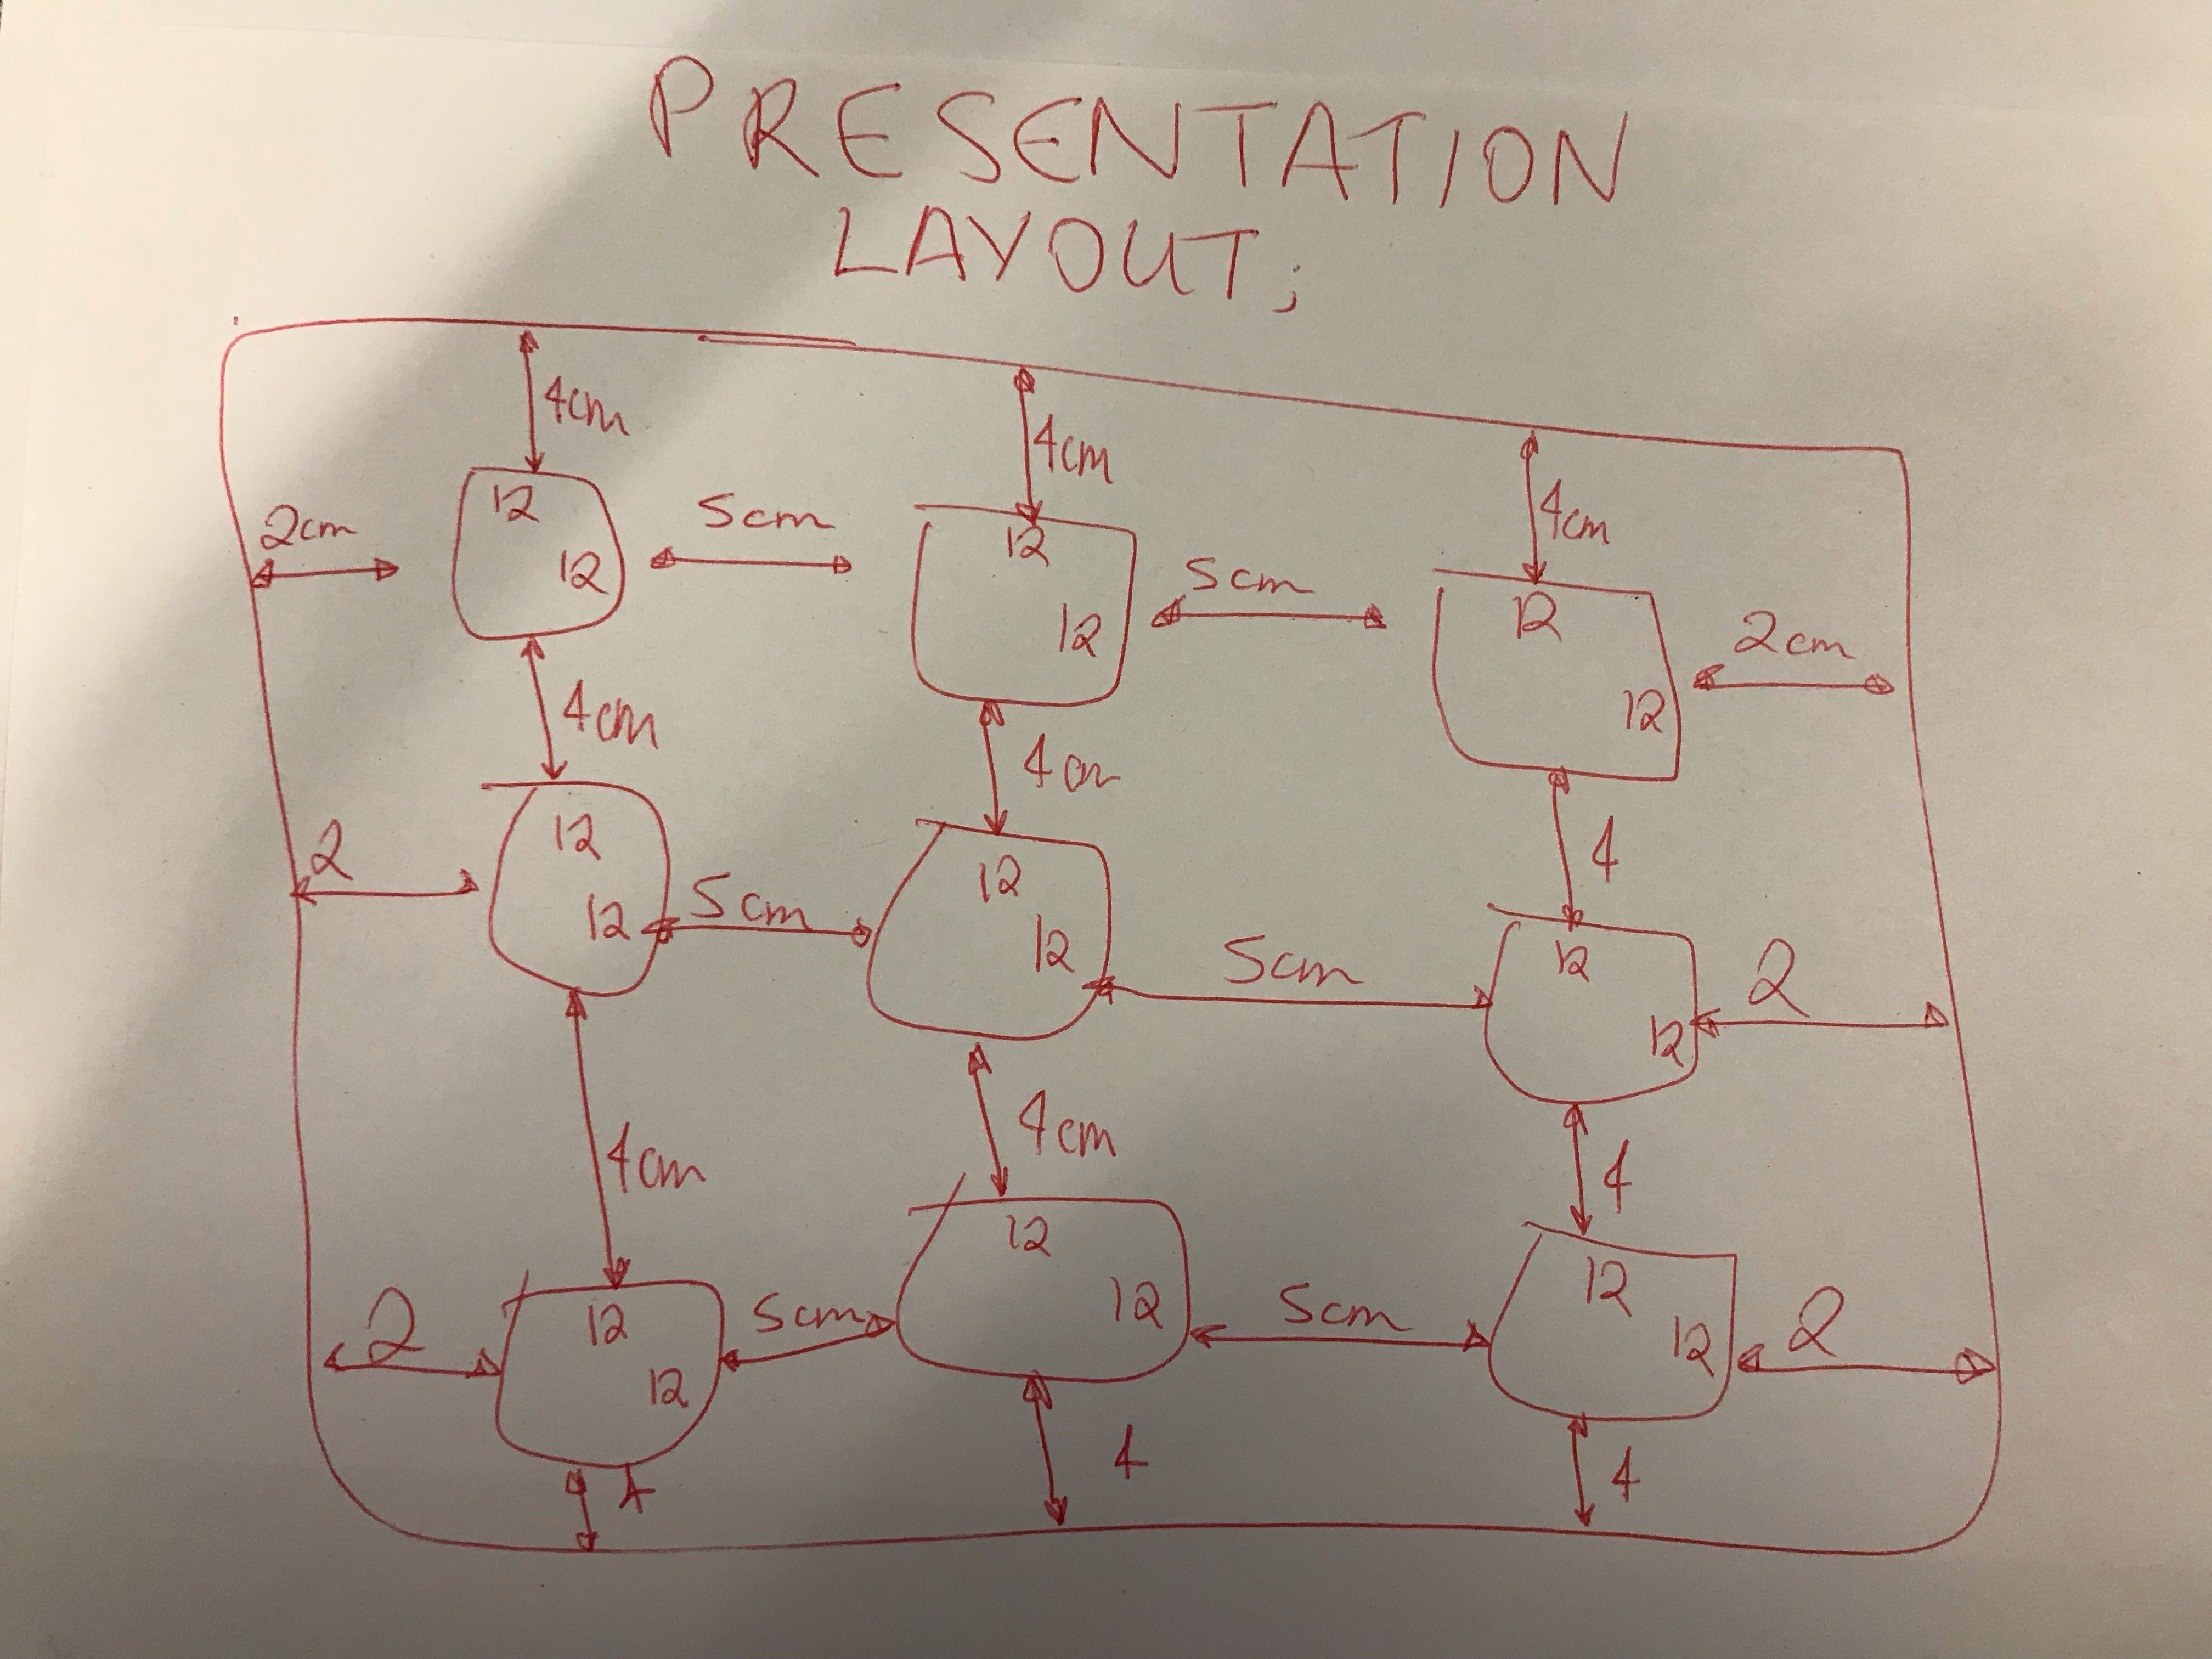
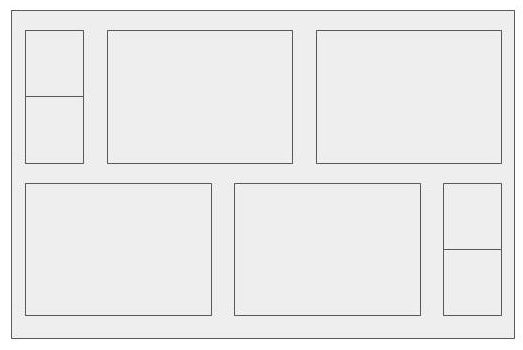
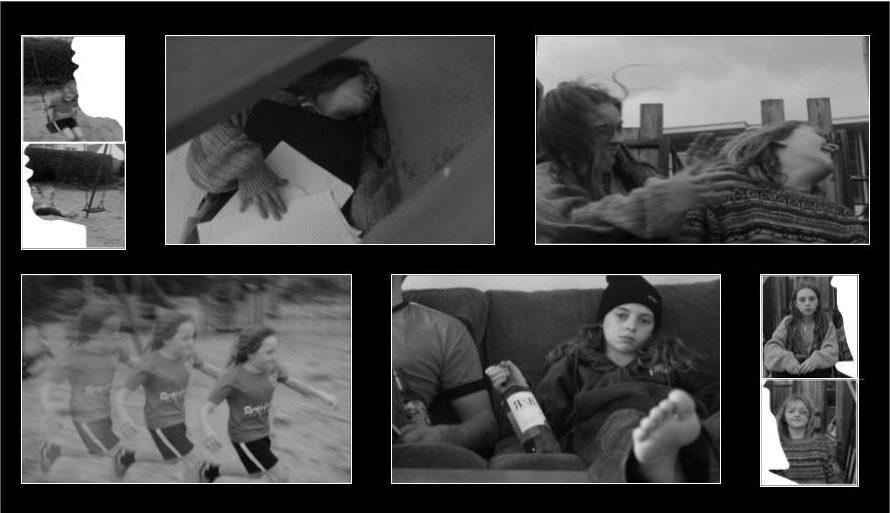
For the layout of my final images, I have decided to create the following pattern, using 8 of my final images in order to fill the boxes. I feel like this layout is eye-catching, and allows for certain photographs to be emphasized, whereas others are more subtle presented, allowing the viewer to see the different aspects of the images in different ways.

The following images will be used in this final piece layout:

Upon printing, the bottom 2 images will be physically torn in half, to create a divide between the 2 subjects, before being used as the smaller images in the top left and bottom right of the layout.

The final layout of the piece will resemble the following:

In addition to this layout, I will be using the following as a second final piece:

And after the following image is printed, it will be physically sewn into to add to the layer of editing on the photograph:

Identity: Final Ideas

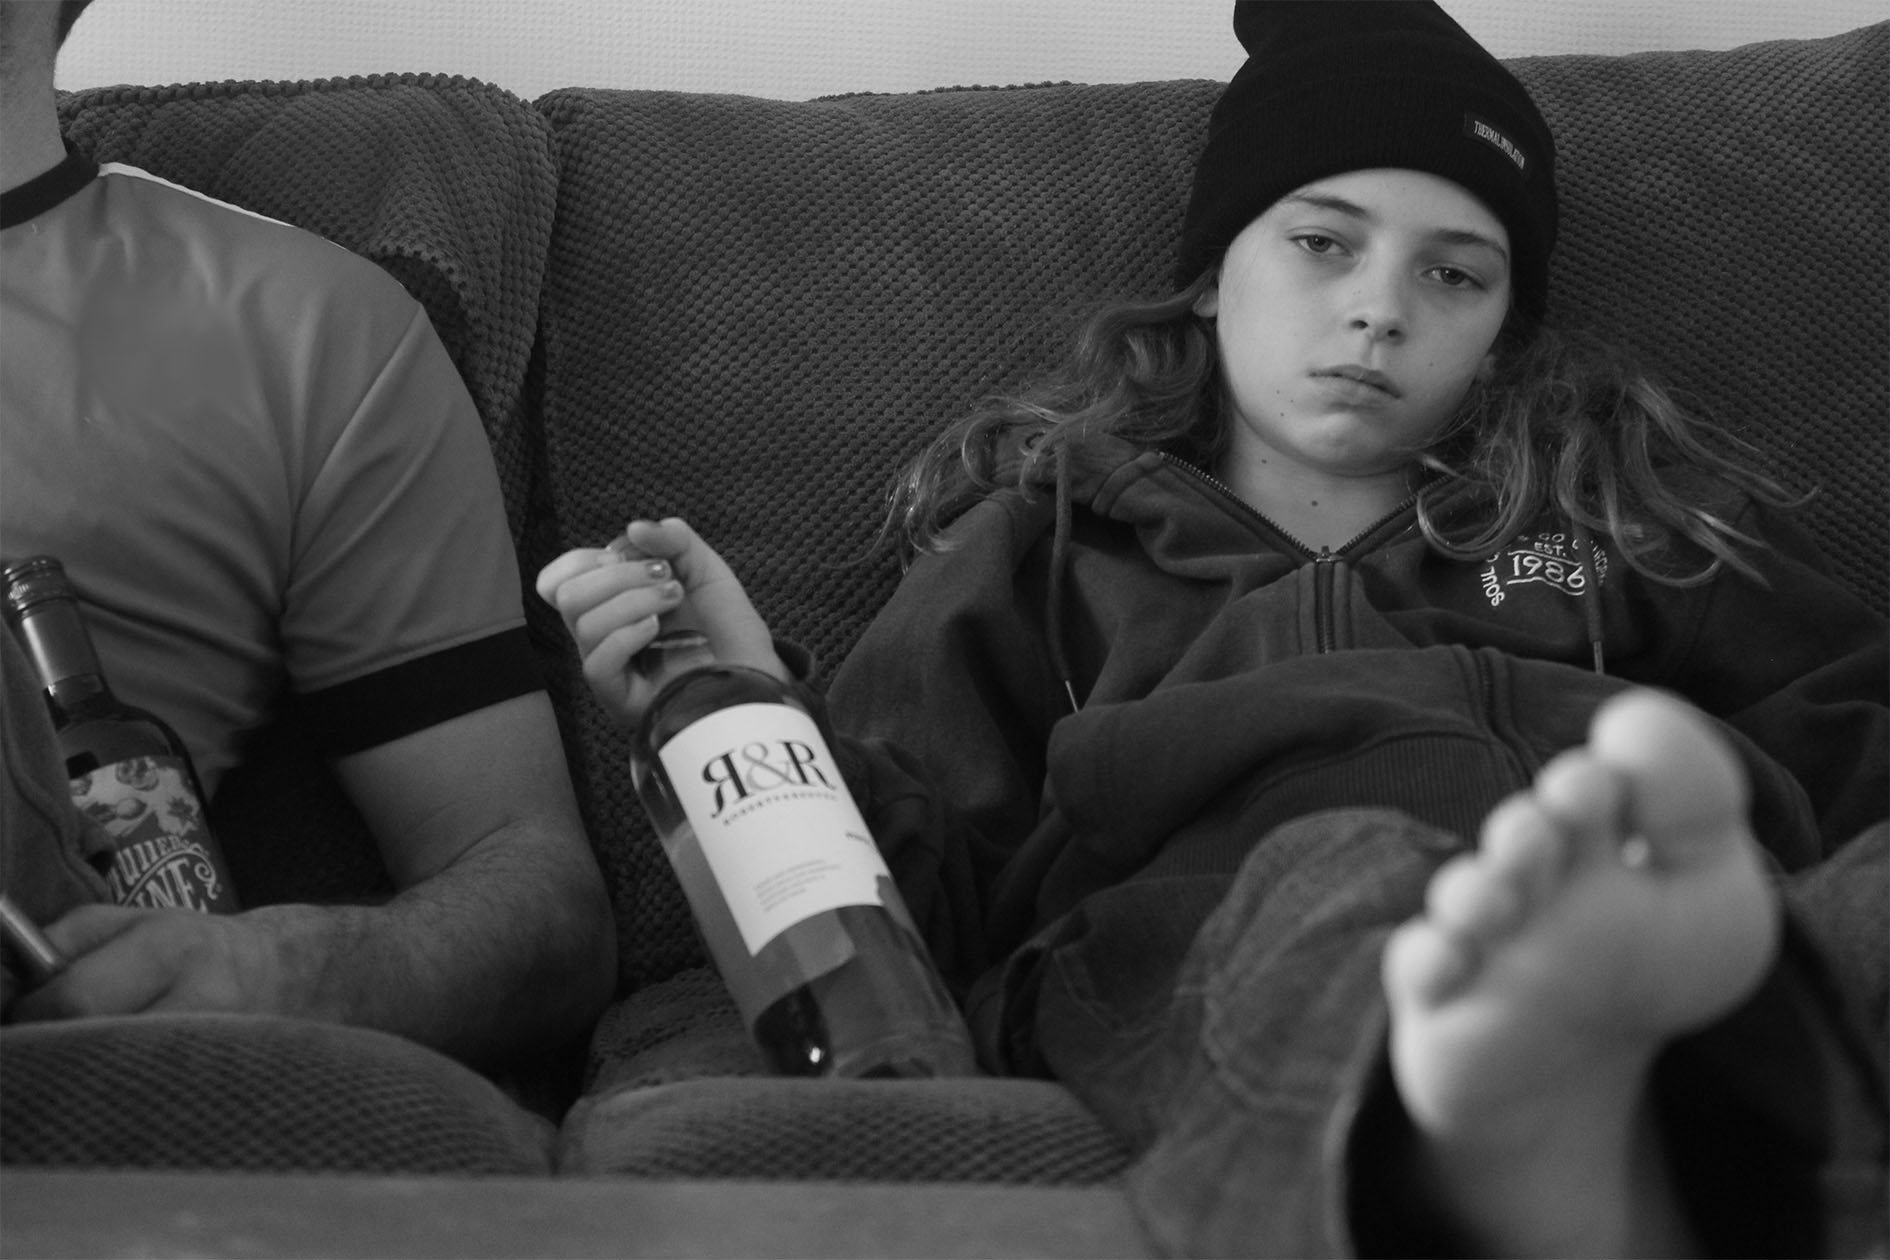
From the photo-shoots I completed for my identity project into how the environment of a child influences the development of their identity, I have decided on the following final images from each shoot:

In order to take physical inspiration from Murtha, I decided to edit some of my images so that they are black and white in color, which mimics the color scheme of Murtha’s work.

Final Ideas:

The above layout is made out of 6 images I have taken as part of my project. These images are heavily influenced by the documentary photographer Tish Murtha, and I have taken inspiration from her concepts and documentary style, while also using black and white coloring to emphasize the shapes and perspectives in the images.

In addition to this layout, I will be using the following as a second final piece:

And after the following image is printed, it will be physically sewn into to add to the layer of editing on the photograph:


Portrait images for final pieces

Final piece images 

These are the portrait images that i am going to be using for my Photoshop final pieces . I have chosen these because they are simple and easy to blend well with other photos , they are crisp and in focus they have a sharp clean feel to them. The expressions are meant to represent what i want to convey with in the the images e.g confusion, sadness or misunderstanding.  I have chosen this background because it mirrors the geometrical buildings and wood that i am going to be blending the images with gives the images a background structural components adding depth to the images all so intrigue . The cool muted blue tones of the images complement the yellow of the wood sculpture i made for them to be combined with. Each image has a different  focal point depending on where the model is in relation to the border of the image. I have experimented with different image alignments where the model is not the in the direct middle of the photos but off center to the left or right. Theses images were successful and means that the wooden sculpture will fit into the original images well because it is also off center.
Identity FINAL PIECES + analysis

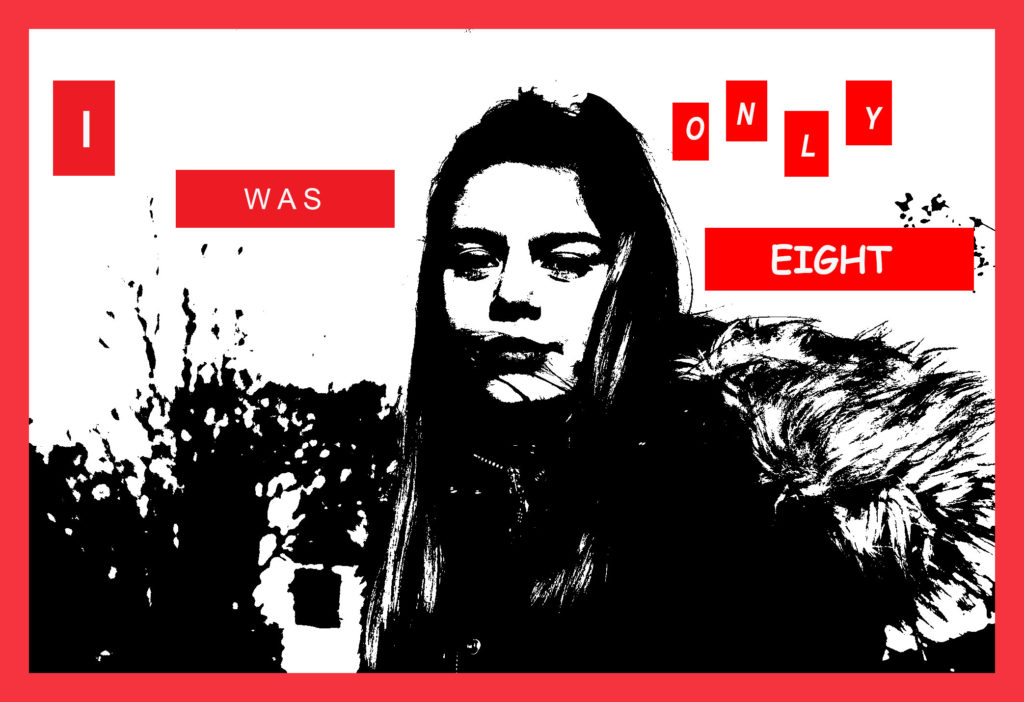
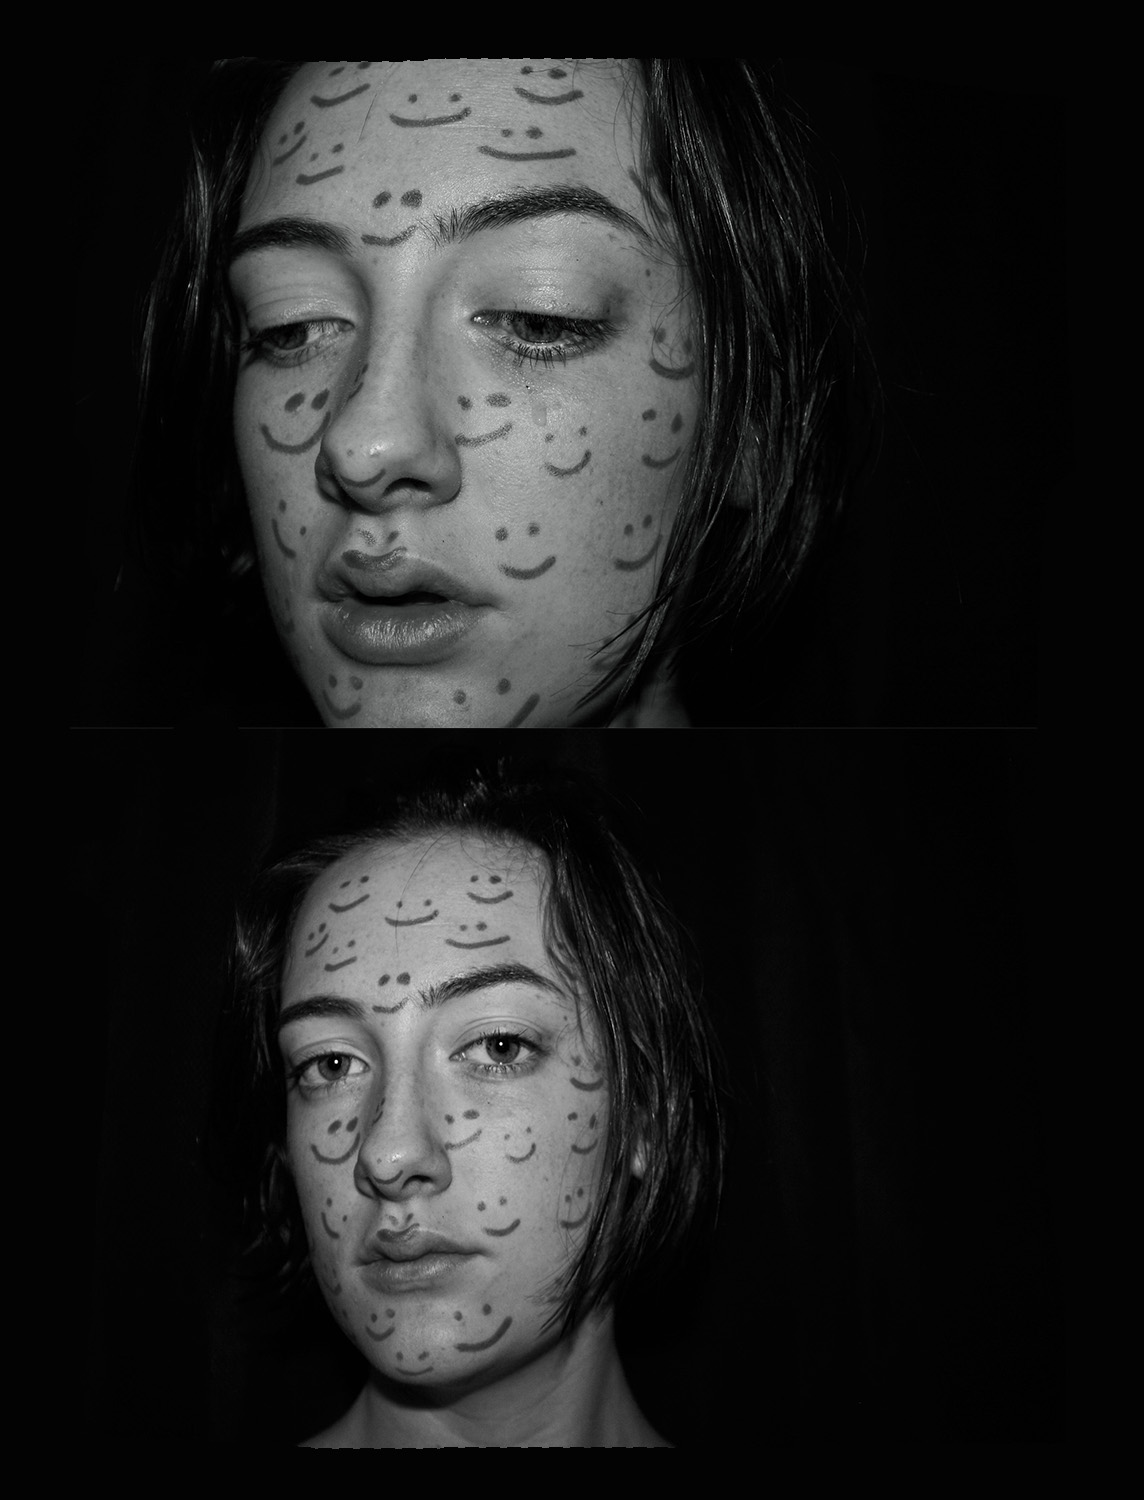
This is the first image, in my somewhat series, of 5 final pieces. I chose to use this image as Katie is looking directly at the camera, however her facial expressions are not happy. I’ve chosen the phrase ‘I was only 8’ as my story started when I was 8 years old, and what I experienced shaped my identity into the person that I am today, 9 years later.
I took inspiration from Krugers editing but the ‘secrets’ told in Rosenfields ‘What I Be’ project. I personally feel this looked, visibly very effective because although the text automatically catches attention, the black and white image is also so strong and consequently very eye-catching.

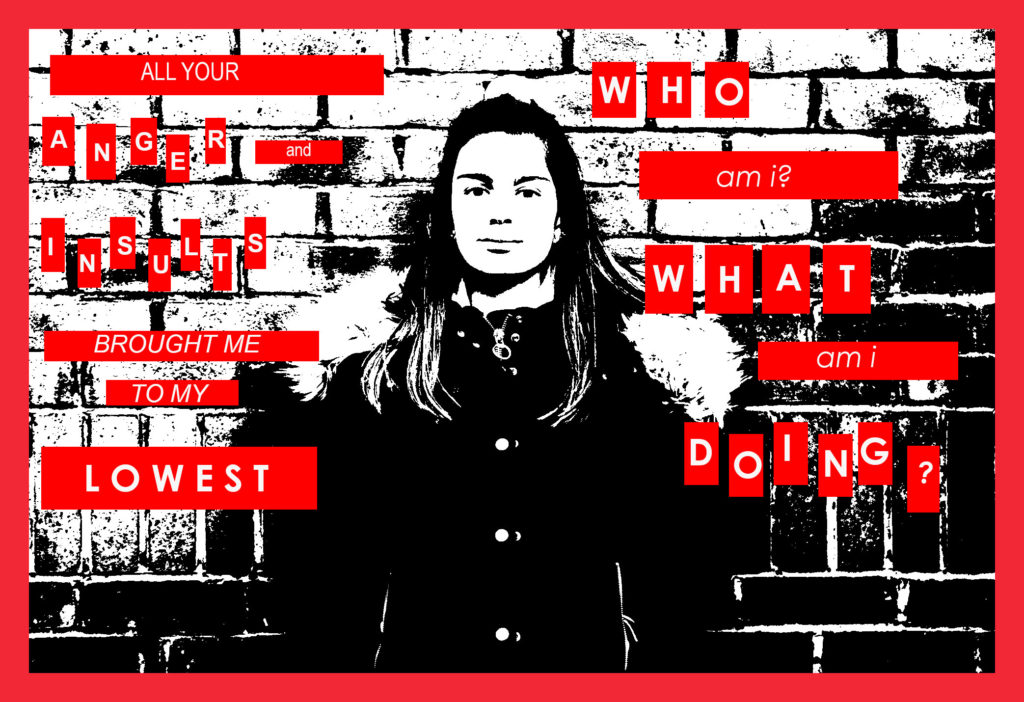
In my second image I touched on how bullying/verbal/emotional abuse caused a loss of identity, and some of the questions that we ask ourselves when we do experience this.

who am i? 

what am i doing?

I broke some of the words up into separate boxes for separate letters, Kruger did this in one of her images and I thought it was interesting, I think it brings a lot of emphasis to individual ‘significant’ words.

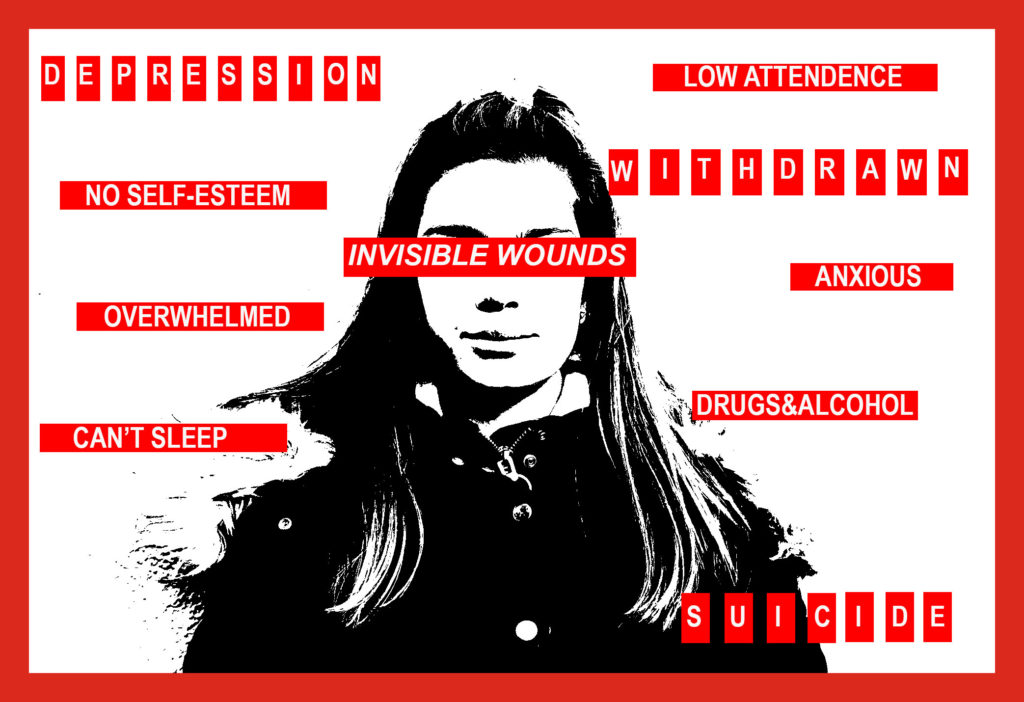
In this image I’ve put the text ‘INVISIBLE WOUNDS’ across Katie’s eyes, I’ve done this because if something is invisible, you cannot see it, around Katie I’ve stated some of the serious effects that can be caused by these issues alongside the loss of a persons sense of self.

This final image is personally my favourite as even though it’s extremely personal to me, it does raise awareness on the issues that children and teens can involuntarily be forced to face, and all of these ‘invisible wounds’ are heavily stigmatised, causing young people to stay silent.

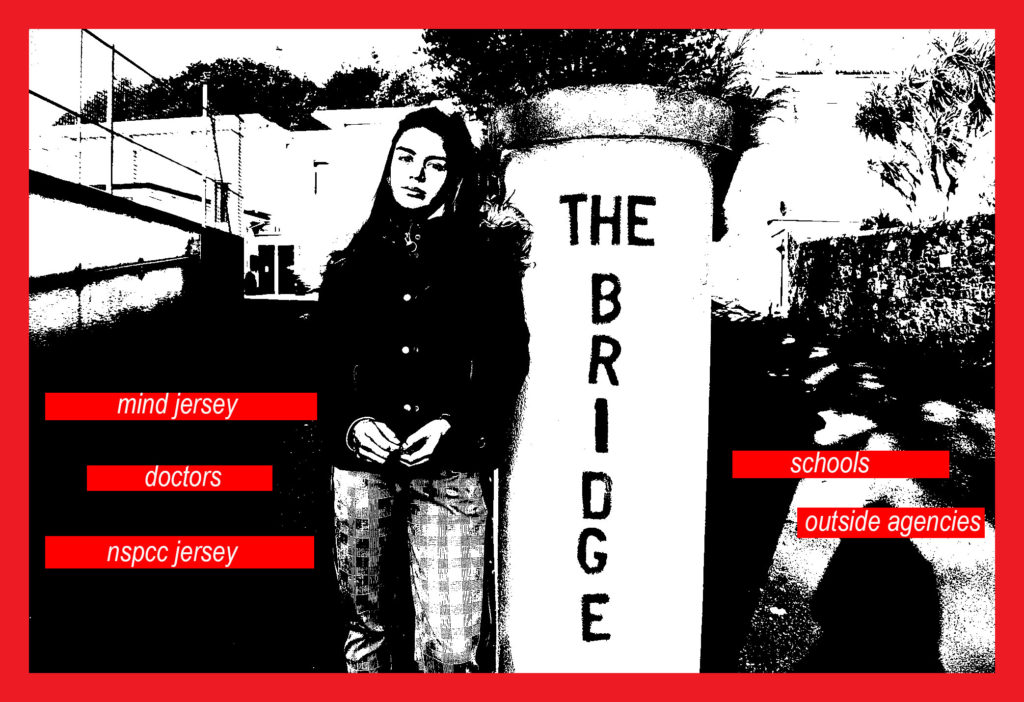
For this final edit I have chosen to use a photo of Katie at ‘the Bridge’. The Bridge is somewhere where children & families can access support, I thought this was appropriate for this image as in my text, I have listed places that young people can approach for help and support.

I thought that this was important to have incorporated somewhere in my finals because, not only do these issues usually require help, my story involved all of these people – another personal touch to my ‘identity’.

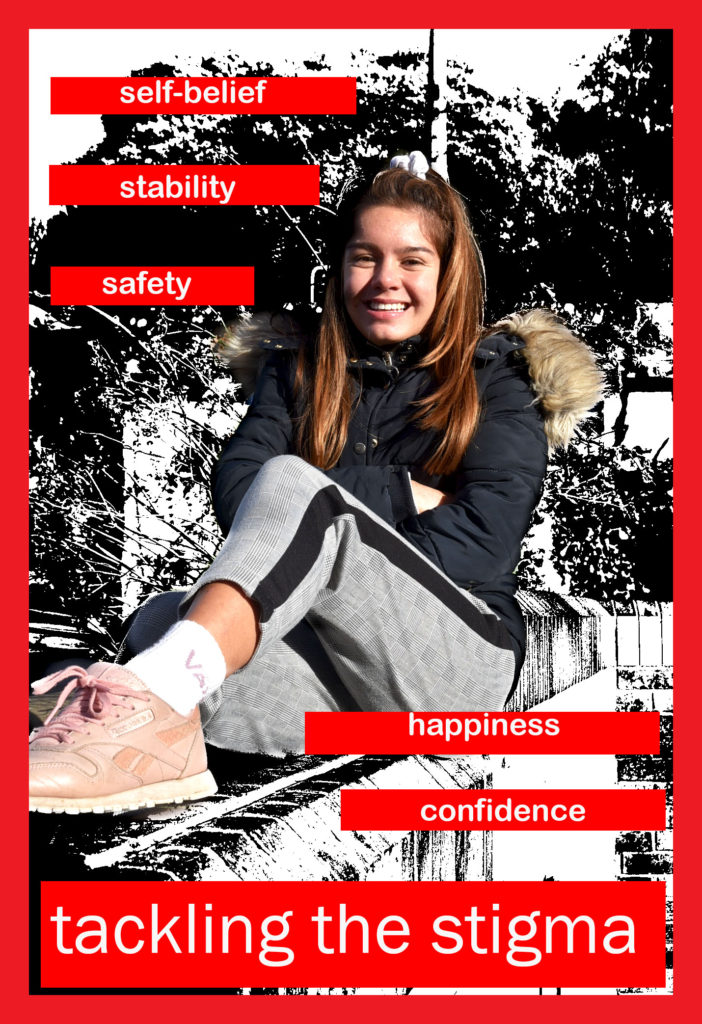
My final, final piece represented recovery and moving on.

In this edit I’d used the history tool to bring Katie back to colour, I did this because colour is often associated with happiness, where as black and white images are usually seen as depressing and sad.

I’ve written about what recovery can bring a person, for example; happiness, confidence and self-belief or self-worth. I’ve also written ‘tackling the stigma’ larger than the rest at the bottom of the image, this is because I feel that through my images I have tackled stigma.

Isabella Madrid

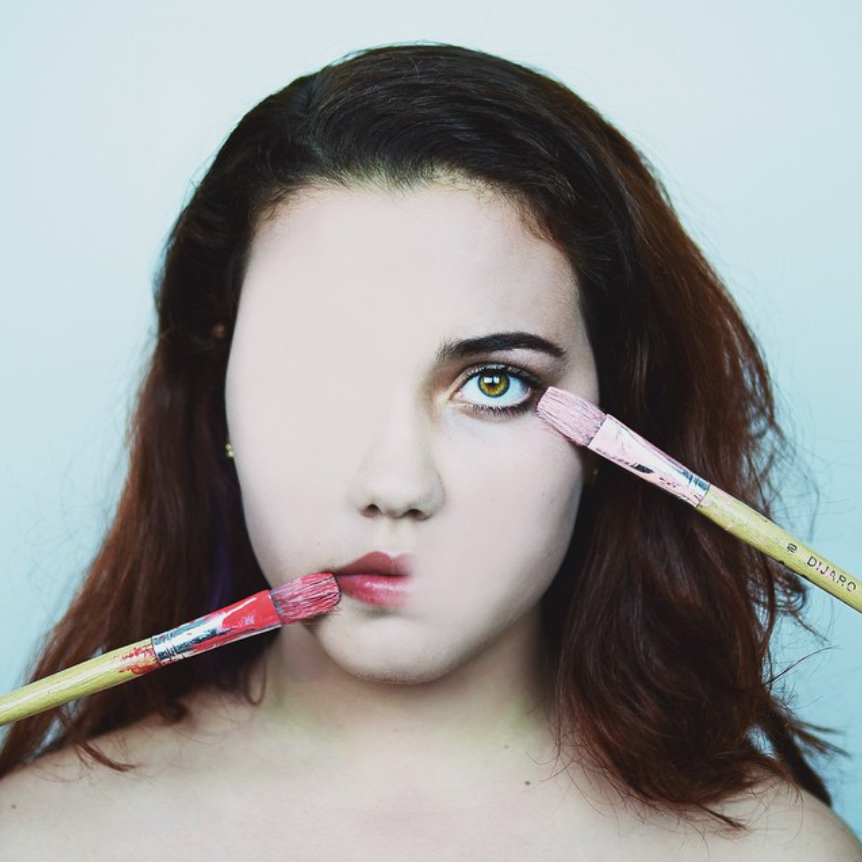
Isabella Madrid was born in Pereira, Columbia. At the age of twelve, she began to feel a void in her life until her father gave her the first camera at thirteen and she discovered photography. Her style is simple, candid and introspective. She has a love for post production and knows the incredible things that can be achieved from a photograph. Inspiration comes to her from the most unexpected places and people. She also finds it within herself, in her feelings, in the human body, in light and nature. Her artistic photography is mainly self portraits. Therefore, her whole creative process is very personal and aimed for self discovery. She does all the editing on photoshop and likes to experiment with textures, mixing digital painting with photos, with colours, with light, with black and white. Her creative work mainly happens in her own room. A place where she can be herself without any concerns.

ANALYSIS OF IMAGE

This image is a self portrait of the photographer holding two paintbrushes towards her face. One is towards her mouth and the other is near her right eye. This image relates to ‘loss of identity’ since the edit shows that her face is a blank canvas. The two paintbrushes are painting her facial features and creating a false identity for her. When responding to Isabella Madrid’s work I will create edits that convey the theme ‘lack of identity’ just like she does through photoshop manipulation.