Category Archives: Unit 2 Portrait

Filters

Author:
Category:

Street photographer- Henri Cartier-Bresson

About Henri Cartier-Bresson

Henri Cartier-Bresson was born on the 22nd August 1908 in Chanteloup-en-Brie, France. Henri was the oldest of five children, his father being a wealthy manufacturer, while his mothers family were cotton merchants and landowners from Normandy. Henri began his creativeness by beginning to sketch from a young age which soon led to his love of photography. However Cartier’s father assumed that he would continue on the family business but Henri was fairly set on becoming a photographer and was not keen on his fathers idea for his future. Henri tried many forms of art and began to paint after he stopped learning music.

Cartier first began painter when his uncle Louis introduced  him to oil painting. to after this introduction Carriers uncle died in World Was l. In 1927 Cartier began at the private art school and Lhotel Academy. After an eventful period at the Academy Cartier-Bresson looked else where for inspiration and do find himself. That’s when he came across The Surrealist movement, founded i 1924, which was a key component to Cartier-Bresson’s photography. He would begin to meet and socialize with Surrealistic at the Cafe Cyrano, in the Place Blanche. this is where Henri began to adapt to their techniques of photography, leading to him maturing as an overall photographer.

In 1931 Cartier became extremely inspired by Hungarian photojournalist Martin Munkacsi showing three  naked young African boys, caught in near-silhouette, running into the surf of Lake Tanganyika.  He finally found his way and pioneered the genre of street photography and began to view photography as capturing a ‘decisive moment’. In 1952 Cartier-Bresson publish The Decisive Moment the title of The English edition of Cartier-Bresson’s photo book originally called Images a la Sauvette loosely translated as ”image on the run”, which included a portfolio of 126 photos from the West and East. Cartier-Bresson’s photography took him to many places, including China, Mexico, Canada, the United States, India, Japan, and the Soviet Union. In 1962 Cartier-Bresson was asked on behalf of Vouge to go to Sardinia where he visited an array of areas and photographed extraordinary things.

One of his famous pieces:

Emotional response:

When first looking at this image I was initially drawn to the centre of the piece where the man in the dark coat was positioned, as well as this the black and white shades were a dramatic factor to consider as I believed them to be extremely defined in the image. Due to the this drastic vibe and the specific lighting being produced the tone of this particular image to me became much darker and some what unsettling. as the dark tones seeping in through the tree almost represents the idea of being stuck and trying to escape. The man in middle to me has a dark  feeling. with is long what over sized drench coat matched nicely with his top hat. He looks a fair age with his well groomed facial hair and what looks like a cigar resting in his mouth. This image to me clearly comes across as 3D with the slowly decreasing size of trees running symmetrically and respectively down each side of the photo, leading to a high aesthetic value.

Technical Response:

This image is based in a park so has streams of natural light, however not necessarily clear sky, due to the shadows the weather in the photographer looks misty and cold.  Due to the specific lighting the image of the man looks some what manipulated in to the photograph and is what looks like a ‘card board cut out’ this is thanks to the daytime light shining in through behind the man whom is which strongly contrasting with the bright light due to being dressed in complete black. The image is taken as a portrait image with what i believe to be a purposeful about of over exposure, which is well balanced with the man dressed in black and the dark trees. The image has a slightly grainy texture to it telling us the light sensitiveness of the image is reasonably high.

Contextual Response:

Henri Cartier-Bresson took this image when he was part of the Magnum Photos cooperative. Working along side Robert Capa, George Rodger and David Seymour. Henri Cartier-Bresson said ”i was walking behind this man when all of a sudden he turned around” Marseille, France, 1932.

Conceptual Response:

The concept of this piece was simply Henri Cartier-Bresson going out taking photographs for Magnum’s cooperative. He clearly was focusing on street photography and managed to turn it more in to a portrait when the man in the photograph turned around and looked directly in to the camera, proving that some of the best photographs happen by accident.


Tableaux viviants- Means Girls

For my attempt at tableaux vivant photography i decided to re create a scene from the film “mean Girls”.  The film follows a character named Cady Heron who was educated in Africa by her scientist parents. When they move to Illinois she experiences public high school, and befriends a group of girls -Regina, Karen and Gretchen- who are names “The Plastics”. Cady soon realises how the group of girls got their nicknames. This film was released in 2004, and depicts a stereotypical picture of how girls act. I chose to recreate a scene from this film as there are many interesting concepts and also because this film represents teenage girl culture.

Image result for mean girls

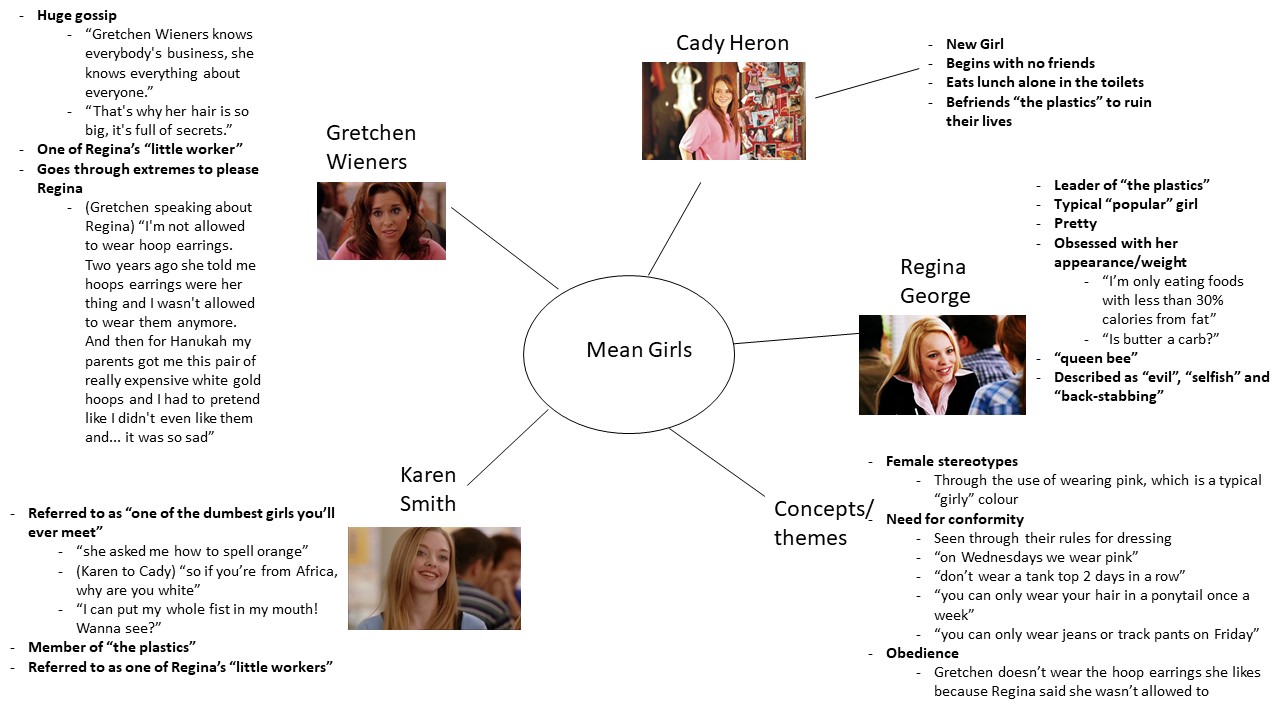
Each main character in the movie have their own personalities and characteristics, yet they are also very alike due to the underlying theme of conformity. Below is a mind map where I have analysed each main character, along with their personalities, and also themes and concepts:

Mind map

Mood Board

This is a mood board of screenshots from “mean Girls”. This mood board has helped show how the colour pink, is very symbolic throughout the movie. I appears many times, and seems to symbolism femininity and womanliness for the characters in the film. As it seems to very important throughout the movie, I will make sure to incorporate the colour into my final piece.


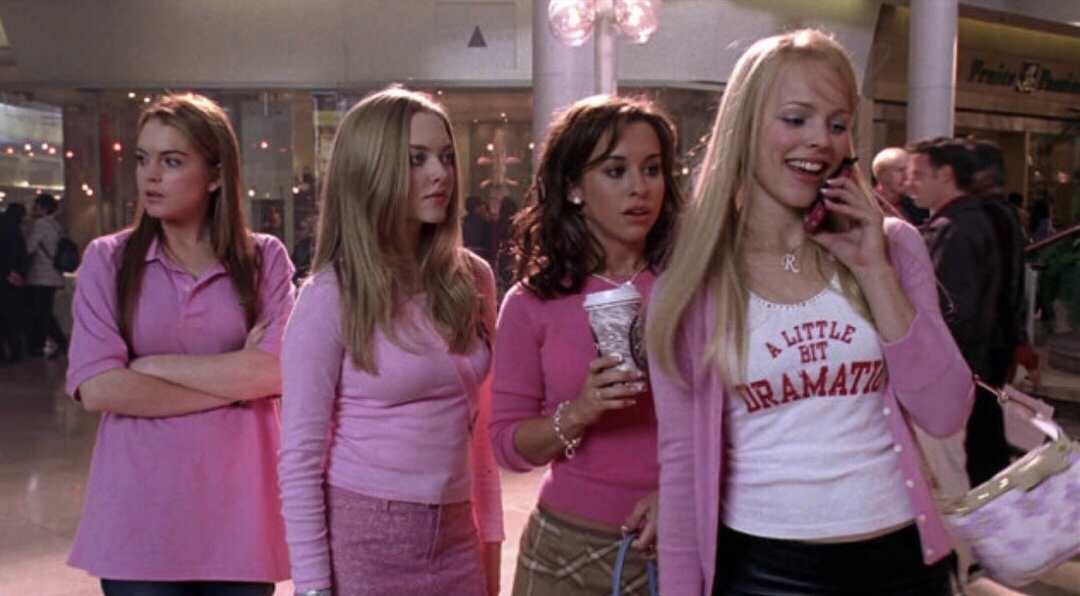
Image I’m recreating

Scene from the movie “Mean Girls”

Context

This screenshot was at a part of the film where all the girls went shopping at the mall.

Technical

It is clear to see that the 4 characters are the main focus of the photograph, as they are all pictured in the middle of the frame. It is also sharp and in focus

Visual

I like how they’re all wearing pink, as it’s very bright and attractive to the eye. I also makes them stand out among everyone else in the background. It is also very aesthetically pleasing how each of the characters’ outfits complement each other well as it makes the image go together well. All of the characters also have different expressions and body poses, which adds interest as there’s more diversity within the image.

Concept

I chose to recreate this image because it is very rich in themes and underlying concepts. Firstly, you can clearly tell that there’s a lot of pink in this image. The reason there is much of this colour within this scene is because the colour pink represents femininity throughout the film, as it’s a colour stereotypically associated with females. Secondly, it’s clear that there is a hierarchy within the friendship between the girls. You can see that (from left to right) Cady, Karen and Gretchen are all posed staring directly at Regina (far right) as if she is very important, meaning that he hold great power and authority within the group. You can also tell that there is an underlying theme of conformity, is can clearly be seen through the fact that there all dressed in the same colour as if it brings them all comfort to look similar and not stand out.

It is also important how each of their poses represent their personality.  Cady (left) is stood with her arms tightly folded, showing she is feeling quite self conscious trying to fit in with the rest of the girls. Another way we can tell she is feeling self conscience is by the fact that she is not particularly engaging with the other girls, instead she is looking away with a rather anxious look on her face. She’s also stood and the end of the group of girls which represents how she feels quite distanced and different from the rest of the girls. This is also seen through her choice in shirt. Although it is pink, like the clothes of the rest of the girls, Cady is wearing what could be considered a stereotypically masculine choice of shirt, which further shows although she is trying to be like the other girls she is not 100% comfortable dressing stereotypically “girly”.  Karen (second from the left) Is stood at the end of the original groups of girls (excluding Cady) which shows how she is the “sheep” of her group due to her not being as “socially bright” and relying on the rest of the girls as an example on how she should behave. She has also got quite a blank expression on her face which further portrays her as being the “stupid” member of the group. Gretchen (third from the left) is standing very close to Regina – the groups’ leader- and she is also staring very intensely at her. This symbolises Gretchen’s desire to please Regina and it also shows the characters desire for praise from Regina. Lastly, Regina (Right) is the character who has the most attention in the image. This is achieved by a combination of many things. For example, all the other characters are looking at her which shows her importance in the group, and she also seems the boldest and most confident as she has a very happy expression on her face and seems care free as she talks on the phone.

Photo shoot plan

For my recreation of the image I will take my image in a part of the school where there is a large window so it best resembles the background of the original image. I will also have 4 models each specifically assigned to represent each character. With the help of my models, we have also decided on the appropriate clothing which resembles each of their specific character the best. For the photo shoot, I plan on using a soft box light to make sure that my image has a bright undertone to it like the original photograph, and also so the quality is sharp and so the picture is clear. To get the image accurate, I’ll also be getting my images to use props like a coffee cup and a phone.

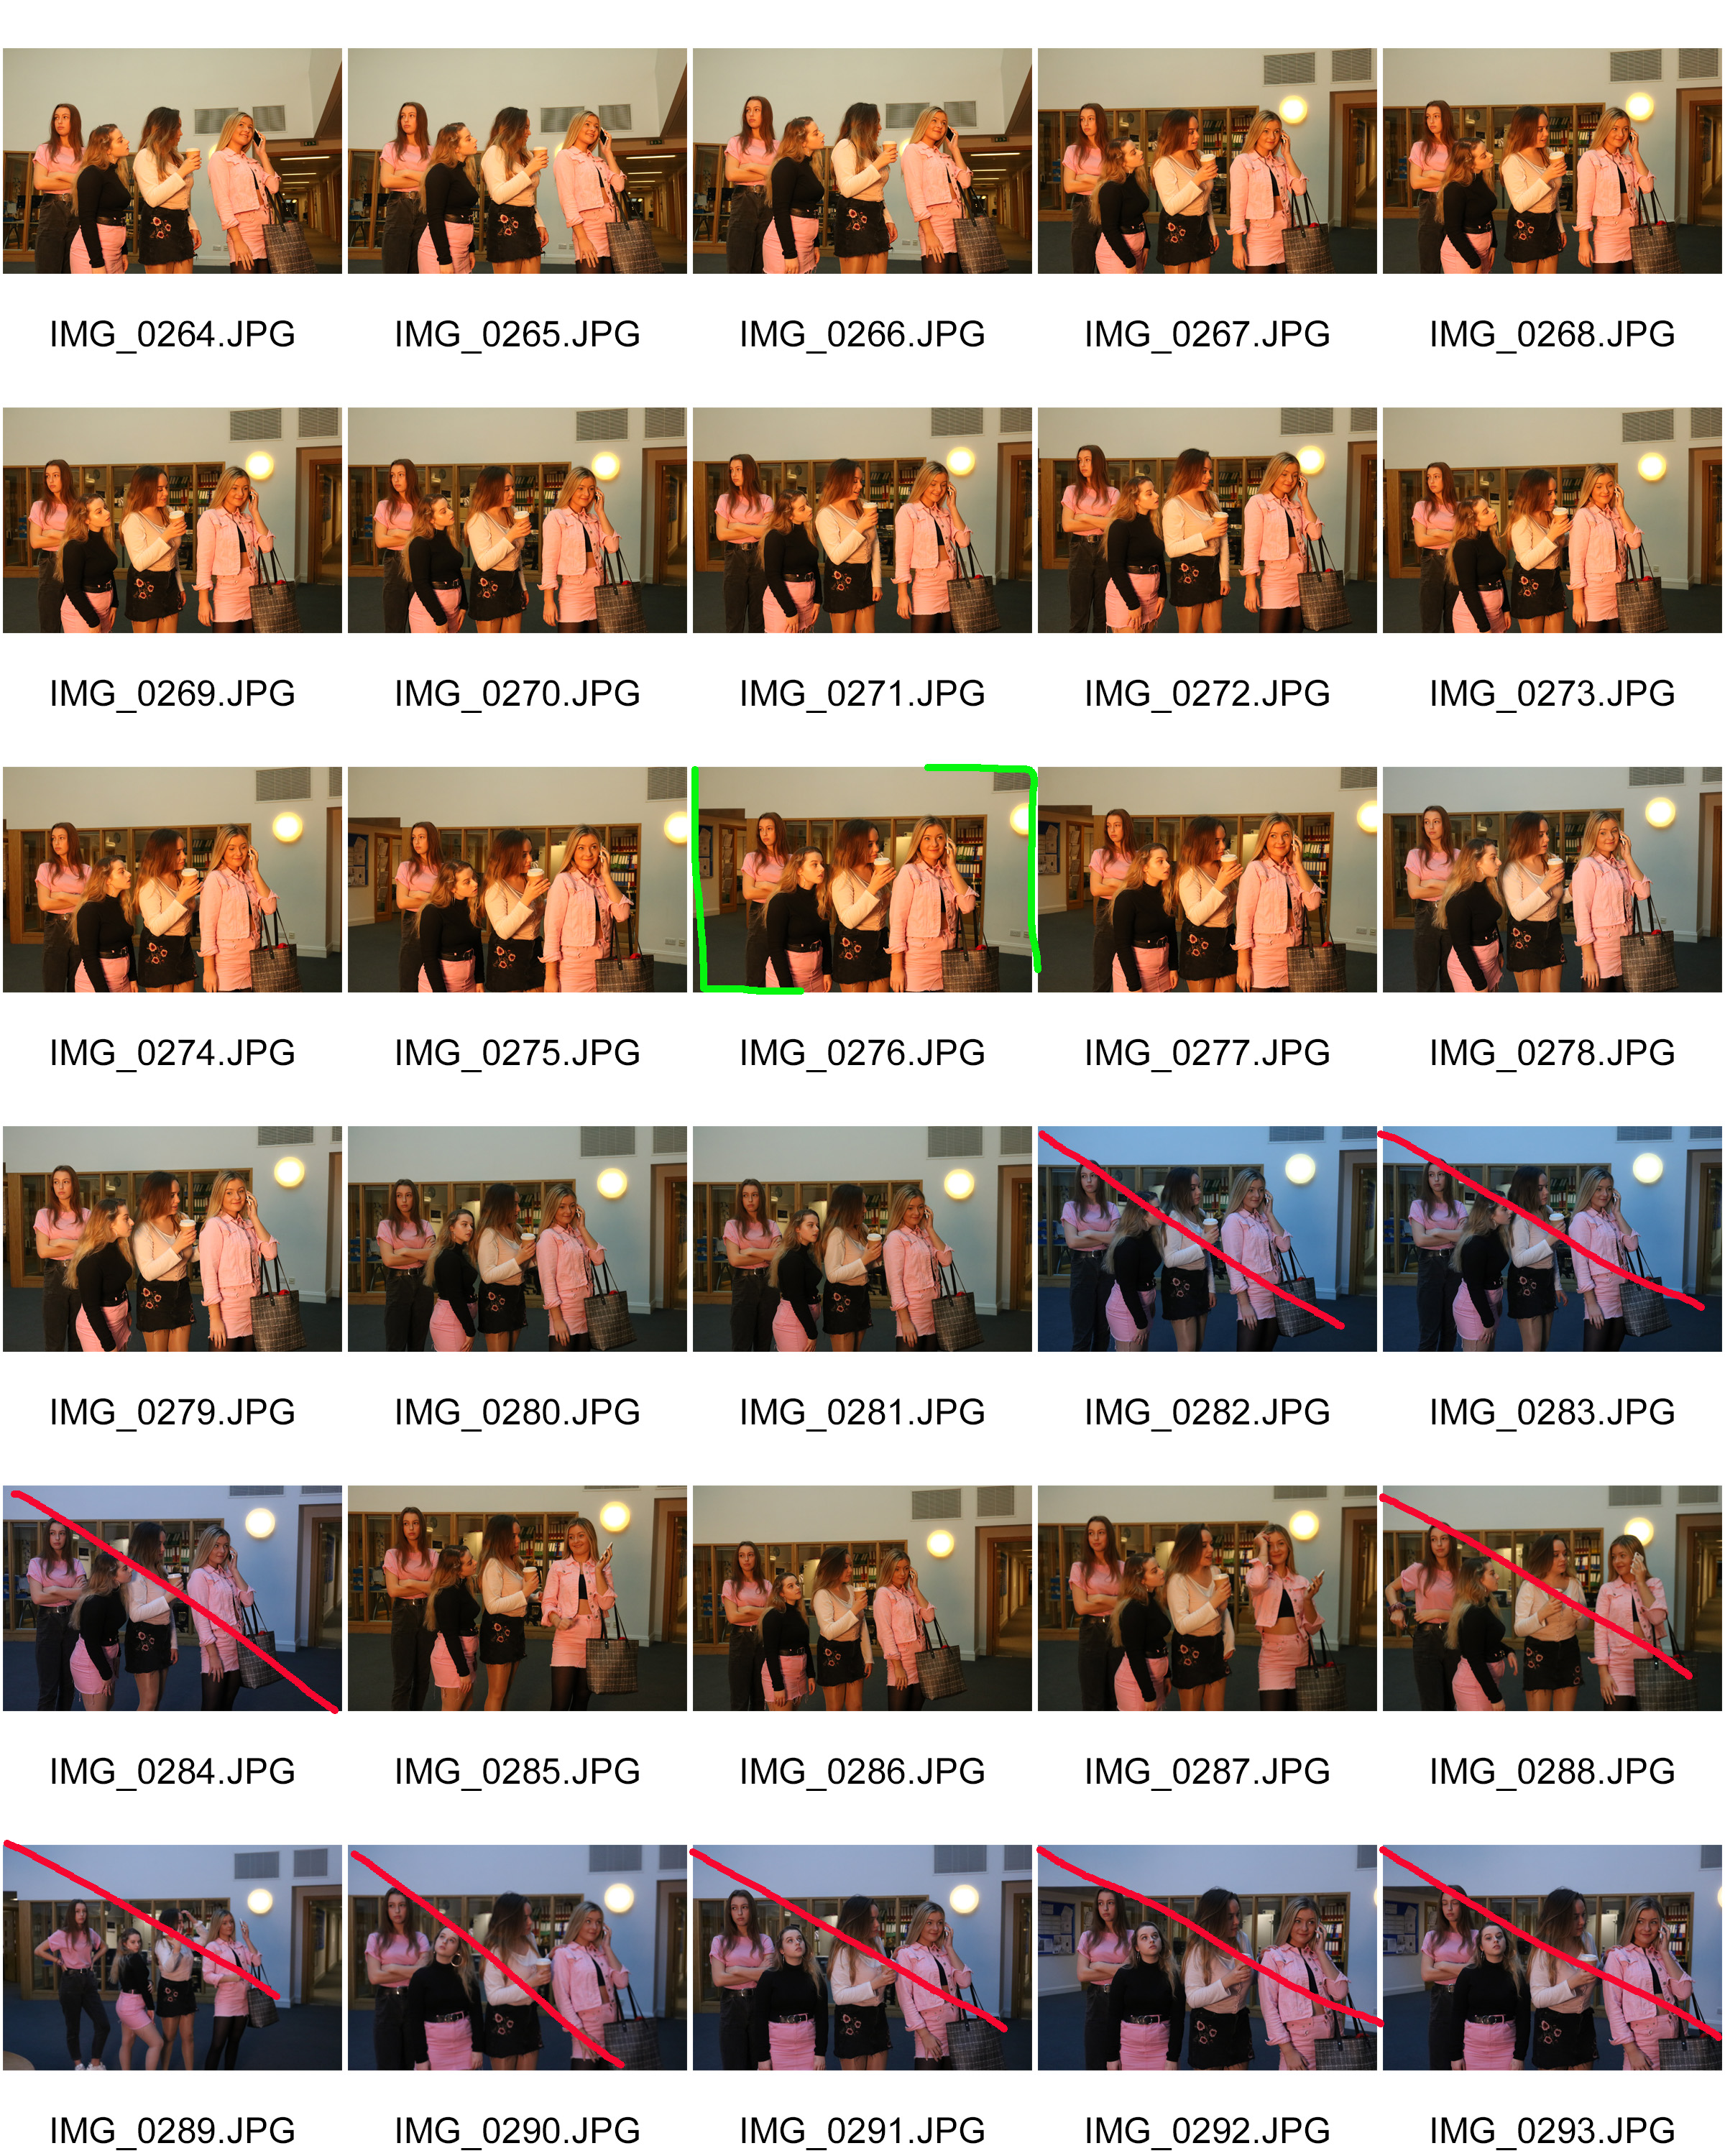
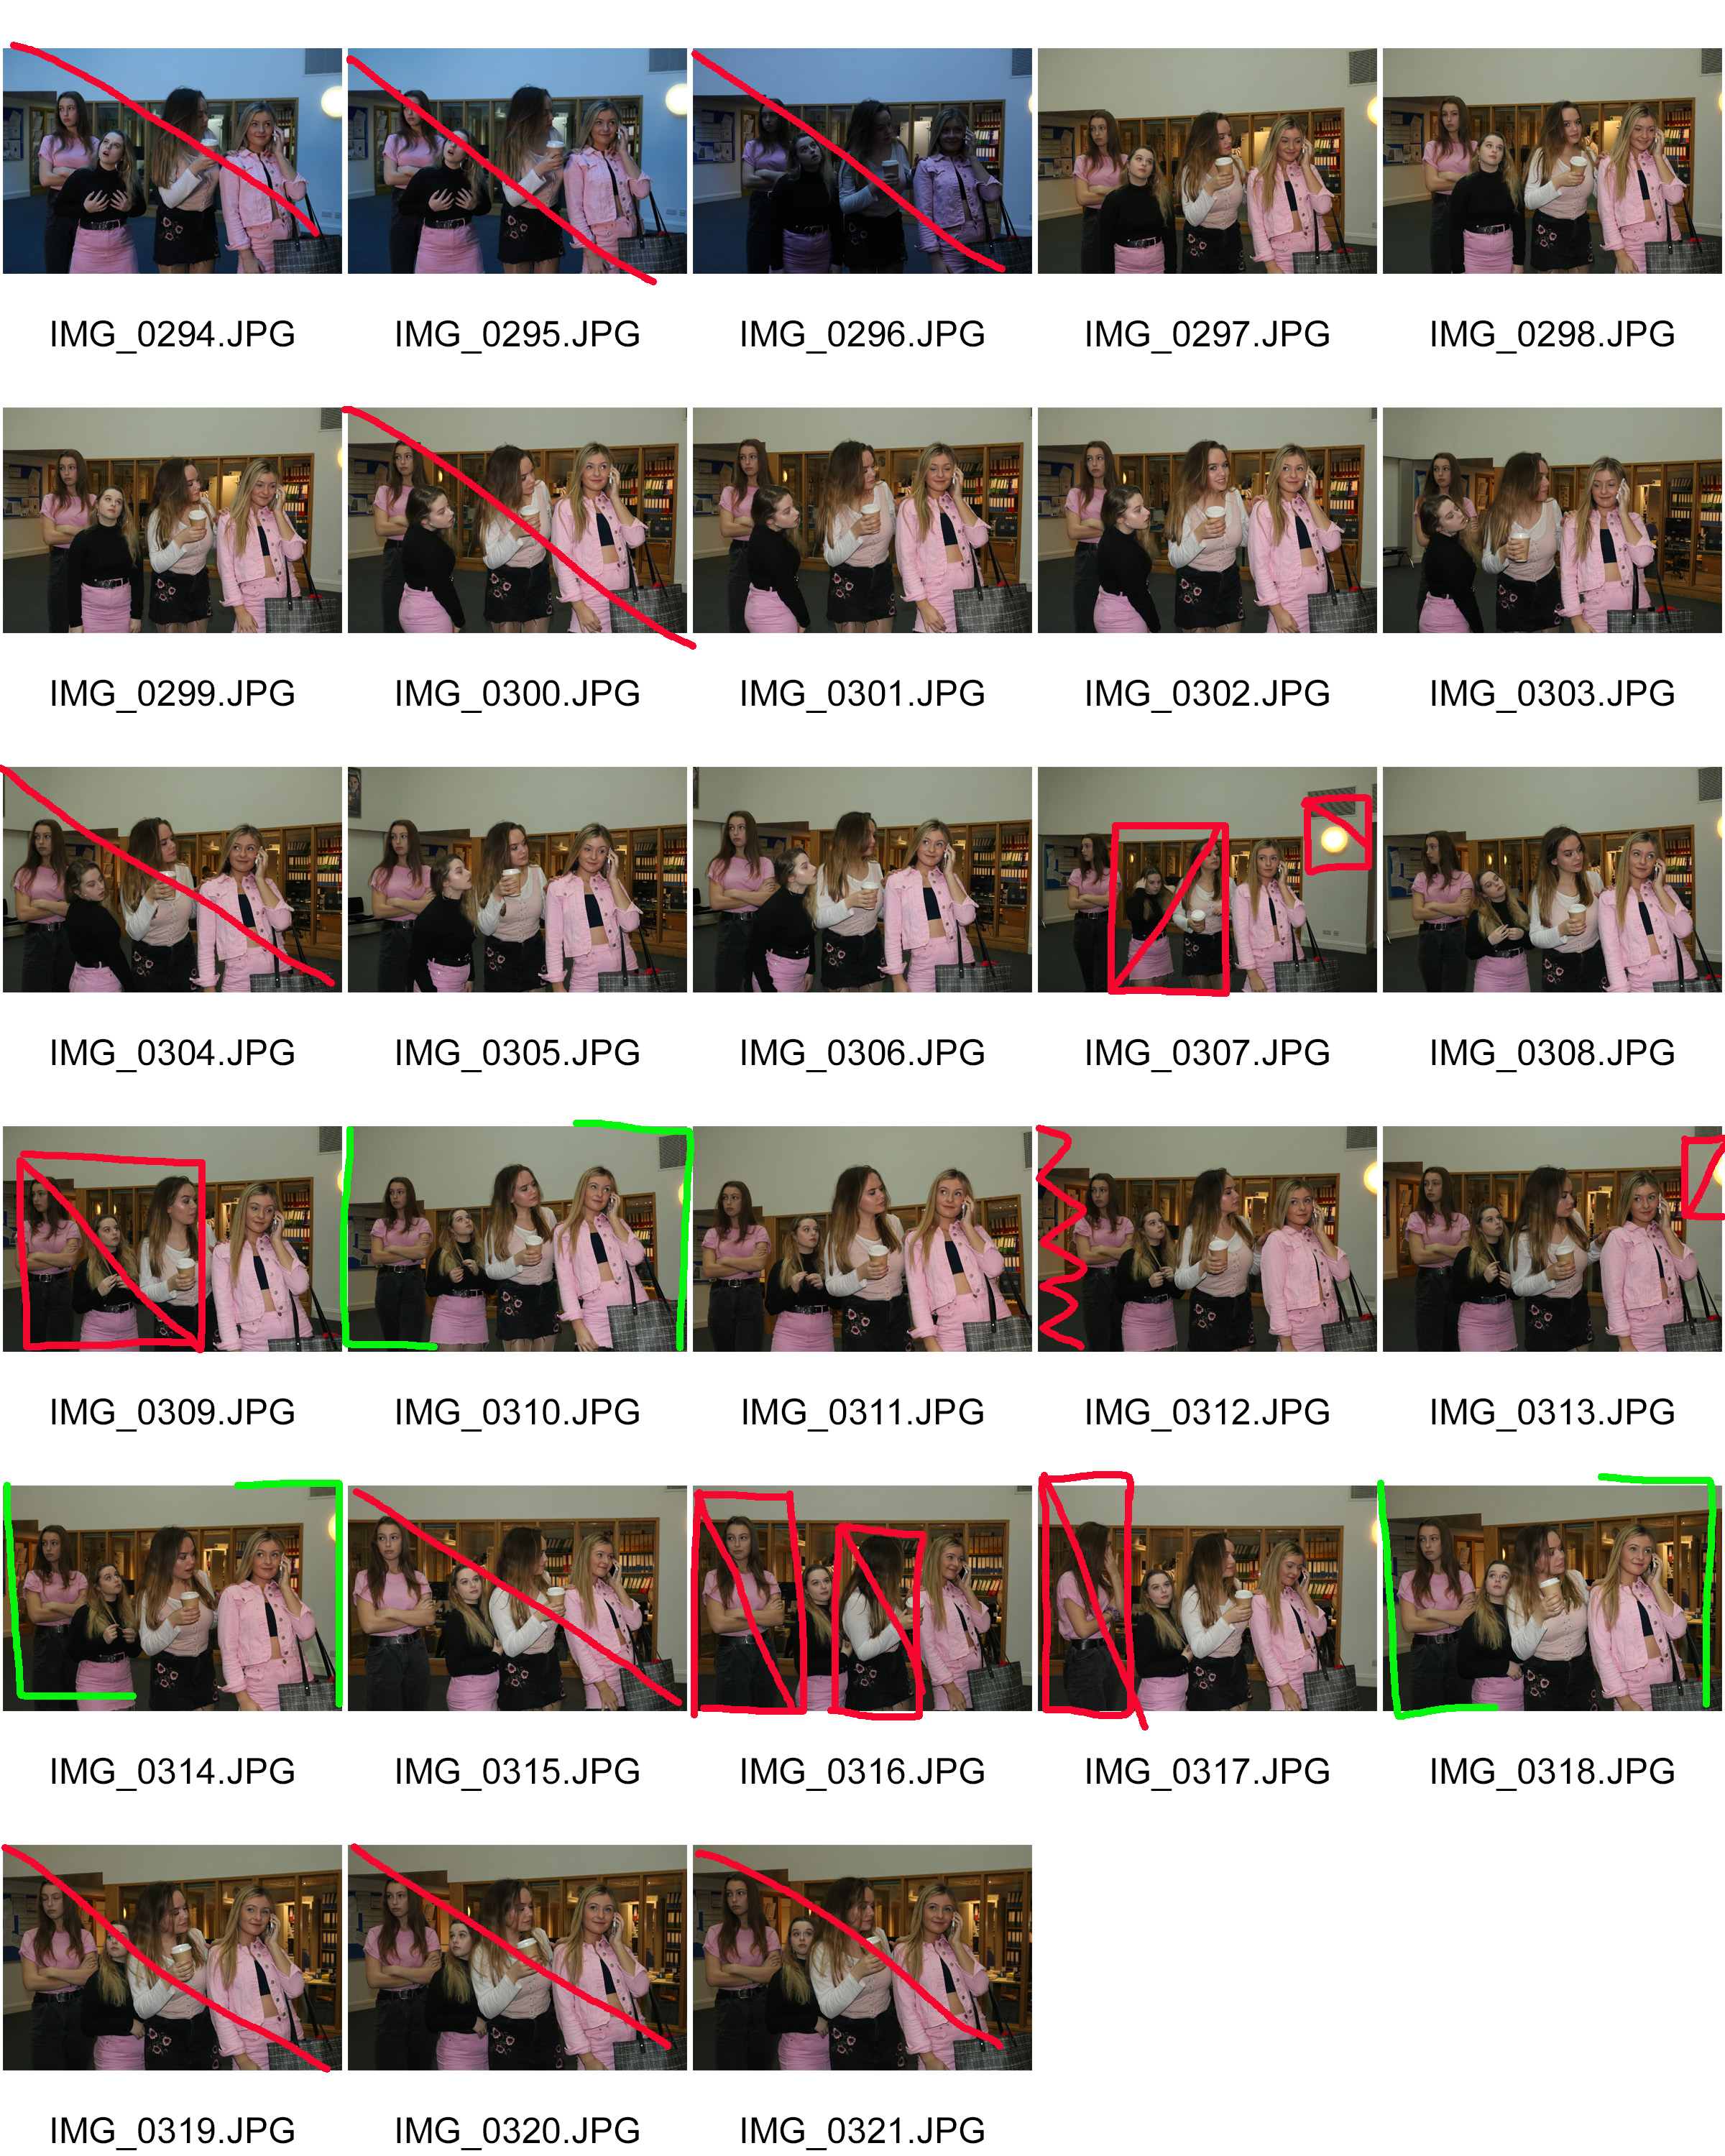
Contact Sheet


Best outcomes

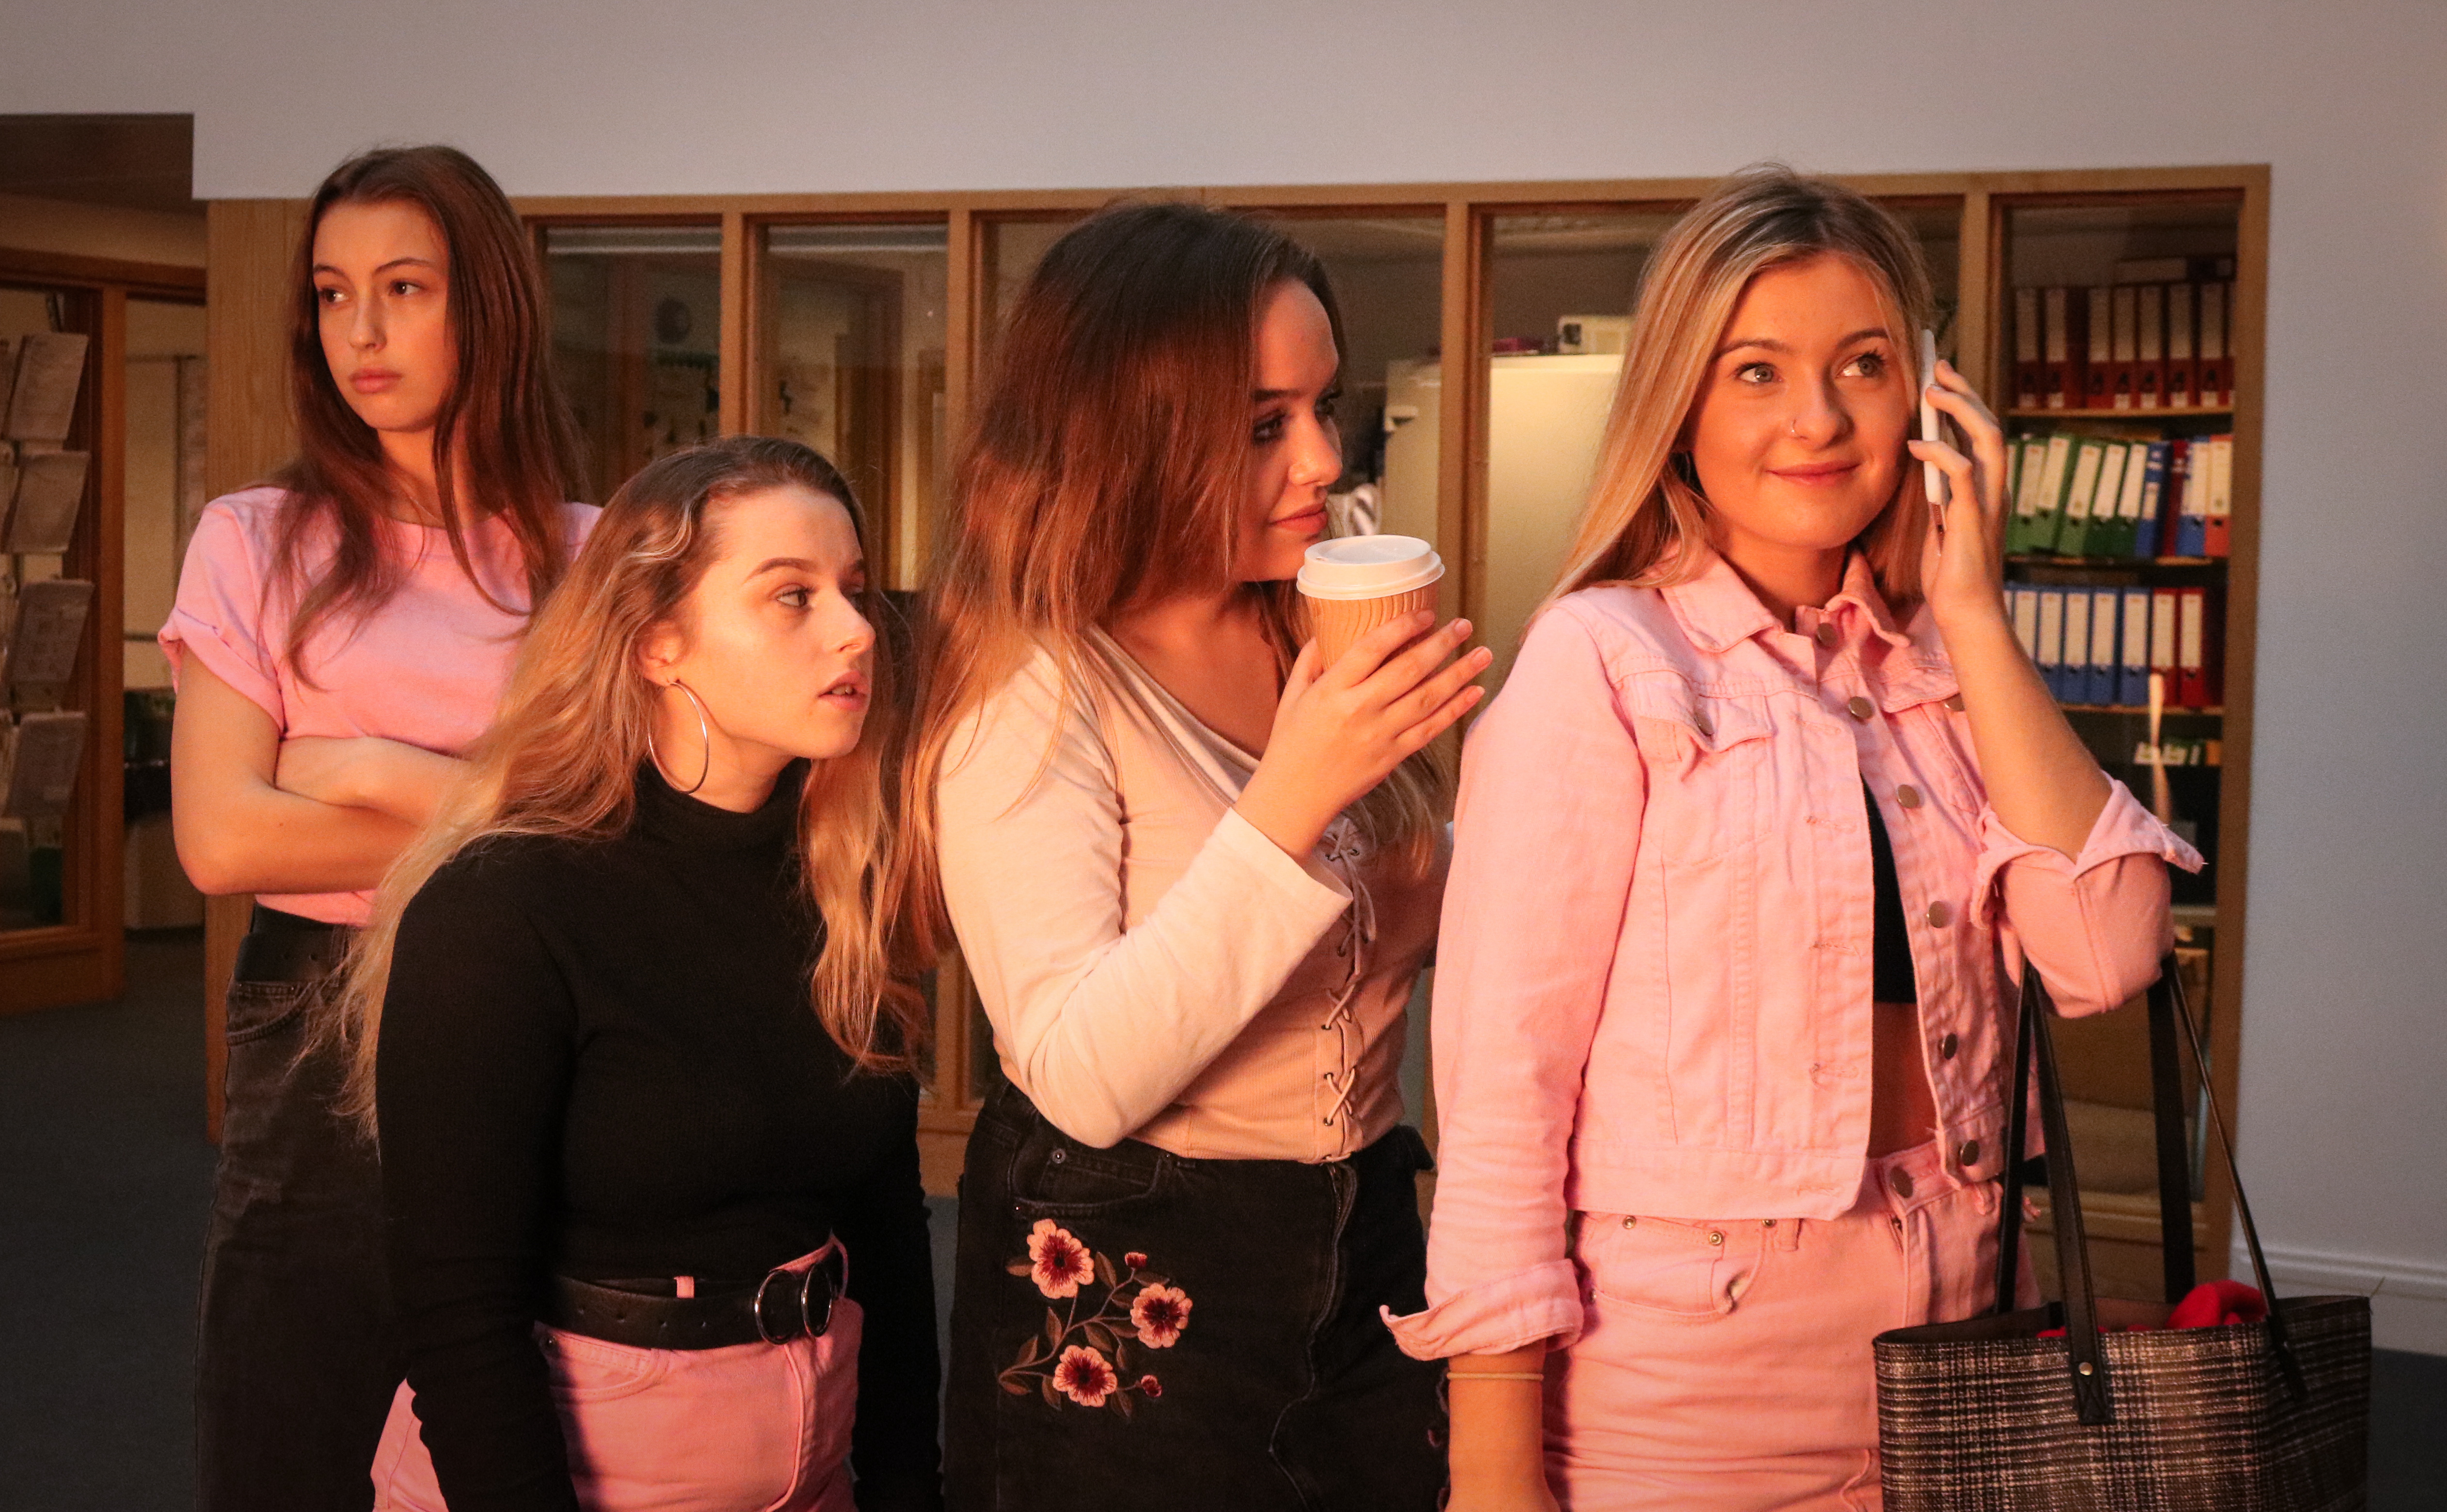
I cropped both of these images and added a slight vignette to the outside of both images to make it look more like a film scene. I decided to choose the first image as my best final outcome because it was brighter as I used a soft box light, and I thought that it had more of a similar tone to the original image.
Best edited outcome

Visual

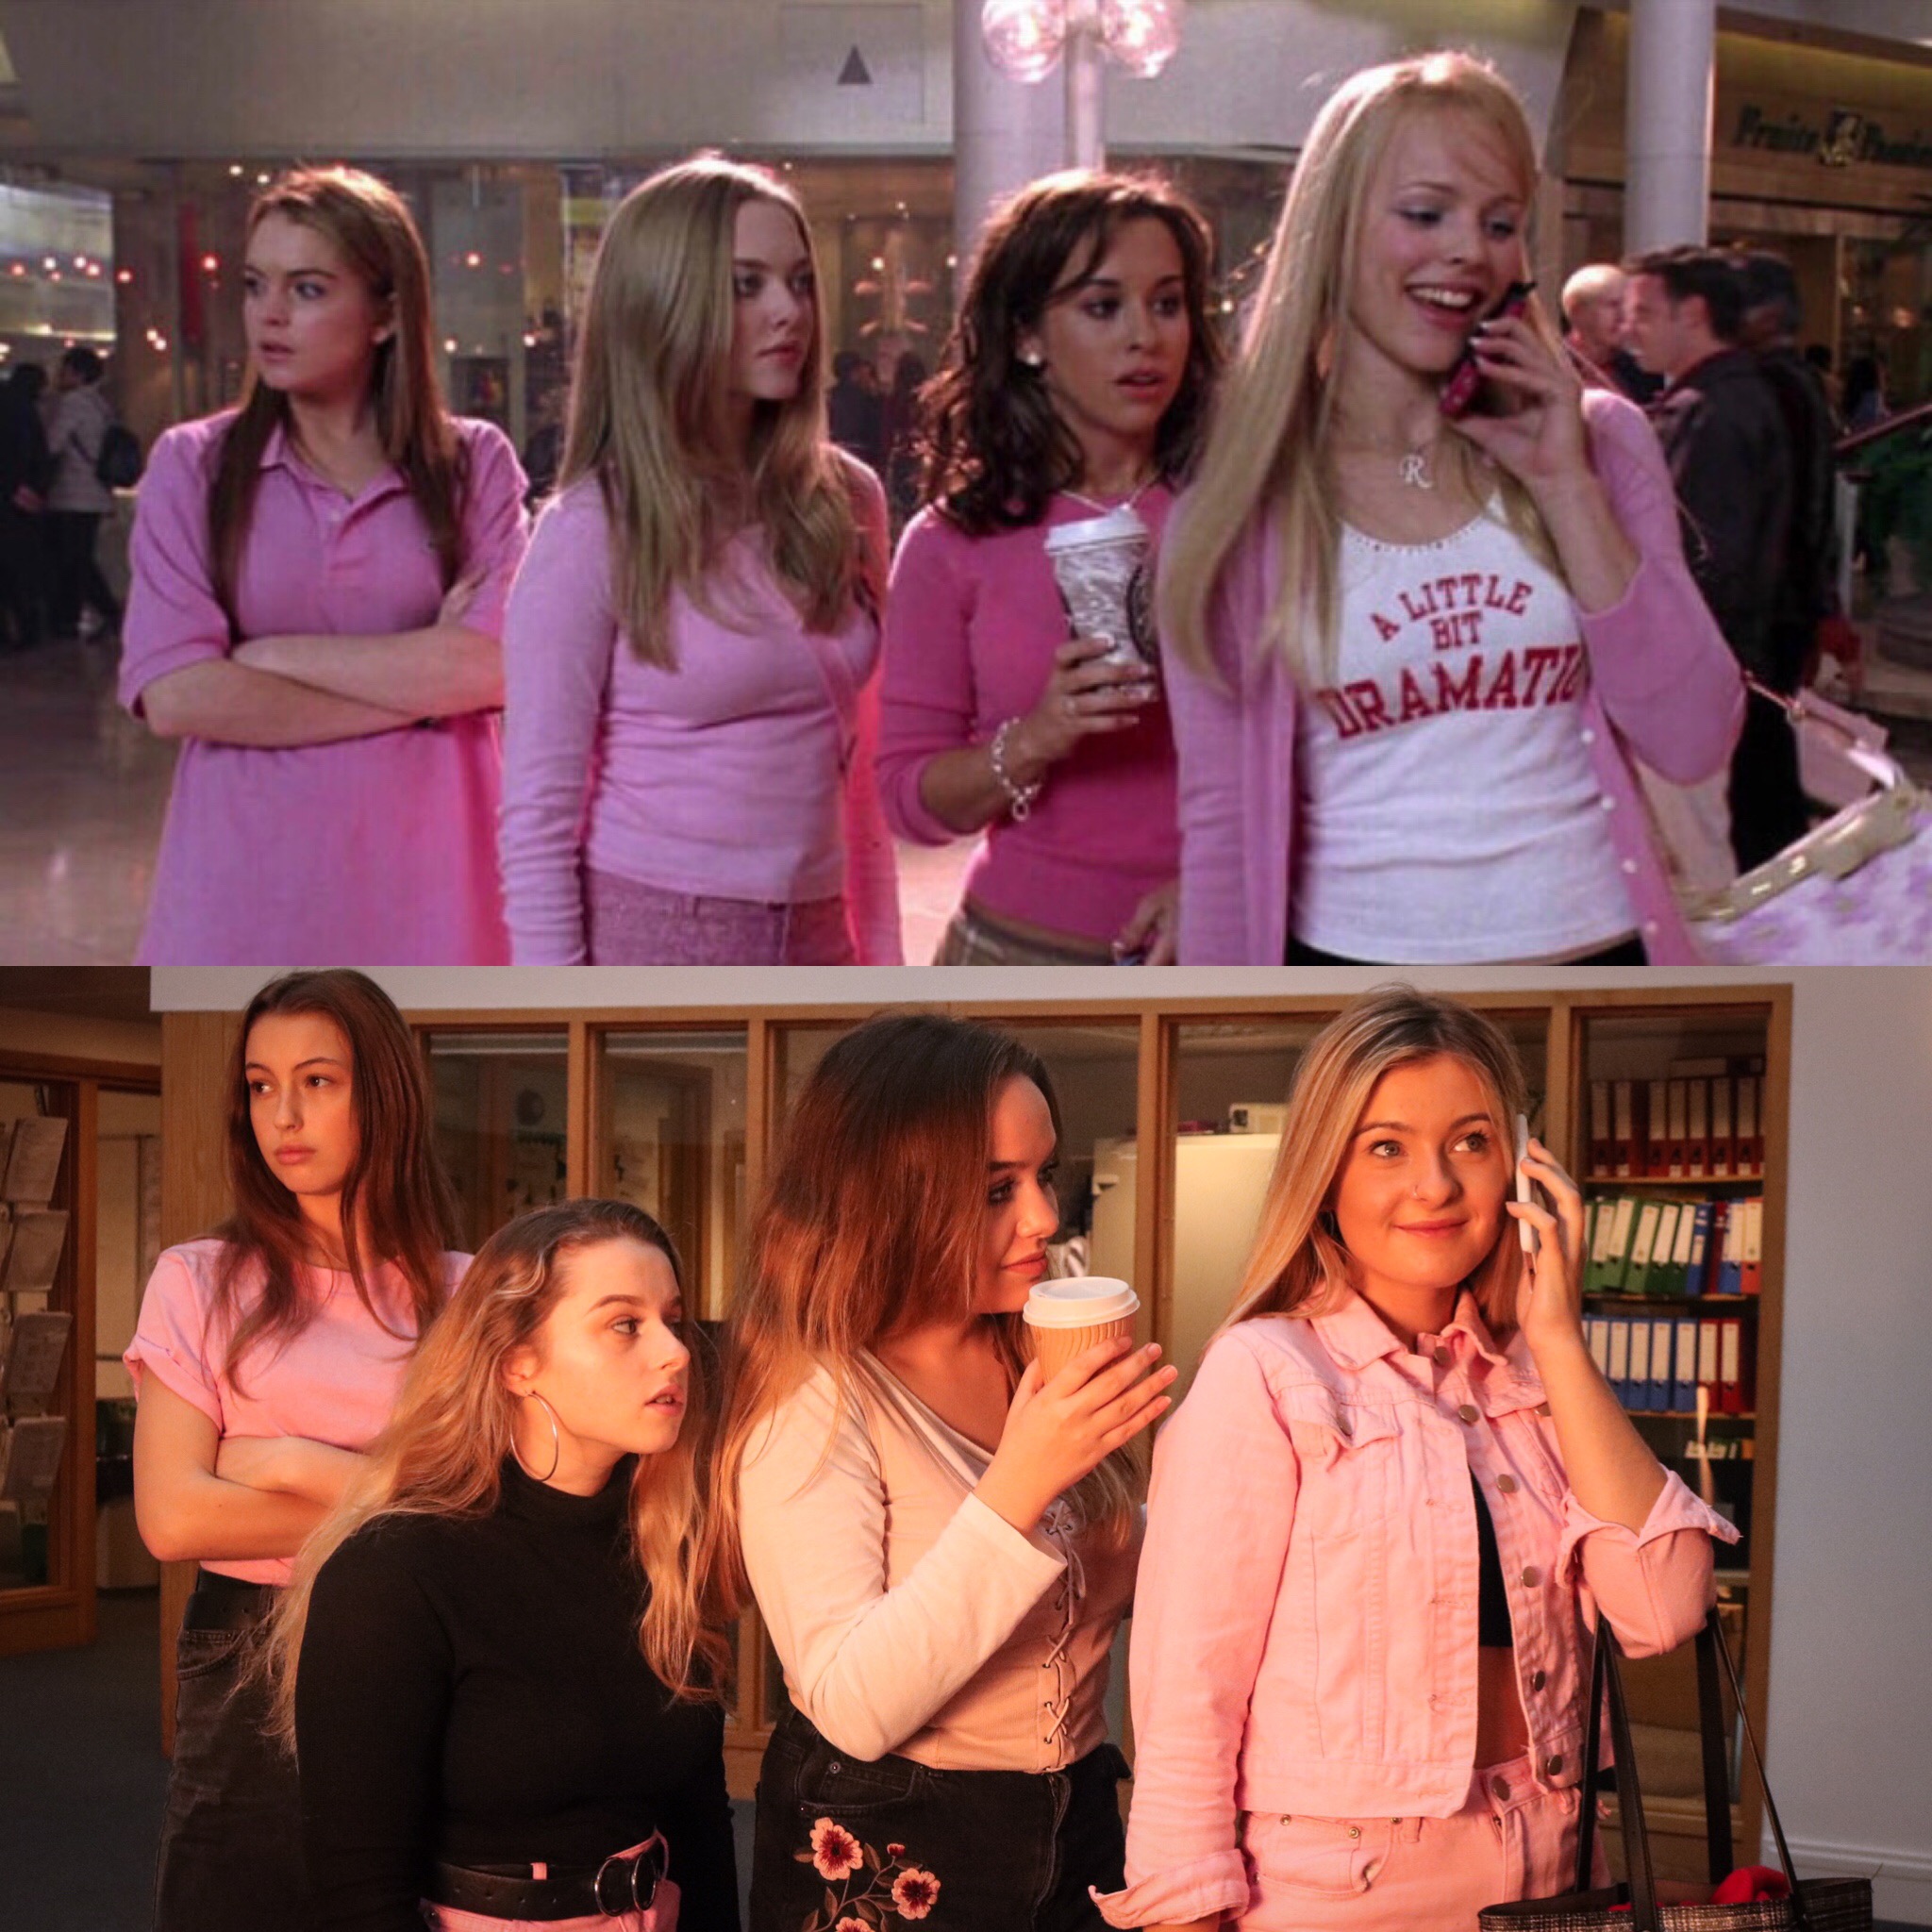
Visually, I have made sure to position my models as close to the original image as possible. I also made sure to use a background as similar as possible to the background of the original image also. I chose to add a slight pink tint to this image using light room as pink was a very meaningful colour throughout the film. This is also the reason why my models worse pink close in in the photo shoot. The image also turned out very clear and sharp, which was due to the soft box light I used in the photoshoot

Concept

I wanted to make sure the models I chose for each character represented the concepts and individual personalities of the original characters from the film. I made sure that the model on the left, playing Cady, was wearing Jeans and a pink shirt as the jeans and the plain pink shirt represents how she was attempting to appear like the other girls yet she still didn’t feel comfortable doing so. On the other hand, my model on the far right was wearing the most pink out of all the models as it represented the original character’s status within the film. As she was the most important character in the group, she was also the one who wore the most pink.

Comparison between the original image and my final outcome

Pictured on top: screenshot from “mean girls” Pictured at the bottom: my inspired outcome

John Rankin Case Study

John Rankin is a British photographer well known for his work with various celebrities. He specializes in portrait, fashion photography and some work in directing. in 2011 he started Rankin Film in order to direct and produce his own directorial and commercial work. Many consider his work to be rather vain with there being little meaning behind his images as he focuses on composing the most aesthetically pleasing image.

Much of his work uses soft single point lighting however he has experimented with various lighting techniques in the past. he consistently uses soft lighting however to best compliment the subject of his photography, since harsh lighting could produce unwanted shadows on someones face. since he focuses on ‘glamour’ photography it is important that he portrays his subjects at their very best and so soft lighting is used.

Since he often uses single point lighting he will frequently use a reflector in order to cast soft lighting to soften any harsh shadows and create a light glow on parts of the face which aren’t direct lit. this allows him to use other techniques such as combining a low ISO with a long shutter time in order to create high contrast/vibrancy images without the risk of harsh shadows across the face.

Much of the ‘visuals’ of Rankin’s photography is achieved by experimenting with lighting however retouching is still used.

Image result for john rankin photographer

Related image

An example of Rankin’s editing, focused on achieving a conventionally ‘beautiful’ pieceImage result for Rankin

Street Photography Part 2:

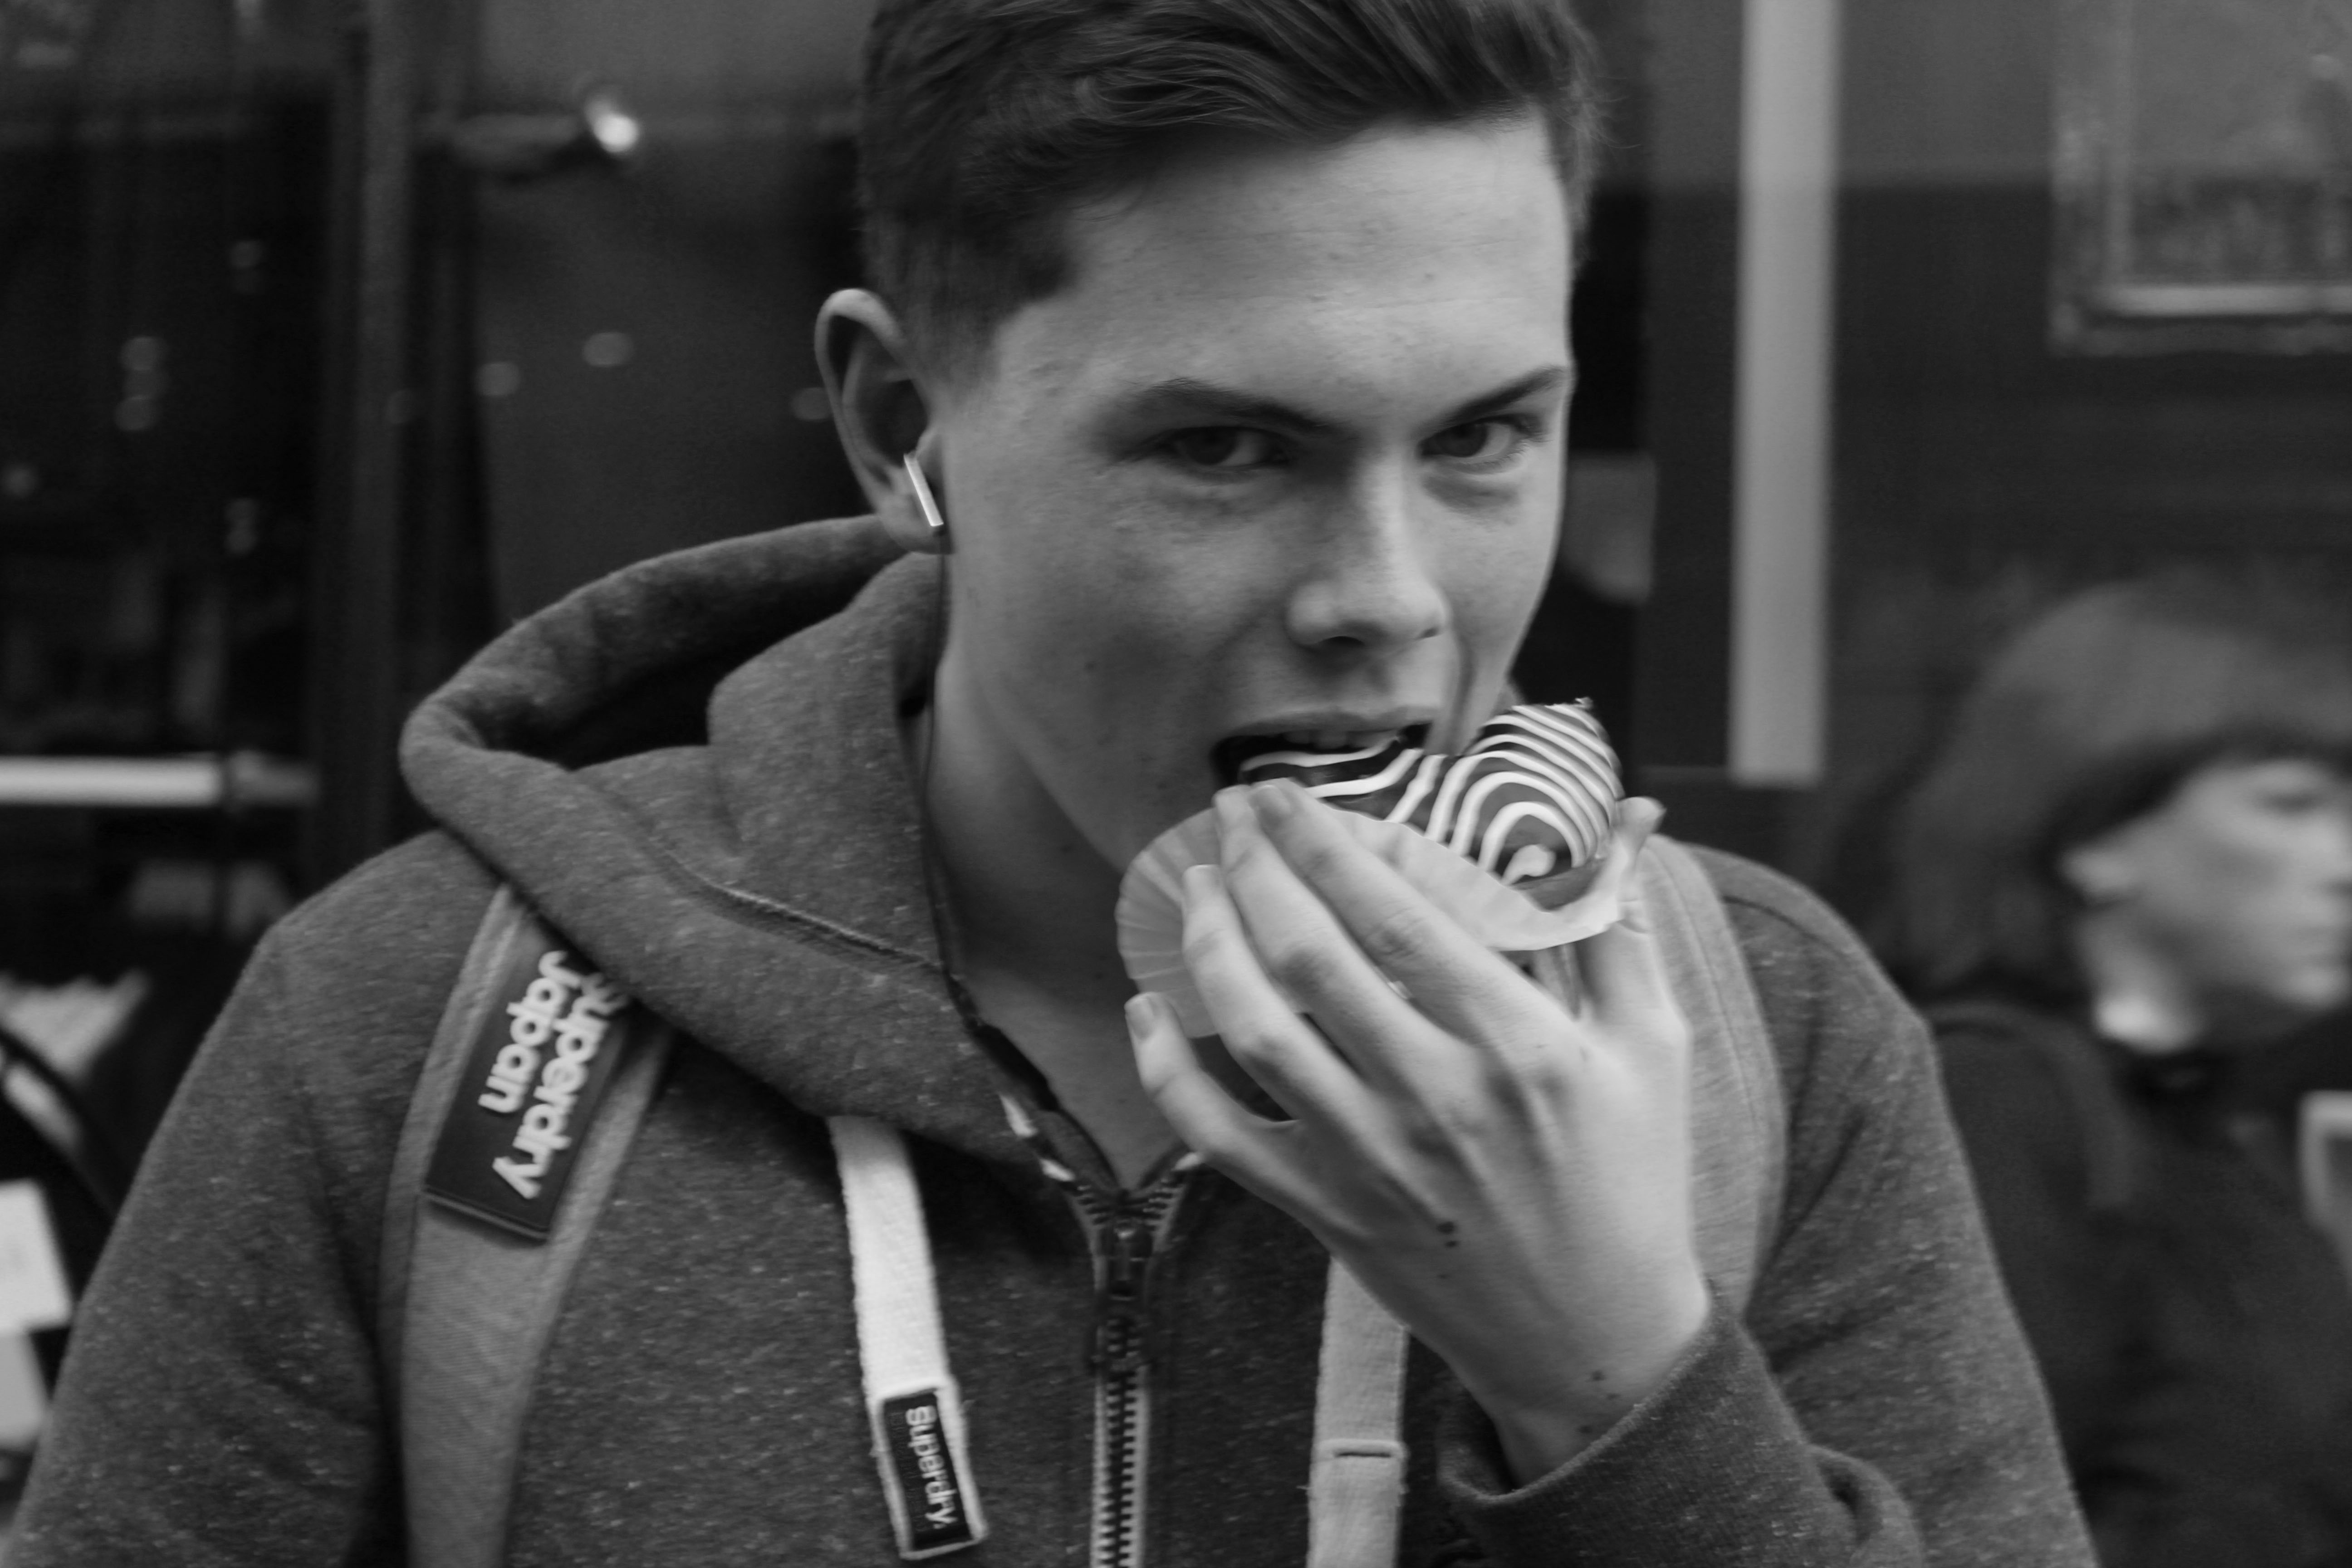
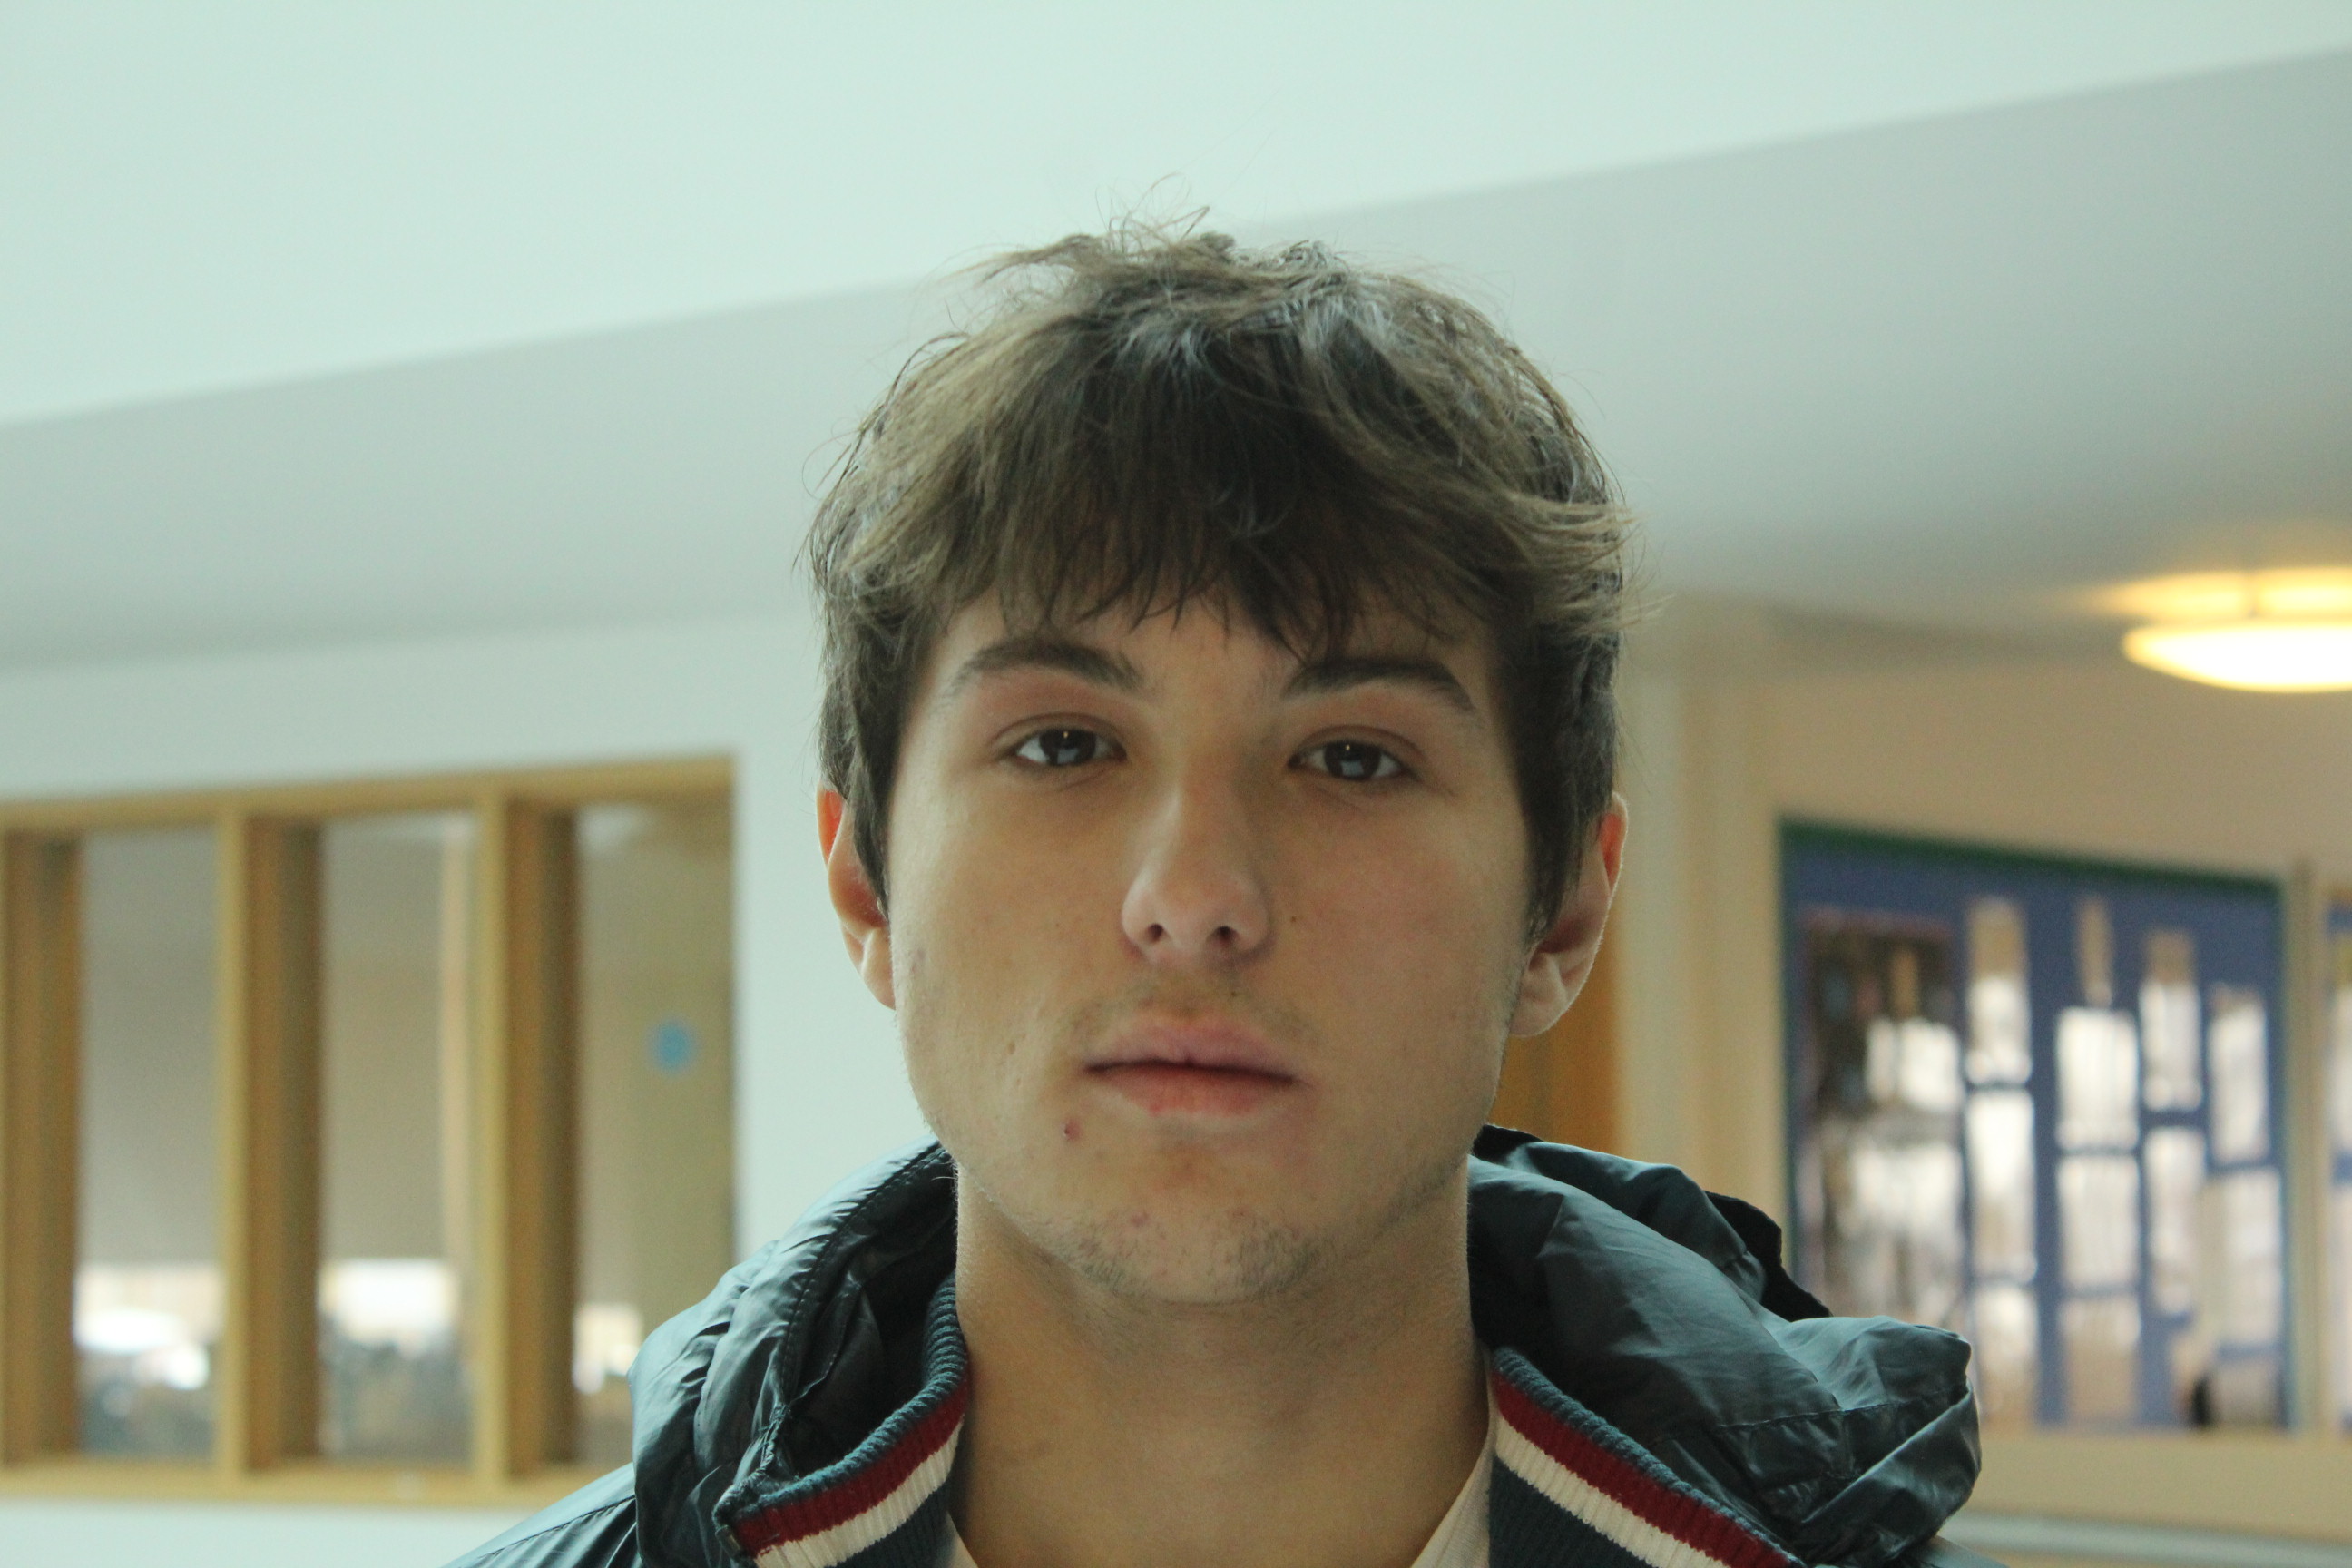
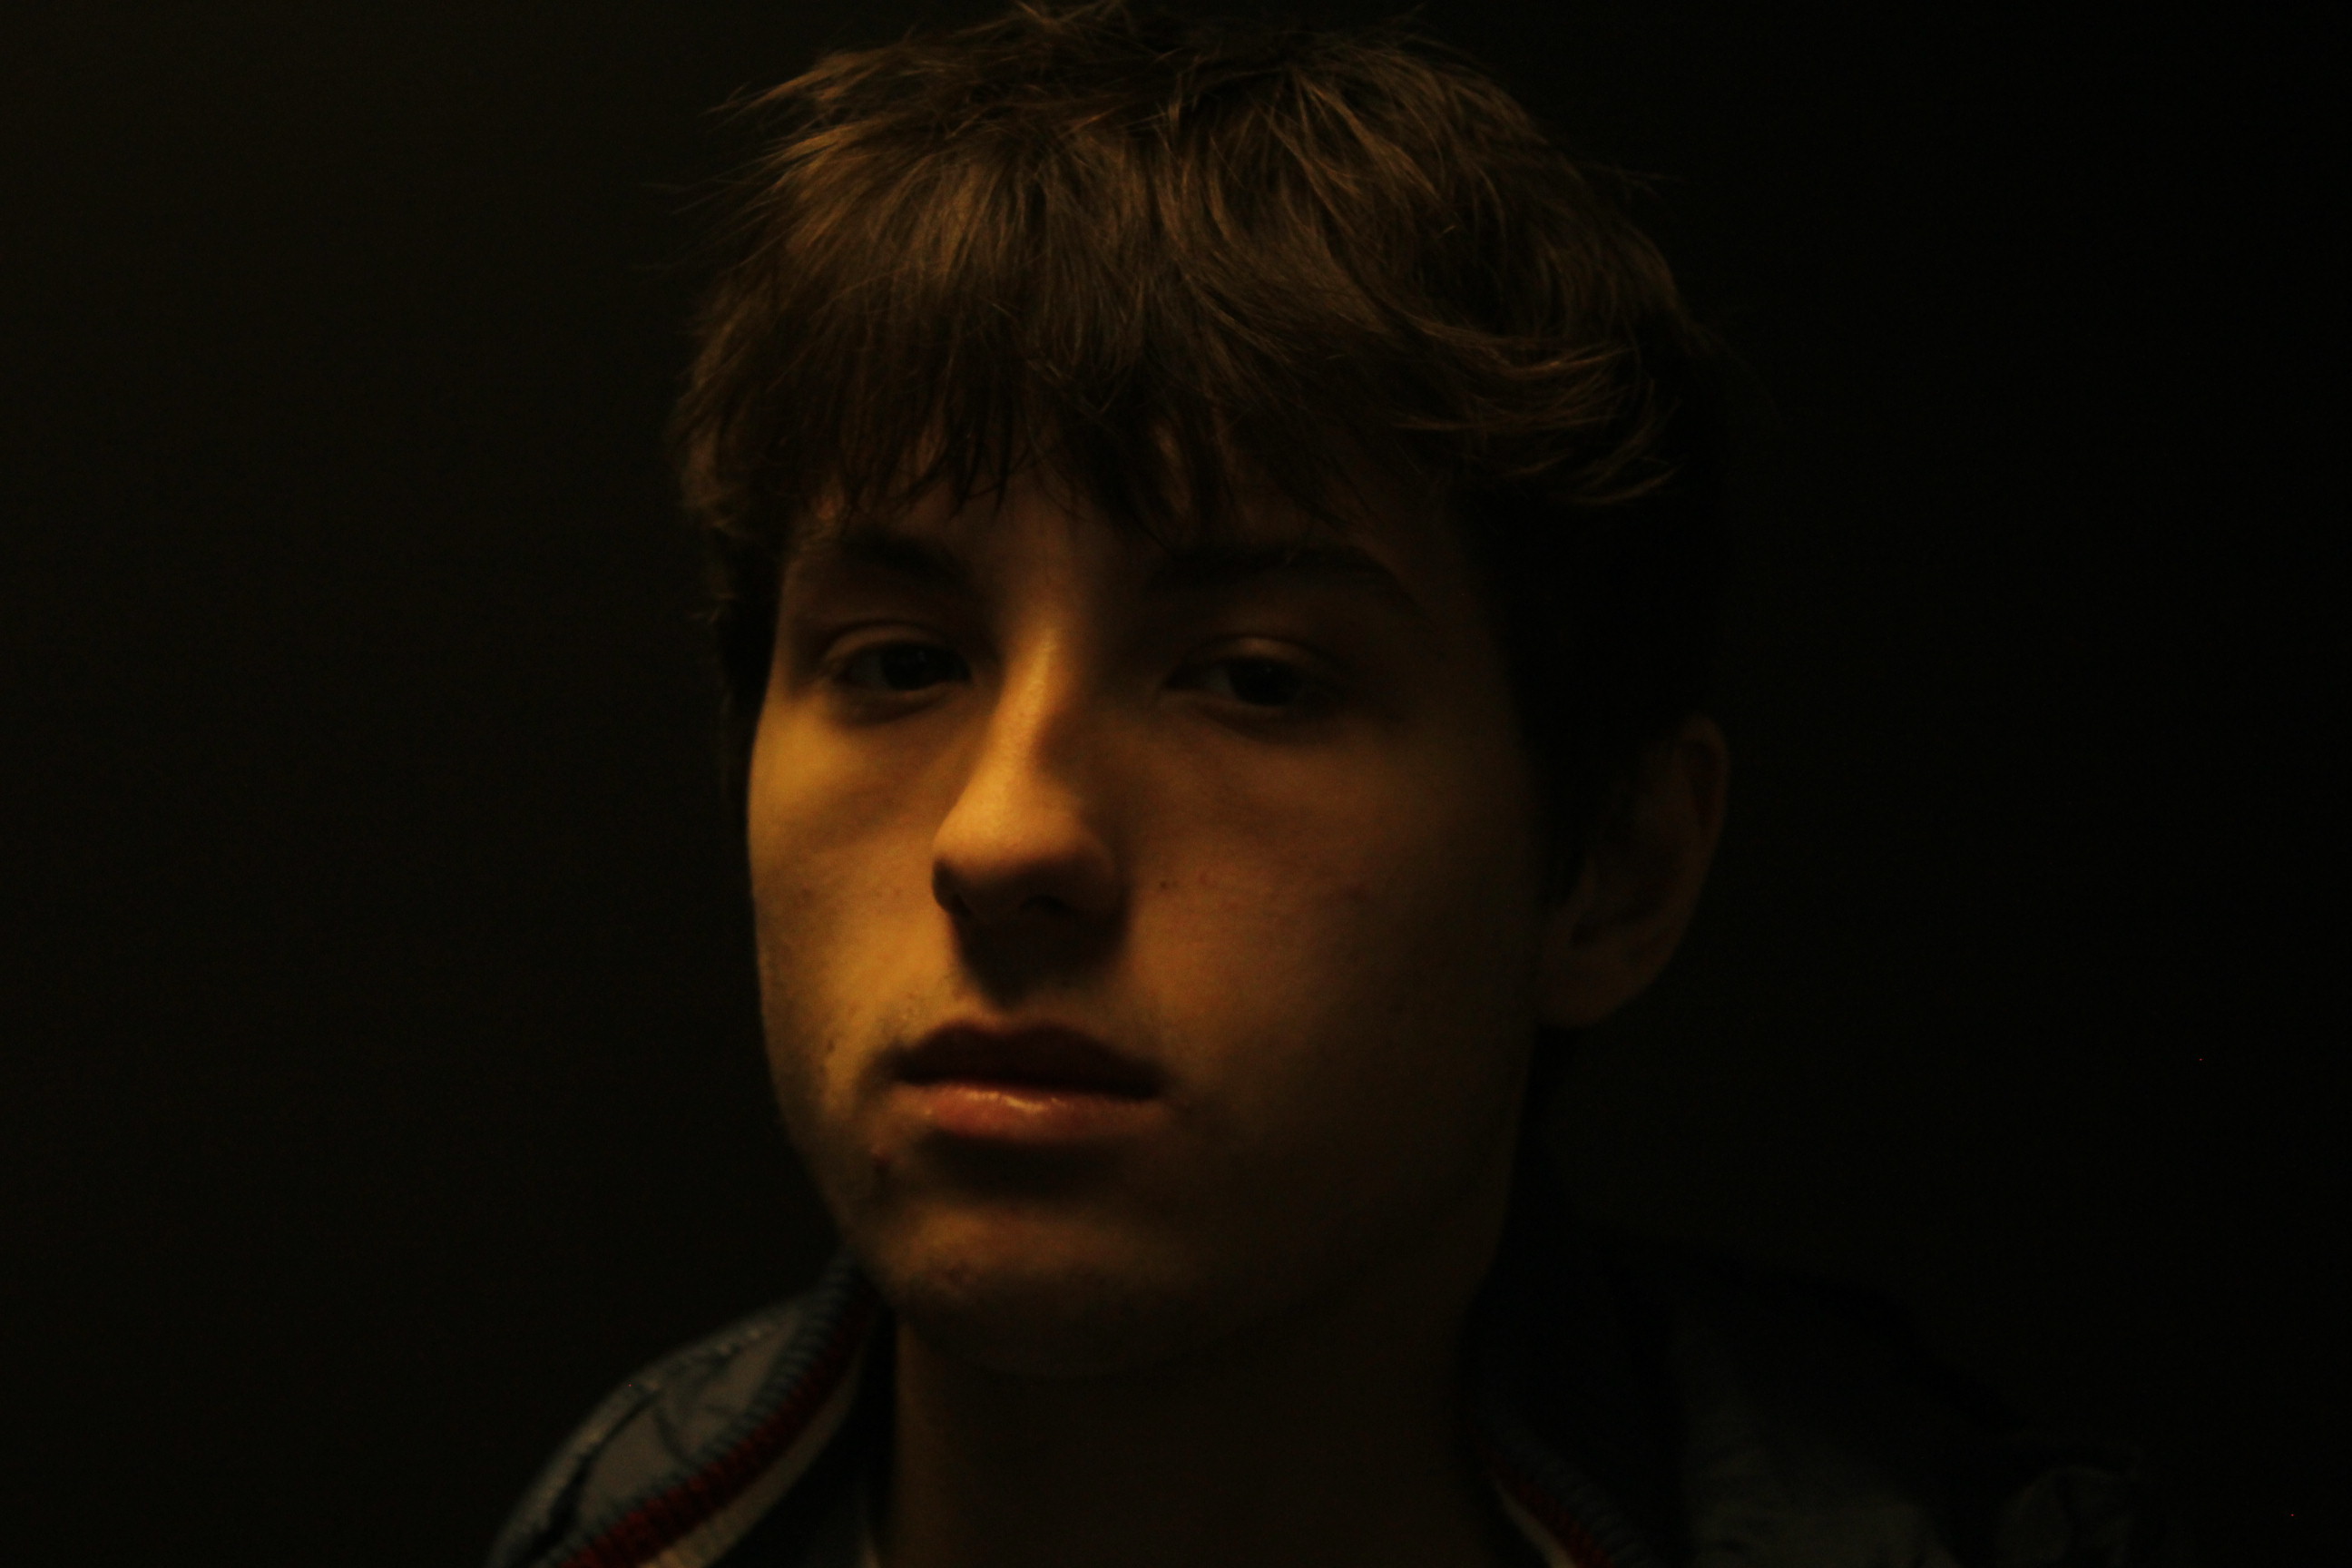
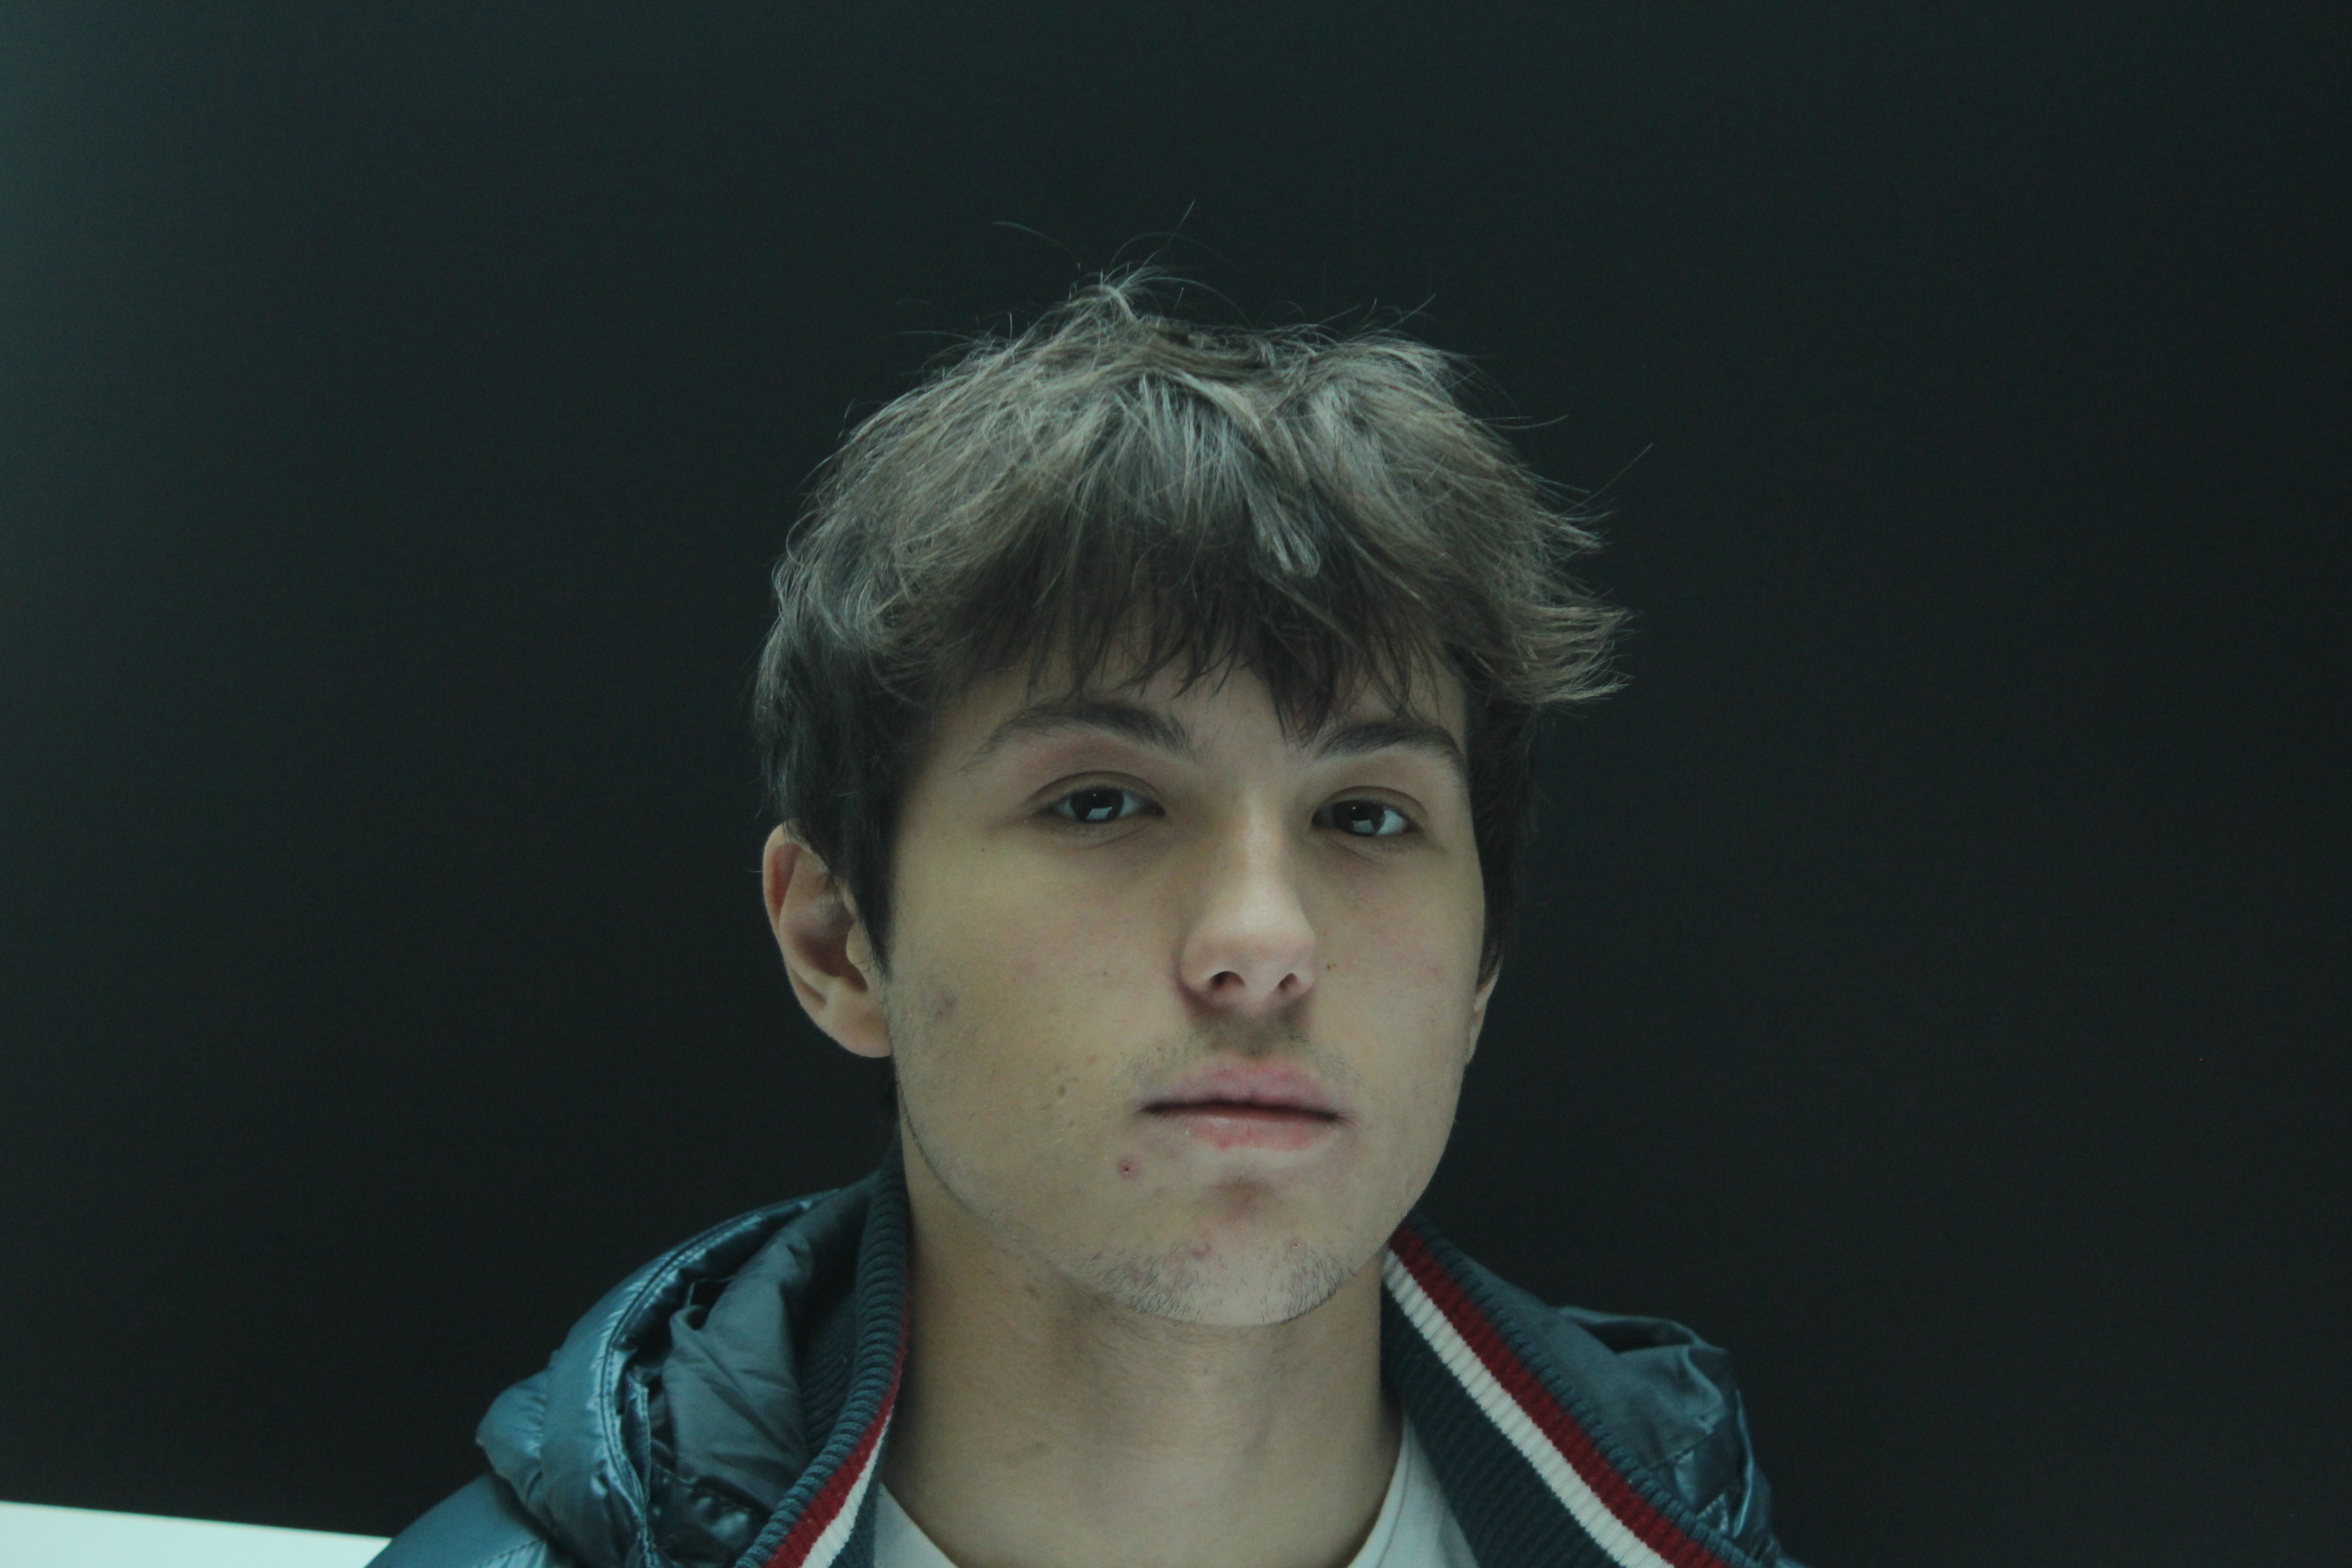
These are a couple of examples that I took for street Photography:

This is the original image
Another final outcome that I am happy with

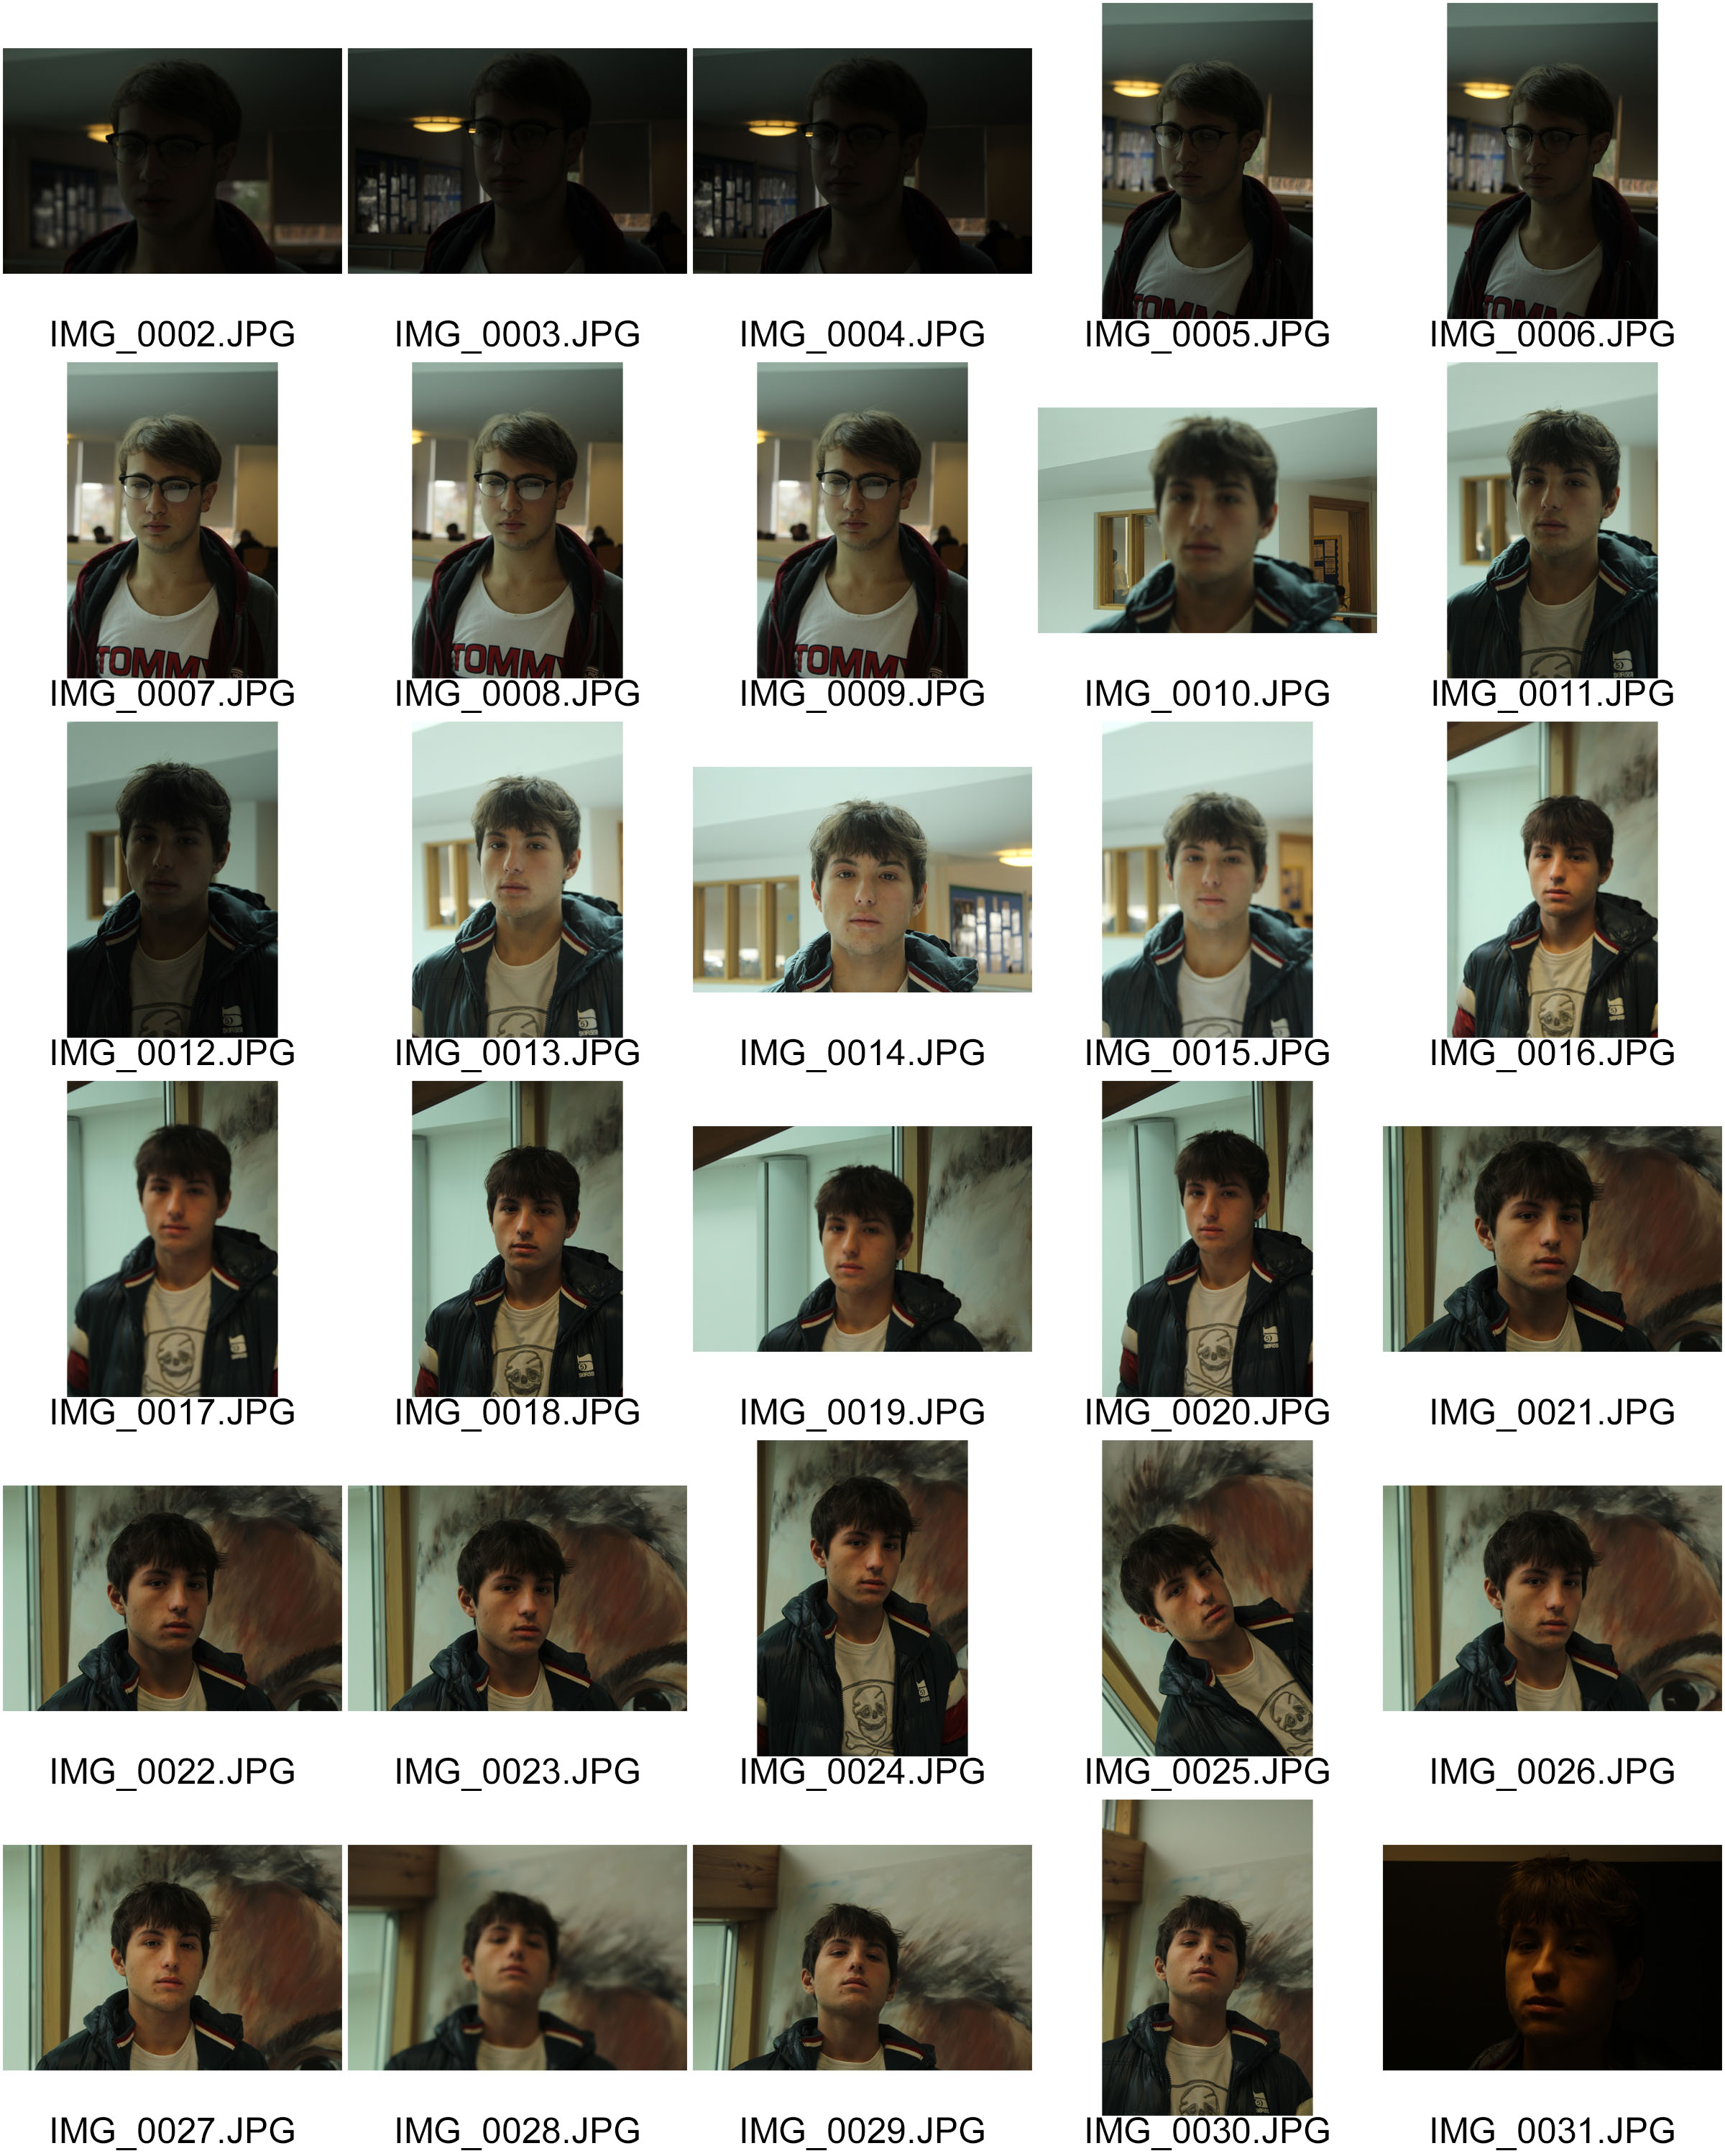
These are my contact sheets from the street Photography trip

contact sheet 1&2

From this trip if I have learnt one thing is that confidence is key, which is something that in this trip I was lacking too do. Simply because I had watched videos on some of the reactions that famous people received when just photographing random strangers. However having analysed my contact sheet even further I can notice that most of my images are quite blurry, this could have been becuse my shutter speed was too low so the camera was unable to capture the pictures I was after. when I was on this trip in town no comments were actually made so most people I photographed the worst thing that came out of it was sometimes an evil look but nobody actually asked what was going on which also surprised me.

My technique for this trip was simply to sit on benches, lean against shop windows or just simply stand in corners and photograph people  as they continued through there everyday life.  this actually worked sometimes at my own expense apart from there are just some images of buildings instead of people but it was all part of the fun .  Another thing that I have noticed from these images are that there is  quite a lot of backs turned away from the camera, which again was partially my fault for not having tried to capture the front of them but as I was looking at them I realised that even getting 3-5 perfect images would have been great as most photographers will take between 200-500 images and only select 5 or so to actually be published which in this case is what I have done.

Out of all my images there are not very many that I would say worked. The two images at the top of the post are both from people I know but they weren’t 100% sure what I was doing.  I feel like the top image is well focused on the idea that that is how some people approach the idea of portraits as the boy on the right is smiling but seems also confused as to why there is a camera in his face whereas the boy on the left does not seem very happy with what was going on.  furthermore, as I said earlier its warpped around the idea that it is unknown what your going to capture. when I was walking down to go to this trip I was nervous but excited and what I was going to see and capture but not through my eyes but through a camera lens and doing something where your out in a public place sourrounded by people most of the time poeple do become confused but rather smiley as soon as a camera is pointed right to them. (unless they’re just generally grumpy)

Group attempts at tableaux viviant

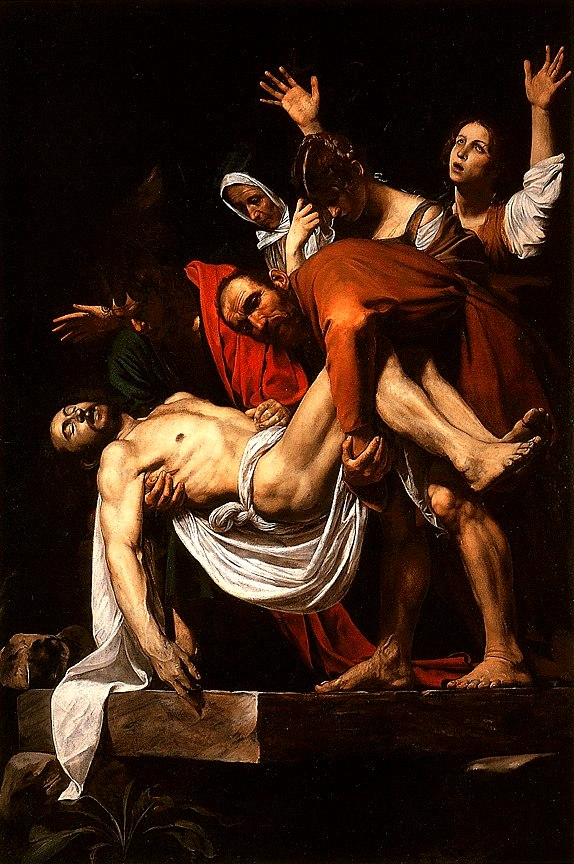
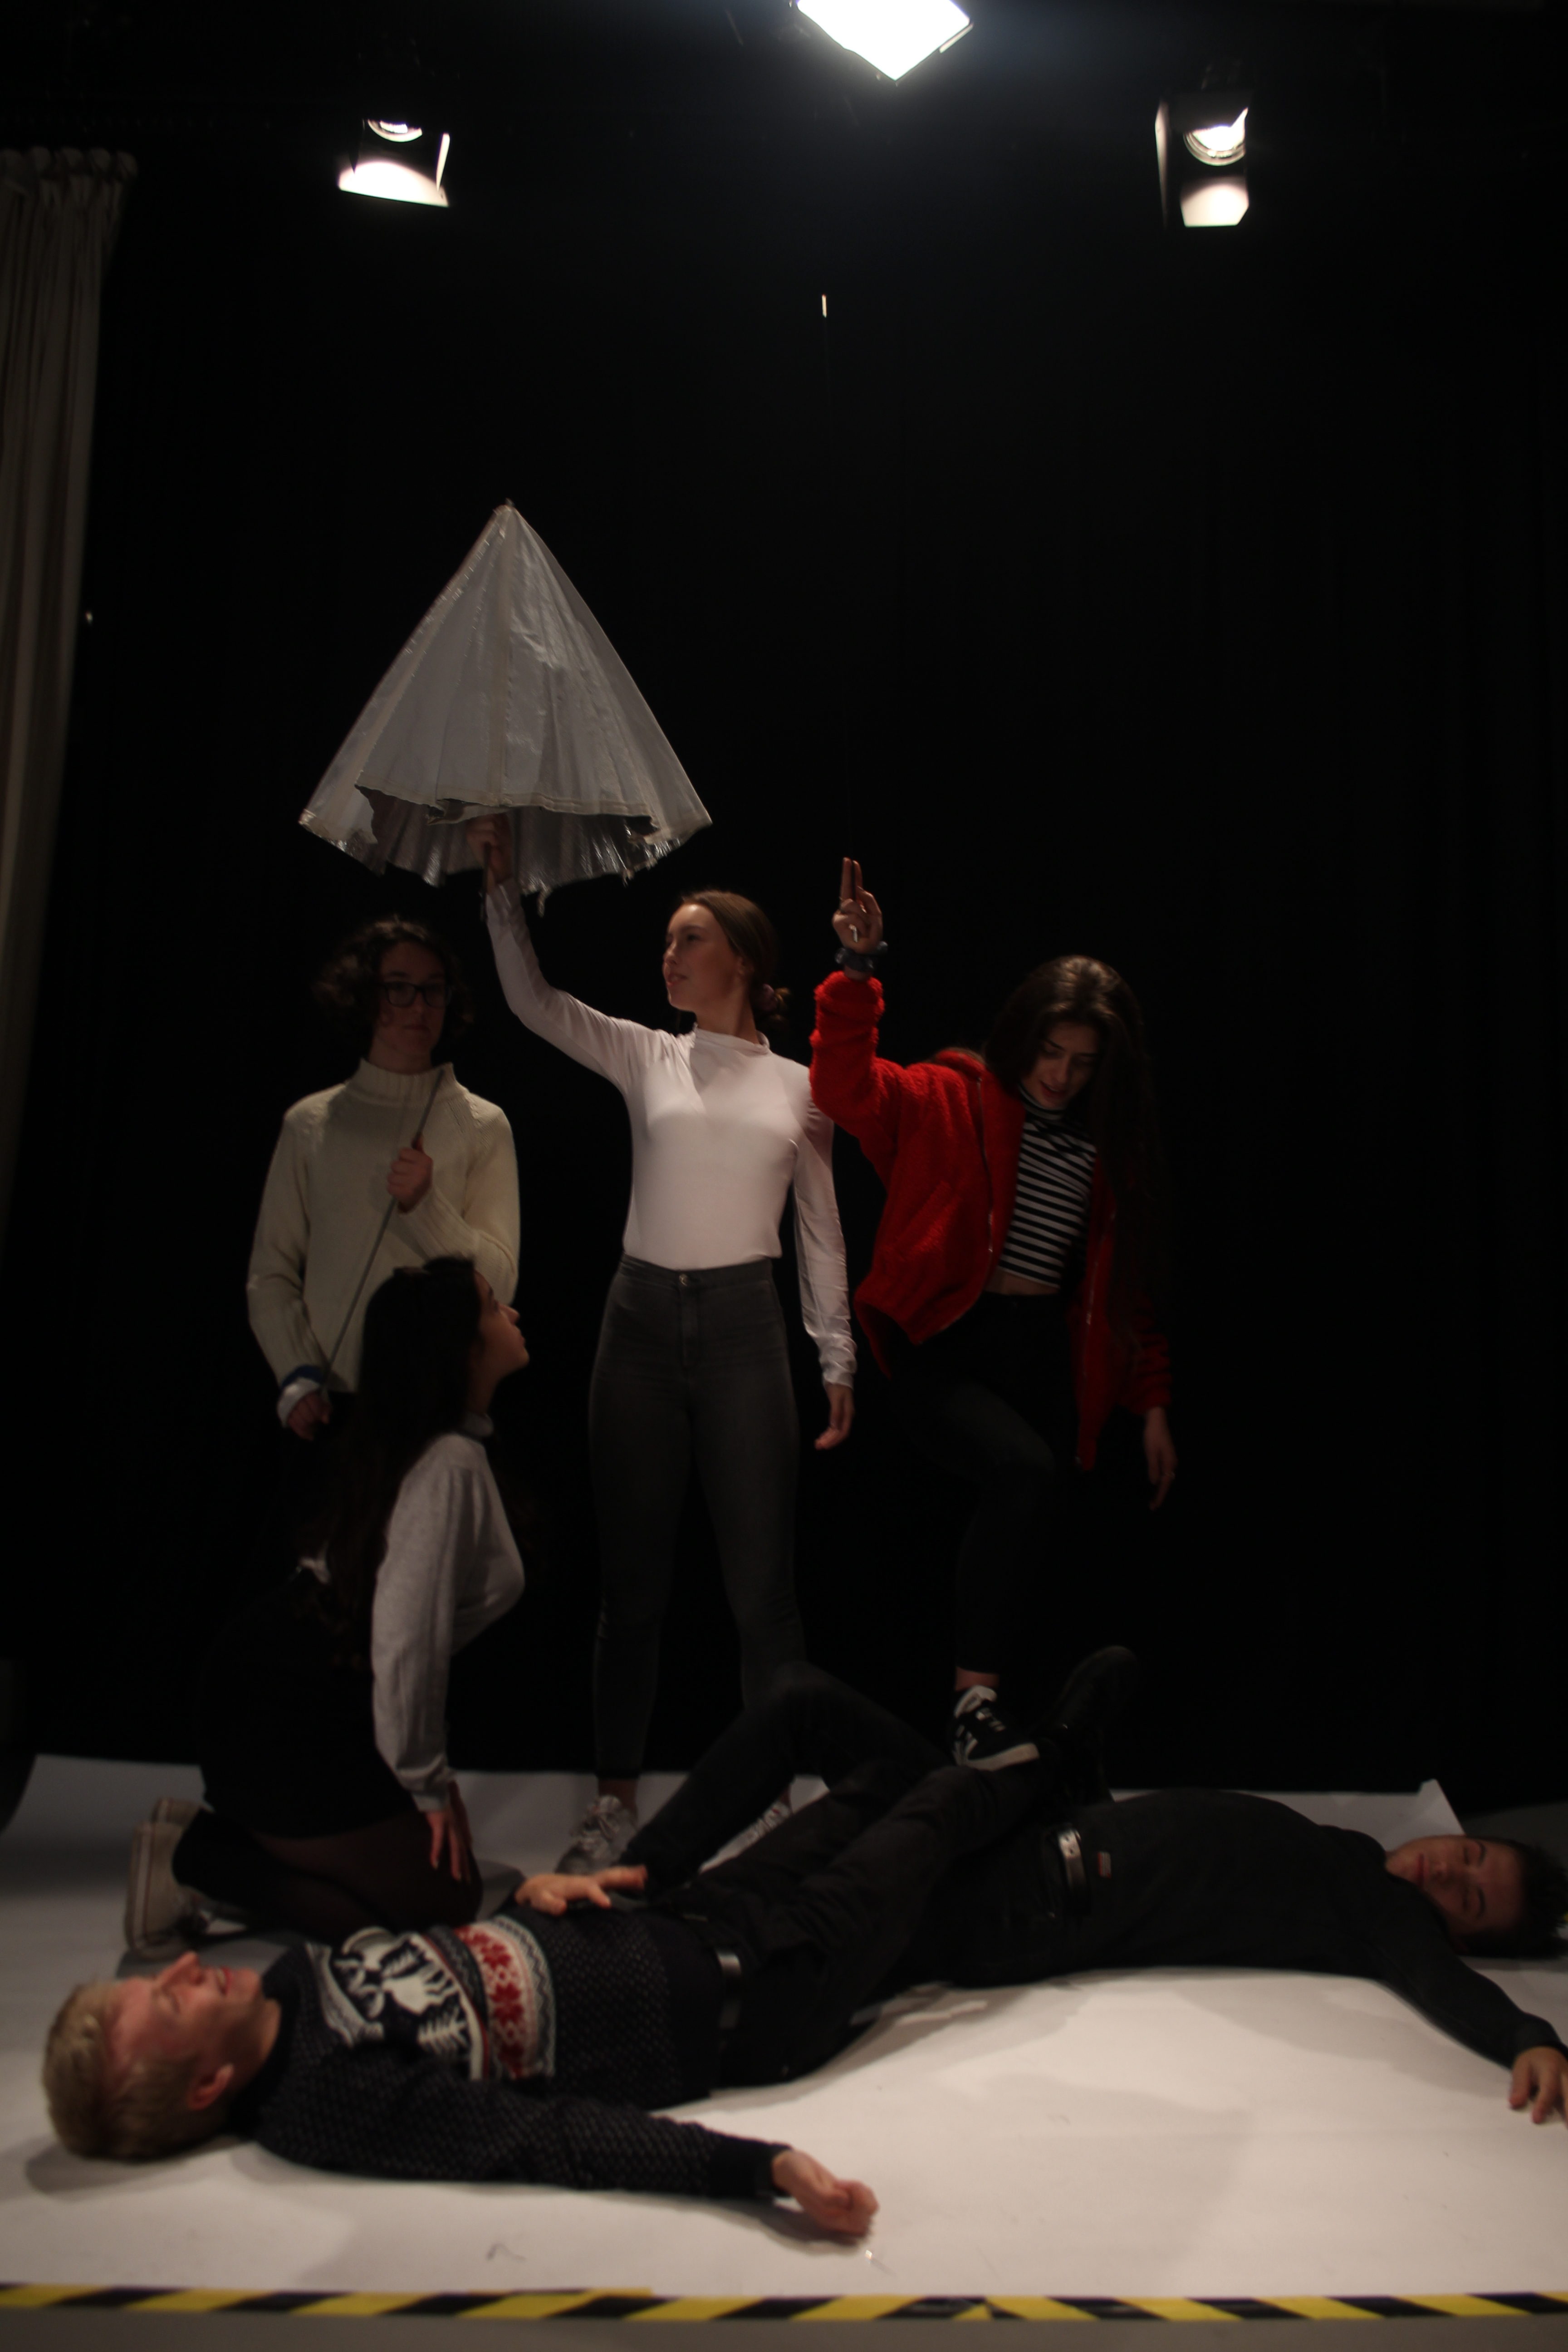
As my first attempt at Tableaux viviant, we decided to recreate the following image as a group.

Image result for the entombment of christ (caravaggio)
The Entombment of Christ Painting by Caravaggio

Context

This piece depicting Christ being entombed was created between 1603-1604, for a chapel in Vallicella, Rome.

Technical

This painting was painted with an oil on a canvas. It contains dark toned colours and hardly any brightly tones colours.

Visual

This painting shows Christ being entombed. In the painting you can see him surrounded by 5 other people, 2 men holding him and 3 women crowding around him with sad and distressed looks on their faces. This painting is also quite darkly pained, and there’s not much light incorporated into the photo, making the painting convey negative feelings to the audience.

Conceptual

As the painting is quite dark, as I mentioned before, I think that it it is trying to convey how upsetting it was for people to witness Christ being entombed as the colour black is usually associated with death and negativeness. The way Carvaggio painted this darkly, also clearly shows that he himself pictures this moment quite darkly, which shows that the painter was a religious man who is saddened by this event. The way Caravaggo painted Christ as the only person in the painting wearing bright white, clearly shows he wanted Christ to stand out as the most important person in this image, which shows he probably hold Christ in high regards, and thinks highly of him also.

Process

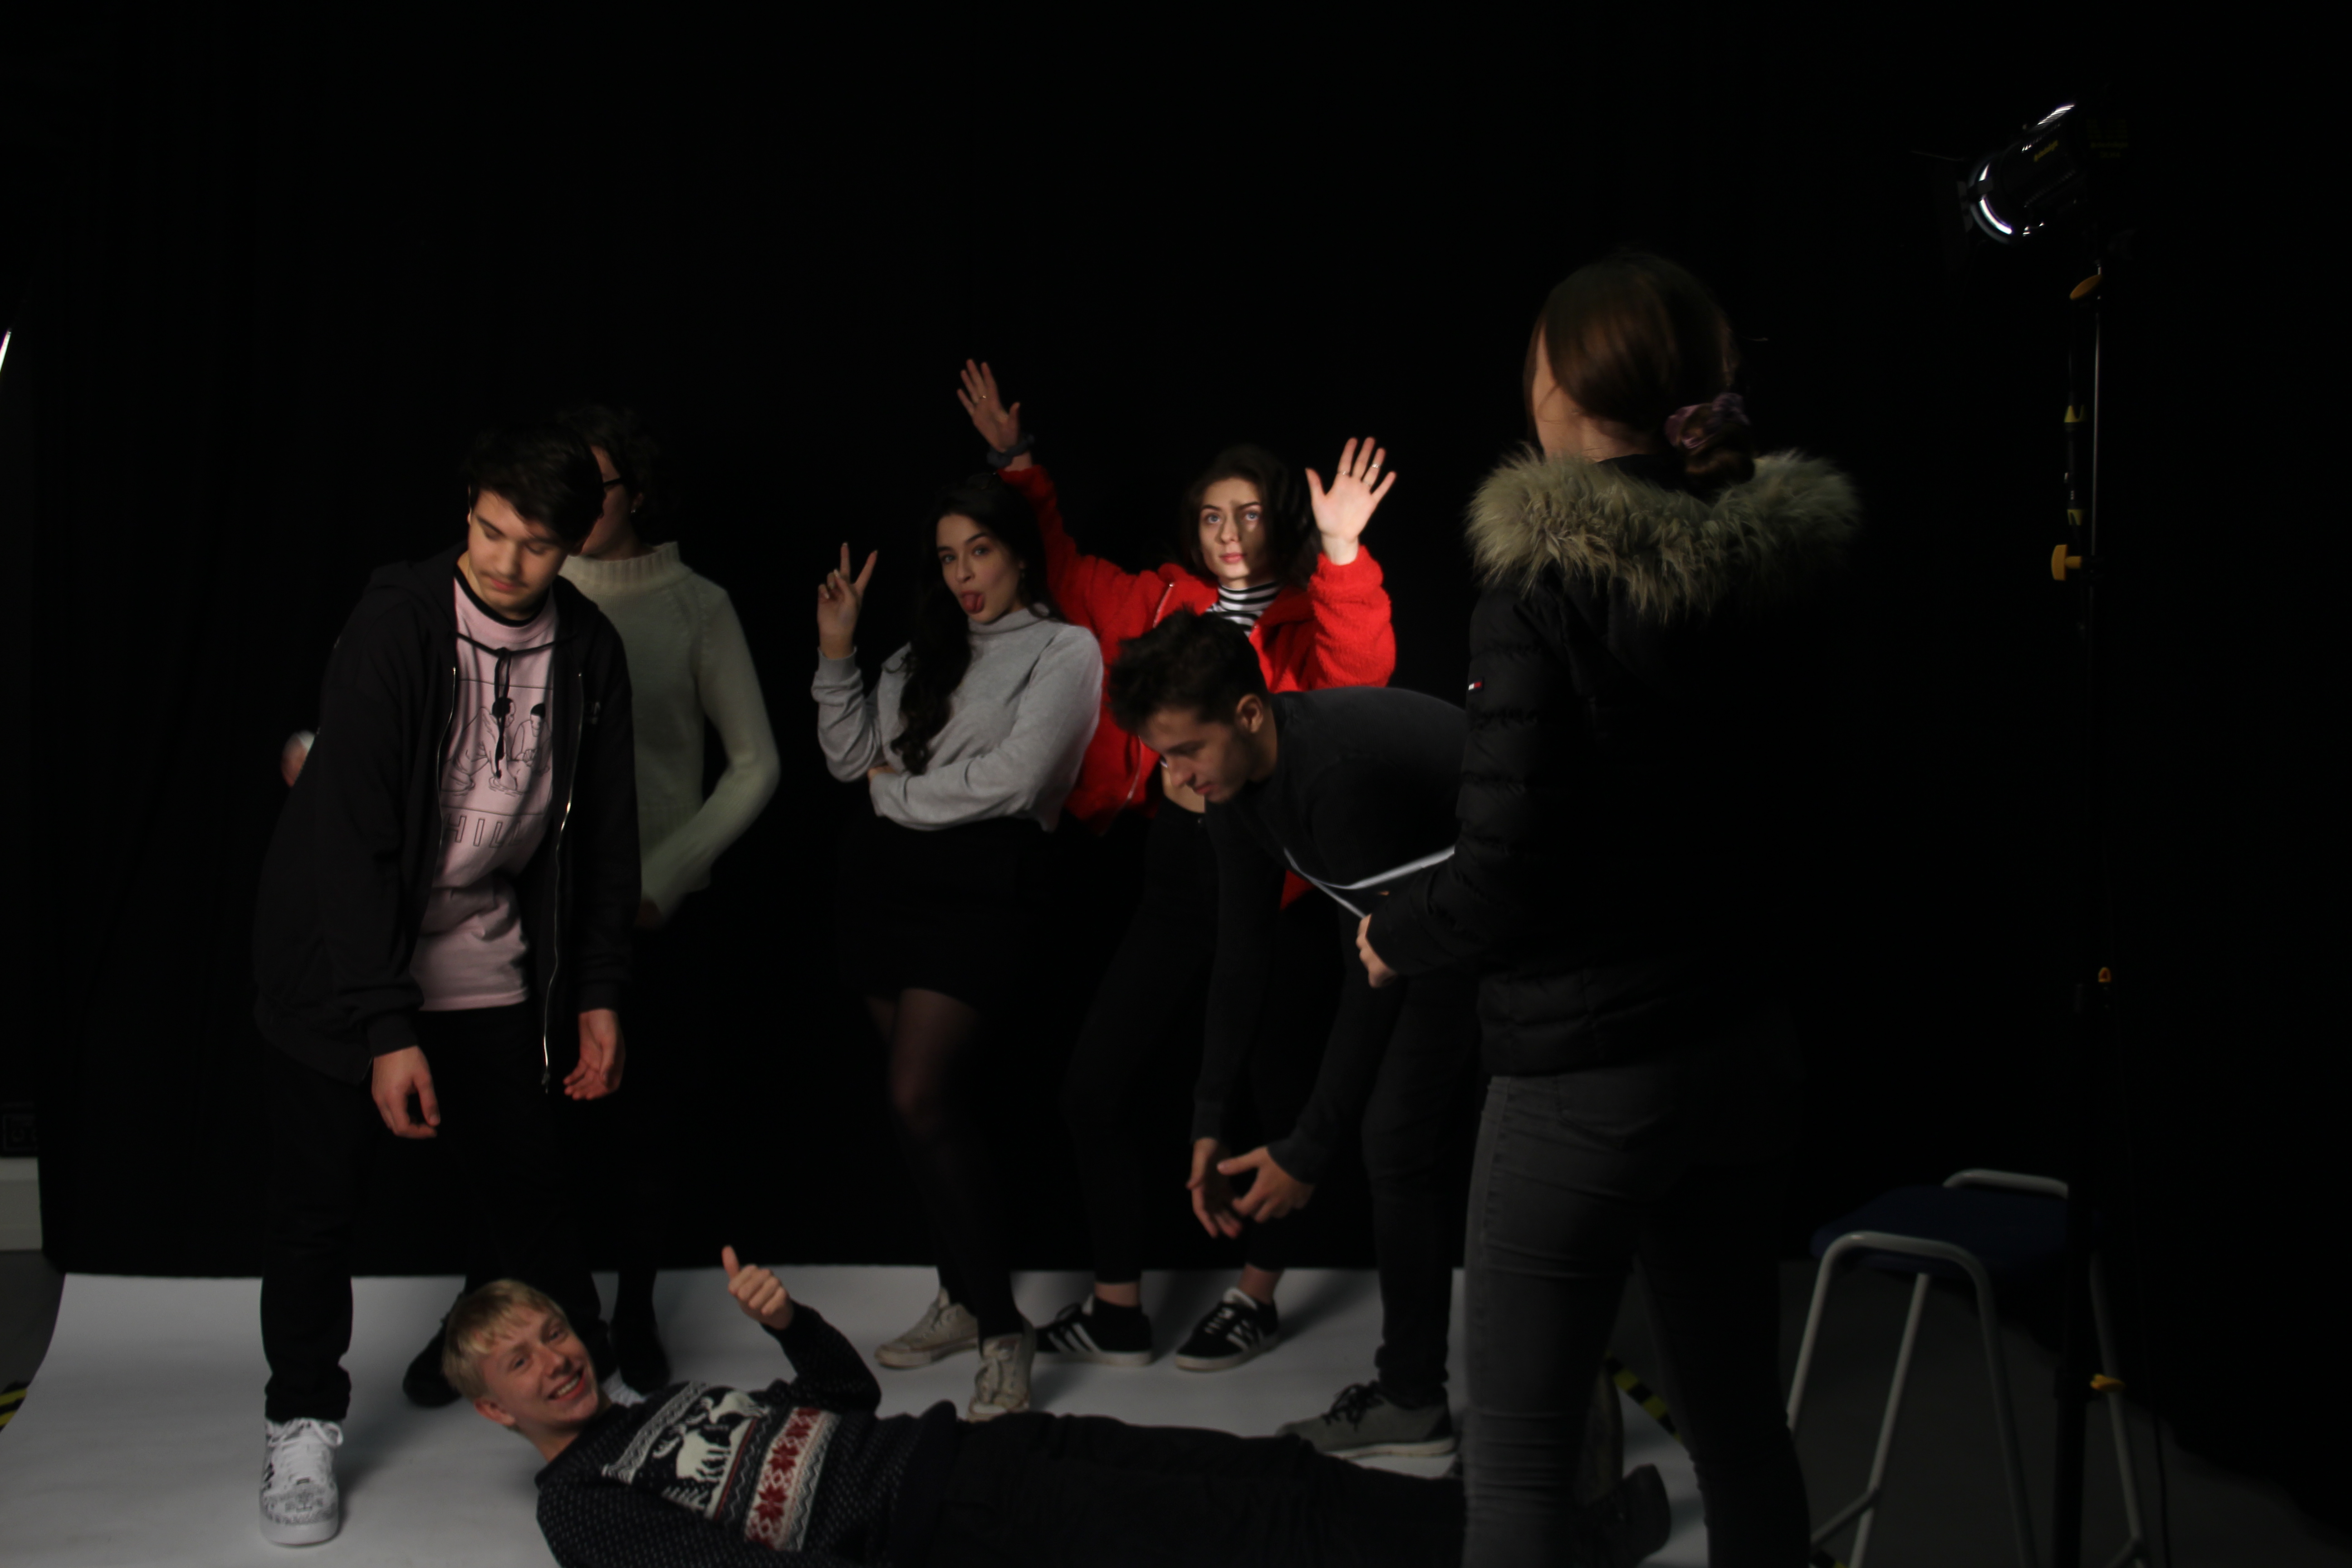
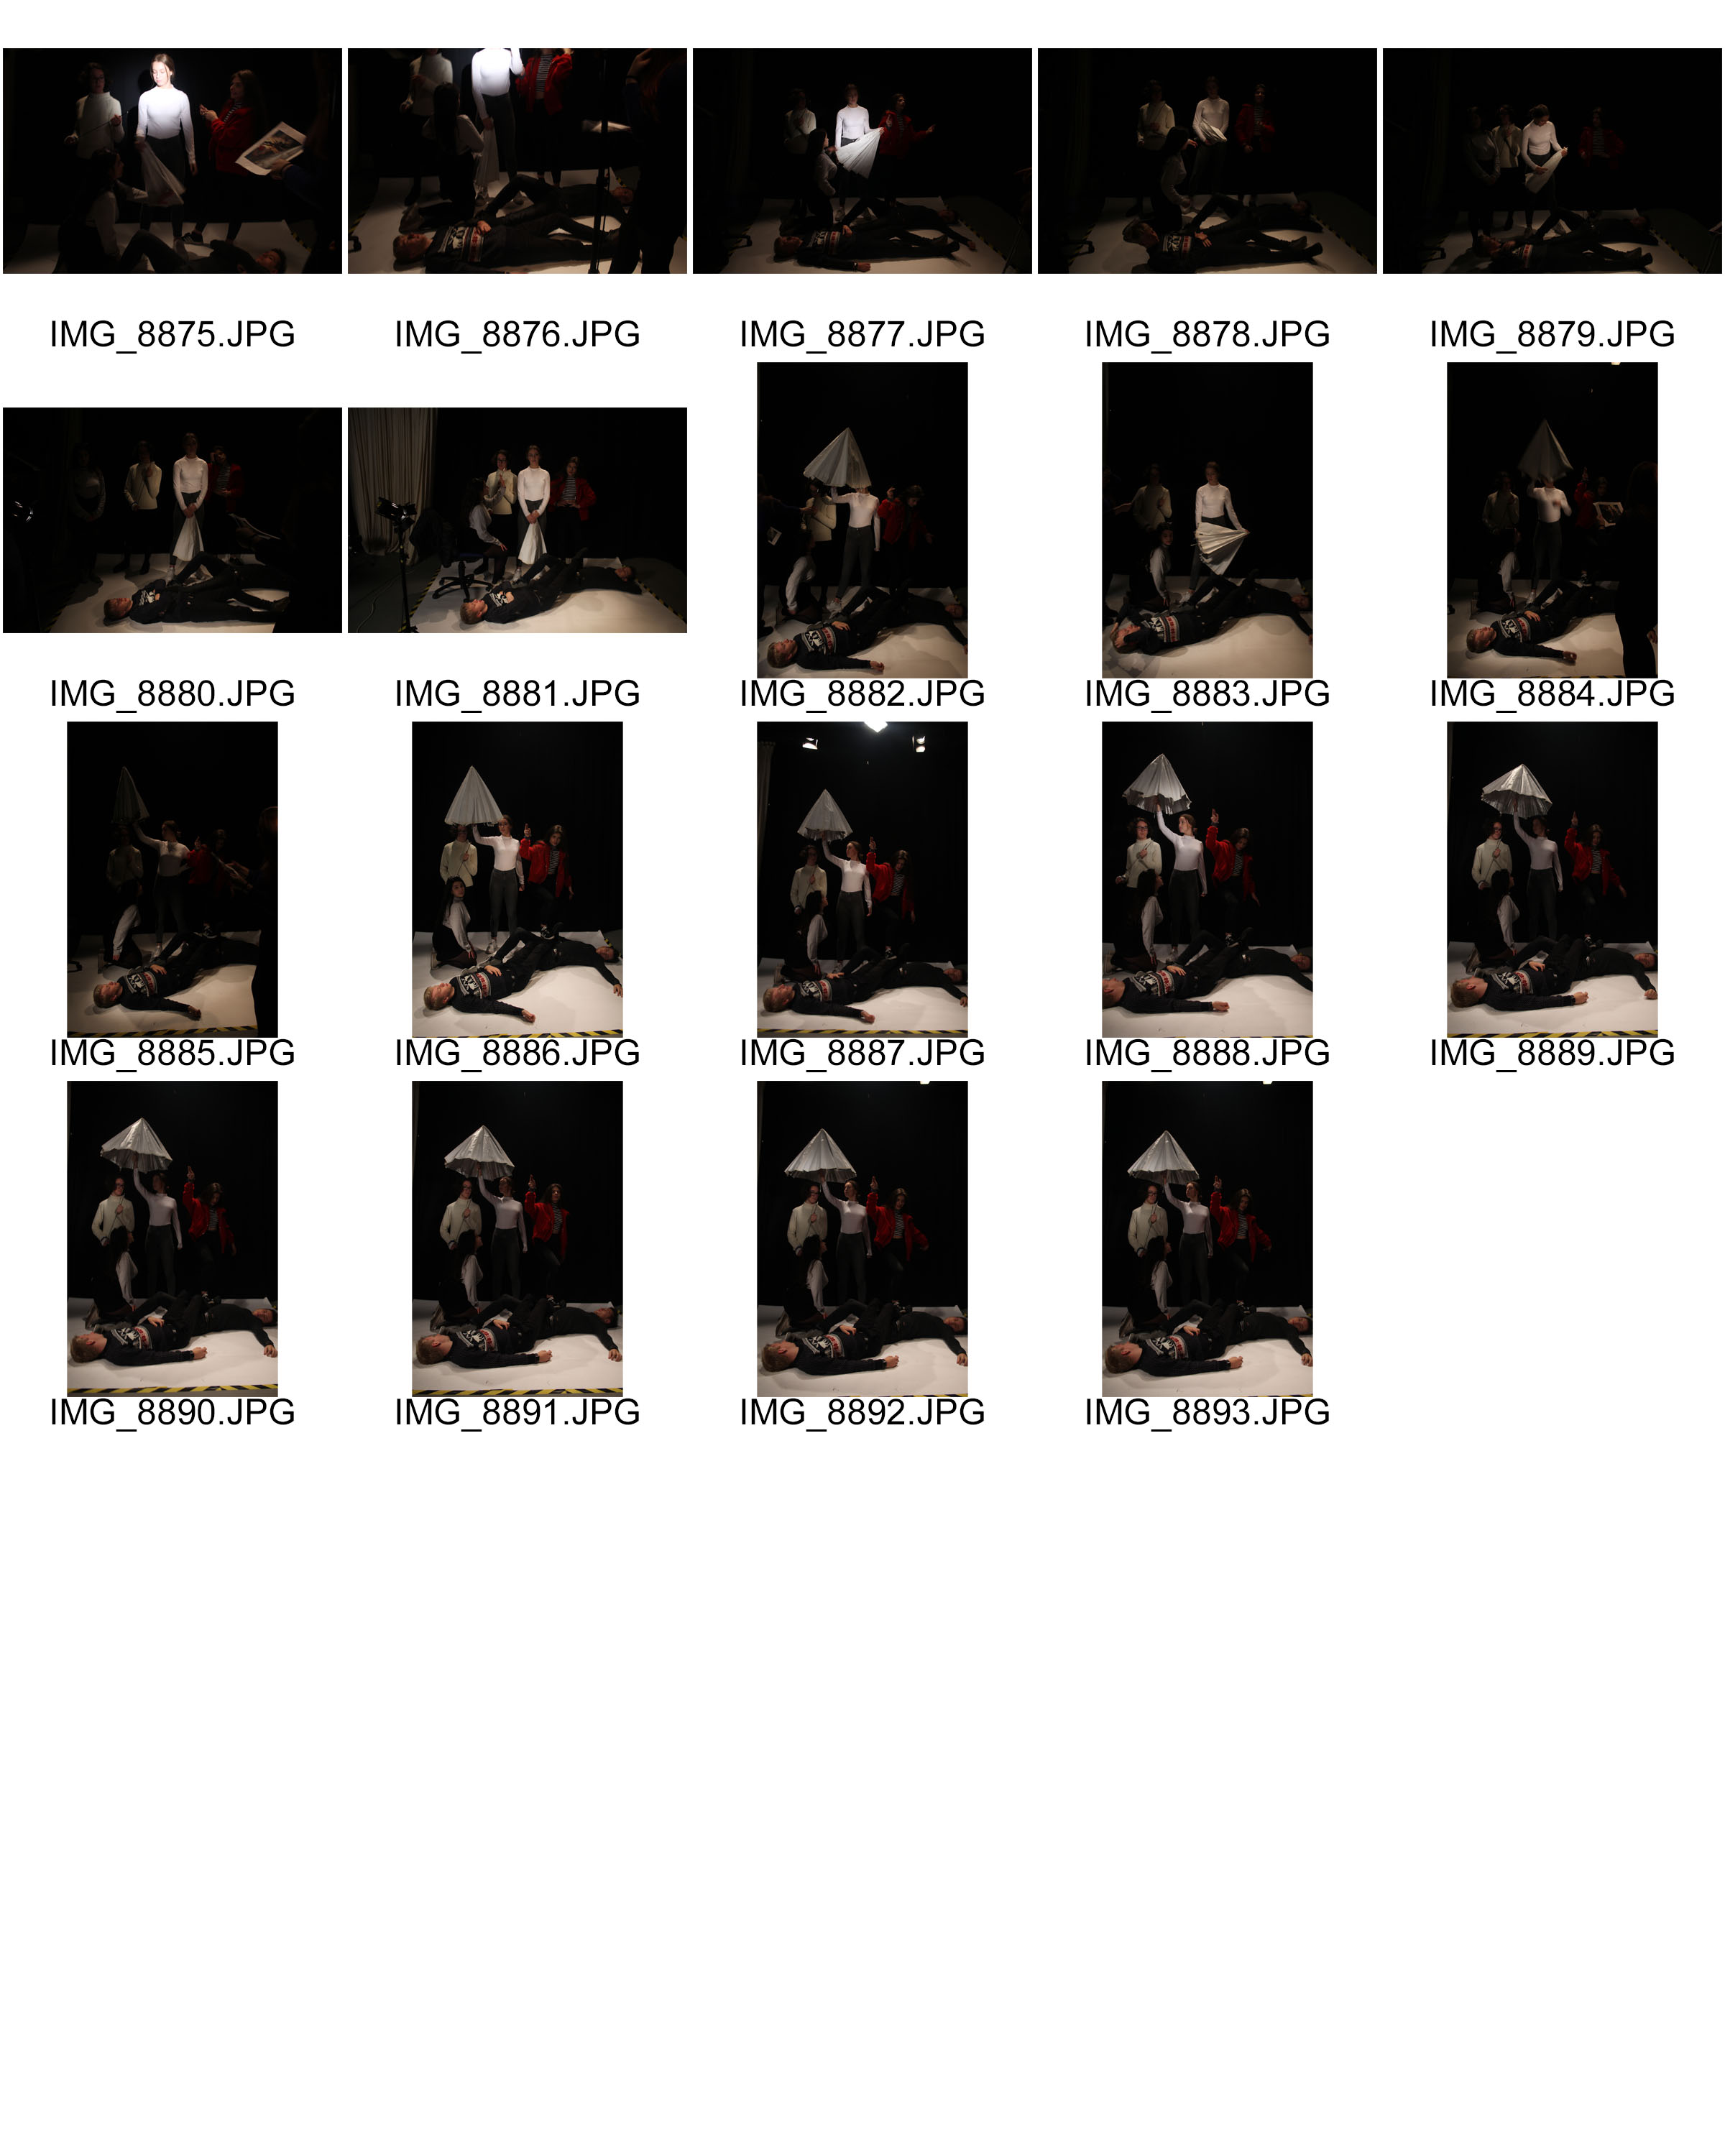
Our group being directed into out positions, before we moved onto positioning the lighting correctly.

Here you can see a member of our group directing the rest of the group in order to get us into a similar position to the people shown in Caravaggio’s painting. During this process it was important that the background was dark, which was the we decided to use the black backdrop. It took some times in order for the member of the group to be positioned properly, and for the lighting to also be set out accurately. After we all knew where we were standing and how we had to pose out bodies in order to achieve an accurate representation of the original painting,  the directer along with the photographer moved onto the lighting. A light was placed focused on our group that we all stood out and also so that the background was a dark colour in comparison to the people posed.

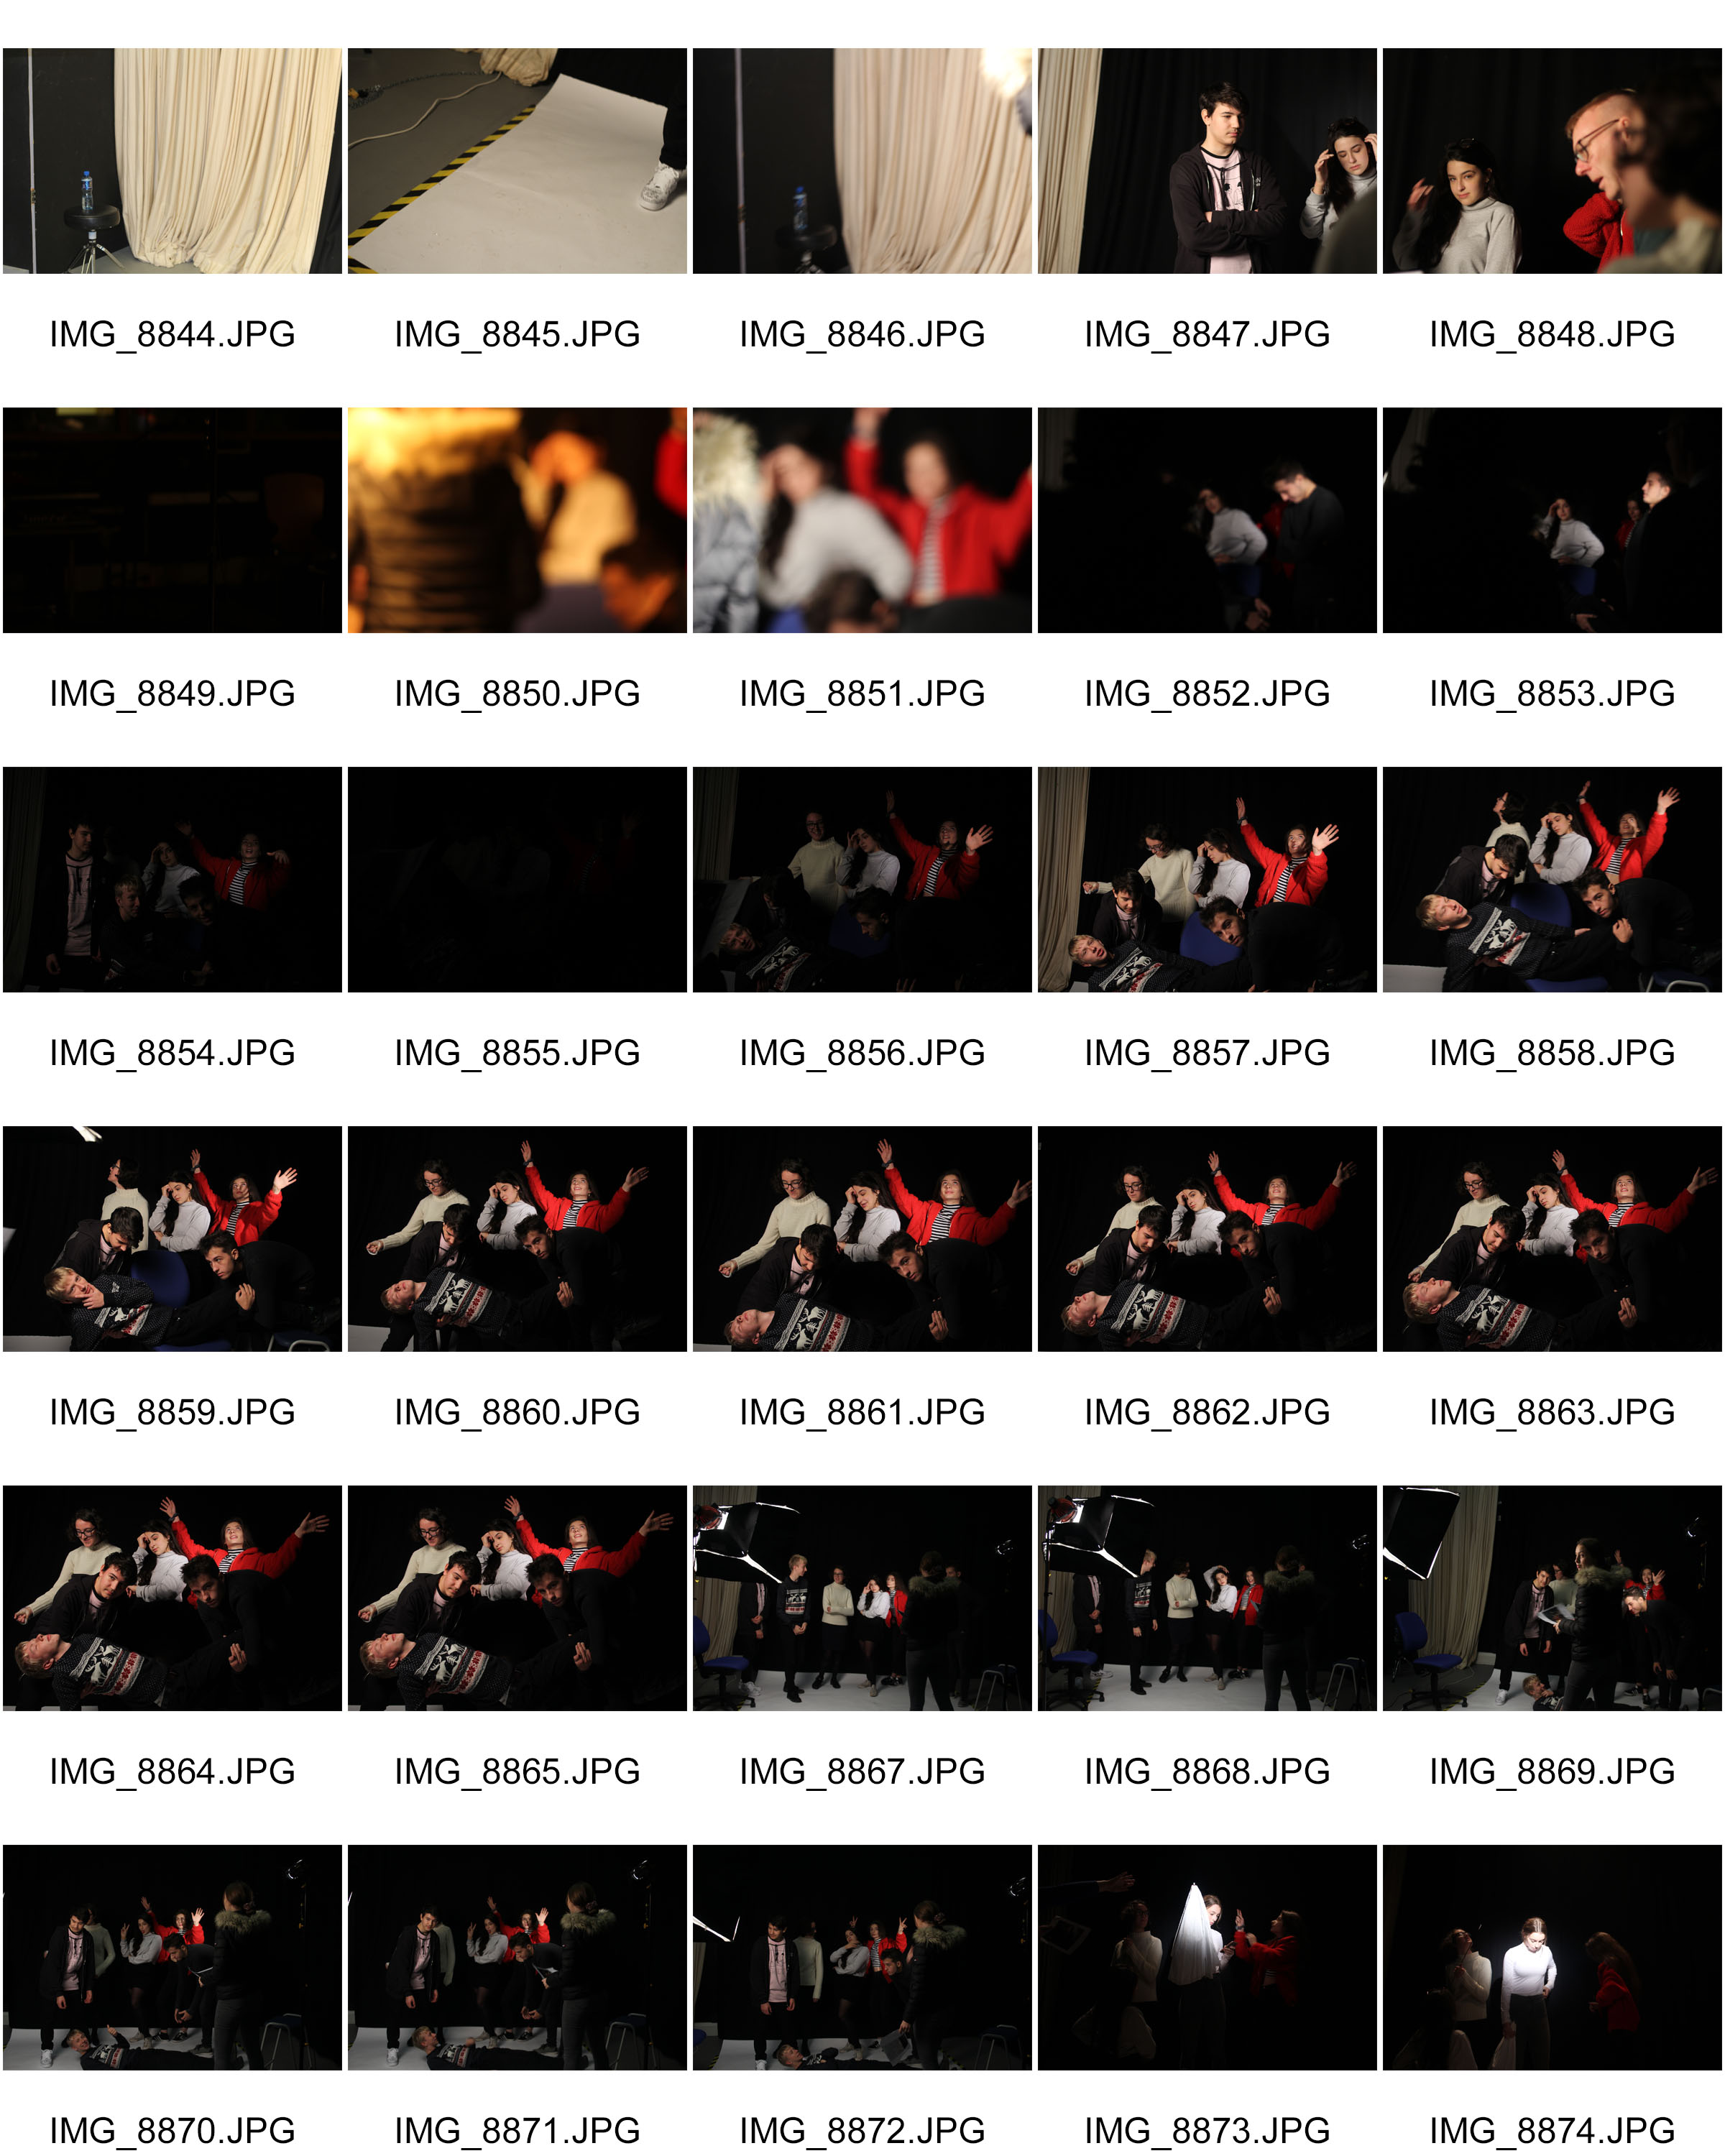
Contact sheet

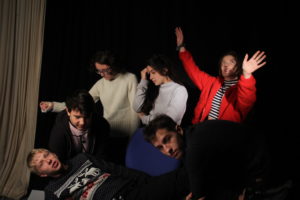
Final outcome

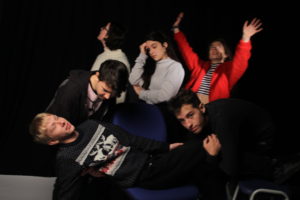
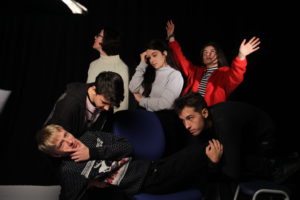
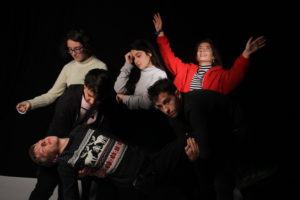
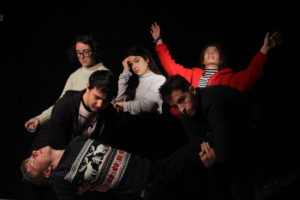
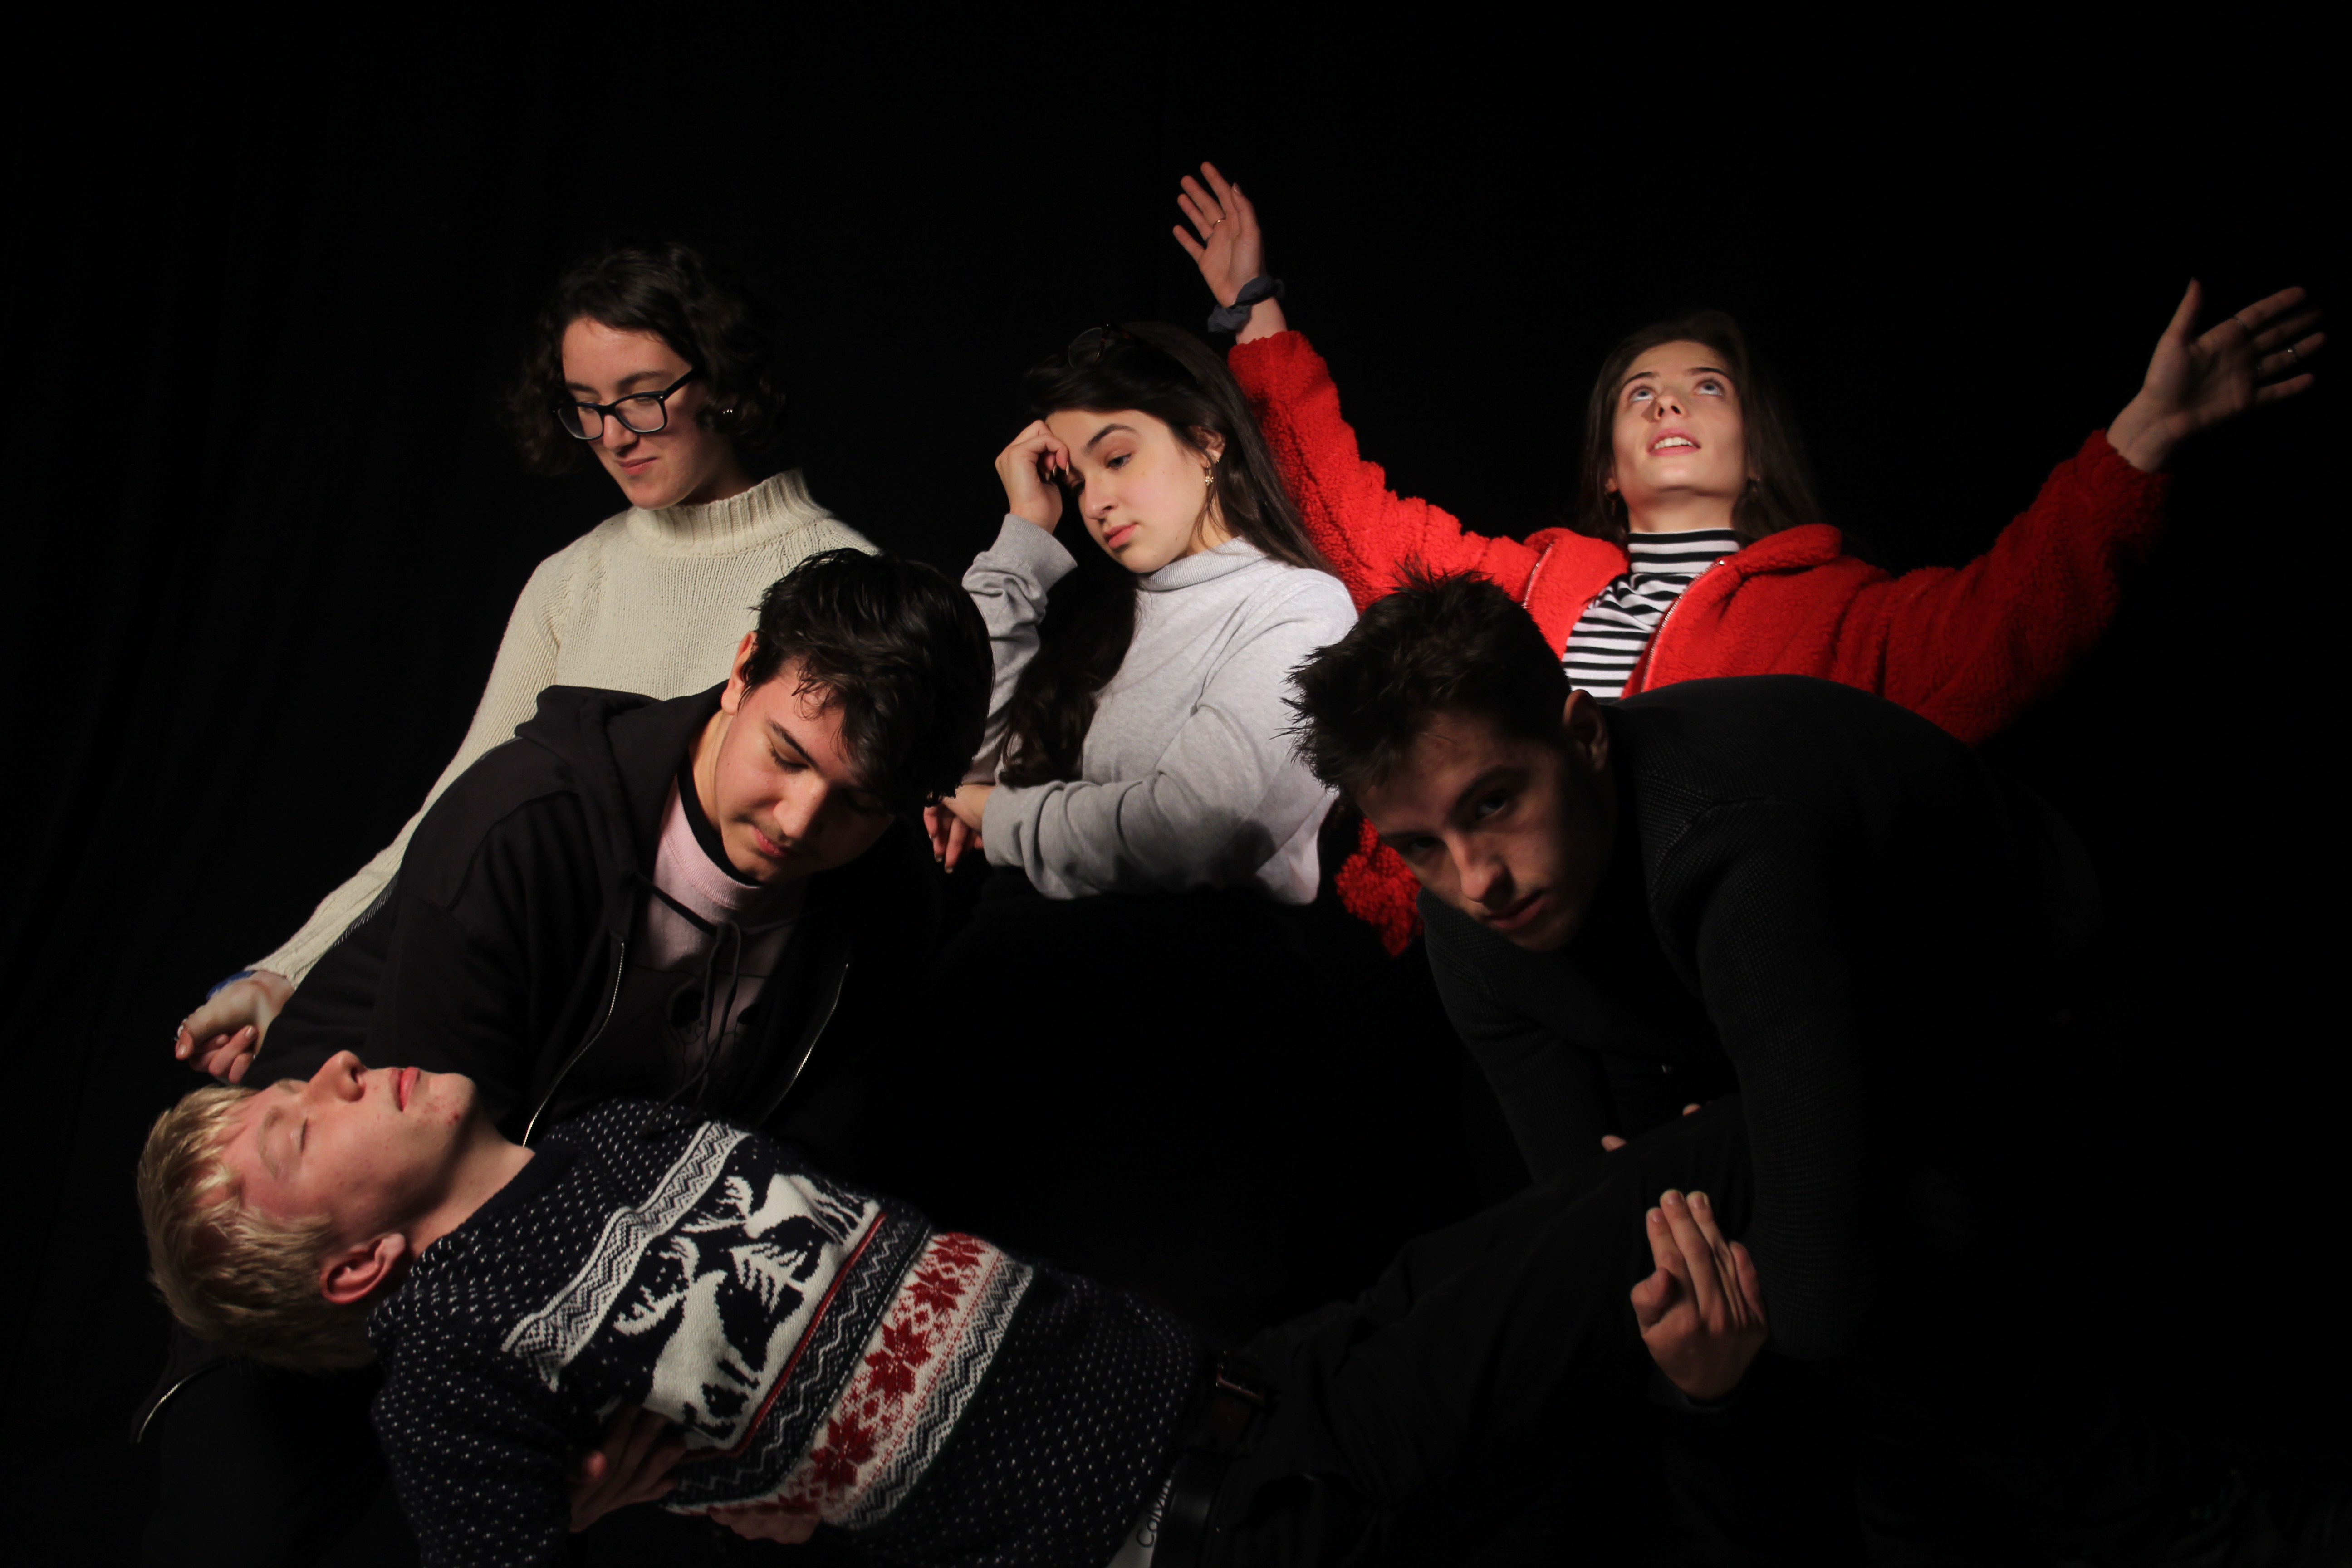
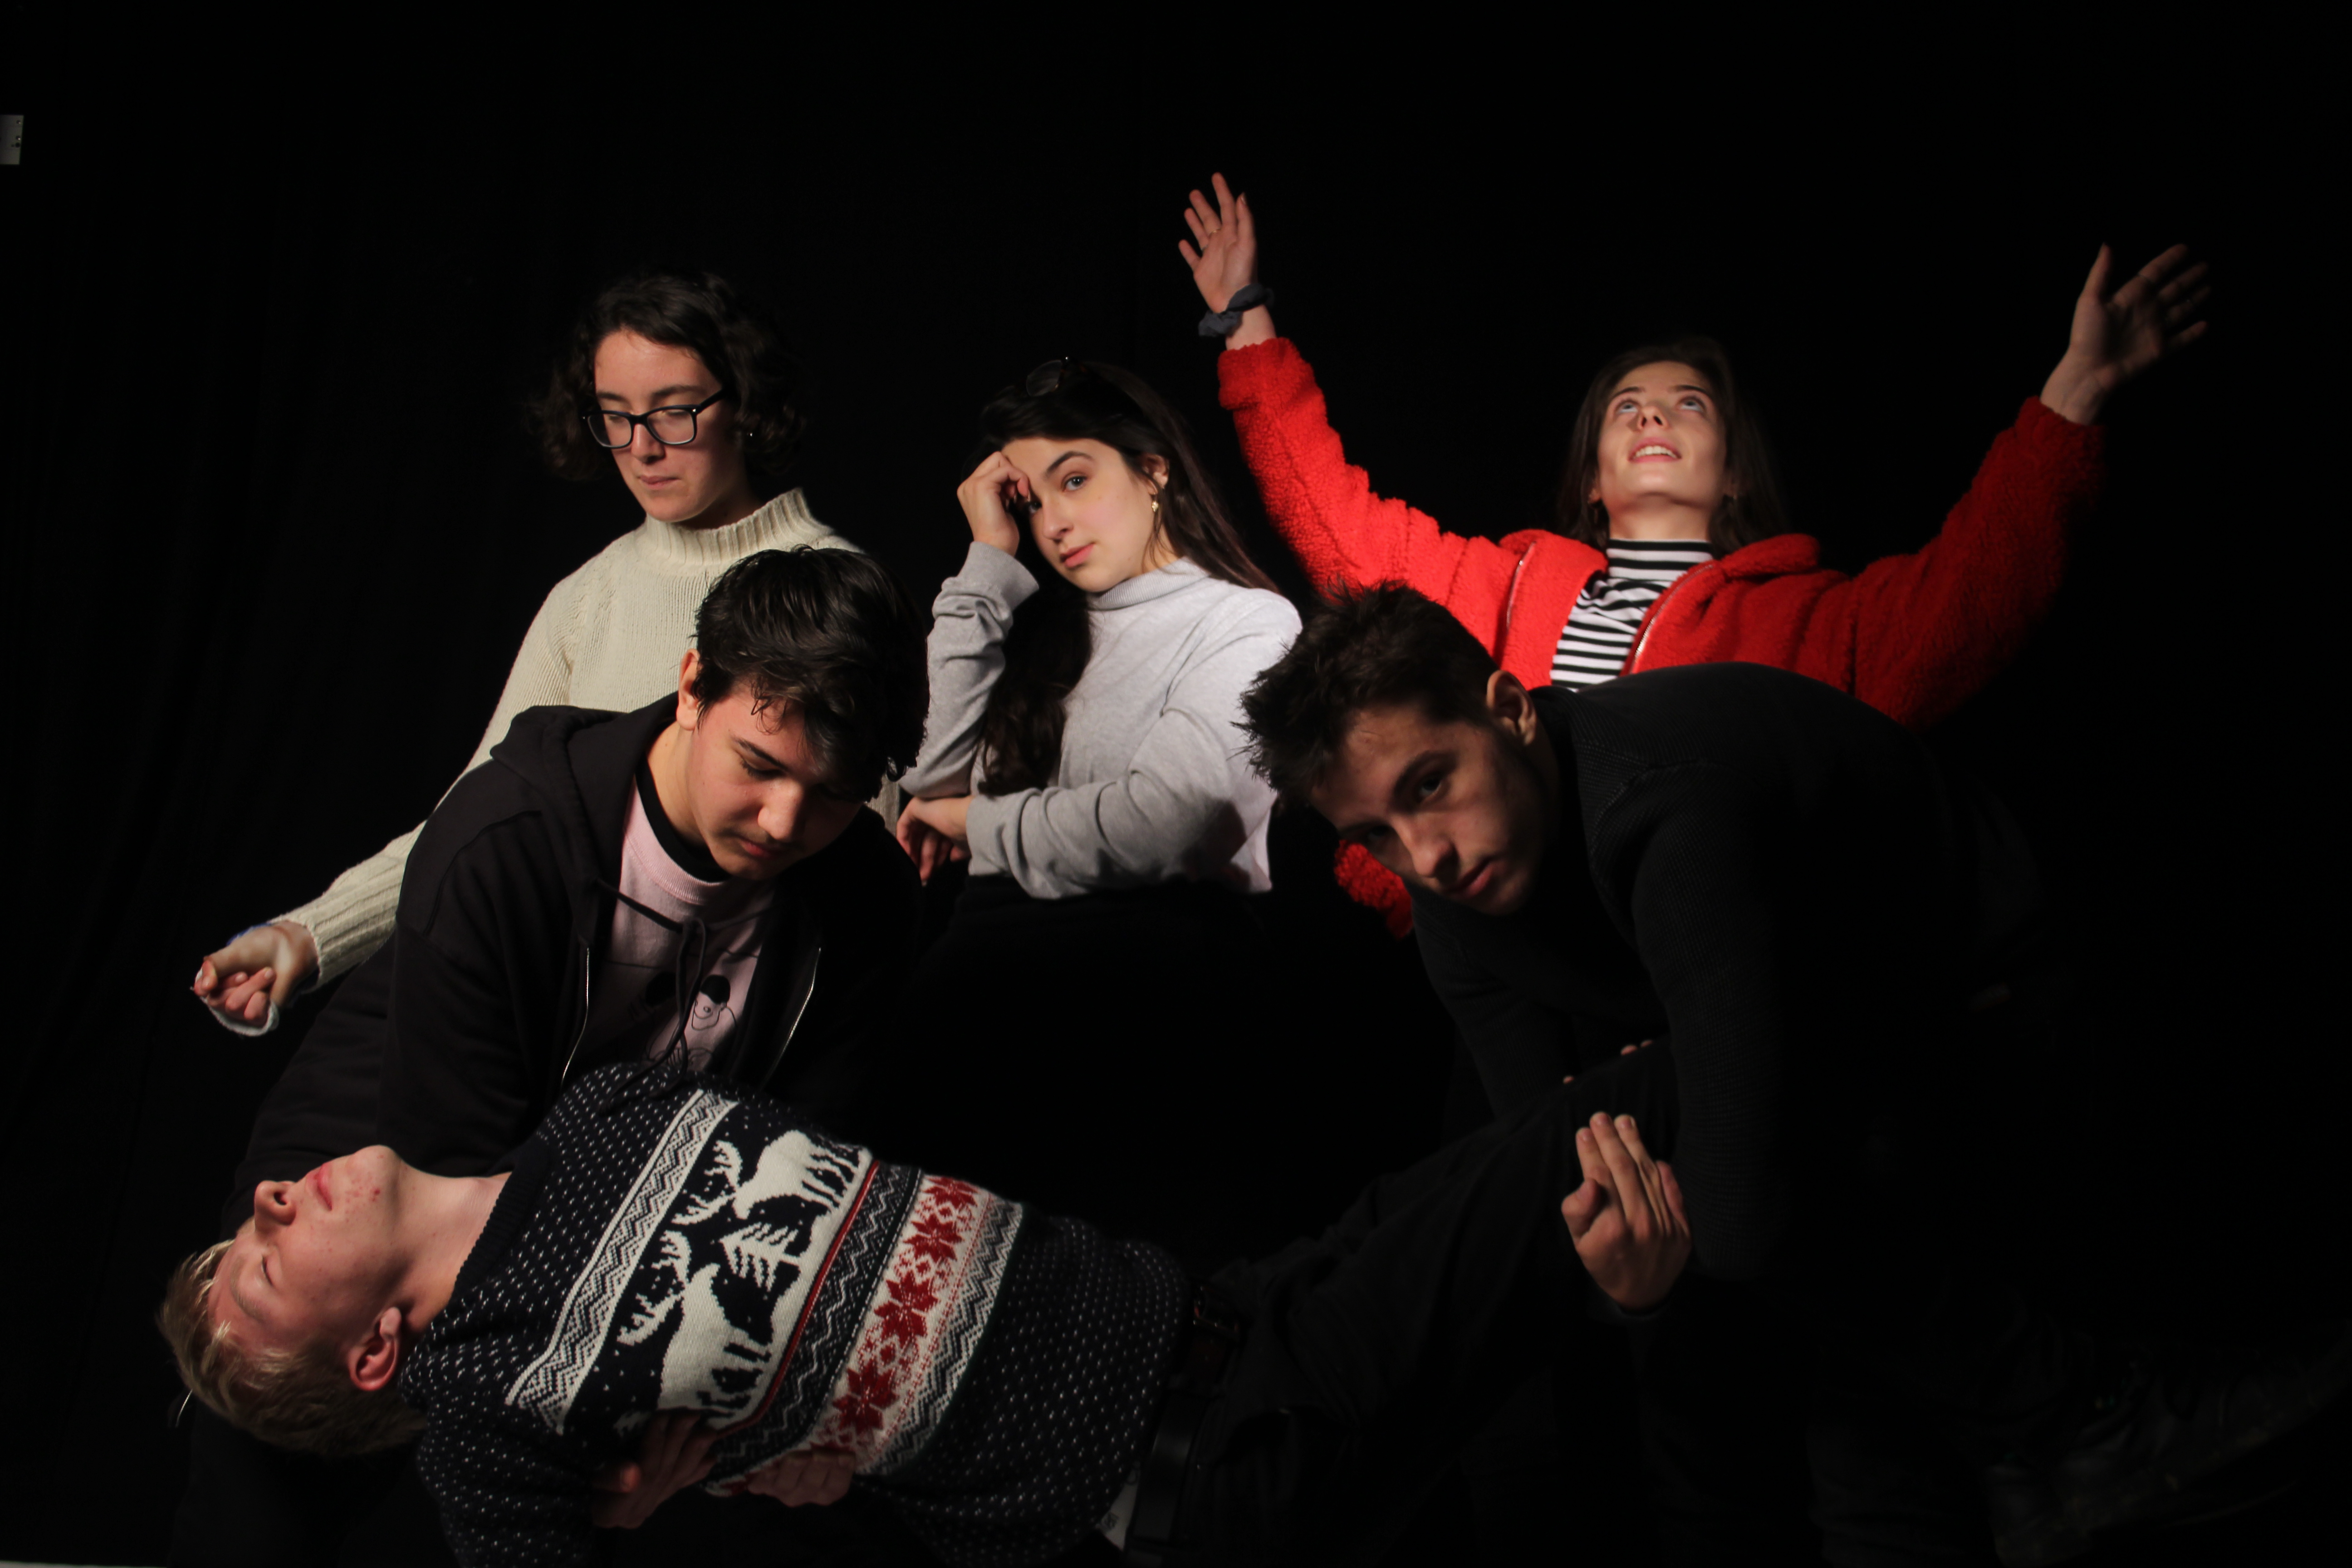
This was the best image outcome captured by the photographer. In this image we have successfully been able to position ourselves similar to those that were pained in the painting. We have also successful been able to convey our assigned characters’ emotions on our faces, which is an important element in tableaux. The background is also very ark which helps us to convey the elements of darkness and death from Caravaggio’s painting into our image. This was achieved through a black background, and also by the strategic placing of lighting which made the actors stand out even more compared to the background.
Analysing the process

While experiencing this process I learnt many important things that I will use, and take into consideration when I do my own tableaux photo shoot.

Firstly, I learnt that the most important part of tableaux is the positioning of the actors along with their expressions, rather than how you actually take the image itself. The majority of the time in this photo shoot, went into making sure we looked accurate and also into making sure the light and the background complemented each other so that our image would convey the same concept that the painting did.

Secondly, I noticed that the director has to be very clear with their instructions, and that they also need to have a very clear vision in their head of how they want the scenery to look. Since a huge part of obtaining a successful tableaux image is planning, I know that when I come to do  my own it has to be well planned so that it turns out accurately. I also now know how important scenery/location and lighting is in order to make a successful tableaux image.

Tableau and staged reality photography – Cindy Sherman


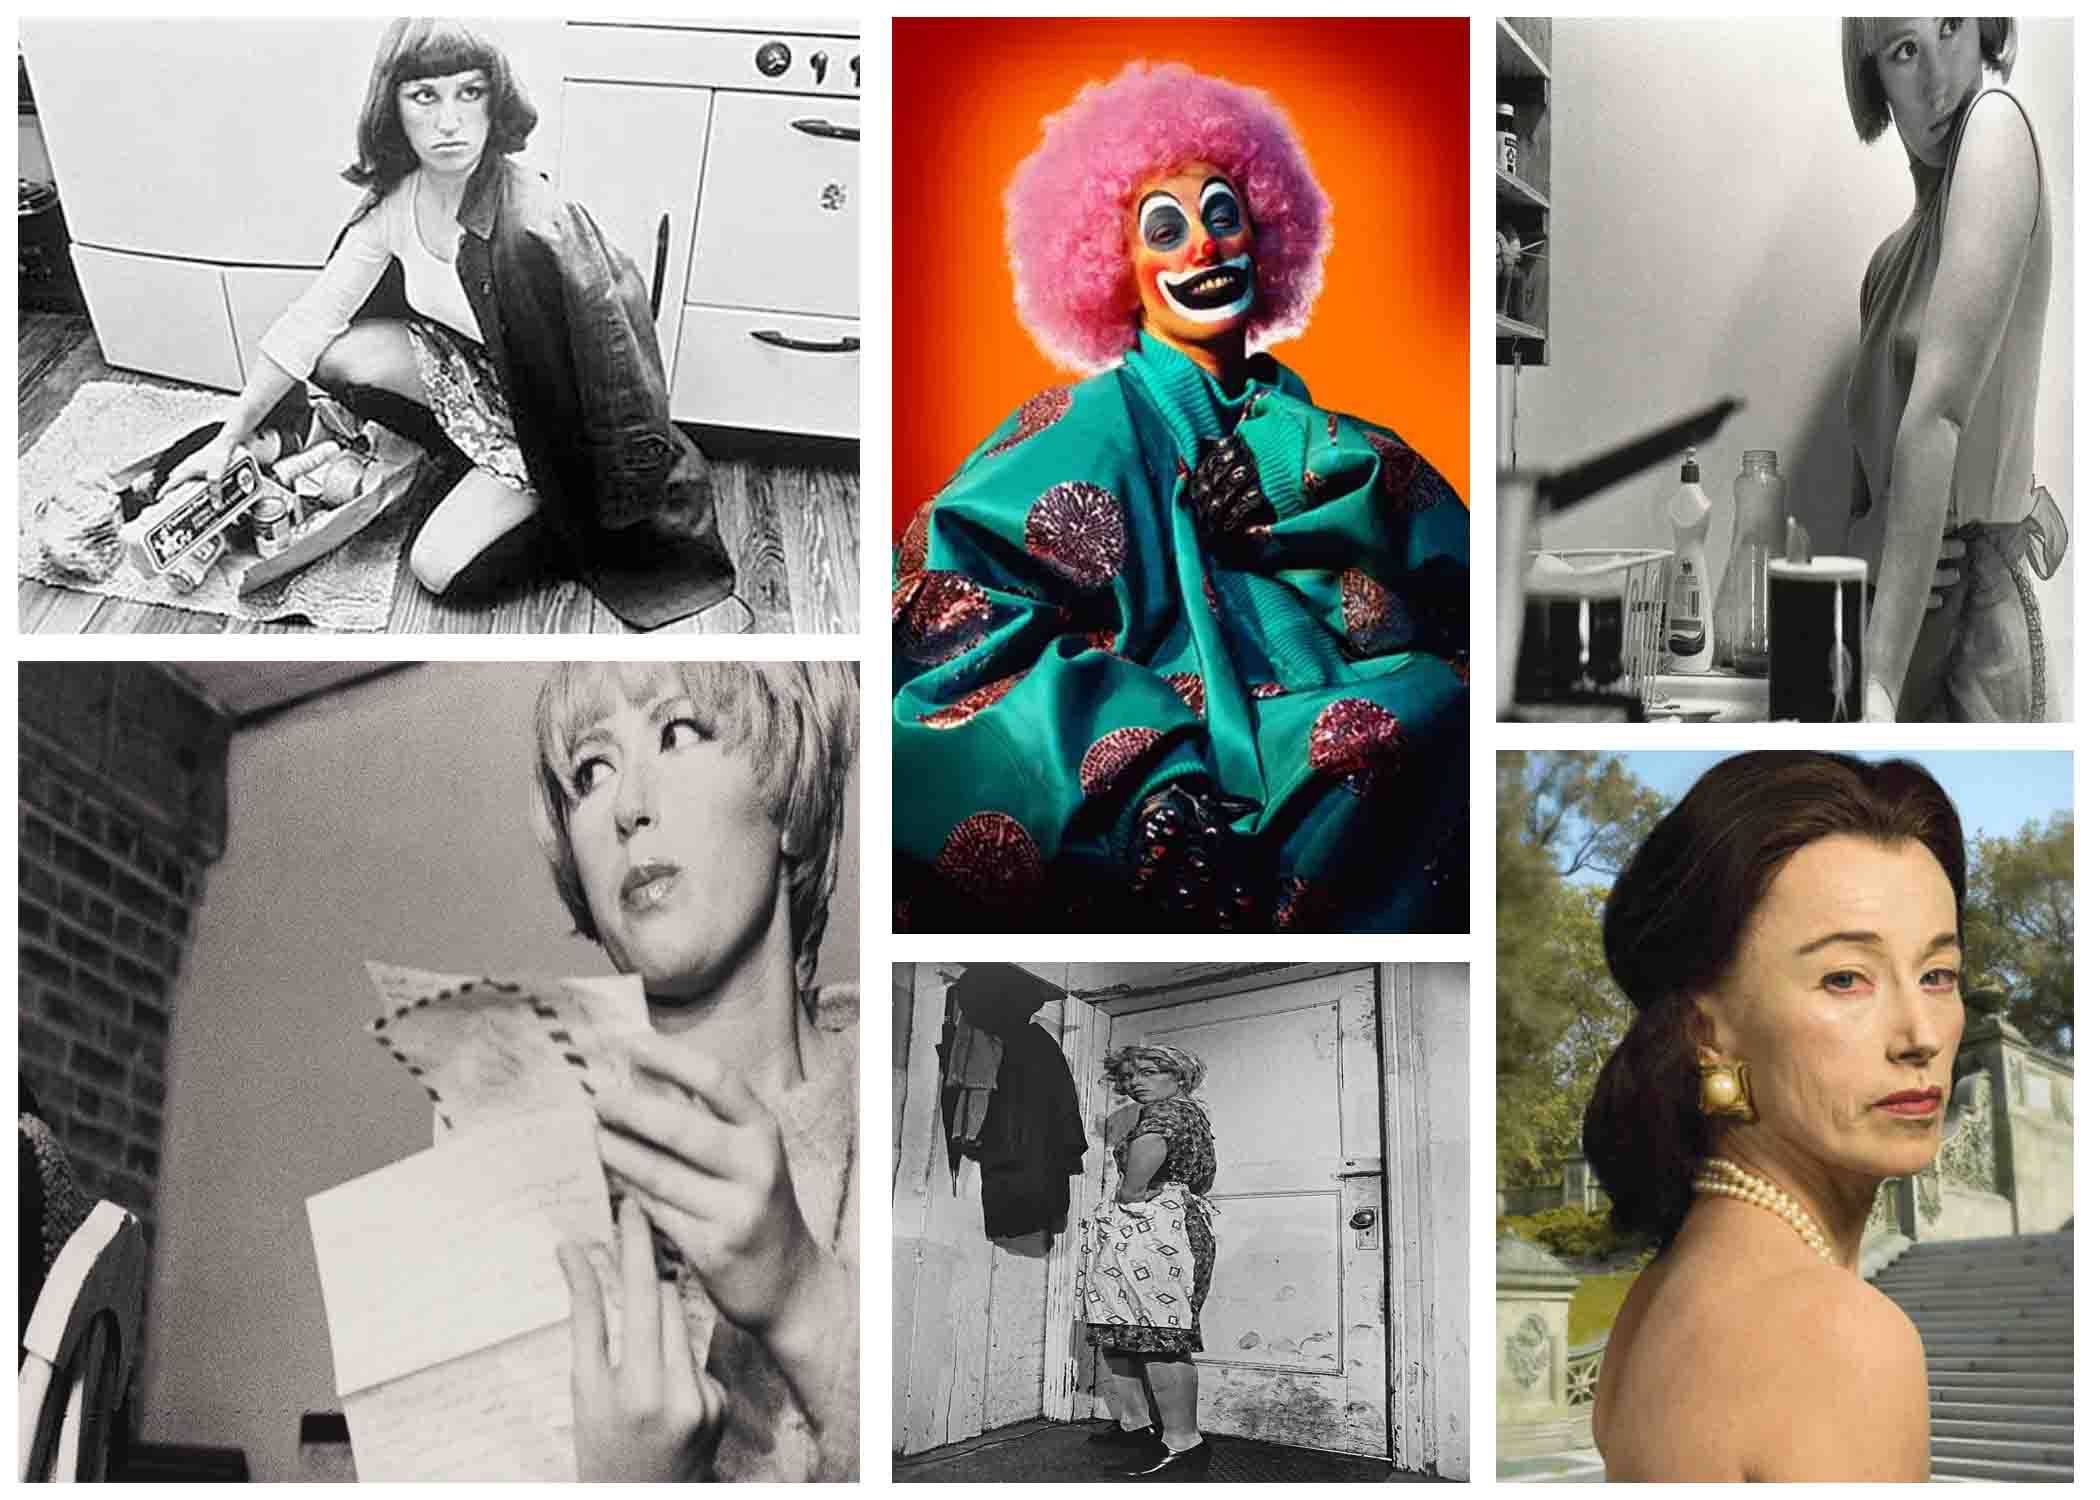
Moodboard of images by Cindy Sherman

Tableau photography is a static scene containing one or more models or actors. They are usually in costume and are planned out carefully to create a certain scene.

Cindy Sherman is a postmodern photographer who started work in the 1970s and is still working today. She’s been important in the areas of “studies of the de-centered self, the mass media’s reconstruction of reality, the inescapably of the male gaze, the seductions of abjection, and any number of related philosophical issues.” She uses herself as the subject in almost all of her photographs except only a few. These are staged photographs that she takes in her studio. It’s important that they’re staged because we know that this is some sort of message embedded in them that she is trying to get across to us.

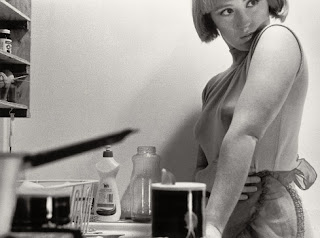
Sherman 1977


In this image, Sherman is shown to pose in the kitchen, in front of the sink with an apron on. This is clearly making a statement on the gender stereotype of women’s place in the house, which was typically in the kitchen. This looks more of like a 1950-60’s setting, where the role of women were pretty fixed within society, and they were berated for being anything else otherwise. Sherman may have been fighting against these stereotypes and making the voices of women louder when it came to their rights and how society saw them, and going against the tainted norms to make a change.


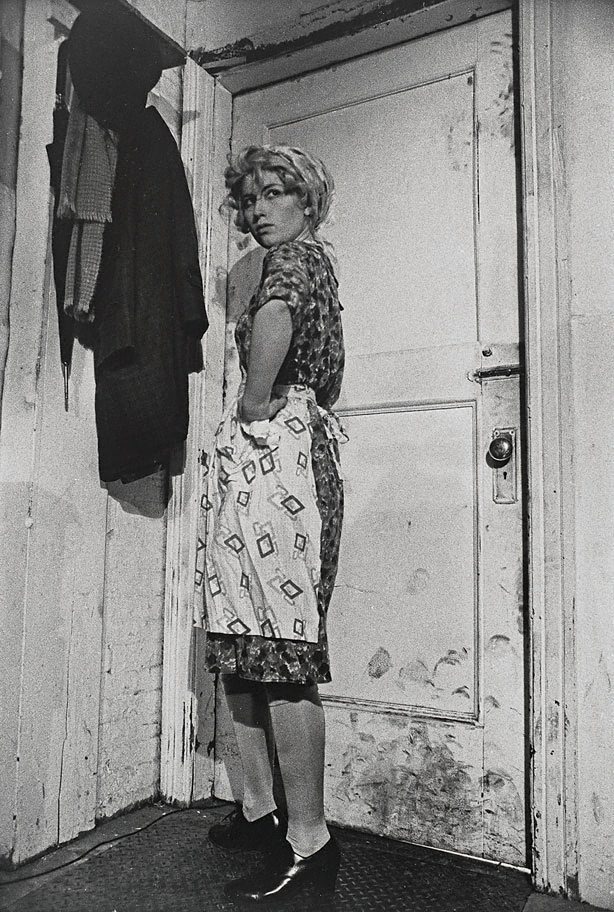
Untitled film still #35 (1979)

In this image, a woman is shown standing by a dirty door, in typical house wife clothes of the 1970’s. Like many of her works, and the one I mentioned above, this portrays the stereotypical view of women and their duty to the house hold.

Window Lighting & Using Reflectors

Window lighting is soft light caused by natural light being diffused through a window. This is also a cheap and effective method of getting expensive; studio grade images.

Natural/window lighting also allows the photographer to move more easily from location to location without the hassle of moving movie equipment; such as lights and reflectors.

During the photo-shoot, reflectors were also used to reflect the light towards the model. Reflectors are useful as in flat lighting, a reflector can add interest or drama to the shot. https://www.shawacademy.com/blog/a-beginners-guide-to-lighting-a-photo-with-a-reflector/

Best Images 

Tableau Vivant

A tableau vivant, French for ‘living picture’, is a static scene containing one or more actors or models. They are stationary and silent, usually in costume, carefully posed, with props and/or scenery, and may be theatrically lit. It thus combines aspects of theatre and the visual arts; a group of models or motionless figures representing a scene from a story or from history.

Paul M Smith, uses MULTIPLE EXPOSURE TECHNIQUE

Tableau In Class

The two paintings which the class recreated were “Deposition / The Entombment of Christ” by Caravaggio, and “Liberty Leading the People” by Eugène Delacroix.

Image result for caravaggio deposition

The Entombment of Christ – Caravaggio

Image result for french revolution painting

Liberty Leading the People – Eugène Delacroix

Class Responses

Editing Of Class Response

Own Tableaux Response

Using Paul M Smith’s work as inspiration

Image result for paul m smith photography

Image result for paul m smith photography

Images by Paul M. Smith, from the collection: “Make My Night”     http://www.paulmsmith.co.uk/

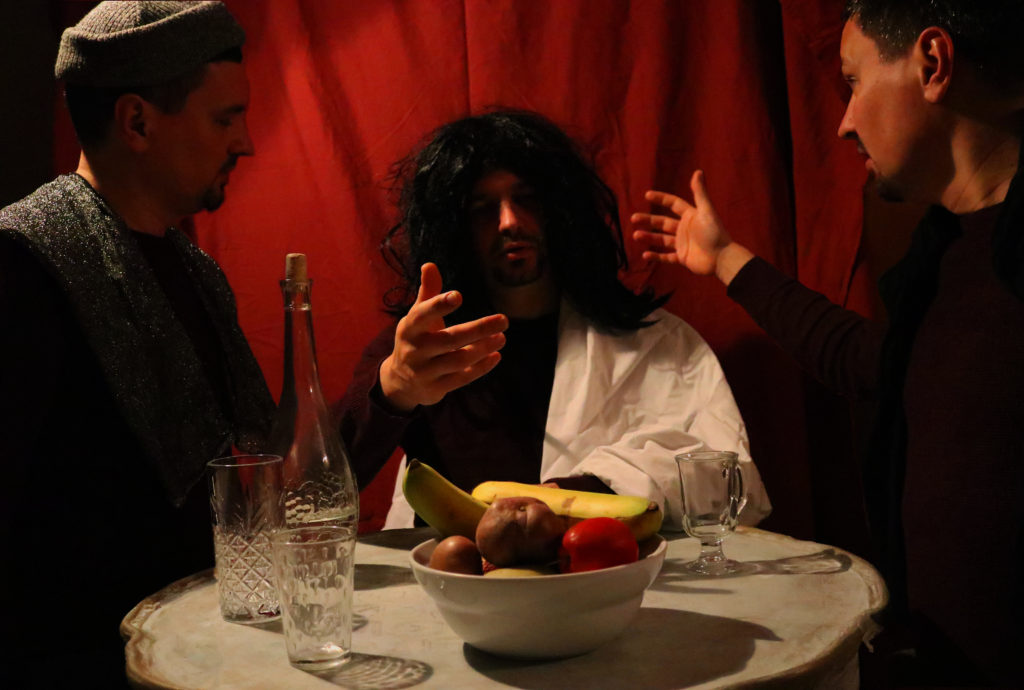
For my Tableaux Vivant and Paul M. Smith response, I would like to merge together and edit three separate images of the same subject; wearing different outfits, in different poses, and the in the same frame.
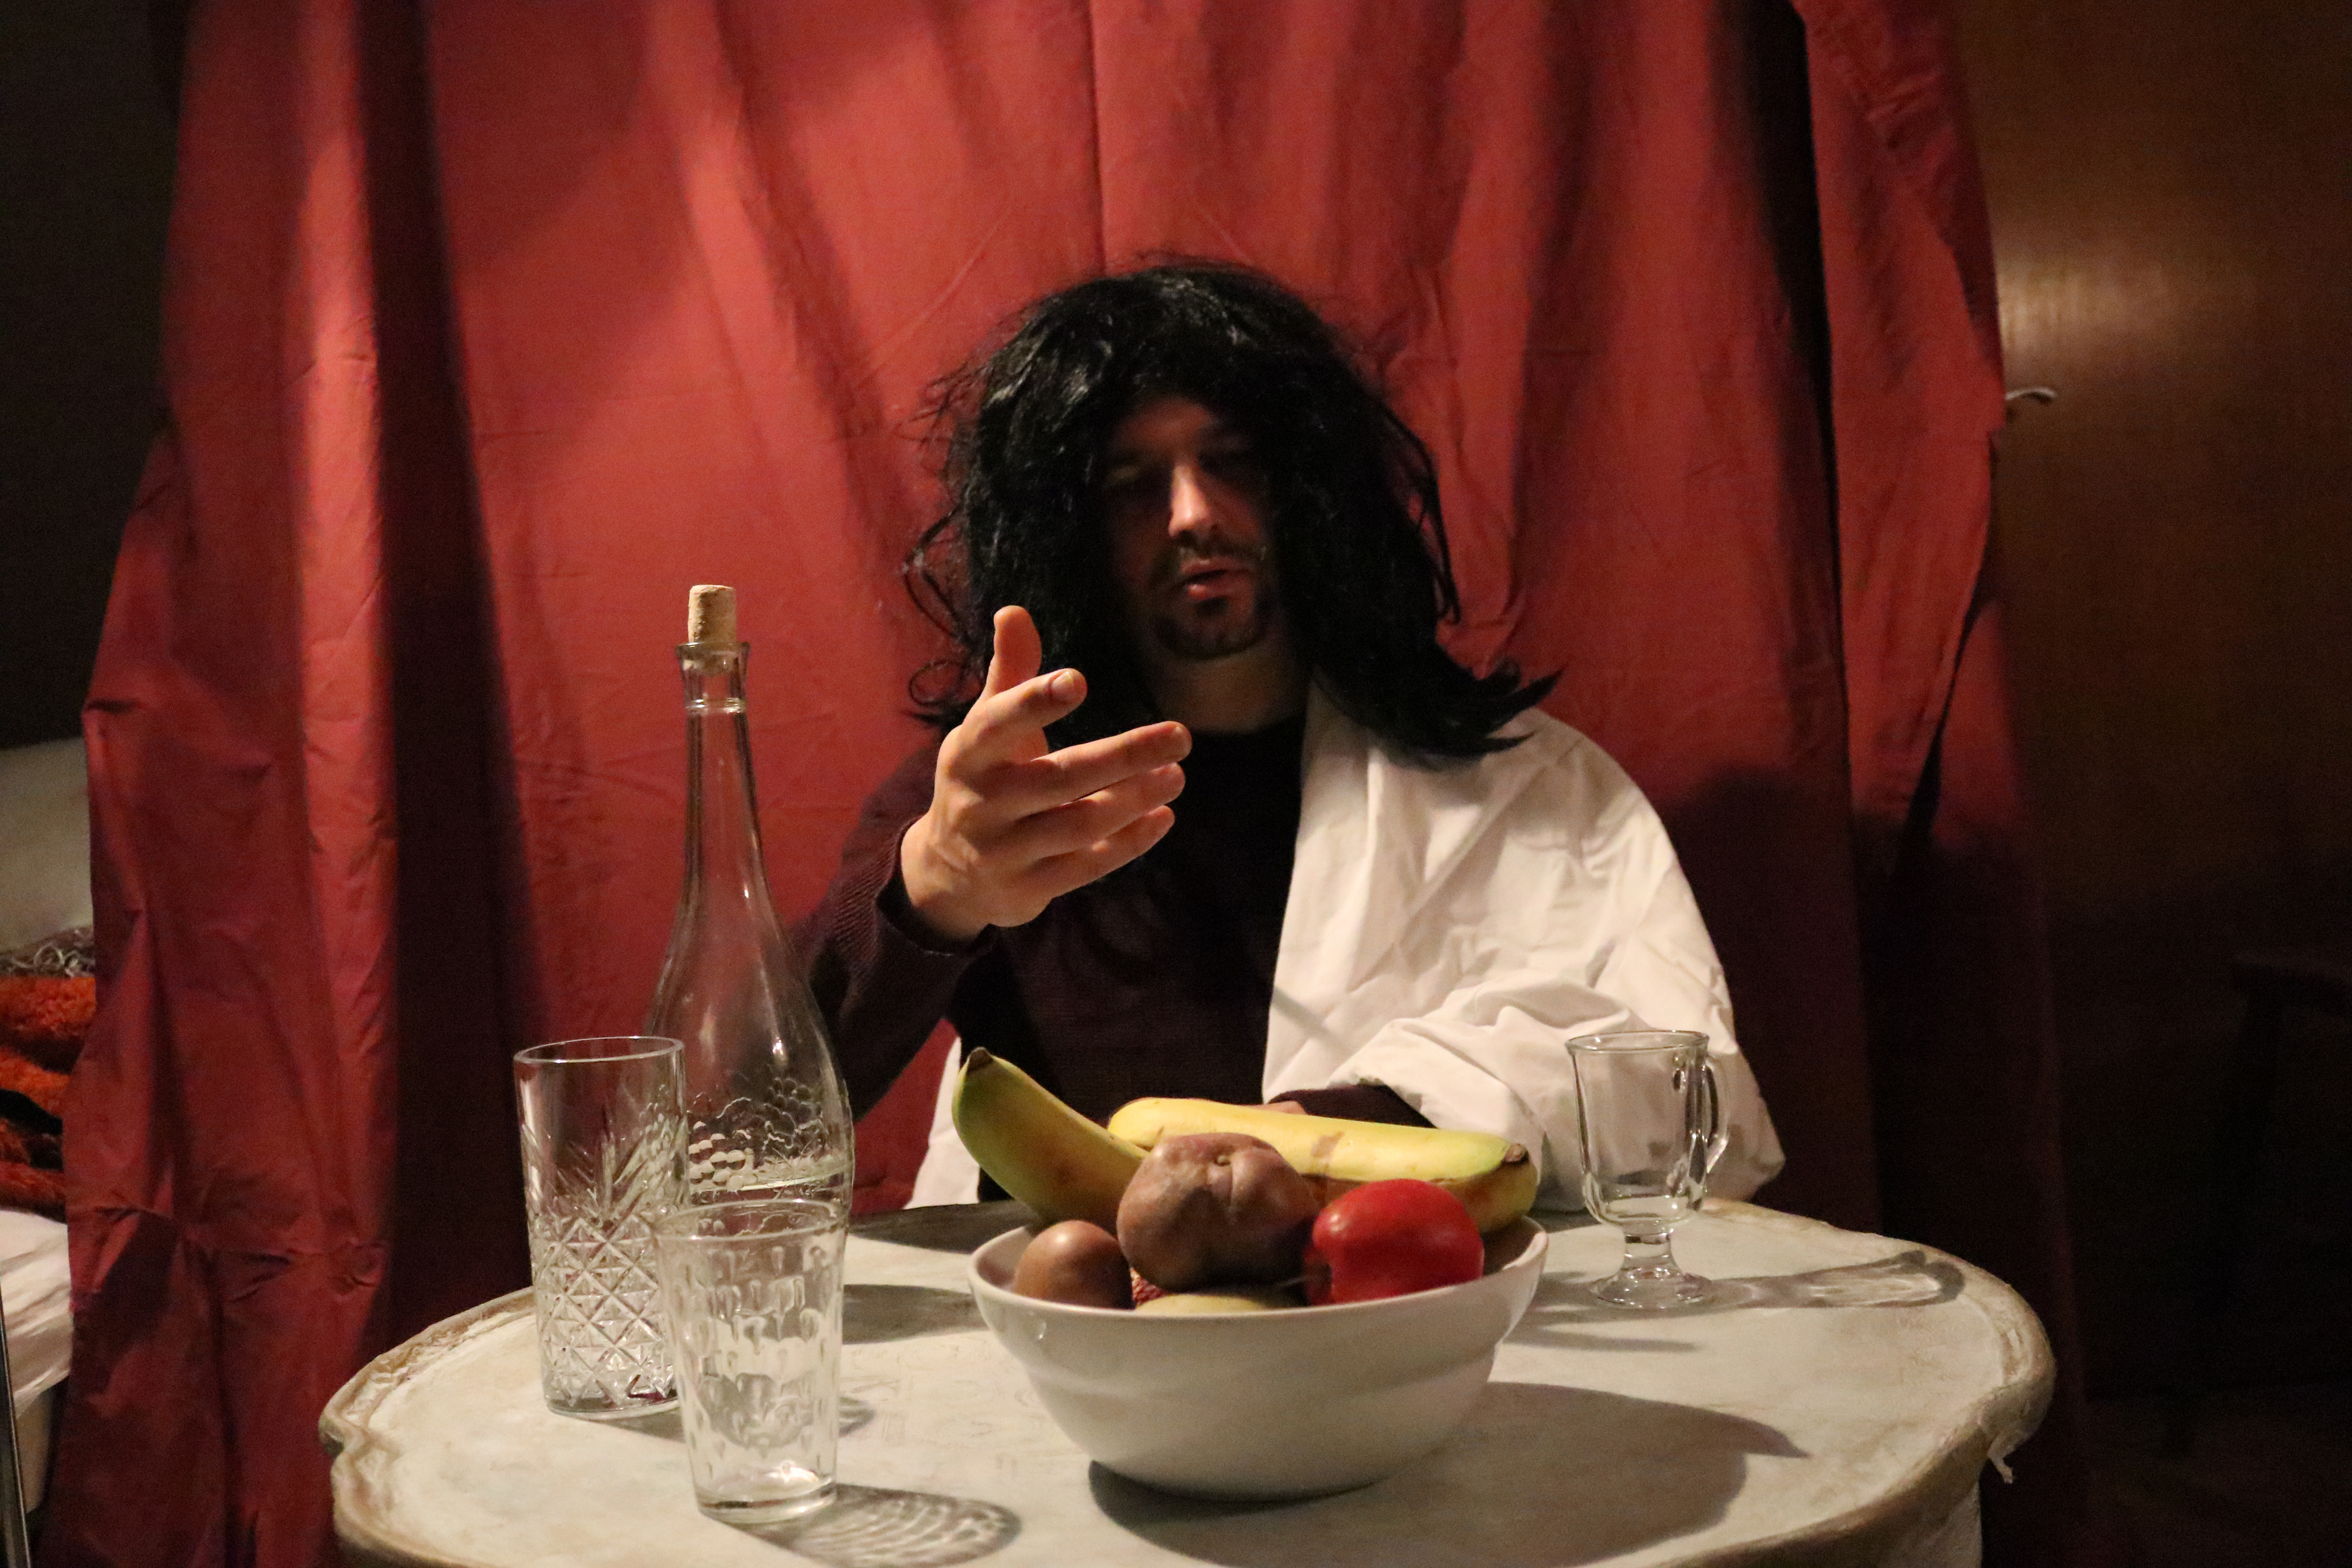
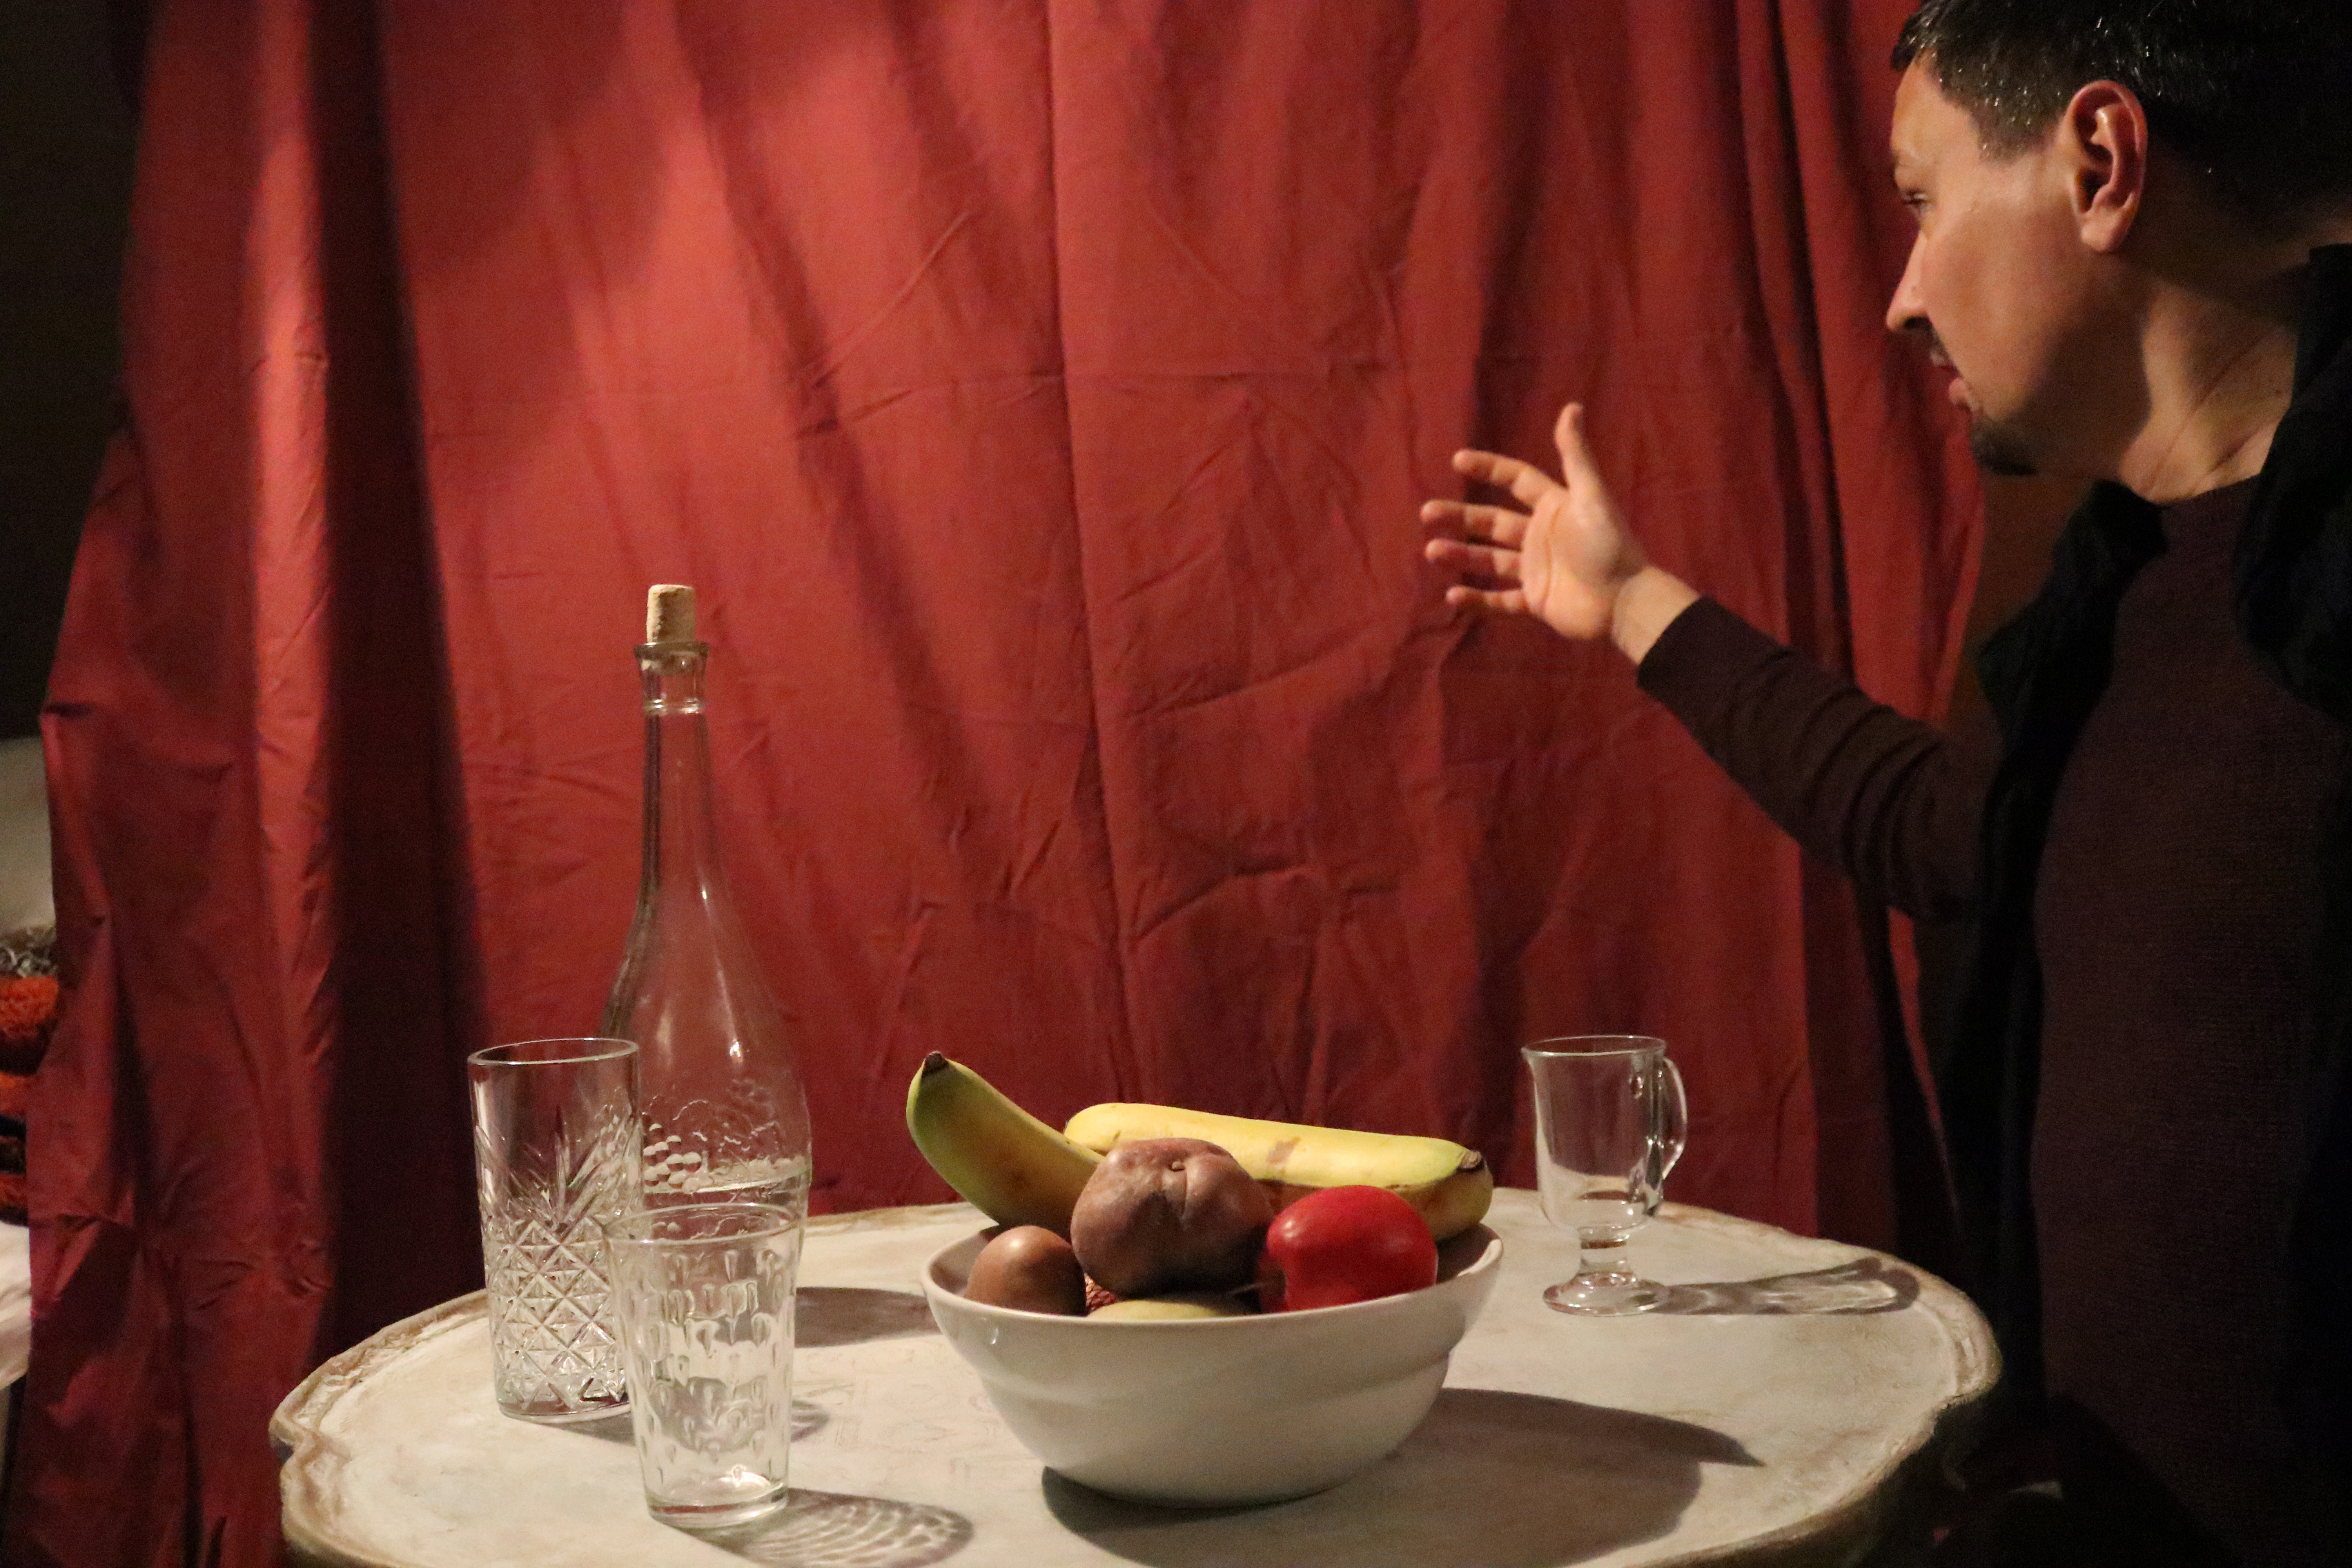
I will be responding to the renaissance work “Supper At Emmaus” – by Caravaggio; featured below.
Images

Image 1; used as base image for the final edit.

Edit

I have edited this image by using a base image as an anchor-point to synchronize the other images and the props, to do this I have also set the opacity of the other images to 50%.


After wards I cut out and set new layers for the crucial parts of the layering images e.g: Shadows, subjects. And then used the eraser tool with low hardness to ensure a smooth transition between the anchor image and the layer images.

Final Edited Image

Tableau and staged reality – Planning

For my tableau and staged reality photography, I’ve decided to center my theme around gender stereotypes, specifically with women. I will be looking at what women were portrayed as in the 1950’s, with the photographer I will be getting my inspiration from being Cindy Sherman.

I will be basing my work off of her images, and may throw in a few ideas of my own. I will be using other people to replicate these images and show the gender stereotypes. Items for both images I will be taking should be objects such as aprons, old-styled dresses and kitchen appliances. The places where they will take place will be simple, either in a kitchen or by a door, like in the original images done by Sherman.

Images by Cindy Sherman which I plan to replicate:

Untitled film #35 (1979)


Image result for cindy sherman 1954 untitled lucy
Cindy Sherman Untitled film still #56 1980

Sherman 1977