Category Archives: Unit 1 Abstract

Filters

Author:
Category:

Week 2 | CCA Gallery Visits | Homework

Here is the schedule for the gallery visits…

  • Mon 10th Sept = Class 12B (meet at 2.00pm at Reception with signed permission slip)
  • Wed 12th Sept = Class 12E (meet at 2.00pm at Reception with signed permission slip)
  • Fri 14th Sept = Class 12C (meet at 2.00pm at Reception with signed permission slip)
  • Tues 18th Sept = Class 12A (meet at 2.00pm at Reception with signed permission slip)

We will be walking to The CCA Gallery in Hill Street, St Helier to view this exhibition by Clare Rae in response to Claude Cahun’s pioneering work in the mid 20th Century…

ENTRE NOUS by CLARE RAE x CLAUDE CAHUN


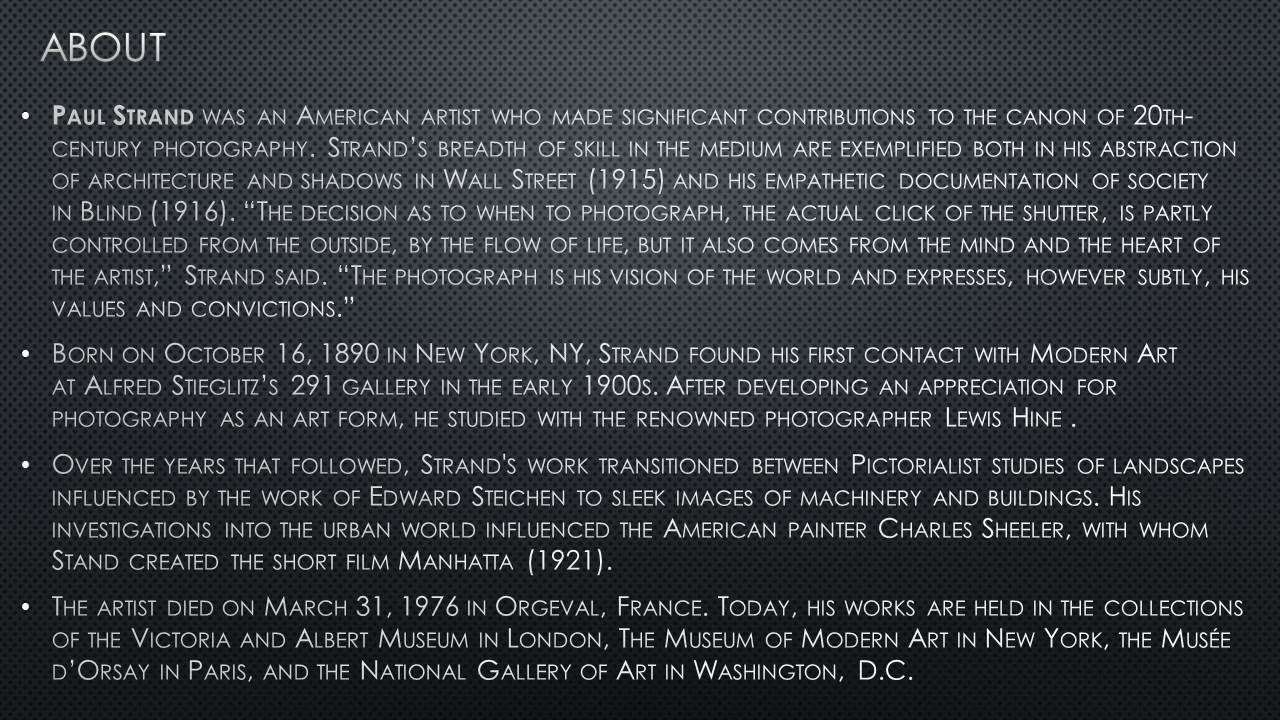
Bunker.jpg

Homework Task 2

Due Week 3 | First Lesson

  • Write a short, visual critique of the exhibition
  • (Ensure that you have your own photographs of the work)
  • Choose 1 x key image by Claude Cahun to discuss
  • Choose 1 x key image by Clare Rae to discuss
  • Describe and explain what you see, feel and understand about the 2 examples you have chosen
  • How do you think Clare Rae has been influenced by Claude Cahun?
  • Discuss how well you feel the exhibition is curated, organised and presented


Week 2 | Contact Sheets | The World Is Beautiful

Task 1

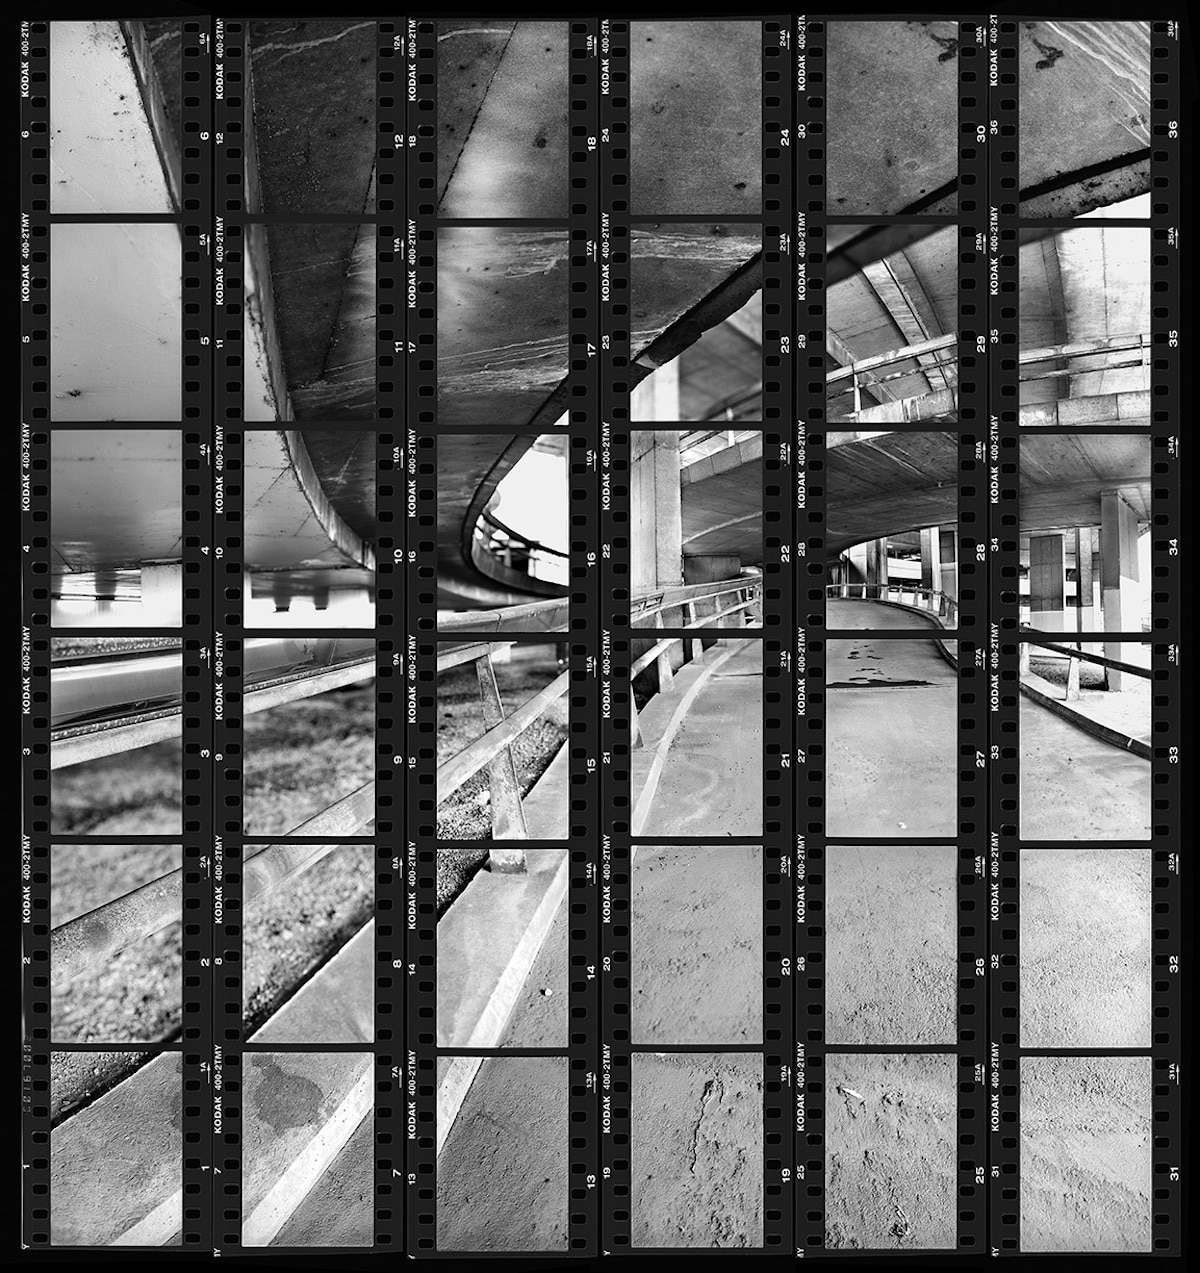
Create and publish a contact sheet (evidence of a photo-shoot)

Then develop and publish a blog post with the following…

  • Describe and explain what a CONTACT SHEET is…
  • Create a gallery / grid of images from a recent photo-shoot and upload to a blog post
  • Answer : Why are contact sheets useful / essential ?
  • Try annotating / colour coding / cropping / arranging your contact sheet to show the start of a selection process
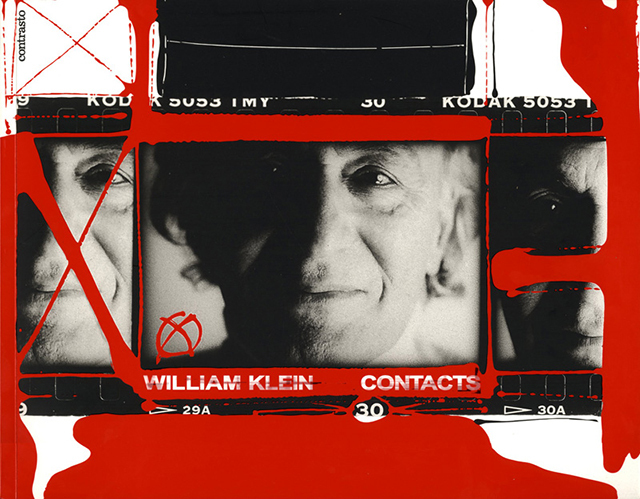
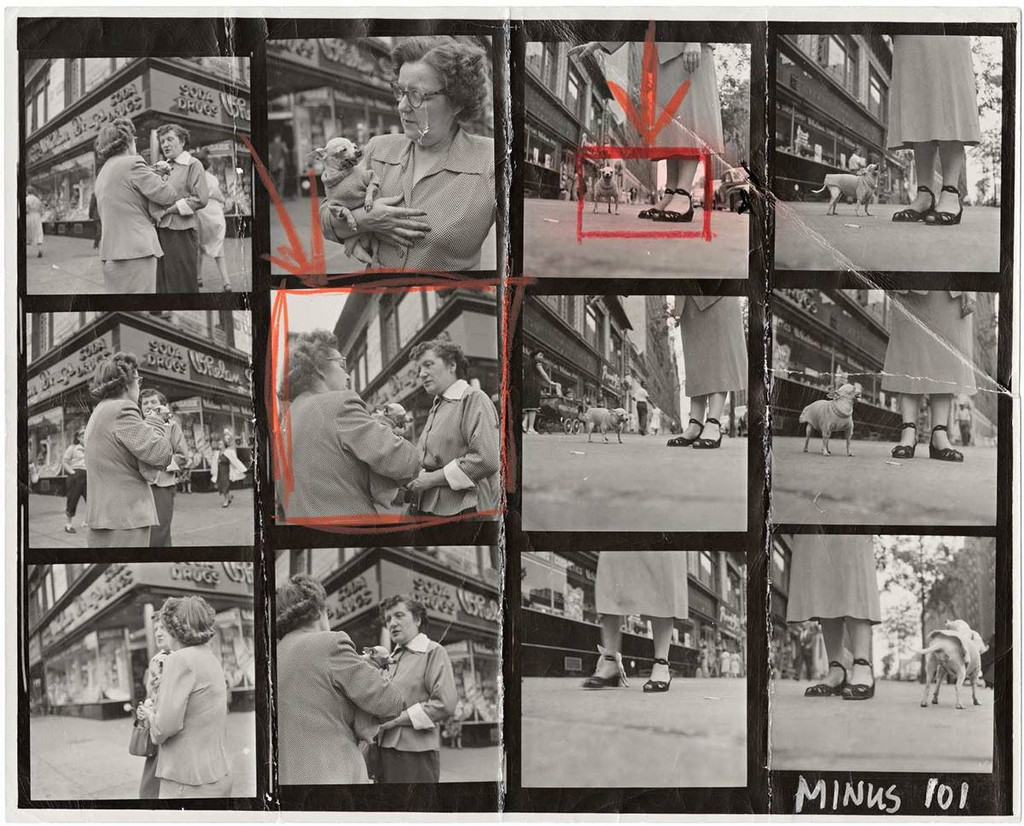
  • Look at the examples below which include work by William Klein and Elliott Erwitt. Both photographers were known to include contact sheets as part of their final images as well as experiments.
  • Remember…you can Add your images to a Powerpoint, then convert to a JPEG and upload to the blog using JPEG File Interchange Format or try creating them as screen shots.


Task 2

Photoshop experiments based on your selections from your contact sheet

Layer Adjustments

Task 3 Practical / photoshoot

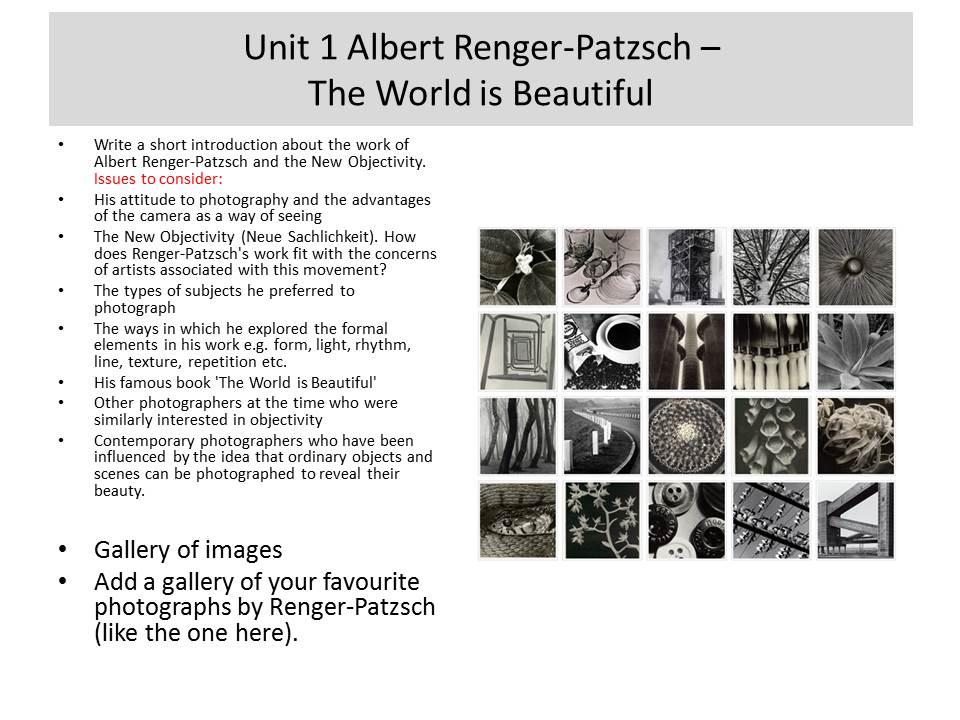
Respond to Albert Renger-Patzsch 1897-1966

We will aim to expand our approach to photographing things around us…whilst responding to influential approaches in the development of modern photography.

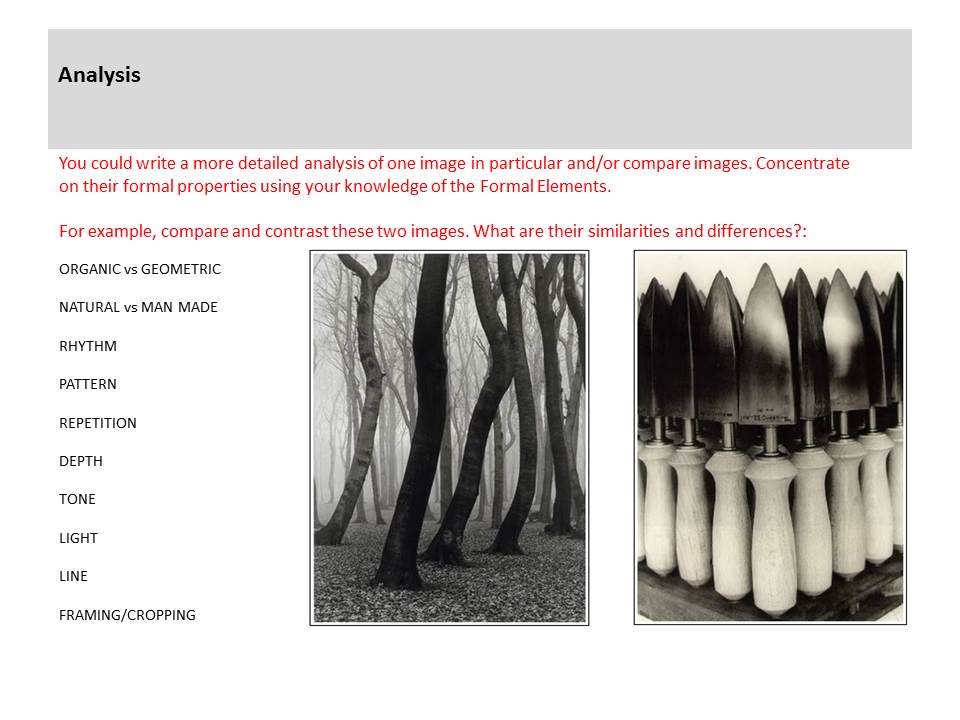
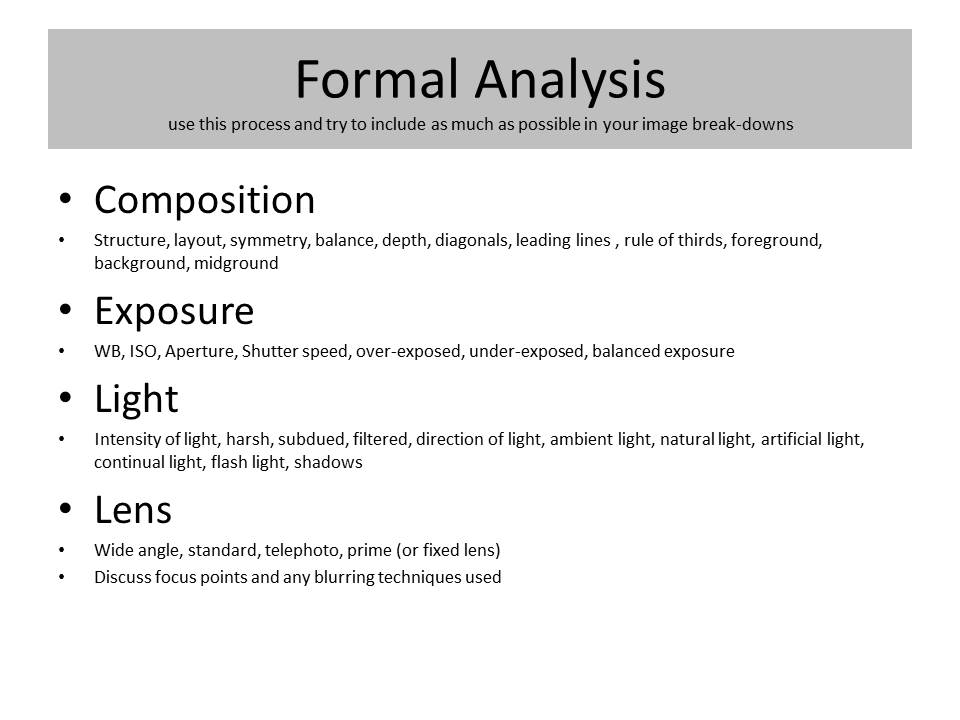
By responding to The New Objectivity you will be able to classify a greater range of your images whilst learning more about the Formal Elements and Adobe Photoshop techniques including :

  • Cropping
  • Image Adjustments

Extension : Karl Blossfeldt (1865 -1932) vs Maholy Nagy (1895-1946)

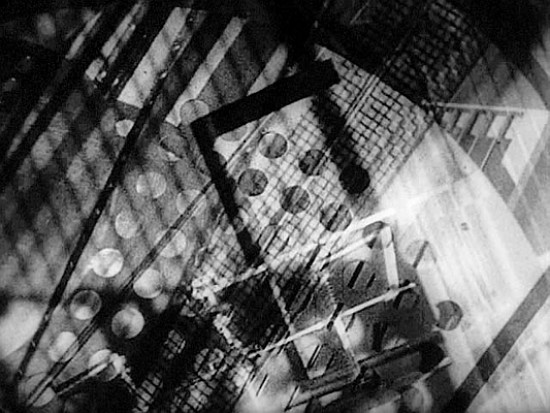
Both photographers were revered for their objective approach to photography…and were re-known for applying technological approaches to creating their imagery.

thumbnail

Maholy-Nagy

Image result for blossfeldt photography

Karl Blossfeldt

Compare and contrast the 2 approaches by analysing a key example from each artist and responding with your own examples.

Try to demonstrate core skills eg :

  • Camera : Manual Focus (Blossfeldt)
  • Photoshop : Multiple exposure / blending options

Describe, explain and evaluate your process carefully.


INTRODUCTION TASK..

Ernst Hass

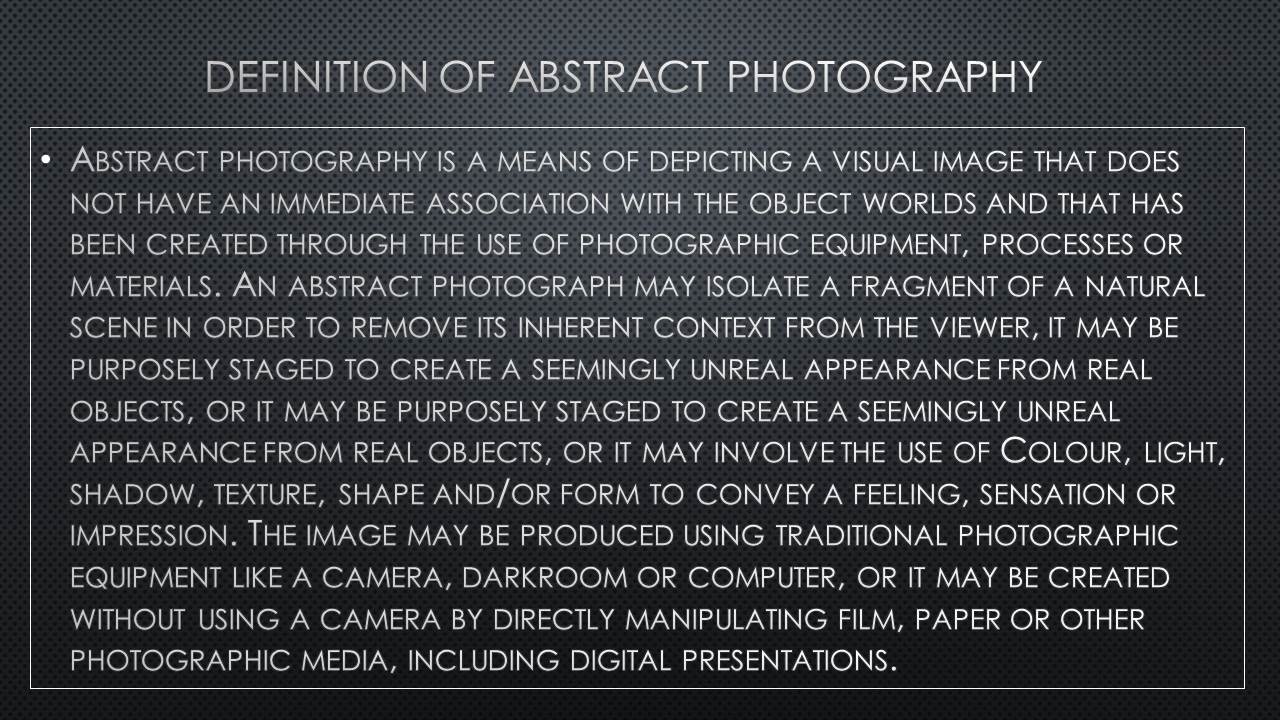
For my abstract photography task i have chosen to study Ernst Haas’s work as i found that his work captivates me as well as interests me the most.

About Ernst Haas..

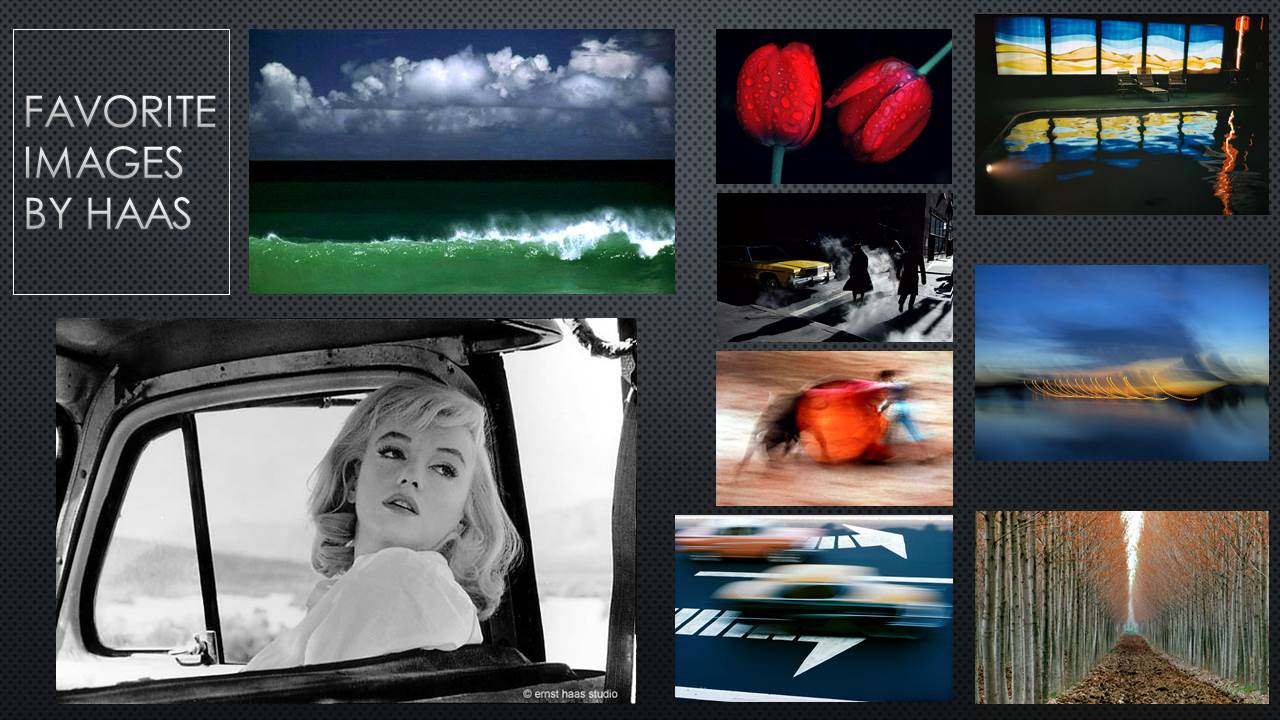
-Ernst Haas was a very influential photojournalist who used colour photography. Before World War ll, Haas was interested in both medicine and painting, but later dropped both to take up photography. Haas ended up becoming a very unique photojournalist as he used colour photography instead of black and white which was very common in the 50s. Because of this Haas became very well known and stood out.

-Haas came from a very supportive and arty family, his mother wrote poetry and aspired to be an artist, and his father enjoyed music and photography.

Analysis..

This image is one of the many Haas produced. At first glance the image seems as it is a black and white check. However, after further inspection it seems as if the image is stairs with shadows glancing through gaps which casts a checked pattern. The shadows cause this image to be very interesting. The shadows that Haas has used implies he is trying to show mystery through the image. The shadows also help to captivate the audience. After analysing the image the angle at which this photograph has been taken isn’t clear which also adds complication to the image. I really like this this image because it confuses me, and because this image confuses me it is intriguing. Because this image intrigues me it captivates me more. I think this makes the image very successful as it make audiences think more, which therefore grabs their attention more.


IMAGE
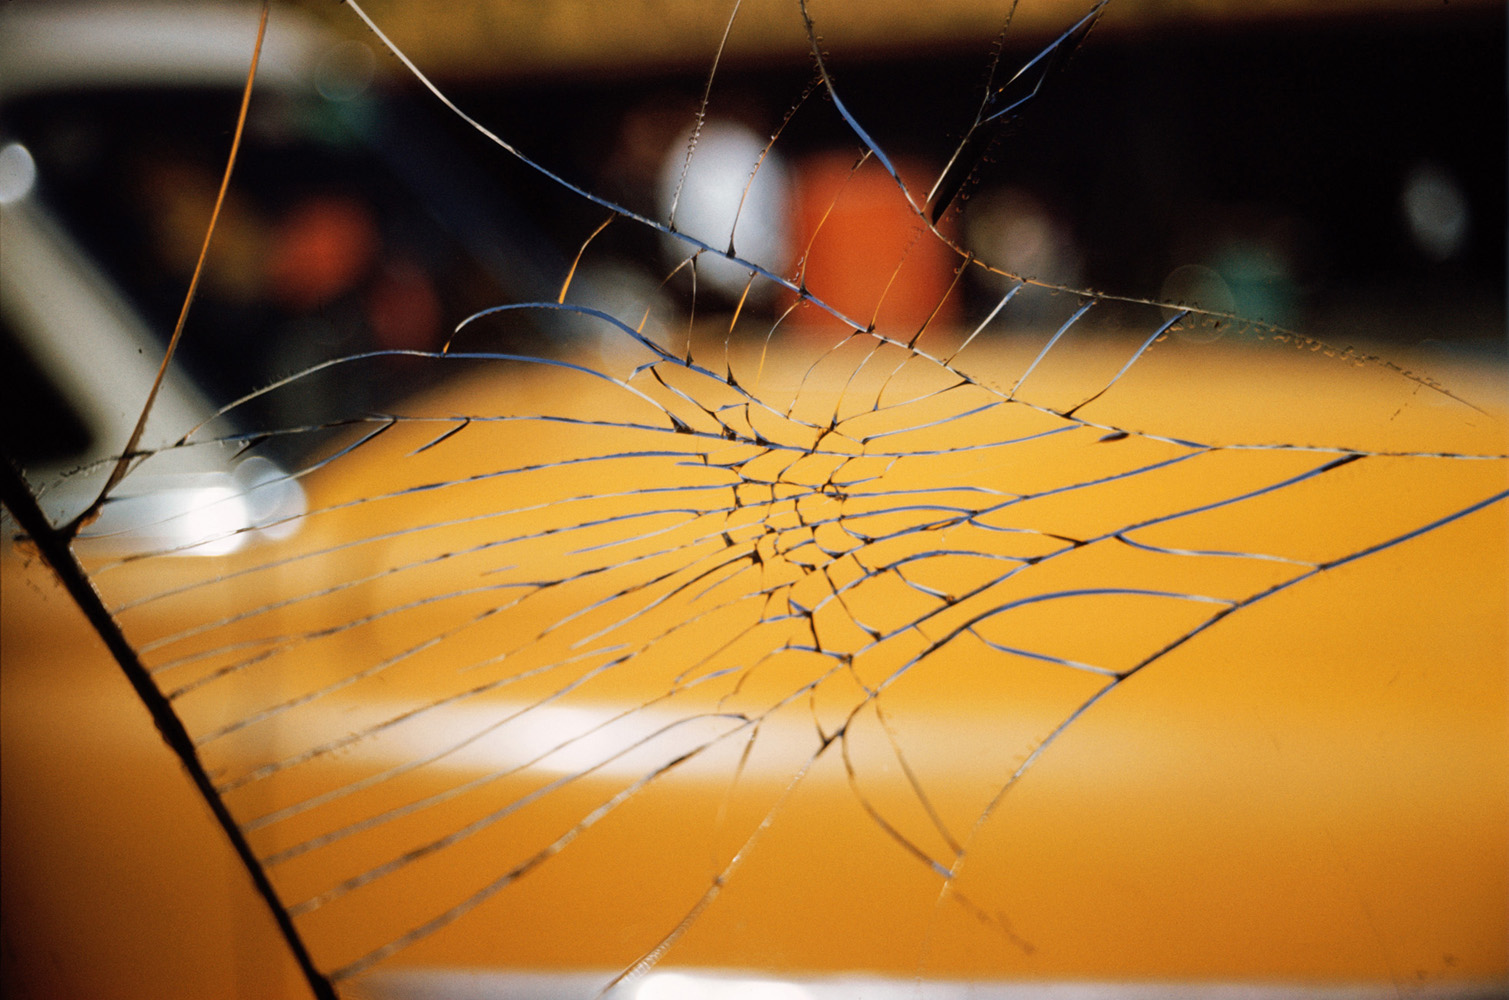
This image really stood out to me when exploring Haas’s photographes, this being because i liked how detailed the focus of the image was in contrast with the blurry background. At first glance the focus of the image appeared to be a spider web which implied nature which i have not seen in any of Haas’s pieces. However, after further inspection the focus could also be a crack. I know this because there are thinner and thicker cracks in whatever the object is. Because of this the picture is abstract as the crack leaves the image open for debate due to me thinking it was a spider web at first.

The blurred colouration in the background shows that this image was taken in a public place and suggests everyday life which links into Haas’s usual photographs which are usually taken in public places and also show everyday life. The crack suggests vandalism which also links in with the public background as you would usually see vandalism in public places.

This piece of work has really inspired me to take photographs like this as this photo is very intriguing.

MOOD BOARD

  • Reflections
  • Colouring
  • Different angles
  • Experiments with different brightness’s – Dark and Light
  • Scenery- Buildings and Landscapes
  • Objects
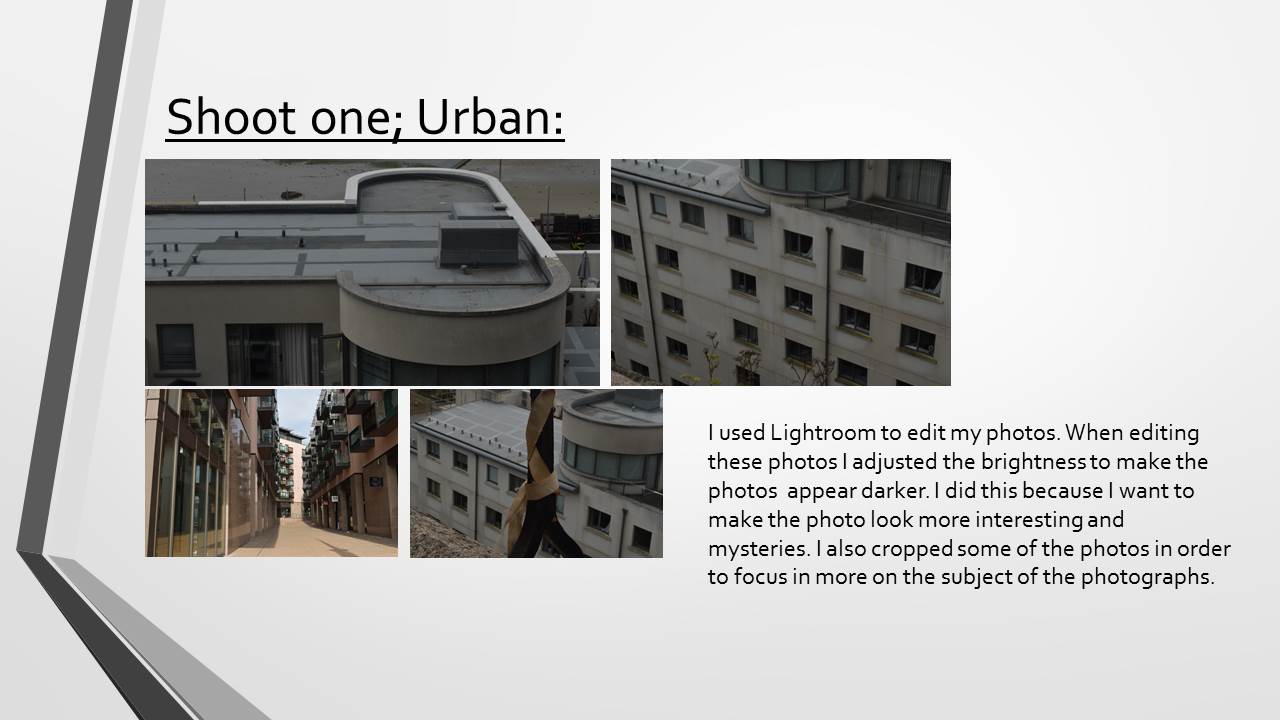
Planning my first shoot

For my first photo shoot i want to focus on the types of lighting when creating abstract images. In order for my abstract images to be successful i will do 3 shoots in different locations at. This will mean that i should get varied images which will be inspired by Haas’s work. I will use Haas’s habit of using dark lighting to show texture through my pictures which will make them more unique.

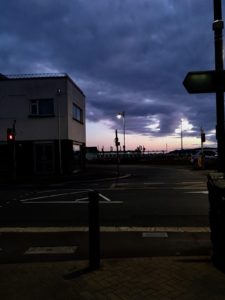
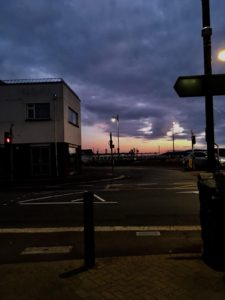
Contact sheets
Best outcome
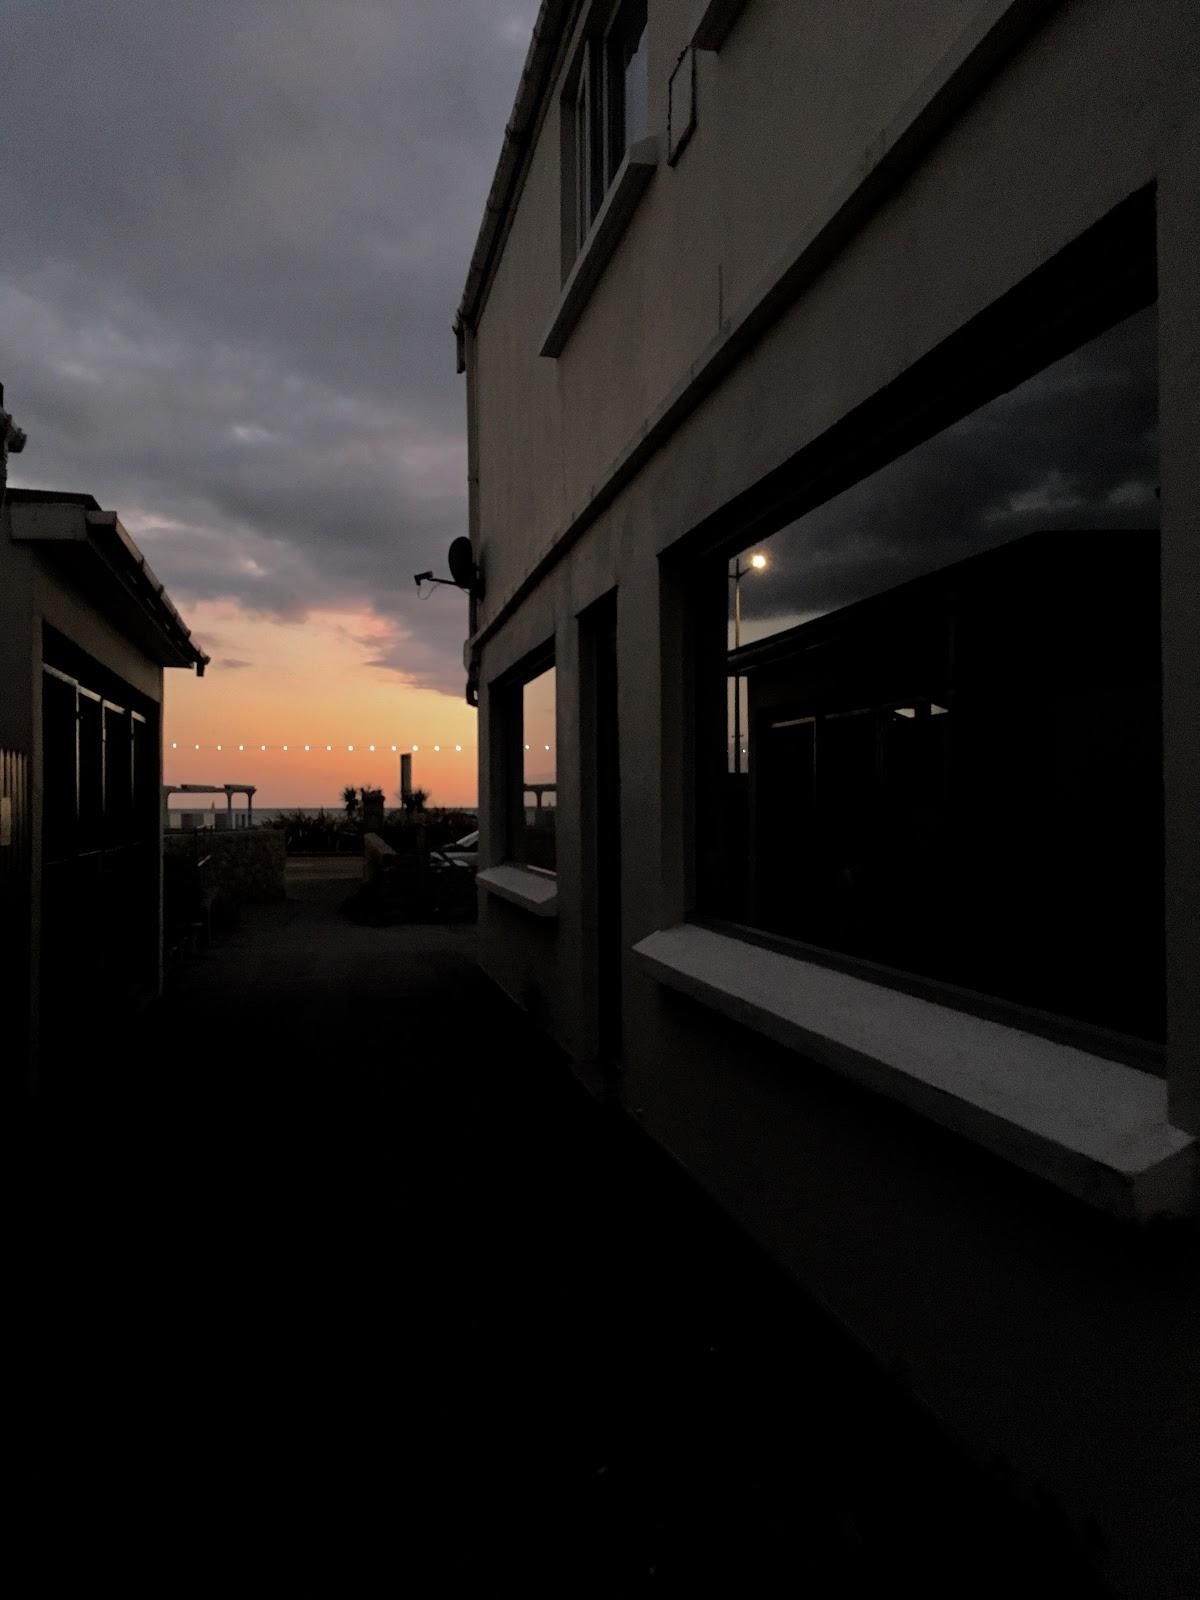
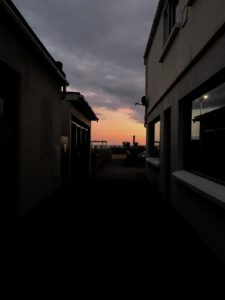
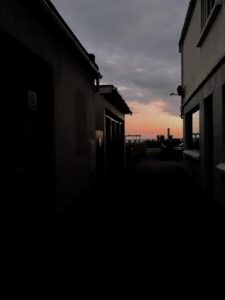
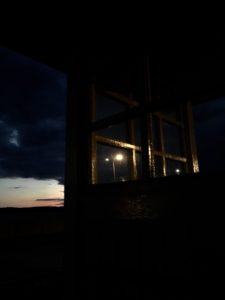
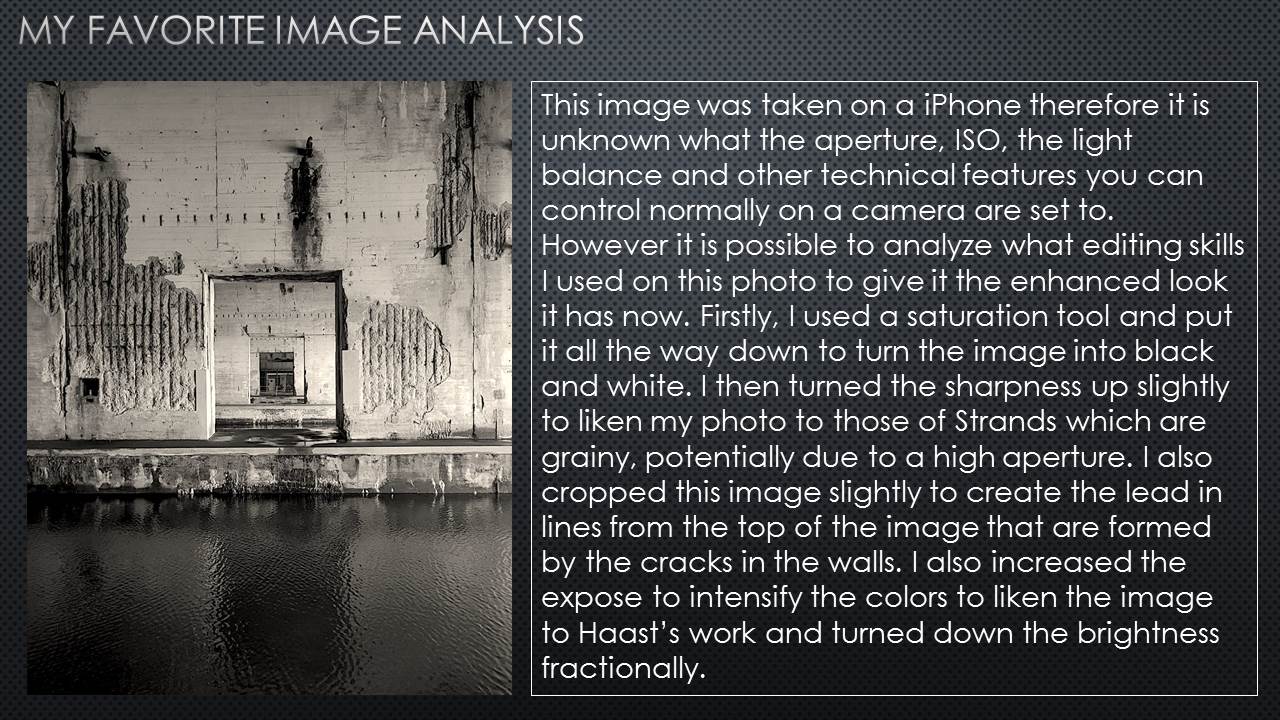
I think this image is very successful as the natural lighting and the dark alleyway compliment each other to make an eye catching image. I really like how the natural light has caused a very bold reflection on the window of a building which helps to contrast with the lighter tones in the image and make the image more abstract. I also think the darkness of the image gives off a certain type of atmosphere which can be interpreted in different ways which makes the image unique and abstract. I think there are some Photoshop changes which could be made. One of these would be to add a low brightness which would darken the picture which would help the light and dark of the image contrast and help the image be more successful.

Improvements- In order to improve my image i would like to experiment with the different lighting as i think toning down the lightness of the picture could add more mystery and therefore make it more abstract.

Details I like- One detail i really like is the reflection in the window as i think it makes the picture look for interesting and more abstract.

Planning my second shoot

For my second and final photo shoot i have decided to take photos of objects while still experimenting with different lighting. After studying Haas’s work i noticed he took pictures of a lot of objects which has inspired me for this shoot. The objects i am deciding to take pictures of will be very random, everyday objects. This being because Haas was a very random photographer which he has shown in multiple pieces of his work. In order to make my pictures look more interesting i will also experiment with different angles.

Contact sheets

Best outcome 
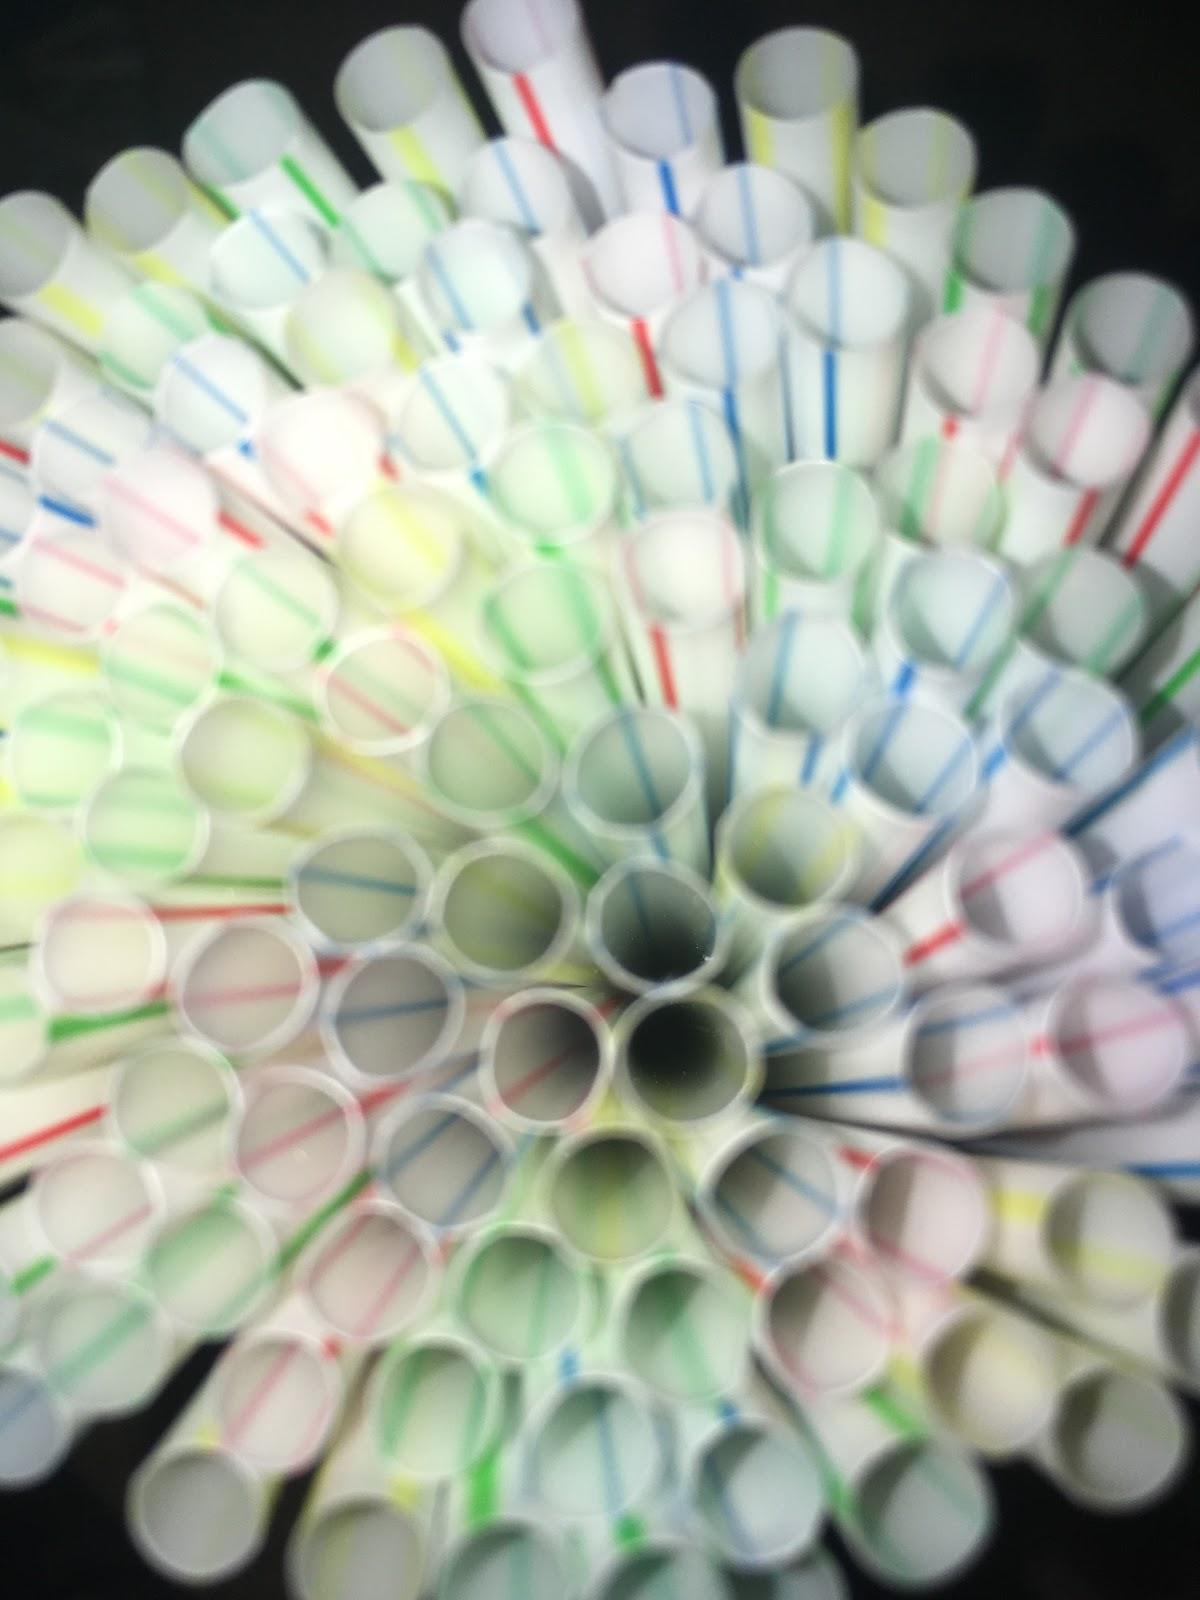
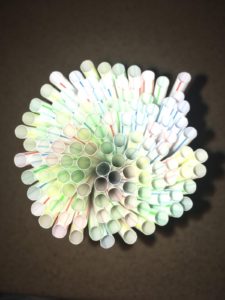
I think this is my most successful picture form the second photo shoot as i really like how to flash used on the camera created a dark background to the feature of the abstract photo. I think the small amount of color included in the picture also adds interest to the picture as it contrasts very well with the light and dark lighting.

Editing- If i was to edit this image i would lower the brightness a little to add more texture and i think the image would all around look better with a dark lighting.

Improvements- In order to improve this picture i would make sure to focus properly on the feature of the image (straws) as i think it would add a lot more detail to the picture as the colored lines would stand out.


Week 1 | Photographing Paper

First Steps…

You should all have a valid login now…which provides you with a Hautlieu Creative account so that you can start creating and curating your own blog.

This will be your normal, everyday login details. We expect you to check your emails everyday too…and get used to using Office 365, and follow us on Twitter too (HautlieuC).

The blog provides you with a neat platform to showcase your learning, including knowledge and understanding and of course your images too.

You should have access to the Media Drive (M : Drive)…this is where you must store all of your files. Please check this!

You will learn how to adapt and organise / store your image files…and you must manage file sizes carefully.

We will teach you step by step how to use the blog…then it is down to you to look after it and present your work as thoughtfully and carefully as possible. Each time you publish a blog post…it is then available for marking and assessment. Unpublished work will not normally be marked…thus affecting your progress and success.
We will also comment on your blog posts regularly…which will appear as a new email for you. You are expected to respond to the advice and suggestions accordingly. We constantly track your approach to lesson, independent study and overall progress.

You are expected to take responsibility for your own learning, progress and success during A Level Photography…

  • minimum 2-5 hours per week
  • weekly photo-shoots (200+images) must clearly demonstrate a range of approaches, reinforcing the techniques you have learnt
  • complete any / all incomplete class tasks by the end of the week
  • contribute your own photo-assignments + research
  • seek out opportunities to extend your learning / skill level
  • if you are absent you must check the blog daily / check emails for instructions, guidance and advice and complete in accordance with deadlines for your teaching group (these may change depending on timetable).

Enjoy…and good luck!

Task 1

Create and publish a contact sheet (evidence of a photo-shoot)

  • Describe and explain what a CONTACT SHEET is…
  • Create a gallery / grid of images from a recent photo-shoot and upload to a blog post
  • Why are contact sheets useful / essential
  • Try annotating / colour coding / cropping / arranging your contact sheet to show the start of a selection process
  • Look at the examples below which include work by William Klein and Elliott Erwitt. Both photographers were known to include contact sheets as part of their final images as well as experiments.
  • Remember…you can Add your images to a powerpoint, then convert to a JPEG and upload to the blog using JPEG File Interchange Format or try creating them as screen shots.


William Klein

Elliott Erwitt

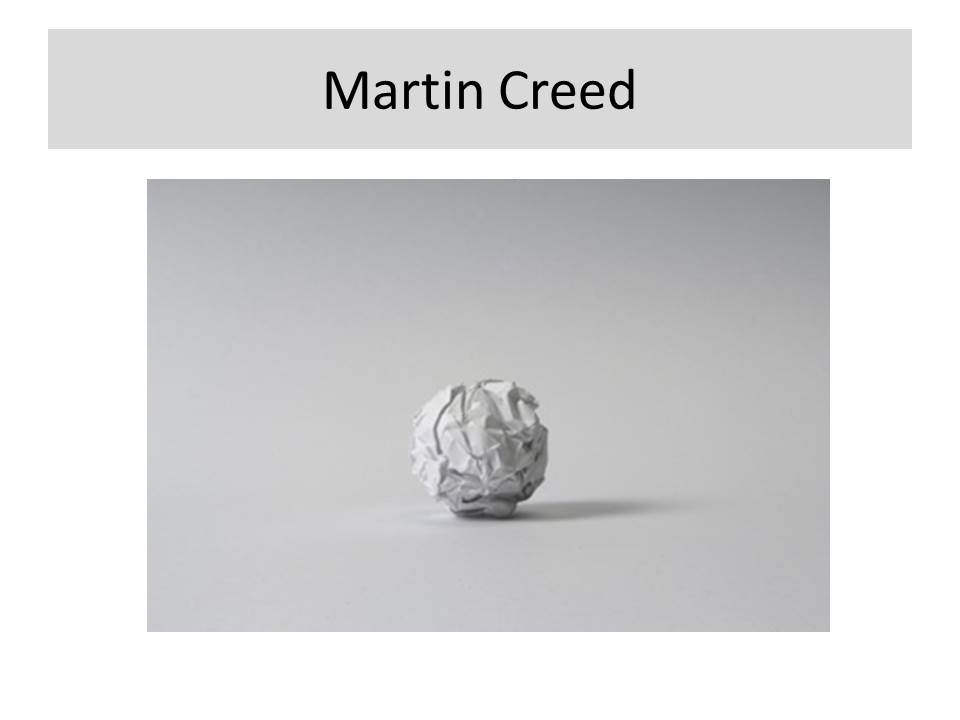
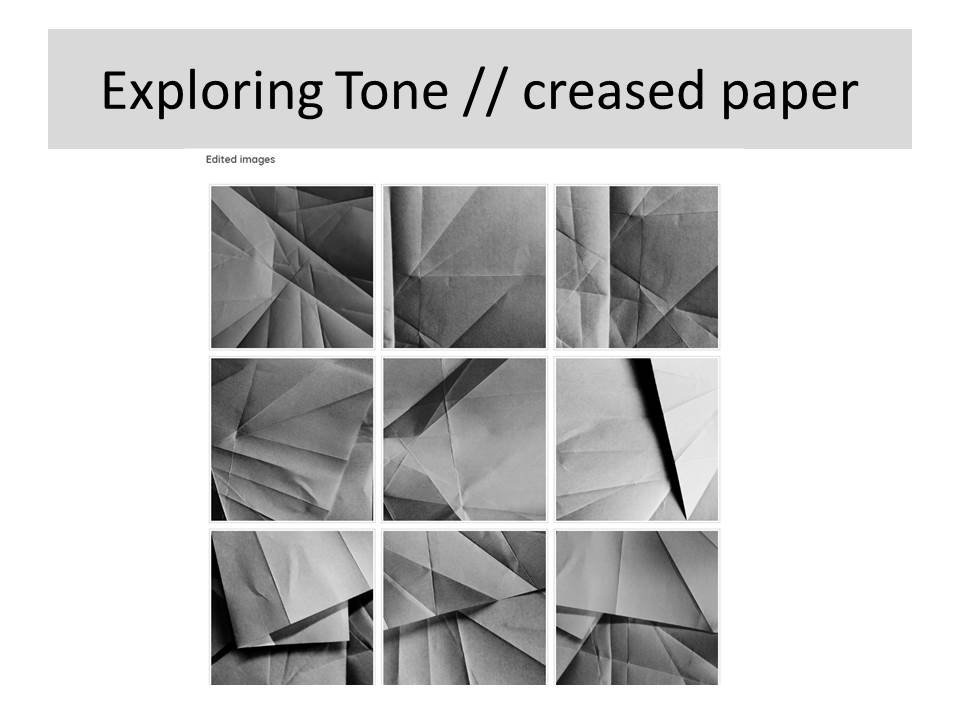
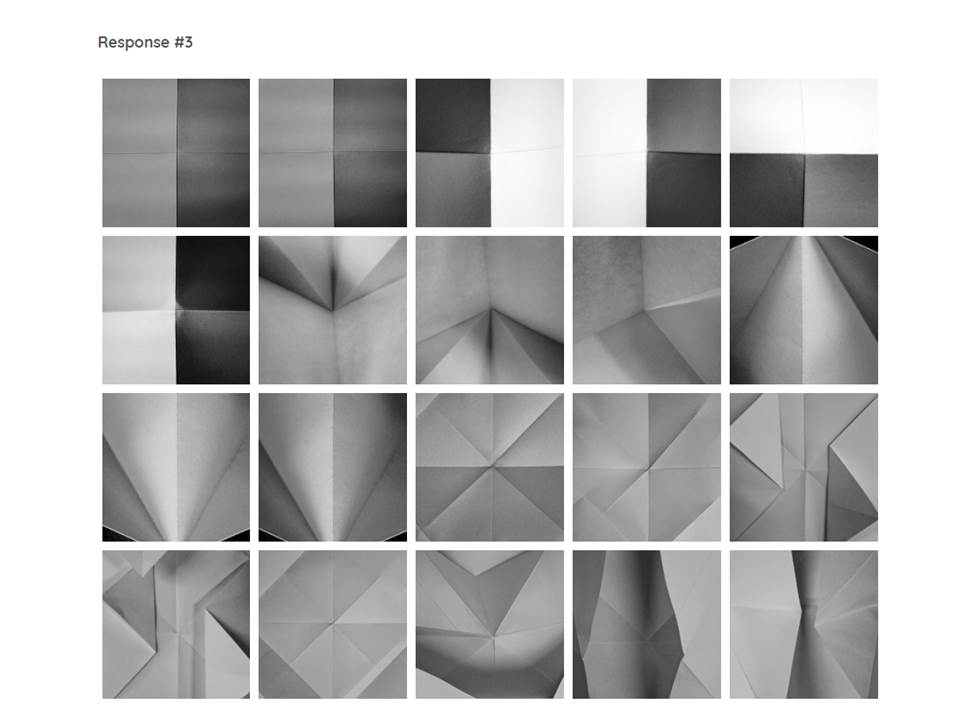
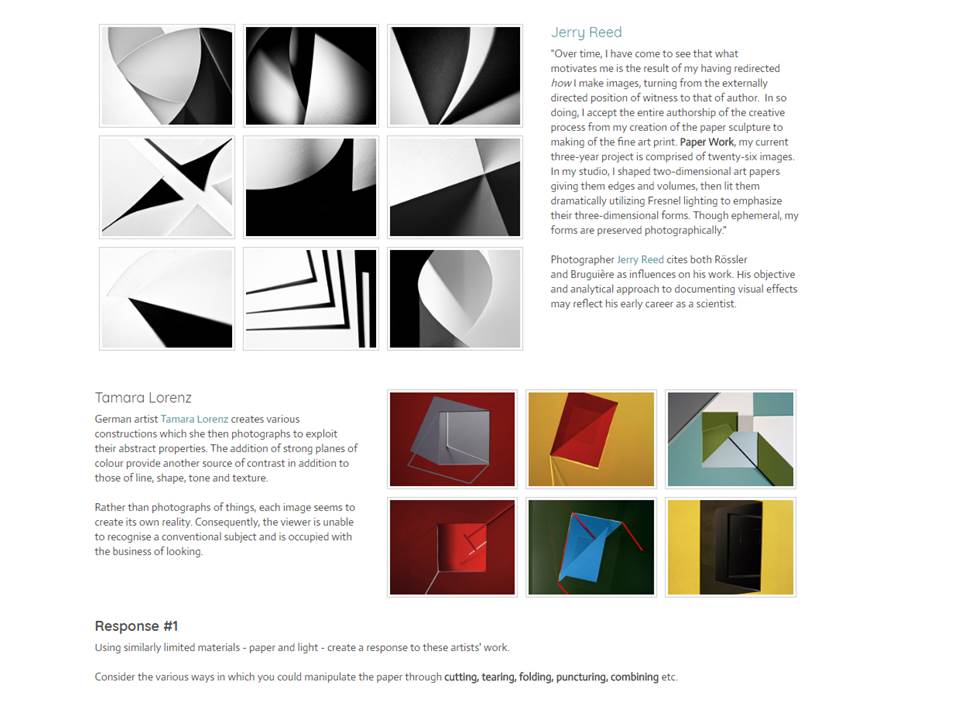
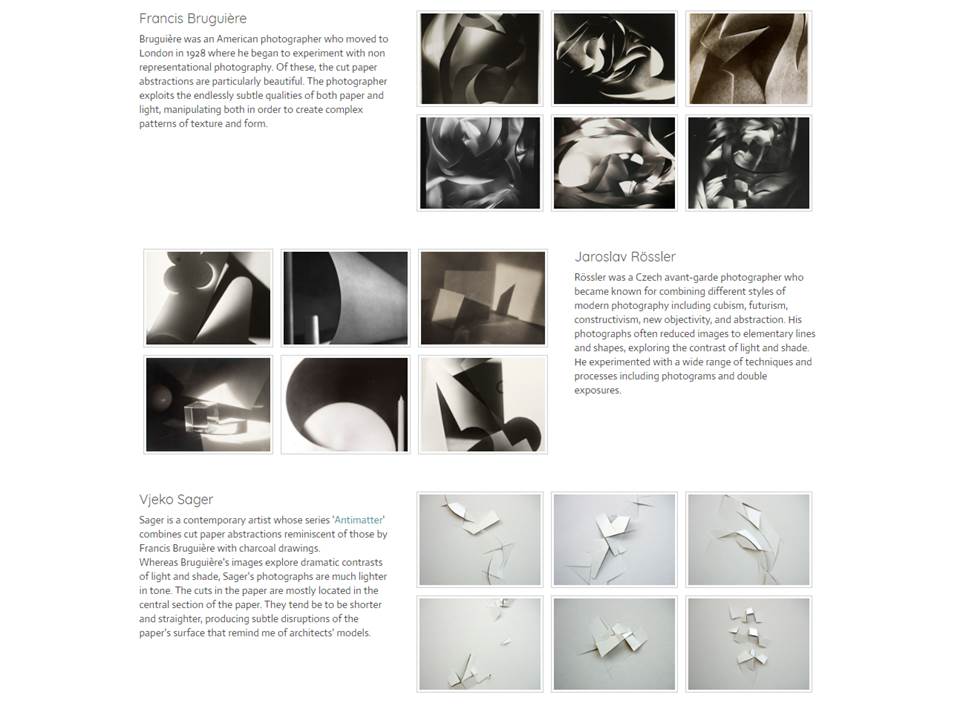
(Homework)Task 2 Photographing Paper

  • Take an A4 piece of plain white paper
  • Scrunch the paper into a ball
  • Using your iphone / camera photograph the ball
  • Think carefully and creatively about how you can transform the paper ball…
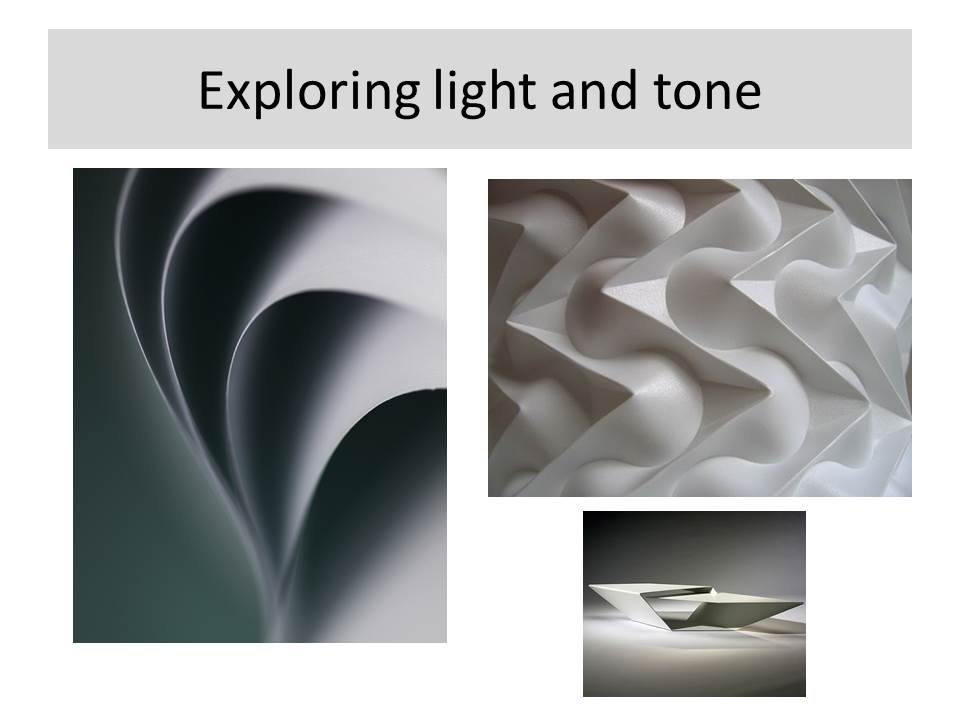
  • Try to show various approaches to composition and framing, exposure, lighting, movement, focus, shadow-making
  • Take as many different, interesting, quirky, sequential, right, wrong and intelligent photographs of the paper ball.


  • Create a visual blog post that relays your experiments and outcomes clearly
  • Include references to any artists / ideas that have influenced your outcomes
  • Evaluate your process and present a final image / set of final images
  • Homework due in FIRST LESSON OF WEEK 2