


 Favourite Outcome


 Favourite Outcome
Distortion is a warping or transformation of an object and its surrounding area that differs significantly from what the object would look like with a normal focal length, due to the relative scale of nearby and distant features.
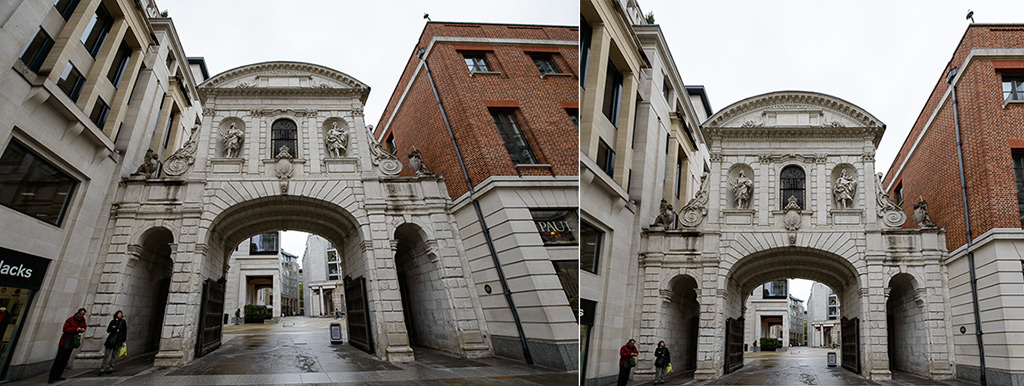
Here are examples of my distortion photography:
I like these images because in the first photo the background is warped inwards, and the face is dragged out. However, in the second photo the face is flat and you can see a lot more of the background.
Once again the face is contorted out and in the first photo the background is a lot more visible, with the face being very flat.
Aaron Siskind
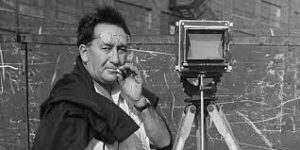
Aaron Siskind was born on December 4, 1903 in New York. Siskind and Callahan, famous for their synergy as teachers and photographers, reunited in 1971 when SIskind left the Institute of Design for the Rhode Island School of Design where Callahan then taught.
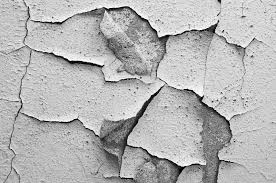
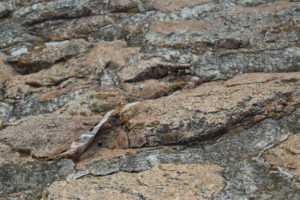
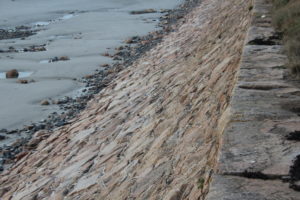
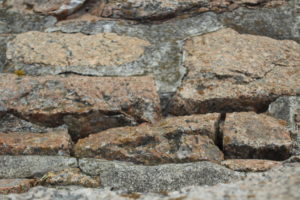
Siskind was interested in surfaces and texture from the natural environment surrounded by us in everyday life. therefore my response to his work is focused between those two areas.
Most of siskind’s work is based in images of black and white which immediately sets his work to a more detail and higher levels of contrast. His work caught my attention as when taking photographs I like working with black and white as for me it brings details that wouldn’t normally be as visible when I’m colour. However this works the same for some images that are colour that if you edited to black and white wouldn’t be as outstanding to some. However siskind’s work is different due to his focus on texture and levels in the images.
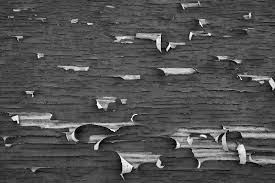
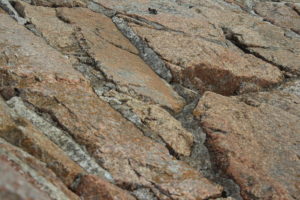
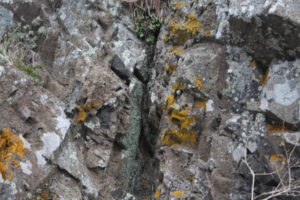
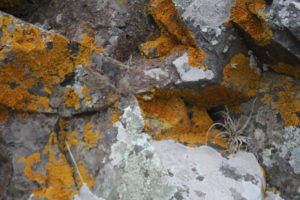
These are just some of the images I have taken based on Aaron Siskind’s work on texture and surface.
Presentation and Evaluation
This blog post features my final 5 abstract pictures which I have edited and it explains some of the features and techniques used to capture the images along with bits on how I edited them.
Image number 1.
This is perhaps my first image of the project that I properly edited and manipulated. It was taken with a quick shutter speed so the background was dark as I was using black paper to create it which could have been exposed easily with more light being let into the camera. I took this image from a straight on/portrait viewpoint to give the paper a look as if it was floating.
Technical:
Lighting – The built in camera flash was used for taking this photograph so that the objects outline was enhanced, whilst the room lighting was dimmed so the background was not very bright.
Aperture and Shutter Speed – The aperture in this photo was quite small and the shutter speed was fairly fast, therefore the background stayed dim. It didn’t affect the white colour as the white balance was turned up and the ISO was also quite high around 800 so the white still stood out.
Visual:
The visual elements of this photo include: Black and White colour, a-lot of tone and texture within the details of the paper, a 3D effect due to the shadows inside the paper and finally a very sharp outline of the crumpled paper.

Image number 2.
Technical:
Lighting – Camera Flash and background classroom light.
Aperture – Larger aperture to increase brightness.
Shutter Speed – Fast shutter speed to keep the image sharp and clear.
ISO and White Balance – The ISO is turned up to increase the colours in the image and the white balance was not changed.
Visual:
The visual elements of this photo include a high contrast in colour, tone and texture between the disco ball object and the blurred out background and a strong depth of field due to the sharp foreground and blurred background.
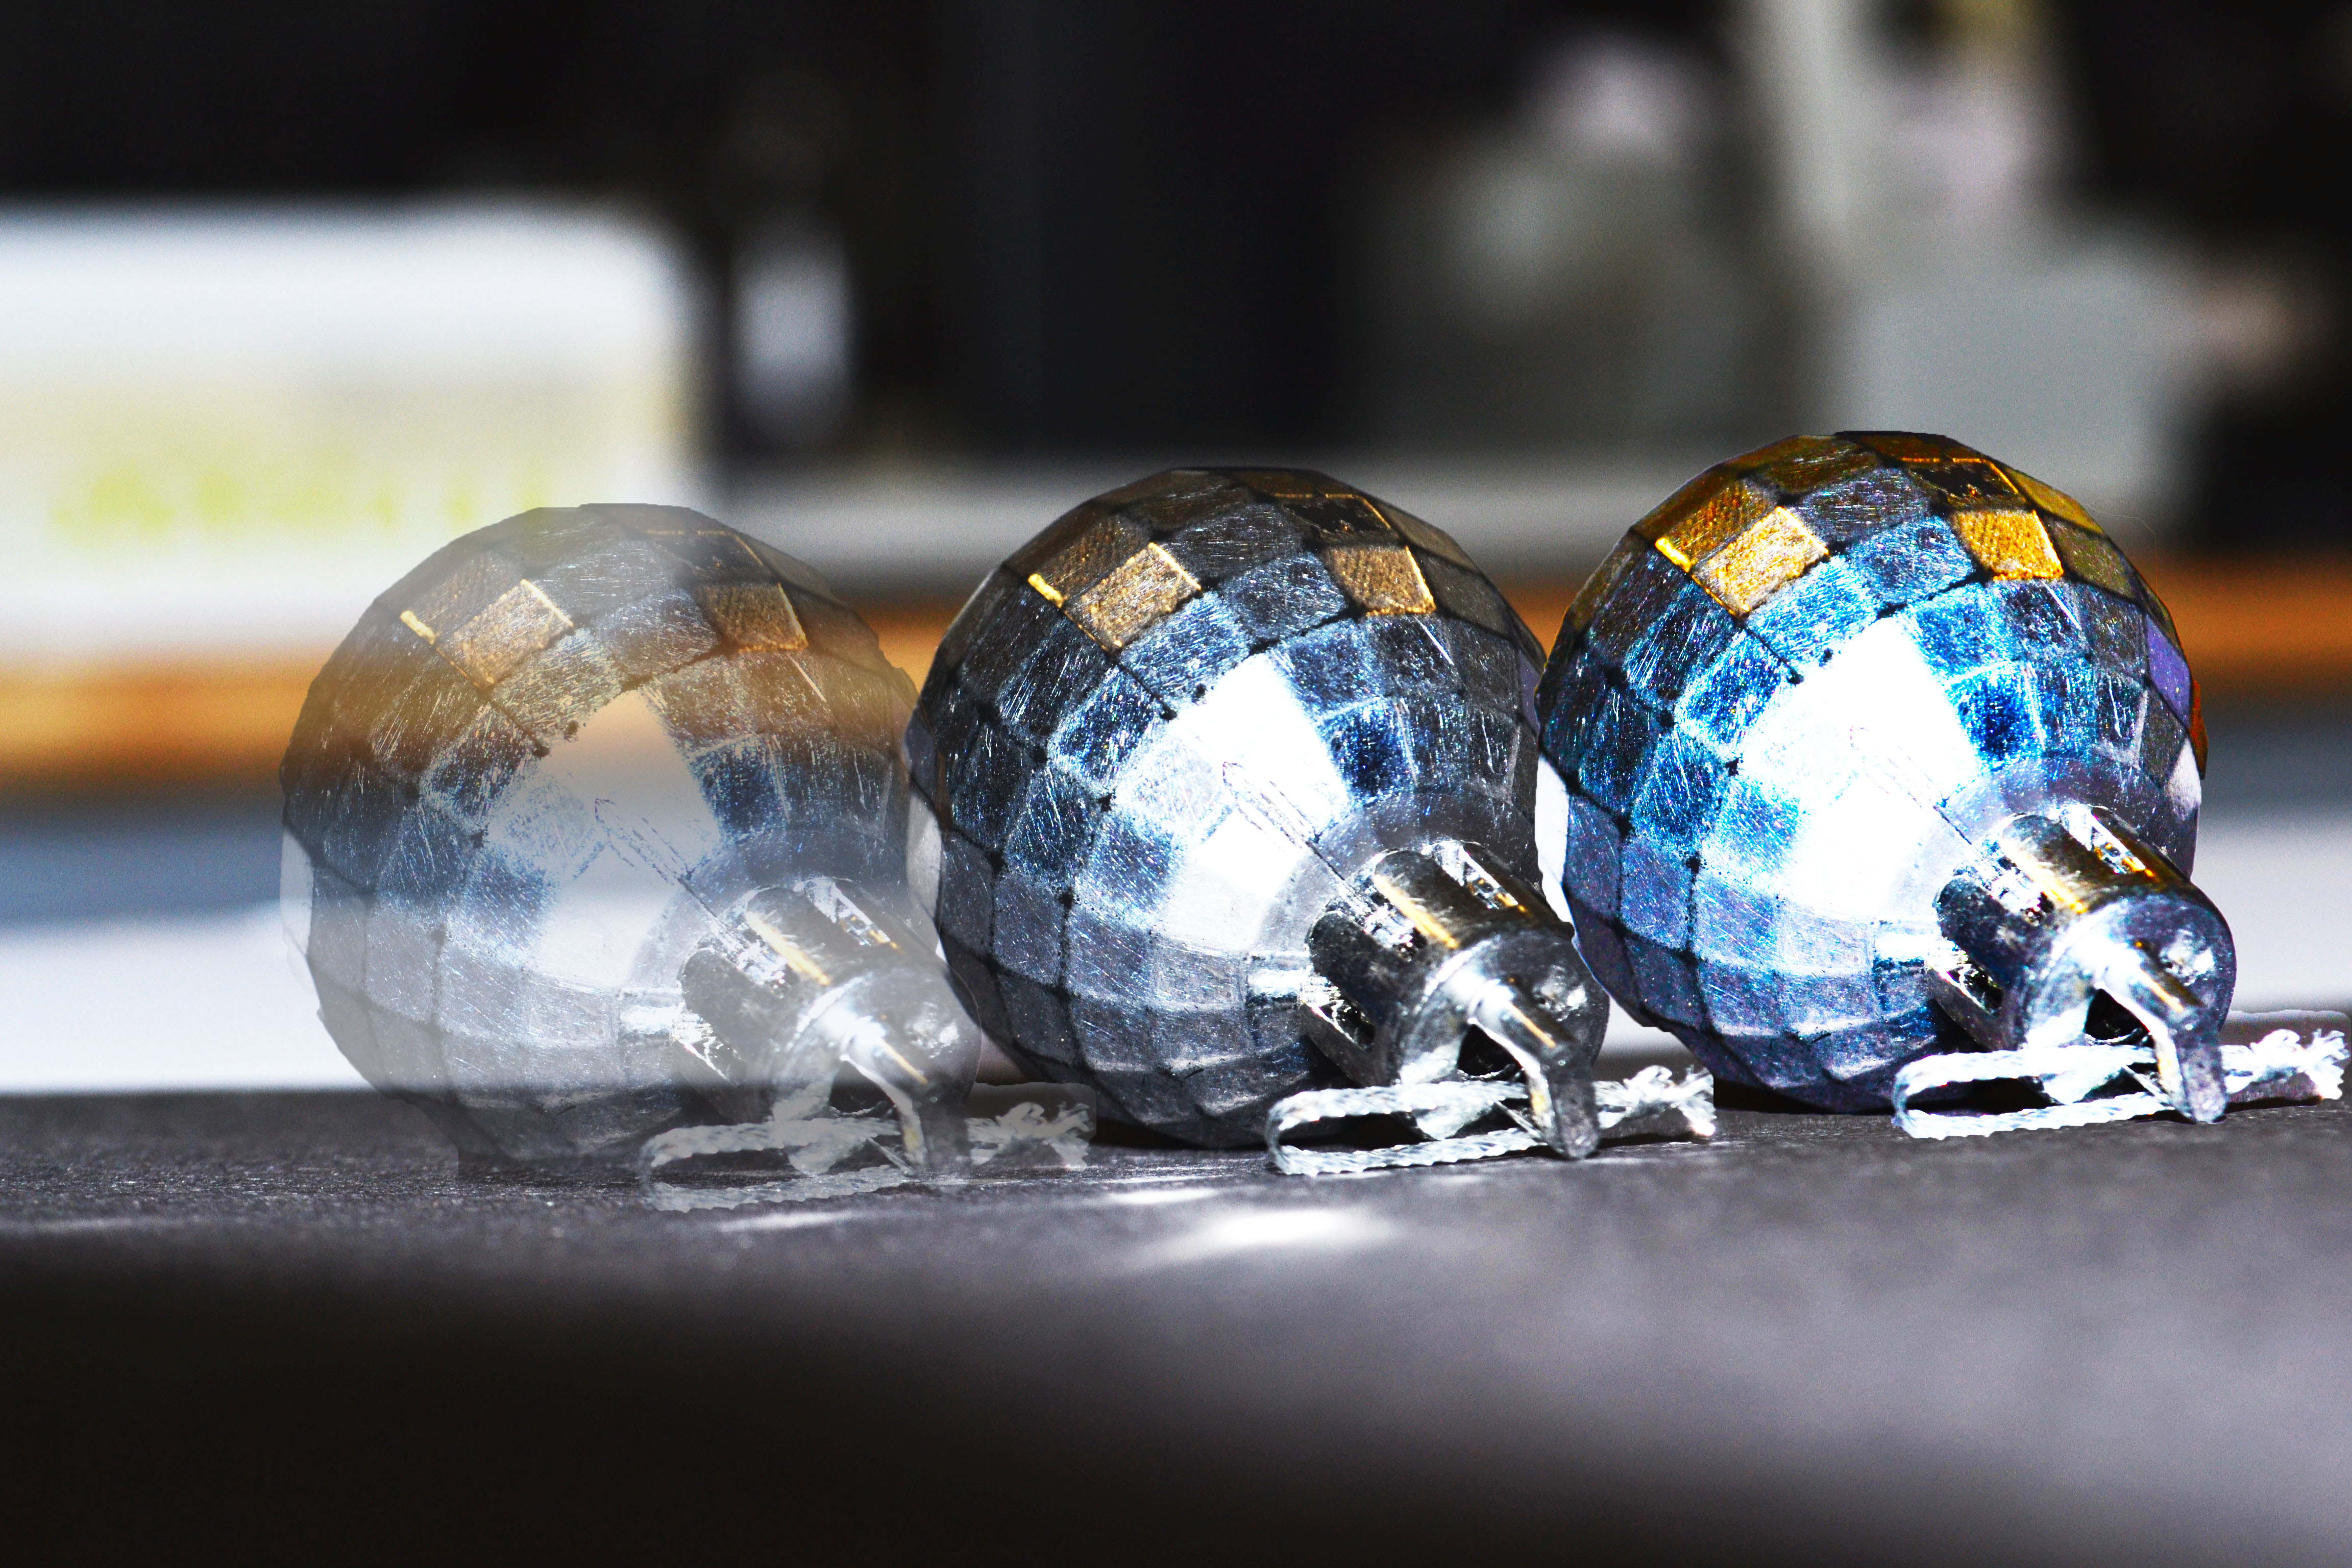
Image number 3.
Technical:
Lighting – The lighting in this was artifical in the background with the built in camera flash providing the main source of brightness
Aperture – The aperture in this photo was
Shutter Speed –
ISO and White Balance – The ISO in this photo wouldn’t really play a large influence because the image is in black and white. The white balance was turned up so that the contrast makes the patterns more prominent.
Visual:
The visual elements of this image include a dual colouring of black and whites along with slight hints of yellow in the middle of the circle. There is quite a touch texture around the surface of the circle and a slight pattern created by the light shinning through the lamp. The original unedited version of this photo has a 3D effect due to the shadows created by the flash but with the dark black and white contrast present it has a 2D look.
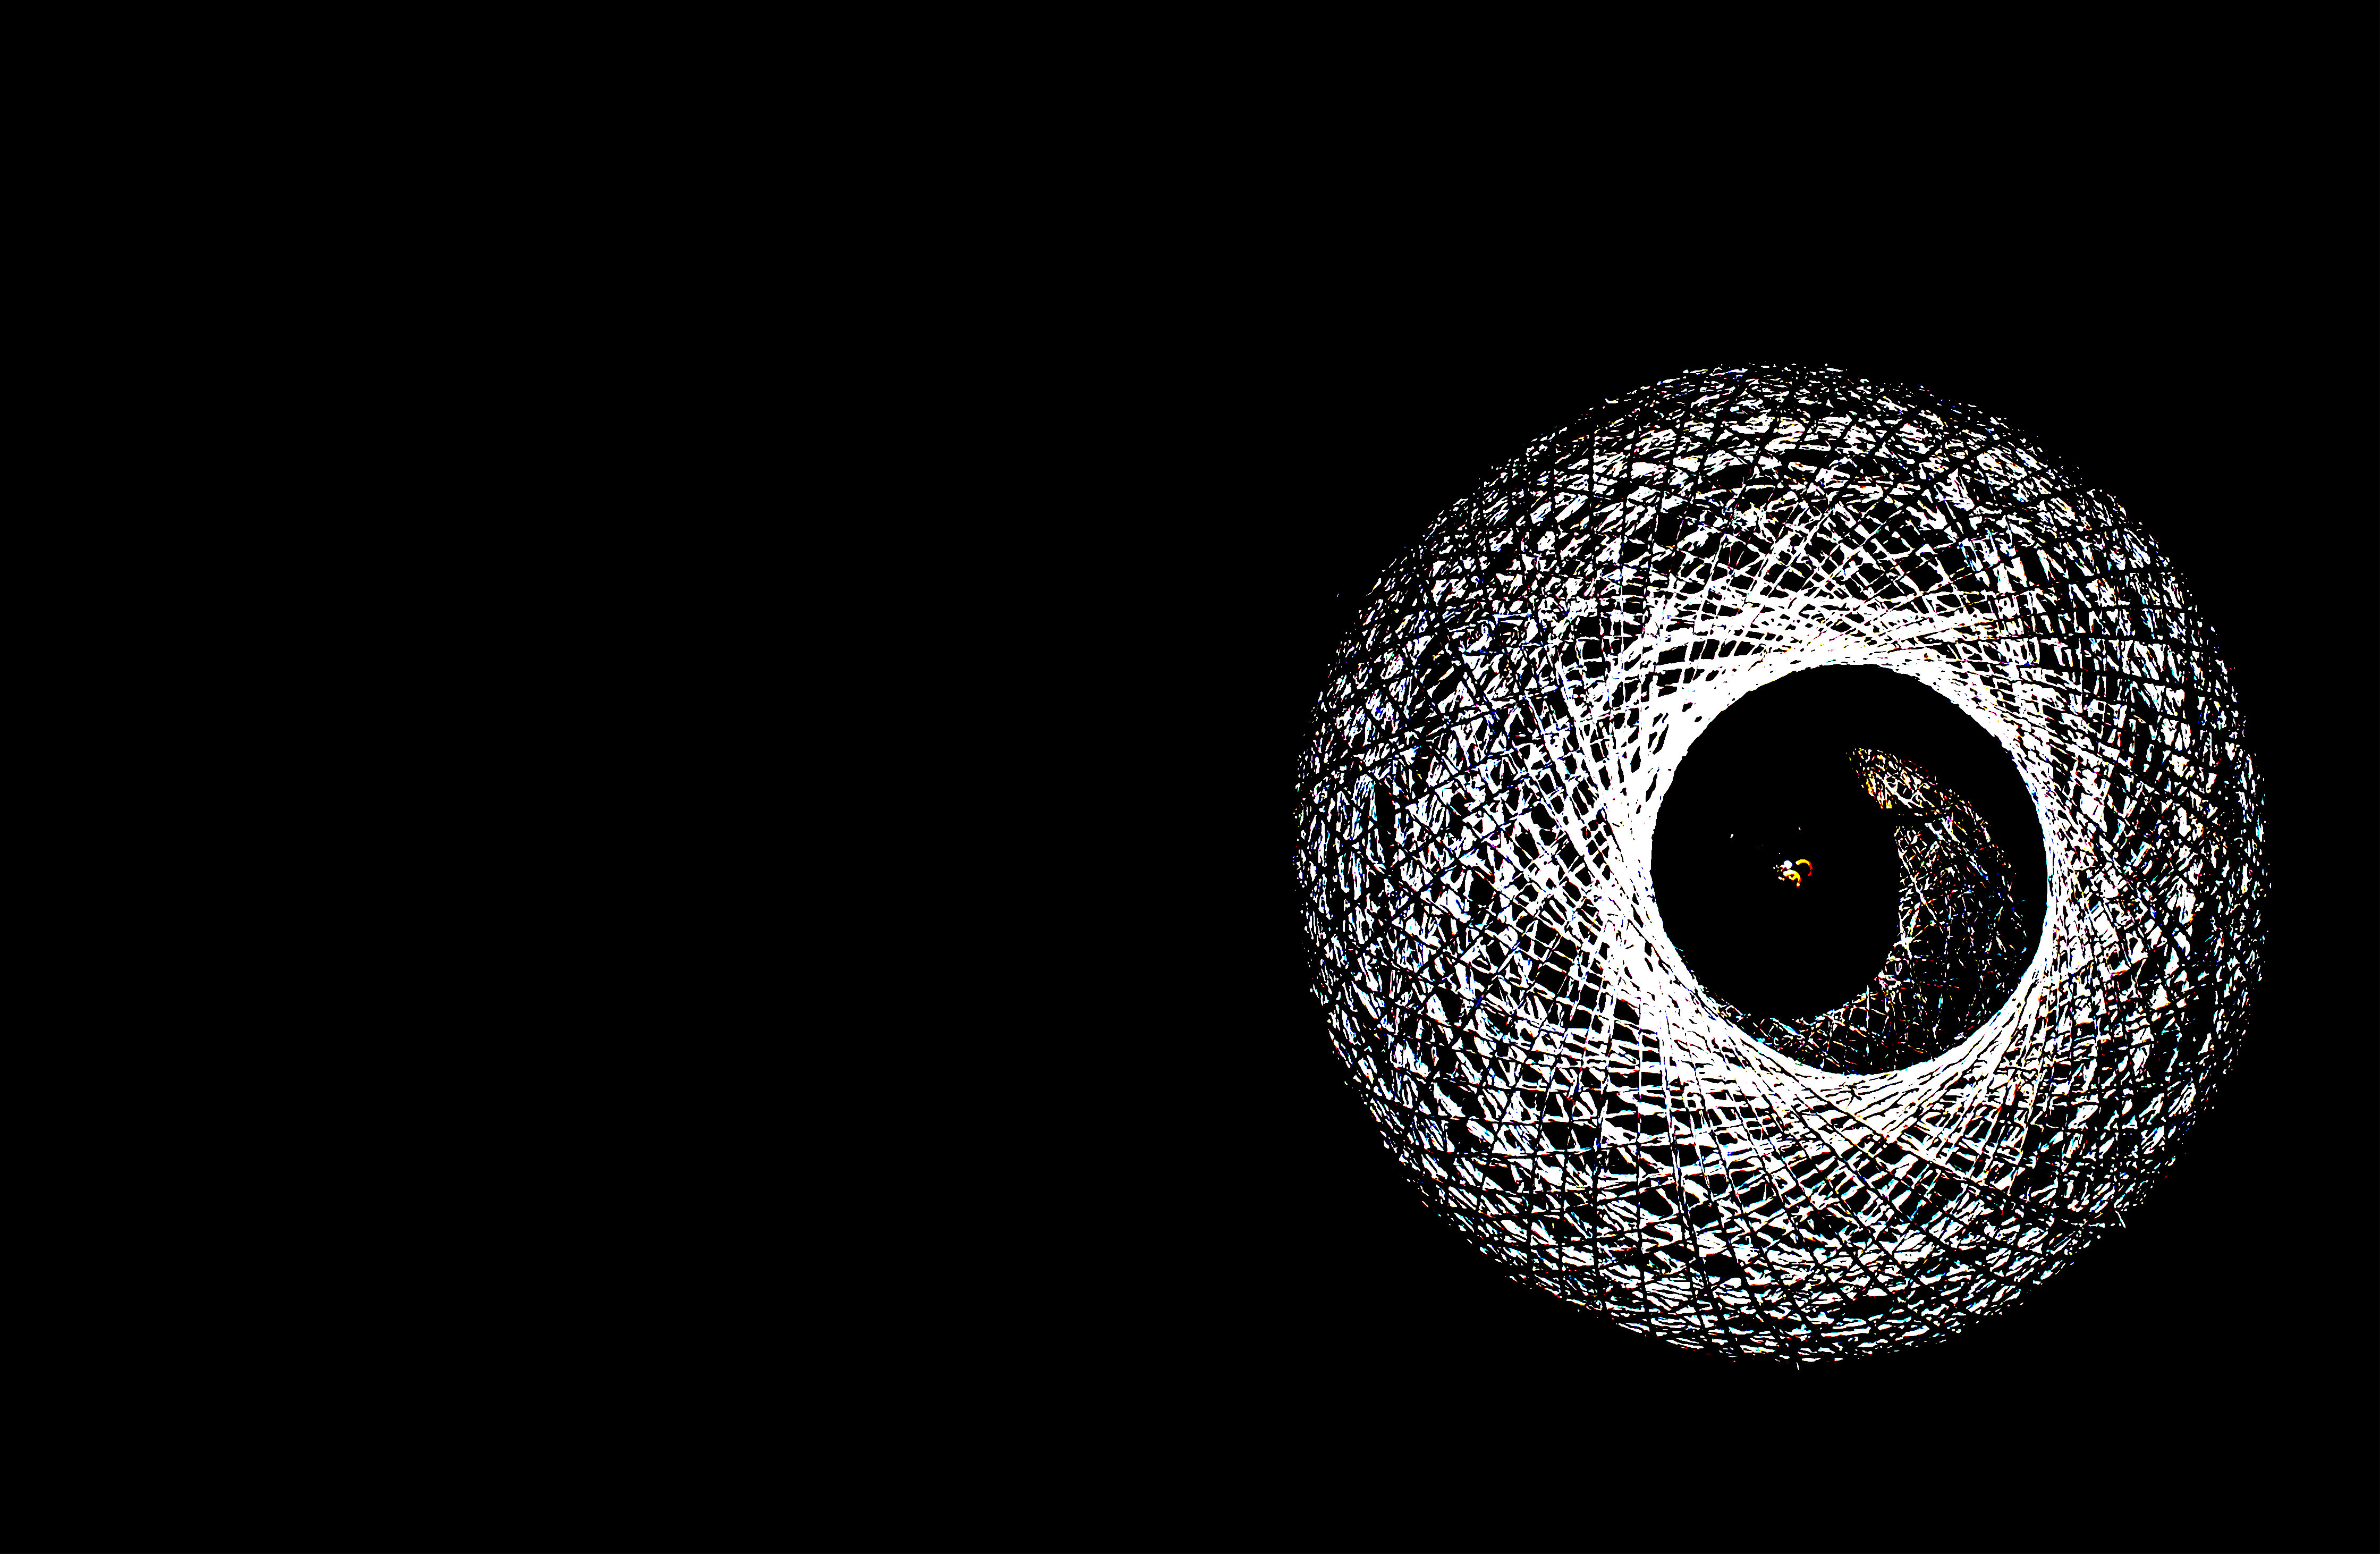
Image number 4.
Technical:
Lighting – All natural lighting that is coming through a large nearby window.
Aperture – The aperture was higher than usual so the image would be a lot brighter due to more light going into the lens.
Shutter Speed – The shutter speed in this was around 1/10 of a second so that a fair amount of light could enter the camera.
ISO and White Balance – The ISO and white Balance were turned up so the colours were bright and the differences in colour were also prominant.
Visual:
The visual elements of this photo include an almost singular colour look with the different shades of white and the high tone that makes the difference in colours noticeable. There is quite a smooth and 3D texture to this photo created by the brilliance of colour in the mirror frame and the shadows in the corner giving the photograph some depth of field.
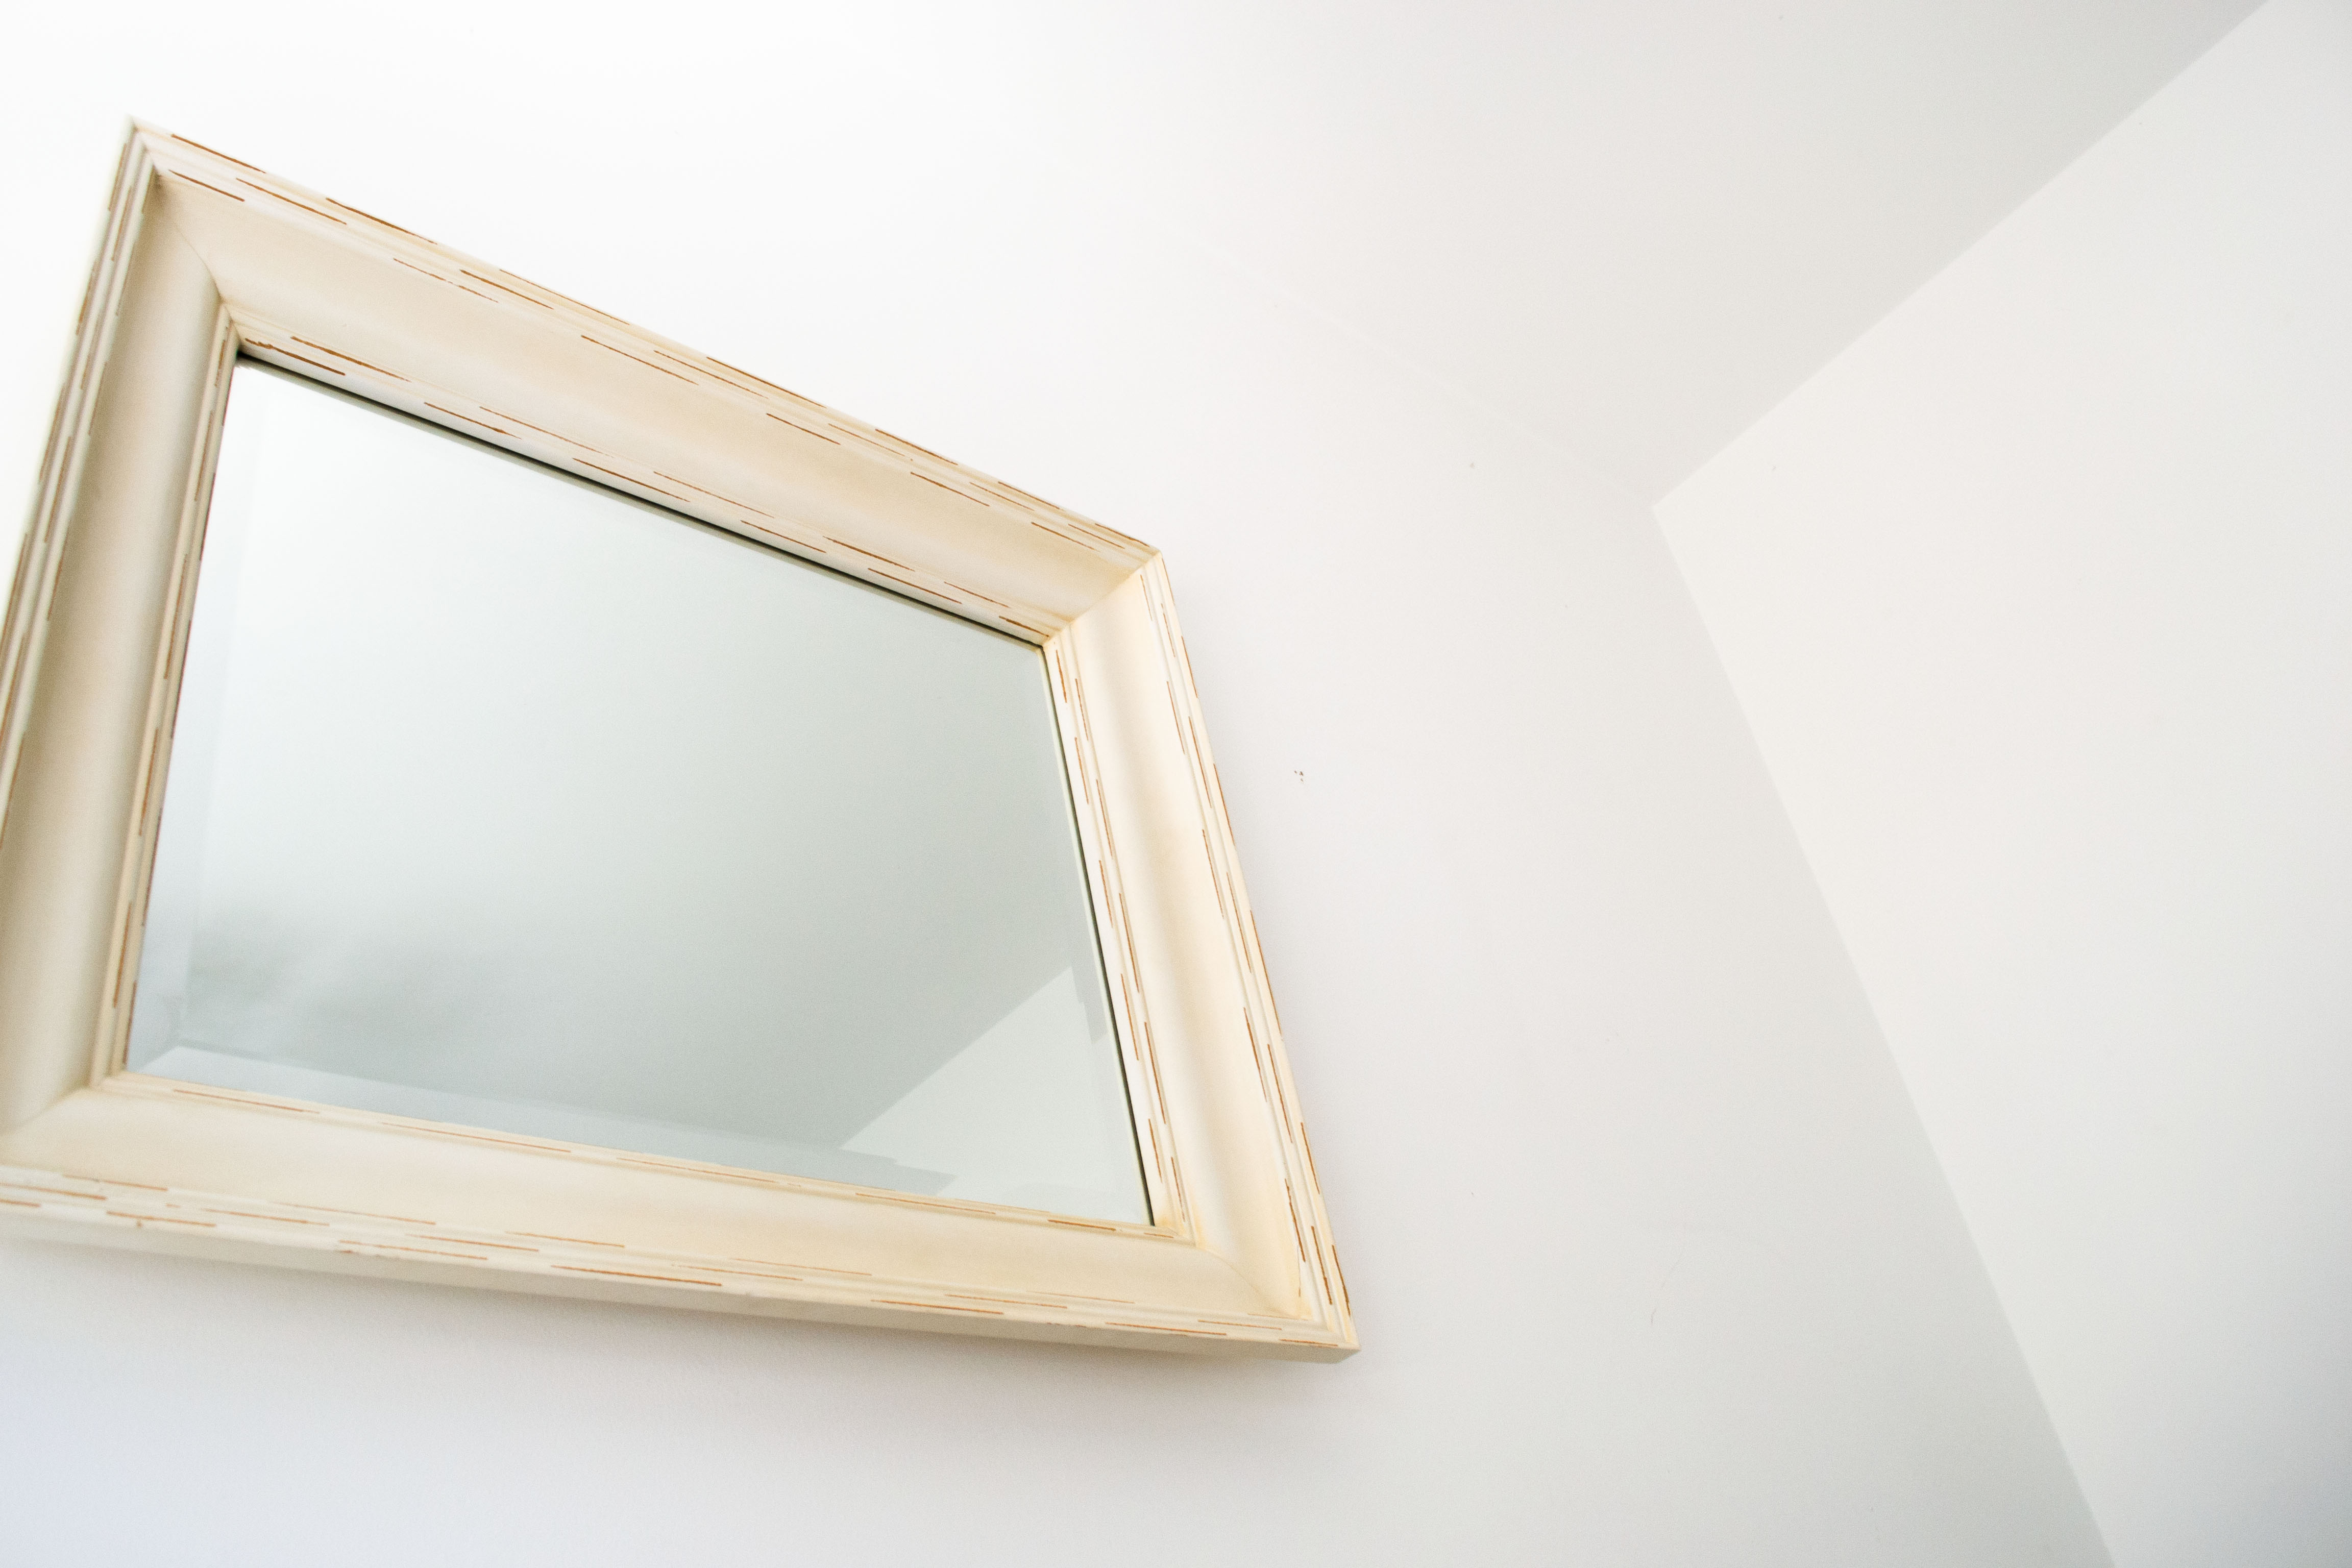
Image number 5.
Technical:
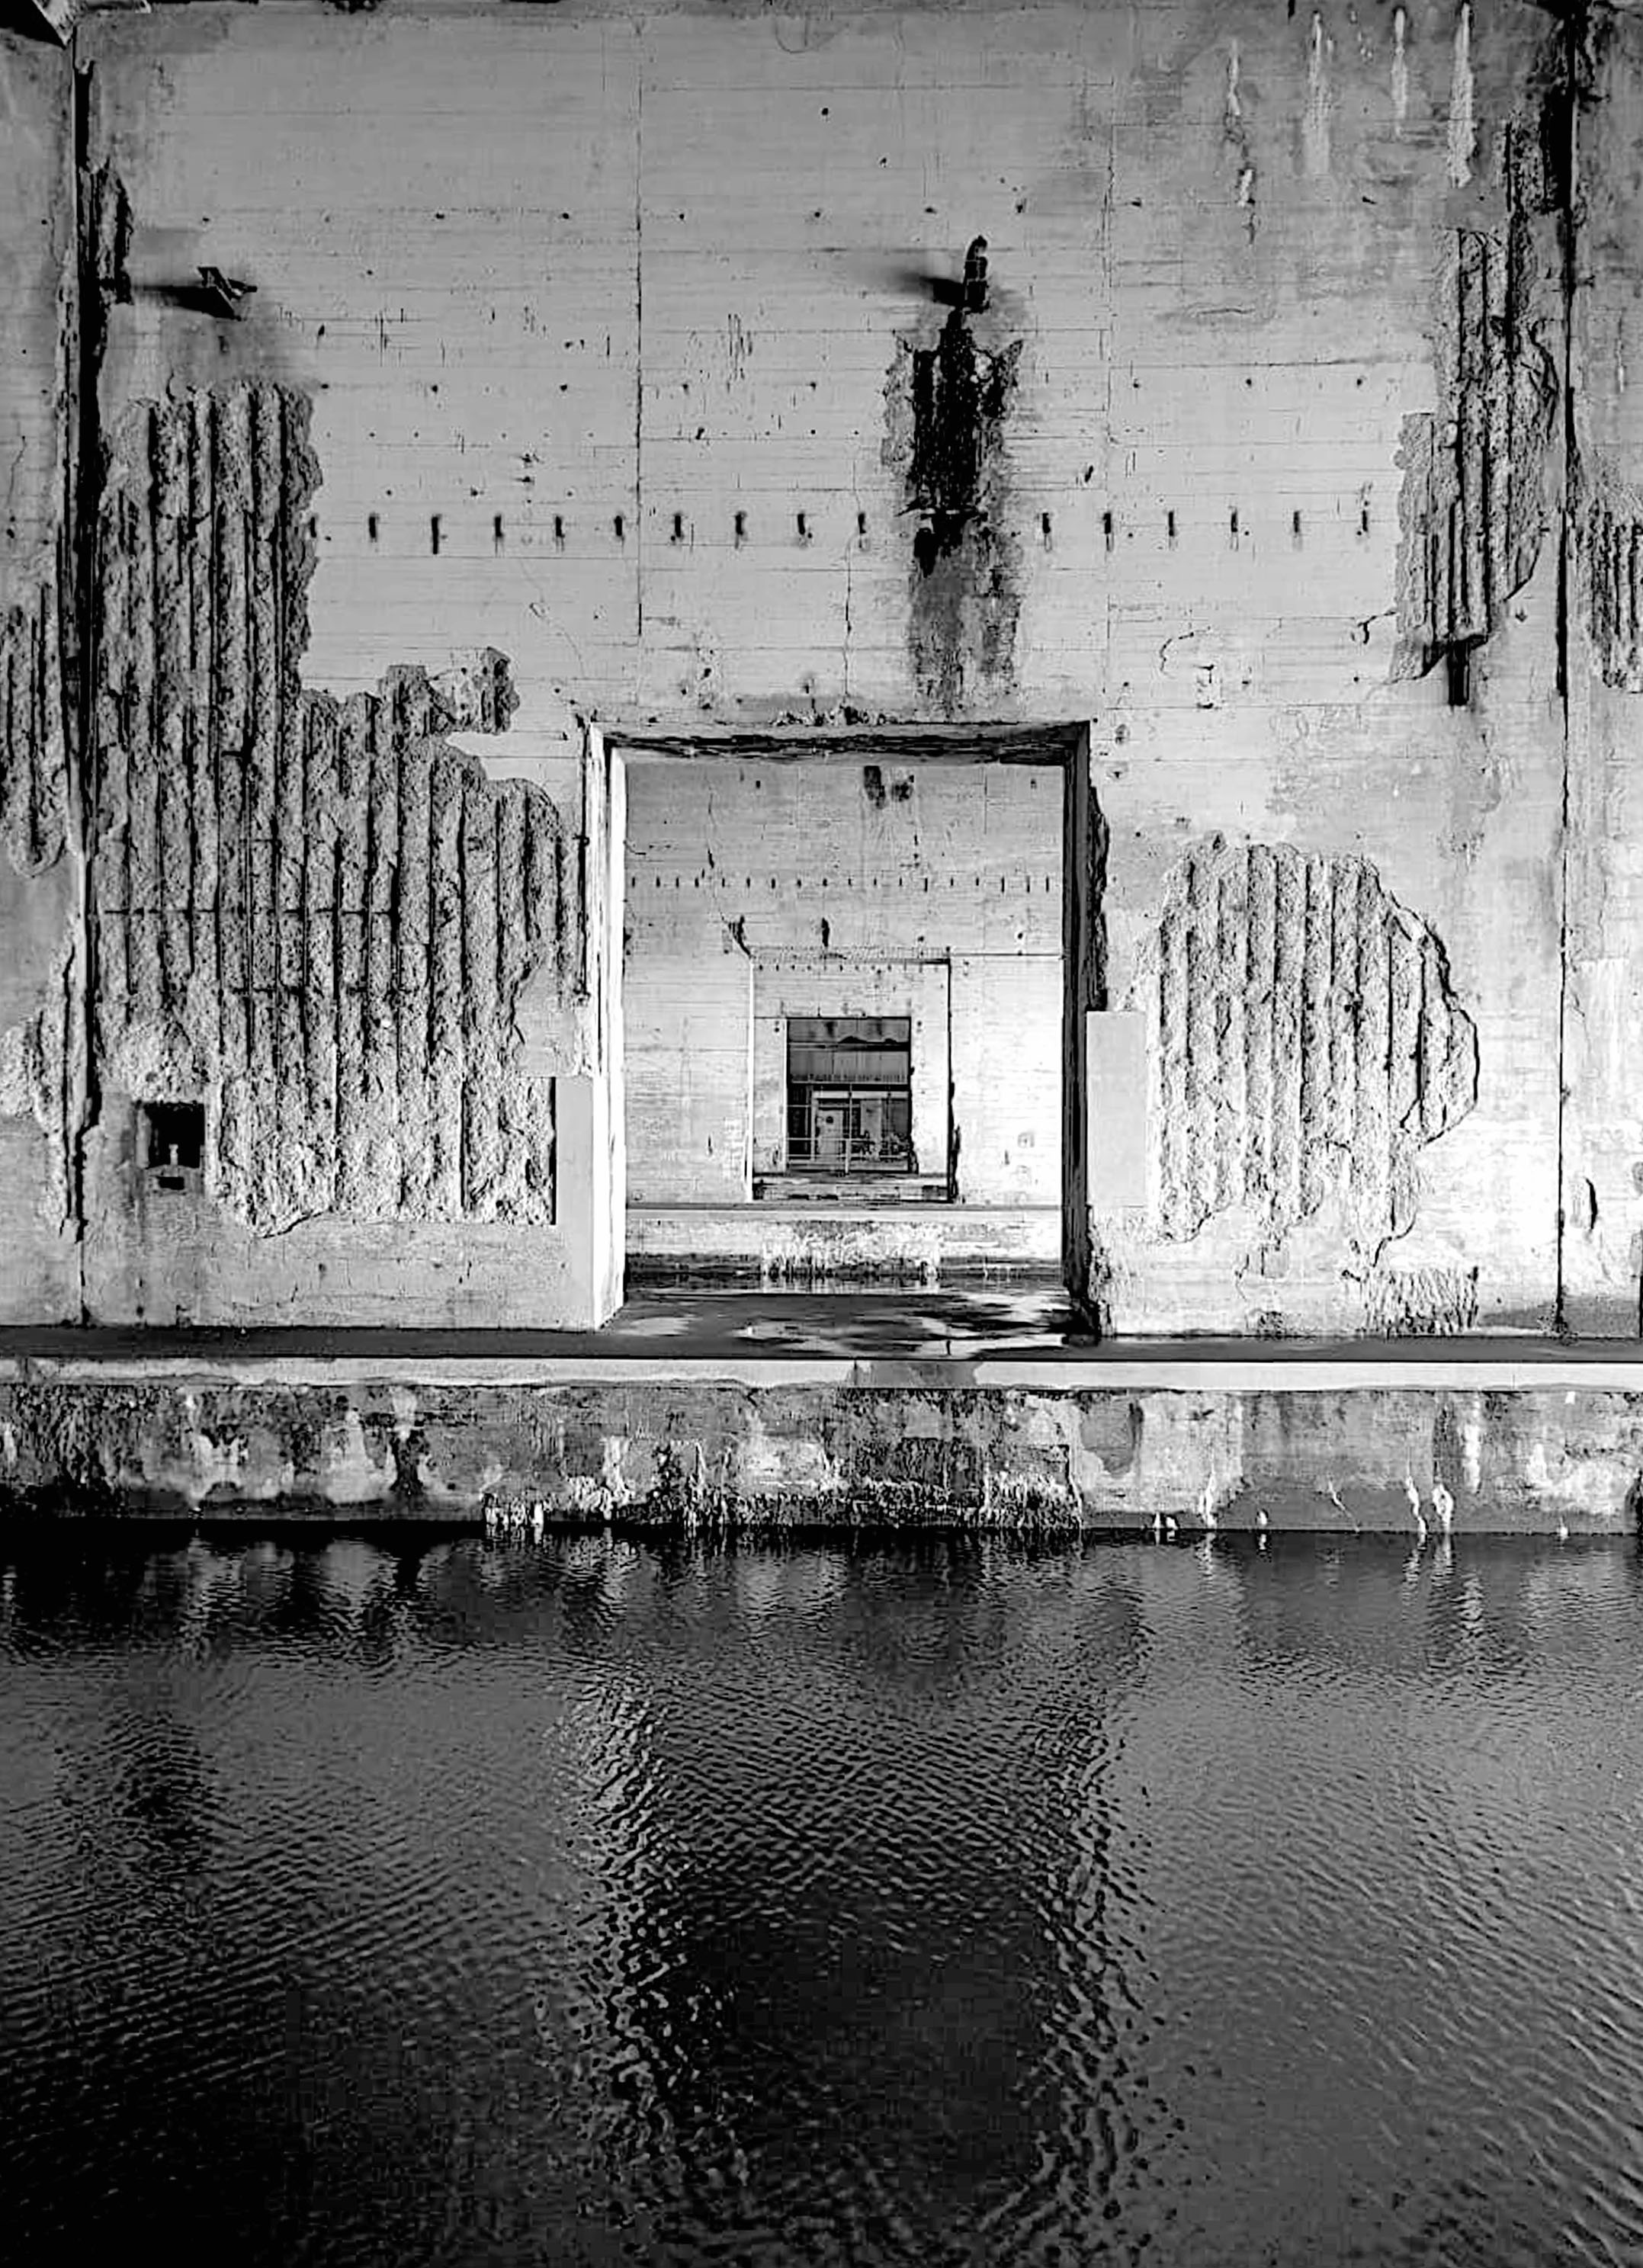
Lighting – All dim natural lighting with no artificial lighting.
Aperture – The aperture for this photo was slightly higher so that the dim areas of the photograph were a little brighter.
Shutter Speed – The shutter speed was fairly fast so that the image was sharp.
ISO and White Balance – The ISO and white balence are turned up slightly to increase the contrast in colours in the image.
Visual:
The visual elements of this image include black and white colour, a light tone, with dark spots here and there which give a 3D shape and depth of field to this image. The is also quite a rugged texture on the walls due to all the shadows in the marks in the walls.
The purpose of all of these images was to reflect my findings in case studies and previous blog posts about the world of abstract photography, experimenting with camera techniques and themes that can create “abstract images”.
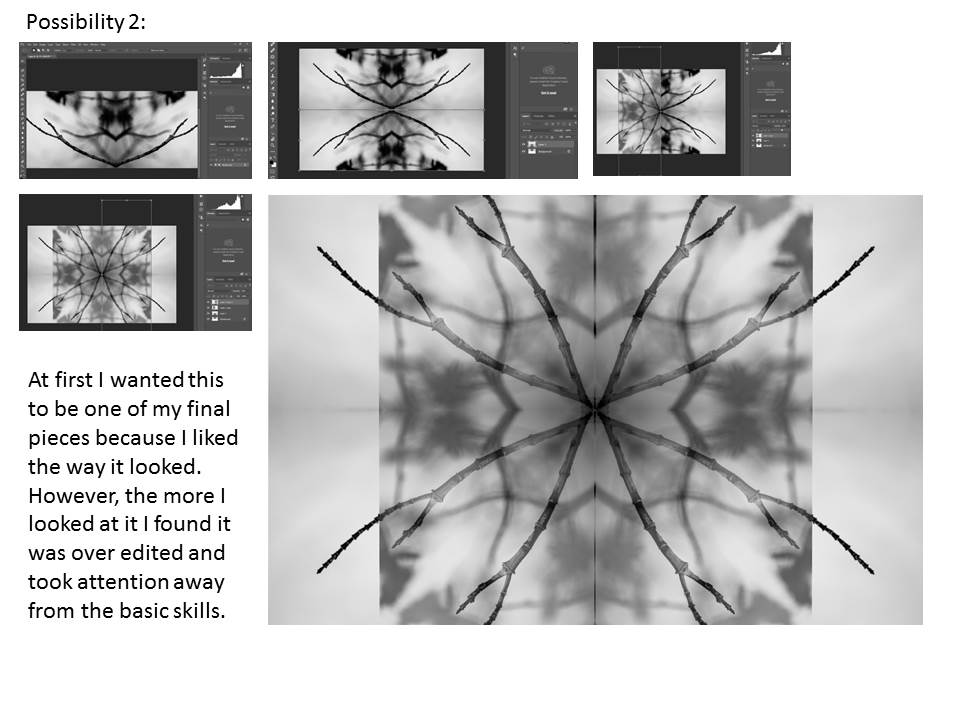
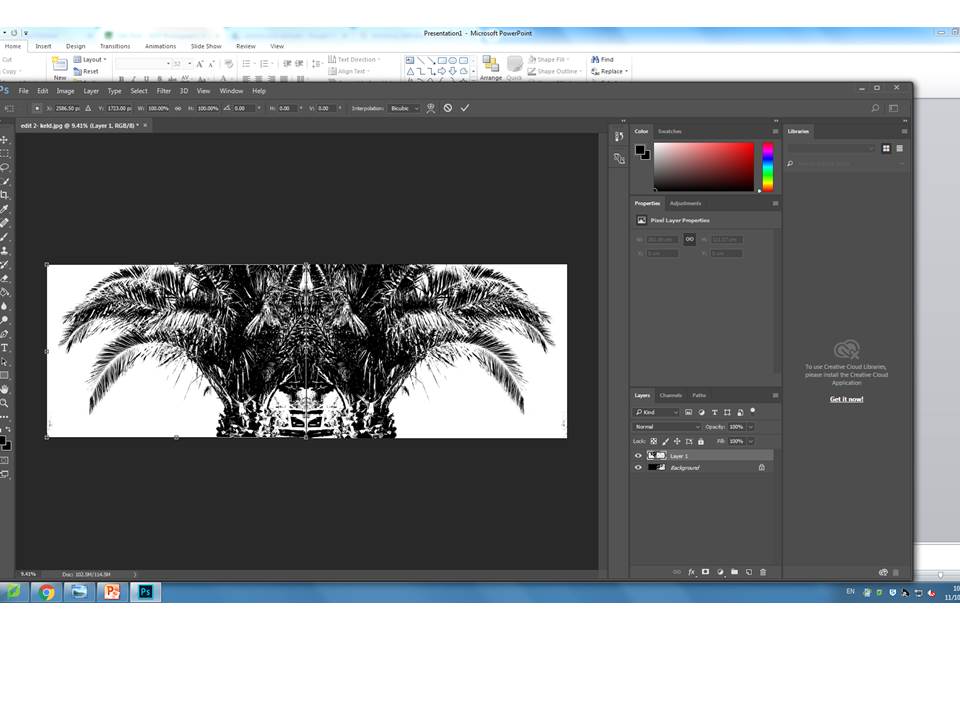
In this task I used photo shop to create this circle photo effect:
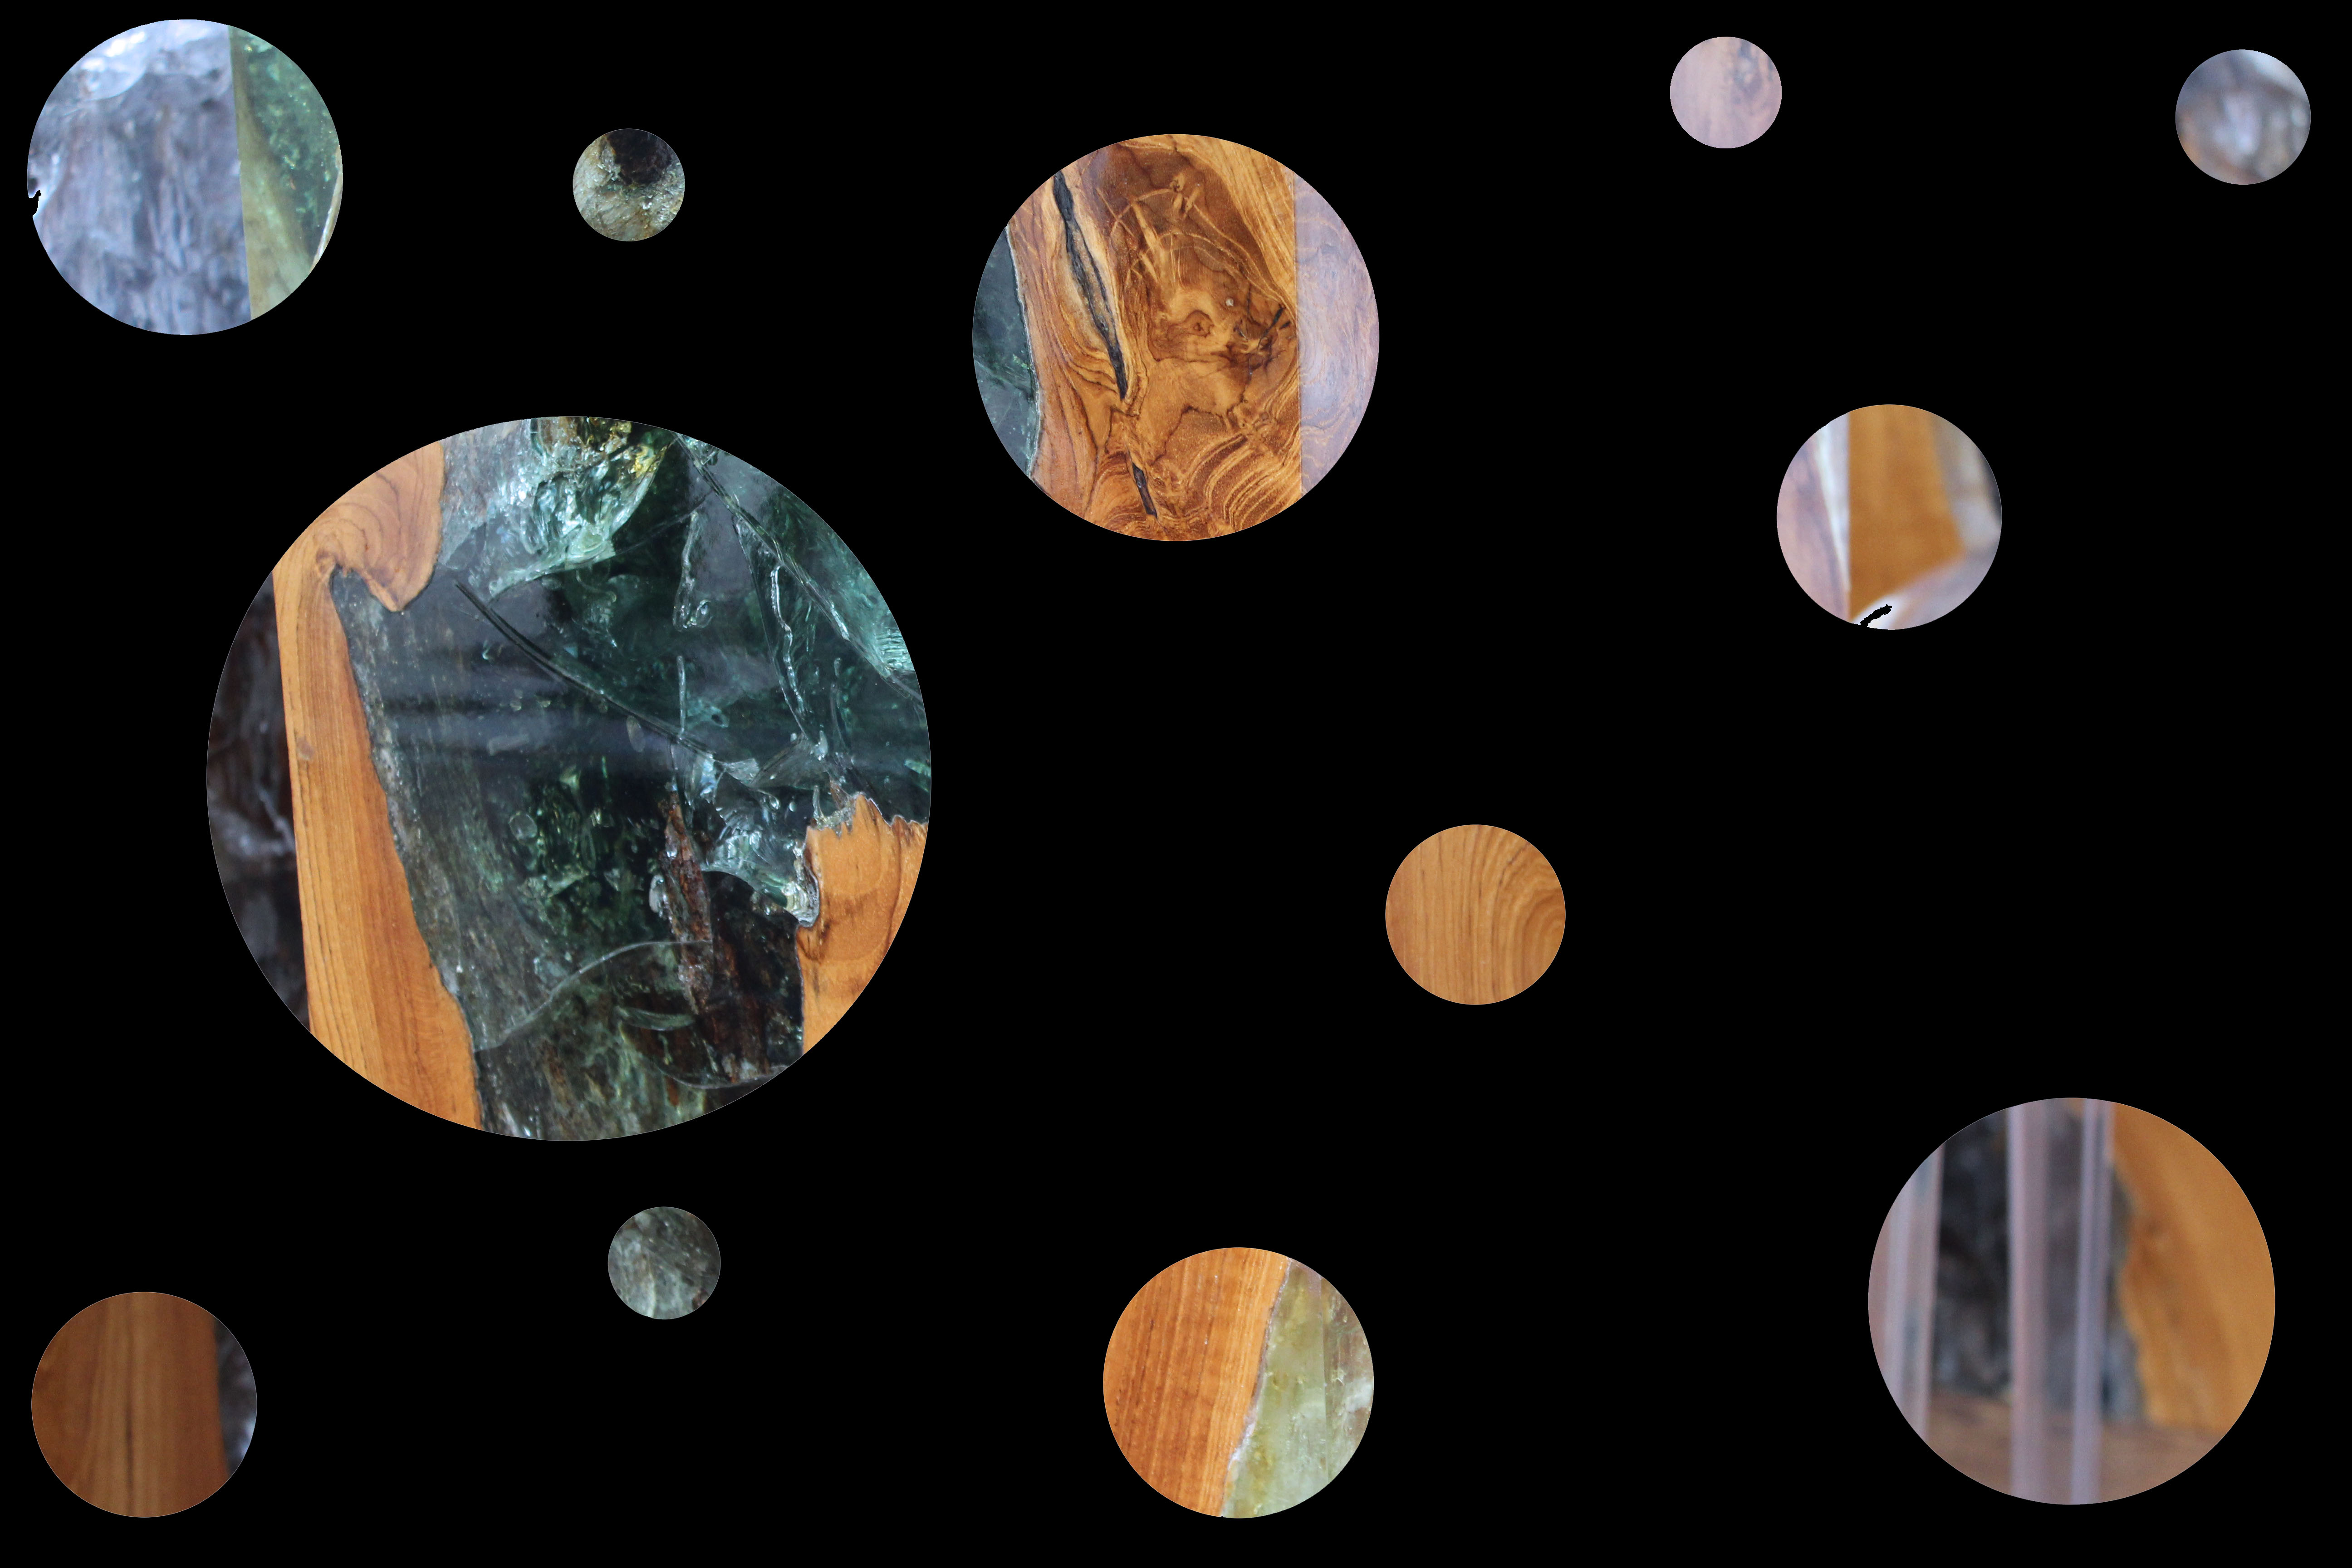
I will explain step by step how I did this photo effect on Photoshop:
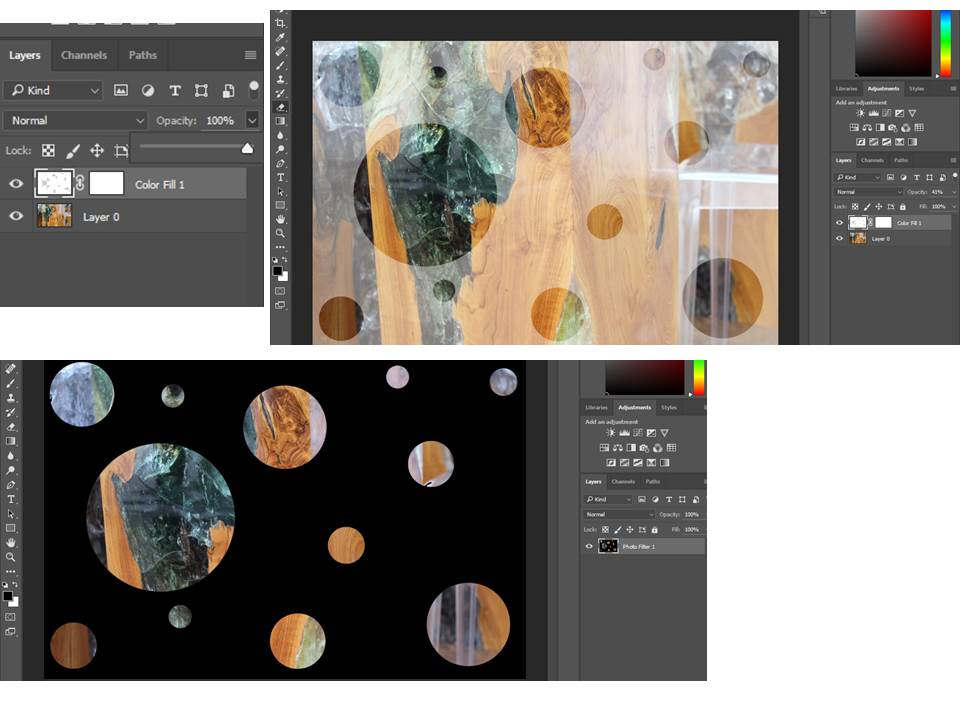
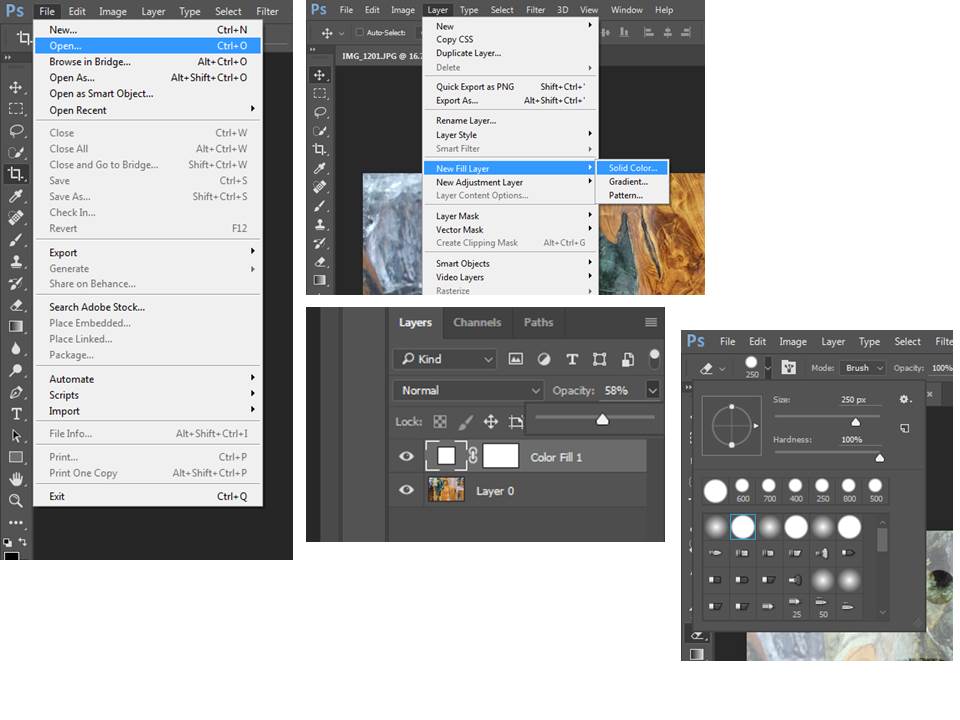
This is how I did it-
I really like how this image turned out and I like the style of this editing a lot, I think I may try this editing technique in the future.
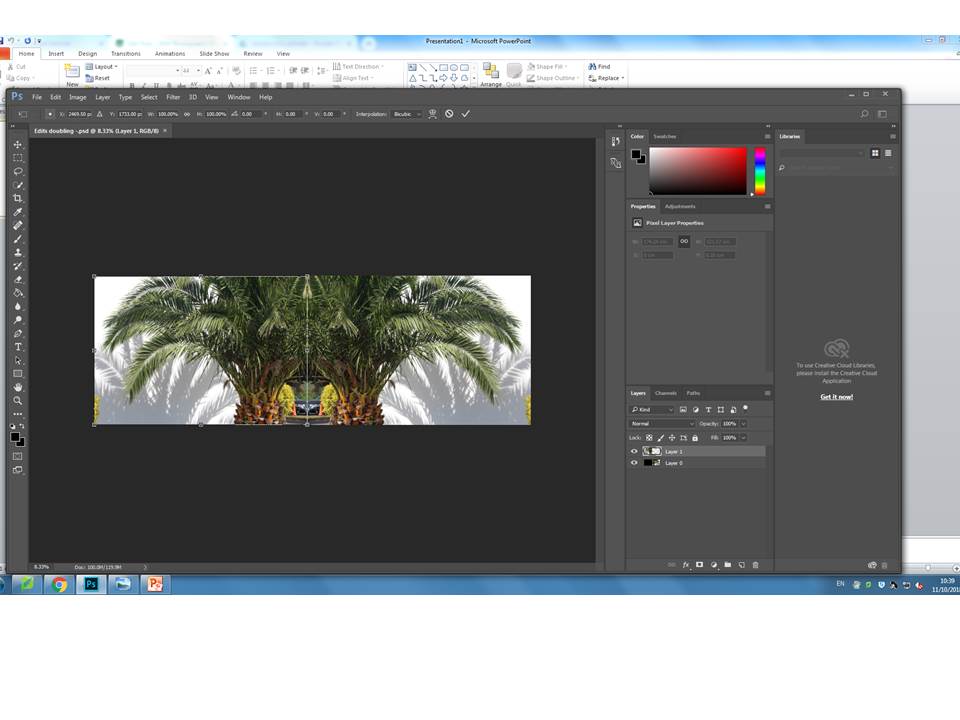
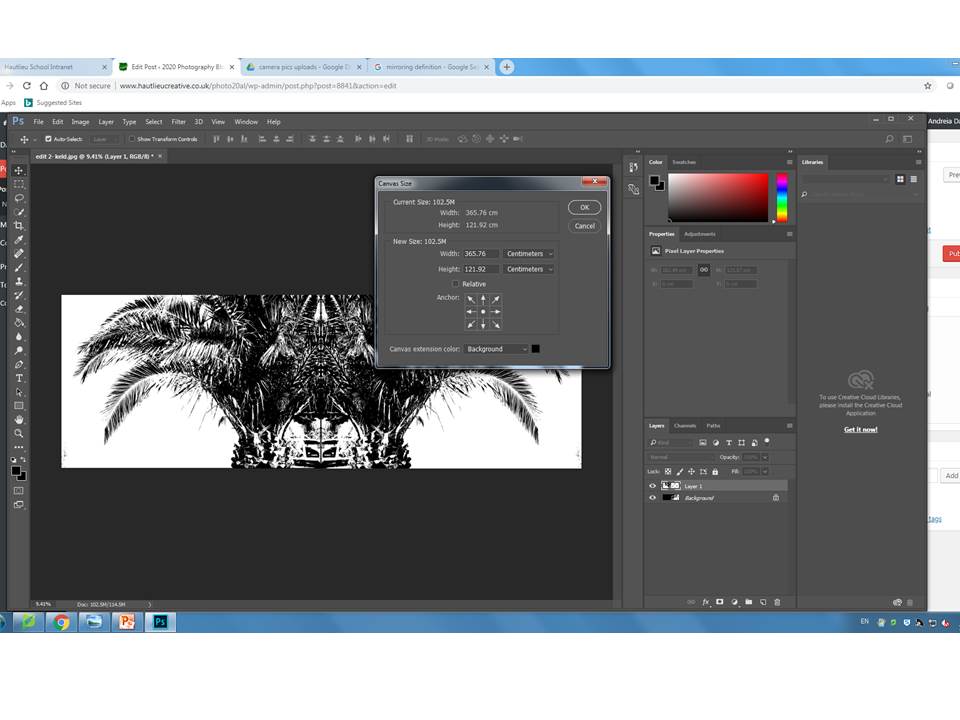
This box is used when you want to decide where about you want your image to be mirrored at.
Here are a couple of examples of my final outcomes.
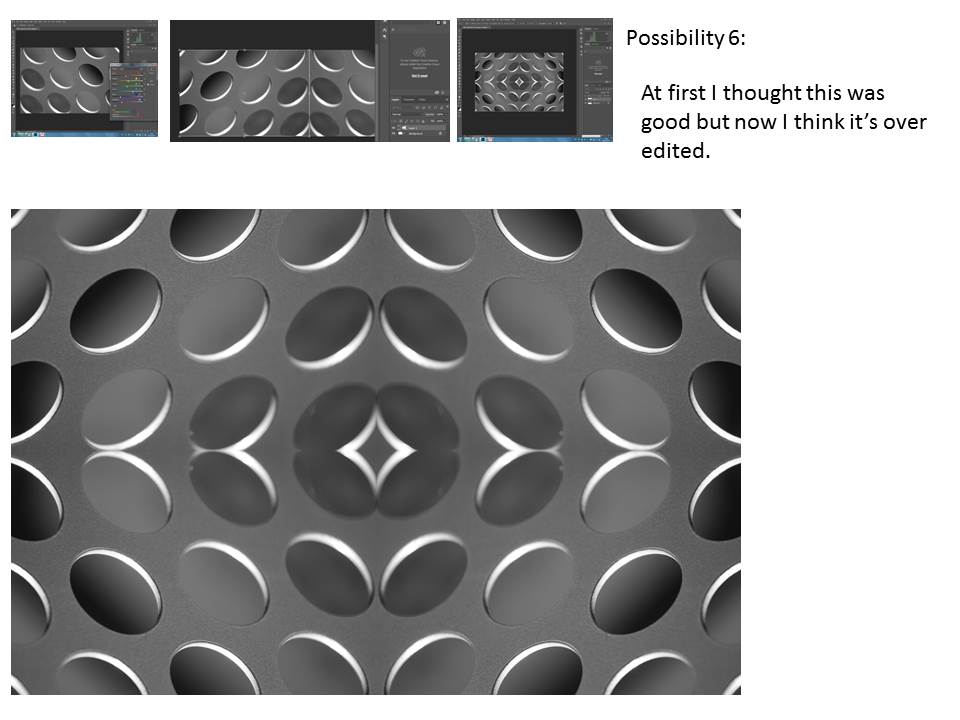
The steps i followed were pretty simple. I started by deciding which image i was going to edit first. Then by hovering over the image tab at the top and press canvas size i was able to drag the photo from one side to the other using the small arrow in the corner. After having selected it and by pressing control J.
Here is another example of the same image i edited but in black and white.
shutter speed is the nominal time for which a shutter is open at a given setting.
In film photography it was the length of time that the film was exposed to the scene you’re photographing and similarly in digital photography shutter speed is the length of time that your image sensor ‘sees’ the scene you’re attempting to capture.
Shutter speed is measured in seconds – or in most cases fractions of seconds. The bigger the denominator the faster the speed (ie 1/1000 is much faster than 1/30).
in most cases you’ll probably be using shutter speeds of 1/60th of a second or faster. This is because anything slower than this is very difficult to use without getting camera shake. Camera shake is when your camera is moving while the shutter is open and results in blur in your photos.
If you’re using a slow shutter speed (anything slower than 1/60) you will need to either use a tripod or some some type of image stabilization (more and more cameras are coming with this built in).
To freeze movement in an image (like in the shots of the birds above and the surfer below) you’ll want to choose a faster shutter speed and to let the movement blur you’ll want to choose a slower shutter speed. The actual speeds you should choose will vary depending upon the speed of the subject in your shot and how much you want it to be blurred.
In the subway shot below the shutter speed was 1 second so the movement of the trains on either side of the subject is beautifully blurred.
in the following seascape the shutter speed was 1/3 of a second and so we sea the movement in the water.
Remember that thinking about Shutter Speed in isolation from the other two elements of the exposure triangle (aperture and ISO) is not really a good idea. As you change shutter speed you’ll need to change one or both of the other elements to compensate for it.
For example if you speed up your shutter speed one stop (for example from 1/125th to 1/250th) you’re effectively letting half as much light into your camera. To compensate for this you’ll probably need to increase your aperture one stop (for example from f16 to f11). The other alternative would be to choose a faster ISO rating (you might want to move from ISO 100 to ISO 400 for example).
experimenting wit shutter speed
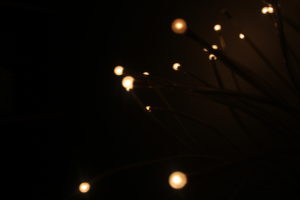
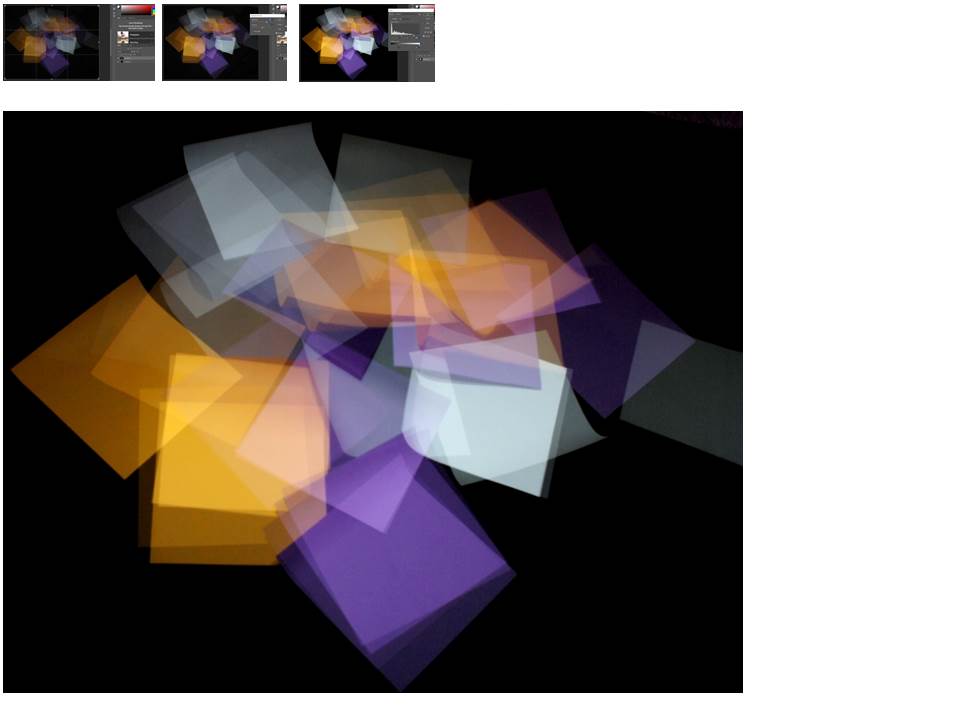
this photograph above of a home decoration lamp with multiple small filaments on the top scattered around was taken with a semi fast shutter speed.
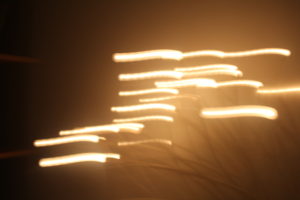
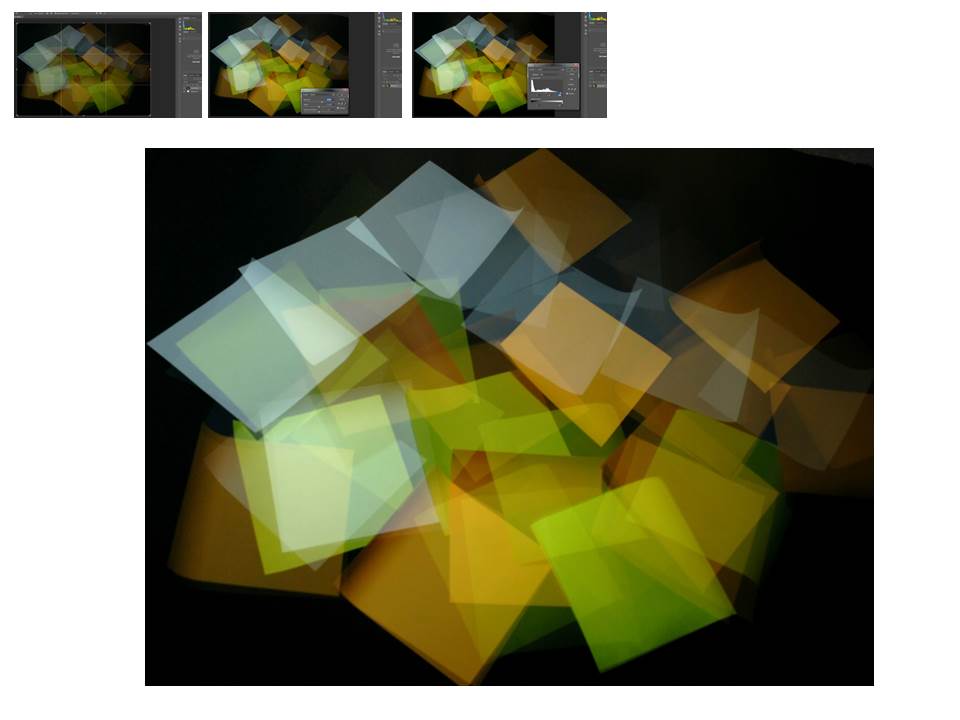
this is the same photograph but this time it was taken with a slow shutter speed and the camera was slowly moved to the left while the photo was being taken
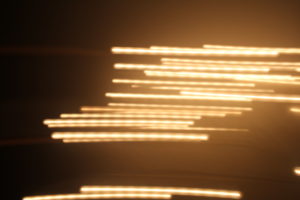
this photo was also taken on the same shutter speed but the camera was moved faster to the left
so we conclude that if you want to take a sharp image with nothing blurry like a sports photograph or a photograph of a moving animal or human we have to you a fast shutter speed , but if we are taking an abstract photo and want to create movement and color to the photograph we use a slow shutter speed.
Abstract photography, sometimes called non-objective, experimental, conceptual or concrete photography, is a means of depicting a visual image that does not have an immediate association with the object world and that has been created through the use of photographic equipment, processes or materials.

Having a slow shutter speed means that the image you’re taking will have a high exposure and will most likely be bright. When taking pictures in badly lit image using a slow shutter speed is ideal as it will make the image less dark. A slow shutter speed is good for taking pictures which are moving which helps to create a very unique effect which has purposely been done.
However, having a fast shutter speed makes the image have a very low exposure which means the image will be underexposed and the image will come out a lot darker than intended. A fast shutter speed is appropriate when you are wanting to light a scene. This shutter speed is used to capture moving objects as the image is taken a lot quicker.
Example
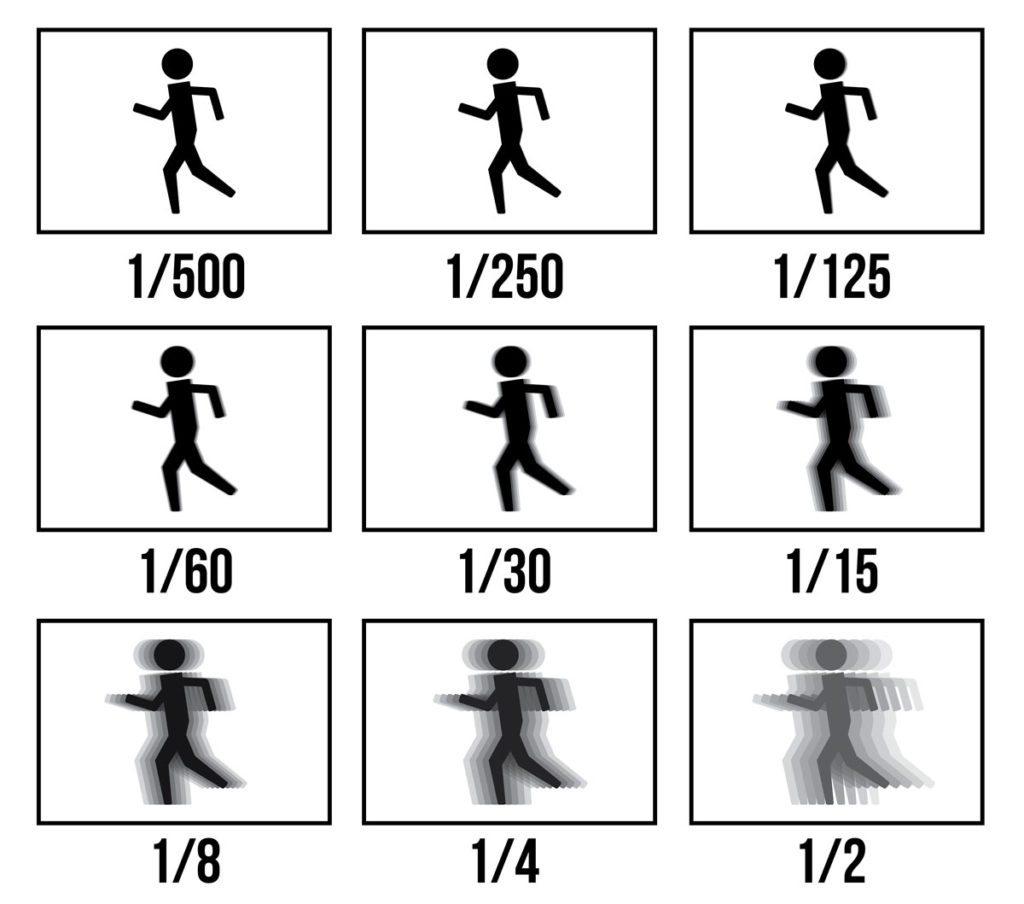
For these shoots i will firstly take slow shutter speed images. These images will be taken of moving cars to see if i can capture the ‘ stillness’ of the moving car which will contrast to the background which will show the car is moving due to the blurring, I think this will be hard to capture due to the car being constantly moving.
For the second photo shoot of high shutter speed images i plan to take jumping pictures of my friends. This will be done in front of a plain white wall so that nothing distracts from the main subject which will be my friends in the air.


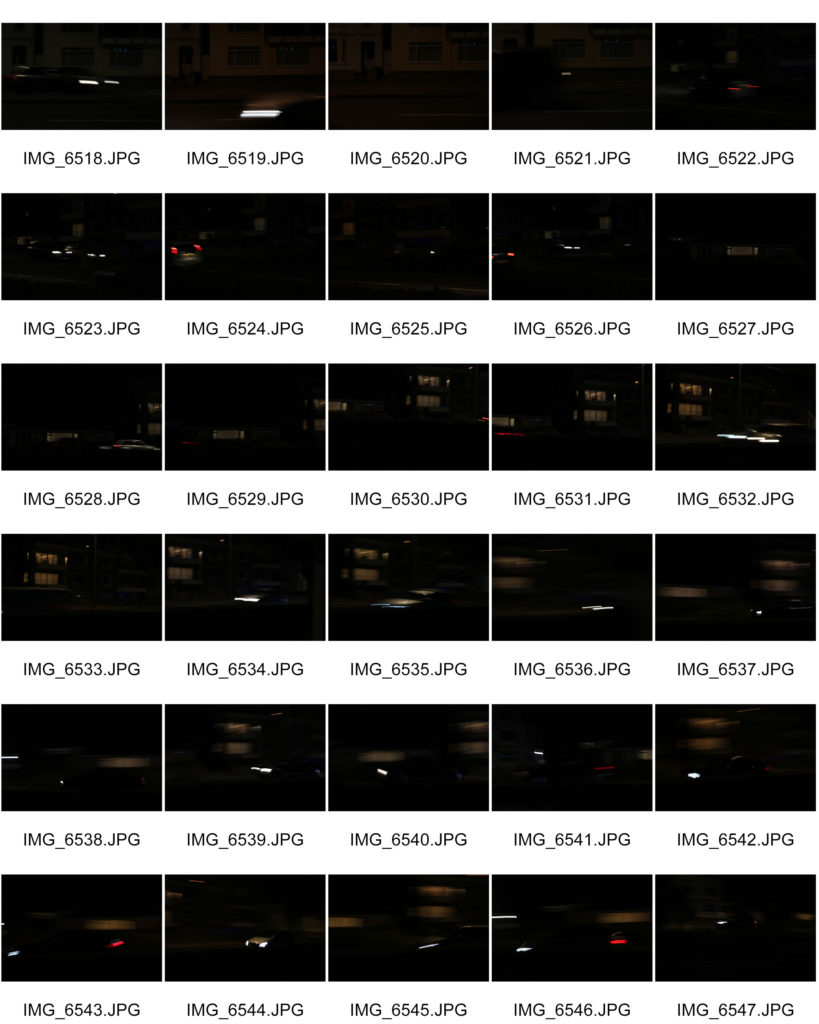

My most successful images


Experimenting with high shutter speed