What Is Studio Lighting?
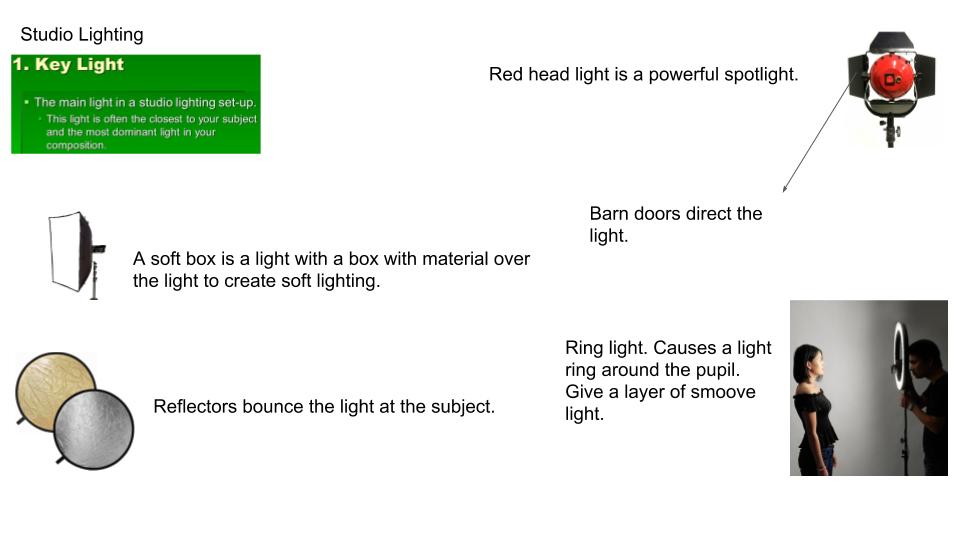
Control over lighting offers the photographer control over the final image.
Often photographers work with available light — the sun, ambient light, firelight or available artificial lights. Our knowledge of varied exposure tactics offer us many options for making use of available lighting, but, there are, admittedly, times when we want to control illumination as well as subject as well as the camera and exposure settings.
Studio lighting — strobes, reflectors, diffusers and so forth — offers us that control. https://www.harding.edu/gclayton/photography/topics/010_studio_lighting.html
Three Point Lighting
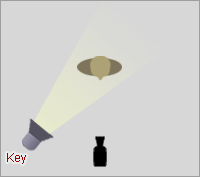
A common general lighting setup involves a key light, a fill light and a backlight.
The key light provides the main illumination of the subject.
The fill light offers illumination to surfaces turned away from the keylight, providing a better ratio of light and dark tones.
The back light either illuminates the background (or backdrop), or is used on the back of the subject (hair light or rim light) — often aiming to creating rim lighting.

The Three Point Lighting Technique is a standard method used in visual media such as video, film, still photography and computer-generated imagery. It is a simple but versatile system which forms the basis of most lighting.
Experimentation
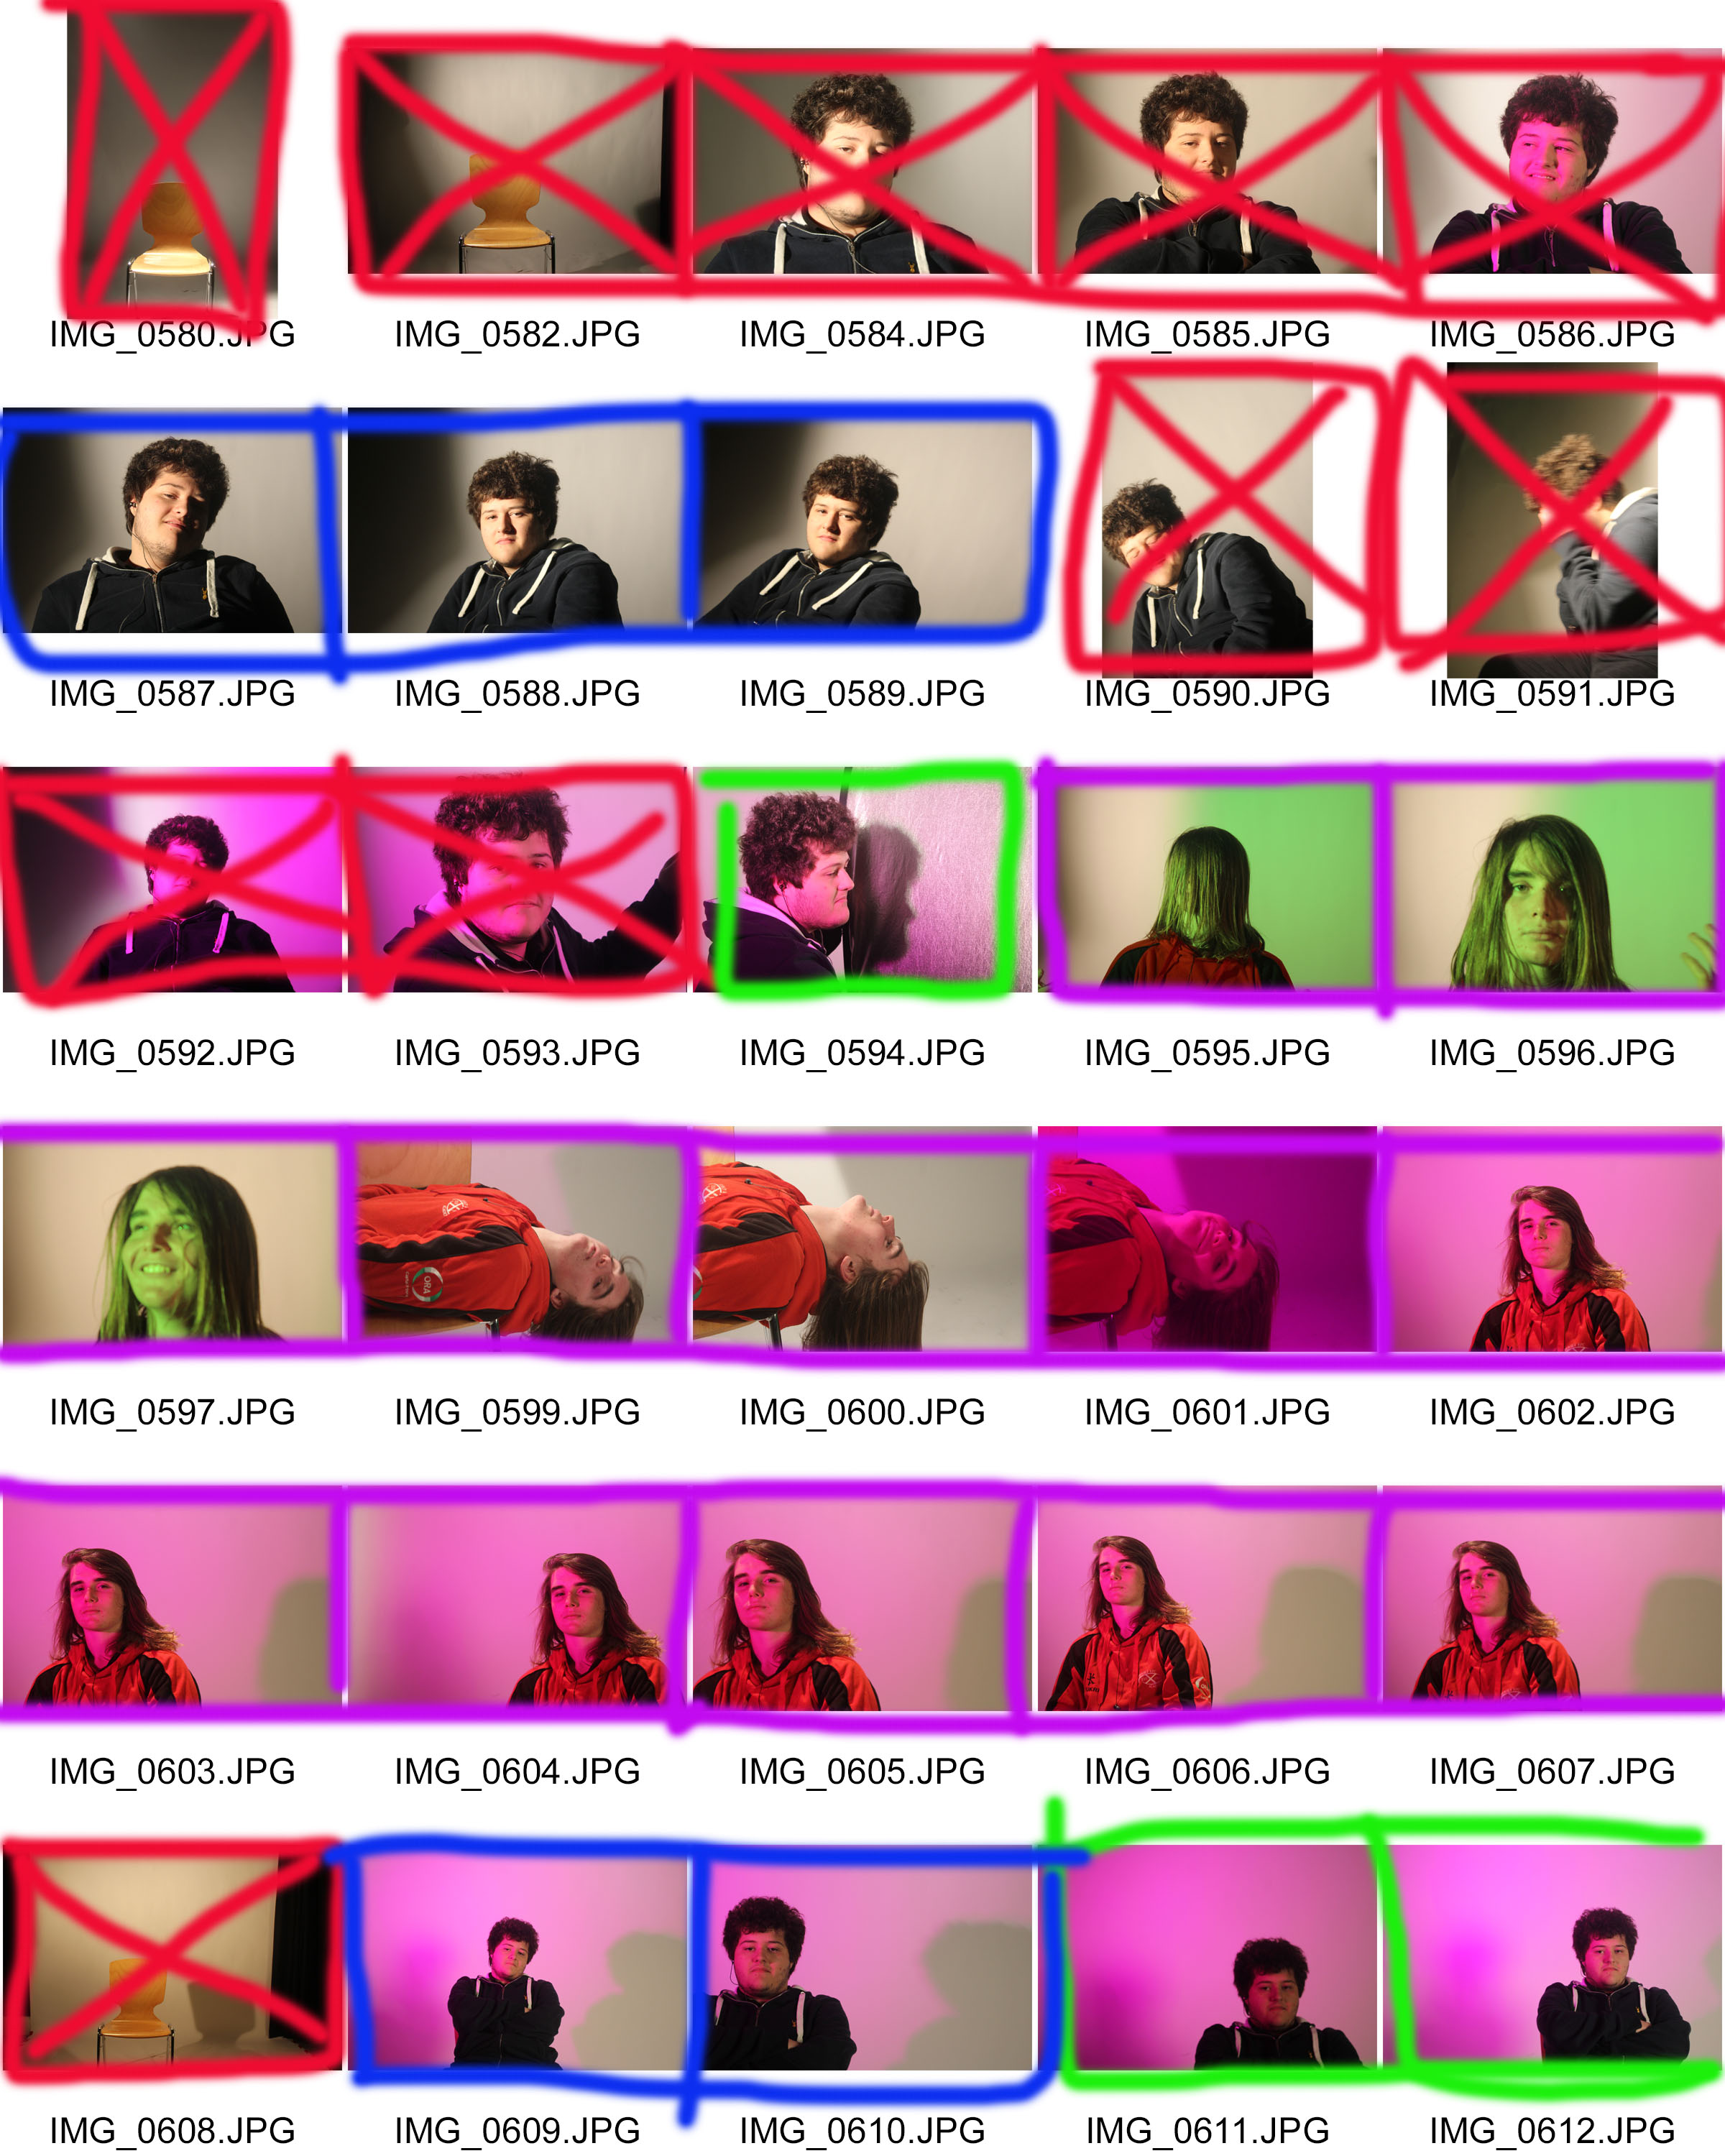
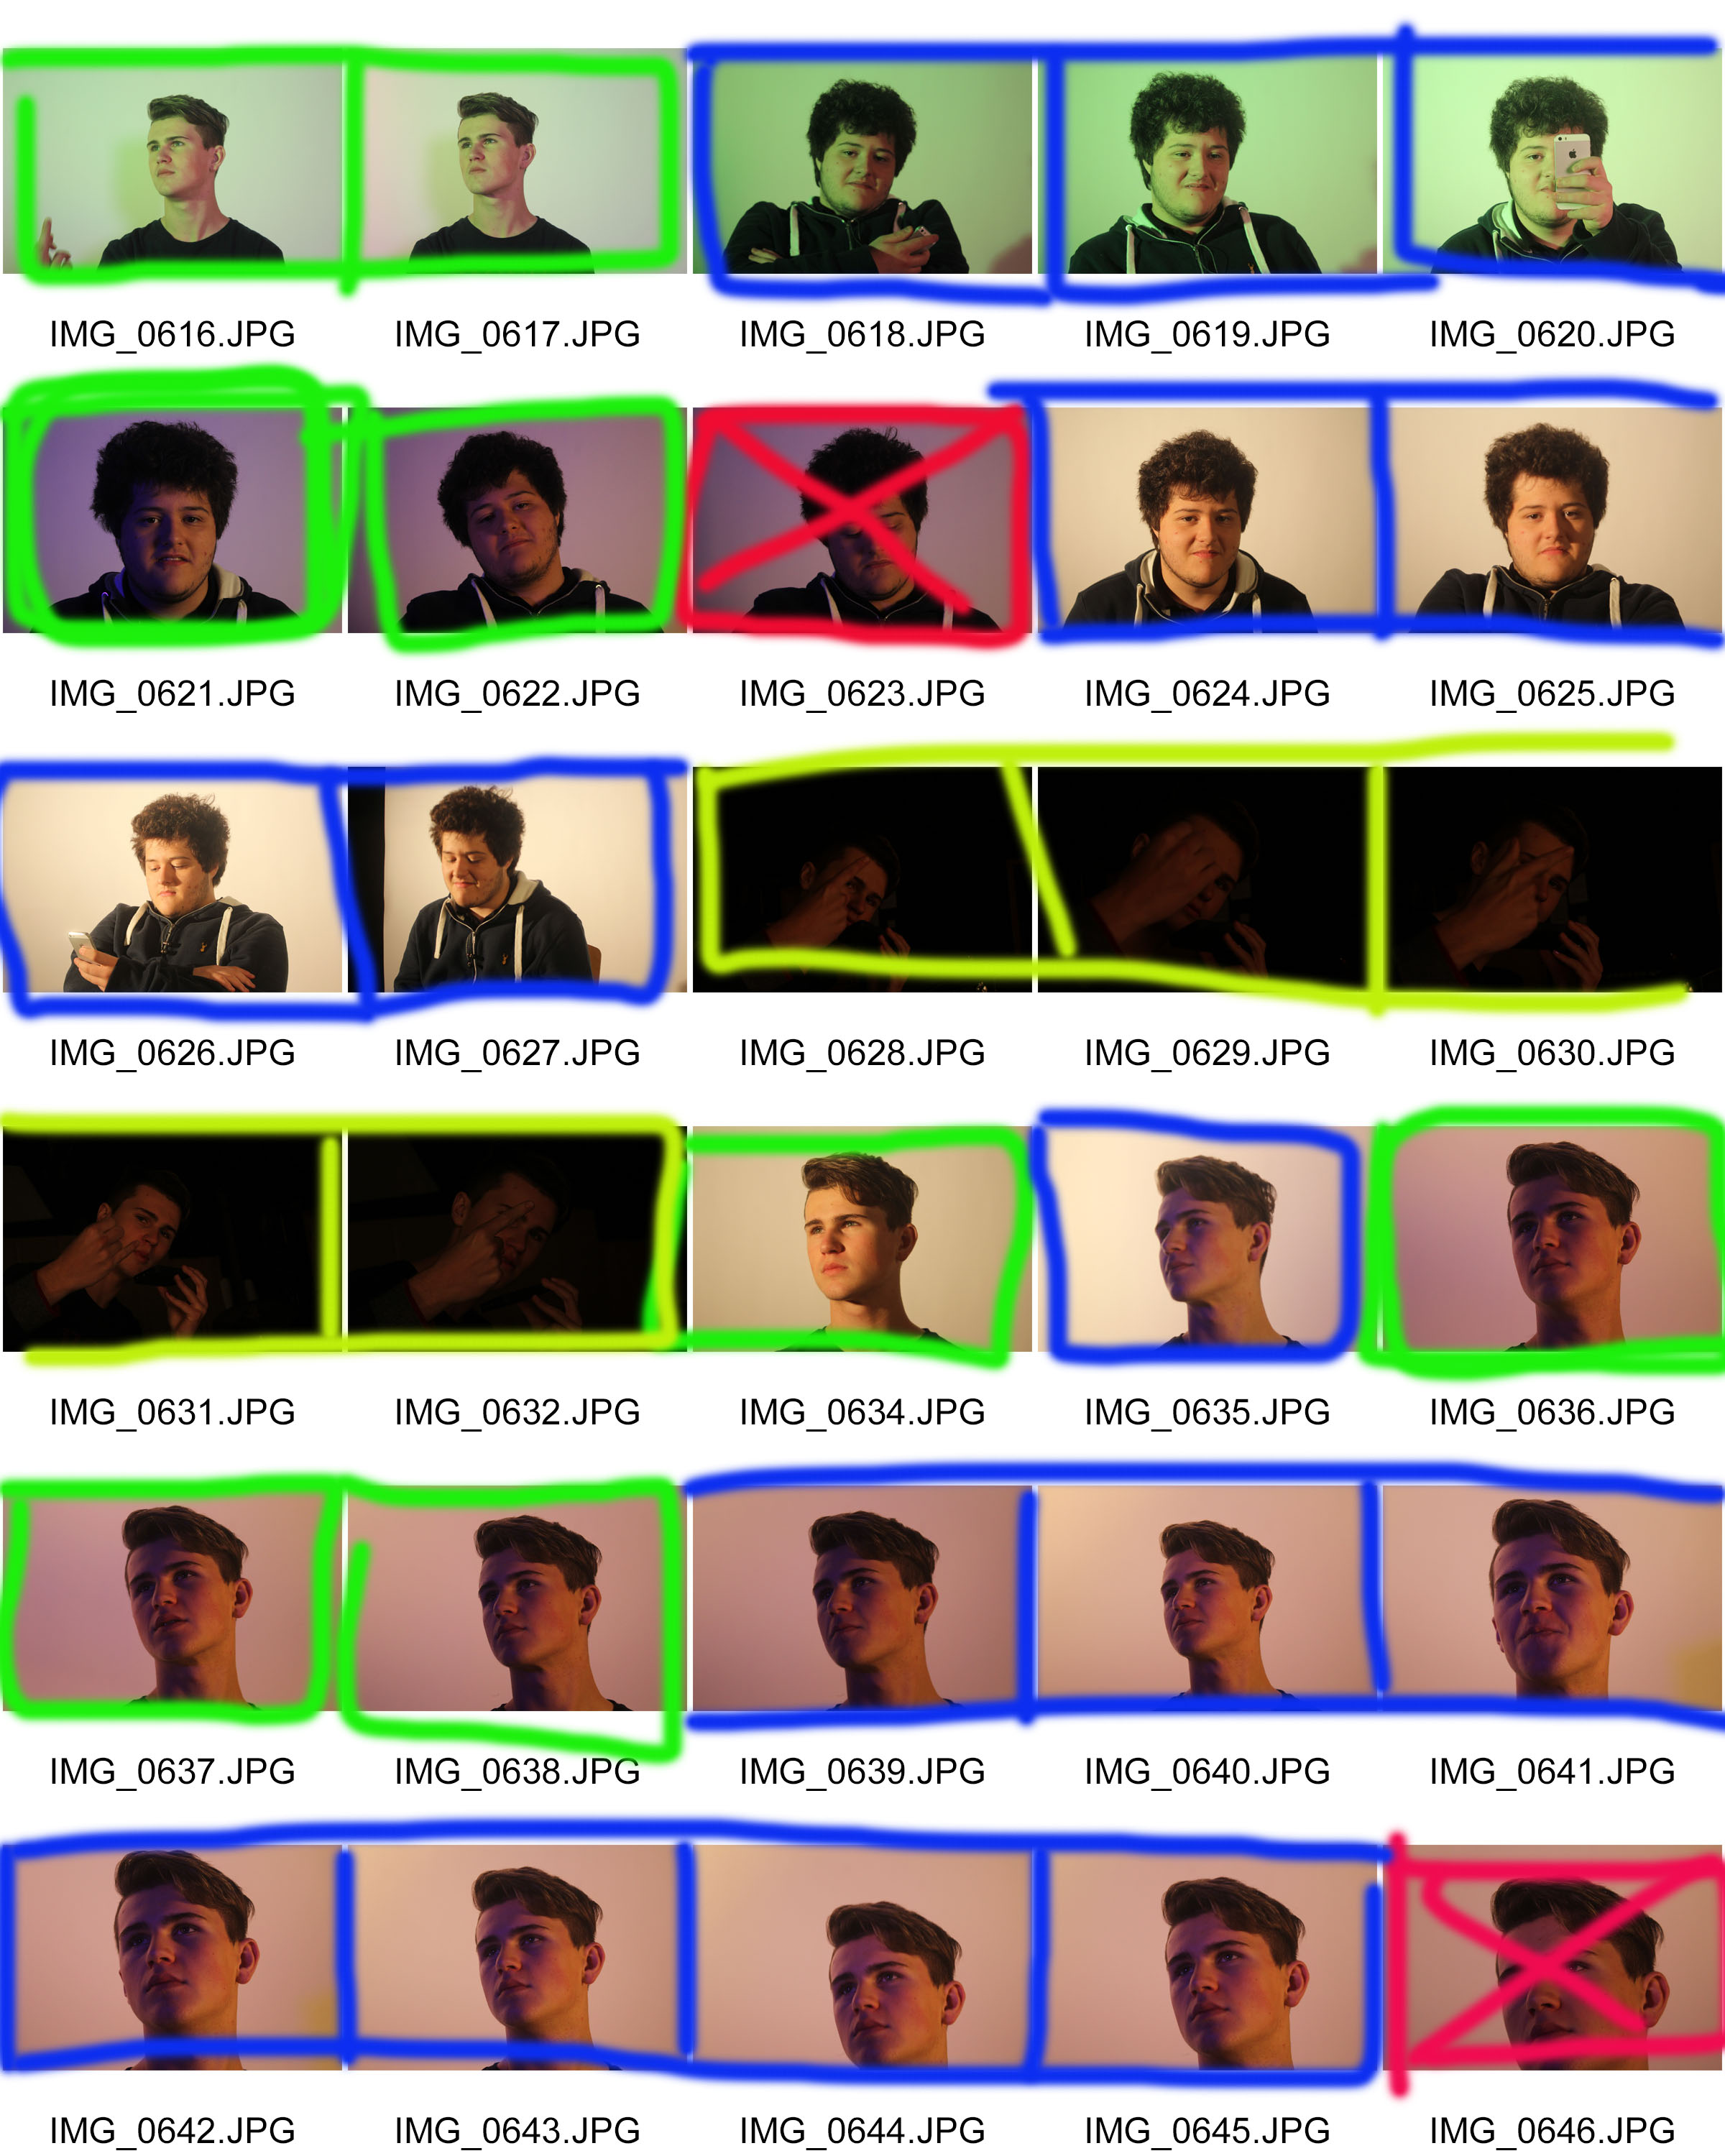
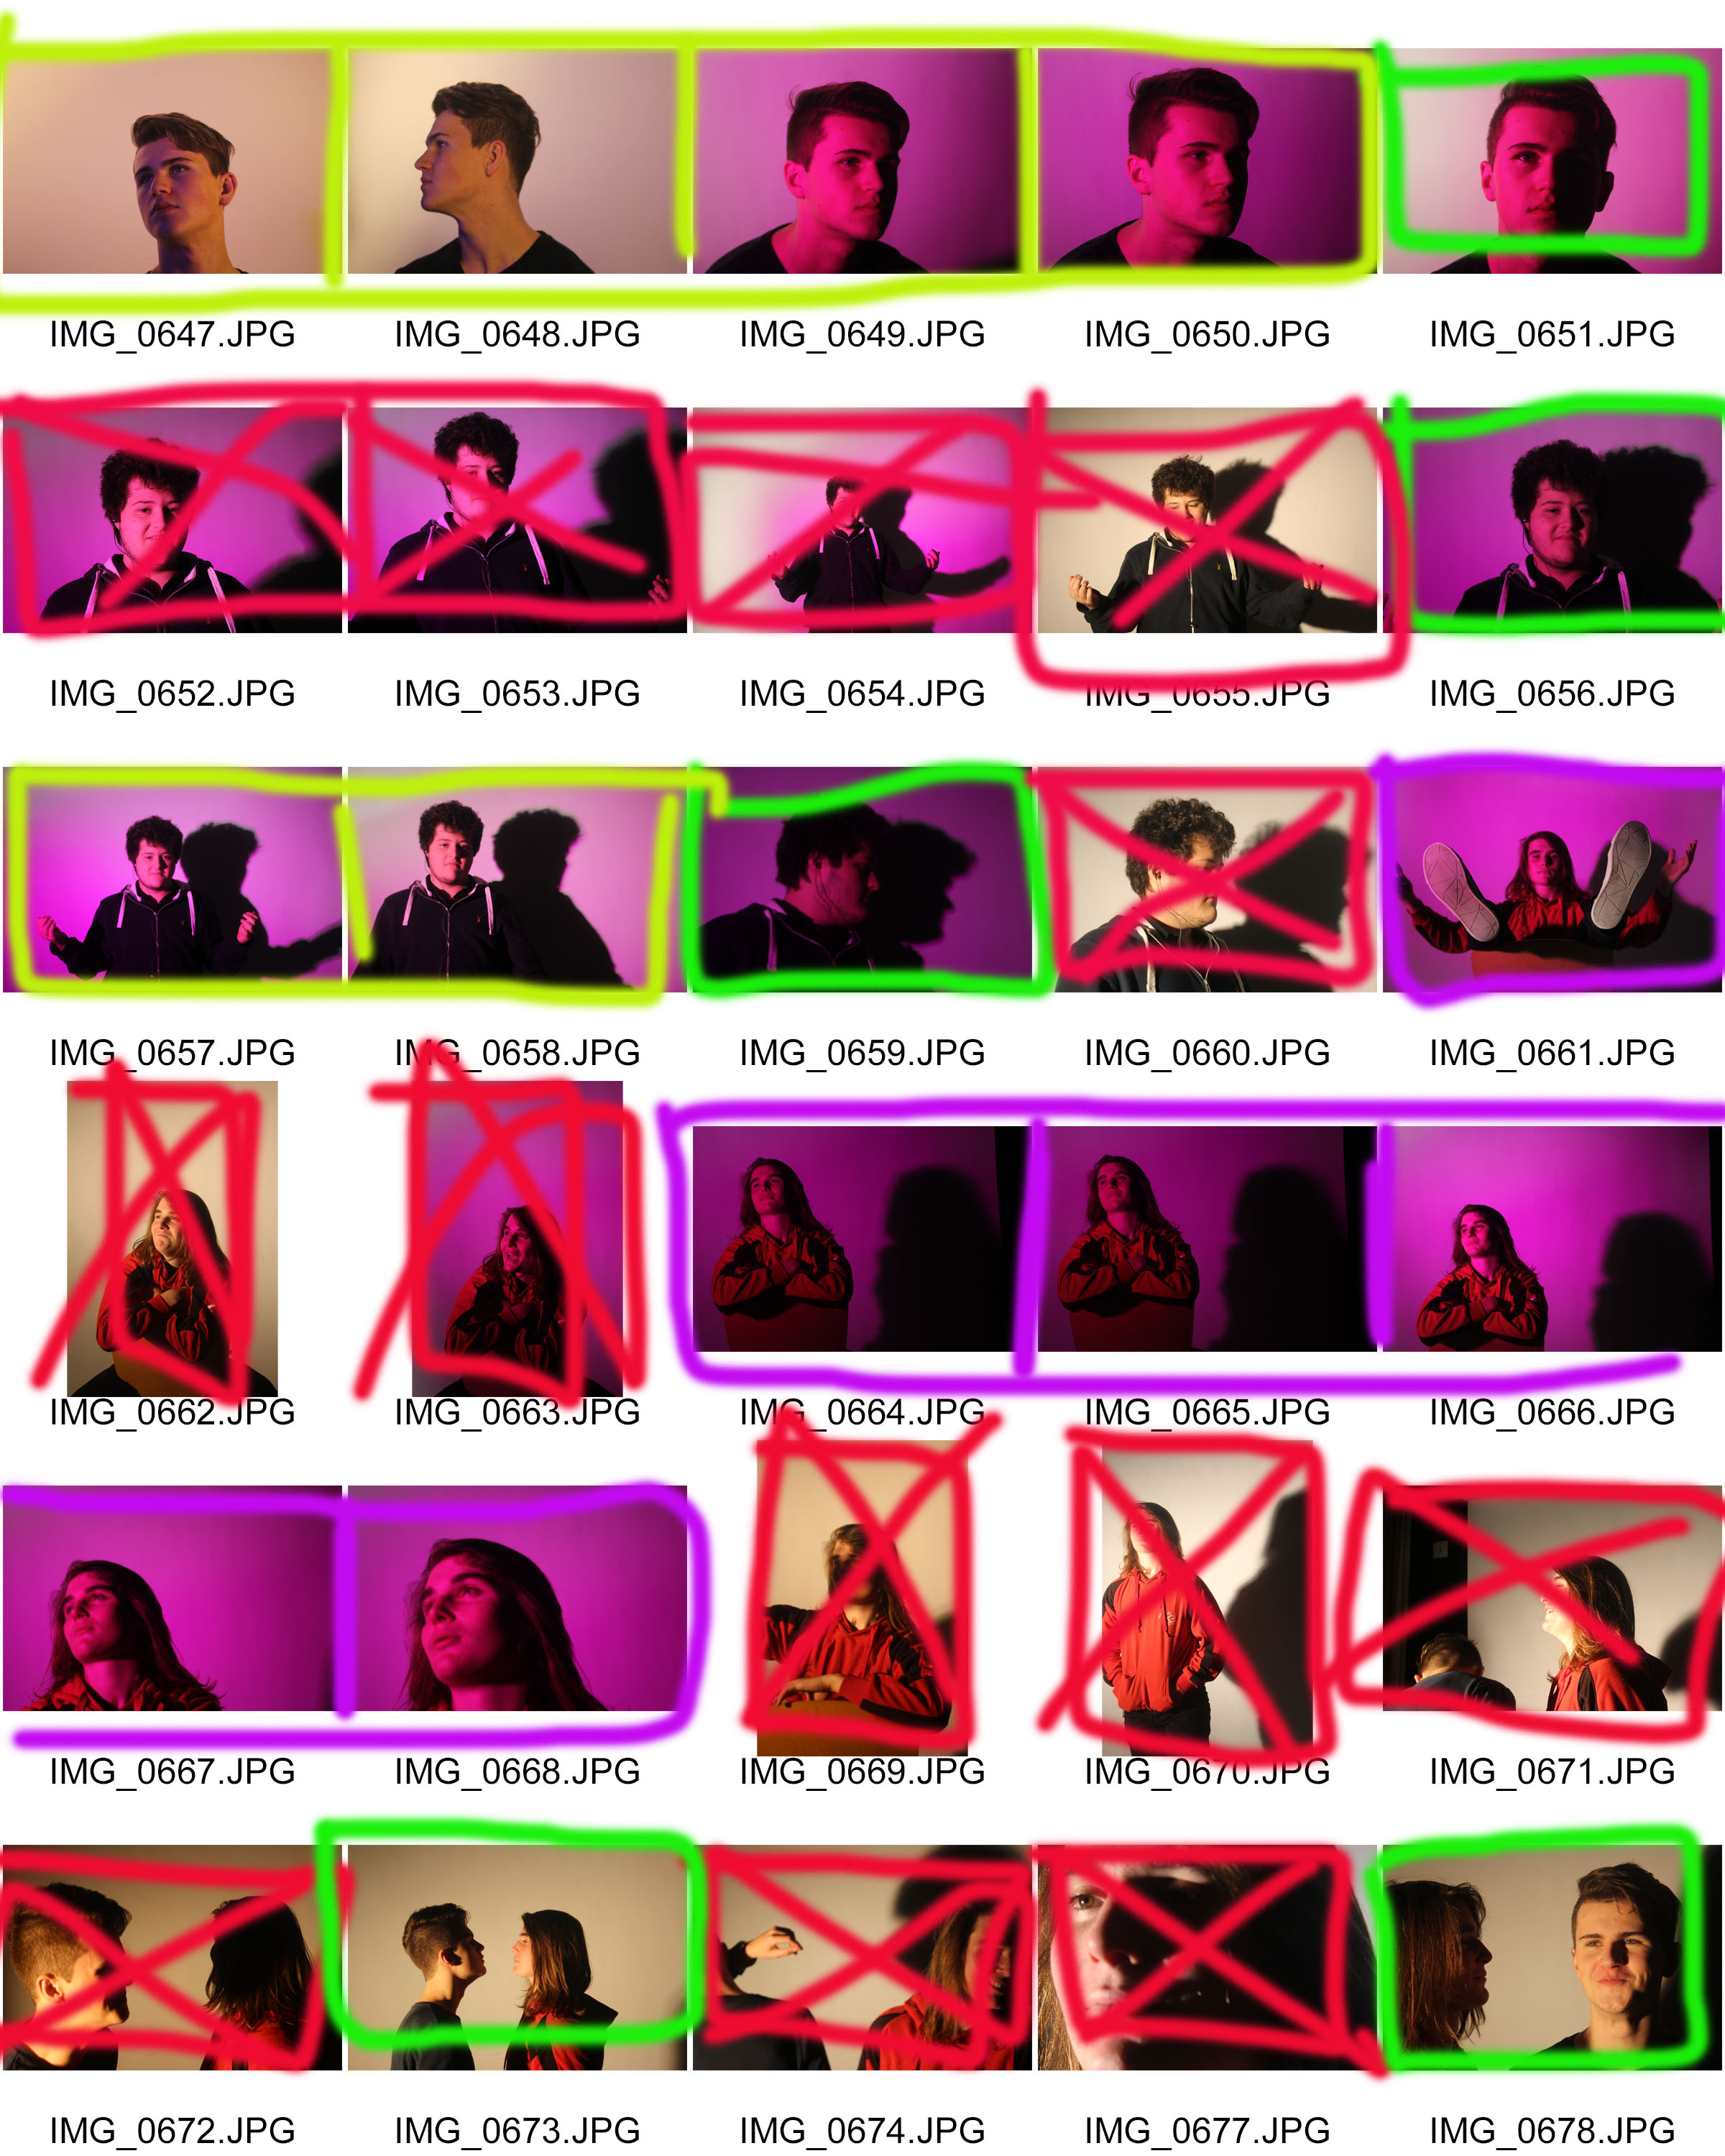
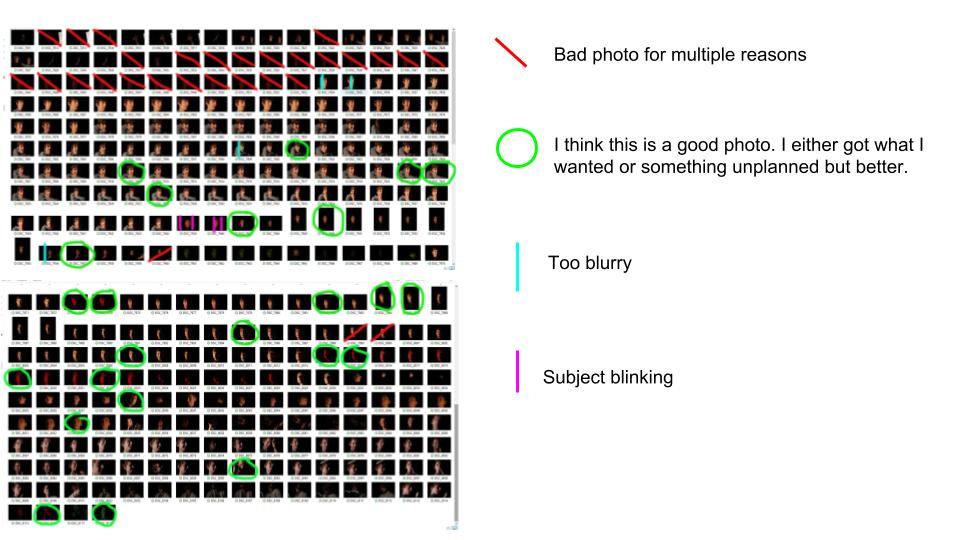
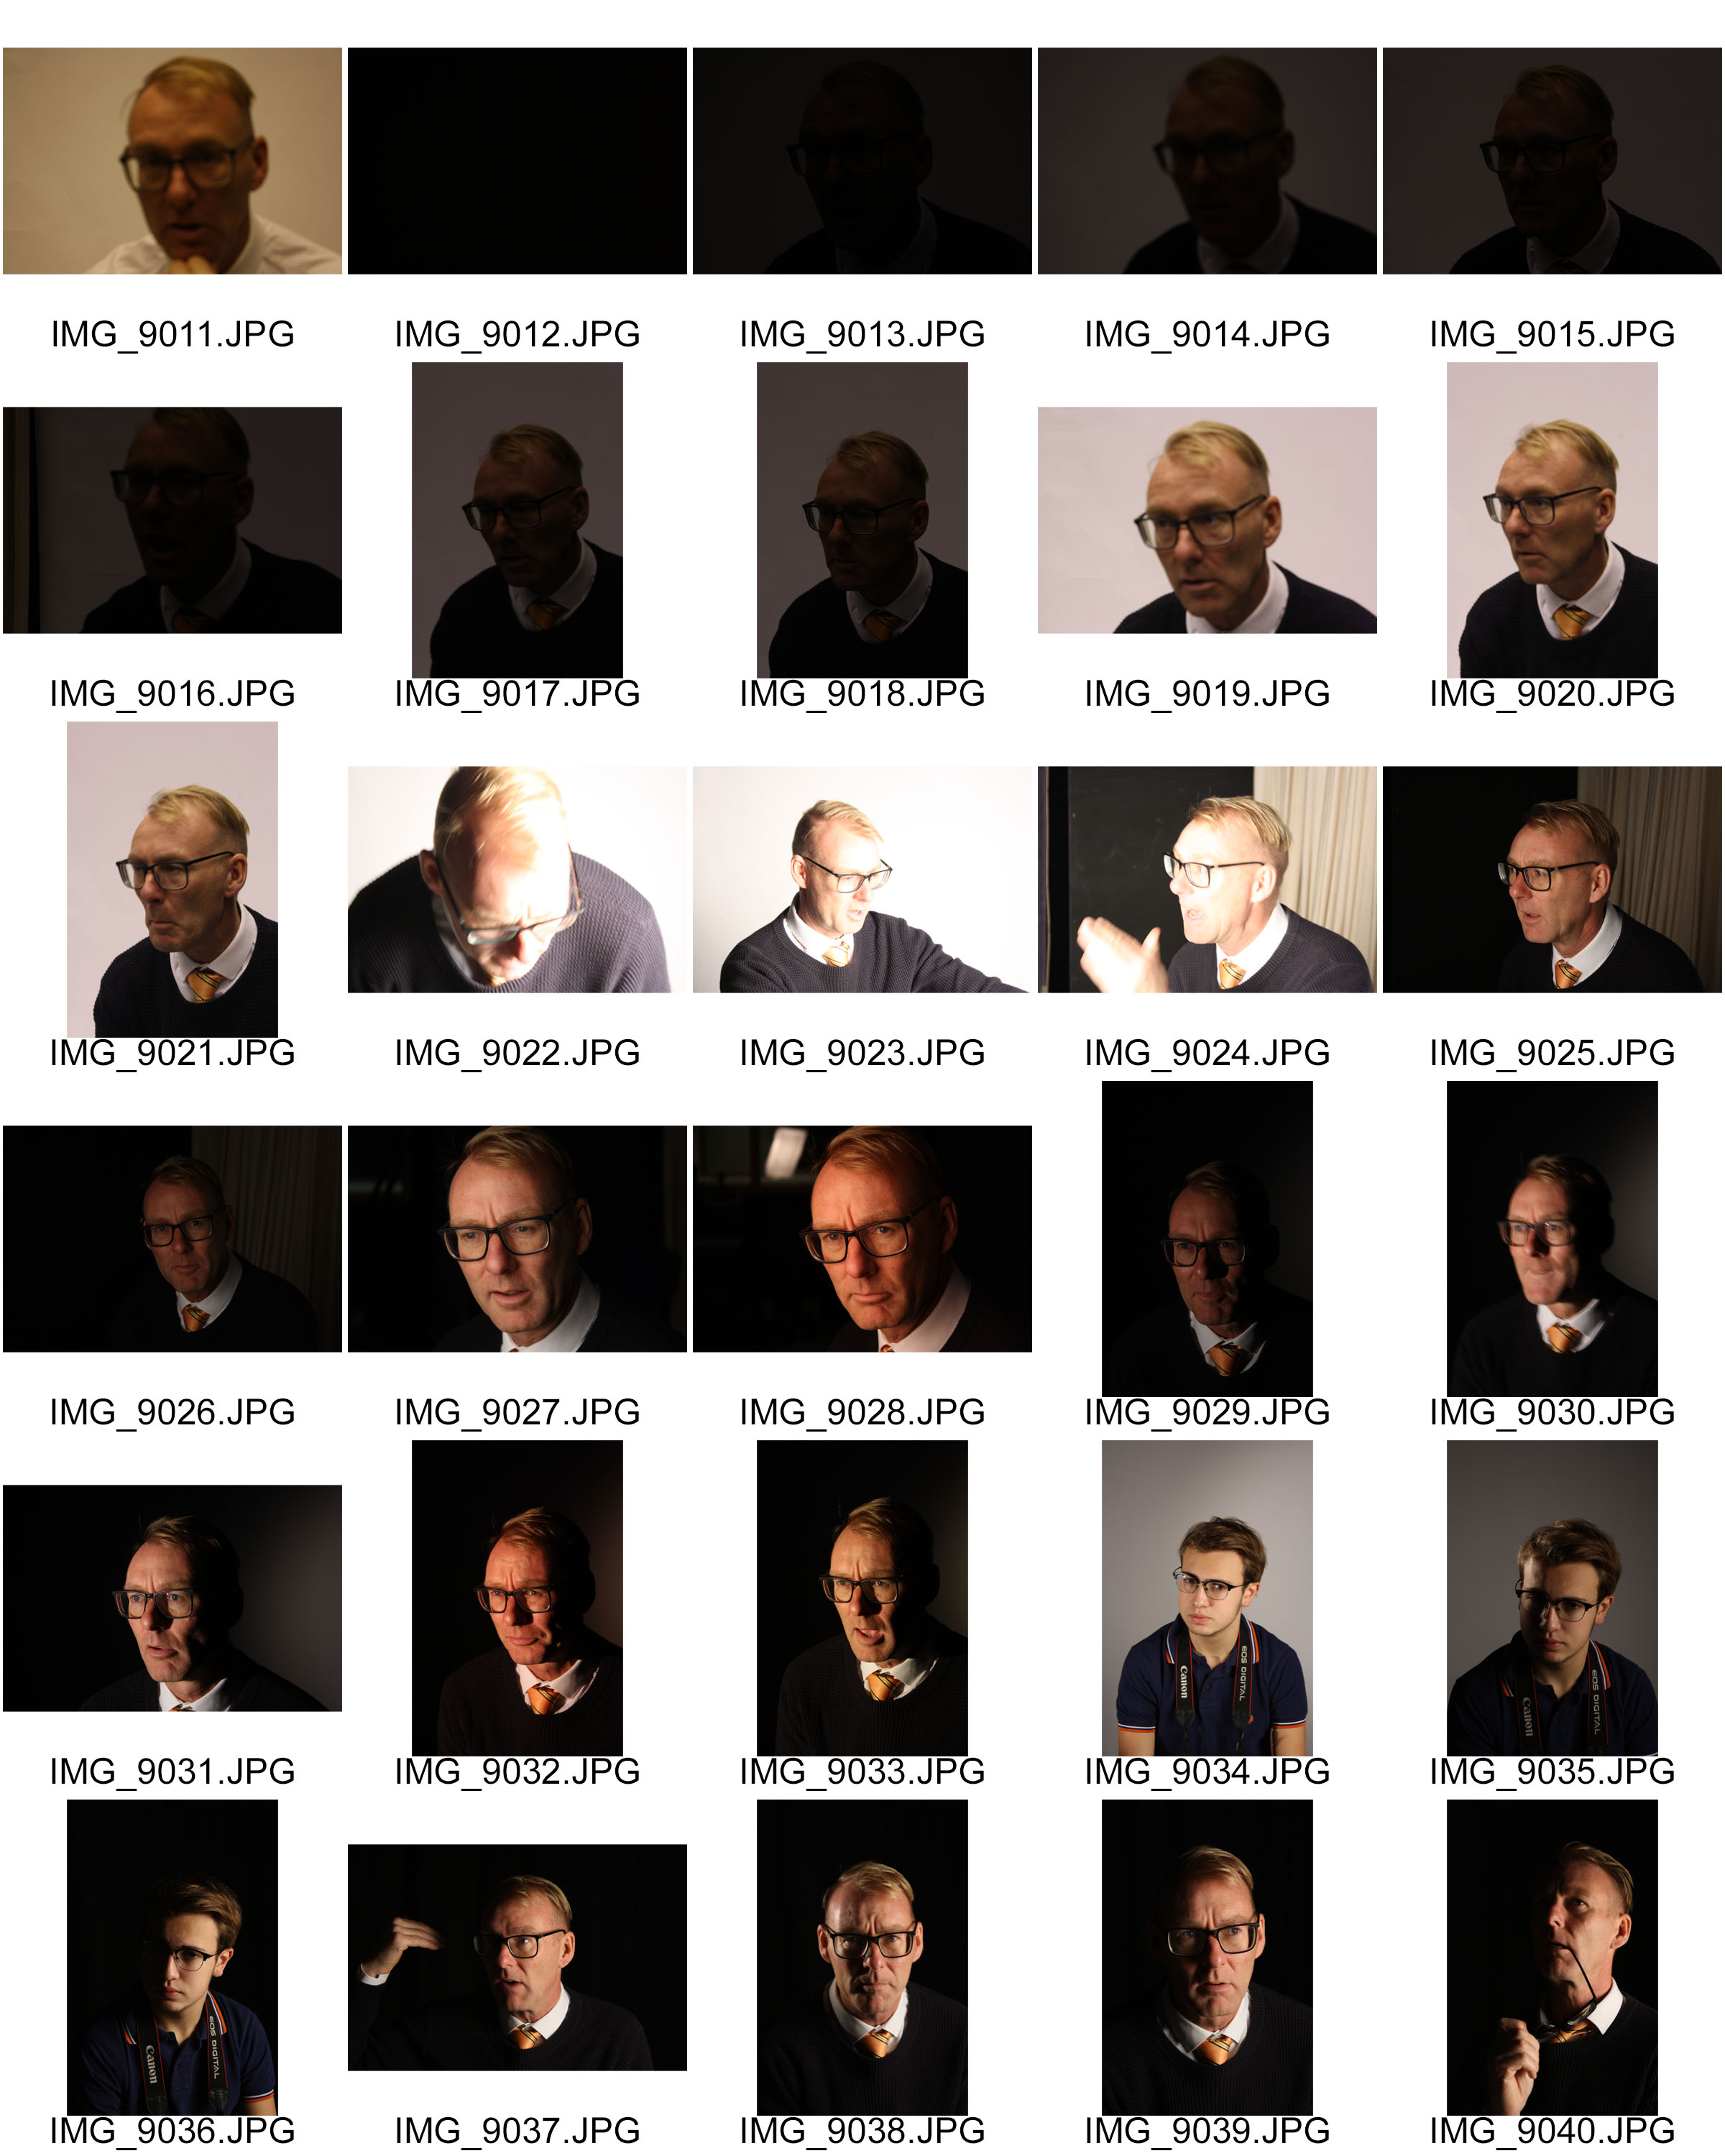
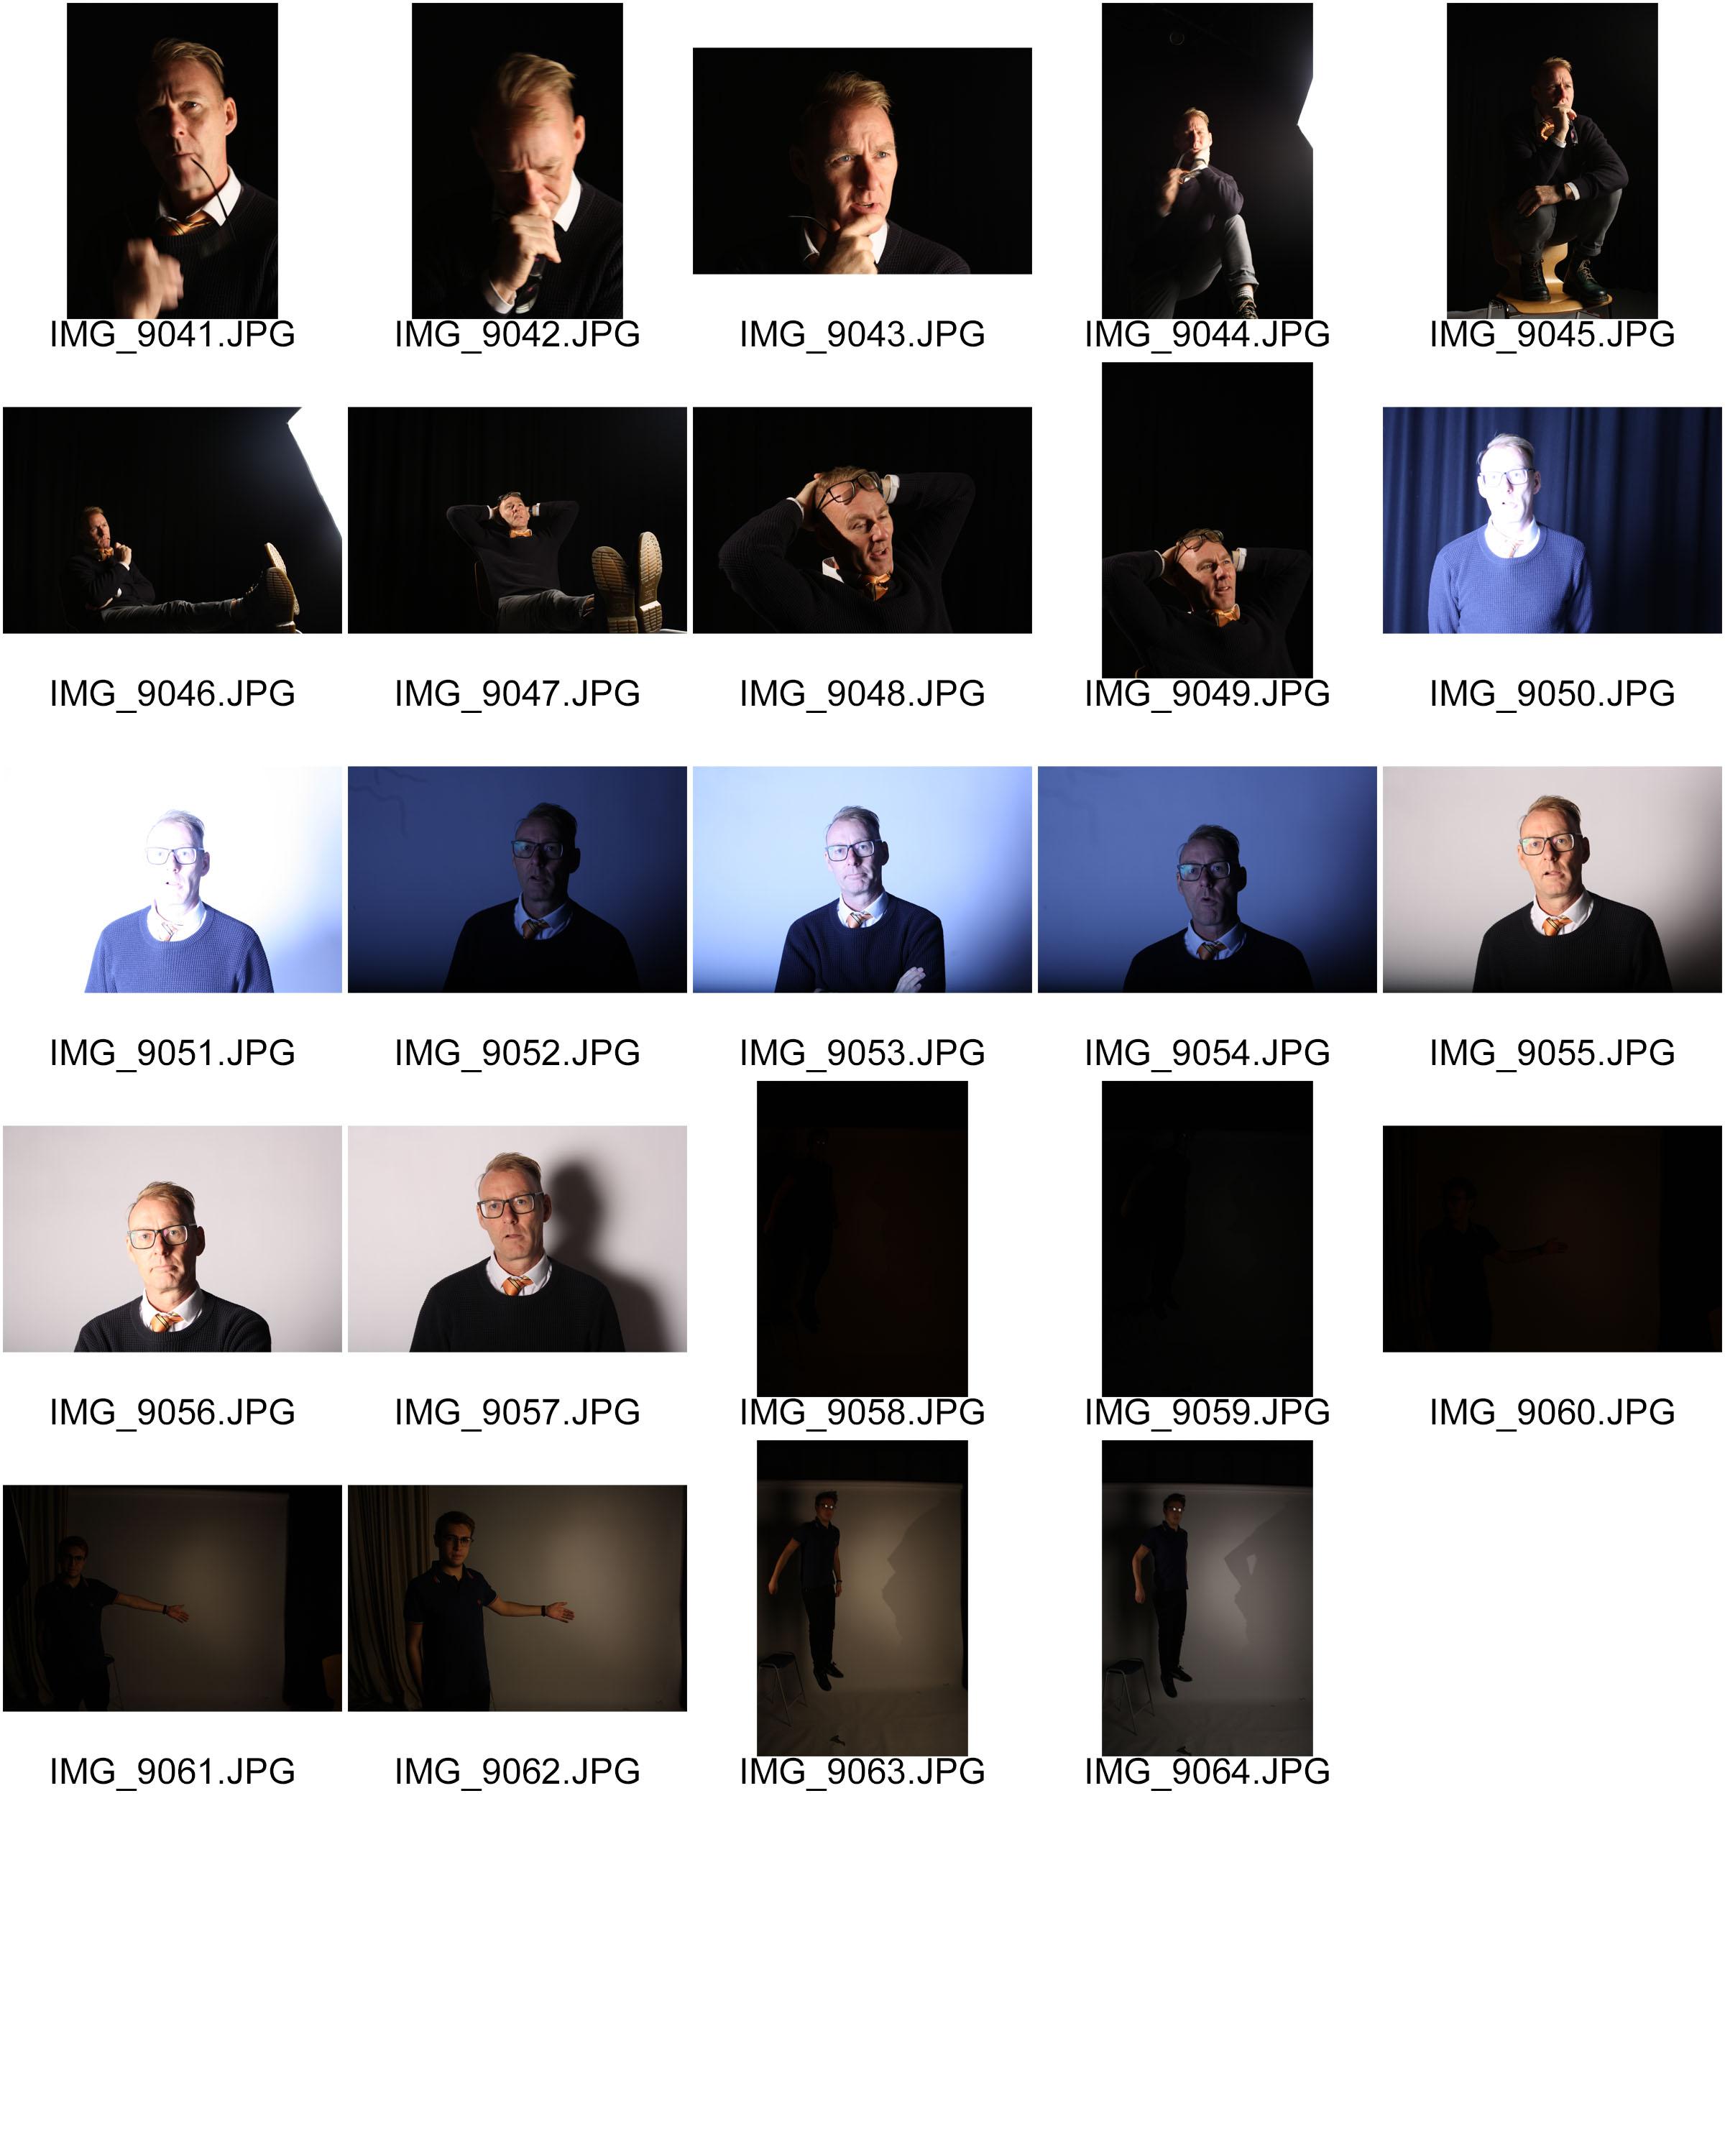
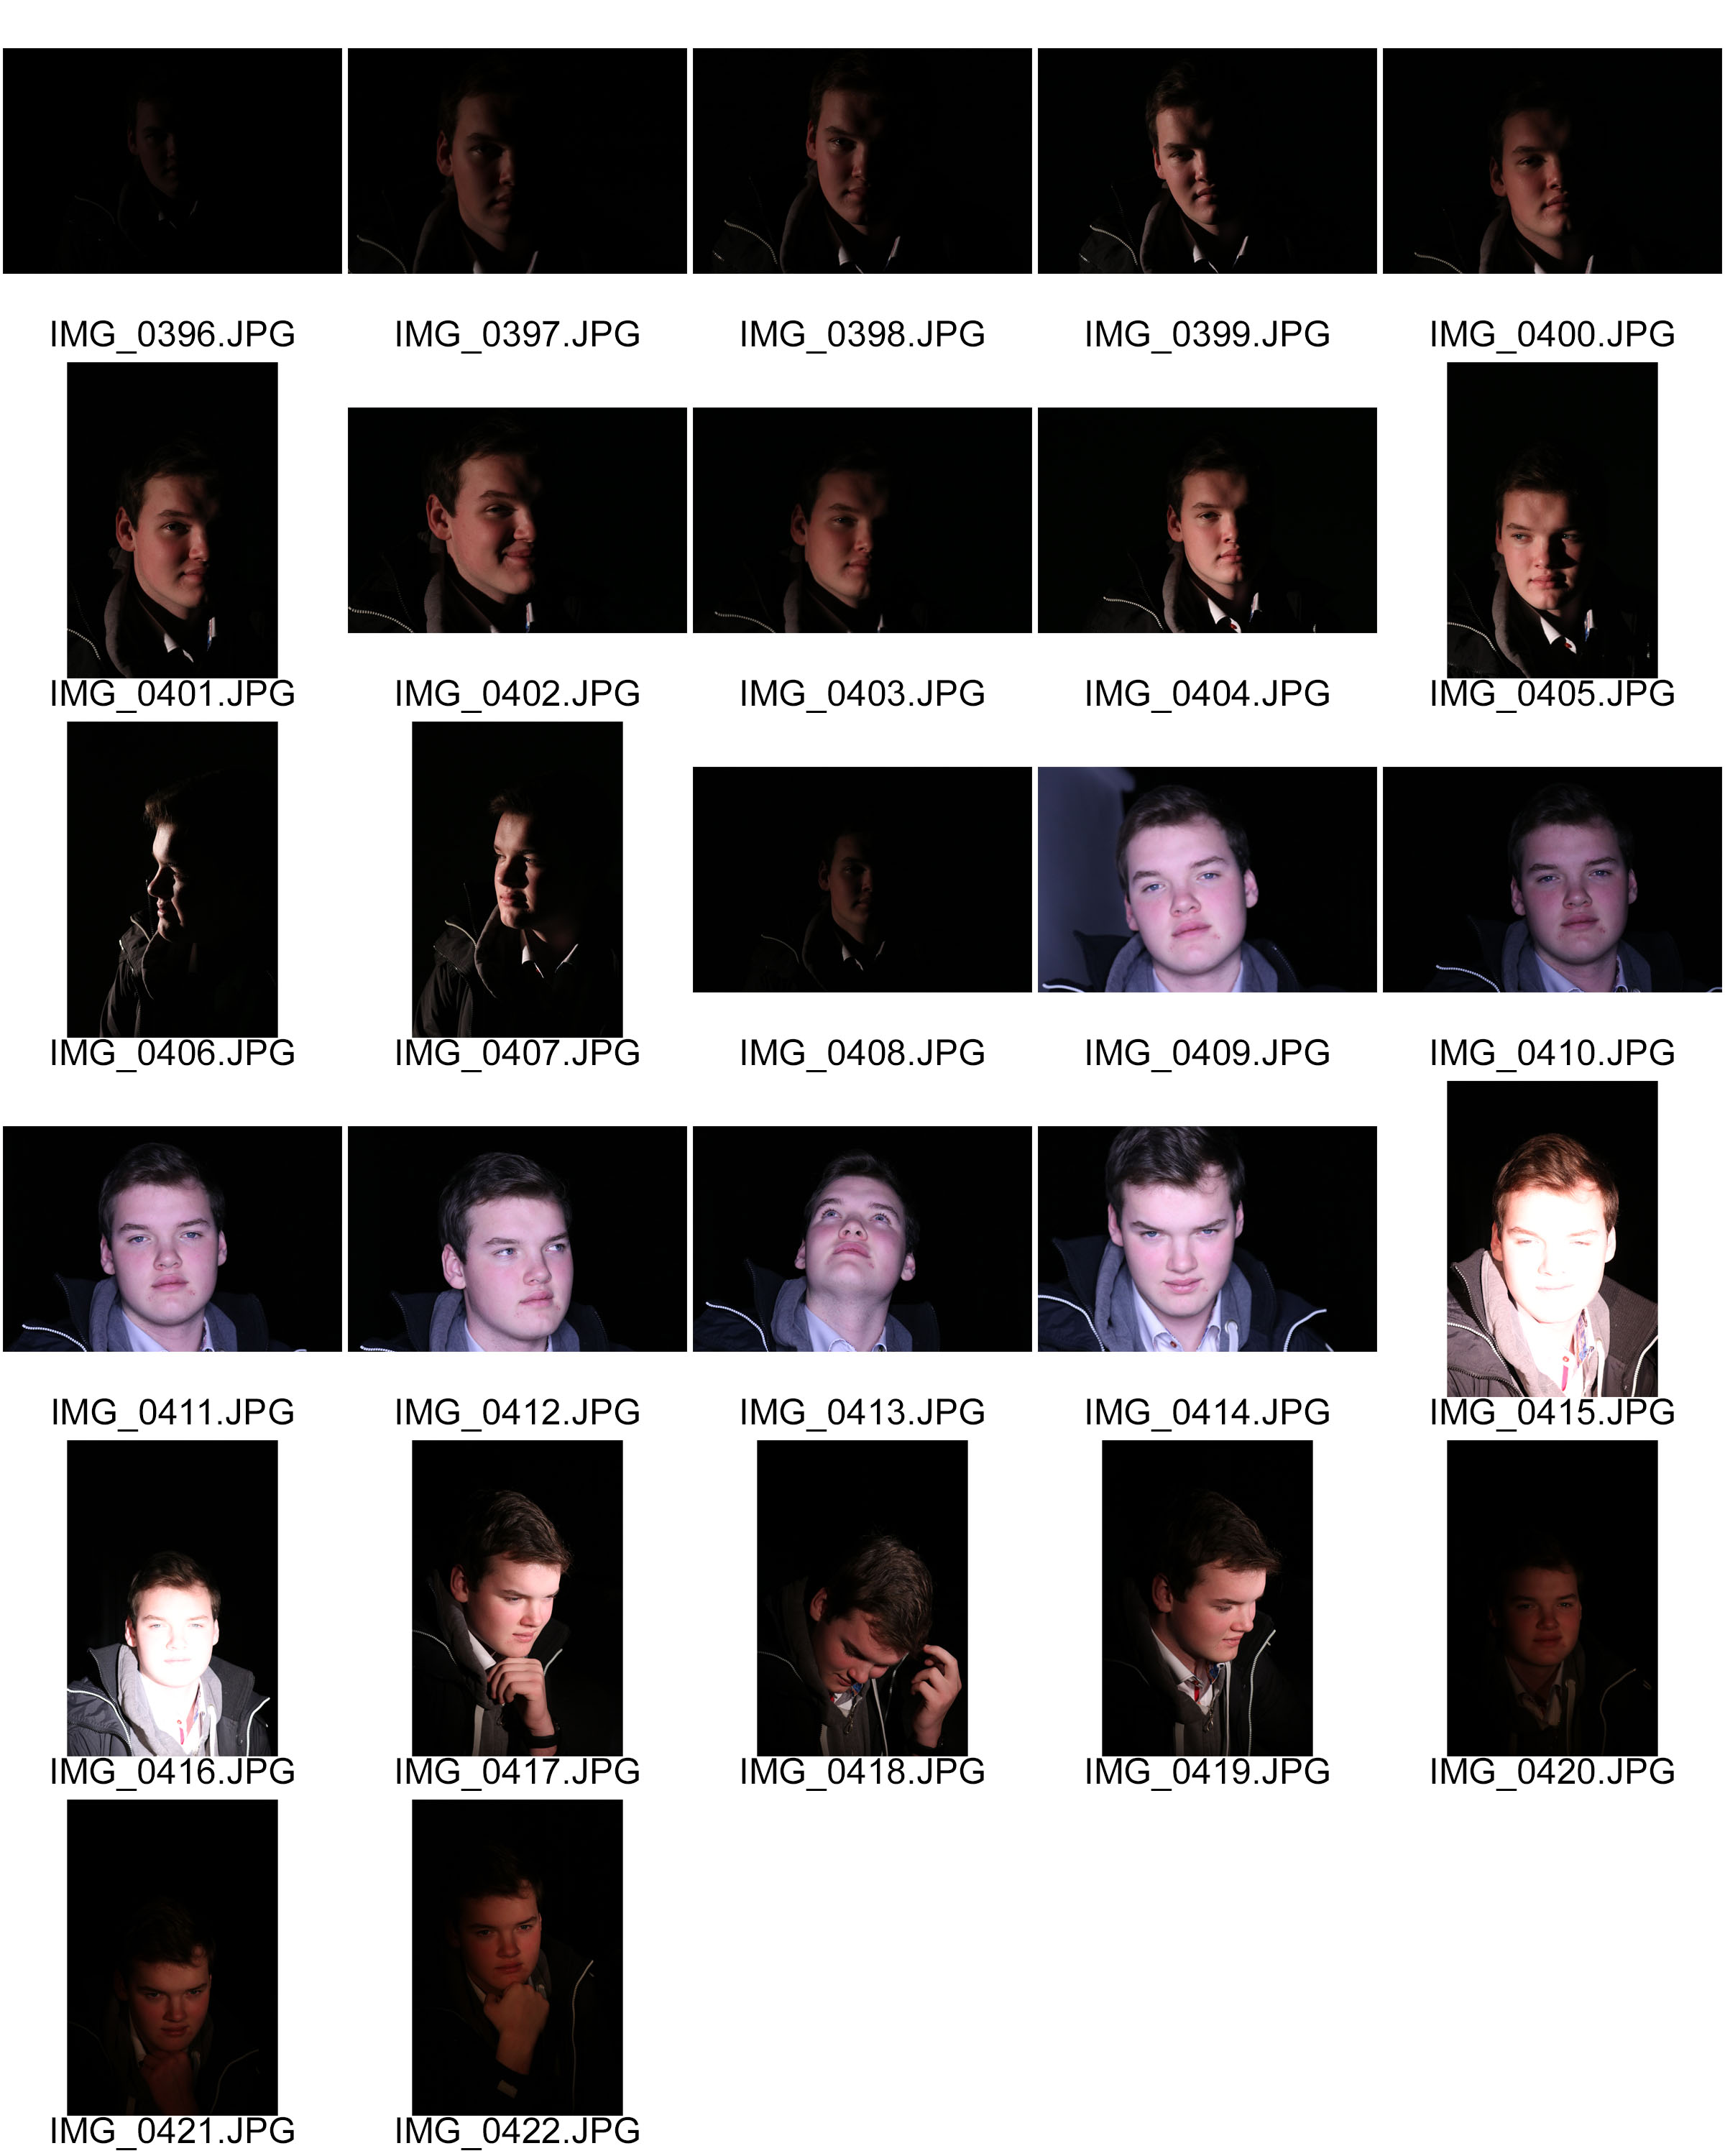
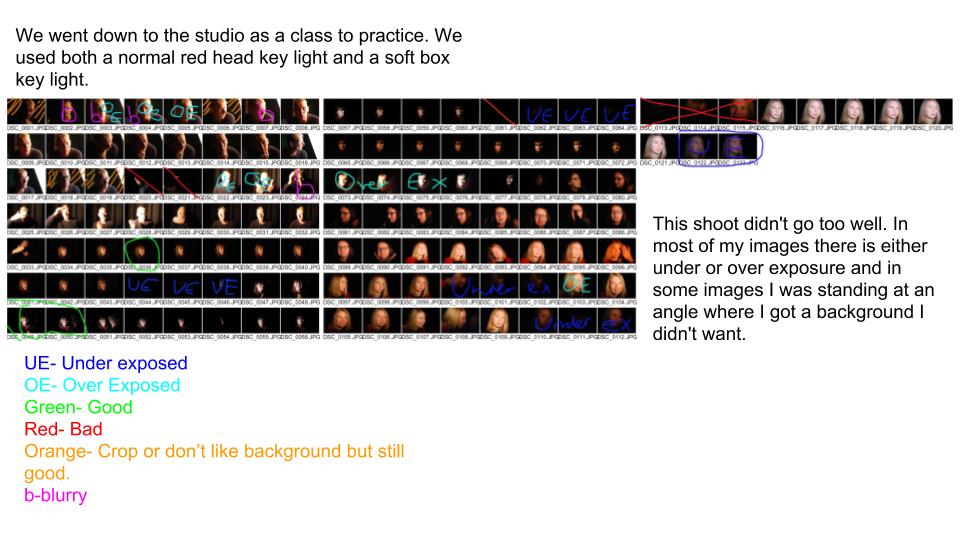
The aim of this shoot was to experiment with different white-balance, ISO, shutter speed and studio lighting.
The final ISO, shutter speed, and white-balance to execute a well lit studio photo shoot is ISO: 800, Shutter-speed: 60, and white balance for tungsten light.


Favourite Outcomes from the Experimentation


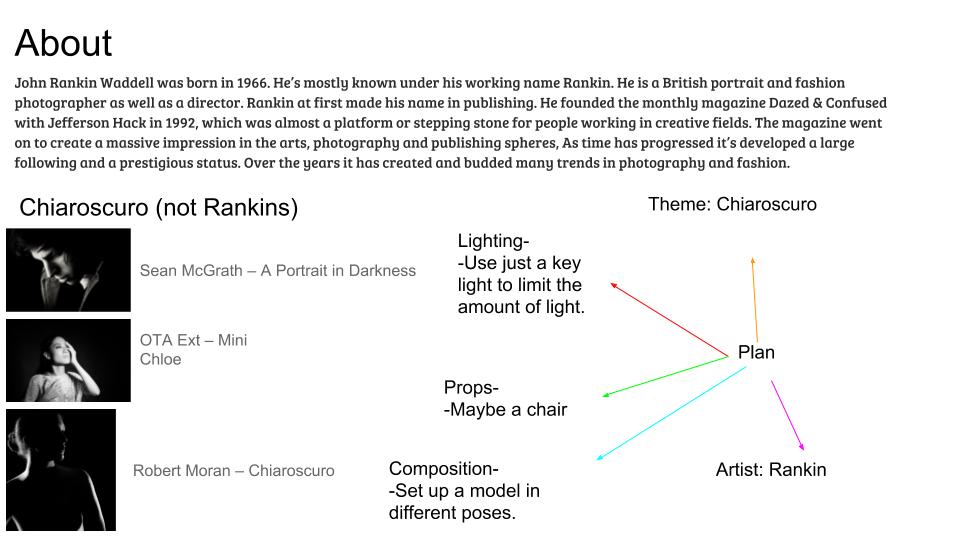
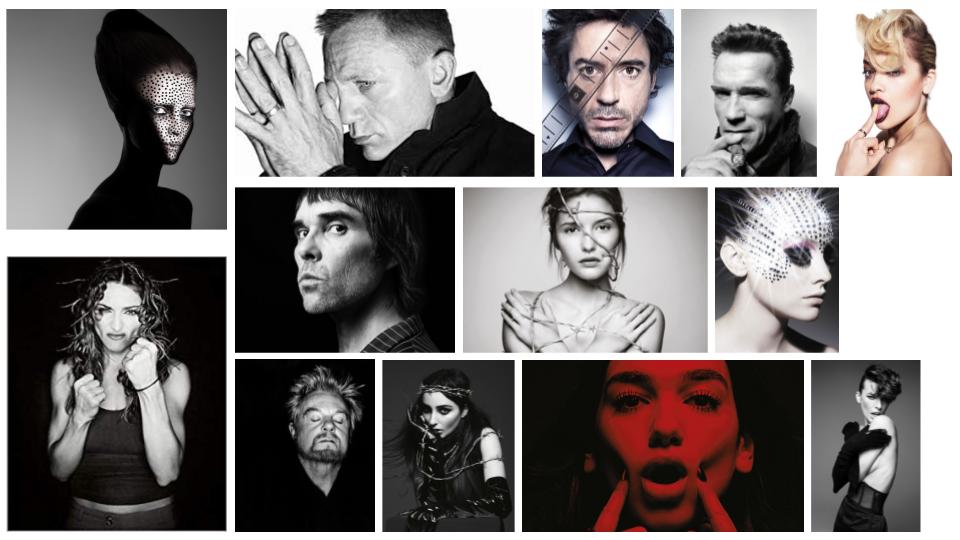
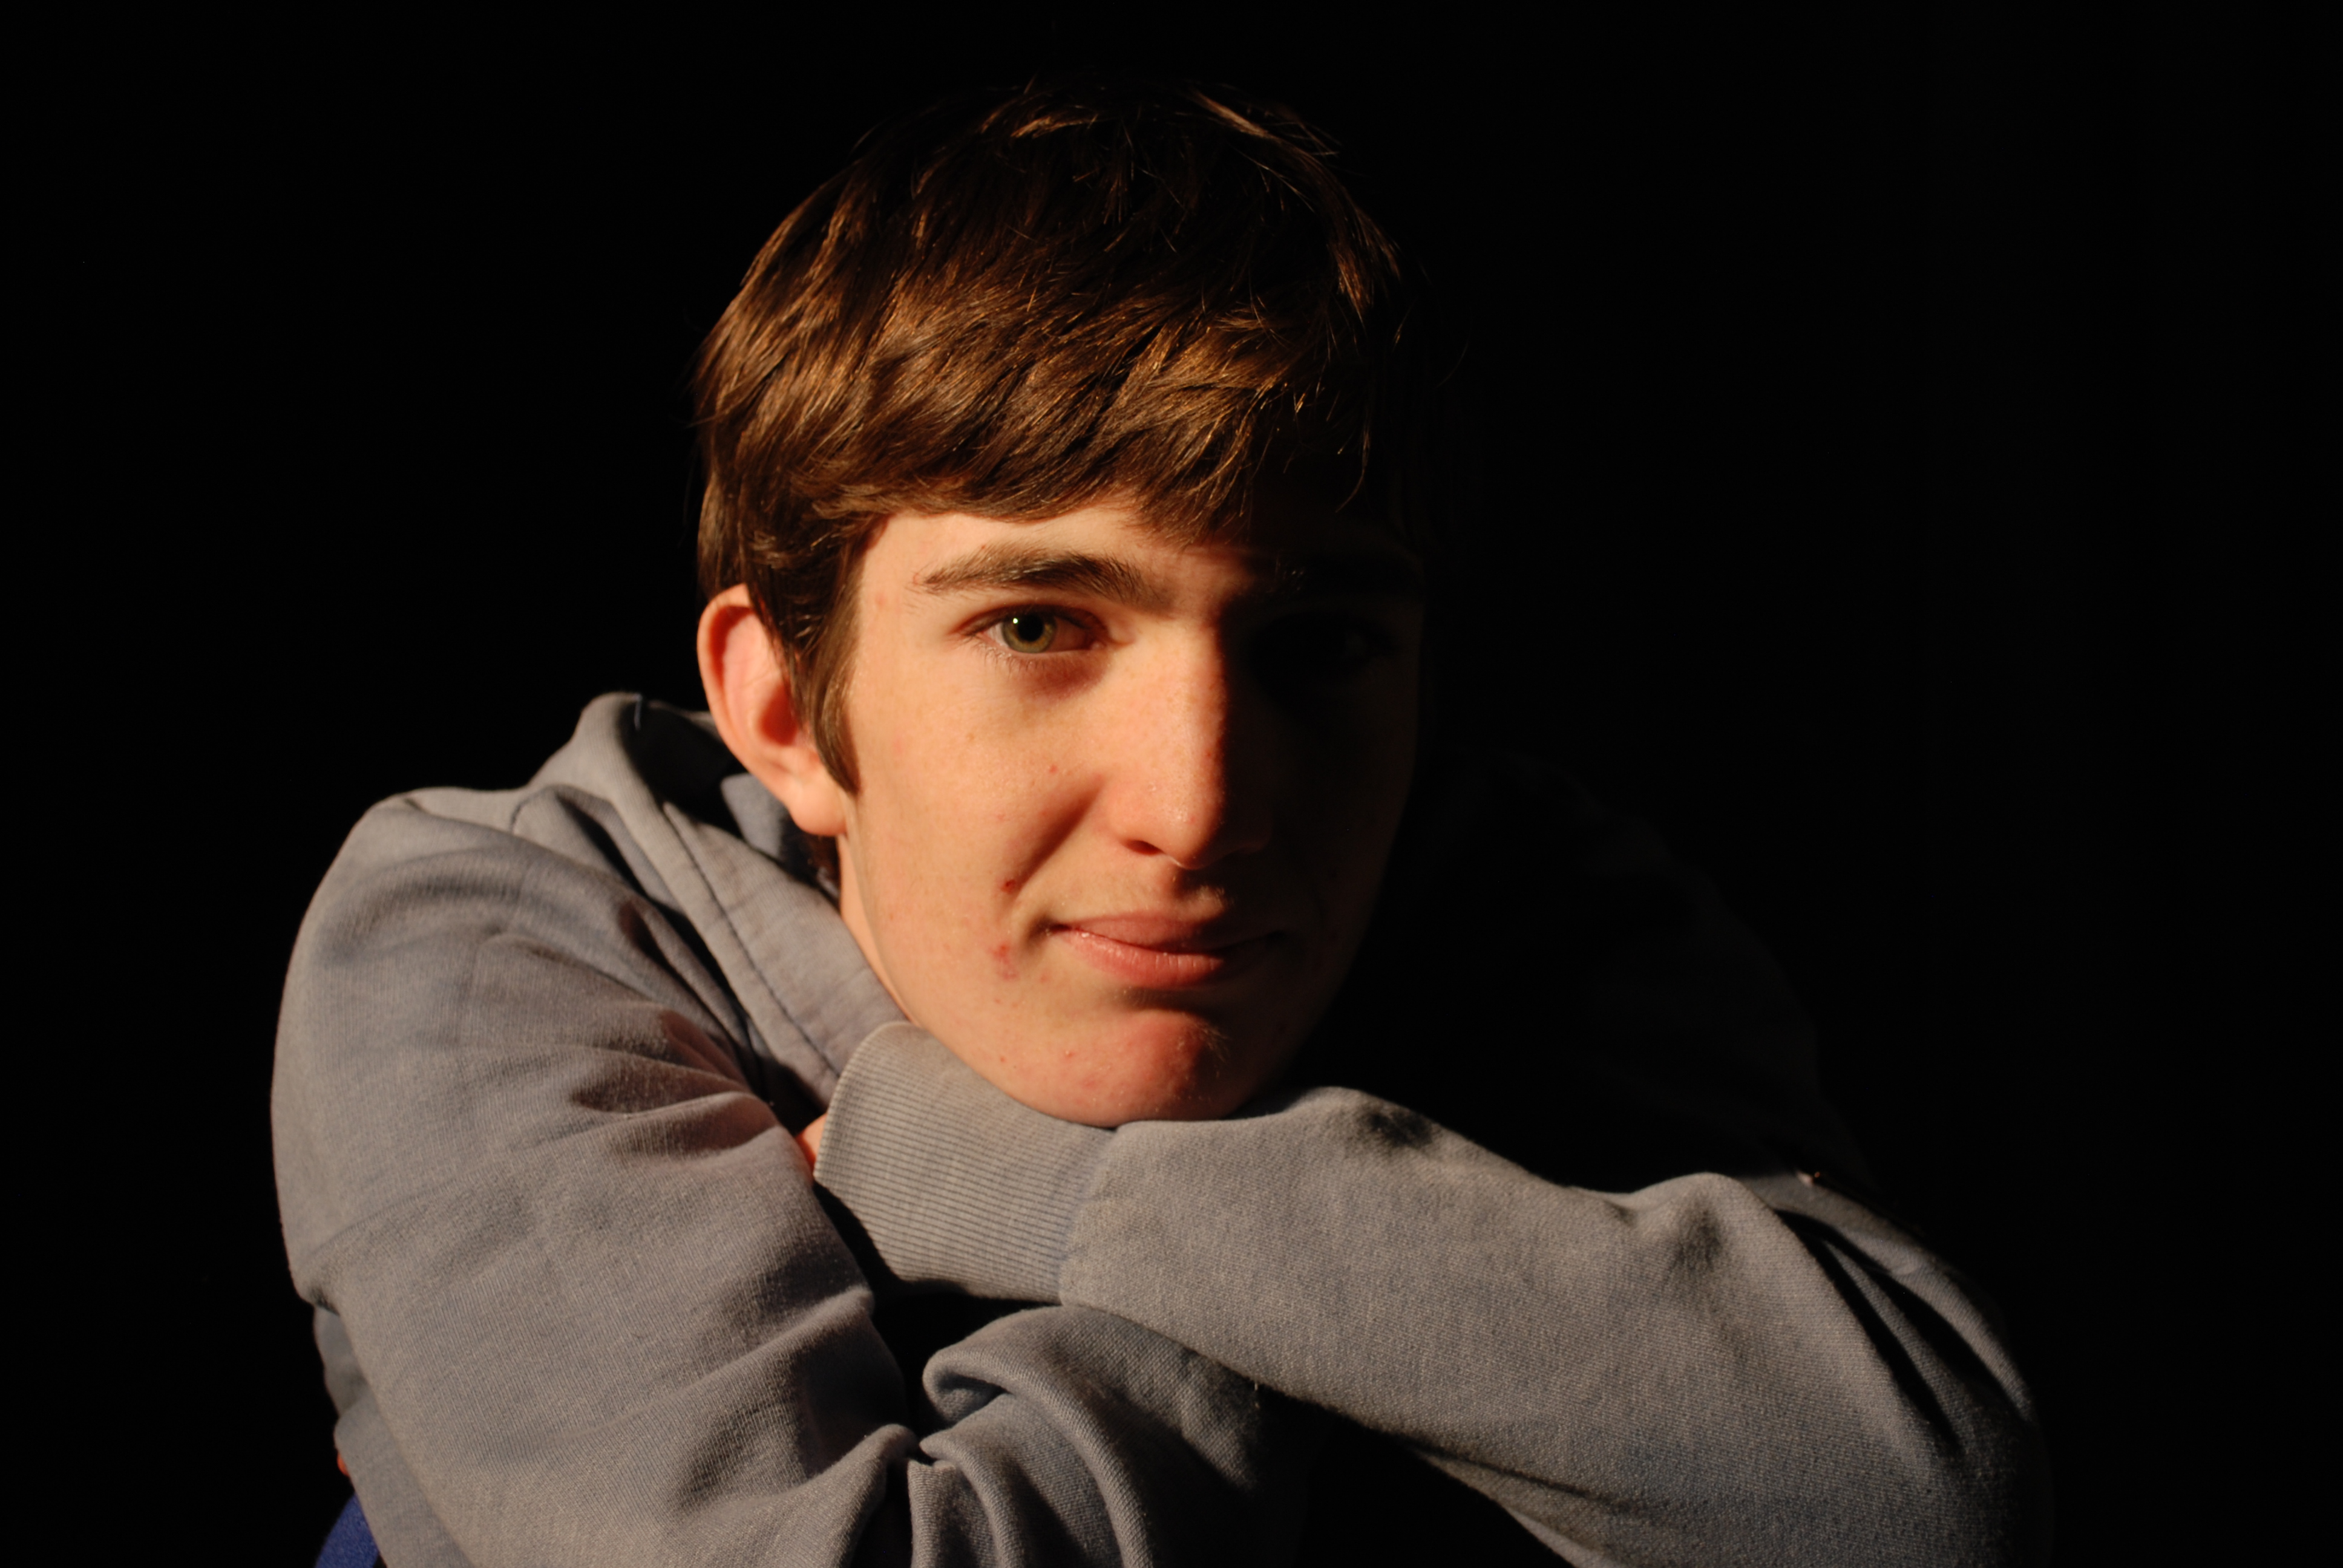
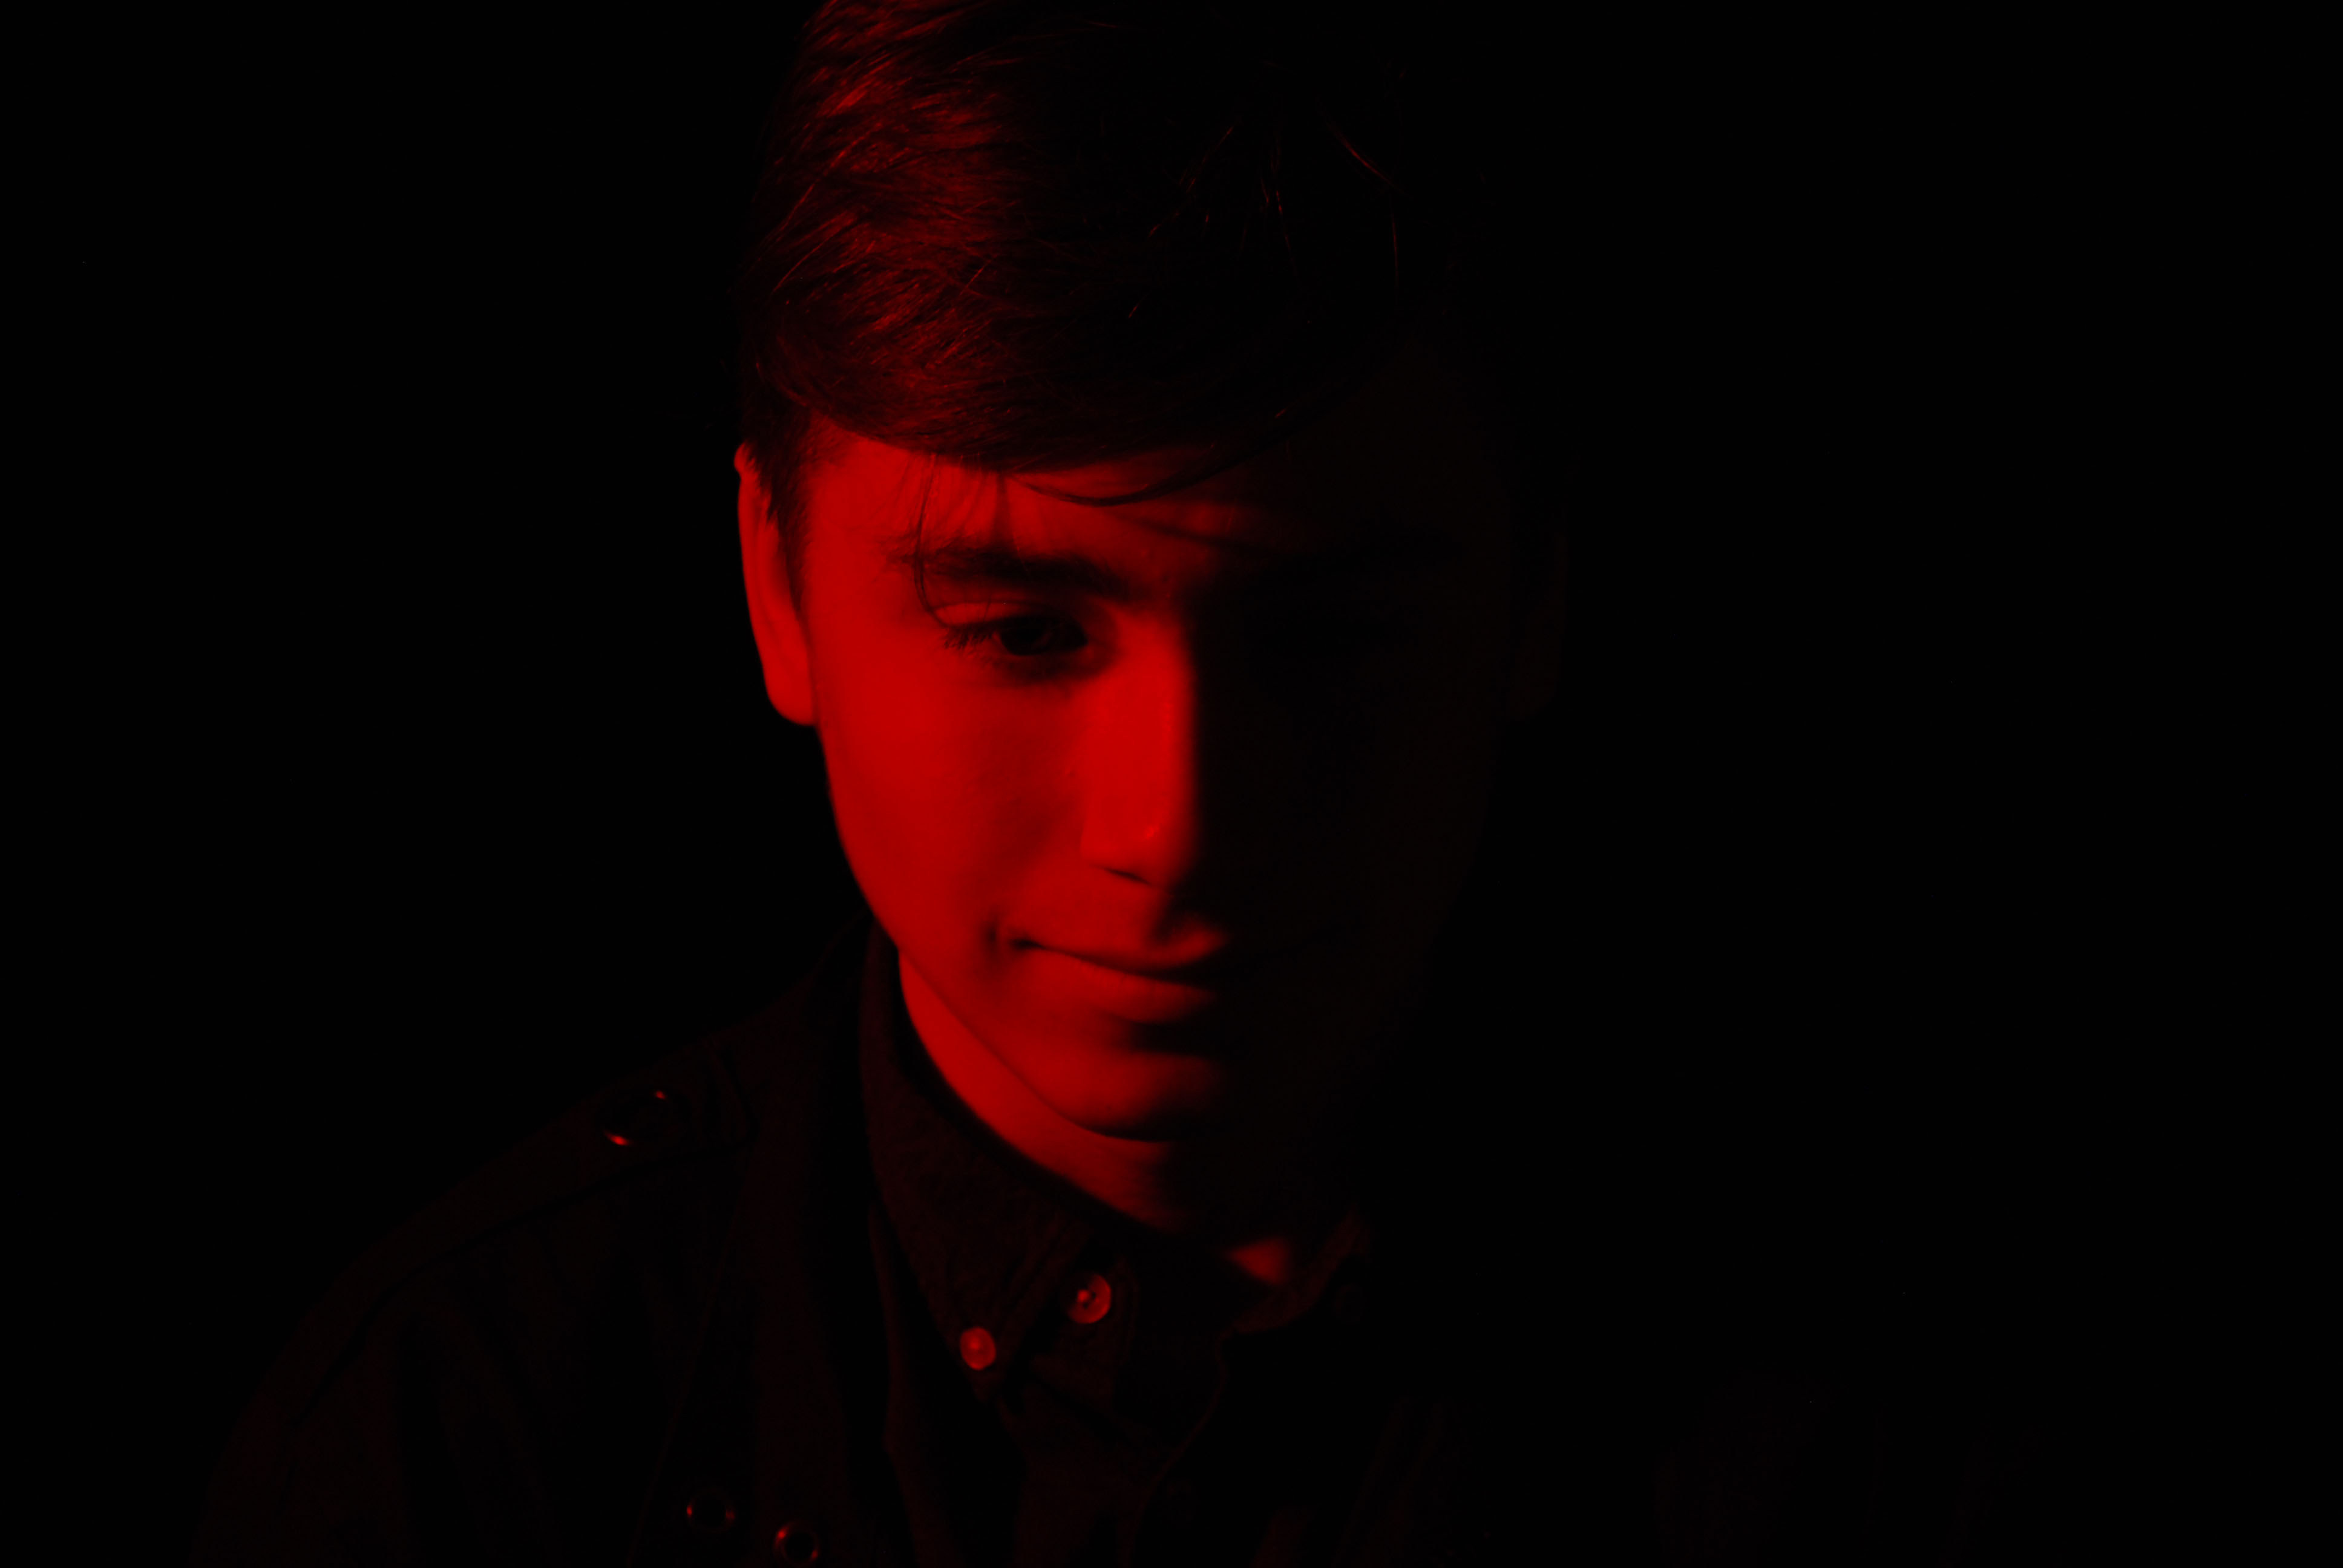
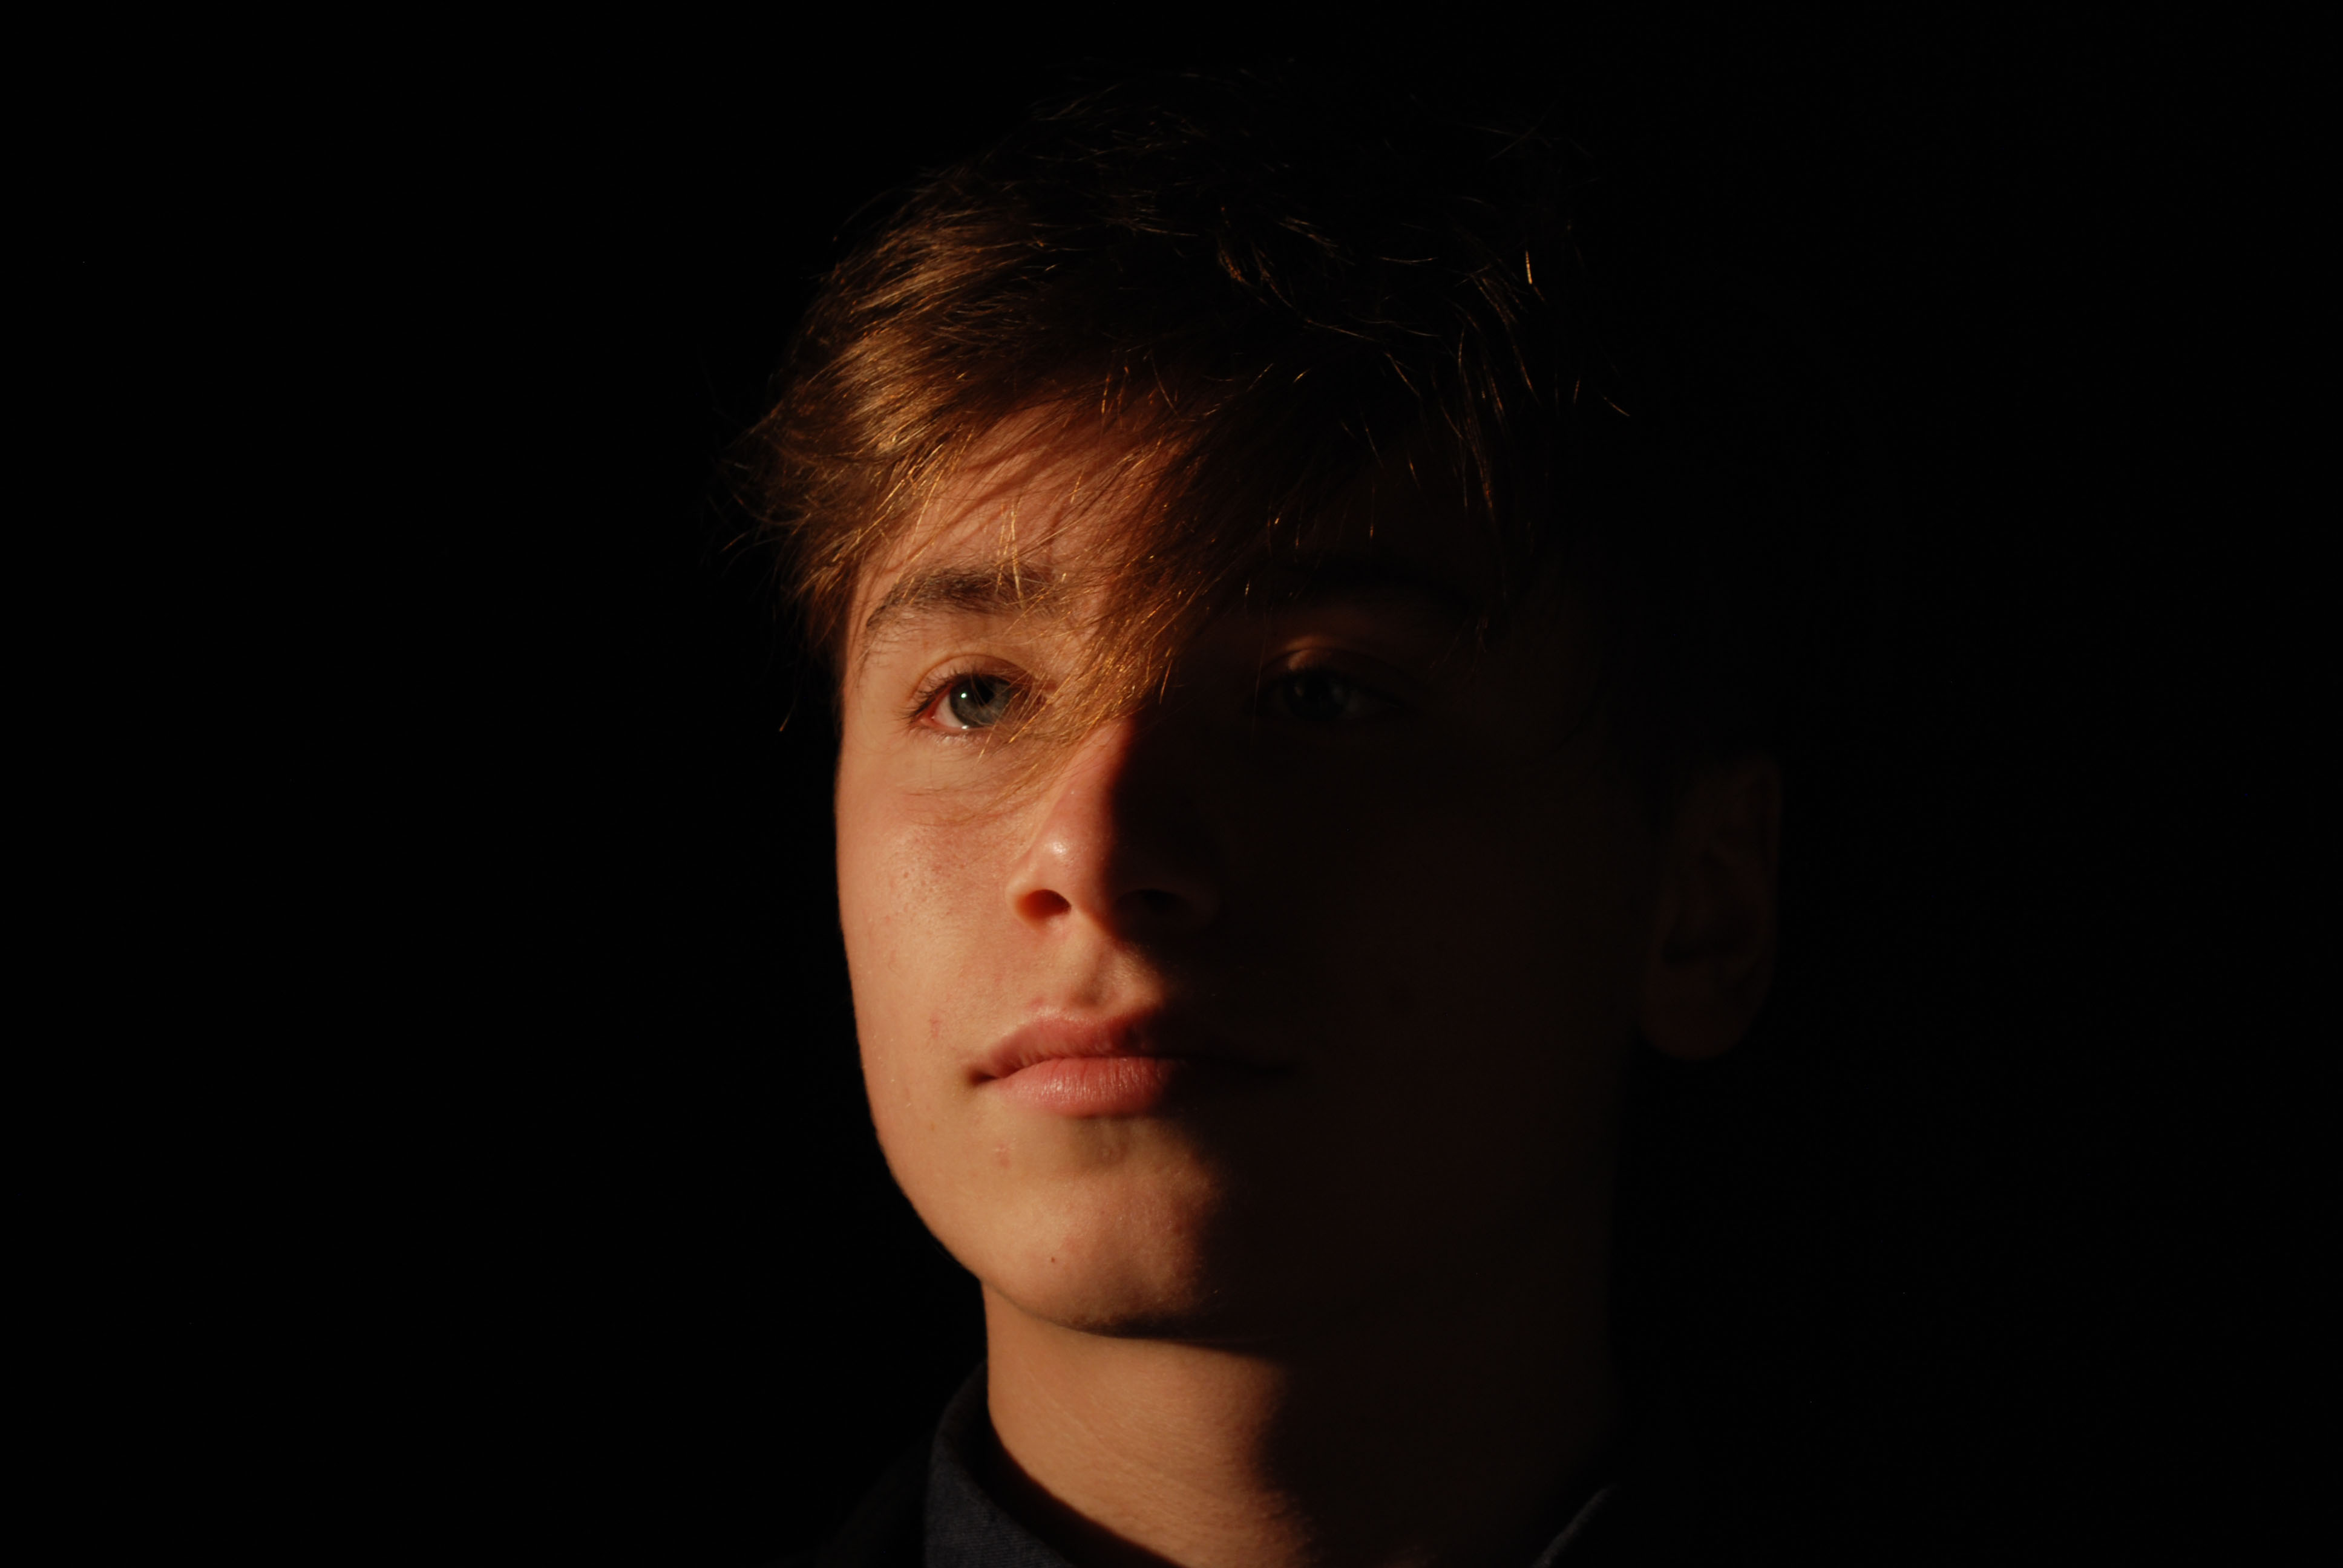
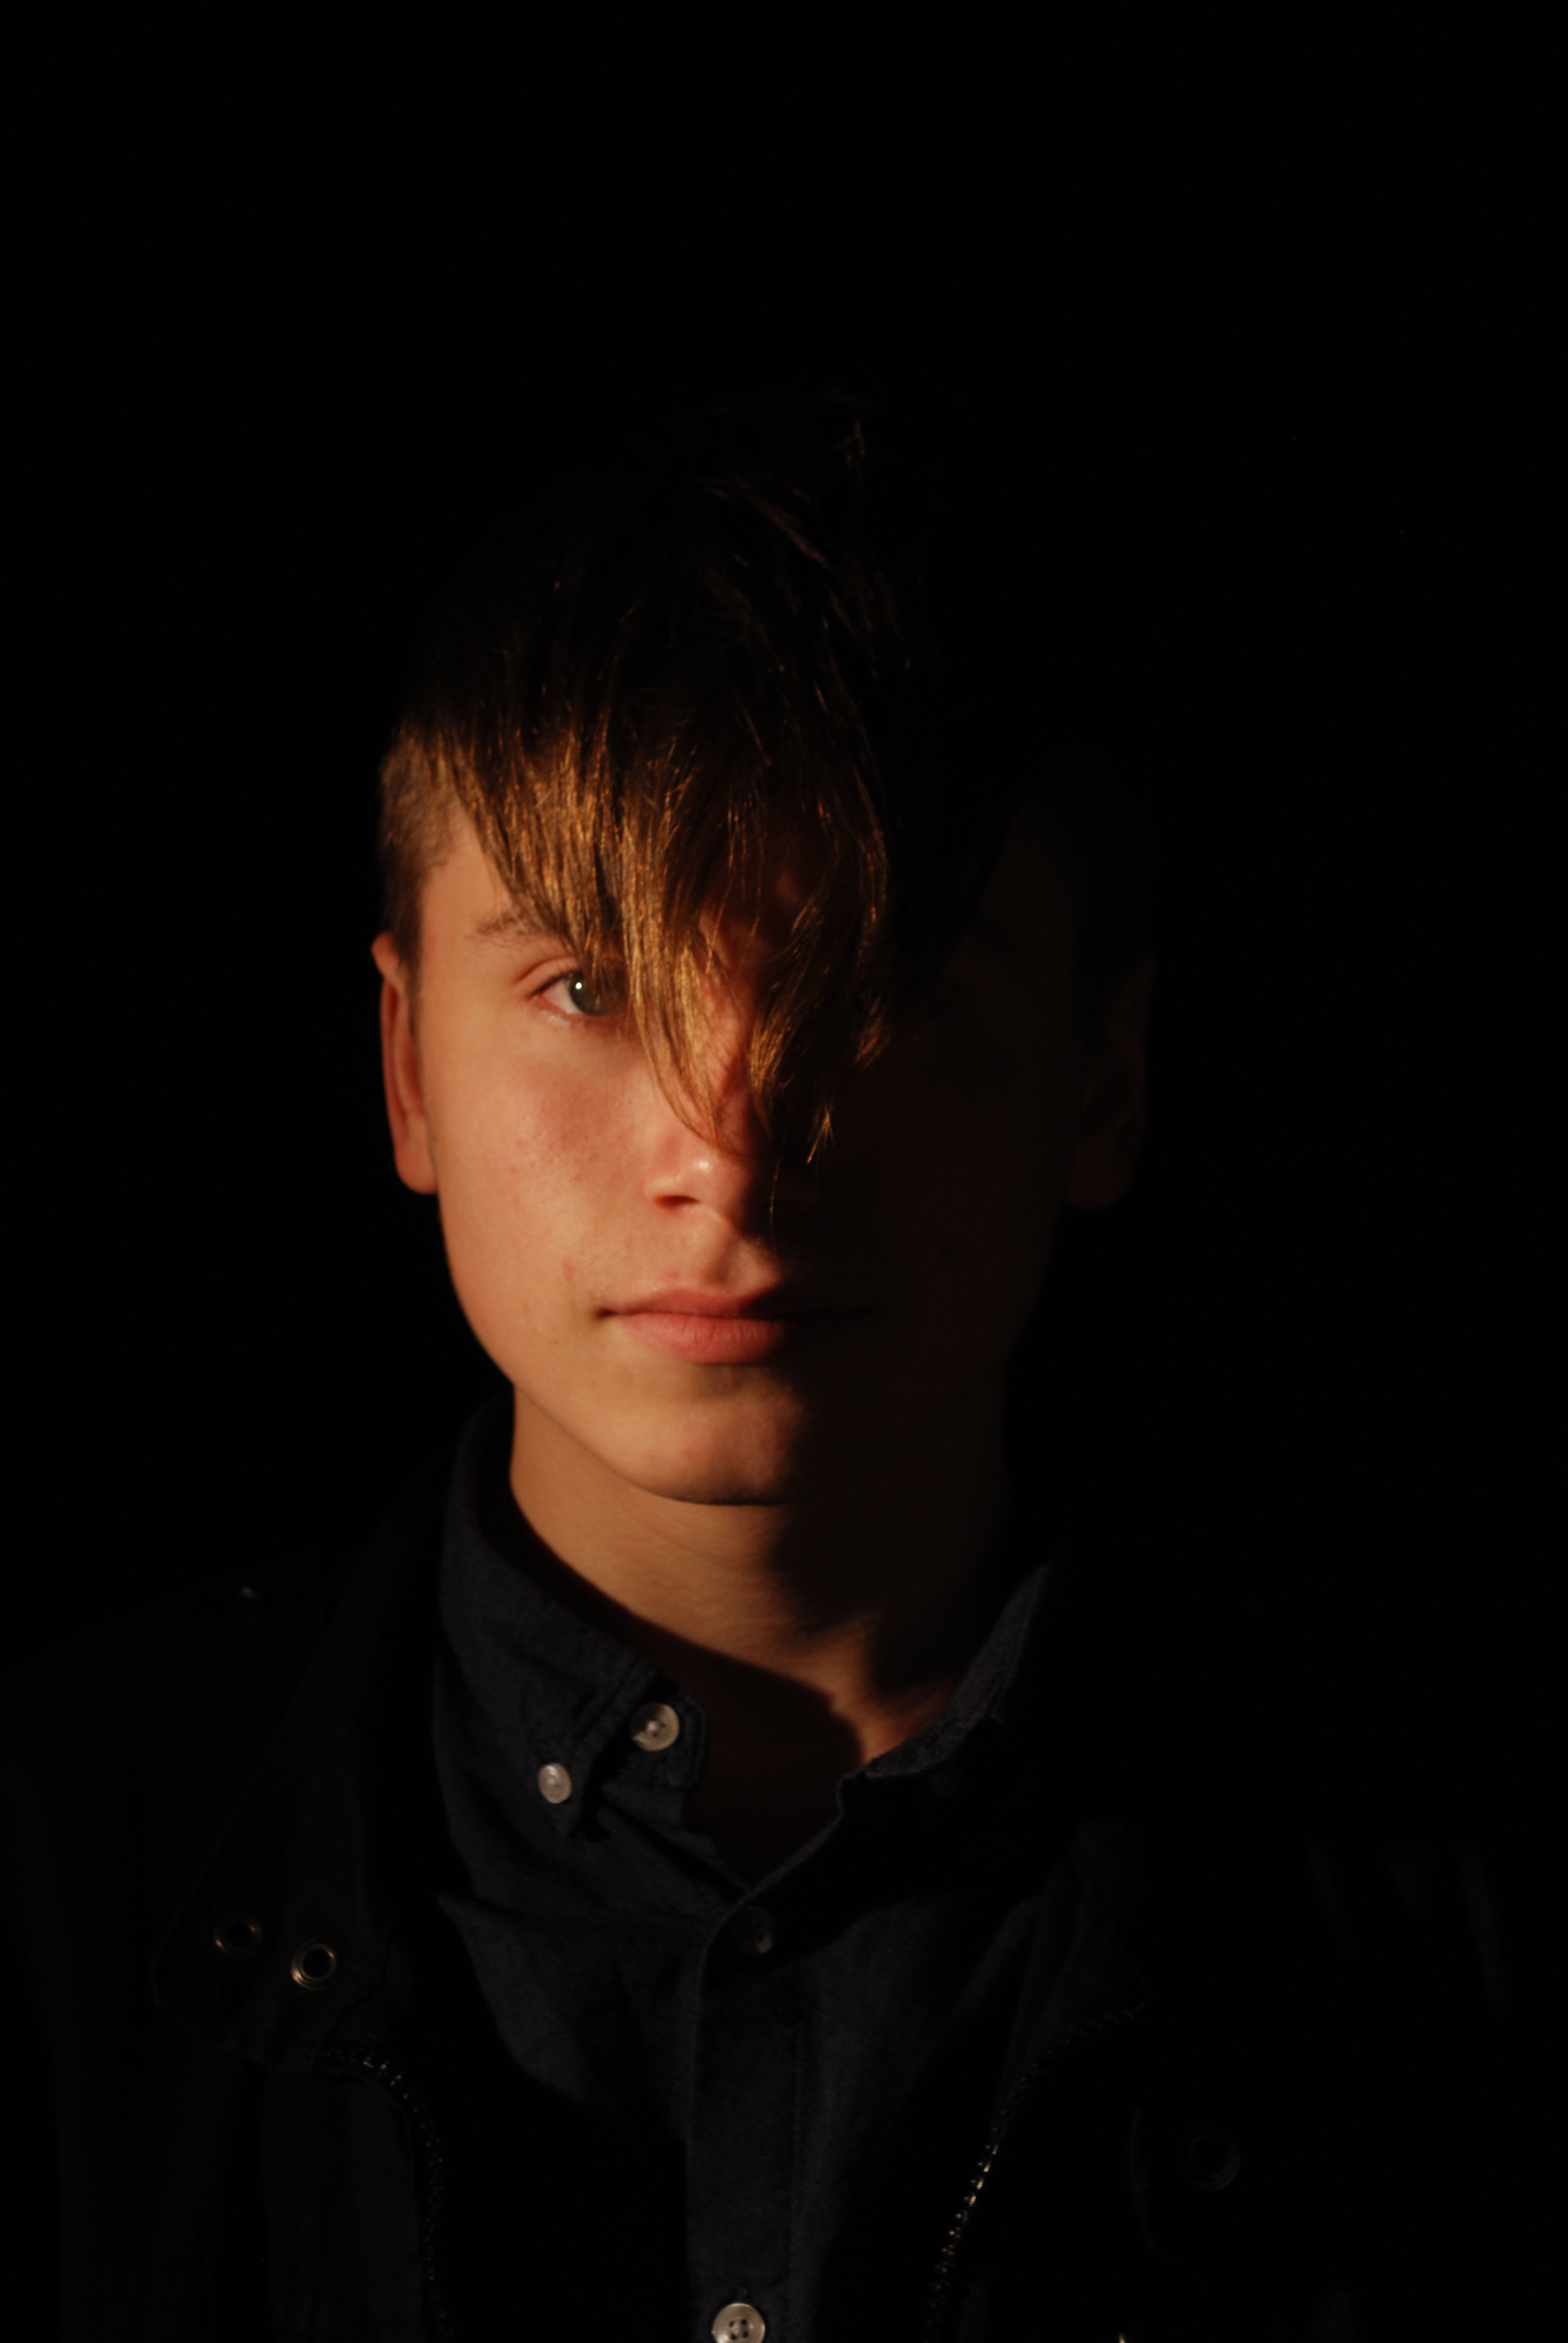
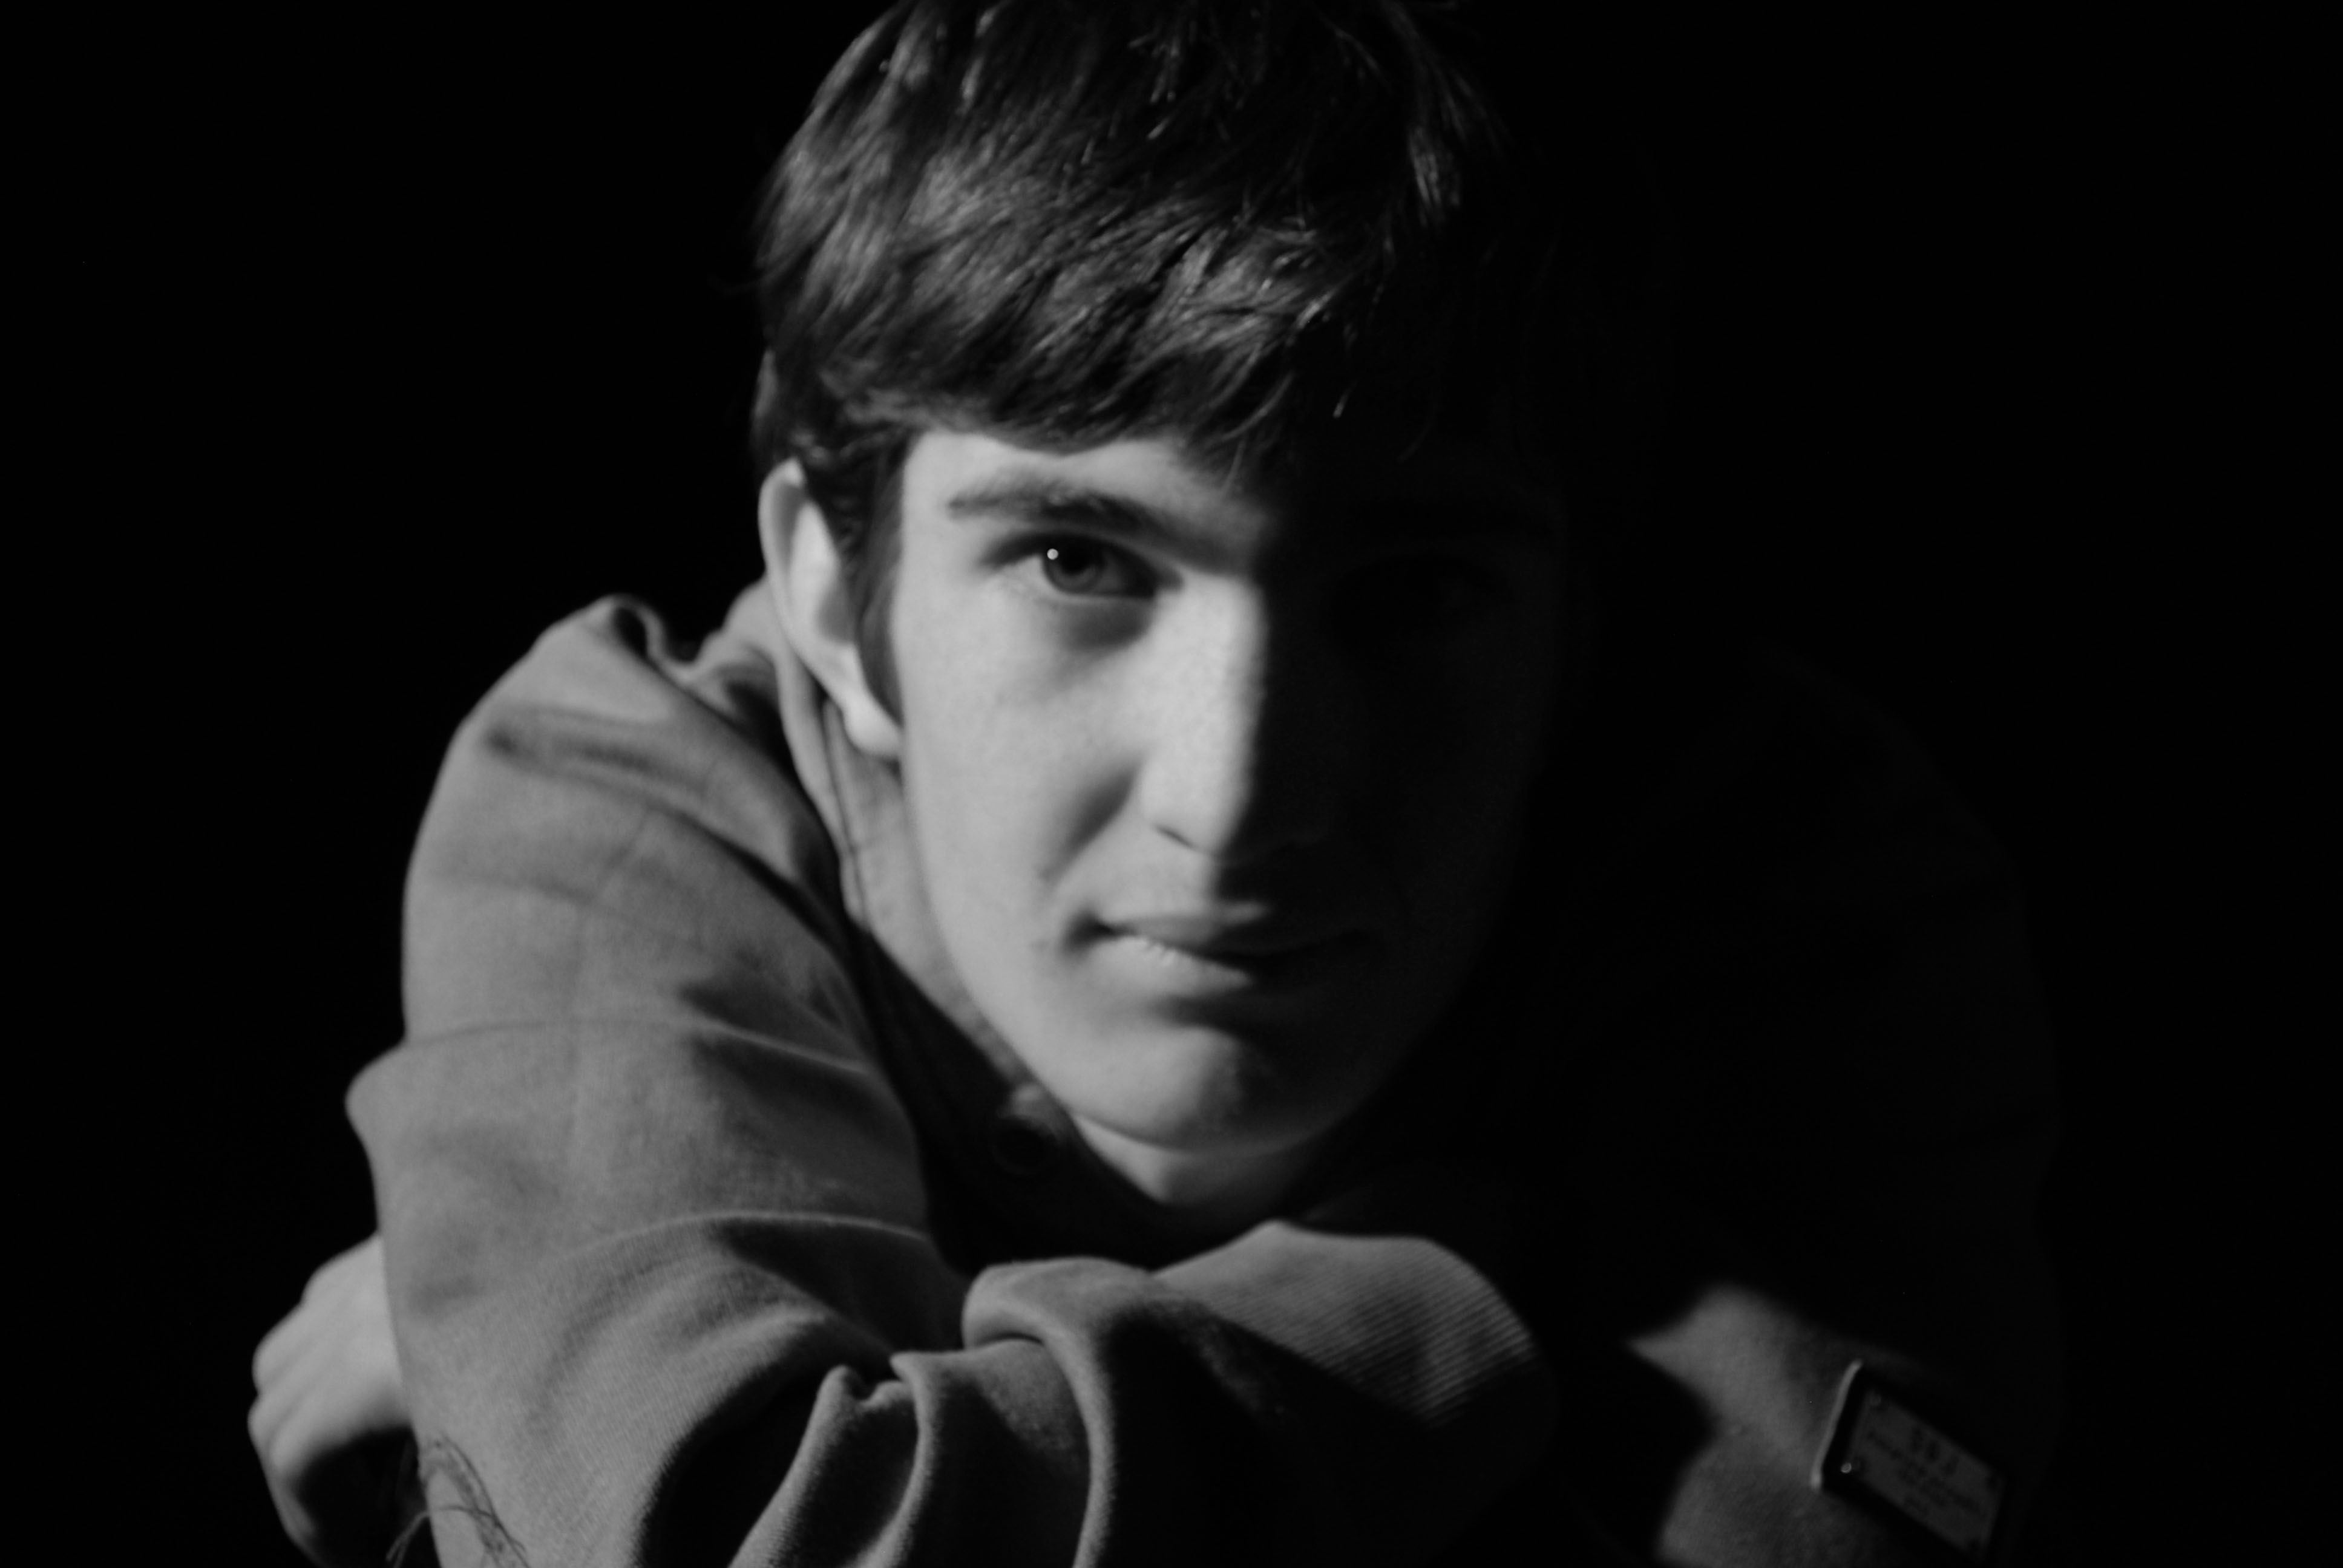
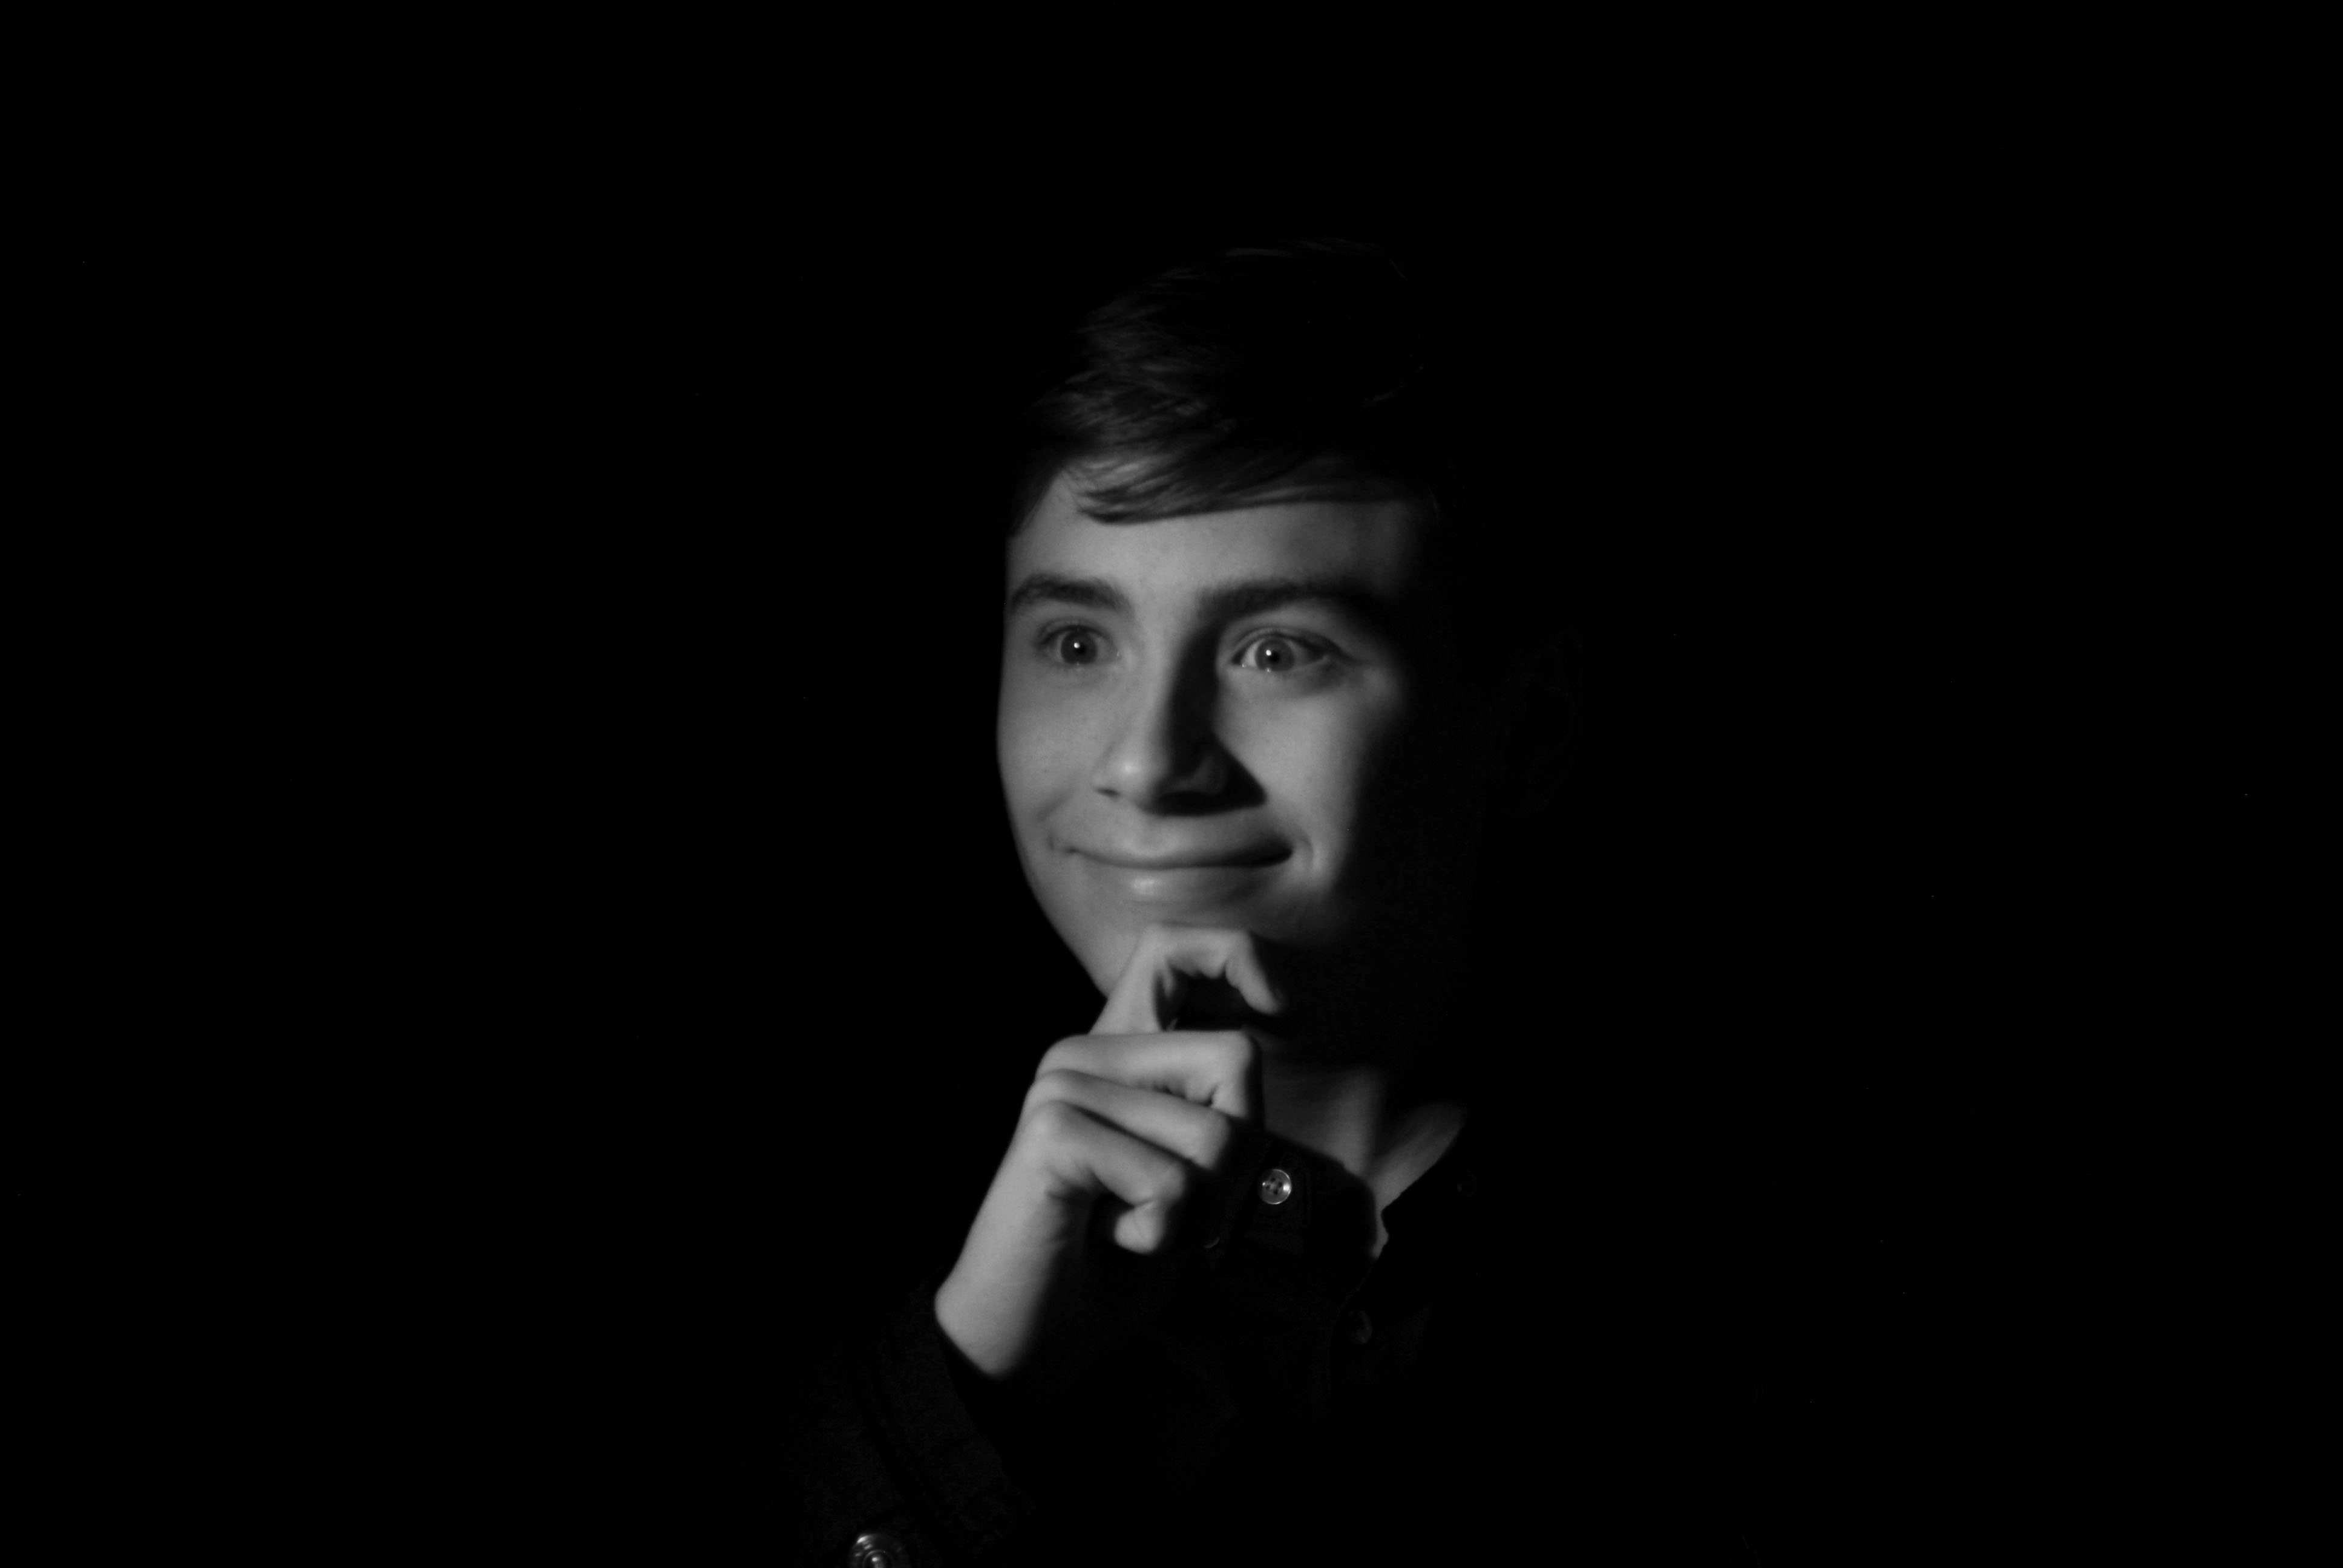
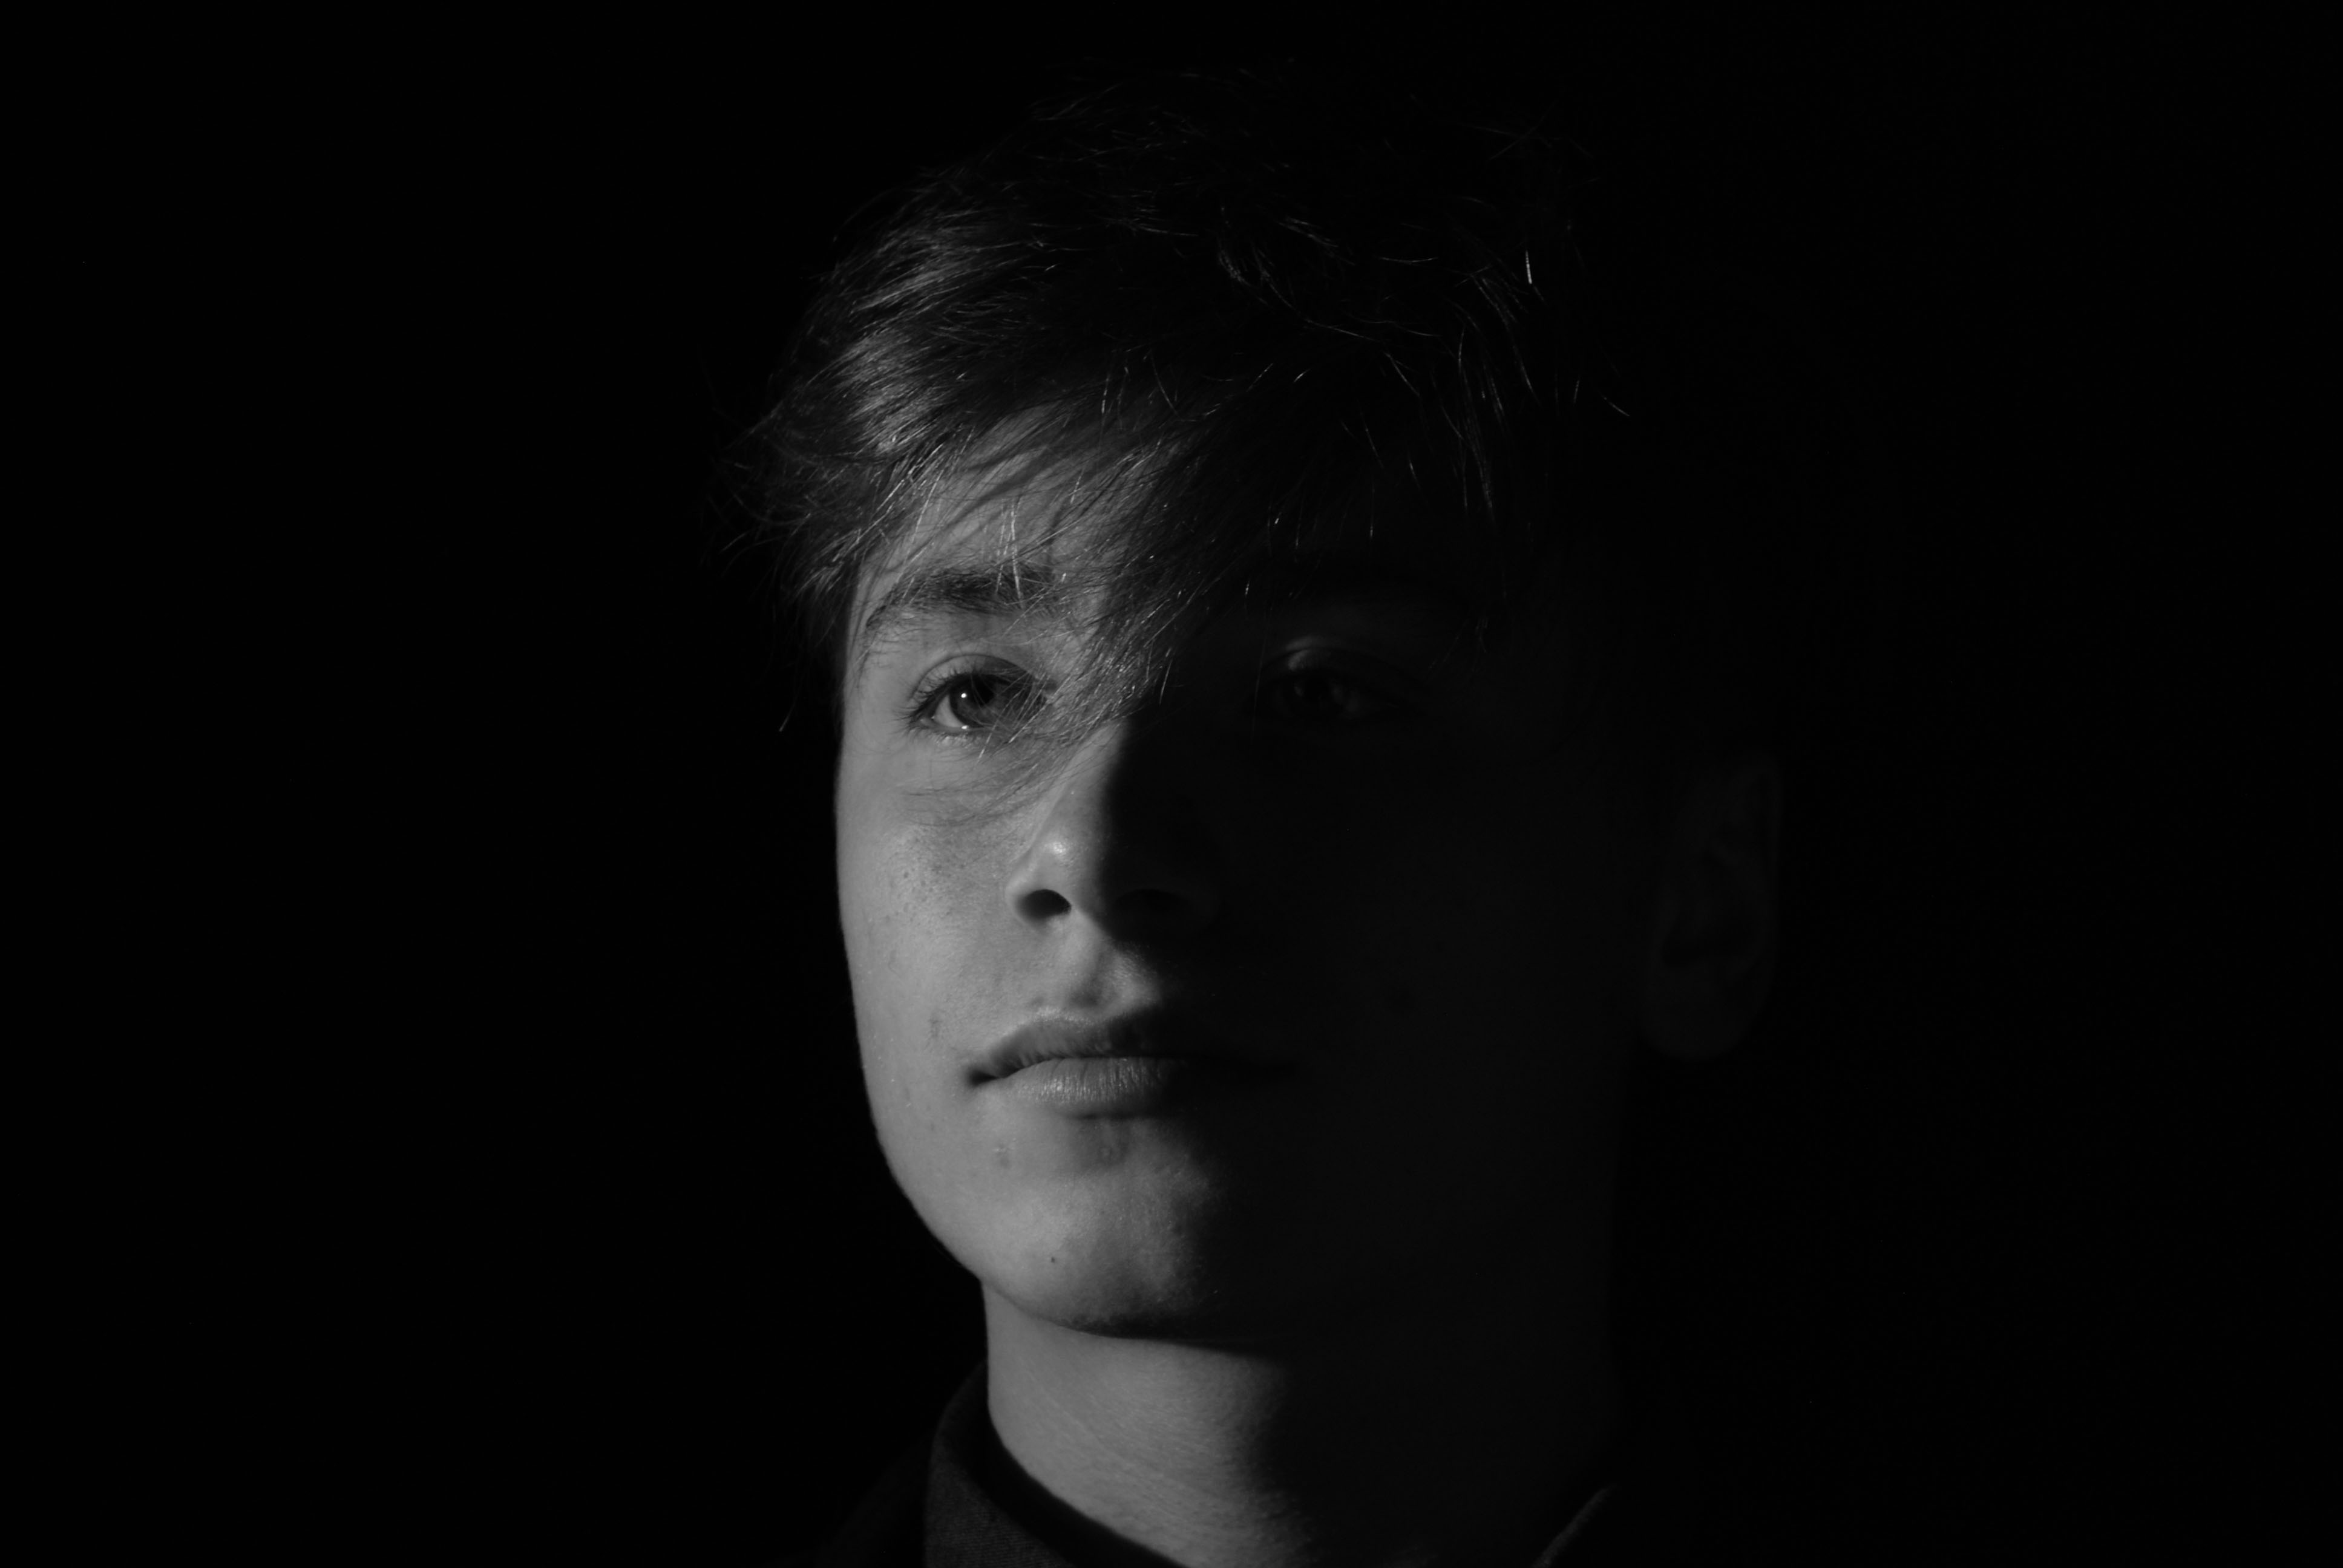
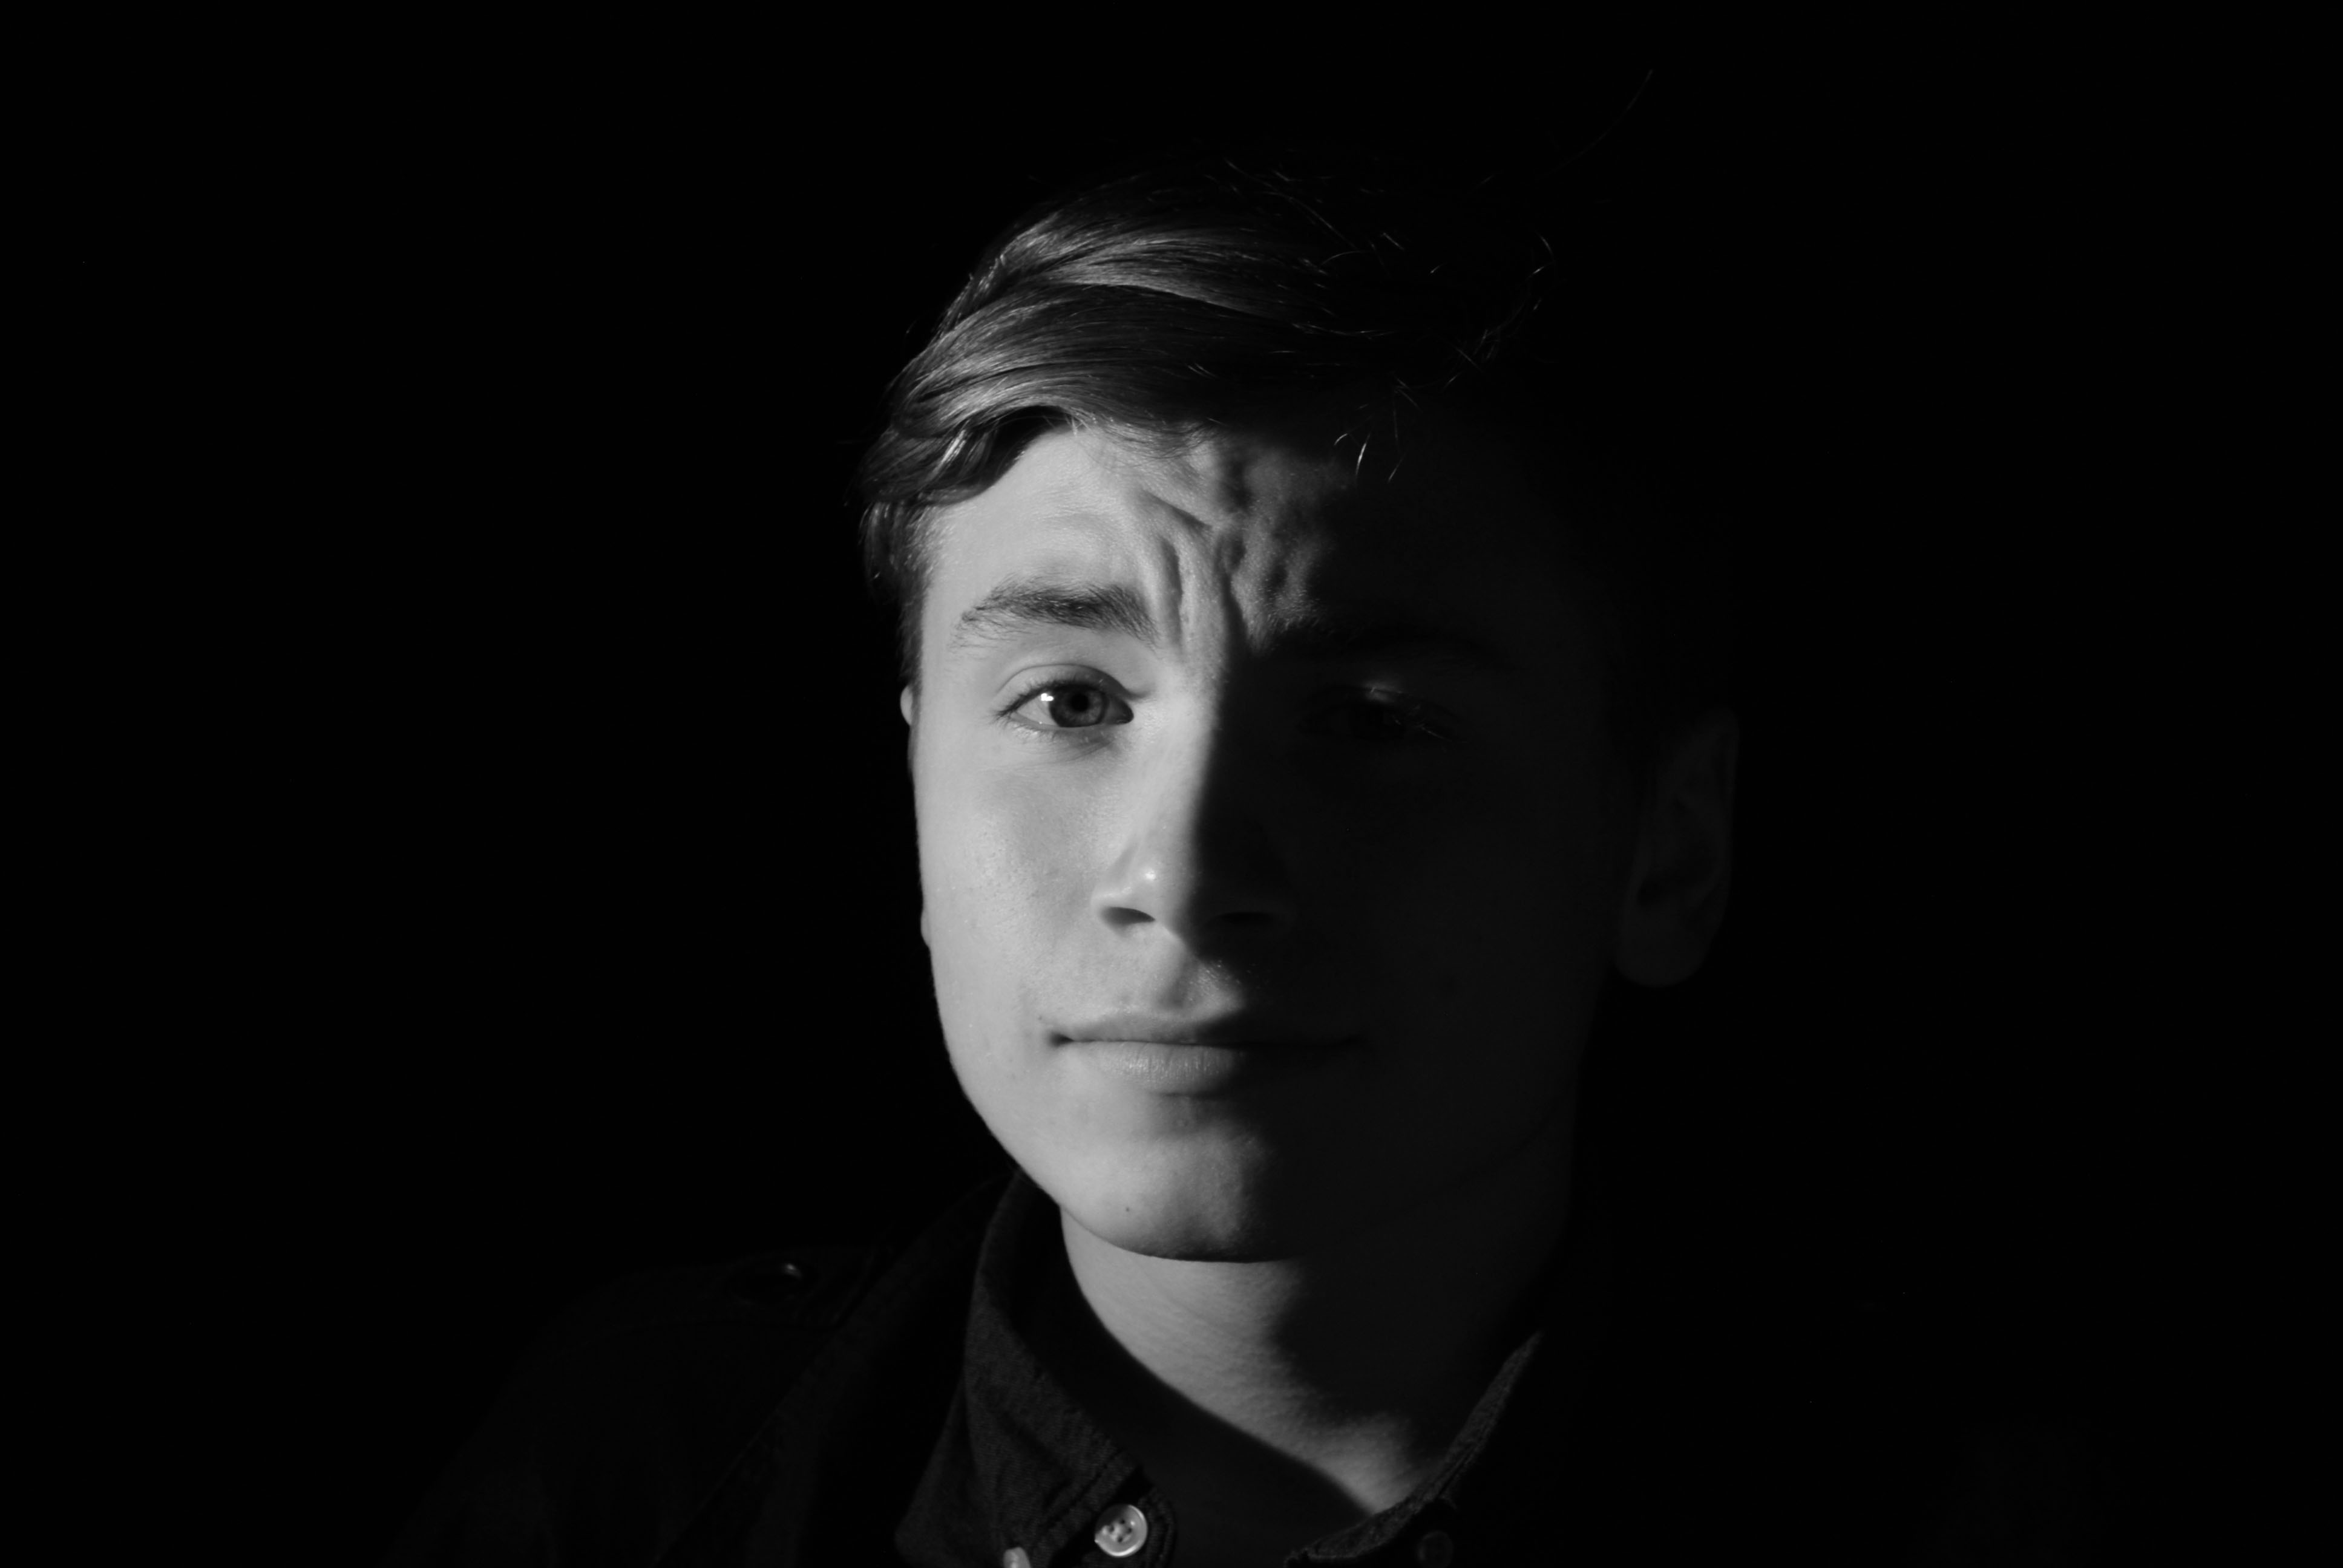
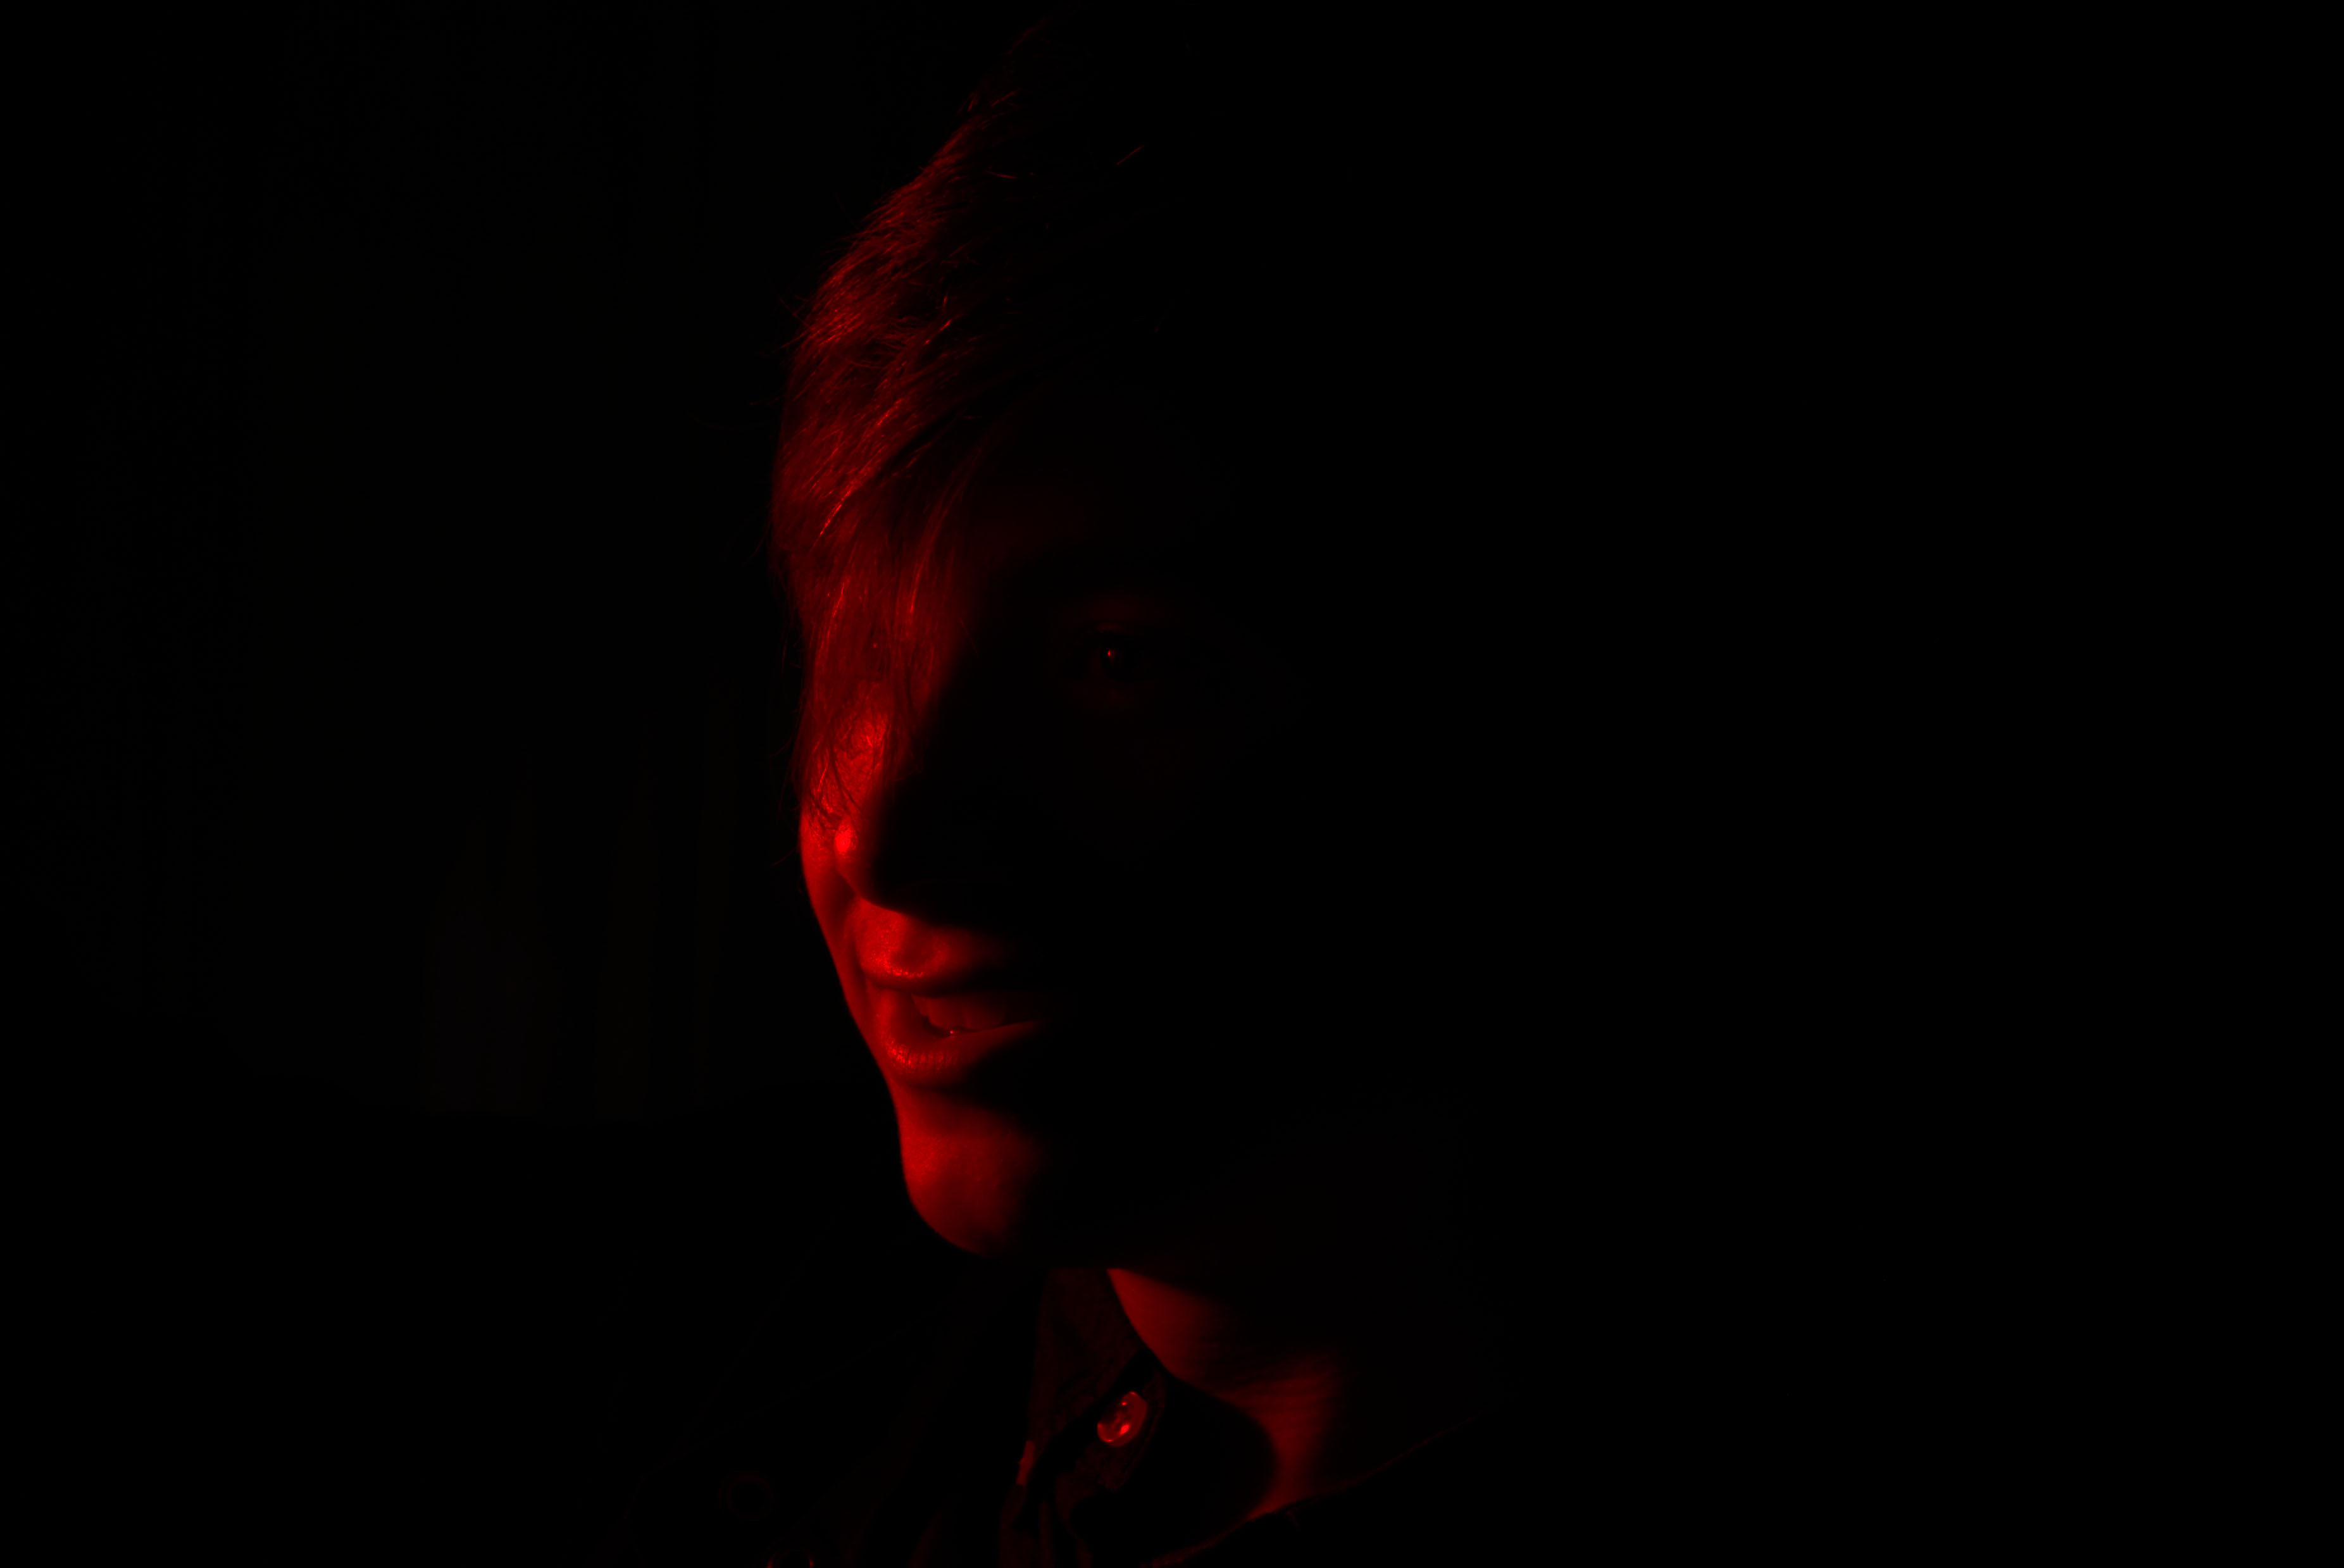
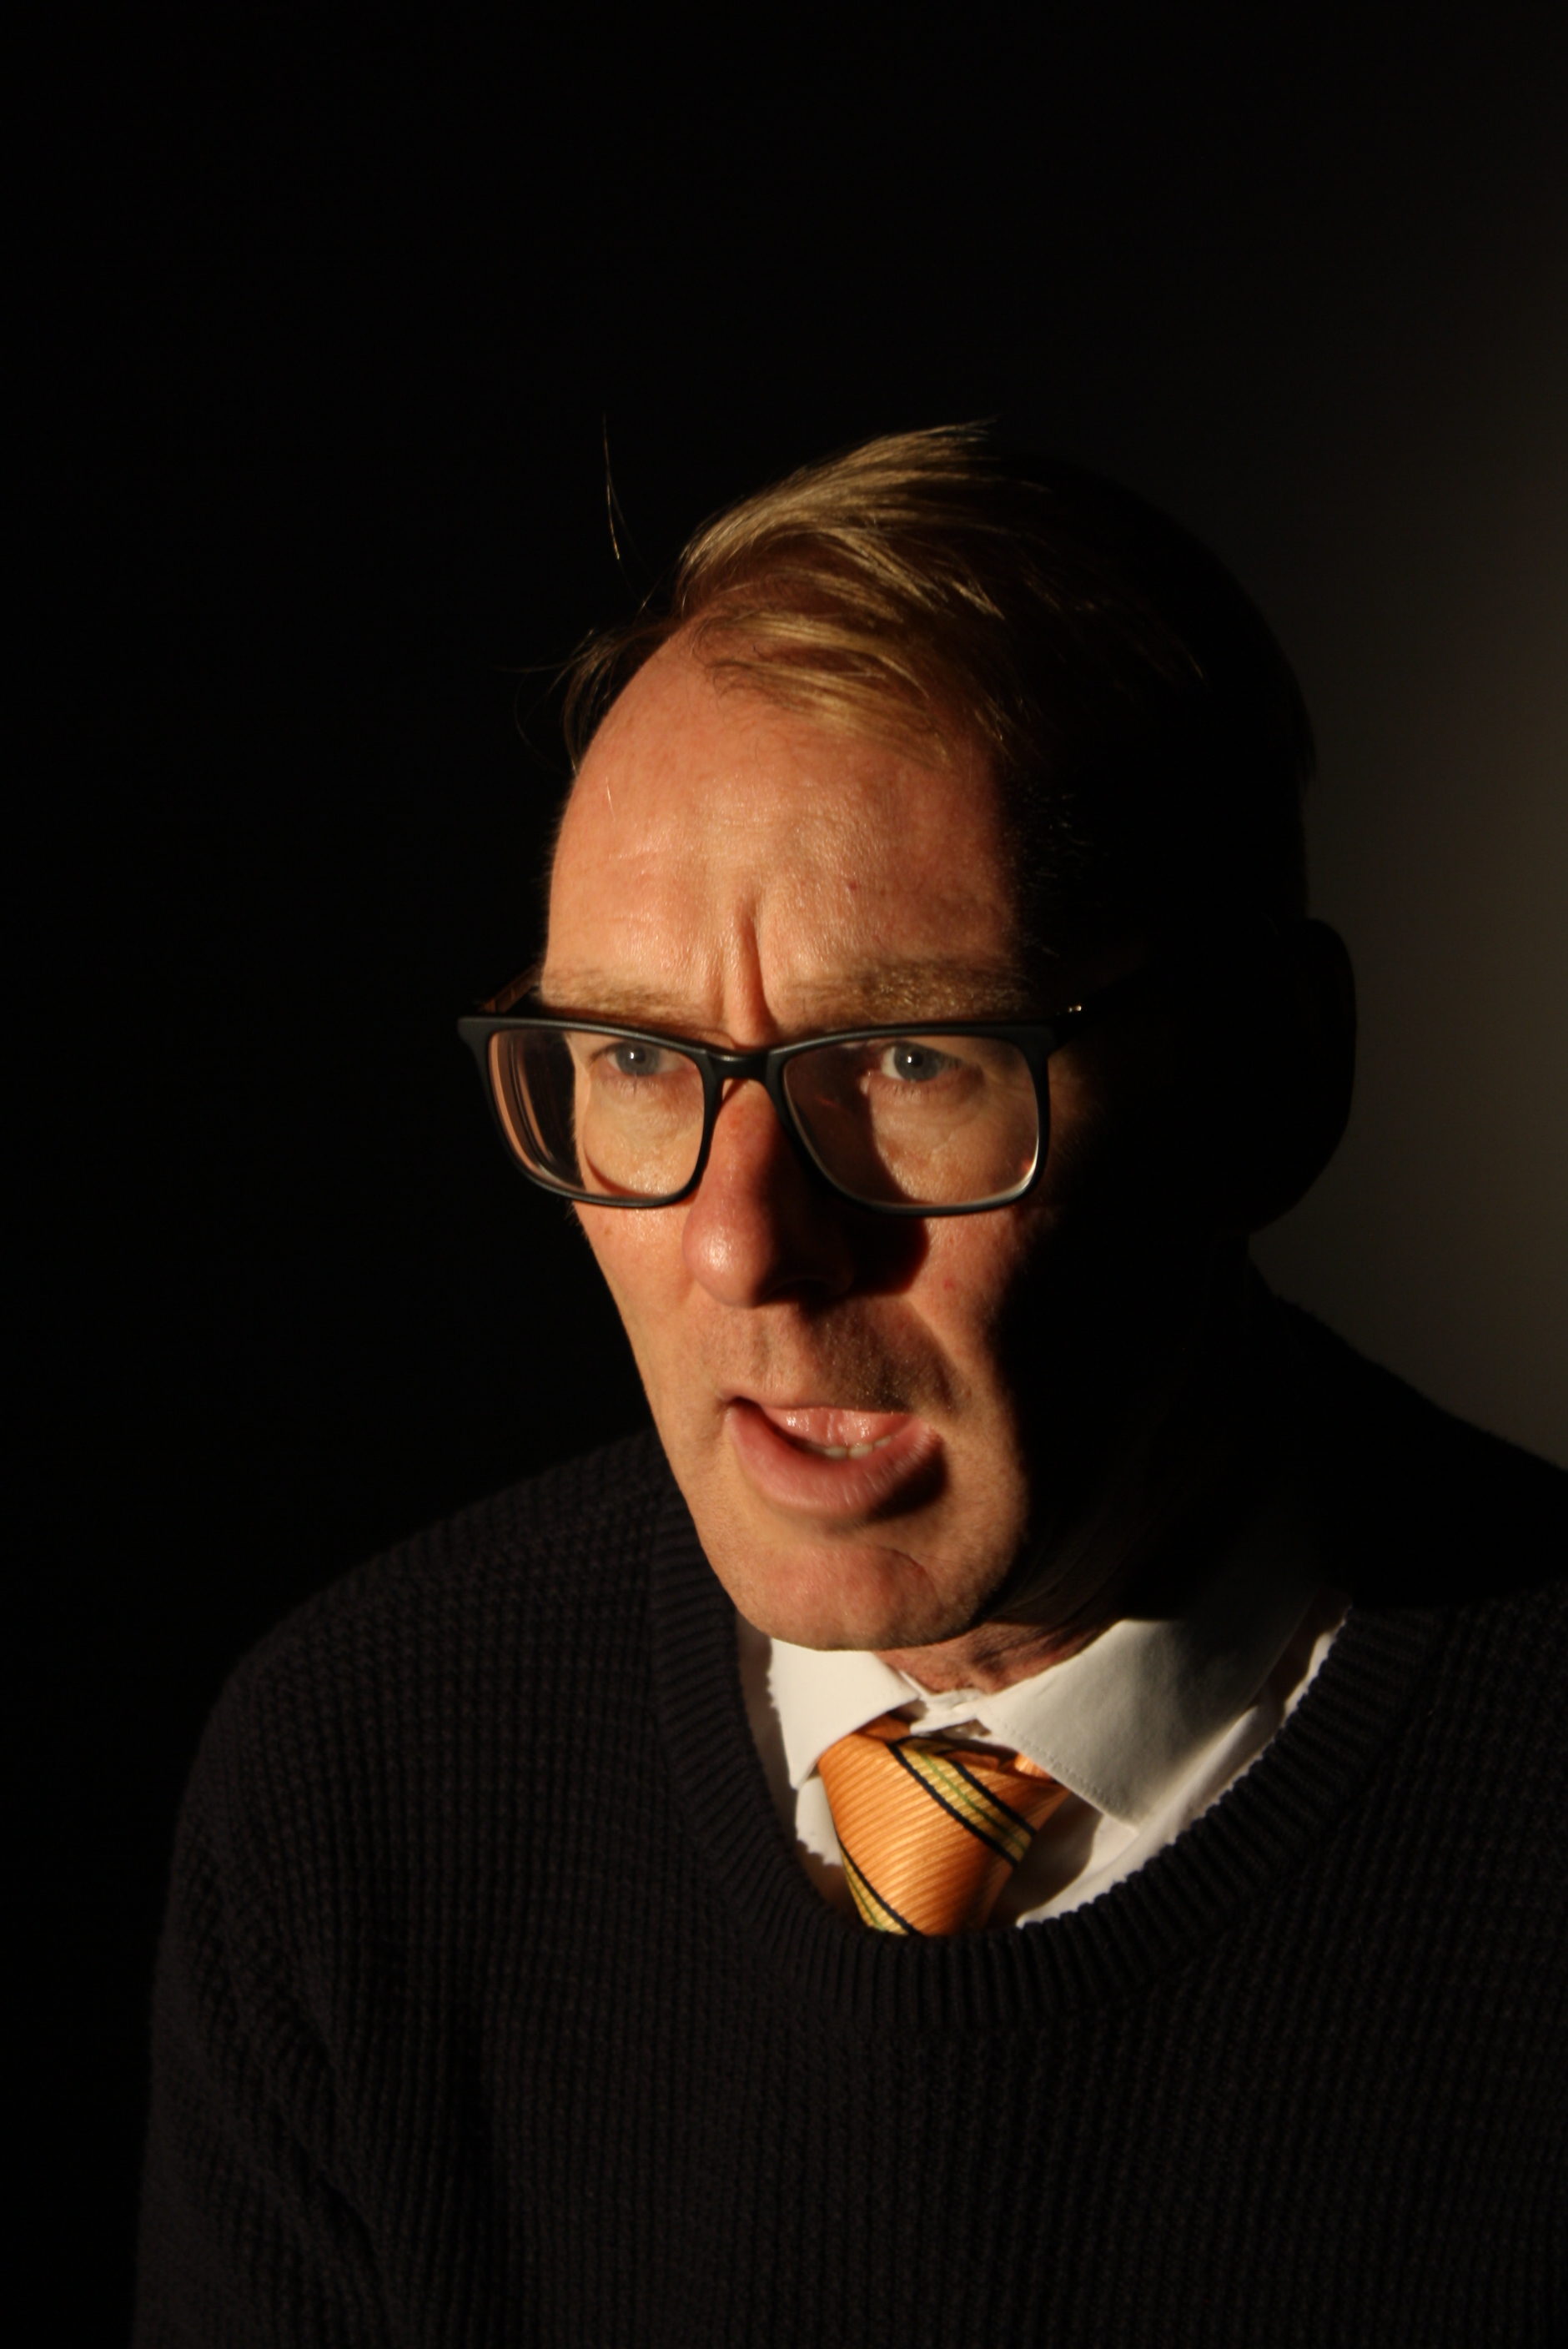
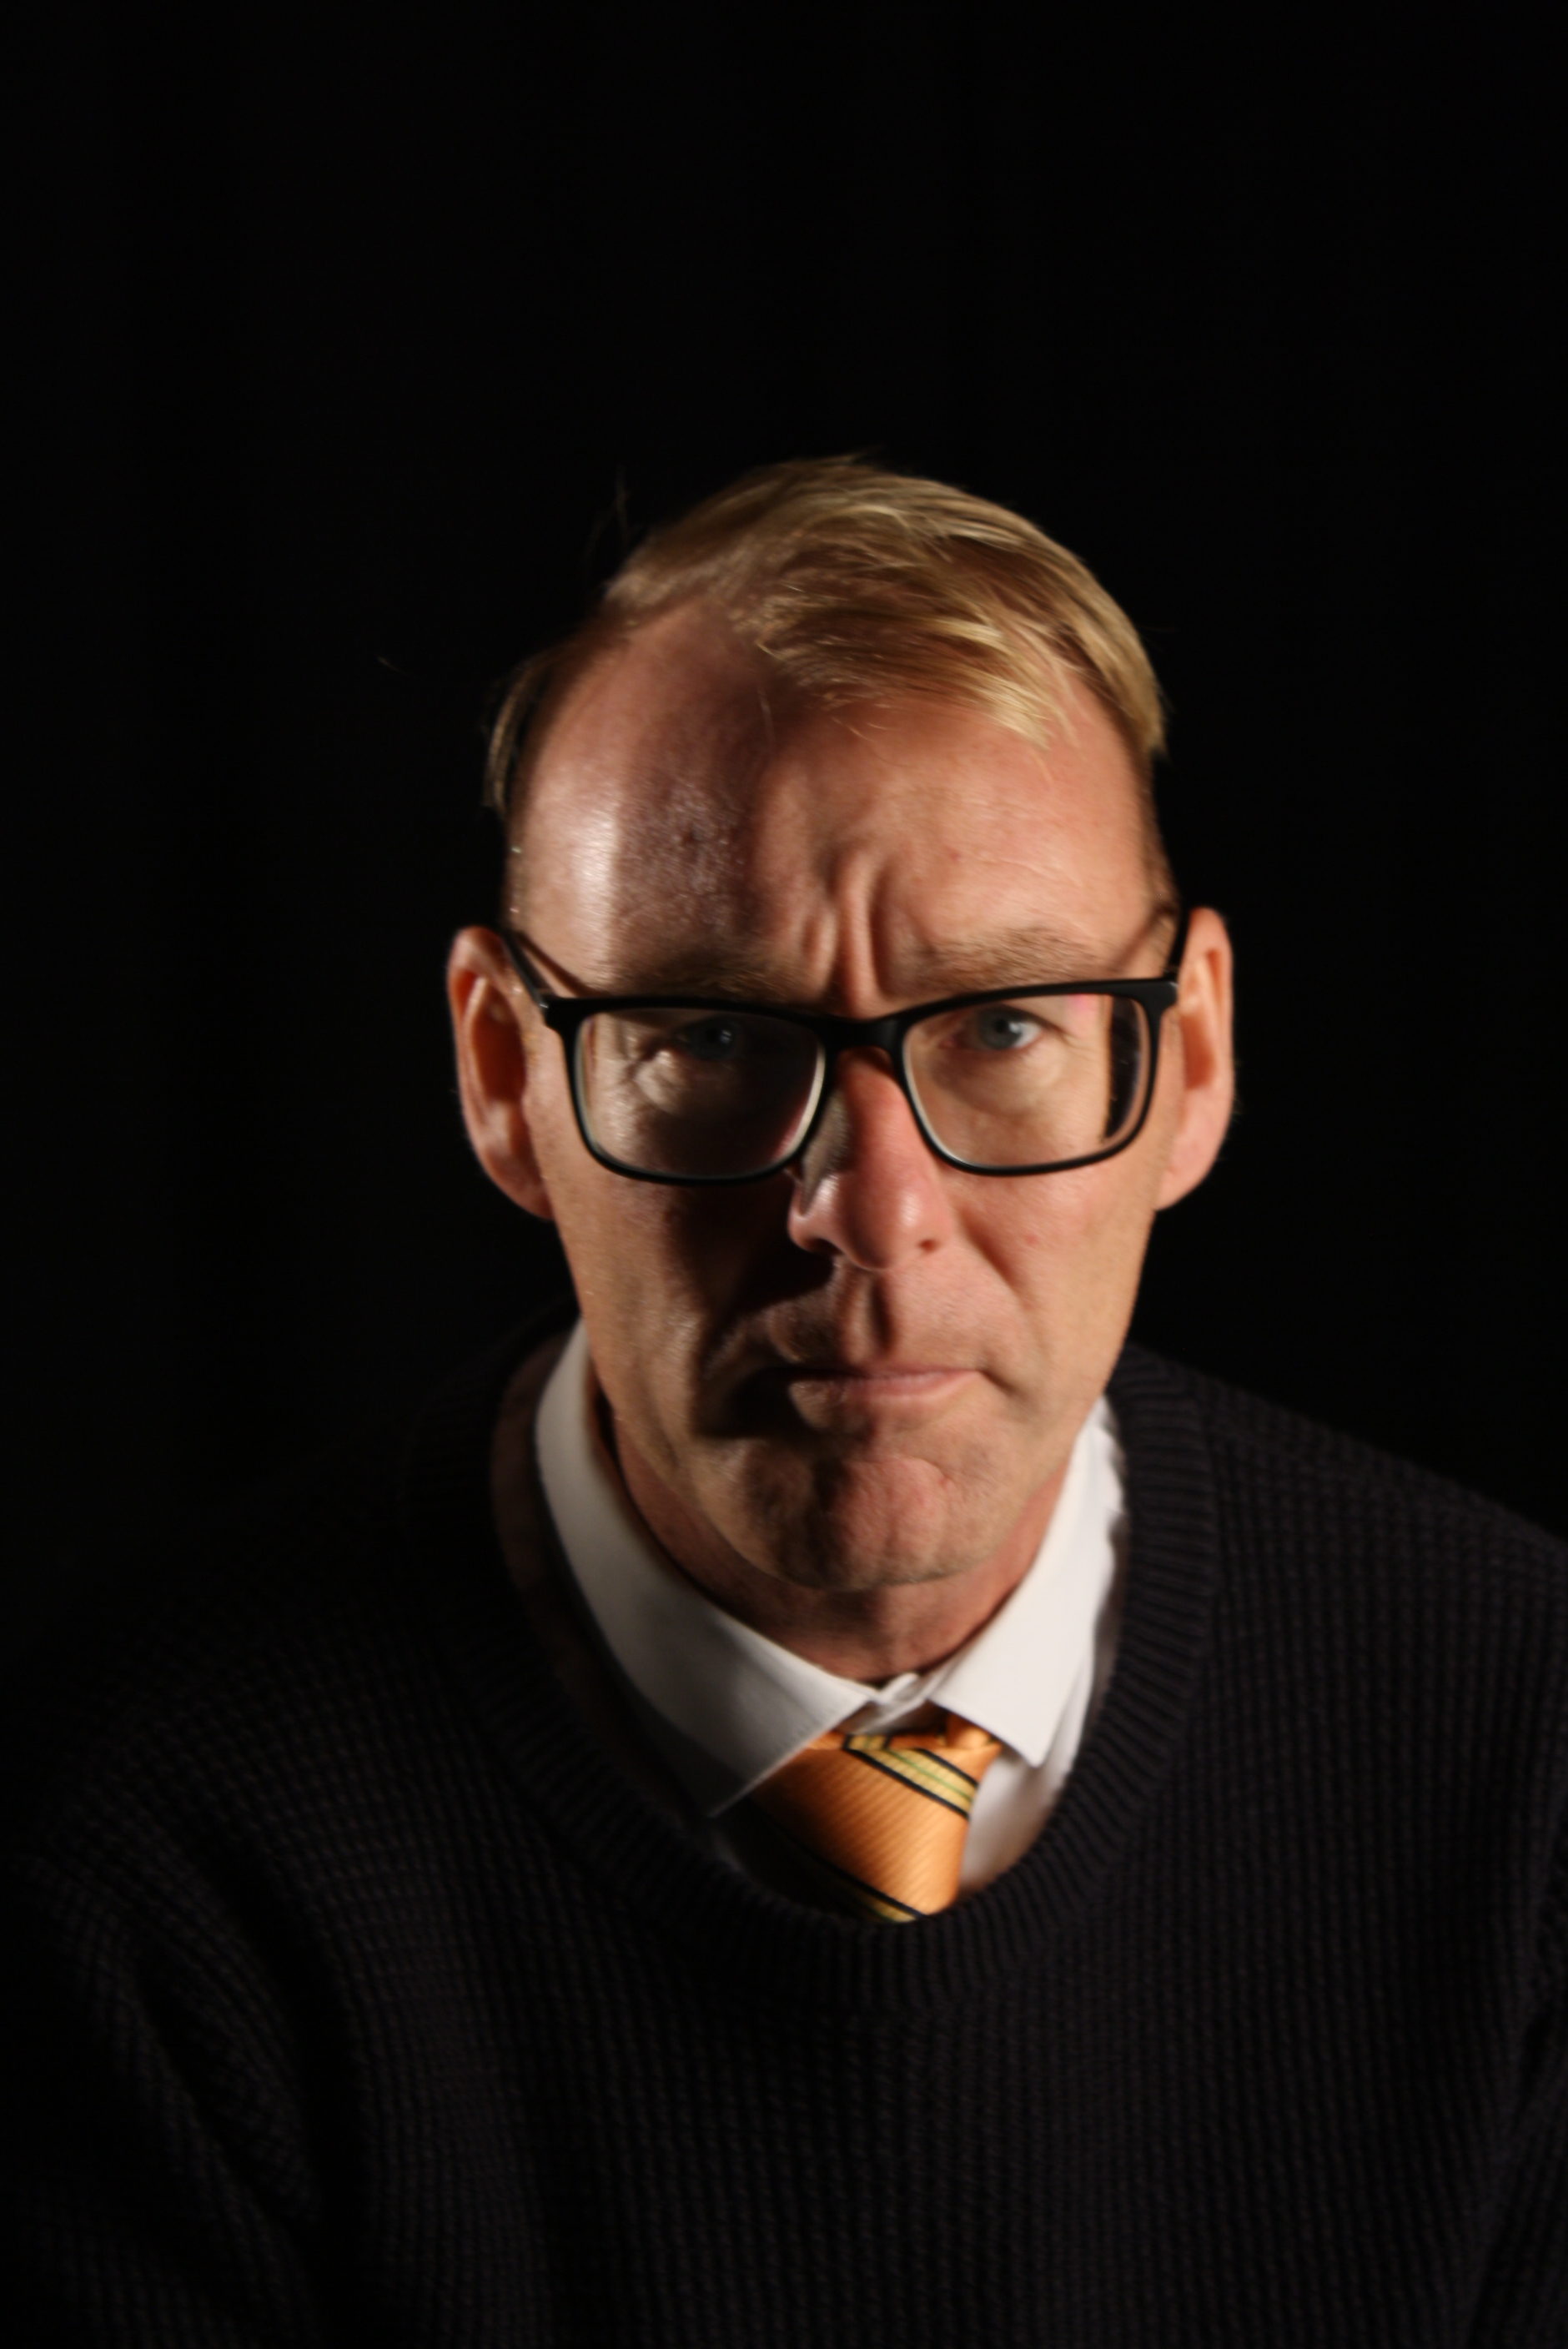
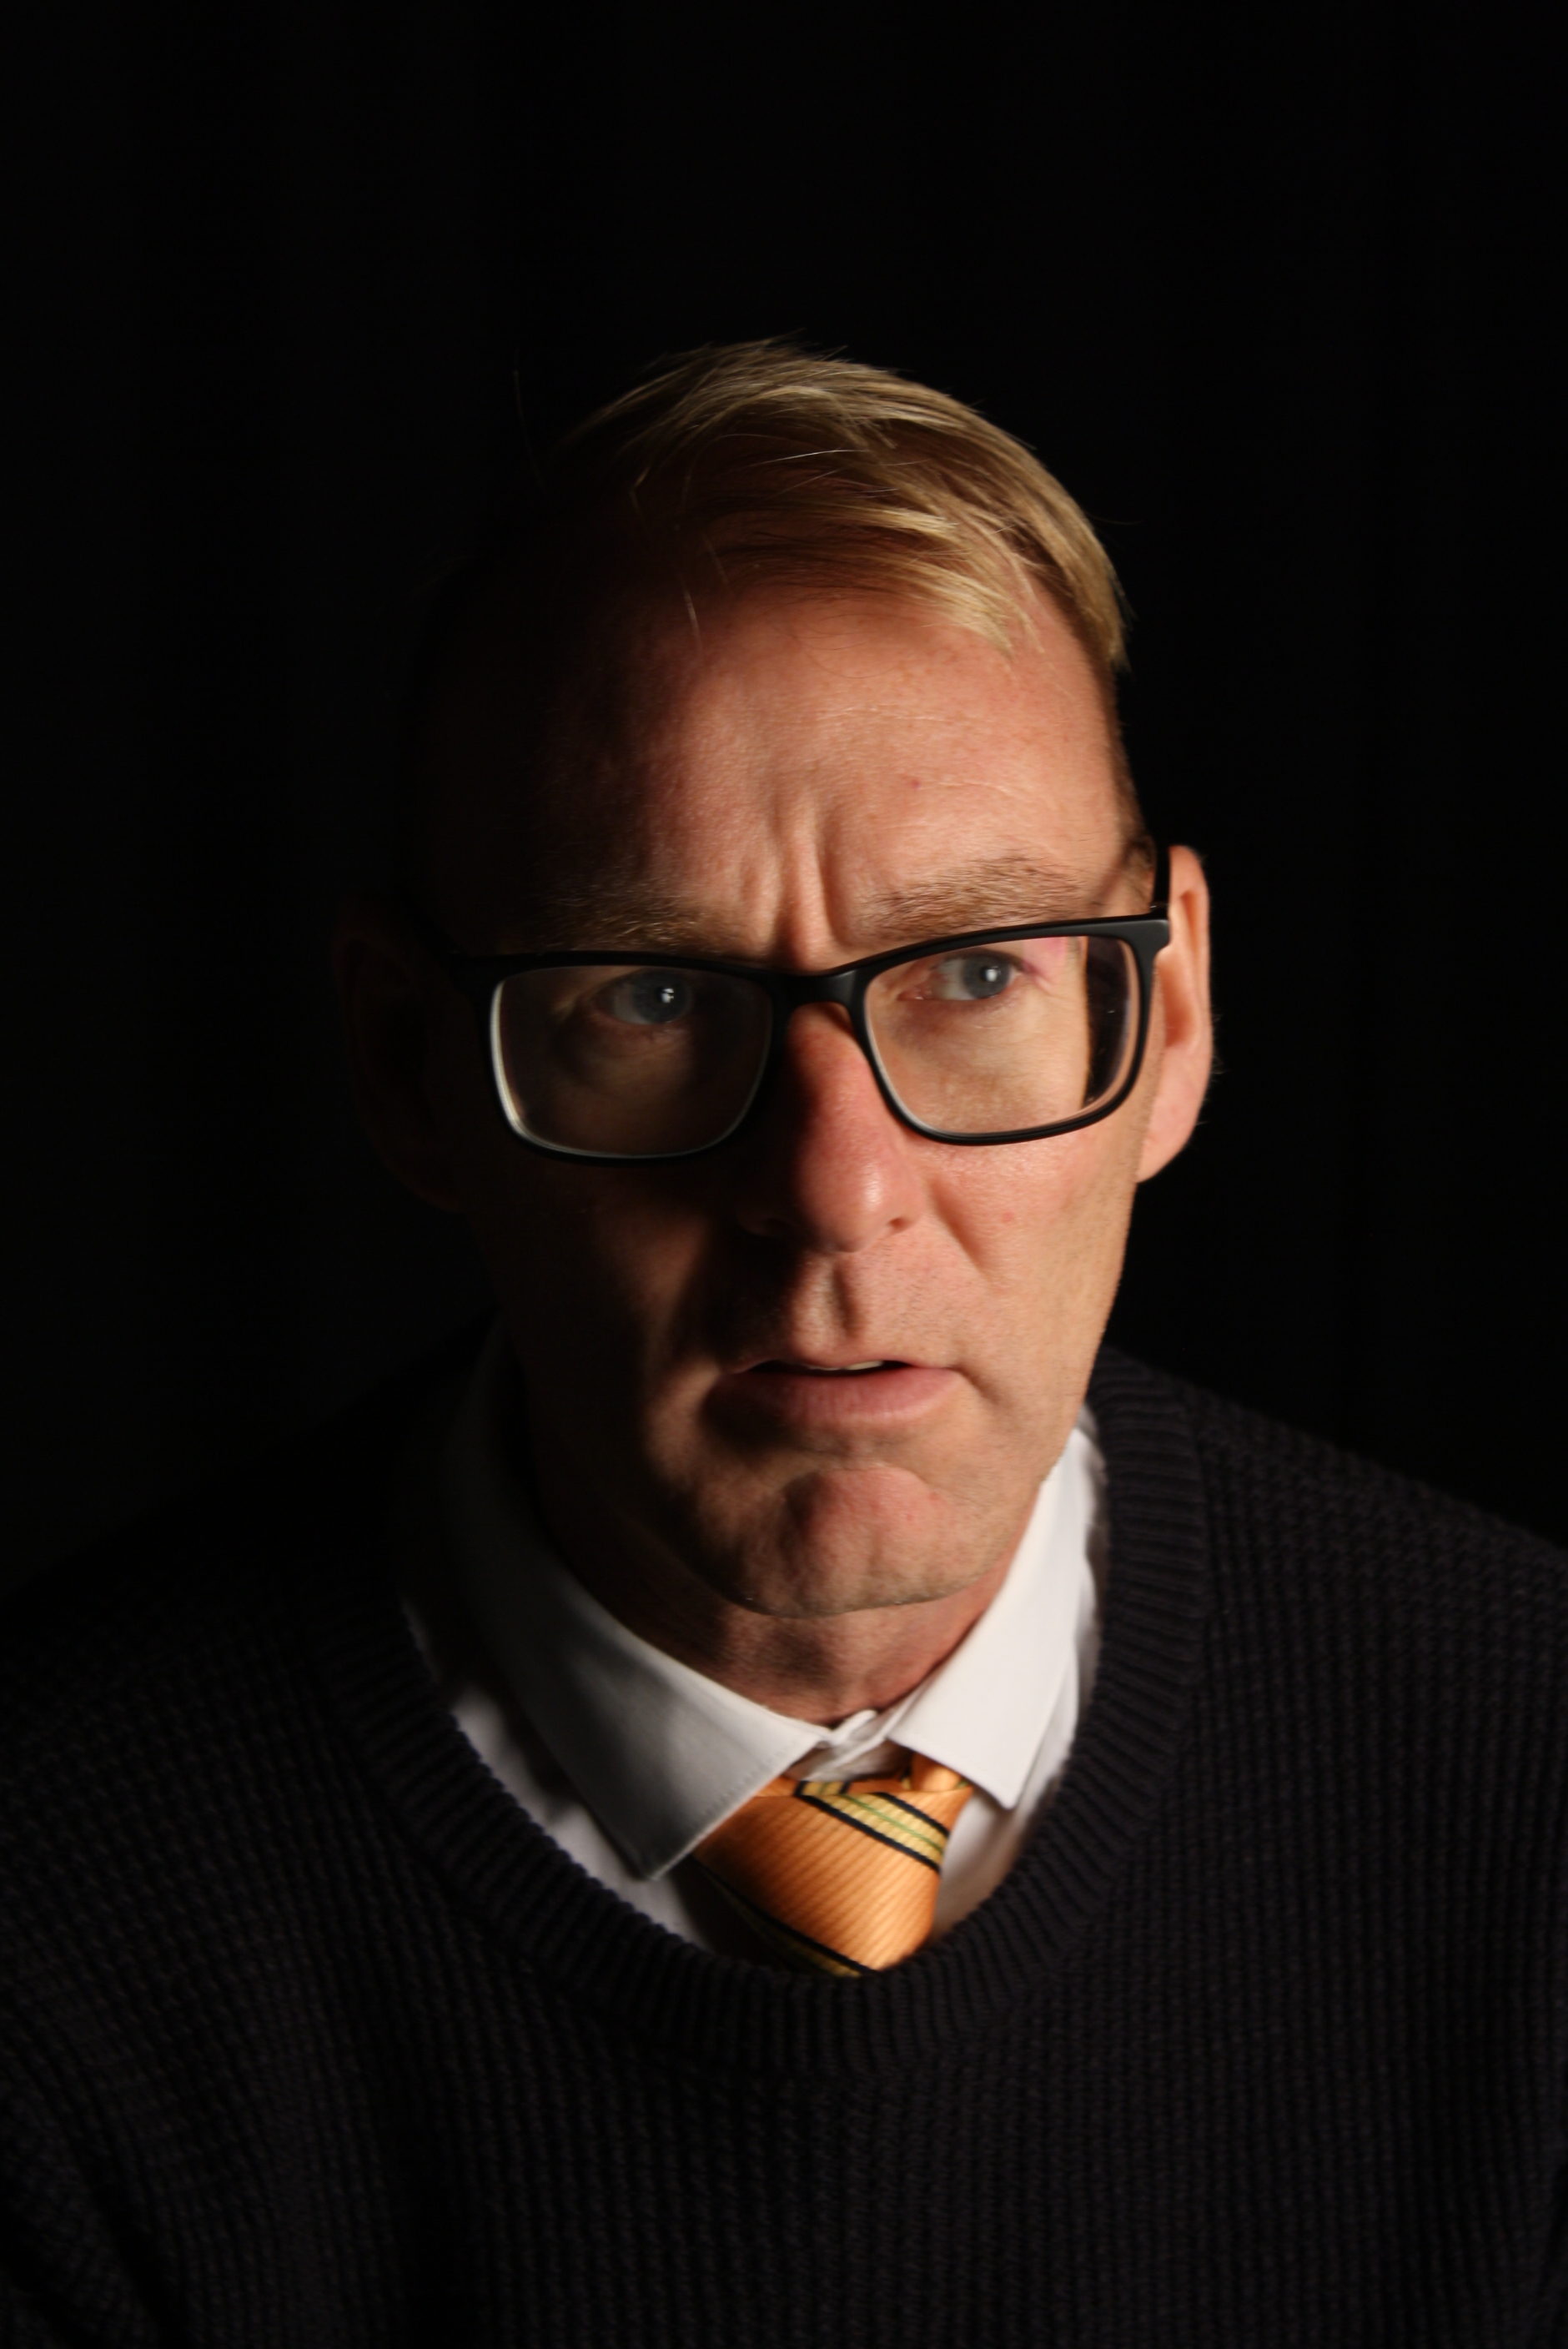
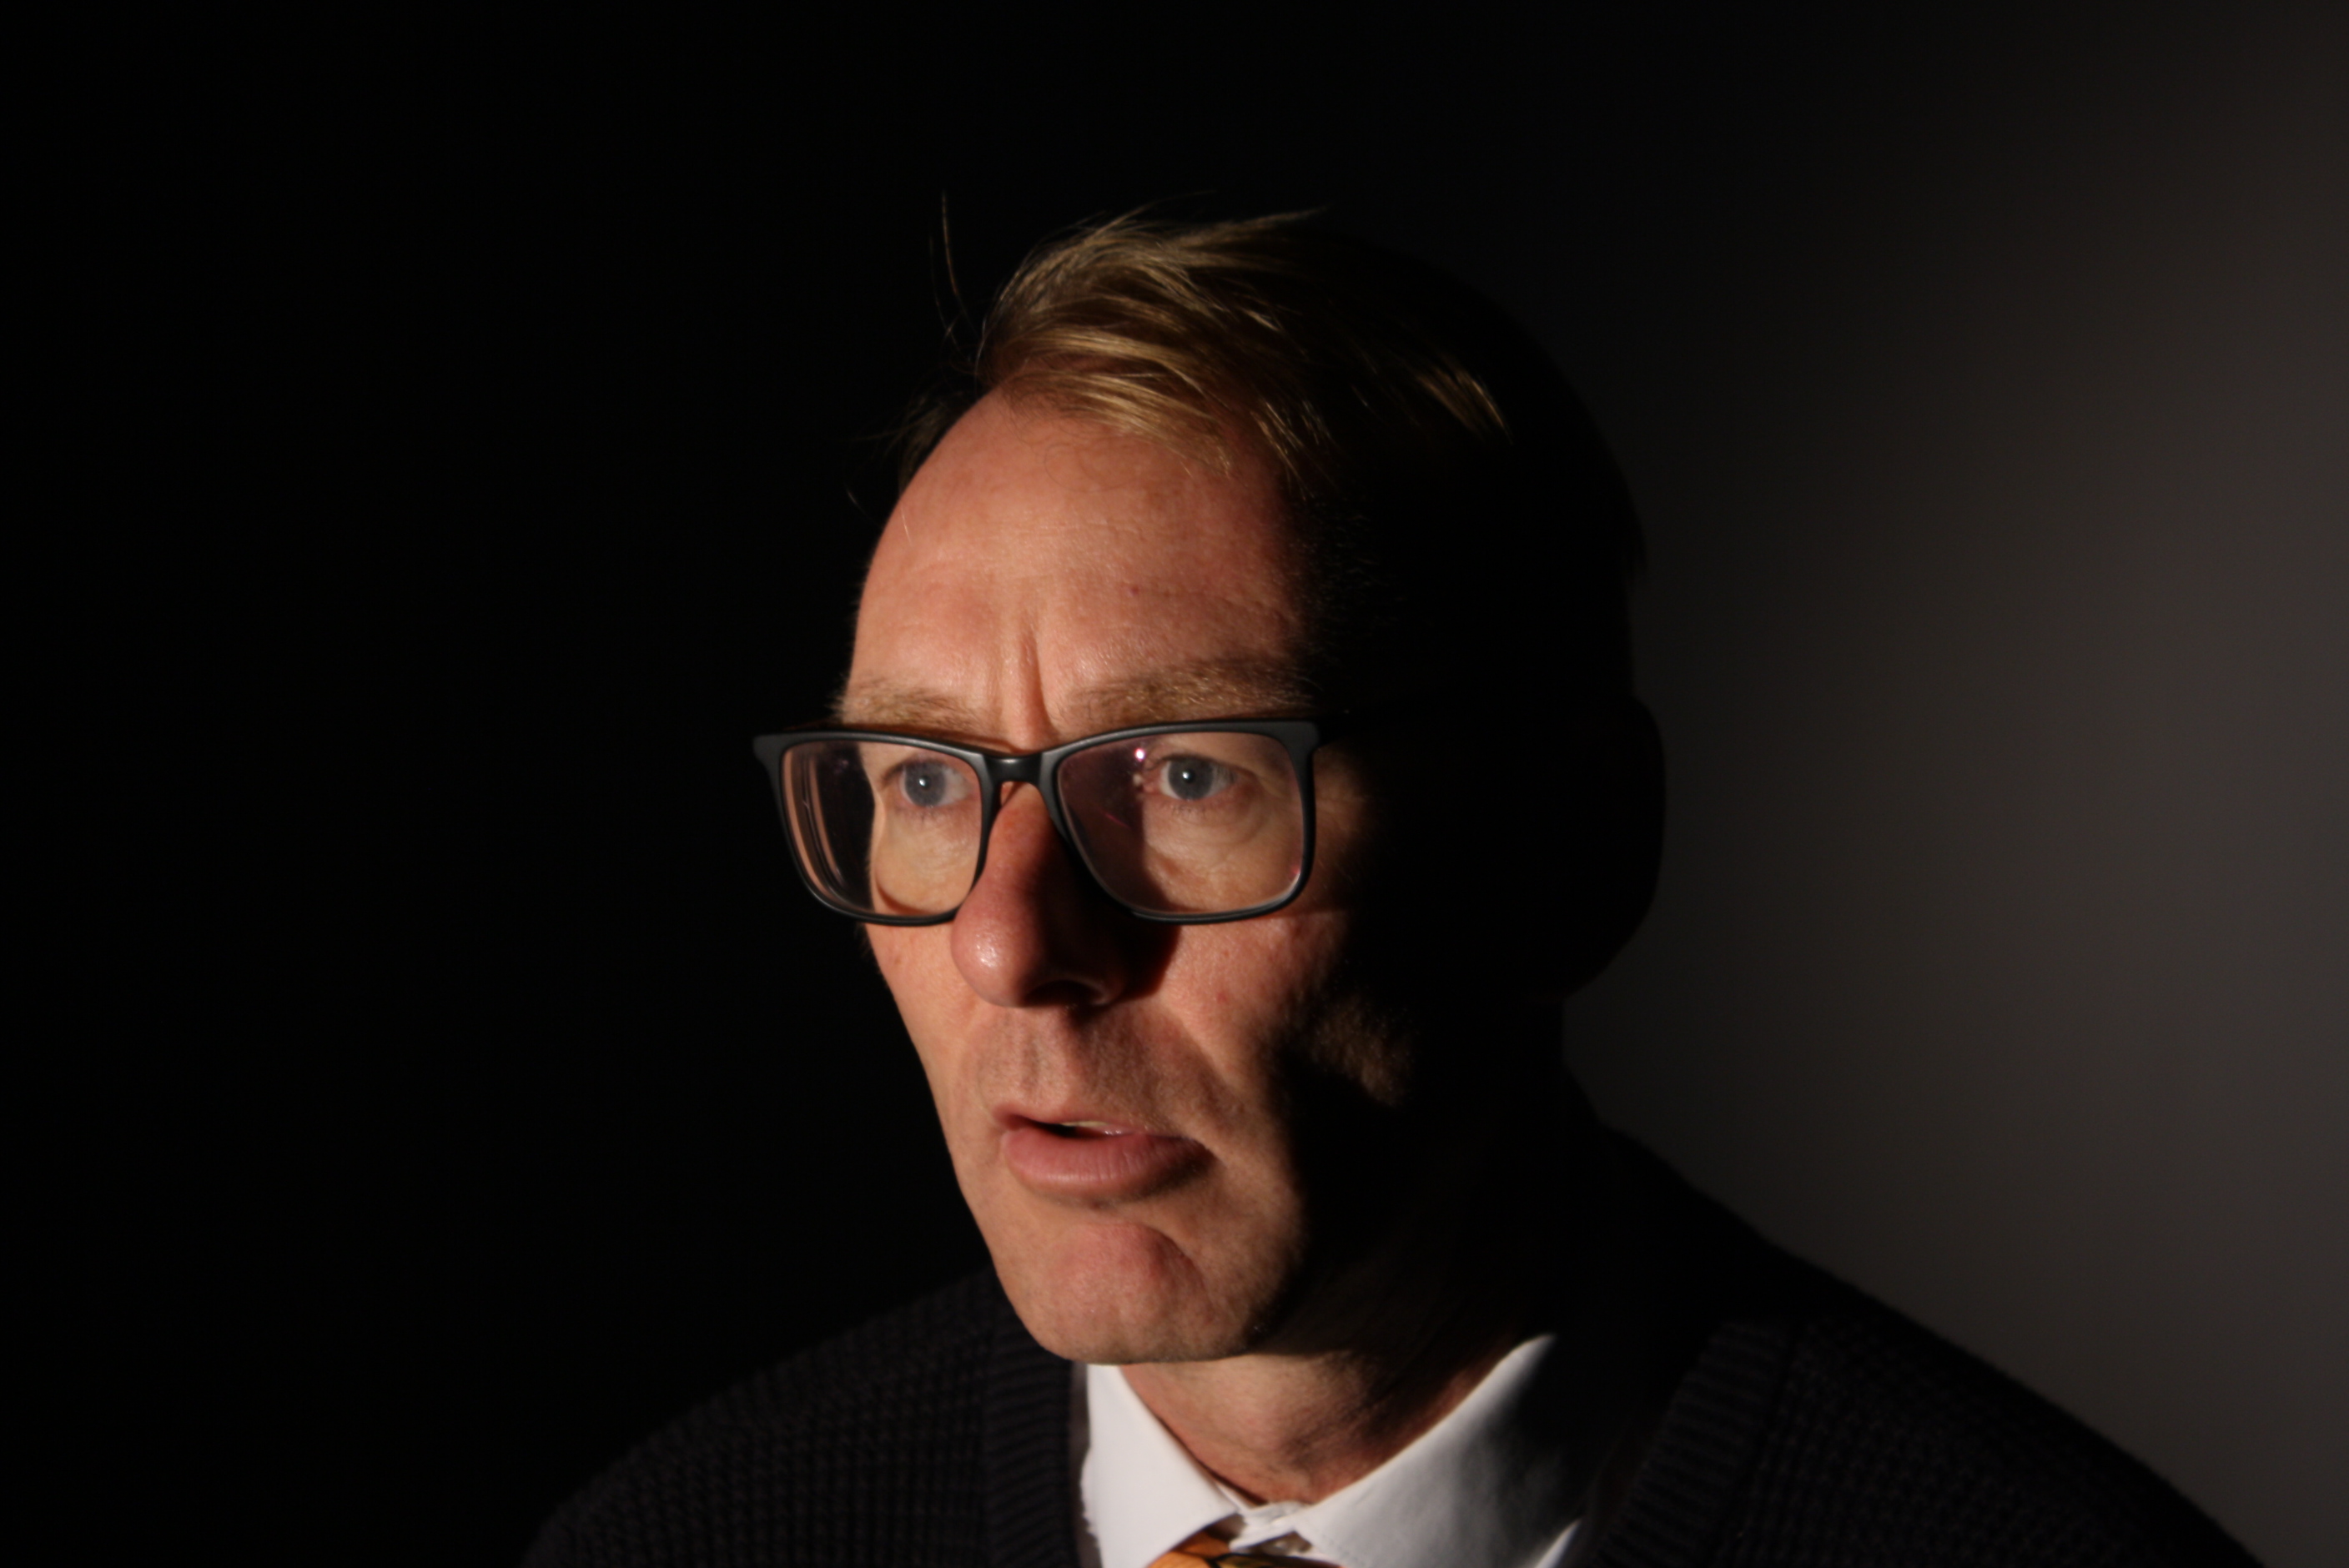
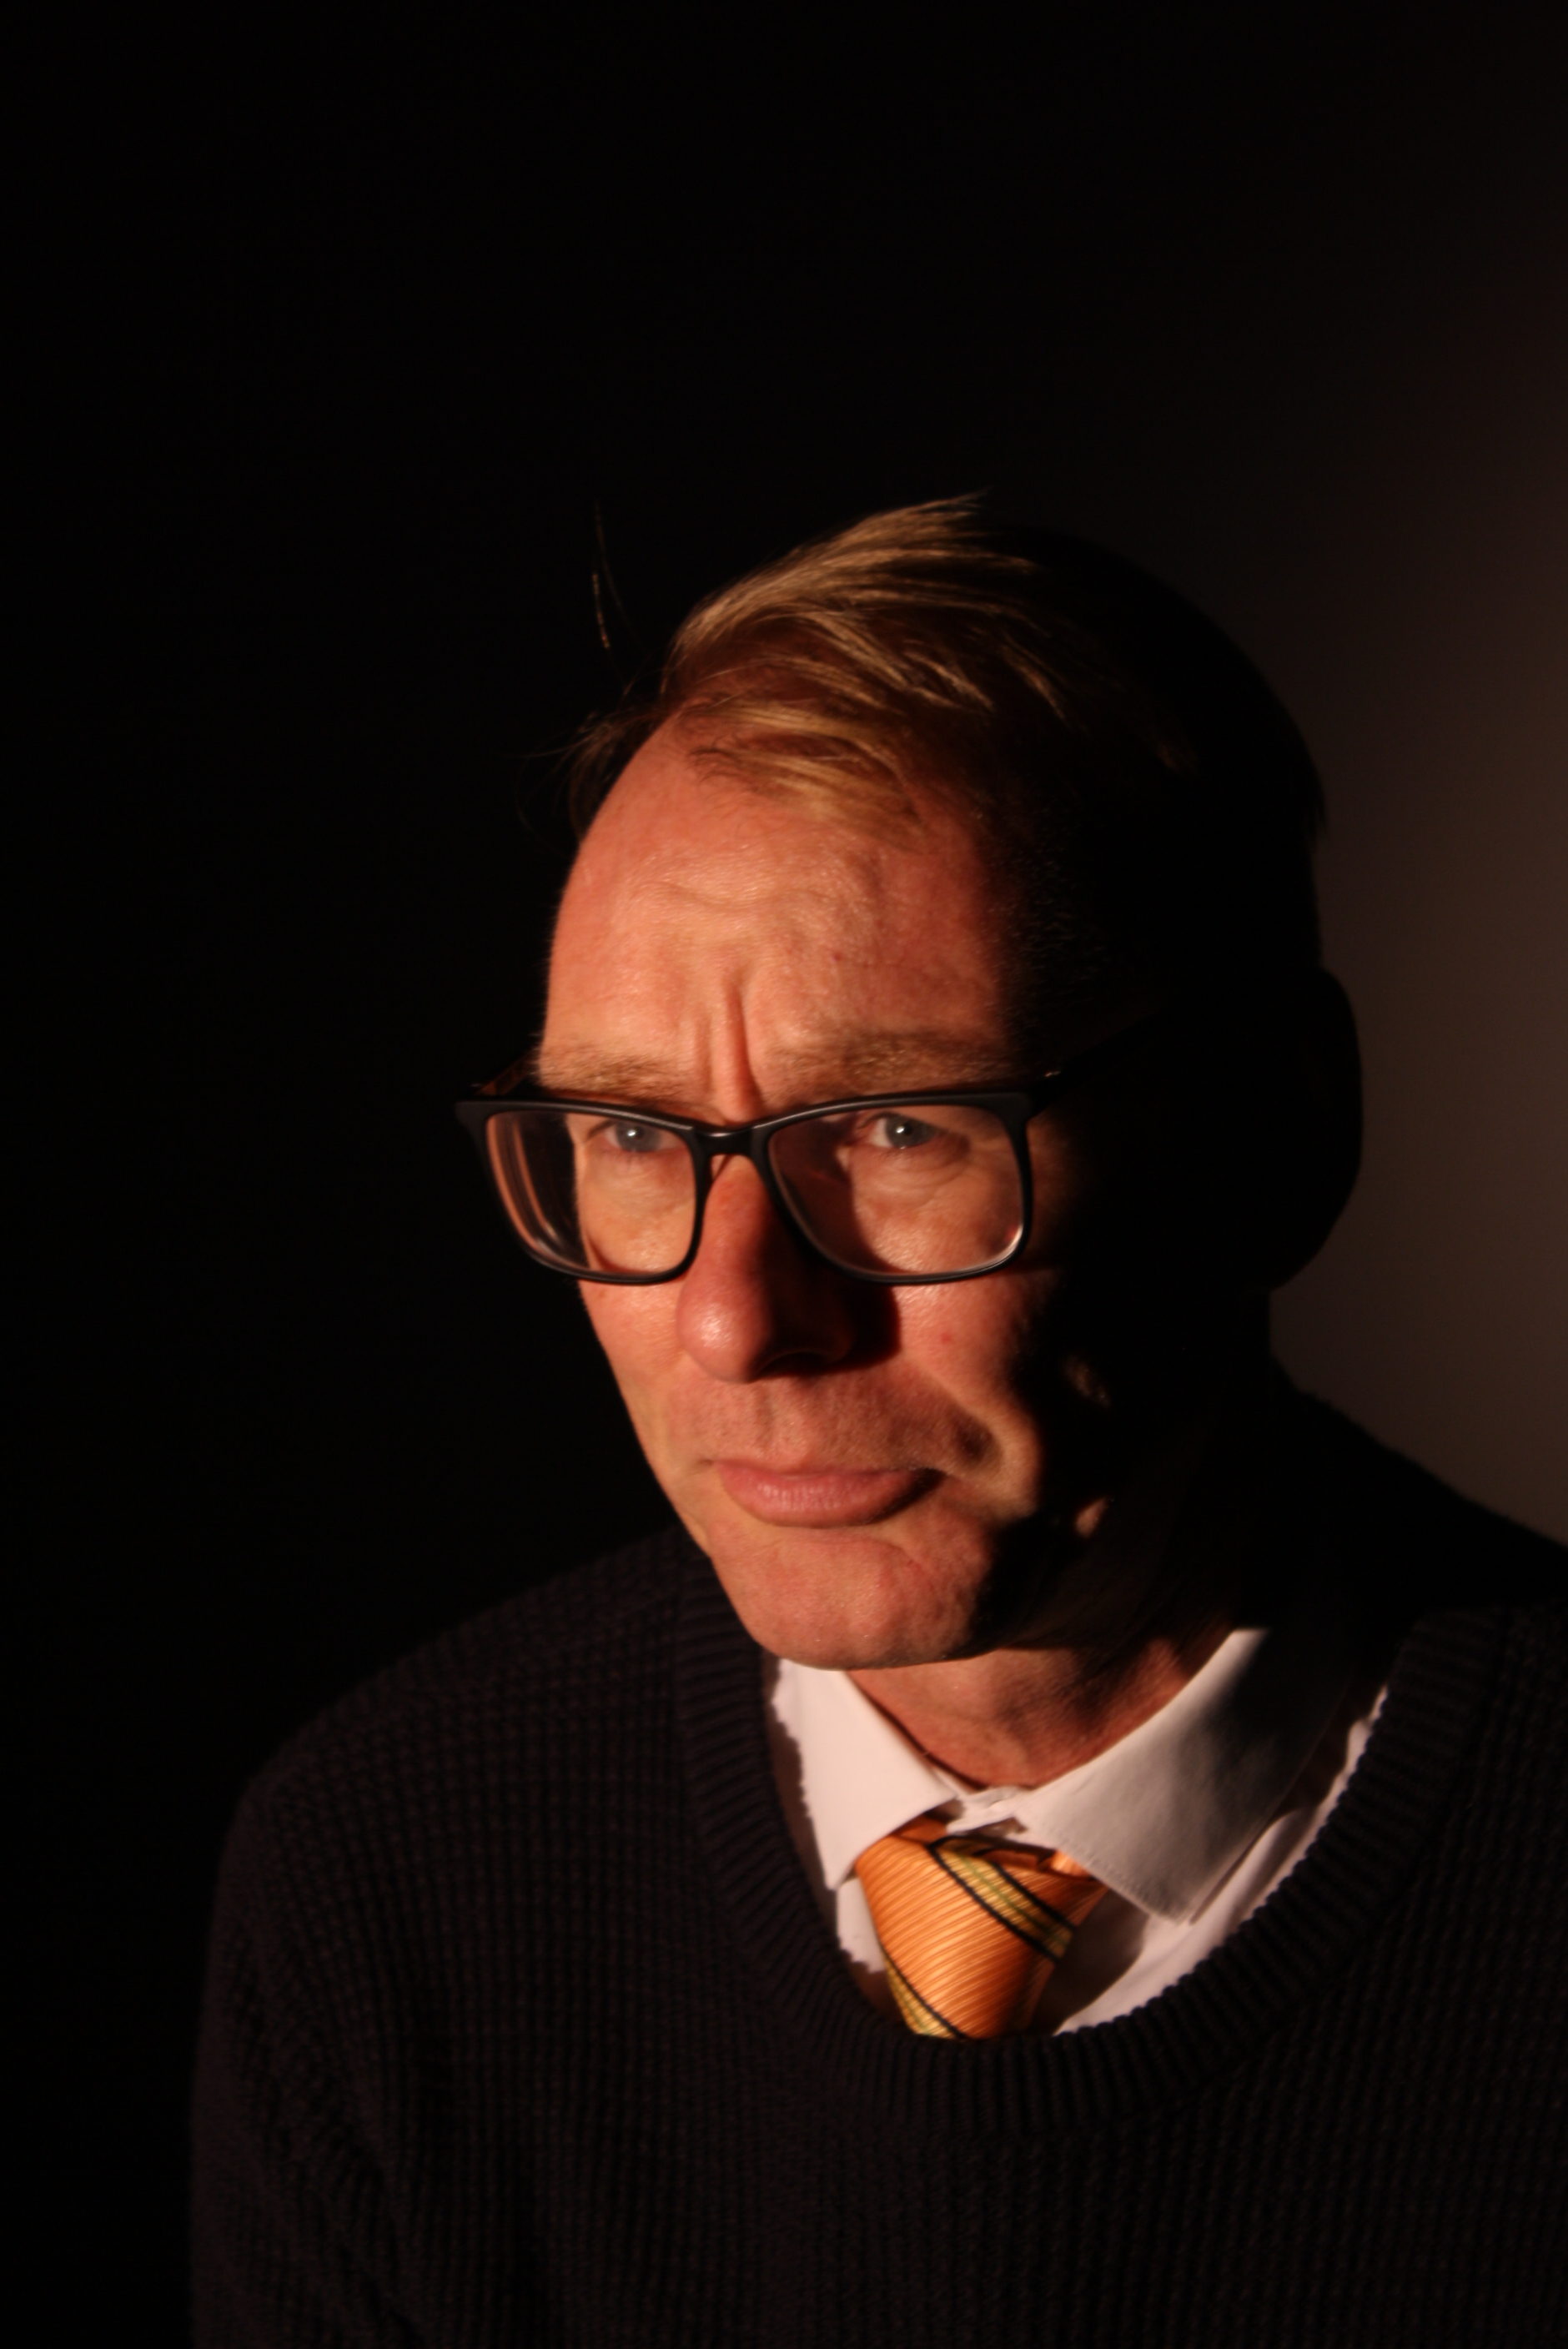
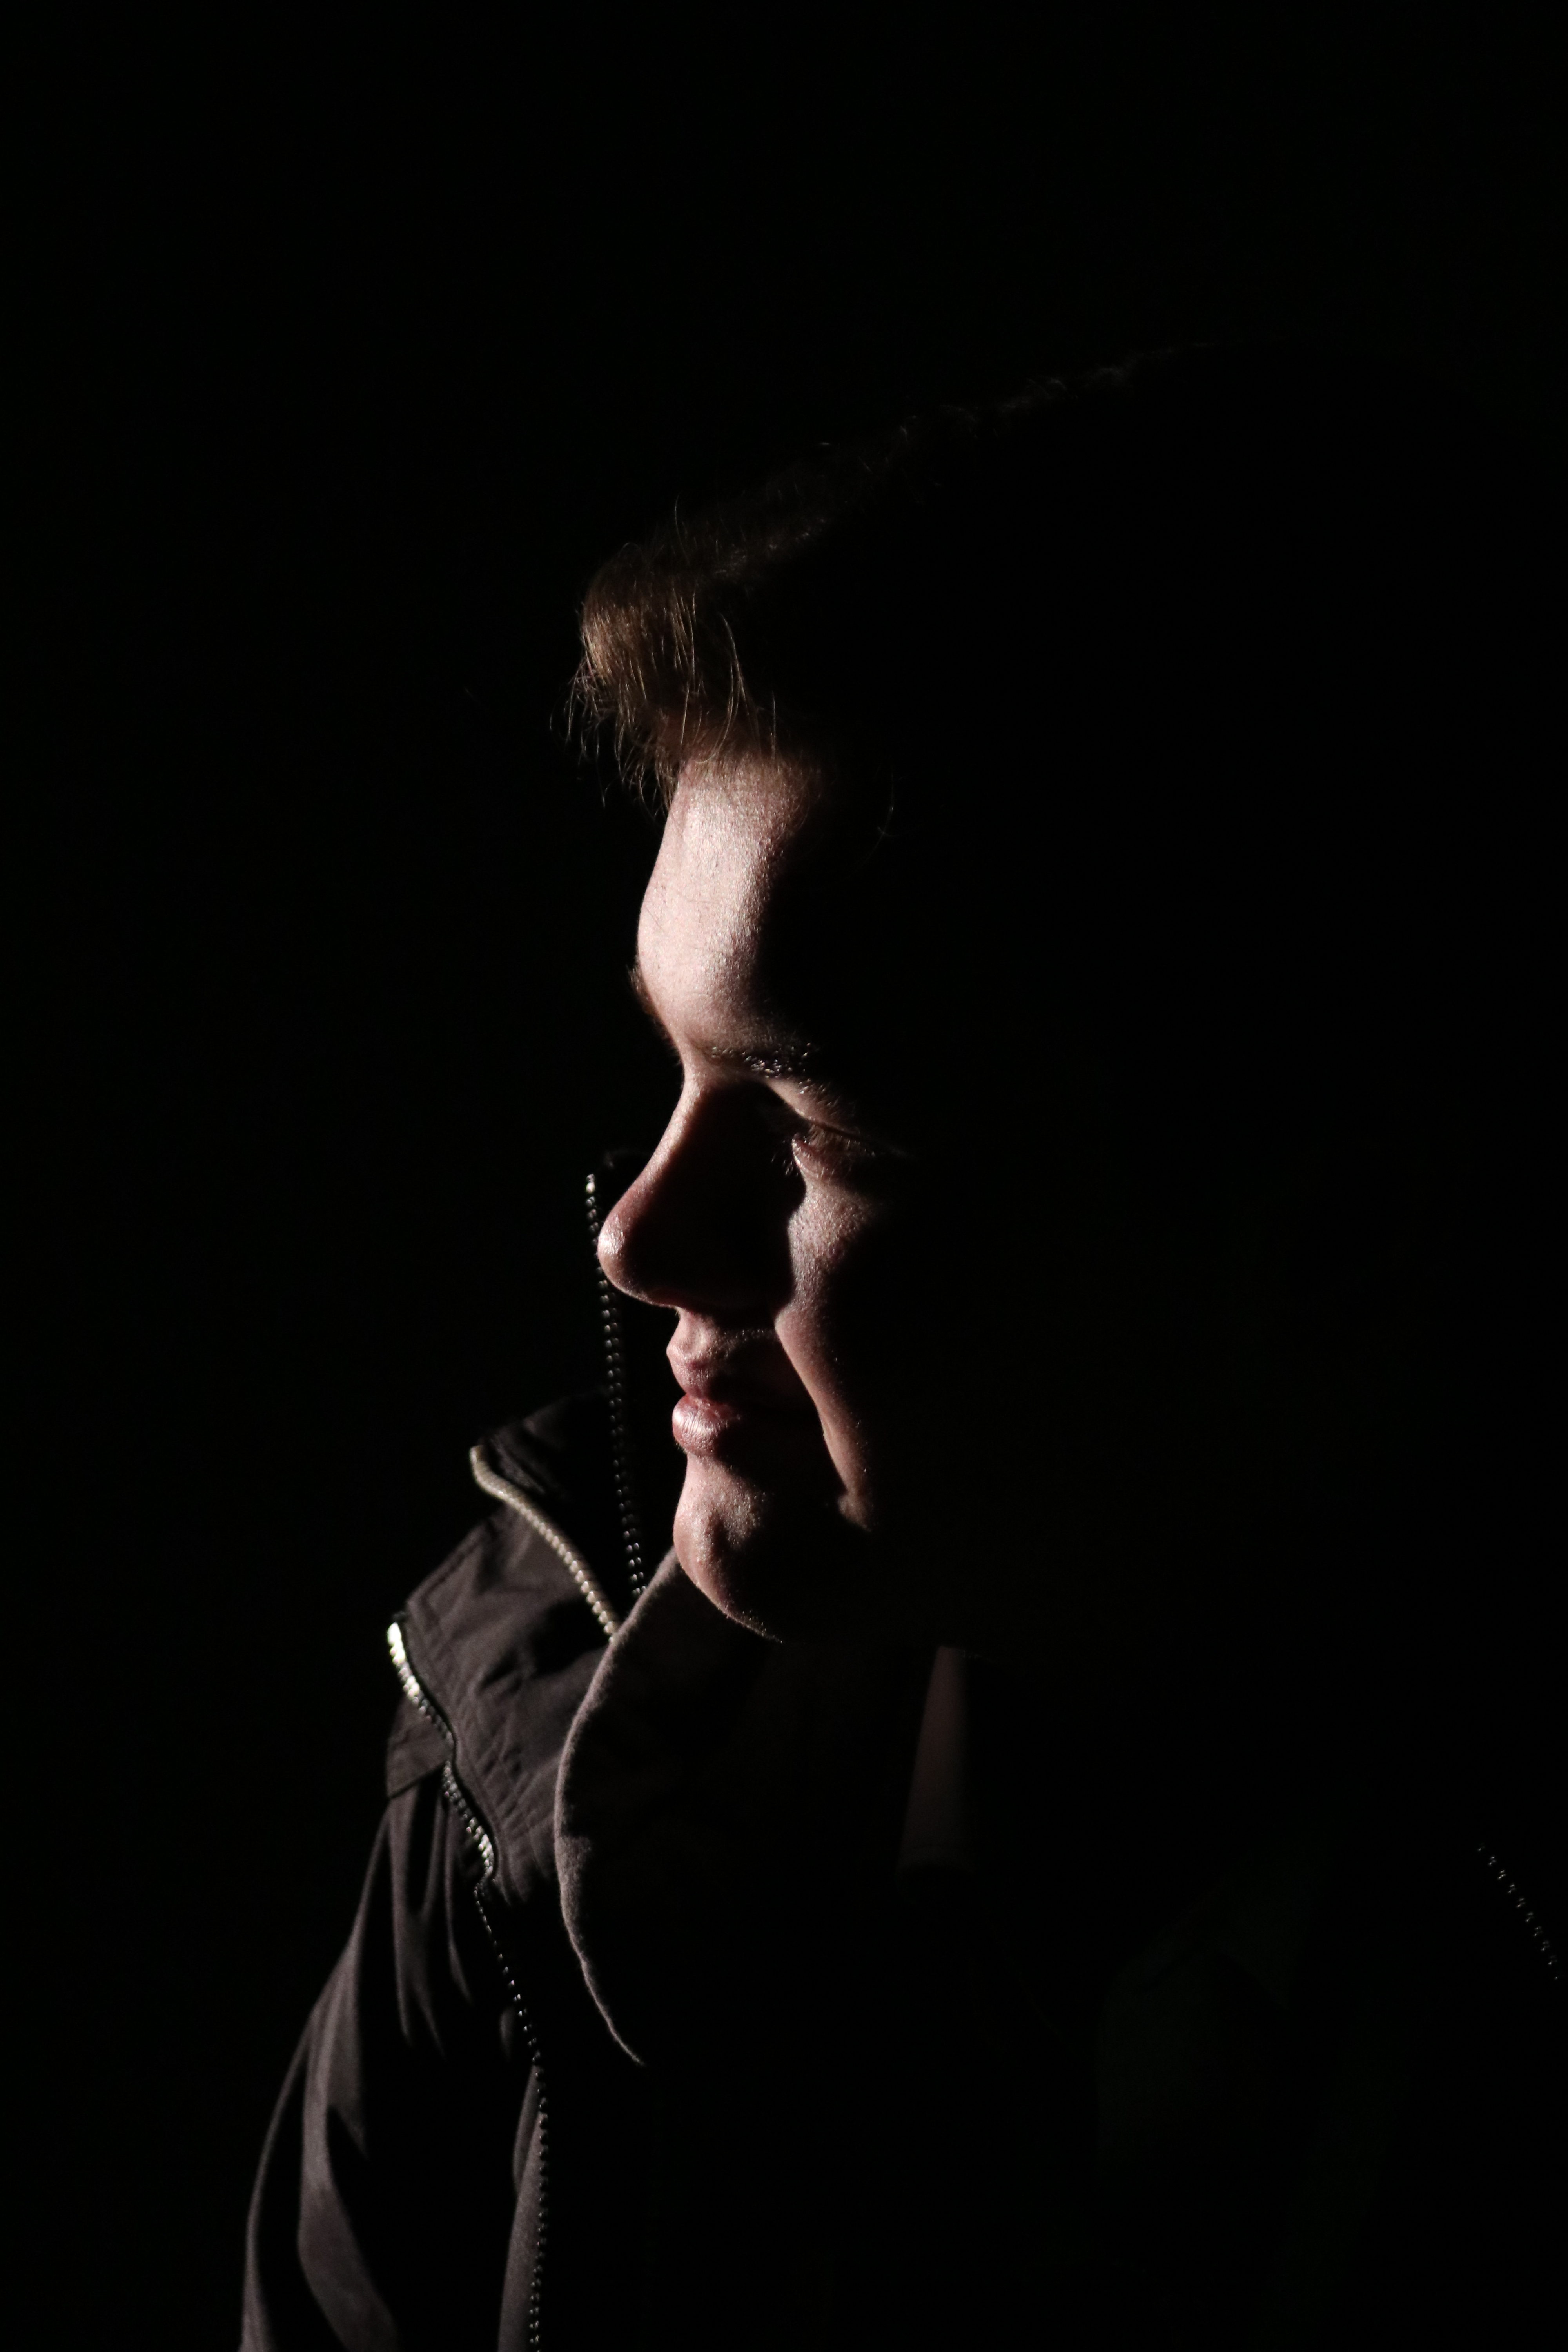
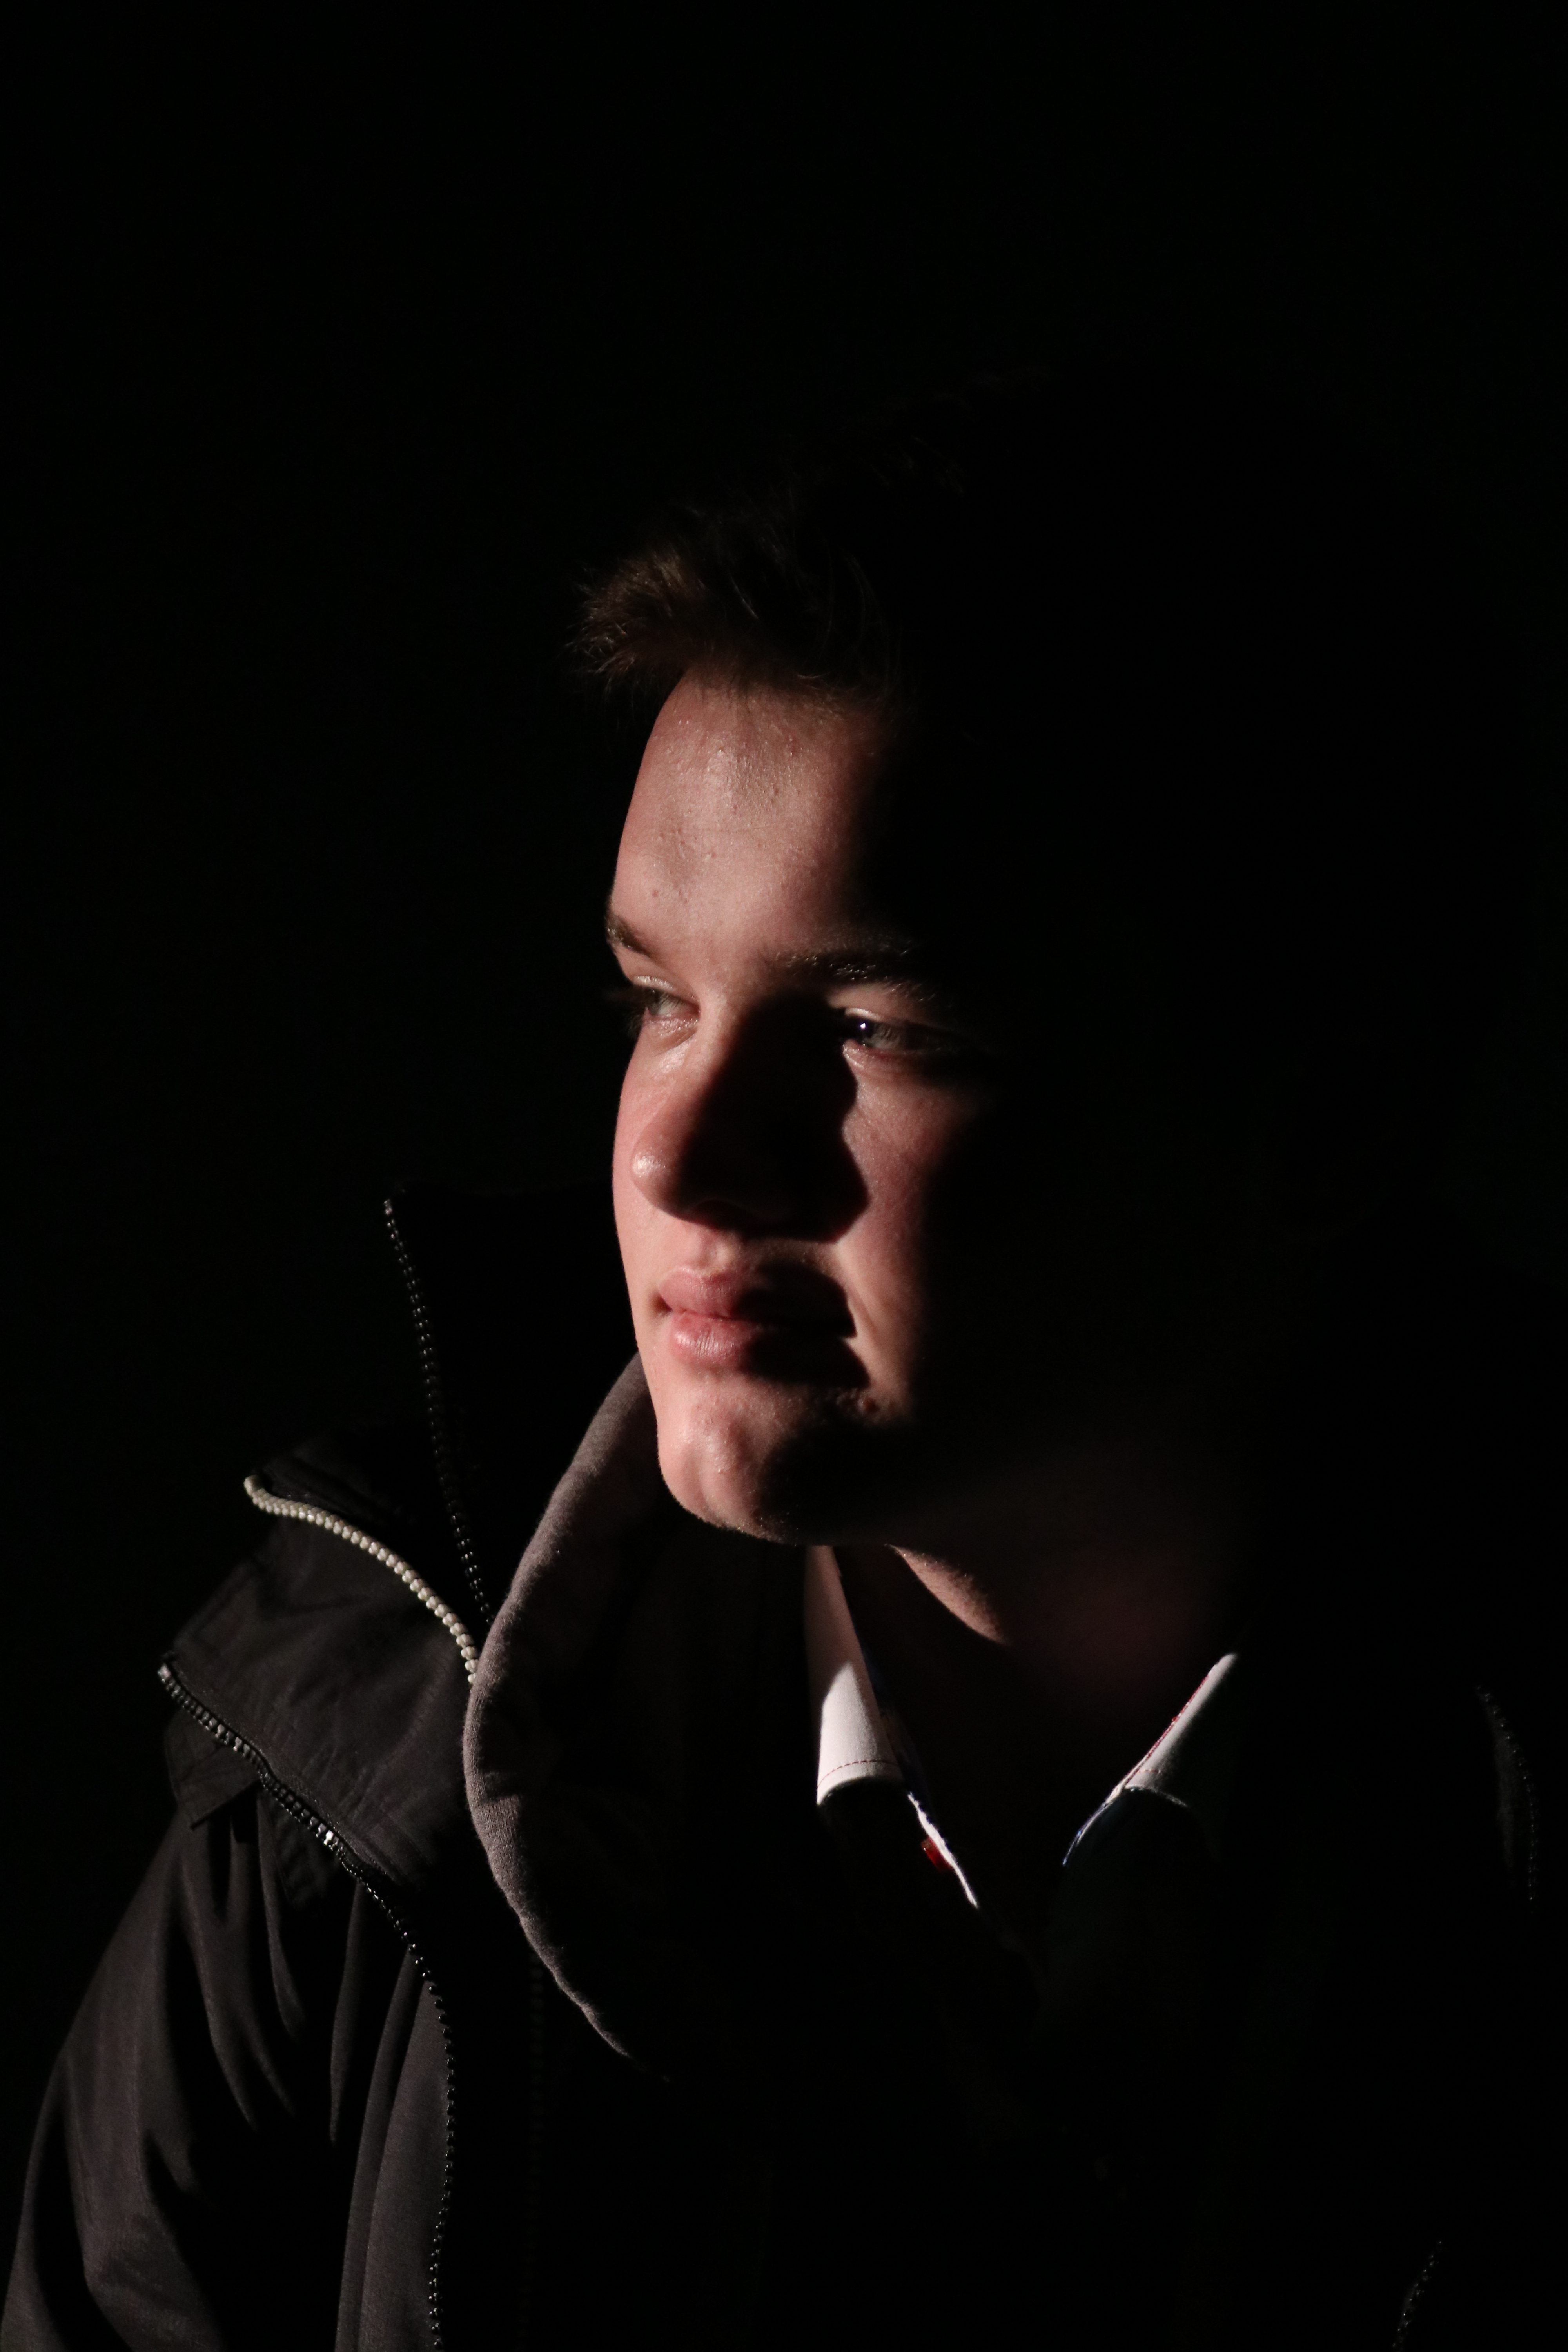
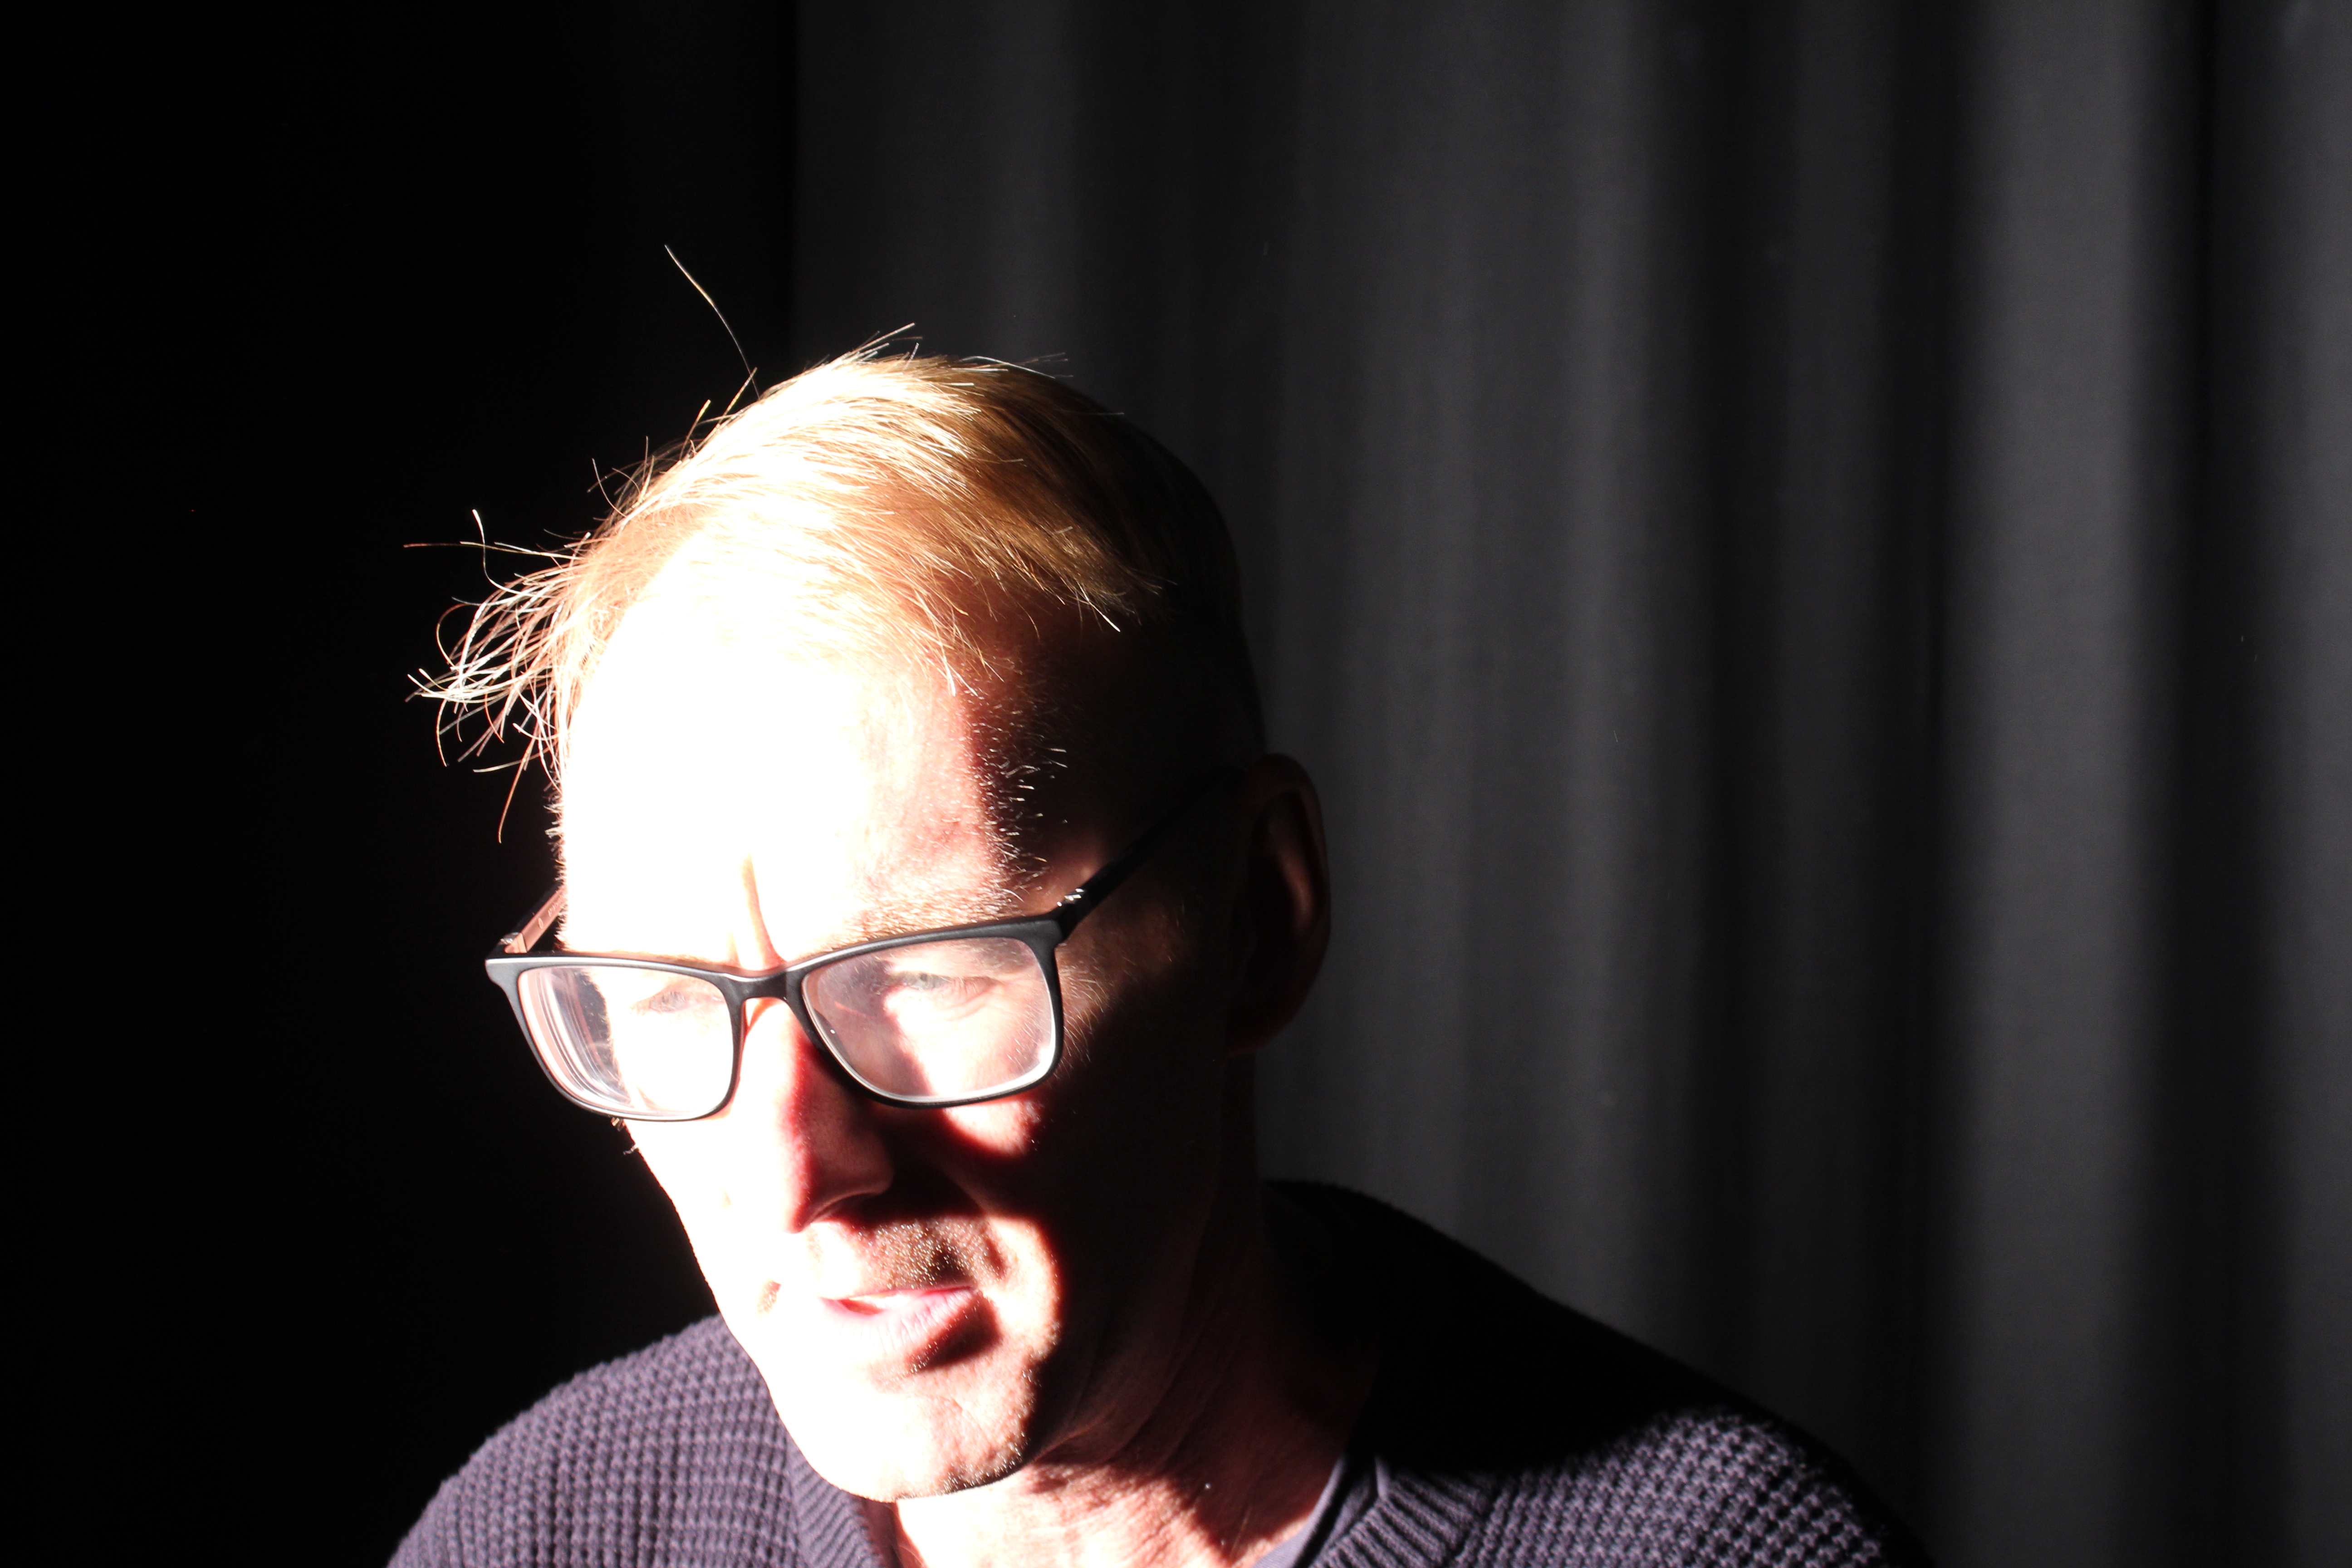
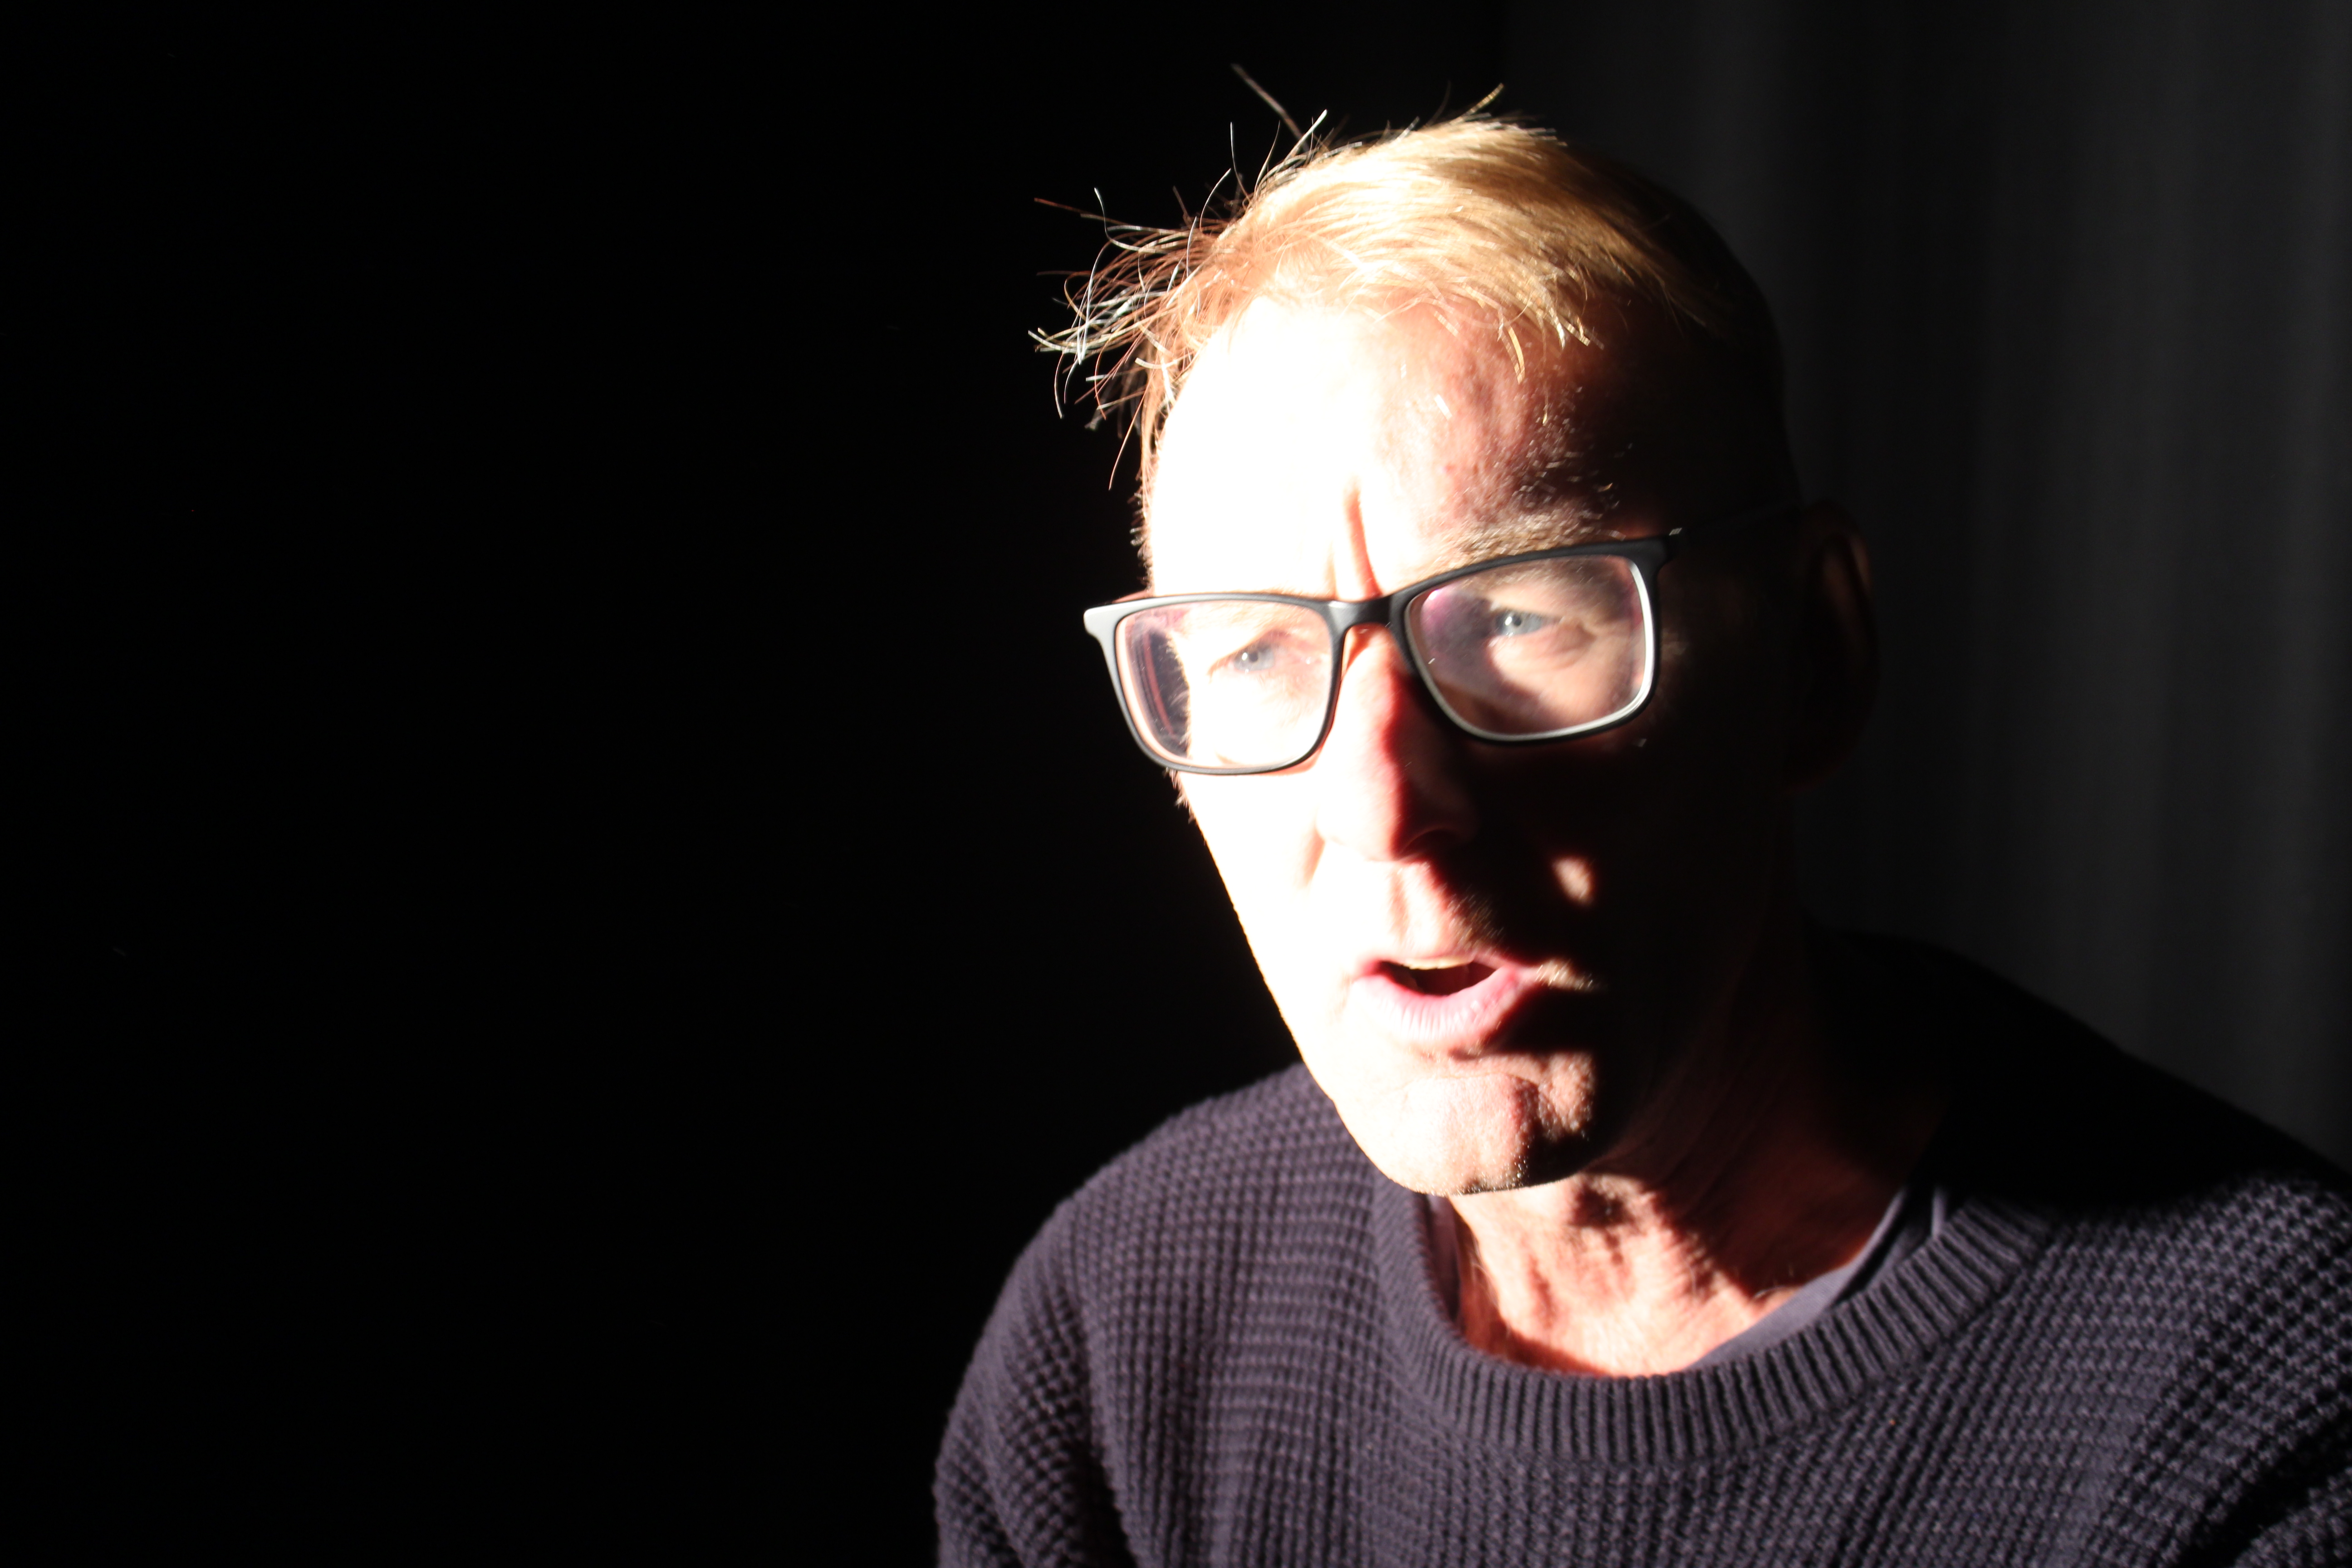
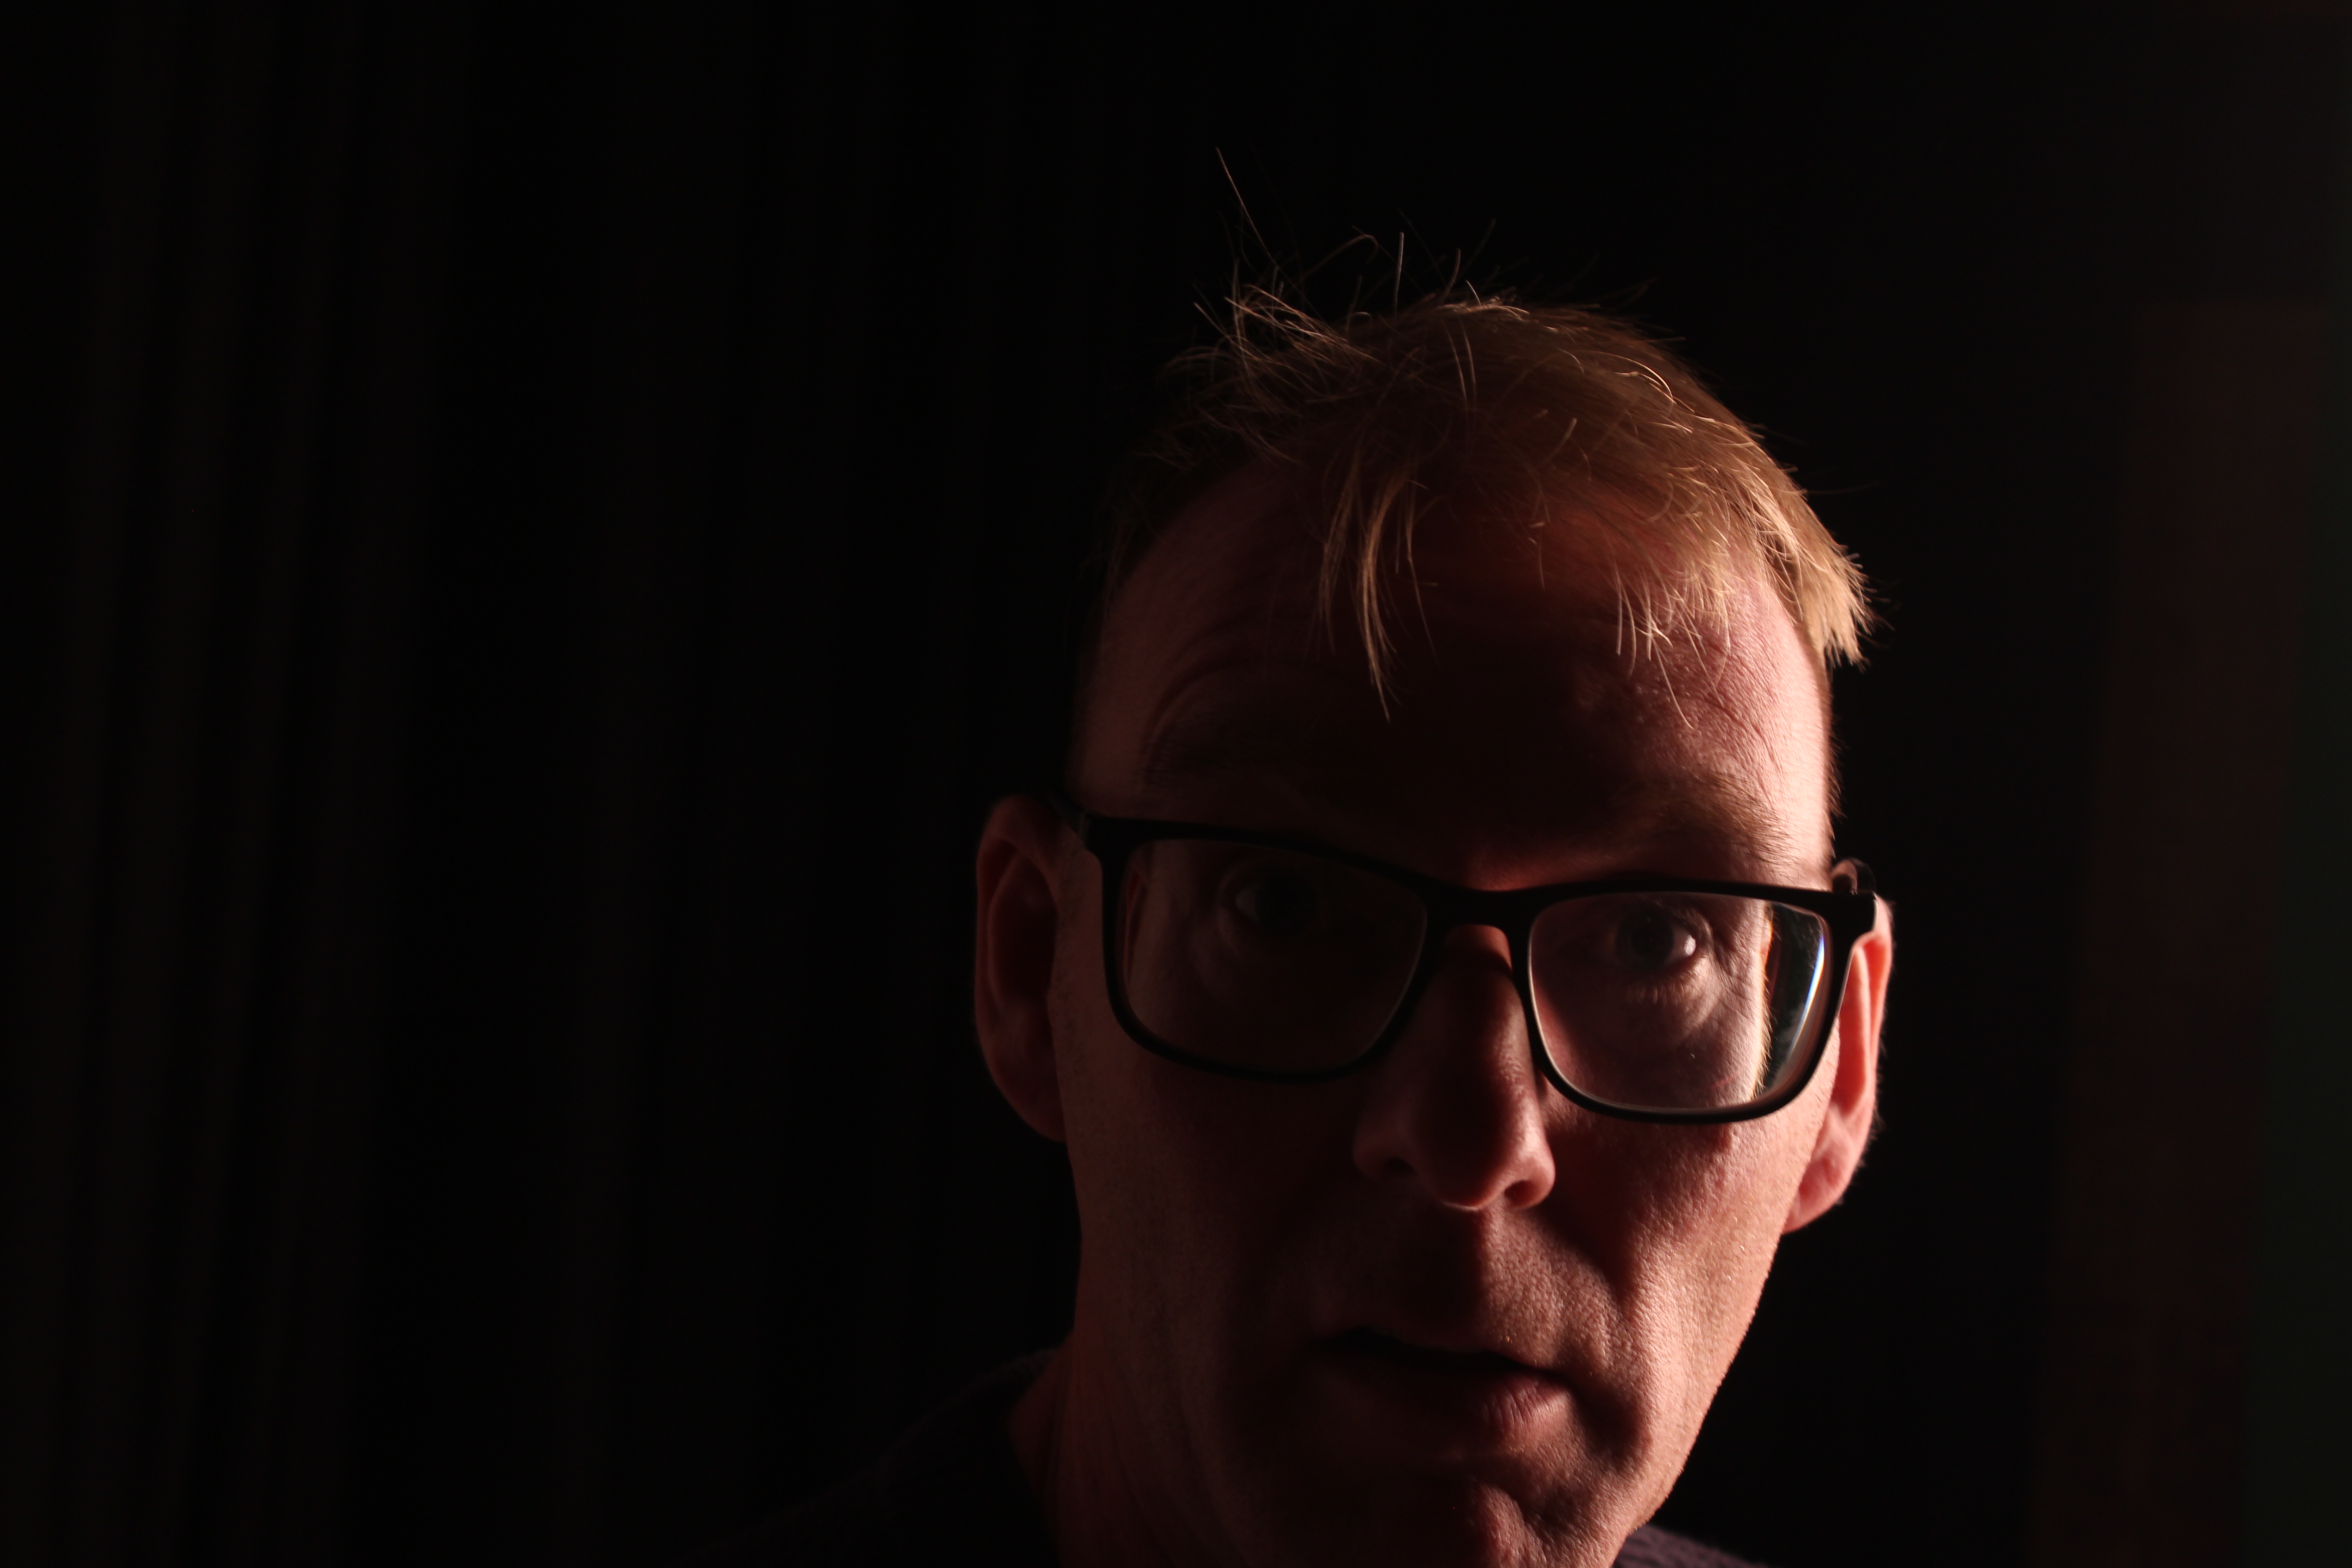
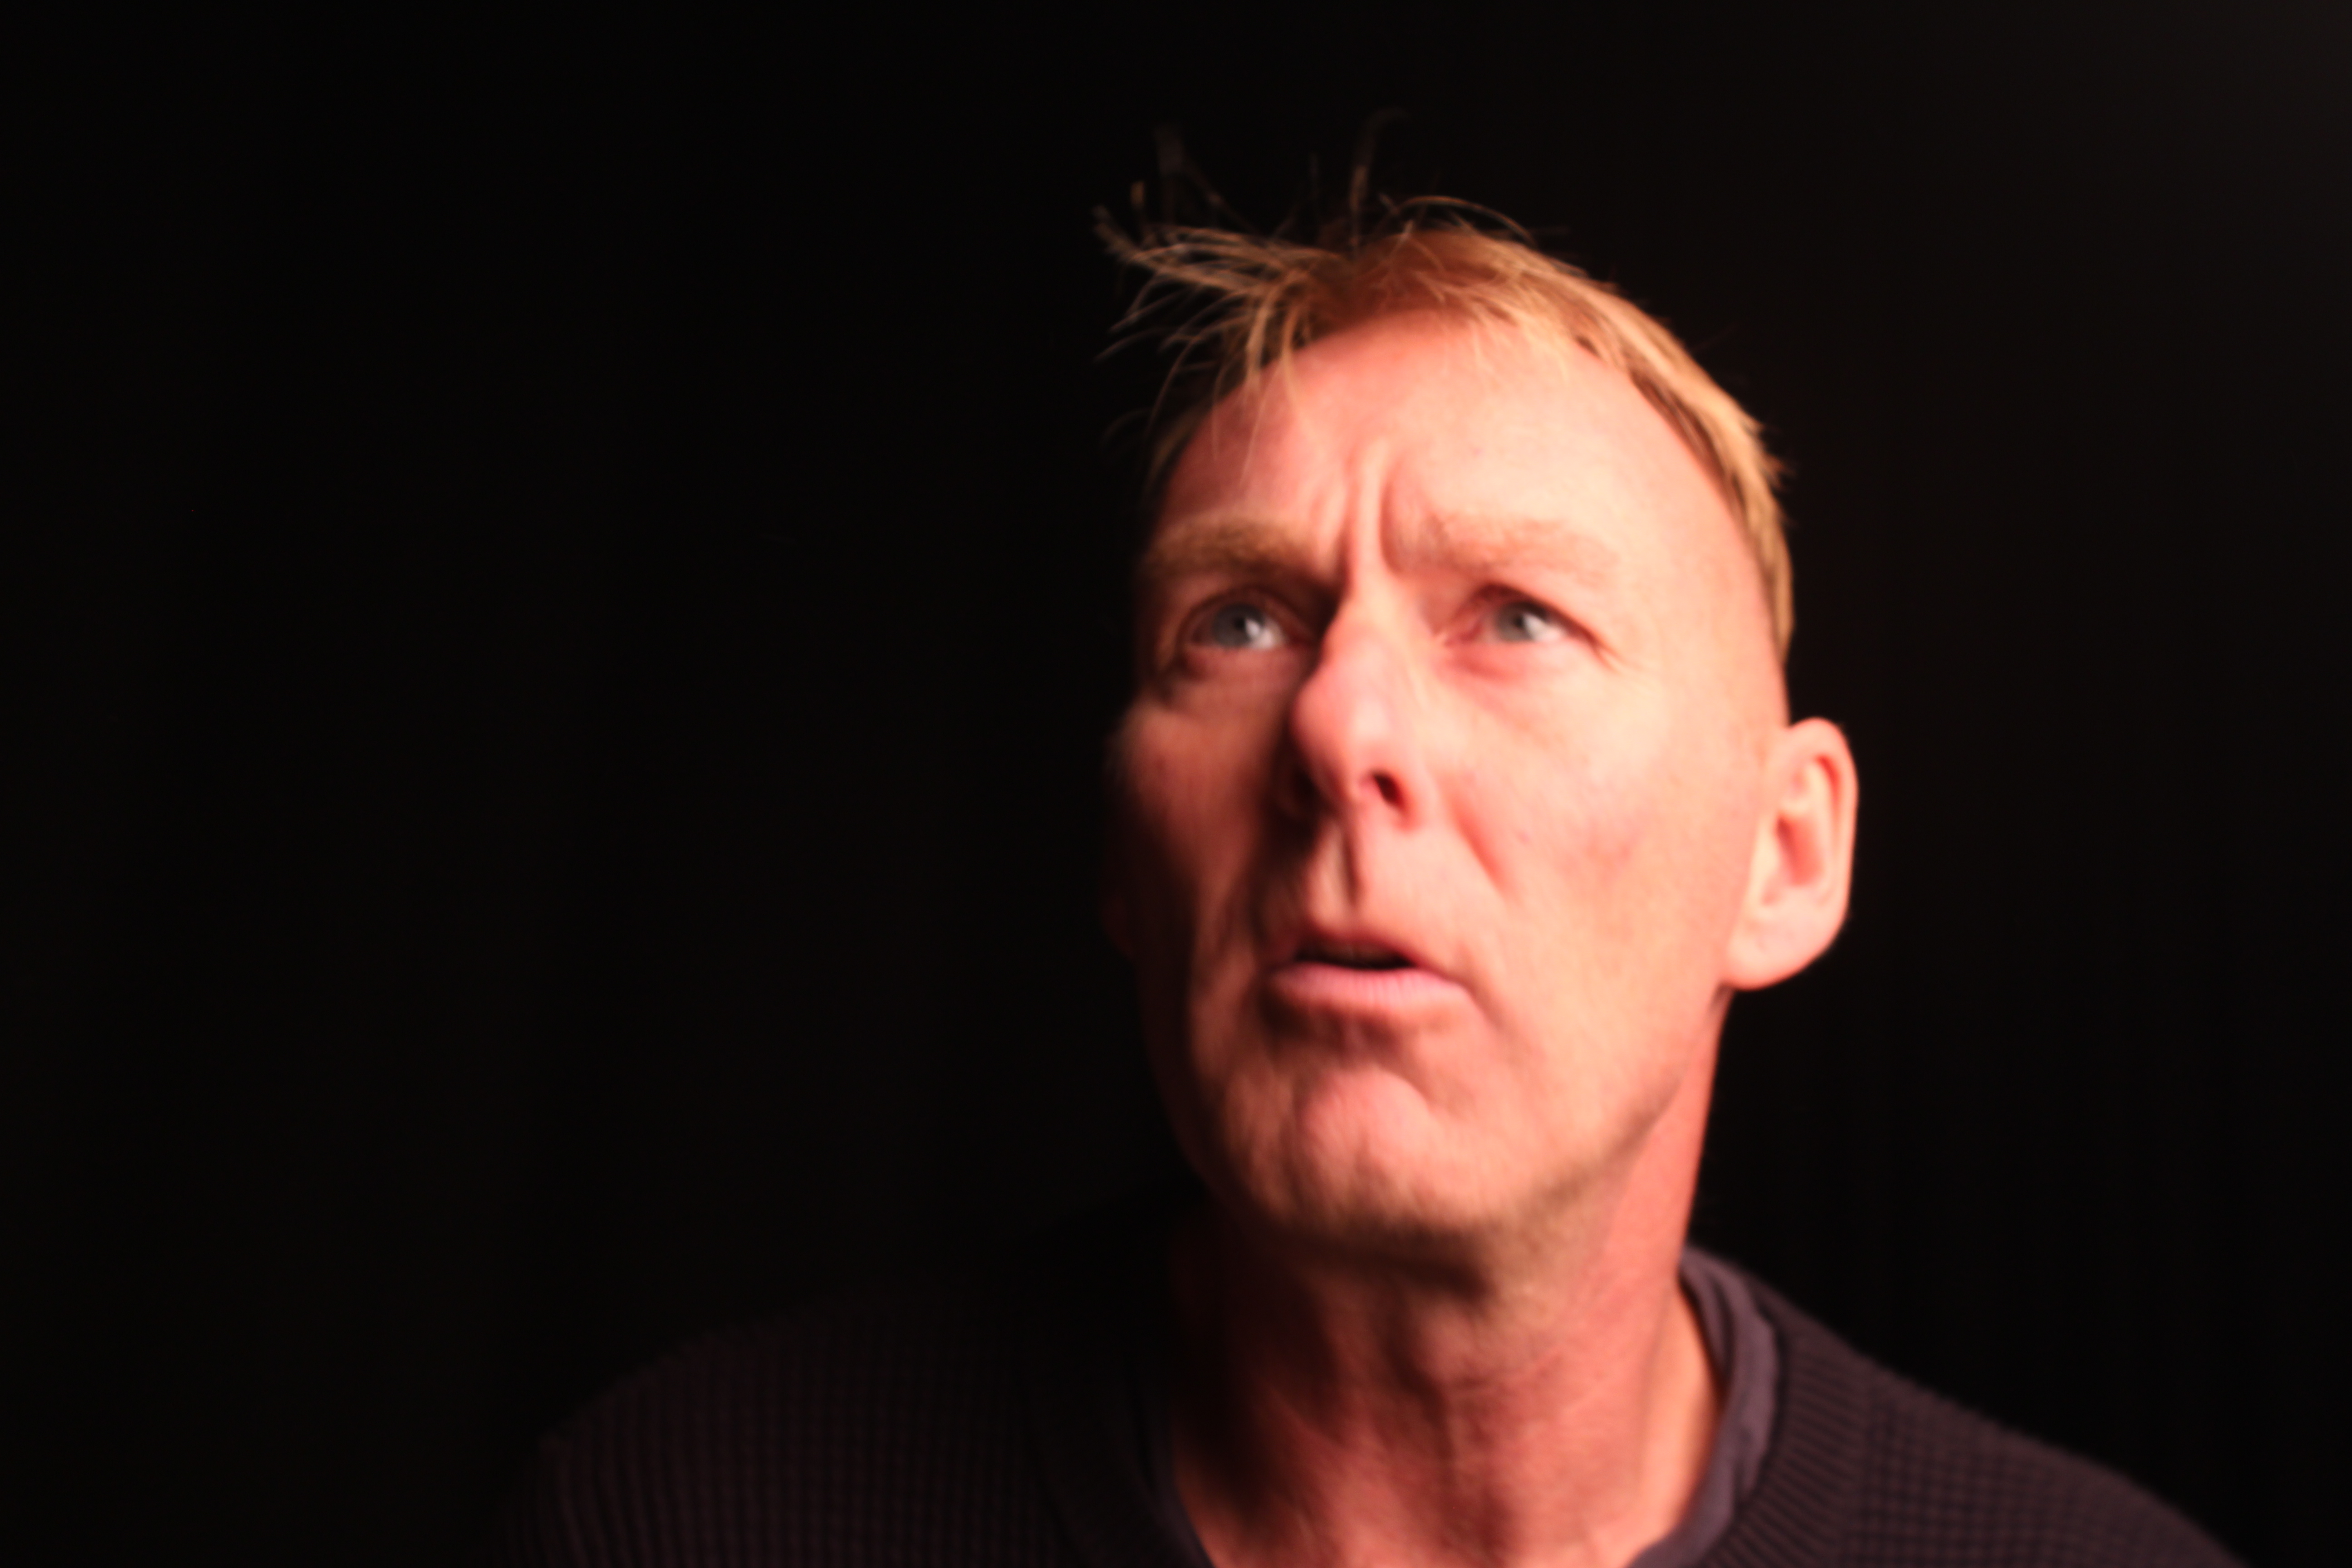
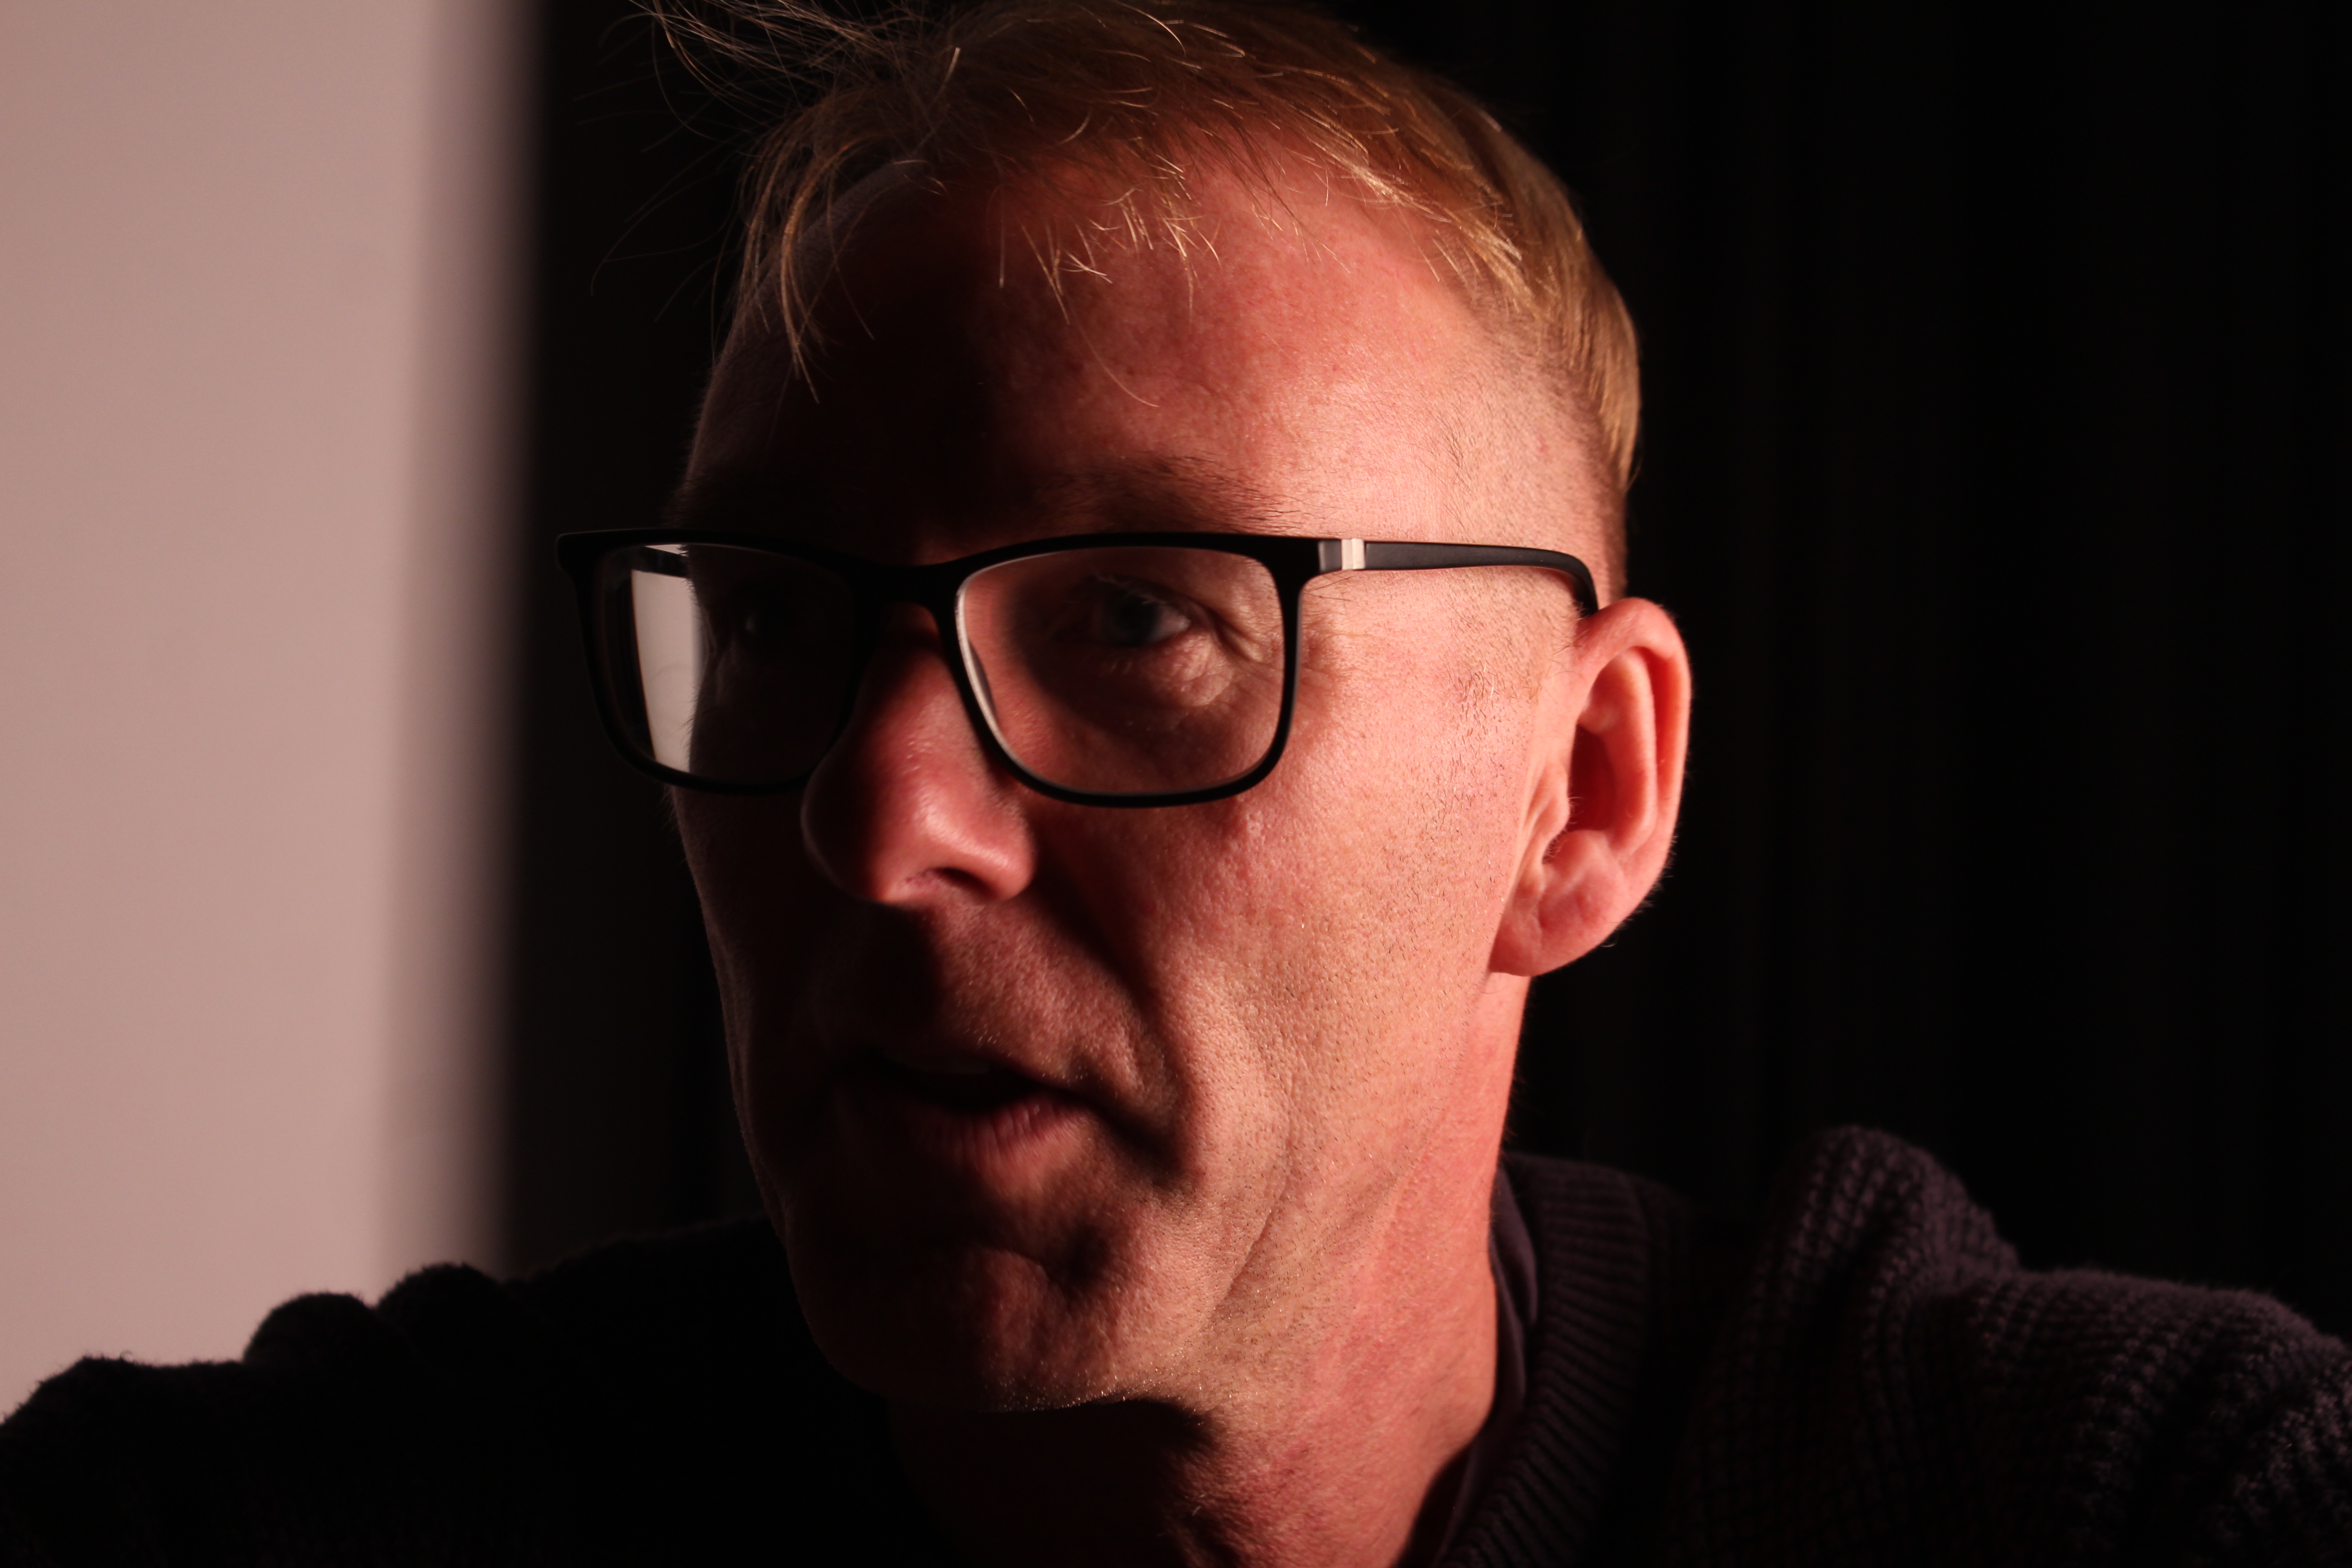
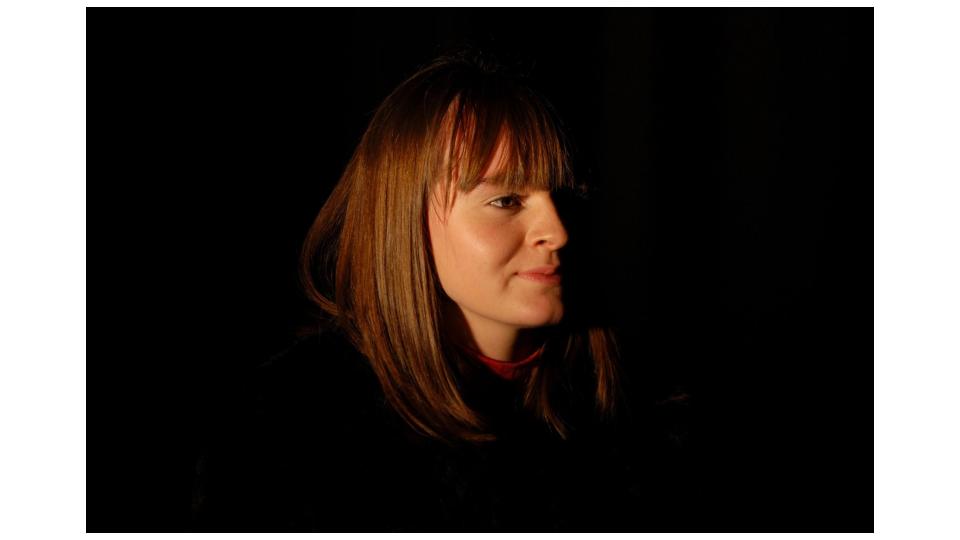
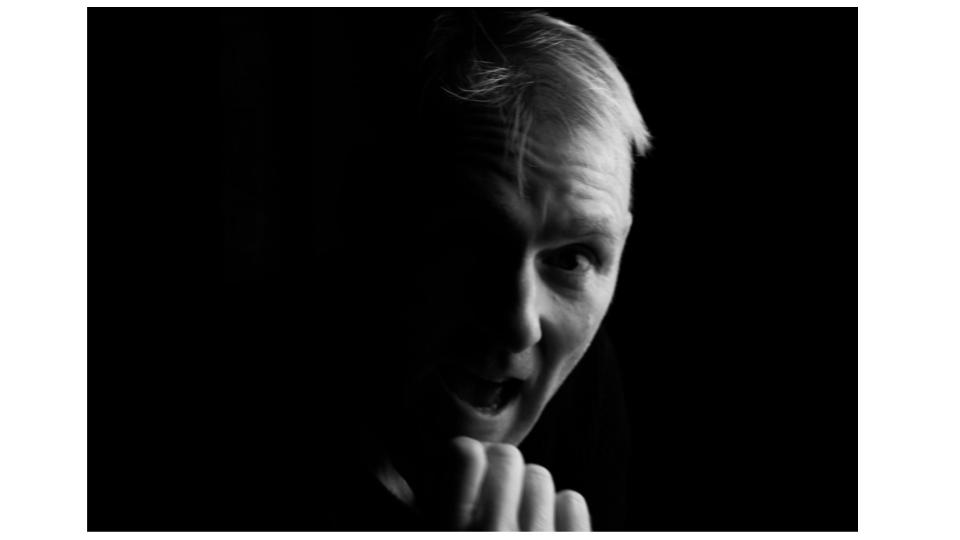
Studio Lighting; Low Key, Chiaroscuro
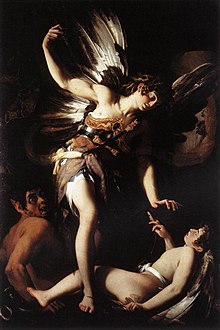
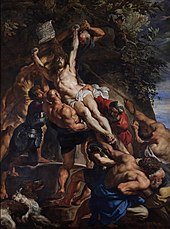
Chiaroscuro lighting is an artistic term dating back to the Renaissance that is noted by the contrast between dark and light. It is often times used in a bold manner so that it has a noticeable and dramatic effect on the entire composition of a work
Examples of Chiaroscuro lighting

Giovanni Baglione. Sacred and Profane Love. 1602–1603, showing dramatic compositional chiaroscuro

Peter Paul Rubens’s The Elevation of the Cross (1610–1611) is modelled with dynamic chiaroscuro.
Chiaroscuro Shoot

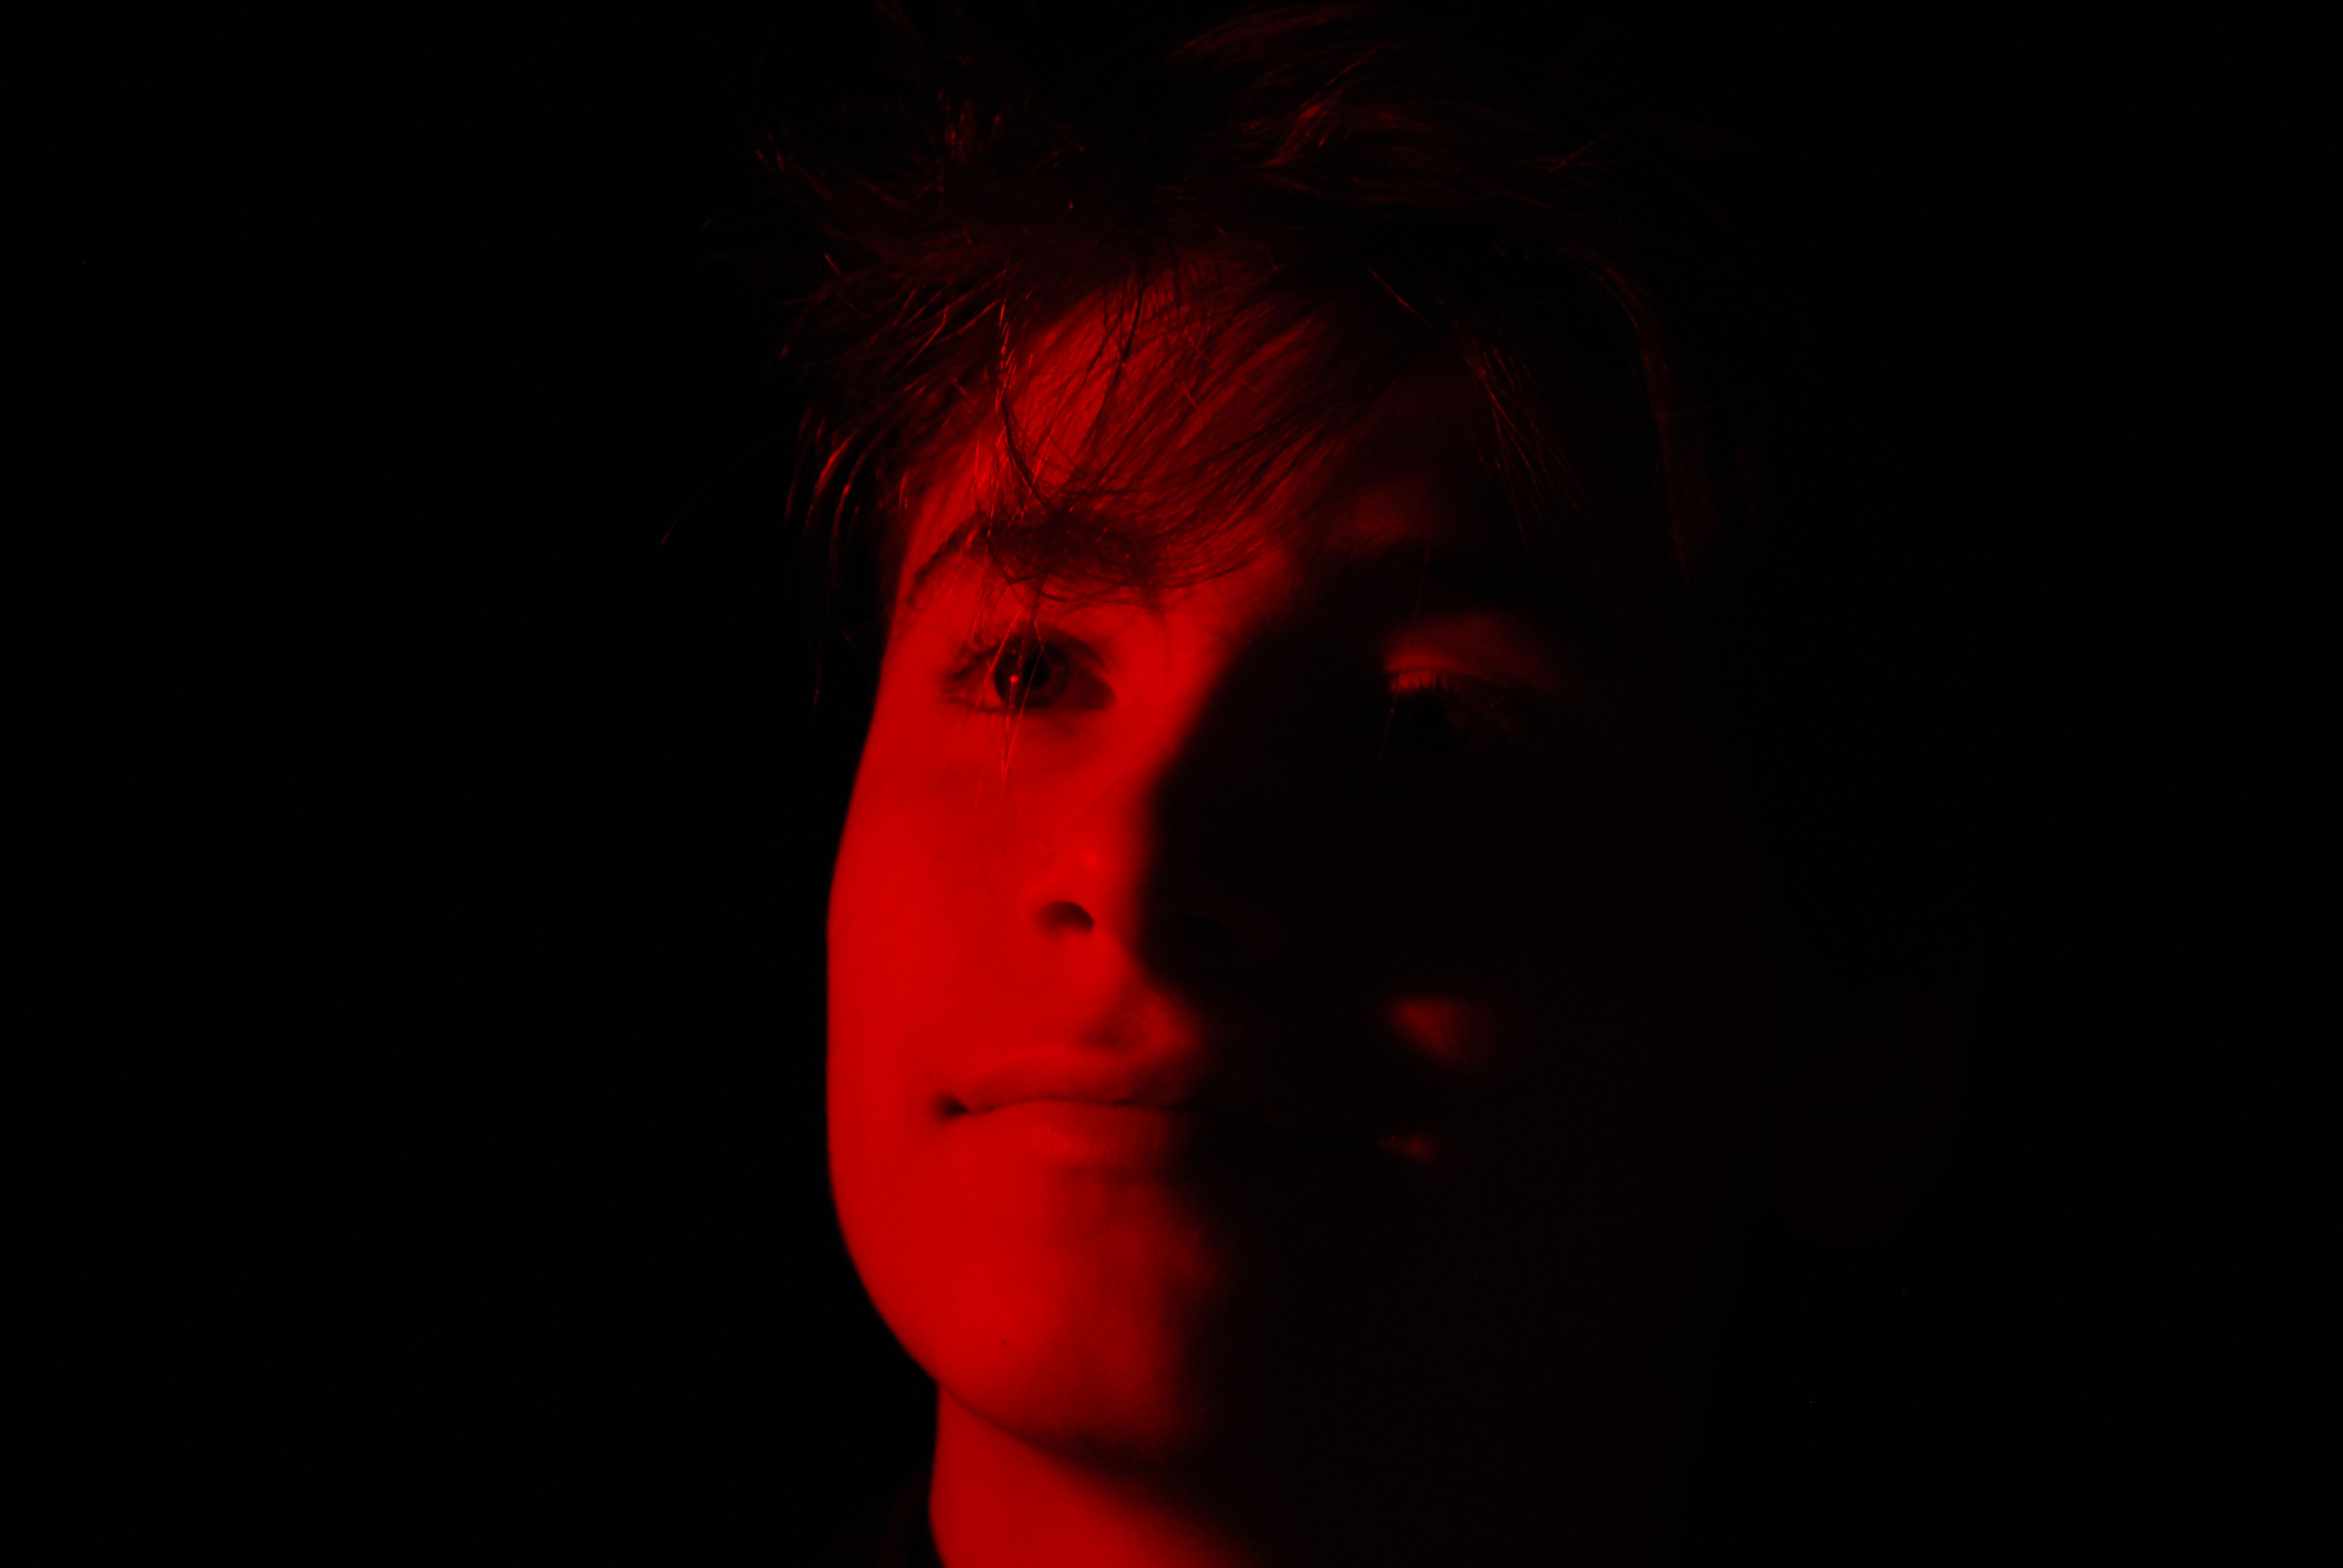
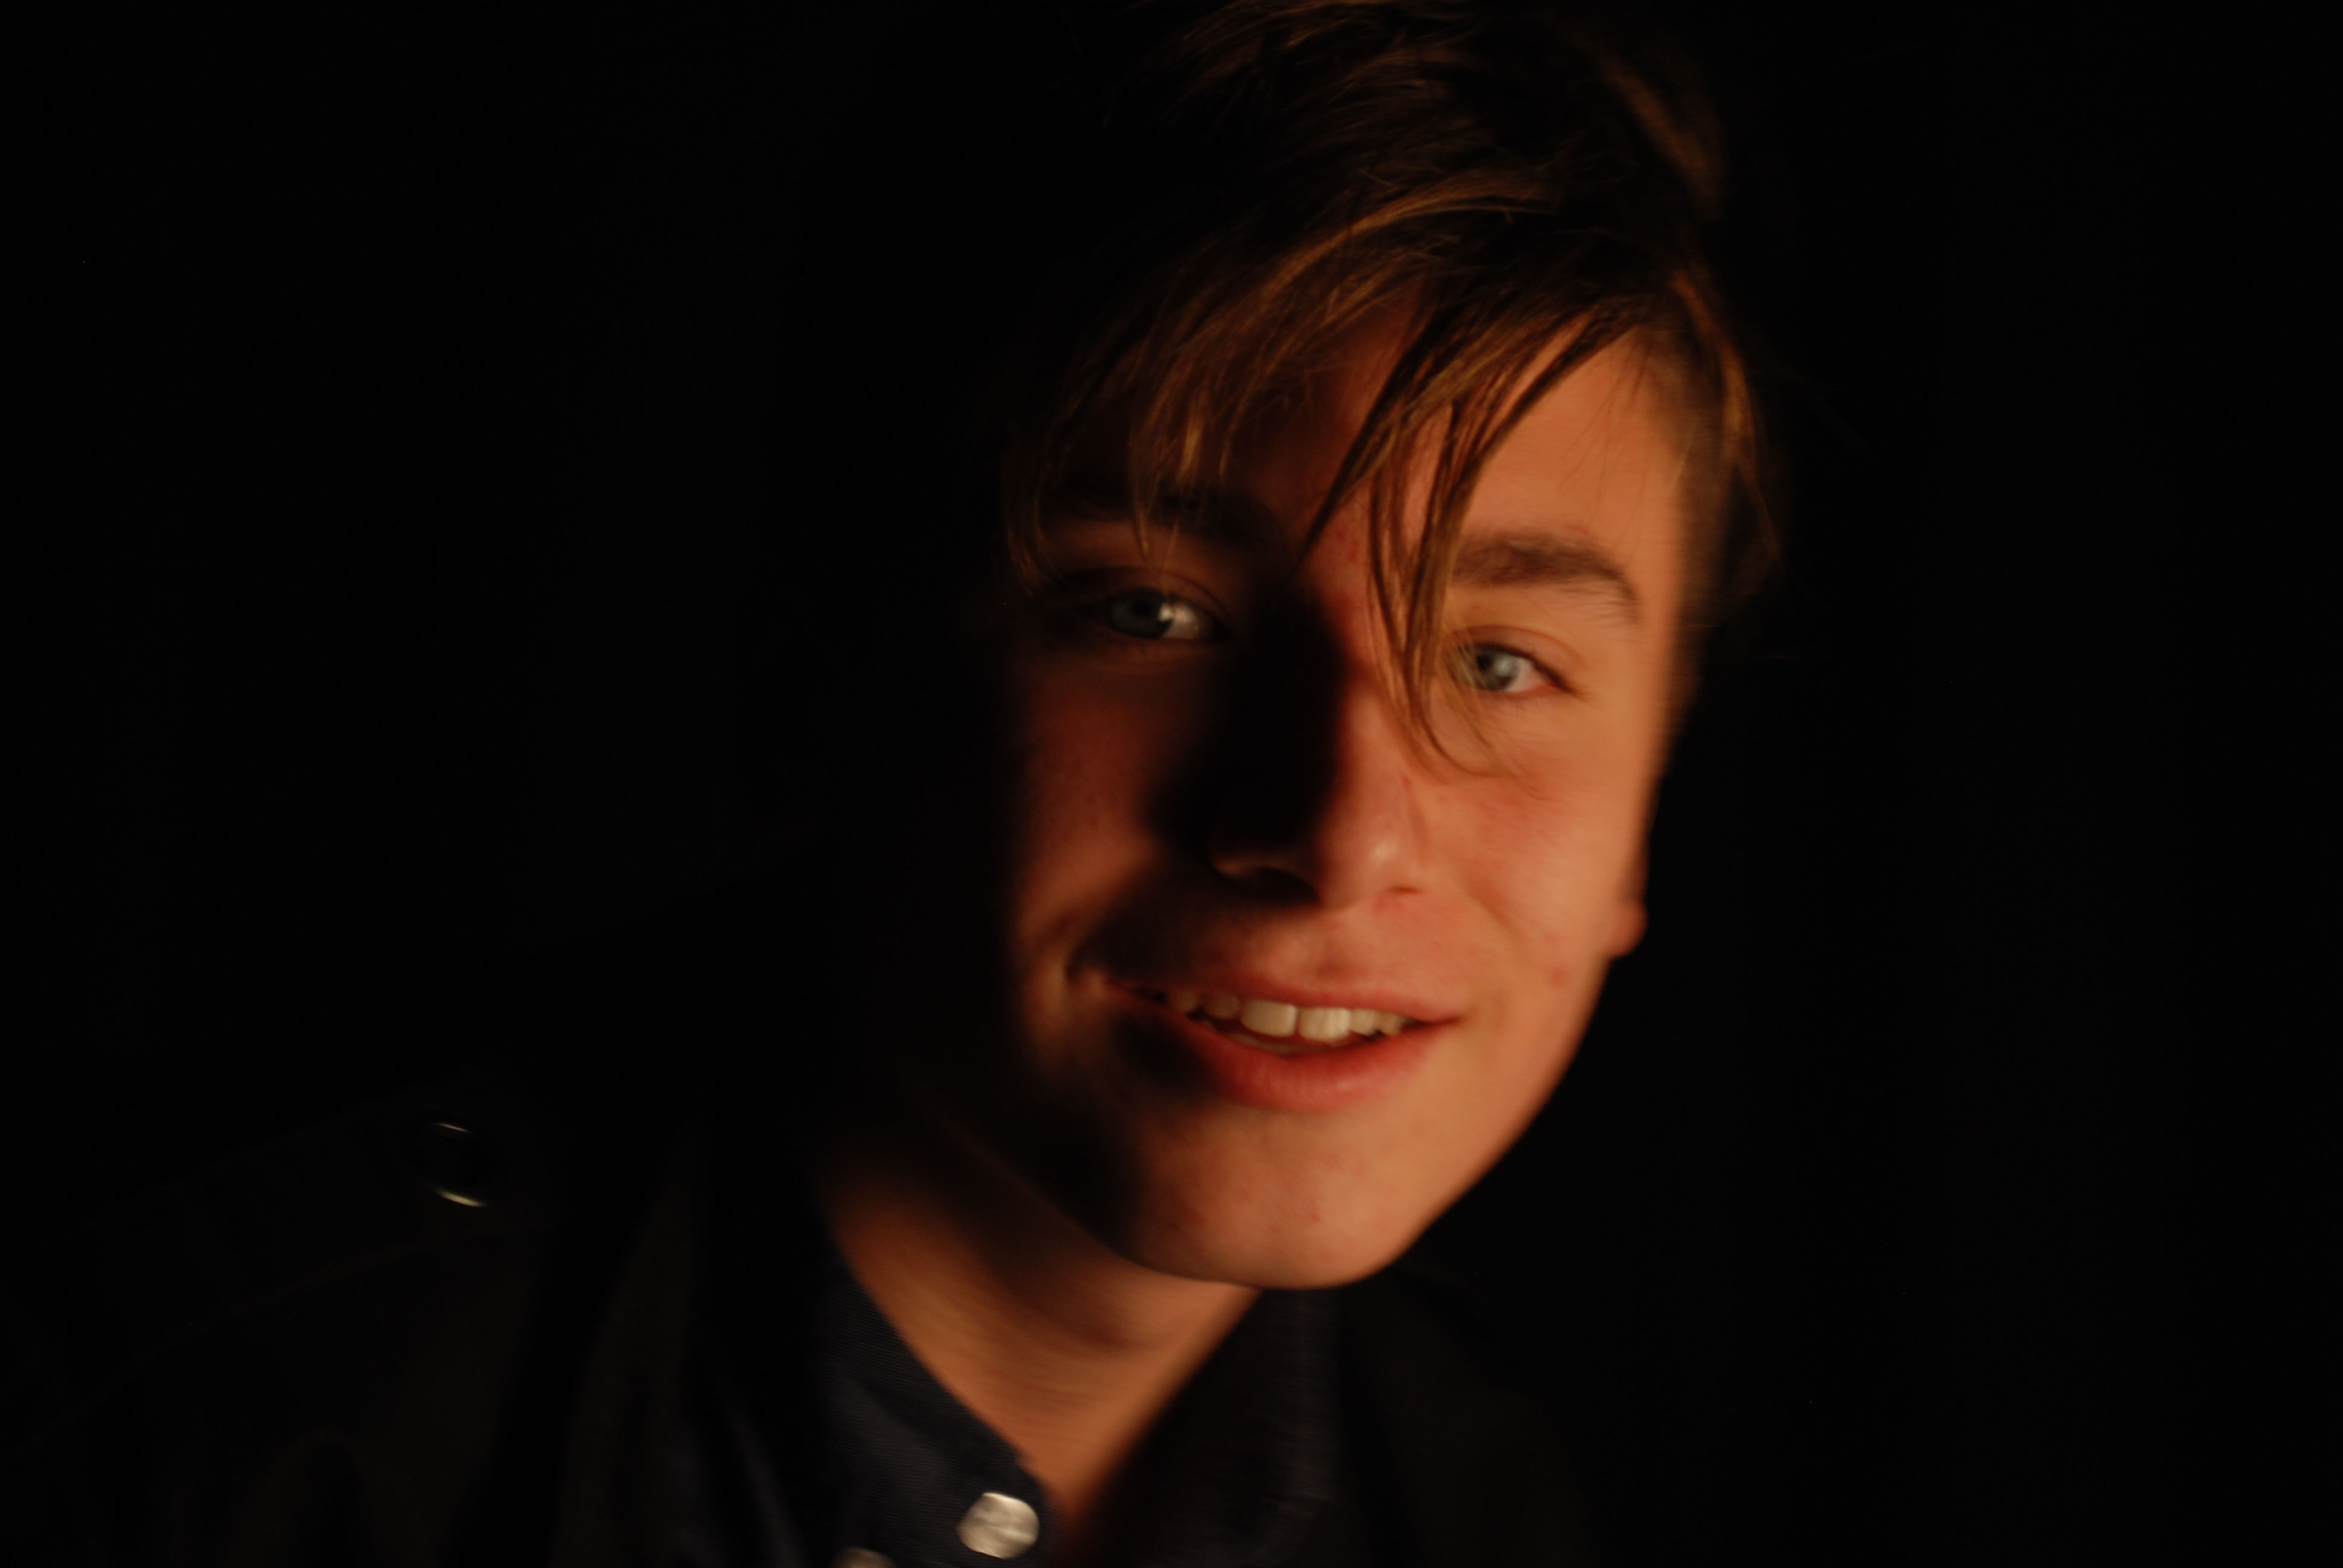
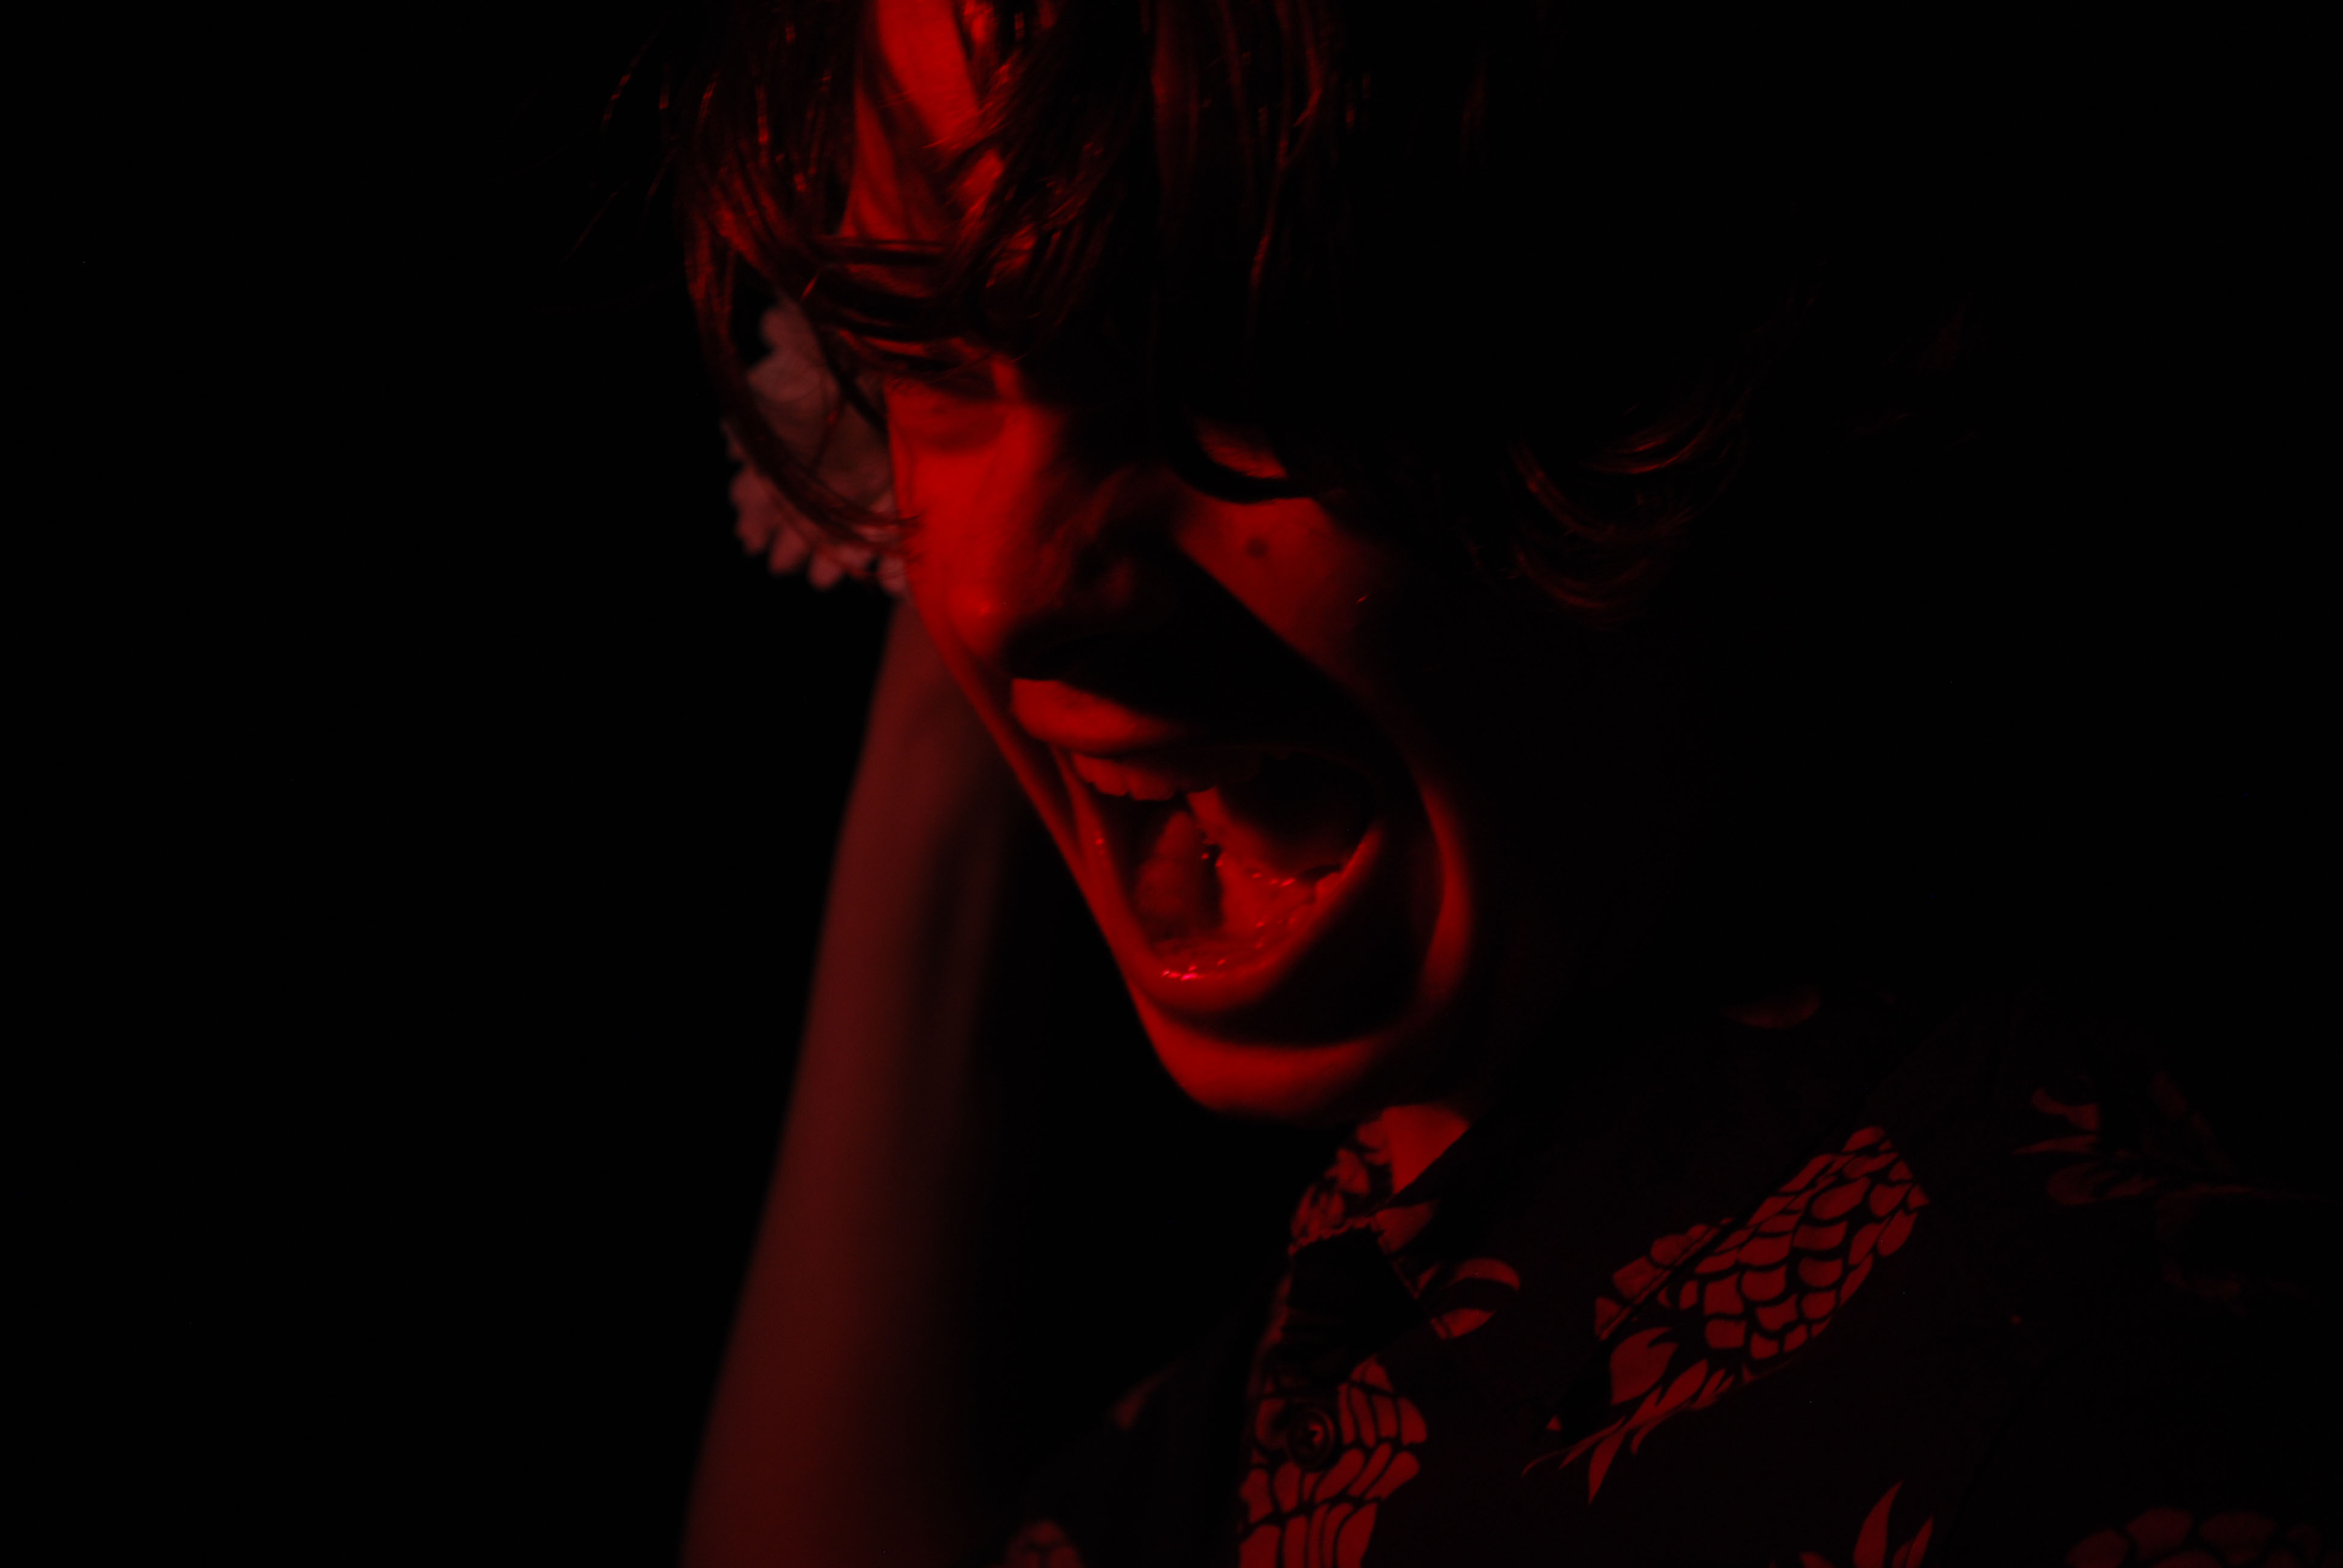
Favourite Outcomes for Chiaroscuro/Low Key lighting


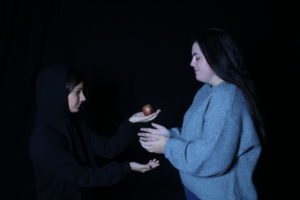
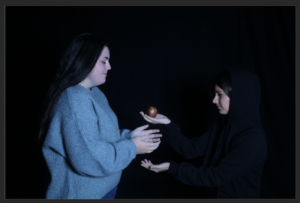
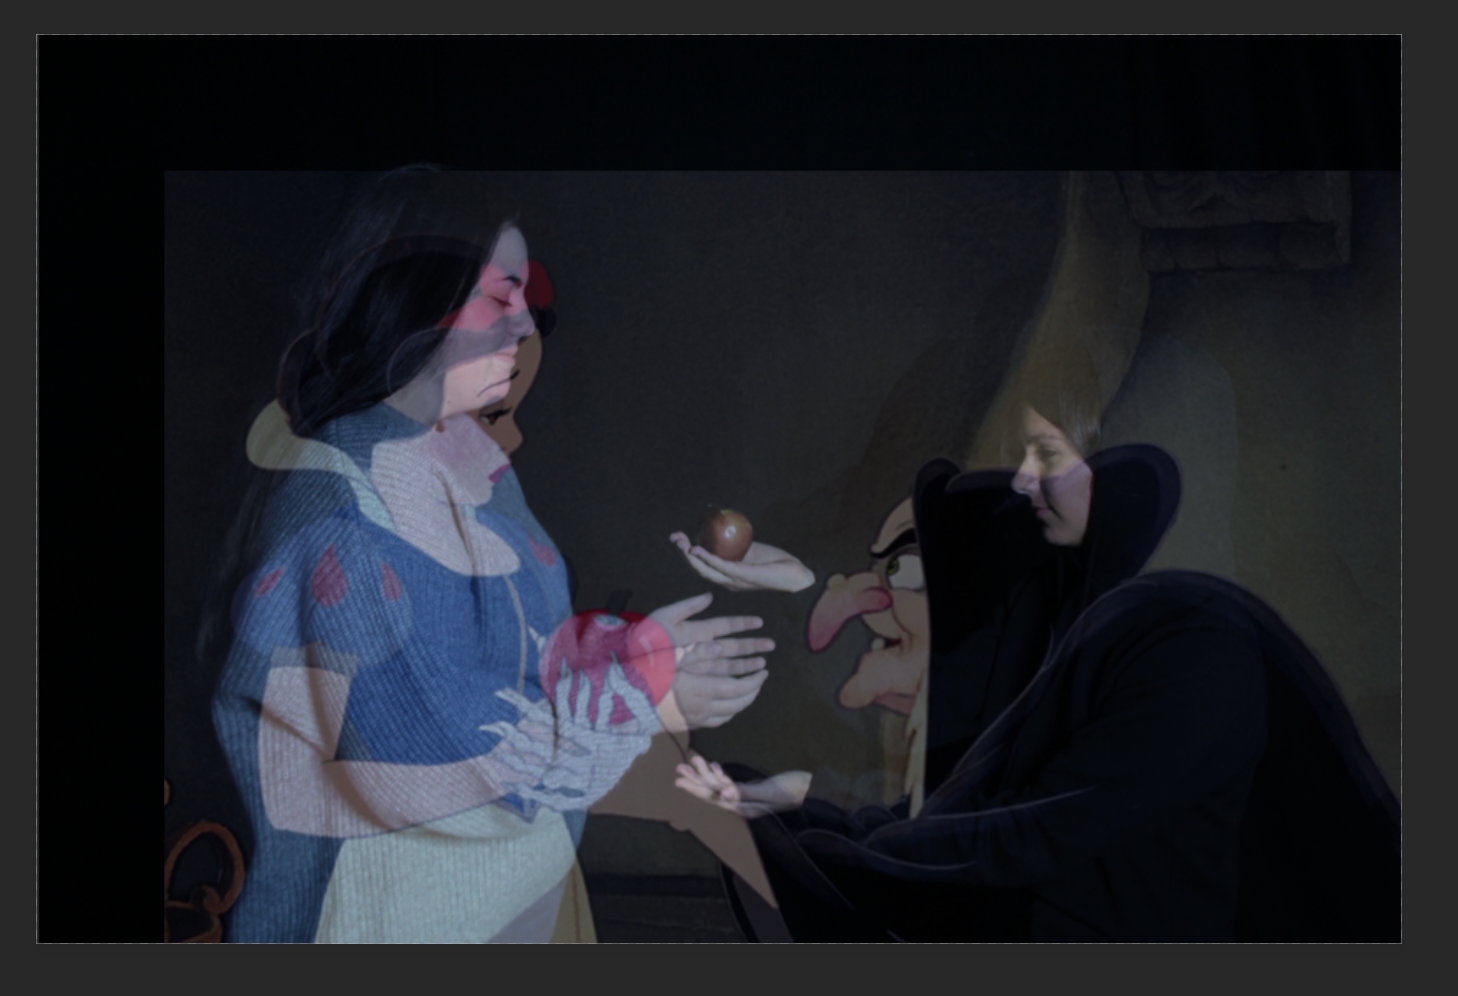

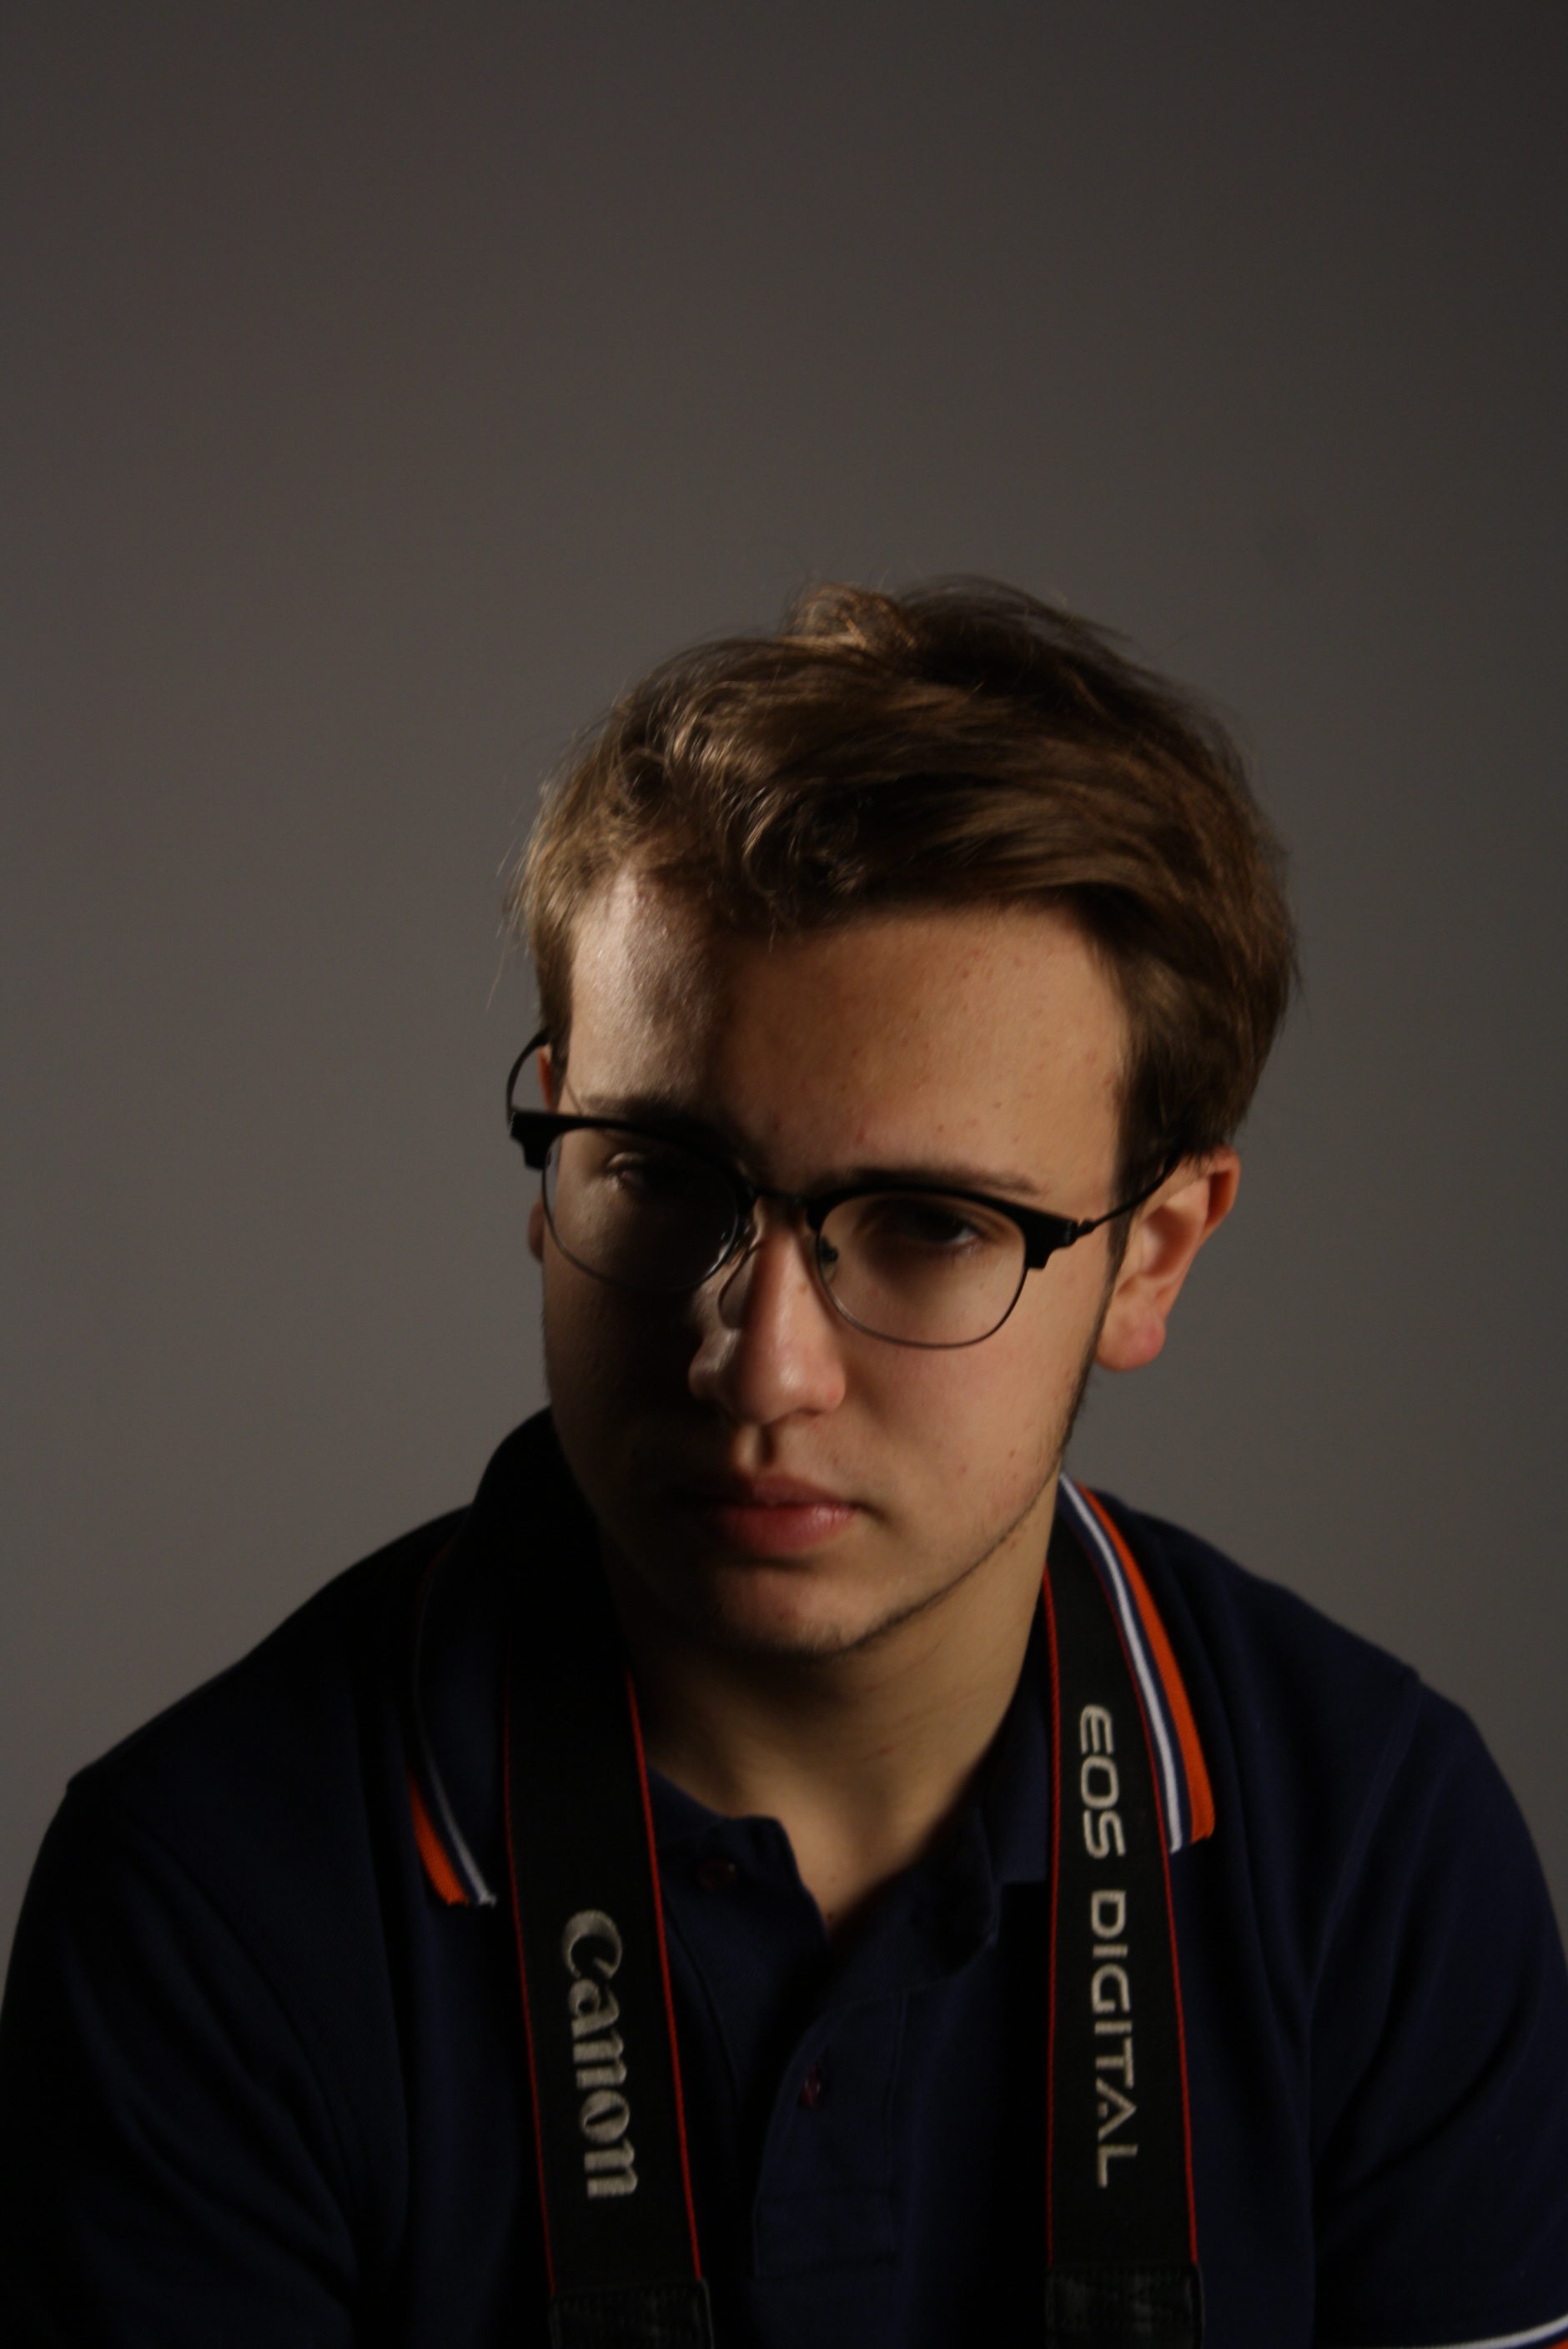
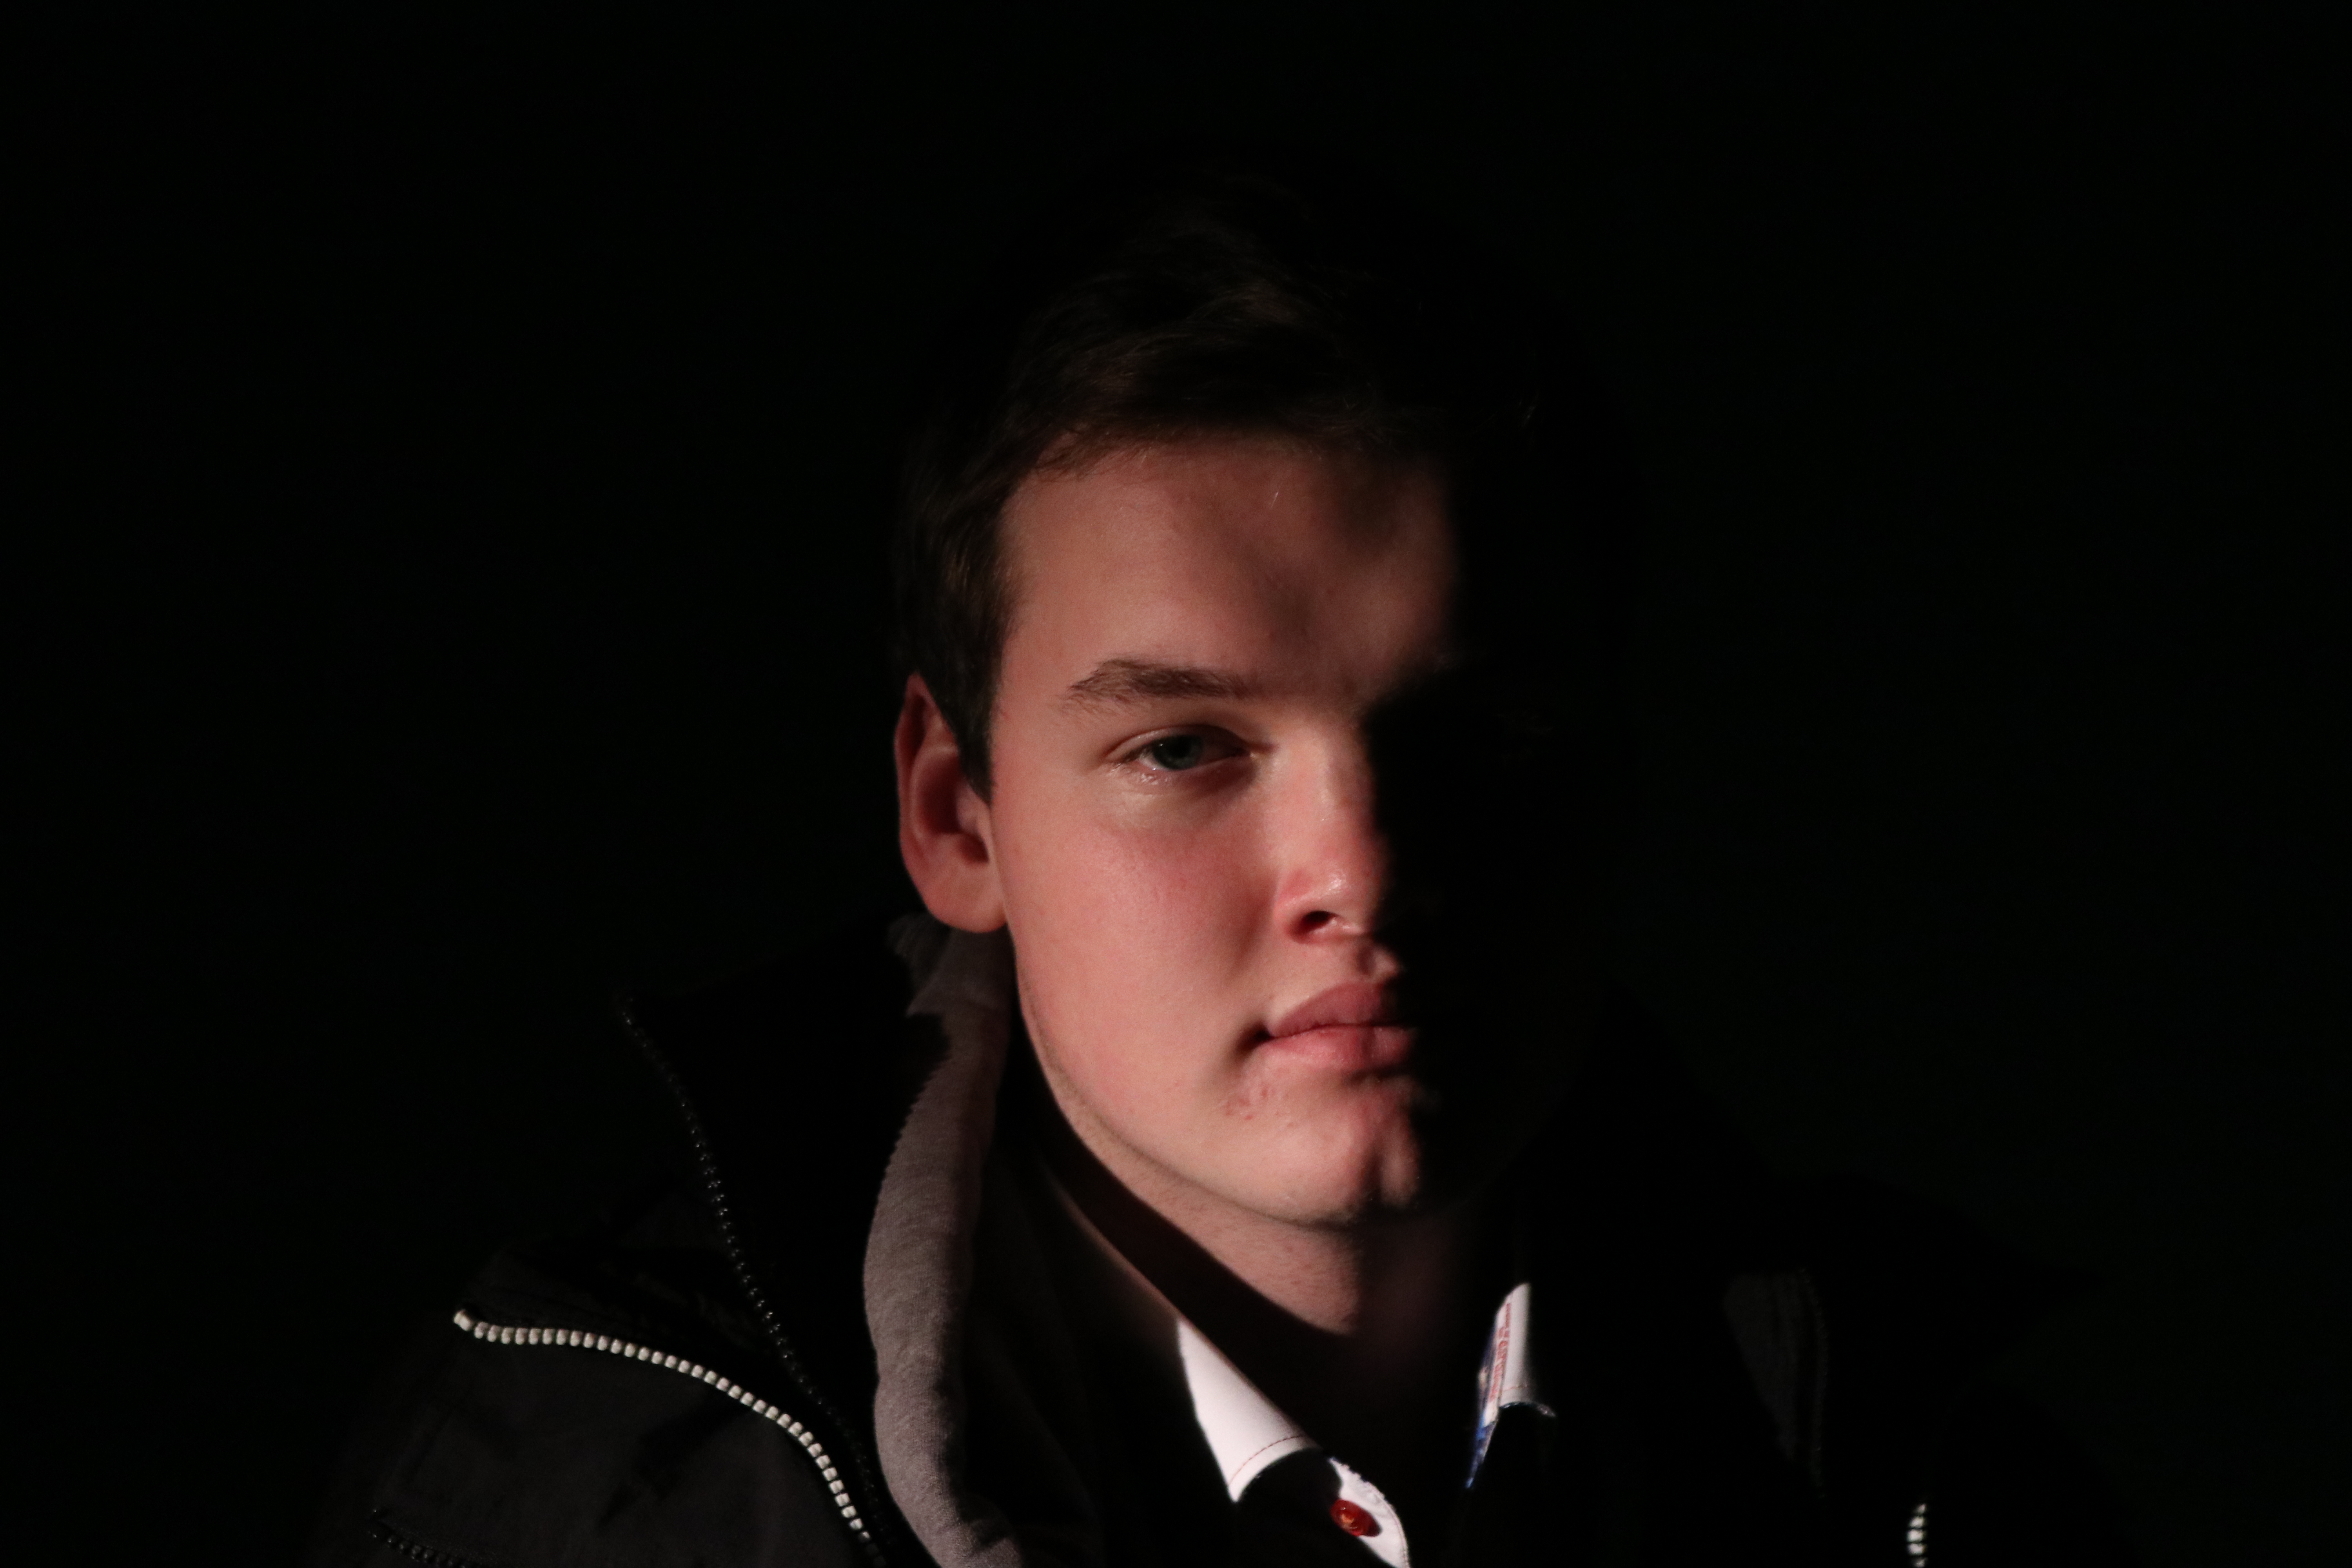
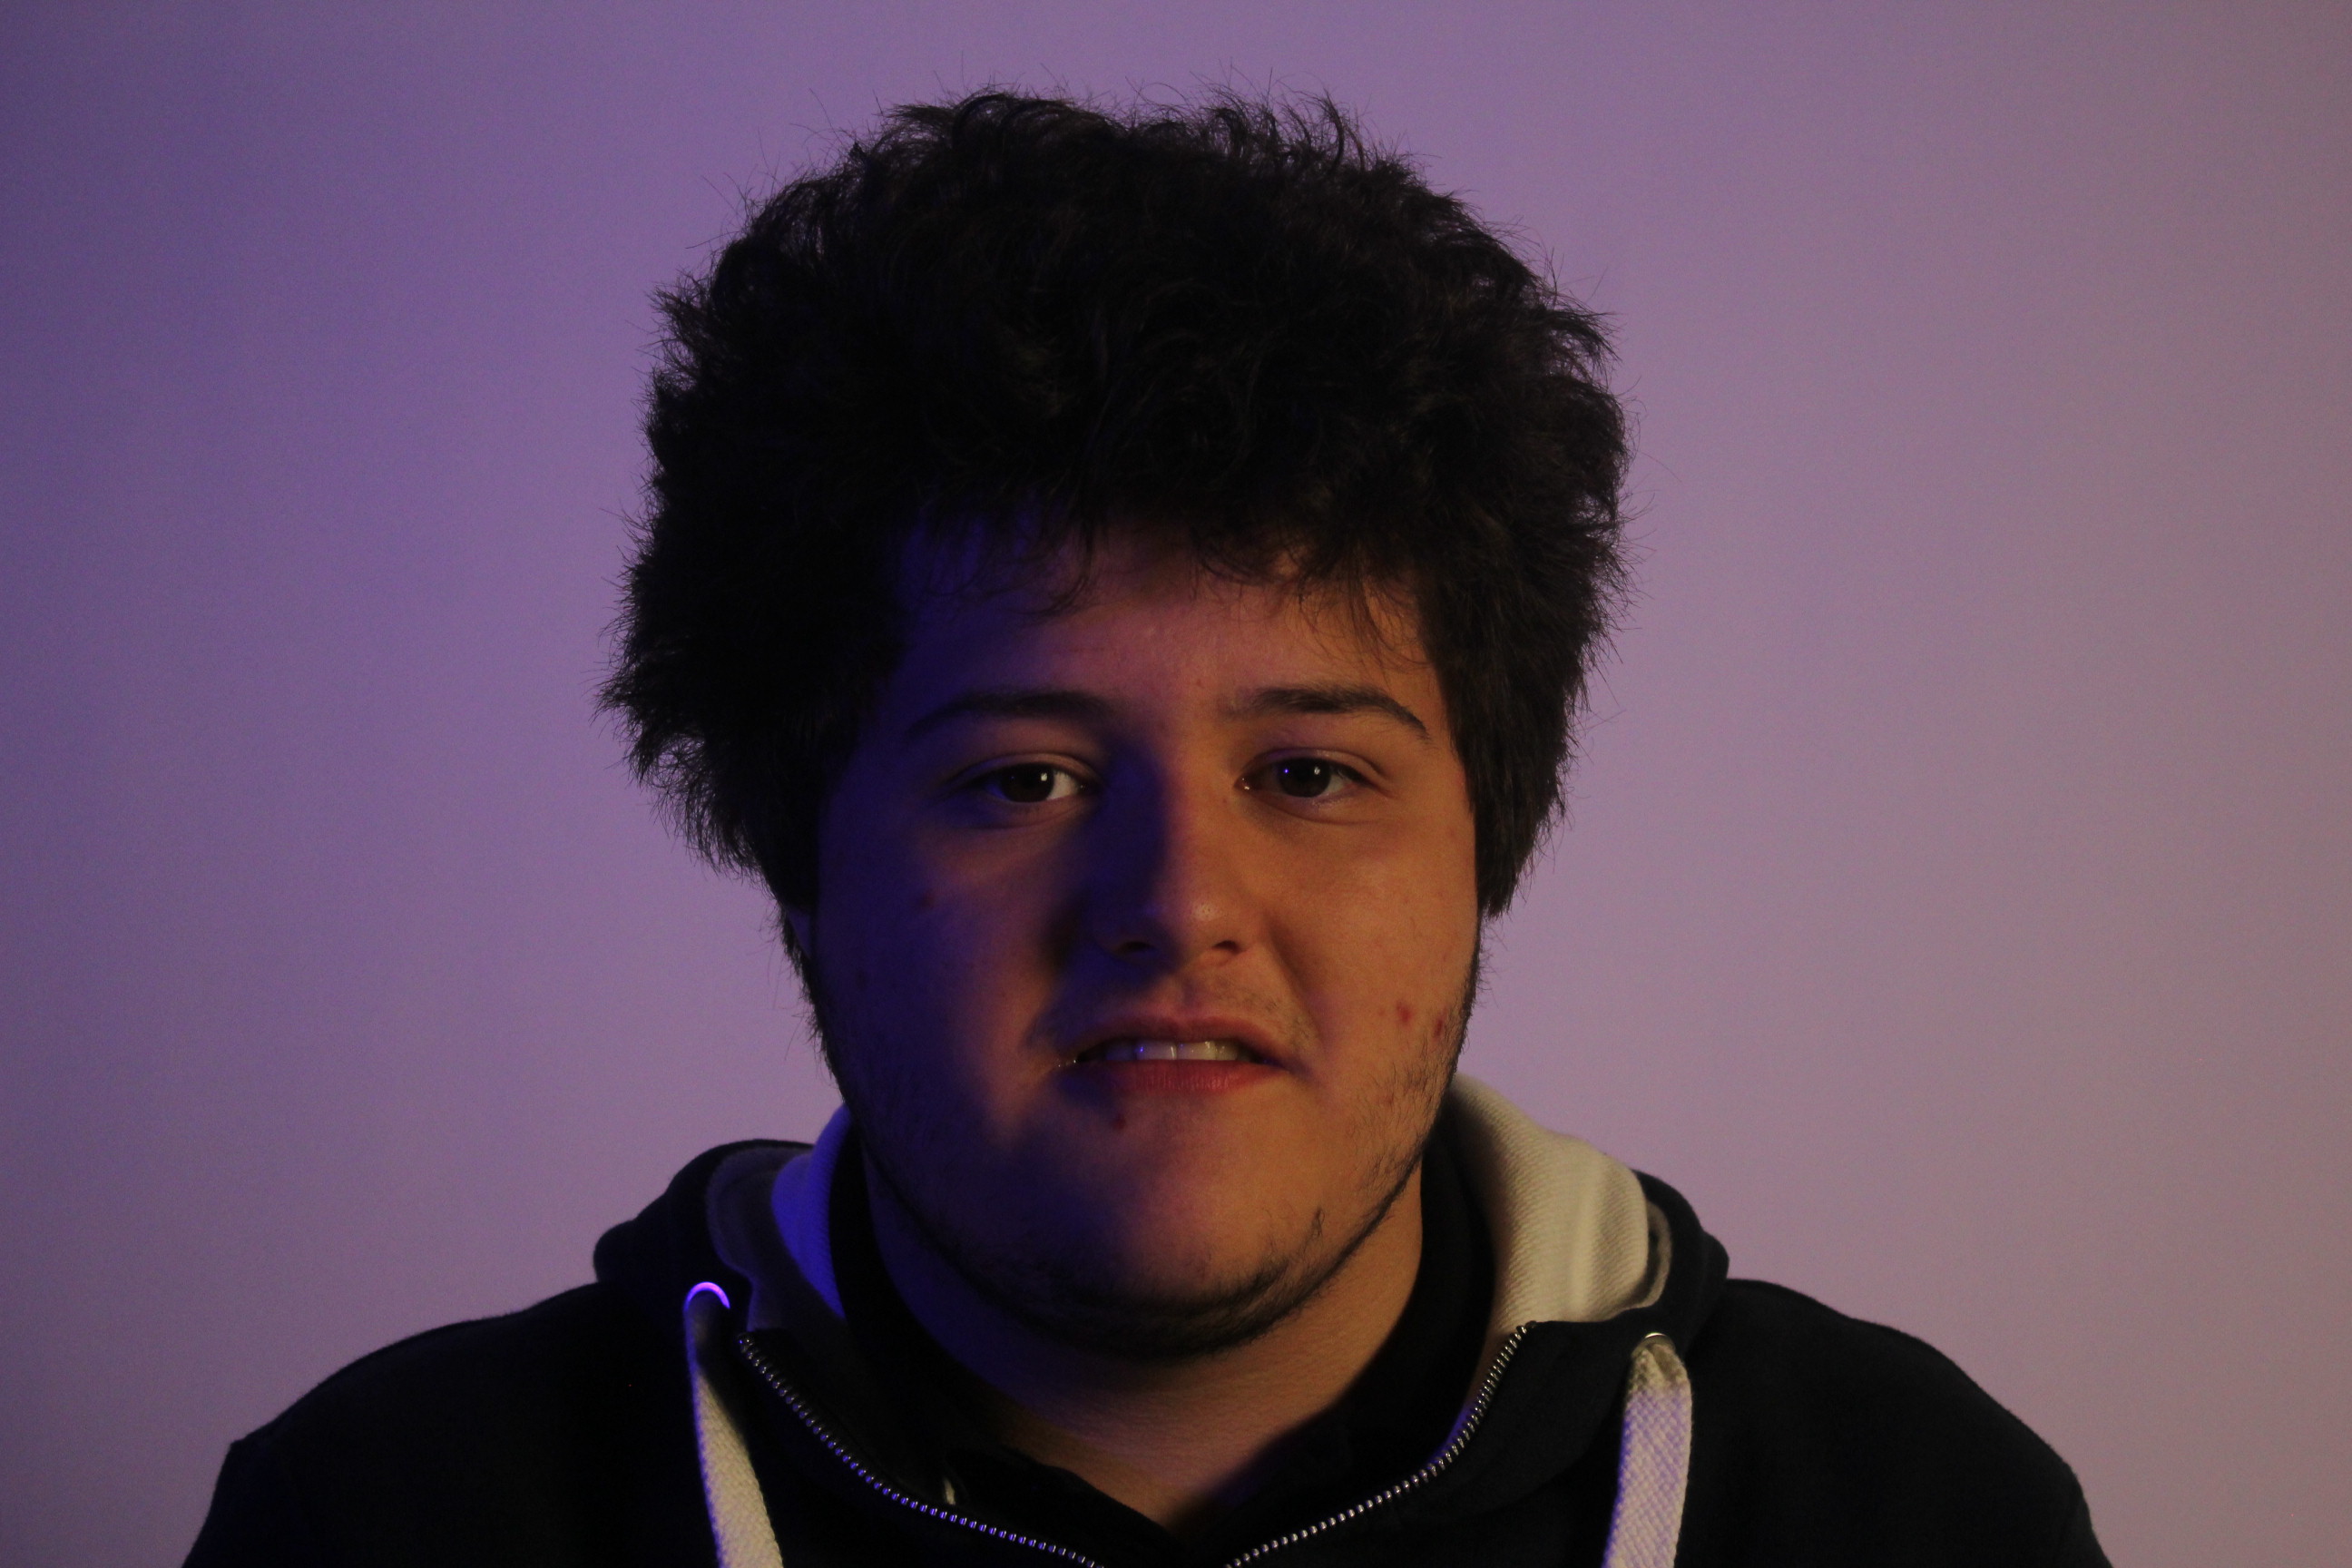 This is the first photo that I will be editing, it is one of the best photos I took from my second visit to the studio.
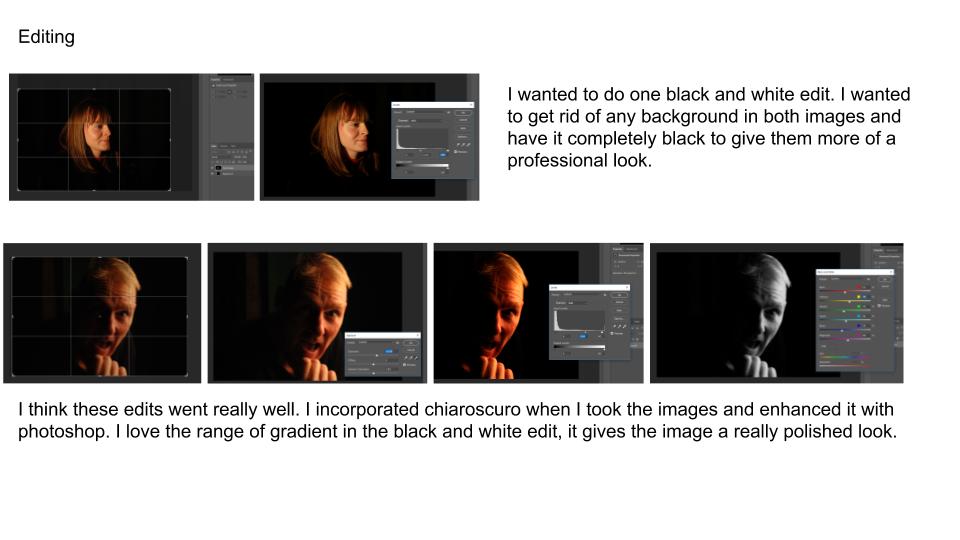
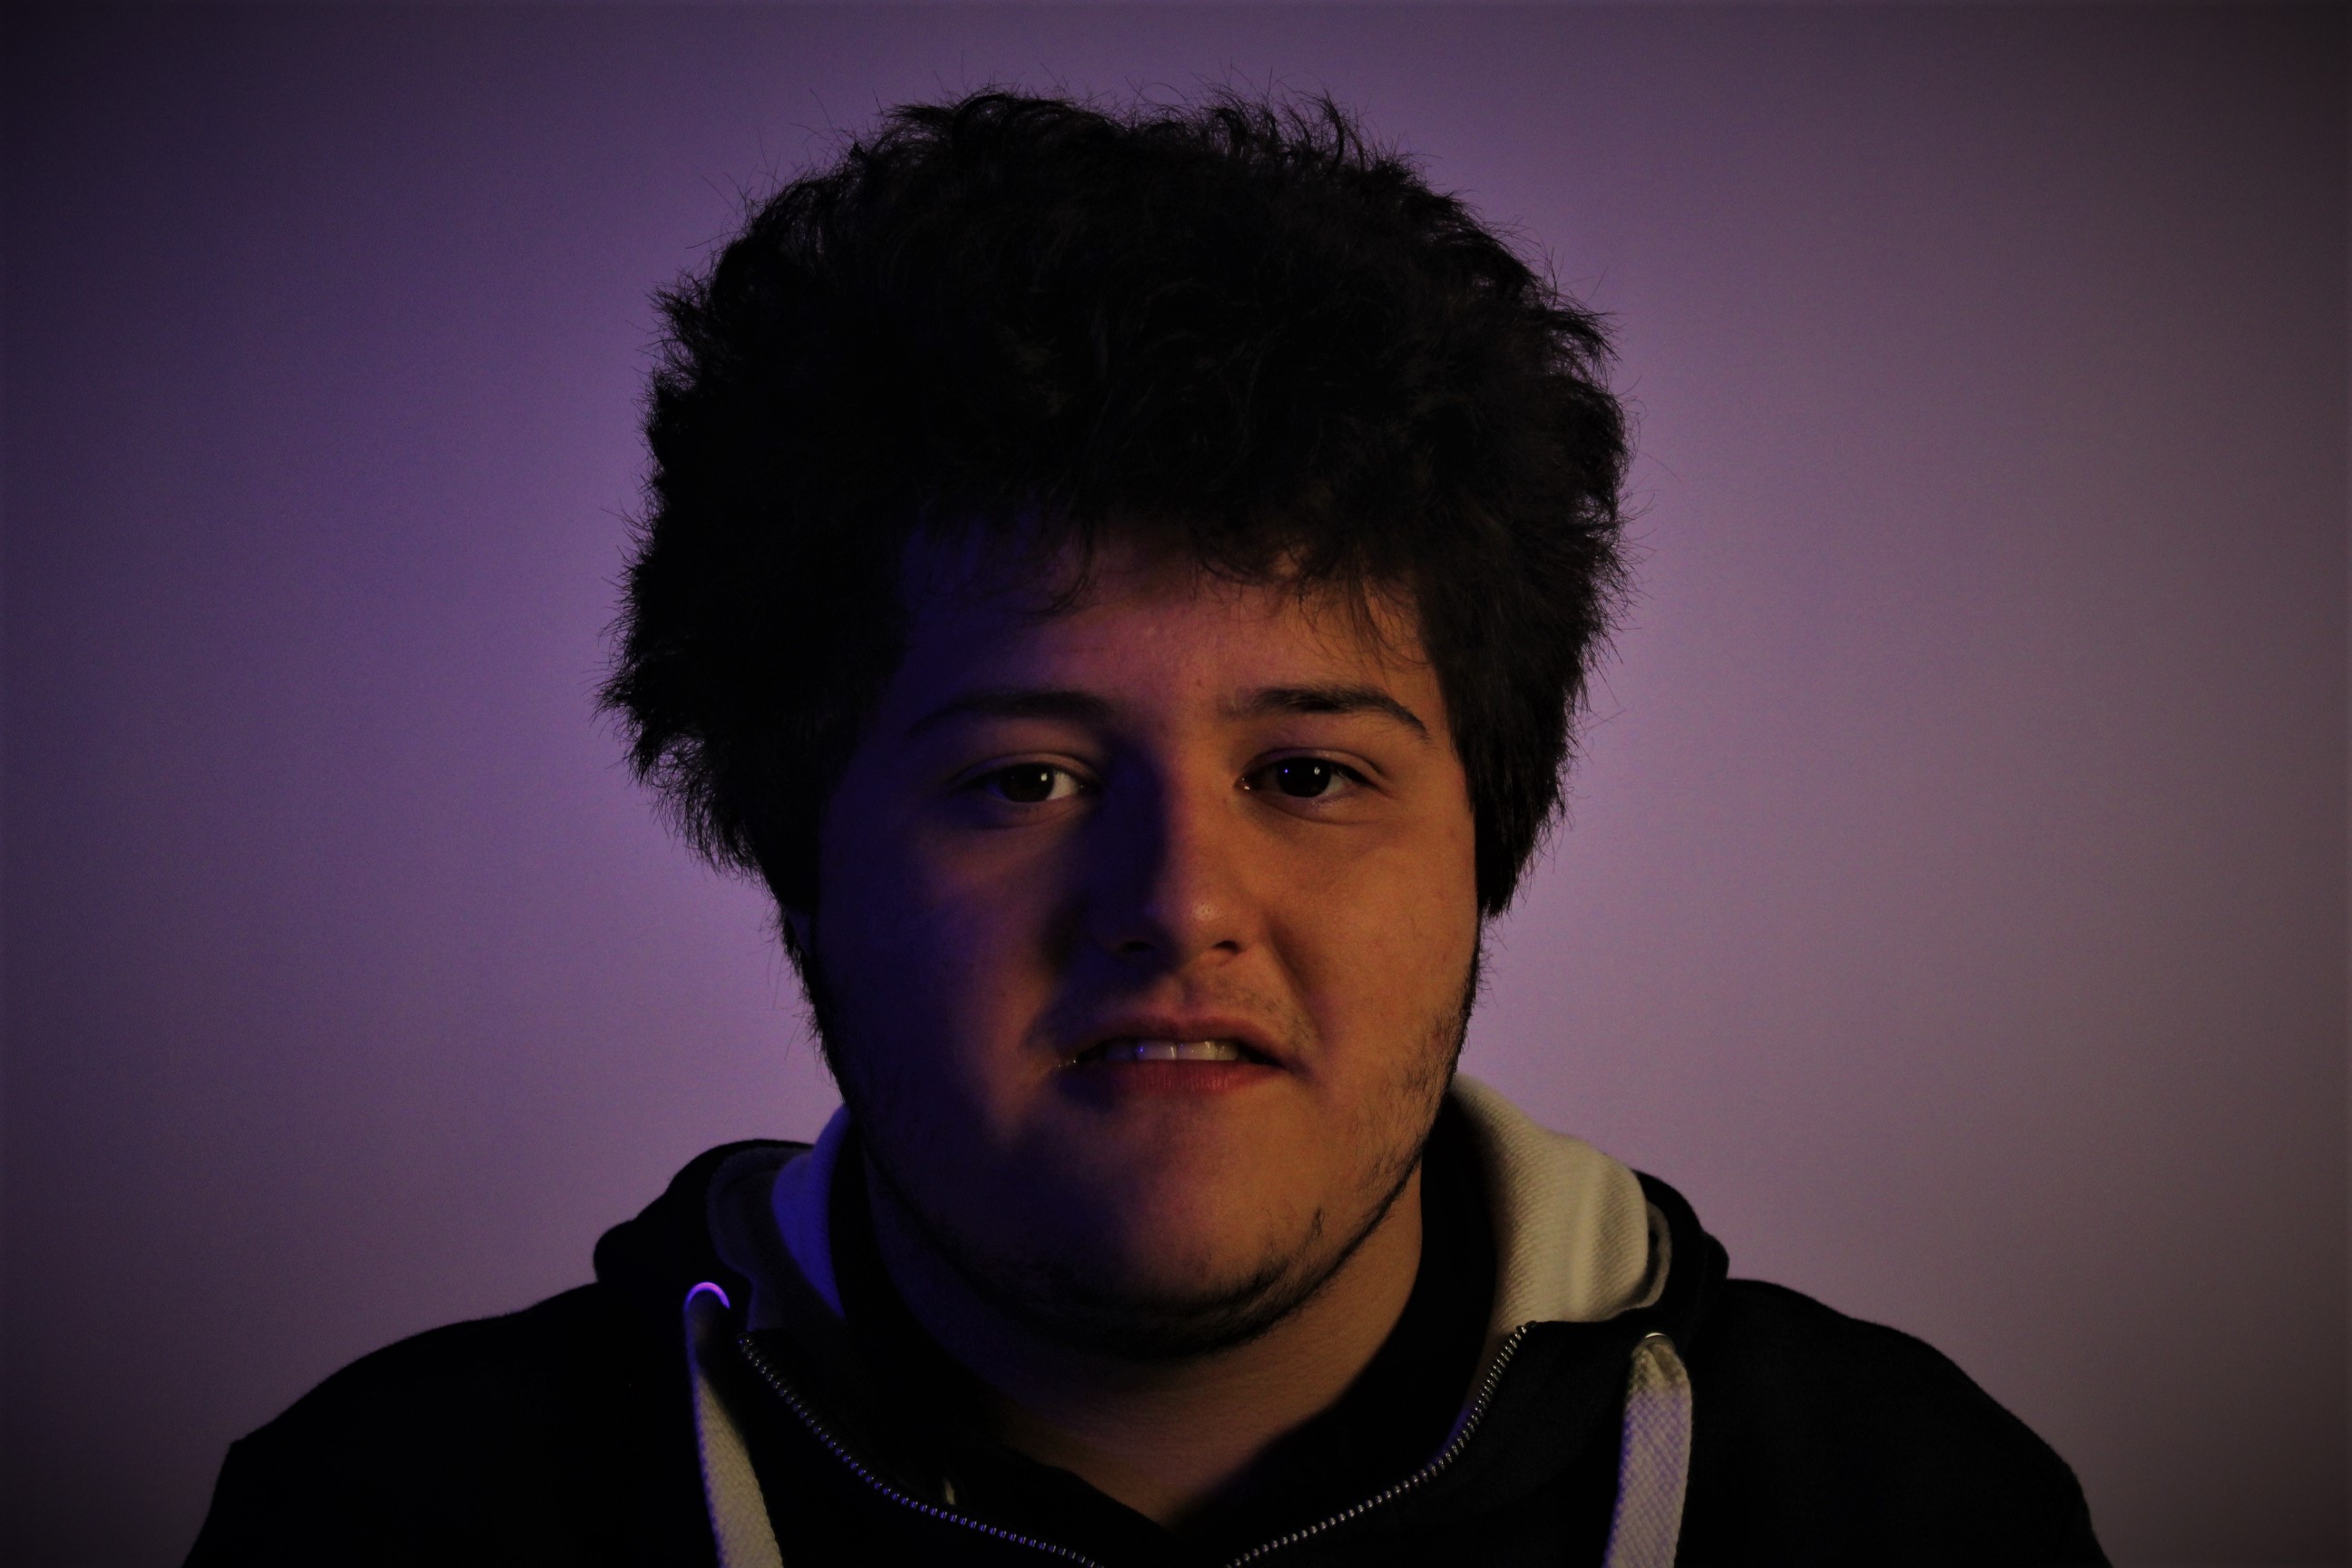 In this edited version of my photo all I have done is used spot fix to make the skin seem smoother and clearer I also turned up the color making the blue/purple look bolder. I also brought up the clarity on the photo to make it seem bolder and for some features to stand out. Again I increased the vignette to darken round the edges and corners but so that the model is the main piece of the photo.
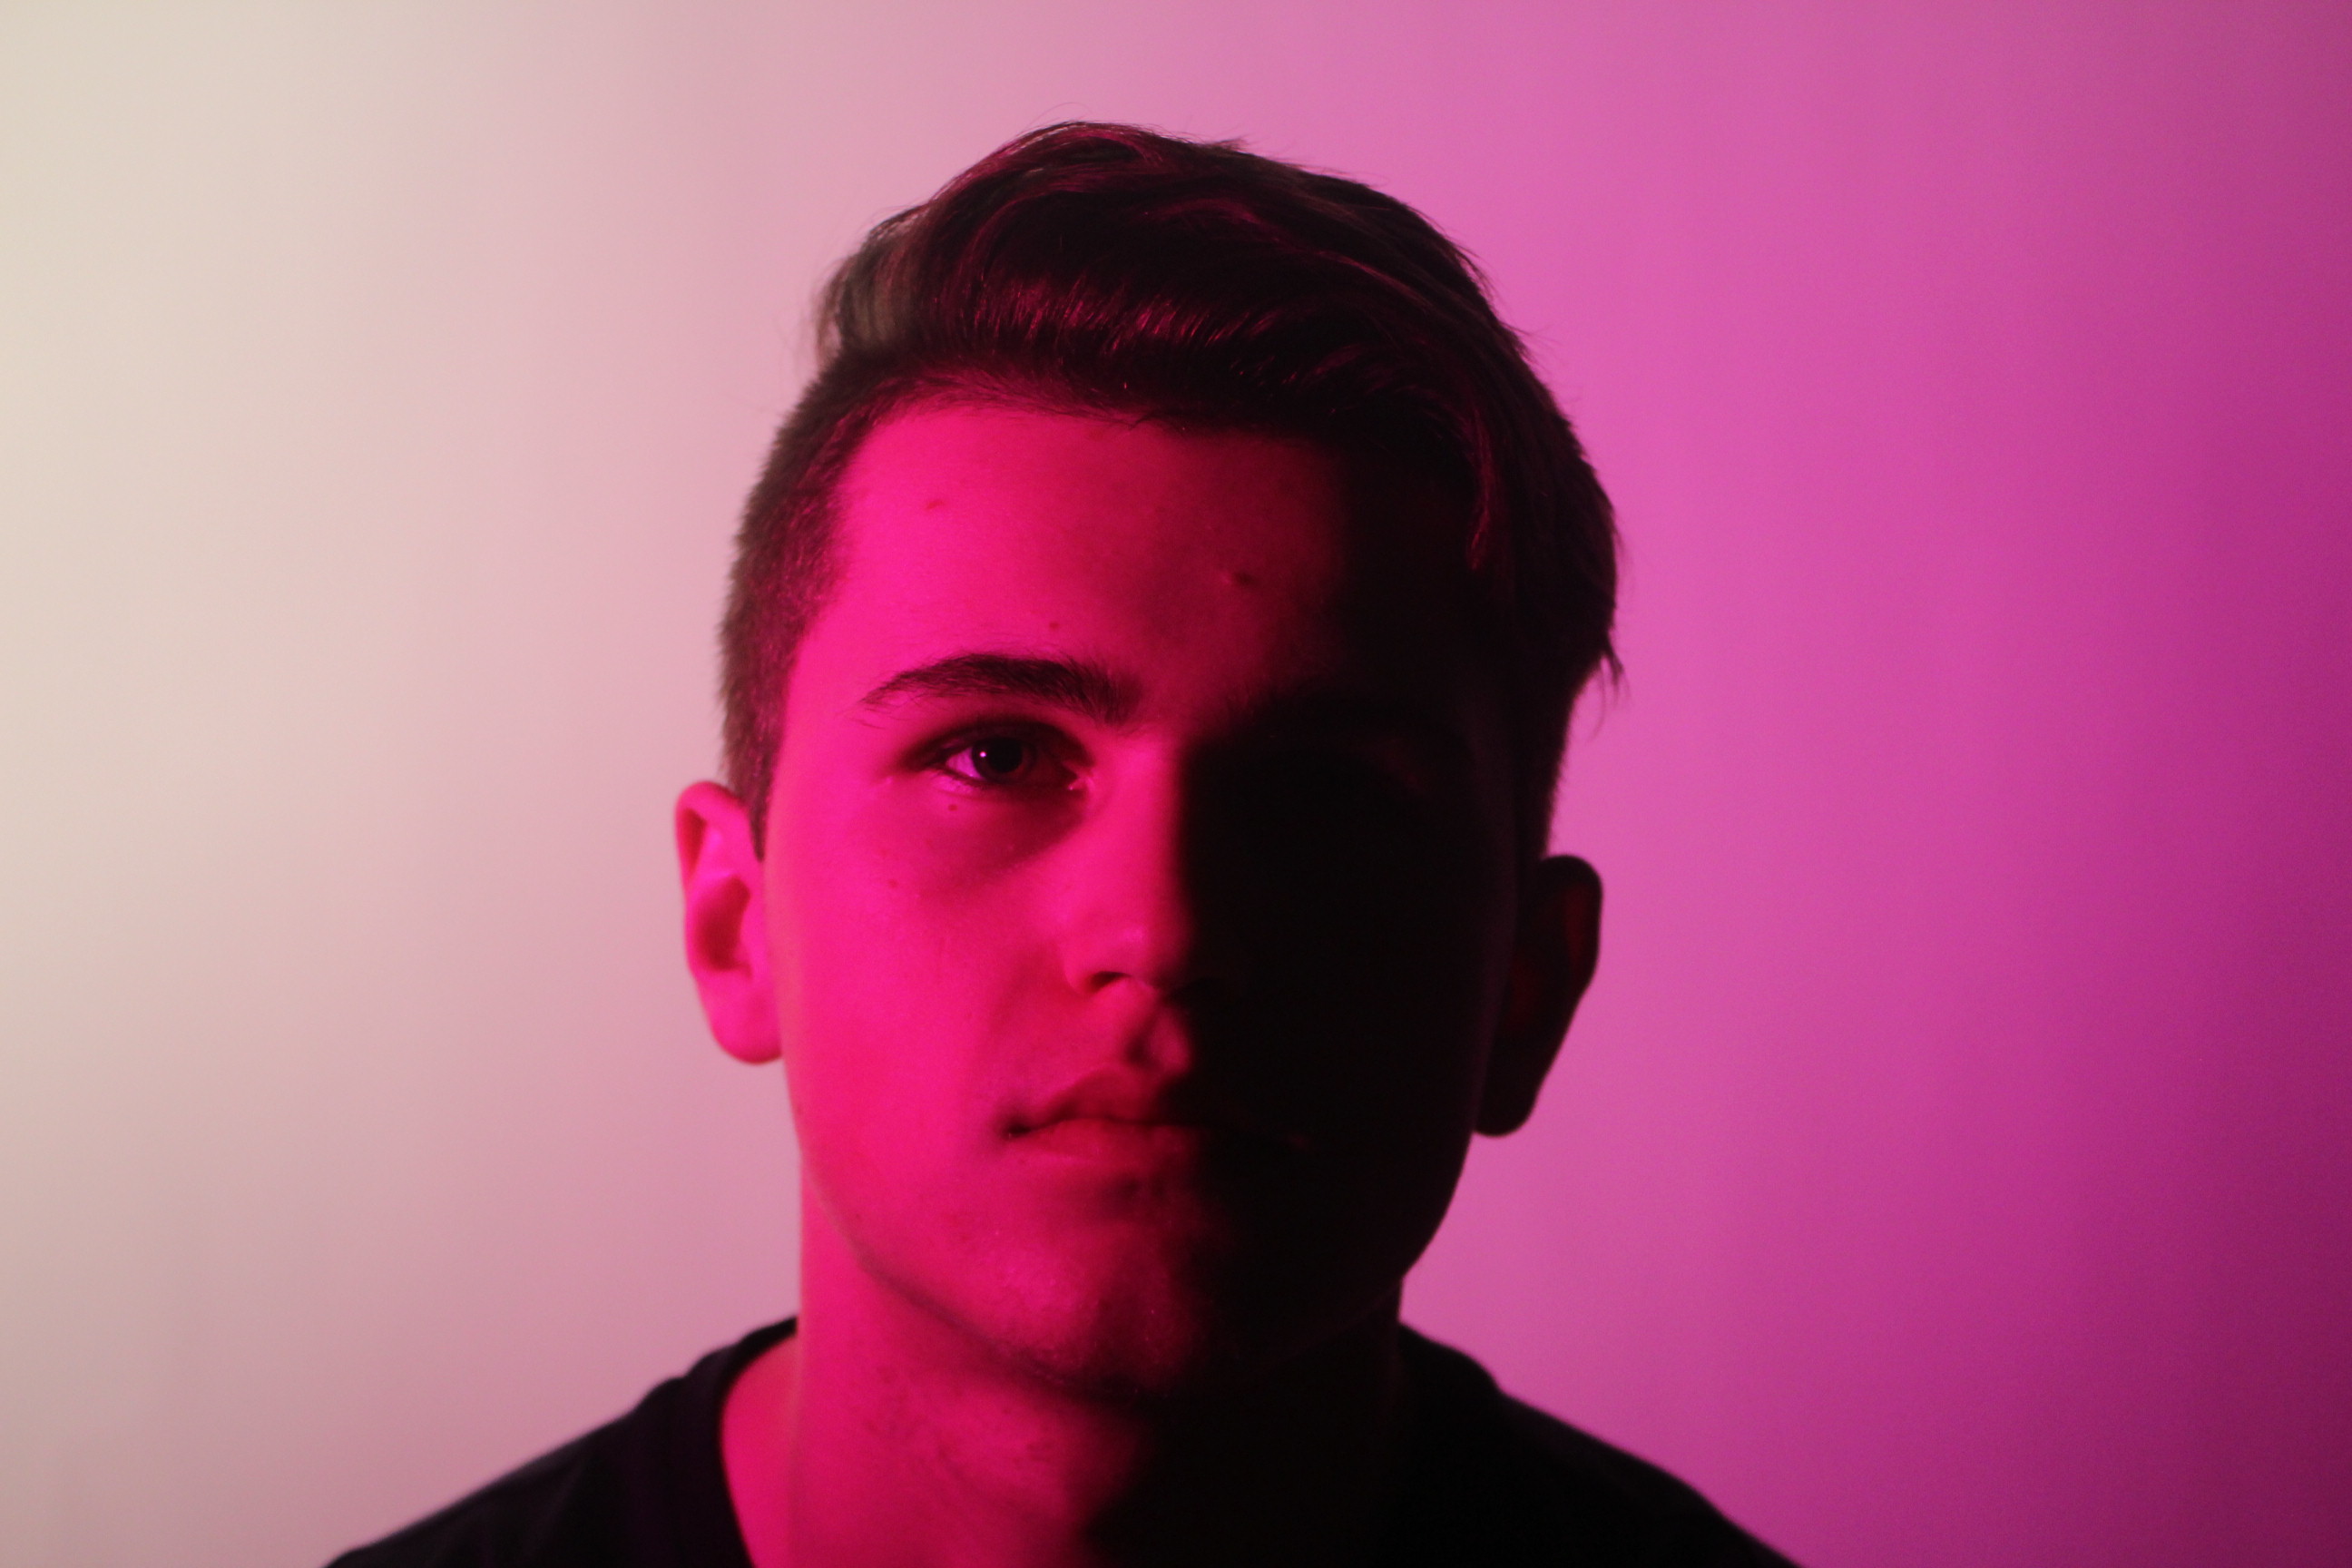 I really like this photo as it brings in the style of one point lighting to only show one side of the face but has the added feature of the color making it seem more vivid.
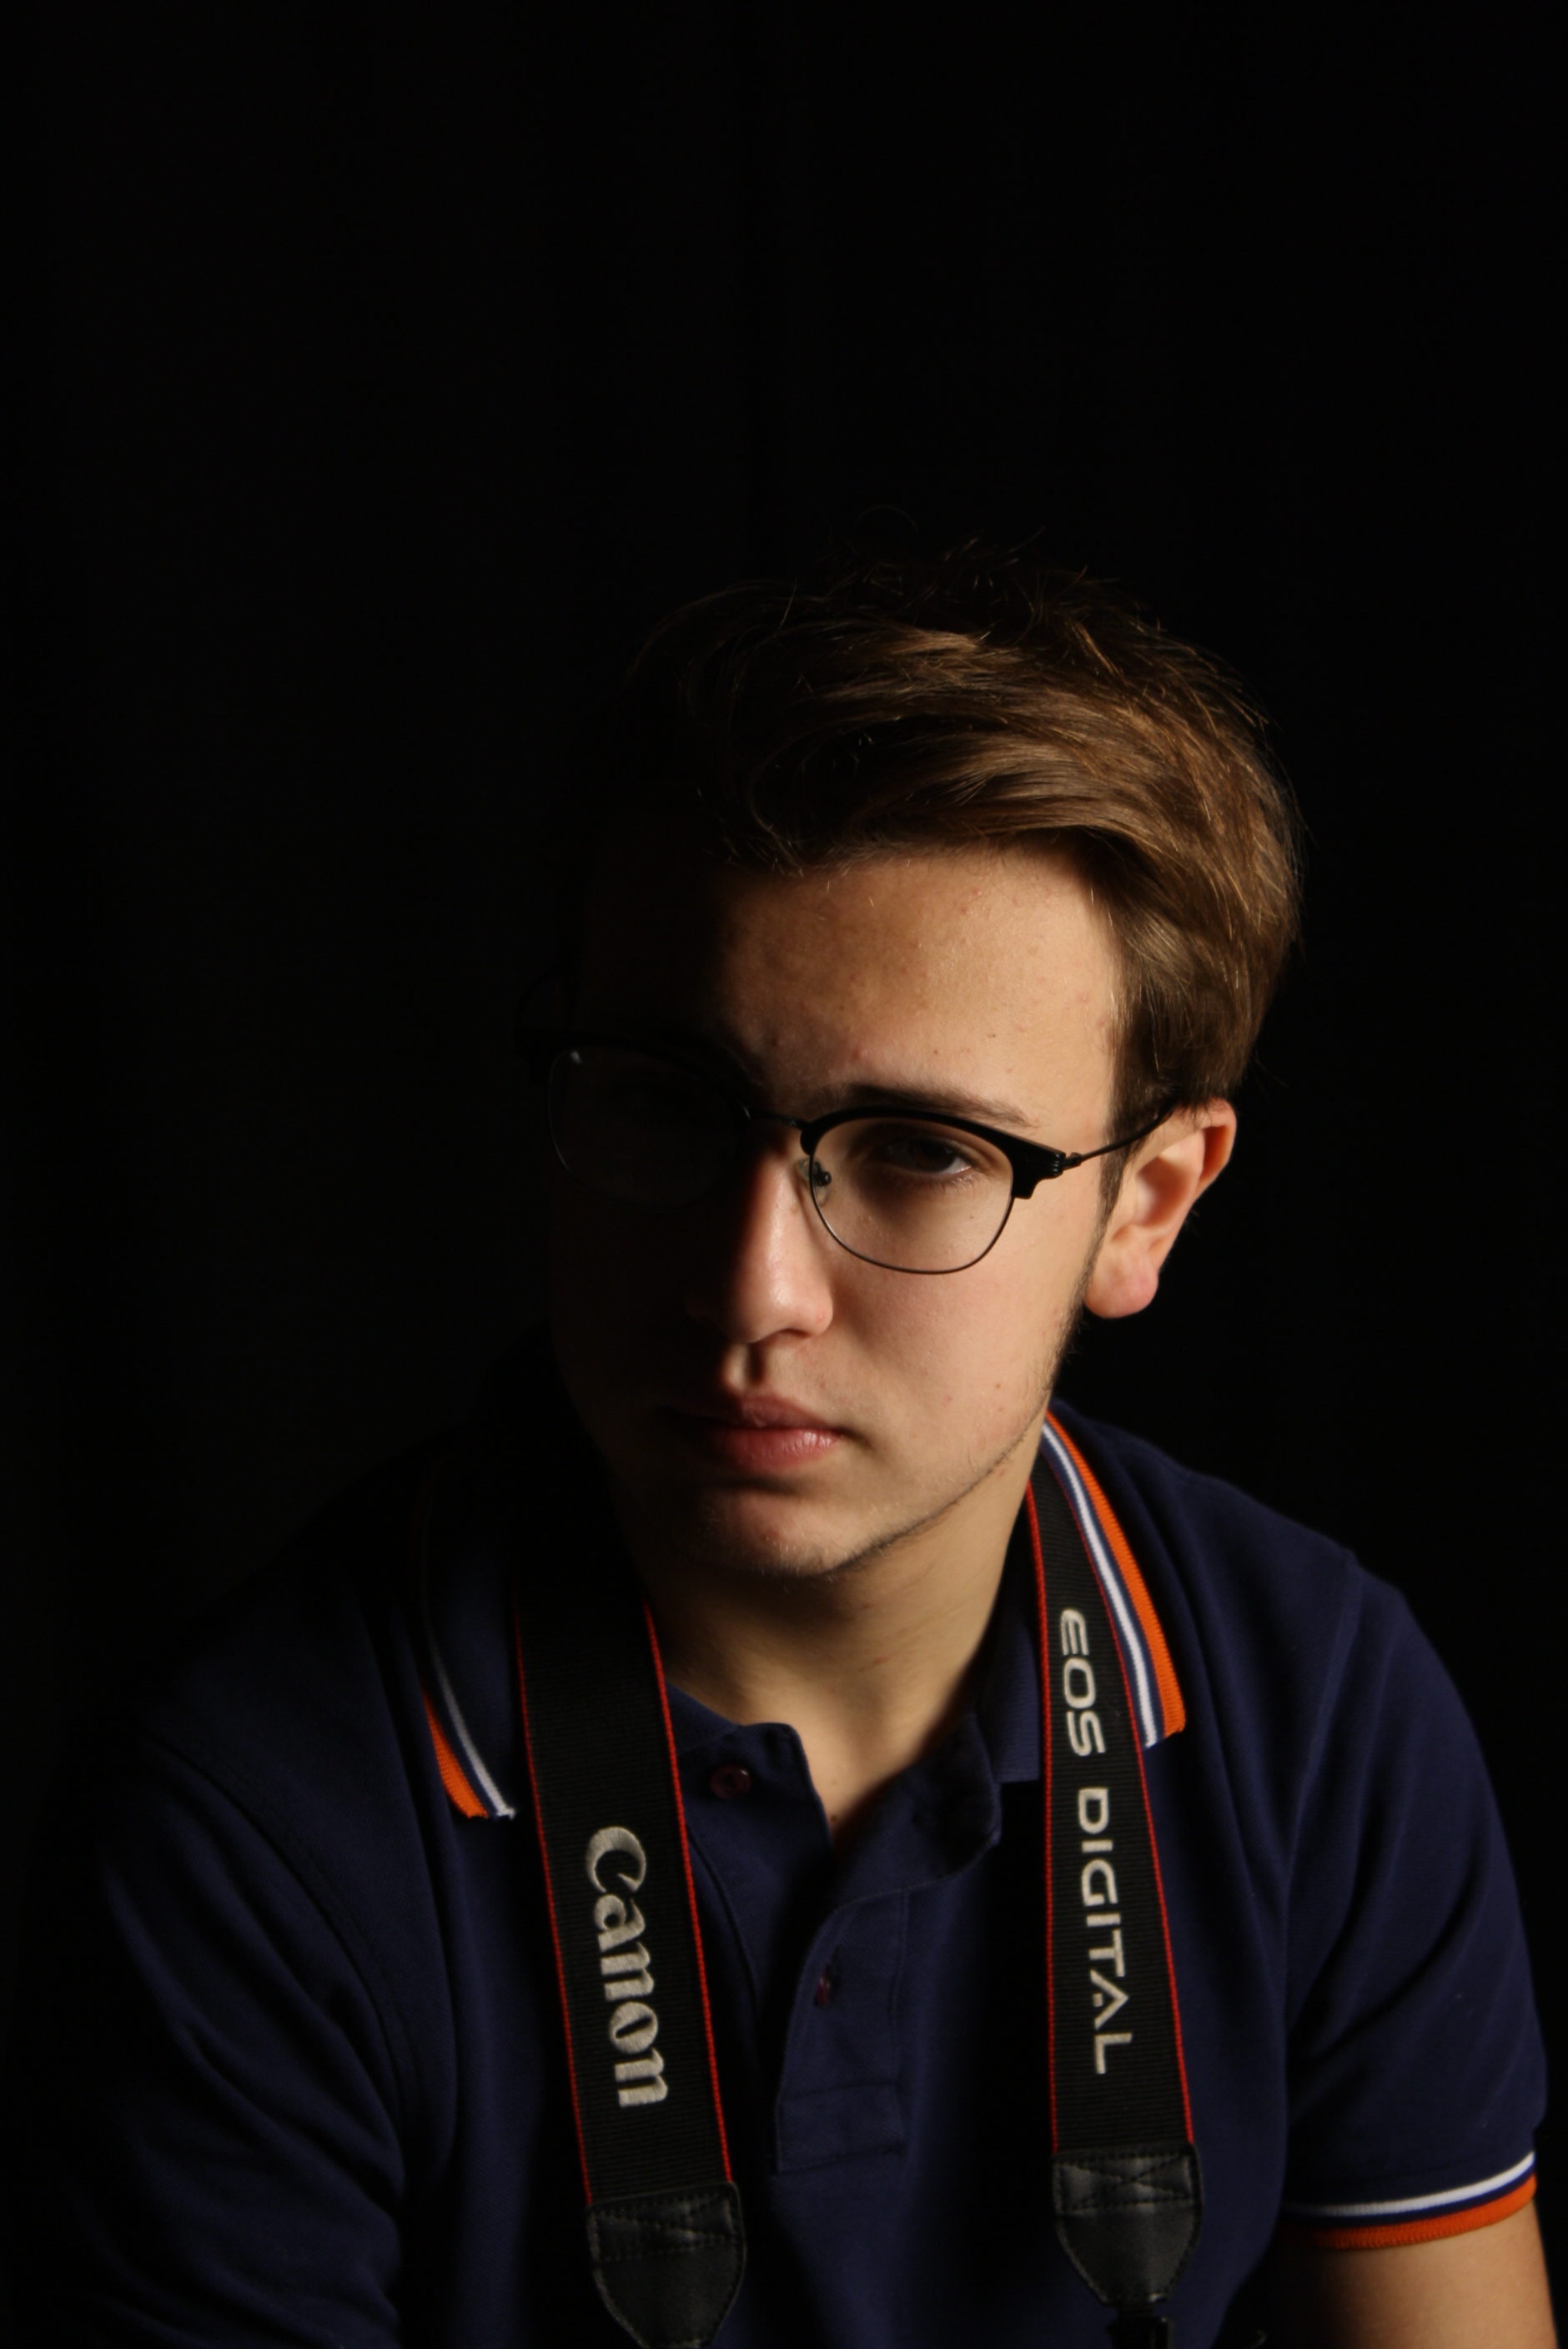
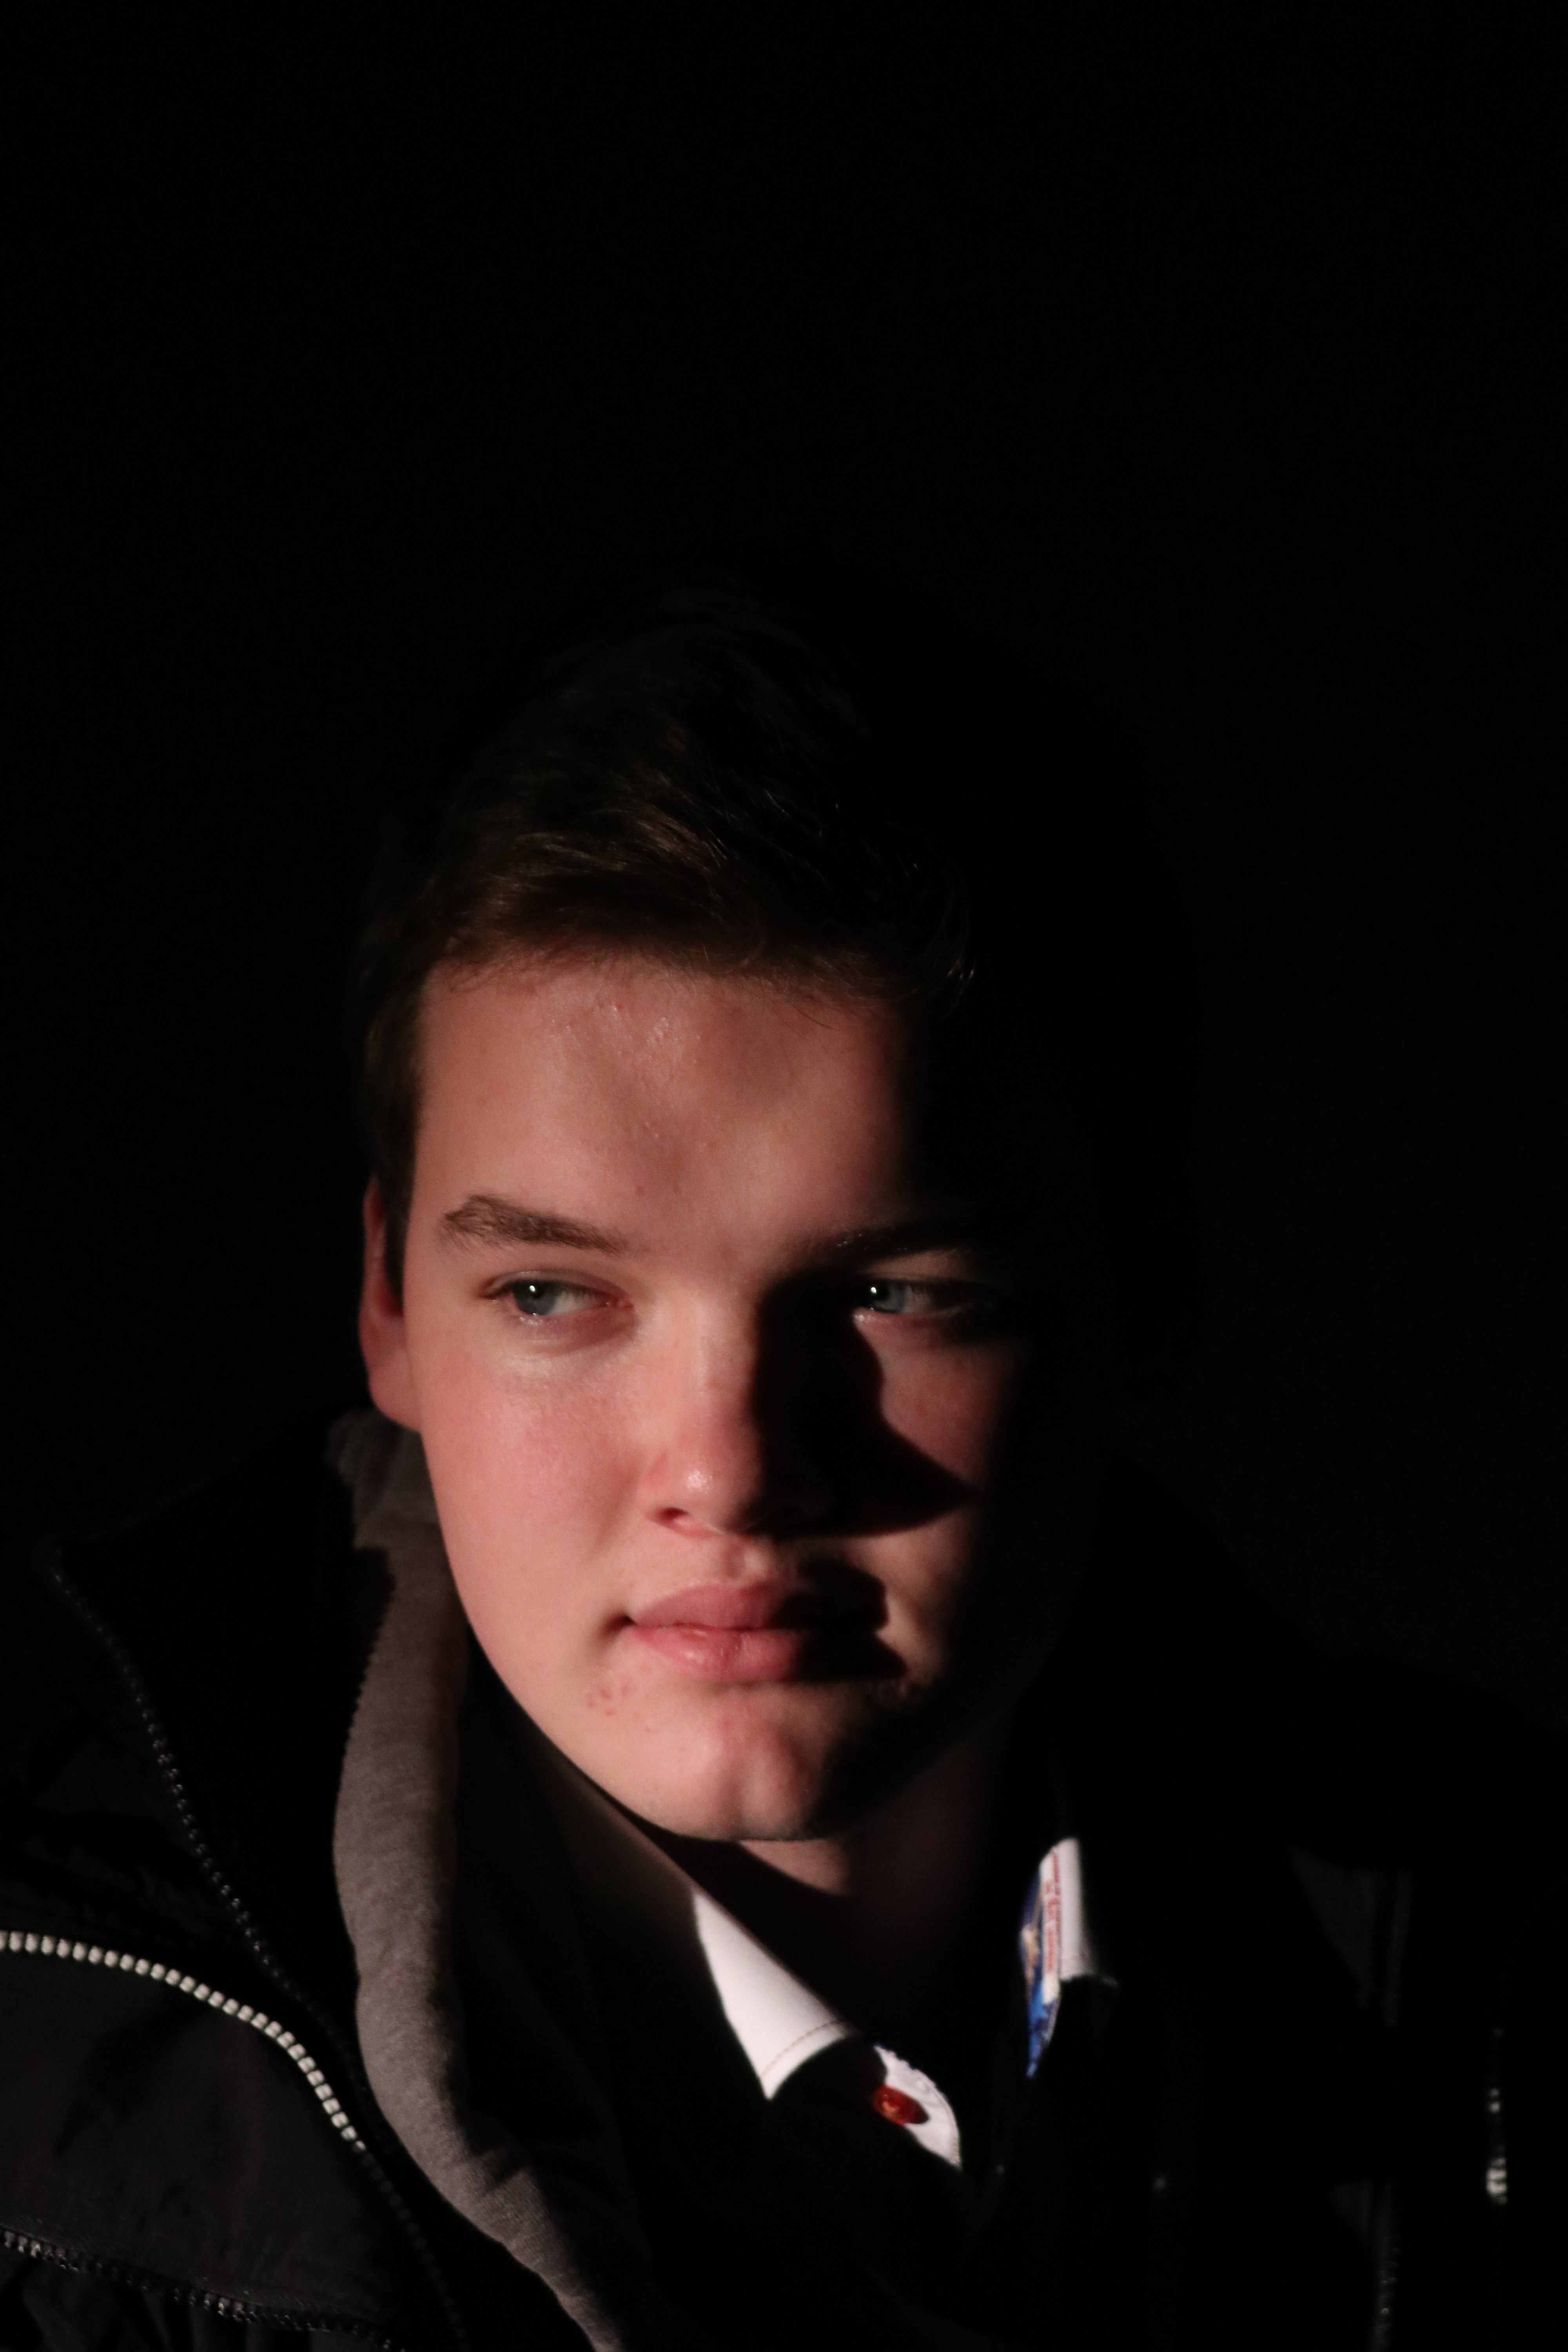
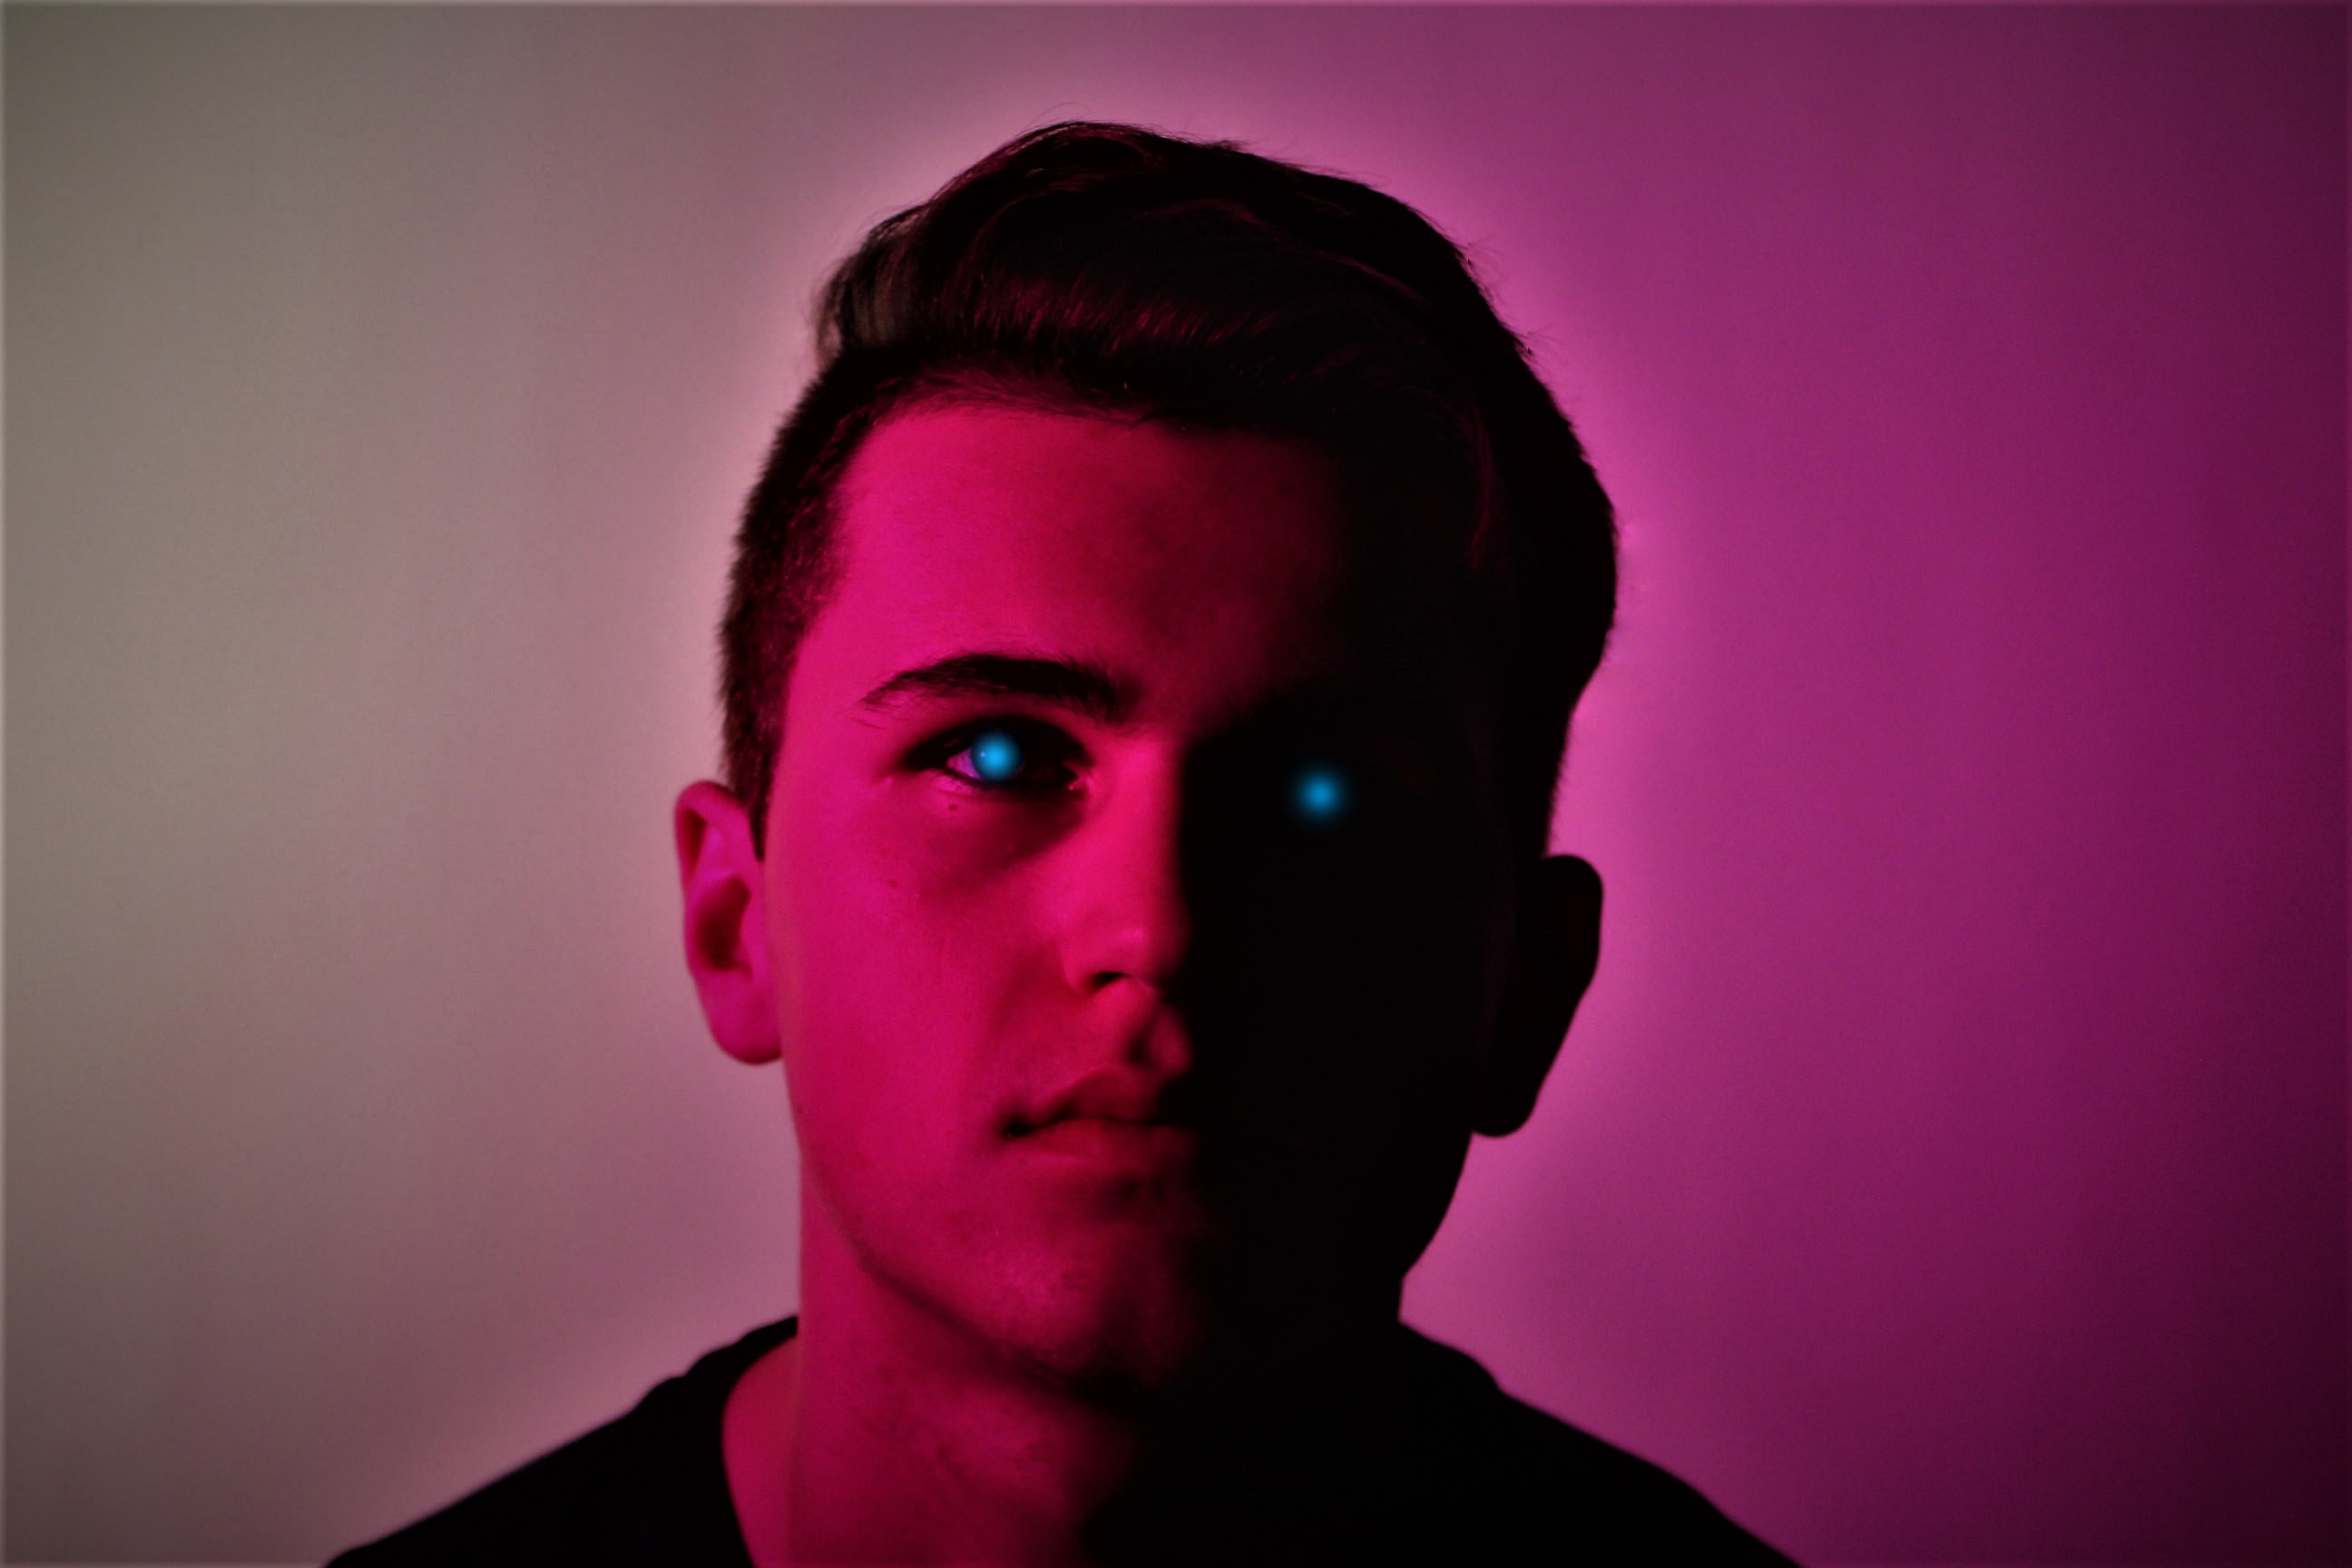 In this photo you can see an immediate change in the look of the photo. The first major change you can see is the blue specks of color where his eyes are. On the left side of his face (As you look at it) you can see where his eye is, but due to the one point light, you can’t see where the other eye is, I think that the blue dots of color help make the picture stand out. Also with this photo I put the clarity all the way to maximum just so that his key features stood out. I also raised the vignette just a bit to create the same effect as before. Again with this photo I used spot fix, but this time not to make his skin to appear smoother but to fix any hairs on the photo which looked out of place, this makes the outline of his head to shoulders seem more in place and smoother looking.
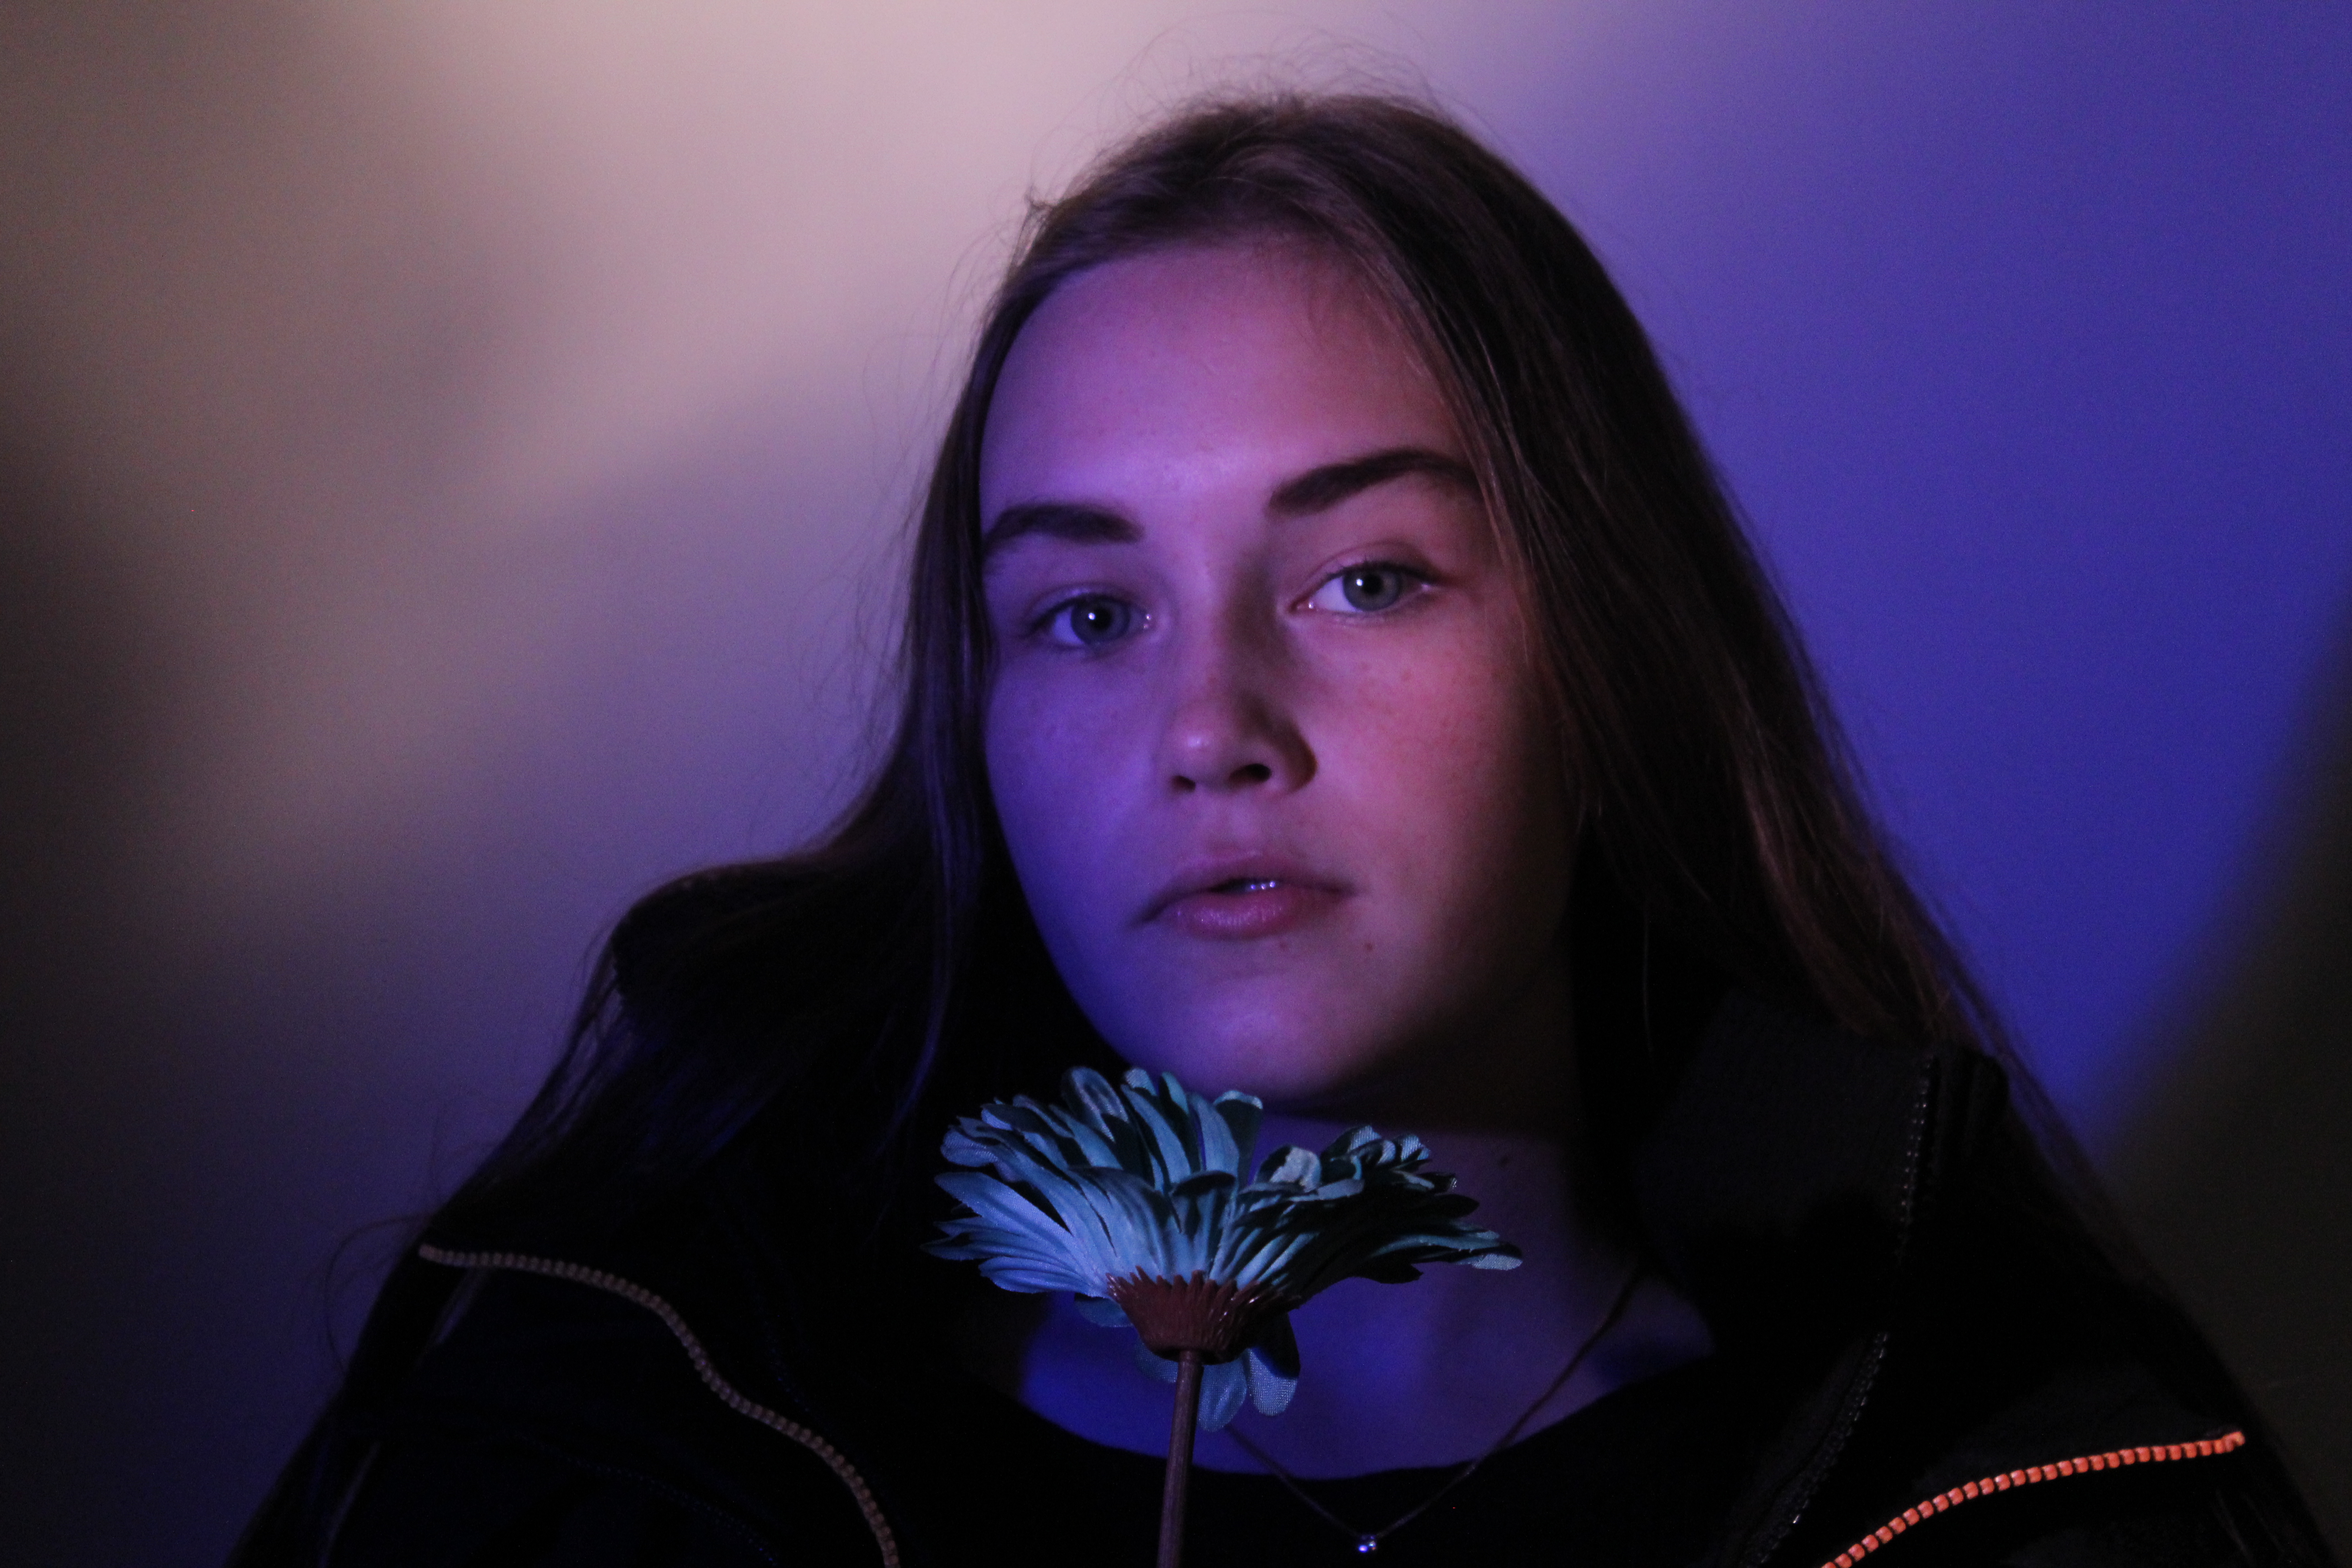 I have done nothing to edit this photo as I think that it is really good. What I really like about this photo is that the use of the color blue really makes the much paler blue stand out. I also like the use of propping with the coat as it does just make the color and atmosphere of the picture stand out.
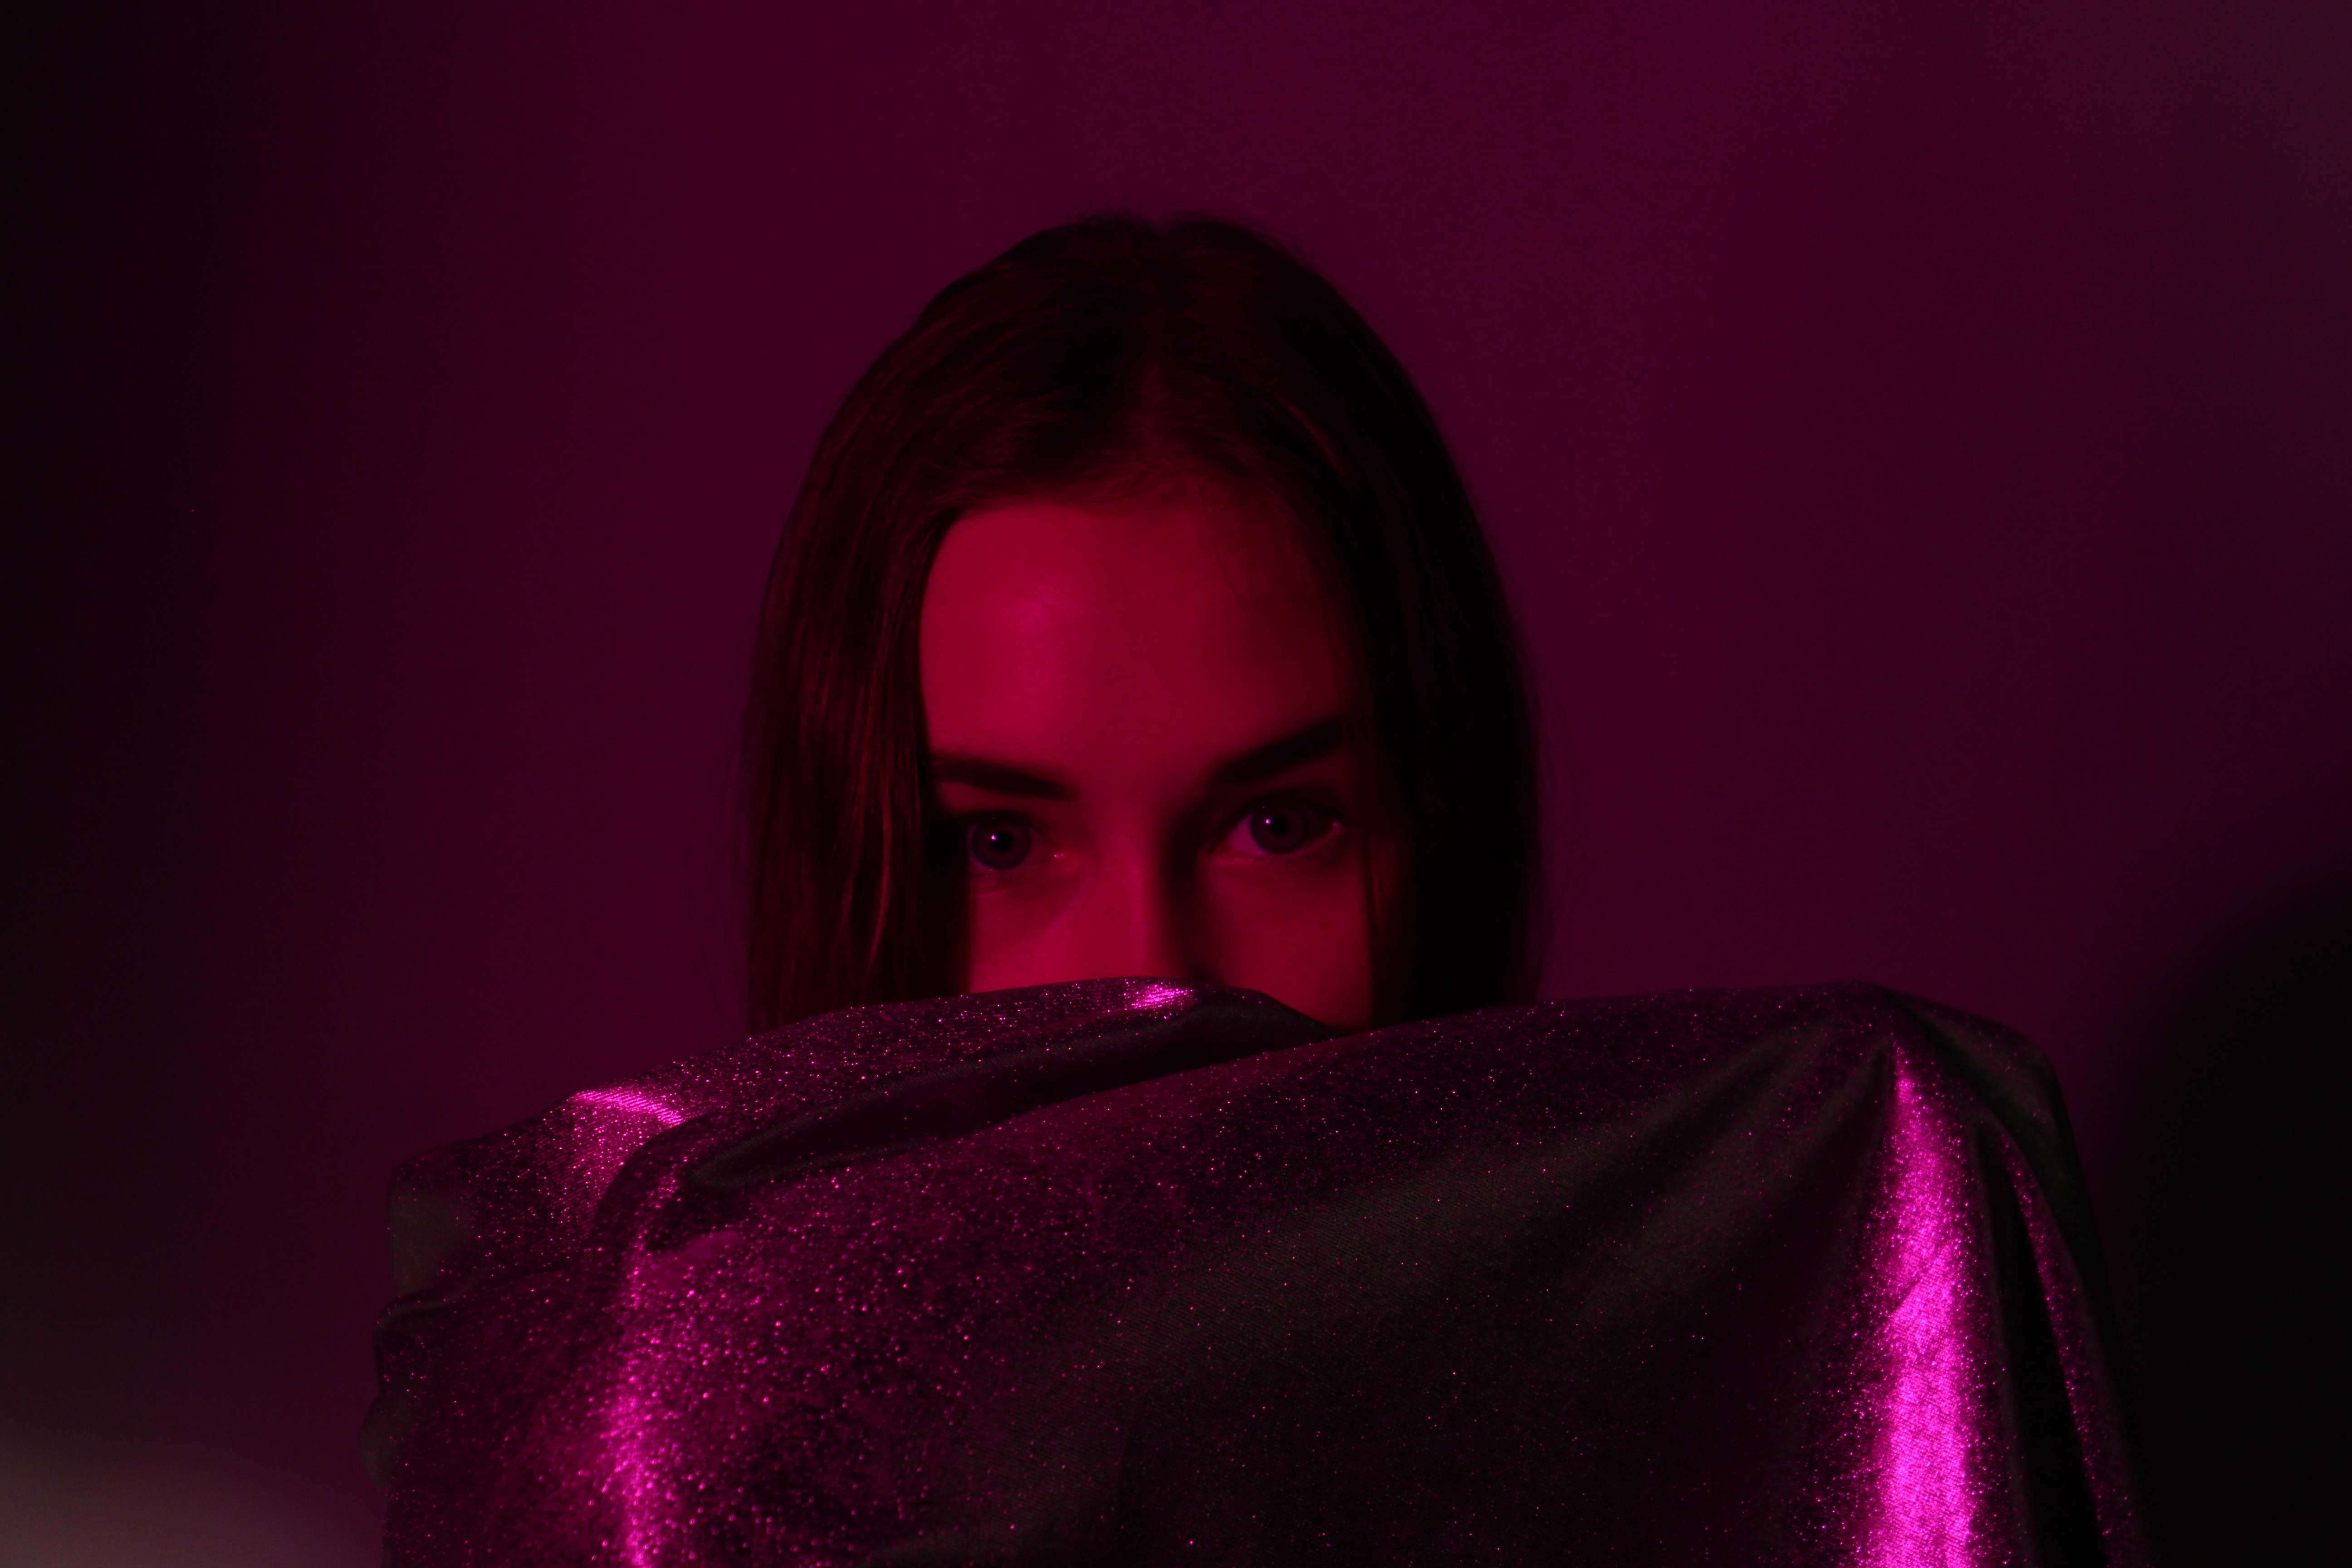 I also really like this photo, as the use of the red and purple mix of the film to create a mix of colors on the model really makes her eyes stand out among the rest of the photo. I like the use of the silver and glittery sheet as it stops you from becoming too focused on the rest of her face. The use of the sheet also works well with the light as it has its dark and light tones which makes it sparkle and stand out.