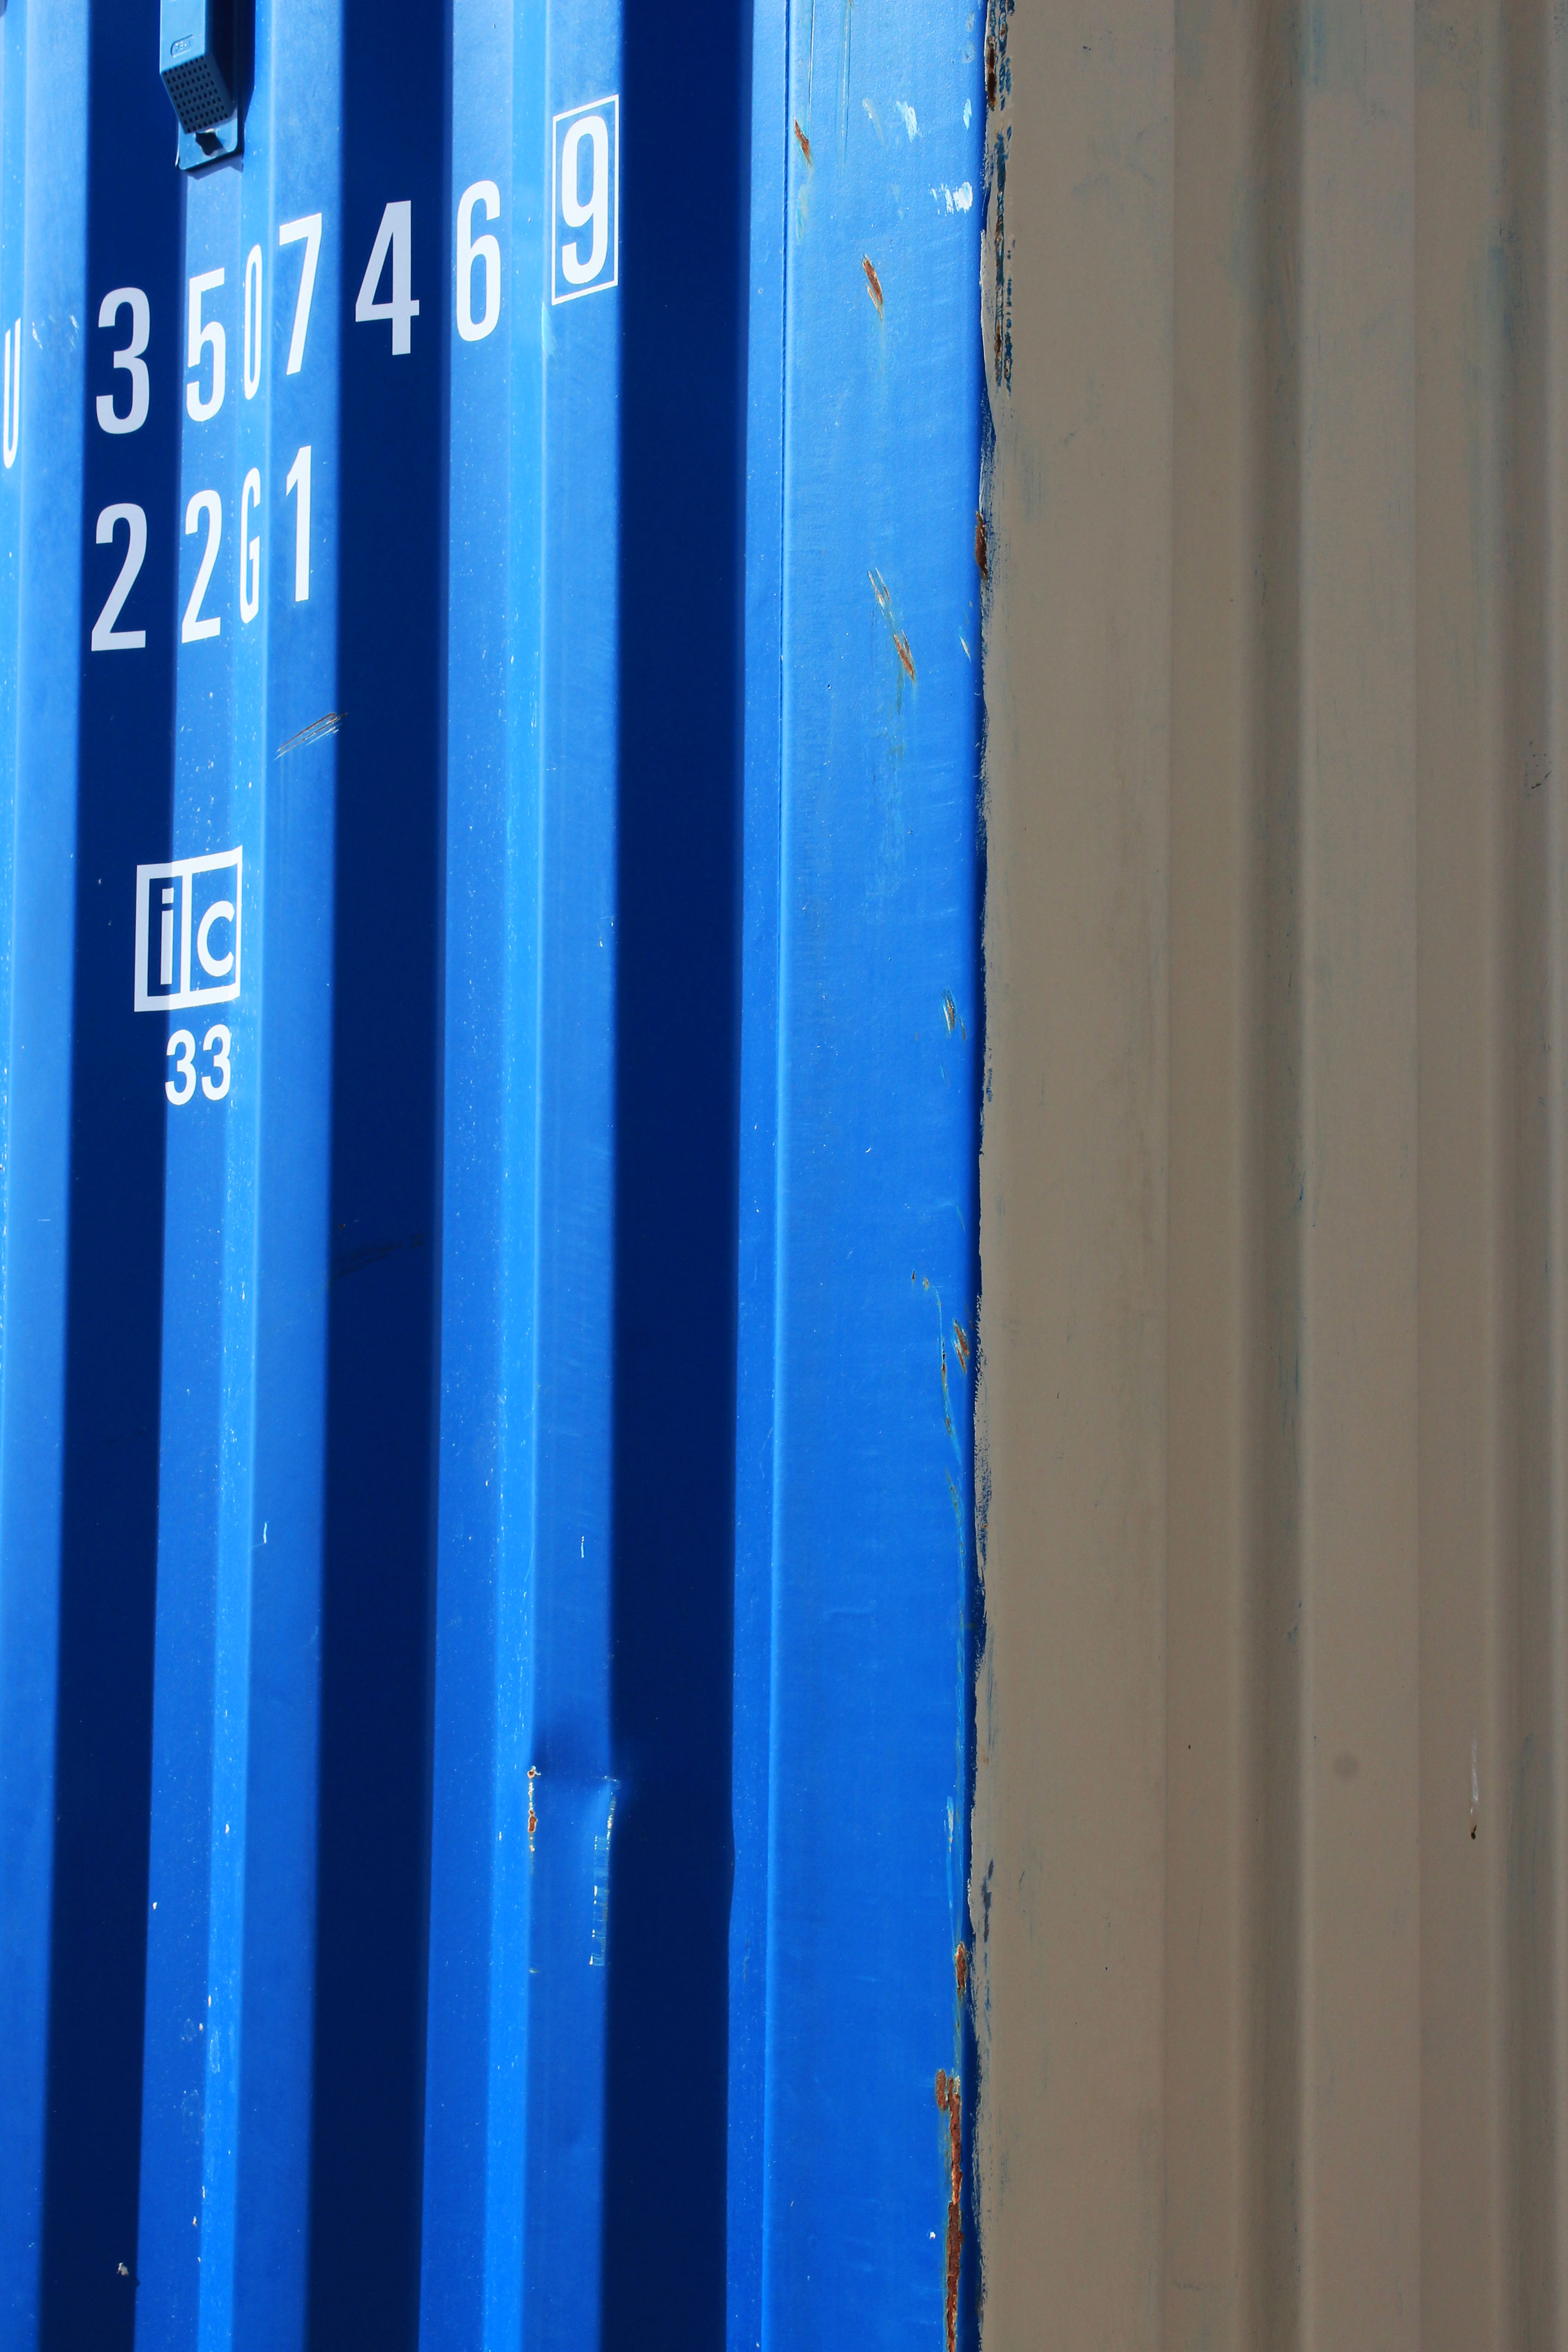
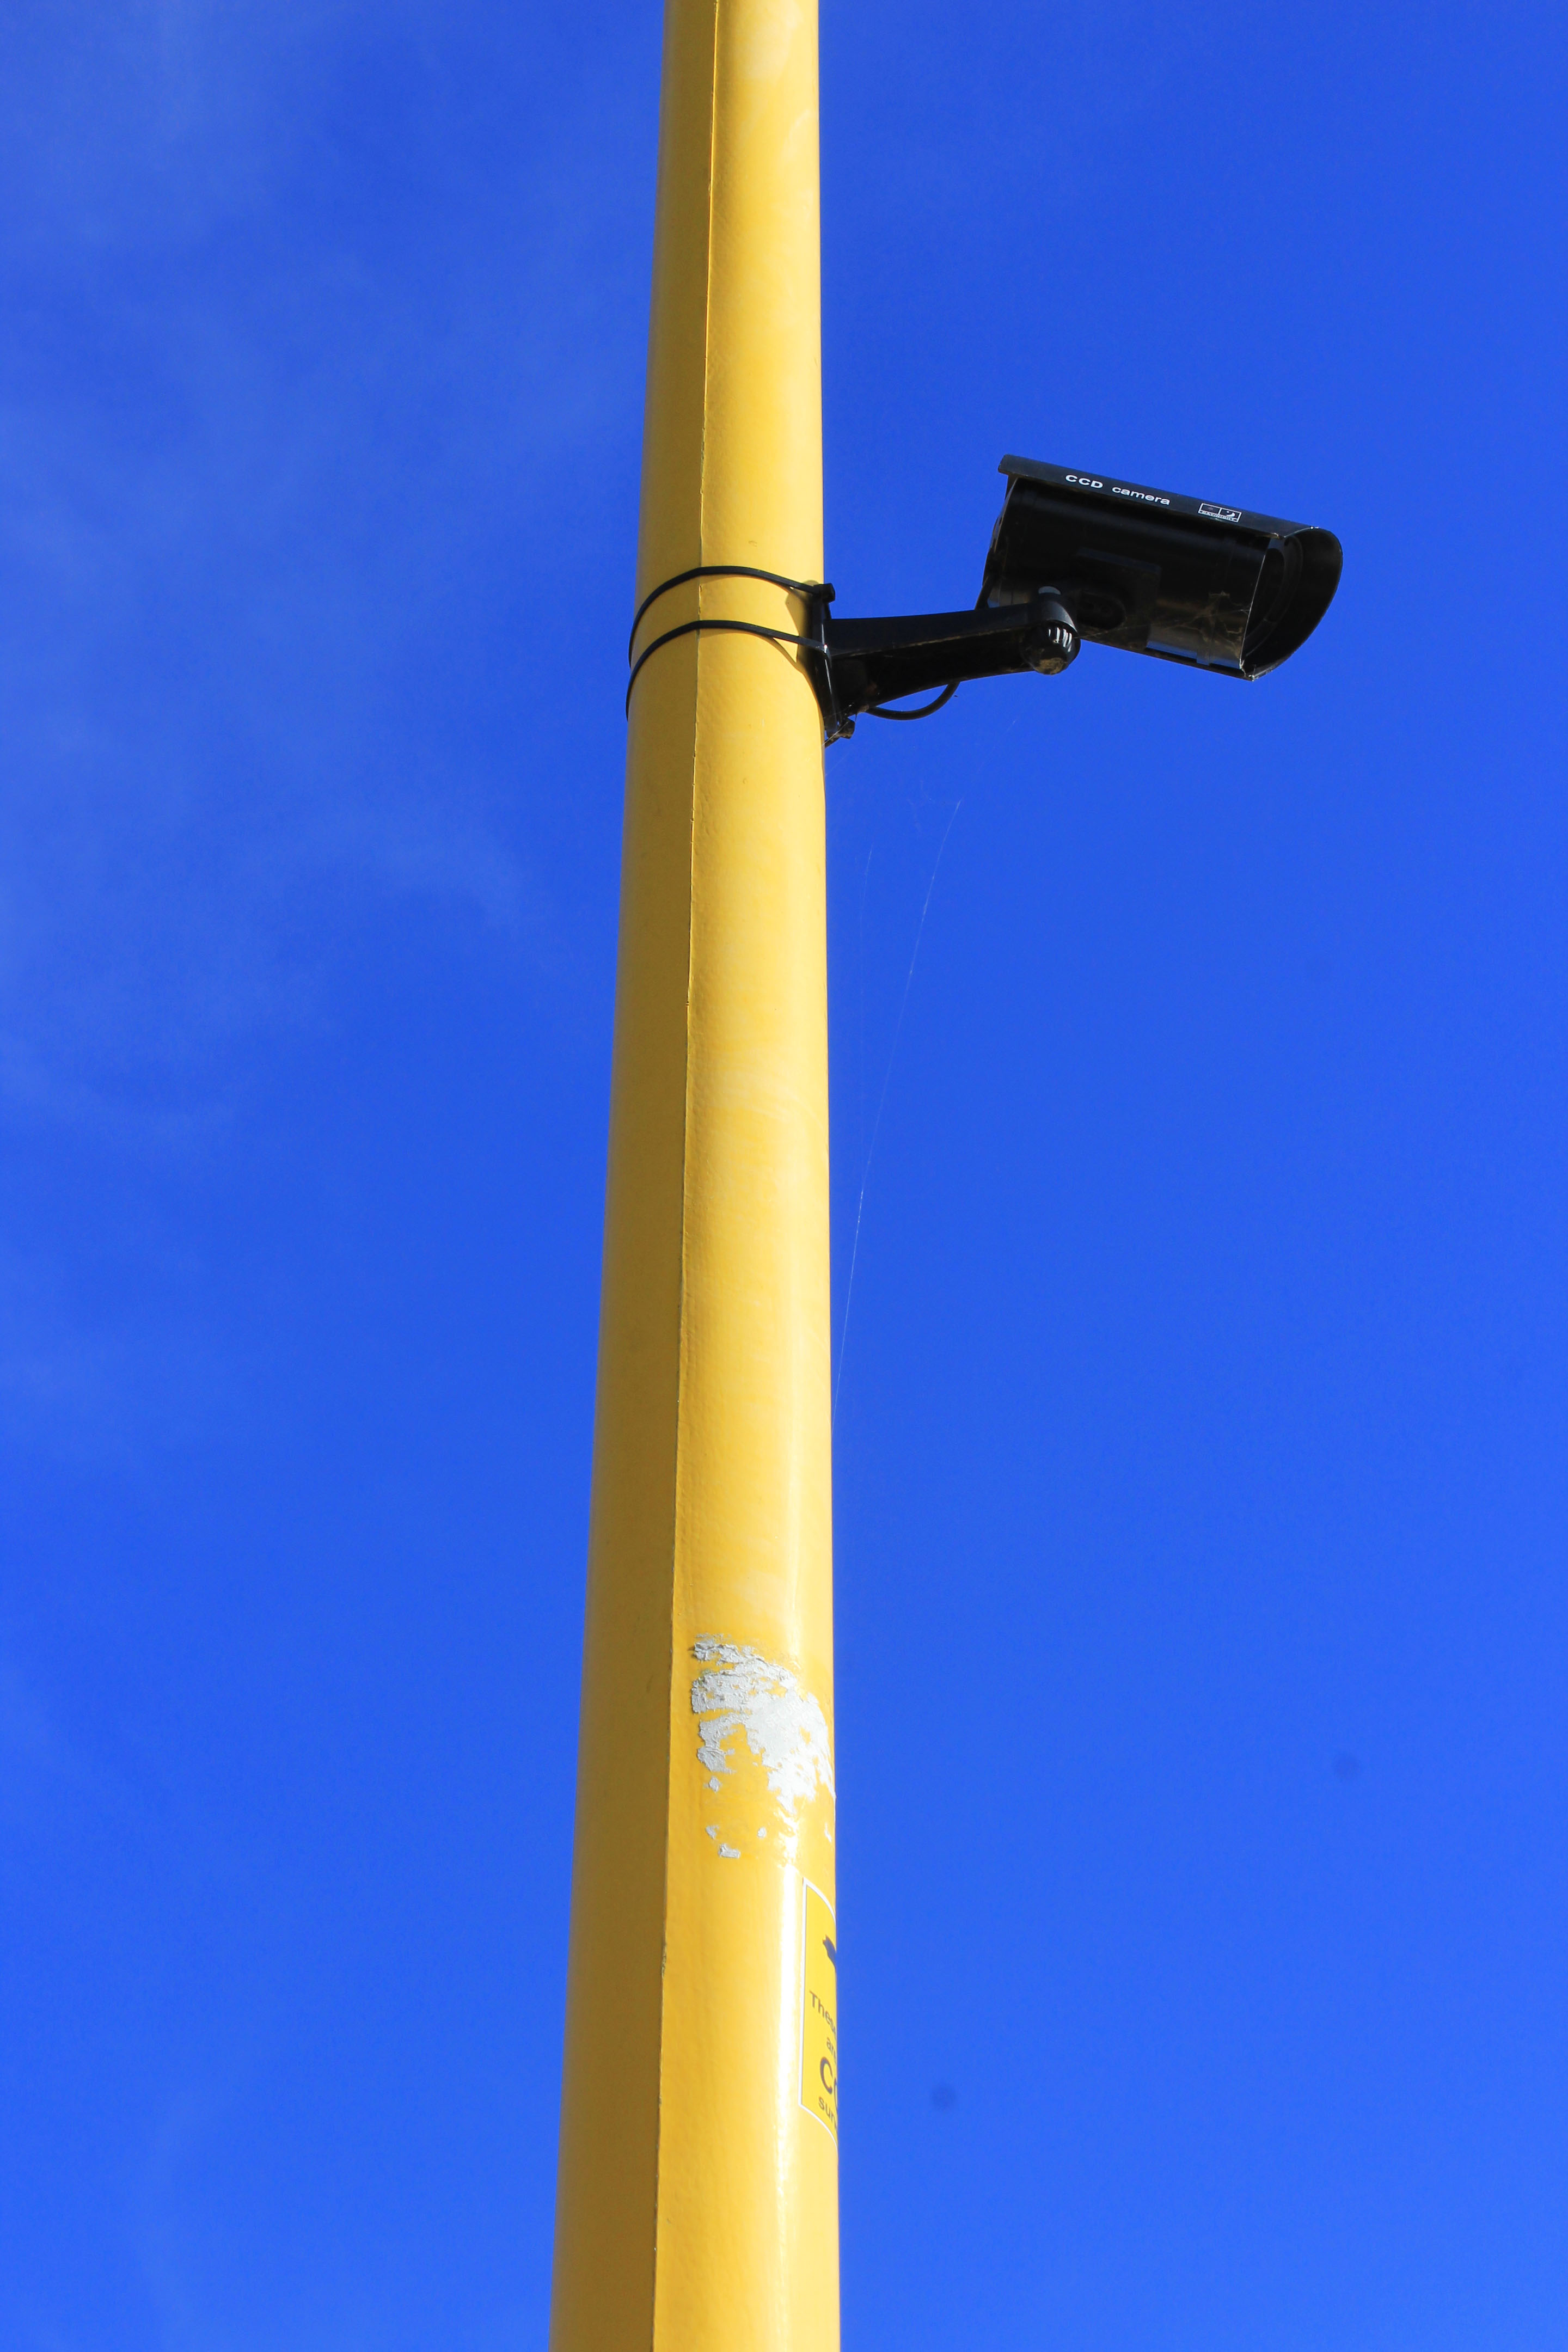
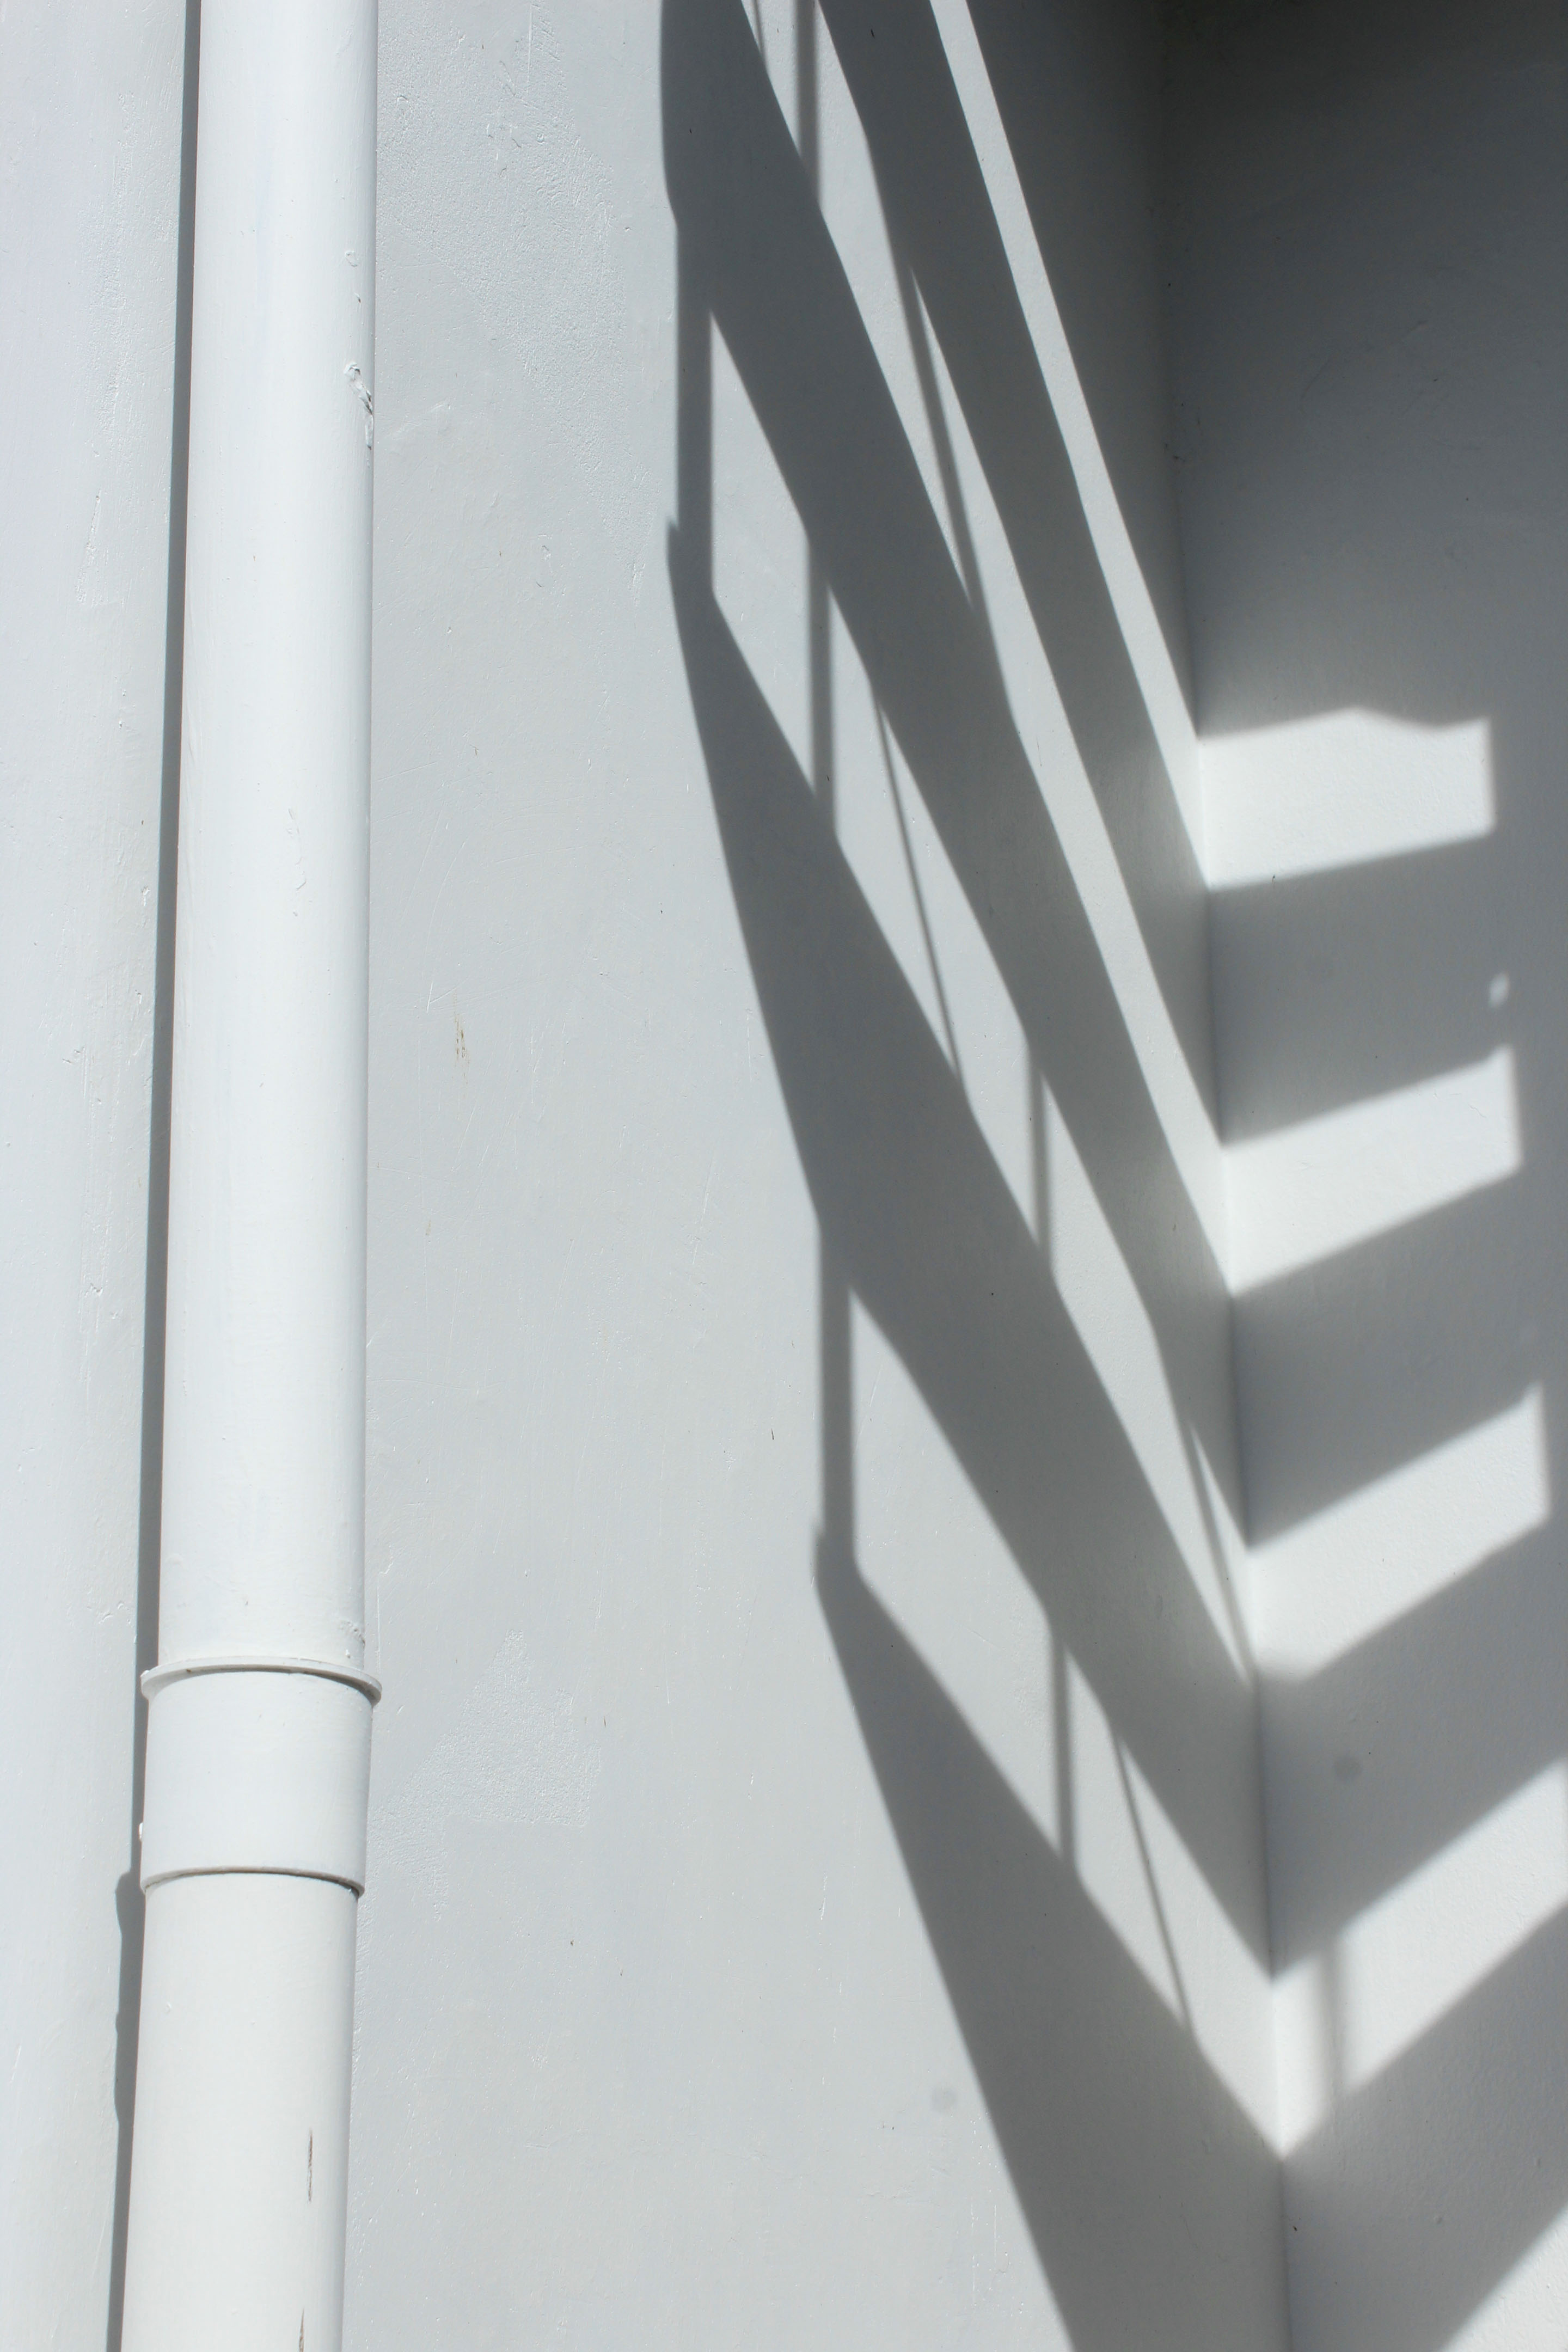
Category Archives: Homework

Filters

Author:
Category:

WEEK 6- INITIAL IMAGES

Initial Choices for final images

After looking through my whole ‘ Abstract’ project, i have used Adobe Photoshop to play around with 5 possible images which i can choose from to be a final image of mine. 

Reasoning for my choices 
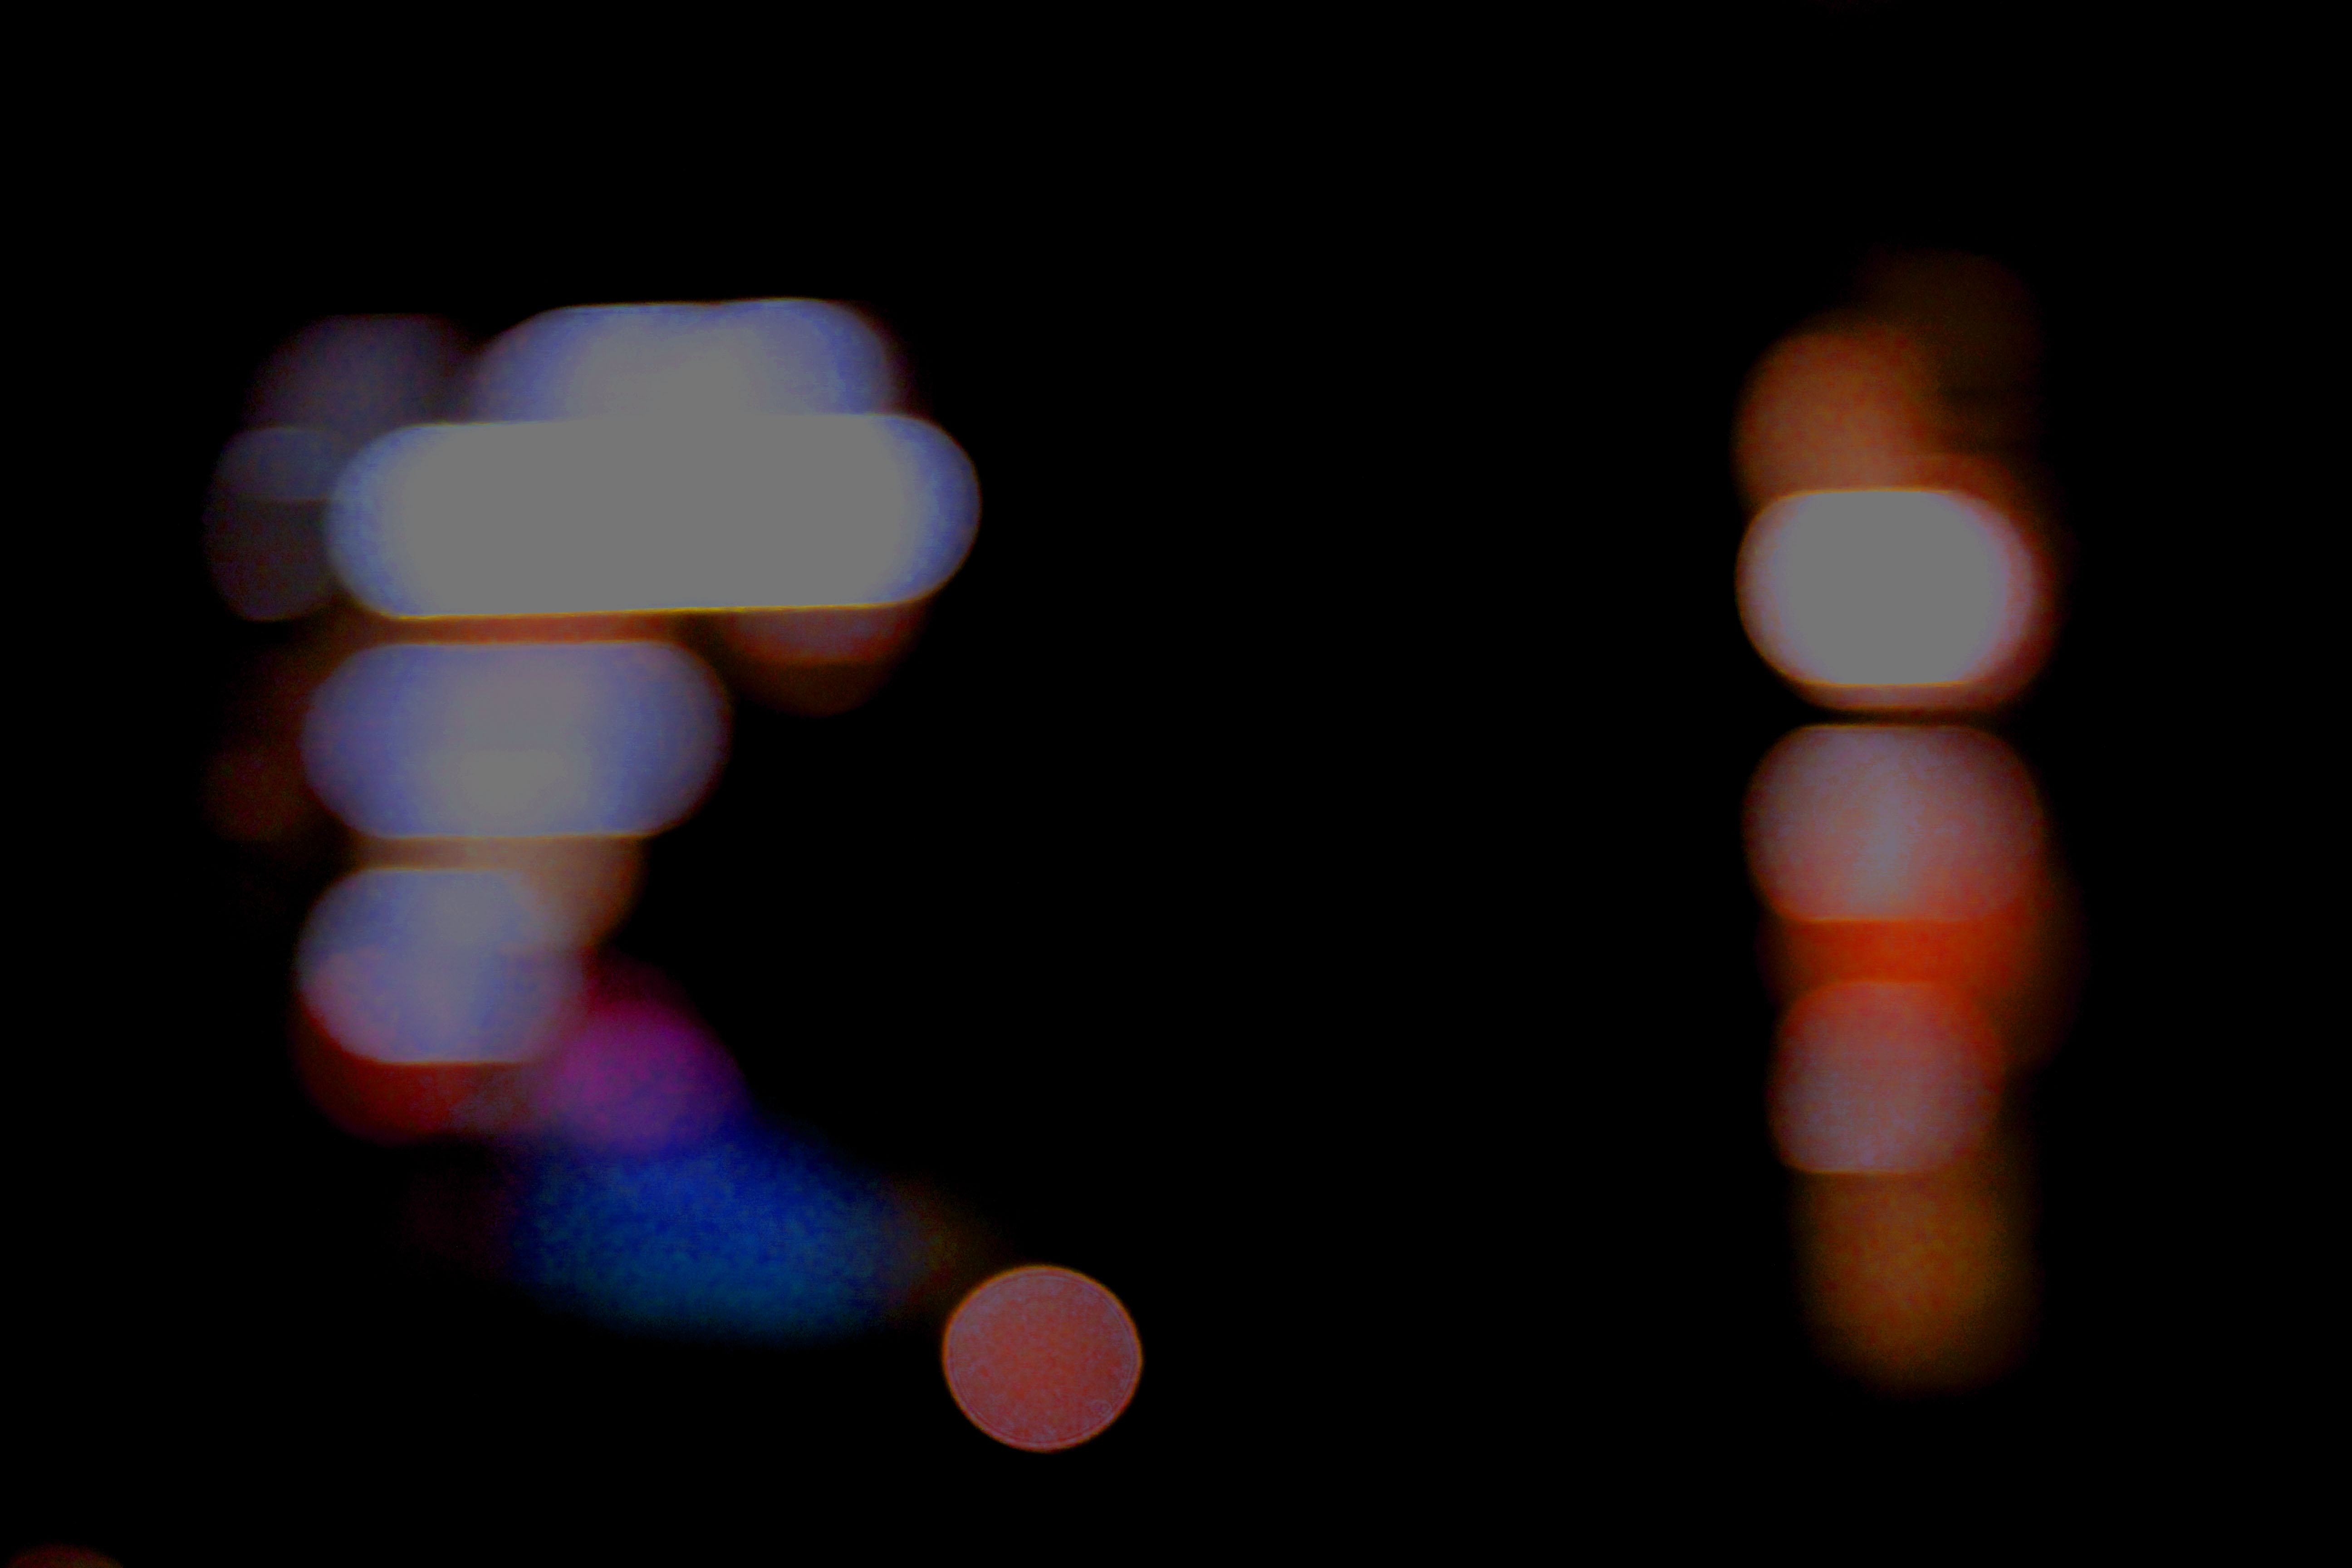
I think using my ‘ Bokha’ inspired image for A4 print out is a good choice. This is because this was my most successful image from a previous Bokha project when studying the photographer Saul Leiter. I think this was one of my most successful pictures from that project as it includes a lot of contrast in the picture due to the high saturated colours, the bright white and the overall darkness.

This image also shows a range of techniques that was used to get this end picture. I took this picture in Manual Focus as which helped to purposely make the scenery blurred while as using a quick shutter speed to take pictures of the lights not in focus as well as it helping to under expose the image and contrast the colours with the overall darkness a lot more which was one of my main goals.
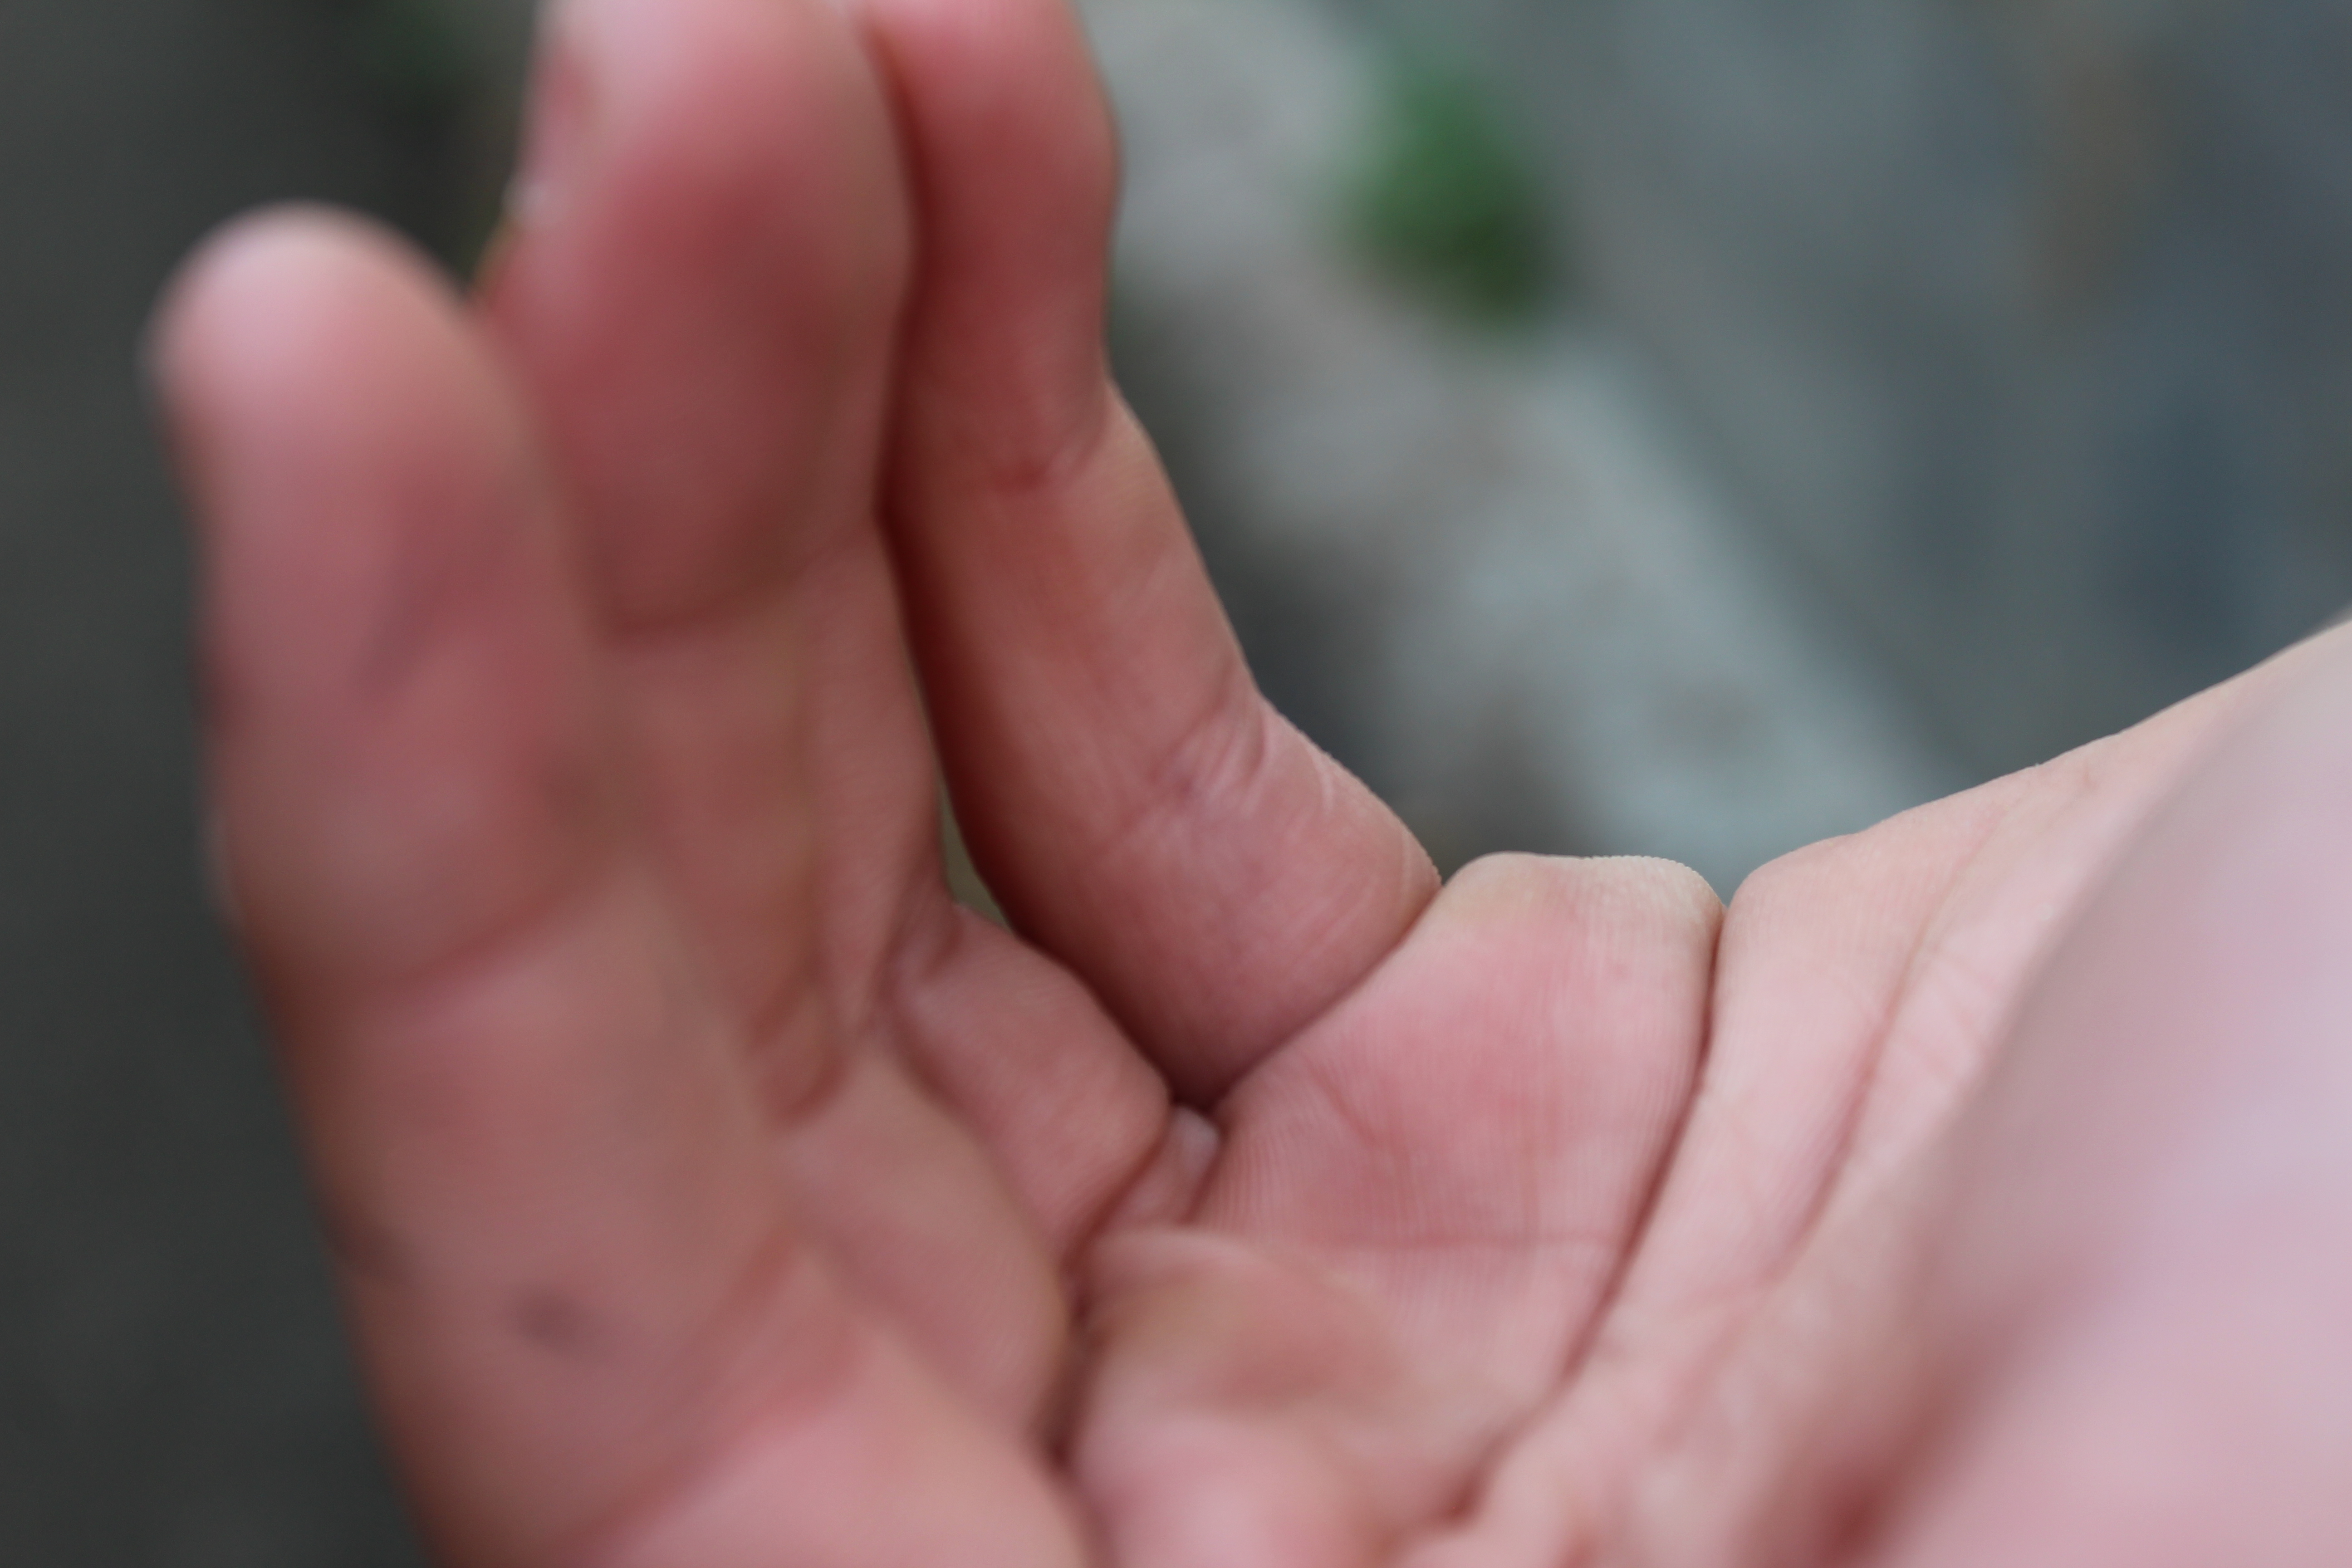
I think using this very toned picture of a hand for my A5 print out is a good decision as this image includes a range of technical elements and taking this picture on this photo shoot taught me a range of things.

This image was taken in Manual Focus so that my ‘ F stop’ was low which made a narrow depth of field which was an affect that i was aiming for. This image was also taken under natural lighting and therefore when using the quick shutter speed on my camera, this allowed for every detail of the hand to be emphasized which added a lot of tone for when edit the into black and white. Using the quick shutter speed taught me that i can use it to help under expose the image to create a darker effect for the non- subject parts of the image which helps to contrast between the light and dark in the picture.

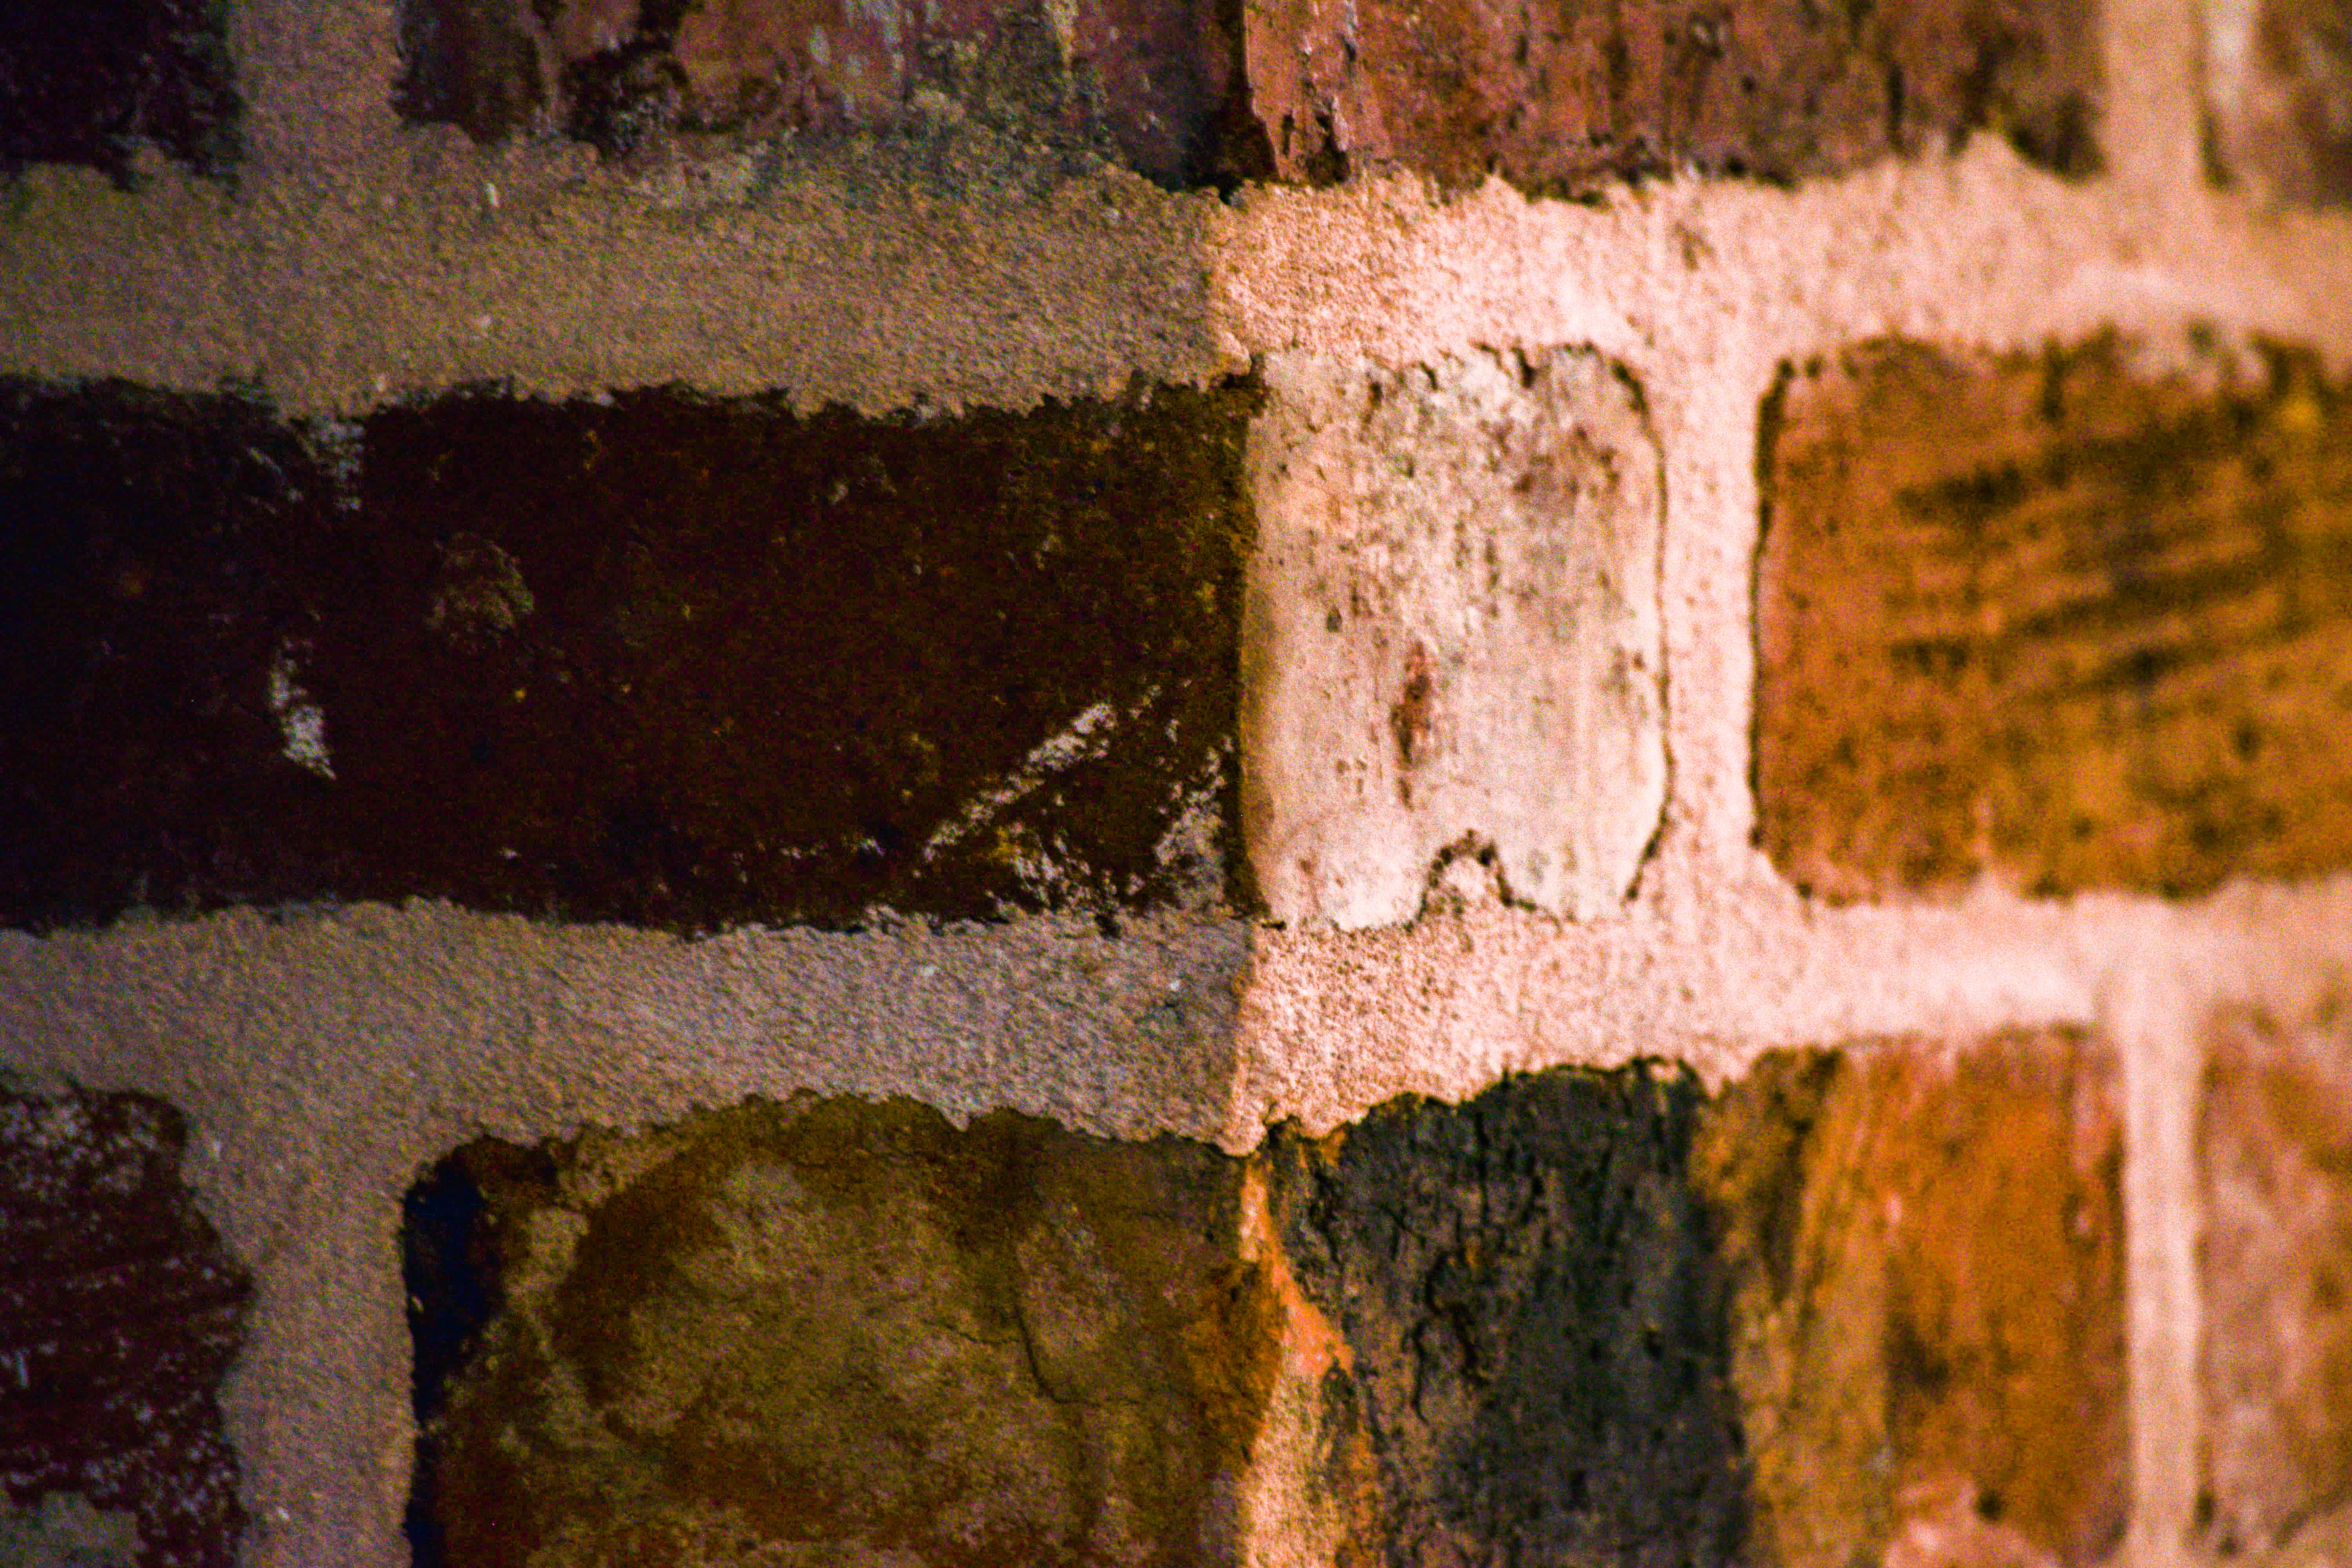
Using this very natural abstract image as my A3 print out is a good choice as the image contains a lot of interesting textures which are very pleasing to the eye. As well as my editing being used to contrast more between the light and dark in the picture and i overall really like the picture and this it will be a great choice for an A3 print out.

This image was taken in Manual Focus which helped me learn what an ‘ F Stop’ is as i had used a low F stop in order to create a shallow depth of field. This image was also taken on a very cloudy day which created a lot of shadowing on the tree bark adding a lot of texture to the image.
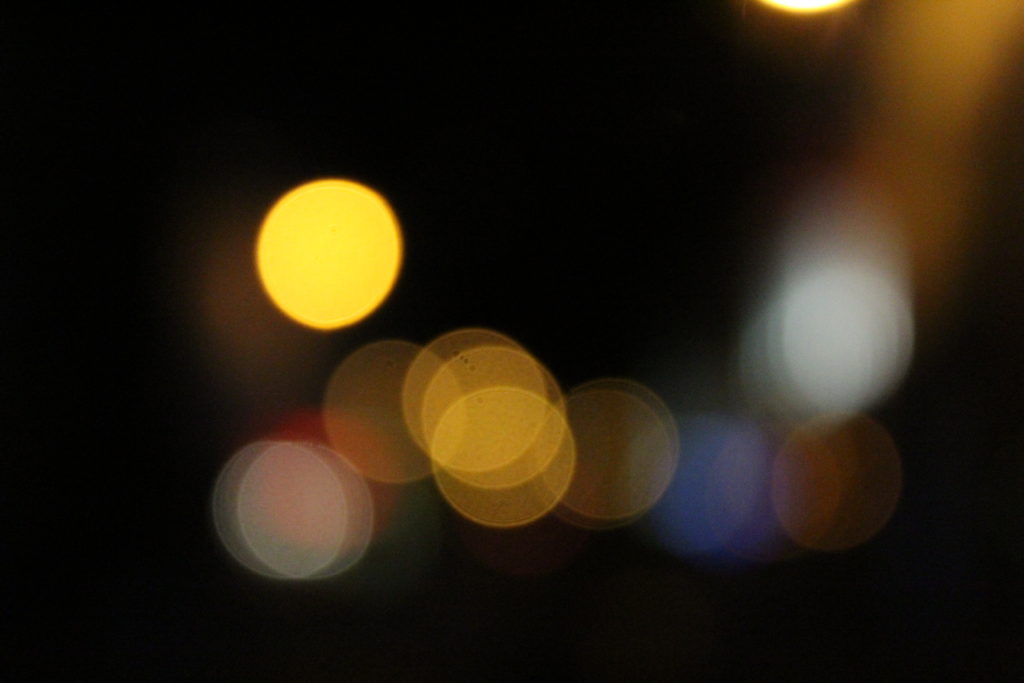
 

Using these three images for a final piece is a good idea as the images will look nice displayed as a three piece of art. I like the range of different colors in the images and think that i can creatively display these images.

These images also shows a range of techniques that was used to get this end picture. I took these images in Manual Focus as which helped to purposely make the scenery blurred while as using a quick shutter speed to take pictures of the lights not in focus as well as it helping to under expose the images and contrast the colors with the overall darkness a lot more which was one of my main goals.

This is a great image as it is showing a clear use of depth of field. This image has not been edited at all and therefore shows the quality of the camera skills used.

The image was taken in Manual Focus with a shutter speed of 1/250 which helped to let in light to the lens of the camera. I also had a  ‘daylight’ white balance.

Alfred Stieglitz – week 5

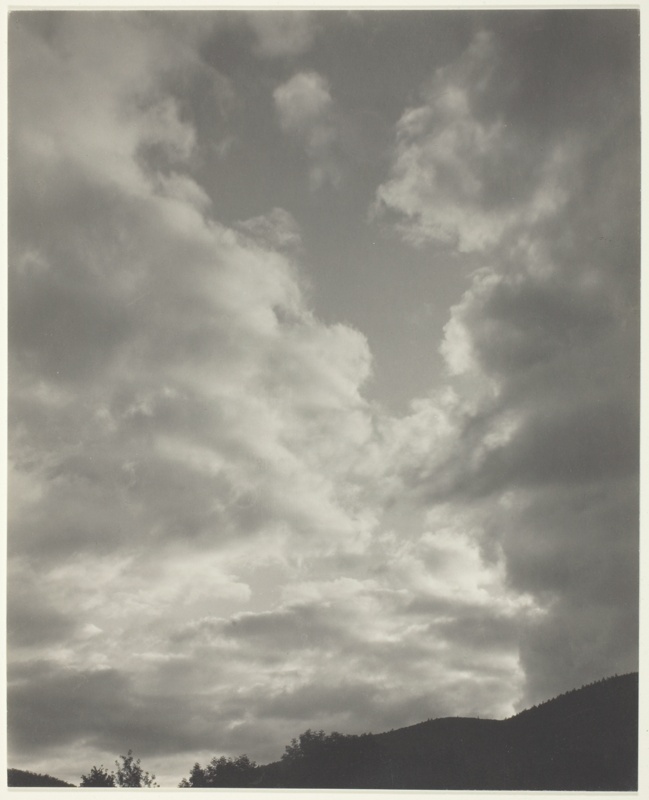
Alfred Stieglitz was an American photographer and modern art promoter who was instrumental over his fifty-year career in making photography an accepted art form. In addition to his photography, Stieglitz was known for the New York art galleries that he ran in the early part of the 20th century, where he introduced many avant-garde European artists to the U.S.

Examples of his cloud works :

In his work, he takes pictures of instructing and unique forms of clouds, with the light and darks clashing.

Image result for alfred stieglitz photography cloud

Image result for alfred stieglitz photography cloud

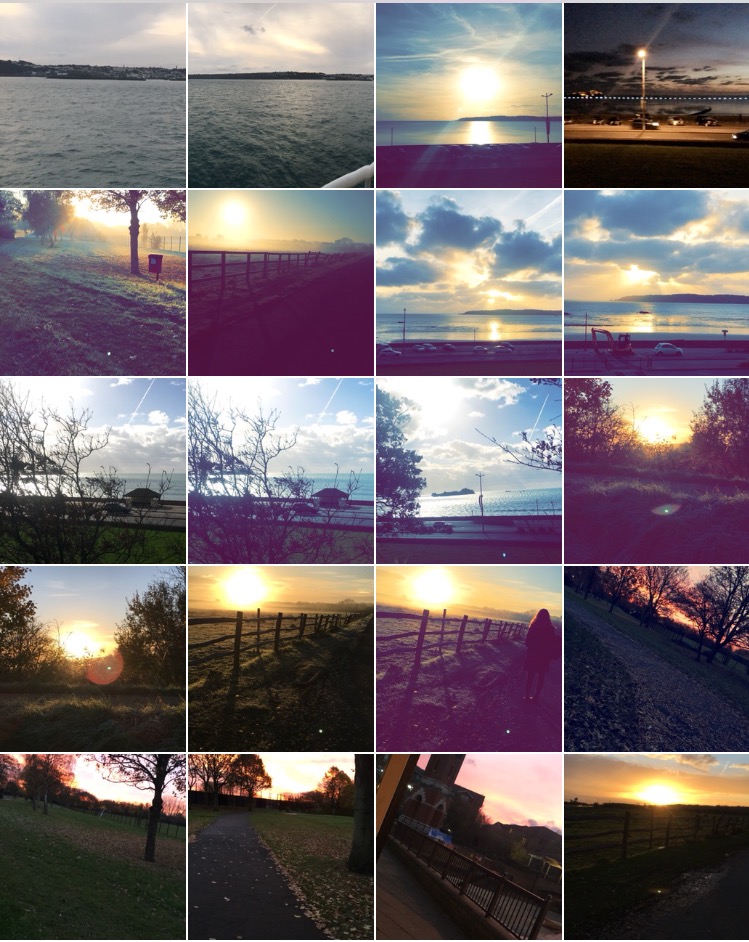
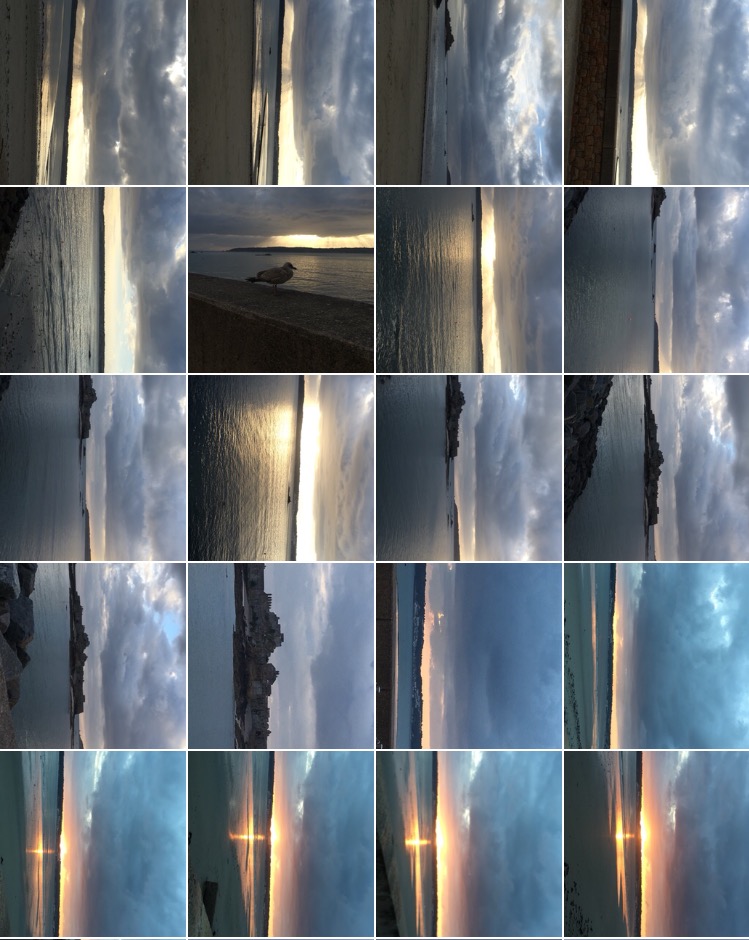
Contact sheets:

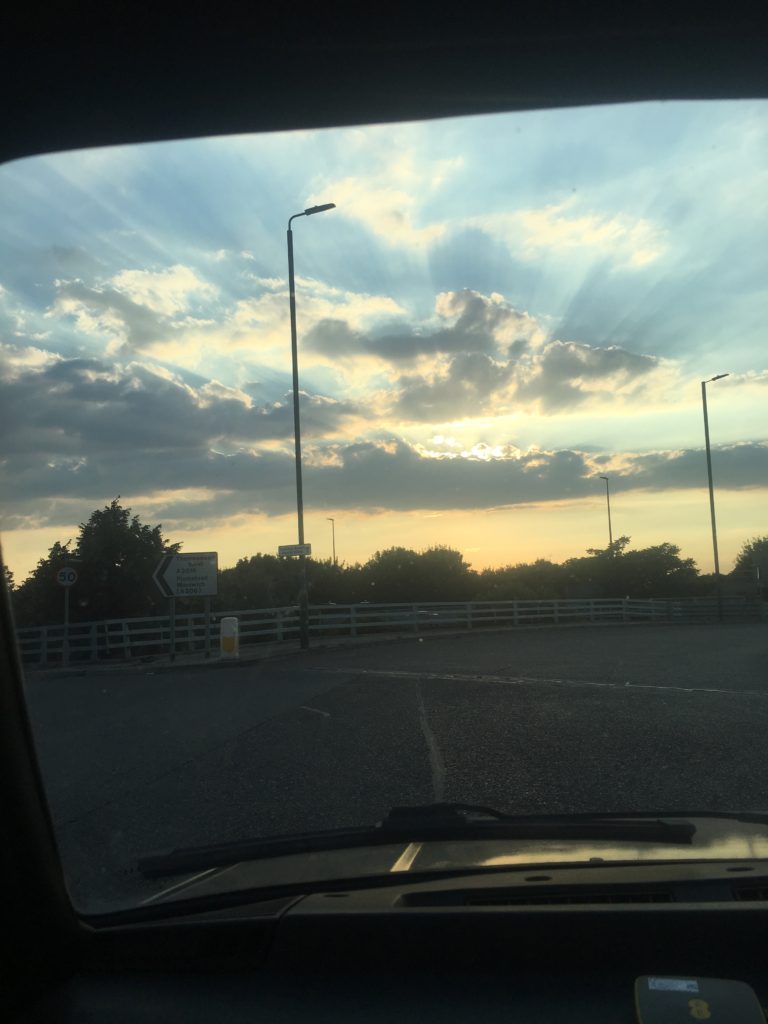
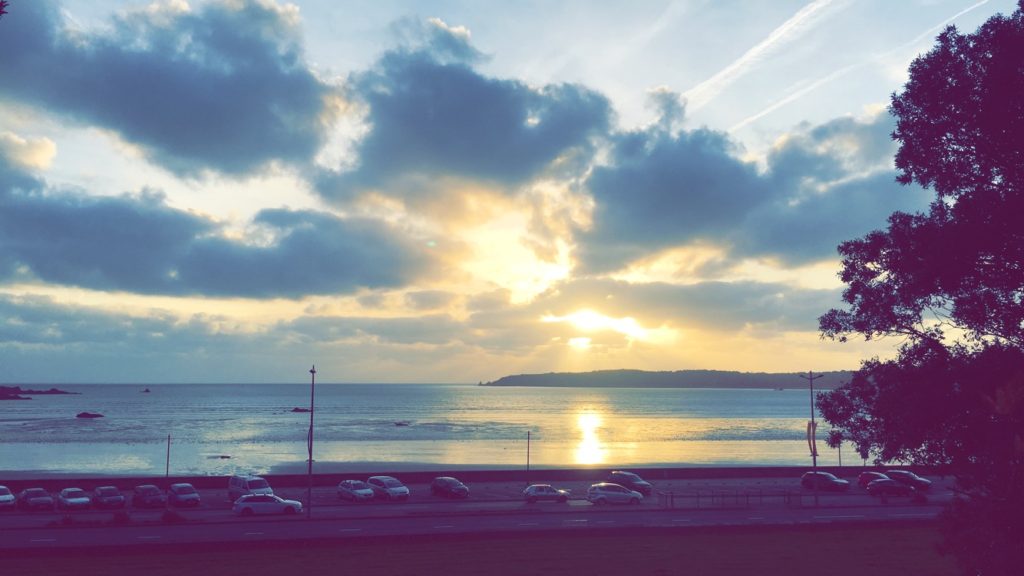
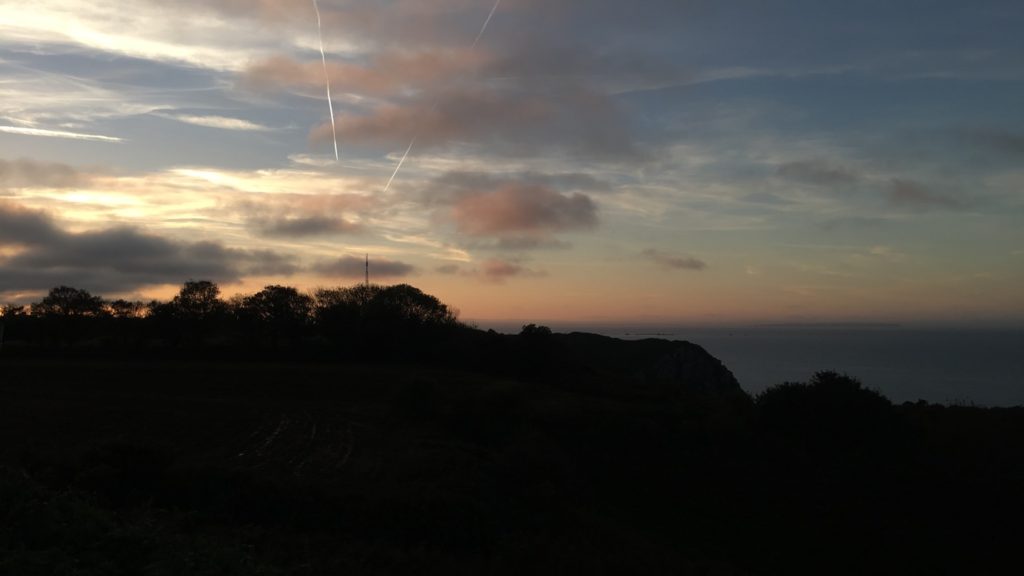
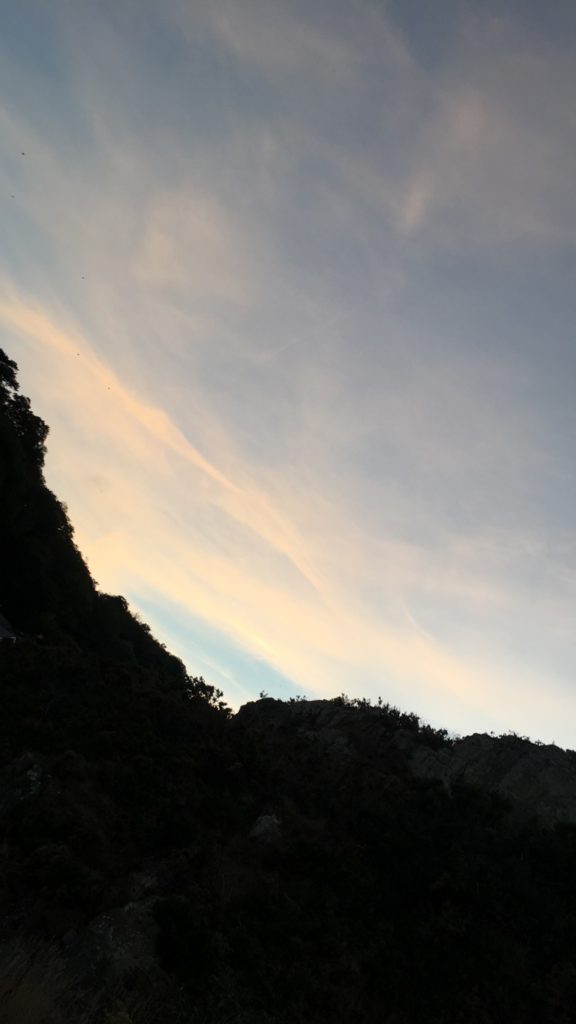
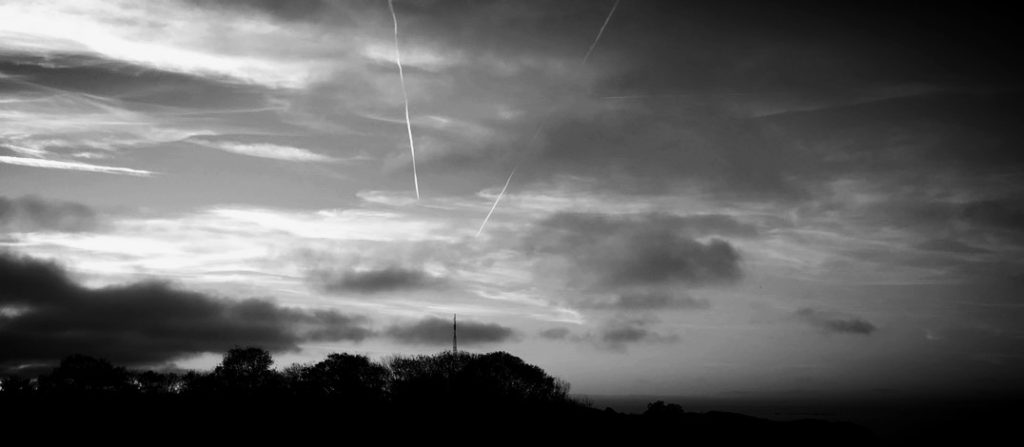
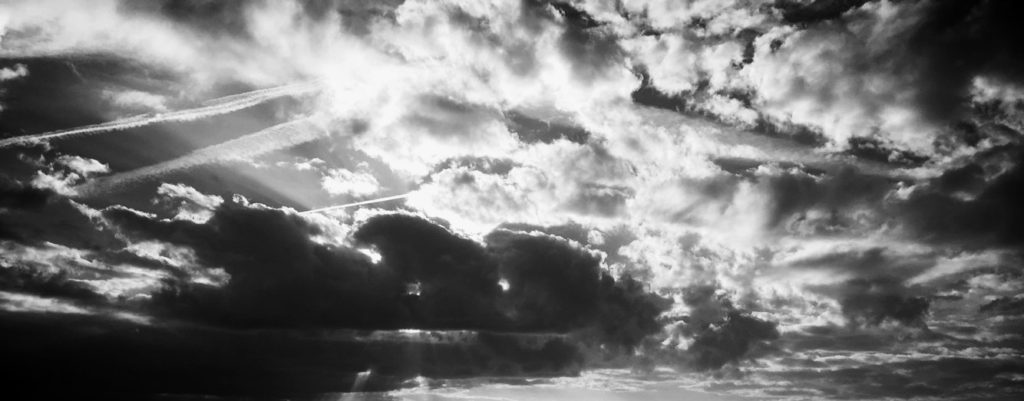
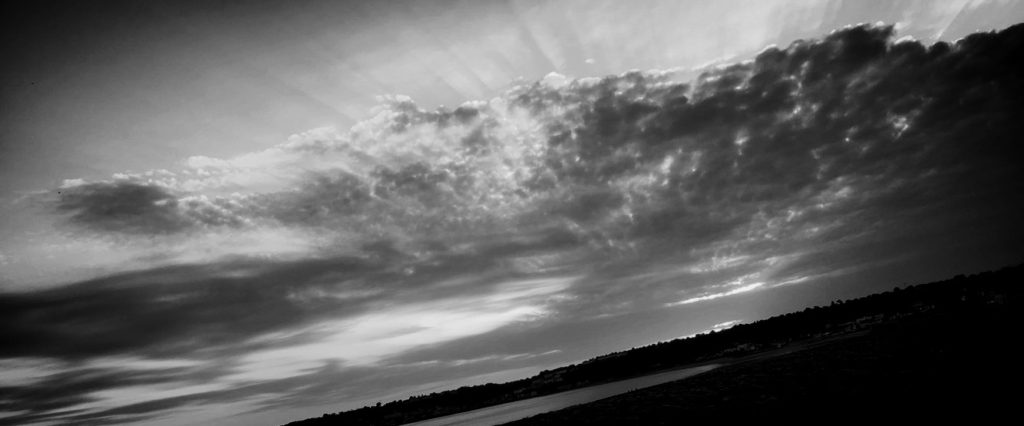
To take photos with inspiration from Stieglitz’s work, I will be aiming to take pictures of clouds, ones with unique textures and where the sun is trying to break through from behind. I’m also looking for pictures where the lights and darks contrast considerably, and ones which I can turn into an abstract photo.


My chosen photos:

Edited photos:

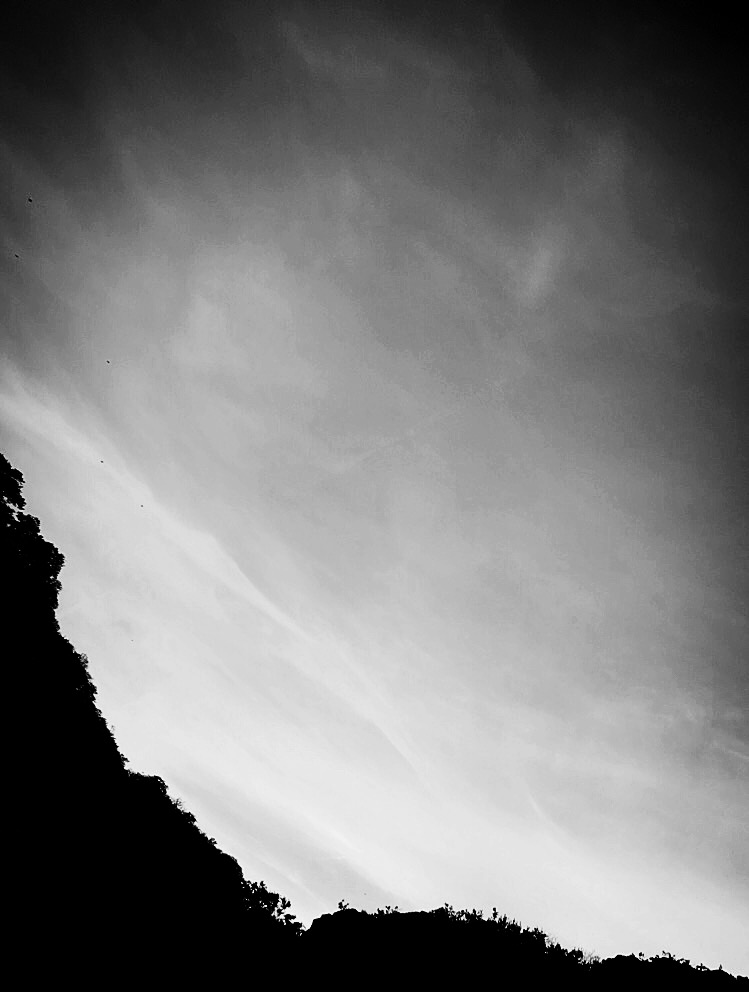
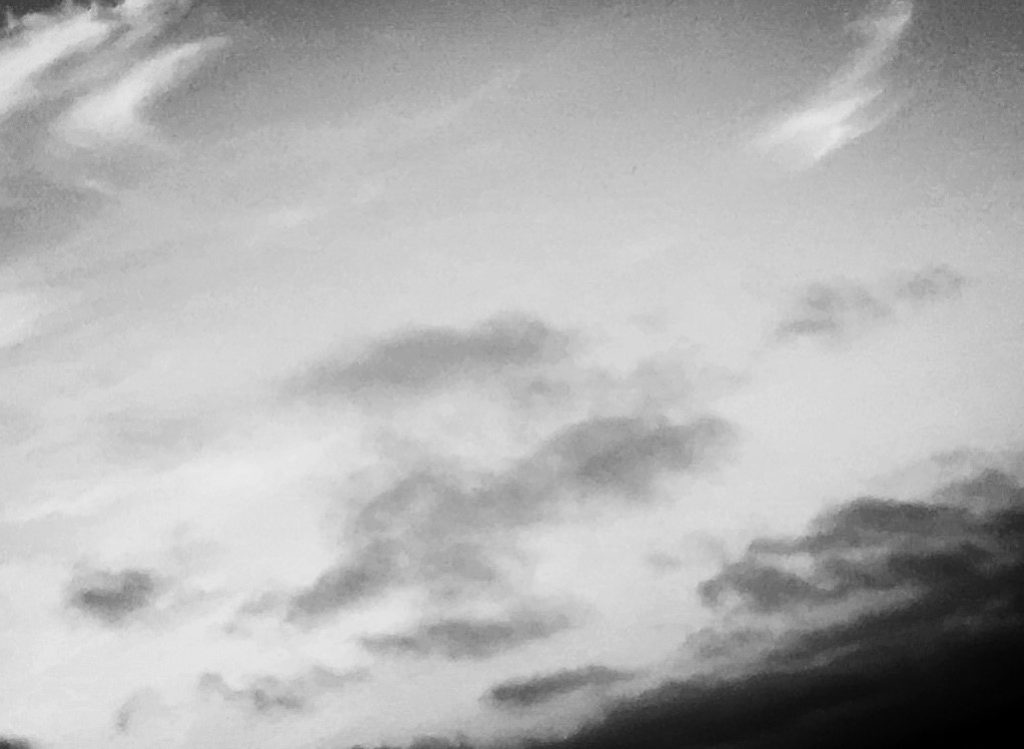
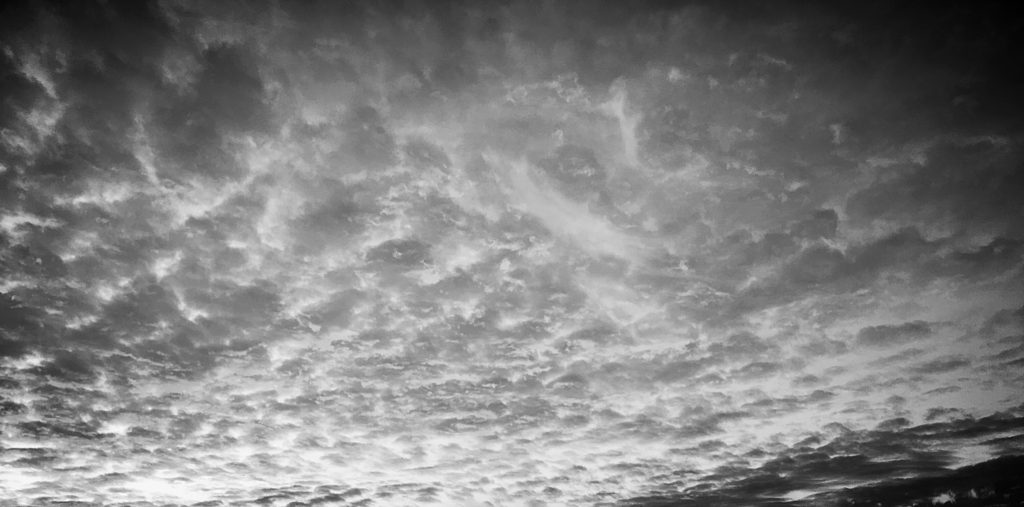
To edit these photos, I went and put a black and white filter on, and then went and played around with the contrast, exposure and light. I brought the light and exposure down, and increased the contrast to try and replicate Alfred’s works.


My final choices :

I chose these three as my final photographs for this task because I believe they relate the most to Stieglitz’s work. It shows contrast between the lights and darks of the clouds and continues on with his black and white style.

Colour and Texture

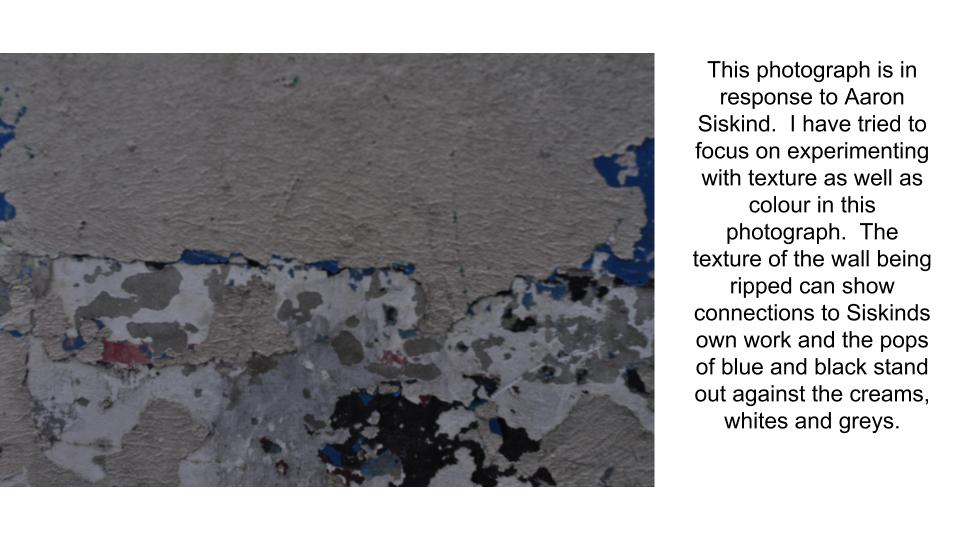
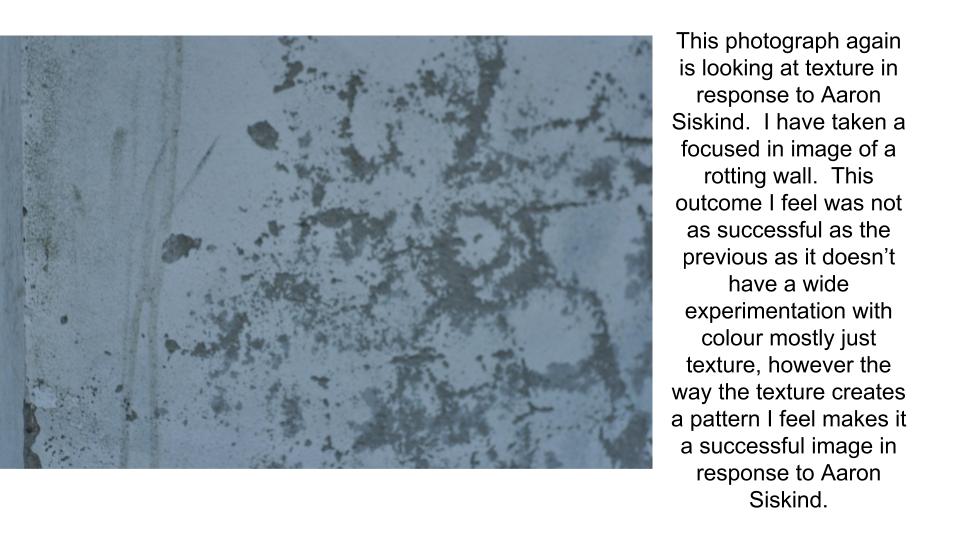
Aaron Siskind

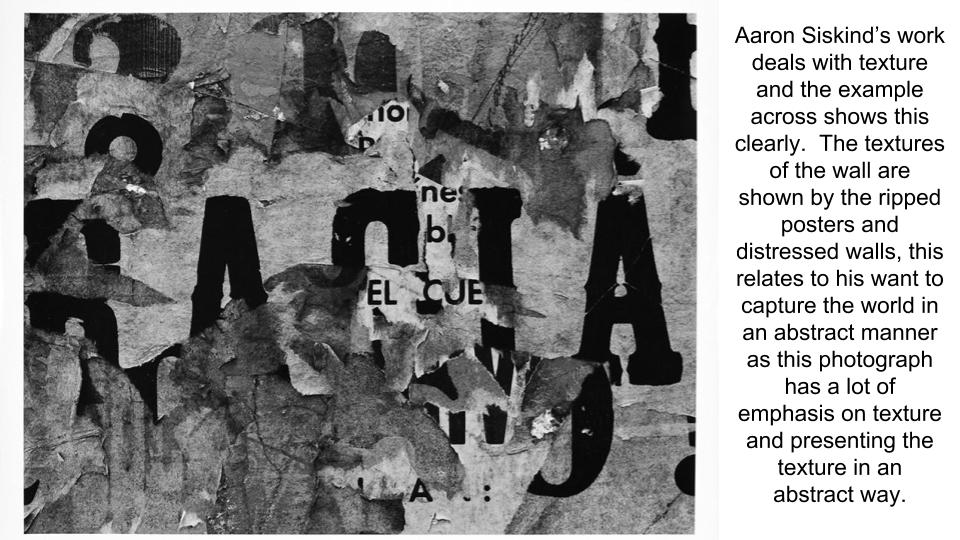
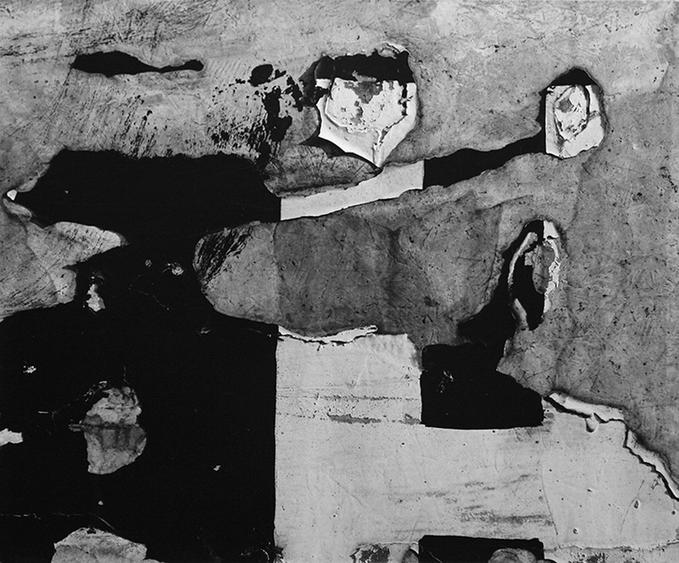
Aaron Siskind is an American photographer who is a part of the abstract movement.  Siskind captures the abstract qualities of layers and texture.  Aaron Siskinds work focuses on ideas of distraction in nature and architecture.  Siskind intensified this approach to photography with the abstract movement with close-up framing and an emphasis on texture, line and visual rhythms, creating abstract images of the real world.   Siskind was one of the first photographers to combine what was known as “straight” photography (recording the real world as the lens “sees” it) with abstraction.  Siskind turned away from the social/political world post-World War II, and instead looked inward to seek meaning in the mostly inanimate forms he observed around him.

Aaron Siskind
Aaron Siskind

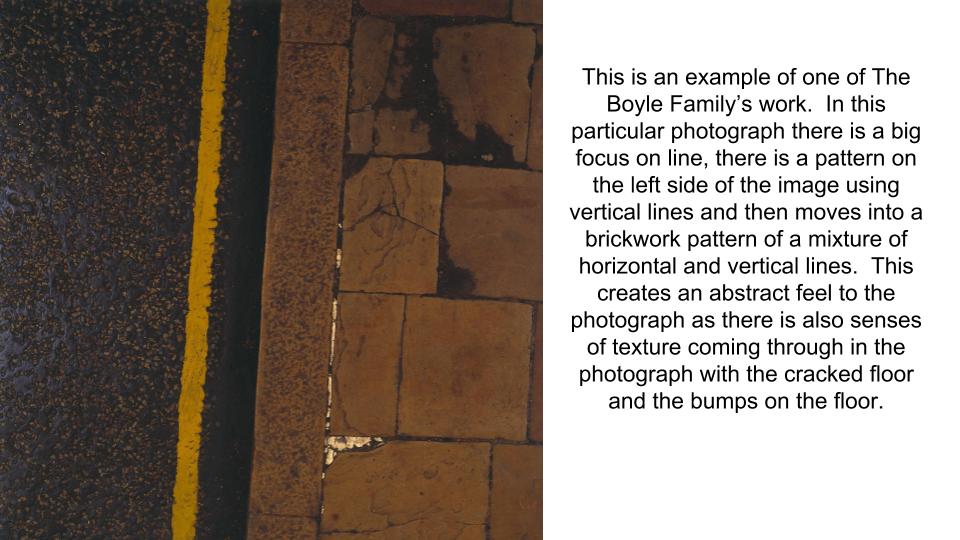
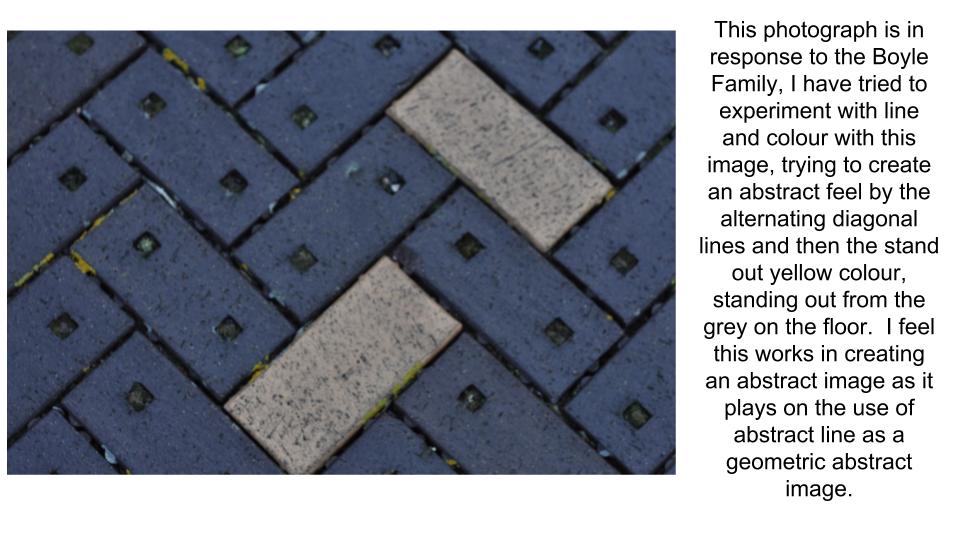
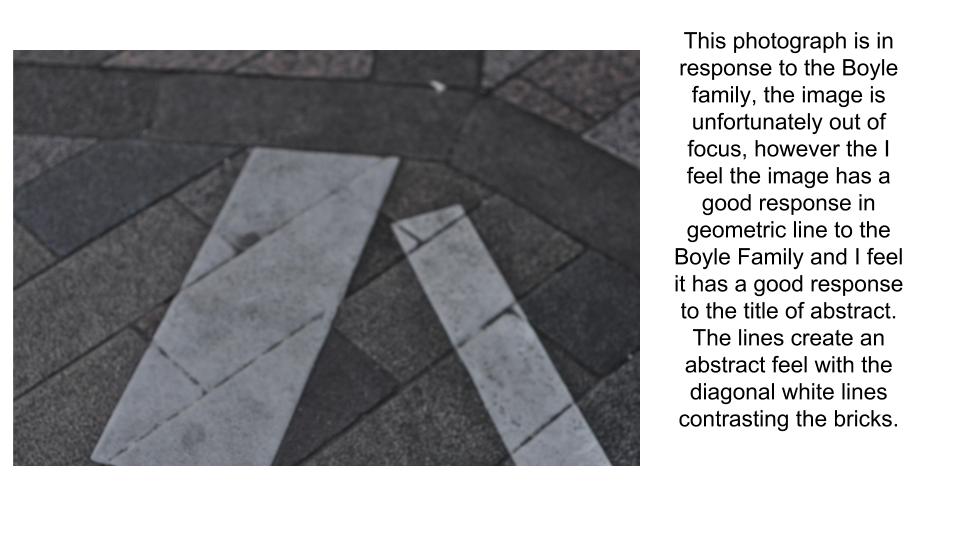
The Boyle Family

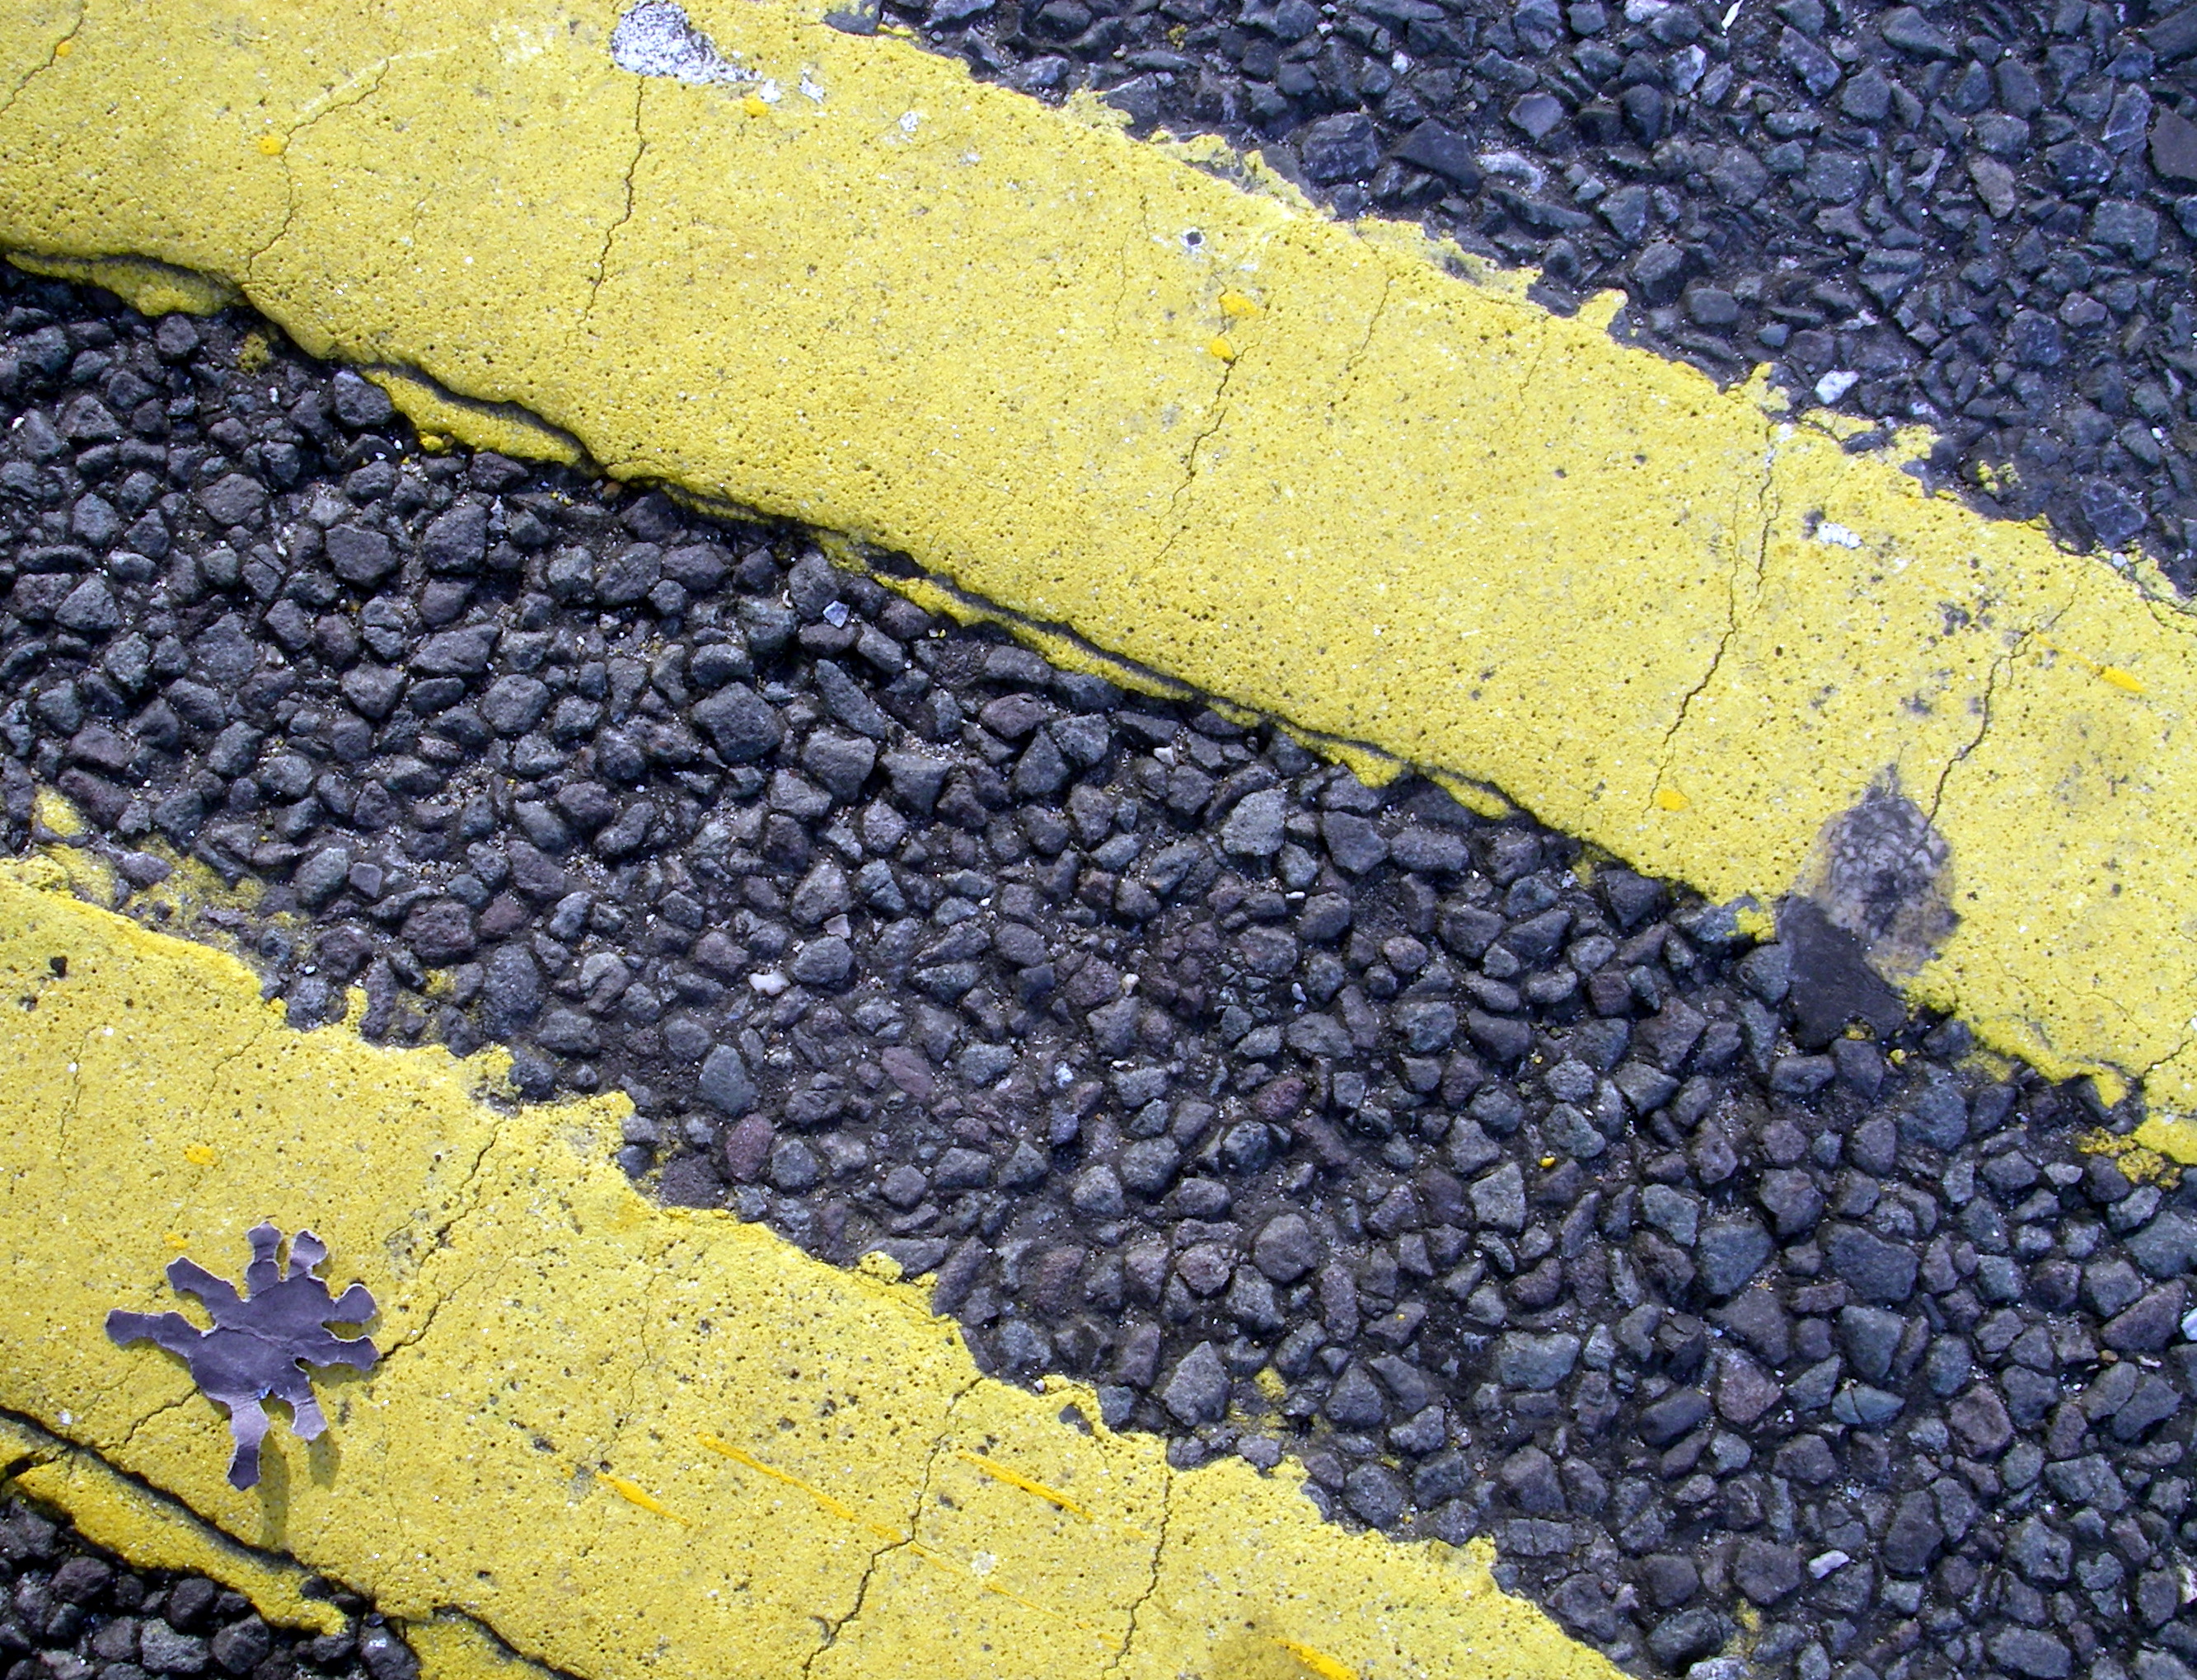
The Boyle Family is a group of collaborative artists based in London.  Boyle Family aims to make art that does not exclude anything as a potential subject. Over the years, subjects have included: earth, air, fire and water; animals, vegetables, minerals; insects, reptiles,  water creatures; human beings and societies; physical elements and fluids from the human body.  Boyle Family is best known for the earth studies: three dimensional casts of the surface of the earth which record and document random sites with great accuracy. These works combine real material from the site (stones, dust, twigs etc) with paint and resins, preserving the form of the ground.

The Boyle Family
The Boyle Family


My Own Responses

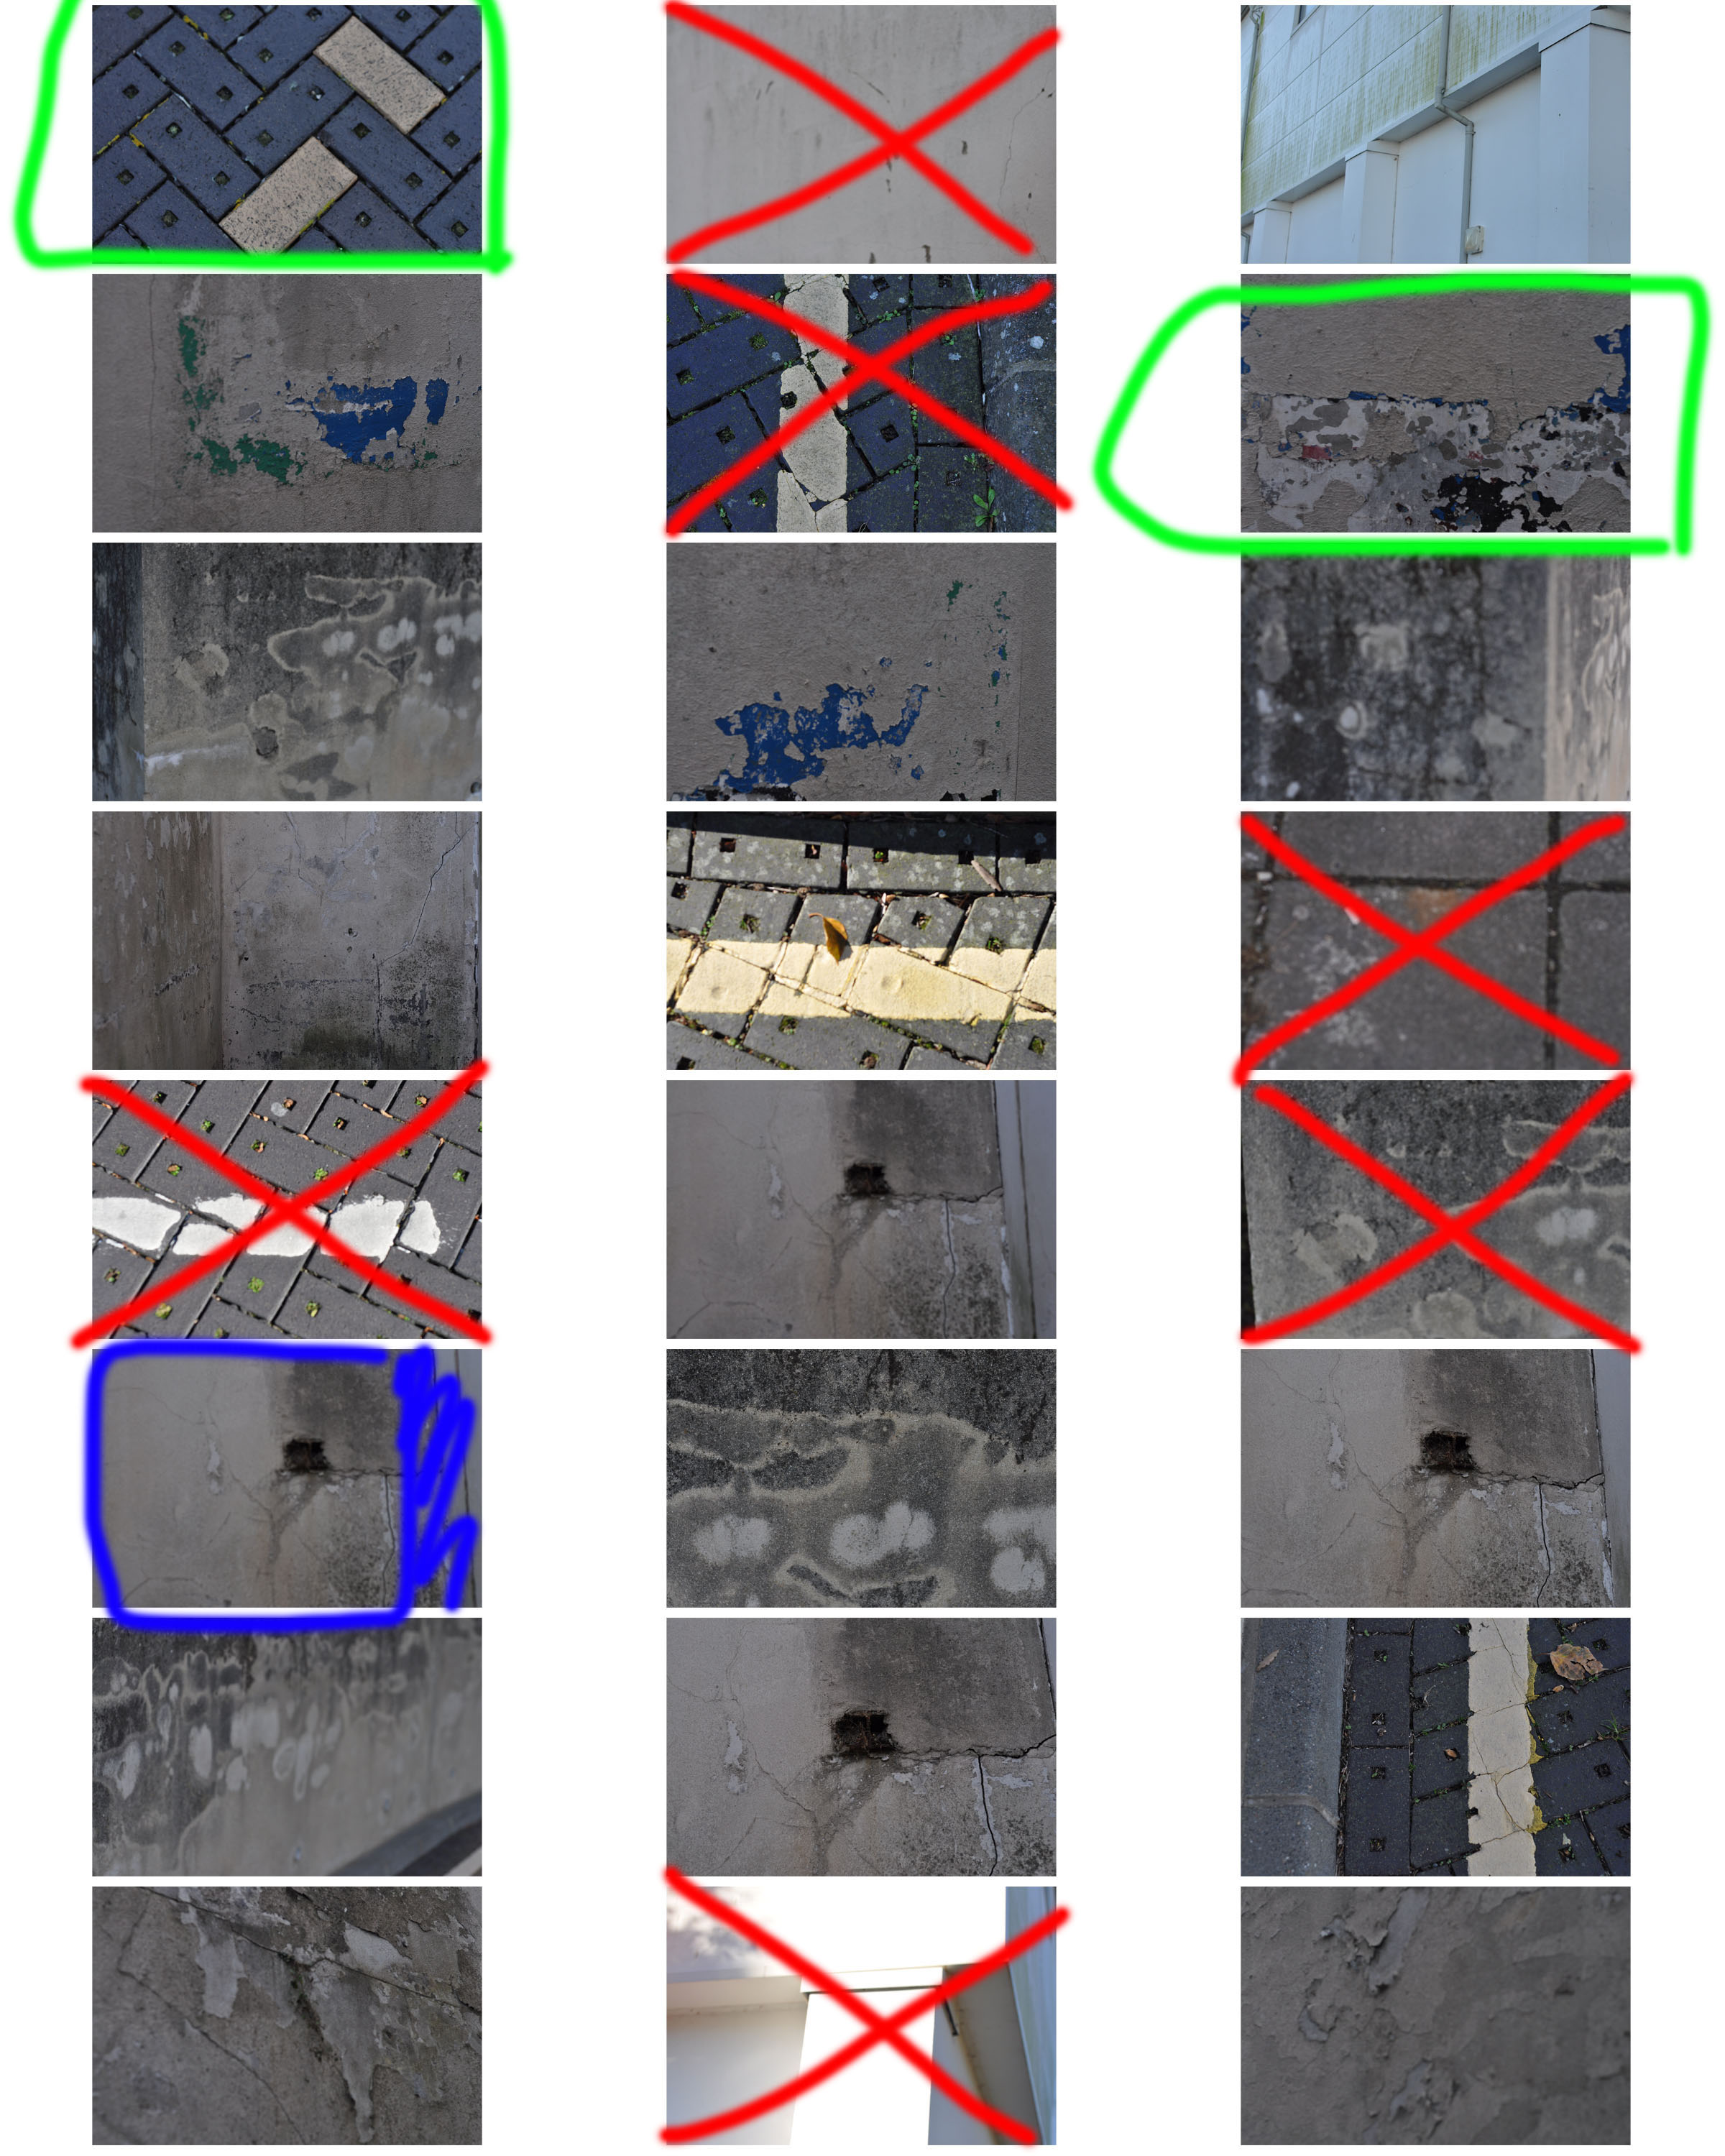
Contact Sheet
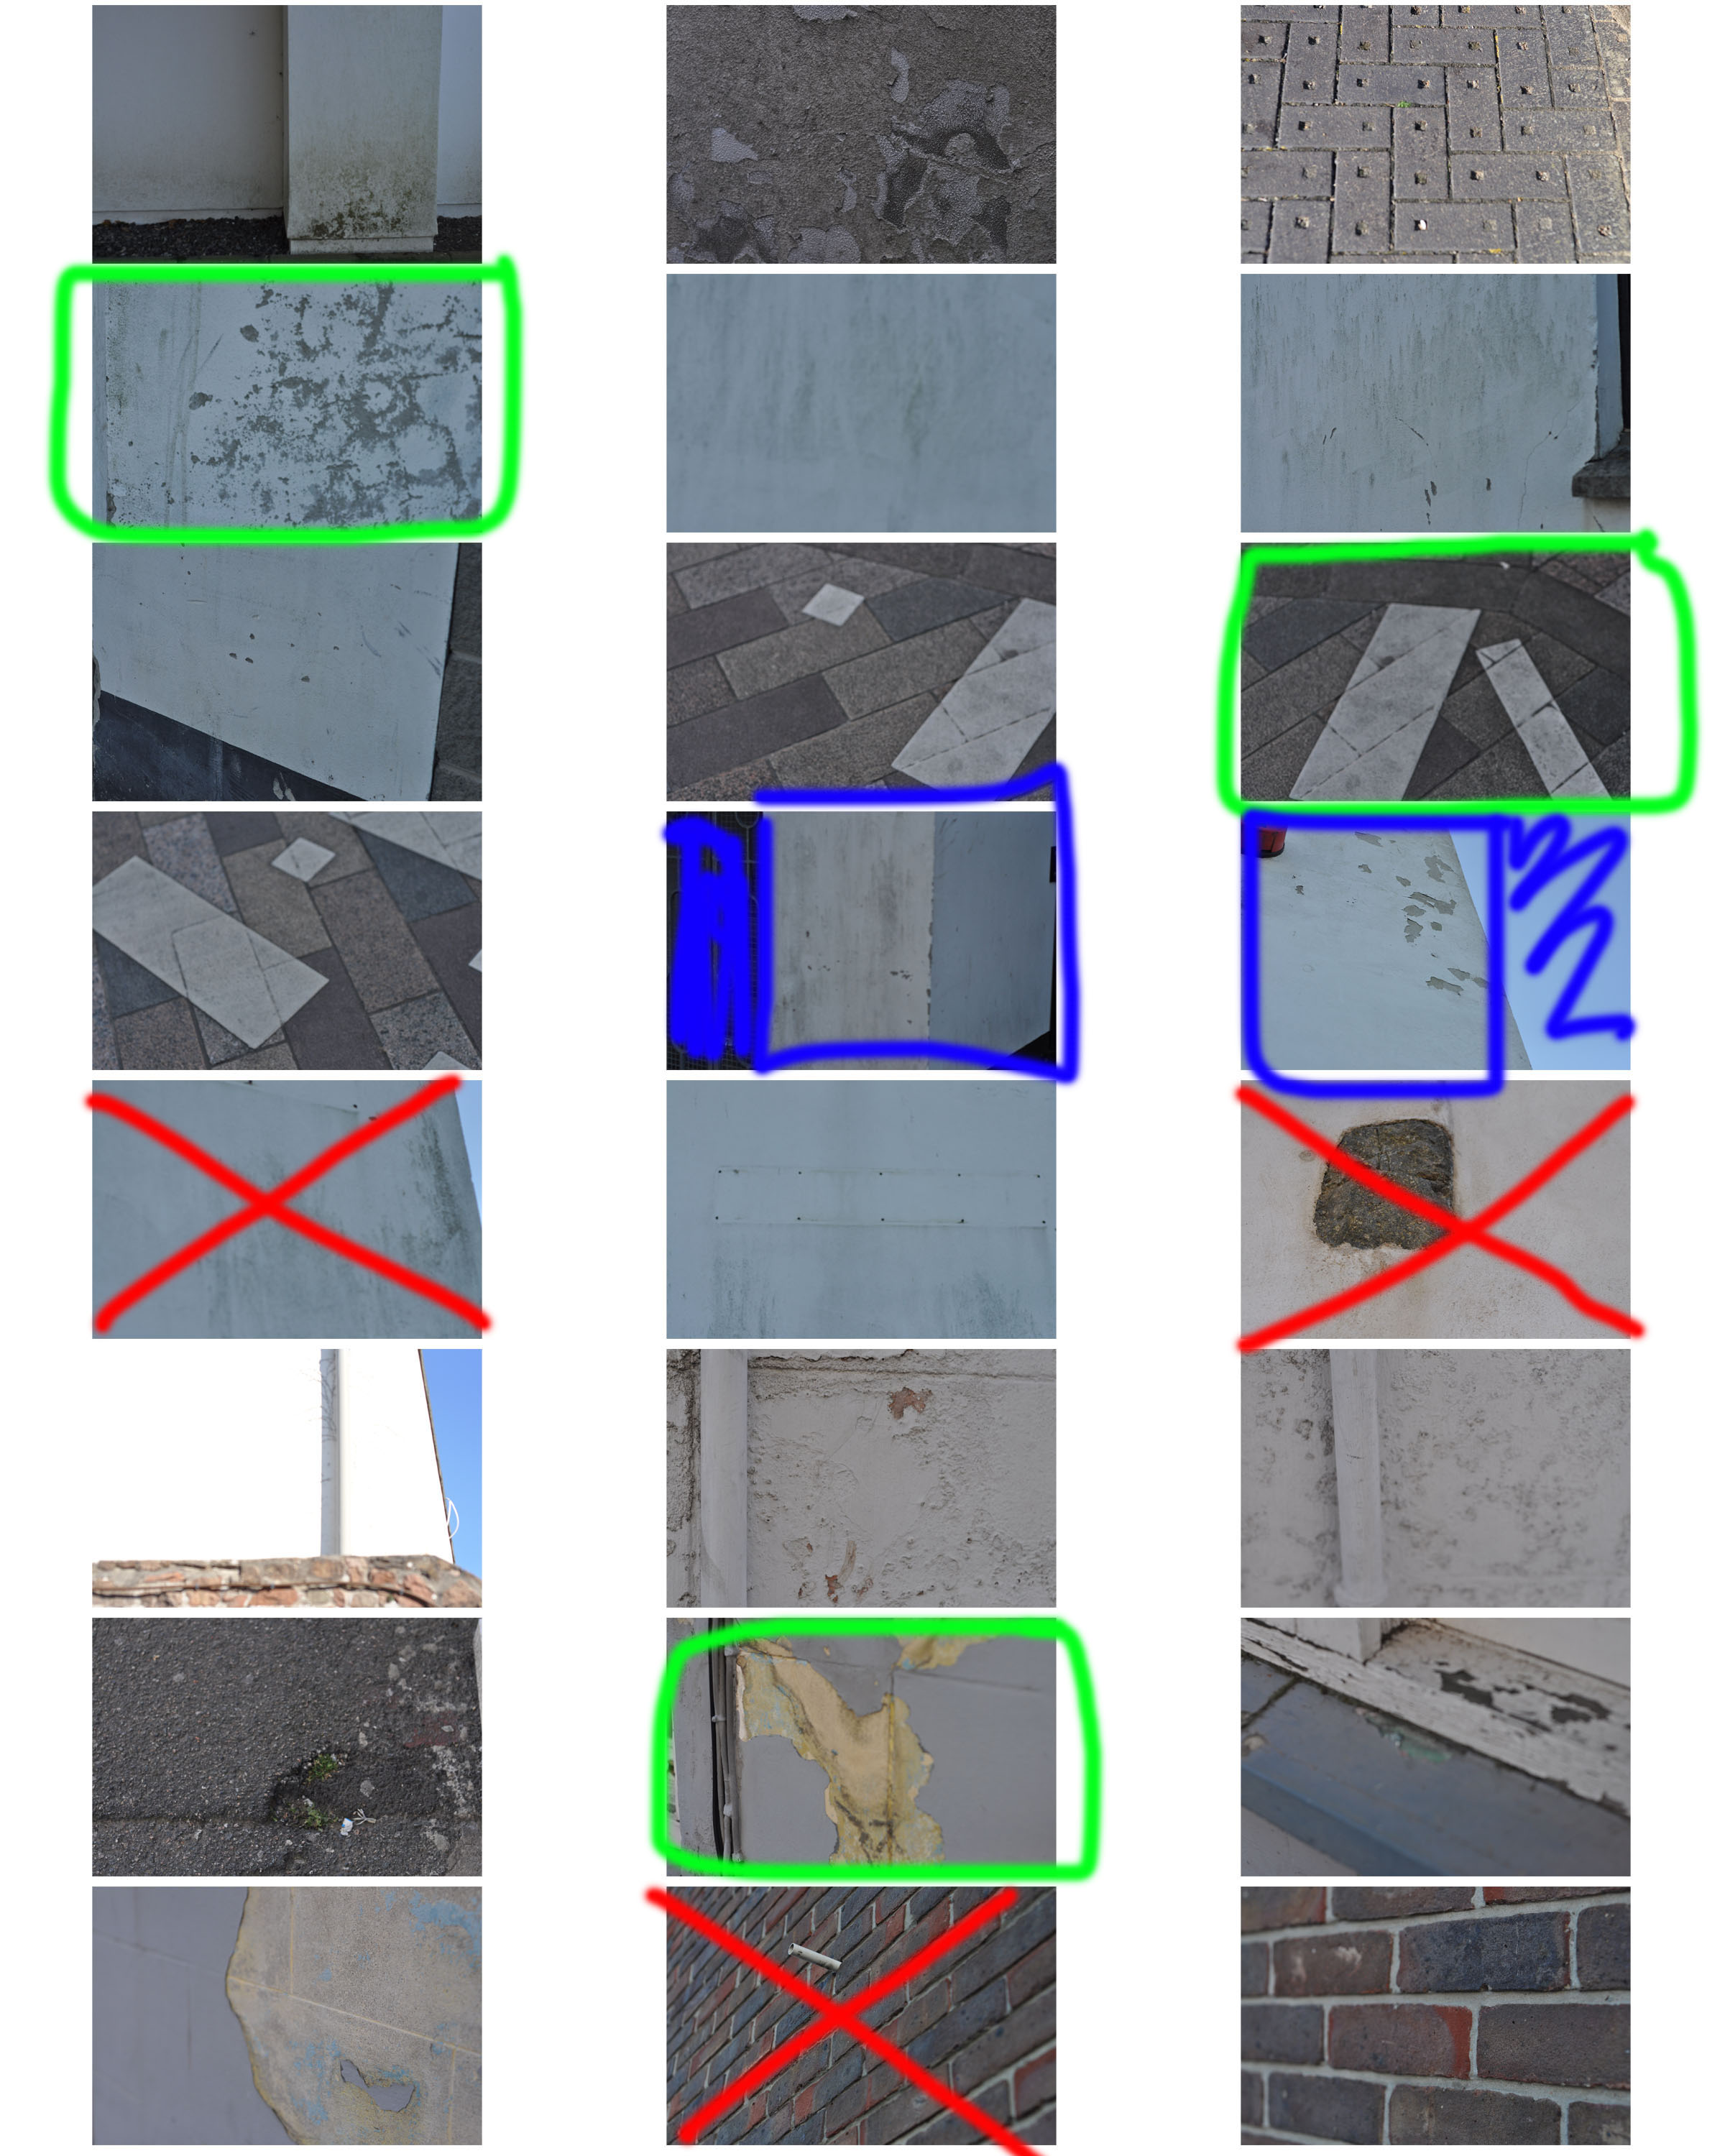
Contact Sheet

Analysis of my Best Outcomes

Own Response | Analysis

WEEK 5- GARY GAY ( COLOUR + TEXTURE)

 Garry Gay

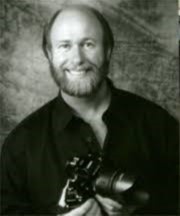
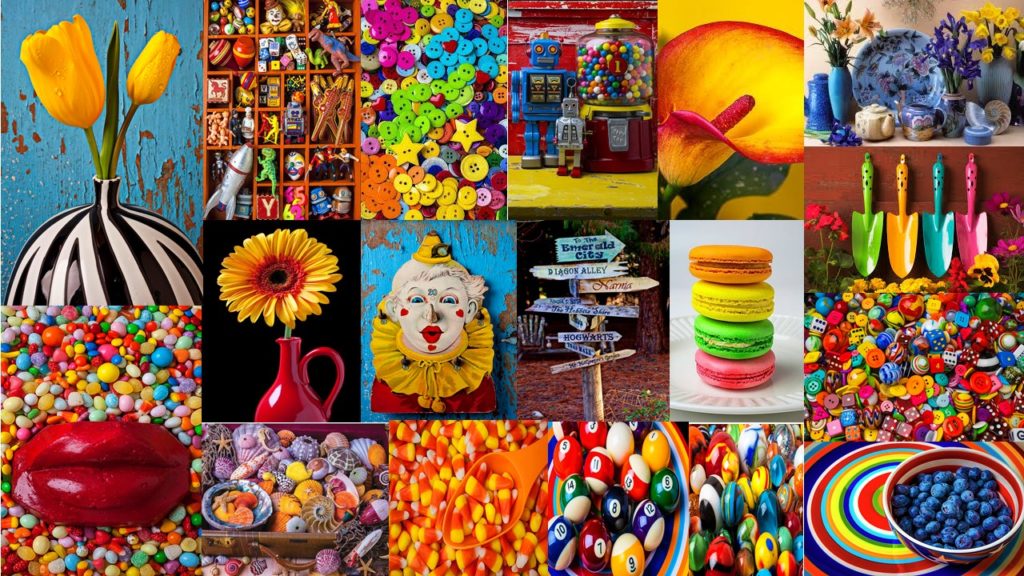
Garry Gay was born in 1951 and was a color photographer from Glendale, California. He tad taken digital photos since 1993 and had a successful career due to being the president of multiple photography clubs. Garry Gay tended to take images which were very colorful as seen below where he had been taking colorful household object pictures.  

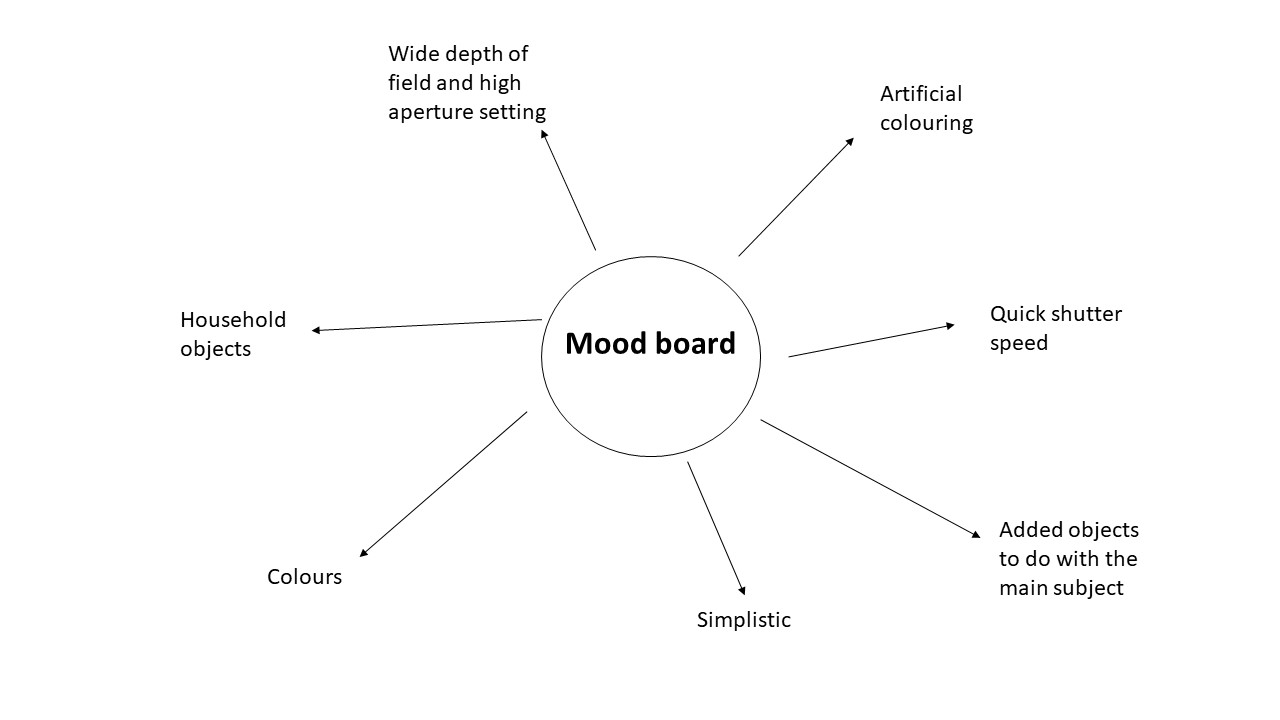
The main focus of Garry Gay’s work is the use of colourful objects he takes photos of. Garry uses the formal elements of shape and texture in his work, shape is shown in his work through the different sized objects while the texture is shown through the bright colours in his work and the materialistic objects which helps the bright colours to stand out. Most of Garry’s images are taken from a straight angle which allows different parts of the objects to be the focus piece. After analysing Garry’s images i think he uses artificial lighting in his photography which helps the colours to really pop out, as well as him using a quick shutter speed as there is no blur in any of his images. Most of his images do not include any type of background and only other objects which are to do with the main focus of the image which means that his images are very layered and his main focus doesn’t tend to stand out as much as it would with a plain background. However, this is a very effective technique and by using a wide depth of field this allows for the whole image to be in focus as well as the use of a high aperture.
I like Garry’s work as it is very simplistic however very effective and is very different from any other photographers i have previously researched about.

Plan

After researching and analysing Garry Gay’s images i have decided i want to use a quick shutter speed when capturing brightly colored pencils. For my background i will use pencil sharpening which i have chose to do after being inspired by the idea that Garry always included other objects to do with the main subject. I think bot the pencil shavings and the colored pencils will look very effective when together and this is an idea which i can up with myself.

When taking my image i am going to have my camera on a Manual setting so i can change the shutter speed and aperture to whatever i desire and will therefore be able to achieve my goals for this task. These images will be taken inside under artificial lighting.


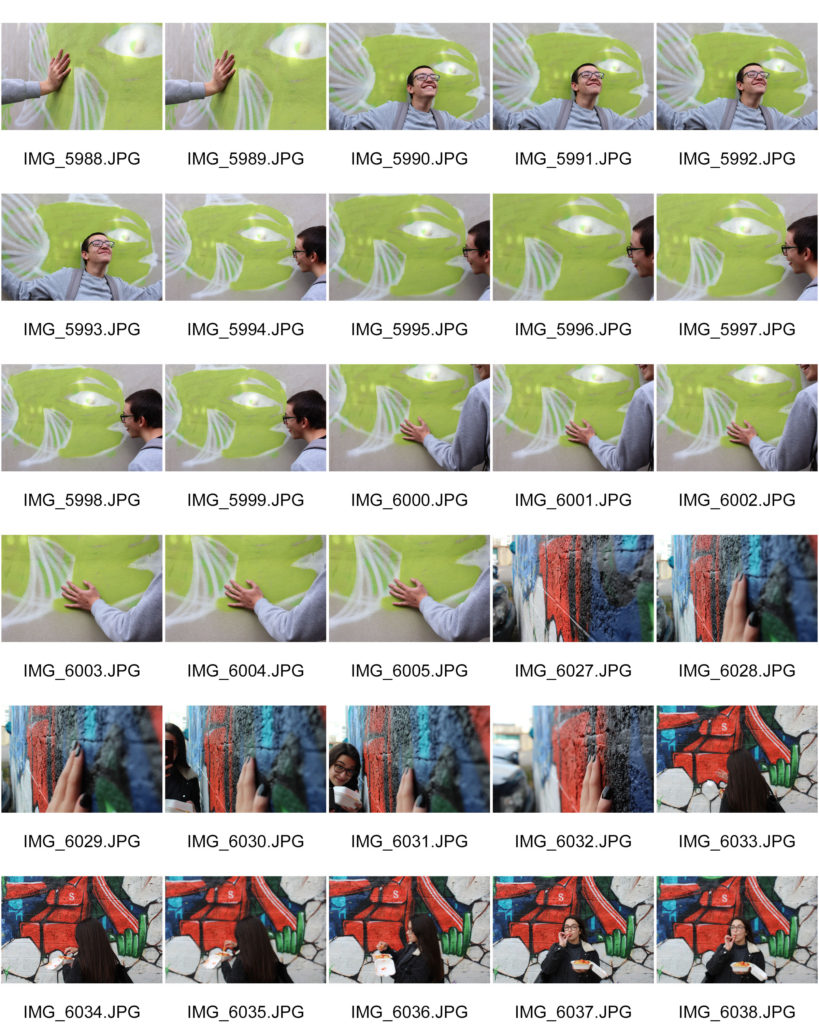
Contact Sheets 


I found that during taking my images for this photo shoot, it was very hard due to having to use a slow shutter speed as i was under artificial lighting which make the images very hard to focus and therefore they have turned out quite bad.

Best outcomes

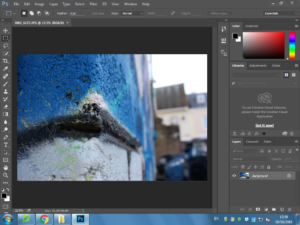
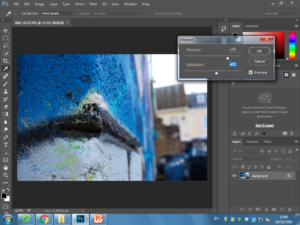
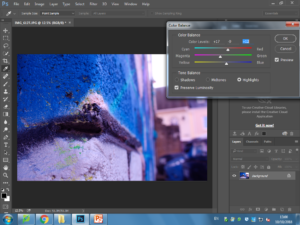
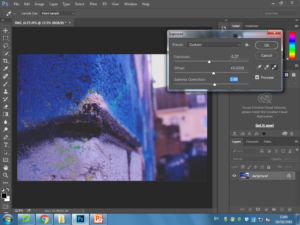
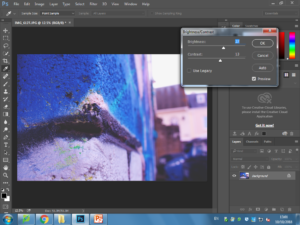
Editing the image..

The end picture..

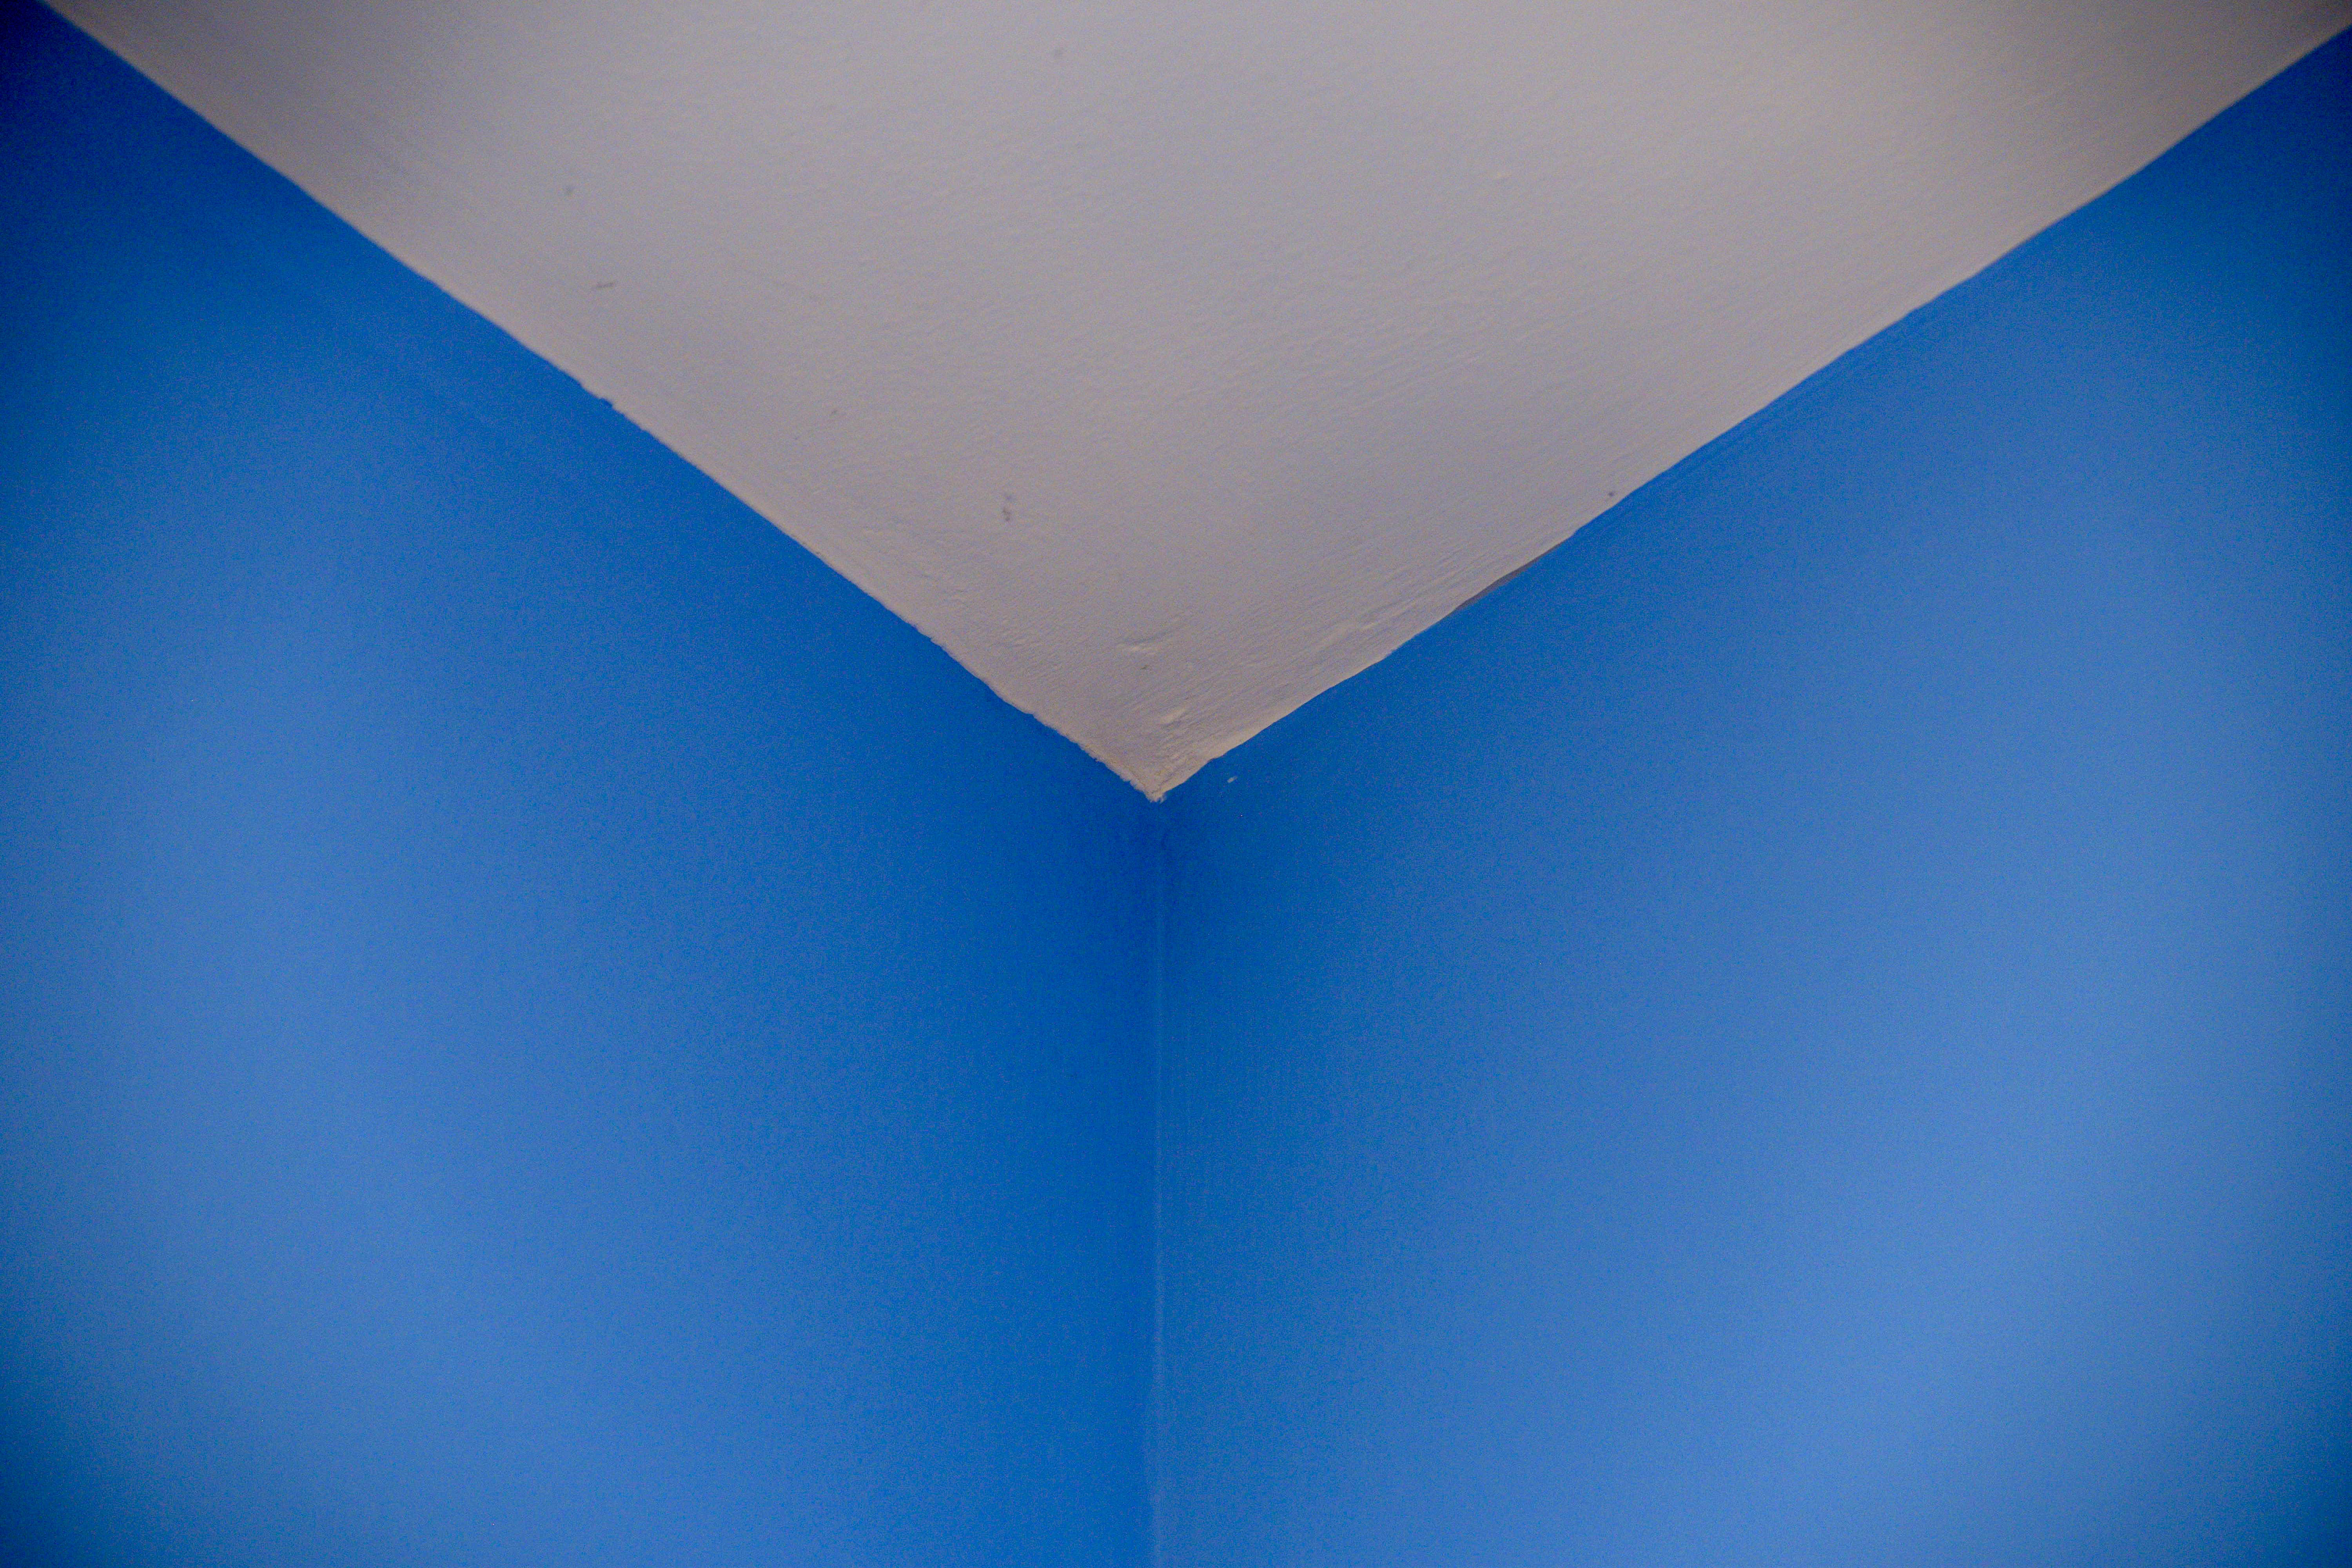
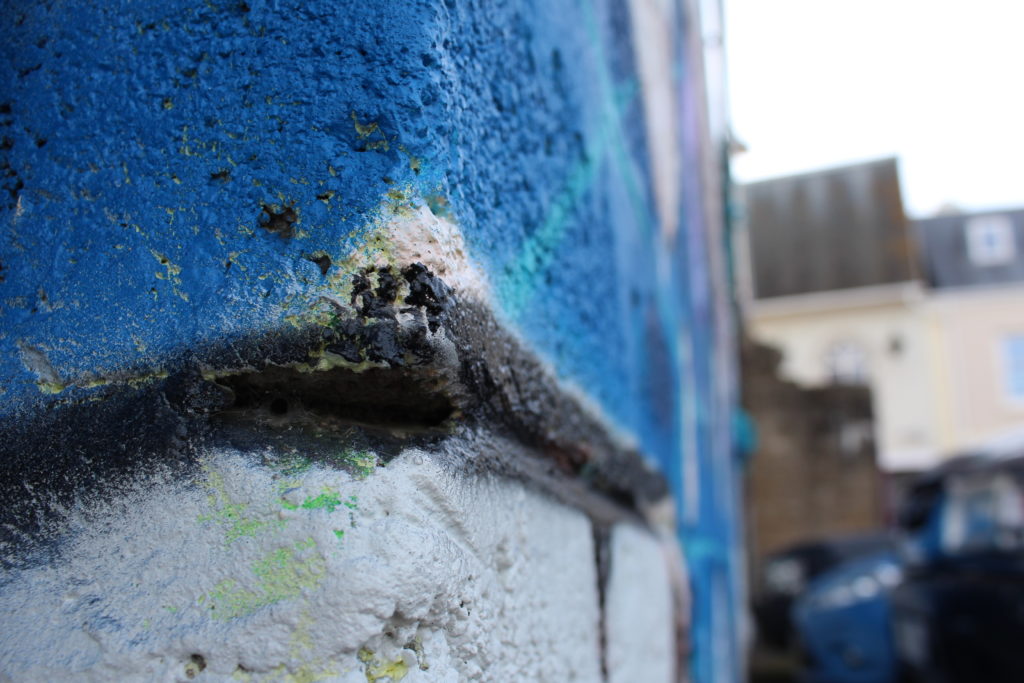
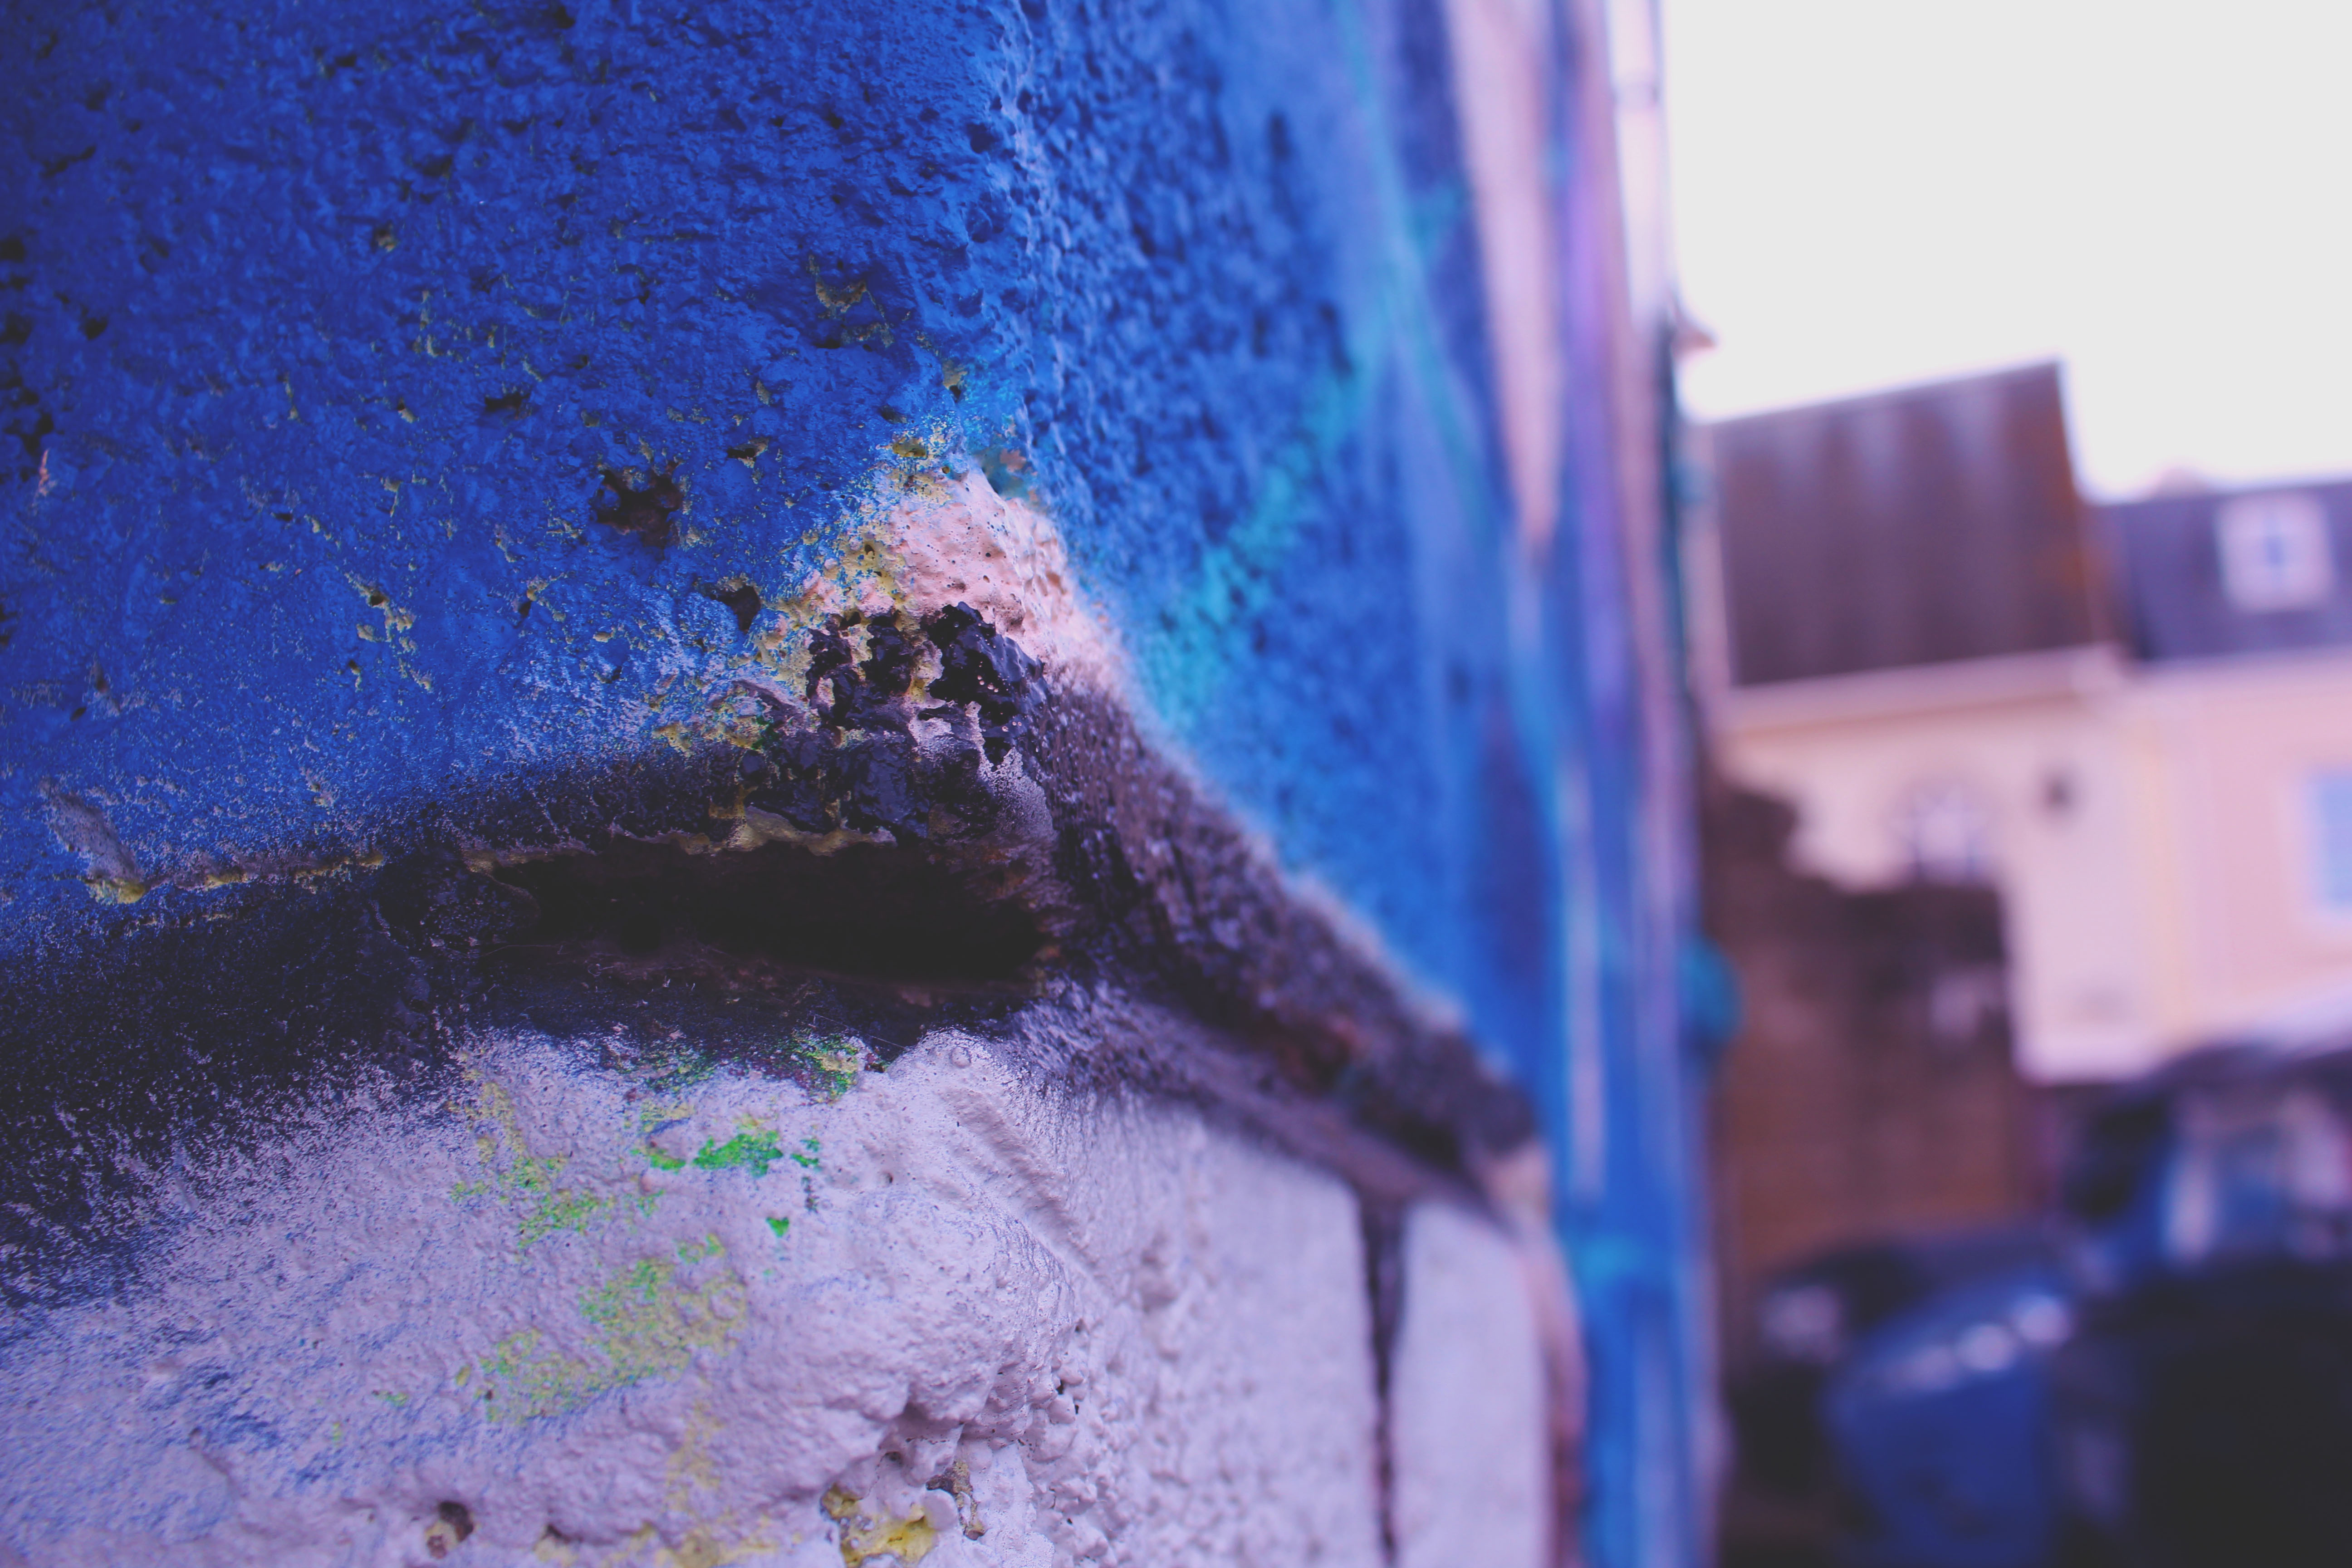
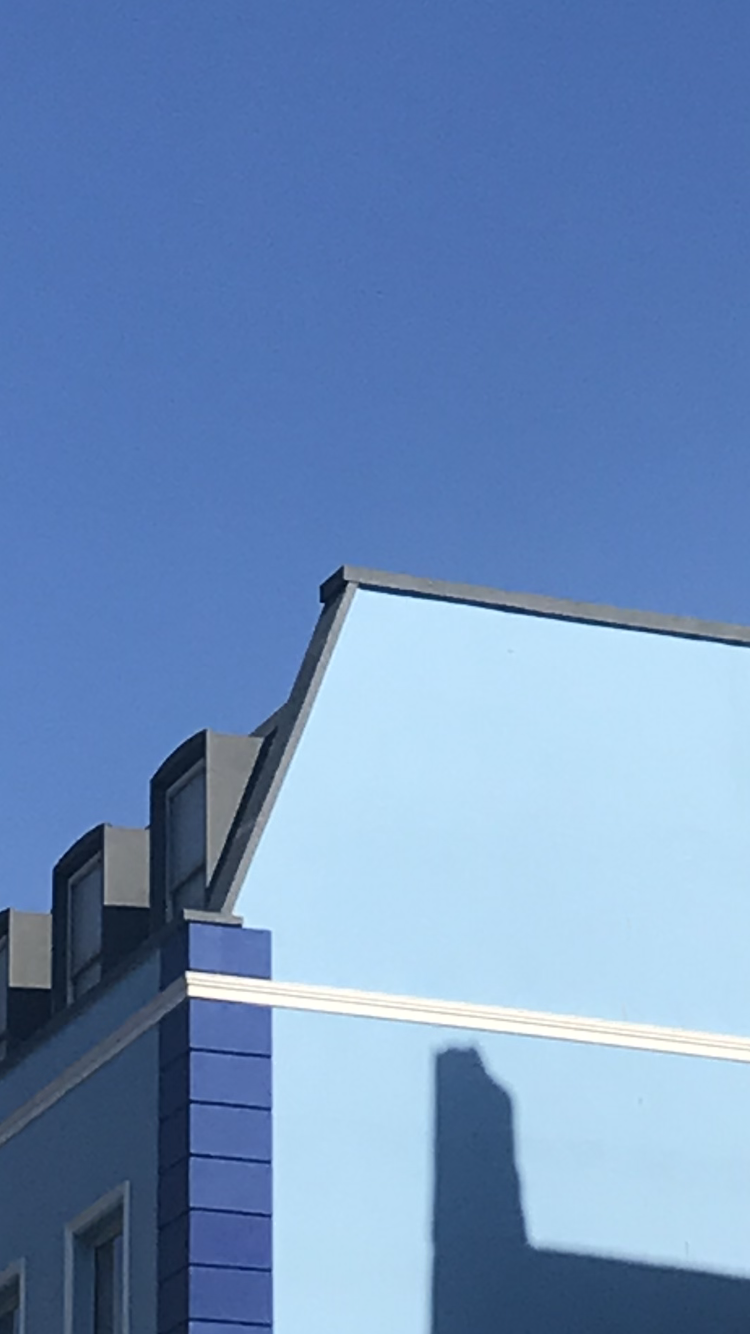
When originally taking this image, it was taken with no flash on Manual Focus as i wanted to capture the range of overall very blue colour in the image, as well as being able to edit the depth of field when taking the picture. When planning my editing stage i planned to use Adobe Photoshop to edit the brightness, contrast, saturation, the colour balance and the exposure of this image in order to get my ideal end photograph.

When taking my images i used Canon EOS 1300 D and took all my images in Manual focus which helped me to create a picture with lots of depth.  When taking the image i also used a high shutter speed ( 1/250).

The visual aspects are shown through the colour of the image which are emphasized by the brightness of the image as the light brightness helps to brighten up the blue paint on the wall. There is a lot of texture in this image due to the  main subject of this 3D image being the wall which has a lot of dents in as well as different colours which act differently to the brightness used in the picture. There is an obvious use of a strong depth of field in this image which has been tone to add more texture and depth into the image.

Editing the second image.. 

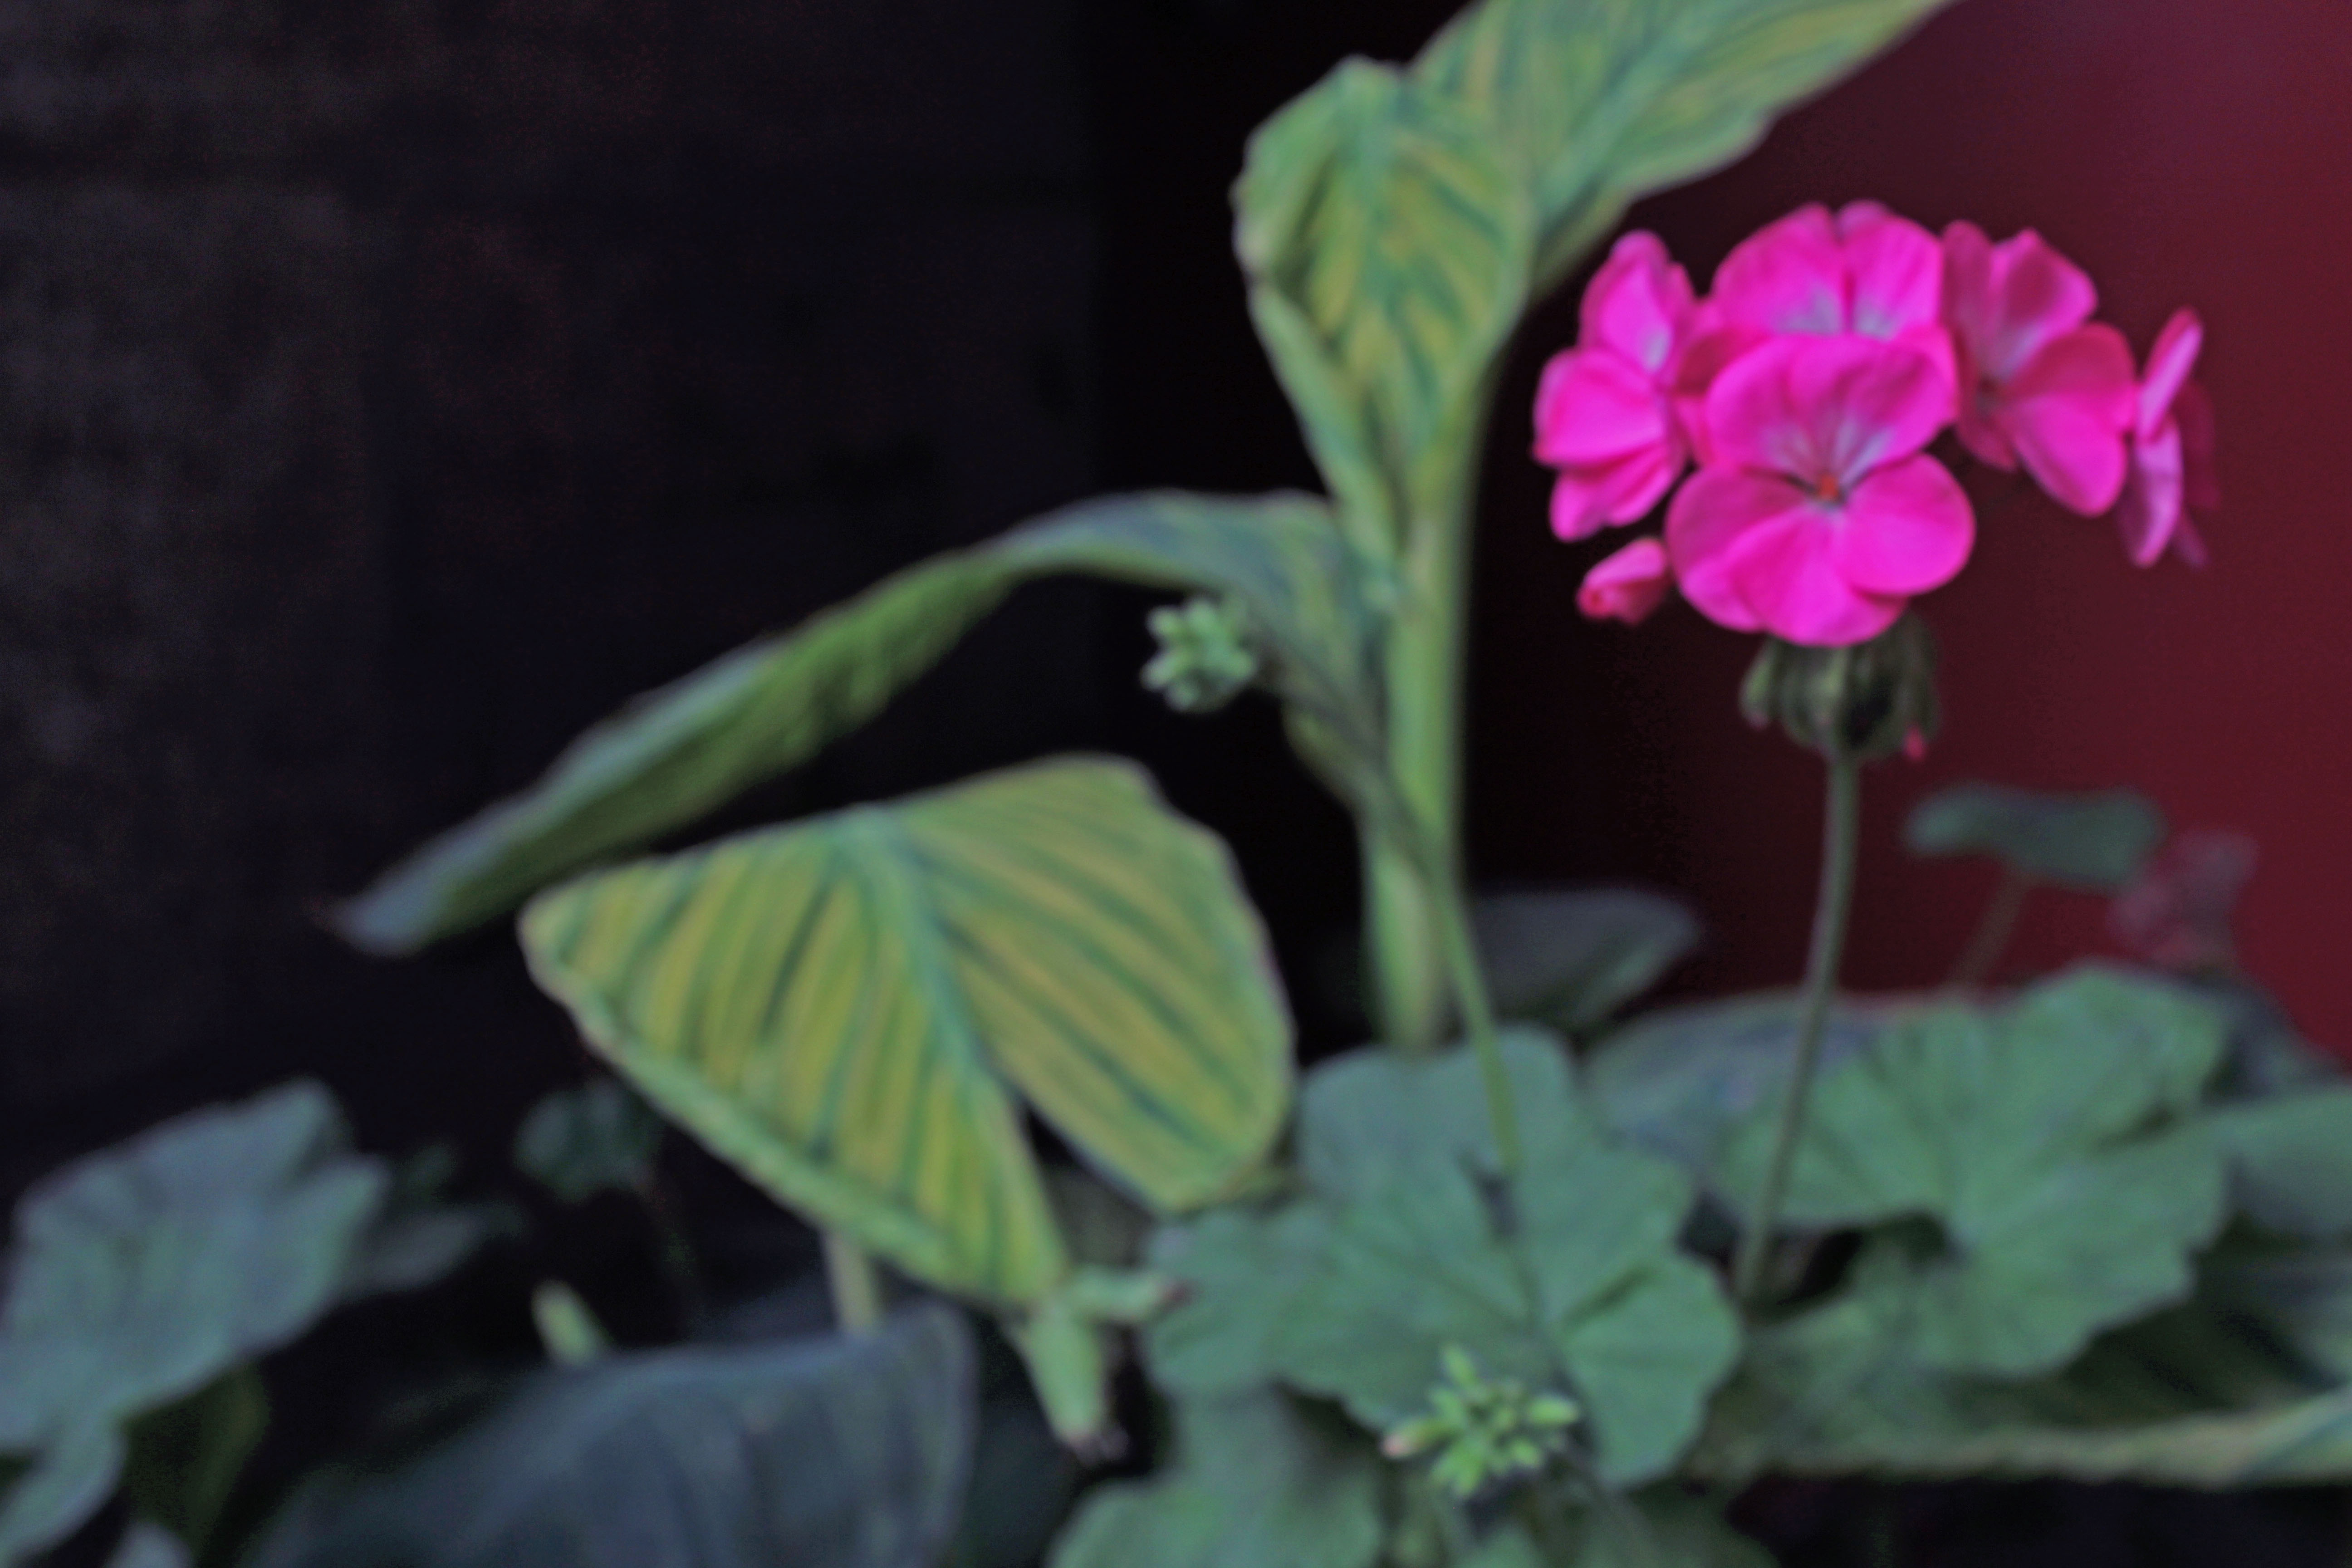
The end picture..

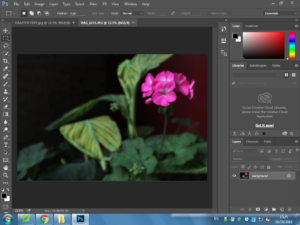
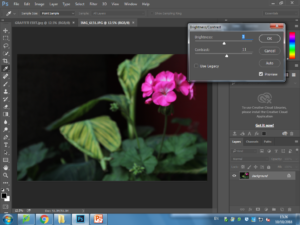
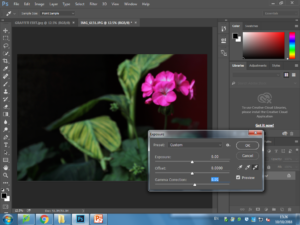
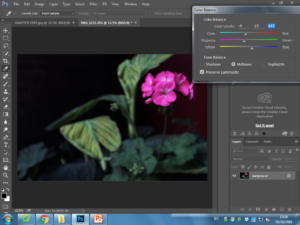
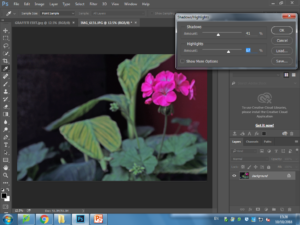
When originally taking this image, it was taken with no flash on Manual Focus as i wanted to be able to change the camera settings for the focus of the image. While planning my editing stage i planned to use Adobe Photoshop in order to change the brightness, contrast, exposure, offset, viberance, saturation, the color balance, the shadows and the highlights of the image in order to create my ideal final image.

When taking my images i used Canon EOS 1300 D and took all my images in Manual focus which helped me to create a picture with lots of depth.  When taking the image i also used a high shutter speed ( 1/250). Using the fast shutter speed helped to under expose the image due to the darkness in the background in the image. Using the fast shutter speed helped me to achieve my end goal of having colour and the darkness in the image contrast with each other as there was not much light let into the image. I also used an ISO of 6400 which again helped the contrast between light and dark.

The visual aspects of the image are shown through the colours in the image which is emphasised  by the tone of the overall light. There is not much texture in this 3D image however there is viable texture on the leaves of the plant which makes the image very unique, as well as using an ISO of 6400 which is helping to add more contrast between light and dark. There is no pattern arrangement in this image. However, the Rule of Three method is clearly shown on the right hand side of the image.


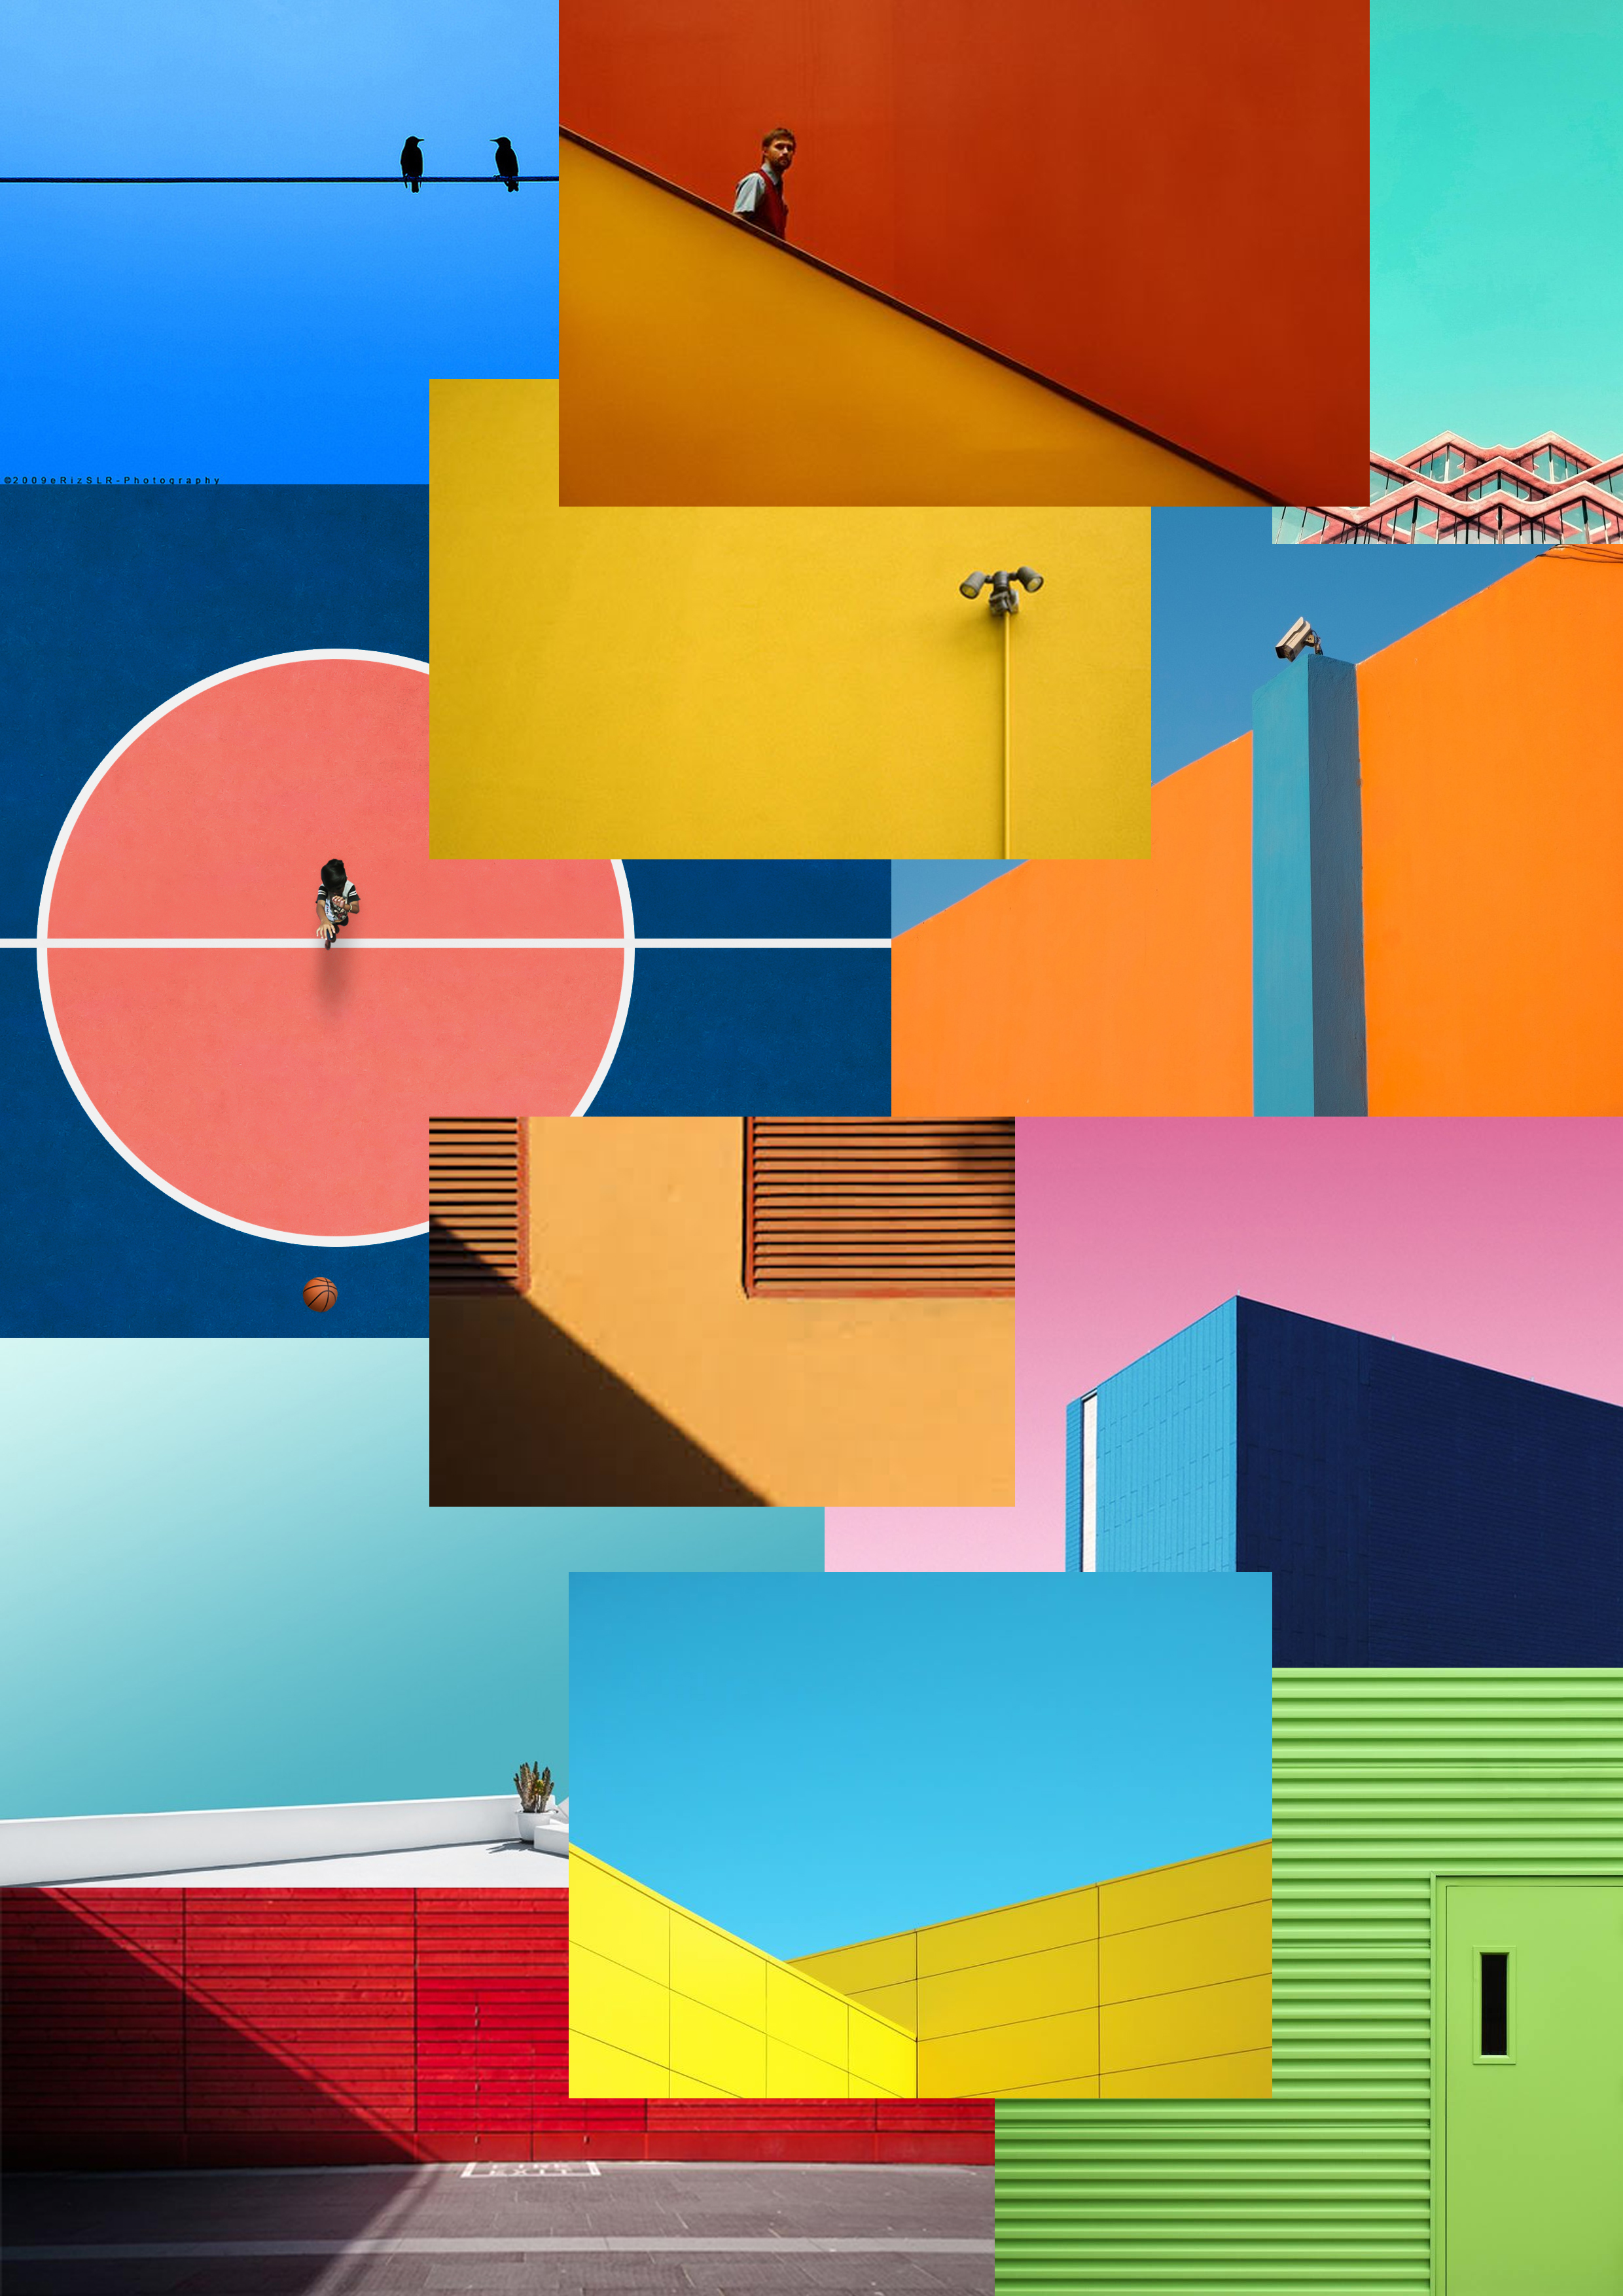
Minimalist Mood board

MY INSPIRATION:

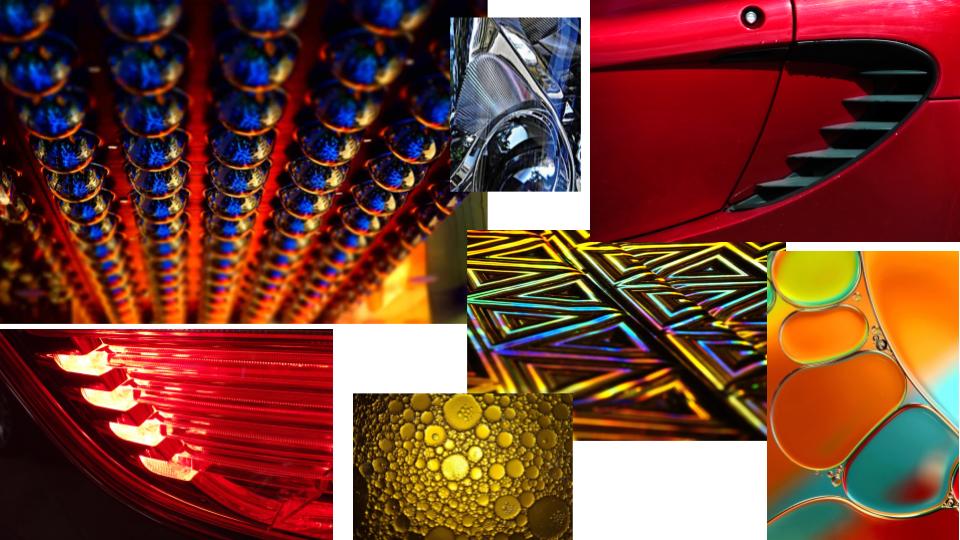
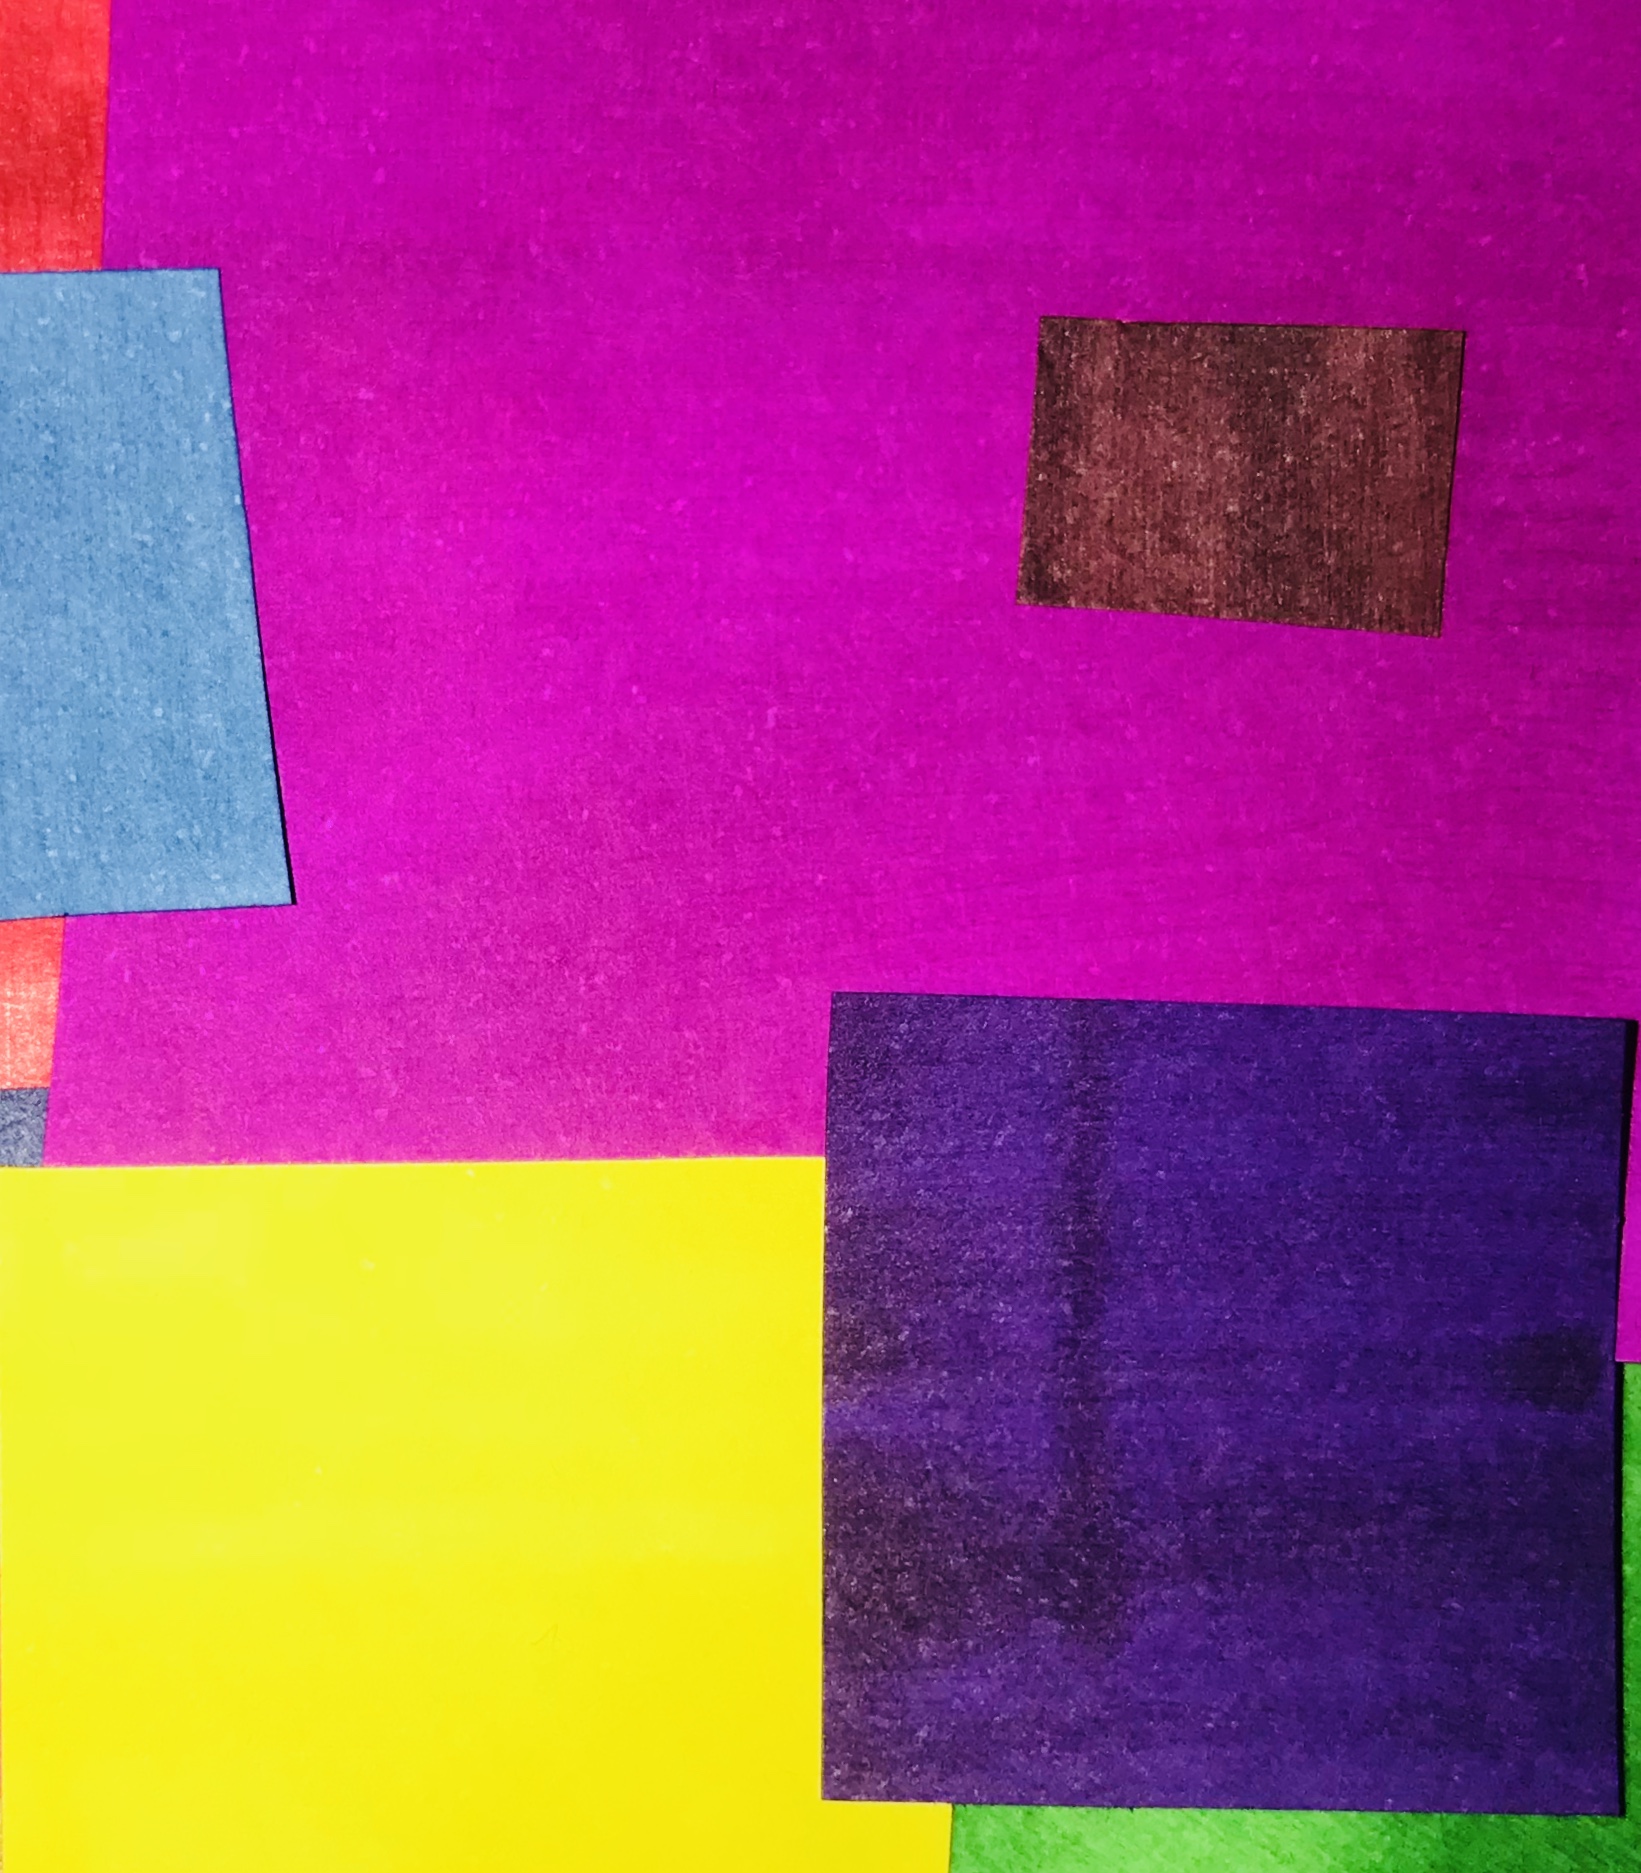
This is a mood board of a set of minimalist images which i am including into my research to get me started with my homework task and give me inspiration for my photo shoot. I particularly enjoy this homework task as minimalism often involves a lot of color and simplicity of shapes and forms.

Colour and Texture In Photography ( in progress)

For this project, I attempted to show contrast between colours and textures through the medium of photography. Colours and textures allow for photographs to become more interactive, as a viewer can be drawn in by bright and contrasting colours, and texture allows for the photograph to feel more genuine and real. Because of this, the use of texture and colour in photography is important, and for this project I have attempted to portray these factors in a more obvious way, allowing viewers to see how colour and texture can really effect an image.

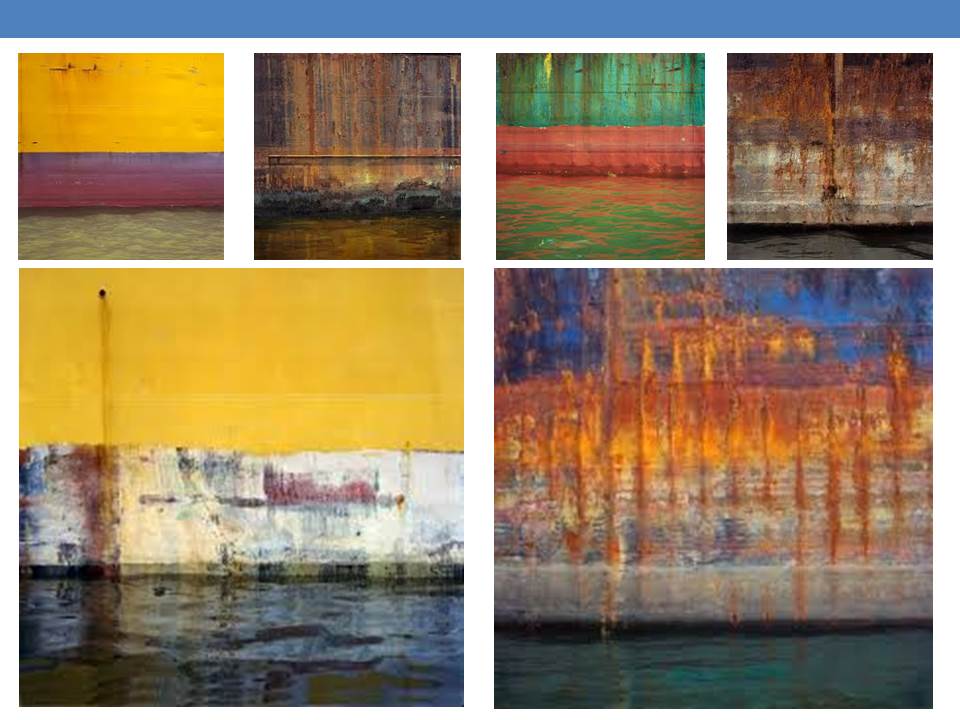
For my inspiration for researching texture in photography, I decided to take influence from the work of Ernst Haas, specifically his water photography.

Haas was fascinated by the concept of water,  the way it reflected light and the dynamics of its movement. Haas’ water photography maintains an abstract feel, yet displays clearly the unpredictable way that water moves and interacts with its surroundings. Haas often edited and cropped his photographs in order to abstract the context of his images, and used colour and grey-scale to experiment with different ways of further abstracting his images. Below are examples of Haas’ work with photographing water:

As displayed, Haas makes use of contrasting tones and colours in order to draw more attention to his images. Bold colours draw the viewers eye, while the use of texture in the images (often due to the movement of the water) allows for the viewer to stay intrigued, as it gives the image an sense of realism, and enables the viewer to relate to the image.

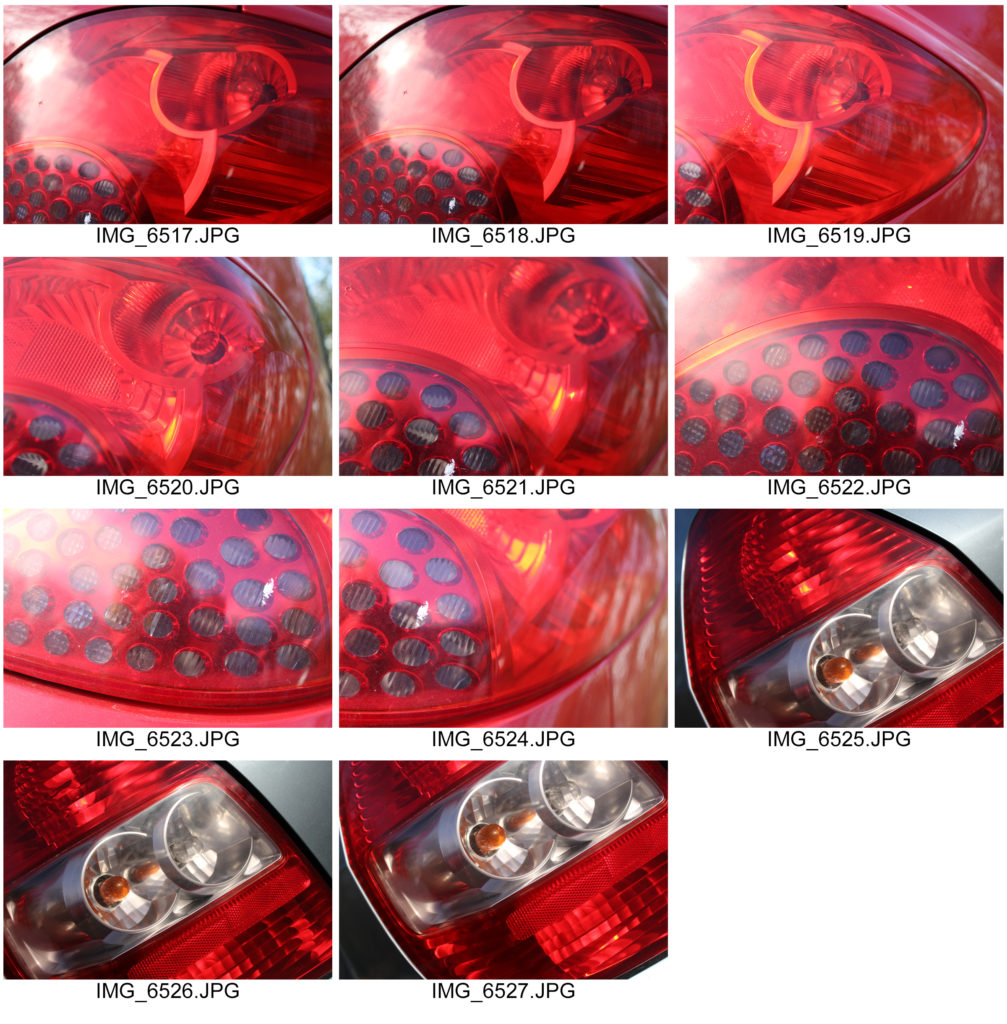
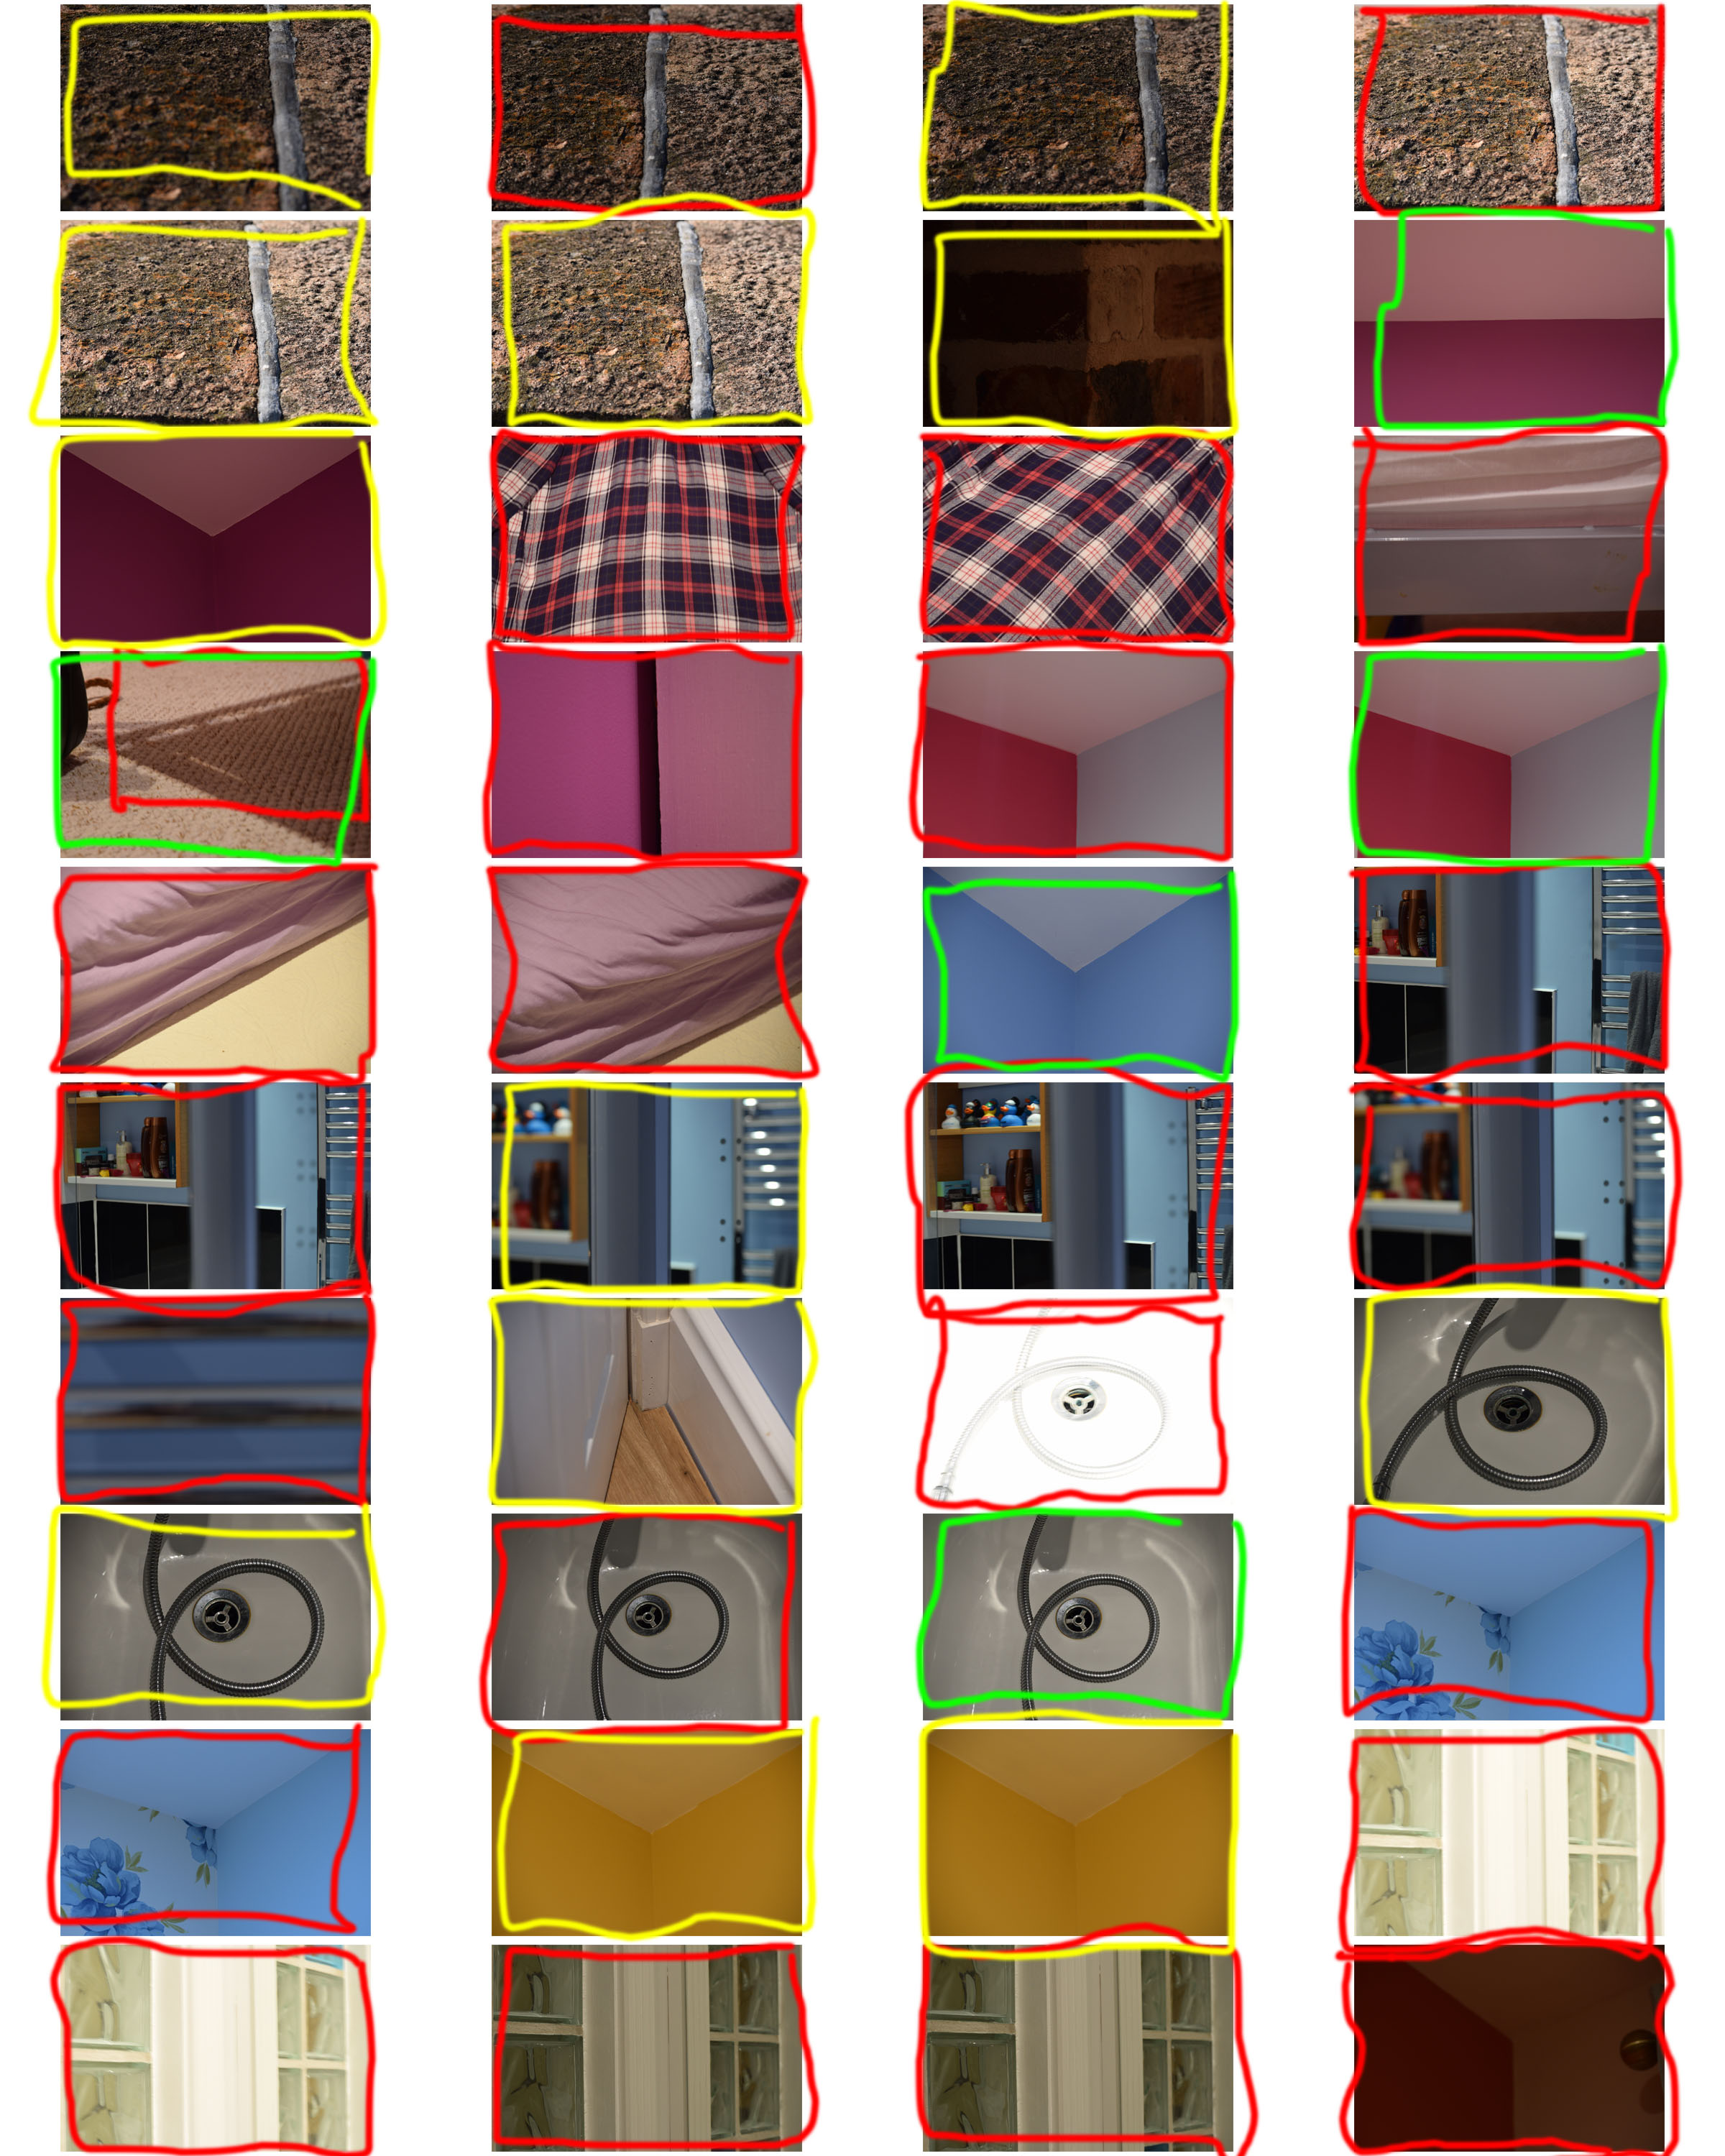
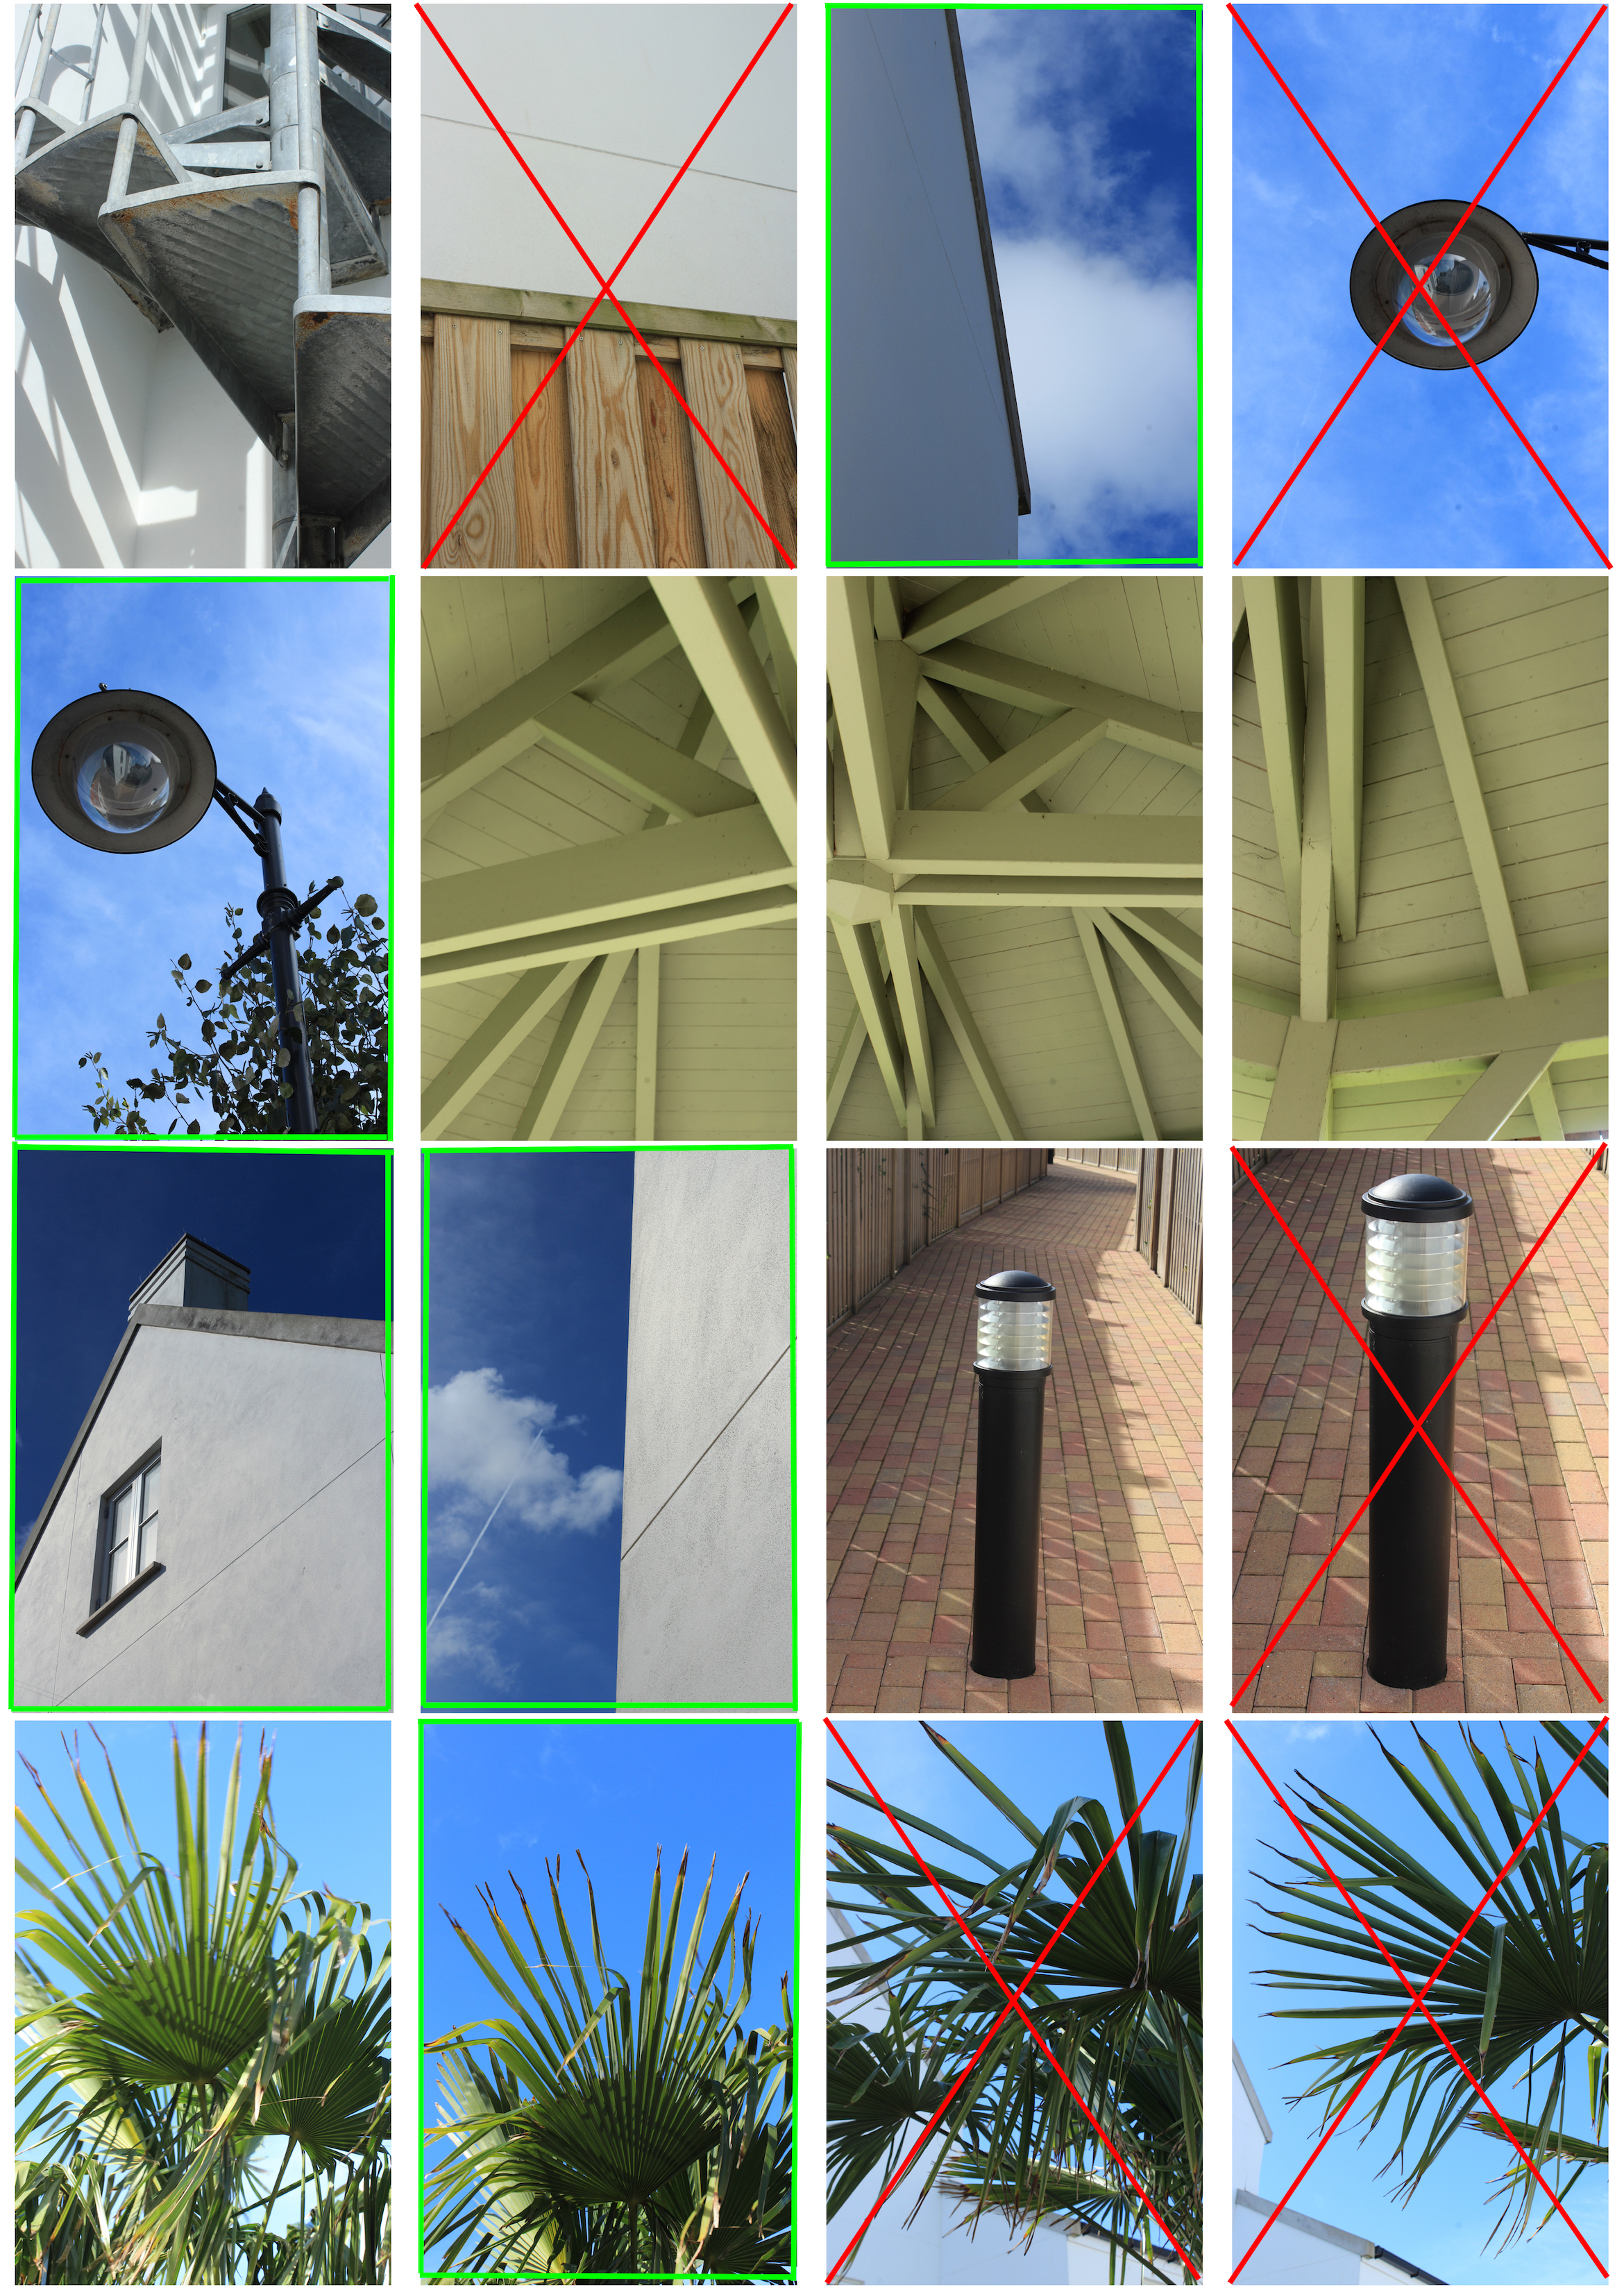
After analyzing the work of Haas, I produced a photo shoot focusing on emphasizing the colours and textures naturally found together. I tried to focus on colours that contrasted one another, and textures that really draw attention to the image. Below is the contact sheet as a  result of my photo-shoot:

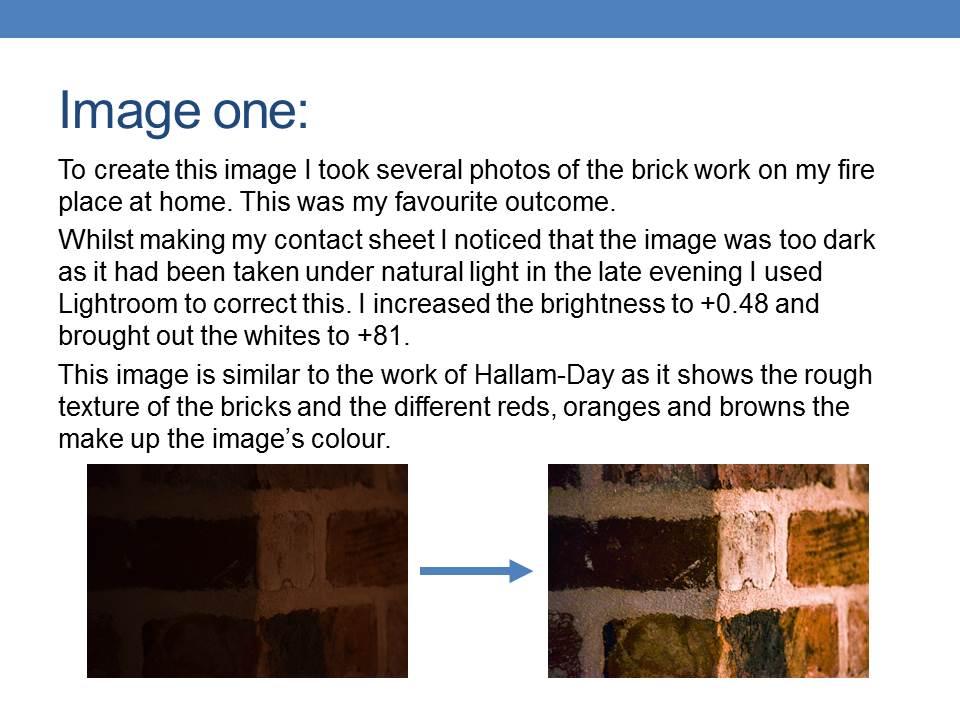
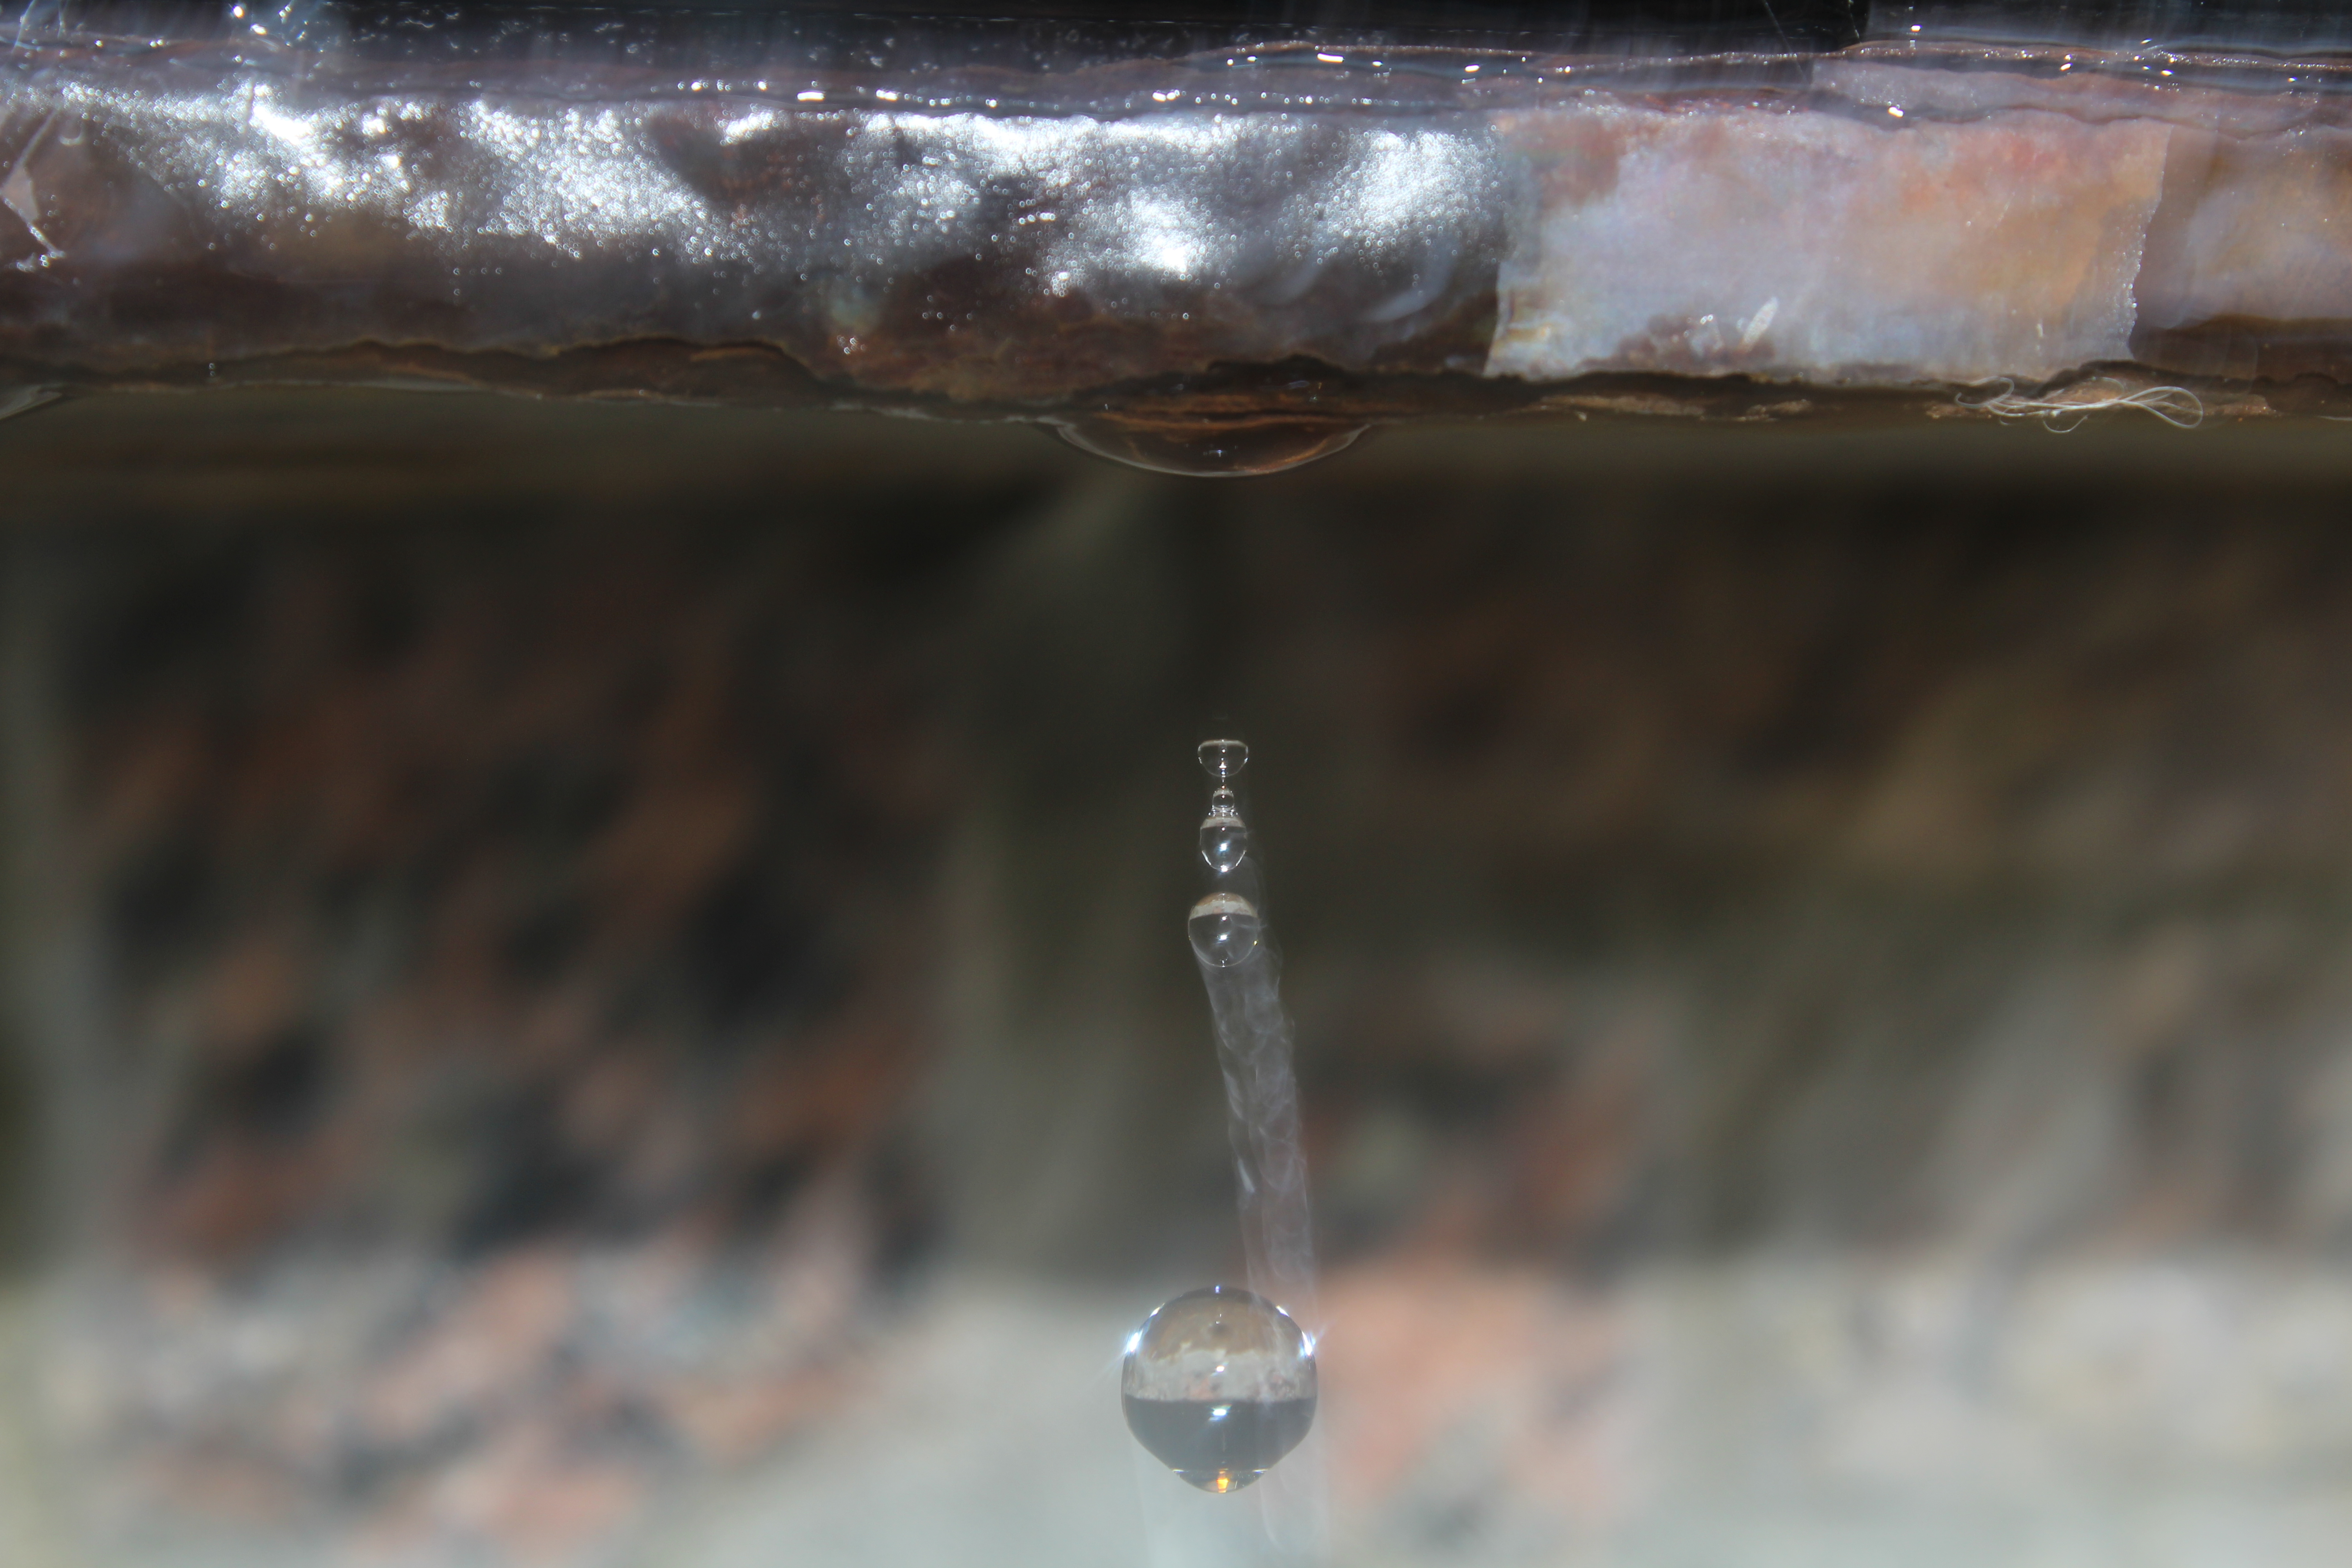
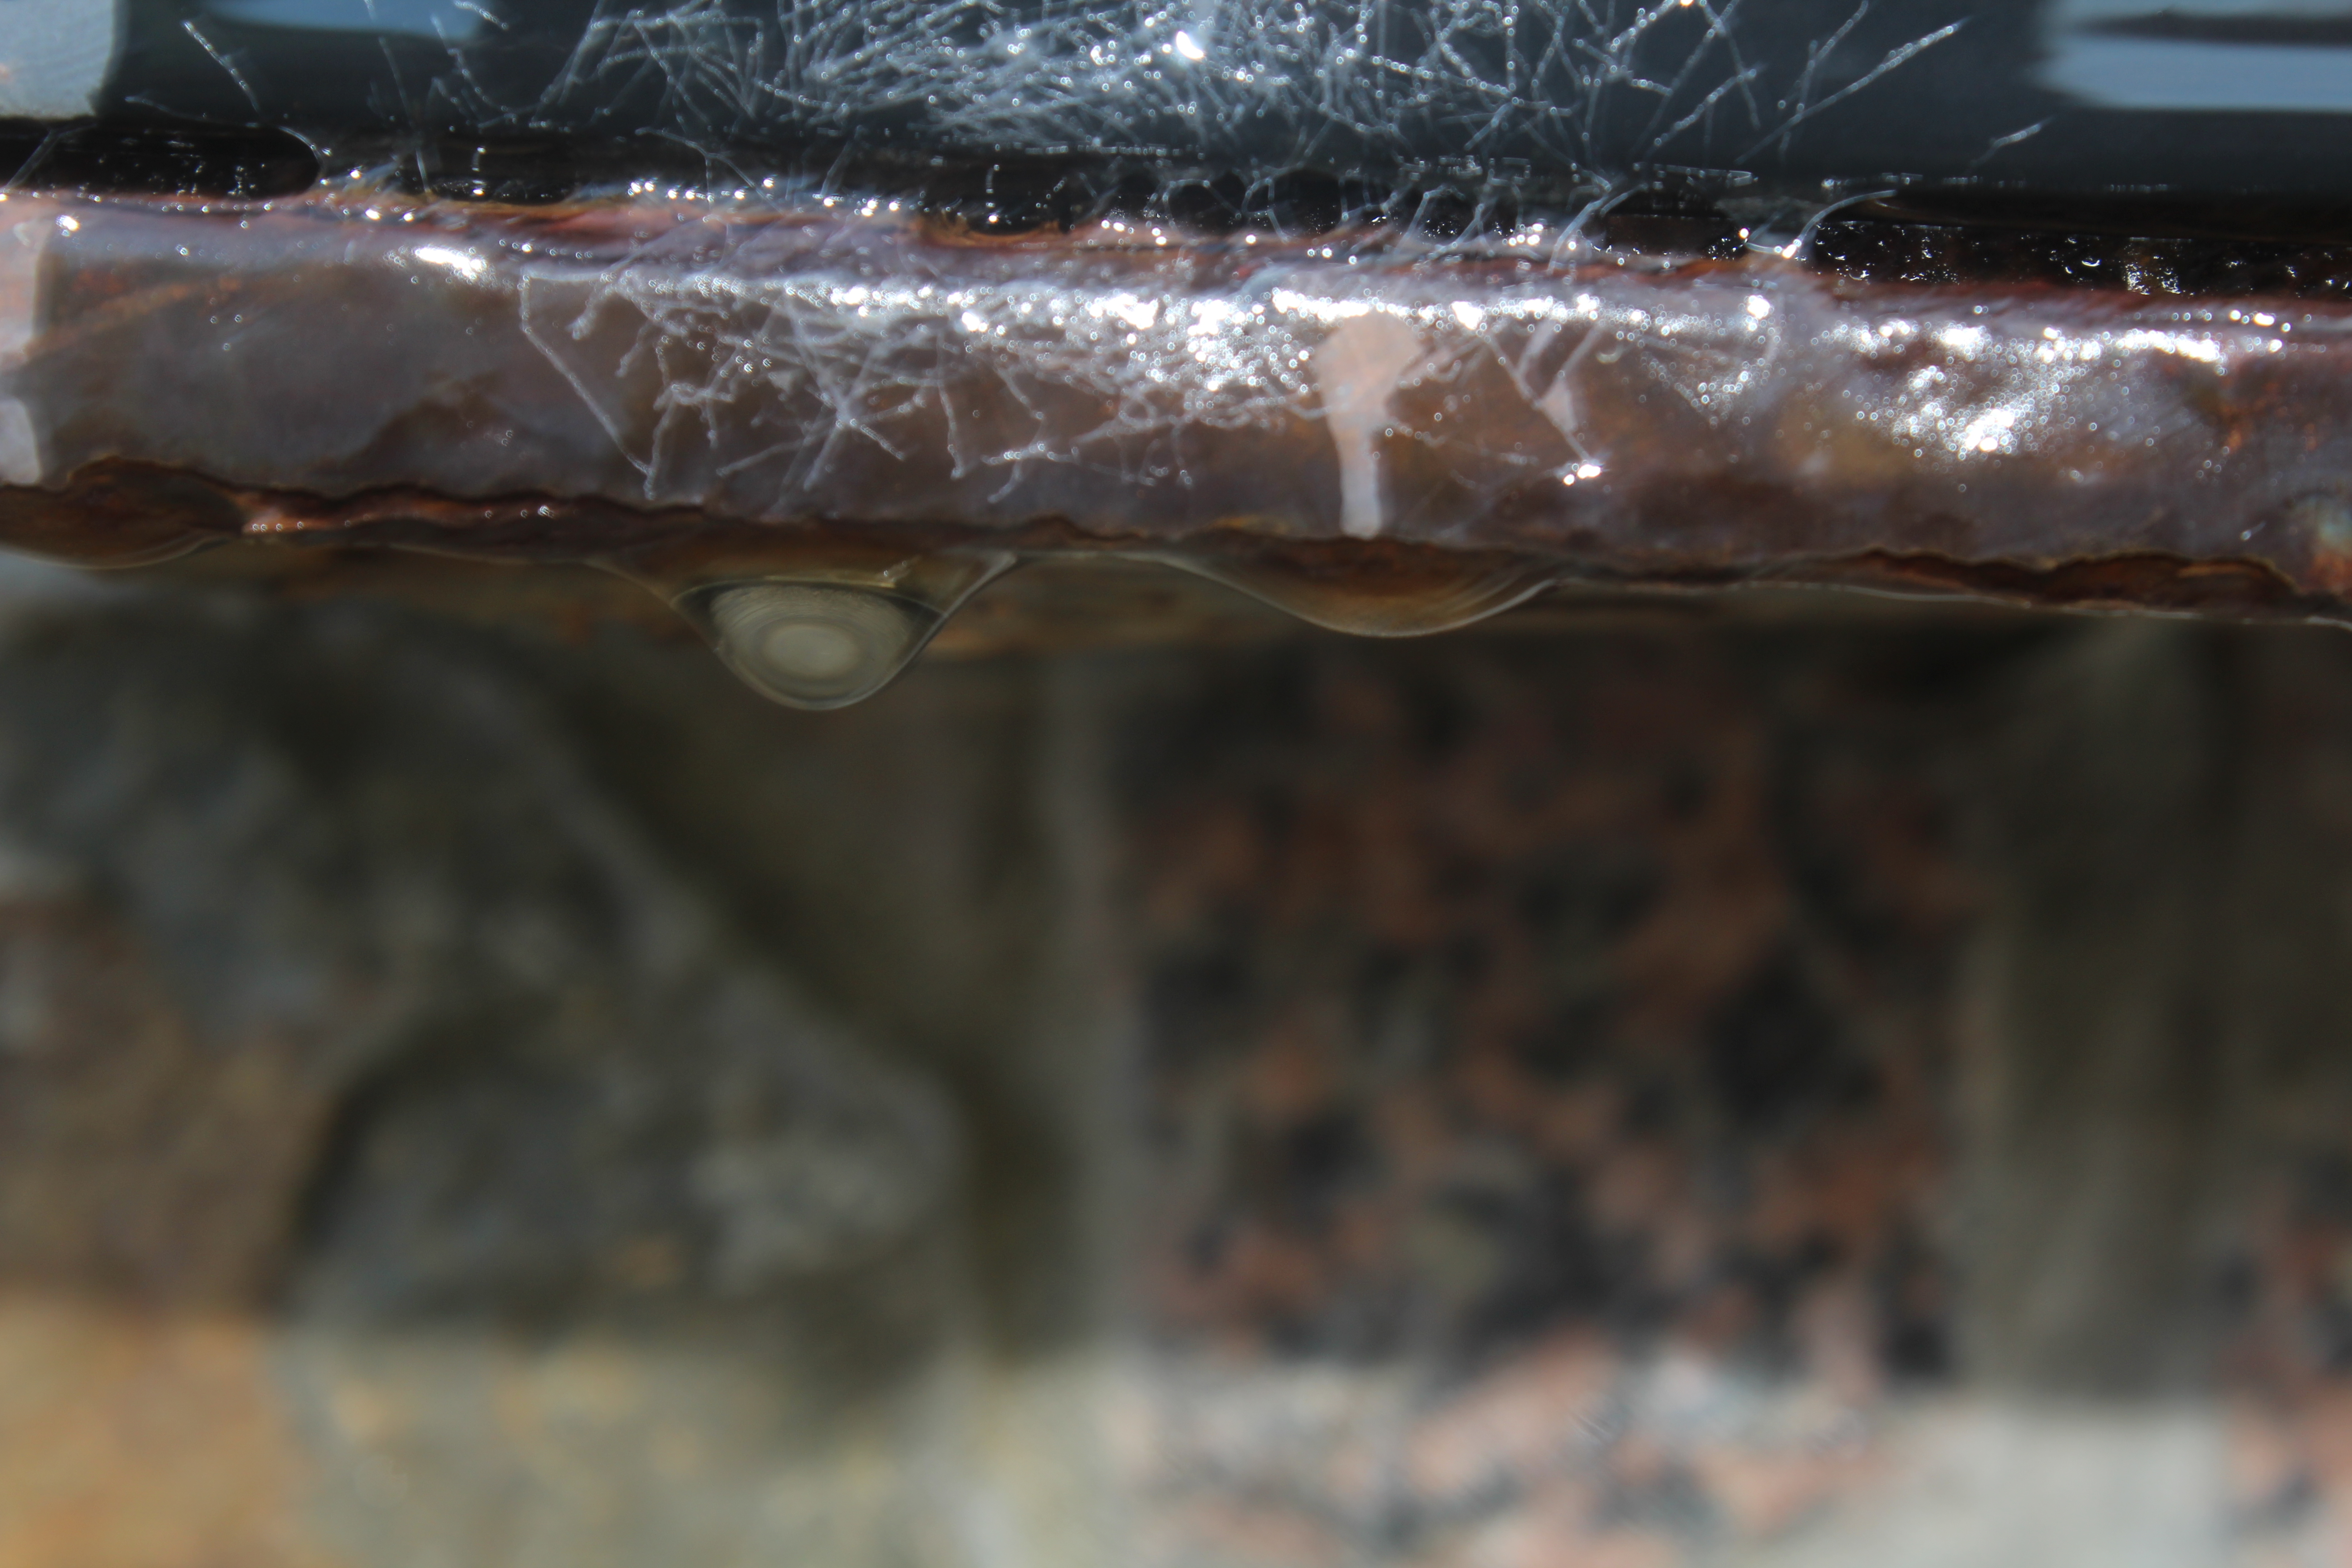
I took inspiration from Haas, and in doing so produced a photo-shoot which heavily took into account the texture of the image subjects. For my images, I focused on zooming into details, which in turn produced photographs displaying texture, such as the image pictures below:

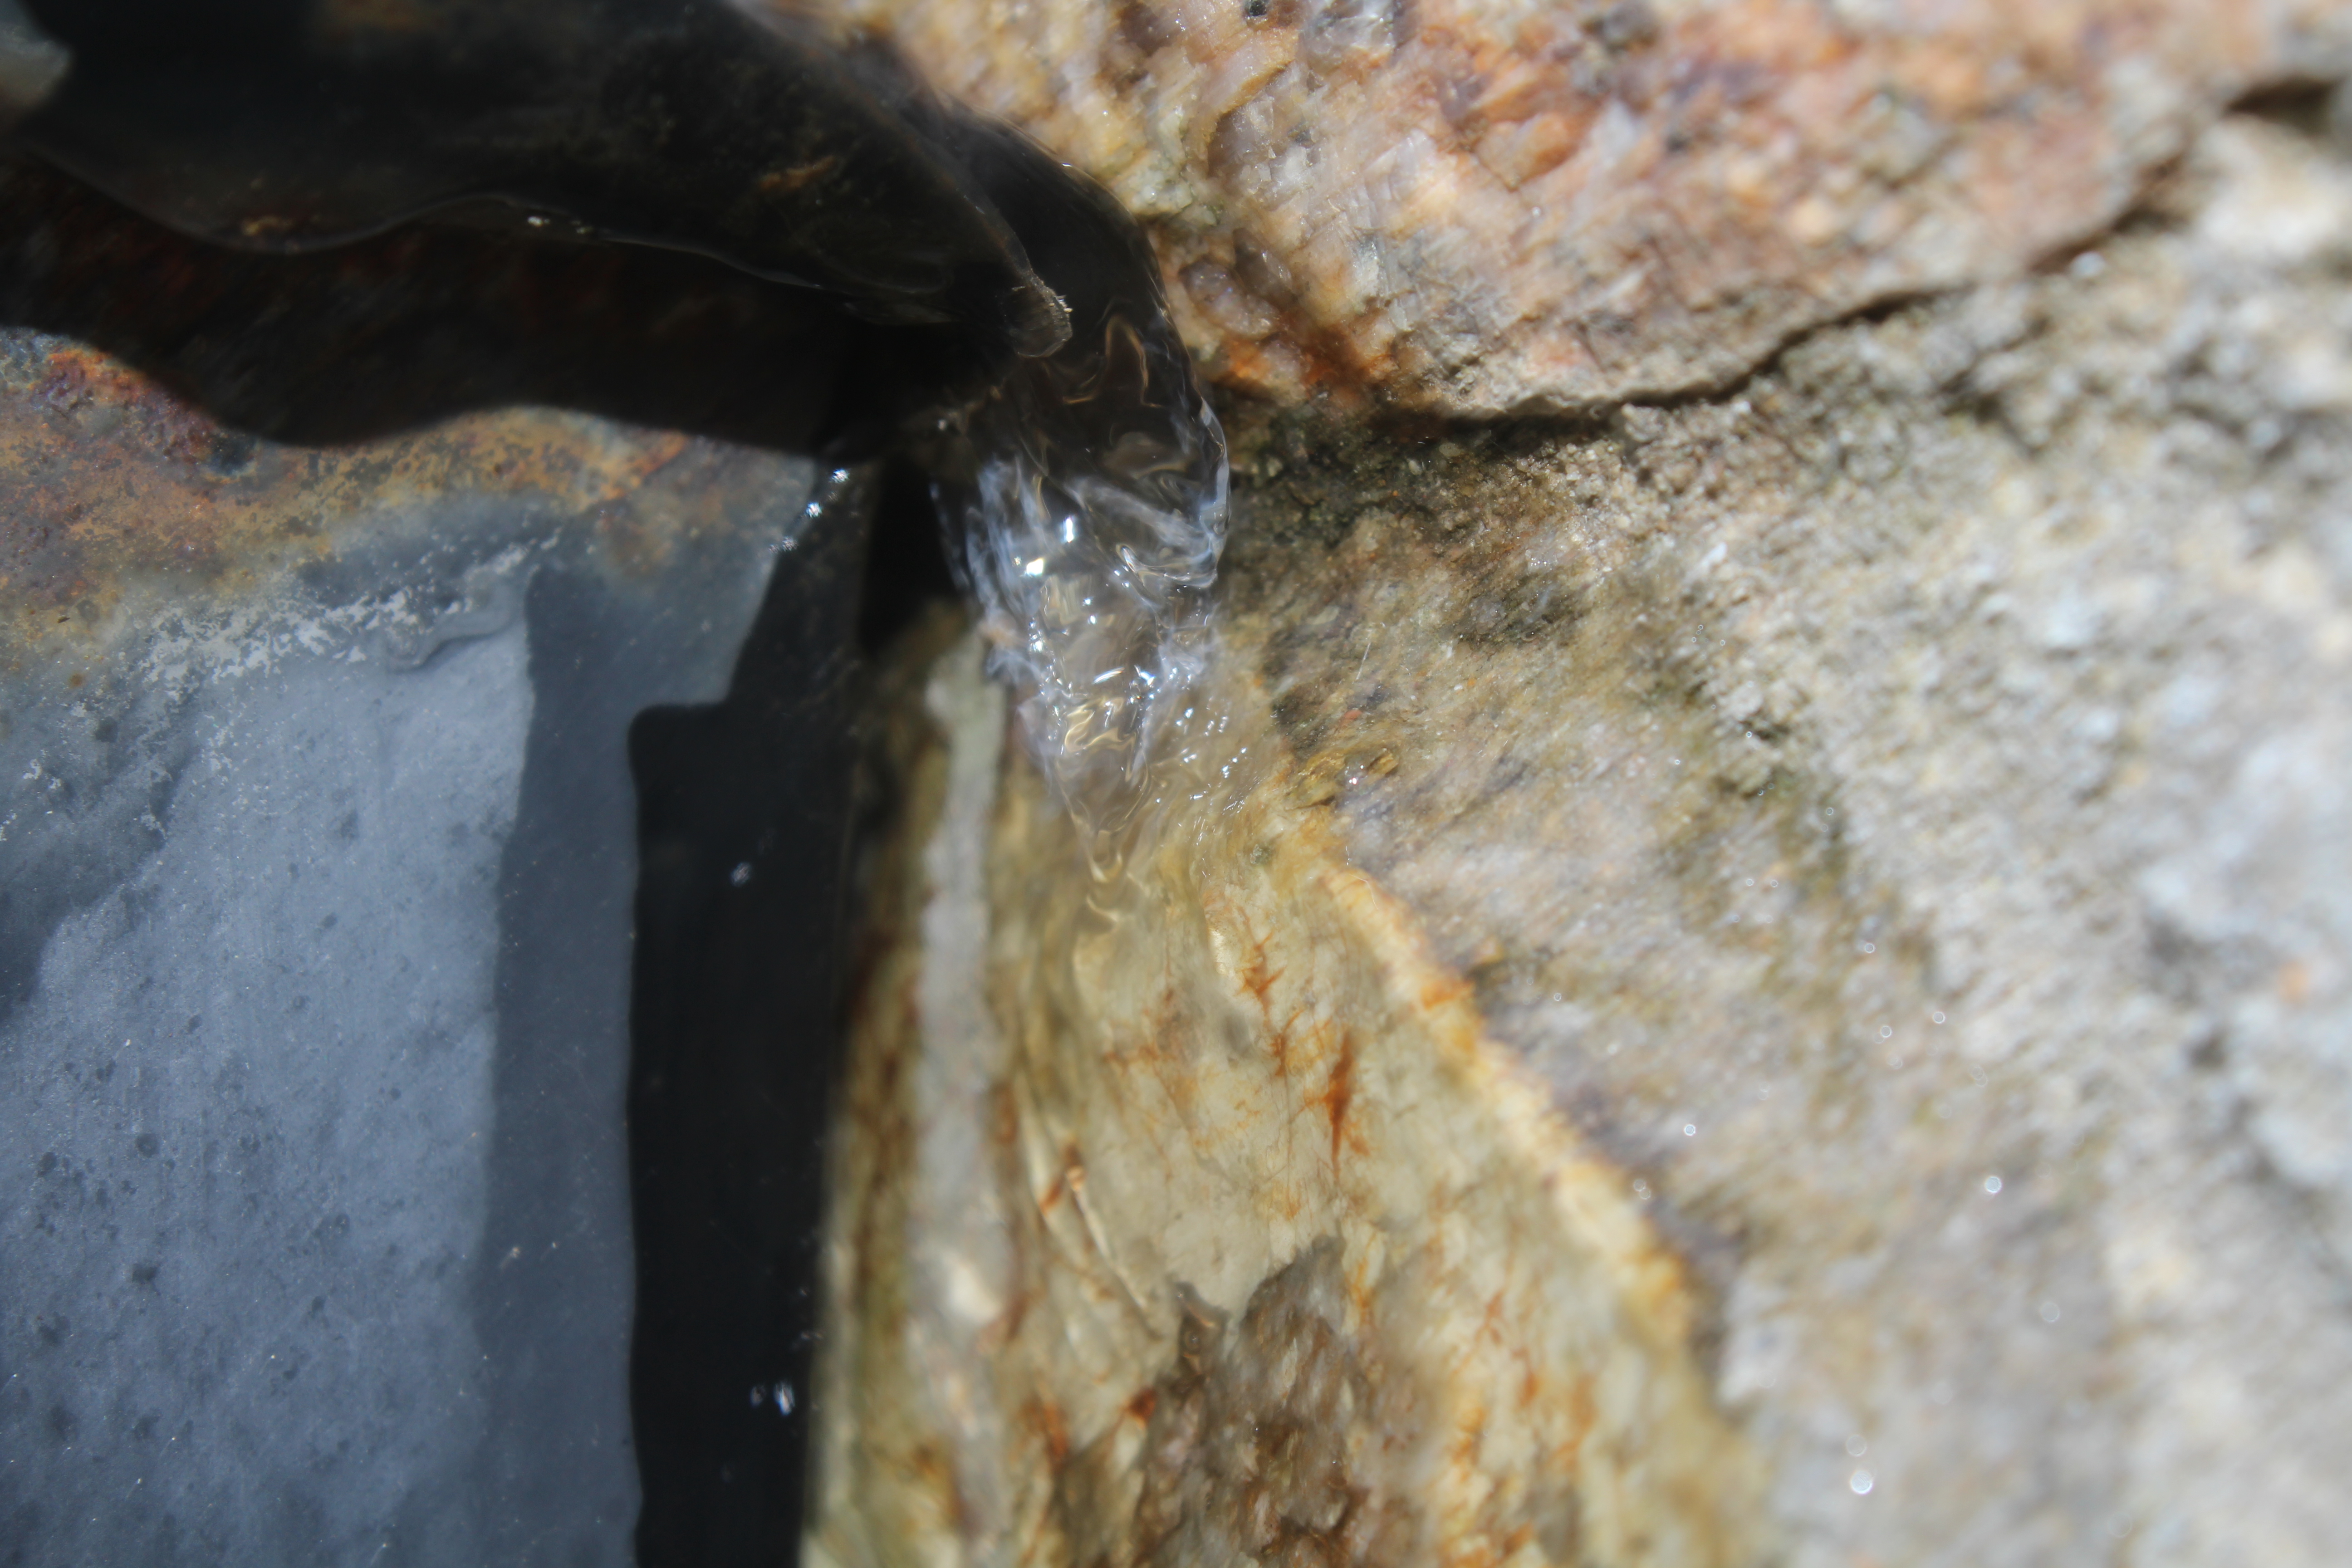
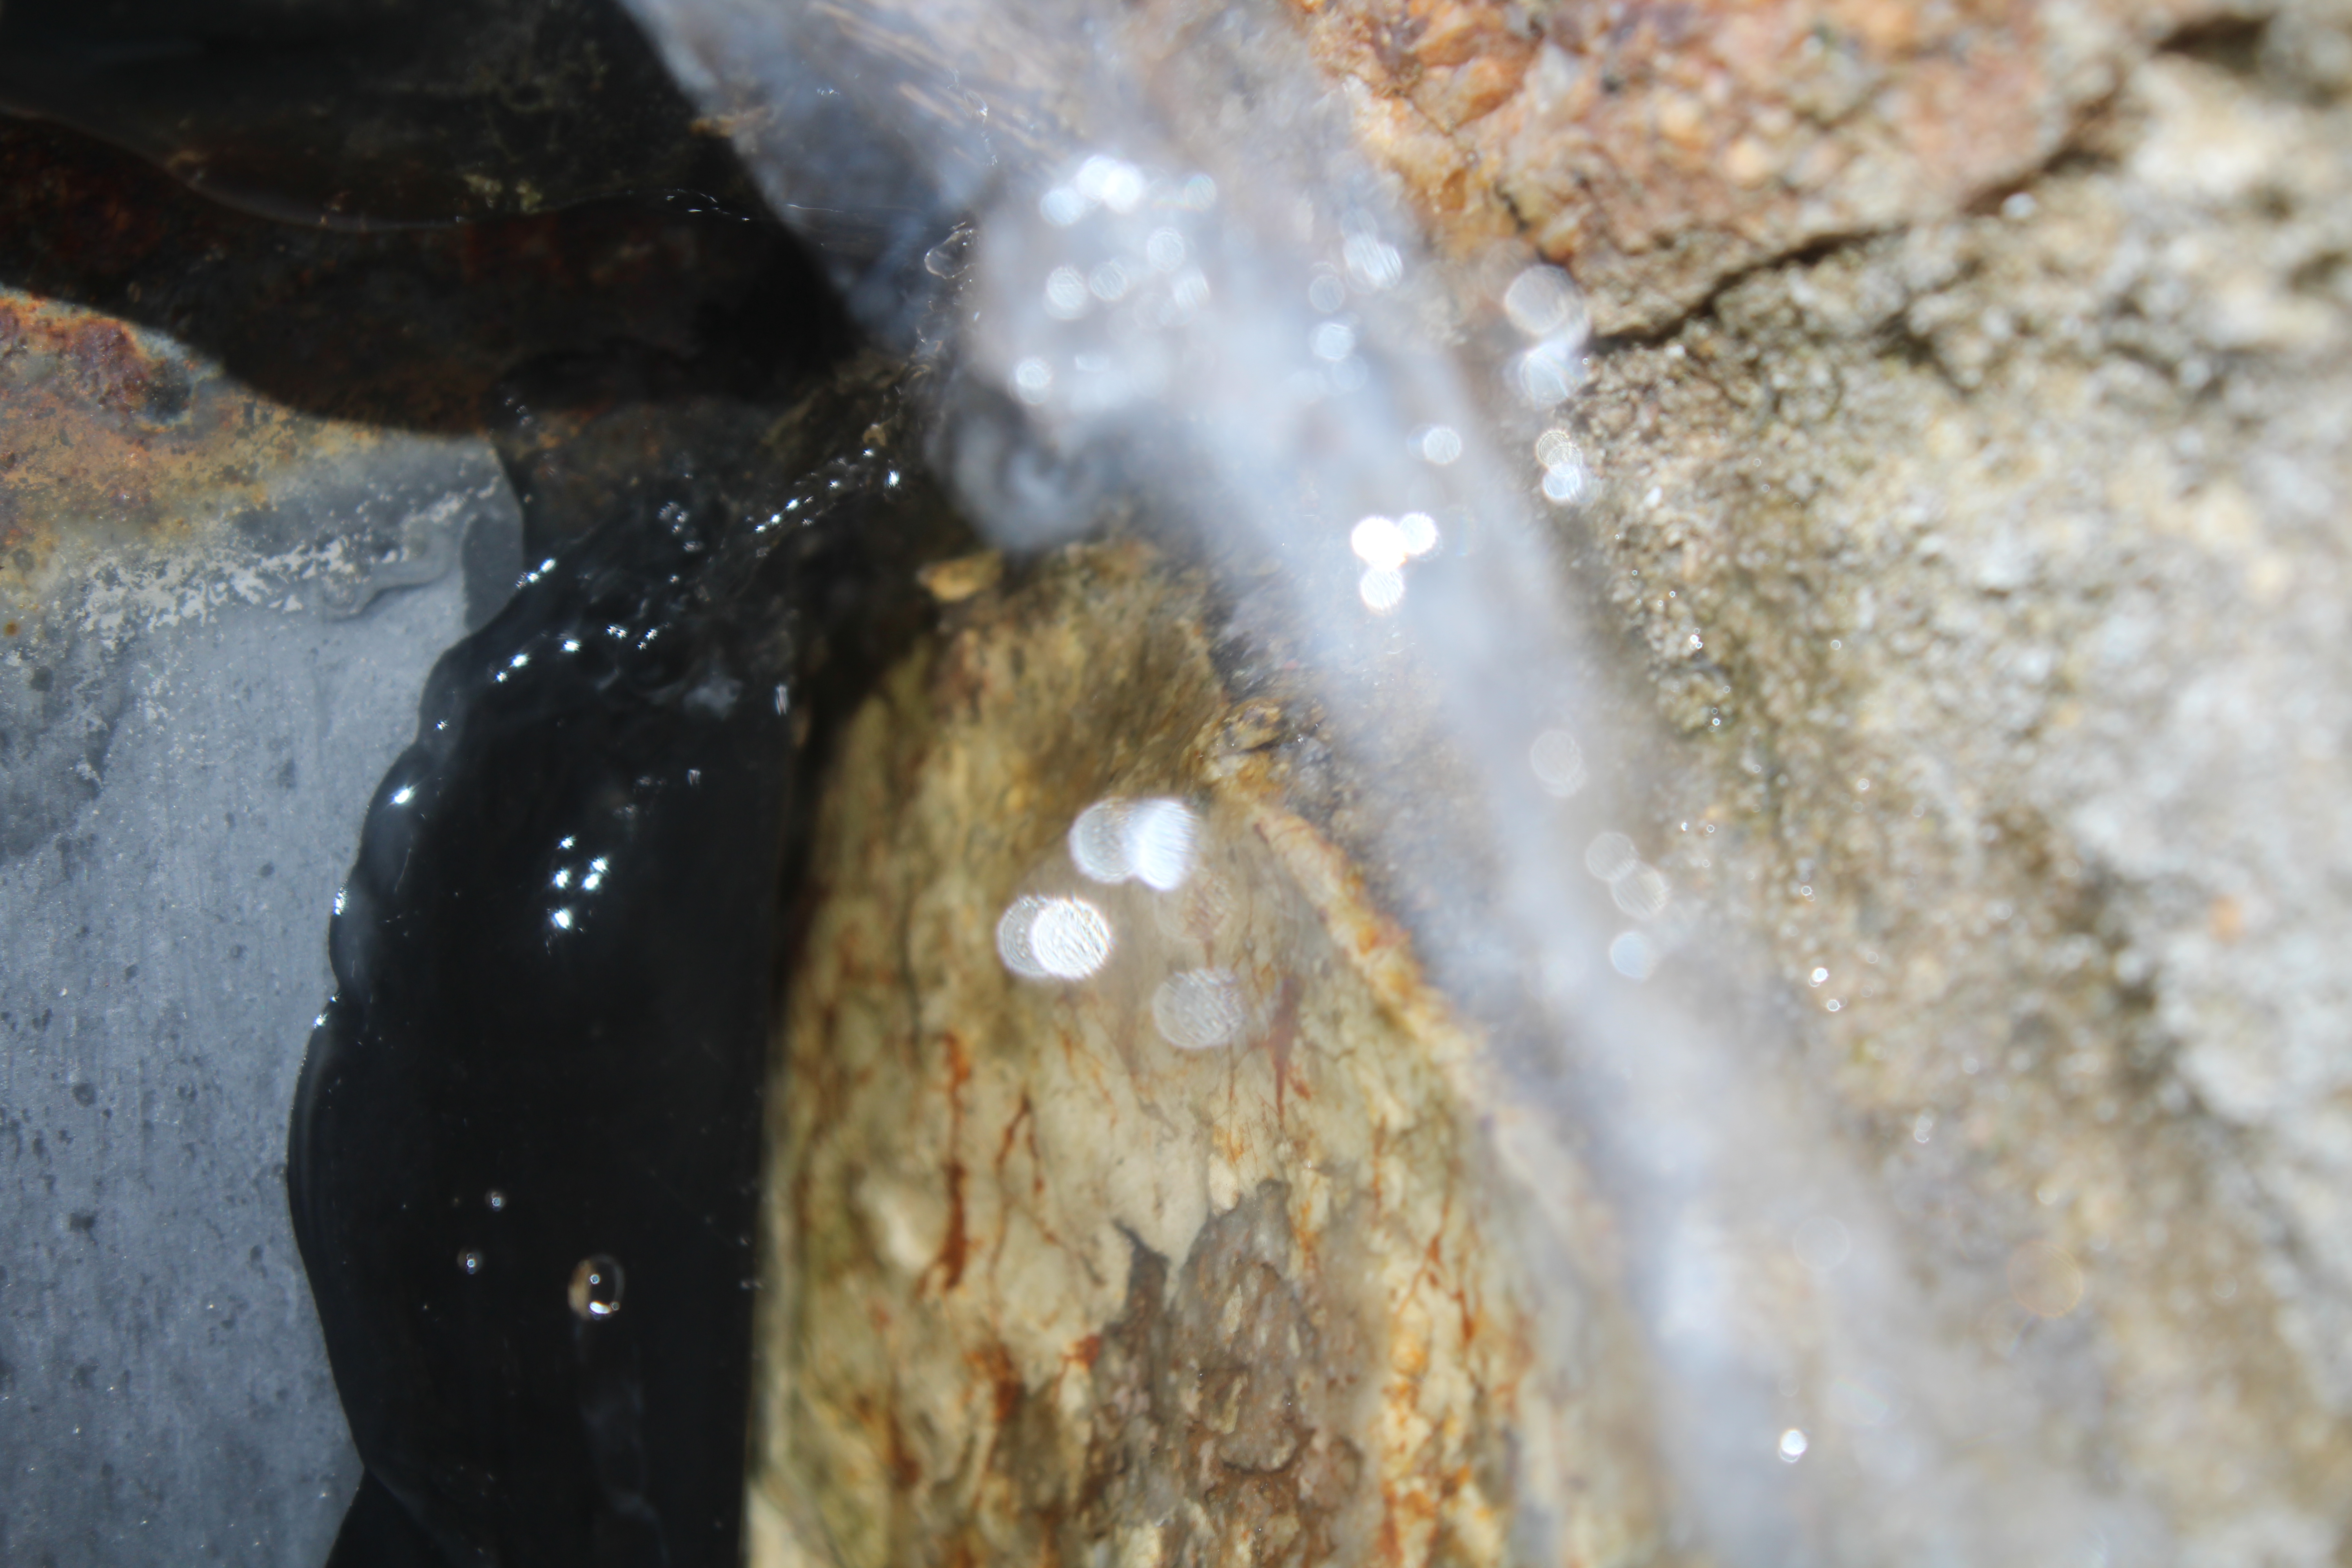
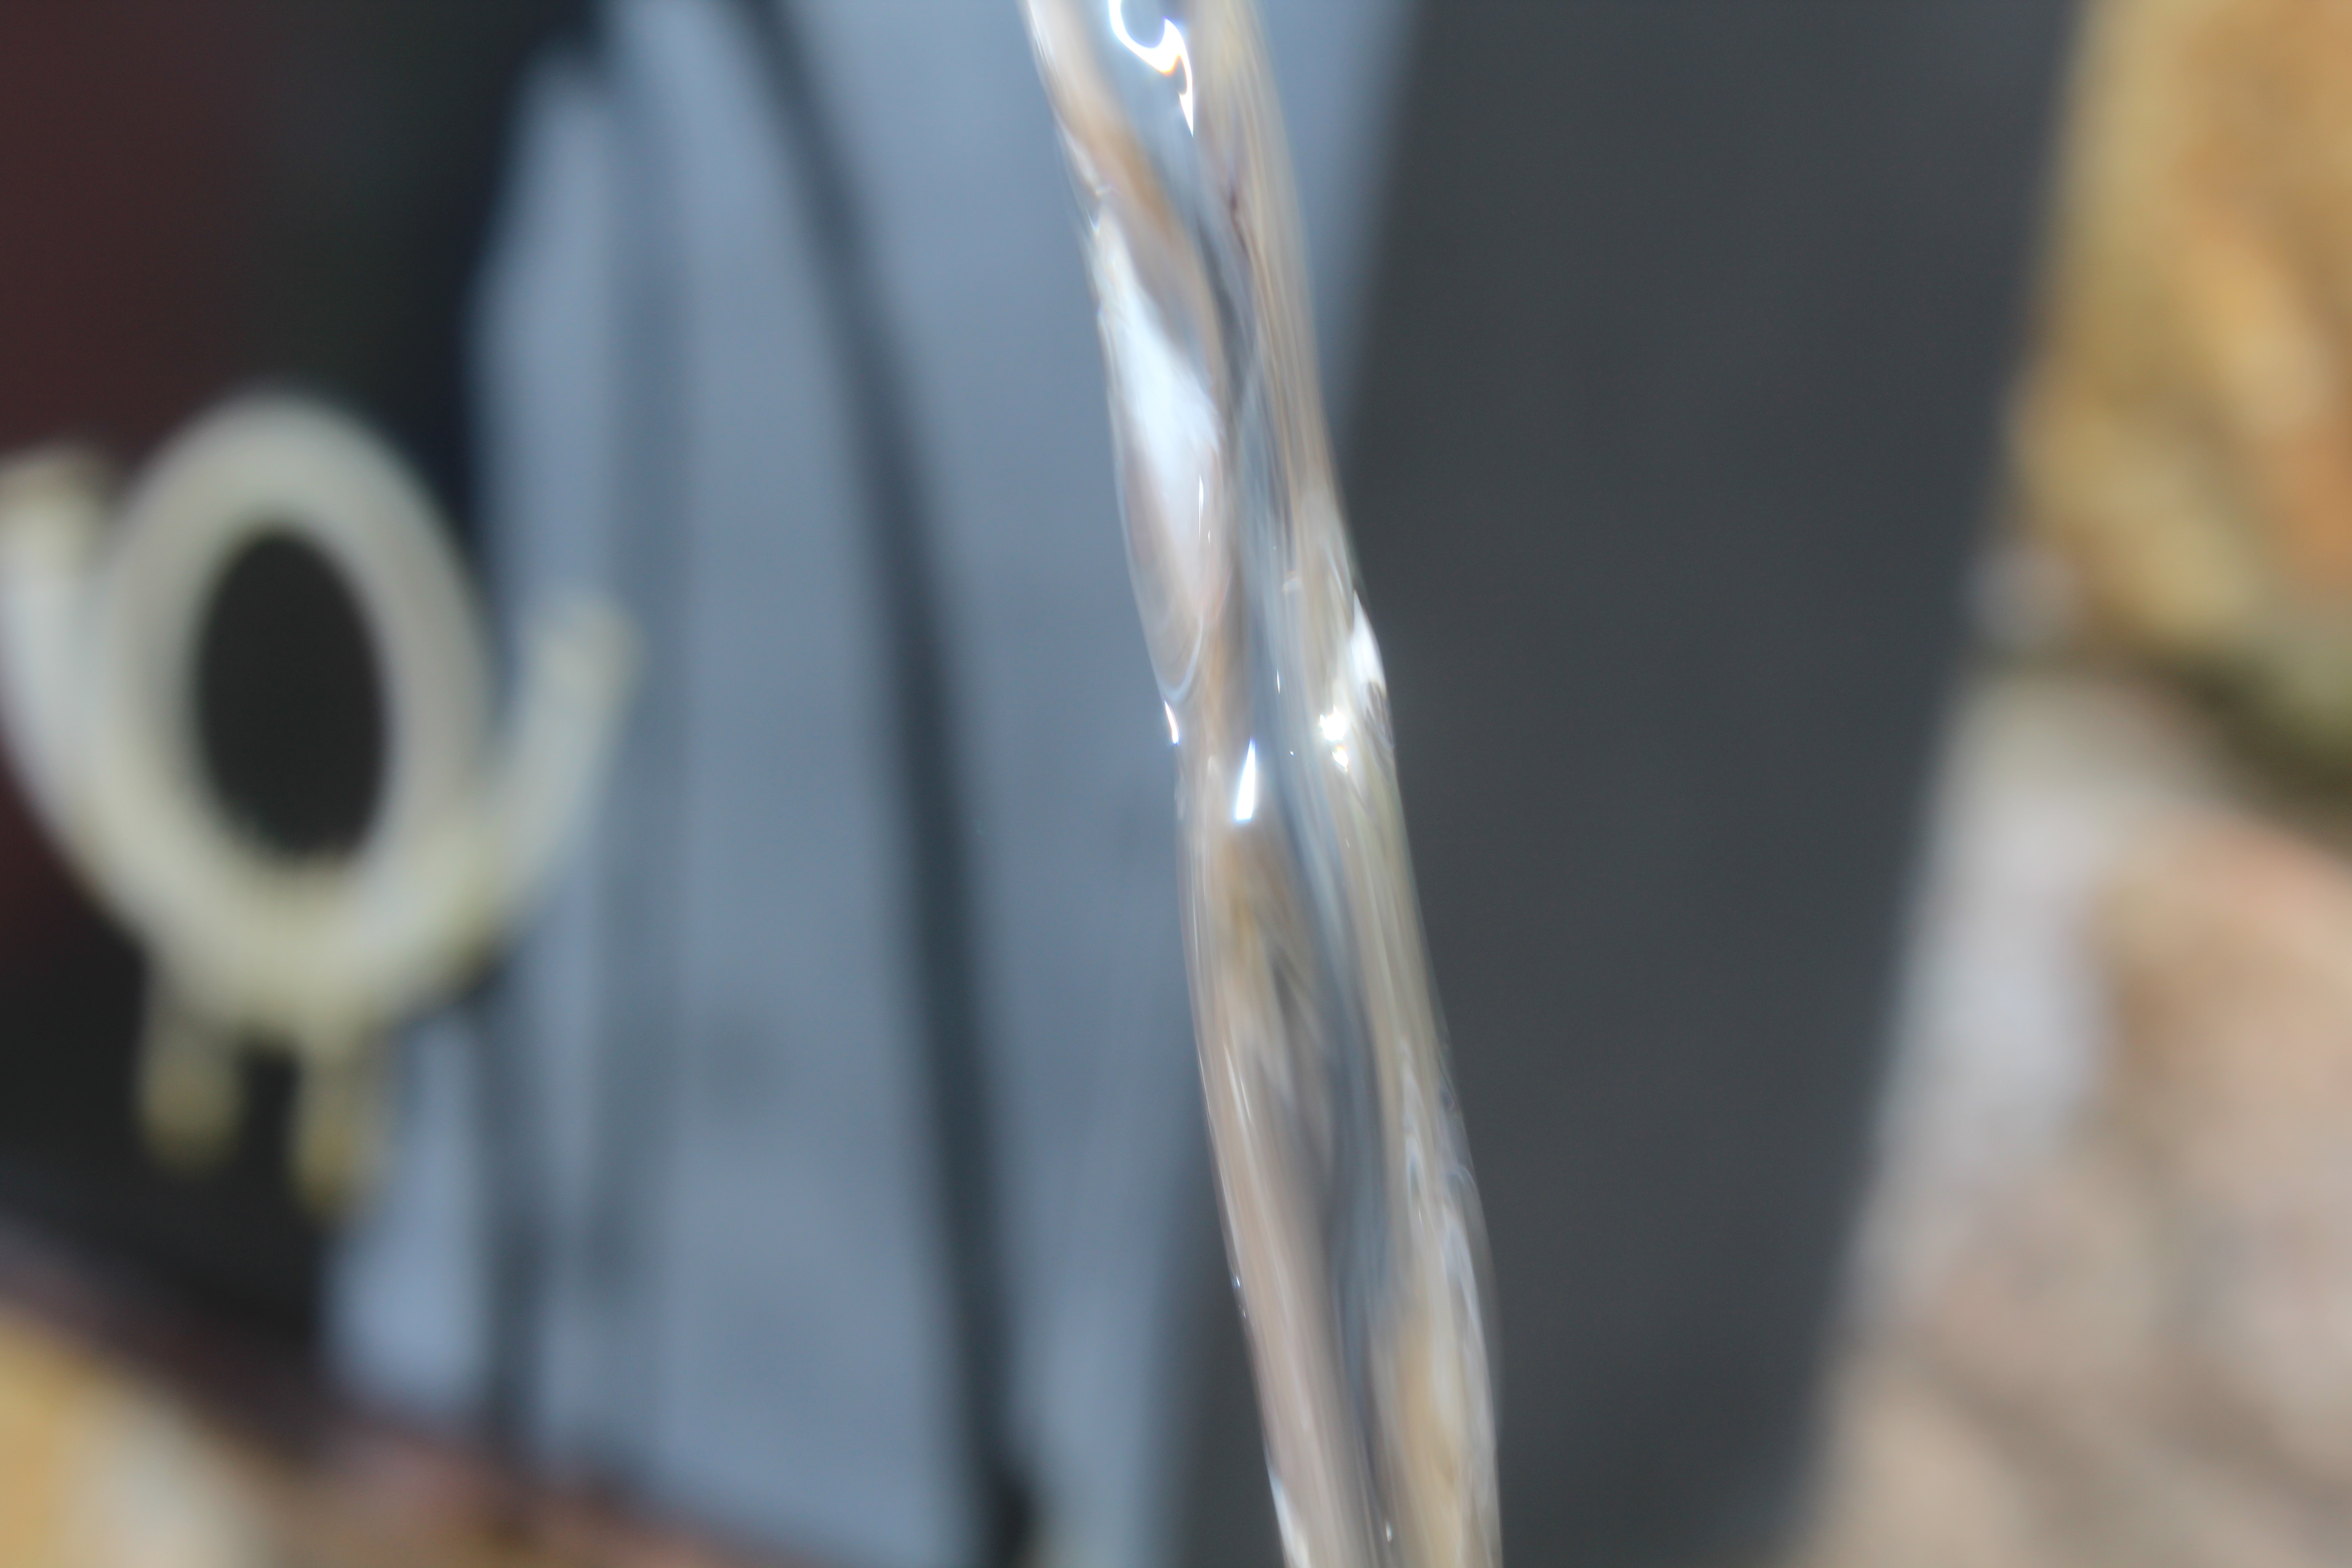
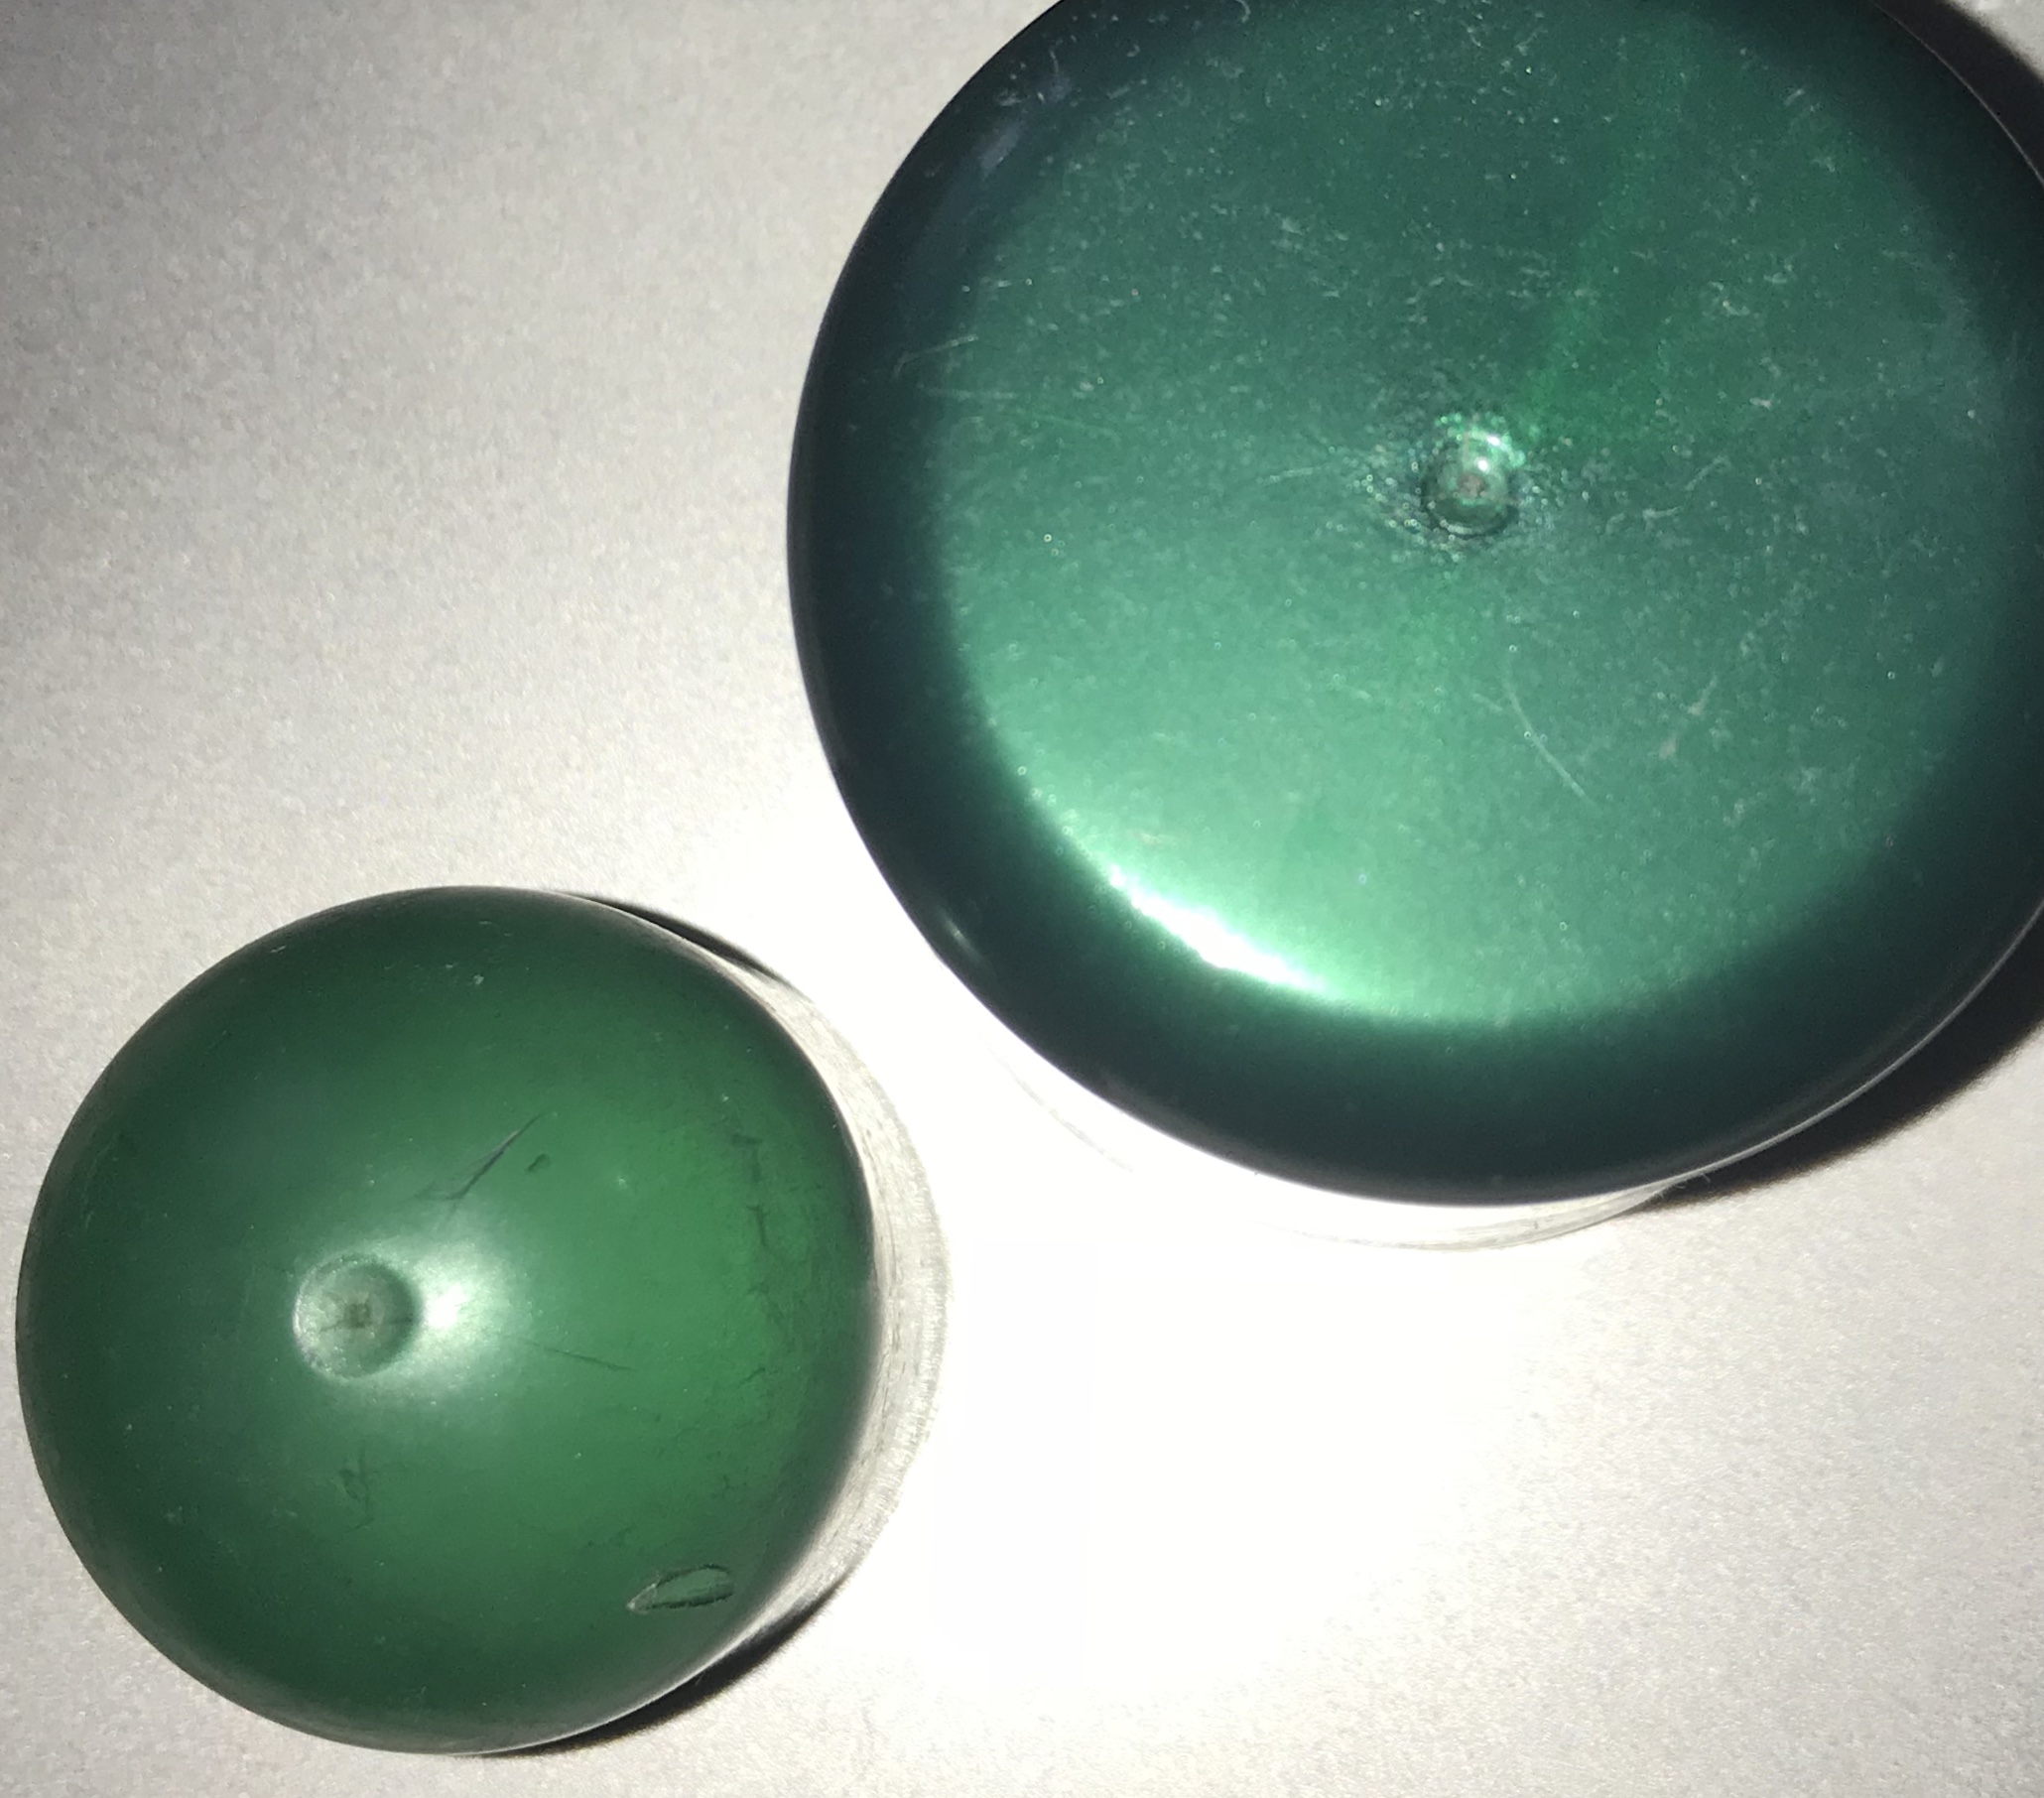
This image makes use of both colour (contrasting the darker background with the lighter toned water droplet) and the rough texture of the rust at the top of the image, and the way that this contrasts the smoother texture of the water droplet. Haas often used darker tones in his image backgrounds, to emphasize the water that would typically reflect the light, and present as a brighter, lighter tone. I have taken inspiration from this method, and I believe it is an effective way to show contrasting textures through the use of light and shade.

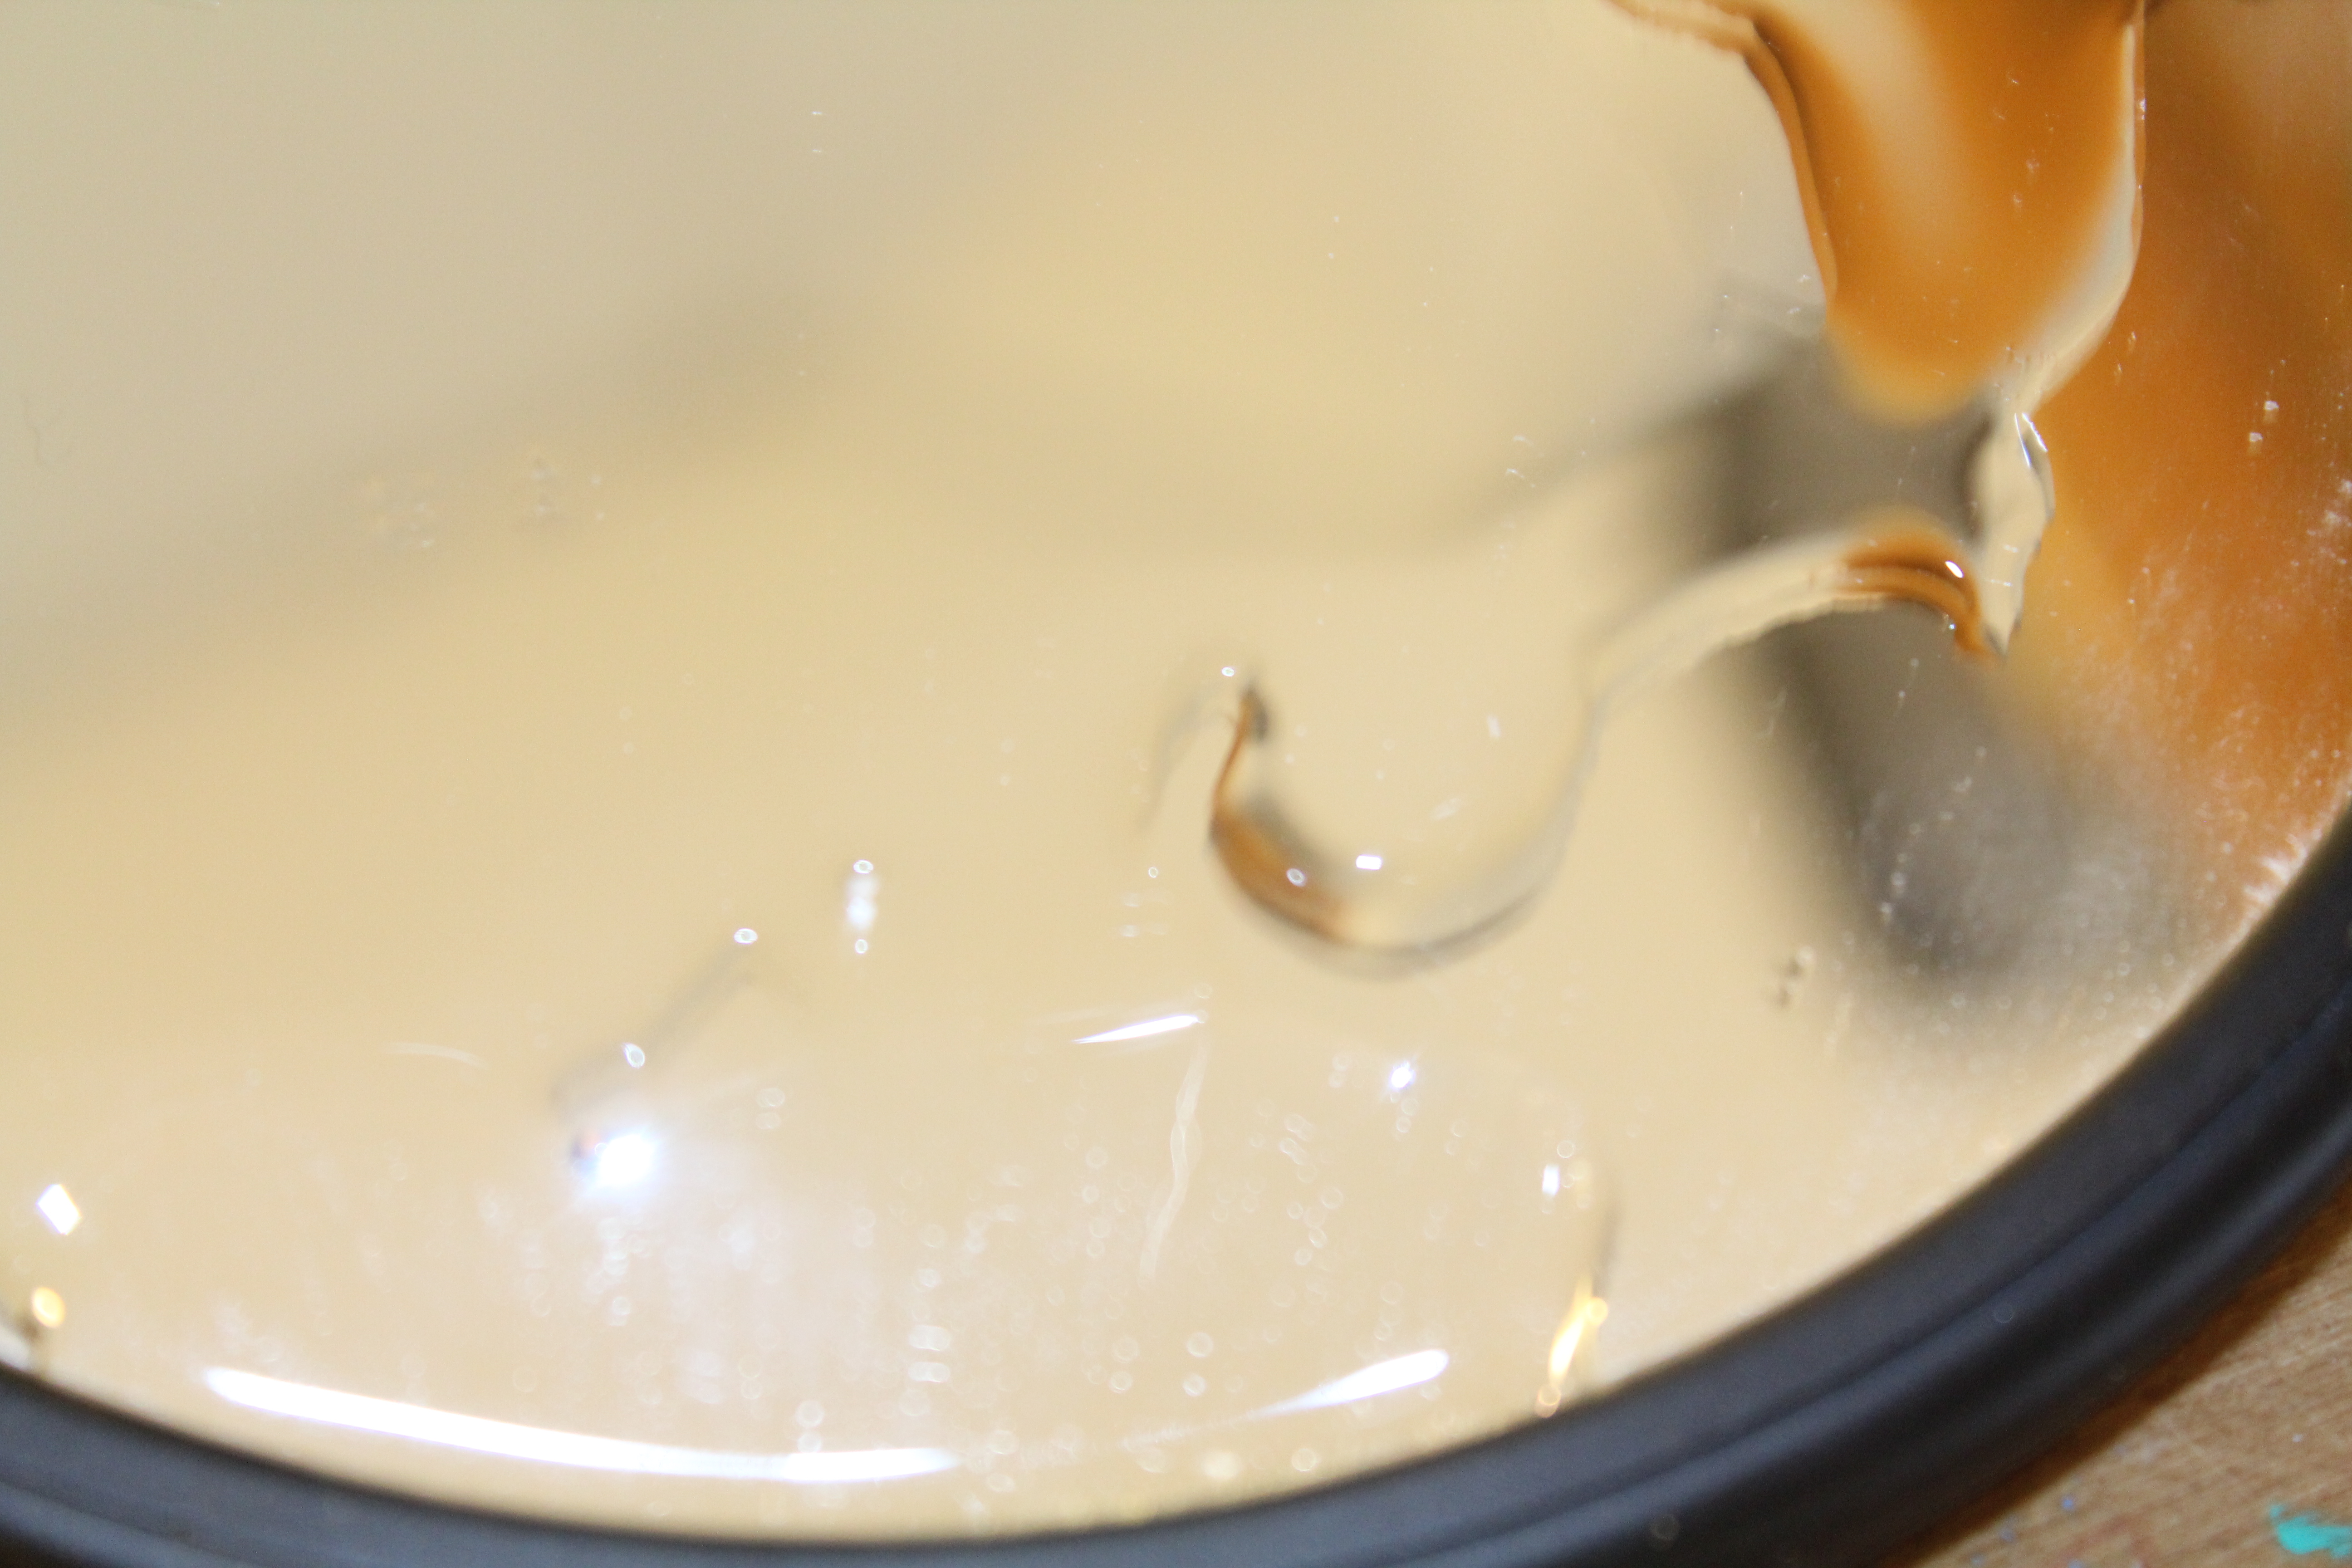
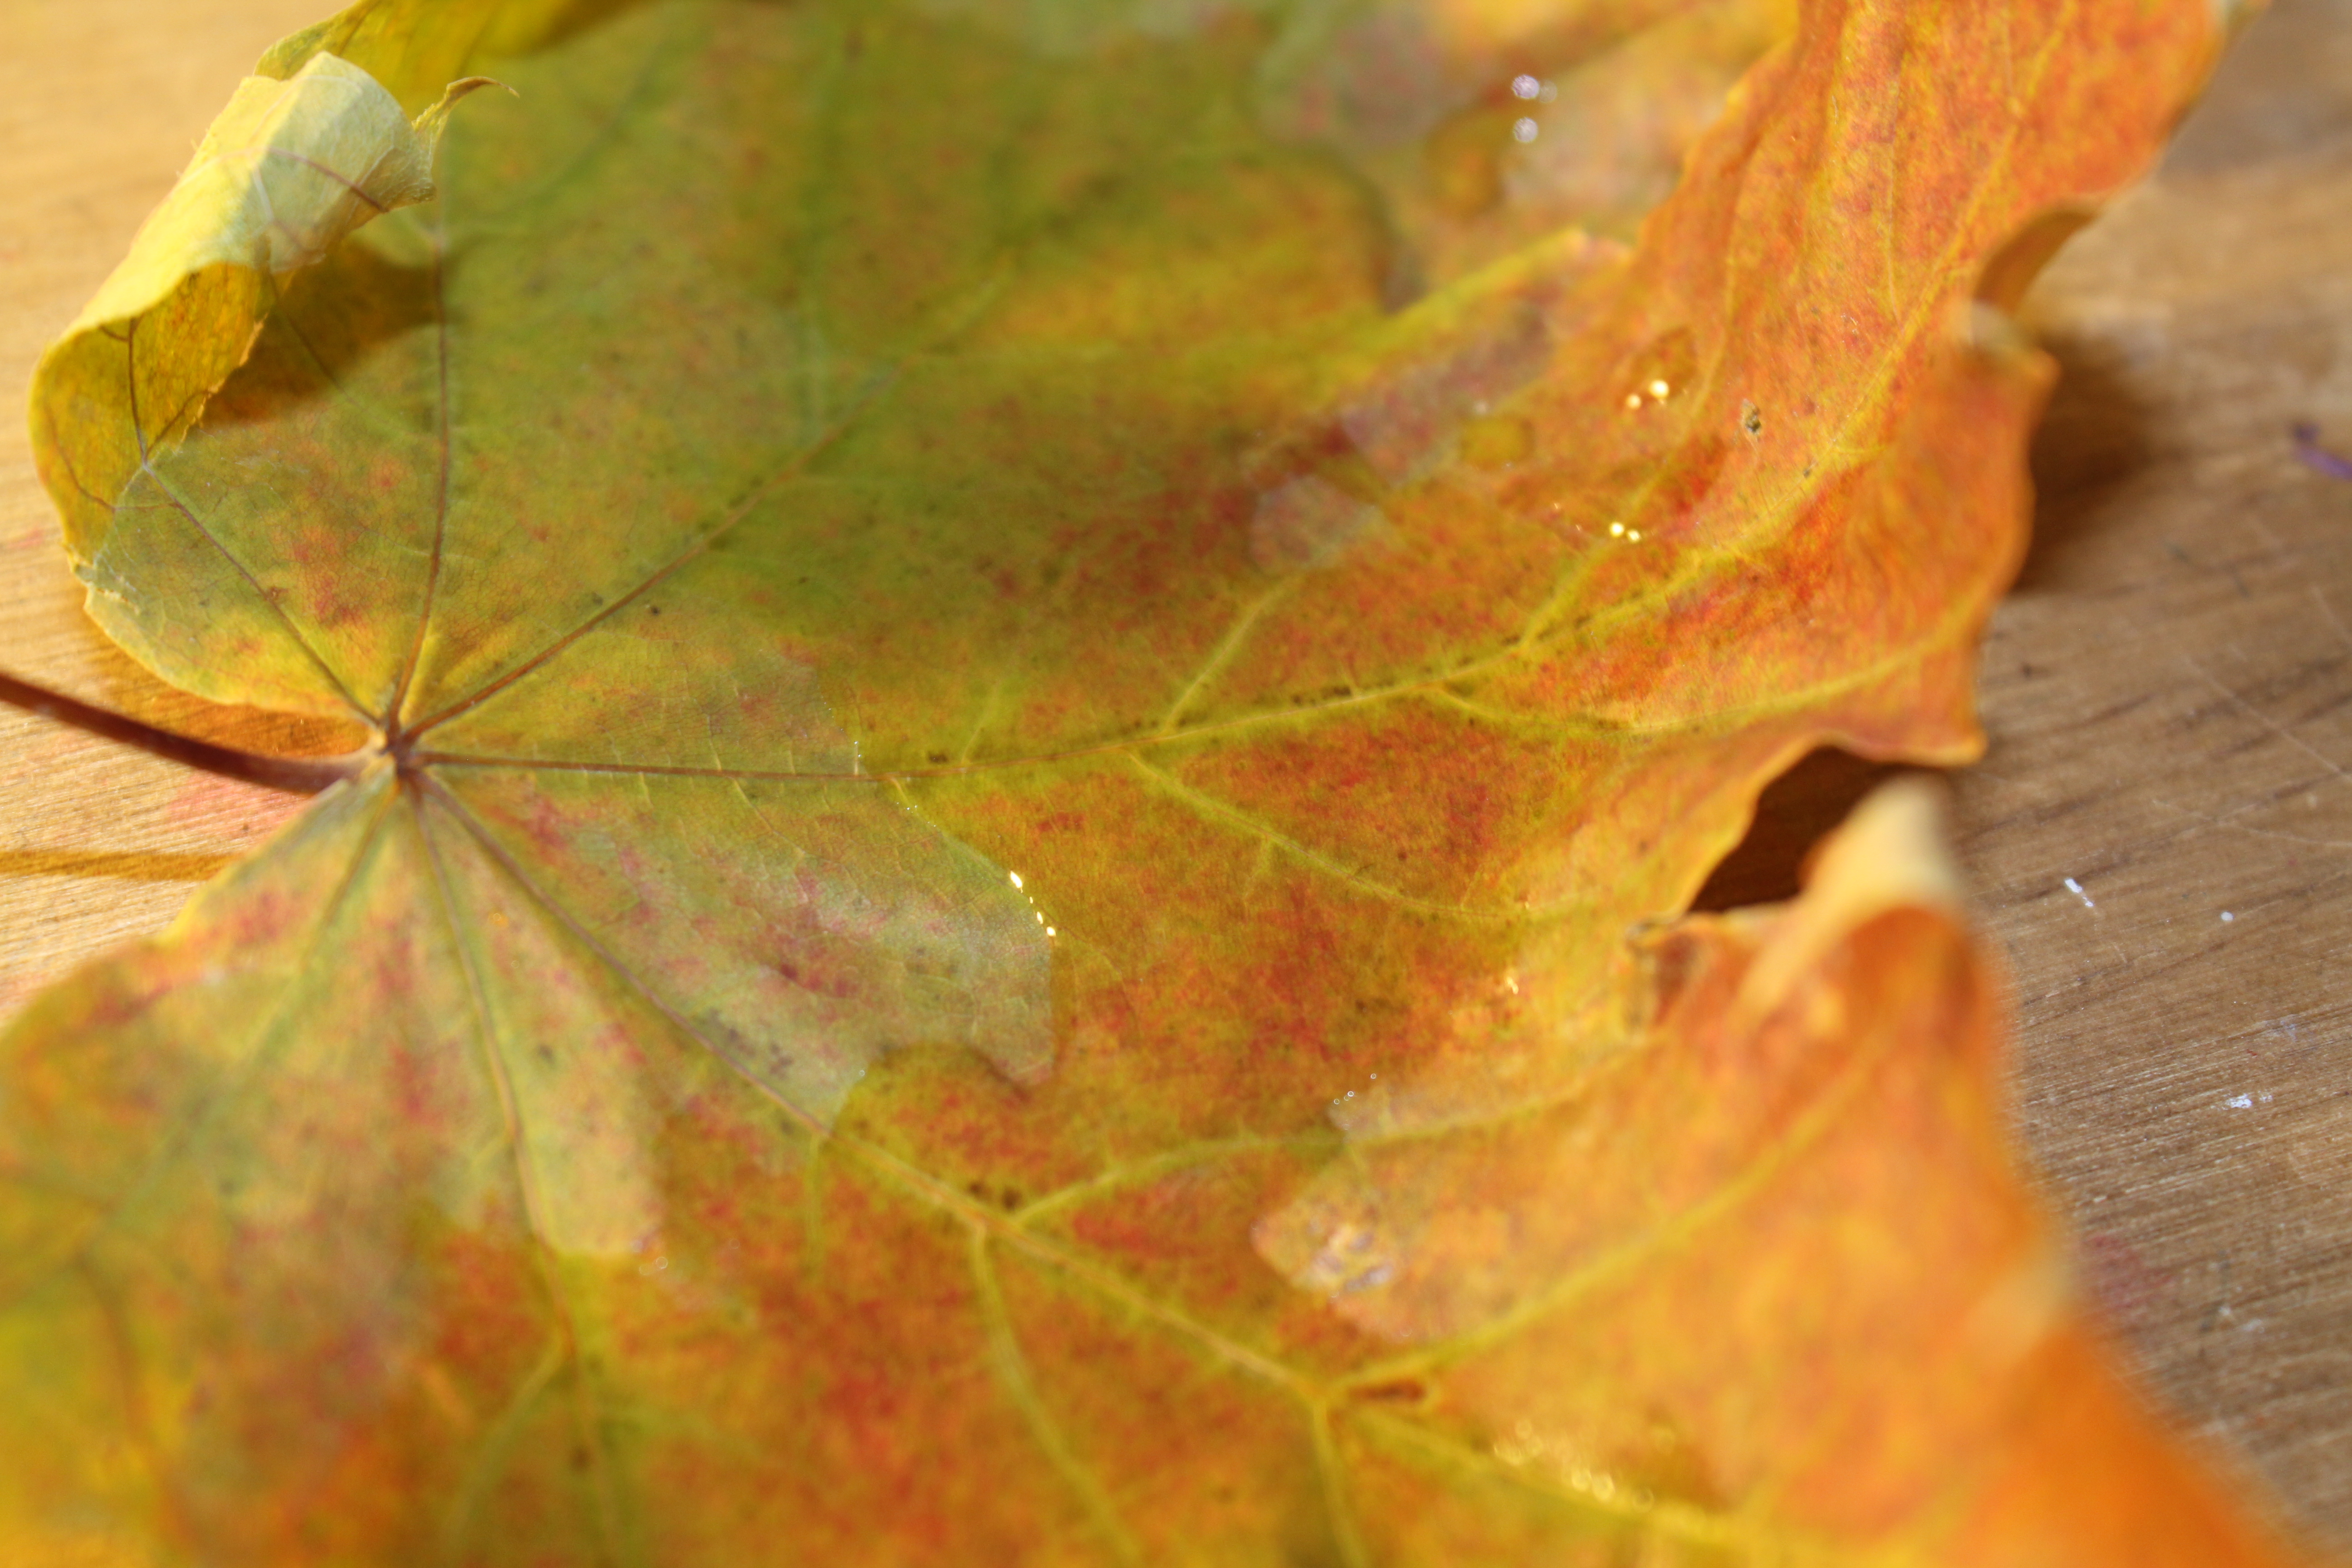
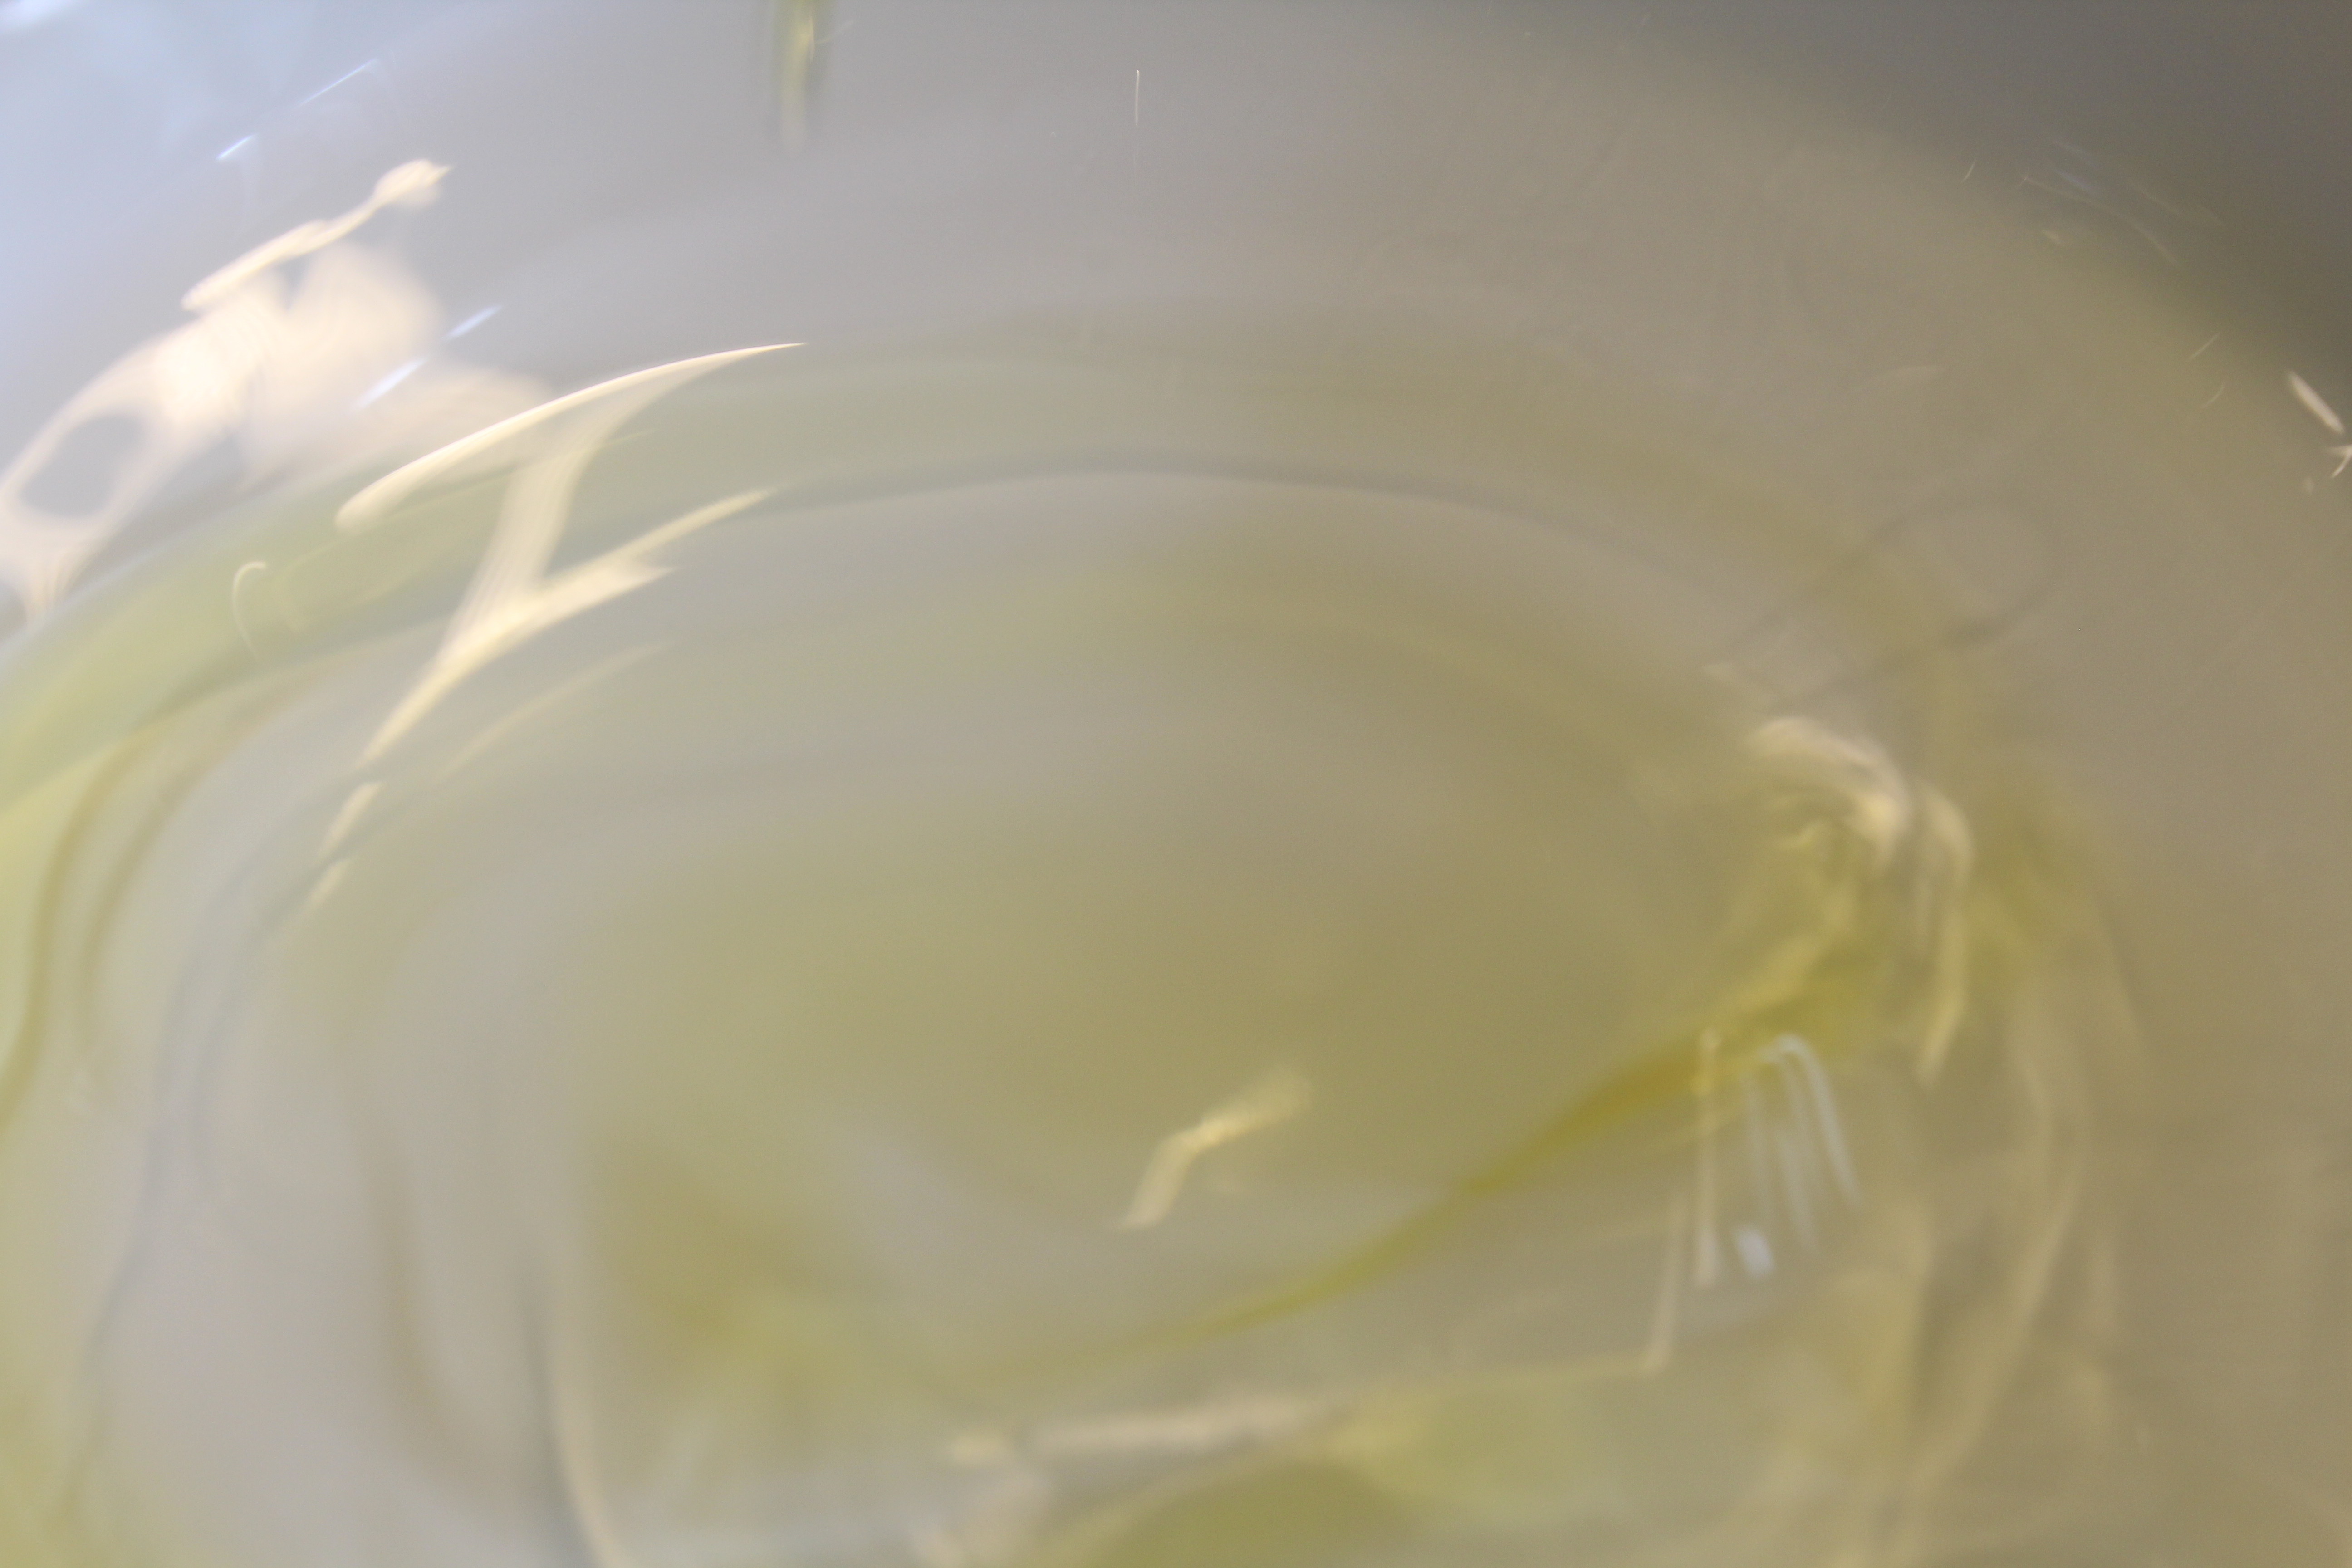
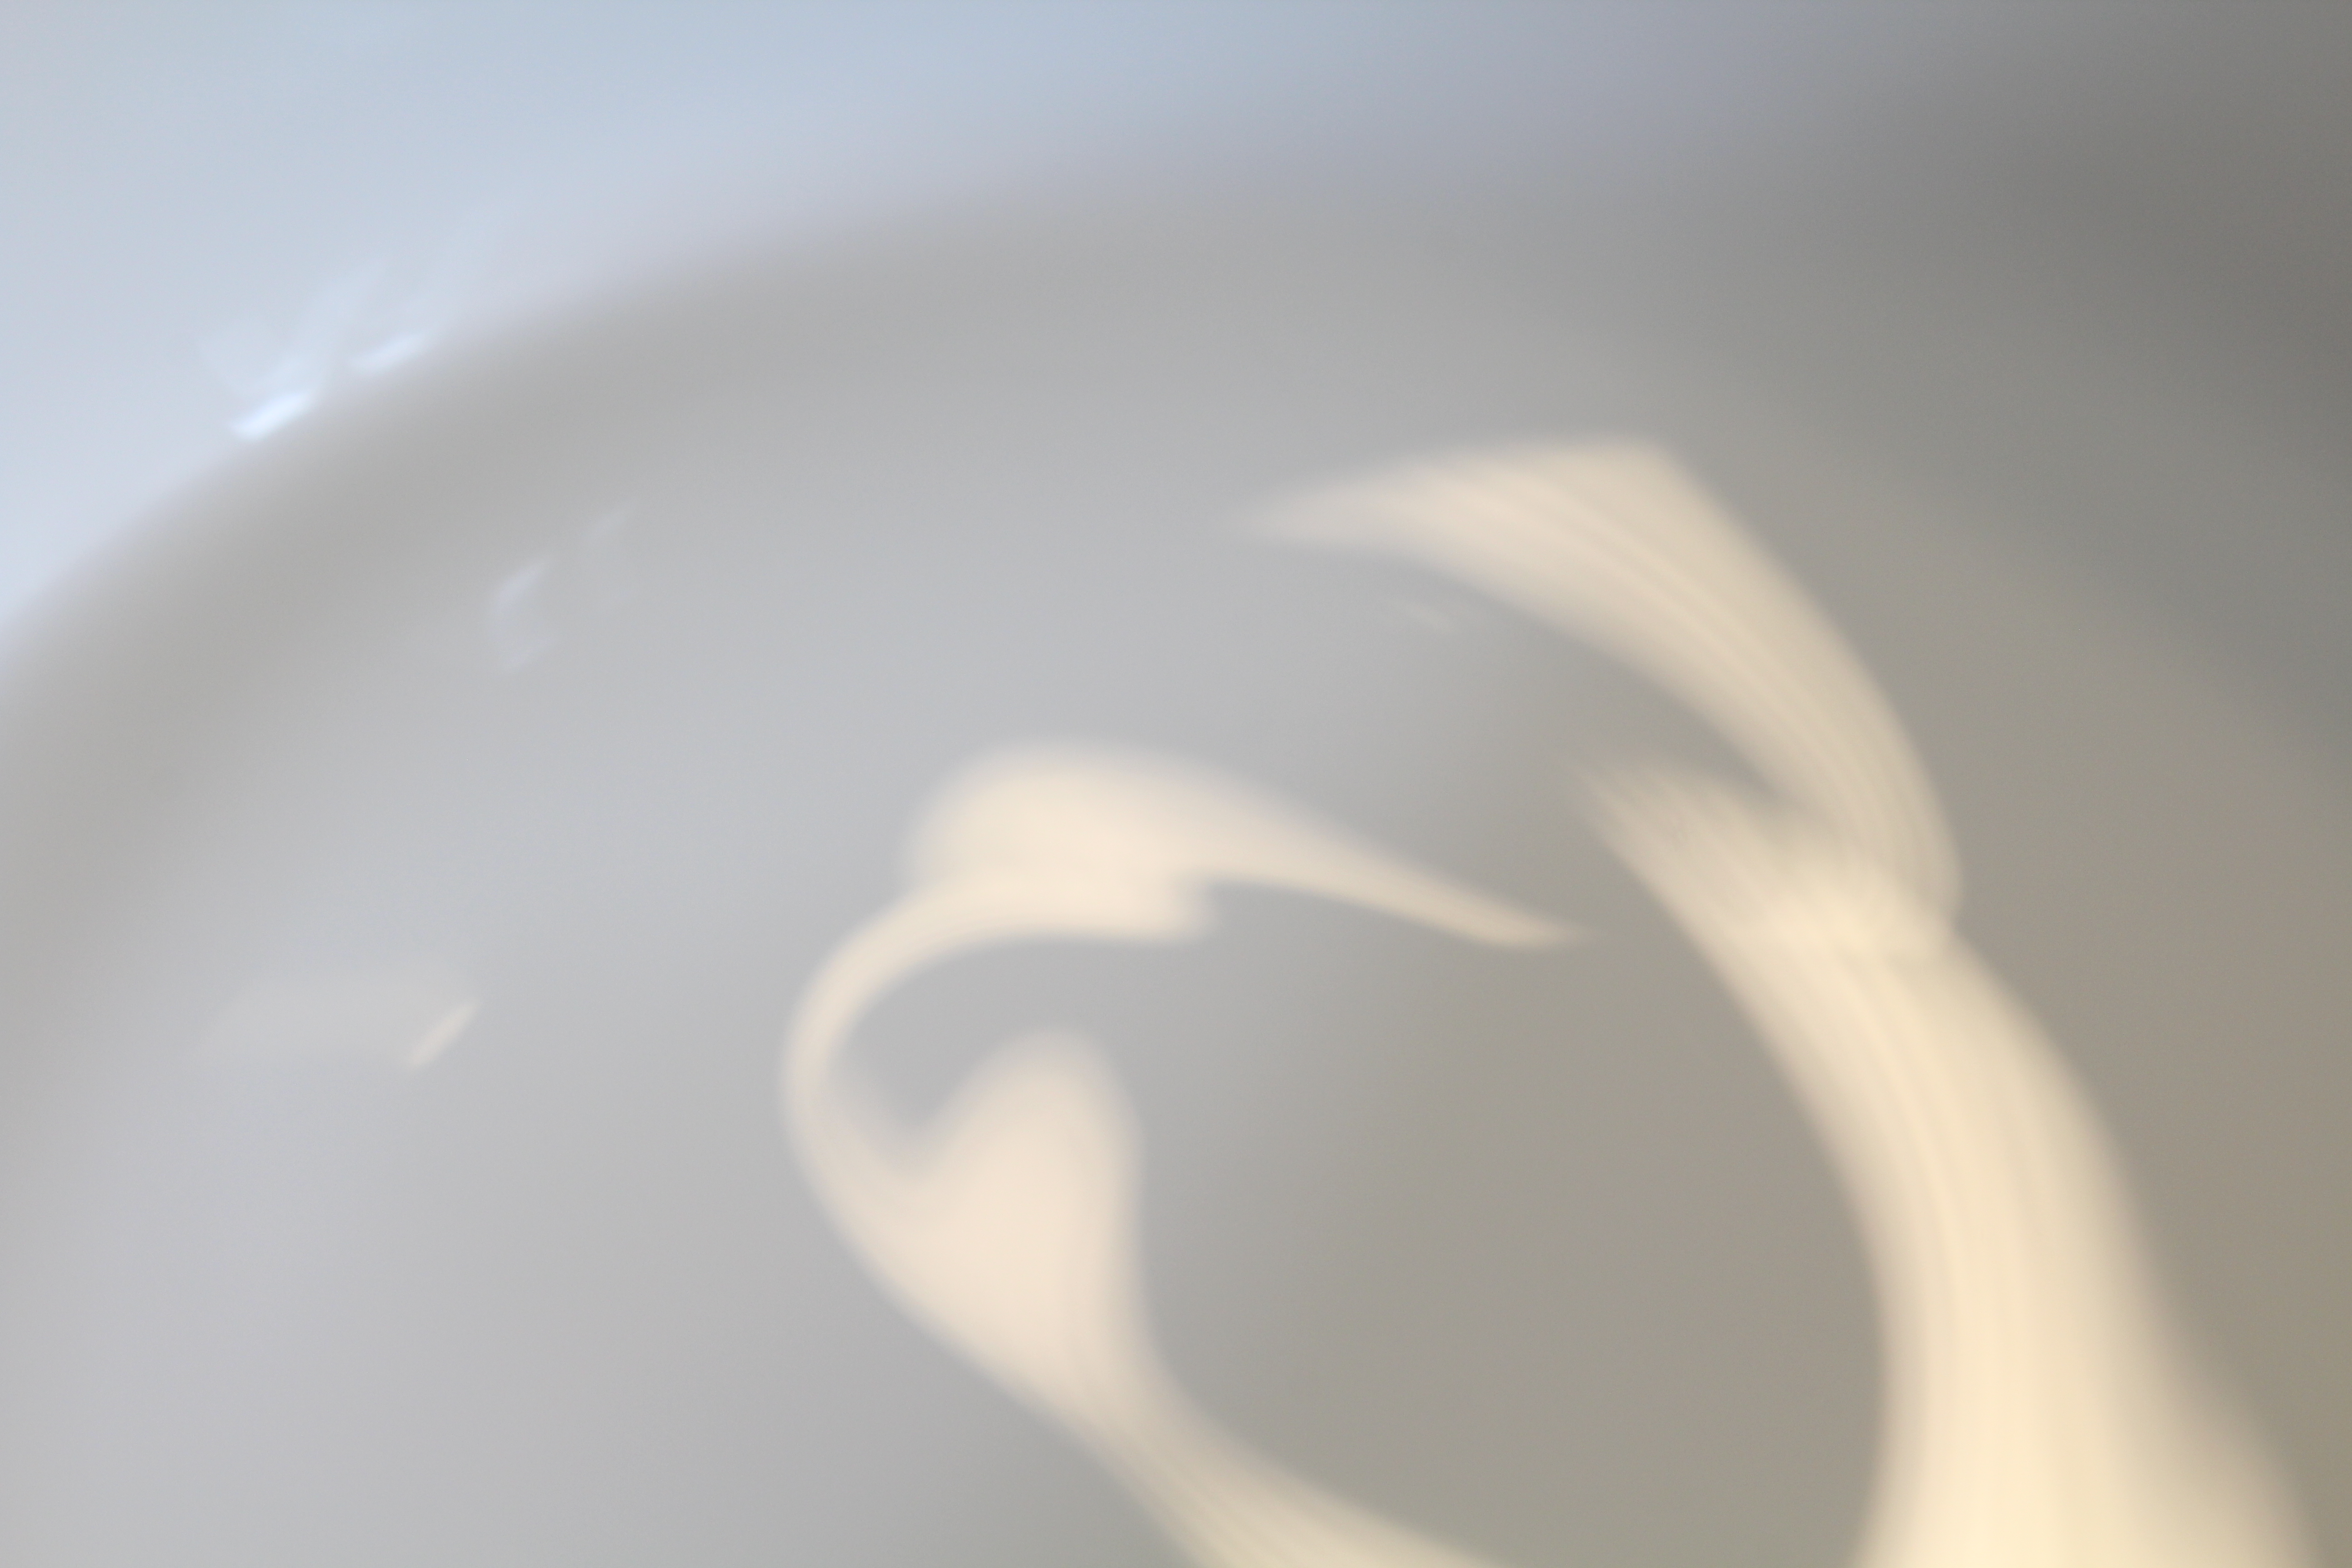
The above 2 images were taking using a slow shutter-speed, and I feel like these images focus more on showing contrasting colours. The image was taken with an ISO of 1600, and so the photograph is very bright, which I feel exaggerates the colours, and helps to show the contrast between the yellow and white portions of the image. This image is still using the subject of water, but I feel that the combination of a high ISO and slow shutter-speed has helped to distort and abstract the image, so that the main focus of the viewer becomes the colour and texture, rather than the subject itself.On top of the bright colours used, I feel that the texture also draws the attention of the viewer, as the movement of the water captured by the slow shutter-speed has caused the texture of moving water to be captures, especially towards the middle of the images. This gives the images a rippled effect, and helps to present them as more 3D, rather than a flat image, which in turn draws the attention of the viewer.

In addition to taking inspiration from Haas, I also further explored the use of, specifically, colour in photography, by taking inspiration from the photographer Franco Fontana.

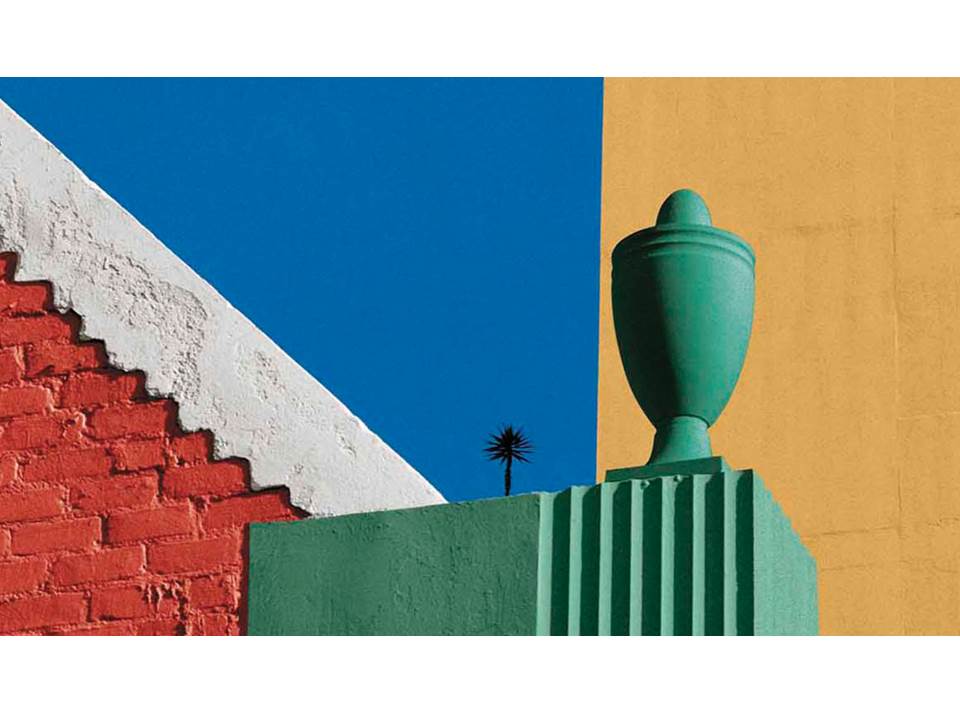
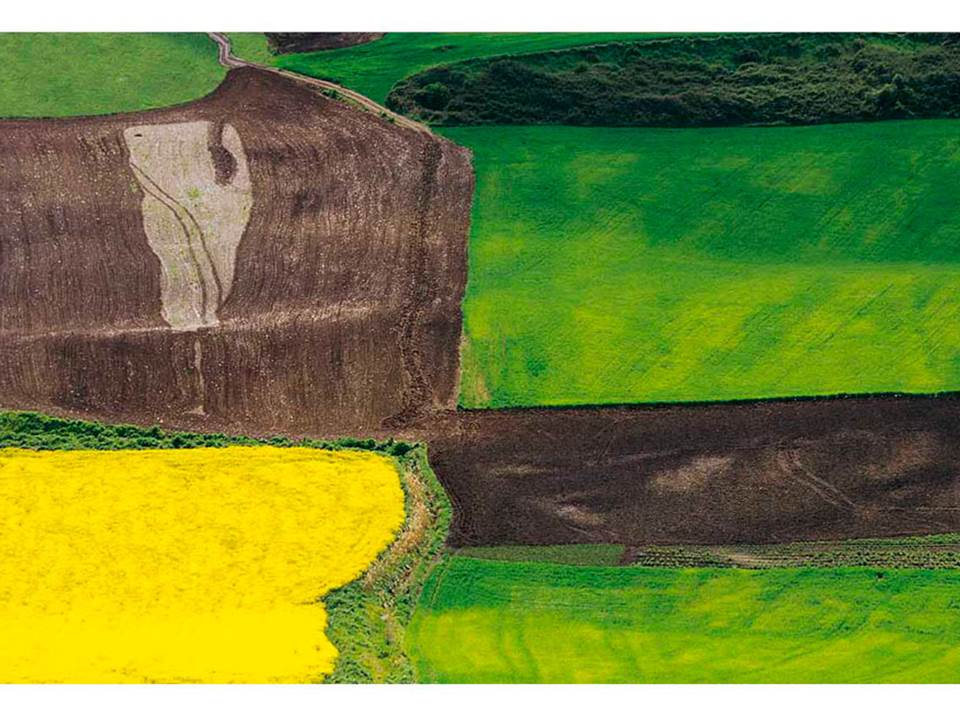
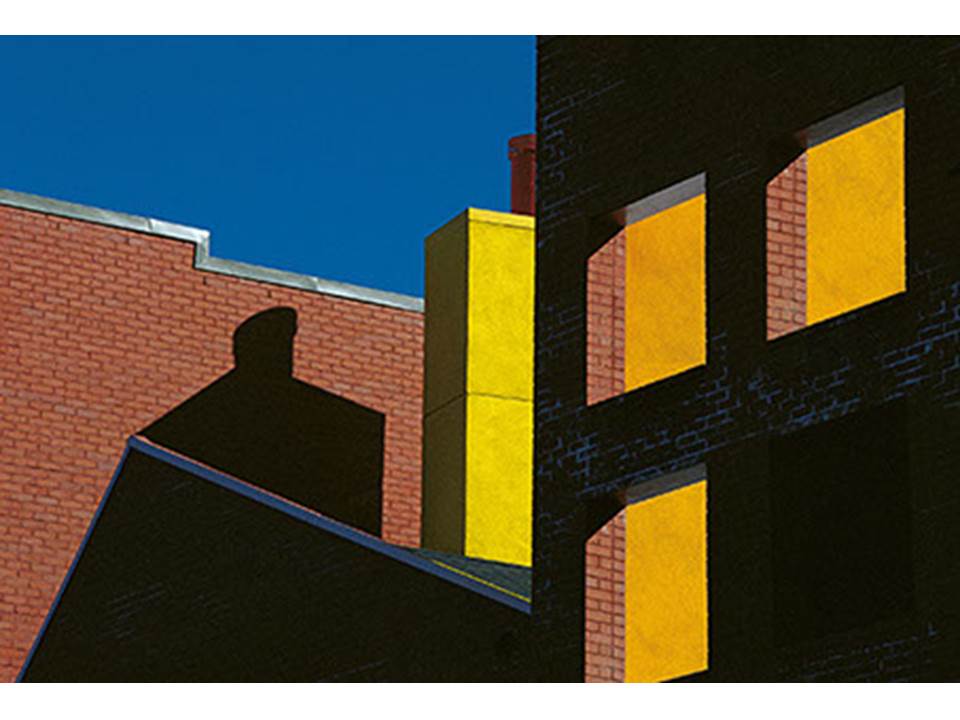
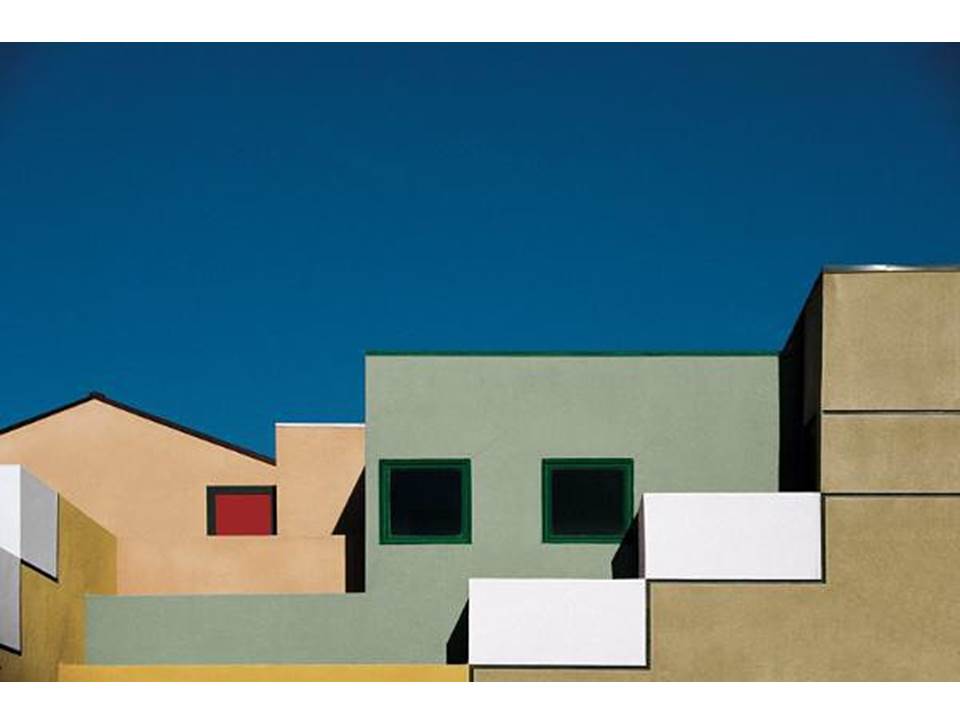
In order to explore colour using Fontana as inspiration, I first analysed his work in order to understand how he used colour to best emphasis how the different colours contrasted each other. The following image is a collection of his work that I used for inspiration:

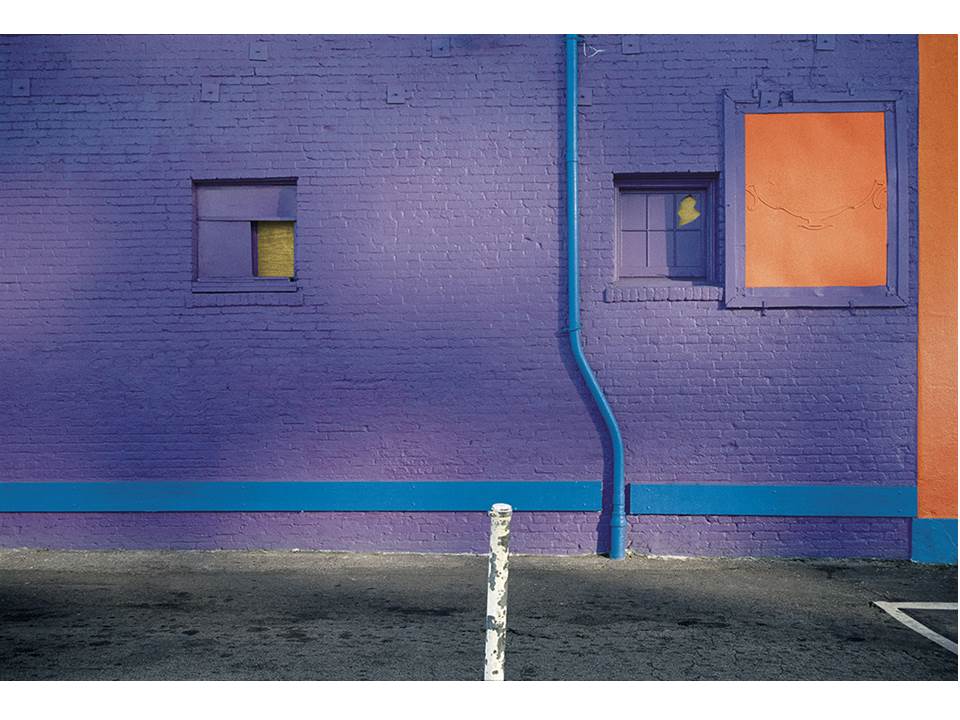
Fontana uses very vibrant and bold colours in his photography, which helps to emphasis the contrast of colour, which draws a lot of attention to his work. Fontana typically uses naturally occurring bold colours, usually focusing on buildings and field landscapes, in order to draw attention to the bold and bright colours that can be found in everyday life.

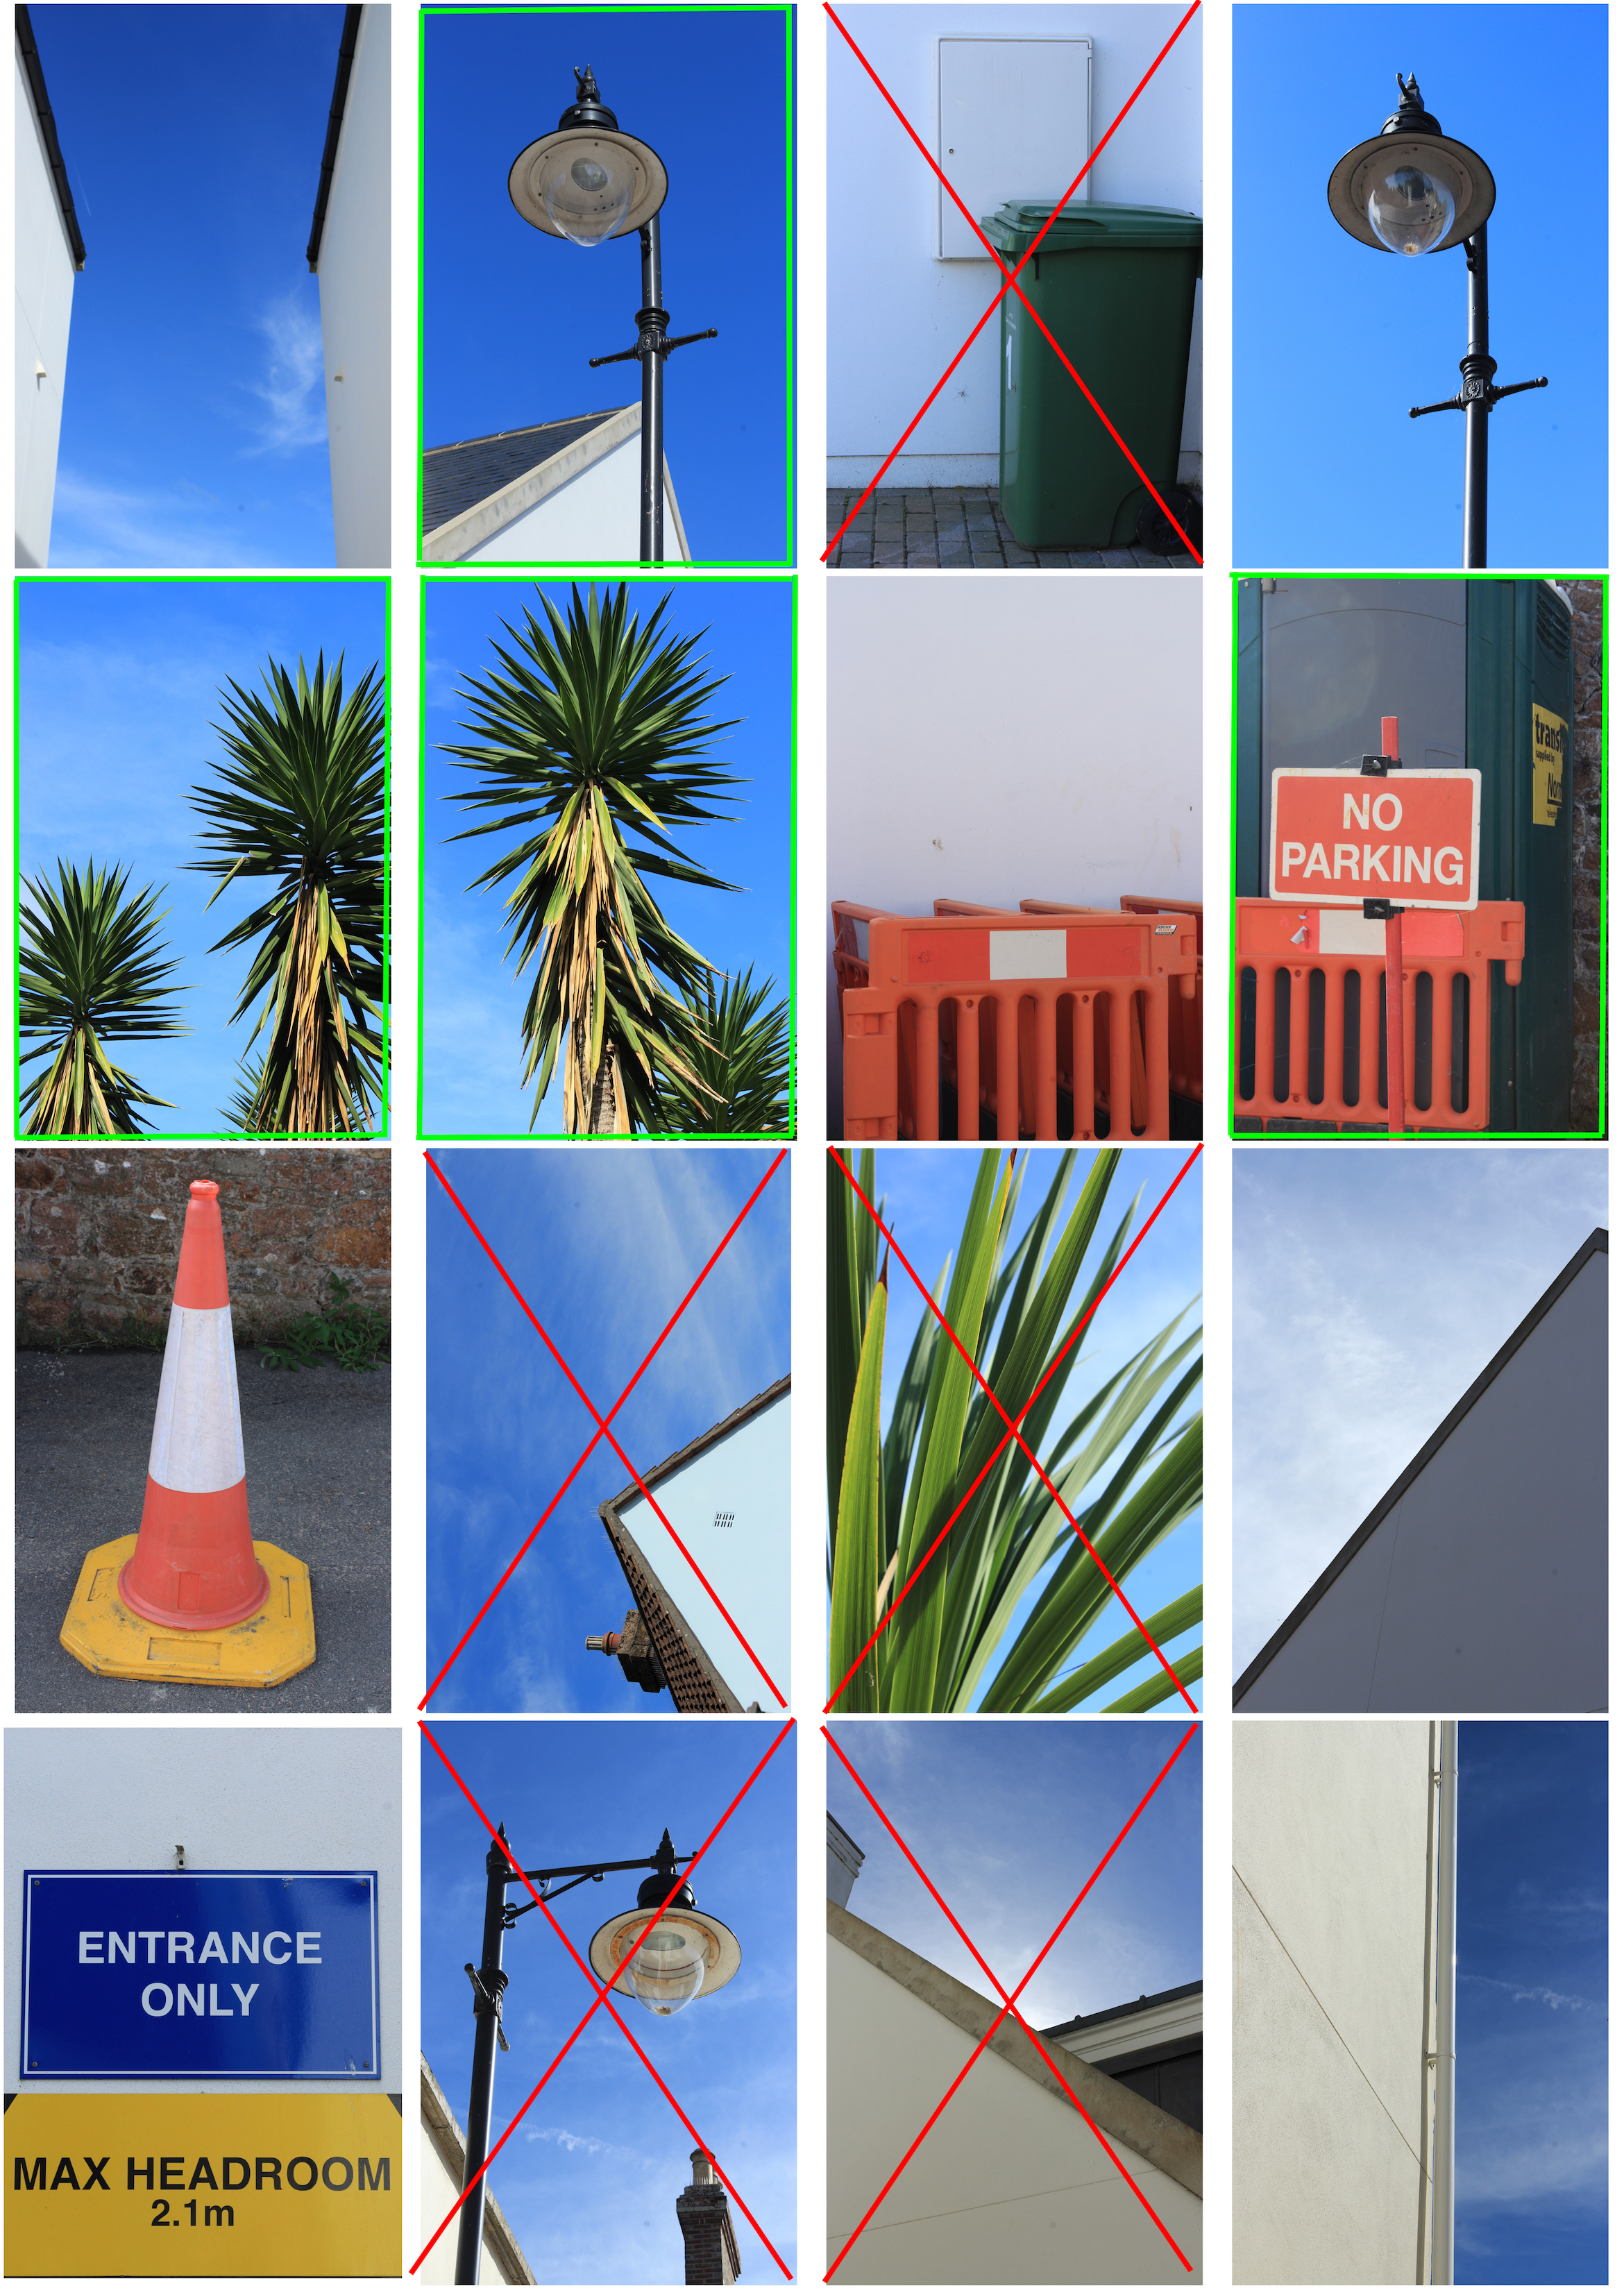
After analyzing Fontana’s work, I produced a photo-shoot of my own, using the same mindset and bold colours that occur in Fontana’s work. The below image is the result of my colour-focused photo-shoot:

This colour focused photo-shoot


Minimalism – Jon Setter

Jon Setter is a photographer who was born in Detroit, Michigan and is currently living in Sydney, Australia. He received a Bachelor of Arts from the College for creative studies in Media Arts and is currently pursuing a master of fine arts from the national art school. His photography mostly focuses on urban space and architecture. He walks around the city and photographs a different perspective. Jon makes use of repeated formal patterns such as colour, materials and textures and organizes them to create an abstract expression of space. He finds inspiration from all over, such as fashion campaigns or other artists he follows on Instagram. His main influences have been other architectural photographers like Stephen Shore, Thomas Struth and Michael Wolf.
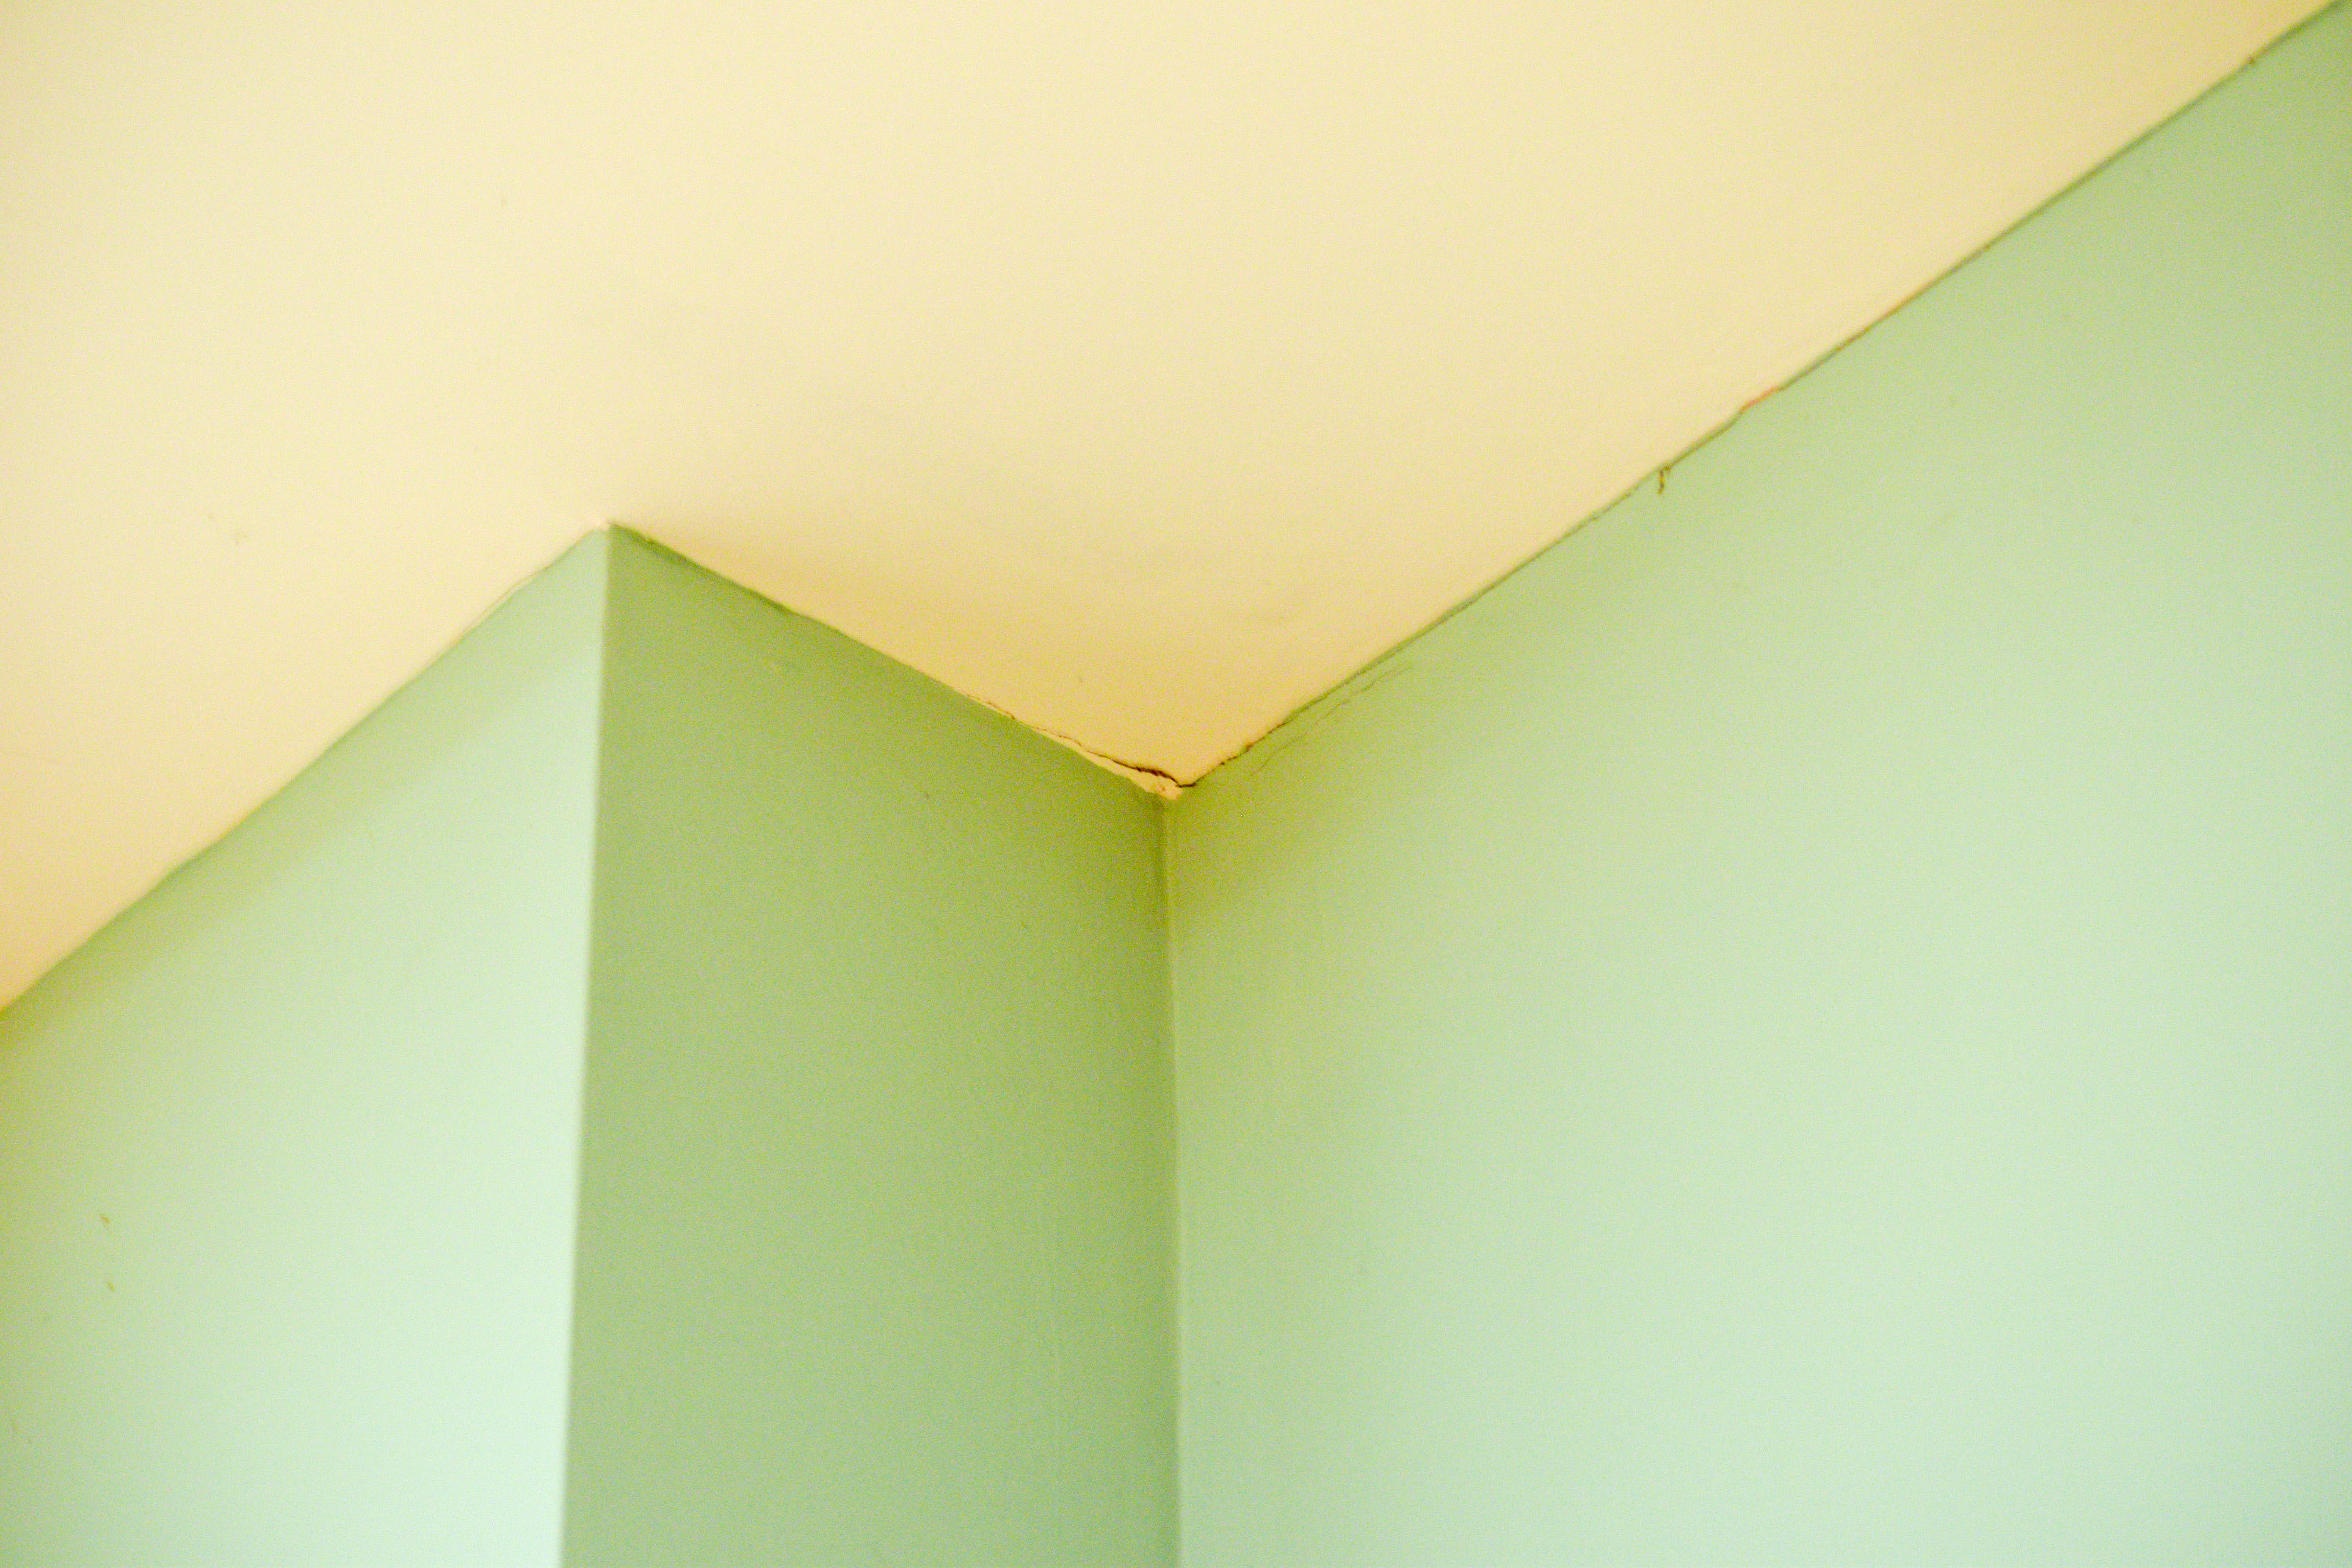
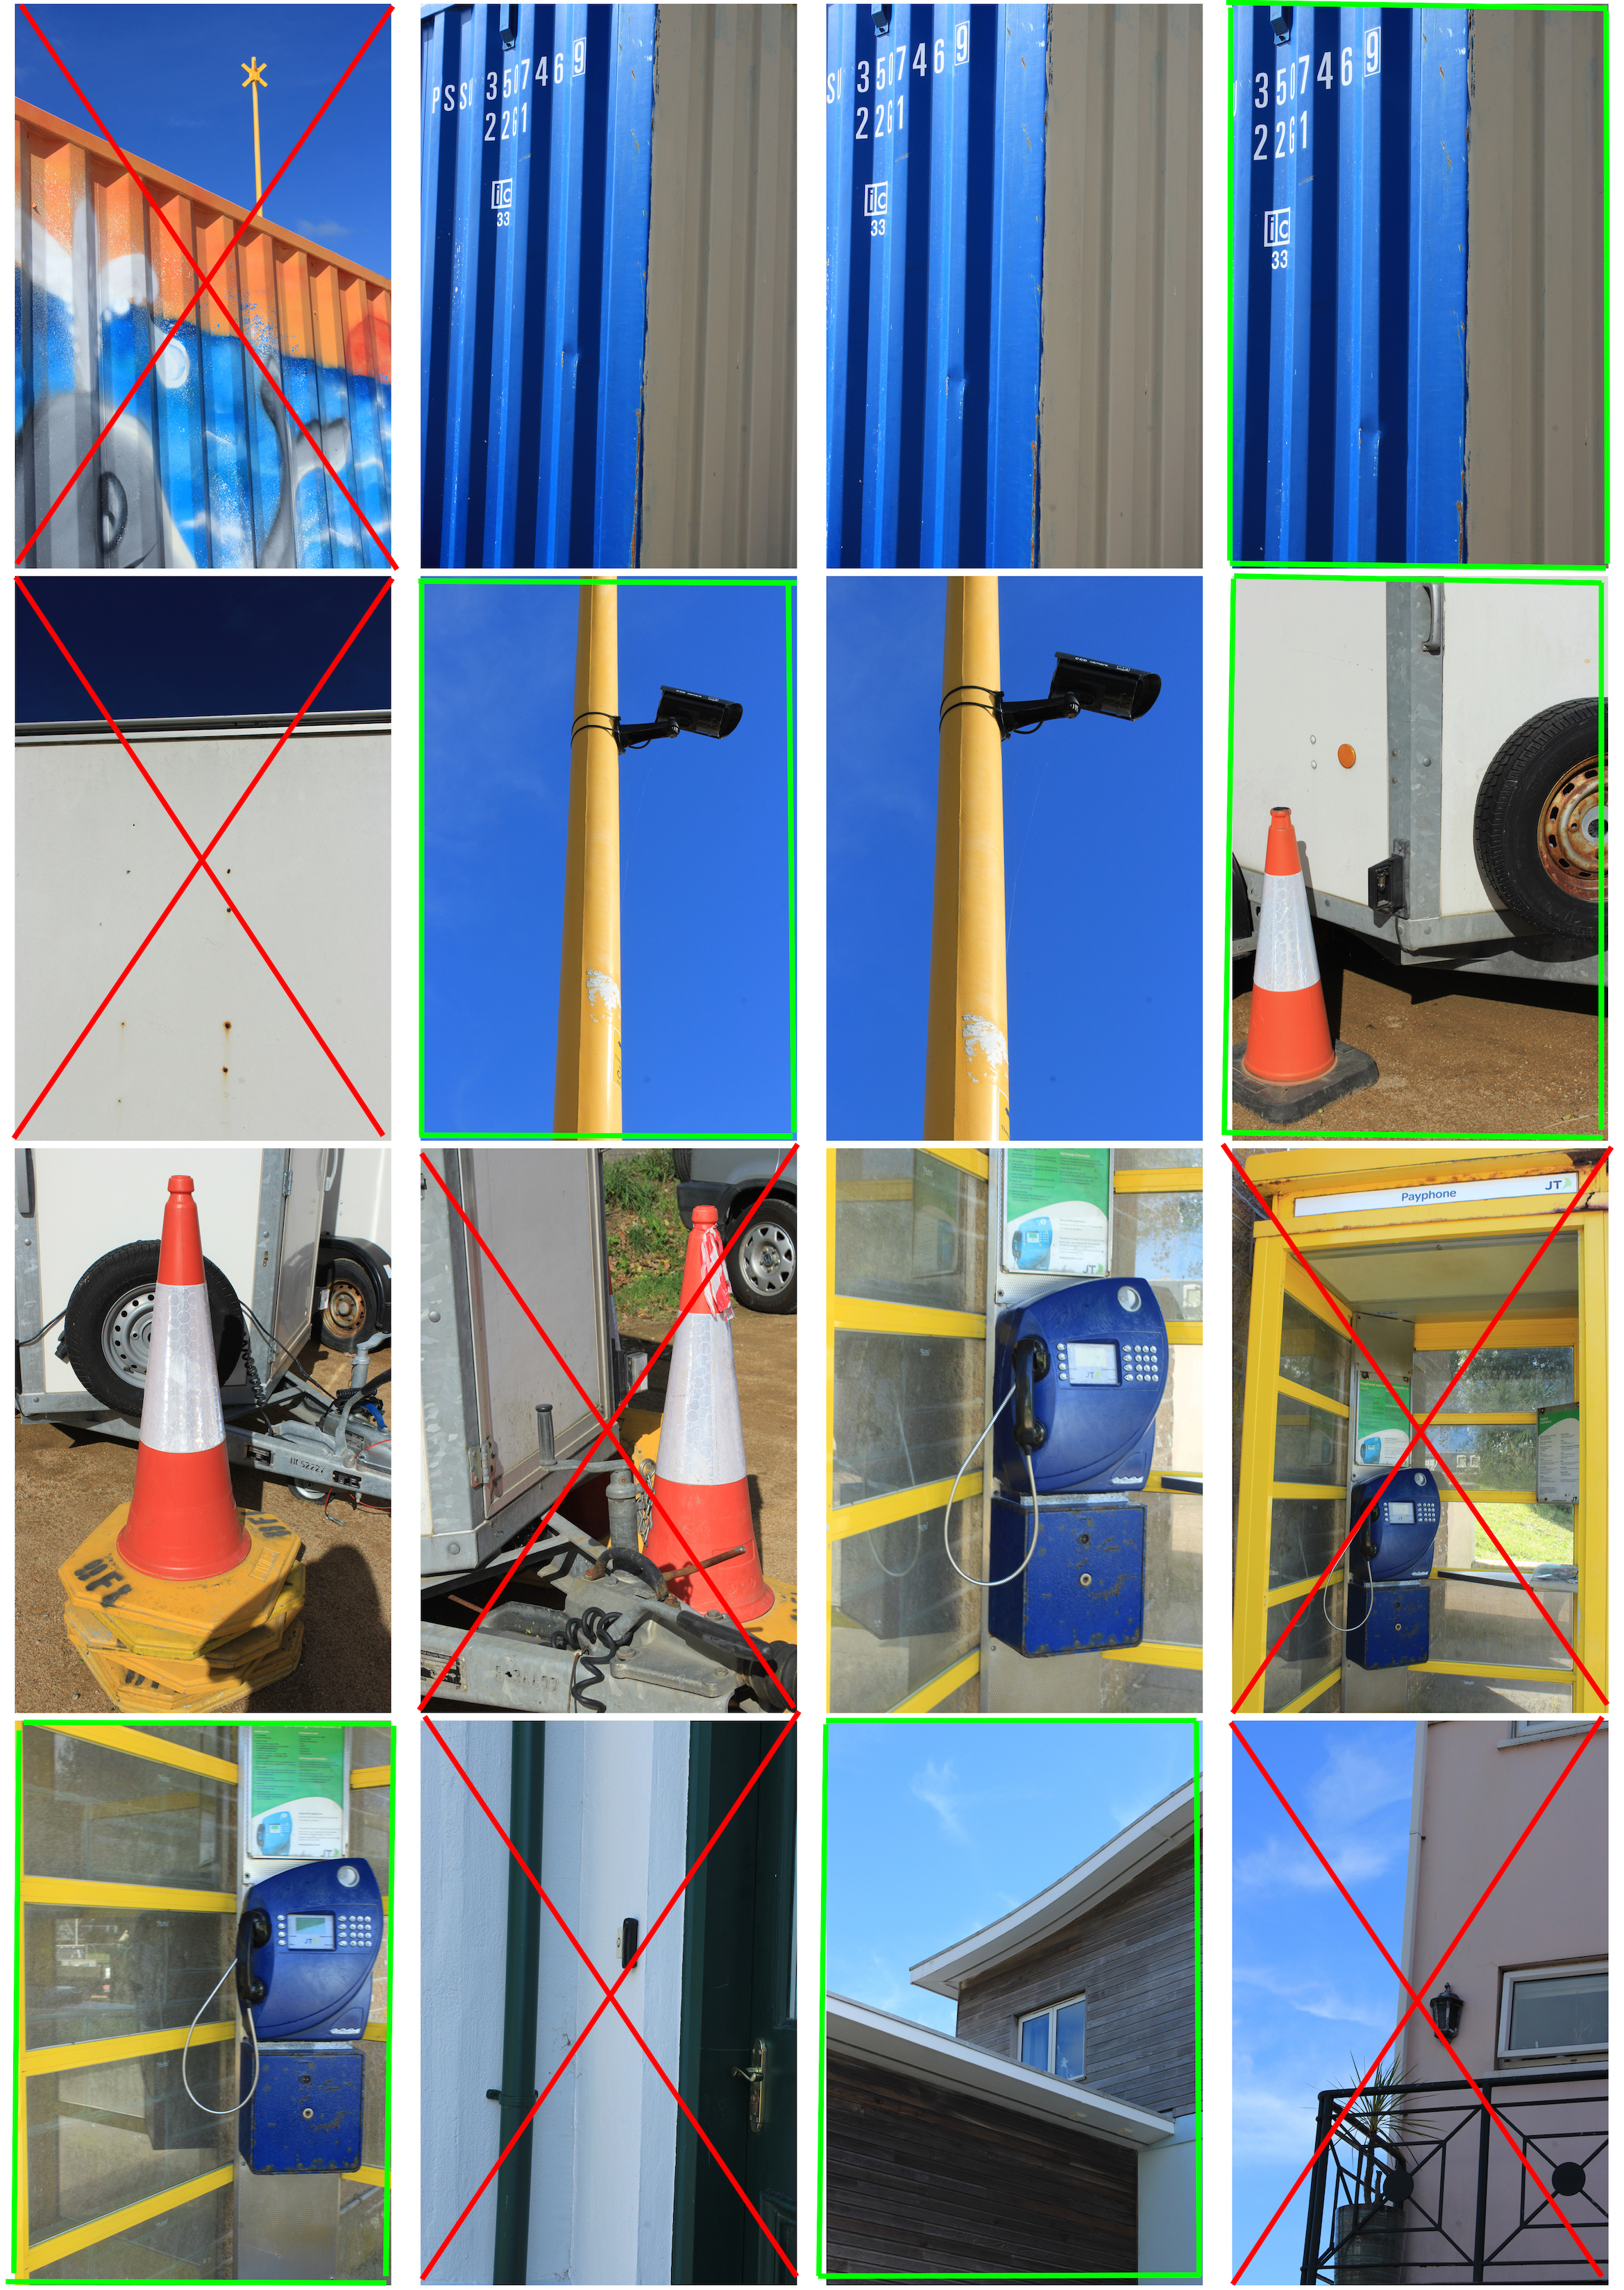
Jon setter’s minimal urban photography will inspire me when capturing my own minimalistic photos. Like Setter, I will pay attention to colour and texture to create man made spaces into geometrically satisfying compositions. Photographing a different perspective will help me get the results I want to create abstract images. I will take around 100 images, select 5-9 from the contact sheet and edit them to correspond to his vibrant style.
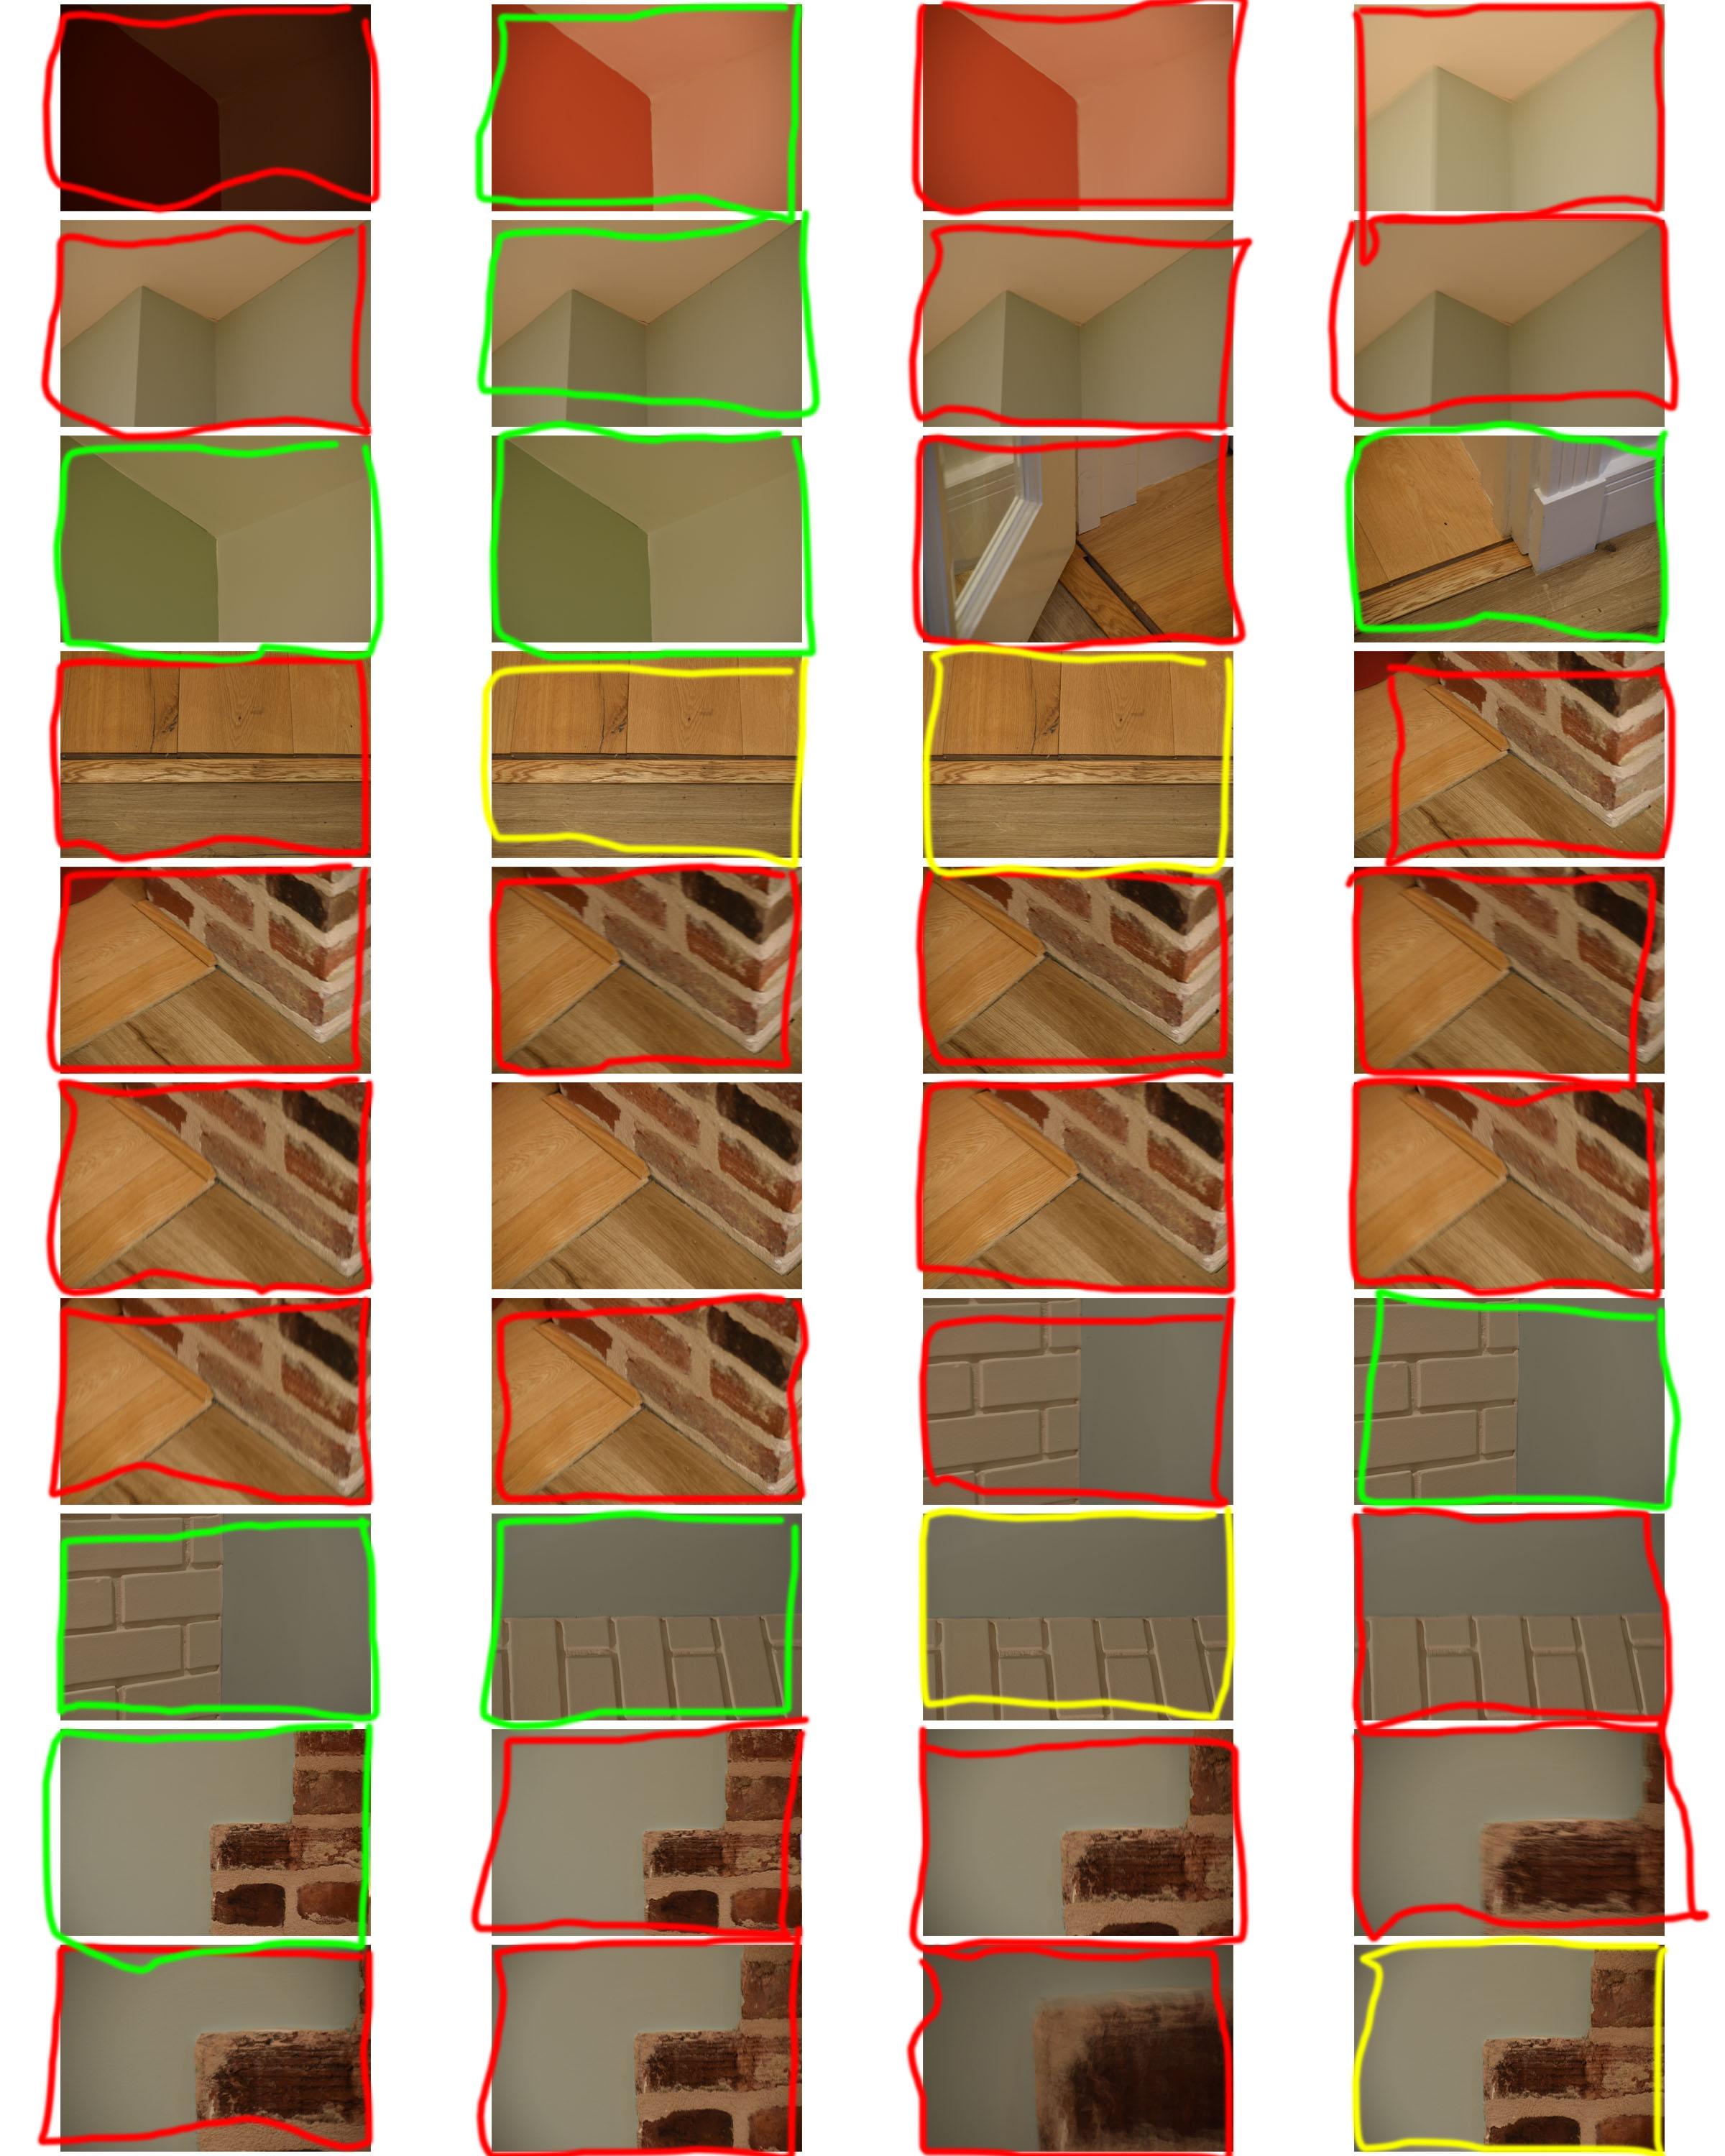
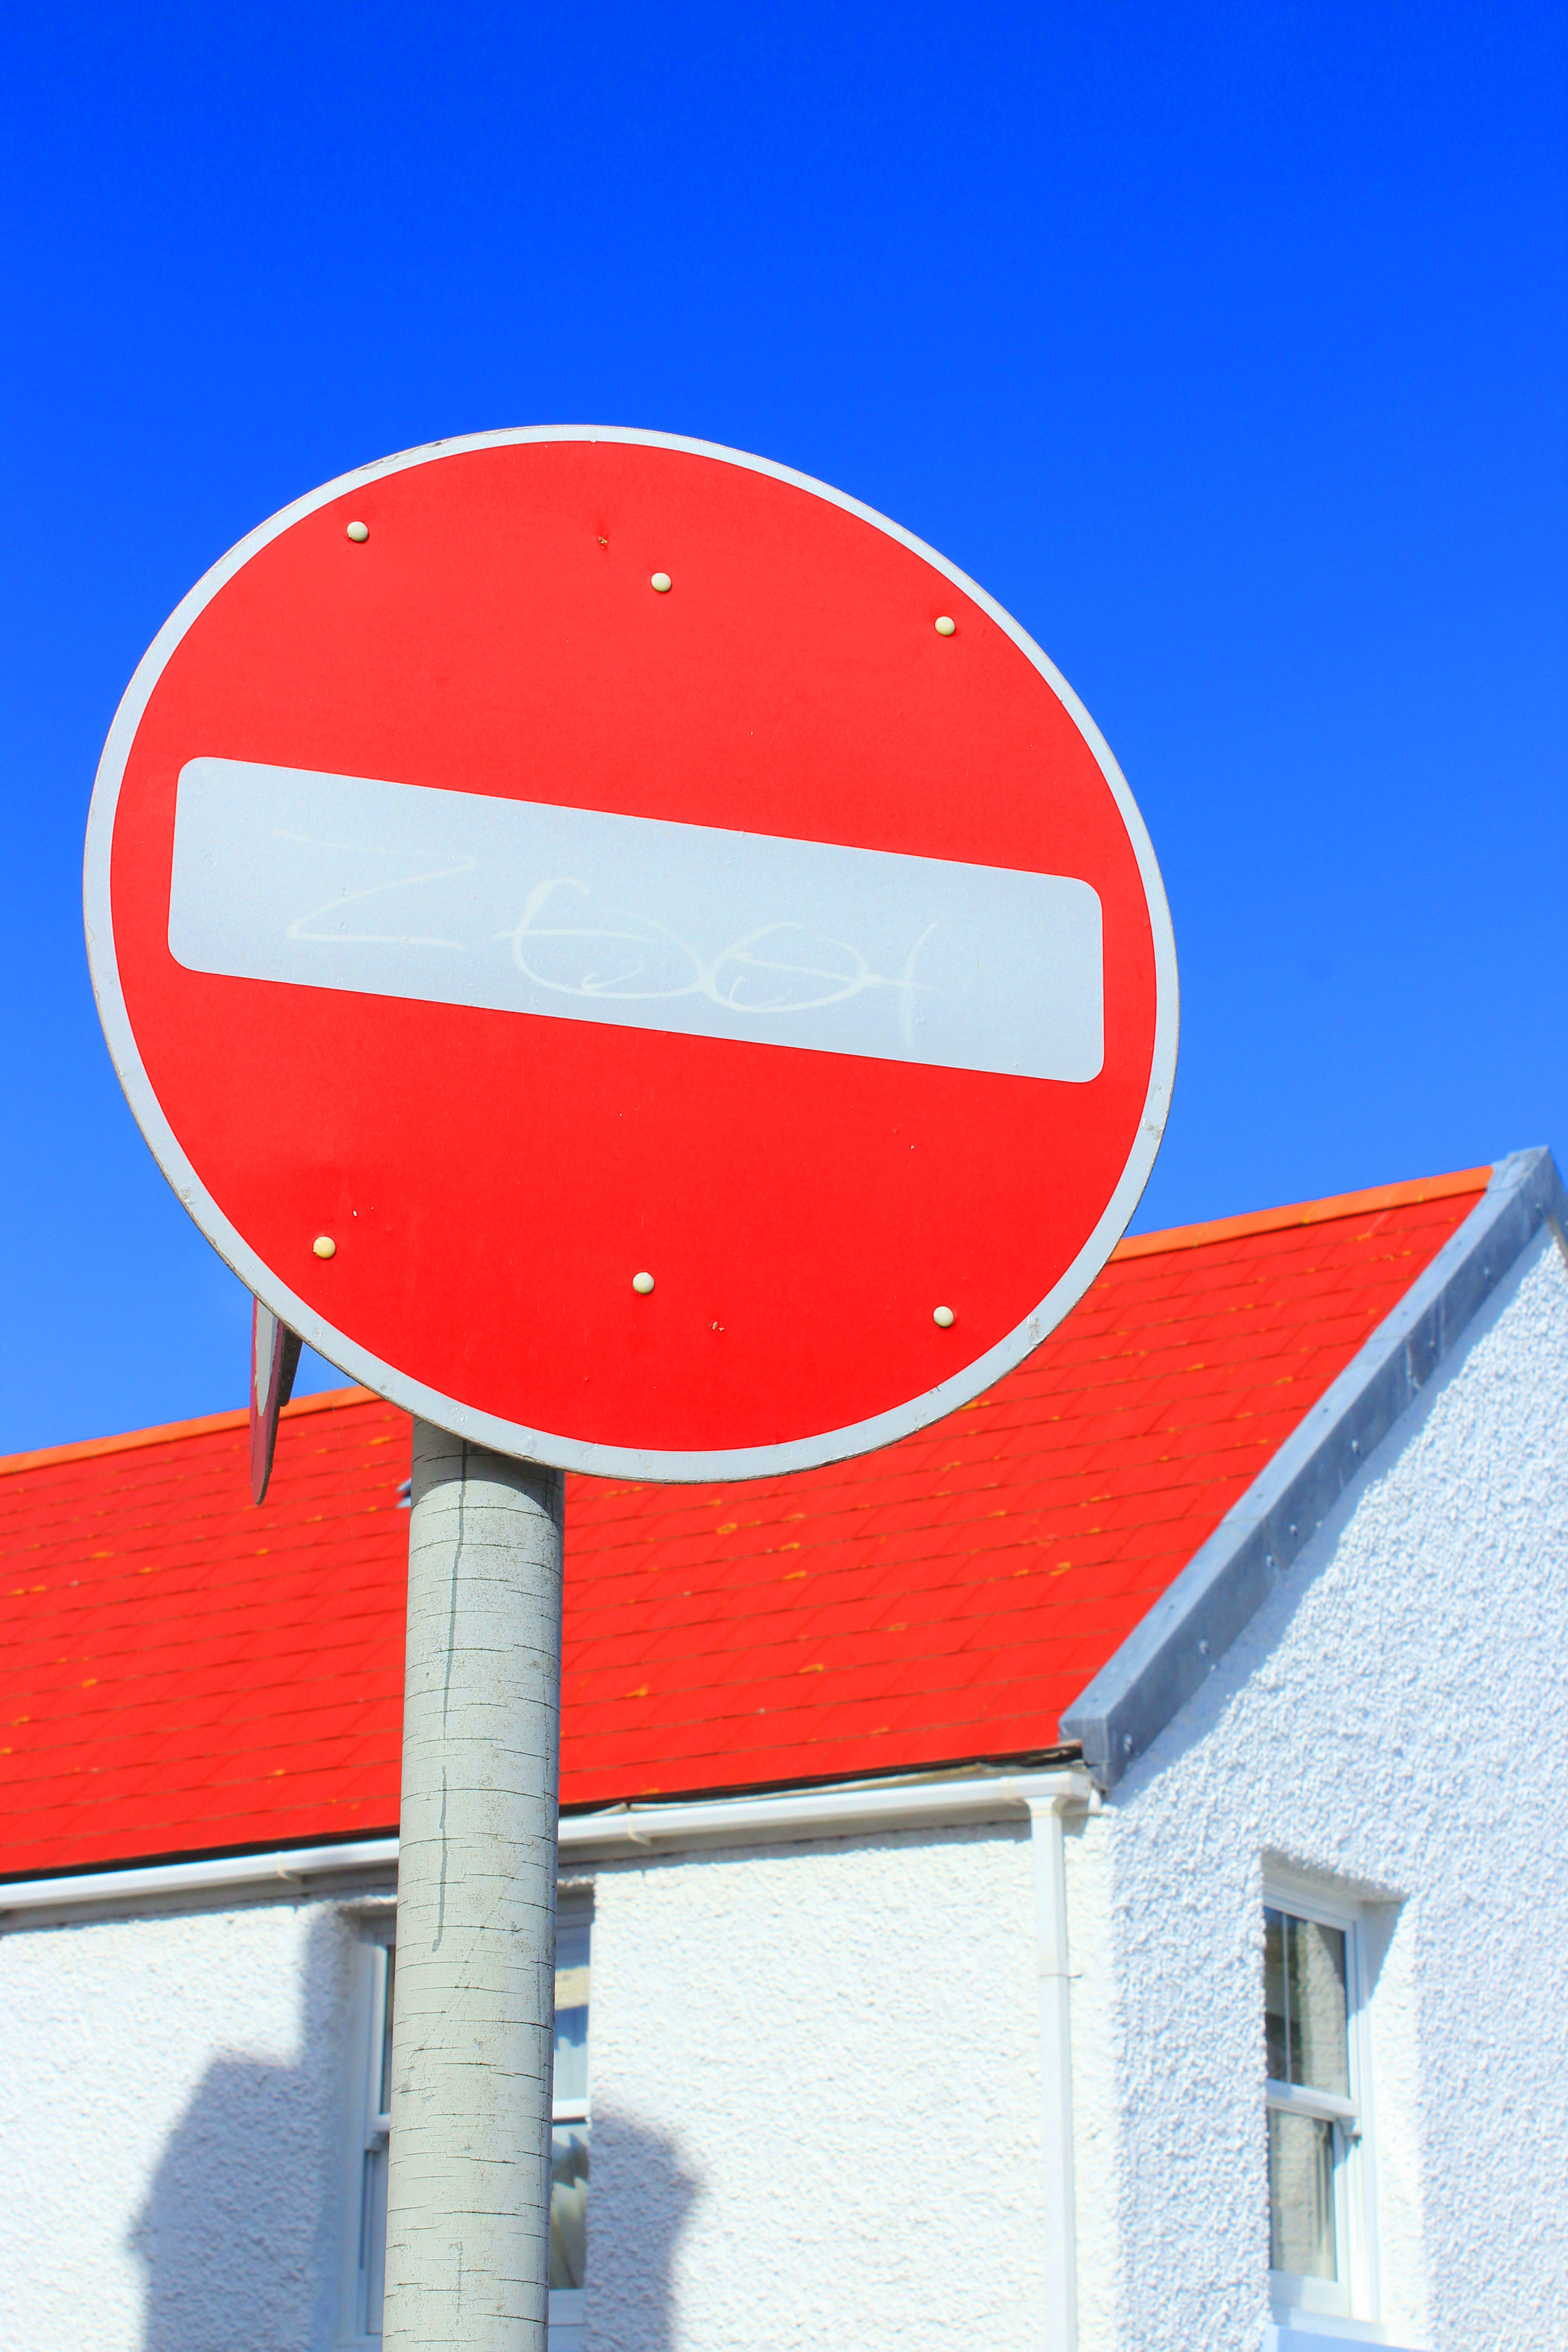
After selecting eight images from the contact sheet, I opened up photoshop and edited them to reflect Jon Setter’s photographic style. I increased the saturation and contrast on each photo to created vibrant, bold and sharp images to emphasise the formal elements such as  colour, shape, line etc. When capturing images on my camera I made sure to increase the aperture so my depth of field would be greater and my images would have  a sharper background. Overall, I think that I replicated Jon Setter’s abstract images as my photos are simplistic yet visually interesting because of the dominant formal elements that capture the viewers attention.