Category Archives: Component 1 Personal Investigation

Filters

Author:
Category:

Week 5 Photoshoot Colour/Texture

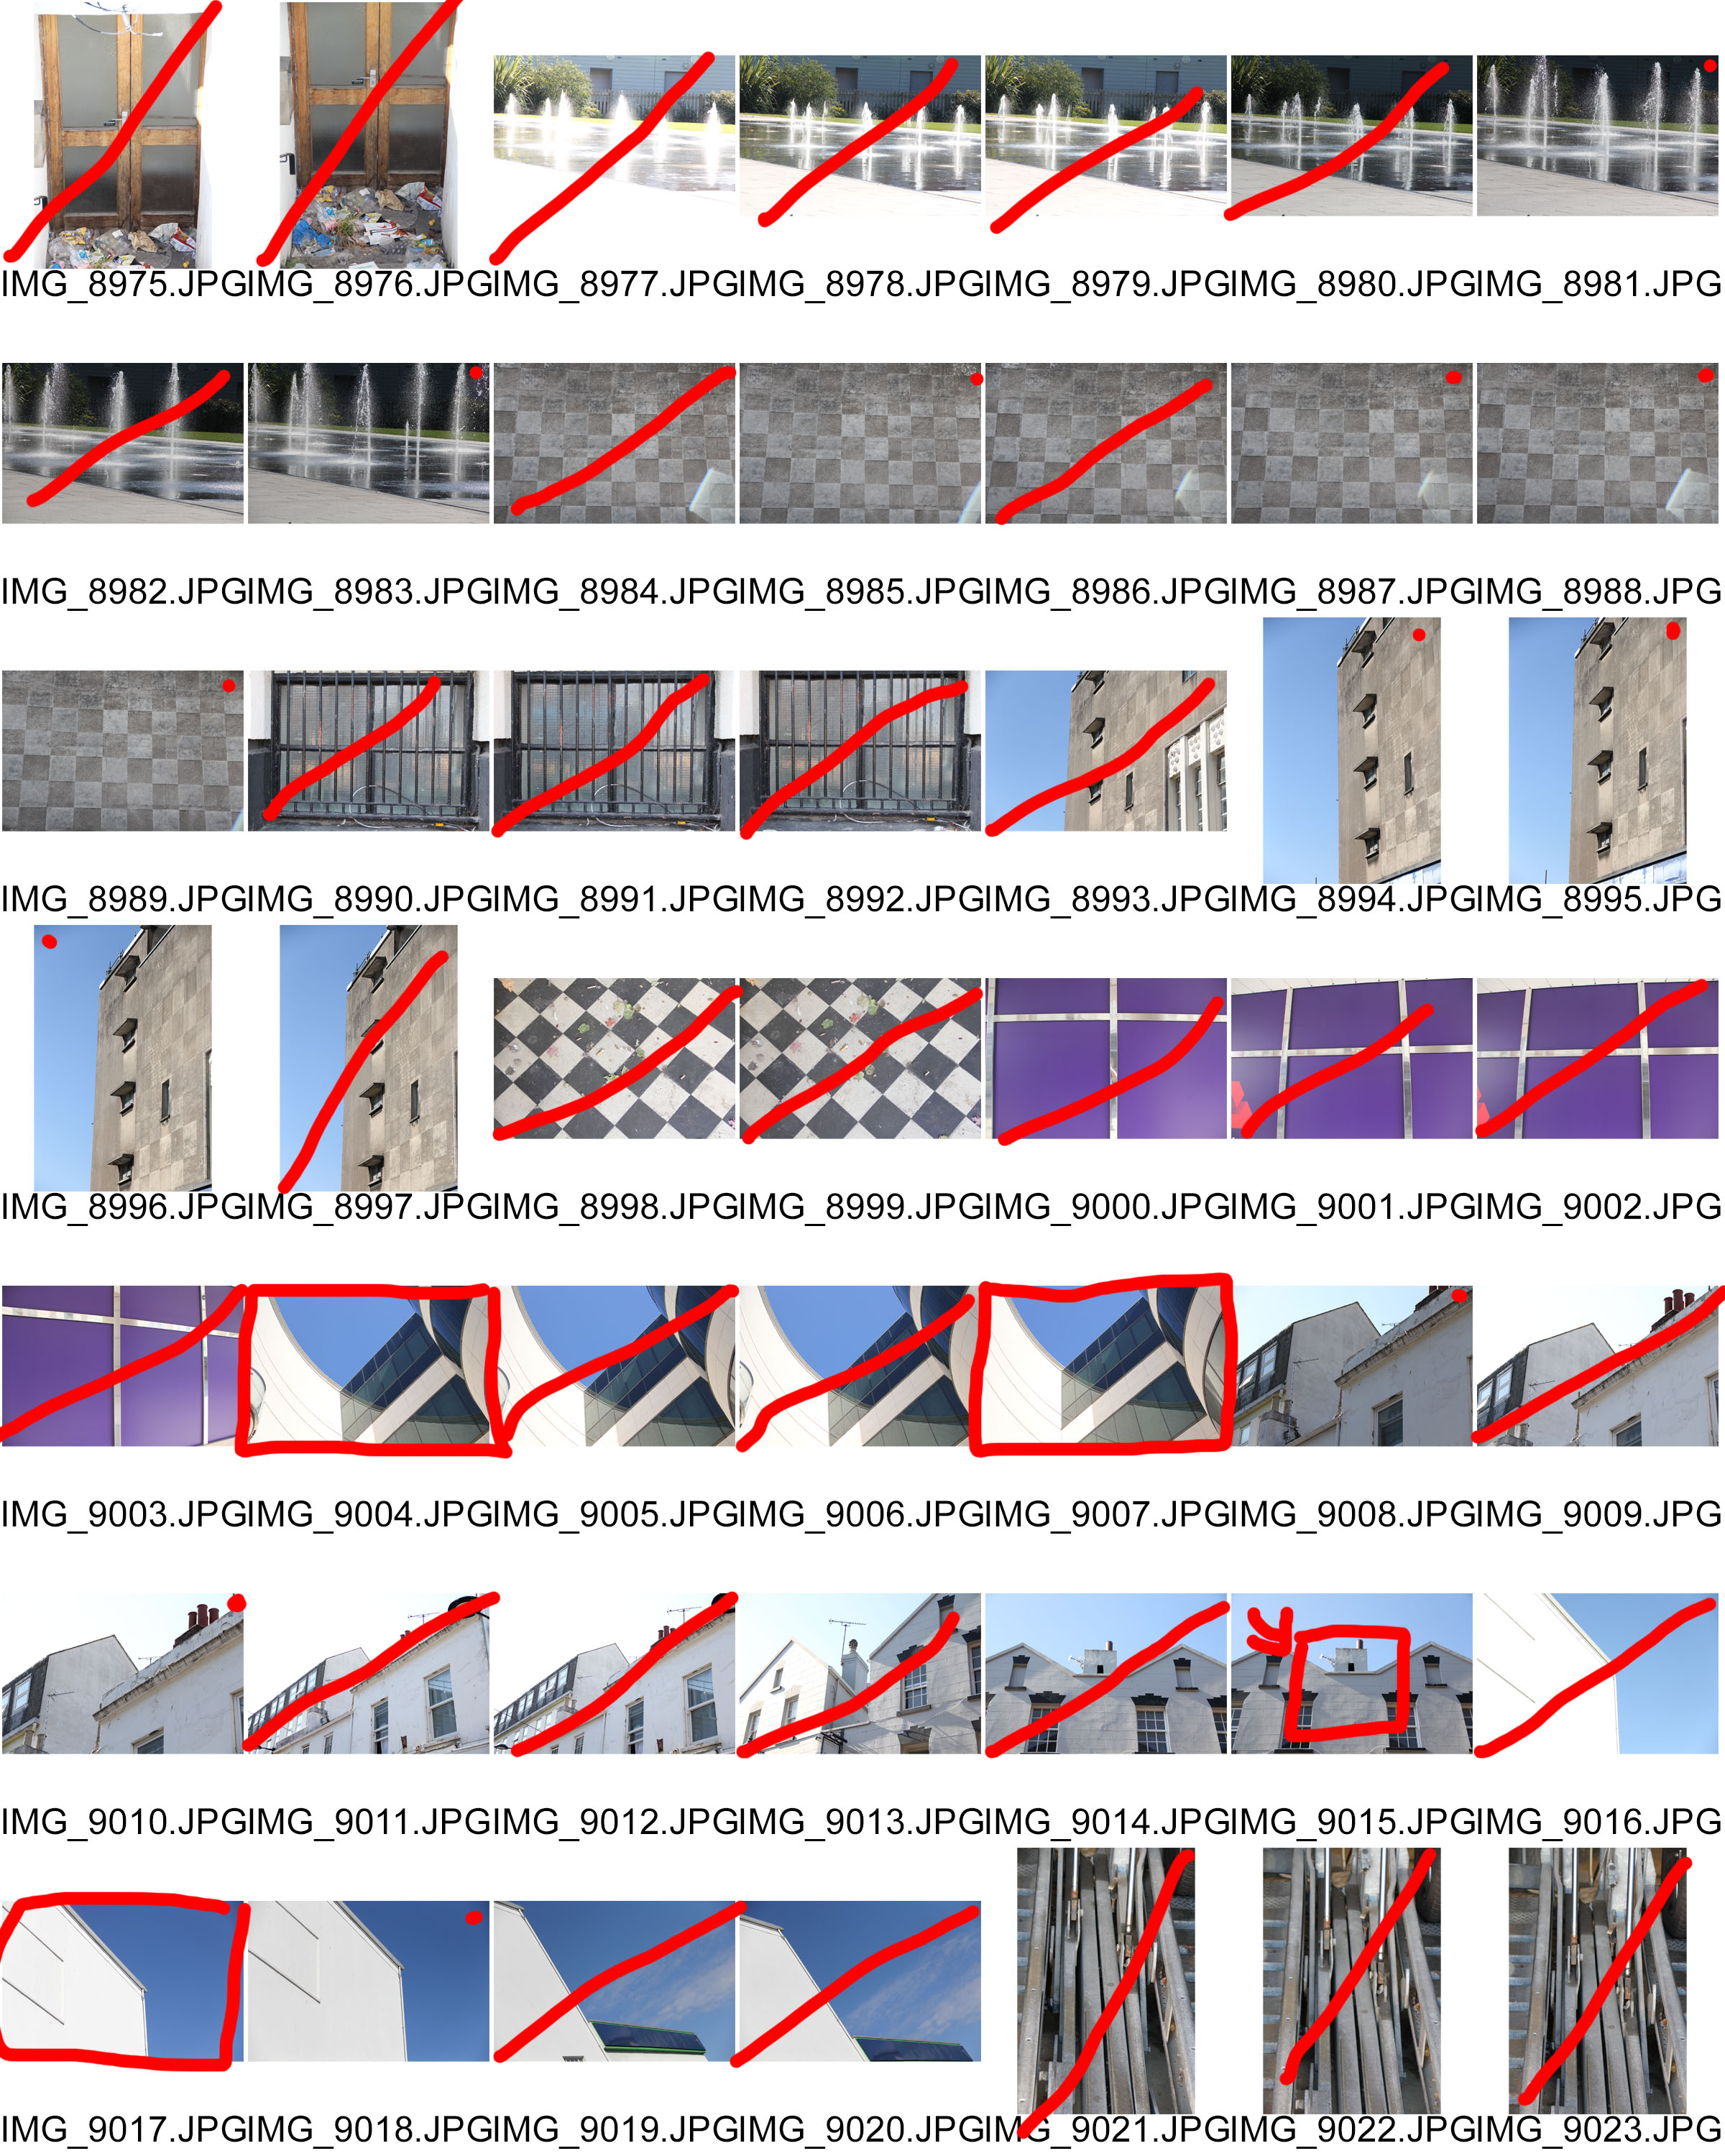
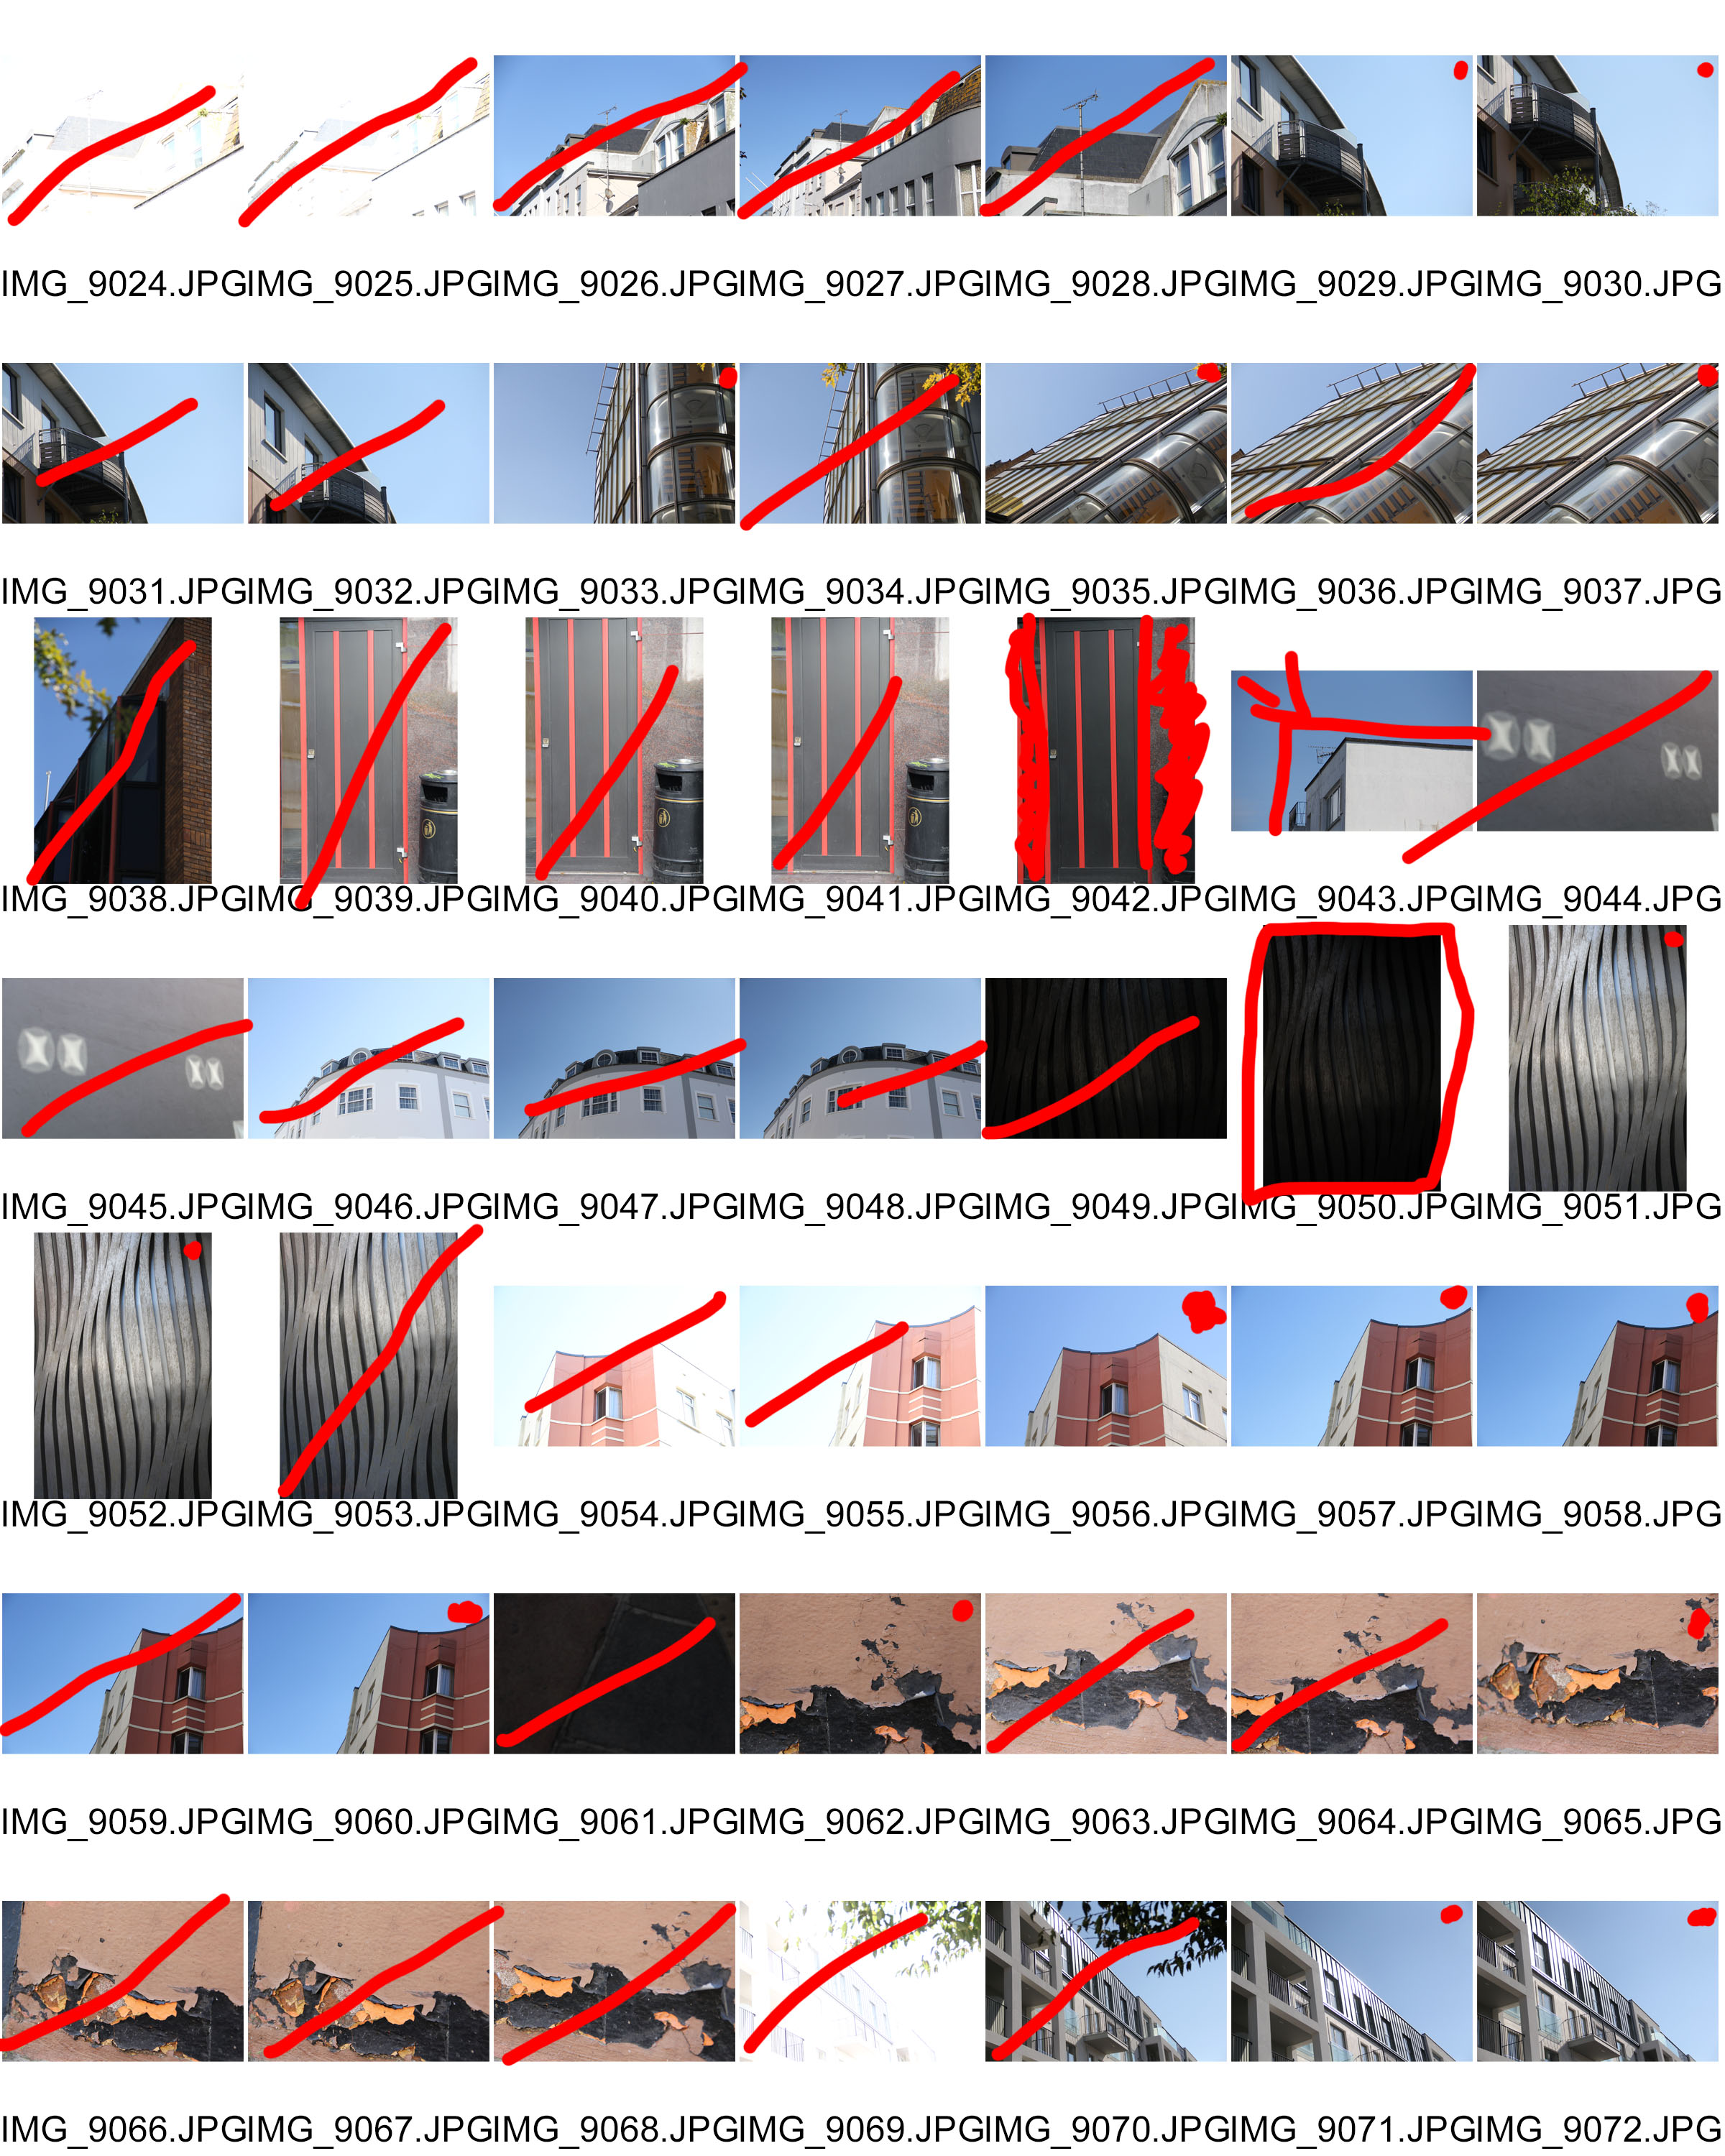
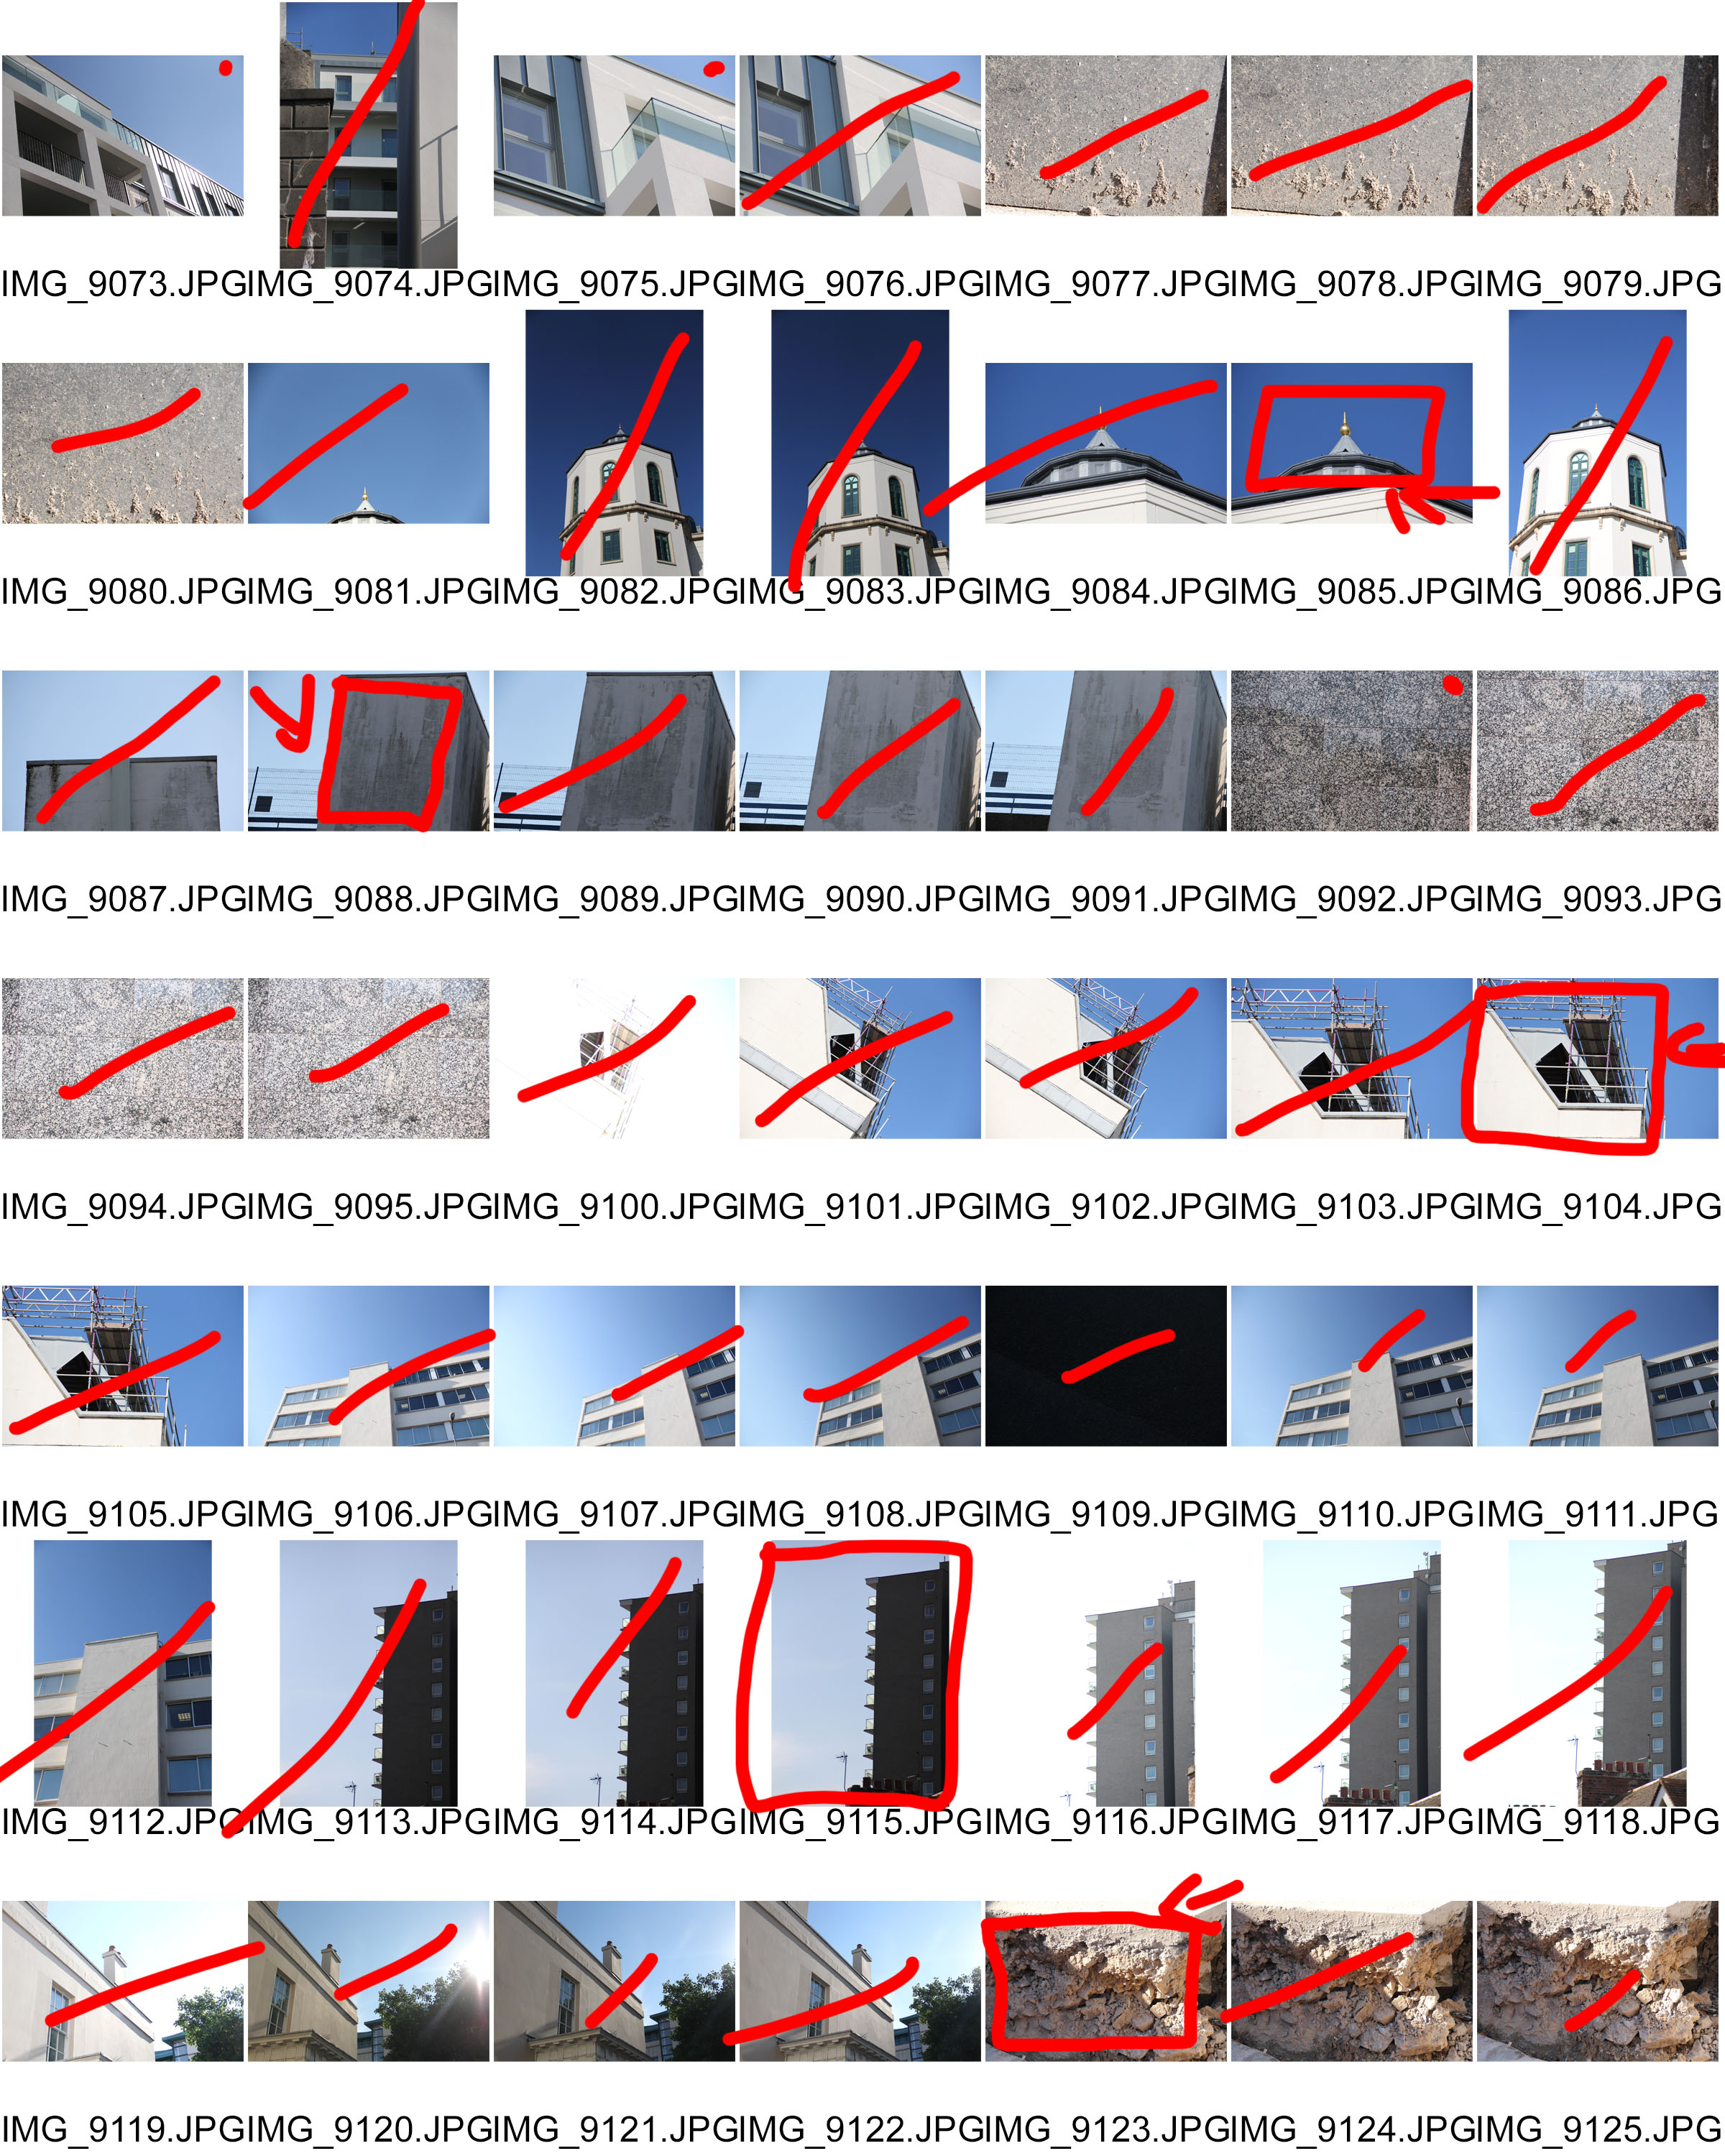
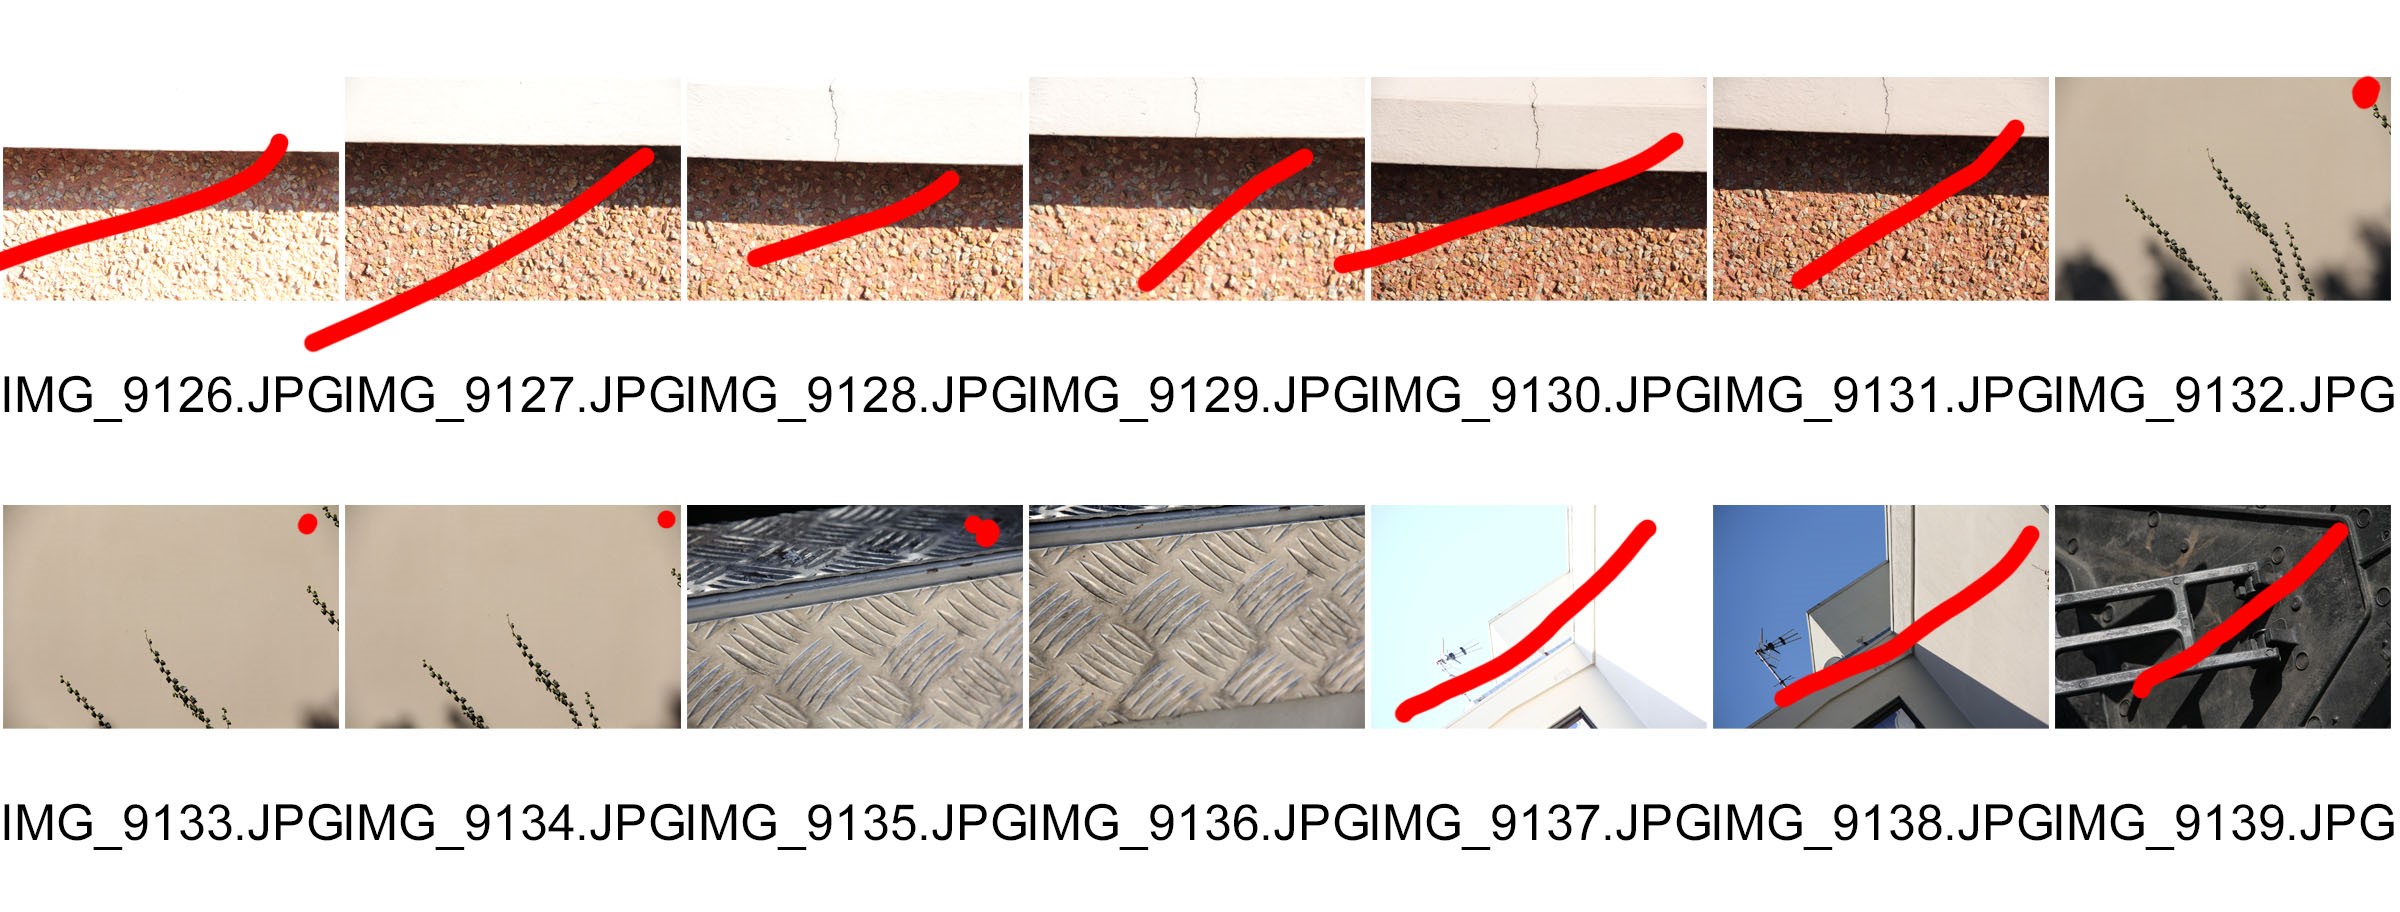
For this shoot, I took a lot of inspiration from minimalist photographers such as Jon Setter, Kyle Jeffers and Julian Schulze, but also tried to take into account the style of Photographers like The Boyle Family and Aaron Siskind, and tried to get at least on subject photographed in the style of these photographers. i found it very interesting focusing of colour and shape, as well as texture and different techniques. I wanted this Photoshoot to show a verity of these skills and I feel as though i have achieved this.

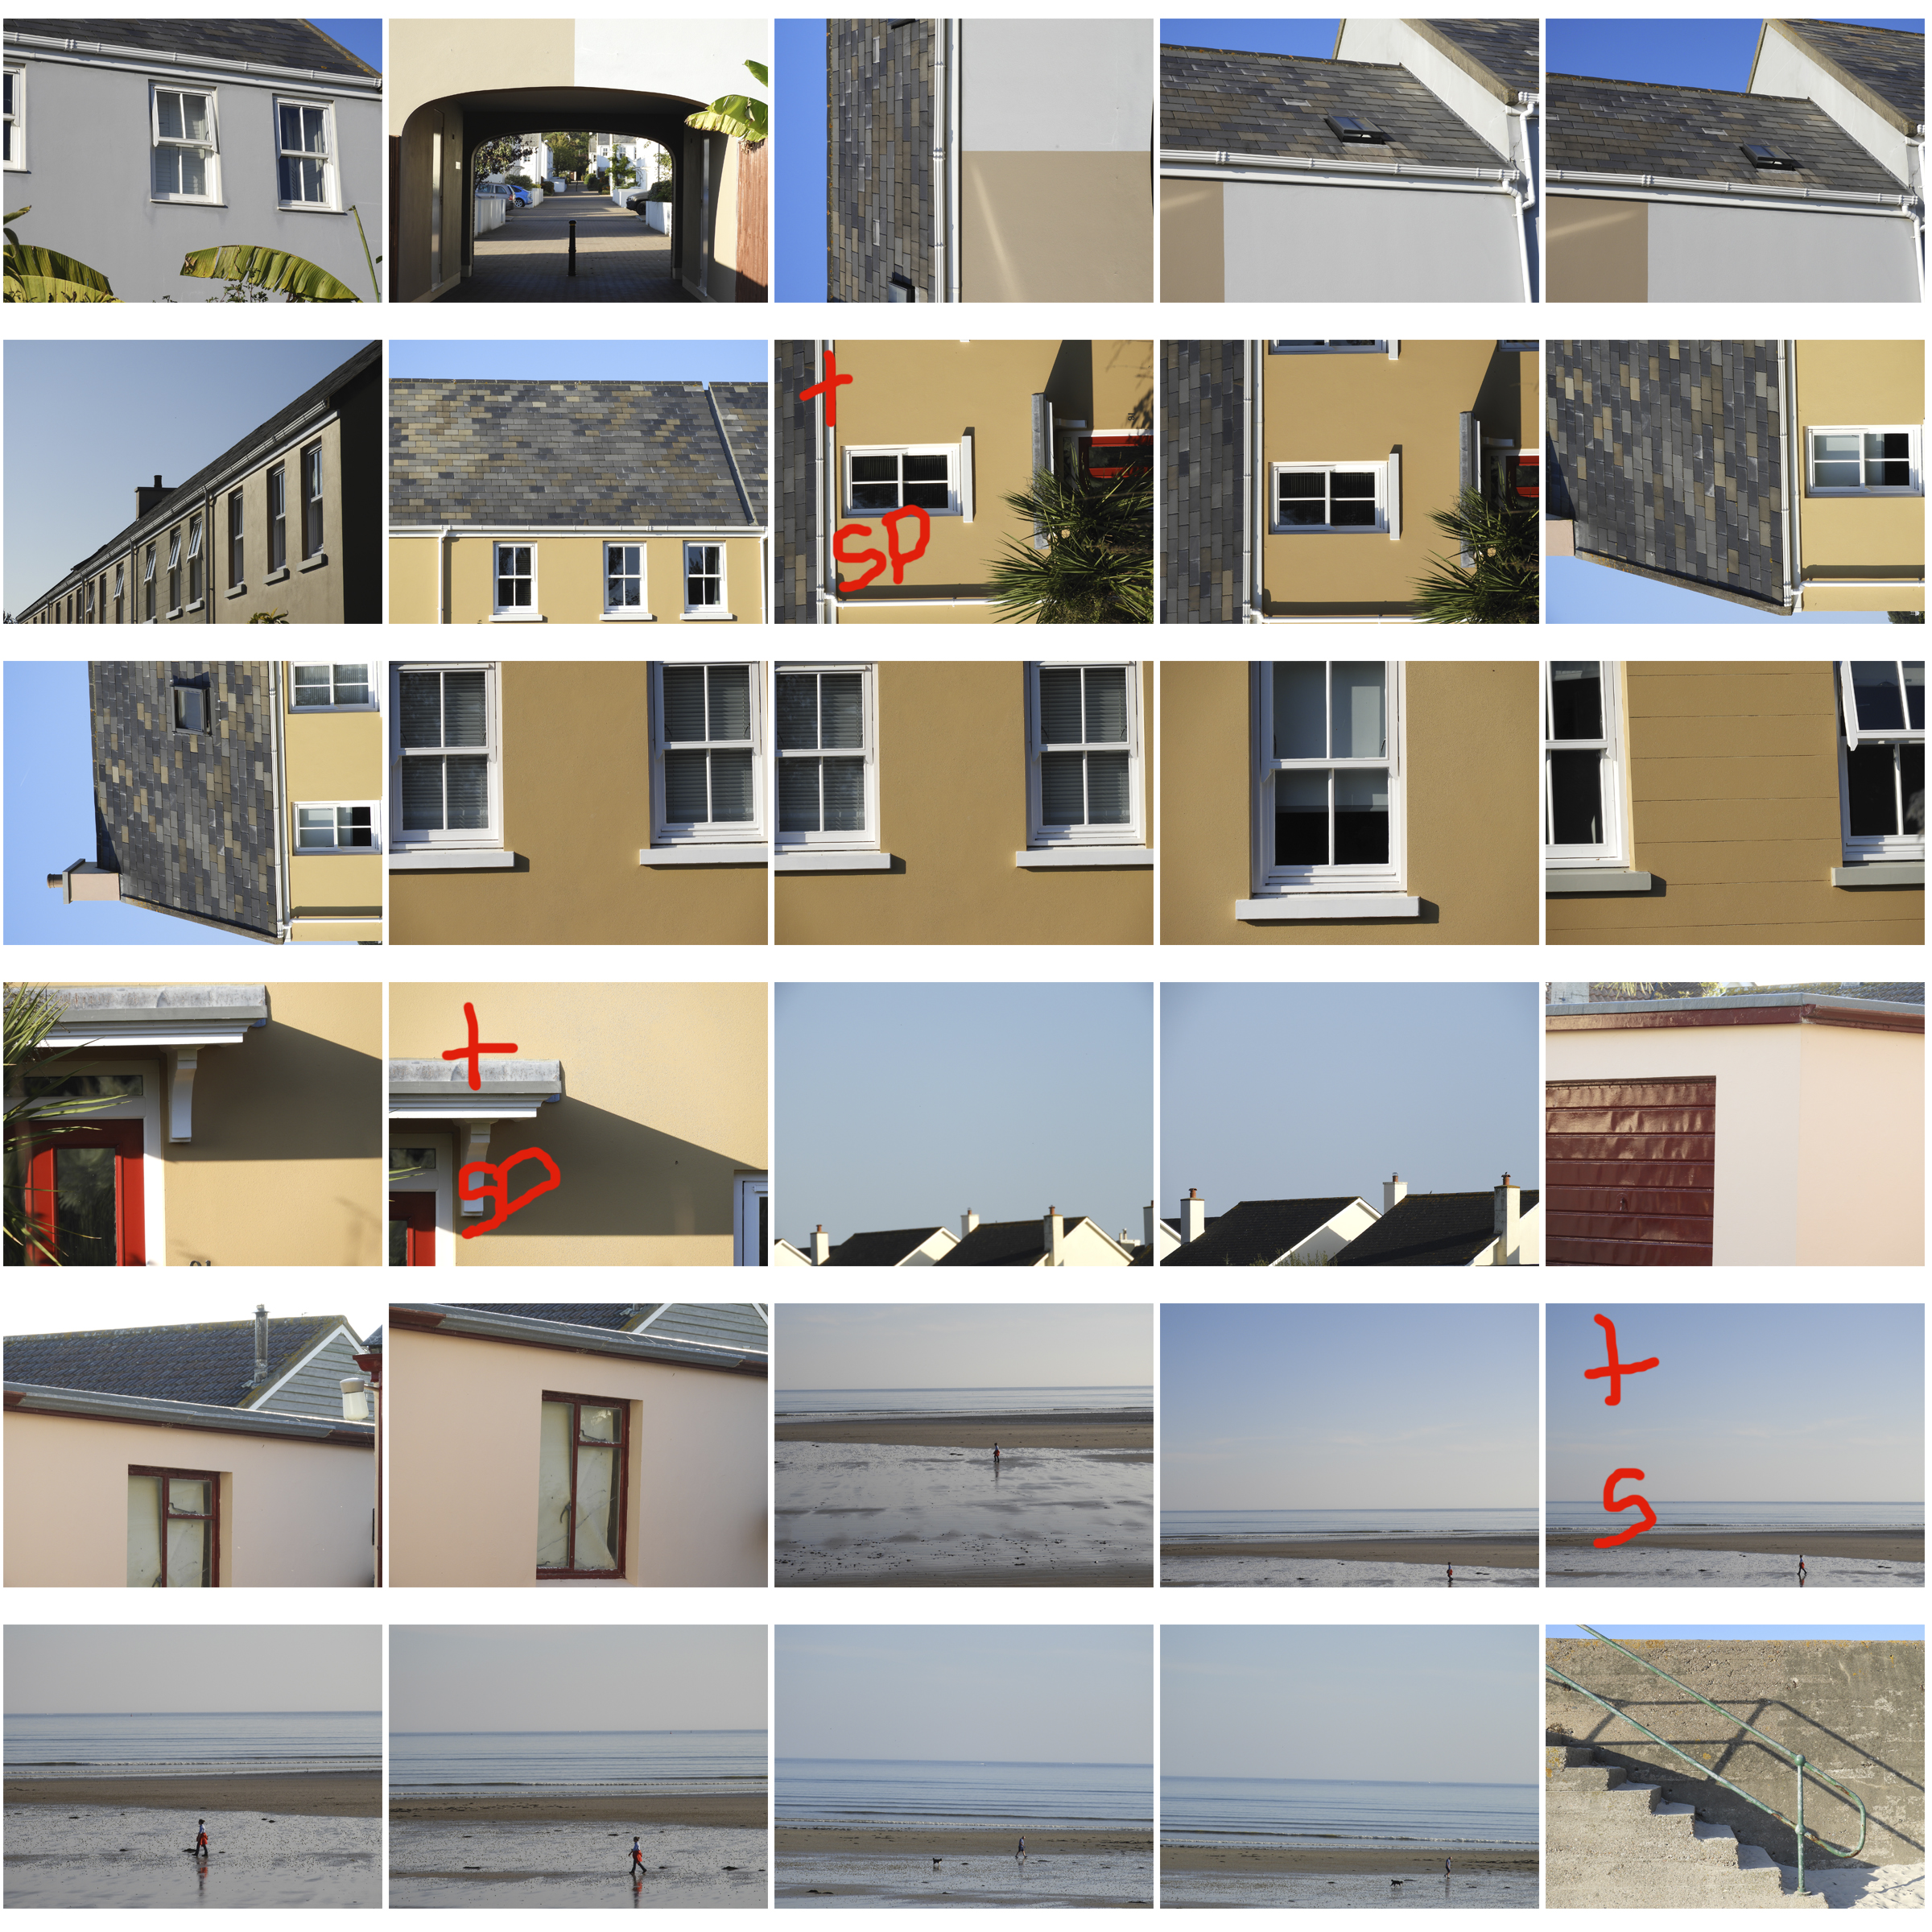
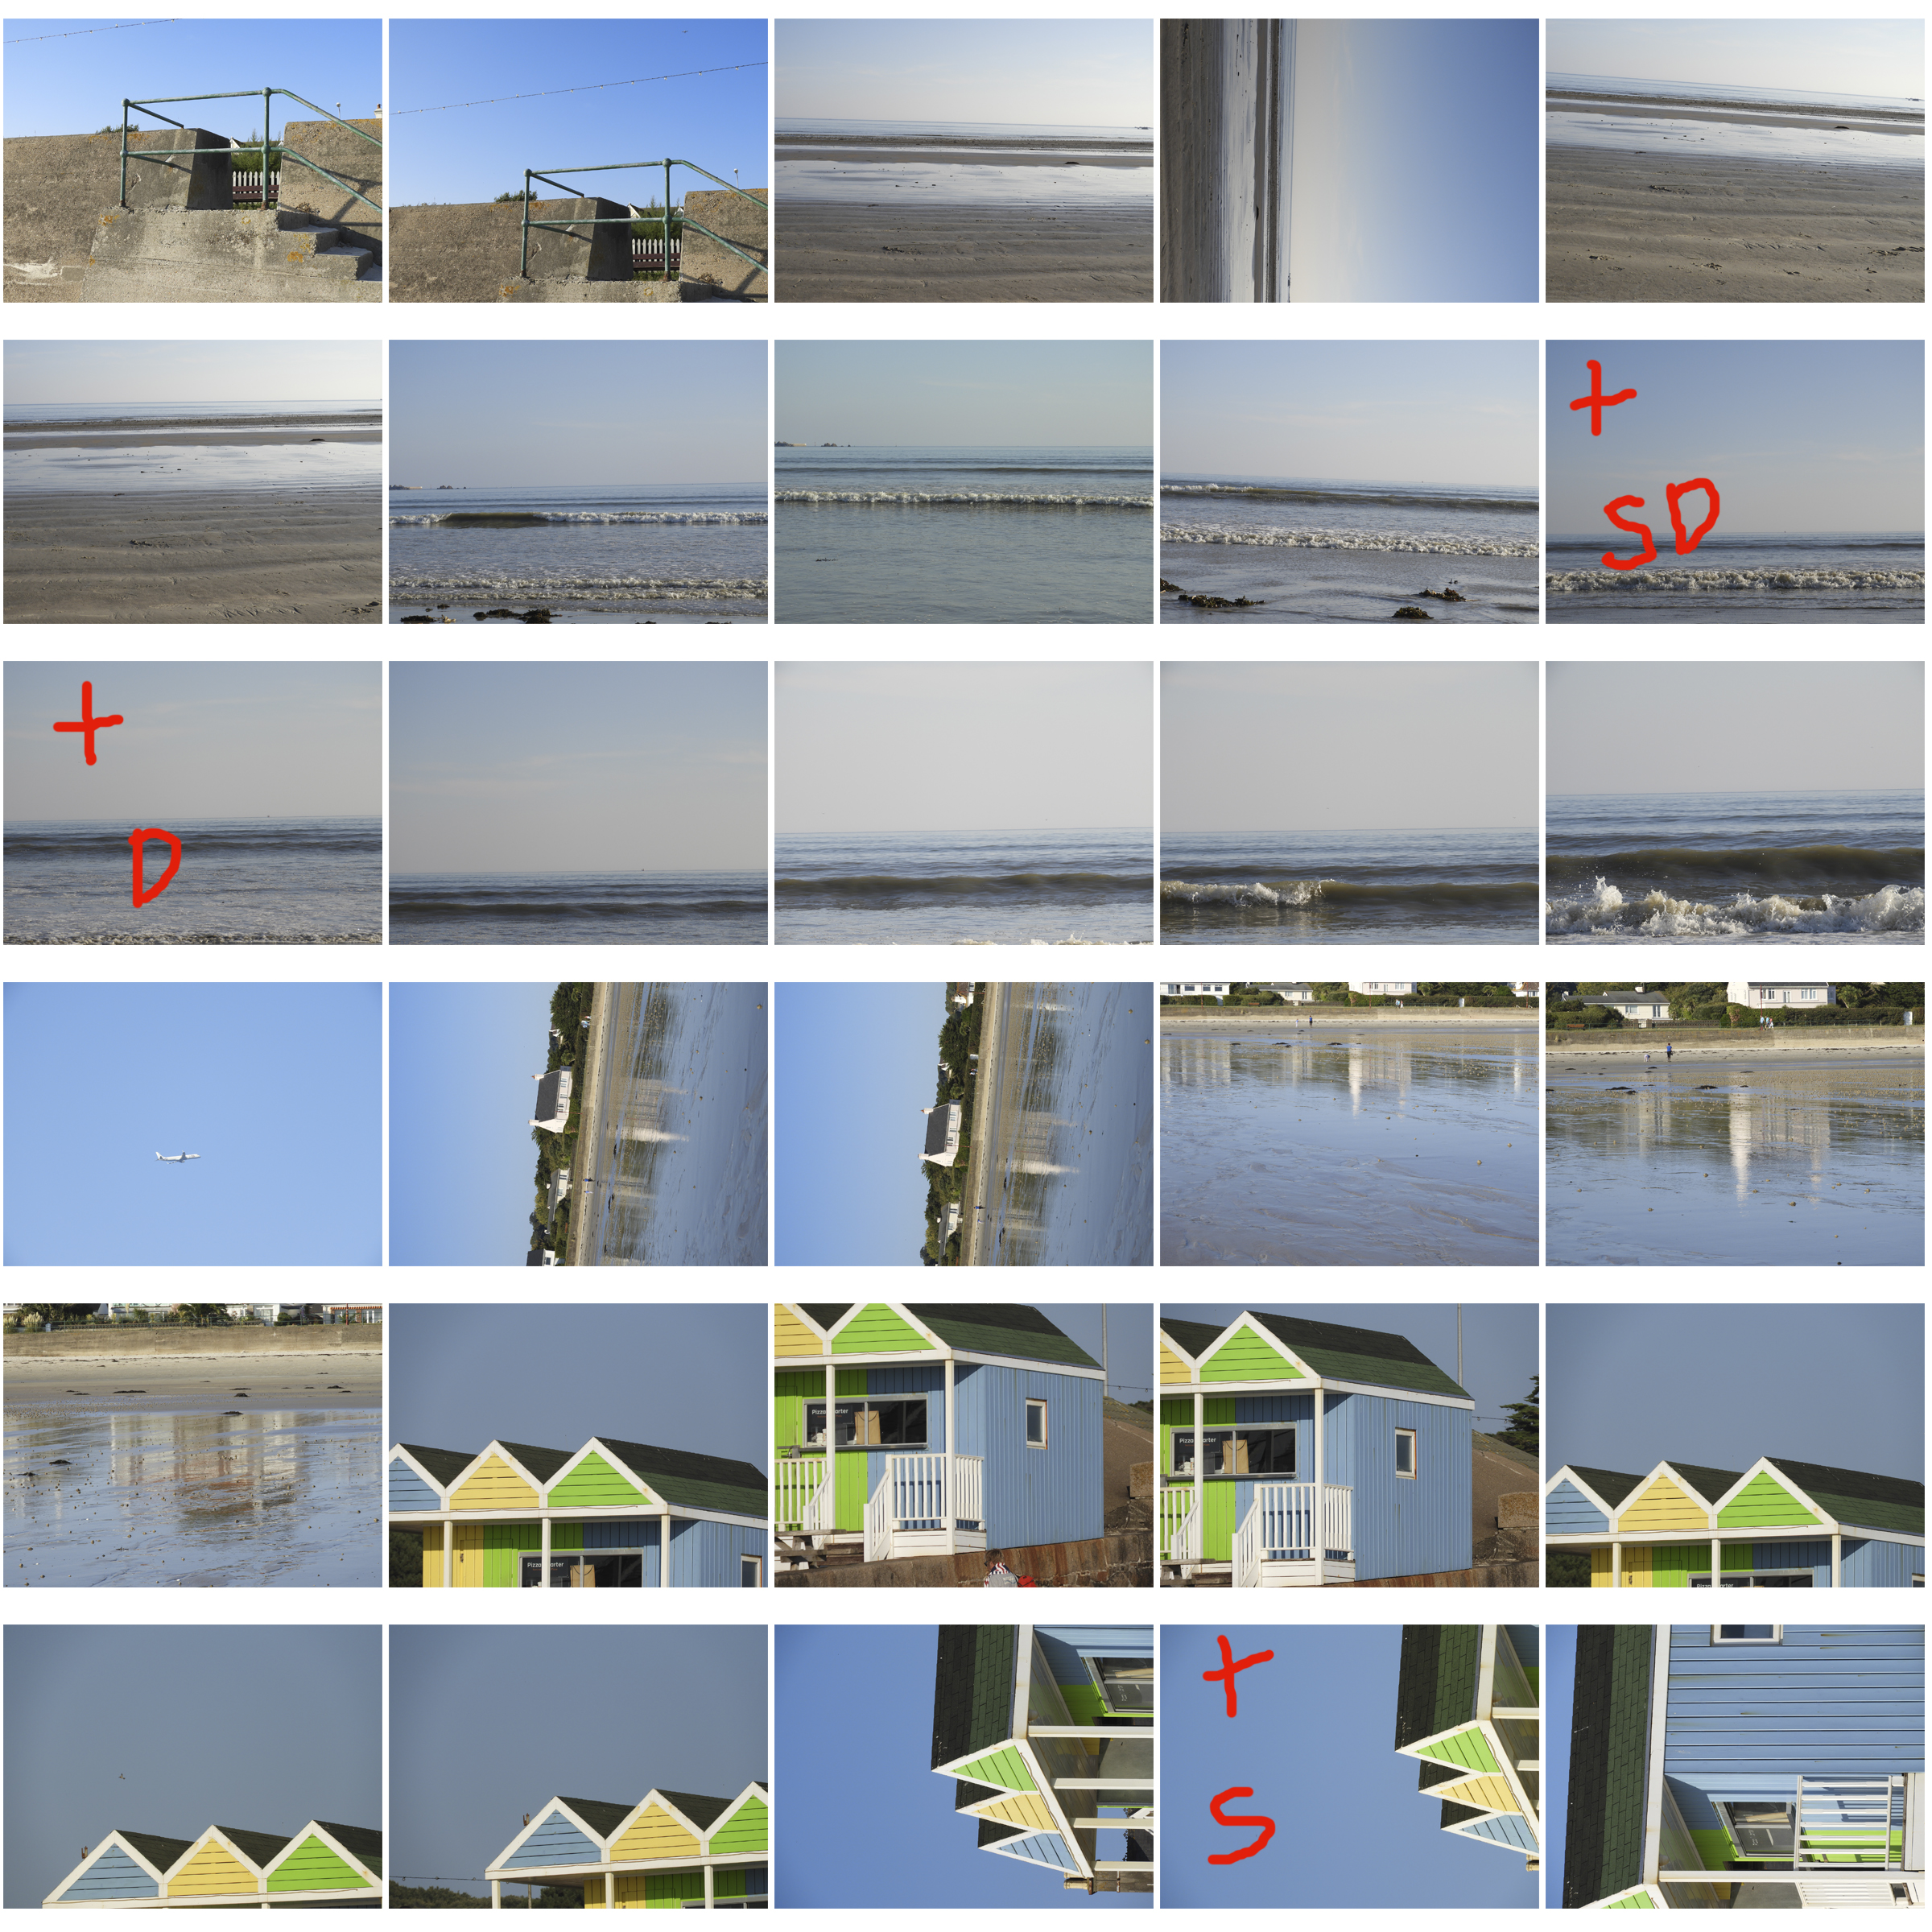
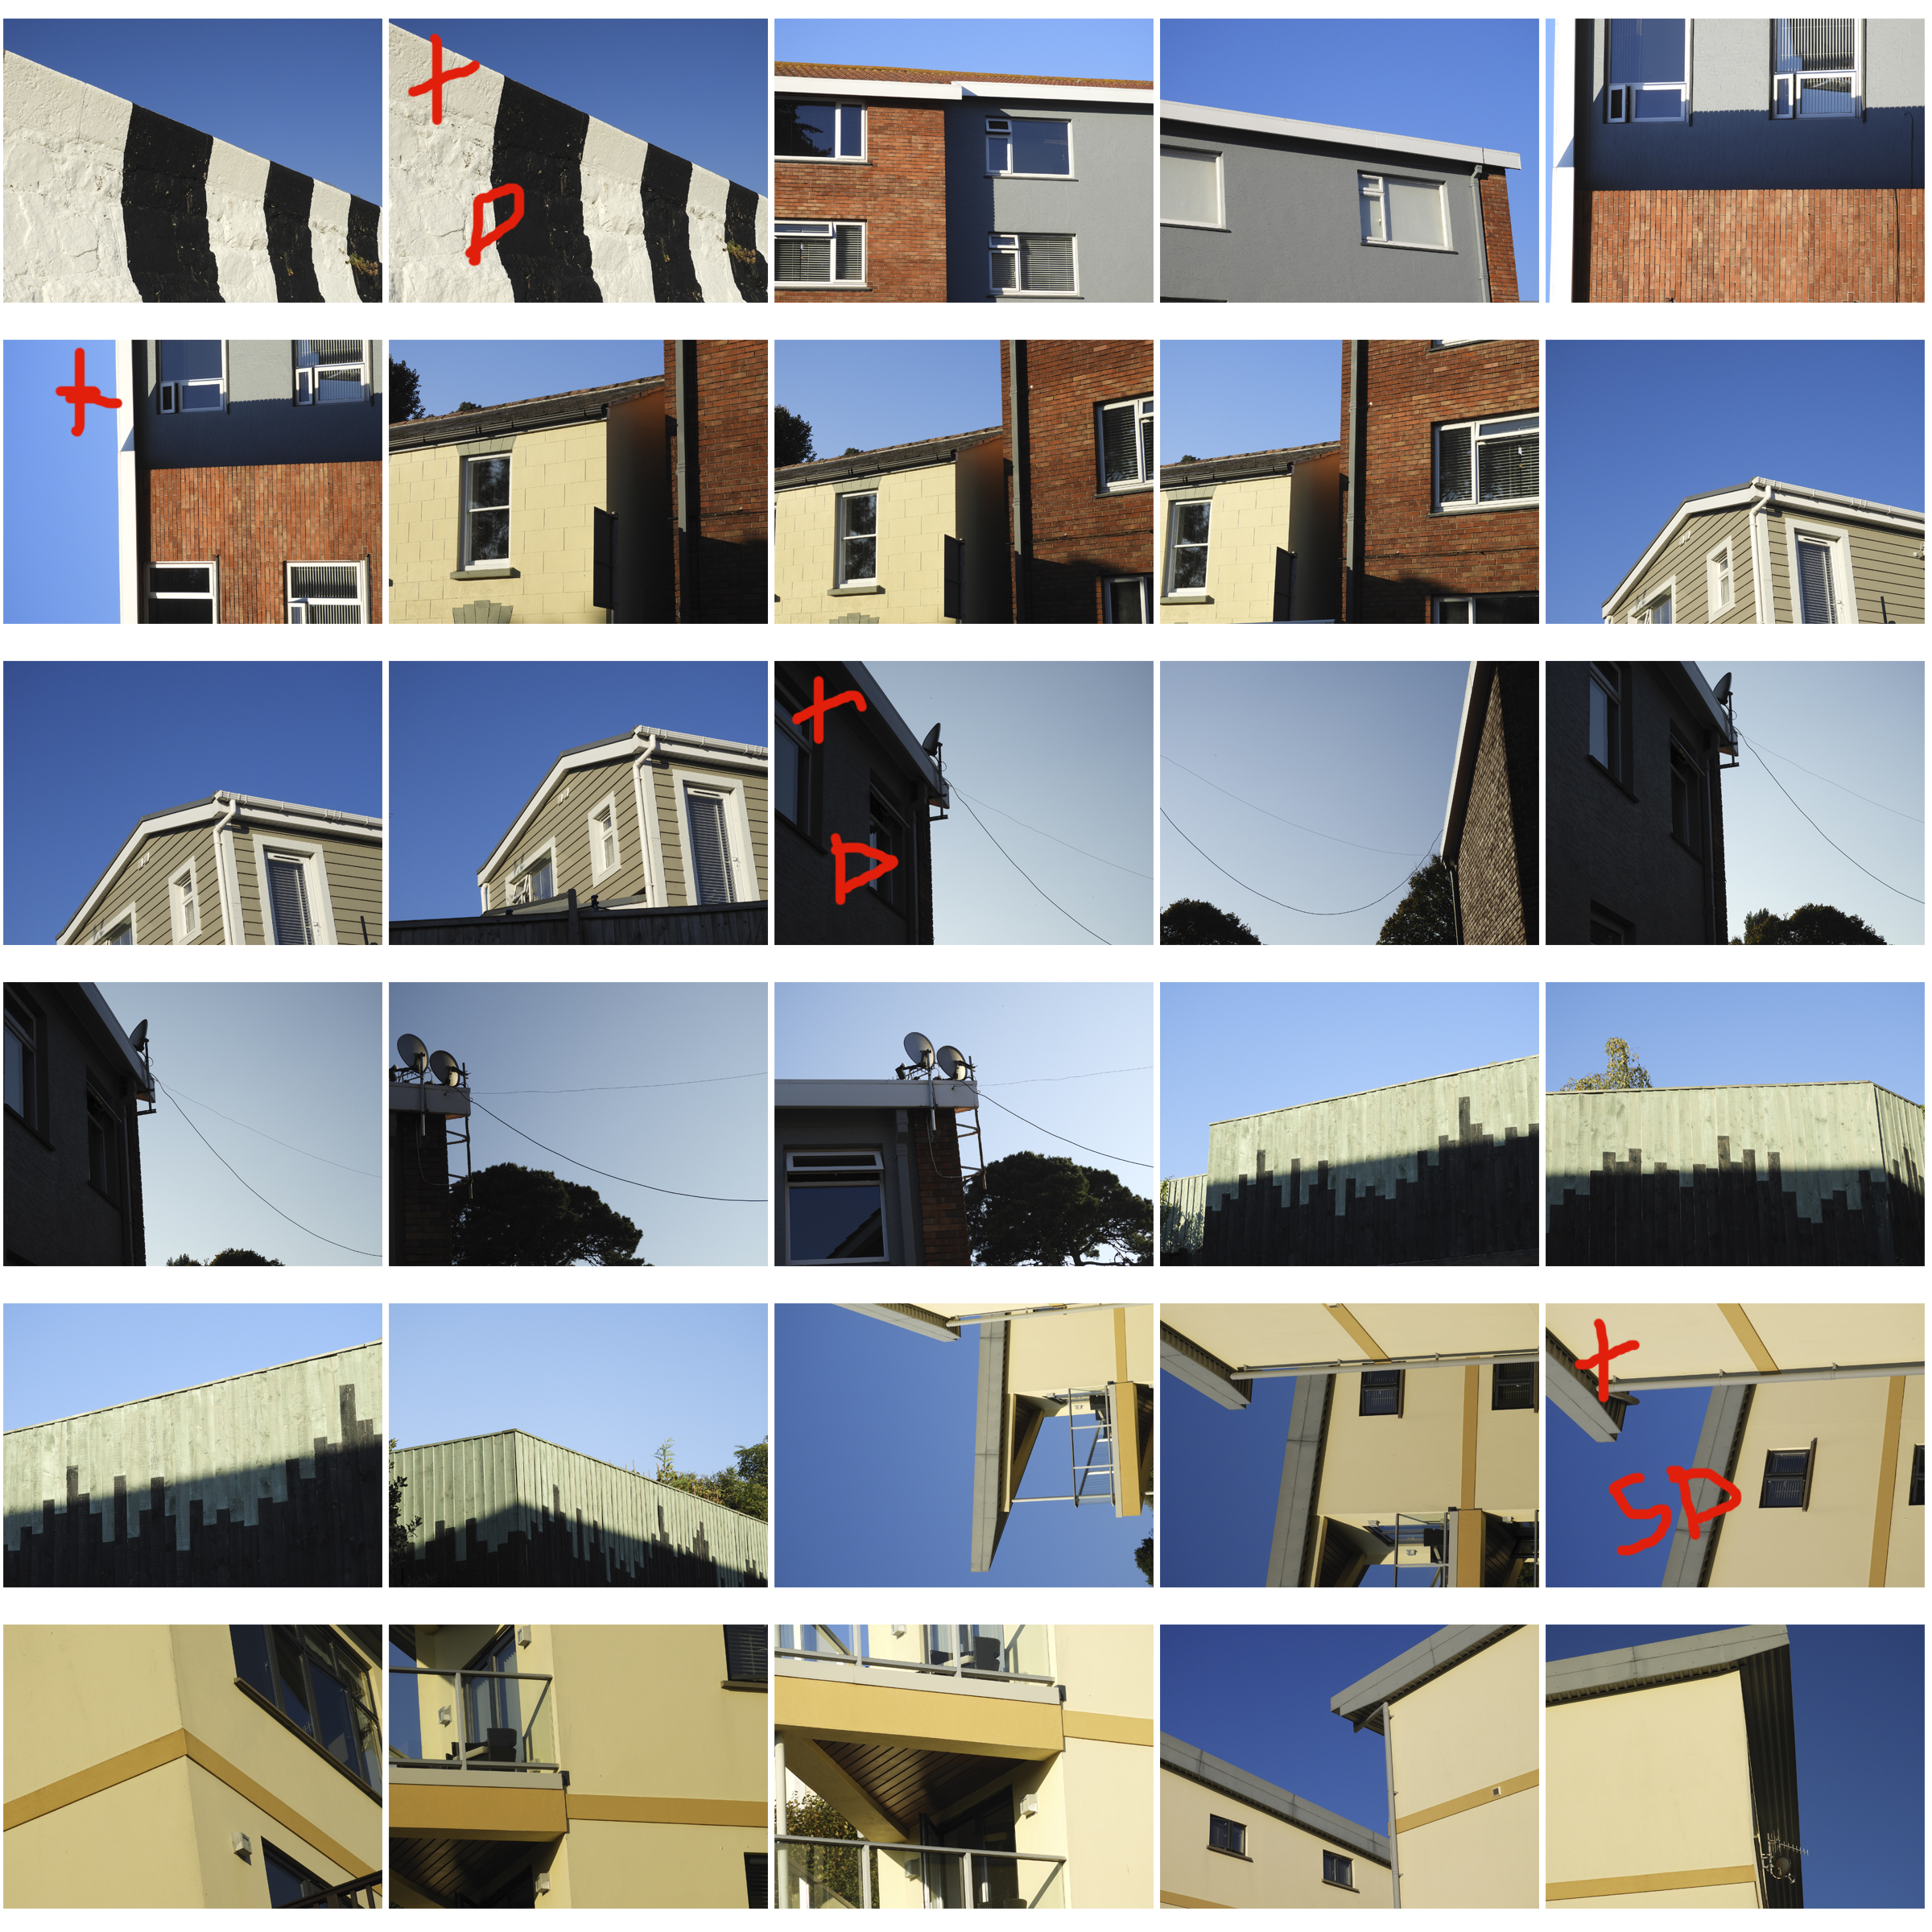
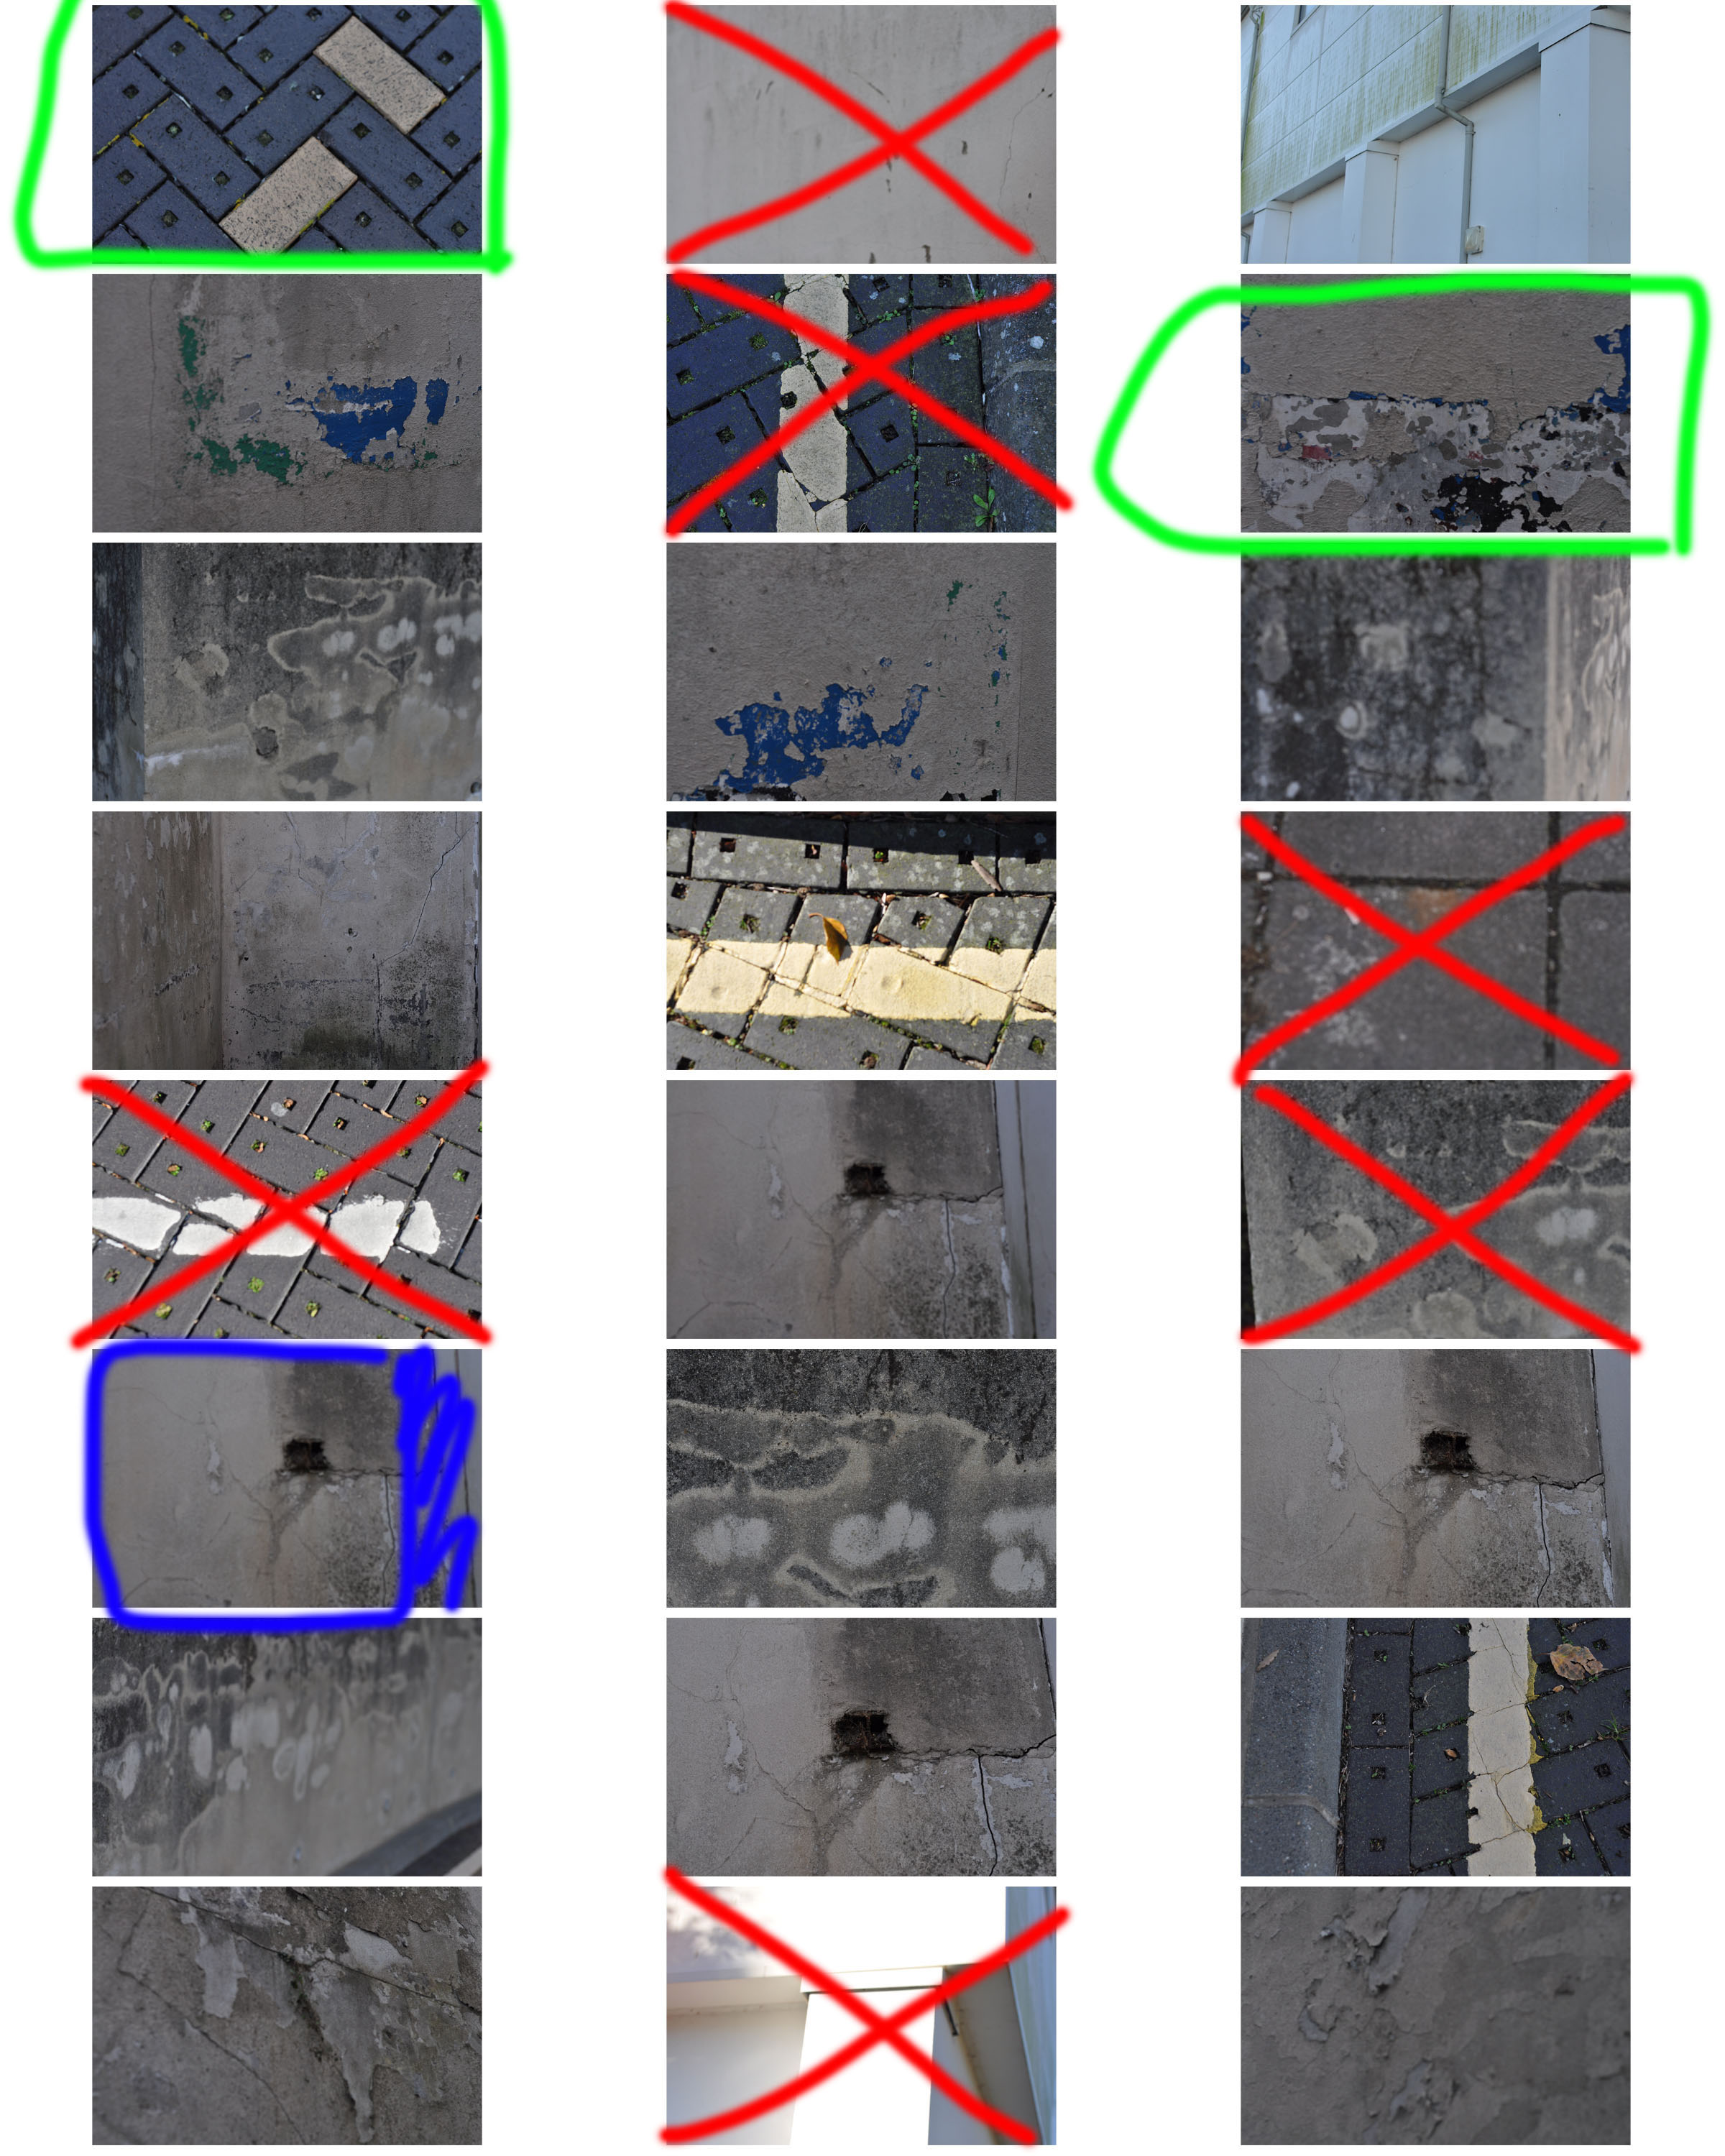
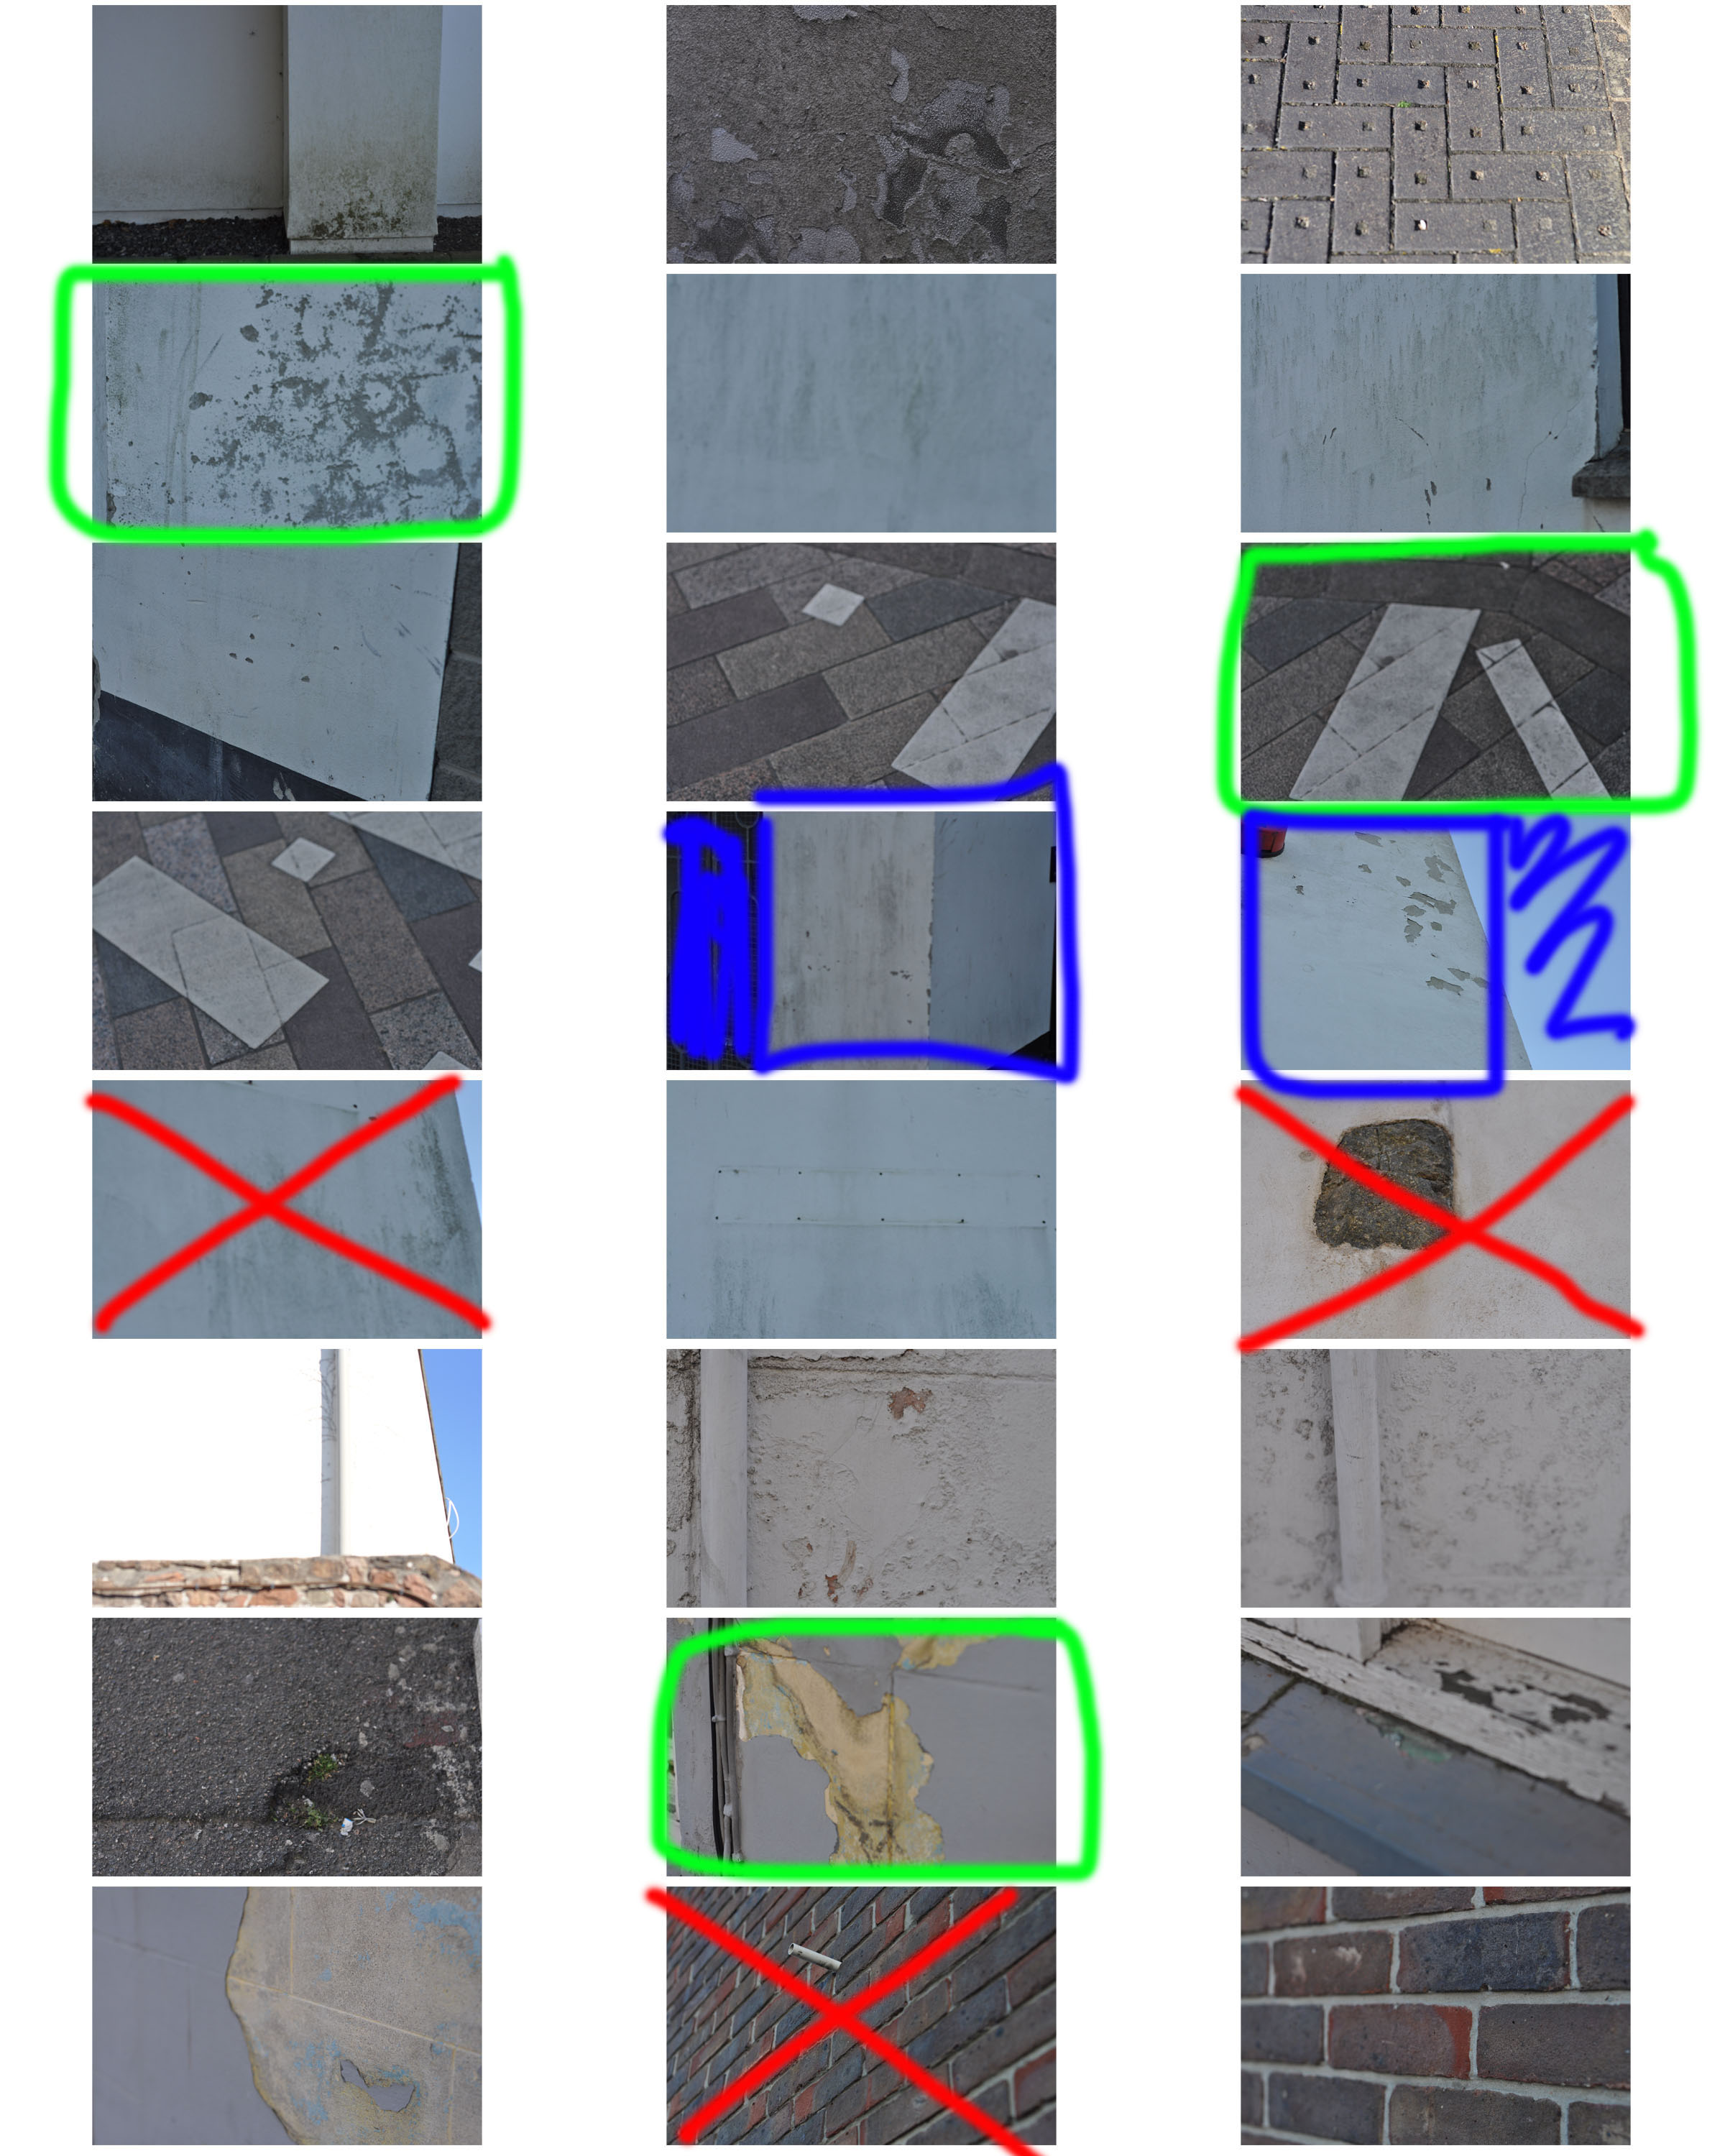
Contact Sheets:

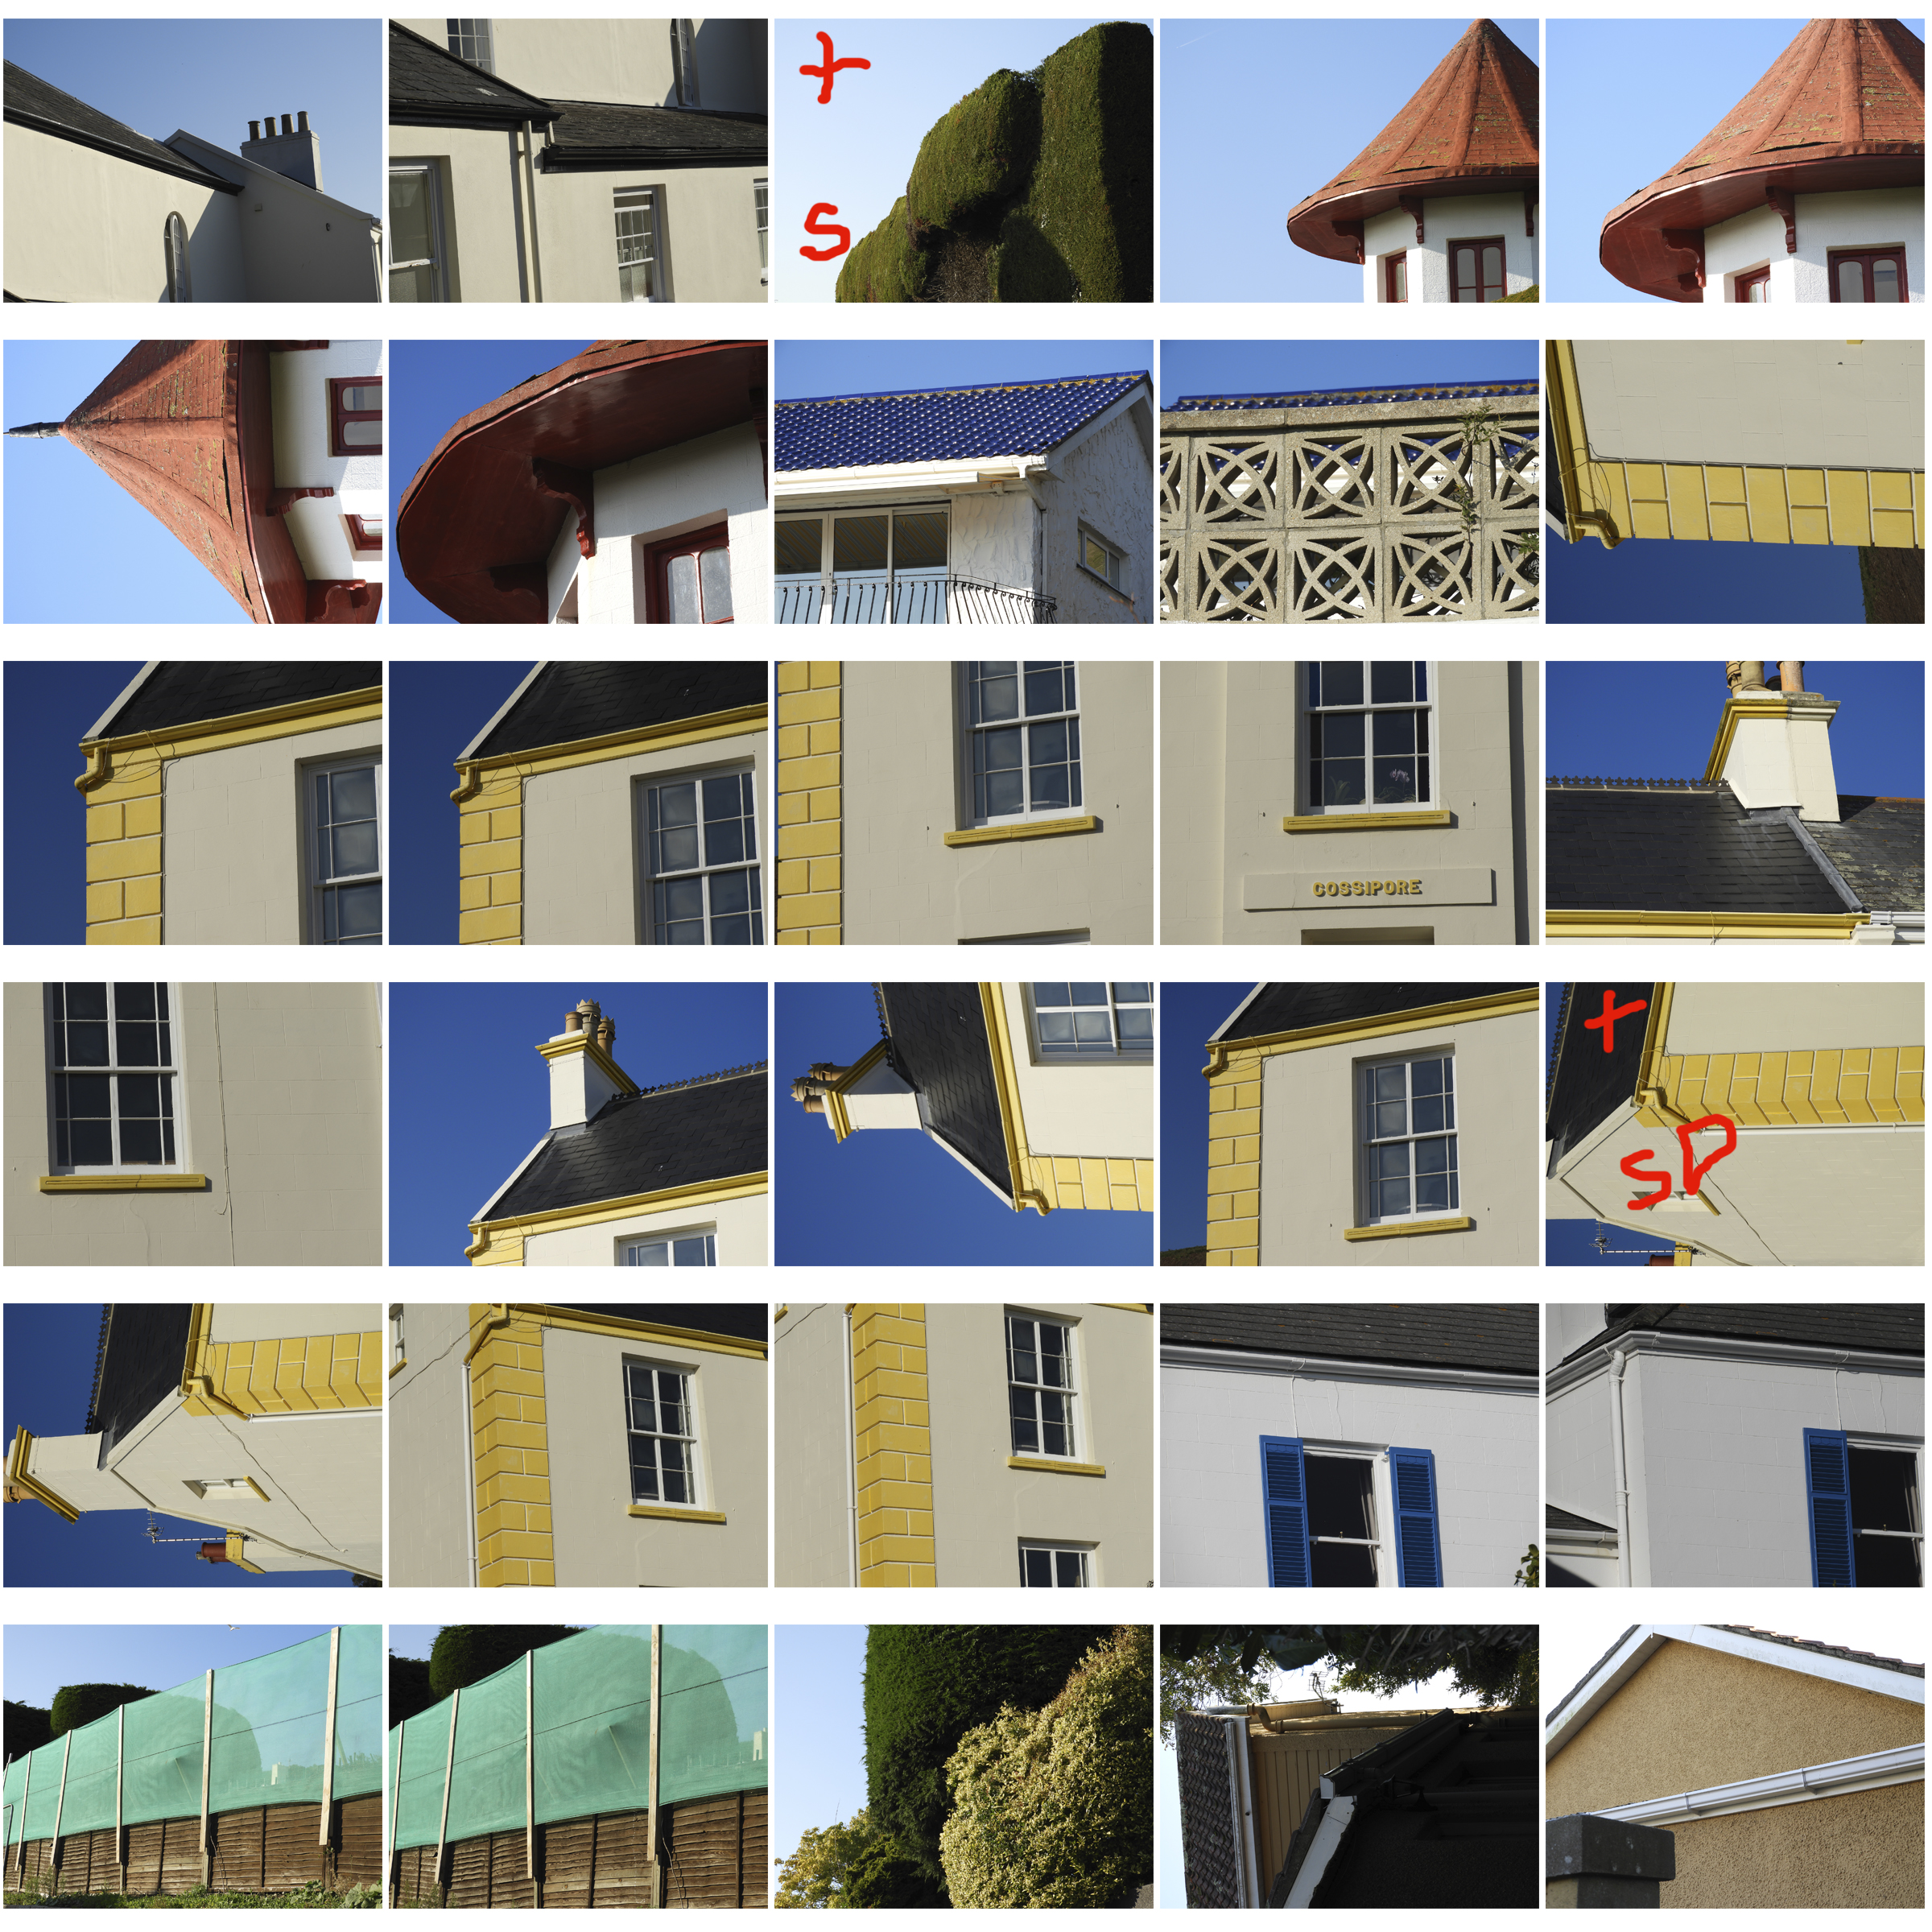
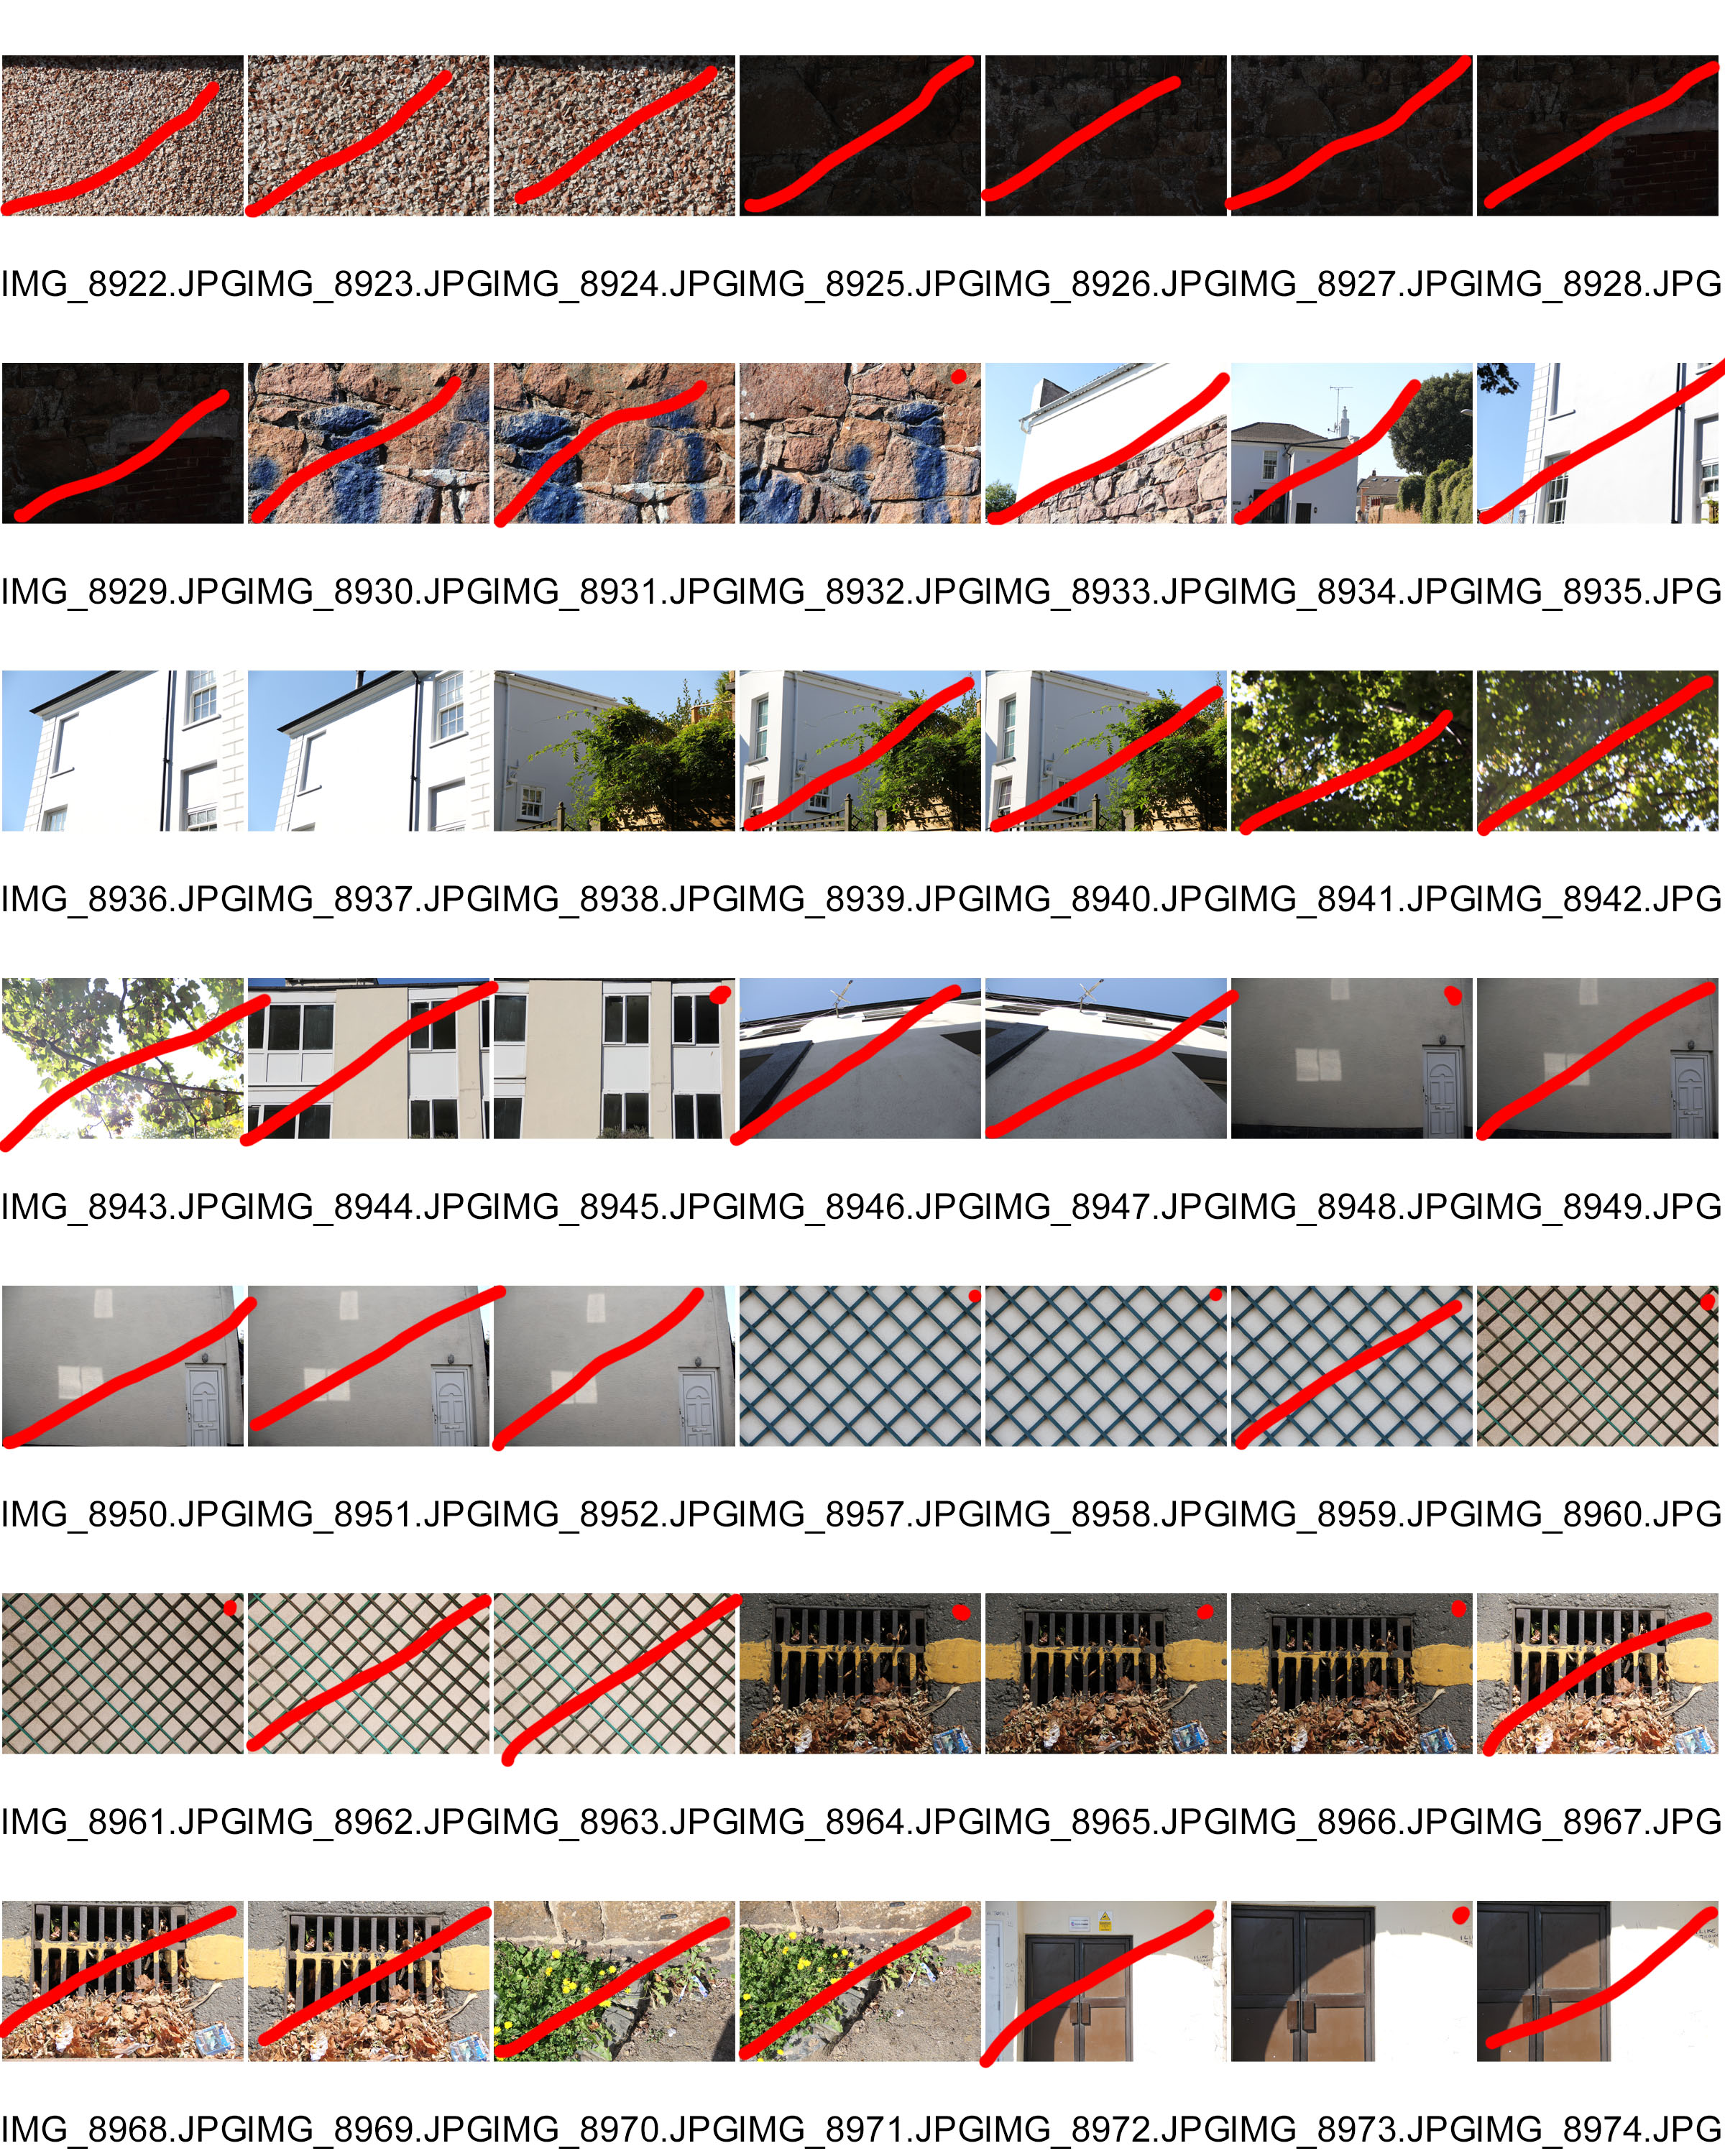
Red Dot: Consider for final edit

Red Line: do not use

Box + Arrow: Crop

Inspiration for my images:

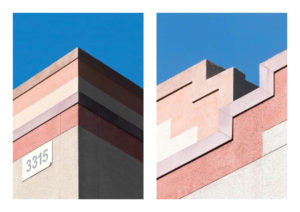
Many of the images in my contact sheet are based on the works of Kyle Jeffers and Jon Setter especially. I wanted to recreate the sharp images of setter combined with a slightly less saturated palate of Jeffers (concerning his pictures of buildings that is) and therefor i can see many elements of their work starting to emerge through my own.

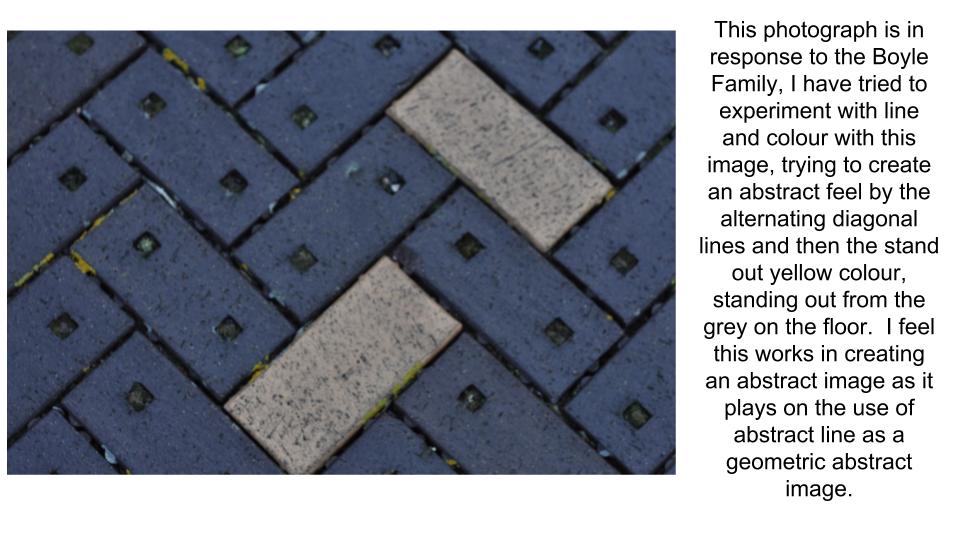
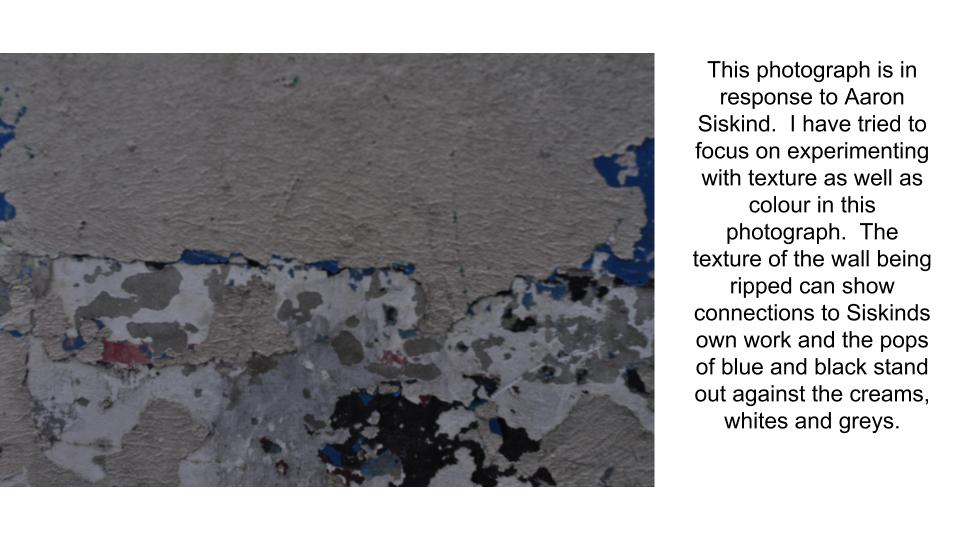
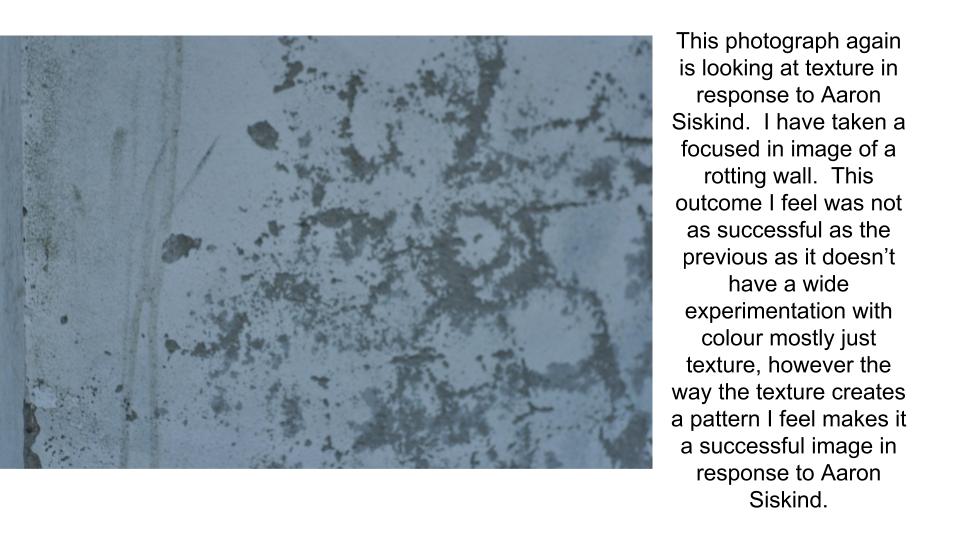
However, I also wanted to try to take some pictures in the style of other photographers as well, most notably the Boyle Family, but also a few in the vain of Aaron Siskind (although i tried to do different shots compared to the summer task that i completed about him) to try  and challenge myself and produce the best variety of high quality photographs.

Final Images:

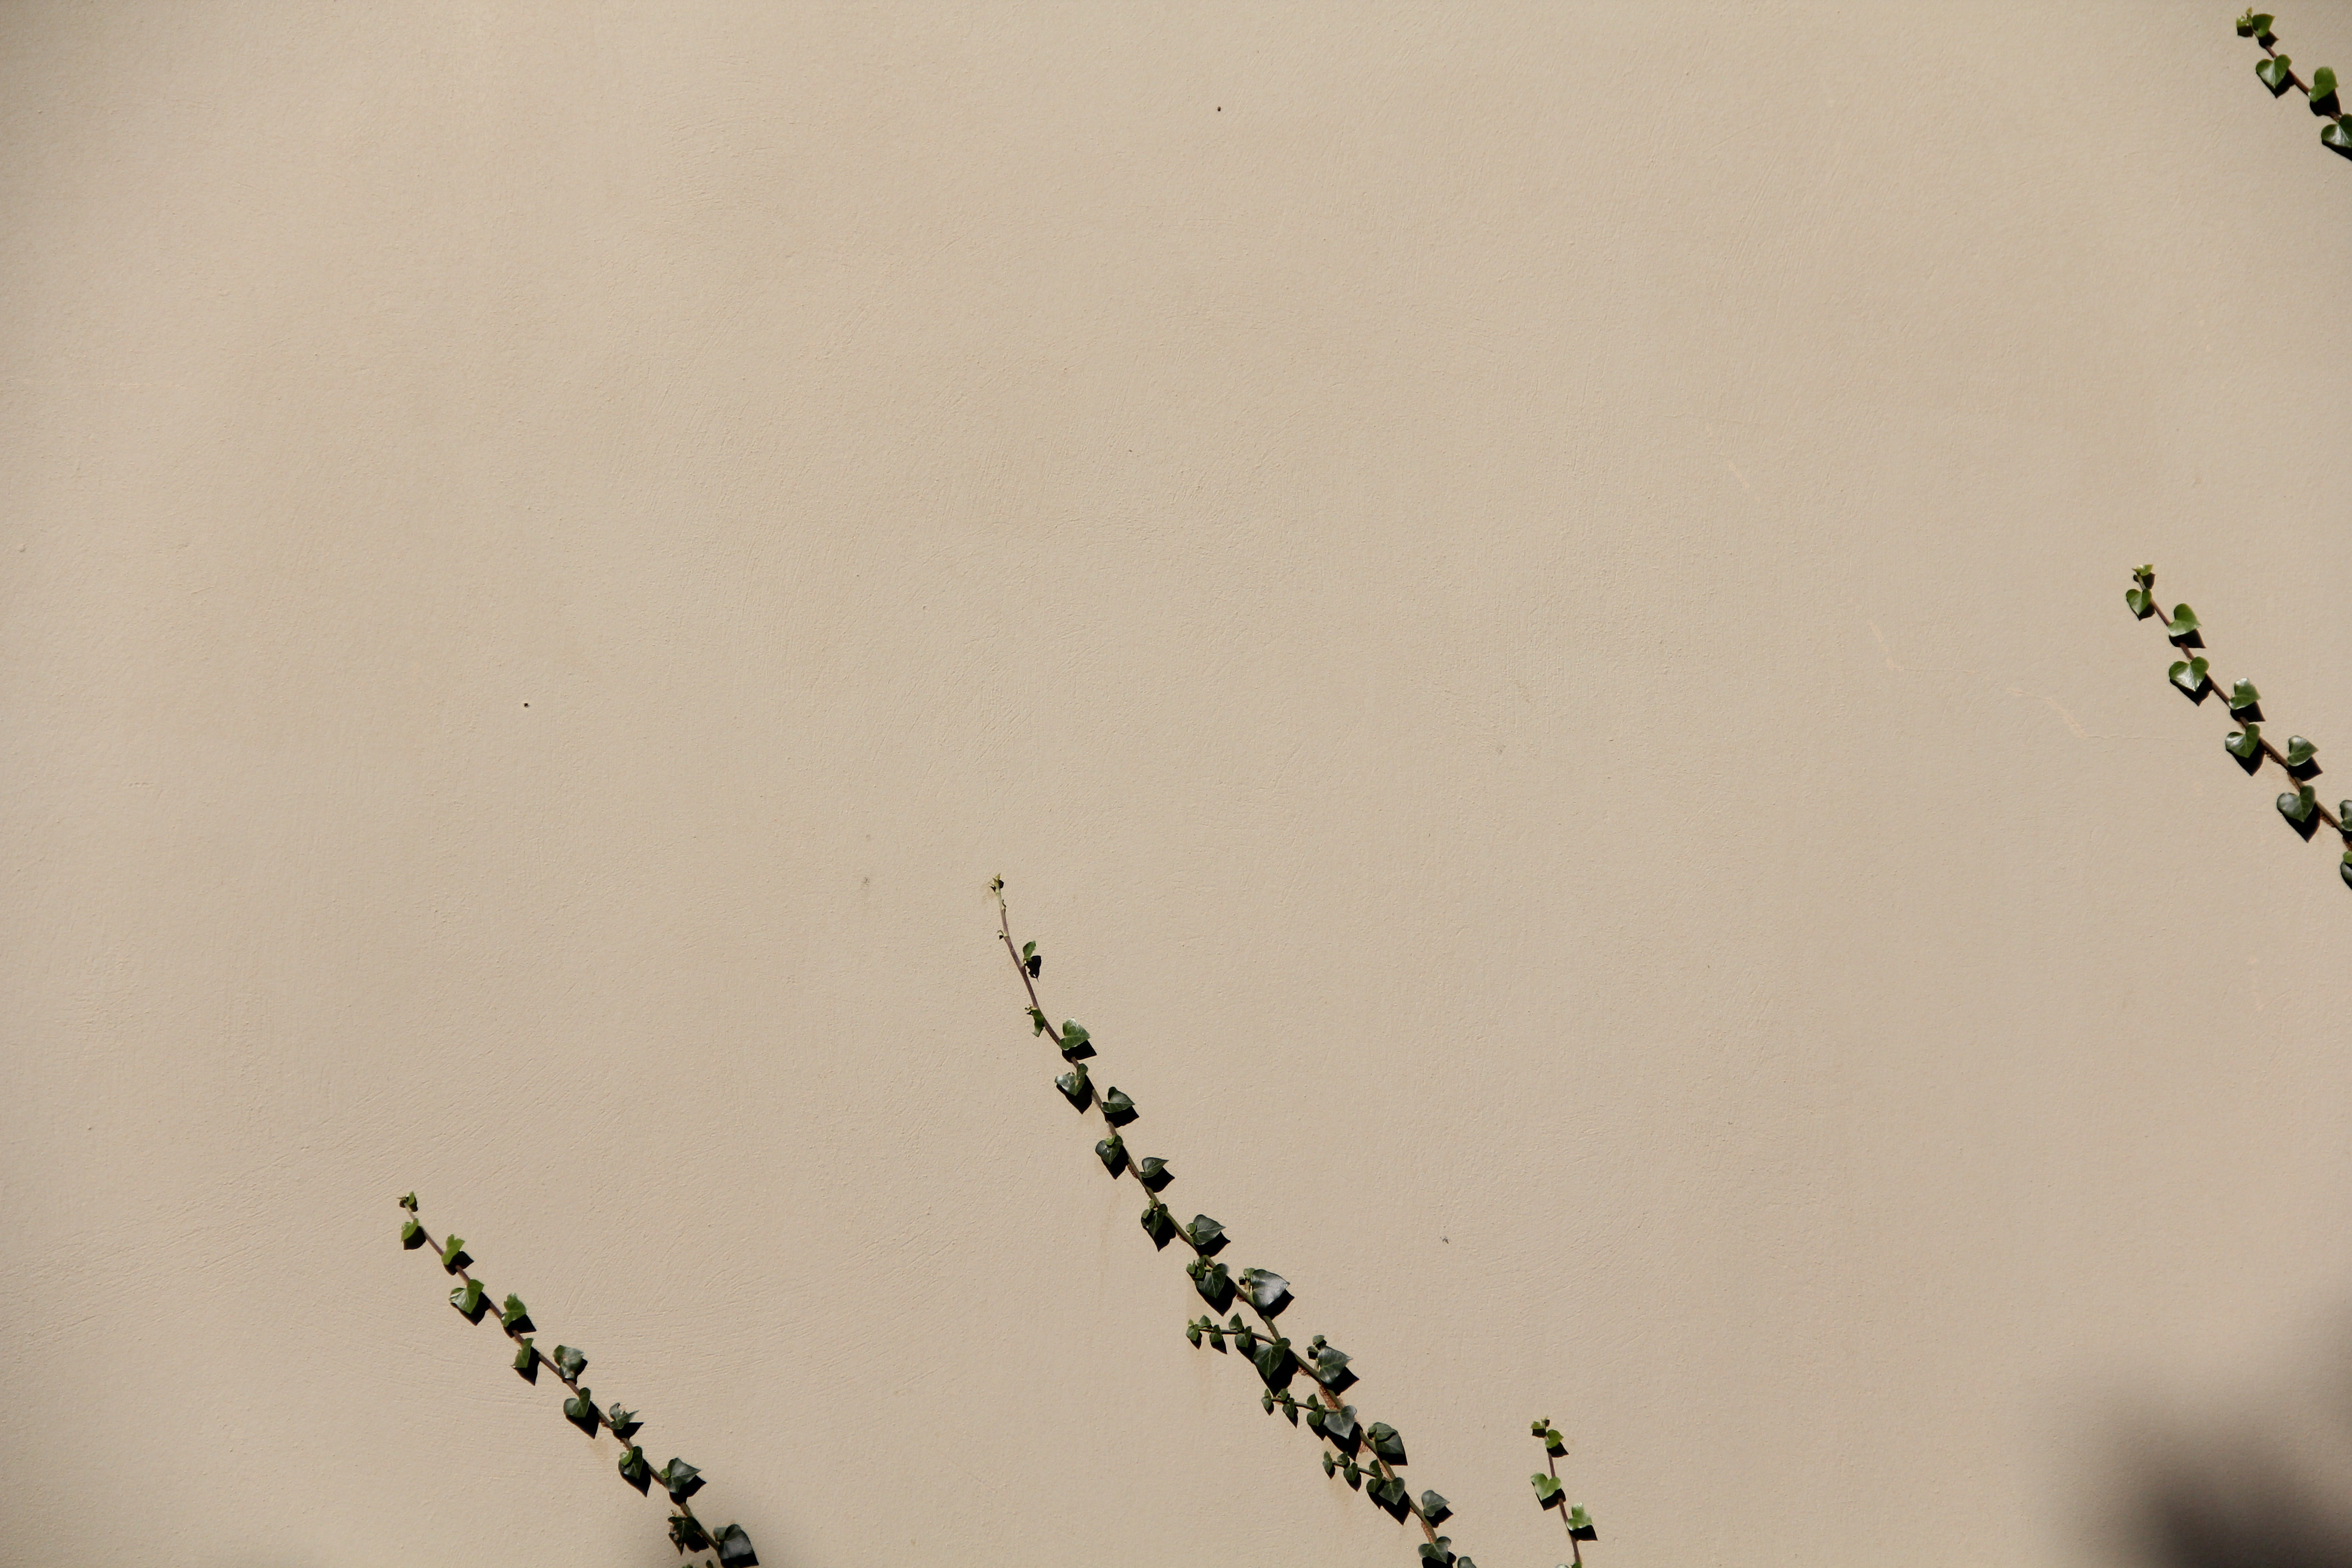
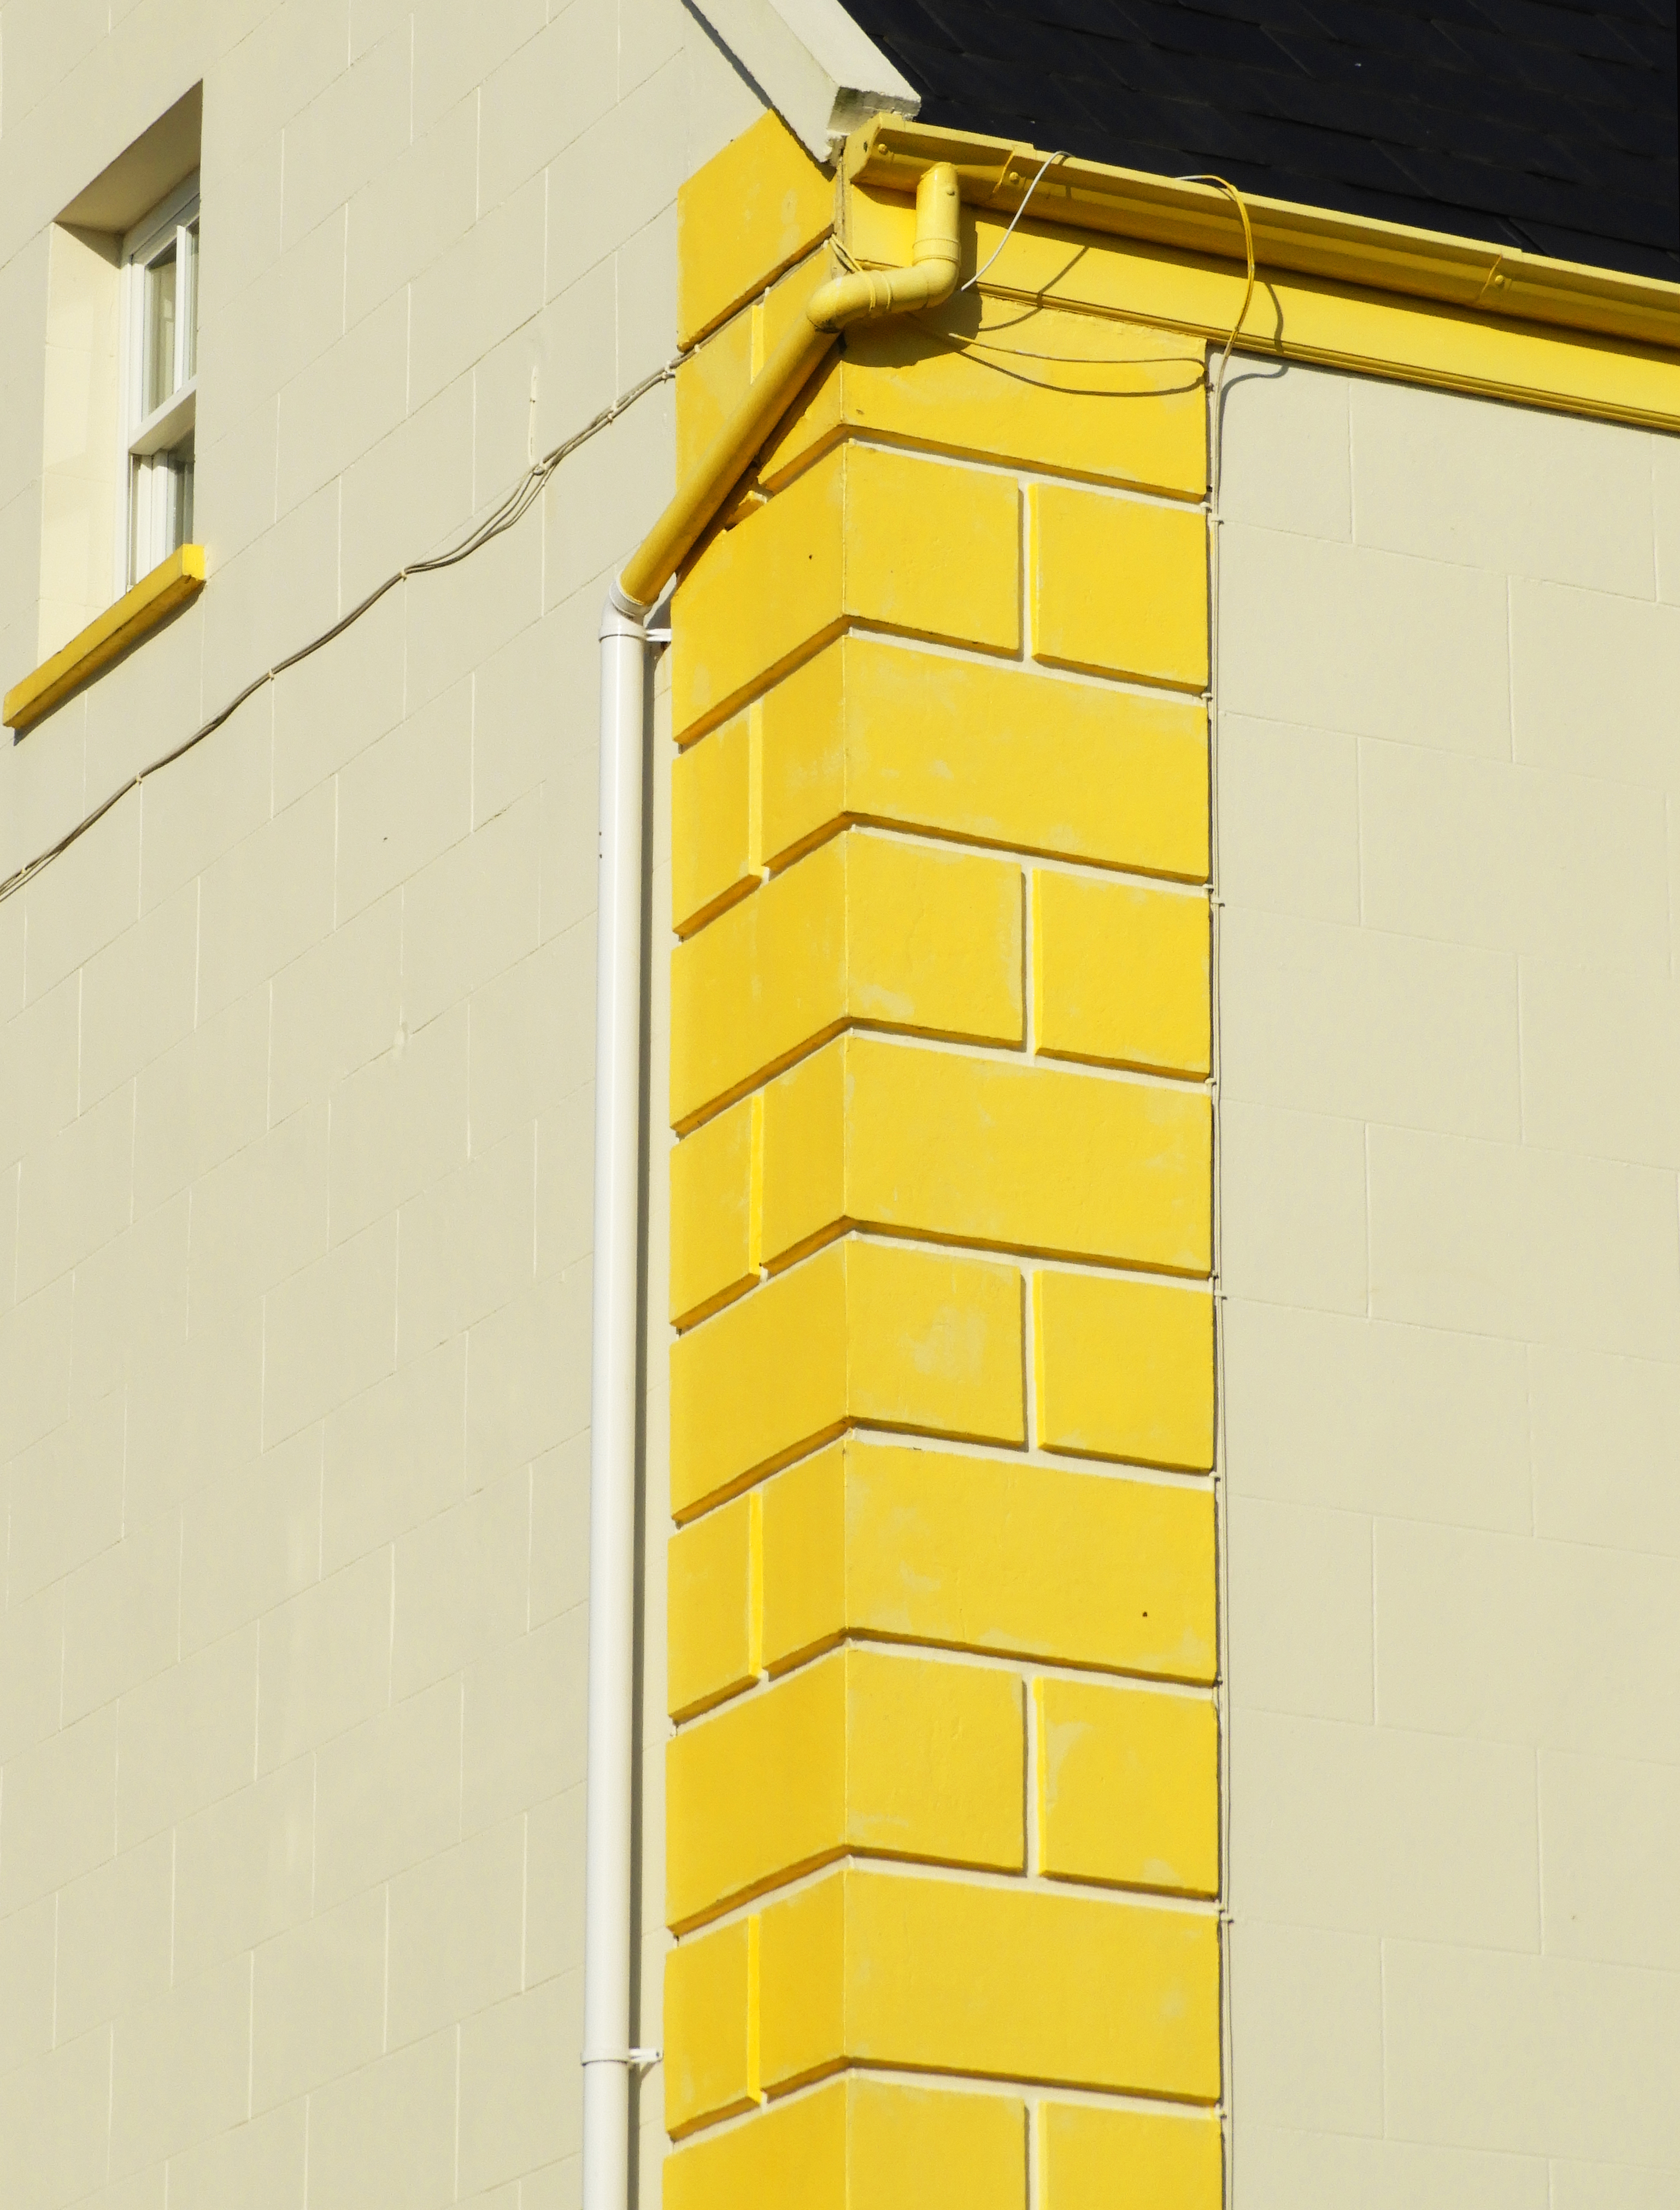
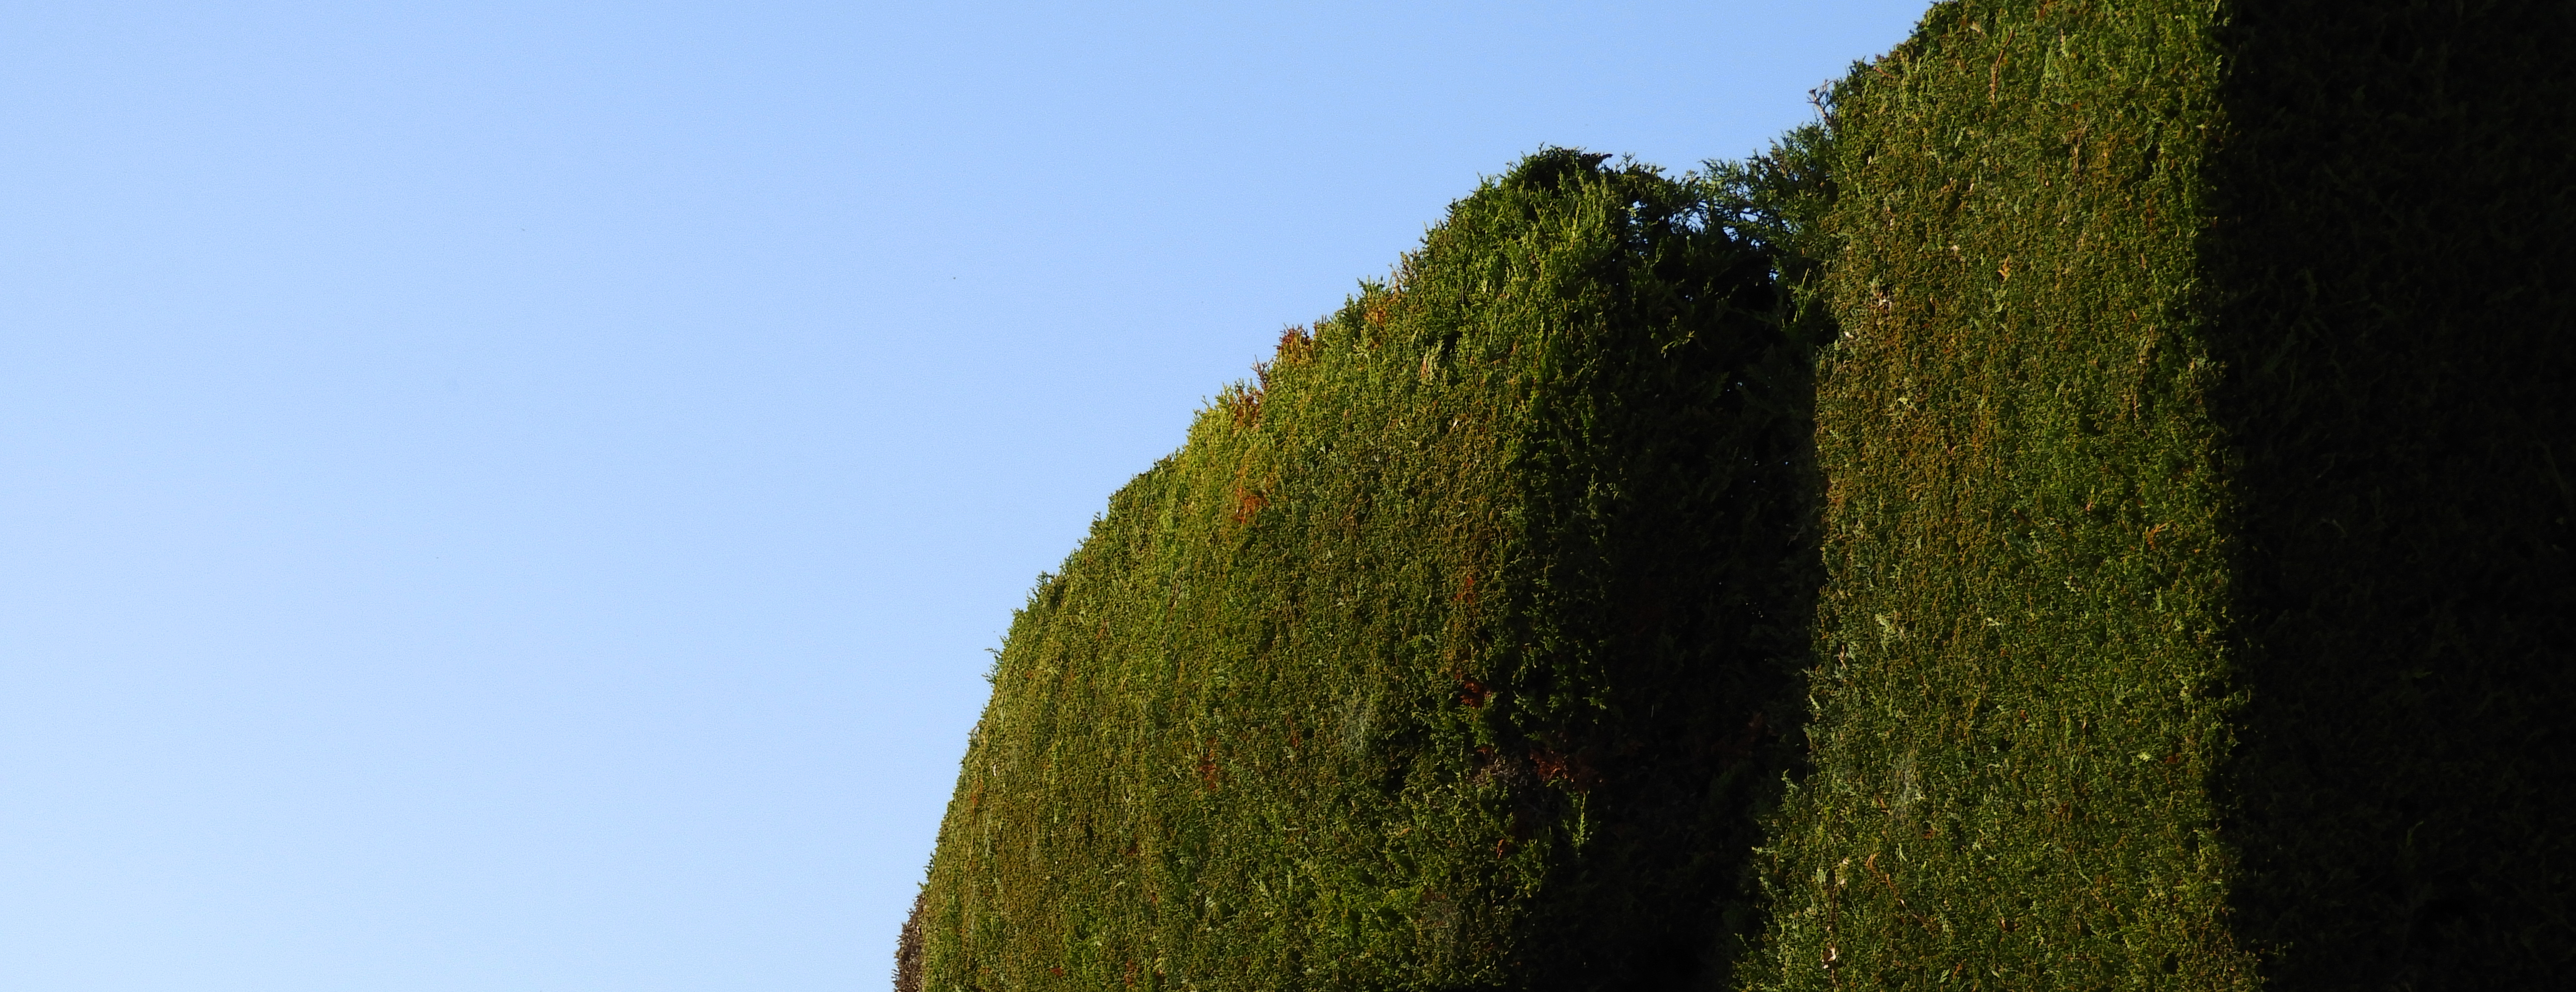
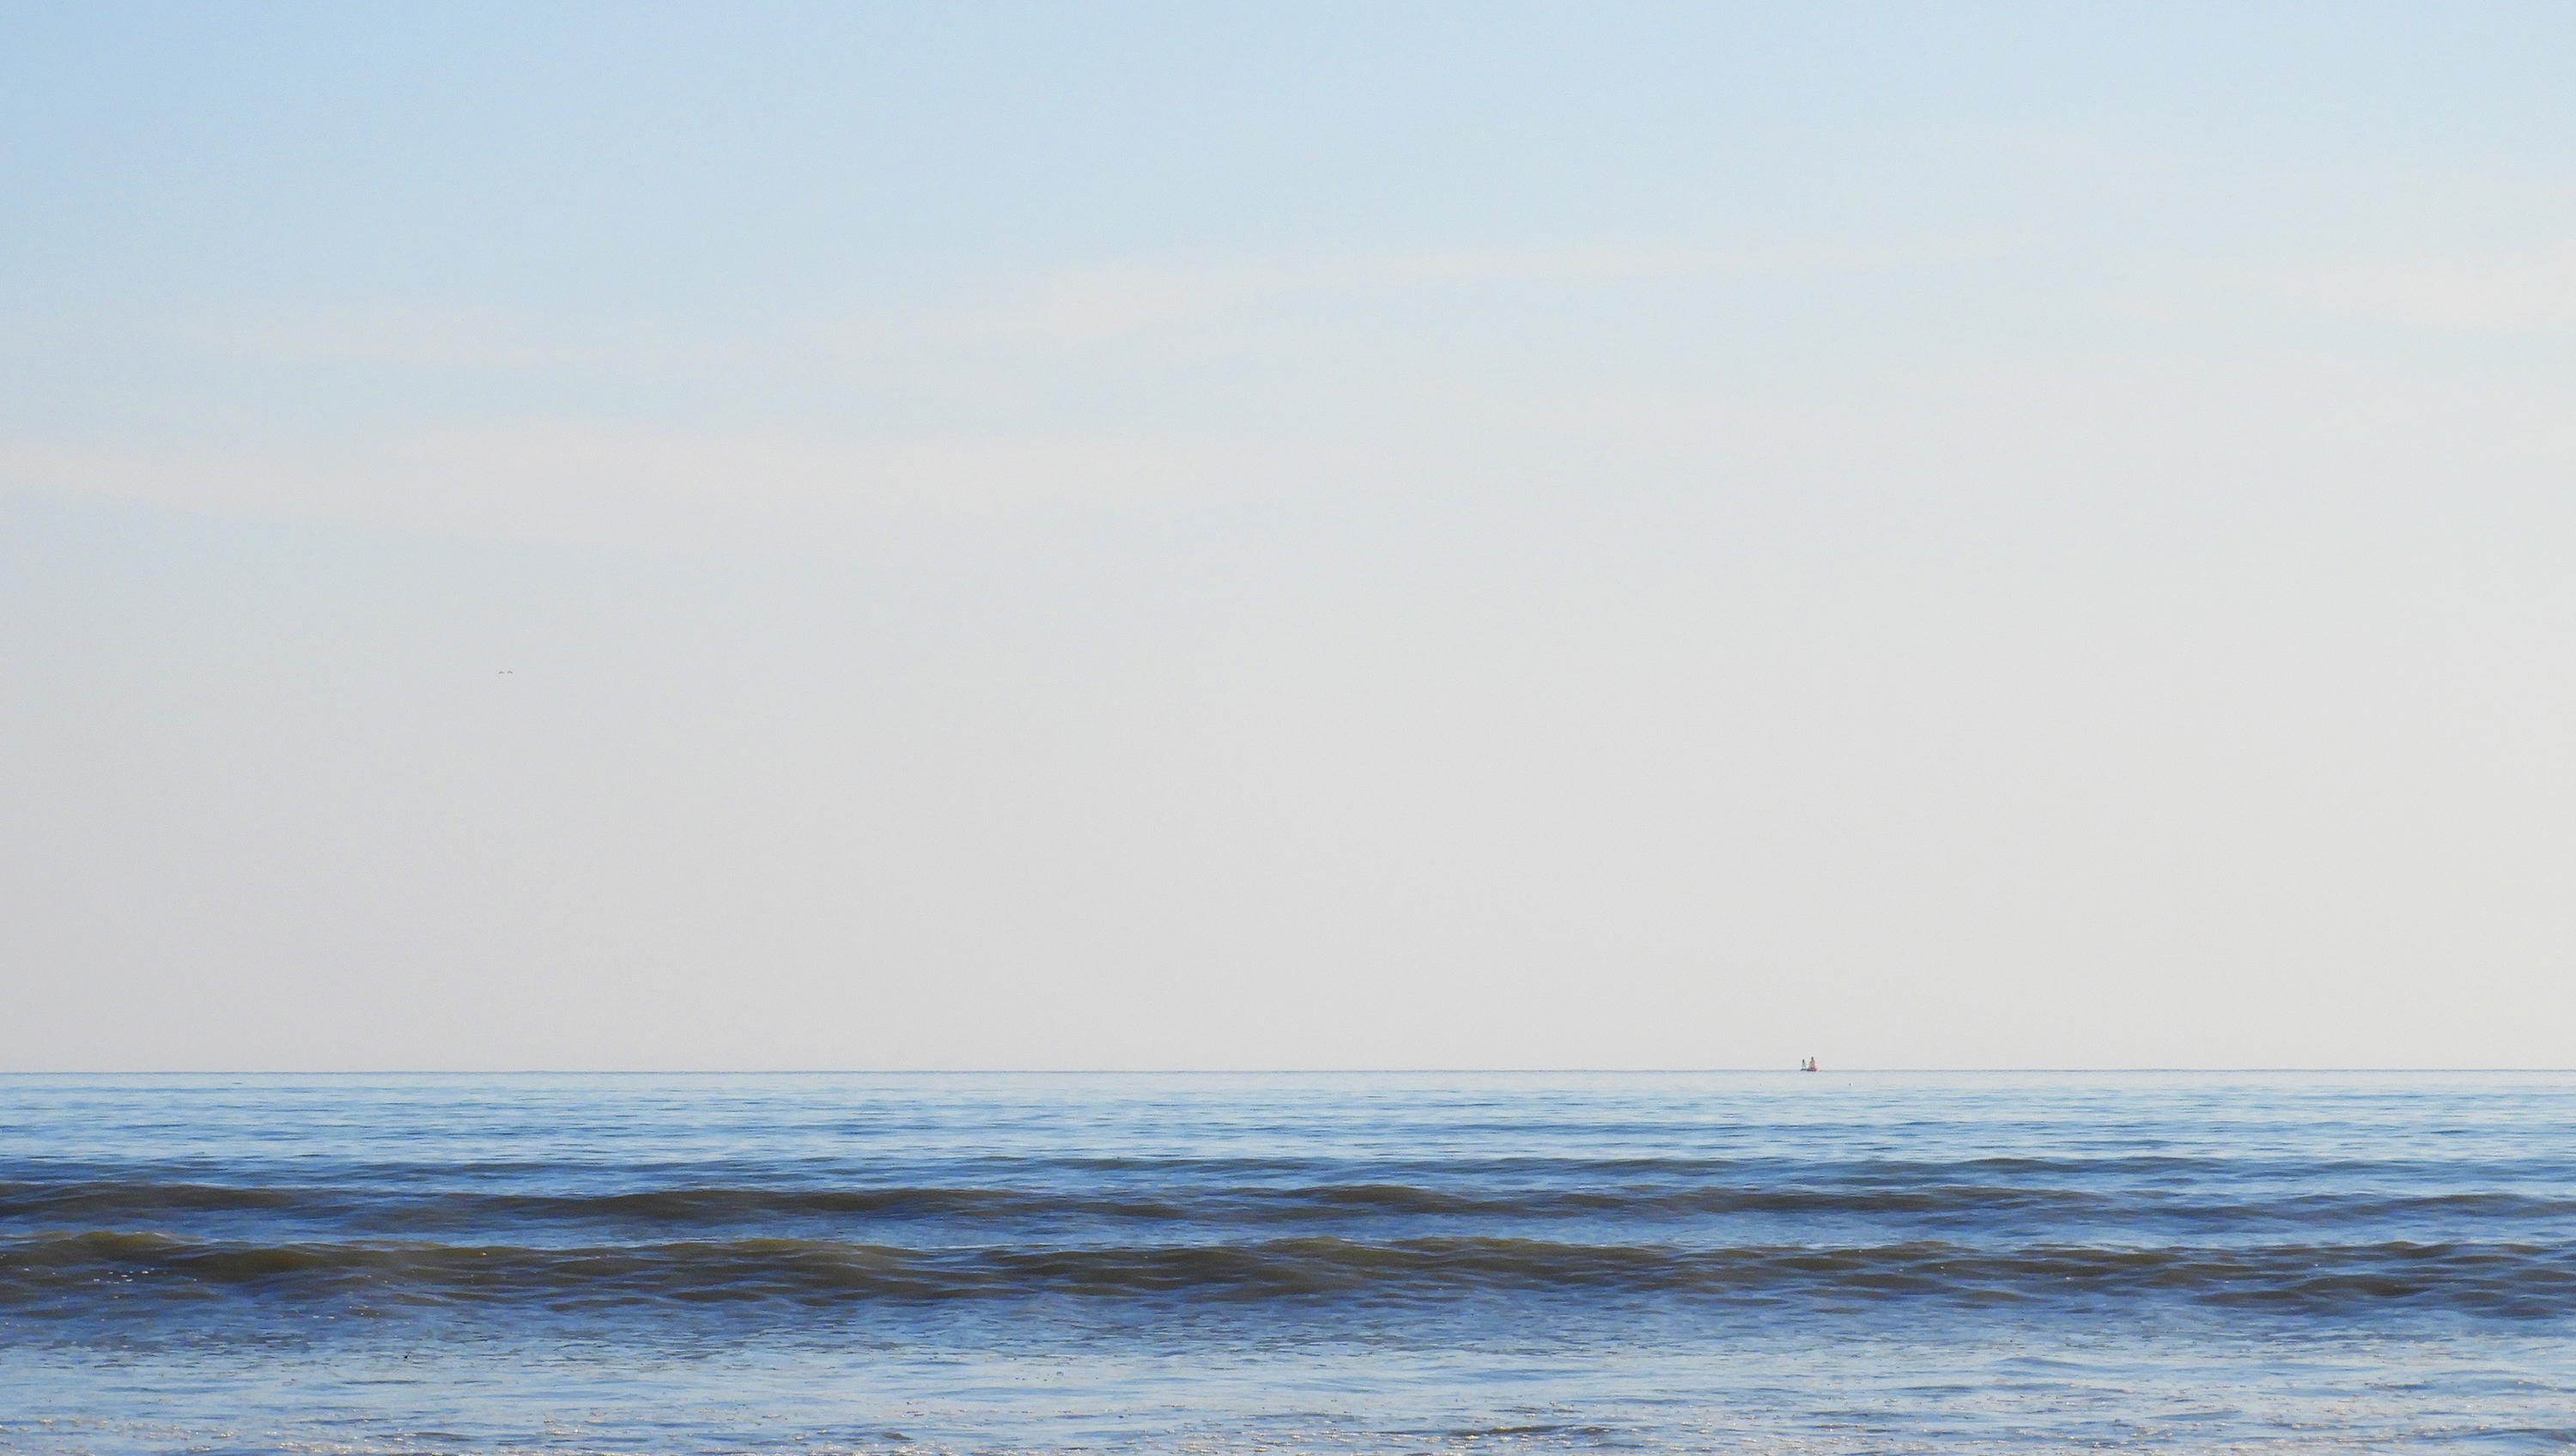
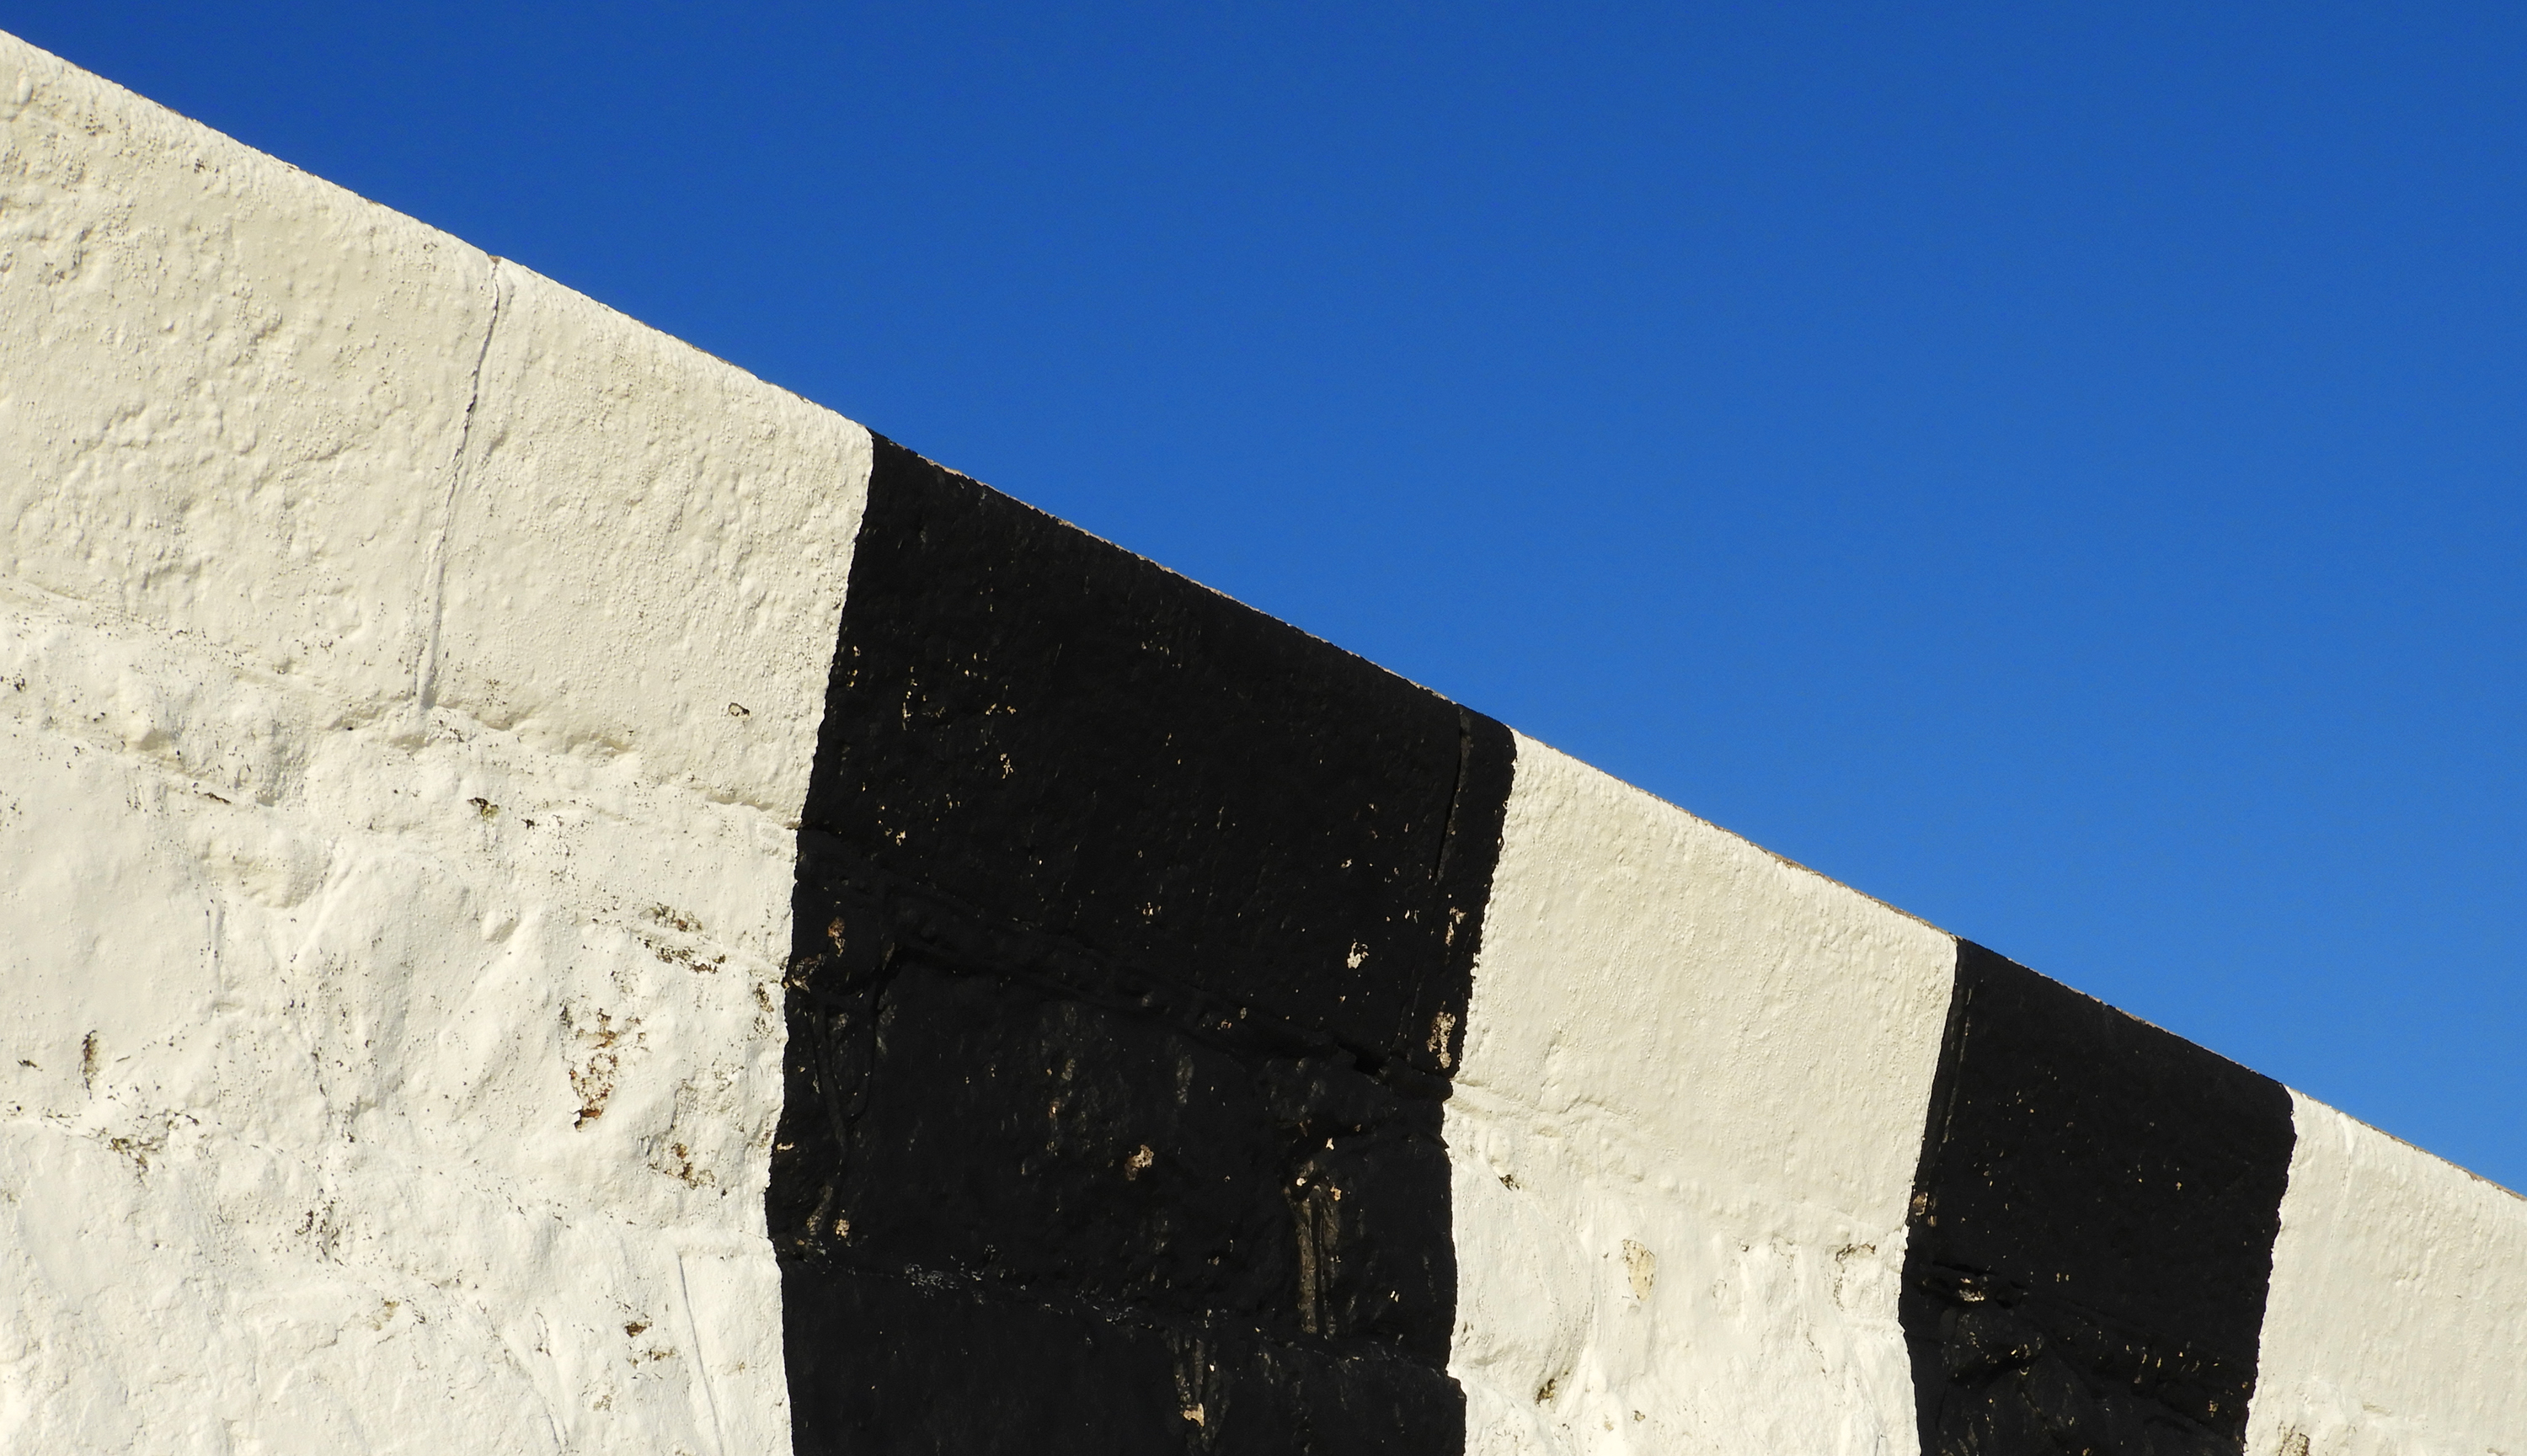
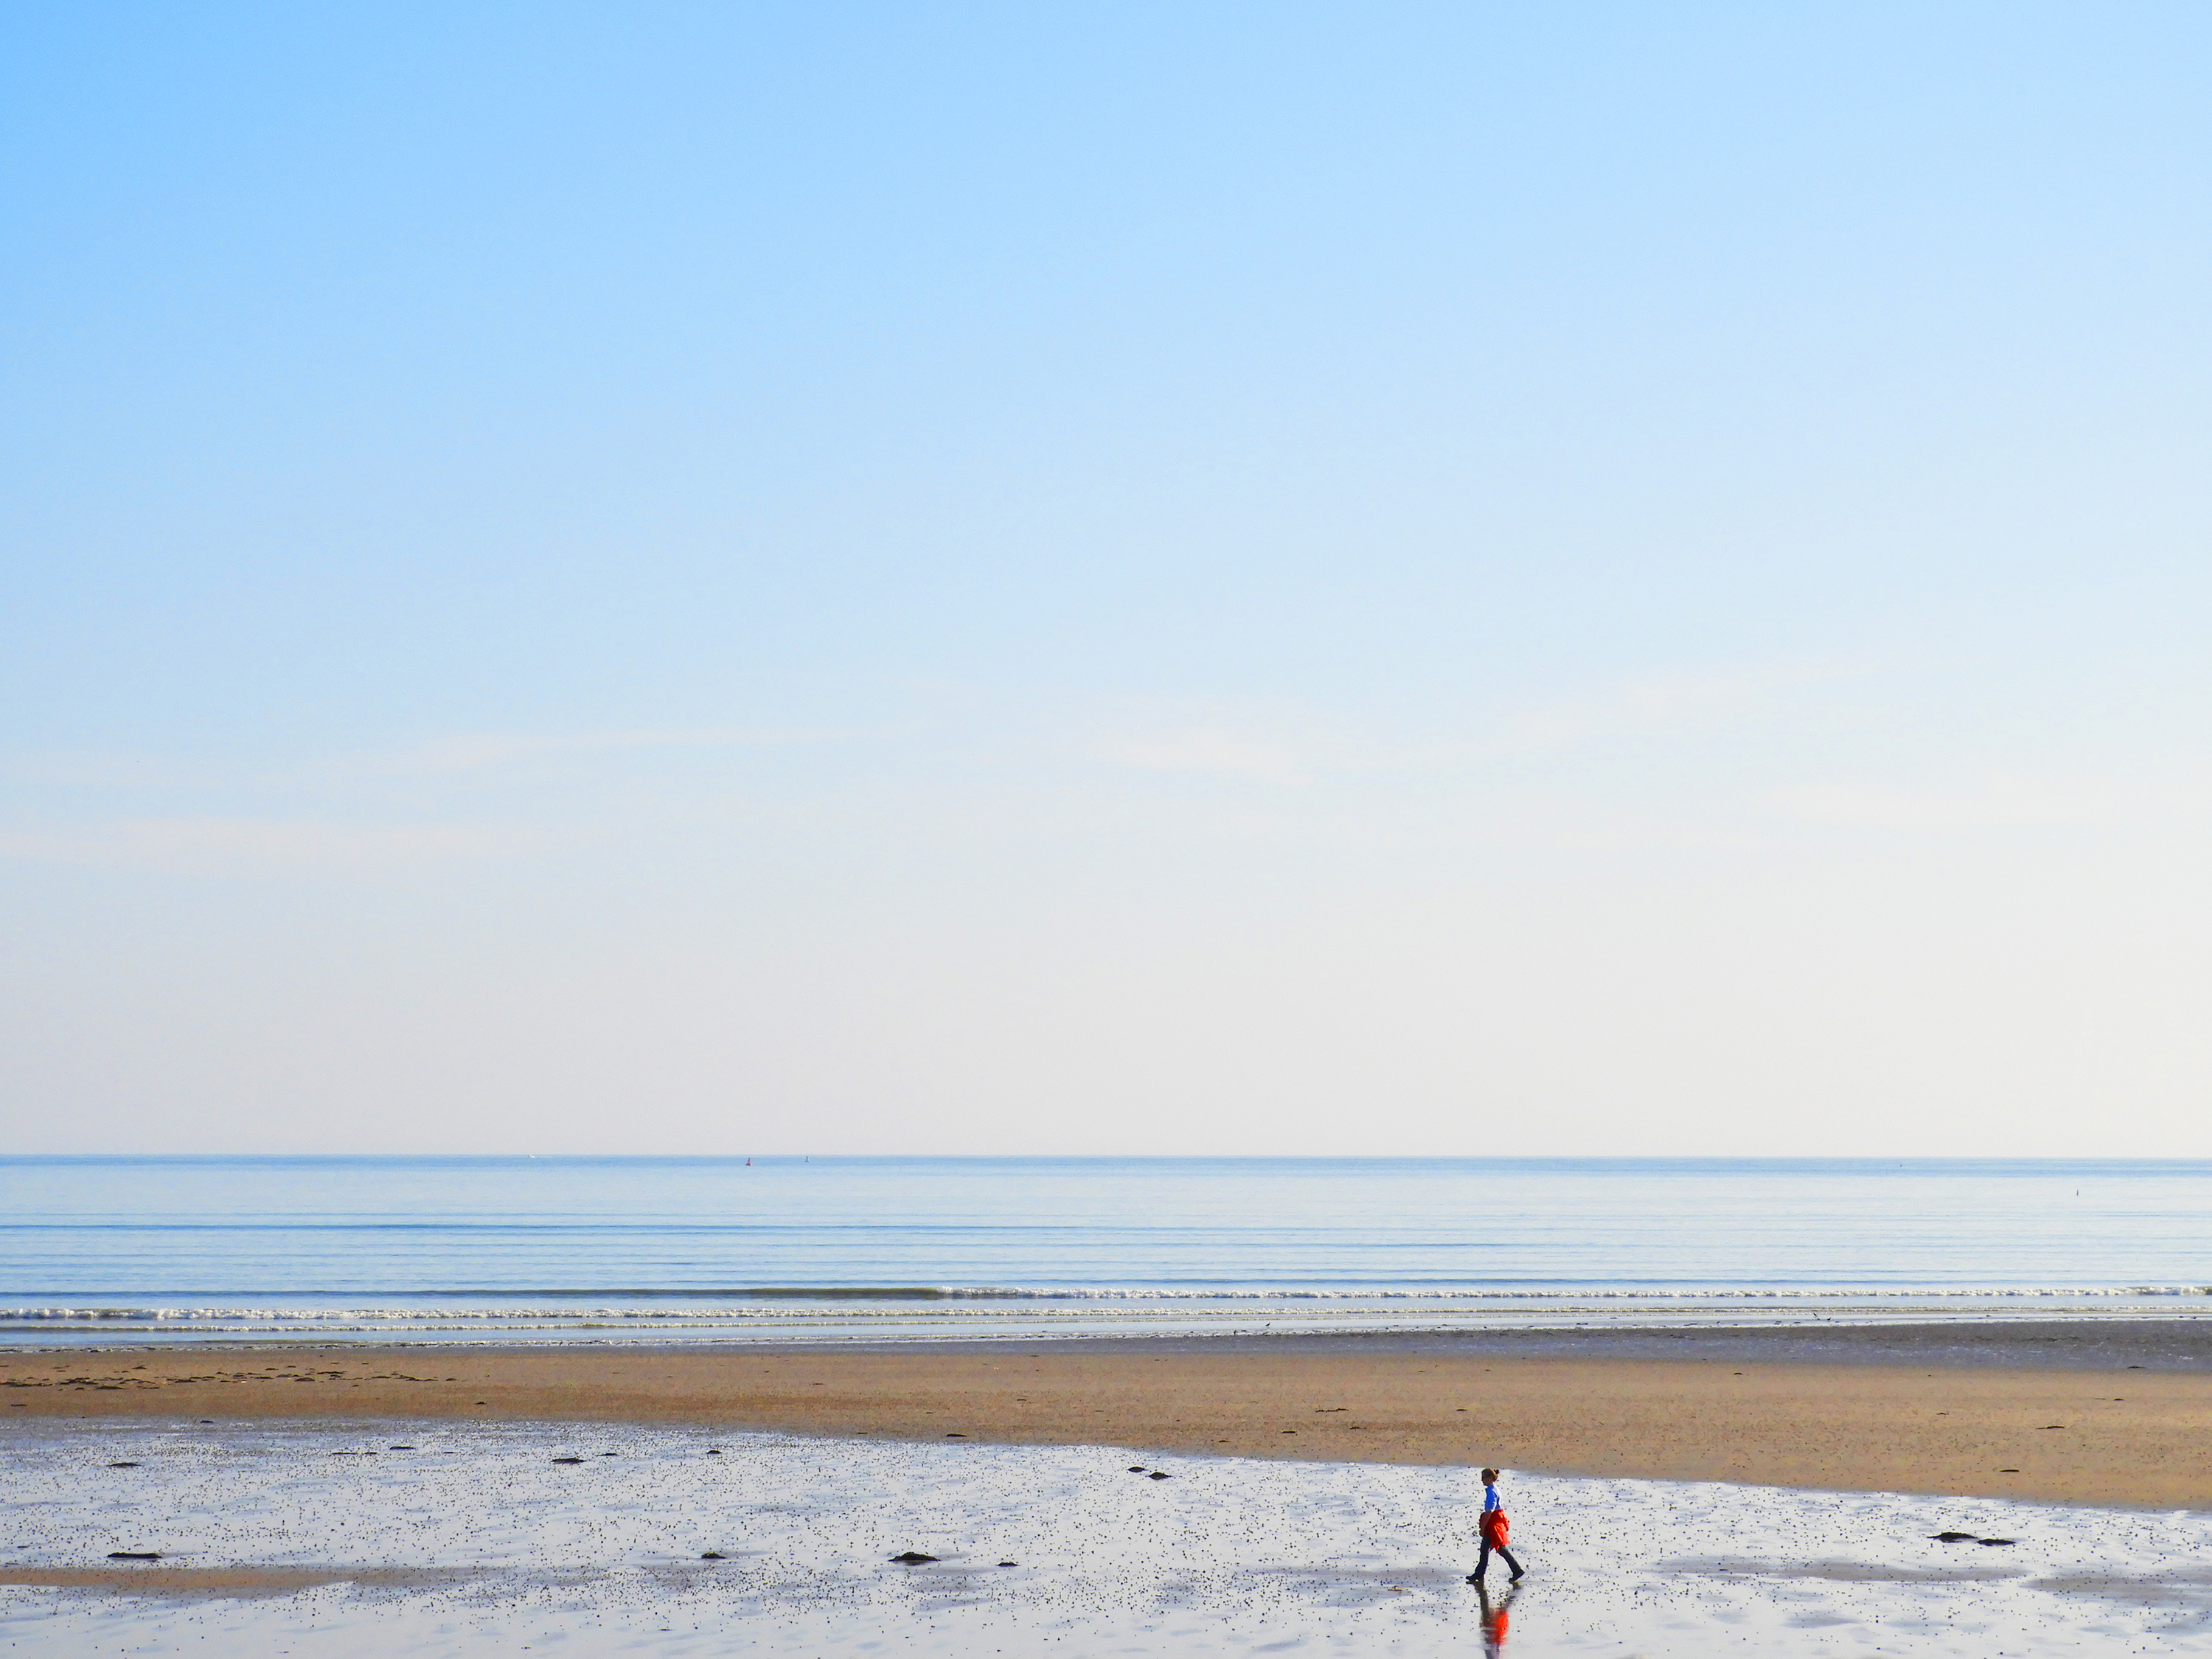
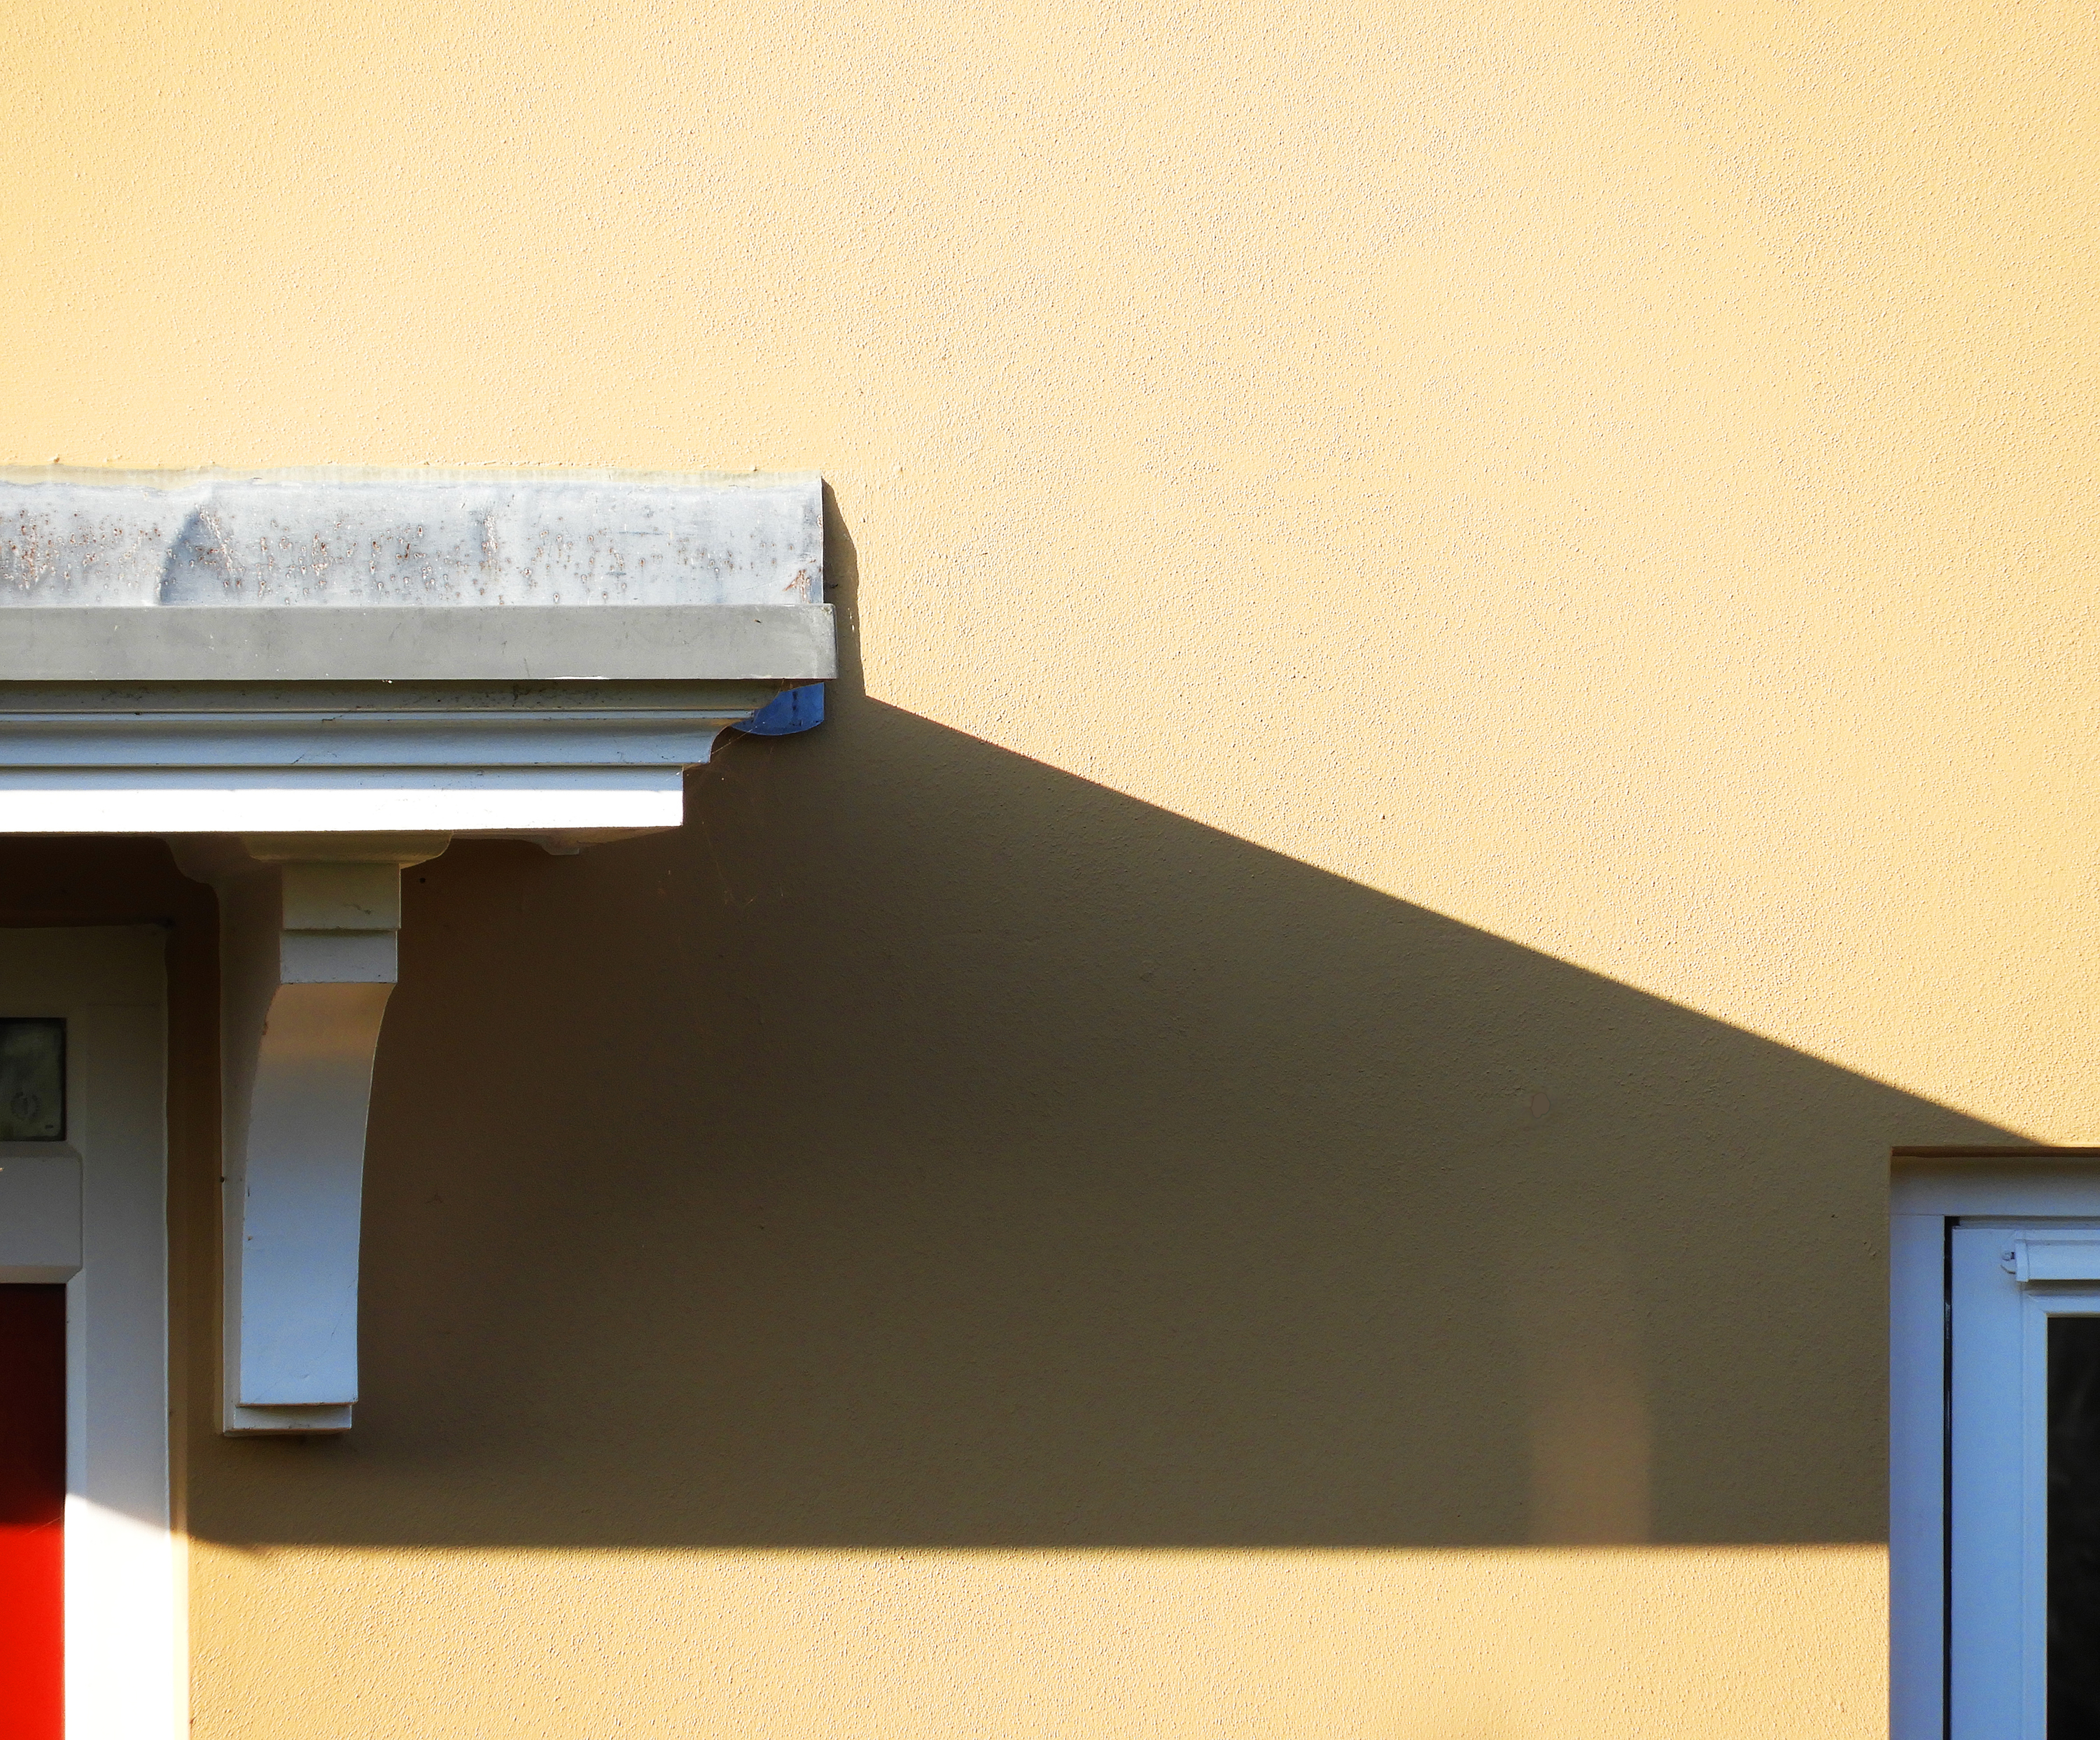
I found that this image is the closest that i got to that of Jeffers’ and Setter’s work, as it has the same characteristics in terms of shape, sharp edges, and an interesting colour palate. My goal for this picture was to try and emulate Setter’s ‘RedMilk’. I also feel as though I have put a unique spin on my picture, using a picture taken from further away.

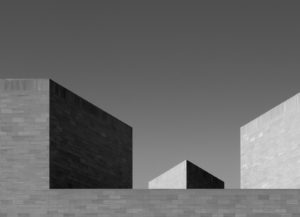
For this Picture, I liked how the lines were perpendicular to one another, similar to a lot of Setter’s work, yet it also has more of a  monochromatic tone compared to a lot of Setter’s pictures. I also Like the use of angles in this photo, as the camera is slightly canted and this adds to the sharp edges of the perpendicular, 90 degree angles within the picture.

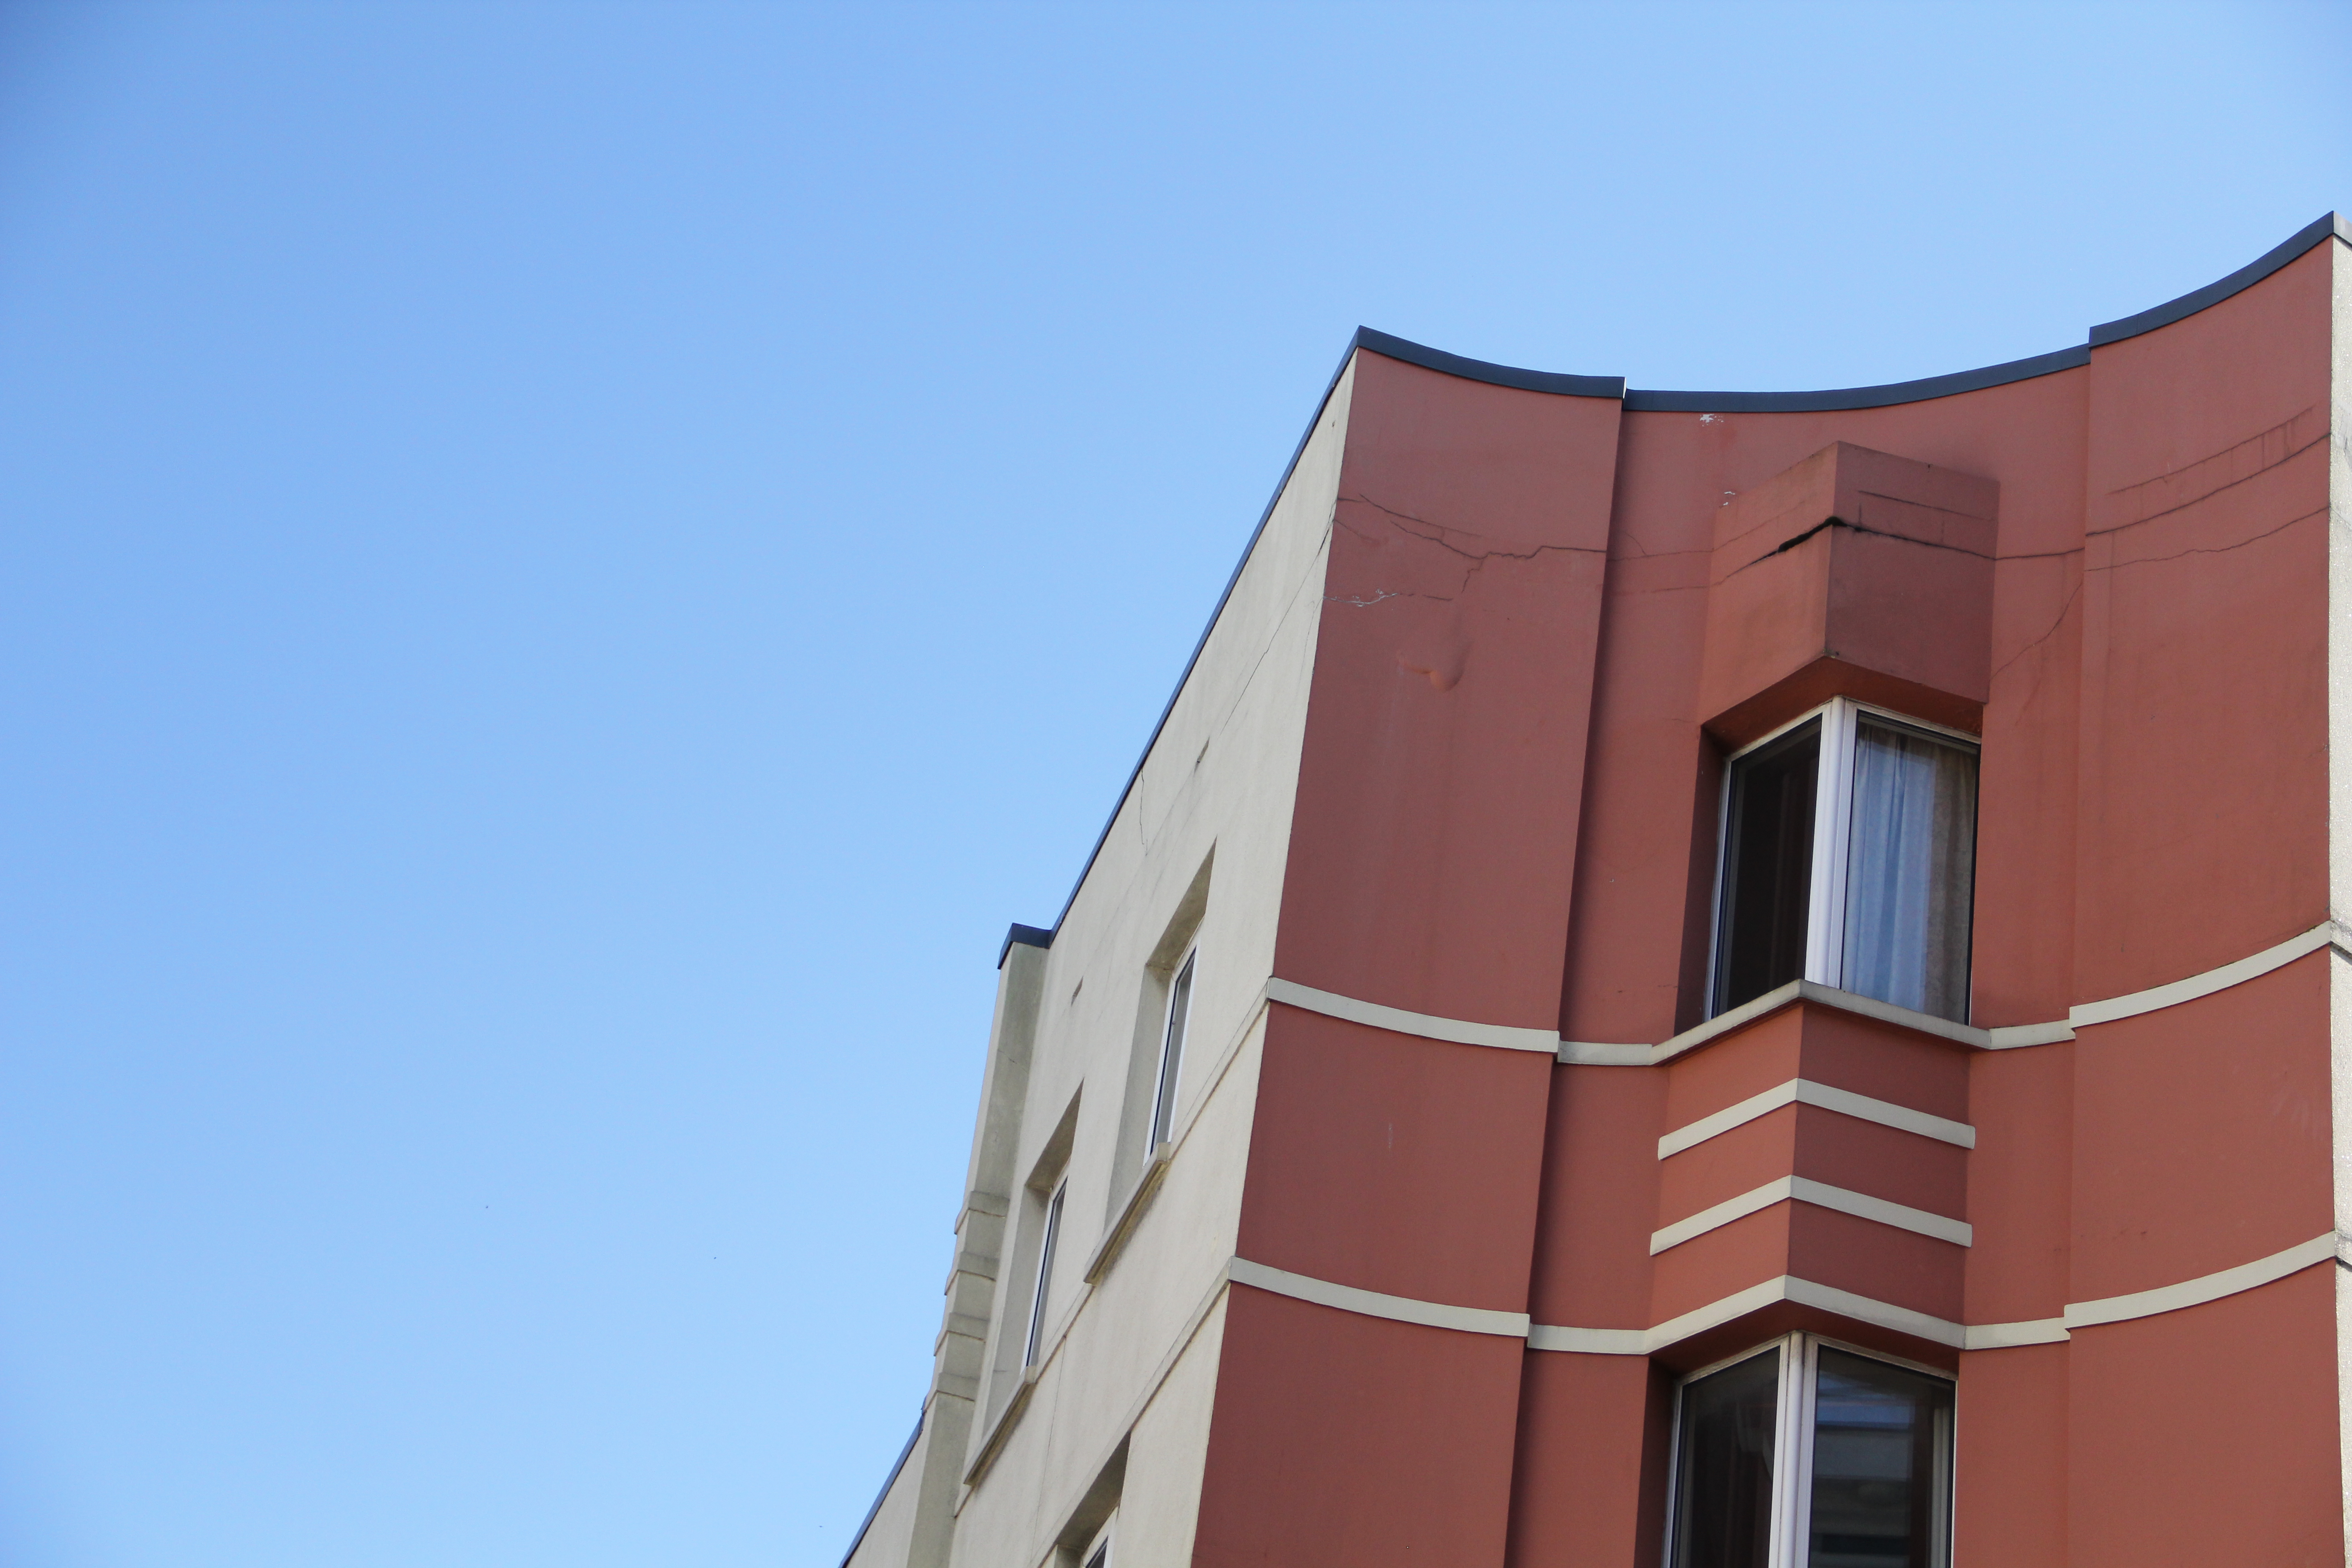
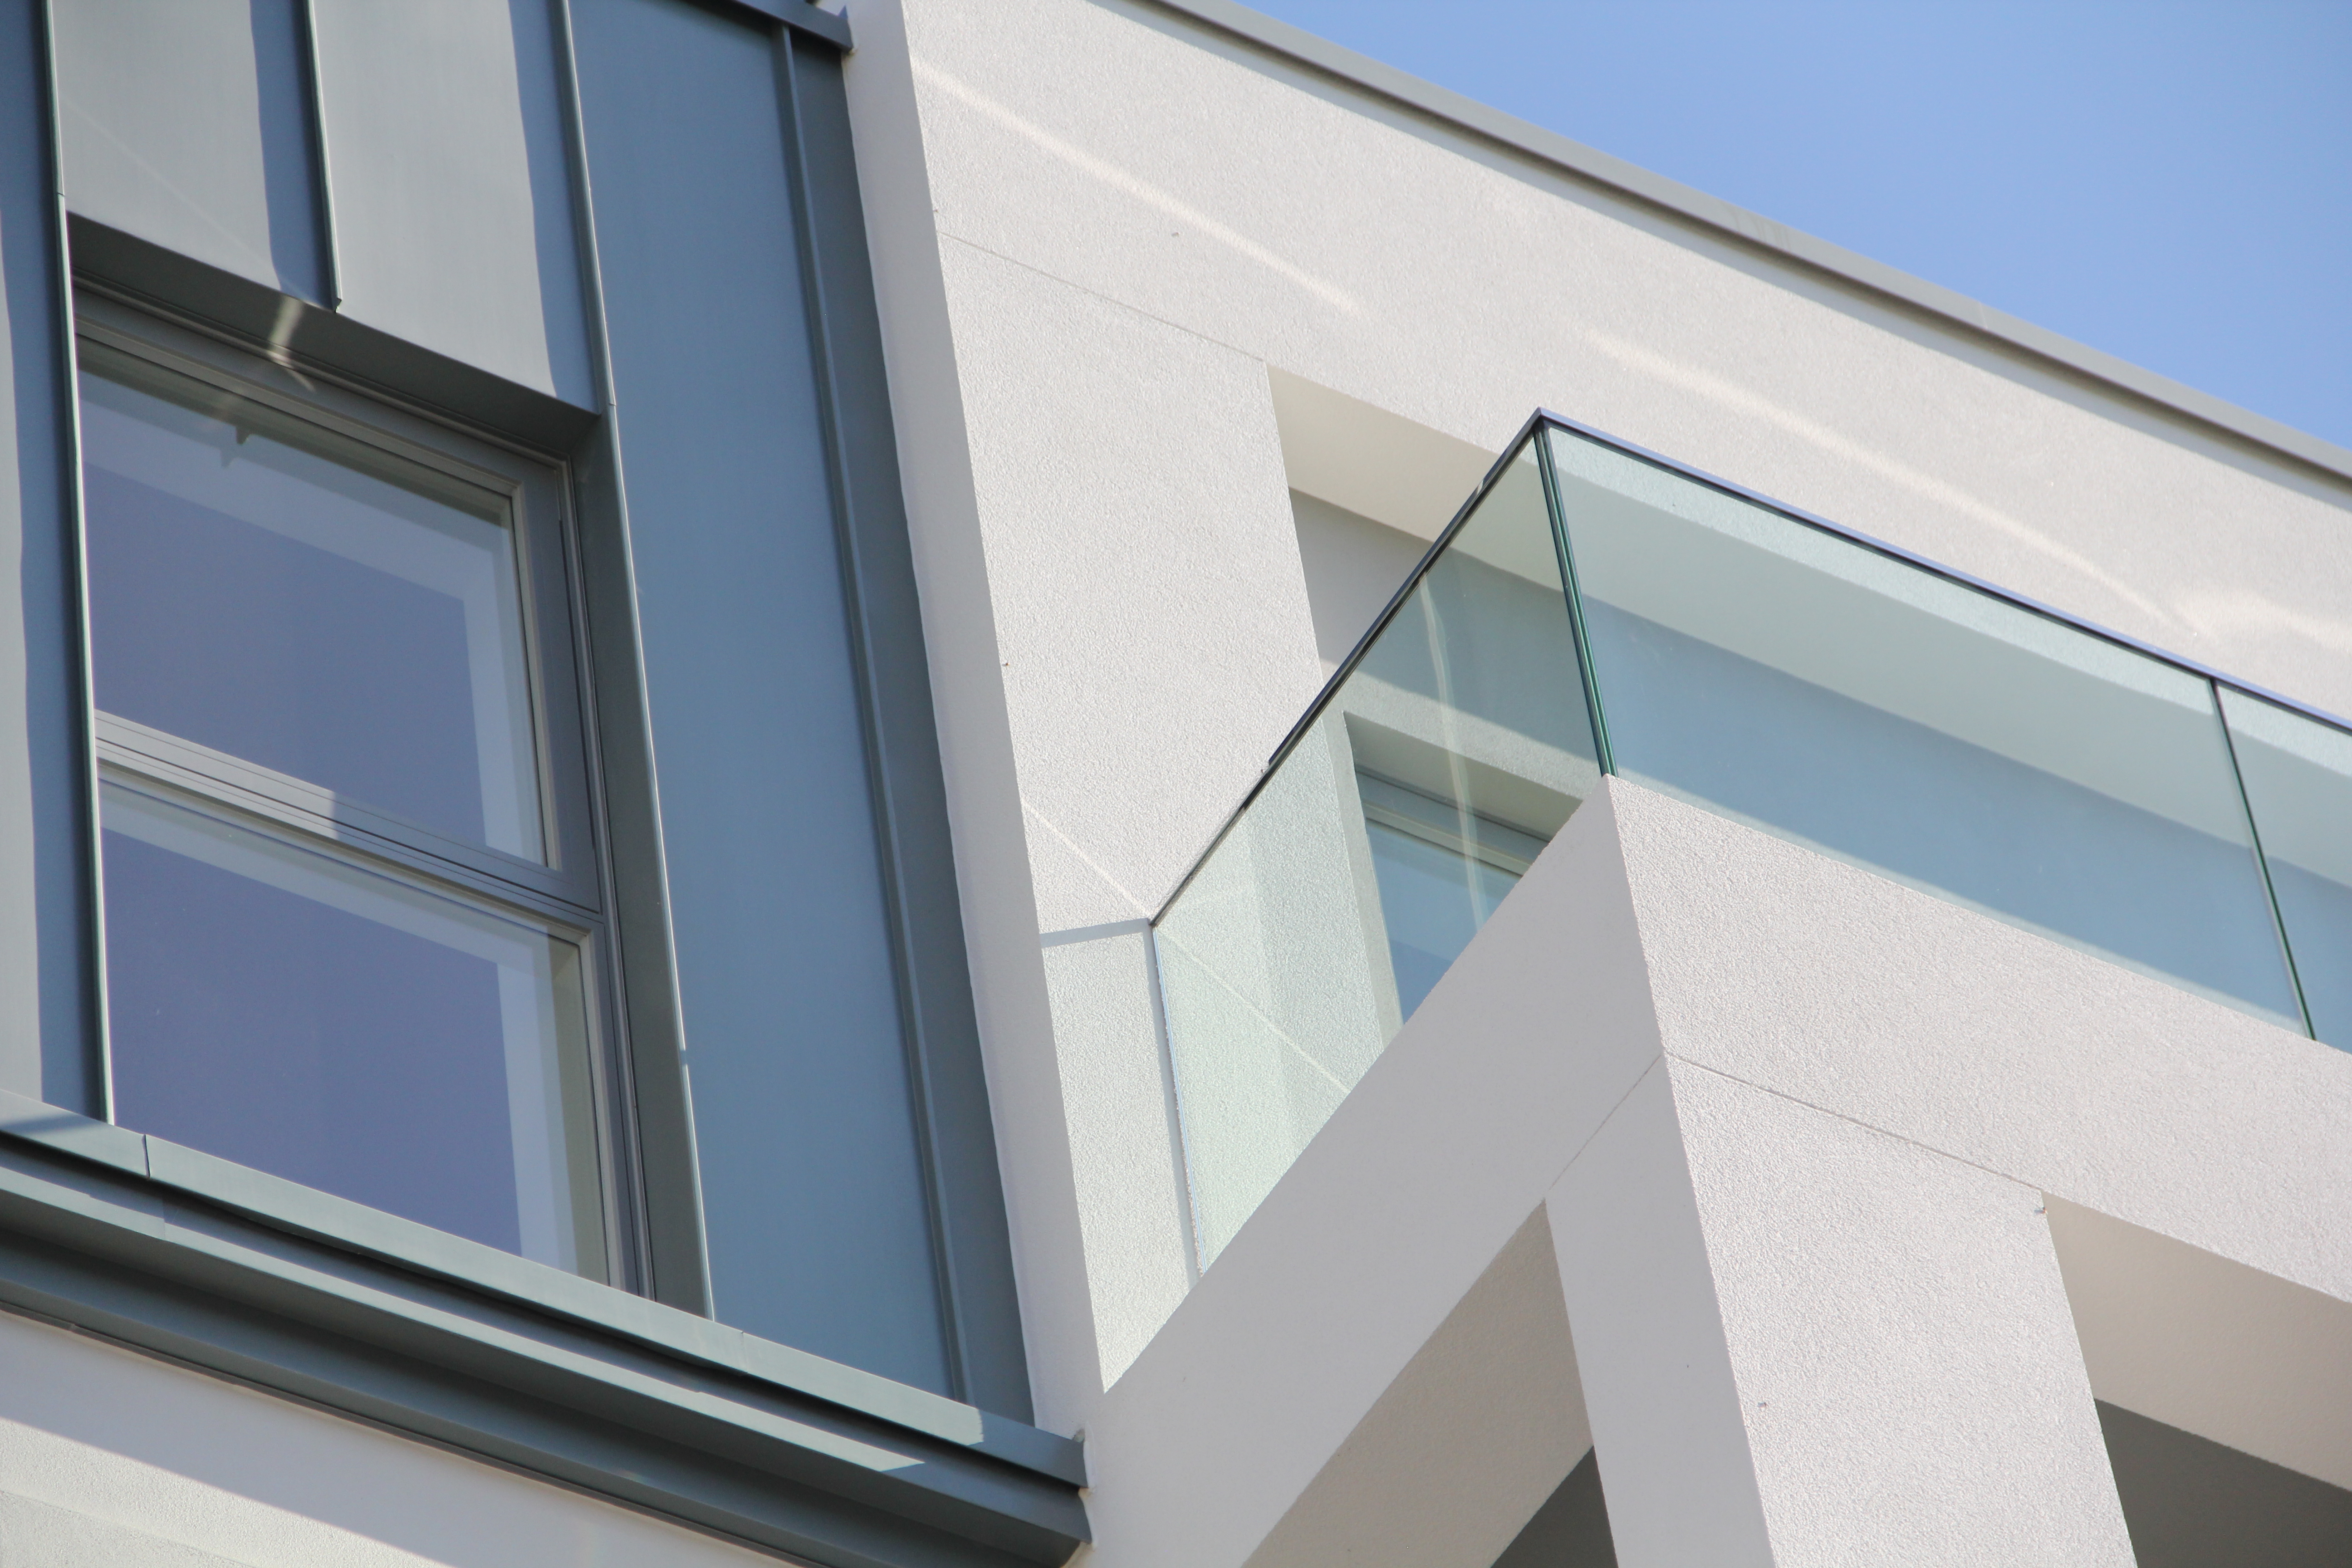
For this picture i wanted to focus on minimalism and It has definitely turned out better than i was expecting. This specific photo was not taken as an attempt to copy others work, but as this was near the end of my shoot, I had started to get an eye for the colour and texture photos that Photographers were producing, yet it does still feature some of the key elements of minimalistic photographer’s work.

Franco Fontana Response

FRANCO FONTANA’S LIFE AND WORK:

Franco Fontana was born in 1933 in Modena. He took up photography in 1961 and joined an amateur club. He held his earliest solo shows in 1968 in Modena, his native city, which marked a turning point in his career. He has published over seventy books with Italian, French, German, Swiss, Spanish, American and Japanese publishers. His photographs have appeared worldwide in over 400 exhibitions, solo and collective. His images are in collections in over fifty public and private, Italian and international galleries, including: the Bibliothèque Nationale, and the Maison Européenne de la Photographie, Paris; the George Eastman House International Museum of Photography, Rochester, the Musée de la Photographie, Arles, New York, the National Museum, Beijing, the Stedelijk Museum, Amsterdam, the Metropolitan Museum of Photography, Tokyo, the Galleria Civica d’Arte Moderna e Contemporanea, Turin, and the Victoria and Albert Museum, London. Many companies have asked him to collaborate on advertising campaigns, he has published photographs in Time-Life, The New York Times, Vogue Usa, Vogue France, Il Venerdì di Repubblica, Sette del Corriere della Sera, Panorama, Frankfurter Allgemeine Zeitung, Class, Epoca and others. Fontana has been invited to hold photography workshops in various schools, universities and institutes such as the Guggenheim Museum in New York, the Tokyo Institute of Technology, the Académie Royale des Beaux Arts, Brussels, the Toronto University, and so on in Rome, Paris, Arles, Rockpot, Barcelona, Taipei,  Politecnico di Torino, and the LUISS University, Rome.  He has collaborated with the Centre Georges Pompidou, the Japanese Ministry of Culture, the French Ministry of Culture.
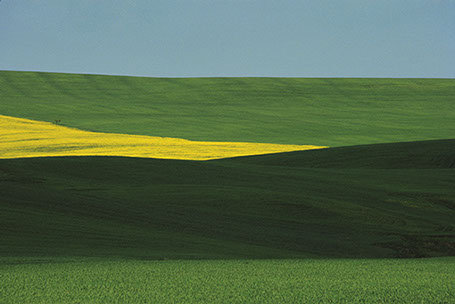
CRITICAL ANALYSIS:
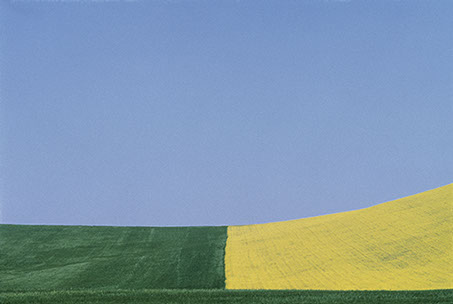
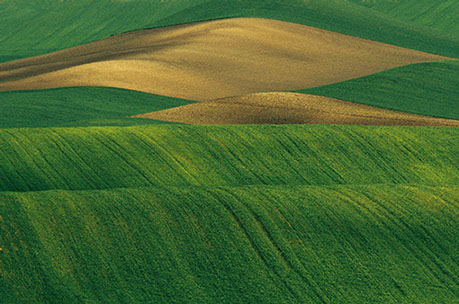
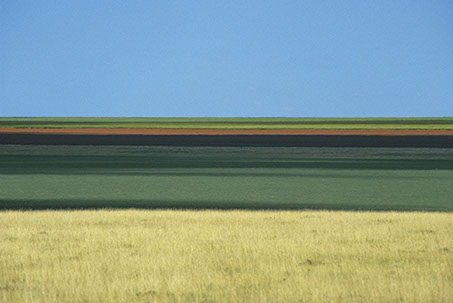
This piece by Franco is very simple in composition, only consisting of simple line work, going along the rolling hills of the grasslands. There are large blocks of color which separate the photo into 3 sections, blocking each color into a section. Even through the photo contains a very simplistic color pallets, the colors merge and harmonize together to create an overalll “tied together”look. There is no real foreground, mid ground or background, therefore the landscape appears 2D and flat. The length and width of each block of color is fairly relative to one another therefore there is a slight sense of pattern and repetition. I believe that during editing, the colors have been over saturated in order to create impact and boldness. The natural lighting coming directly above from the sun, gives the image brightness yet lacks any sort of shadows or tone differentiation. Even though this is a photograph of fields, the image does not feel organic or natural in any sense due to the symmetry and geometry seen within it.

His reasoning for creating these images are “my goal is to interpret reality. Anyone can see the landscapes I photograph, but with my camera I try to capture the details and features that the eye cannot see. Some tell me, “I went to Provence and I saw ‘your’ landscapes”; sometimes they will have seen those places before coming to an exhibition, but only after looking at my work they see that part of reality pinpointing something they had not noticed before.”

CONTACT SHEETS AND SELECTION:

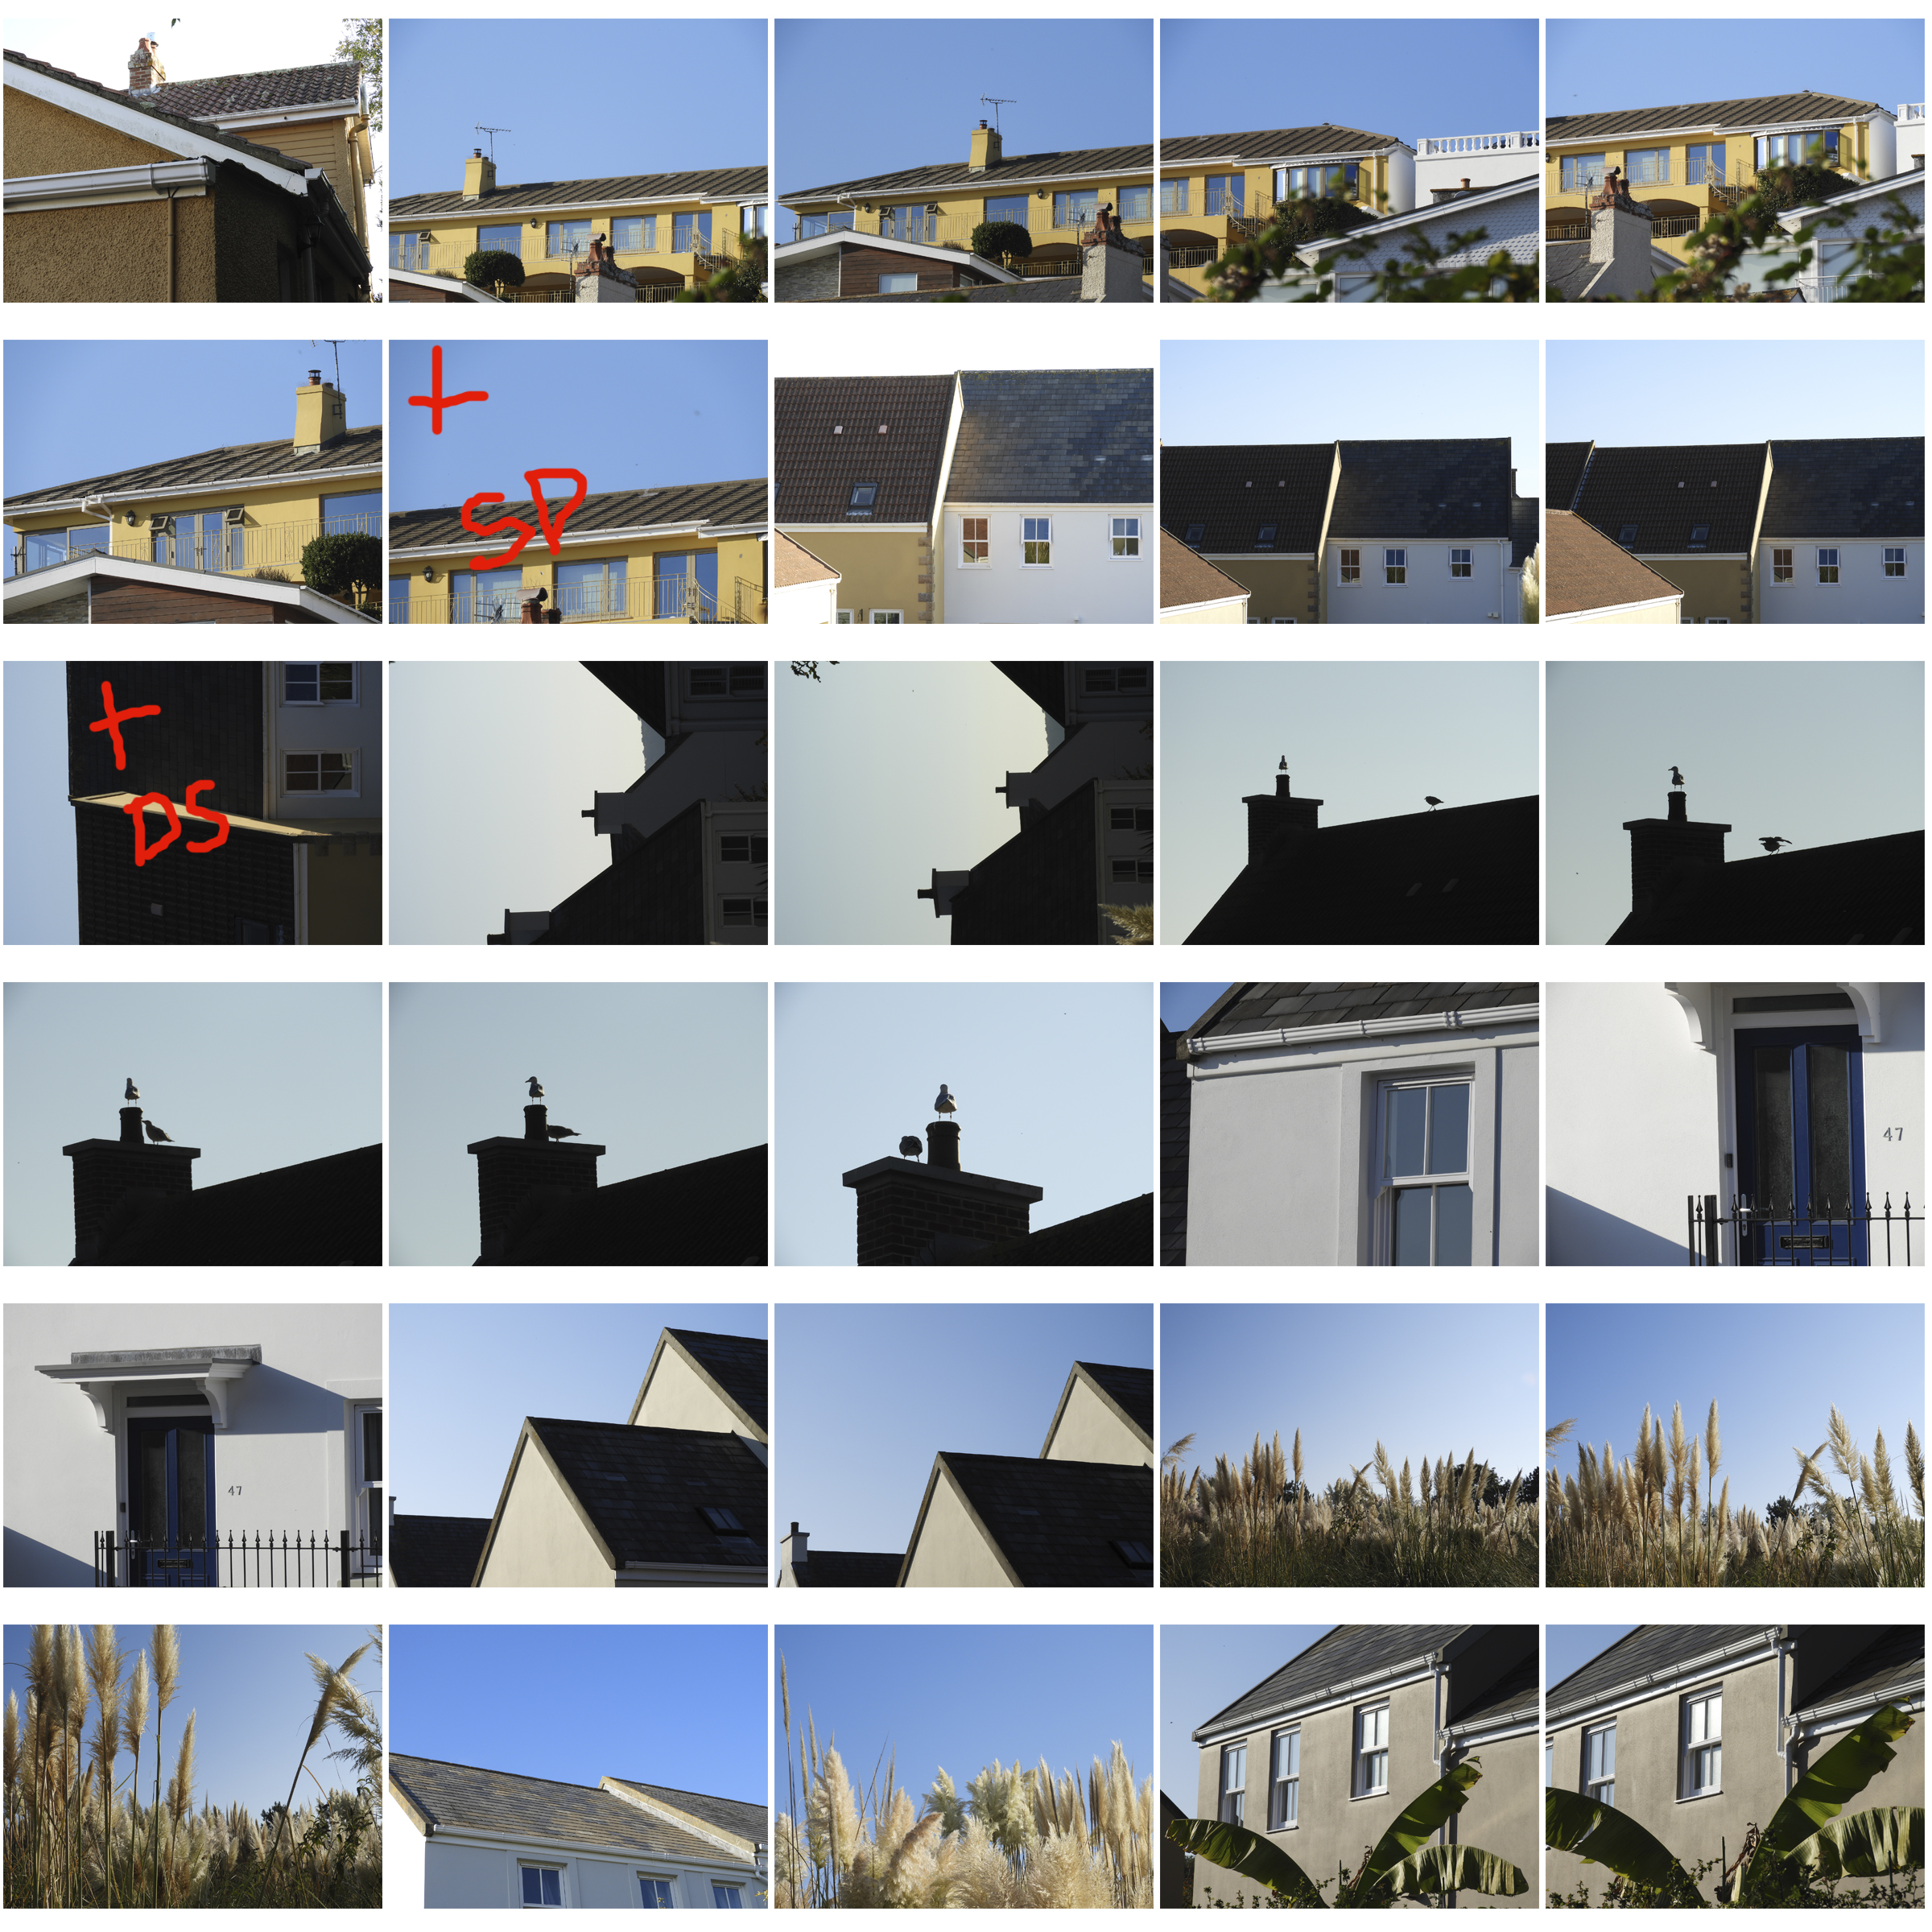
This was a very extensive and thorough photo shoot therefore i ended up with over 200 photos which i eventually cut down to 9 with the help of contact sheets. The plus indicates that the image is successful. The S indicates the need to further saturate the image, and the D indicates the need to lighten the image.
ANALYSIS OF MY MOST SUCCESSFUL PHOTO:

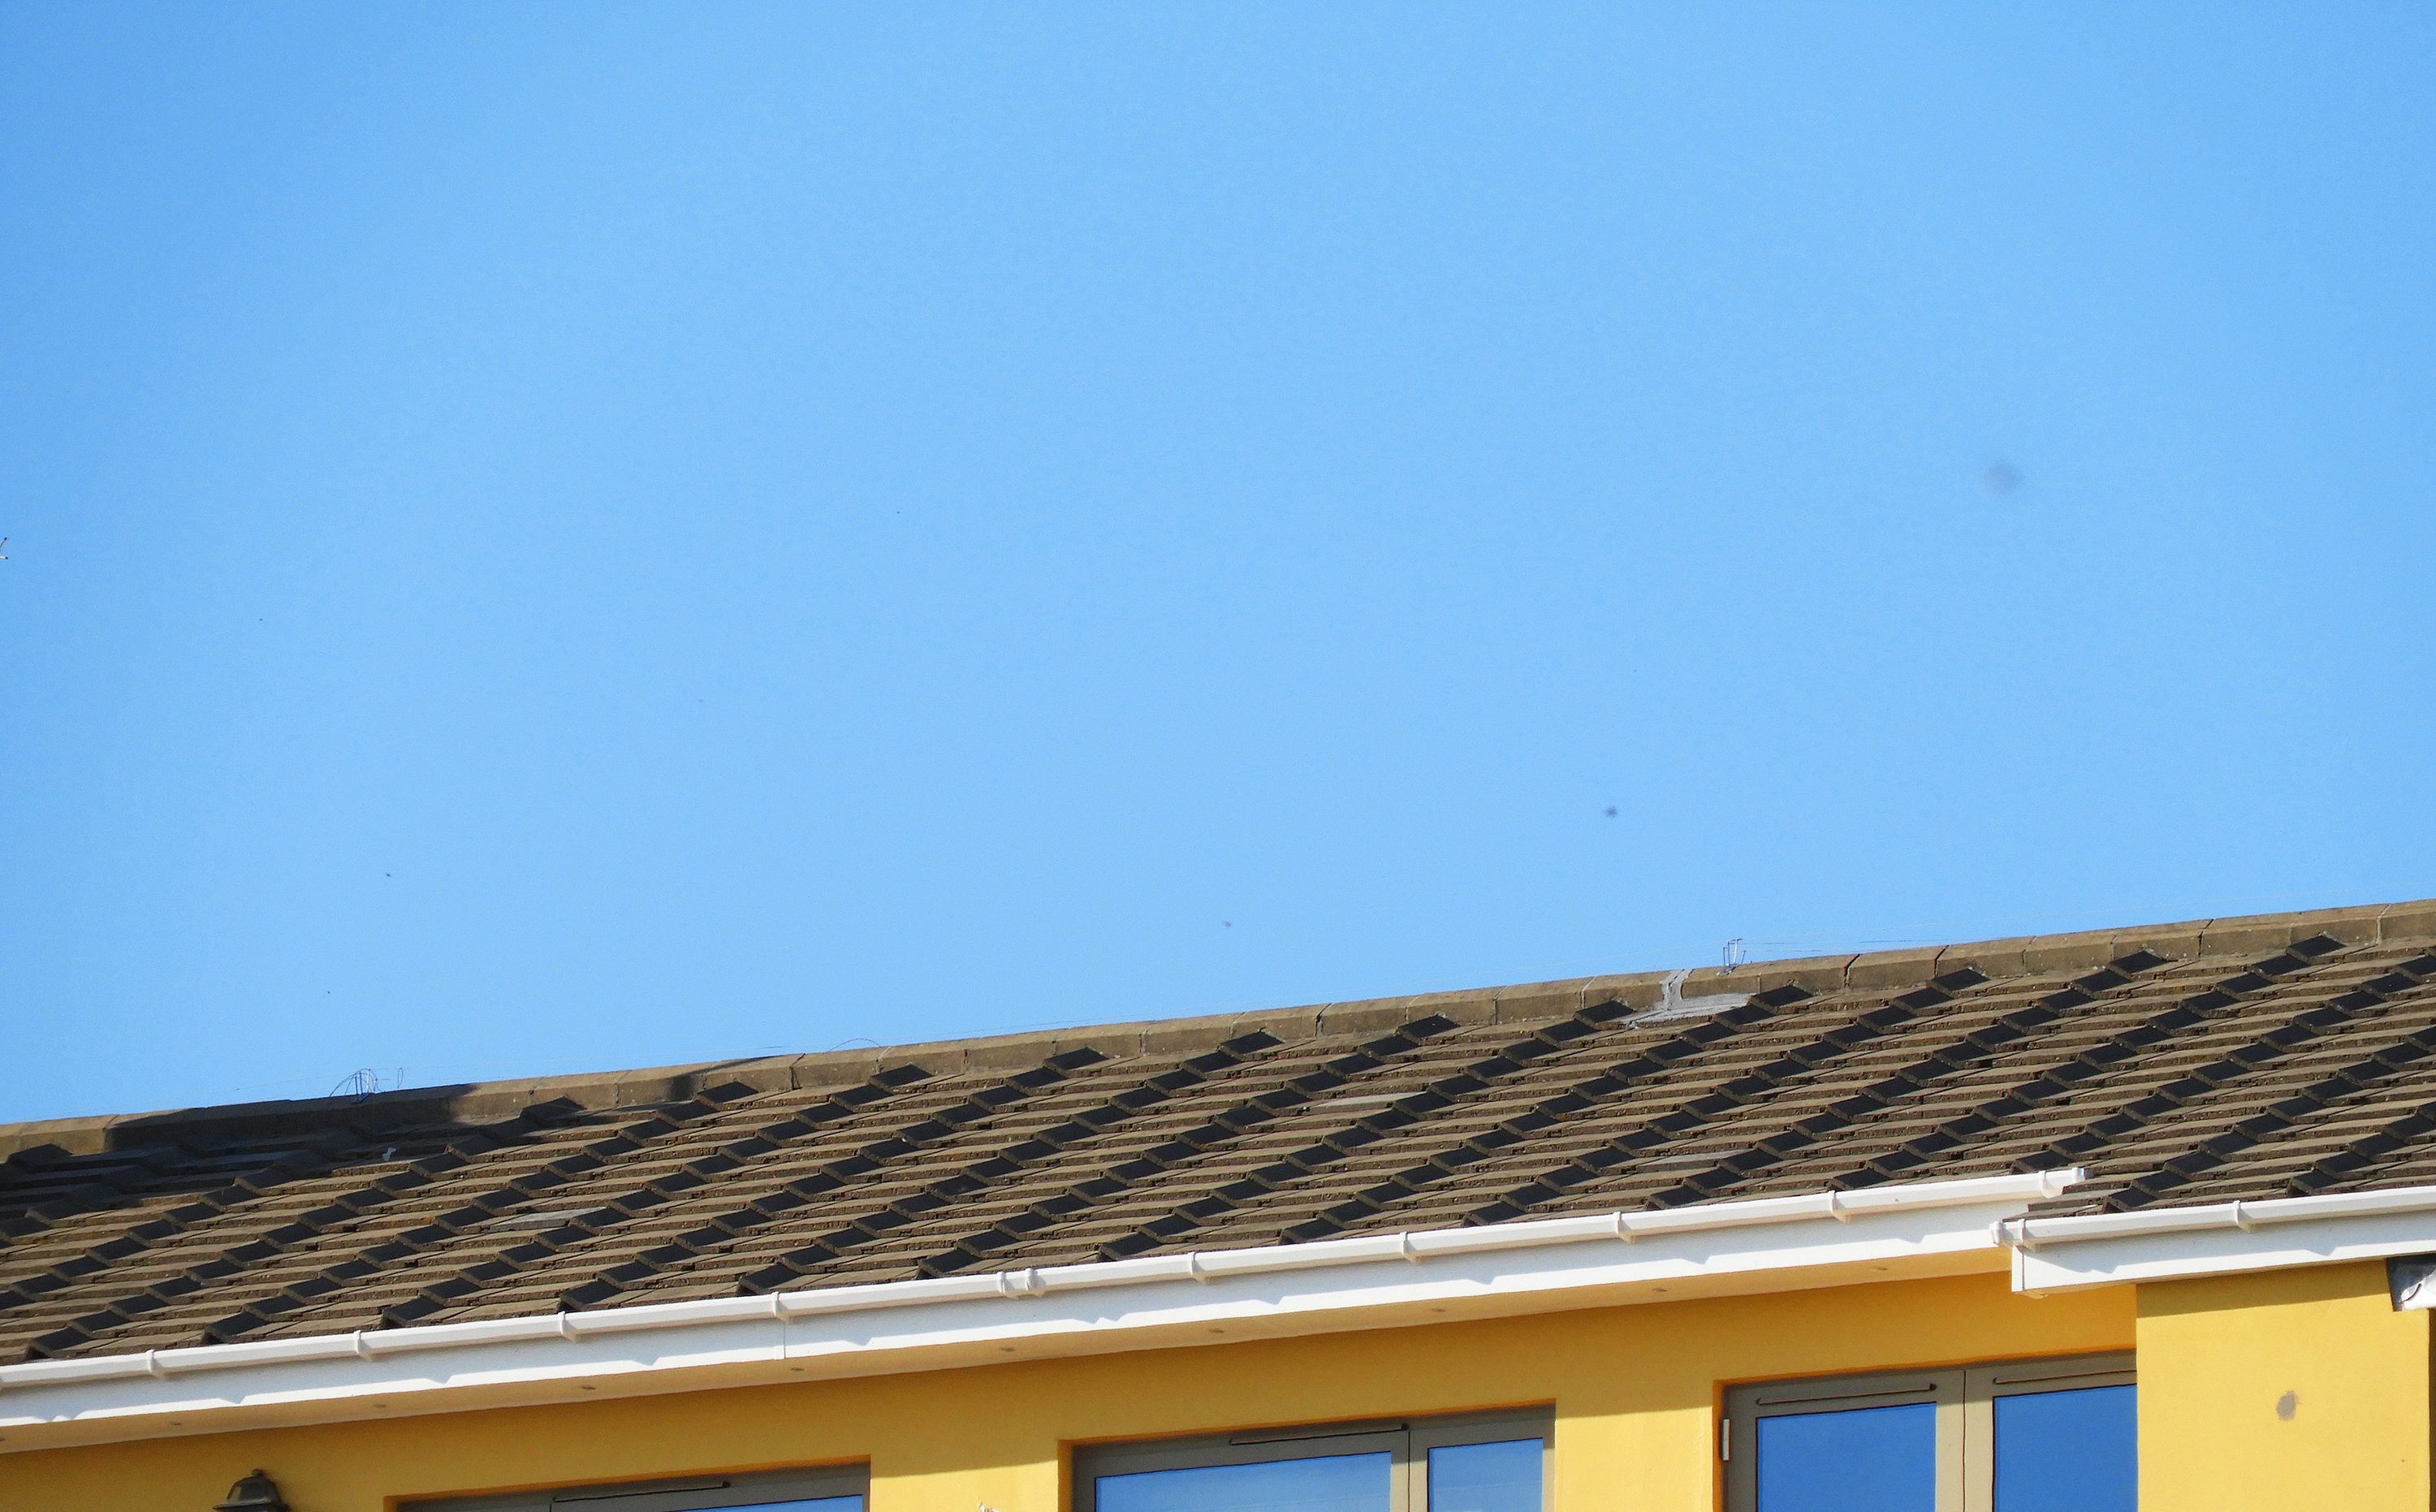
i felt that this photo encapsulated the formal elements that Franco explores best. Firstly, the main focus of the image is the bright and saturated colors of the sky and the yellow building below, which perfectly harmonize to create an impactful image. The light grey and brown roof tones down the image slightly, yet works well together with the blue and yellow. Like Franco, I captured these images on days with few clouds and strong natural lighting which allowed the bright blue sky to pop and provide a clean backdrop for the image. The light was hitting the building from the top left hand of the sky therefore no real shadows are cast onto the building. The image follows the  rule of 3, with the sky filling up the top 2/3 of the image and the building filling up only 1/3 of the image.  Like with Franco’s work, There is a slight sense of repetition in this image through the evenly spaced roof tiles and windows in the bottom third of the image. The repetition of pattern also makes this image feel industrial and man-made, far from anything organic. This image is also very flat and does not have a clear foreground or background giving it a 2D quality.

Whilst capturing these images, I set my exposure to 600, as it was quite a bright day yet i wanted it high enough to allow color to be bright. As there was plenty of natural light, I maintained my shutter speed at 1/60 which was enough to produce clear and crisp images. I set my white balance to direct sunlight as these were the conditions i was experiencing that day. The field of view in this image is very small, meaning that i zoomed in quite far into the building to capture this image.
 

Franco Fontana Response: Most Successful Photos

WHAT I DID:

This is a selection of my most successful photos from a photoshoot i did focusing on the work of Franco Fontana. All the images below follow a simplistic approach, mainly concentrating on bold color and minimalist composition. I was not able to capture the beautiful rolling hills like Fontana has done, but I still incorporated similar elements into my work in order portray similar images.

Alfred Stieglitz – week 5

Alfred Stieglitz was an American photographer and modern art promoter who was instrumental over his fifty-year career in making photography an accepted art form. In addition to his photography, Stieglitz was known for the New York art galleries that he ran in the early part of the 20th century, where he introduced many avant-garde European artists to the U.S.

Examples of his cloud works :

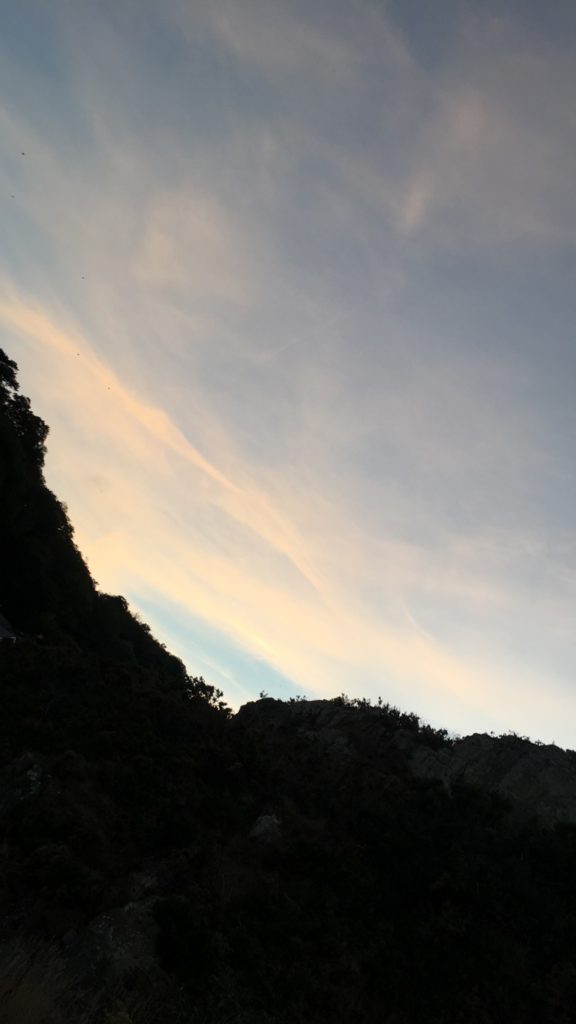
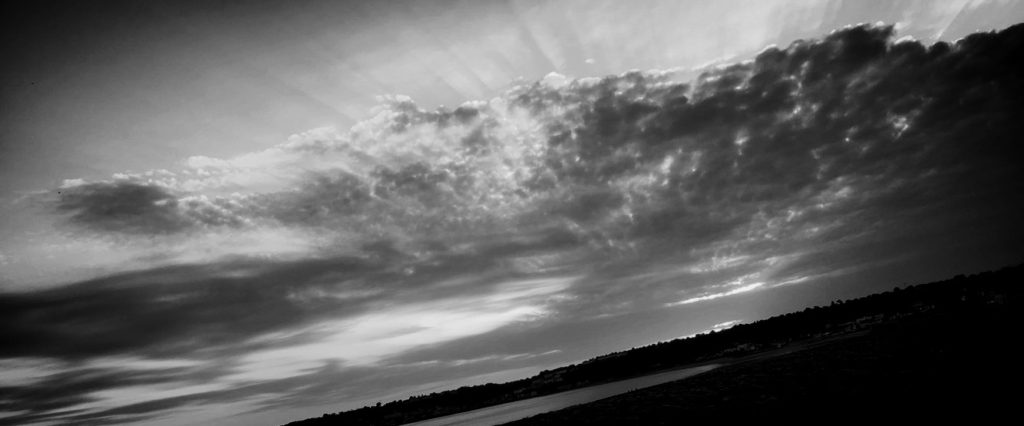
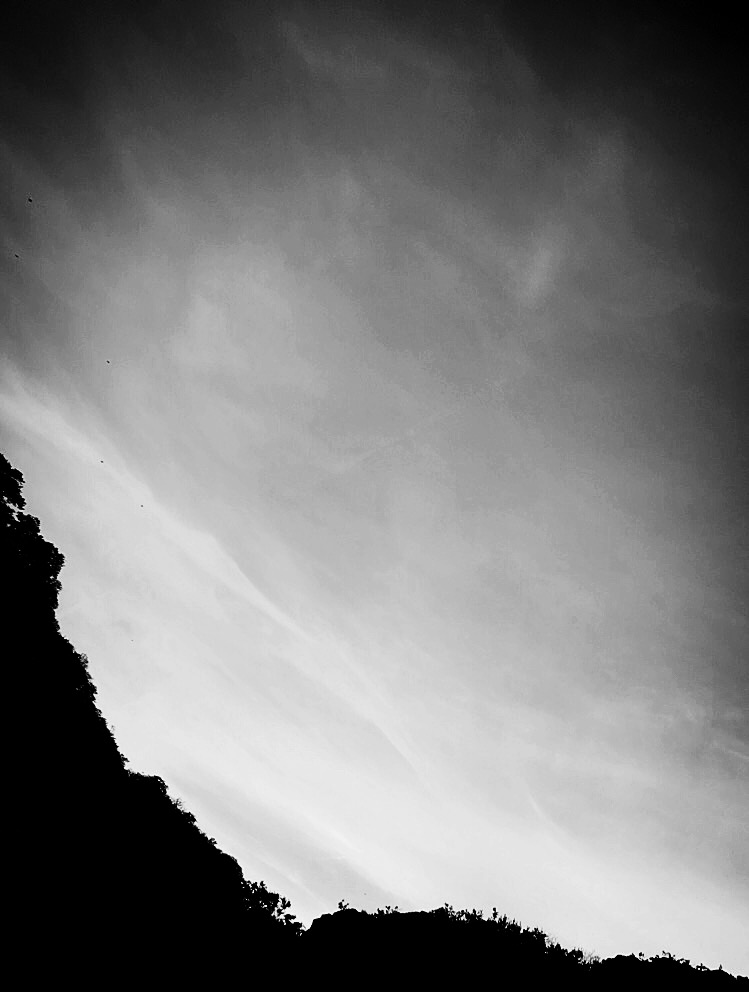
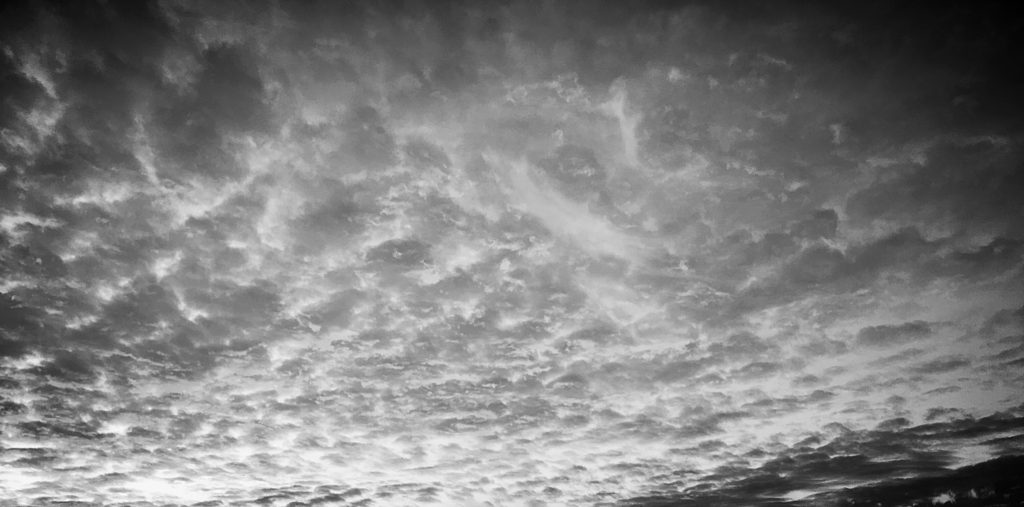
In his work, he takes pictures of instructing and unique forms of clouds, with the light and darks clashing.

Image result for alfred stieglitz photography cloud

Image result for alfred stieglitz photography cloud

Contact sheets:

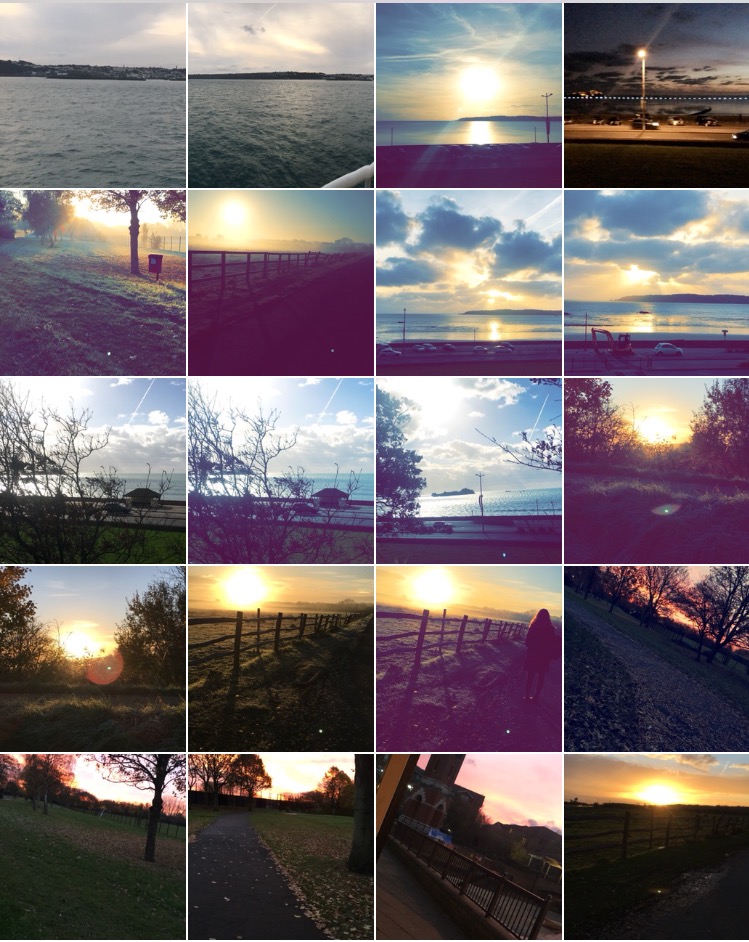
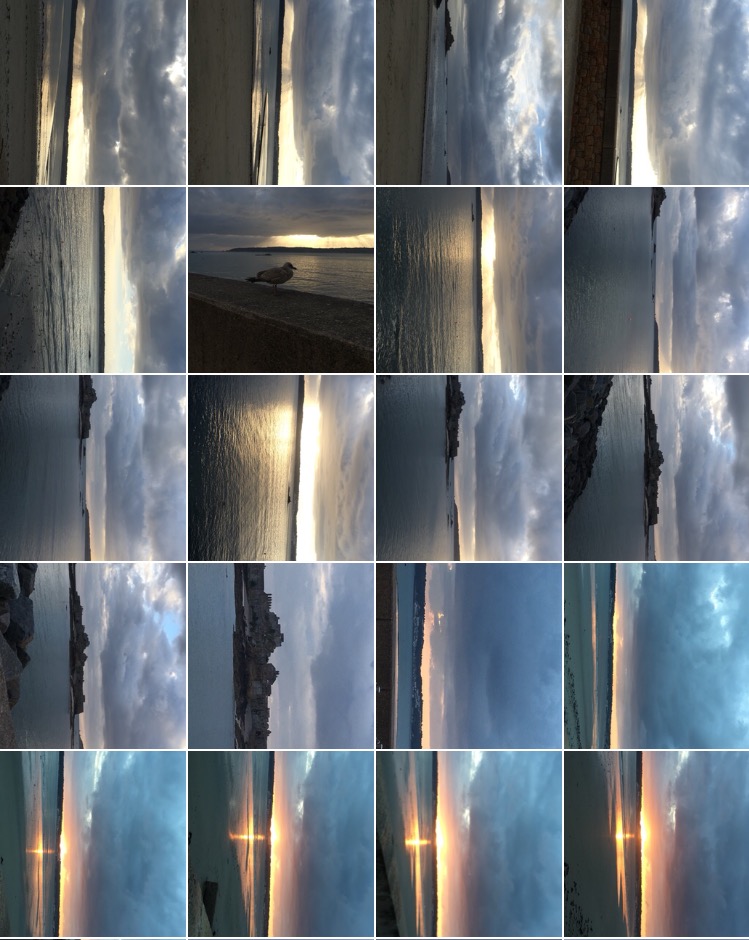
To take photos with inspiration from Stieglitz’s work, I will be aiming to take pictures of clouds, ones with unique textures and where the sun is trying to break through from behind. I’m also looking for pictures where the lights and darks contrast considerably, and ones which I can turn into an abstract photo.


My chosen photos:

Edited photos:

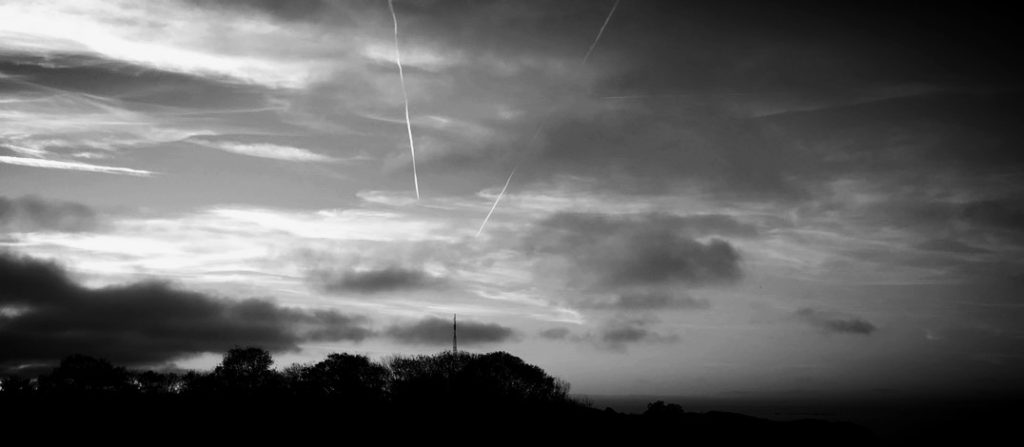
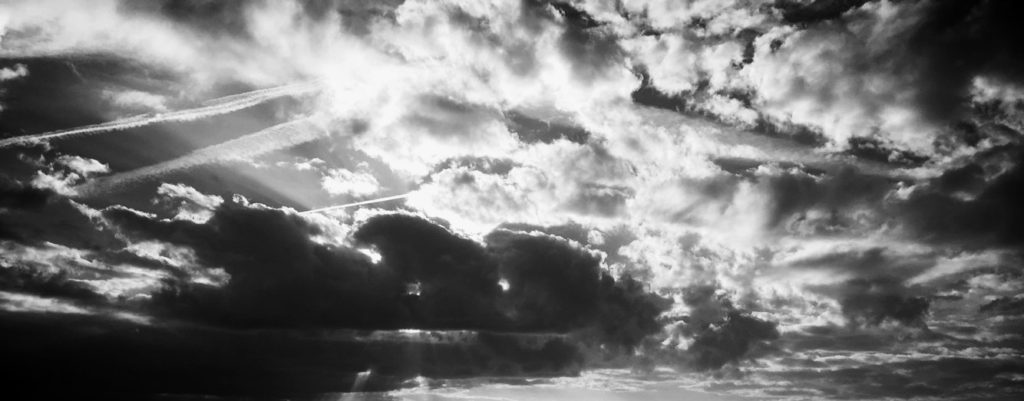
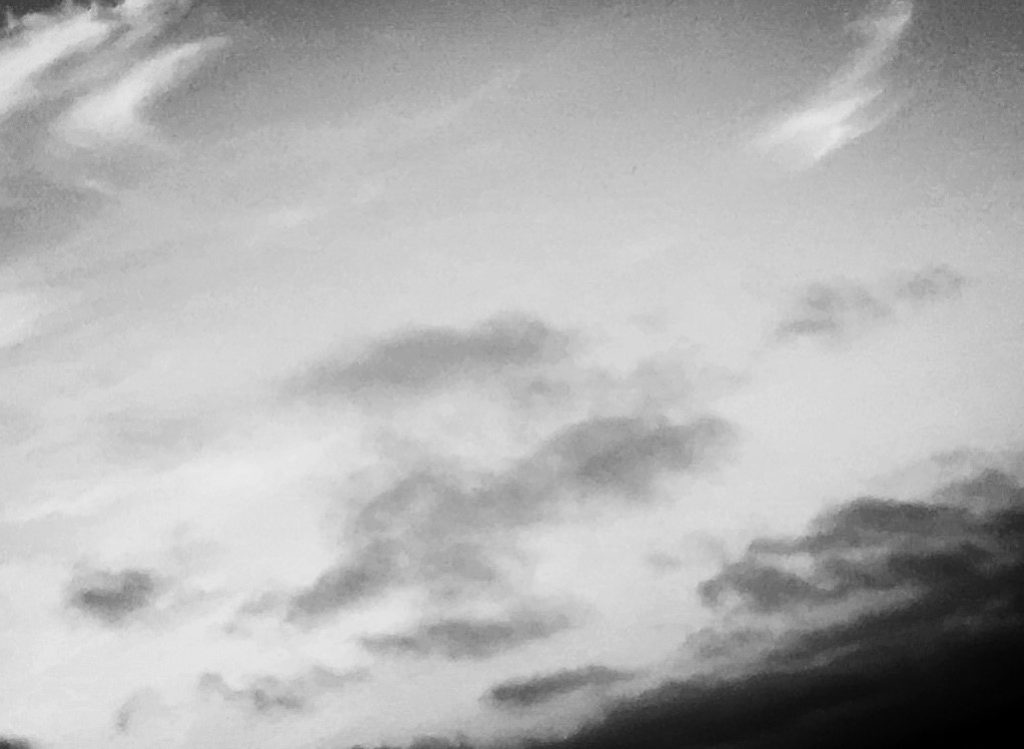
To edit these photos, I went and put a black and white filter on, and then went and played around with the contrast, exposure and light. I brought the light and exposure down, and increased the contrast to try and replicate Alfred’s works.


My final choices :

I chose these three as my final photographs for this task because I believe they relate the most to Stieglitz’s work. It shows contrast between the lights and darks of the clouds and continues on with his black and white style.

Colour and Texture

Aaron Siskind

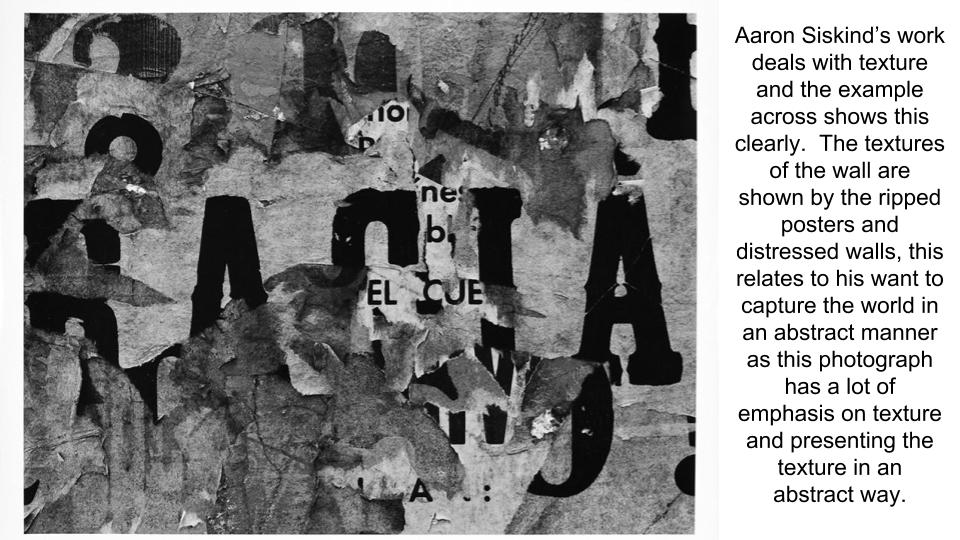
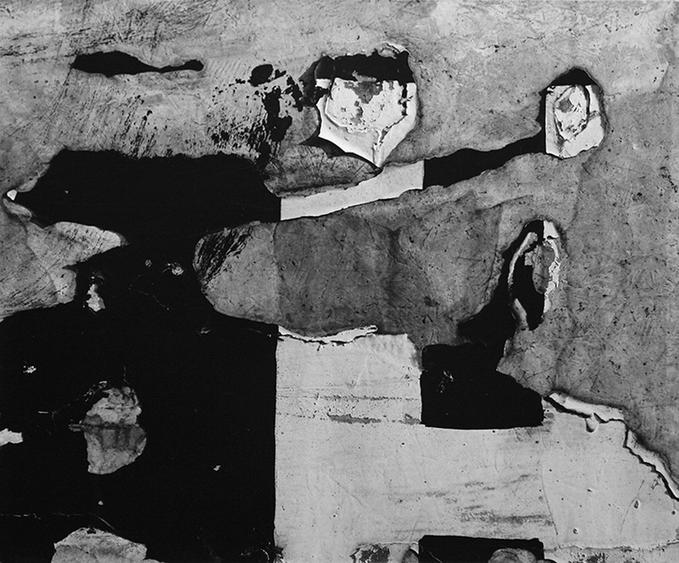
Aaron Siskind is an American photographer who is a part of the abstract movement.  Siskind captures the abstract qualities of layers and texture.  Aaron Siskinds work focuses on ideas of distraction in nature and architecture.  Siskind intensified this approach to photography with the abstract movement with close-up framing and an emphasis on texture, line and visual rhythms, creating abstract images of the real world.   Siskind was one of the first photographers to combine what was known as “straight” photography (recording the real world as the lens “sees” it) with abstraction.  Siskind turned away from the social/political world post-World War II, and instead looked inward to seek meaning in the mostly inanimate forms he observed around him.

Aaron Siskind
Aaron Siskind

The Boyle Family

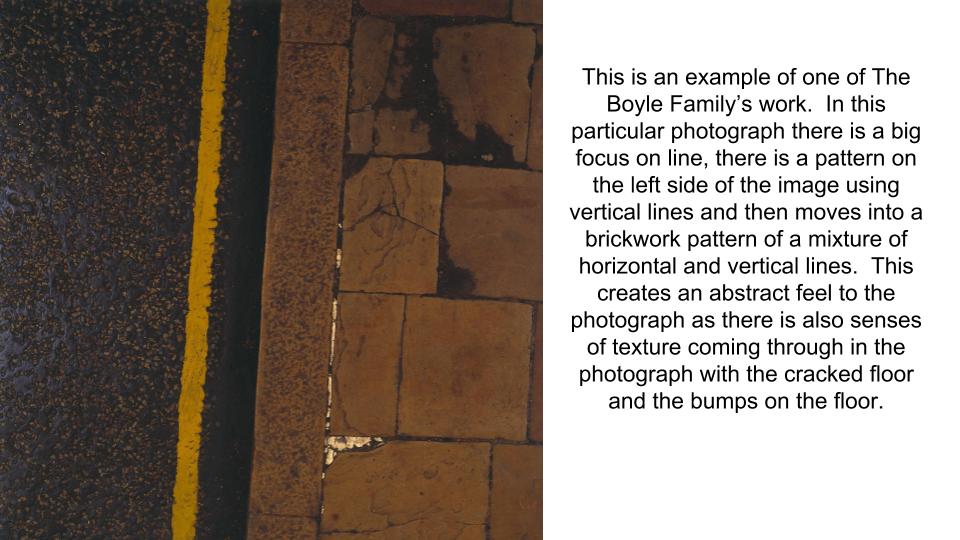
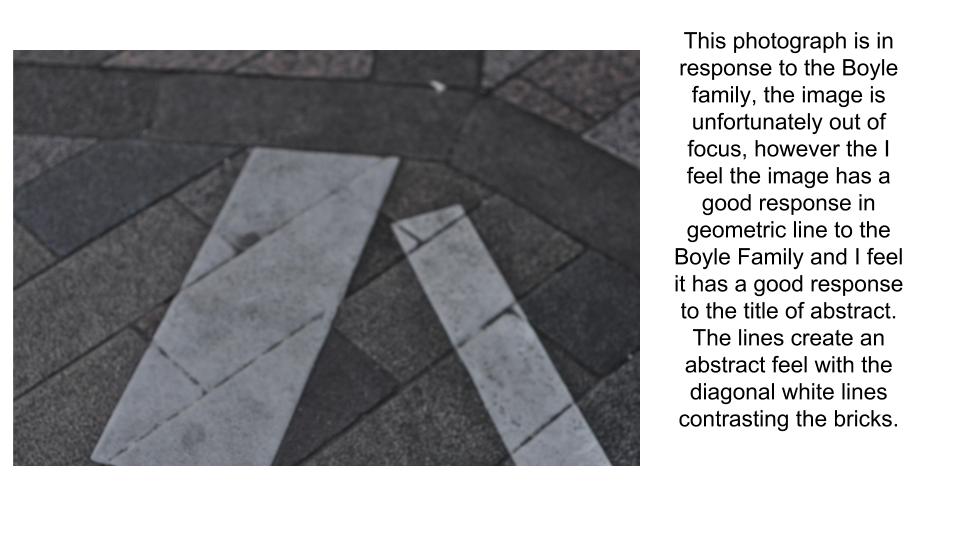
The Boyle Family is a group of collaborative artists based in London.  Boyle Family aims to make art that does not exclude anything as a potential subject. Over the years, subjects have included: earth, air, fire and water; animals, vegetables, minerals; insects, reptiles,  water creatures; human beings and societies; physical elements and fluids from the human body.  Boyle Family is best known for the earth studies: three dimensional casts of the surface of the earth which record and document random sites with great accuracy. These works combine real material from the site (stones, dust, twigs etc) with paint and resins, preserving the form of the ground.

The Boyle Family
The Boyle Family


My Own Responses

Contact Sheet
Contact Sheet

Analysis of my Best Outcomes

Own Response | Analysis

Week 7 | Completing the Abstract Unit | Assessment Week

Monday 15th October

By now you should have submitted your FINAL IMAGES for printing.

They will be ready to frame, mount, and display by the end of the week. We will show you how to make your final selection and display your work.

Now that you have made your decisions, you are in a good position to…

  • describe your process
  • explain your process
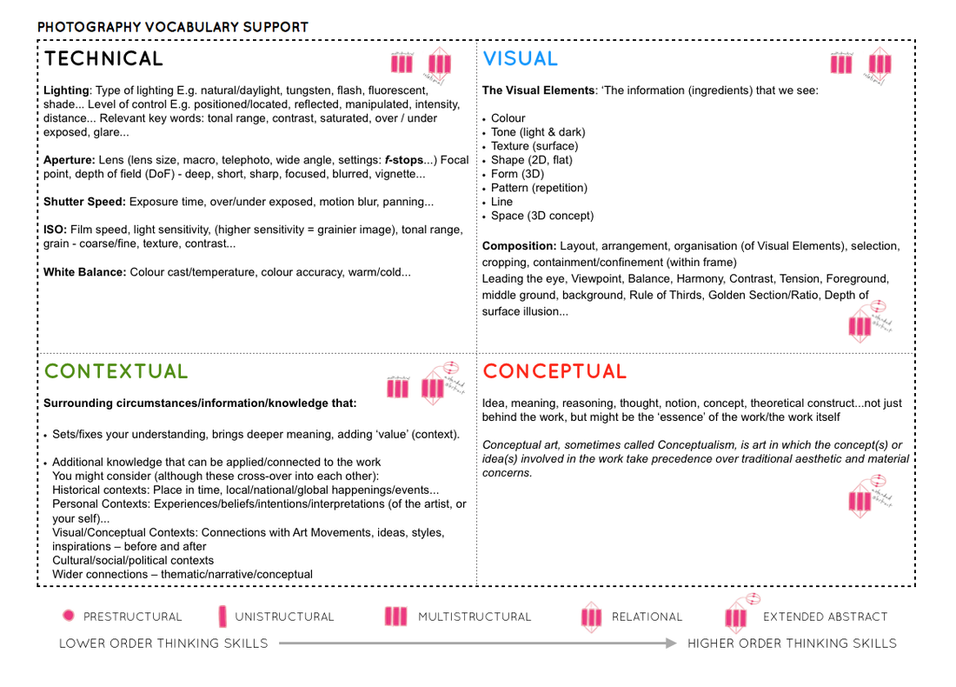
  • analyse key images (TECHNICAL – VISUAL -CONCEPTUAL-CONTEXTUAL)
  • expand your ideas and show your understanding and creativity

We always get asked how many blog posts are required (as a minimum) to complete the unit…so here goes :

  1. Moodboard (AO1) x 1 blog post
  2. Mindmap of ideas (AO1) x blog post
  3. Artist Reference / Case Study with IMAGE ANALYSIS (AO1) x 1 blog post
  4. Action Plan (AO3) x 1 blog post
  5. Photo-shoots + contact sheets (AO3) x 1 blog post
  6. Image Selection (AO2) x 1 blog post
  7. Image Editing/ manipulation (AO2) x 1 blog post
  8. Presentation of final outcomes (AO4) x 1 blog post
  9. Compare and contrast to your artist reference (AO1) x 1 blog post
  10. Evaluate and Critique your final outcomes (AO1+AO4) x 1 blog post

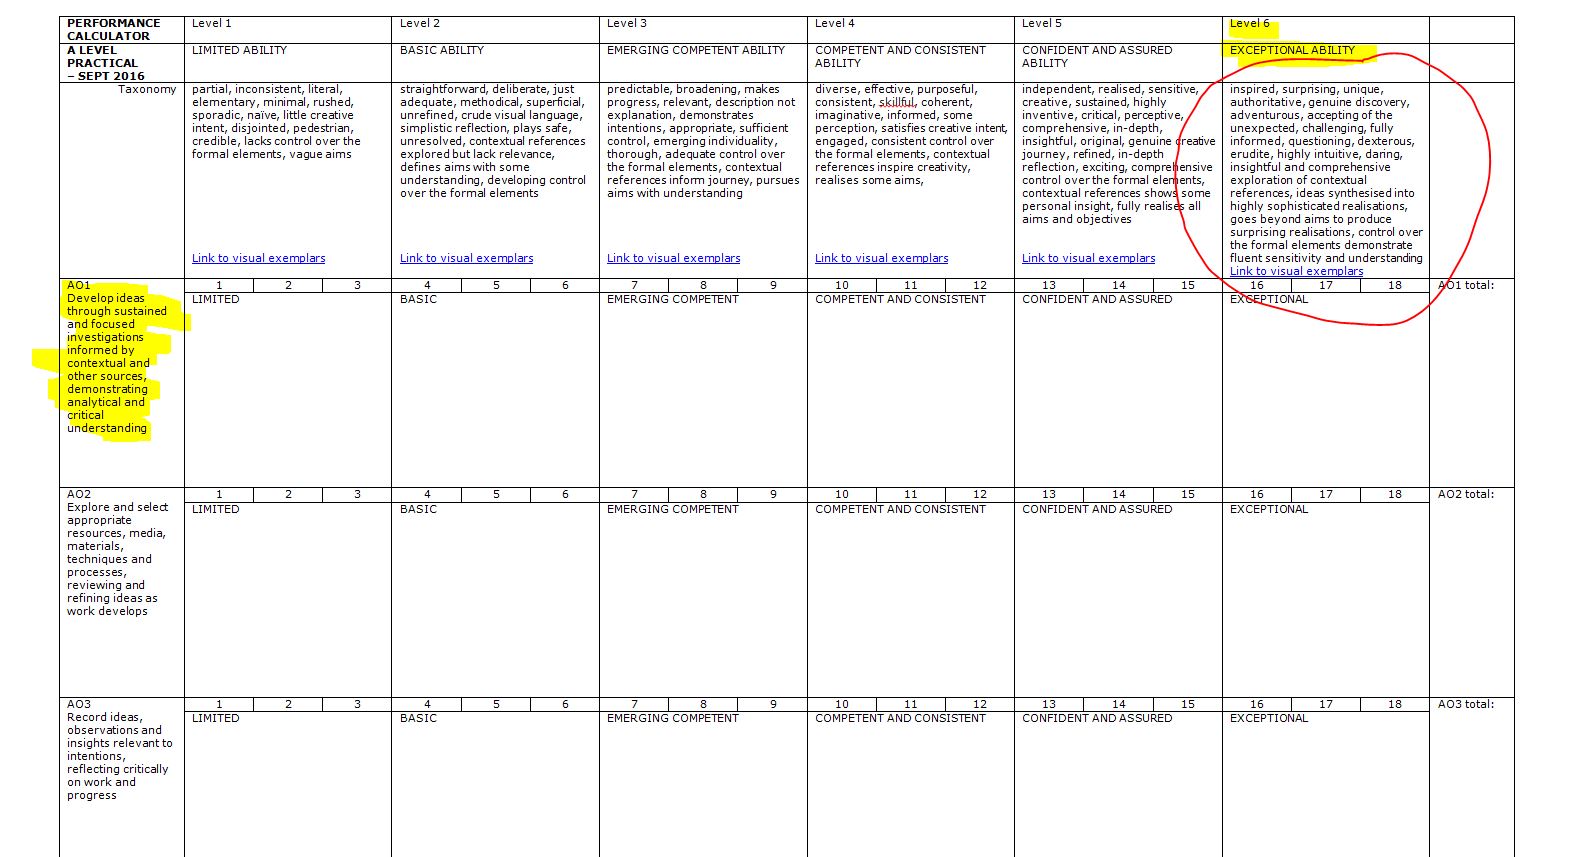
Have a close look at the marking criteria below…and compare to your work / blog posts.


PERFORMANCE CALCULATOR


Cross – Referencing your ideas with contemporary / influential photographers

Compare and Contrast : Edgar Martins

Image result for edgar martins photographer destinerrance

Image result for edgar martins photographer destinerrance

The images above are by a Portuguese photographer, Edgar Martins.

They are part of a series of work inspired by the writing and sending of letters, the power and intimacy of a letter. Martins has recently won various awards for his minimal, direct and stylish approach.

For this mini-series he photographed paper, carefully lit and isolated from any other context. There is a stillness to them that belies the fact they may have been written as suicide notes, contact between prison inmates and loved ones and more. Martins spent time working with court, prison and parole officials and indeed, prisoners in Portugal exploring this theme, that often ended in death for many of his subjects.Now refer back to your experiments with paper, and add your own research and analysis of Edgar Martins’ work.

TASK 1

  • Compare and contrast Edgar Martins work to your own images
  • Ensure you have discussed TECHNICAL and VISUAL aspects of the images
  • Think about the CONCEPT of the work and annotate your own accordingly
  • Can you add some CONTEXT to your work?

TASK 2

Compare and contrast : Lewis Bush “Metropole”

Image result for lewis bush photography

Image result for lewis bush metropole

Lewis Bush

employs a range of editing techniques to his images of London City, it’s constantly changing built environment and the industries held within it.

Have a closer look at his work and compare the way he blurs, overlaps and distorts our vision of the city to techniques that you may have employed to your images.

Why do you think he does this?

Describe and explain how your ideas have evolved.


Remember to use this model when discussing and analysing photographs :

TECHNICAL -VISUAL-CONCEPTUAL-CONTEXTUAL

Picture

ALWAYS choose 1 x key image of your own to discuss in detail

ALWAYS choose 1 x key image of an influential photographer to discuss in detail

HOMEWORK METHOD

Follow the 10 Step Process for each unit to ensure you tackle all Assessment Objectives thoroughly :

  1. Moodboard (AO1)
  2. Mindmap of ideas (AO1)
  3. Artist Reference / Case Study (AO1)
  4. Action Plan (AO3)
  5. Photoshoots + contact sheets (AO3)
  6. Image Selection (AO2)
  7. Image Editing/ manipulation (AO2)
  8. Presentation of final outcomes (AO4)
  9. Compare and contrast (AO1)
  10. Evaluate and Critique (AO1+AO4

Copy and use this plan to help you organise / evaluate your photo-assignments…

Double Exposures

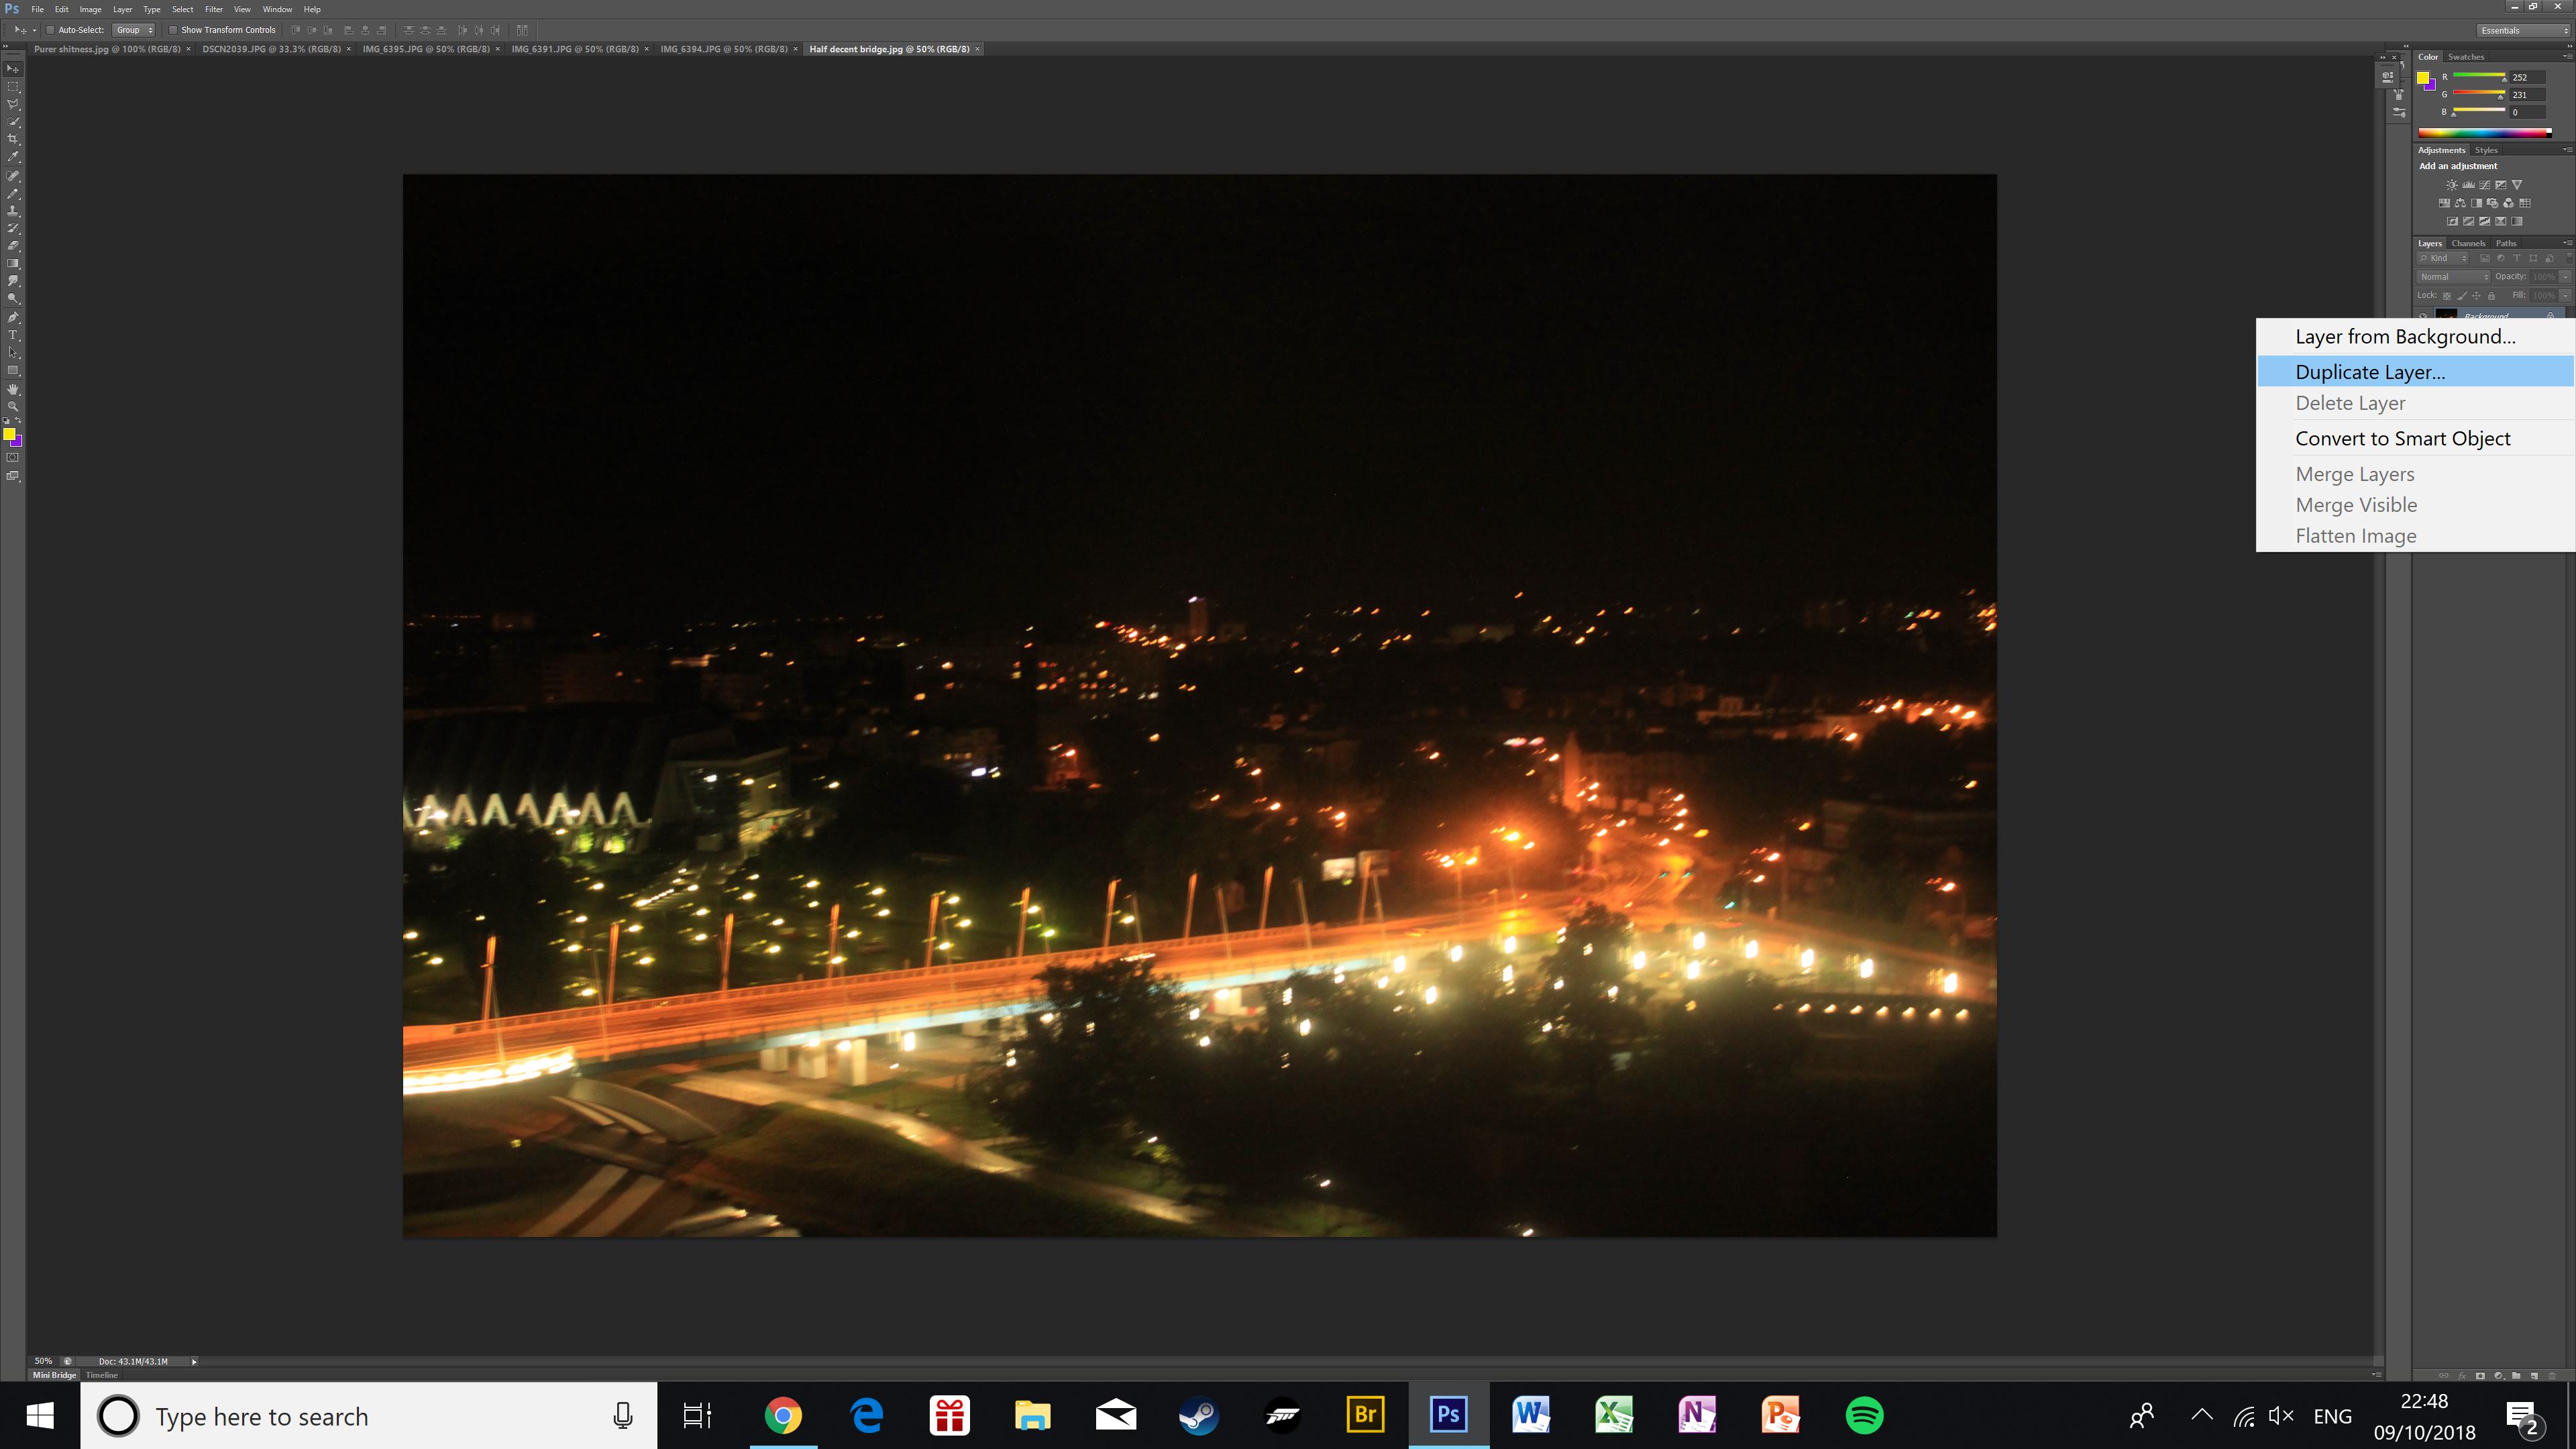
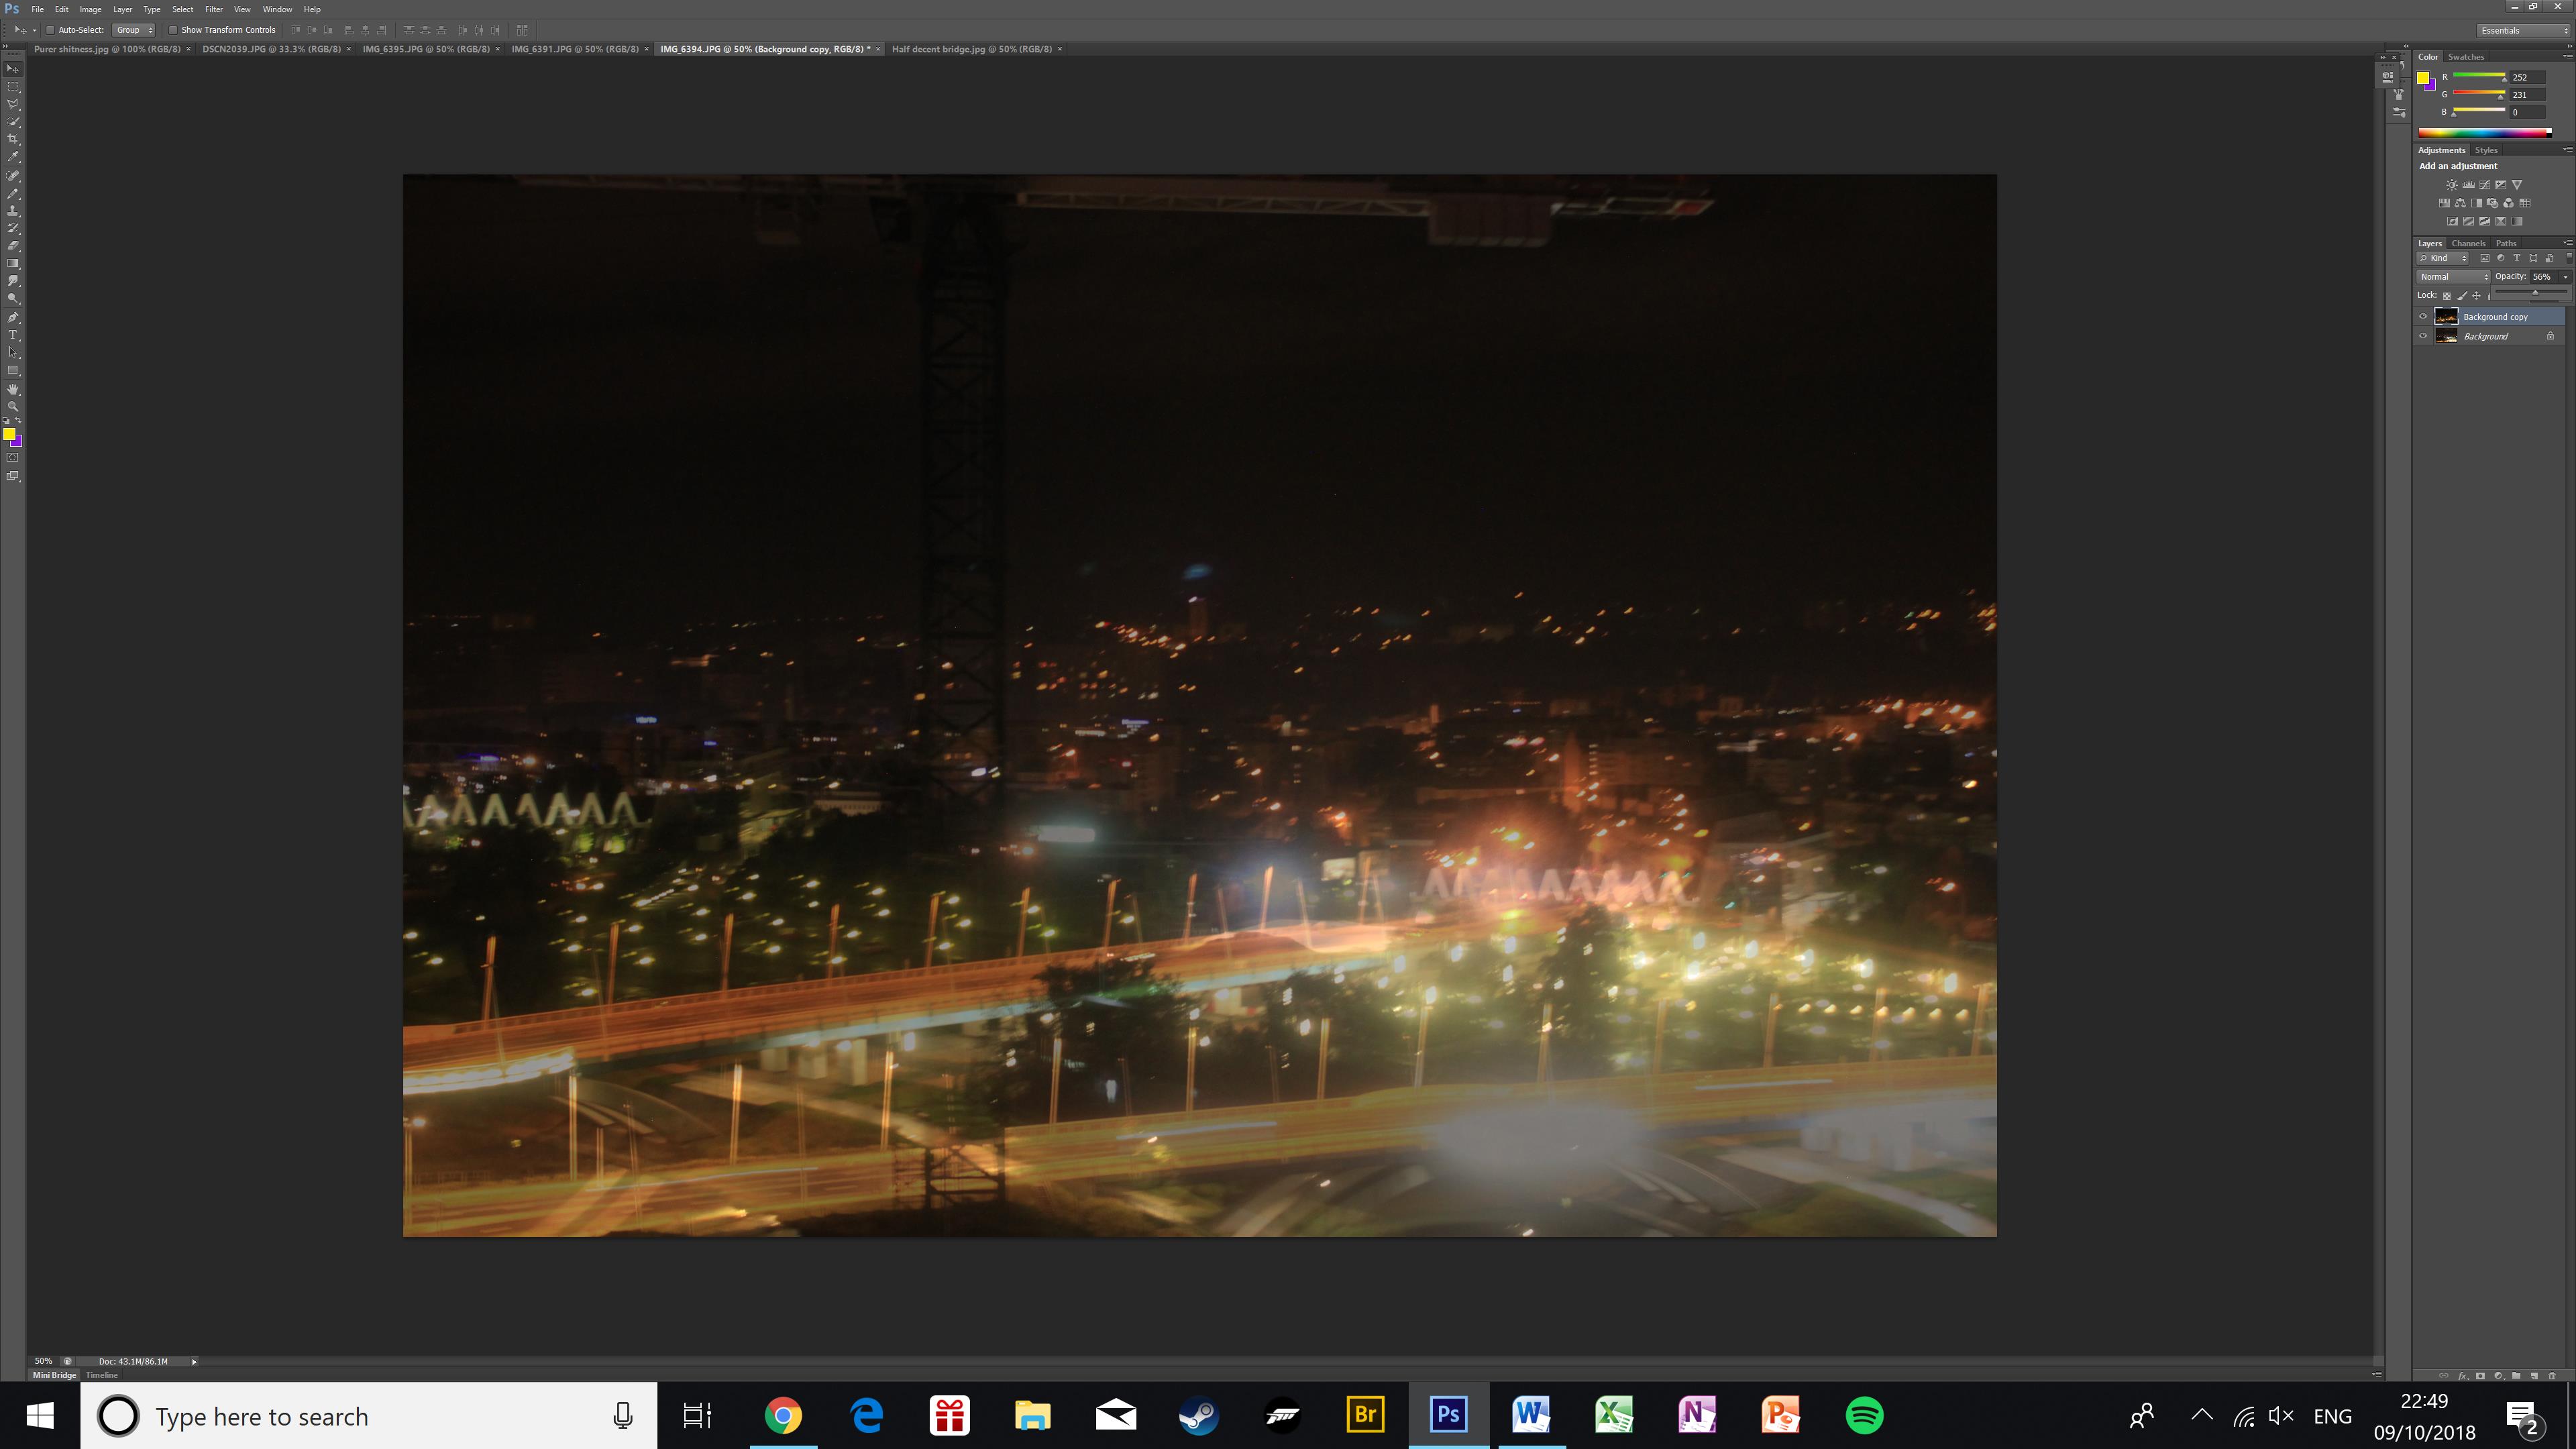
To create a double exposure I used two similar photos of the same bridge. First, I duplicated the layer I wanted to go on top and placed it on top of my base image.
Then I made the top image more transparent using the opacity slider. In this image, it creates an effect of there being two layers of bridges across the bridge, as well as raising the skyline in the background.

The next two pictures are finished double exposures.

Minimalist Mood board

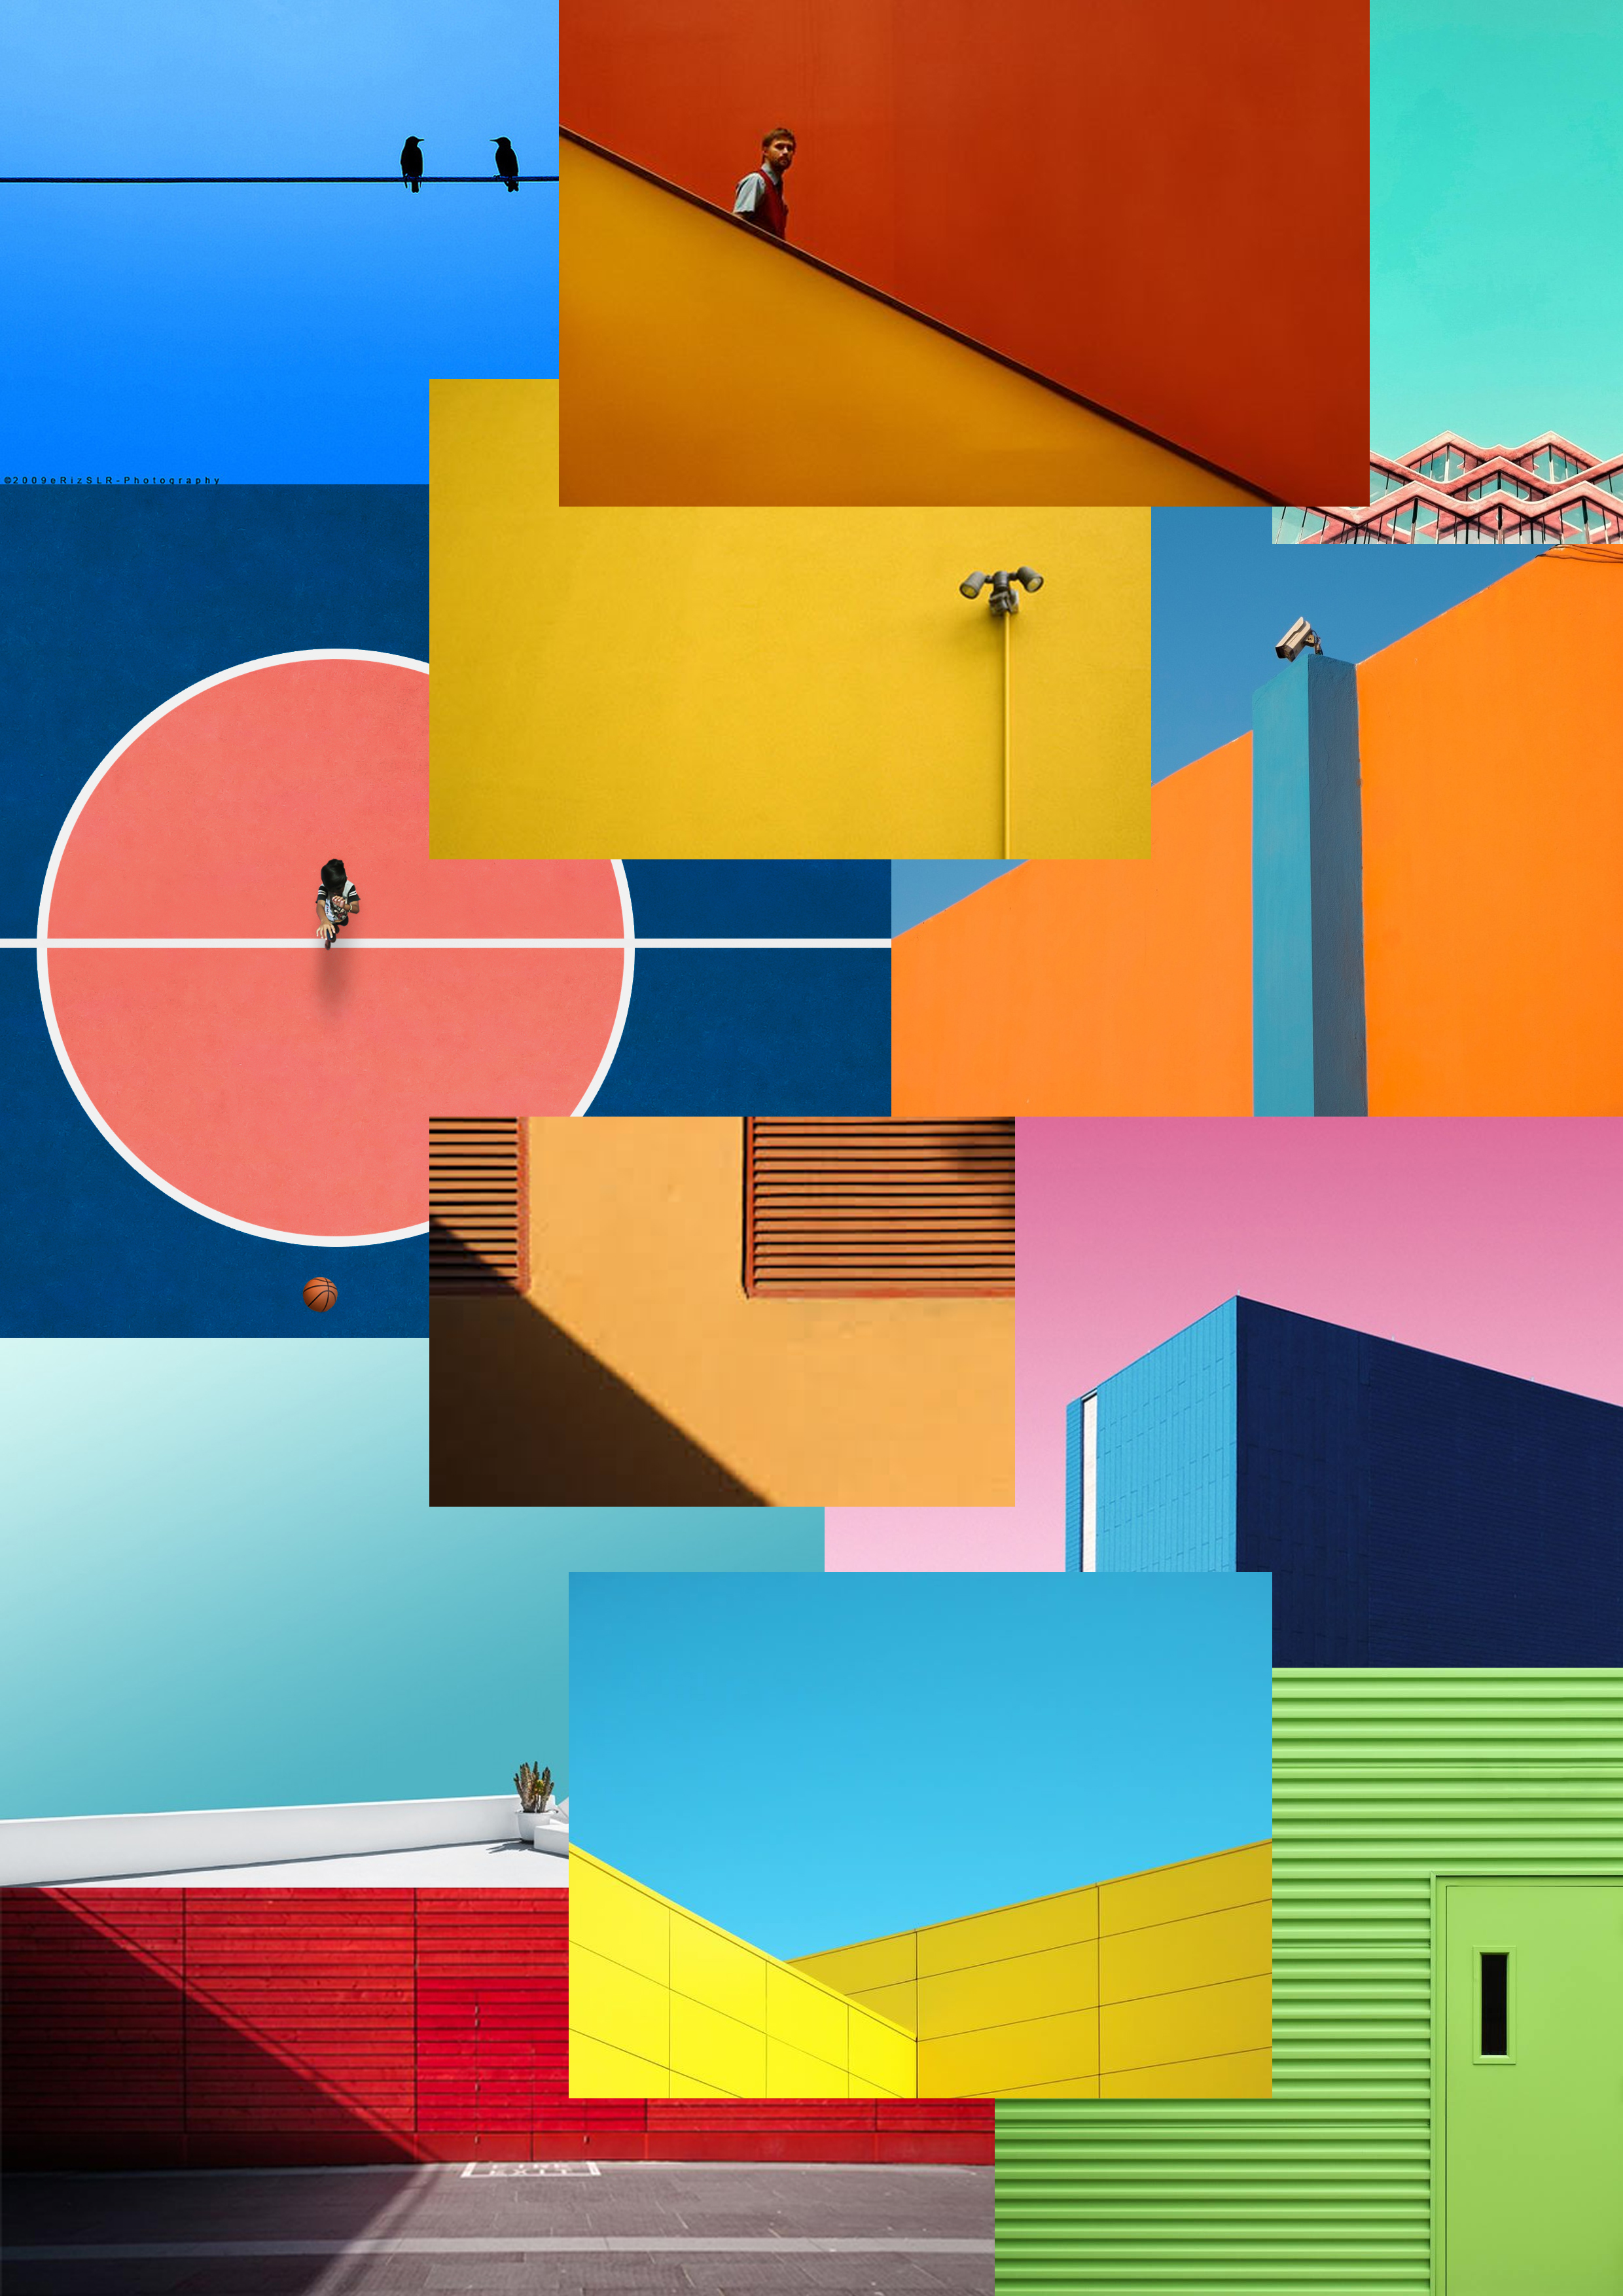
MY INSPIRATION:

This is a mood board of a set of minimalist images which i am including into my research to get me started with my homework task and give me inspiration for my photo shoot. I particularly enjoy this homework task as minimalism often involves a lot of color and simplicity of shapes and forms.

Colour&Texture

Ernst Haas-Water

Haas  was an Austrian-American photojournalist and colour photographer. He incorporated his photojournalism and photography as a medium of expression and creativity.His father was photographer and encouraged Ernst, but it was only by his fathers death in which he became intrigued by photography when seeing his fathers darkroom. Haas used black and white  film for much of his career, color film and visual experimentalism became integral to his photography. He would make his own photographs, translating his passion for poetry, music, painting, and adventure into colour imagery. Once he began working in color, he most often used kodachrome, known for its rich, saturated colors. To print his color work, Haas used the dye transfer process whenever possible. An expensive, complex process most frequently used at the time for advertising, dye transfer allowed for great control over color hue and saturation. As the technology of color photography evolved and improved during this period, audience interest in color imagery increased. Many of the magazines that published Haas’ work, such as Life, improved the quality of their color reproduction, and increasingly sought to include his work in the medium. Despite this progress, many photographers, curators, and historians were initially reluctant to consider color photography as art, given the technology’s commercial origins. His images don’t have a focal point, the picture as a whole speaks, not just one area of the photo. He uses natural lighting to create the clear reflection, he has relatively low level of control due to the fact he can’t position the whereabouts of the sun, so his pictures may have been planned. His photos have contrasting tones, some areas are warm some are cold, his work clearly empathizes the beauty in colour.  When I think of colour in photography I picture a vibrant, detailed flower, but Haas, creates colour from objects such as transparent water.

Image result for Ernst Haas water

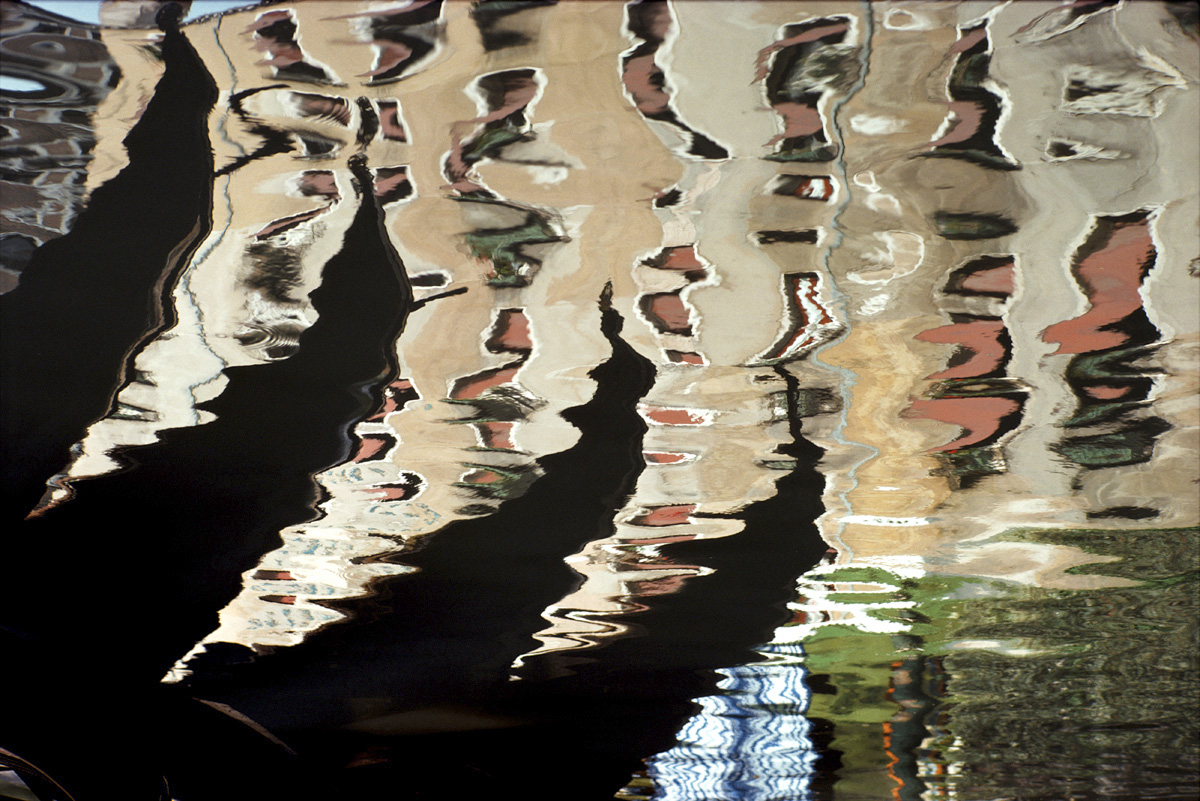
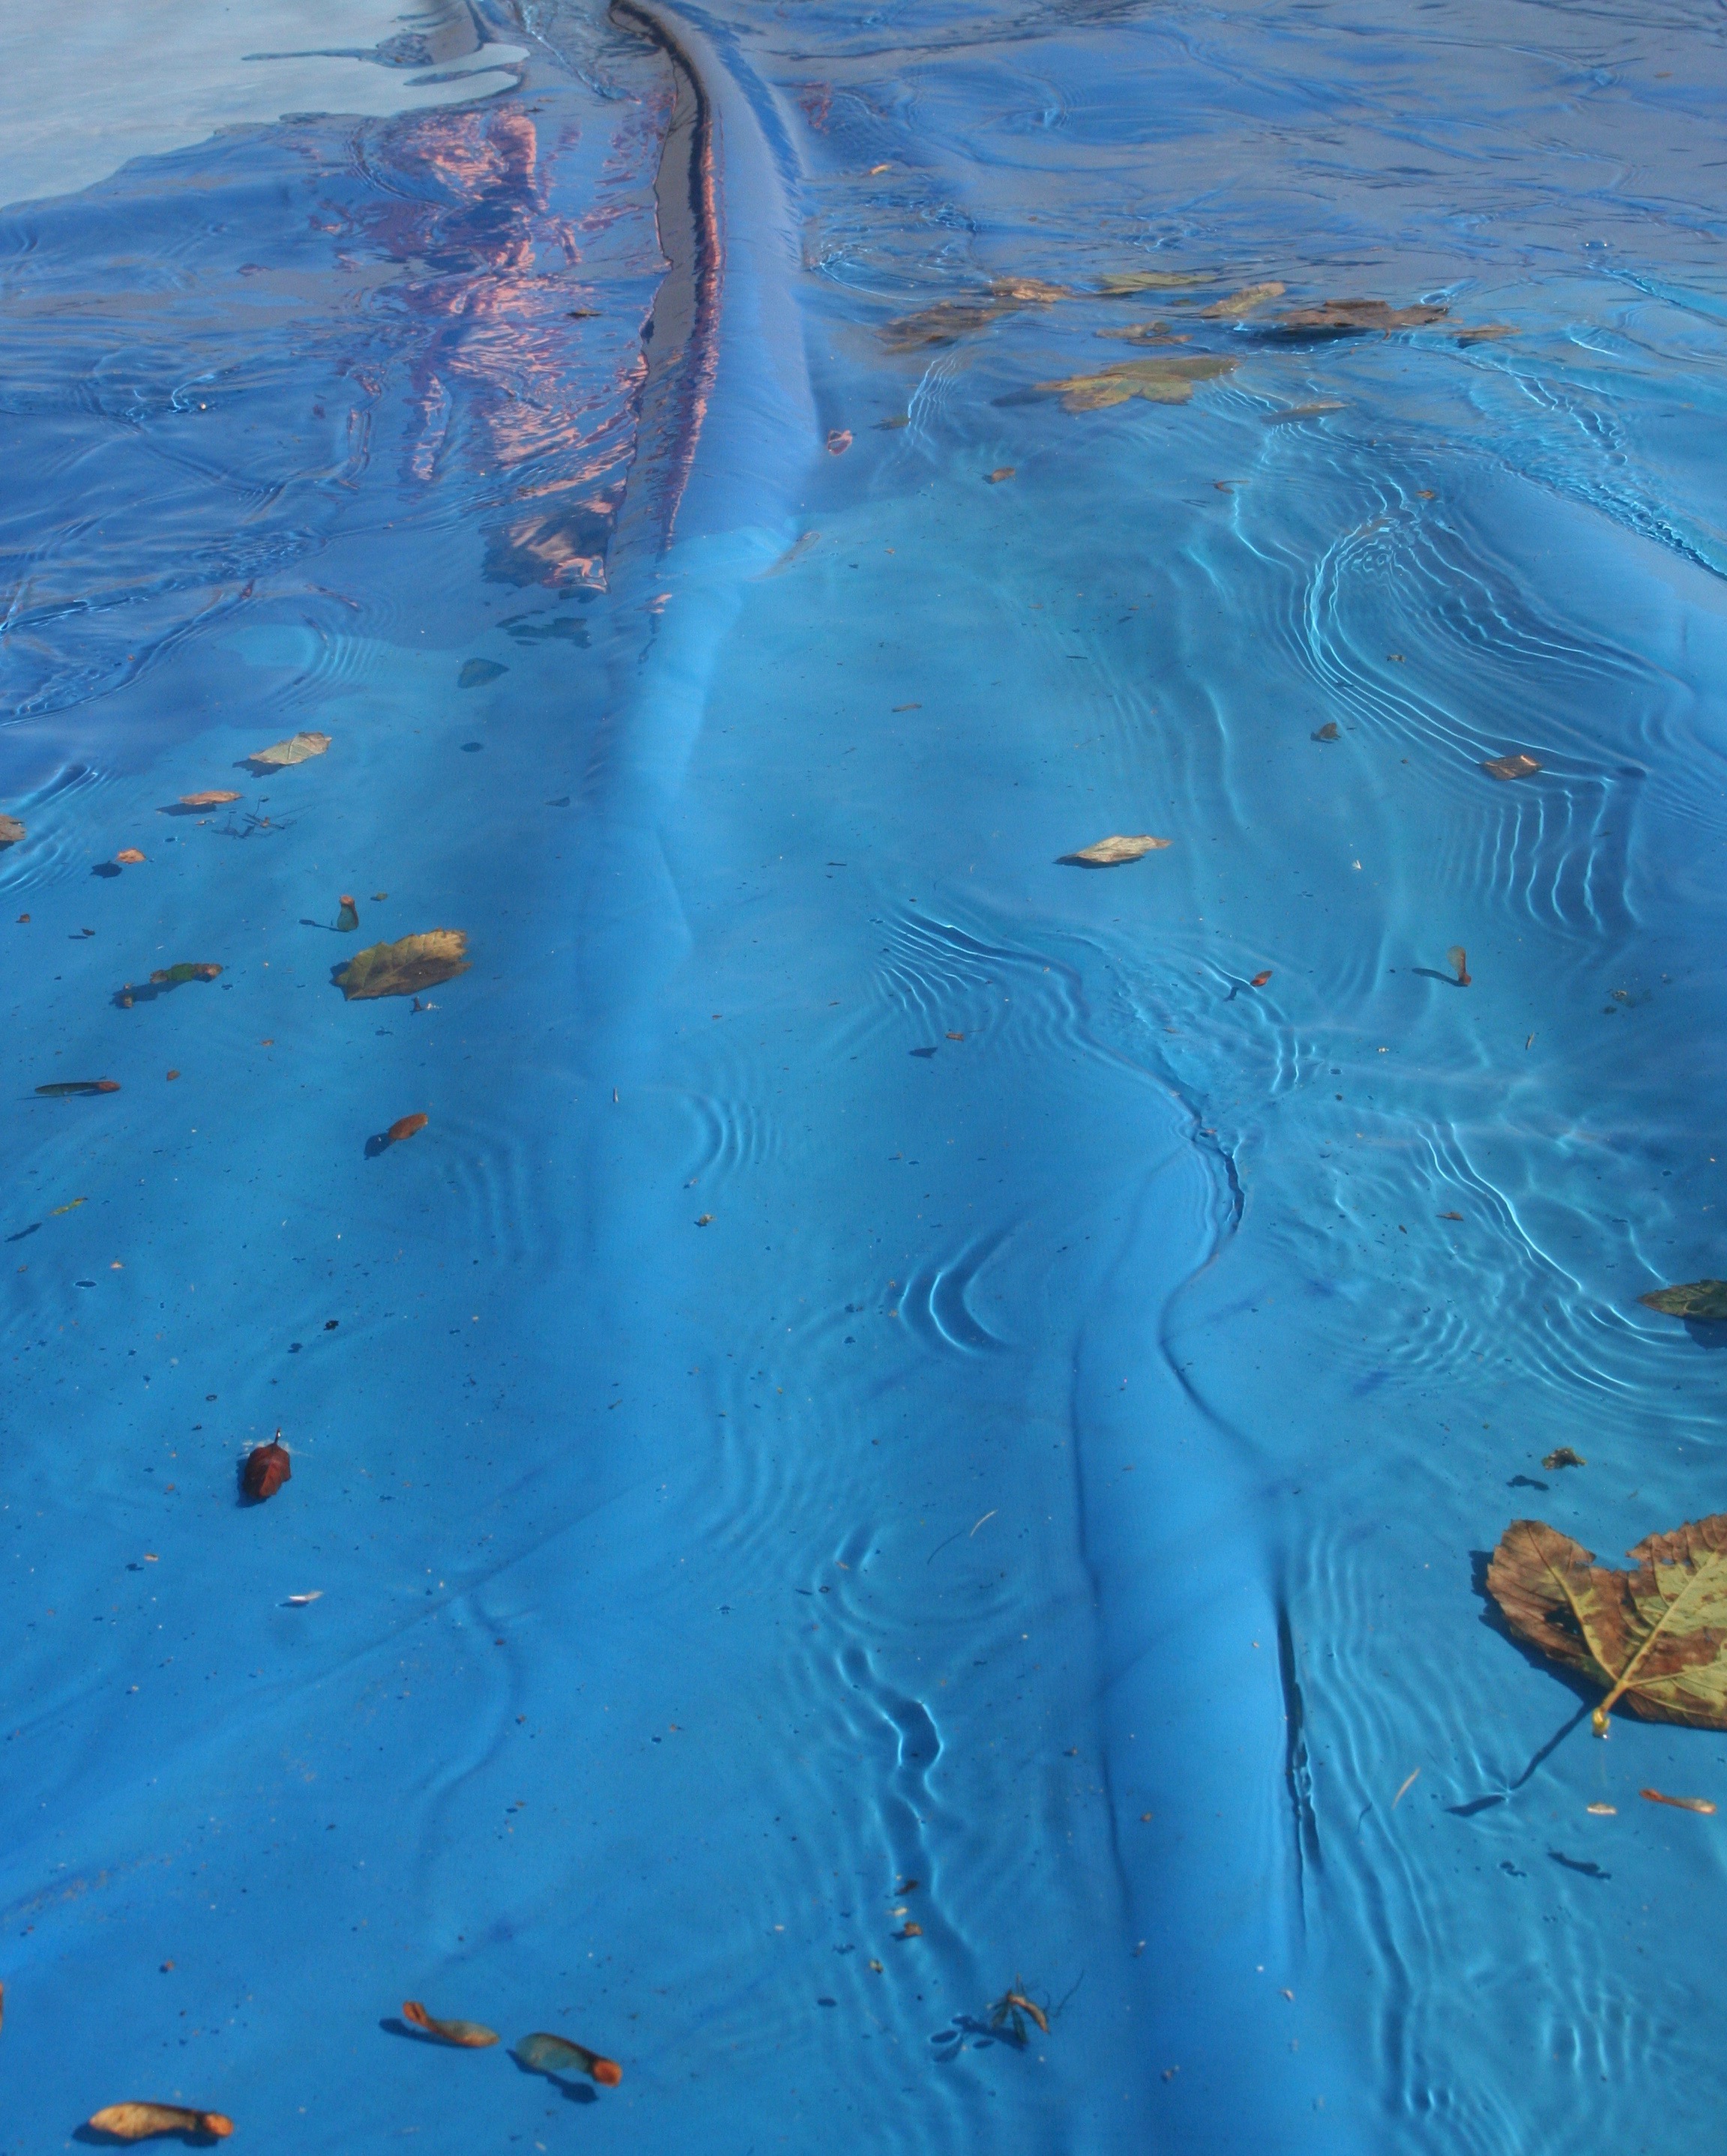
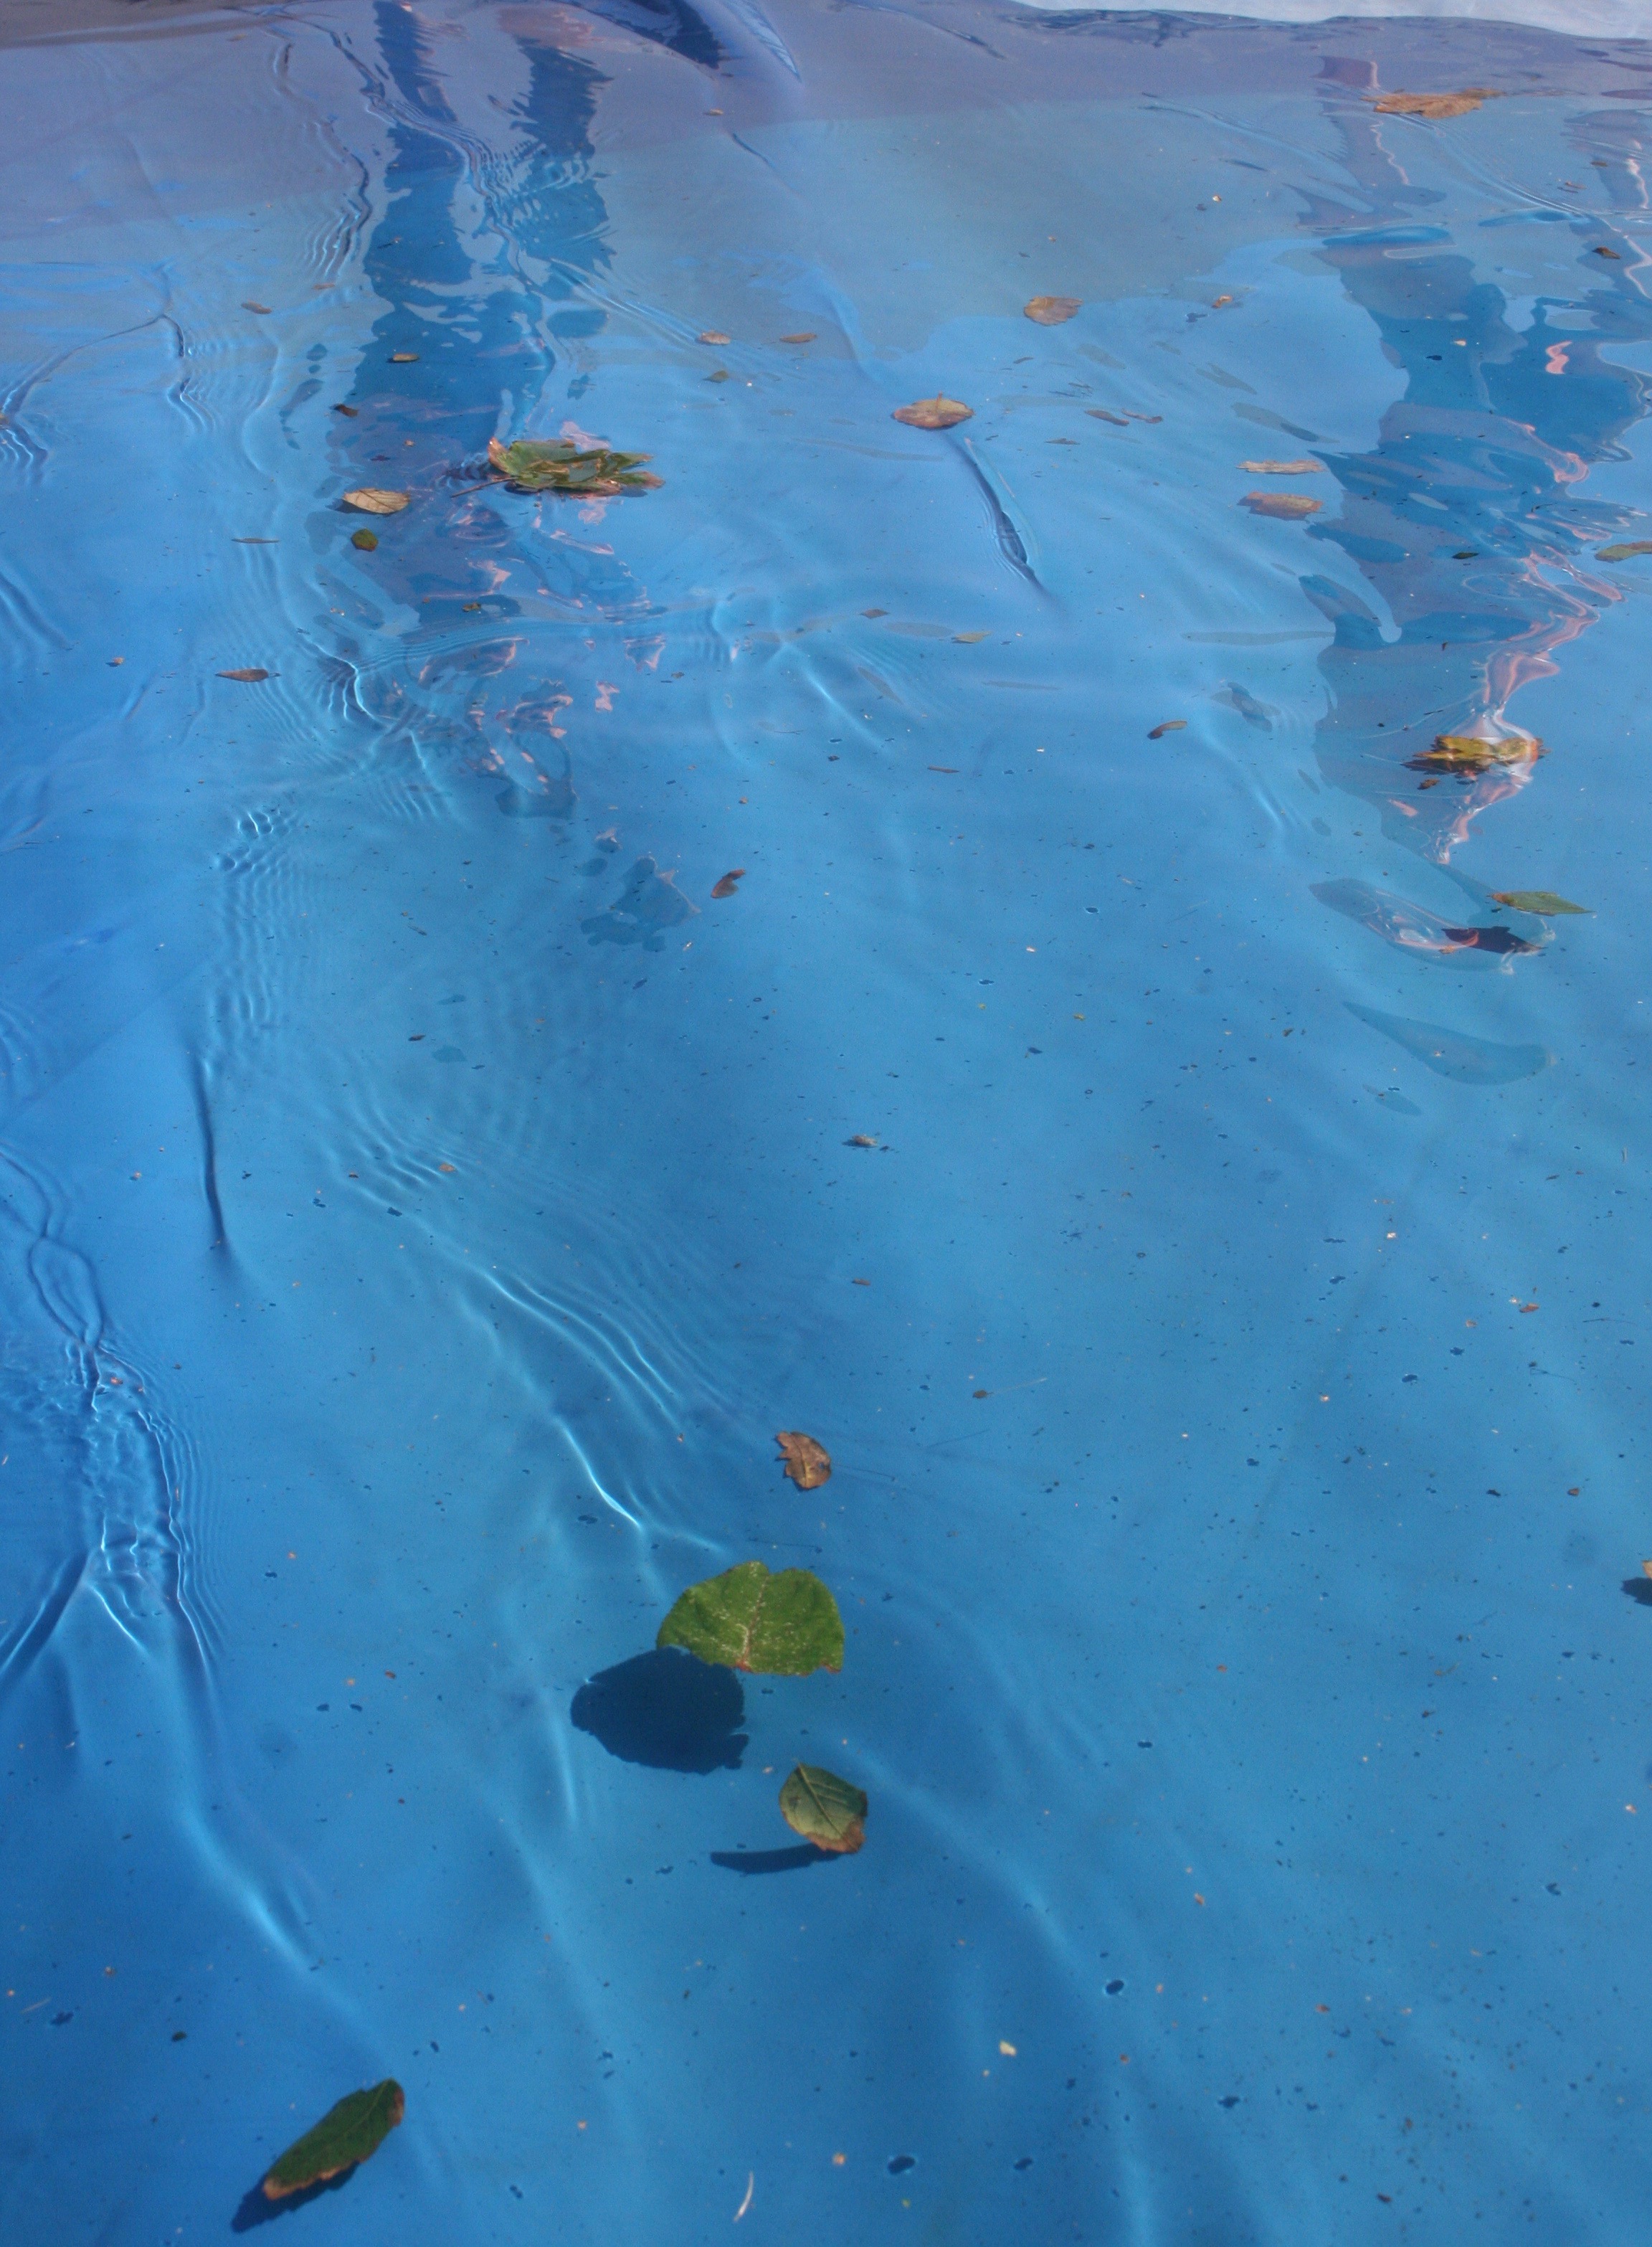
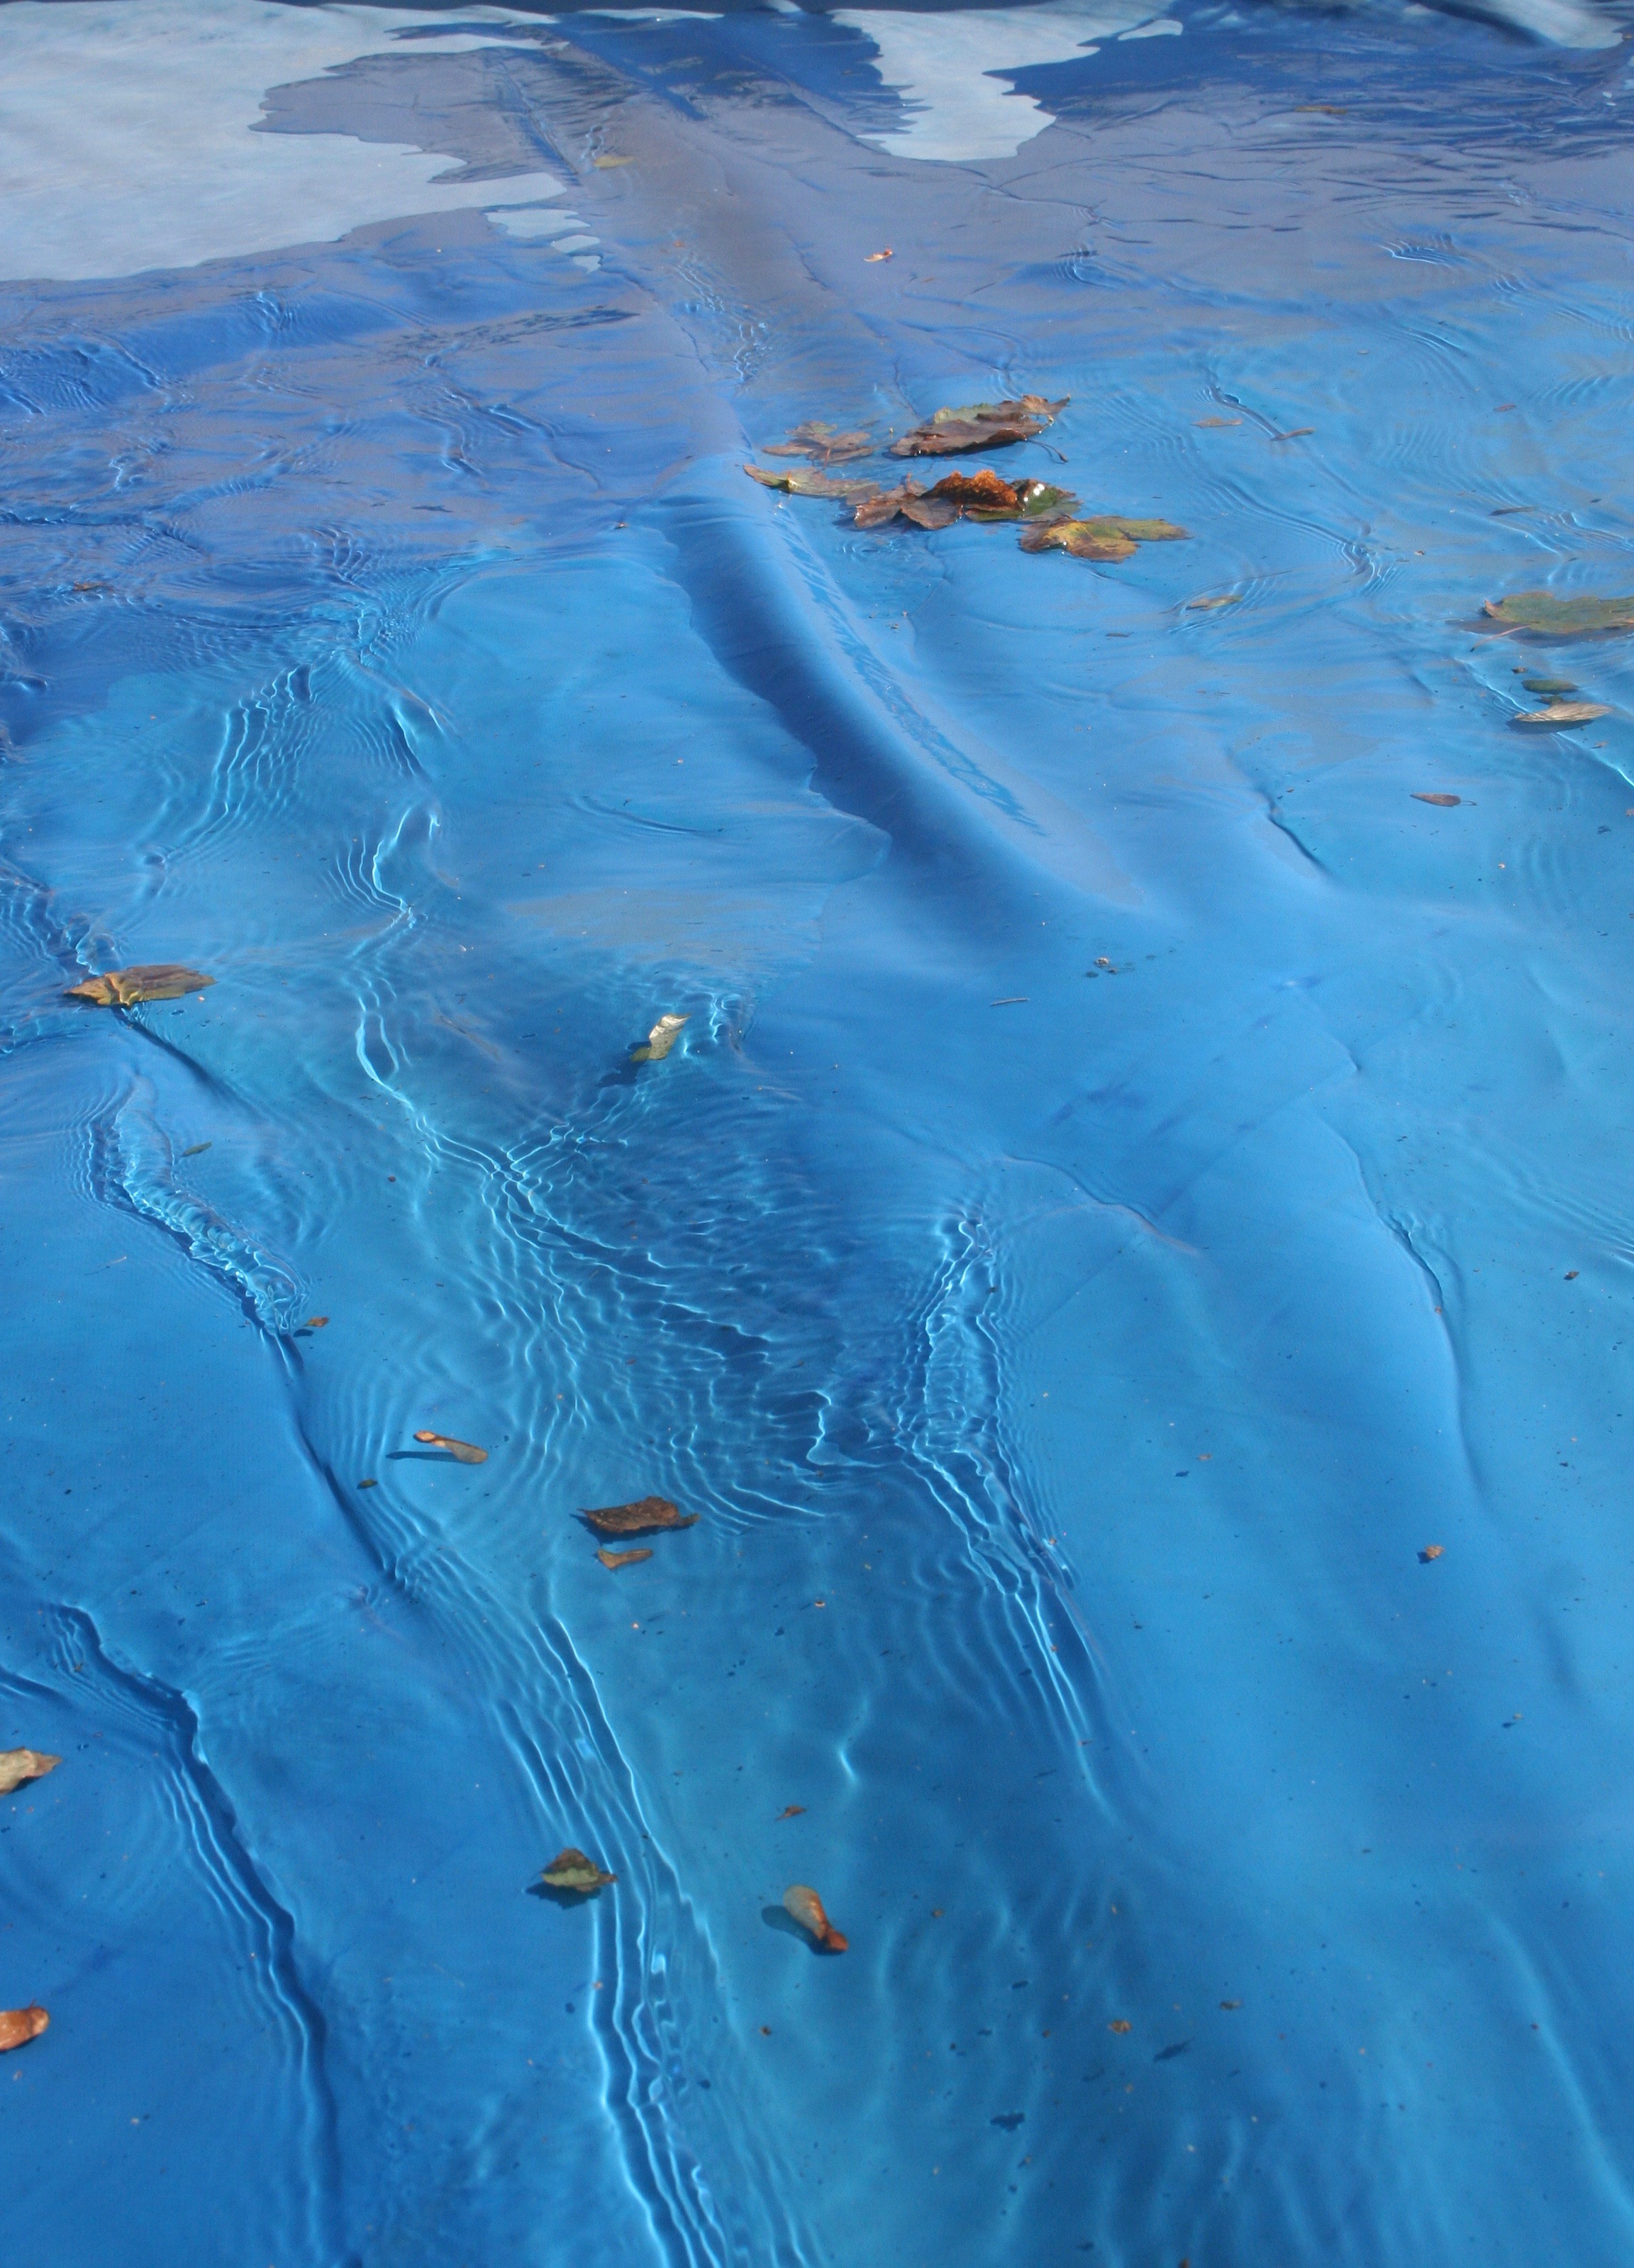
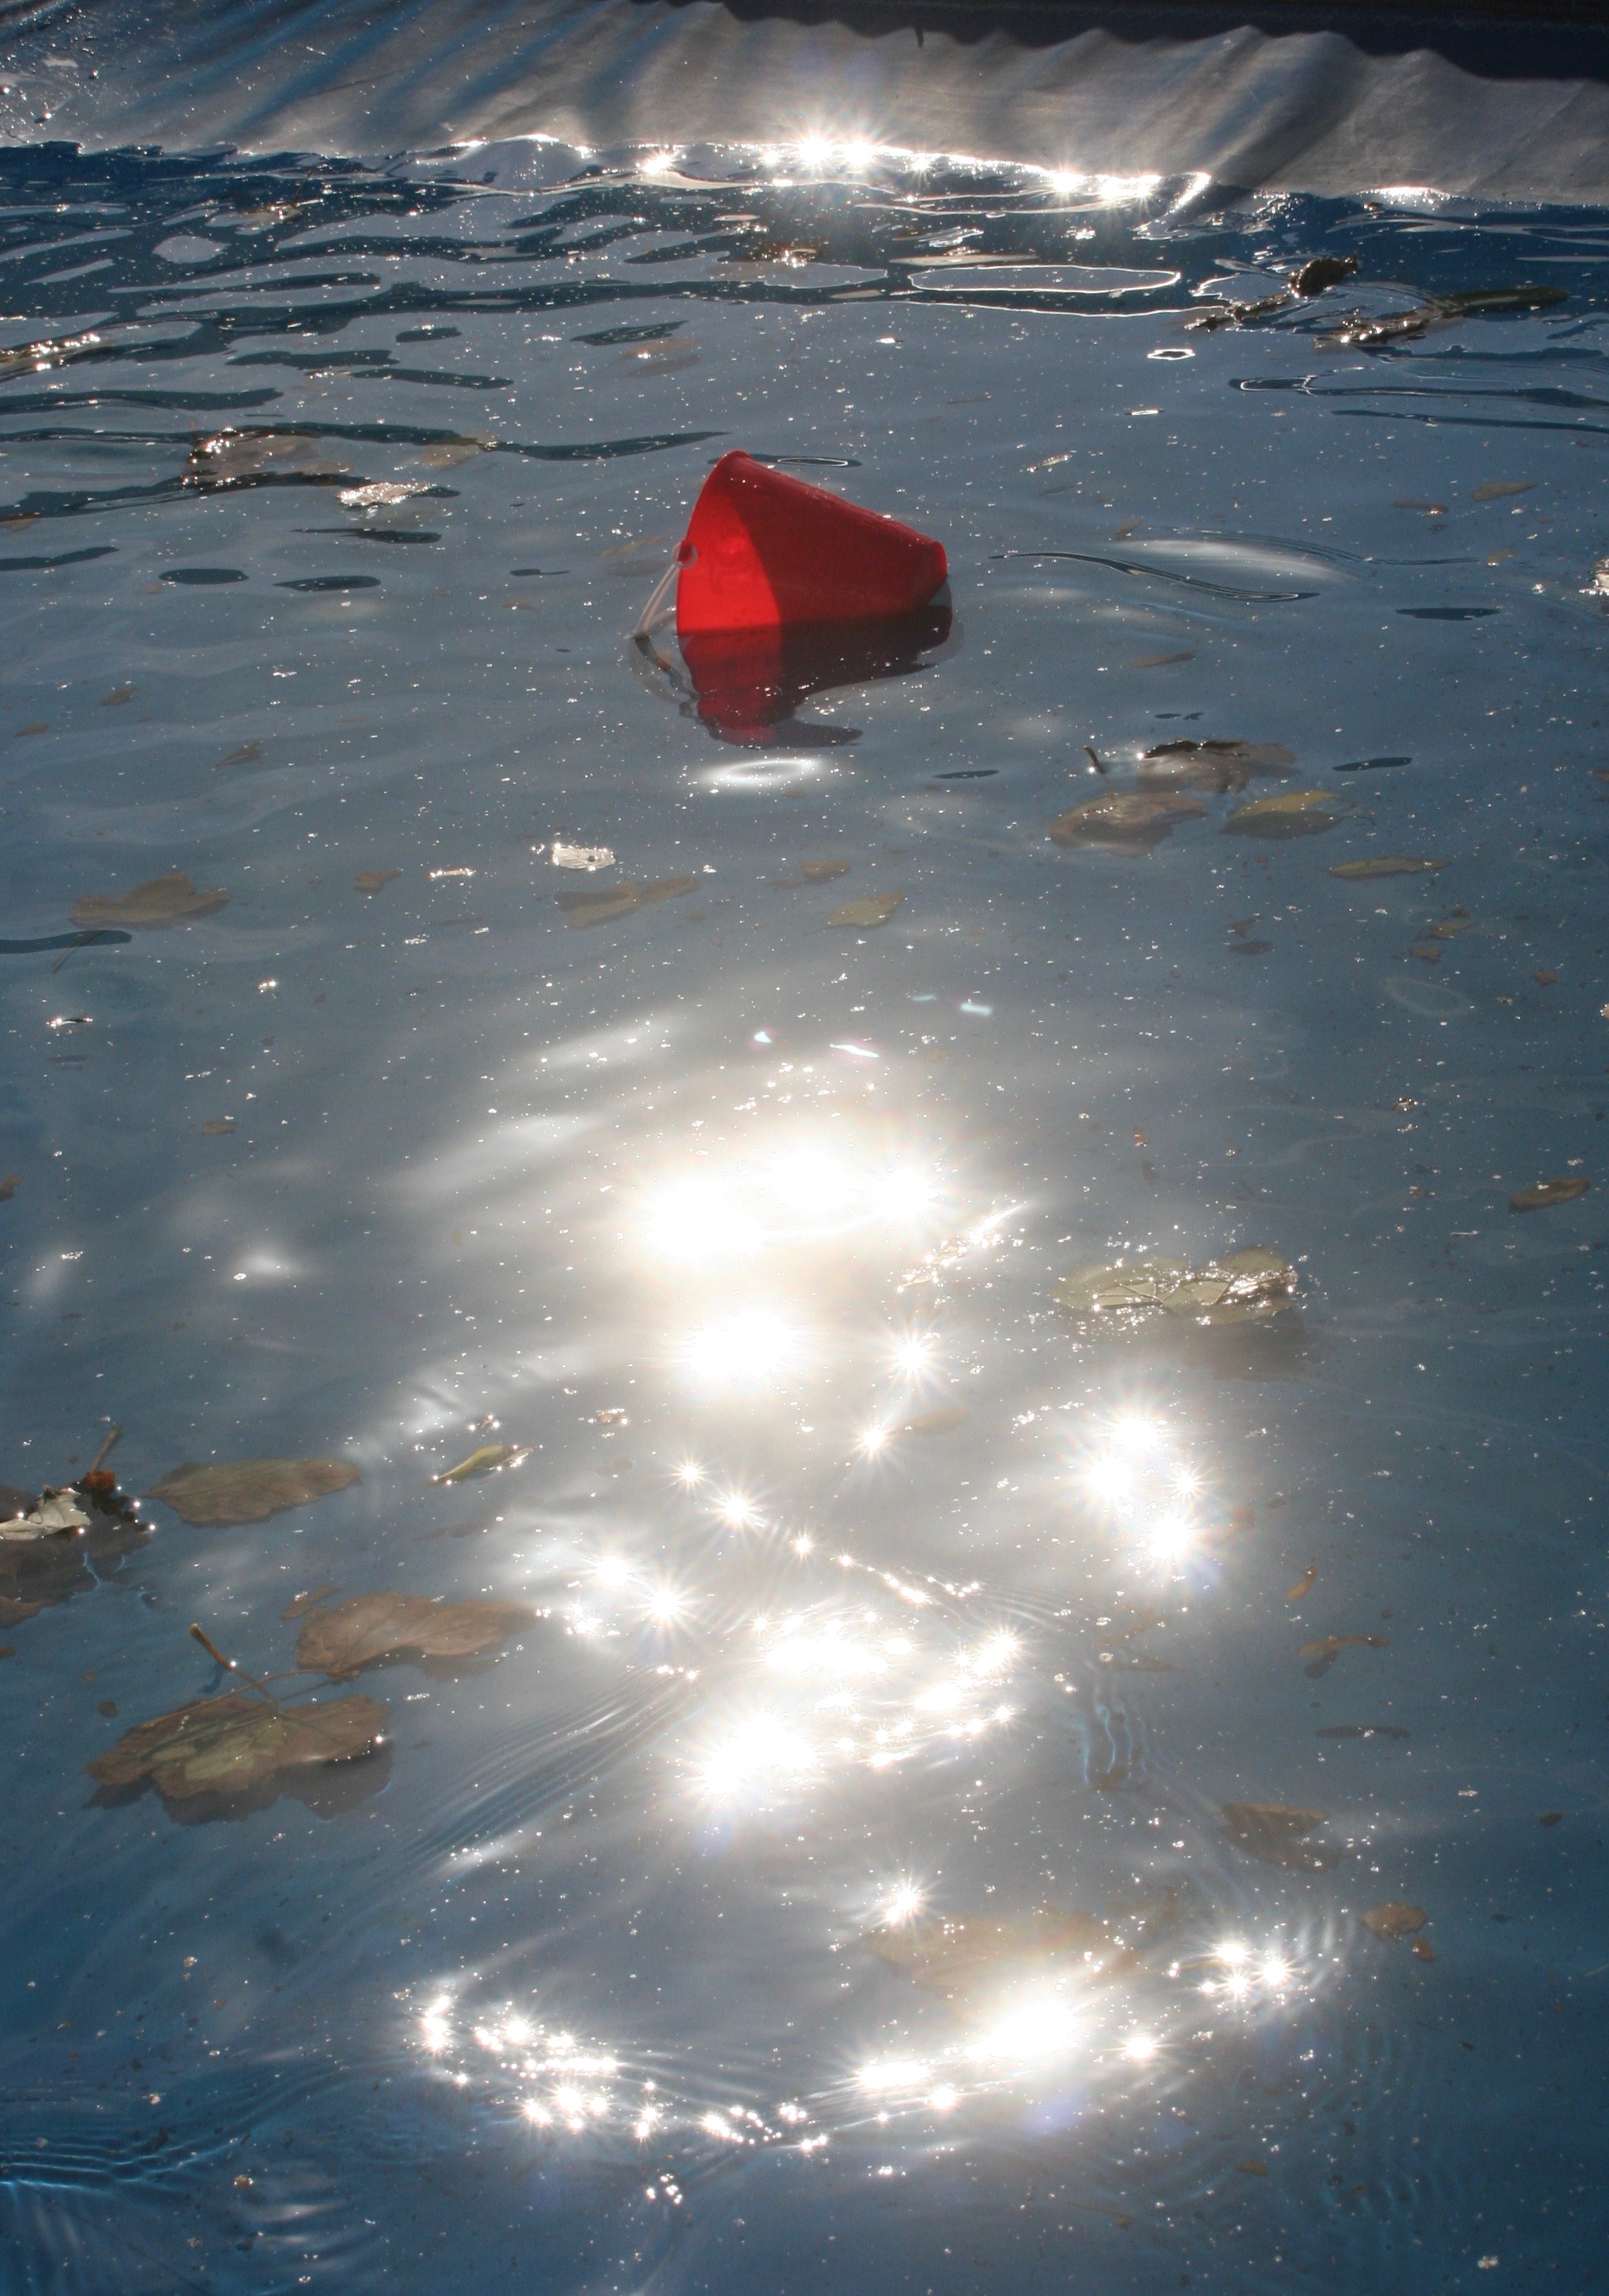
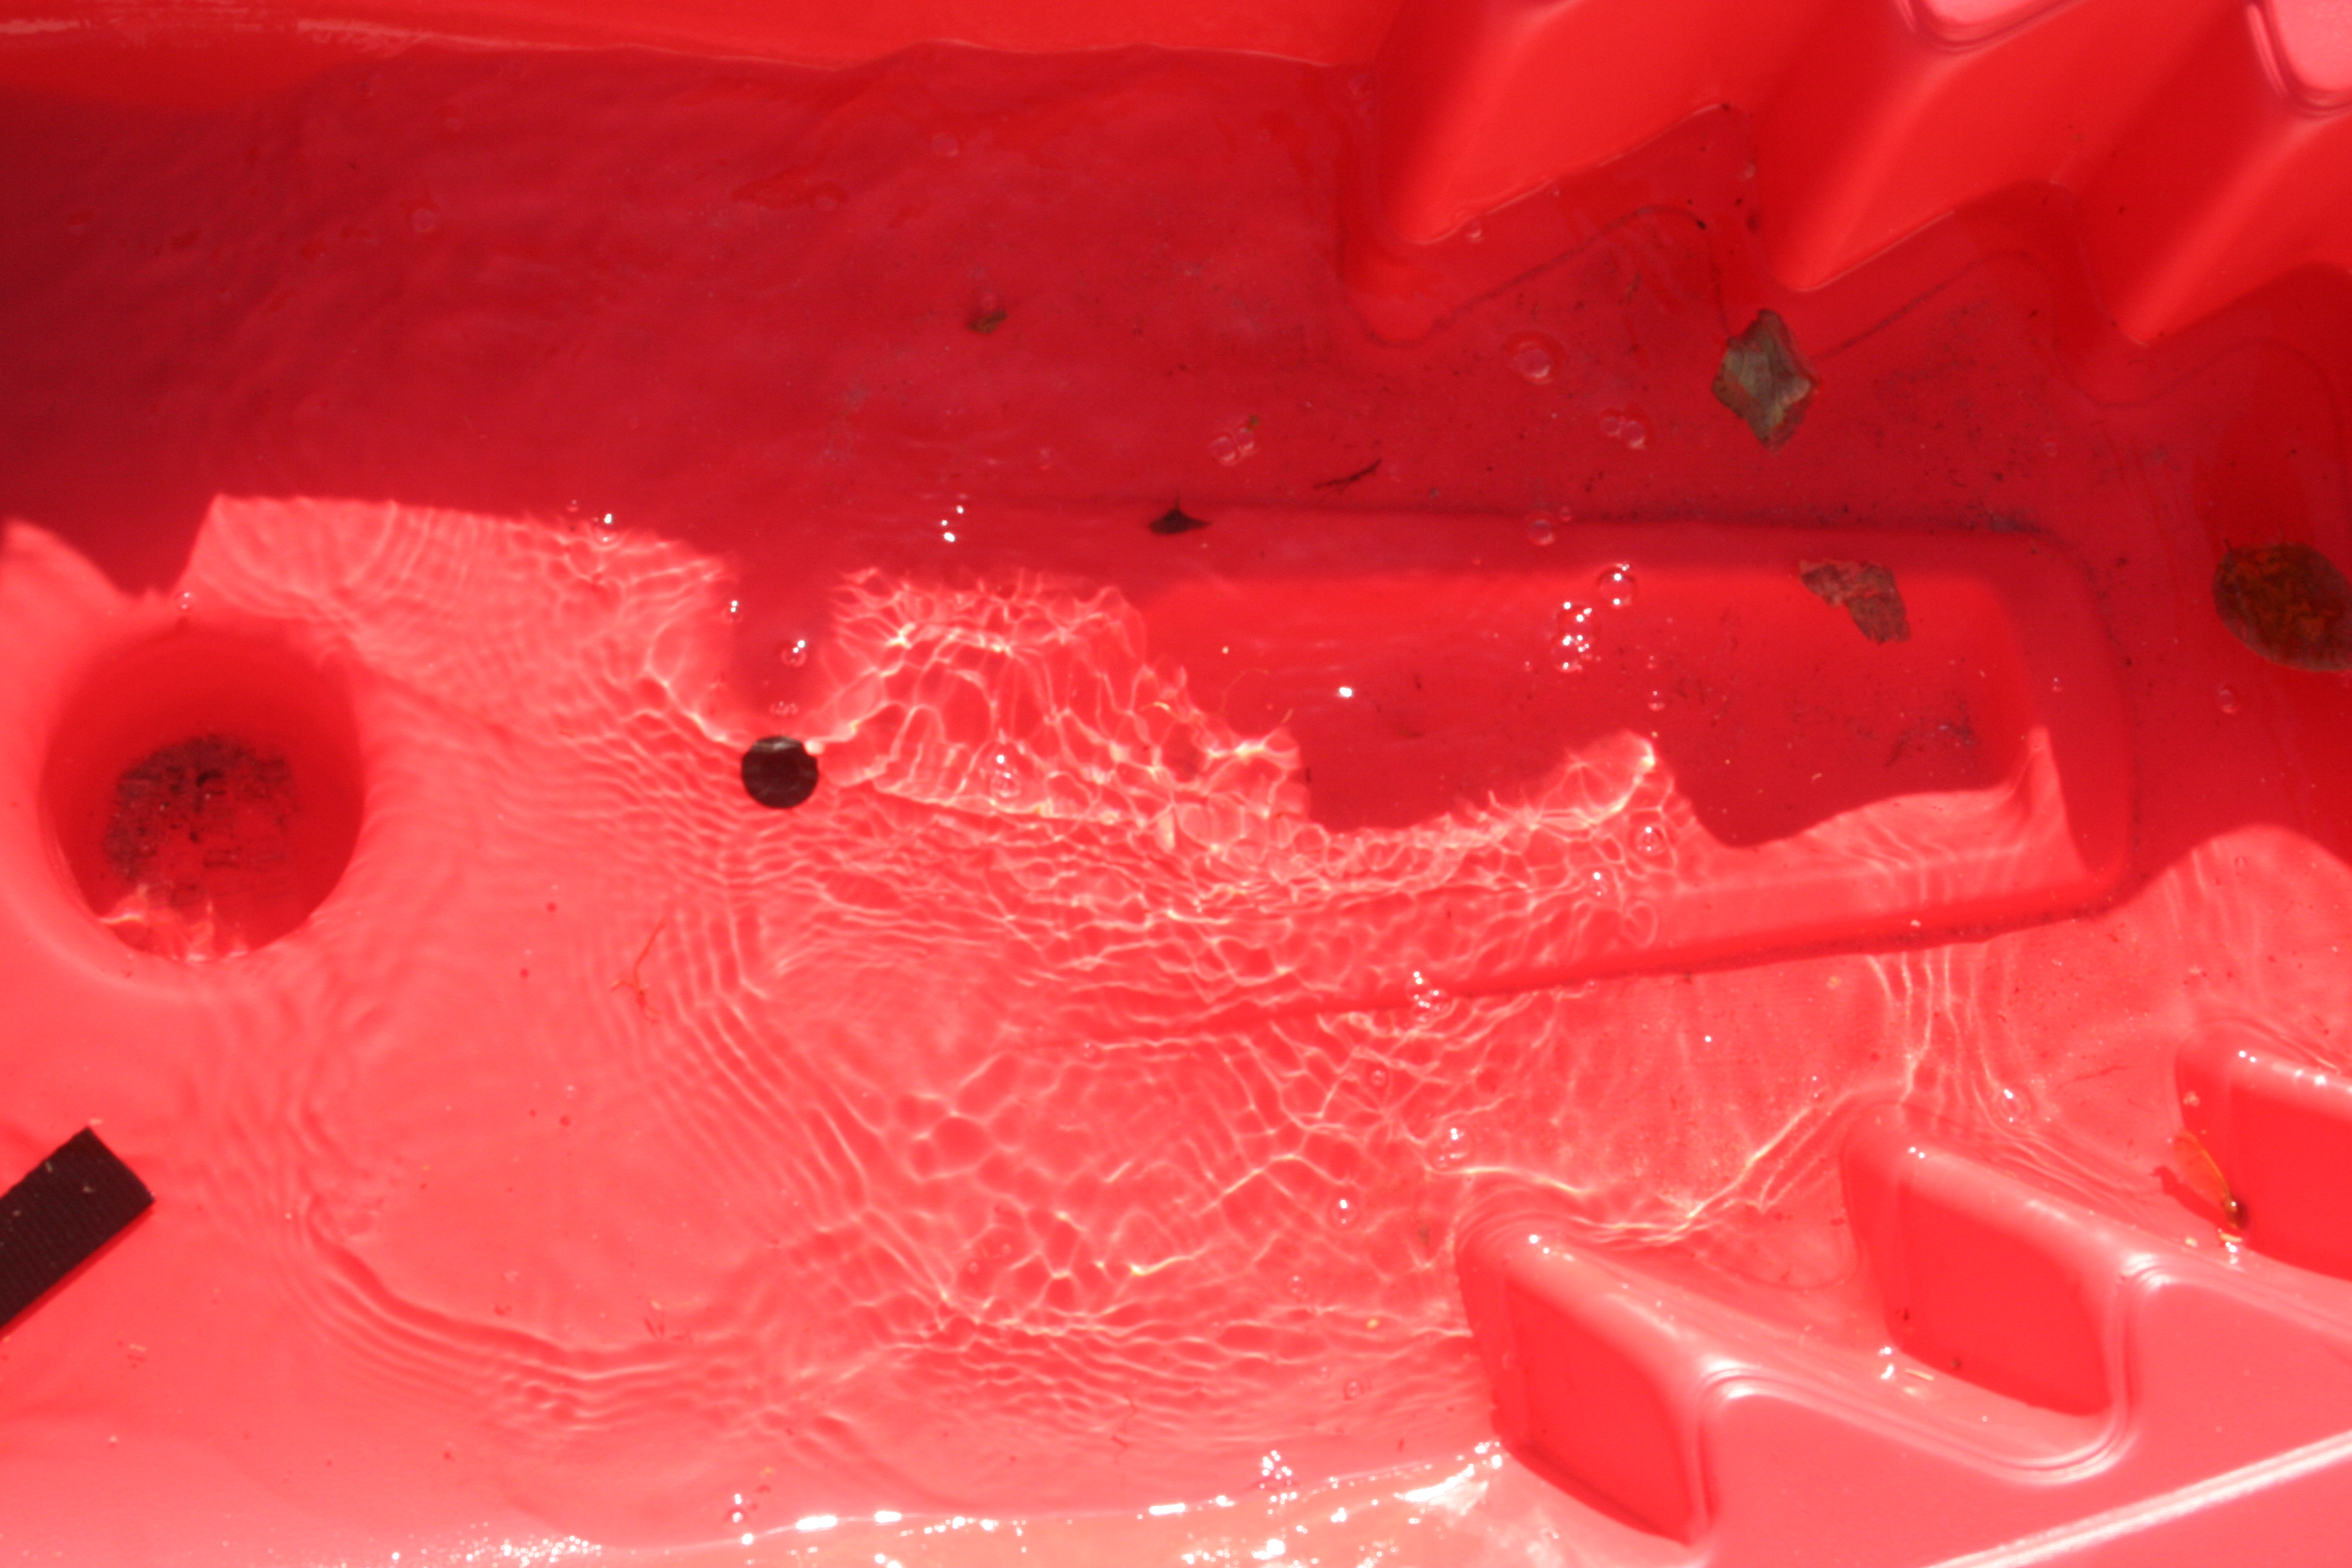
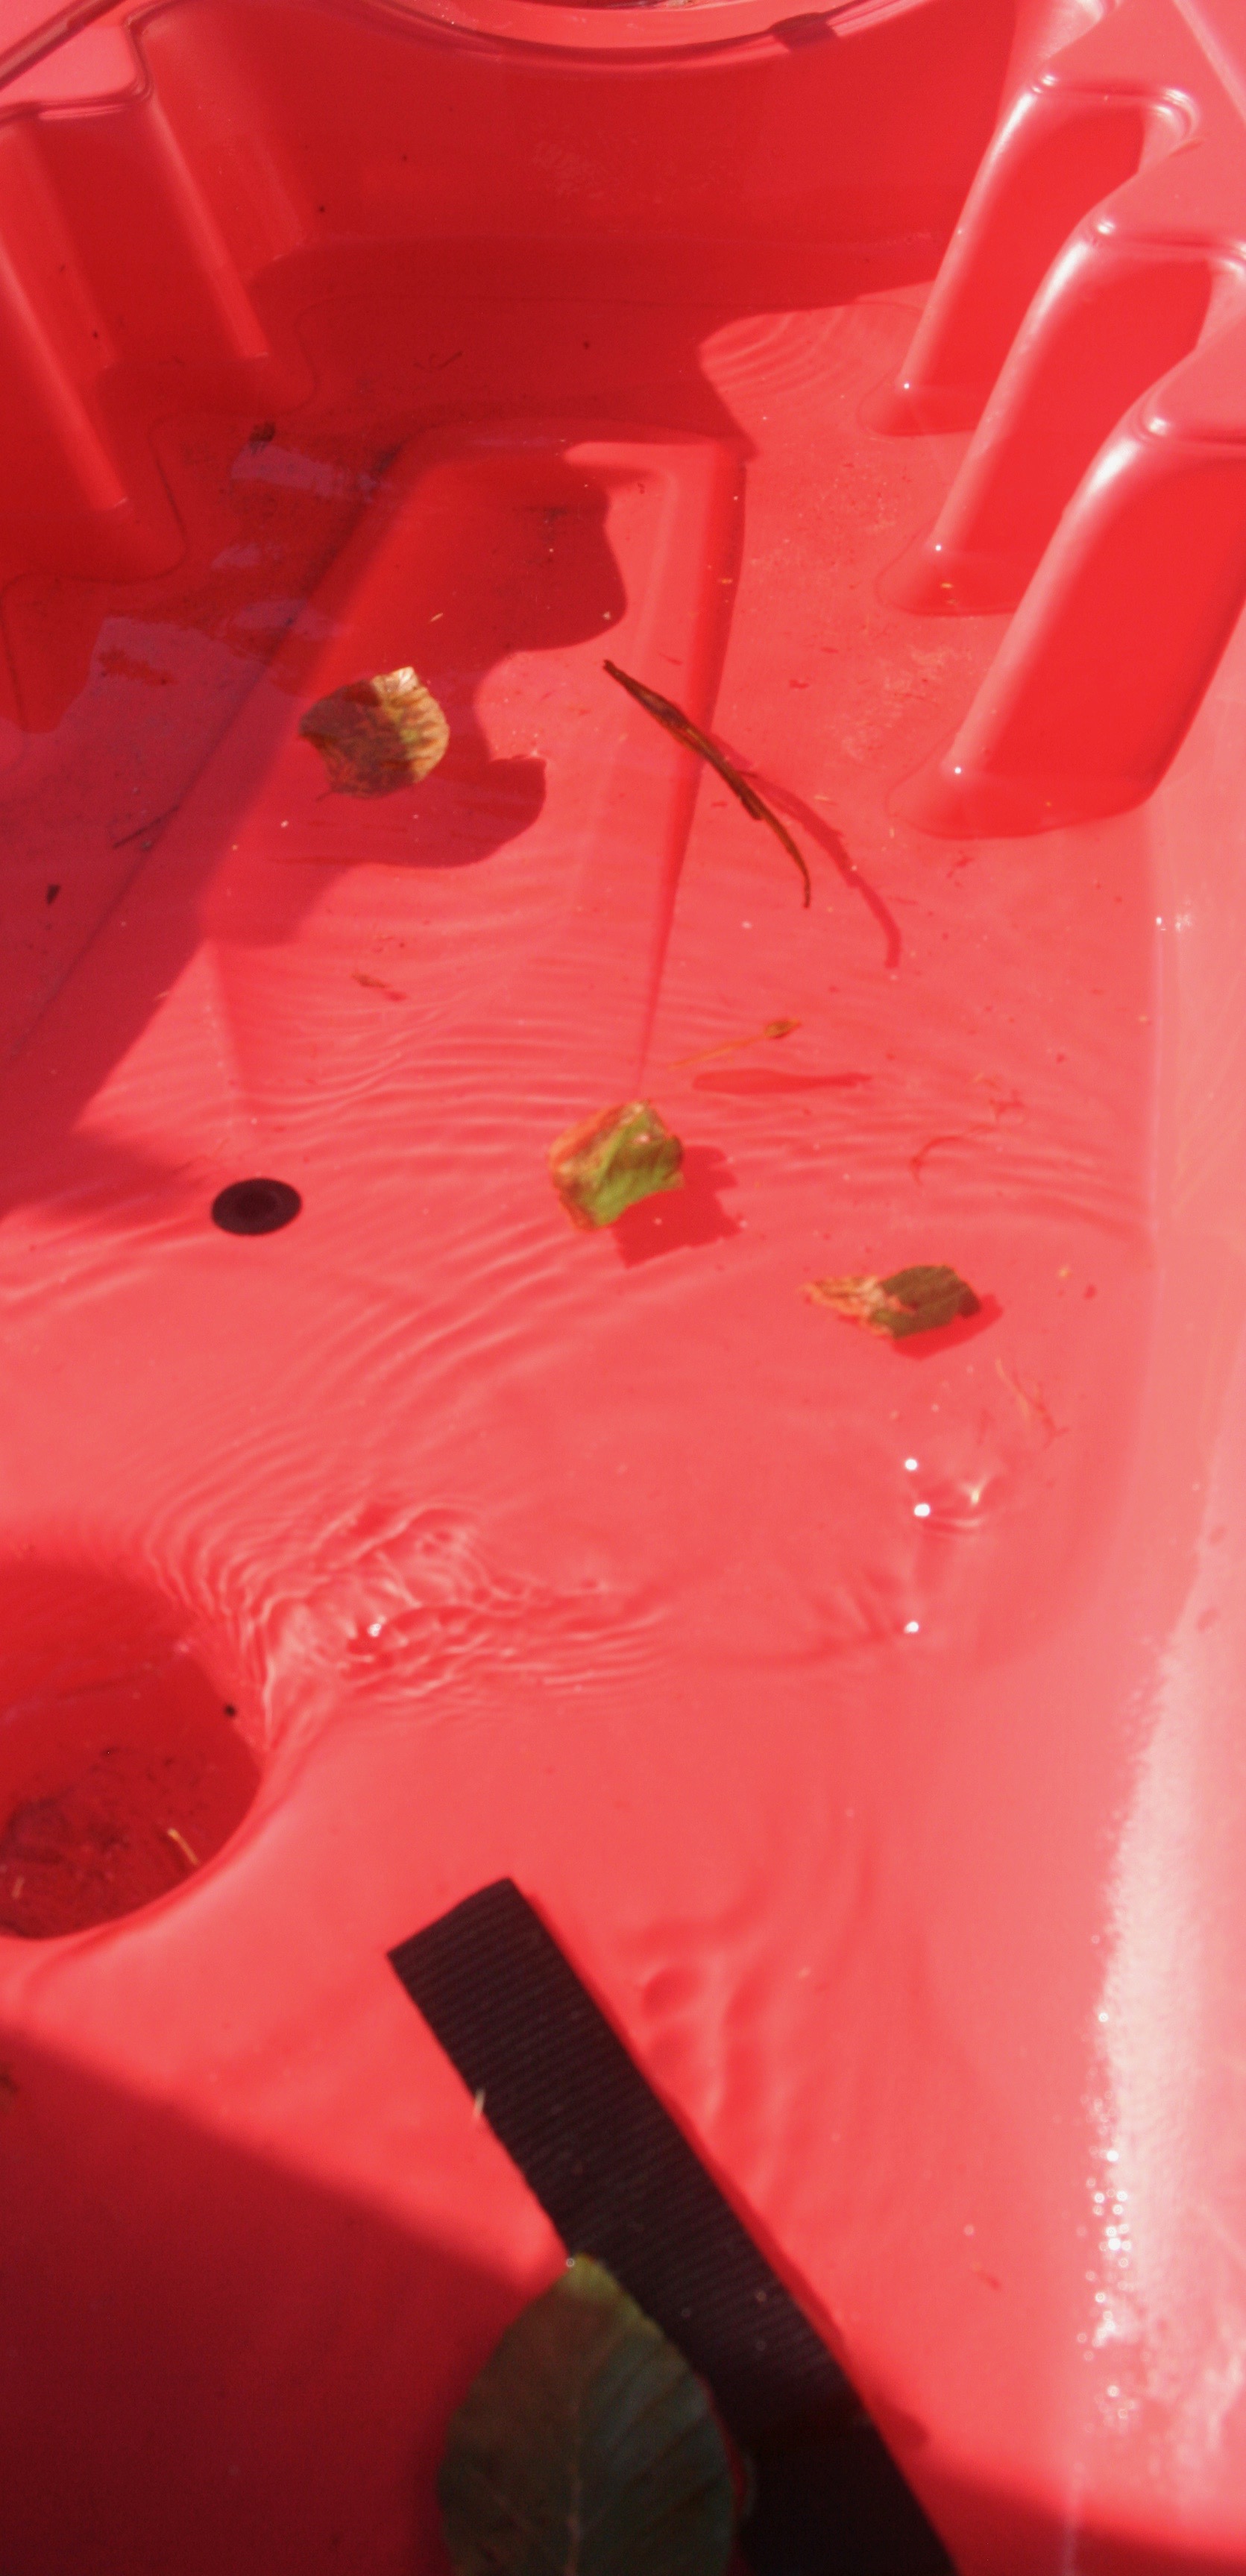
I decided to use Ernst’s water photos as inspiration for my final shoot. I used the puddles of water on a swimming pool cover and on a kayak as a focal point for my reflections and ripples. My texture came from the leaves and water, my colour from the blue and red. In my first and second photos I was influenced by Ernst’s water reflection photos, I got my brothers to stand in the same direction in which the sun was shining in order to achieve the distorted reflections. Natural lighting was the easiest way for me to achieve the reflection, I found I had relatively low levels of control as the positioning of the sun determined the angles at which I could take the photos. I also found it hard to take pictures without them being  over-exposed due to the high intensity of the sun, the ripples however were easy to create and added a sense of structure and pattern. I had to crop all of my final outcomes in order to get rid unwanted negative space which interfered with the overall colour combination.

Final Outcomes:

ISO 400-39mm-f/14-1/320
ISO 400-39mm-f/13-1/320
ISO 200-39mm-f/20-1/500
ISO 400-28mm-f/13-1/250
ISO 400-23mm-f/11-1/320