Category Archives: AO4 Present Ideas

Filters

Author:
Category:

Environmental Portraits

Environmental Portraits

An environmental portrait is a portrait executed in the subject’s usual environment, such as in their home or workplace, and typically illuminates the subject’s life and surroundings. The term is most frequently used of a genre of photography.

The surroundings or background is a key element in environmental portraiture, and is used to convey further information about the person being photographed.   The details that convey the message from the surroundings can often be quite small and still be significant.  The key seems to be in the symbolism expressed by various elements in the background; for instance, a baseball cap may not tell you much about your subject (unless he or she is a baseball player), but a chef’s hat gives you a lot more detail about who he is and what he does.
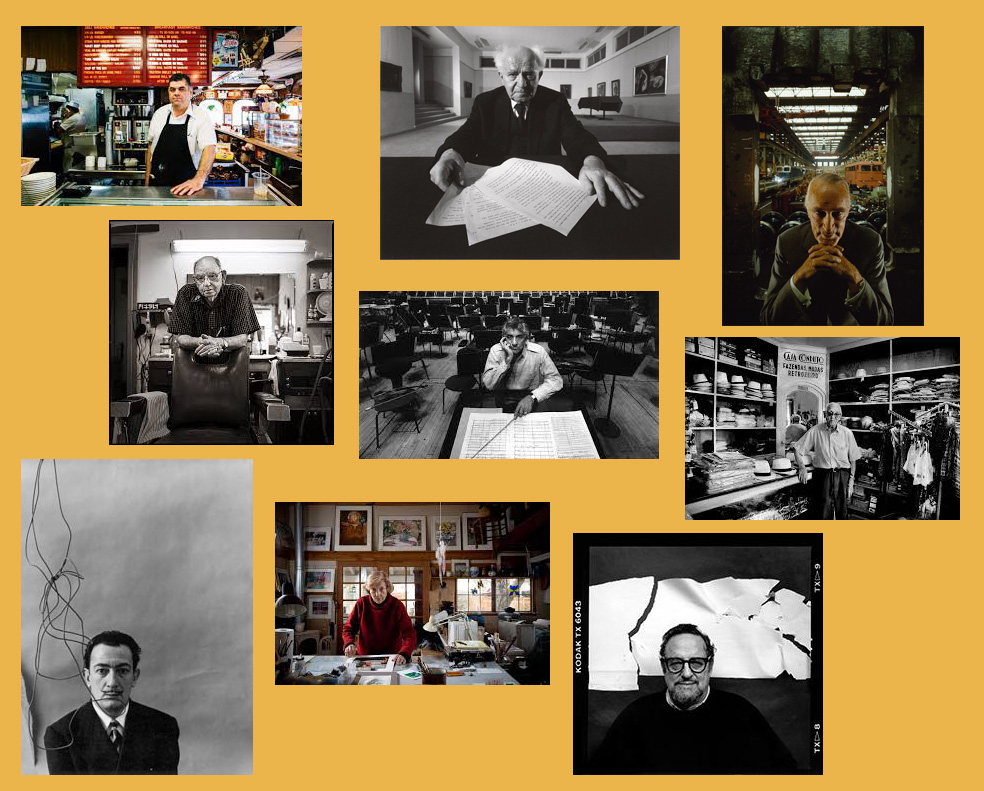
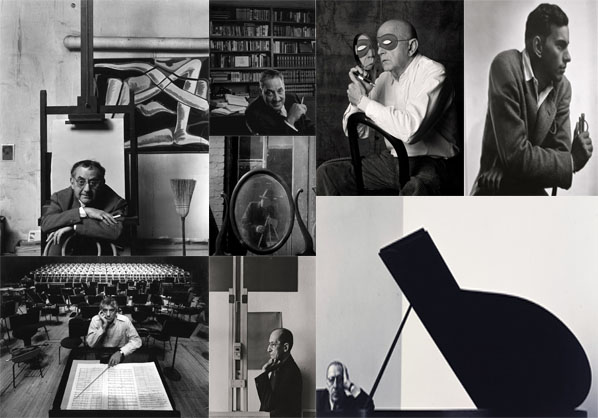
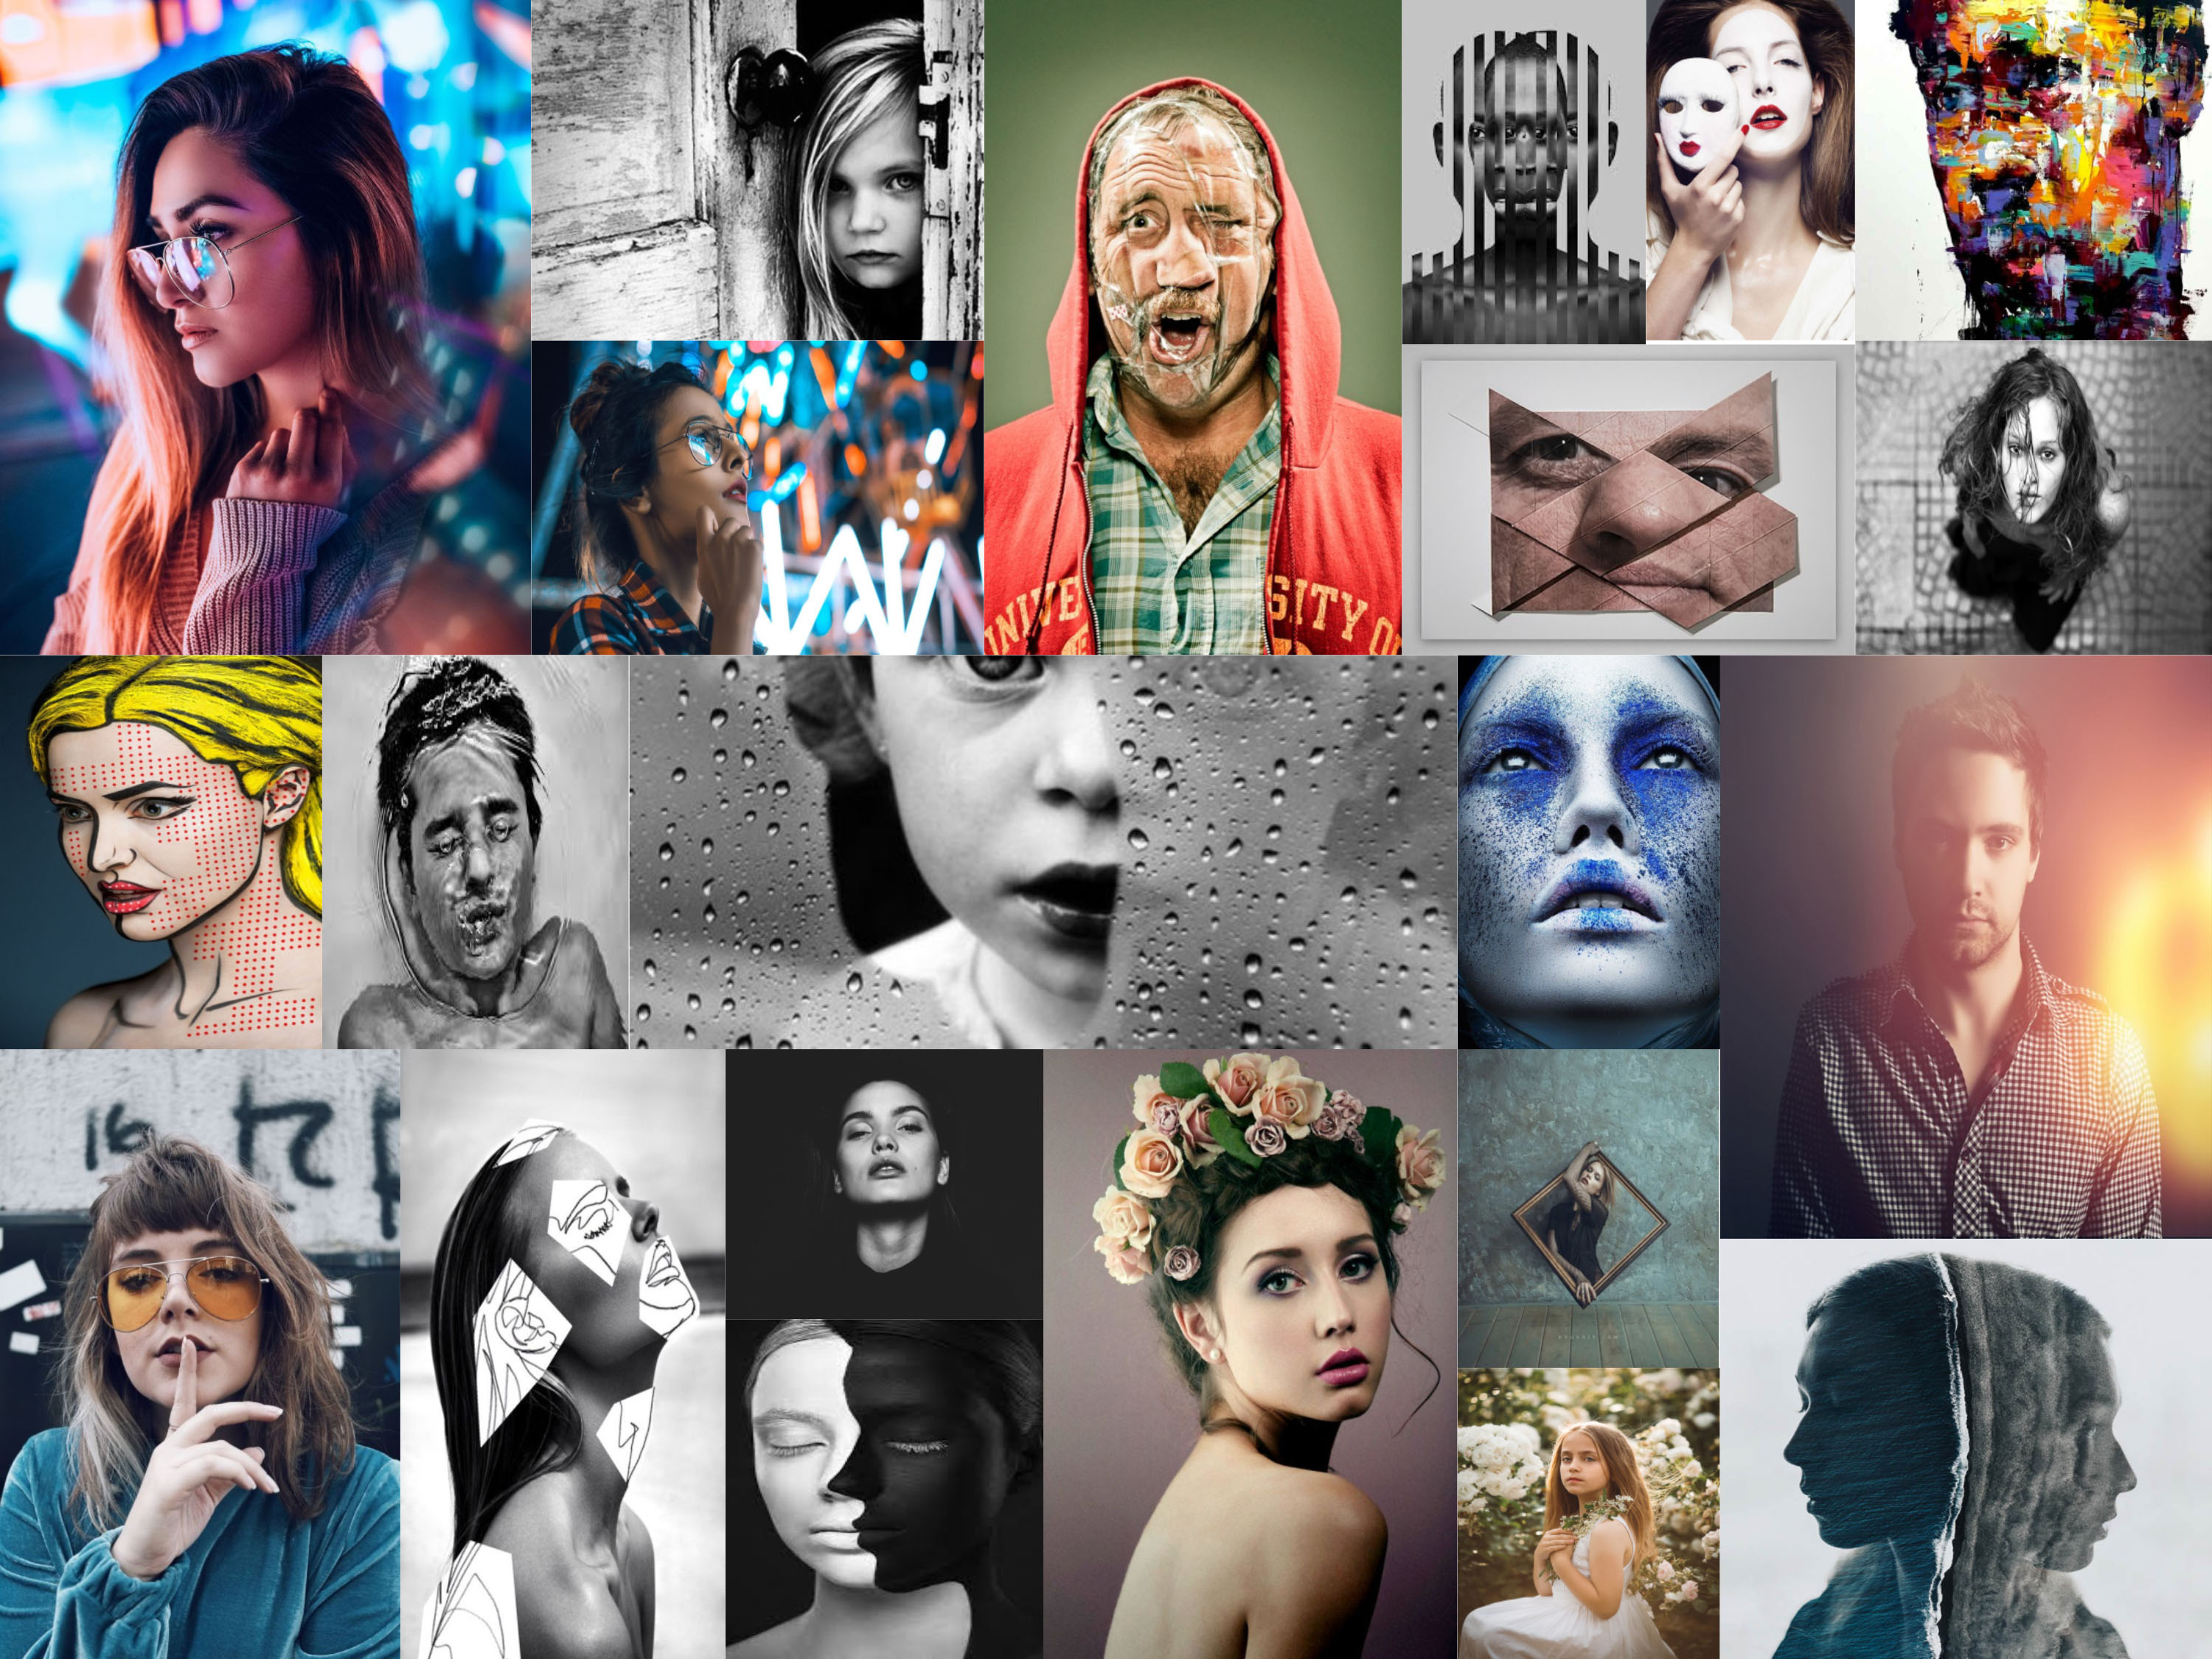
Mood Board of Environmental Portraits

Jim Cornfield – ‘Telling a Story with Environmental Portraits’  https://www.digitalphotopro.com/technique/camera-technique/telling-a-story-with-environmental-portraiture/


Arnold Newman

“There are many things that are very false about photography when it is accepted without question. You must recognize and interpret it as you would any other art form, and then maybe it is a little more than real.” – Arnold Newman

Arnold Newman (1918-2006) was an American photographer known for his environmental portraits or artists and politicians.  He was also known for his carefully composed abstract still life photographs.

Newman is often credited with being the first photographer to use so-called environmental portraiture, in which the photographer places the subject in a carefully controlled setting to capture the essence of the individual’s life and work. Newman normally captured his subjects in their most familiar surroundings with representative visual elements showing their professions and personalities. A musician for instance might be photographed in their recording studio or on stage, a Senator or other politician in their office or a representative building. Using a large-format camera and tripod, he worked to record every detail of a scene.

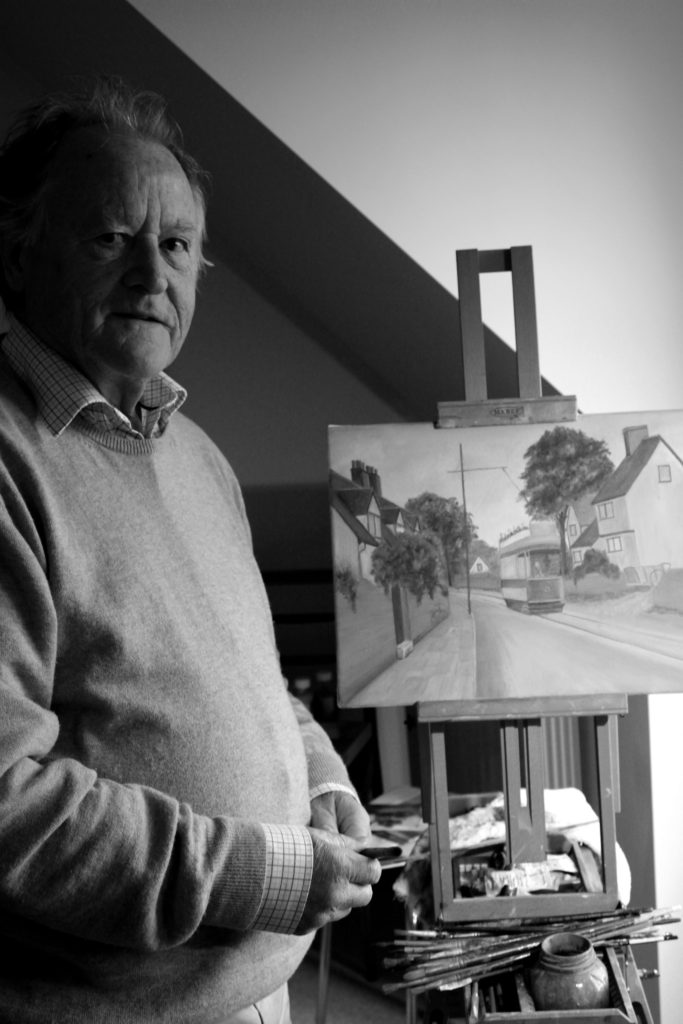
The photograph below shows one of Arnold Newman’s works, we can see he has his subject clearly engaging with the camera and how they are surrounded by something that represents them and it has been clearly composed of how they are sitting and where they have been placed in the frame which is something I will aim to do in my own photoshoot with inspiration from Arnold Newman.
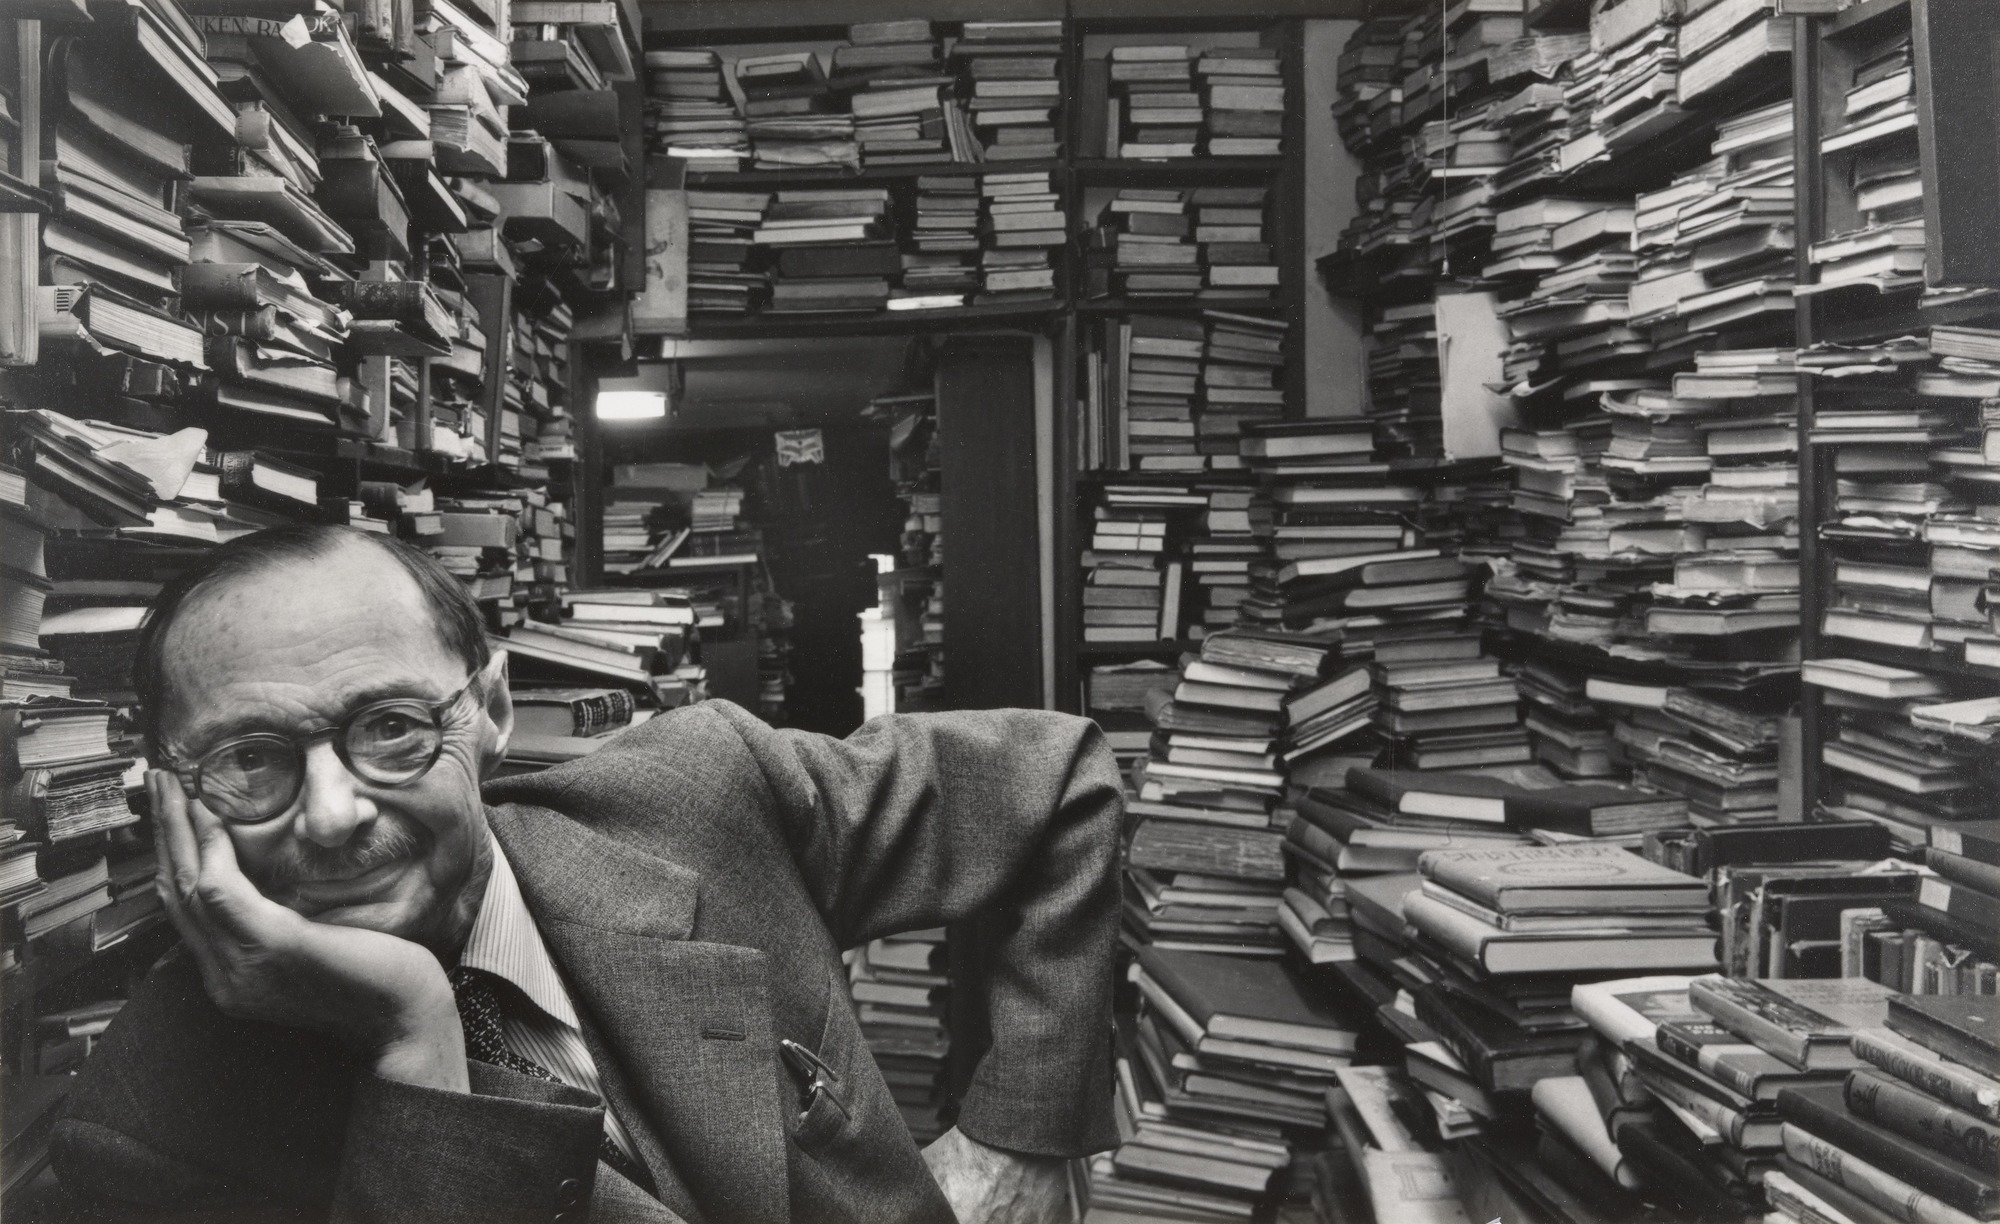
Arnold Newman

My Own Responses

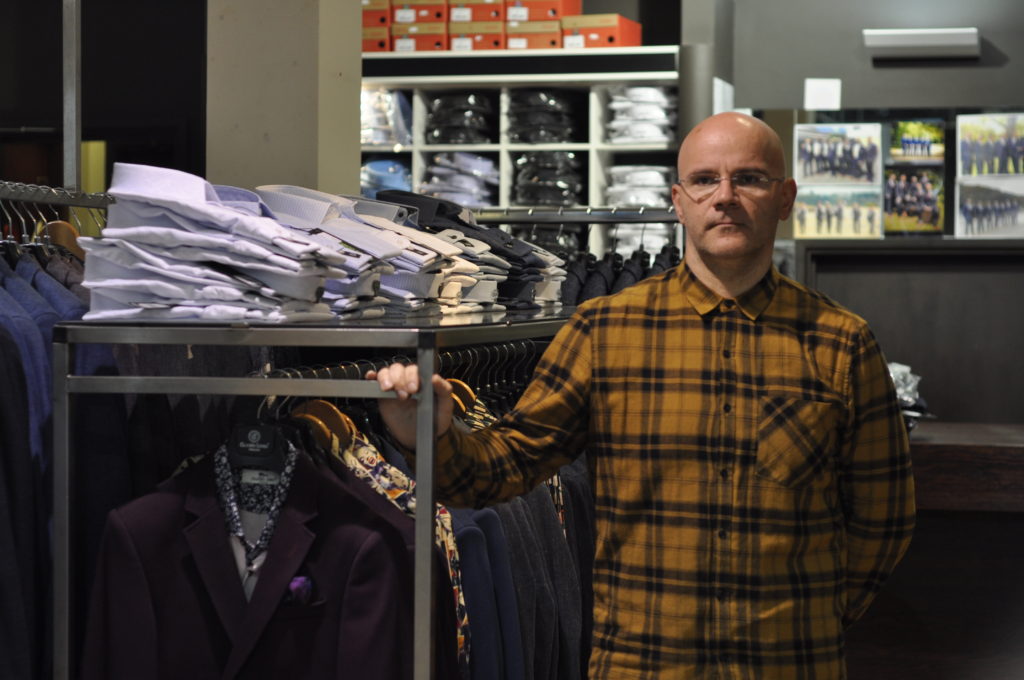
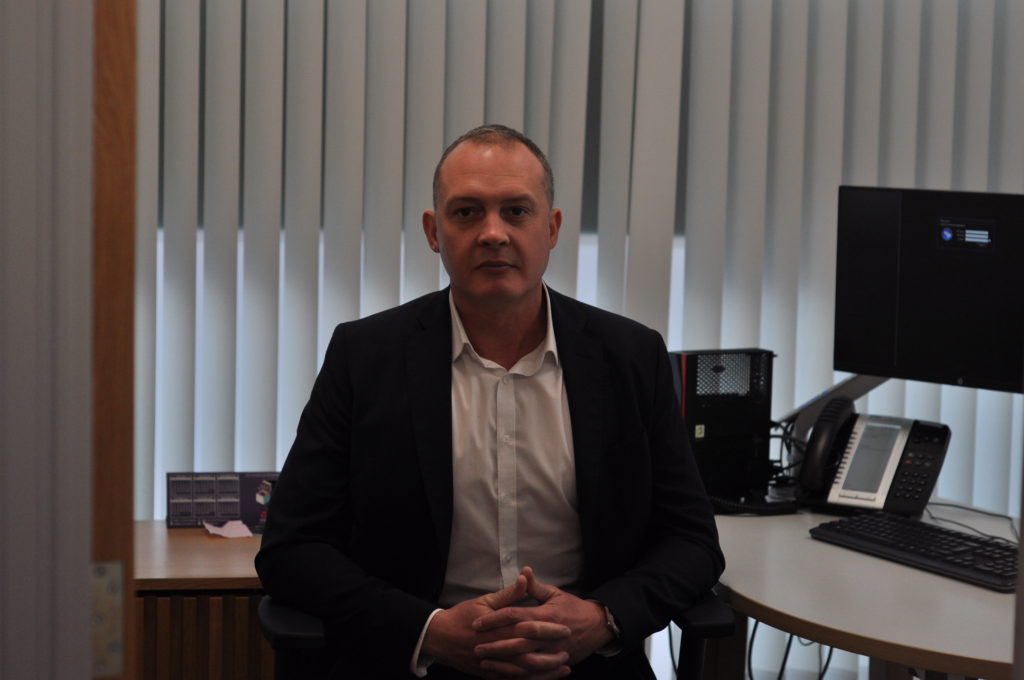
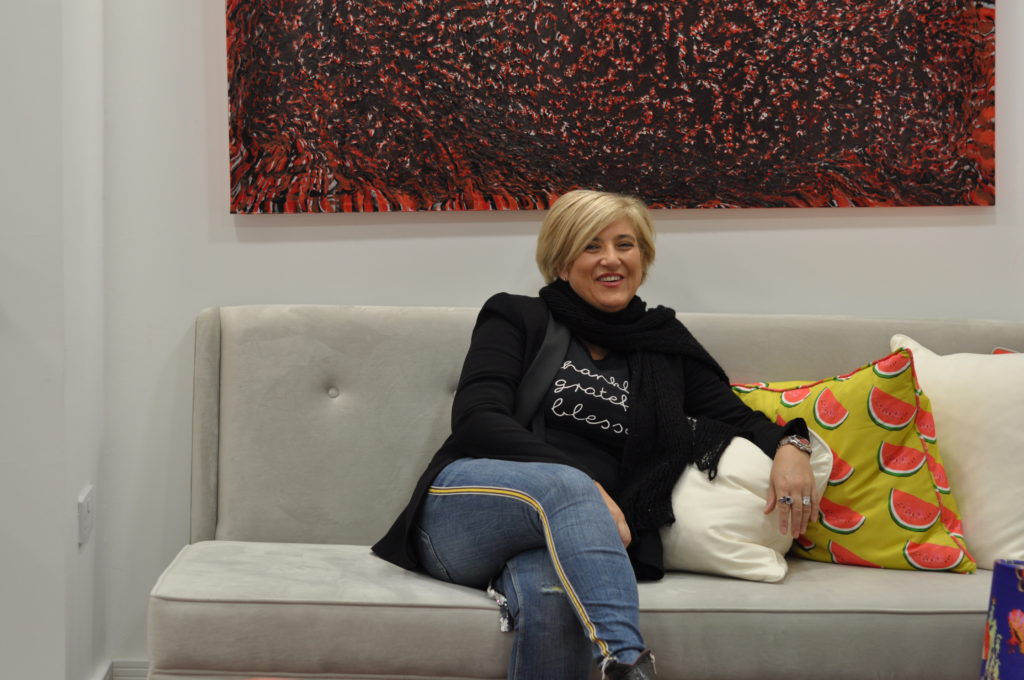
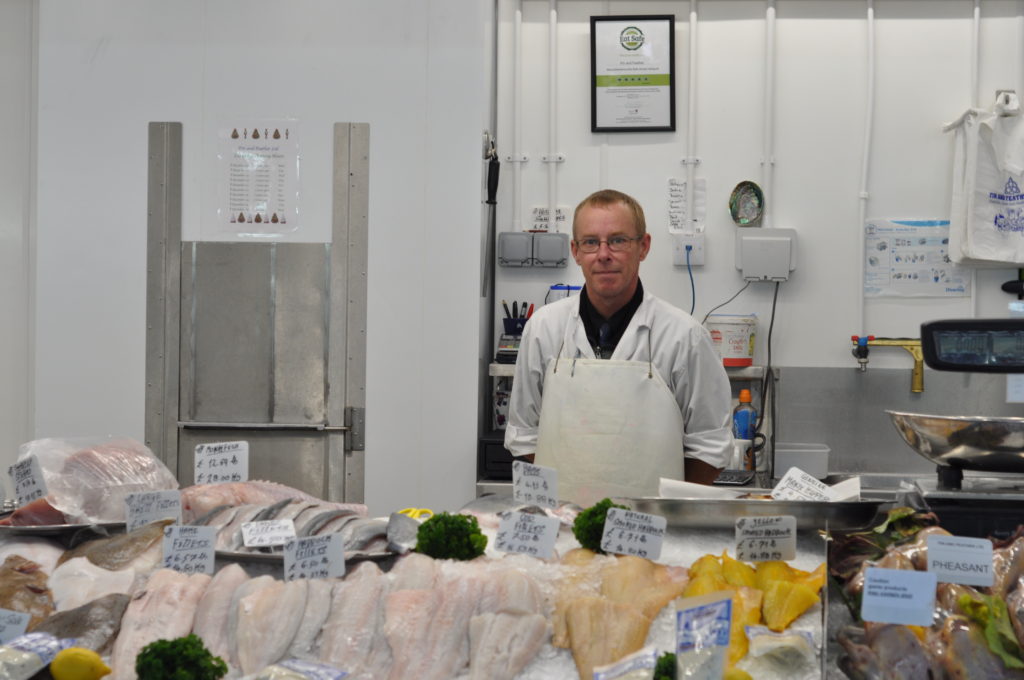
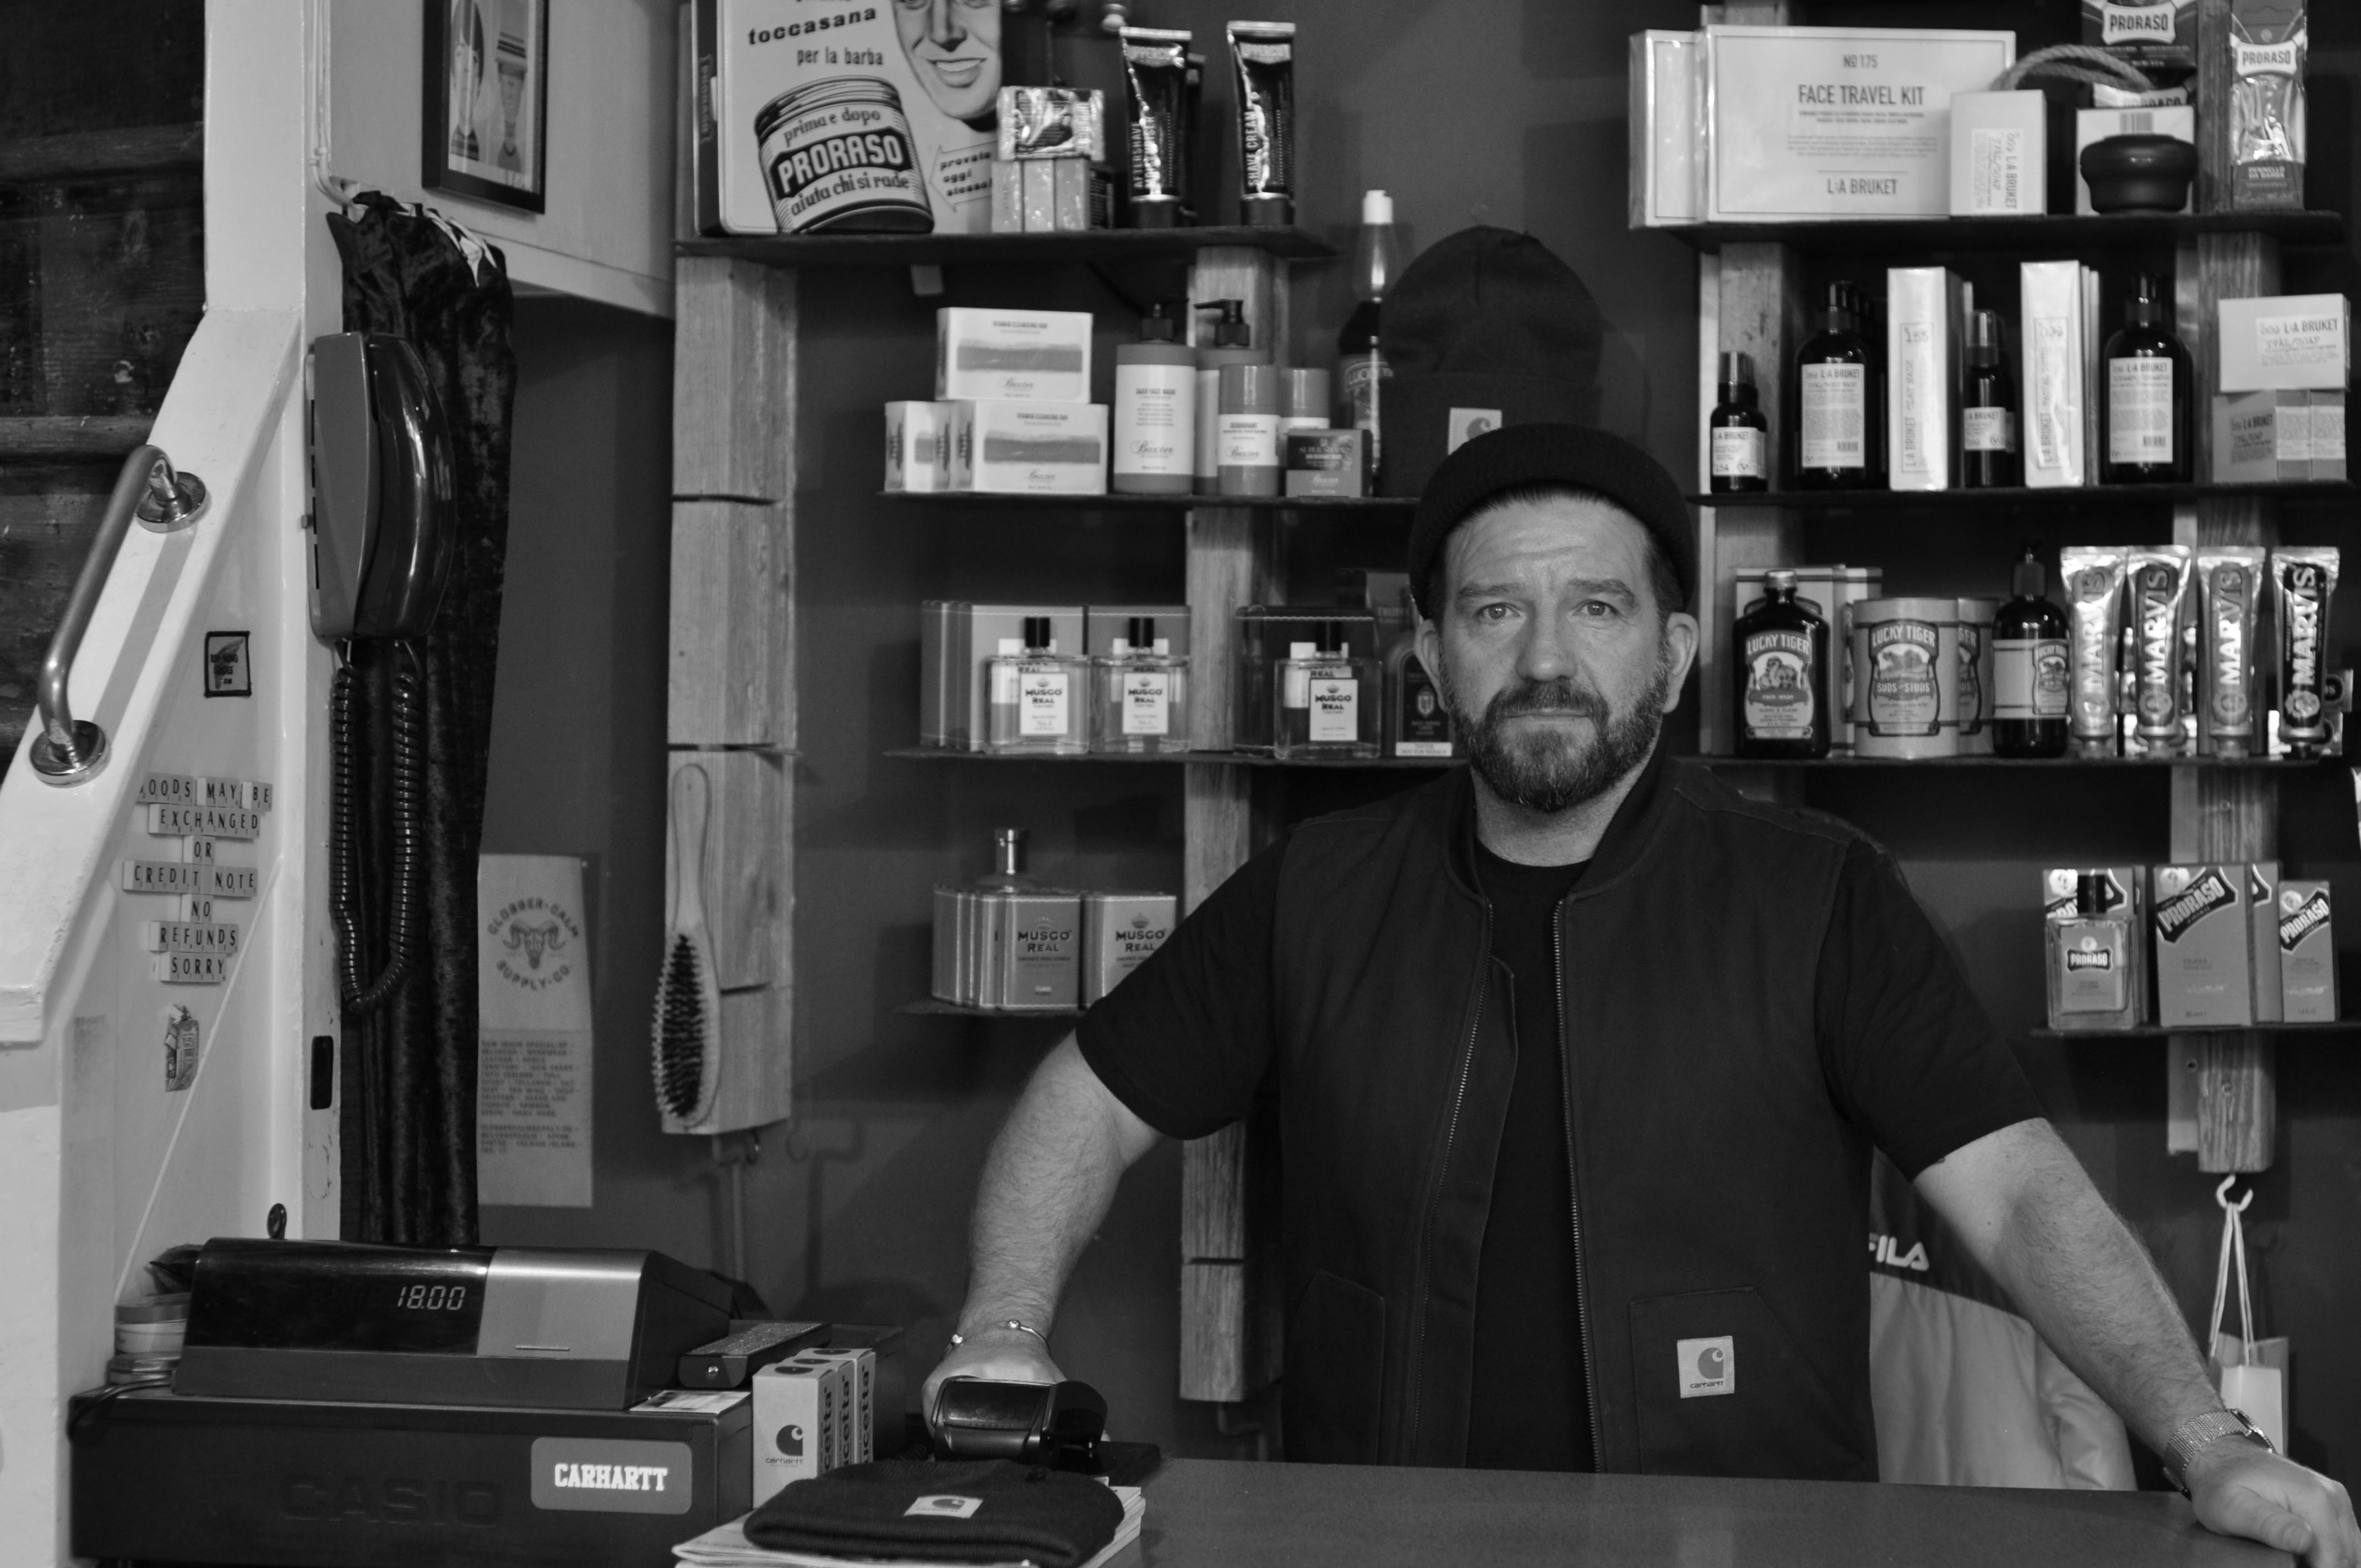
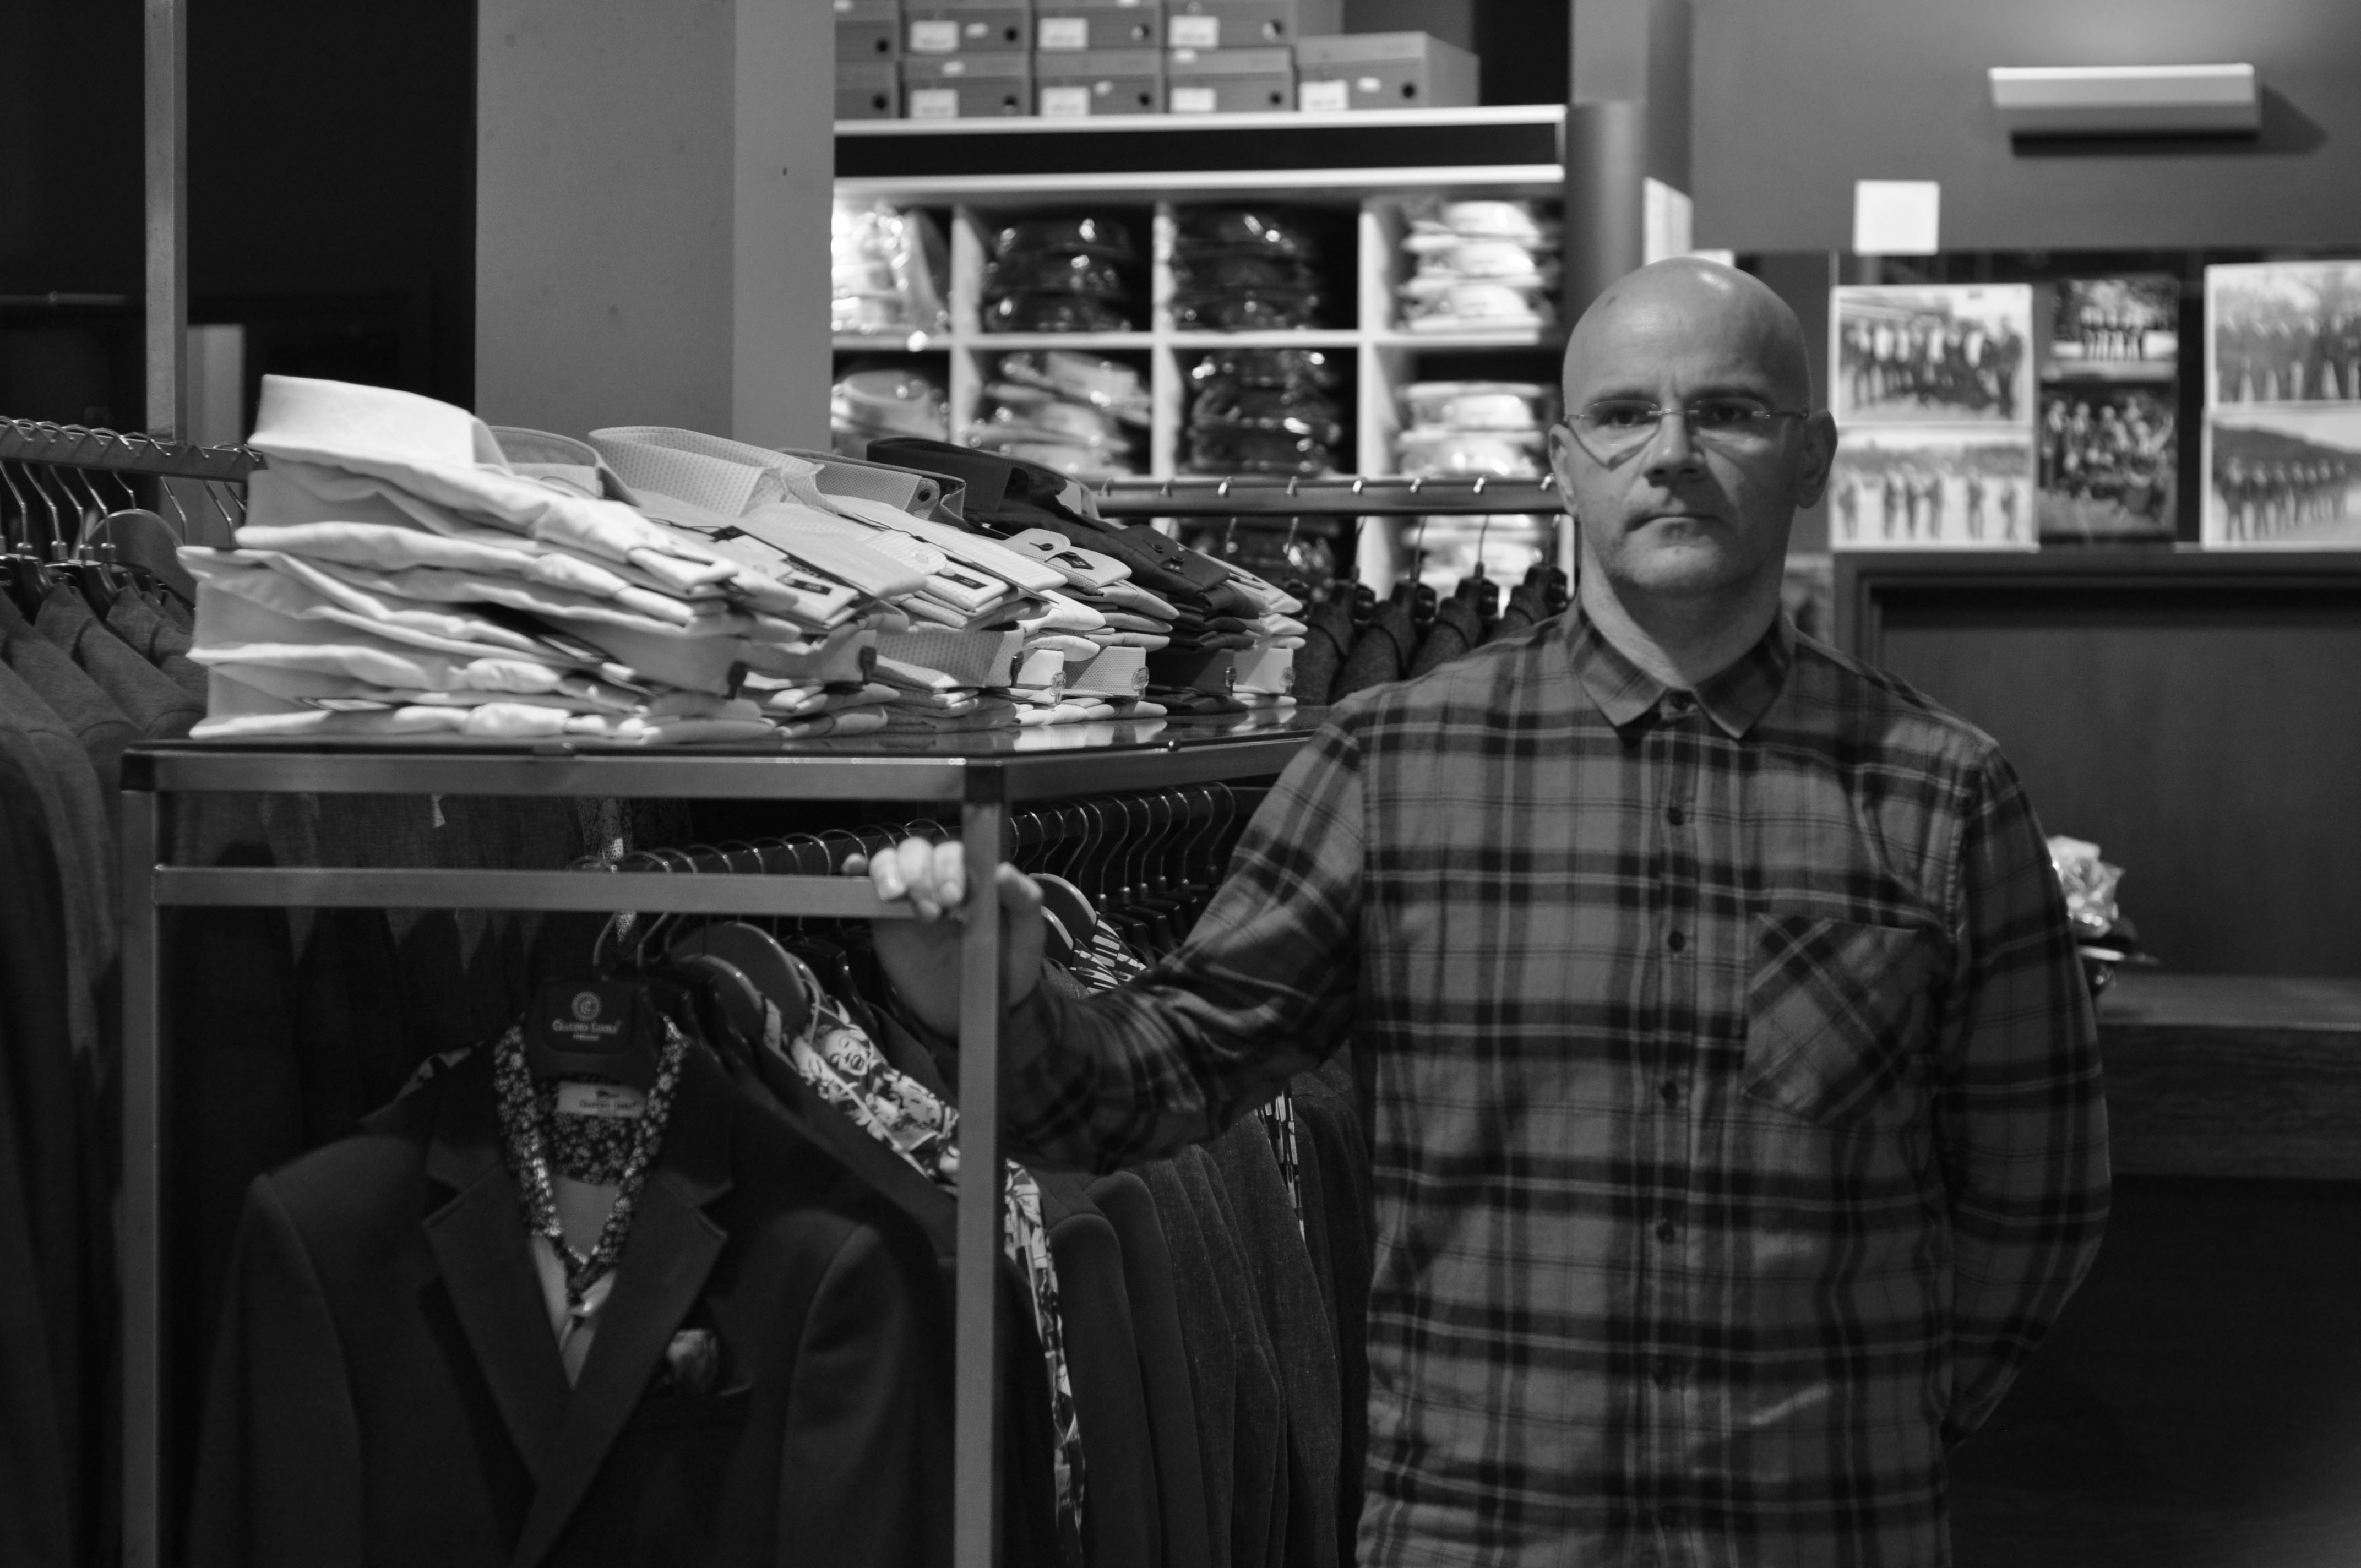
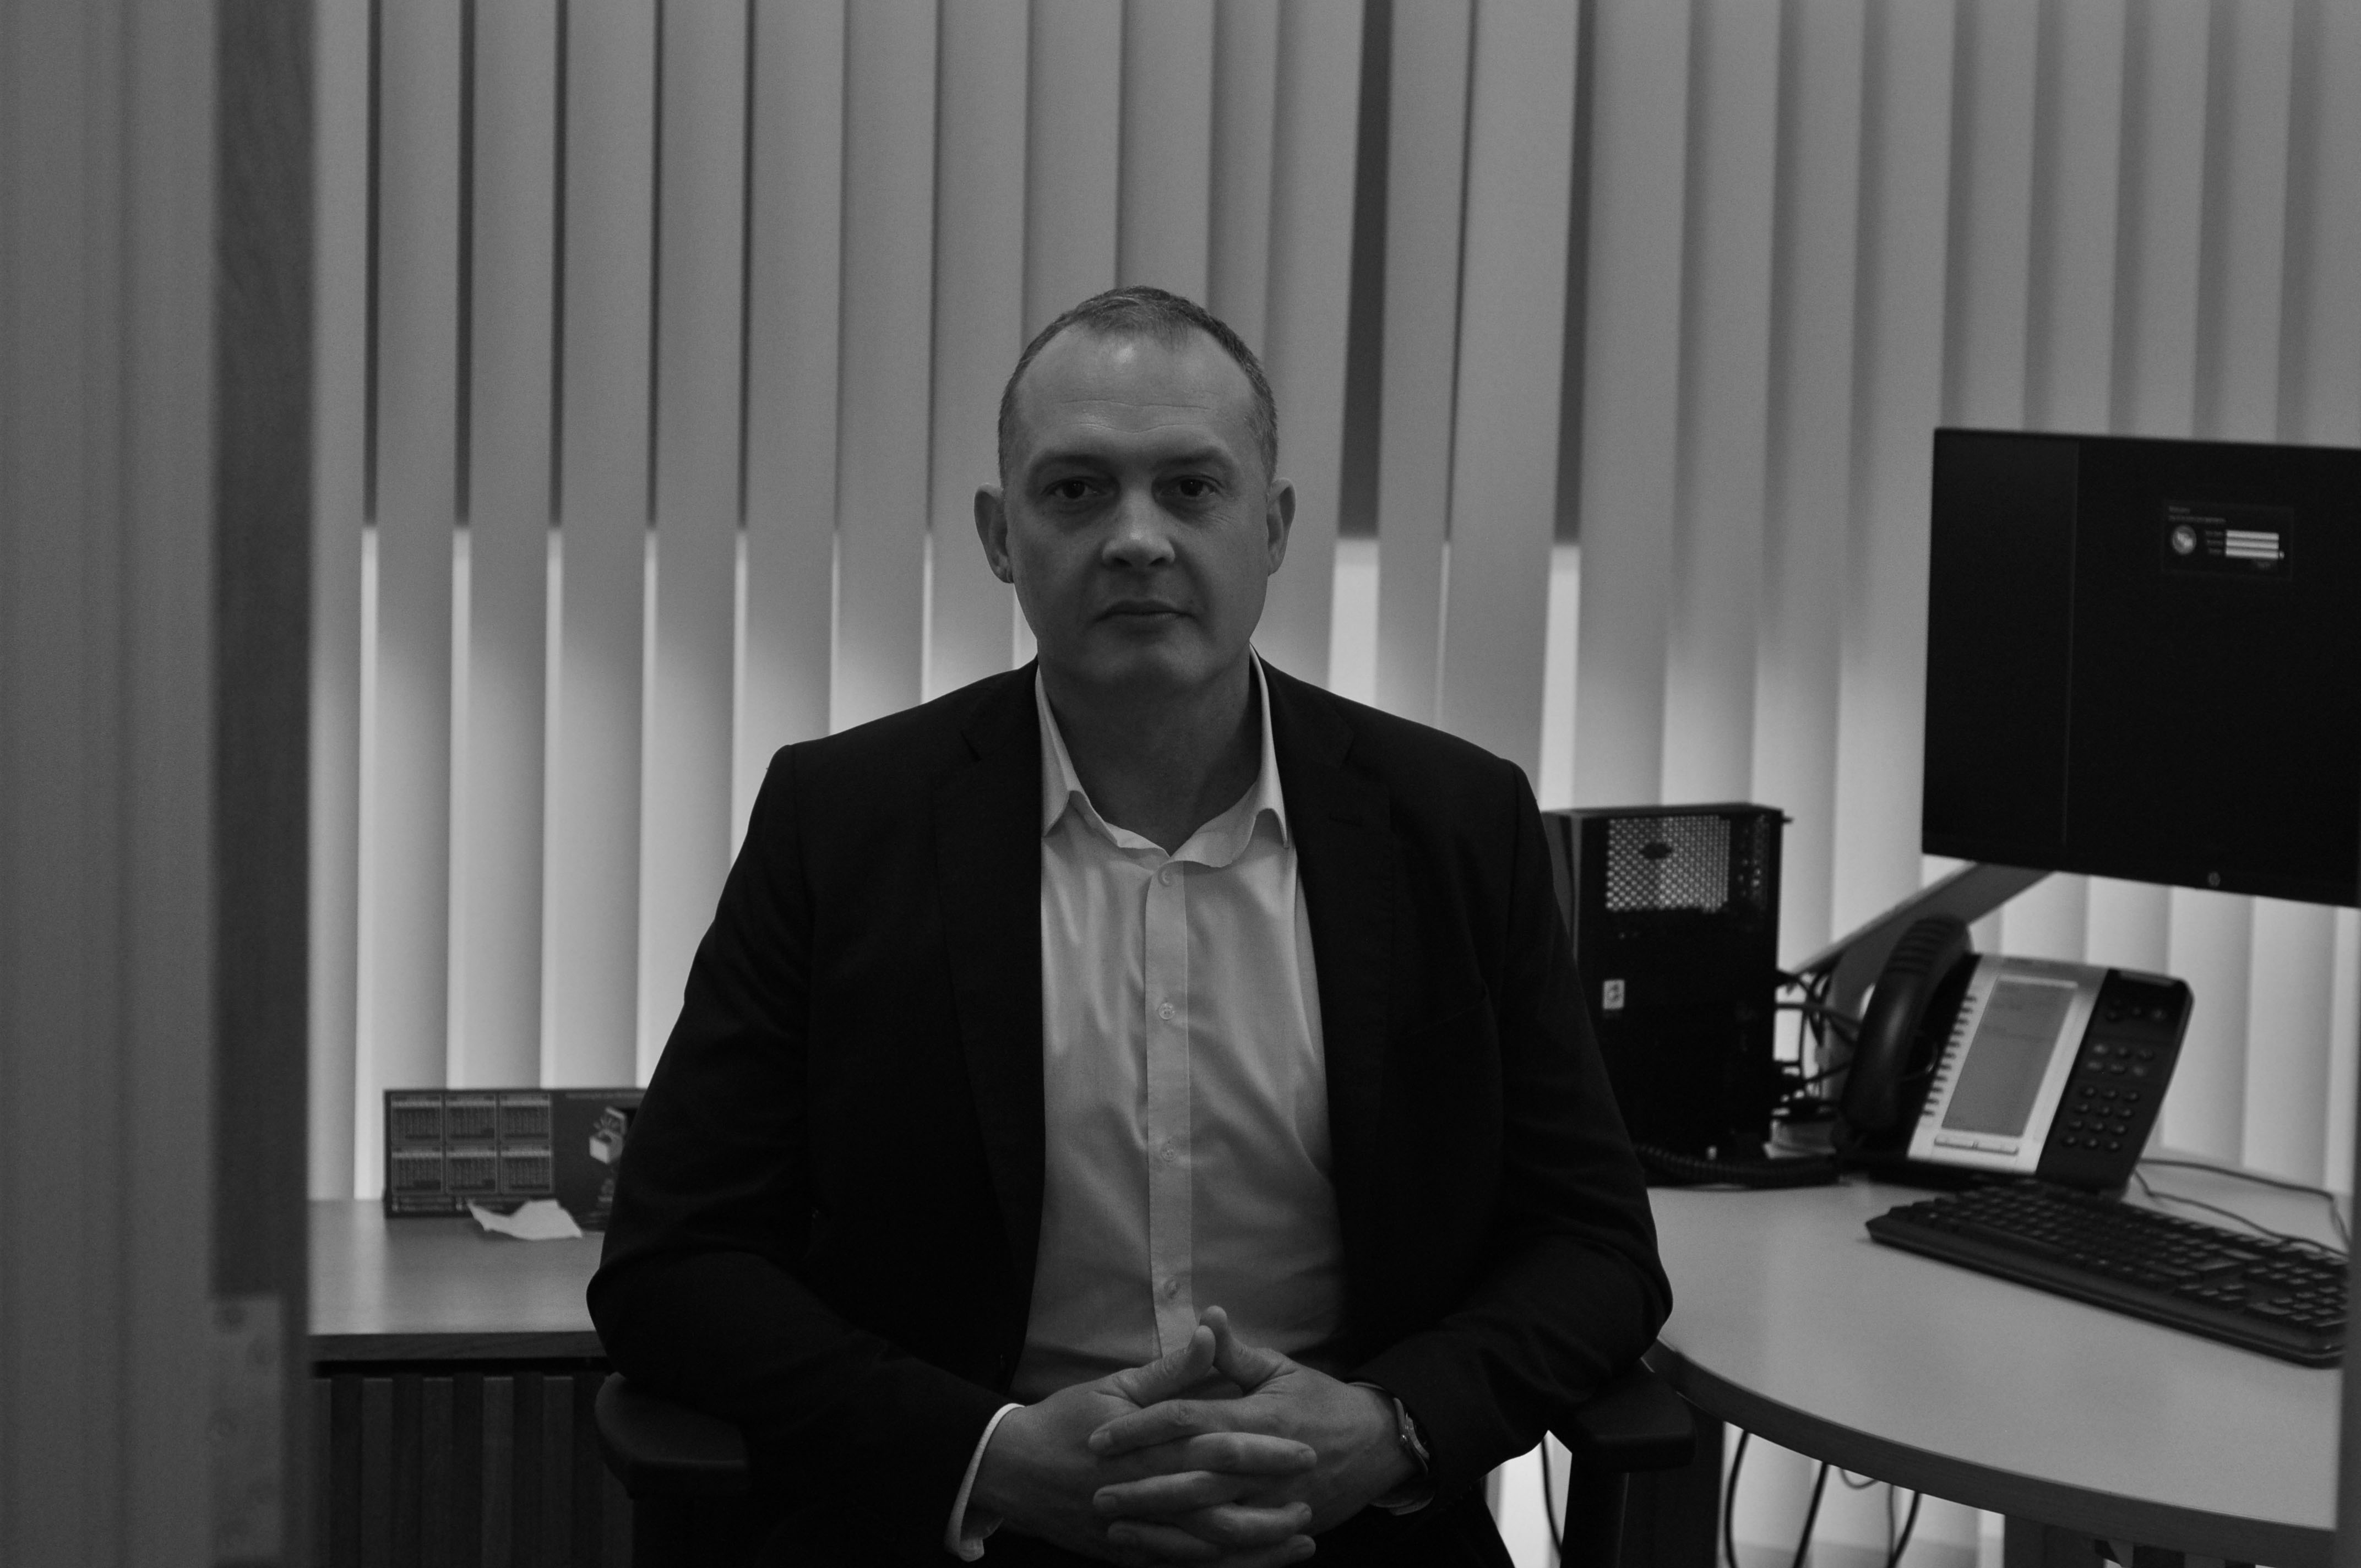
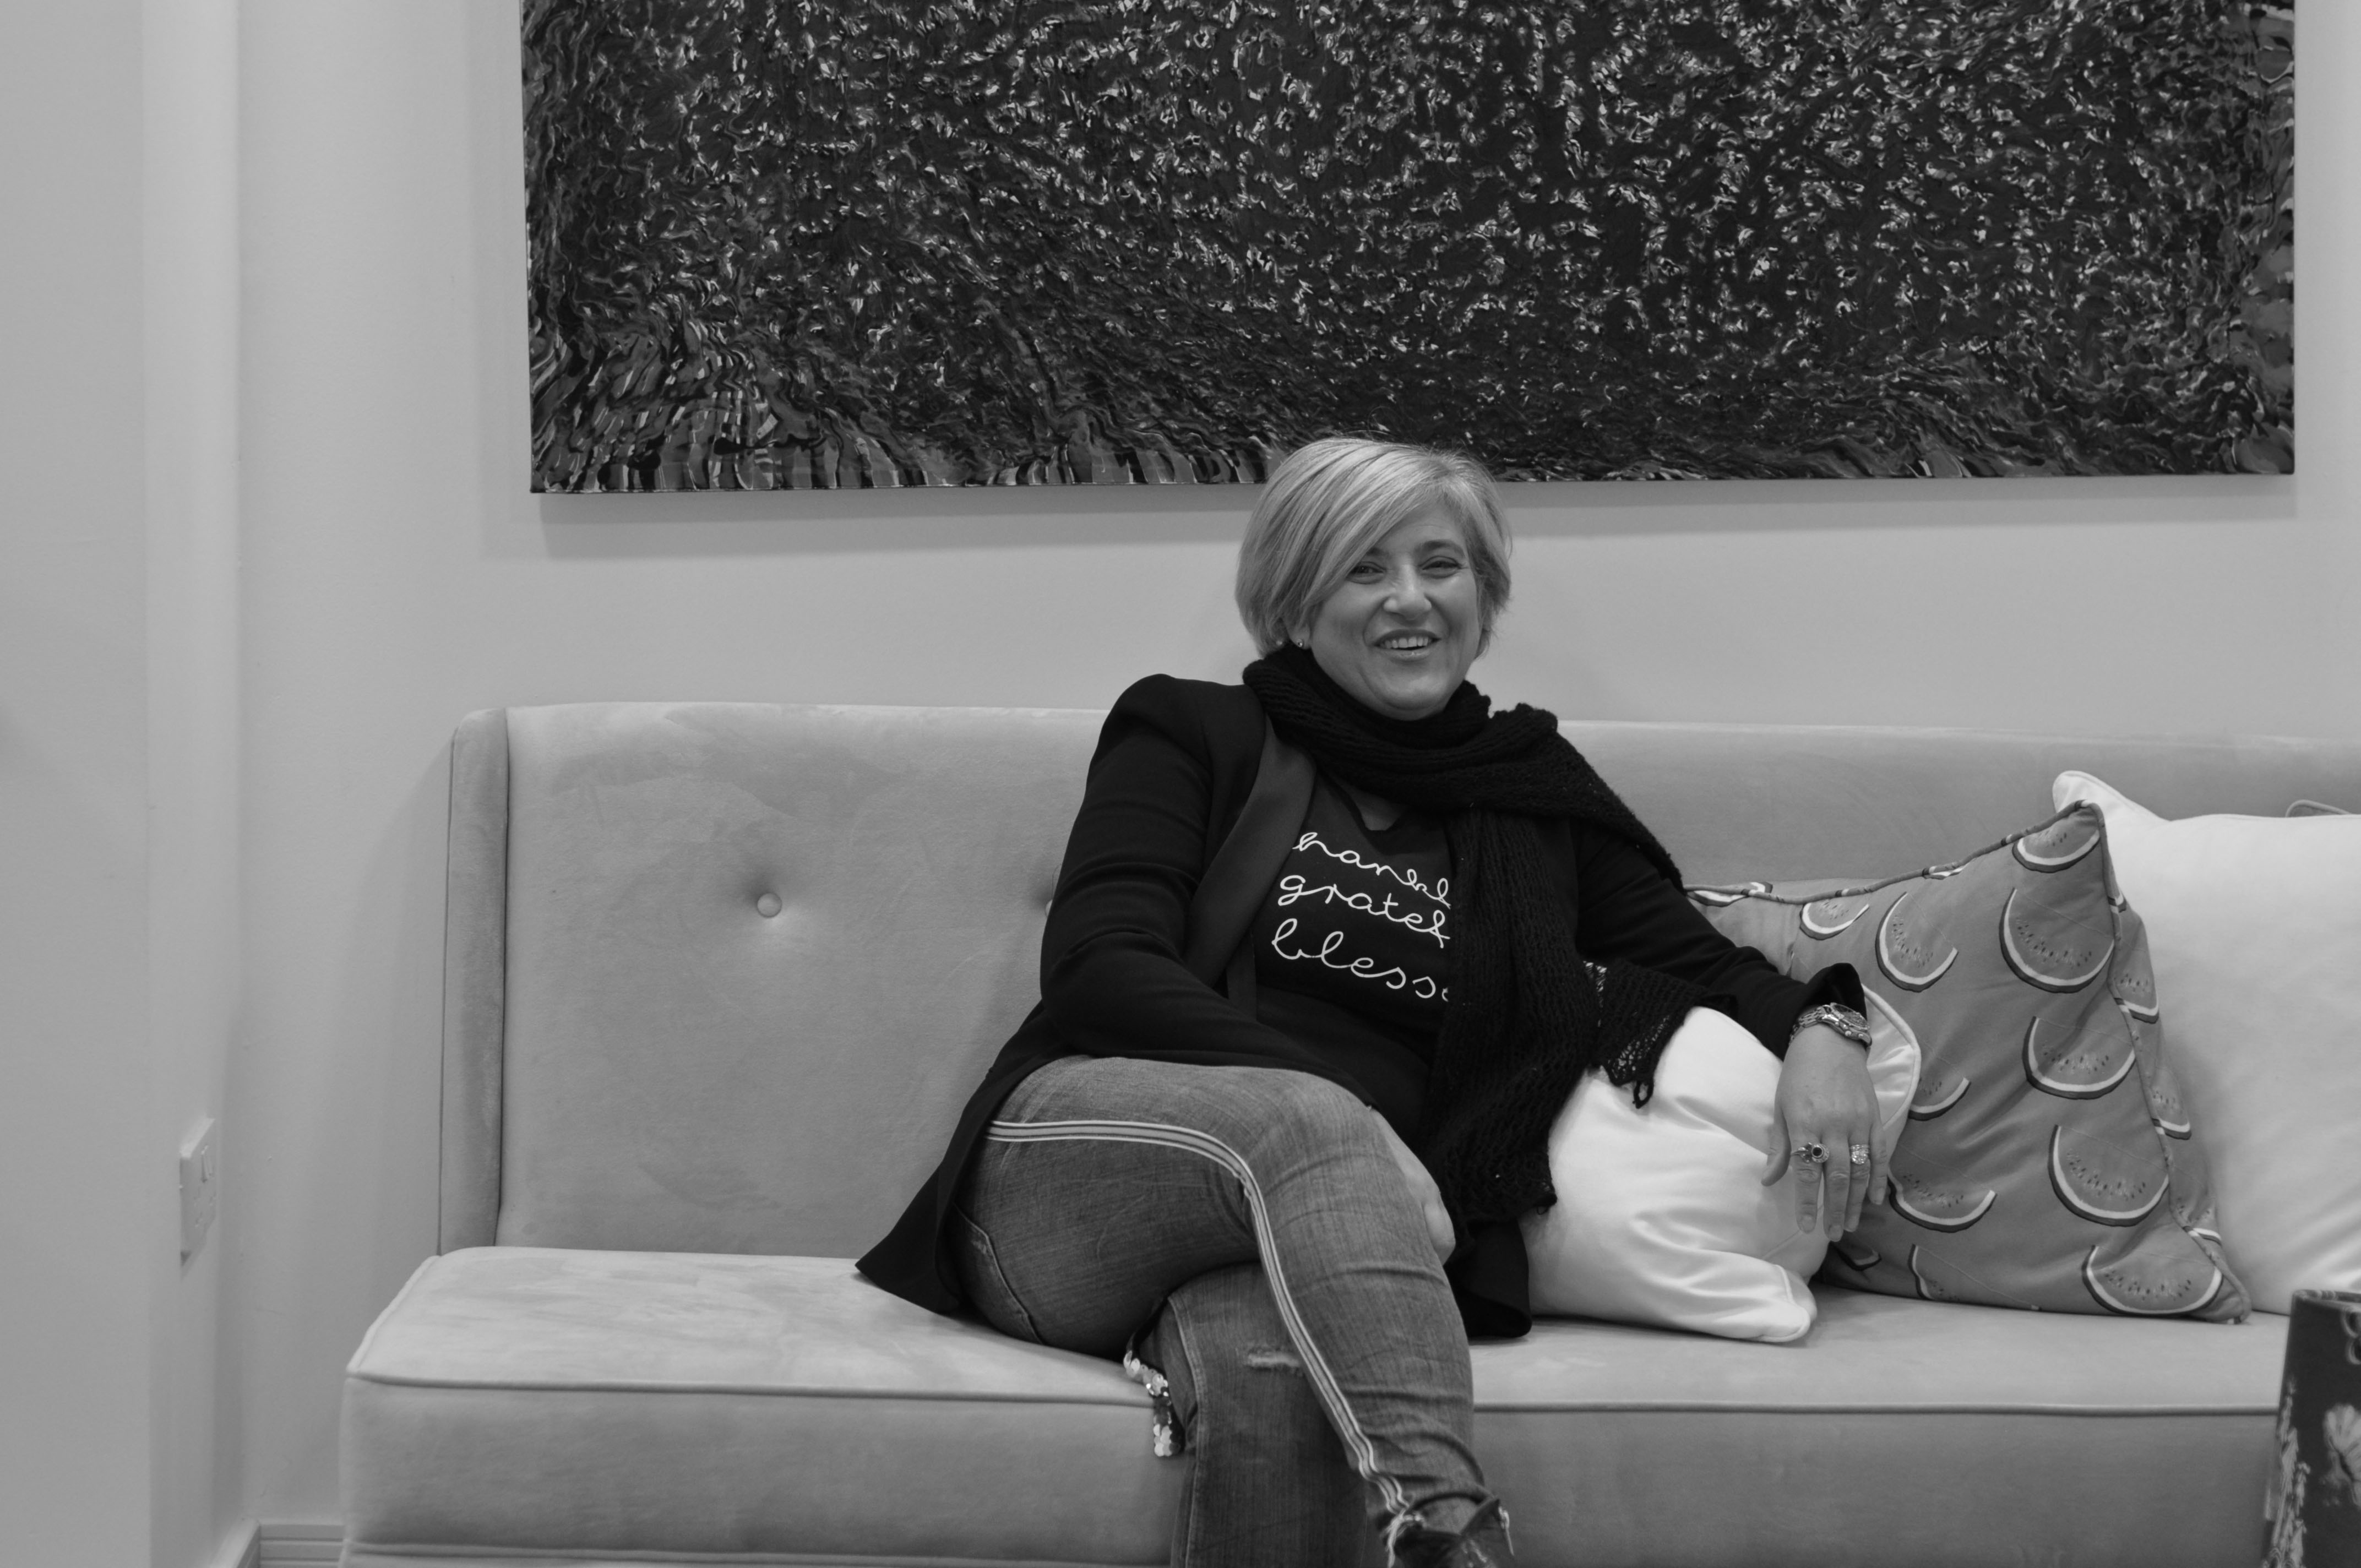
For these photoshoots I went out and captured people in their working environments, this enabled me to have them surrounded by things that may represent their life and their work such as Arnold Newman did.
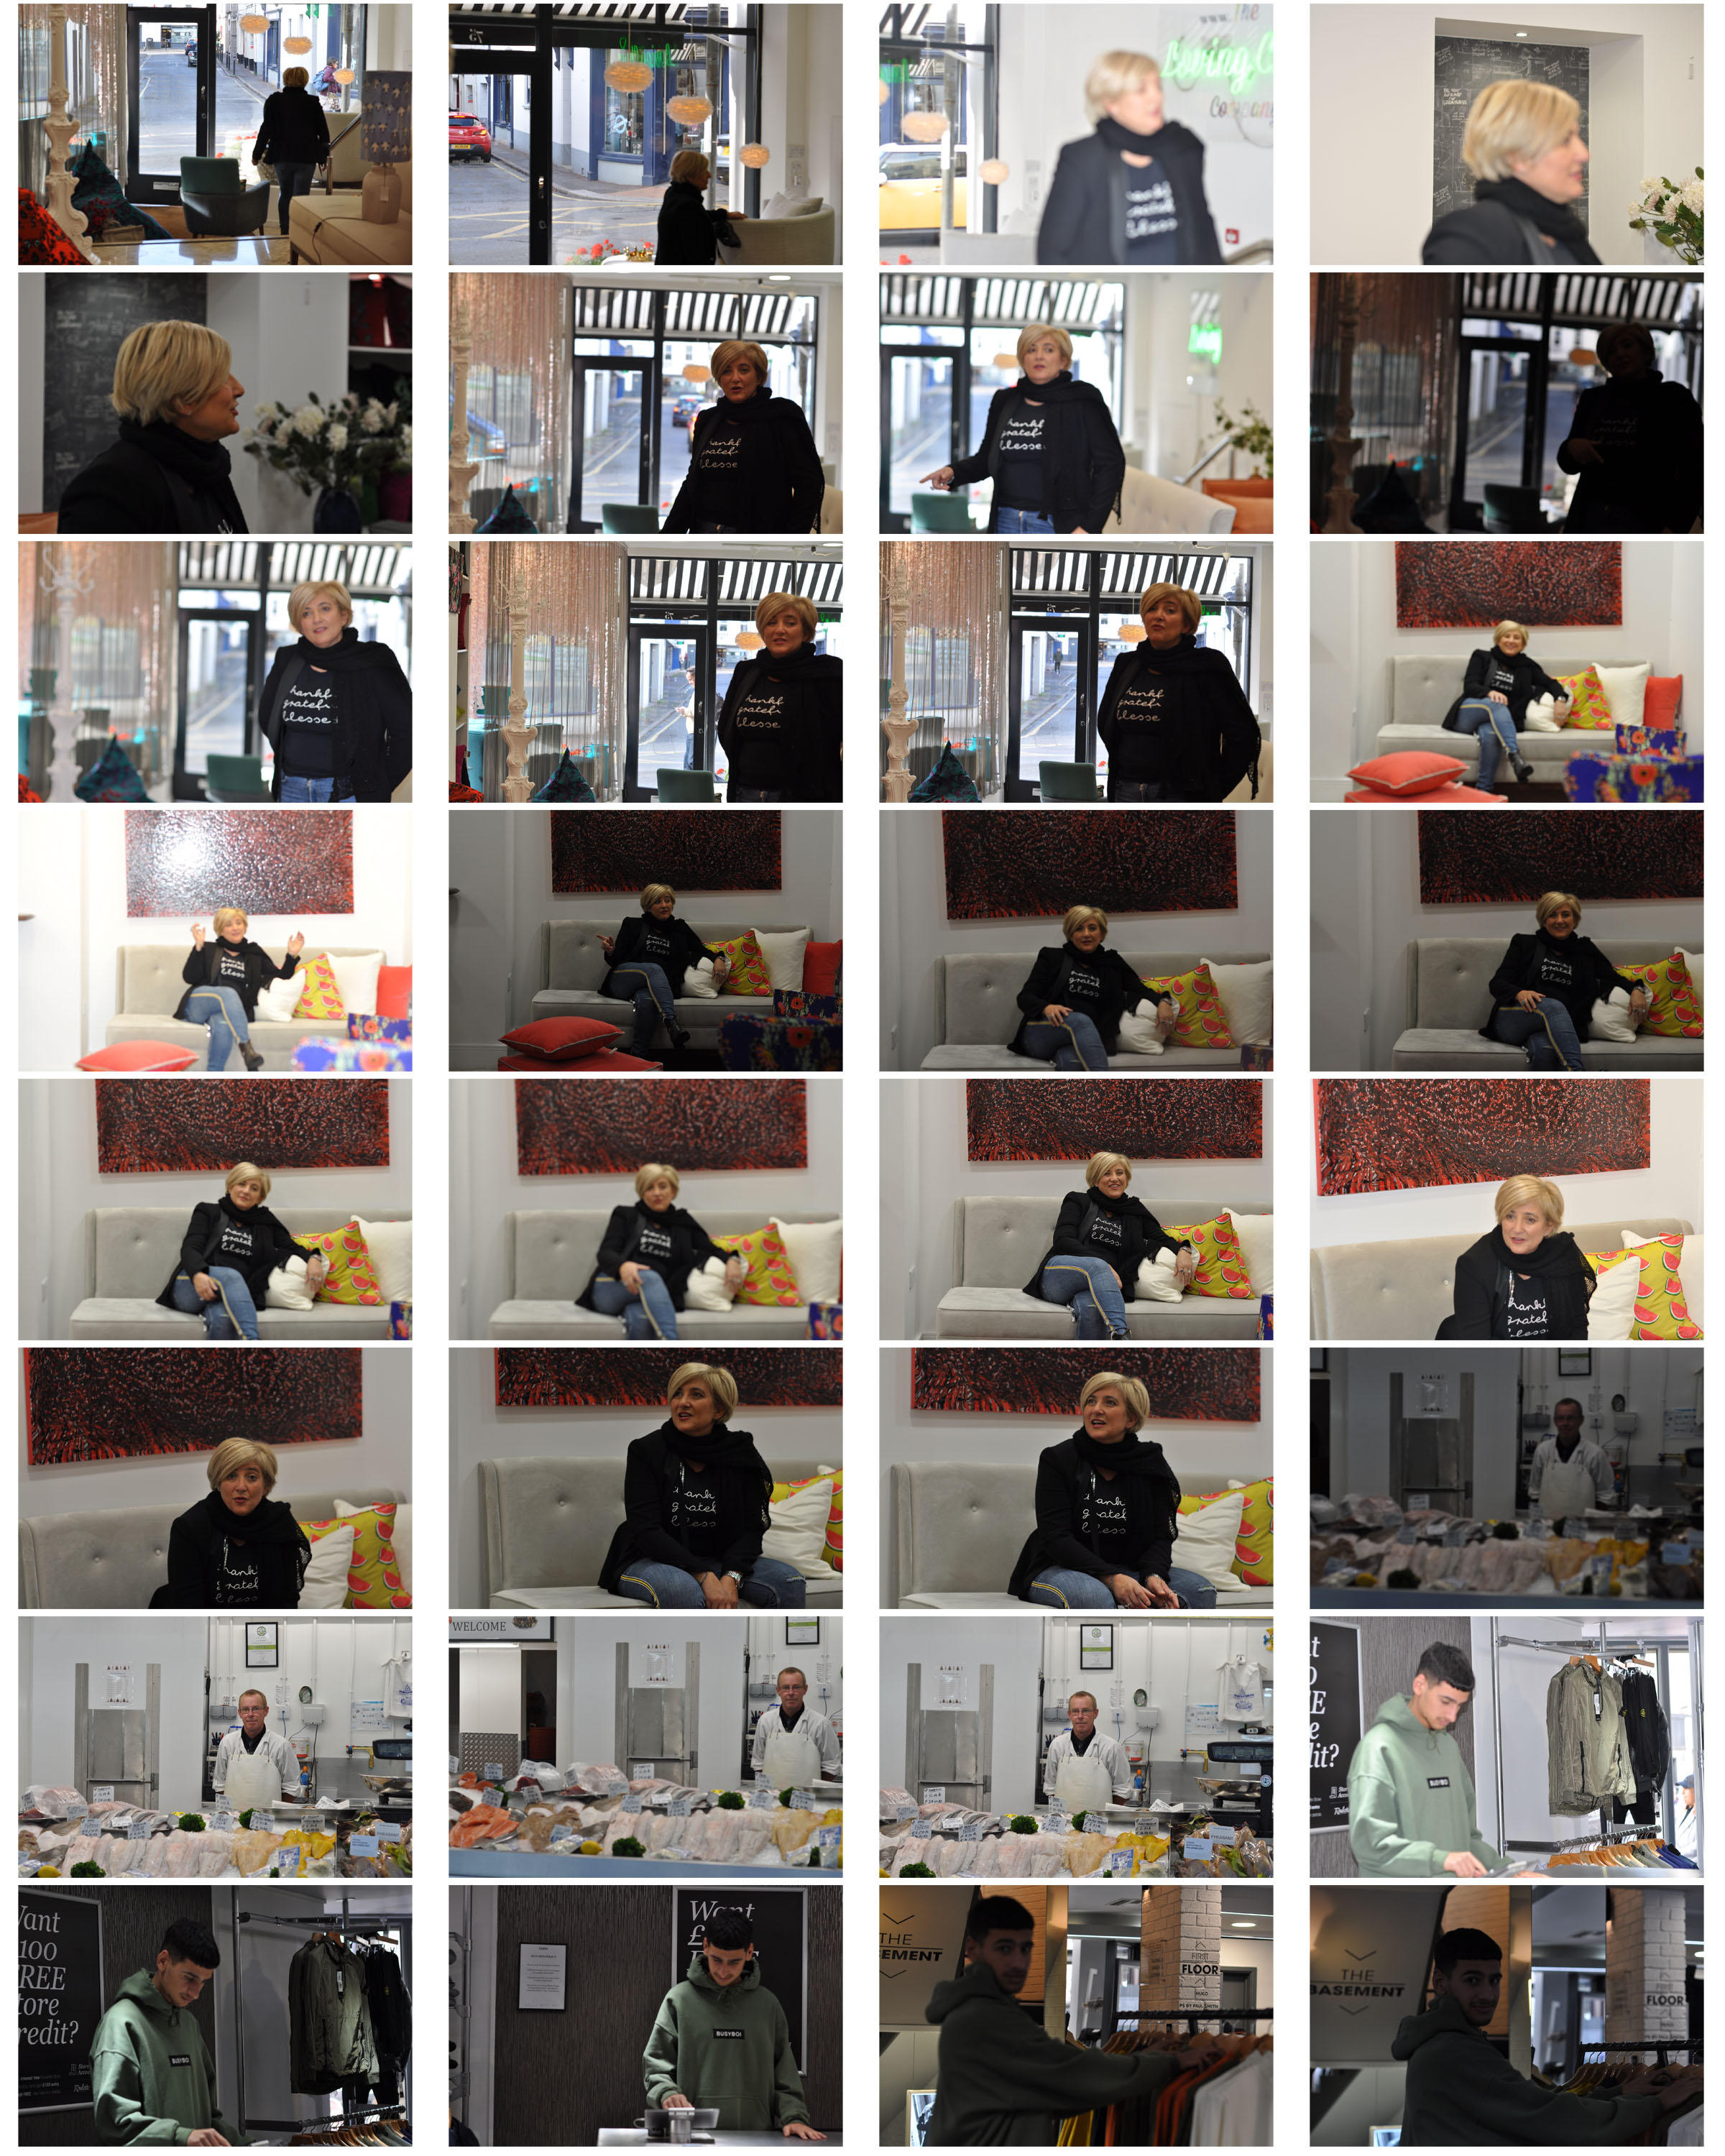
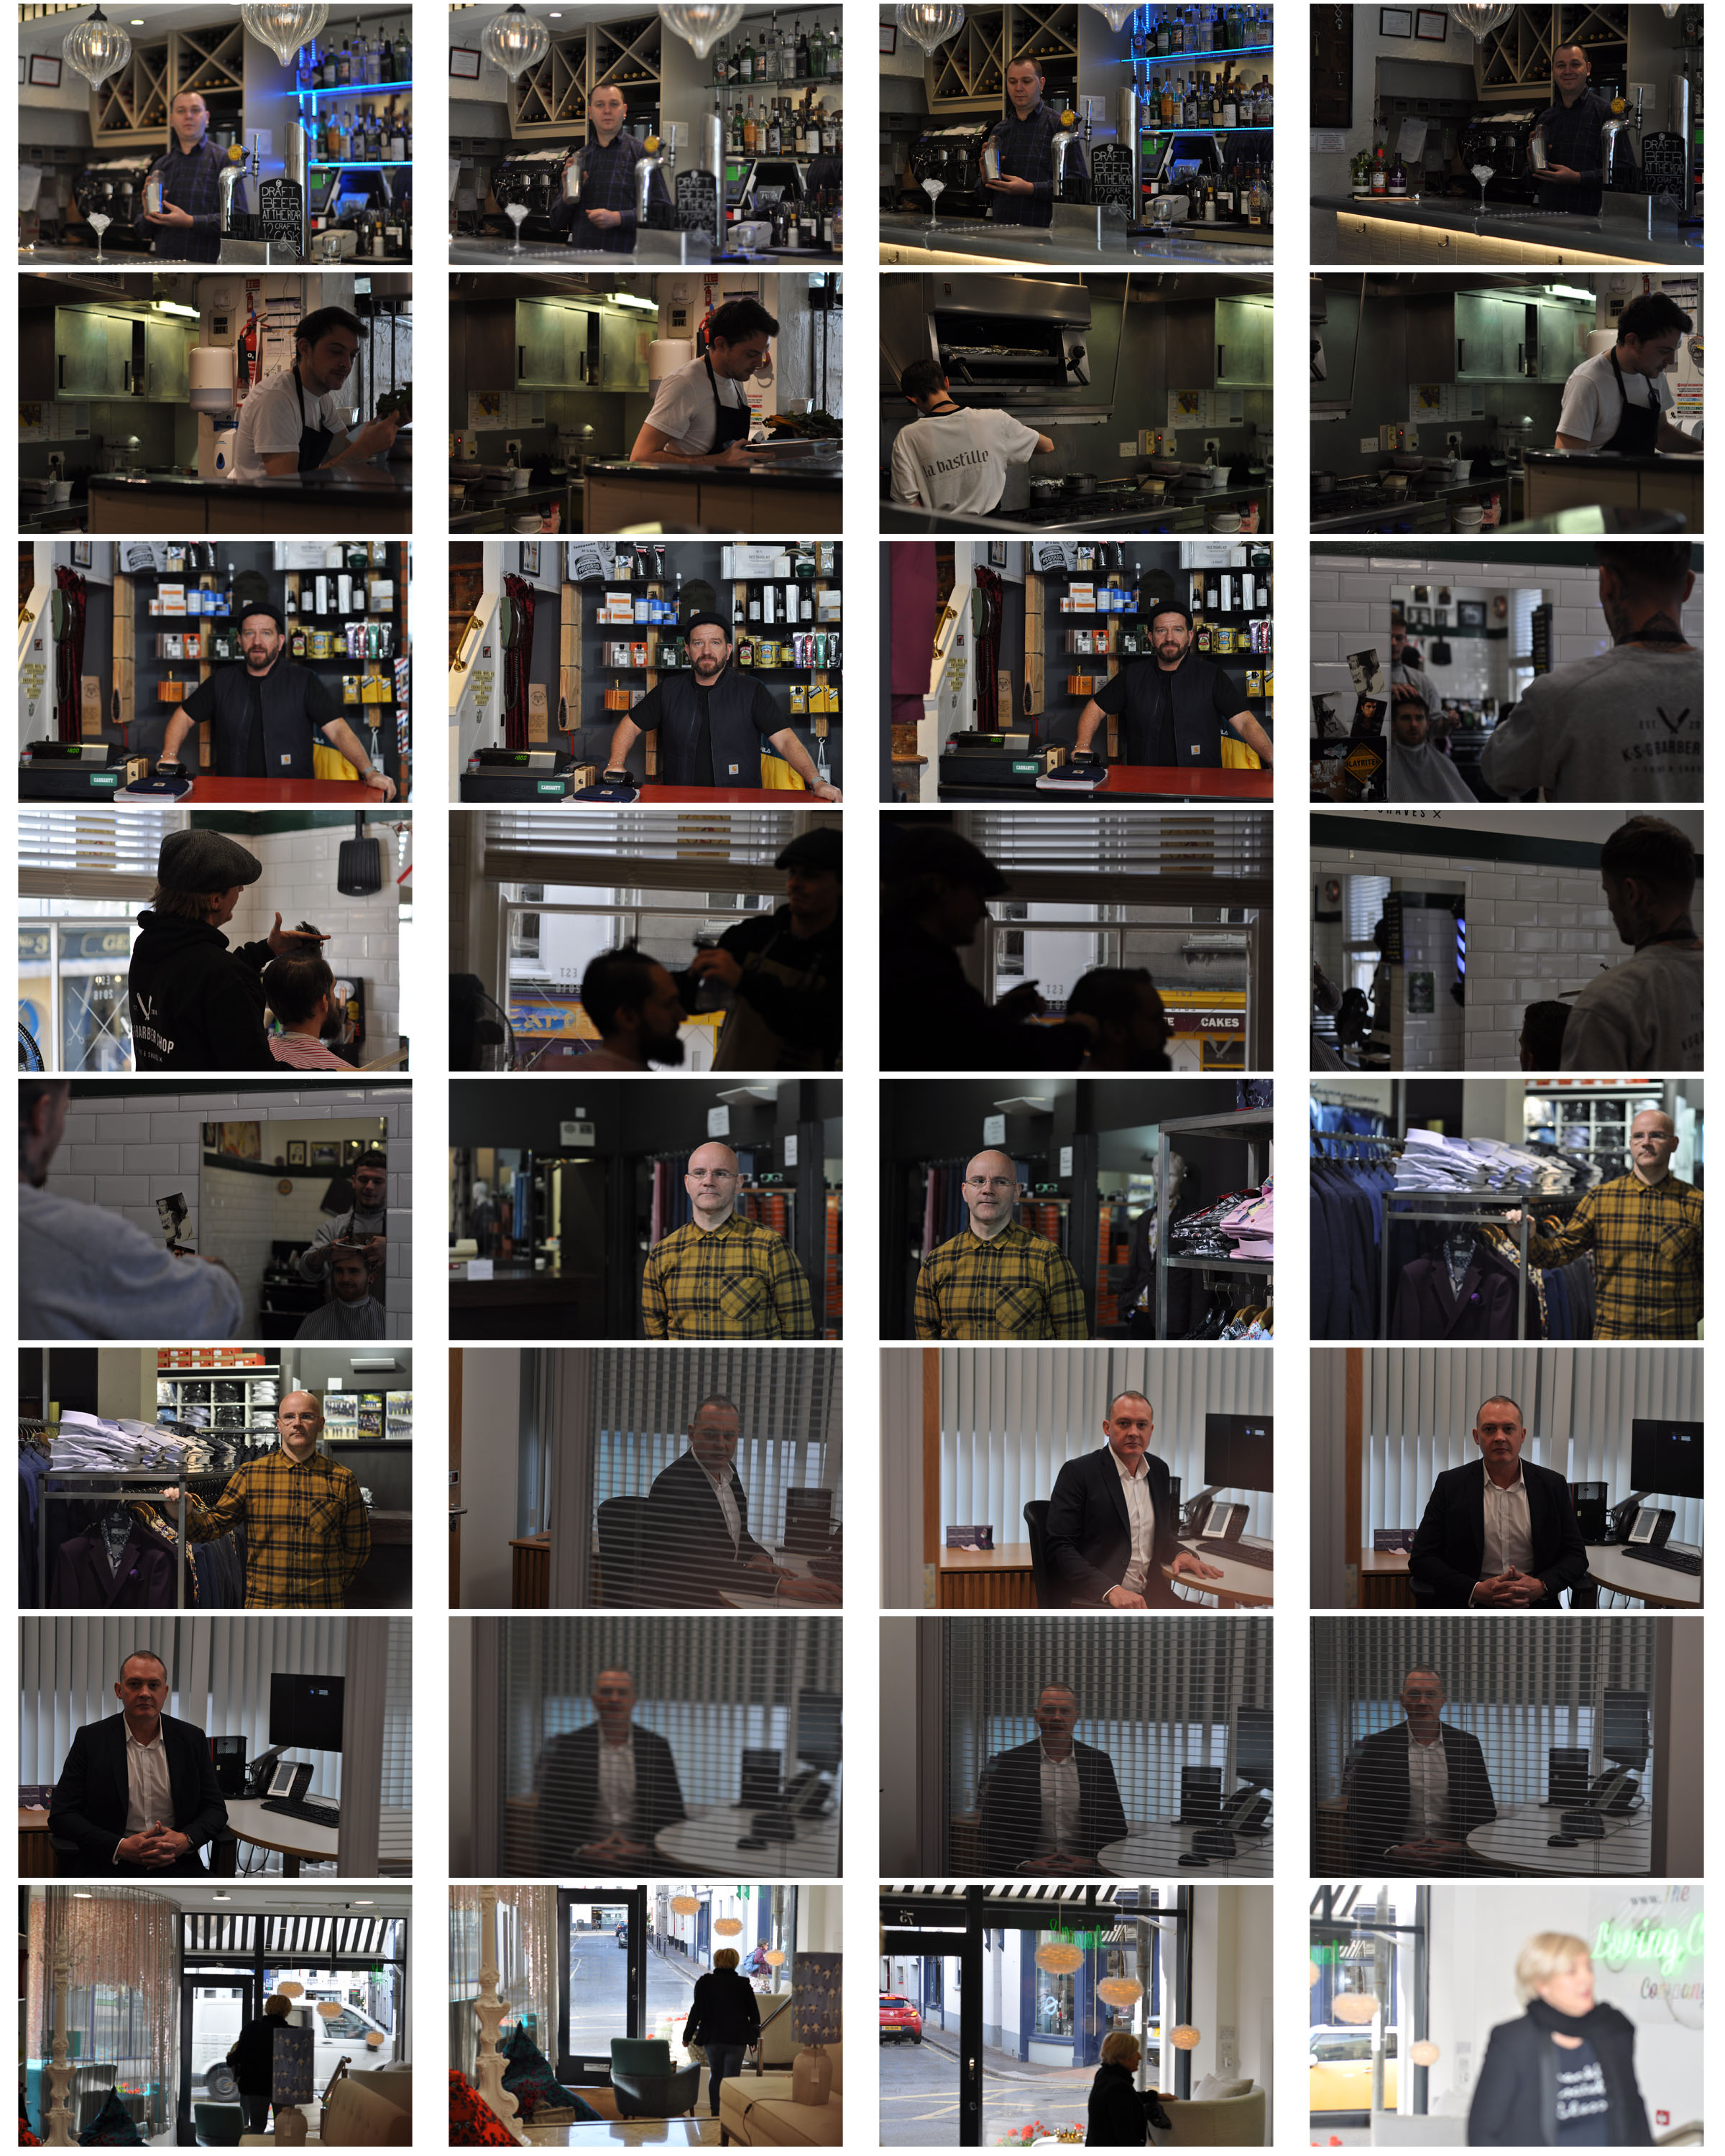
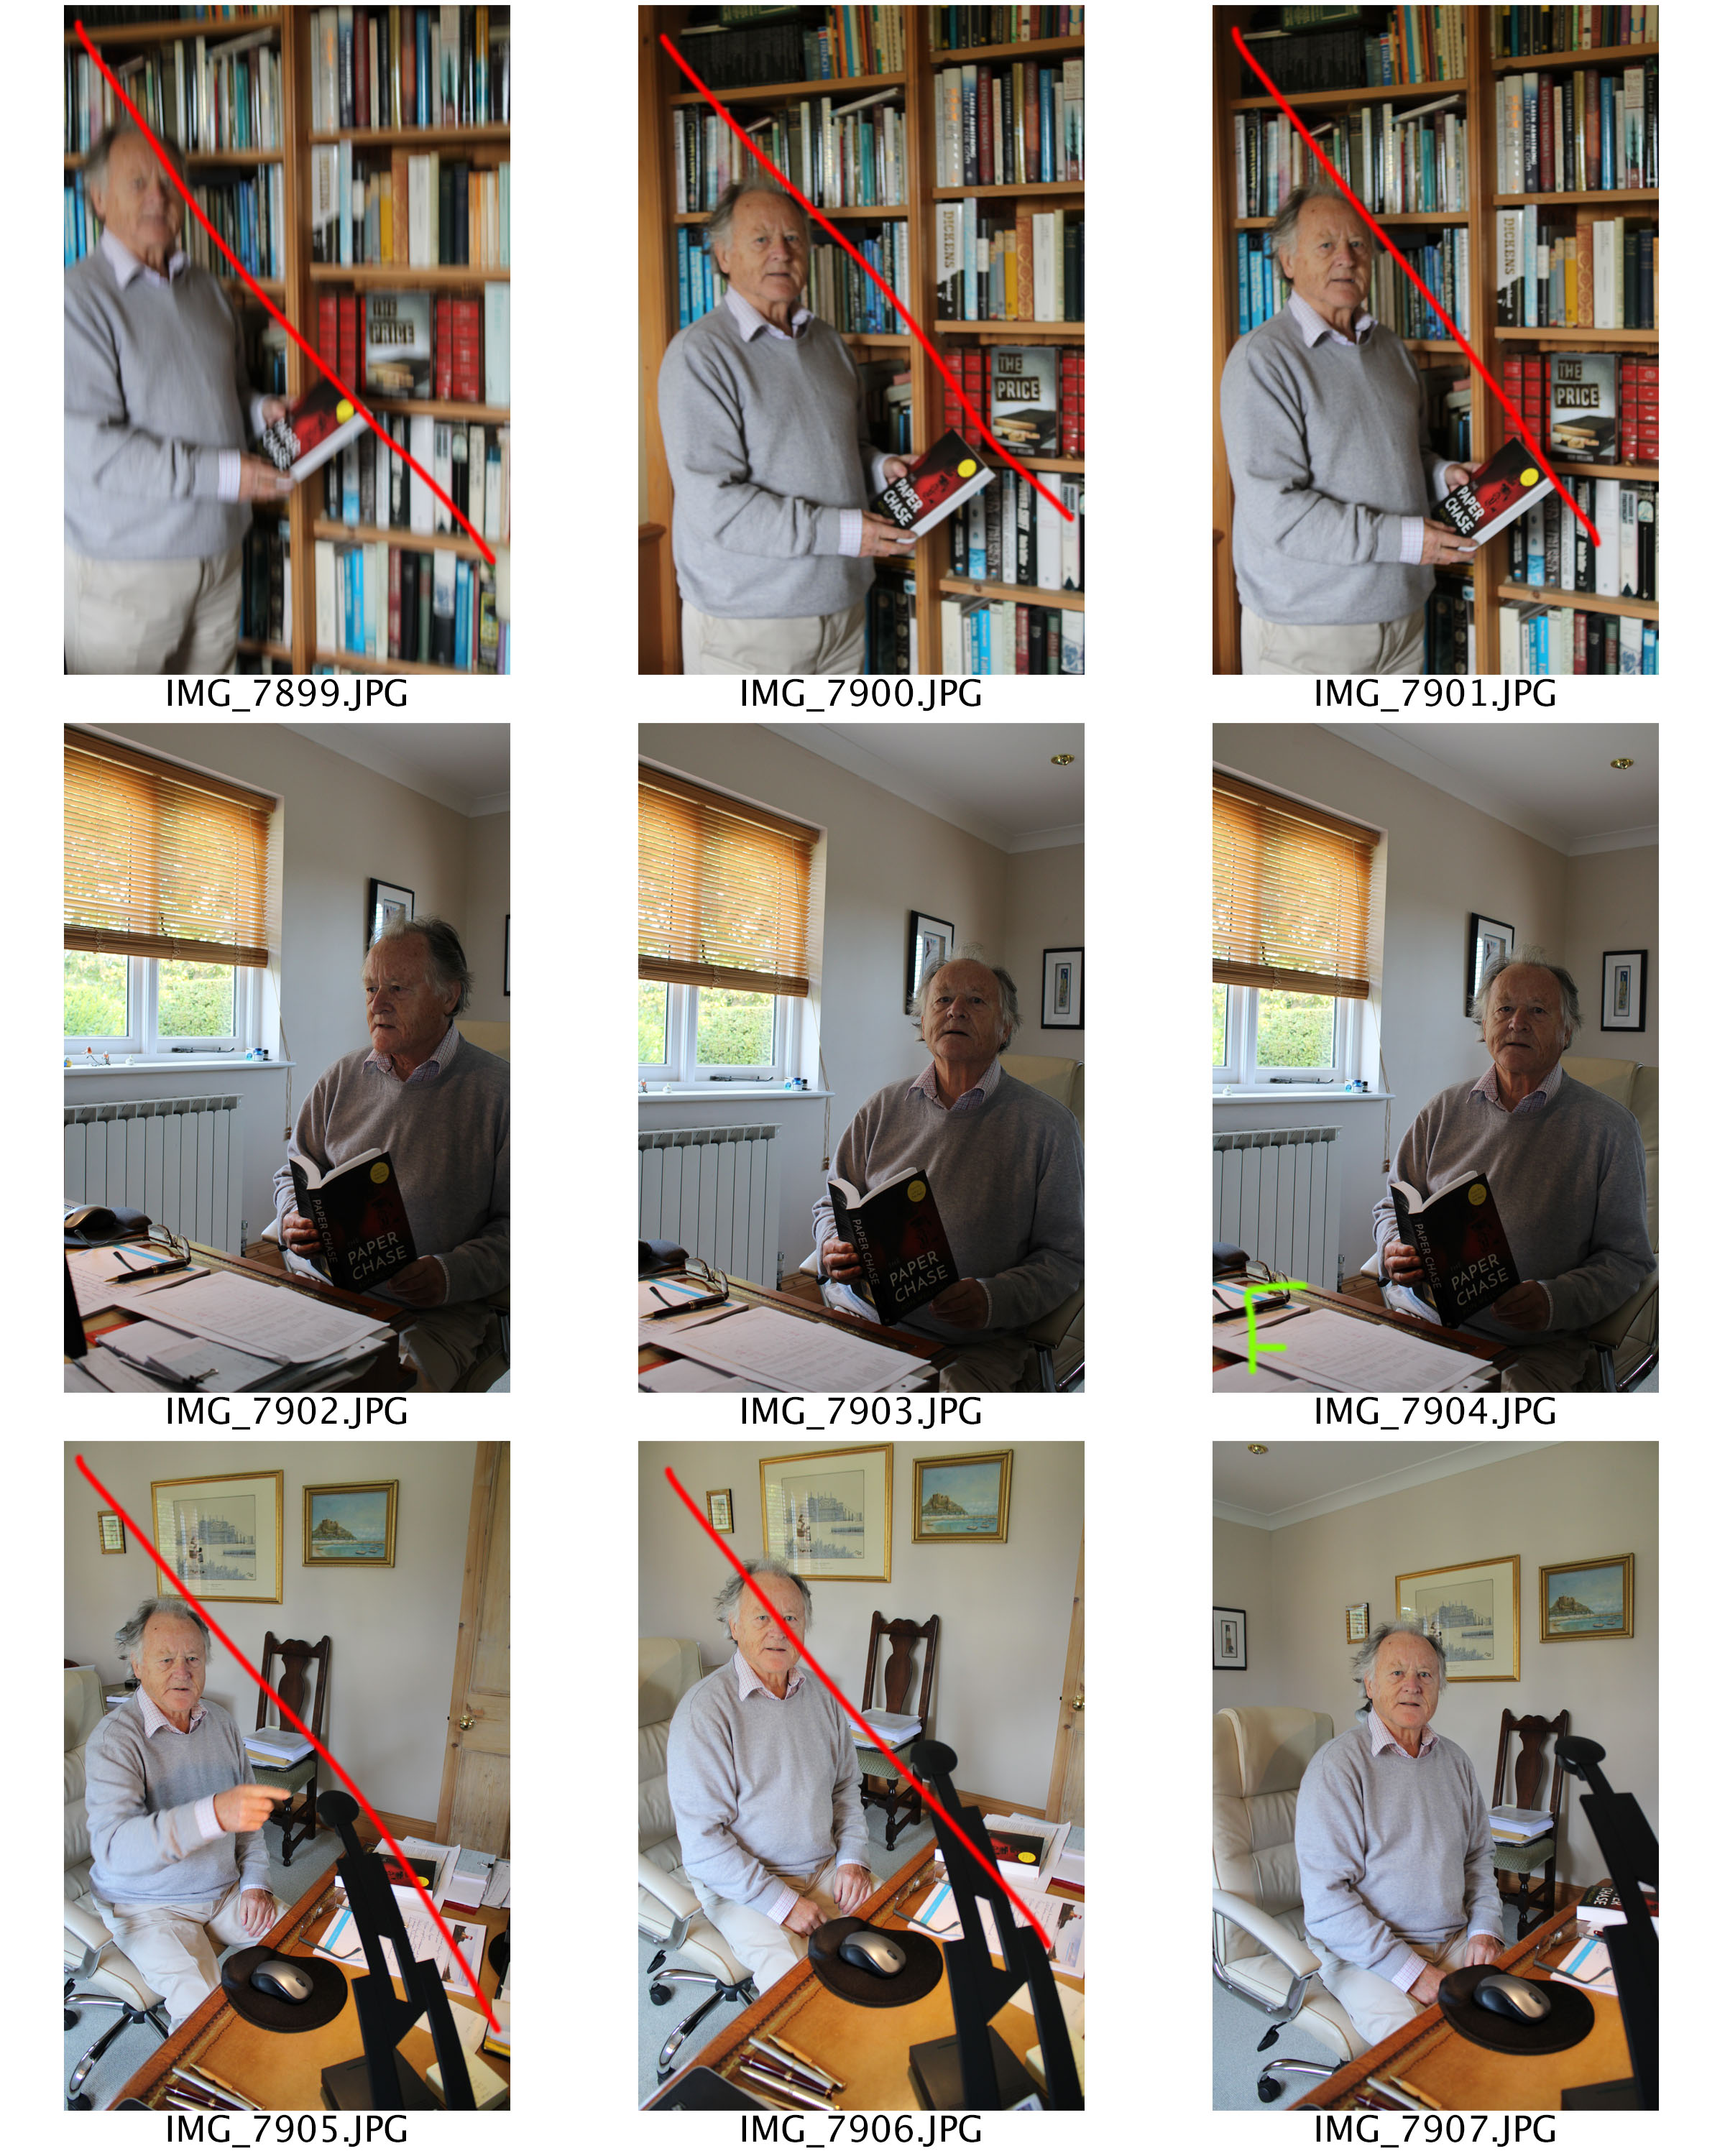
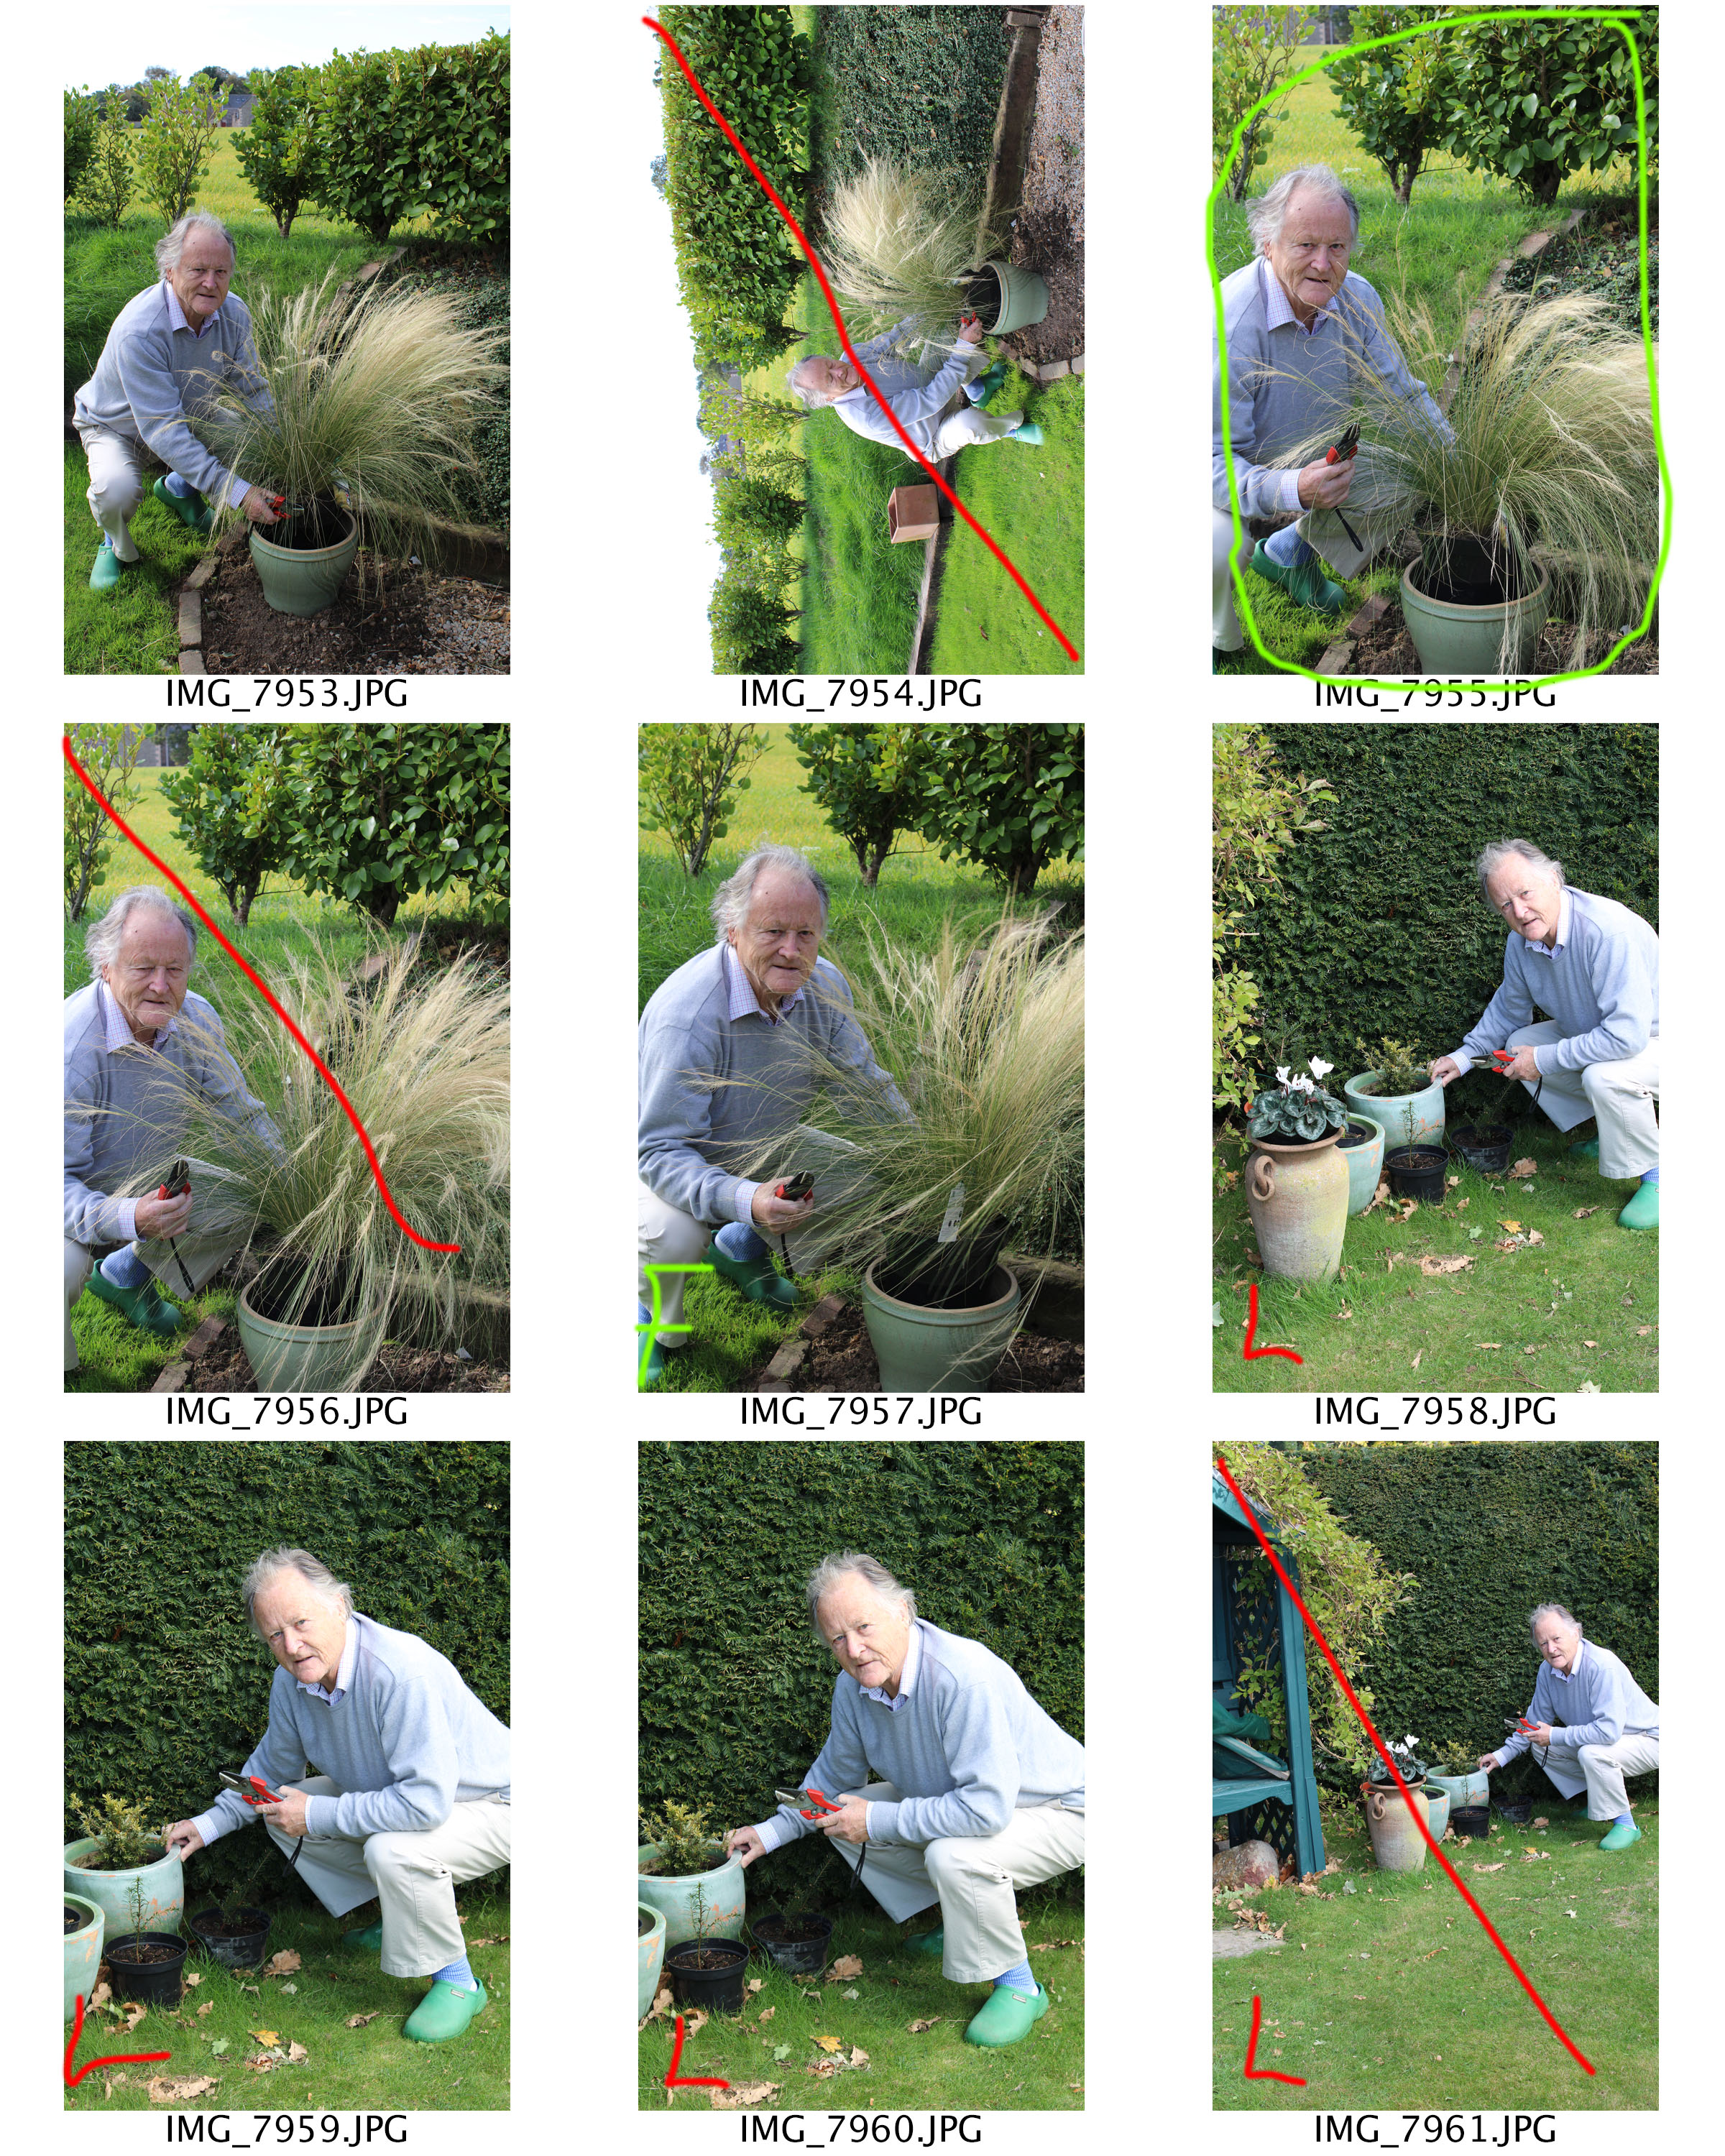
Contact Sheet of shoot

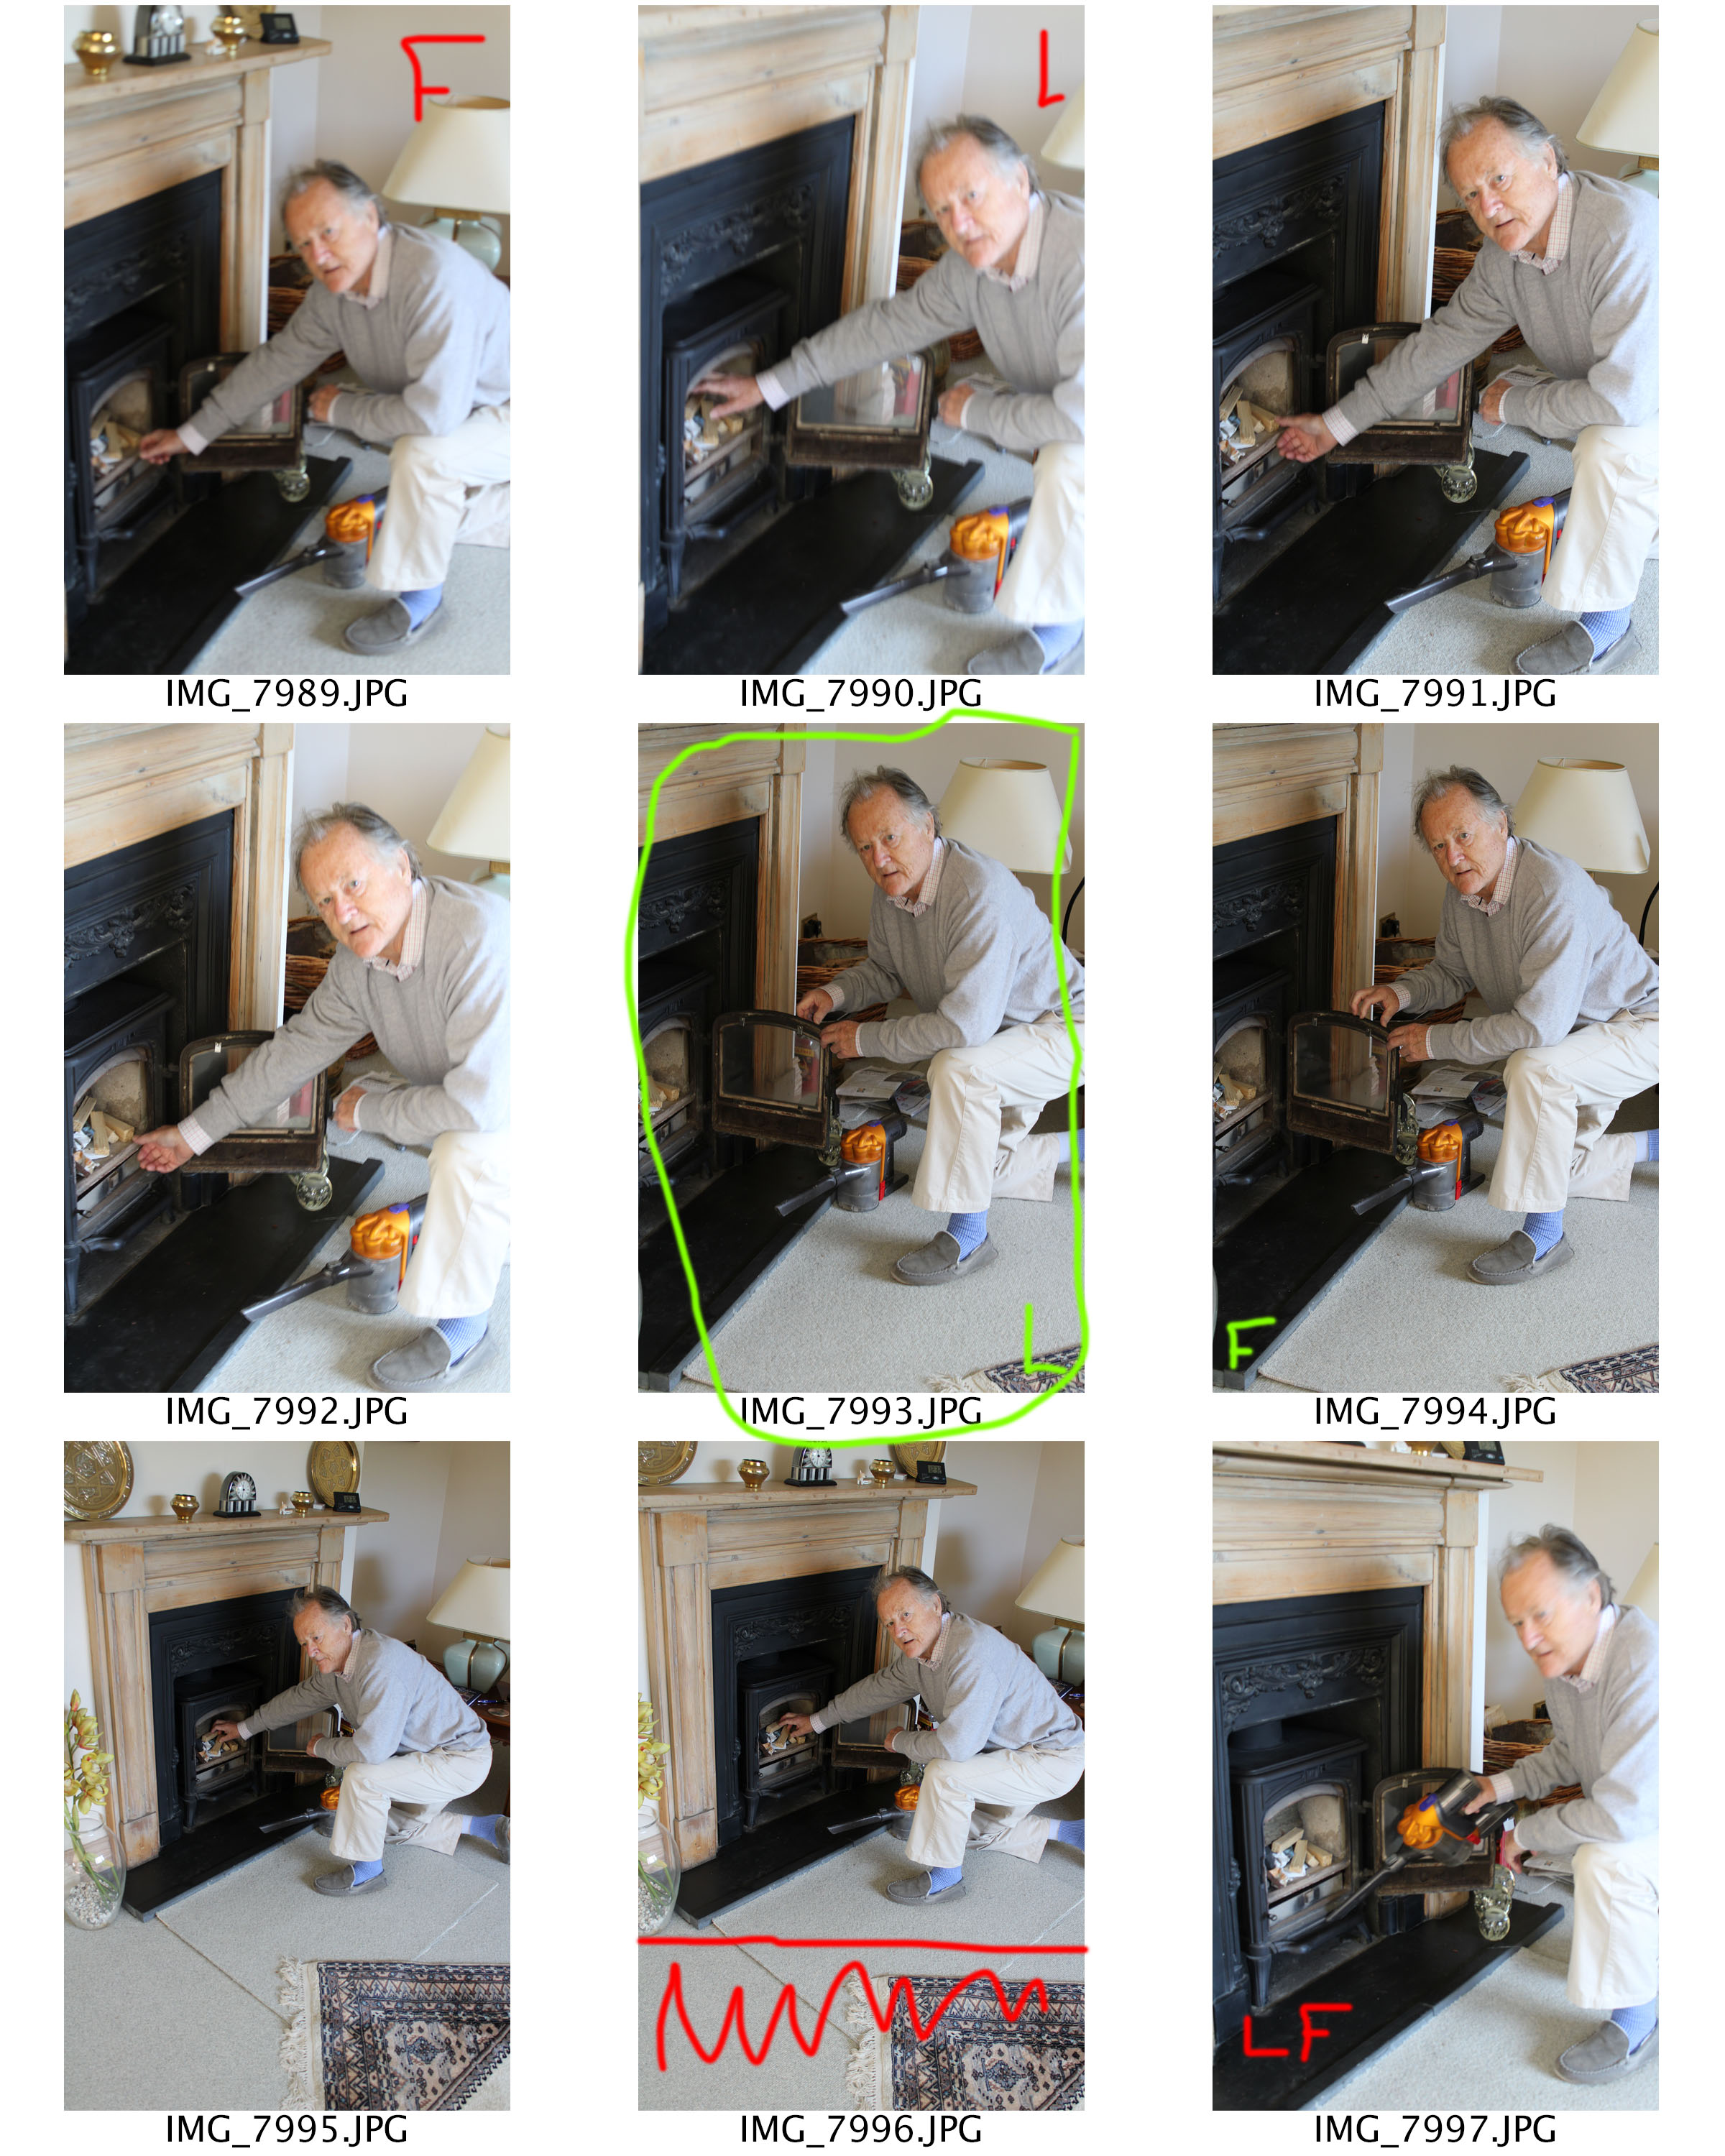
These are two contact sheet of my own experiments and photographs I have taken under the name of environmental portraits.  I went out and photographed people in their work place or their environments, I had some people posed more naturally by having them carry on with what they were doing but also having them try look towards the camera slightly to engage with it there and some more unnatural by having them fully engage with the camera by getting them to look directly at the lens.  Some photographs came out better than others as some are too over-exposed or under-exposed and others are not completely in focus however there were some photographs which I feel turned out successful and some which I feel would be good to experiment with with turning them black and white from being influenced by people such as Mary-Ellen Mark and Arnold Newman.
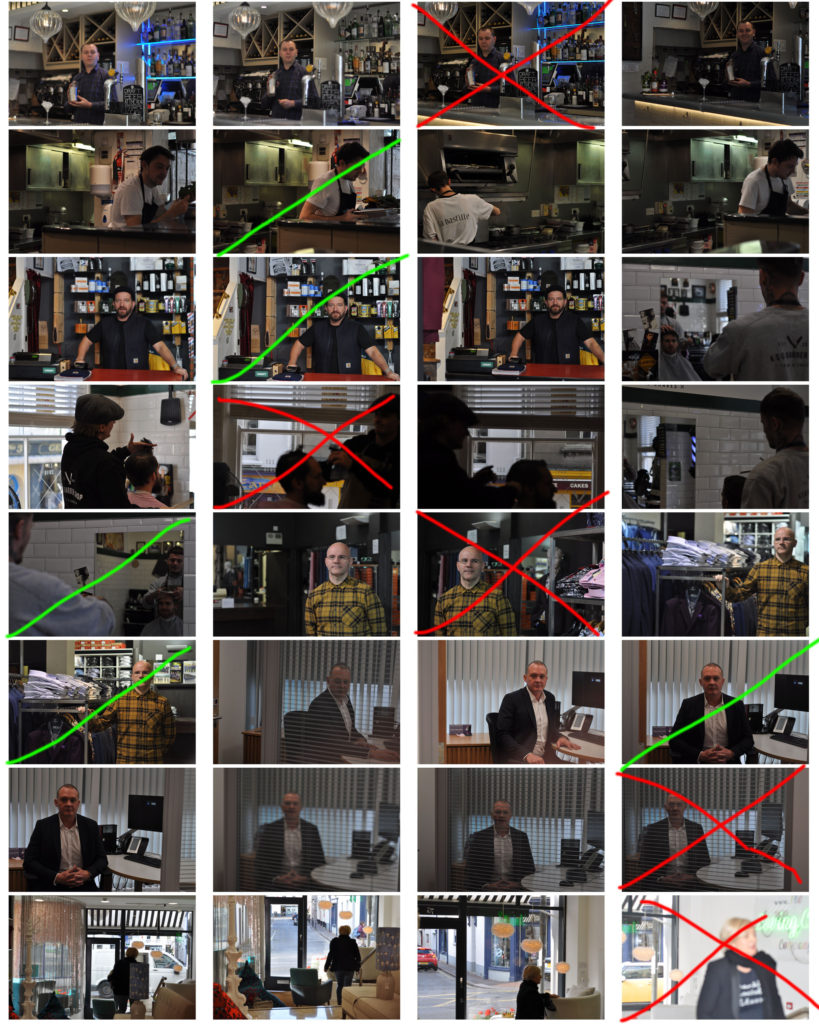
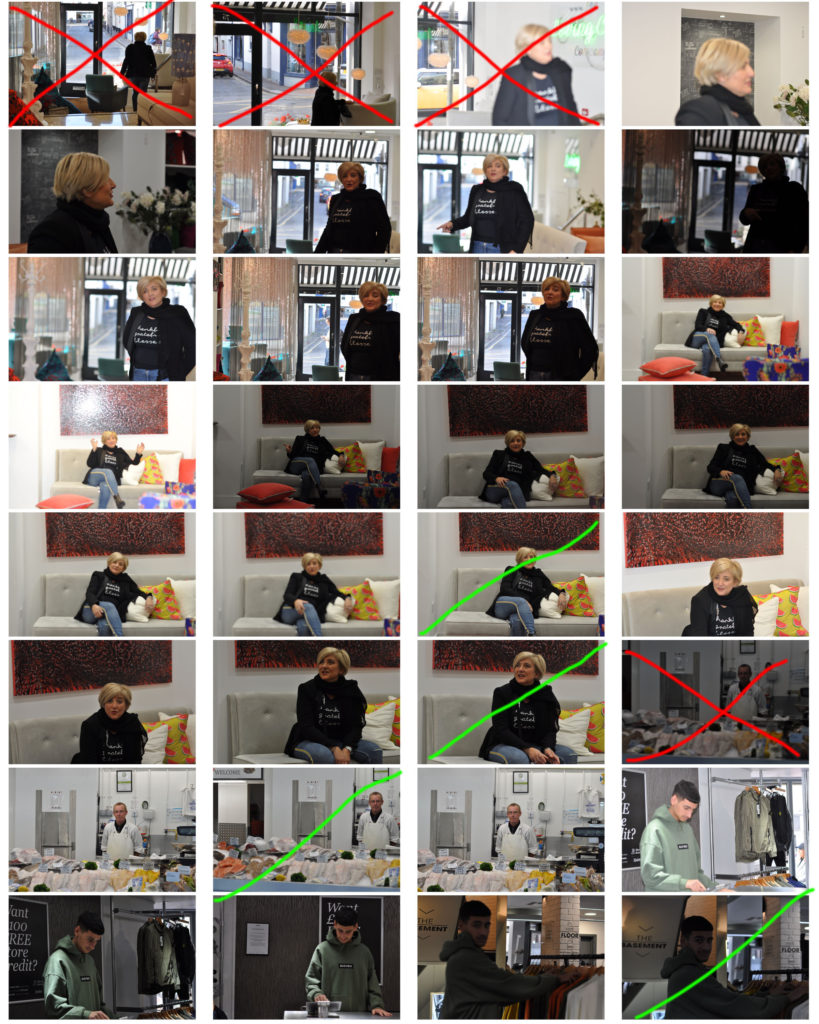
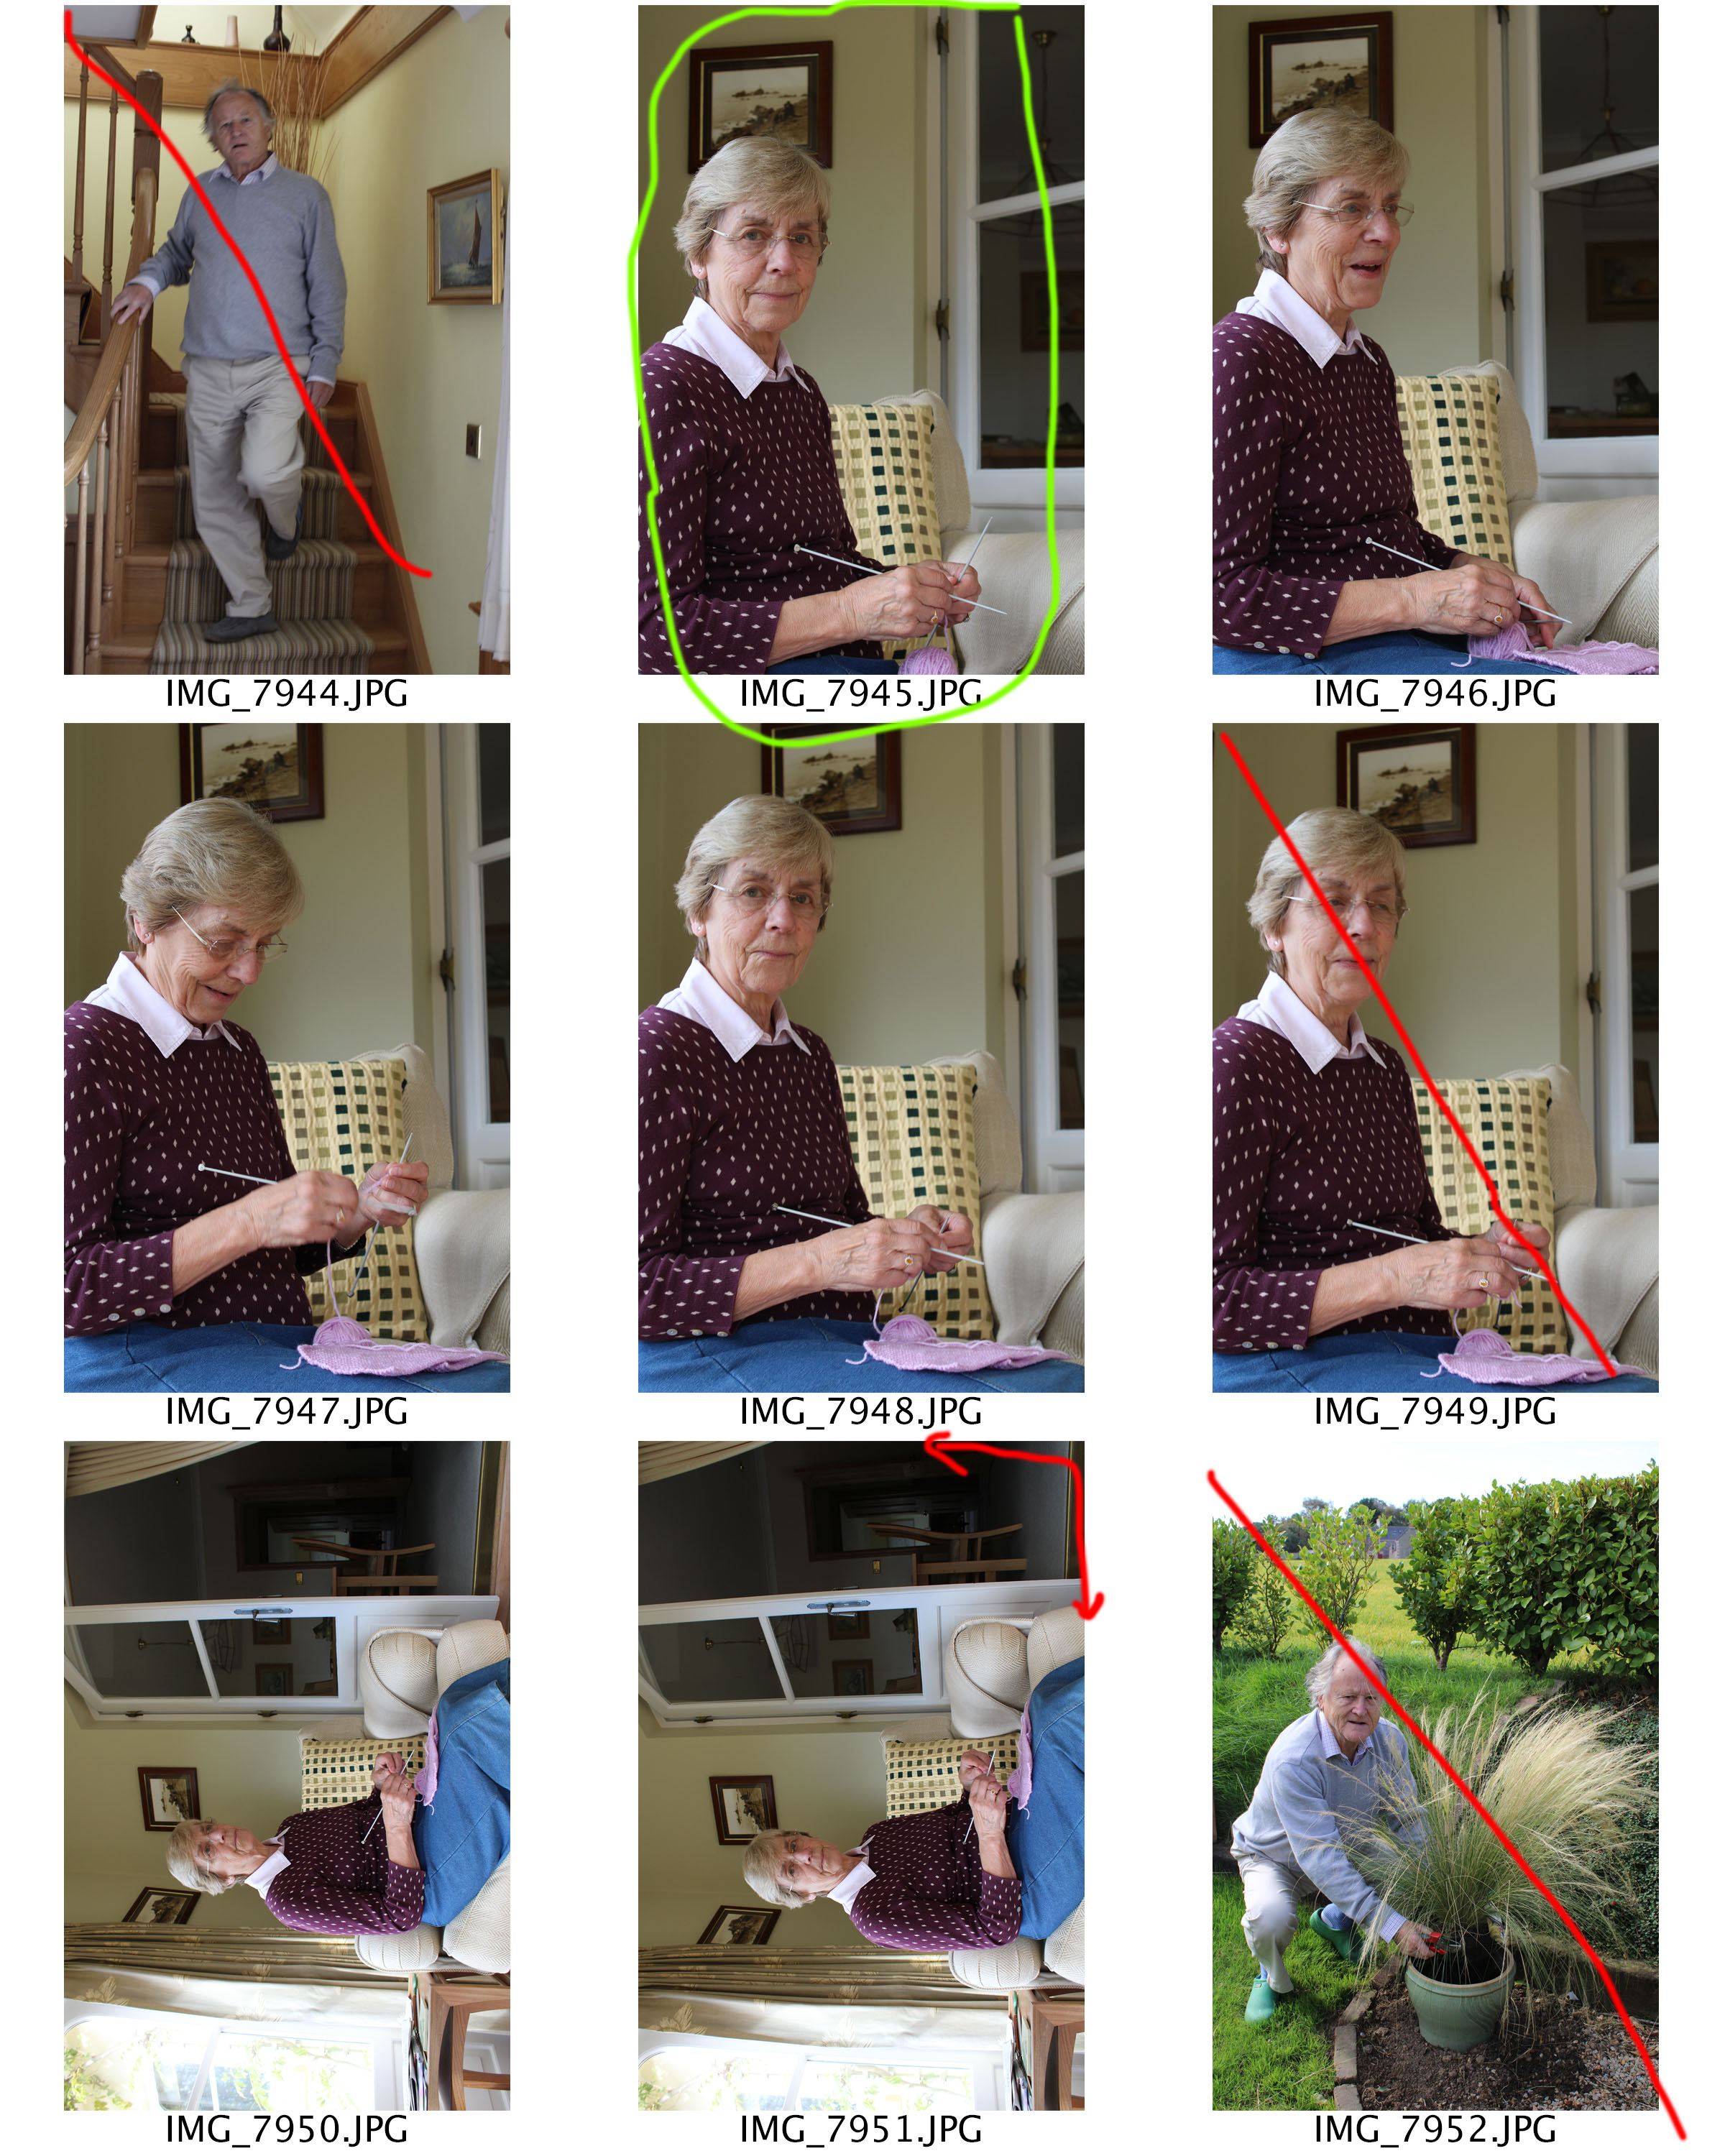
Edited Contact Sheet

This shows how I began to sort through and pick out which photographs would work for experiments with things such as placing into black and white and as good photographs and which would not be so successful or useful.

Edits and Outcomes

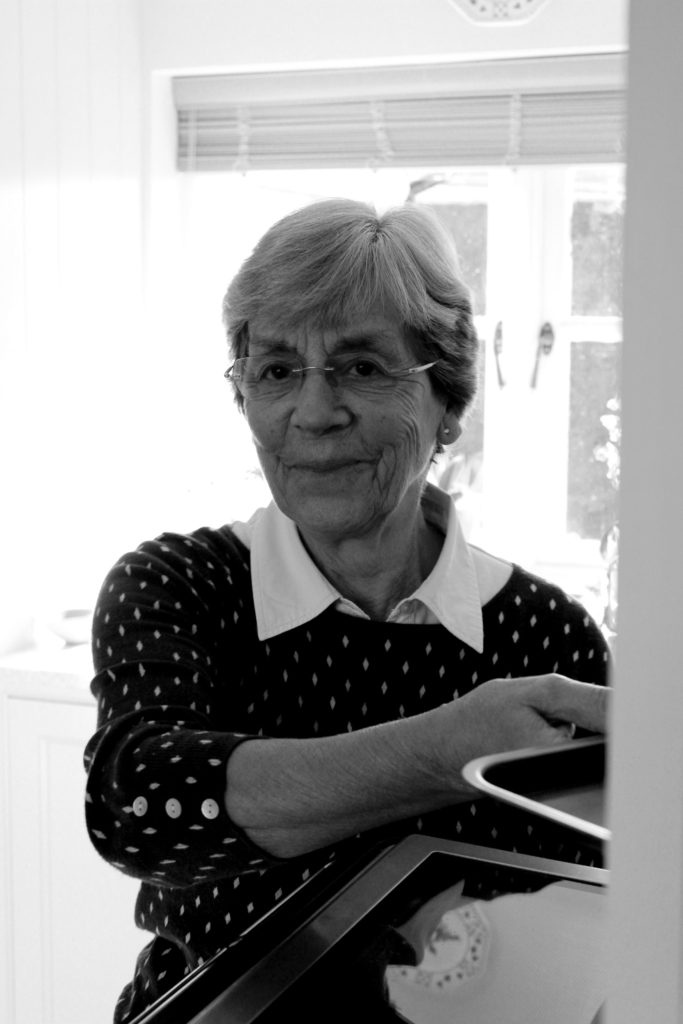
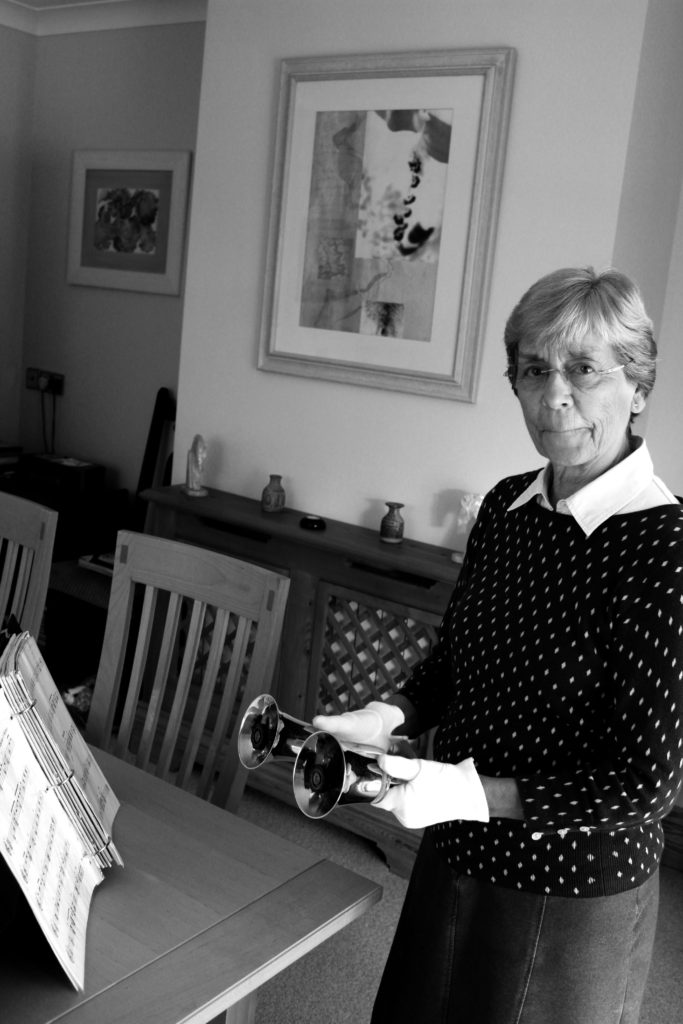
For the editing of the photographs I kept it simple by only adjusting the photos into black and white or maybe adjusting the brightness to help with the transition into black and white such as Arnold Newman’s photographs were.  I have chosen what I feel to be my 5 best outcomes of this photoshoot as it shows my subjects engaging with the camera and the photographs are clear and work well.  Below is the edited and unedited versions of my photographs.
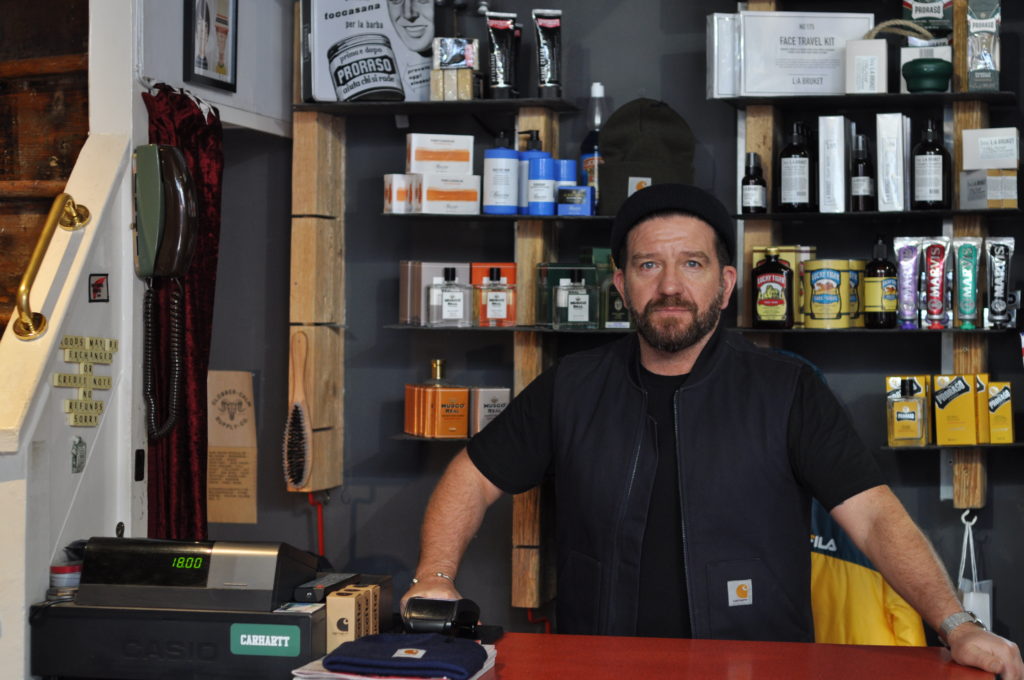
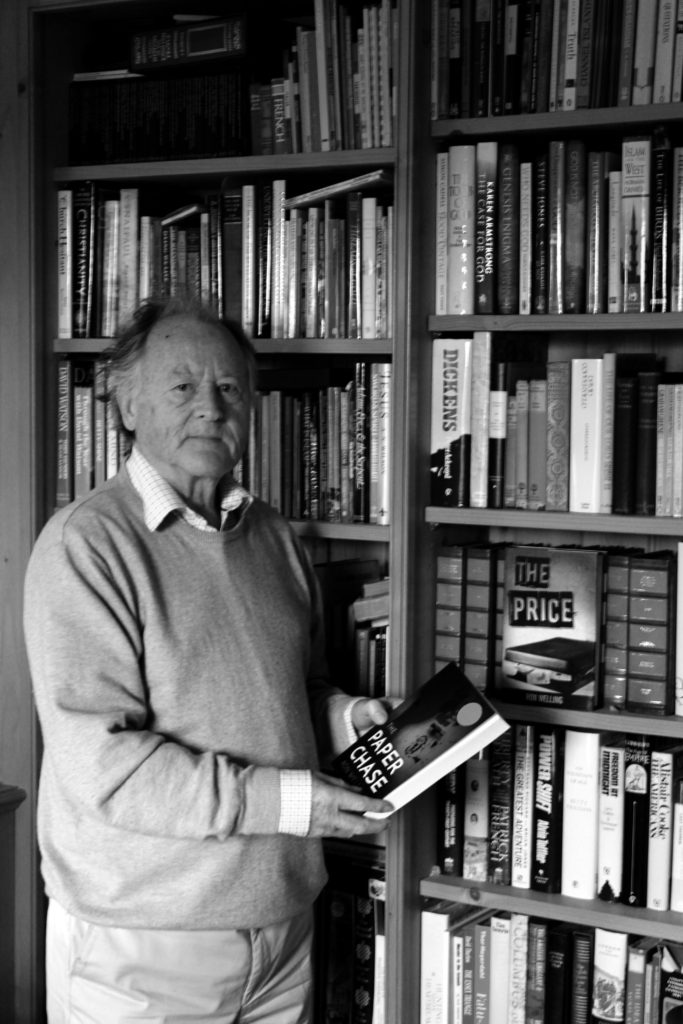
Own Response 1
Own Response 2
Own Response 3
Own Response 4
Own Response 5
Own Response 1 B&W
Own Response 2 B&W
Own Response 3 B&W
Own Response 4 B&W
Own Response 5 B&W


Environmental Portrait – Arnold Newman

 Environmental Photography Definition – “An environmental portrait is a portrait executed in the subject’s usual environment, such as in their home or workplace, and typically illuminates the subject’s life and surroundings. The term is most frequently used of a genre of photography”
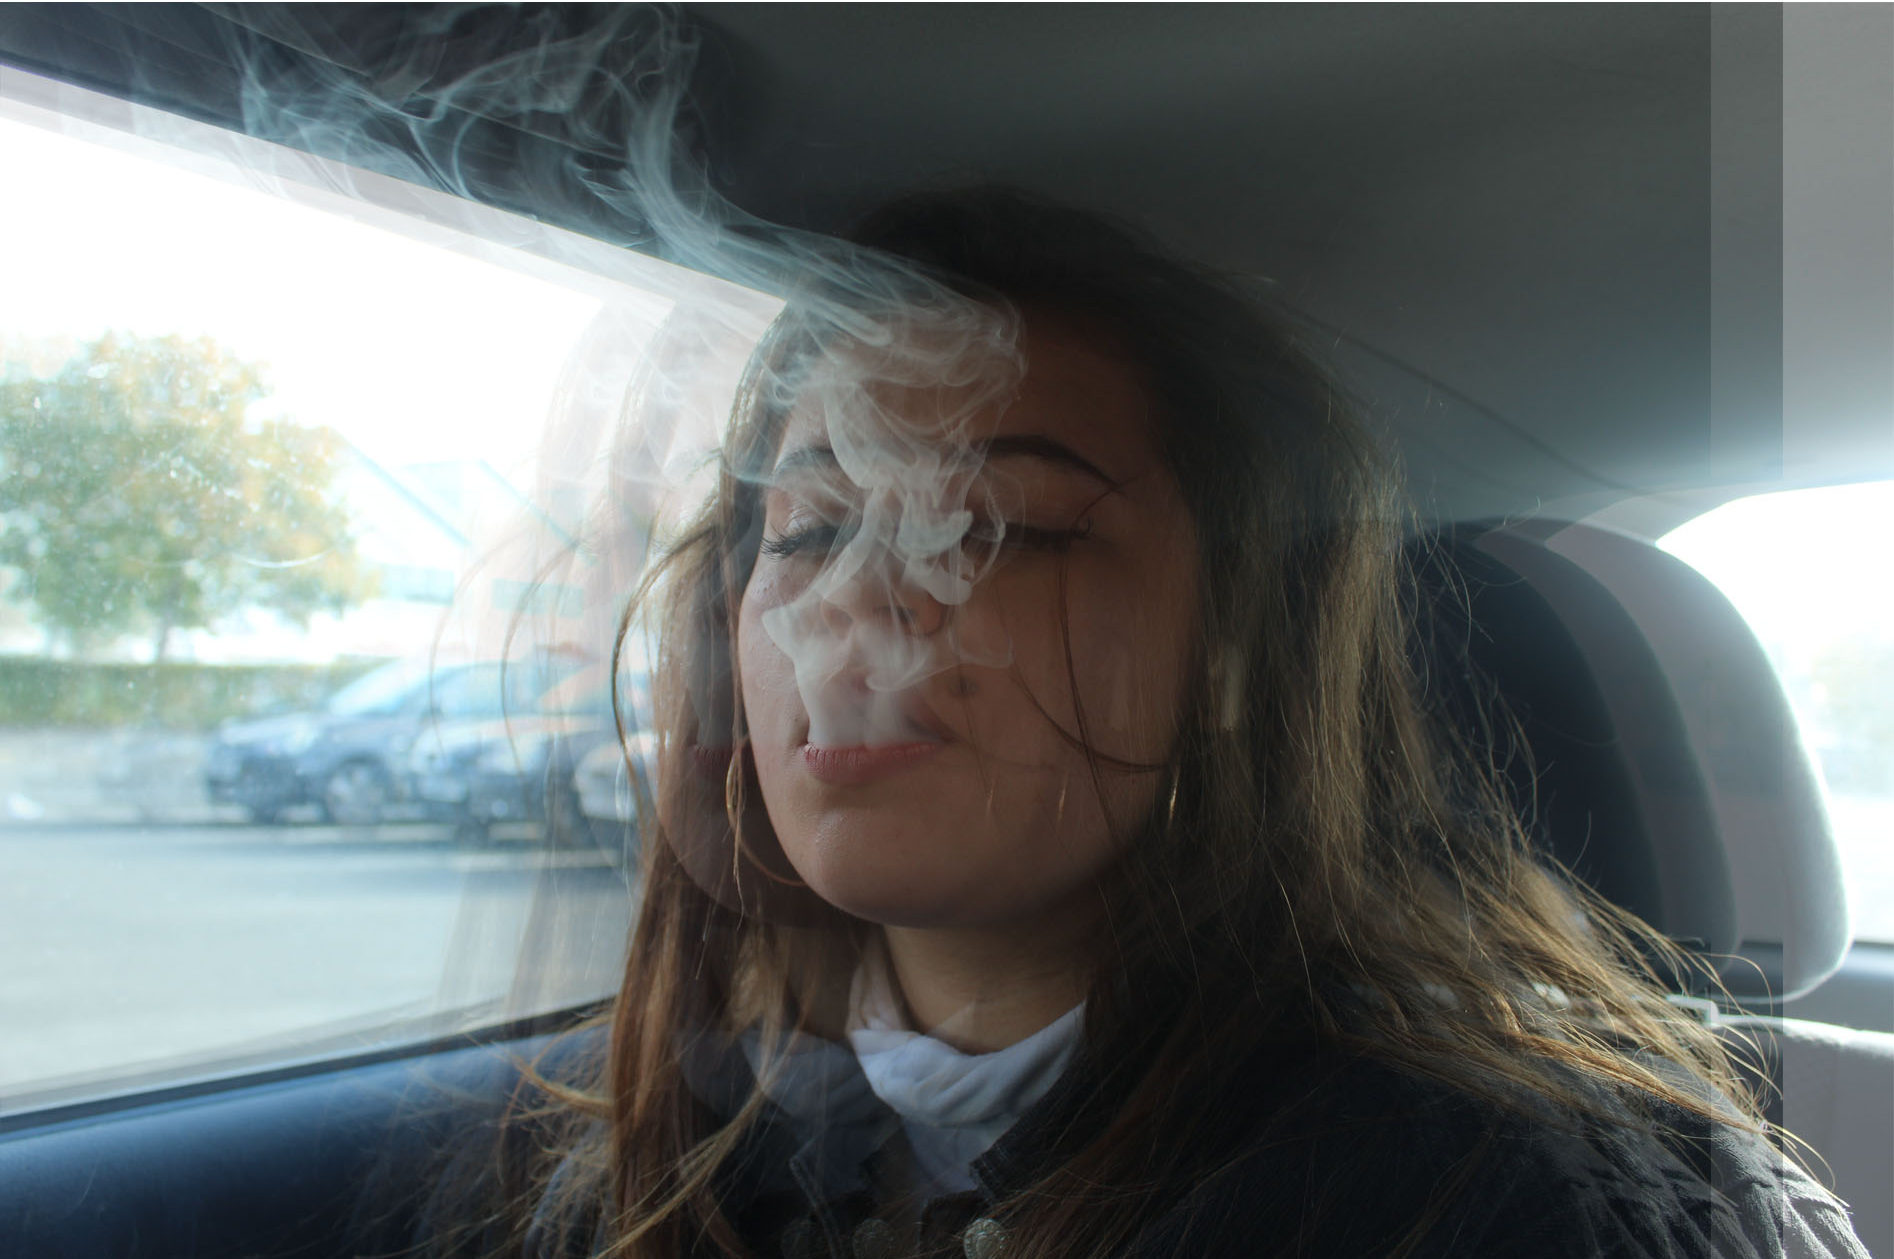
Arnold Newman Mood Board

Arnold Newman was born in New York in 1918. At university Newman studied art, due to the fact he was granted a scholoship at the university of Miami. Newman started his careers as a photographer in 1938, where he started to explore abstract and documentary photography. In 1941 his work was ‘discovered’ and he was given a exhibition in the Museum of Modern Art. It is said around this time Newman pioneered environmental photograph, which presents a new idea/concept to other photographers at this time. During his career as a photographer he has gained multiple awards including nine honorary doctorates.

In this photograph which Newman has captured we can see an old man located in the centre of the frame. He looks as if he is standing in-front of an easel, suggesting that he is a painter and a very creative man.  The main focus point of the image is the man (the subject) who is directly looking straight at the lens of the camera, which is implying that he may be proud of his job. In addition the facial expression on the mans face is plain and his body posture is slouched, which can inform us that he could be bored. My eyes are first lead to the subject of the image, they then move around to the different objects in the room. The frame of this photograph is not busy making it easier on the eye, and allows us to gain a better understanding of what life was like for this man. The image is taken at a straight on angle and only shows half of the mans body. The background shows a plain wall with a painting on it, in the top right, which may be showcasing work he has previously done, thus he could be in his place of work.  The formal elements found in this image is value and light, which is shown through the different tonal areas due to the picture being presented in black and white, and there is a sense of depth due to a large depth of field being used. It also stands to reason that the aperture is low, which also allows the whole frame to be in focus. The shutter speed seems to be very quick as no ‘intended’ blur can be seen. Moreover, the ISO is low as there is no noise, because of lighting, in this photograph. The lighting which is used in this image is likely to be artificial lighting as the man is located in doors, inside a room or a studio. The lighting is quite cold which makes us grasp a better understanding of the type of environment the man is in. The fact the image is black and white and the photographer was alive during the 1900’s suggests that it was at a time when the men had to work and provide for their partner, thus presenting  his gender role. However, the fact he is an artist implies that he was a higher class otherwise he would be working in a factory.  Multiple ideas can be drawn upon from this image, making Newman’s attempt at environmental photography successful.

Planning

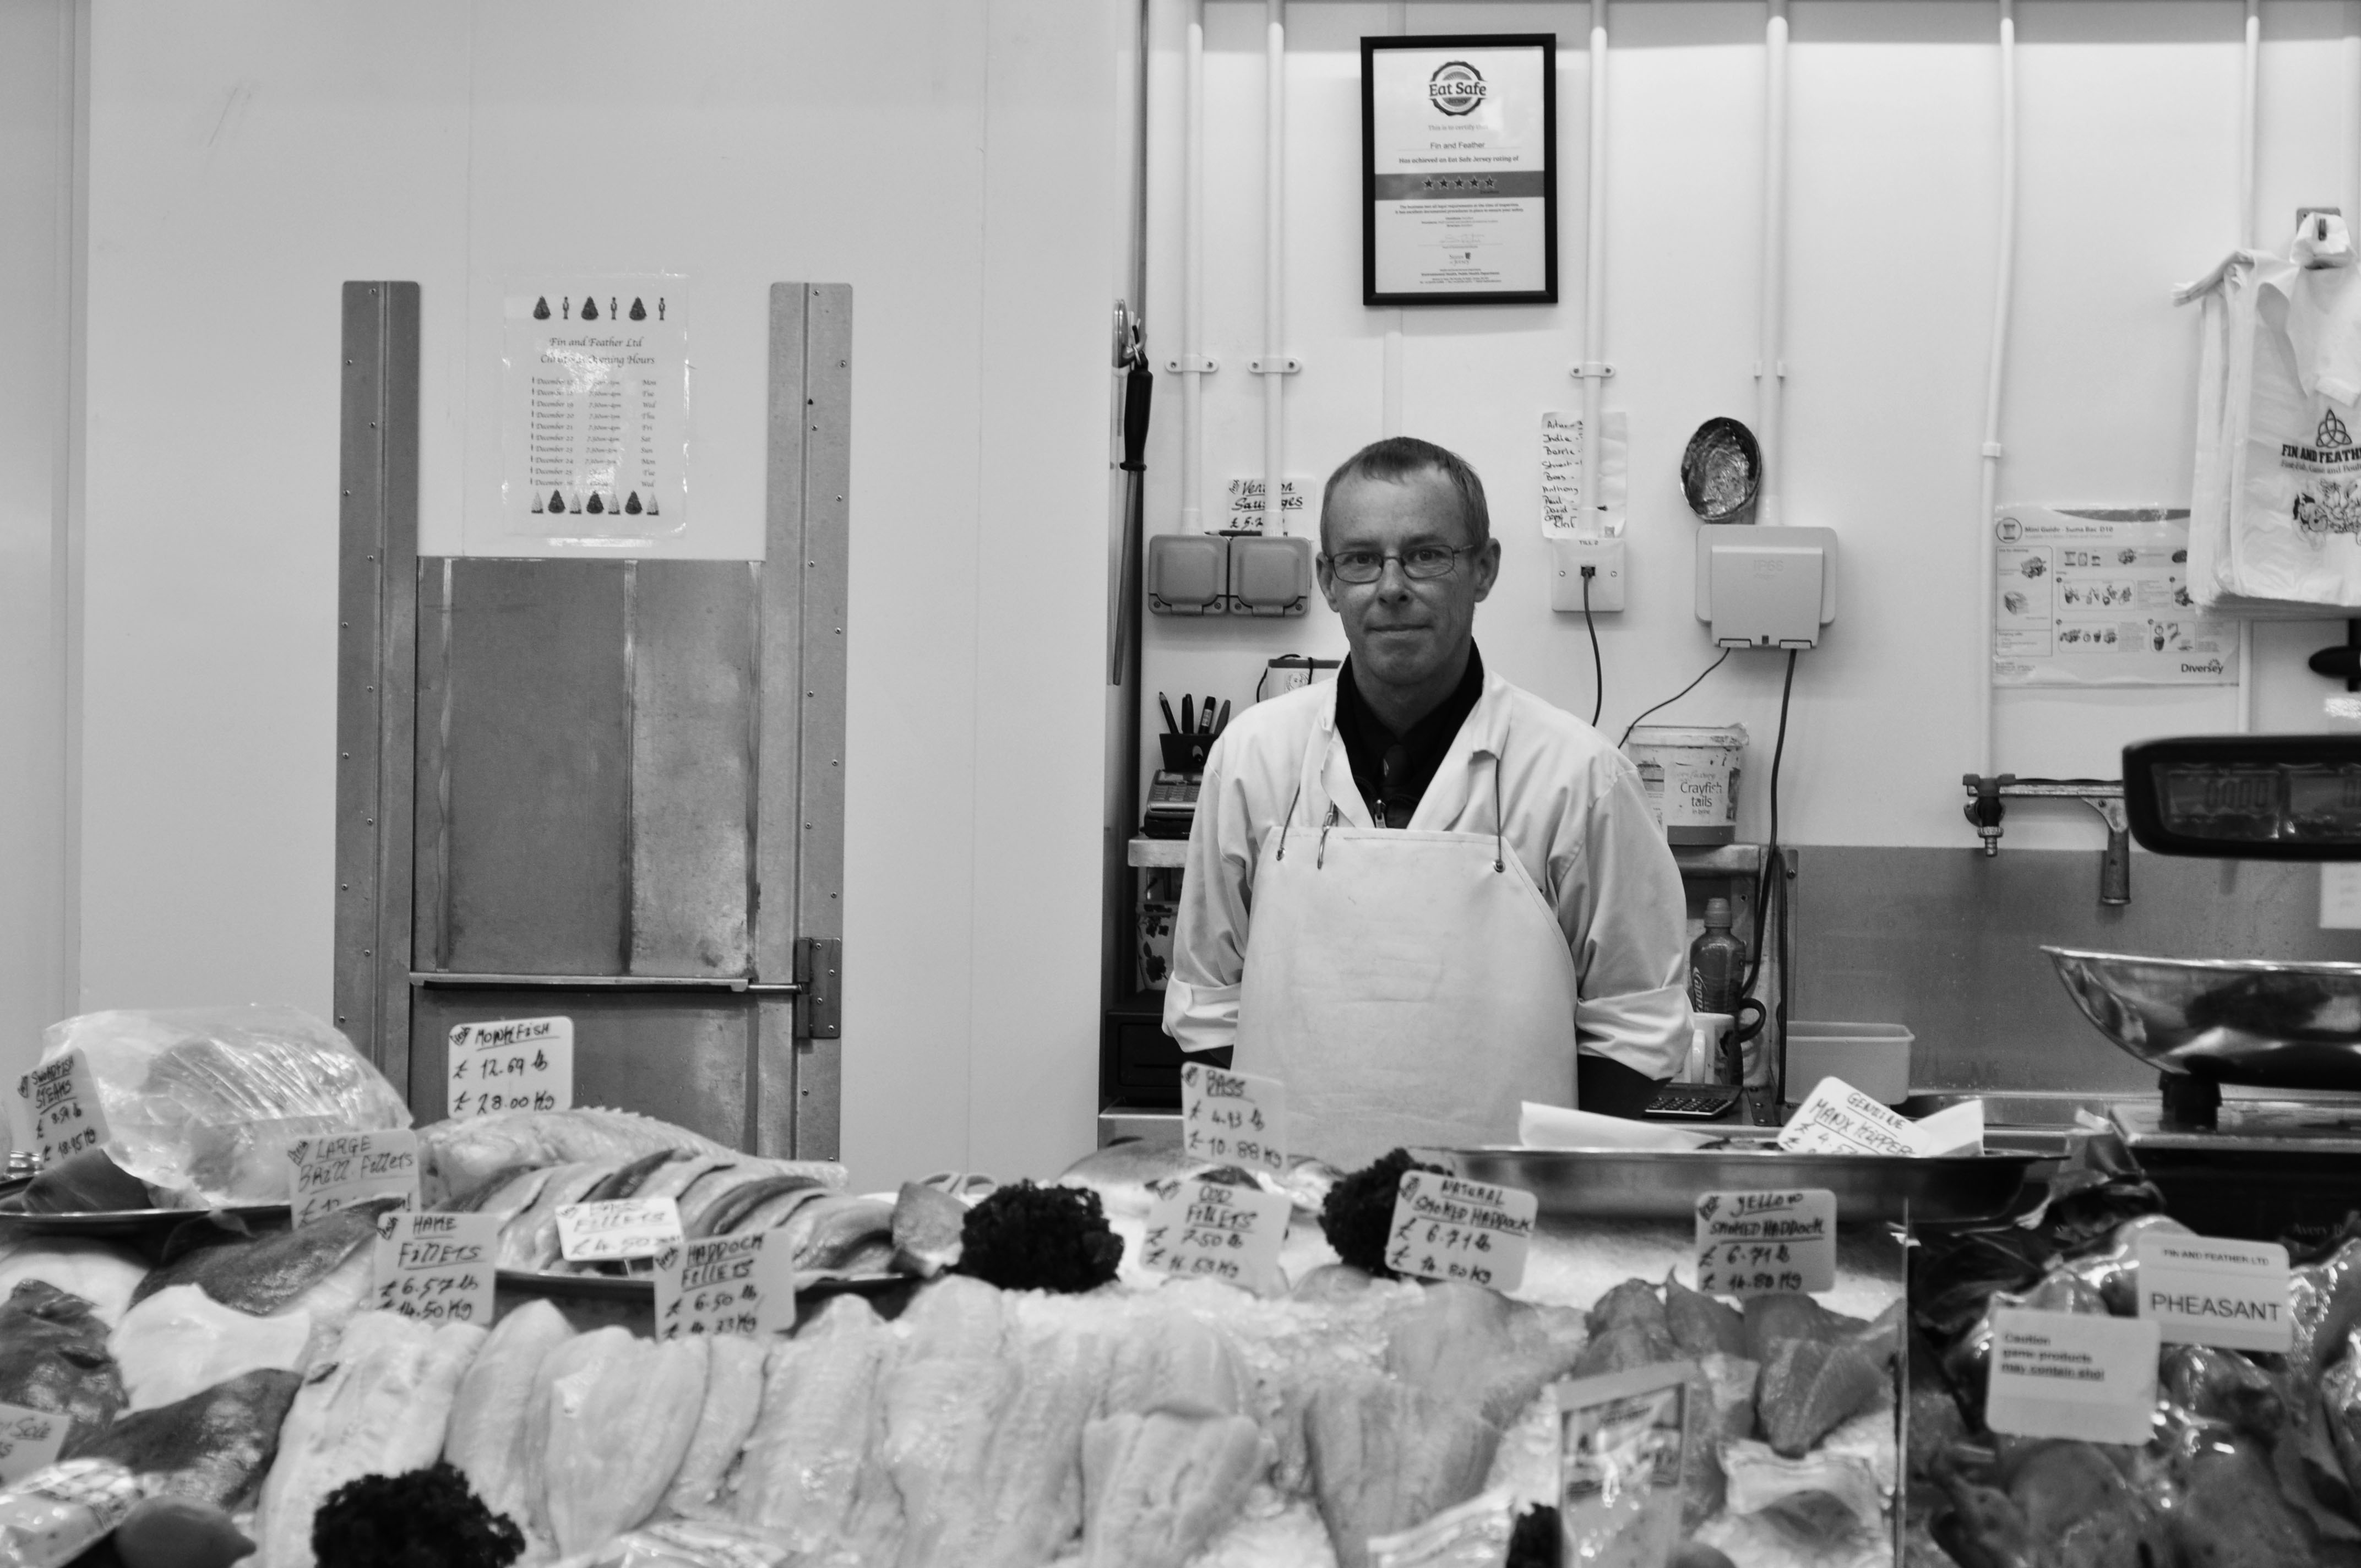
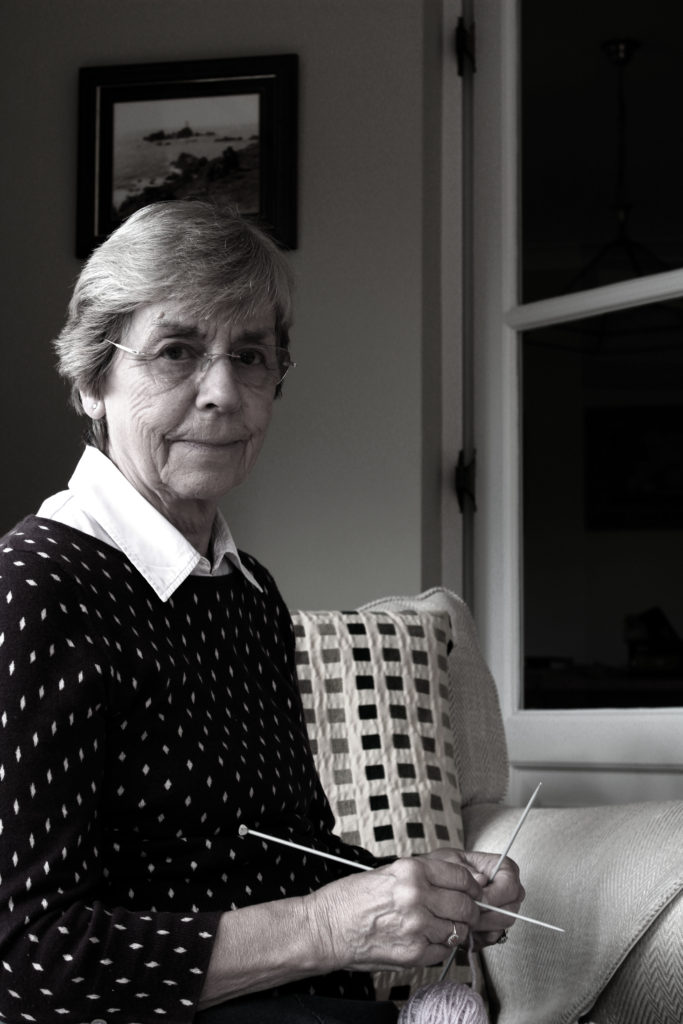
In these photographs I will be using two models in their natural environment, their home. I will capture them doing normal tasks that they would do. However, in order to show gender roles, like Newman did, I will be making stereotypical judgements of having the woman model do the cooking and knitting and my male model working in an office, with his car and cleaning a fire place. The photographs will be taken during the morning and I will be using natural lighting with an occasional use of artificial lighting. In order to make the final outcomes successful I will be editing them black and white. I will be use a manual camera setting allowing me to have full control of the focus, shutter speed, ISO and white balance.

Contact Sheets

Edits

For these edits I decided to keep things simple, like Newman did. I wanted to be able to show a clear contrast of tonal regions in the photograph and make the images seem like they have been taken at the same time period as Newman’s images. I simply levelled all the images and adjusted the curves until I was pleased with the outcome. I then desaturated my images, turning them black and white giving them this effect.

I am very happy with my final outcomes from this photoshoot. It clearly shows environmental photography as it meets the criteria of: having the model looking directly into the camera lens, having a neutral expression on their face and having something in the background to show the context of the image. These photographs also clearly show gender role stereotypes through the activities my subjects are doing. To further expand this shoot I would look at capturing the youth to show how times have changes, breaking the gender role stereotypes. I would also look at presenting some of these images in colour.

Final images

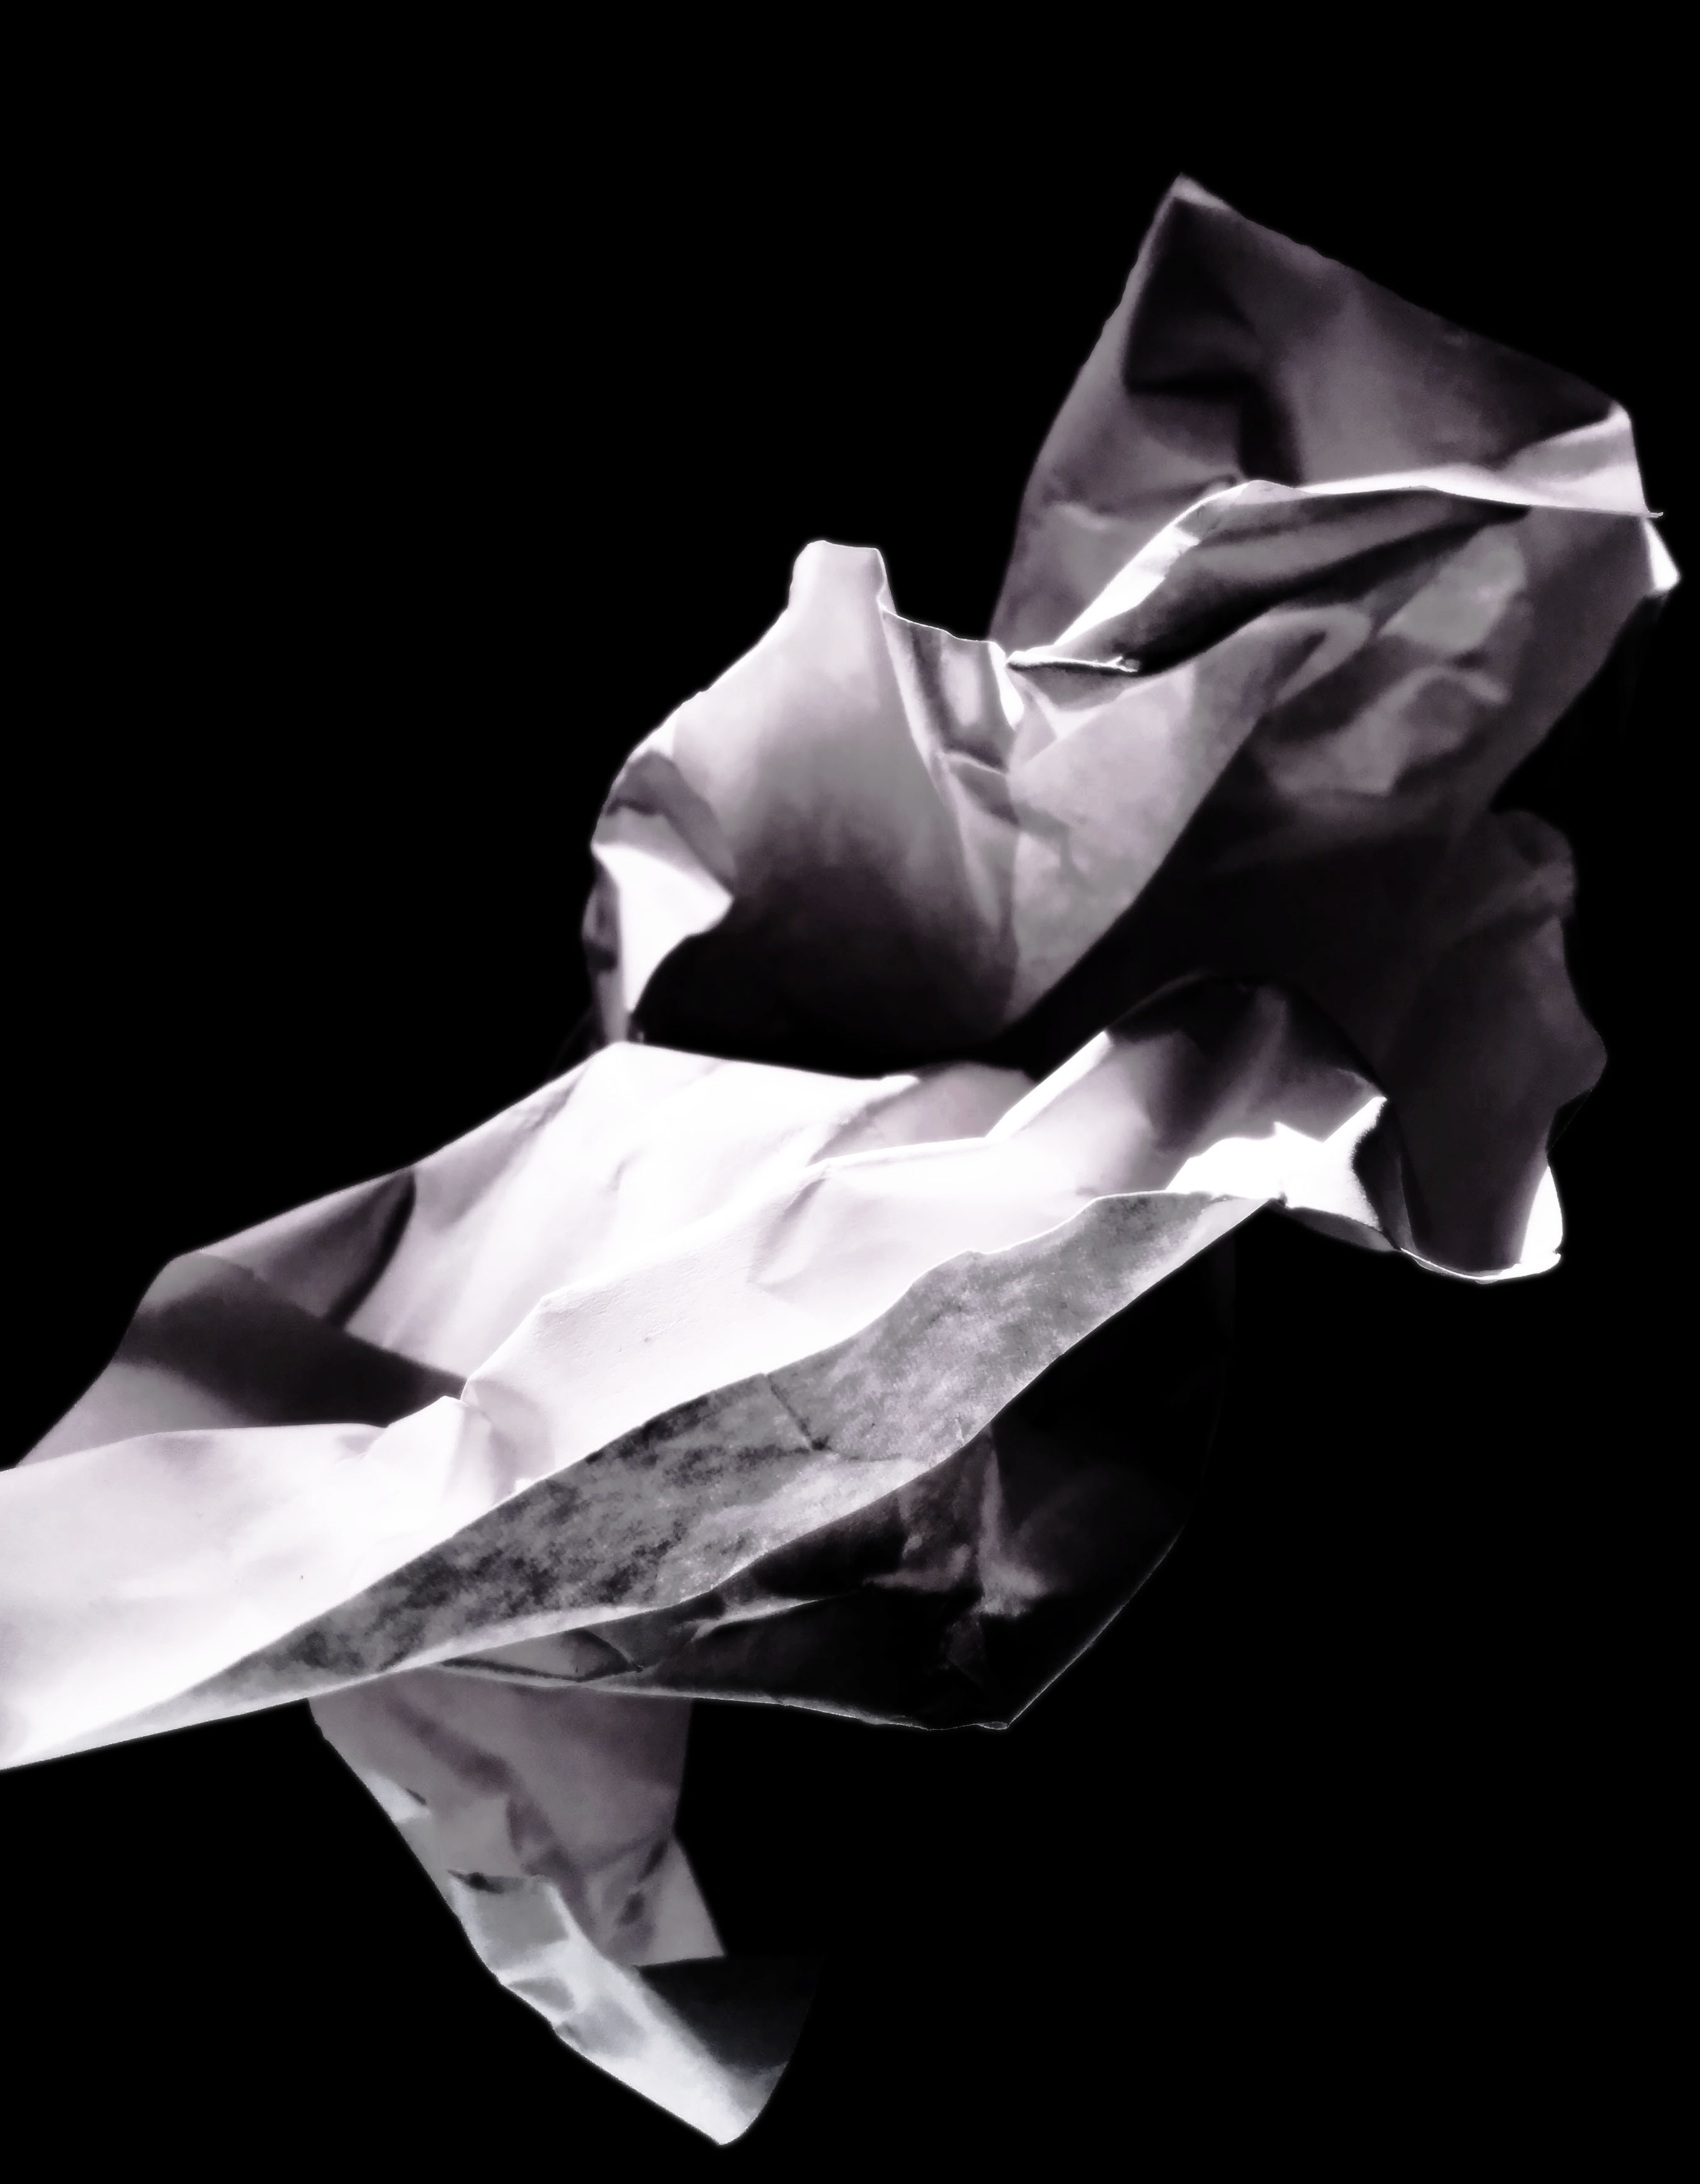
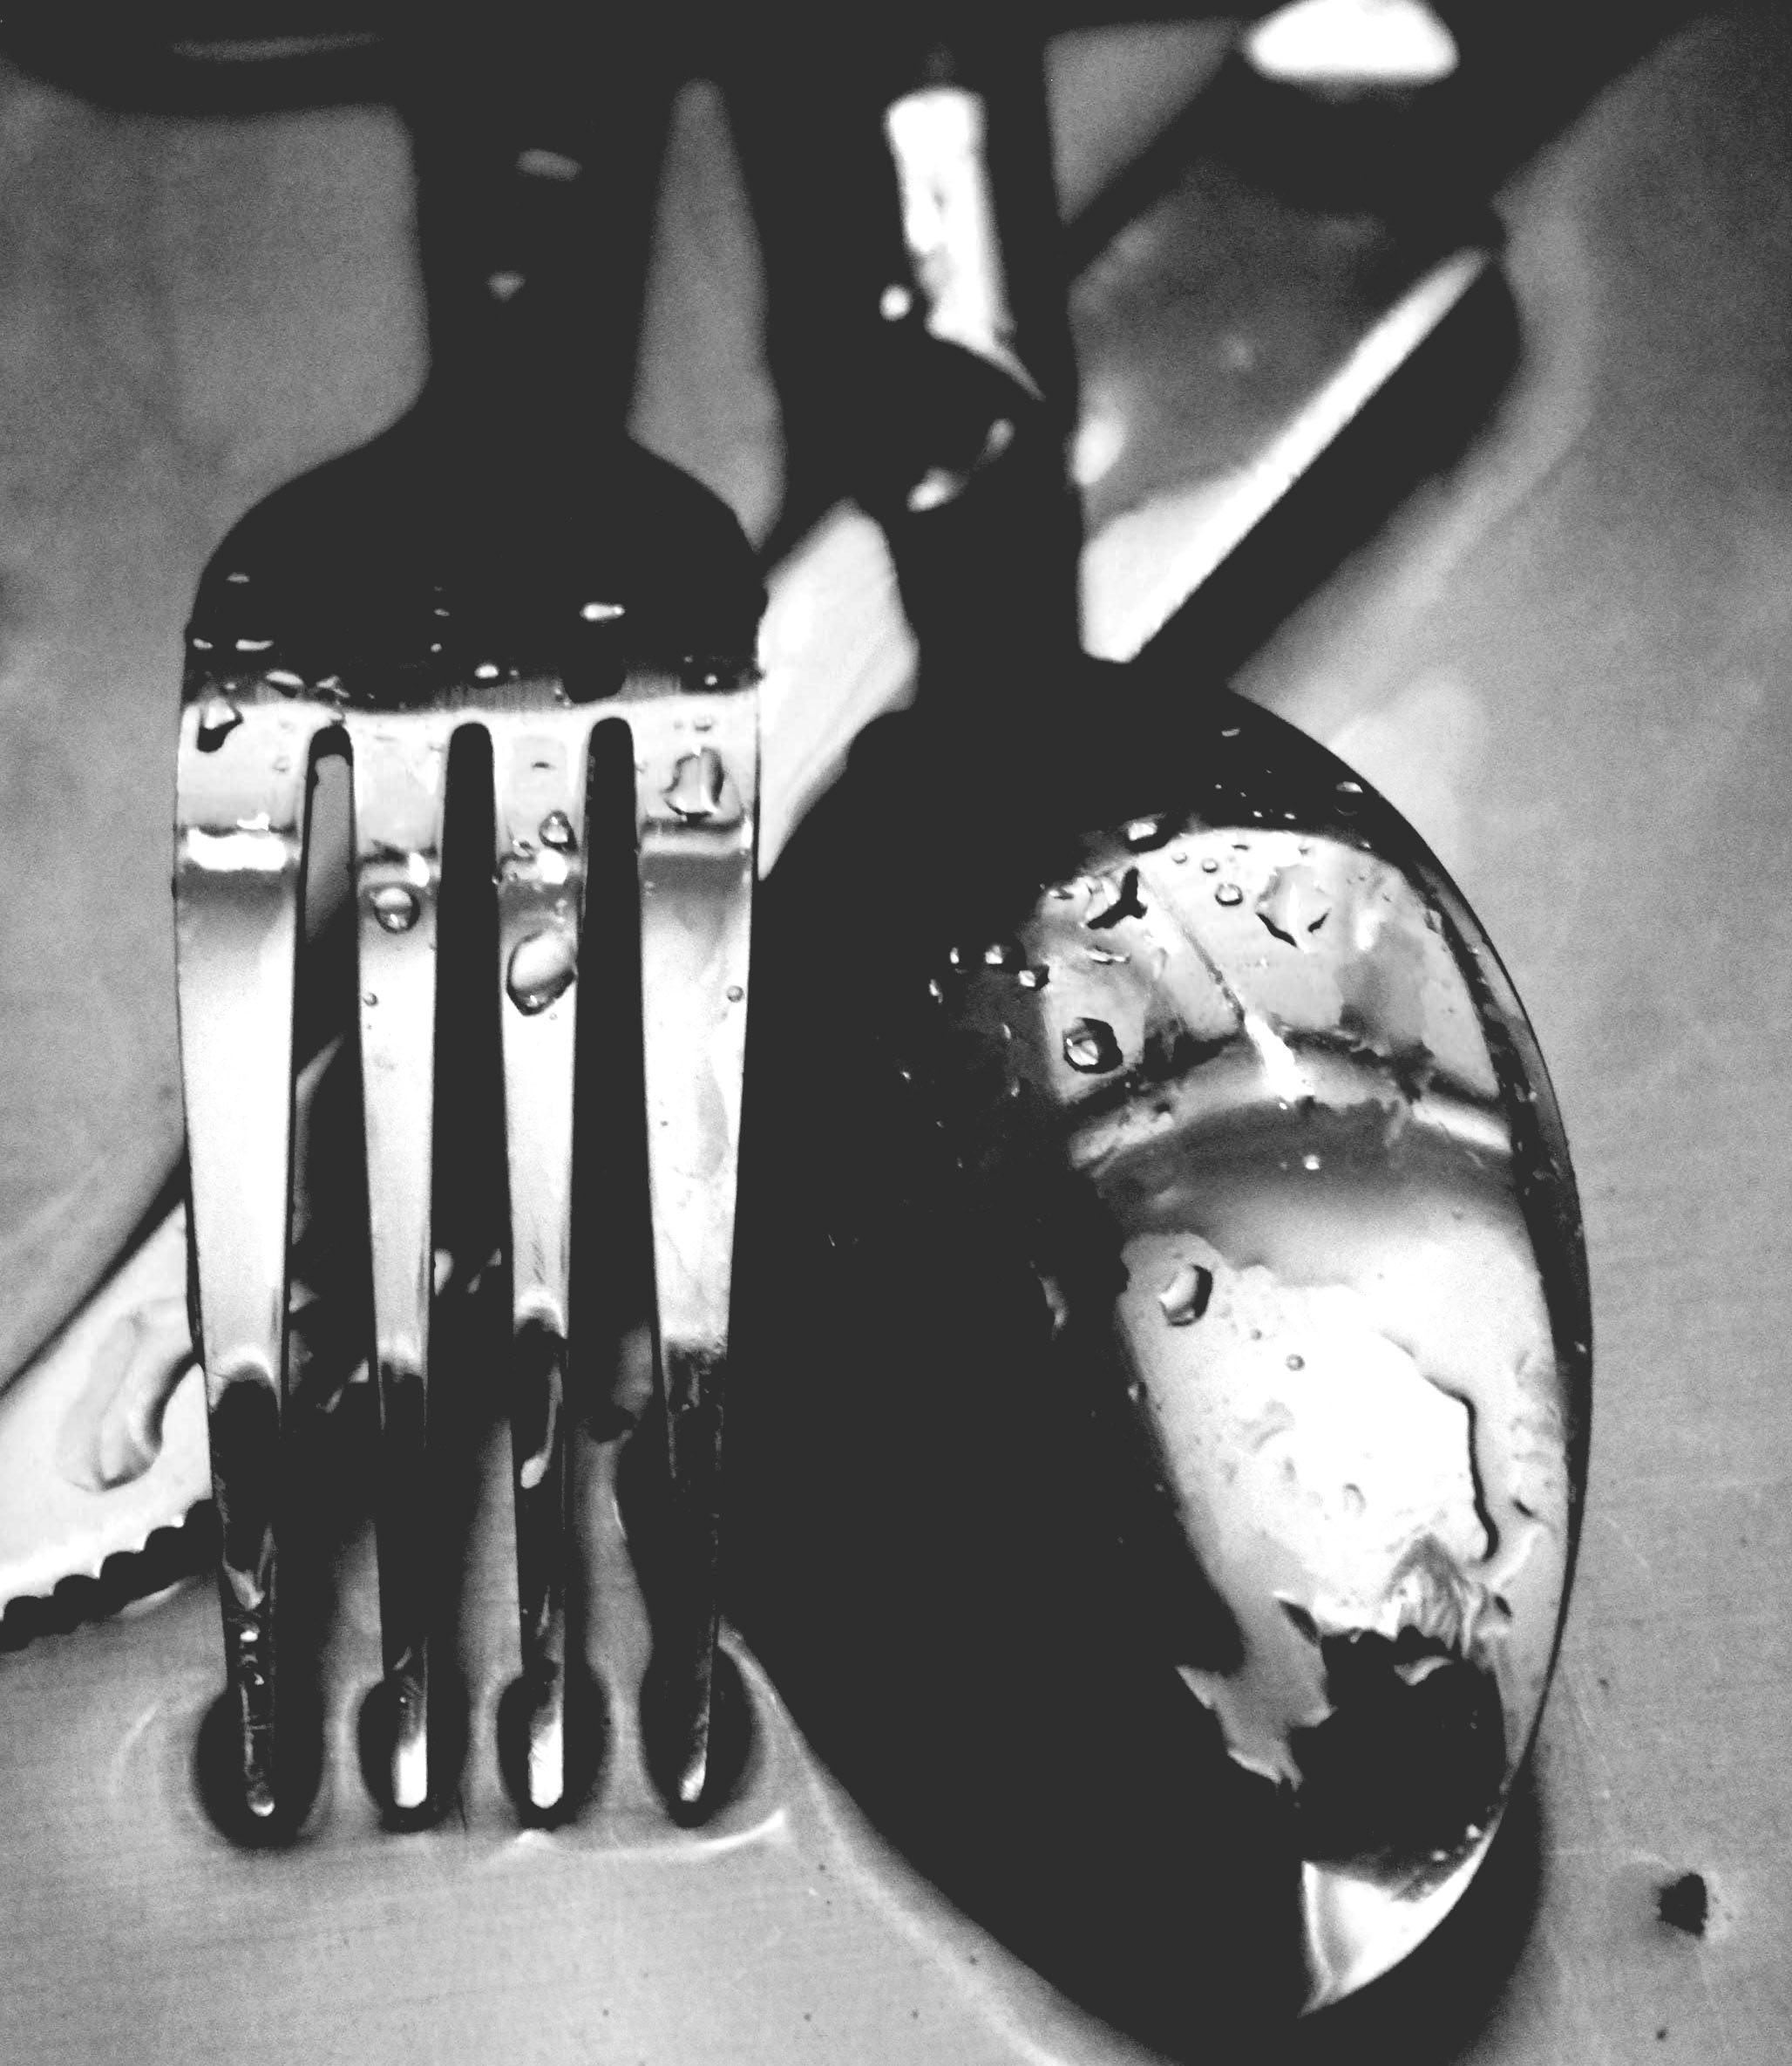
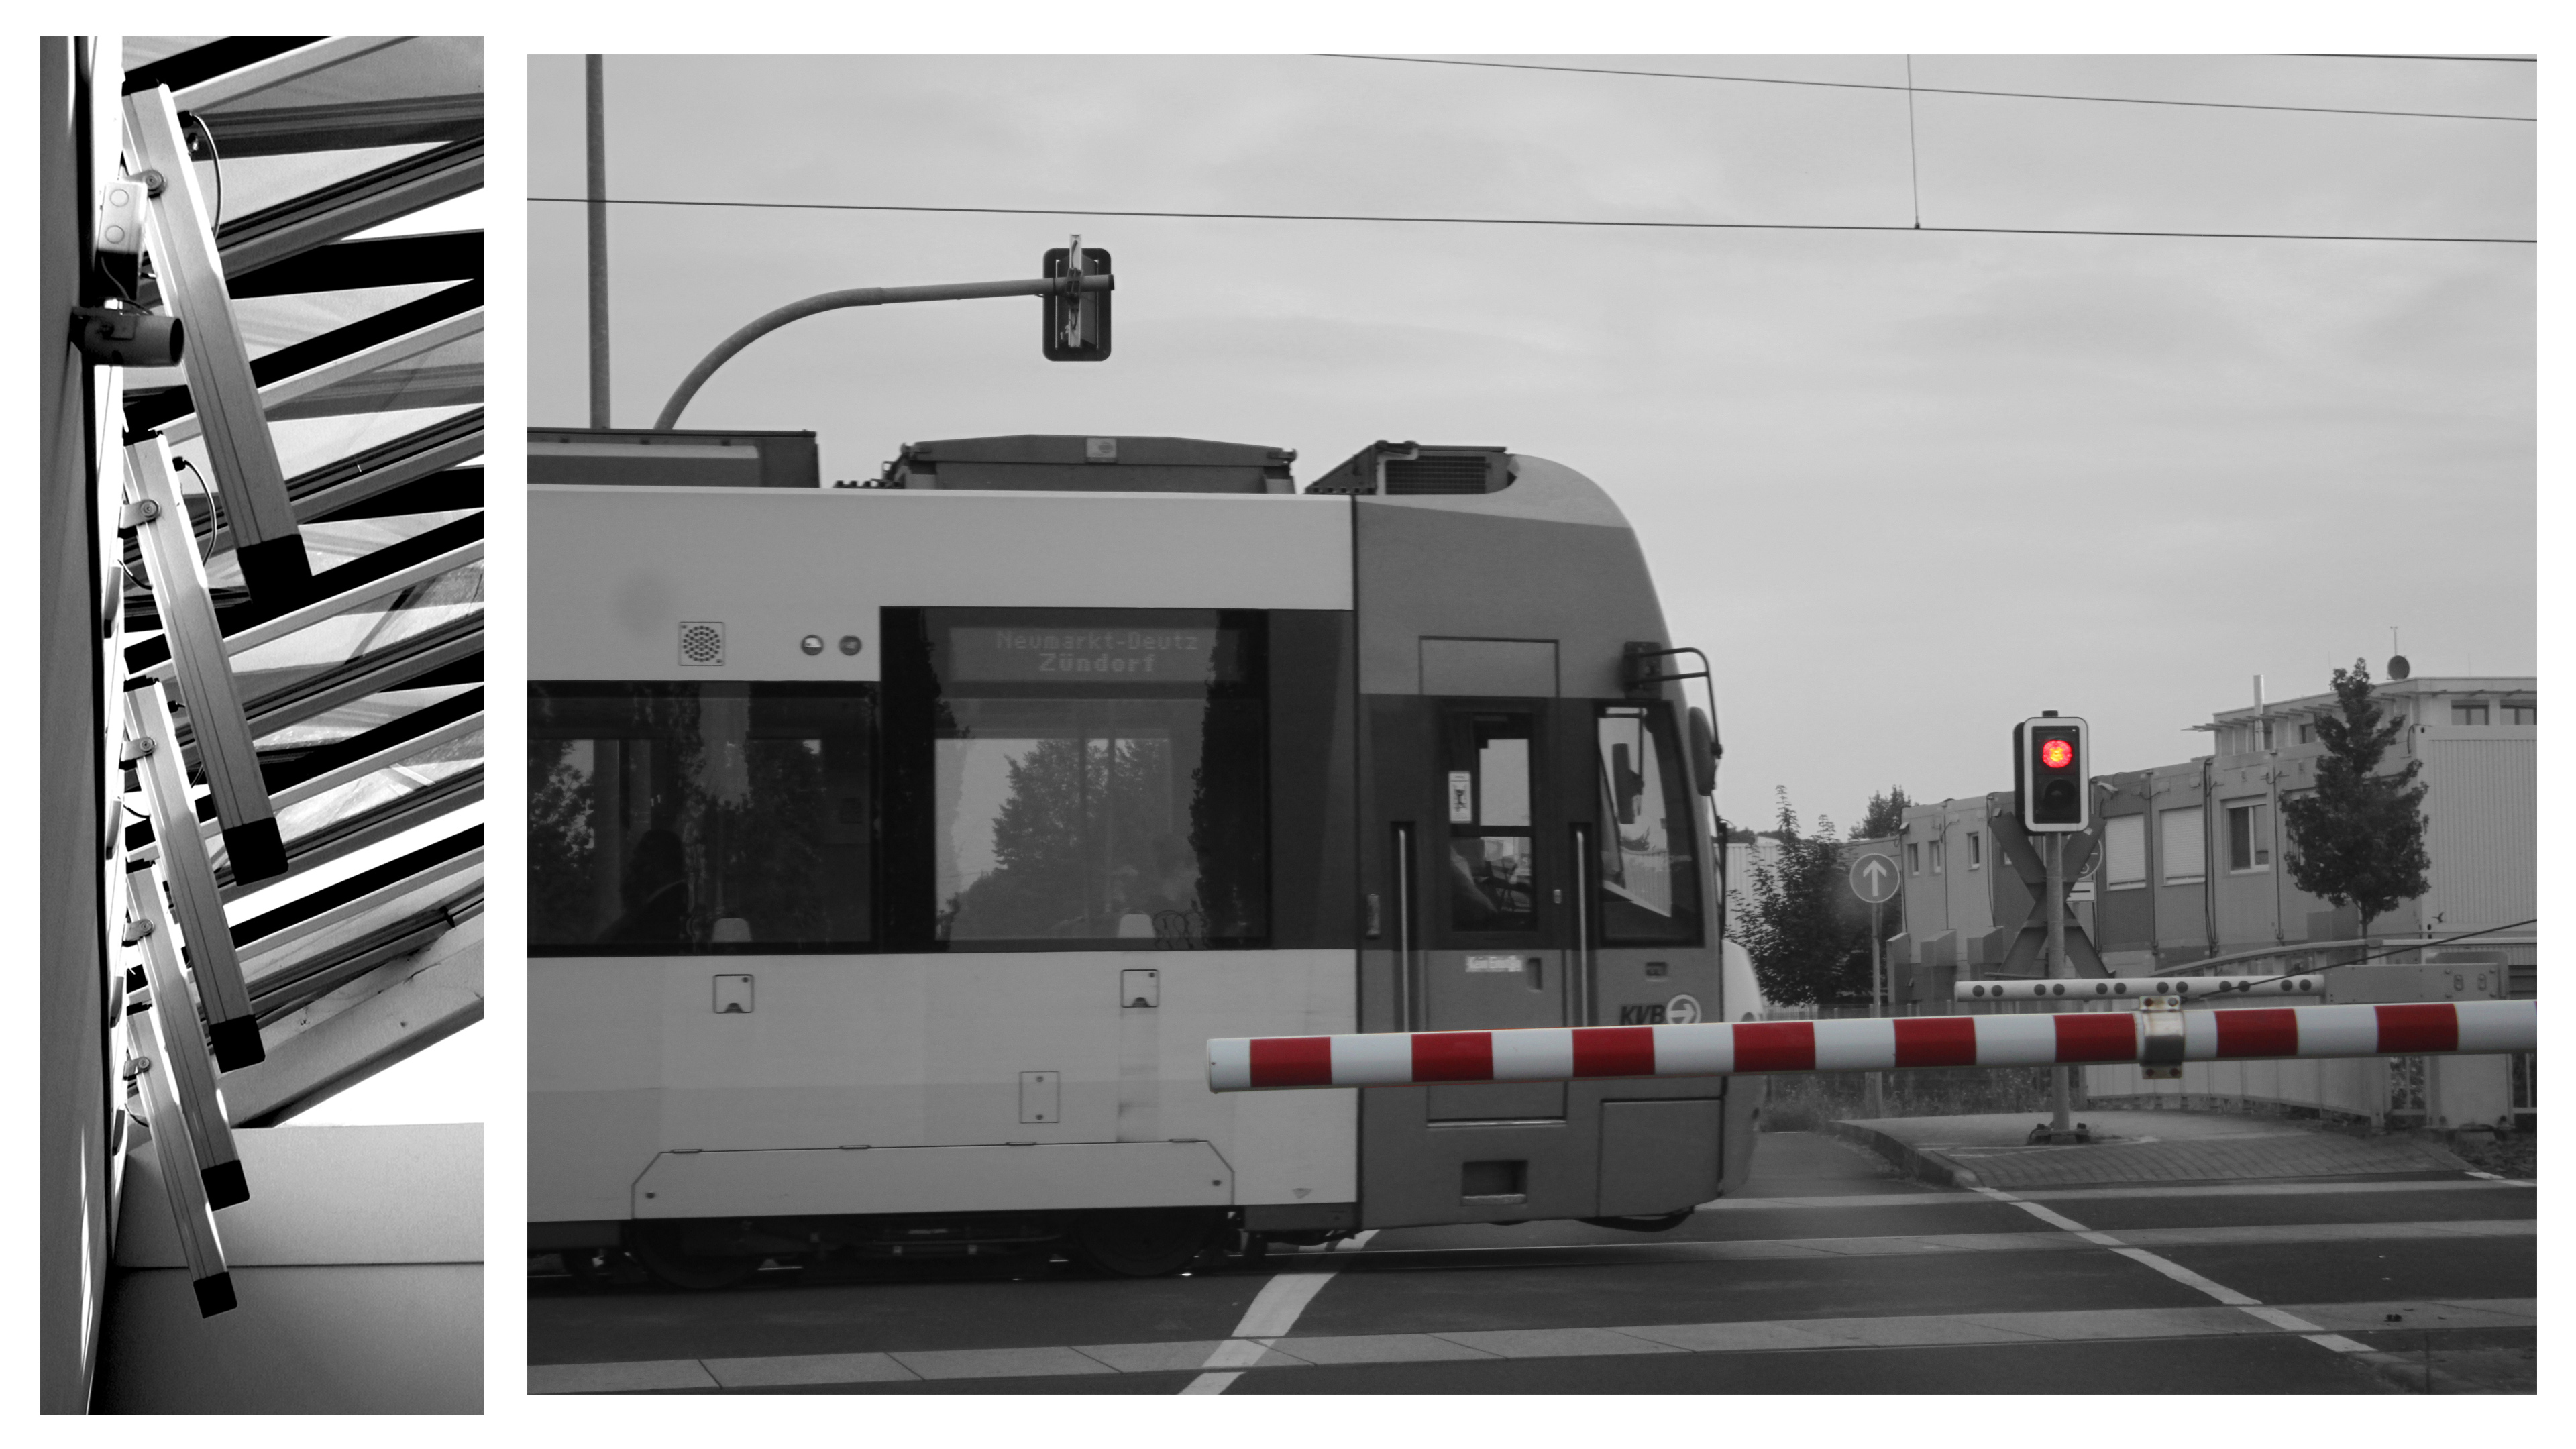
In this project I have been able to explore into the concept of abstract photography. I have looked at a variety of artists, who use multiple editing and camera skills, allowing me to gain a greater depth into the theme of abstract photography. I have captured a range of subjects, from paper to twigs, allowing to experiment with the formal elements which play an active role in abstract photography. I have acquired many camera skills, from controlling the shutter speed, ISO, White Balance and Depth of Field. I feel that I have successfully demonstrated these skills through my photo shoots, which have been inspired by artists that I previously researched.

Here is a final plan for the layout of my final images:

Analysis

Overall, I chose the images as my final images due to them, in my opinion, reflecting my camera skills and perspective within ‘Abstract Photography’. I also chose them due to their abstract view points on colour: man made vibrant colours next to natural and neutral colours. Throughout my project I focused on photographing abandoned or decayed buildings or surfaces because I liked the idea of the fact that we’re living in a forever growing world with things being introduced to us everyday. Yet, there is so much decay and remains left for us to bare and manage. This overall project was to show how in our everyday lives, we ignore the decay us and proceed with our ‘new’ set in place futures.

Project Evaluation – Abstract Photography

In this project I have been able to explore into the concept of abstract photography. I have looked at a variety of artists, who use multiple editing and camera skills, allowing me to gain a greater depth into the theme of abstract photography. I have captured a range of subjects, from paper to twigs, allowing to experiment with the formal elements which play an active role in abstract photography. I have acquired many camera skills, from controlling the shutter speed, ISO, White Balance and Depth of Field. I feel that I have successfully demonstrated these skills through my photo shoots, which have been inspired by artists that I previously researched.

Here is a collection of all of the photographs I have captured and edited throughout this project. It shows the different camera skills I have obtained, editing skills and the overall theme of abstraction. These photographs I believe to be my top images as they are sharp, present formal elements clearly and again successfully show the theme of abstract photography. The images have been selected from every photo shoot I conducted which have been inspired by artists, which I researched.

Final Images

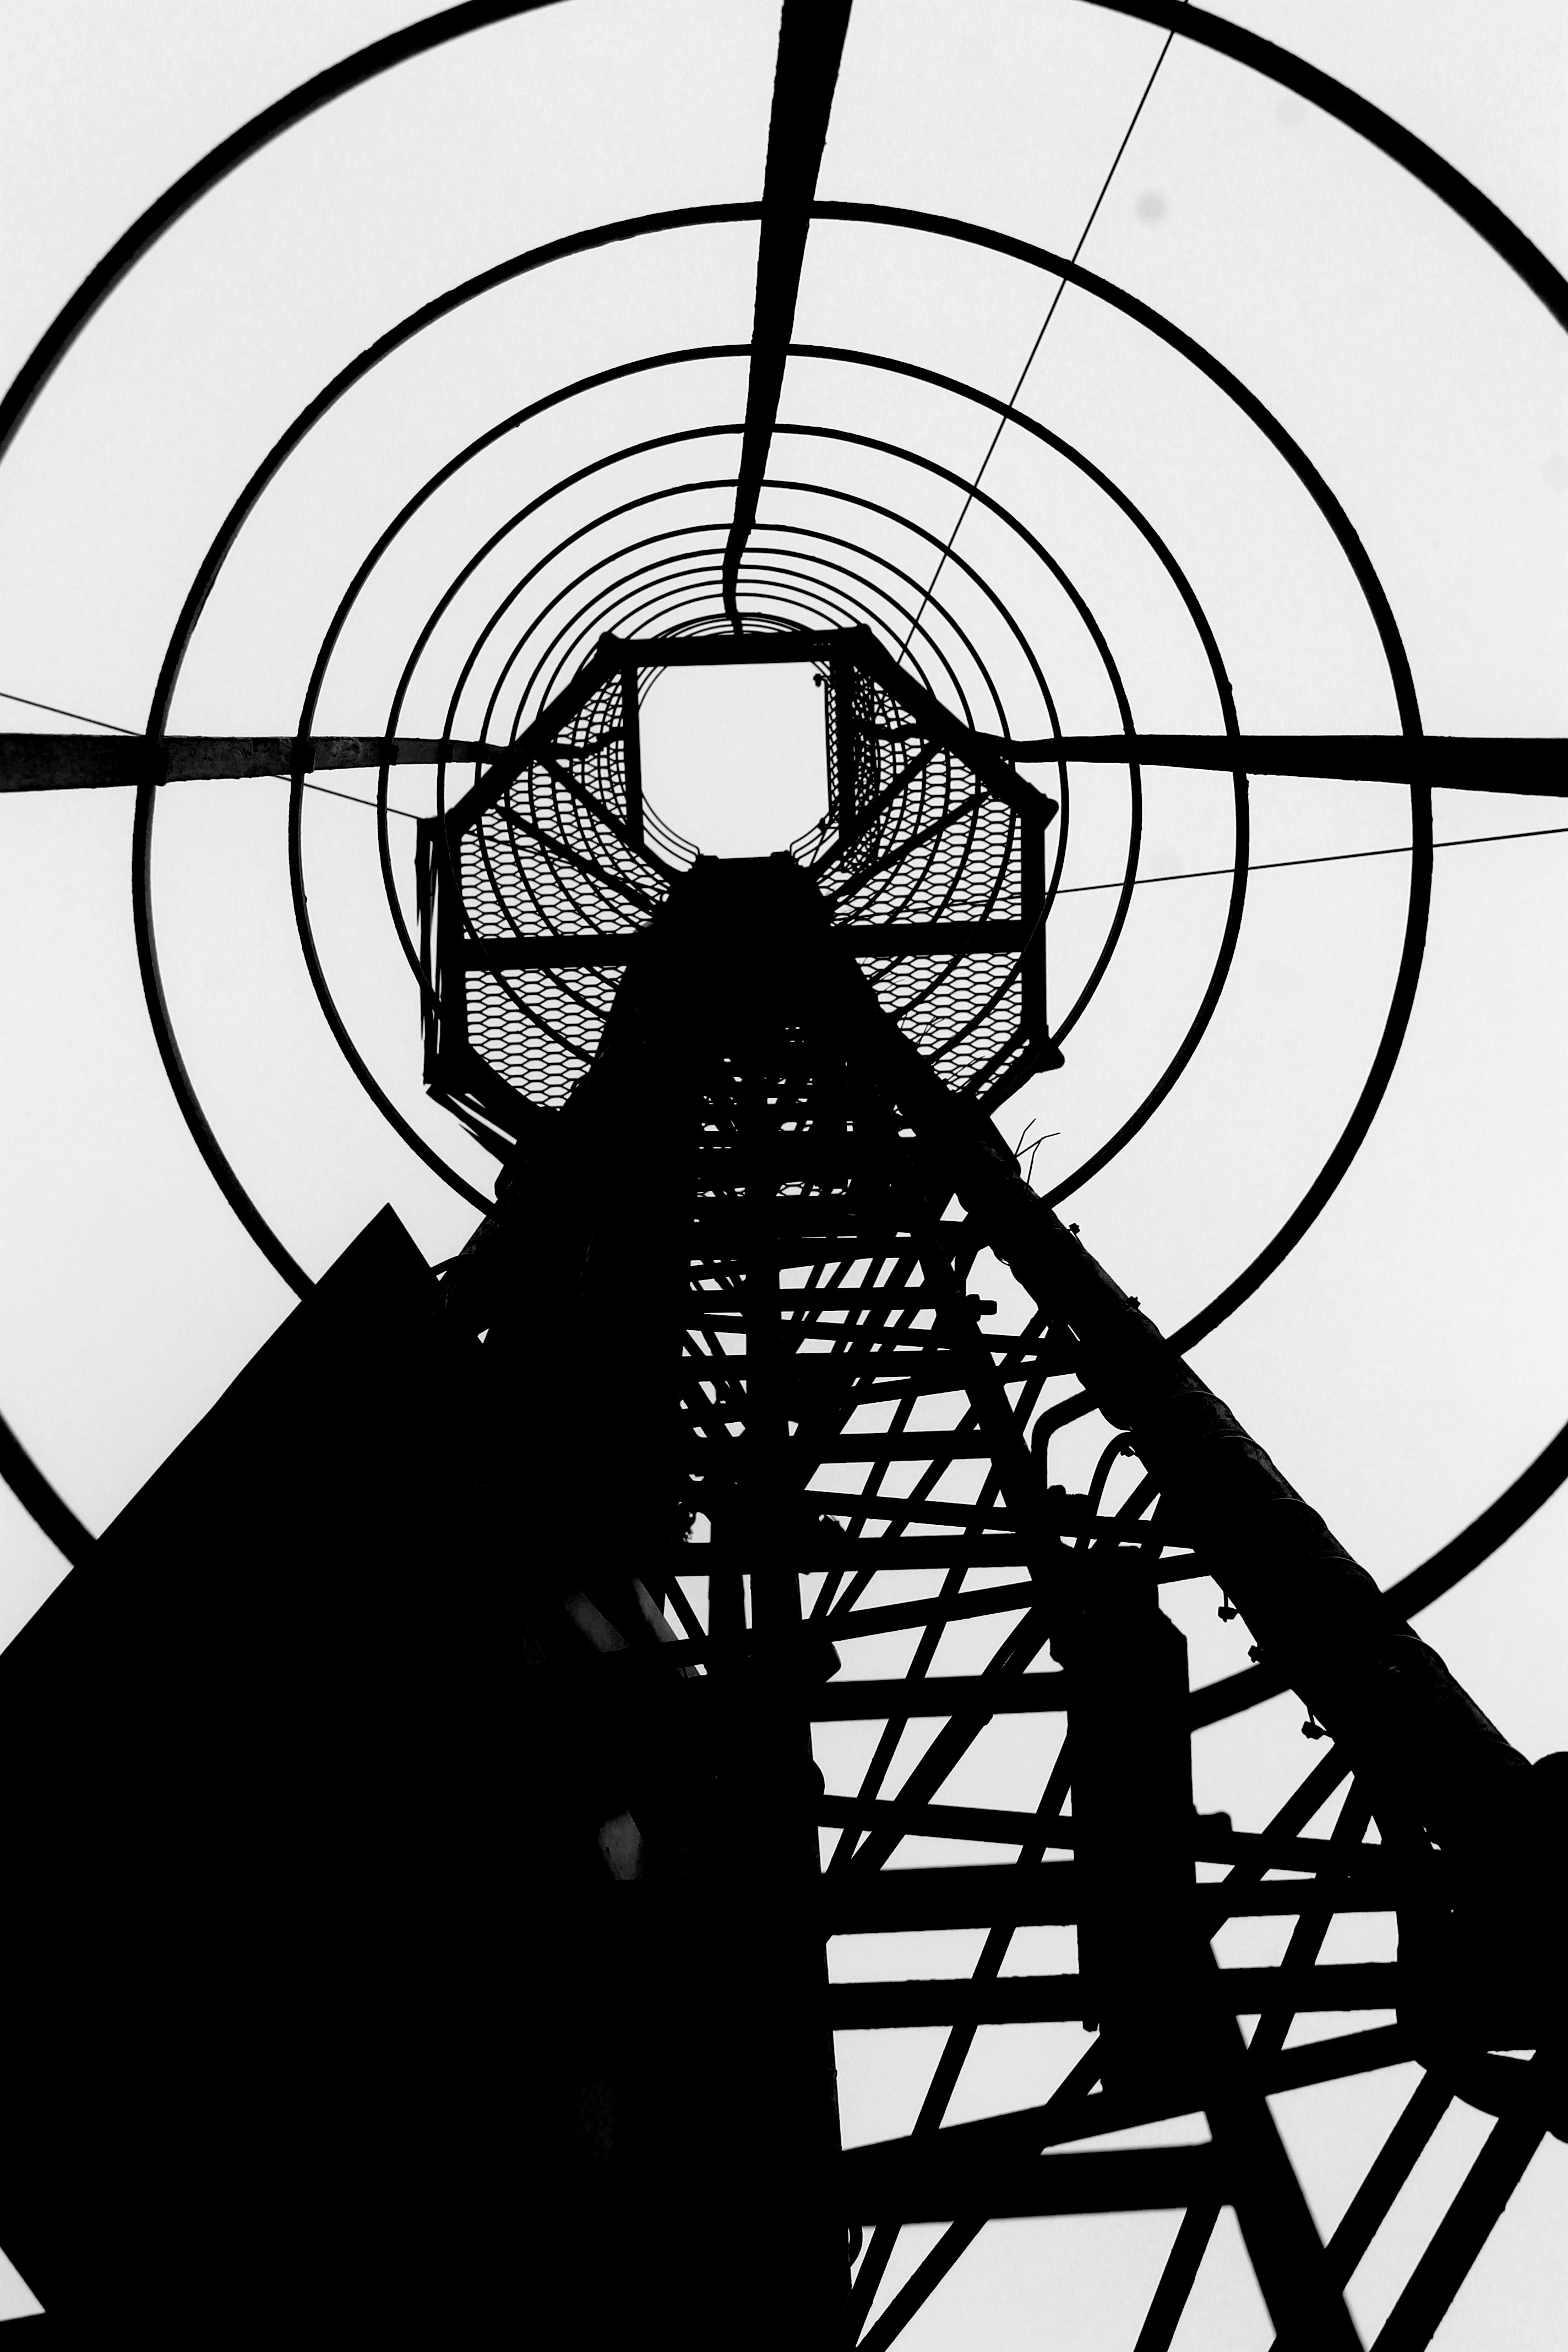
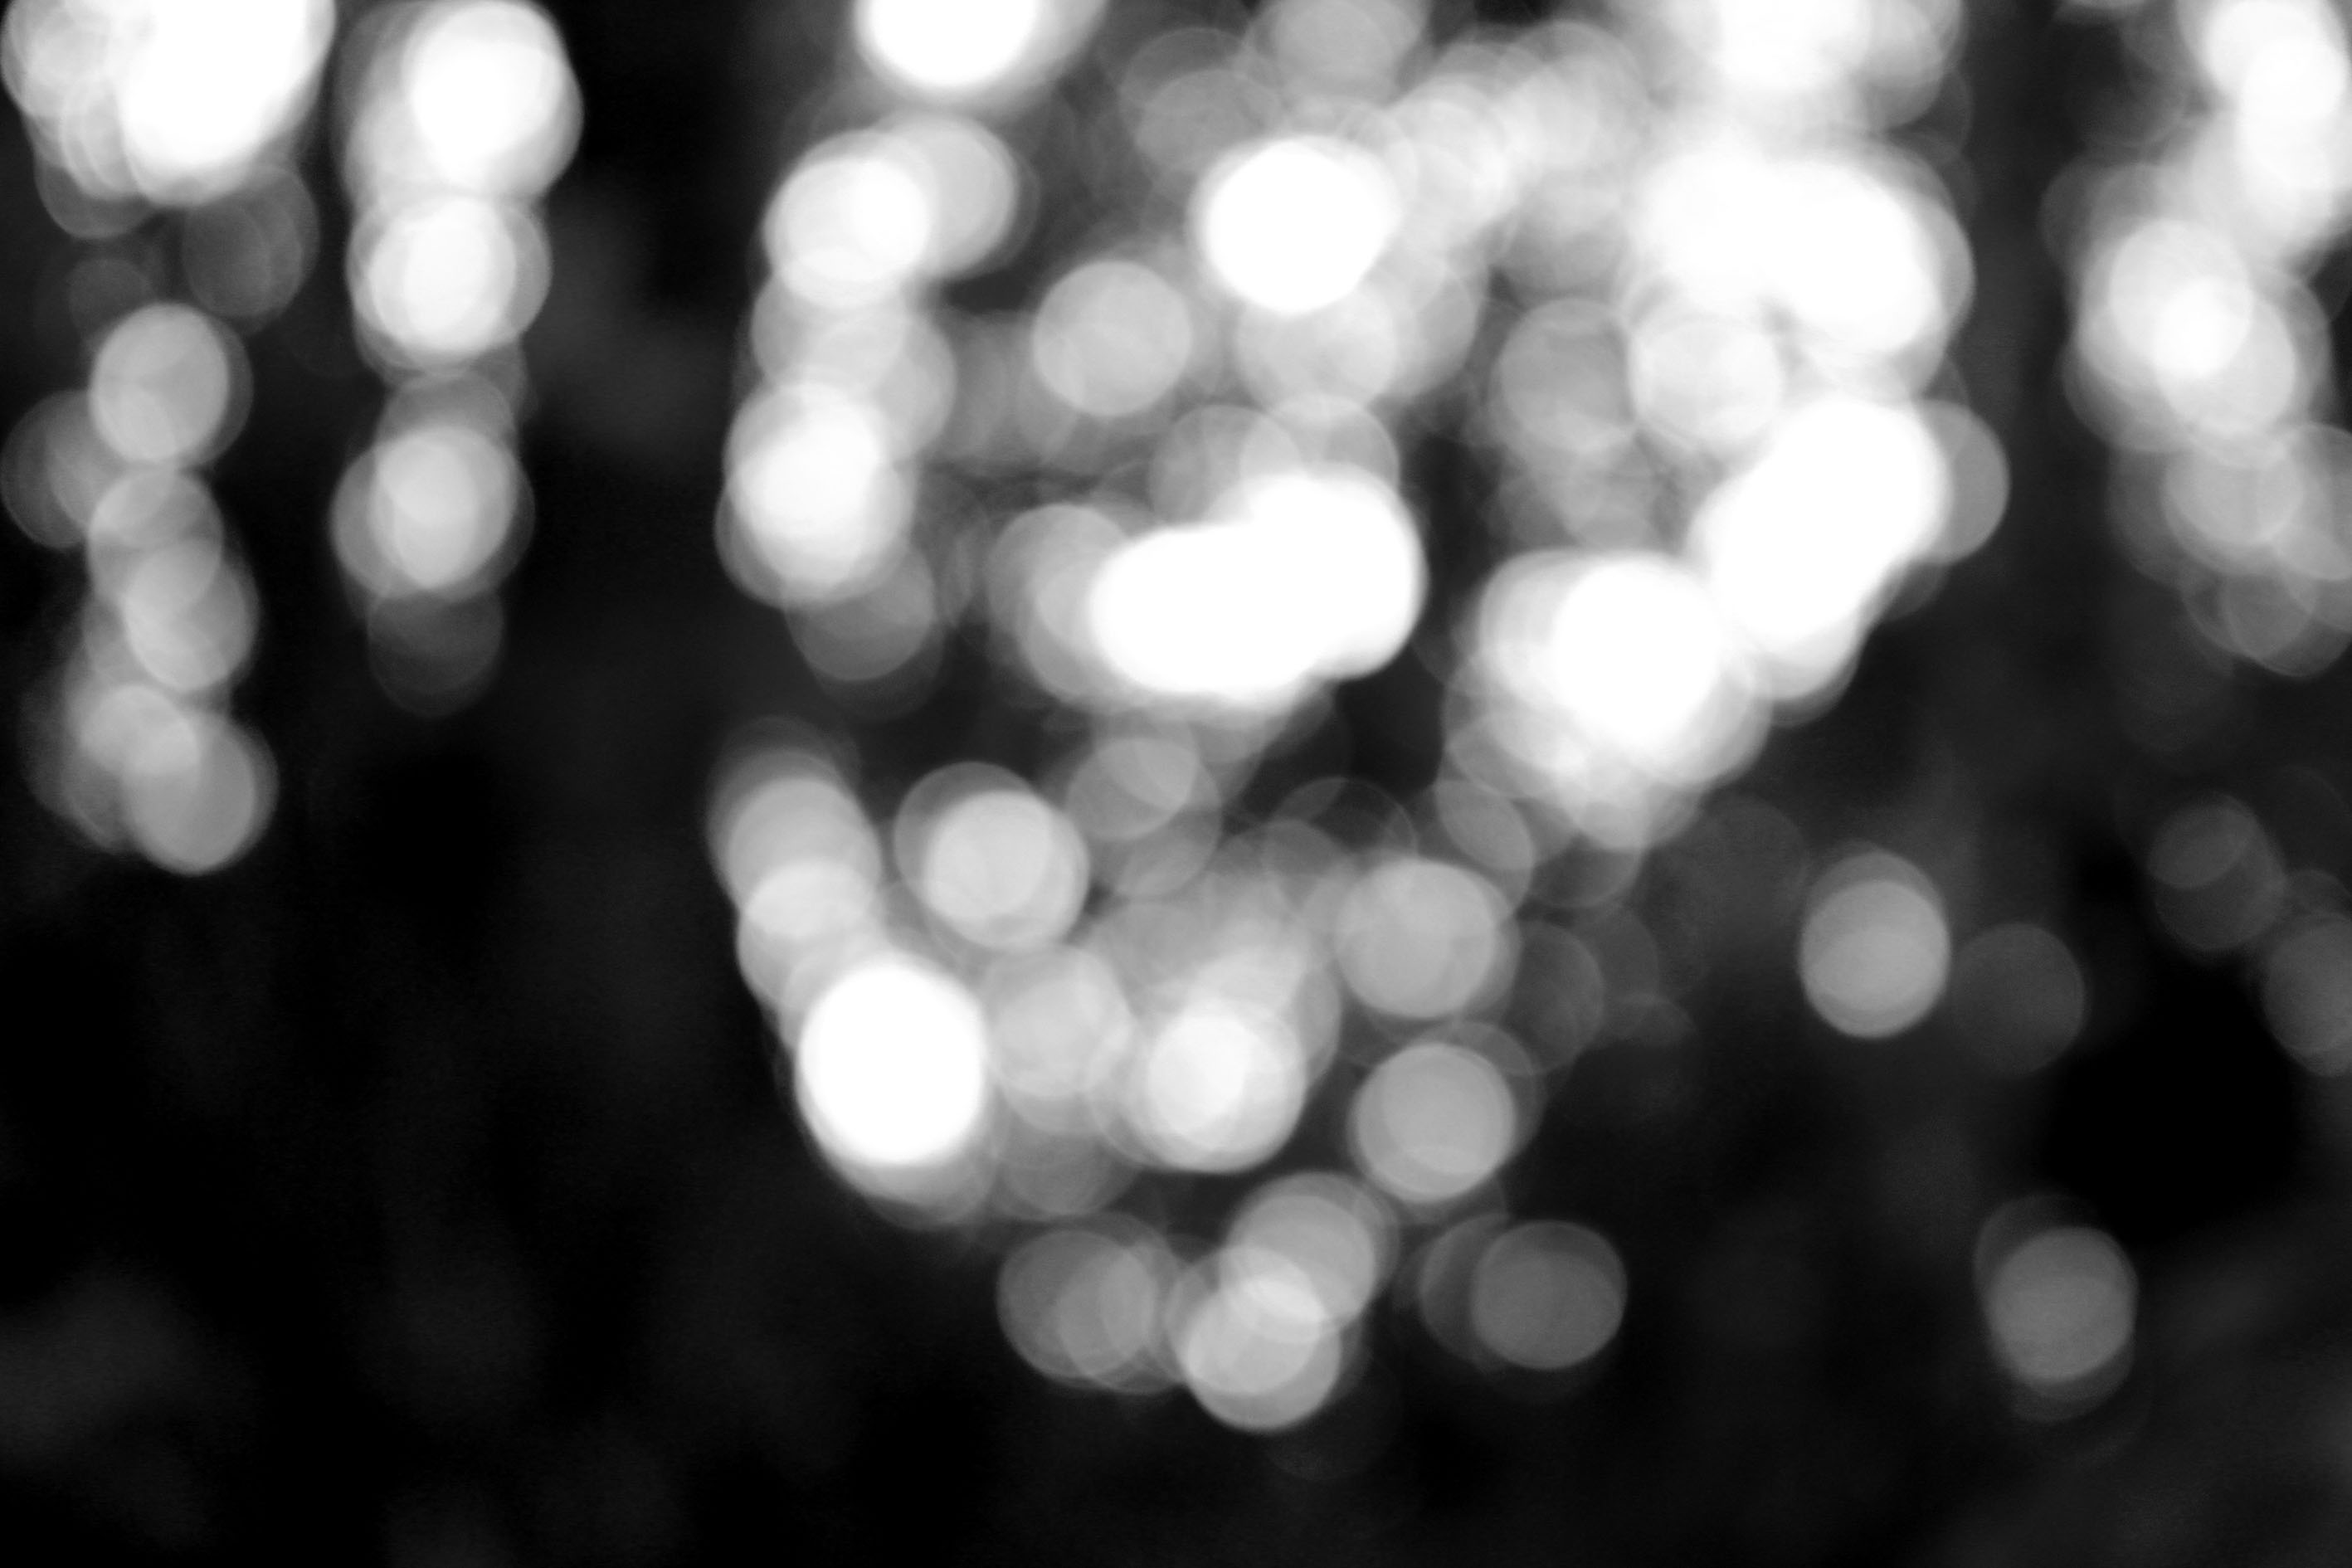
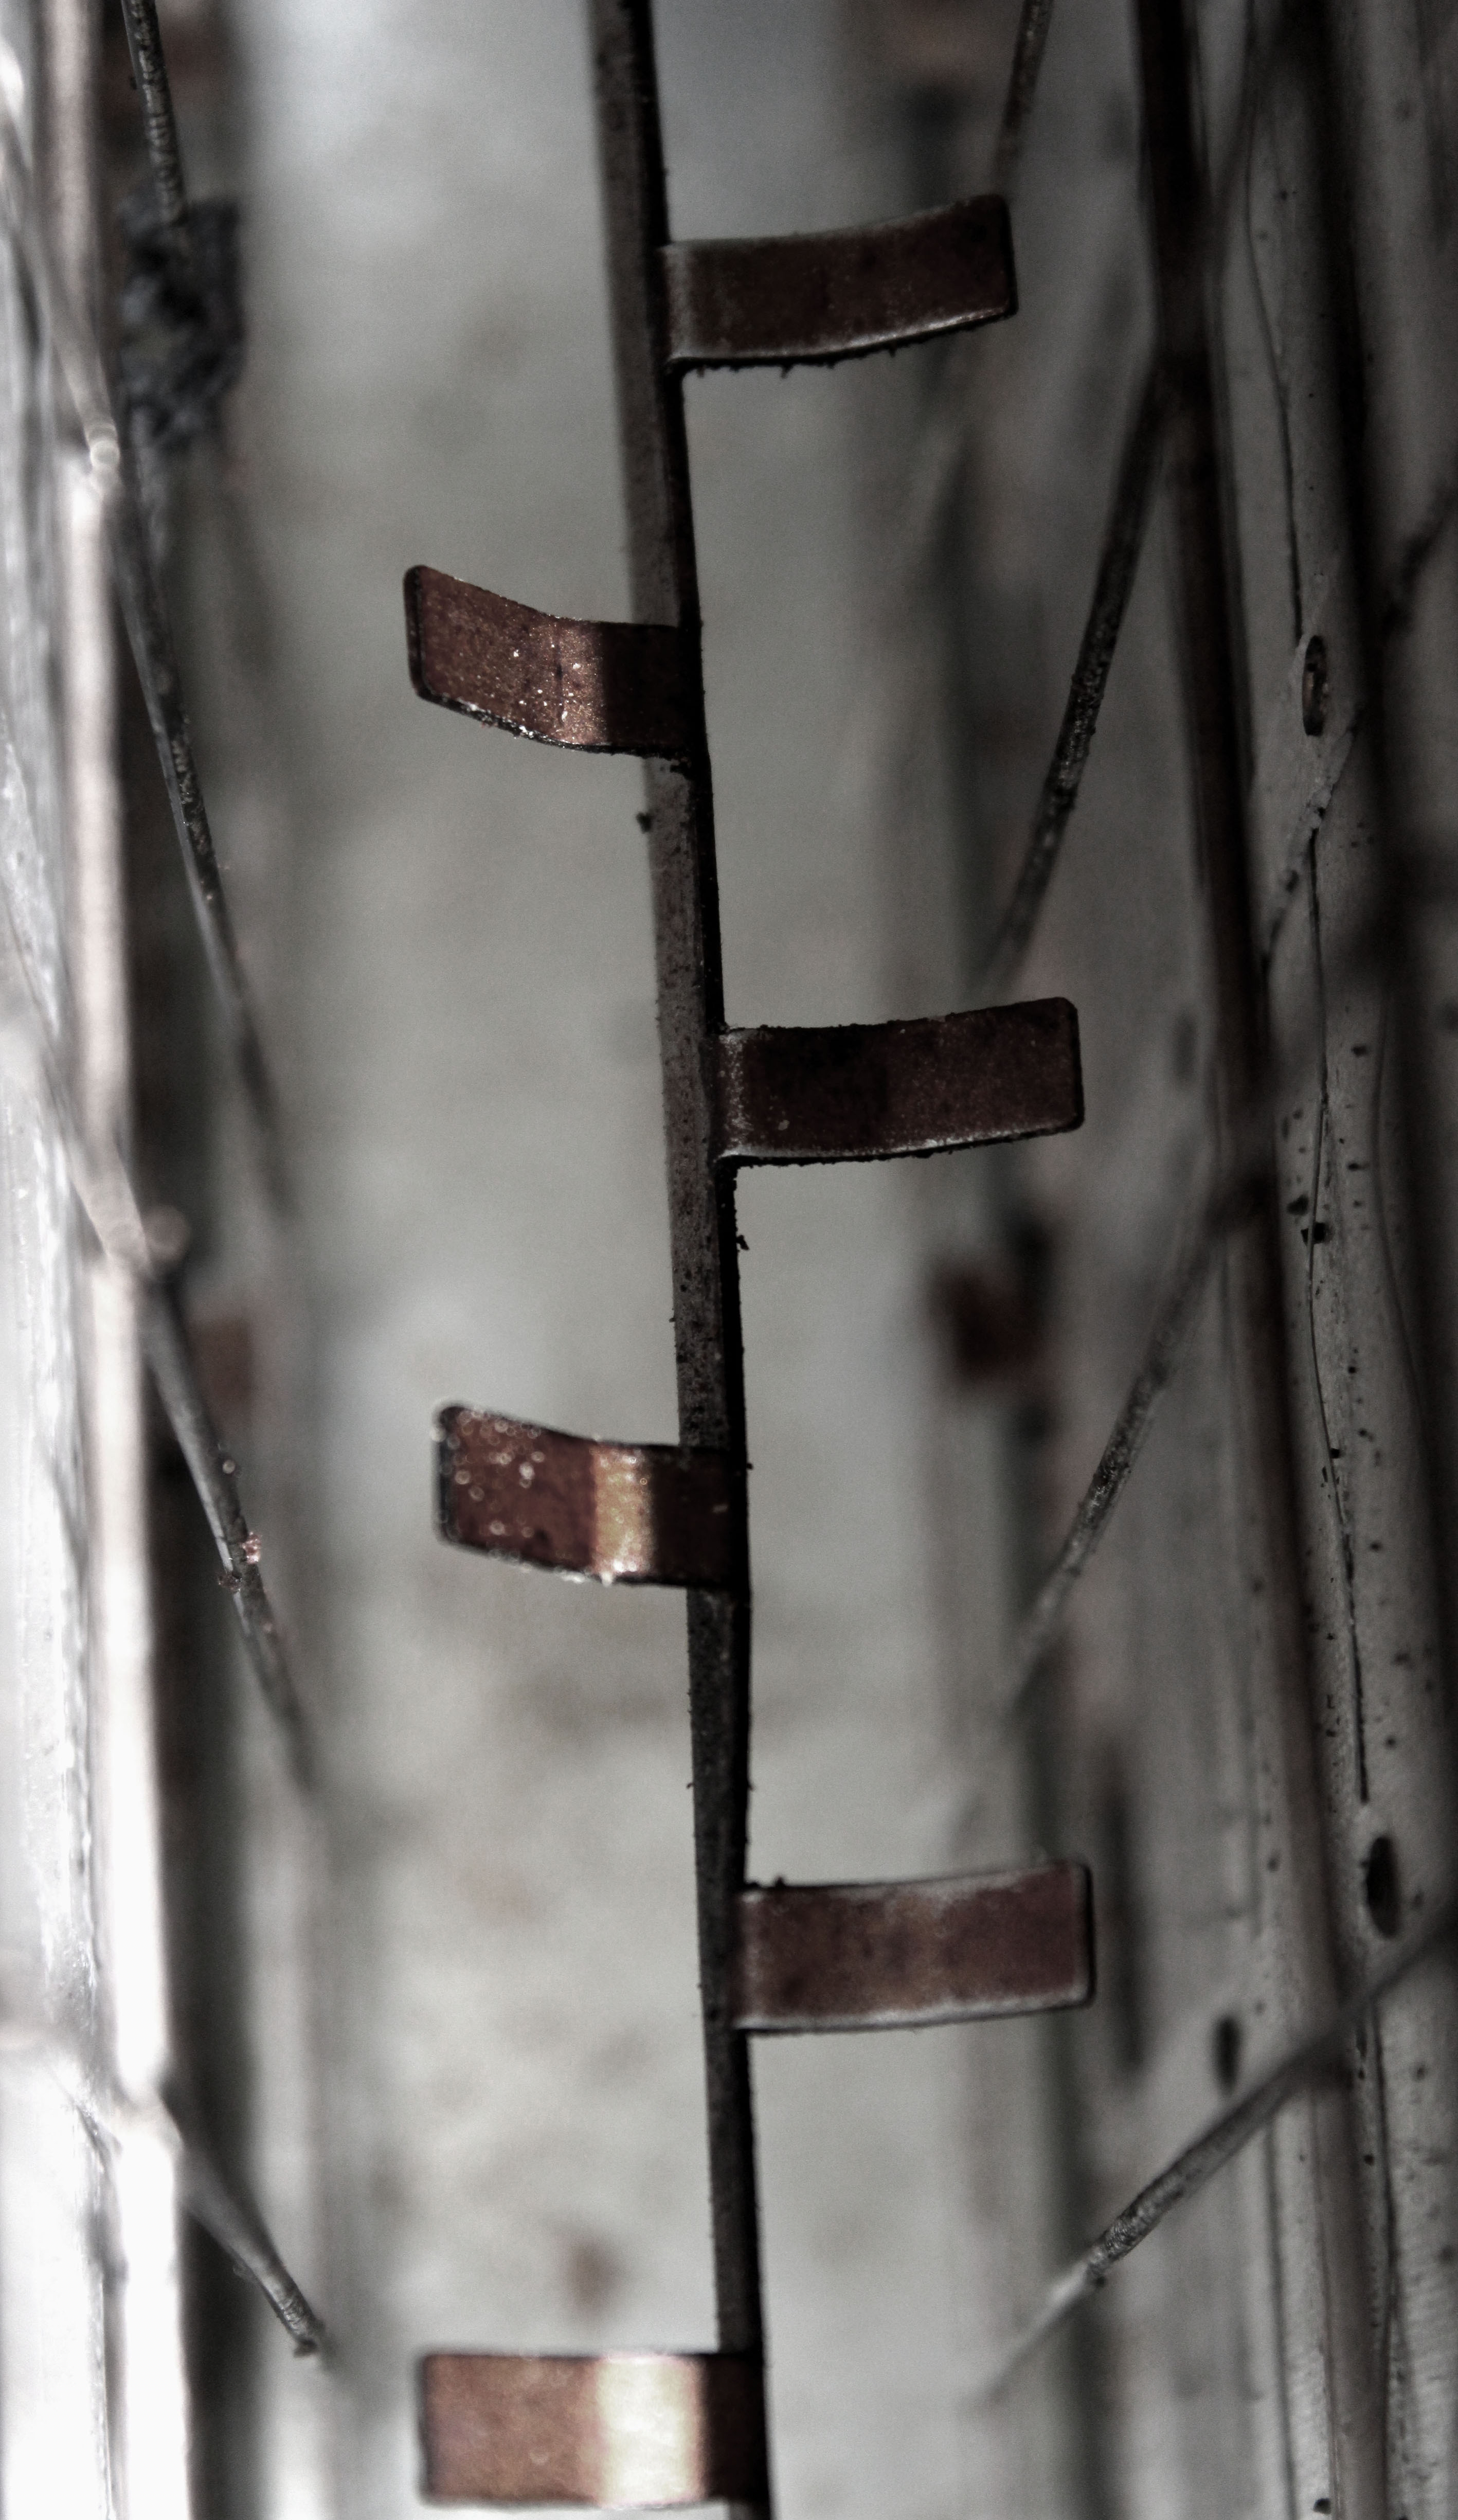
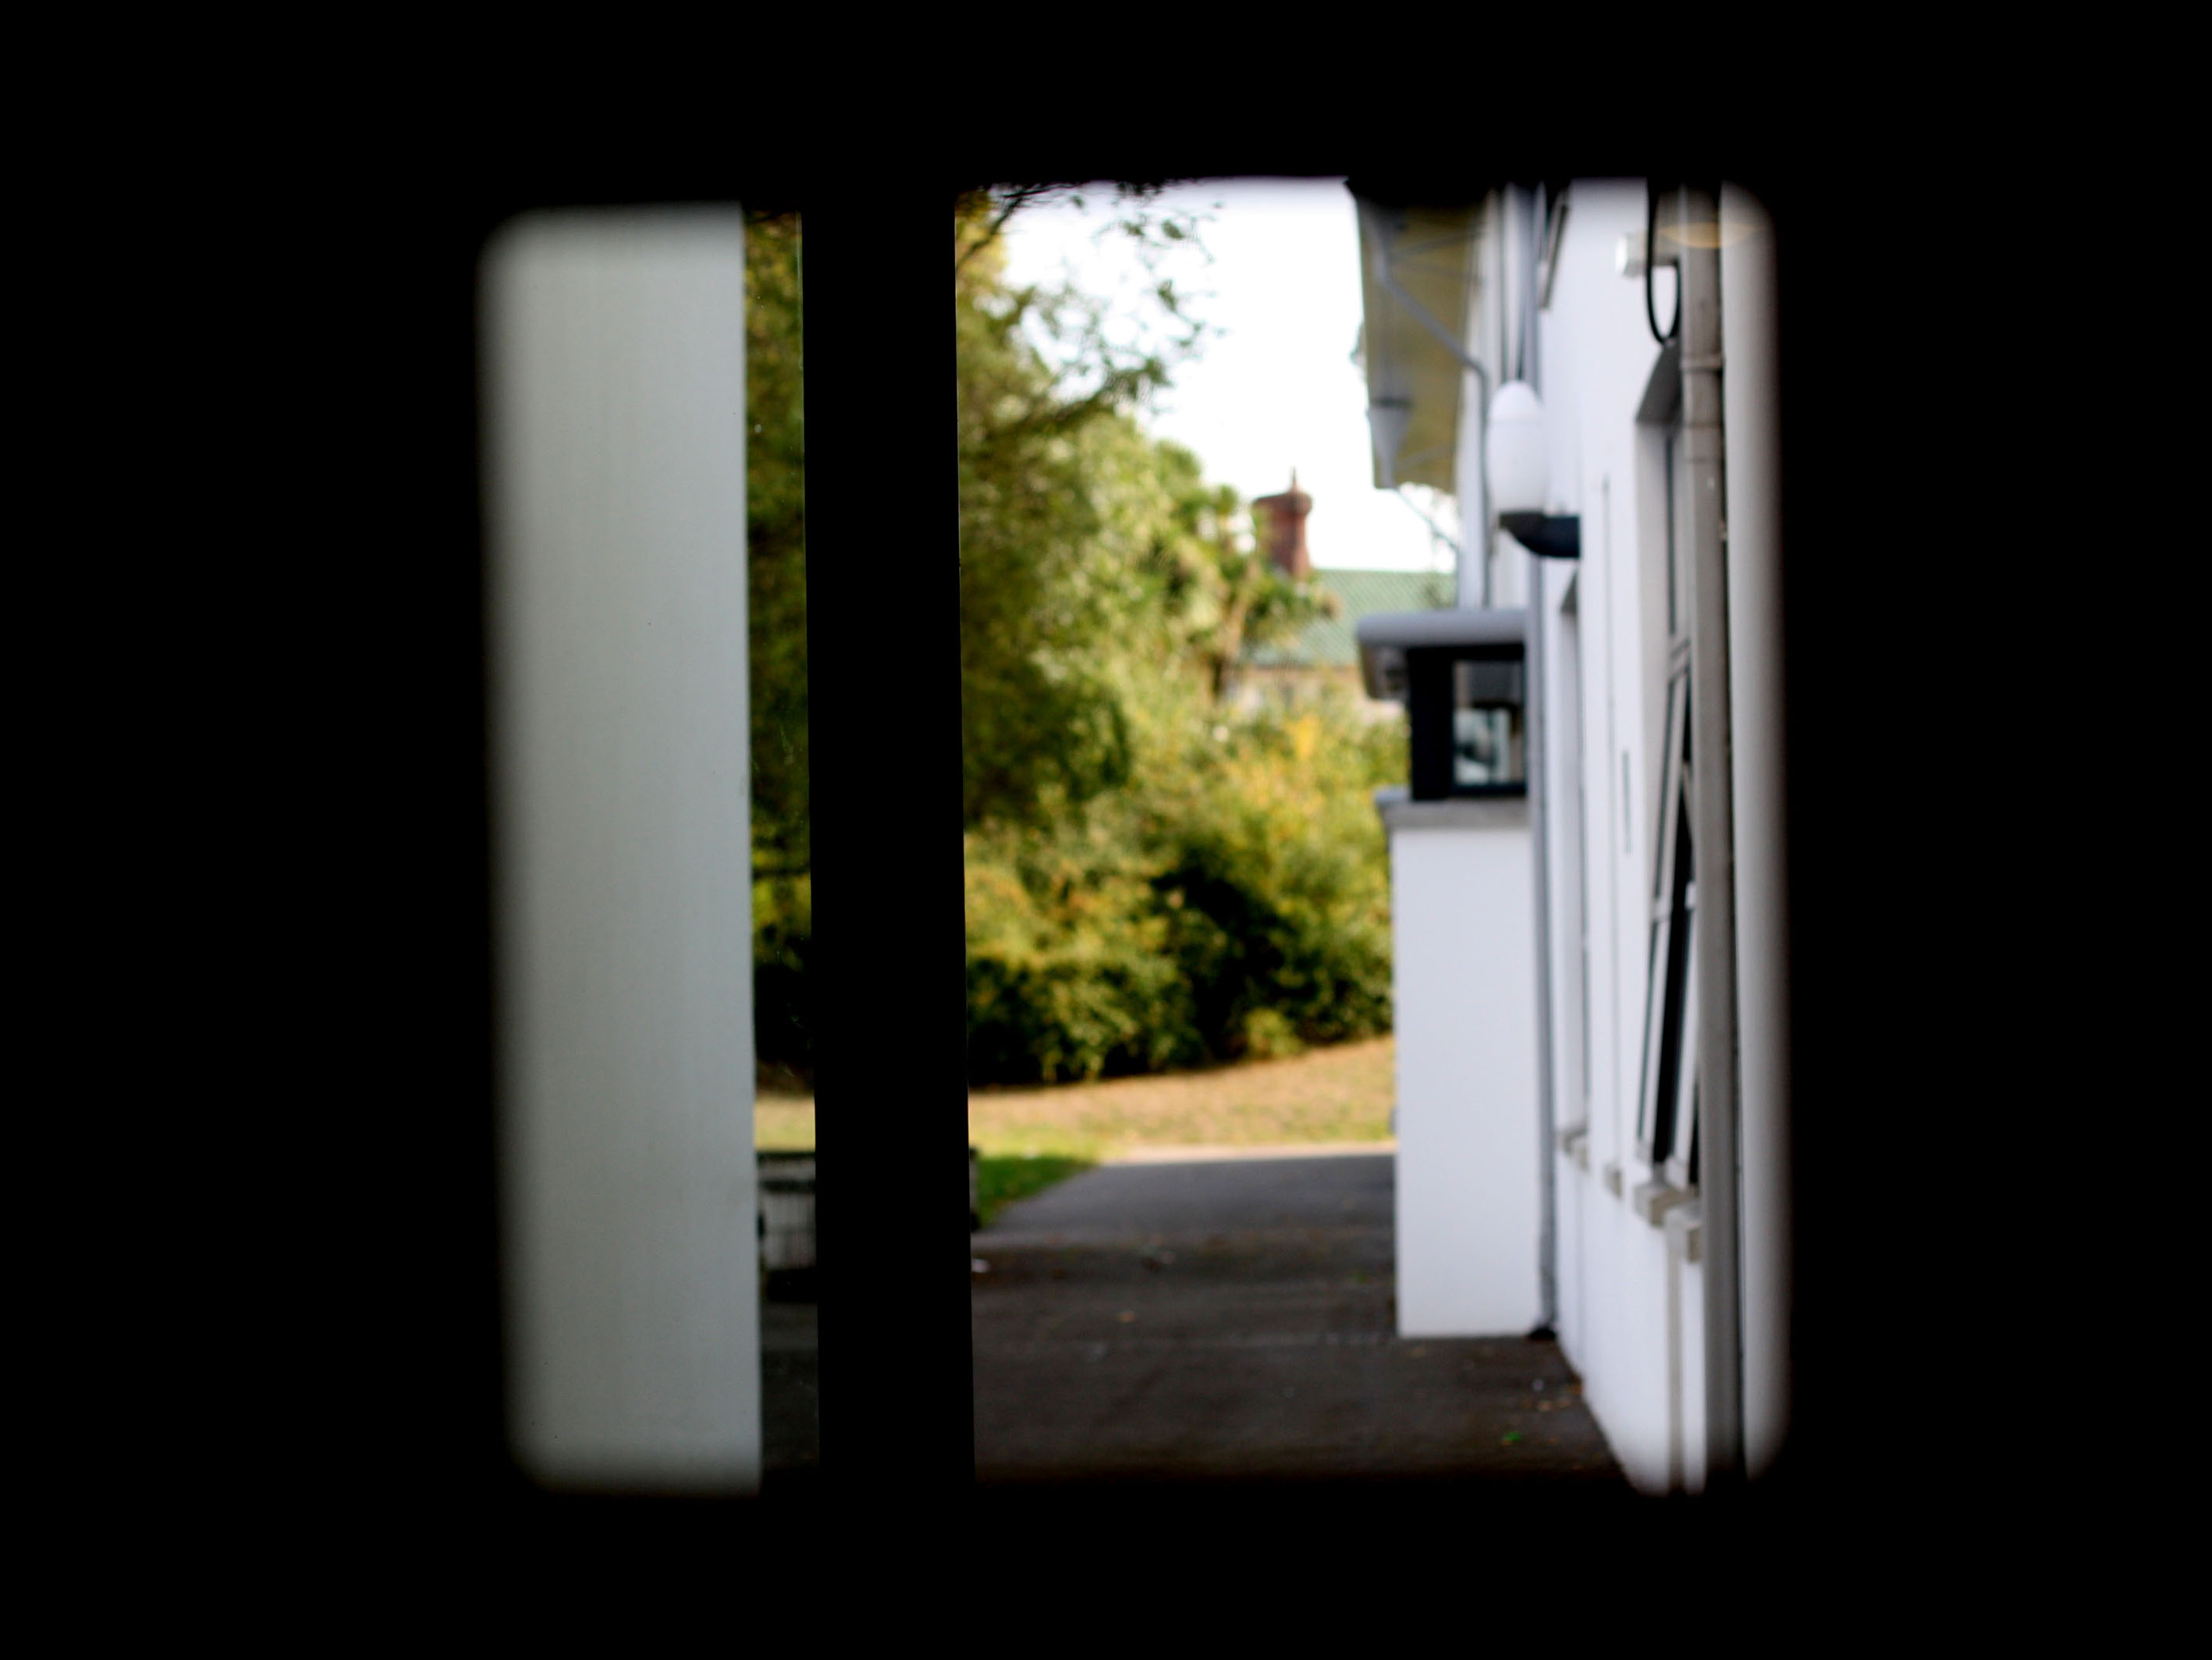
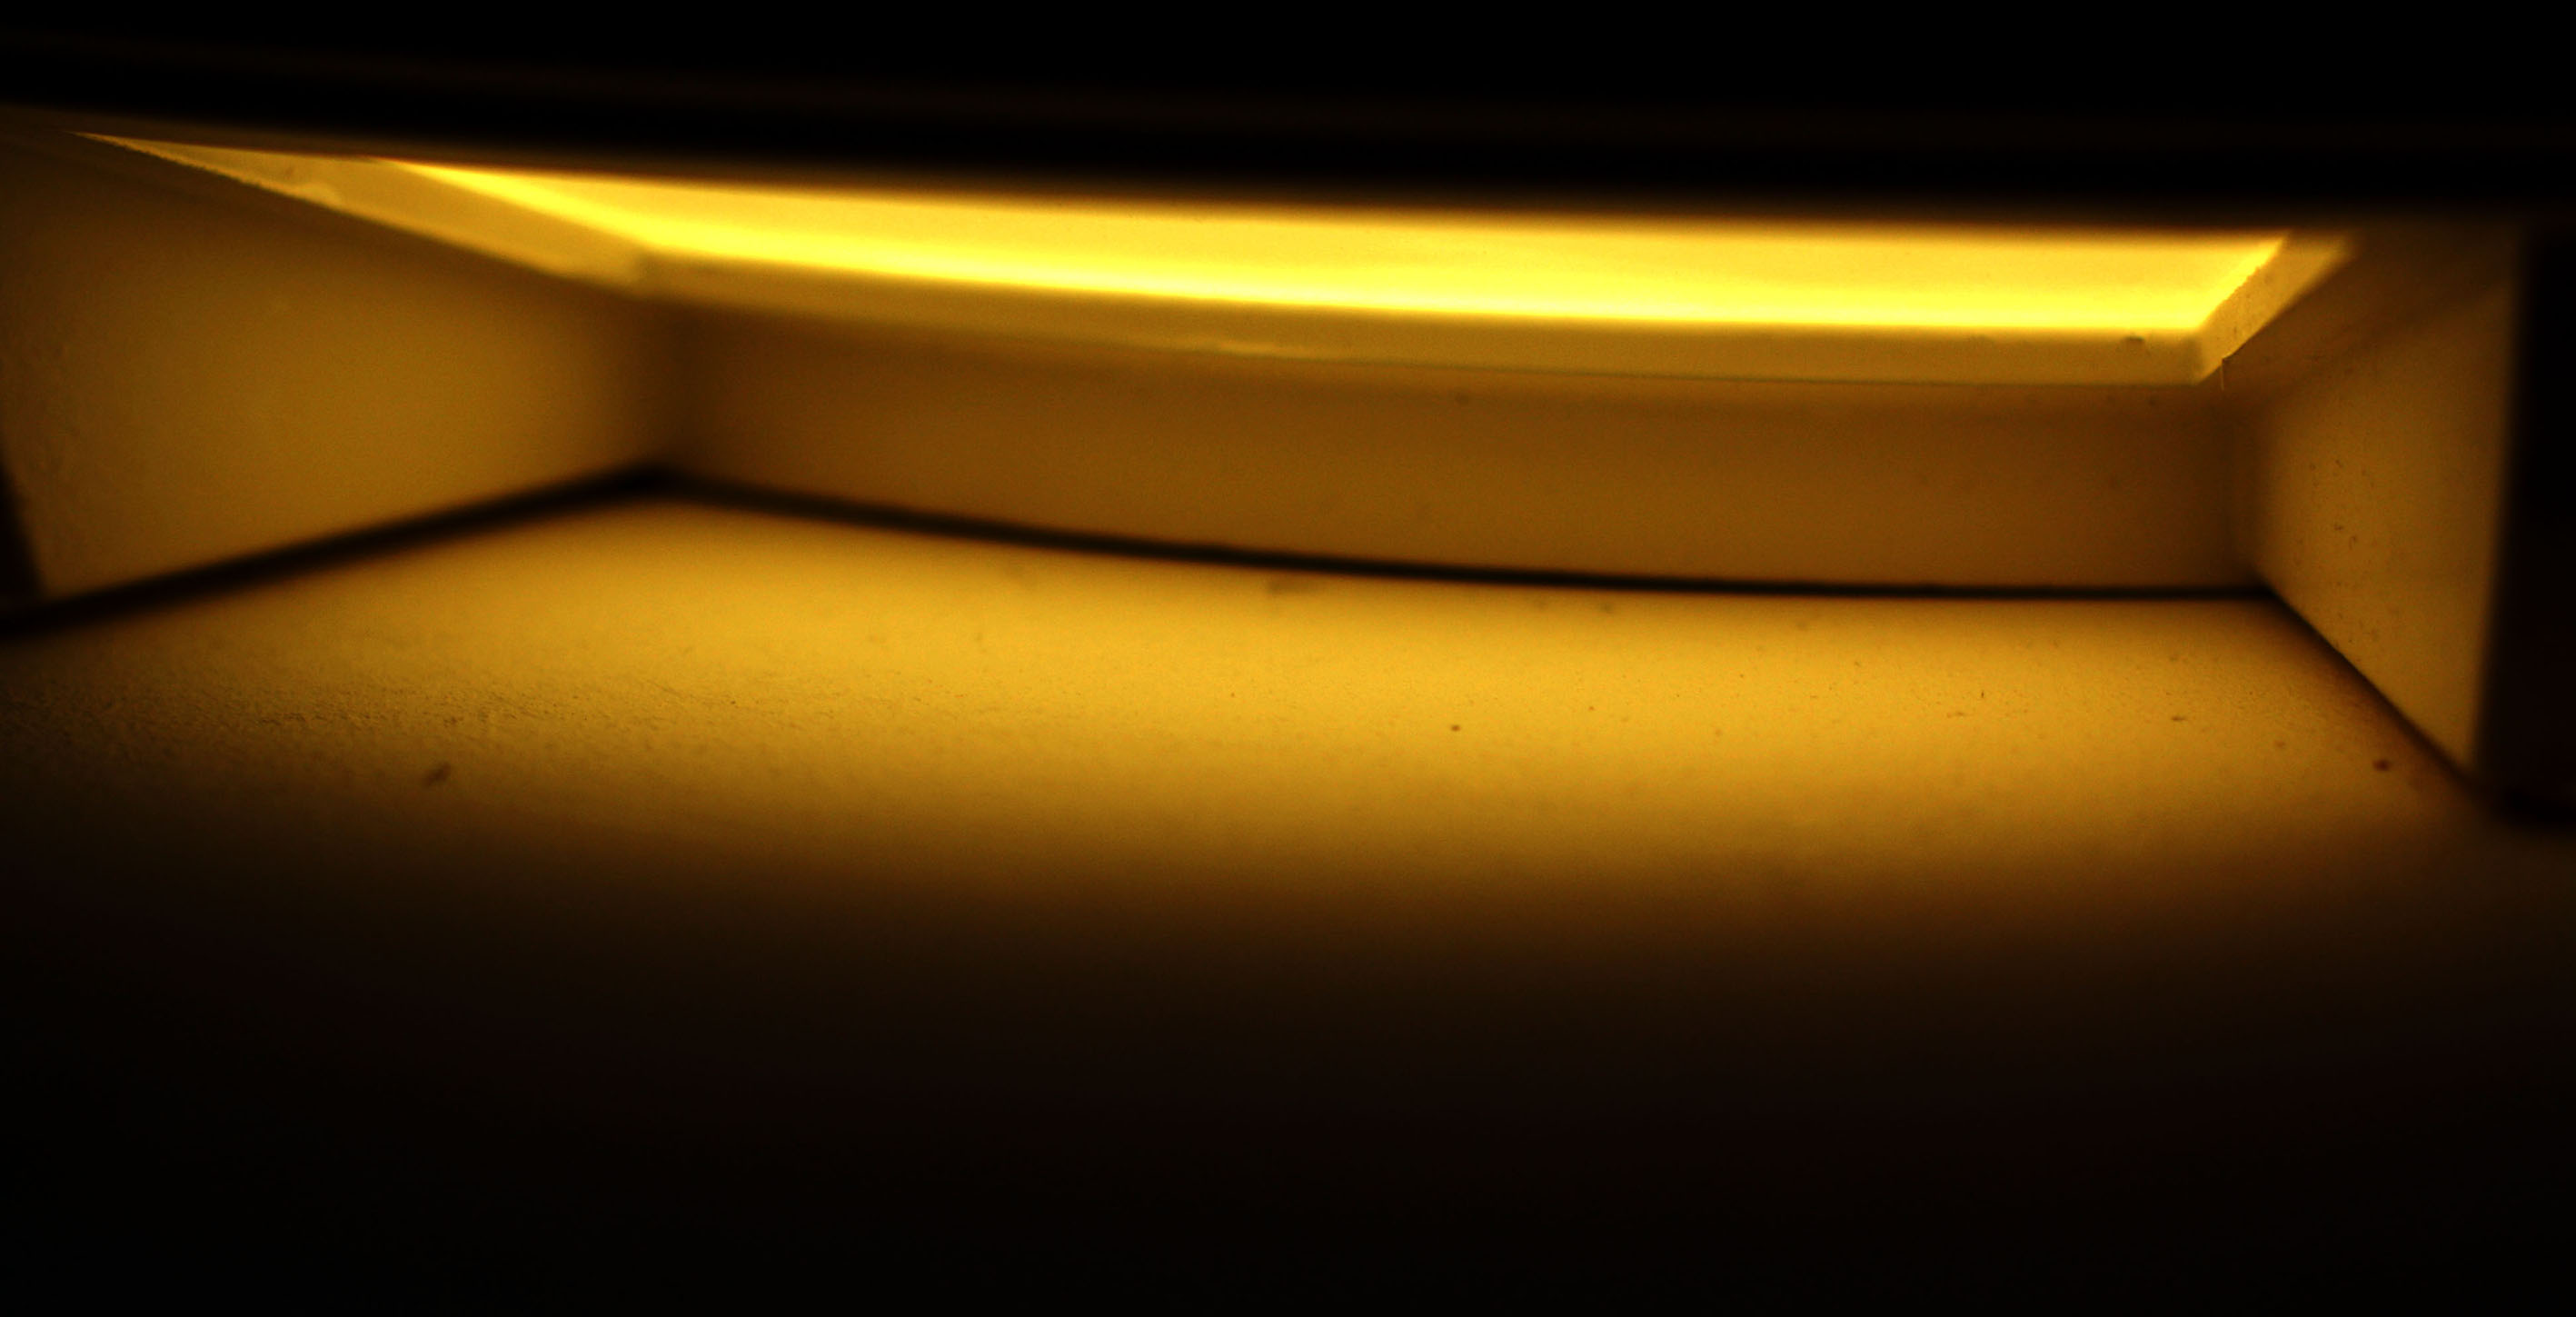
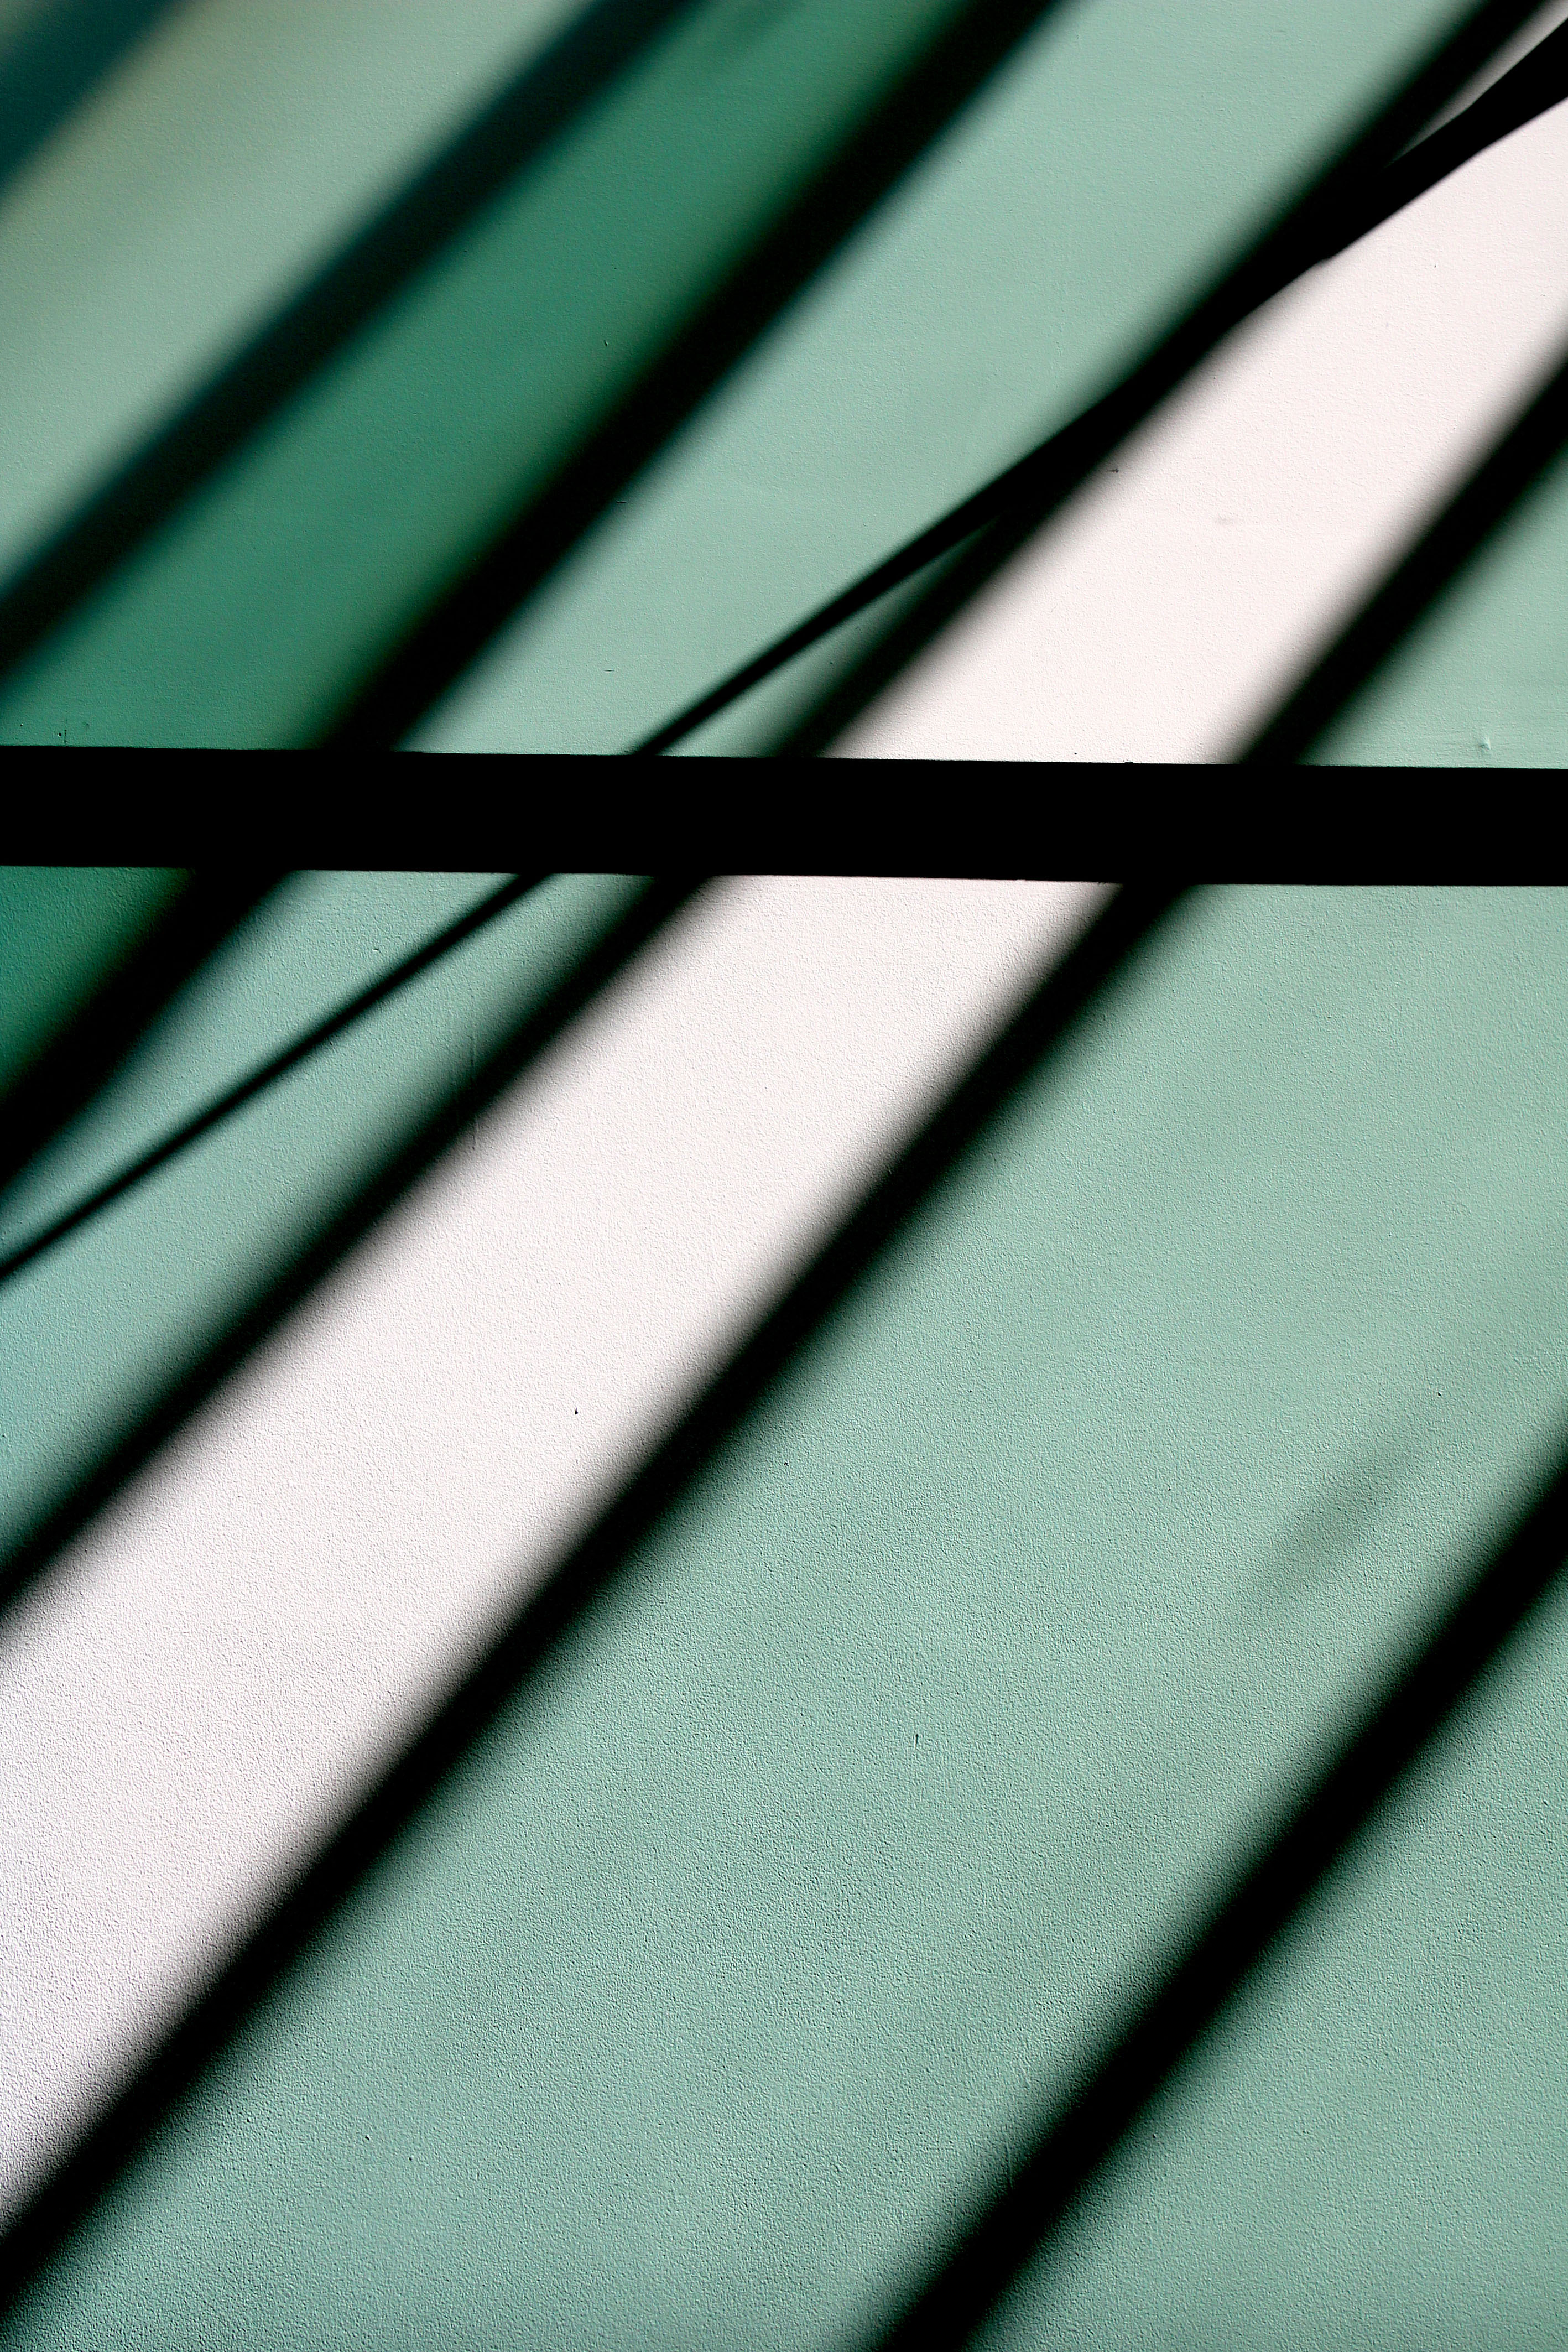
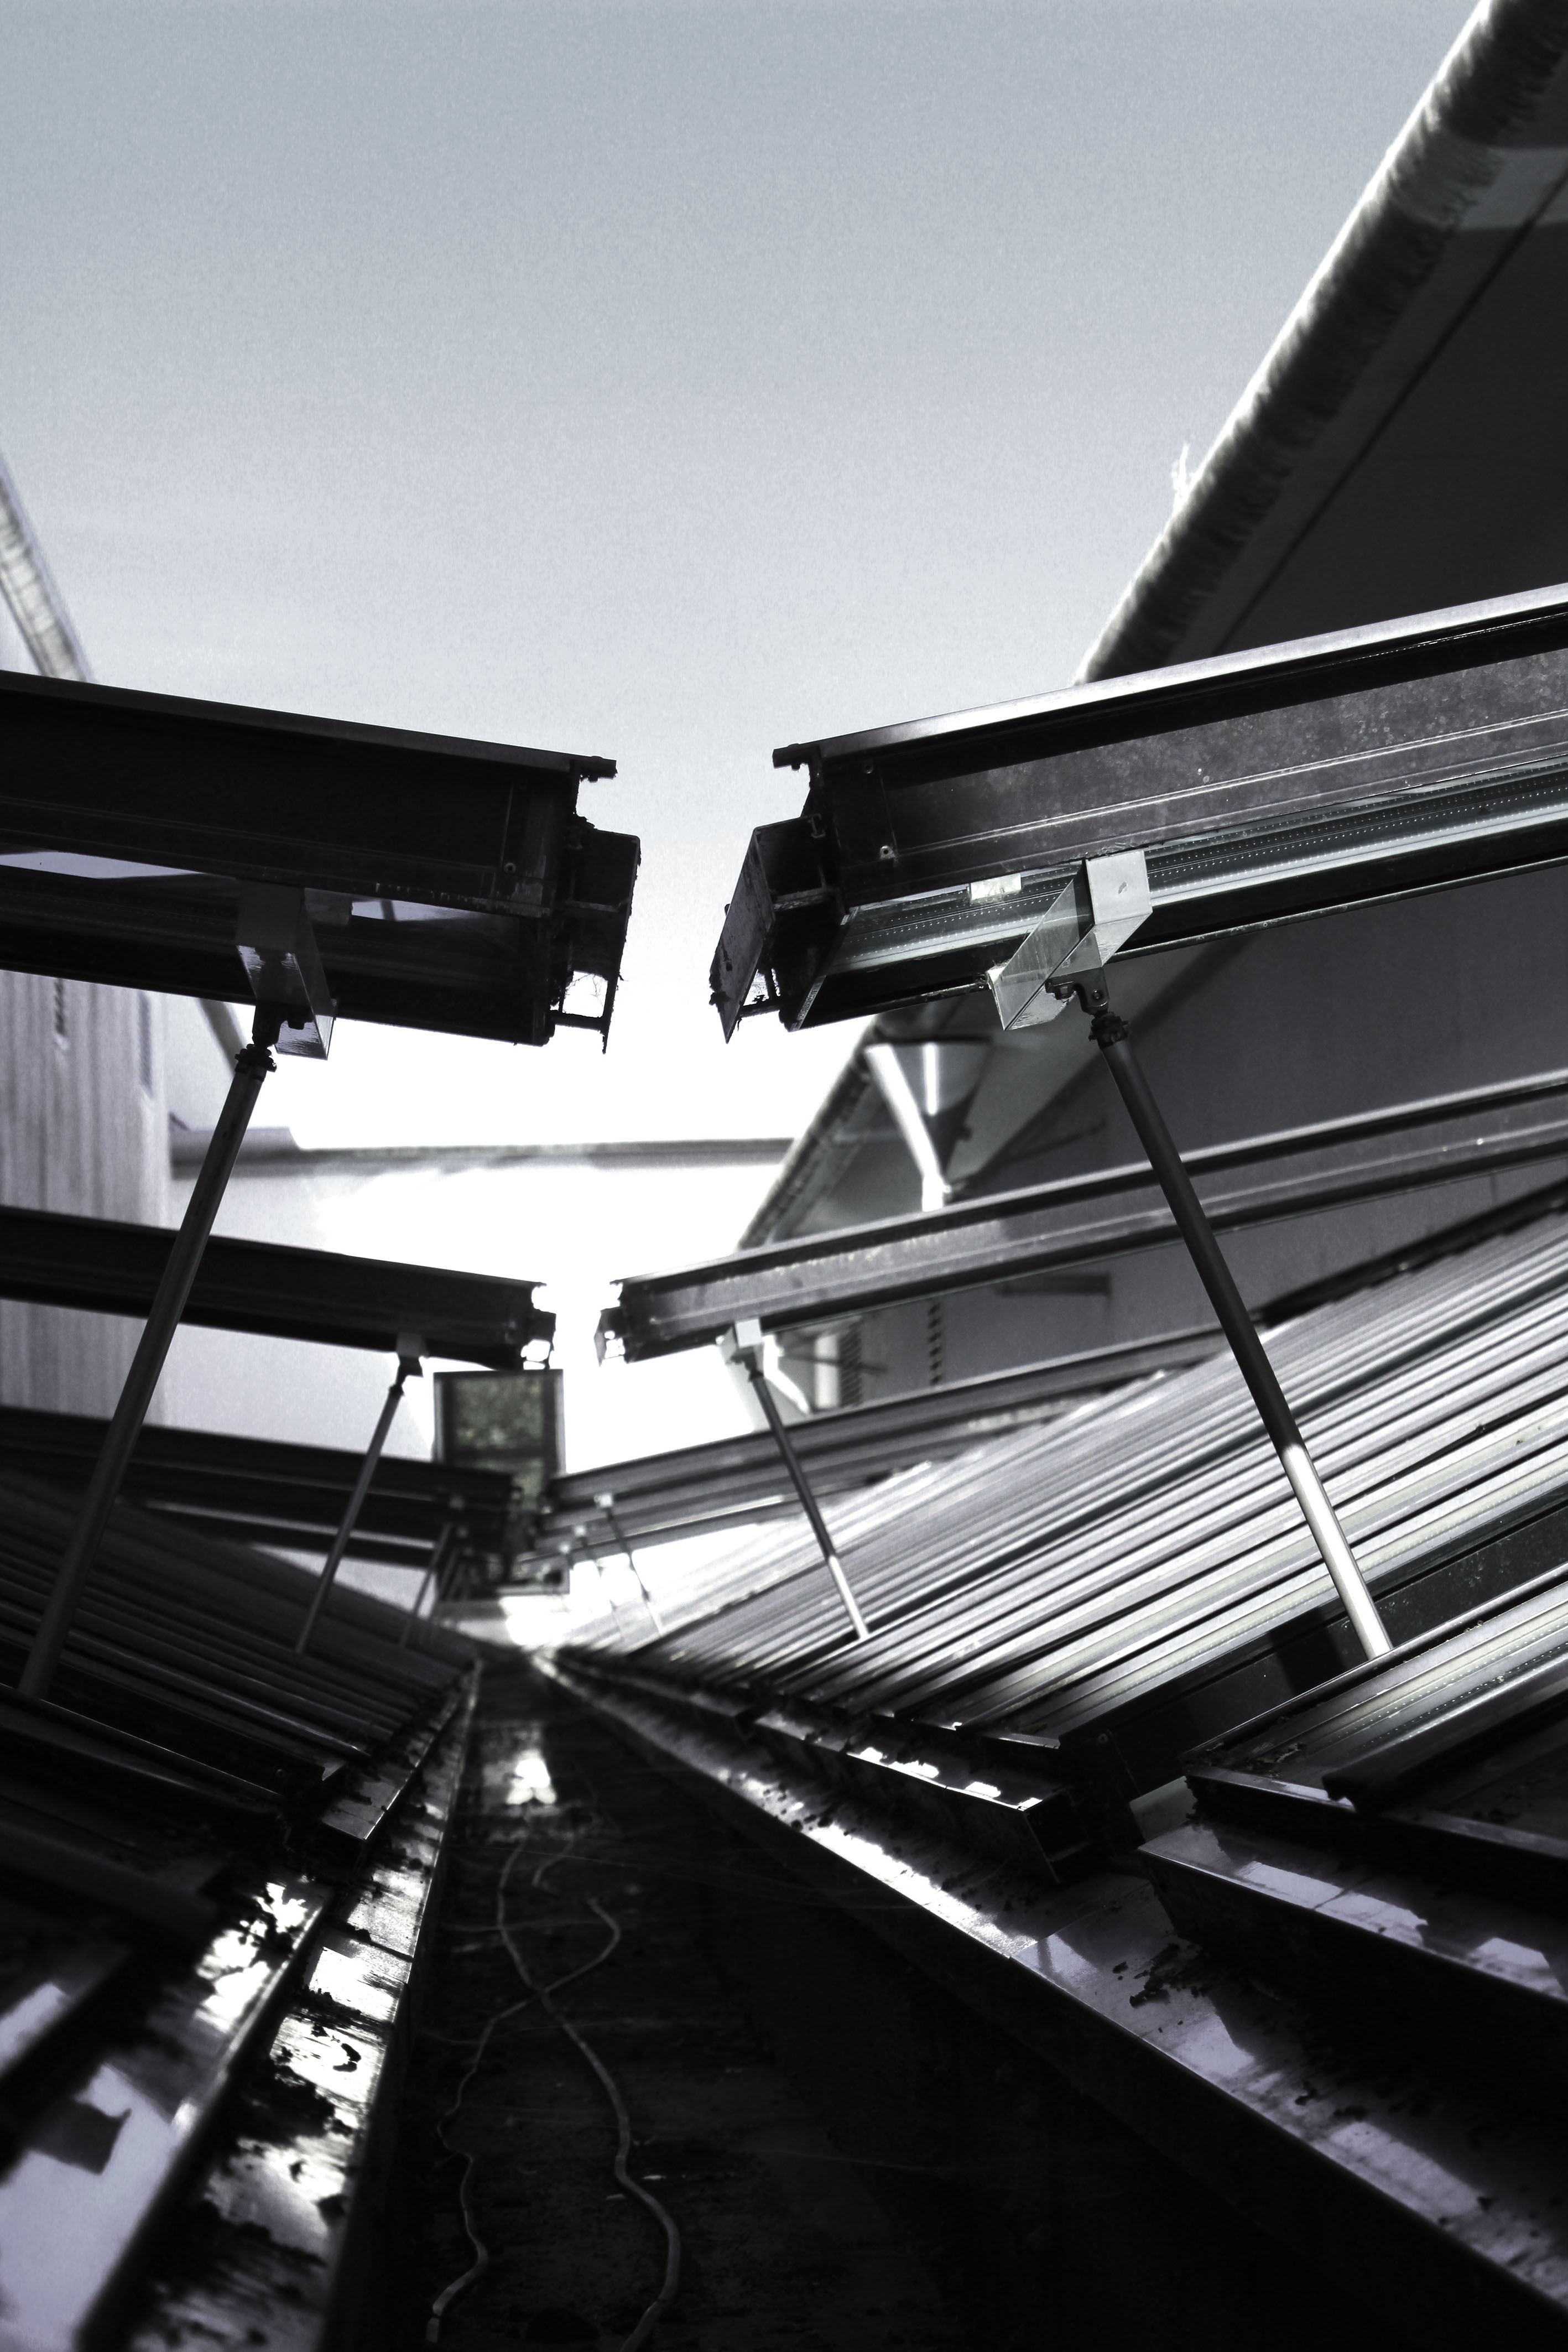
These are the 4 final images which I have chosen to print out as my final images.

This will be my largest print out (sized at A3). I will seperate the print into the two images it consists of; then stick them onto one layer of white styrofoam board, then display them on a black A2 piece of card. This will make them literally pop out of the page more as they will be lifted approximately 1cm above the card. The whole display will also keep the black & white theme as the display elements are also black & white.This image will be printed out in A4 size. I will frame it in black A3 card to keep the dark theme of the photo. Howevr, I will bevel the edges around the photo so that the white underside of the card shows through, this will help distinguish the image from the frame without adding too much bright elements.
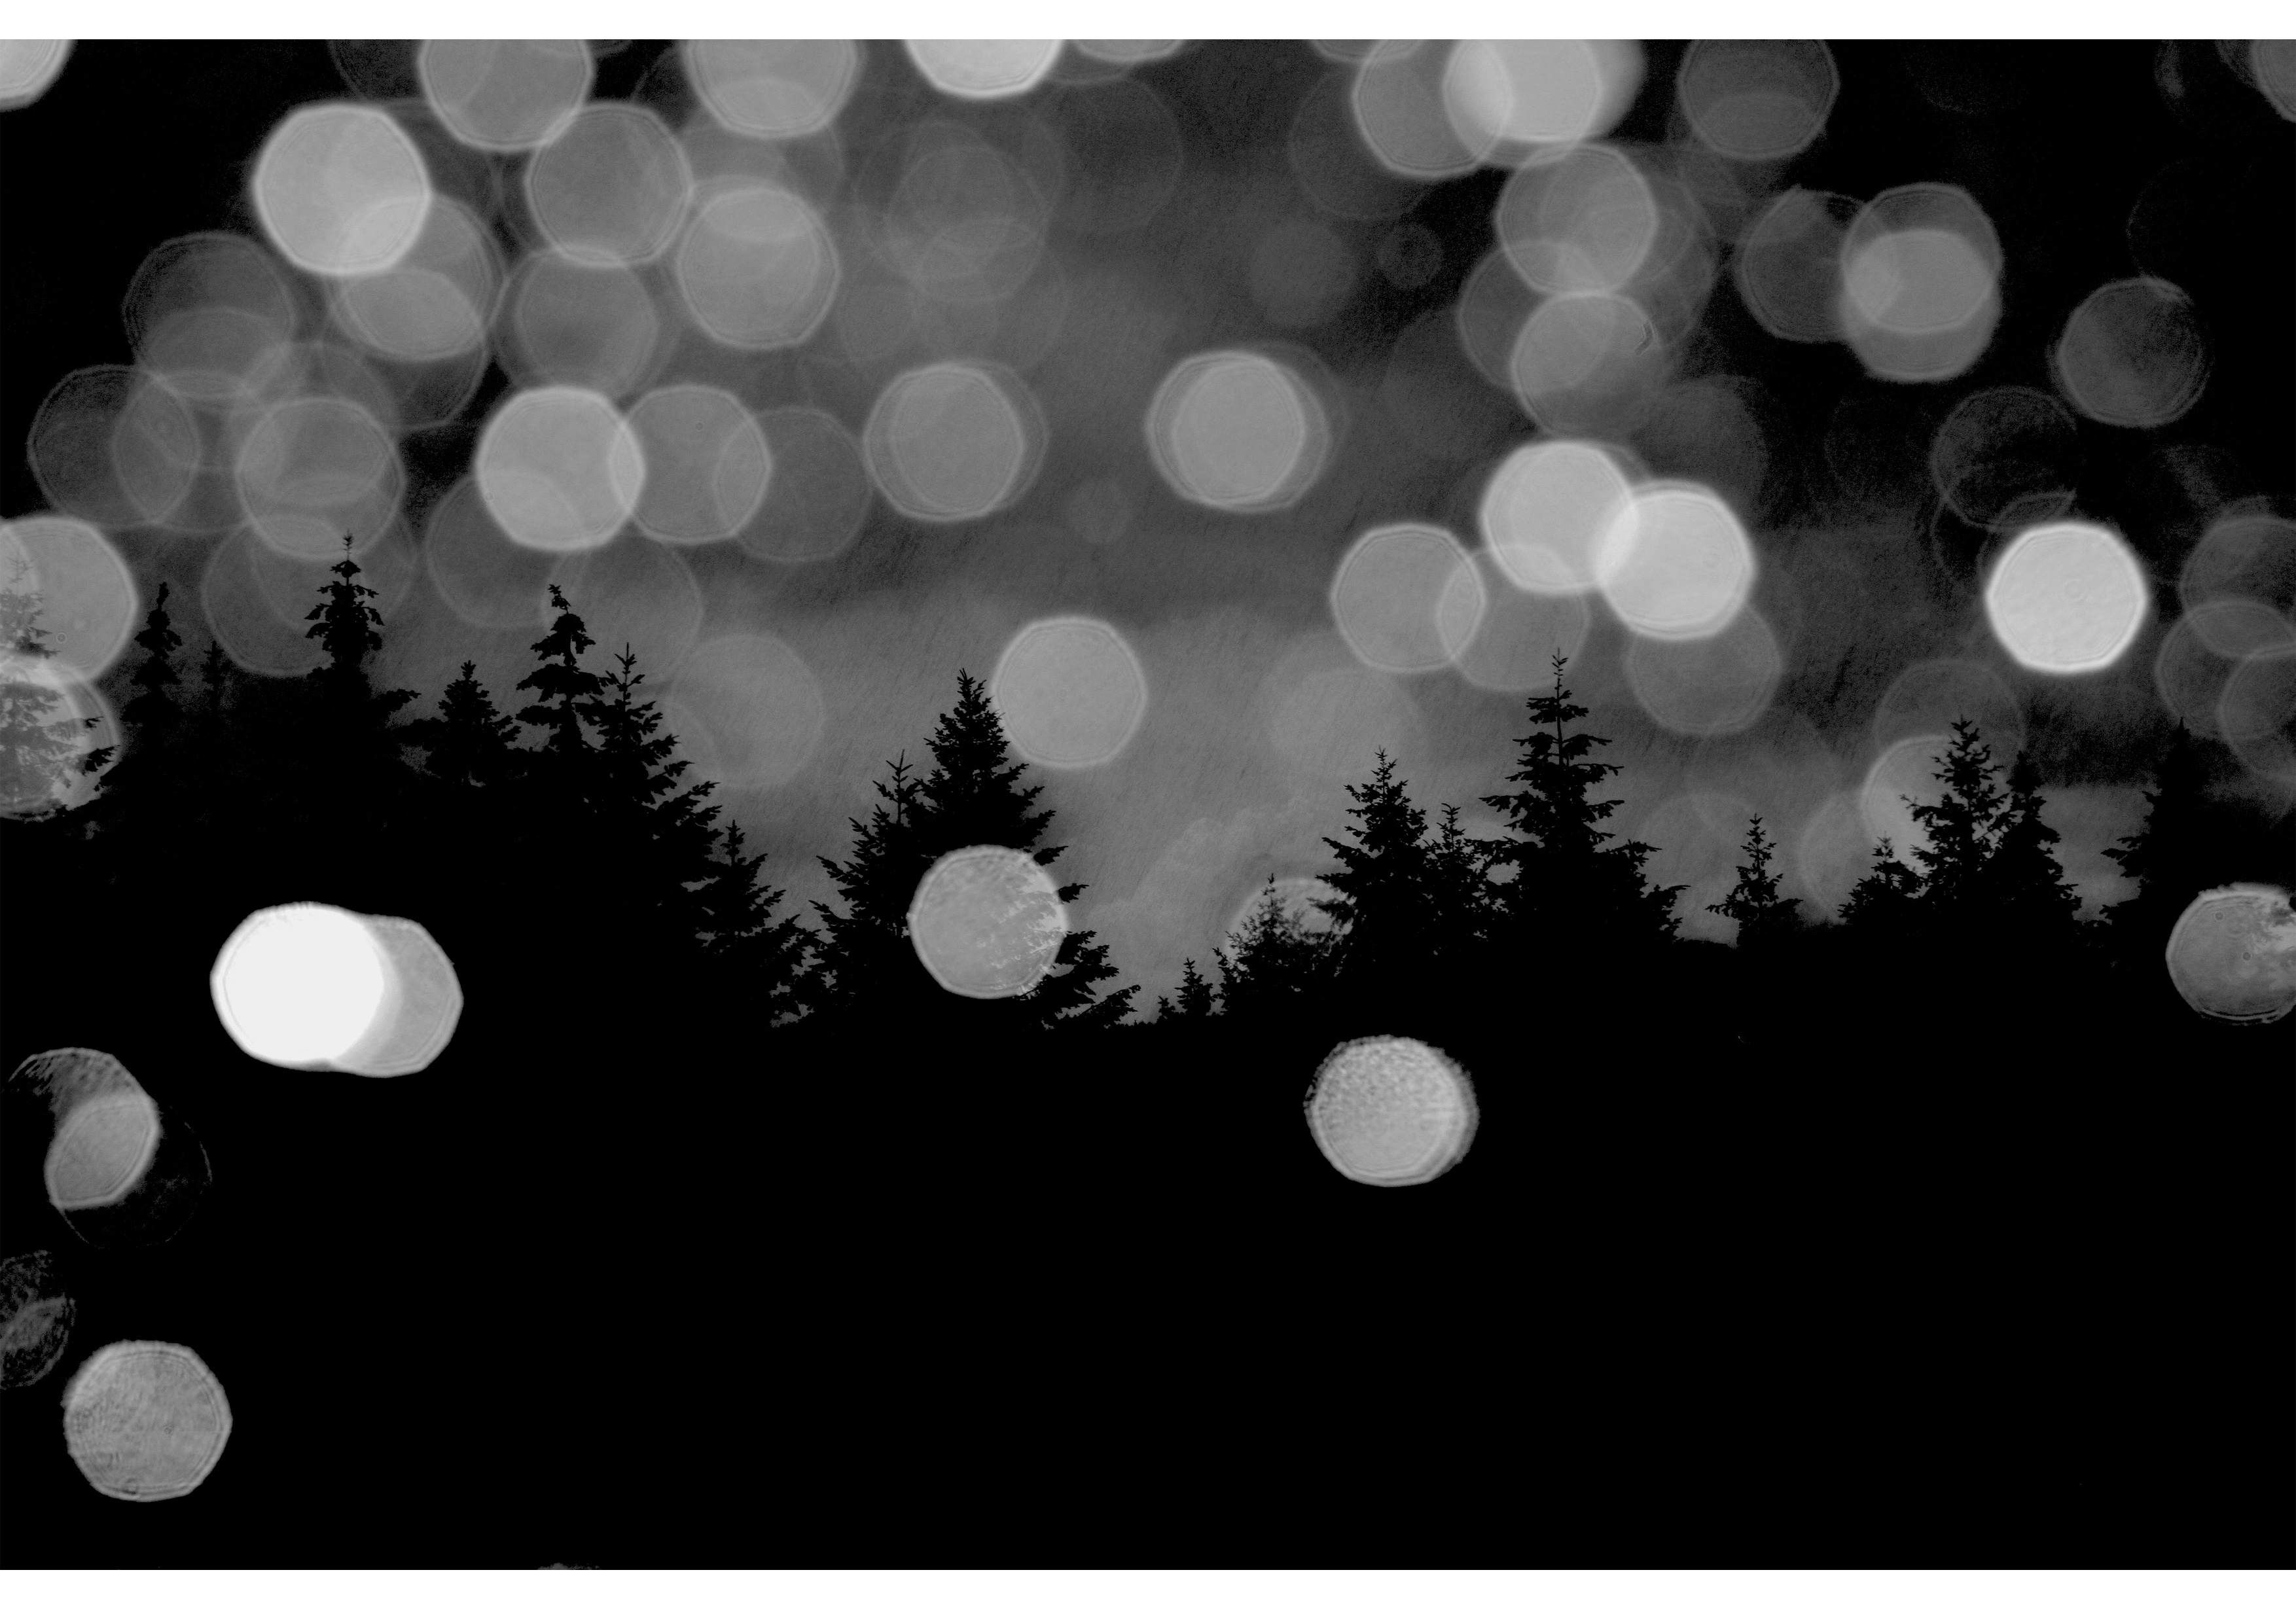
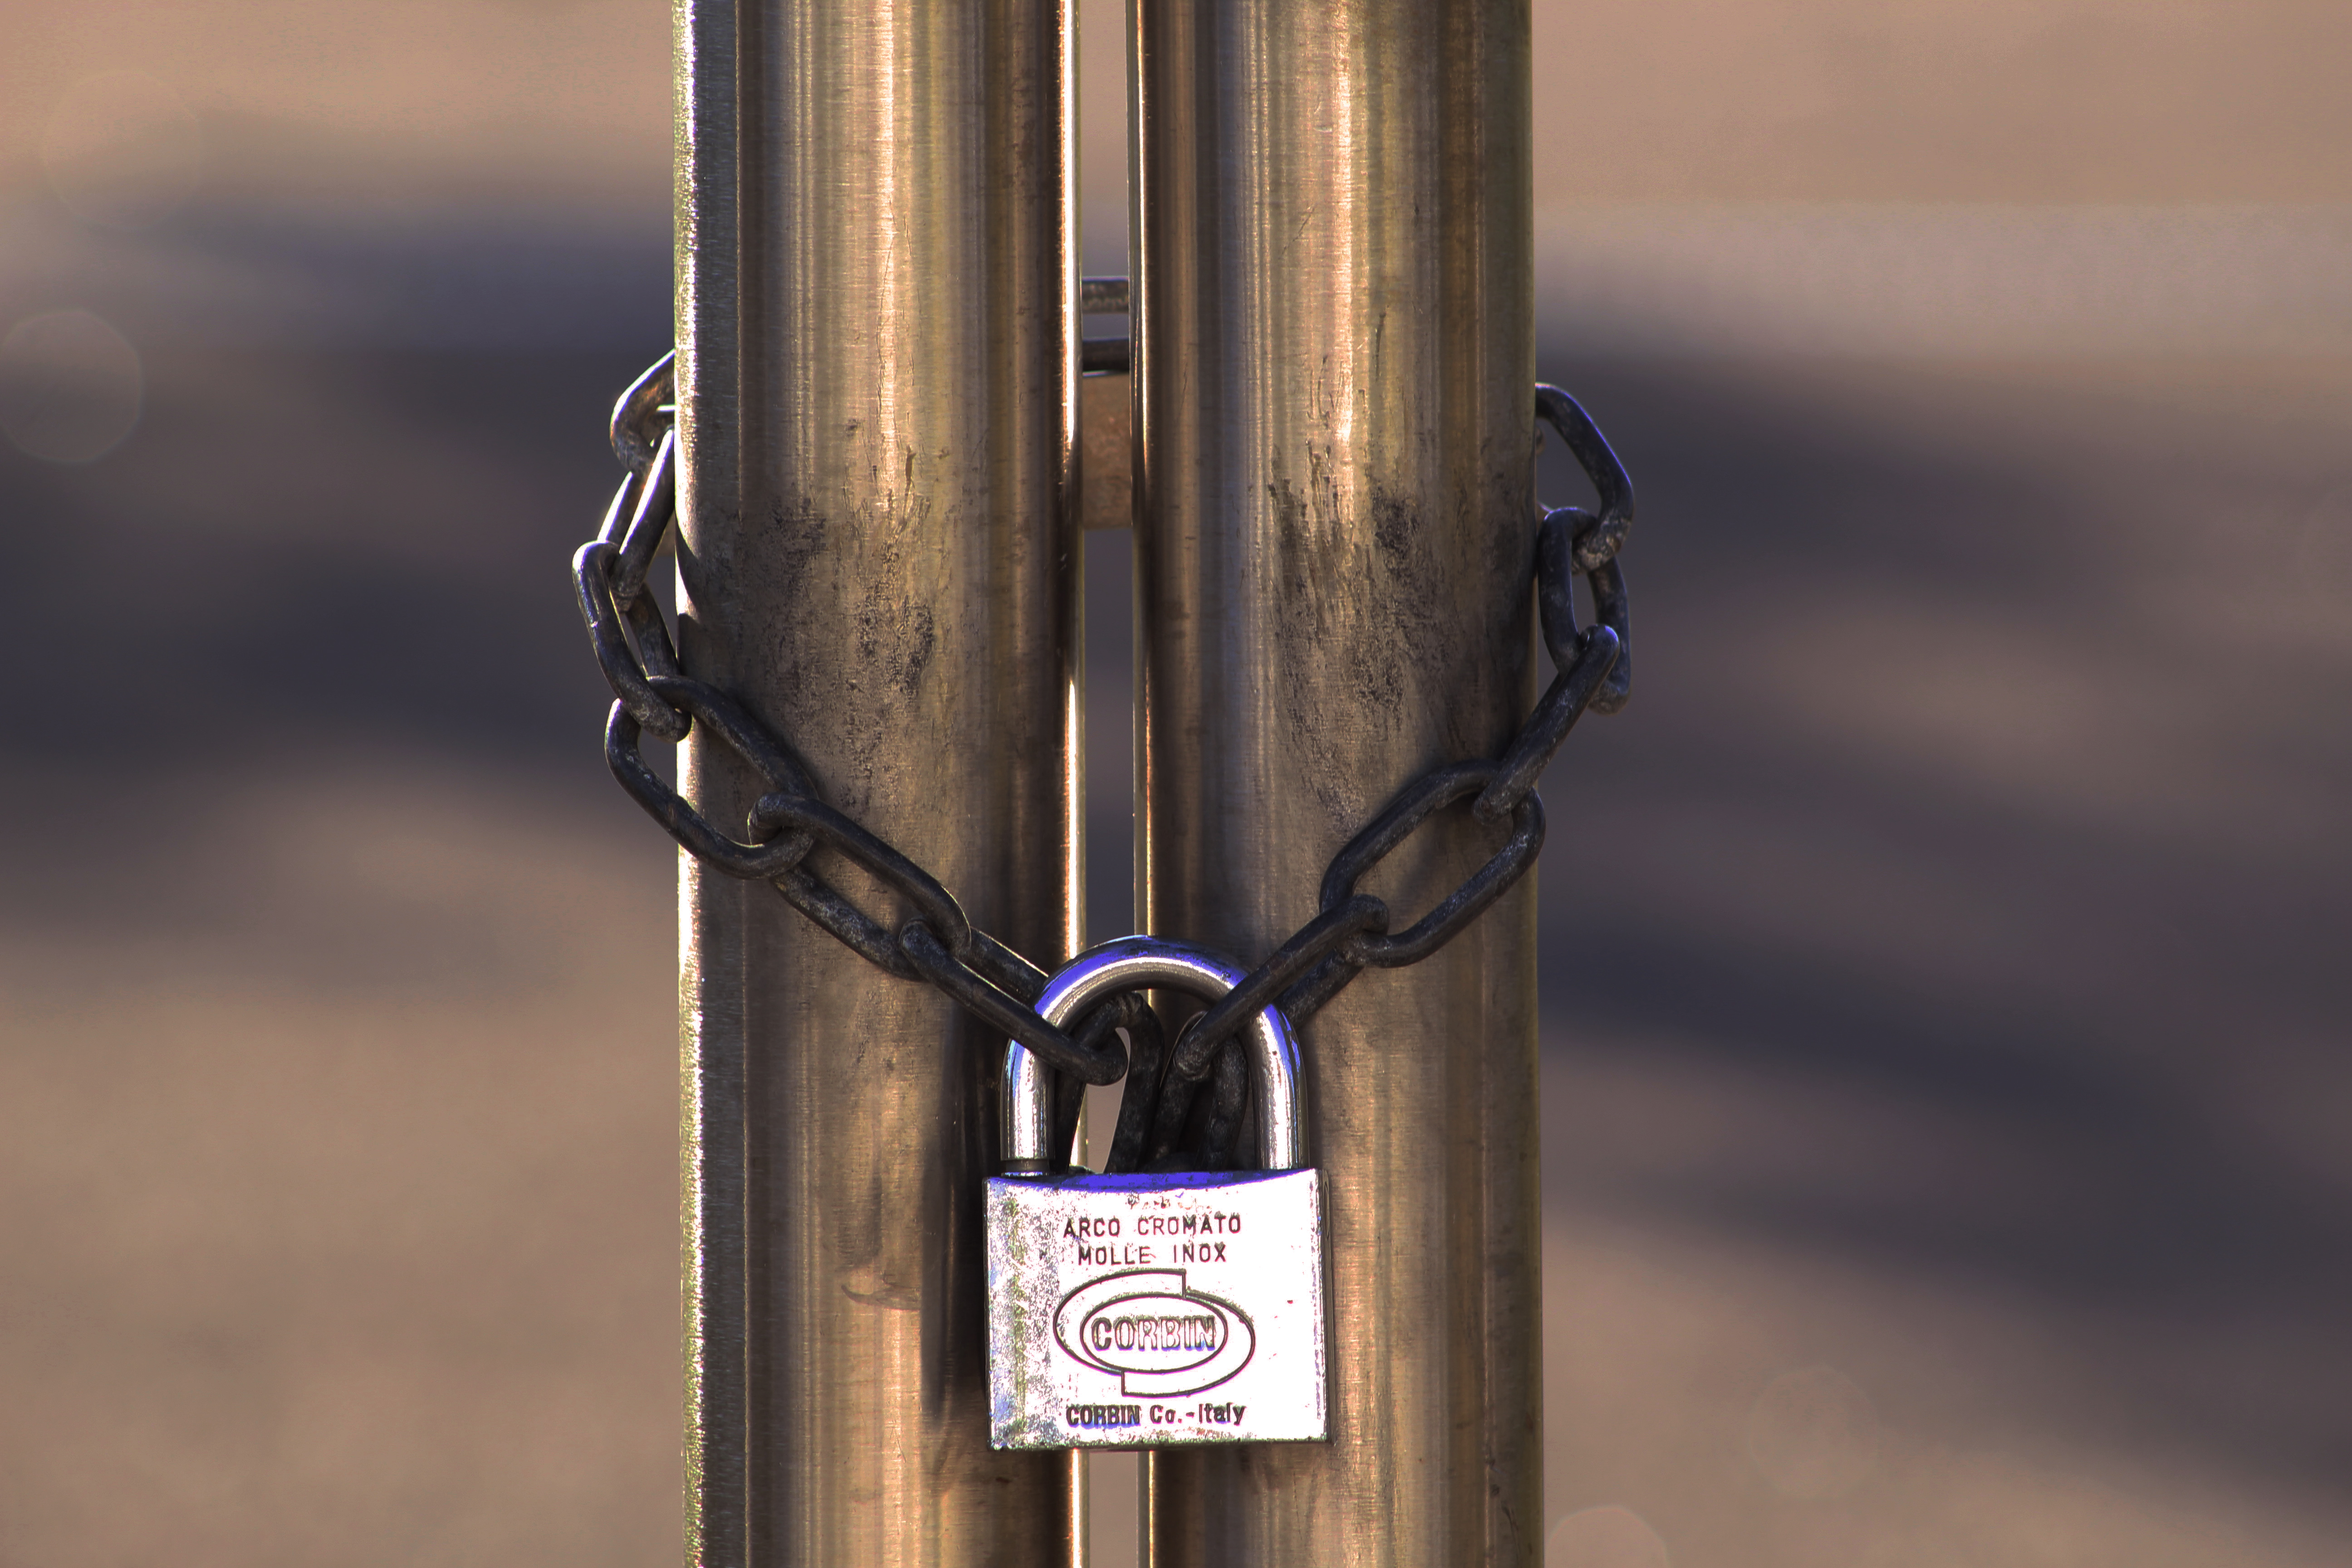
This photo will be printed out in A5 size. I will cut it into three elements (left, middle, right) to help show how the image consists of three clear parts. I will then layer them on different thicknesses of styrofoam board; left part will be 2 layers thick, middle right part will be 3 layers thick, and middle part will be 5 layers thick. These will then be stuck onto an A4 piece of black card with small gaps between each third of the photo.
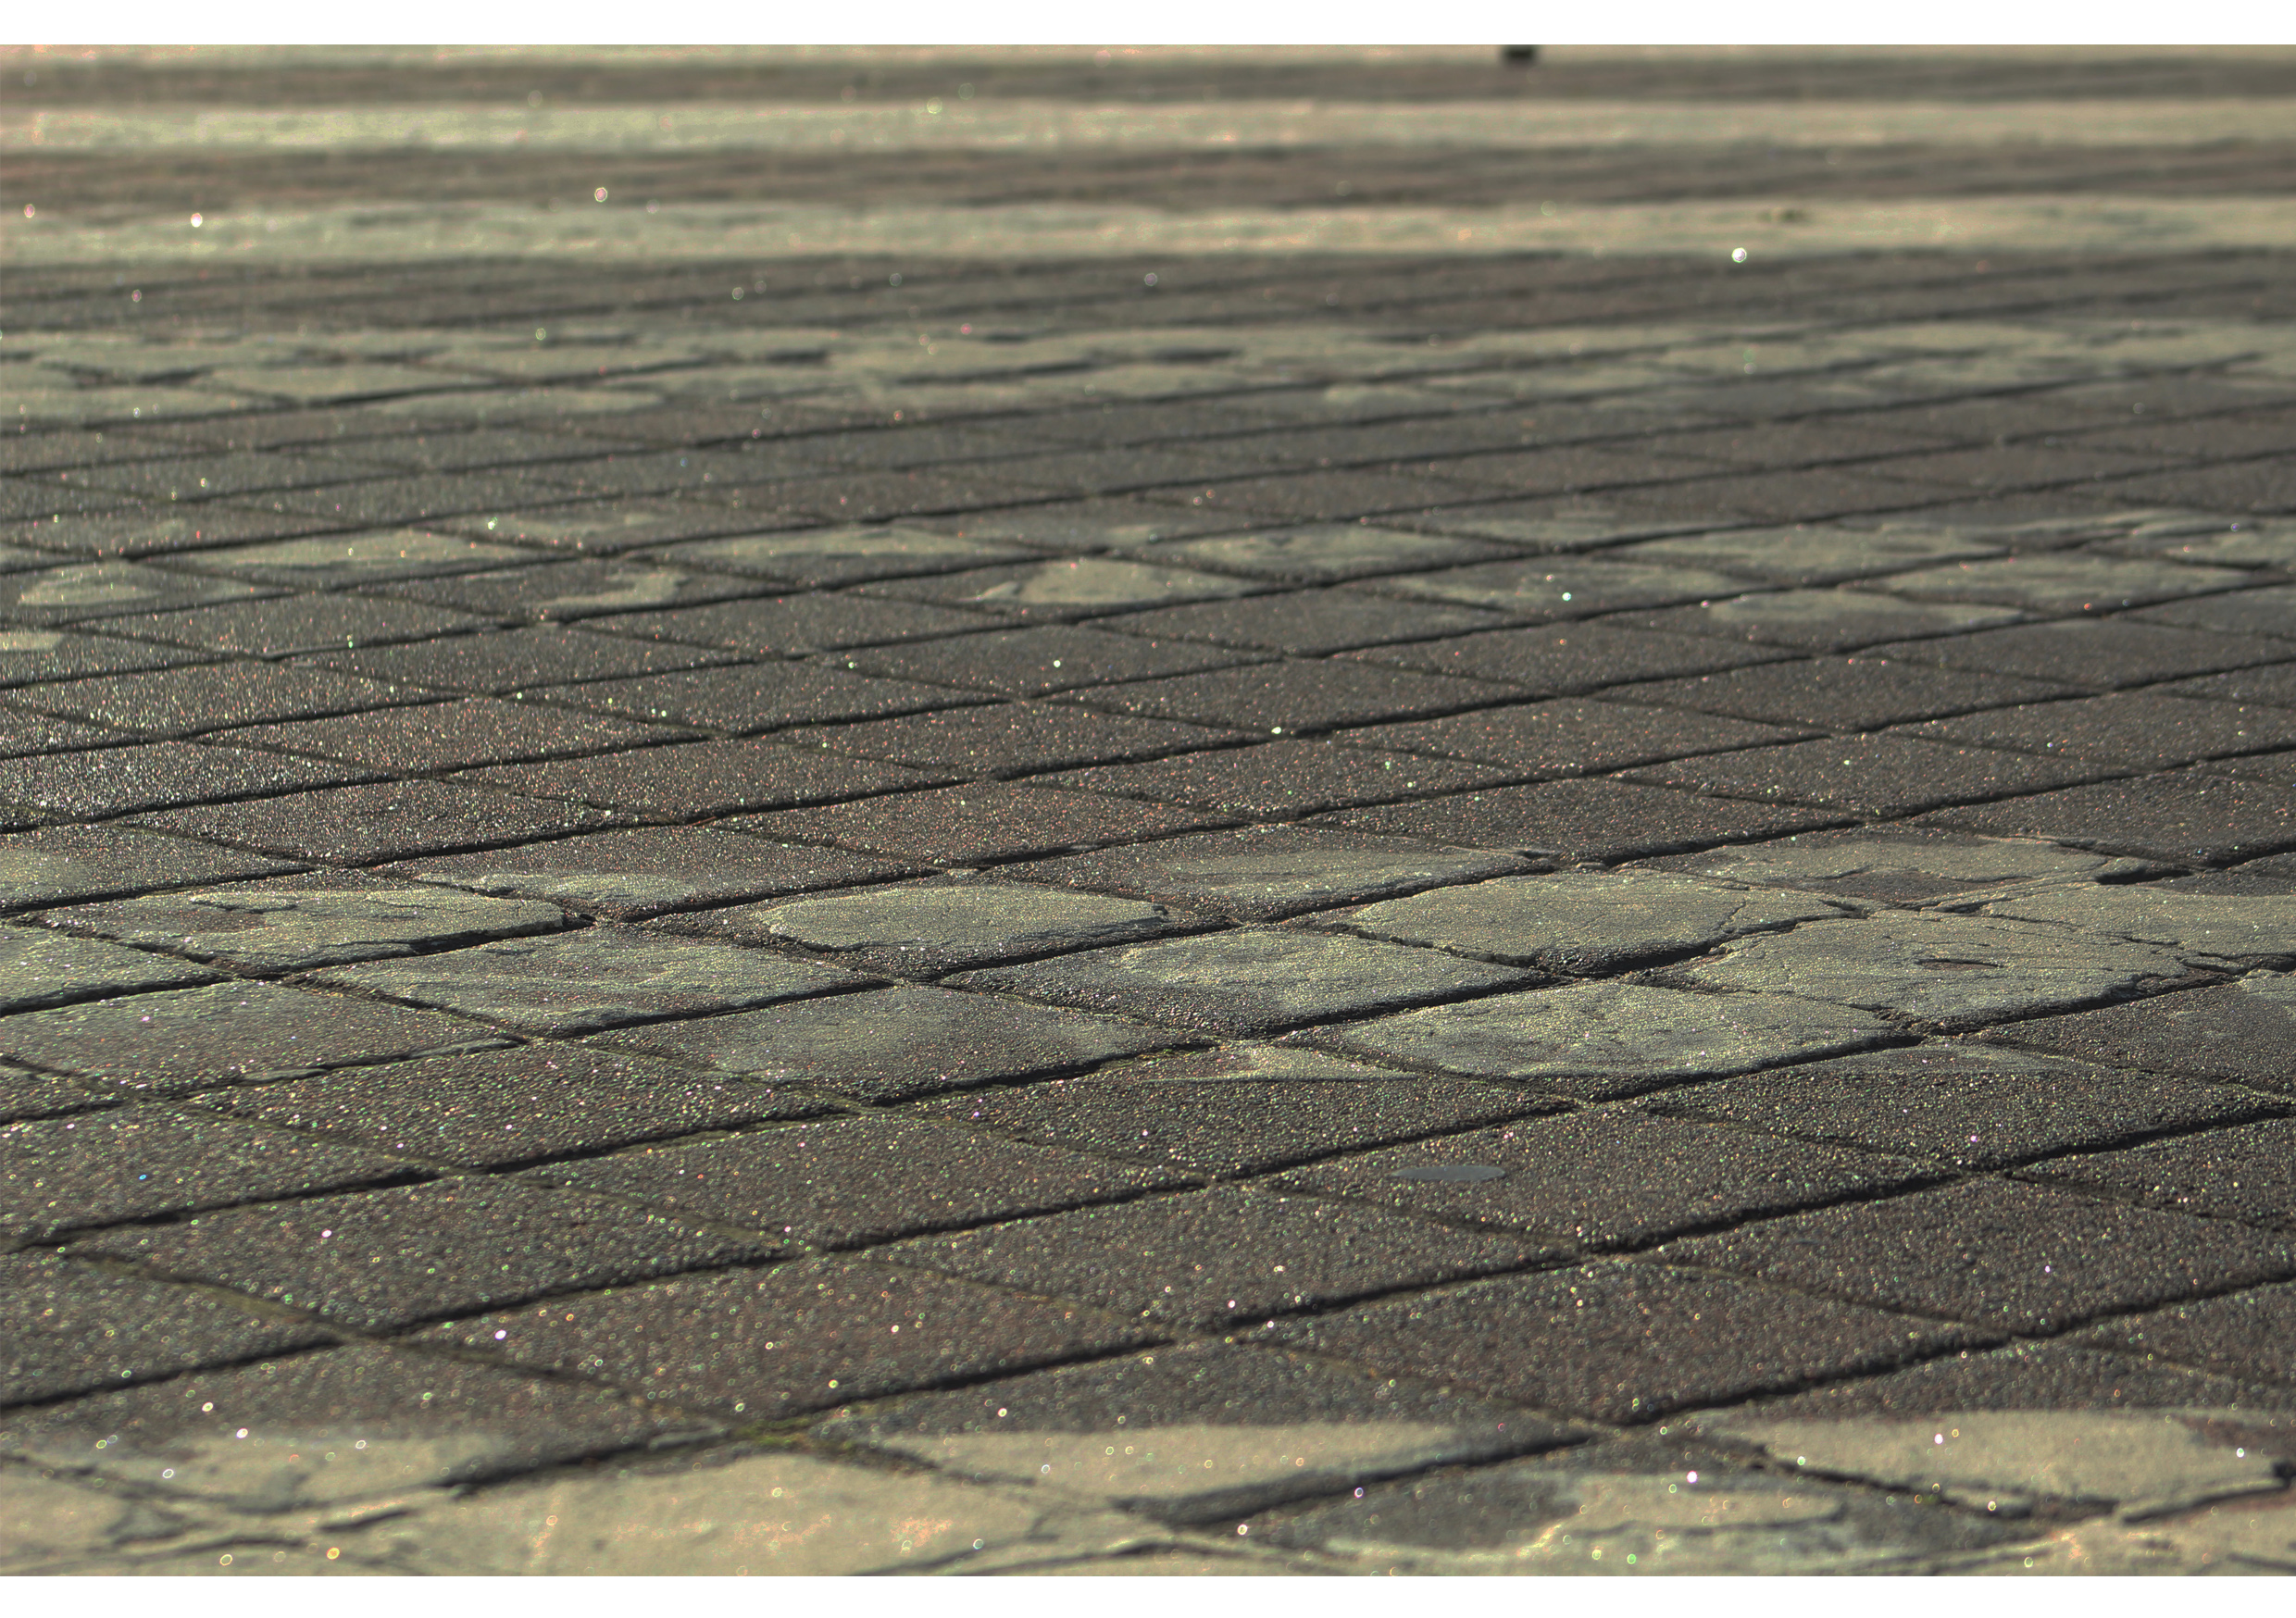
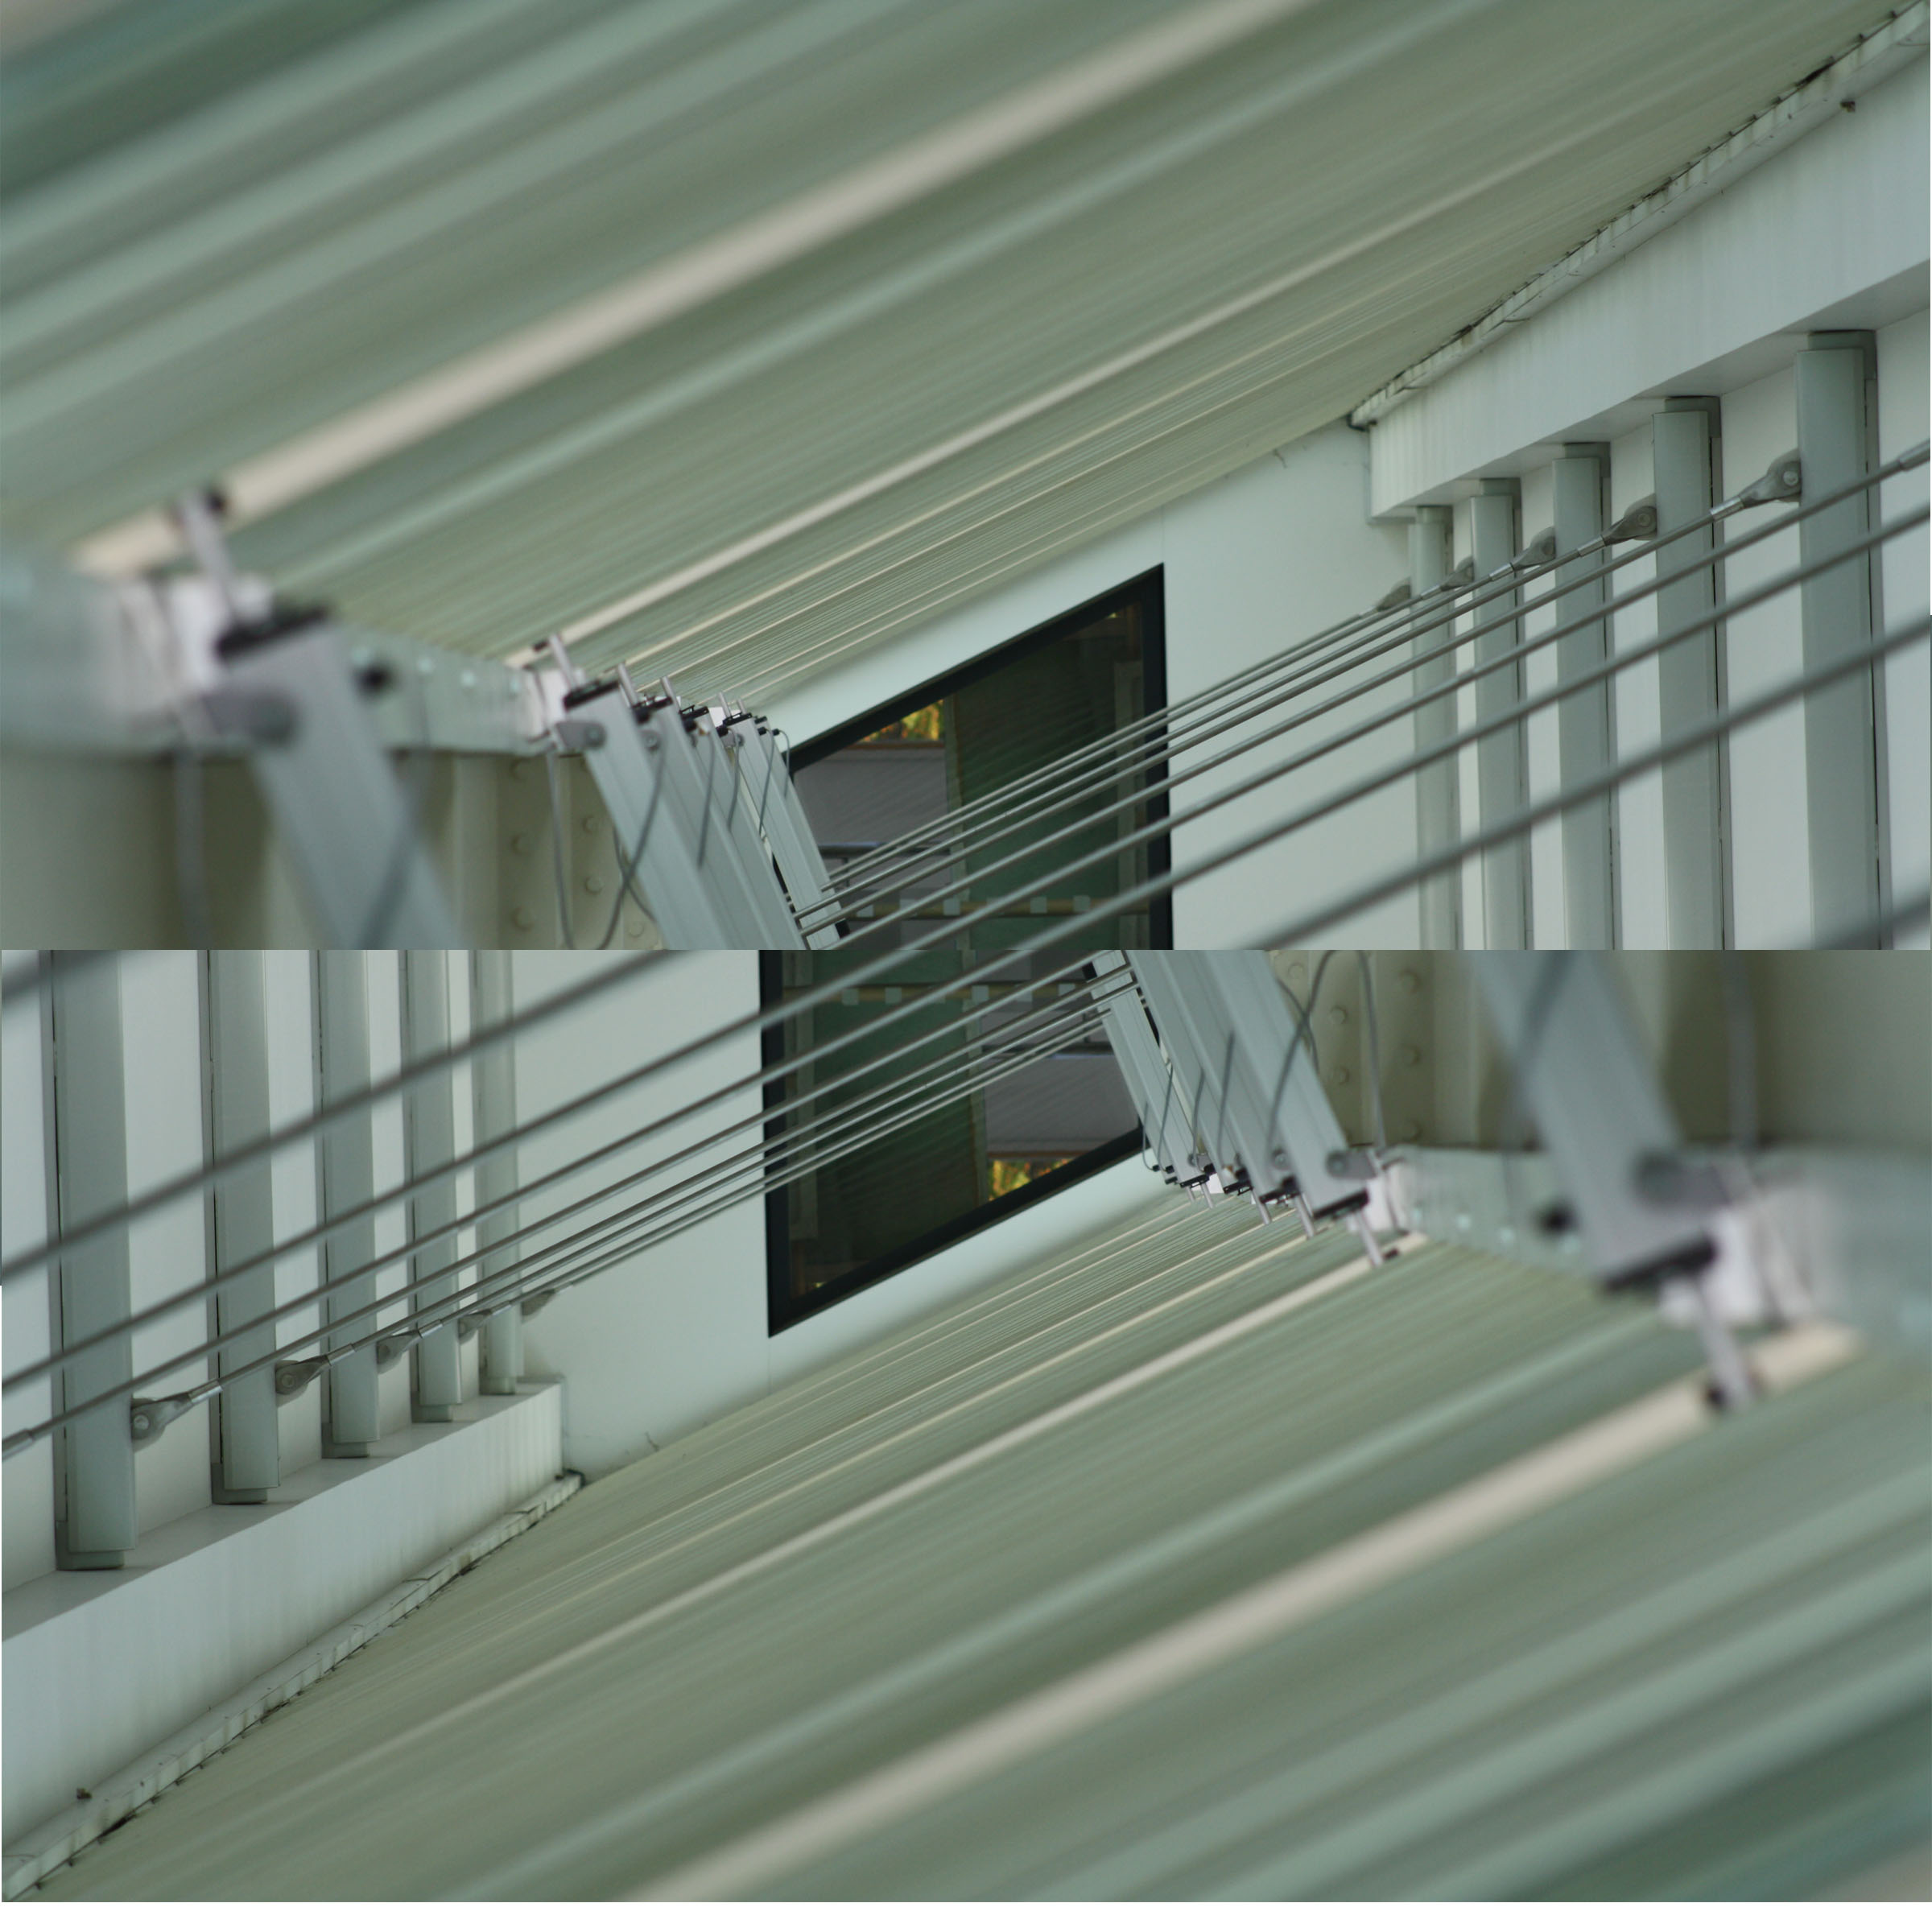
This photo will also be printed at A5 size. For this photo I have decided to keep things simple by only sticking it onto one layer of styrofoam board.

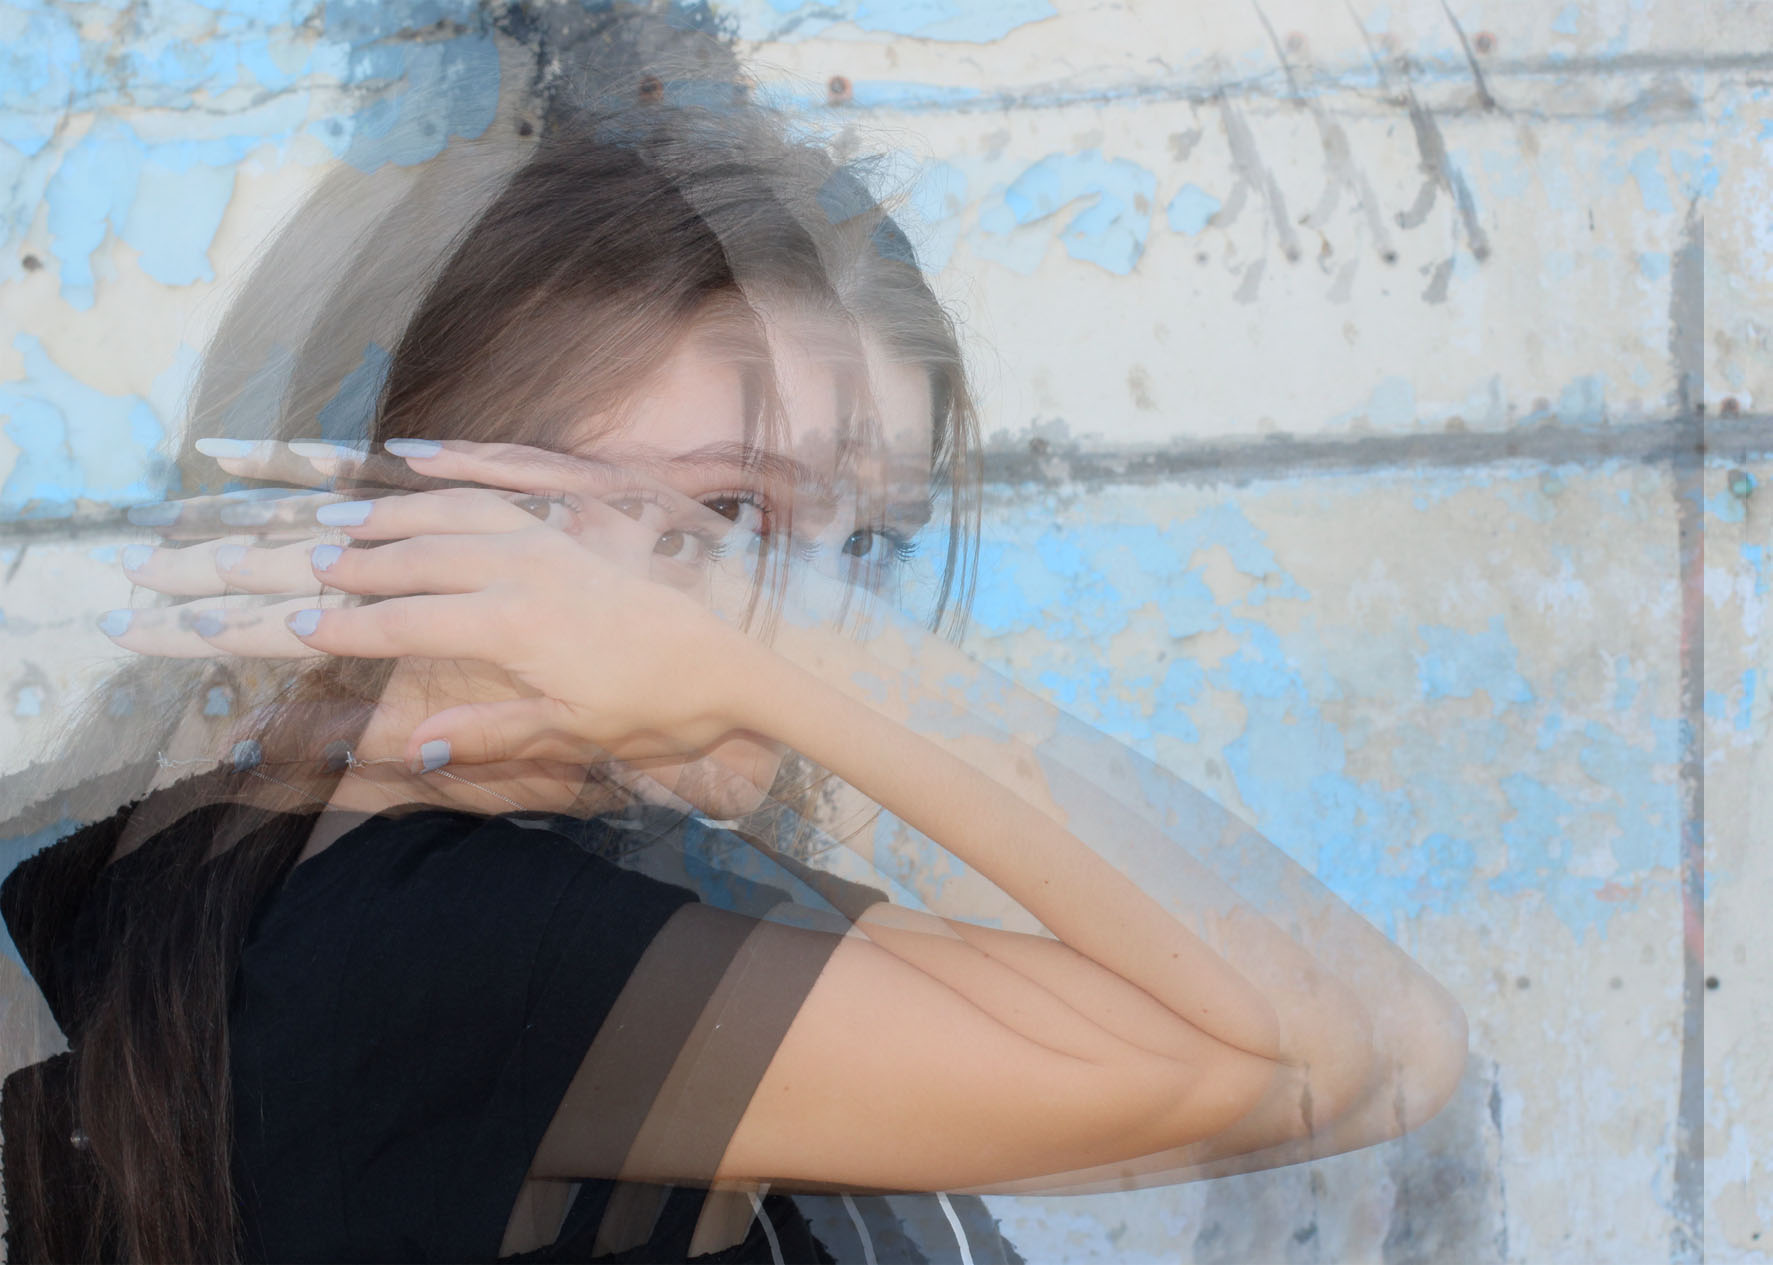
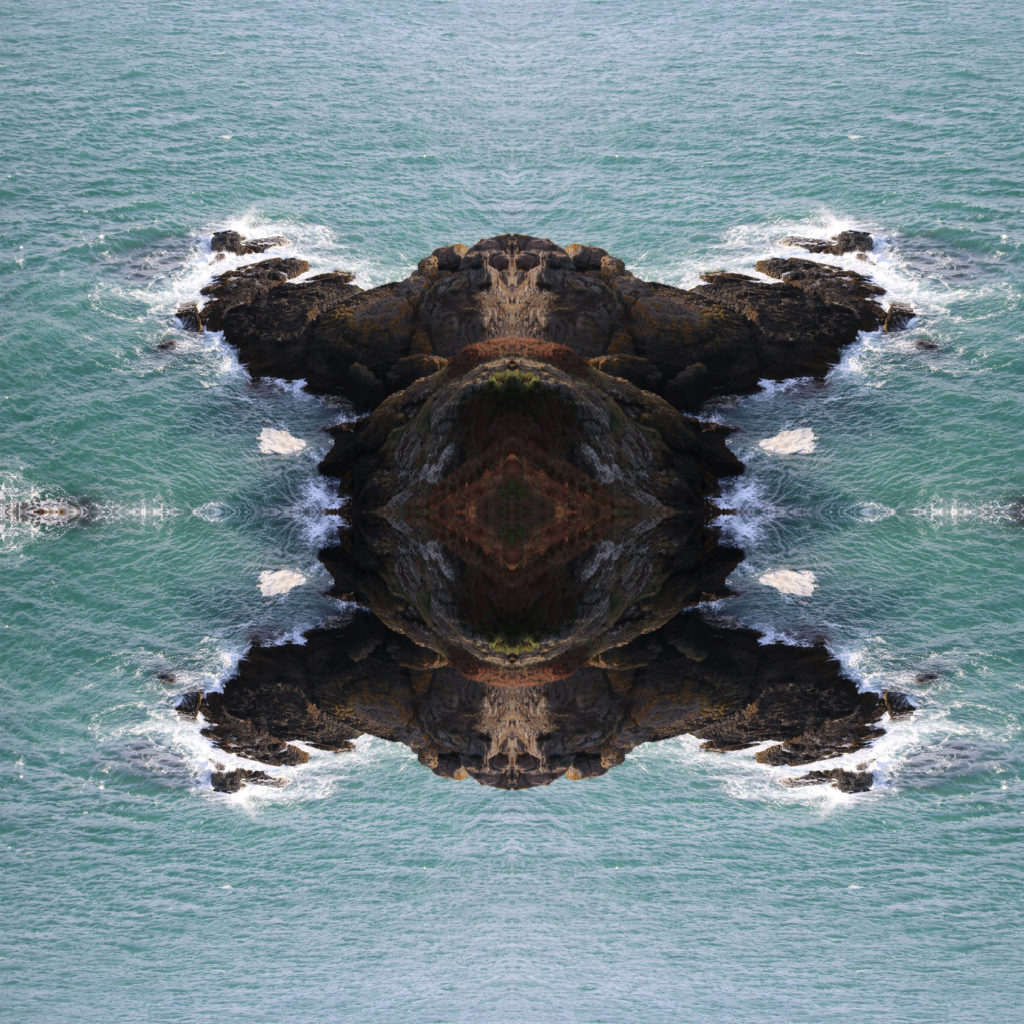
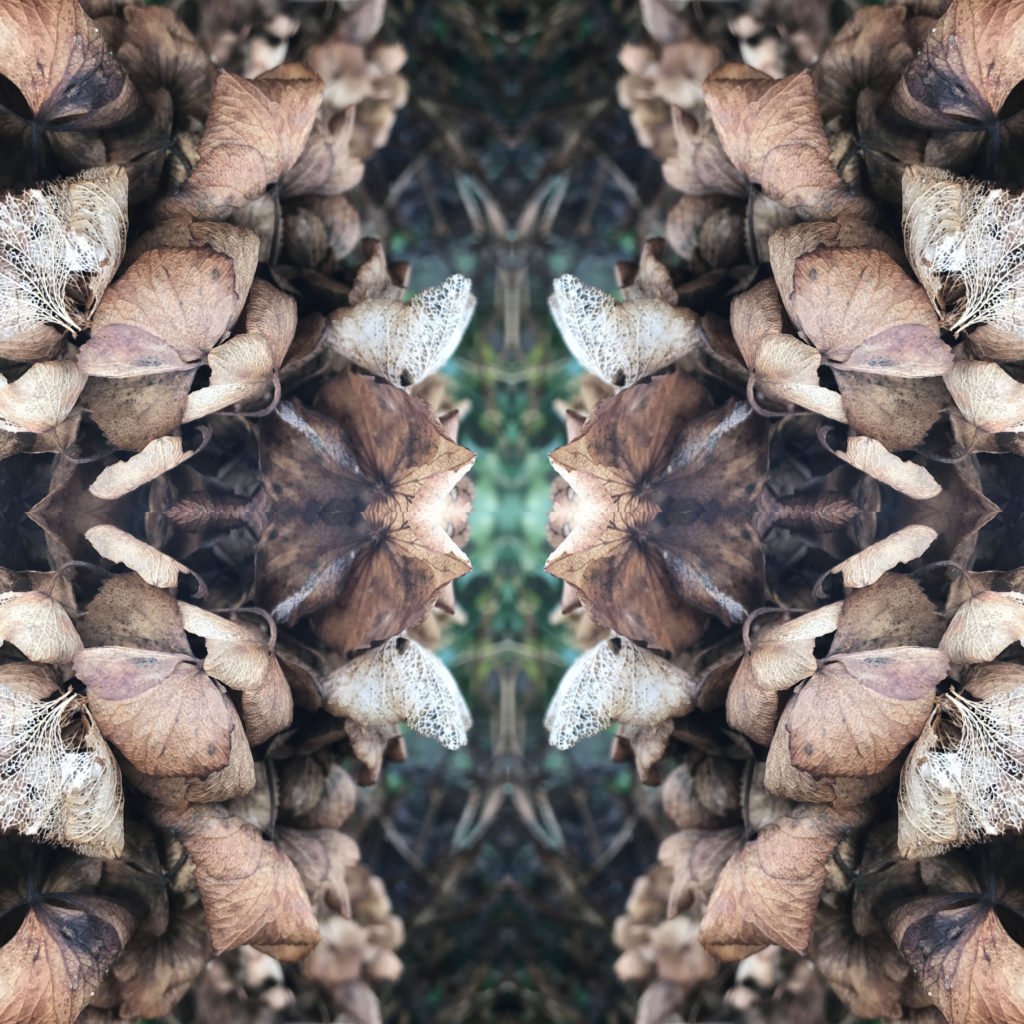
Mirror Image / Kaleidoscope Techniques : Symmetry and Repetition

For this task I decided to try the kaleidoscope effect on Photoshop

This is how I did it in steps:

  1. Open a new image
  2. Open a new canvas, set the width and length to 8 (inches) and set the ppi to 300
  3. Press Ctrl R on your keyboard then take the ruler from the top and put it in the center
  4. Drag your image onto the new canvas and then size it till it fits on of the halves off your canvas
  5. Next, duplicate the layer, then drag it to the bottom half of the canvas
  6. Rotate the image 90 degrees
  7. Edit your photo to your liking
  8. Save as JPEG

I really like how this turned out and I would like to use this technique in upcoming projects.