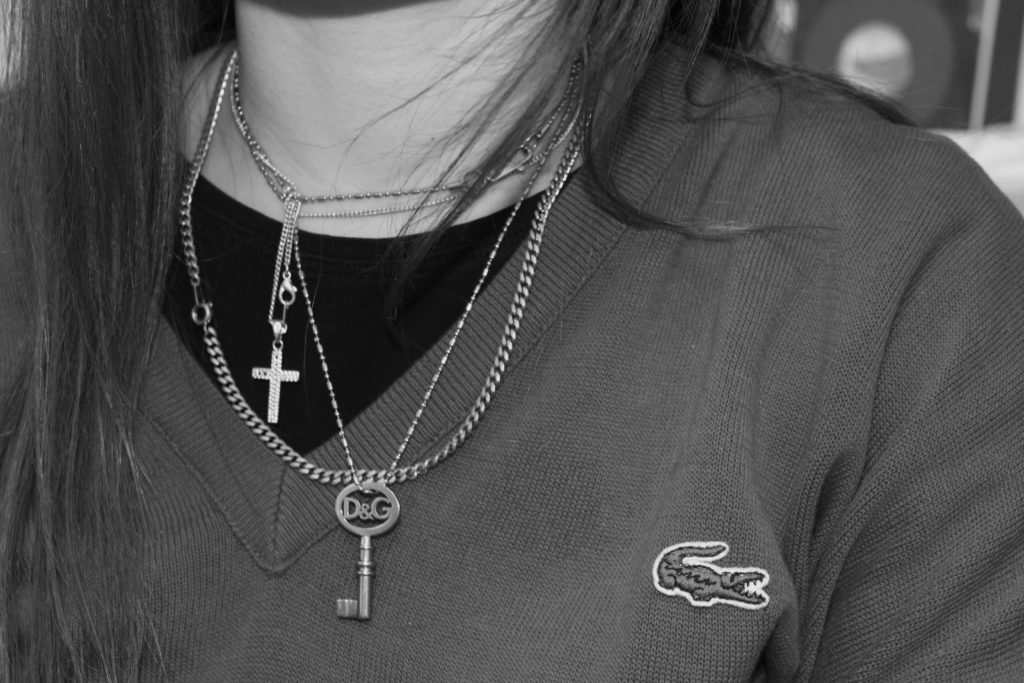
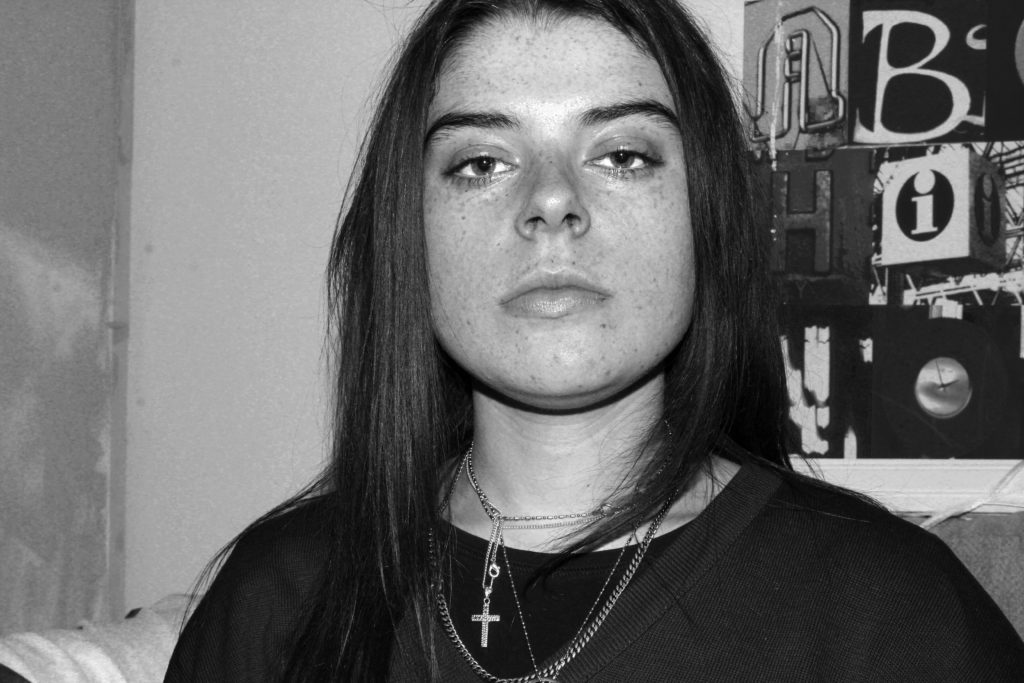

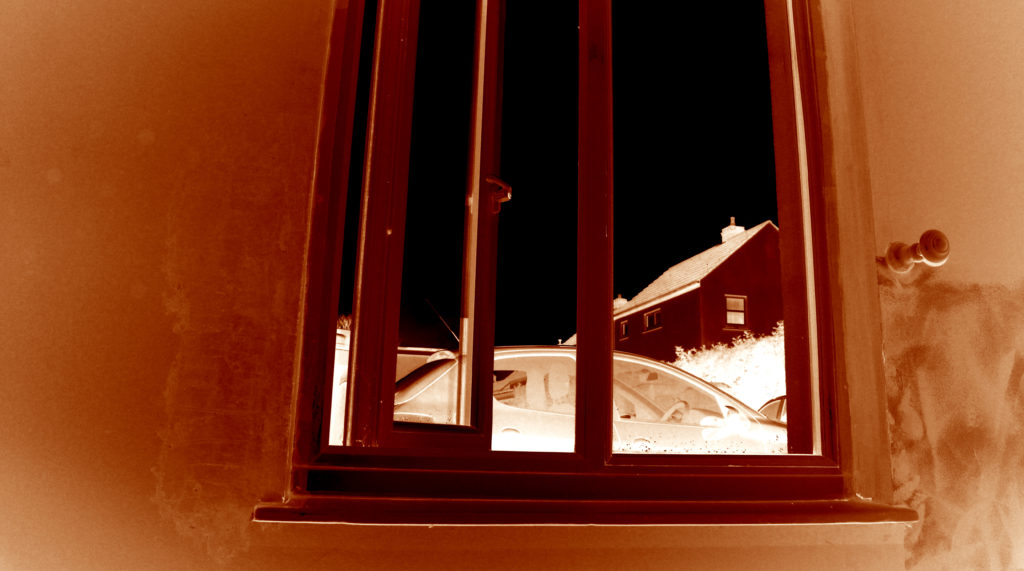
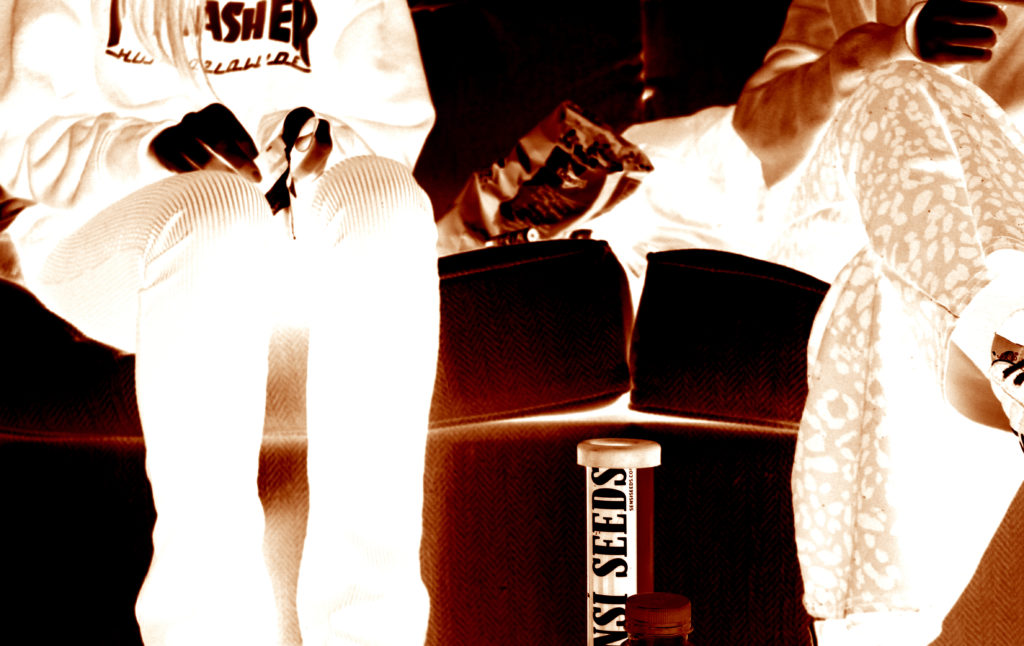
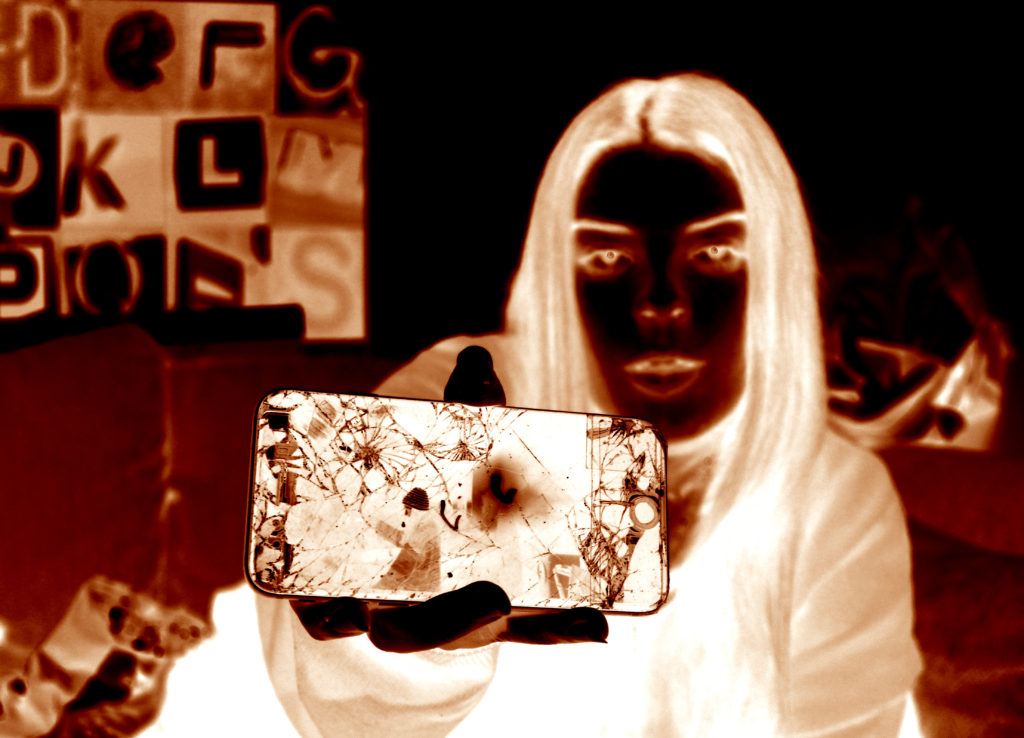
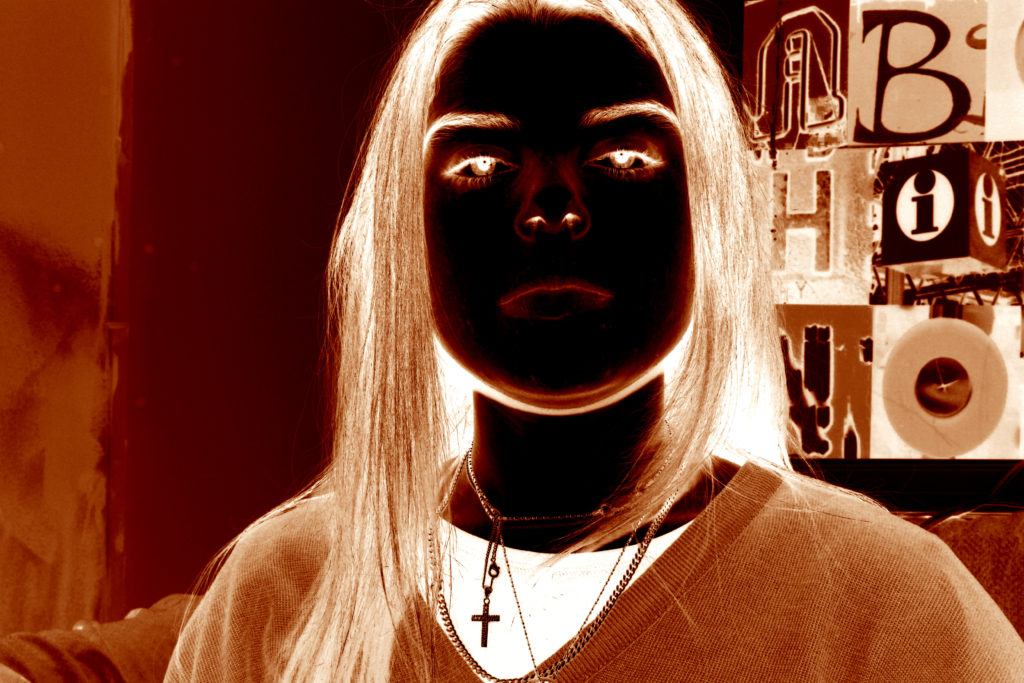

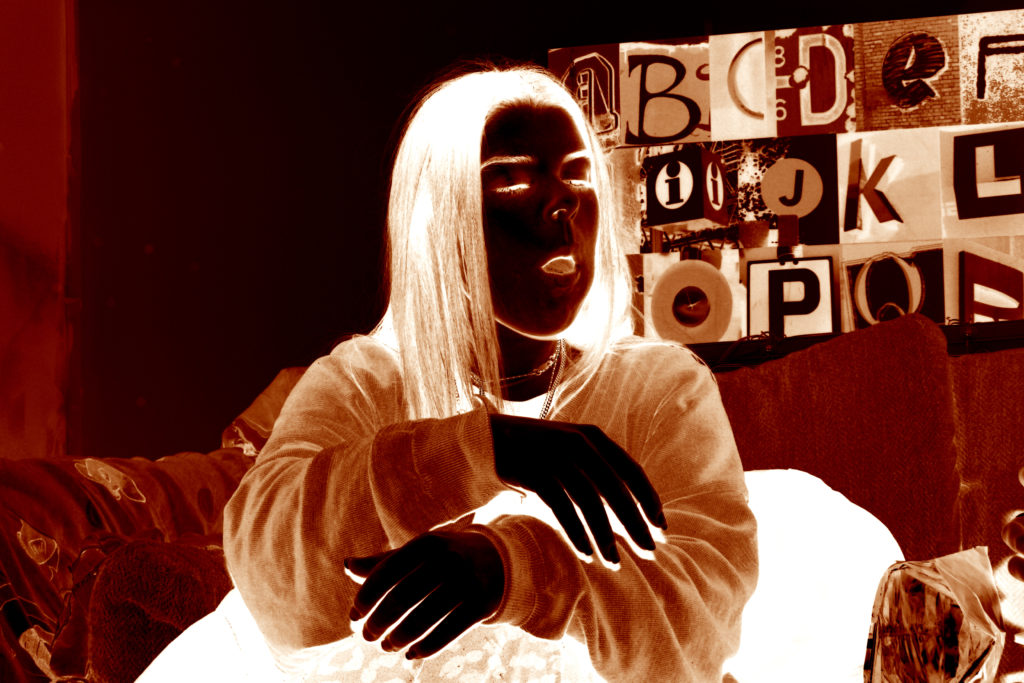


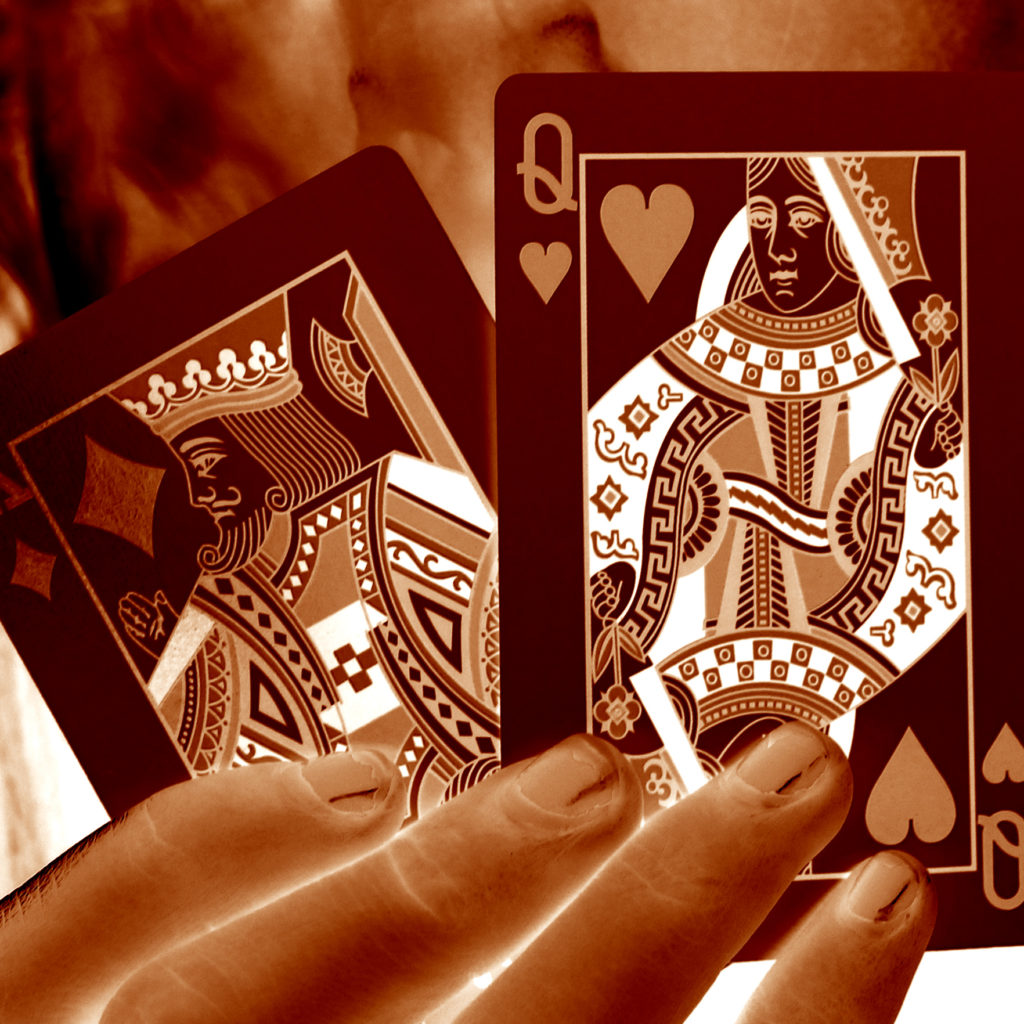


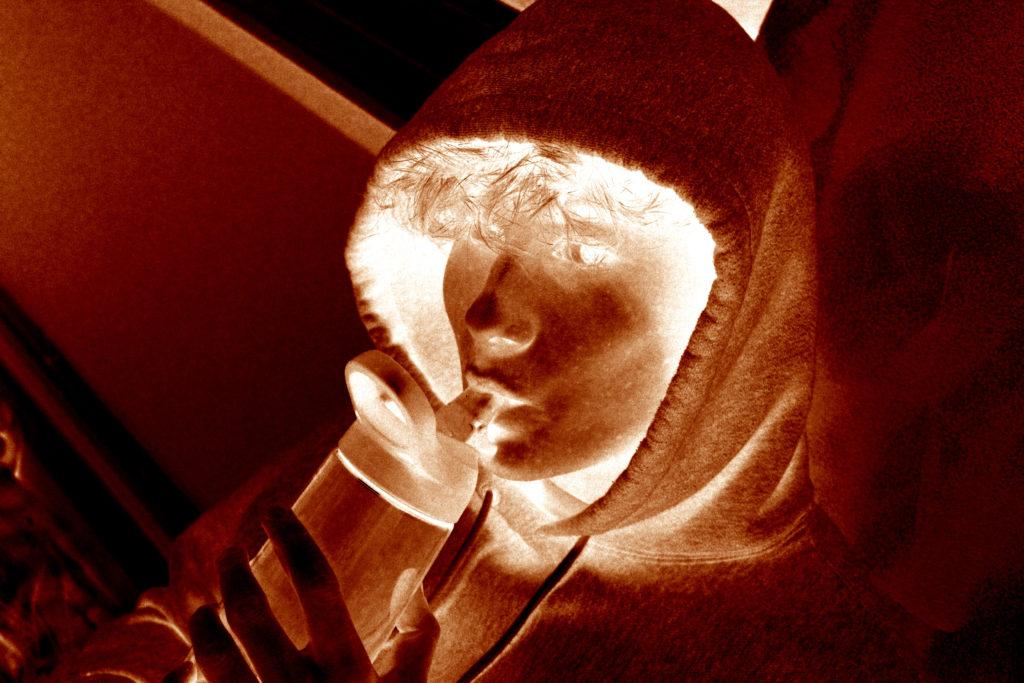
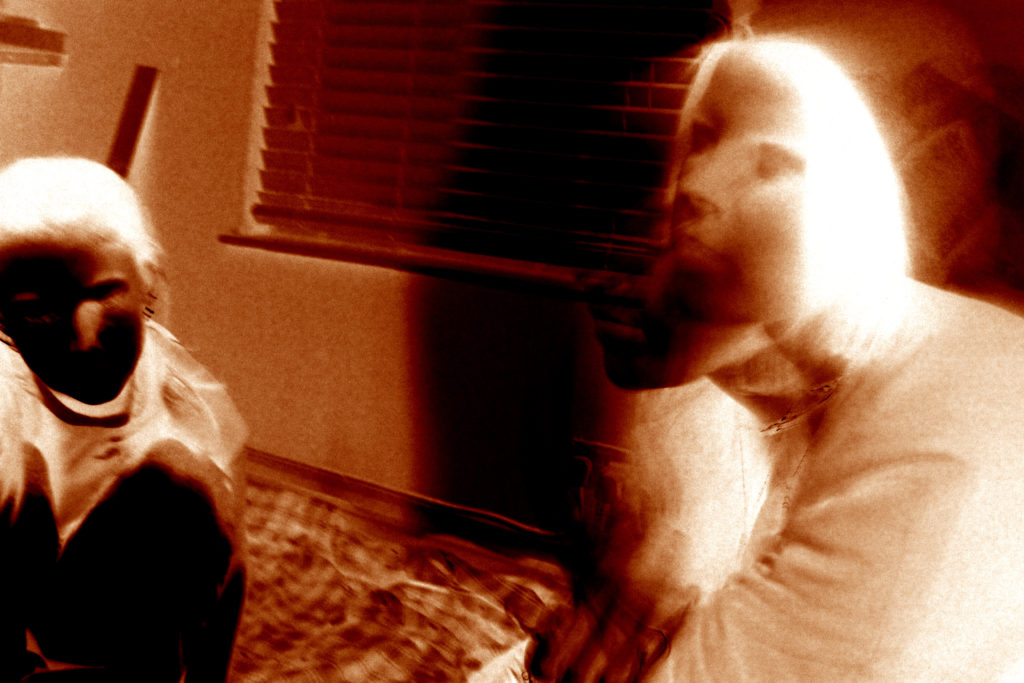
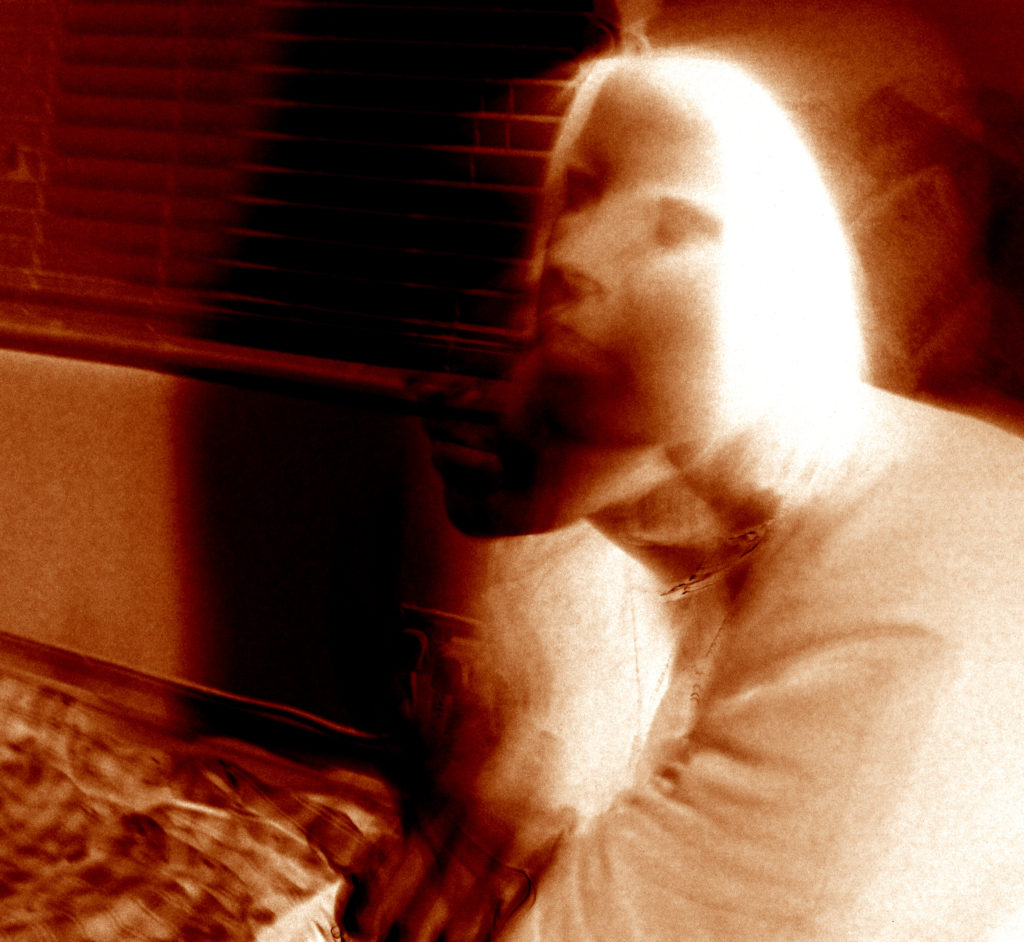
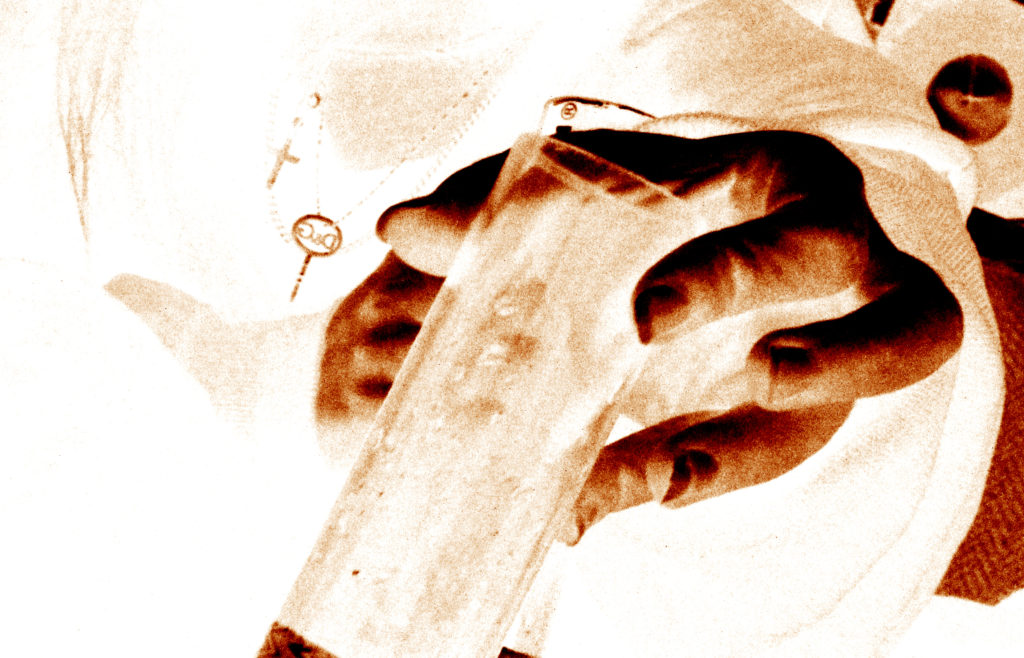


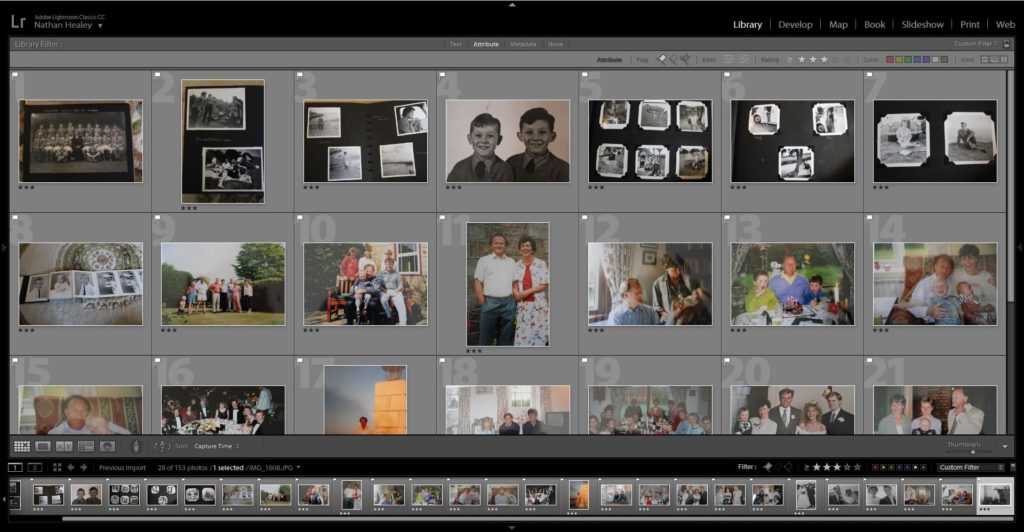
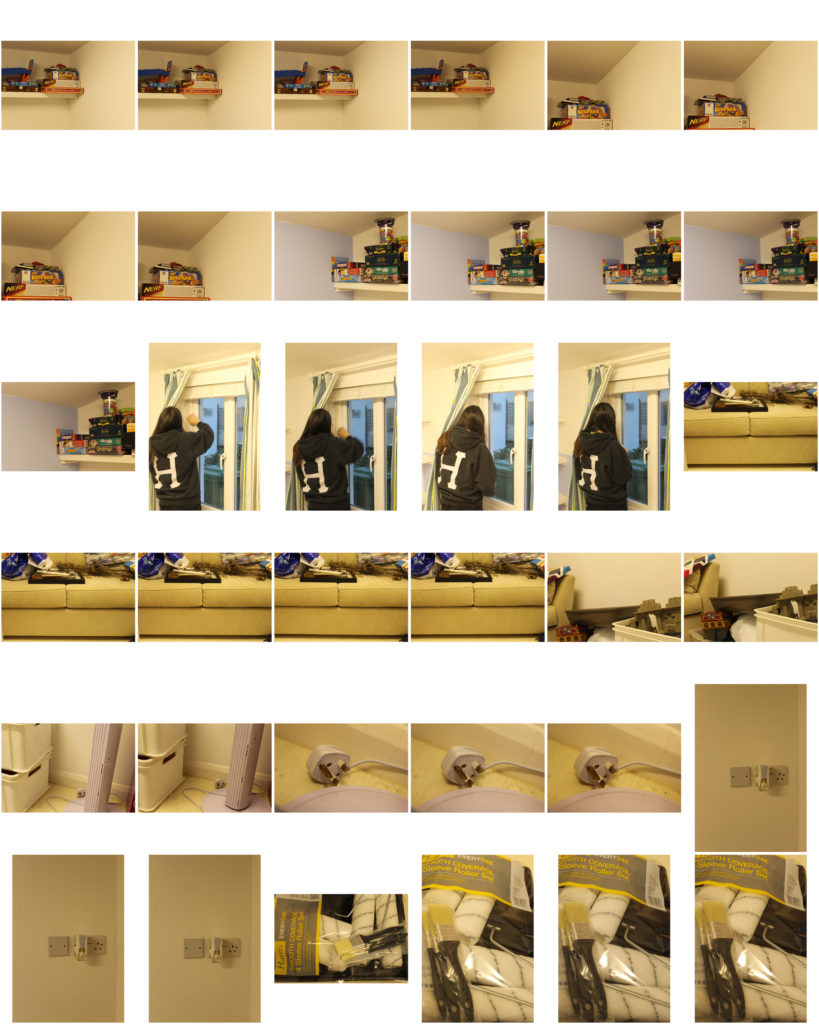
Contact Sheet:

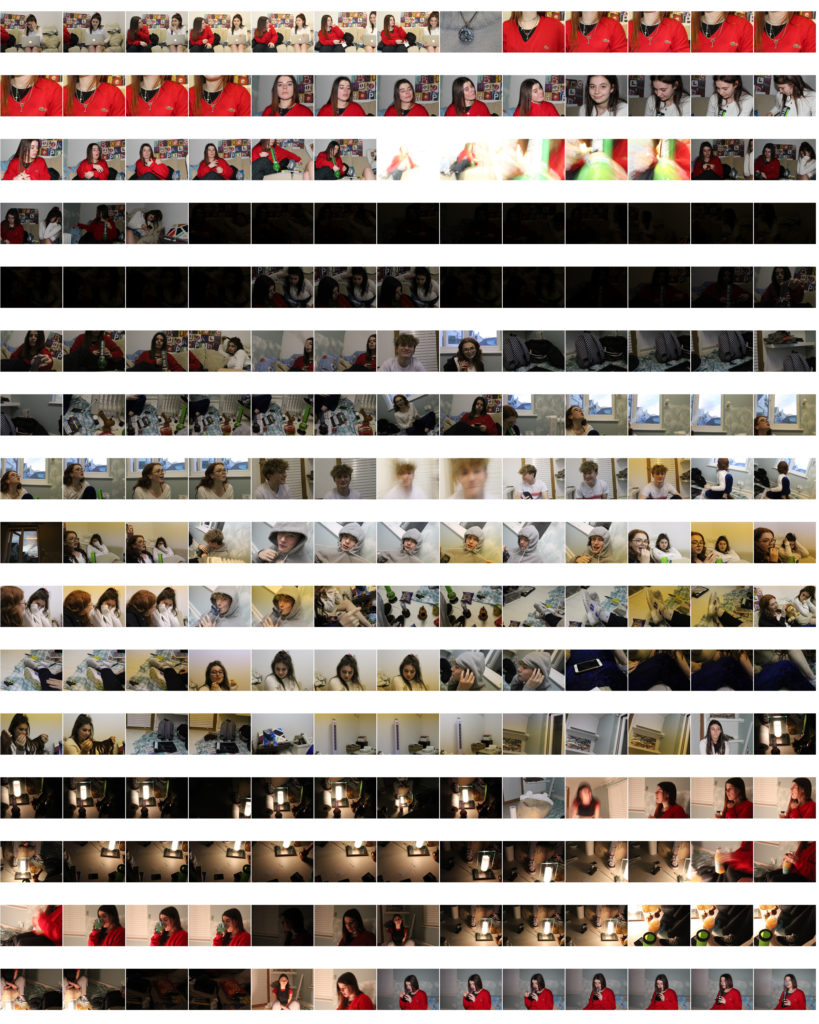

After doing some research into the legends and the myths of fairies in Jersey I set out on my photoshoot to some of the dolmens in the north of the island for this photoshoot. I went on a clear sky day around mid afternoon to catch the natural lighting at the high point of the island. Using three models I created images based around the ideas of the fairies protecting the natural land, using props and angles to generate a desired effect. I also took out with me a disposable camera to take some of my photographs on to generate a different style and effect in my work which will mean I have physical first unedited prints of some of my photographs.
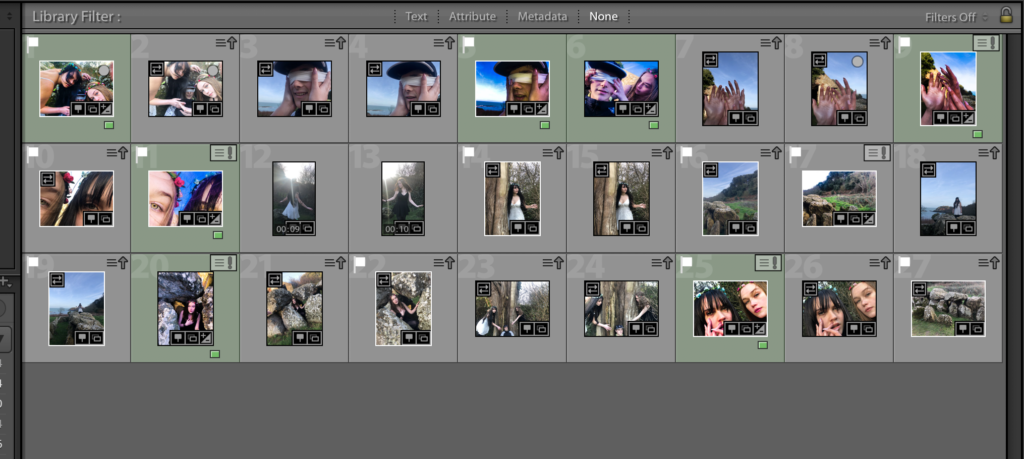
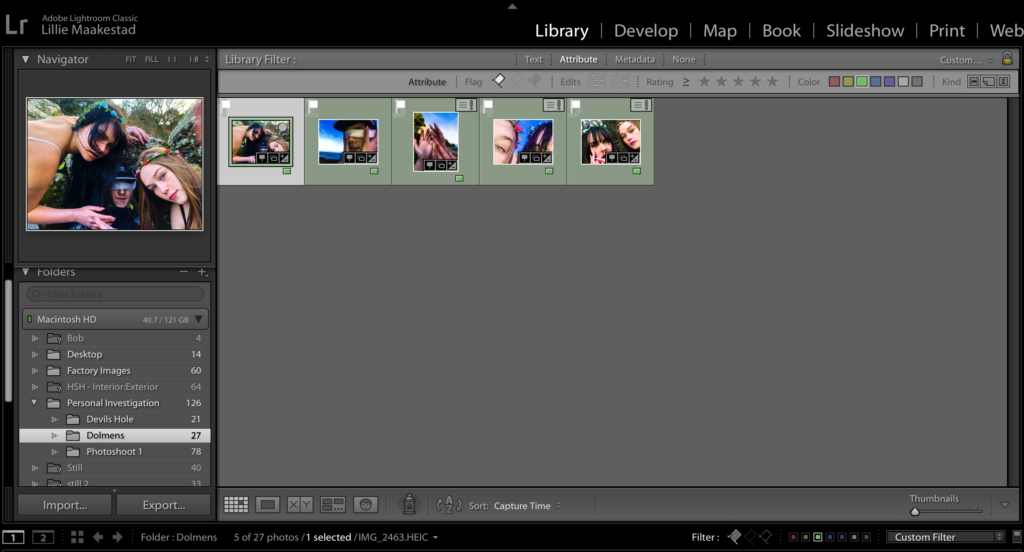
After going out on the shoot I uploaded all of my photographs into Lightroom to narrow down the images that I would be using and experimenting with to hopefully generate some final outcomes. I began experimenting with colours and vibrancy in these images. My aim was to create a different effect compared to my previous shoots, with these photographs I was to create something hyperreal and mysterious, to create this I over-saturated and edited the colouring of the photographs to create theses vivid blues and pinks. To create and effect I had my male model in regular, modern clothing and my female models in more traditional fairy clothing; flower headbands, flowing skirts and dresses as well as taking the step to cover their hands in makeup highlighter to create a sparking shimmer effect when unclose in the photographs. I made the decisions to do this in order to create and overall outcome in my photographs of something that was linking the modern island with these mythical fairies and stories.
I feel that my photoshoot has been successful overall as I have been able to produce some successful photographs I will be experimenting with more into the future towards the final Photobook production, I feel that they juxtapose the photographs I have previously taken and this is something that I wanted to do and capture in this photoshoot.


For my second photo-shoot, I focused on displaying a break in feminine gender roles by focusing on showing women/girls in nature, showing them playing in forests and getting muddy. I feel like this approach allows for a subtle line to be drawn between the expectations that society has for girls, and the reality that many girls find joy in “masculine” activities, such as playing in the woods, exploring and adventuring. I find this concept to be a more subtle show of braking gender stereotypes than my first photo-shoot, and therefore have included this in order to contrast the more overt, brash examples of gender stereotypes with more subtle, hinting examples.
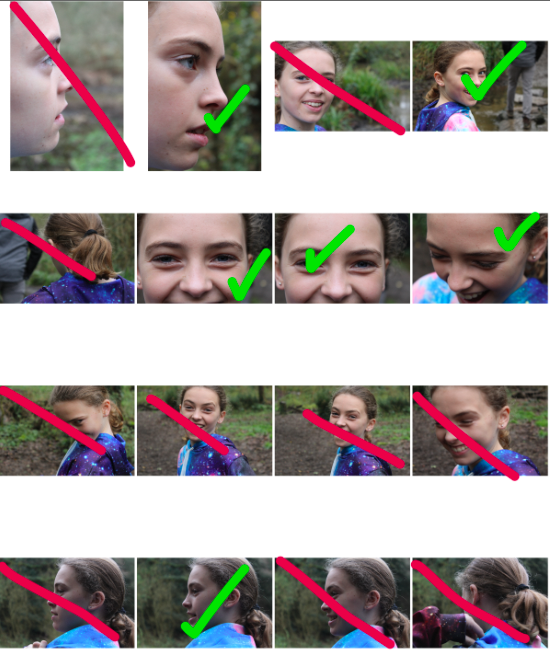
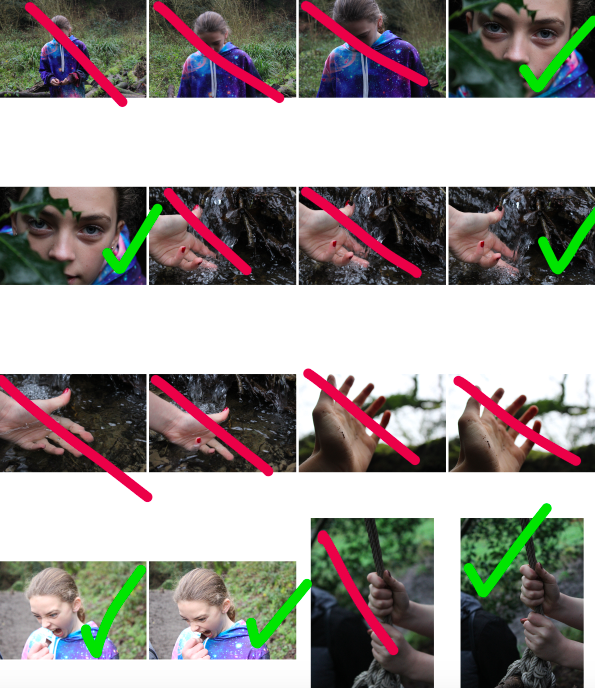
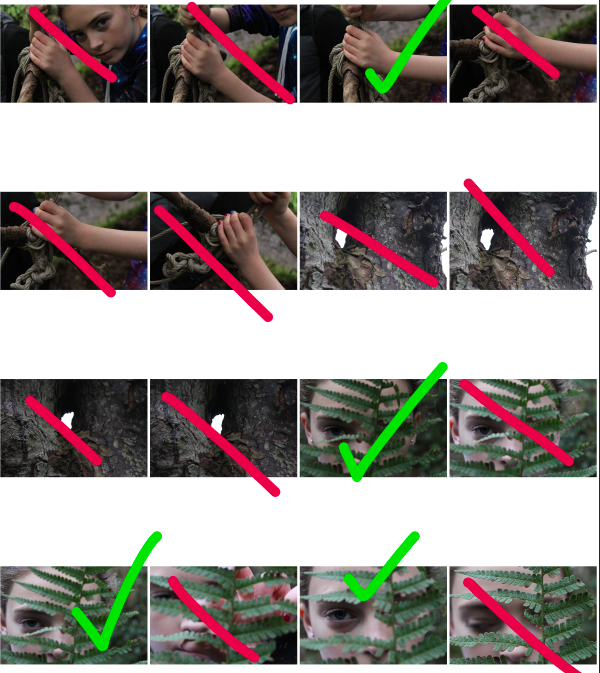
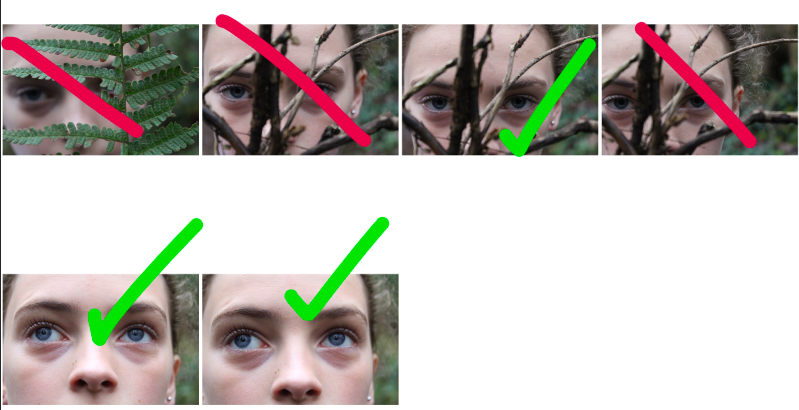
After selecting which images I would use to edit, I used the software Photo-shop to create and edit a range of images:
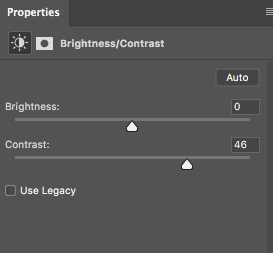
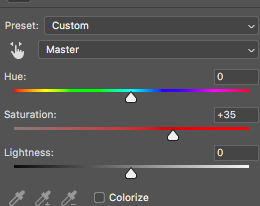
For many of my images, I increased both the saturation and contrast. I did this to make the colours and contrasting shapes and tones of the image stand out, allowing the viewers attention to be drawn to certain aspects of the image.
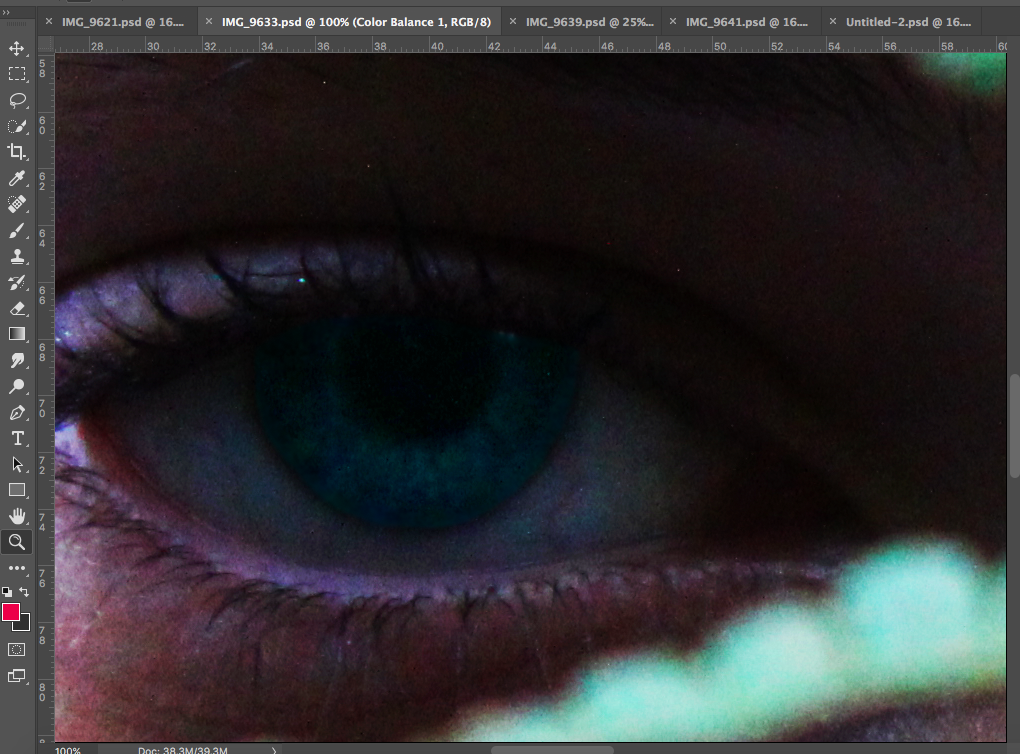
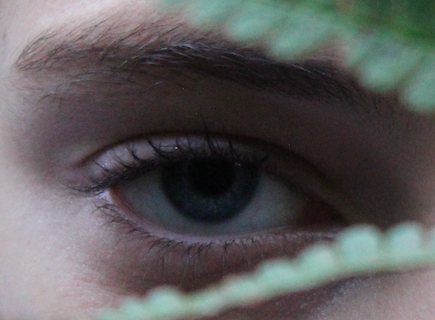
For the above image, I altered the saturation and contrast of the image, and then using the lasso tool on Photoshop, I highlighted the iris of the eye, and raised the contrast and saturation of the blue, in order to make the eye colour of the subject stand out much more. I did this to make the eye of the subject the focal point of the image, forcing the viewer to see the subject as an individual person by making eye contact with them through the image.

Simply by increasing the contrast and saturation of this image, and making small edits using the lasso tool, I was able to finish this image, using the colouring and shapes of the image as the focal point of the image.
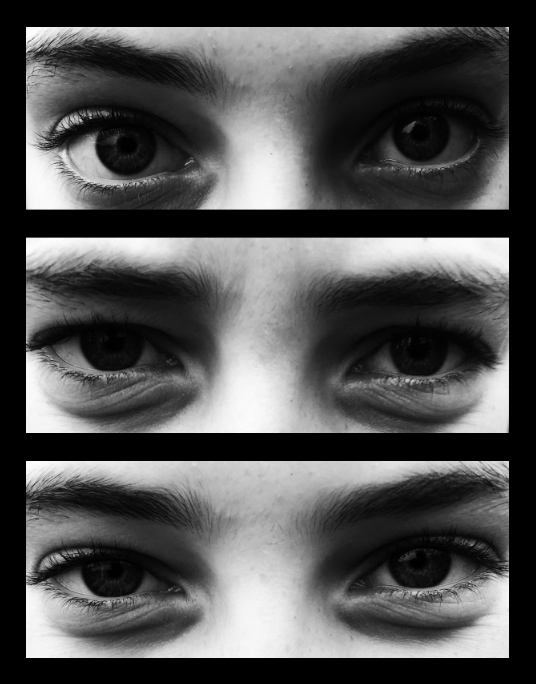
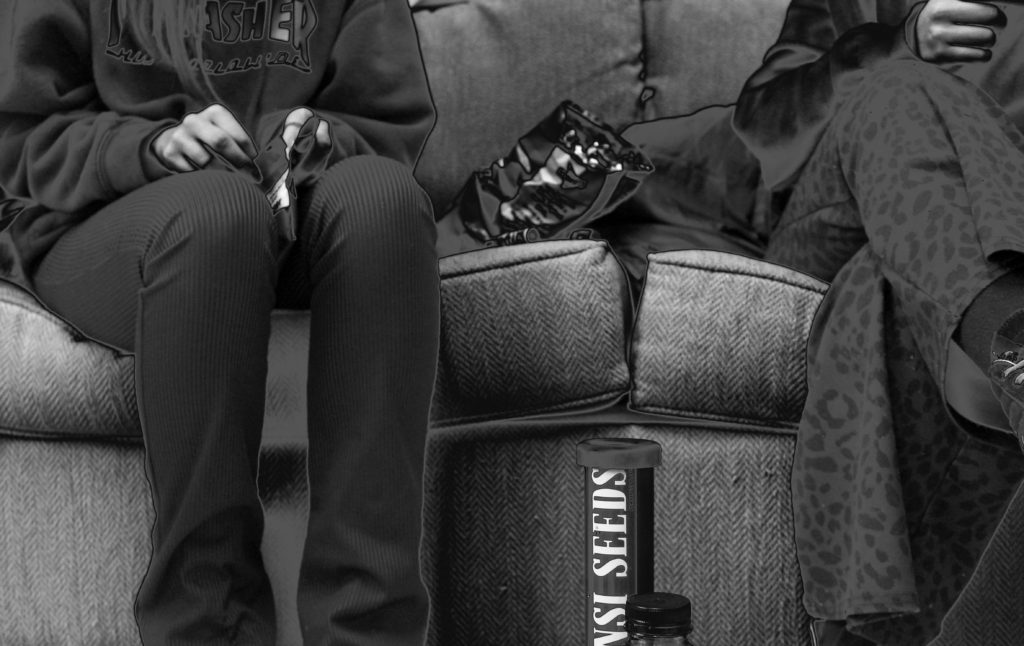
The above image involved turning the images black and white , increasing the contrast, and placing all images onto a single page (I outlined the images with black rectangles using photoshop to better define each image).
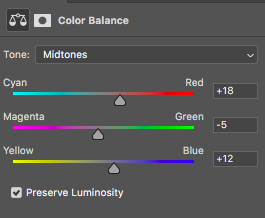
For many of my images, I also altered the colour balance of the image in order to emphasise certain shades and colours. In this instance, I increased the red and blue and magenta tones slightly (and I also increased the contrast and reduced the saturation), which gave the below final outcome:
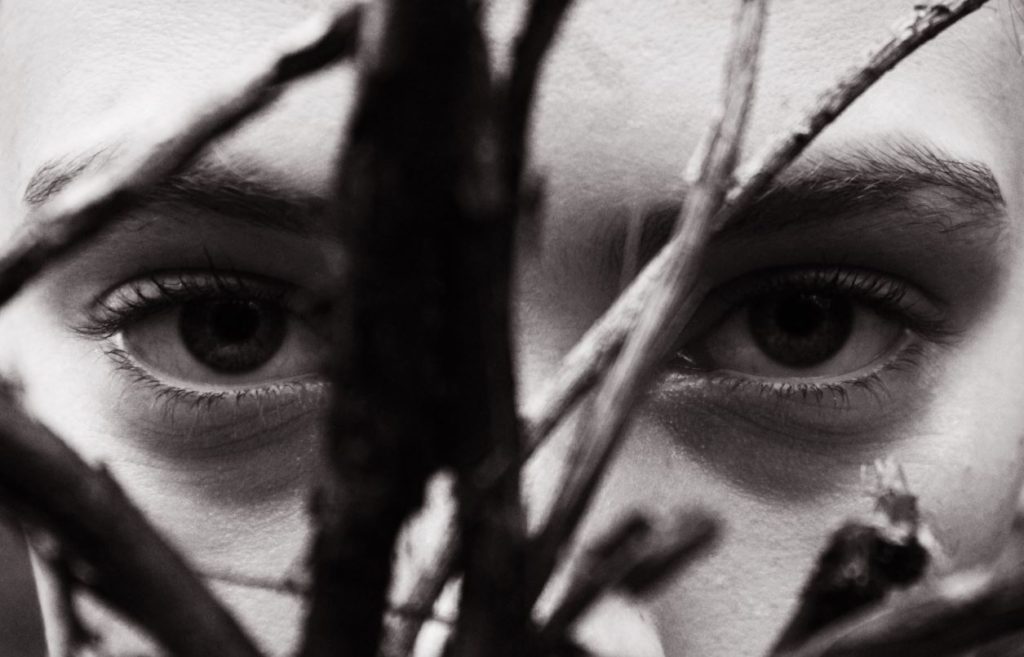
The hardest image to create was one in which I would be merging a set of images together to create a background, while keeping a single image opaque in the foreground.
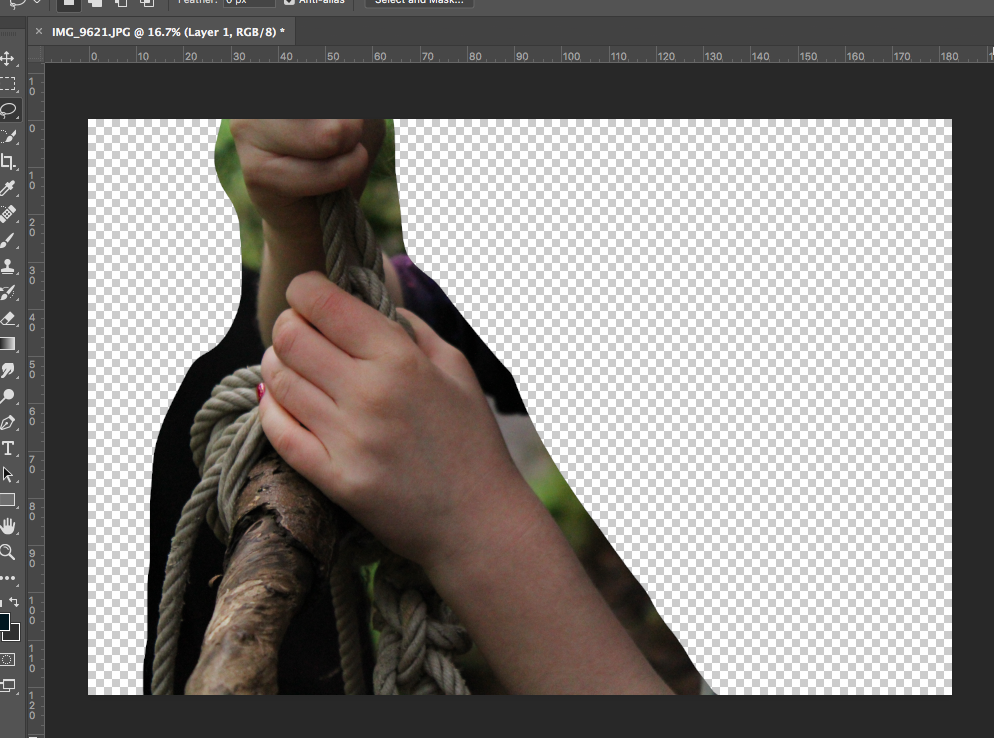
Initially, I cut out the part of the image I wanted to use from the background.
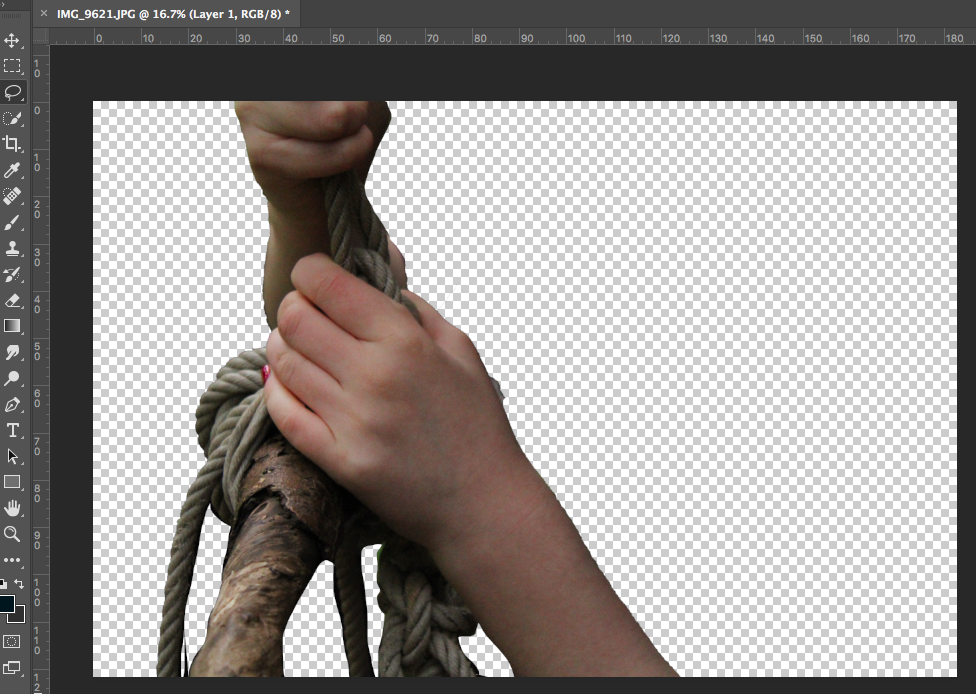
I then used the quick selection tool and lasso tool to cut the image out from the background fully. After this, I used the eraser with 0% hardness to soften out the edges of the image to make it look more natural.
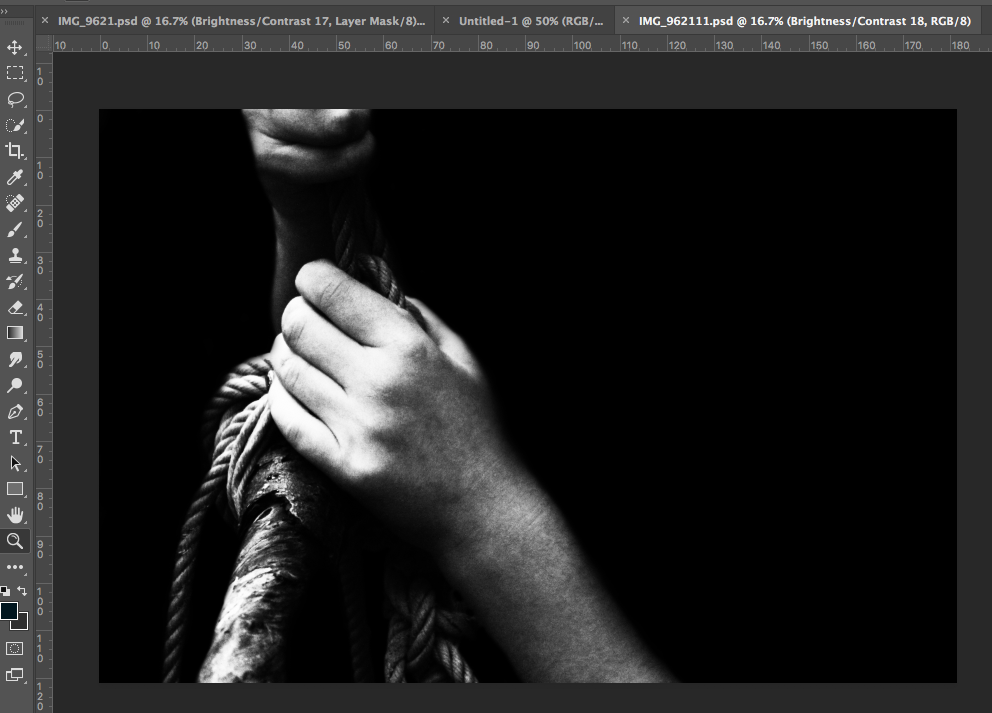
I then increased the contrast of the image and turned the image black and white to match the black background that I added. I used a soft black paintbrush to go around the edges of the image to patch up parts the edges that did not match the background.
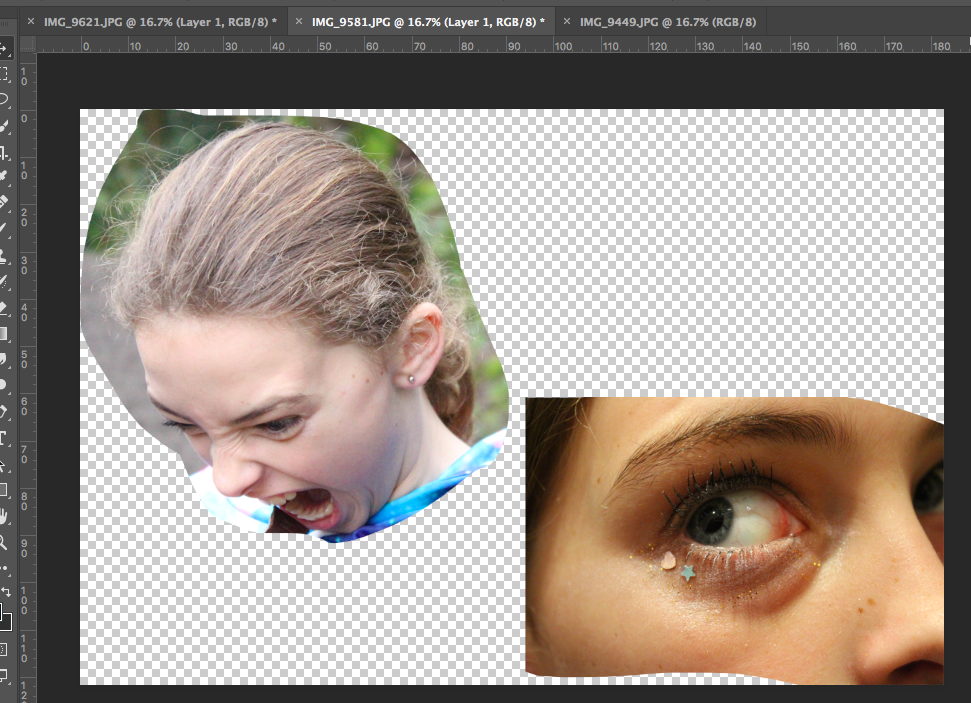
I then used the lasso tool to cut out a range of images of faces showing intense and varied emotion from a range of different images.
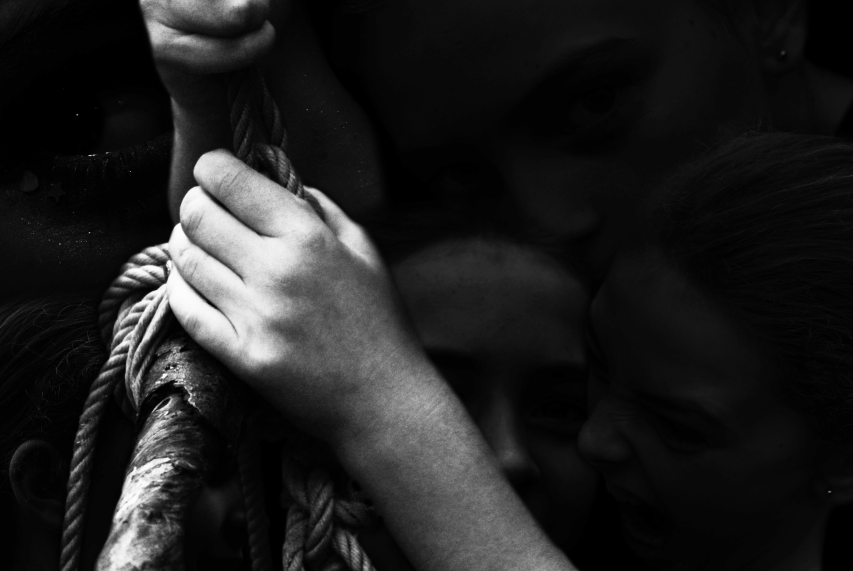
I then used the eraser tool at 75% opacity to make these cut out image more opaque and soft. Finally, I added these images behind the image in the foreground, allowing them to create the background for the image. I feel that although this image took a lot of work, I believe the outcome is an effective piece.
Edits:
Final Outcomes:
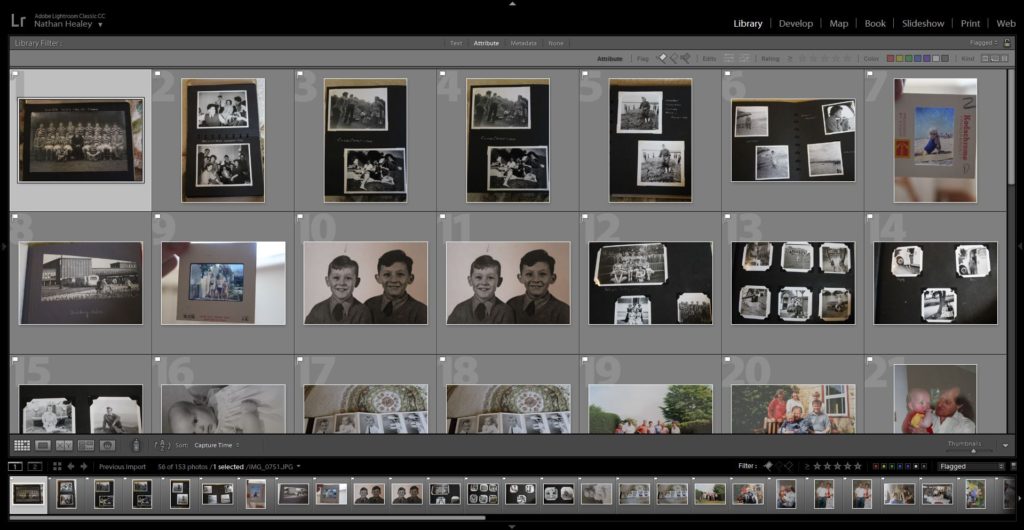
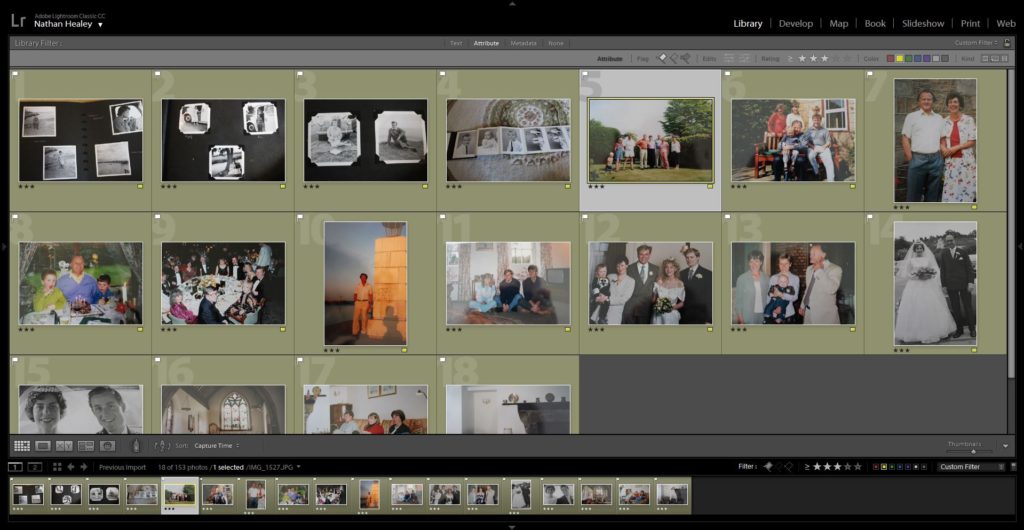
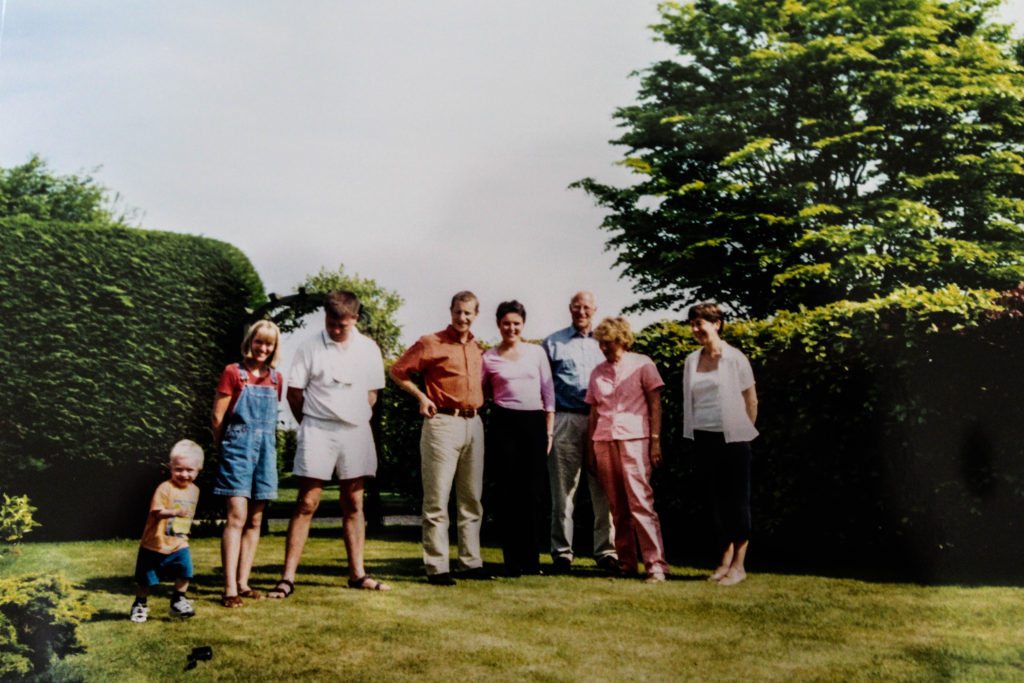
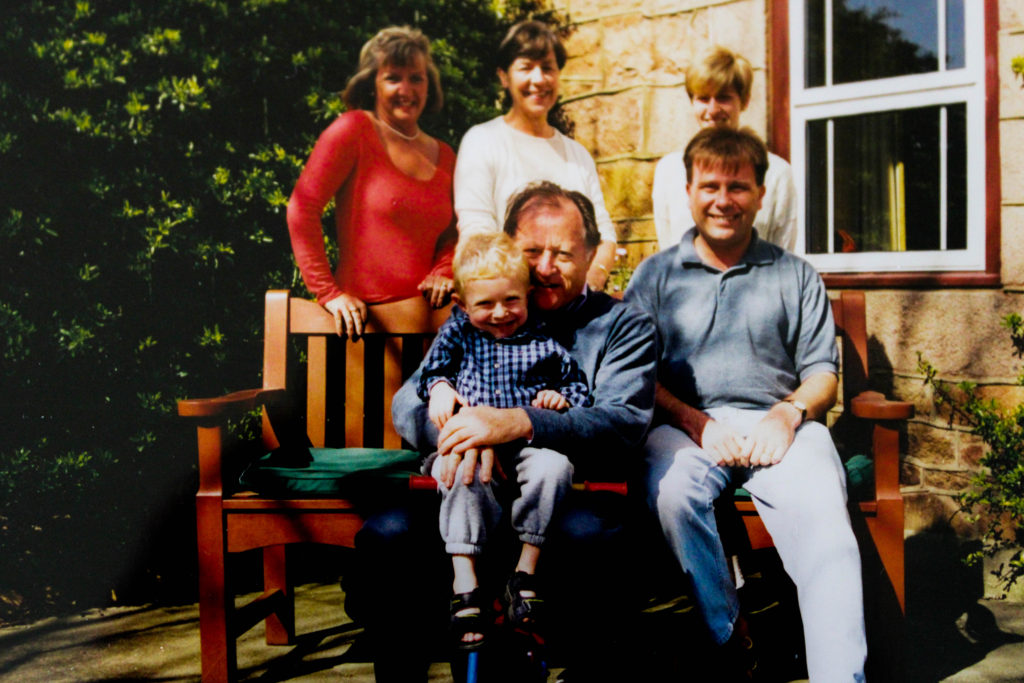
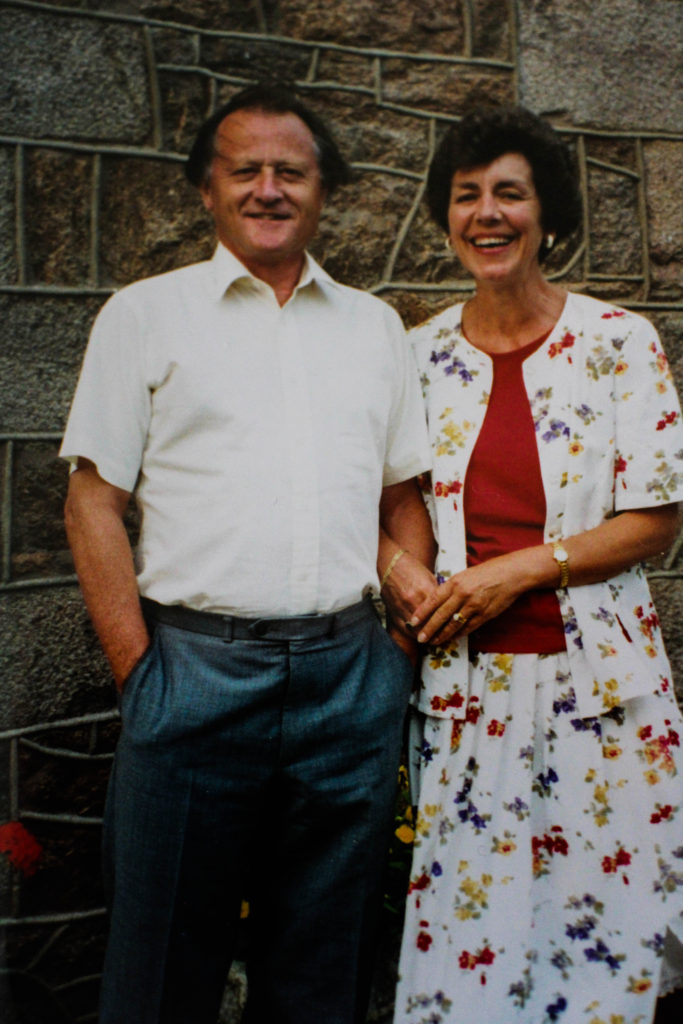
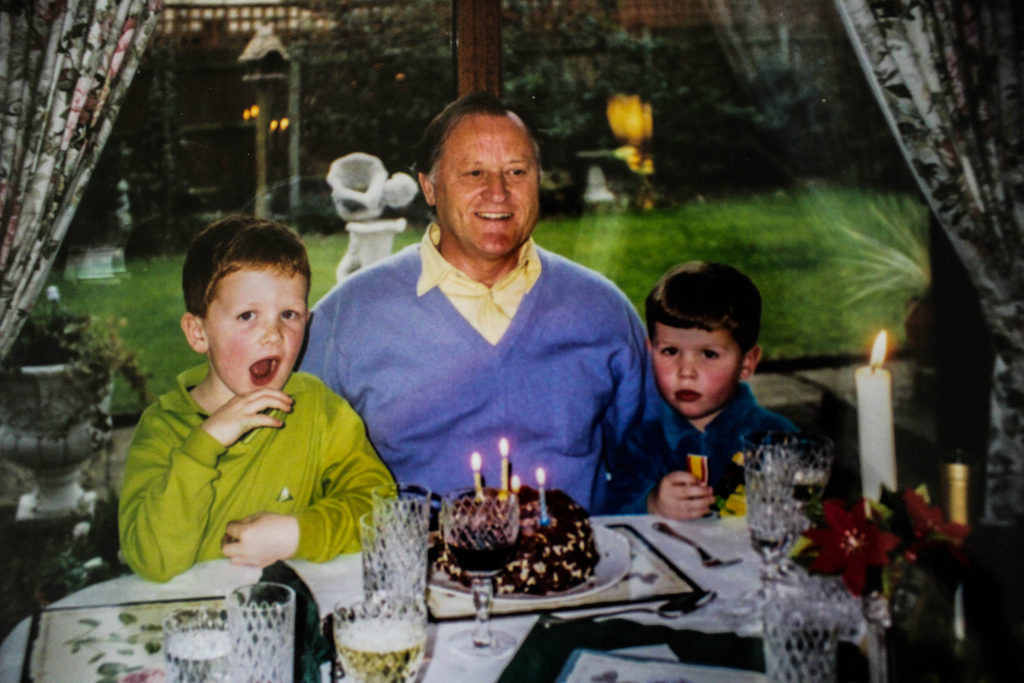
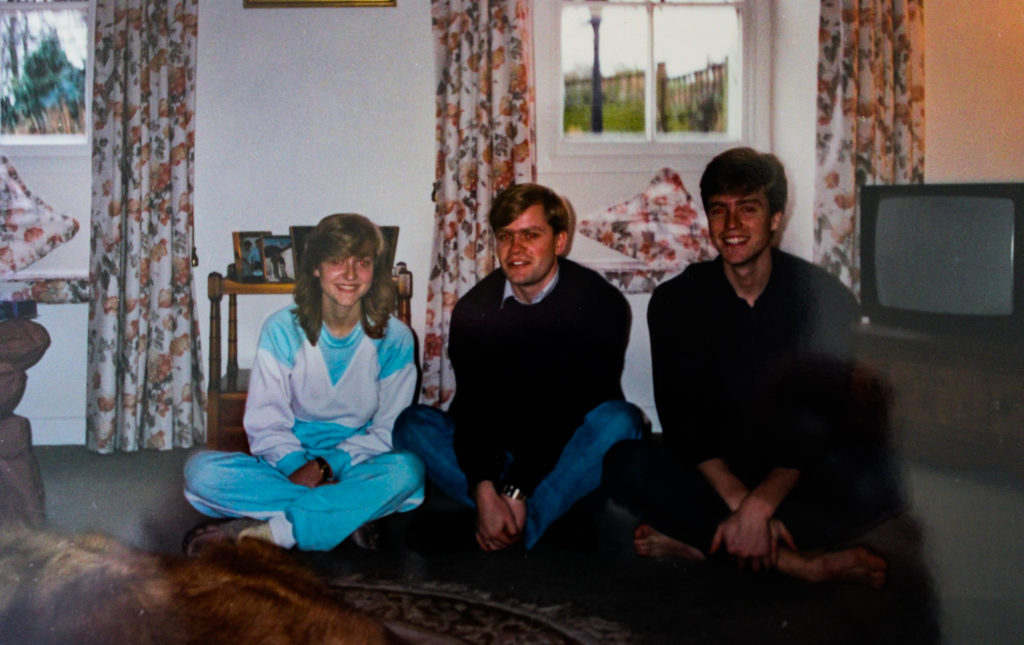
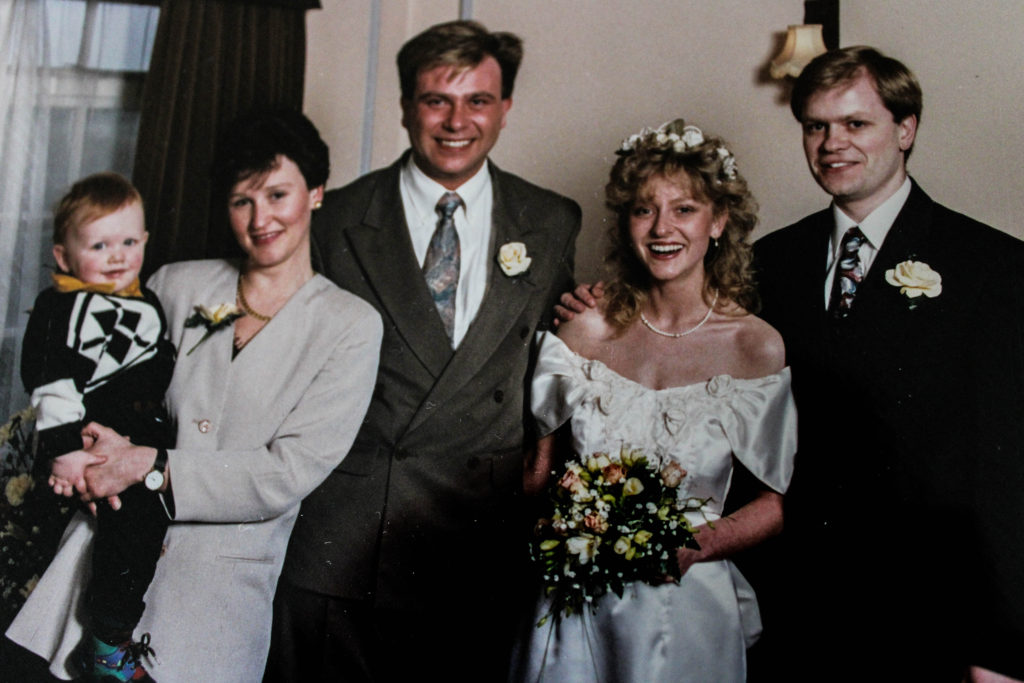
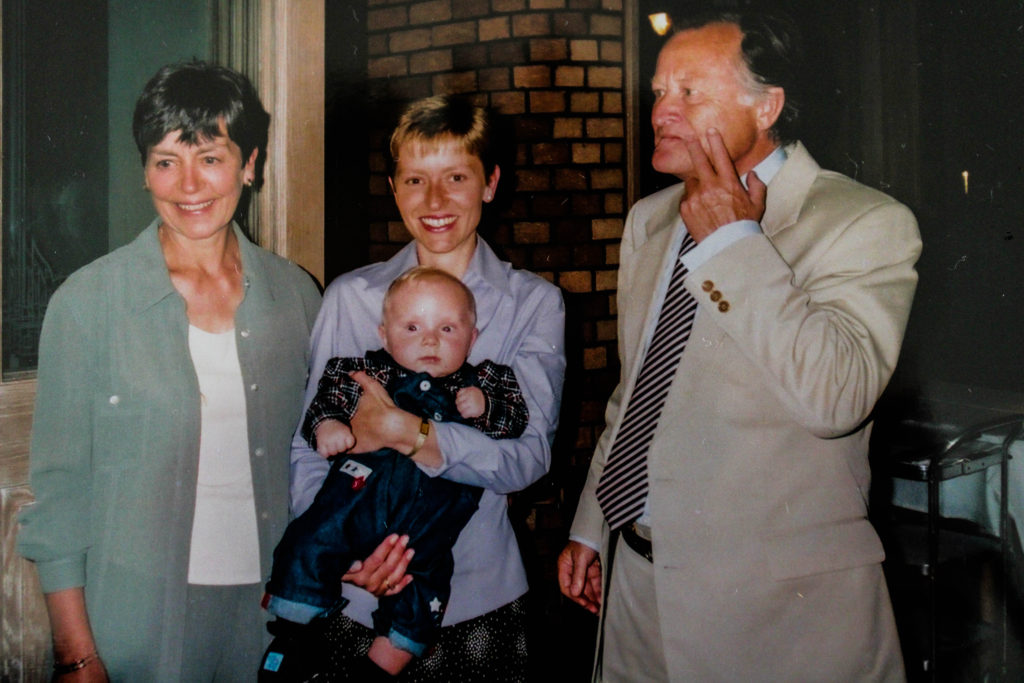
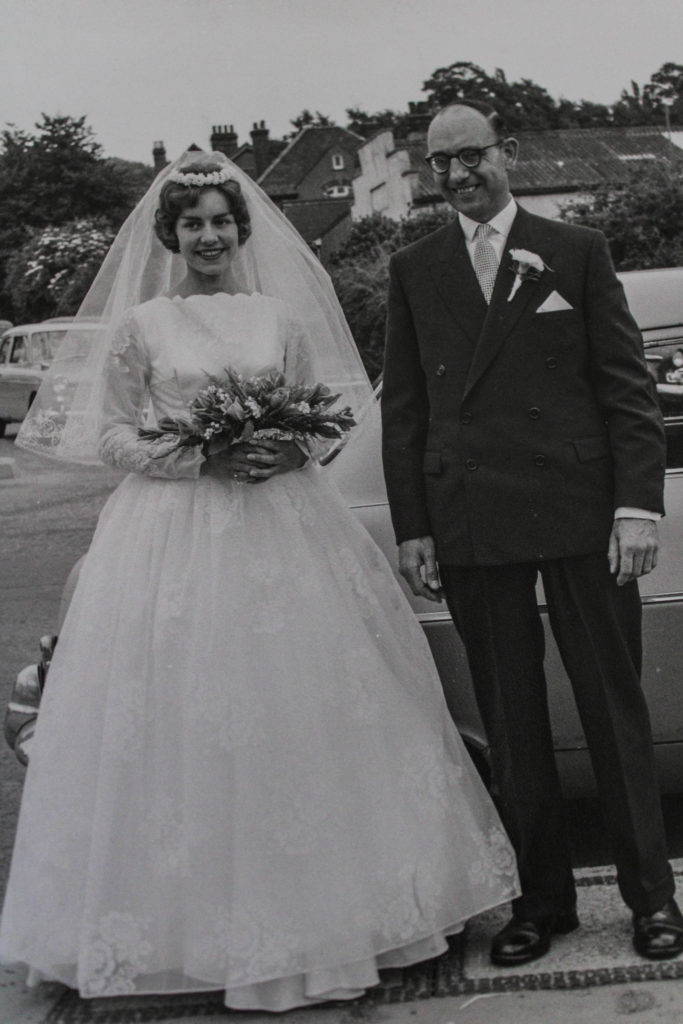
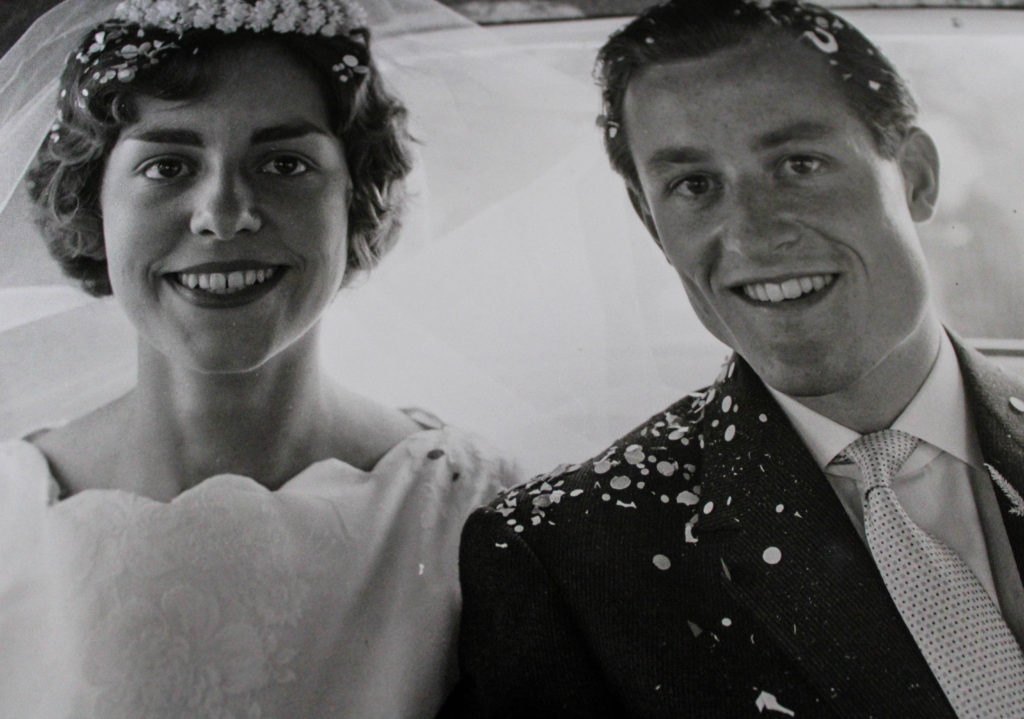
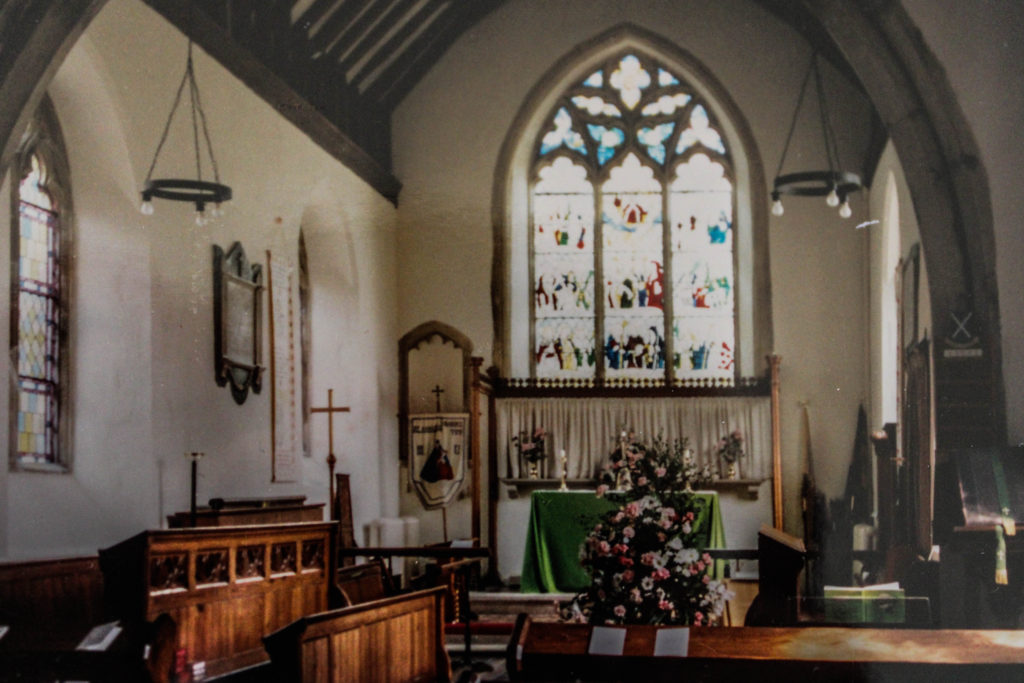
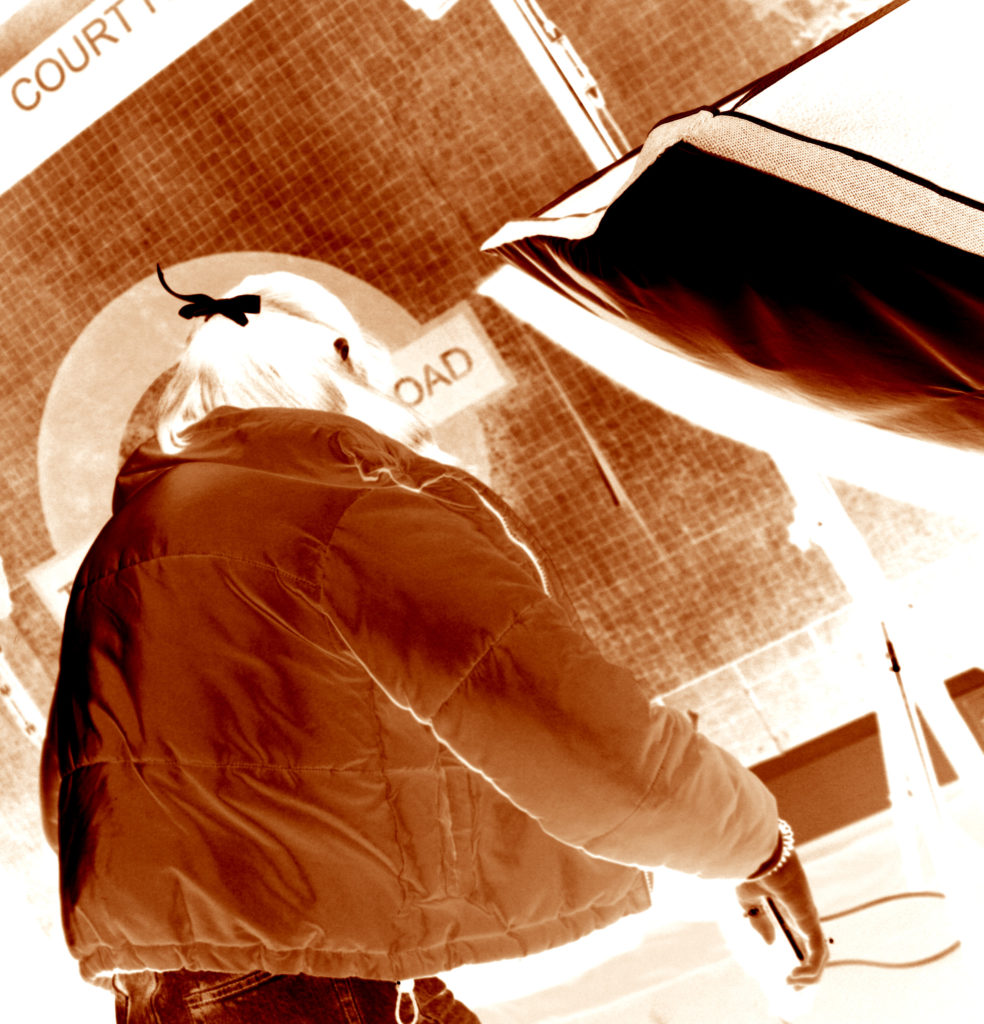
As mentioned in my photo shoot planning post I discussed how I did not want to manipulate the imagery, to the extent to which it takes away from the authenticity. On light room I simply slightly adjusted the shadows, white, blacks, contrast and clarity sliders subtly. Doing this allowed for the image colour and to clearly be showcased. In further edits, I am going to look at using these archival to produce photomontages and or manipulate the photographs to help portray stronger conceptual meaning in order to showcase their lifestyle.
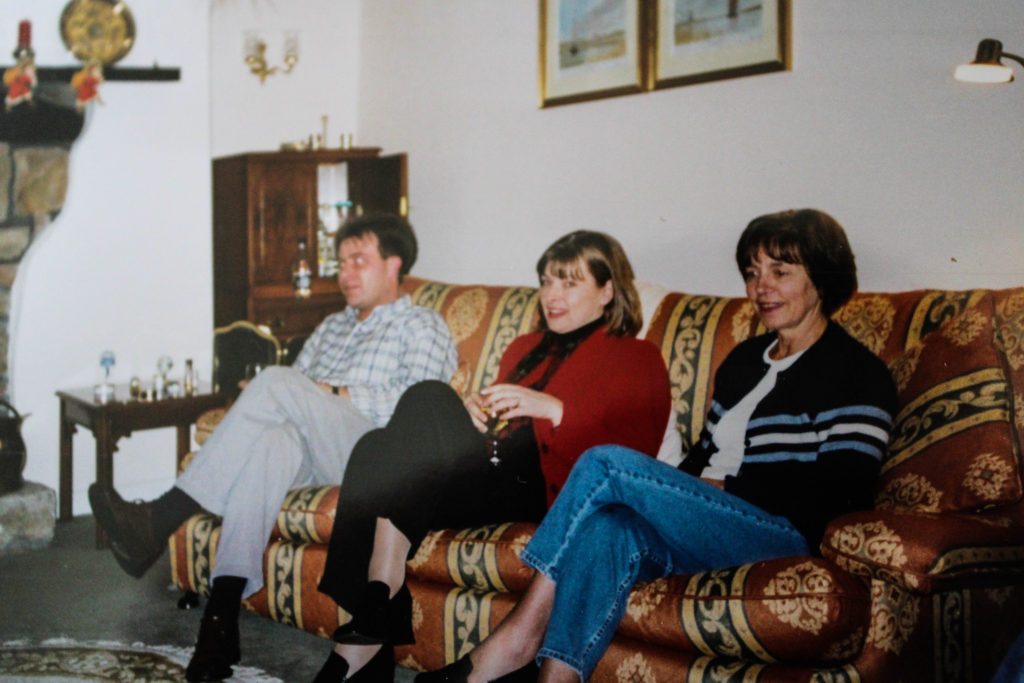
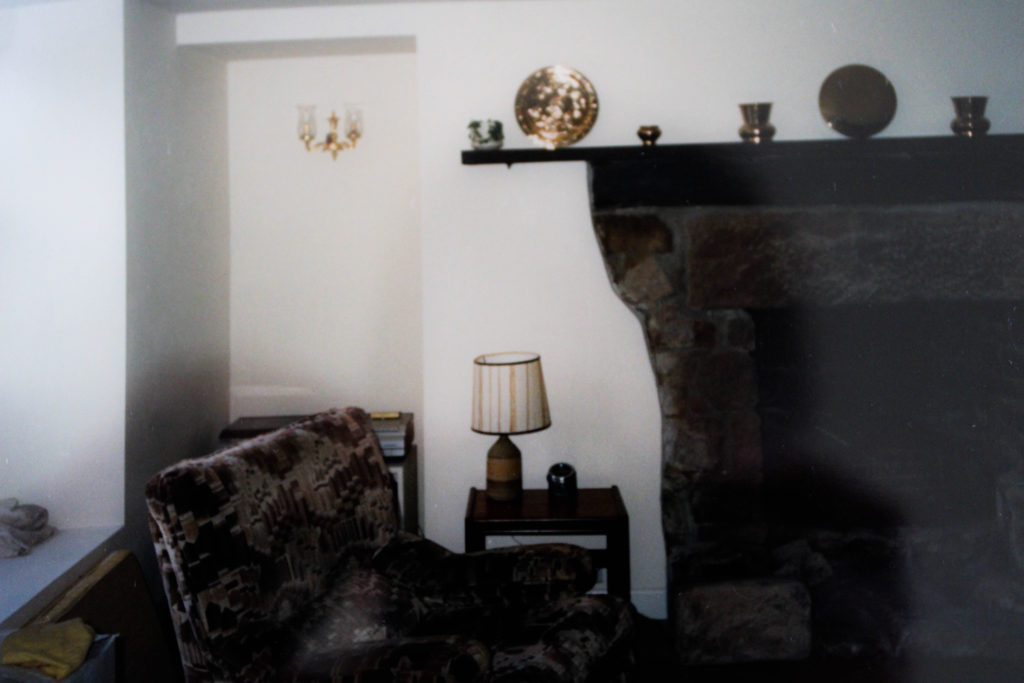
Conclusion:
The imagery I managed to gather from searching through my grandparents photo archive, has given me useful insight into different aspects of their lifestyle. One major aspect I realised was the importance of family, many of their images included pictures of them both with other family members at important occasions such as weddings or christenings. These family events can also be considered religious showcasing another factor which has highly impacted their lifestlye. In addition, my Grandad referred a lot to how he worked hard to make a living for him and his wife, showcasing gender roles within their society and upbringing alongside the ideology of wealth, which is also supported through their attired as they seem to constantly be dressed very formally in every occasion. Due to this I am going to base my next lot of photoshoots exploring these ideas of religion, family gathering, gender roles and wealth through portraits and potential for me to explore their house through exterior and interior photography.


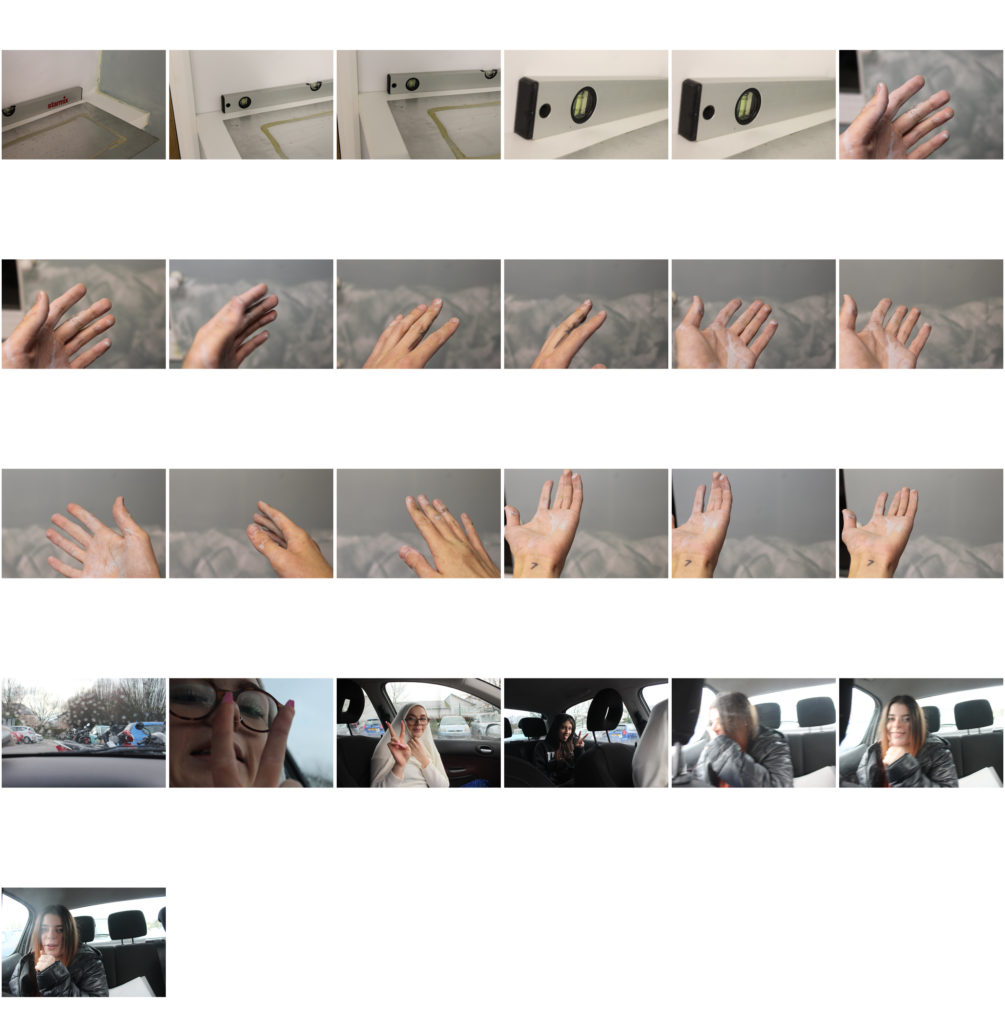
Contact Sheet:
Response 1:


Response 2:


Response 3:

Response 4:


Planning:
For my first photo shoot I decided to photograph my grandparents archival imagery in order to enhance my understanding of my grandparents lifestyle visually. I intend to look through their photo books capturing weddings, family events, holidays and their old house. While looking through the archival imagery I intend to ask questions about what was happening in the images as well as asking questions about their lifestyle in terms of family structure, traditions, religion, all aspects which have an impact on lifestyle. In order to get a digital copy of the images I intend to photograph the images using my DSLR, manual setting. I intend to keep the ISO and shutter speed low. I did look at scanning in the imagery, however a lot of them are bundled together and are laminated which would make the outcome distorted and not a ‘good quality’. Once I have all the imagery I intend to upload them to light room and select the best imagery which showcase their lifestyle. I will slightly adjust the images to ensure the all detail of the photograph to be showcased, without making it seem highly edited and lowering the quality and authenticity.
Importance of Archival Imagery:
After previous research into archival imagery, I learnt the importance of this form of photographs to enhance a photographic project in terms of narrative and structure. Using family archives will allow me to explore my grandparents lifestyle when they were younger, allowing me to see how this underlying theme has changed and developed over time. In addition, the use of archives will spark conversation with my grandparents, allowing me to understand my subject on a deeper level, gaining more research in insight which will hopefully develop the way in which I go about capturing their lifestyle in future photo shoots.
Furthermore, some of the images will still be on film and/or slides which means a lot of the images I may not have access to. However, those images are very ‘old school’ and after emailing my grandparents do not hold much content in terms of showcasing the theme of lifestyle. I will also look at capturing any objects around the house, which my grandparents believe hold meaning and showcase their lifestyle.
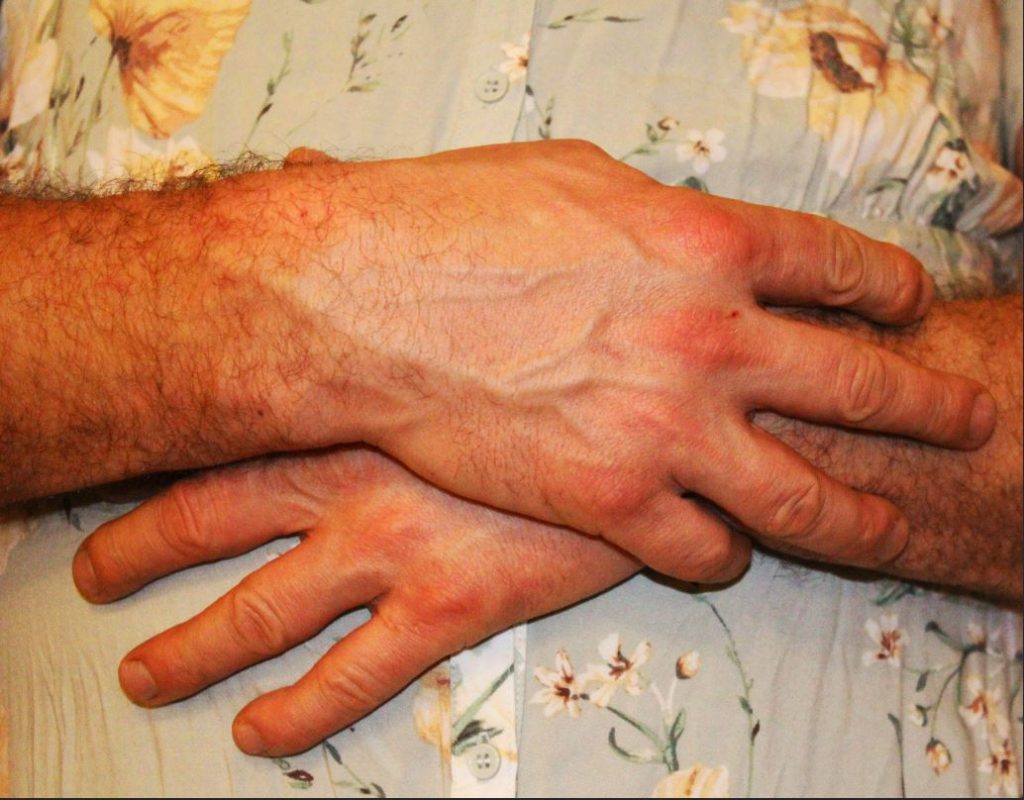
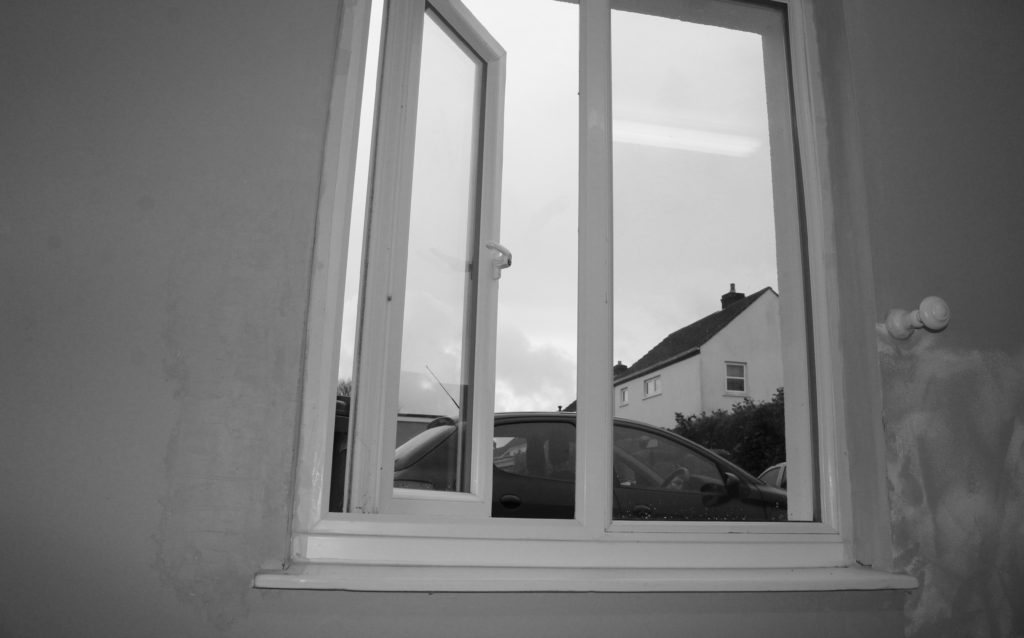
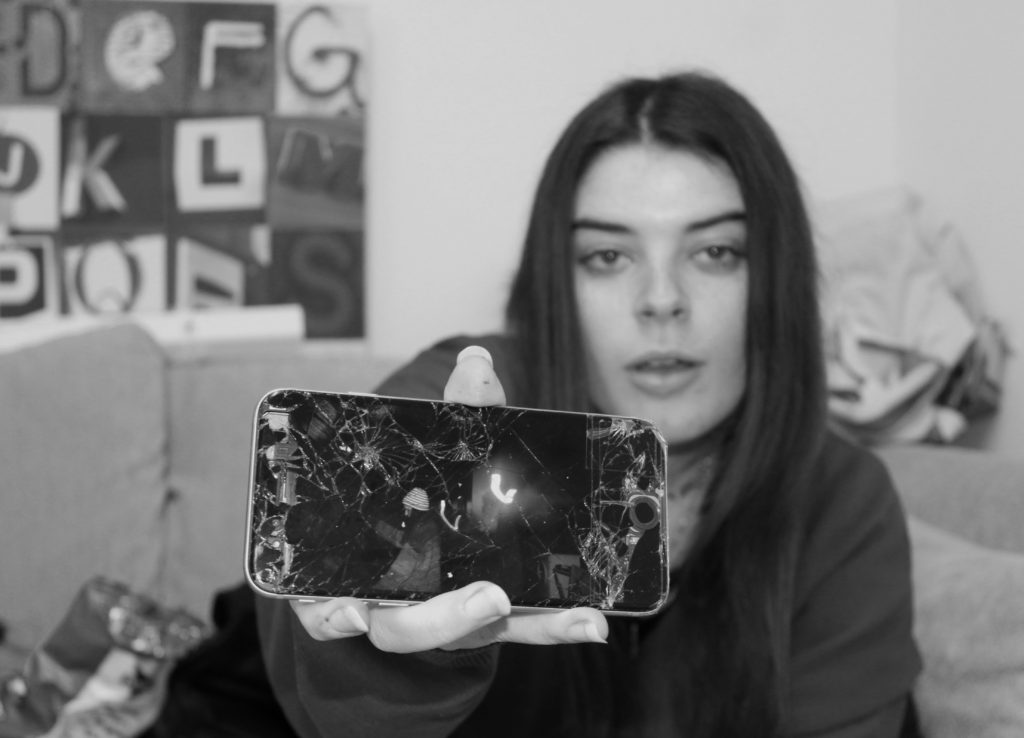
After taking inspiration from my planning mind-map, I was able to take a series of images for my first photo-shoot, revolving around the theme of breaking masculine gender roles, and merging both masculinity and femininity in order to show a liberation from gender stereotypes and roles. Here are my results:
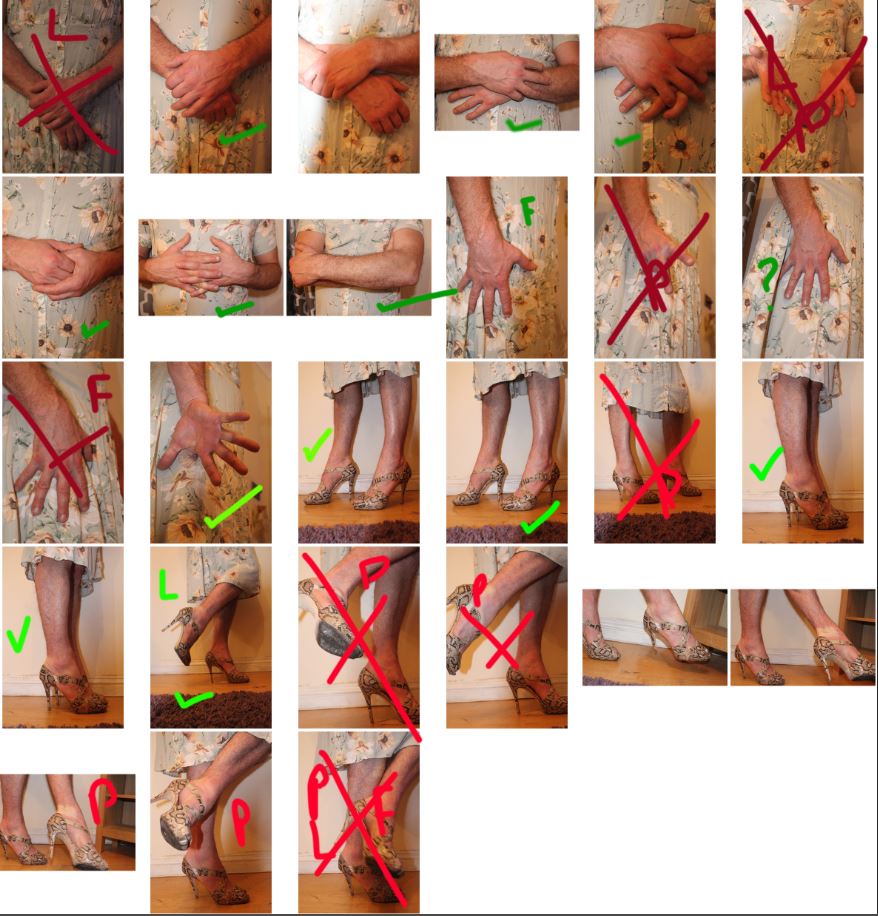
The final images from my selection can be found below:


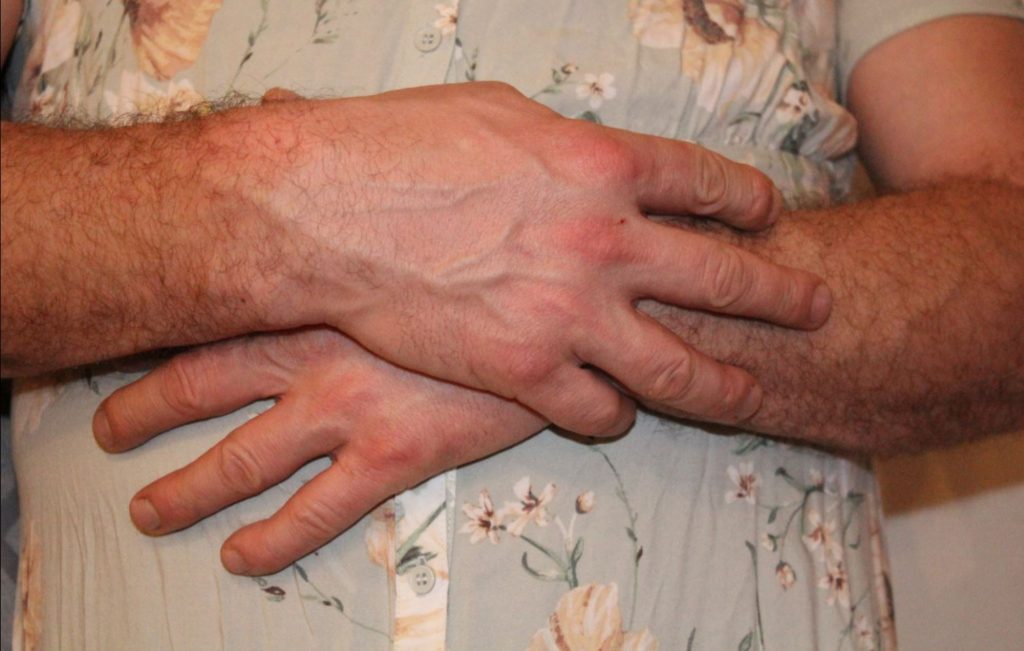


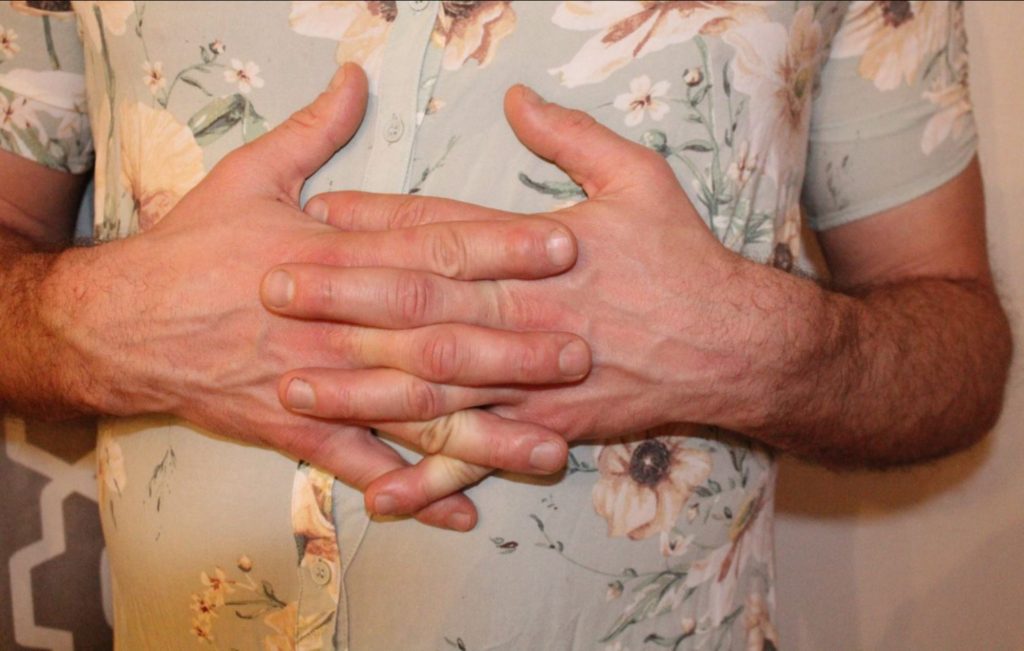


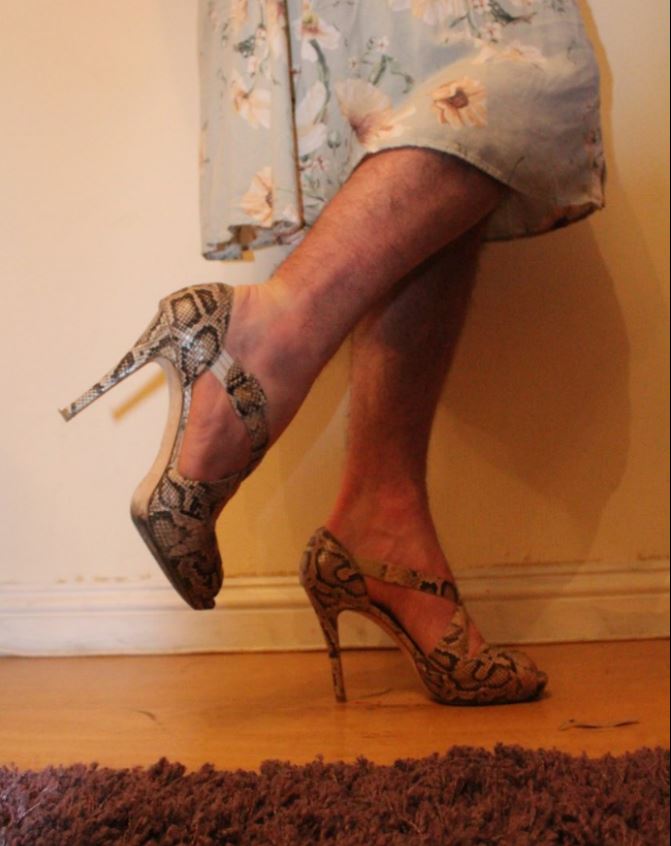
After creating this contact sheet, I was able to using editing software Photoshop to edit the images I decided that I would use. I used different editing techniques on the images in order to show different final results, and made an attempt to enhance the colours and contrast of each image using the editing tools on Photoshop:
I decided to experiment with the hue of some of my images in order to give them an overall more blue/green effect. I did this because I believe that by increasing the presence of this colour, the image takes on a more delicate, soft overall feel, therefore reflecting the feminine side of the image that I am trying to convey.

As well as editing the hue of my images, I also focused on increasing the contrast and altering the colour balance, in order to give the image an overall slightly softer and lighter effect.


After adjusting these settings, I was able to form an outcome of the image below:

In my images, I also took steps to eliminate the background of the subject, or replace it with a colour that made sure to push all focus to the subject themselves, and to remove the background that did not match the context of the image. To do this, I used the eyedropper tool to locate a suitable colour on the background, and used the paint brush to carefully paint around the subject, and fill in the background.
In some of my images, I made attempts to show as much contrast as possible between the light and dark areas of the photo, and in doing so enhanced the shapes and patterns of the subject and their clothing, which I feel helps to draw attention to the parts of the image where there is contrast (masculine legs vs the feminine clothing)
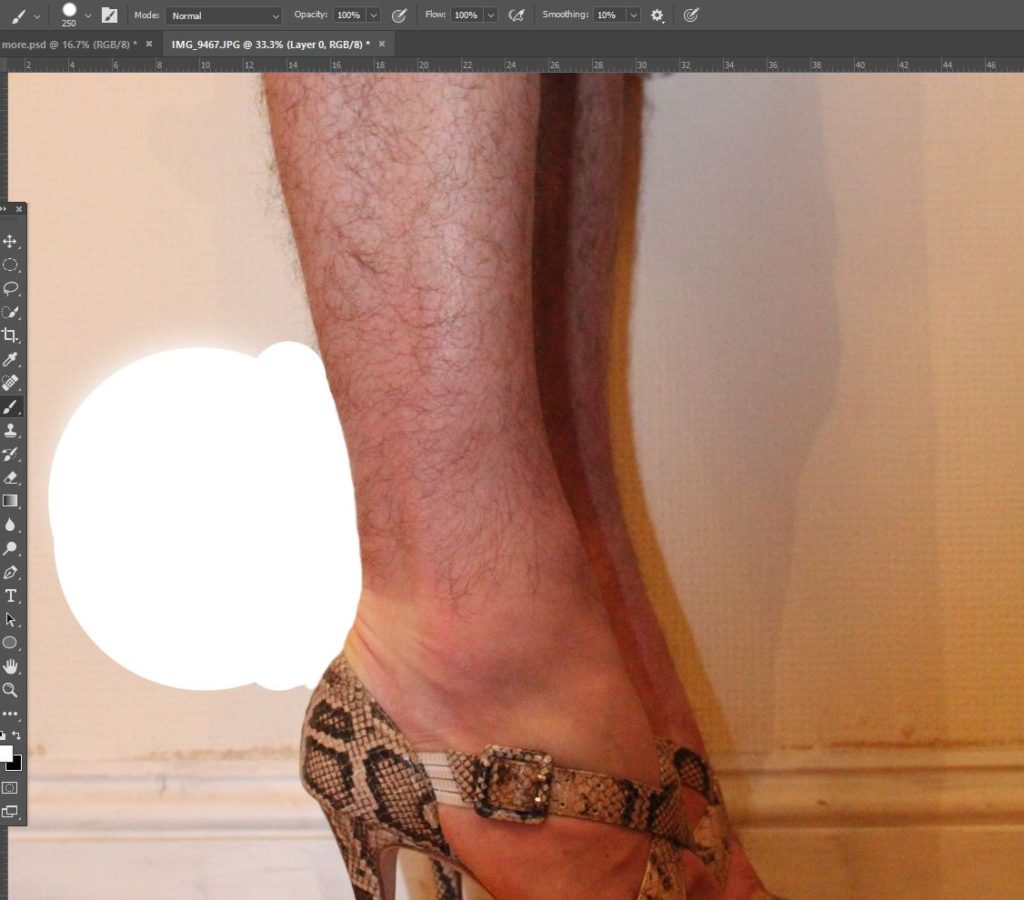
After cutting out the subject from the background, I changed the image to black and white, and increased the contrast drastically. I then altered the colour balance so it sat more towards a blue hue, and therefore the final image is a black and white image with a slight blue tone, giving it a softer, but still stark bold overall look.

The following images are also a collection of my final images from my first photo-shoot, after the editing process:
