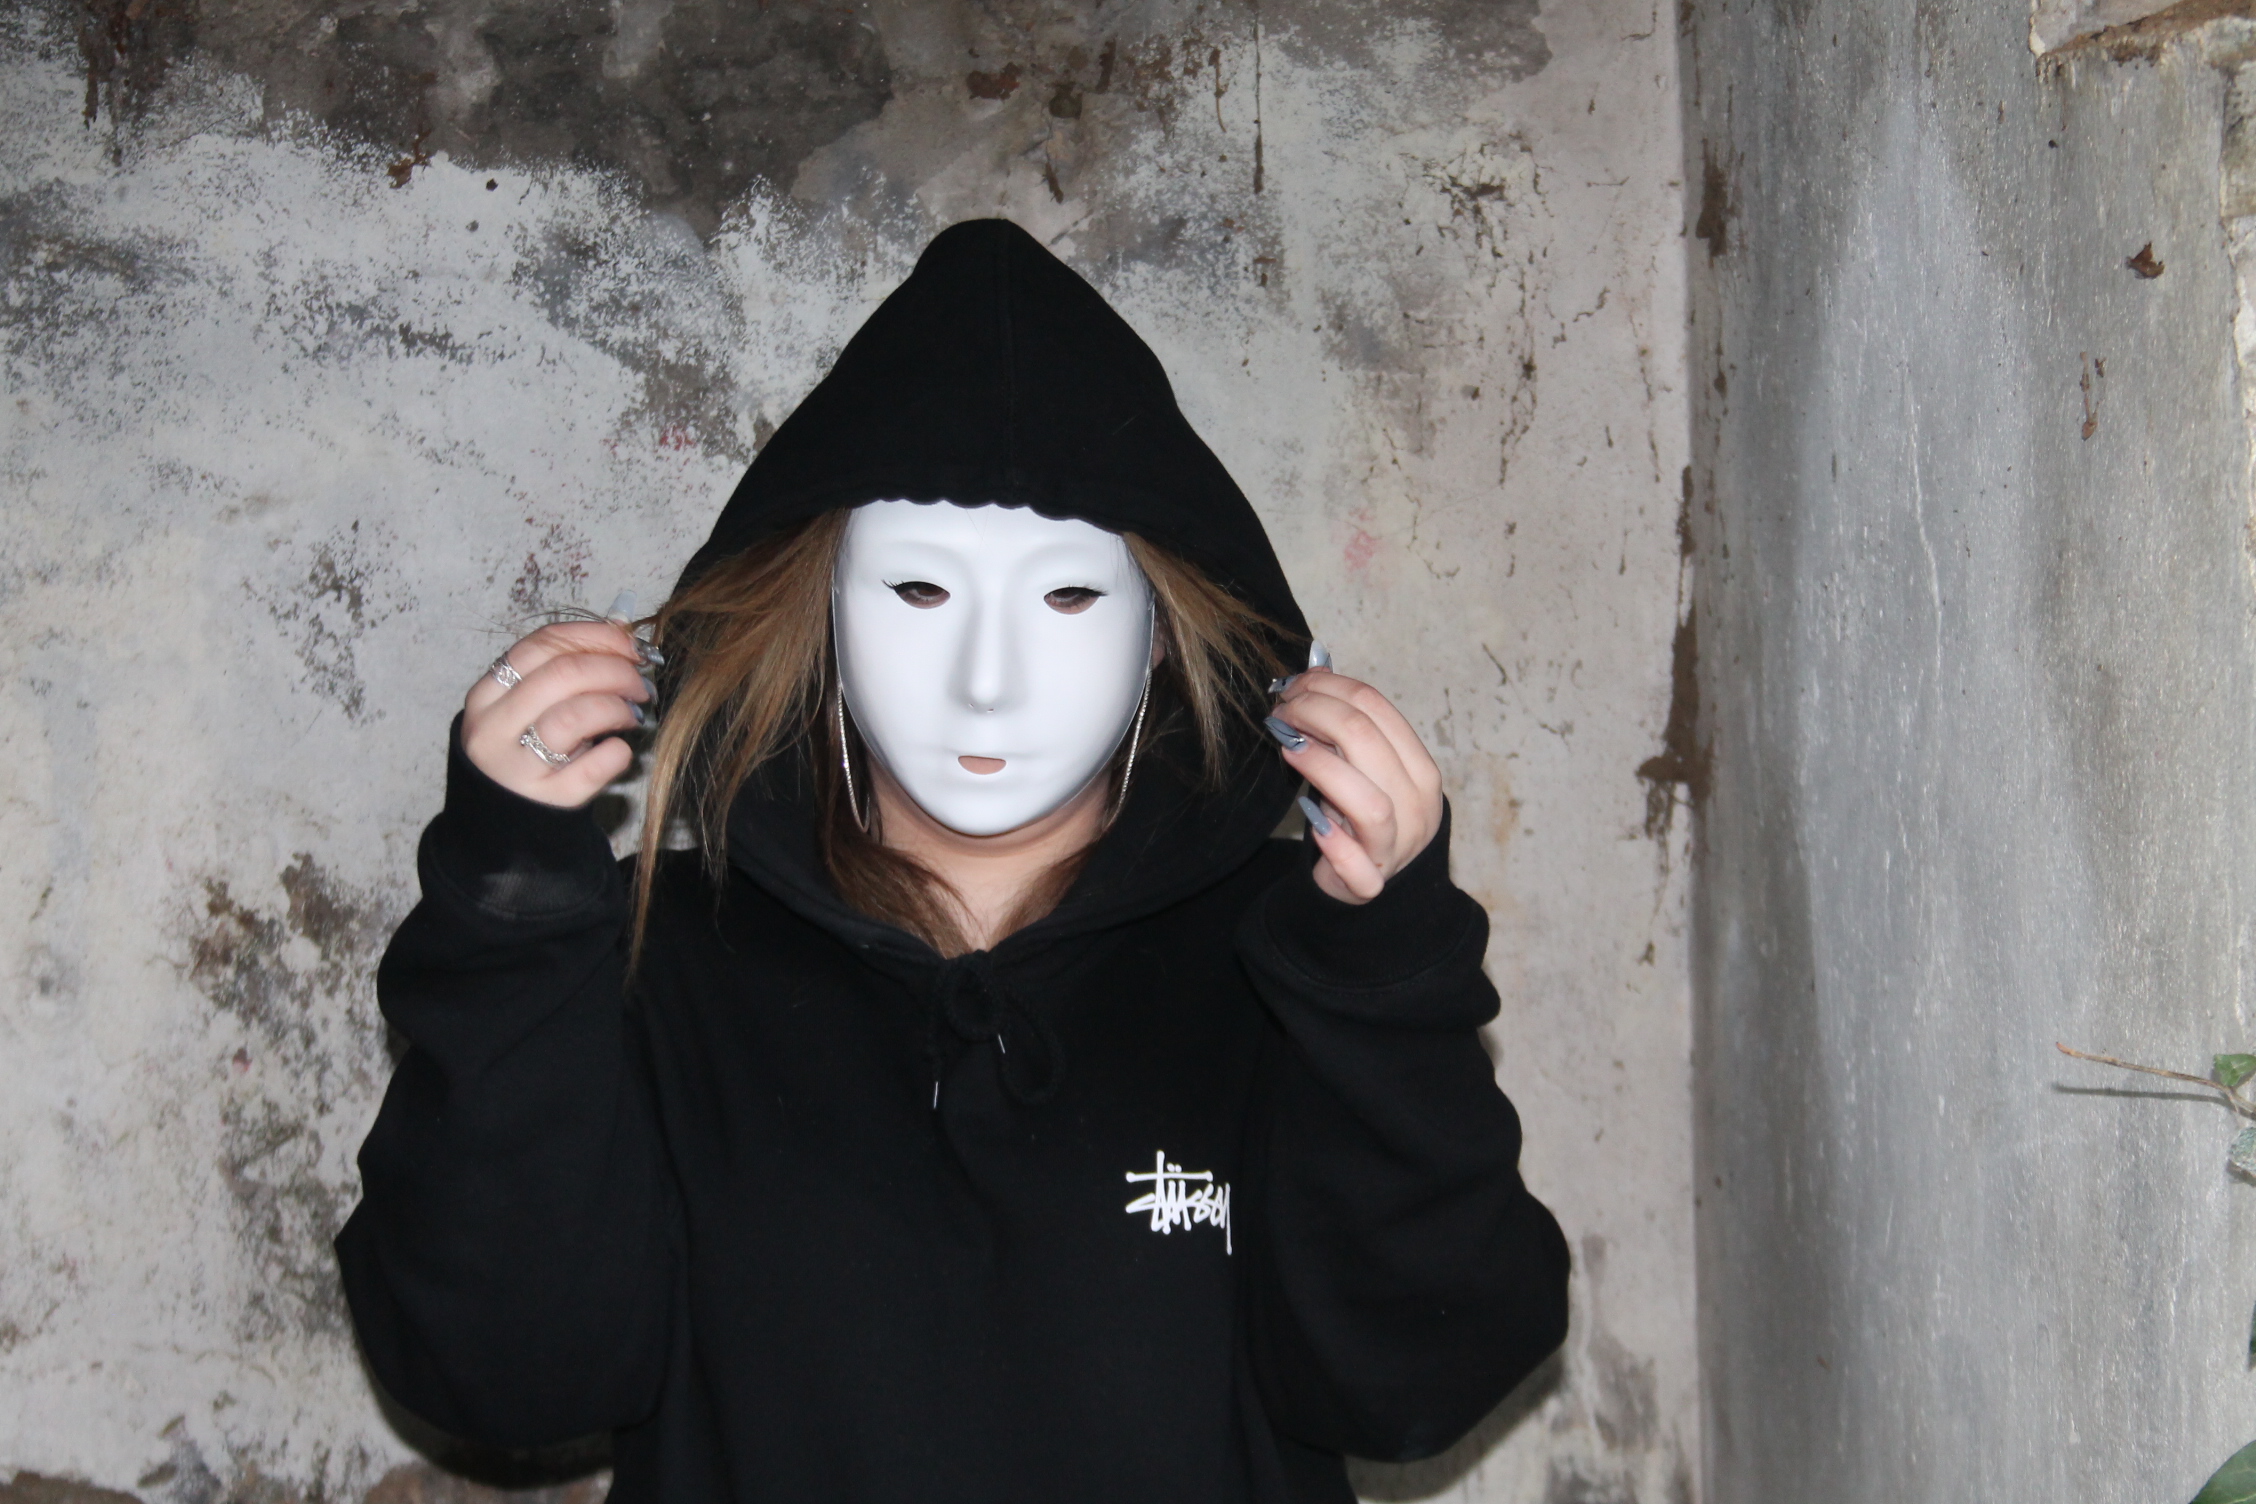
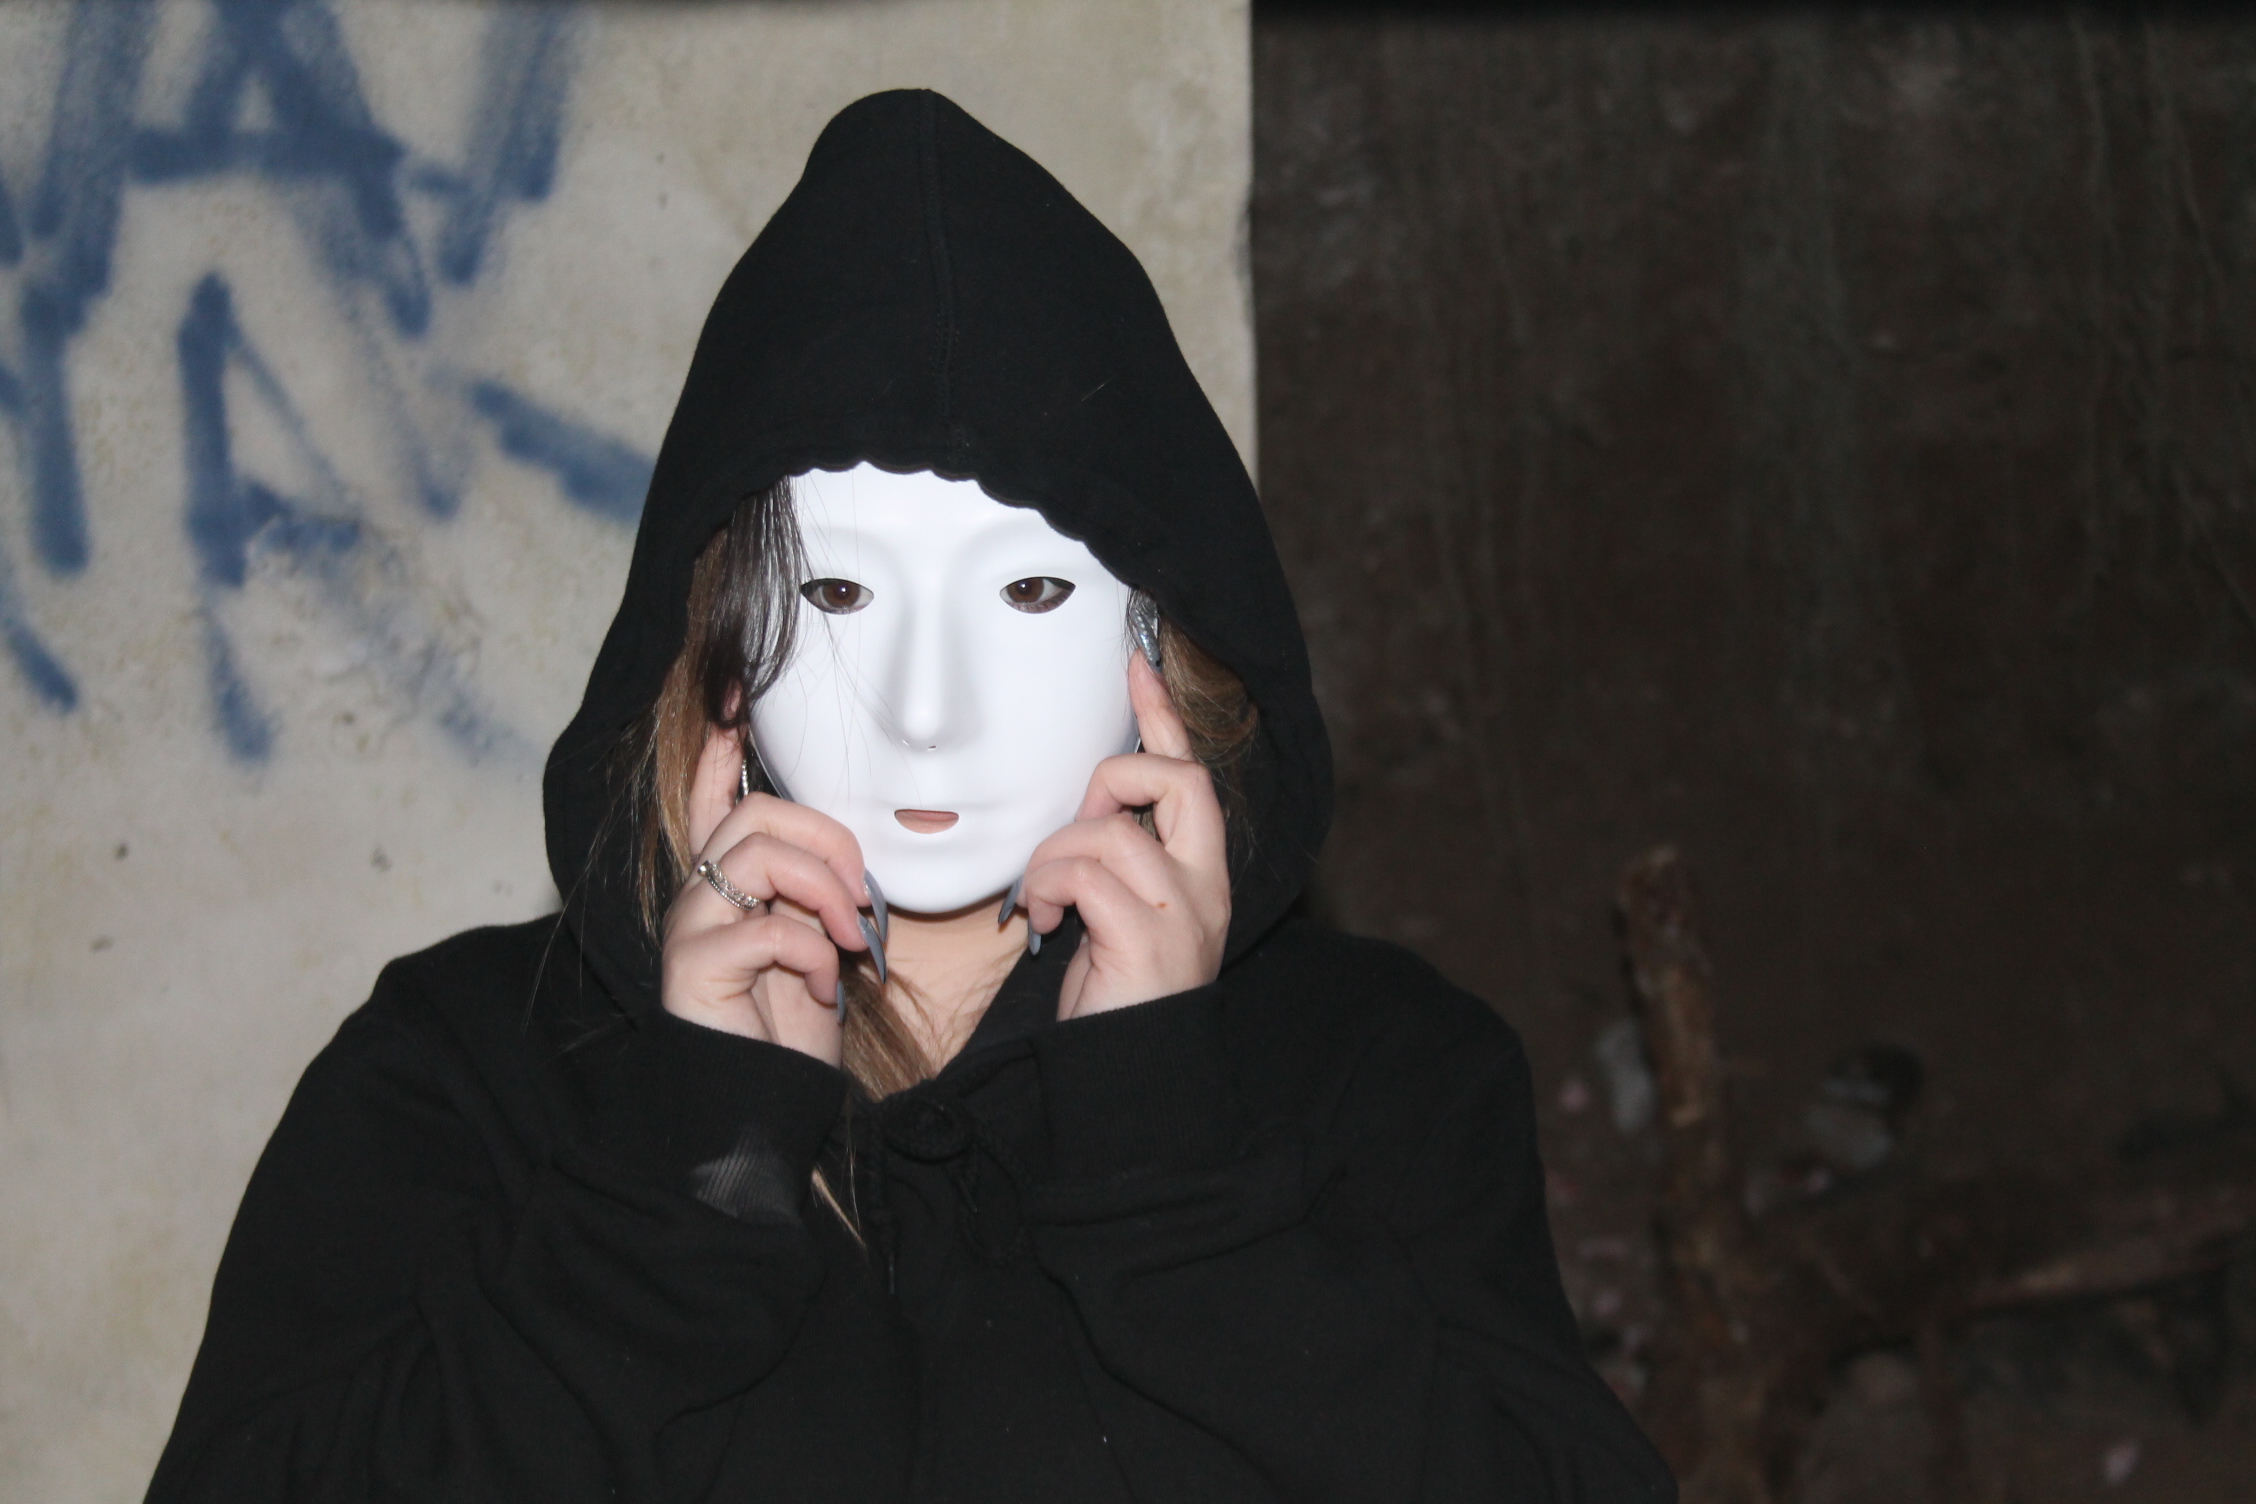
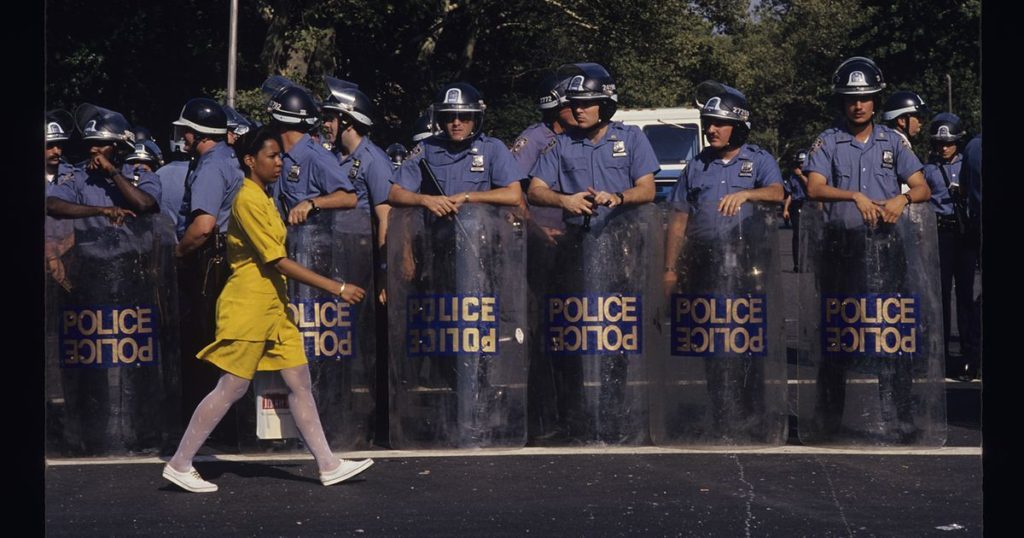
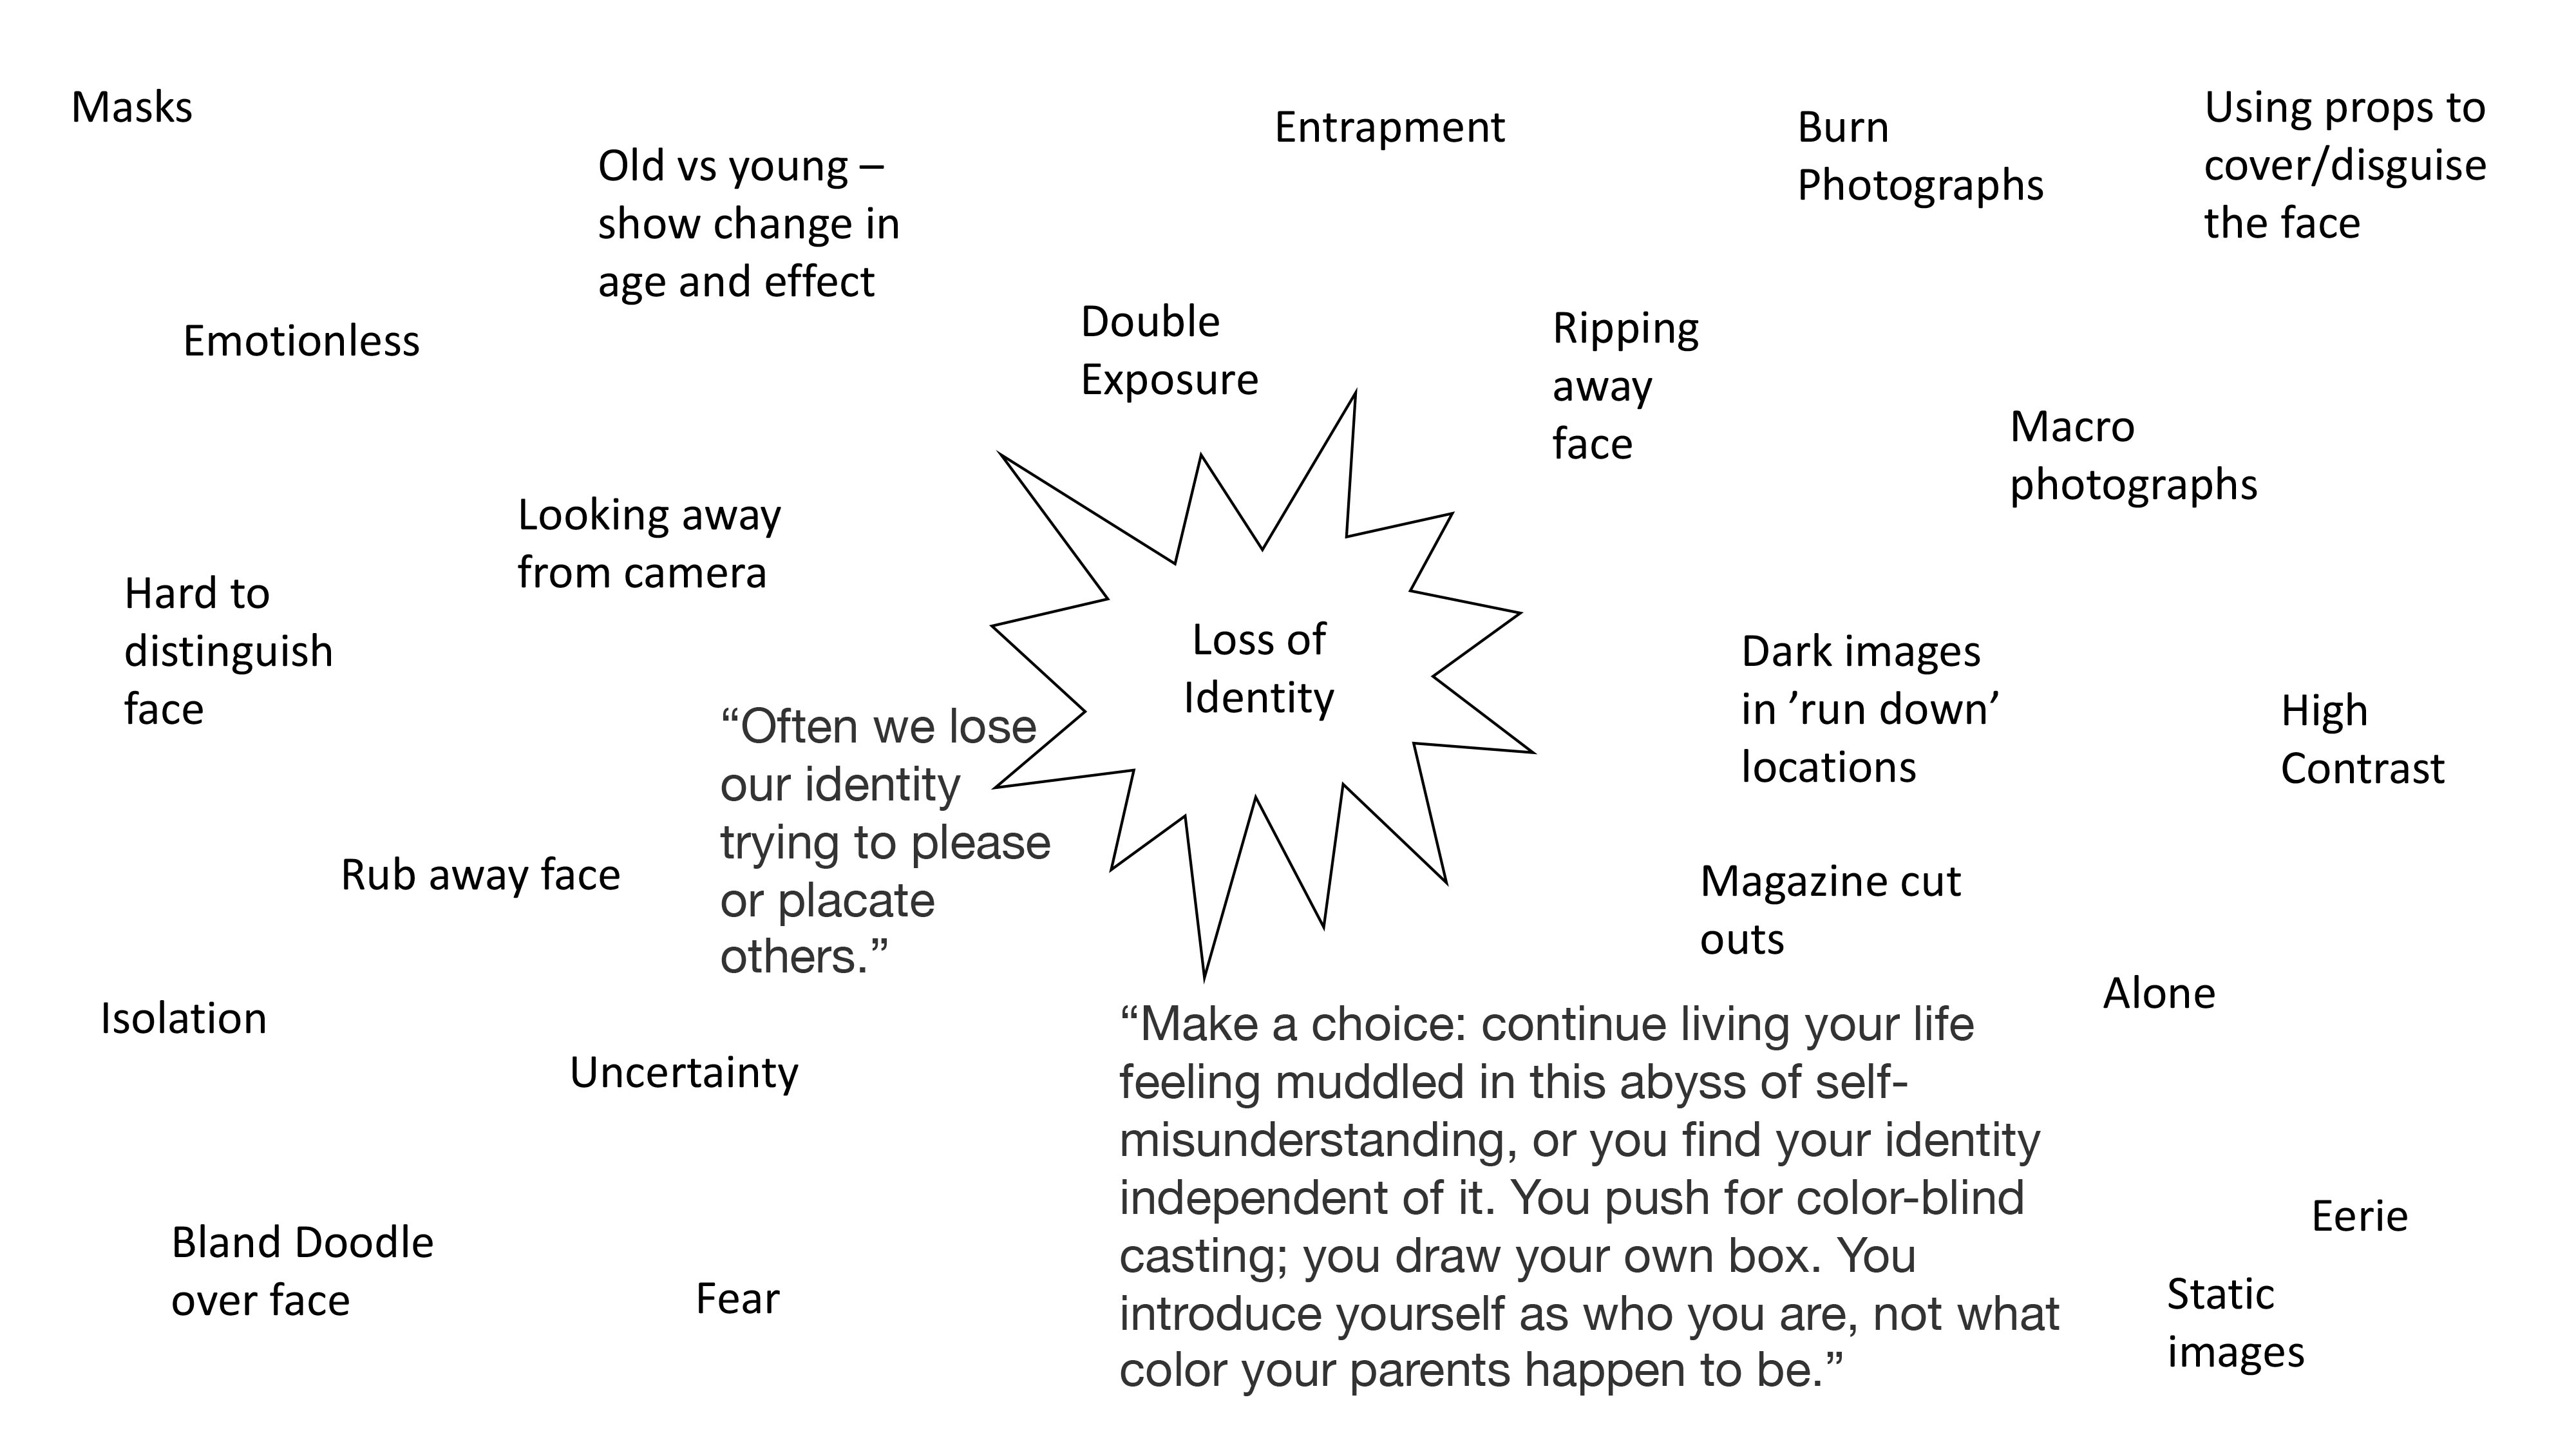
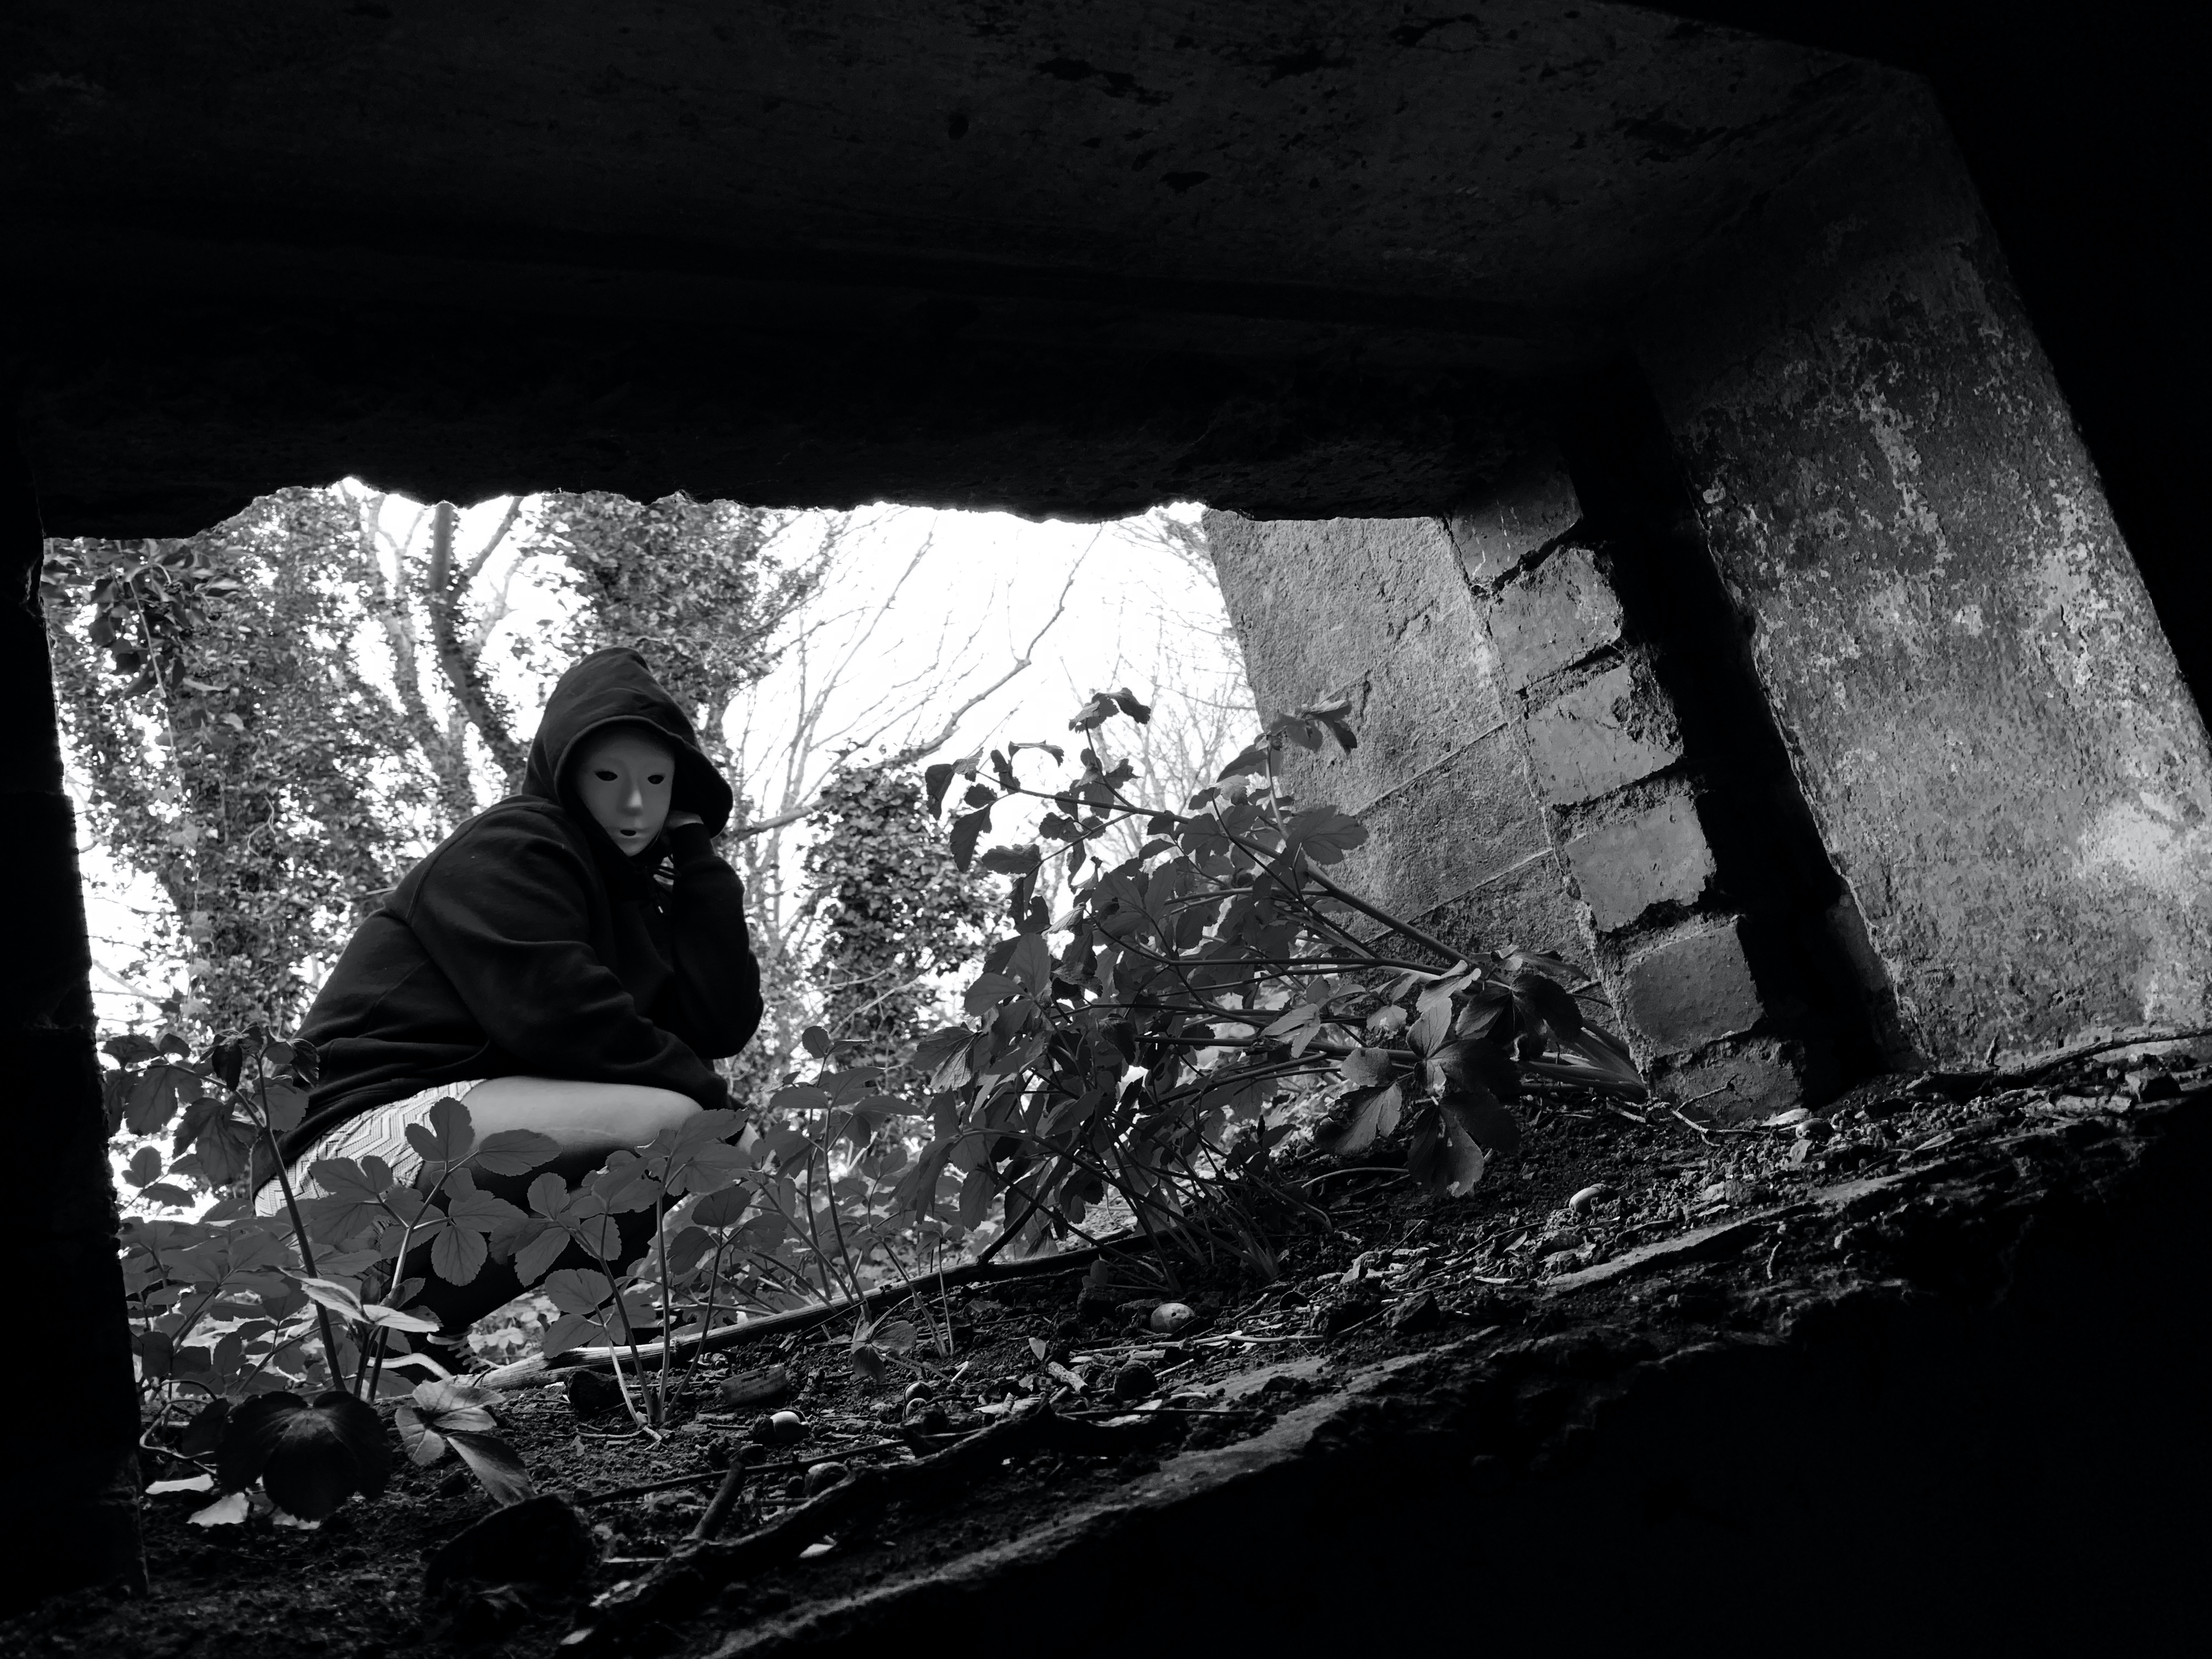
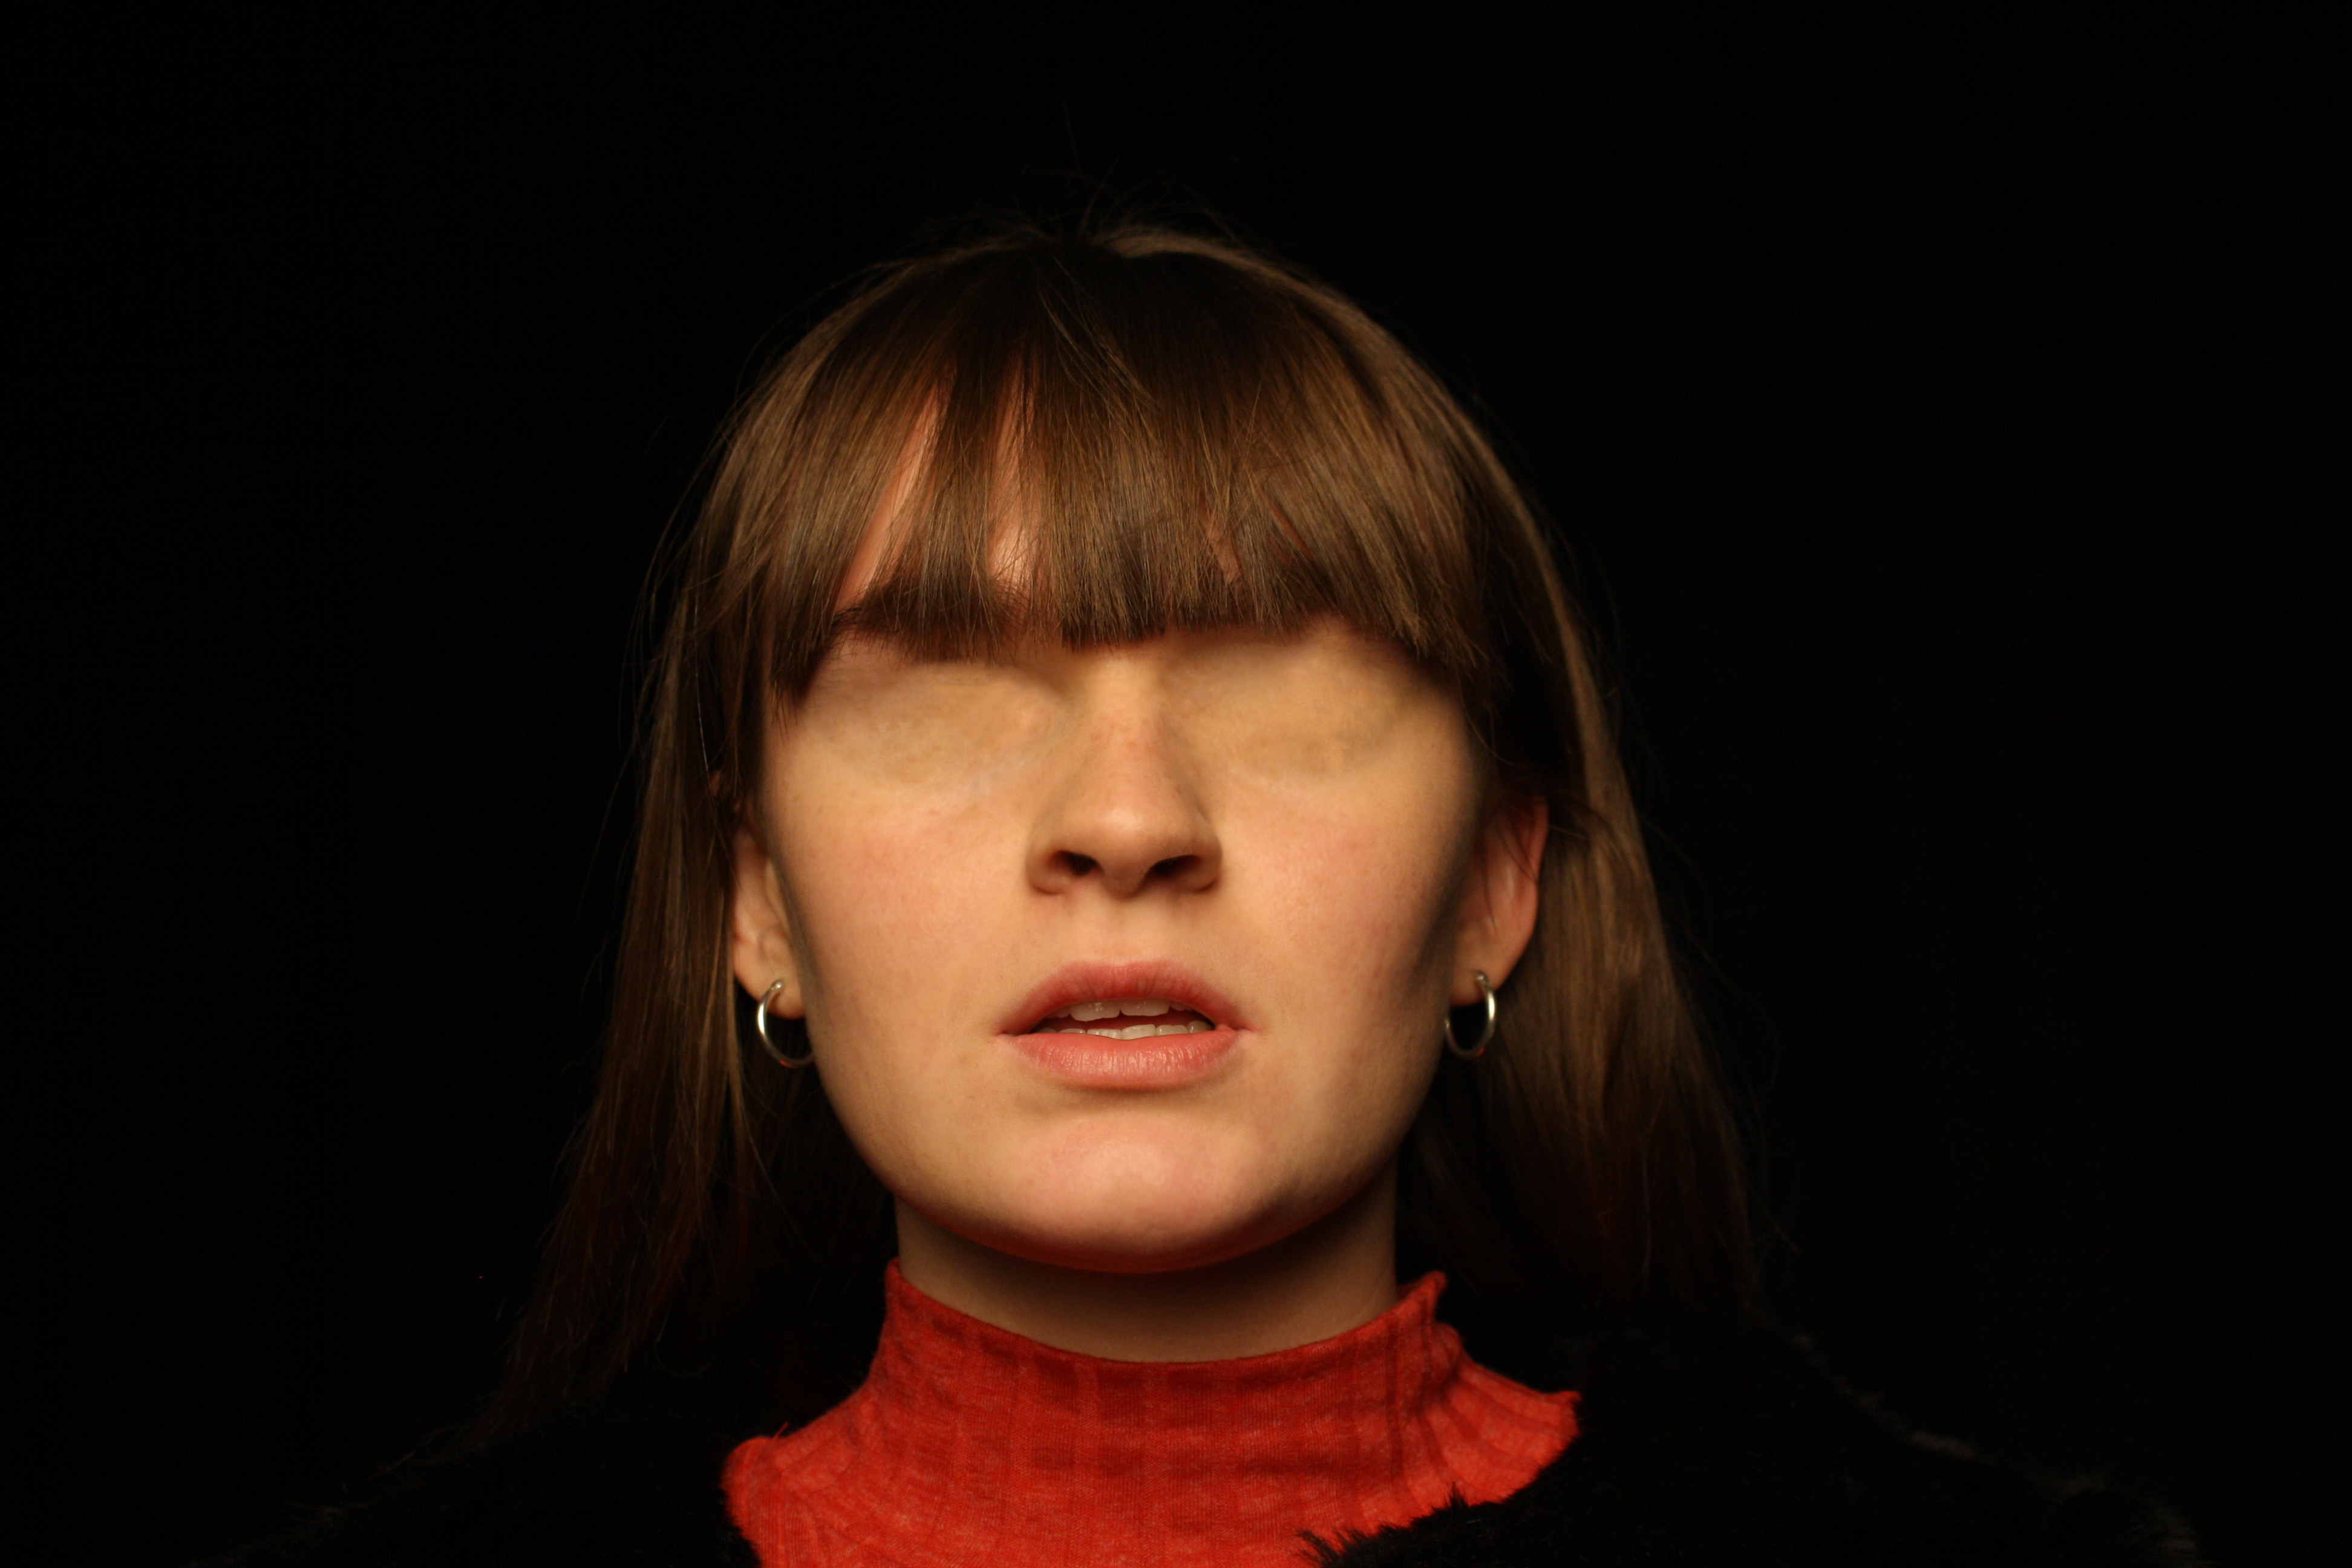
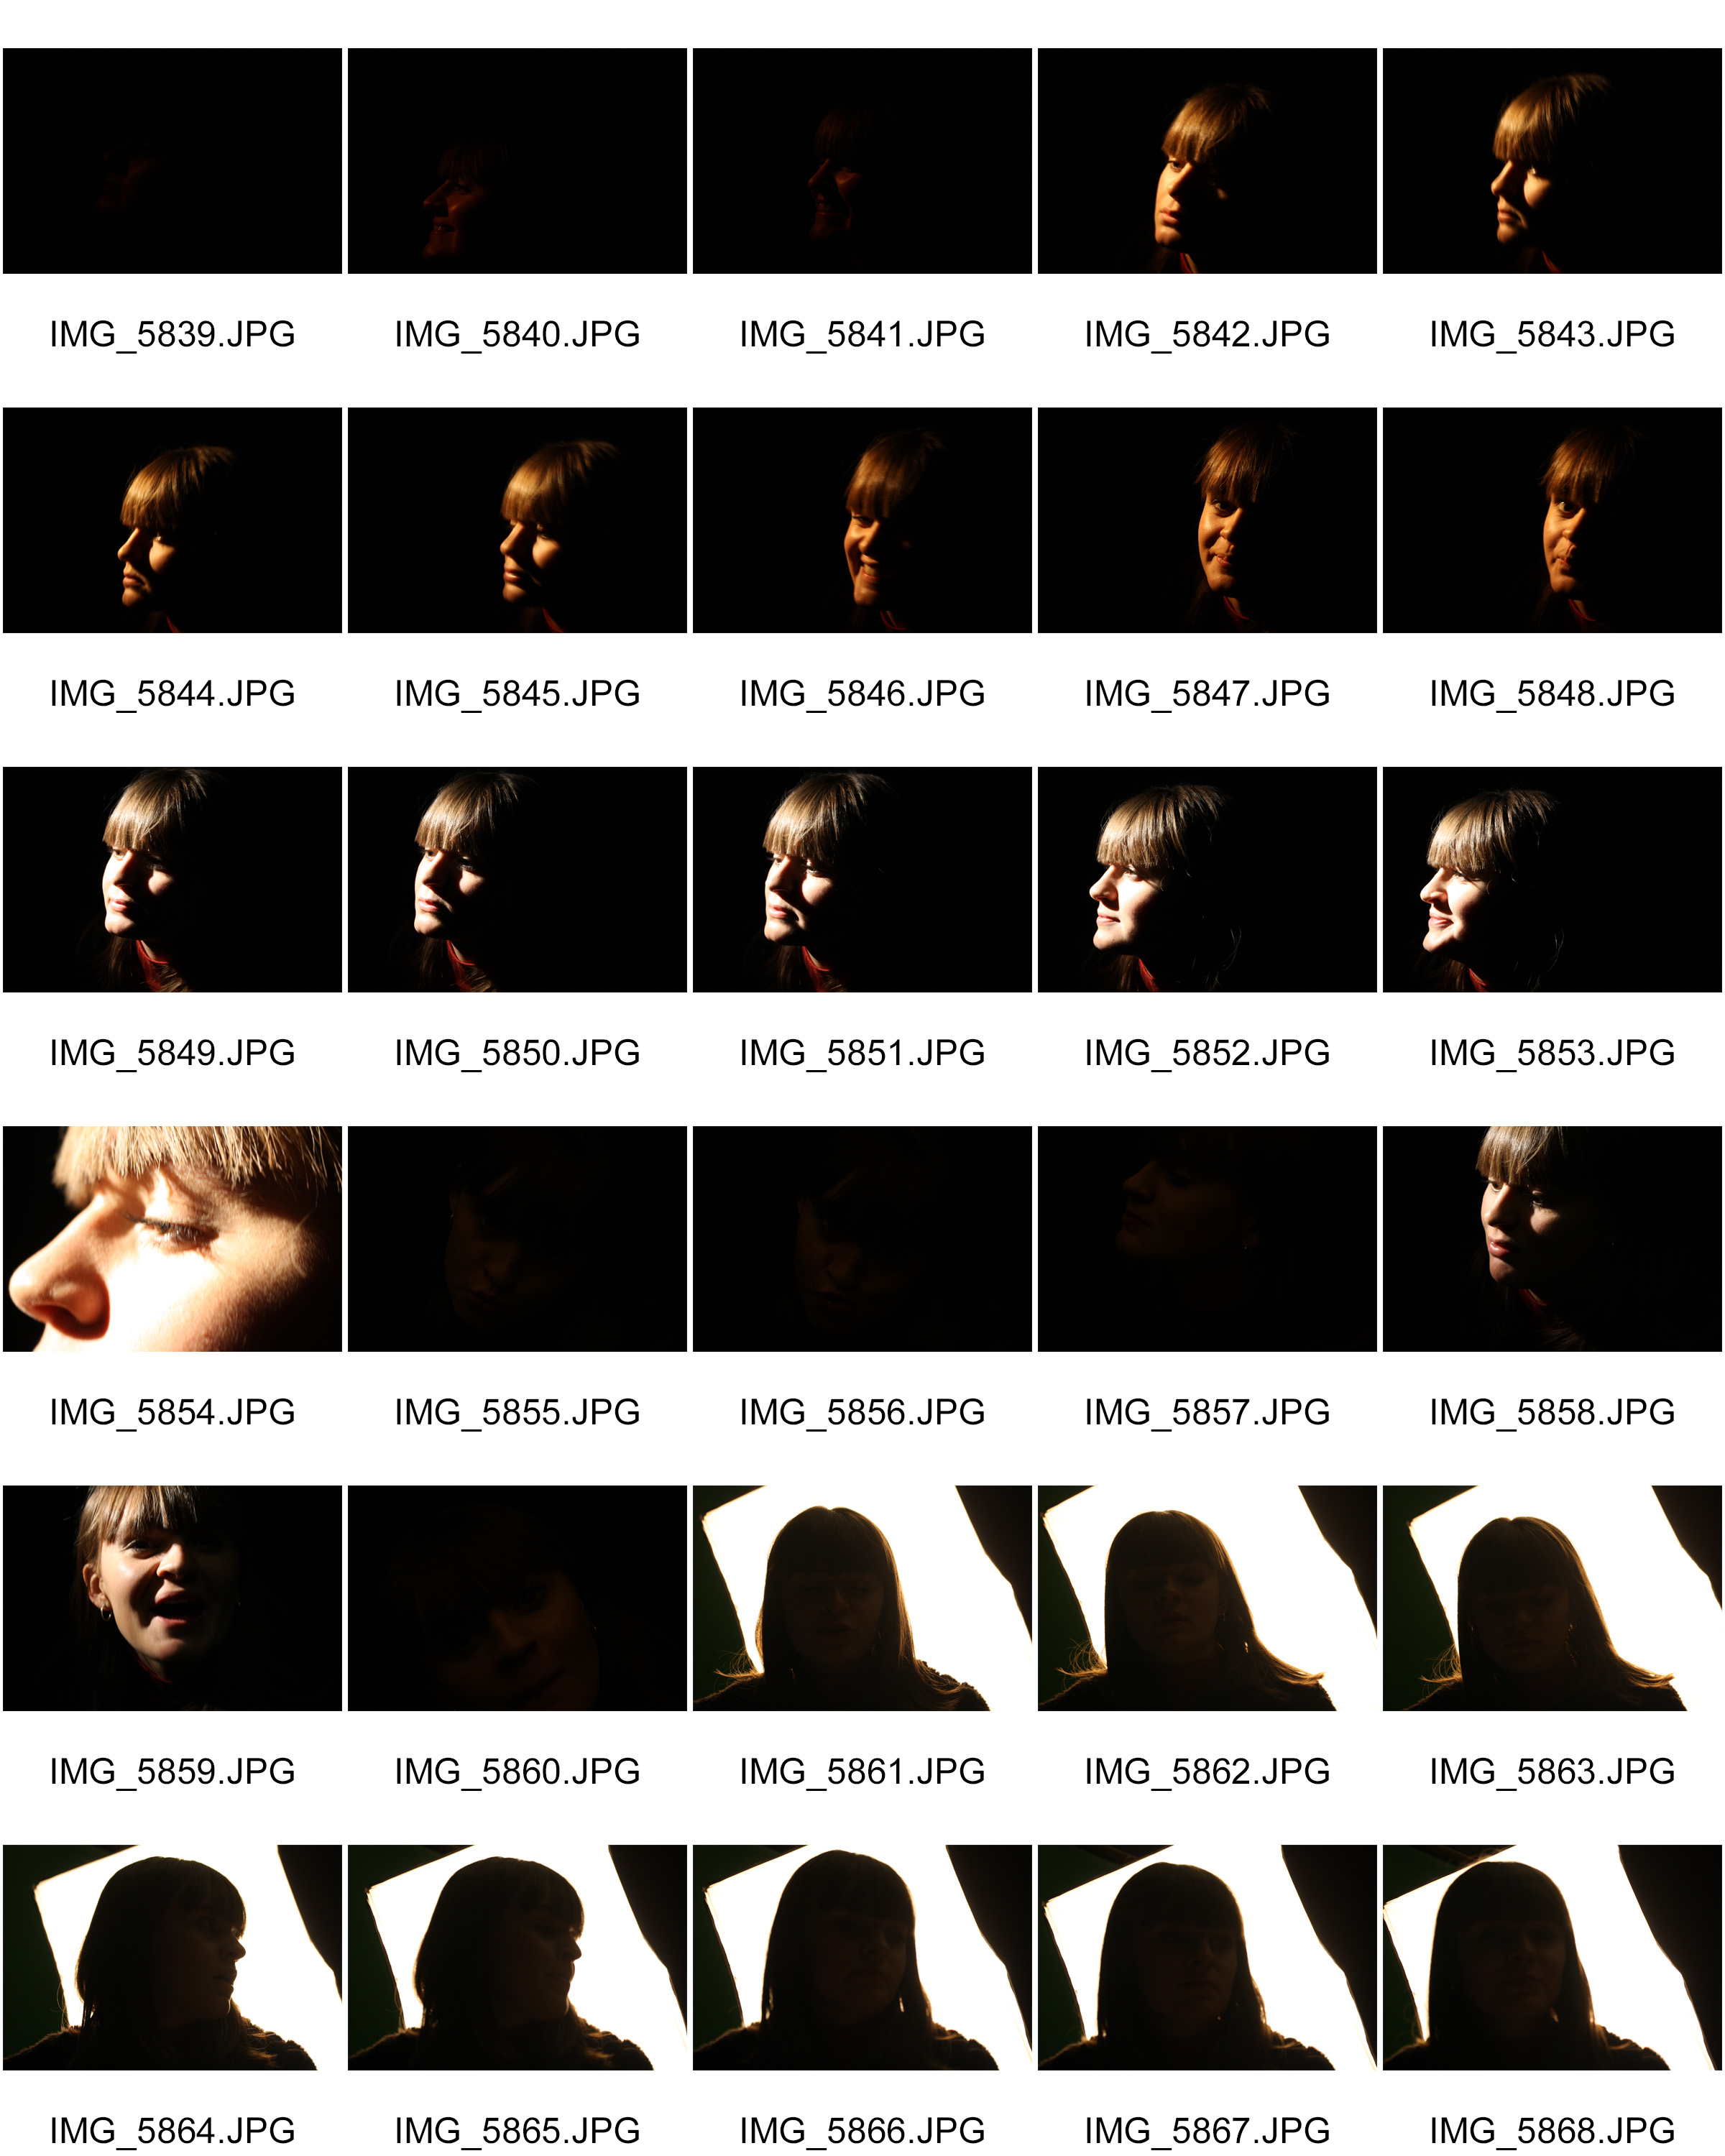
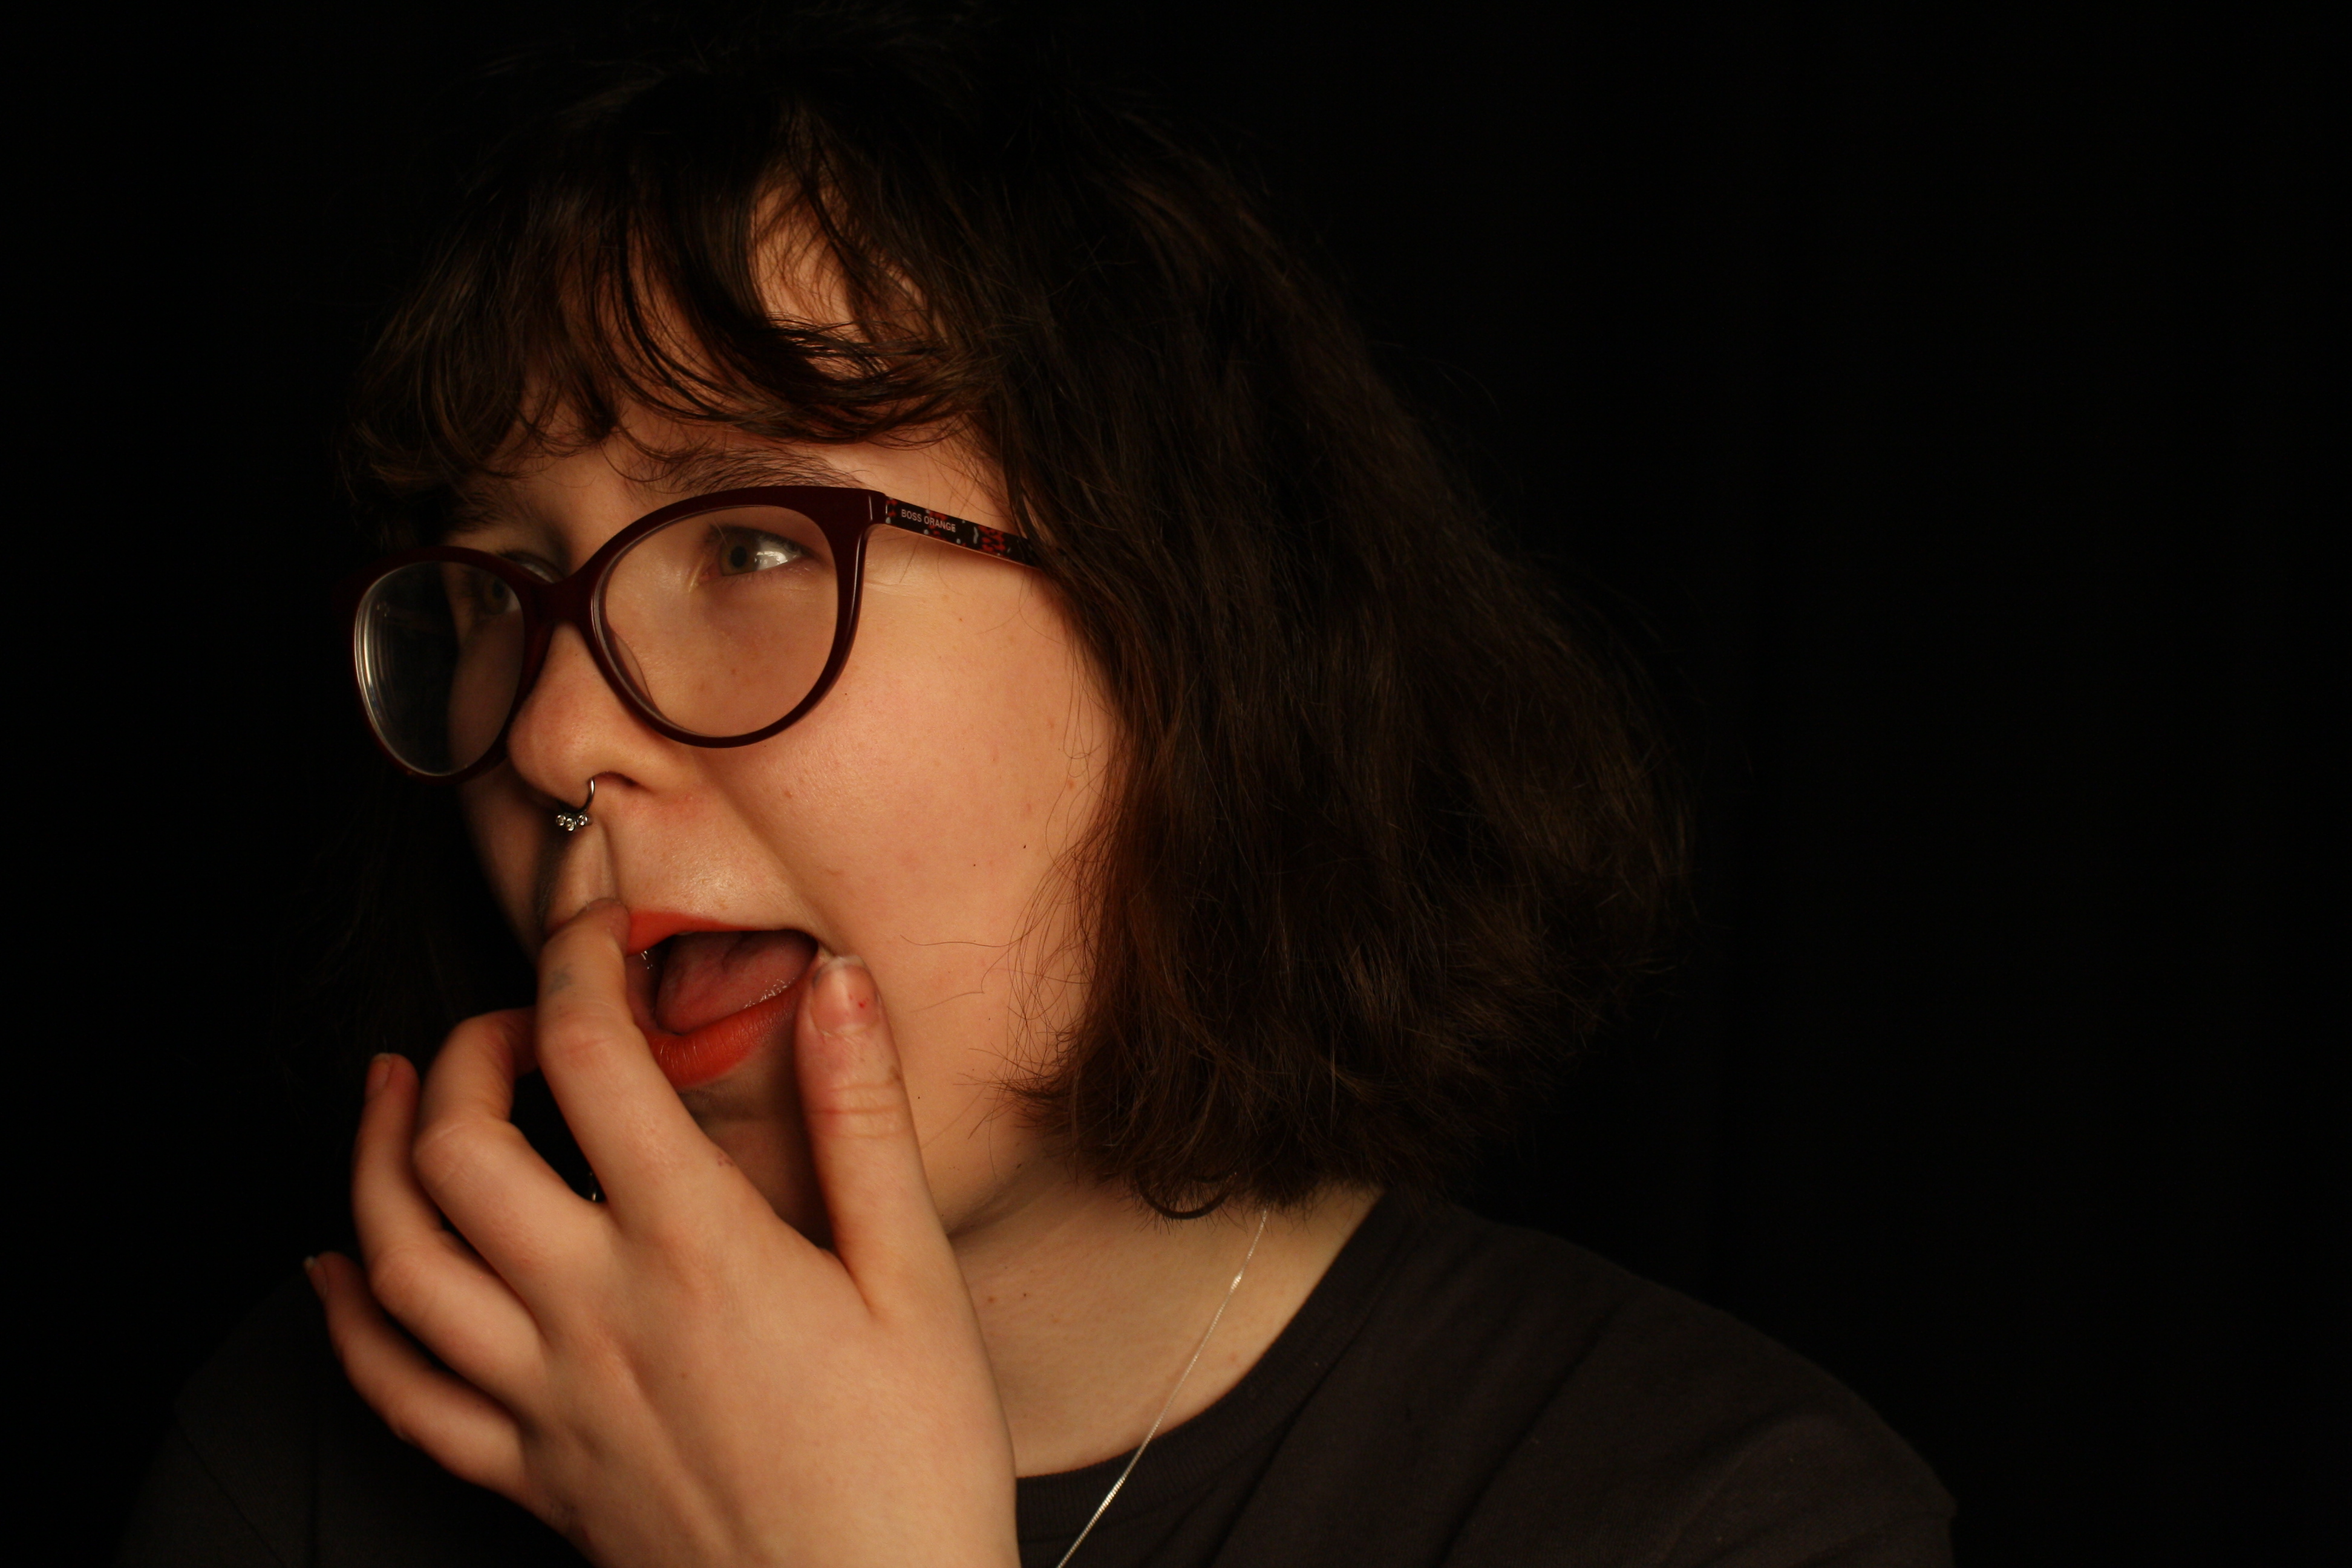
Masked Portraits
Editing Process:
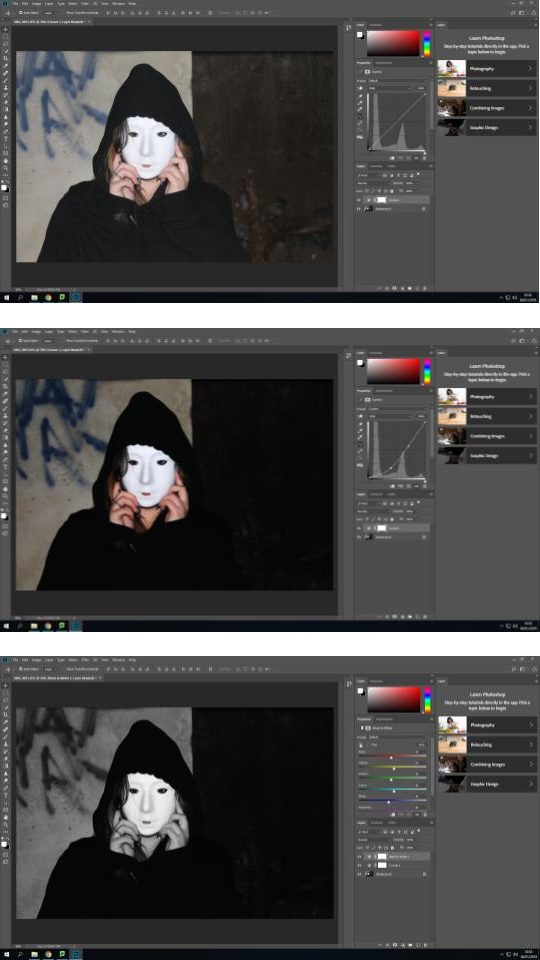
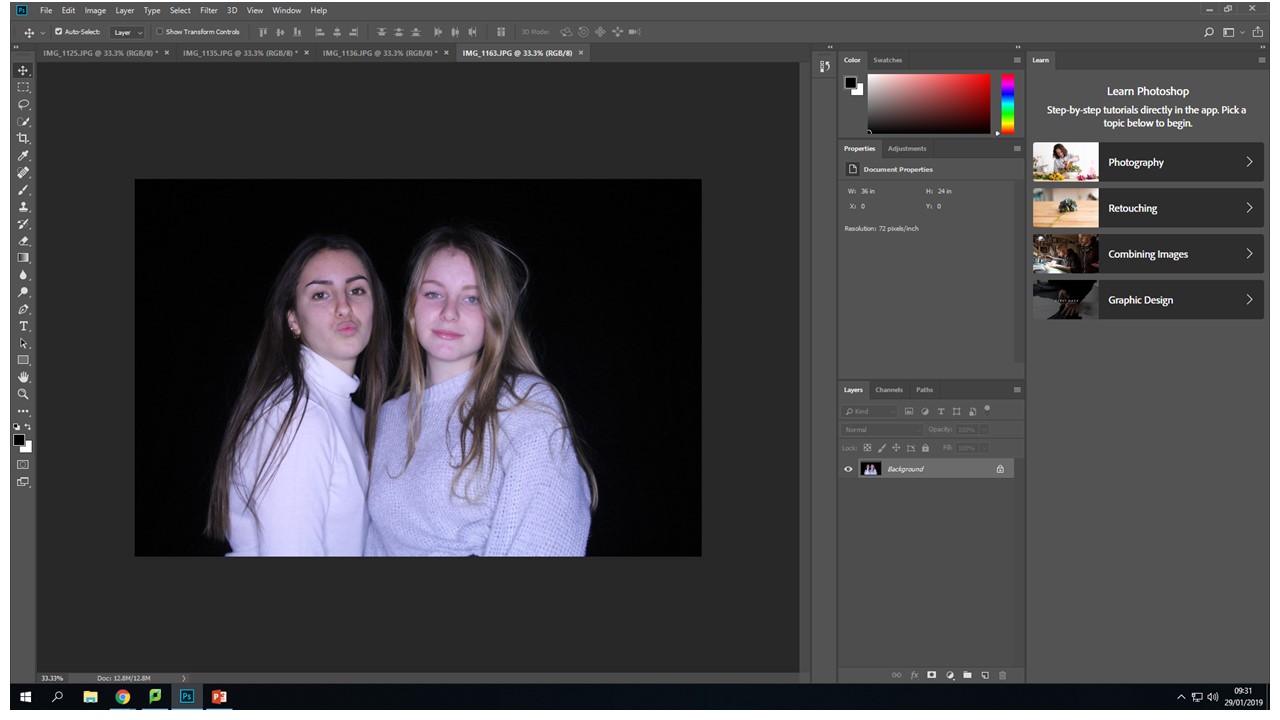
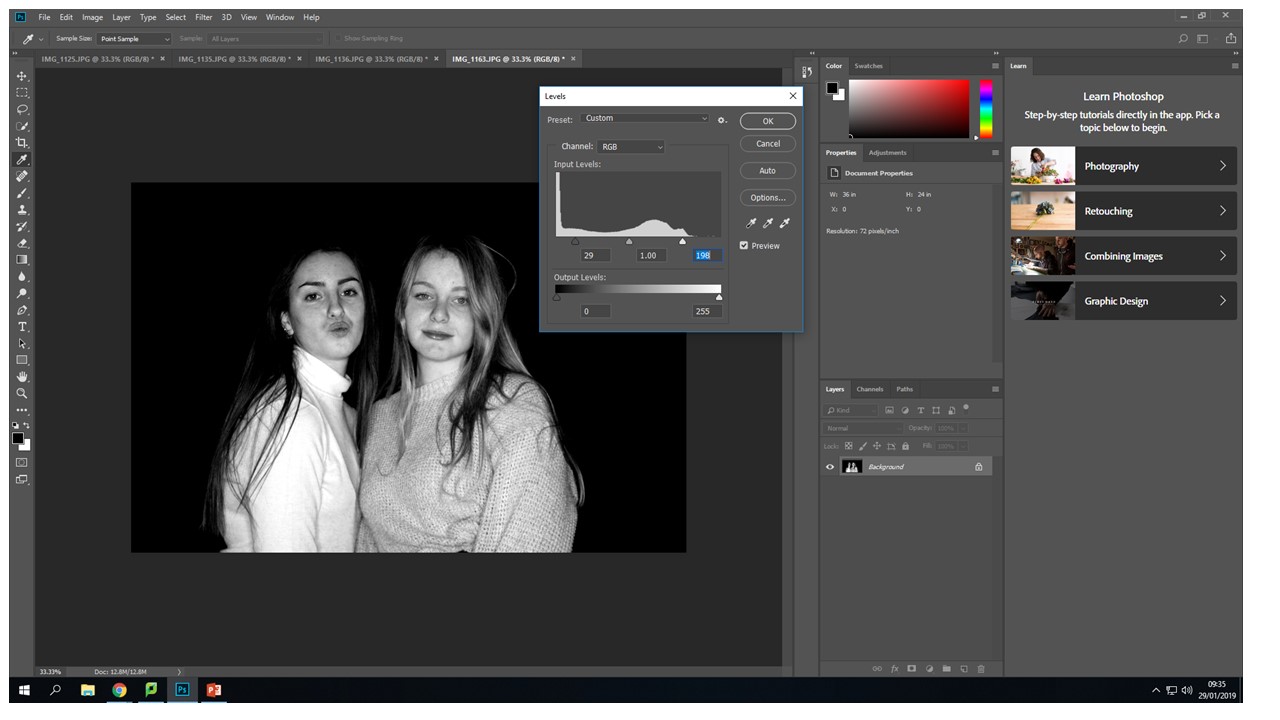
1. Original image opened in Adobe Photoshop.
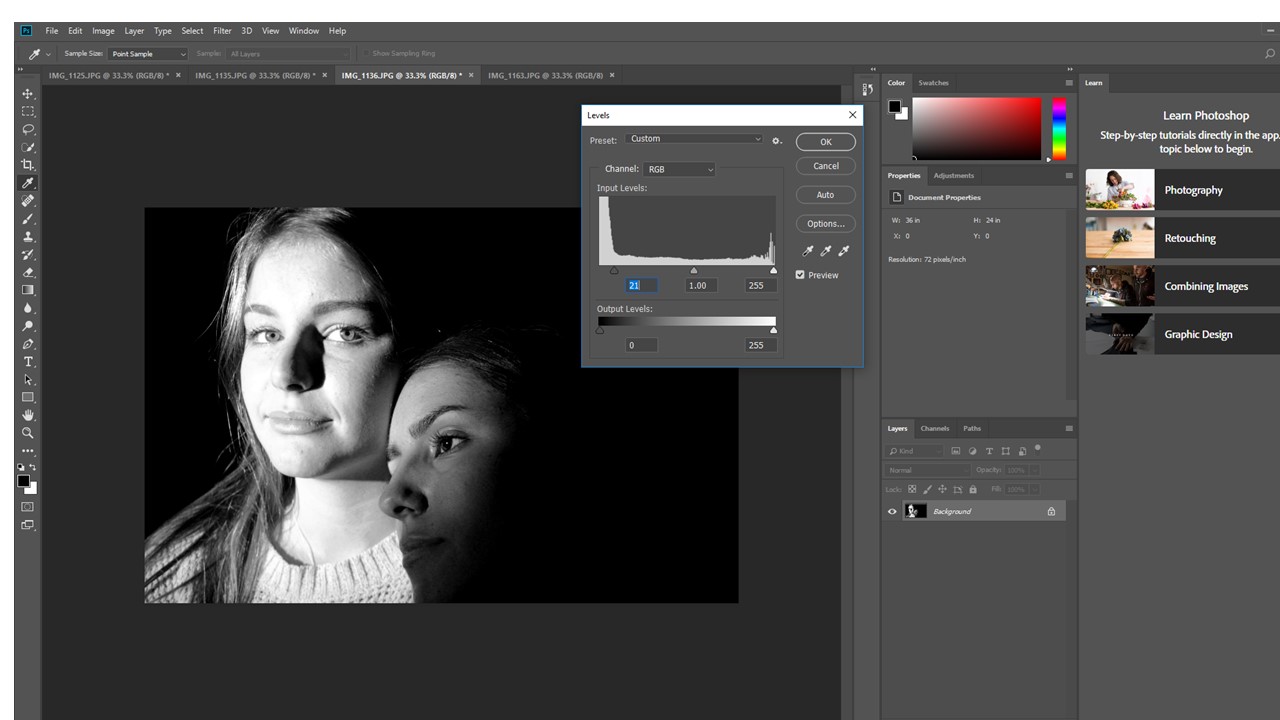
2. First I used the “curves” to change the tonality of the image and to create highlights, low lights and increase contrast.
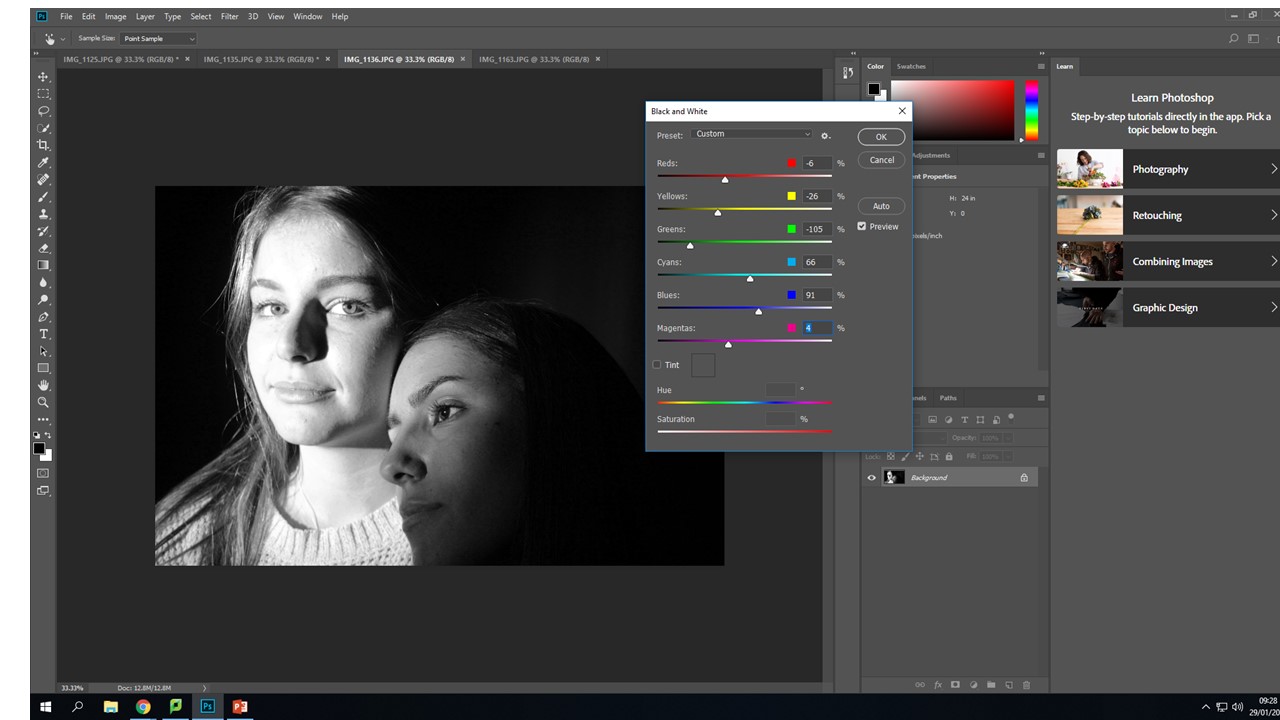
3. I then used the “black & white” feature to take the colour out of the image and cause the mask to stand out from the black hoodie and darker grey background.

4. I then added a tint from the colour library in the “black & white” menu to add subtle tint to the image
5. I repeated step 2, adjusting the curves after having set the image to black and white to ensure the image had slightly more extreme levels of contrast than I wanted.
6. Finally, I used the “brightness/contrast” function to actually decrease the “contrast” as i found this resulted in the shadows on the mask being smoother.
7. I repeated these steps for all 4 of my final images from this shoot.
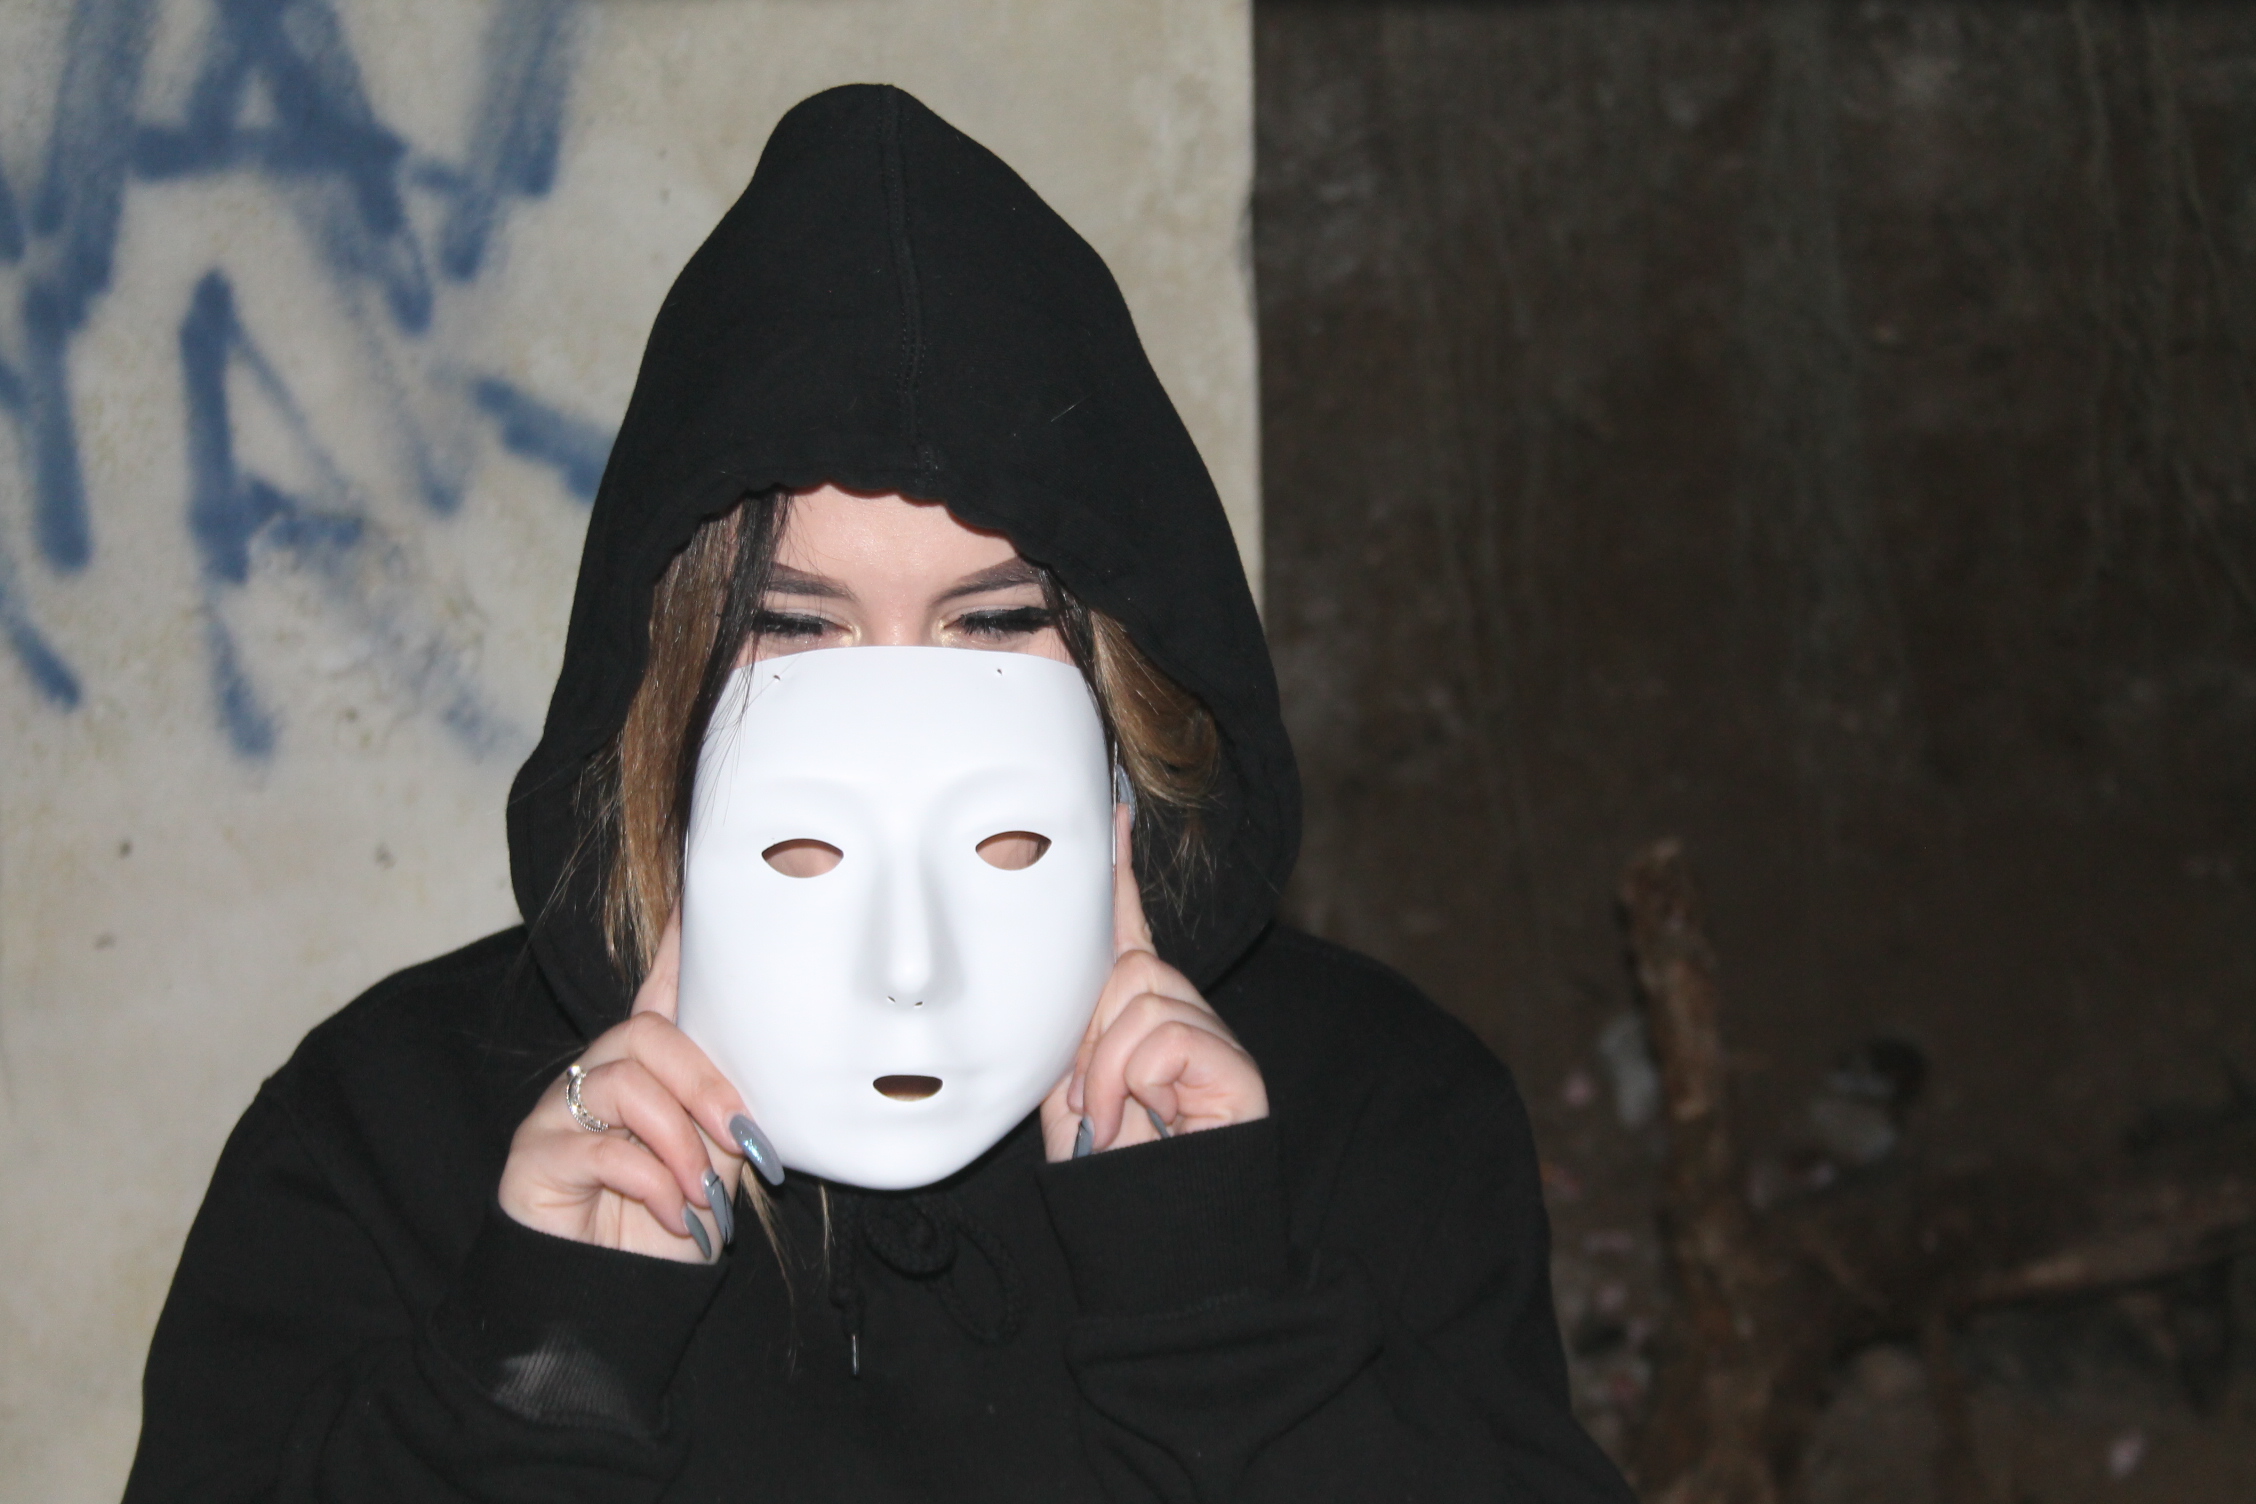
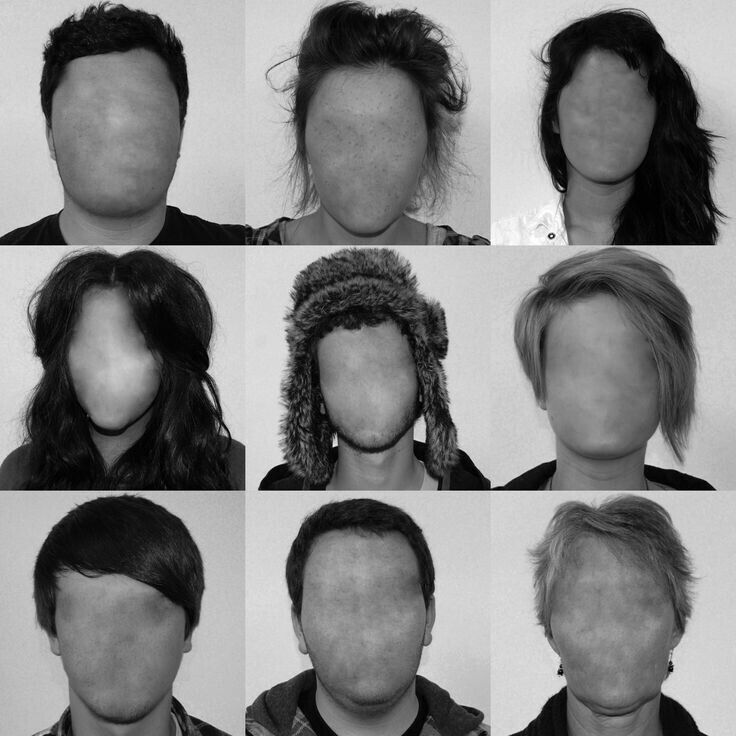
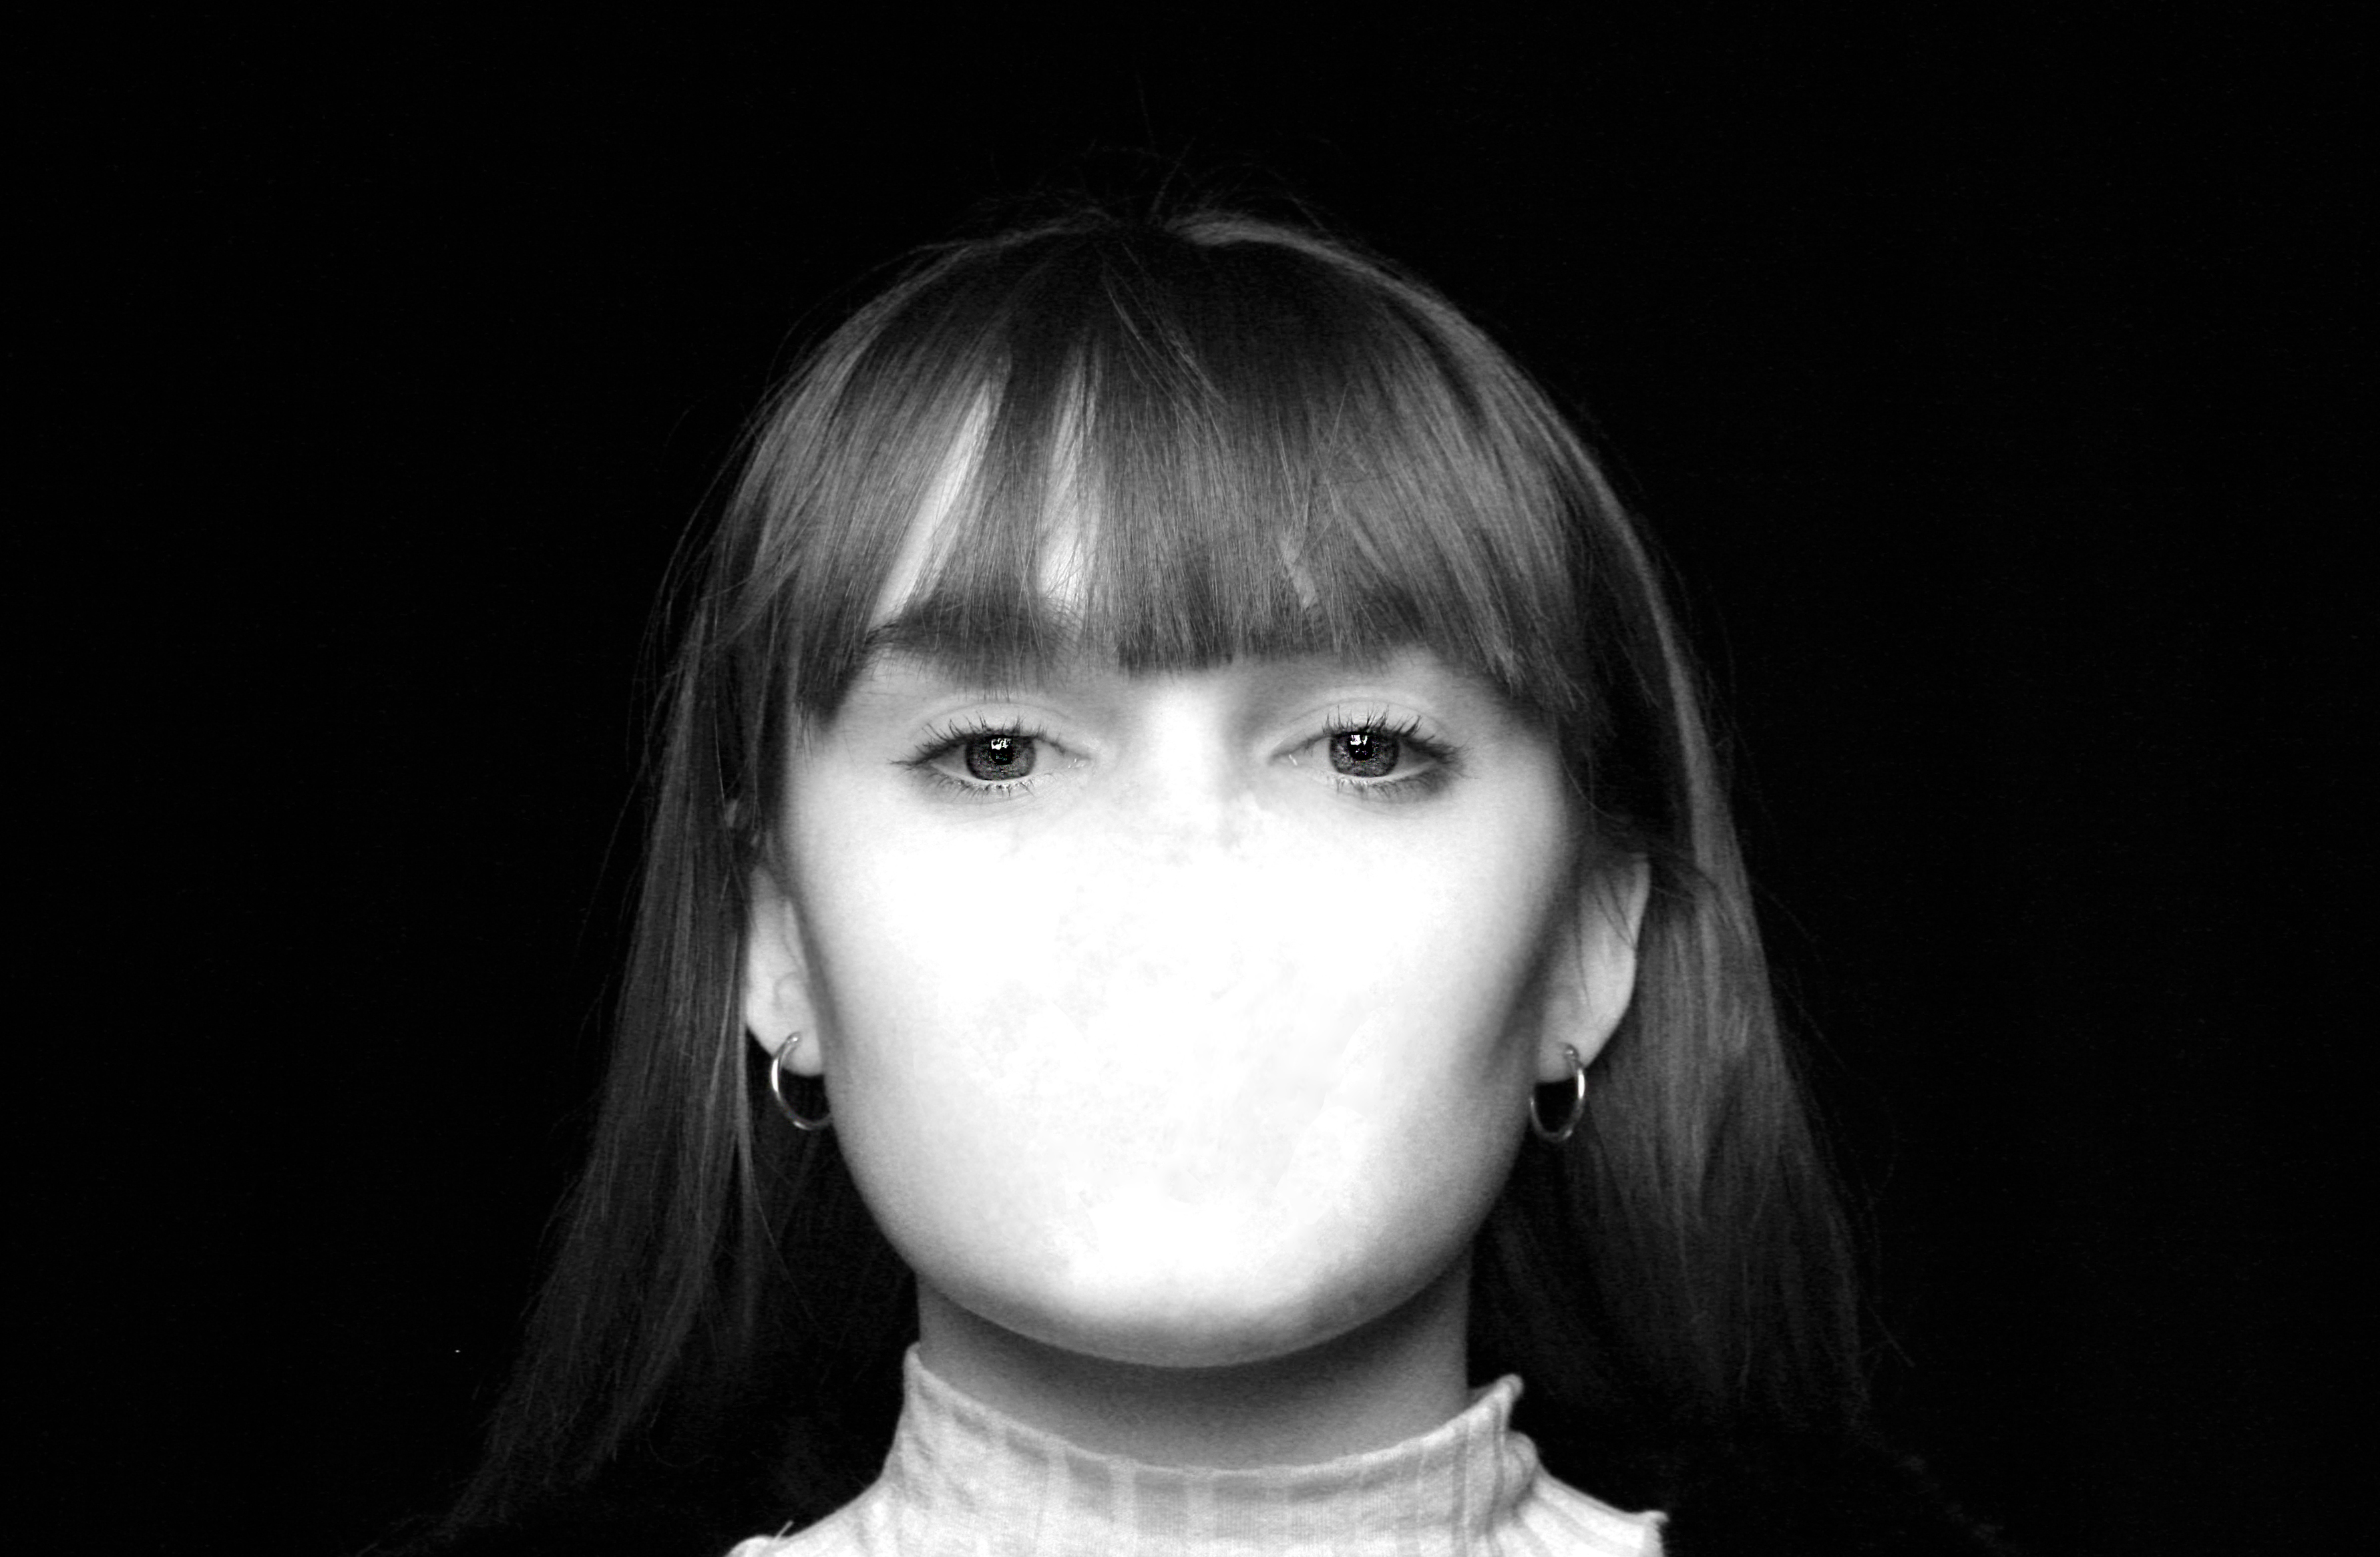
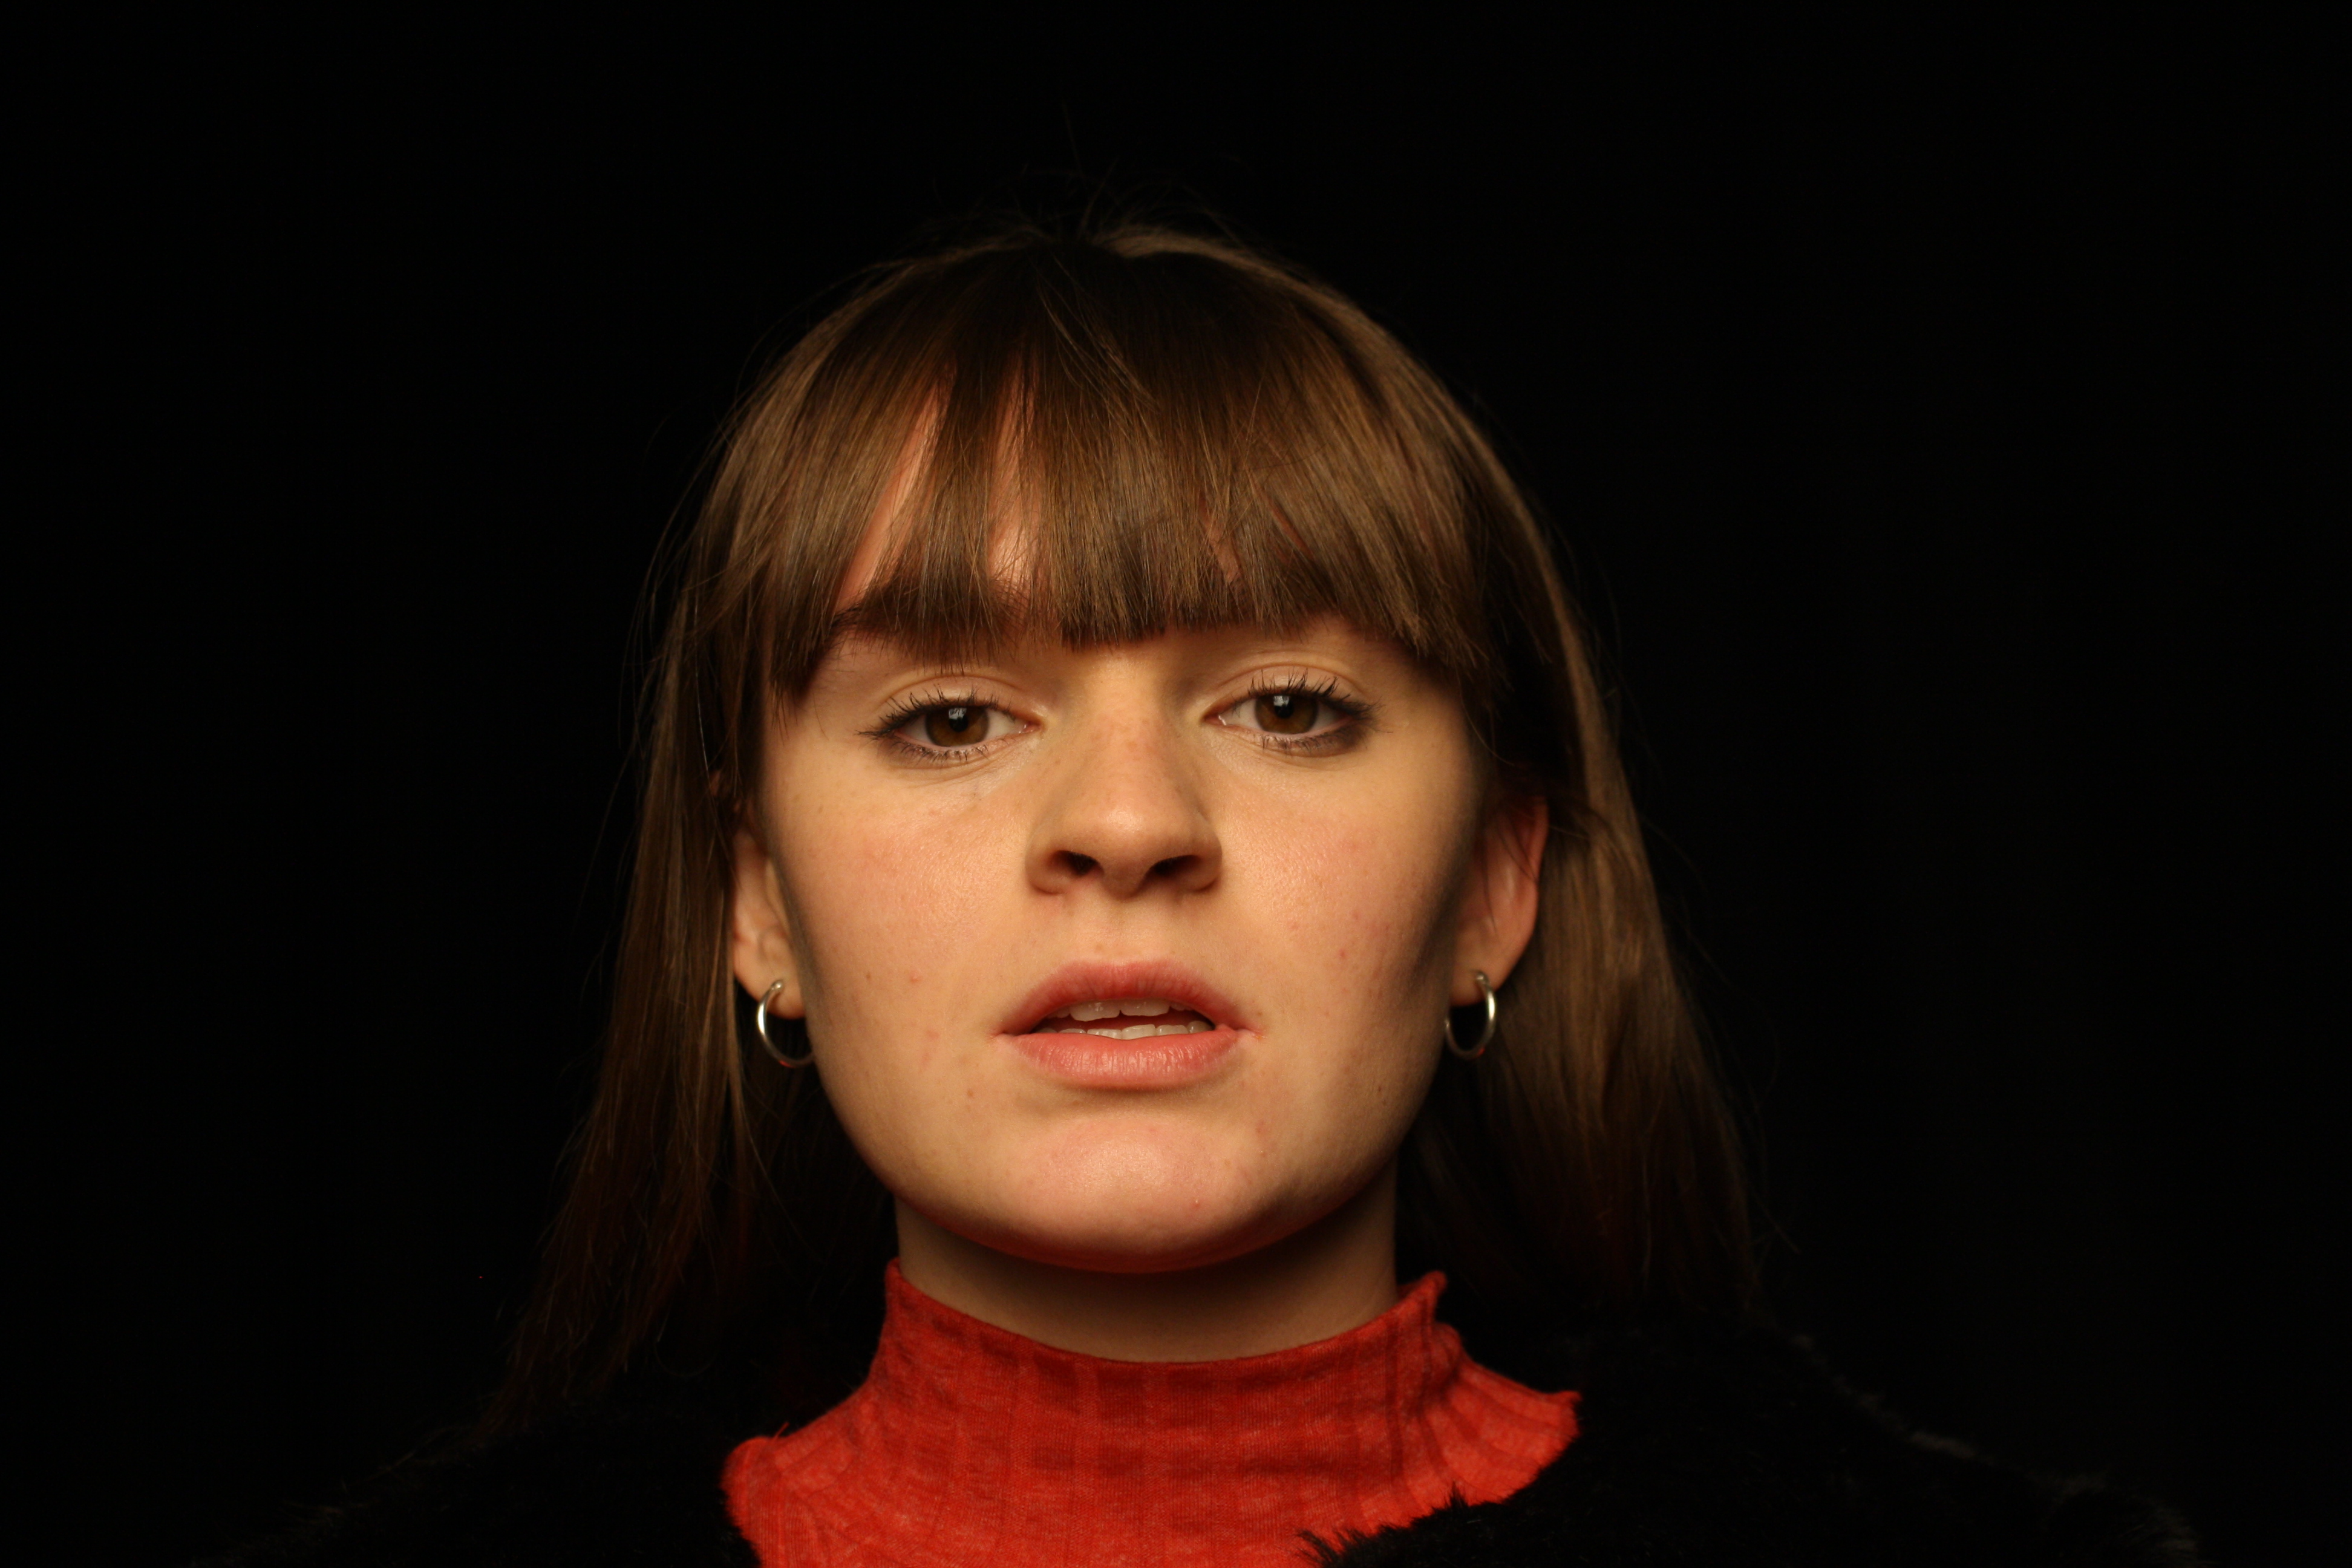
Final Edits: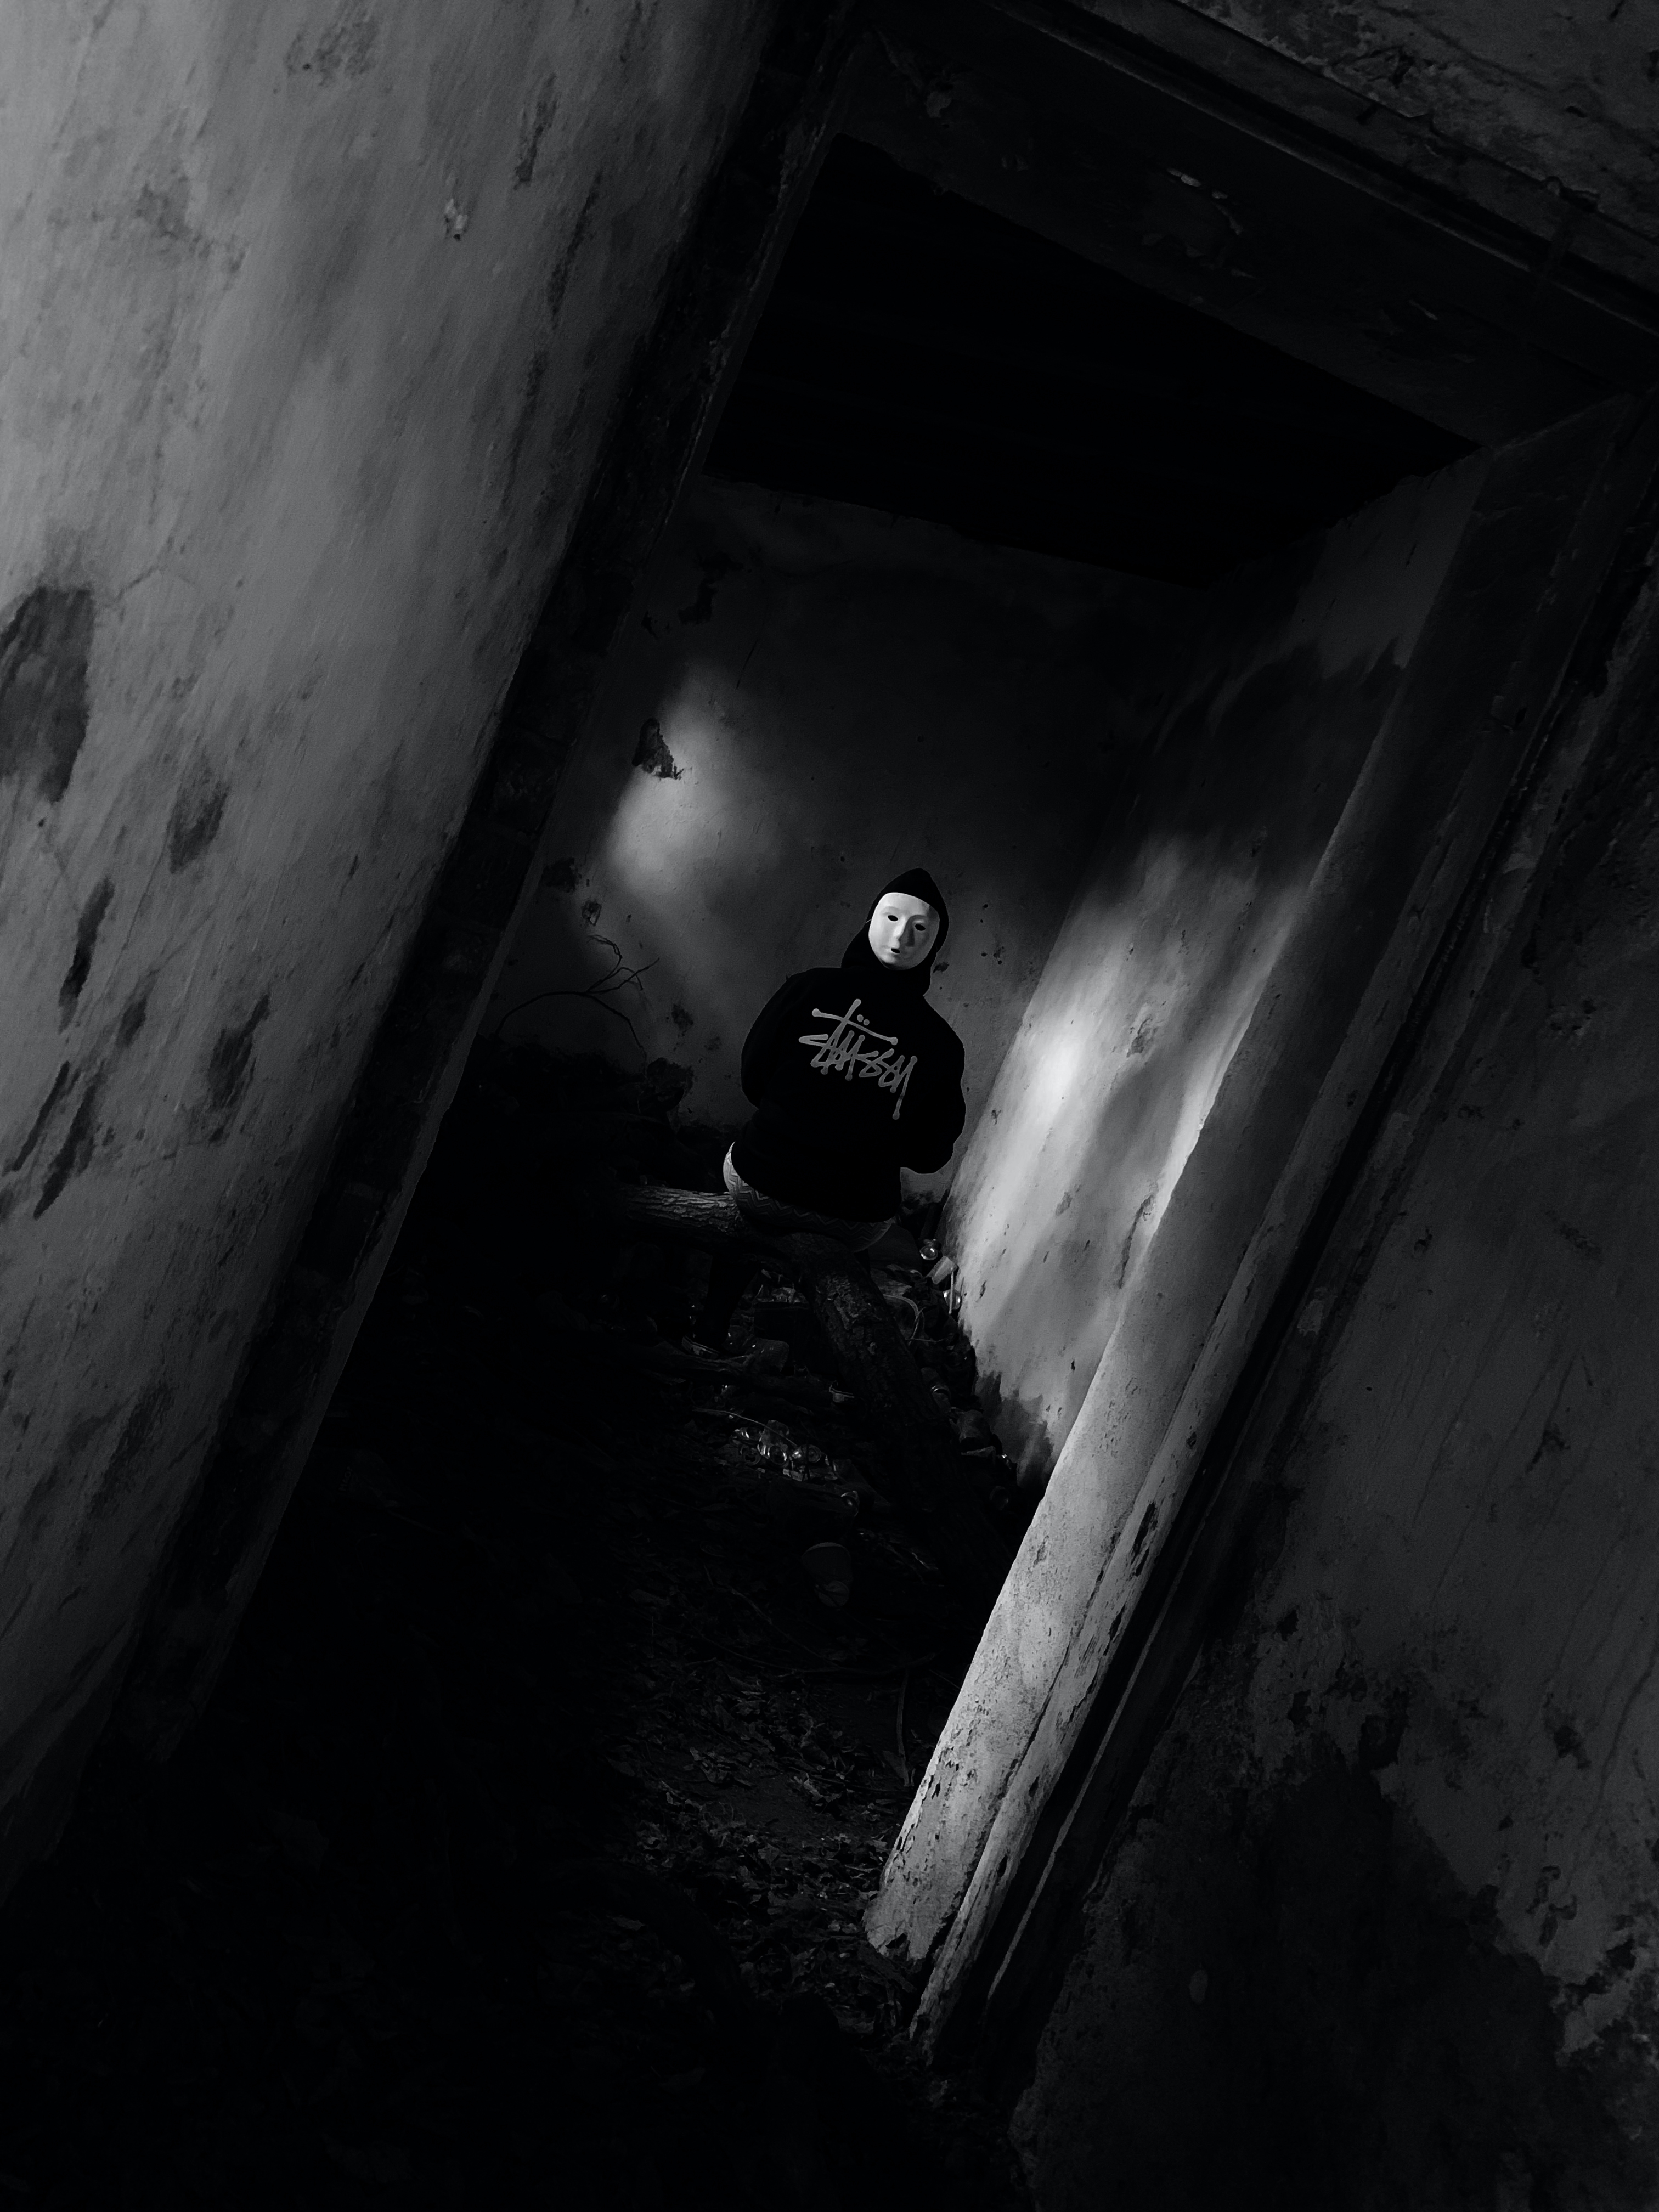
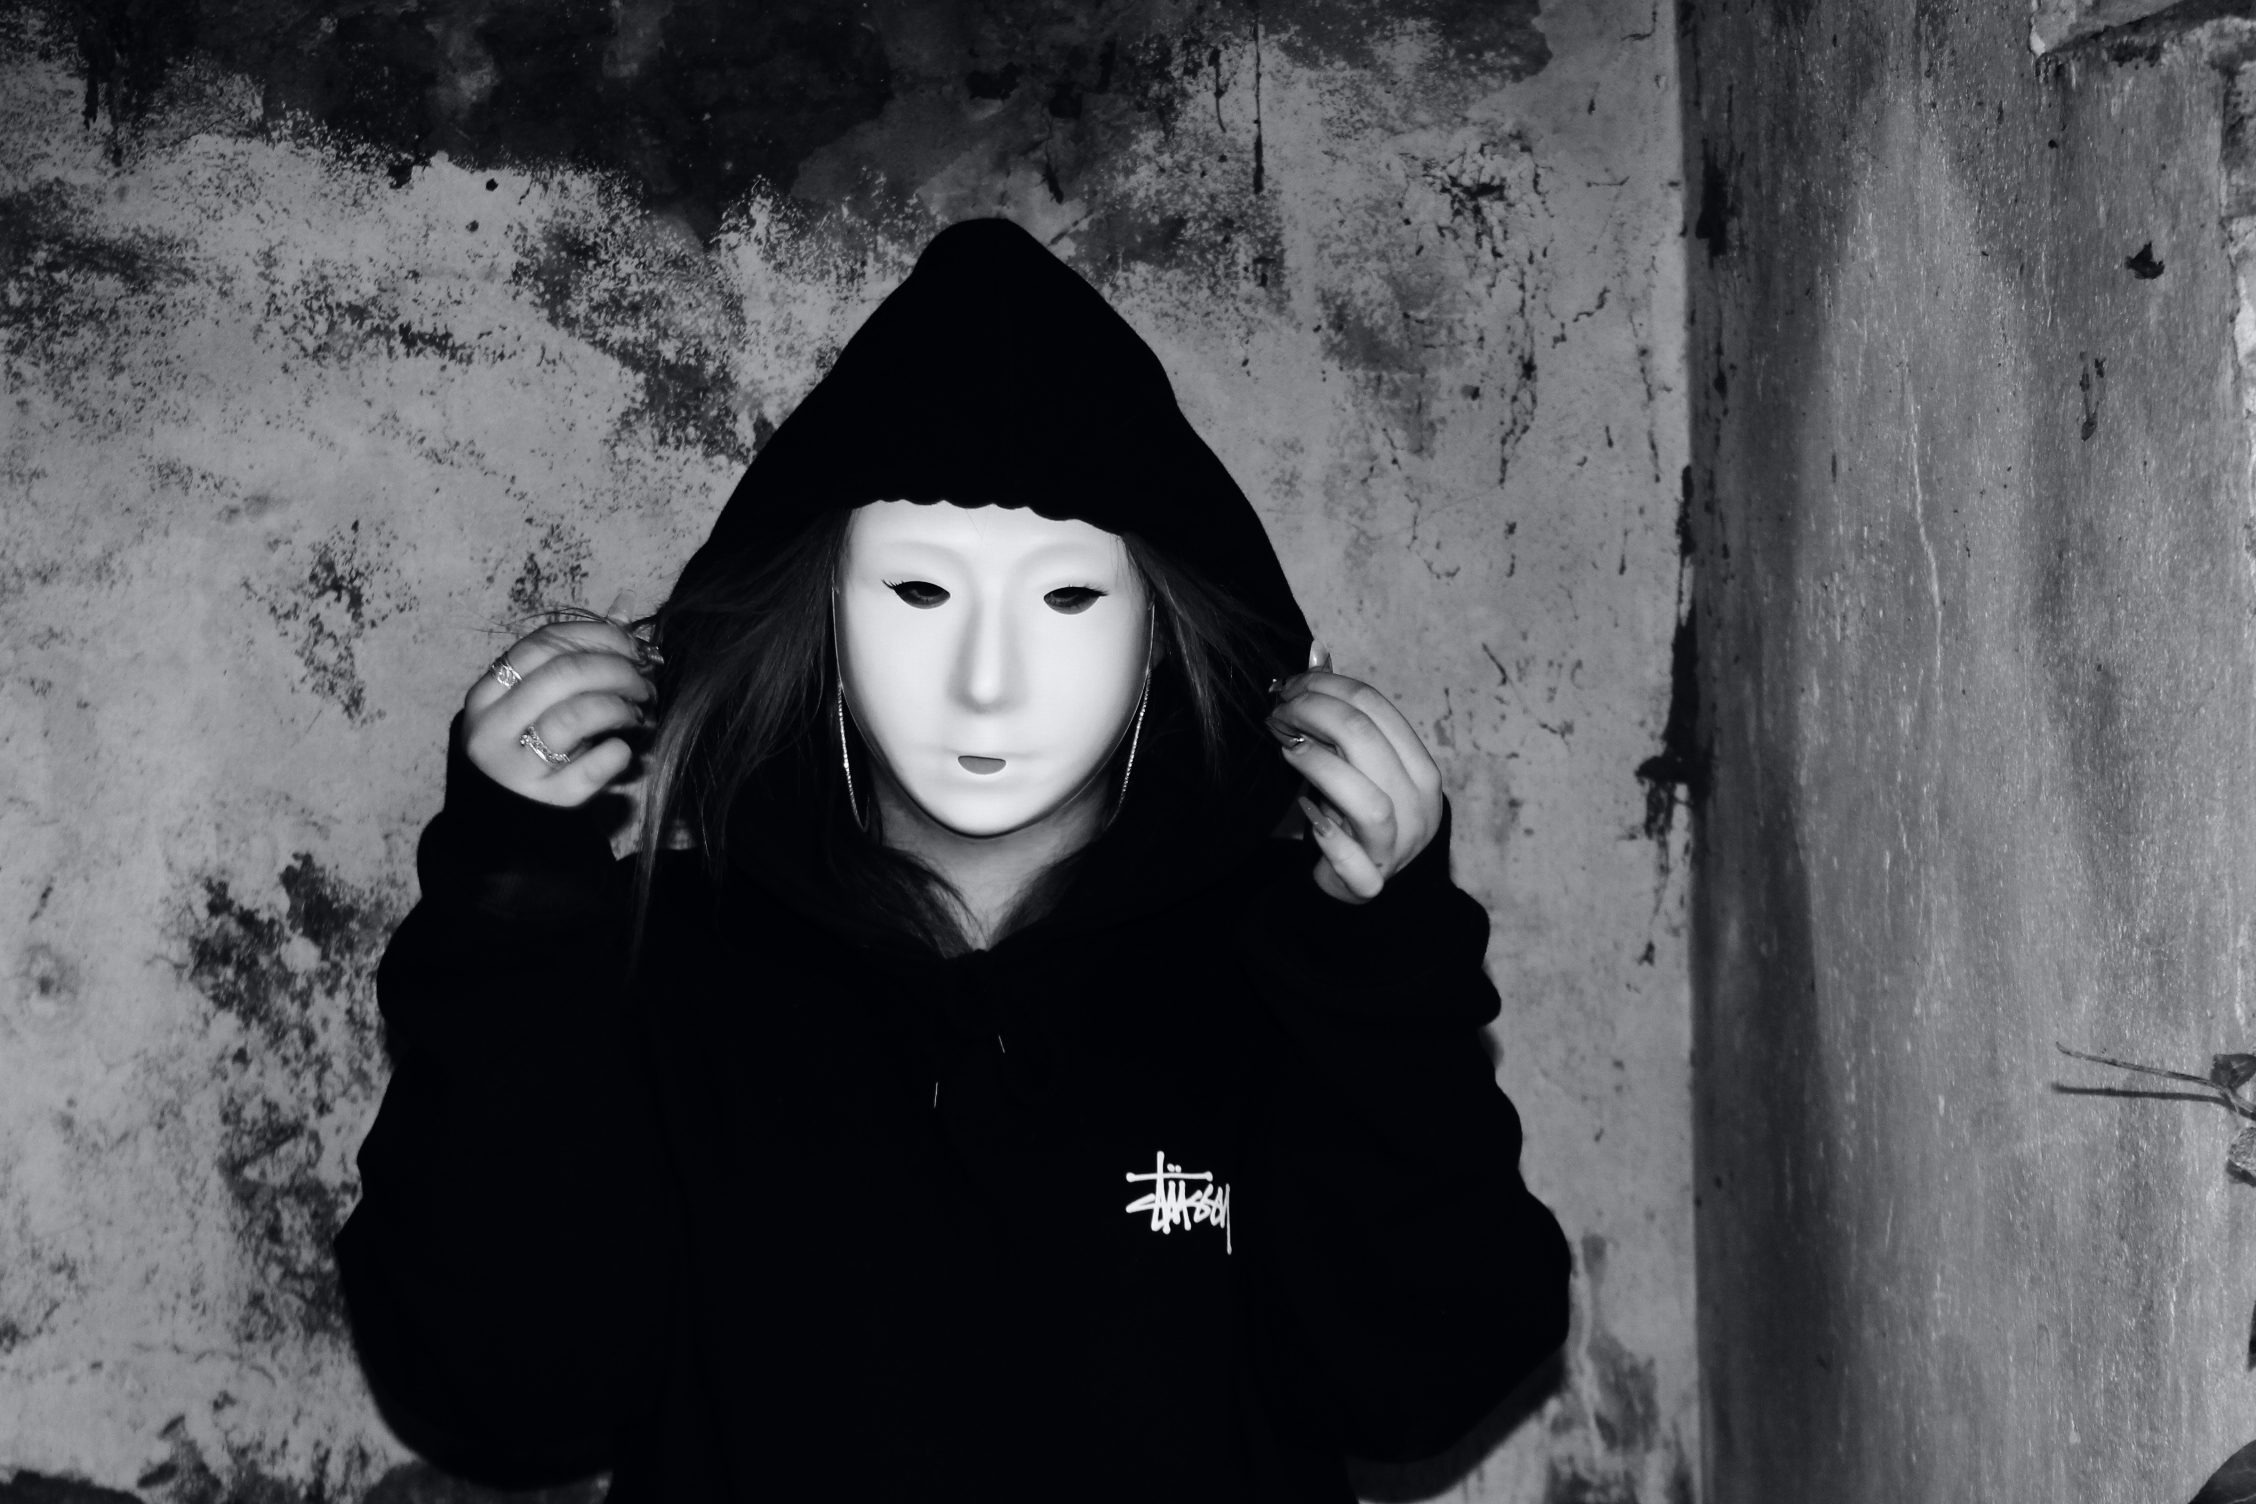

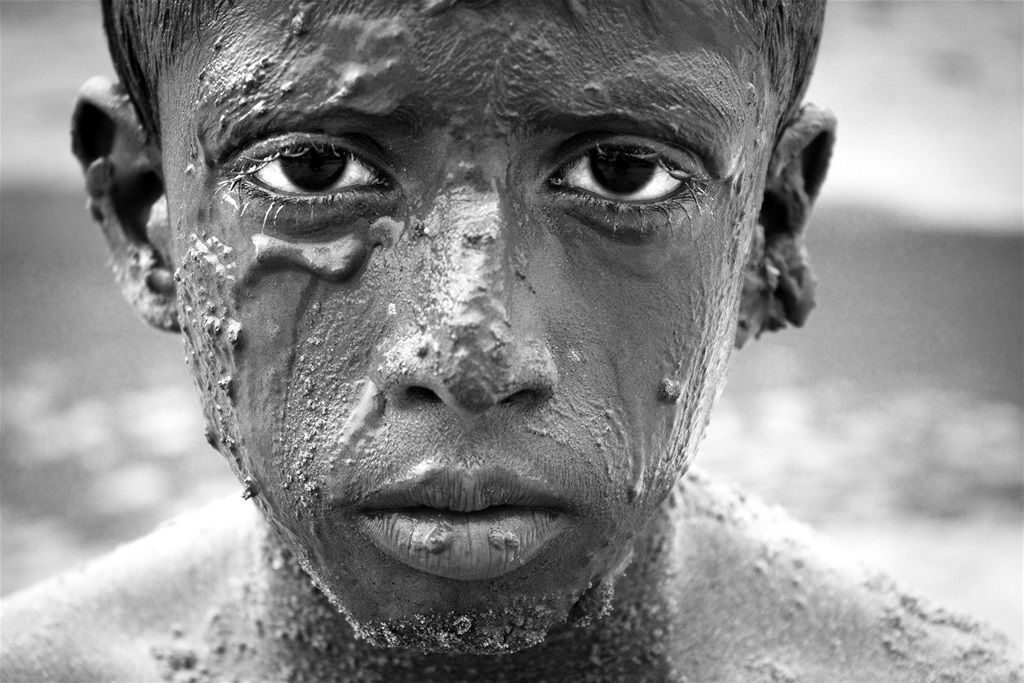
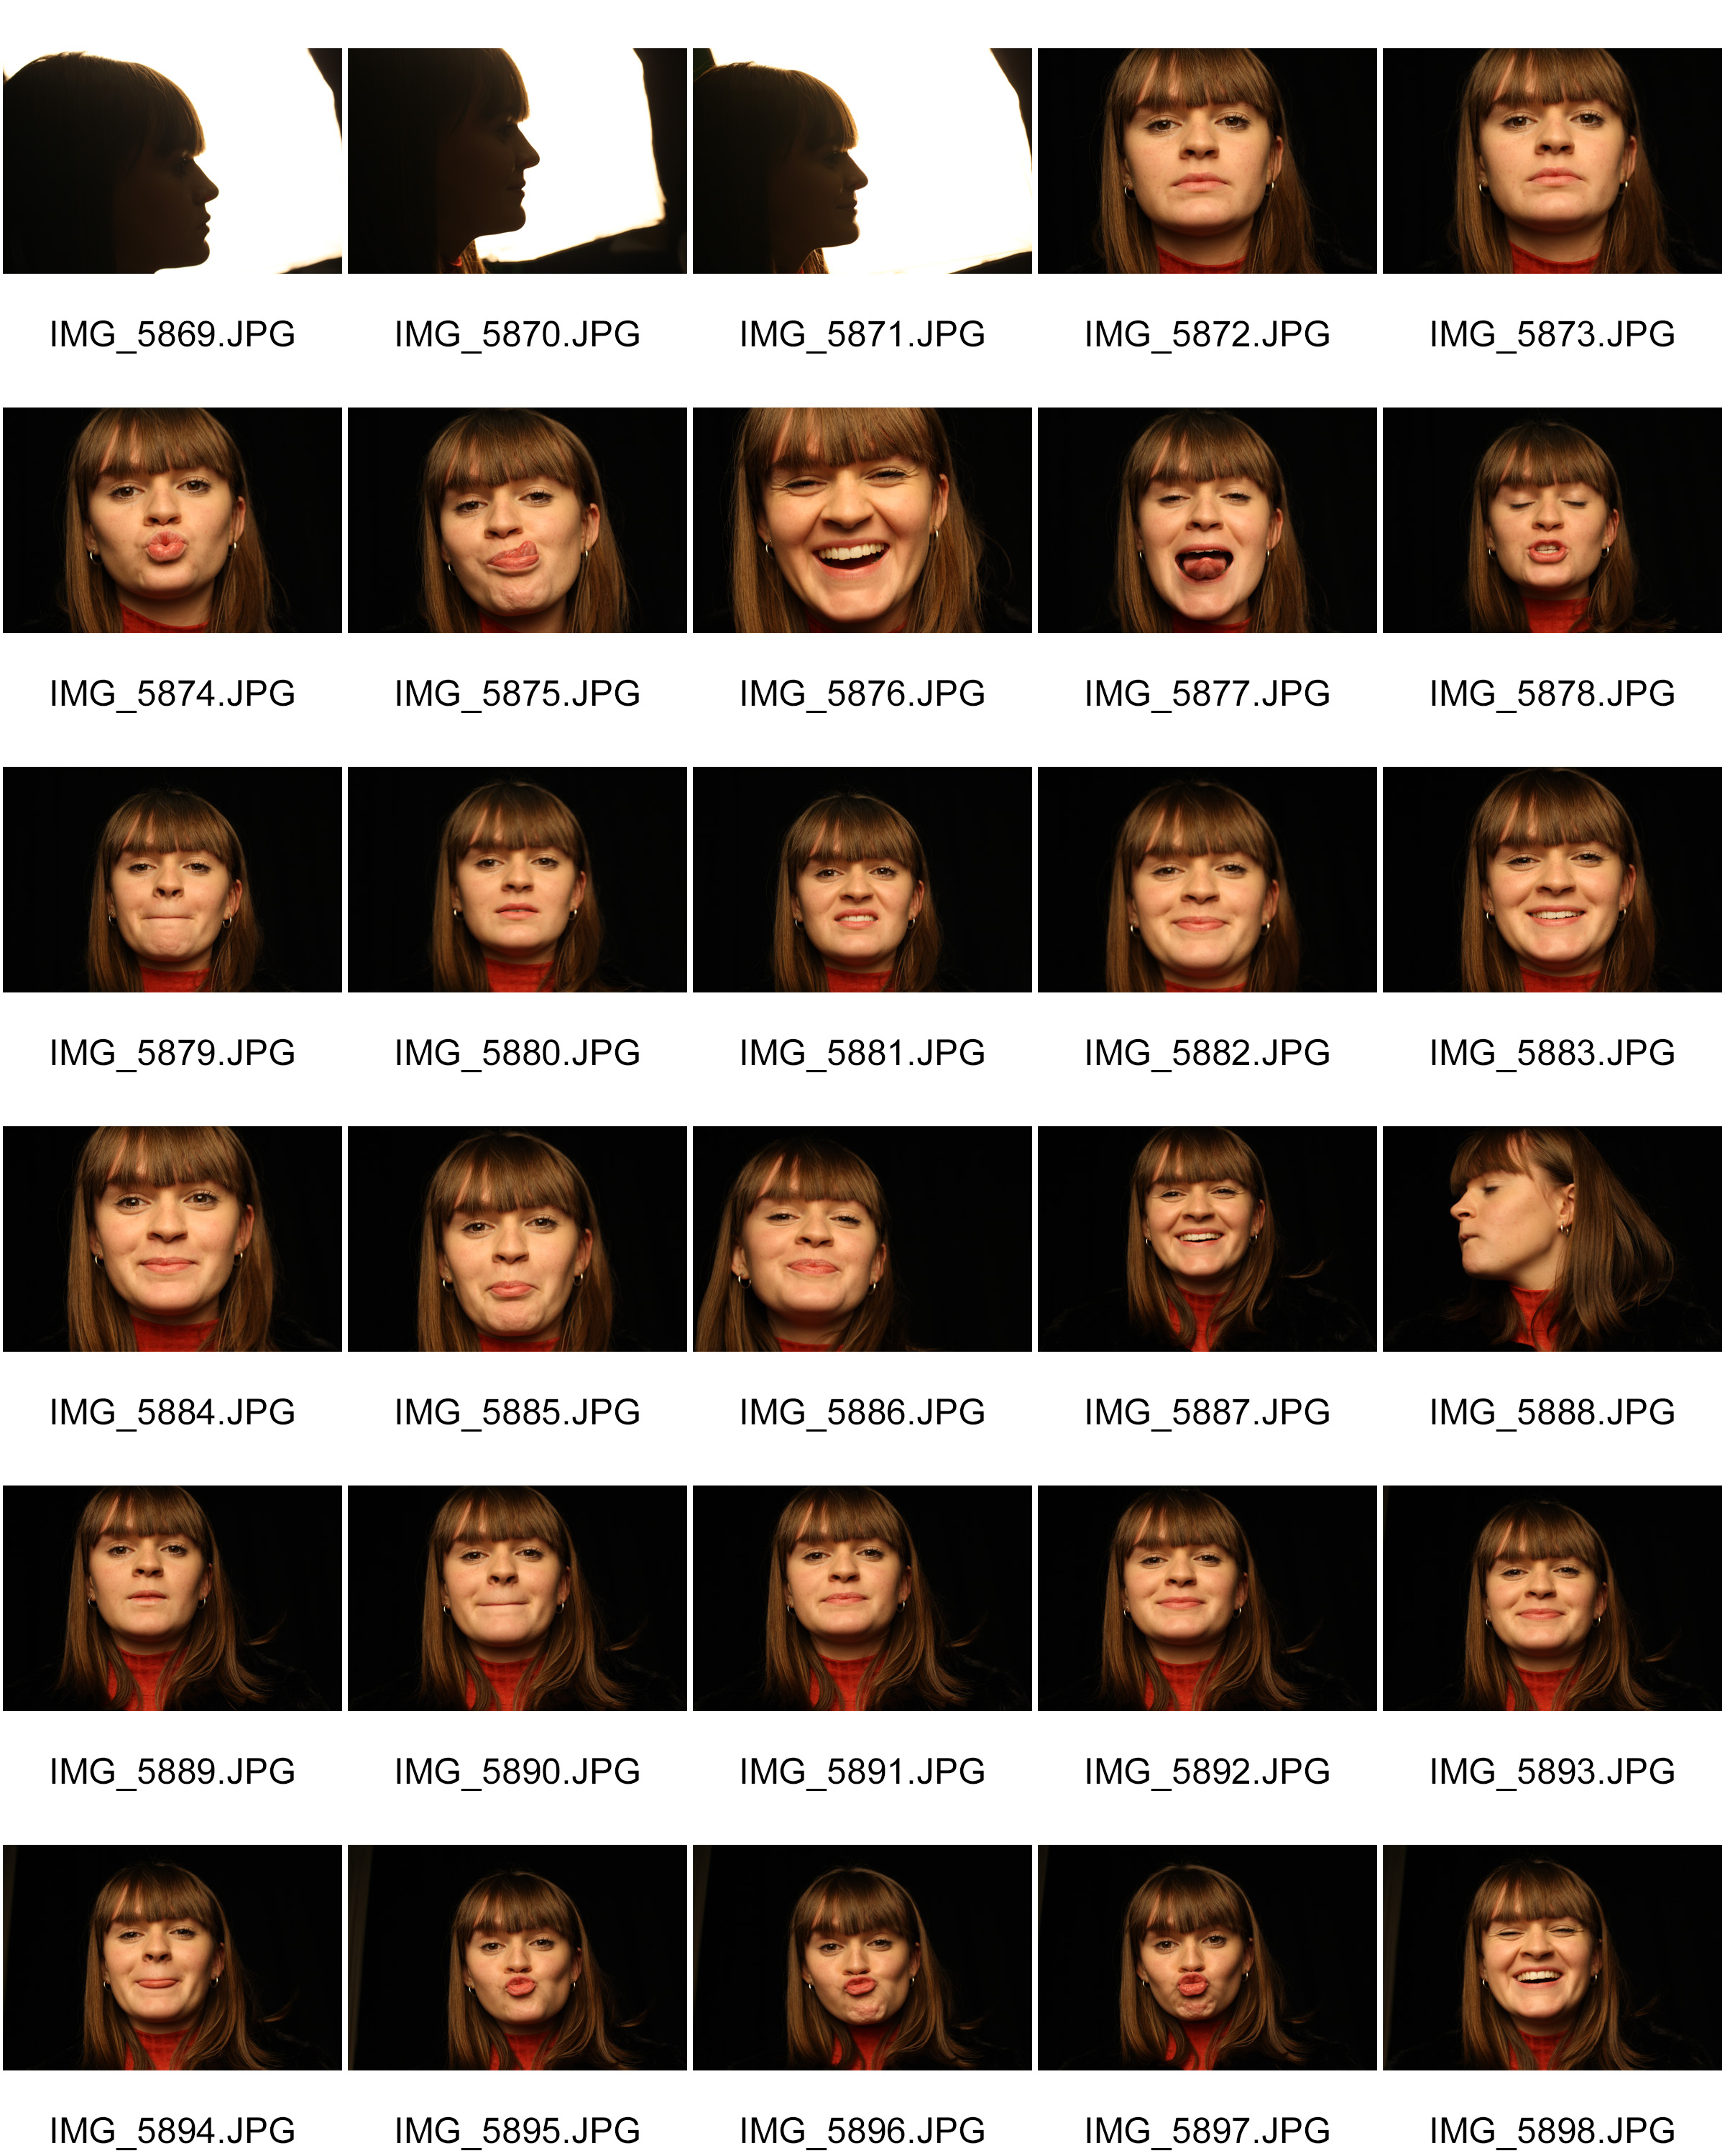
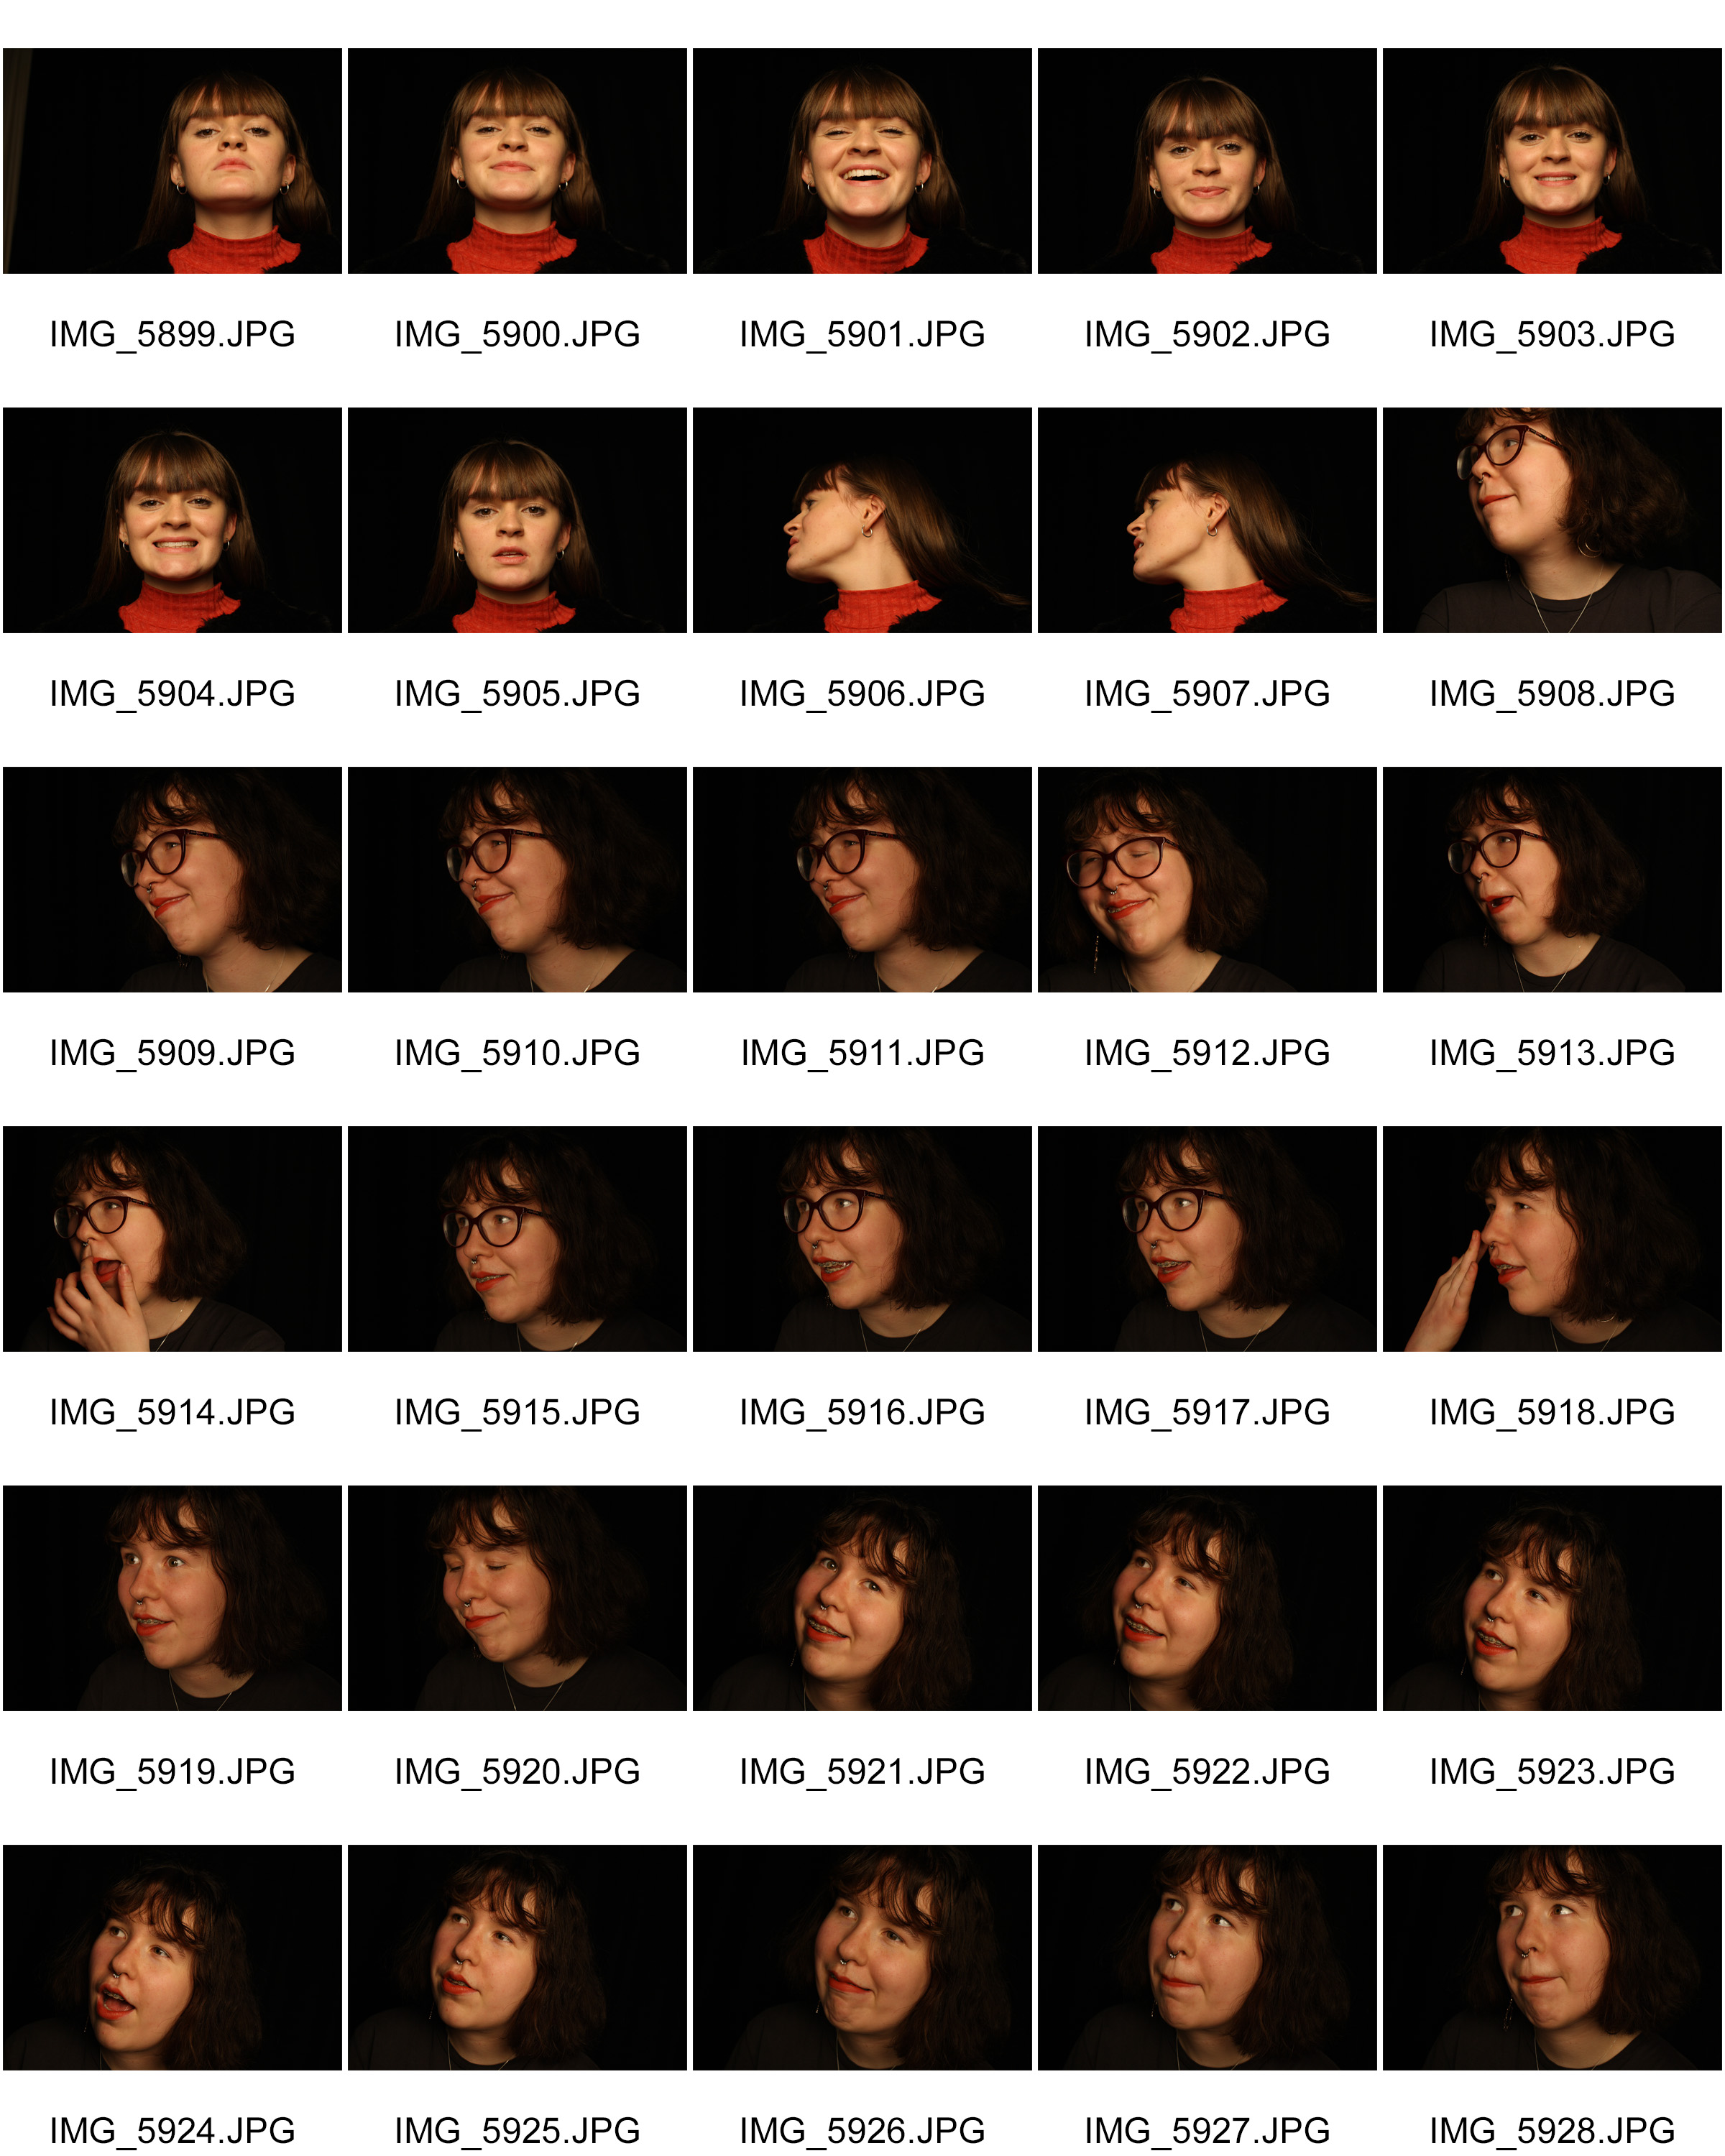
Edited Portraits
Editing Process:

1. Original image opened in Adobe Photoshop.
2. I began with the “spot healing brush tool” in order to clear the skin of any blemishes or marks.
3. Then I used the “blur tool” in order to minimise pores and smooth out the skin to make hiding features easier.
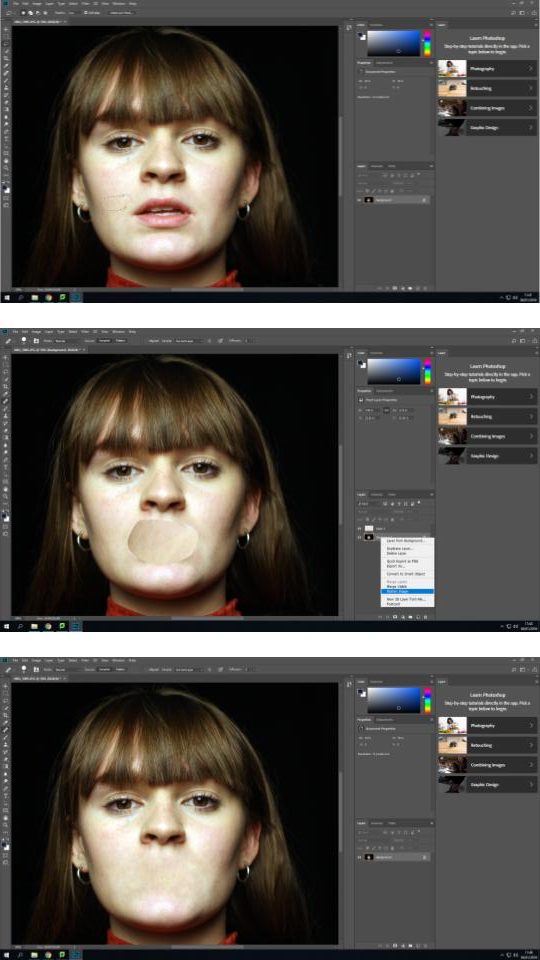
4. I selected the “lasso tool” and cut out a smooth area of the face with minimal amounts of colour differences so the cut out area is not noticable after blending.
5. Using “ctrl+J” and “ctrl+T” I resized and re-positioned the cut out area over the mouth. Then selecting “flatten image” to allow me to start blending out the border between the image and the cut out
6. Using a combination of “spot healing brush tool“, “healing brush tool” and “blur tool” I blended the cut out area in with the image to create a face without a mouth or noticeable editing lines or patches.
7. I then repeated steps 4-6 to cover the nose.
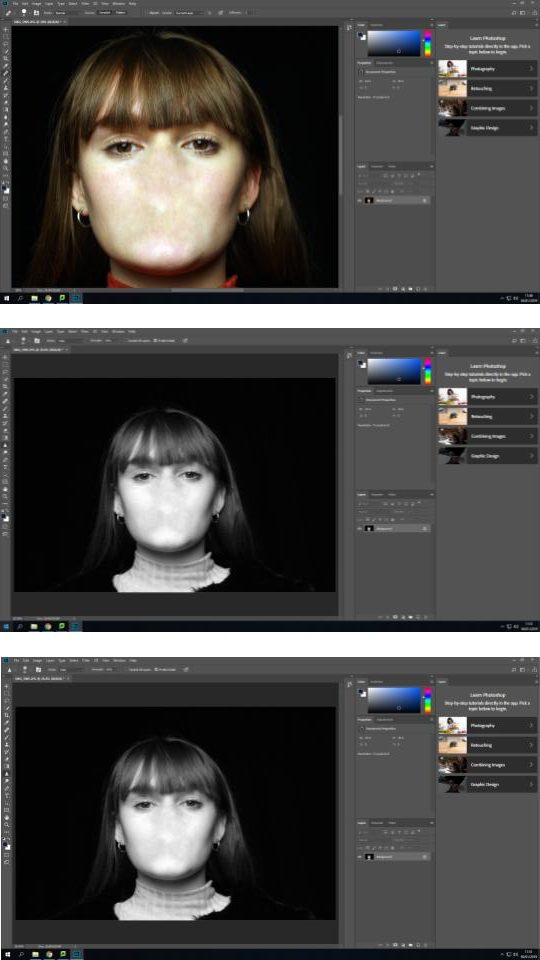
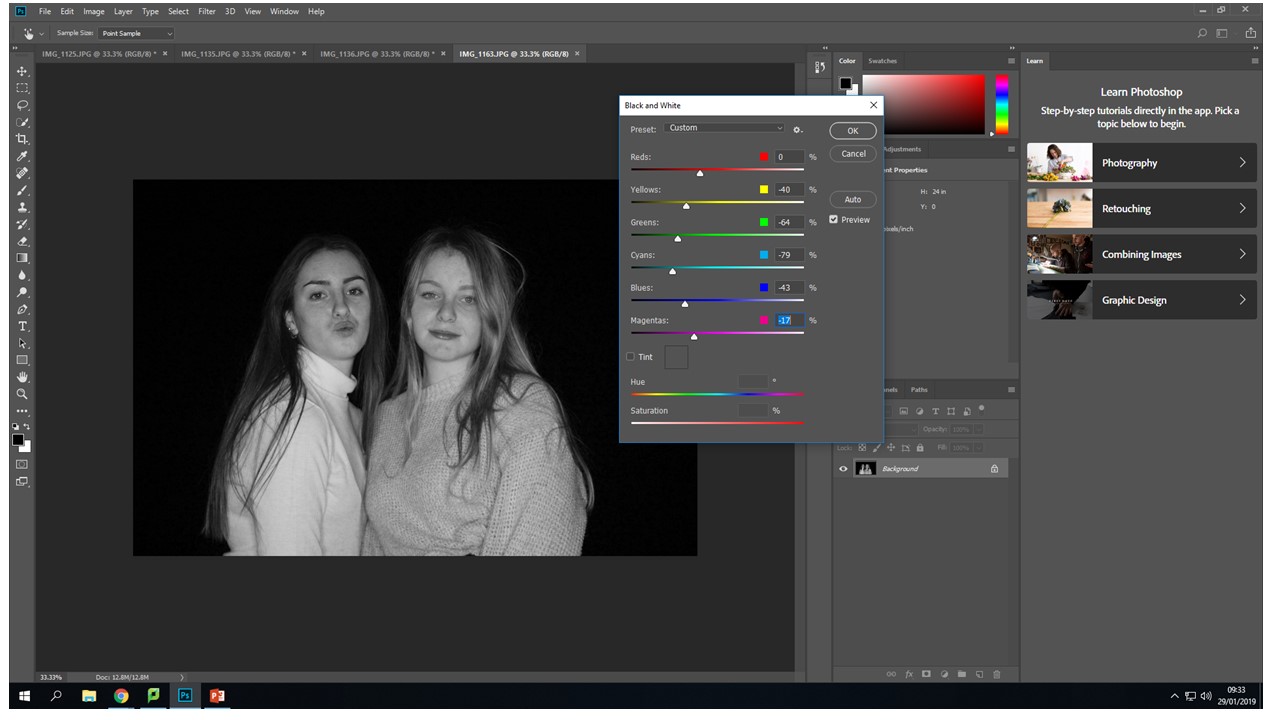
8. I selected the “black & white” feature, increasing the brightness of reds to create a paler complexion and help separate the face from the black background.
9. Finally I used the “sharpen tool” on the eyes to cause them to stand out more and bring the face together.
Final Edits: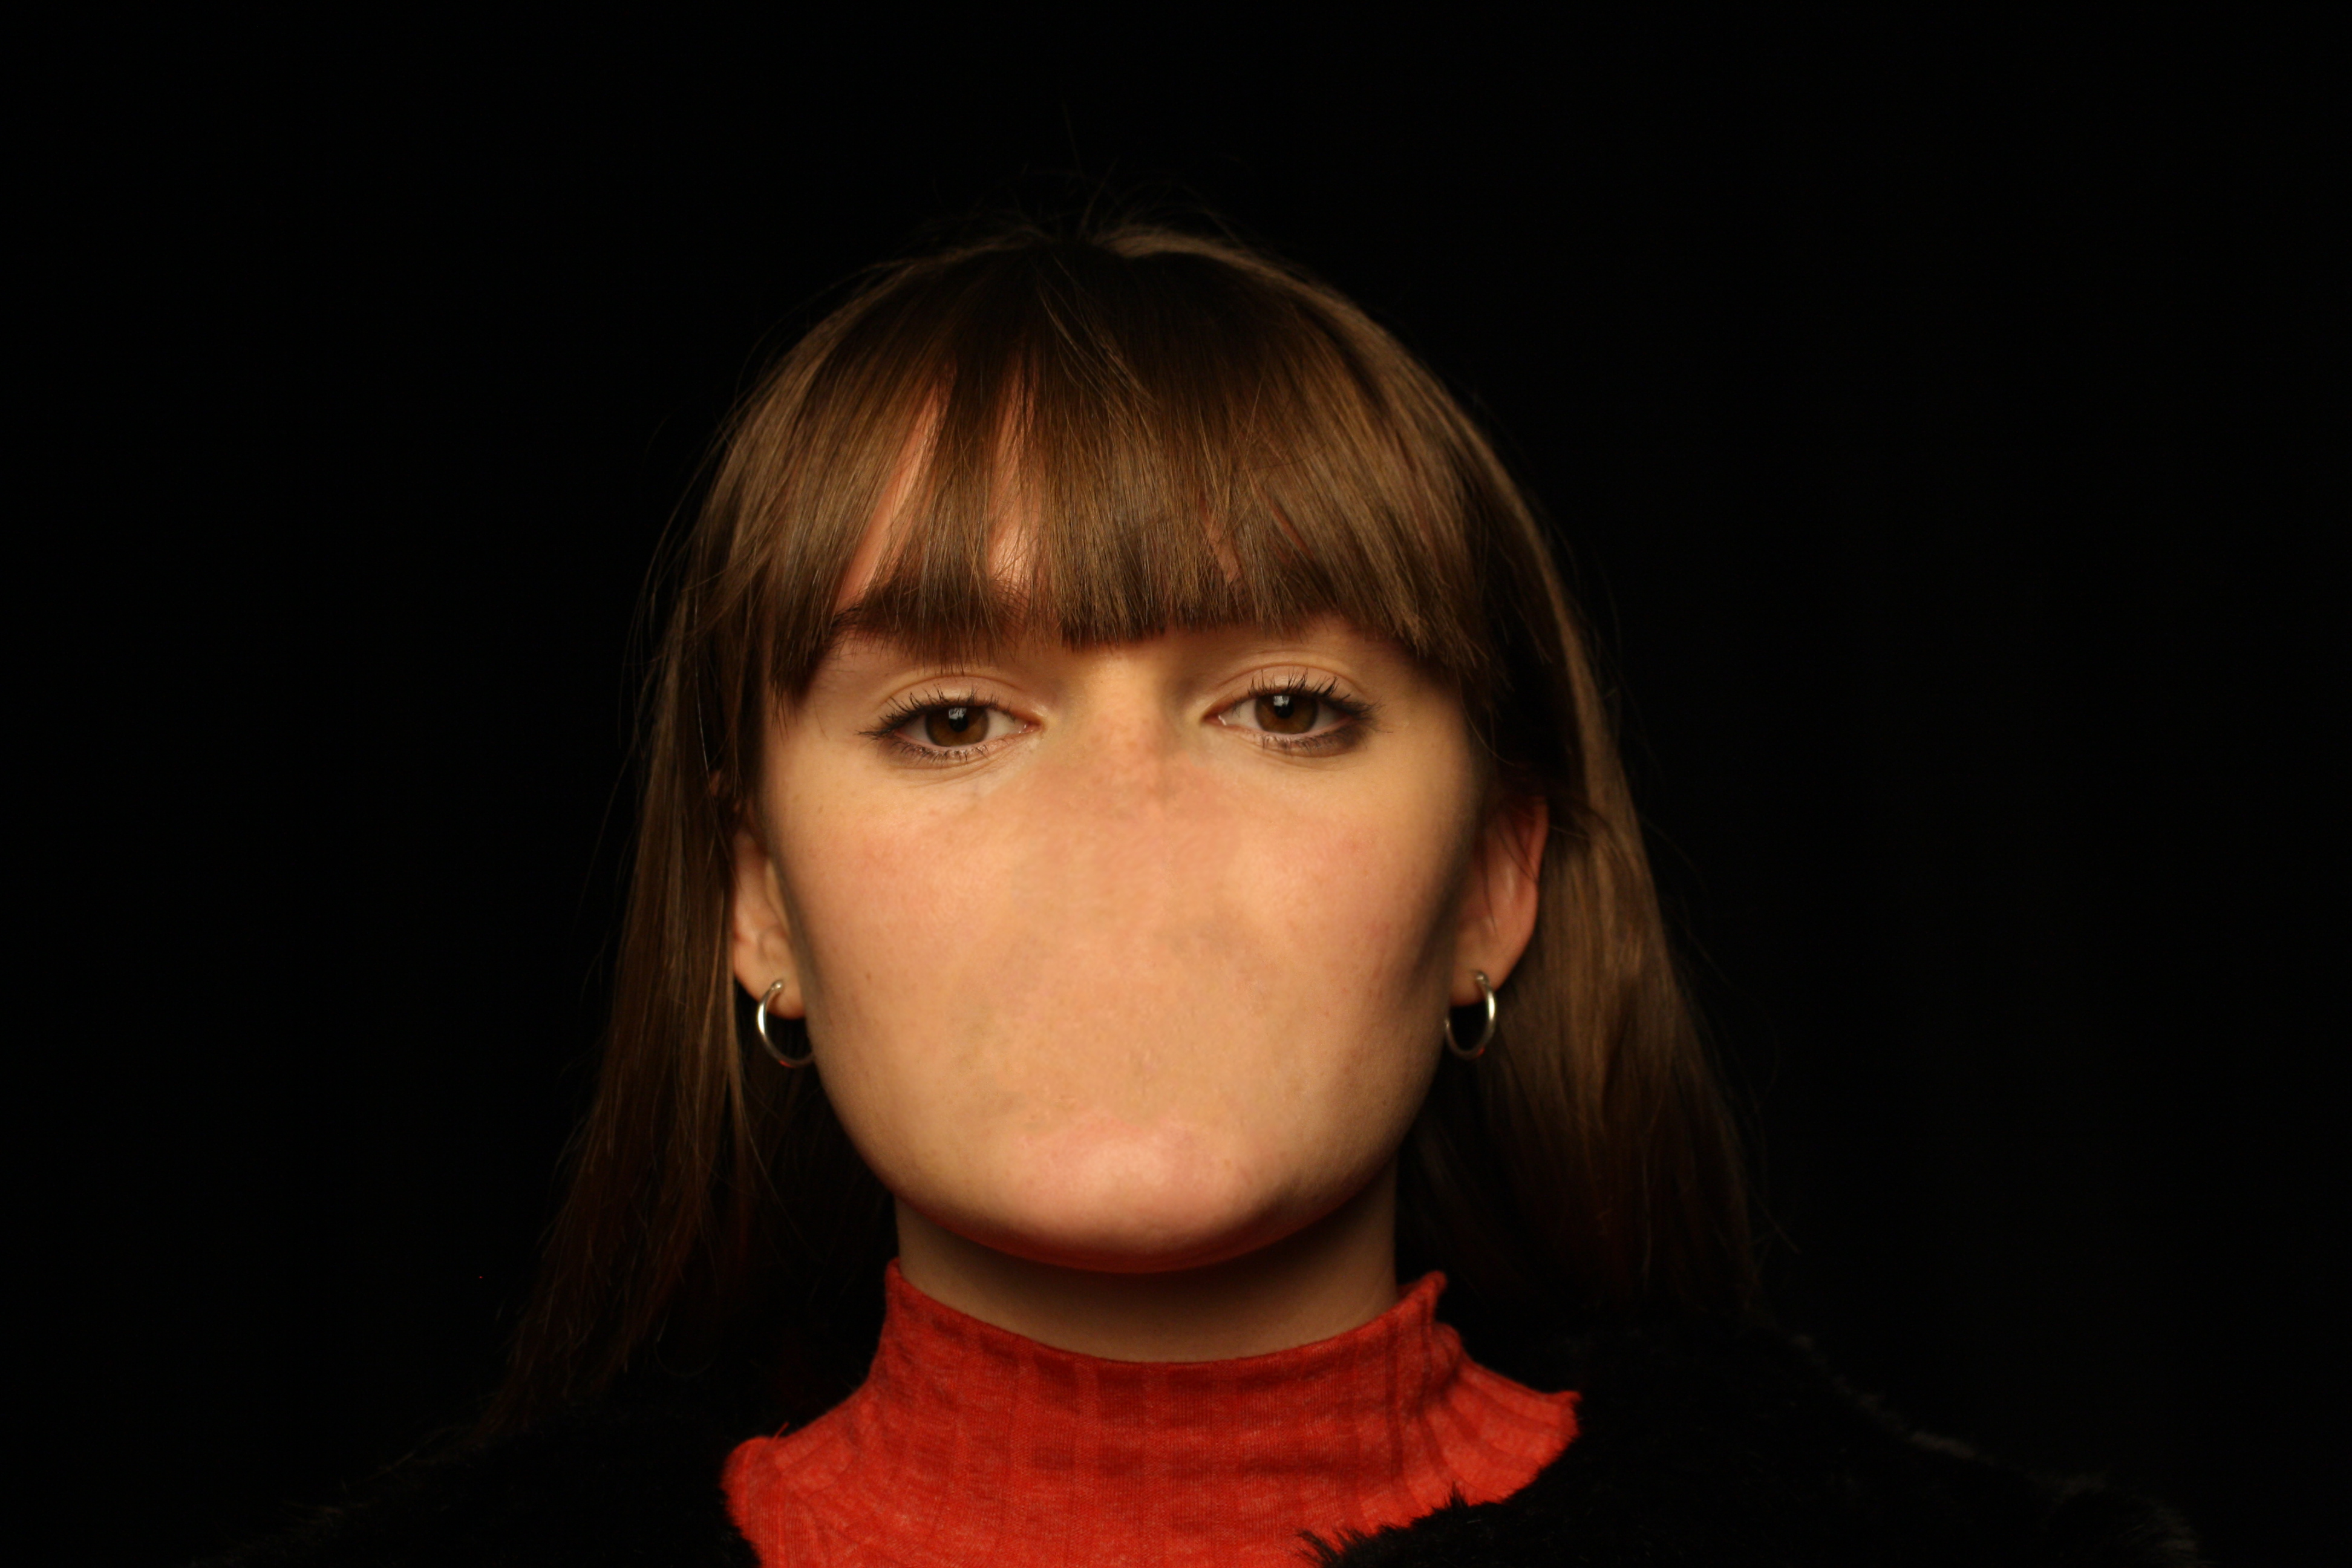


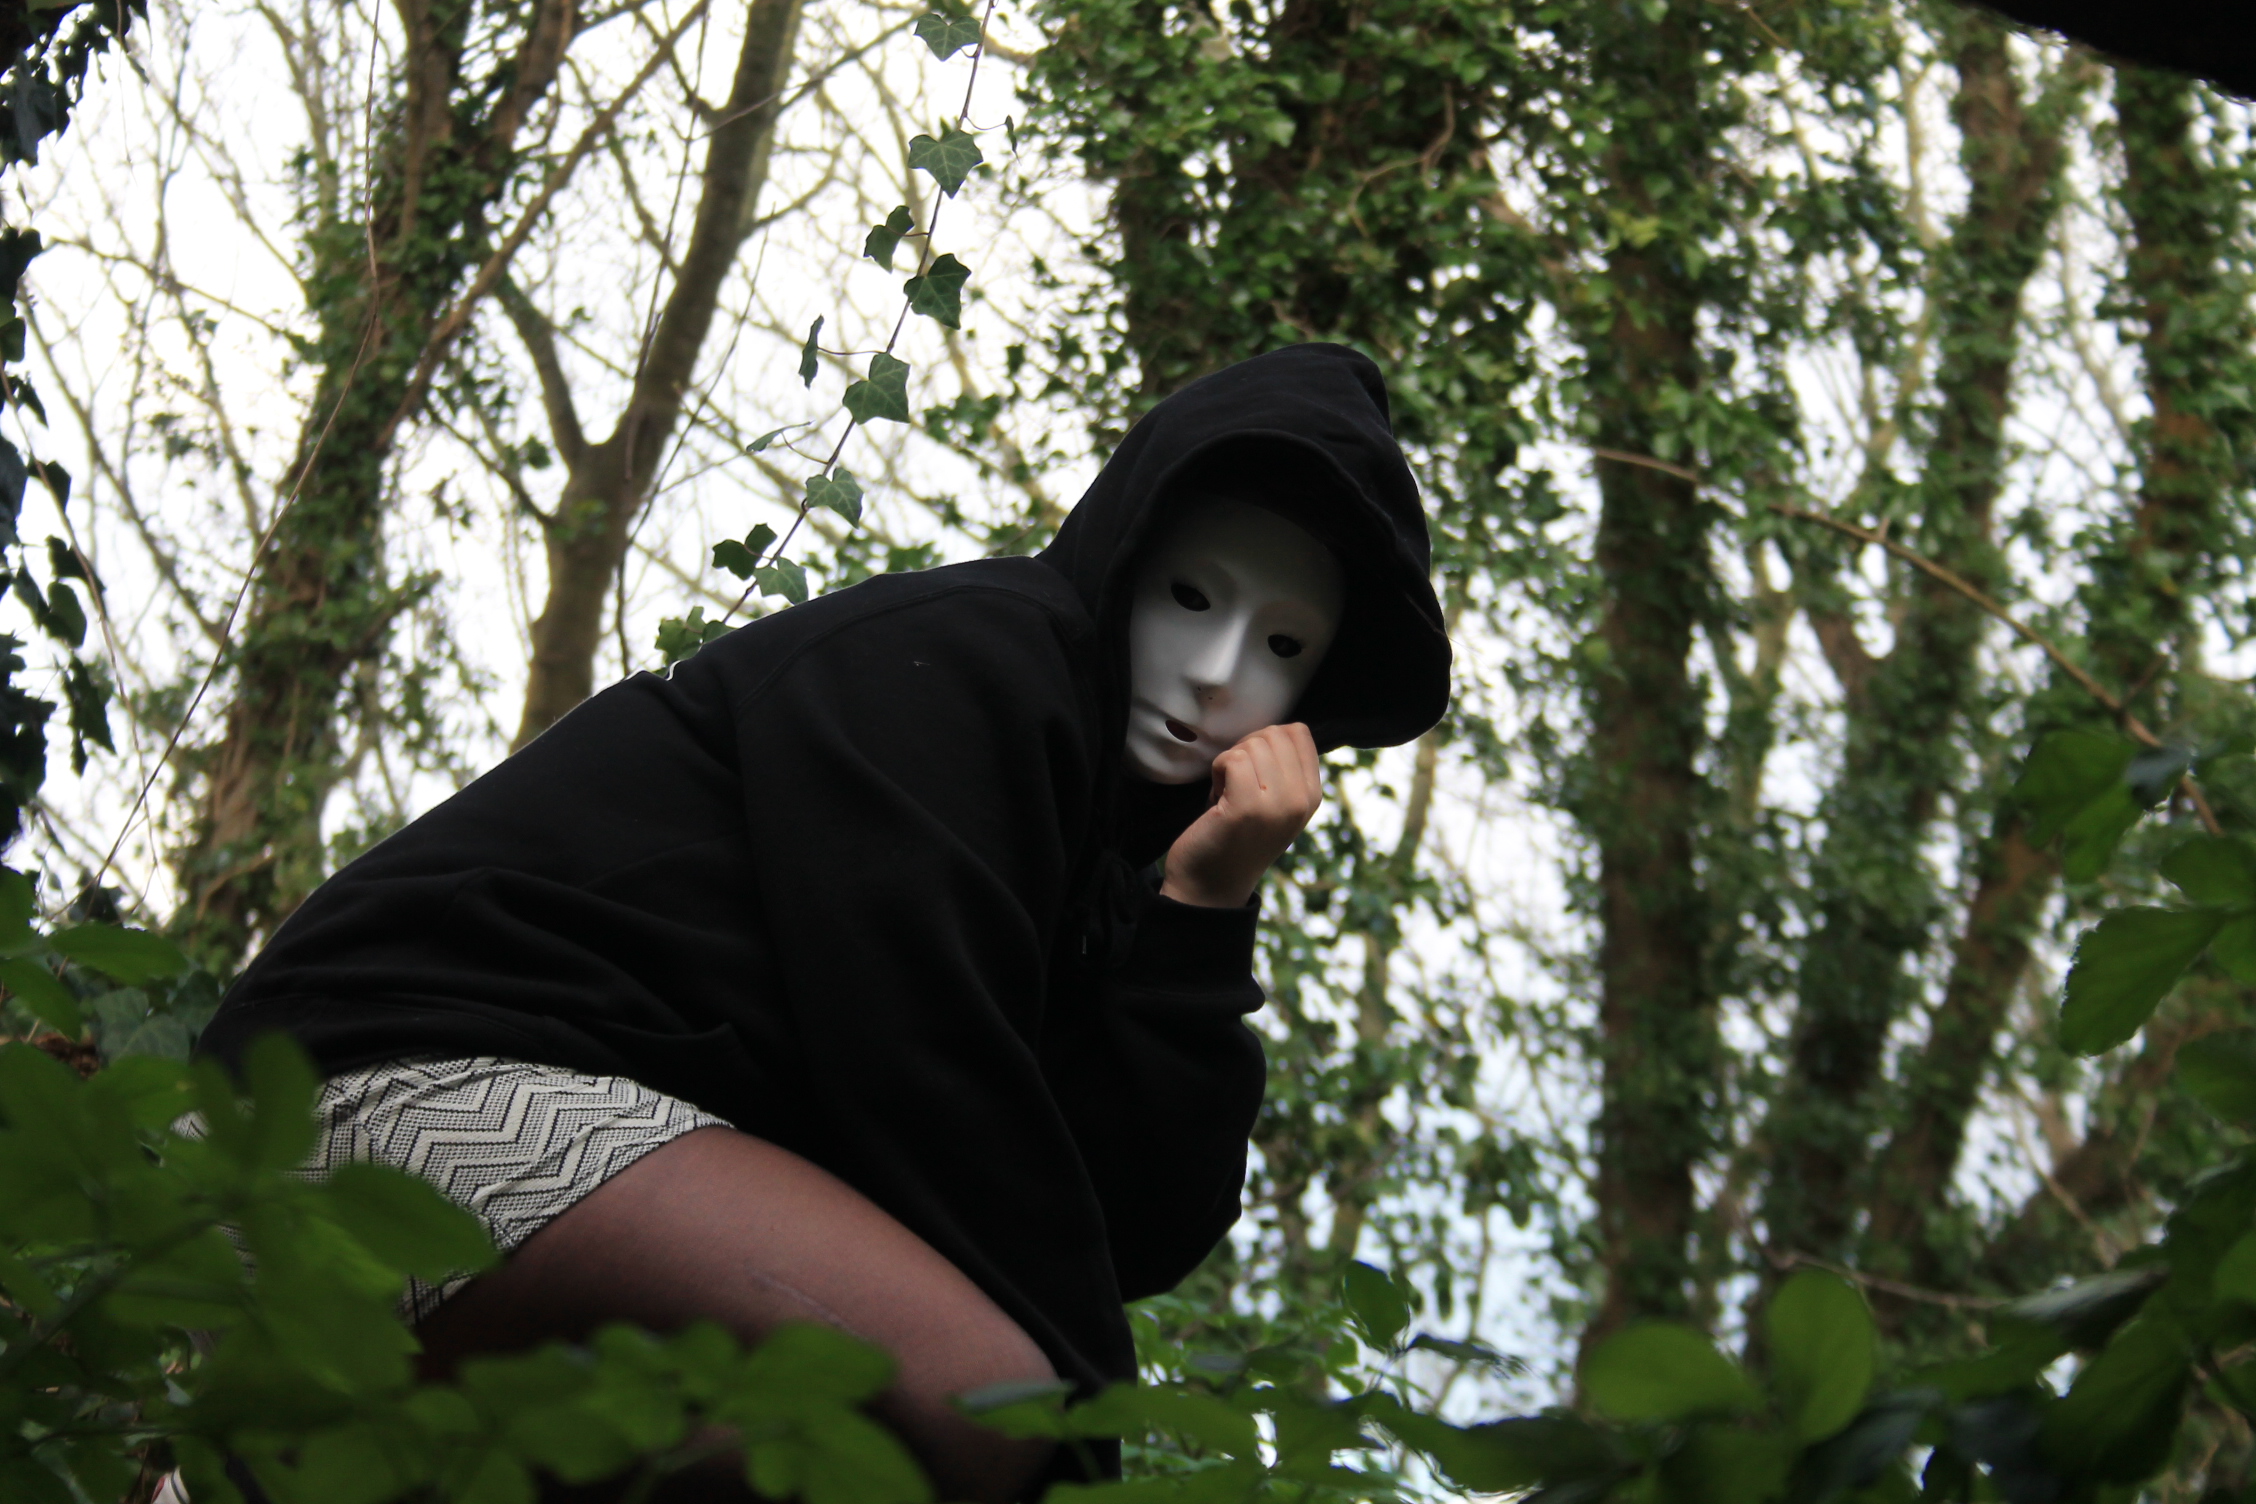
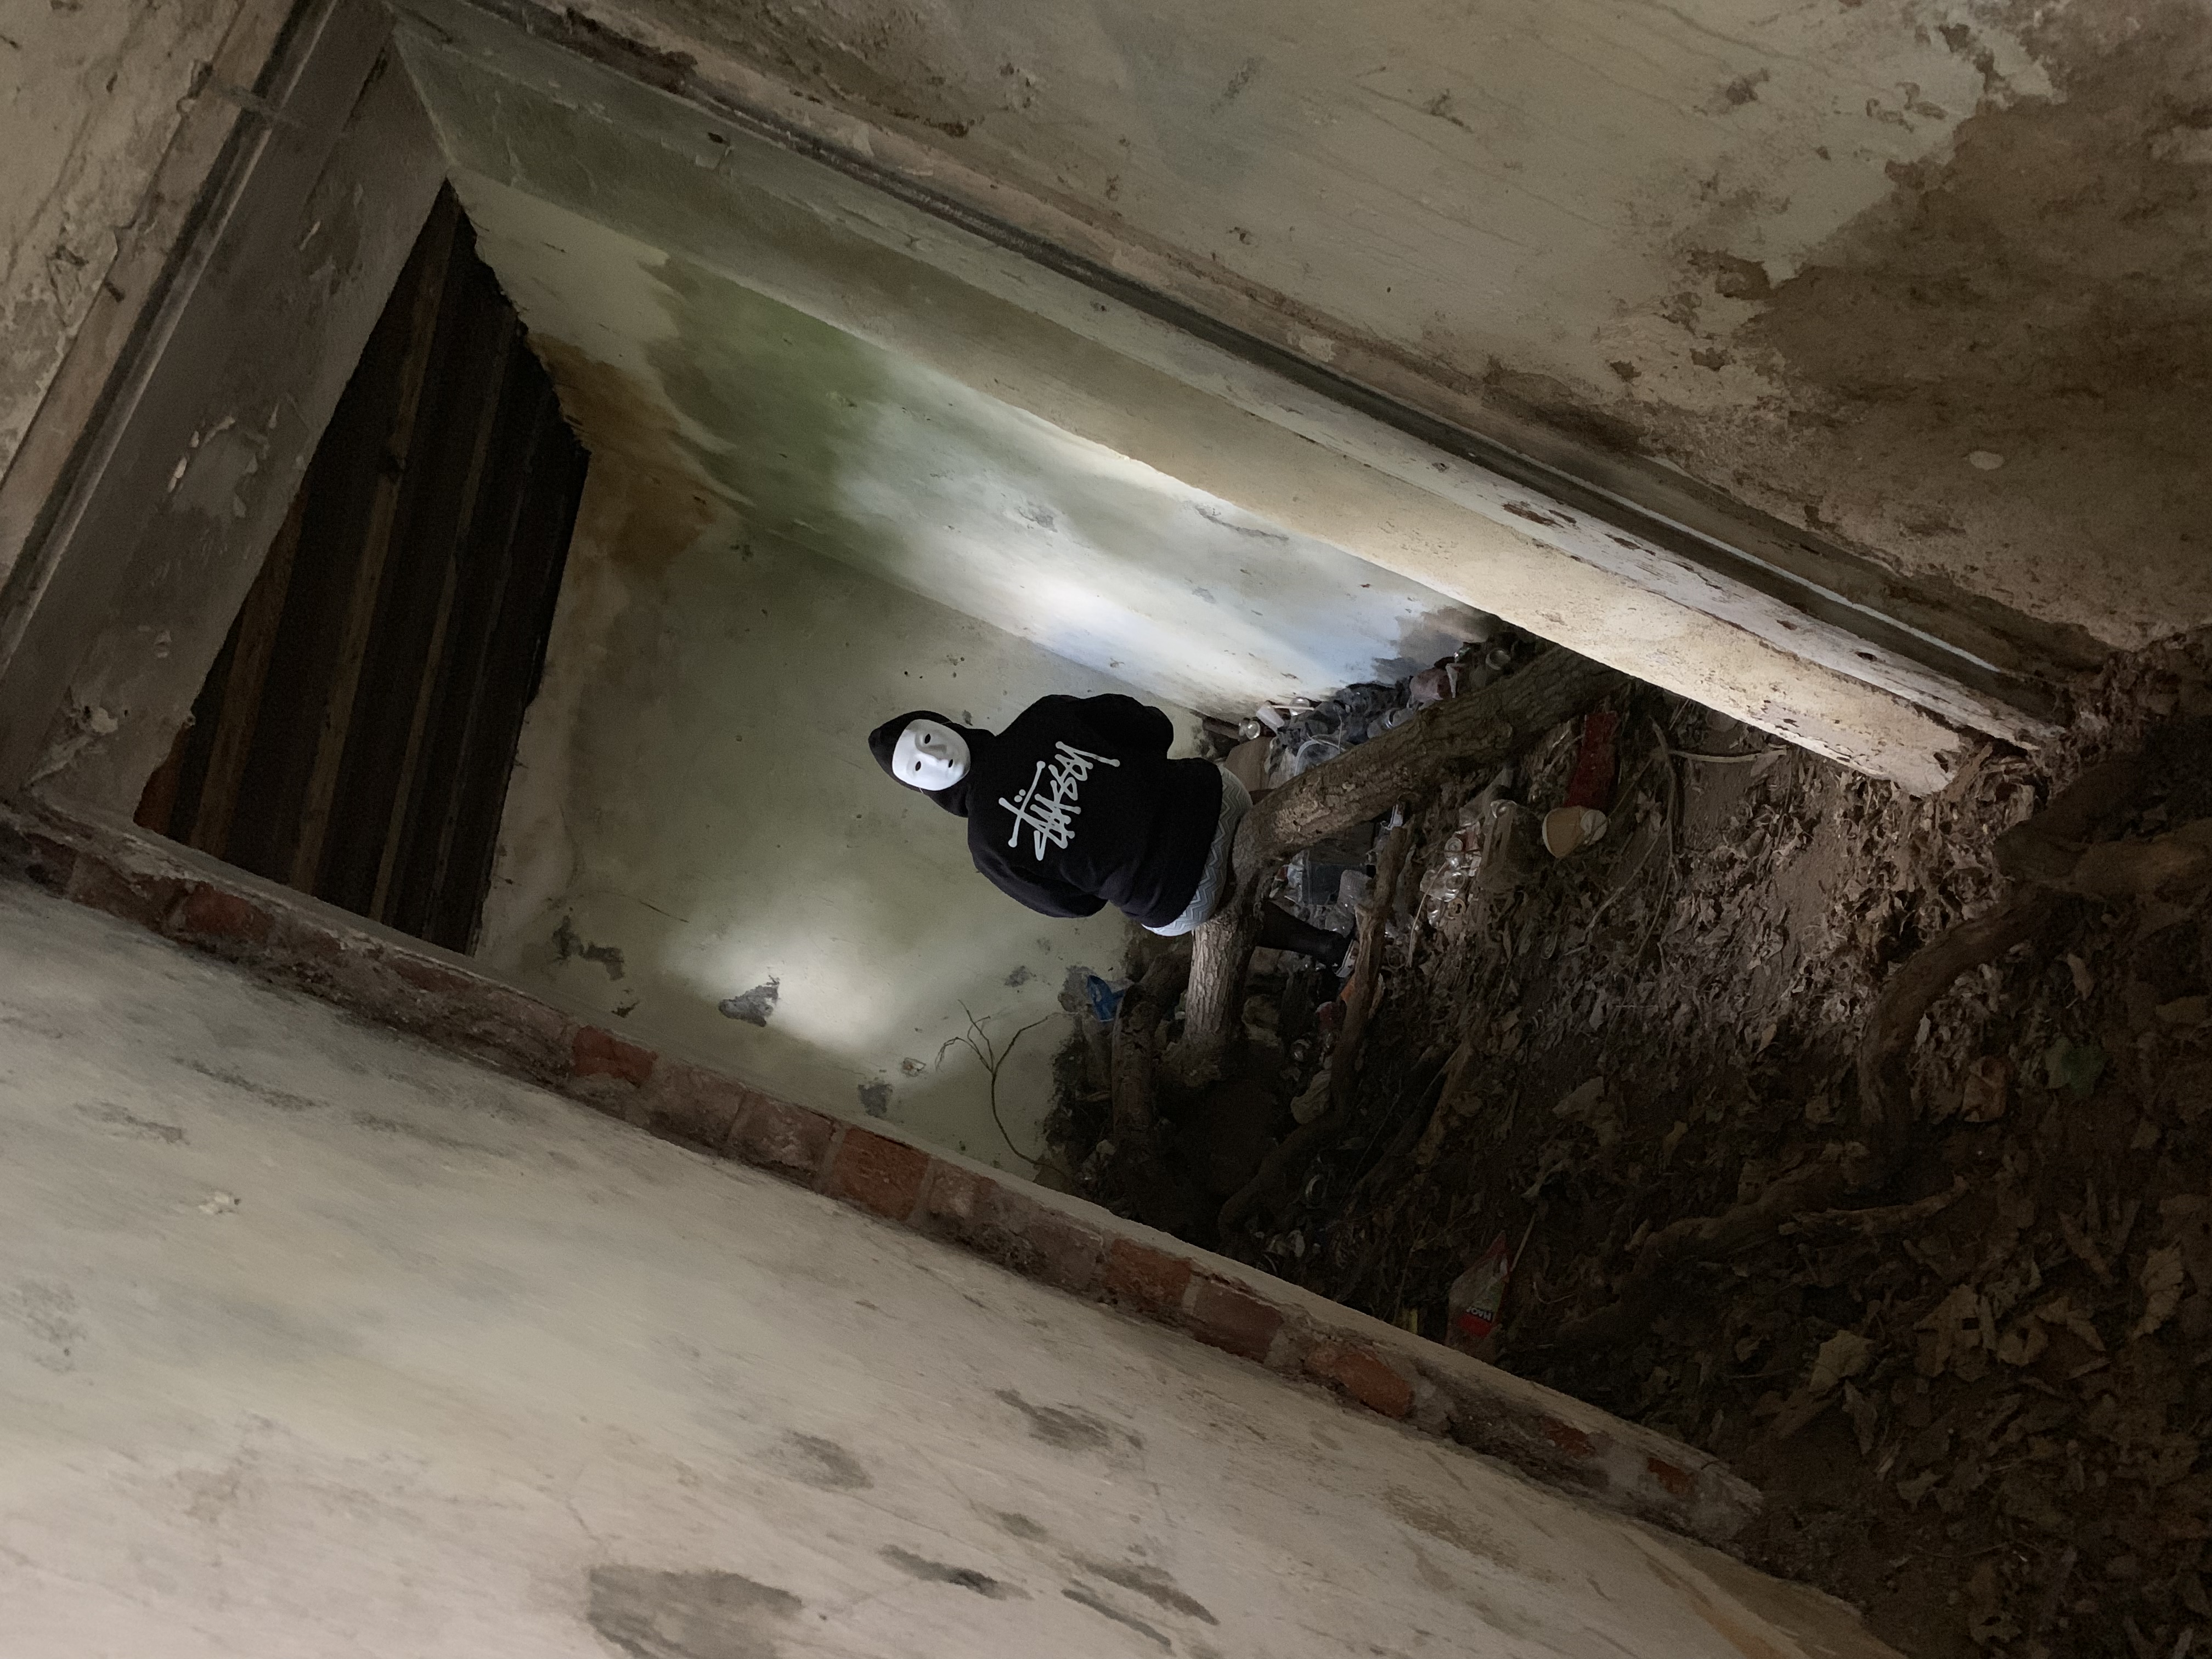
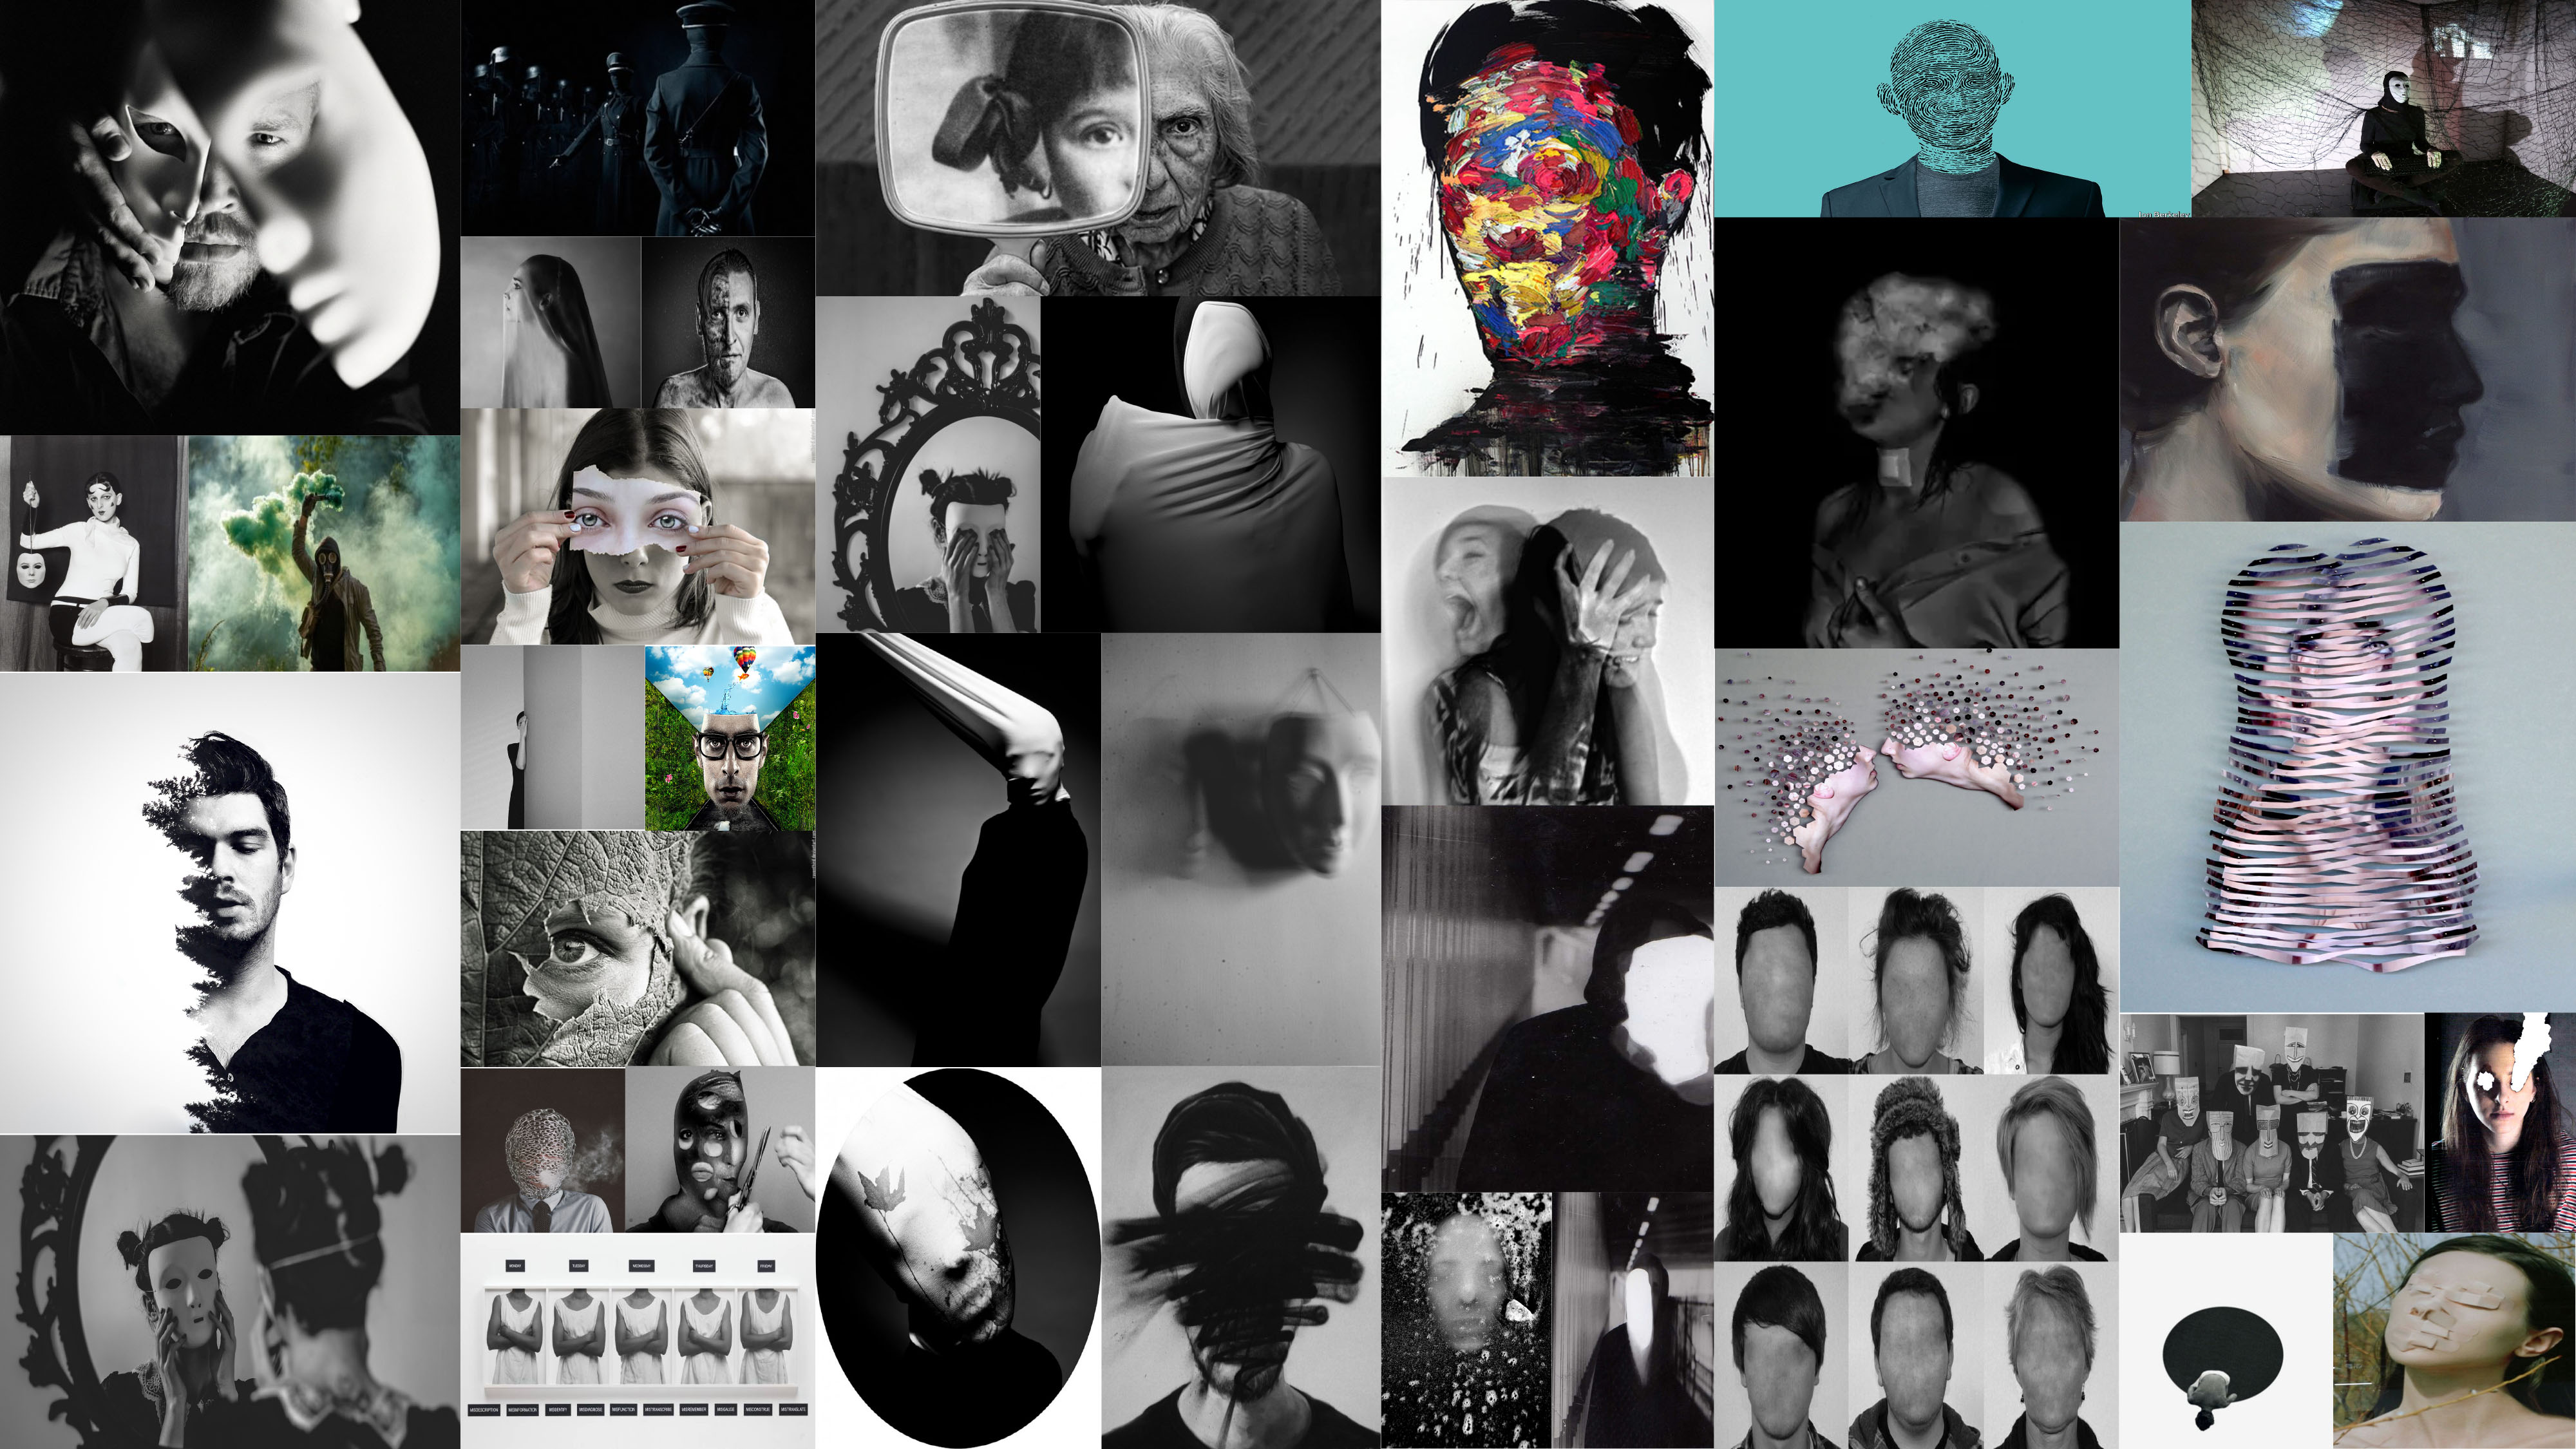
 Best Images:

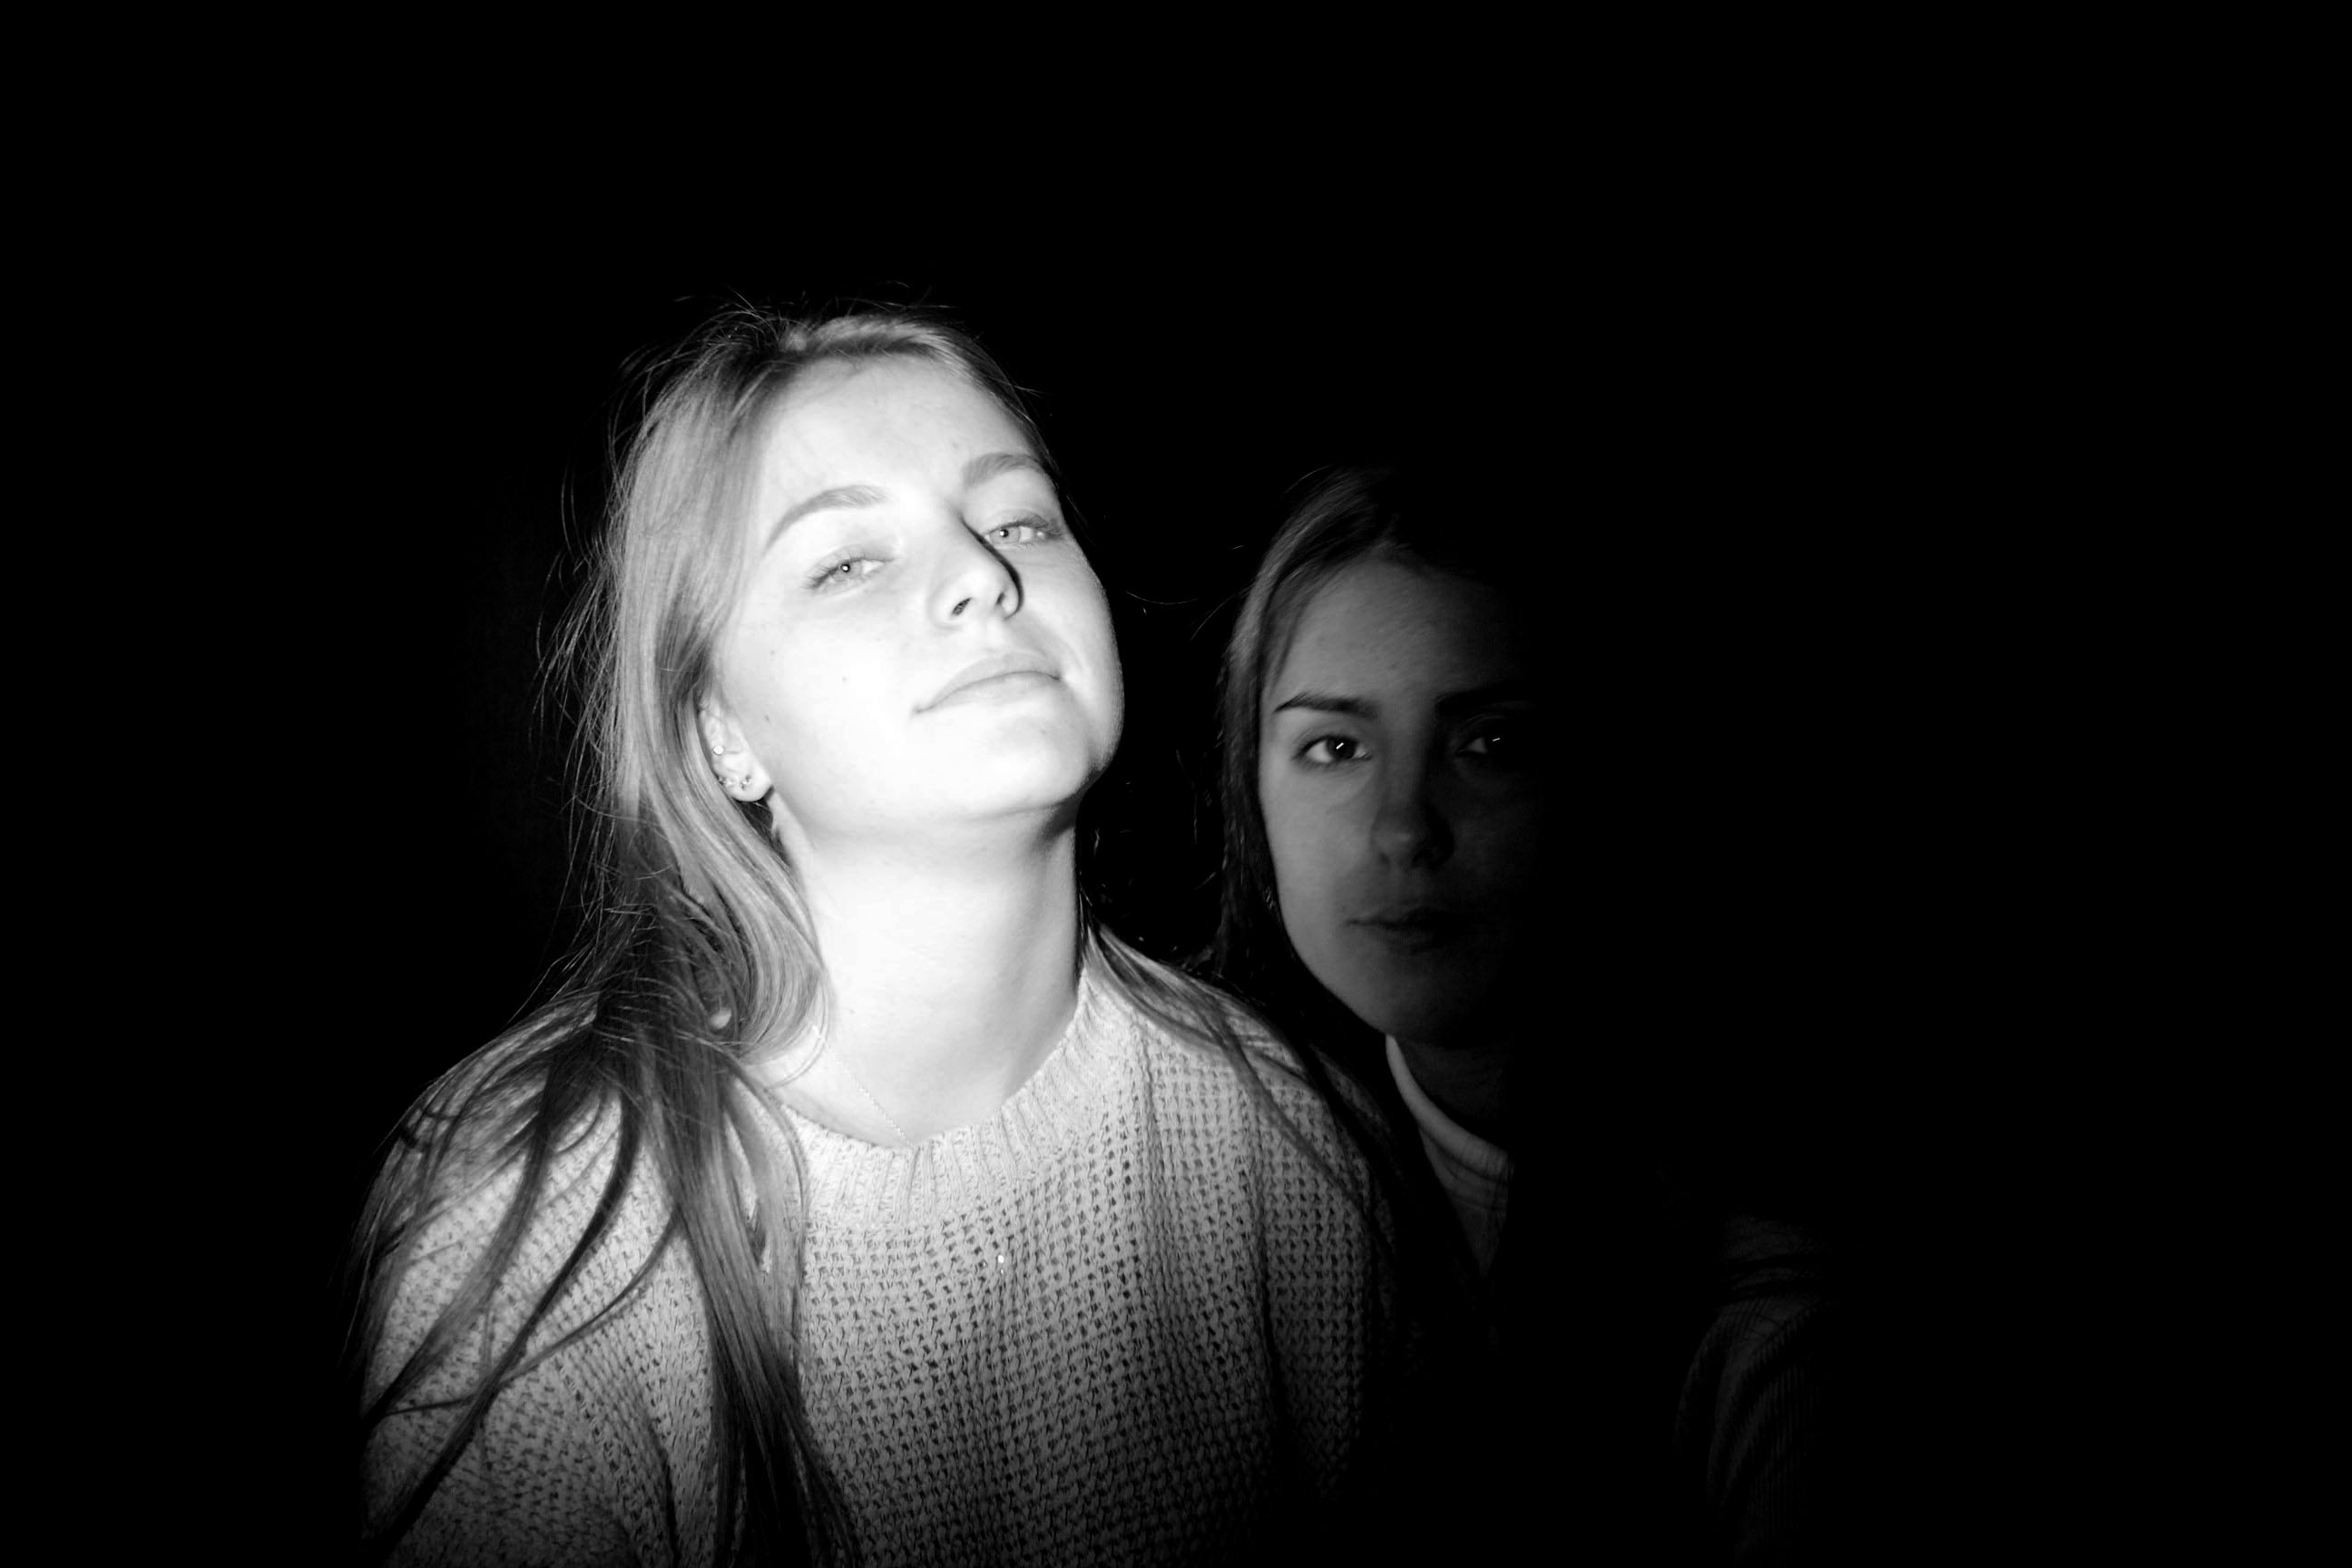
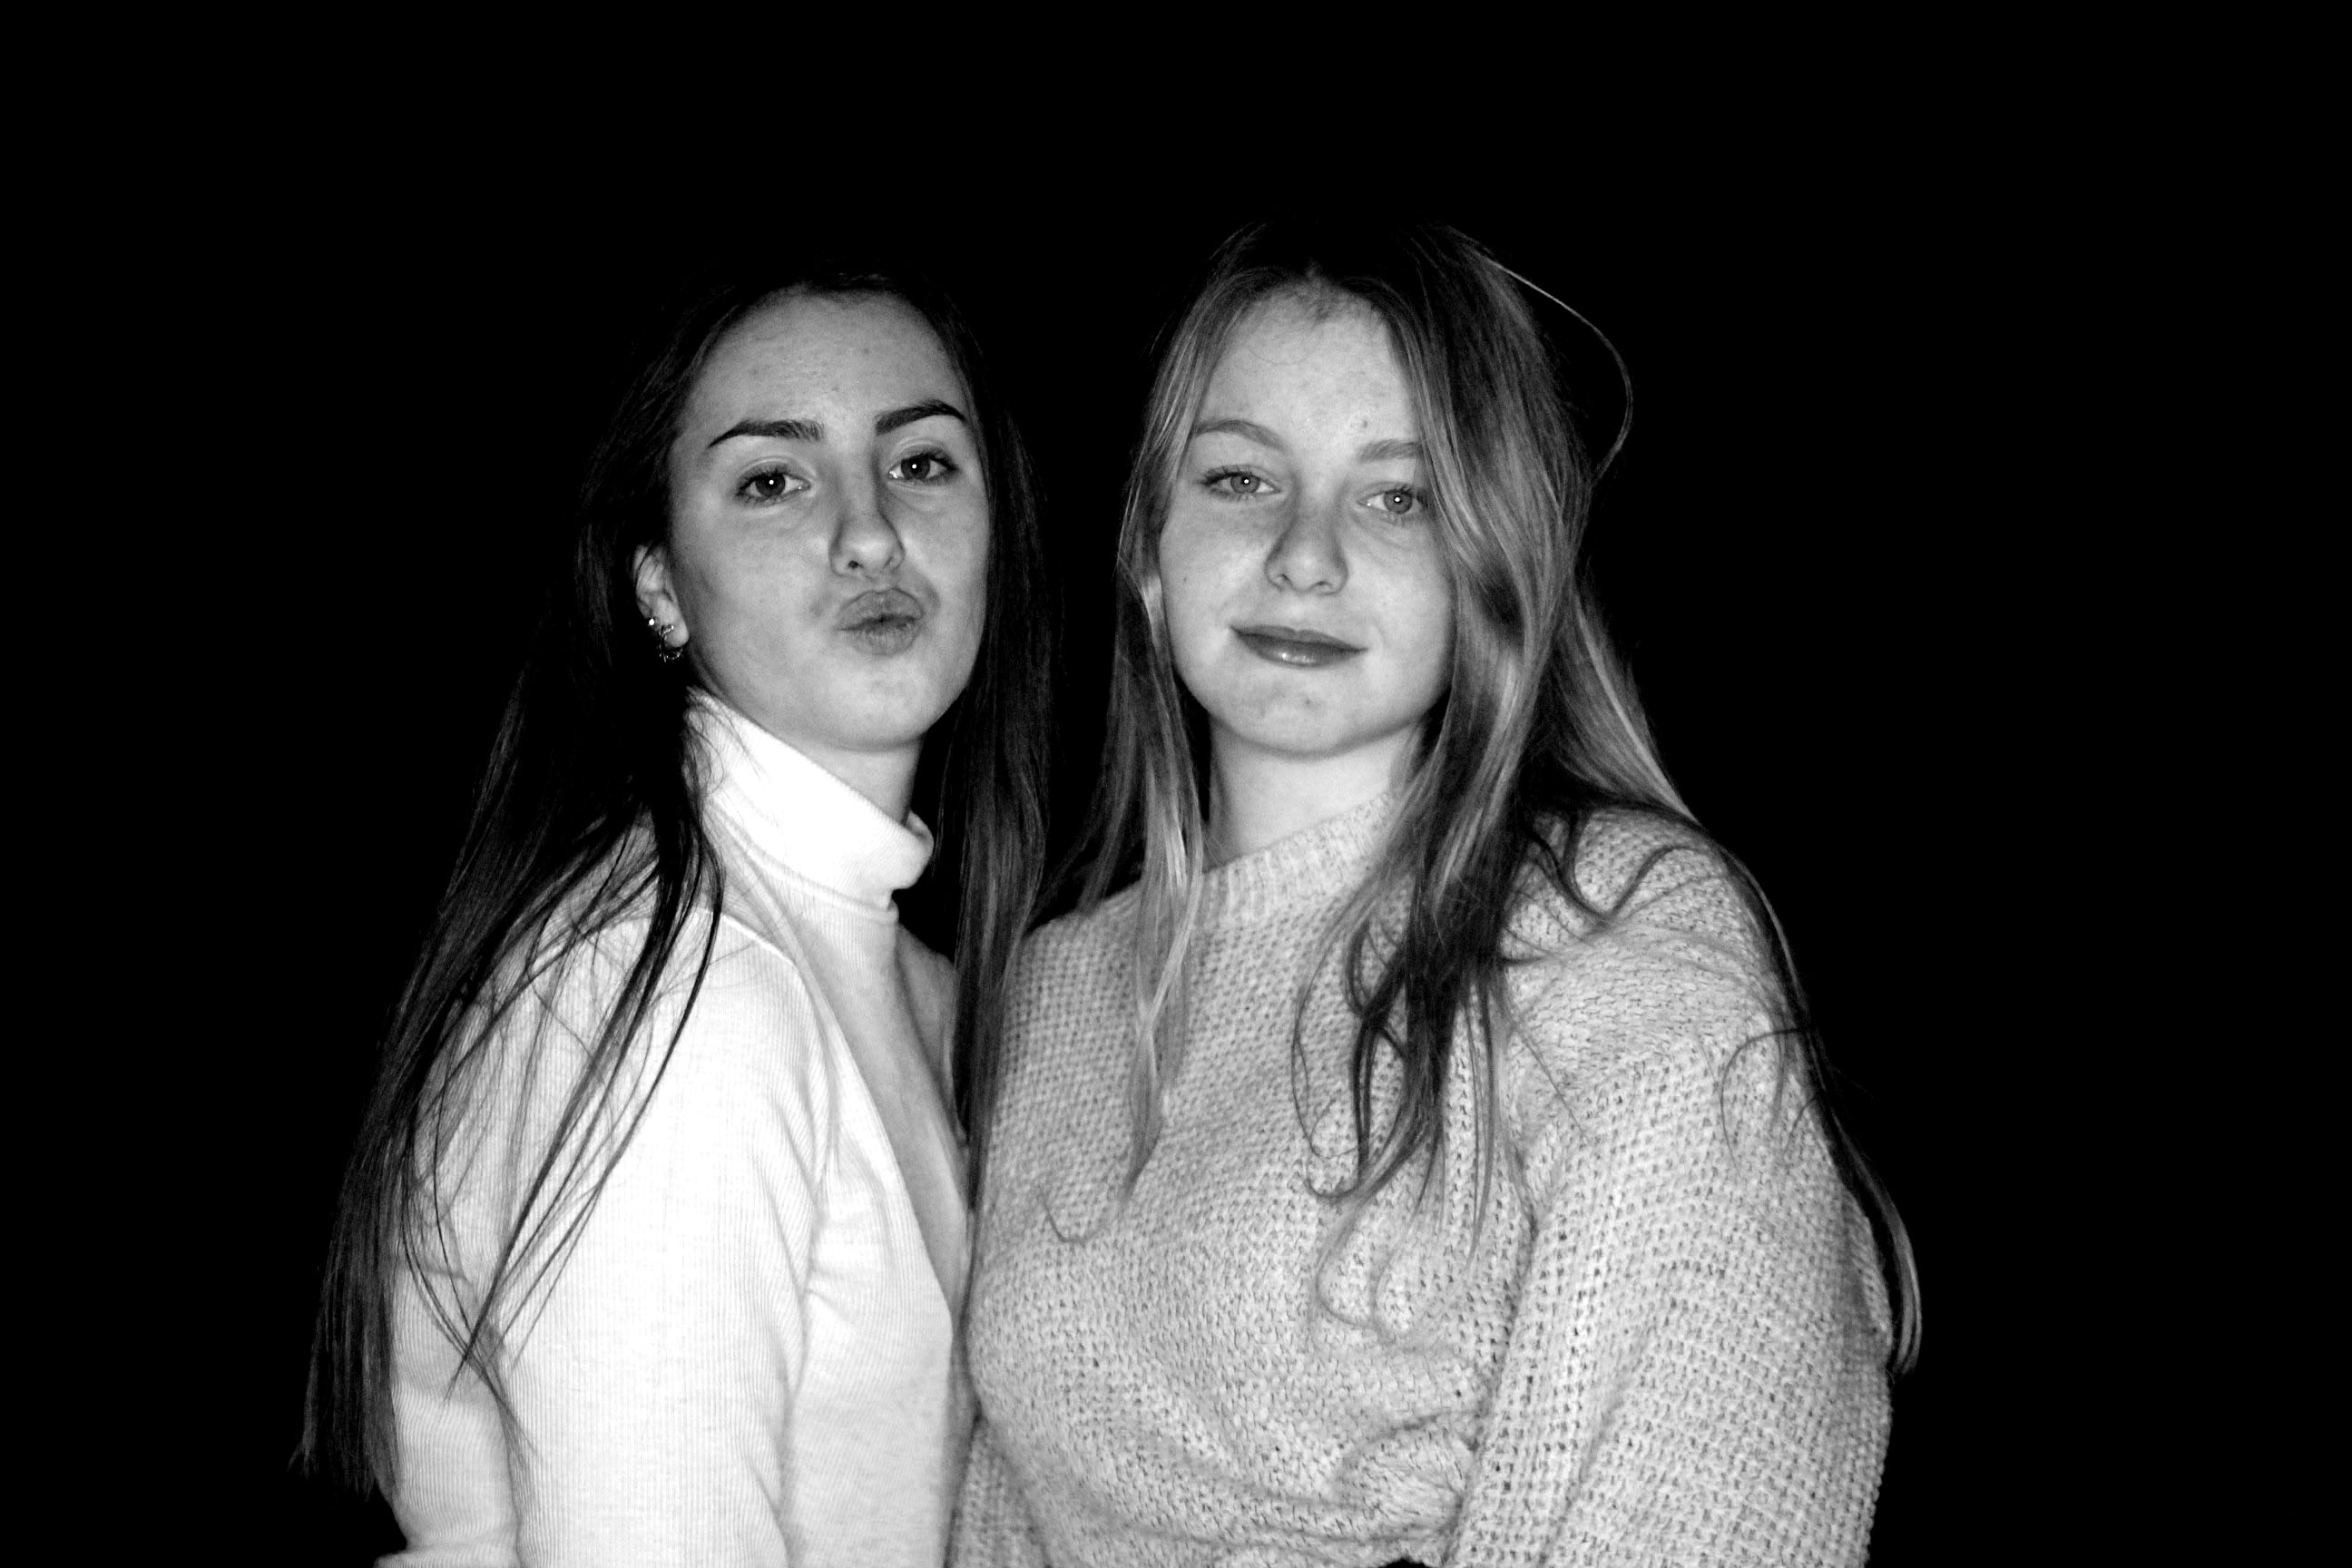
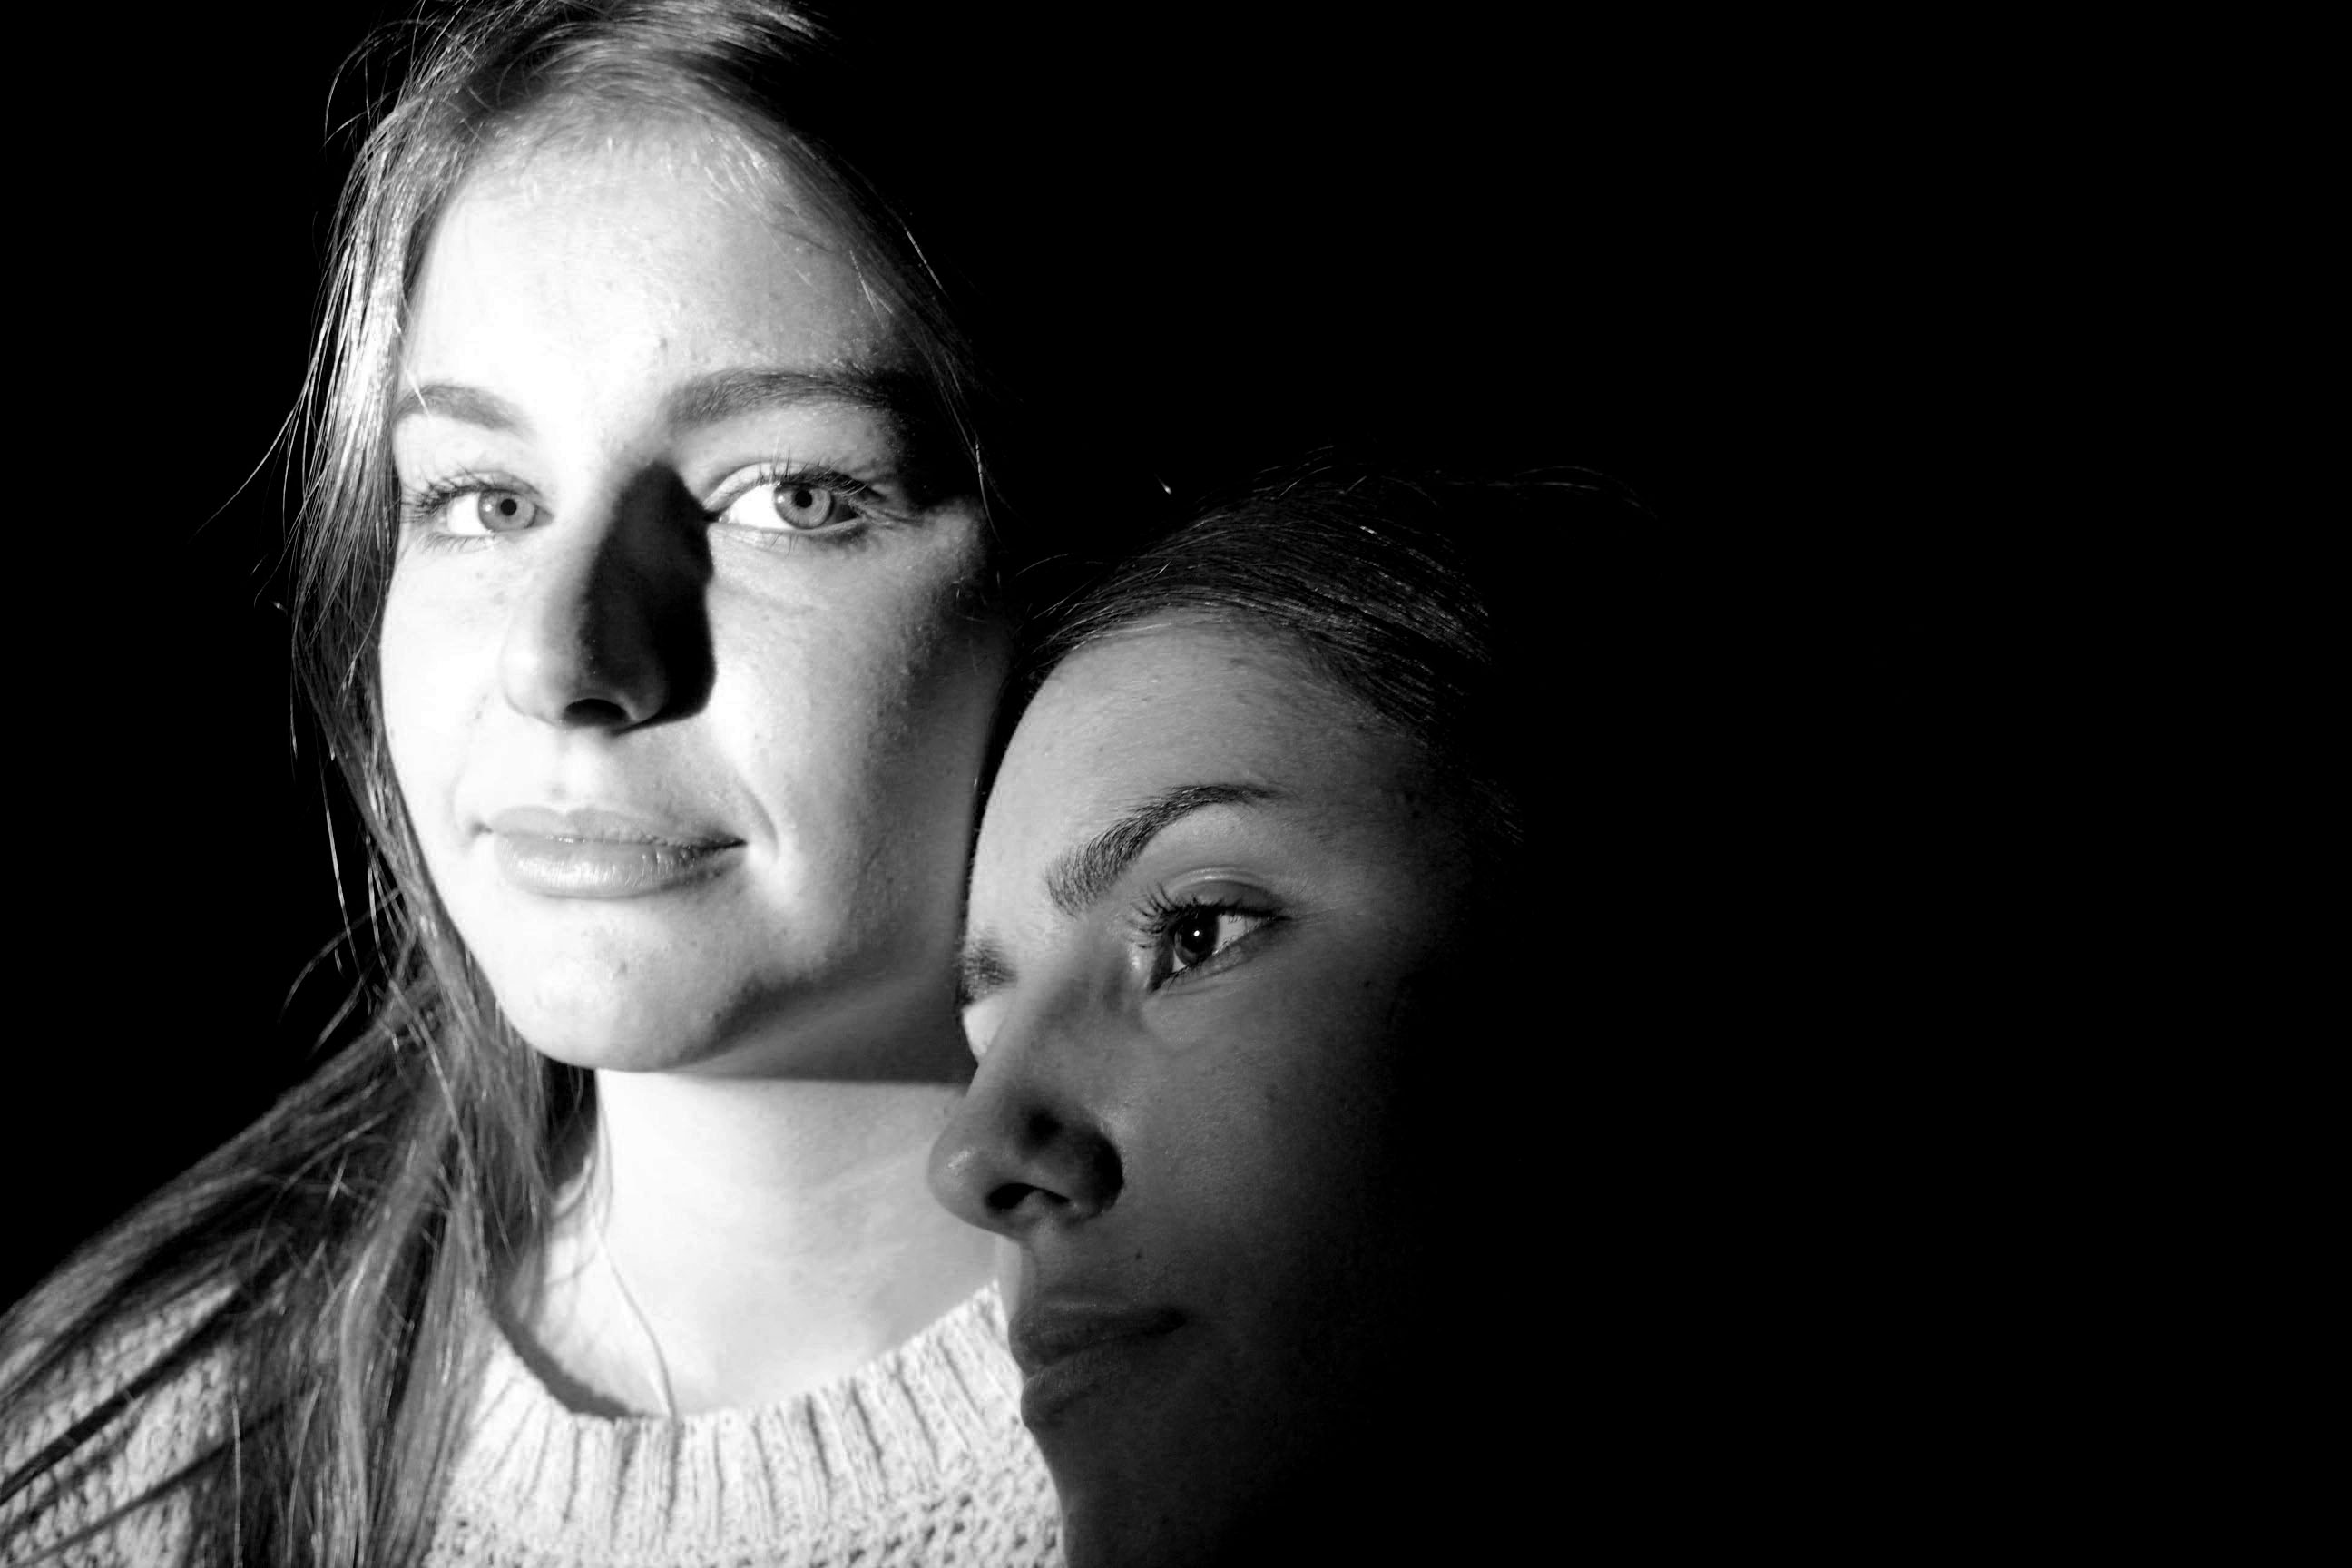

 Best Images: