Final Images:


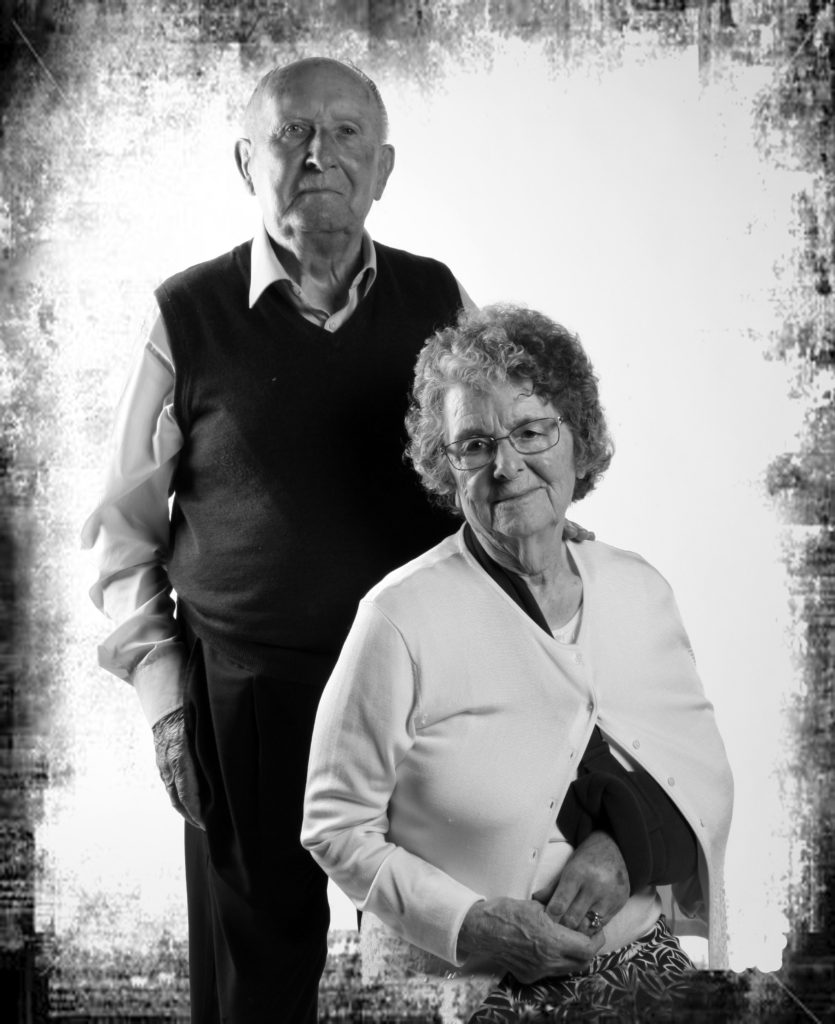
Best Image:

Final Images:


Best Image:

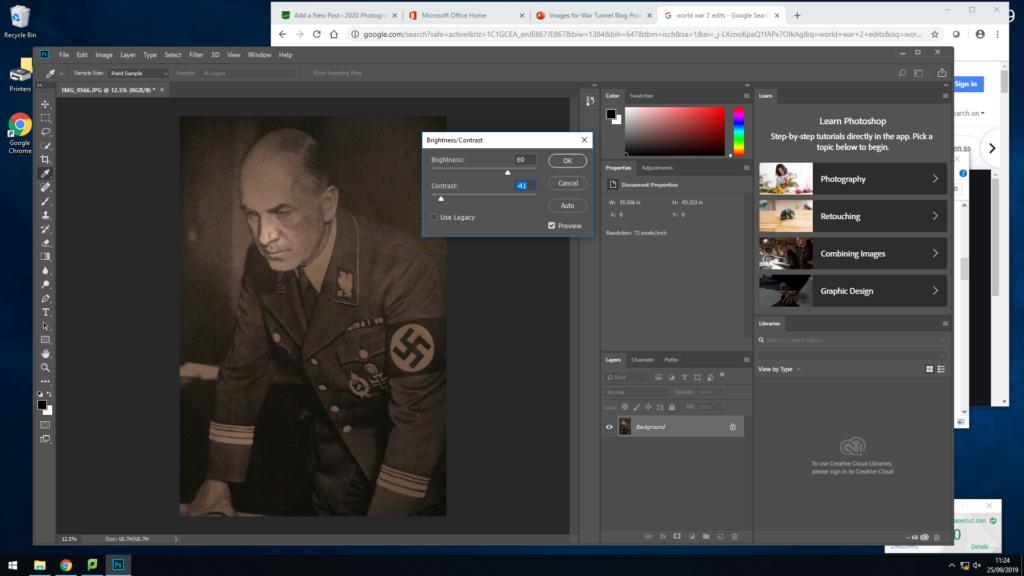
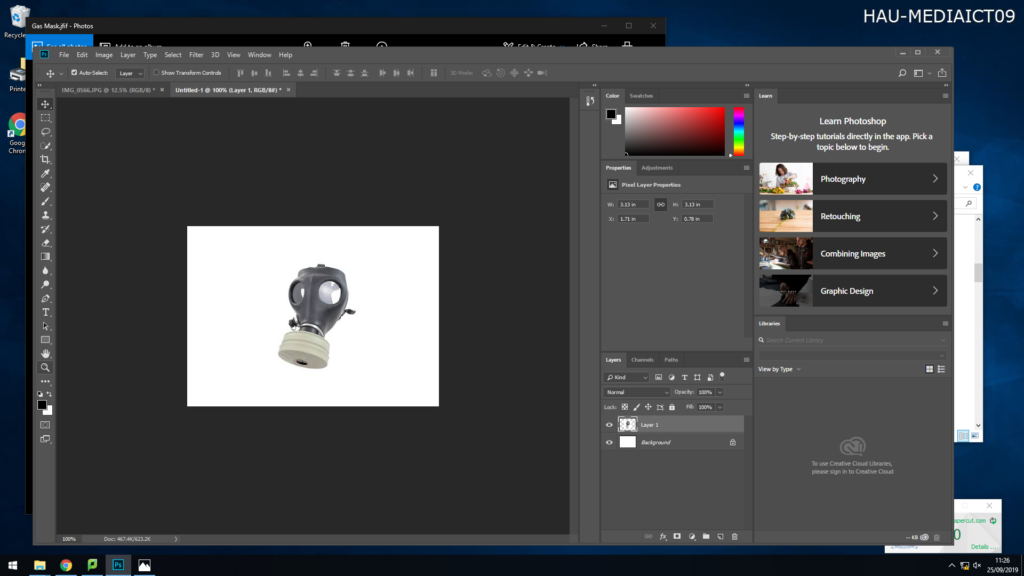
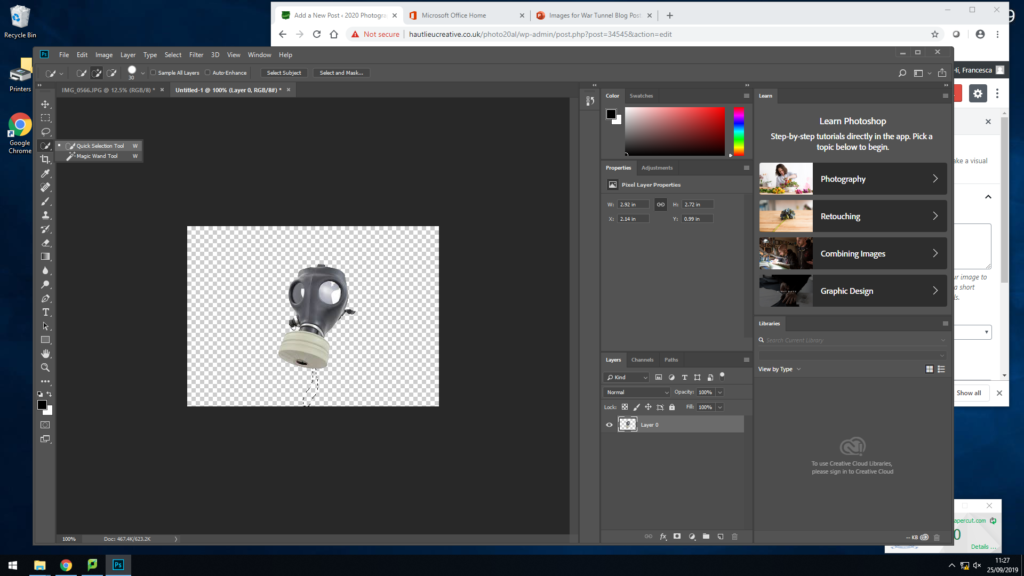
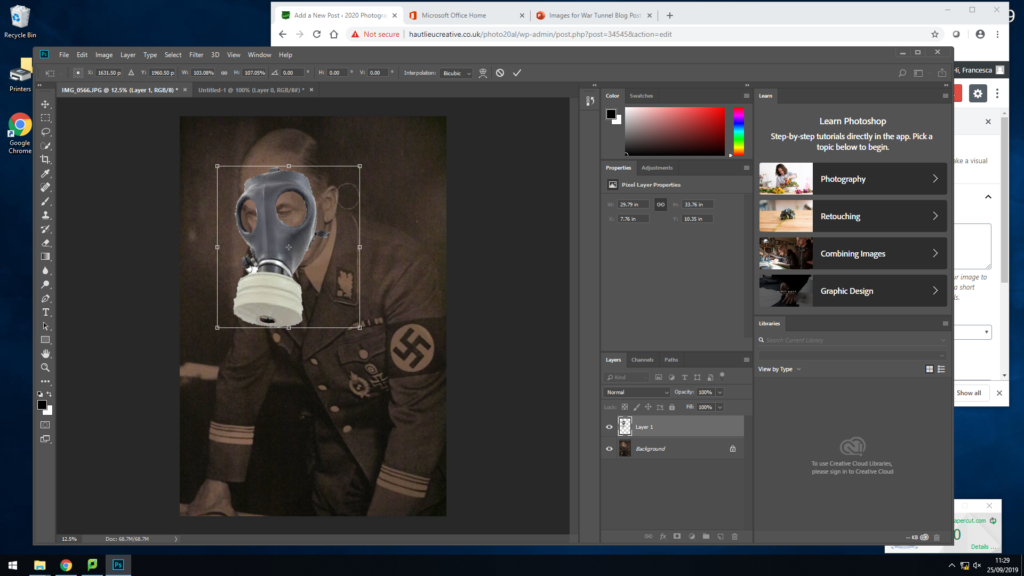
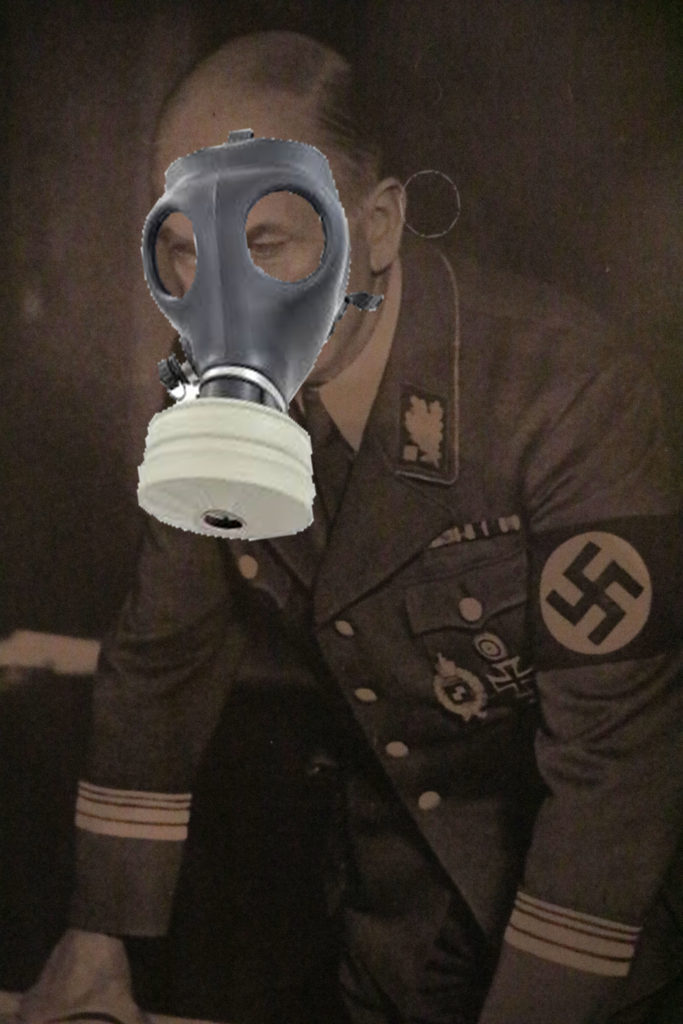
To create this image I started with the original image of the solider, I chose this as my main piece because it is a strong image and shows history. I firstly started off adjusting the brightness and exposure of the image, I turned up the brightness of the image so you could see the man more clearly as his features and clothing play a main role in the image. I then opened the image I was adding on top of my base image. To this image I removed its background using the quick selection tool, then dragged the final image over to the base. Here, I used the eraser tool to removed any little details that didn’t fit the man face, along with using the blur tool to make it look more realistic that the mask it on his face. I decided to put the mask on top of the German solider as they are both key image of the occupation. I am show casing the problem of gas mask, which was the German’s dropping bombs around the island making it unsafe for islanders, meaning they had to use gas masks to survive.
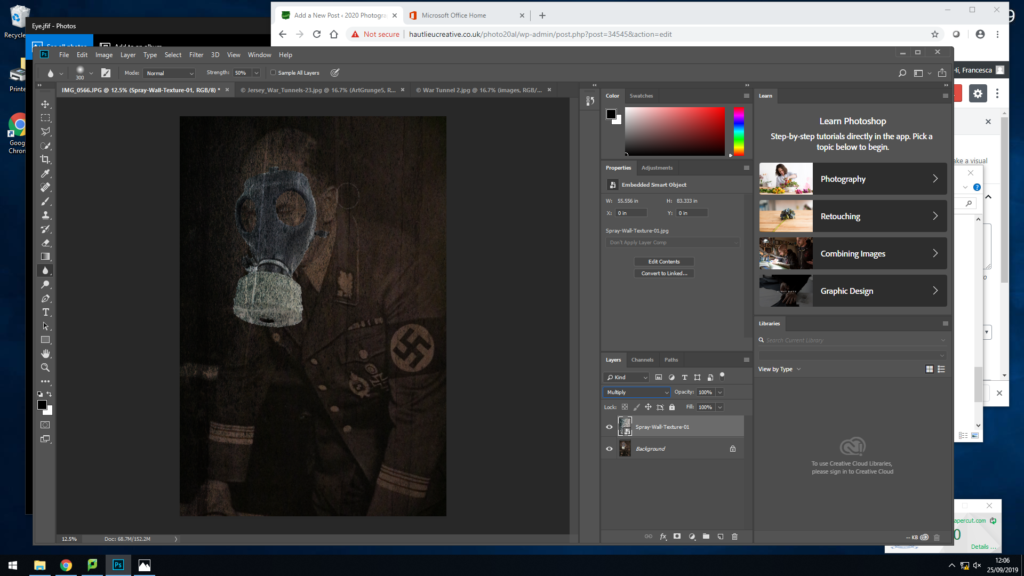
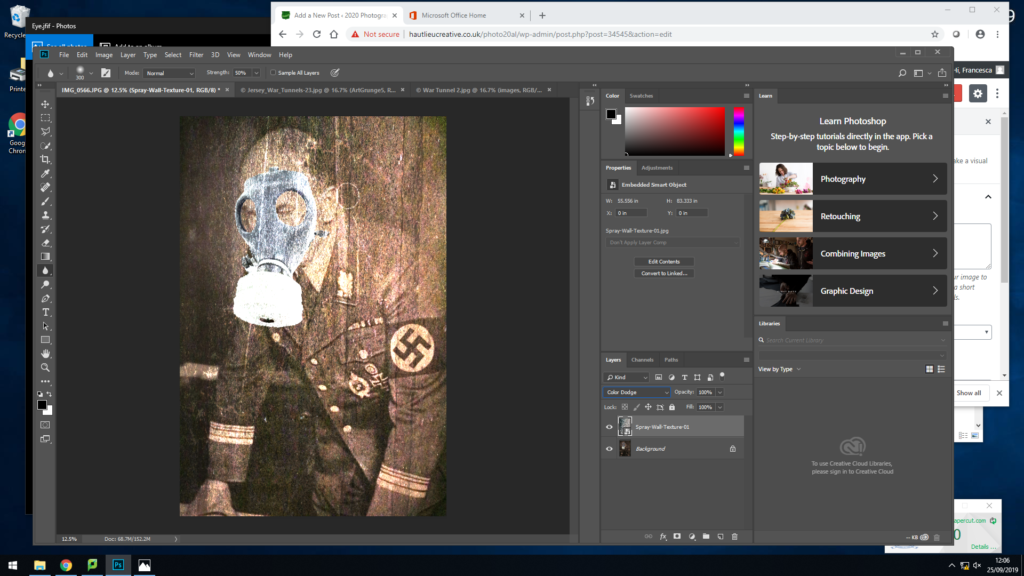
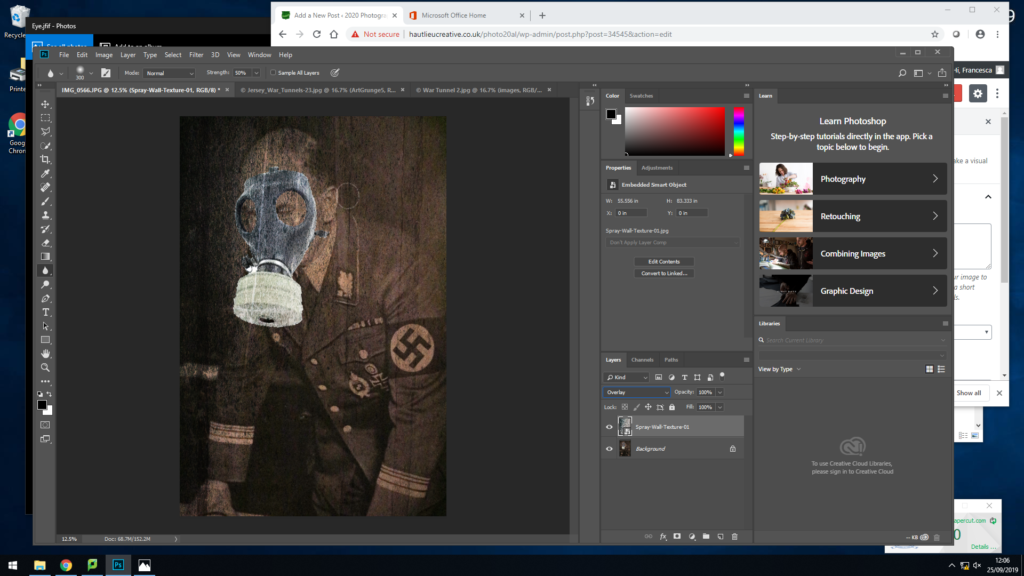
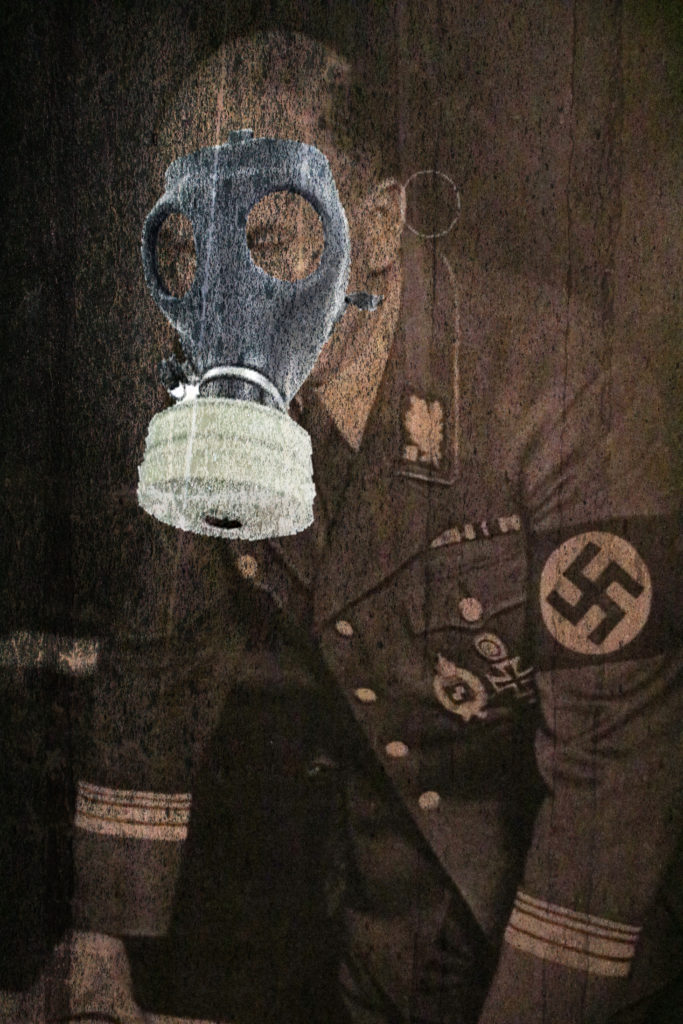
After finishing my image, I then tried out different backgrounds to give the image a different effect and texture. This gives the image a more ancient and older feel to it.
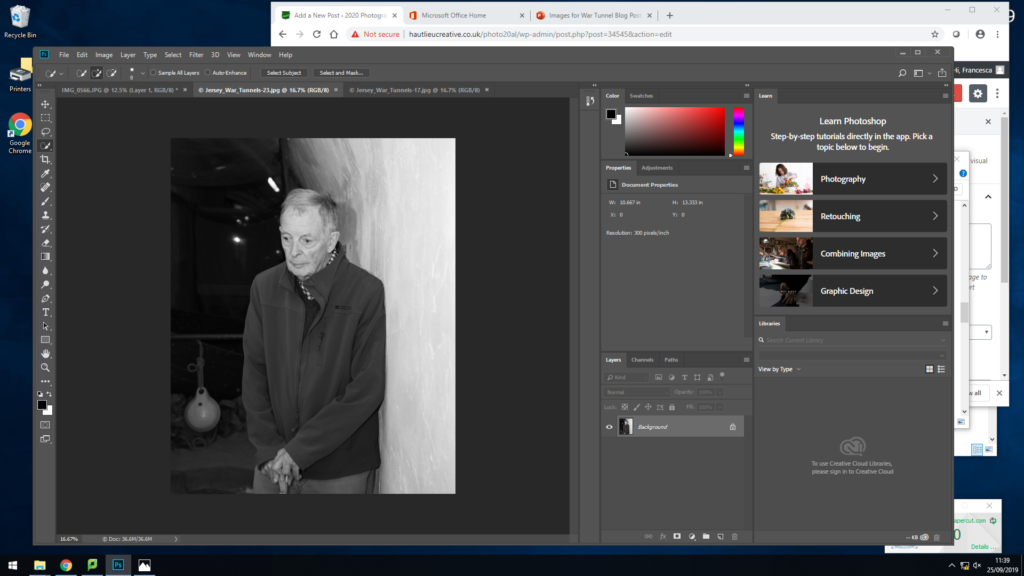
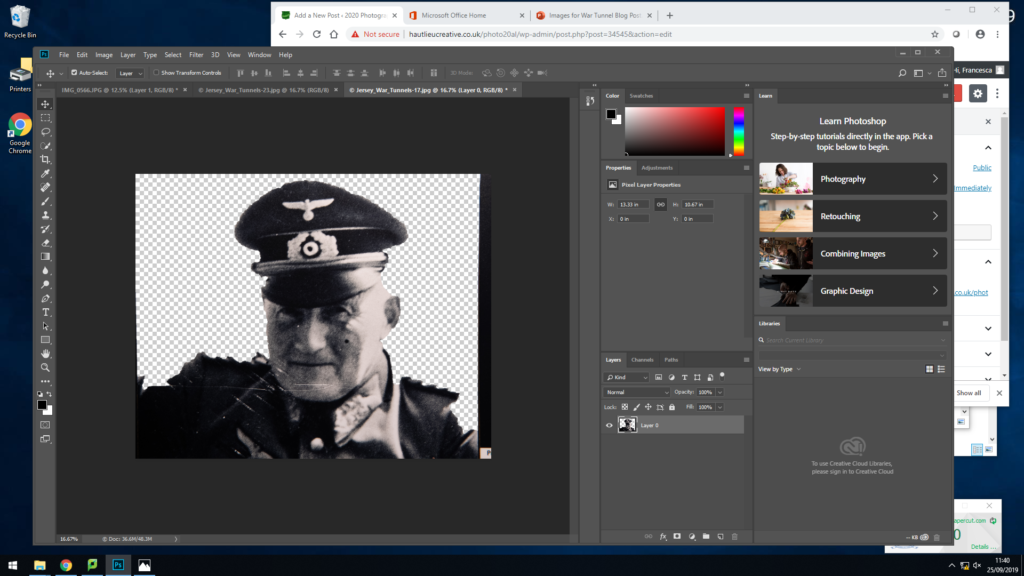
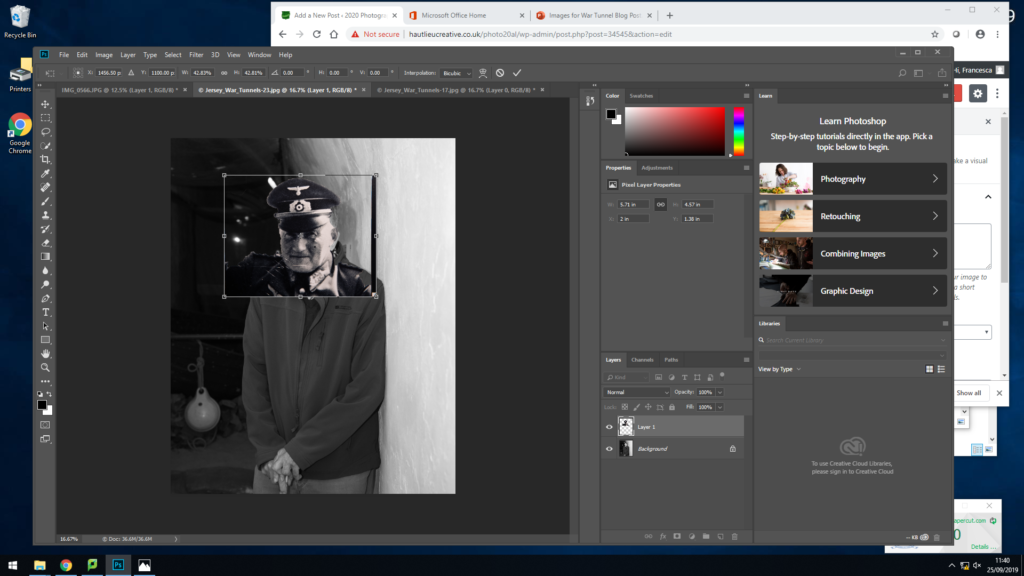
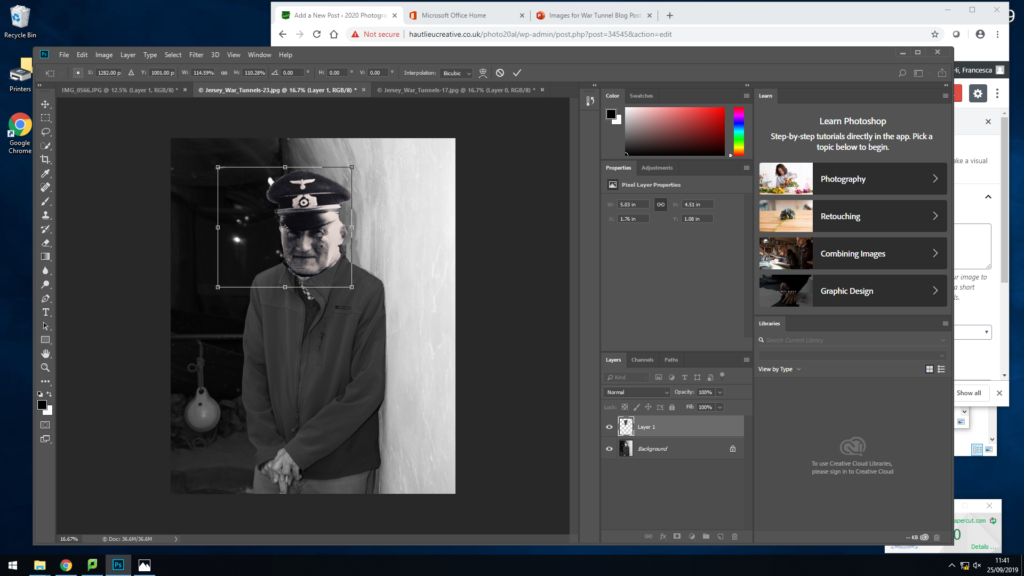
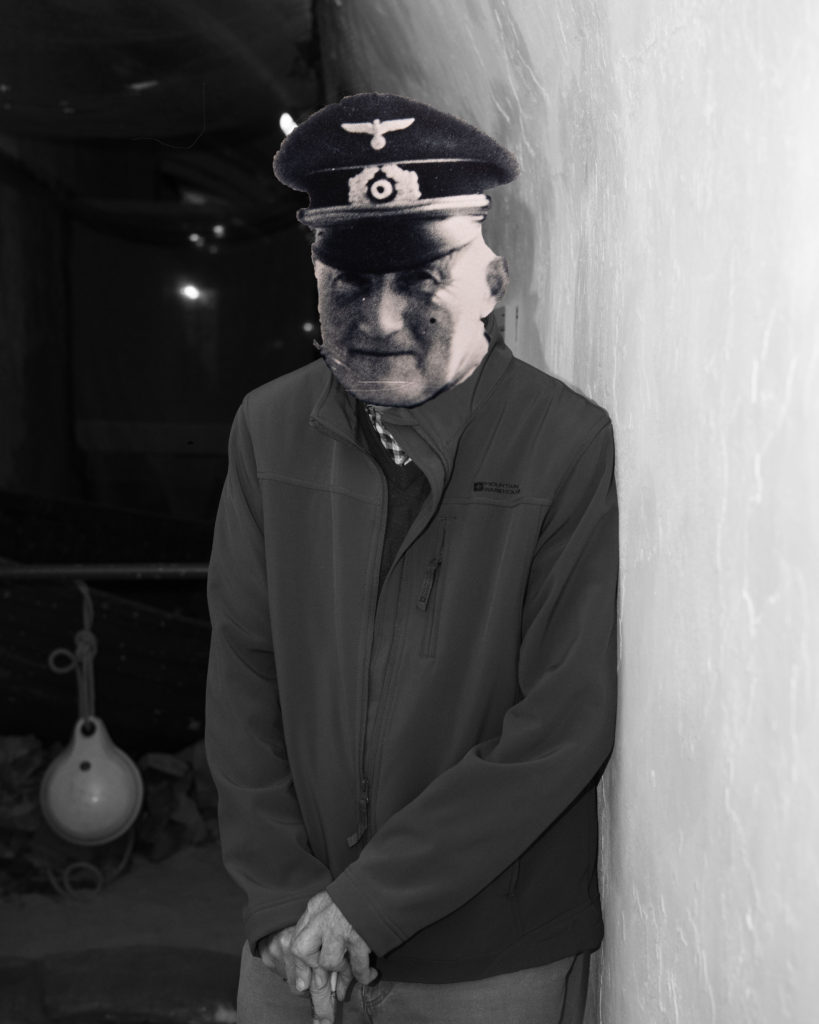
I started with the original black and white image of the guy who showed us around the war tunnels, he spoke about the knowledge he had during the war and how his father was a solider. Knowing this, as I went round the war tunnels I made sure I photographed an image of solider so I could use it for an edit. One I came back to school, I edited the photos into black and white and adjusted a few of the settings so everything was more clearer and in focus. I then set the image of the man as my back ground, then opened up to image of the solider seperatly. To this image I removed the background by using the quick selection tool, then I dragged it over to the background image and placed it over the man face. I then stretched the image to fit over the face and using the eraser tool go ride of the extra parts I didn’t need or didn’t fit his face. After placing the face down I then when in with the blur tool, I did this so there wasn’t such a distinct difference as it was off putting when looking at the image. After this I then flattened the image. Overall, I like this image as it is portraying the mans history by paying respect to his father for going to war.
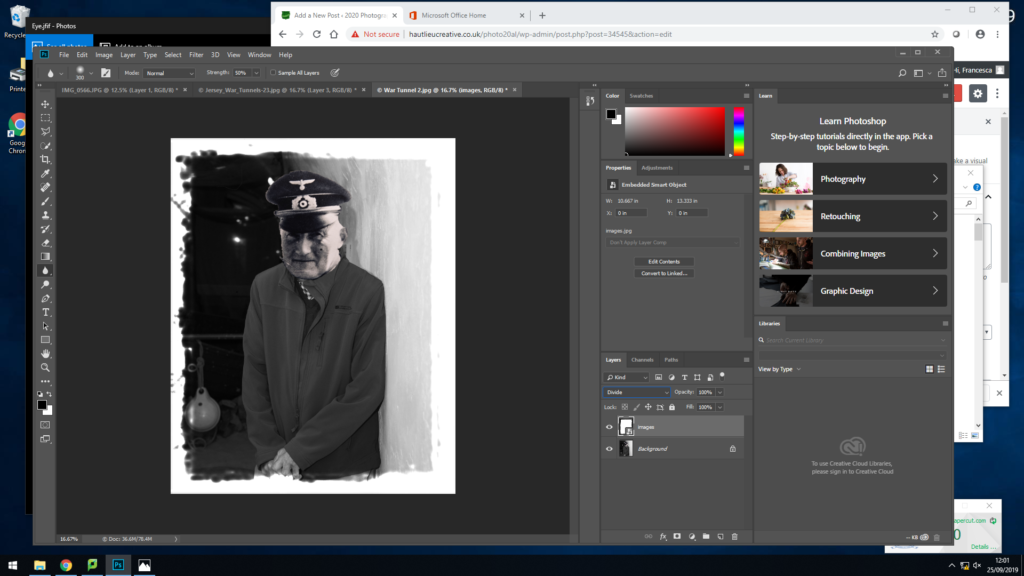
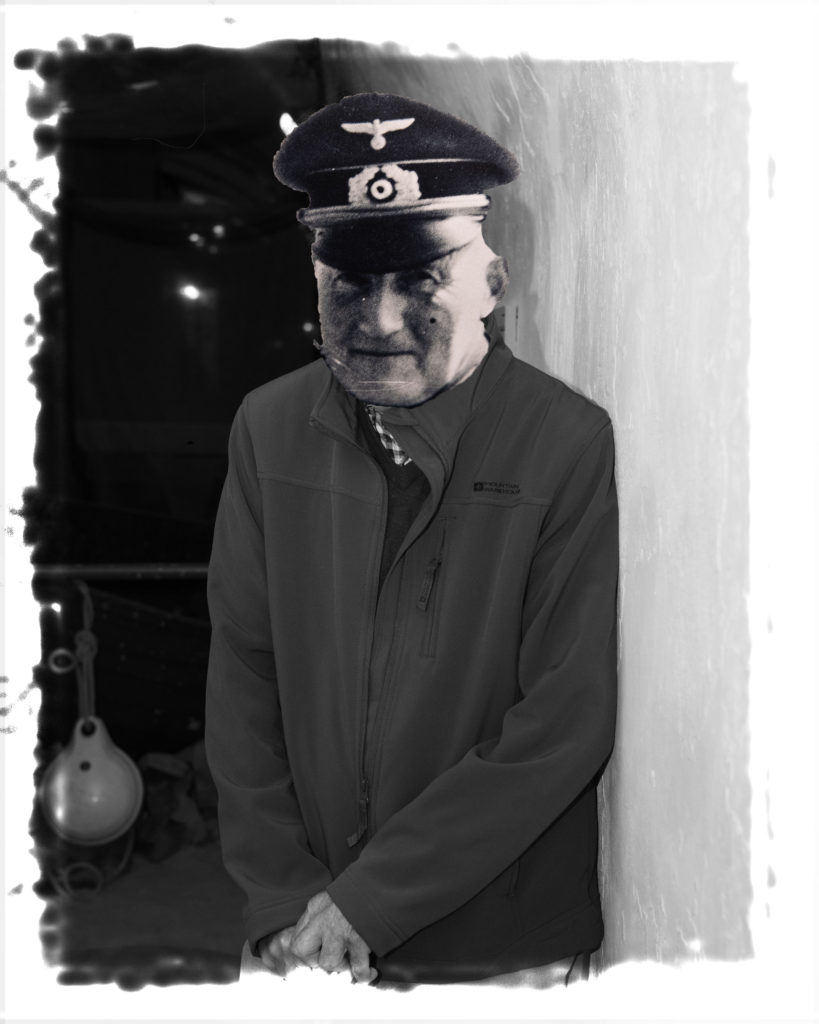
After then editing this image, I decided to play around with adding frames to my images. I dragged the frame across to the image, sized it up, then down by the layers I changed it to normal and using my arrow keys I was apply yo go through different effects the frames had on the image. The frame above I decided on as it made the image look older and it fits the genre of the image.
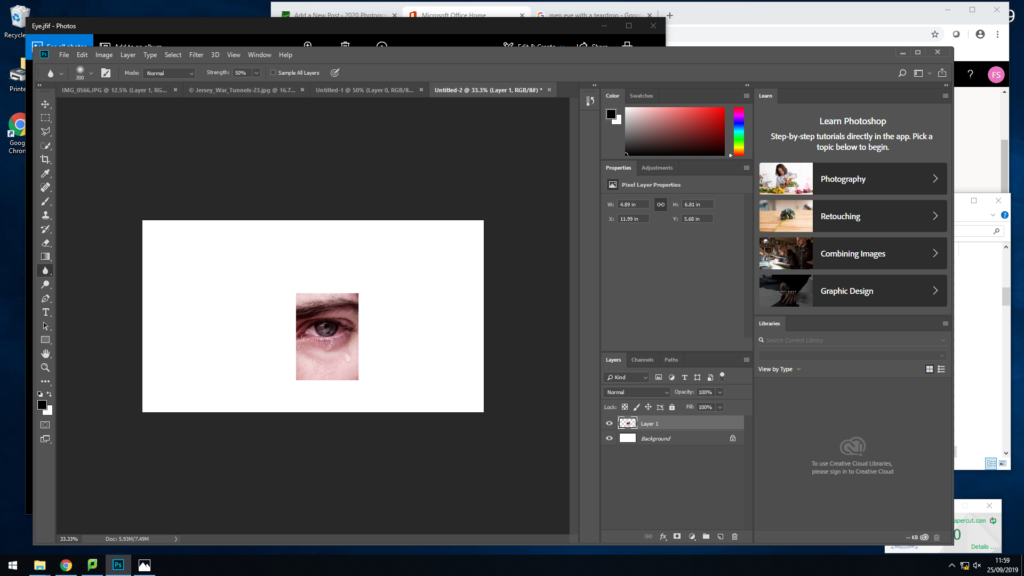
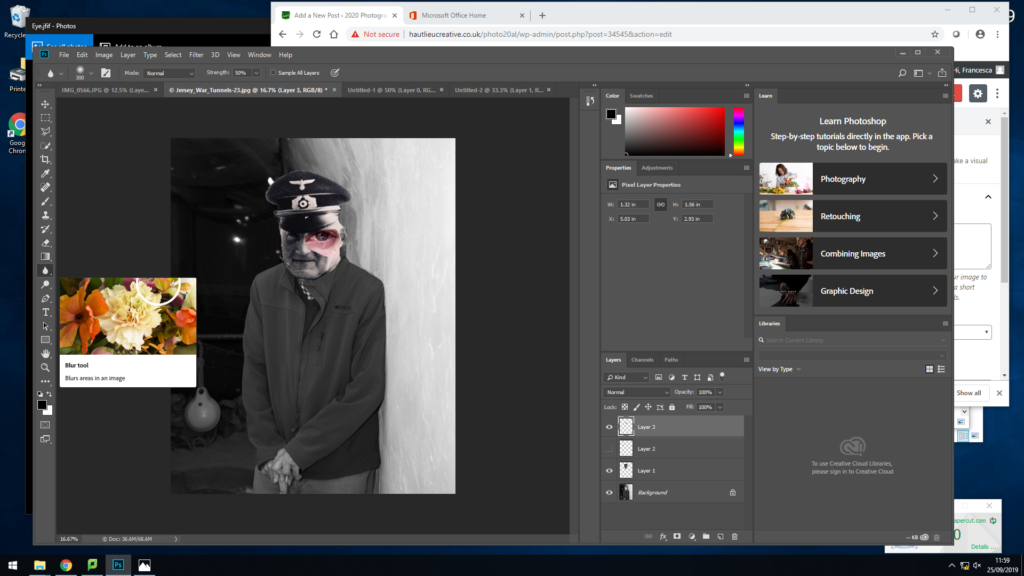
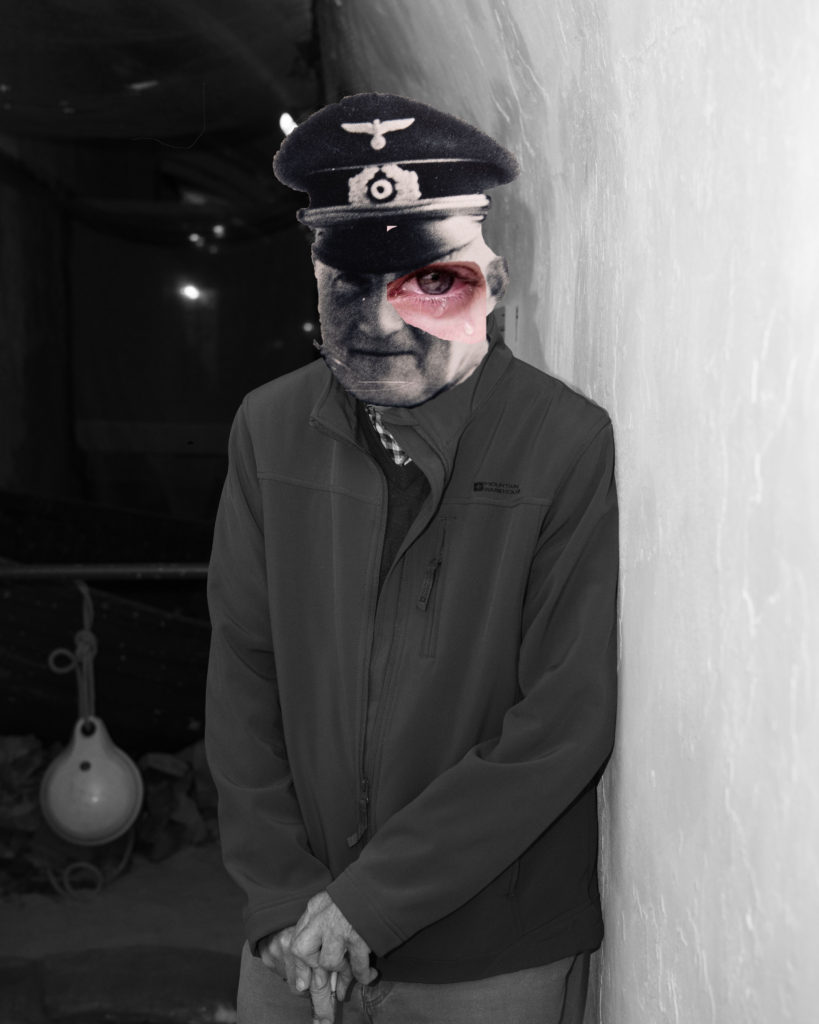
After making the final image previously, I wanted to try some experimentation and do something different. So I removed the background of an image with an eye with a tear, I then dragged it across to the image and made it slightly bigger to give it an affect. I did this to make my image more effective and hard hitting as it is showing a painful emotion from a touching event that has happened to the people of the war.
Contact Sheet:
Editing Process 1:



Editing Process 2:

Hedley Hinault:
At the beginning of the session with Hedley he stated he found it increasingly difficult to recall events from the topic of discussion as he was only a young teenager at the time, and the events in question occurred almost 80 years ago. However he was more than willing to talk about what he did remember.
One story that stood out to me was one involving a young German soldier and Hedley. He told us that he left school on his 14th birthday, which was normal at the time, to work on his father’s farm. As the son of a farmer it was common to work the fields or cattle belonging to your family. Hedley’s father eventually made him a herdsman of 20-25 cows, 12 of which were milking cows. These were his sole responsibility.

During the occupation every farmer was compelled to grow a certain number of acres of wheat to make bread for the population and the German soldiers. These requirements were strictly enforced and many farmers were patrolled by German soldiers to ensure the farm workers did what was required of them. Hedley told us that after the German’s originally occupied the island they confiscated his father’s new lorry which they never saw again even once the island had been liberated in 1945.
The other workers on the farm looked after the wheat, and had to stack it into big piles or into a threshing machine. Once a day Hedley would collect a 2 gallon jug and fill it up with cider from the apple press they also had on their farm, and would give this to the workers. A German soldier would usually be posted by the apple press to ensure no one exceeded their amount or stole the cider. On one occasion the guard that had been posted by the cider was quite young, around 20.
On liberation day Hedley was a bell ringer in his local church, he rung the bells between 9am-1pm and after that he went with his girlfriend at the time to St Helier, but he said you couldn’t really see anything due to the mass crowds.
Joyce De La Haye:

Joyce had a much harder time remembering details about the time she spent living under occupation unlike Hedley, however she was only about 6 years old at the time. She recalled the walk to school everyday for about a mile. She told us she would do this walk in her bare feet as shoes where a expense during times occupation. She told us about all the things that Jersey citizens were restricted from doing such as going on the beach or going fishing, that almost everything was under strict control by the Germans. They occasionally received Red Cross food parcels that came from Canada. Joyce explained how every family got one, but the boxes contained only the necessities. She also explained how islanders had curfews throughout the year, with the curfew times during winter being 9pm and summer 10pm.
On the day of the liberation of Jersey, Joyce was at home with her family as it was too far for her and her family to travel into St Helier.
Jersey Archives was established in 1993 part of Jersey Heritage, to hold Jersey historical documentation, some of the records they stored were State, Church, Clubs and Associations, Wildlife, Business, general, Police records. Some of the earliest records are from 1378, meaning that they are over 641 years old.
They also held records about what happened in The Second World War for example there is letters written by the bailiff of Jersey about the demilitarization of Jersey during the Second World War, they also have the terms of surrender from the 1st of July 1940. They also store occupation cards which every islander had to have above the age of 14. they also hold stories about the liberation of the island and also where some of the Germans stayed when they were in Jersey, Also they have Red Cross Letters however theses took up to a year to be delivered

The war tunnels, located in the channels islands holds some of the islands oldest history from during the occupation. The tunnel was began by the Germans blasting out the side of the hill with gunpowder and then dug into the side of a hill which is 50 meters deep and 1000 meters along and in here over 5,000 slaves worked this tunnel during the occupation. It works as a timeline, it goes through different stages of the occupation and what life was like, making it very realistic for visitors. During the beginning of the occupation, the tunnel was used as a base for the German’s where they could take cover from air raids and from the bombs that were being dropped from the German planes. However later into the occupation, the tunnels were then converted into a hospital. The hospital started off with a few wards, then they slowly added operating theatres and assessment centres for the injured and ill. Even though the tunnel was transformed into a hospital, it was never completely finished, so dead ends ended up being blocked off, which you can now still see today and in a few of the images I took. Within the tunnel you go into different rooms, showing you what time was like during certain periods of the occupation, this gave me a better understand of what life was like and it enabled me to create a better connection to my images as I had a more factual concept behind my images. It was all very realistic as the tunnel would play audio from when bombs would be dropped, you could see the different type of machinery used by the Germans, along with belongings that different Islanders had.


When photographing in the tunnels the lighting often changed and was always coming from a different source, this meant I had to efficiently change my settings to fit the lighting to make sure my image wasn’t too dark or over exposed. At times this was a struggle, because I moved from room to room at a face pace, which meant I could only capture a few images here and there. However, the images I took signify the different rooms and different stages of the occupation, along with showing what inside the tunnels looked like.


The image above here ^ of the tunnel is quite a dark image. It holds a deep depth of field, this is because at the front of the image you can see the white walls, which make the image a lot brighter but as you move further back into the image the light is lost, but then at the far back you can see a dim light, lighting up a door way, however it is very subtle. Losing the light in this image an stand as a metaphor for the occupation, such as, as time went one during the occupation it became a darker, scarier time of the islanders but there was always a light at the end of the tunnel which is known as liberation day, where they were freed from the controlment of the Germans. Such a simple image, when given context can have a much bigger effect on a viewer.


In some of these images, especially the two above here, have a personal and emotional touch too them. This is because they are showcasing real materials that was used during the occupation, this helps a viewer understand an image more when they understand the purpose and meaning behind it.
The Jersey War Tunnels also known as Hohlgangsanlage 8, or the German Underground Hospital, was a partially completed underground hospital, built during the German occupation, which was built by forced and slave workers. There is over 1 Km of Tunnels, and now these tunnels are preserved, and is a memorial to the slave workers who lost their lives building this.
Ho8 was intended to be a vast network of underground tunnels that would allow the German occupying infantry to withstand Allied air raids and bombardment (in preparation for an invasion).
The tunnels were then opened in 1946 by the states of jersey, however in 1961 it was ruled that the tunnels was owned by the land above it, therefore fell to private ownership. the complex was restored and made into a museum with collections of occupation memorabilia.
Edit 2:
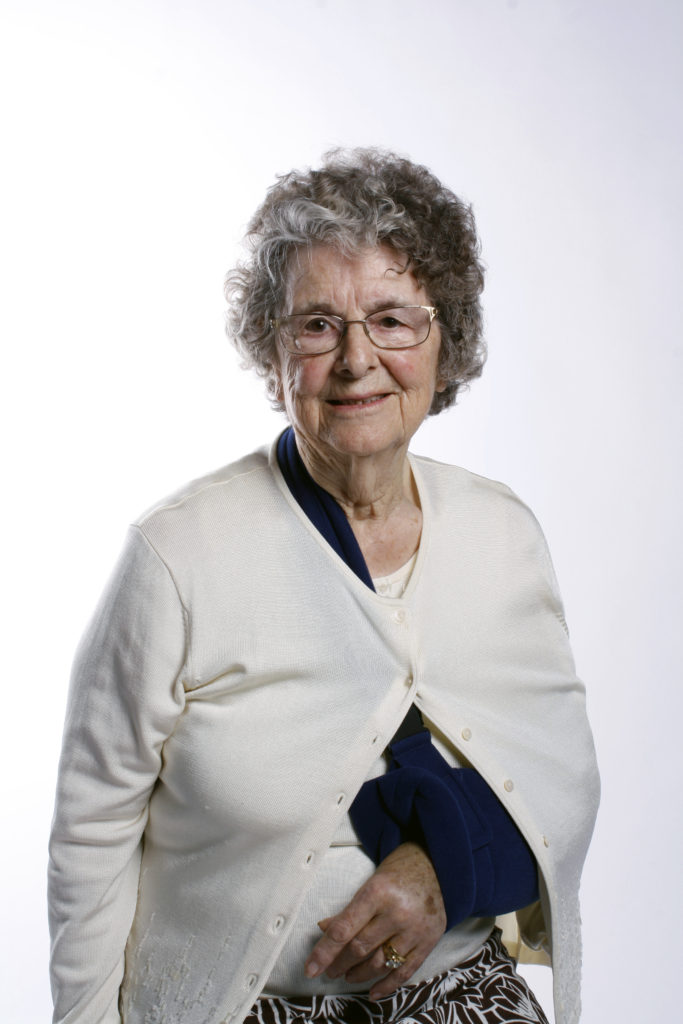
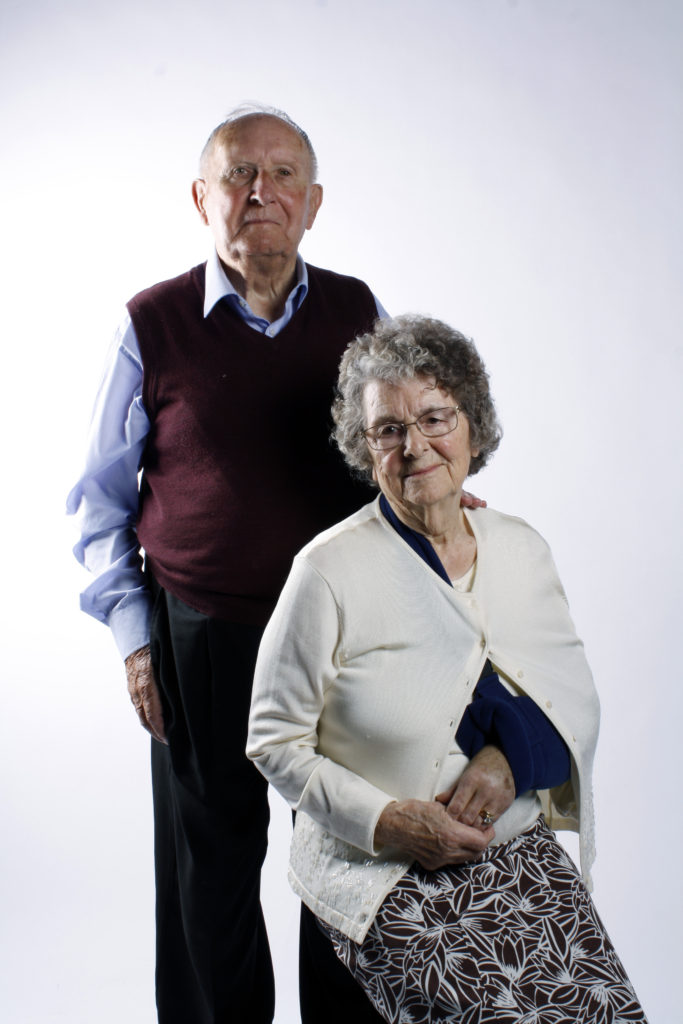
As part of out research into the Liberation and Occupation of Jersey, following the path of portraiture in order to document the lives, experiences and stories of those who experienced the liberation and occupation, we were lucky enough to be able to meet and listen to the stories of 2 individuals who experienced both the initial occupation of Jersey in 1940, and its liberation in 1945. Henley (14 at the time of the occupation) and Joan (6 at the time of the occupation) both gave detailed accounts of their experiences with life under German rule, with Henley recalling the time that, at the age of 14, he was able to render a German guard almost unconscious by continually giving him glasses of cider, and the soldier was drunk enough to not notice when the farmers had time to hide a lot of the wheat they had farmed in order to avoid having to hand it in to the Germans. In contrast, Joan was able to recall her experience with walking to school through a number of German outposts and identification points, as she passed by the fenced off and mine covered beaches. The lack of transport (confiscated by the Germans) and the censorship and limits imposed during the occupation brought the native community together, with adults crafting bicycle tyres out of hosepipe and rope, and children knitting water bottle cosys for the Red Cross. Both Joan and Henley recalled the liberation of Jersey as being a huge event, with Henley not being able to see the liberation ship for the huge crowds of people blocking his view, and Joan missing the crowds at the harbour altogether due to her inability to travel across the island from her home to town.
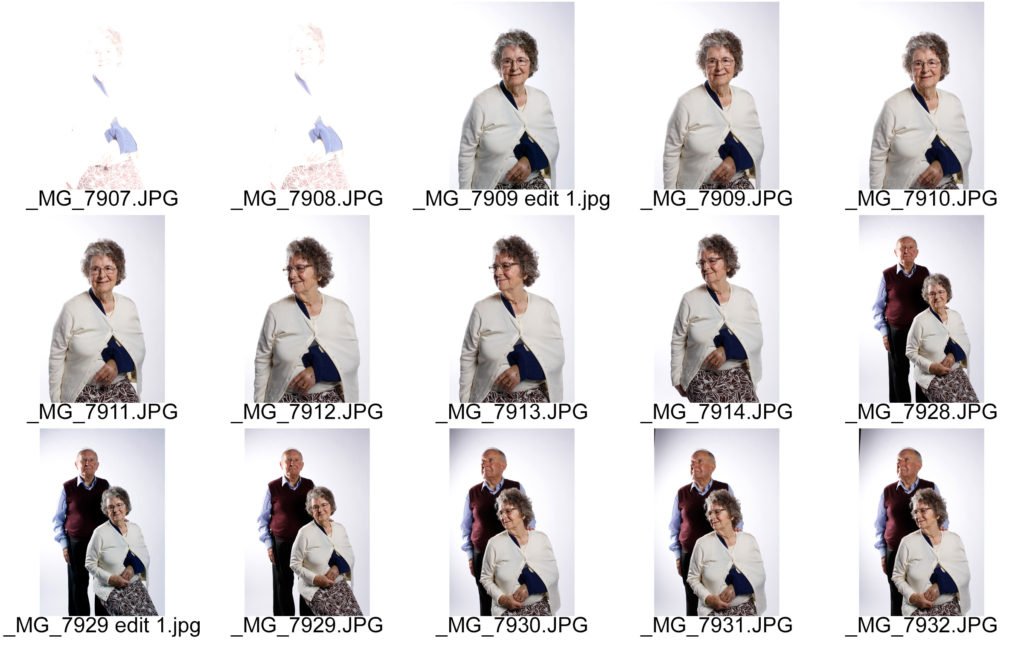
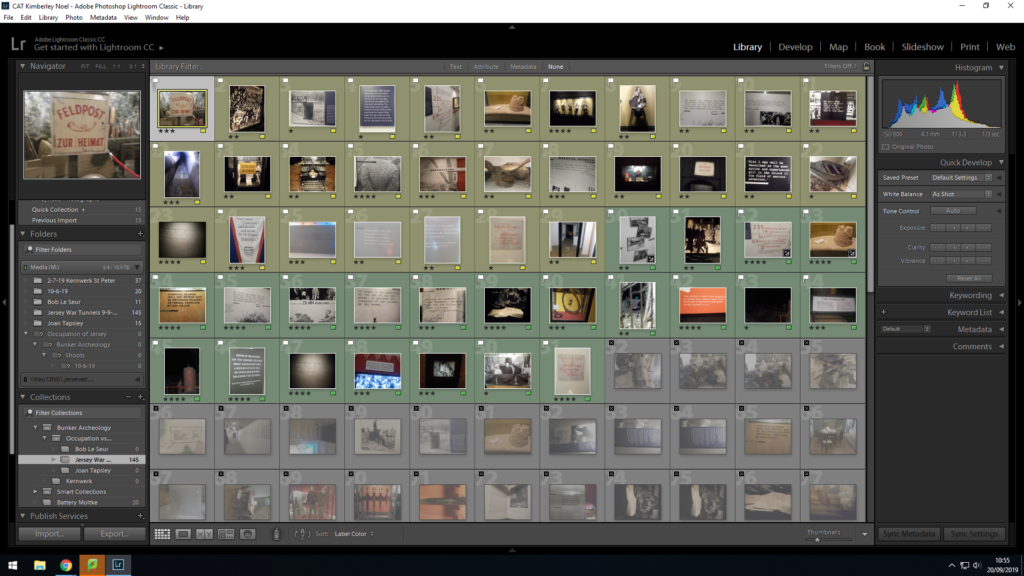
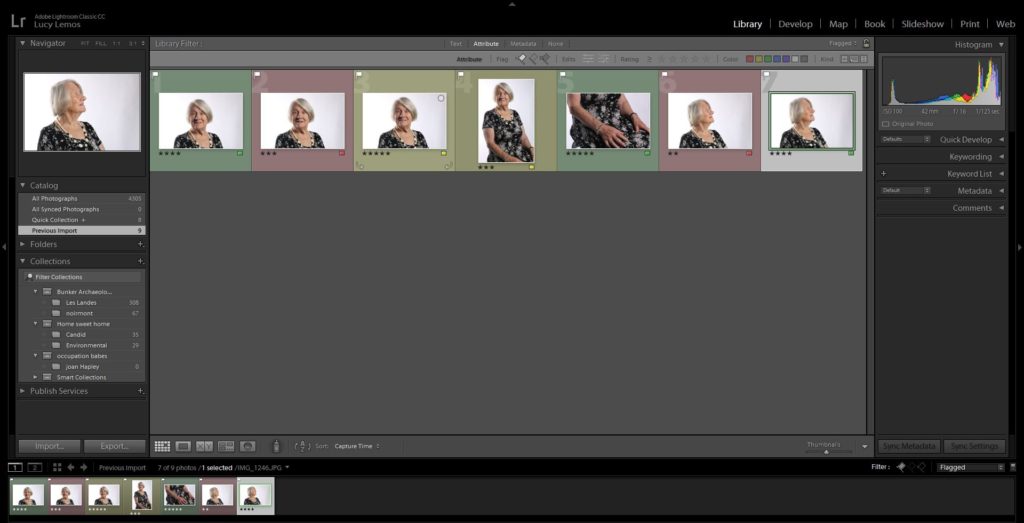
After listening to the stories of Henley and Joan, we had the chance to photograph them in the school studio. I was able to collect images of both Henley and Joan, and singular images of just Joan. In the studio I had my IOS set to 100 (as the lighting in the studio was already very bright) and my shutter speed was at F16. I also used the Daylight white balance in order to slightly correct the colour based on the studio lighting and colours. Below are the results of my photoshoot, shown in a contact sheet:
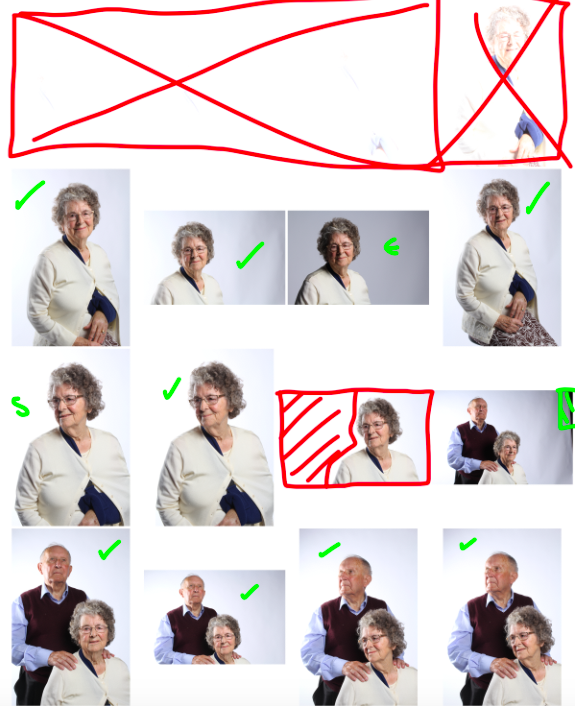
Key: GREEN “S” = Small issue with the subjects pose – GREEN TICK = candidate for final image – GREEN HASHED AREA = problem area/needs editing out of final image – RED HASHED AREA = problem area too big to edit out – RED “x” = rejected image
The first row of the contact sheet includes images that are so over-exposed that they appear as white boxes. This was my own error as I originally failed to adjust the IOS from 6400 down to 100, and so the amount of light that entered the lens was way too much to produce a clear image. I adjusted this afterwards and the rest of my images are shot at the right IOS.
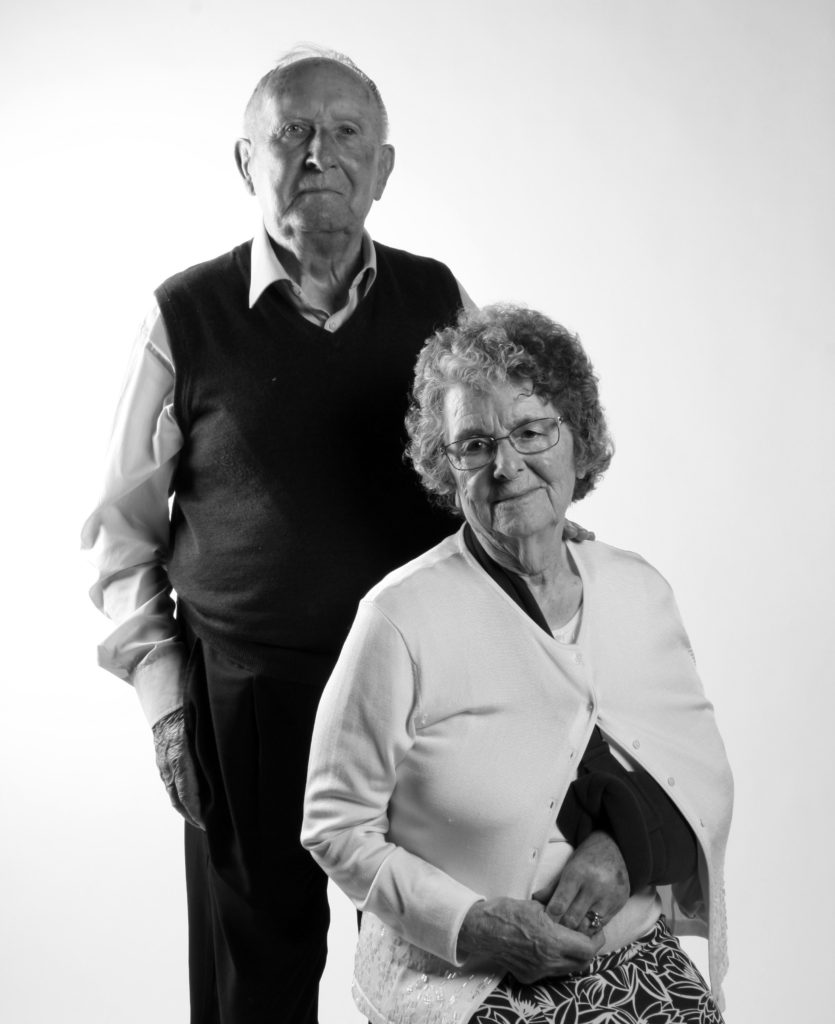
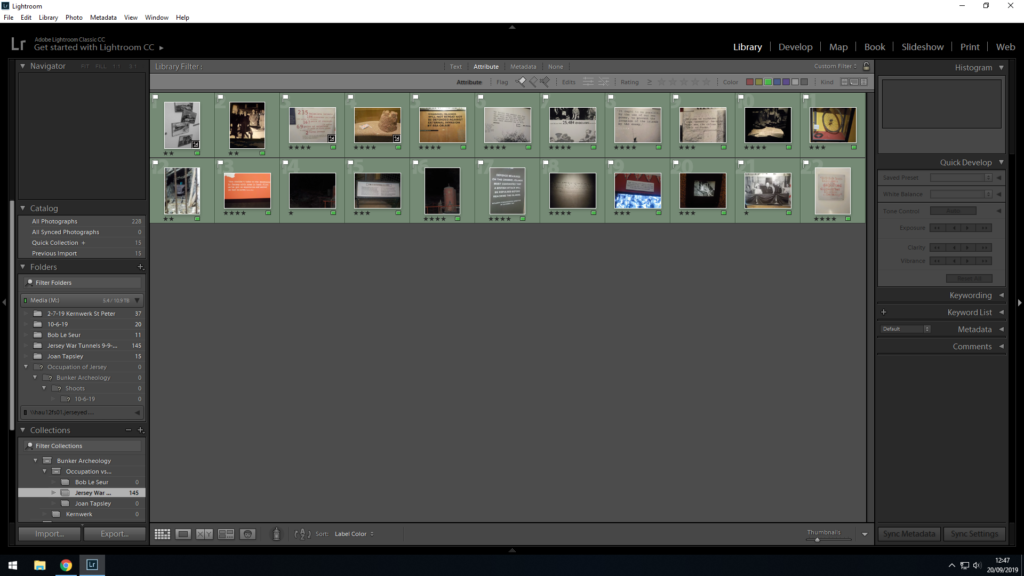
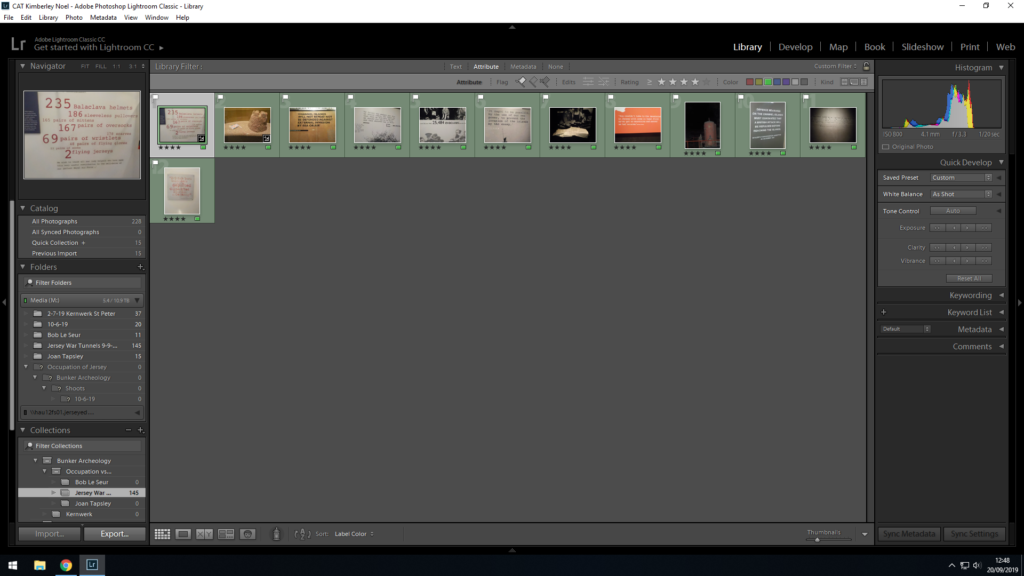
After taking the images in the studio and using the contact sheet in Photoshop to nail down my selection to my final choices, I moved the final images onto the editing stage. The following are the results of the images I edited:

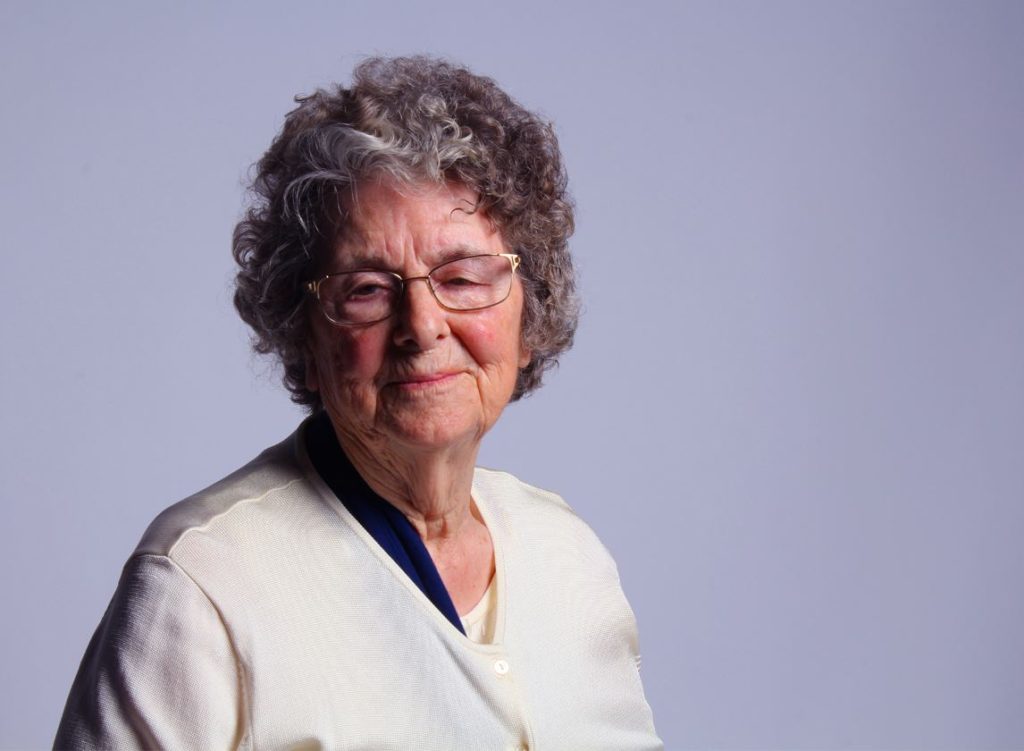
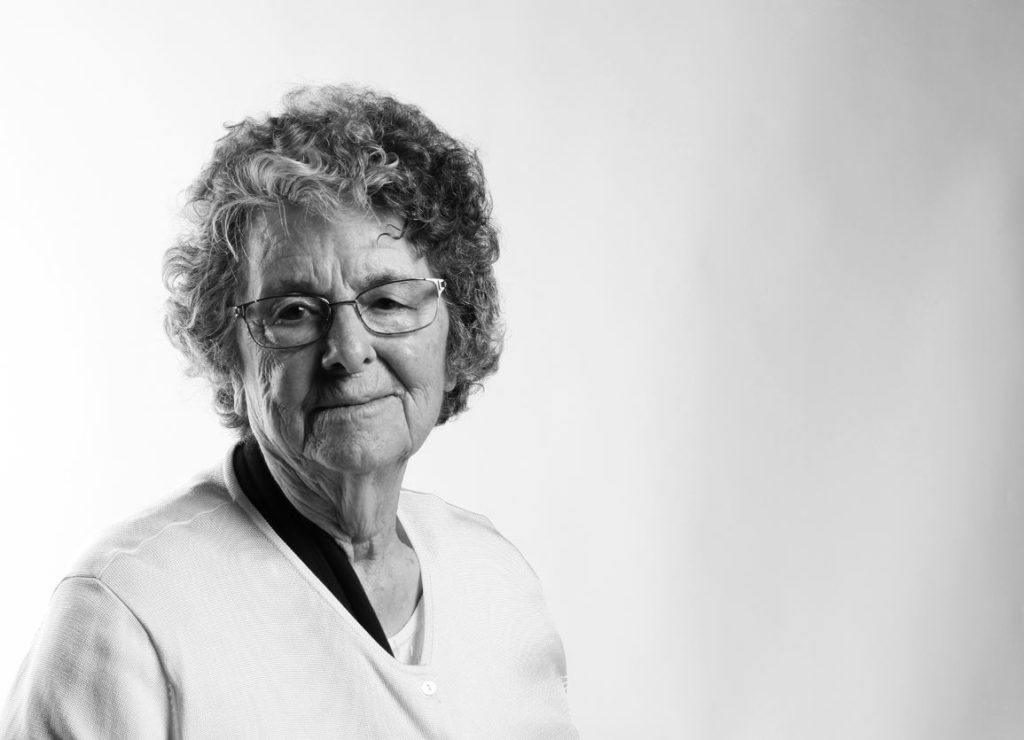

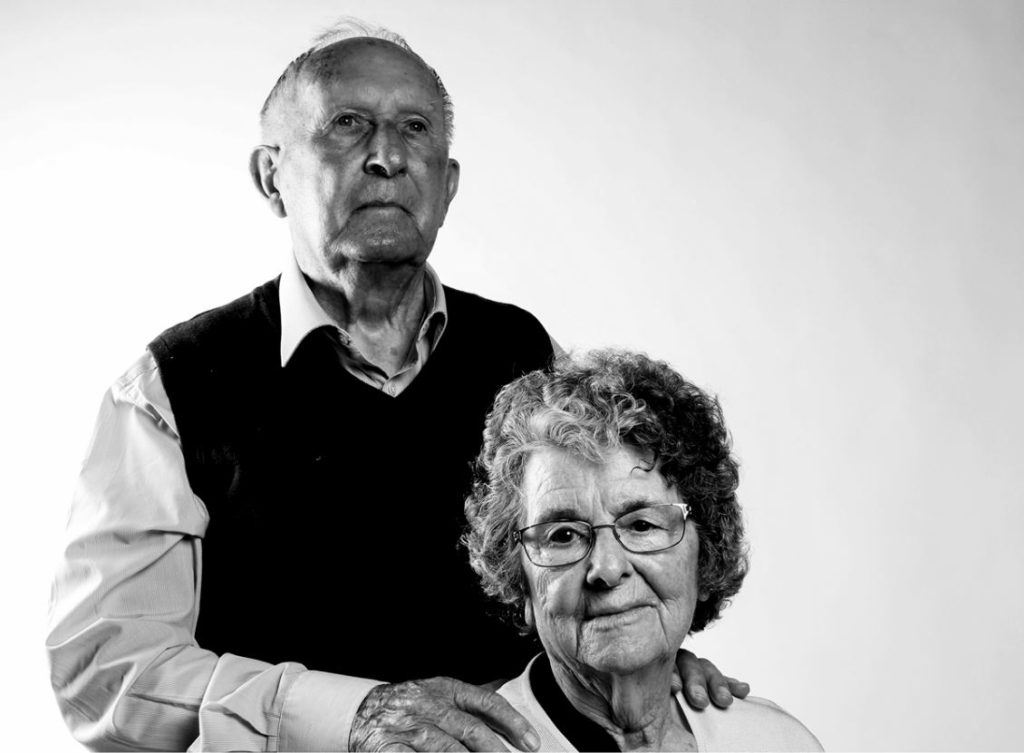
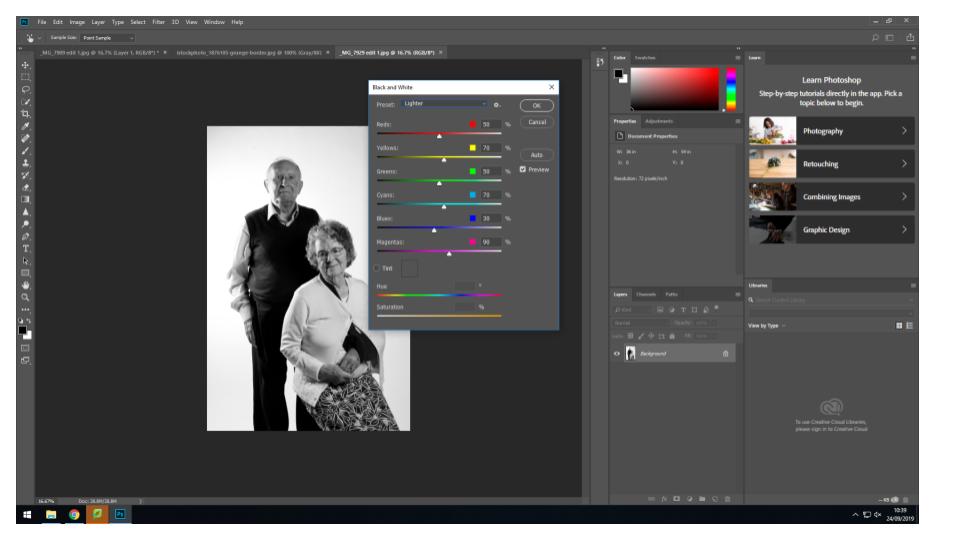
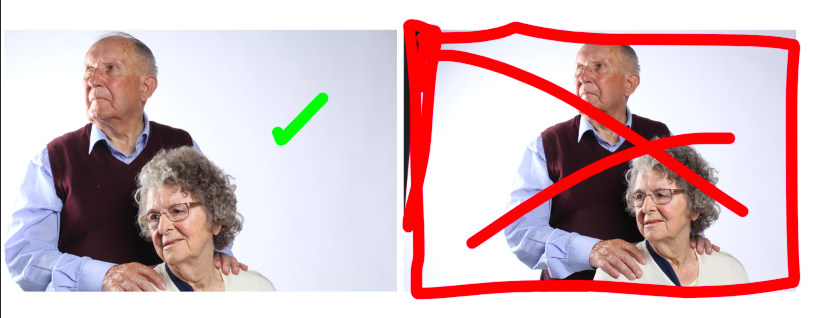
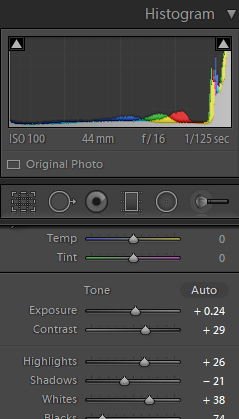
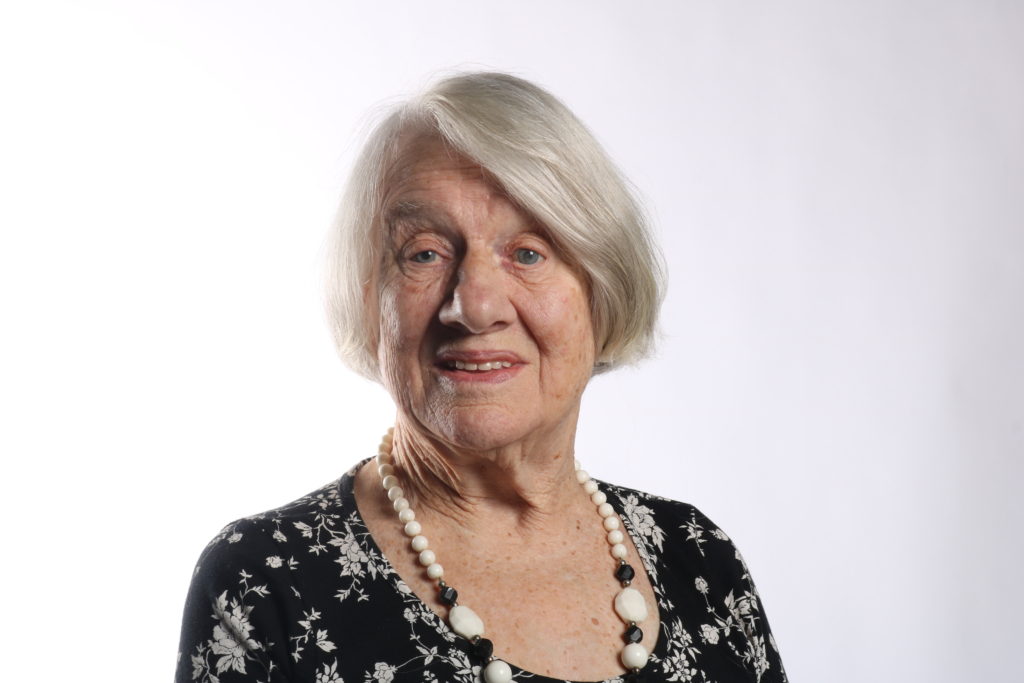
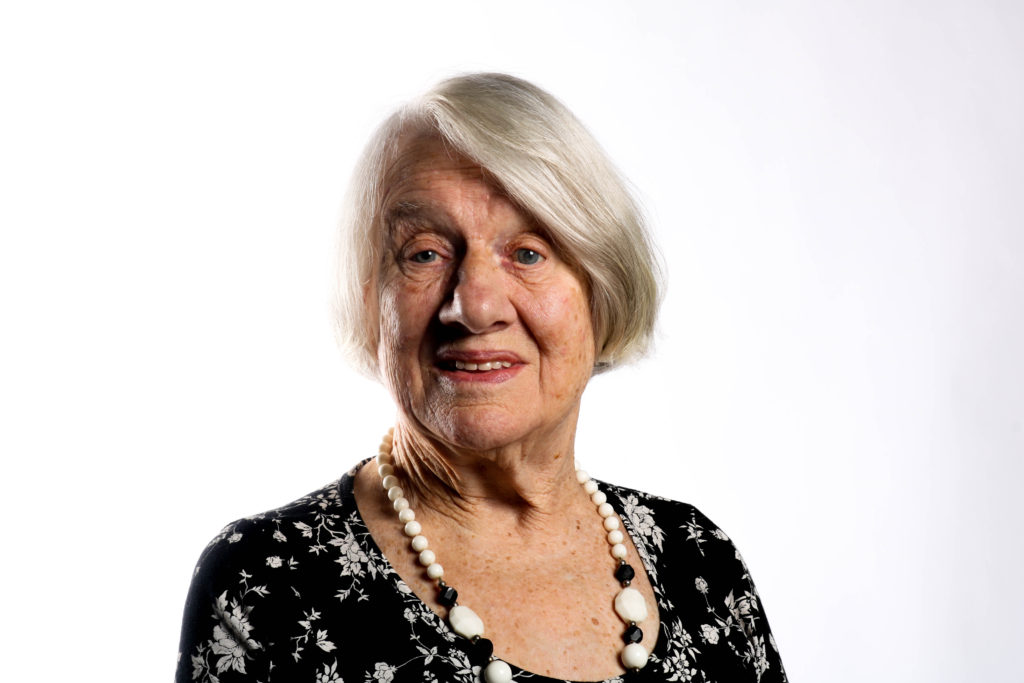
I was able to use Photoshop to adjust the contrast and colors of most of these images, in order to make the initial edits. I then moved the images to Light-room to further make use of the tools available on that software. In Light-room I especially focused on the last image, as I was able to edit the image to draw up the contrast in order to give it a more bold look. Below is the before and after Light-room edit:

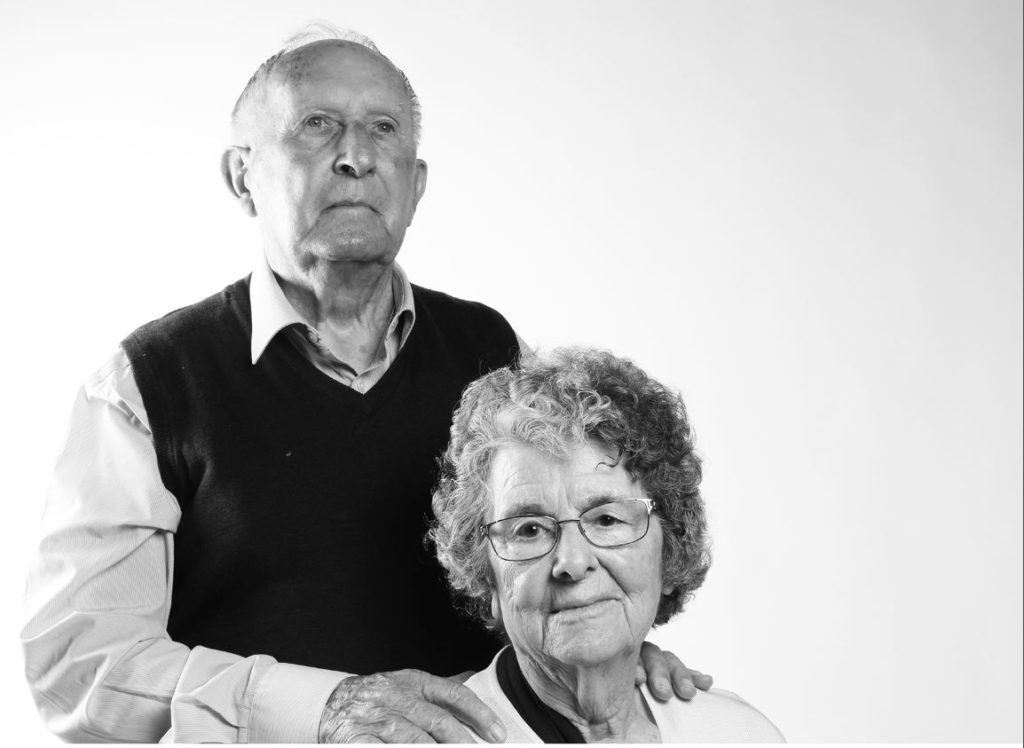
The image on the right was the original from the Photoshop edit, which I found to be too over-exposed (especially around Henley’s right-hand shoulder). I used Light-room to adjust the contrast and more specific colour settings (highlights, shadows, blacks, whites and clarity). I feel like the final product (left) looks much more bold and eye drawing than the original on the right.
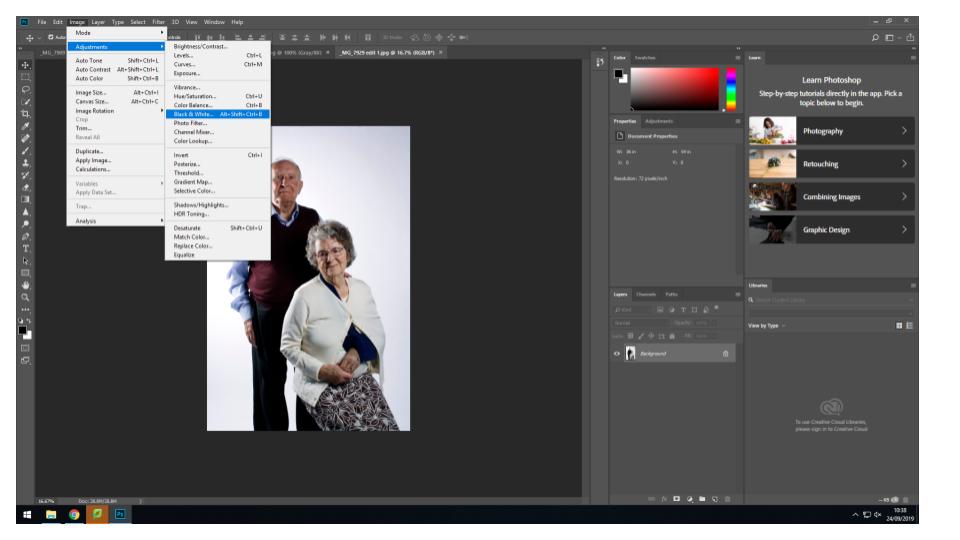
For some of the images, I adjusted the colour settings so that they were in black and white. I did this in order to make a link to the imagery of the occupation and liberation of Jersey, which was all taken in black and white as colour photography only became common for the average person in the 1960’s. I feel like black and white images also allow for the details in the textures and shapes of the images to be better emphasized, and it allows for certain aspects of the image (such as eyes and clothing) to present as more eye-catching, and can between hold the attention of the viewer. Below is an example of an image I edited into black and white for these reasons:

Furthermore, on some images I made the decision to simply lower the saturation of the images in order to dull down the colours of the image, giving the final image a more somber and dulled image. I made this decision as I feel that it accurately reflects the atmosphere and feelings surrounding the occupation of Jersey, as the overall atmosphere at the time (and the feeling that came with many of the stories given by Joan and Henley) was solemn and very close to being hopeless. I therefore tried to reflect this through the colour of some of my images, which are dulled and almost drained completely of colour. An example of one of these images can be seen below:

For the final image, I made the decision to raise the saturation and contrast, and made some colour adjustments in Photoshop that involved heightening the colour balance so that it fell more towards a lilac/subtly feminine colour (especially in the background). I did this in order to highlight that through the occupation, many individuals were still able to keep hope, and regardless of the solemn circumstances, many individuals were able to find pleasure in small things (such as dances and cycling). The editing of the colour in this image is a reflection of the subject being able to maintain her femininity and hope for a better future, even through the difficult times of the occupation:

After the initial editing of colour and saturation, I began to experiment with some of the images, using things such as boarders, adding in other images to the initial image in the form of collaging, and experimenting with different techniques in order to enhance the image further.
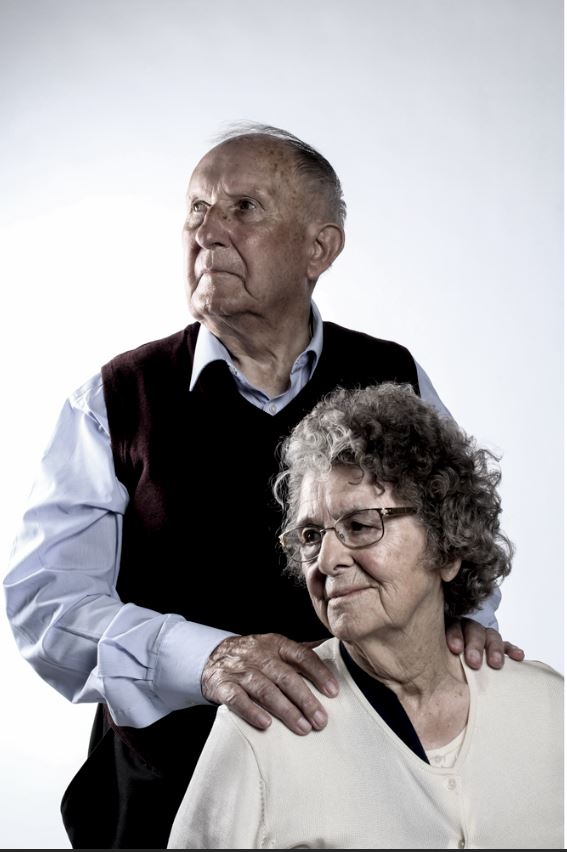
In the above image, I used the spot removal tool in Light-room to remove some of the light colored fluff that was on Henley’s jumper, which distracted from the image itself.
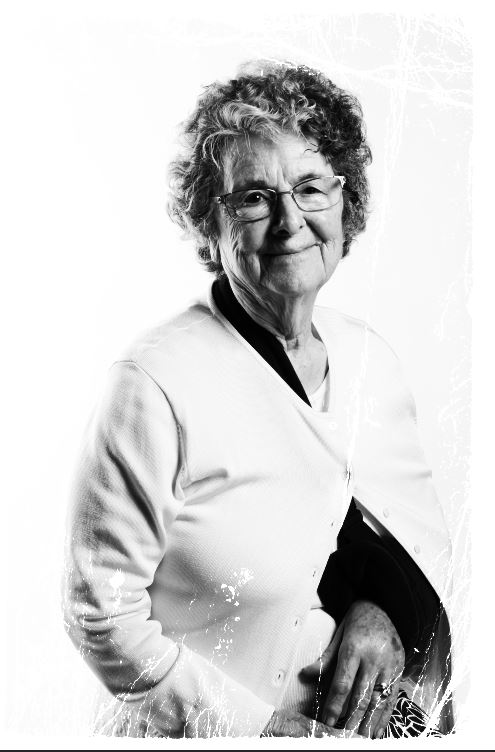
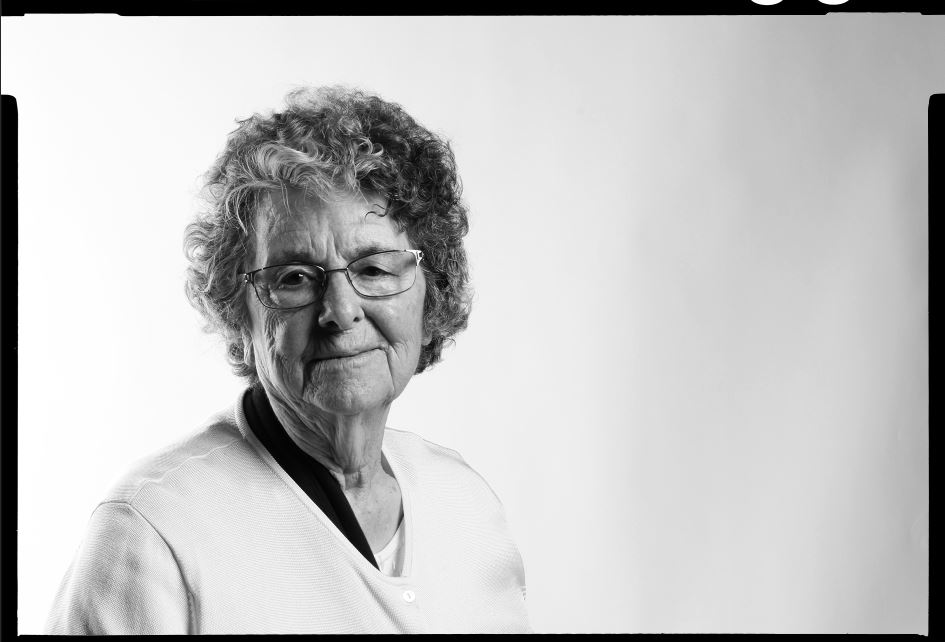
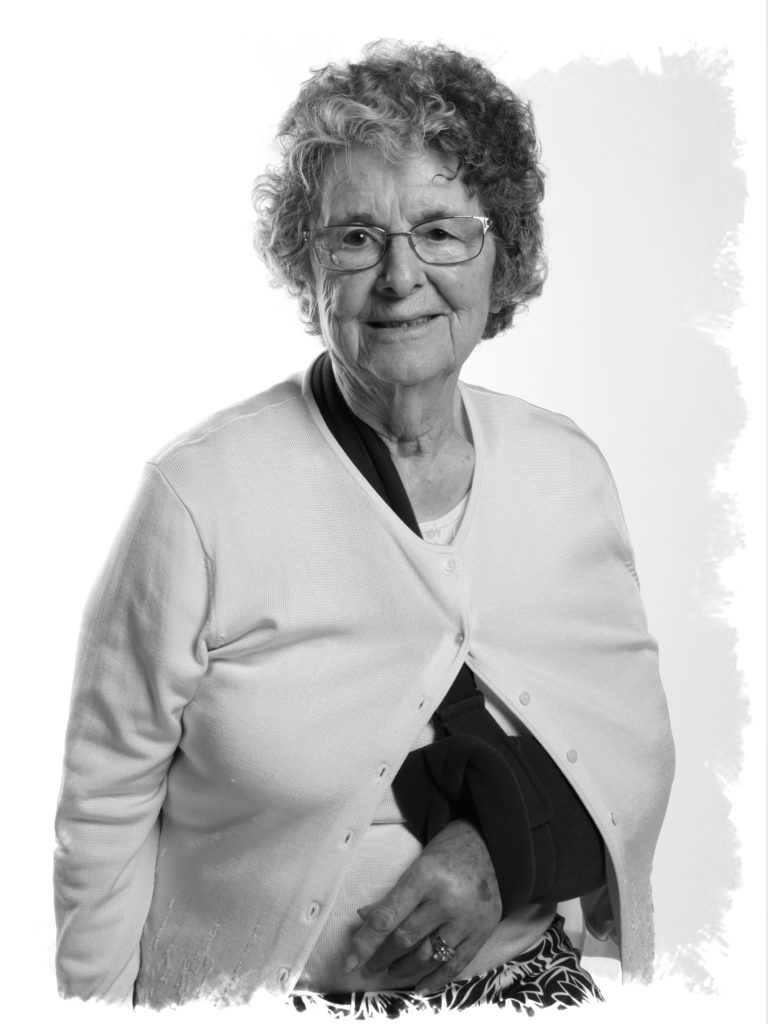
The above 2 images of Joan have been edited to produce a different framed effect on each of them. I experimented with this in order to see if the frames make the image seem more eye-catching.
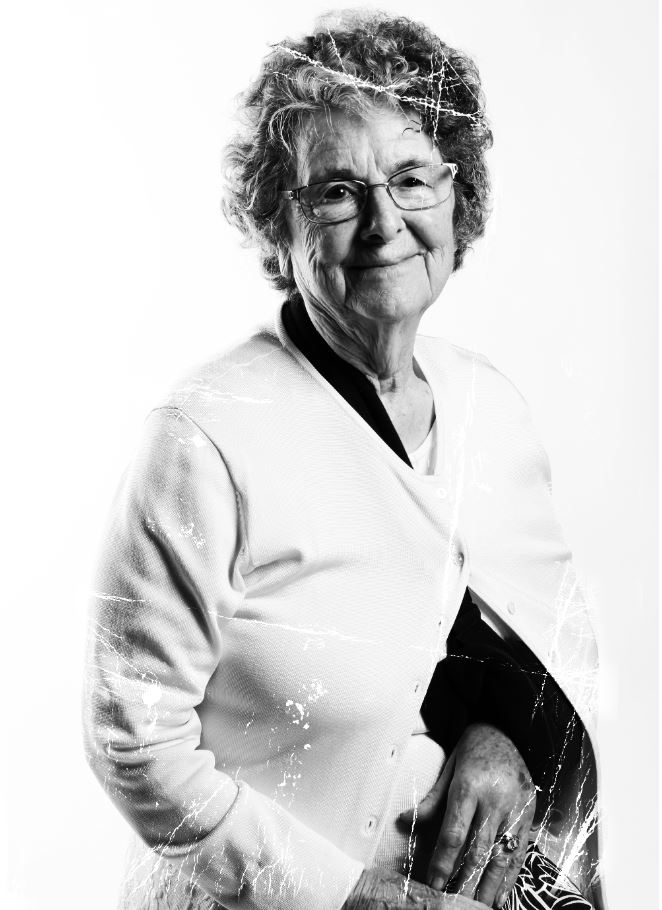
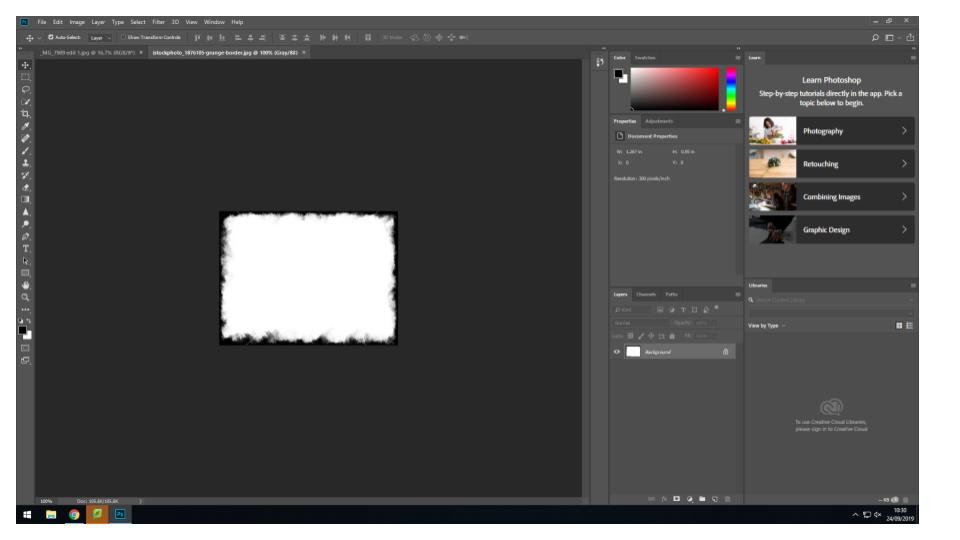
I further experimented with the above image, using the same template for the frame as I used in the original, but this time cutting and stretching the damaged effect of the frame more over the subject, allowing the contrast between her darker shape/outline and the white damaged effect to become more clear. Below is the process I used to do this:

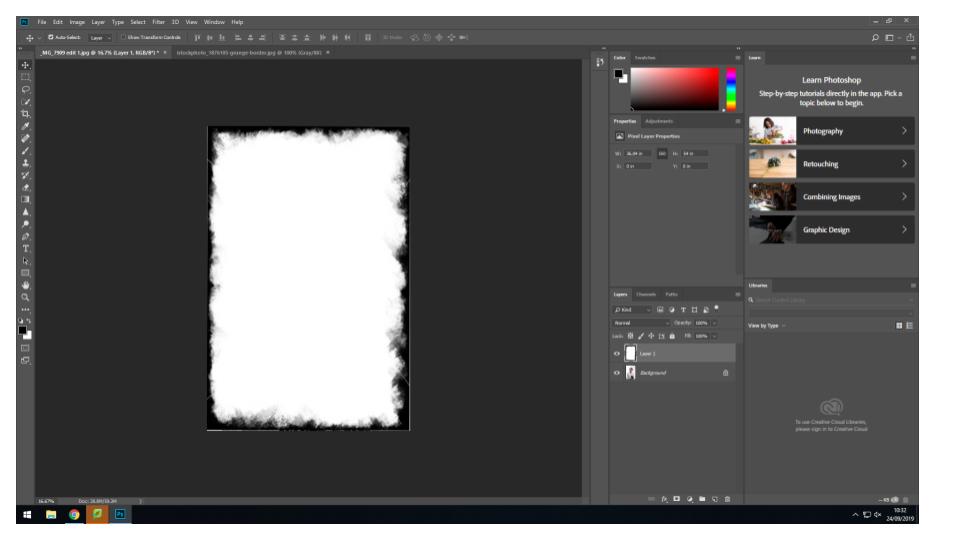
I selected the colour dodge option on the layer that the frame was on. In doing so I only kept the white damaged effect, removing the black background so the subject could be seen through it.

I then copied and pasted the frame onto multiple layers, and used the lasso tool to cut the frame so that I could fit it into the correct areas of the subject so that the damaged effect covered the darker areas.
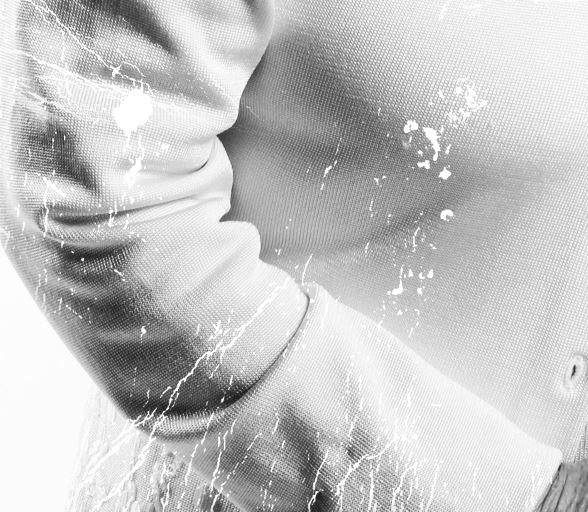
The final effect was the damaged effect that can be found more clearly in the image above. I decided to do this because the effect that the frame gives the image reflects the same kind of damage that happens to old, archival images. Therefore here, I am referencing the past/youth of June, and contrasting it with the present, using the style of the image to reflect past trauma (through “damaging” the image) while the subject can still be seen smiling as her current self, a survivor.
After we had learnt more about Joan’s history, we went into the photography studio to take some portraits of her.
Photoshoot process:
For this photo shoot we used a transmitter on our cameras in order to produce clear images. This transmitter caused the flash to go off when the shutter opened. In combination with this I used an ISO of 100, and my exposure time was 1/125.
Image selection
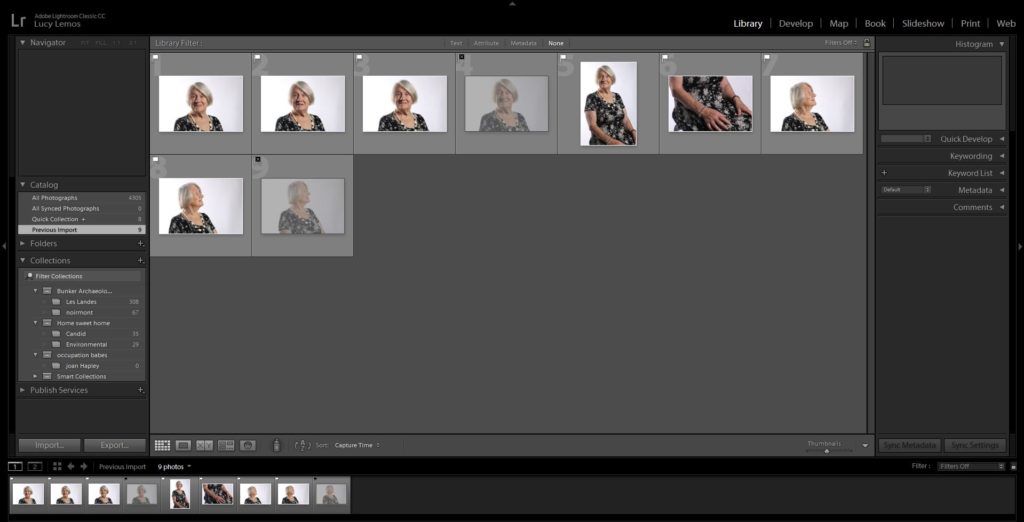
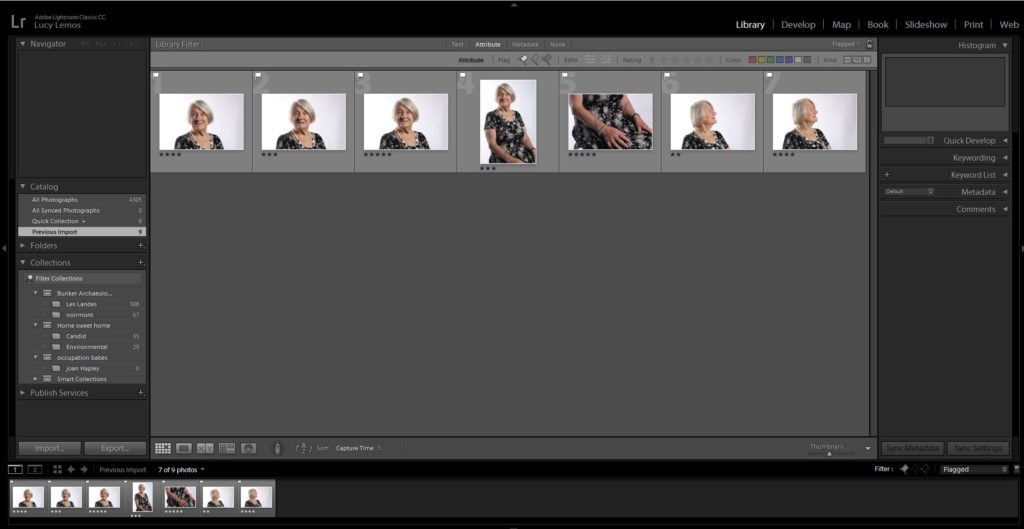
Before:
After:
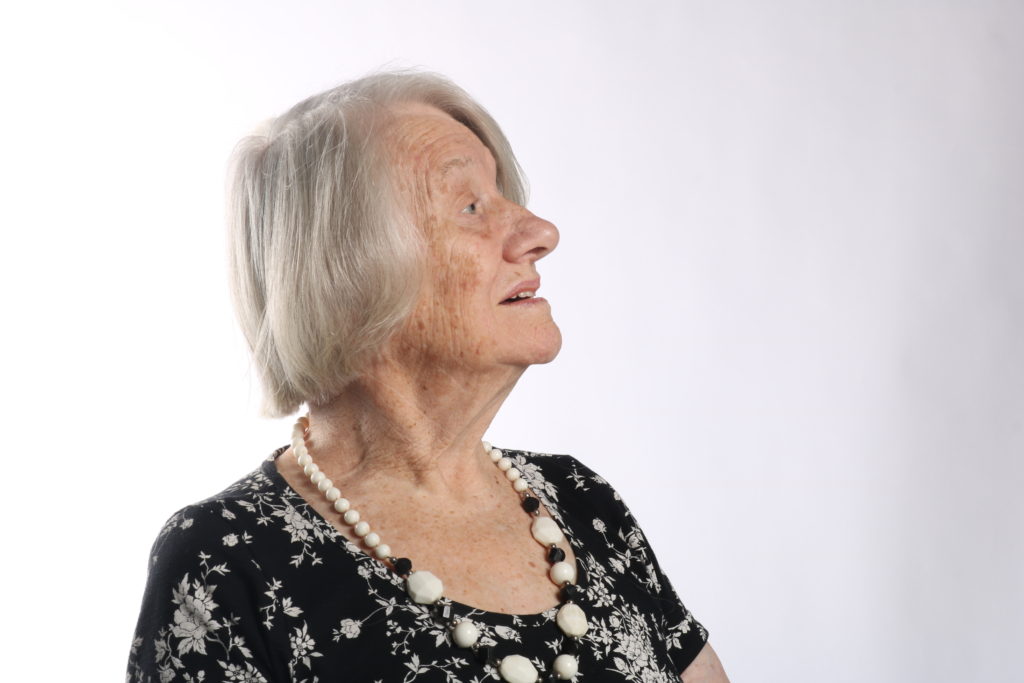
Before:
After:
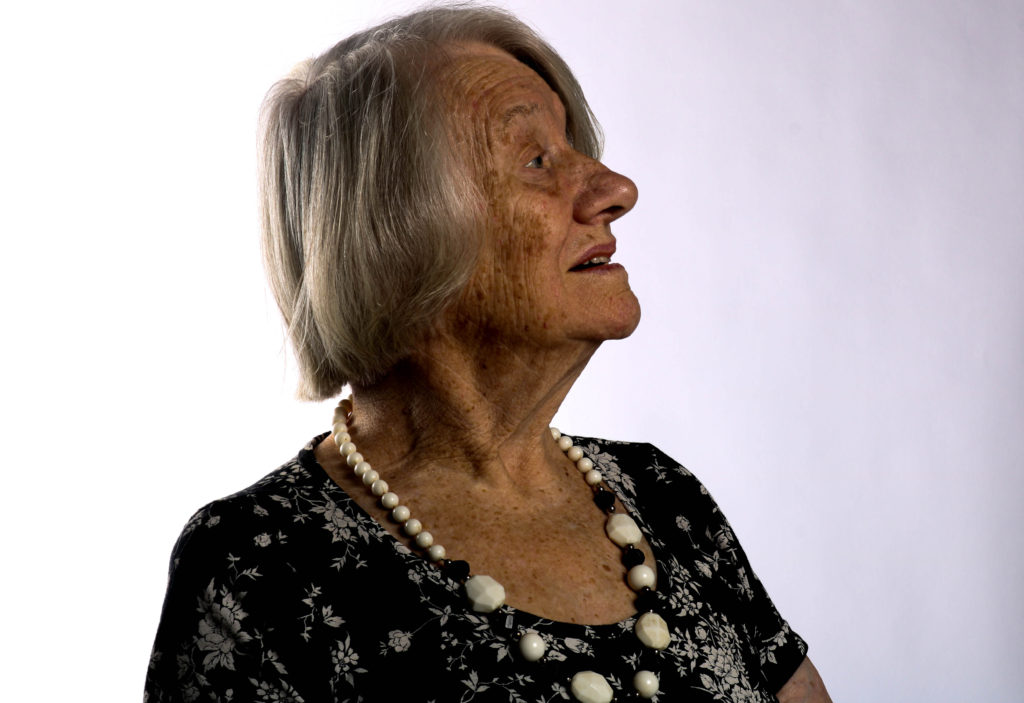
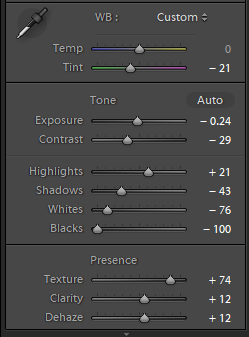
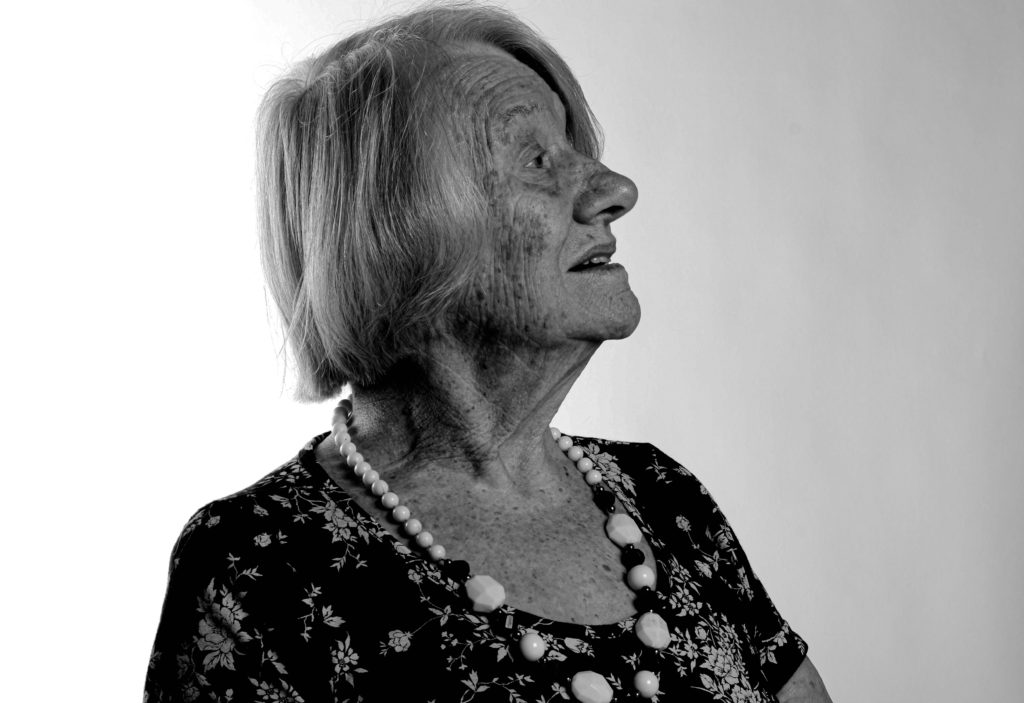
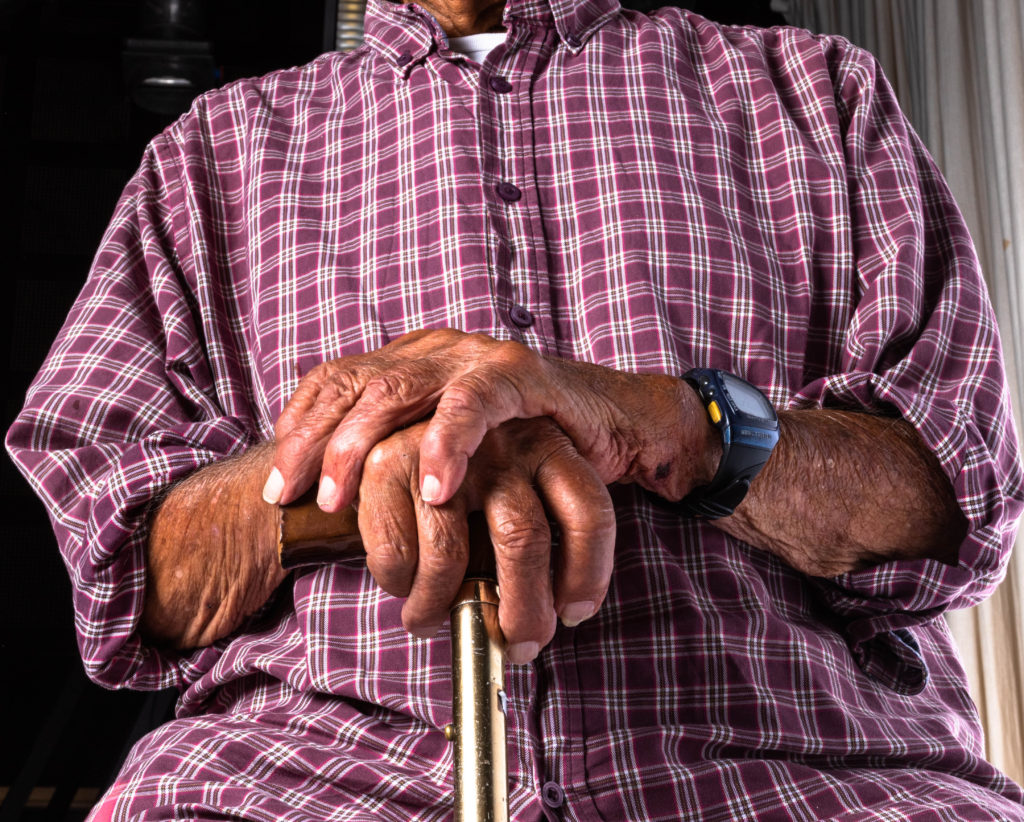
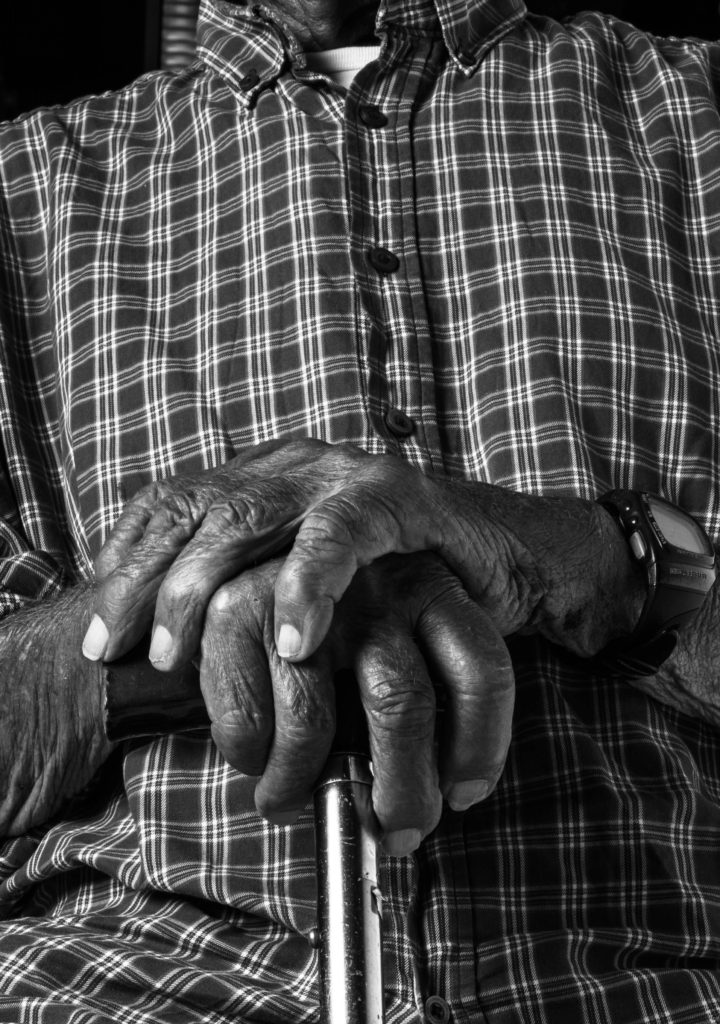
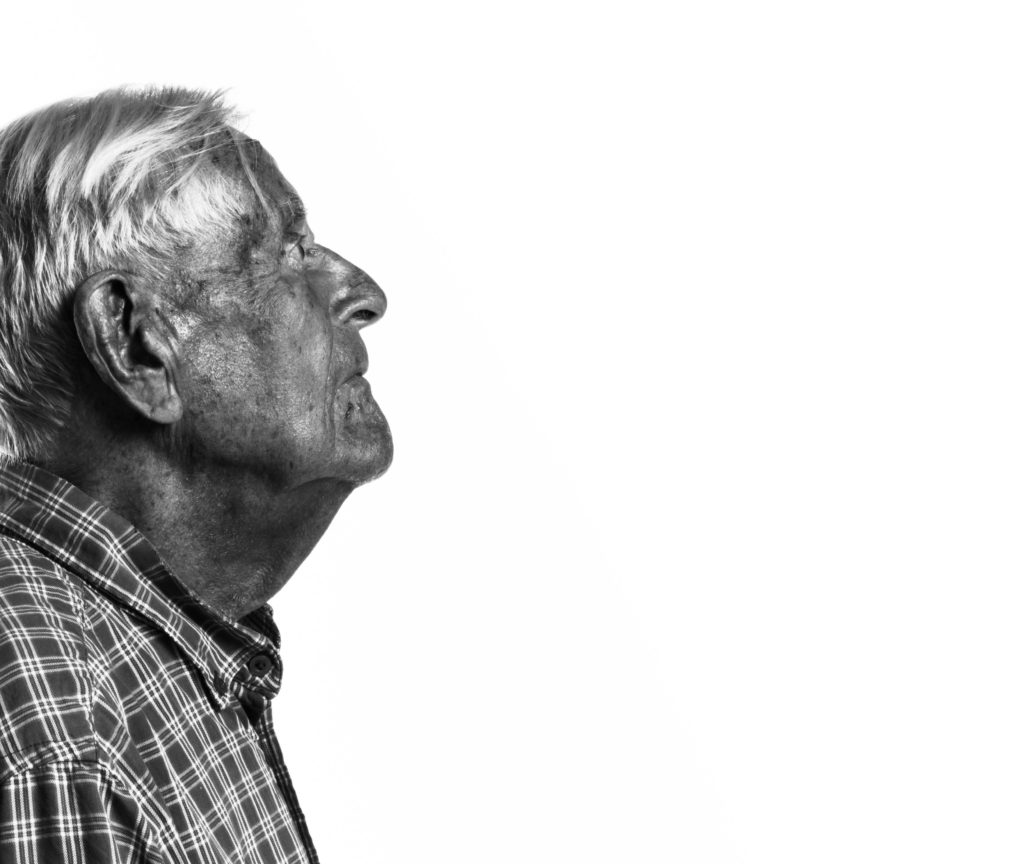
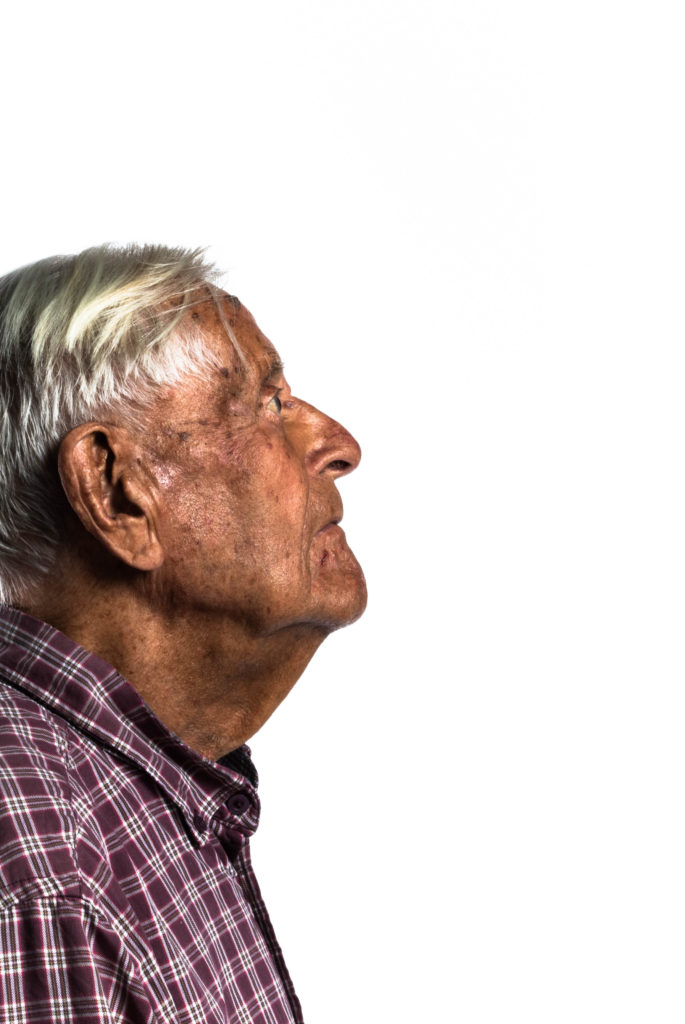
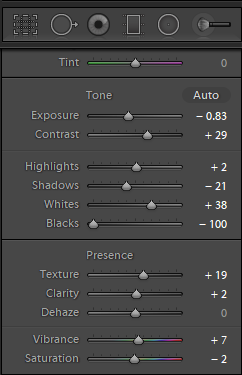
For the edits in this shoot I decided to primarily focus on emphasizing bobs more prominent features while highlighting some of the more discrete details. This was mainly done using levels and the black and white mix in the black and white edits. There are some subtle radial filters used in order to allow a higher contrast while avoiding glaring highlights.
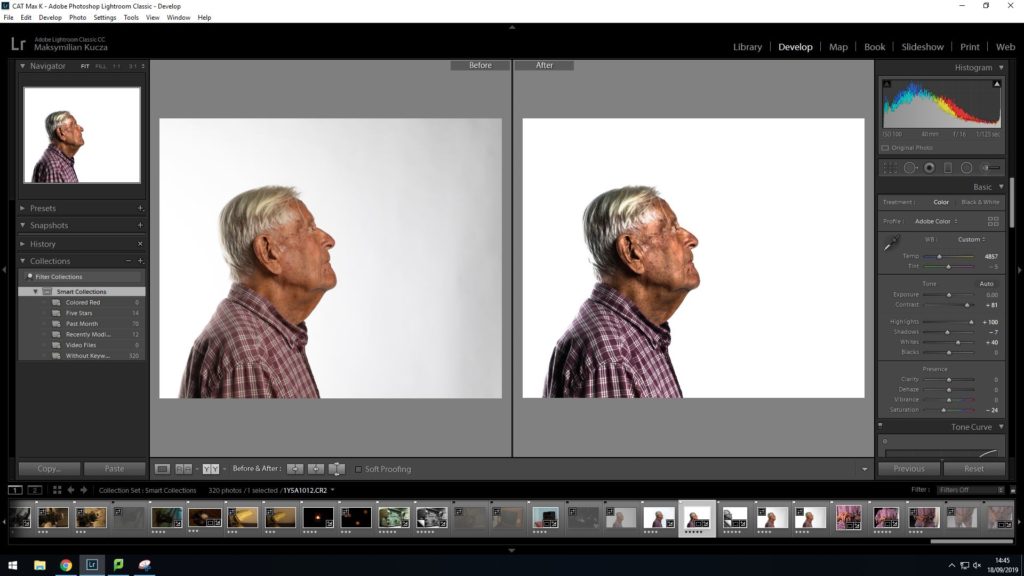
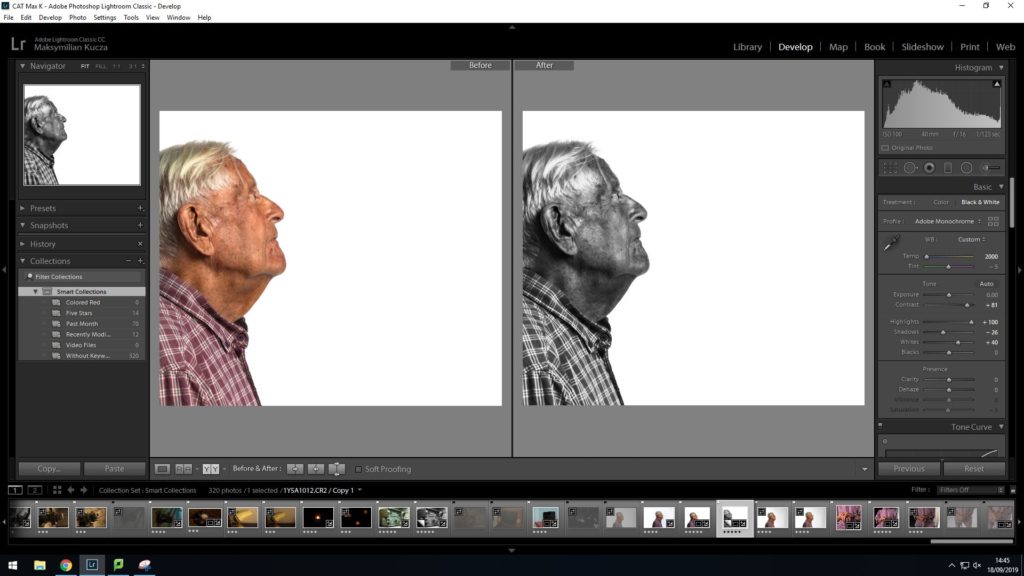
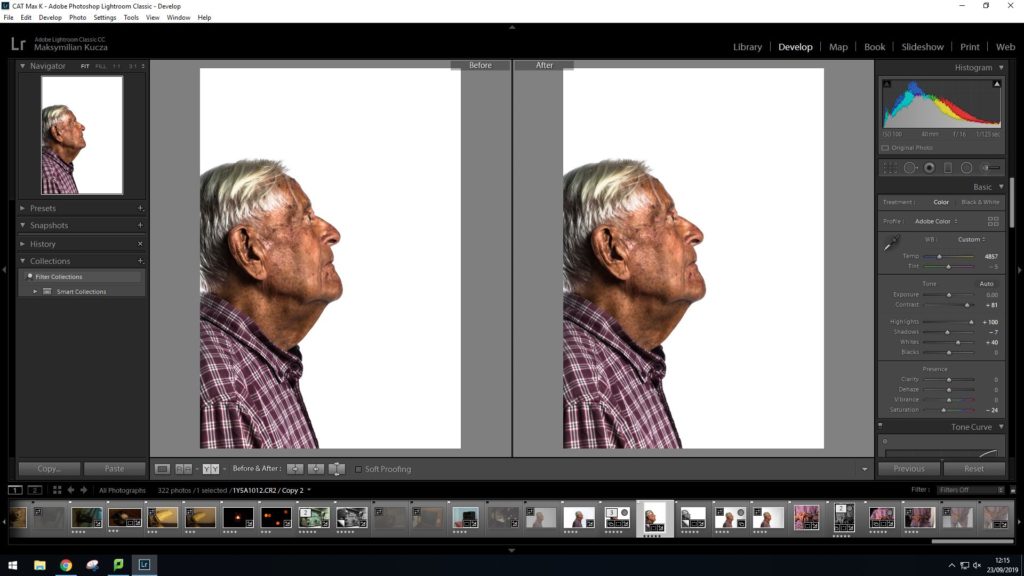
On these images a lot of detail was visible on his face such as small veins on his nose and various markings on his temple. I took advantage of the bright studio lighting as well as skins natural reflective properties in order to highlight these features. I lowered the saturation on the color edits as the increased contrast left the image looking highly over saturated and although I experimented with adjusting the vibrancy to bring back some of the color lost in this process, I eventually decided upon leaving the vibrancy at neutral.
In the black and white edit I made a heavy crop in order to hide the back lighting which in post, I decided was too bright. in order to avoid losing too much of the original composition to hide the back lighting I ended up using a small radial filter in order to hide some of the highlights on the back of his neck.
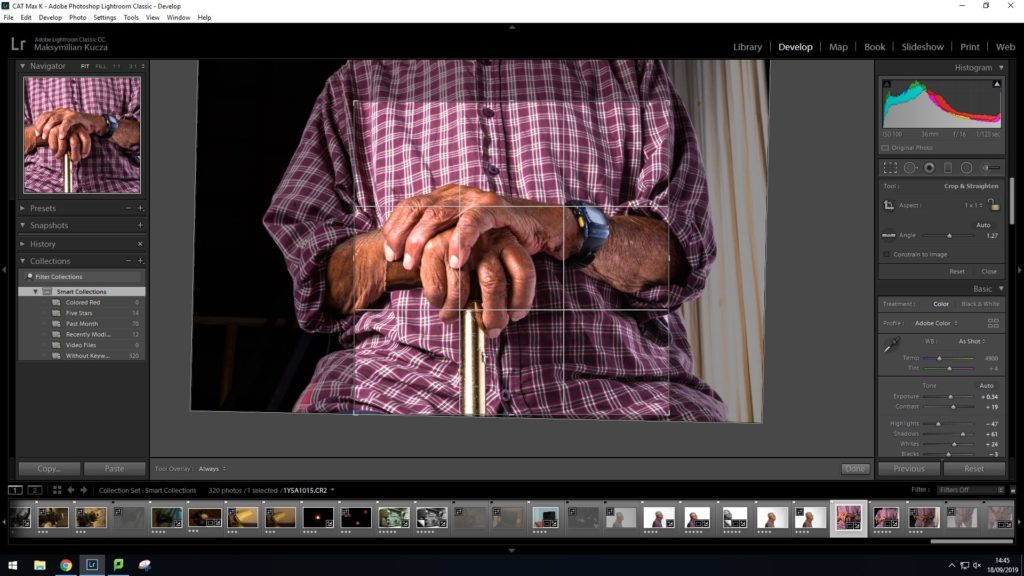
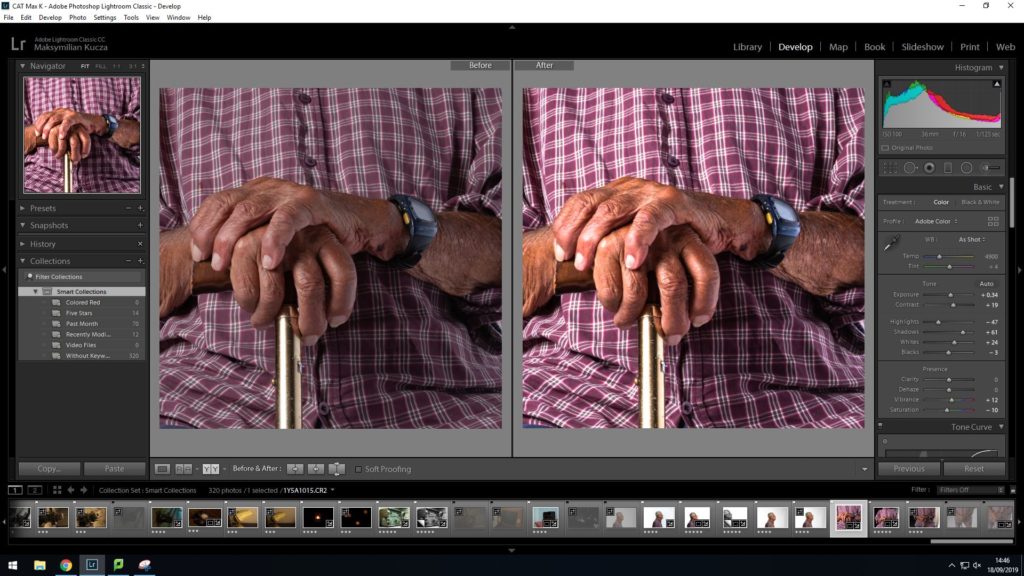
Here I decided that I wanted the primary subject to be the hands resting atop the cane and thus did some aggressive cropping to do so.
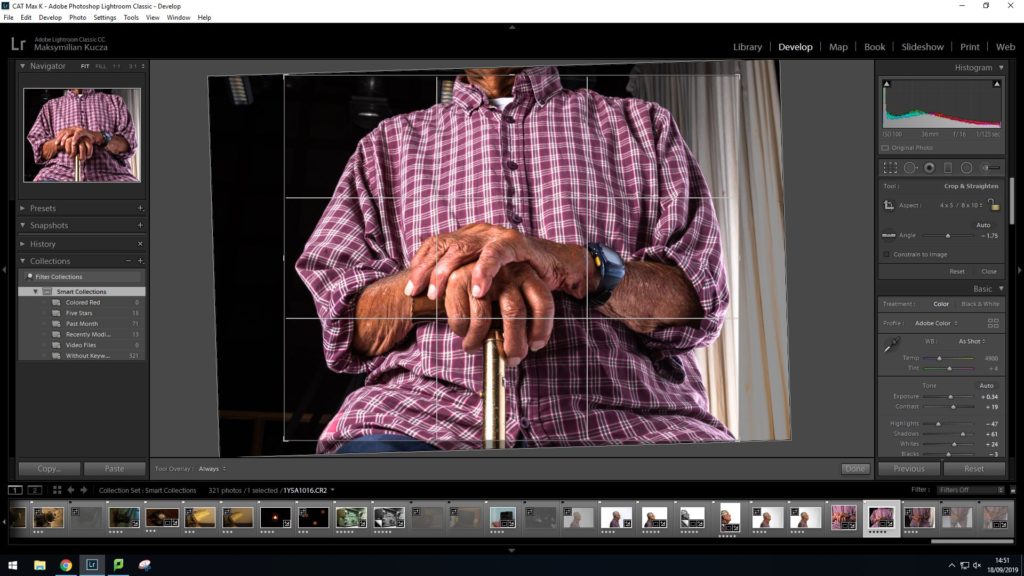
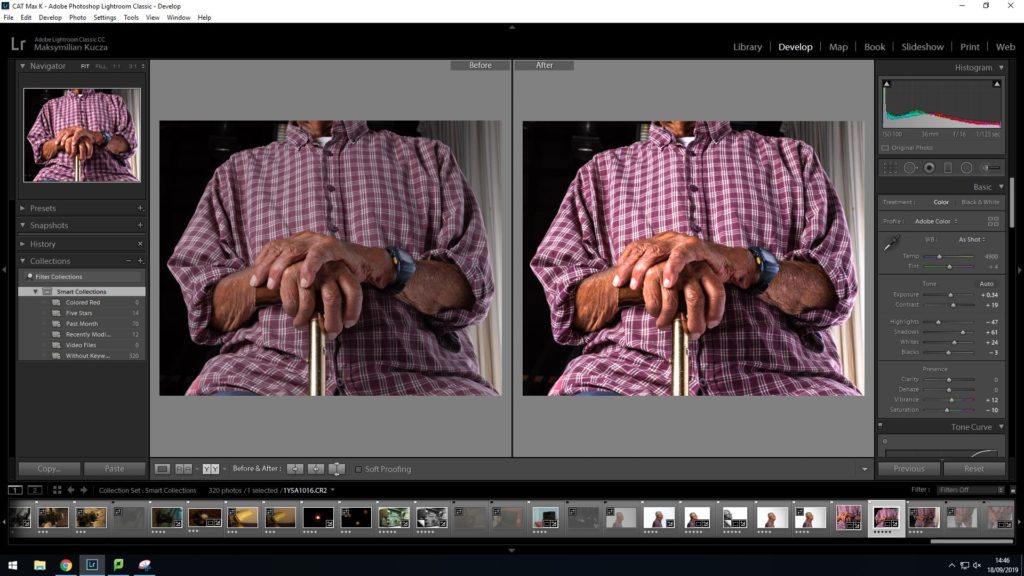
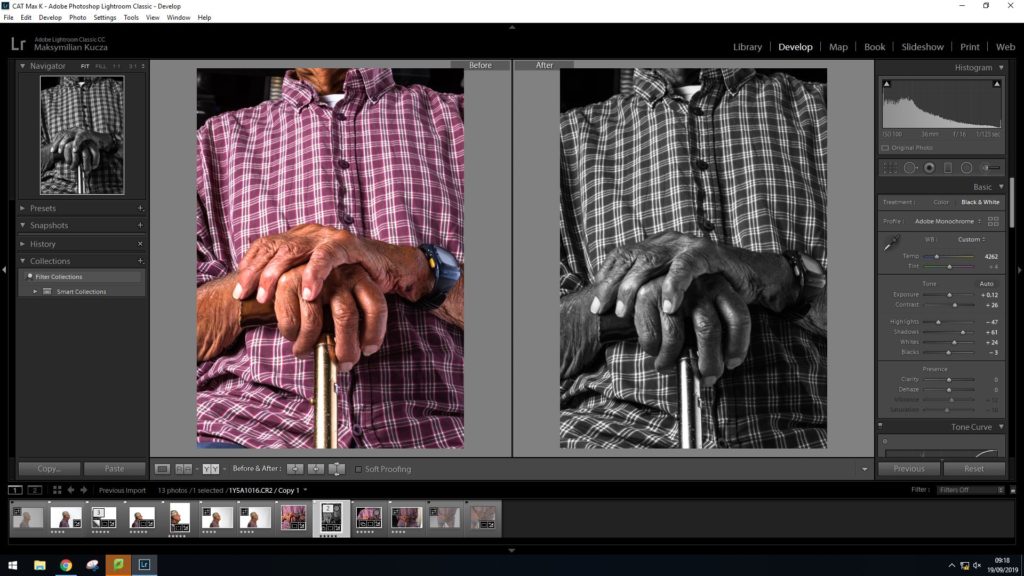
In these images I decided against using the studios infinity wall as I decided I wanted a darker and less clean background for these images. This helps to bring out the highlights of the subject in the images. I started by adjusting the crop angle and then preserving it while doing the perspective corrections in order to have finer control over what is shown in the image. then followed a similar process to the profile shots in terms of tonal and color adjustments.
