Category Archives: AO2 Explore Ideas
Filters
Experiment – ISO
ISO:
ISO simply stand for International Organisation of Standardisation. Changing the ISO of a camera controls its sensitivity to light, helping to manage the exposure of an image and prevent under and over-exposure of frames.
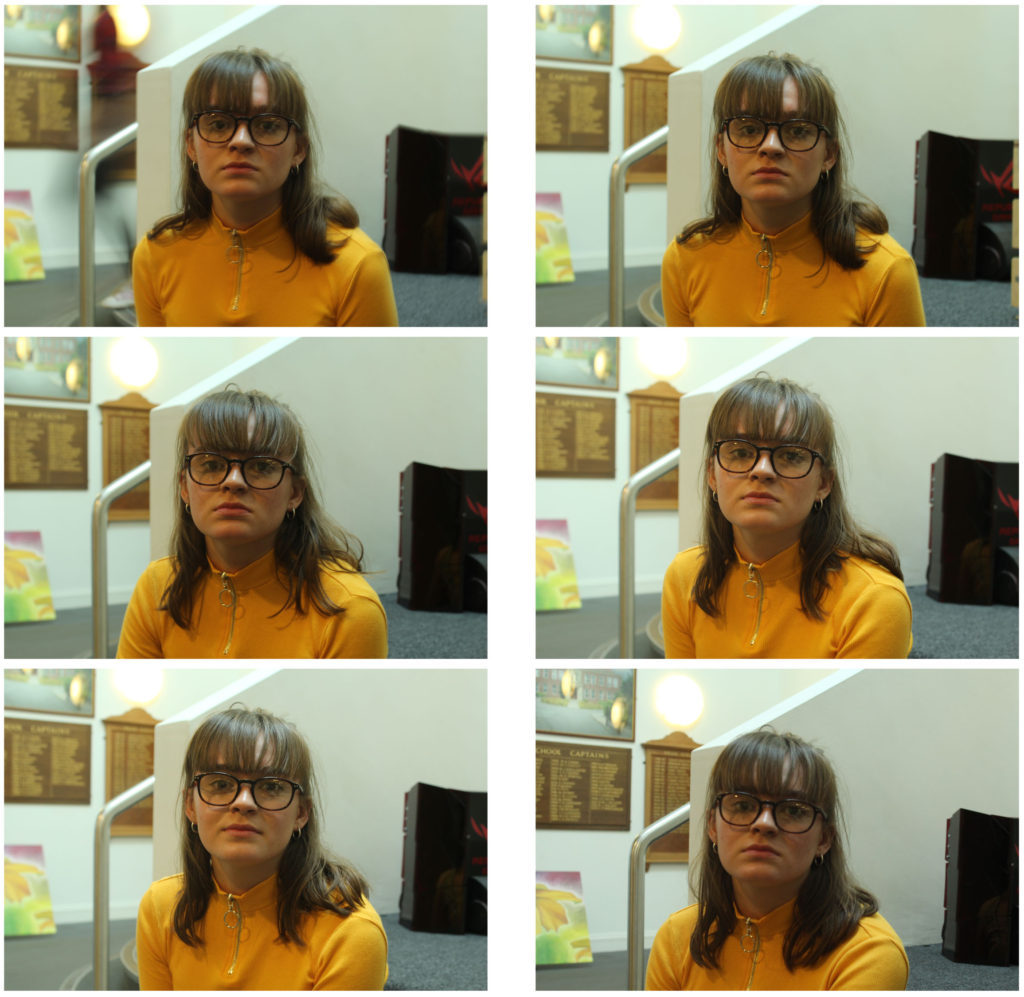
Changing the ISO changes the cameras sensitivity to light and can therefore allow for clean frames in lighter and darker places. The lower the ISO the lower the sensitivity to light, and vice versa to higher the ISO the higher the sensitivity to light will be. One downside to ISO is the higher the ISO the noisier or grainier an image becomes, as displayed below.
http://www.digitaltrends.com/phtotgraphy/what-is-iso/
Examples of my experiment in indoor lighting:
Settings: 200, 5.6 ISO 100-6400

Examples of my experiment in outdoor lighting:
Settings: 200, 5.6 ISO 100-6400
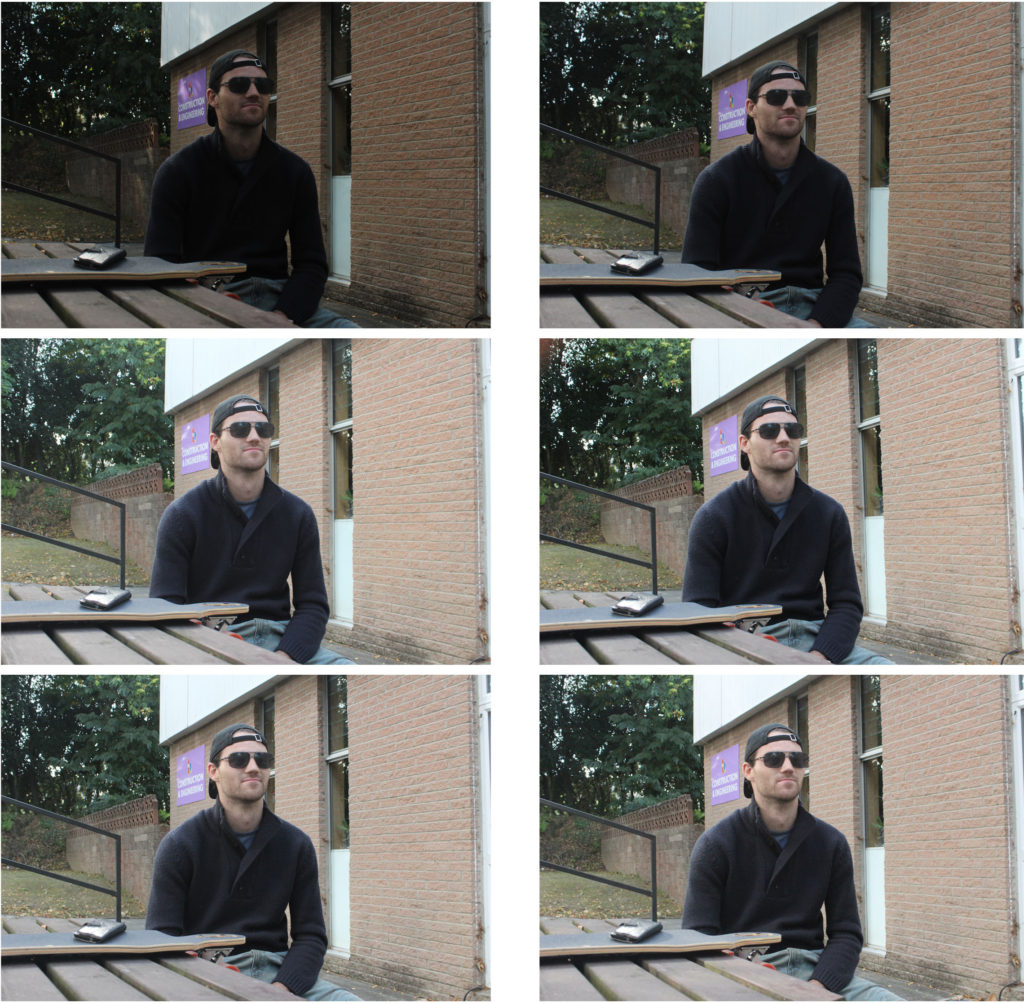

As shown in these frames as the ISO increases with each image the quality of the picture is reduced and seems more pixelated, this is often referred to as ‘noise’. Changes in ISO can allow photos to look more natural and visible, however the negative effect of a high ISO can sometimes defeat the object of changing the ISO.

However many photographers have used a high ISO to their images on purpose, in order to create the grainy effect.
Homework 3 – Albert Renger Patzsch research and response
Renger-Patzsch was born in Wurzburg on June 22, 1897 and passed away on September 27, 1966. He began making photographs by the age of twelve. After military service in WW1 he studied chemistry at Dresden Technical College. In the 1920’s he started working for the Chicago Tribune as a press photographer. He then left, and in 1925 he published his first book ‘The choir stalls of Cappenberg’. He had his first museum exhibition in 1927.
He released a second book in 1928 called ‘Die Welt ist Schon’. This is his best-known book, its a collection of one hundred of his photographs in which natural forms, industrial subjects and mass-produced objects are presented with the clarity of scientific illustrations (a visual approach to a scientific concept in a precise, clear and objective way). He believed that the value of photography was in its ability to reproduce the texture of reality. His archives were destroyed during WW2, and in 1944 he moved to Wamel, Mohnesee, where he lived the rest of his life.
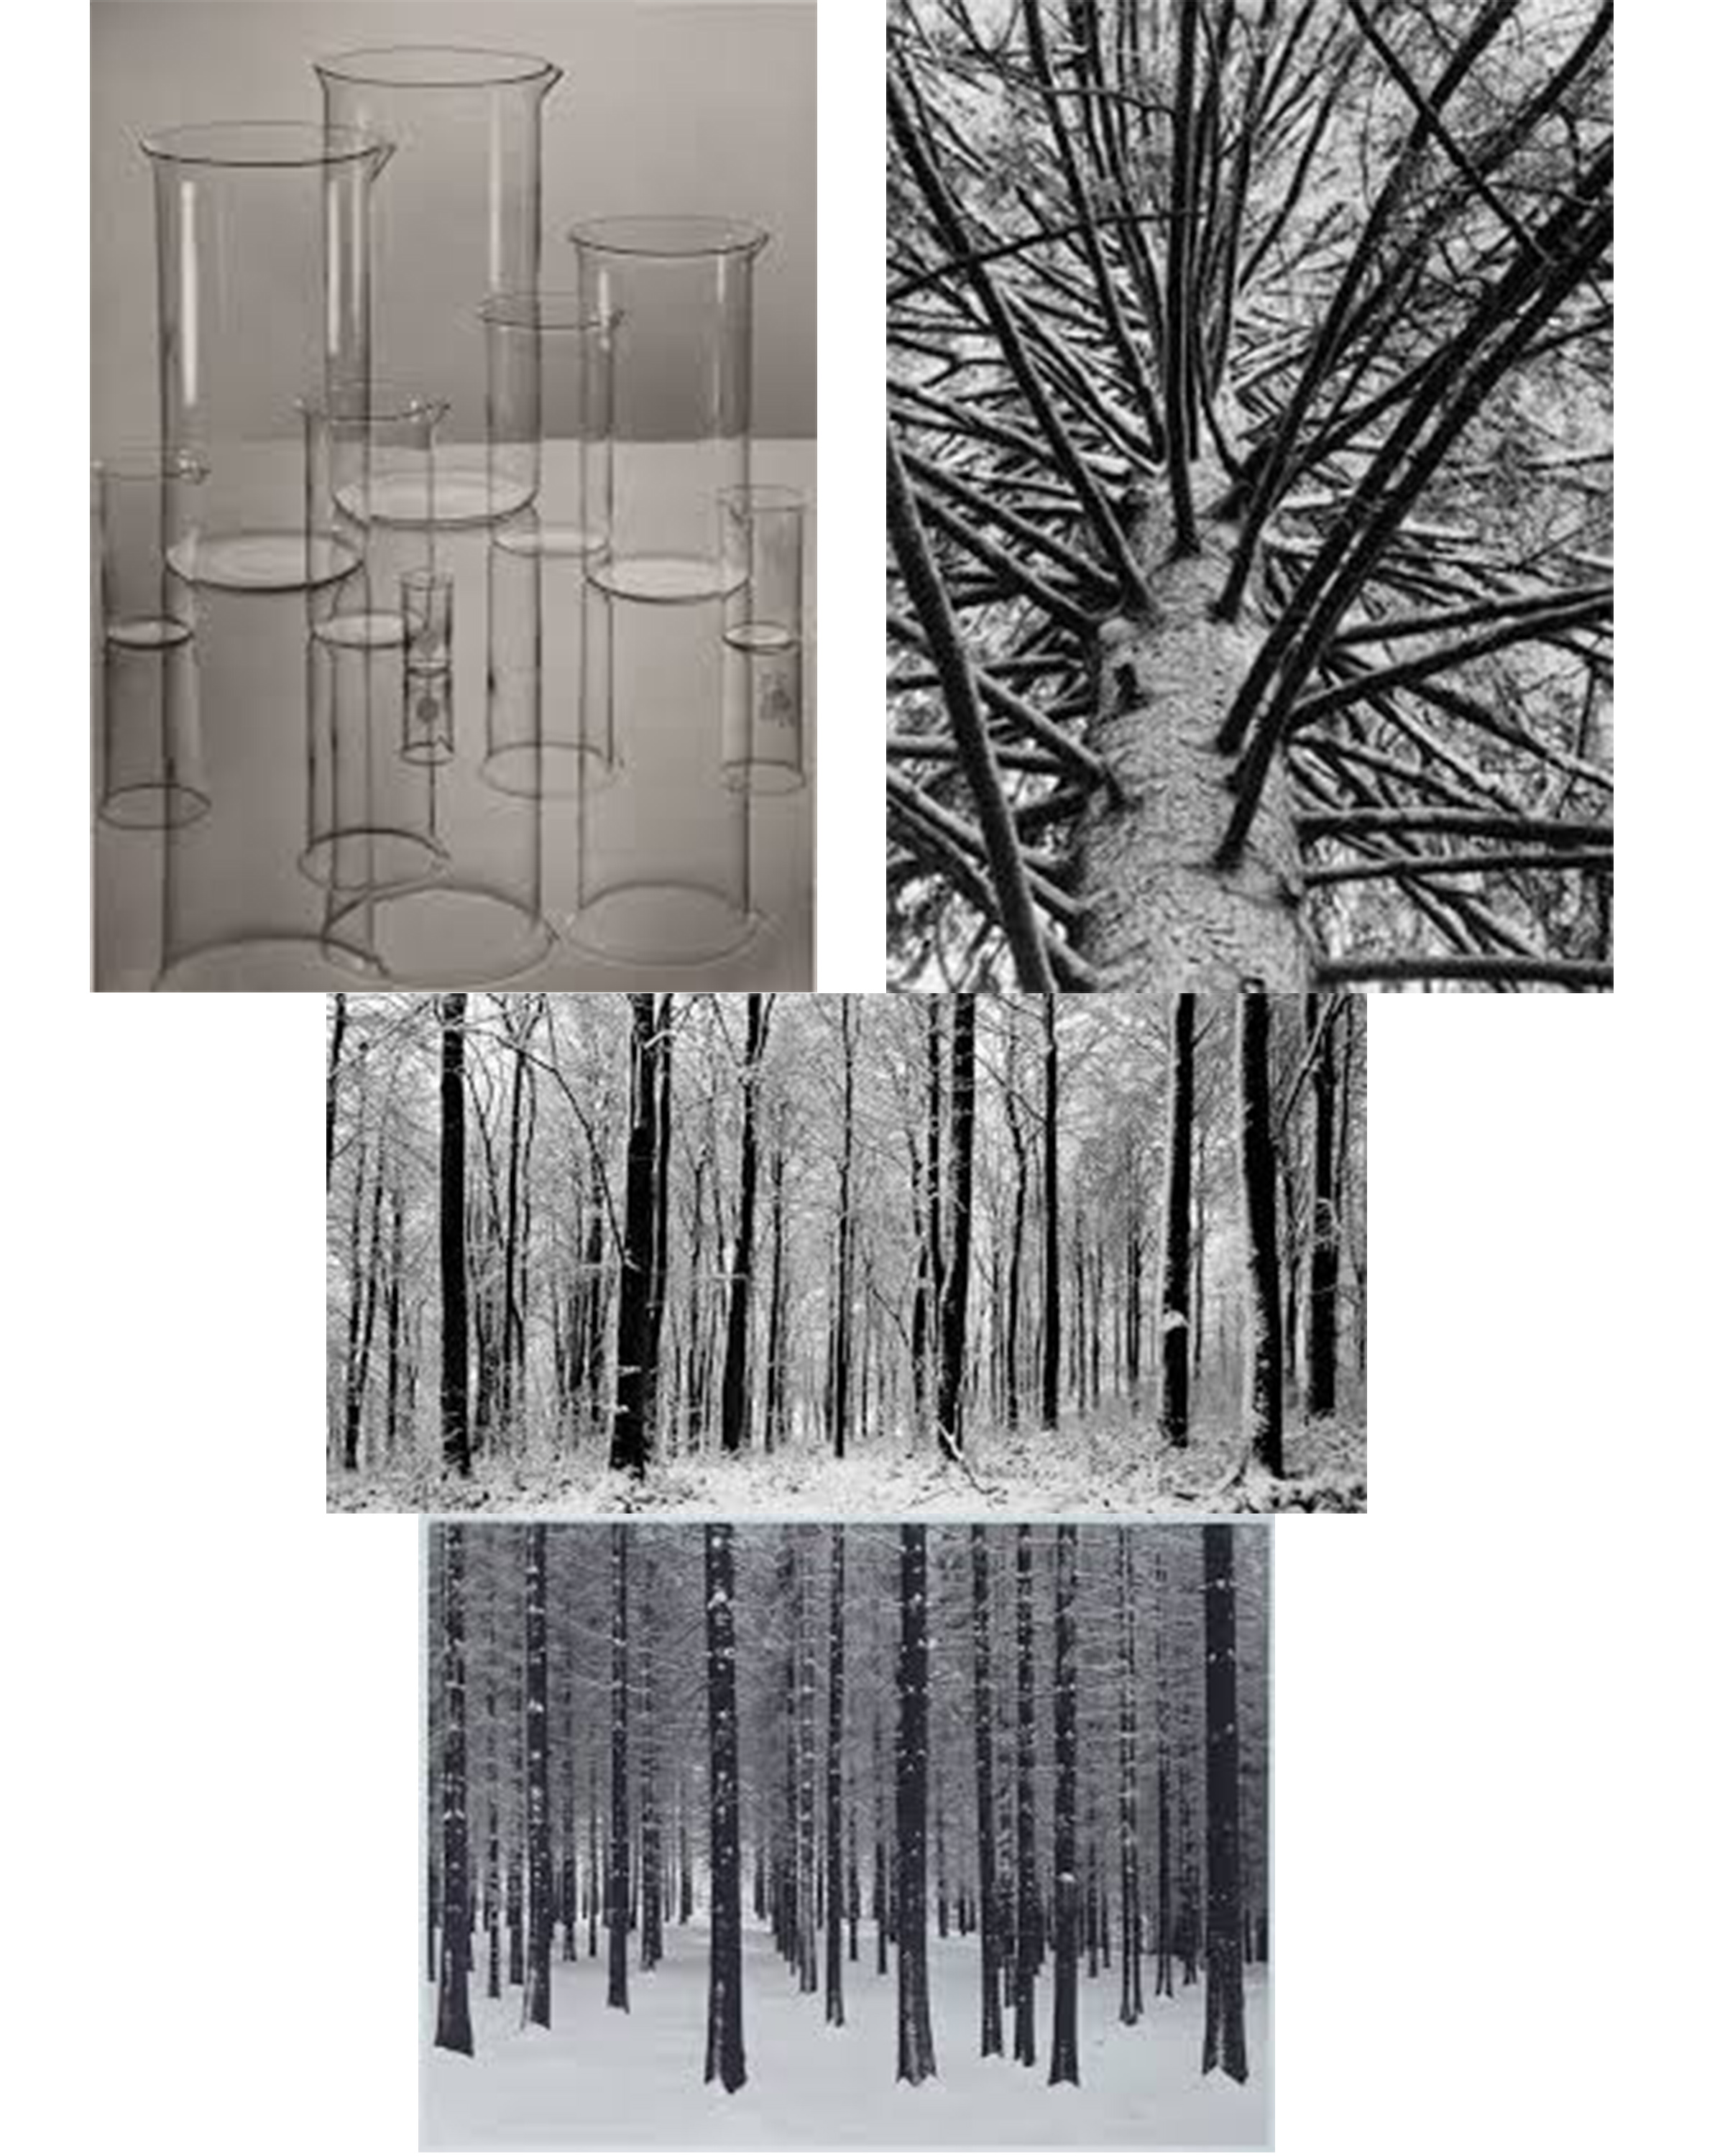
My response:
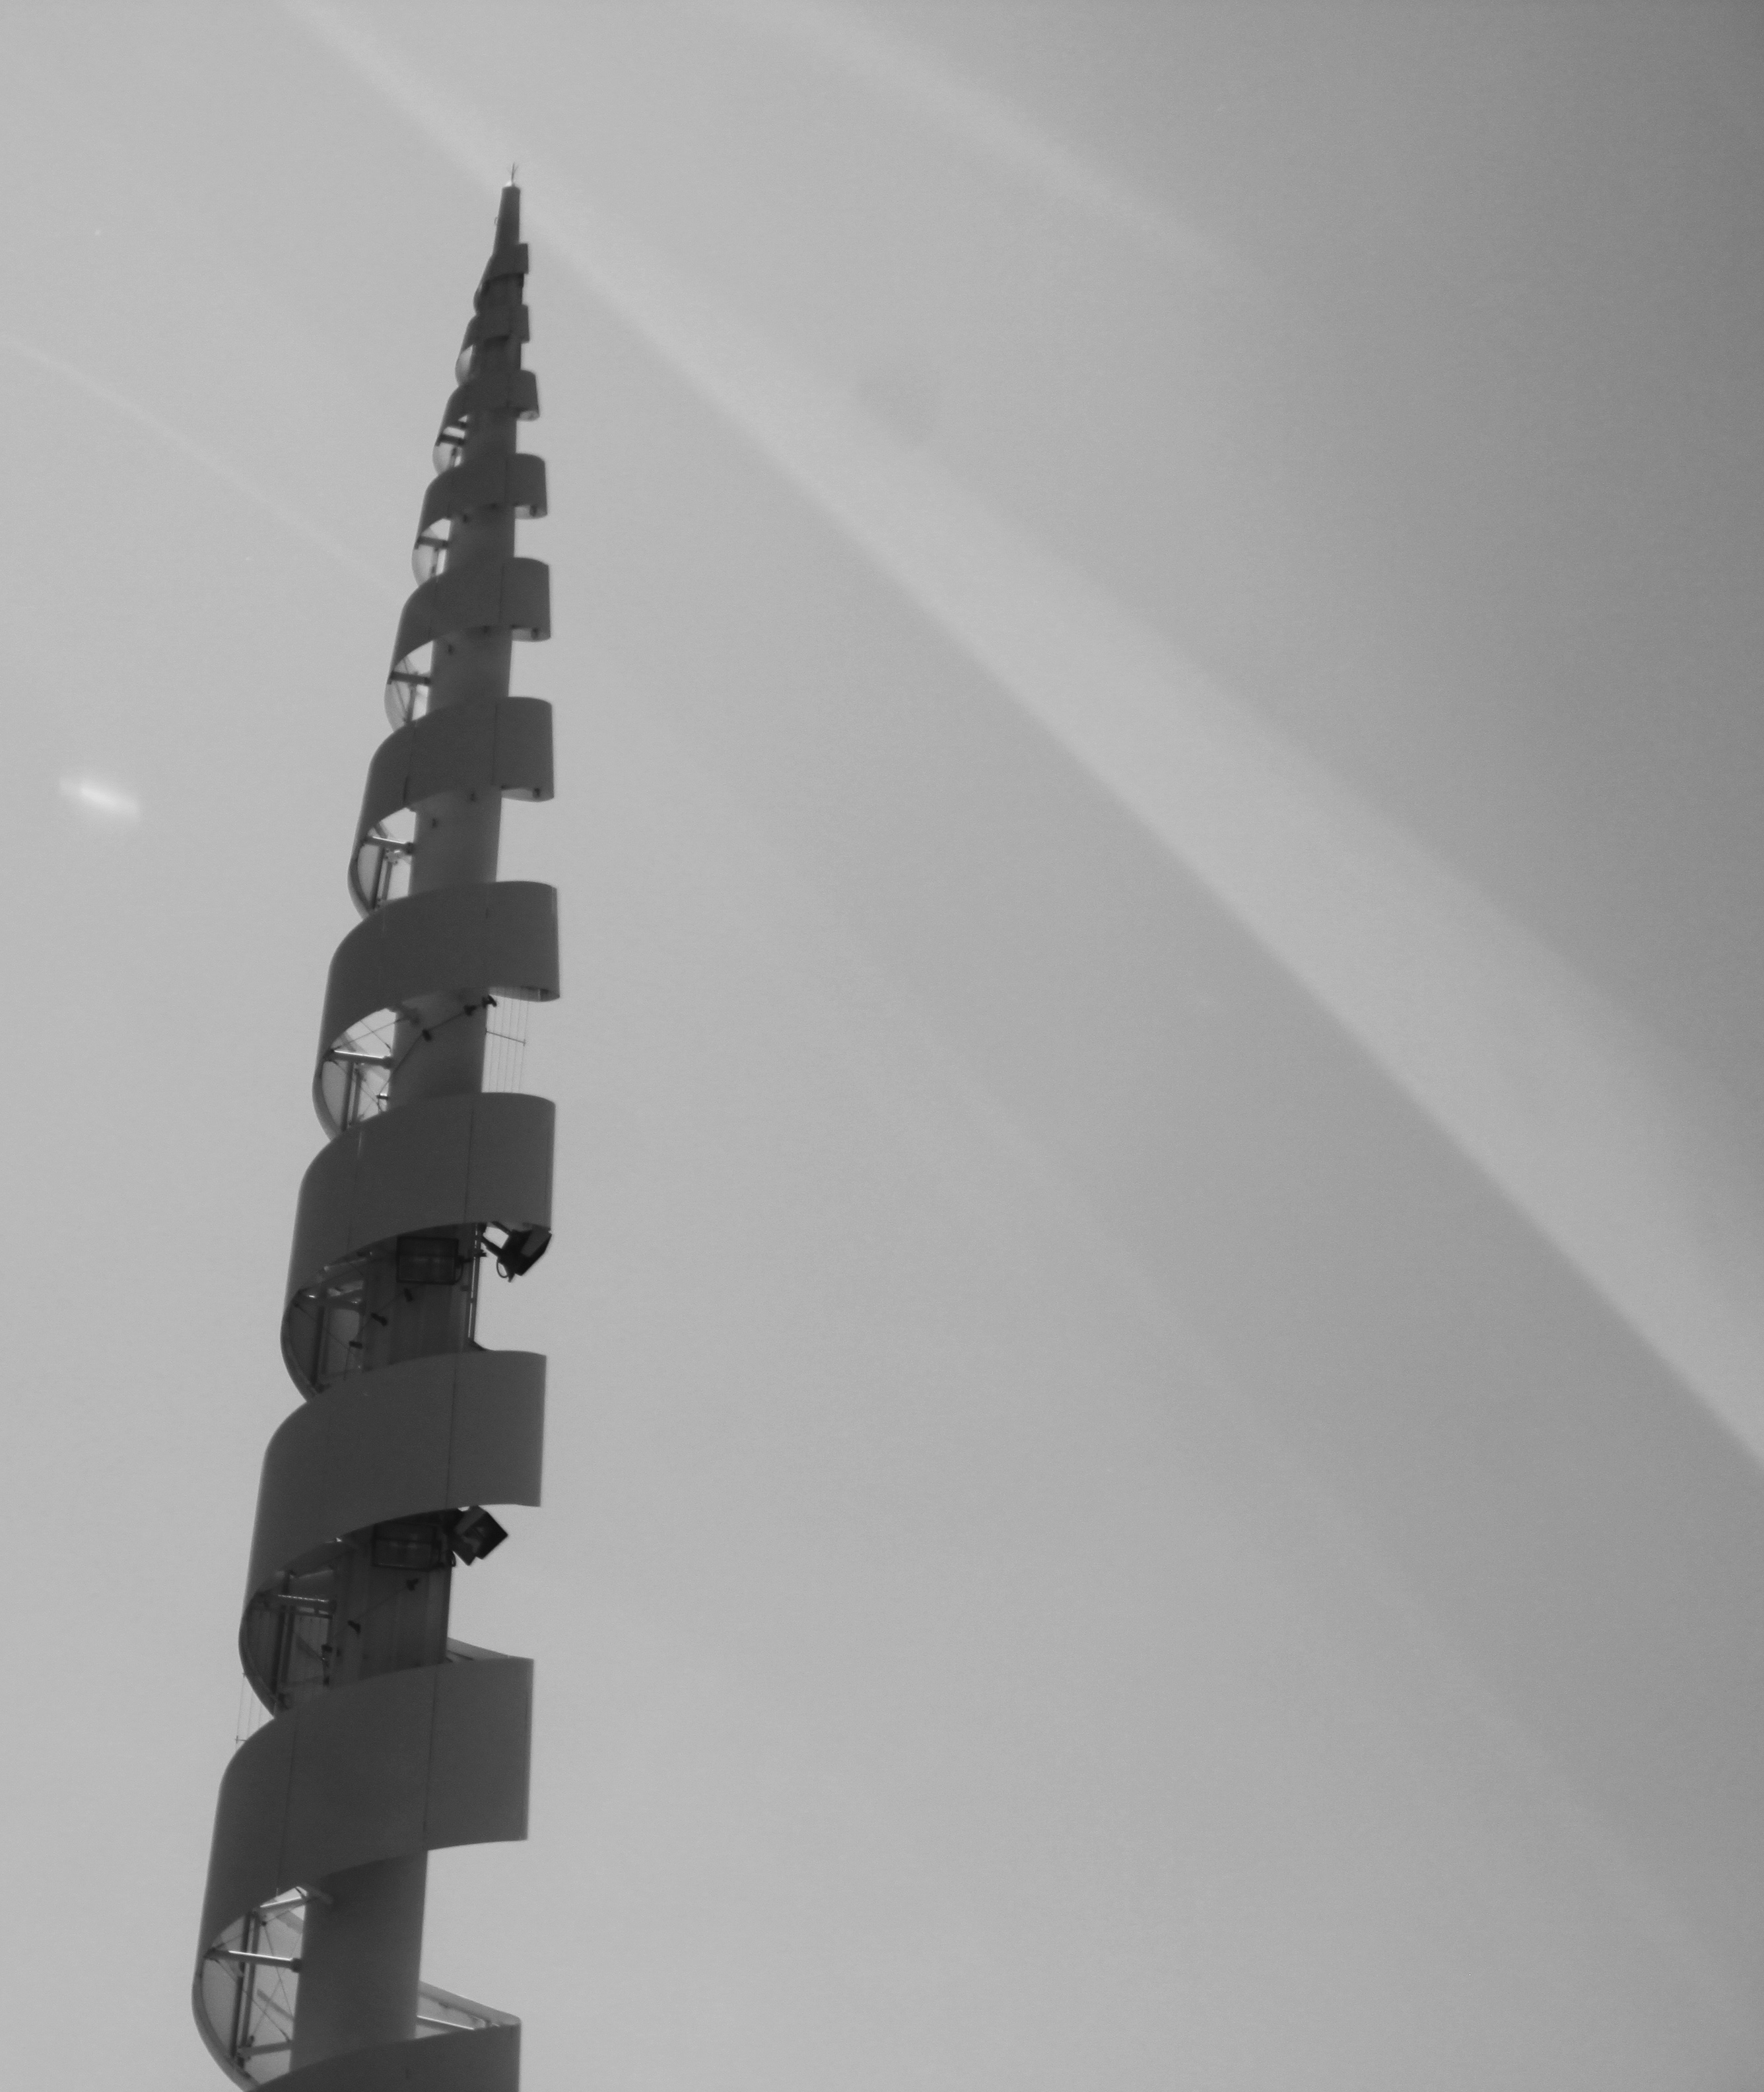
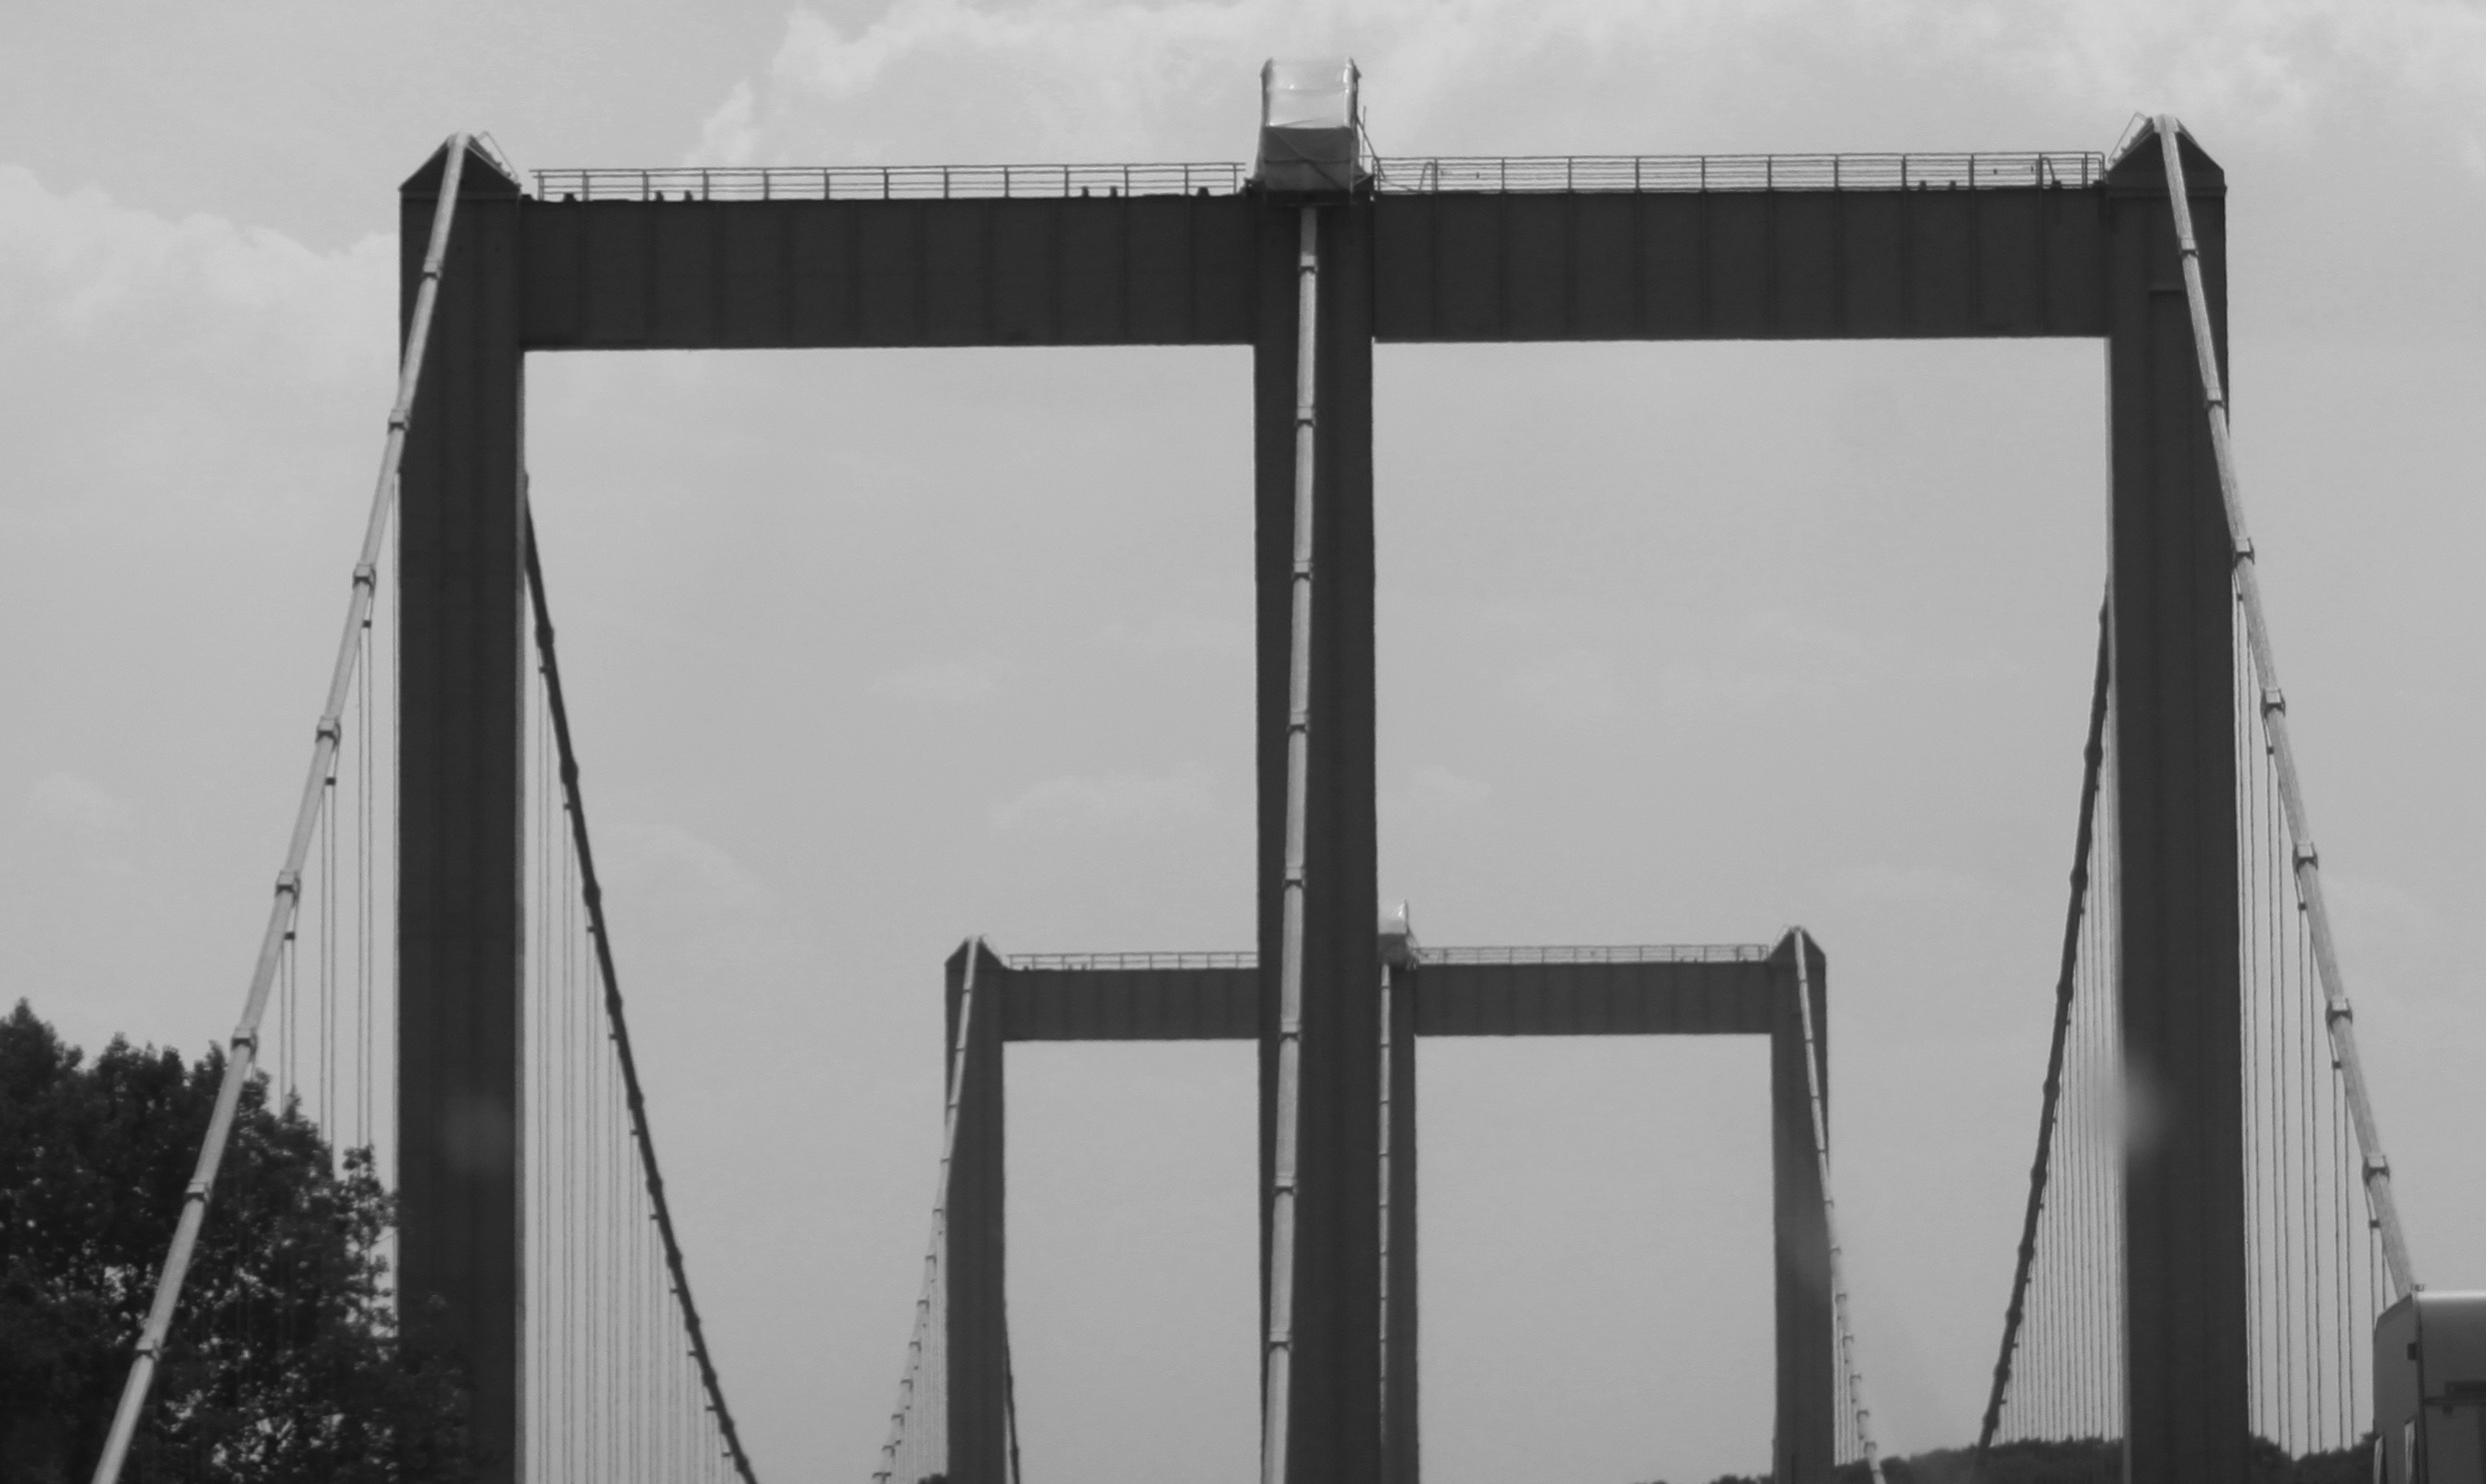
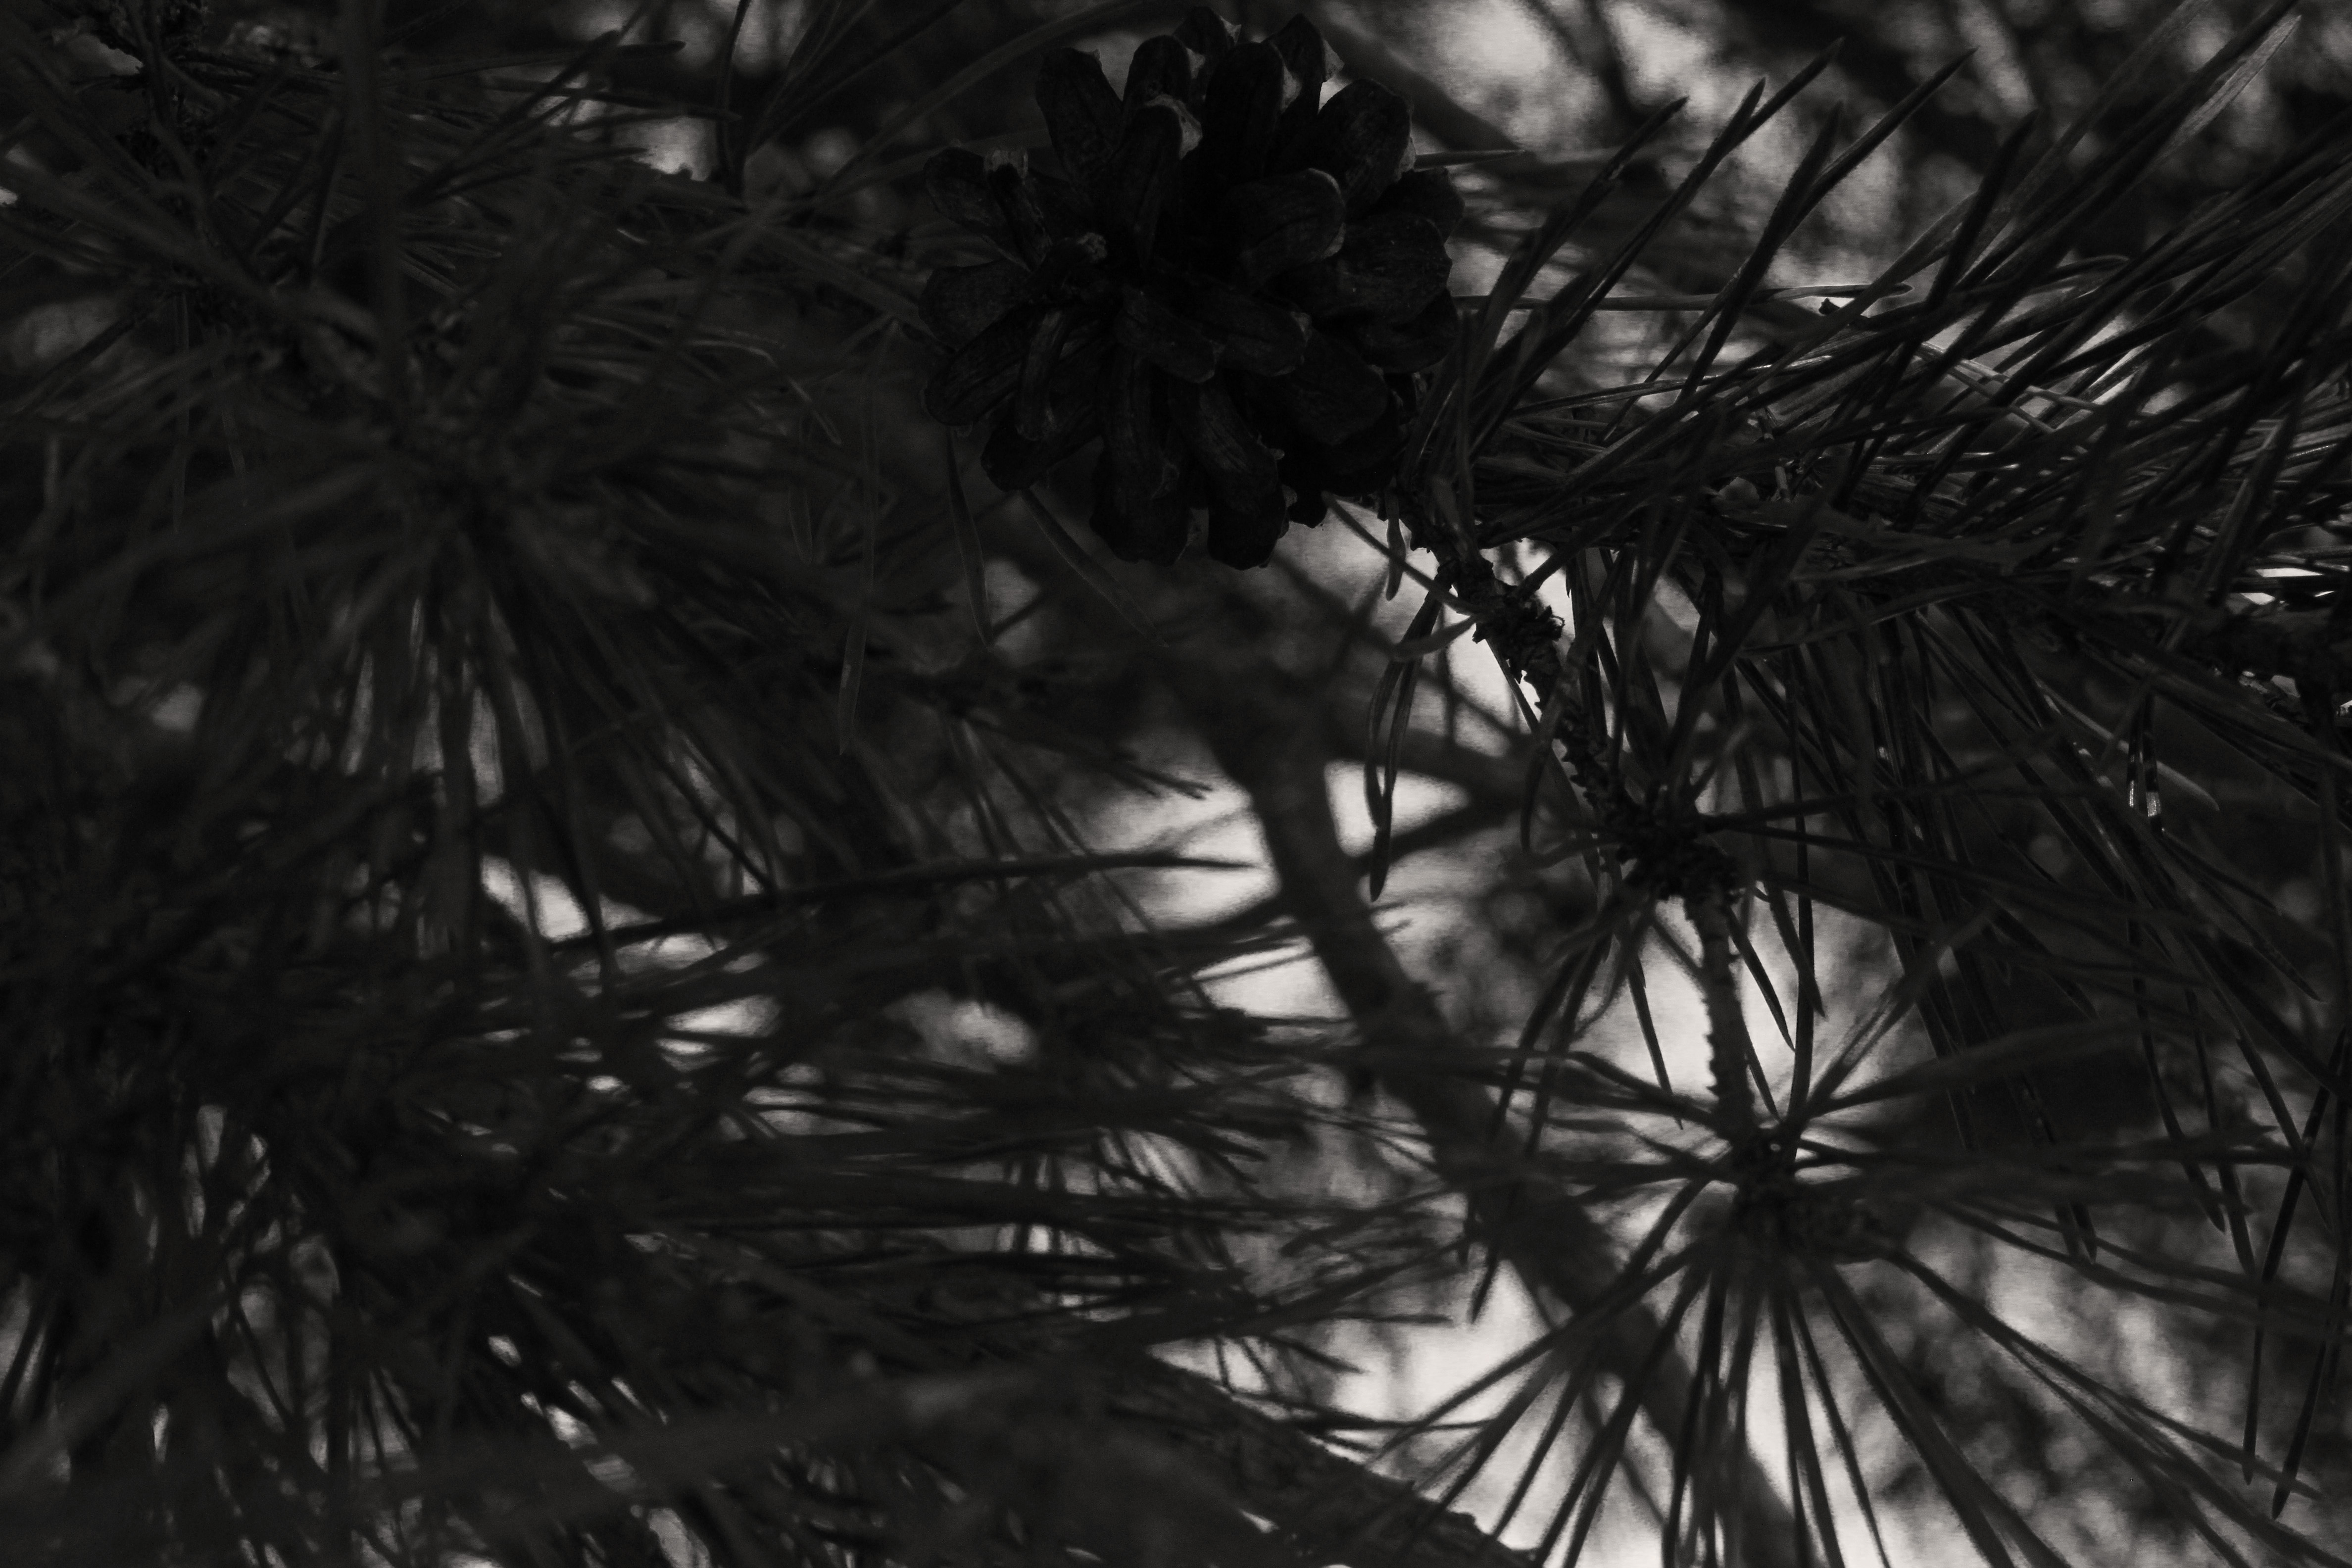
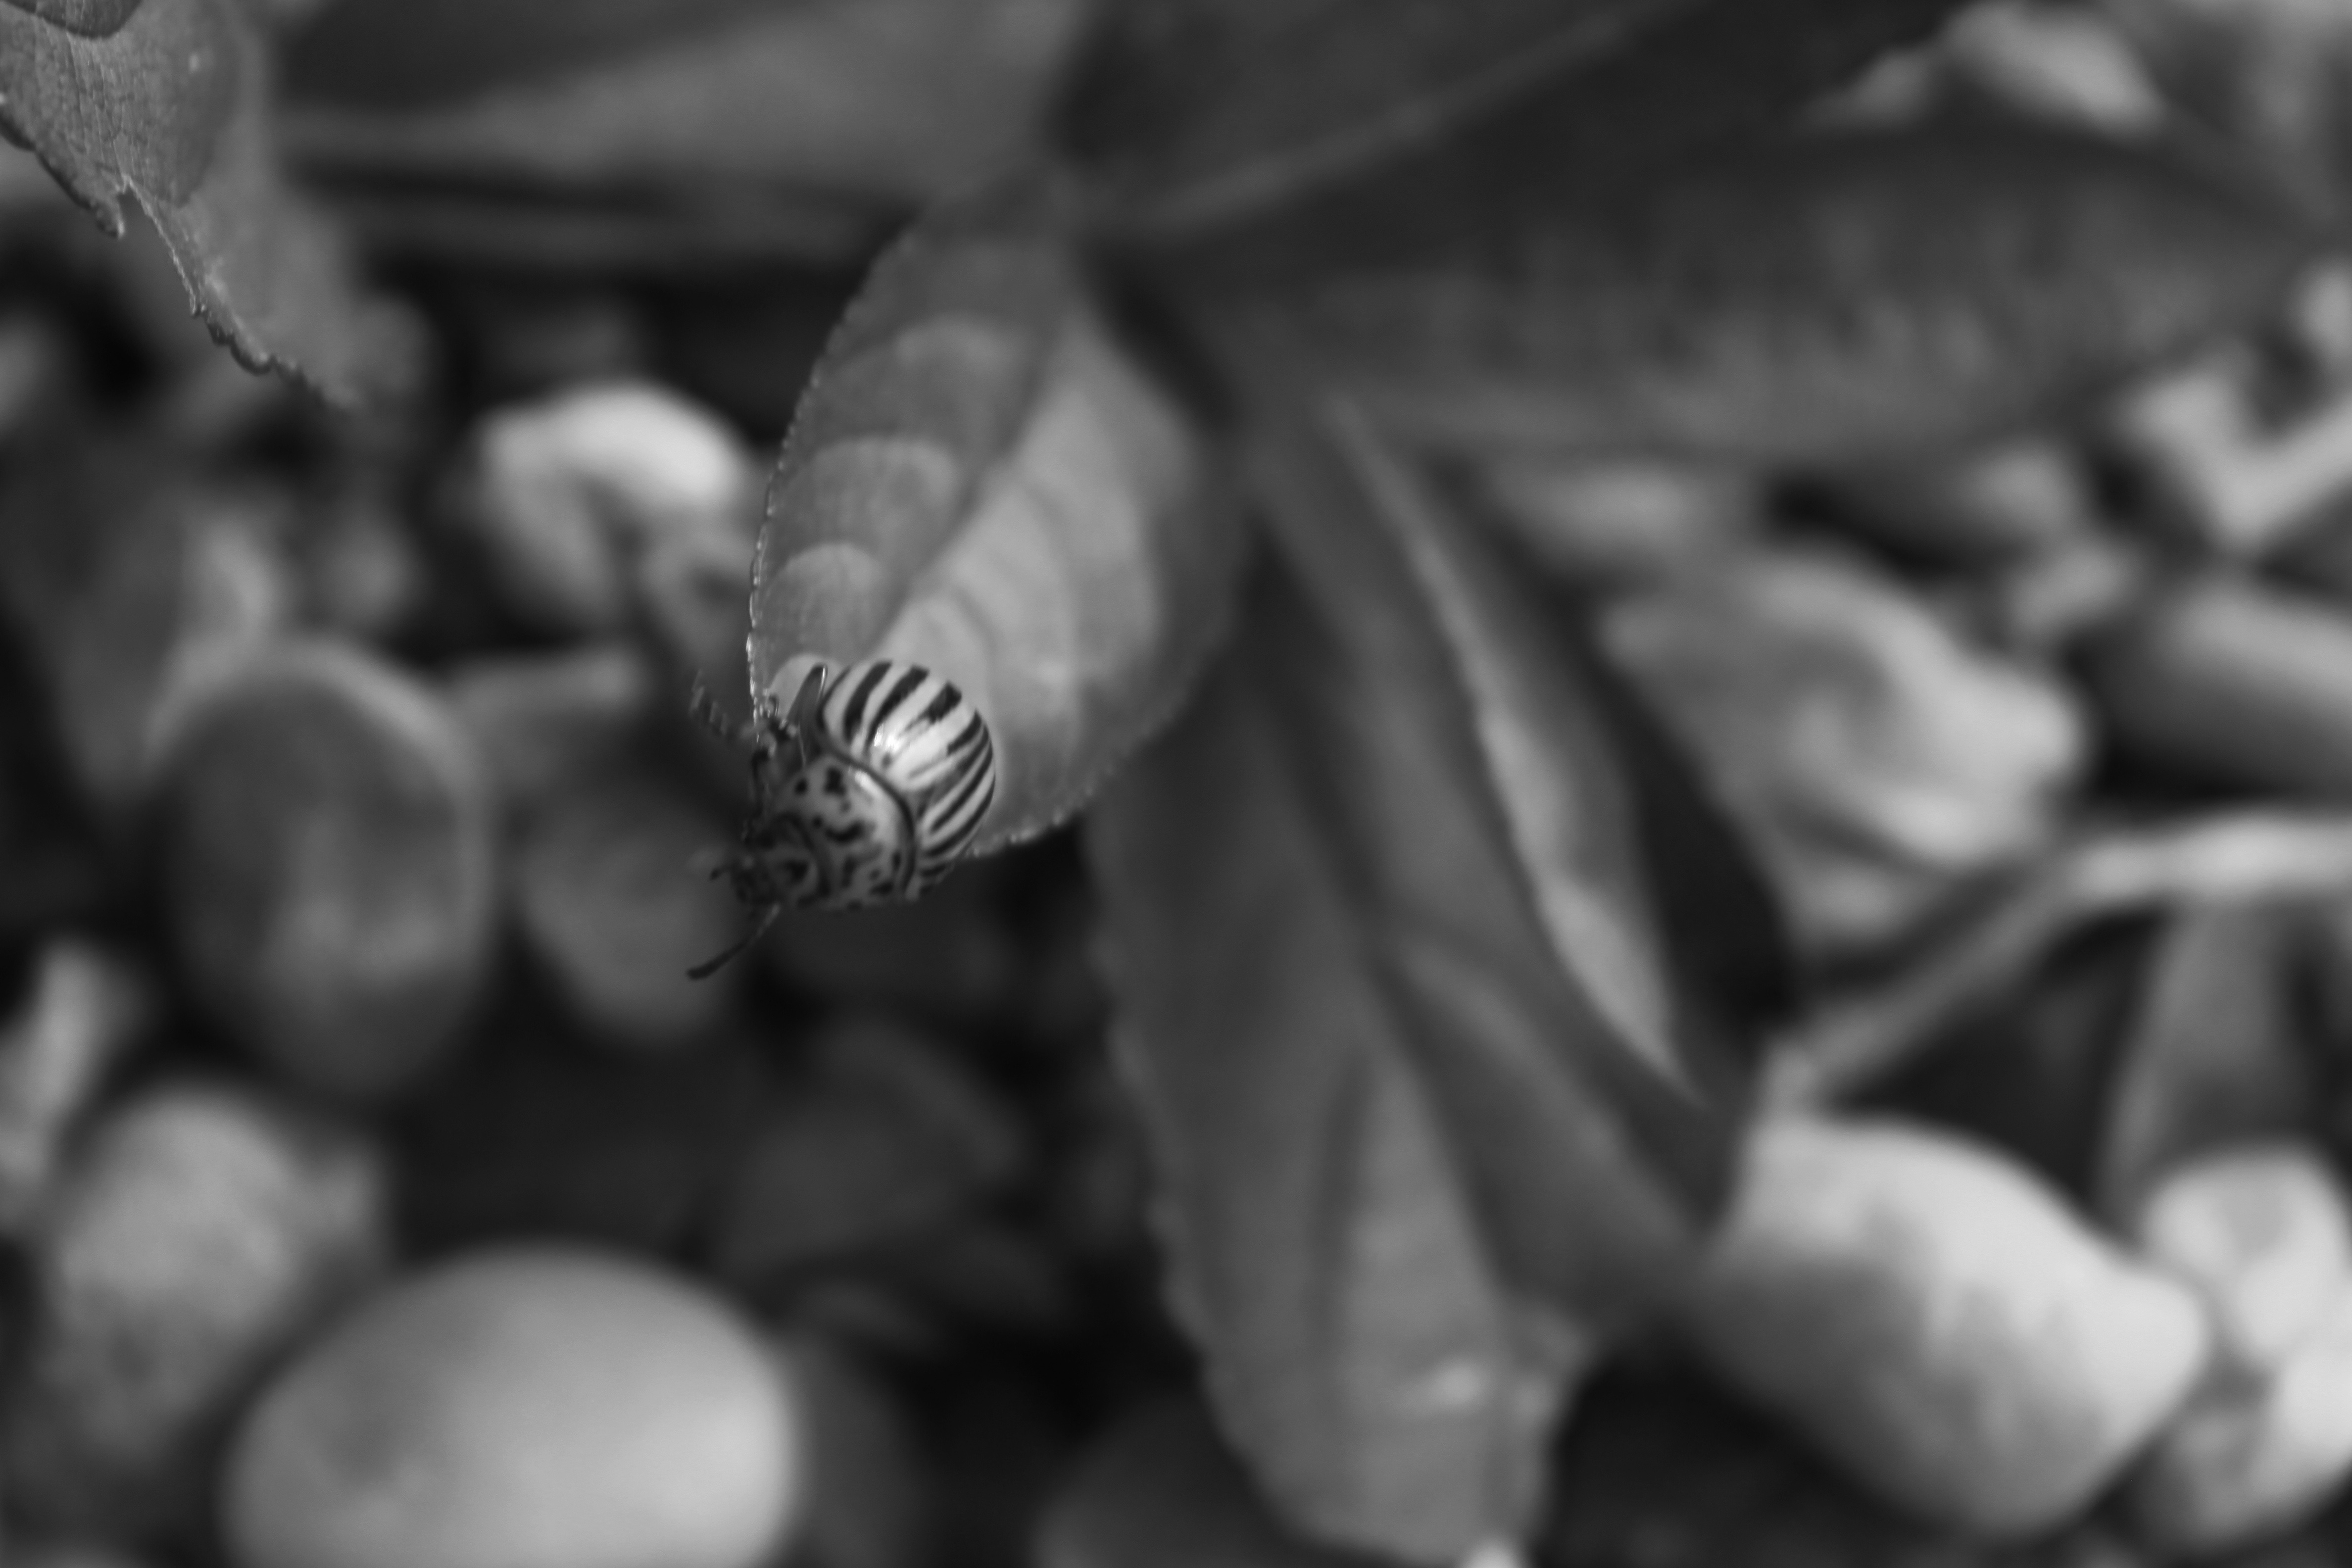
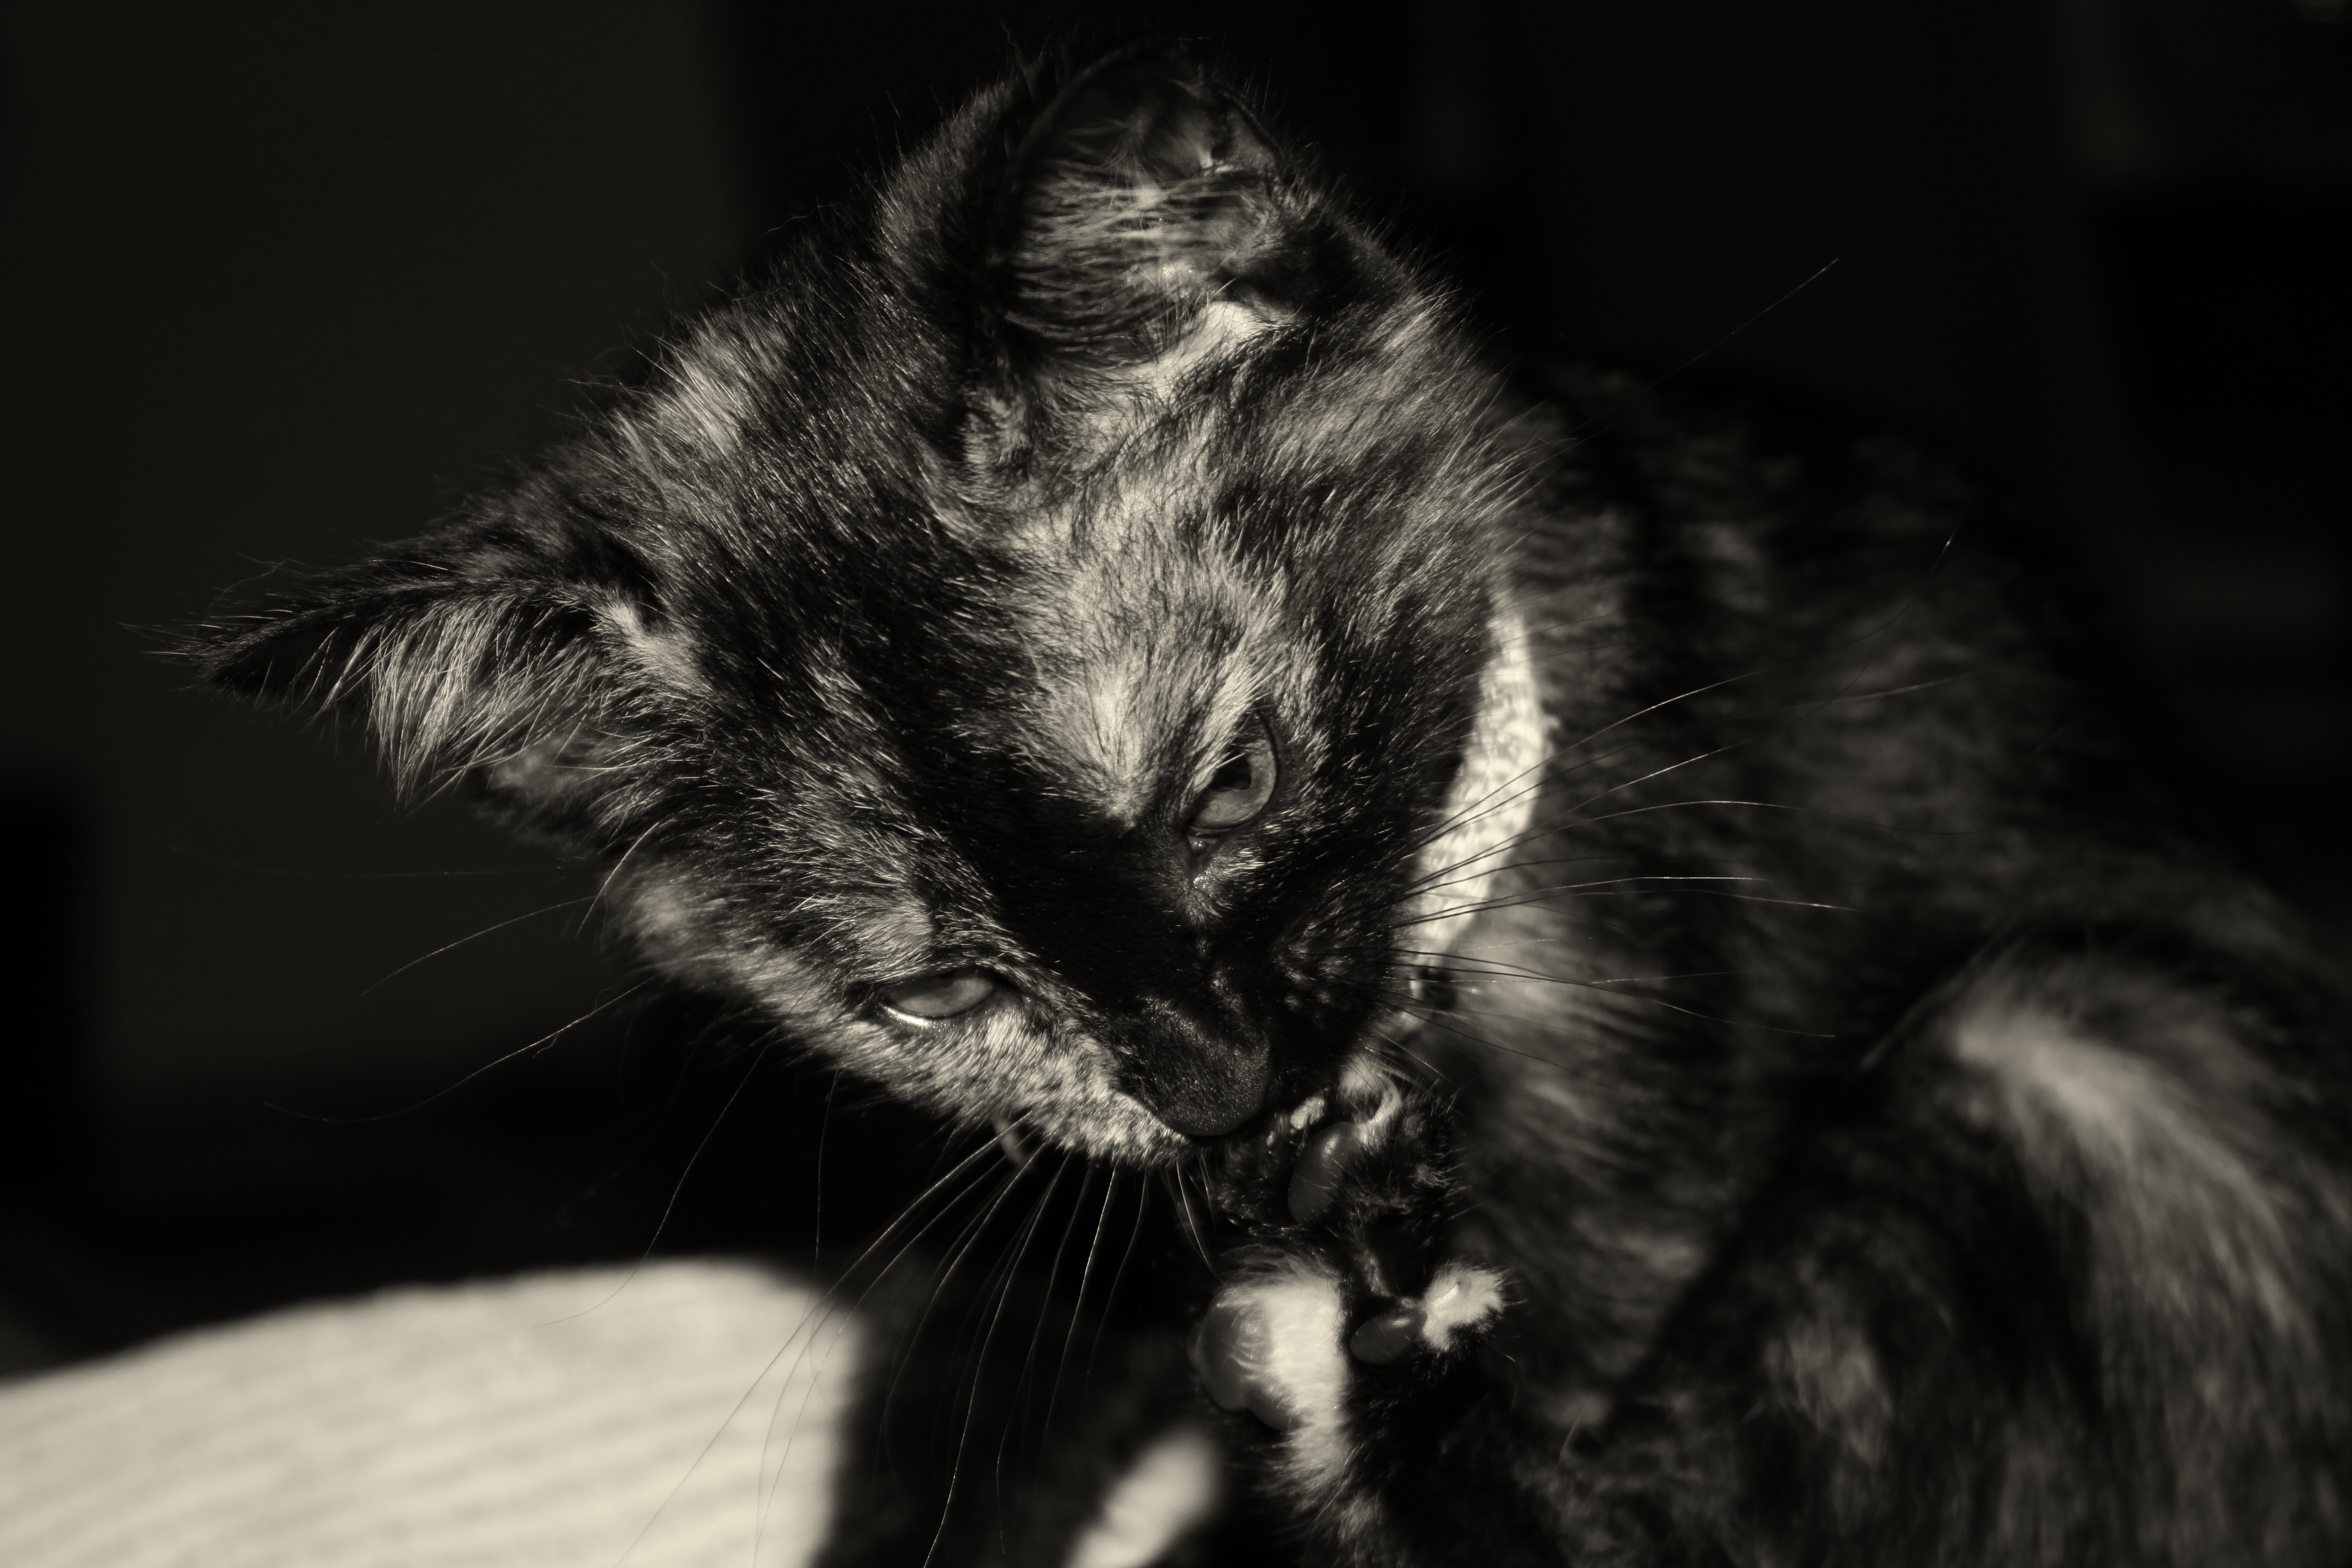
In these photos I tried to to capture bold shapes like Albert Renger-Patzsch. I made all of them black them black and white to match the style, I also increased the contrast and decreased the brightness on some of the photos to bring out the shadows more which makes the shapes bolder. I also cropped the 1st and 3rd photos a lot as I wasn’t interested in the majority of the frame (e.g. I removed all of the empty sky from the drill photo).




5. White balance:
What is white balance?
White balance on a digital camera allows the user the change the colour balance in order to make an image appear more natural.
Shoot one; Inside:
- 1/25
- F 5.6




Shoot two; Outside:
- 1/200
- F 5.6



White balance Experimentation
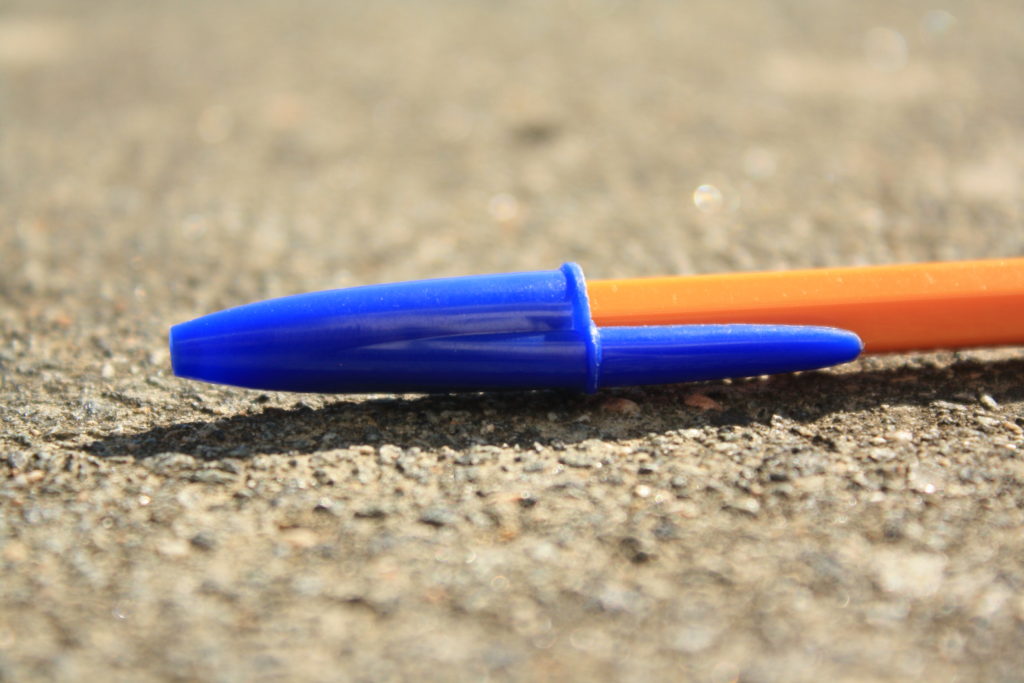
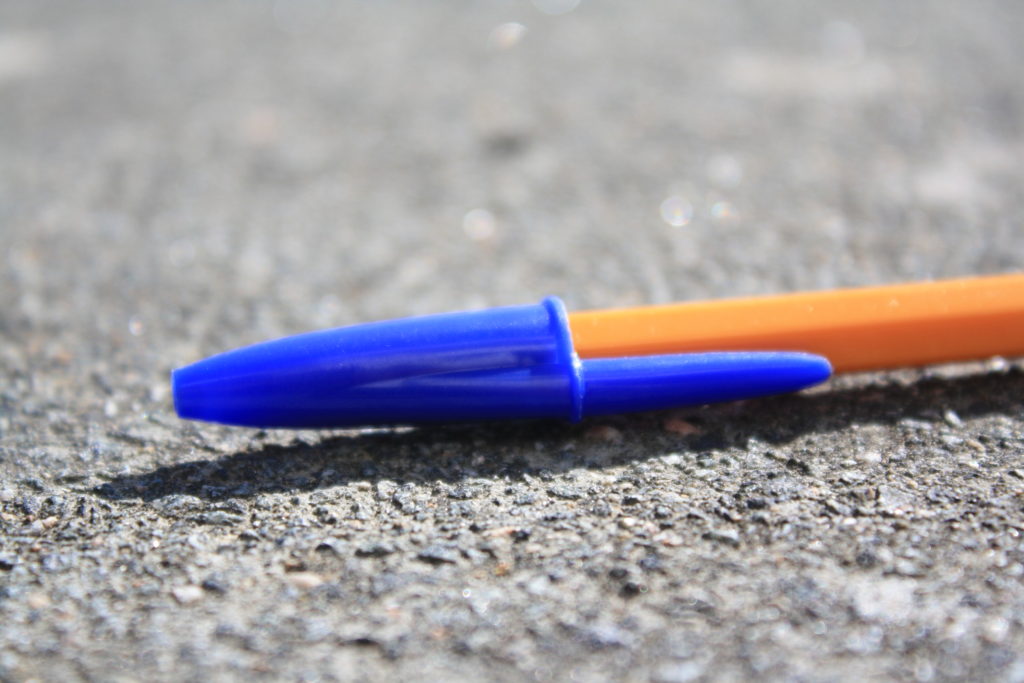
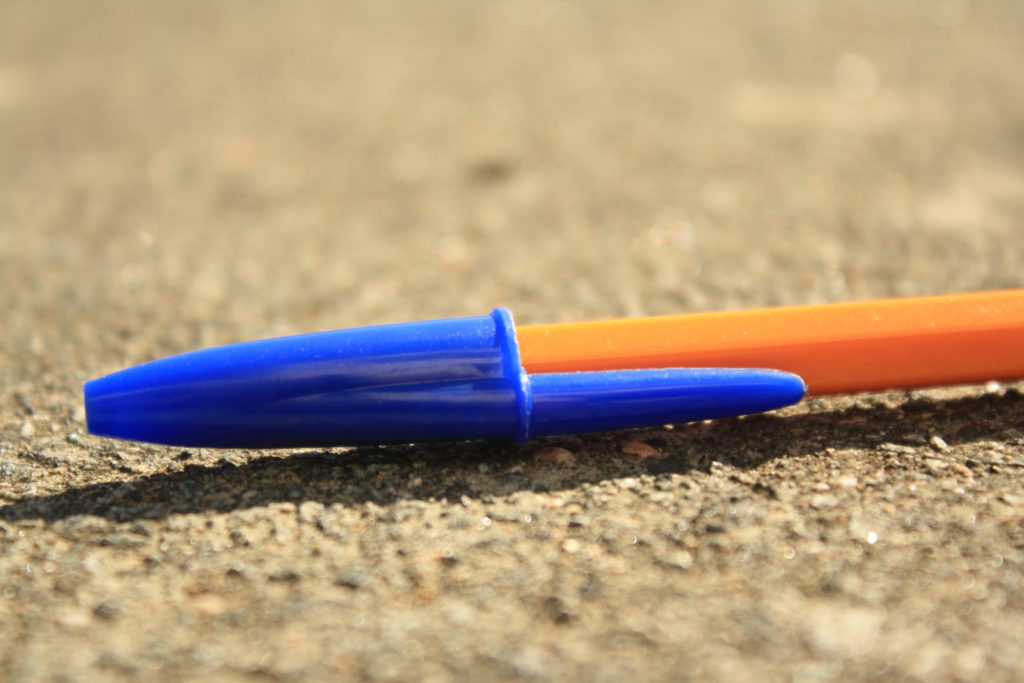
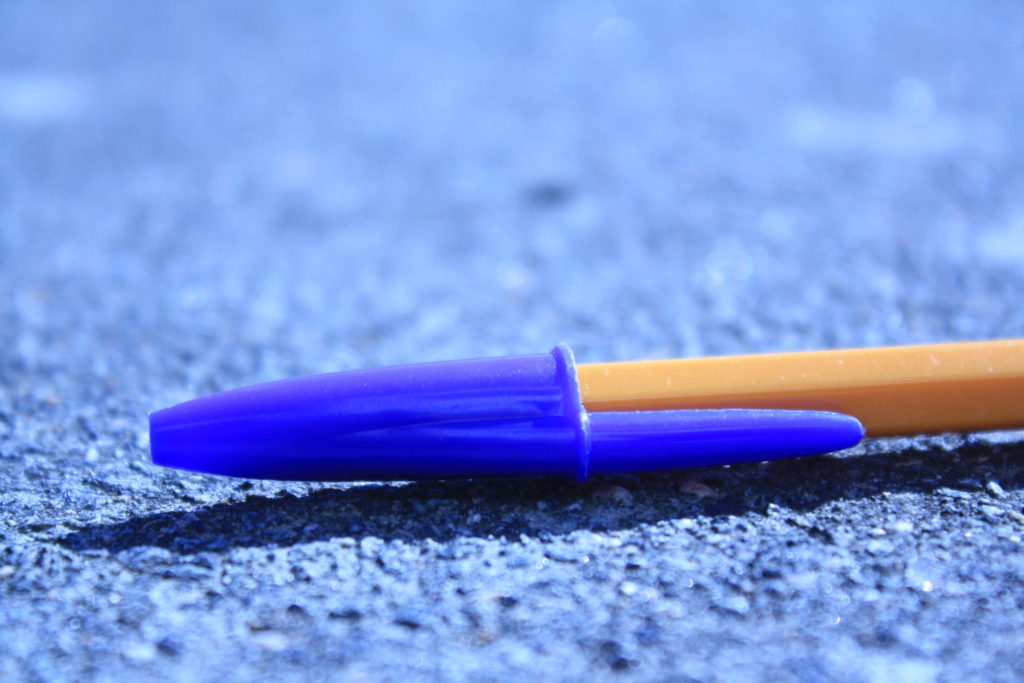
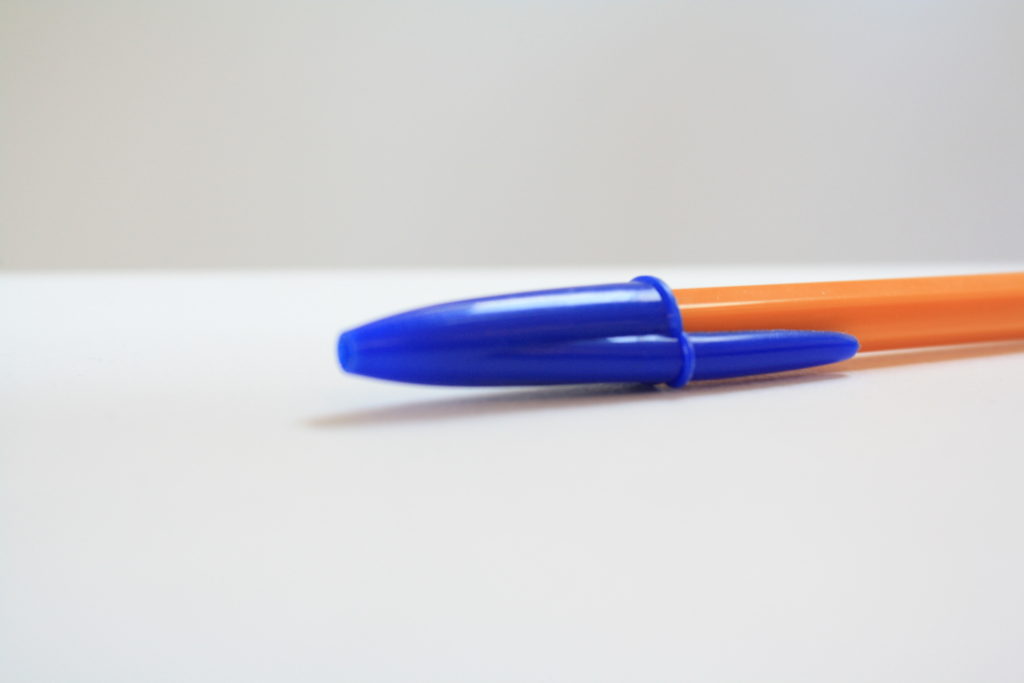
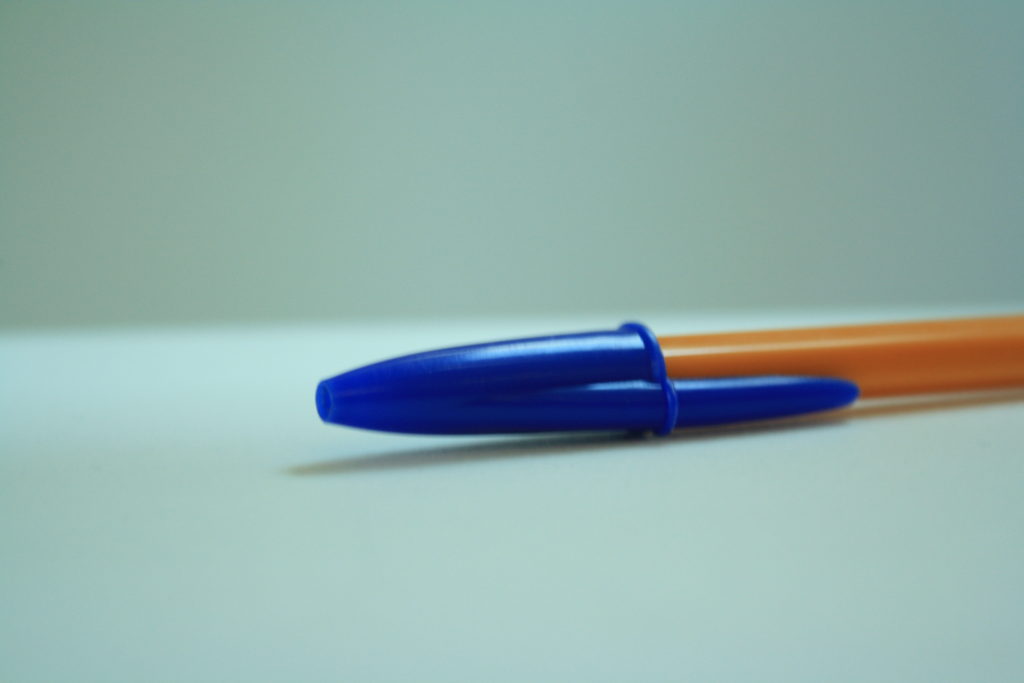
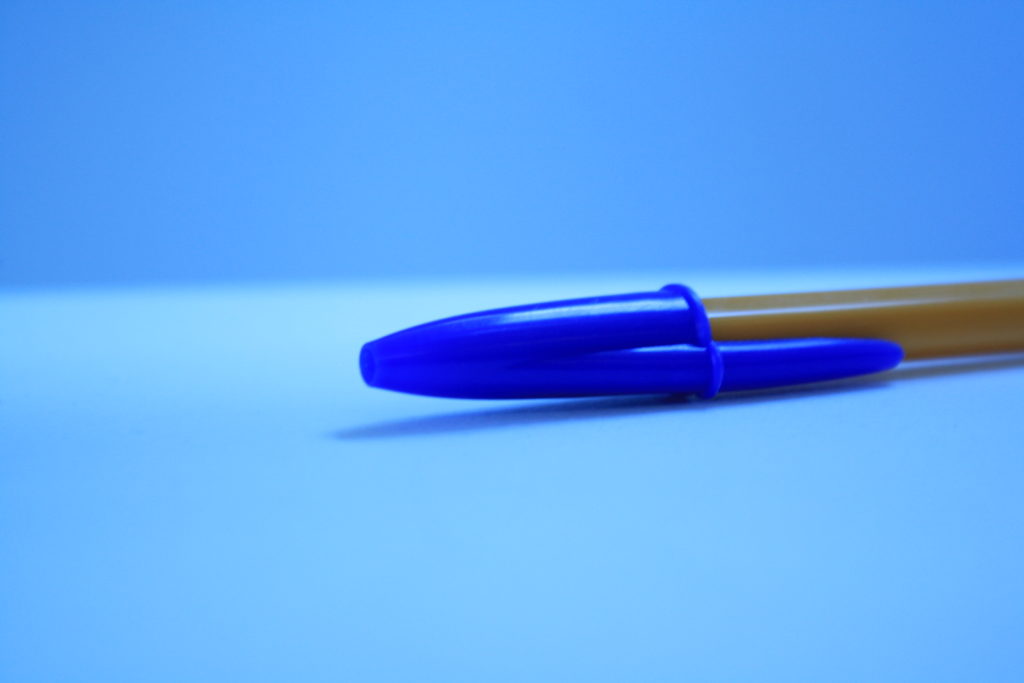
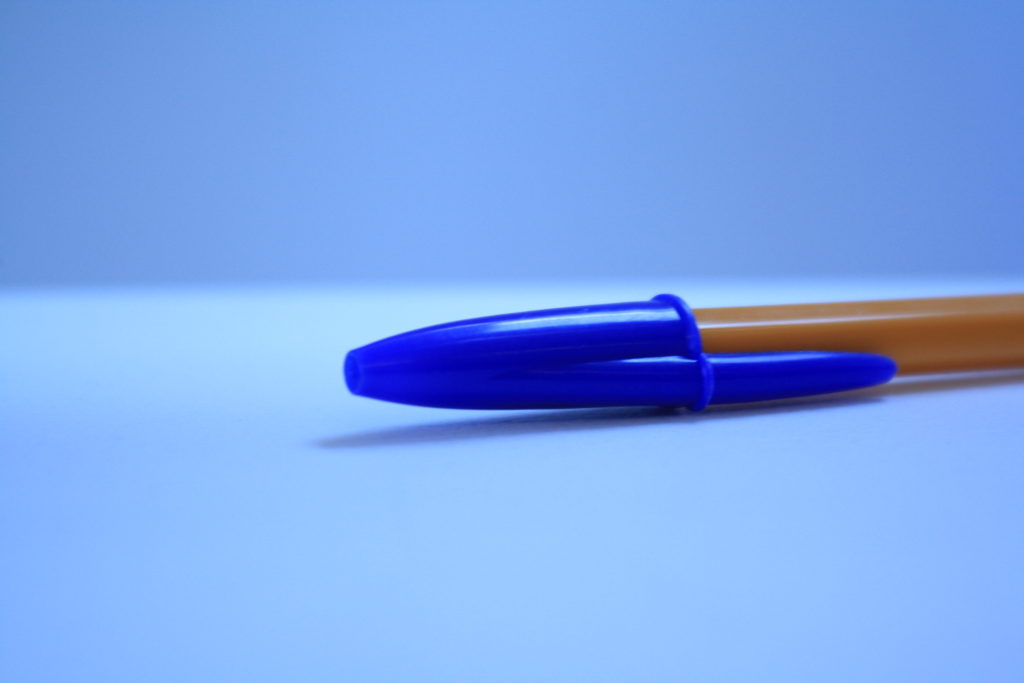
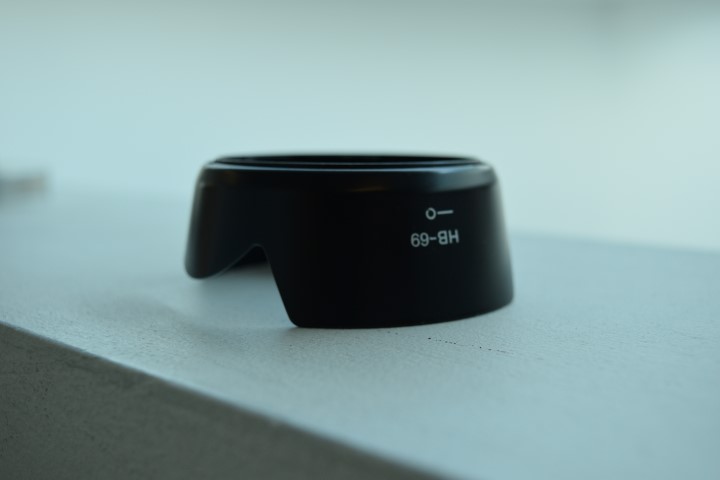
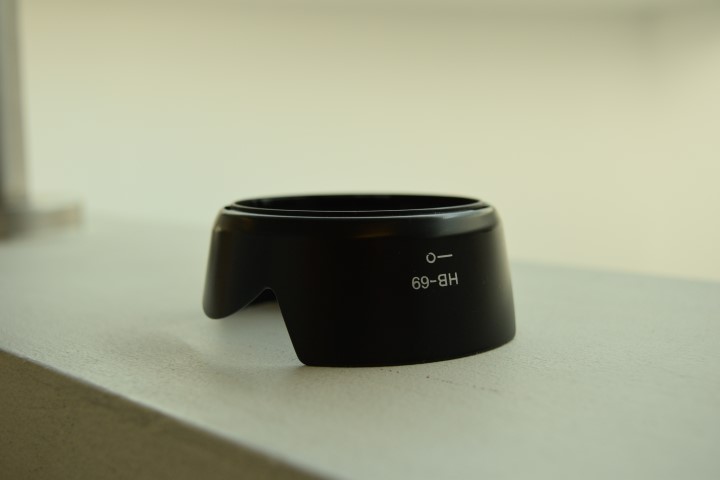
For my experimentation into using white balance with a camera, I used the same subject in 2 different scenarios: inside and outside, and then used the white balance setting to change the temperature of each of the images.
The above set of images were taken outside using natural light, and each image has been taken using a different white balance setting, such as daylight and tungsten light. Each of the images has a different temperature because of the different white balance setting I used.
The set of images above are pictures of the same subject (a pen) taken inside, also using 7 different white balance settings. These photographs used artificial lighting, and the contrast between the 2 sets of images can be easily seen.
The white balancing used in the first set of images, along with the use of natural, bright lighting, helped to make the images more clear, whereas the artificial lighting on the second set of images, made the images seem more clinical and staged.
The white balancing gave each image a different temperature, adding to the effect of each image, and giving it a different colour theme. The different white balancing setting can be used in different situations, to create the best image possible by altering the colour scheme in the image, and I will use the white balancing setting to alter images in the future.
Shutter Speed Experiments
Shutter Speed :
The shutter speed is the amount of time for the shutter to open and close, the faster the shutter speed the less amount of light will be let in during the time taken for the image.
Example:


Above are two examples of the same photograph set up but taken with different shutter speeds. Both photographs were taken with an aperture with F5.7 so that I could see the full effect of only changing the shutter speed. The first photograph with a slower shutter speed produced an image that was over exposed and had too much light in it, this happened because the shutter was open for longer so more light was being let into the image leaving it over exposed. The second photograph however had the shutter open for less amount of time and produced an image that isn’t over exposed as not as much light was being let in.
Experiment – White Balance
White Balance:
White balance just means adjusting colours so that the image looks more natural. We go through the process of adjusting colours to get rid of colour casts in order to match the image to what we saw while capturing the frame. Factors such as sunlight, lightbulbs and flashlights do not emit purely white light and have a certain ‘colour temperature’. This can cause parts of images to appear different colours on camera than what the eye sees.
In a non digital way this can be demonstrated with the use of tinted glasses or goggles. For example if you are skiing with yellow tinted goggles on, the snow will look yellowish. However, after you ski for a little bit, your eyes and your brain will adjust for the colour and the snow should look white again. When you take off your ski goggles after skiing, the snow will look bluish in colour rather than pure white for a little bit, until your brain adjusts the colours back to normal again. This is done automatically for us. The white balance setting on a camera is just the manual version of this.
Examples of my experiment in outdoor lighting:
Setting – 1/4000, f5.6, ISO 400

Examples of my experiment in indoor lighting:
Setting – 1/30, f5.6, ISO 400

Camera Skills

Shutter Speed: the shutter speed changes the way movement appears in photographs. Very short shutter speeds can be used to freeze fast-moving subjects, for example at sporting events. Very long shutter speeds are used to intentionally blur a moving subject for effect.

ISO:
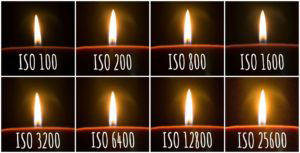
ISO measures the sensitivity of the image sensor. The lower the number the less sensitive the camera is to light and the finer the grain. Higher numbers mean the sensor becomes more sensitive to light which allows you to use your camera in darker situations. The cost of doing so is more grain/noise within the final outcome.
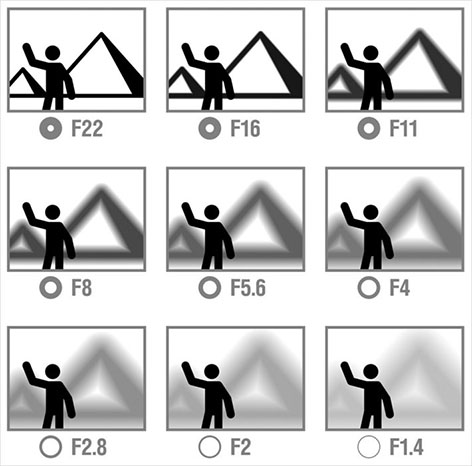
Depth of Field: The distance between the nearest and the furthest objects giving a focused image. A narrow depth of field means that its main focus point will be the only thing in focus, leaving everything else in a blur. Where as a Large depth of field means that most things in the frame will be in focus.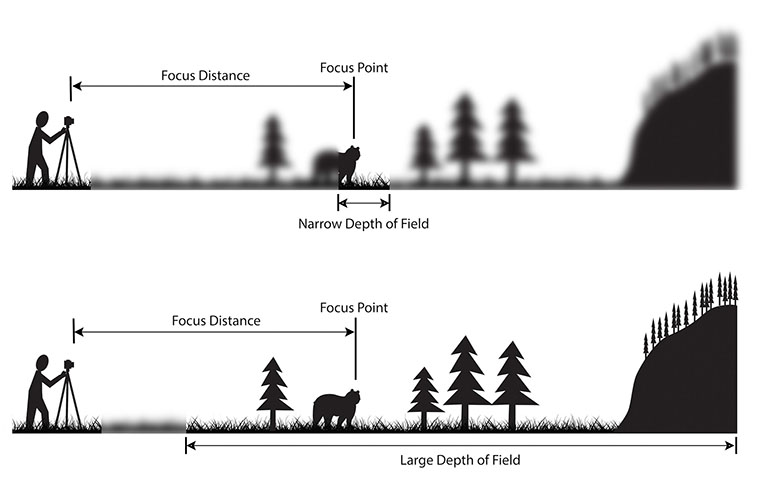 Aperture: ‘The opening in the lens.’ When we hit the shutter release button of the camera a hole opens up that allows your cameras image sensor to catch a glimpse of the scene you’re wanting to capture. The aperture that you set impacts the size of that hole. The larger the hole the more light that gets in – the smaller the hole the less light.
Experimenting With These Camera Settings:


Camera Skills: Focal Length
MACRO/CLOSE UP:
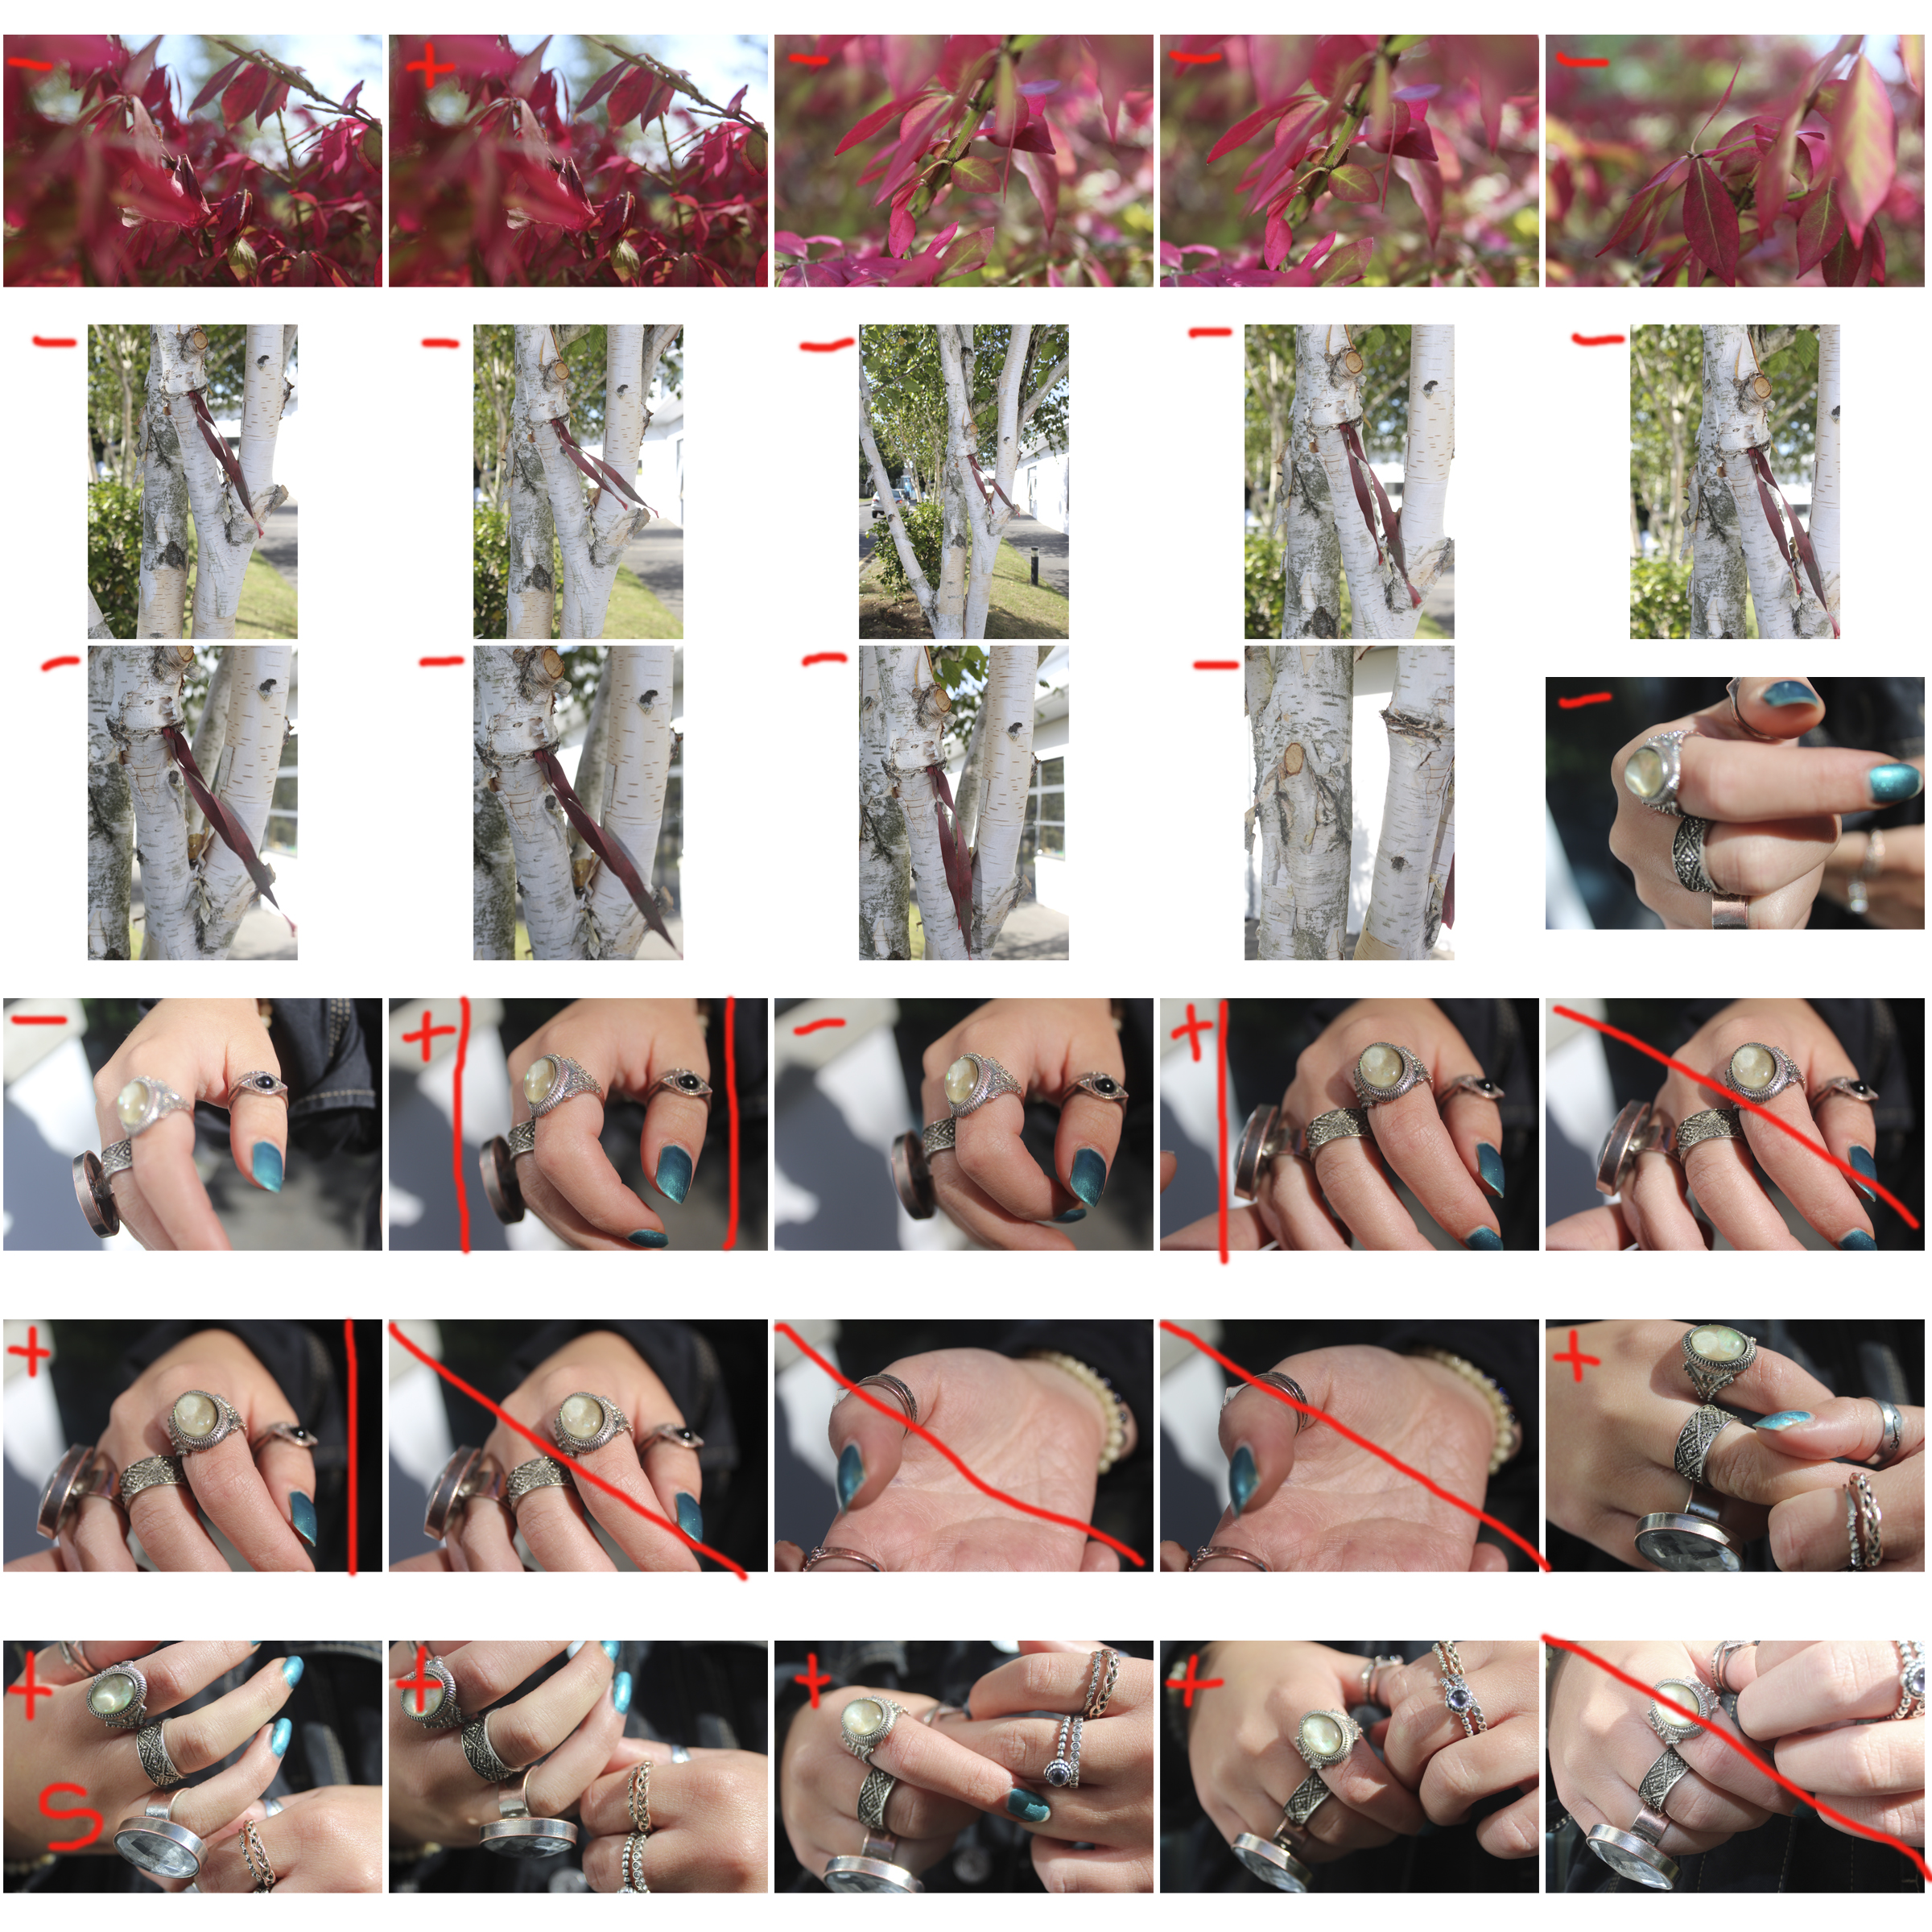
In this image I experimented with using the macro setting on my camera in order to capture the great deal of detail within the hands. Whilst on this setting, I continued to use auto focus as it allowed me to take many photos at once without the hassle of adjusting the focus every time the hands moved or shifted in position.

DEPTH OF FIELD:
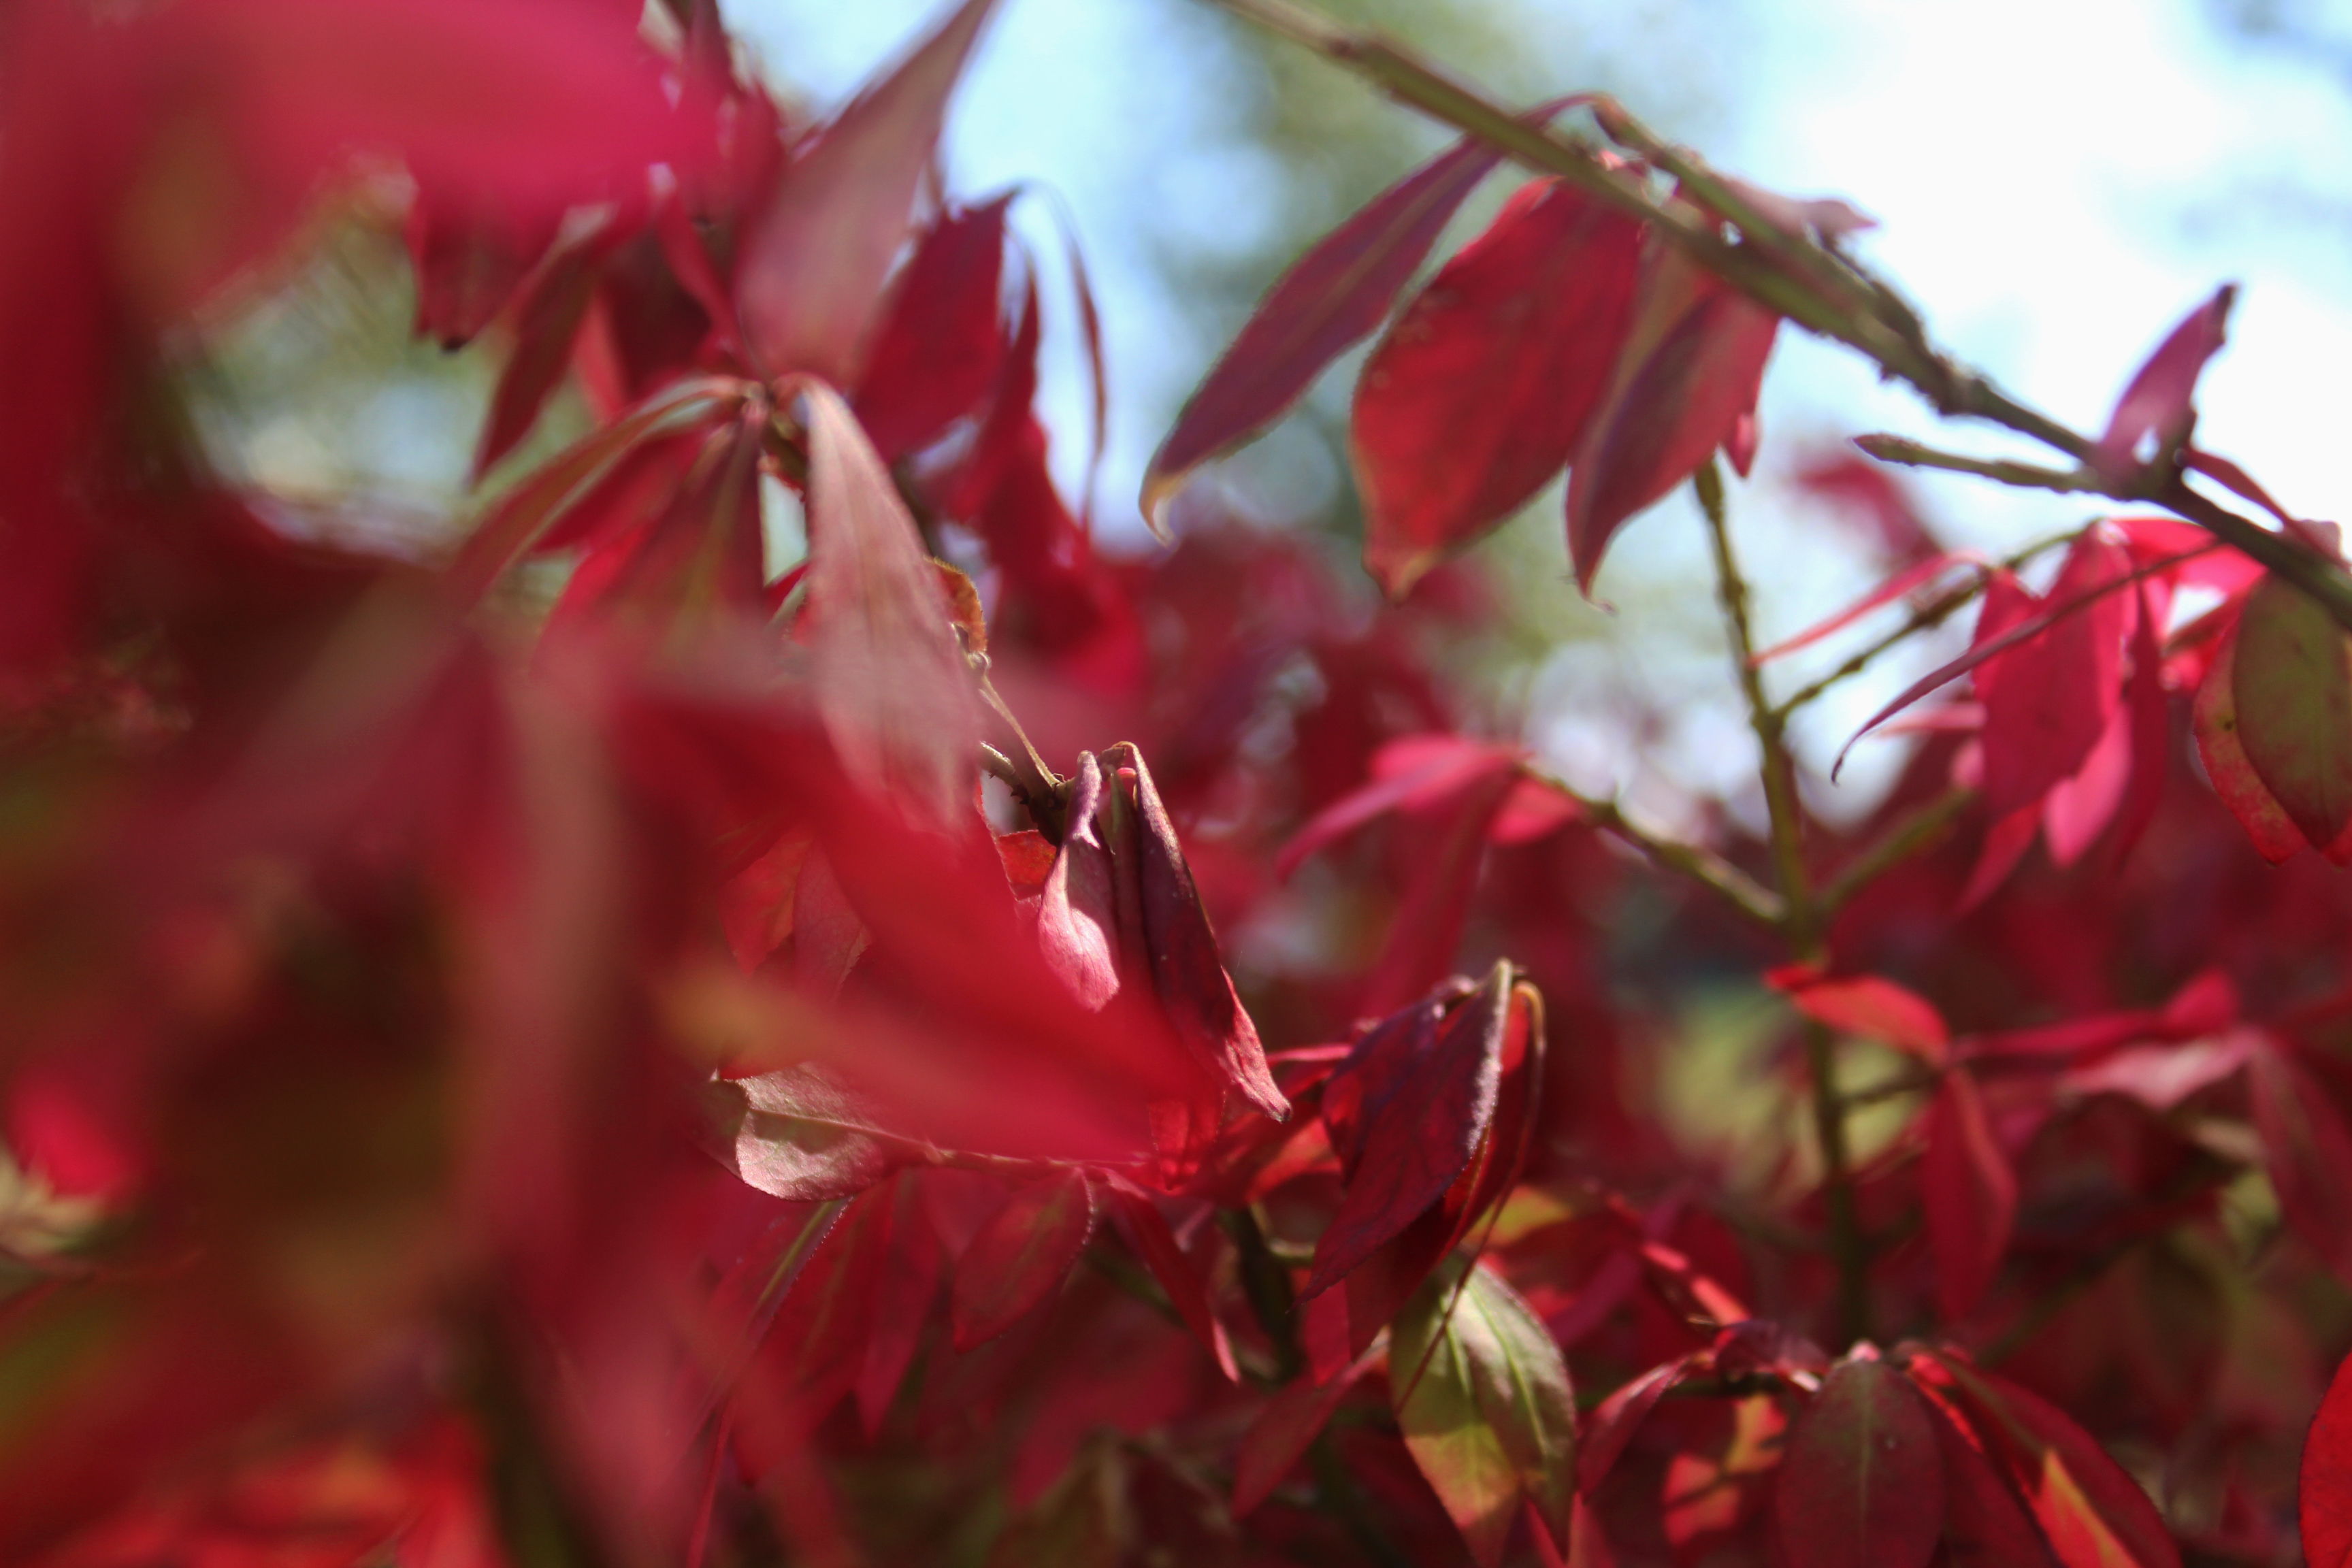
In this photo I experimented with depth of field by using manual focus on my camera. Instead of focusing on the leafs closest to the camera, it is focused on a different part of the photo. I found that this technique allowed me to create images that were quite different and unique.
FOCAL LENGTH:
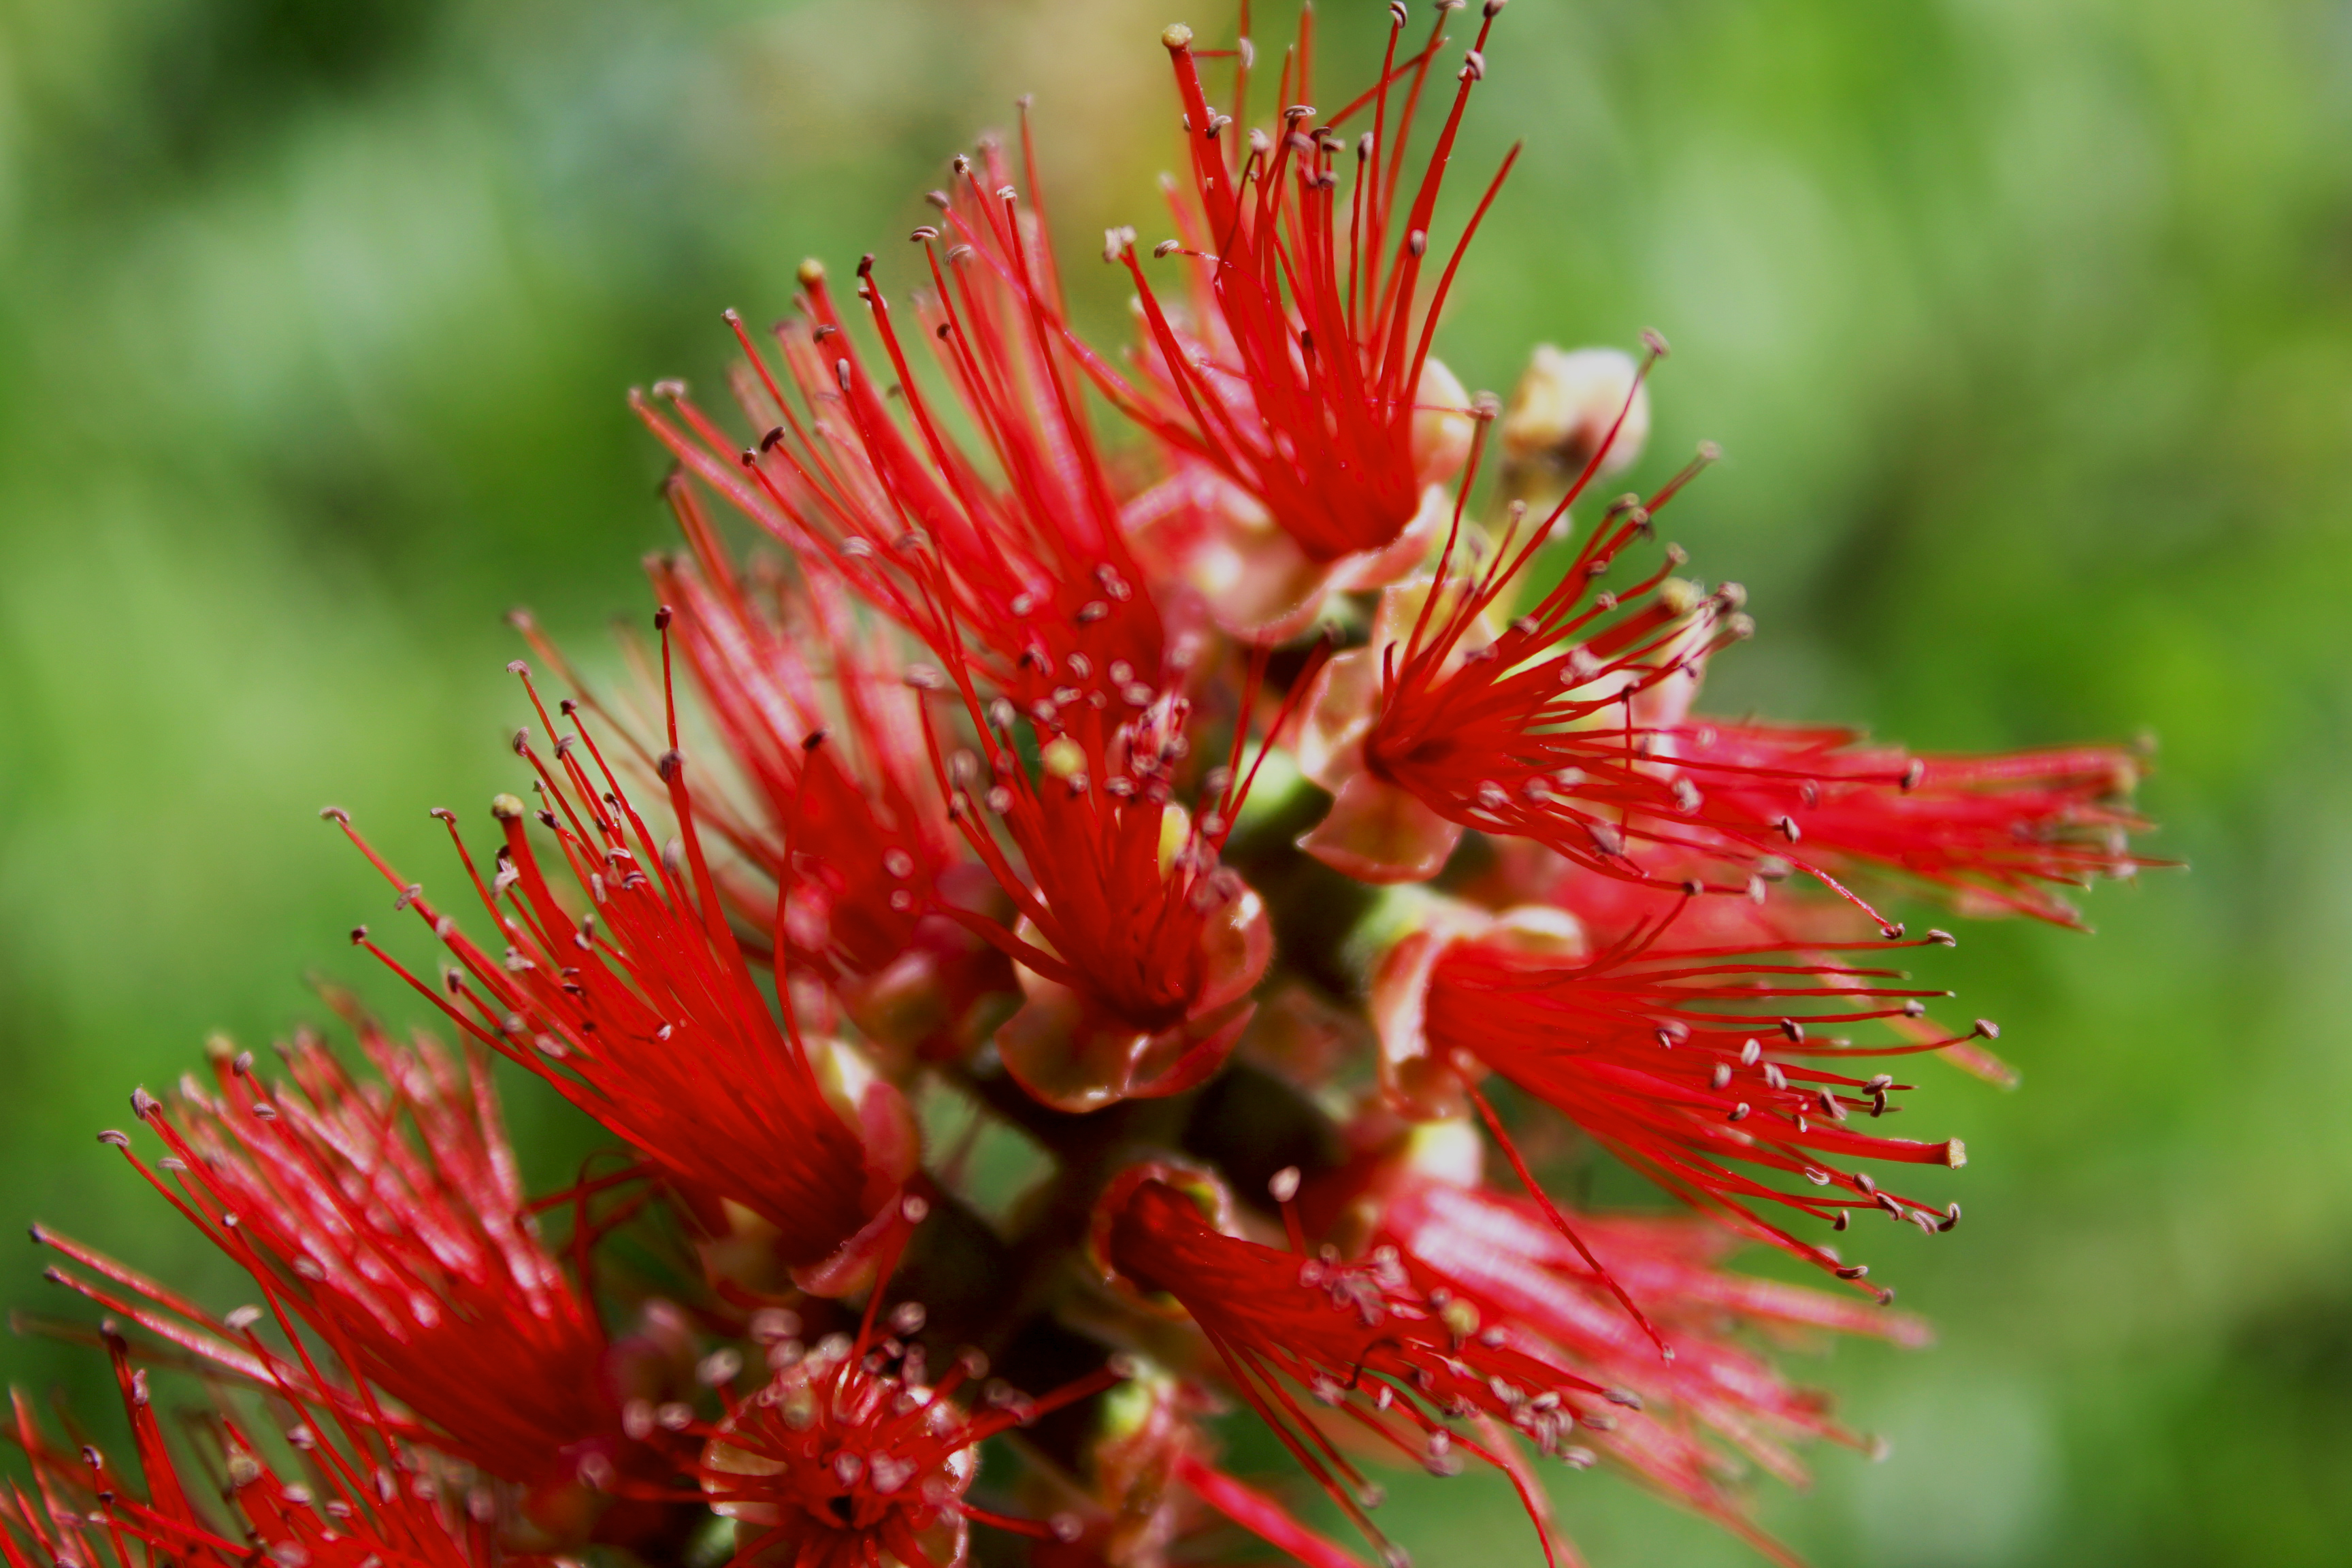
In this image, I tried to play around with the focal point and what effects I can achieve with this. The flower, as seen in the photo, was quite far away from me and the camera. I zoomed in and used the macro setting in order to capture the delicate details of the flower and the plant. It was quite difficult to capture this photo as zooming in meant having a very steady hand and using auto focus that the macro setting provided for me.
MF/AF FOCUS:
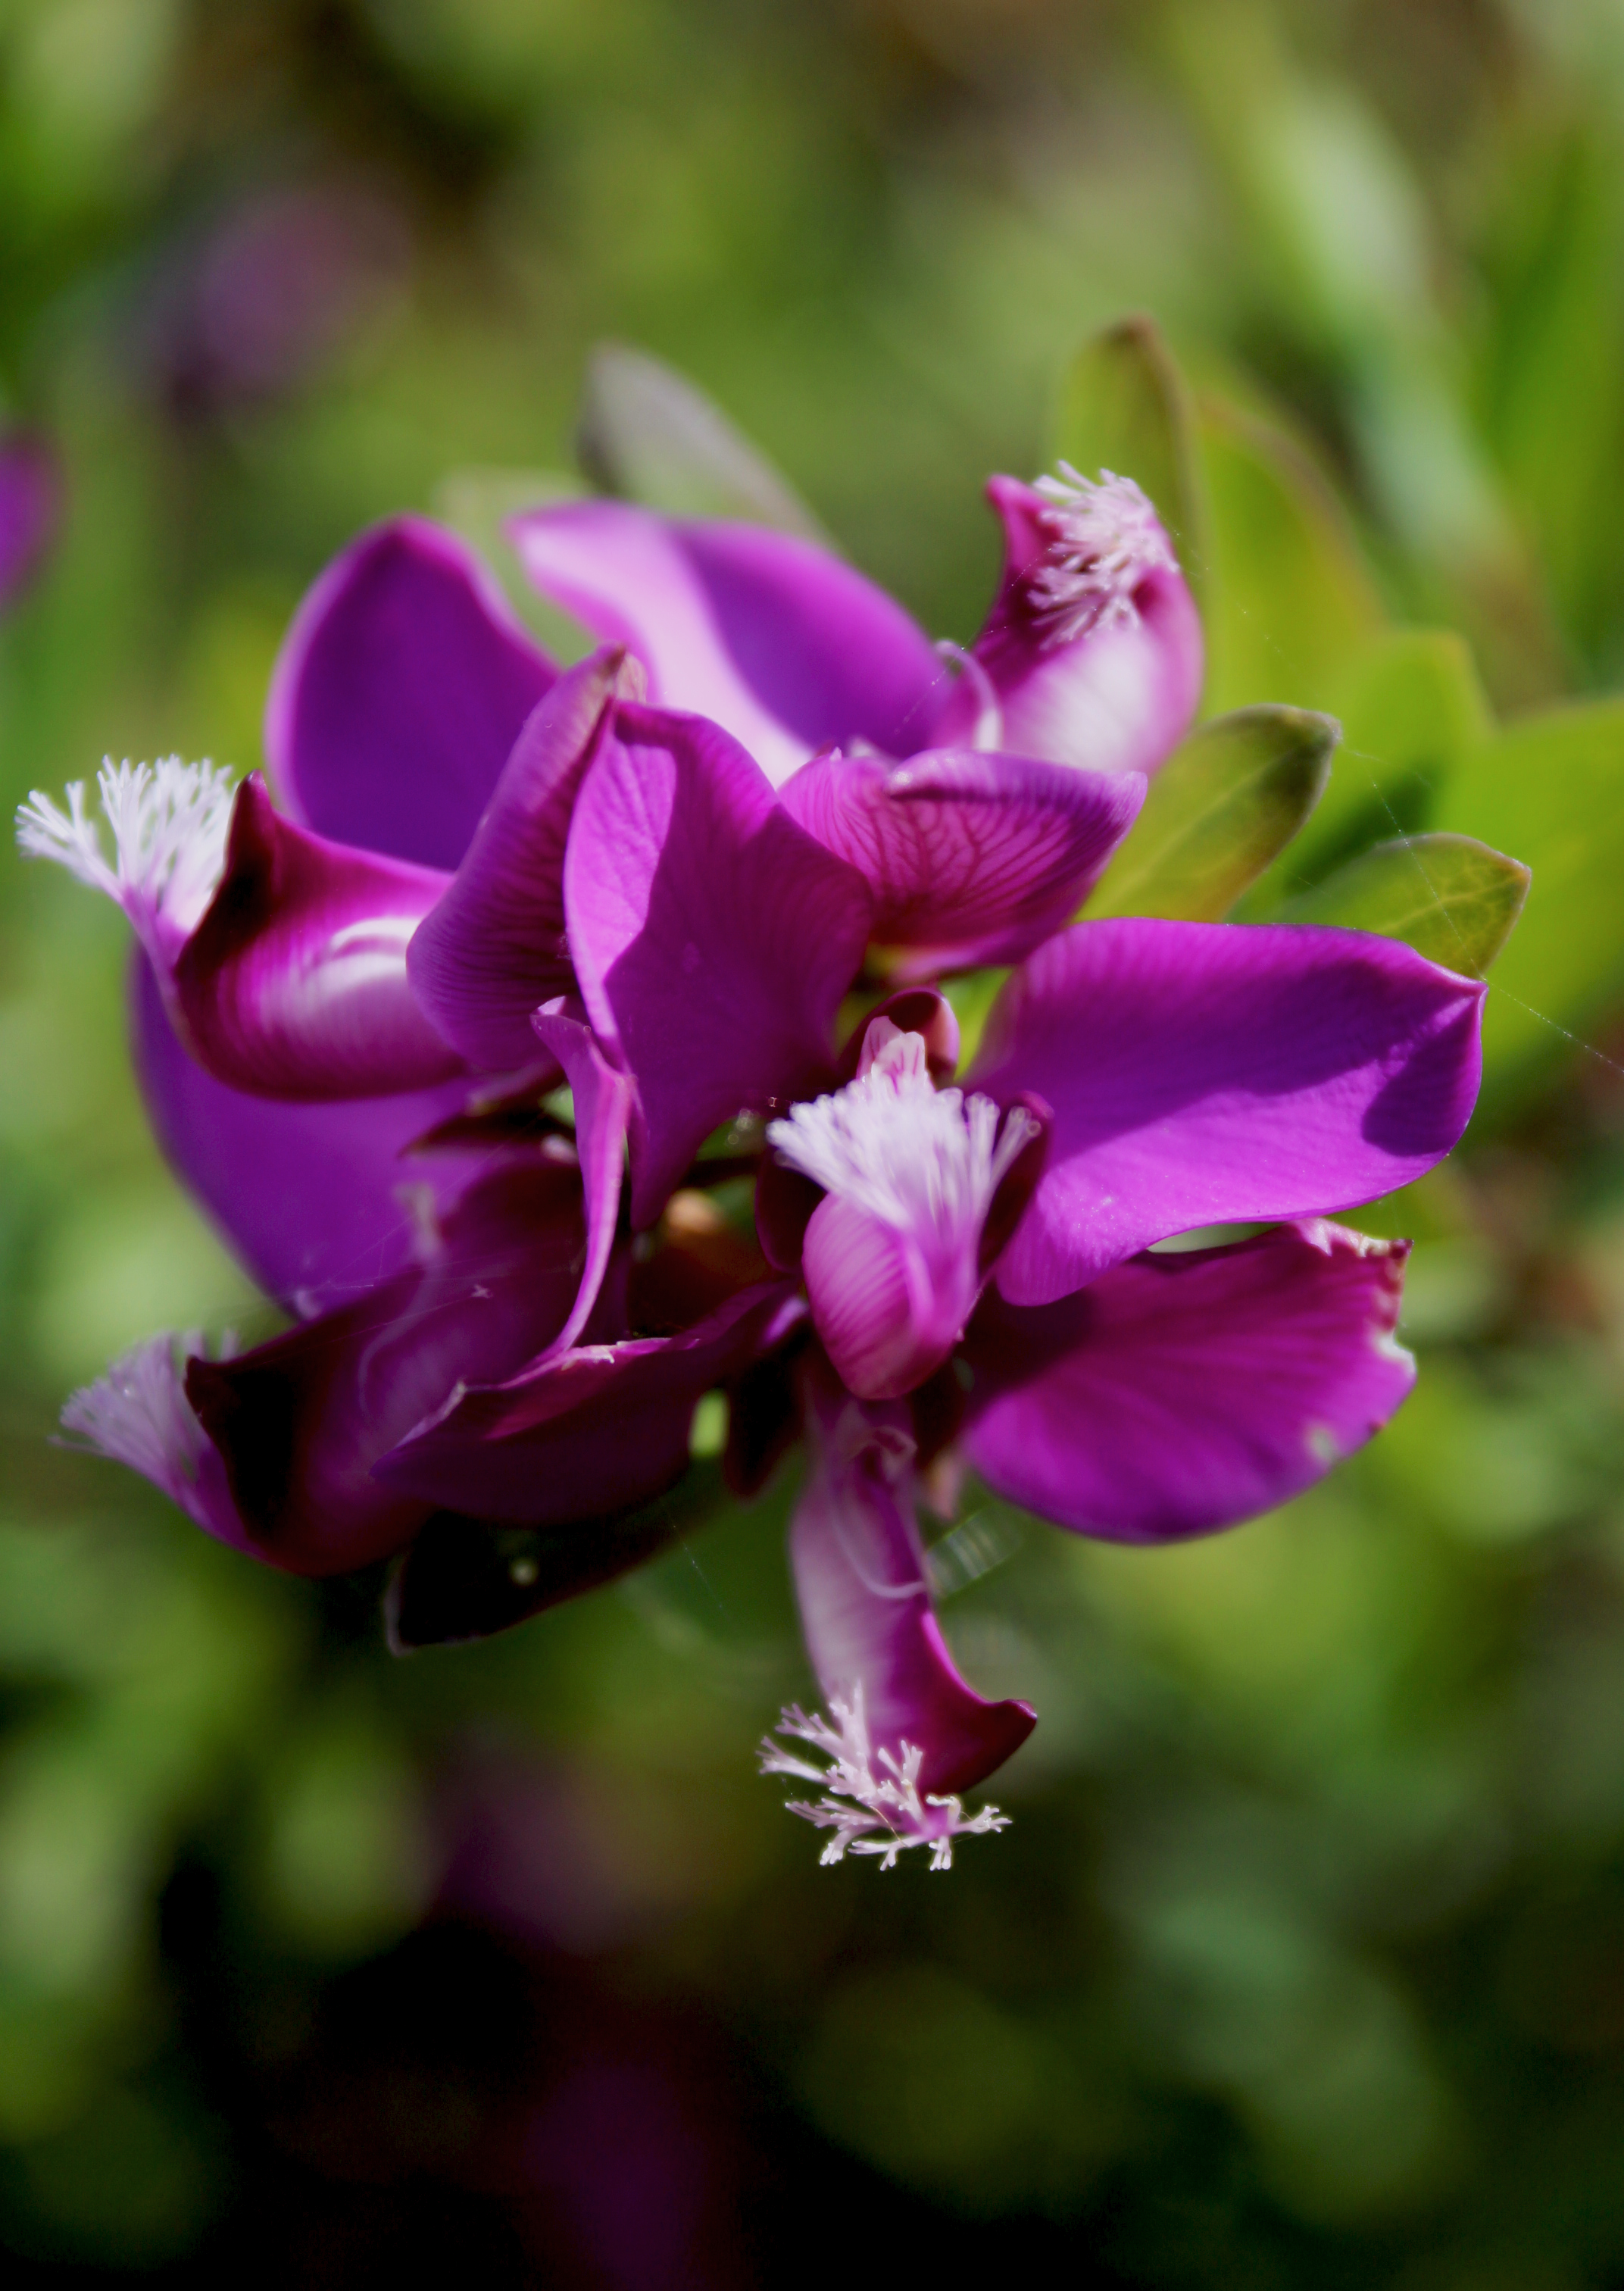
In this photo I used a conjunction of manual focus and the macro setting on my camera. It was very difficult to get the correct focus on my camera whilst using the macro setting with auto focus therefore i switched over to manual focus to help me correct this issue.
CONTACT SHEETS:
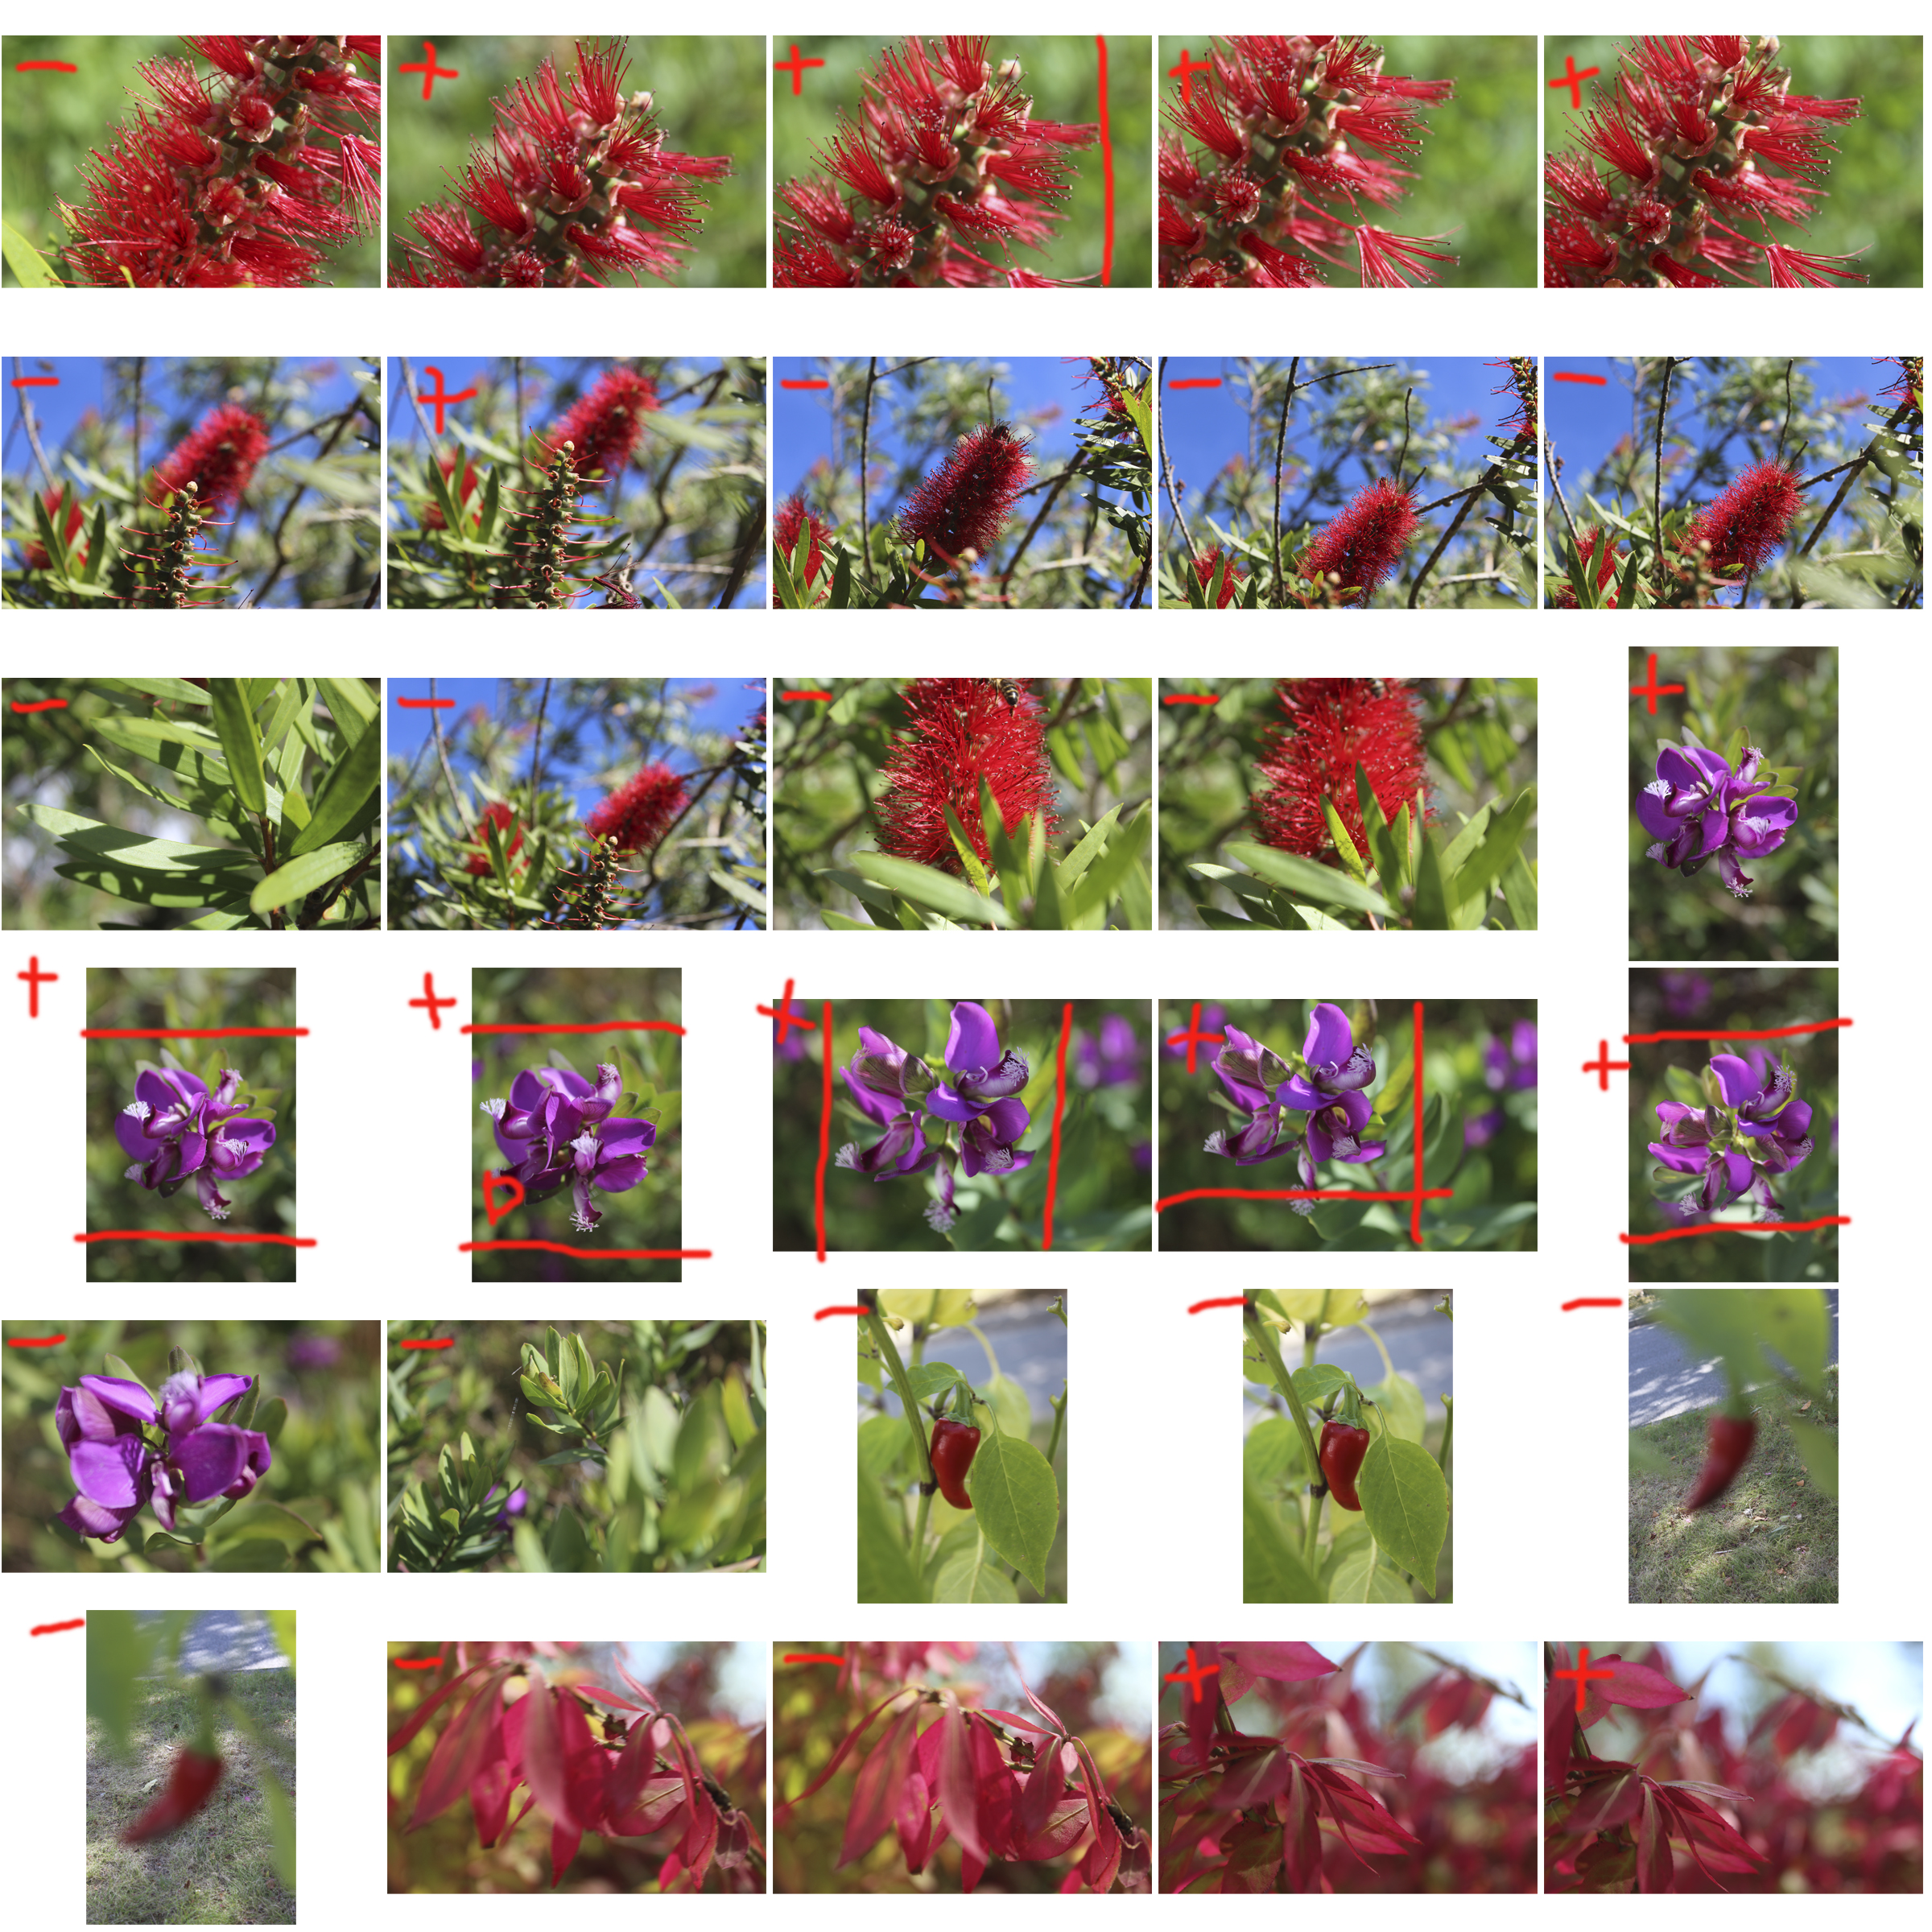
In this photo shoot, I focused a lot on plants and flowers in order to experiment with different settings such as macro and AF and MF focus, resulting in very vibrant, and colourful contact sheets.
Camera Skills
Focal Length
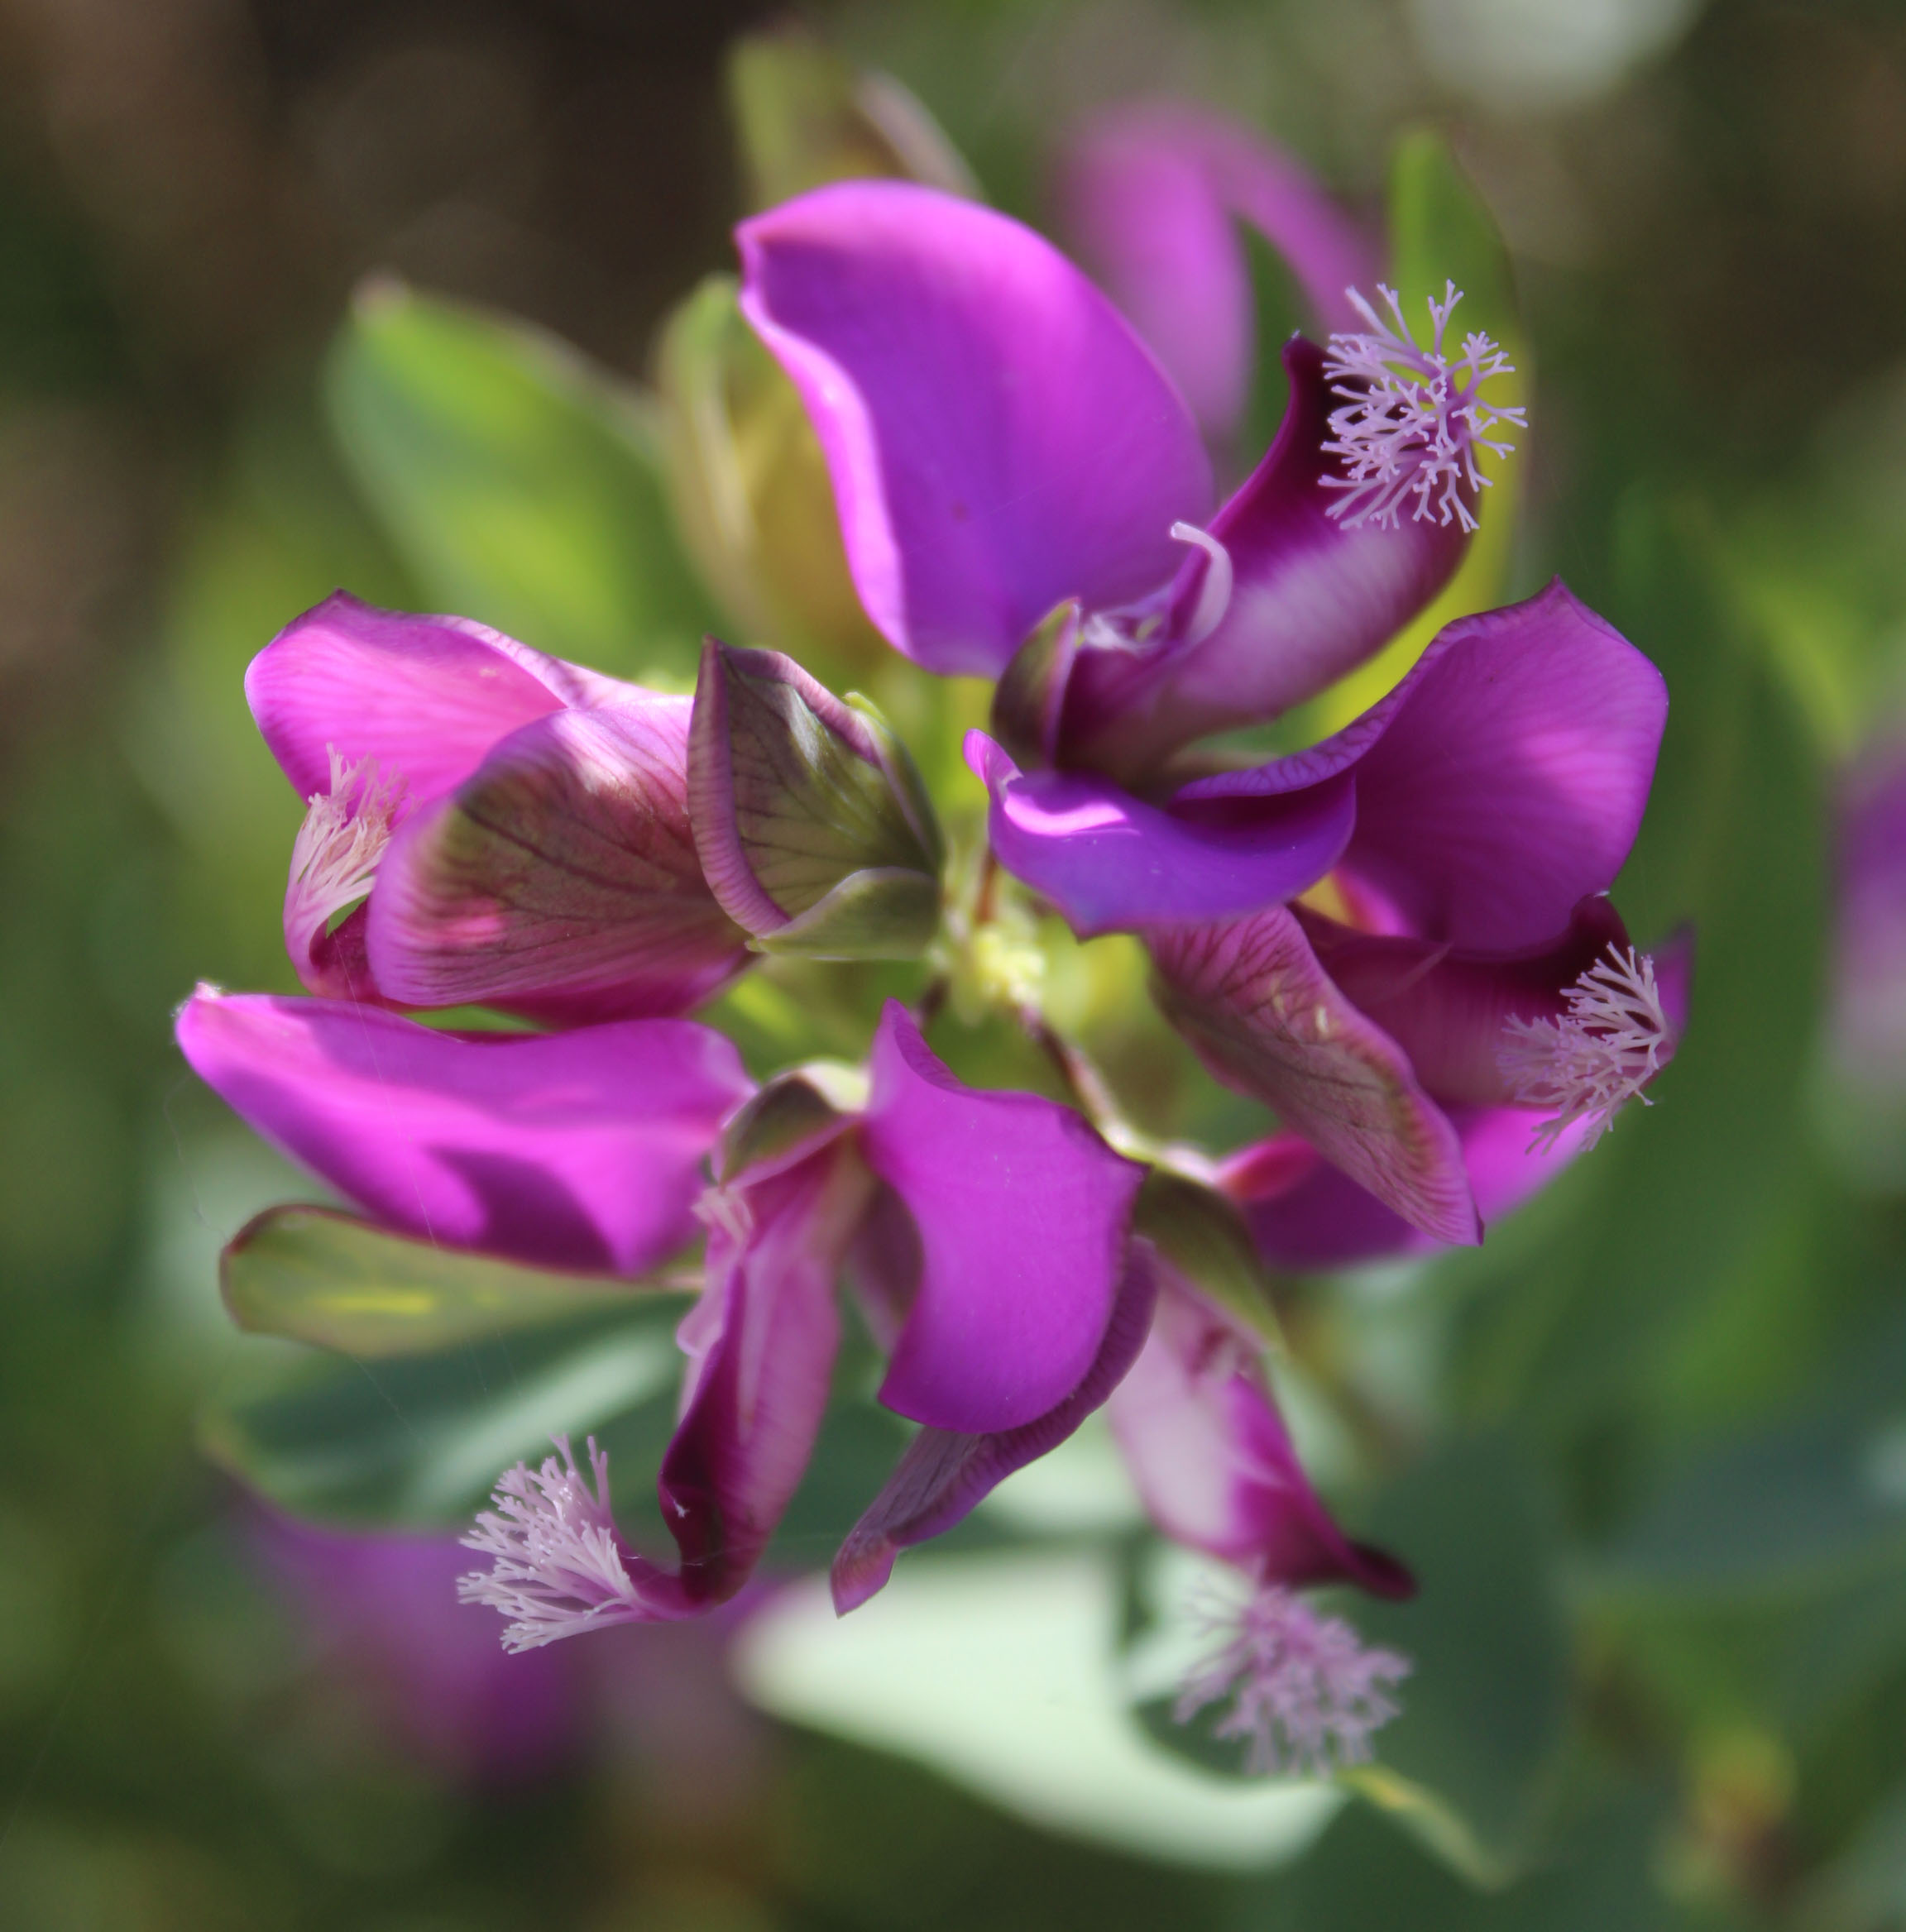
In order to take this photo I used the macro setting on the camera. The flower was a good focal point for focal length experimentation as the detail could be captured clearly in addition to the bright natural lighting. I tried to zoom in as far as the camera possibly could to create as much definition to the flower and capture all the shades of purple.
AF/MF and Focus Points
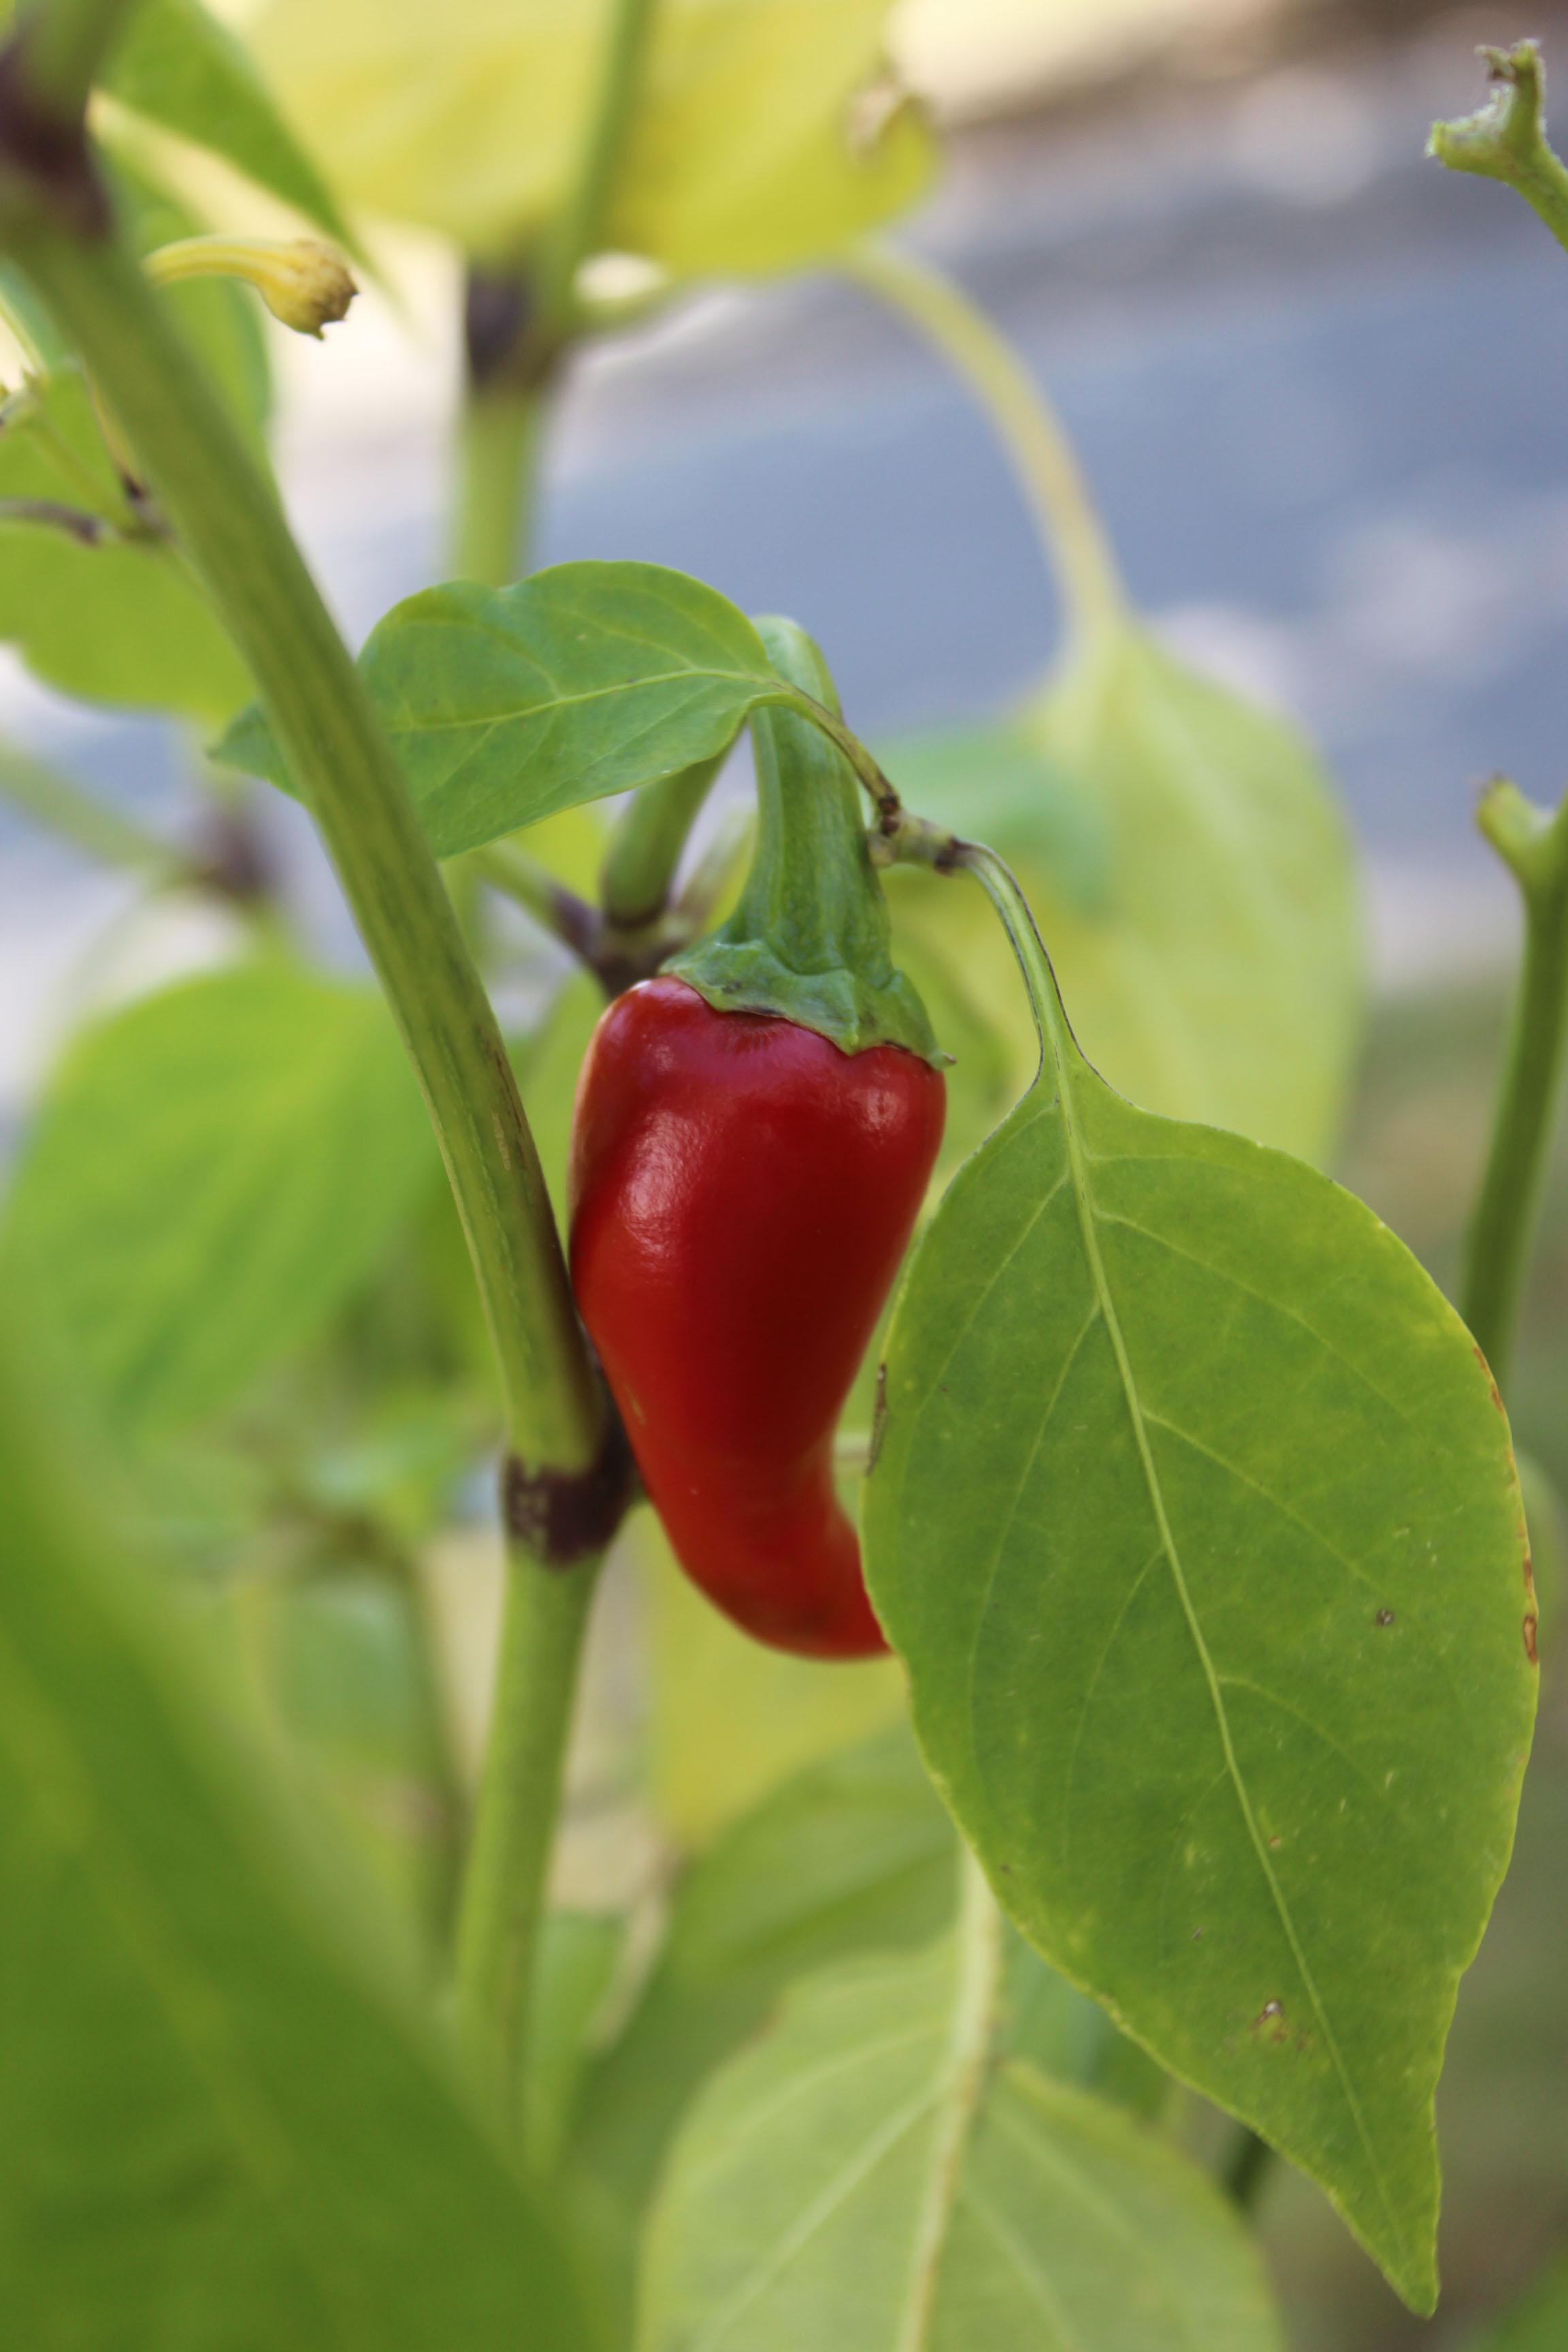
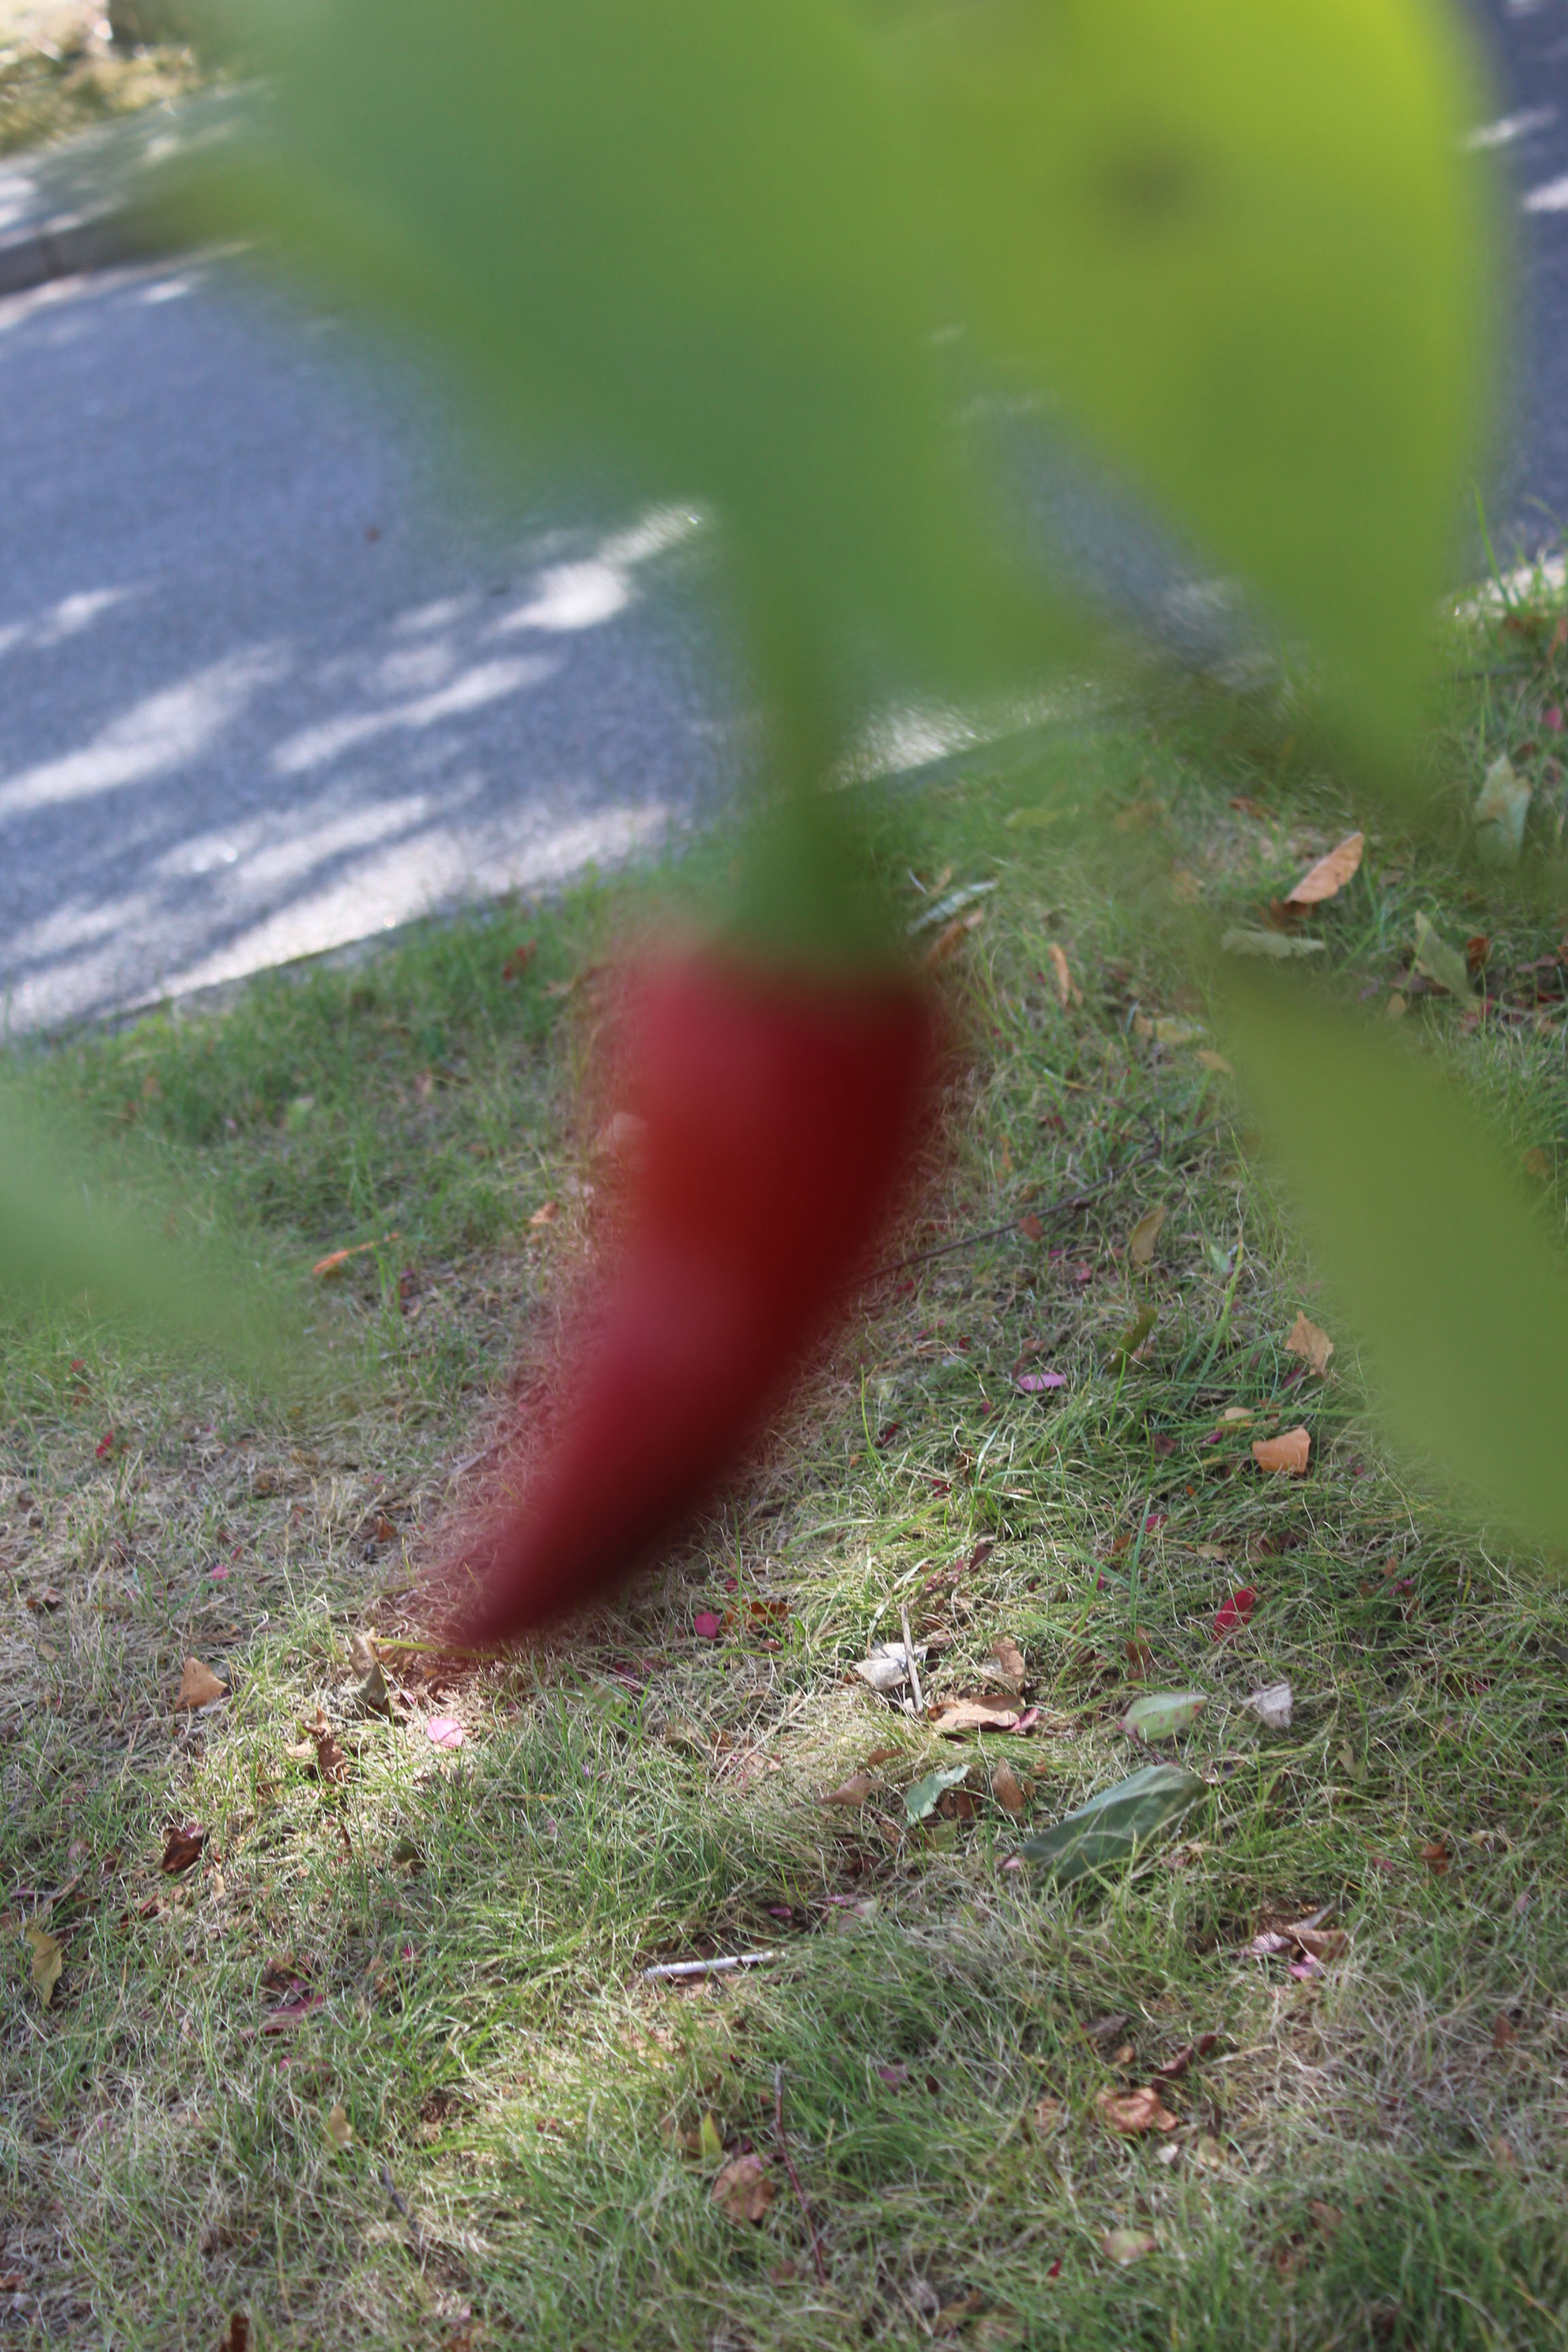
In the first photo I used auto focus to take the photo of the plant, it focused on the pepper, why was what i intended to do. Whereas in the second photo I used manual focus which focused on the background resulting in an unsuccessful photo. Personally in this particular shoot auto focus worked better for me, as i couldn’t get the camera to focus in on the pepper with manual focus, but this can be improved with practice.
Depth Of Field
In this photo the tree is the sharpest point, the more you move away from the tree the more out of focus everything else becomes. I ensured that the camera had a small aperture in order to create a deep depth of field.


