All posts by Talal B

Filters

Author:
Category:

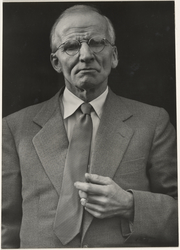
Arnold Newman-portrait analysis

Born in Manhattan, Newman grew up in Atlantic City, New Jersey and later moved to Miami Beach, Florida. In 1936, he studied painting and drawing at the University of Miami. Unable to afford continuing after two years, he moved to Philadelphia to work for a studio, making 49-cent portraits in 1938.

Newman returned to Florida in 1942 to manage a portrait studio in West Palm Beach. Three years later, he opened his own business in Miami Beach.

In 1946, Newman relocated to New York, opened Arnold Newman Studios and worked as a freelance photographer for Fortune, Life, and Newsweek. Though never a member, Newman frequented the Photo League during the 1940s.

Mr. Newman’s best-known images were in black and white, although he often photographed in color. Several of his trademark portraits were reproduced in color and in black and white. Perhaps the most famous was a sinister picture of the German industrialist Alfried Krupp, taken for Newsweek in 1963. Krupp, long-faced and bushy-browed, is made to look like Mephistopheles incarnate: smirking, his fingers clasped as he confronts the viewer against the background of a assembly line in the Ruhr. In the color version his face has a greenish cast.

Image result for alfried krupp factoryThis portrait was taken inside a factory were trains were made to supply the Nazis in war. Alfried was sitting on a chair in the fore ground and hes centered in the middle of the portrait. hes joining his hands together and resting his chins on him as if hes thinking about doing something evil. hes in direct eye contact with the cameras lens, and the way hes looking at it gives him a smug look. the portrait is a bit under exposed, however it does have great depth of field. the lens was most probably a short lens .

Newman’s work raises a number of key photographic points that we often take for granted. Lighting a face from below is almost universally used in both still and motion photography to invoke fear and evil. Most likely because in a natural environment we seldom see light falling in such a way, making light from below deeply bizarre and other-worldly. Here Newman has used two key lights that are placed behind Krupp on both sides, creating yet another highly unnatural and disfiguring effect.

The second point of course is the green colour cast, resulting from the factory’s fluorescent lights, which Newman deliberately did not filter for and correct. As well as being highly unusual, green skin — for quite obvious reasons — is almost universally perceived as a sign of ill health.

The impression it leaves was no accident: Mr. Newman knew that Krupp had used slave labor in his factories during the Nazi reign and that he had been imprisoned after World War II for his central role in Hitler’s war machine.

the lighting that’s lined starting from on top of him all the way to the very back of the portrait is positioned in the mid-top of the photo and gives the portrait a lot of color.

we cannot really tell but it looks like Alfried is wearing a suite and he is an old looking man with silver-white light hair.

the person in the portrait is Alfried Krupp, a German industrialist who used slave workers to supply the Nazis with armaments during the word war 2, Newmans revenge on Krupp was to compose an portrait that will make him look evil.

“When he saw the photos, he said he would have me declared persona non grata in Germany,” Mr. Newman said of Krupp.

week 3-Albert Renger-Patzsch

Albert Renger-Patzsch (June 22, 1897 – September 27, 1966) was a German photographer associated with the New Objectivity.

Image result for albert renger-patzsch

Renger-Patzsch was born in Wurzburgand began making photographs by age twelve.[1] After military service in the First World War he studied chemistry at Dresden Technical College. In the early 1920s he worked as a press photographer for the Chicago Tribune before becoming a freelancer and, in 1925, publishing a book, The choir stalls of Cappenberg. He had his first museum exhibition in 1927.

In 1928 Renger-Patzsch published The World is Beautiful, a collection of one hundred photographs whose rigorous sensitivity to form revealed patterns of beauty and order in the natural and man-made alike. Embodying a new, distinctly modern way of looking at the world, the book established Renger-Patzsch as one of the most influential photographers of the twentieth century.

in 1925 Renger-Patzsch began to pursue photography as a full-time career as a freelance documentary and press photographer. He rejected both Pictorialism, which was in imitation of painting, and the experimentation of photographers who relied on startling techniques. In his photographs, he recorded the exact, detailed appearance of objects, reflecting his early pursuit of science. He felt that the underlying structure of his subjects did not require any enhancement by the photographer. In his book Die Welt ist schön (1928; “The World Is Beautiful”), he showed images from both nature and industry, all treated in his clear, transparent style. Such images were closely related to the paintings of the Neue Sachlichkeit movement of painters, who created detached and literal renderings of reality that were so extreme that they produced an eerie effect.

one of my favourite work hes done:

Image result for albert renger-patzsch

this is a black and white photo of what seems to be some kind of flora.


abstract

Abstract photography, sometimes called non-objective, experimental, conceptual or concrete photography, is a means of depicting a visual image that does not have an immediate association with the object world and that has been created through the use of photographic equipment, processes or materials.
Abstract photography is based on the photographers eye. We’re looking to capture something in a way that it would not usually be seen. Looking for the details, the patterns, the lines, the form, shape and colors that complete a subject and utilizing those key features to make an engaging image.
László Moholy-Nagy
Image result for László Moholy-Nagy
László Moholy-Nagy, born in 1895 in Borsód, Austria-Hungary, believed in the potential of art as a vehicle for social transformation, working hand in hand with technology for the betterment of humanity. A multifaceted artist, educator, and prolific writer, Moholy-Nagy experimented across mediums, moving fluidly between the fine and applied arts, pursuing his quest to illuminate the interrelatedness of life, art, and technology. Among his radical innovations were his experiments with cameraless photographs (which he dubbed “photograms”); unconventional use of industrial materials in painting and sculpture; experiments with light, transparency, space, and motion across mediums; and his work at the forefront of abstraction.
my favorite photograph he took:
Image result for László Moholy-Nagy
this is a photograph he took of a what seems to be a building, but he took it from an angle which made it abstract. the patters of those balconies one on top of the other is very interesting and eye catching. and finally the black and white filter adds even more definition to the photograph.
experimenting with abstract photography:
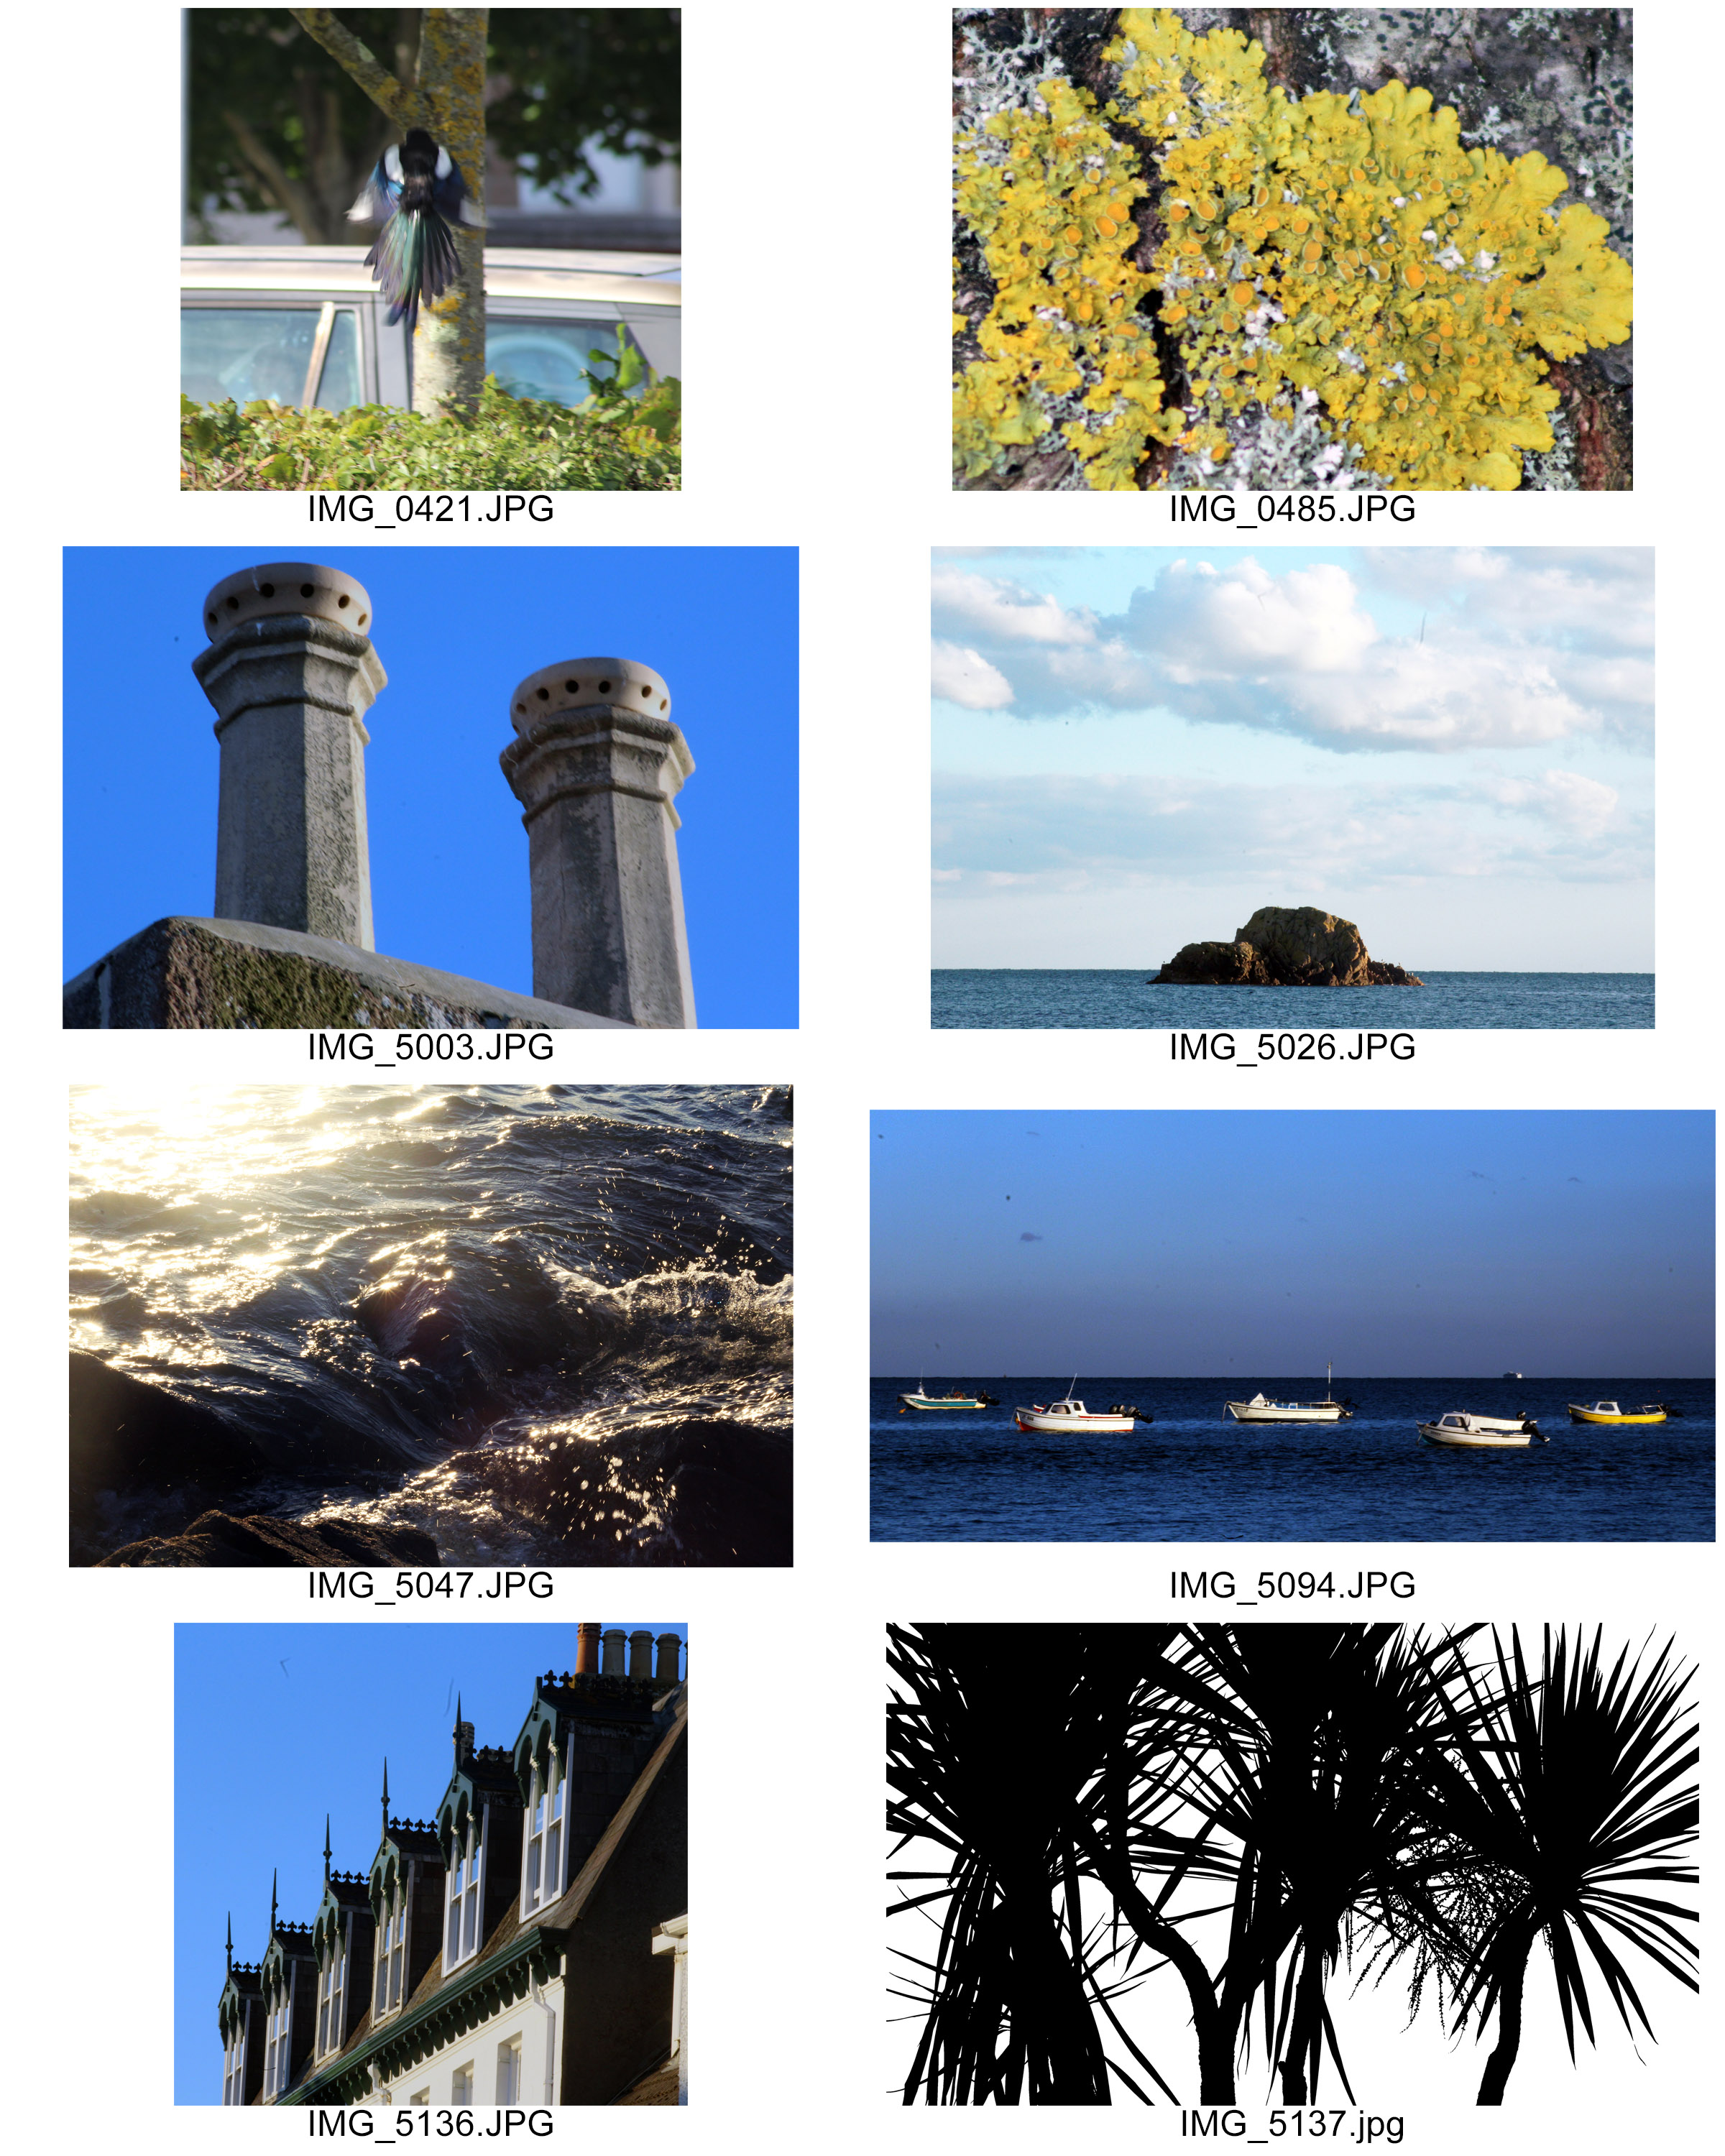
in order to take abstract photographs i had to have a plan first and that was to burrow a camera from the school and go off to the fields and down the beach and just take photographs of anything that catches my eye and this is what i came up with.
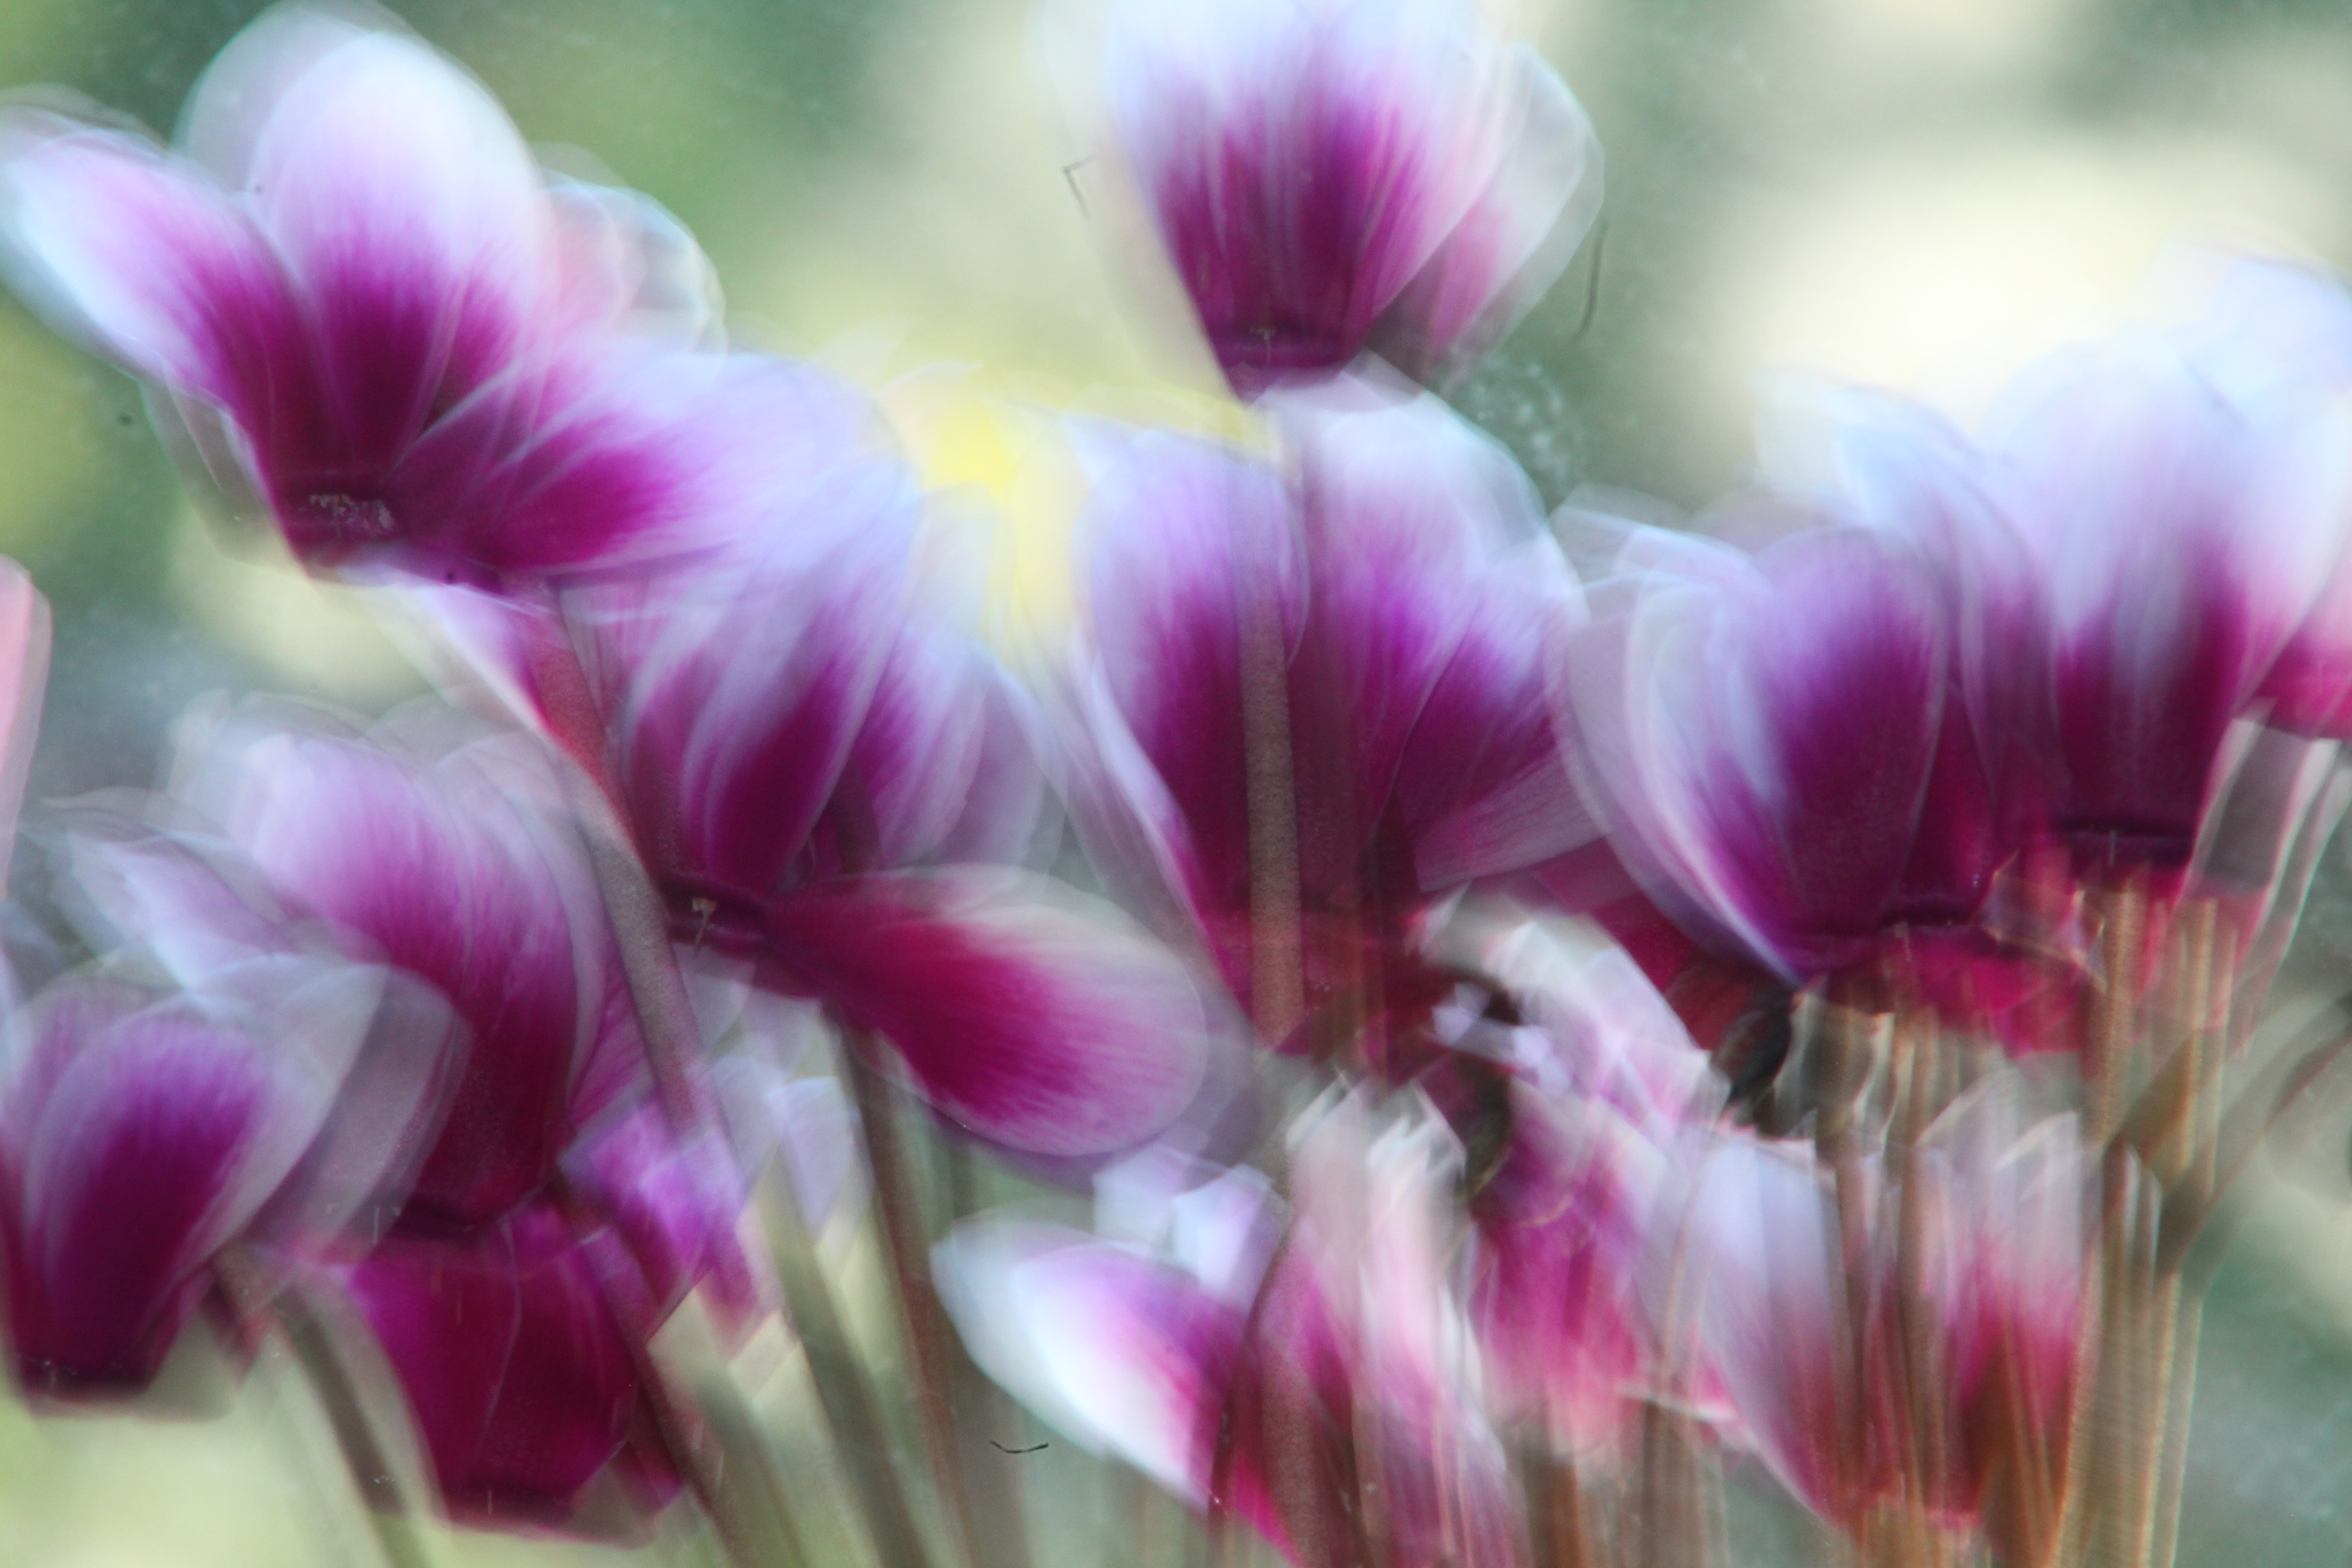
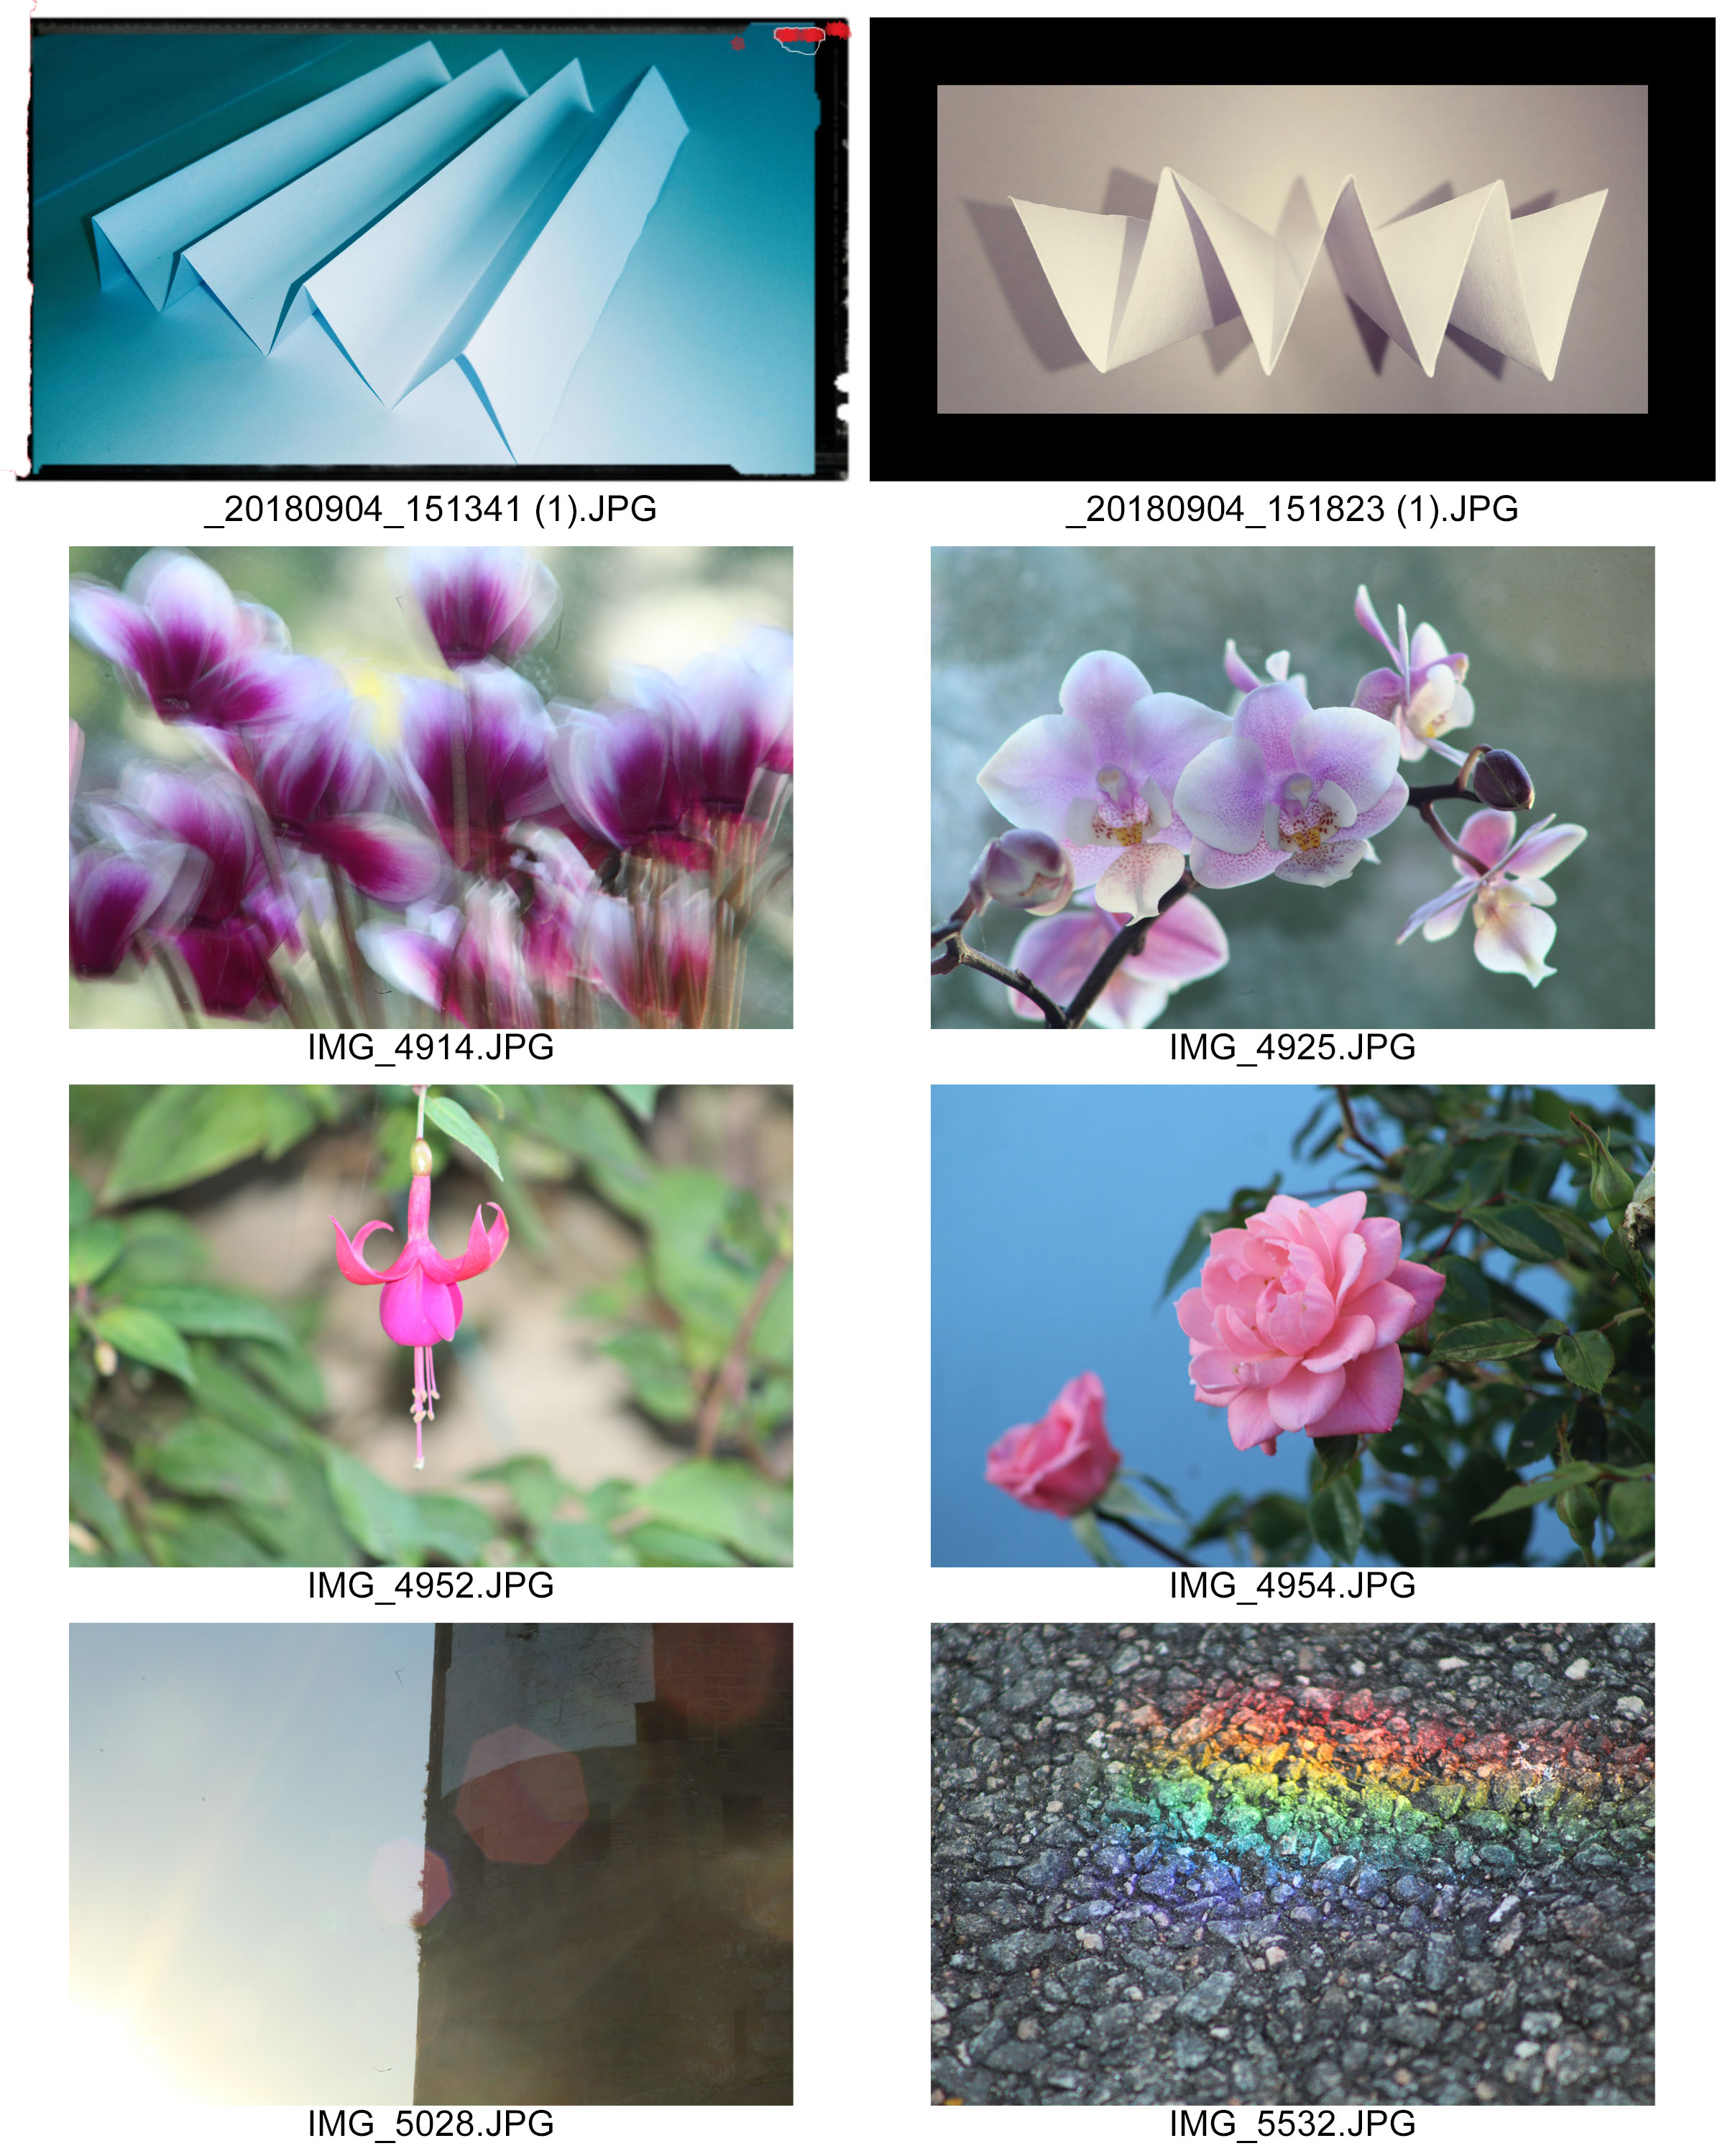
i call this one The Moving Cyclamen and its basically just a photograph of a plant of species cyclamen but the main thing here was to take the photograph with the slowest speed possible while moving the camera to the left and right at a very steady rate. and this created a lot of movement and color in the photograph.


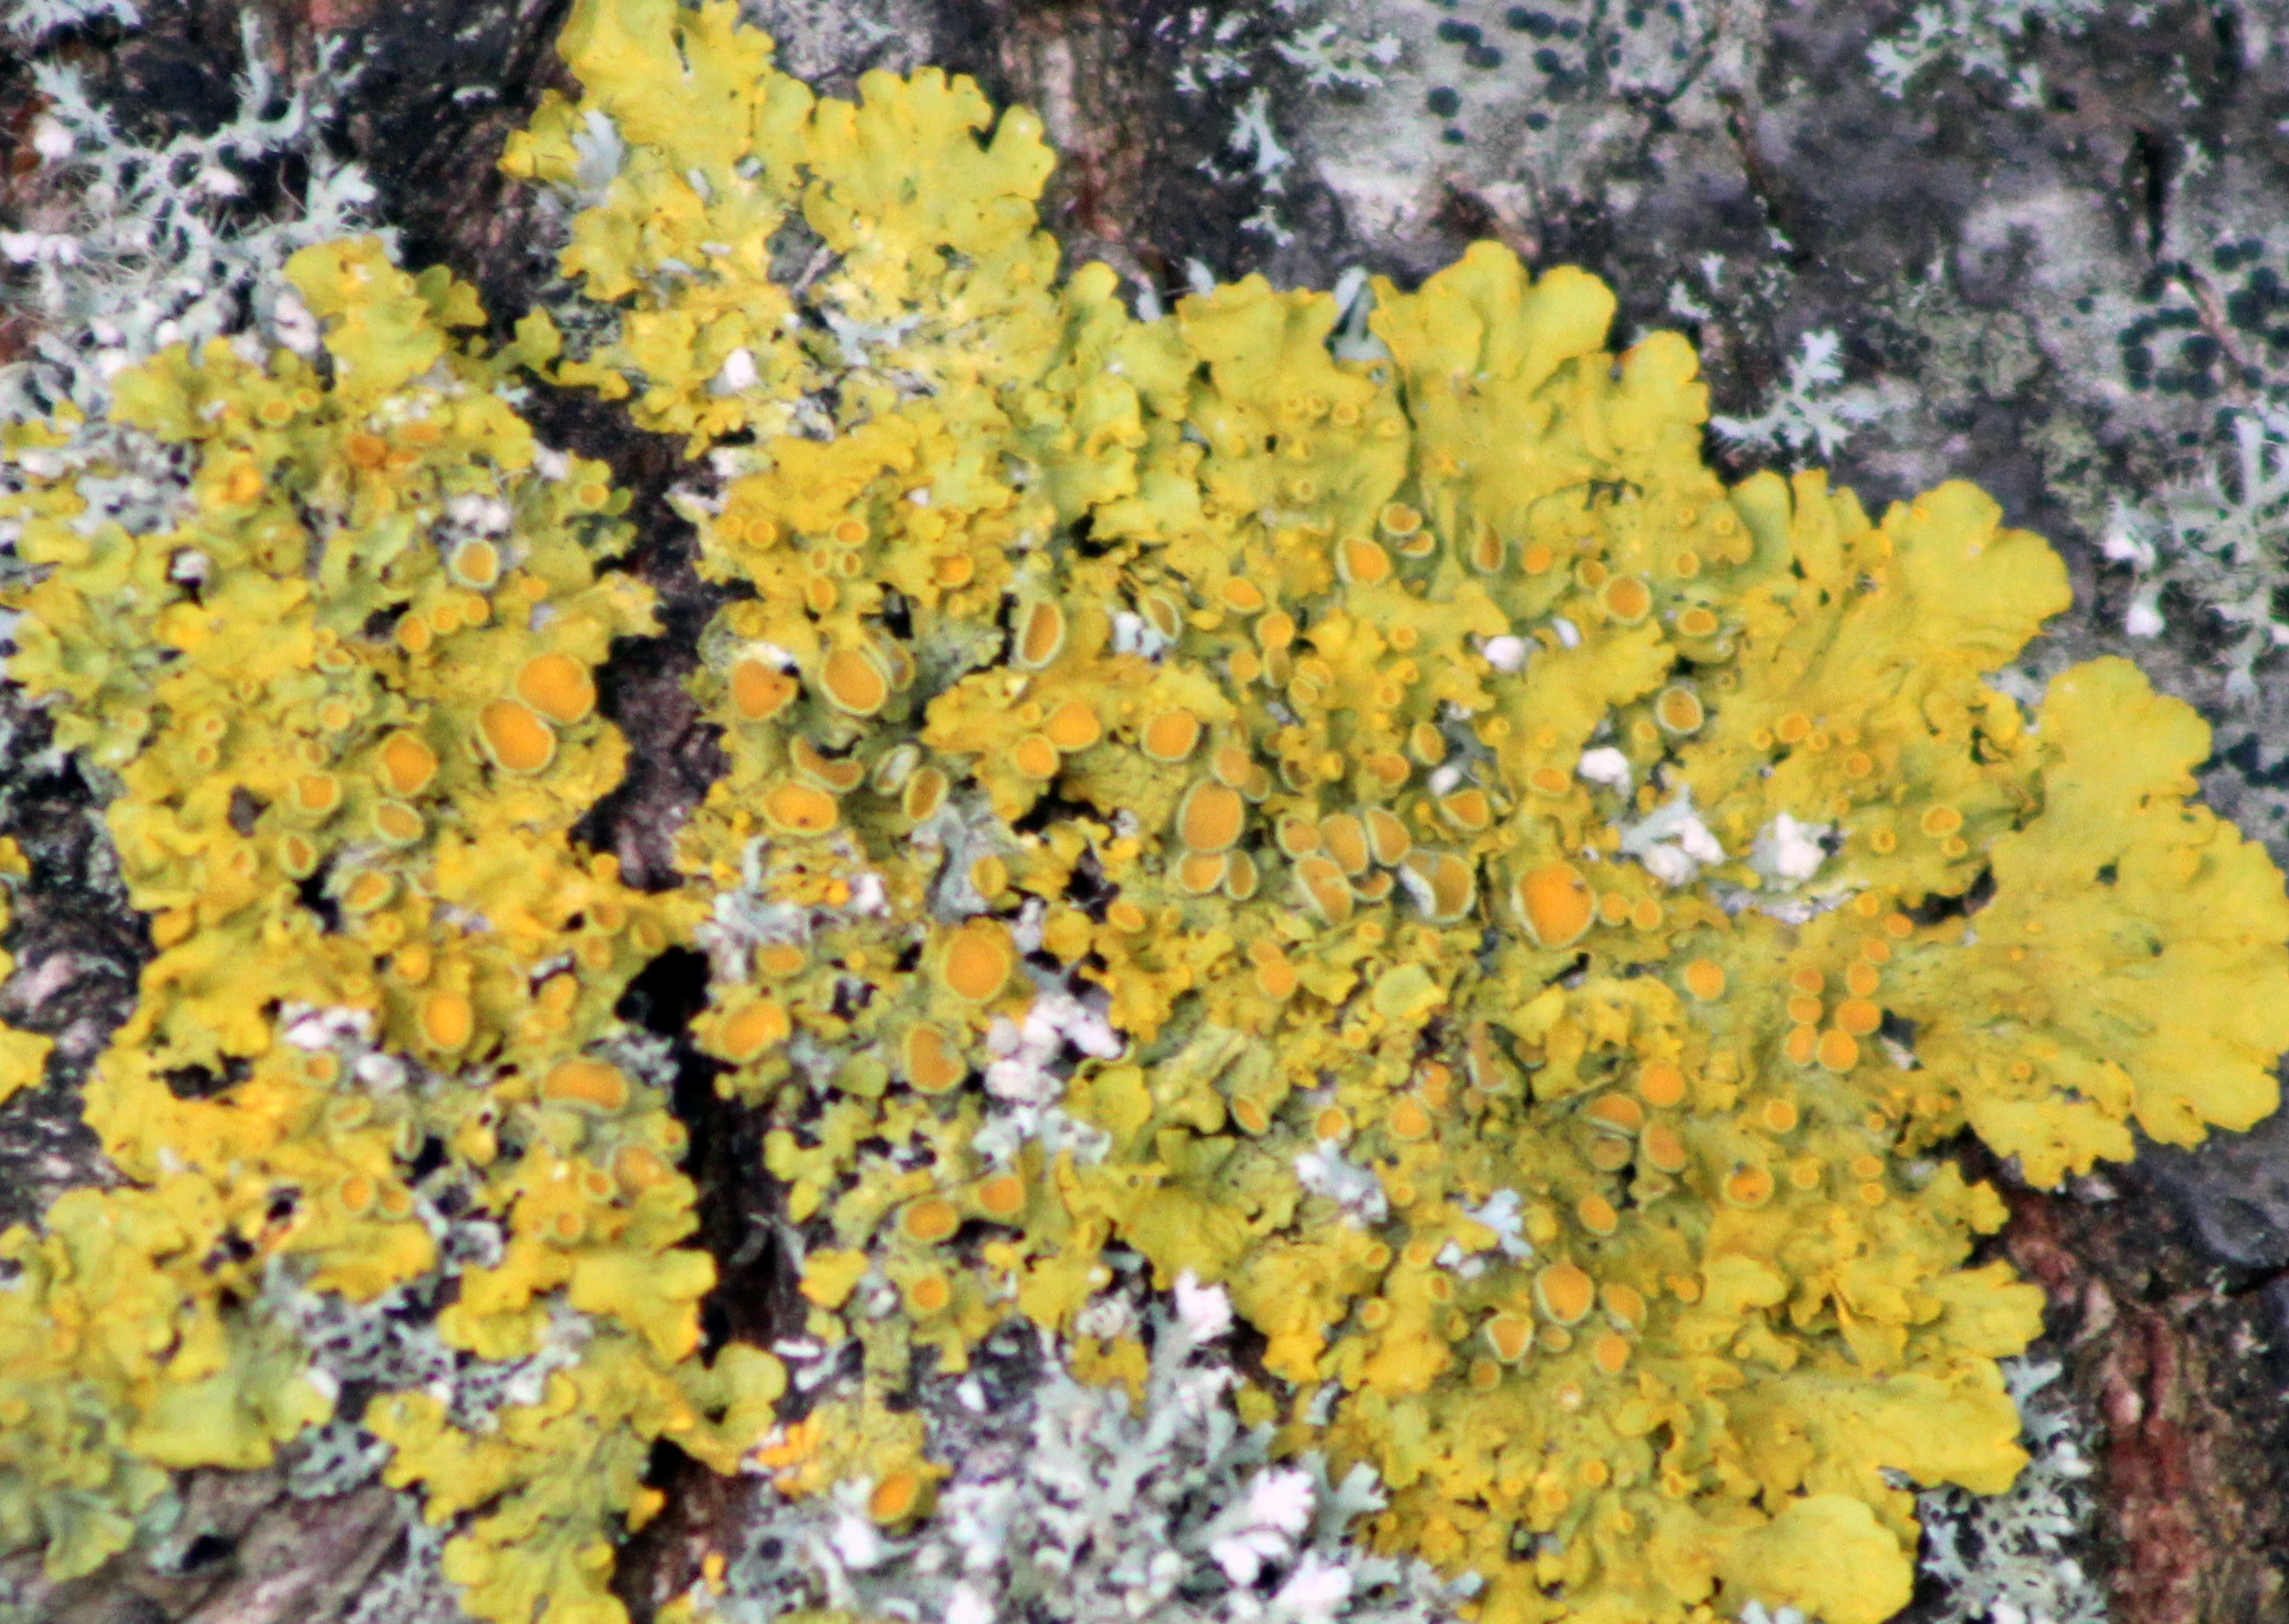
this is a photograph of a lichen growing on a tree’s bark. the intense color of this organism really caught my eye and the texture looks like its a piece of art. this photograph although was taken with very fast shutter speed to create a sharp image.
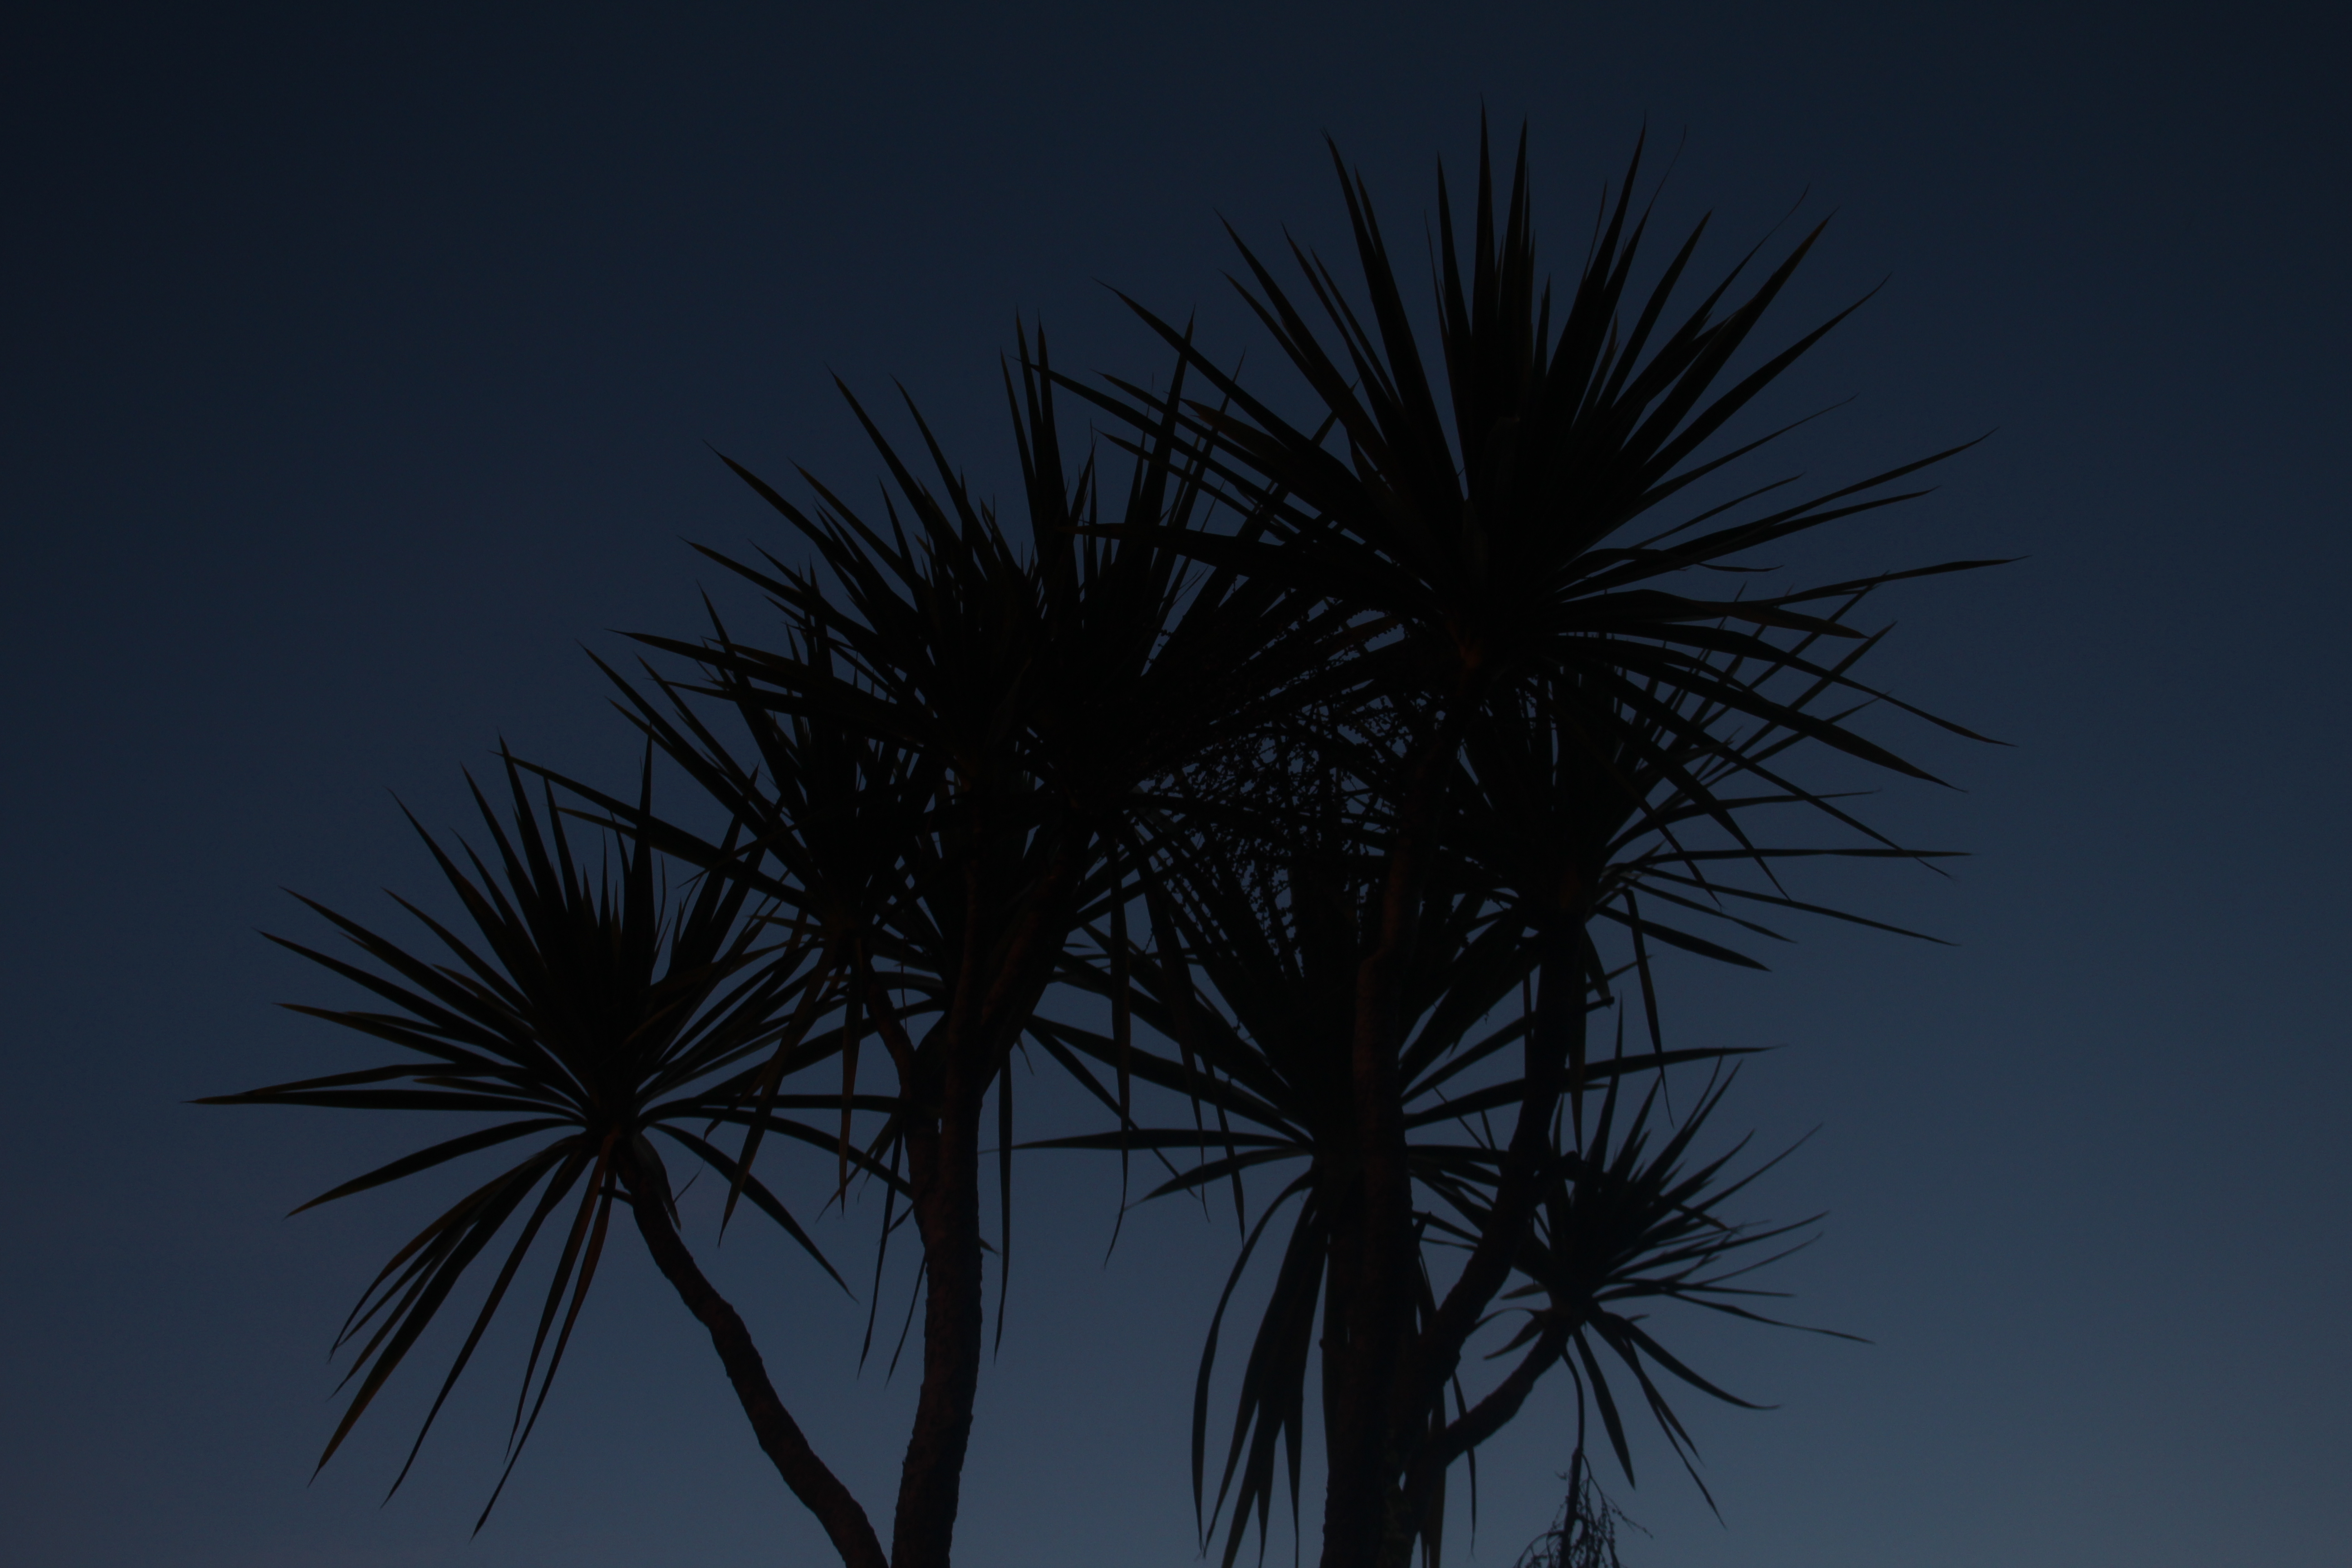
This is a photograph i took of a tree at dusk time. the time of the day in addition to the angle the photograph was taken at created a very simple yet abstract photograph.
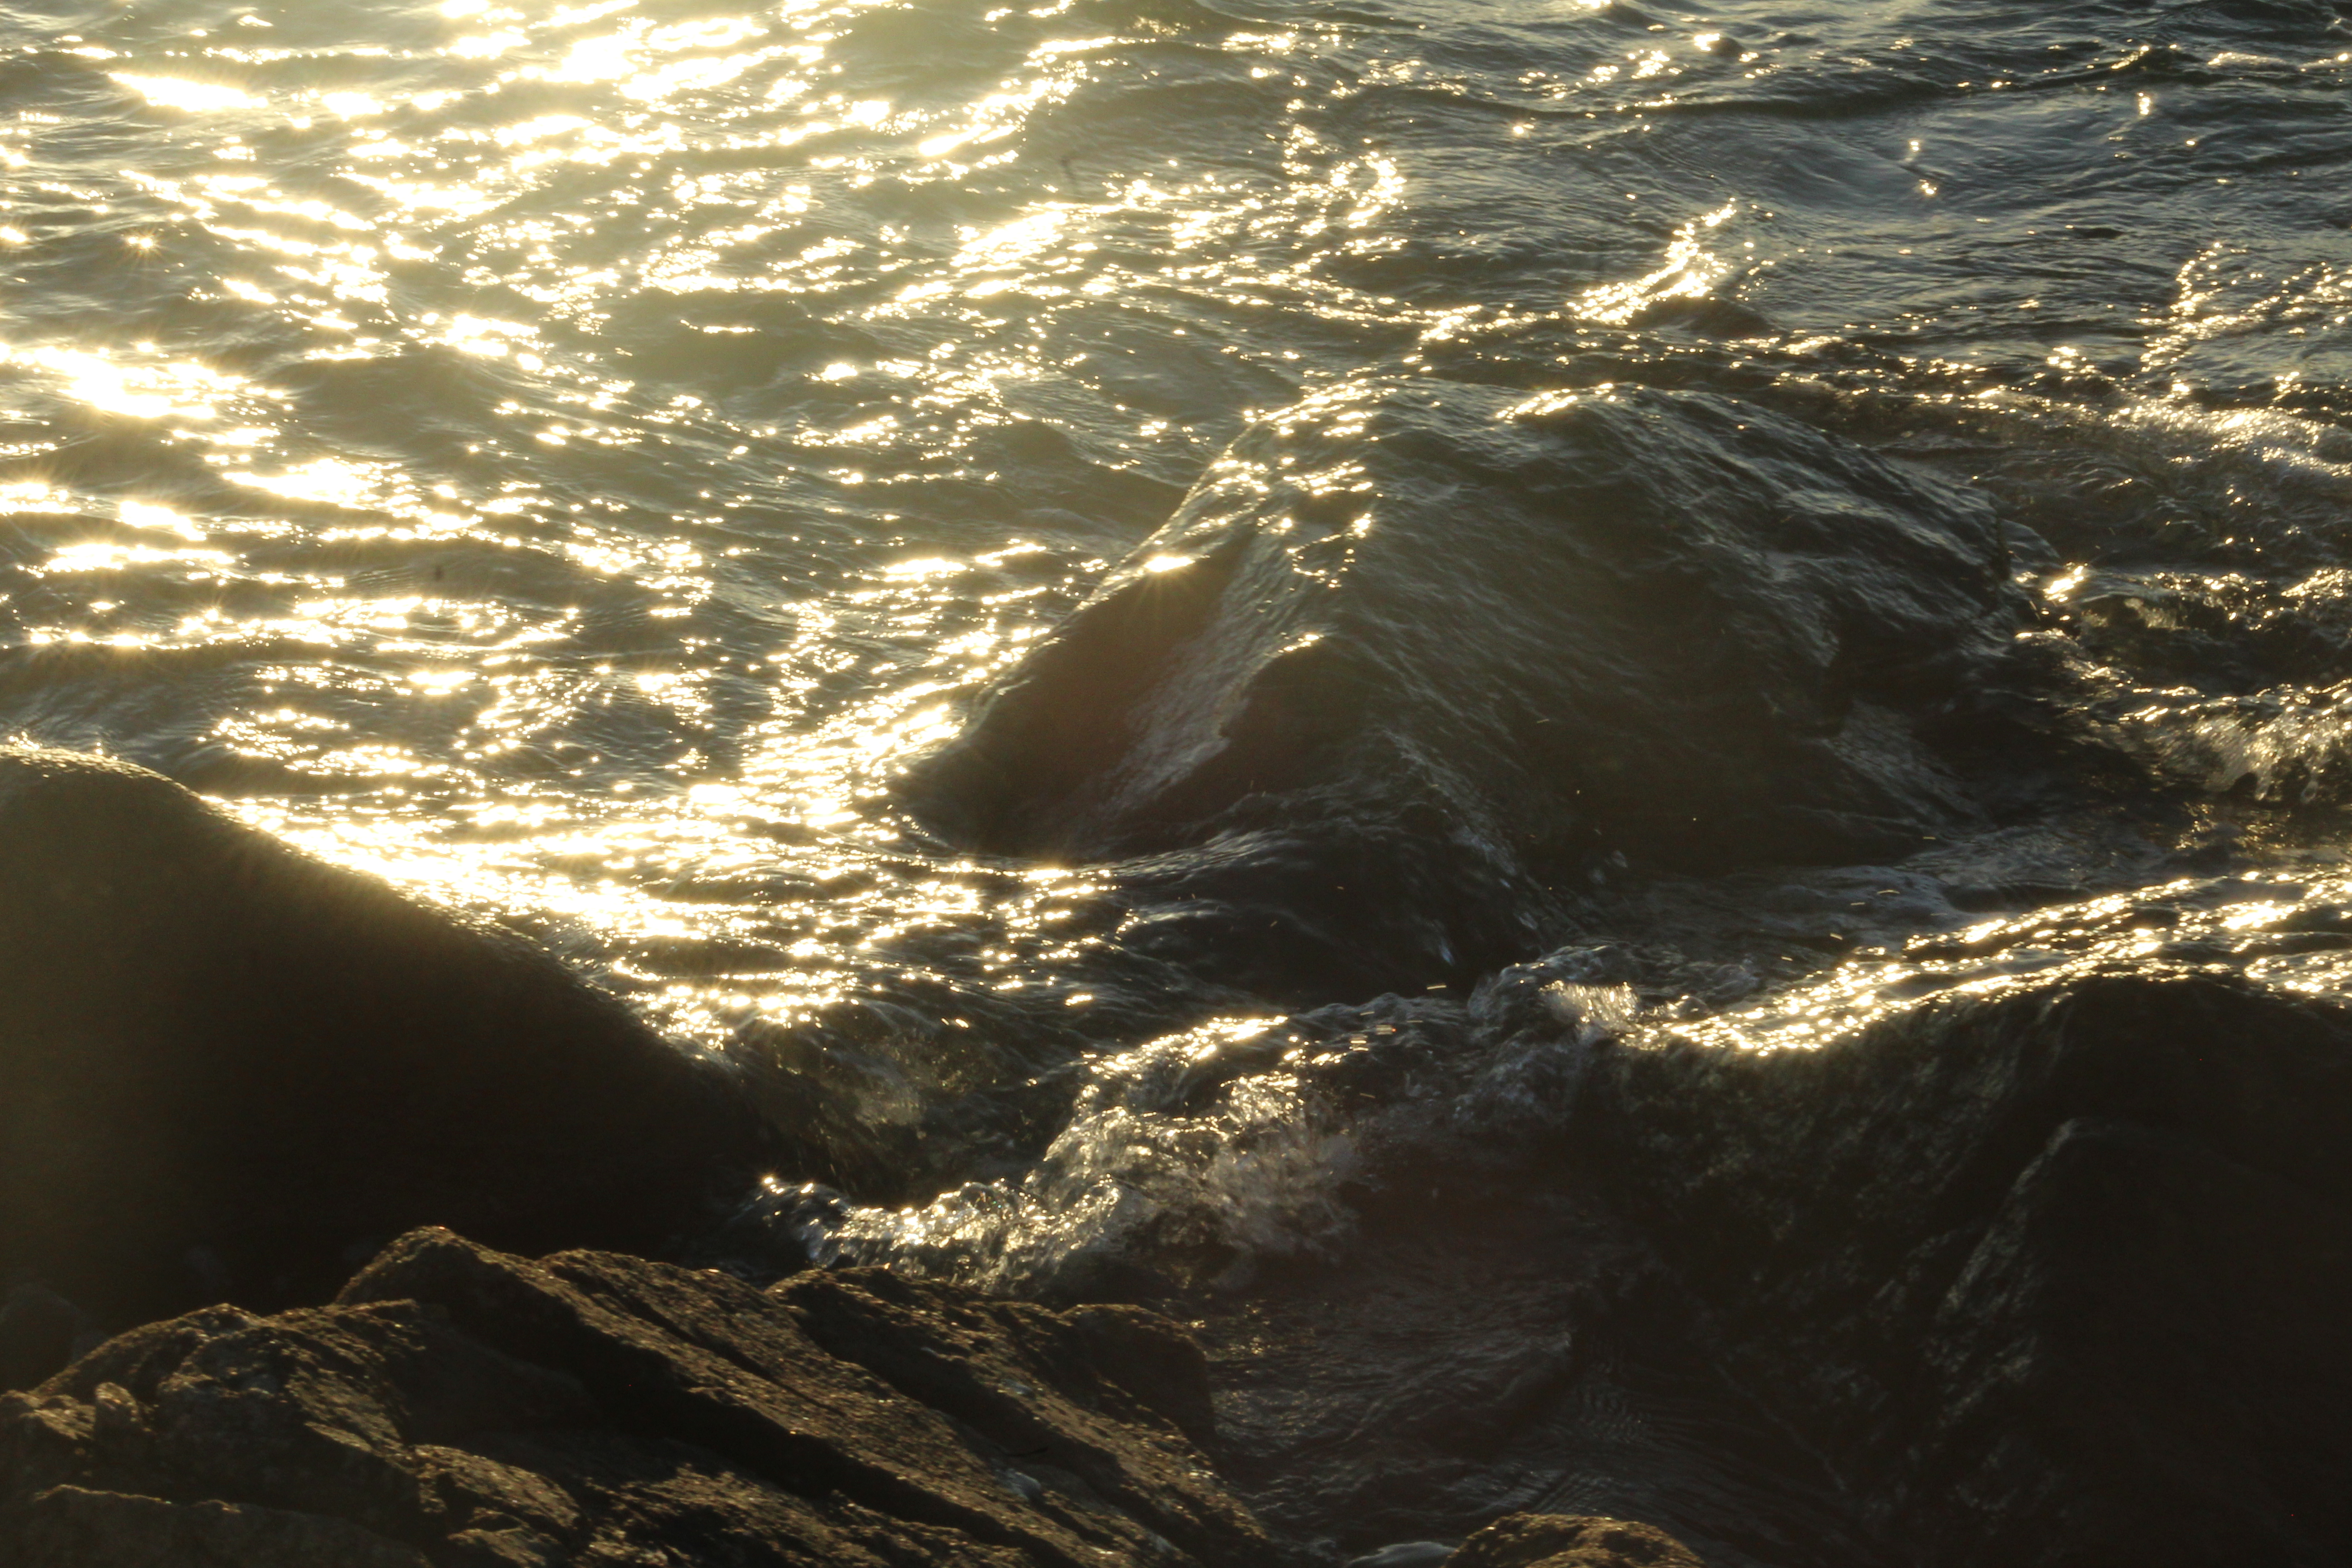
this is a photograph i took at sunrise. i took this photograph at an angle in where the sun is opposite to me reflecting sunshine off the breaking waves into the camera. this created a lot of color and light in the photograph. this photograph was taken at a fast shutter speed to catch the movement of the waves.

week 1-white paper challenge

In my very first a level photography class i was challenged like the rest of the photography student to take a picture of only a paper with my phone camera, and i was up to the challenge.

So i grabbed my phone with the really bad camera and picked up a paper and started experimenting shapes that i can create from a single sheet of white paper.its really just about being creative at this point you really just need to experiment as much as you can and think ahead on how are you going to take the picture, at what angle, what lighting……..

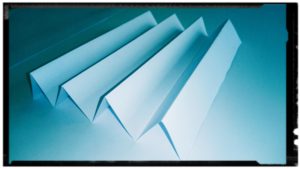
I saw that most of the students where just trying to copy the photograph of a paper in the form of a ball that the teacher showed us, so i wanted to do something else. so i grabbed a ruler and my paper and started folding the paper around the ruler to create a zigzag paper.

After i did the paper now i should plan on how am i going to take the picture, i decided to use the flash on my phone since there was not enough natural light to create shadows. but i wasn’t sure at what angle should i take the photo so i experimented from two angles and this is what i came up with:

so this one i took it from above the paper and used the light in the room to create that zigzag shadow around the paper.

this one i just took it from the side, and the light from the sun through the window also created some shadow on the paper.

and as you can see both photos where edited and that was using a phone app, since the challenge included only using phone there was no other way to do it.

in the first photo i used a light filter called vintage which makes the photo a bit dim and yellowish, i also used a tick black frame alongside cropping to adjust the paper in the middle of the picture.

in the second one i used a light filter called x process, which makes the photo brighter and blueish , i cropped some obstacles from the photograph and i used a frame with a little bit of texture to create some movement in the photograph.

Byron Jorjorian

Byron Jorjorian’s award-winning photography has been appreciated and admired all over the world. His work has appeared in major publications including Time, National Geographic, Outdoor Photographer, Smithsonian Books and the Audubon Field Guides. He, like most, began humbly. His interest in photography started at age 11, when he got his first camera as a gift from his grandfather. This small event was life-changing for the young Byron and awakened in him an insatiable passion for photographing nature.

Image result for byron jorjorian

Byron Jorjorian has been capturing the natural world on film for over 30 years. With over 210,000 images in his files, his photographs have appeared on nationally published greeting cards, calendars, magazines, posters, murals, fine art prints, brochures, and advertising. Byron has had over 10,000 images published.

this is  some of his work

Image result for byron jorjorian

Image result for byron jorjorian

Image result for byron jorjorian

Image result for byron jorjorian


in some photos he just focuses on the obstacles in the front ground and the back ground is unfocused which gives a lot of texture and color to the photograph.

experimenting to copy his work:

i tried to study some of his work and try to copy similar

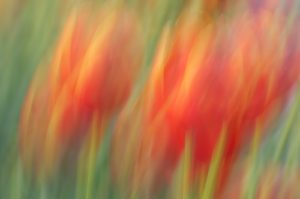
Abstract stand of red and yellow variegated spring tulip blossoms and flowers

in this abstract photo we find a lot of color and movement because of the technique he used to take it, it was set on low shutter speed and taken while the camera was moving.


this is my work, i tried to copy his work by putting the camera on low shutter speed  and focusing on those pink and yellow cyclamen flowers in the front and keeping the back unfocused then i took the photo wile i’m slightly shaking the camera which is why its not really similar to Jordanian’s work.

in this photo he sharply focused on the flower in the fore ground on normal shutter speed this time without shaking or moving the camera and he kept the green background unfocused to create color in the flower.

i took this photo on normal shutter speed and manual settings. i focused on the seed pod and kept the background unfocused. its not good as Jorganian’s work though because there is less sunlight and the background is not fully green, also because i was using a long lens so i couldn’t take the photo but from at least 4 meters away so that it can focus which doesn’t produce a photo as sharp and focused as a short lens camera from up close.


shutter speed

shutter speed is the nominal time for which a shutter is open at a given setting.

In film photography it was the length of time that the film was exposed to the scene you’re photographing and similarly in digital photography shutter speed is the length of time that your image sensor ‘sees’ the scene you’re attempting to capture.

Shutter speed is measured in seconds – or in most cases fractions of seconds. The bigger the denominator the faster the speed (ie 1/1000 is much faster than 1/30).

in most cases you’ll probably be using shutter speeds of 1/60th of a second or faster. This is because anything slower than this is very difficult to use without getting camera shake. Camera shake is when your camera is moving while the shutter is open and results in blur in your photos.

If you’re using a slow shutter speed (anything slower than 1/60) you will need to either use a tripod or some some type of image stabilization (more and more cameras are coming with this built in).

To freeze movement in an image (like in the shots of the birds above and the surfer below) you’ll want to choose a faster shutter speed and to let the movement blur you’ll want to choose a slower shutter speed. The actual speeds you should choose will vary depending upon the speed of the subject in your shot and how much you want it to be blurred.


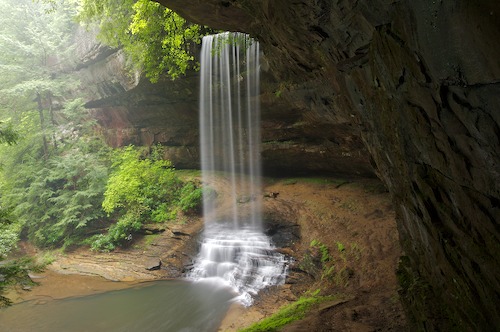
In the subway shot below the shutter speed was 1 second so the movement of the trains on either side of the subject is beautifully blurred.Photograph Clan Destine by Joe Plasmatico on 500px

in the following seascape the shutter speed was 1/3 of a second and so we sea the movement in the water.

Photograph Morning Glow by Joshua Zhang on 500px


Remember that thinking about Shutter Speed in isolation from the other two elements of the exposure triangle (aperture and ISO) is not really a good idea. As you change shutter speed you’ll need to change one or both of the other elements to compensate for it.

For example if you speed up your shutter speed one stop (for example from 1/125th to 1/250th) you’re effectively letting half as much light into your camera. To compensate for this you’ll probably need to increase your aperture one stop (for example from f16 to f11). The other alternative would be to choose a faster ISO rating (you might want to move from ISO 100 to ISO 400 for example).


experimenting wit shutter speed


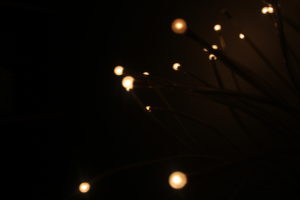
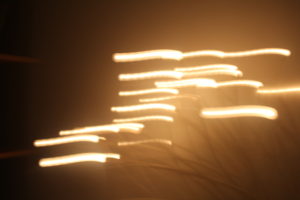
this photograph above of a home decoration lamp with multiple small filaments on the top scattered around was taken with a semi fast shutter speed.

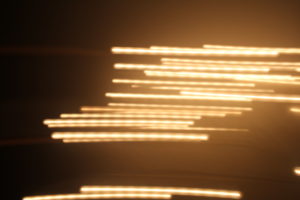
this is the same photograph but this time it was taken with a slow shutter speed and the camera was slowly moved to the left while the photo was being taken

this photo was also taken on the same shutter speed but the camera was moved faster to the left


so we conclude that if you want to take a sharp image with nothing blurry like a sports photograph or a photograph of a moving animal or human we have to you a fast shutter speed , but if we are taking an abstract photo and want to create movement and color to the photograph we use a slow shutter speed.

white balance

On the camera there are 6 different lighting settings which include: daylight, shade, cloudy, tungsten light, white fluorescent light, and flashlight. They can be changed through the WB button.

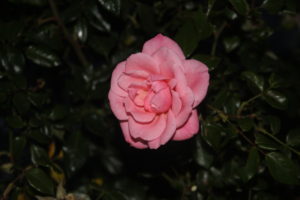
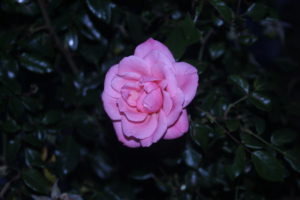
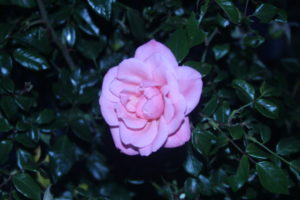
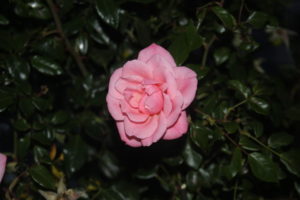
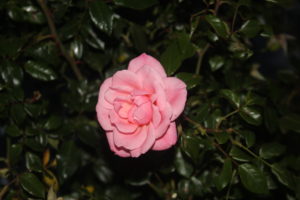
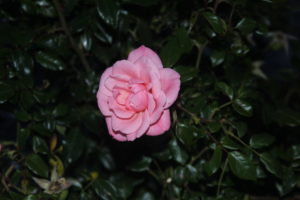
Below are some pictures of a rose taken at the same position of the same view but different light settings at dawn.


In this photo it was taken with a flash on sunlight settings which is about 5200k

This is the same photograph but this time it was taken with shade white balance settings which is about 7000k

this time the photograph was taken using the settings of the white balance set on cloudy which is approximately 6000k

in this photography he white balance settings was set on tungsten light which is around 3200k

this photograph is a bit similar to the tungsten light one but this one was set on white fluorescent light which is similar but a bit higher at 4000k

last but not least this photo was taken with the white balance set on flash which is the most appropriate because the flash was being used and it was dark.


so we conclude that even though your taking the same photographs they will still differ depending on the white balance your on. and if you what the camera to do the work for you just put it on automatic white balance.

threshold adjustments

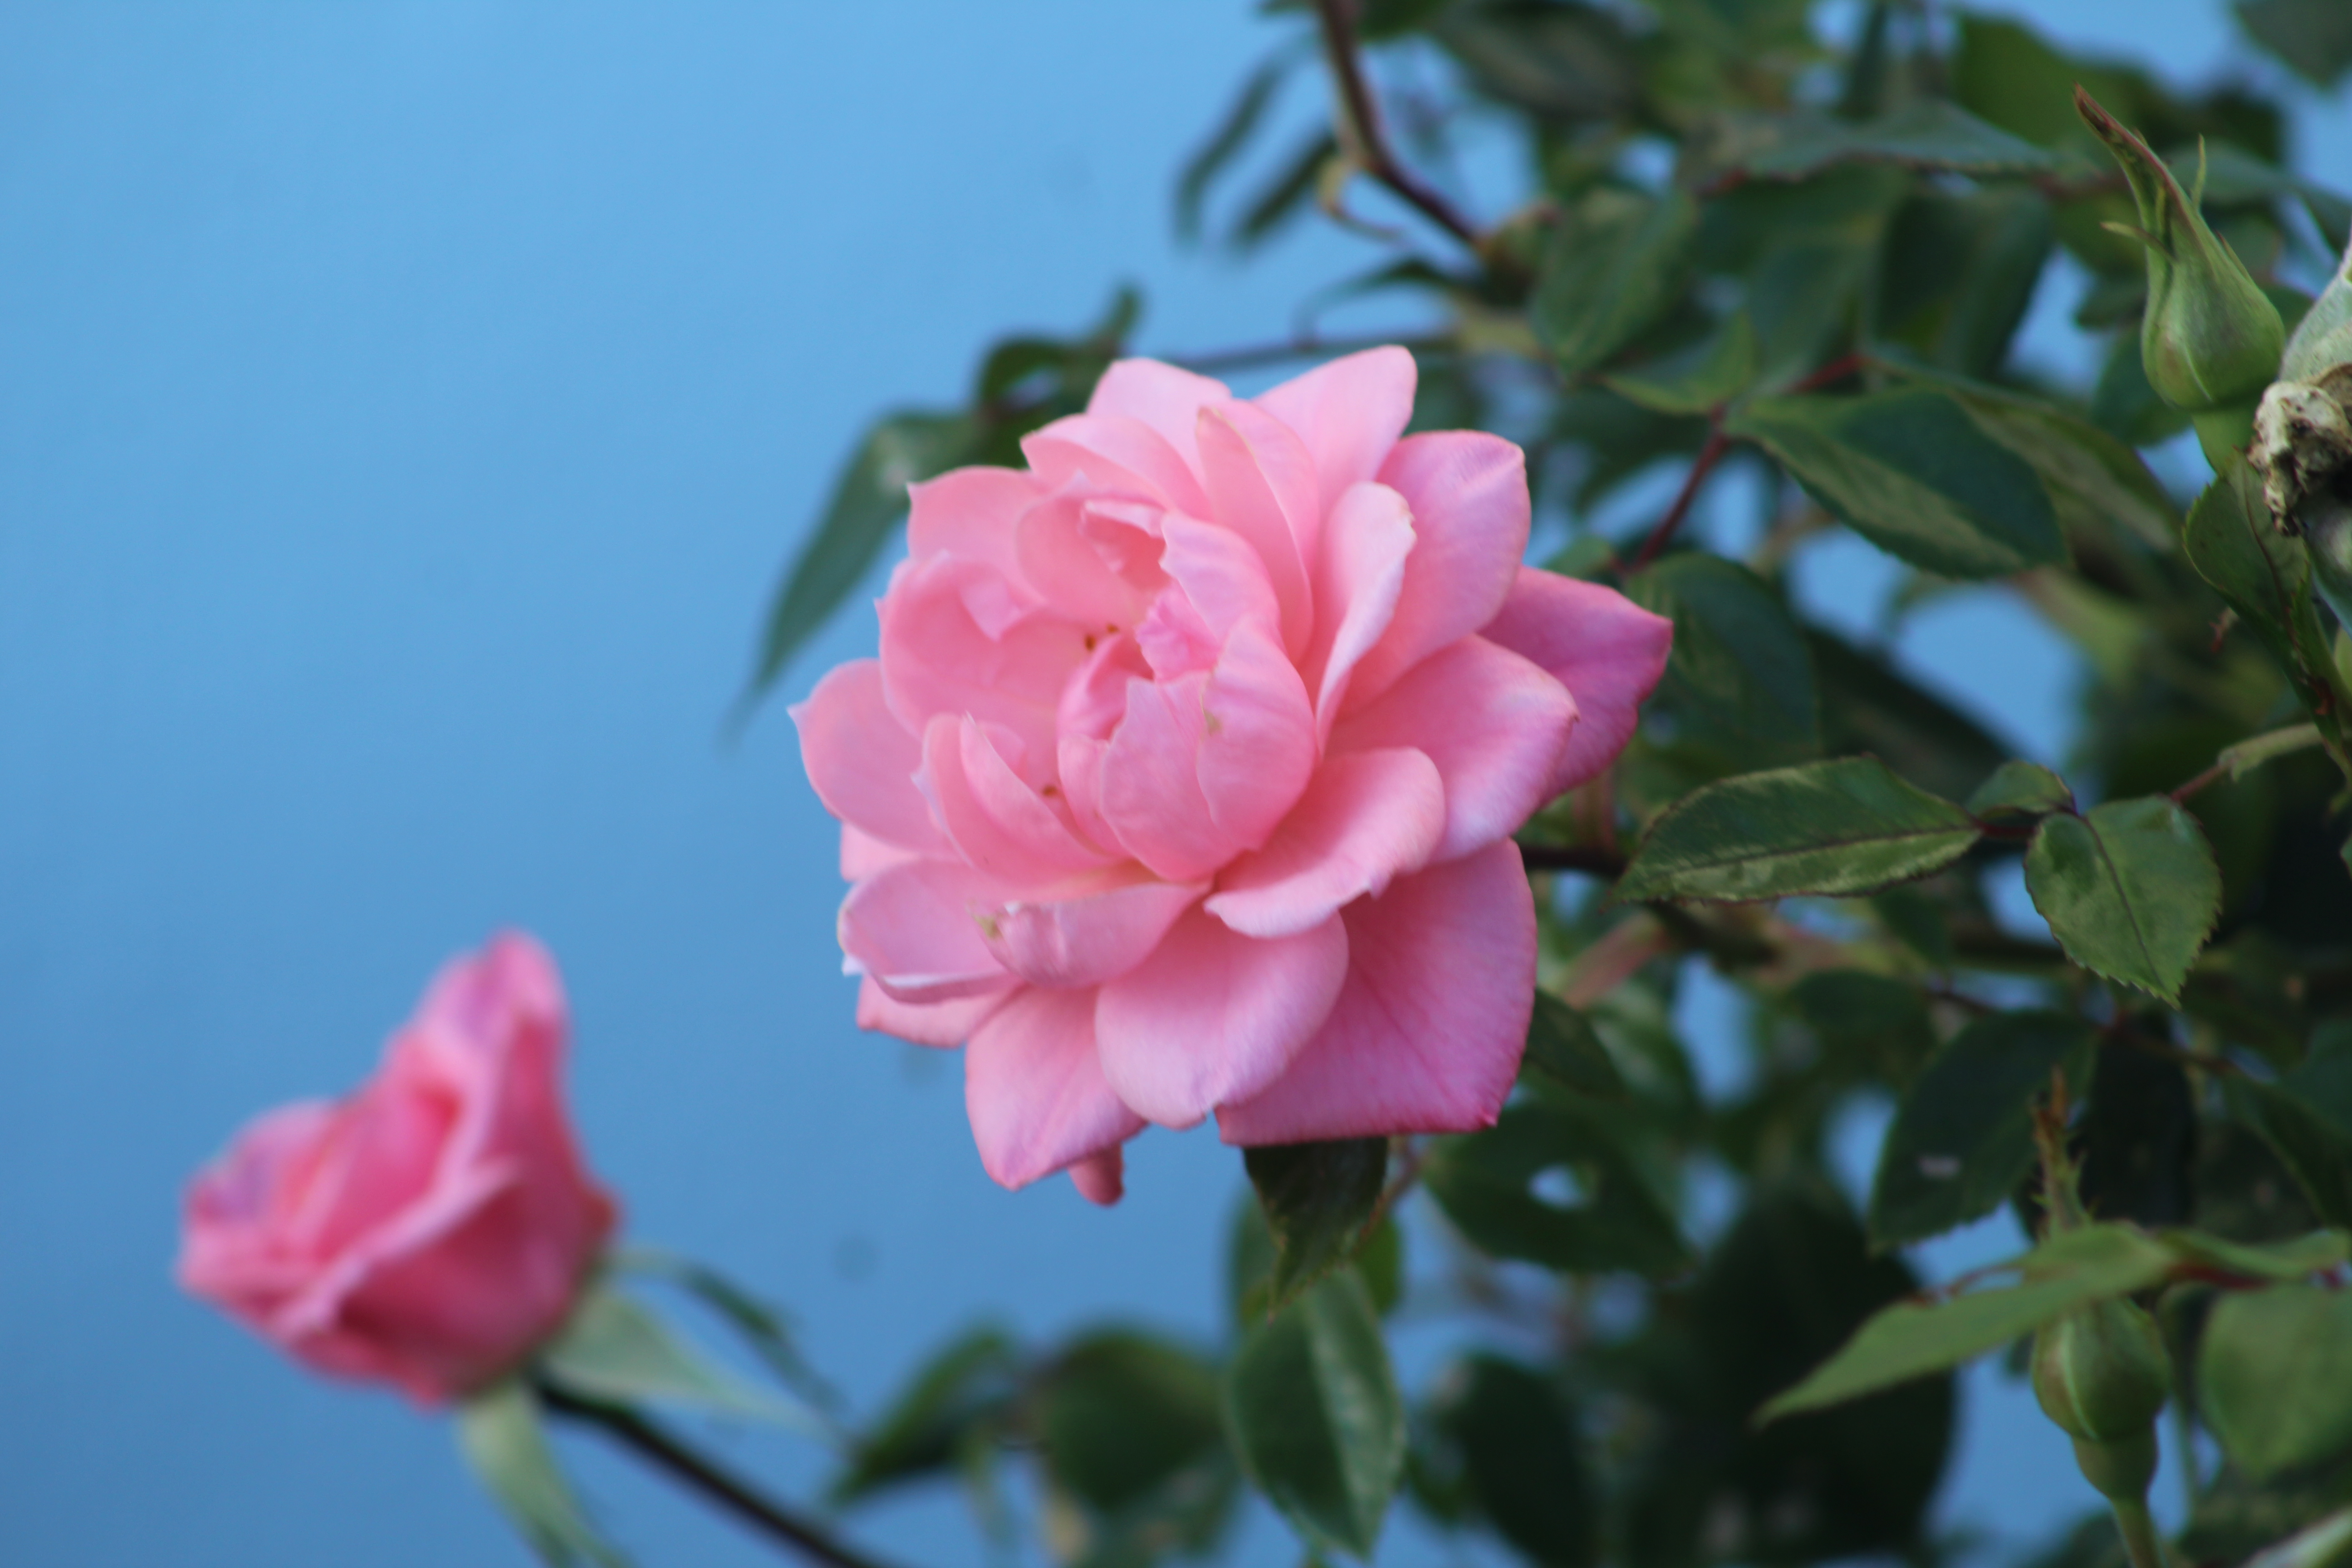
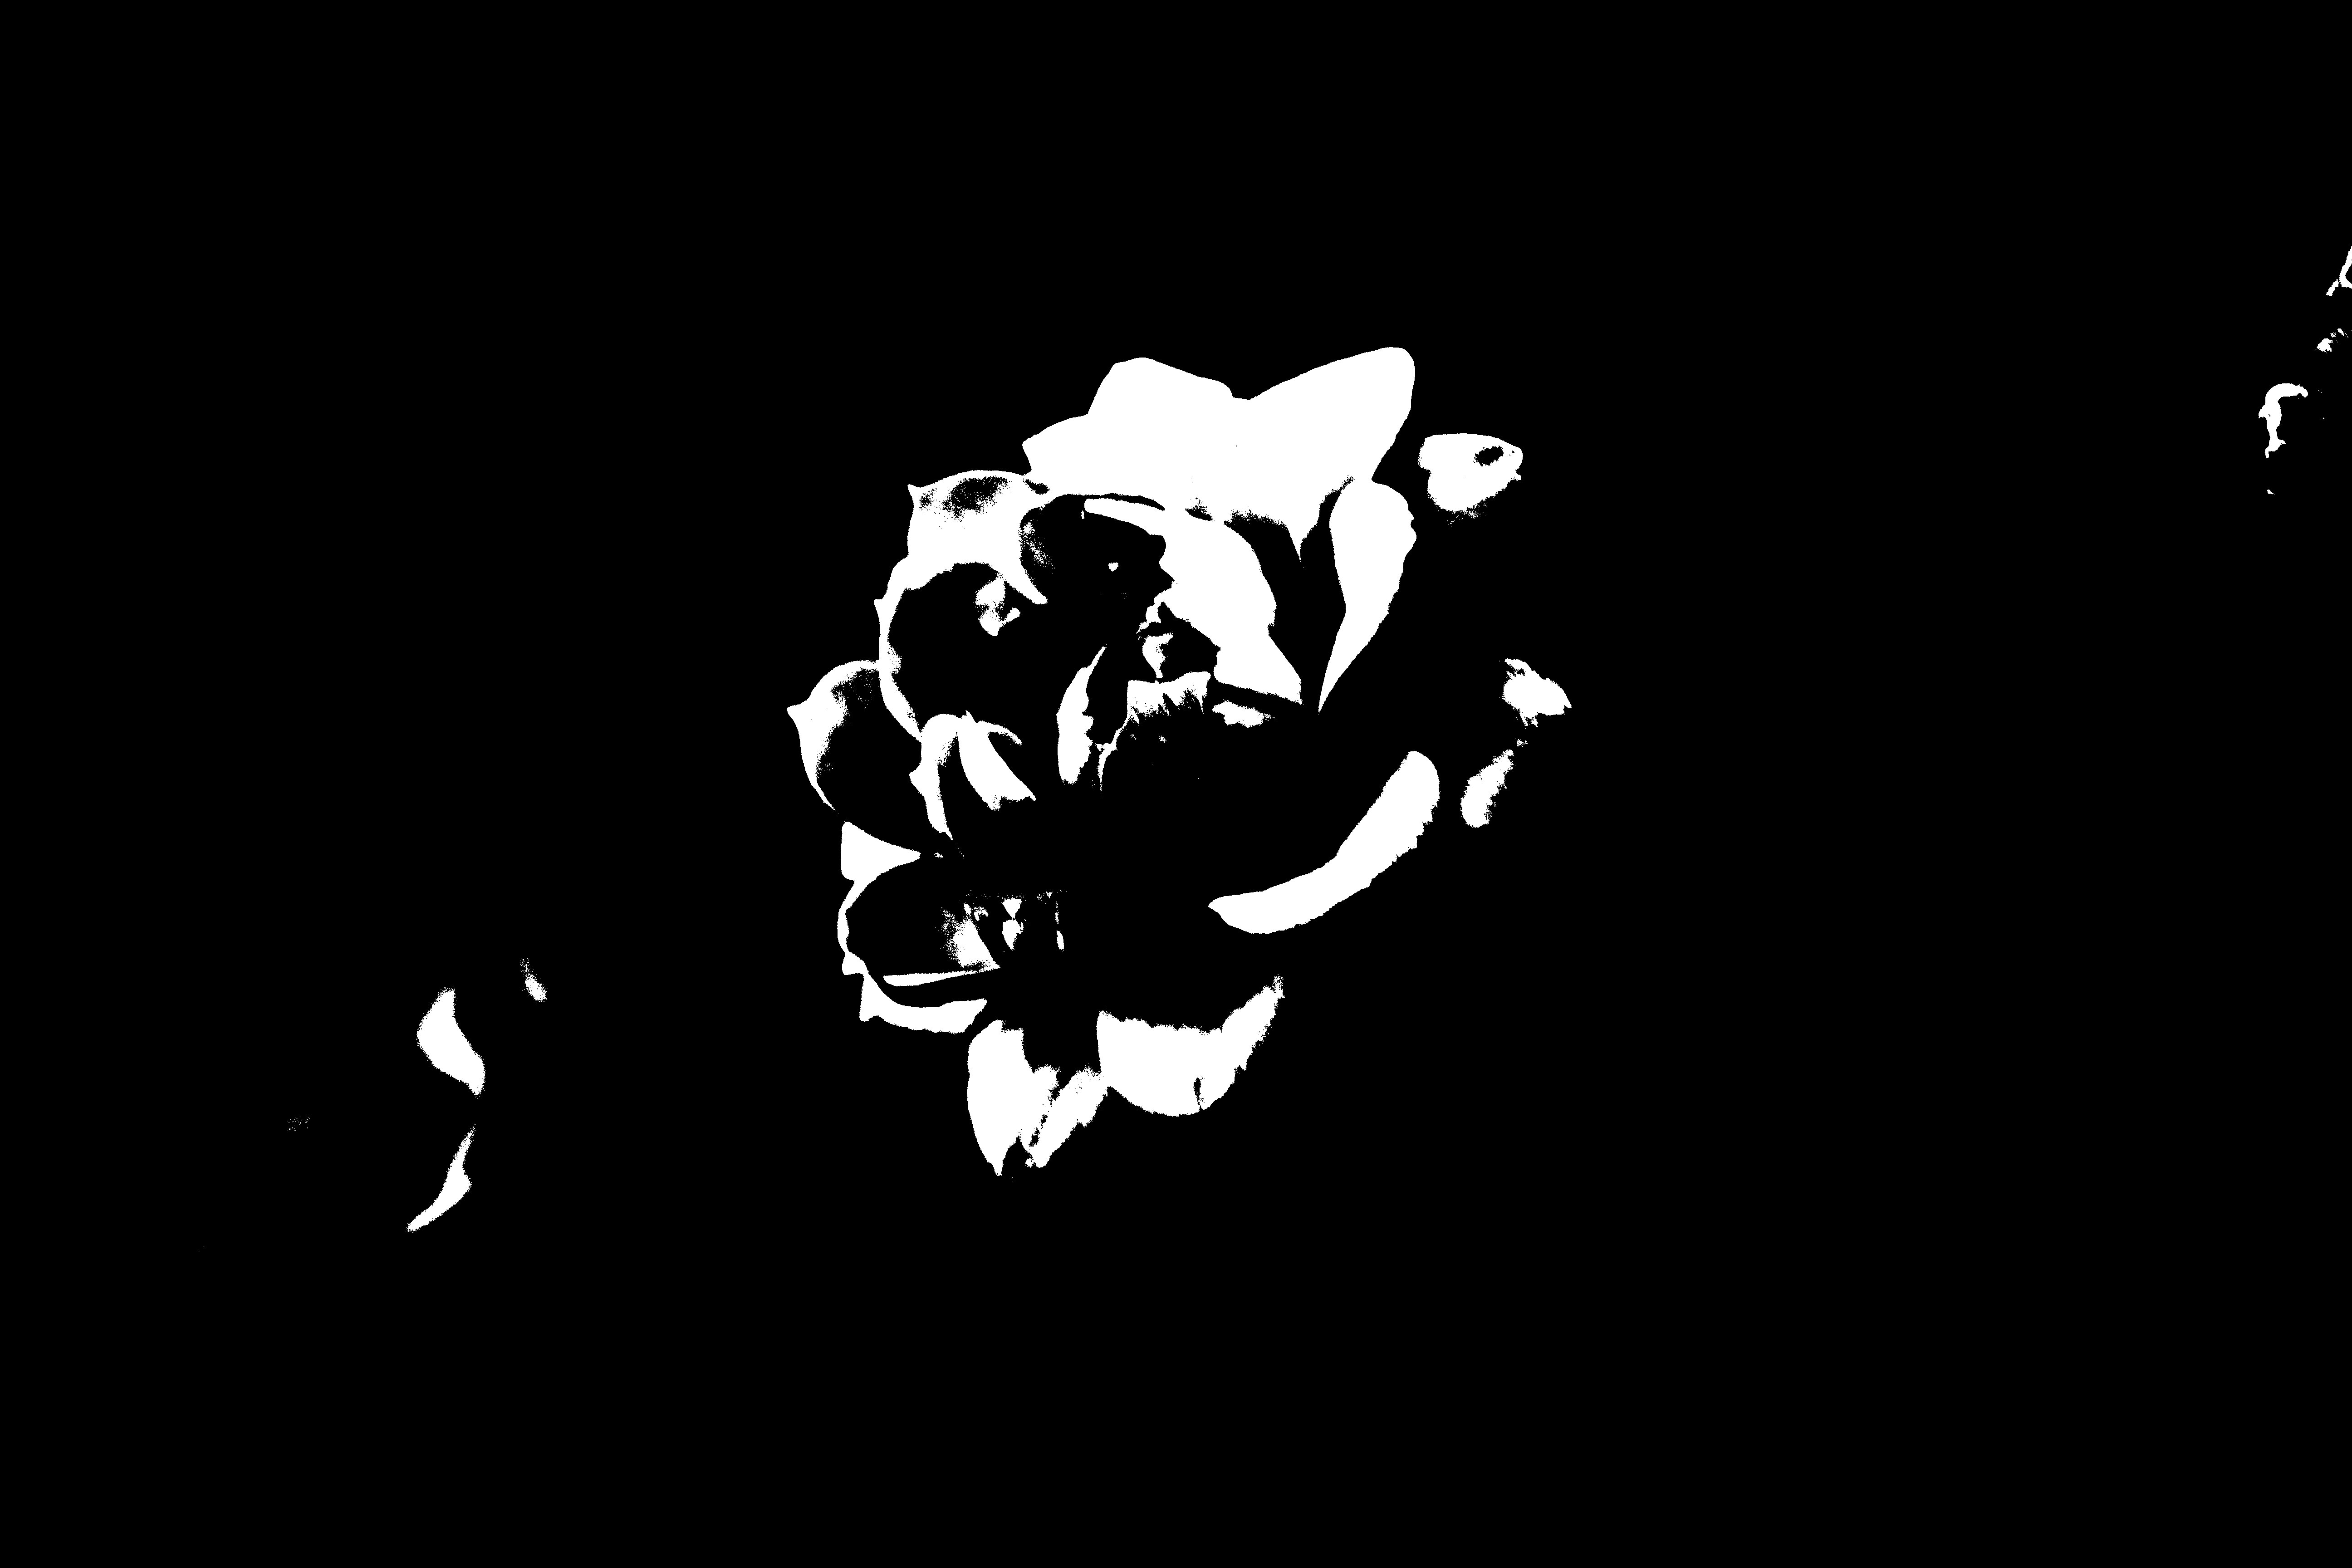
this image above contains three of my photographs that i edited with photoshop by adjusting the threshold of each of them.

This photograph is about a pink rose bush with a rose in the middle which is sharply focused and the background is mostly the green part of the bush alongside with the clear blue sky background, it was taken using the AV settings on the camera so that it focuses on the rose and the background is unfocused.


After using the threshold adjustment i put the threshold on almost midway to the left so that only the focused part which is the flower is white and the background is black.


this photograph above was taken indoors using a phones camera and the natural light from the window was used to create the shadows around the paper, the paper was made into a zigzag shape by hand to create that shadow effect.


the photo was already edited by phone quick photo editing, then it was downloaded on the computer and was edited with photoshop in which the threshold was adjusted to create an effect in which the shadows where black and the paper is white.