All posts by Lucy L

Filters

Author:
Category:

Photo assignment: “home sweet home”

For this assignment I will be taking environmental and candid portraits within the home.

An environmental portrait is an image taking of someone, where their surrounding is important as it contains information or clues towards someone’s personal story.

A Candid portrait is an image taken of people when they’re unaware. Unlike environmental portraits, the scene is not artificially set which means that this photography style is used to capture natural, raw moments.

Larry Sultan
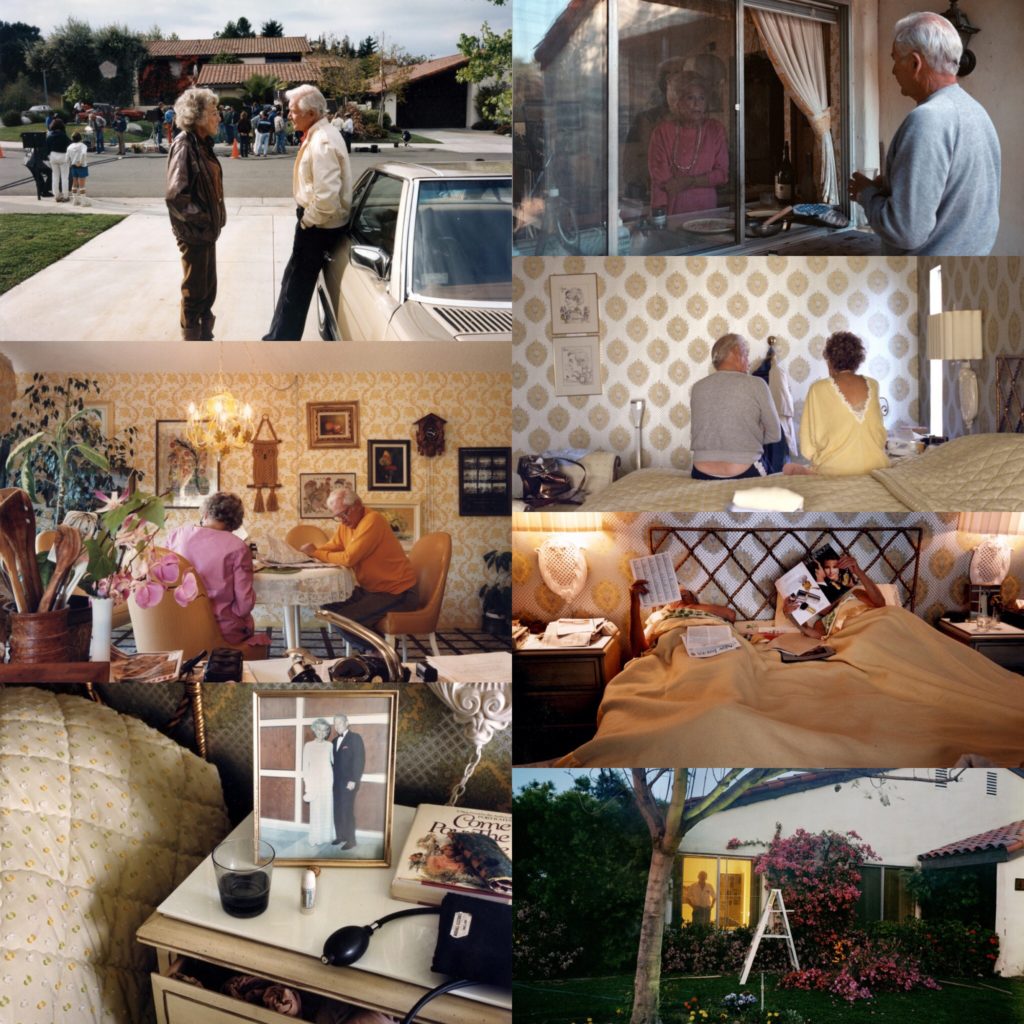
Larry Sultan (July 13, 1946 – December 13, 2009) was an American photographer from California. He taught at the San Francisco art institute and at the California college of arts.

“I love making pictures, even if most of the results are lousy.” – Source

His book “pictures from home” was published in 1992, and is a collection of images he took of is parents in the 80s.

“The demands of my project and my confusion about its meaning, is the wish to take photography literally. To stop time. I want my parents to live for ever.”Source

Candid photography photo shoot

Plan:

After looking at Larry Sultan’s work, I decided I also wanted to photograph family. I chose to photograph my dad as he is my closest family member meaning I can get a realistic representation of him. I chose to photograph him as I know that he has multiple varied roles in the house and I thought that it would be interesting to see the contrasts. I do not plan on intentionally creating scenarios, instead I plan on taking images of him doing things naturally that I think I could photograph in an interesting way.
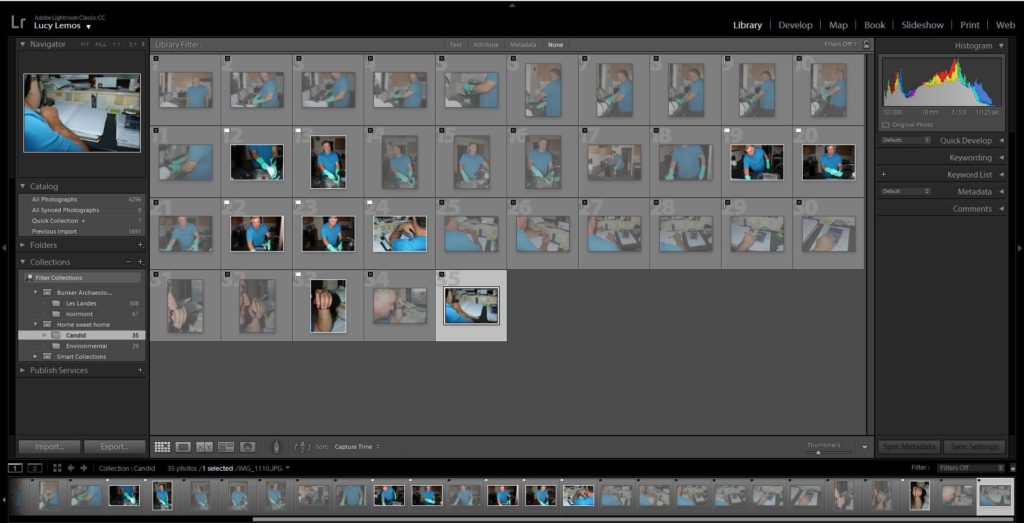
1st selection of images- I flagged the images that I thought were the best from my entire photo shoot.
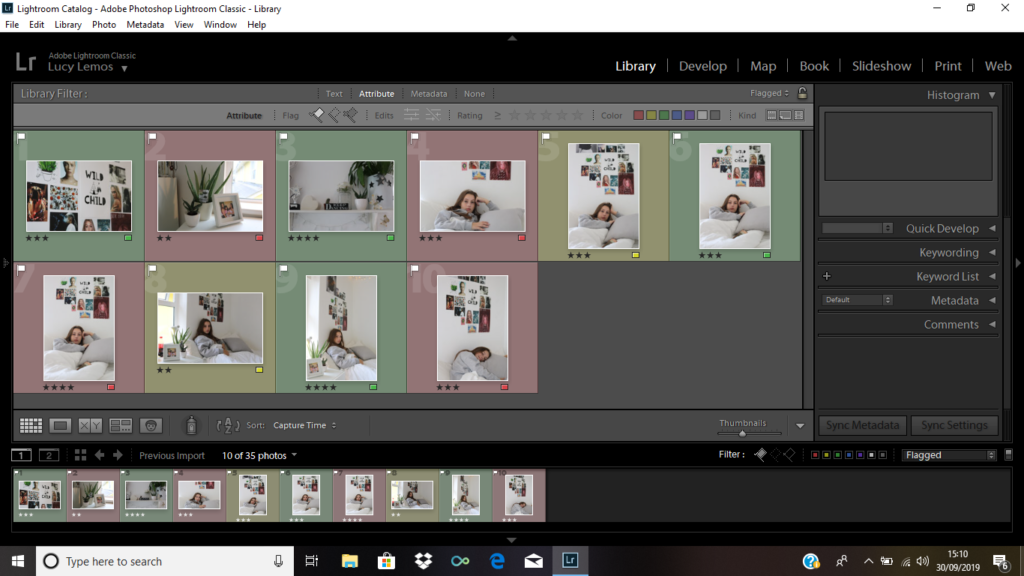
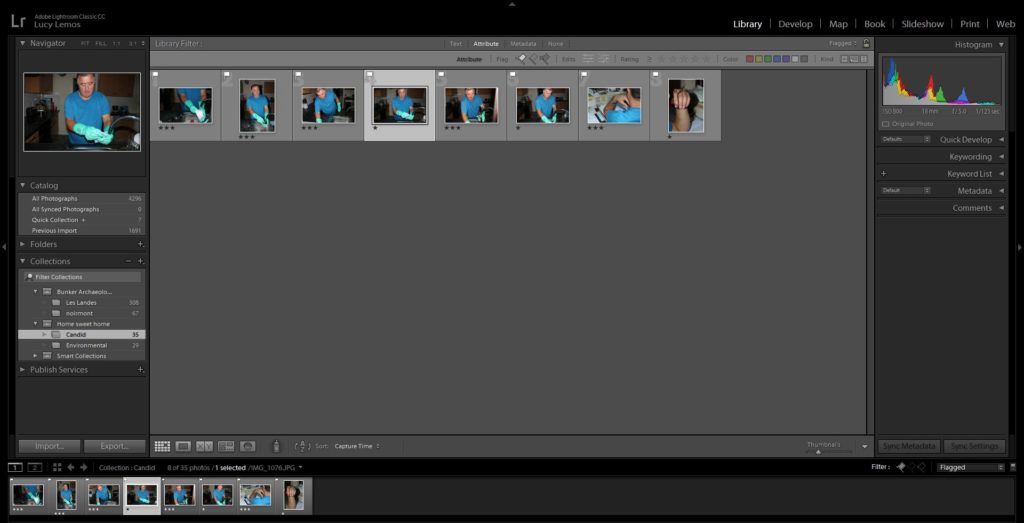
Here you can see all the flagged images.
Next, I colour coded my flagged images with green being the best photos, yellow being the ok images, and the red being the ones I didn’t think were very good.

Edits:

To edit these images I used a very similar approach. I increased the contrast slightly in order to make the subject stand out more,and I increased the vibrancy on each image in order to bring more colour to the selection of images.
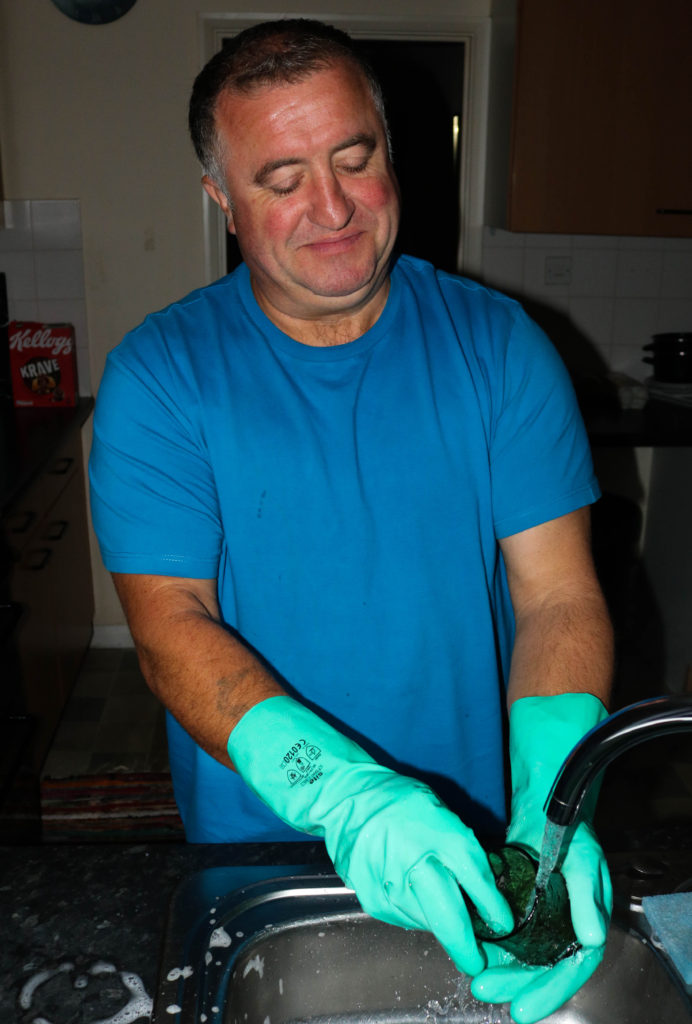
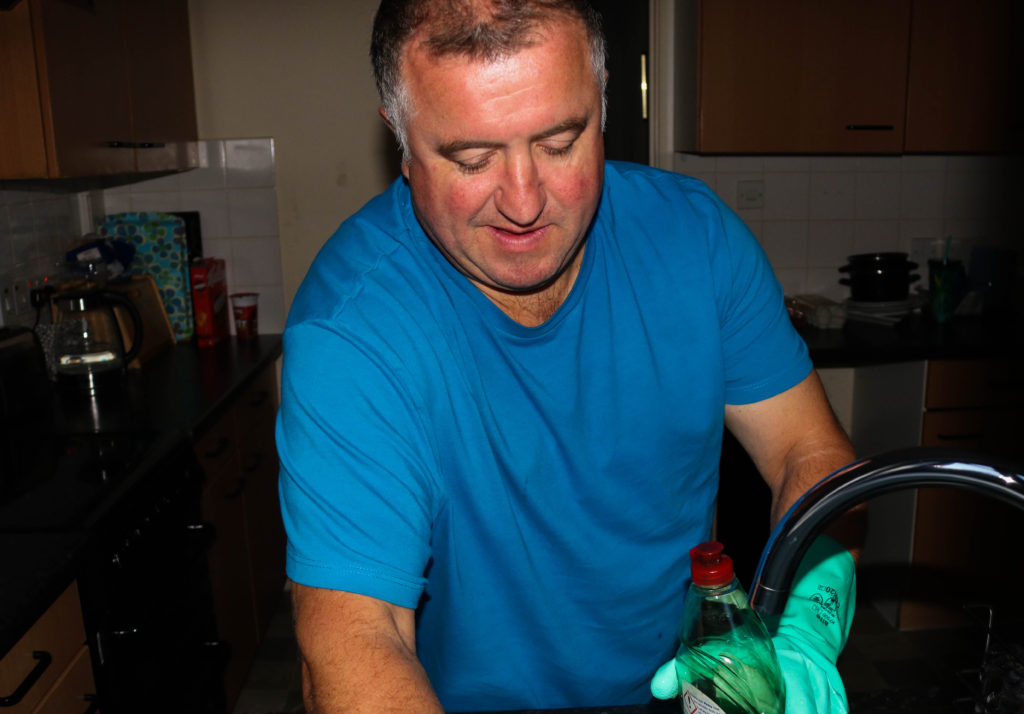
Technical: I took this image using manual focus so that the hand was very clear, and the background slightly blurred. I used a shutter speed of around 1/250, and flash to brighten the scene,
Context: I took this image of my dad while he was in his home office.
Visual: It is clear that this image was taken from an unusual perspective as were able to see a side view from behind the subject. The background is filled with books and stacks of paper making it clear that it is an office environment. we can also see a faded tattoo on the subject’s hand.
Conceptual: I think that this image is very interesting as we cannot see the subject’s face, however we still see some elements of their personality through the background and through the tattoo.

Daniel Meadows
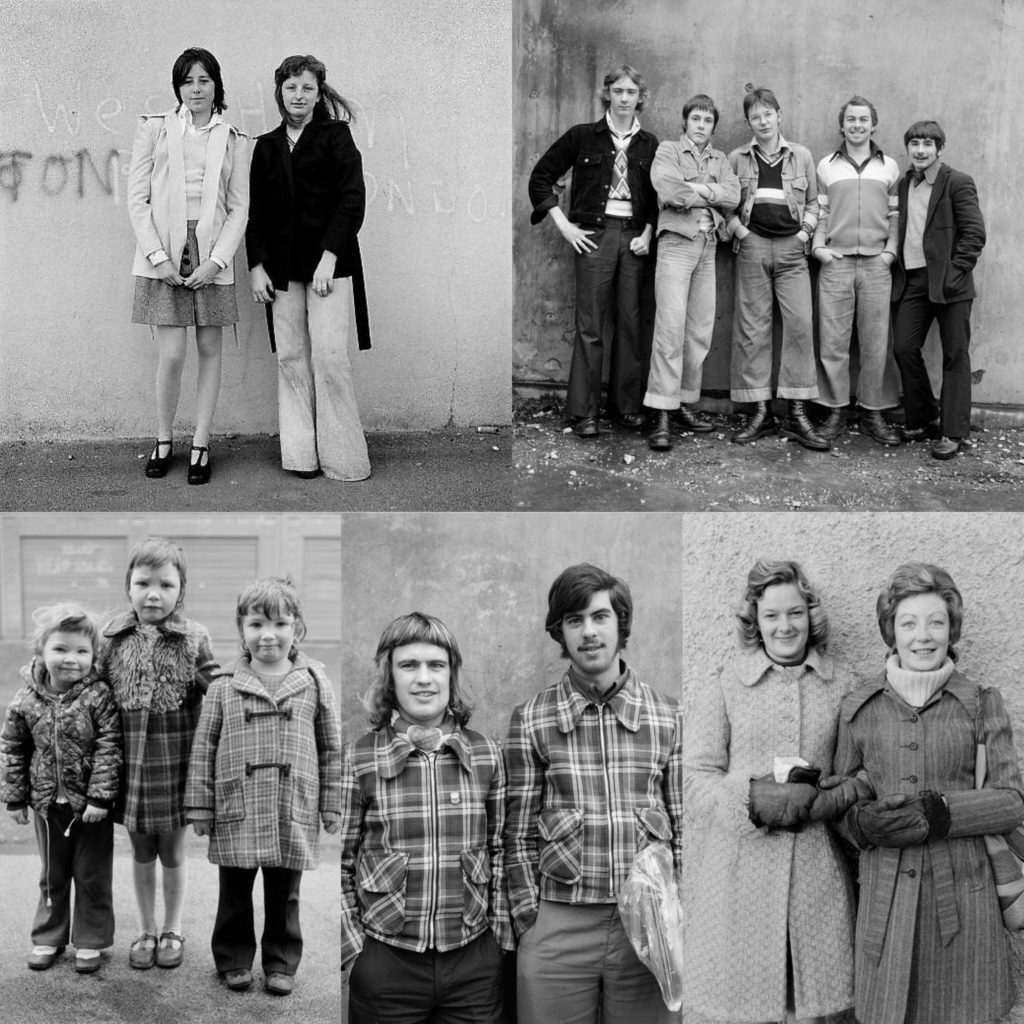
Daniel meadows was born in Gloucestershire, England on the 28 Jan 1952.

“As a photographer, my principal subject was – and remains – the British people,” – Source

From January 1972 he rented a barber shop in Manchester and invited people in to have their portraits taken for free. He team out of money in two months but had gained good experience. In the 70s he became interested in becoming a teacher and was invited to help teach documentary photography at Newport college of art and design.

“I’m not interested in celebrities, just ordinary folk.”– Source

Environmental portrait shoot

Plan:

After looking at Daniel’s work, I like how he took images of people who weren’t as personal to him. I plan on taking images of one of my friends in their bedroom as I feel it is a personal environment to them and it allows us to see elements of their personality. This shoot with be slightly more staged as I will need to position the subject in order to get successful environmental portraits and the subject will be more aware of my presence.

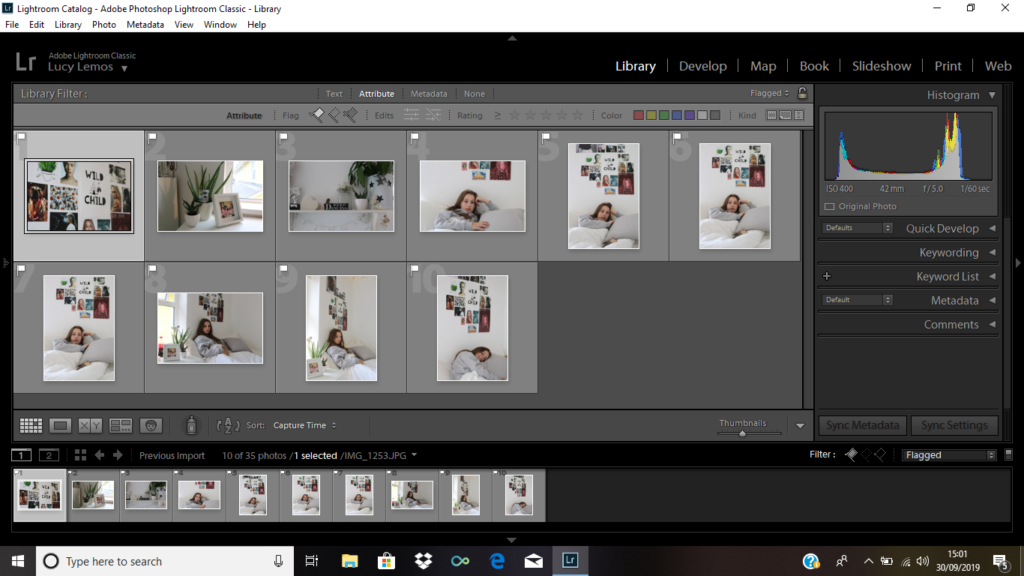
Here are all the outcomes from the shoot.
Here you can see the images I flagged s part as my 1st selection
Next I colour coded the images based on how successful I thought they were

Edits:

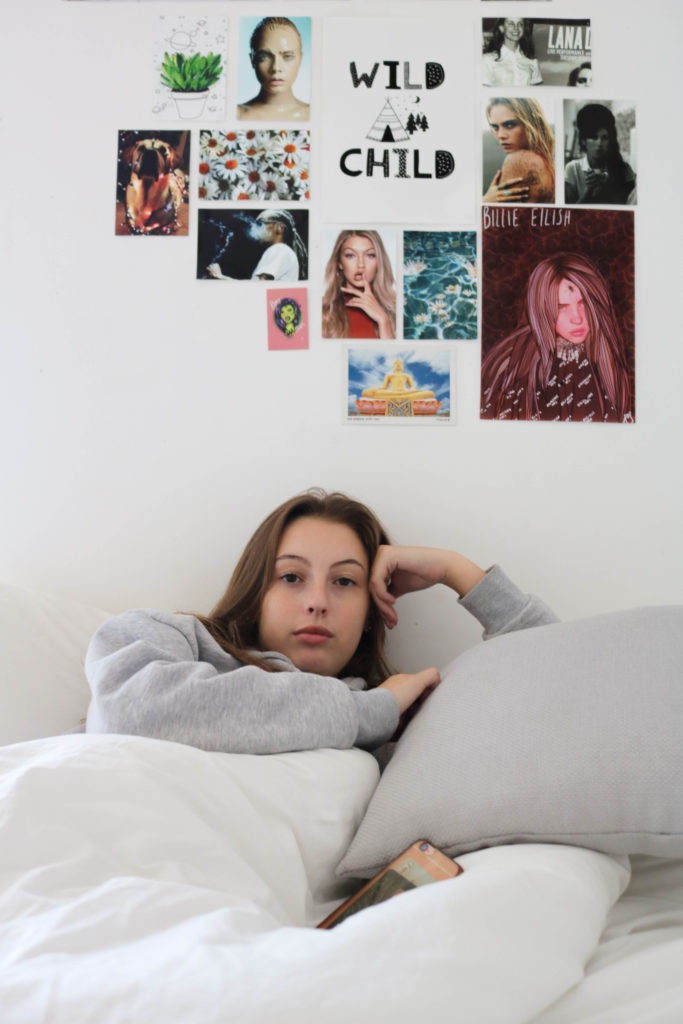
To edit this image, I increased the contrast as there are a lot of different colours in the images on the wall, and I wanted them to stand out. I also increased the highlights and decreased the white. All this combined helped the white balance look more appropriate and it also helped add more colour to the photo.
Although this does not show the subject, it allows us to learn about them since it shows their interests and what sort of images they like.
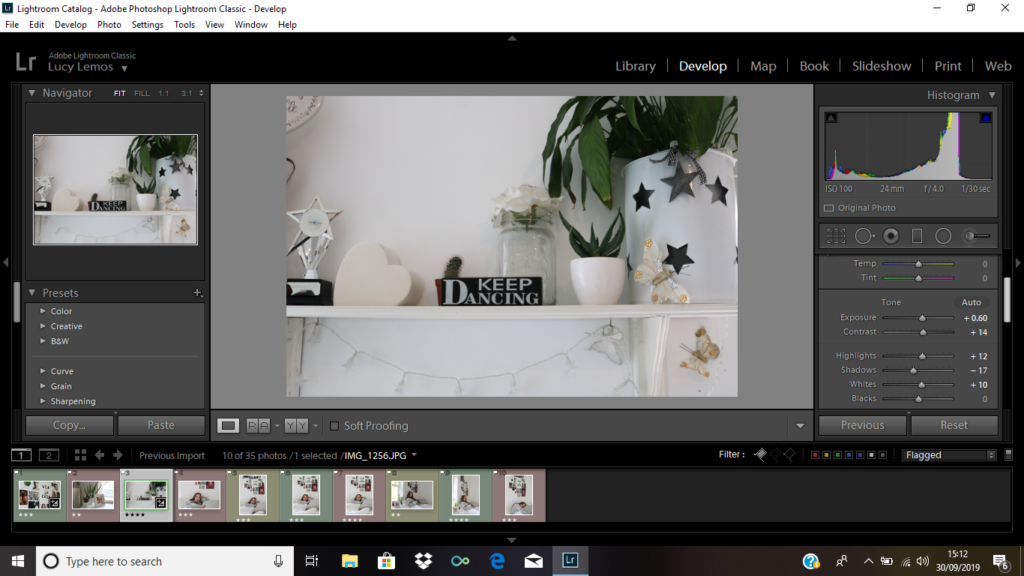
To achieve the outcome below, I increased the contrast slightly to make the green and black look more prominent amongst all the white. I increased the highlight and white in order to make the overall appearance of the photo appear brighter. Decreasing the shadow helped make the image less dark.
I think that this image is successful as it shows the subject’s passion. It is clear from this picture that the subject is a dancer or enjoys dance as we can see a sign referring to the activity and because we can also see a trophy to the left which may have been dance related.
to begin, I slightly increased the exposure because I thought my image looked slightly dark. I then increased the contrast in order to make sure the image didn’t look over exposed. I then increased the highlights so that the picture looked brighter, and I decreased the shadow to make sure the overall aesthetic of the photo was bright.
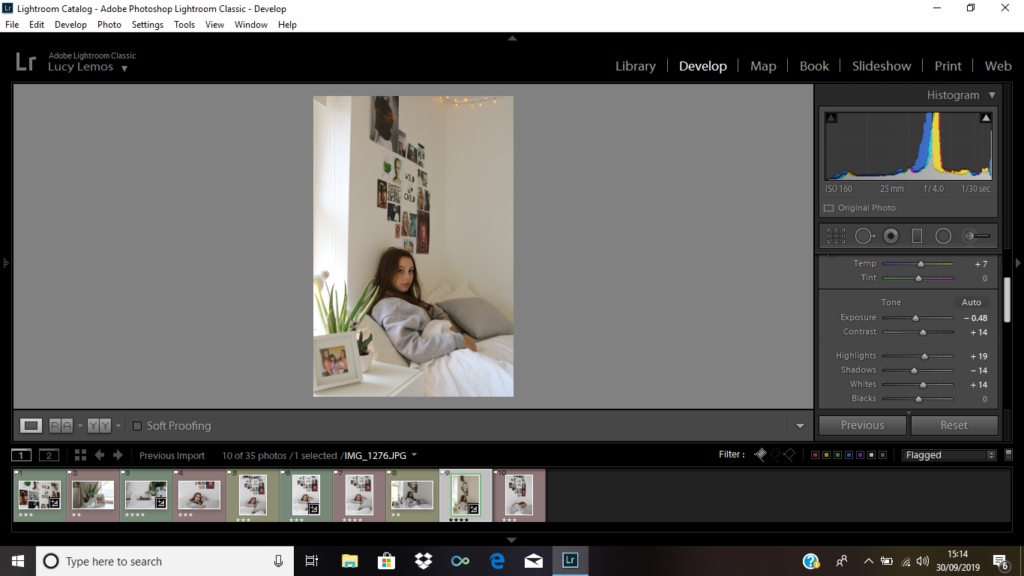
To begin with, this image was slightly over exposed due to the excess light coming in from the window. To fix this, I decreased the exposure until I felt the picture looked balanced. I then increased the contrast so that all the colours in the photo didn’t look washed out amongst the white background. To make sure the room looked clear and bright, I increased the whites and the highlights. One aspect of the image I really wanted to capture were the fairy lights. However since it was still very light outside I was not able to capture the slight yellow tint they were emitting. Because of this, I increased the temperature to a point where I felt it looked quite natural and as it it was due to the lights. This was important for me to capture as I felt like it makes the image look more homely and cosy, and less cold and clinical.

Technical: This picture was taken using portrait mode, and the exposure time was 1/30.
Context: I took this image of a friend in their bedroom.
Visual: In this picture we see a subject in bed. The image is very bright and the background appears very white and clean. On the bottom Left hand side of the image we see a photo frame with an image in it, and 2 plants. Behind the subject we can see an image wall which resembles a mood board.
Conceptual: The main concept of this picture was to try and capture the subject’s personality. The picture frame on the side does this as it shows the subject’s friends. We can also learn a lot about the person through the images they chose to display on their wall. The fairy lights also add a homely warmth to the image.

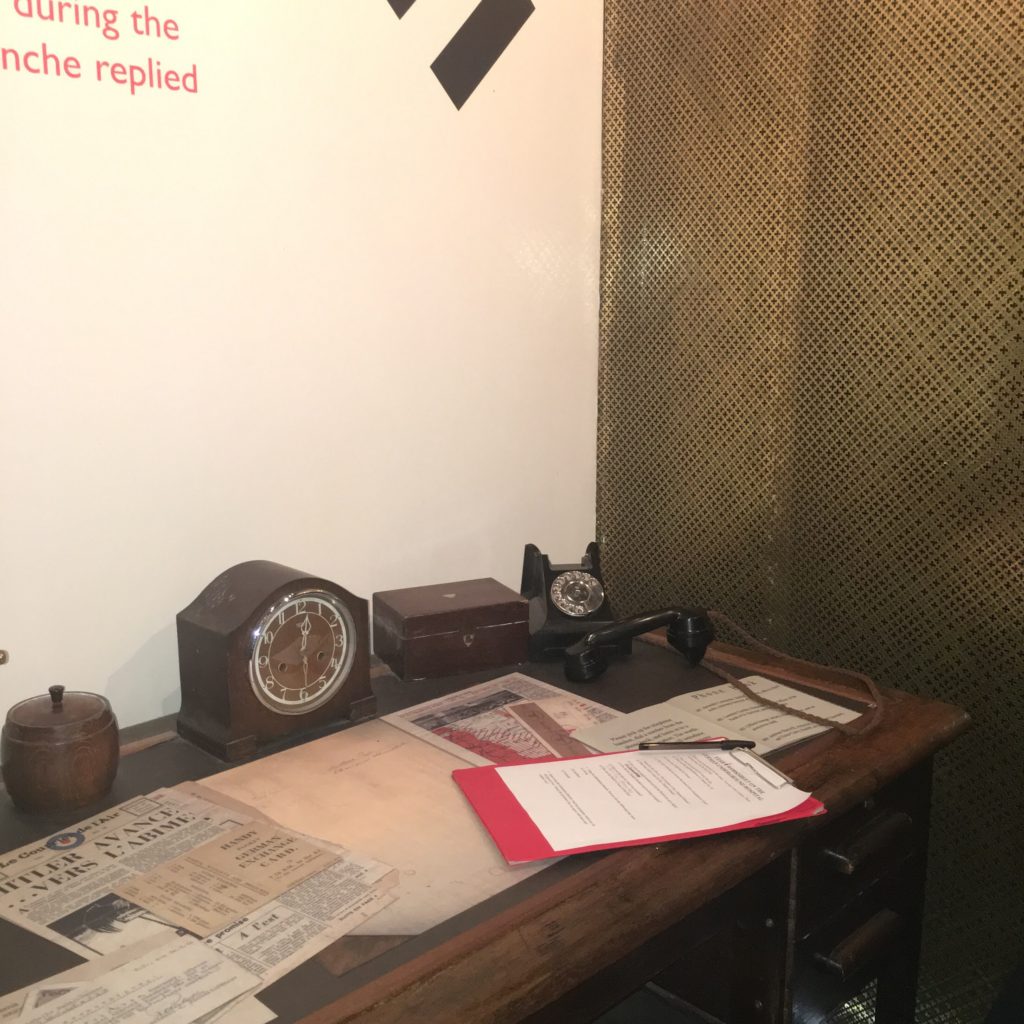
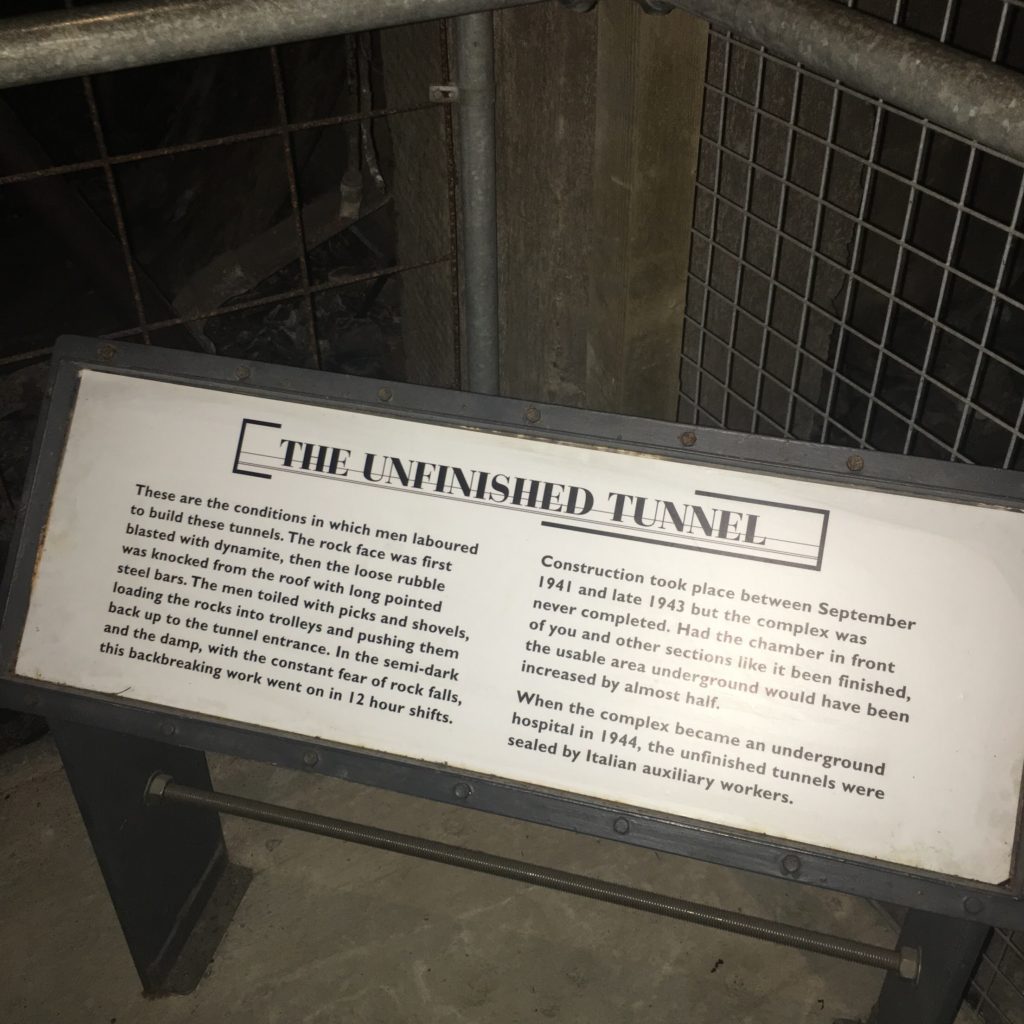
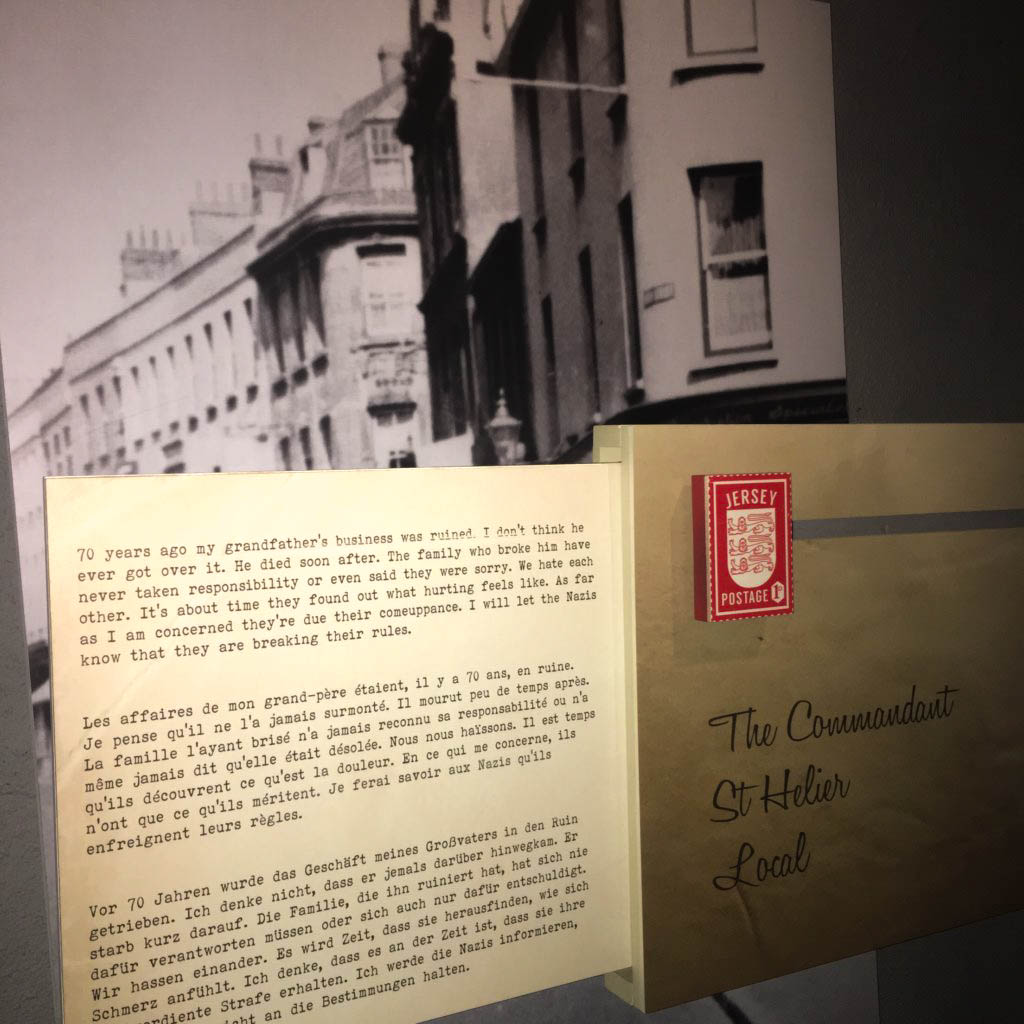
Jersey War Tunnels

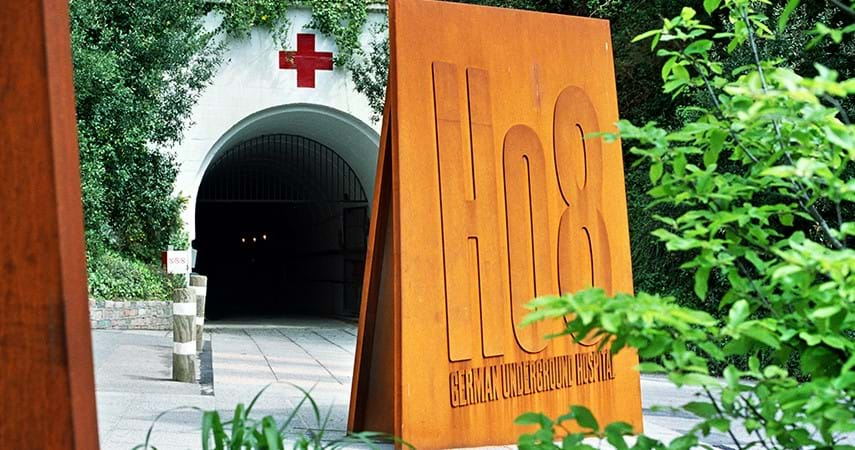
“Hohlgangsanlage” are a number of tunnels that were constructed around Jersey during the occupation by slave workers from all over Europe. Hohlgangsanlage (shortened to H0) translates to “cave passage installations” which the Germans intended to use as storage spaces to protect troops and their equipment. Although they are all quite large, every tunnel, excluding HO5, remains uncompleted. Jersey law states that landowners own everything beneath their land until the centre of the Earth, meaning that all the tunnels are privately owned.

“The true story of life in Jersey during the German occupation. The hardship, the heartache and the heroism, in the words of the people who were there. “

Source

H08, which is The Jersey War Tunnels, is the only tunnels that is open to the public without needing permission from the landowner. It was opened in 1946 and operates as a museum.

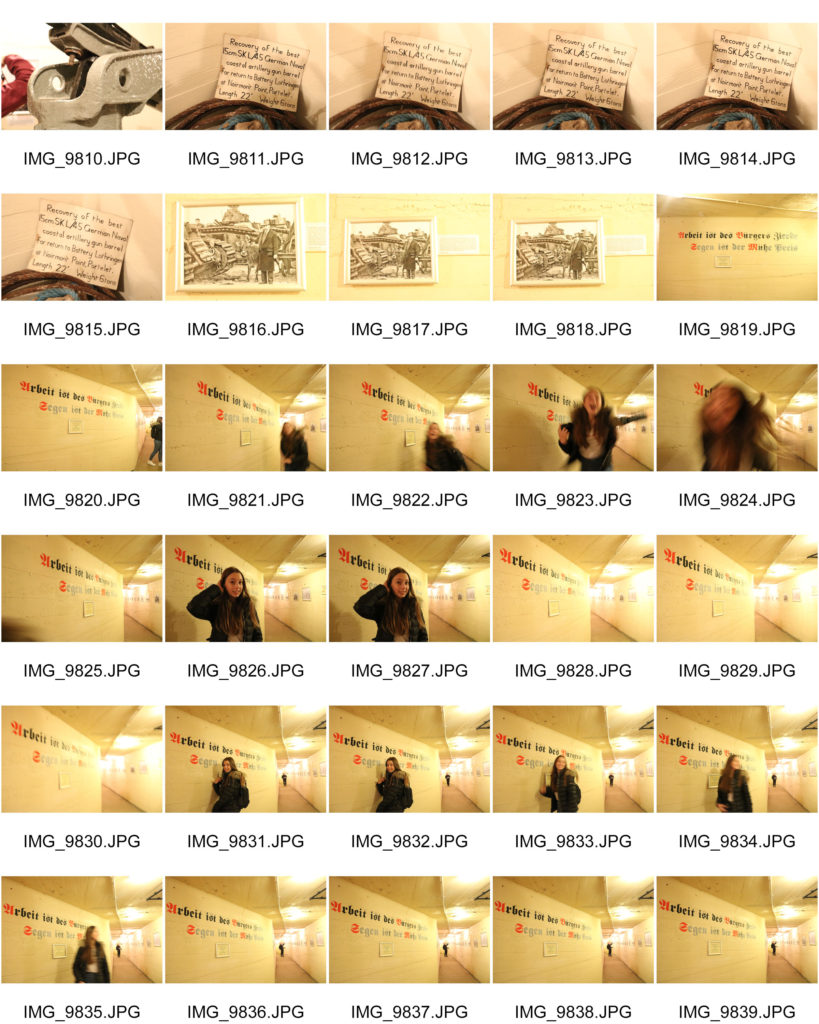
Images

Edits

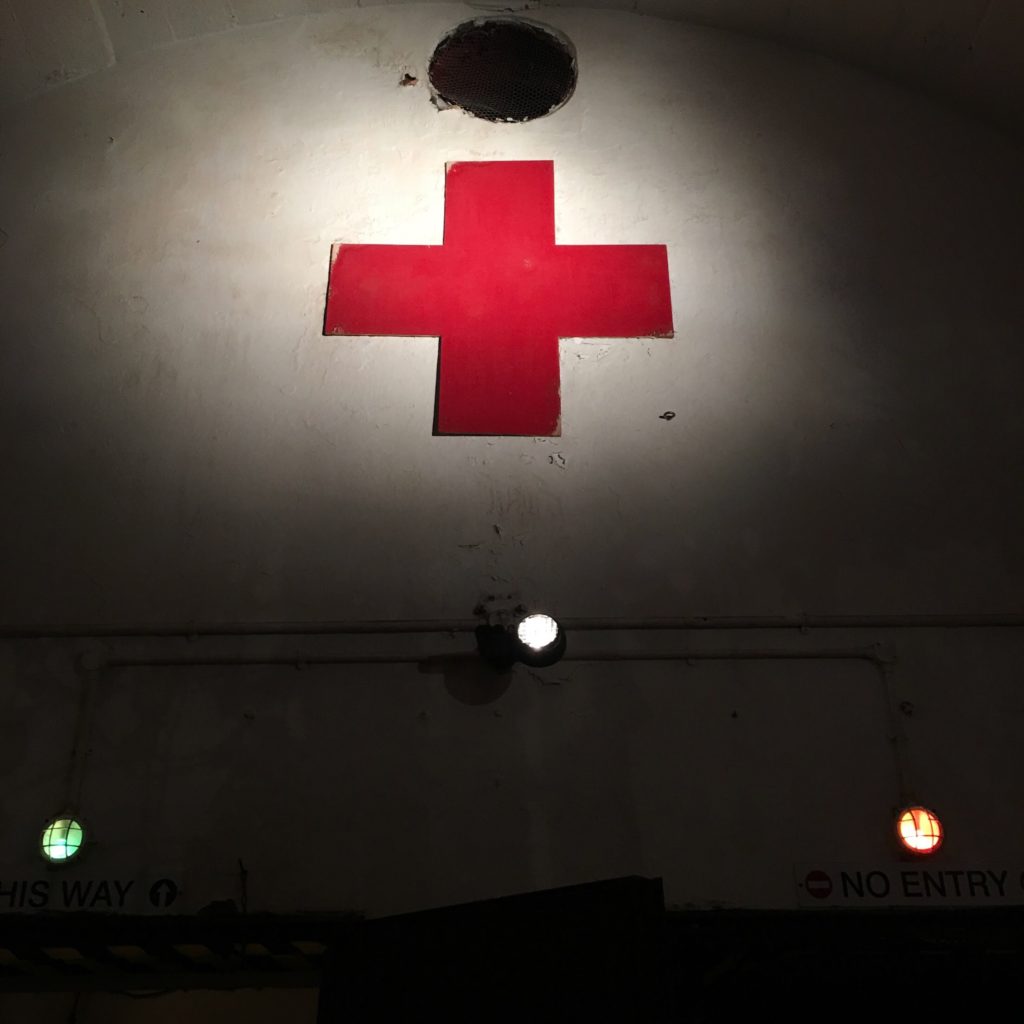
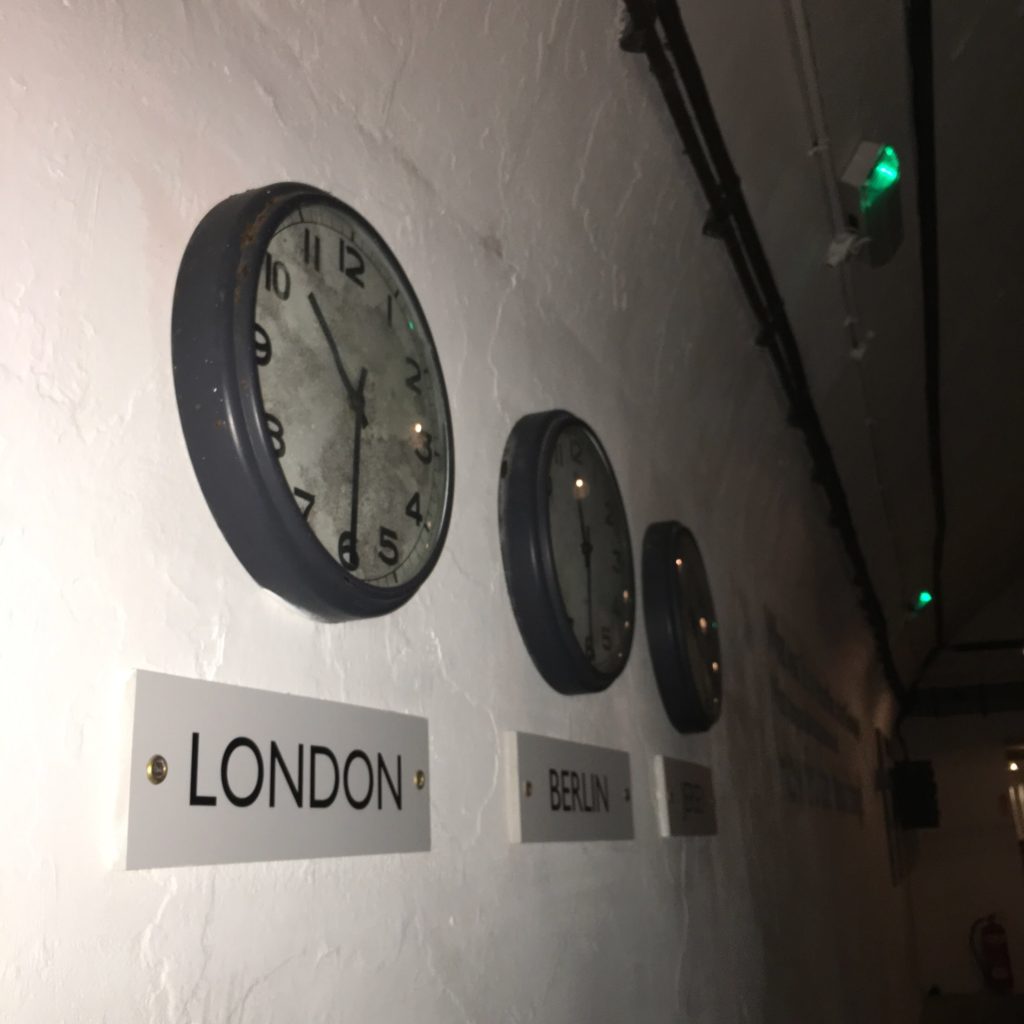
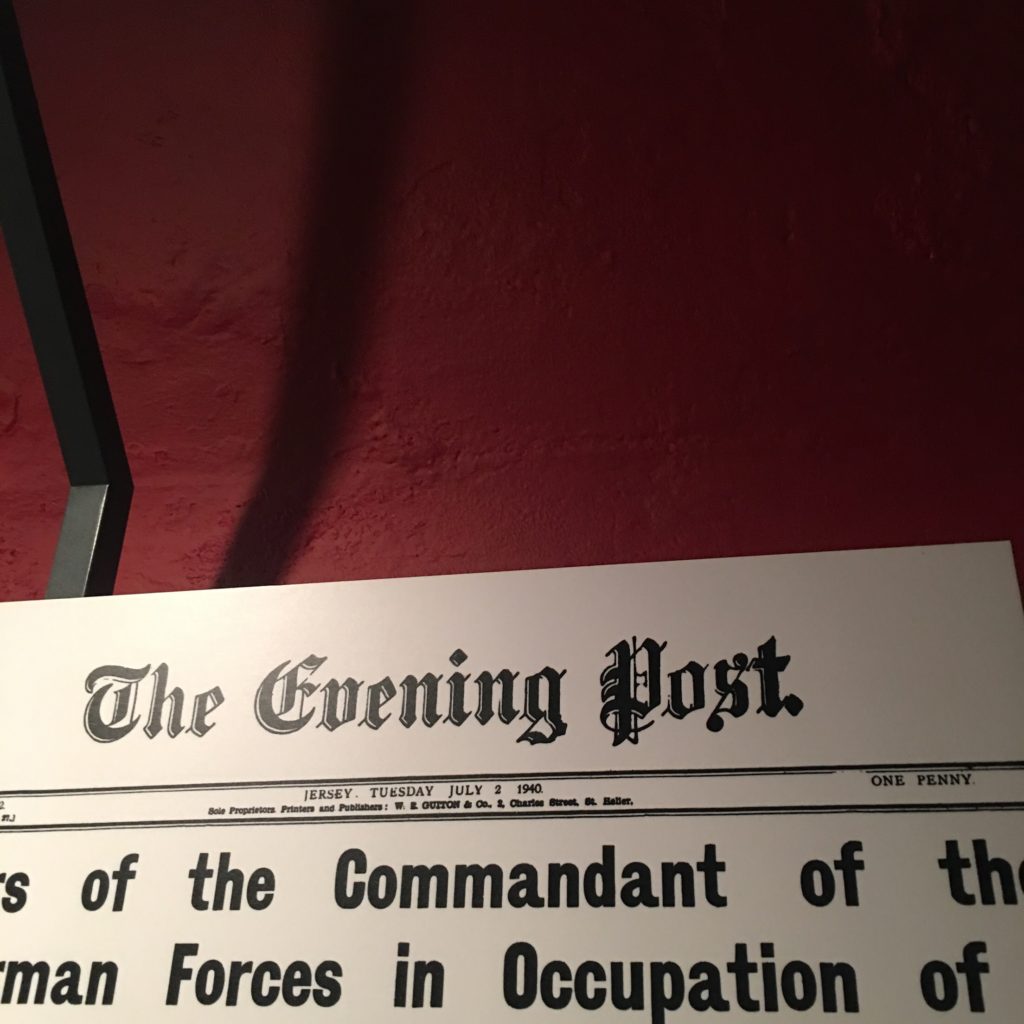
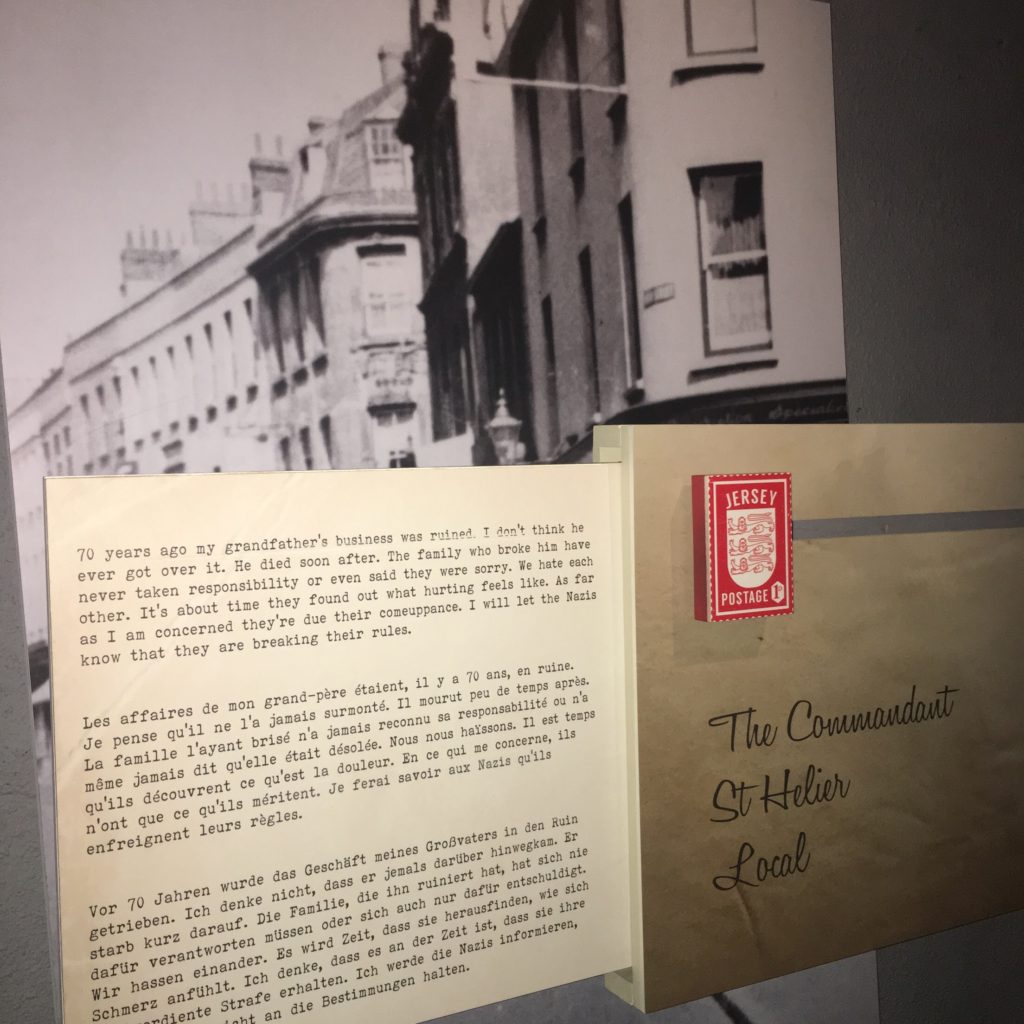
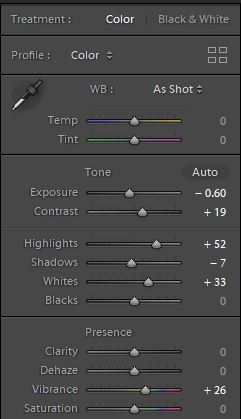
To get the result below, I decreased the exposure in order to make the image darker then I increased the contrast in order to make the colours stand out. Increasing the highlight and whites allowed the white of the newspaper to stand out. I increased the shadows in order to make the black shadow on the wall to stand out and make the image look more dramatic.
I deceased the exposure to make the image seem darker, and I increased the contrast in order to make all the different layers on the picture stand out amongst each other. I increased the vibrancy and the highlights in order to make the colours in the image stand out.

Case study: Henry Mullins & Yury Toroptsov

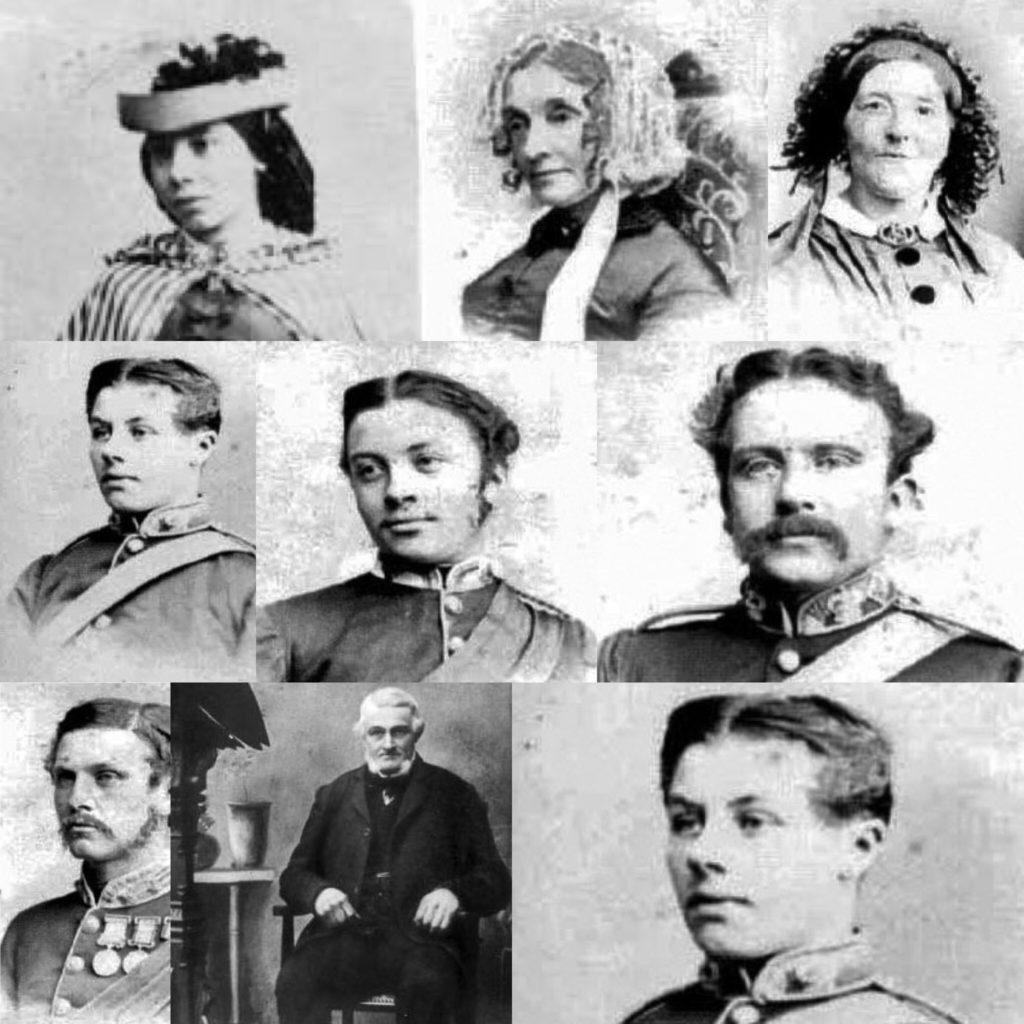
Henry Mullins

Henry Mullins mood board.

Images are not my own.

Henry Mullins moved to Jersey in 1848 from London. He was the first professional photographer to come to Jersey and establish a portraiture business when photography was still new. Many of Mullins’ images are held in the Société Jersiaise photo archive depicting Jersey people from his era. Henry charged Jersey’s residents half a Guinea to have their portraits taken by him.

Overview of his work

Mullins is known for taking environmental style portraits. His style appears to be very formal and proper which is typical of the early days of photography he worked during. His approach, much like his style, is also very formal. As you’ll see in the mood board on the left, he positions his subjects in the centre of the frame, using very polished backgrounds. This style of portraiture is quite limited compared to candid portraiture as not being able to naturally see people in action means we learn less about subjects through the image.
Analysing his image

Contextual: This portrait is called “Mr Anley”
Visual: In this image we see a man in the centre of the frame. The background is a plain white colour which shows that the photographer wanted the focus to be on the person himself. The subject is positioned at an angle where we see the left side of his face facing the camera. Something that immediately catches my attention is the person’s attire. It appears as if he is wearing some sort of military uniform as we can visibly see many medals on the uniform.
Conceptual: I think that Mullins wanted to emphasise the fact the man was military involved as his clothing is the only distinct part of the image which gives some indication to the person’s identity, history and story.
Technical: The subject is at the centre of the frame and the image is black and white due to the era this was taken in.

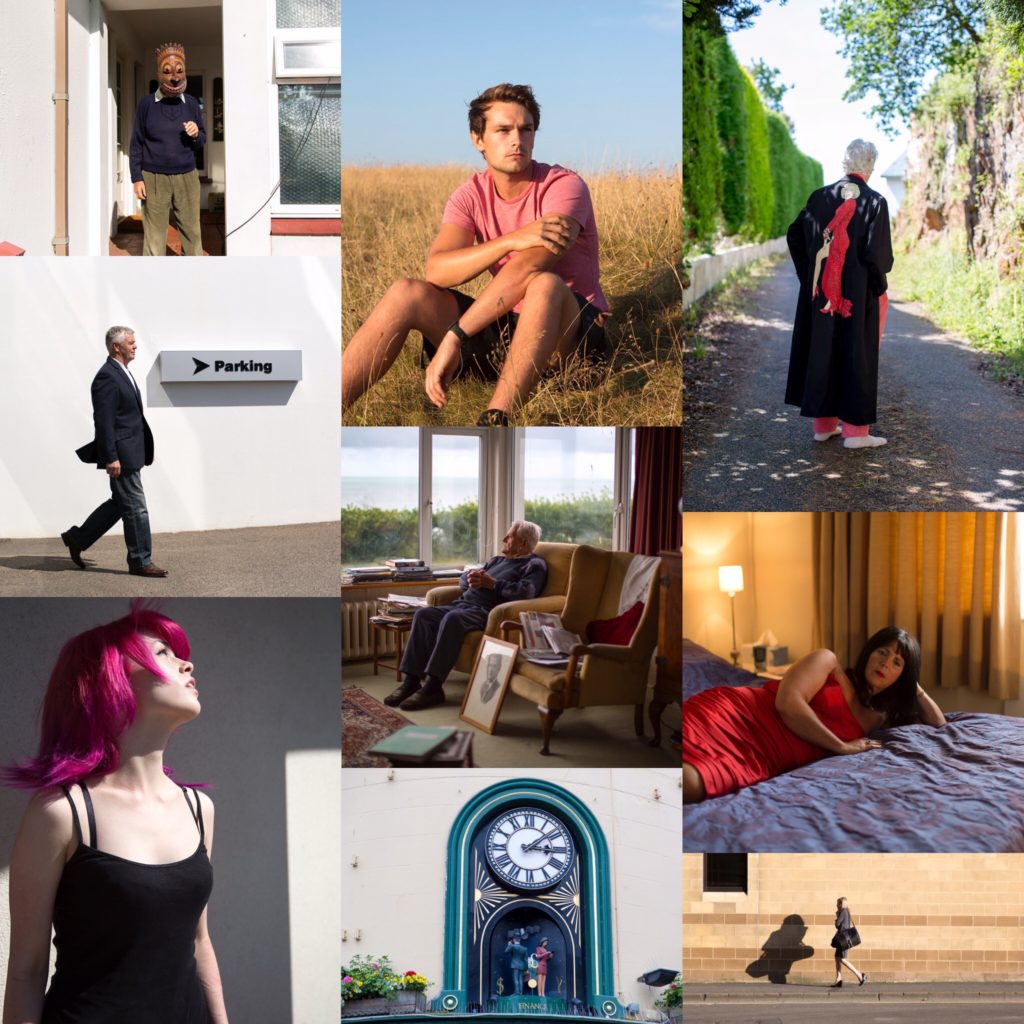
Yury Toroptsov

Yury Toroptsov mood board.

Images are not my own.

Yury Toroptsov is a native Russian photographer based in France. He spent 6 months in Jersey due to a photography residency. His project “fairyland” was commissioned by the Société Jersiaise. Yury decided to name the project “fairyland” after seeing a float from the Jersey battle of flowers parade with the same name. He then researched the concept of “fairyland” further by visiting the Jersey archive to find out that one of the 1937 battle of flowers floats-created by the Vibert family- had the same name. He then found negatives of cattle photographed in the 1900s, and saw that cows and bulls in that era would have names like “fairy maiden” and “fairy boy”. His Video goes into a little more detail about his inspiration for the project, and explores the whole concept of “fairyland” in depth.

<a href="http://”>Video

Overview of his work

As you can see in the mood board above, Yury took a more modern approach to portraiture. Unlike Mullins, his subjects appear to be photographed in seemingly normal surrounding and not appearing overly “clean-cut”. I think this approach to photographing people allows audiences to understand and be able to more realistically see the people in the photos. You can also see that Yury also takes more candid images of people, and he also captures objects in to show Jersey’s identity. I think that Yury’s style is a lot more contemporary, which could perhaps appeal to a more younger generation.

Analysing his image


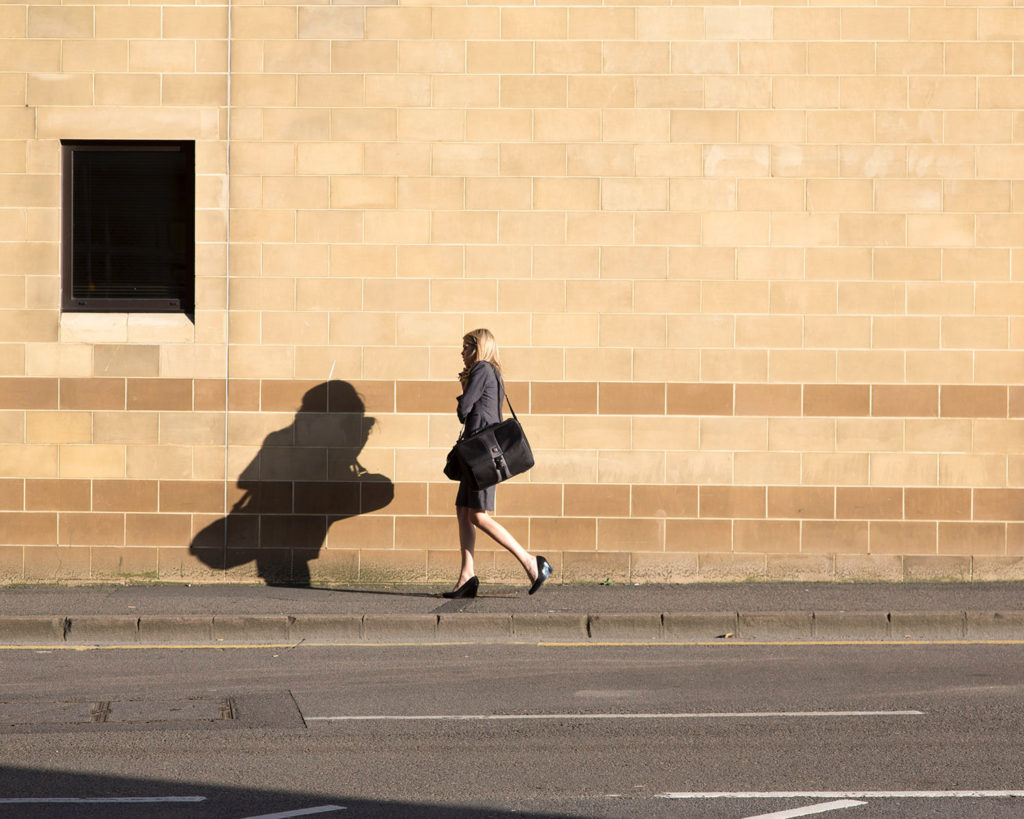
Contextual: This is an image of a person walking down a street in Jersey.
Visual: In this image we can see a lady walking down the street. She is wearing formal attire which probably means she works in finance as this was something that intrigued Yury about Jersey as he mentioned it in the video linked above. The image is taken from far away which means we can’t see many of the lady’s features. We can also see a shadow from the person as the sun is beginning to set, which further supports the theory that she works a finance job as this is the typical time a person working in finance would finish.
Conceptual: I think that Yury wanted to show the “finance” aspect of Jersey in a more fun and mystical way to fit in with the “fairyland” theme. I think he manged to do this well in the image with the shadowing and the different lines and textures in the image created by the road and brick wall.
Technical: The woman is positioned in the middle of the image and the photographer appeared to use natural lighting from the sun.

Narrative and sequencing

Narrative: What is your story?
Describe in:

  • 3 words

Effects of the occupation

  • A sentence

I want to show how the occupation has effected Jersey in a physical, and historical way through exploring shapes and textures.

  • A paragraph

My zine will contain images I took of bunkers and around St. Helier. The images from the bunkers show how the fortifications were a big part of German occupation and how they are still around Jersey’s coast lines which is the physical effect of the occupation. The images from around St. Helier show the effects of the occupation in a more historical way since Jersey’s main town contains many reminders of important historical events, such as liberation day.

Sequencing: The order of your images

  • Produce a blog post where you evaluate your first sequence of images, reflect on what story you are trying to communicate and how you can improve and develop your narrative.

1st layout

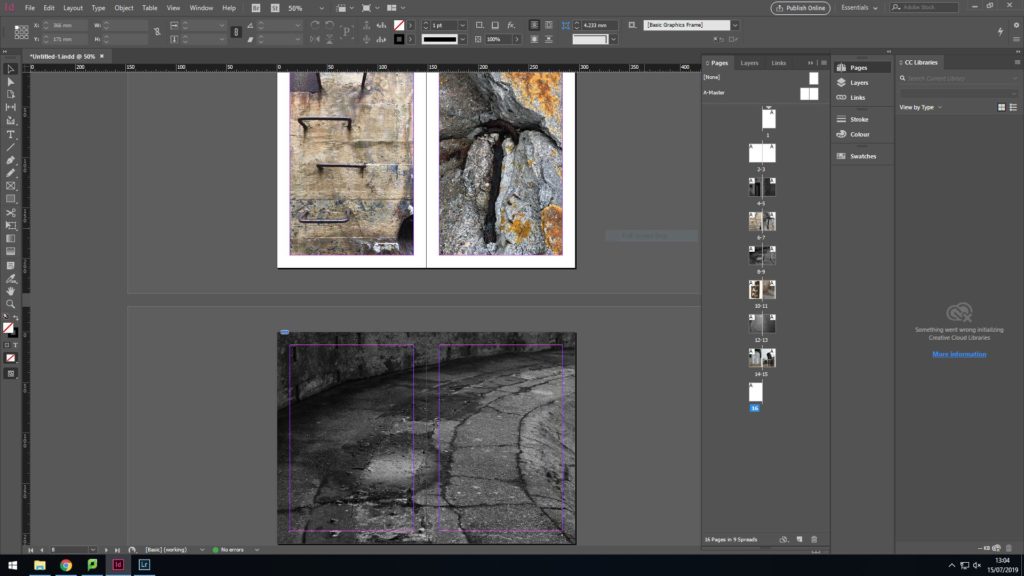
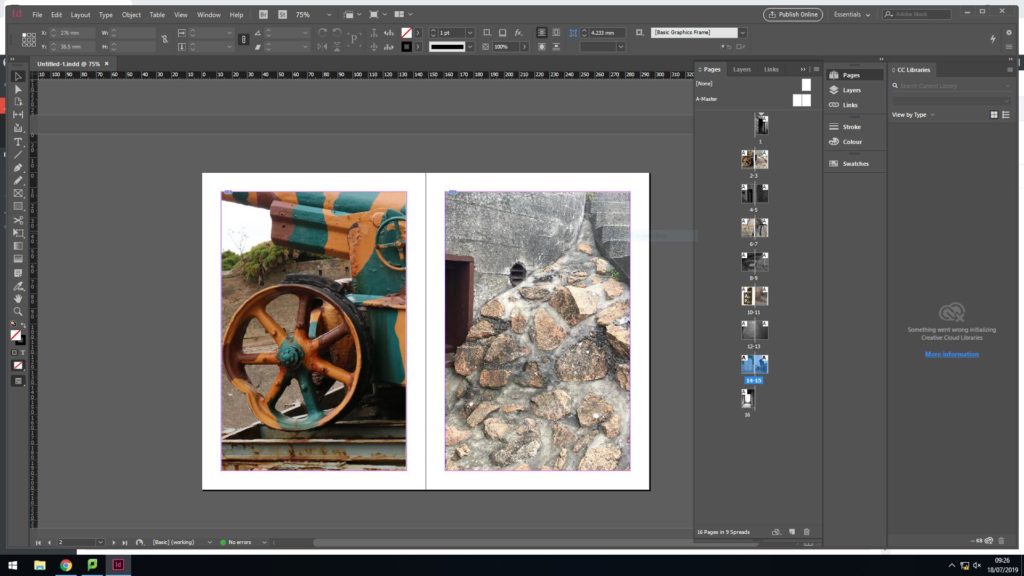
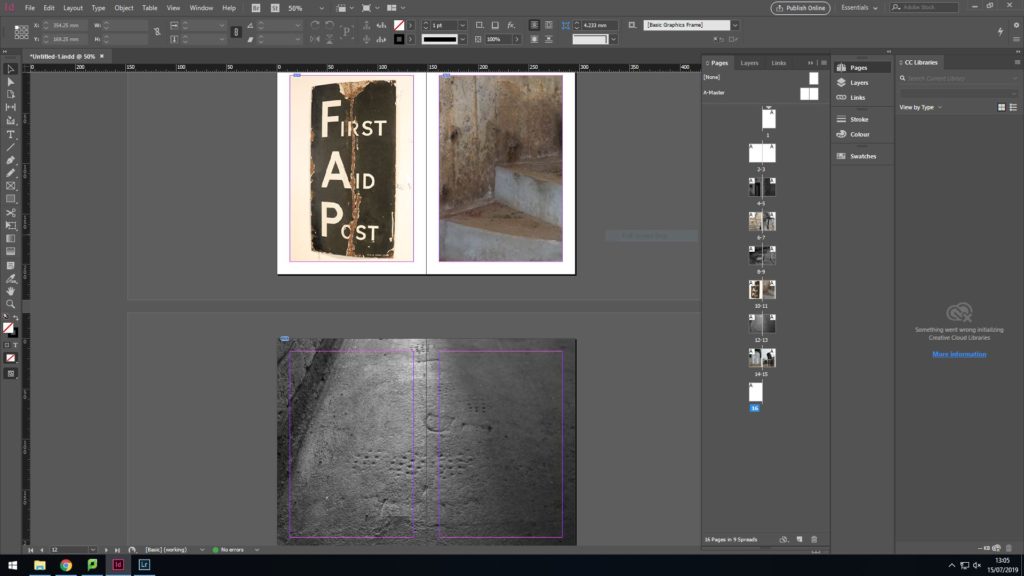
I wanted my zine to have a mixture of full spreads in black and white but also individual images on each pages in colour so that colours and textures can be seen clearly.

The 2nd set of individual images were pictures i had taken at Noirmont. I chose these 2 images because it is clear to see different colours and surface textures but they also show the effect of the occupation in a physical way. The double page spread is an image of the floor in black and white which shows how the gun at battery moltke used to be able to mover around. In the image you can see the remains of how it used to be able to turn 360 degrees. I think this image is a good divider from the colour images since the black and white conveys the fact that it was a time of hardship.
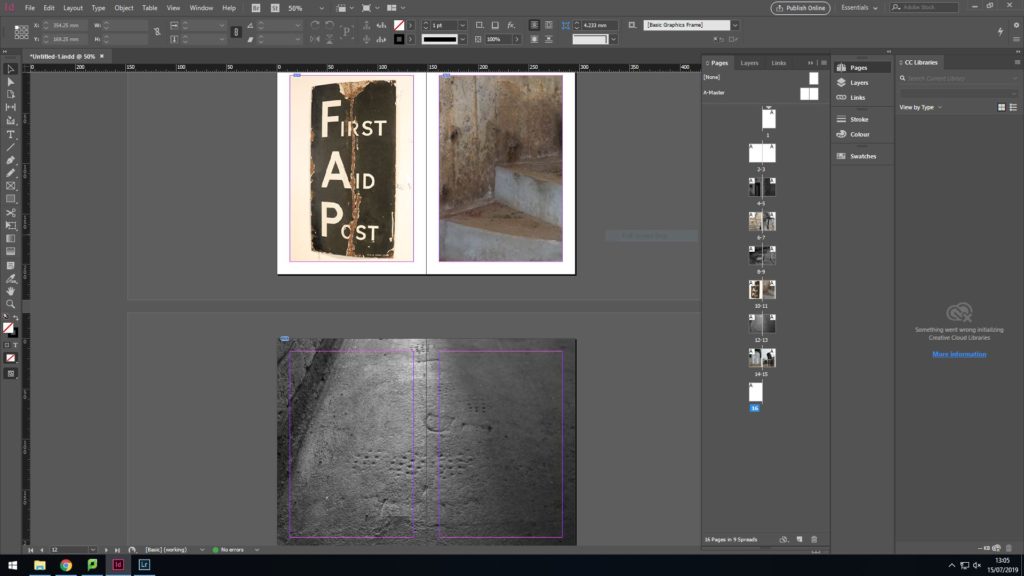
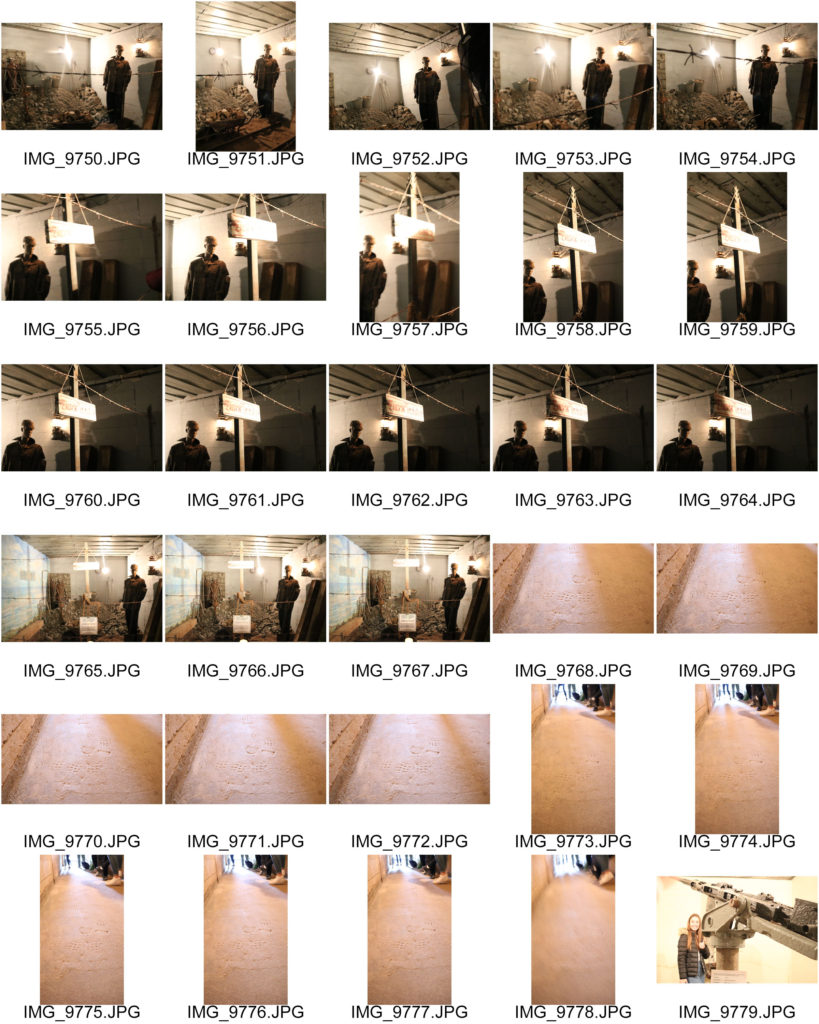
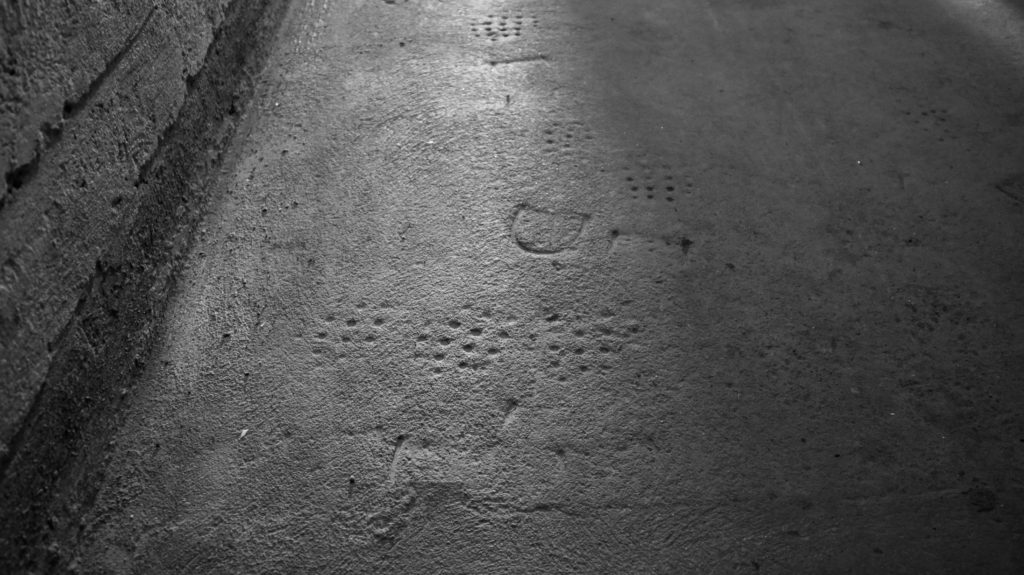
I then chose 2 images which i had taken at battery moltke, which shows a first aid sight and an abstract image of the bunker stairs. I think the image with the 1st aid sign is interesting because you can see the texture of the sign very well, and the images of the stairs shows how old it is due to all the colours. The black and white image i chose to used for my double page spread is an image I took of the foot prints of German soldiers in the concrete of battery motlke. I chose to have this image in black and white to symbolise how it is in the past and also because it allows the image to have a deeper contrast meaning the foot prints are more visible. I think it also helps draw out emotion from the audience.
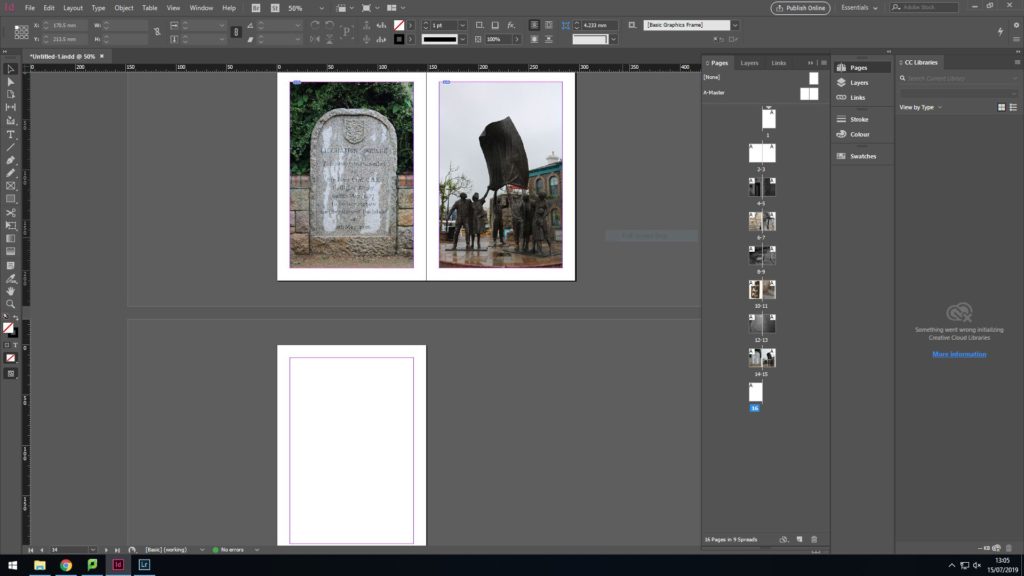
since the last 2 sides were the end of the booklet, i wanted to represent Jersey’s liberation since i wanted a loose chronical order to the zine, I chose to have an image of the liberation memorial since it liked hoe the 2 different types of concrete contrasted each other in order to help the memorial stand out. I also chose an image of the liberation statue because i thought that the shape of it is very intriguing

2nd layout

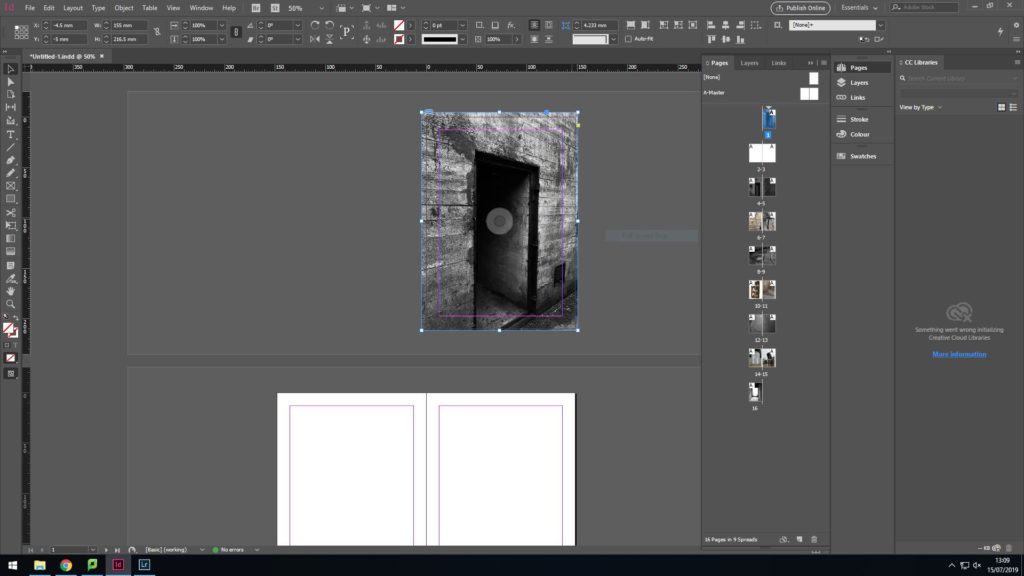
During the 2nd edit I finalized what images i wanted to display on my front and back cover.

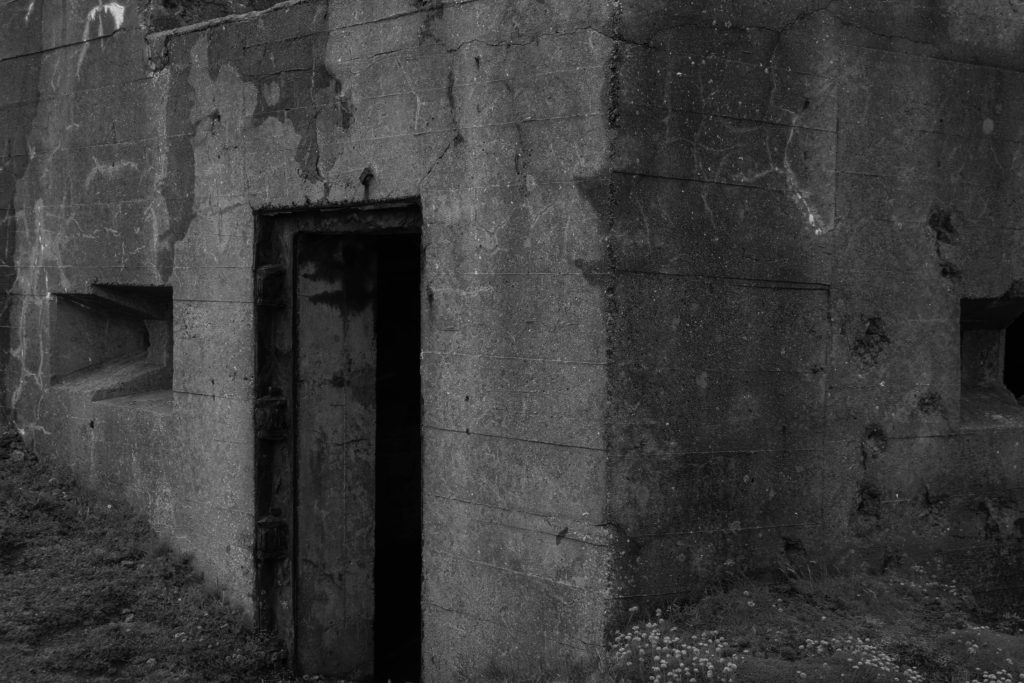
For the front cover i chose to have an image i took of an entrance to a bunker from the outside. I then edited this image in light room so that it looked very dark and dingy. I wanted to do this as it symbolises the beginning of the war and the beginning of a difficult period of time.
In contrast to the front cover, my back cover shows an image i took of the entrance of a bunker from the inside. I edited this image to look very bright as it symbolises the end of the occupation, and the end of dark times.

3rd layout

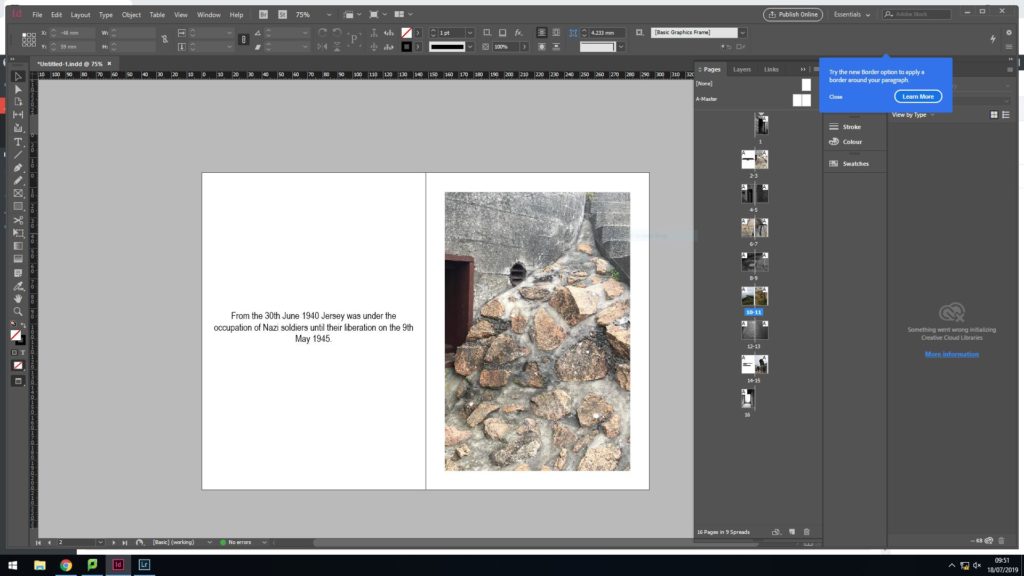
To fill in my beginning double pages pages, i wanted to place some images showing colour and texture. I do think my images look good together individually, however i think the dramatic contrast in colour makes it look like the image don’t go well together.
I thenc hose to keep the image on the right as i feel it fits in more with all my other images since the image i previously had on the left was too bright and colourful to fit in. I then experimented with text instead of trying to find another images that fitted in. Since it was the beginning of the zine i chose to have a little bachground context in order to properly introduce my images.

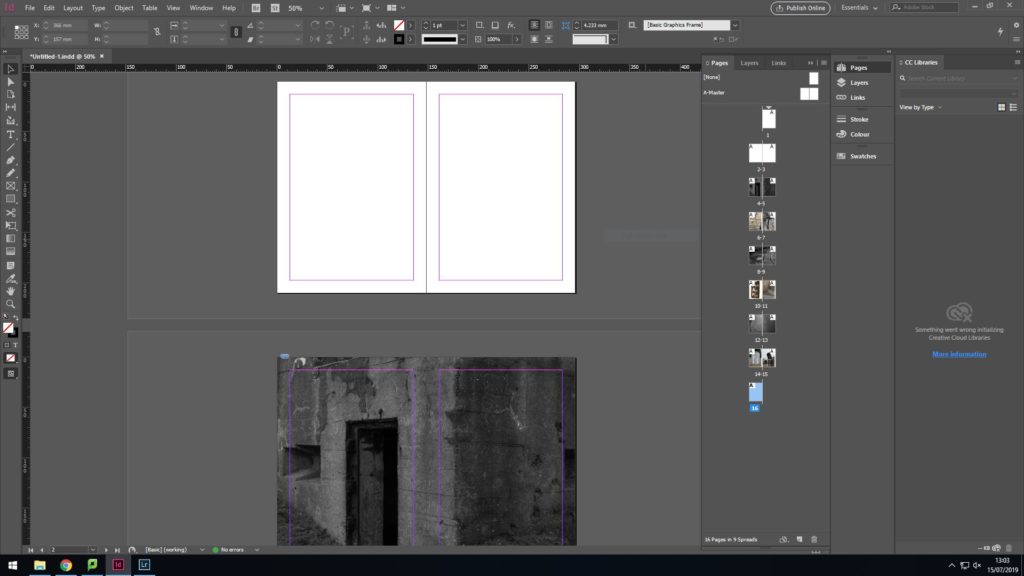
Initially, the 2 images I had on these pages where the first aid sign and the stairs. As i analysed it further, I didn’t think these 2 images were similar enough to complement each other. The screenshot on the right shows the 2 new images that i replaced the original 2 pictures with.

Zine research and analysis

Artist research: Dale Konstanz


Concrete Jungle – Mood Board

The 1st zine I looked at was Concrete Jungle by Dale Konstanz. This zine initially attracted me because of the name. I like how the words concrete and jungle contrast each other in the sense that one is man made and the other occurs naturally. I also really like how there was a semi-transparent border box around the title since it means the writing is very clear, yet we are still able to see the background image.

  • Format, size and orientation

The zine is A5 portrait, most of the images are full spread landscape images that go across both pages. This means the zine is nice and compact, yet not so small that the images cant be seen clearly.

  • Design and layout

The layout of the zine is interesting all of the images are a full bleed onto two pages. This helps the images to appear more successfully as they’re presented clearly and largely which allows details to be seen easily.

  • Rhythm and sequencing

This zine simply shows images of man made structures with nature elements. All the images go together in rhythm because they’re all double page, full bleeds meaning they complement each other well.

  • Narrative and visual concept

The zine’s narrative is interesting as it depicts images of concrete walls surrounded by natural elements.

  • Title and cover

The title is one of the things that initially attracted me. It is simple, yet effective enough that it looks aesthetically pleasing. The title’s font is simple, and black. The front cover has the title written in a semi-transparent box with another image behind it. I think this is successful because it allows the audience to see the title clearly and it’s attracting because you can also see an image behind it

Developing and experimenting- Black and White

In this blog post I will be experimenting with radical changes with some of my favorite images. I will be experimenting with tones and contrasts in order to make some images black and white.

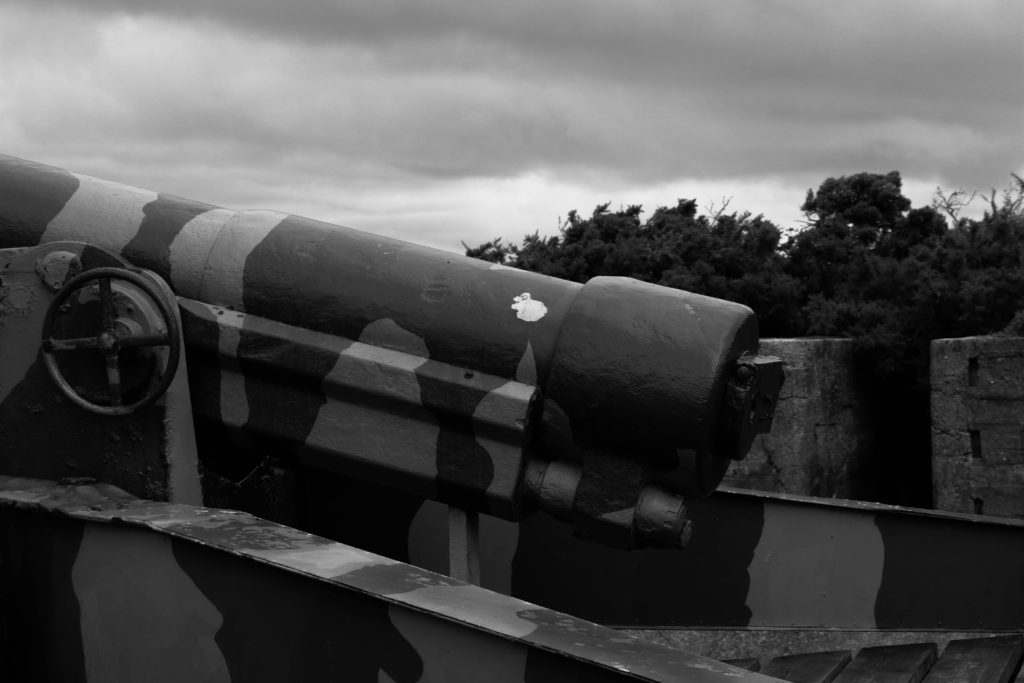
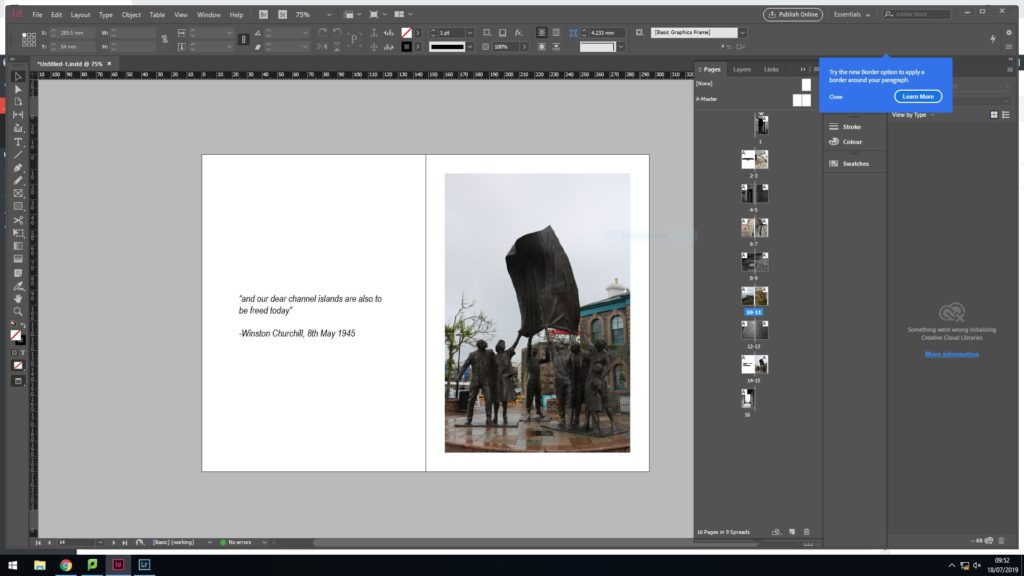
Here I put the image into black and white and I increased the contrast because I thought that the different colours on the guns could really stand out next to each other. I increased the whites and highlights in order to make the brighter colours even more prominent.
Final image
For this image I did something similar to my previous image. In this image I increased the contrast and shadows, and I also decreased the exposure. I dd this because my image has lots of walls facing different ways and by increasing the contrast you are able to see a variety of different tones in the photo. The darkness also symbolises how the occupation was a dark time for both the soldiers and the islanders, so i wanted a sort of aura of tragedy surrounding the images of the fortifications.
To edit this image I majorly increased the contrast because the image was quite bright, and I also decreased the exposure to make the image seem even darker. I did this because I wanted to show how the foot prints of the German soldiers are in the past and also to make the concept of the occupation feel sadder.

Developing and experimenting- Cropping

Cropping is a way of manipulating images where you can get rid of certain parts of the image. It can create different impacts because you get rid of some parts of the picture that can give an audience context. This means that you can obscure different aspect of a photo in order to contextualise.

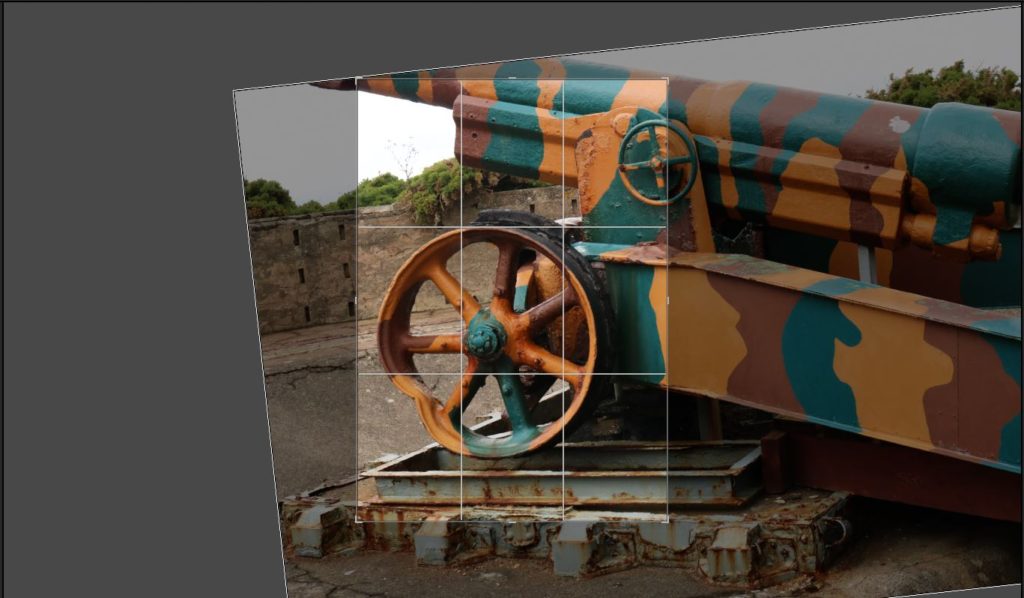
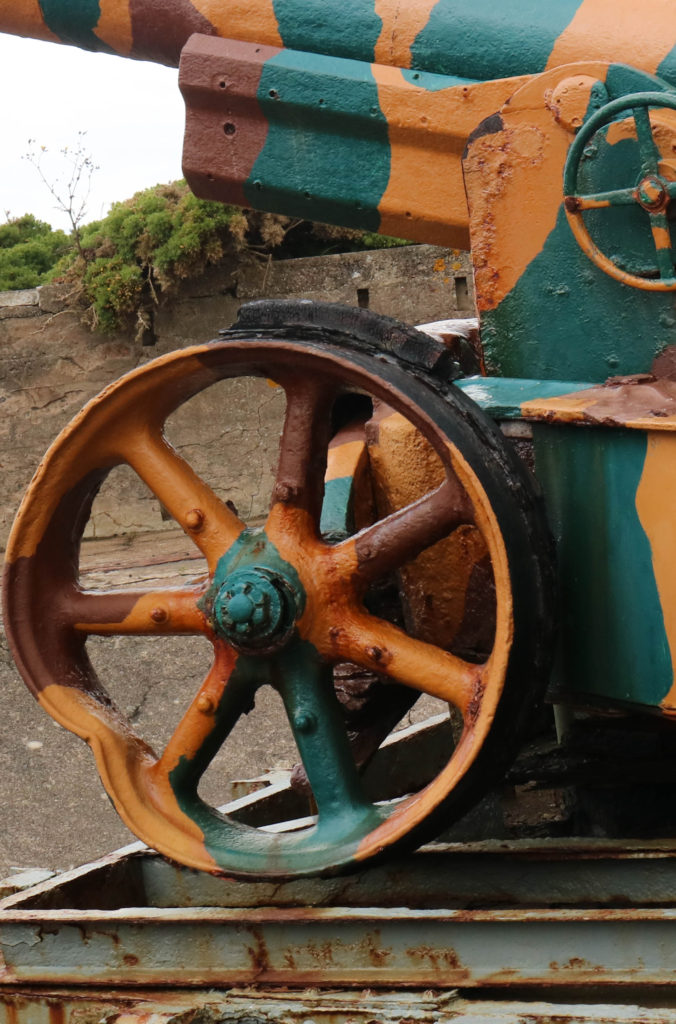
Here I cropped the image of the gun to just include the wheel. I did this because I thought it was the most interesting part of the image since the rust shows how old it is and shows the history that the gun represents.
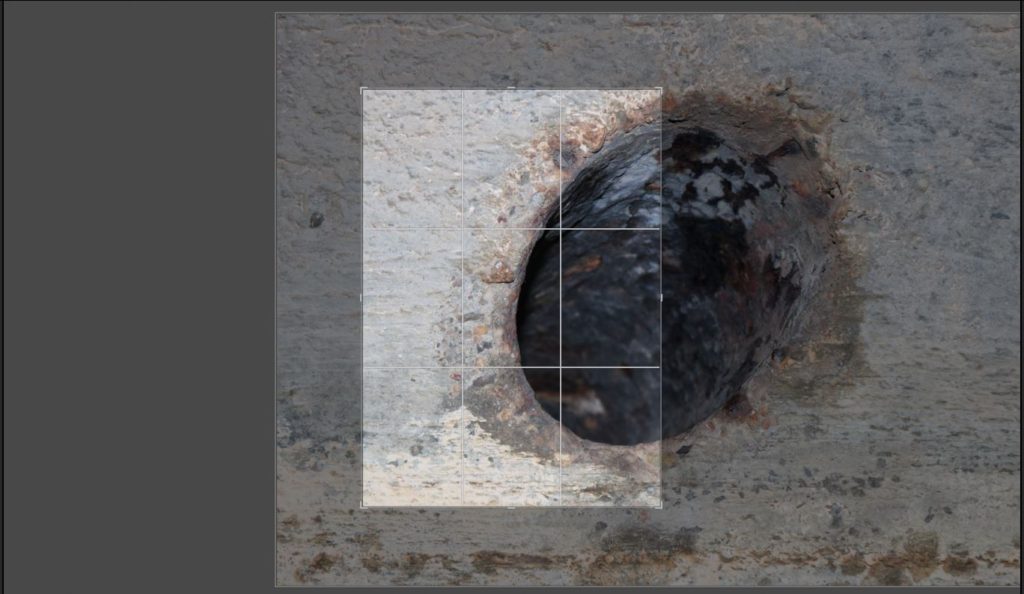
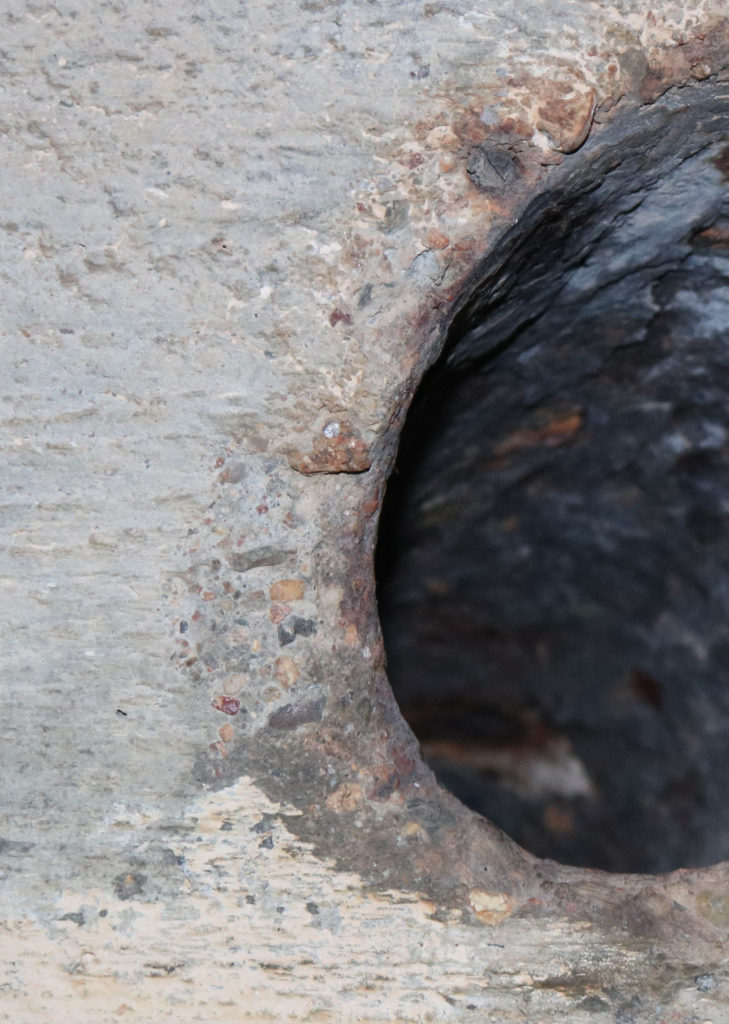
Here I cropped an image of hole I found in a bunker. I did this because I thought that closely being able to see all the different textures and the interest short depth of field would be an interesting way to view bunkers in more depth.
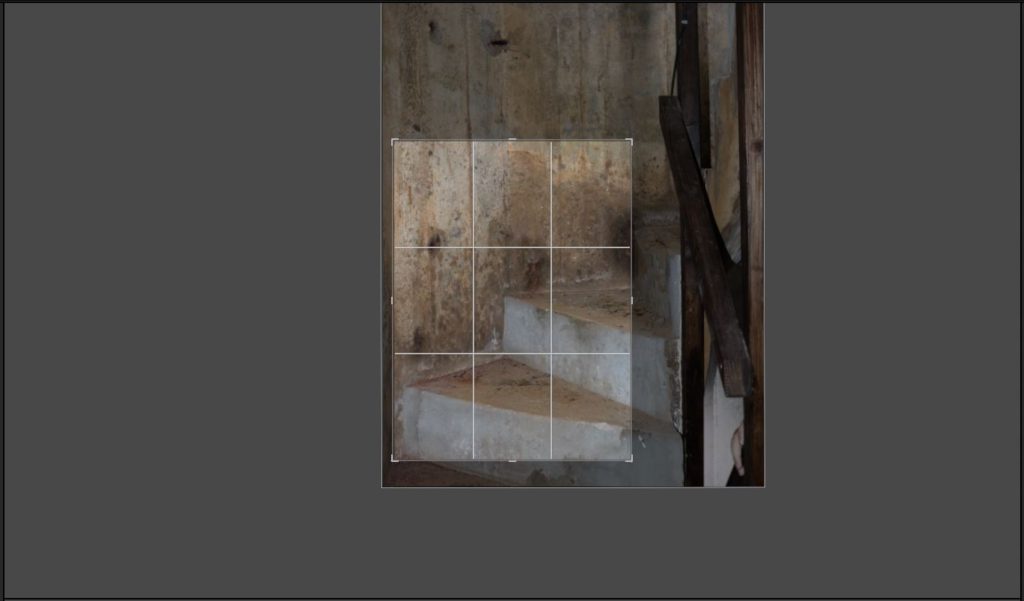
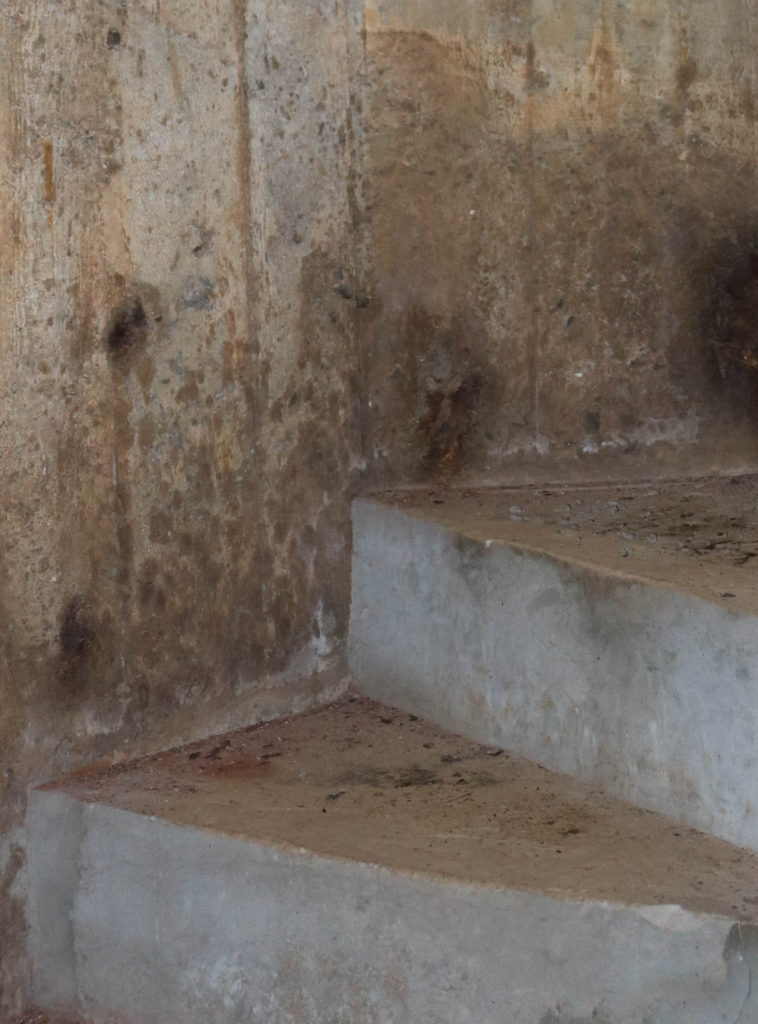
Here I cropped an image I took of the stairs. I did this because I thought it was a more abstract view on the bunker. I think that this image is more successful because of all the interesting angles of the steps and also because you can see the aging very clearly.

Developing and experimenting- Photo-montages

In this blog post I will be experimenting by creating photo-montages related to the war, which show the occupation of Jersey and the effects it had on the island. I will be using a mixture of original archive images and also some of my own images that I have taken as part of the project so far.

Montages can be created either physically or digitally using software such as Photoshop. It is the process of putting different types of images on top of each other in creative ways, in order to convey a feeling of theme.

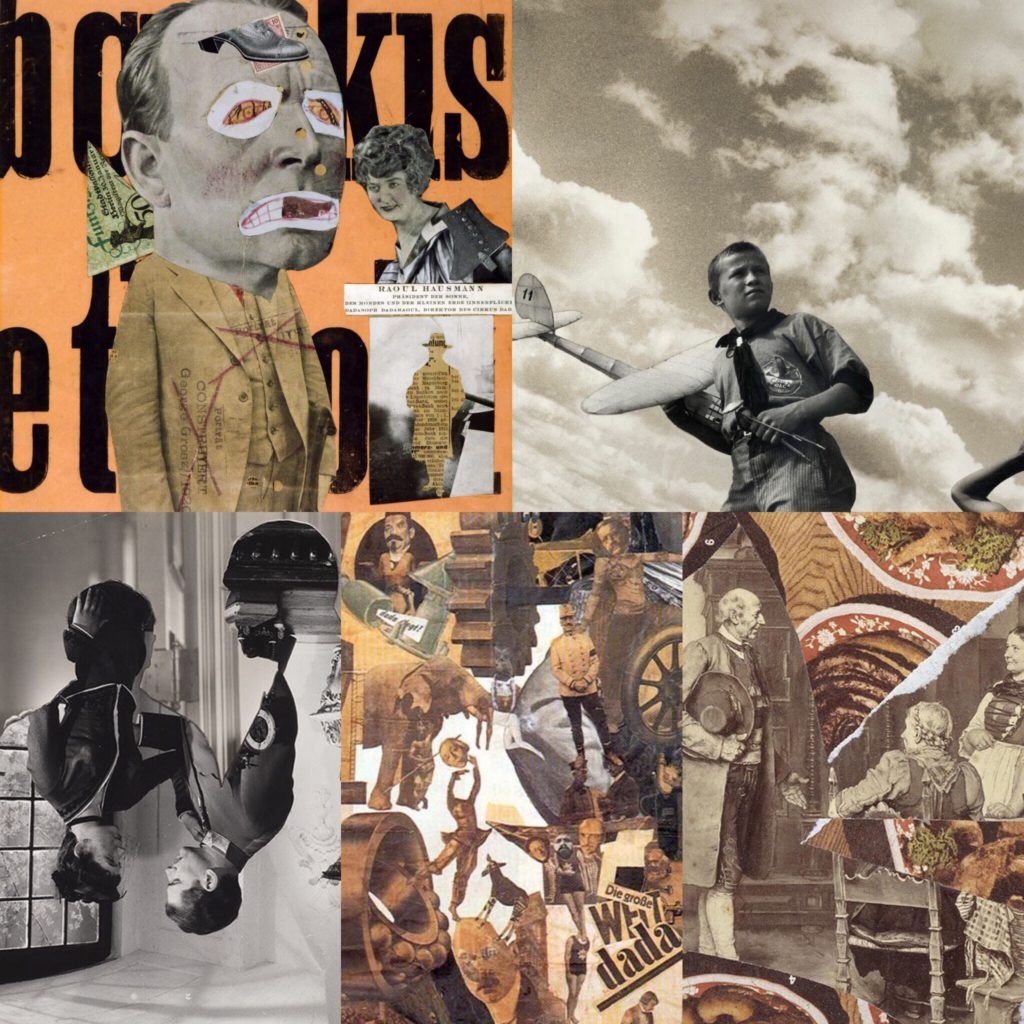
Mood Board

Below are some historical related photo montages that I have looked at, and used as inspiration before creating my own.

Mood board.
Images are not my own.

My Montages

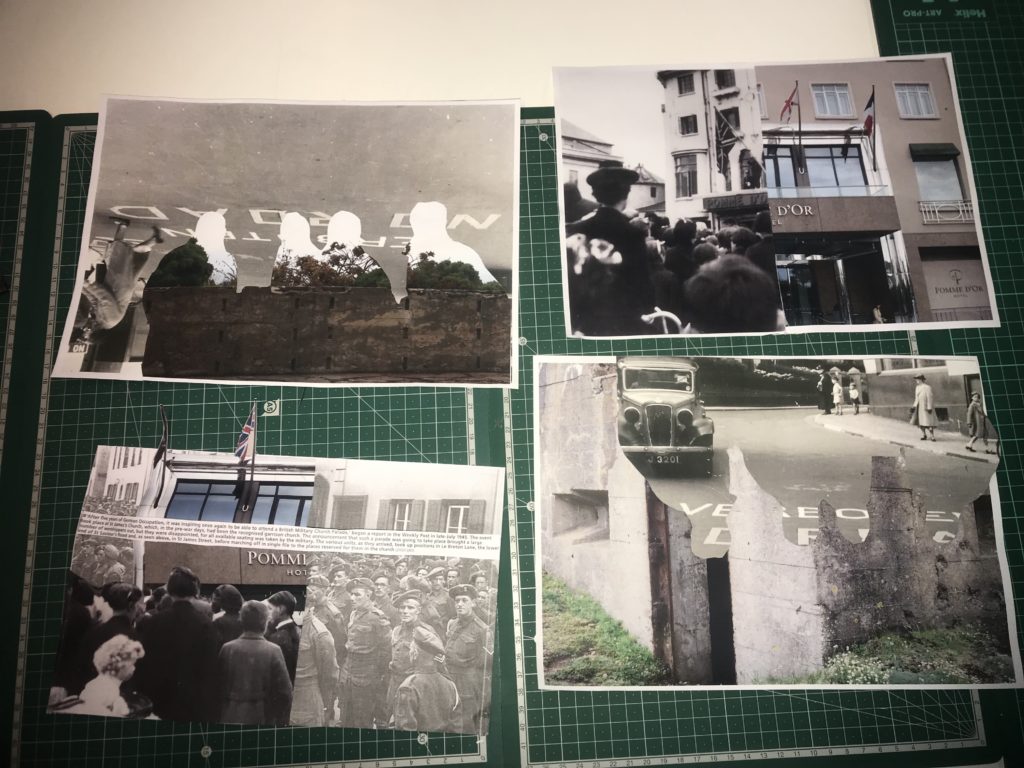
Below are my own montages that I have created my cutting and sticking together printed images.

Here all all 4 of my montages side by side.

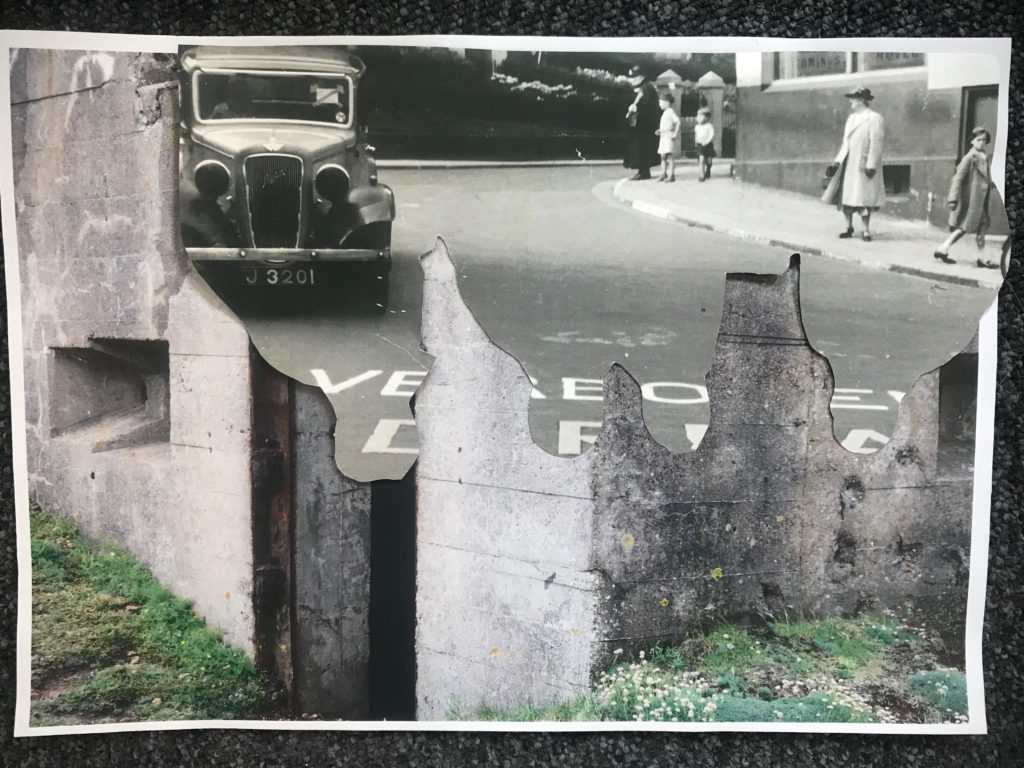
1st montage

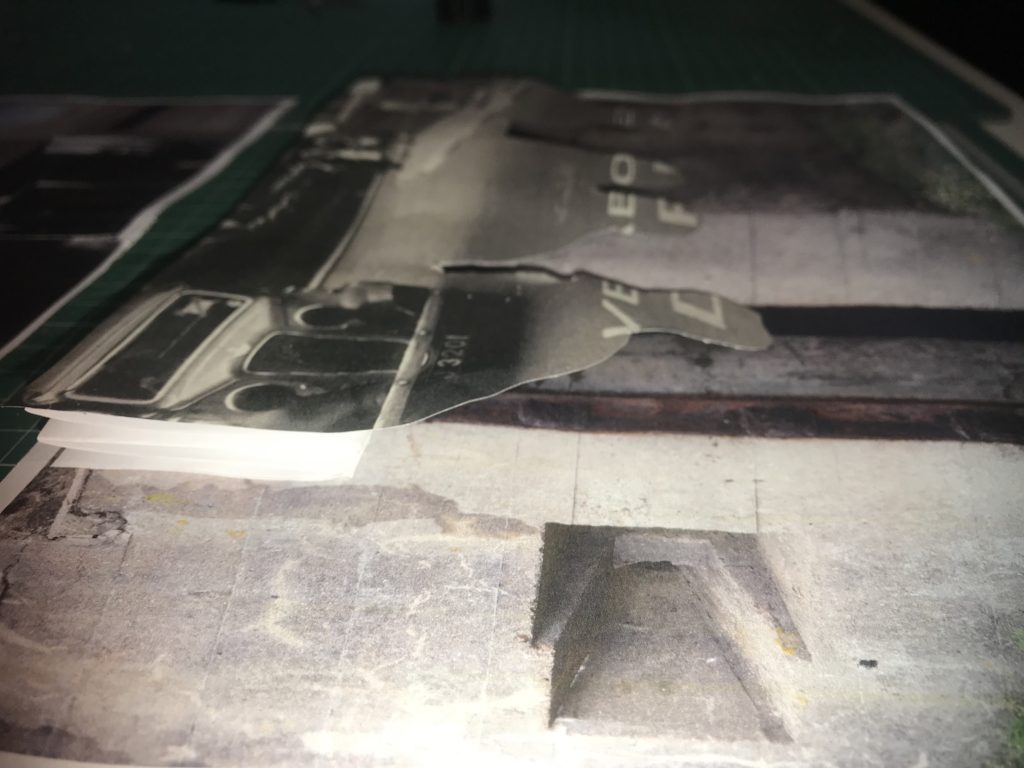
For this montage I used an image I took of a fortification in St Ouen’s bay. Over the top you can see an image of a road that had German writing on it. Since I printed out some images double sides to try and create an interesting effect, On the reverse of the image was a photo of some German soldiers which I cut around. I then turned the image around and stuck down the cut image with the soldiers on facing down. This created an interesting effect as you can see the sort of outline of the people. The cut of of people is also slightly elevated as I wanted it to stick out

This montage was intended to show how the Island changed under the occupation to include more “Nazi lifestyle”. The image includes something to represent different things that and how they changed Jersey. The fortification I used as my background shows how the island was changed and altered to become resistant to attacks, the road with the German writing on it shows how the language became introduced and forced onto the Jersey people, and the outline of the solders represents how they enforced a different way of life onto people.

In this image you can see that I made a spring out of paper in order to make the outline of the soldiers stand out more.

2nd montage

This montage and my previous one complement each other well. To create this montage I used a image of the wall surrounding the gun emplacement in St Ouens. I then used the rest of the paper from the previous image I cut out and stuck it on top. You can once again see the outline of the soldiers on the image.This montage and my previous one complement each other well. To create this montage I used a image of the wall surrounding the gun emplacement in St Ouens. I then used the rest of the paper from the previous image I cut out and stuck it on top. You can once again see the outline of the soldiers on the image.
If I were to display these montages I would display this one with my previous one as they both represent changes in Jersey’s society. This image shows a different part of a fortification in the background, to show how the island was changed into a fortress, the outline of the soldiers and the German writing shows how the islanders lost their freedoms and language.

3rd montage

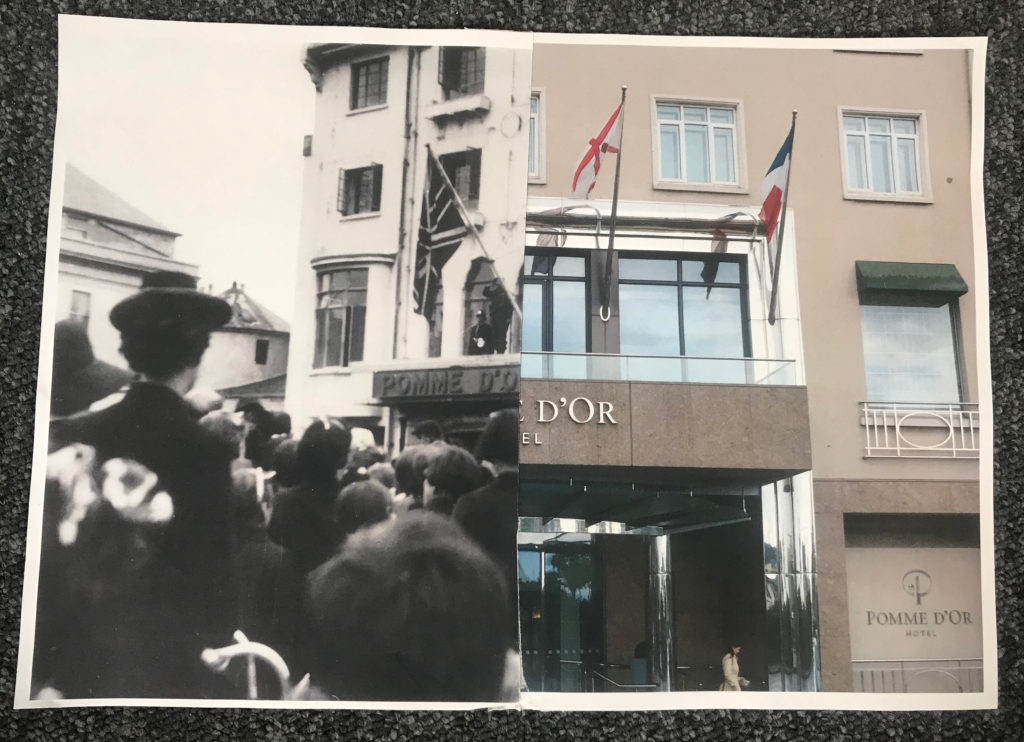
Here I wanted to make a montage where you are able to compare and contrast. I simply cut an archive image showing the Pomme D’Or hotel in St Helier in half, and cut a recent image of the same hotel that i captured in half too. I then simply attached them together by taping the back.

I think this montage is very effective because you can clearly compare. It is very interesting because there is such a huge contrast in era, however you can also see that it is the exact same building. I think this shows that every place can have an important history. I decided to to a montage of this specific hotel because on Liberation Day, British troops hung a Union Jack from the balcony to symbolise the end of Jersey’s occupation, which is a very important turning point in Jersey’s history which I felt could be represented well in this way.

4th montage

For this montage I used an archive images of German soldiers for my background. I then stuck on half a picture of the Pomme D’Or hotel in a way which the middle sticks out. Over the top I stuck an archive image of people that were originally standing outside the Pomme D’Or on liberation day. Over the top I stuck an information caption to give the image more context.

This montage is interesting as it also alludes to Jersey’s liberation. The image of the hotel and the image of the islanders celebrating being liberated is placed over the image of the German soldiers. Having the German soldiers partially hidden represents the fact that they were defeated. Having the contrast of the hotel in the modern day, and the liberators standing outside the same hotel on the original day is also a huge but effective contrast since it shows that the site is just as important in representing liberation as it was in 1945.

Case study: Aleksander Rodchenko

Portrait of Aleksander Rodchenko

Rodchenko was a Russian artist, sculptor, photographer and graphic designer. He was one of the founders of constructivism in Russian design. Before turning to montages and photography we was more focused on painting and graphic design. His work is describes as being socially engaging since he recognised the importance of analytic documentary series.

” Don’t try to capture a man in one synthetic portrait, but rather in lots of snapshots taken at different times and in different circumstances ” – Rodchenko

He often shot his viewers from strange angles, such as high and above and down below in order for it to take longer for an audience to recognise someone.

“One has to take several different shots of a subject, from different points of view and in different situations, as if one examined it in the round rather than looked through the same key-hole again and again.” -Rodchenko

He became an artist after having had no exposure to the art world, and instead being inspire by art magazines. He began studying at the Kazan art school in in 1901.

Under the Bolshevik communist government, Rodchenko became director of the museum bureau and purchasing fund, which made him responsible for the reorganisation of art schools and museums.

Rodchenko became interested in montages after become impressed by the montages of German artists experimenting with dadaism.

Mood Board

Aleksander Rodchenko montage mood board
Images are not my own.

From the mood board on the right we can clearly see how Rodchenko was inspired by Cubism and futurism since his montages seem to almost look like they’re ahead of him time.

Most of the montages seem to depict images of conflict and war which could reflect the period he lived in since he lived under communist rule which may have made him feel threatened by other countries since capitalist places hated communist countries.

We can also see how he feels that these conflicts and wars will effect people, since he has incorporated them into many of his montages. This shows that many of his montages relate to society at the time which is interesting as the images have a rich historically social context.

Analysing an image

Context: This mintage is called “Krisis” and was made in 1923
Technical: Since this montage was made in the early 20s it couldn’t have been created using a computer software program. This means that this montage was most likely made by just cutting and sticking images down onto paper.
Visual: In this montage we can see what appears to be destructed houses and building at the bottom of the page and some planes flying in the sky that appear to be dropping people out of them into the chaos below.
conceptual: I think this montage may be a metaphor for what the artist believes human life was worth at the time. Having planes appearing to throw people in to conflict shows that the artist may think that human life was viewed as having no worth during war, and that they were seen as dispensable.

Battery Moltke visit

About

Battery Moltke in an uncompleted coastal artillery defense system located in the North West of Jersey in St Ouen. The sight contains bunkers and gun emplacements that were originally designed in order to protect St Ouen’s bay in case of an attack which the Island was under the occupation of Nazis.

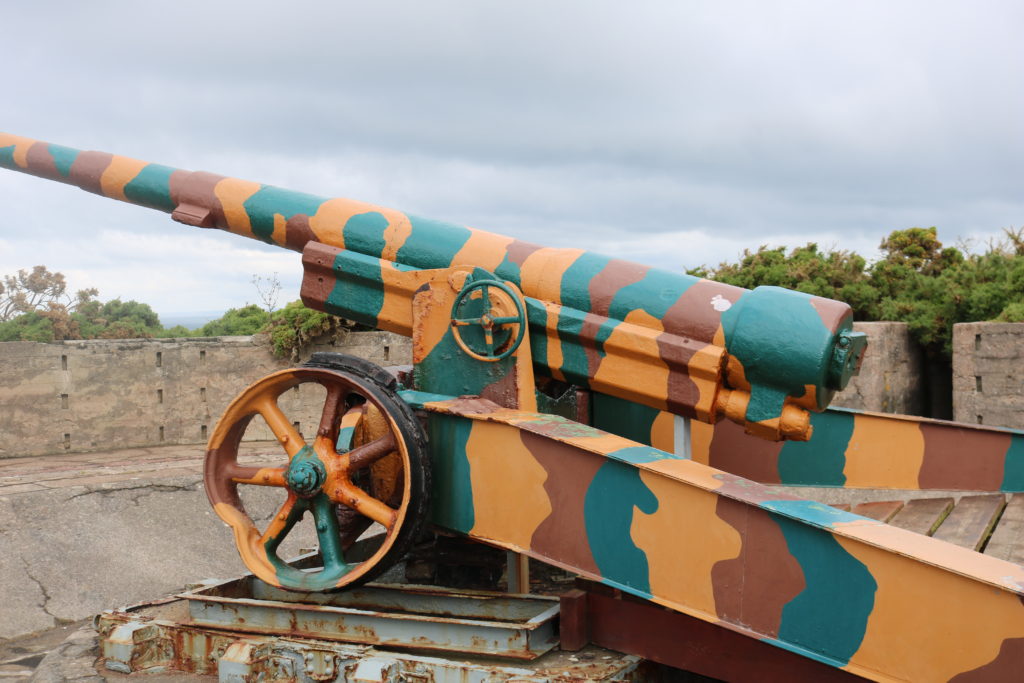
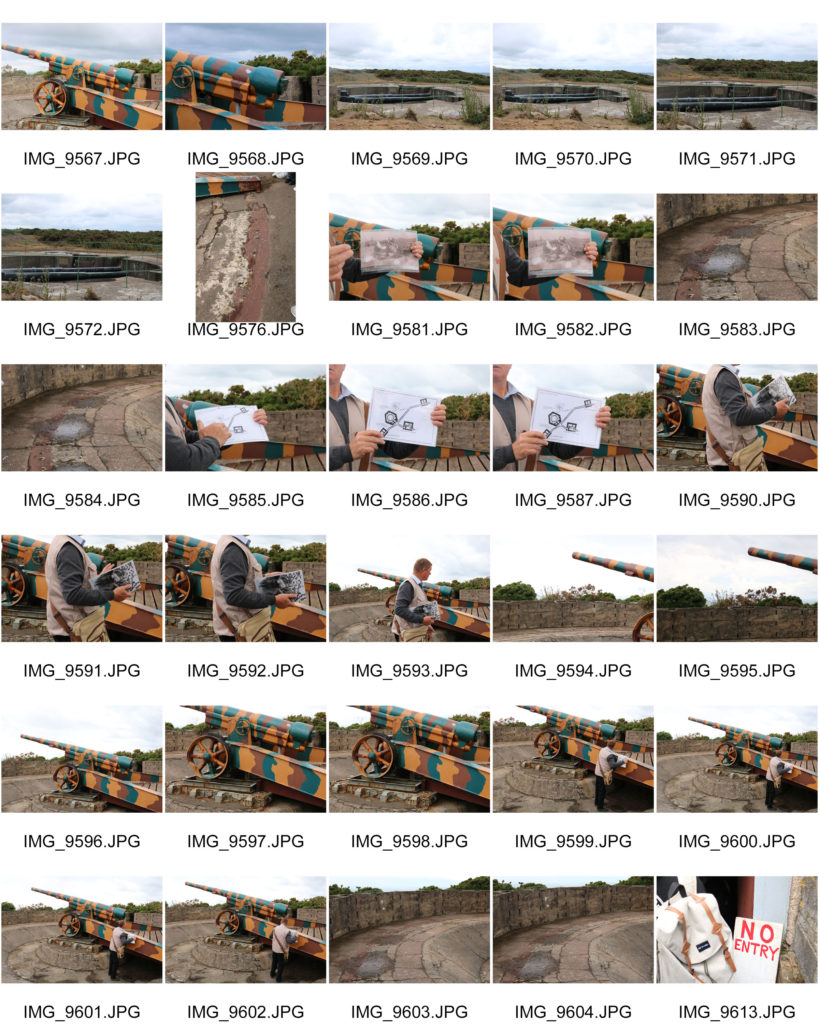
Original gun still standing today
My own image.
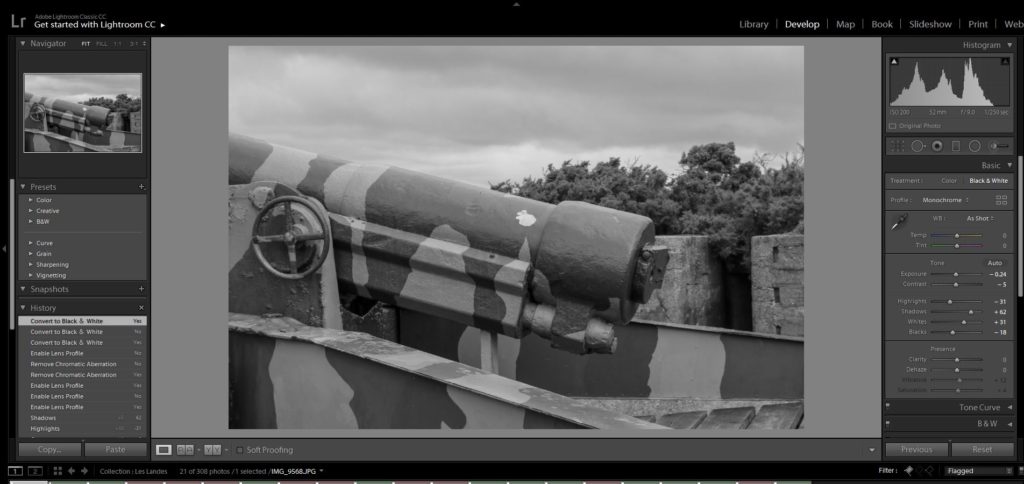
one of the original guns can still be seen there today, and could originally be rotated to fie in any direction

The Channel Islands occupation society preserves and operates a few of the bunkers as museums, however the exterior sites remain available to see at all times.

The channel islands occupation society is an organisation made up of volunteers that study the occupation of Jersey and Guernsey and seek to raise awareness of this in order to educate the public on World War 2, and the effect of it on the Channel Islands. The CIOS manage many German fortifications and archives on both Channel Islands. The Jersey branch has operated since 1971.

Our Day

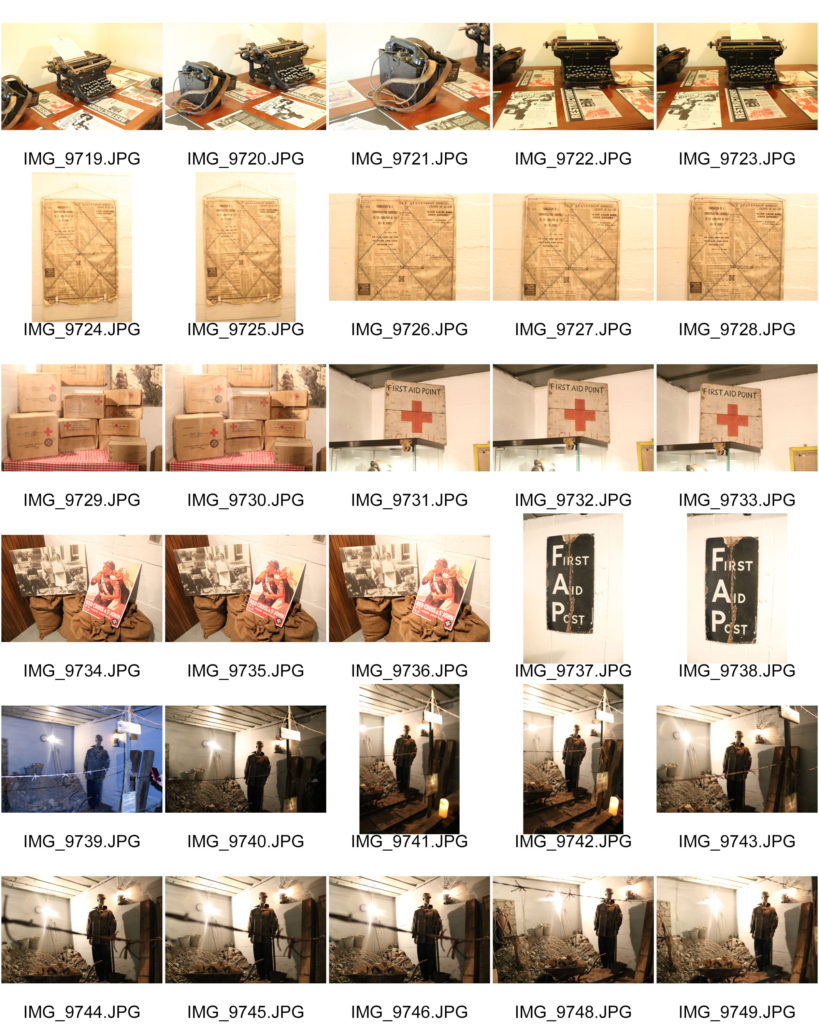
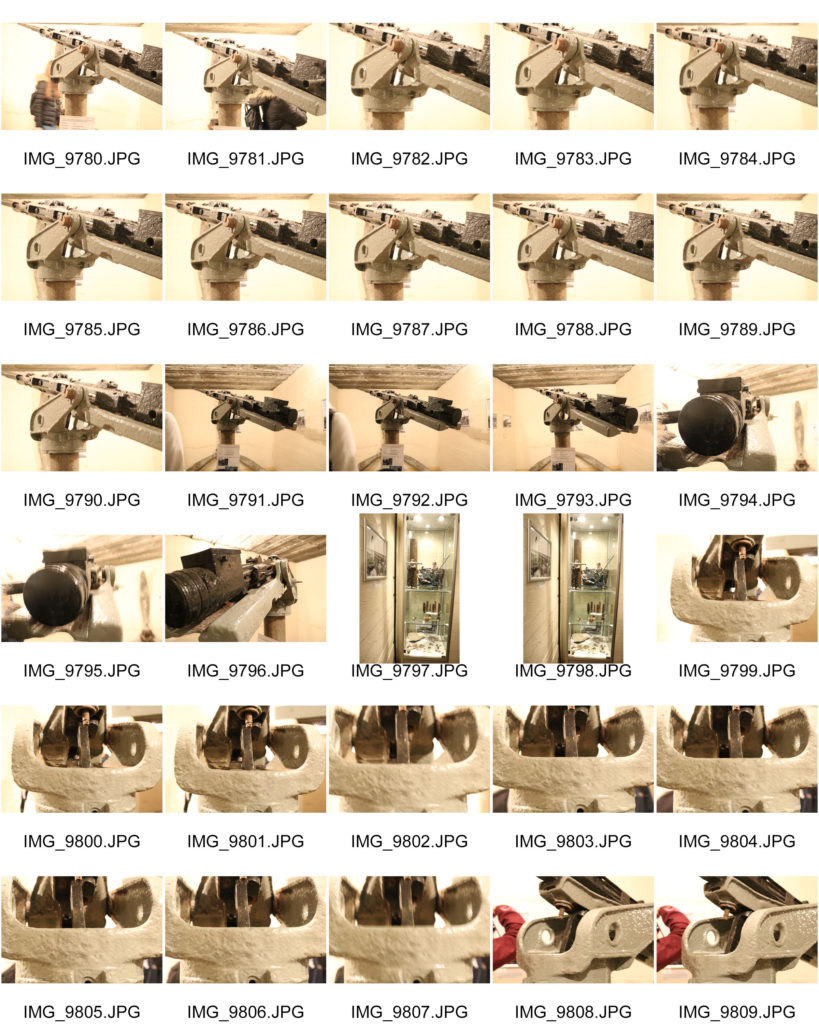
We began our morning by meeting a member of the CIOS, who began by telling us the history of the sight. We then went on to see the gun emplacements, where we were told that the original gun placed there was actually French. After learning about the artillery and how it’s purpose was to defend the coast, we went on to view the main bunker that had been turned into a museum type attracting filled with many artifacts and information. The underground bunker had many different rooms. We were able to see things like original objects from the occupation such as radios, typewriters and even newspapers. The most interesting thing I saw was were the Red Cross food parcel packaging that the islanders received by the end of the war.

After seeing where the soldiers operating in the bunkers would sleep, I then went on to see a memorial dedicated to all the forced workers brought to the channel islands. Here I learnt that may polish, Russian, French, Jewish and Spanish republicans were forced to work in Jersey for the Nazi officers in order to build the bunkers. In this section of the bunker we could see a figure who was meant to represent a forced laborers, surrounded by a lot of rubble. This was especially interesting because it allowed you to really be able to empathise with what there people had to go through, an how difficult it must of been for them to have their freedom stripped away from them.
After we had finished looking around the main bunker, we then went on to see other fortifications that were still standing around the same sight.

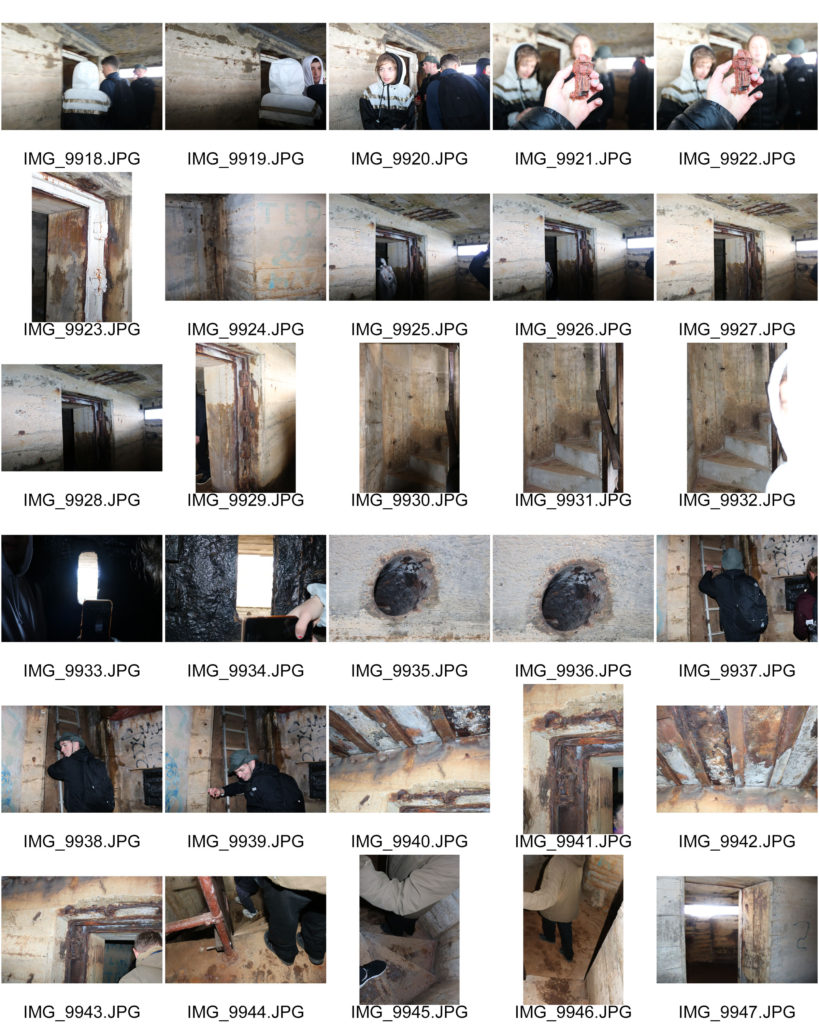
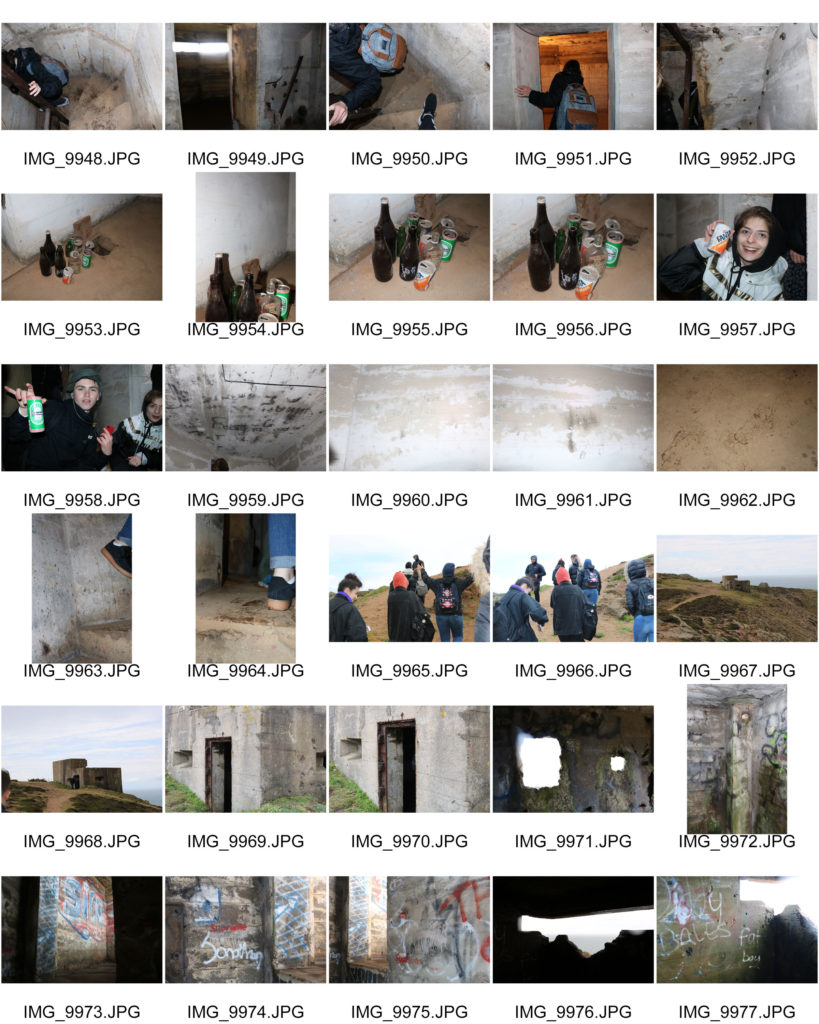
Images