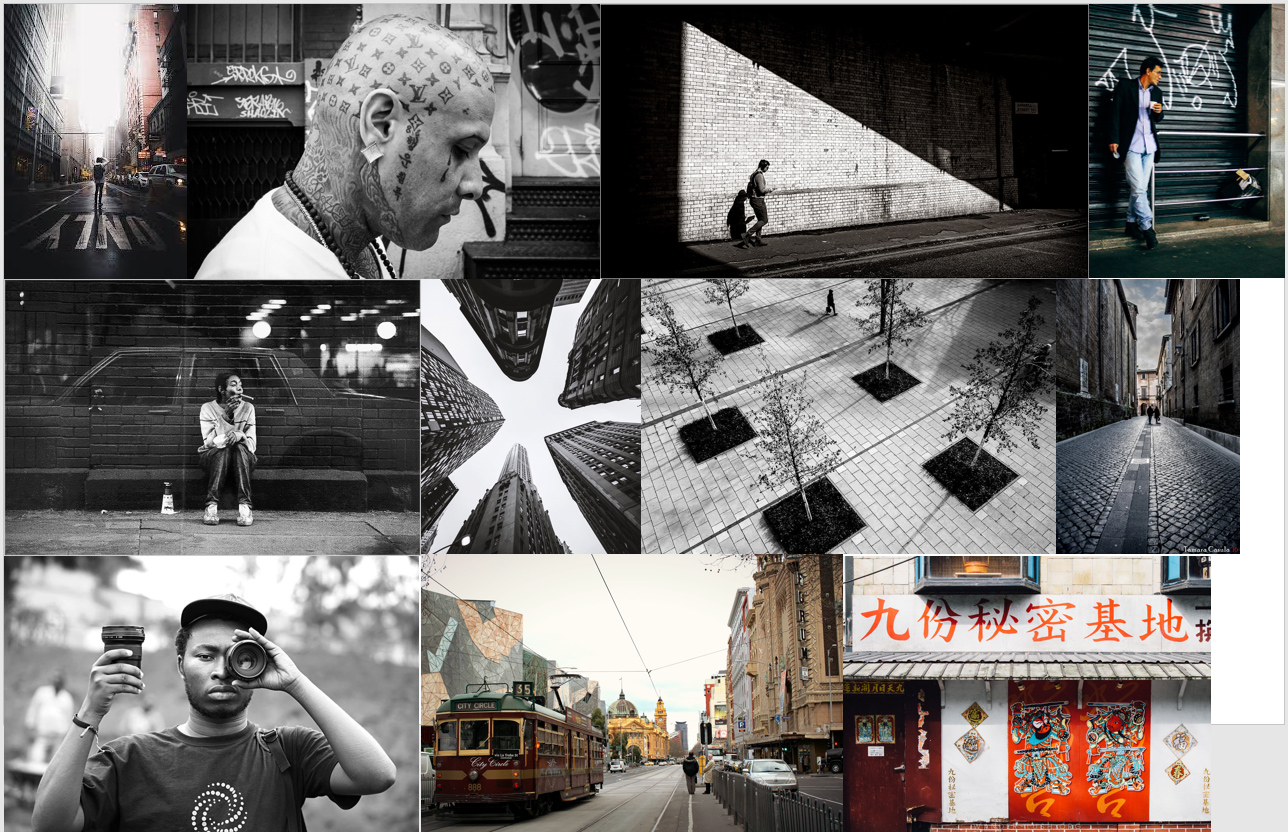
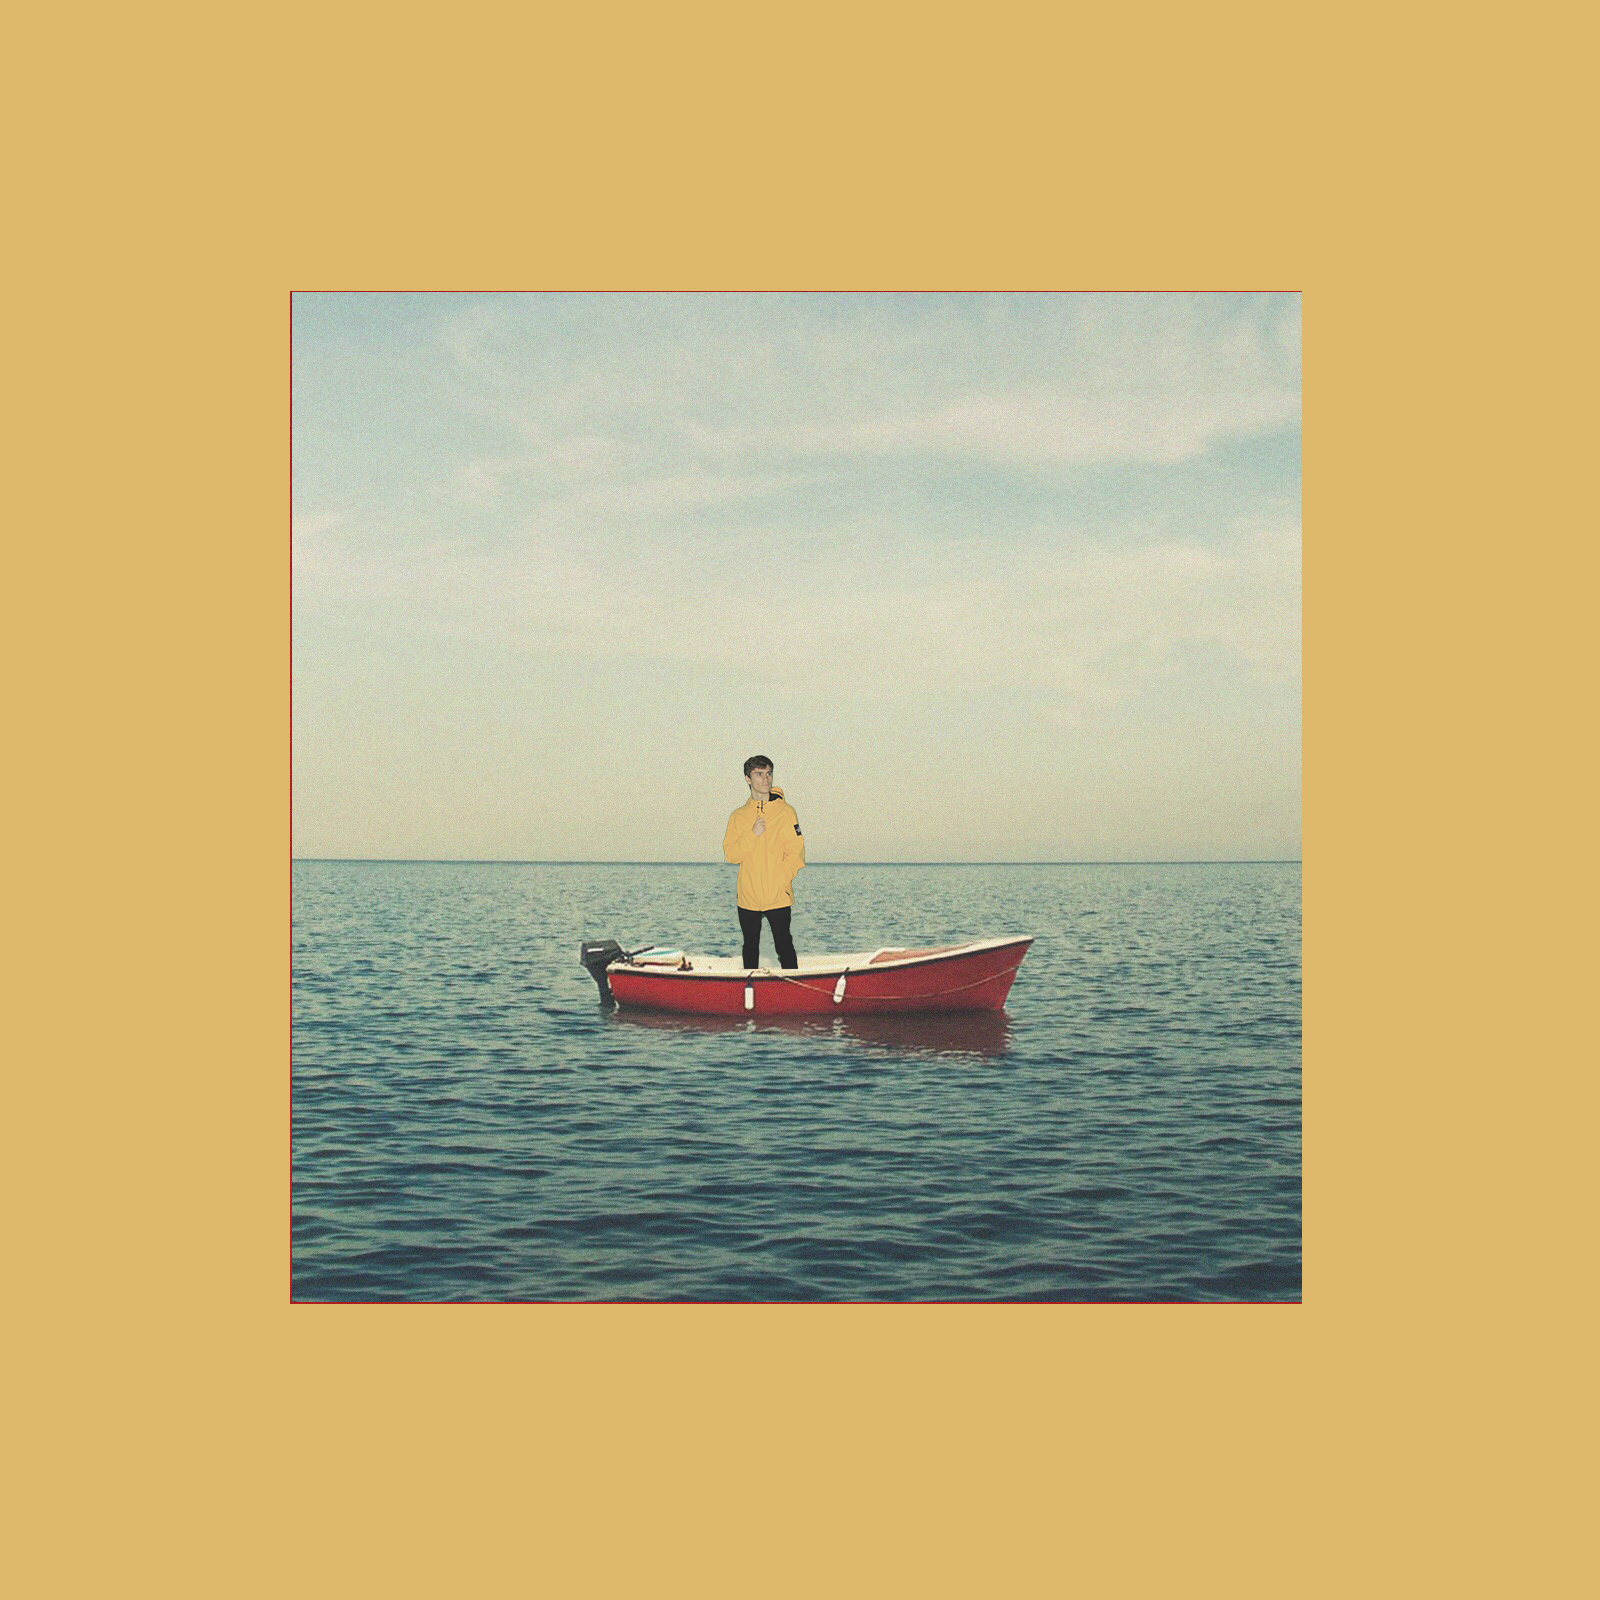
I have decided to do my own interpretations of music album covers as my response to Tableau Vivants. This is because they are often open to interpretation and sometimes have hidden meanings. This will make for a good response form as it gives me a wide range of inspirations as well as a rough guide to what to do as the images will be my own take on certain album covers.
I was thinking of re-interpreting album covers such as ‘Starboy’ ‘Blonde’ and ‘Flower Boy’. I will end up doing more ideas than these, but they are the ones which I will prioritize.
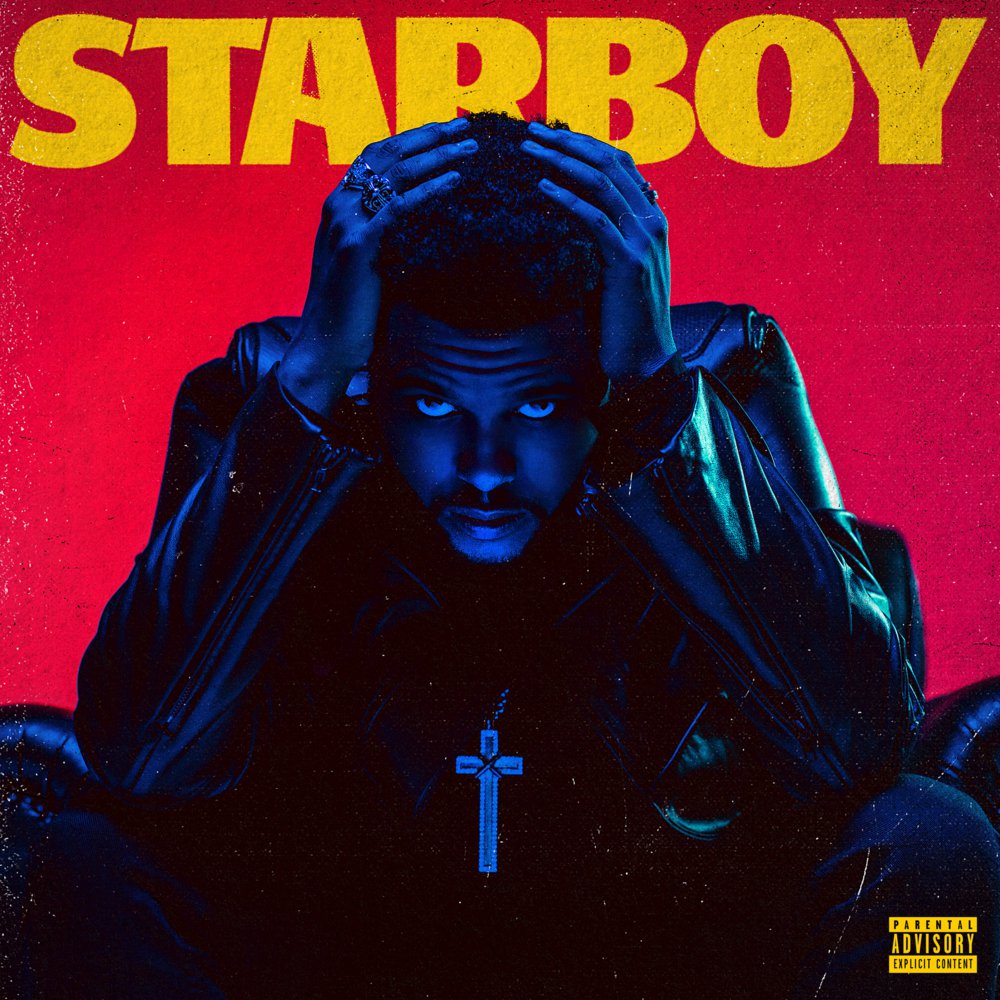
The first thing that stands out in this photo are the artist’s eyes and cross. This is because the musician’s clothes and skin tone are all similar colours which helps his eyes and cross stand out as they greatly contrast as they are bright white. His body language also suggests despair and giving up. His head being low and in line with his shoulders makes him look vunerable which further helps portray this emotion. The lighting is blue which subconciously implies that he isn’t angry or hostile in any way, this is because western society portrays blue and green as calm colours.
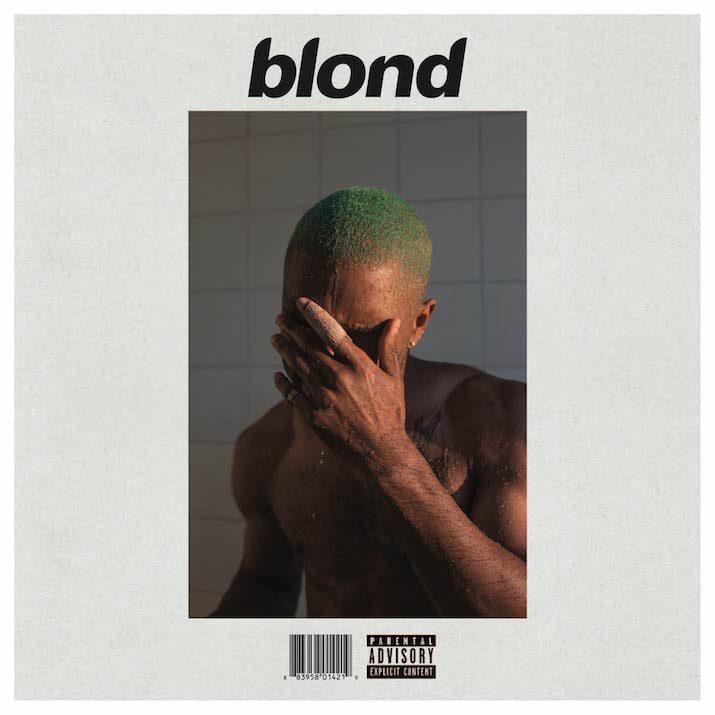
The part of this photo that stands out most is the artist’s green hair colour. This fits in with the theme of the album which is reminiscence and sadness at some points; as after a hard time such as a loss, breakup etc. a lot of people decide to make a big change in their appearance such as a haircut or dyeing it an extreme colour. The next part we pick up on is the water dripping off of the artist, it is due to him standing in a shower but as we can’t directly see the shower head it appears as those are his tears, almost as if his emotions have been materialised. One more aspect of this photo which clearly stands out is the contrast between the artist’s skin tone and the background and border of the photo. This makes him stand out more and therefore makes the photo more striking.
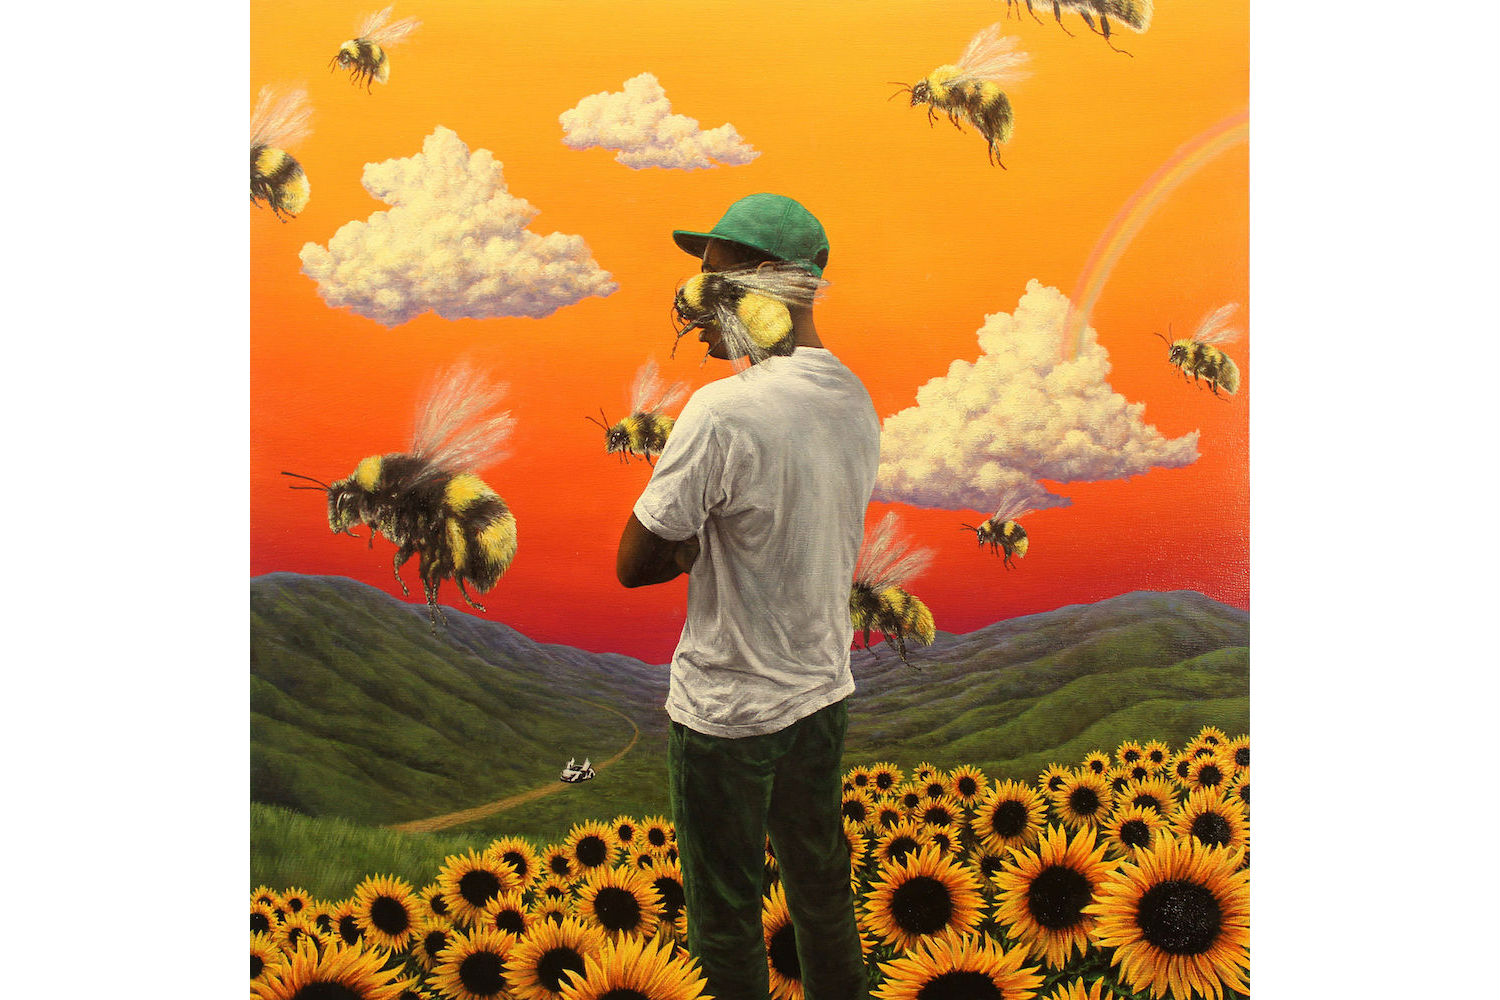
This album cover is less about portraying emotions or feelings, it is instead about self discovery. This theme is carried over through real life parallels which are present in both the songs on the album and on the cover itself. Firstly, there is a white Mclaren in the background on a winding road. He uses the car to portray the journey through life, and the winding road as problems you face on the way. Another important aspect of the cover is that one of the bees is covering the artist’s face, this raises the tension of the photo as we can’t be sure what’s behind the bee, this is also helped by most people’s fear of being stung by a bee or wasp; the bee on his face appears to be ready to sting him which may makes some viewers anxious for him. The bee’s wings are painted as if they are moving which makes the photo more appealing as there is some sort of action happening.
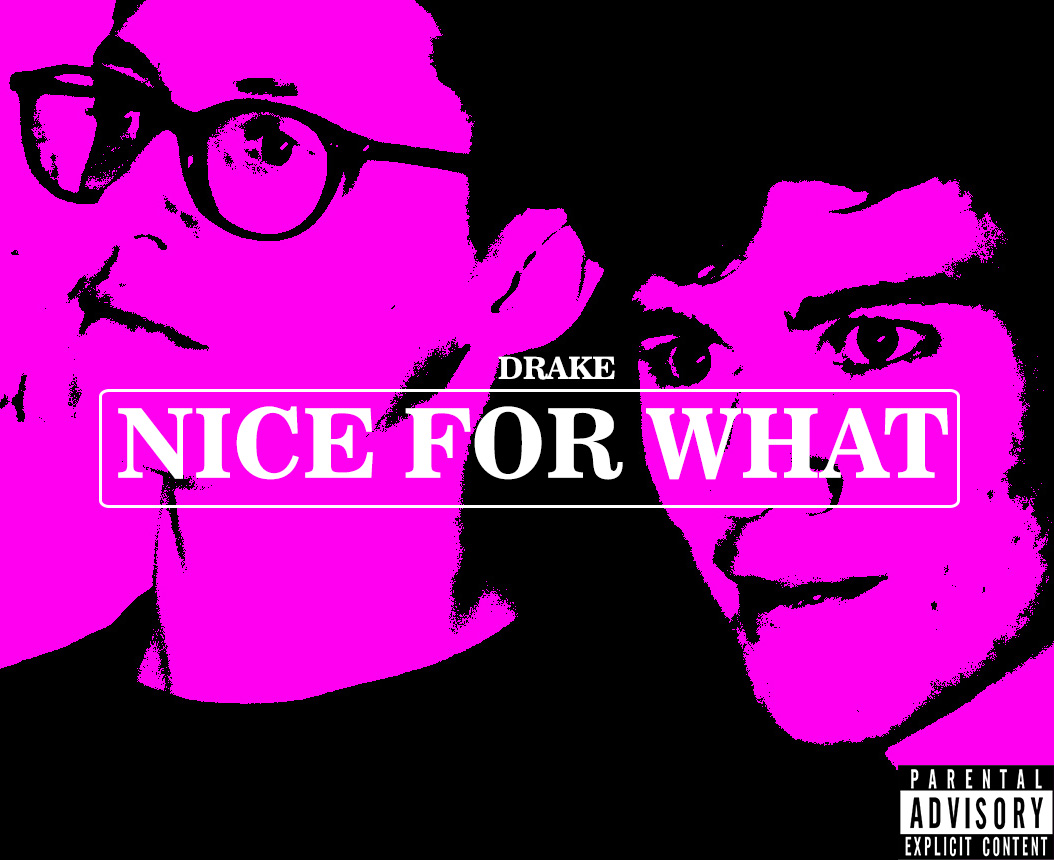
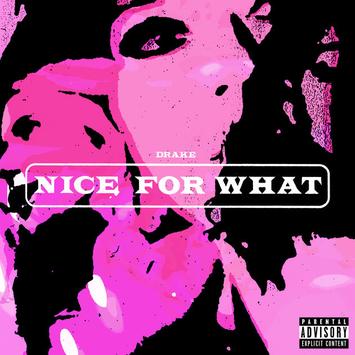
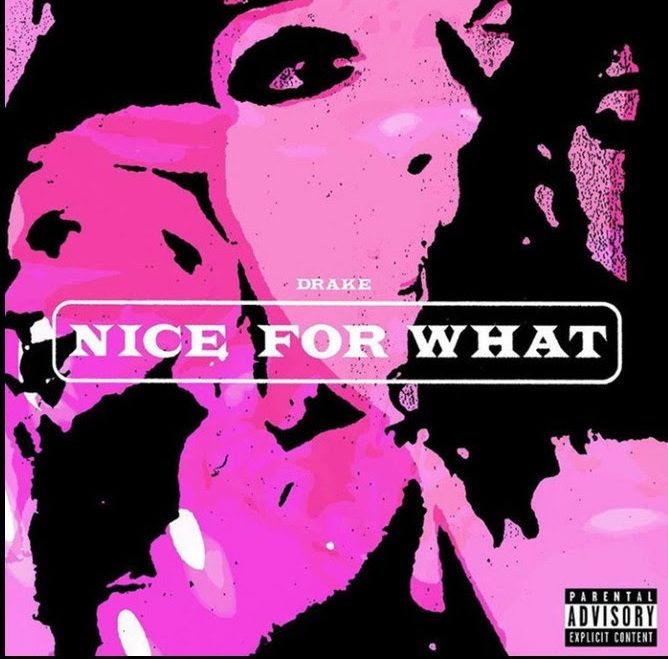 The last two album covers don’t have a deep meaning like the rest, but I have decided to replicate them as they have been edited in a very interesting way. The first cover has had threshold applied to it and had a pink filter applied over every segment of the photo which isn’t solid black. This creates an old school feel, and joined with bright pink creates a connotation of ‘fun’ which matches the song, there isn’t a deeper meaning, it’s just entertaining.
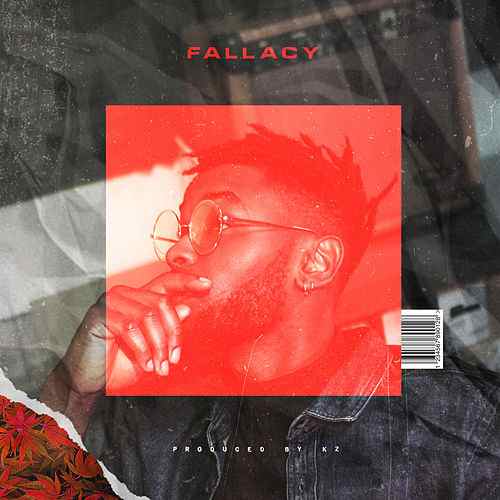
This album cover is just about exploring visual effects and using the ones that match the photo and look good. There are multiple exposures in this cover, a photo of the artist, crinkled bed sheets, a classic marshall speaker, and a tilted image of buildings. These help the photo look more full and eliminate any empty space. There is also a semi transparent box around the artist’s head, this highlights him being the most important thing in the photo, as well as strengthening the middle of the photo by differentiating it from the area around it. The bottom-left corner of the photo has been edited so that it appears as if there was a layer of plants behind the photo, the tear between the main image and the plants gives the photo a rough look. The crinkled bed sheets and slight distortion effect helps achieve this image of a torn up and battered album cover.

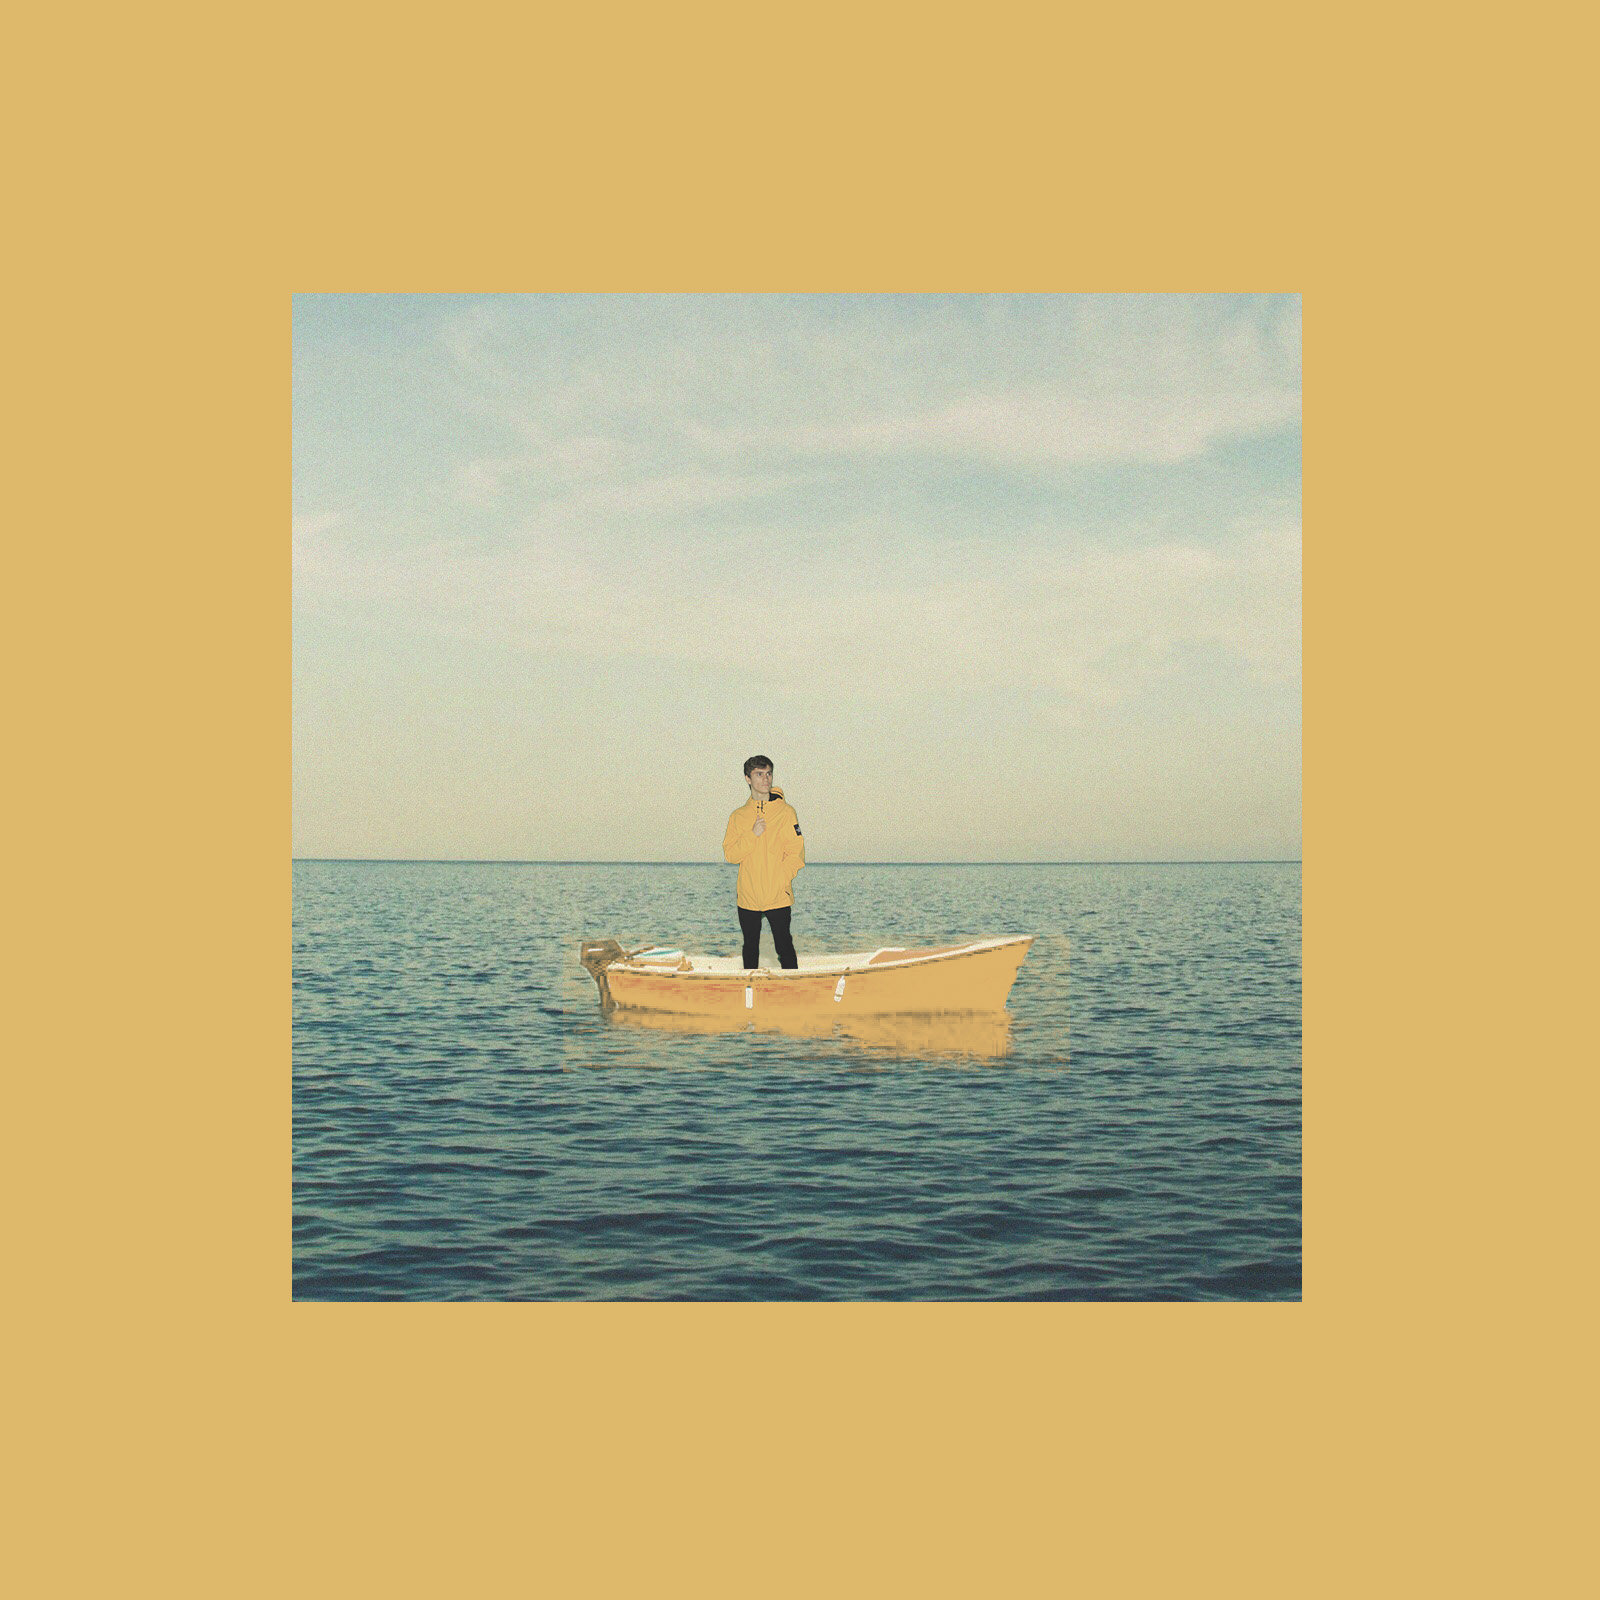
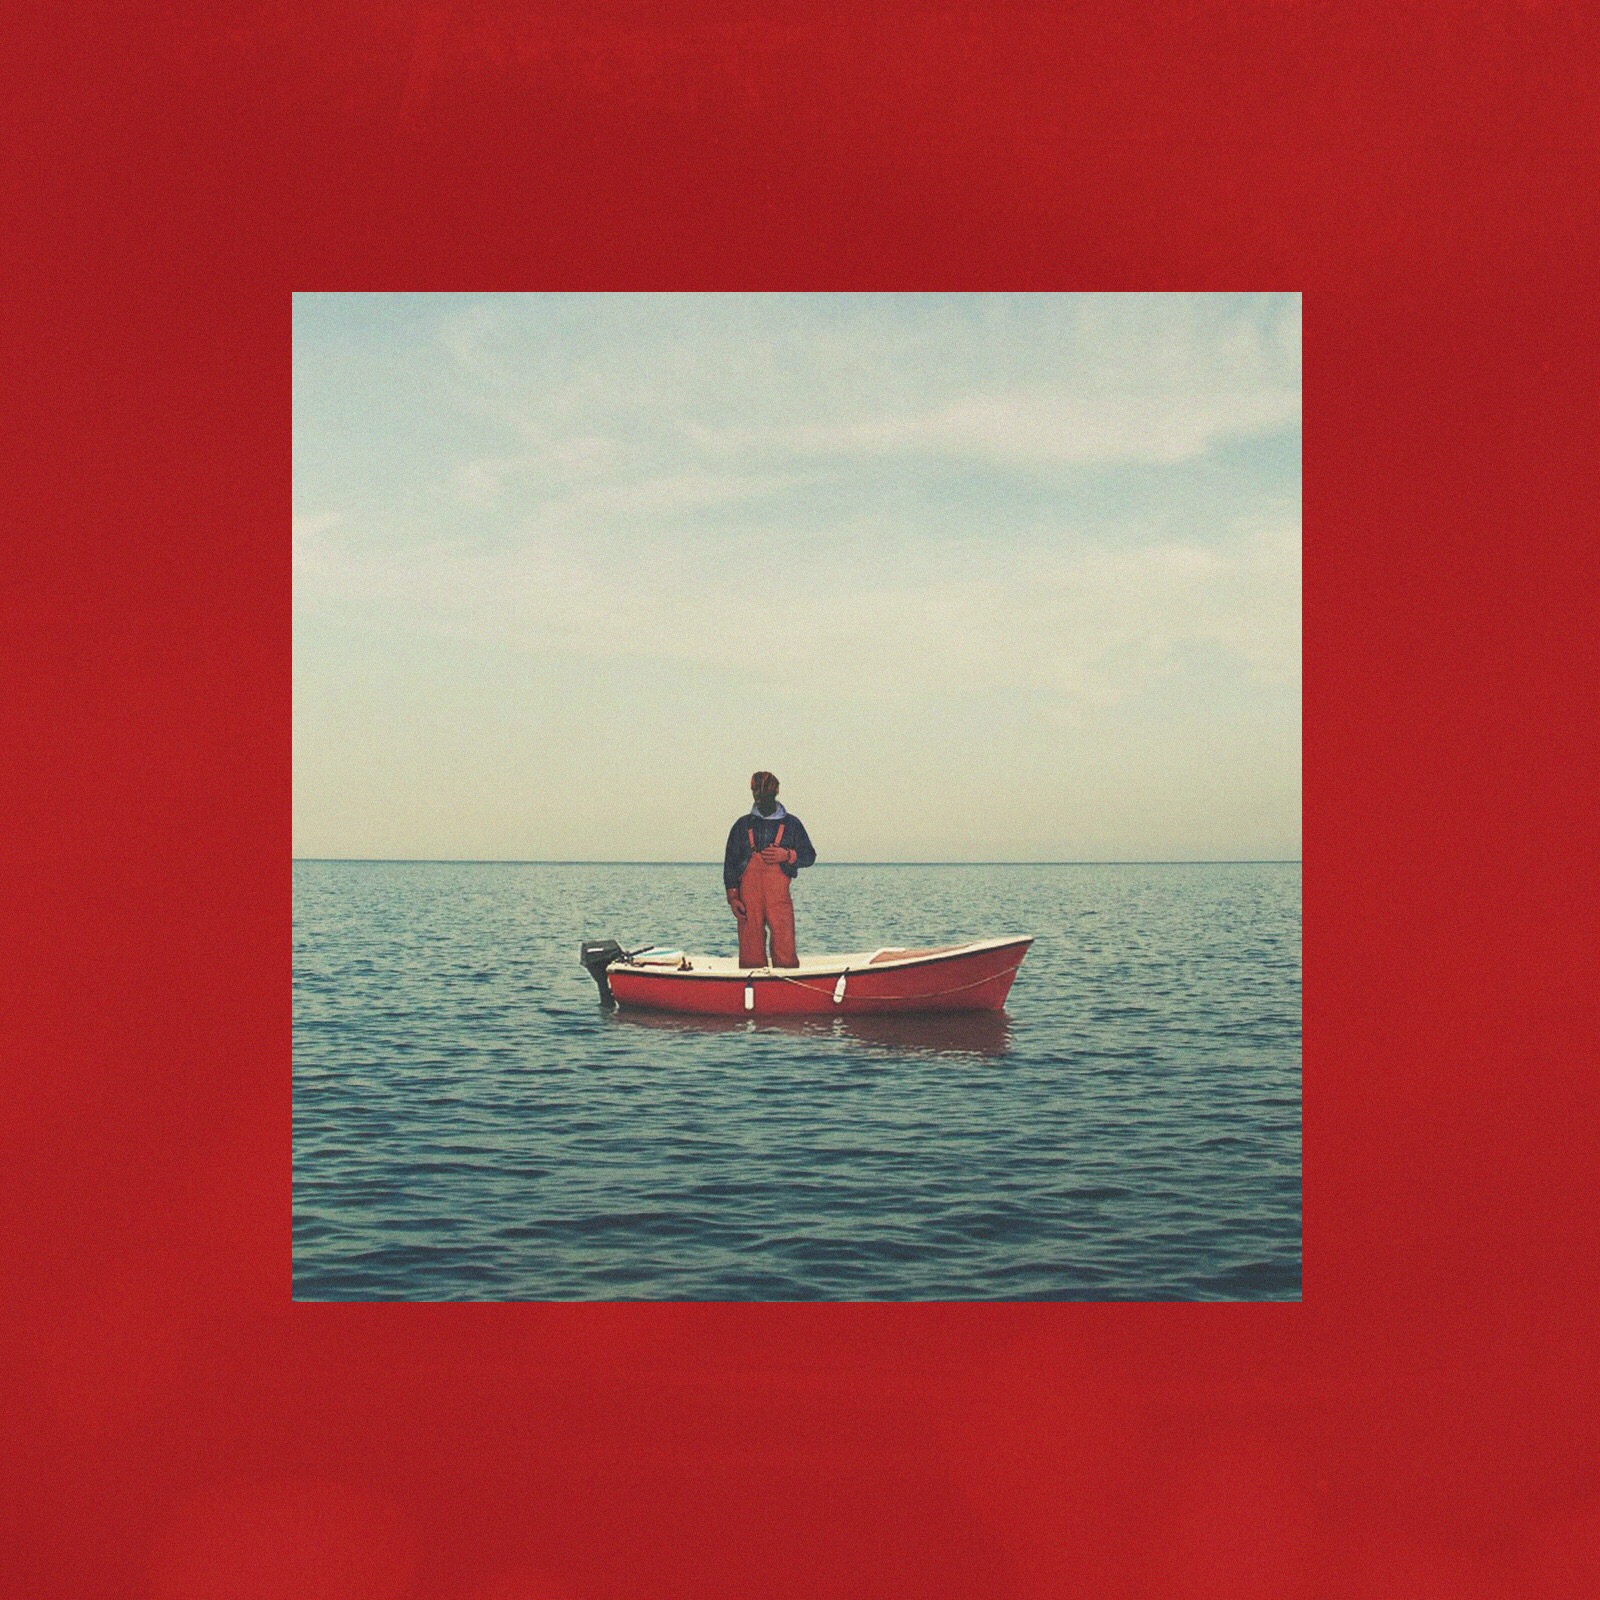
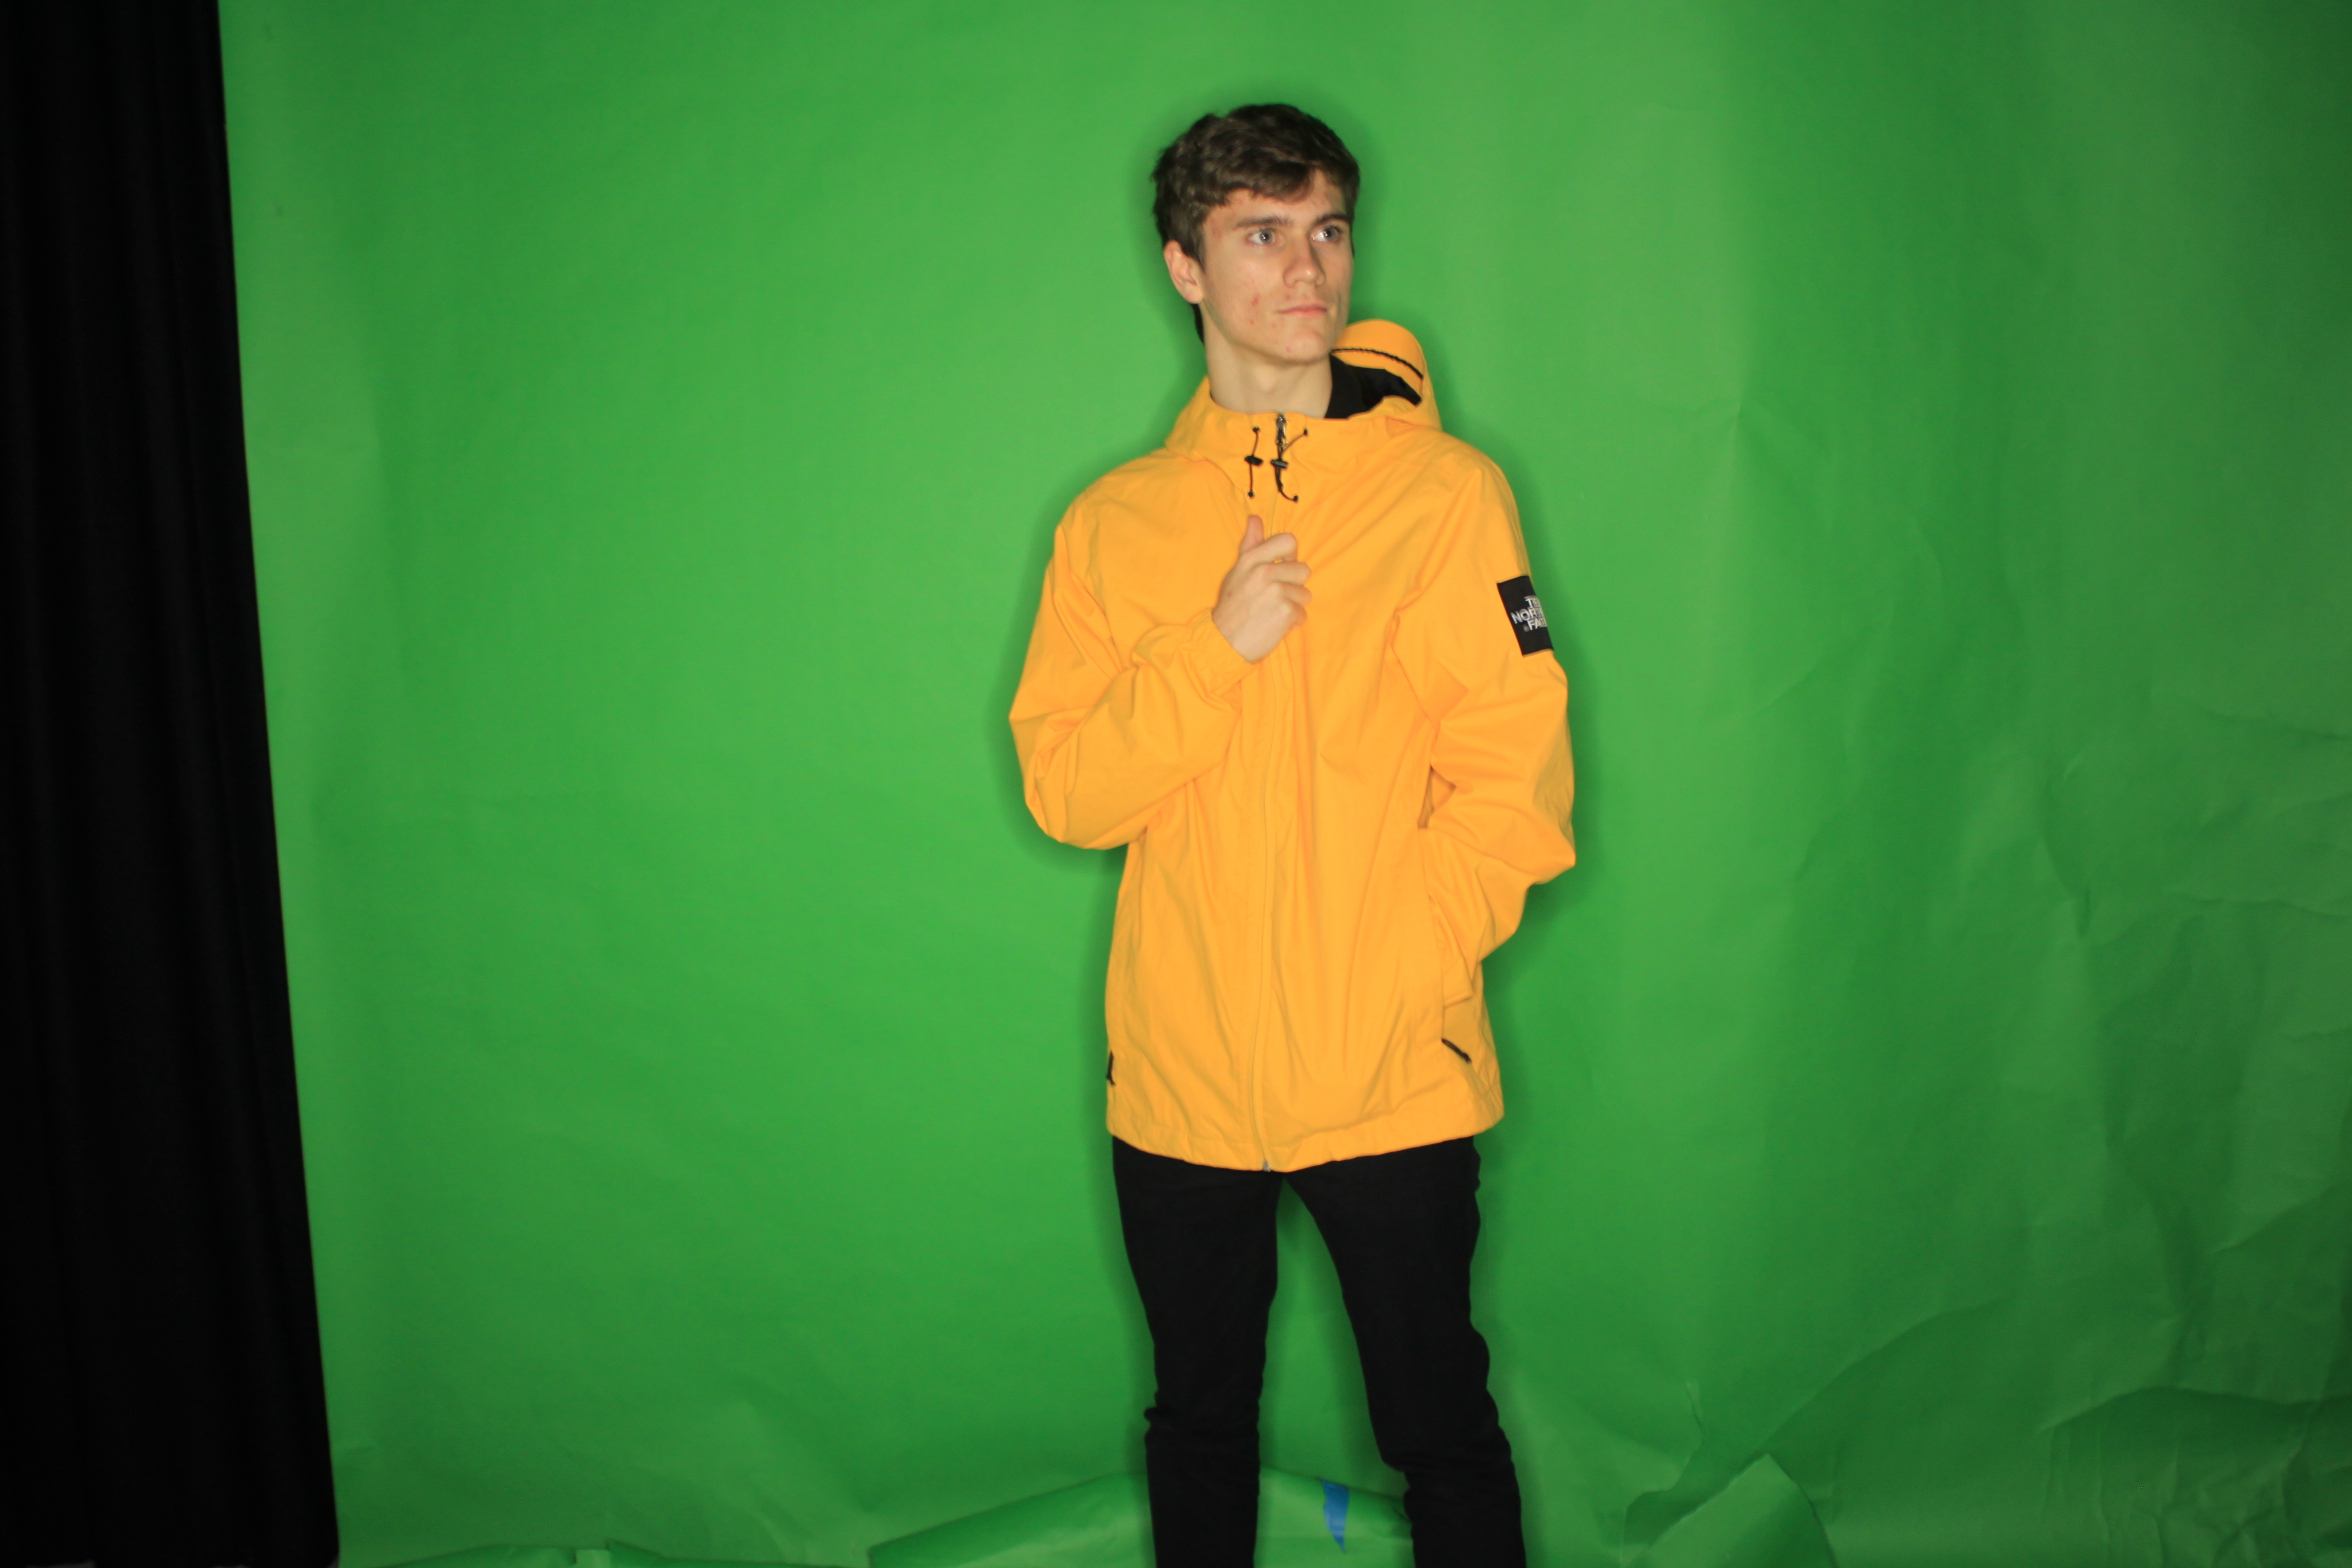
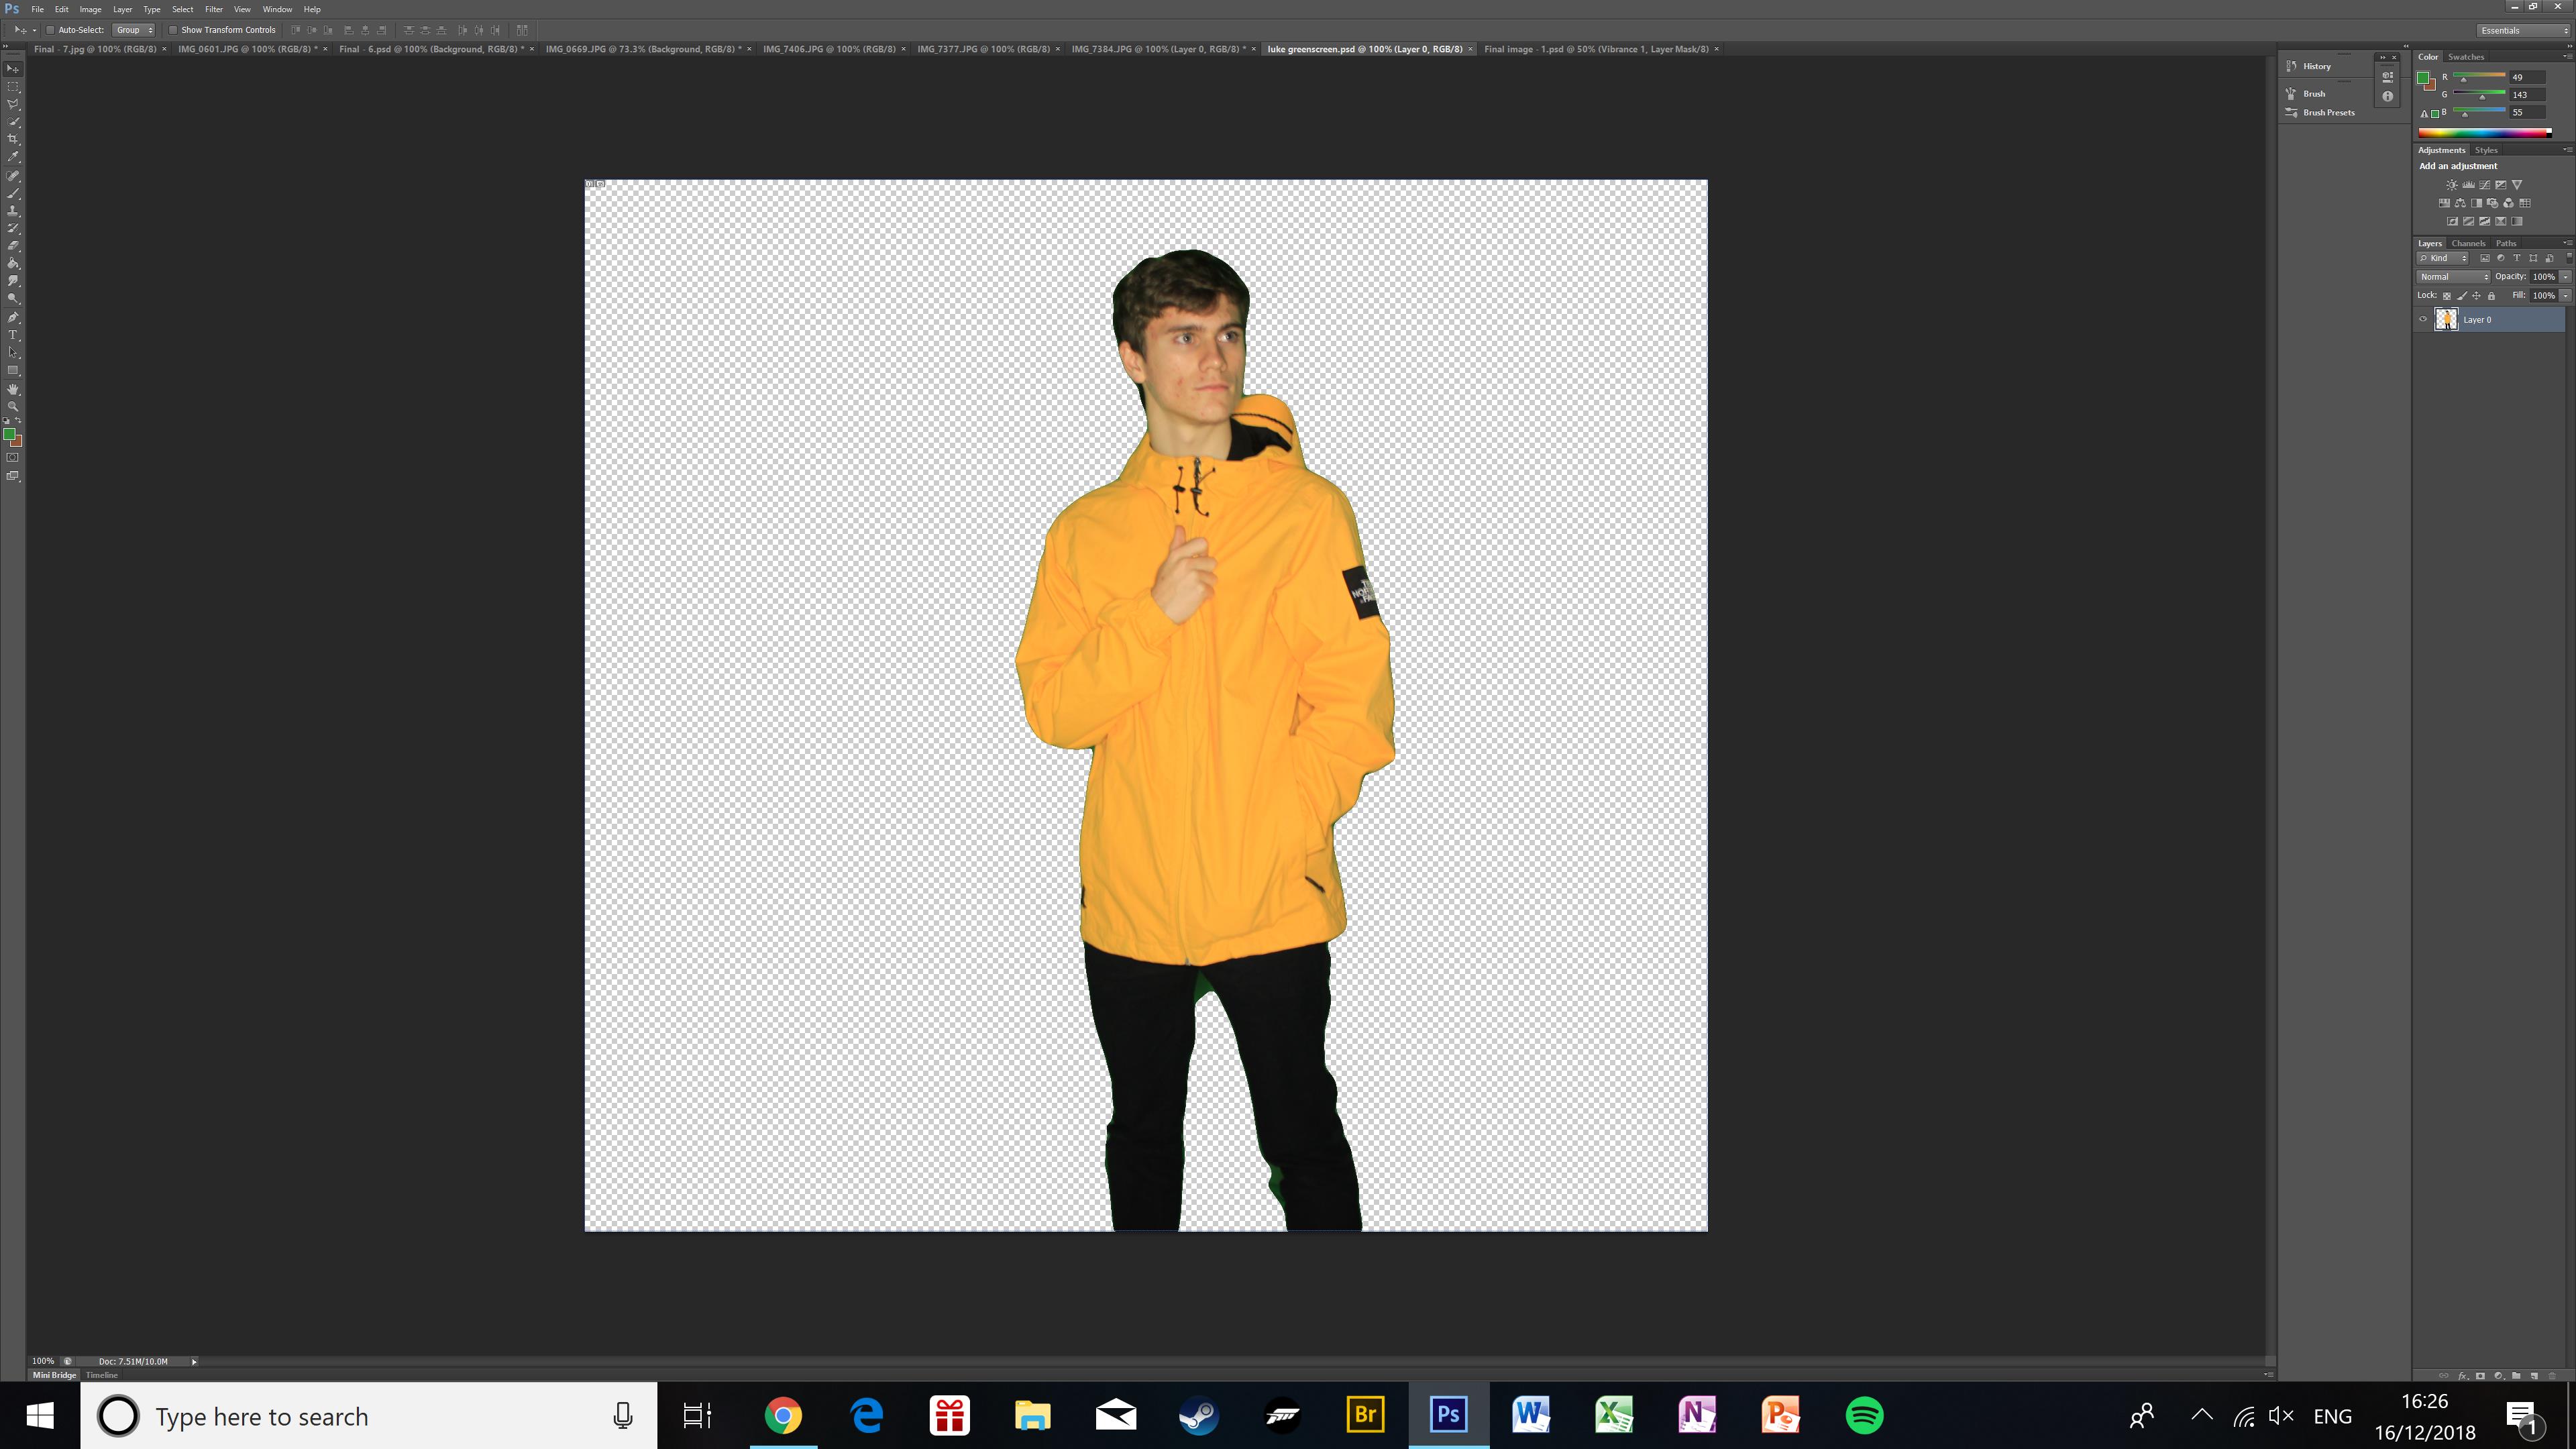
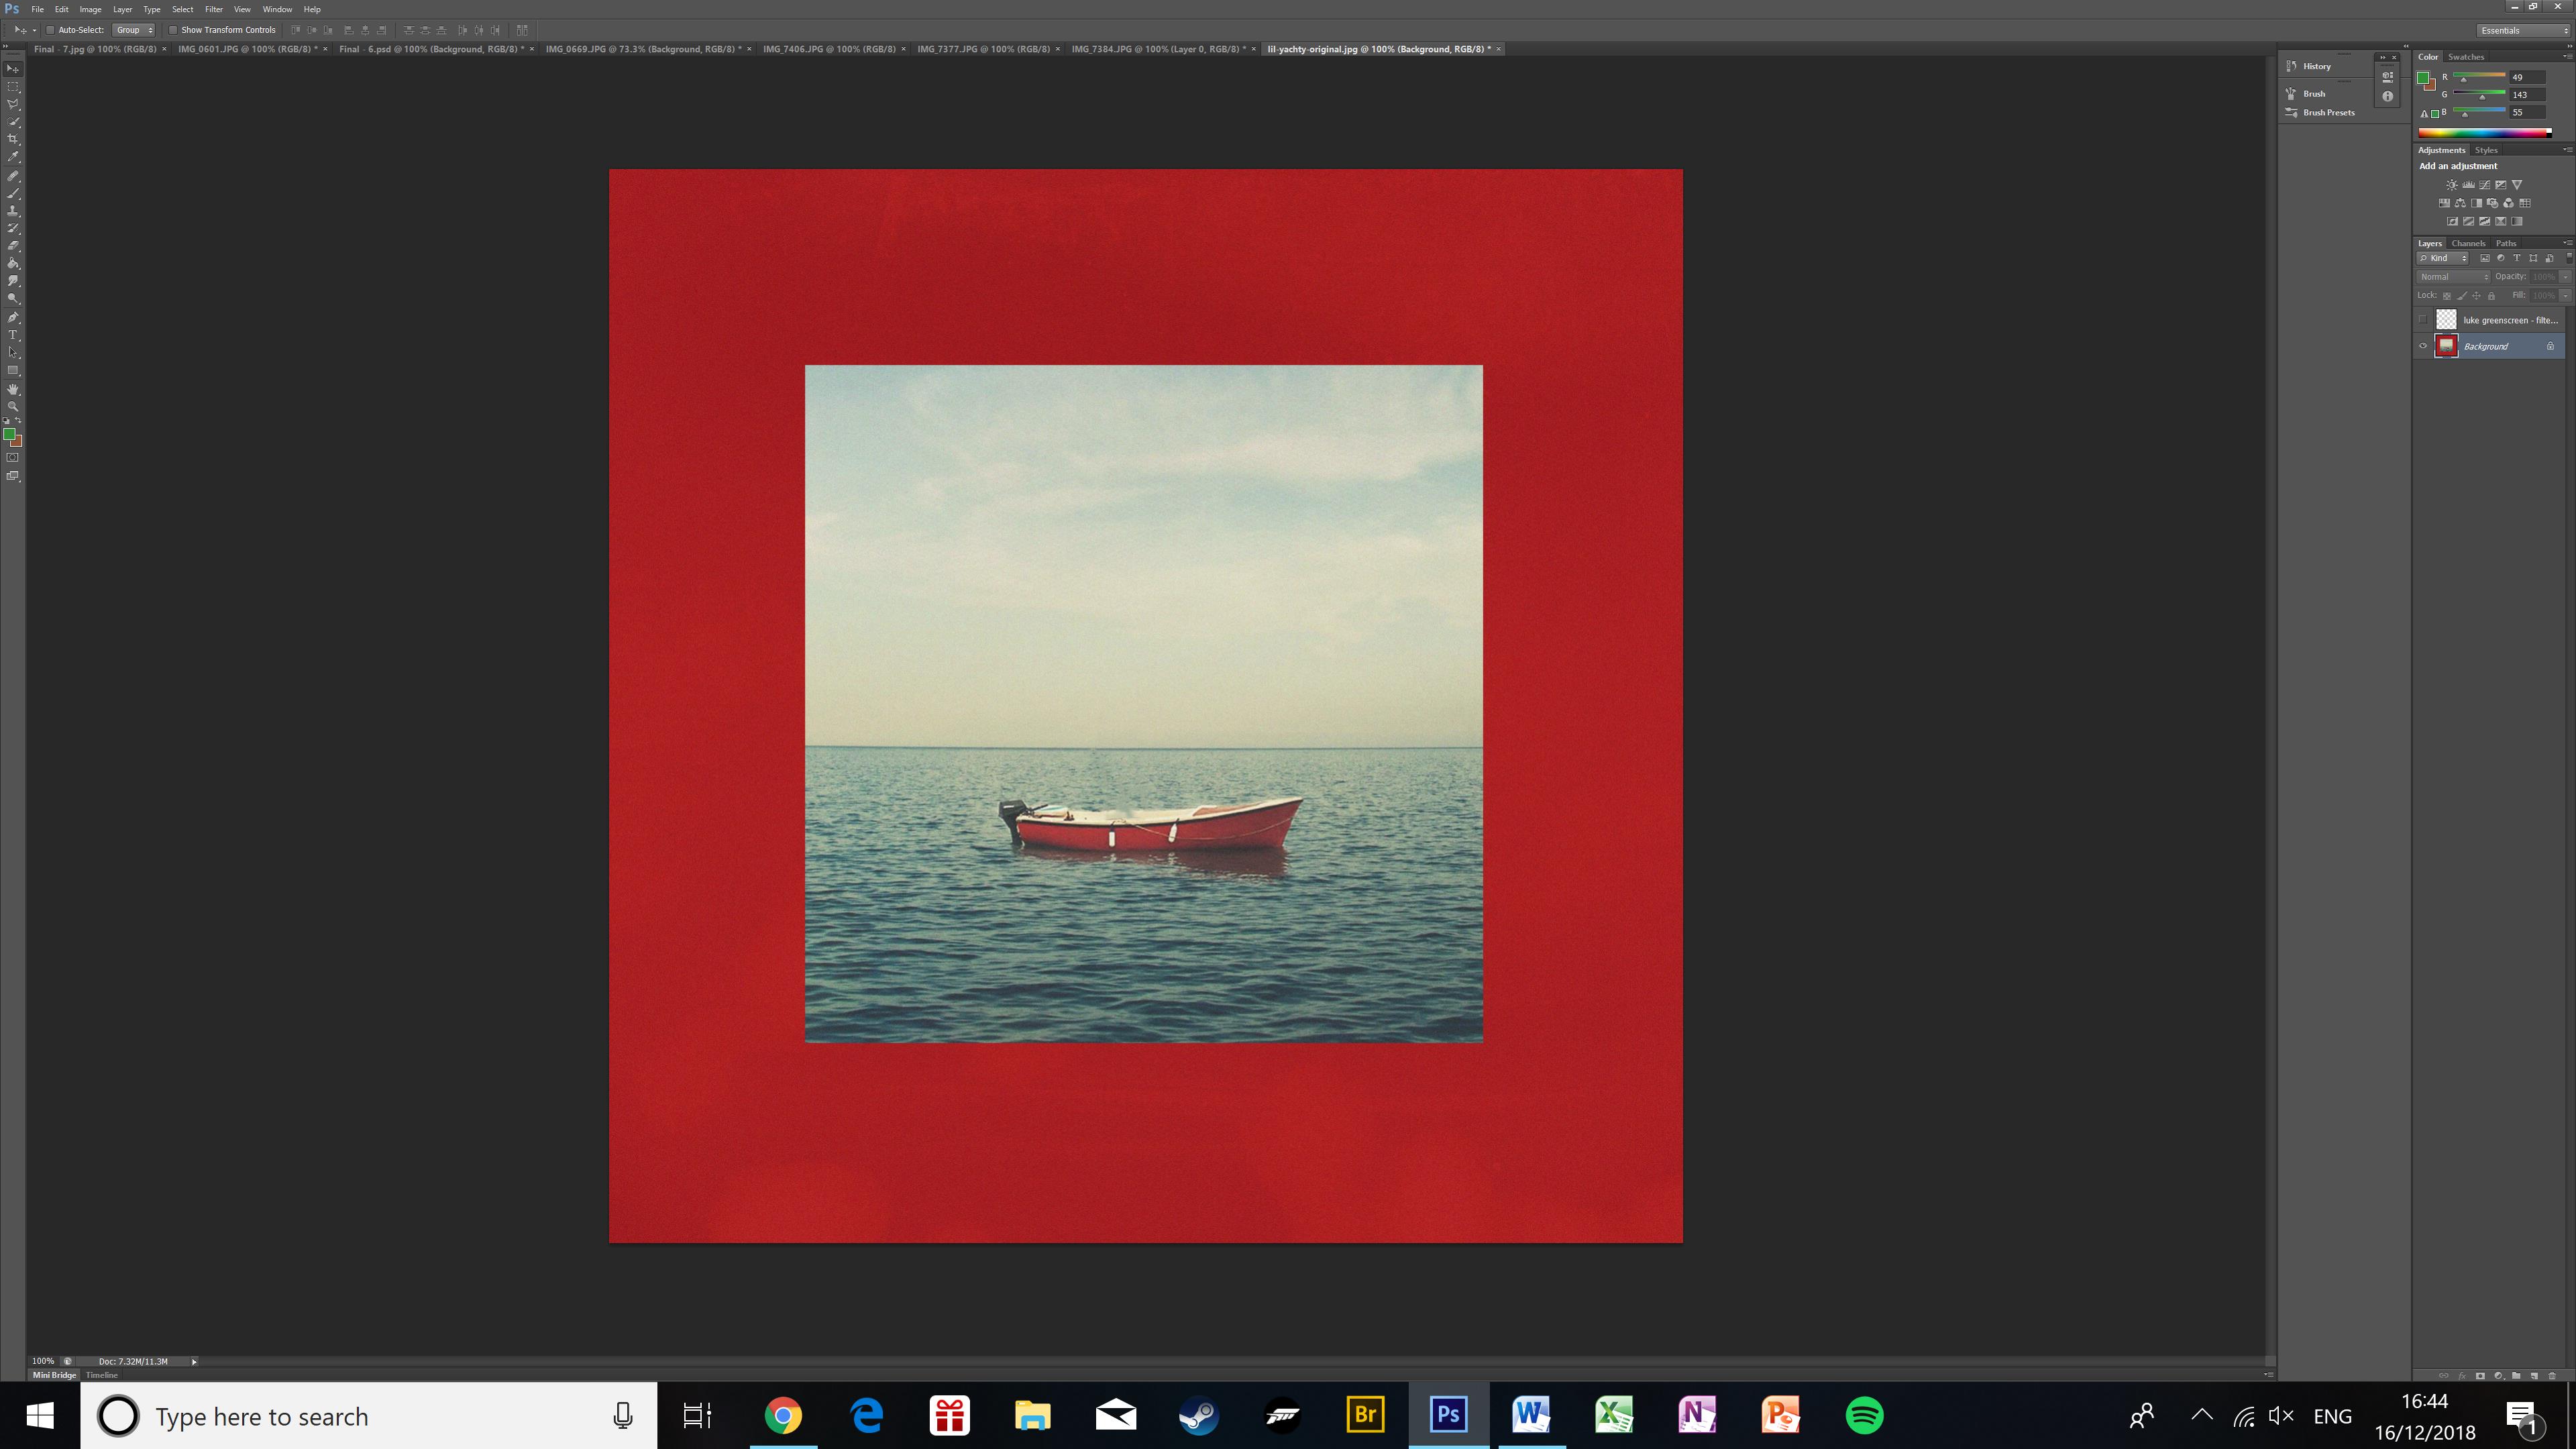
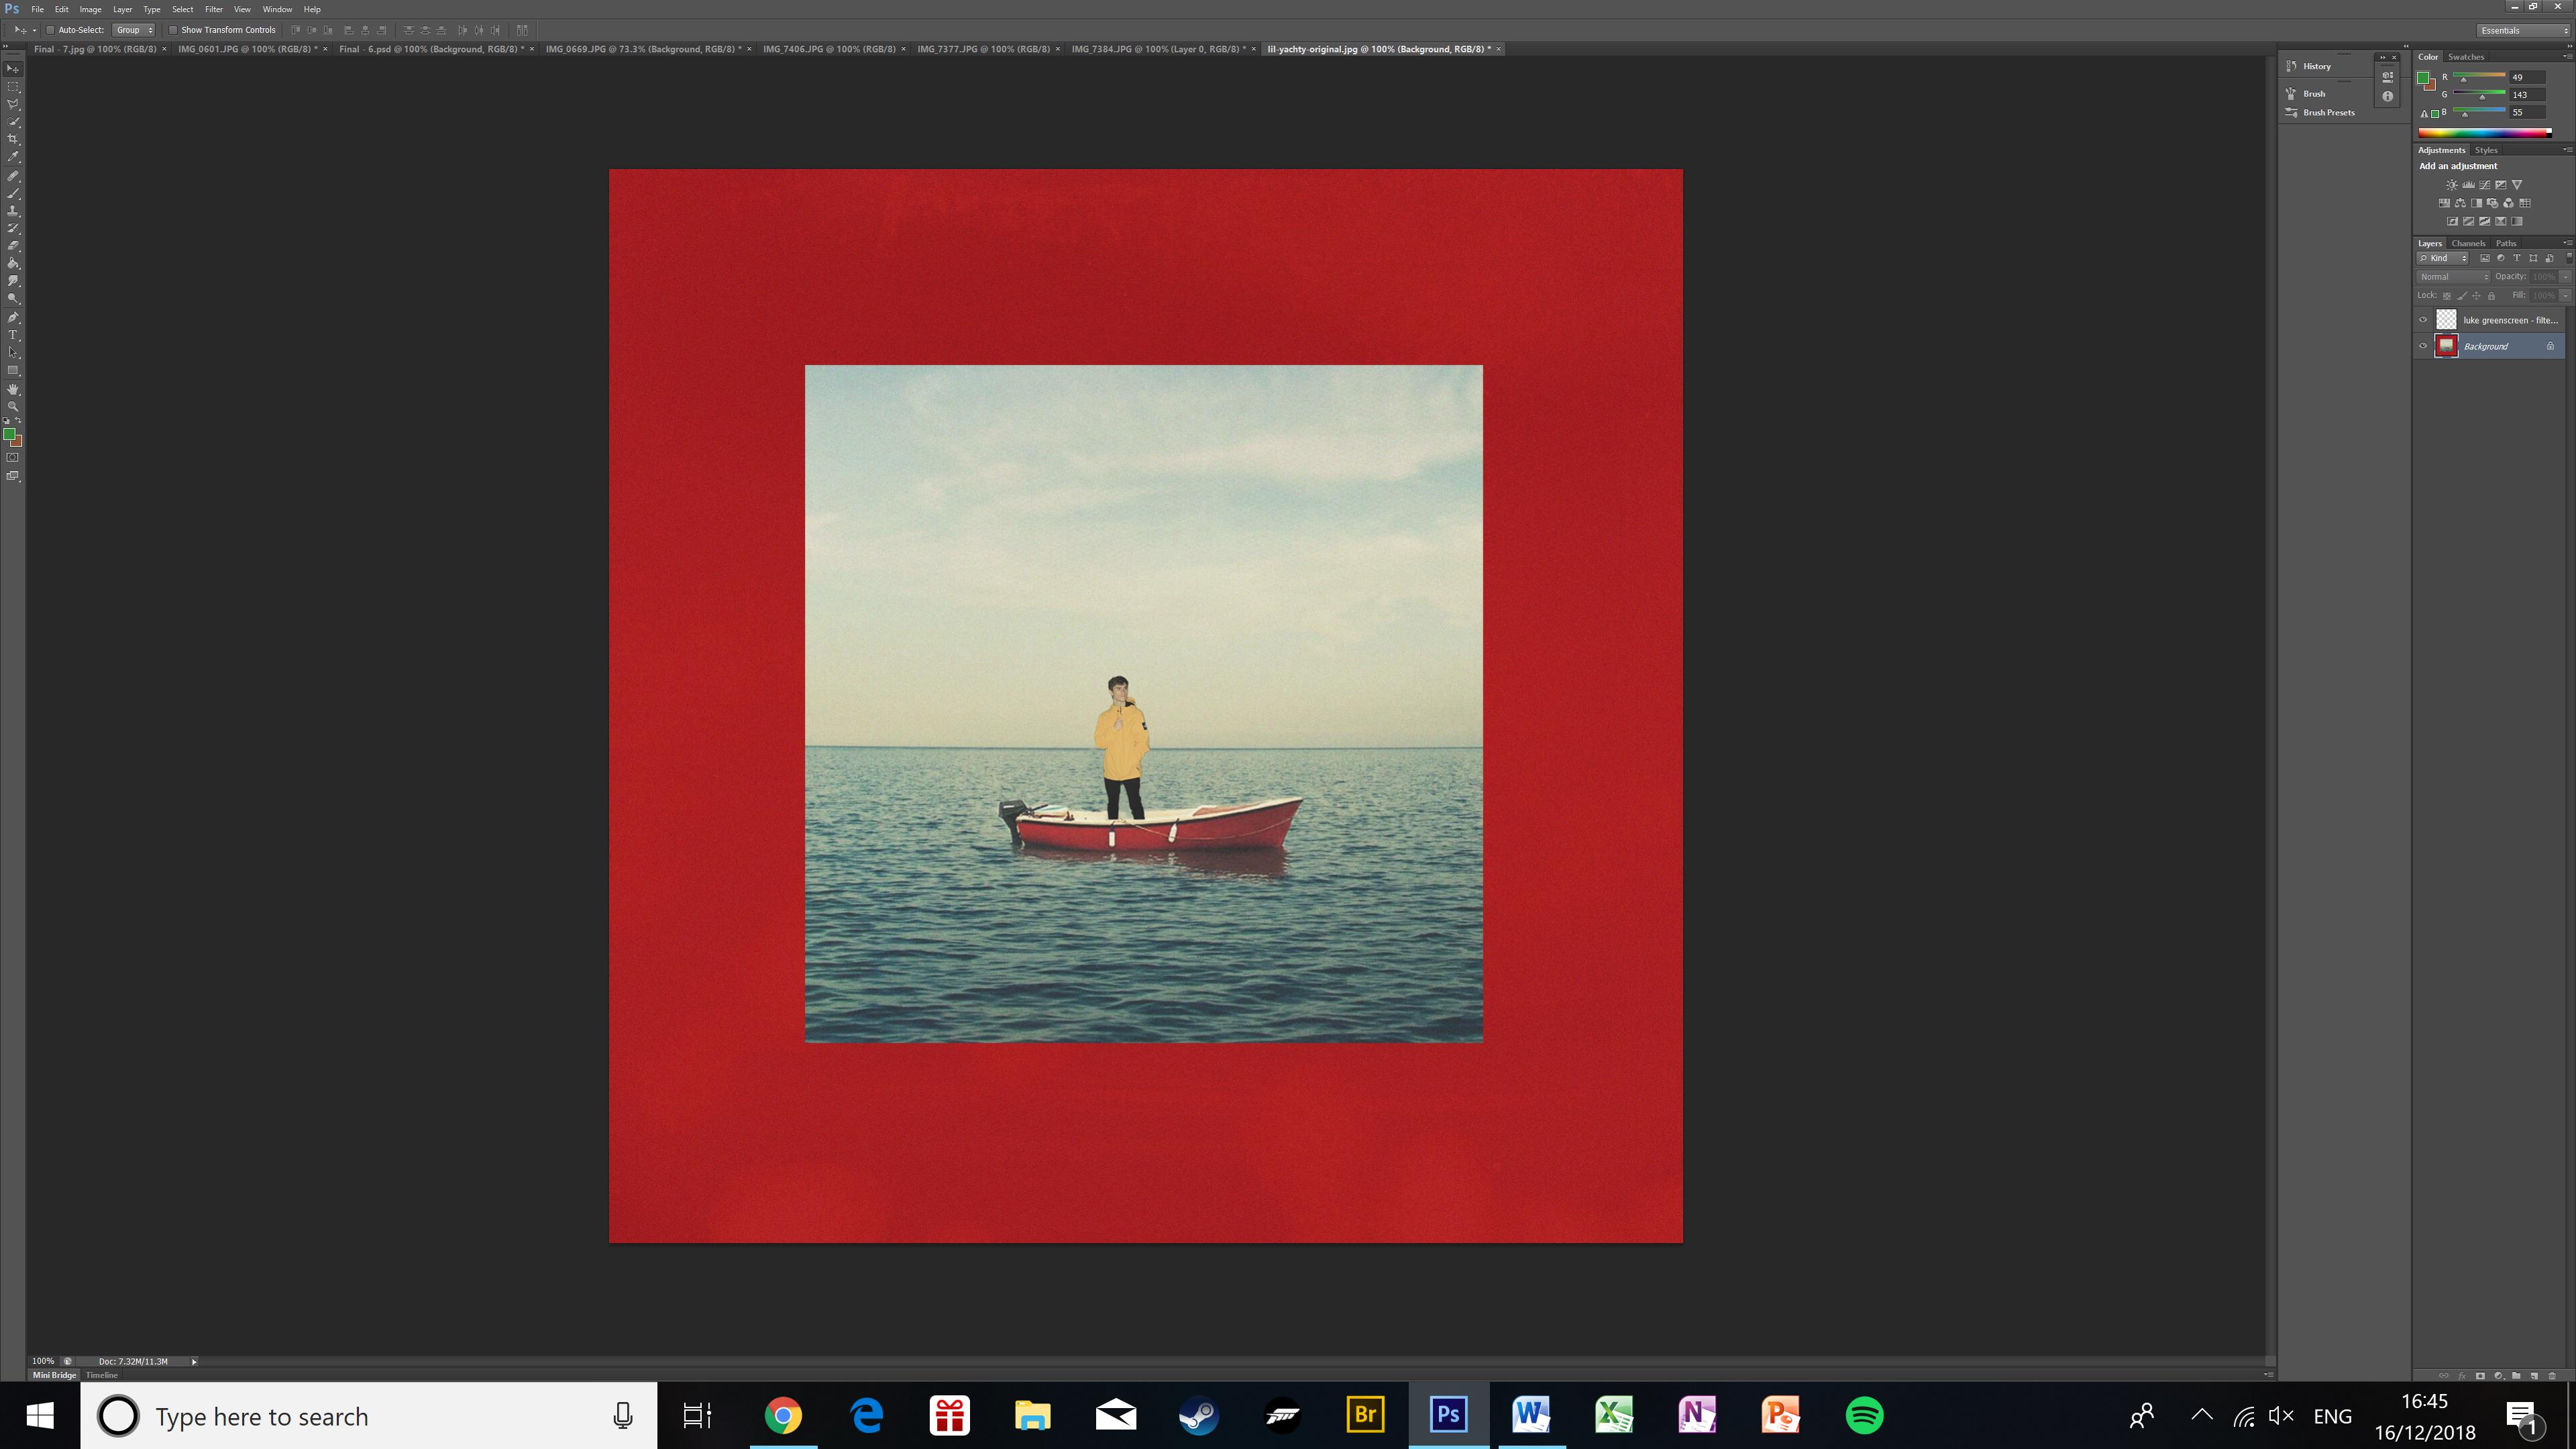
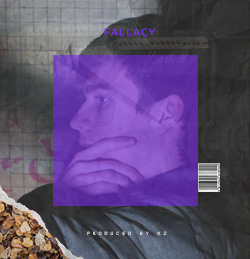
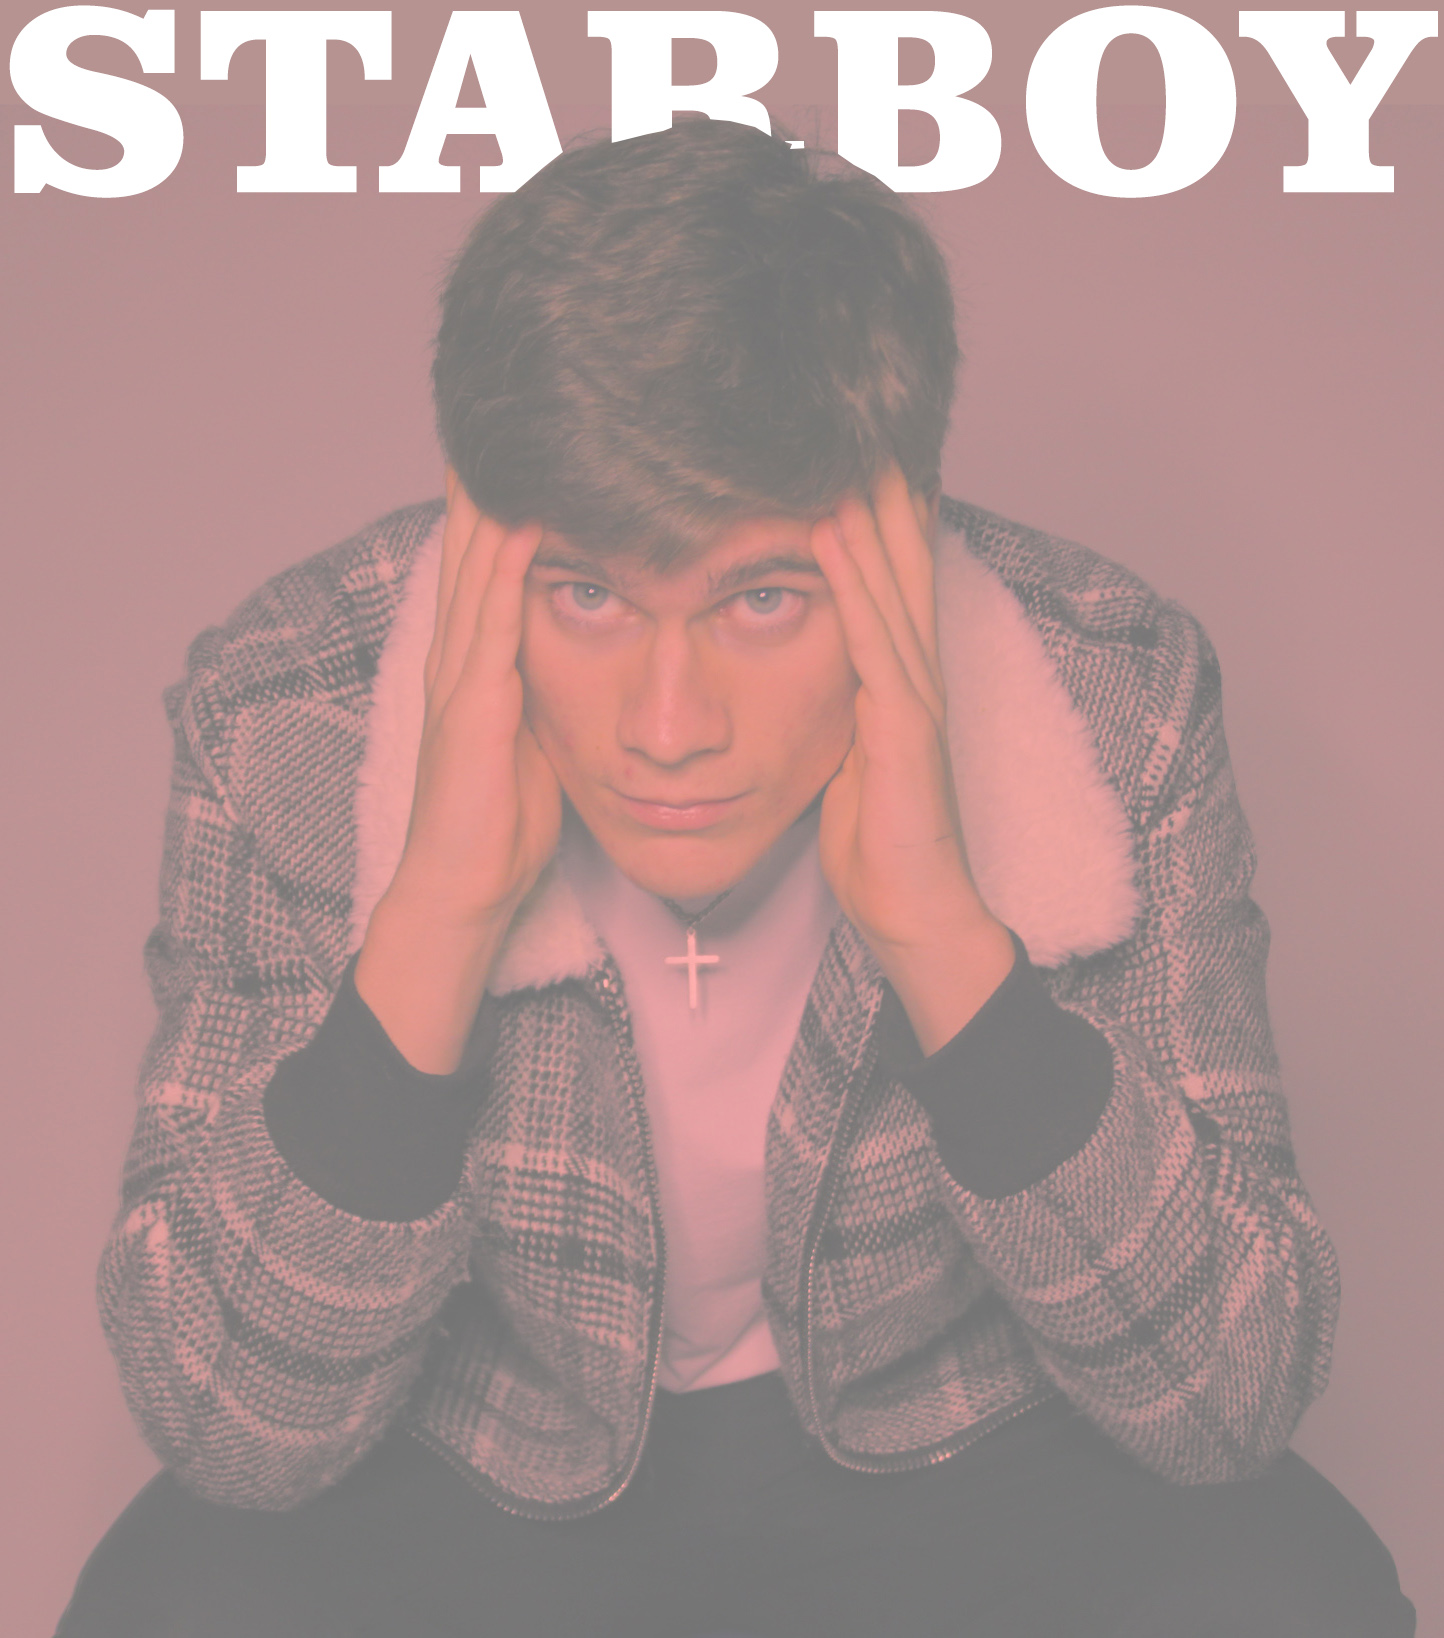 This is my take on the ‘starboy’ album cover. I had to change the colours as the blue colour scheme wouldn’t work as well as in the original because of my friend’s ethnicity. I also had to change the positioning of his hands because he has a different hairstyle and colour to the artist. If his hands were in the same pose they would stand out a lot more against his hair; which wouldn’t have the same effect. Also, due to his hair being longer his fingers would be covered up by his hair if he slid them up his head; which would also be less effective than the original album cover.
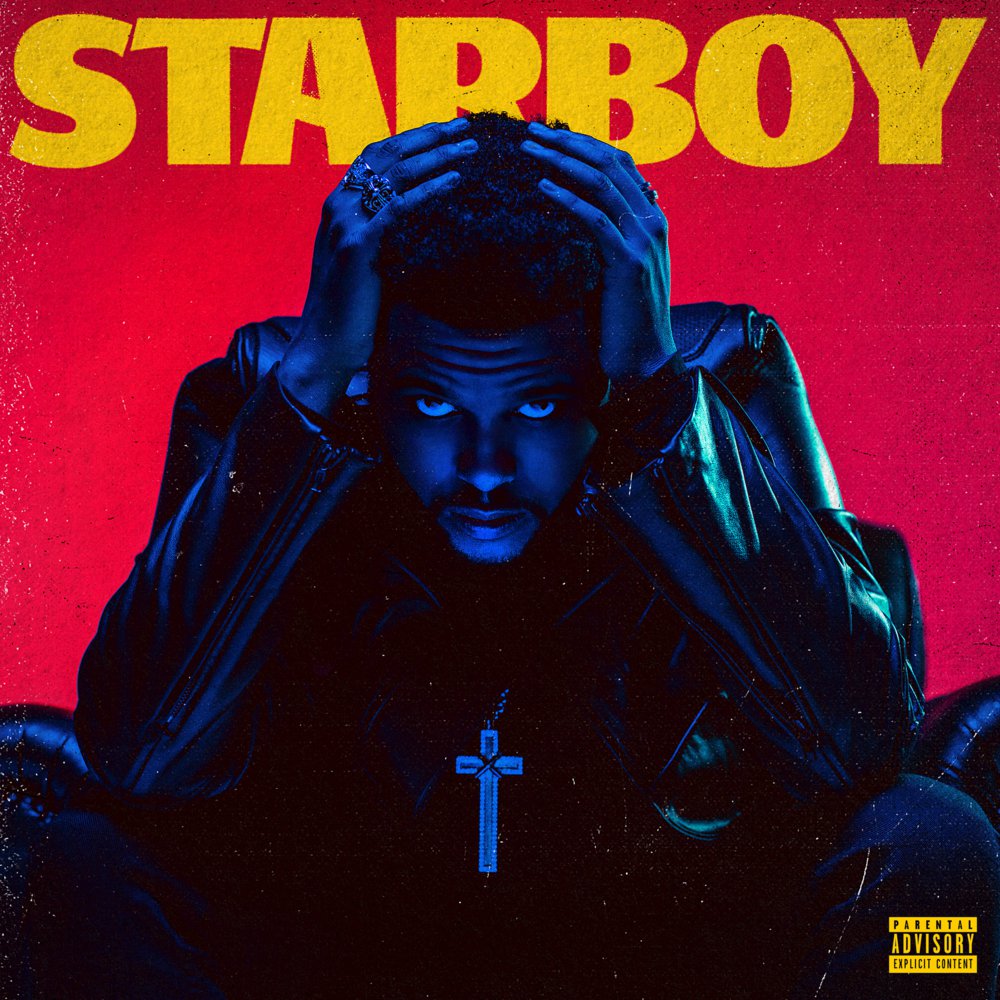 The original album cover, it has a much different colour scheme to my version, but these colours work well only in the original because of the artist’s and my model’s ethnicity. The theme of blue-lit black is possible here due to his dark skin tone. There is also a parental advisory tag in the bottom right due to the contents of the album, I didn’t include this in my version because I had already used that tag in previous covers in this project and i didn’t want to repeatedly use them.
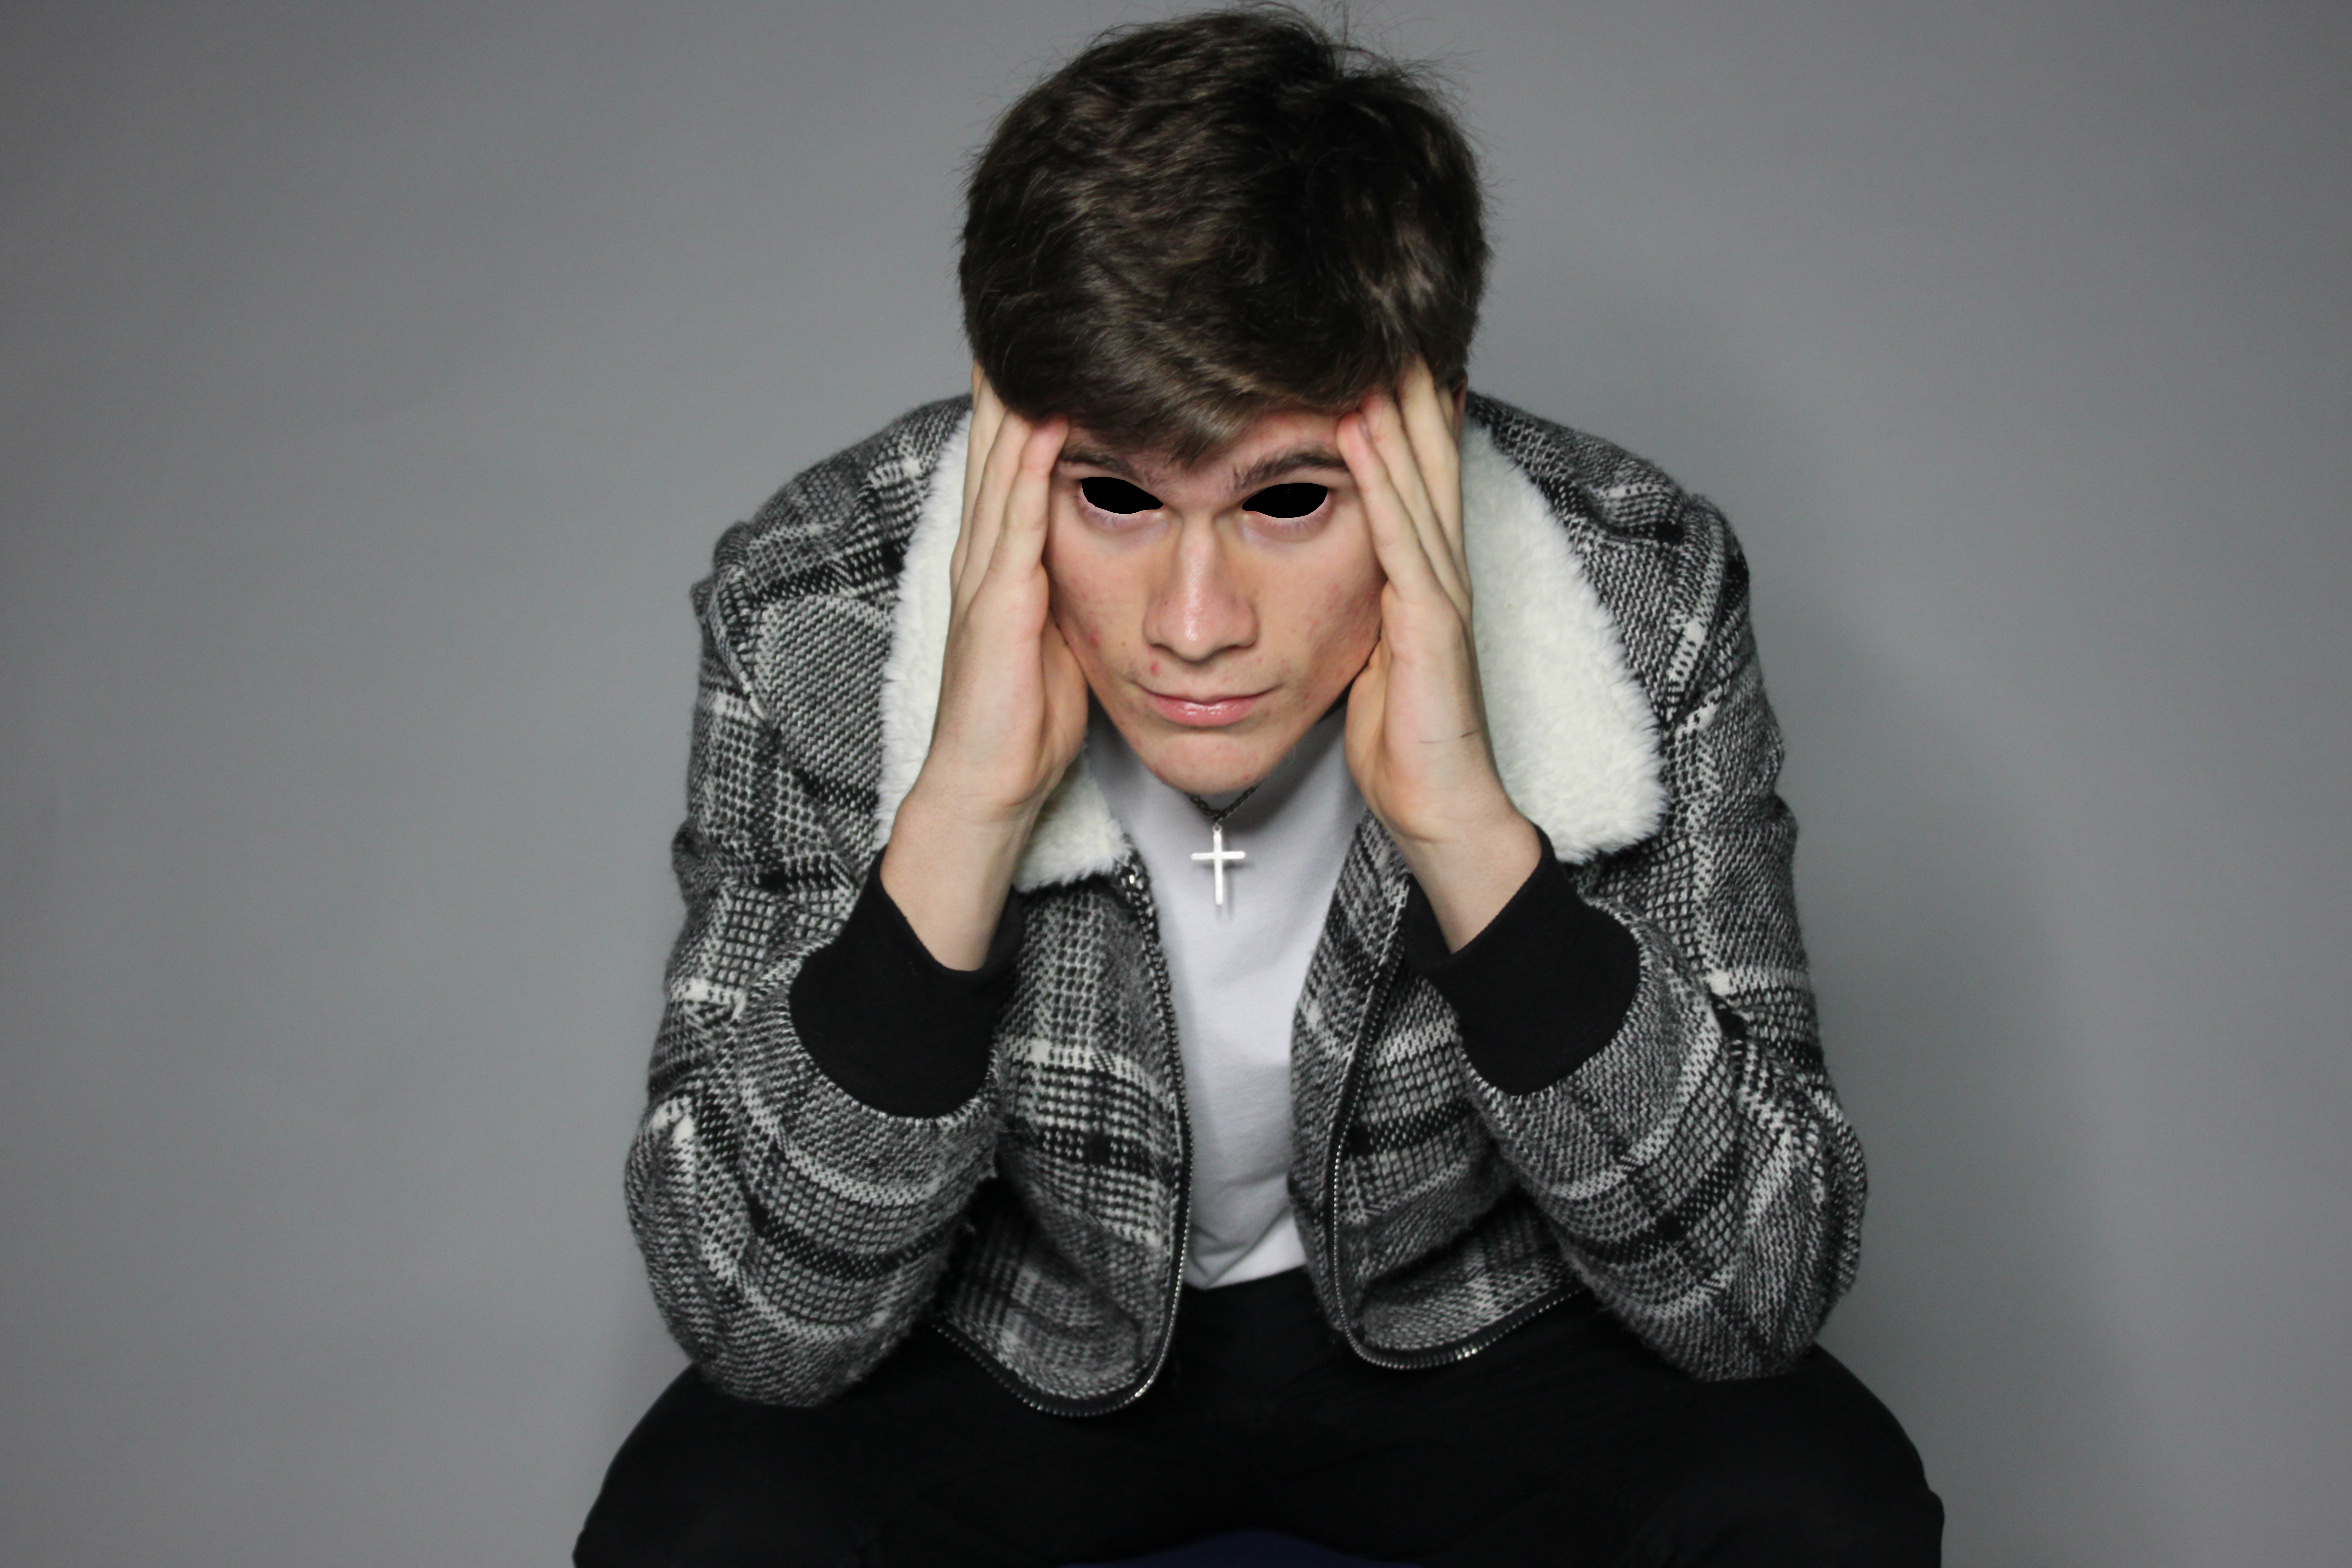 This is a work-in-progress edit of the photo which I decided to abandon because it looked too __ and didn’t fit the theme of the cover. My idea behind it was to make everything light colours apart from the eyes and cross (this is the opposite of what they did in the original album cover; everything dark apart from eyes and cross), I edited the eyes first and realised that the idea didn’t really work out so I didn’t bother editing the rest of it.
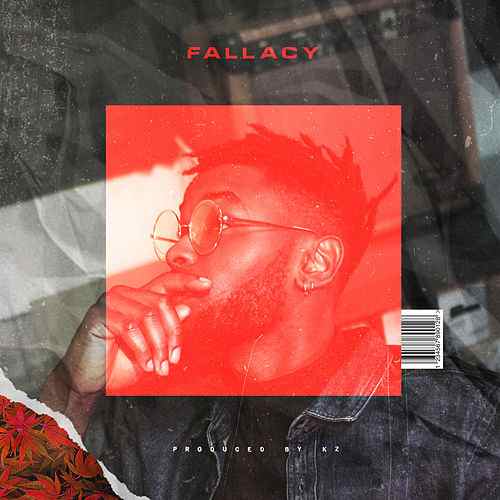 This is the original album cover for ‘Fallacy’. It has a lot of layers placed on top of each other; which fills in the empty space which the main photo would otherwise have. There are plenty gray/dull coloured layers and red elements to highlight the artist’s head, title of the album, as well as leaves in the bottom left corner.
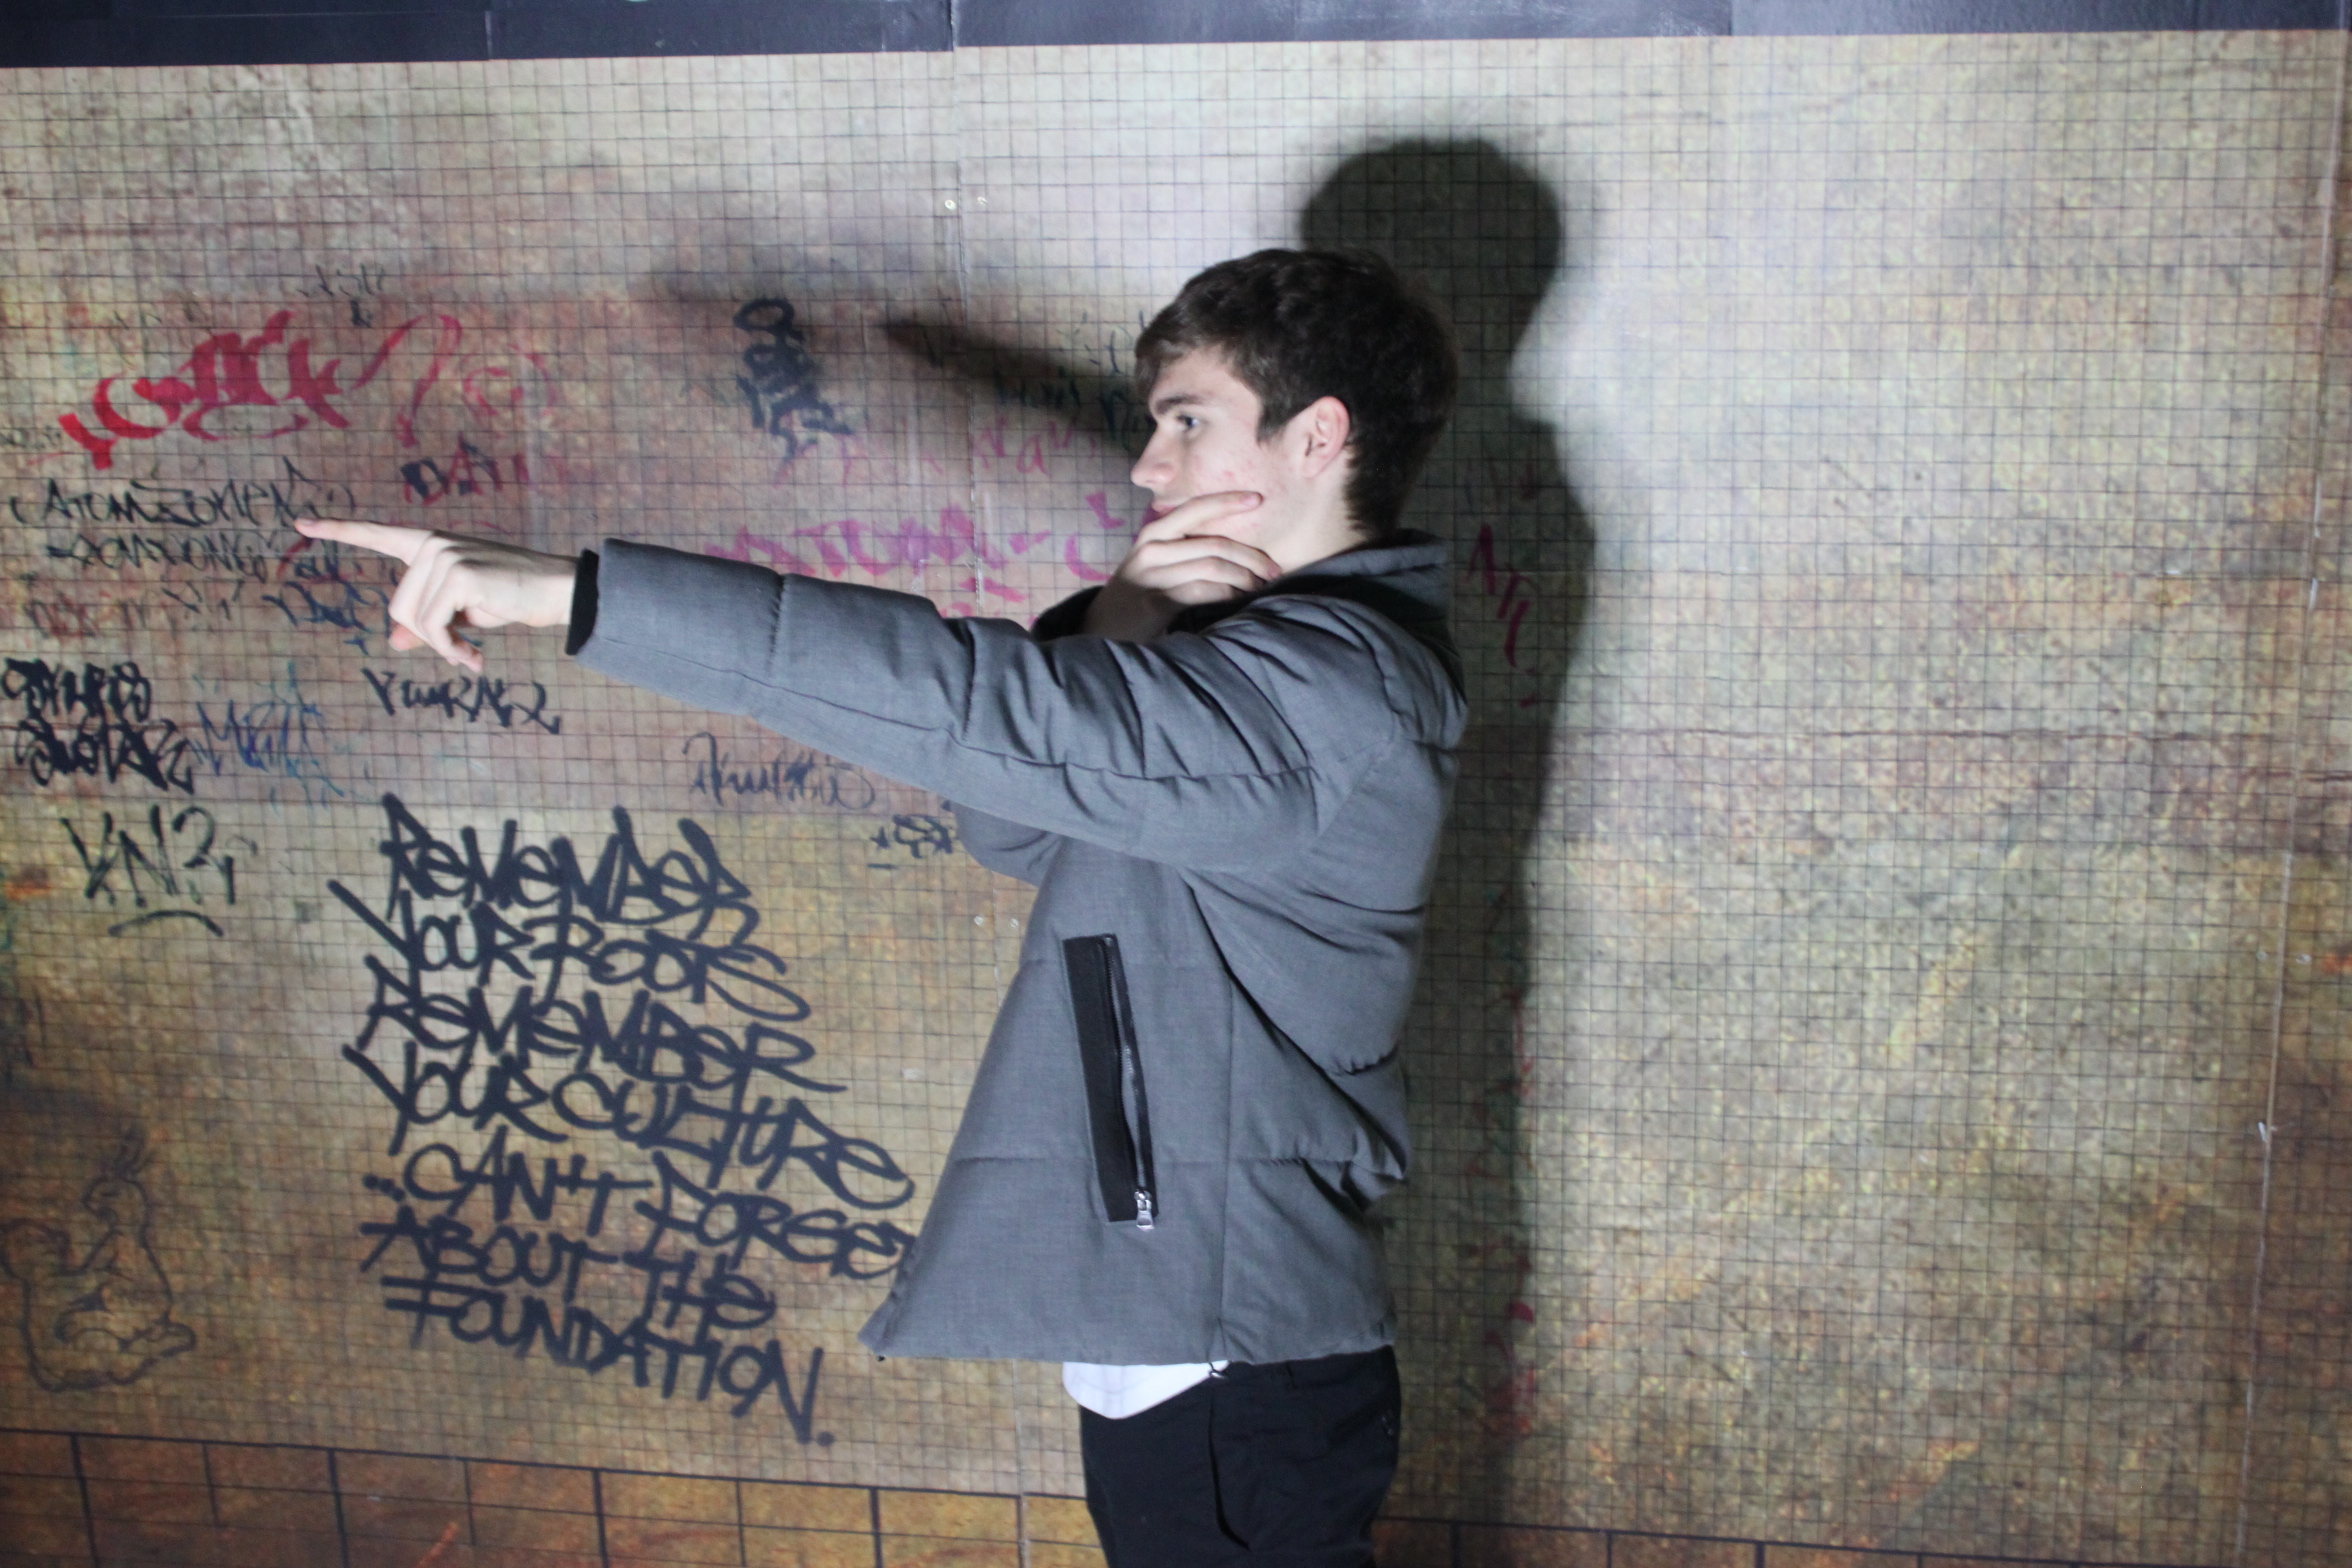
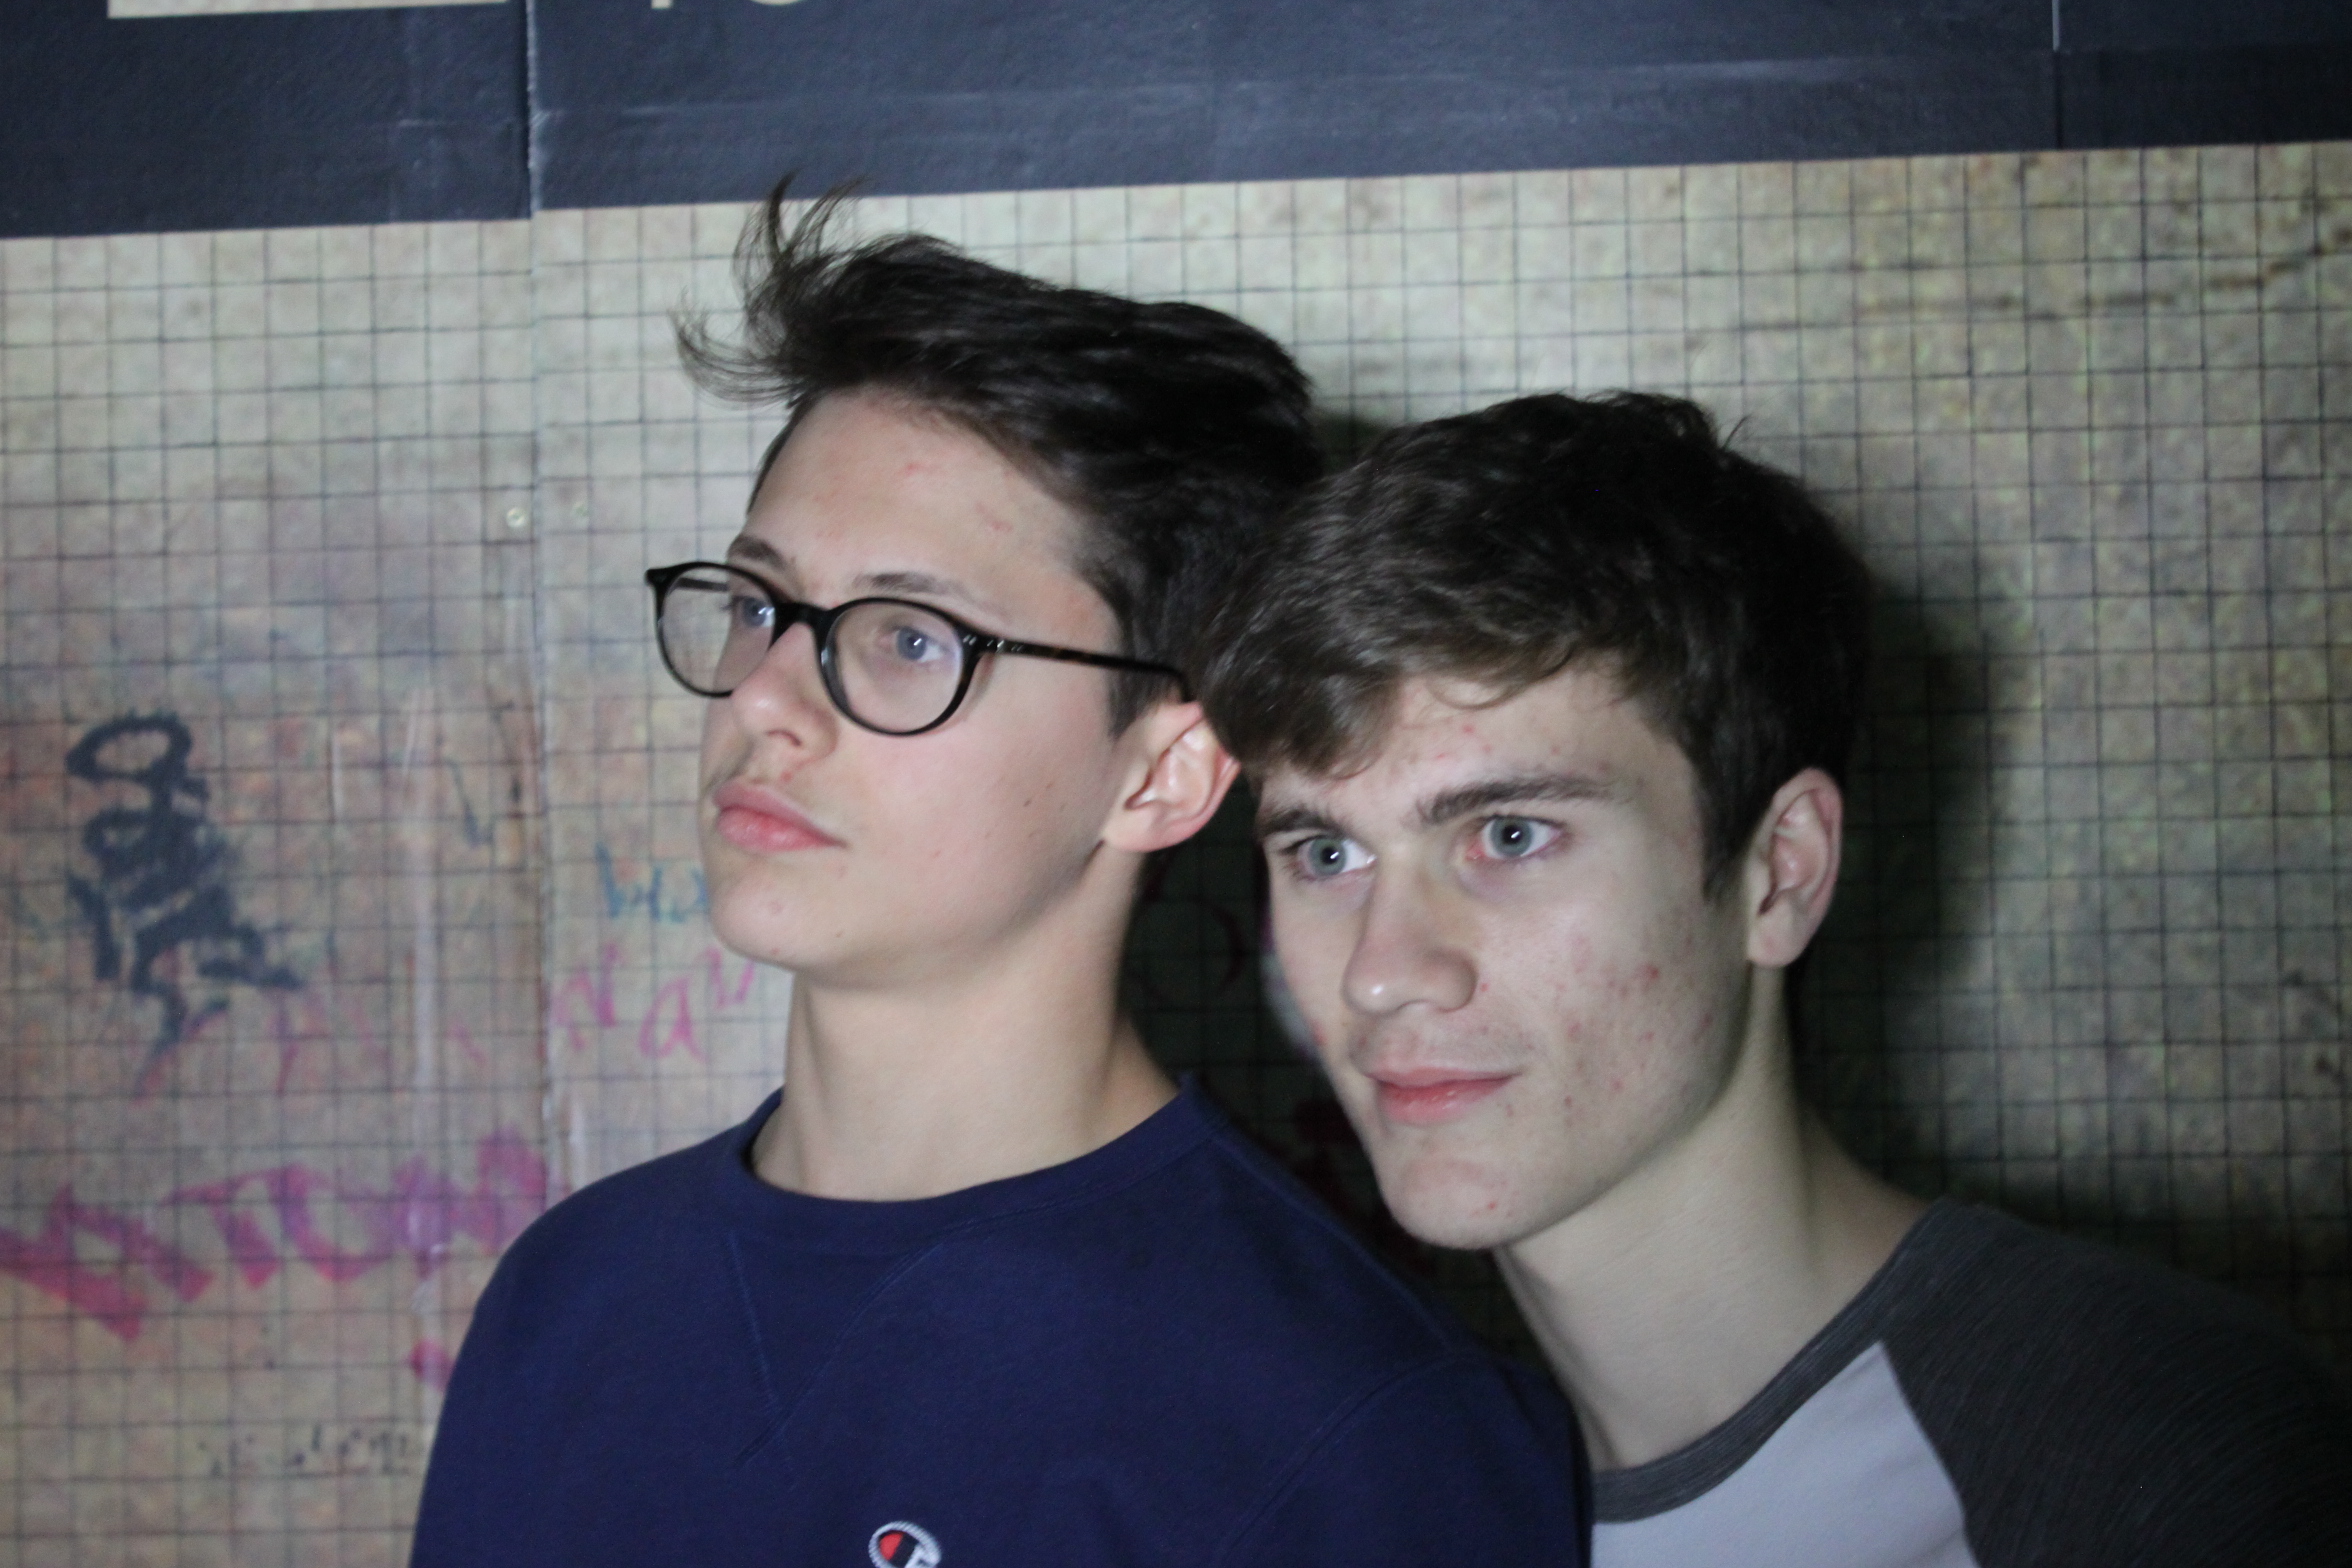 This is the original photo, I chose to take it in front an urban background in hope to achieve some distortion in the background after I applied the filters.
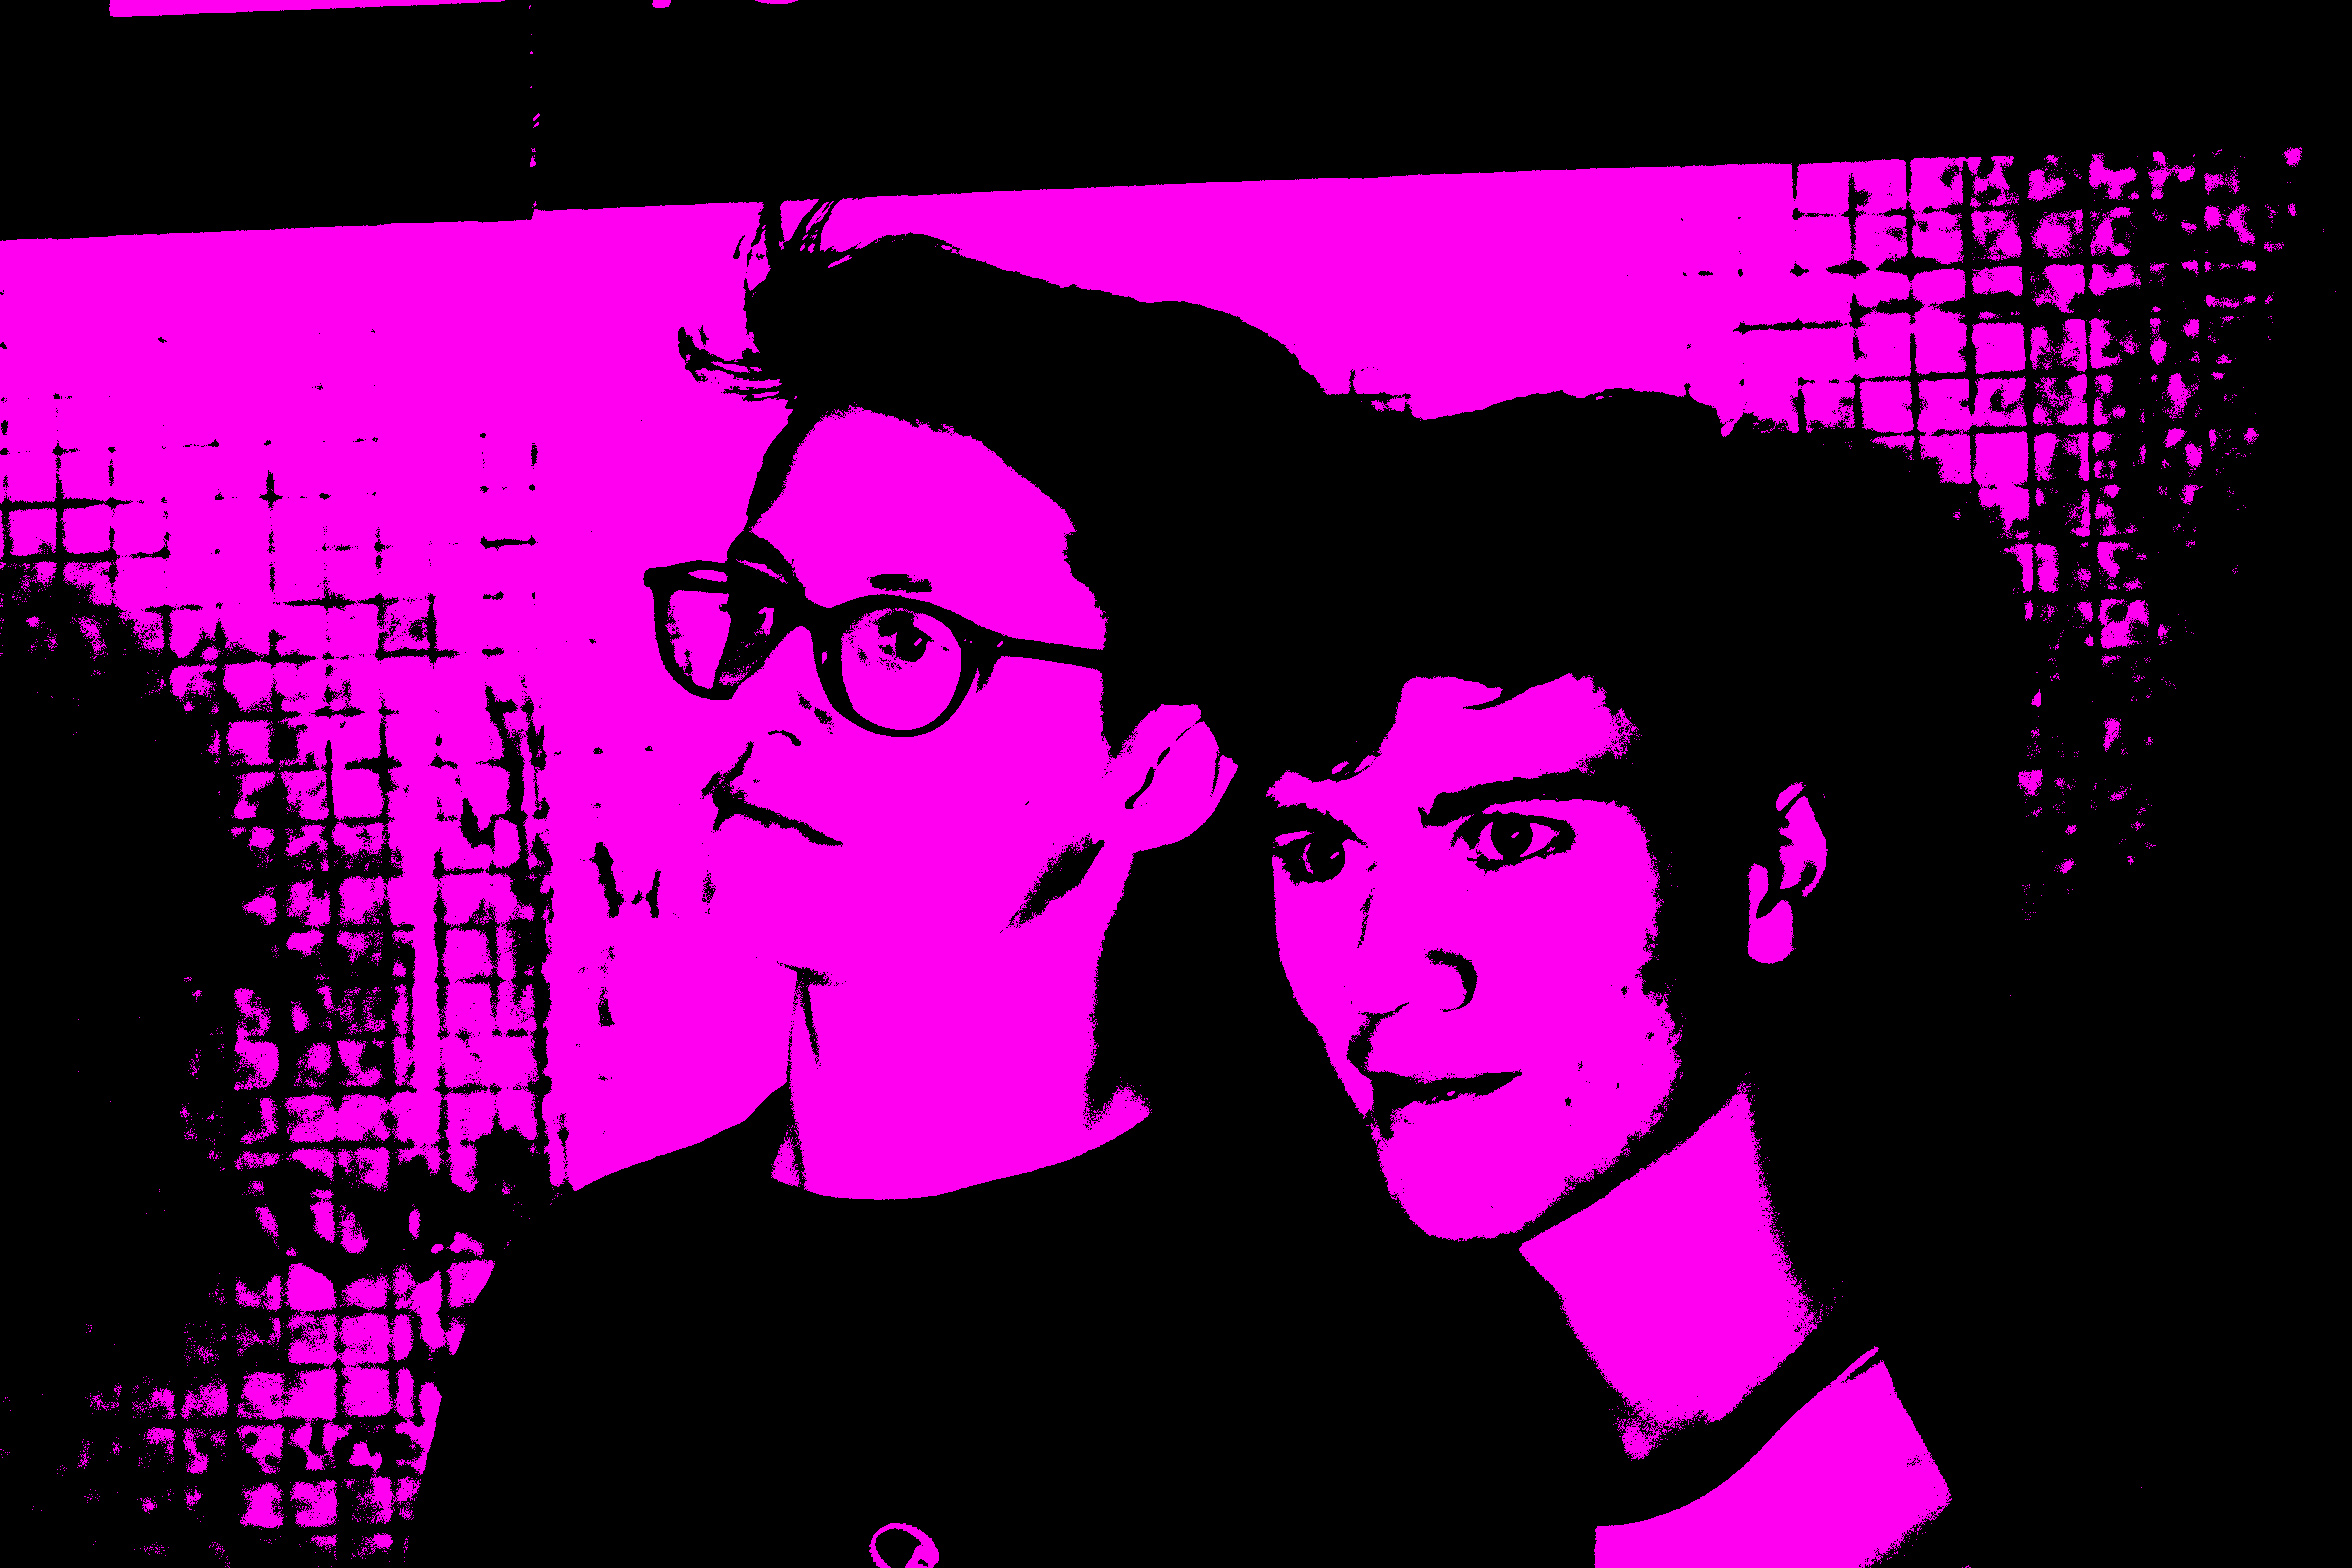 This is the image after I had edited it, but before cropping and adding and lettering. As you can see there is distortion in the background due to its texture, however its only present around the outer edges, so it wasn’t visible in the final cover after I had cropped it.
 This is two photos edited together. The original was two different people staring at each other, but I decided to take another darker photo of myself and edit it into the previous one. This give a bright/dark good/bad side effect.
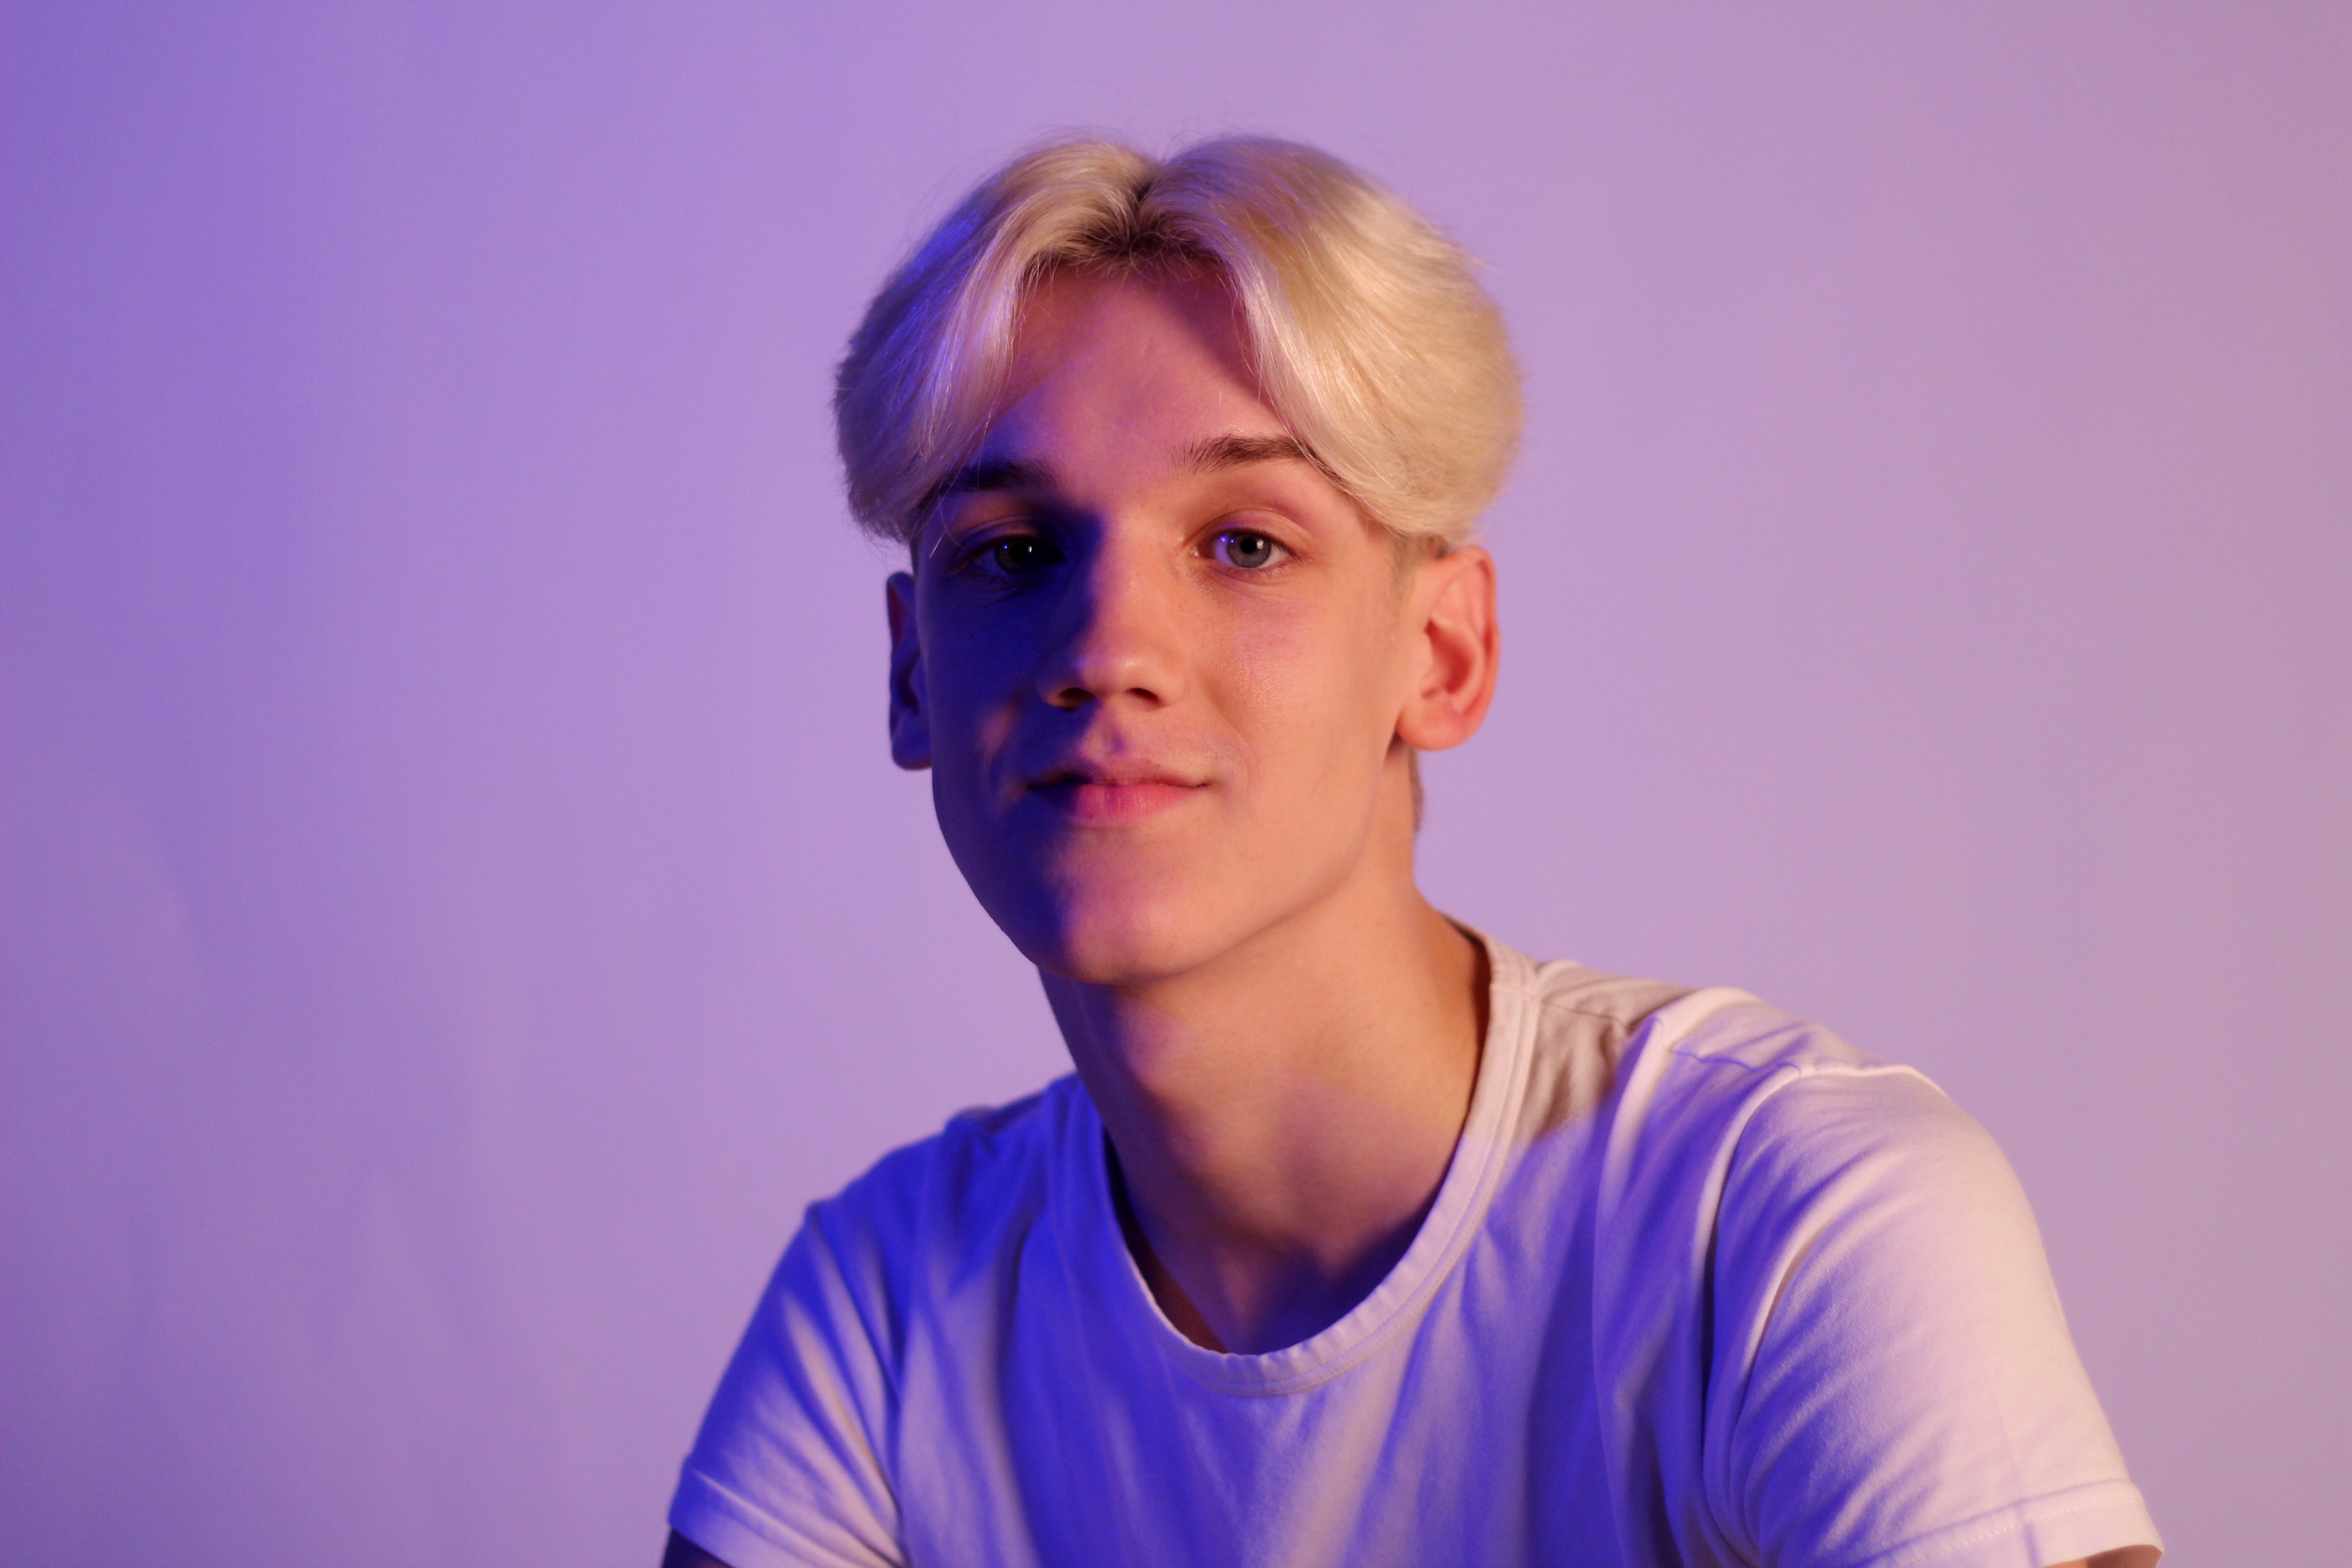
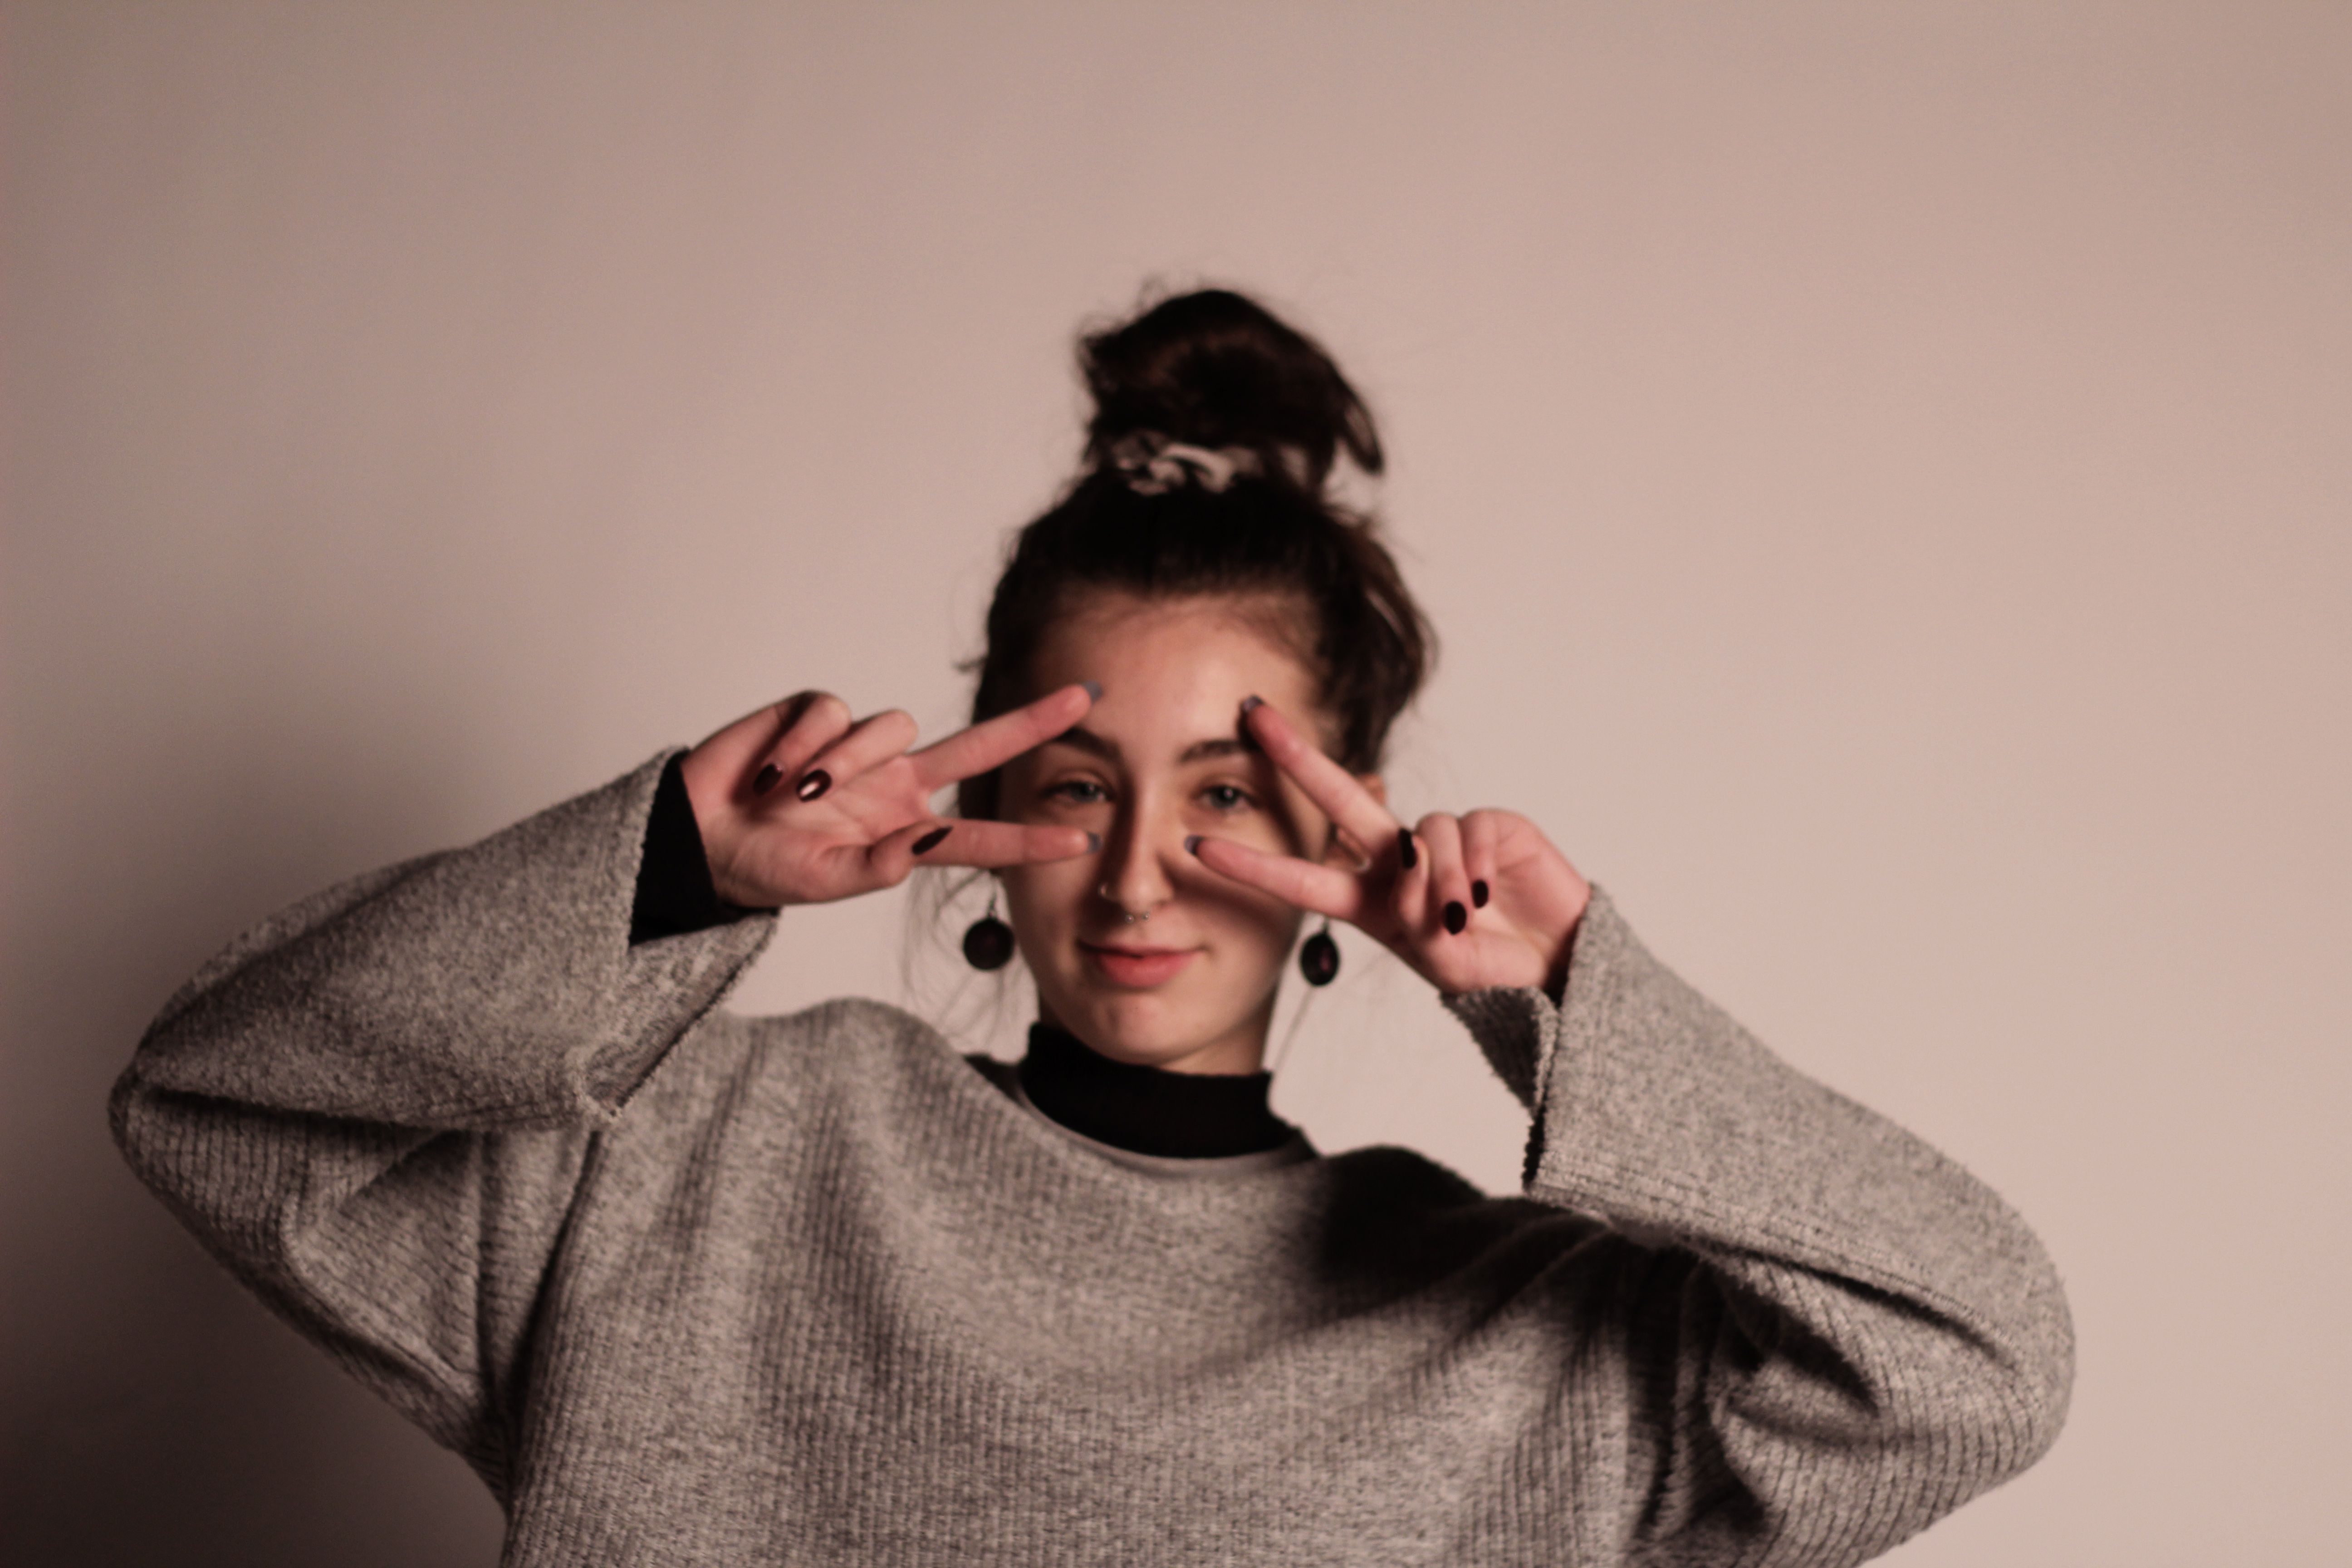
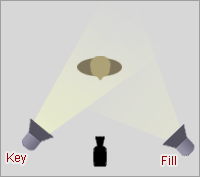
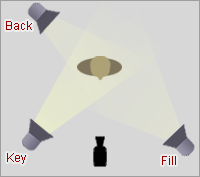
 This photo used two-point lighting. A spotlight with a green tint to the left, as well as a ring light positioned directly in front of the camera. The ring light isn’t visible as the camera was placed in the middle of the ring light. This results in a brighter image, but still keeps the colour lighting.
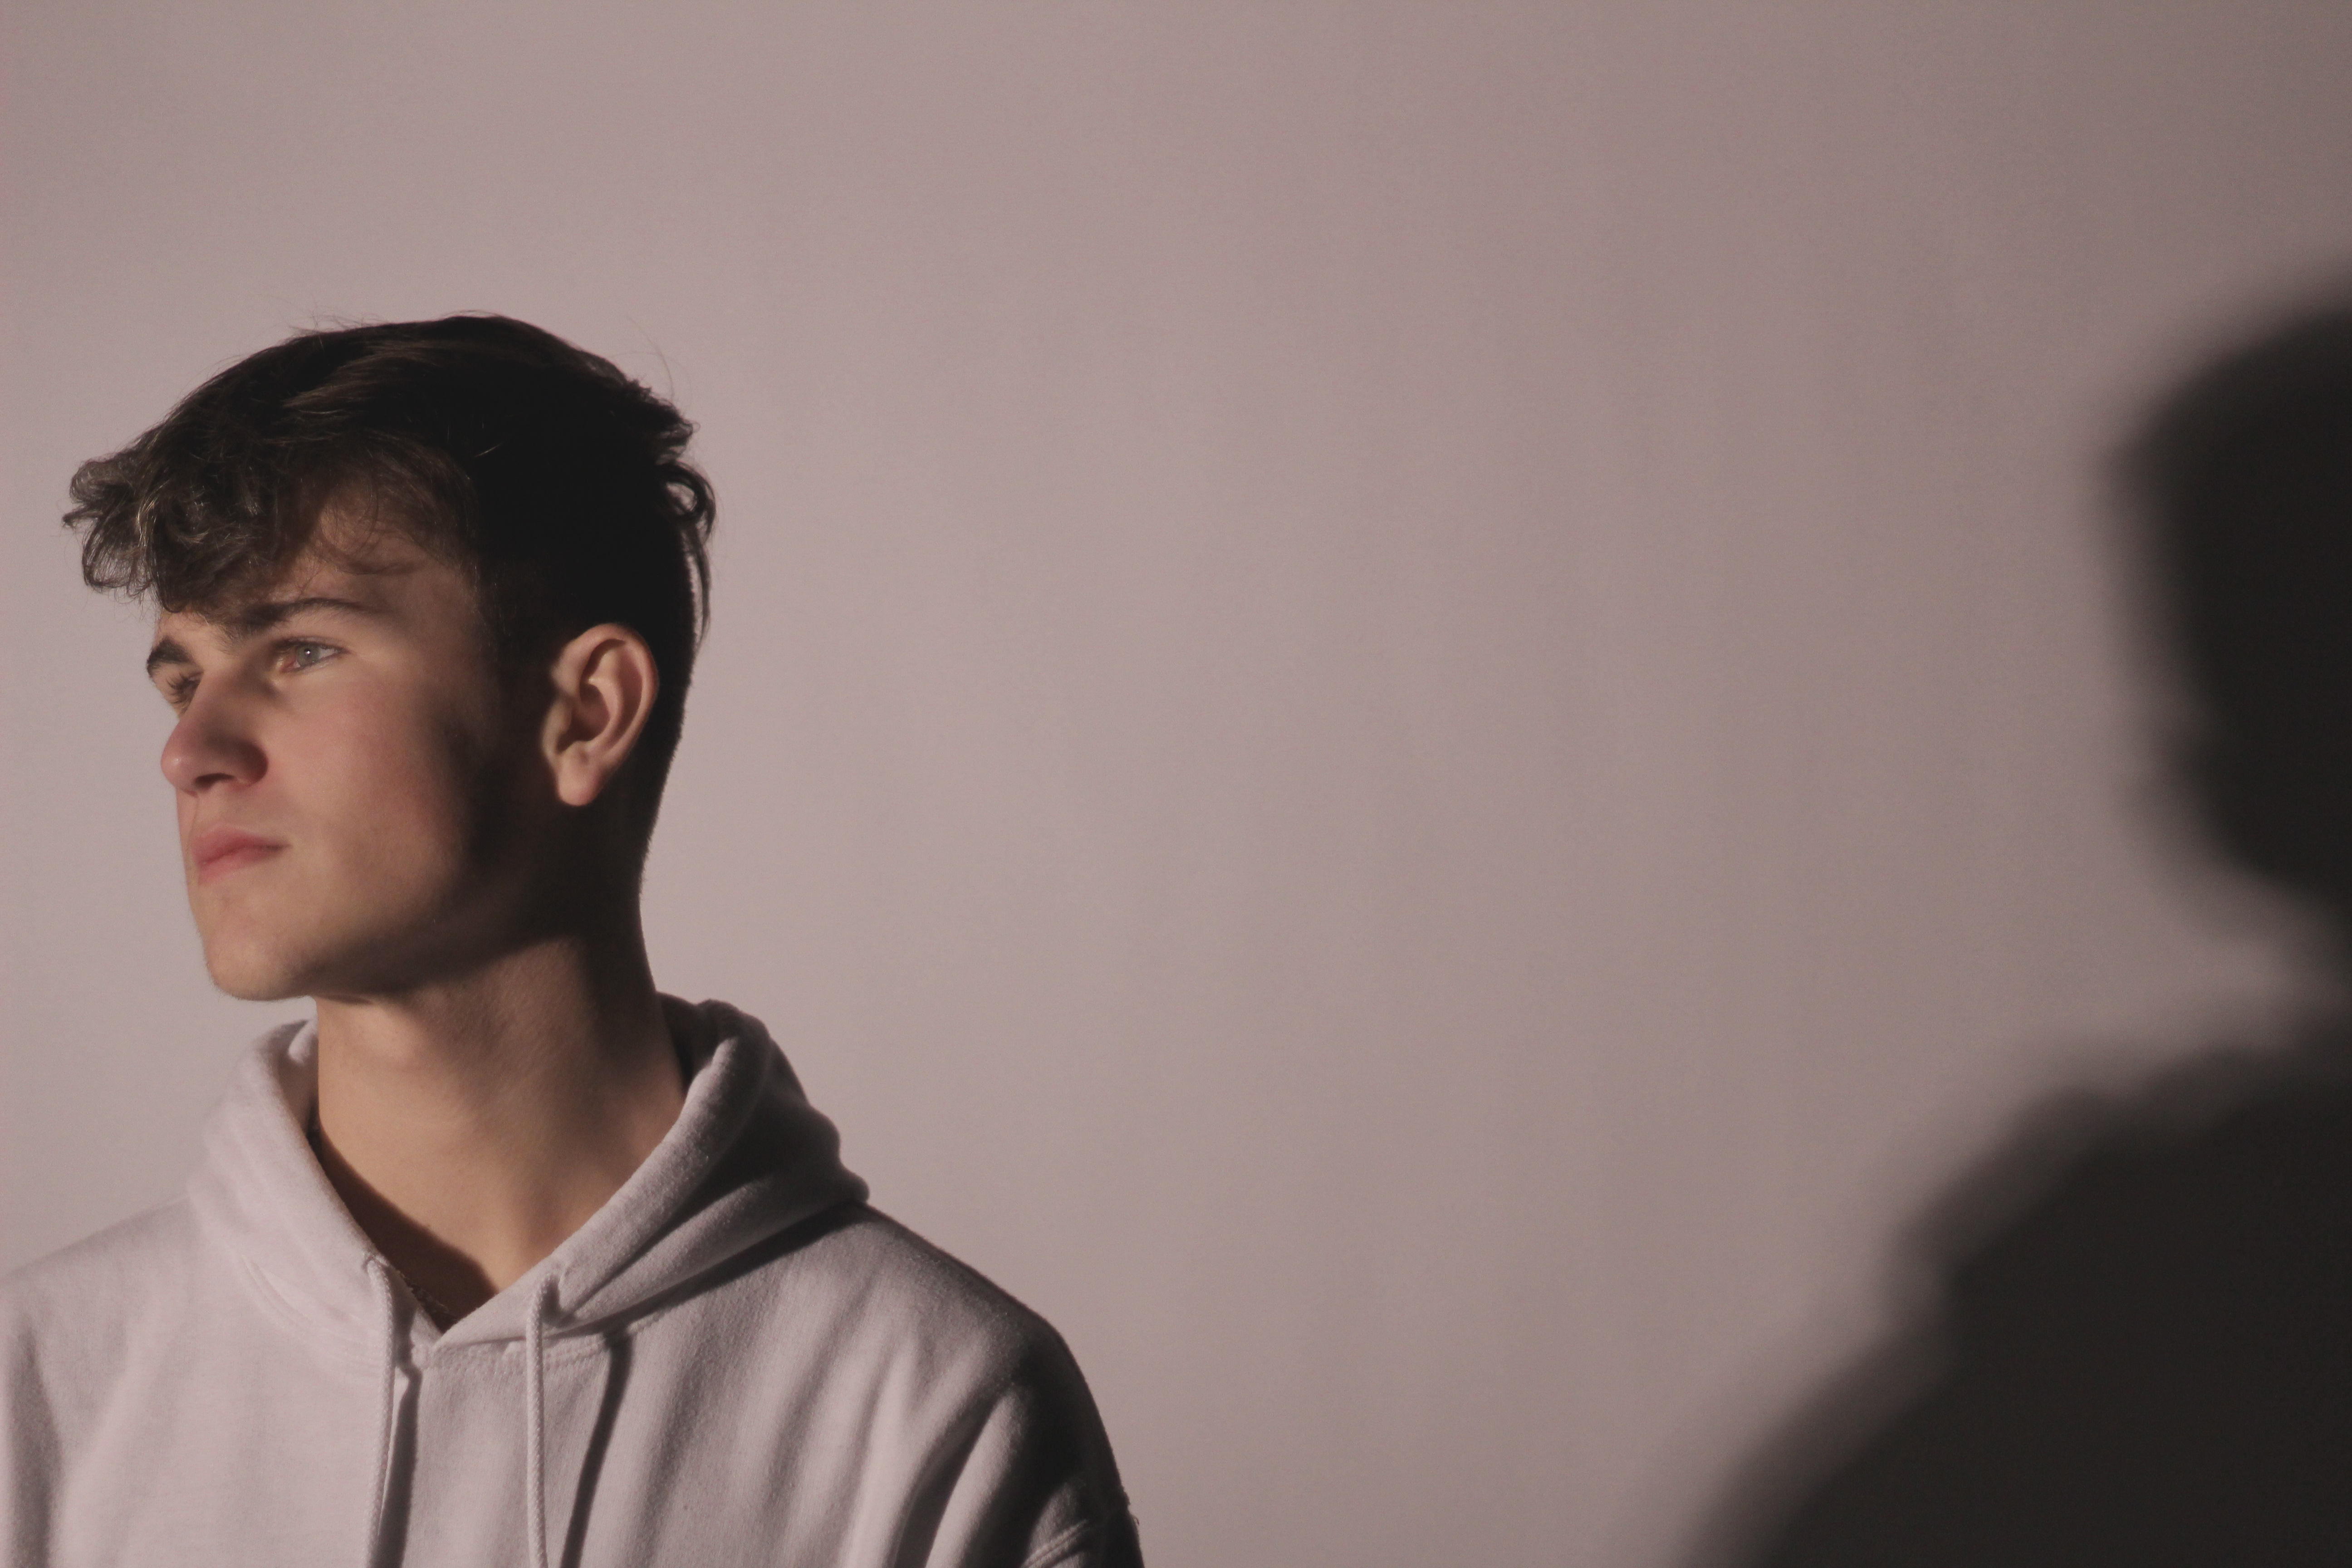
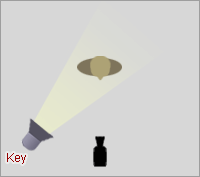
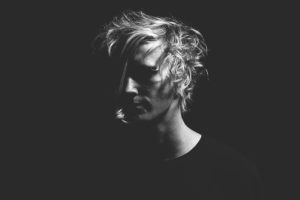
 In both this, and the following photo I have used only one light source, this lights the model in the centre evenly with one colour, it also gives a big clear shadow to one side.
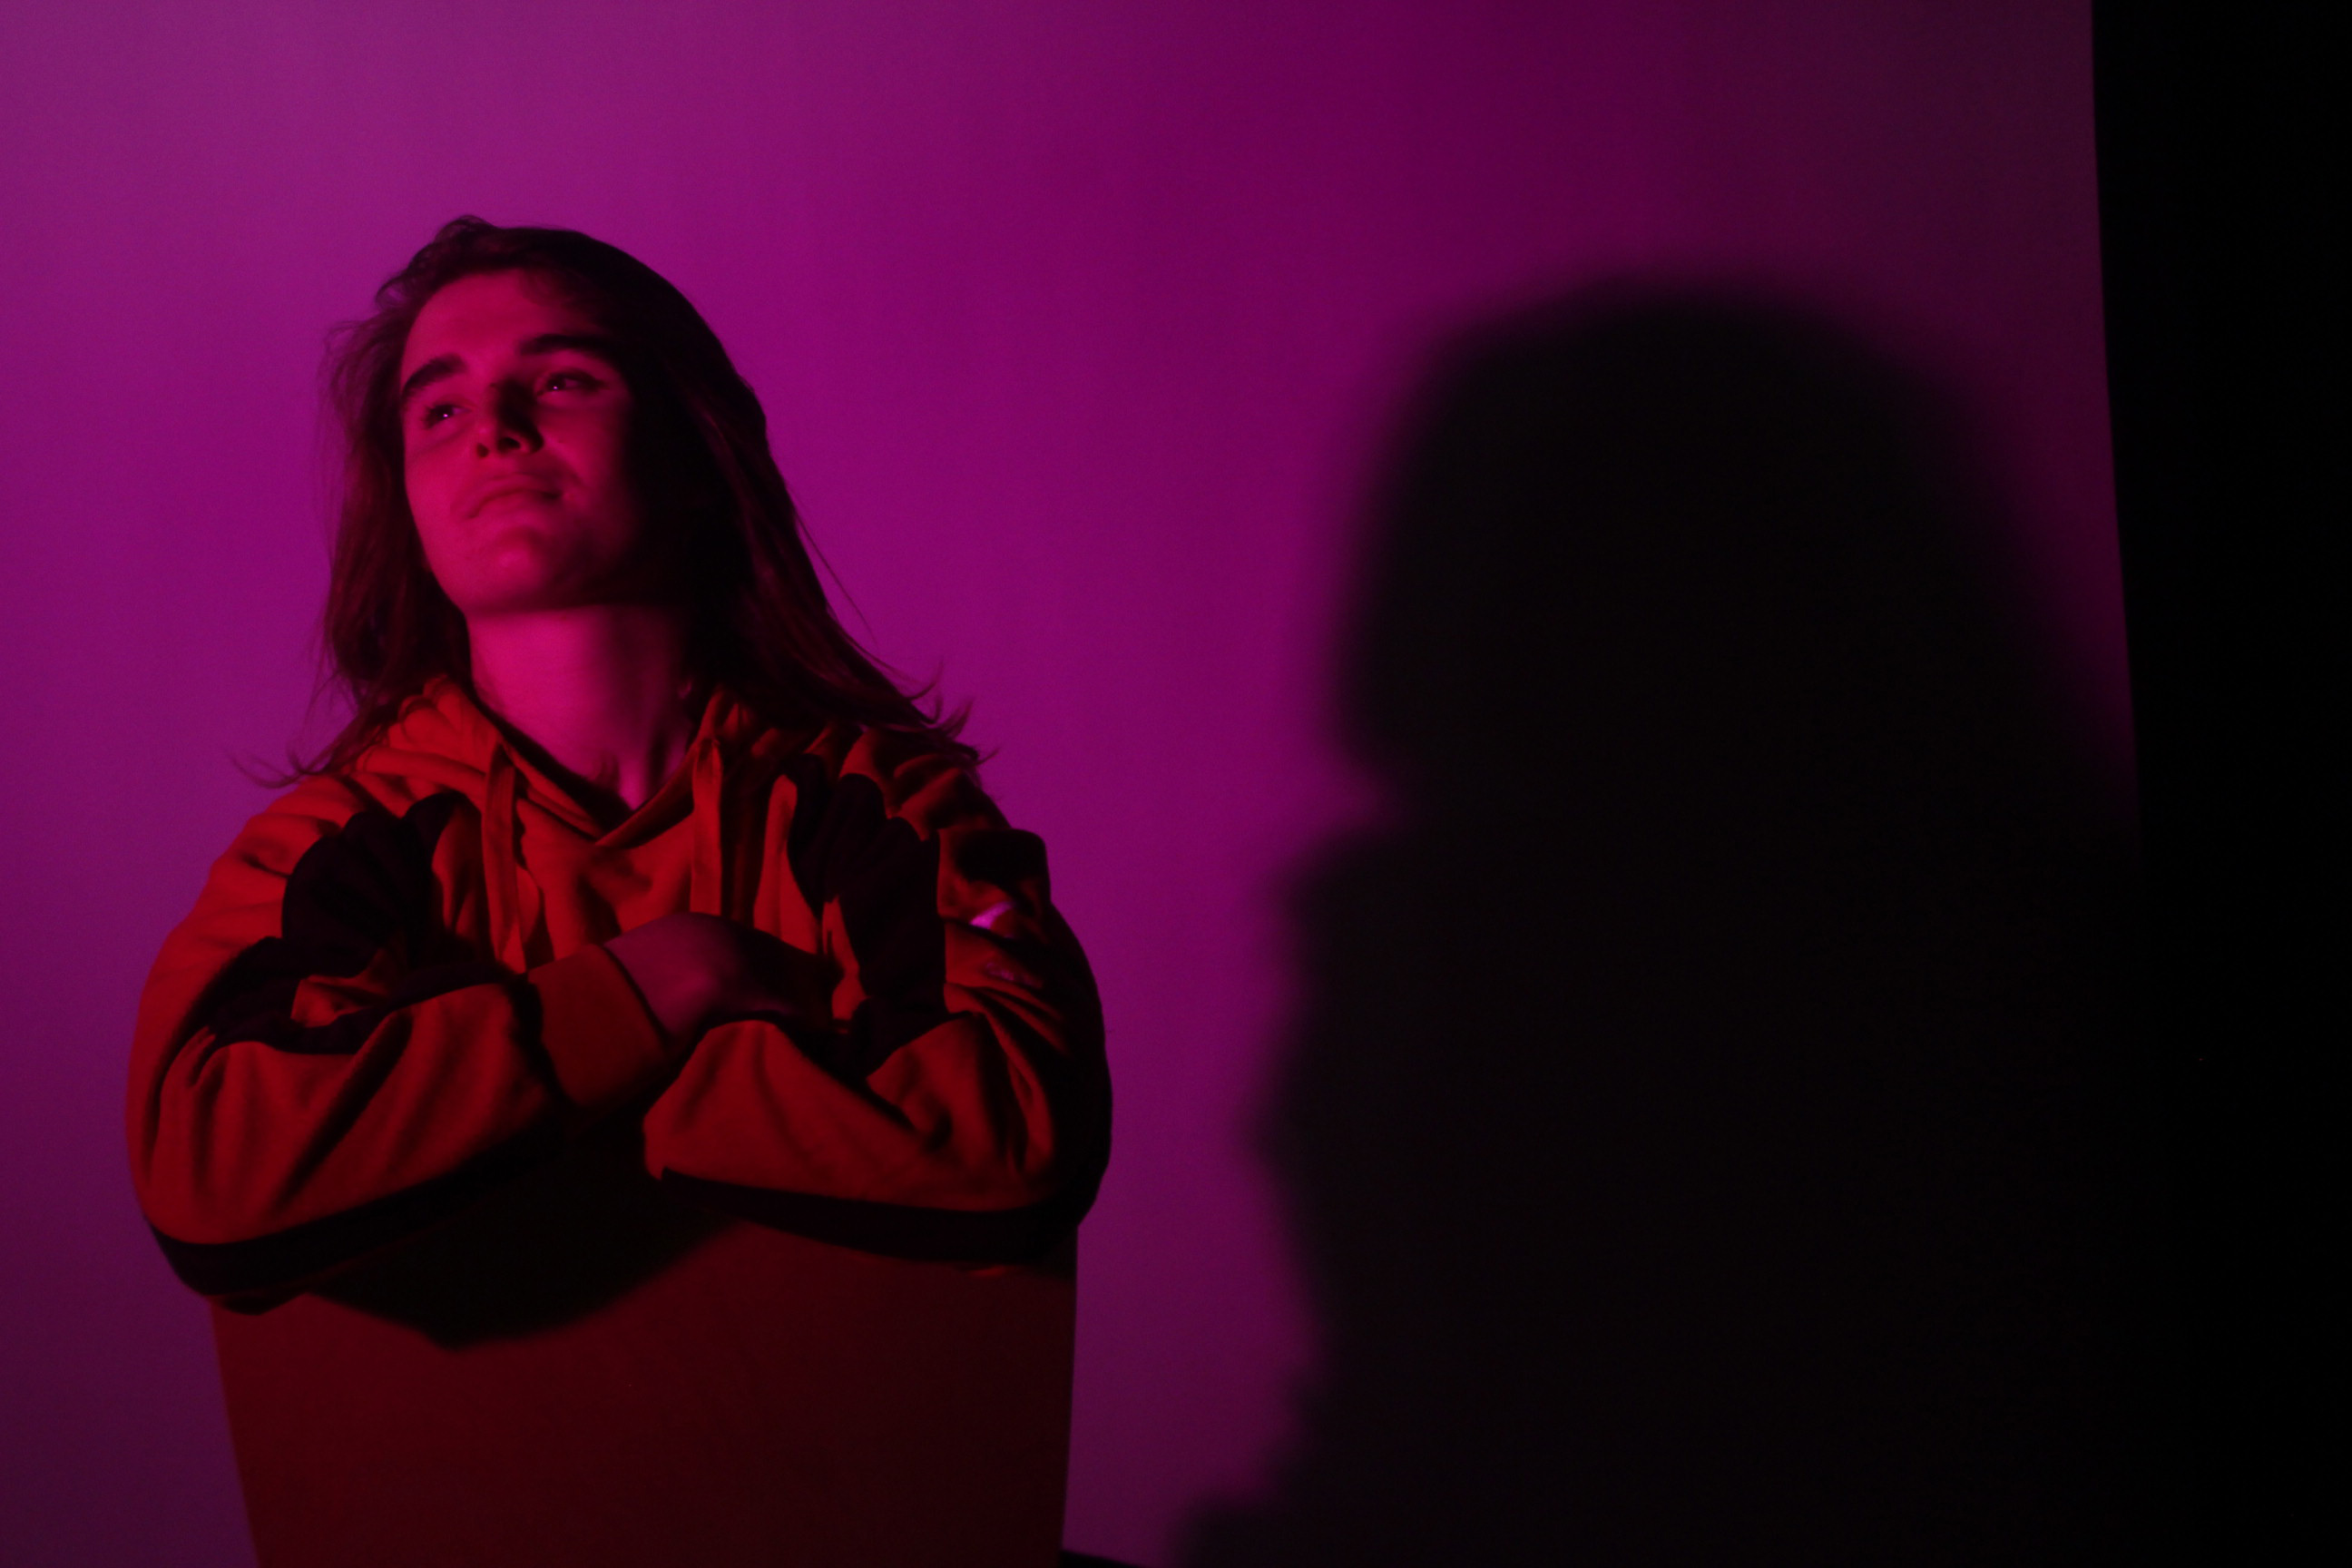
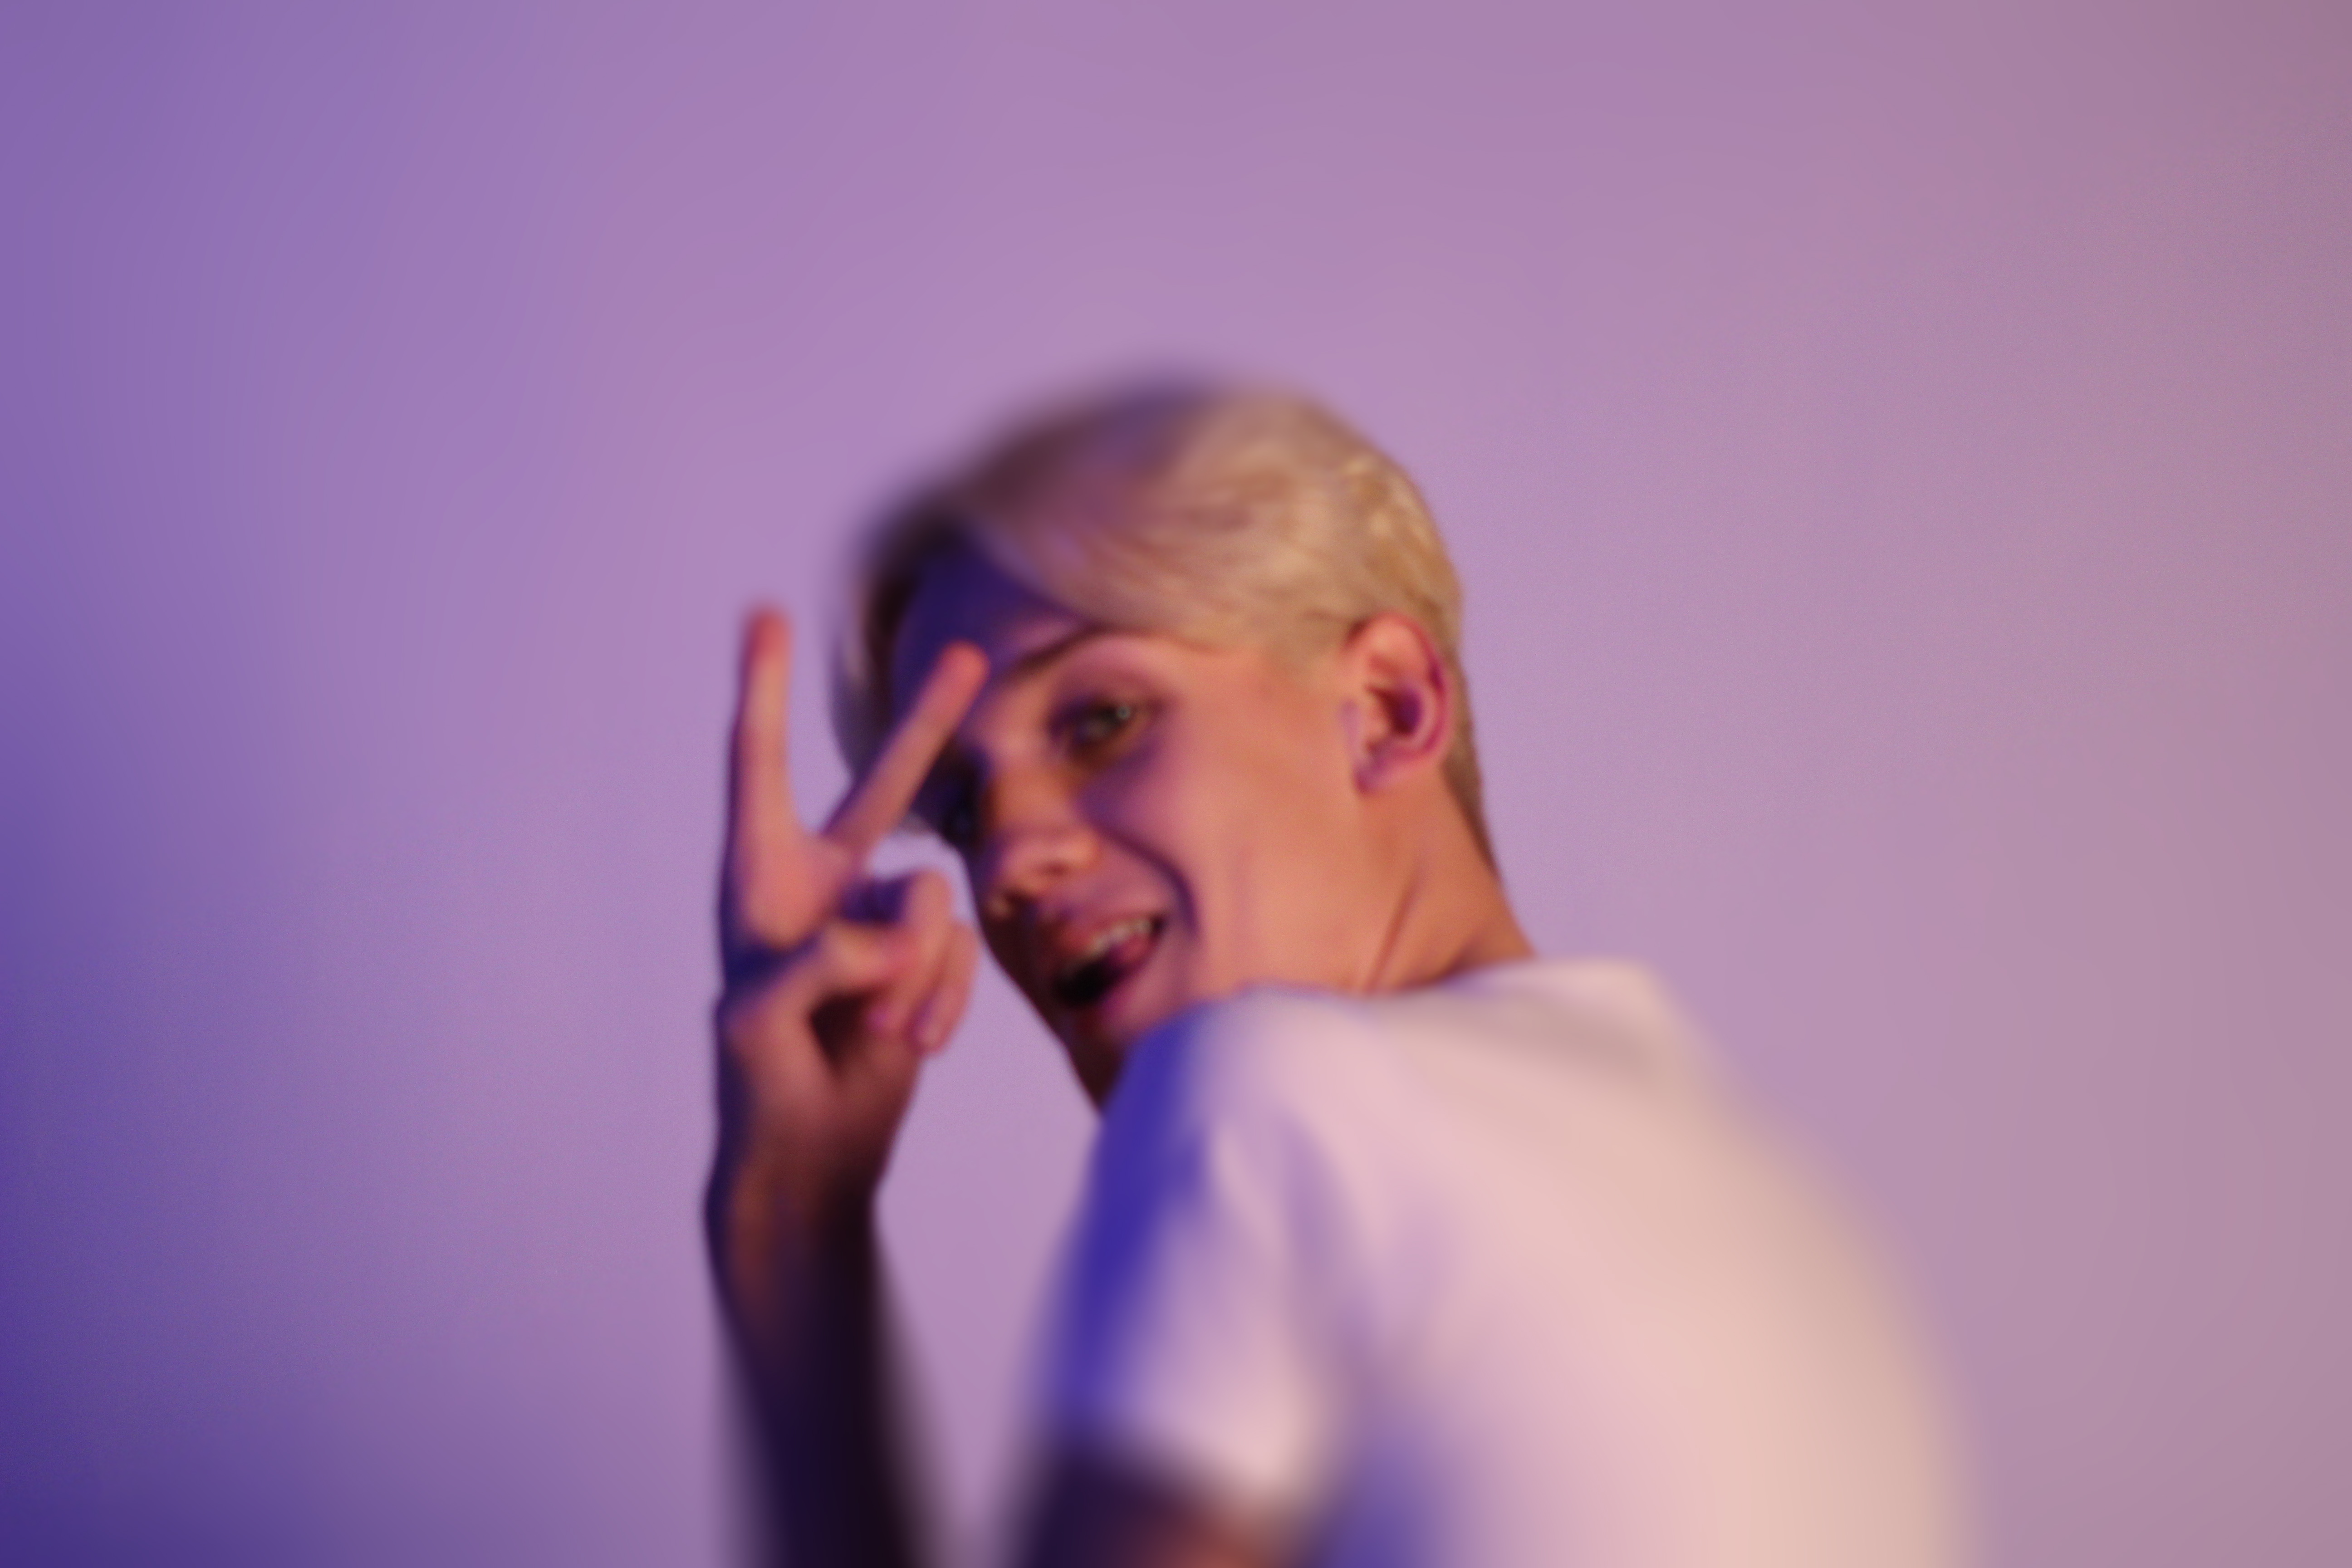
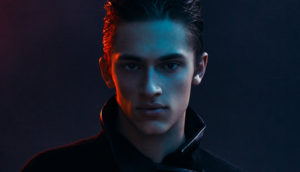
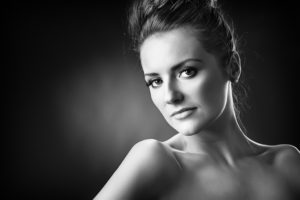
 In this photo I used two-point lighting. There was a softbox placed to the right side at a slight angle, and a spotlight with a purple cover placed on the other side. This creates a warm and colourful effect.
 The same lighting was used for this photo as the previous one. Only in this photo the camera is positioned nearer the purple tinted spotlight, which gives it a bigger overall impact on the face.
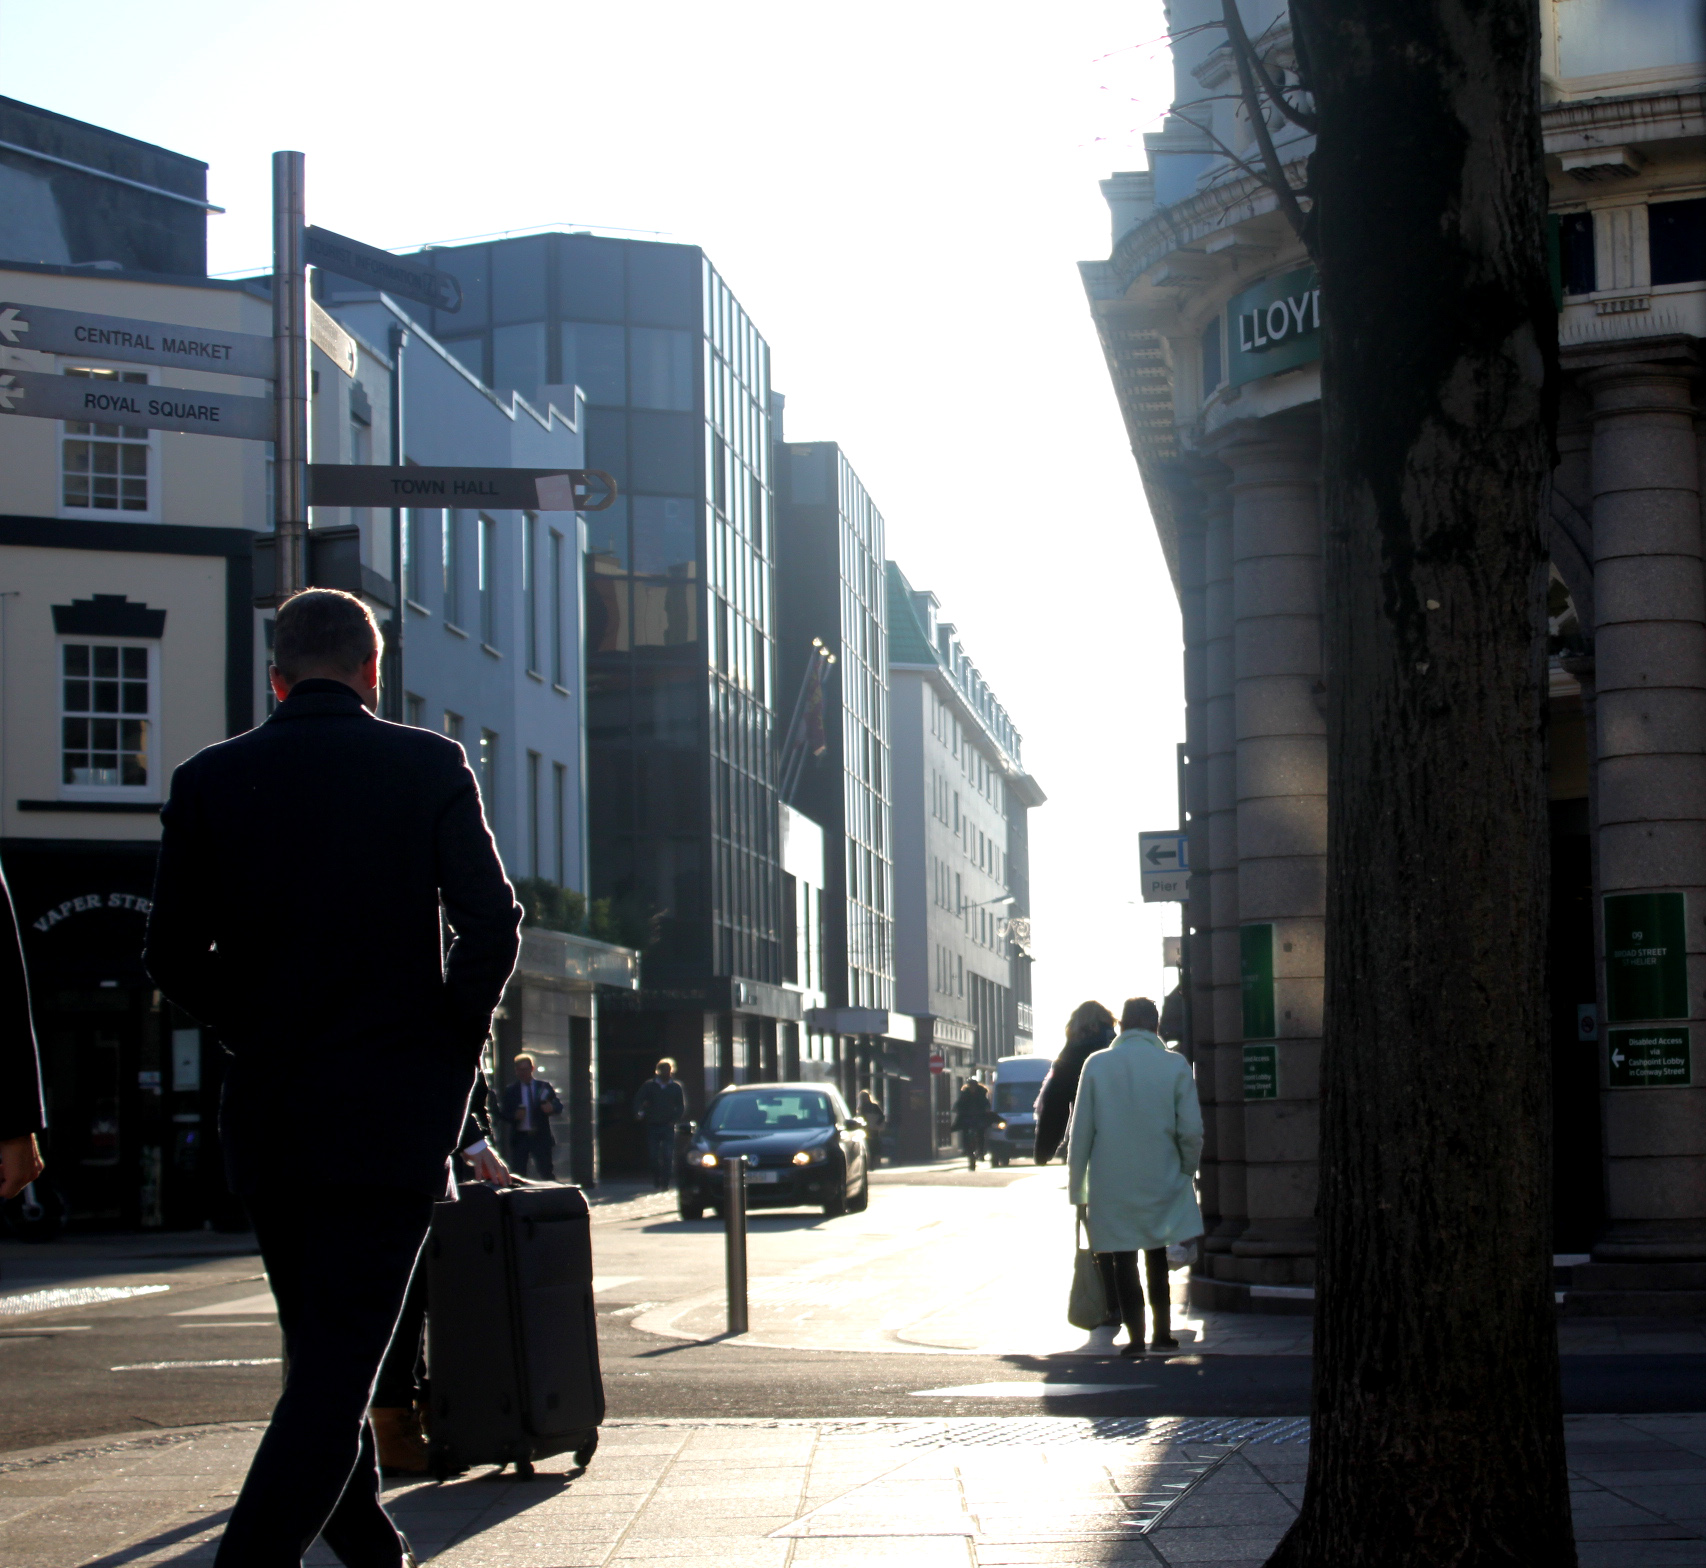
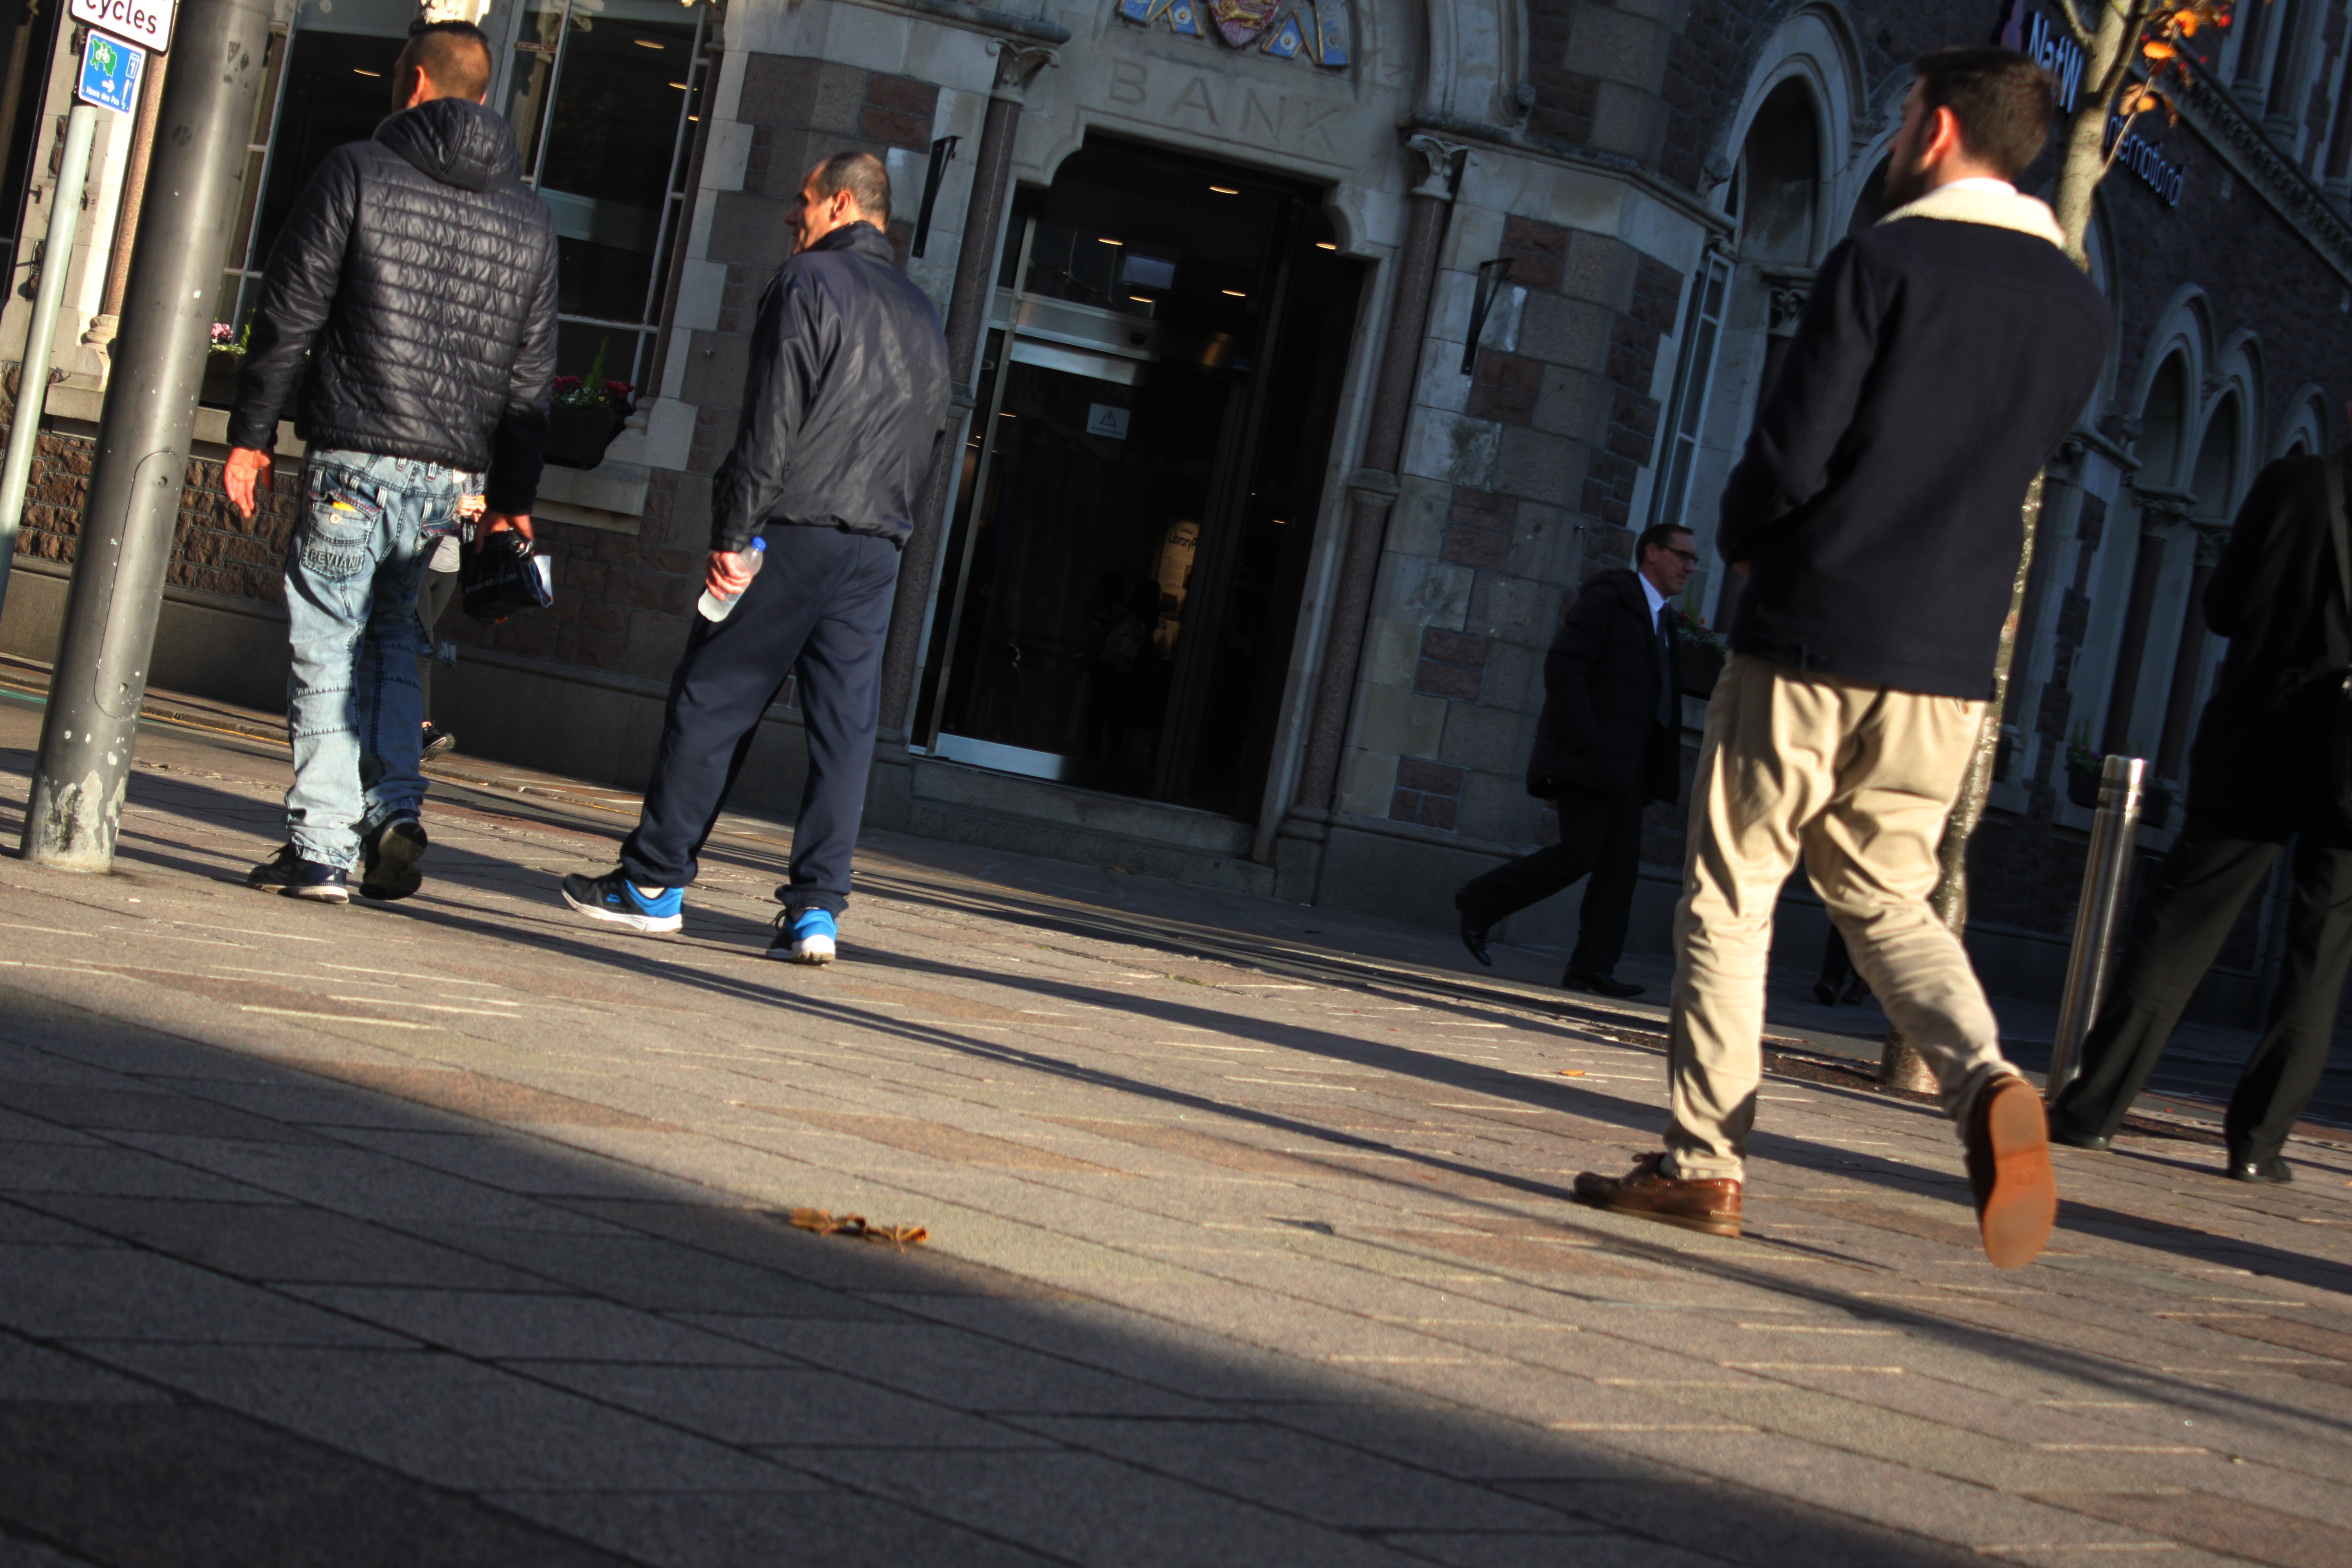
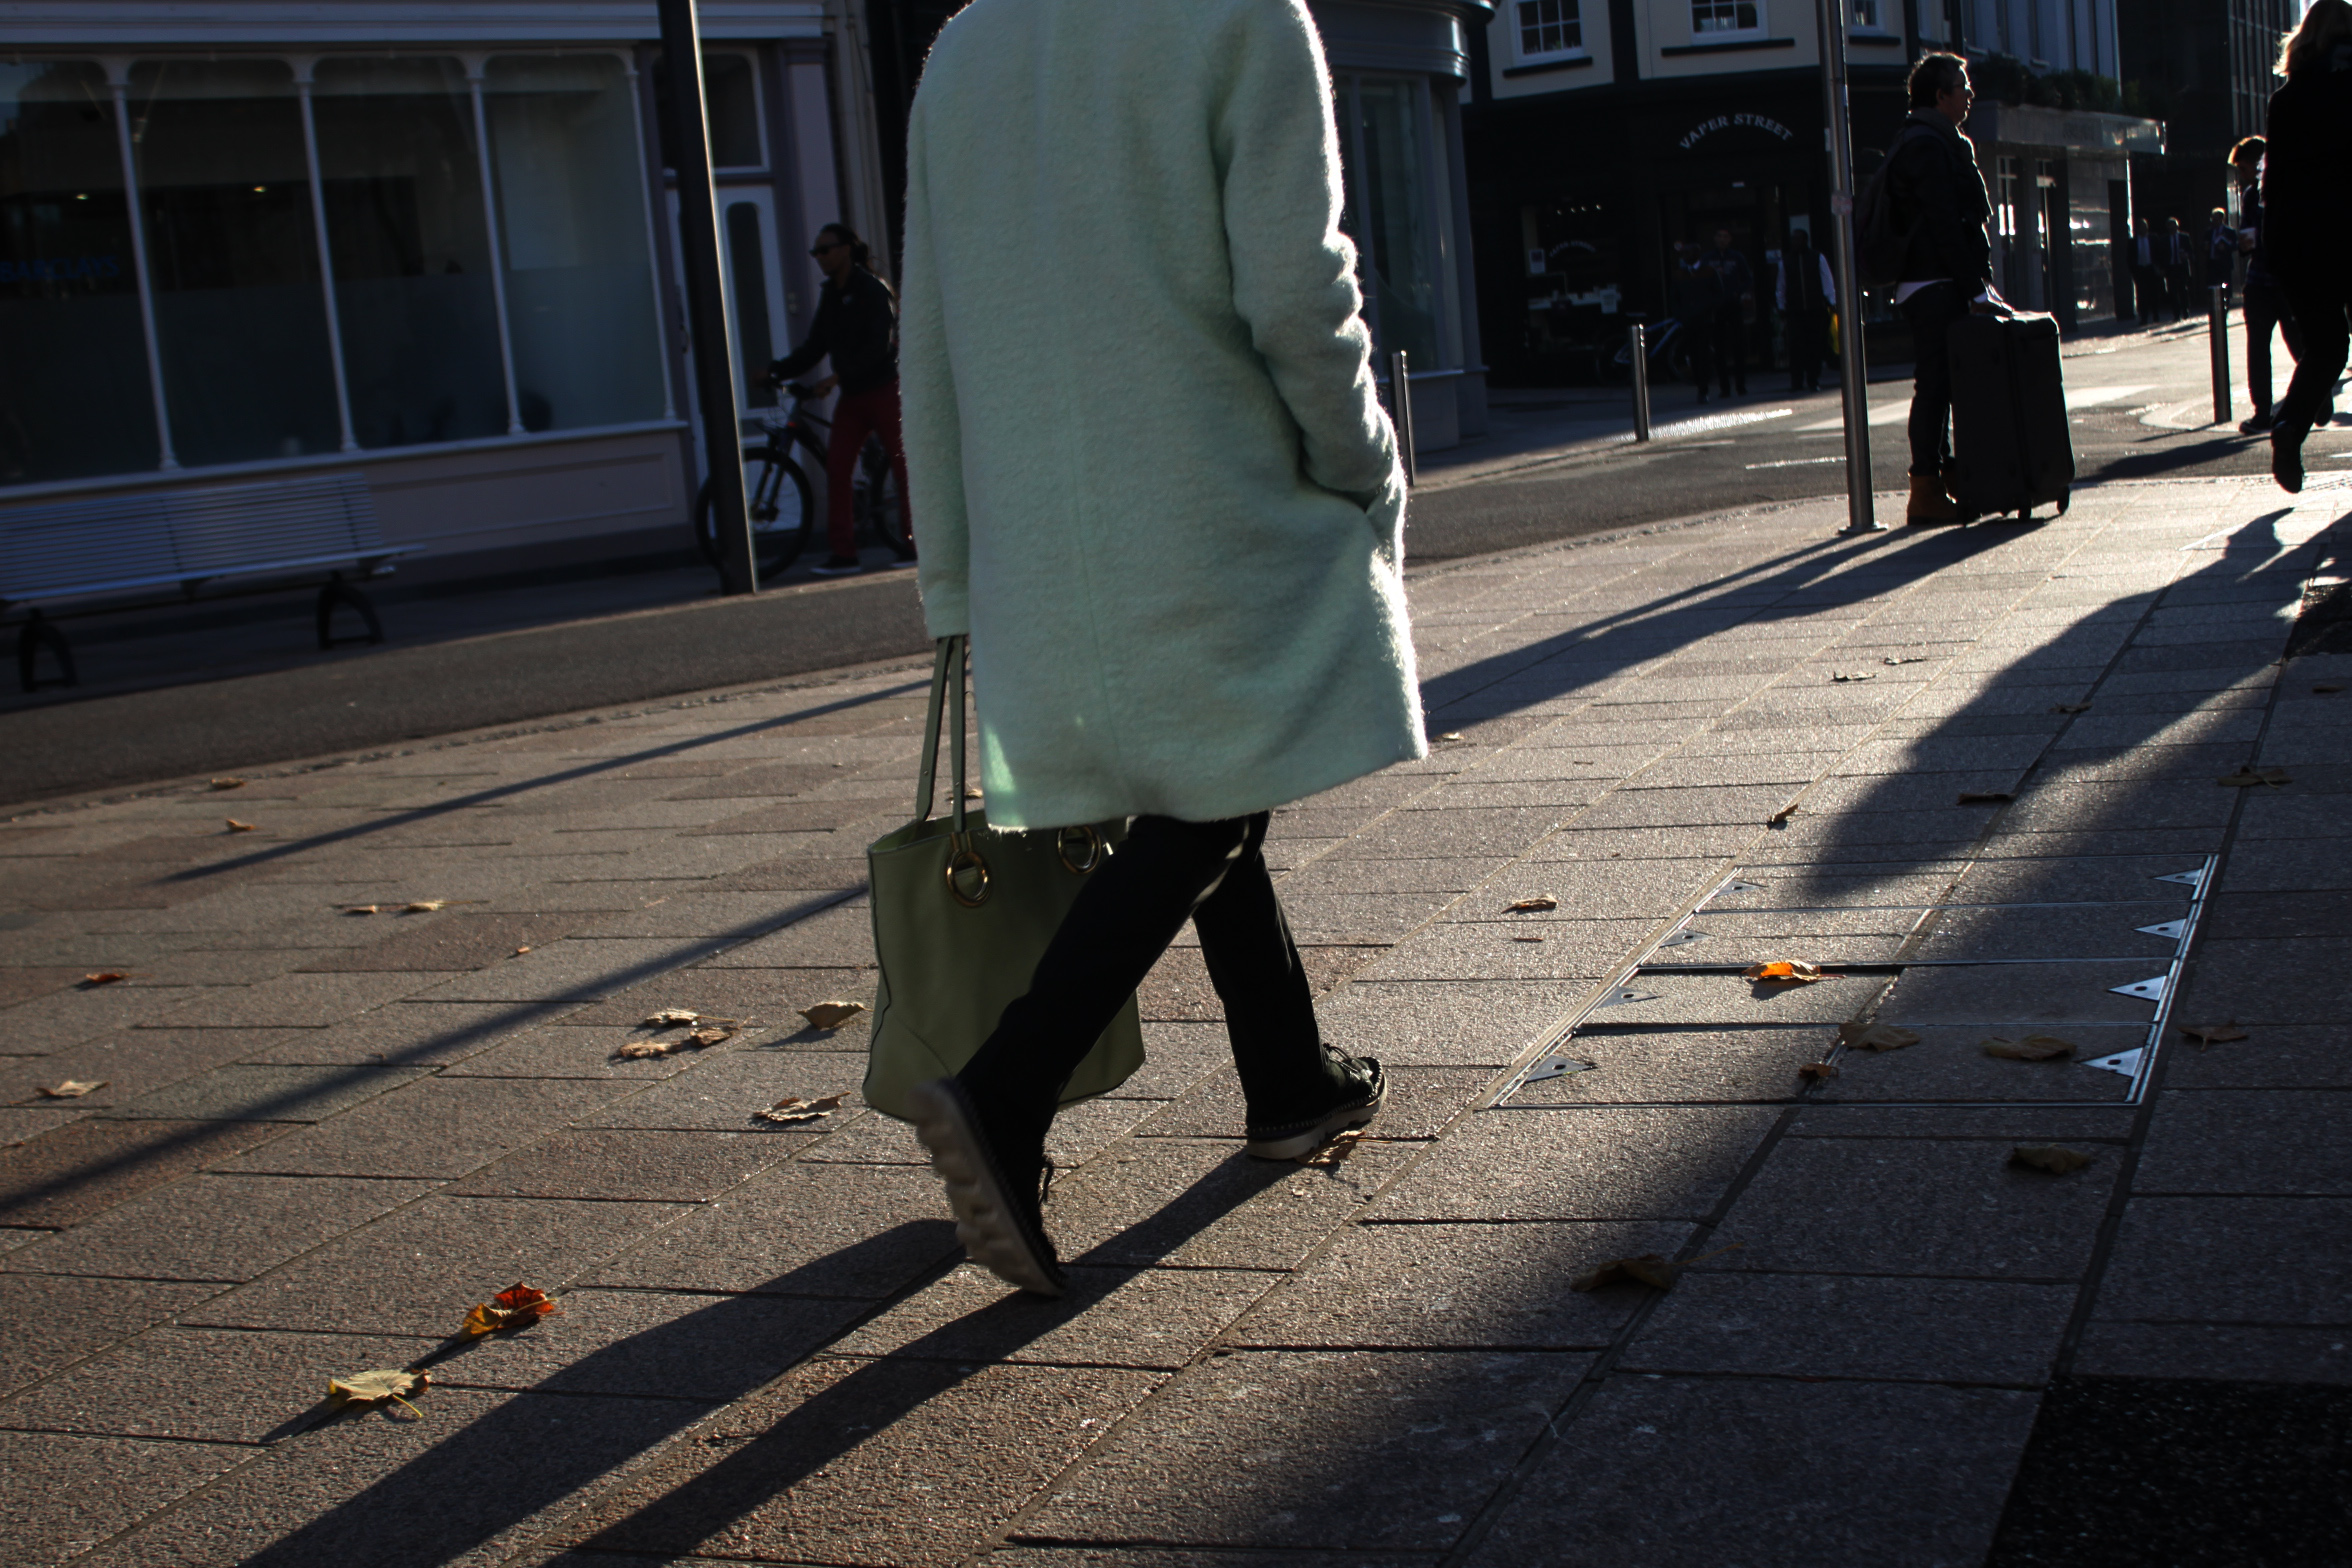 I particularily like the strong shadows and ligh highlights of this photo. Because it was taken near the ‘golden hour’ the sun was low which created these elongated shadows. It also gave a nice outline/shine to people on the street as there wasn’t any cloud cover.
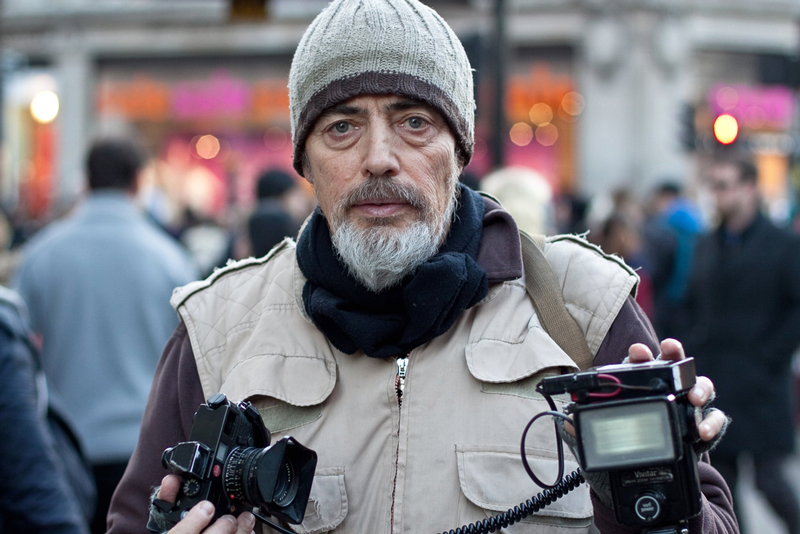
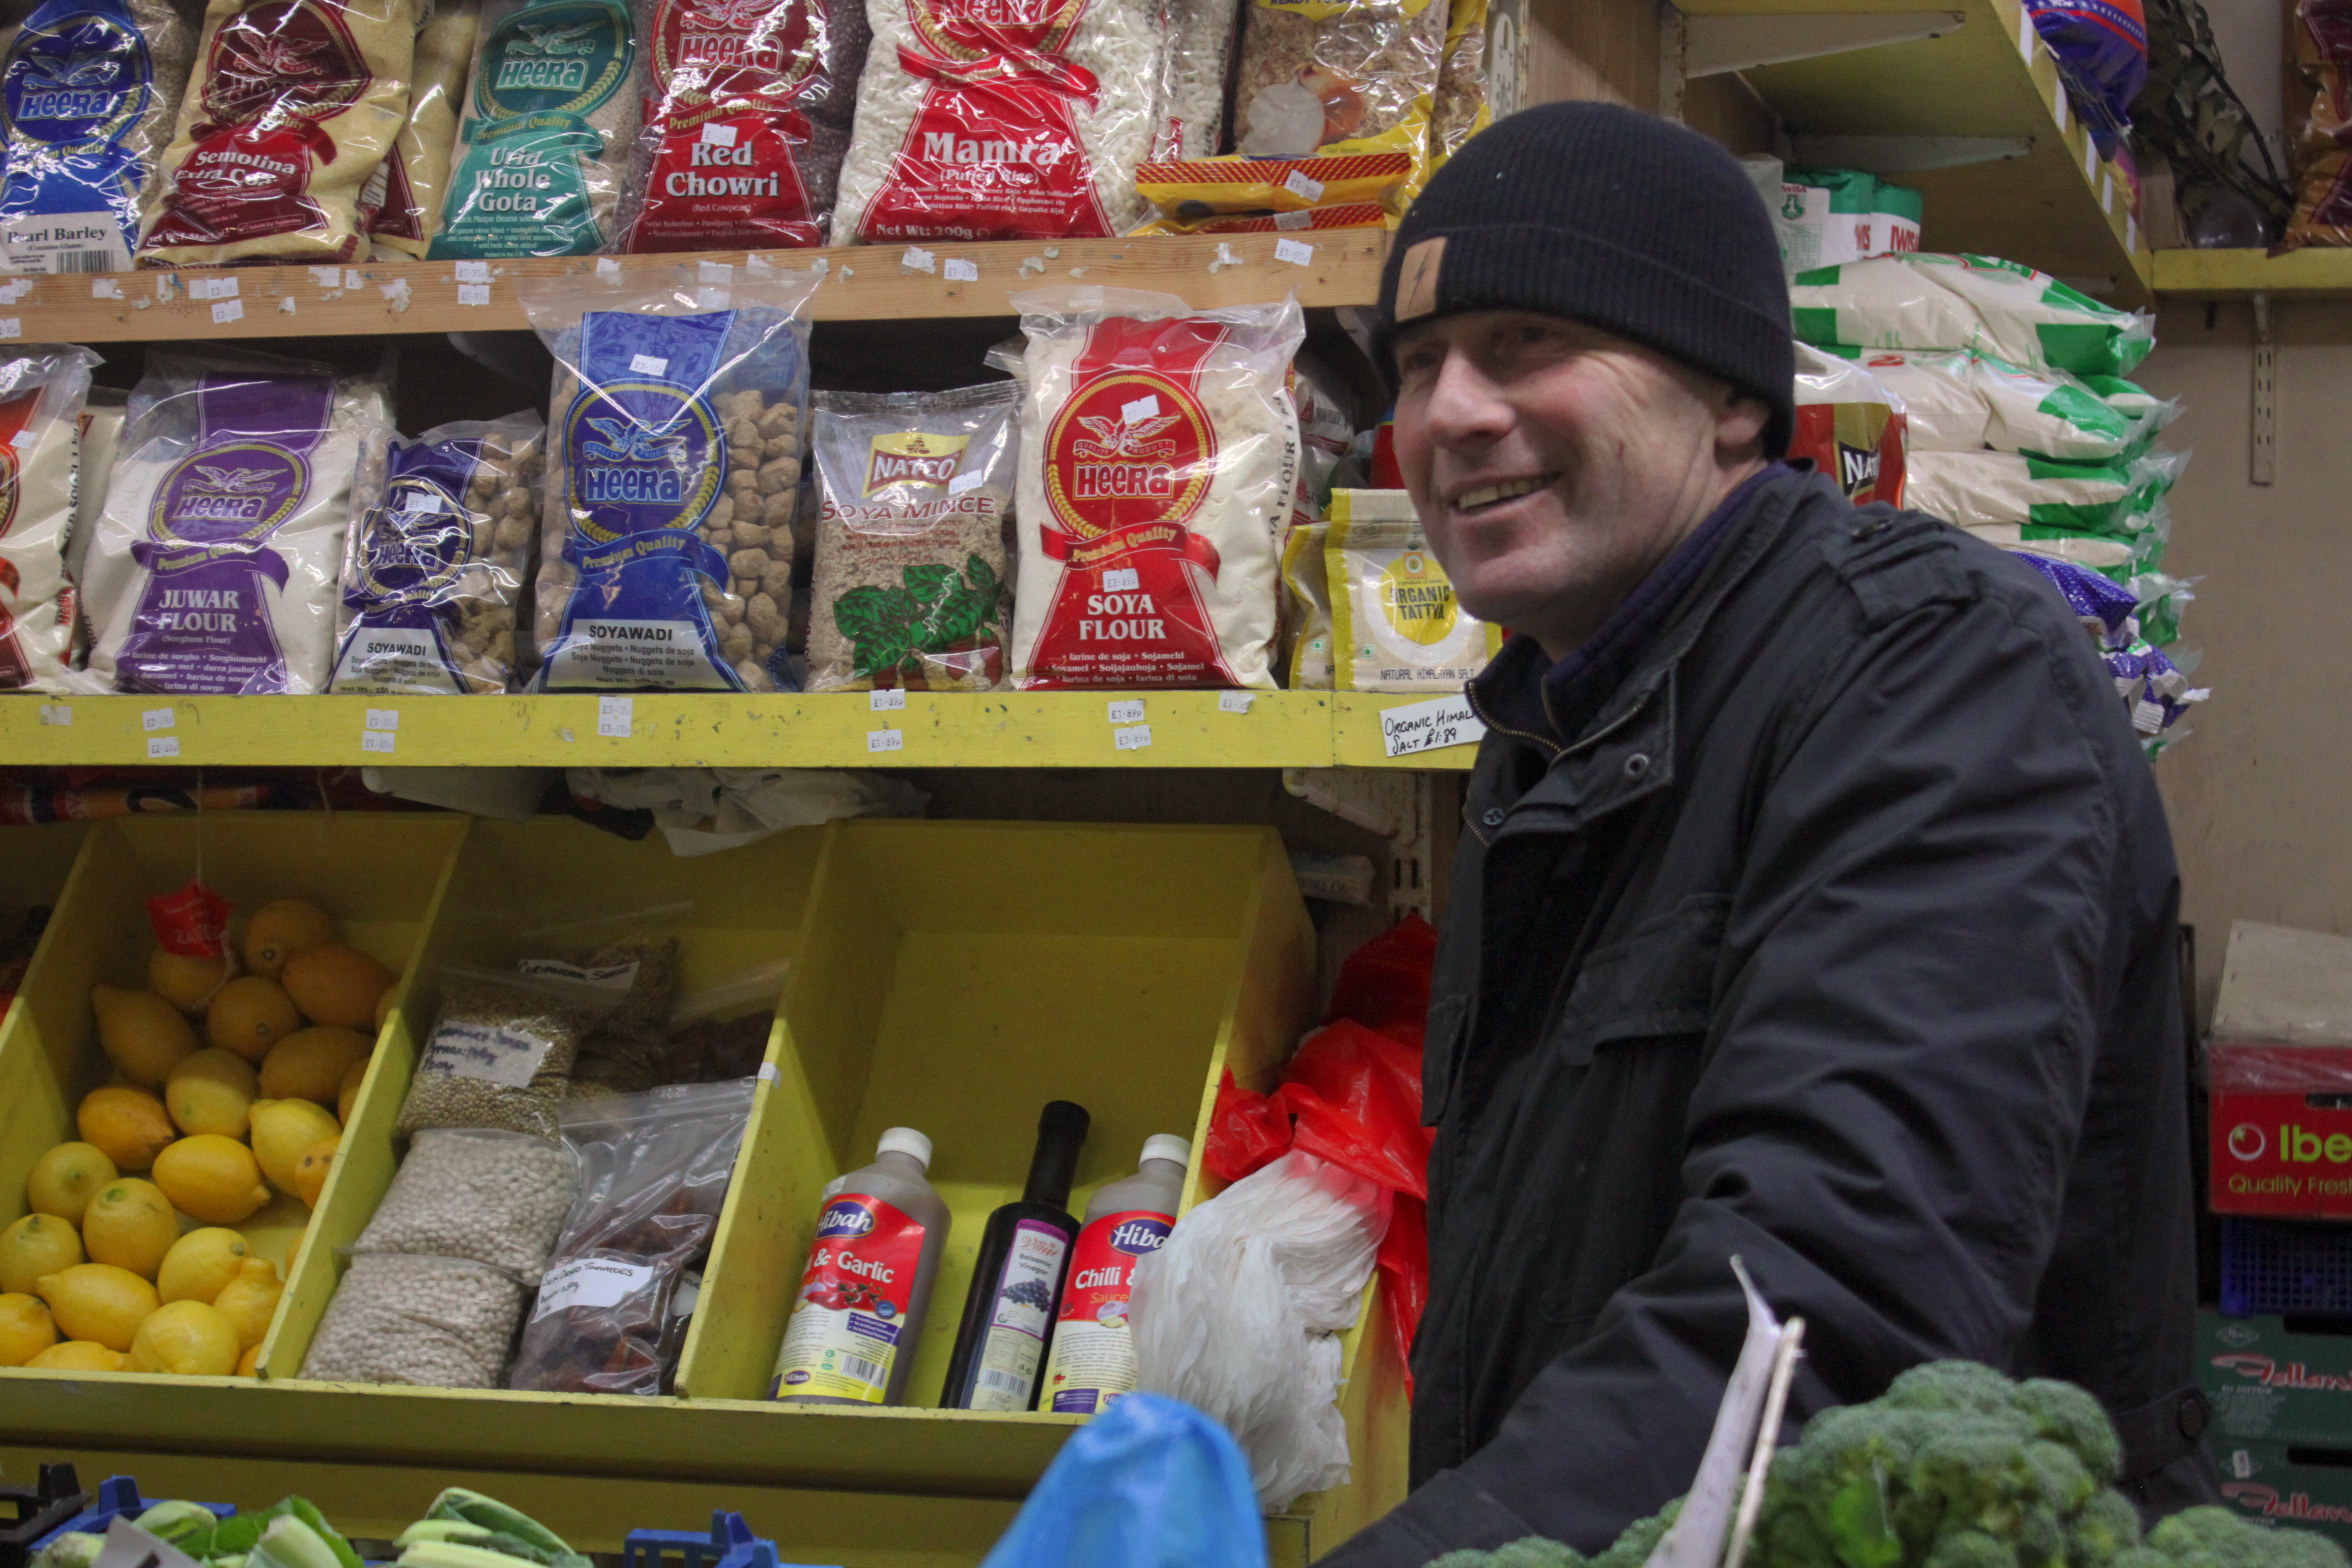 This is a photo of a market trader, I have chosen it because of the contrast between the man and the products for sale behind him. I have cropped it so that the strongest points of the photo (in terms of structure) are visible. It’s just a pleasant photo to look at because: the bright colours which the photo is composed of are naturally attractive to the human eye. The products are stacked symmetrically, this both pleases the eye as well as gives the photo structure. Finally, the trader is smiling and appears very open to conversation, this makes the photo pleasing to look at because seeing other people smiling has been proven to lift your mood and change brain chemistry.
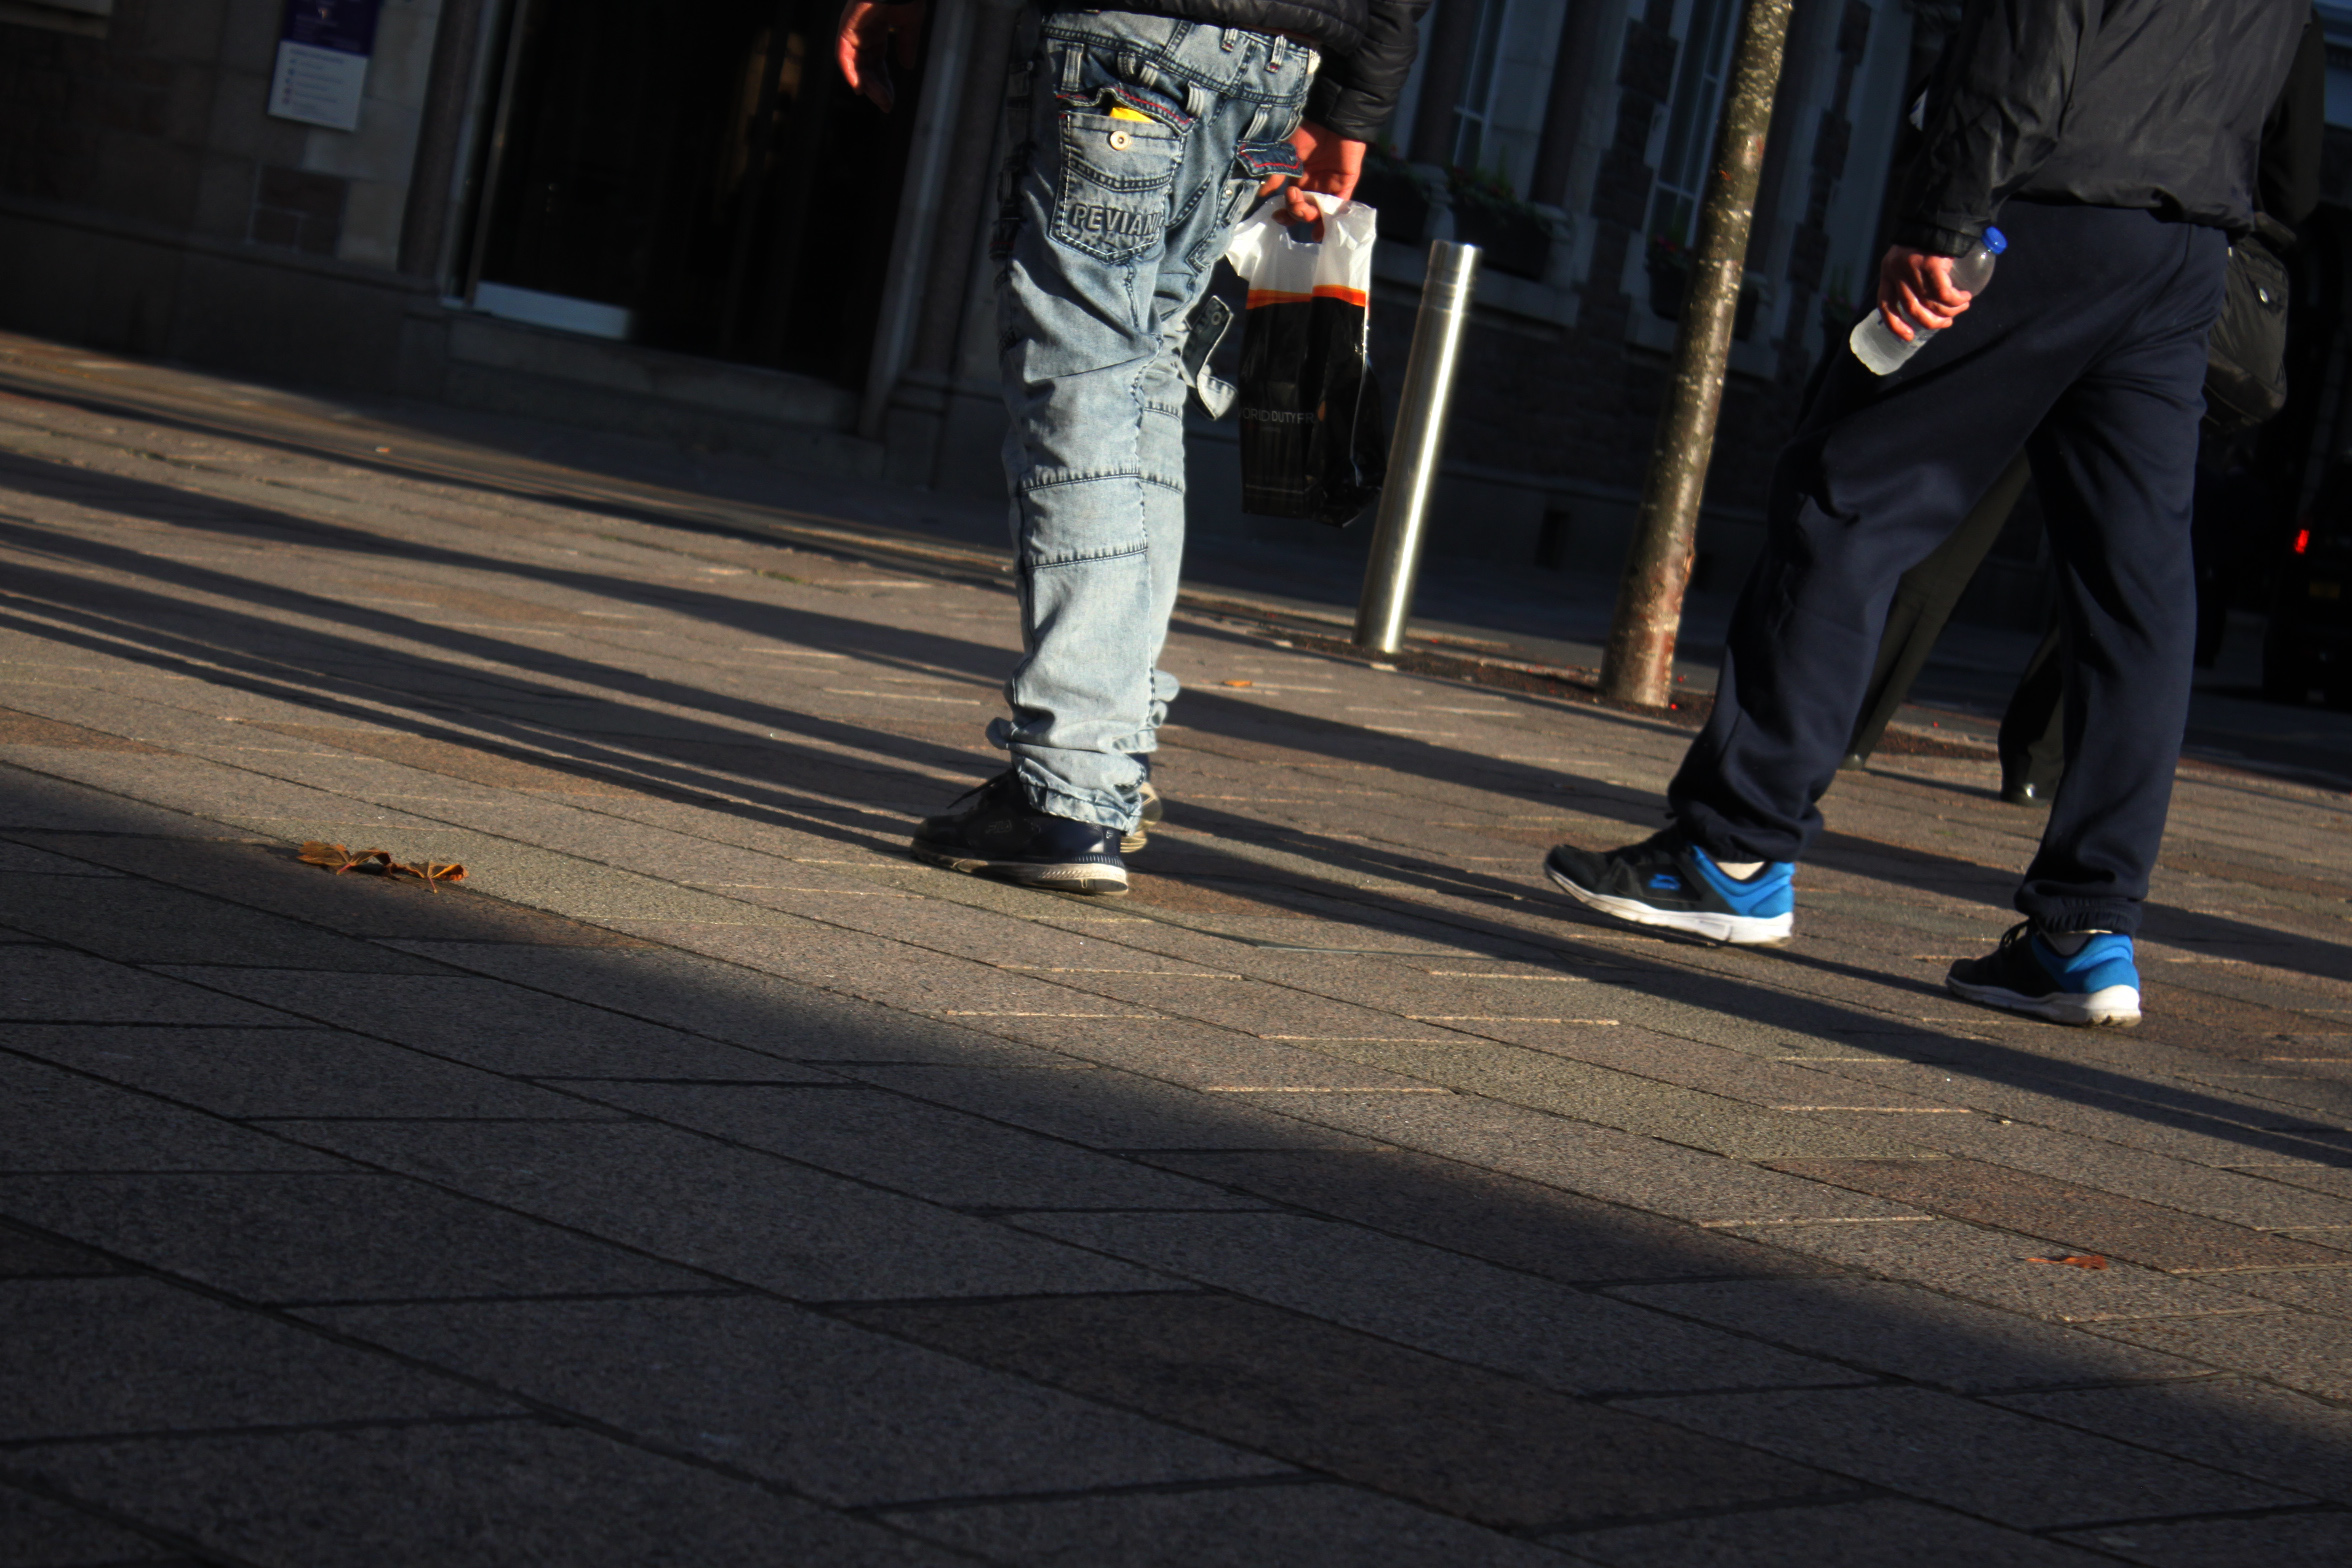 I like this photo because its very simple, it shows the daily commute of people whilst keeping their anonymity. Although it is a simple photo it isn’t boring, this is due to the shadows caused by the sunset, which give the photo structure, the angle at which the photo was taken, and the texture/shapes of the trousers near the centre of the photo. Another aspect of this photo that I like is that both people in the photo are only visible from waist down, it gives a different perspective to the world as it differs from standard photos of whole people taken at head-height.
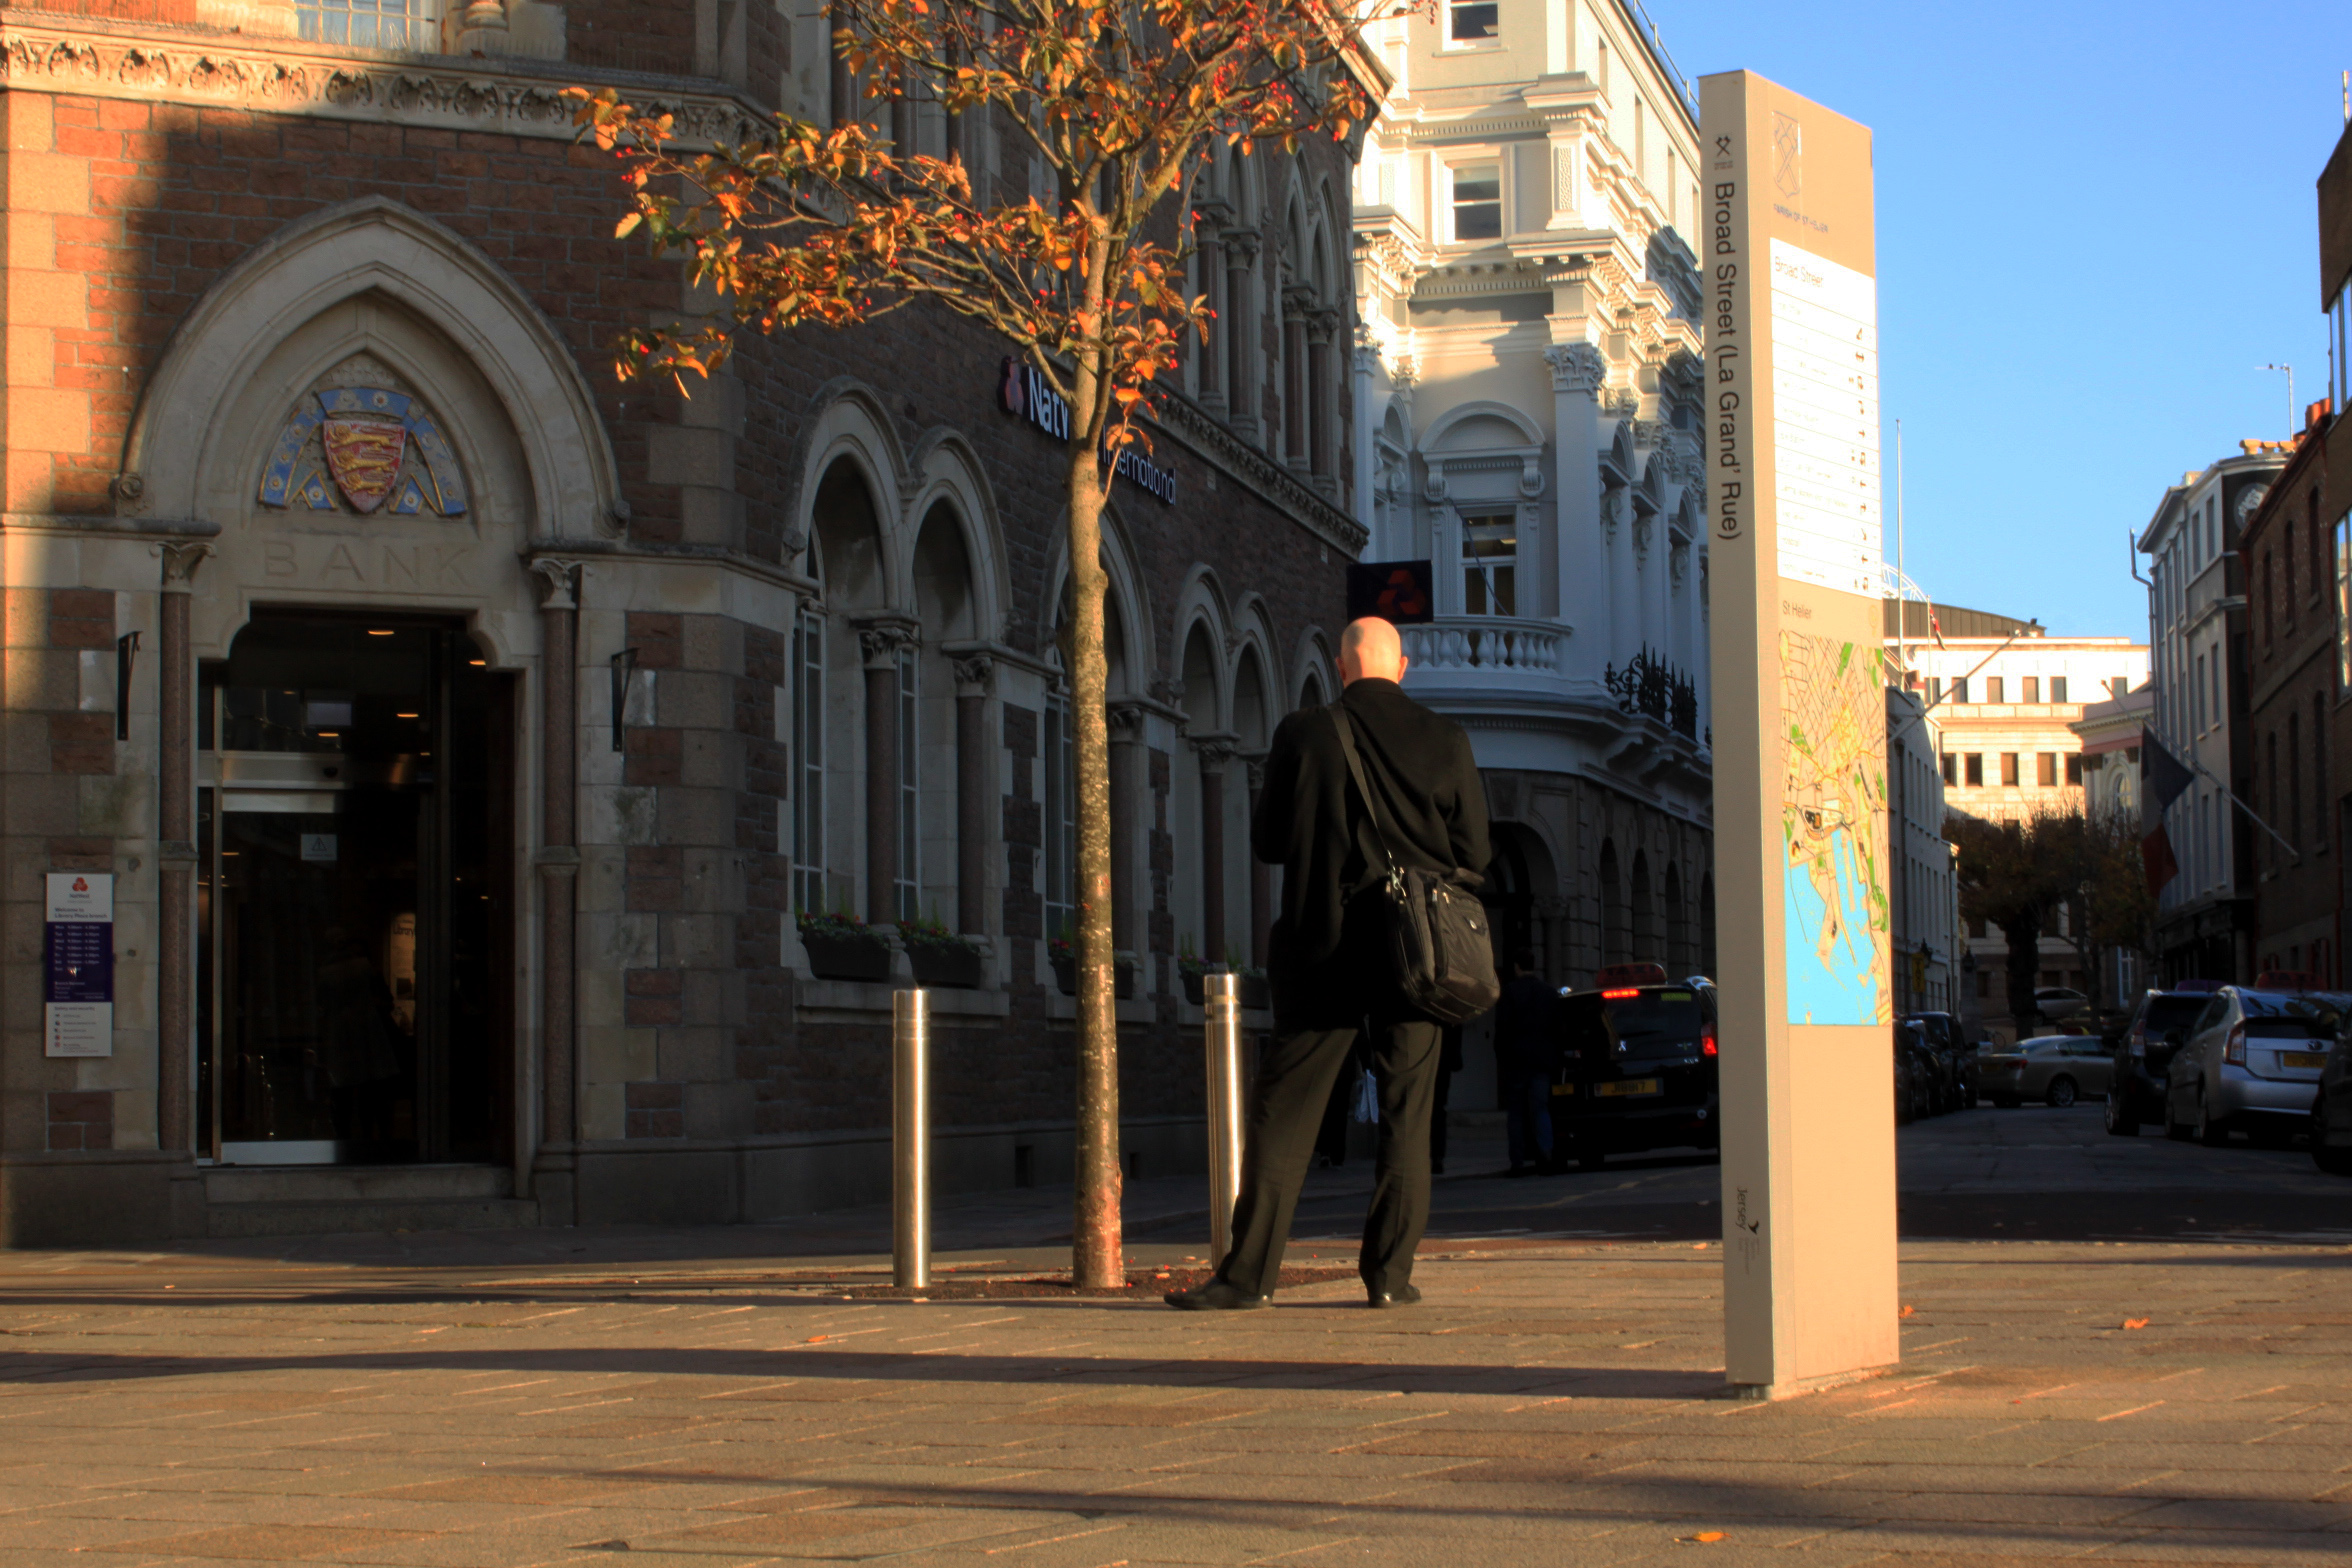
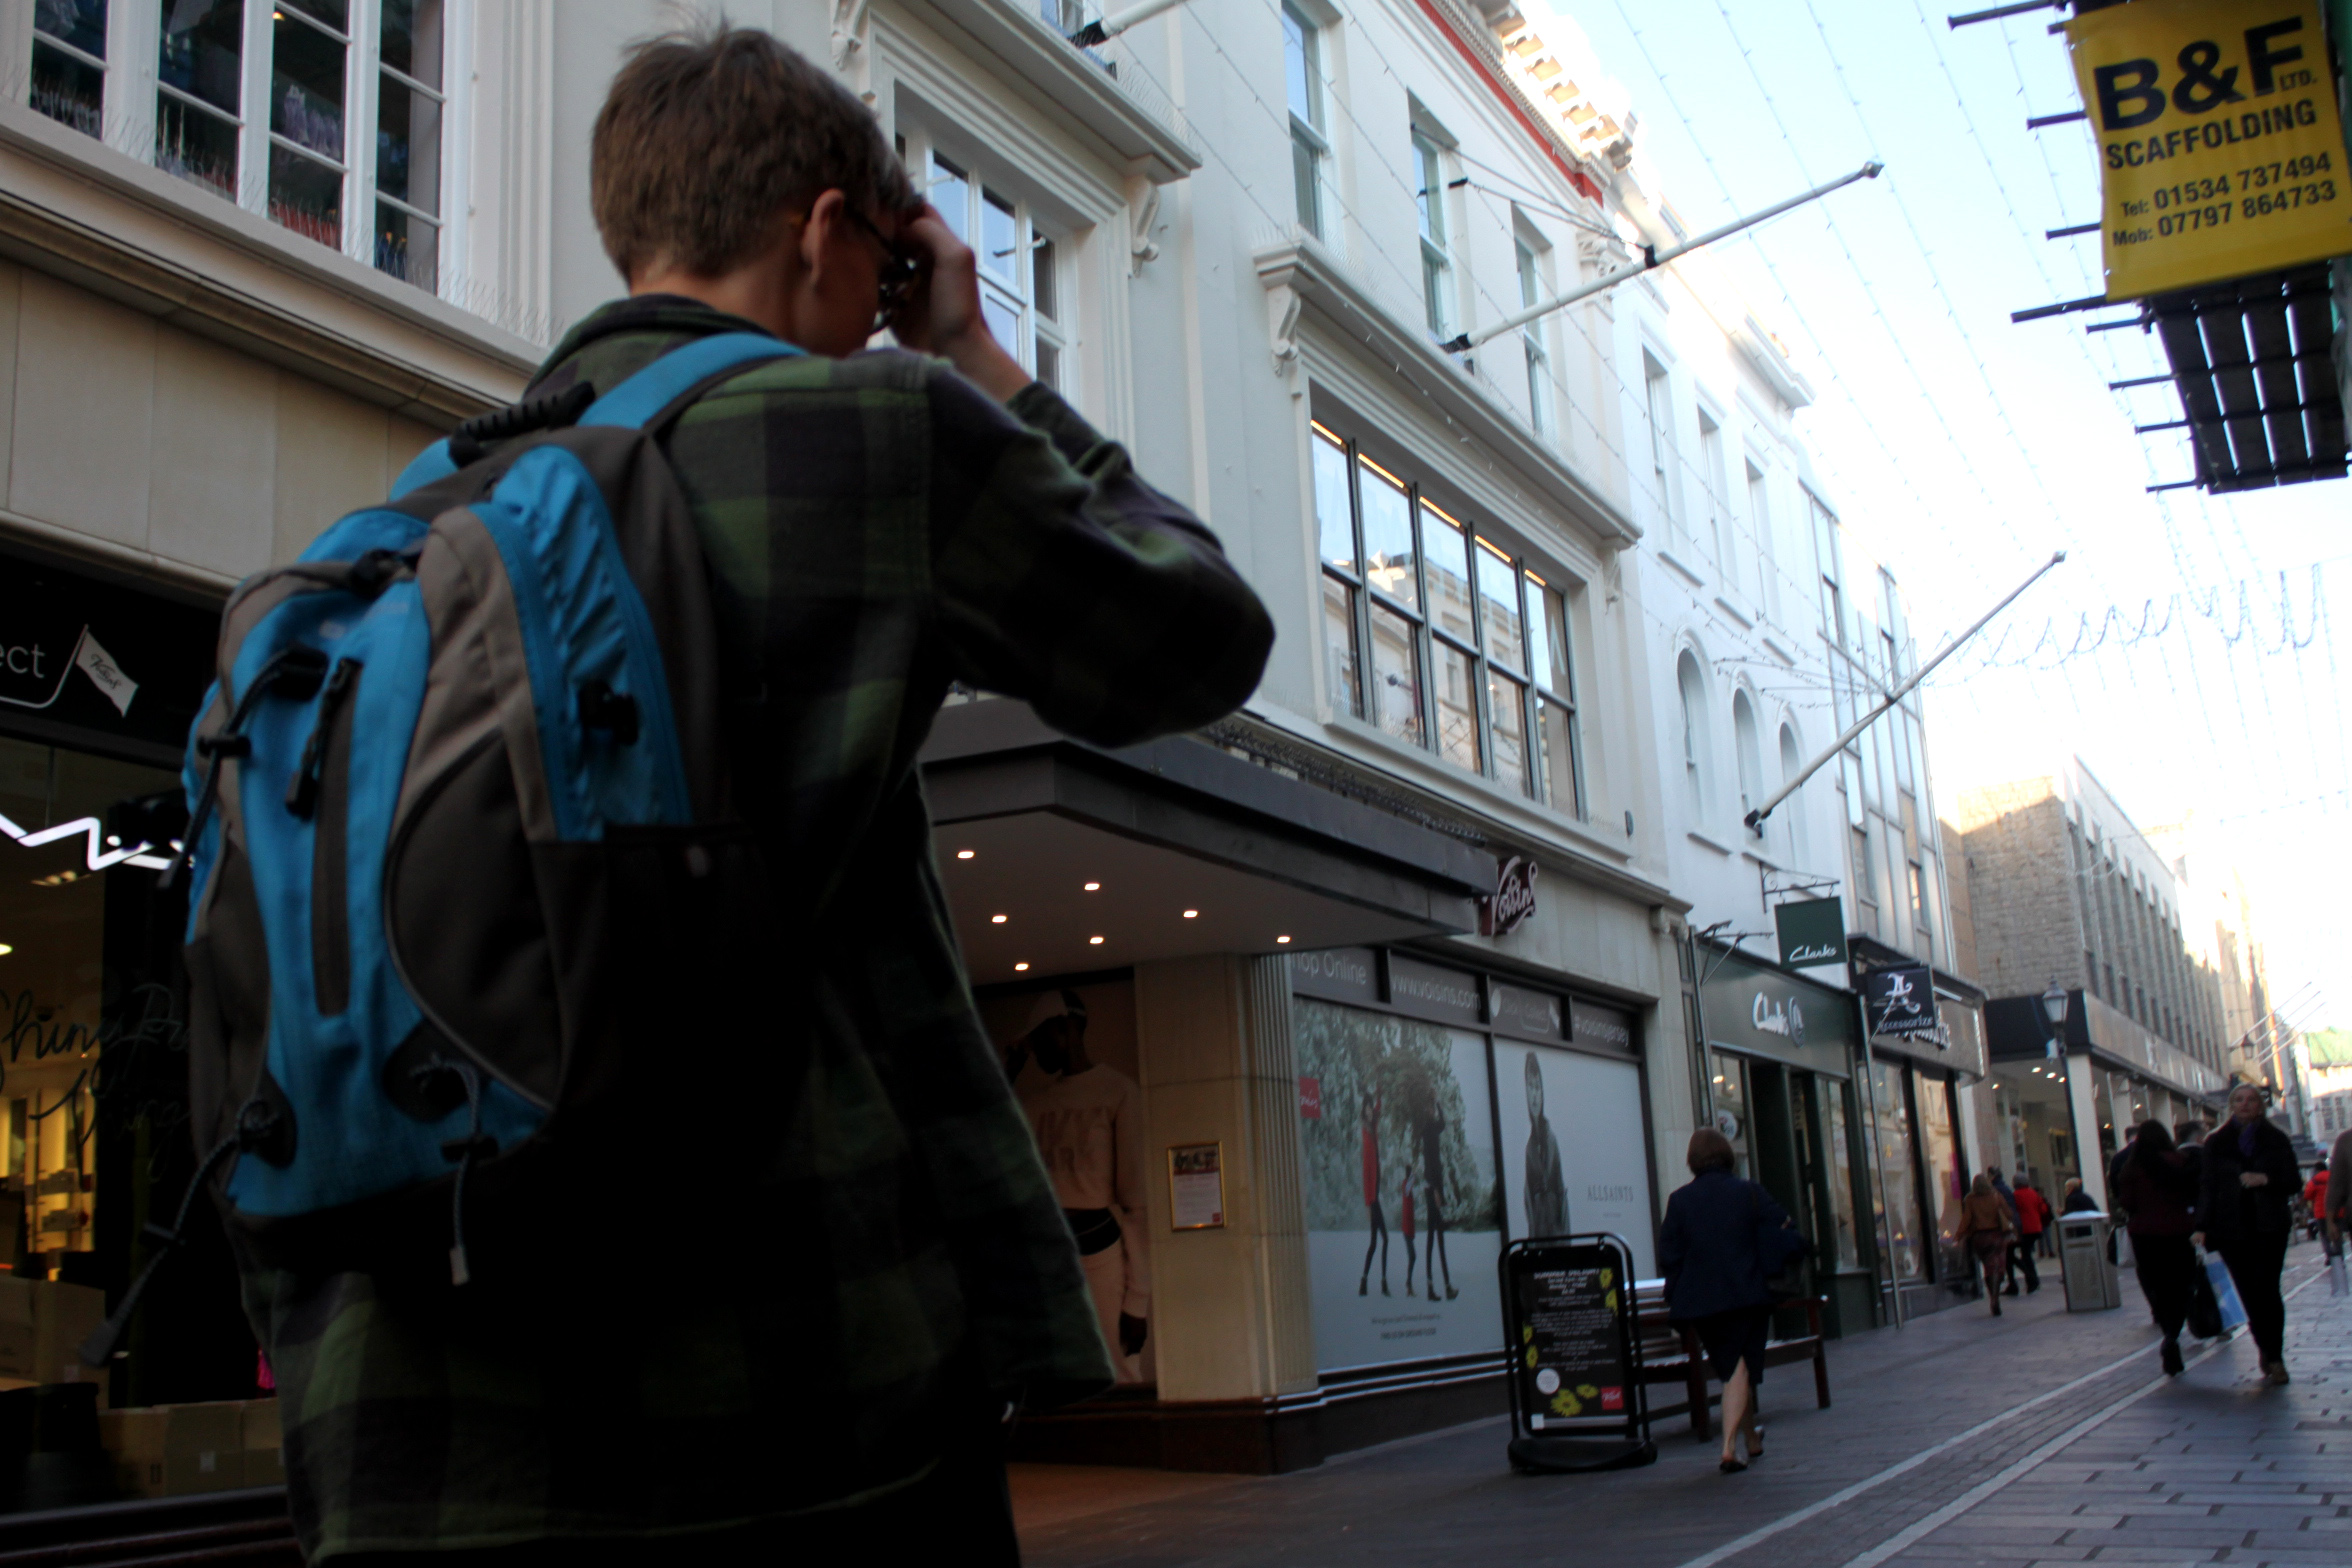
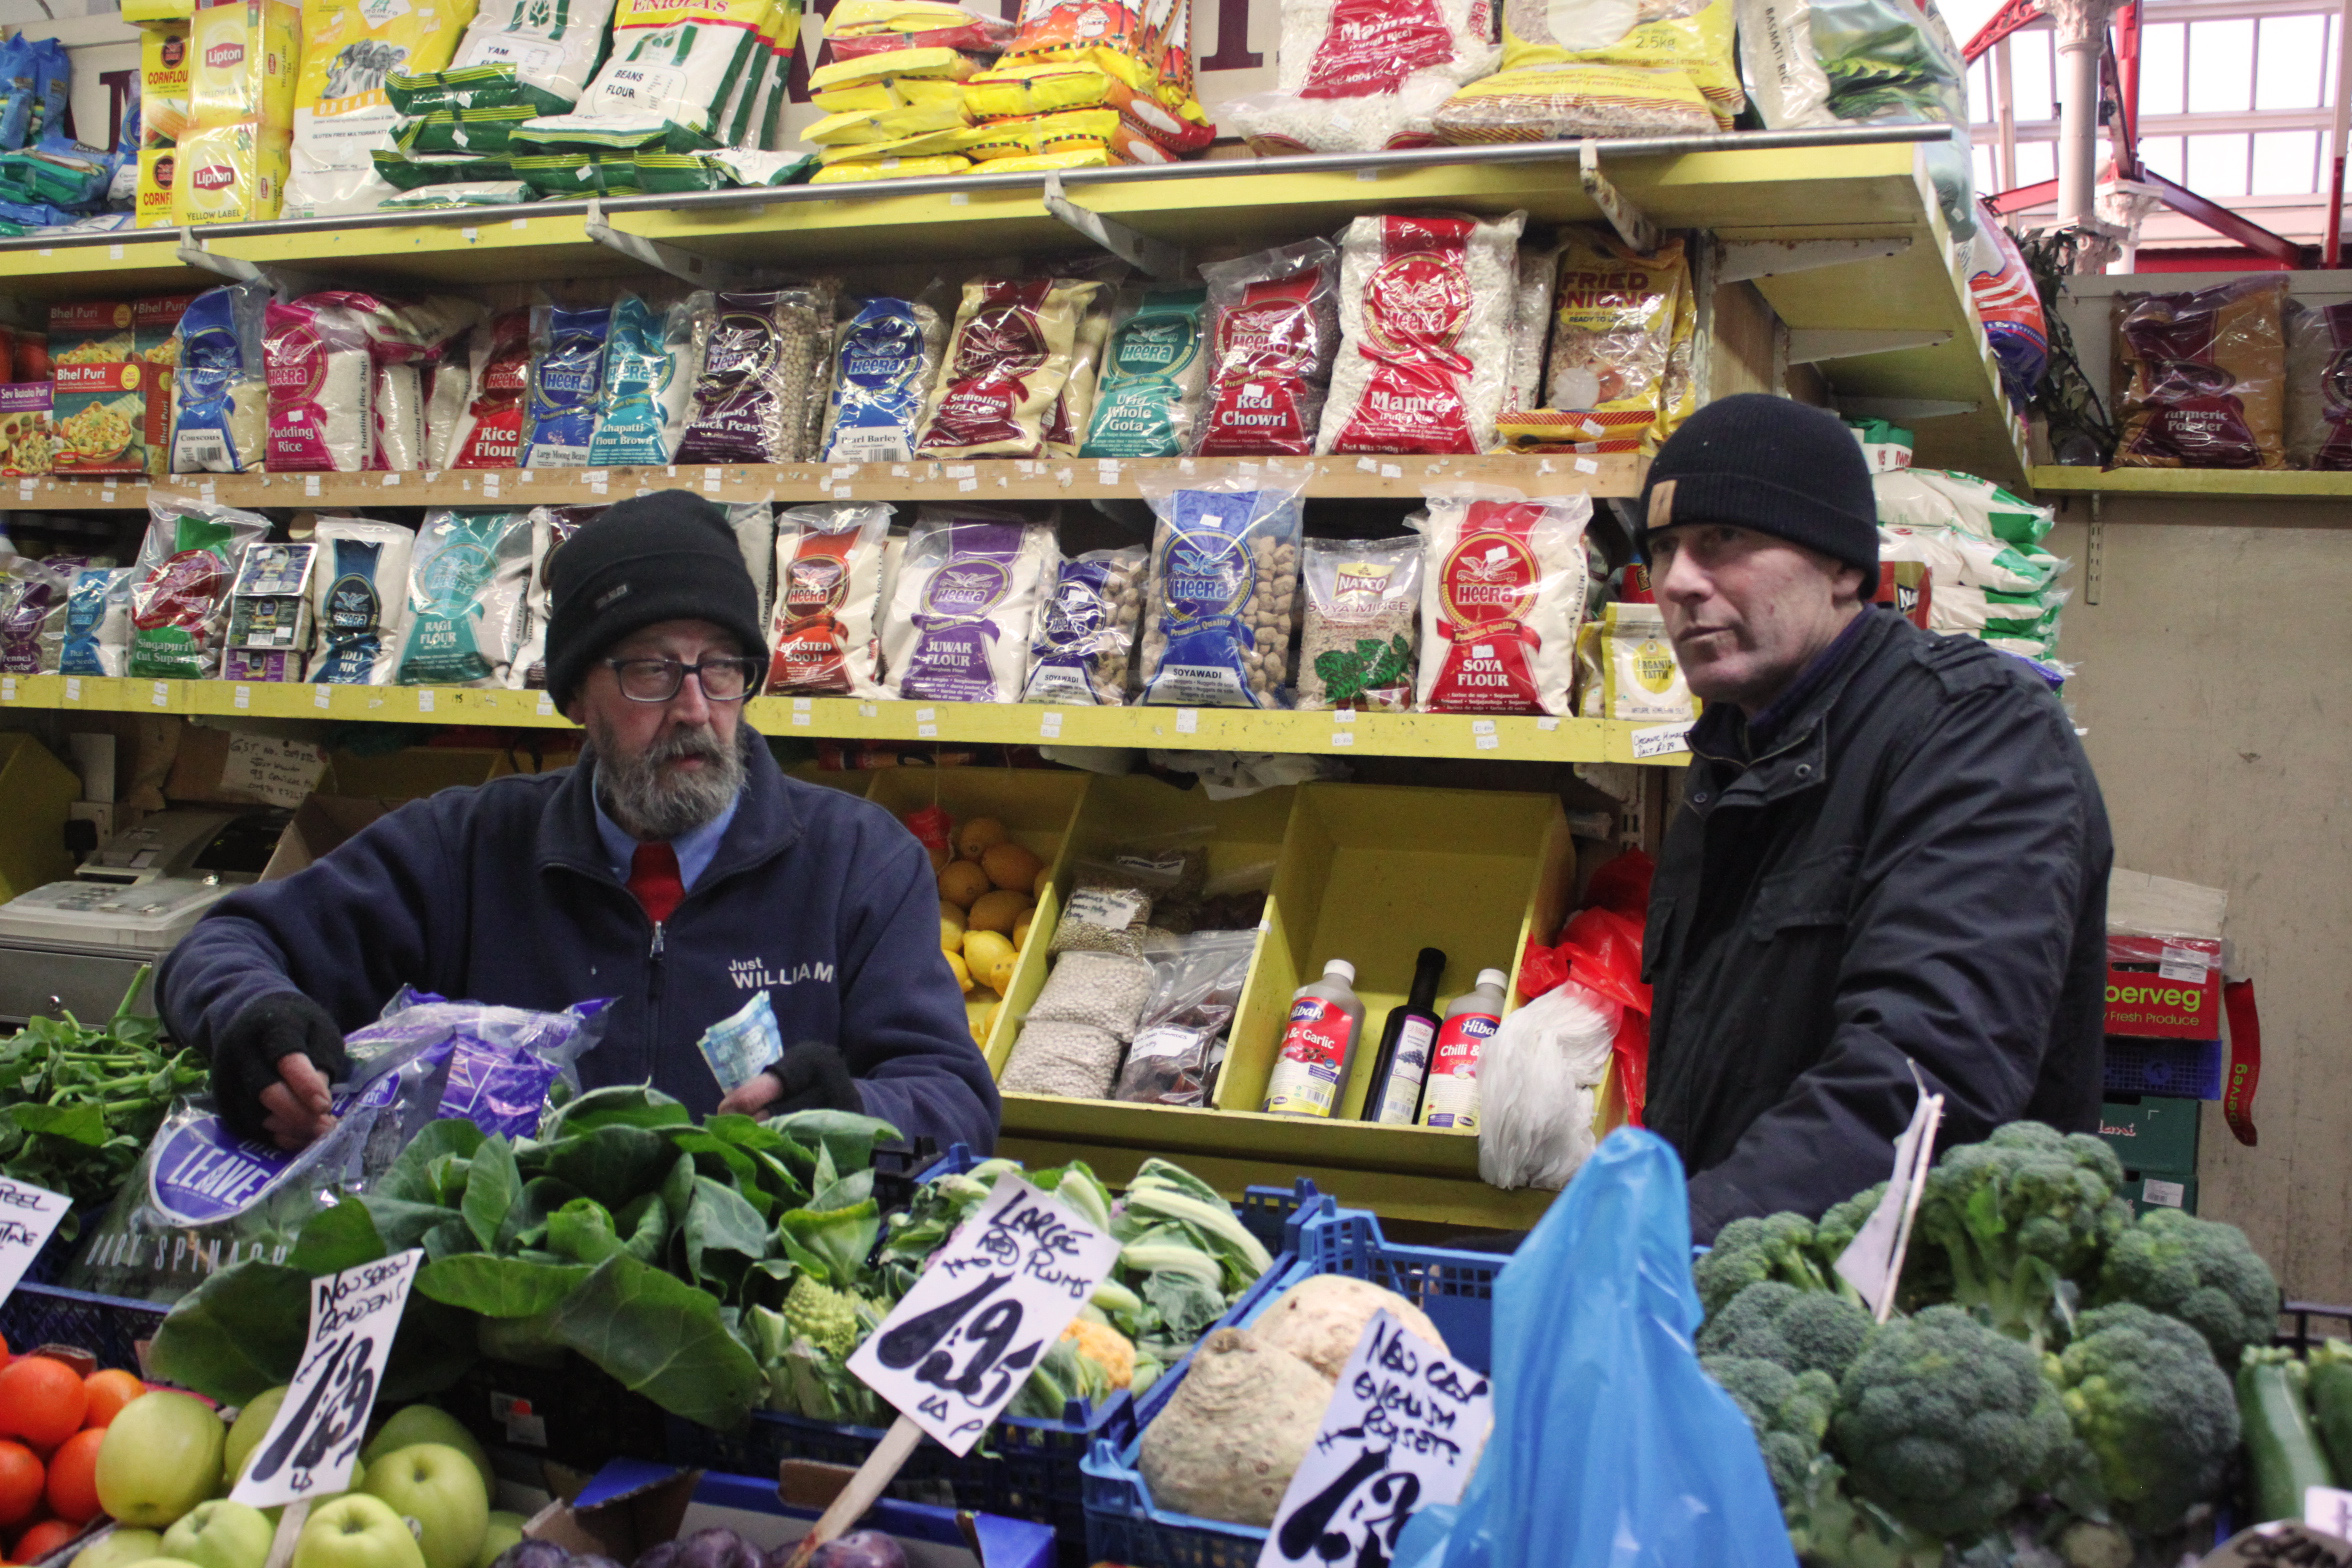 This is a very similar image to one further back in this post. It doesn’t have the same effect as there are more elements without strong shapes but I have kept it in because it captures the work environment and daily tasks of these market traders.
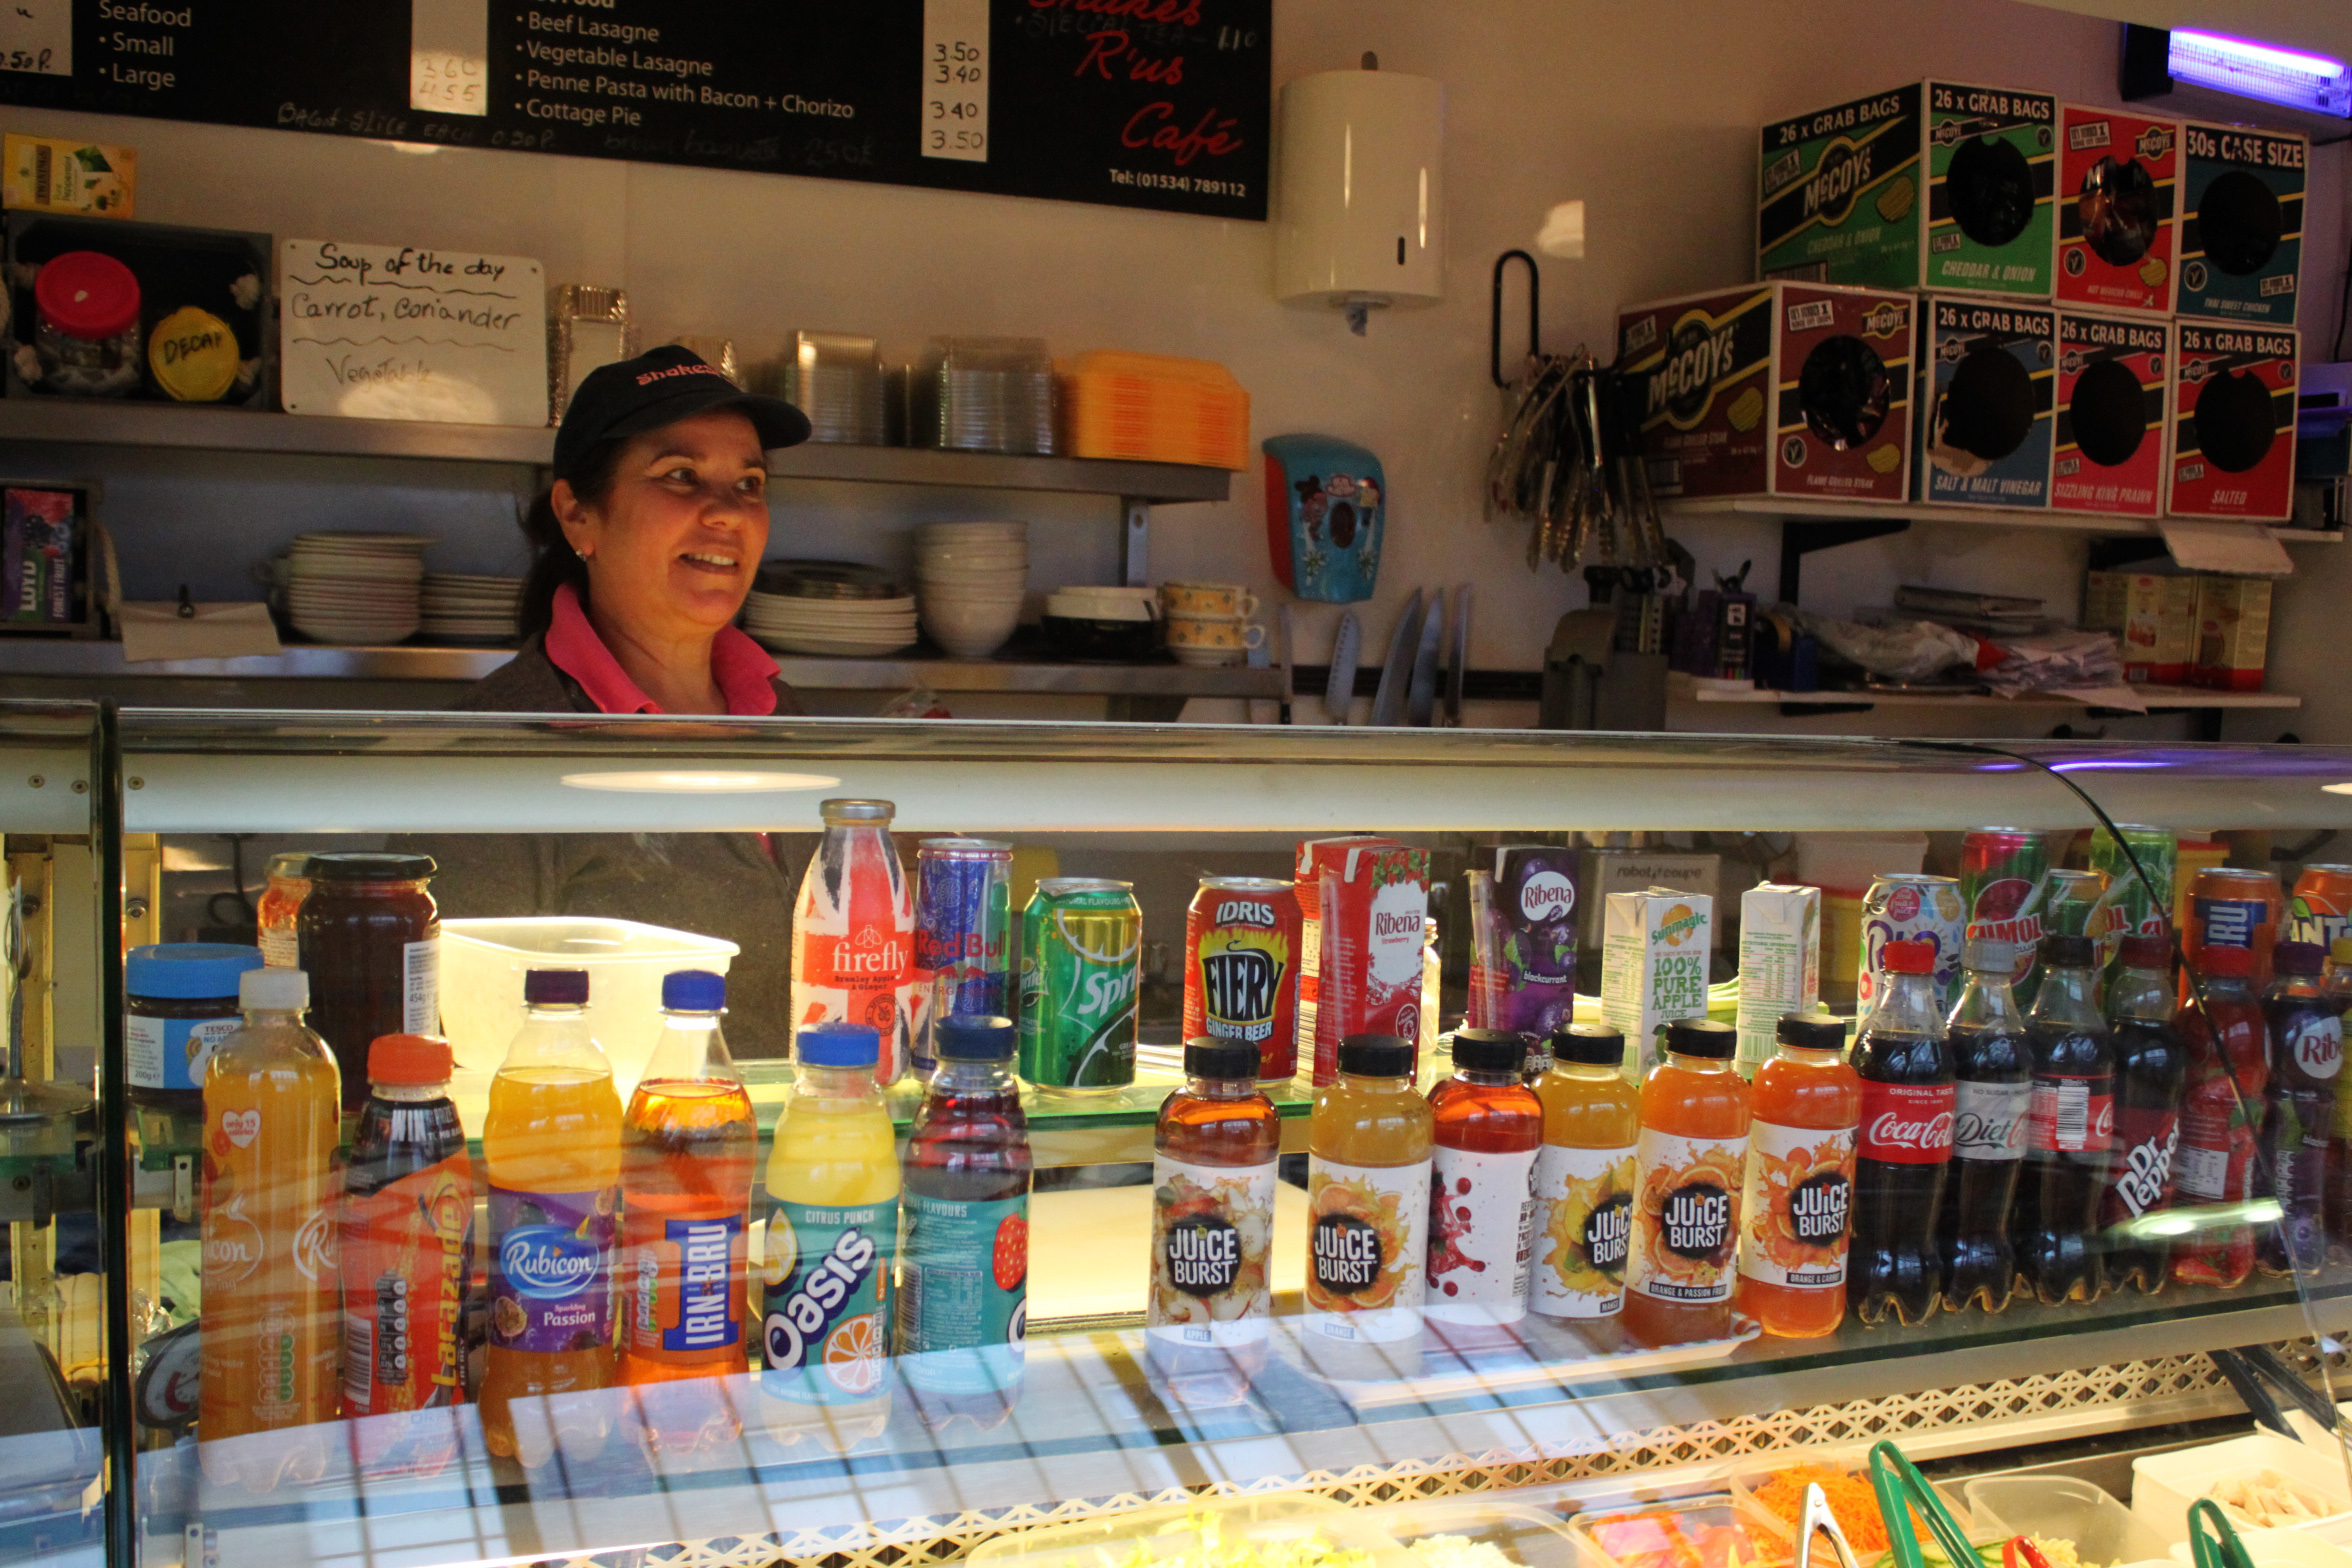 This is my favourite image out of the whole shoot, it has the right exposure, vibrance, structure, and it captures the work environment as a whole. This photo has a warm white balance, this makes it more relaxing to look at as warm lighting as it feels more natural than cold lighting. The photo also has a variety if colours thanks to the products on display out front. There is also a lot of structure and symetry throughout the photo, the bottles on display and crisp packet boxes for example.