All posts by Kristin F

Filters

Author:
Category:

Abstract Final Pieces

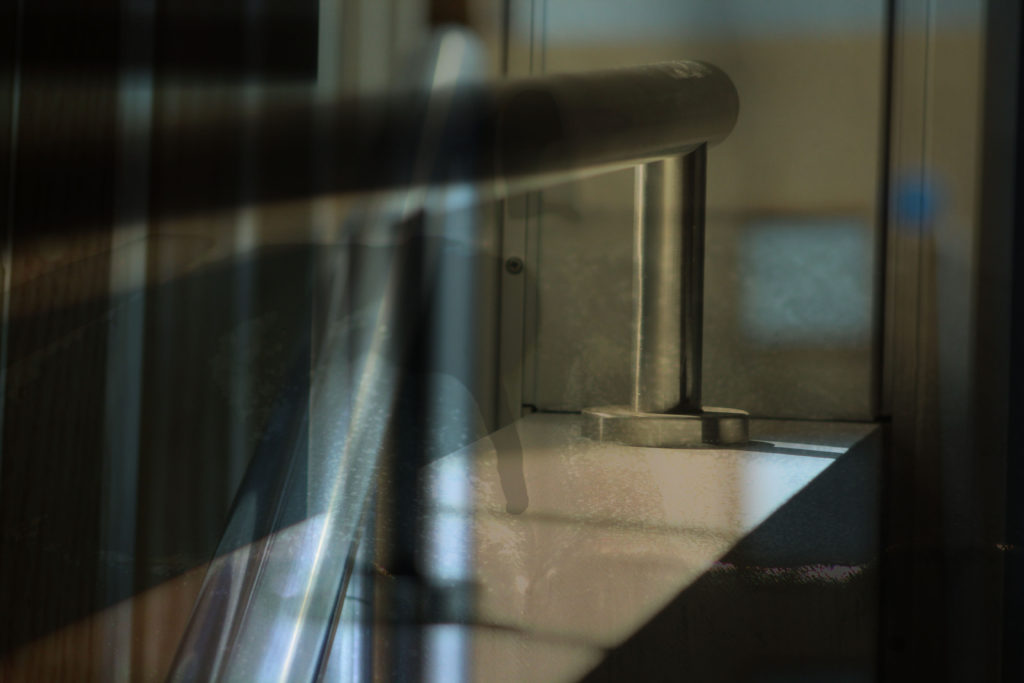
I have decided to use this as one of my final pieces on its own, and not separate the better images away from it. This will allow me to show a lot more generally nice images rather than picking one or two of these images and trying to edit them to make them a lot better.

I have decided to use this image because of the use of the overlapping images creating a darker and more saturated look within the main image, while still keeping the others visible.

Initial Choices of Final Outcomes

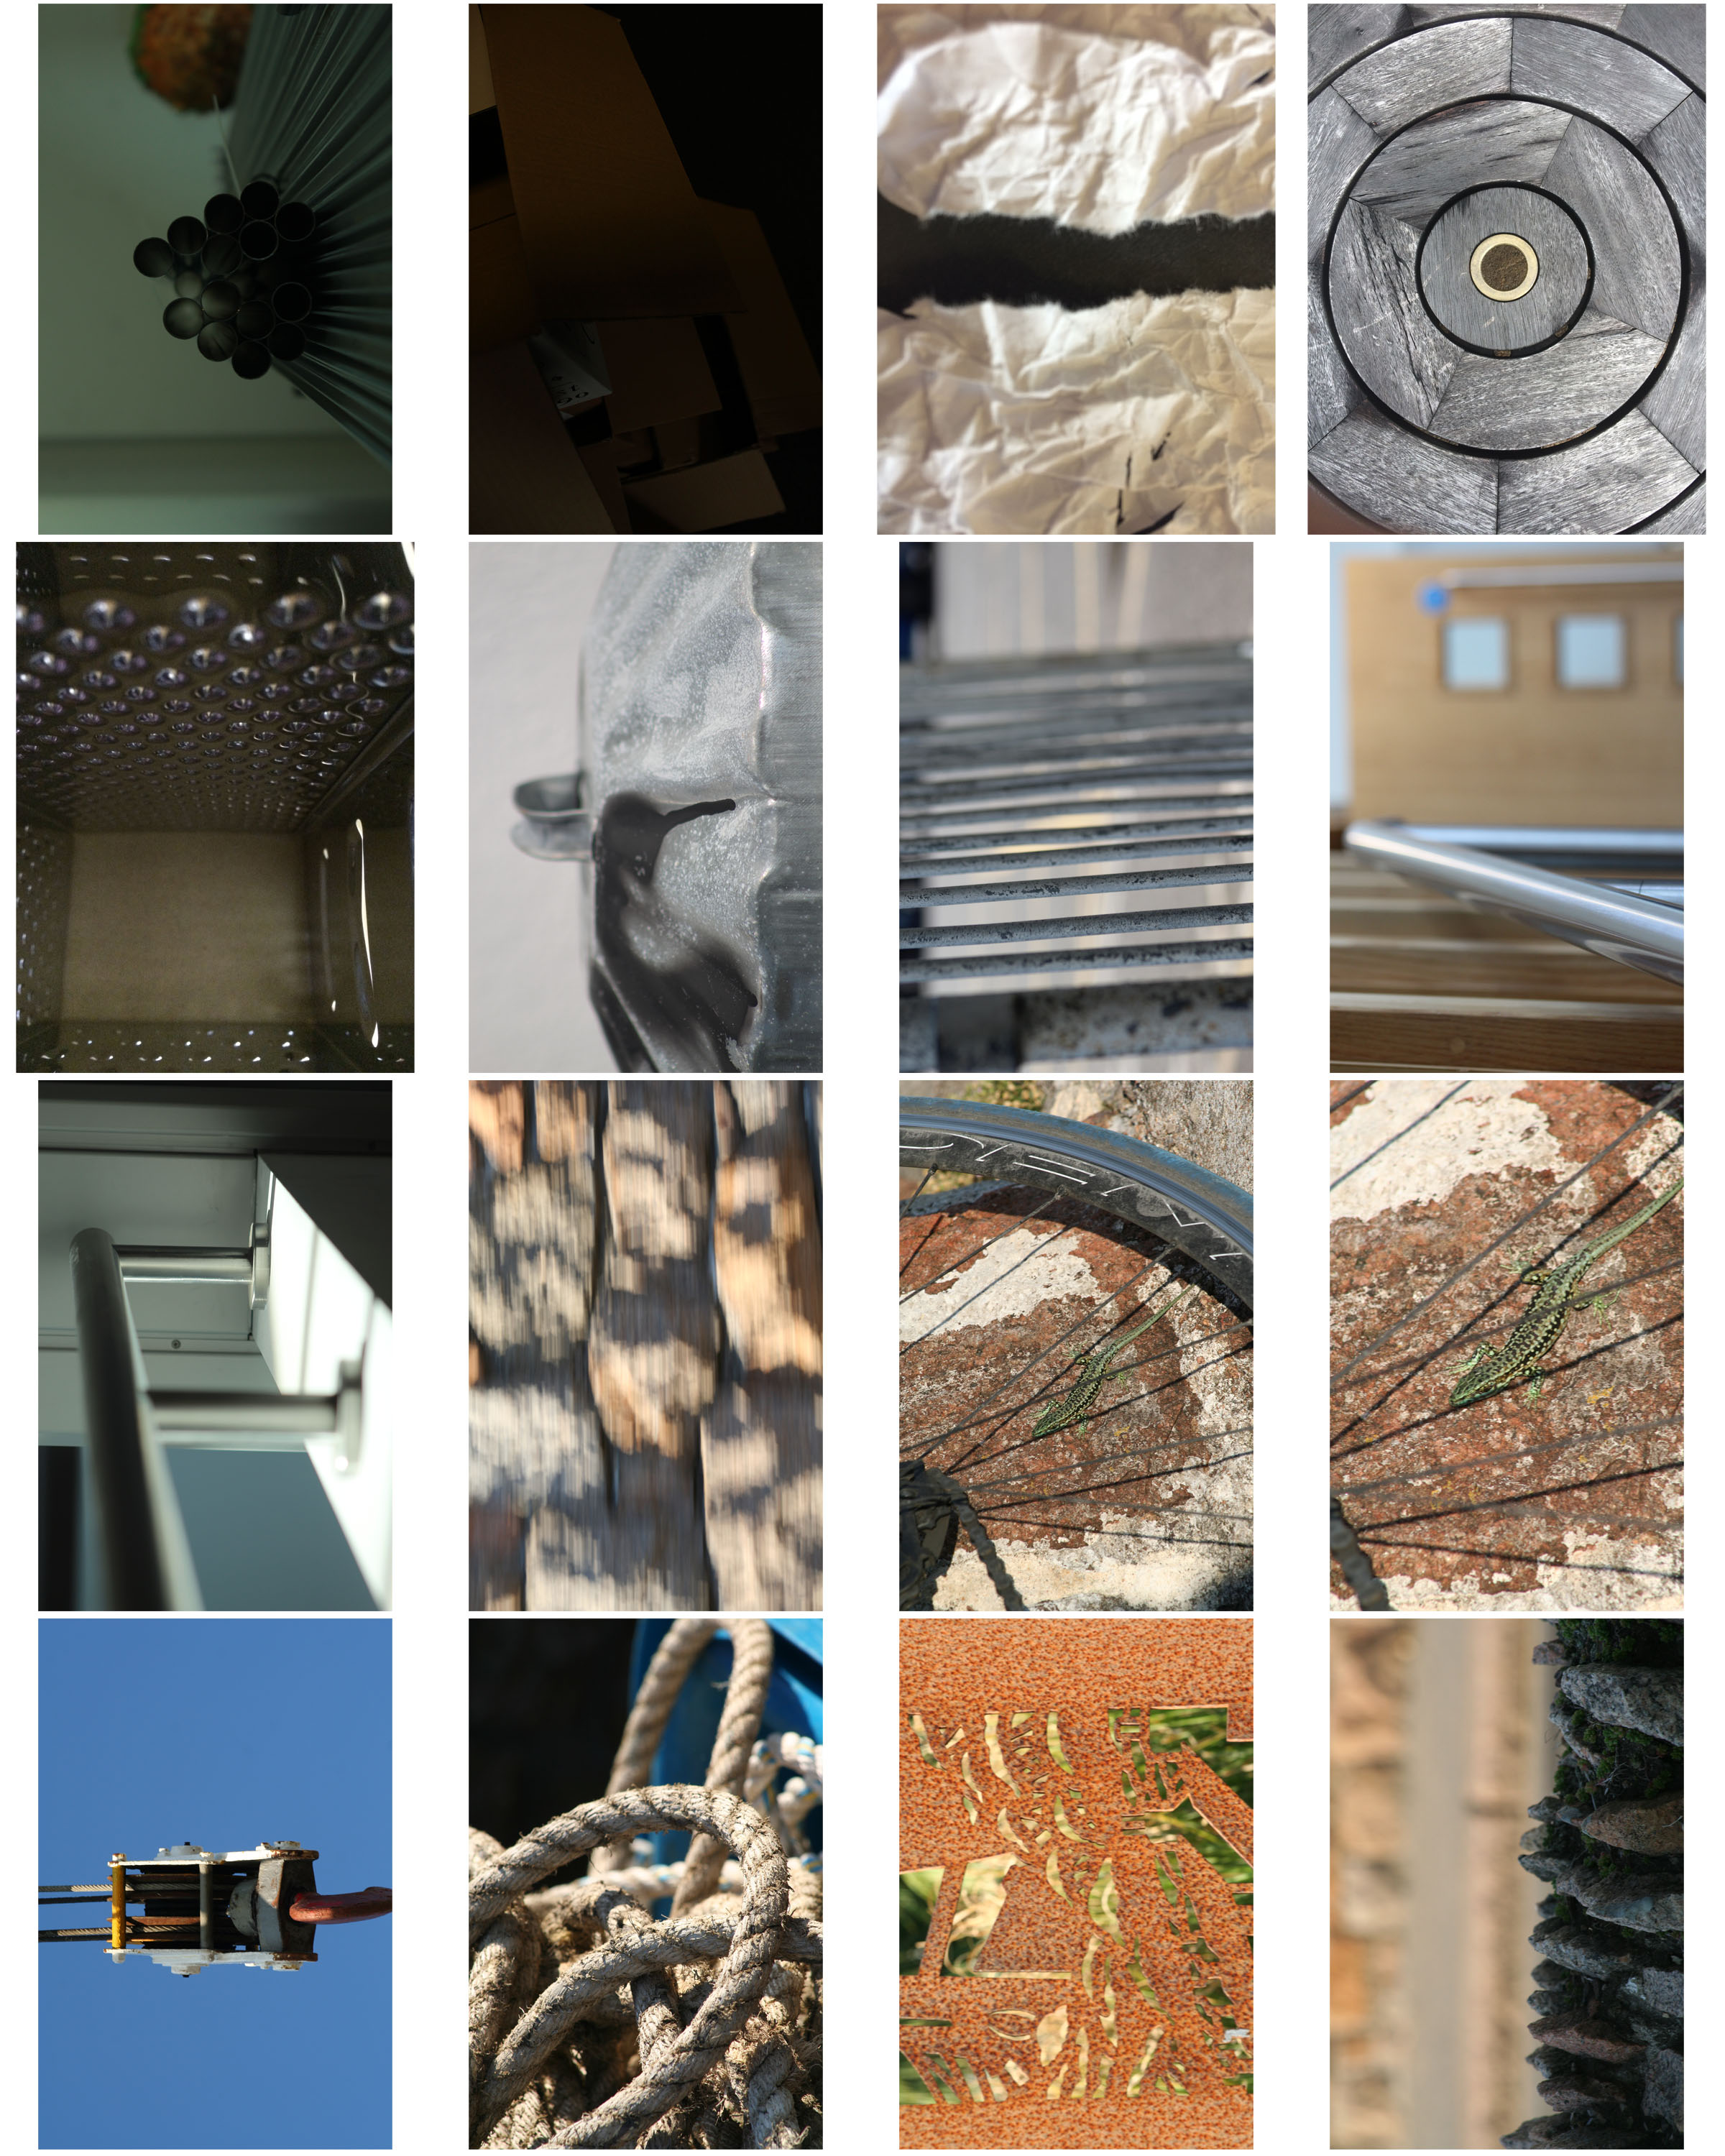
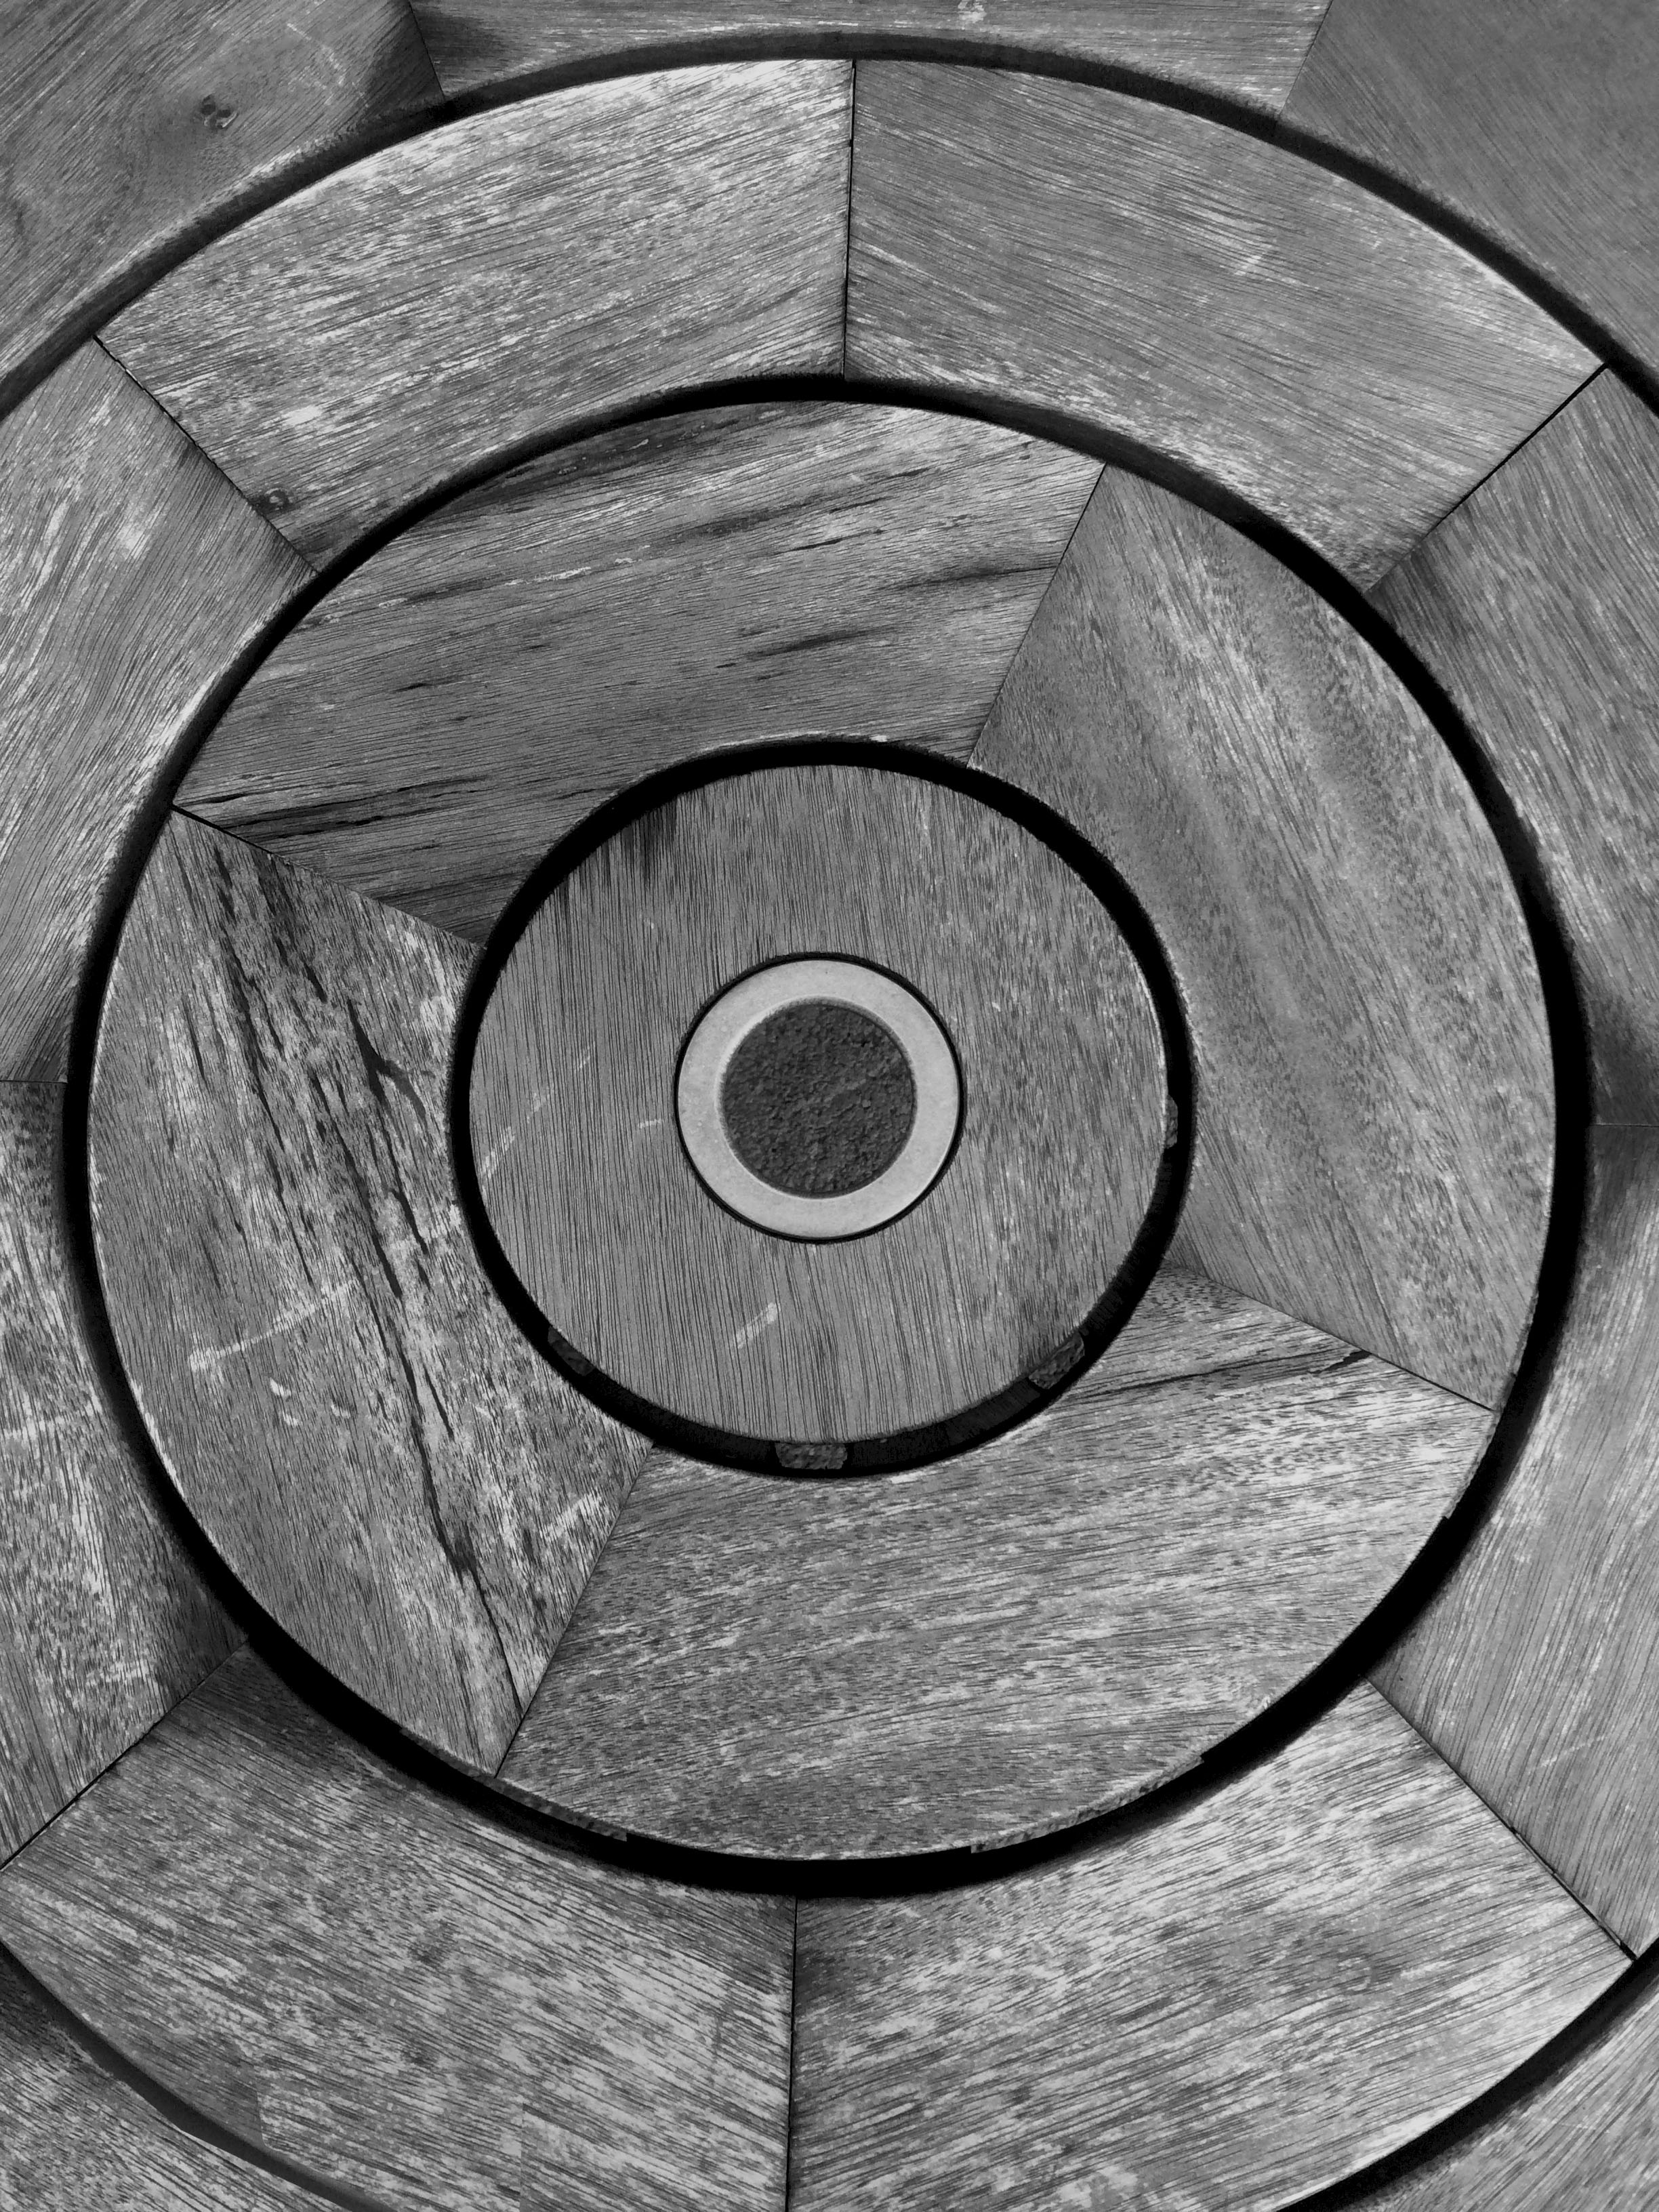
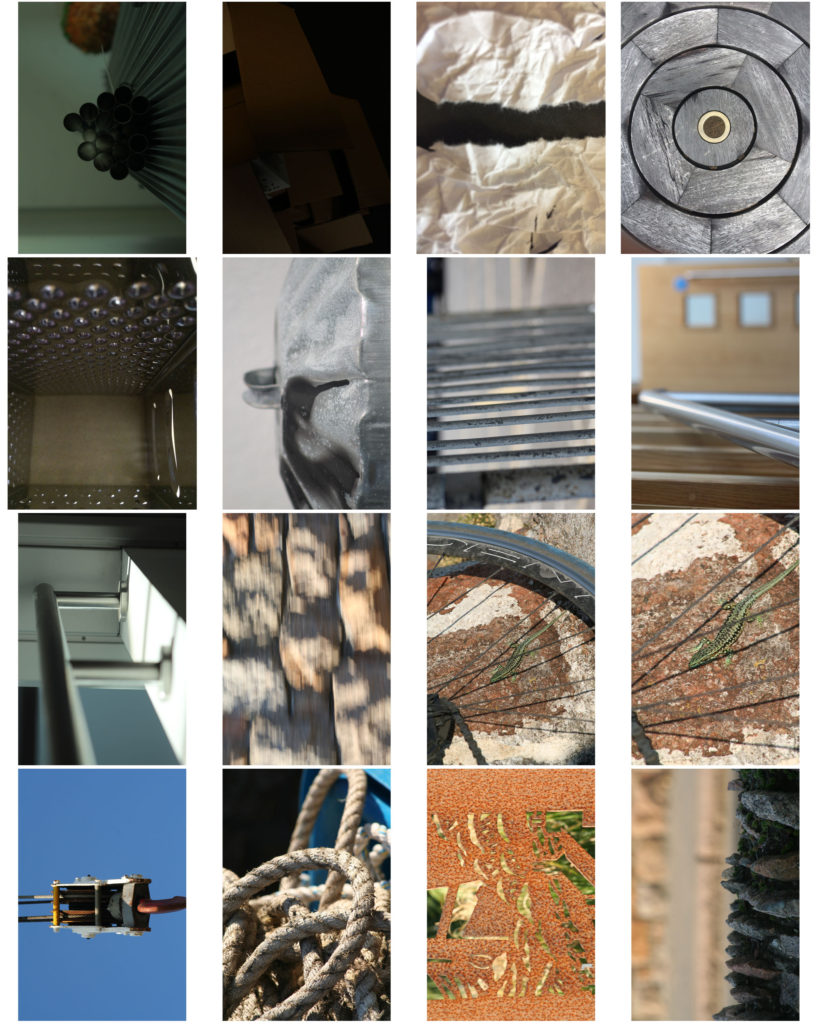
These are my initial choices for the final images. I have taken these abstract images in different ways, some I have taken close up or some from quite far away. I have used skills I learned in class cameras for most of them. I have used different focuses and have changed apertures and ISOs depending on the areas I was in when taking the images. A lot of the images I have created clearly show texture and contrast. This can be seen especially well on the image of the rope and can be seen well on the metal.

Double Exposure

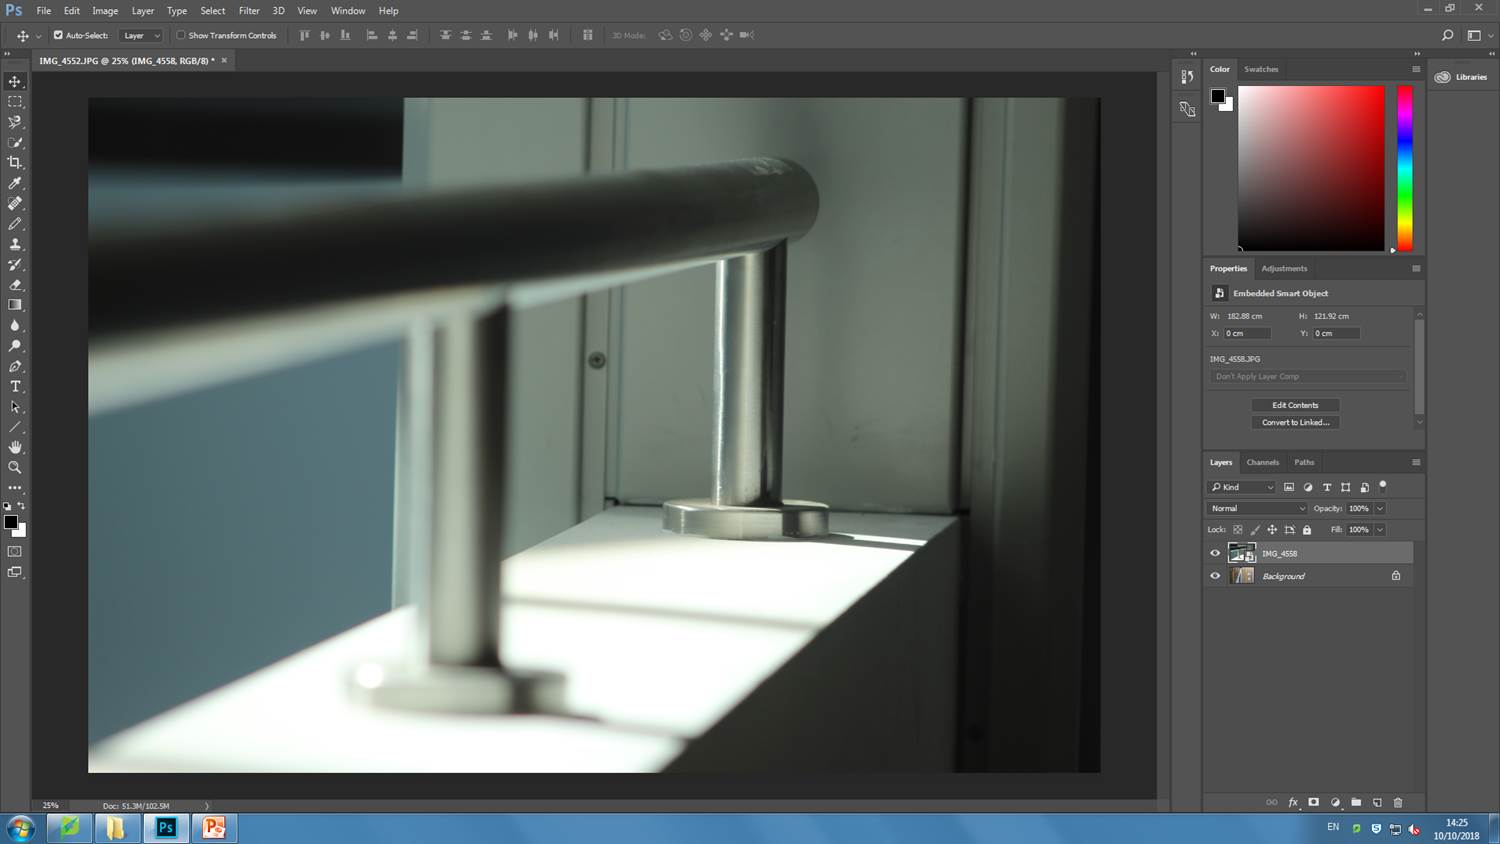
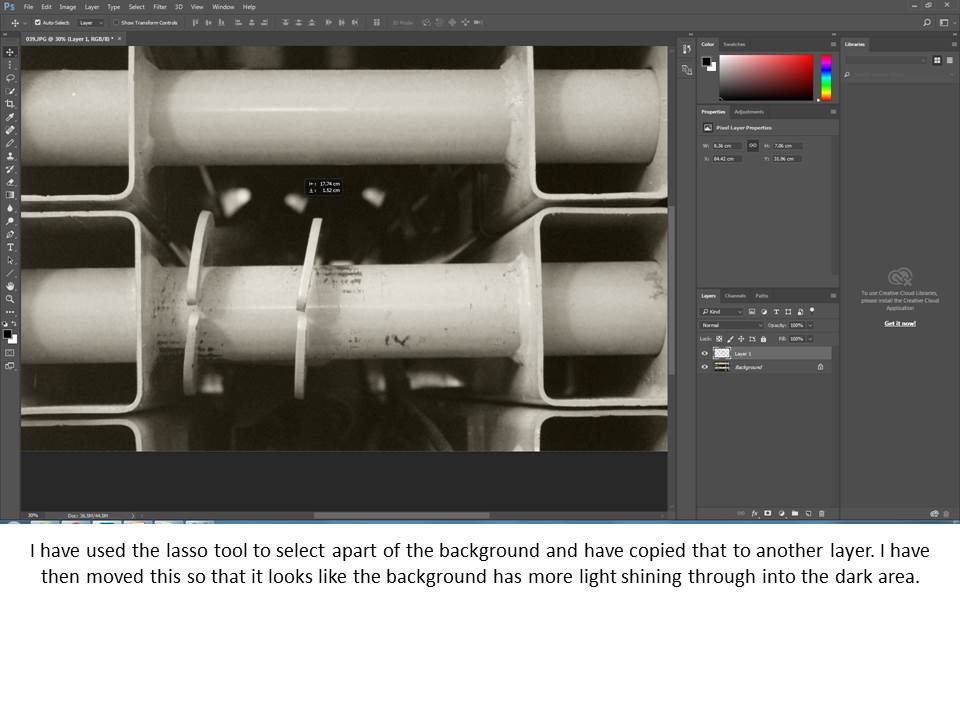
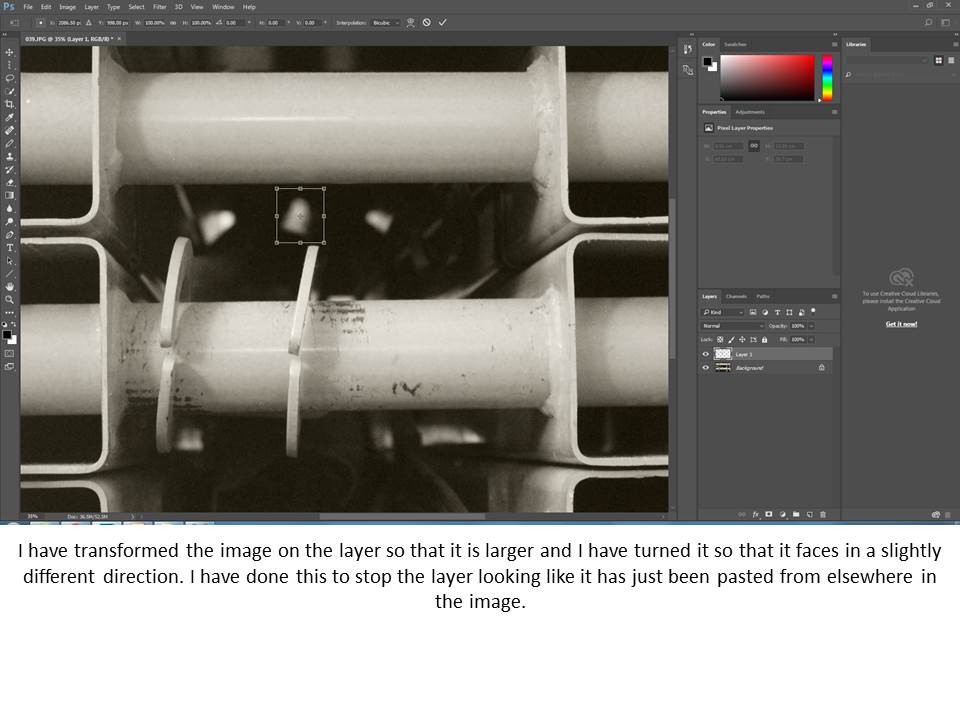
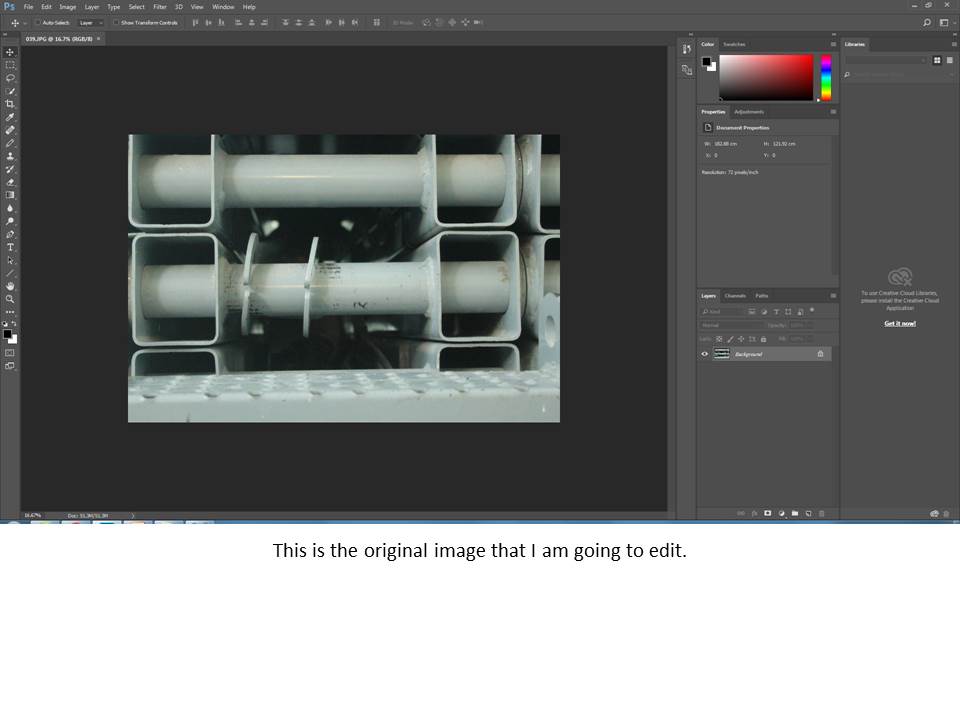
I firstly layered two images over one another, as shown above.

After I layered them I tried out changing the opacity of the layer on top to see if I liked how the image looked by just using opacity. I decided against using it for these two images.

I then went through the different blend options to see how the image would look using different blends. The option I liked the most was the “multiply” option.

I then added a new layer with a new image and used both the opacity and the blend options together to make the new image appear almost invisible but still noticeable in the image.

This is the final outcome.

Kaleidoscope Images / Mirror Imaging

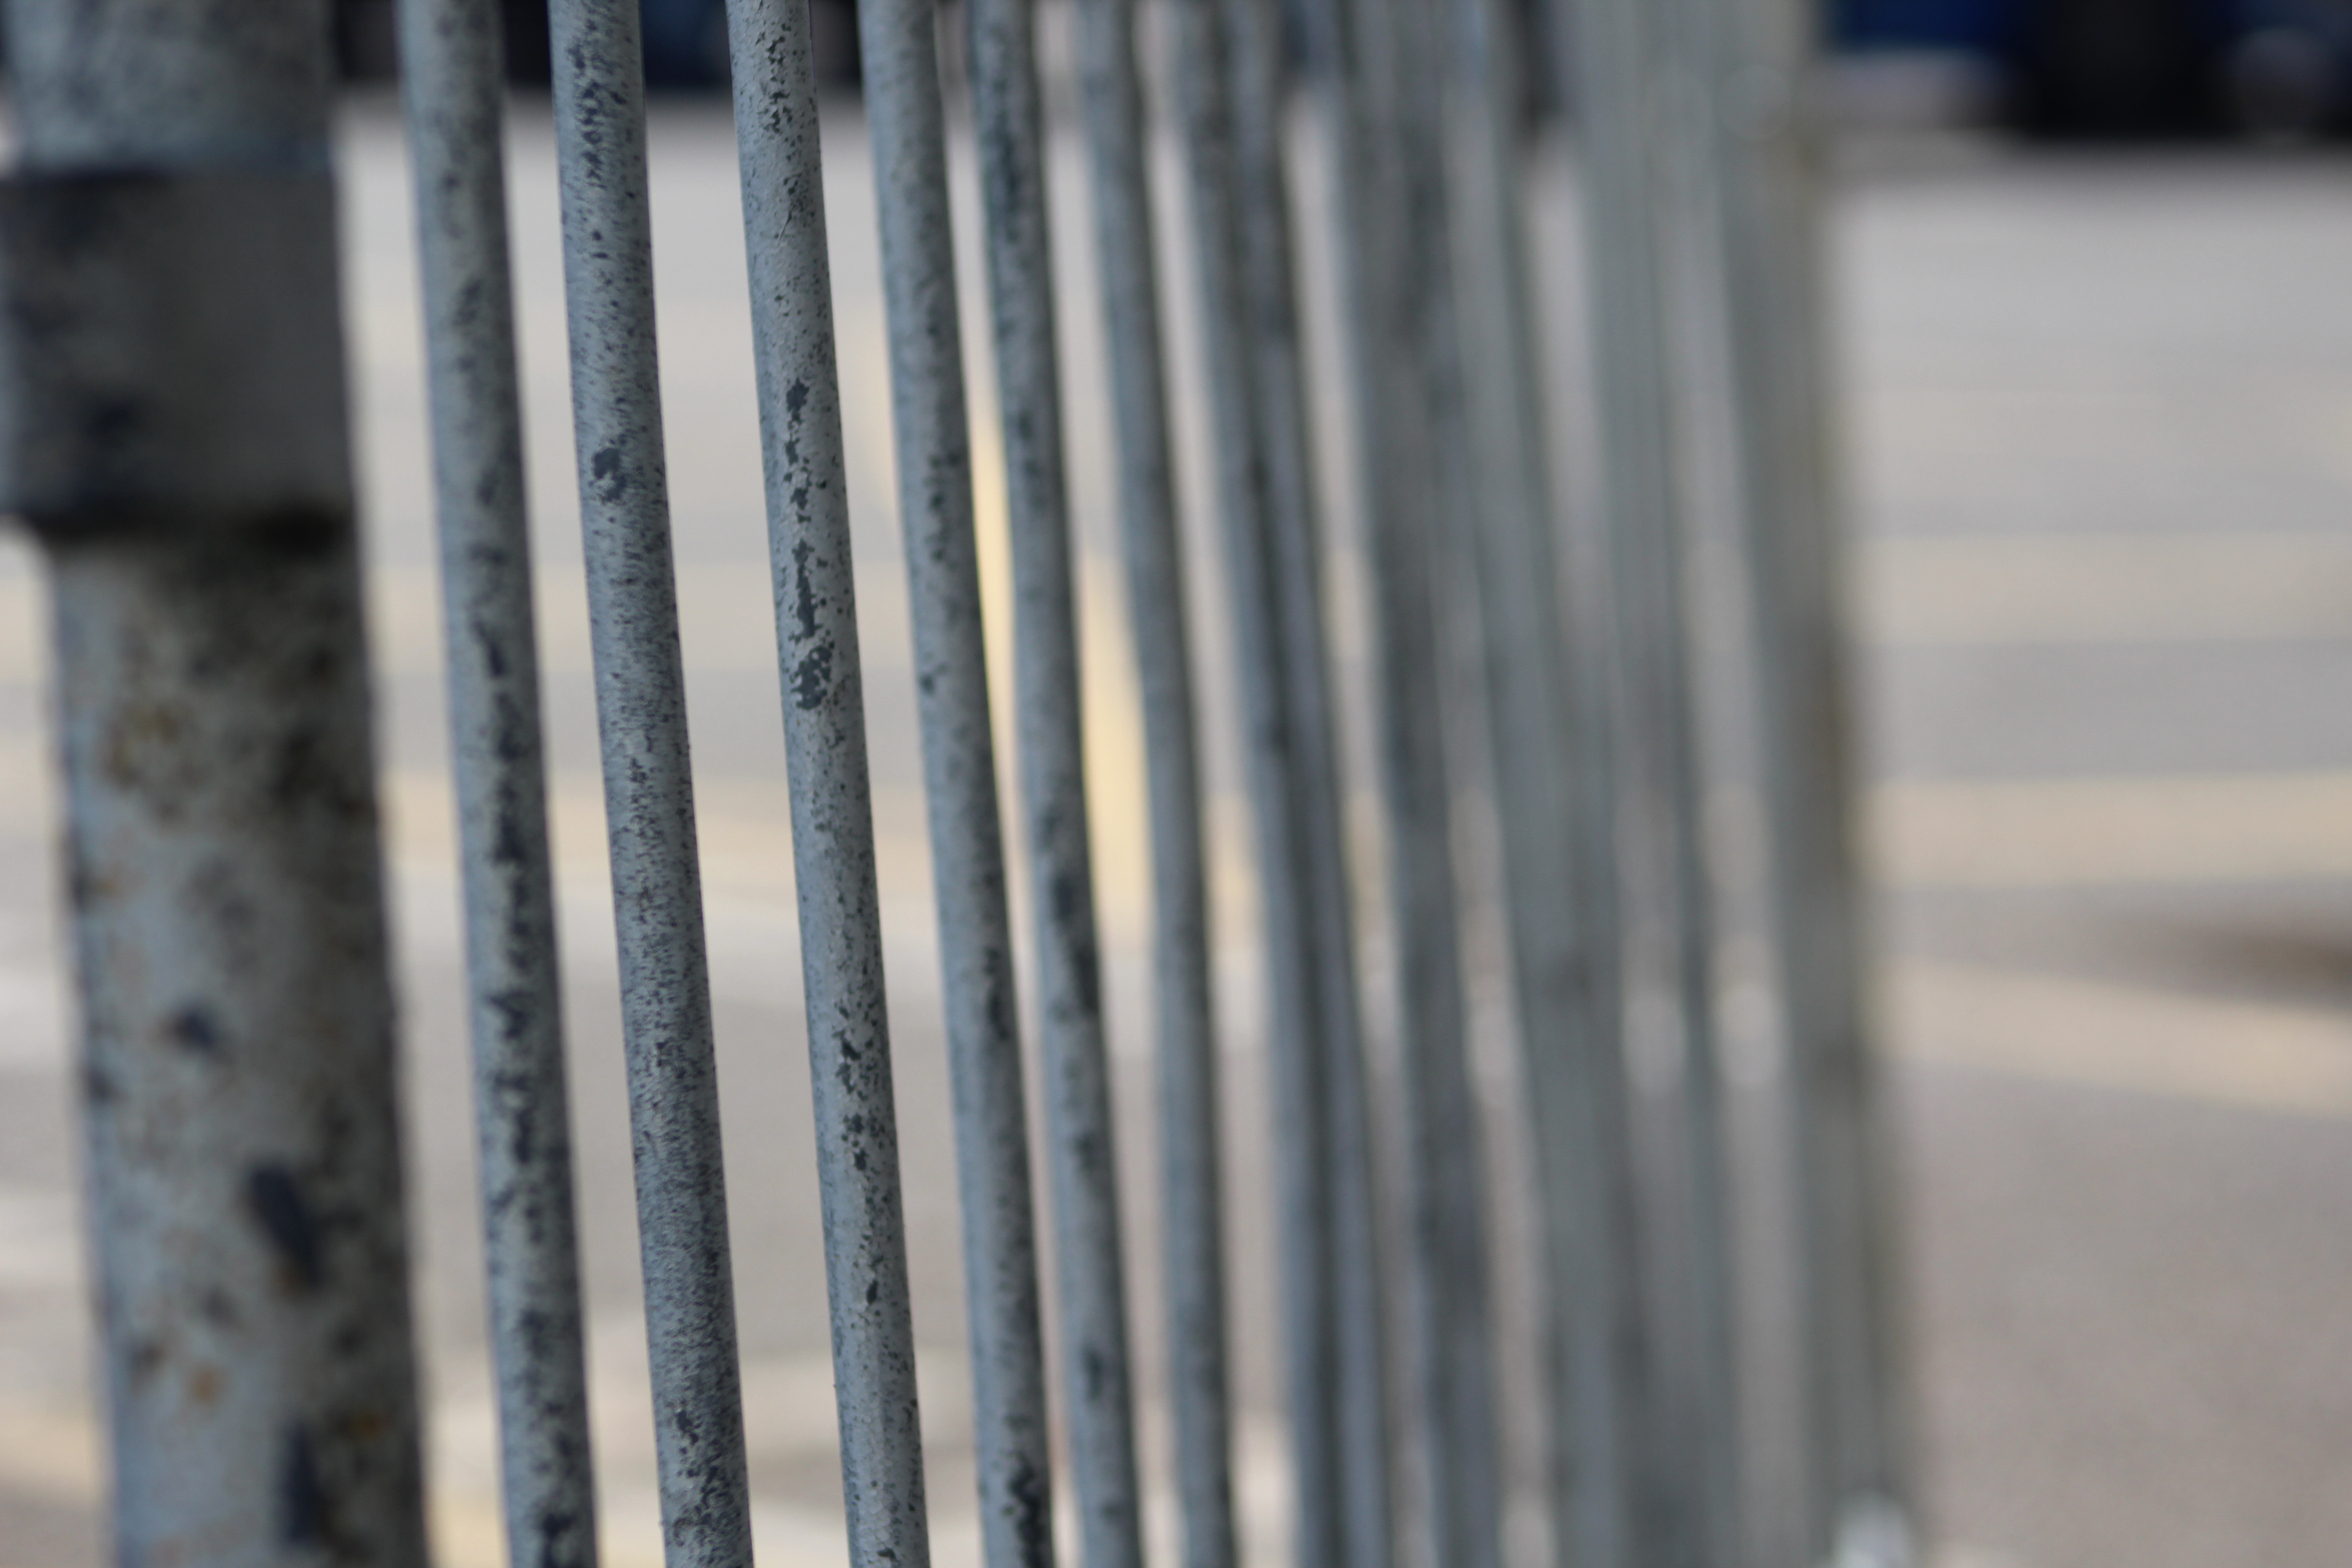
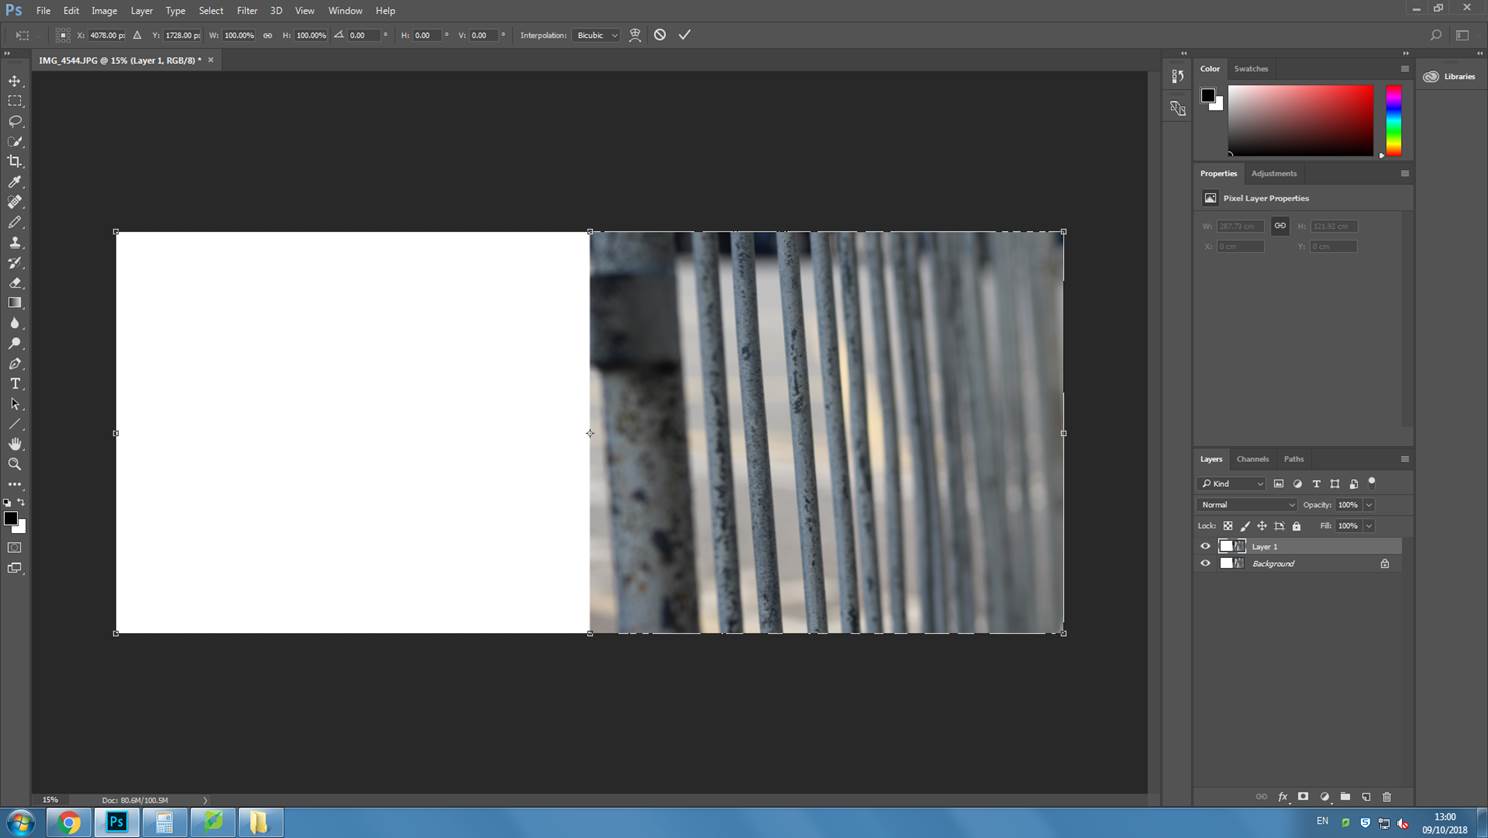
I have edited this image and created a kaleidoscope image by doing so. Firstly, to do this I have put the image into photoshop and cropped an edge because I did not want it in the image.

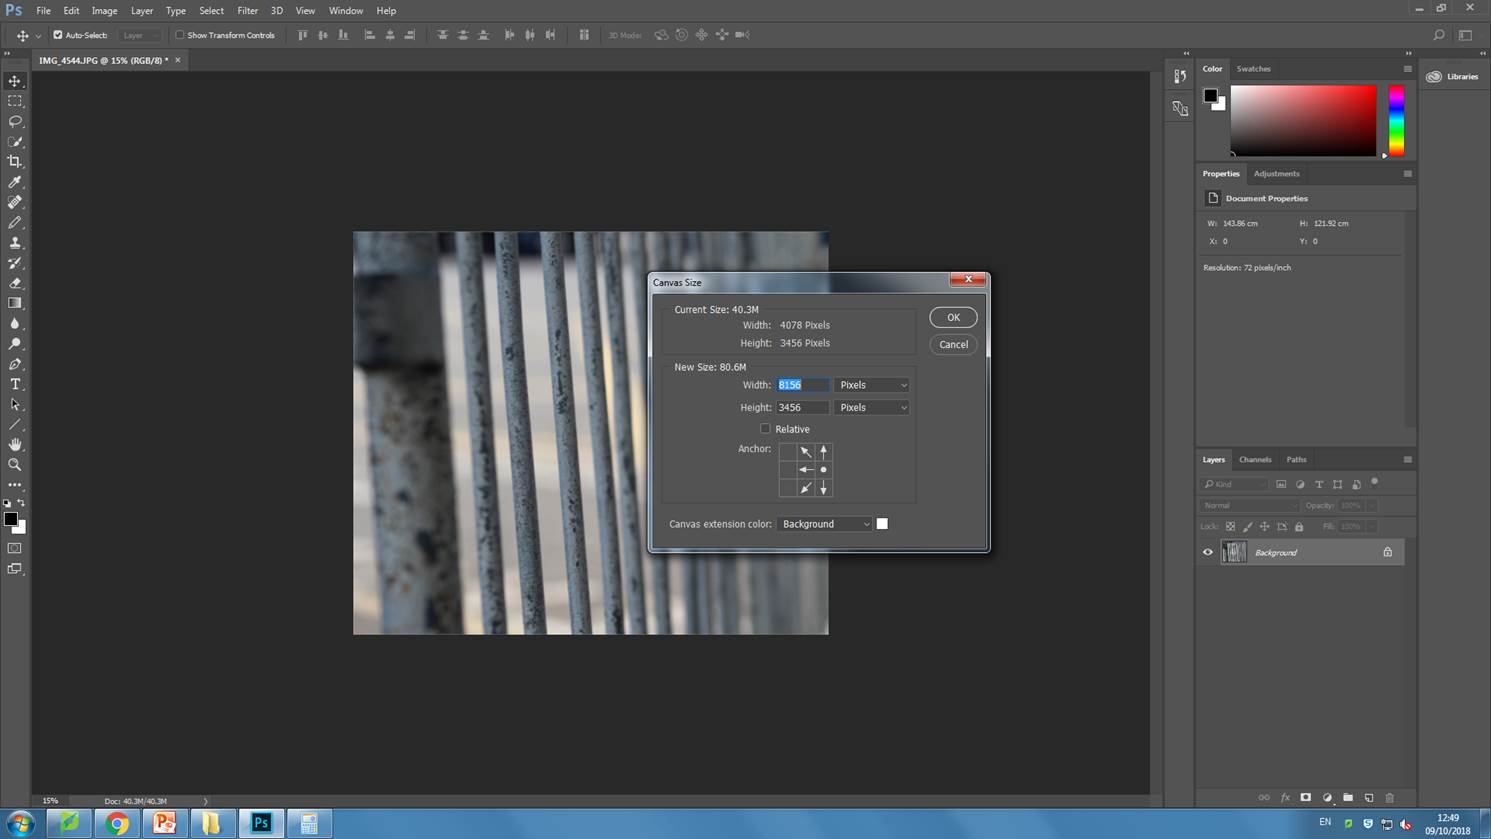
Secondly, I have gone to image > canvas size so that I could double the width of the canvas. Then I used ctrl+j to create another layer with the same image on it.

I then transformed this image by clicking ctrl+t and flipped it over by grabbing the middle box on the right side of the original image and pulling it over all the way to the far left.

I then flattened the outcome into one layer and changed the canvas size again to make it double the height and then copied the image to a new layer and transformed it to flip it up to create the final image.


Focus Comparison

I have tried a few different ways of focusing on specific objects using the cameras to create effects such as creating a depth of field in some images. I have changed the focal length and have tried using auto focus and manual focus to see the better parts for each and how each are worse than others.

I have tried using manual and auto focuses. Manual focus lets you properly choose what you want to focus on in the image. This can be very useful if you want something off center or that is quite small to be the main focus of an image as auto focus usually seems to try to get larger objects that take up more of the frame into focus. Although, auto focus tries to pick a focus point. This on a lot of recent cameras has been made very well and can usually pick out the point you want to focus on.


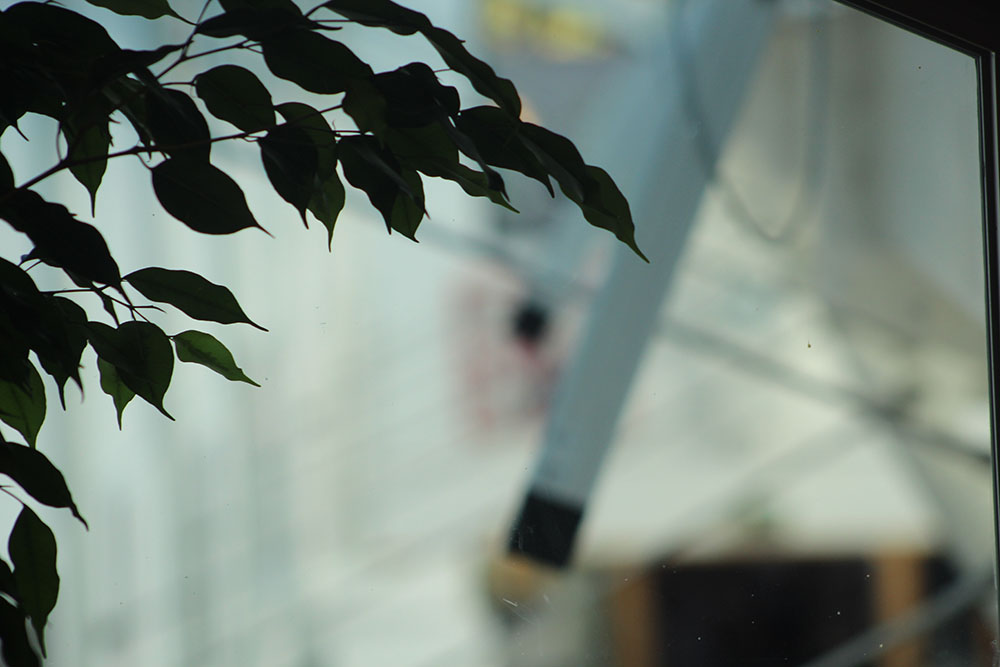
This is an example of an image that has used auto focus that hasn’t worked as planned. I wanted to take an image with the pole in the background as the focal point, but auto focus tried to focus onto the plant in the foreground of the image.

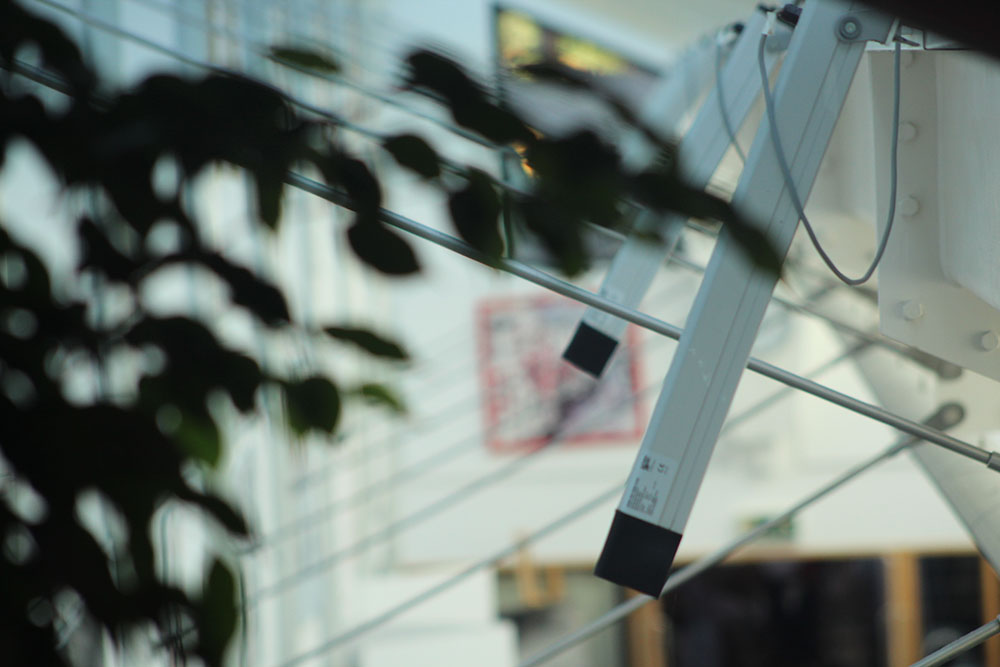
For this image I then changed it to use manual focus so that I could choose the focal point I wanted. Doing this created a nice depth of field effect behind the pole and blurred out the plant in the foreground.

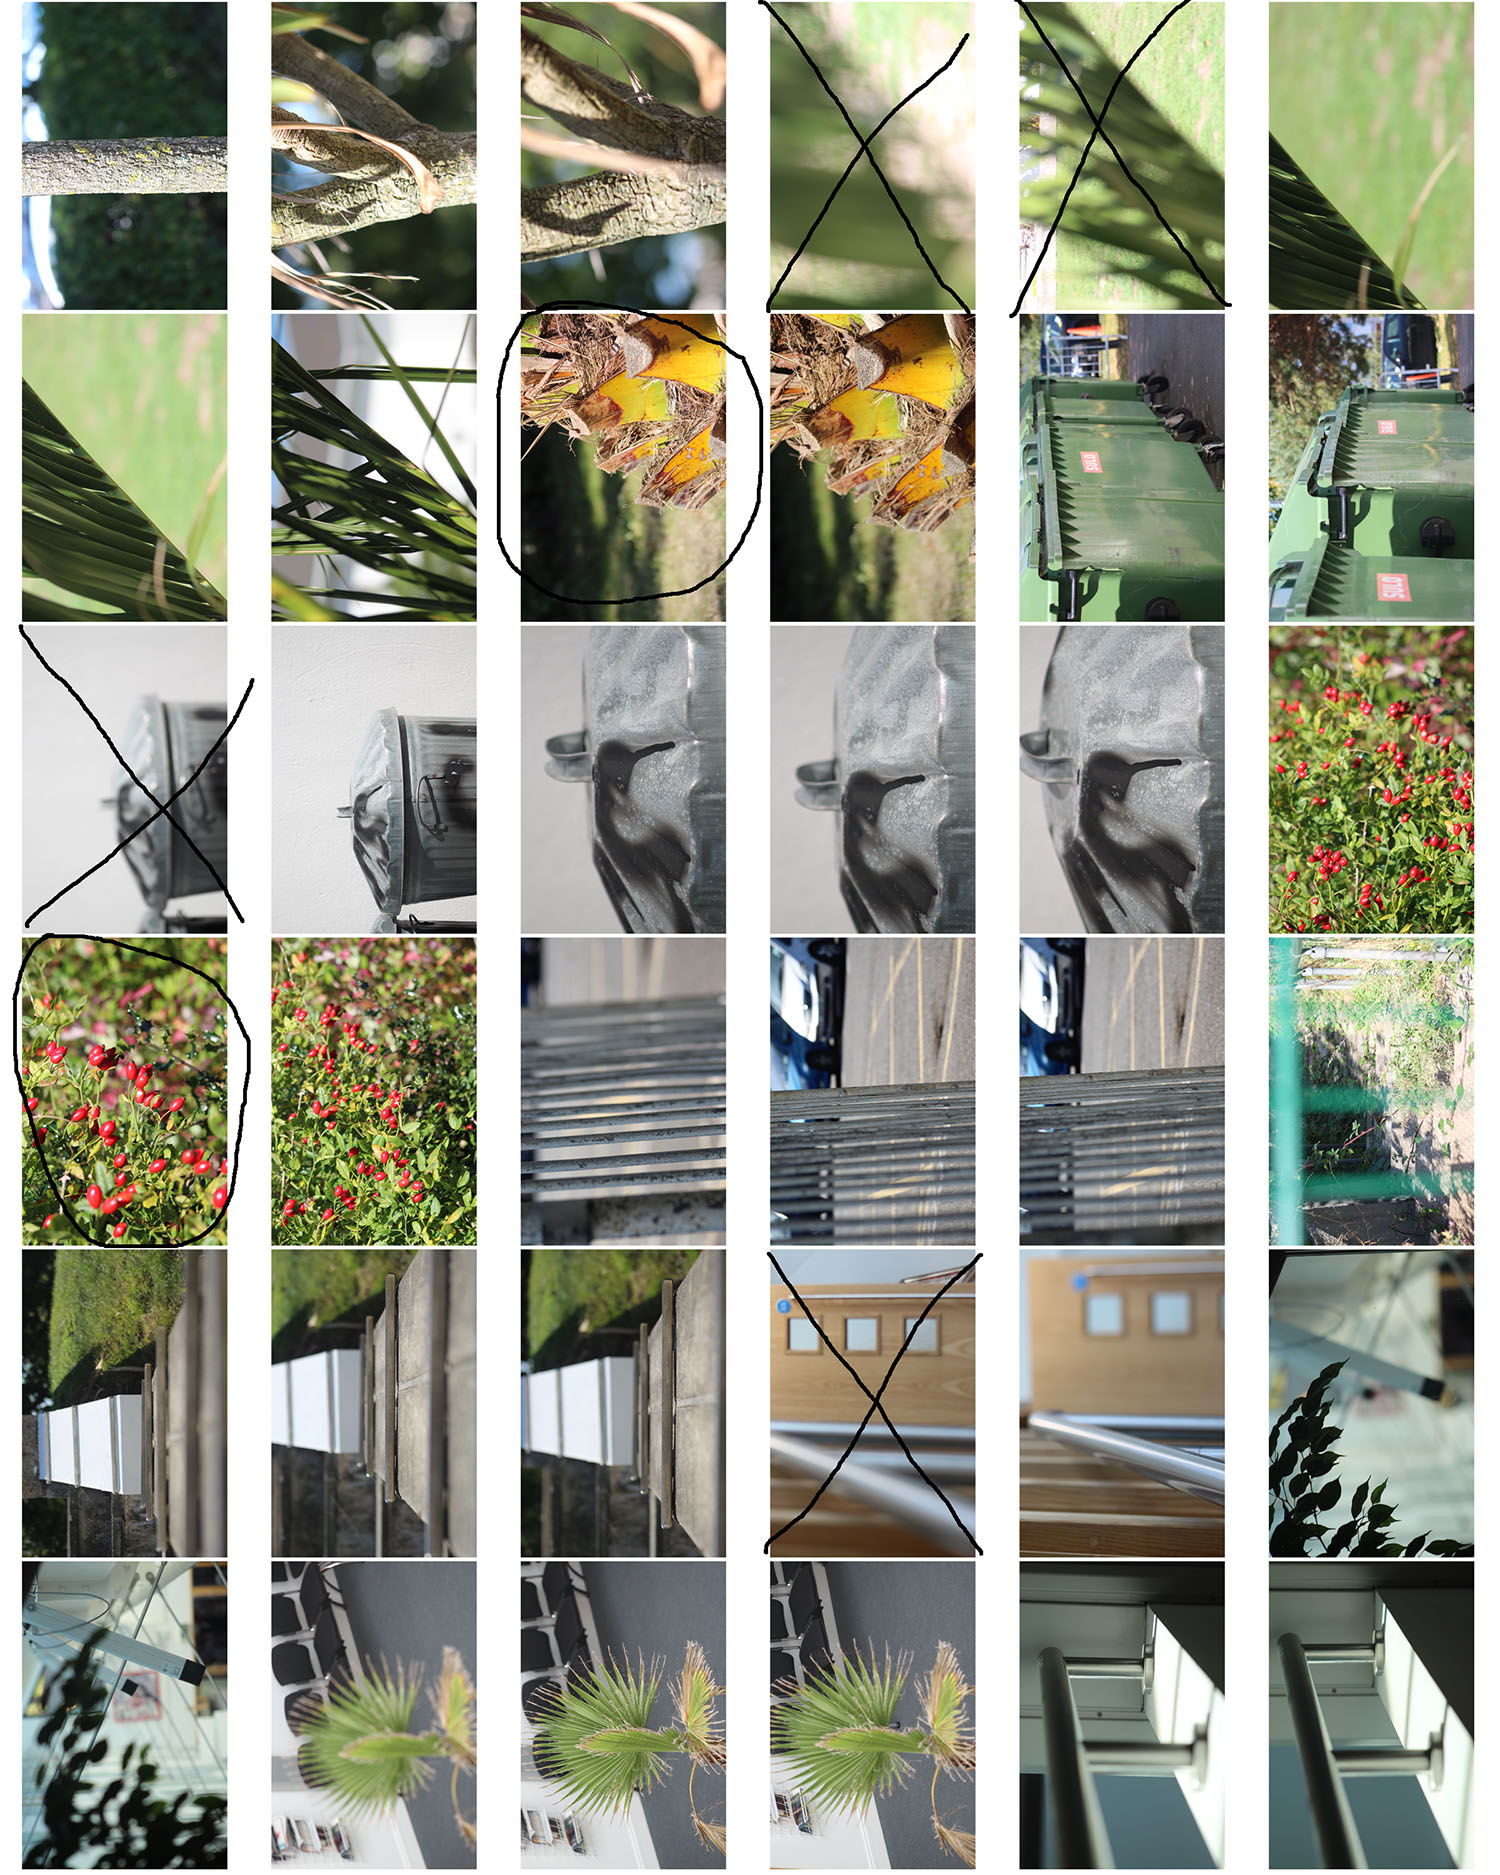
These are the other images I have taken by trying out different types of focuses, some of them I have used auto focus on and some I have used manual focus on. I have put them into a contact sheet and have put crosses and circles over some to show which may be worth looking toward editing and which I don’t like and don’t believe are worth using.


Abstract Final Photoshoot

For this photo shoot I have taken inspiration from both Aaron Siskind and partially from Nick Albertson.

Aaron Siskind was born in New York City. He started taking photos after he got a camera as a wedding present. He often worked with natural forms and urban areas he usually looked for the texture in the natural forms he photographed to get the images he wanted. 
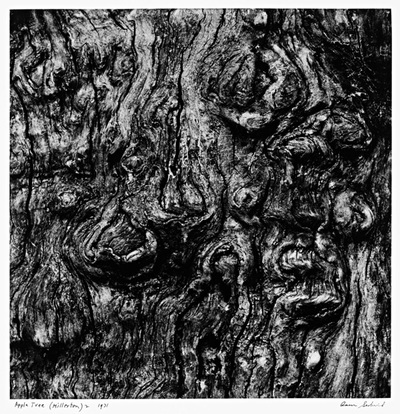
This is an example of one of Aaron Siskind’s images. In this image, Siskind only really photographed in black and white. This created a sense of simplicity in the images he produced, even though he focused mainly on texture and line throughout his images. In the image above texture can be seen especially well. Siskind used light in his images to create texture and contrast. The image above shows light coming in from the top left creating shadows on the underneath of some parts that stick out and a larger shadow on the right hand side of the tree.

Nick Albertson was born in 1983 in Boston. He often works with everyday items to create repeating forms which are used to create pattern and texture in his images.
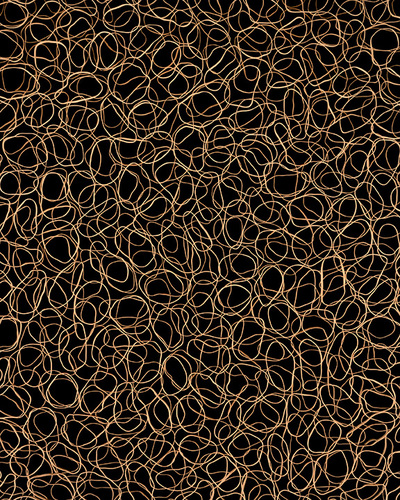
This is one of Nick Albertson’s images. In this image he has created a texture by scattering flat rubber bands all over a black background. This image has been taken from directly above where the elastic bands were scattered over. Albertson doesn’t tend to use shadows in his images, because of this the lighting is the same all the way around the image.

My response:

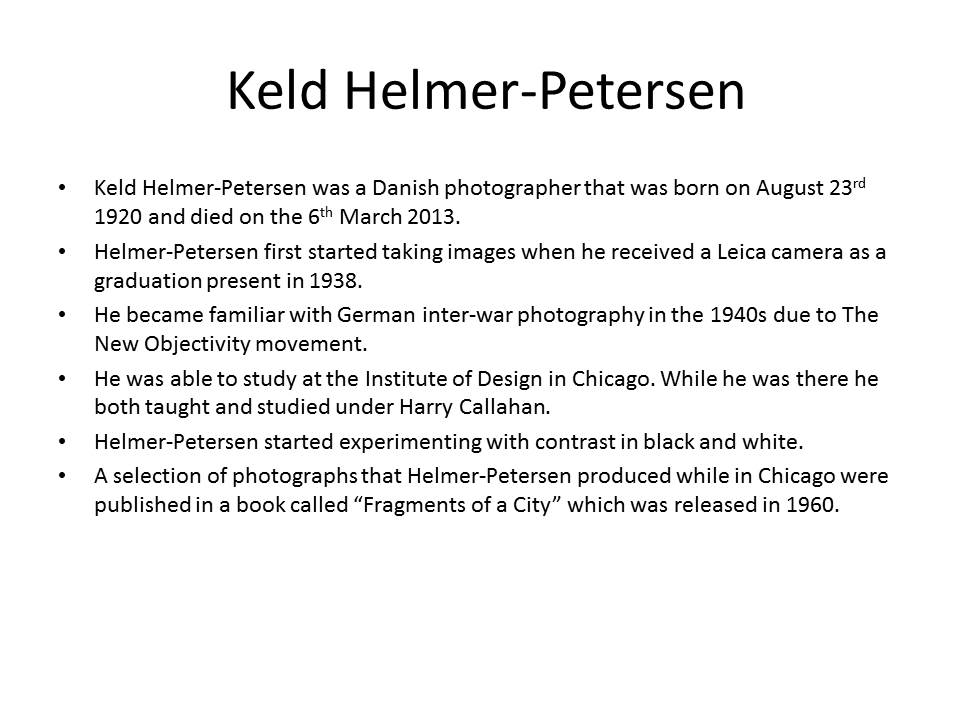
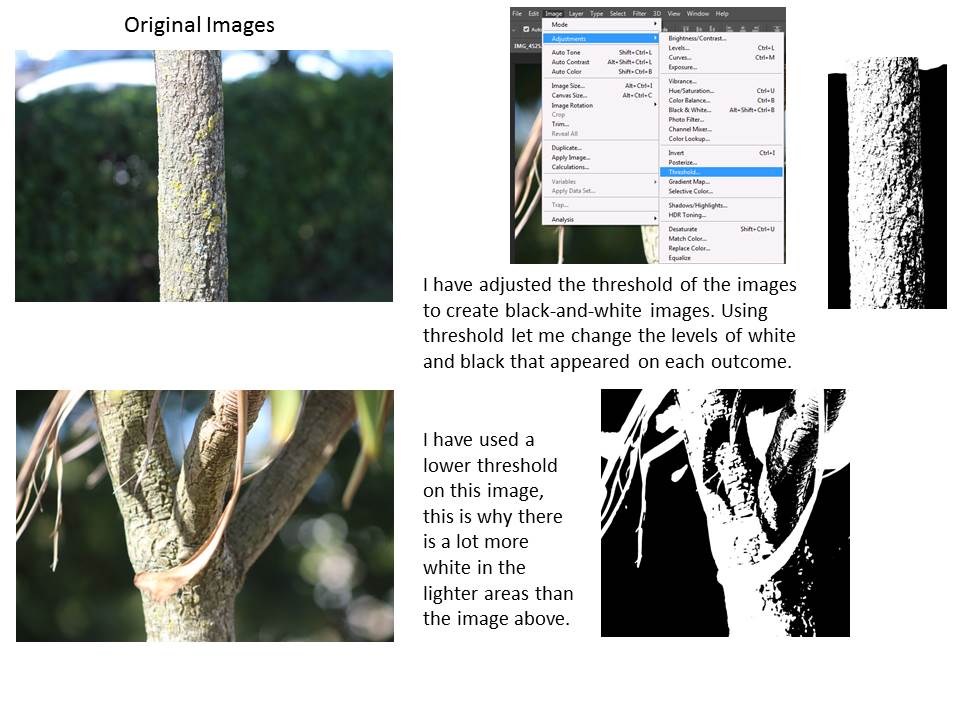
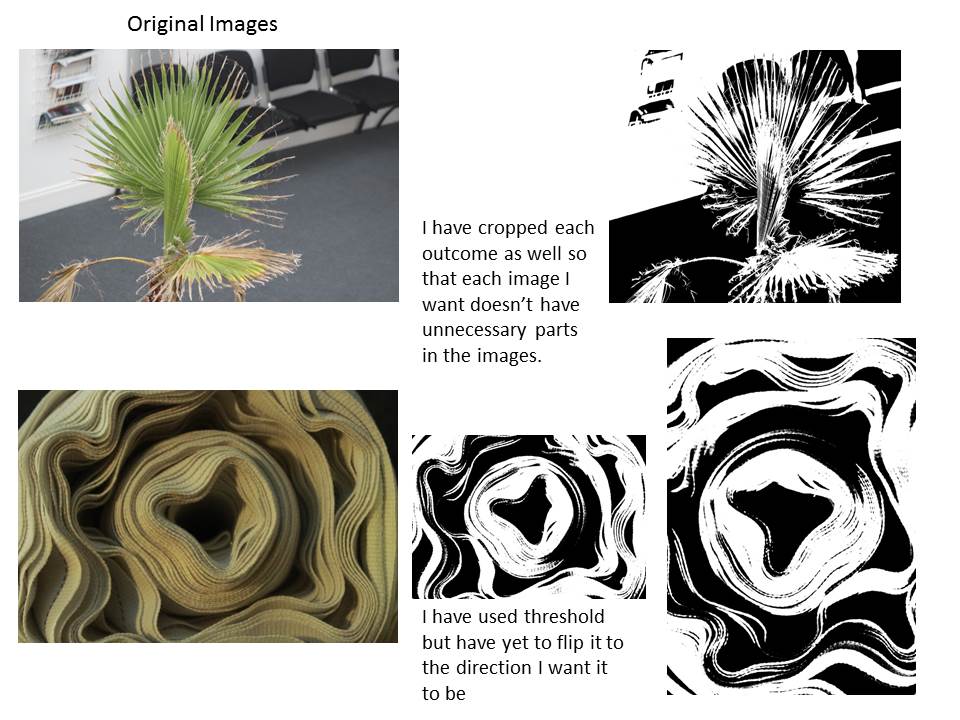
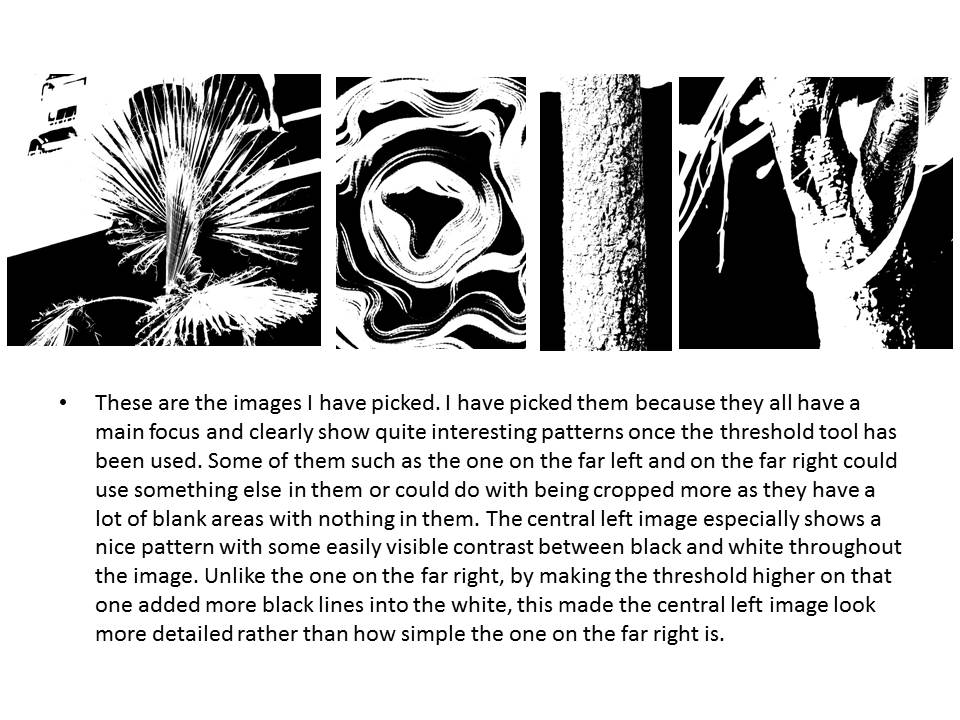
These are some of the best images that I took while I went on my photoshoot. I have tried to take images that best show line,texture or repeated patterns.
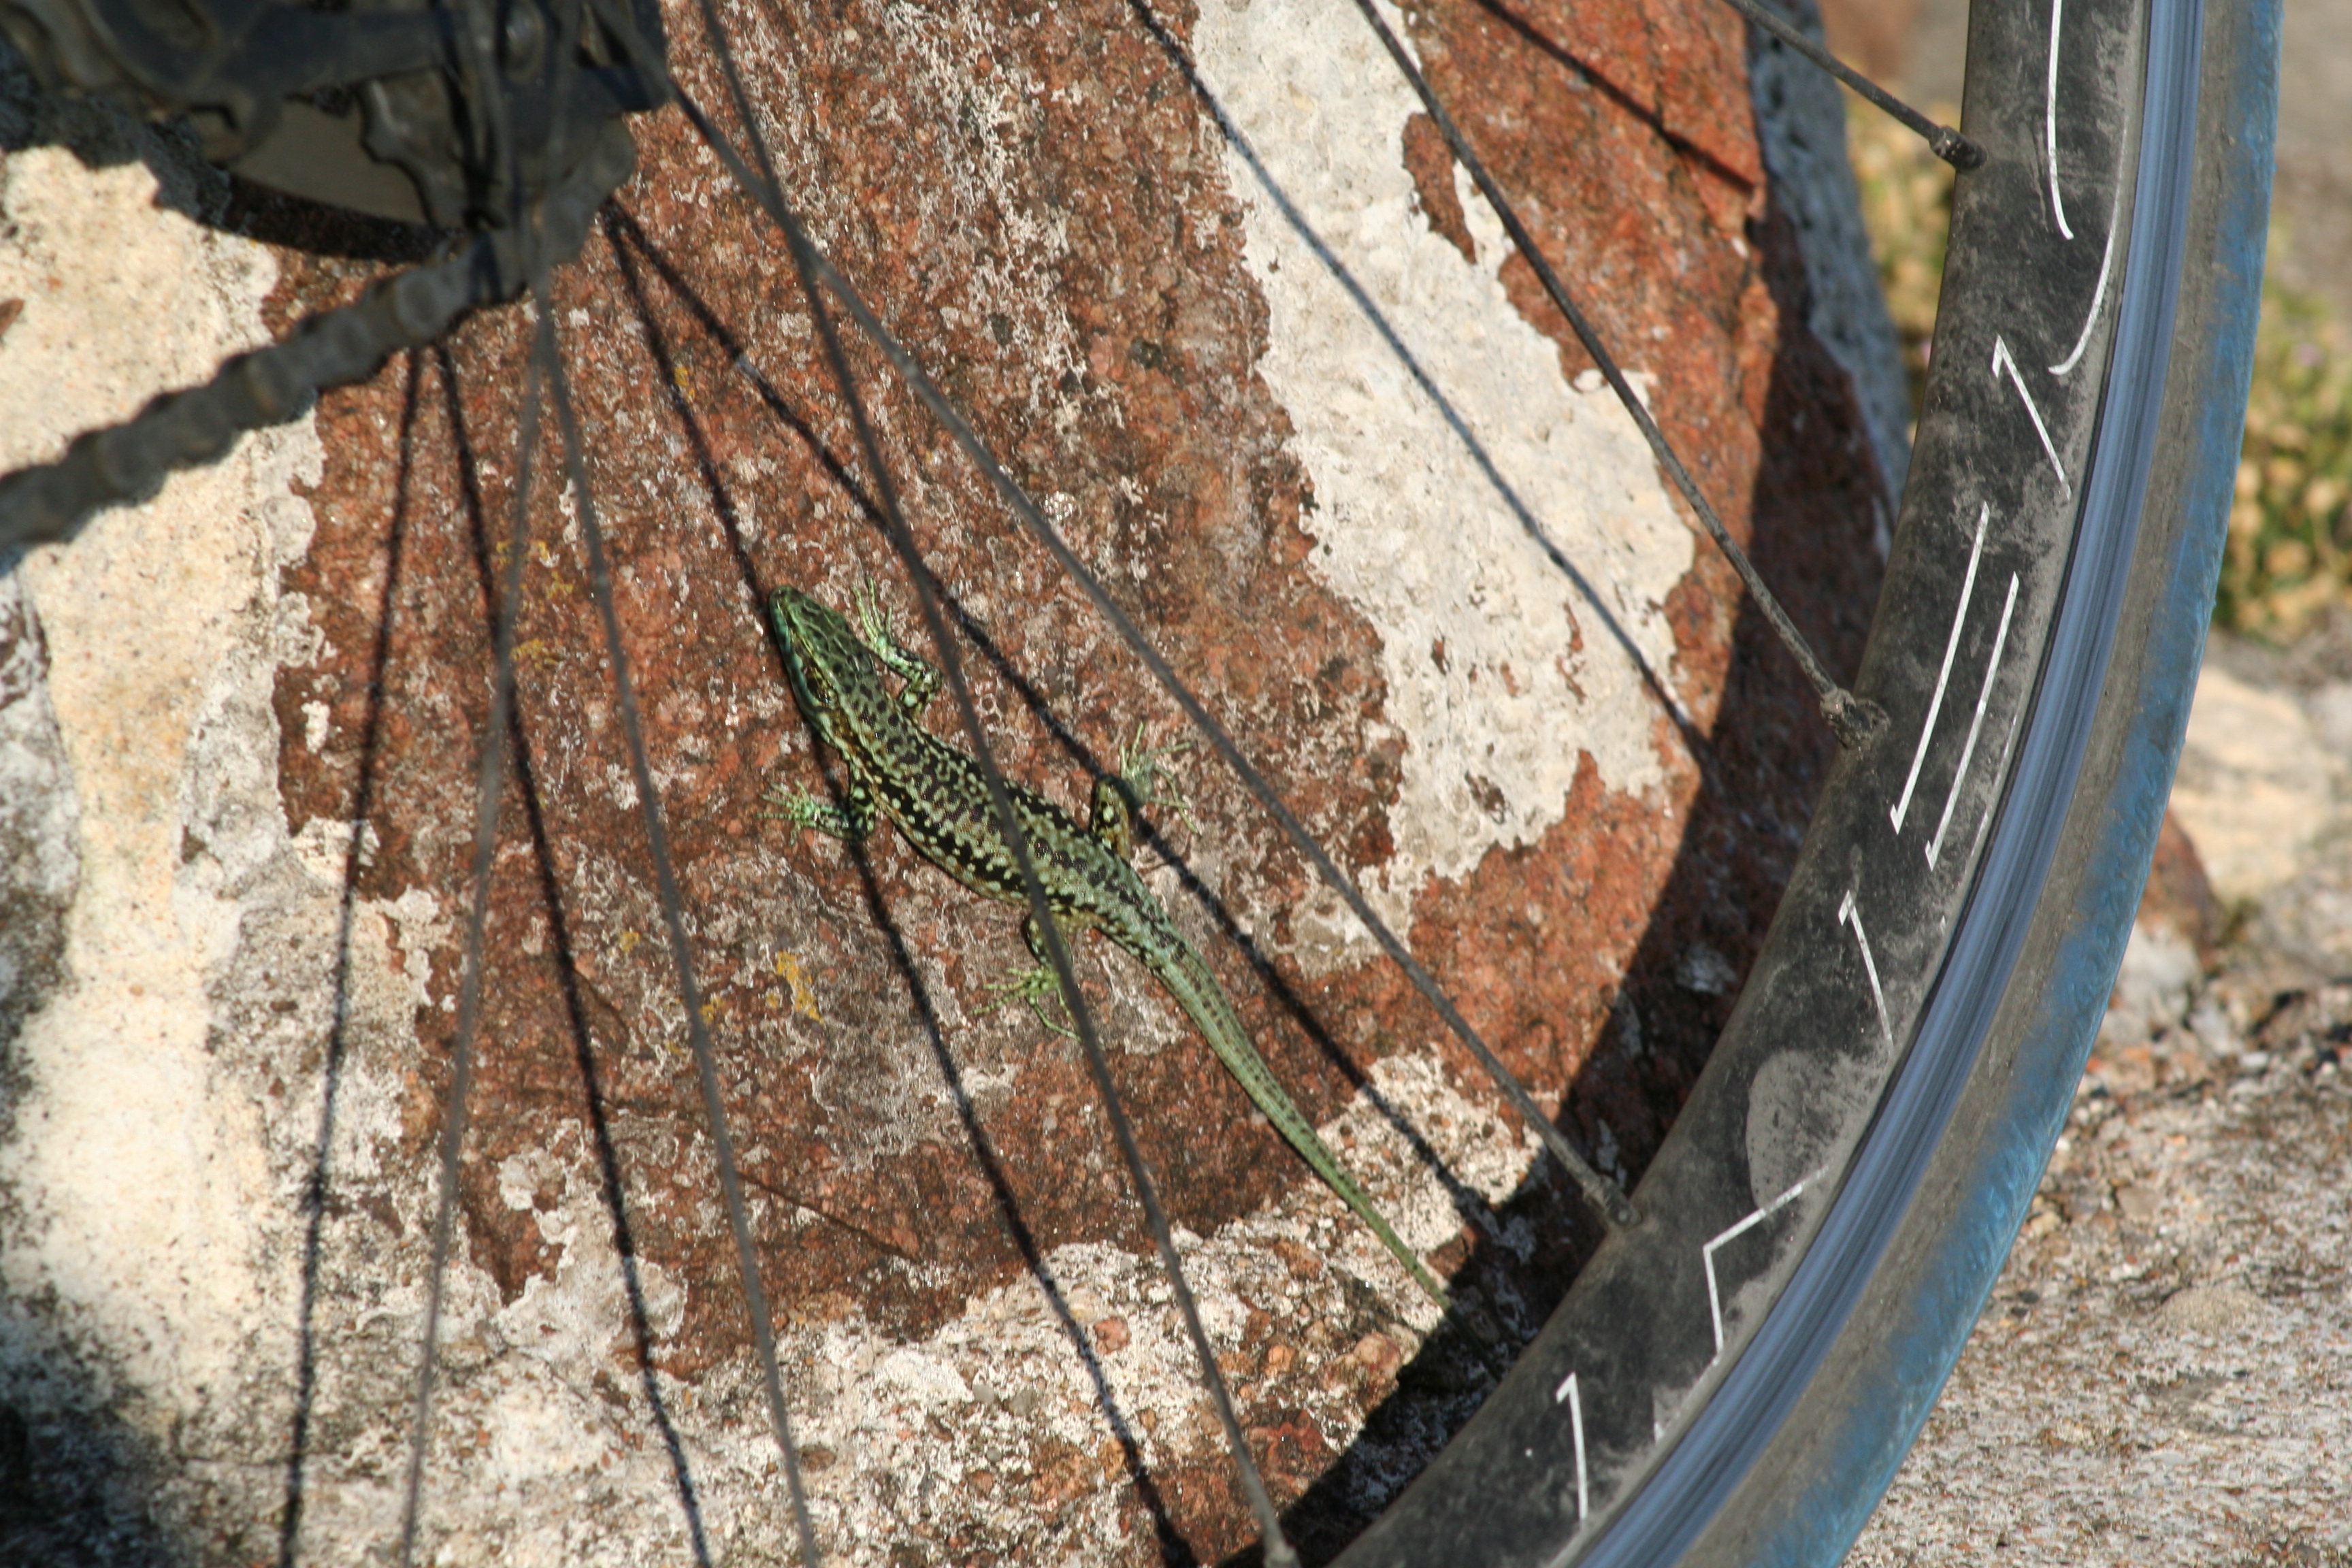
I have picked the image above as it shows a complex texture in the stone wall. I have also picked it due to the repeated texture on the back of the lizard. If I were able to take this image again I would have zoomed into the back of the lizard to get a larger image of the repeated textures over the back of the lizard.
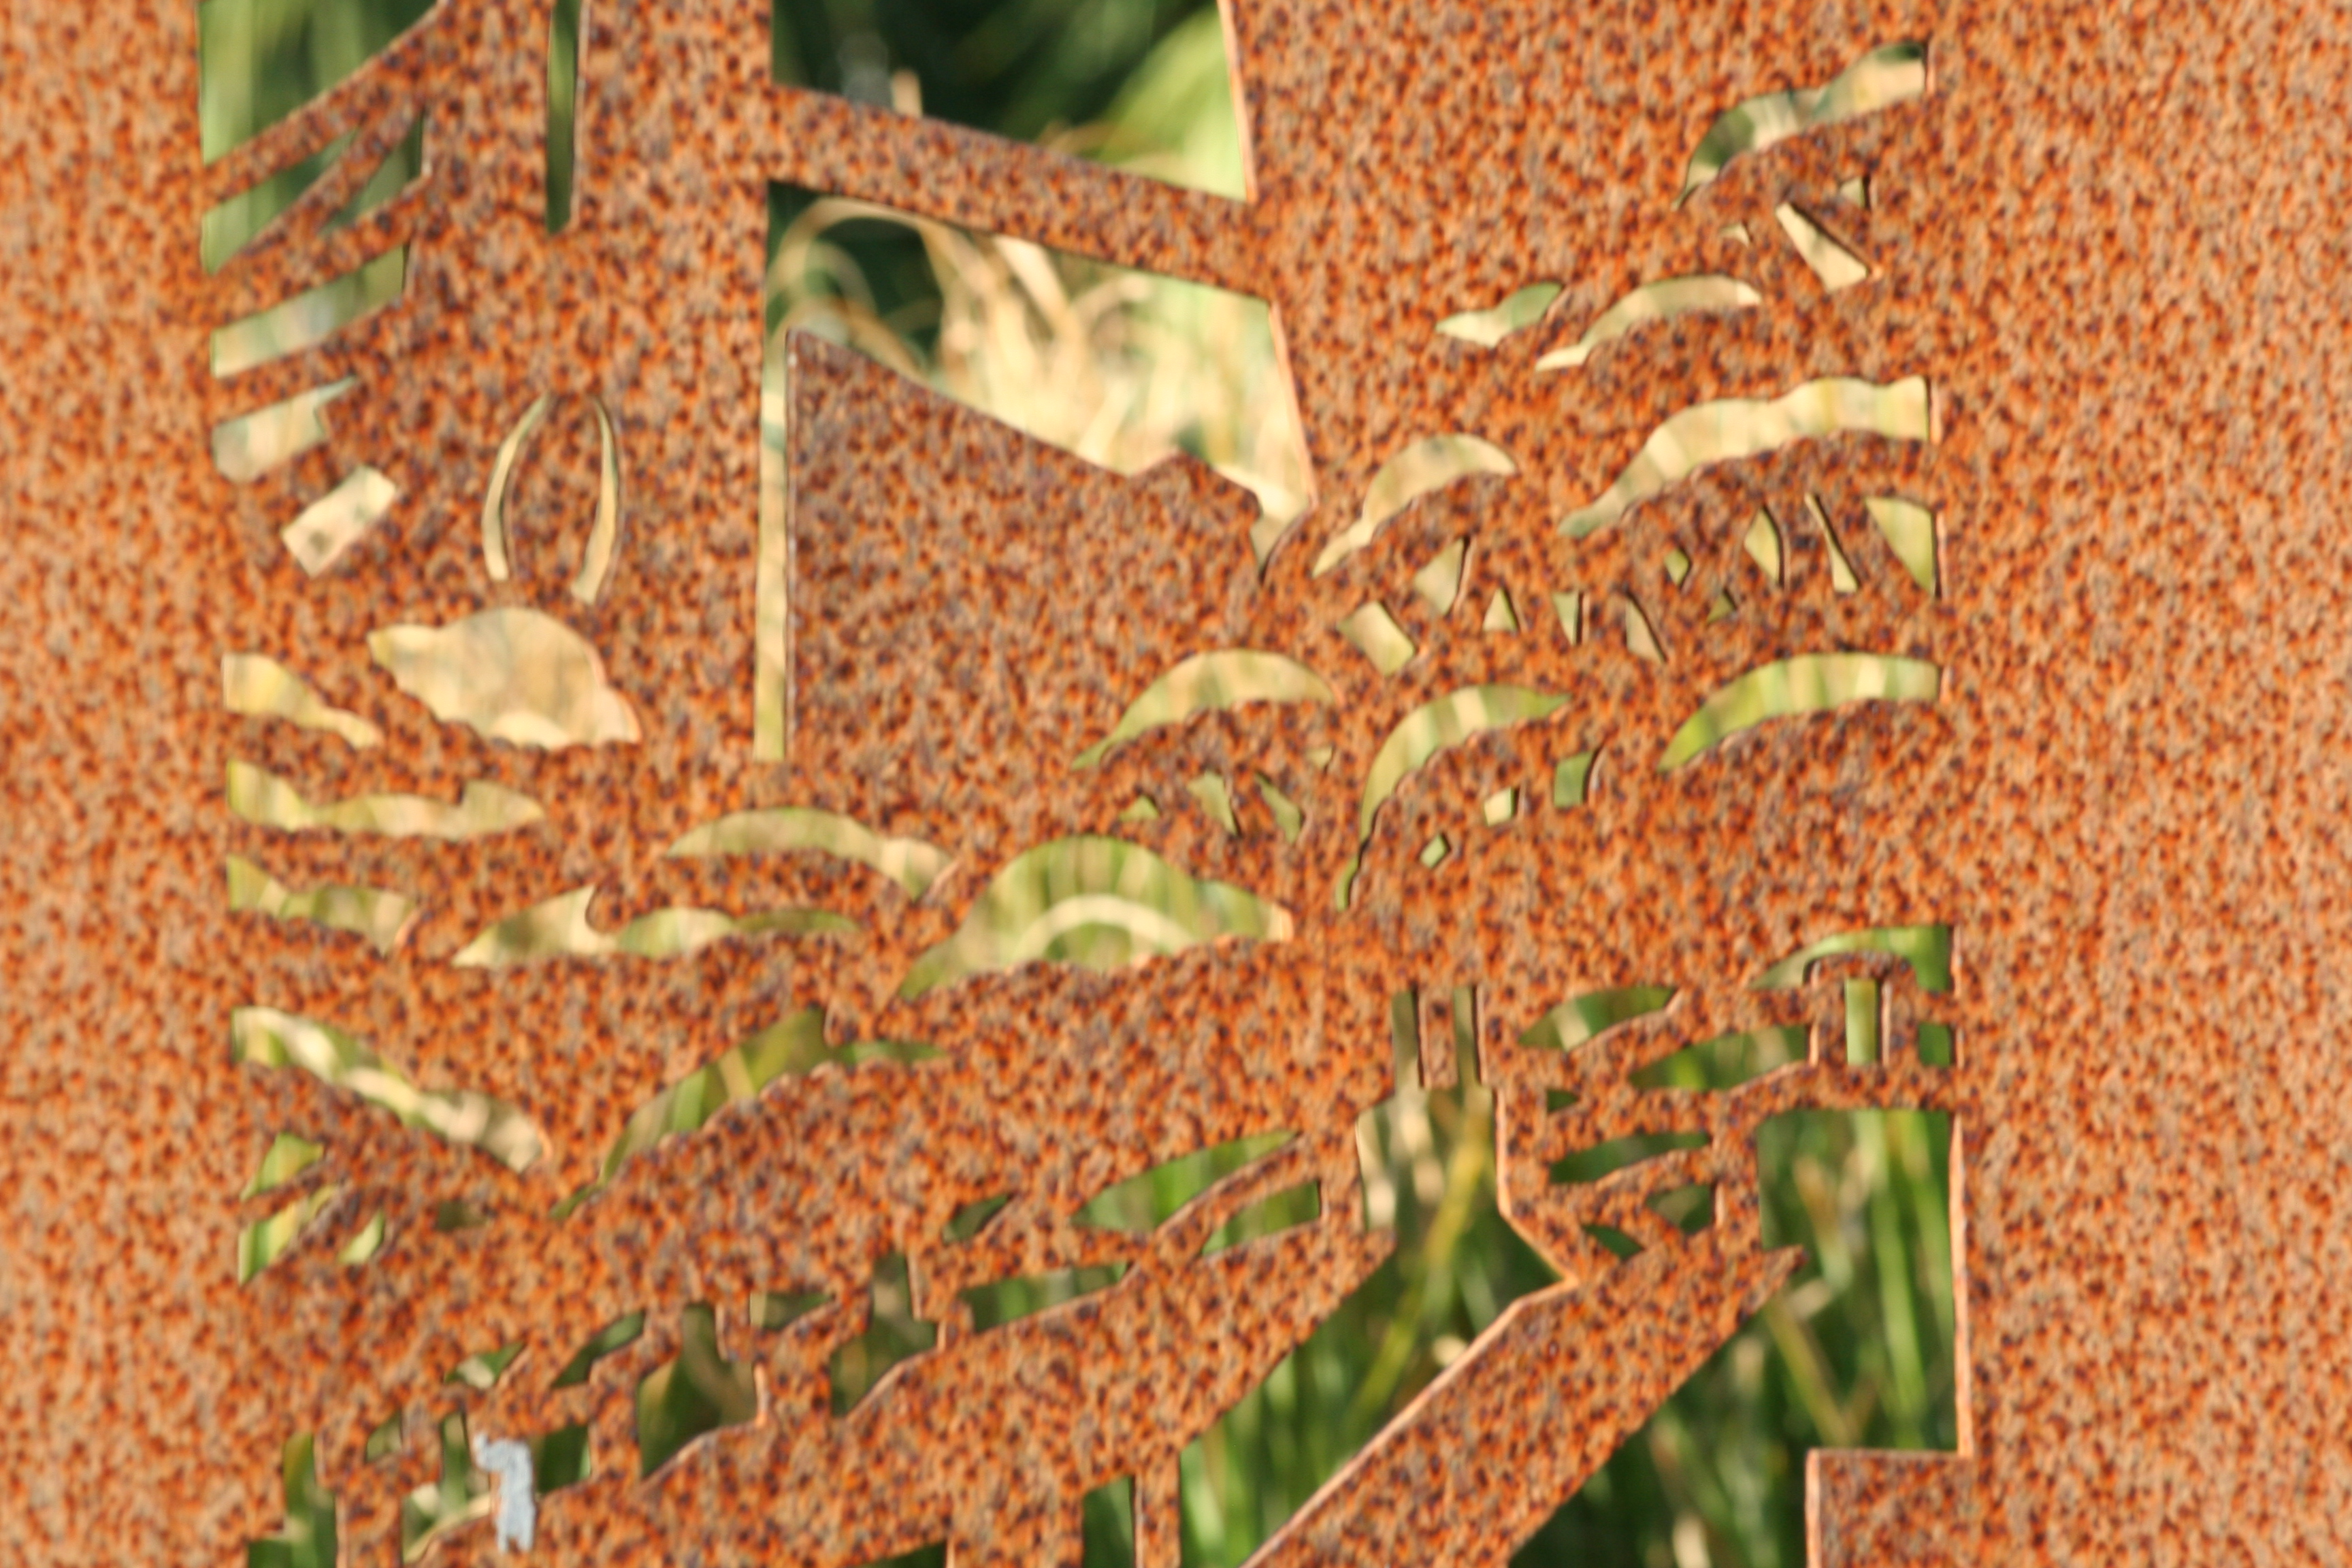
I have picked the image above because the rust is creating a pattern over the top of the metal. This pattern can be seen where the rust goes darker creating brown spots all over the metal.
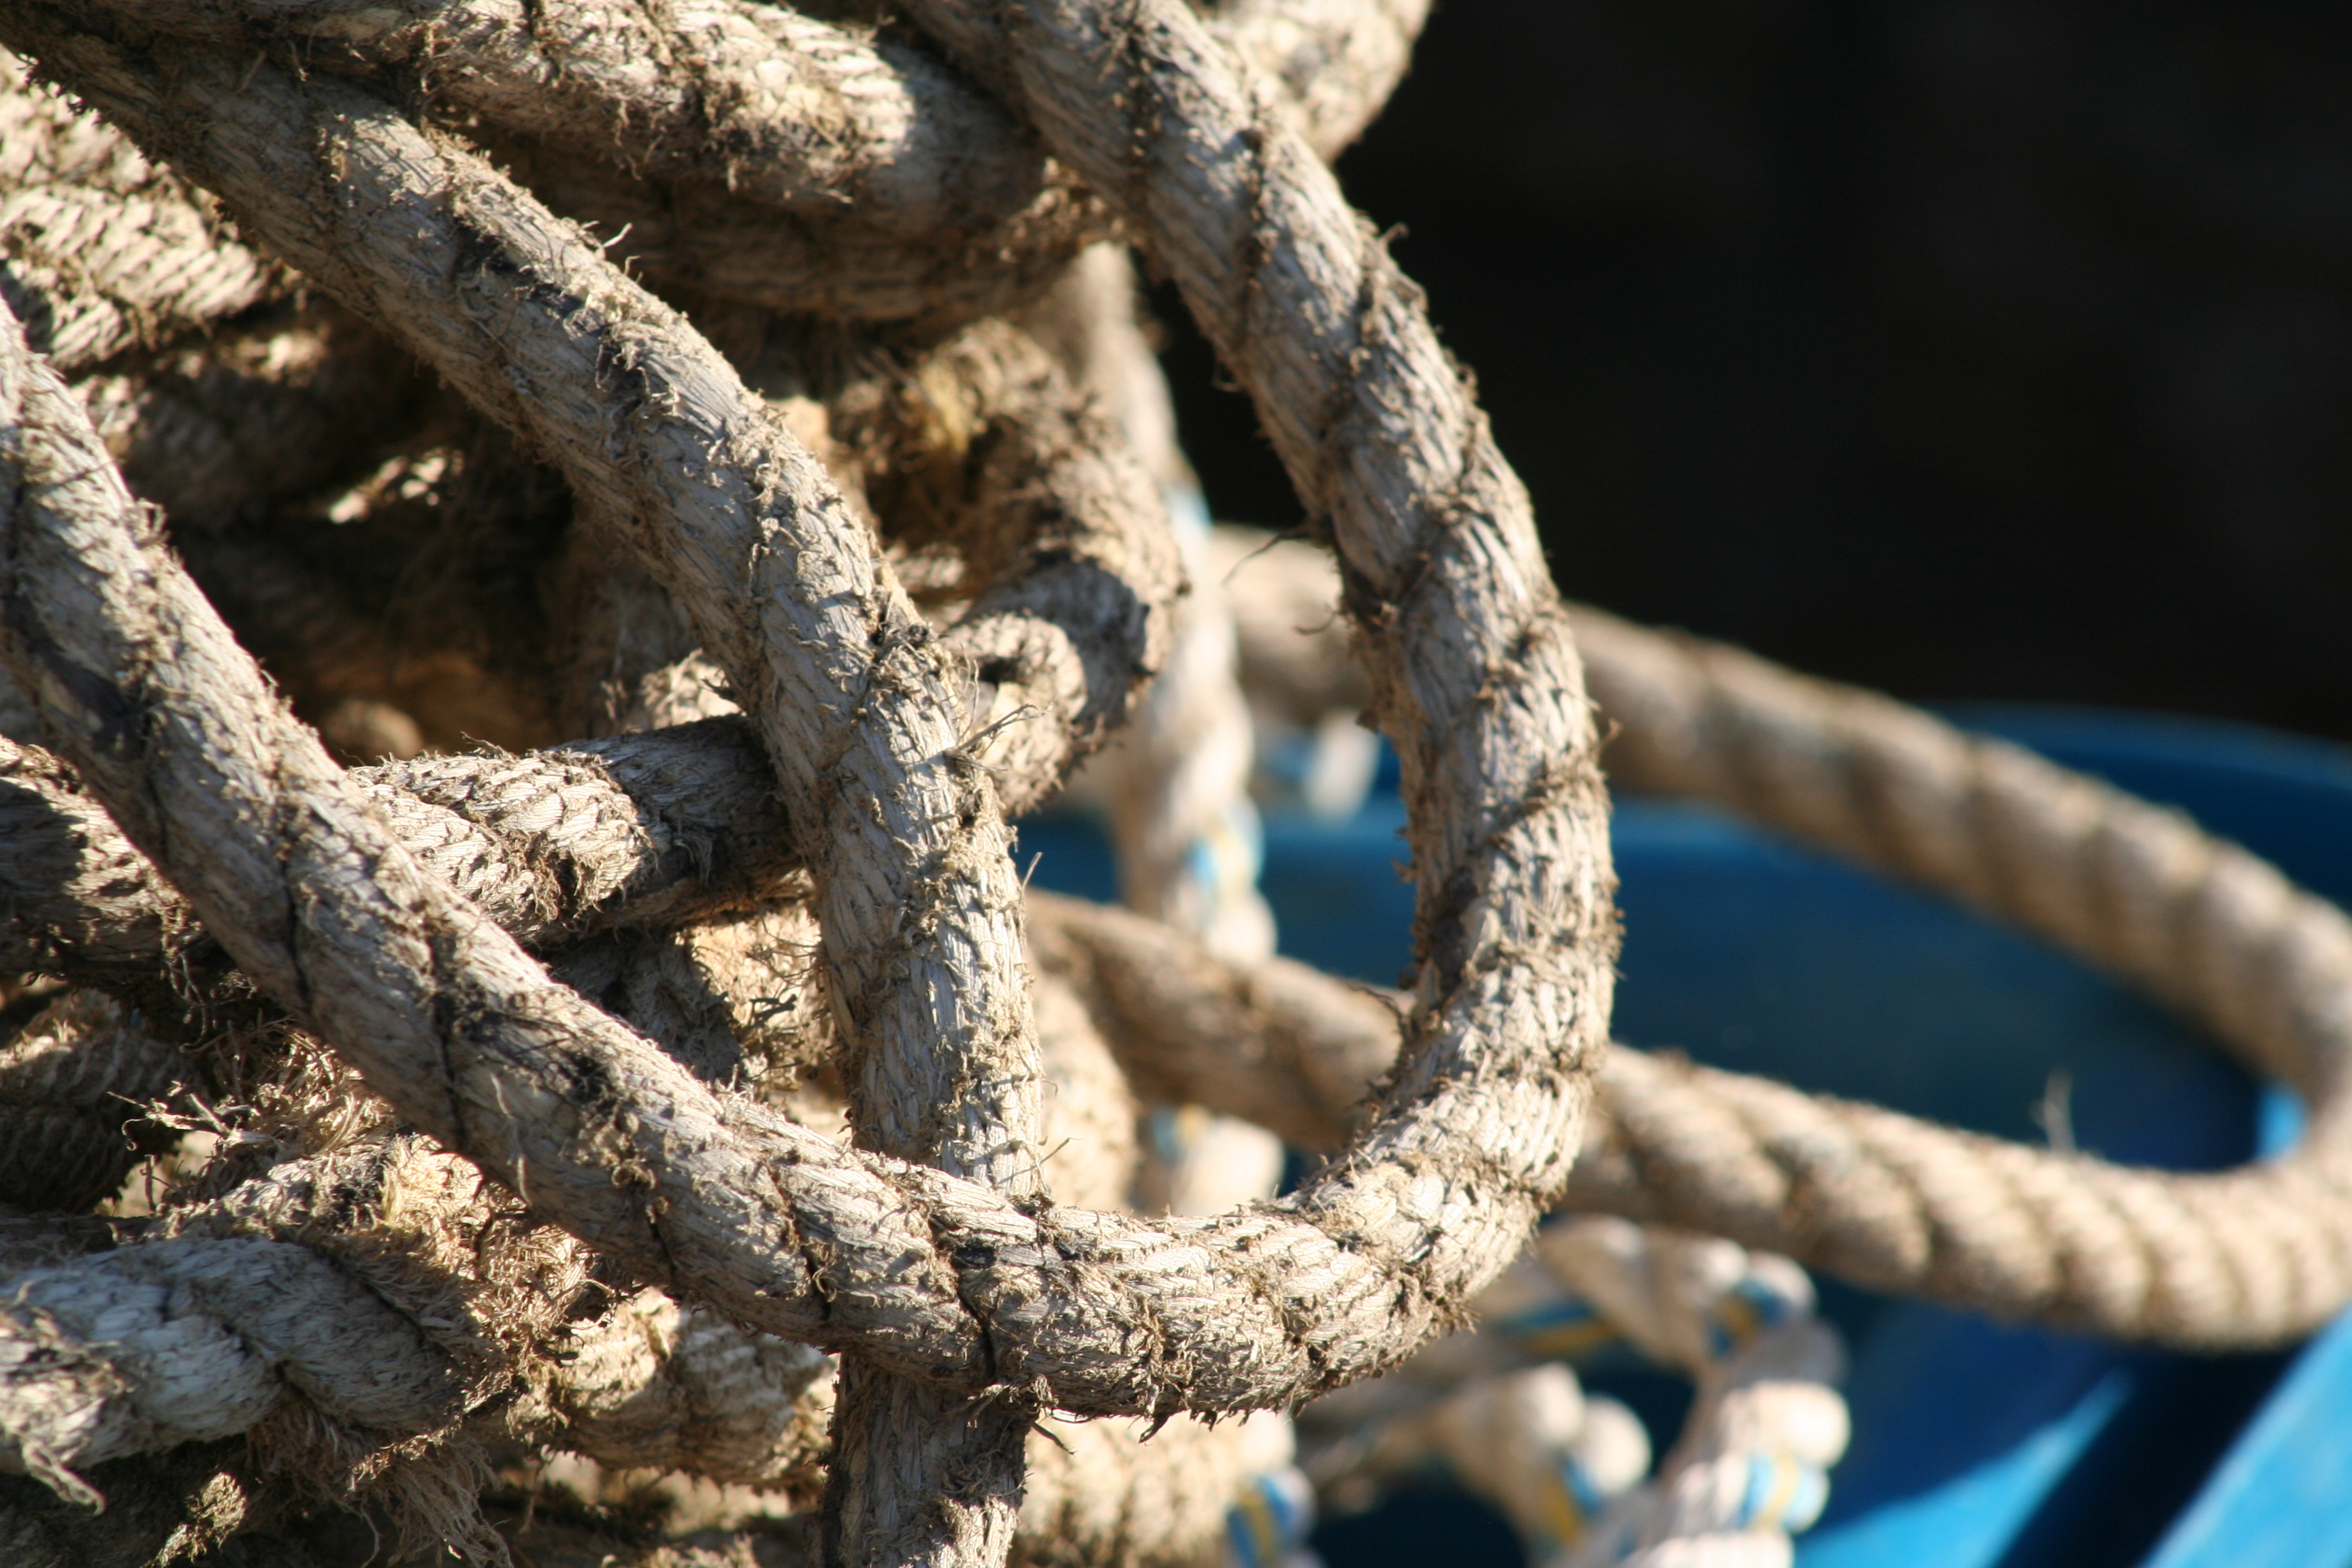
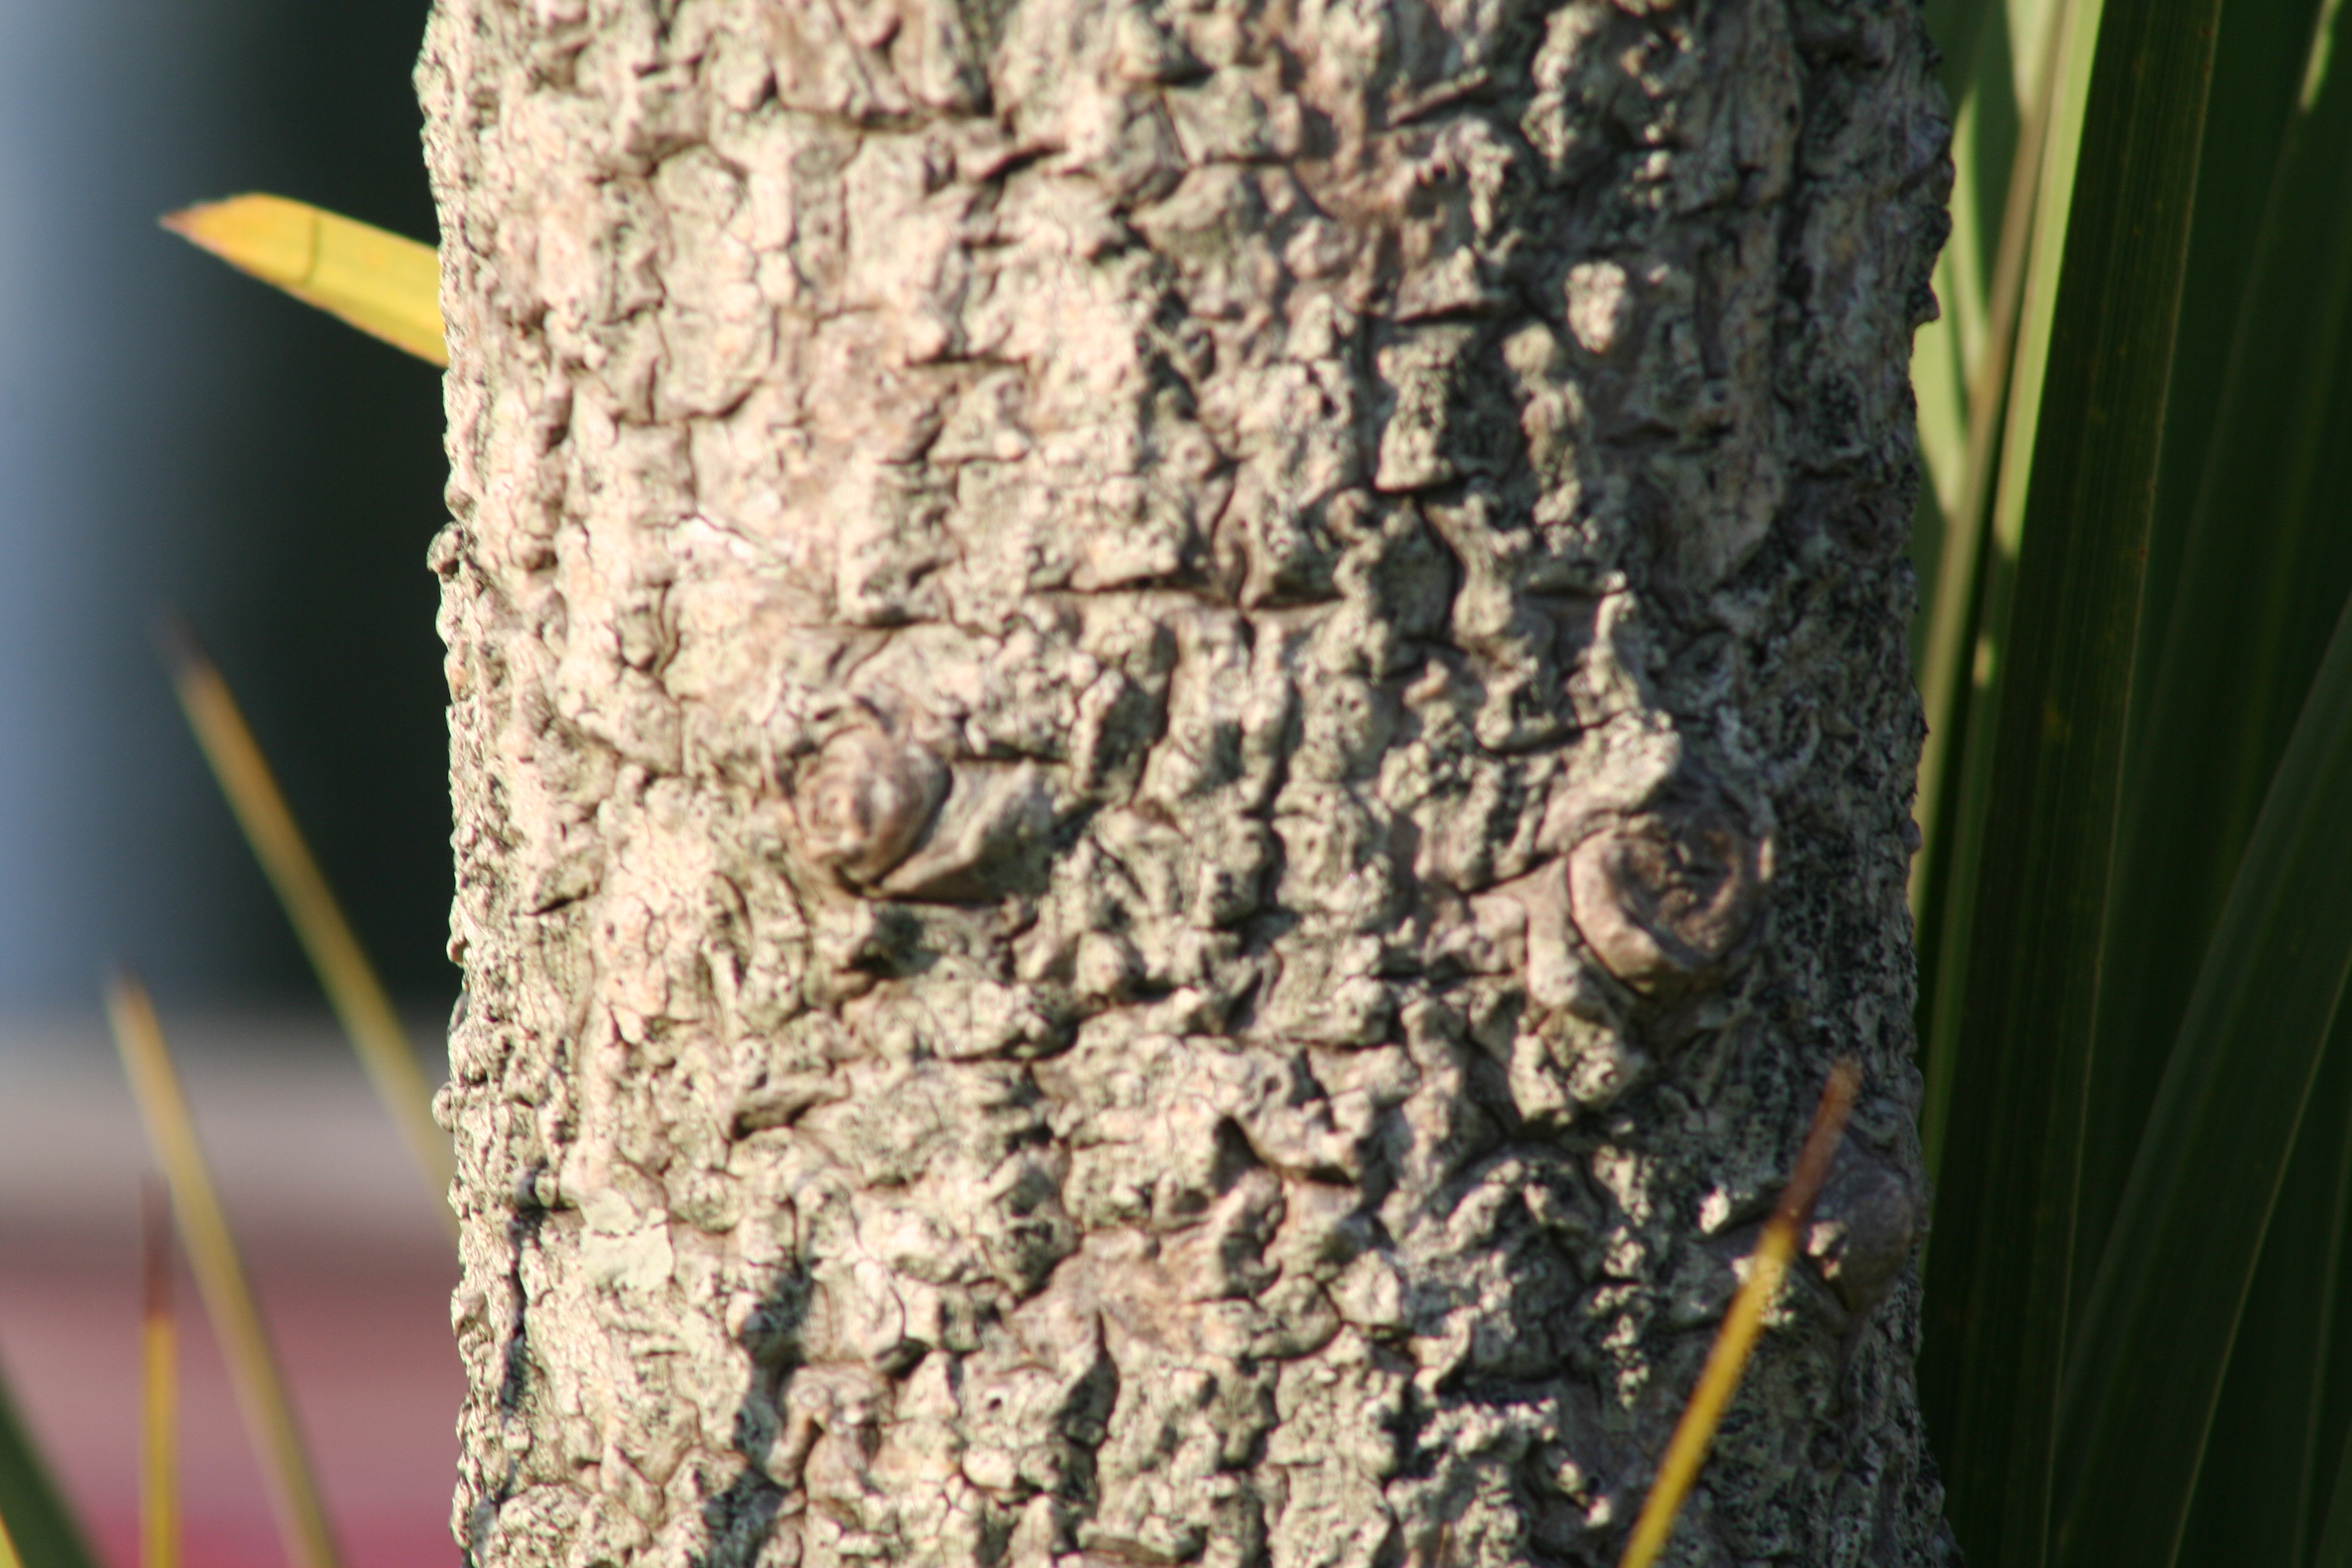
I have picked these last two images because I have zoomed in quite far into both. By zooming in  it let me see the textures closely in both the rope and the tree. I have taken both of these images outside during the day. This has created a nice shadow on one side of each object, this has worked especially well on the rope as the texture in the rope can be seen quite well in and out of the shaded area. On the tree I could have taken it with a higher ISO or a lower shutter speed so that the the lighter side appeared dimmer letting you see the texture in the tree a lot easier.
 

Abstract Depth of Field Photoshoot

Ralph Eugene Meatyard was born in 1925 in Illinois. He studied pre-dentistry but later changed his studies into become an optician. He bought his first camera in 1950 to photograph his first new born child. In 1954 he joined the Lexington camera club.

Though Meatyard experimented with lots of different ways to take images such as using multiple exposures and blur. He often worked with very heavy depth of field effects in his images and normally worked in black and white. He may have worked with heavy depth of field effects to reflect his job as an optician. These can be seen especially well in his “Zen Twigs” project.
Ralph Eugene Meatyard

This is a selection of my favourite work by Meatyard. These are all images from his “Zen Twigs” project. In this project he focused mostly on depth of field to make the images look simple.

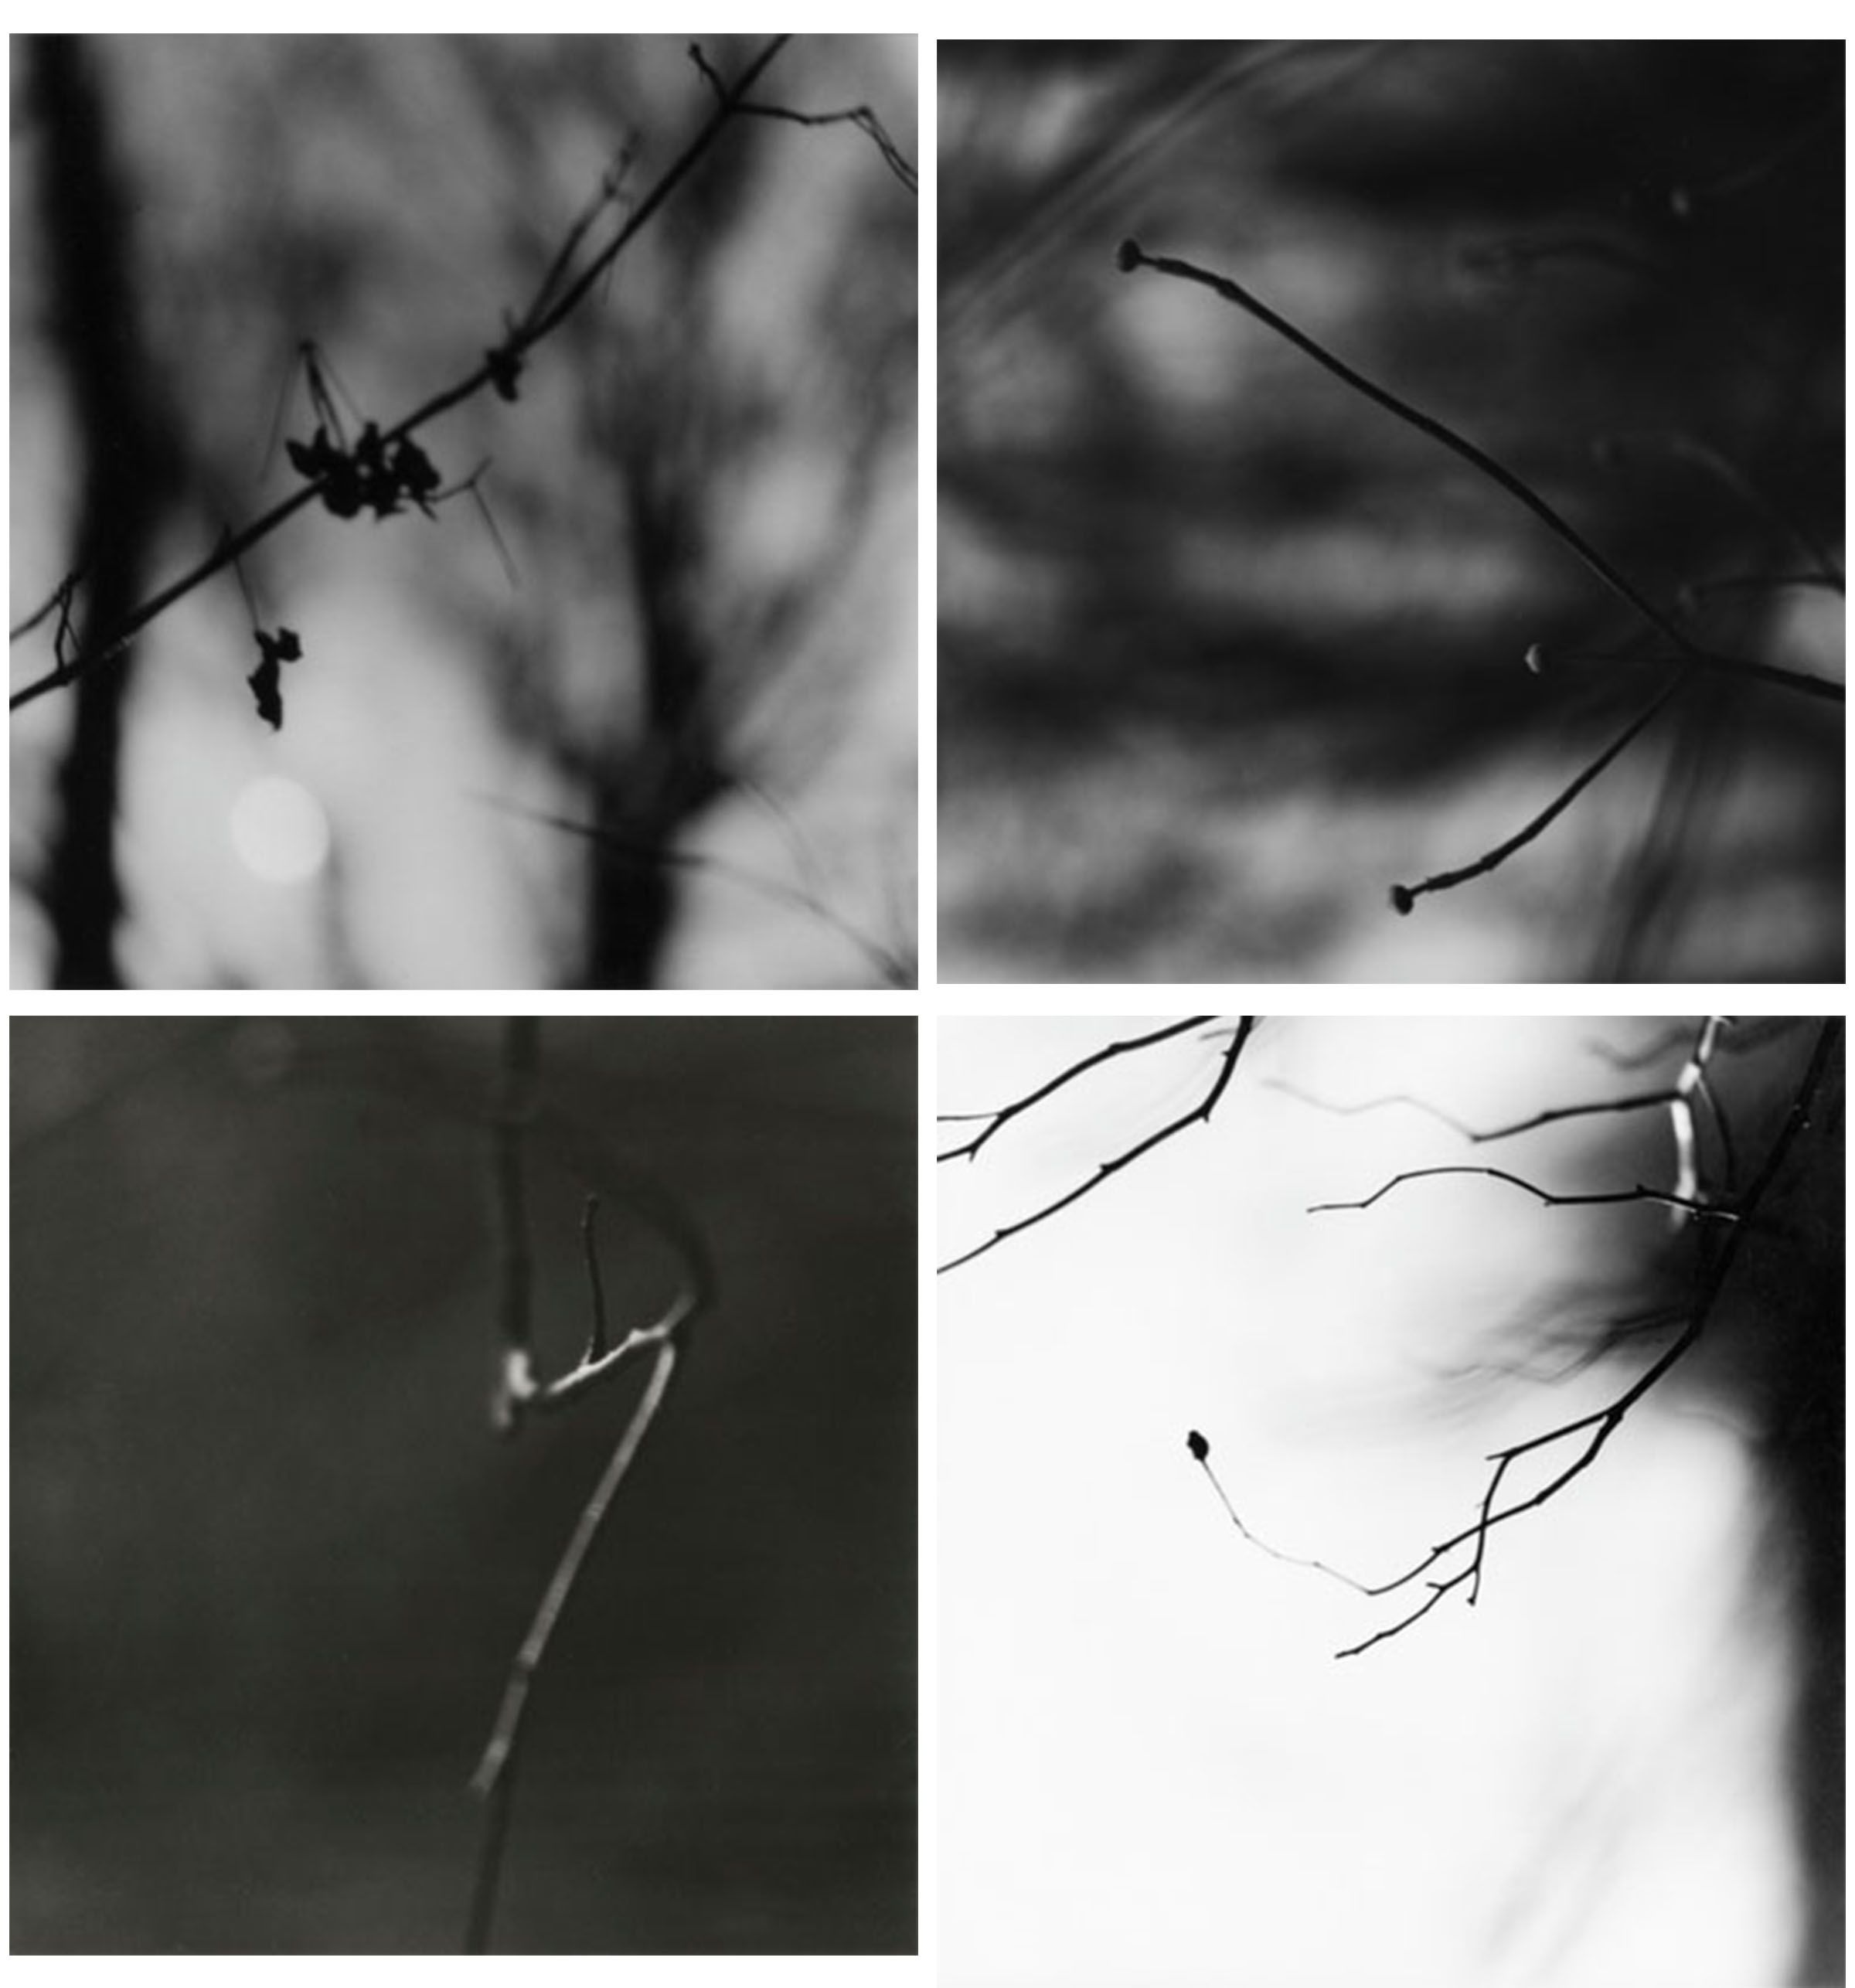
After researching about Meatyard, I went out and took some images like the ones from his “Zen Twig” project. After I went out and took some photographs I went into photoshop and edited the best ones. I have done this to crop them down to the parts I wanted, to make them black and white so they’re more similar to Meatyards project and to change the exposure levels to make some of the images a lot darker than the others. I have changed the exposure to make them darker so that the blacks in the images stand out a lot more over the whites. These are the best images I took on this photoshoot:

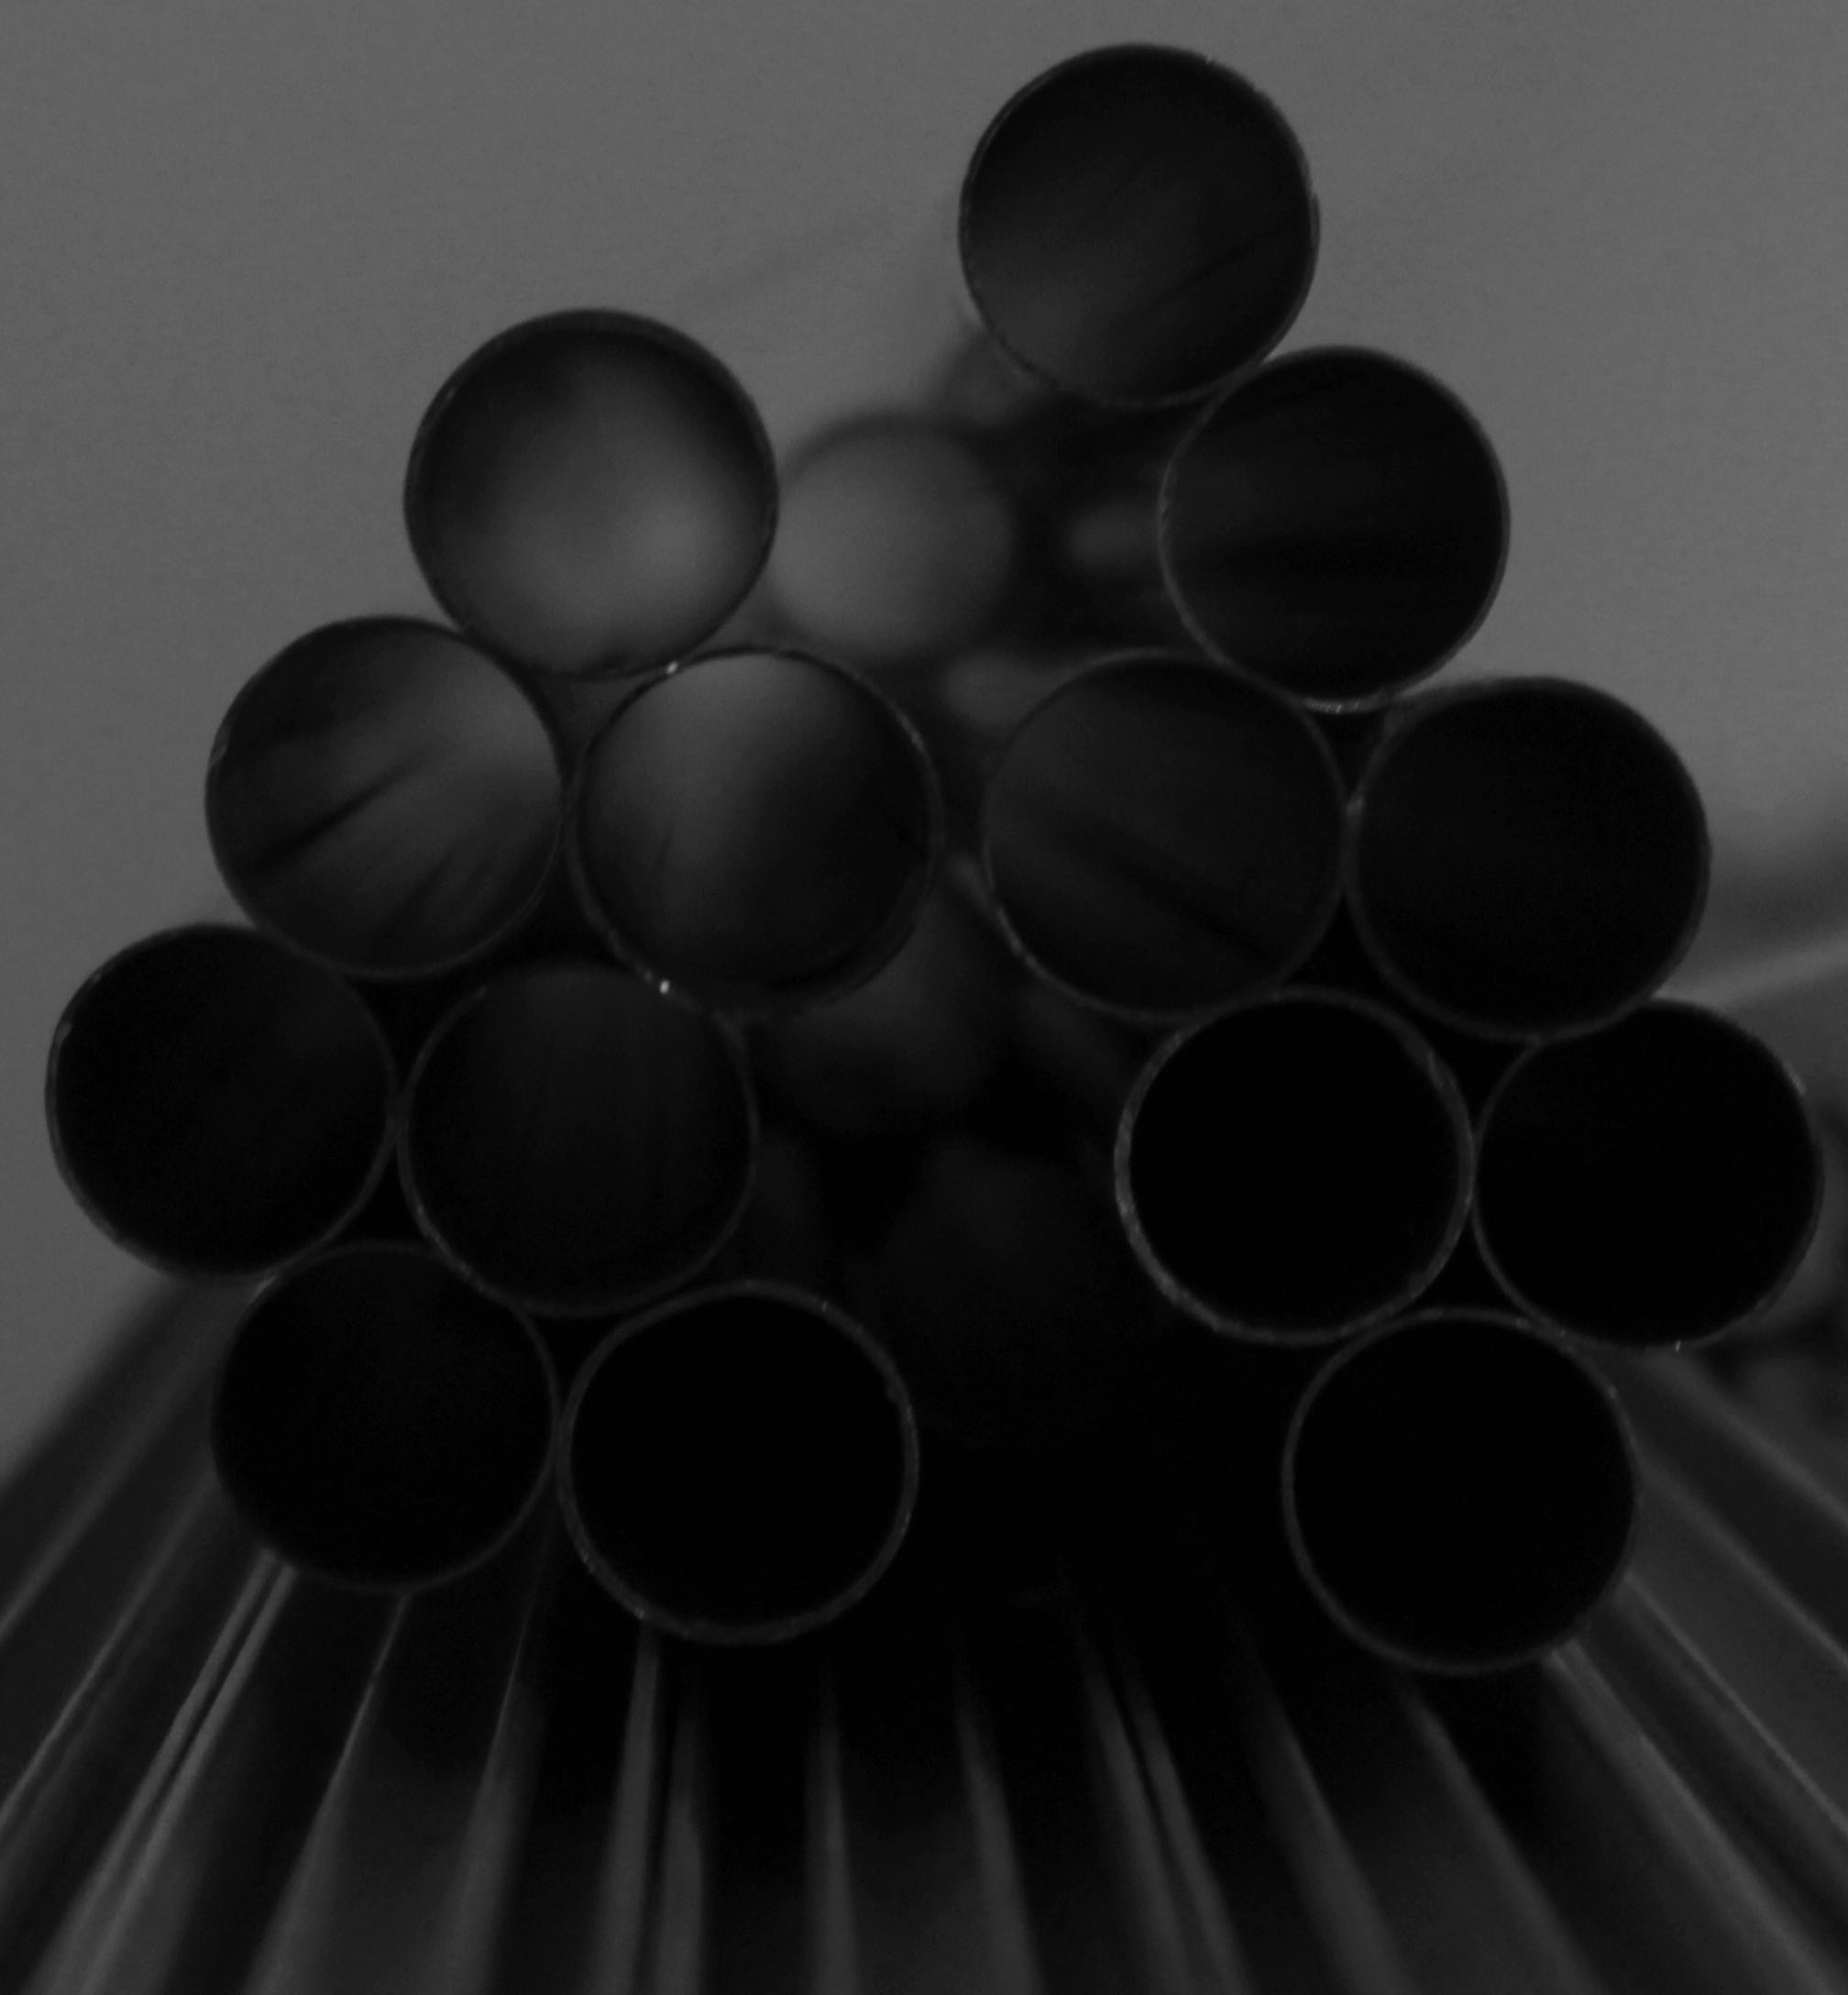
The image shown above is my favourite image that I took. In this image specifically I have added a lot of exposure to make the dark areas stand out a lot over the white. I think this image mimics Meatyard’s work the best out of the images I took as it shows a very heavy amount of depth of field around the focus point. While the image below don’t show nearly as much.

The images above and below show branches in focus in the foreground with a lot of depth of field in the background. These images follows closely with Meatyard’s work due to the main focus point and the huge amount of depth of field in the background. If I were to take the above image again I’d focus further in on one part of the branch rather than the whole thing. While the below image I am happy with how it turned out.  


Response to Albert Renger-Patzsch


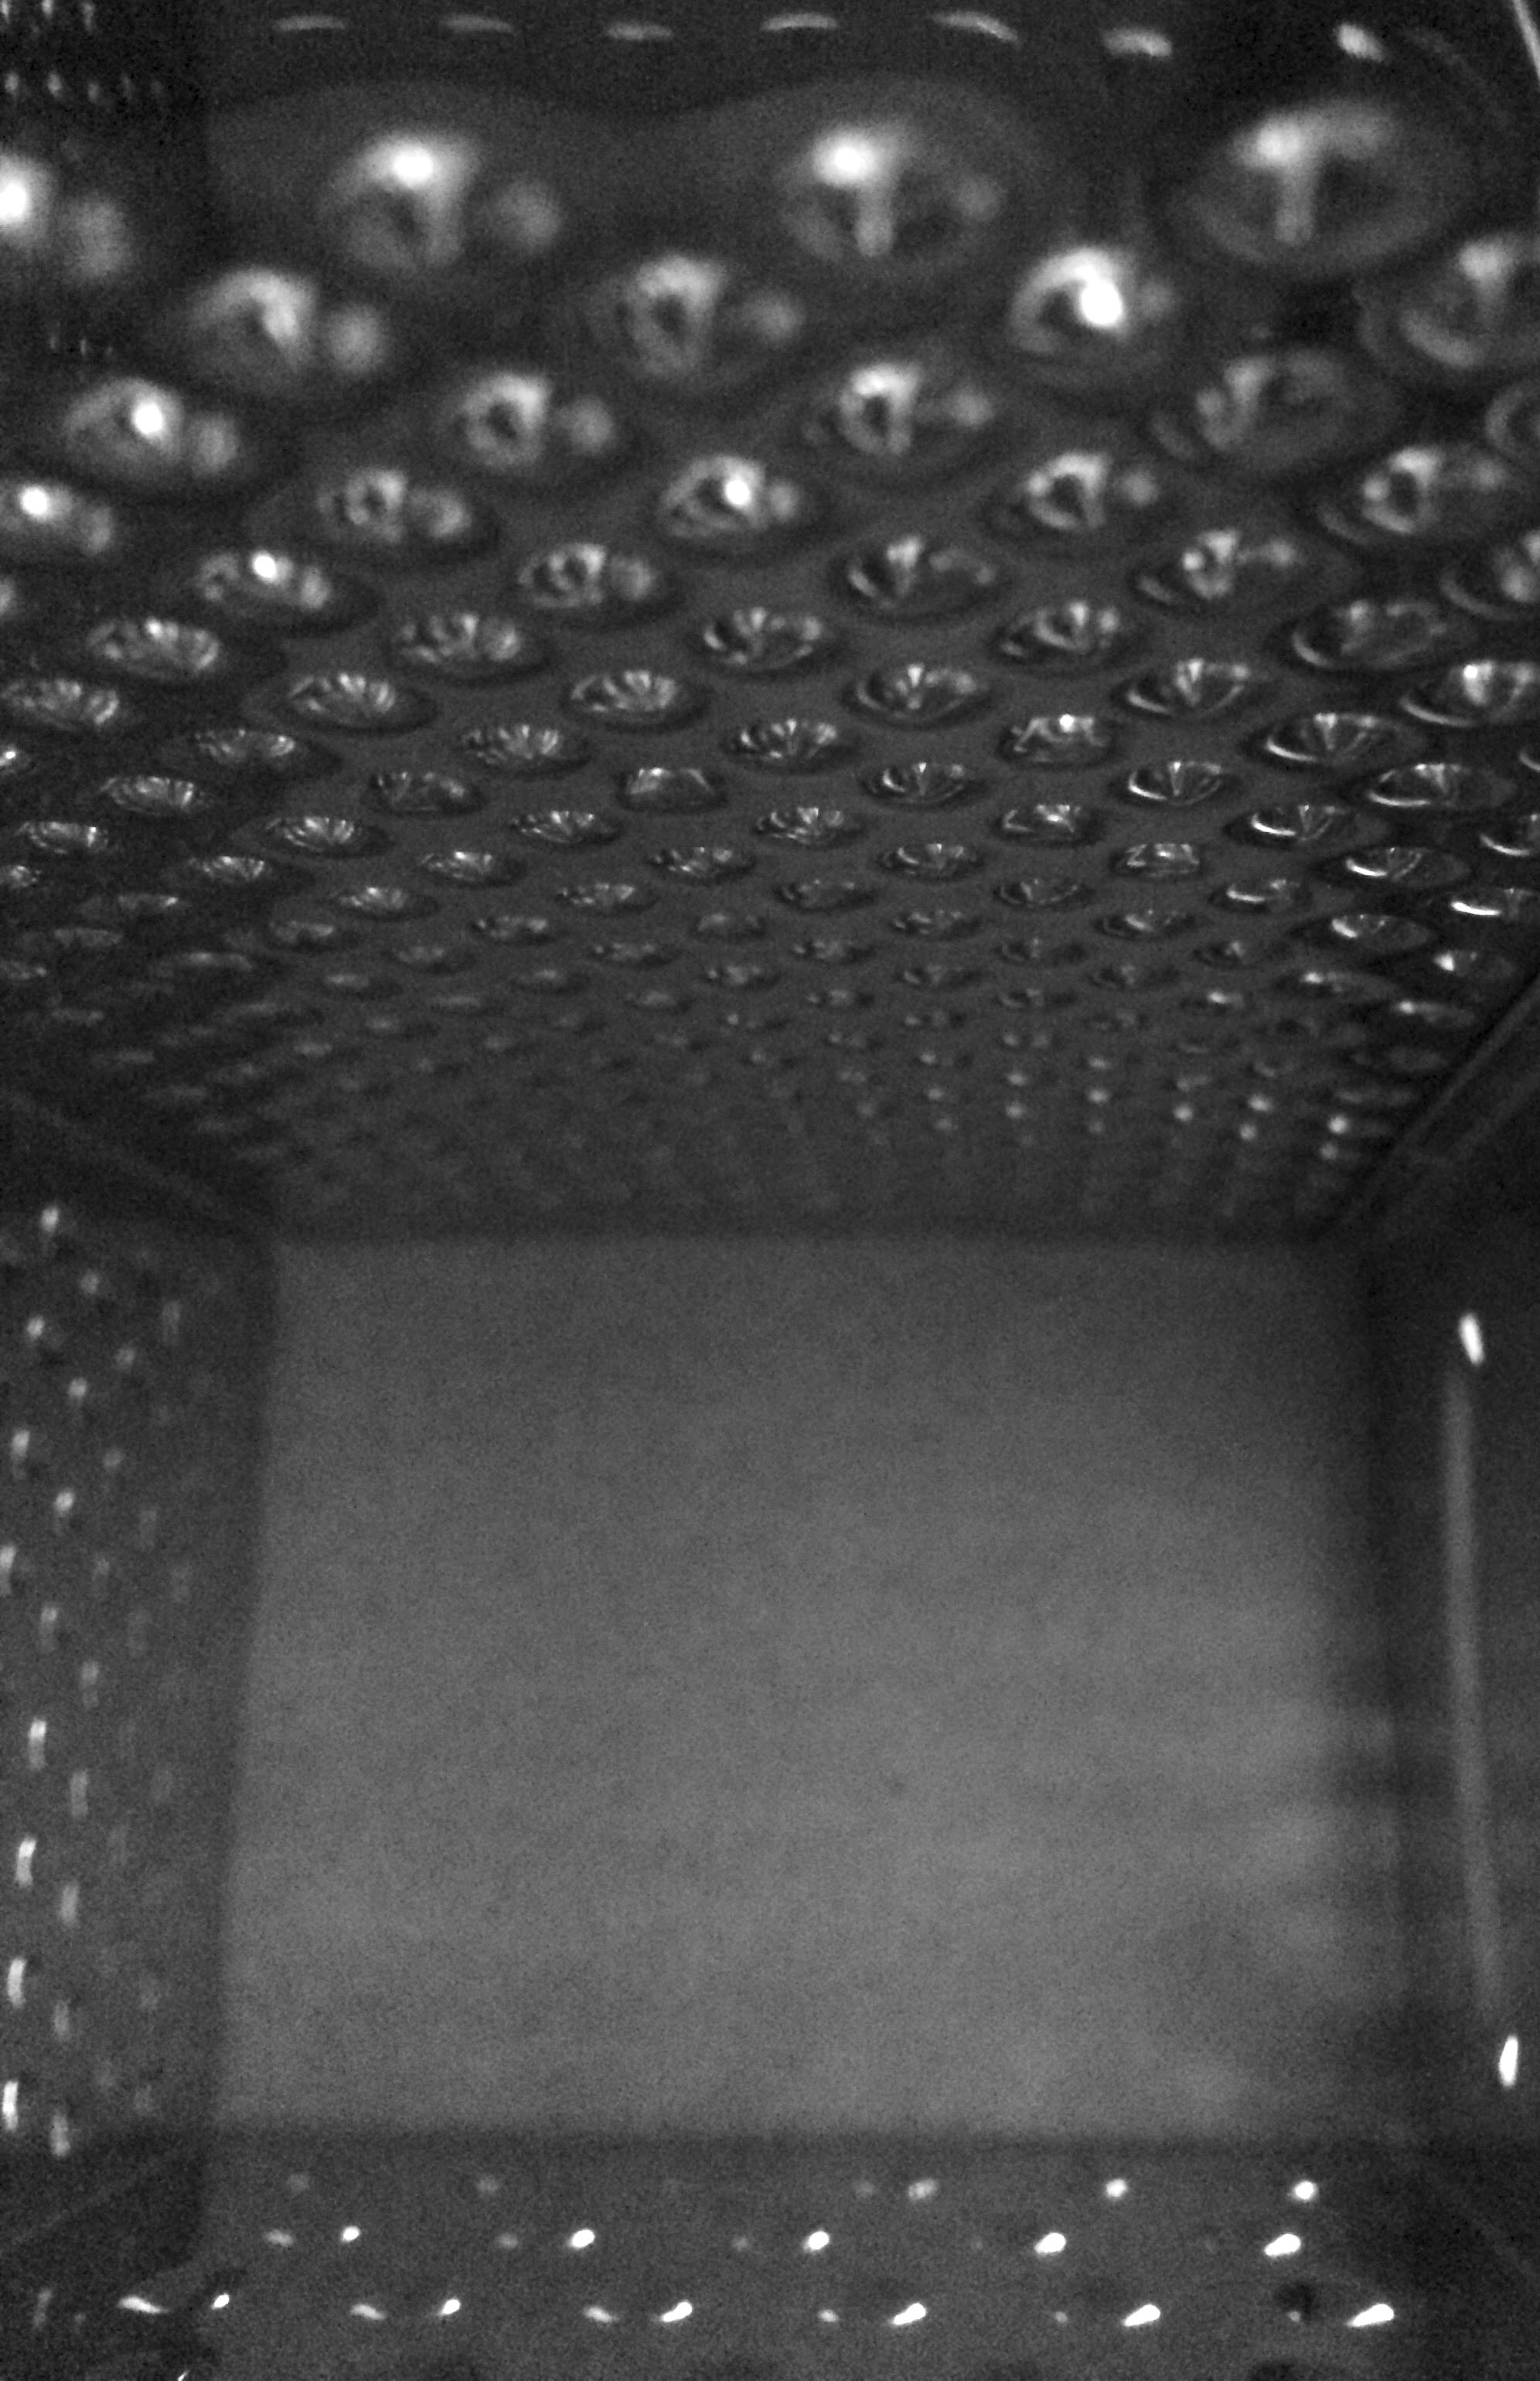
My response to Albert Renger-Patzsch:

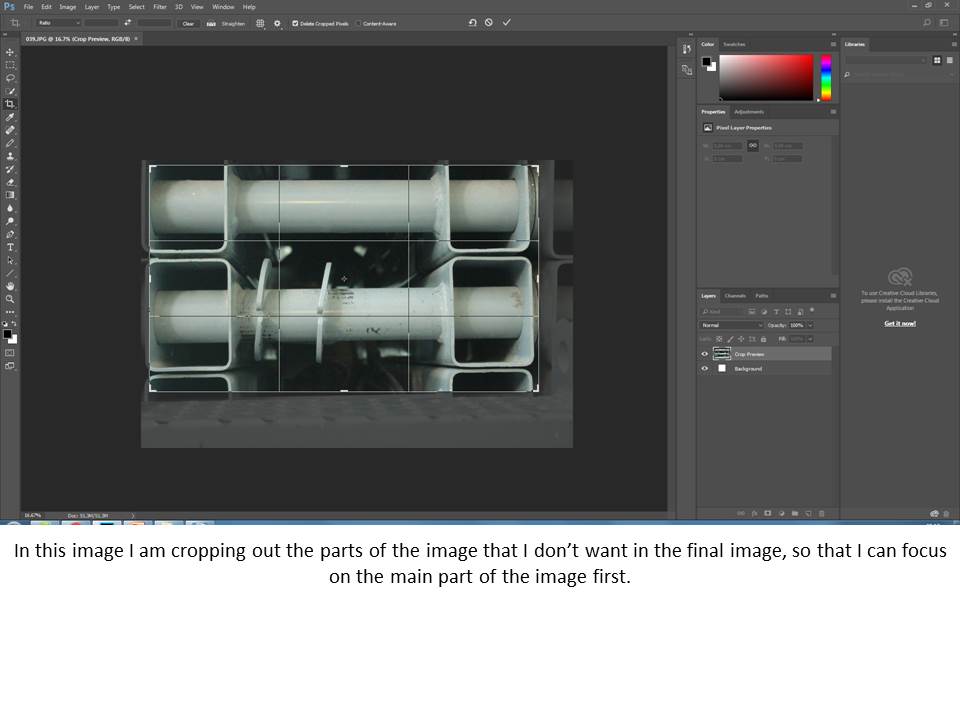
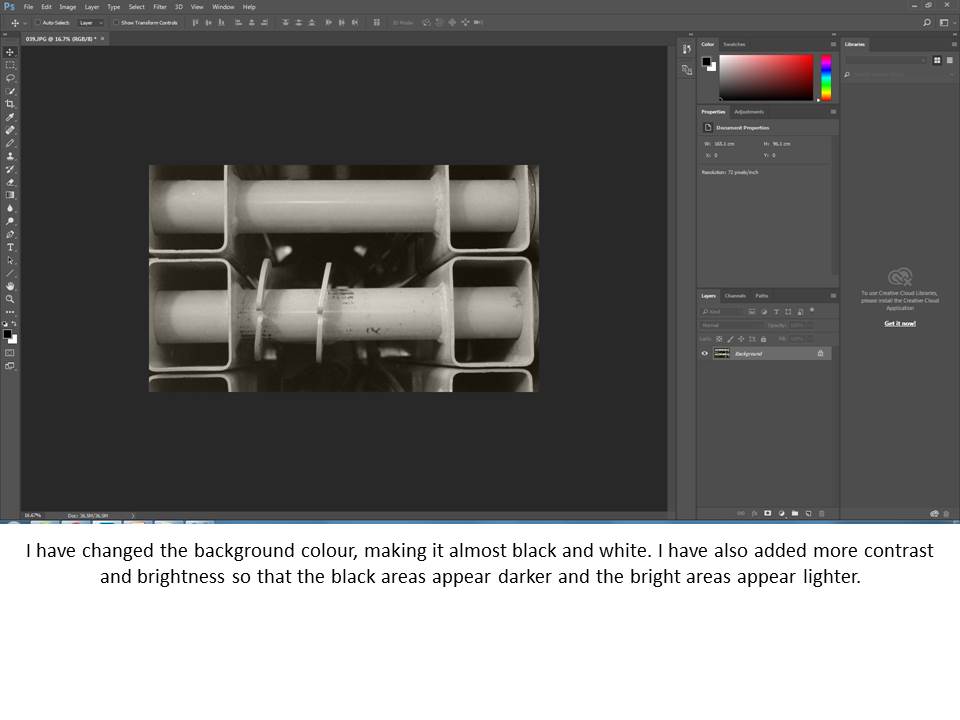
These are the best images I have taken after looking at how Albert Renger-Patzsch takes his images. I have taken images from weird angles and usually quite close up to make these images. I have then taken the best ones I took into photoshop and have made them black and white as Albert Renger-Patzsch always did his work in black and white. I have also cropped and adjusted the exposure settings on a few of these images to create contrast and to make the texture stand out.