All posts by Jasmine L

Filters

Author:
Category:

WEEK 6- CREATING PHOTO MONTAGES

Creating photo montages

In order to understand more about photo montages, i created multiple montages using adobe Photoshop. When creating my montages i used Eugenia Loli as a inspiration for my images as i though her photo montages were very unique ( separate page on her work).

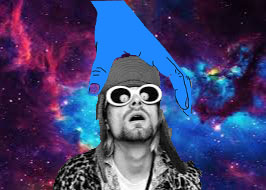
In this experiment i wanted to create a piece which was similar to Eugenia Loli’s. I liked the overall concept stylistic approach that she created and in order to create the same stylistic picture i used a layering technique. I kept my image very colorful just like Loli’s as it gives a child like look to the image which i quite like. I used the galaxy background as my first layer which i didn’t edit at all. My second layer was the man in the image which i edited out of the original image by using the cut out tool. This tool cut around the man in the picture so that i was able to drag this section out of the picture to layer one. Once the man was placed how i wanted it on layer one i then focused on layer three where i used the same technique to cut the blue hand out of an image. The blue hand originally came from the artist Steven Spangler who i had gained inspiration from in the past and i though that this image would be a good fit for the theme i was creating. My other aim for using the layering technique was to create a noticeable 3D technique which is successfully did. My final step of this montage what editing the brighness to higher than it originally was which has made the image stand out more.  I am overall very happy with how this turned out.


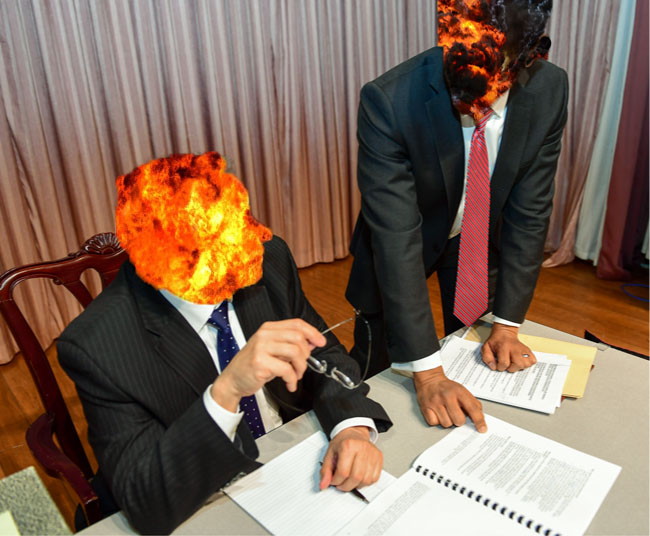
In my response to John Stezaker, i decided to create my own photo montage. First of all i used a picture off the internet of two people in offices which i then edited using Photoshop. When editing this image, i created a layer each for the fire explosions. I then cropped each original picture to the part of the fire i wanted and used the ‘move’ tool to move the layer to layer 1 ( office layer). Using the ‘brush’ tool, i then made the fire into head shapes. My reasoning for making their heads into fire explosions is due to that being the mind set that they have. Their heads act as the disaster which they are putting into the world.  This photo montage is used to express my negative viewpoints towards the government and the way that their minds cause our misery.  As seen their is a similarity between mine and Stezaker’s work as we both edited different images onto people faces.


WEEK 6- PHOTO MONTAGE ARTIST RESEARCH

Eugenia Loli

Loli was born in Athens and grew up in the Northwest of Greese and lived in a small village in the mountains. While growing up in Greece, she liked to draw a lot, but because of the lack of economic opportunities, she decided to cast aside her aspirations of becoming an artist and decided to go into the tech field. She studied computer programming, which in turn led to a life in blogging, animation, and eventually, film making. Combining the latter two, she filmed a number of music videos for local artists in the Bay Area in 2012. She lived in California Bay Area with her french husband and before this she lived in Surrey, England. Without doing the moving she did, it created visual narratives of objects and people in new and utterly surreal contexts, because without her multifaceted experiences, she might not be the artist she is today.

Her creations..

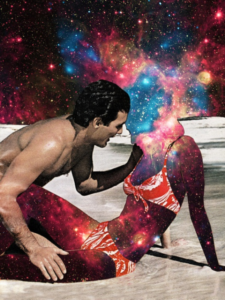
Analysation picture
Technical analysis 

When looking at this photo montage, we cannot securely tell which type of lighting, lens, shutter speed or white balance that the man in the image has been taken in due to there being no background for us to see if there was natural lighting involved, absent background means we also cannot see if the original image was taken in a short or long depth of field or if the shutter speed was fast or slow.

Visual analysis 

When looking at this image, i can see that the picture has been edited with Photoshop due to the very neat editing on the human out shape which couldn’t be done with hand manipulation.  We can see that the galaxy background has been edited so that it blends in with the head. The outline of the human is shown to be wearing a bikini and therefore shows that this is a woman and that the original picture could have been taken at a swimming pool/ beach as the man is also shown to have no top on.  The subjects have also been shown as located on a moon due to the light grey surface they are lying on.

Conceptual analysis 

When visually looking at this image i firstly notice the artificial human who has been shown with a galaxy effect, thus ten draws me in to look in more detail and i noticed that the galaxy on the women head to the background as been blended so that its like the woman and the sky are as one. This suggests to me that the situation the artificial woman is in is ‘out of this world’ and that she feels very happy, so much so that her mind is everywhere which has been shown with her relation to the sky. However, the positioning of the male could also suggest that the main focus is on him and not the woman. The way that the man is leaning into the artificial woman could show that the man thinks she is ‘out of this world’ as the galaxy is outside the world and the image could be what he seed her. Overall this image is very up to debate.

Contextual analysis 

After doing thorough research, there was no information on what the image was about. Therefore, Loli left this photo montage u to debate.


John Stezaker

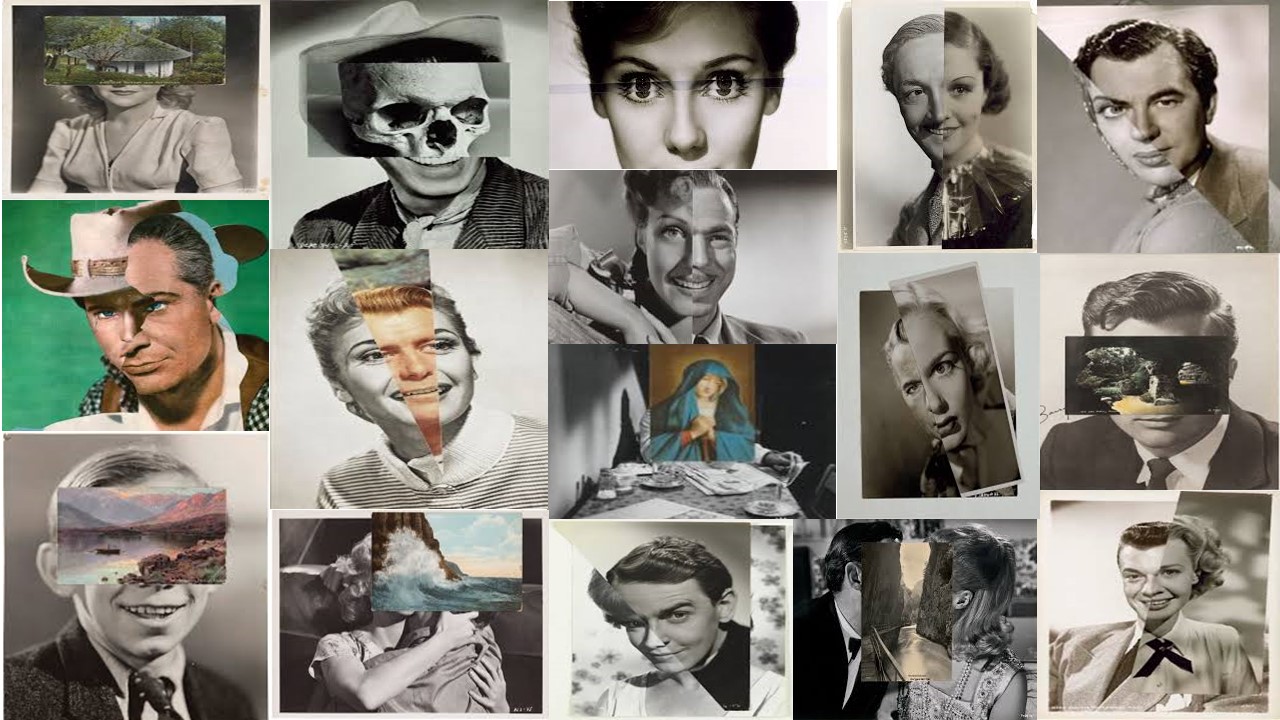
Stezaker was a British conceptual artist who was born in  1949. In his photography he takes a very imaginative look towards human beings and this shows in his work which has known to be described as ‘surreal’. His work aims to re-examines the various relationships to the photographic image: as a documentation of truth, purveyor or memory. In his photo montages, Stezaker appropriates images found in books, magazines and postcards and use them as ‘readymades’. Stezaker adopts the content and contexts of the original images to convey his own meanings. I believe that he has met his artistic aim. This was shown in his Marriage series. In the series, Stezaker focuses on the concept of portraiture, both as art historical genre and public identity. Using publicity shots of classic film stars, Stezaker overlaps famous faces, creating hybrid ‘icons’ that dissociate the familiar to create sensations of the uncanny. Coupling male and female identity into unified characters, Stezaker points to a disjointed harmony, where the reconciliation of difference both complements and detracts from the whole. In his correlated images, personalities (and our idealisations of them) become ancillary and empty, rendered abject through their magnified flaws and struggle for visual dominance.

His creations..
Analysation picture
Technical analysis 

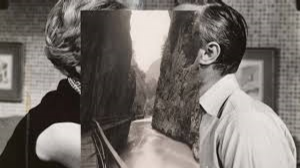
When looking at this image, we cannot clearly tell the type of lighting that this image was taken in. However, due to the indoor scenery, this gives us an idea that the original picture was taken in artificial lighting. We can see from the background that the image was taken with a shallow depth of field as the background of the two people is blurred and this was therefore also taken in a quick shutter speed. The picture which has been layered on top is seen to be taken in a wide depth of field, in natural lighting and to have had been taken with a quick shutter speed due to the fully focused, outdoor, fully focused image. Due to the layered image being taken outside, the white balance of this image would have been taken with  the ‘outdoor’ setting.

Visual analysis

This image has been edited to be black and white which allows us to see the different tones. We can also see the this image is 3D due to the depth of field and the layered image. I think that the way the top image was layered has been done with a purpose as it cancels out the peoples faces so we cannot see if they are kissing or not. The two walls on the side of the top image seem to represent the two faces on each side, while the gap and the river represent the gap which is under that image. Suggesting that the two people are not kissing.

Conceptual analysis 

I think the reasoning for this image being layered on top is because Stezaker wants to cancel out any intimacy between the two people, and doing so he has used the river and rocks to show their separation.  This could suggest he has recently gone through a separation with a partner and he is showing this through this image. This image is very up to debate and has a lot of different concepts.

Contextual analysis 

After researching about this image, i came to a dead end and Stezaker didn’t publicize anything about this image. He has therefore left this image up to debate.
WEEK 6- PHOTO MONTAGE RESEARCH

What is photo montage?

Photo montage is the process of putting together multiple picture in order to create a new image with a different feel. This is done by gutting, gluing and rearranging two or more photographs to make a new one. There is also a more popular method of creating the idea of photo montage which is done on an app called ‘ photoshop’.

History of photo montage

Photo montage became a thing is the 1880s and was first done by merging different photos together into a combination print. It was then again looked at in the 20th century by Dadaist and Futurist artists.

The most iconic photo- montages were produced by George Grosz, Hannah Hoch and John Heart.


What photo montage is used for

Photo montage can be used for protesting subjects, political purposes ie, World Wars, and for conveying opinions. When creating the photo montage it can be done though hand manipulation ( cut and stick) as well as Photoshop.

Hannah Hoch

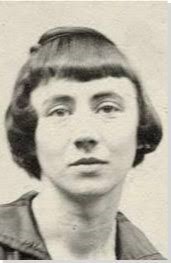
Hoch was born in 1990 on November 1st in Germany. She began her training in 1912 at the school of Applied Arts in Berlin- Charlottenburg. However, after being there a few years she ended up moving back to Germany after World War 1 started in 1915. While being away she changed to specializing in glass design but went back to focusing on painting, graphic design, wood cut and linoleum- block- painting until 1920.

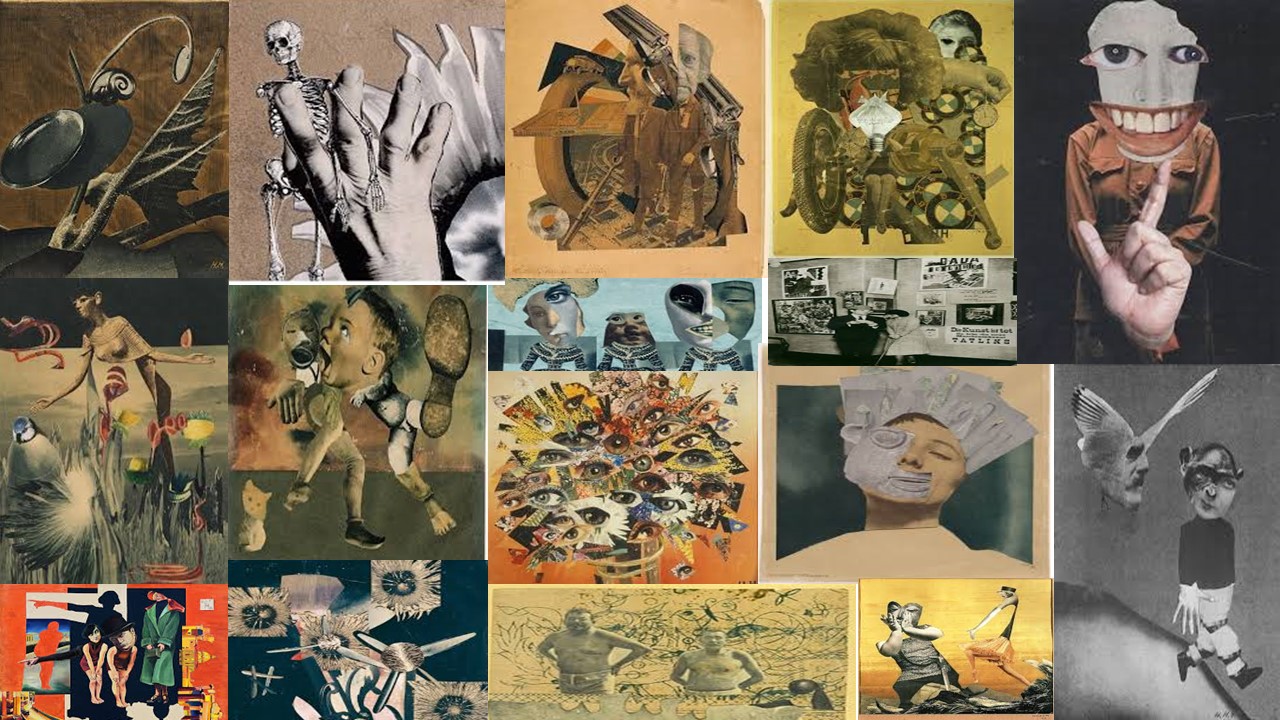
Hock first became interested in photo montages properly in 1917 and herself and Dadaists were the first to fully explore the idea of photo montages. She continued to make art through WW1 and tried to stay relevant after it ended which proved to be very hard.As she grew and developed she worked with new modes of expression but continued to reference her past. Hoch was such a key part of photo montage and was clearly an important influence during her period of six decades of hard work. Her work began to receive more attention in the late 1960s which was due to the concerted effort by feminist scholars and artists to uncover and reclaim the art created by her in the 20th century. She died on May 31st in 1978.

Pieces she produced..


WEEK 5- TABLEAUX VIVIAN- THE ADDAMS FAMILY

Personal Tableaux Vivian photo shoot plan

In order to understand Tableaux Vivian into further detail, i am going to recreate a movie scene. I have decided to take a clip from the mode ‘ The Addams family’ of a character called Wednesday Addams and i plan to recreate the chosen image.

For my attempt at tableaux vivant photography, i decided to recreate a scene from the film ” The Addams family”. The film follows a Gothic family whos long lost brother comes home from being missing and the family is thrilled. However, the mother begins to suspect the man is a fraud and get’s help from a lawyer who manages to get the Addams clan evicted from their home. Gomez realizes the two men are conspiring to swindle the Addams fortune and that he must challenge Fester. This film was released in 1991 in America. I chose to recreate a scene from this film as there are many interesting concepts in the film which really intrigue me.

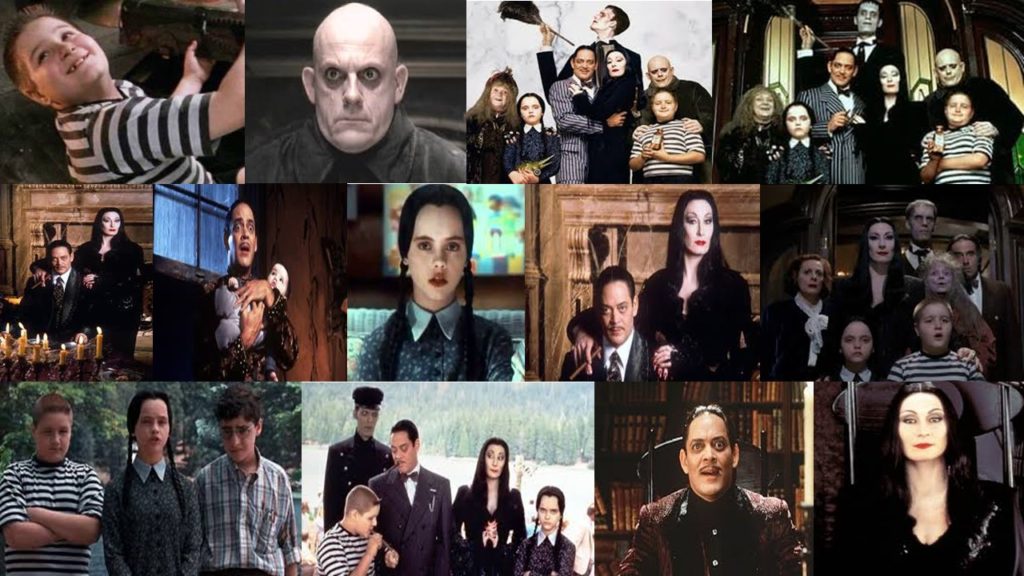
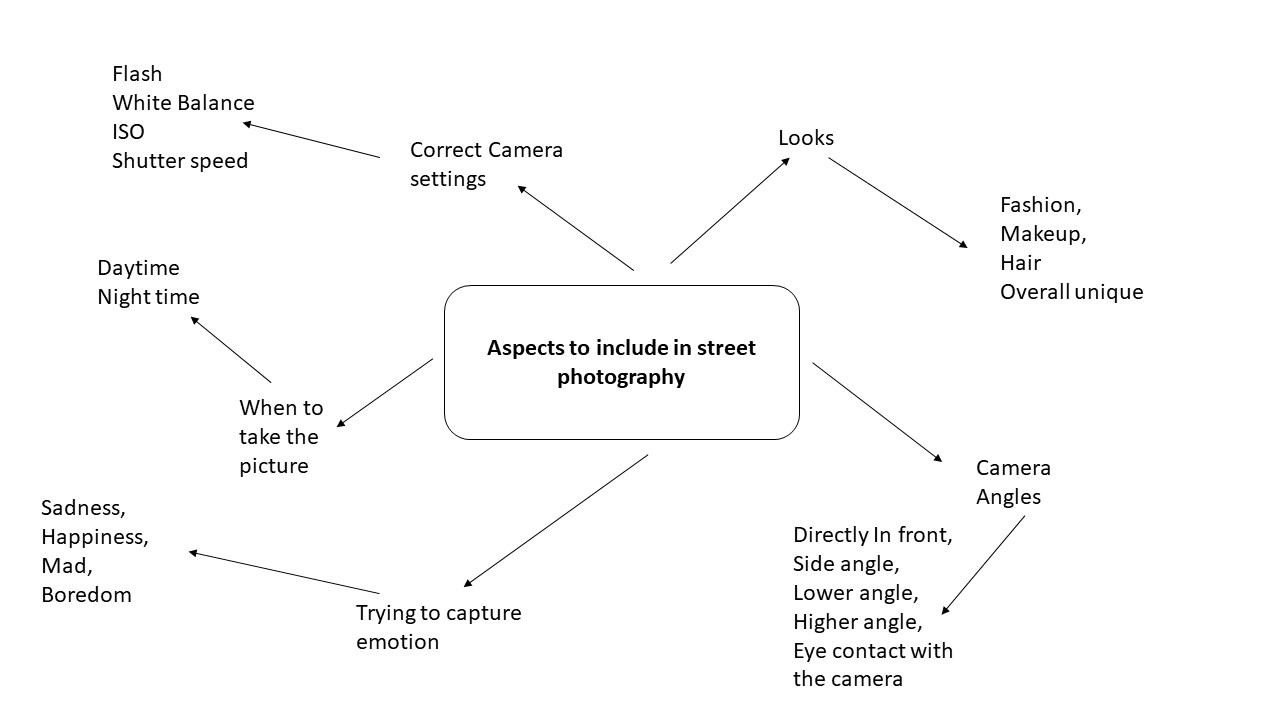
Each main character in the movie has their own personalities, however apart from there differences there are also similarities between the family. Below is a mind map to show their personalities,

Mood board

This mood board of screenshots from the movie symbolizes the type of family they are, what they wear and how they act. The family seems to be together a lot, like they are very close. They all tend to wear dark colors, dark makeup and all look peculiar looking. In my photoshoot i will ensure to take this all into consideration and will have my model wearing dark clothing and in a dark location.

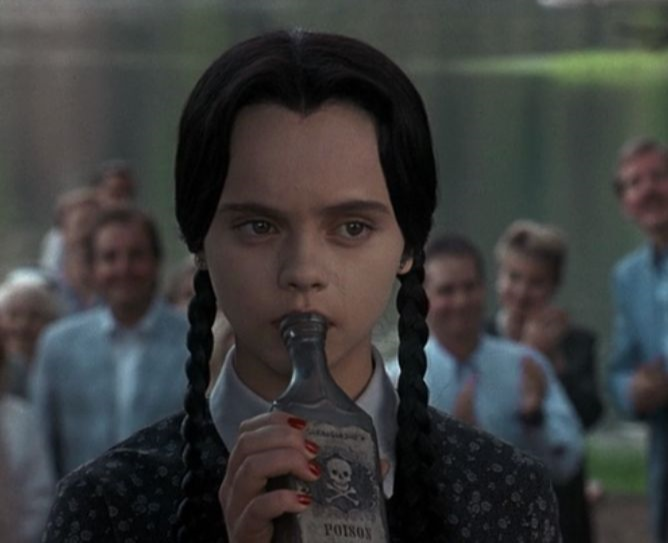
Image i’m recreating

Technical aspect analysis 

When looking at this image, i can clearly see that there has been a narrow depth of field used which has made the main focus be on Wednesday. There has also been a natural lighting used due to the outdoor area the image has been taken in. The lighting also shows us that the shutter speed of this image must of been quite quick due to there being a good amount of light in the image. I also think that the ISO has been set to around 800 due to the image being shown as being quite grainy. Due to being outside the White Balance of the image is most likely to have been set on daylight mode.

Visual aspect analysis 

When looking at the image i can see that Wednesday in directly in the middle of the image, the color of the image is quite dark which shows that there is no tone in the image due to there being no contrast in light and dark. Due to this image being taken with a narrow depth of field, the image looks 3D. I can also see there are background people in the distance, all of which we can’t clearly see due to the blurring.

Context aspect analysis 

This was a screenshot from a part in the movie where the character Wednesday is at a summer camp.

Concept aspect analysis 

I chose to recreate this image as it has a lot of underlying concepts. We can firstly tell that the character has an attitude to her due to her facial expressions. The reason her facial expression is like this is due to the situation she is in, she is disgusted with all the other girls fro being so girly. Secondly, it is clear that she is wearing her typically dark colors and has her well known plaits in her hair. This is due to her wanting to stay close to her family after they’ve sent her to summer camp because of the situation going on at home, however in this situation the dark colors and the prop she has are suggesting that she is in a dark place, maybe in her mind.

It is very important to capture the characters personality in the image. Wednesday is stood with a suttle disgusted expressed face which is showing us that she doesn’t fit it with the other girls because of her looks and interests.

Photo shoot plan

For my recreation of the image, i will take the images in a local park where there will be a natural light source. I will use my one main model and then also have a few people in the background image. With the help of my model, i will choose the appropriate clothing which resembles Wednesday’s character the best. For the photo shoot plan, i plan to use only natural light for the image as the original image was taken outside. I will use a daylight/ cloudy white balance in order to ensure the photo is very similar and i will find which ISO and shutter speed to use when im in the conditions. To make the image identical, i will also made a prop from a vodka bottle to act as the poison bottle that Wednesday is holding in the original image.

Aspects to include 

  • Natural lighting- daylight/ cloudy WB, high shutter speed.
  • Image to be taken outside for the scenery
  • Narrow depth of field- Make image look 3D
  • High ISO
  • Facial expressions- Showing with eyes
  • Props- ‘Poison’ bottle
  • Model to wear a white collared shirt, black top and have plaits.
  • Have background people
  • Dark lighted image
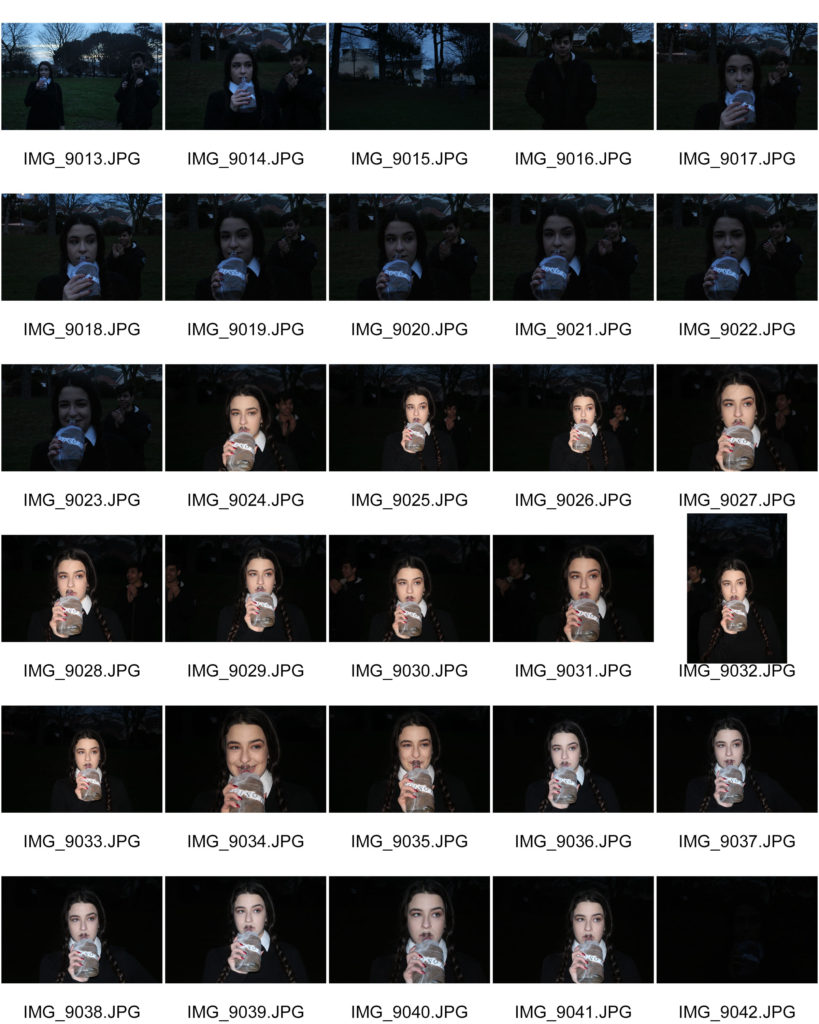
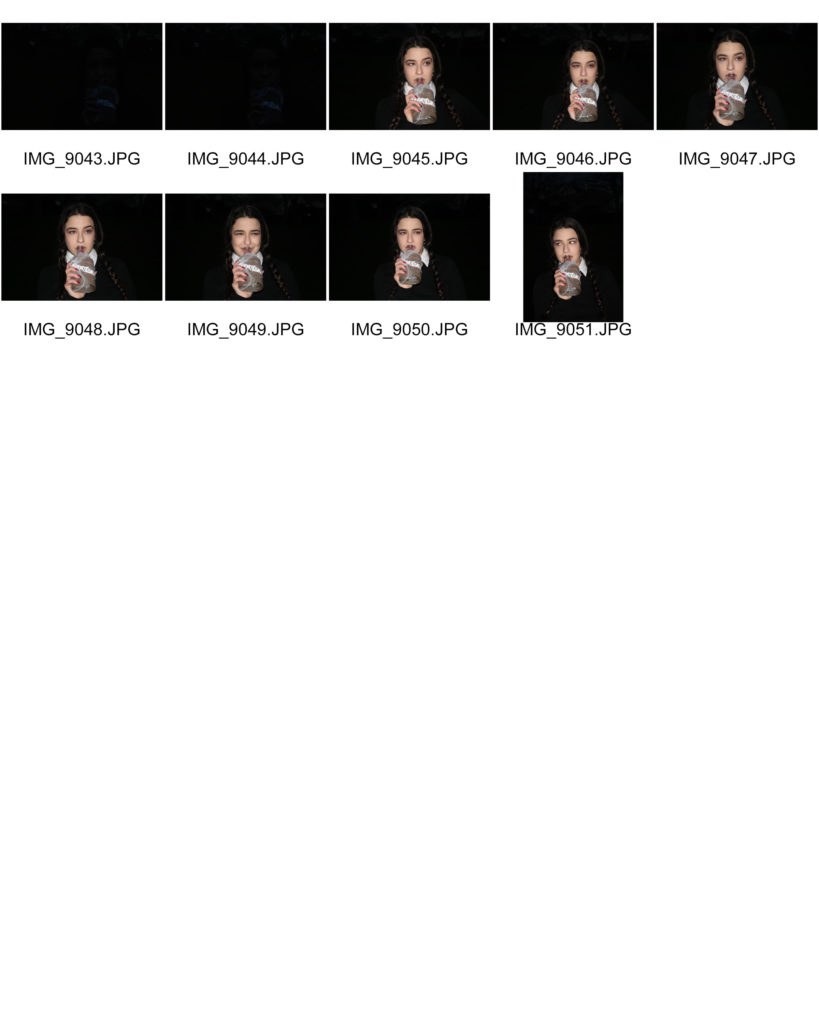
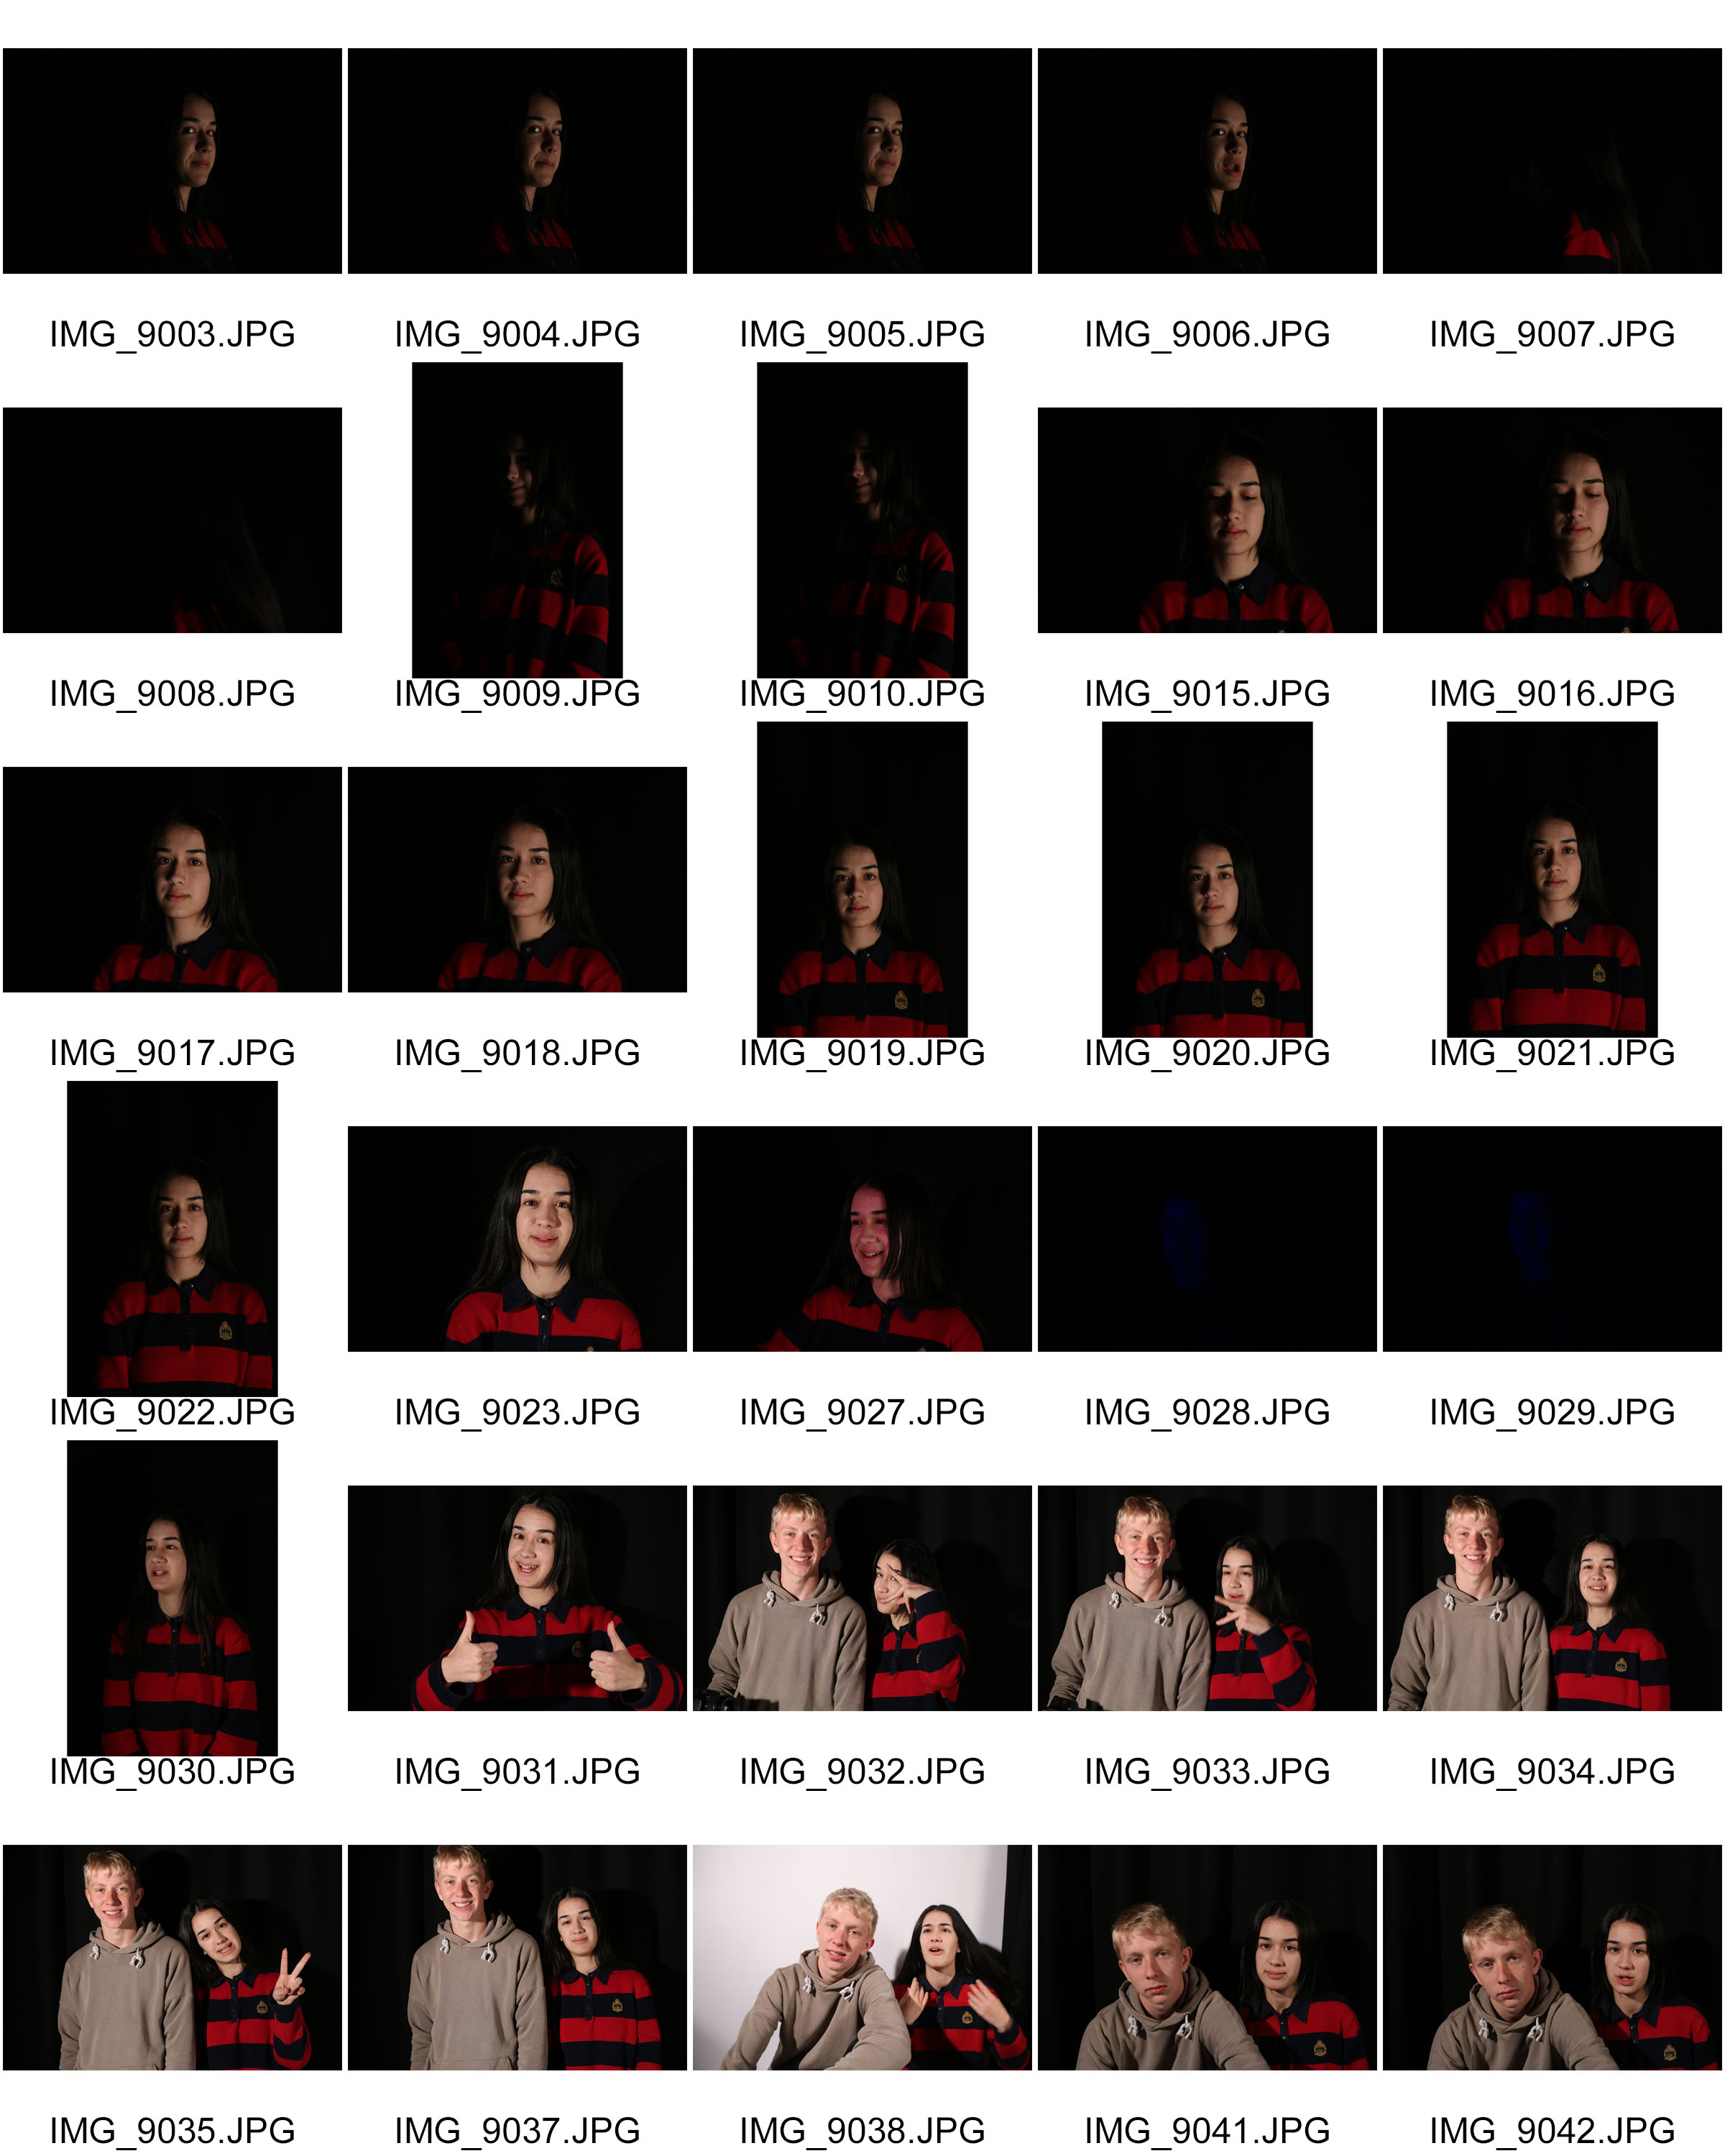
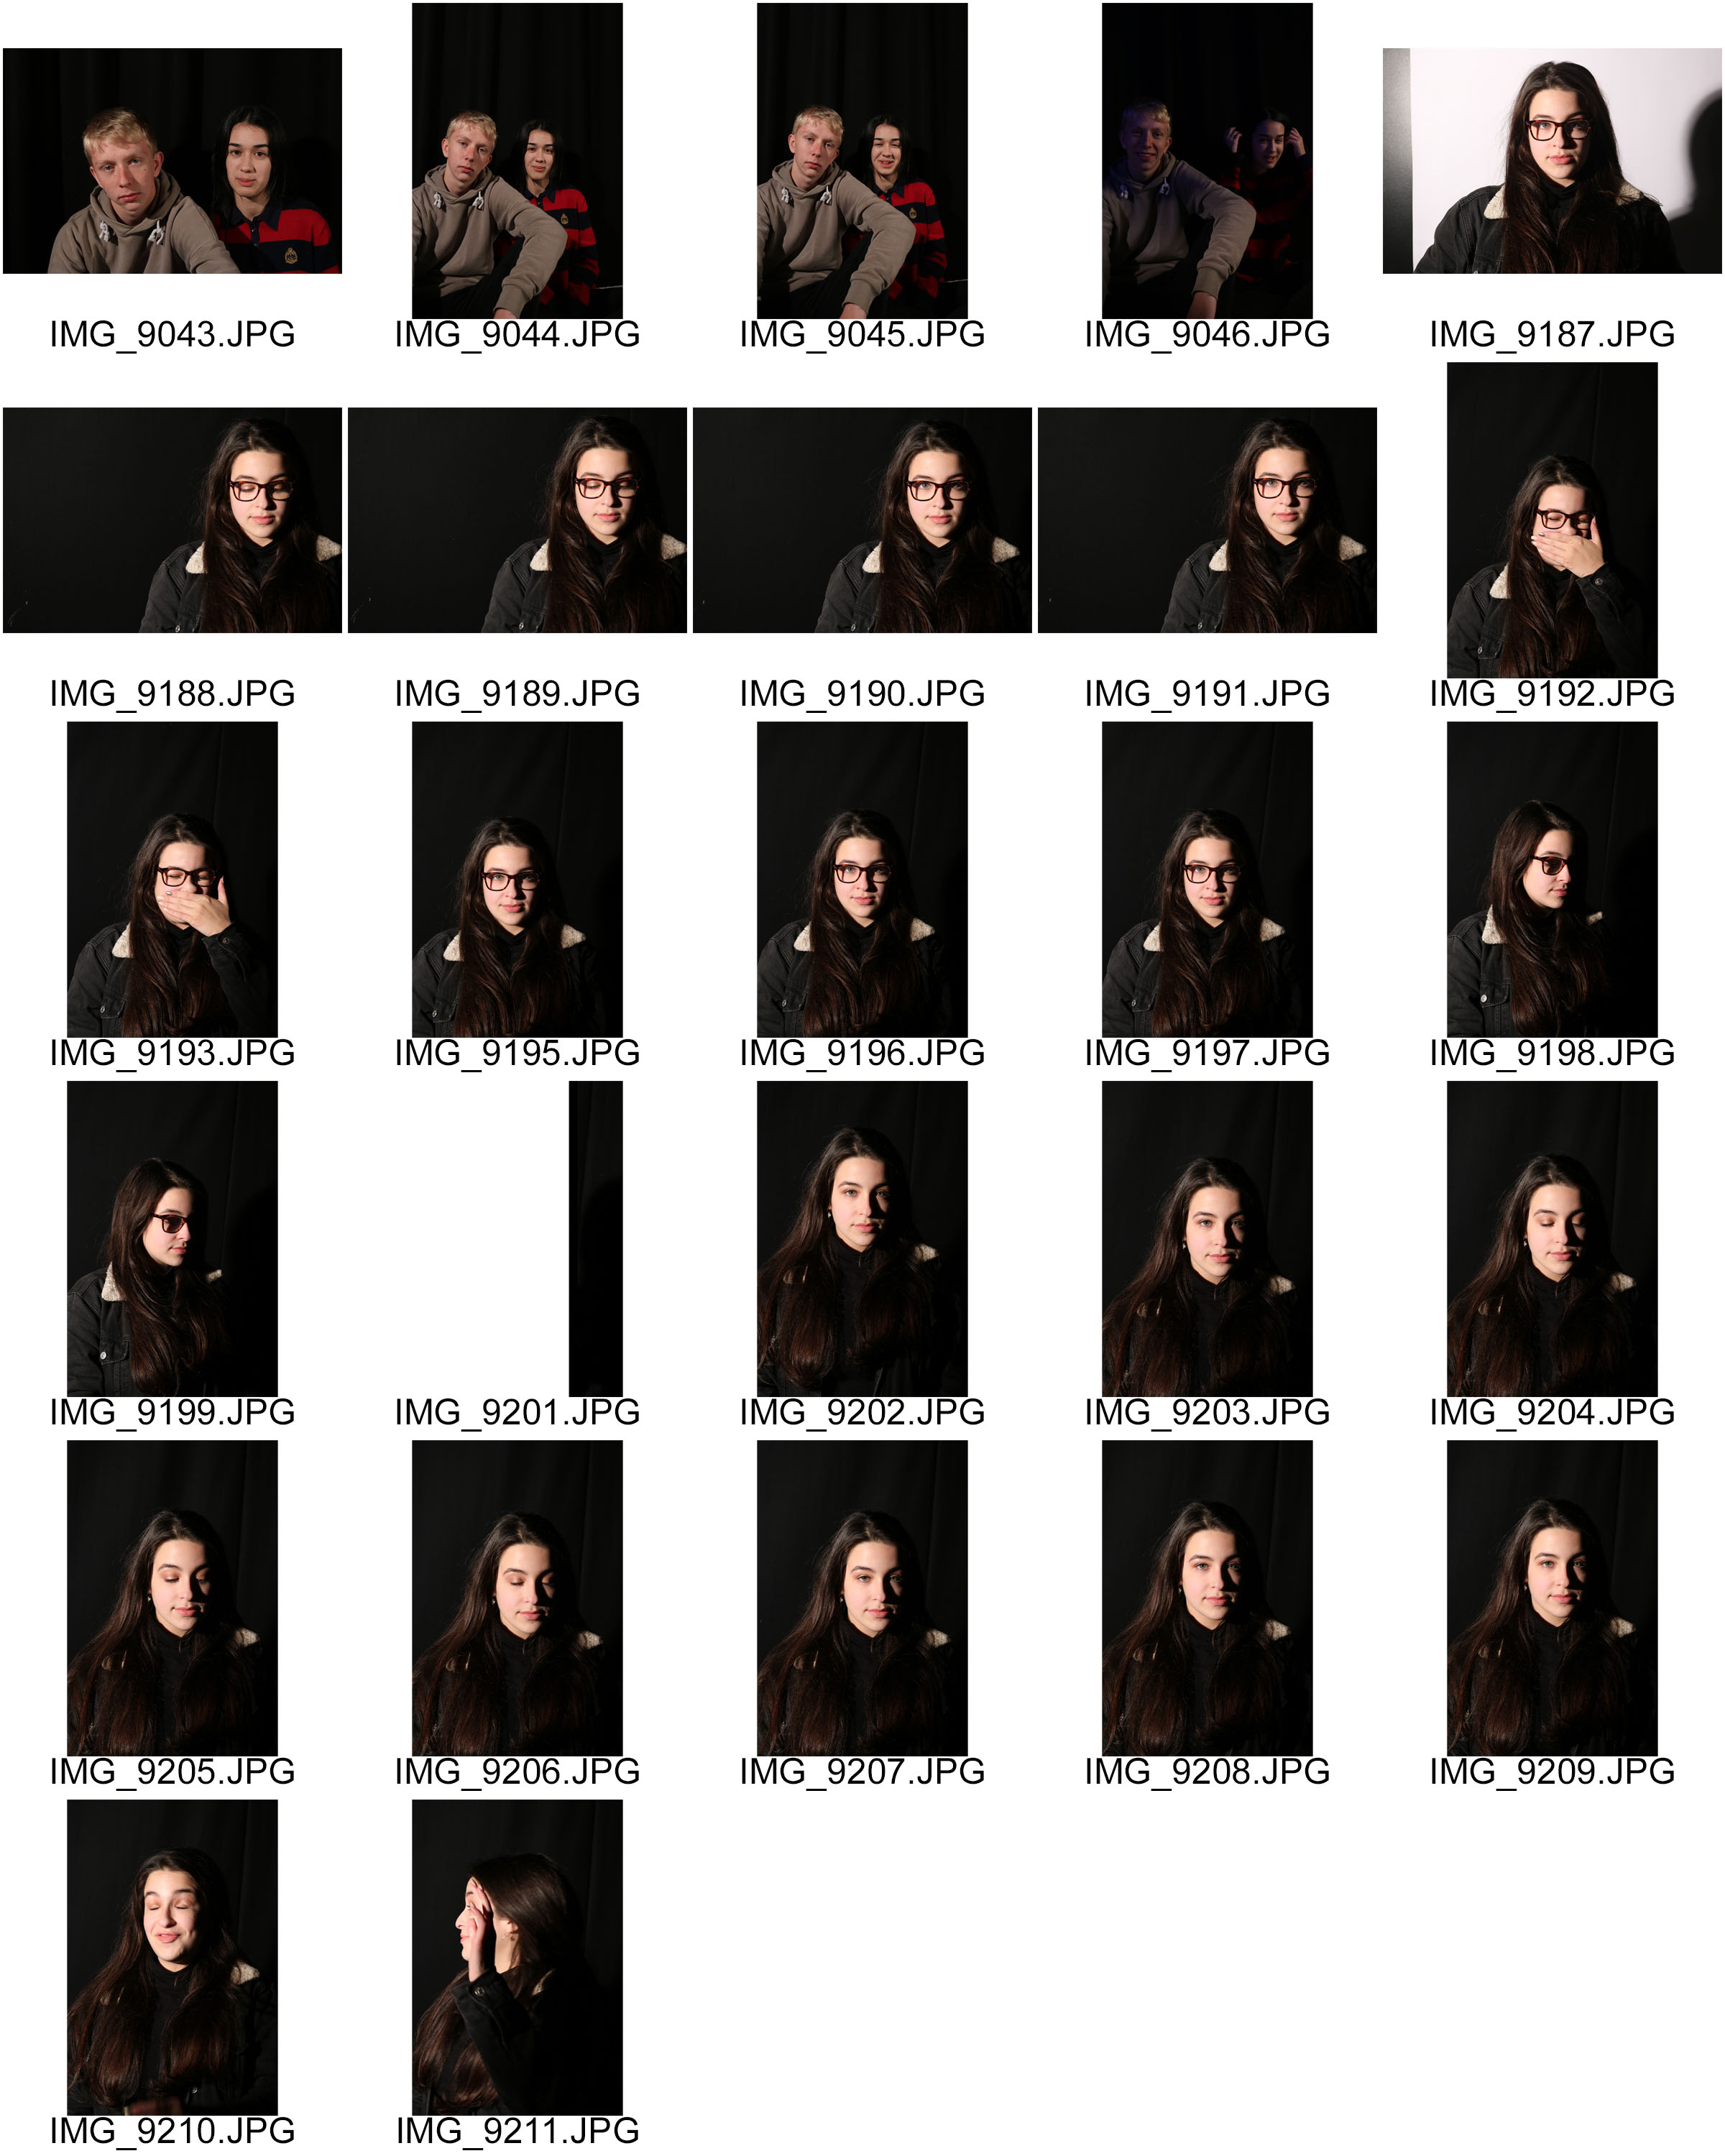
Contact Sheets


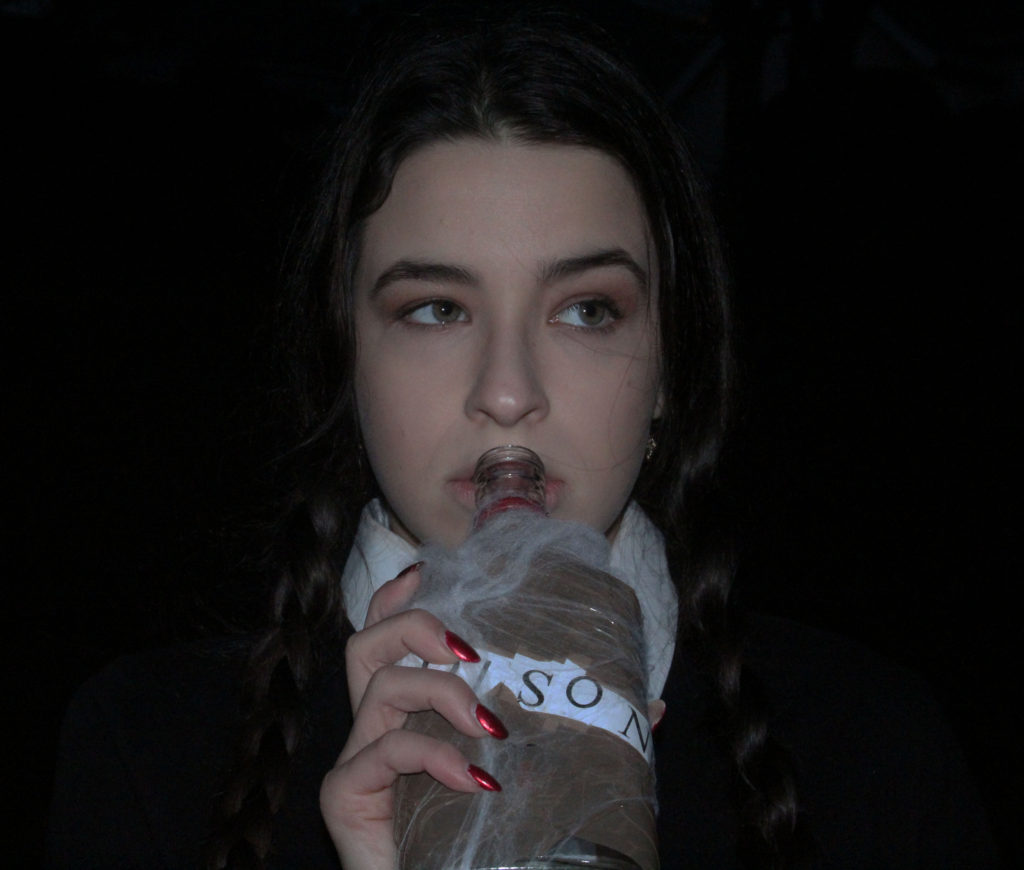
Best Outcomes

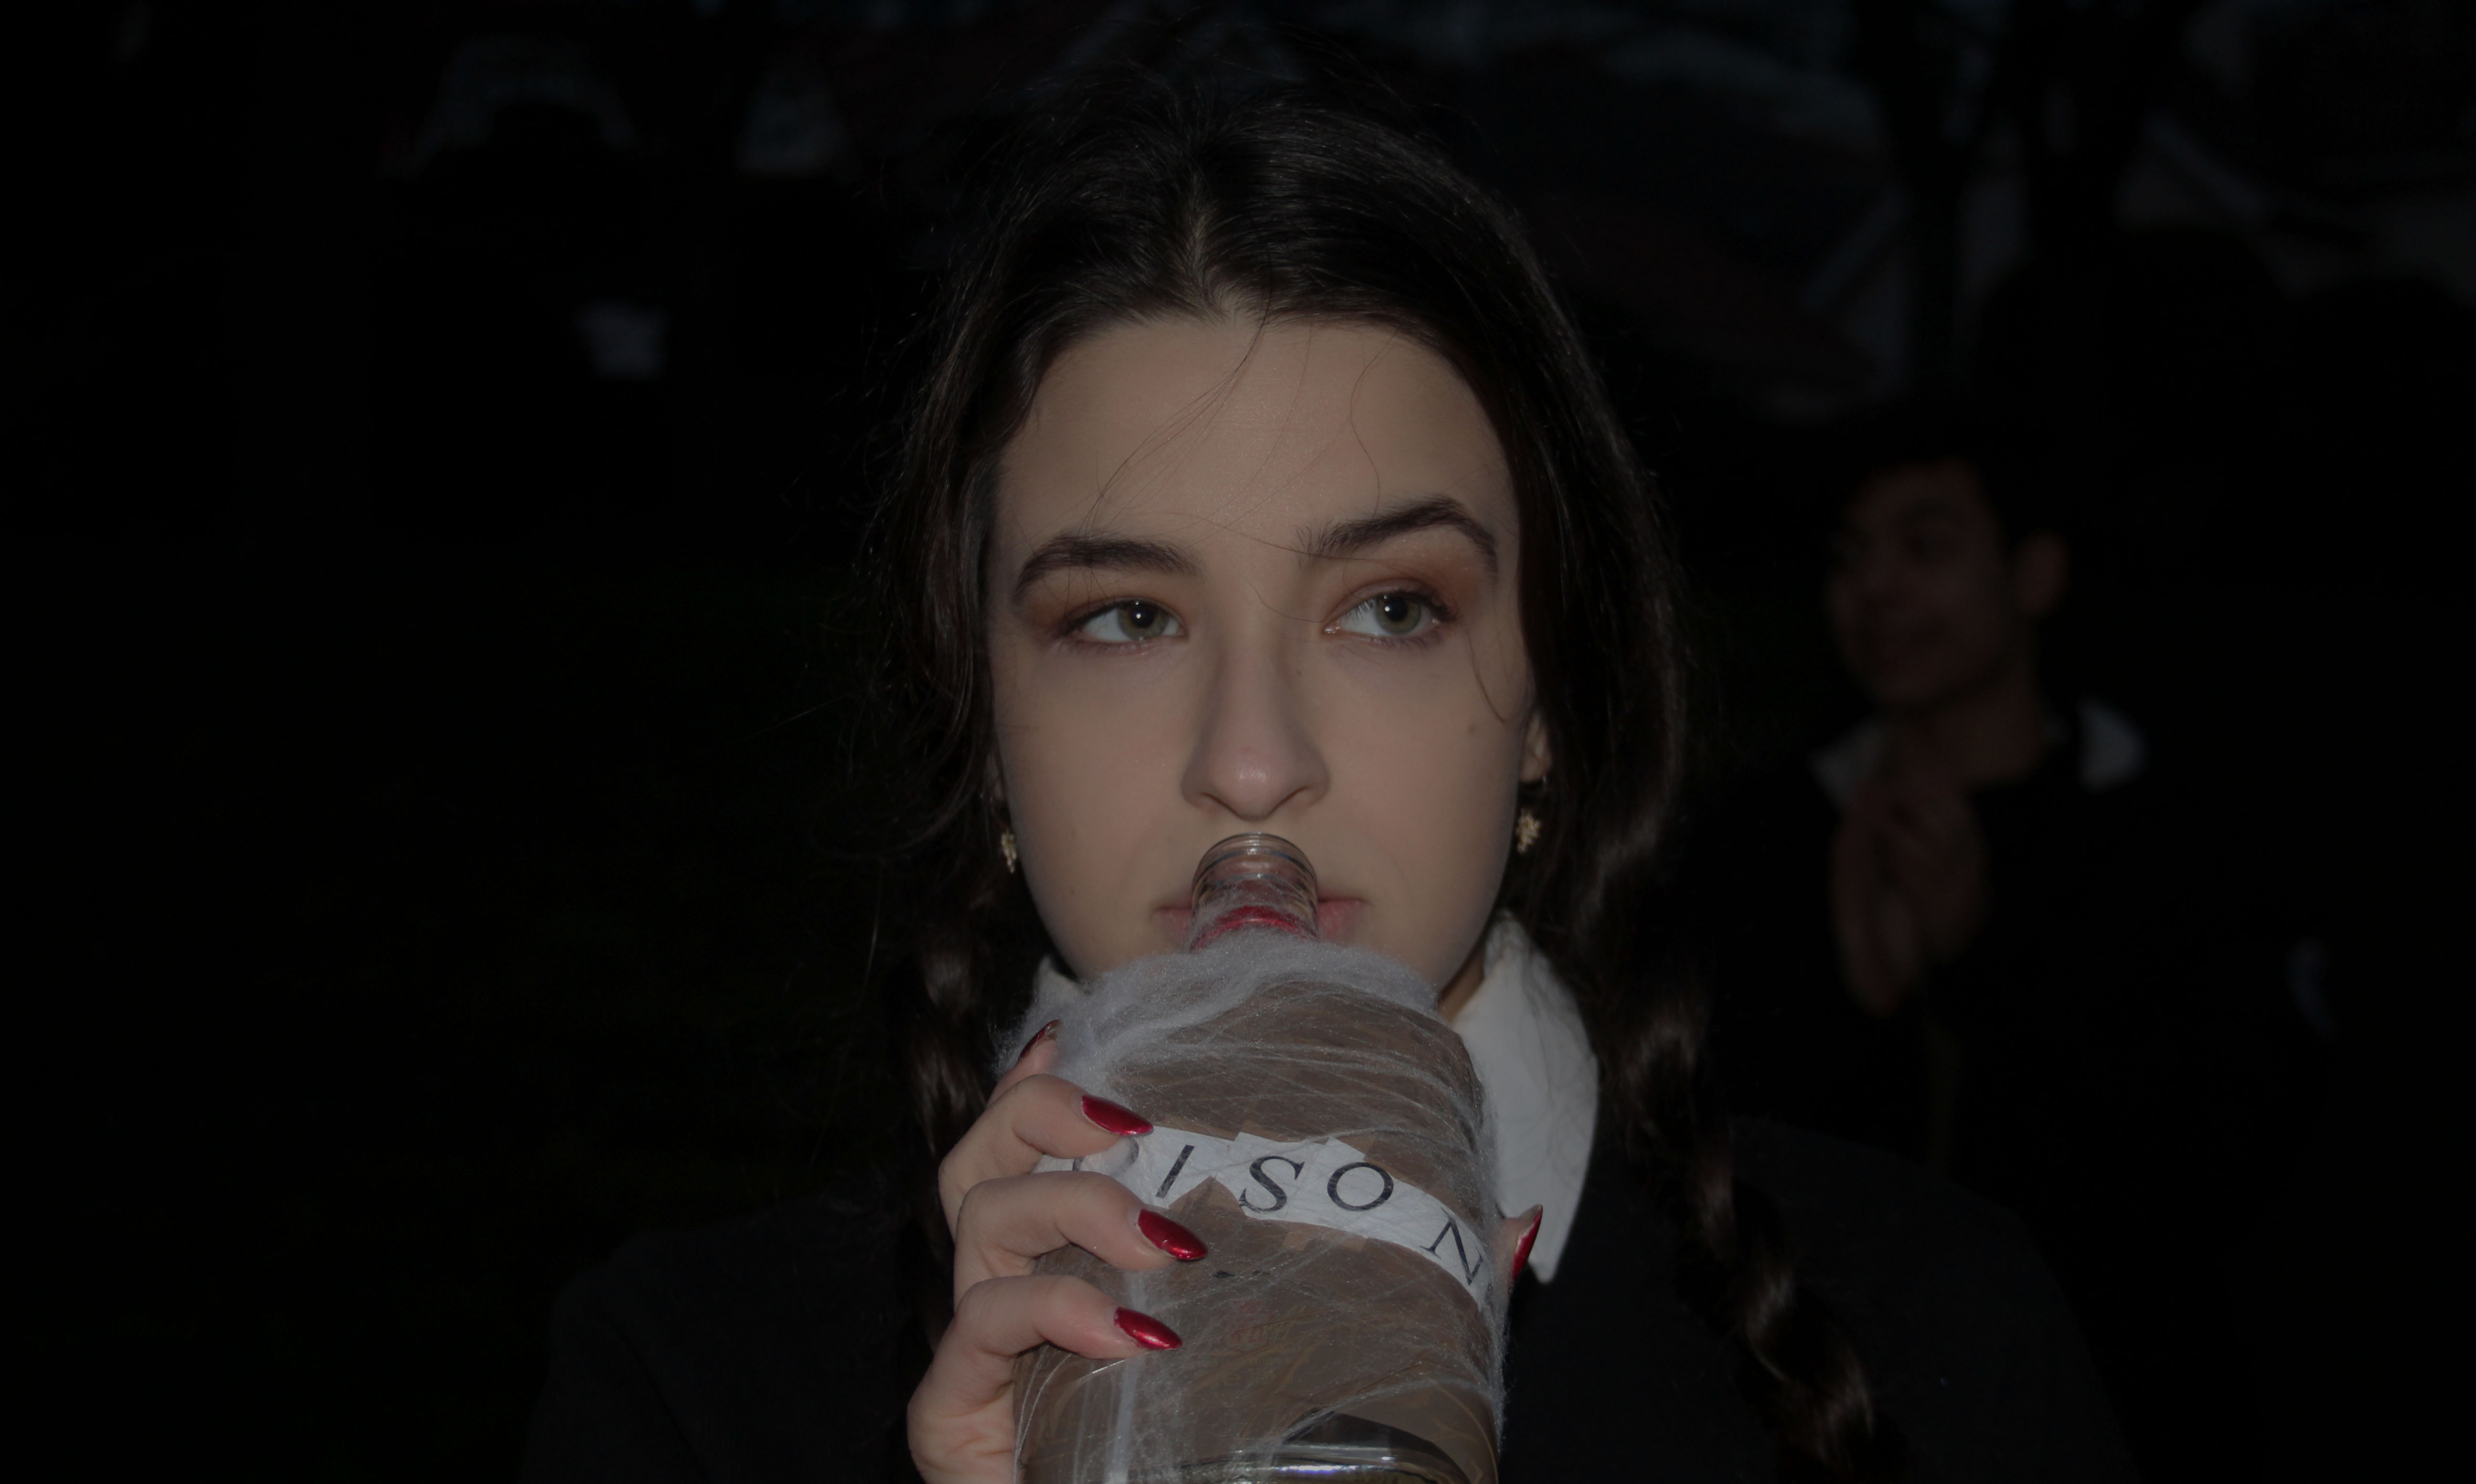
Edited best outcomes

Technical 

When taking this image it was very dark outside and i therefore had to take the image on portrait mode using flash. My shutter speed was set to 1/200 and my ISO was on 800. I wanted Wednesday to be the subject of the image and i therefore used an F stop of 6 so that the model in the background was blurred out of the image.

Visual 

Visually, i made sure my model was in the center of the camera lense as so was the original Wednesday in the image. I also made sure we had the correct props, colored nails, hair style, coloring of the skin and correct outfit. Due to Wednesday having red nails, i instructed my model to paint hers red before attending the shoot and I made the poison bottle prop. I also used one model in the background to represent the cheerful environment Wednesday was in when the original shoot was done. I had my background model be cheerful by smiling and then also clapping to copy the original image.

Concept

When doing this shoot, i wanted the model to show Wednesday’s personality and she therefore made a disgusted look and was looking the same direction as Wednesday was in the original picture. This facial expression was the correct as it helped to tell a story.

Comparison between original and my final outcome


WEEK 5- PRACTICING TABLEAUX VIVANTS (GROUPS PROJECT)

What is Tableaux Vivants?

‘Tableaux vivant’ is French for ‘ living picture’ and is a static scene containing one or more actors or models. They are stationary and silent, usually in costume, carefully posed with props and scenery. The scenery may also be theatrically lit.

Experimenting in a group 

In order to gain more understanding of what Tableaux vivants is, me and my classmates took part in a shared image where we recreated a chosen image. My role in this group project was as director. I placed everyone in the correct position so that they were identical as can be to the image. Ensured the right facial expressions were used, and that the overall set was correct.

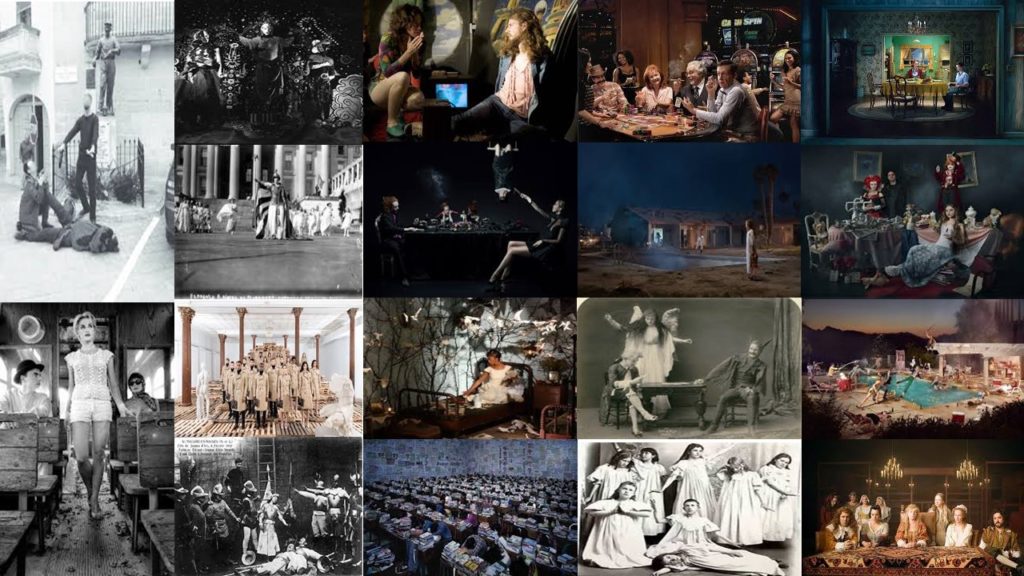
Image we were creating 

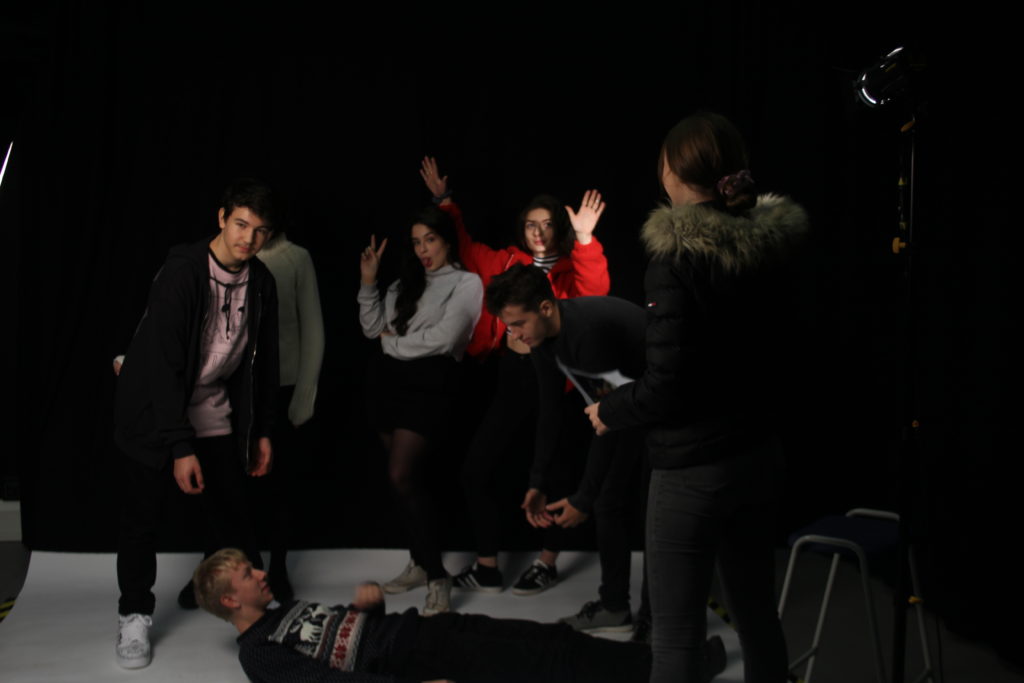
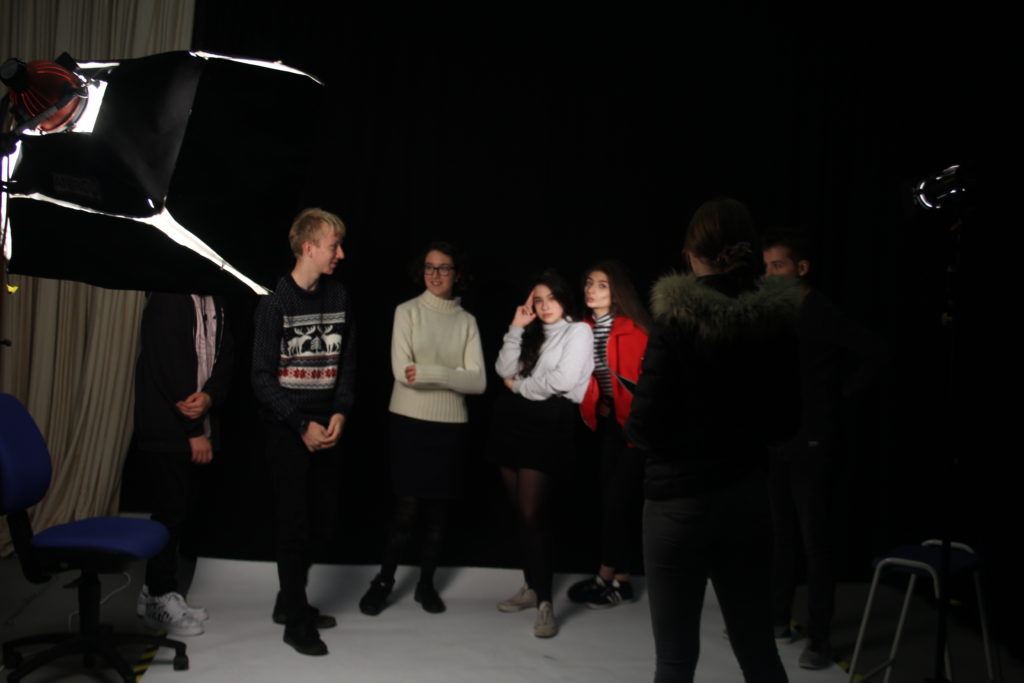
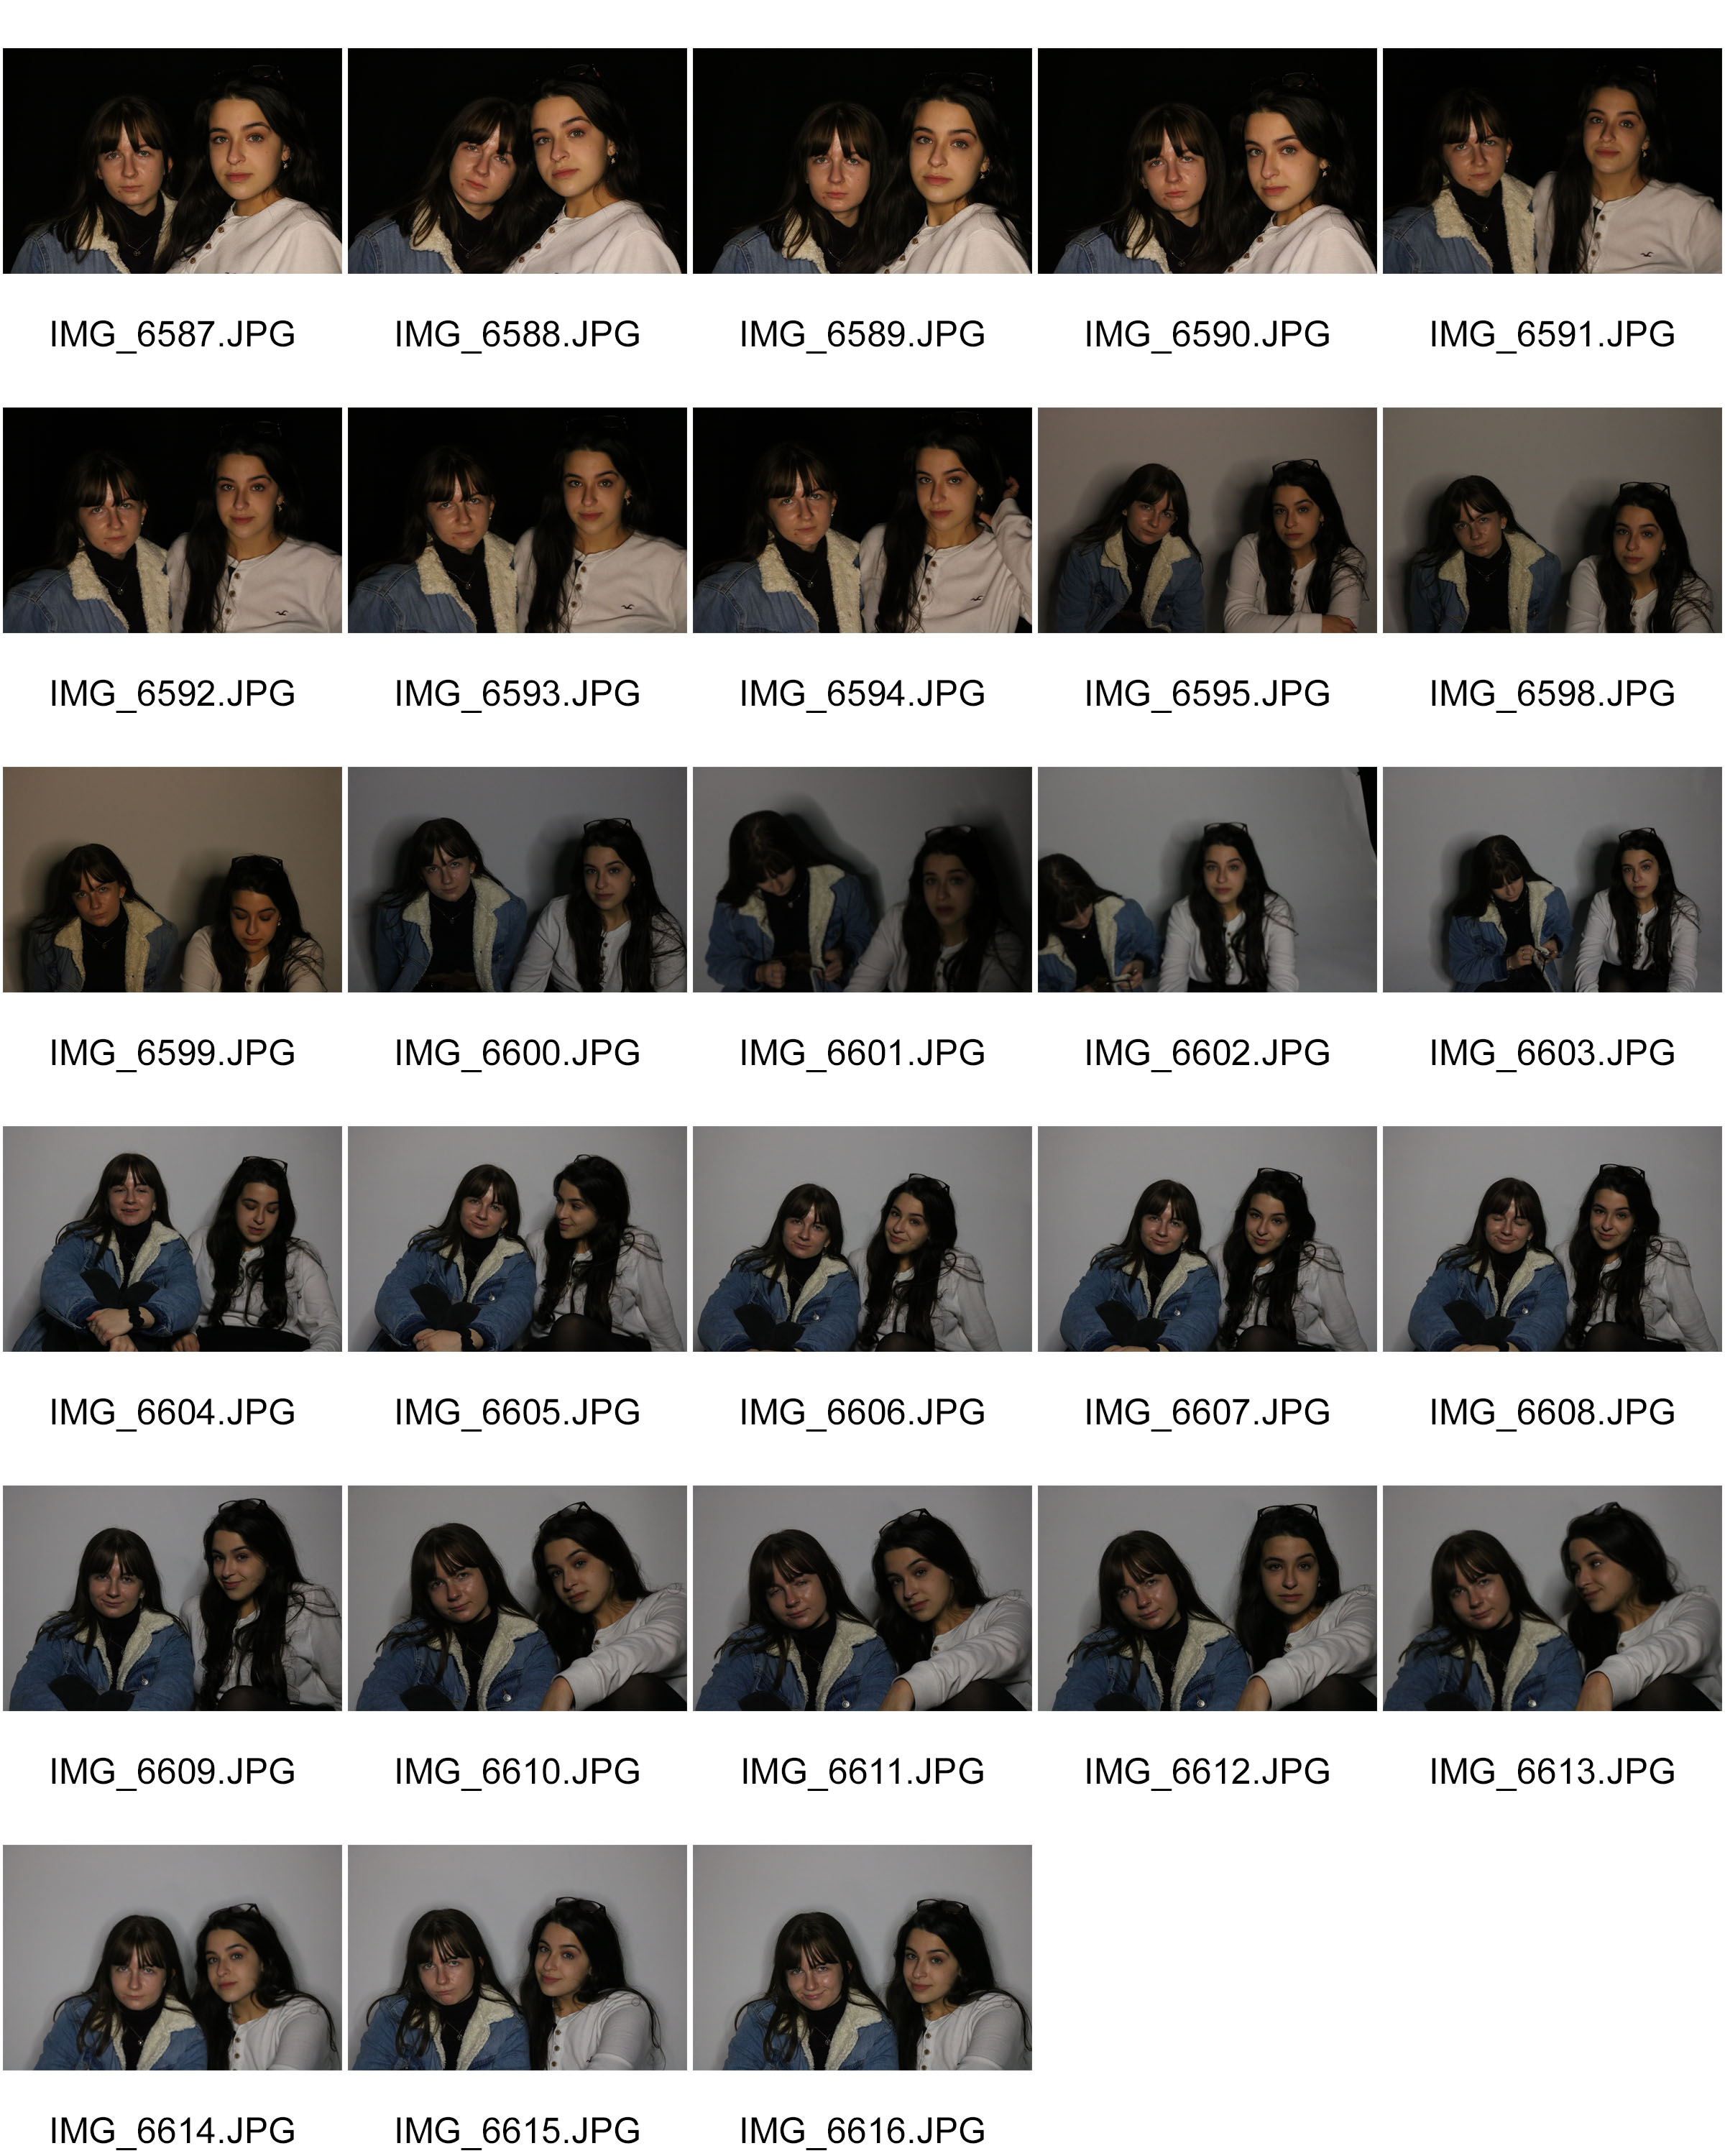
When recreating this image we used a two point lighting technique. A soft box was used on the right hand side of the models which created the main light, and then a spot light was also used to the left hand side of the models. This spot light was used to create a shadowing on the two models on the right hand side of the image below. We also used a plain black background to help the models stand out and relate more to the original image. ( Process images seen above) 

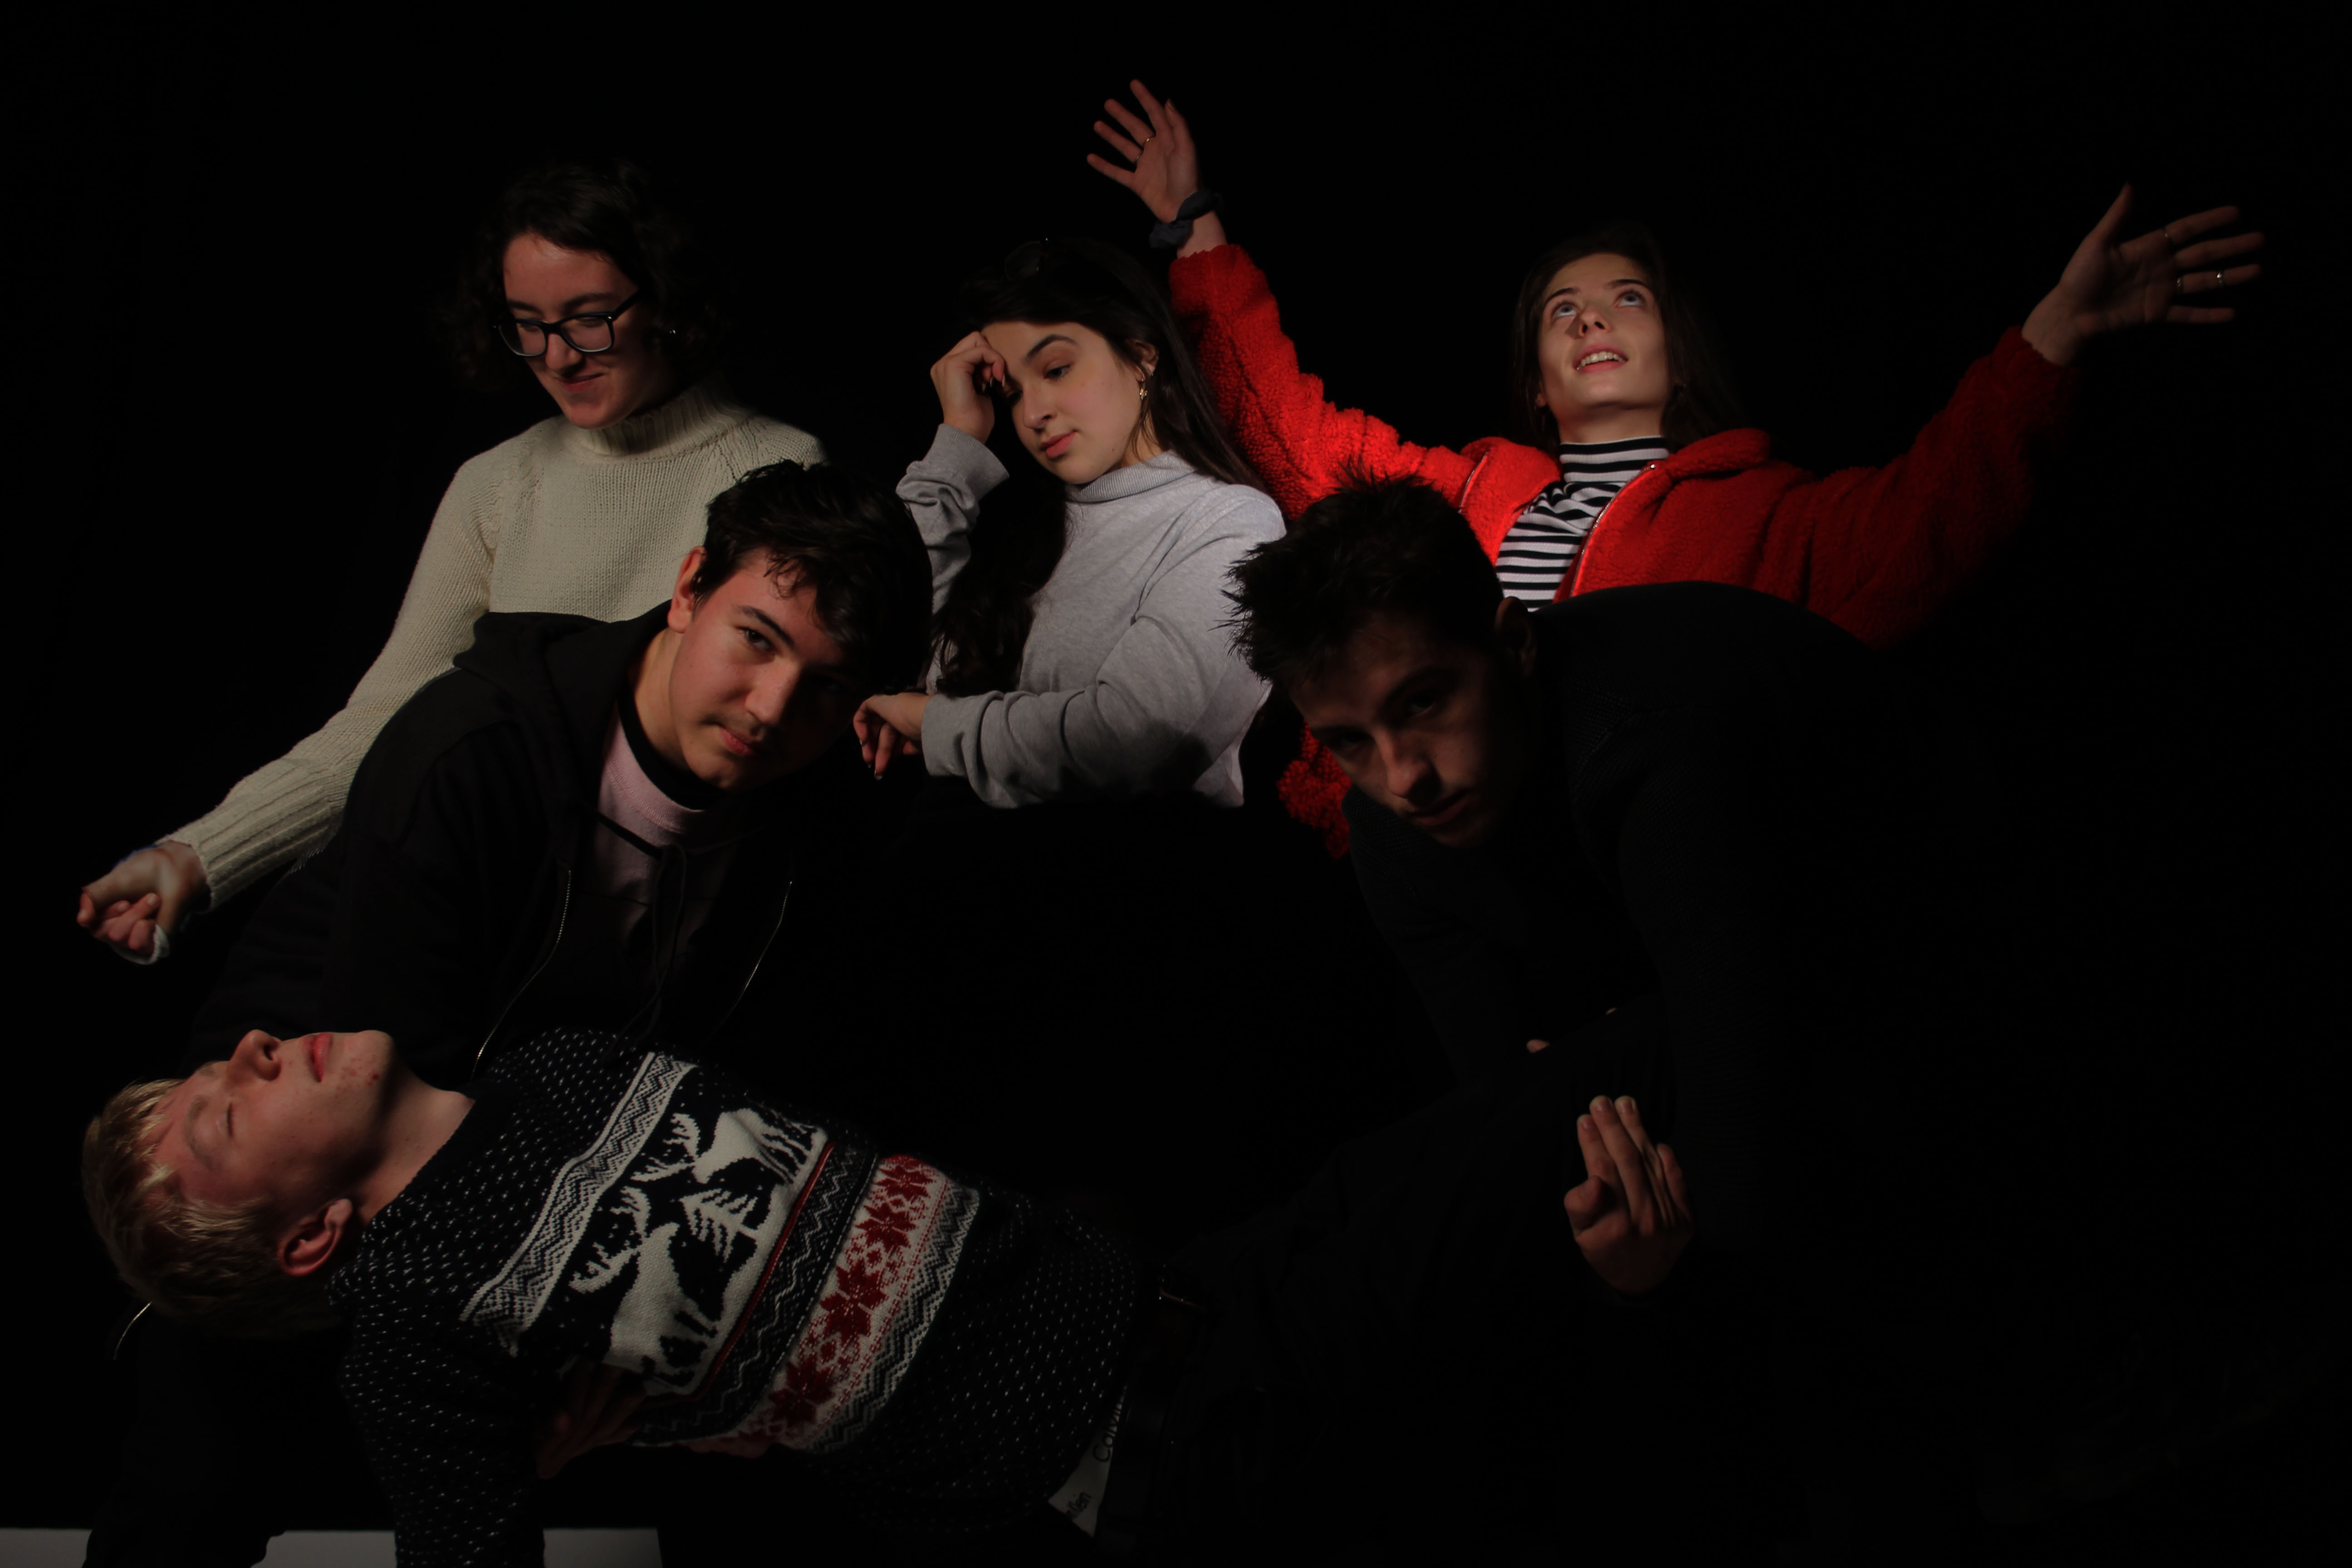
Final image 

I think that this image technically turned out very well due to the correct lighting be used which helped to show contrast in the models and the plain black background which was what we wanted to create when planning this image.

The image is also visually correct as we can see the clear resemblance to the original image.


WEEK 5- TABLEAUX CASE STUDY

Andrew Wyeth

Wyeth was born 1917 and was a visual artist as well as a realist painter who worked predominantly in a regionalist style and was most well known as one of the best US artists of the middle 20th century.

He was home- tutored due to his frail health which he had inherited from his father. Due to his father also being home schooled at a young age, they both lived a sheltered life and one that was ” obsessively focused”. Wyeth has been known to tell people about how he felt as if his father kept him in jail and “he kept me to to himself in my own world”. While being ‘trapped’ at home he read a lot of poetry and appreciated the writings of Robert Frost. His knowledge of poetry and his love for music and movies inspired him and ended up heightening his artistic sensitivity.

At the age of twenty he was noticed for his paintings and made his first one-man exhibition of watercolors at the Macbeth Gallery in New York City. In his paintings he limited color range which made his paintings a lot “drier” and therefore had a different style from his fathers work. The exhibition was sold out. A couple of years after his first exhibition he was known as a classified realist painter (1965) and he thought of himself as an abstractionist.

He worked predominately in a regionalist style, and in his art his favorite subjects were land and people around him.


Analysation picture 

Context 

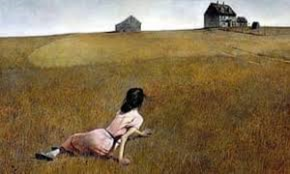
This image called ‘ Christina’s world’ is a 1948 painting, painted by Andrew Wyeth. It is a realist style painting, depicting a woman lying on the ground in a treeless field looking at a barn in the distance. The women in the painting has been known to suffer Charcot- Marie- Tooth disease which inspired Wyeth to take the image of her crawling across the field to the old barn house as it would show desperation.

Emotional response

When first looking at this image i firstly spotted the crawling lady on the bare floor looking away from the camera. This first sight immediately drew me in due to the position the lady is in. The way her arms are placed make it seem as if she crawling towards something, as well as the direction her head is at supporting this as she is looking up towards something in the distance. The location of the place this lady is in adds a sense of loneliness as we can see there is no one around and the barn in the distance also helps to add a sense of hope. We can not see any other buildings around which makes us wonder how long the lady has been walking for which has been done to make us feel sorry for her. The fact that it looks as if she’s crawling also makes us think theirs a chance she could have injured herself, again making us feel sorry for her.

Visual response 

This image is very interesting to the eye due to how simple the picture is. The the plain scenery helps to add to the atmosphere of loneliness and desperation.

The lady is dressed in a plain pale pink dress which has been seen to be a little worn out due to the dirt under her skirt, suggesting that she has pulled herself across the muddy floor.

Technical response

When looking at the image, i see that there is texture shown due to the bare ground being painted different colors adding layers to the image. This texture is showing that this floor has not been used in a while, adding to the loneliness. There is a full depth of field used in this image which means we can see the whole image and take in all the surroundings.

Conceptual response

This image is very up to debate..


BEST OVERALL PORTRAITS FOR DIFFERENT LIGHTING TECHNIQUES

Overall best images for lighting techniques

Now that i have experimented with using different lighting i have chosen my best out of each of my photo shoots.

Ring light

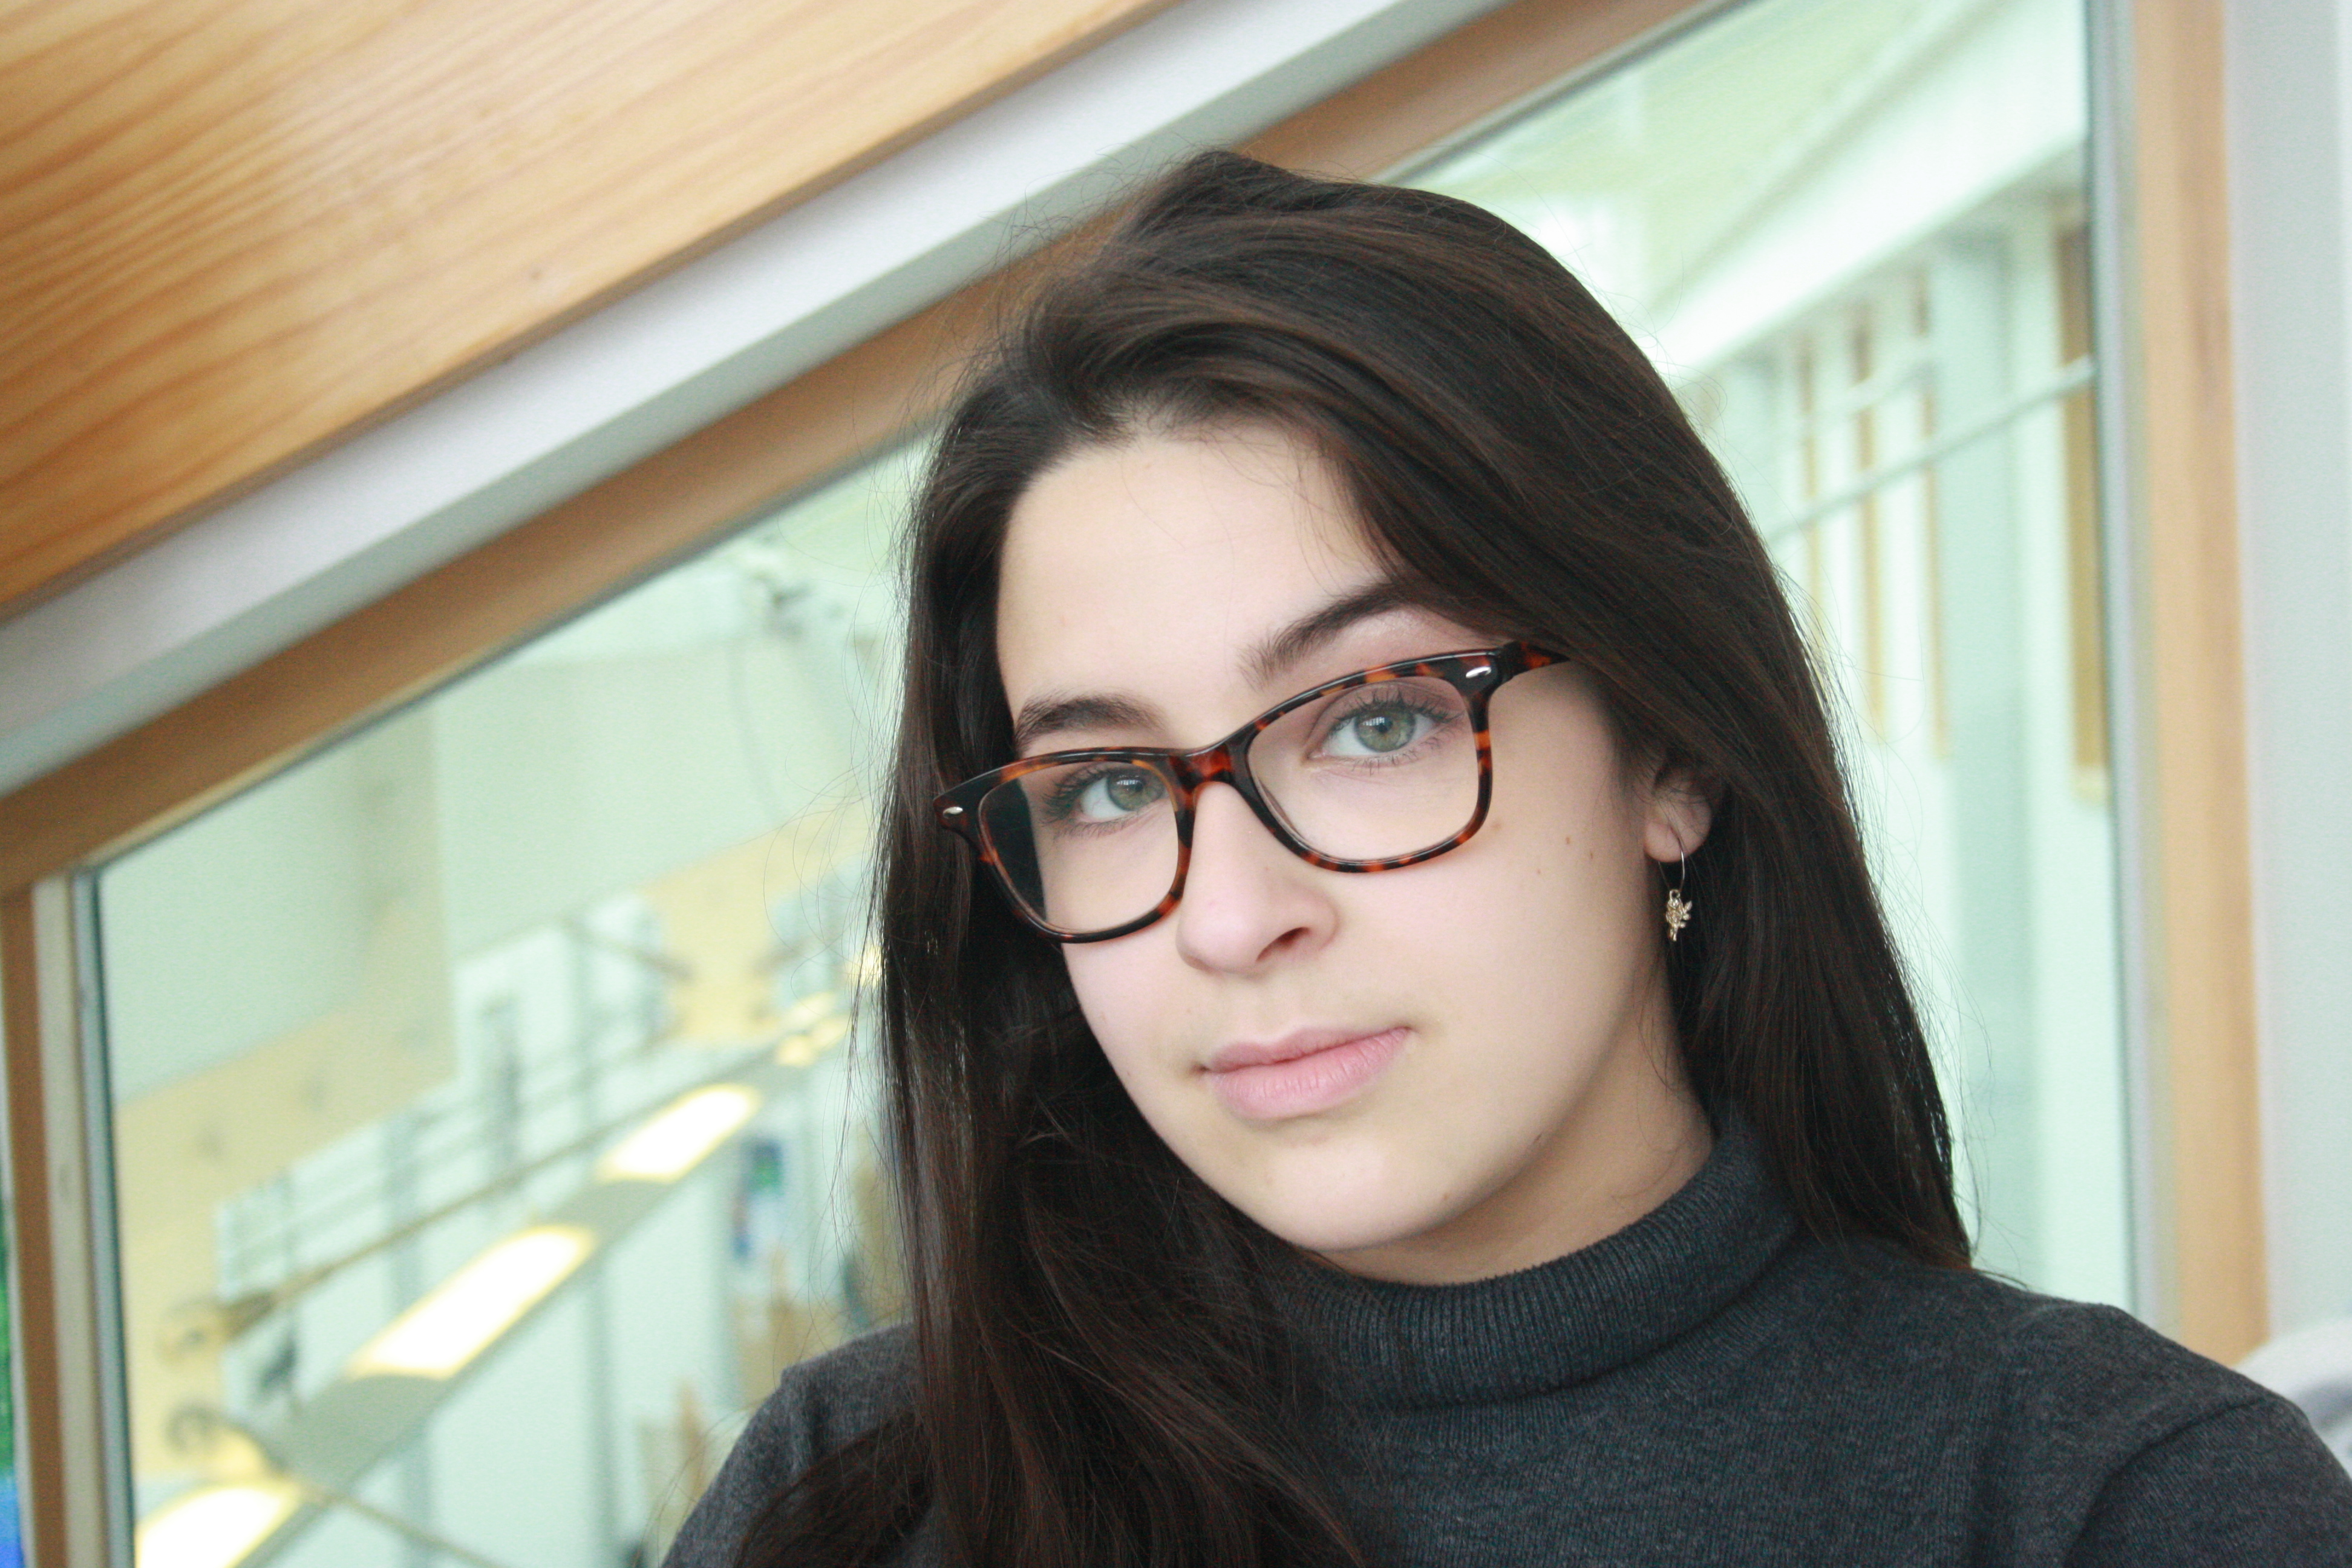
This shows the clear use of the ring light as we can see the ring in the models eyes.

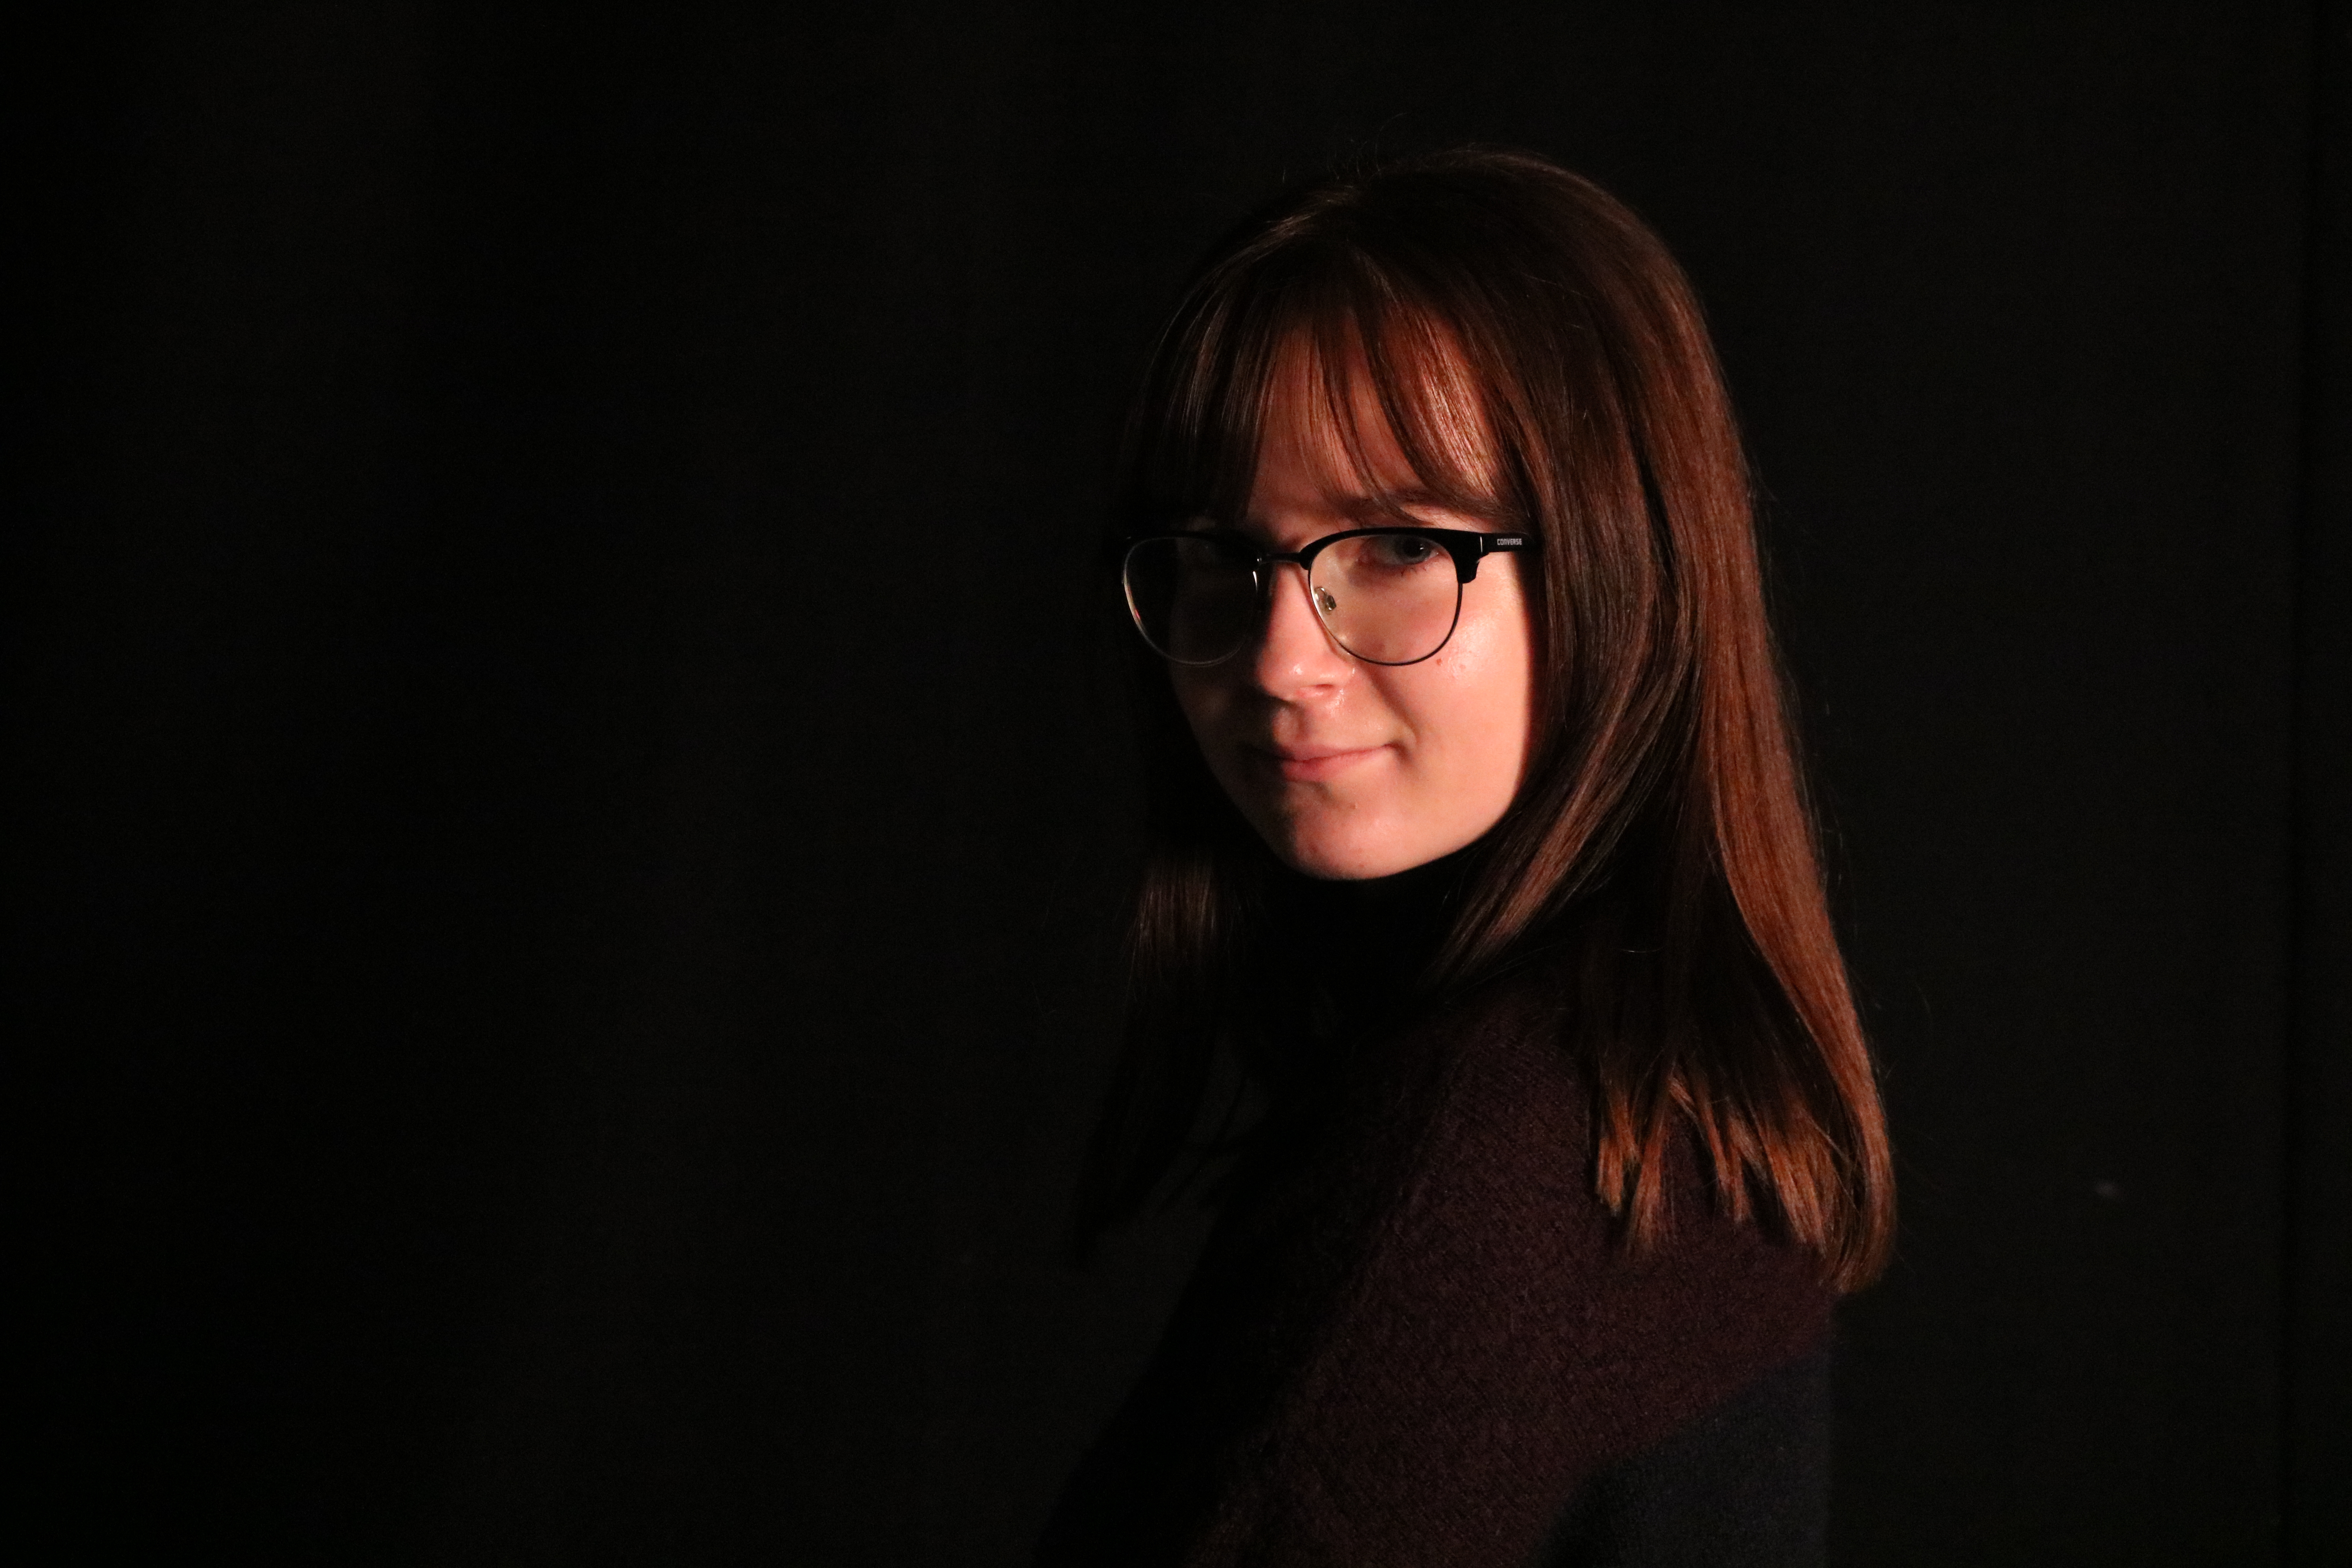
Chiaroscuro 

This clearly shows the chiaroscuro technique due to the shadowing on the right hand side of the models face.

Natural lighting

The natural light is evenly proportioned on the models face by using a reflector.

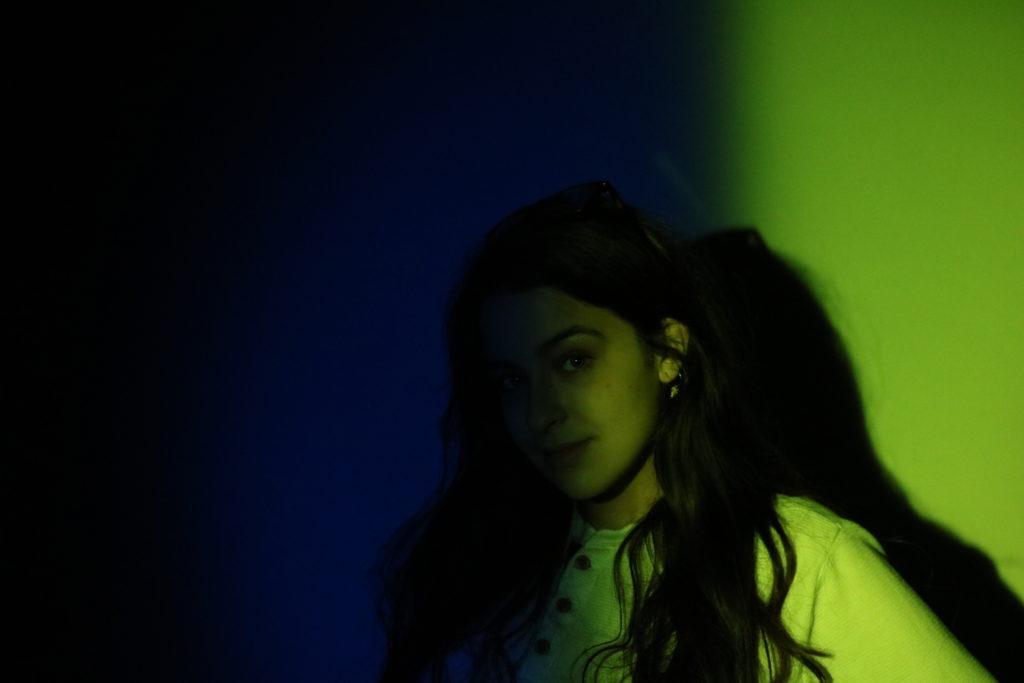
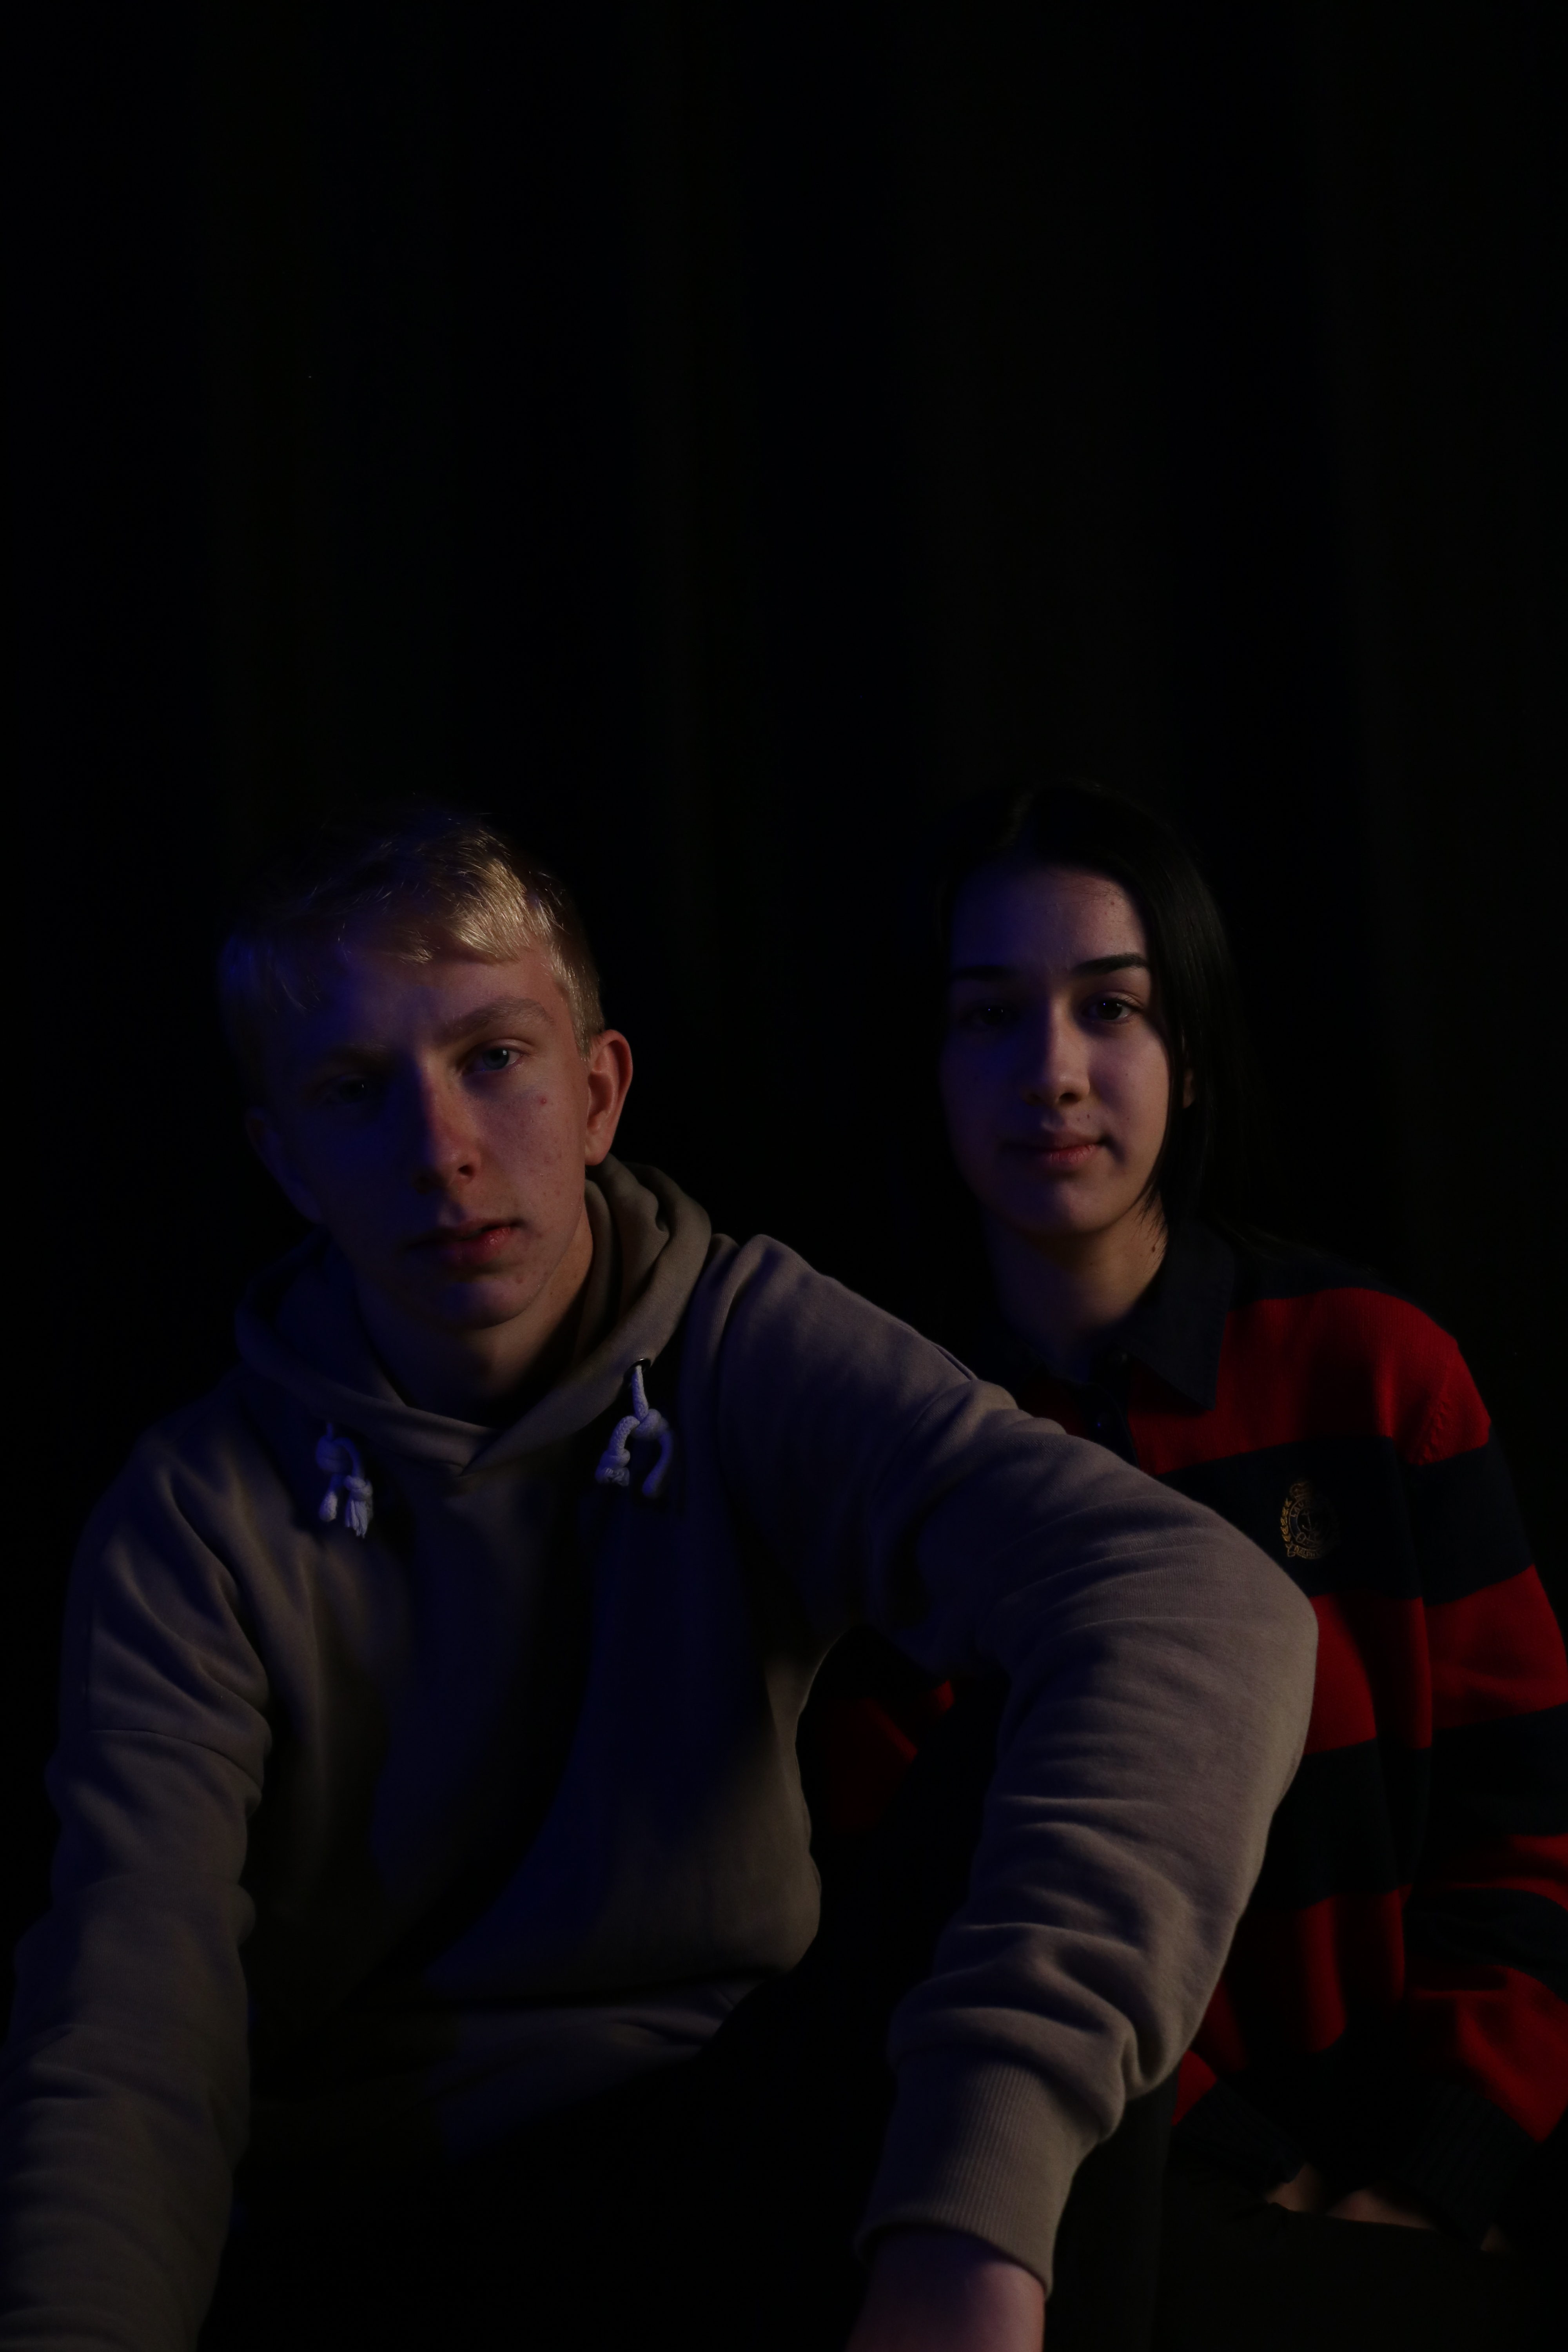
Using effects

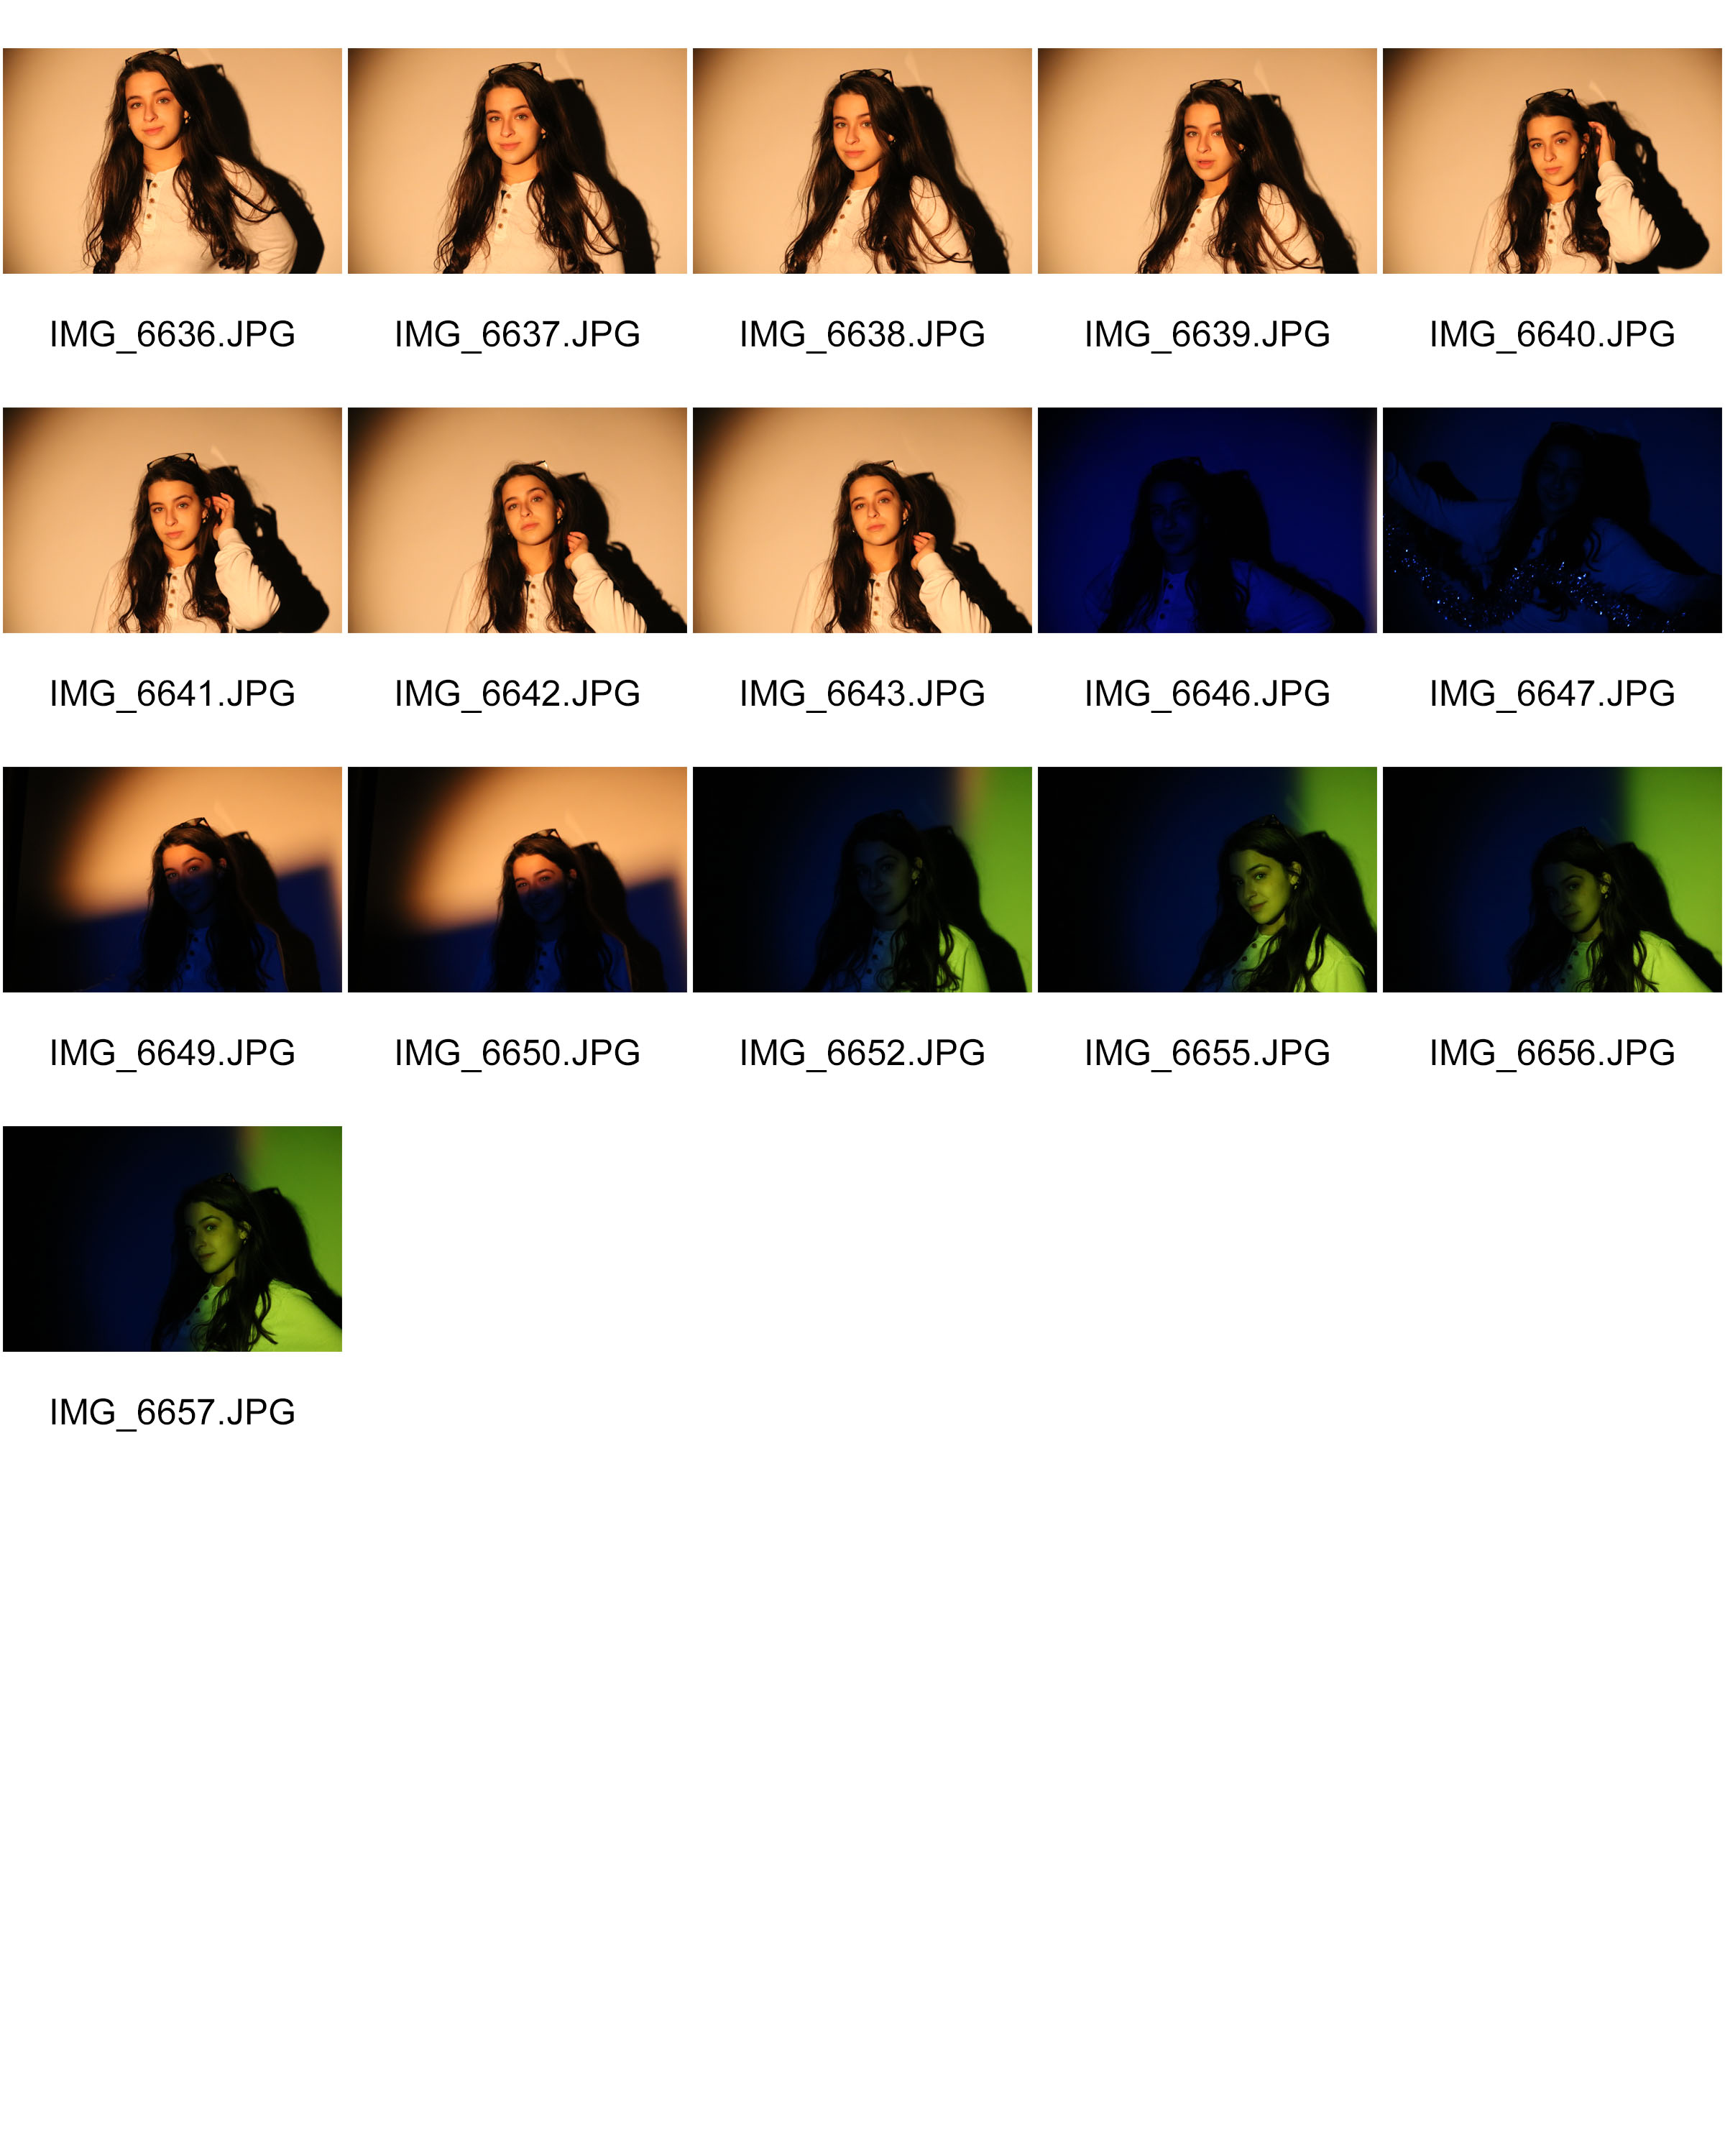
Using the colored transparent paper allowed for the colors to be printed onto the model.

Flash

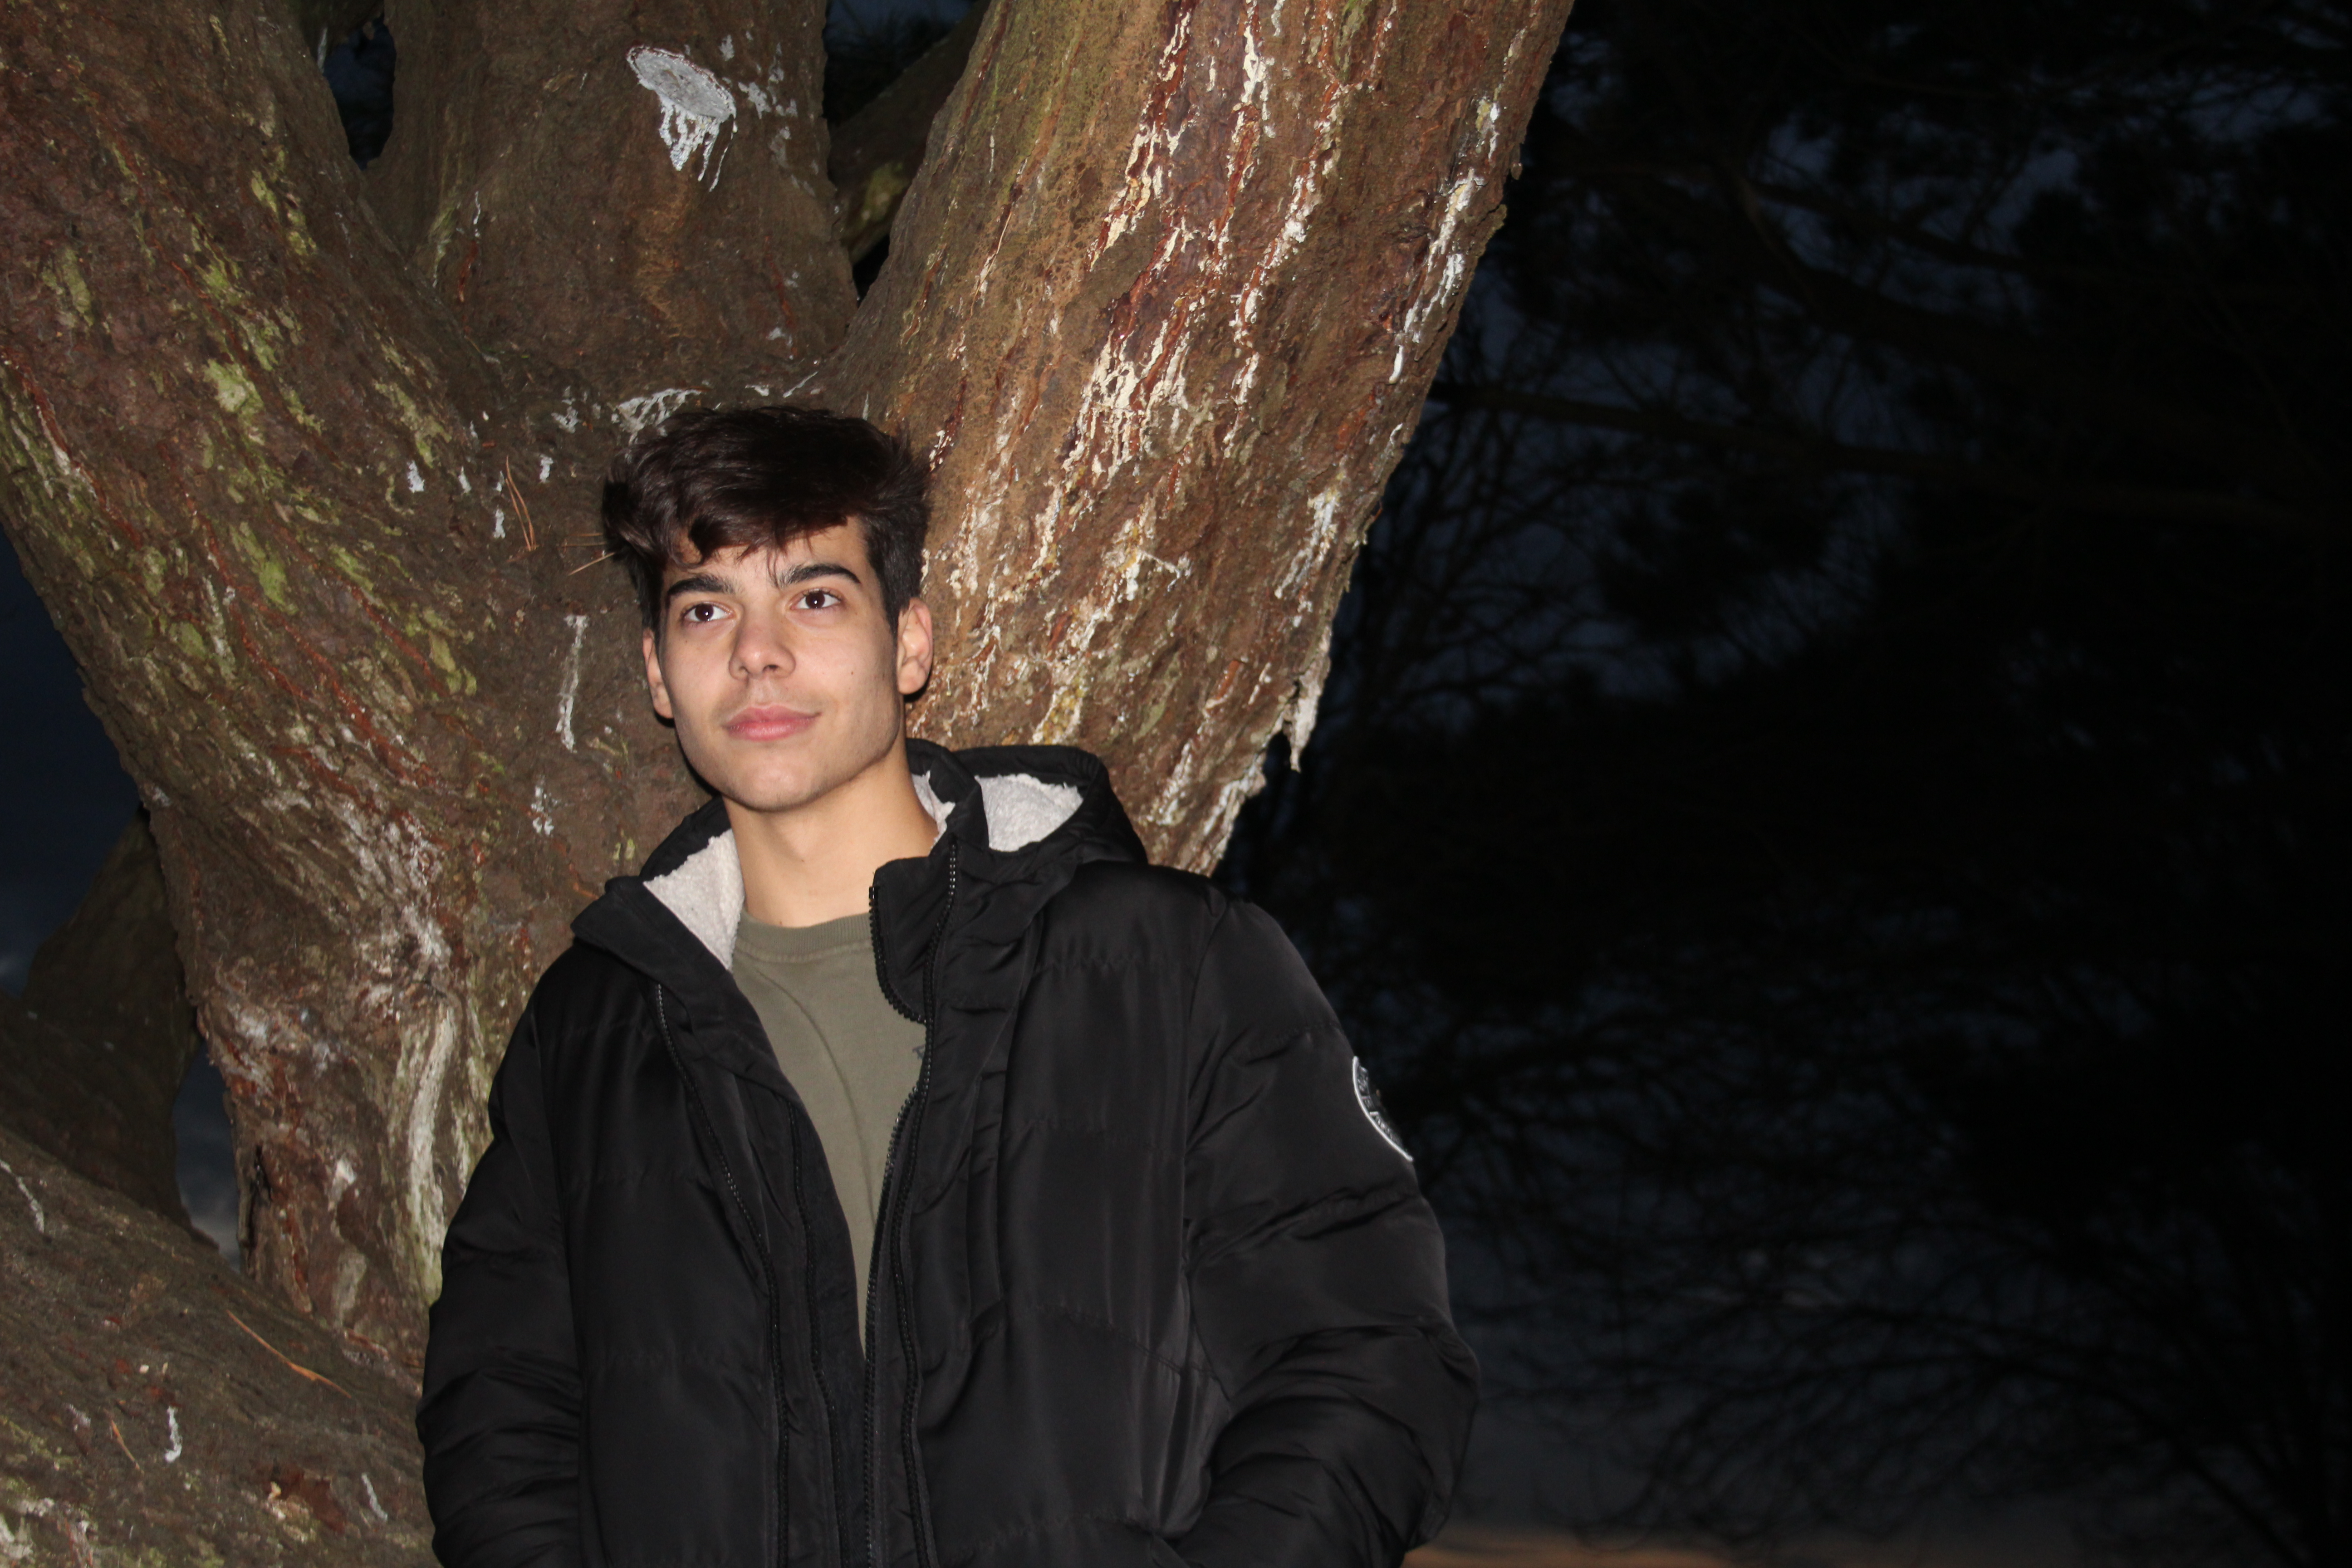
The flash allowed for the models and the tree to be lit up while keeping the background dark.

WEEK 3- STREET PHOTOGRAPHY

Street Photography 

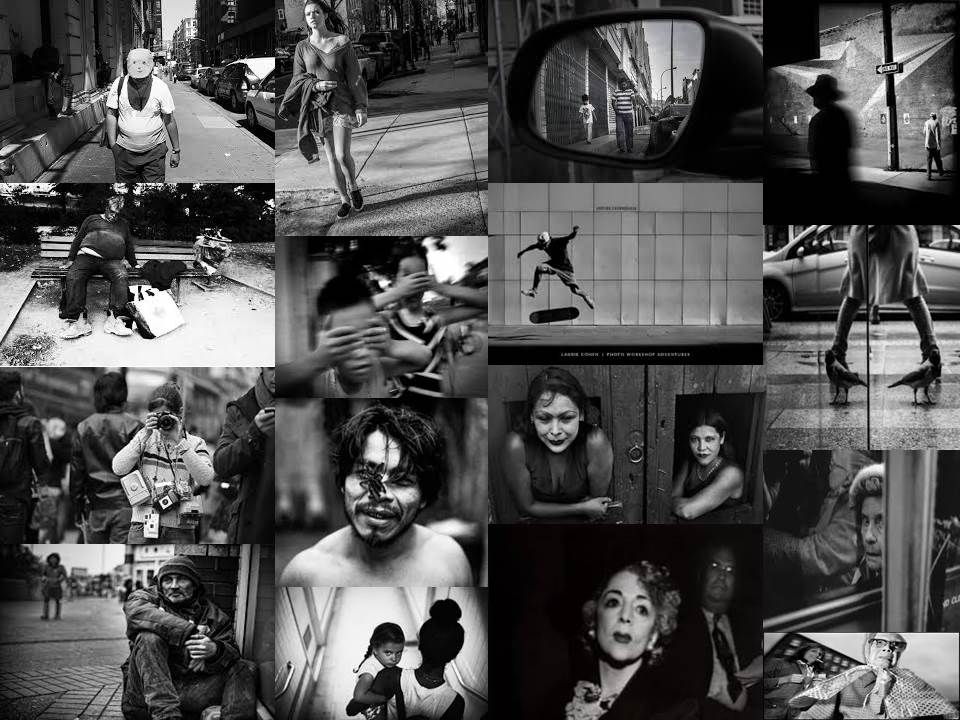
Street photography is photography conducted for art or enquiry that features unmediated chance encounters and random incidents within public places. Most street photography does not necessitate the presence of a street or even the urban environment. Though people usually feature directly, street photography might be absent of people and can be an object of environment where the image projects a decidedly human character.

MOOD BOARD..

Henri Cartier-Bresson

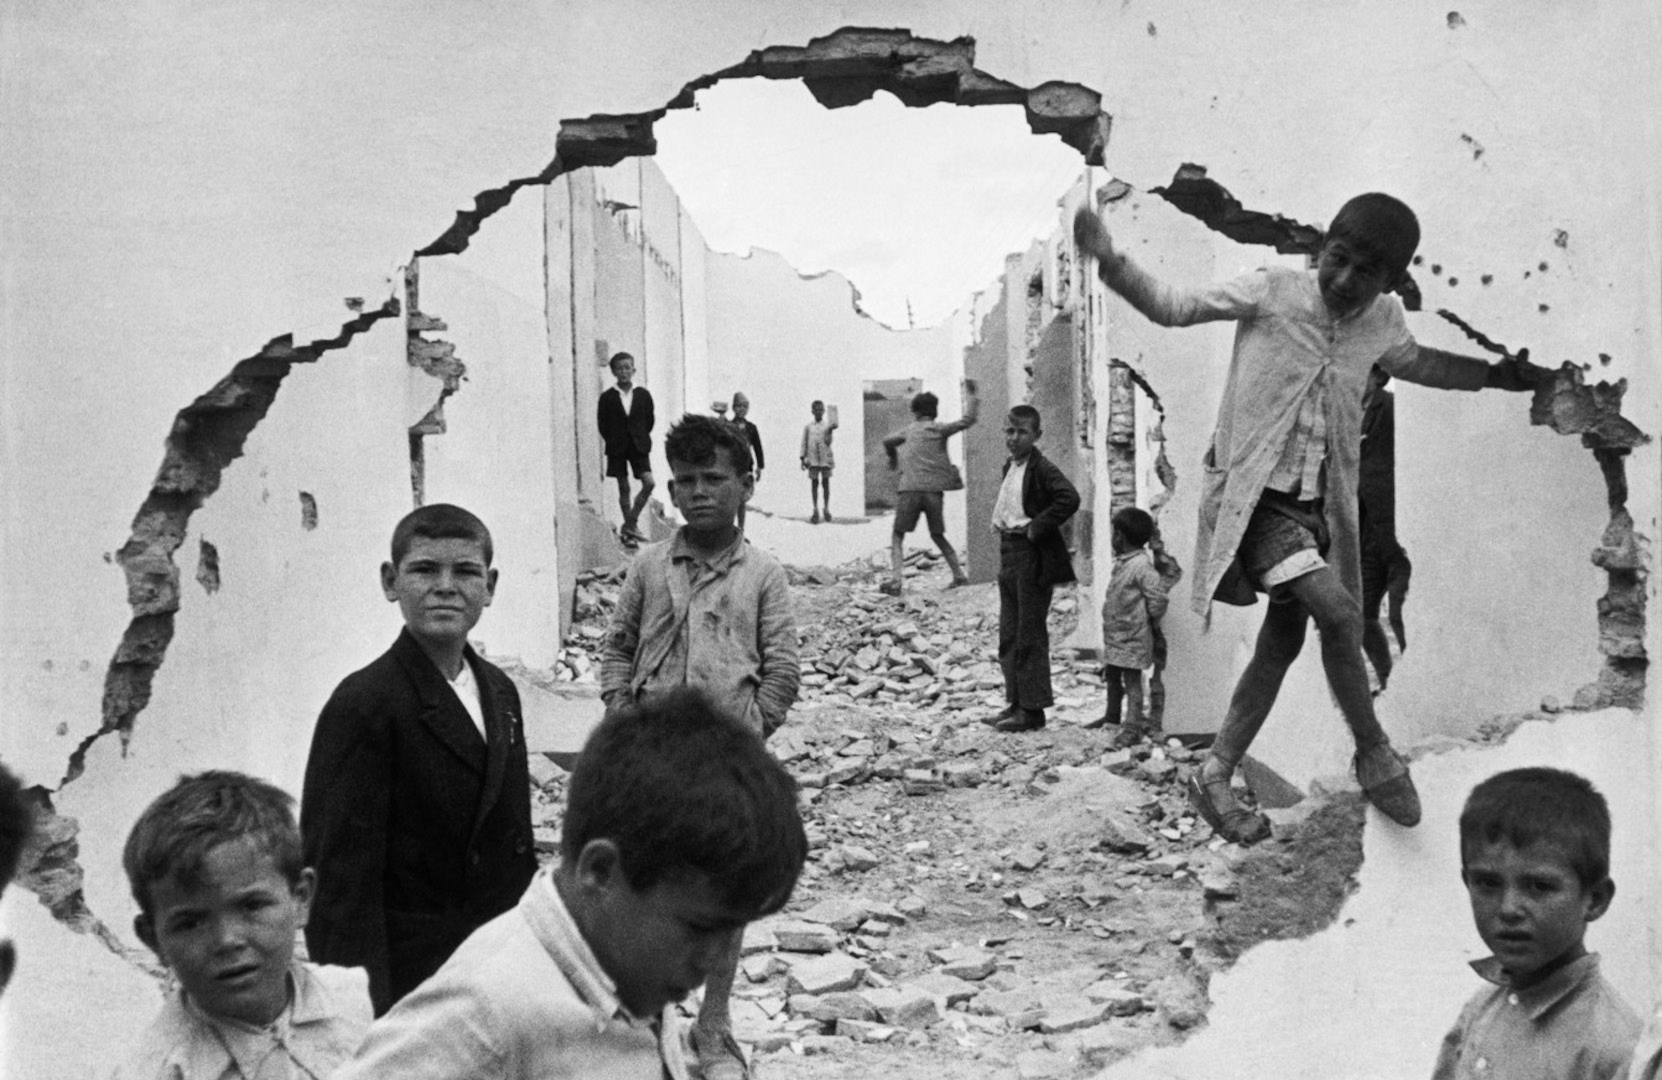
Bresson was a French photographer, who thought of photography as a way of capturing a decisive moment. Bresson’s passion of photography came at an early age when he used to capture moments of his family holidays. Due to this small hobby developing he has made it into a career and has also made a large contribution towards photography.

Emotional response 

The children in this image draw us in a cause us to develop an emotional attachment to them due to it looking like their homes have been destroyed because of the wreckage behind them. The facial expressions on the children also draw us in due to there expressions not being happy which leads us to wonder what else is wrong and realise that something isn’t right.

Technical response 

This edited black and white image shows the destruction in the image in more detail (eg. the detail of the hole in the wall), as well as the children’s moody faces. The hole in the wall sort of acts like a frame and is a large subject of the image. The children being outside this wall as well as in it ( the boy on the right hand side) suggests that they don’t have much to play with which is shown by the boy of the right hand side smiling while climbing the unsafe wall. The formal elements of this image is shown through the use of the children in the location. The whole pictures is in focus, however the background is slightly less out of focus which gives the image a large depth of field. There was a quick shutter speed used due to the non existent blurring, as well as the image being taken in natural lighting in the children’s natural environment.

Conceptual Response

Not looking at the context before hand- I think that this image was taken to show children who have to live in poverty due to countries being at war. And the hold in the wall acts as the subject matter of the image as the hole shows how war has effected the children.

Contextual Response

This image was taken in 1933 right before the Spanish civil war which is sad due to the children playing in the last wars wreckage and now they will have to experience another war.

Planning my photo shoot 

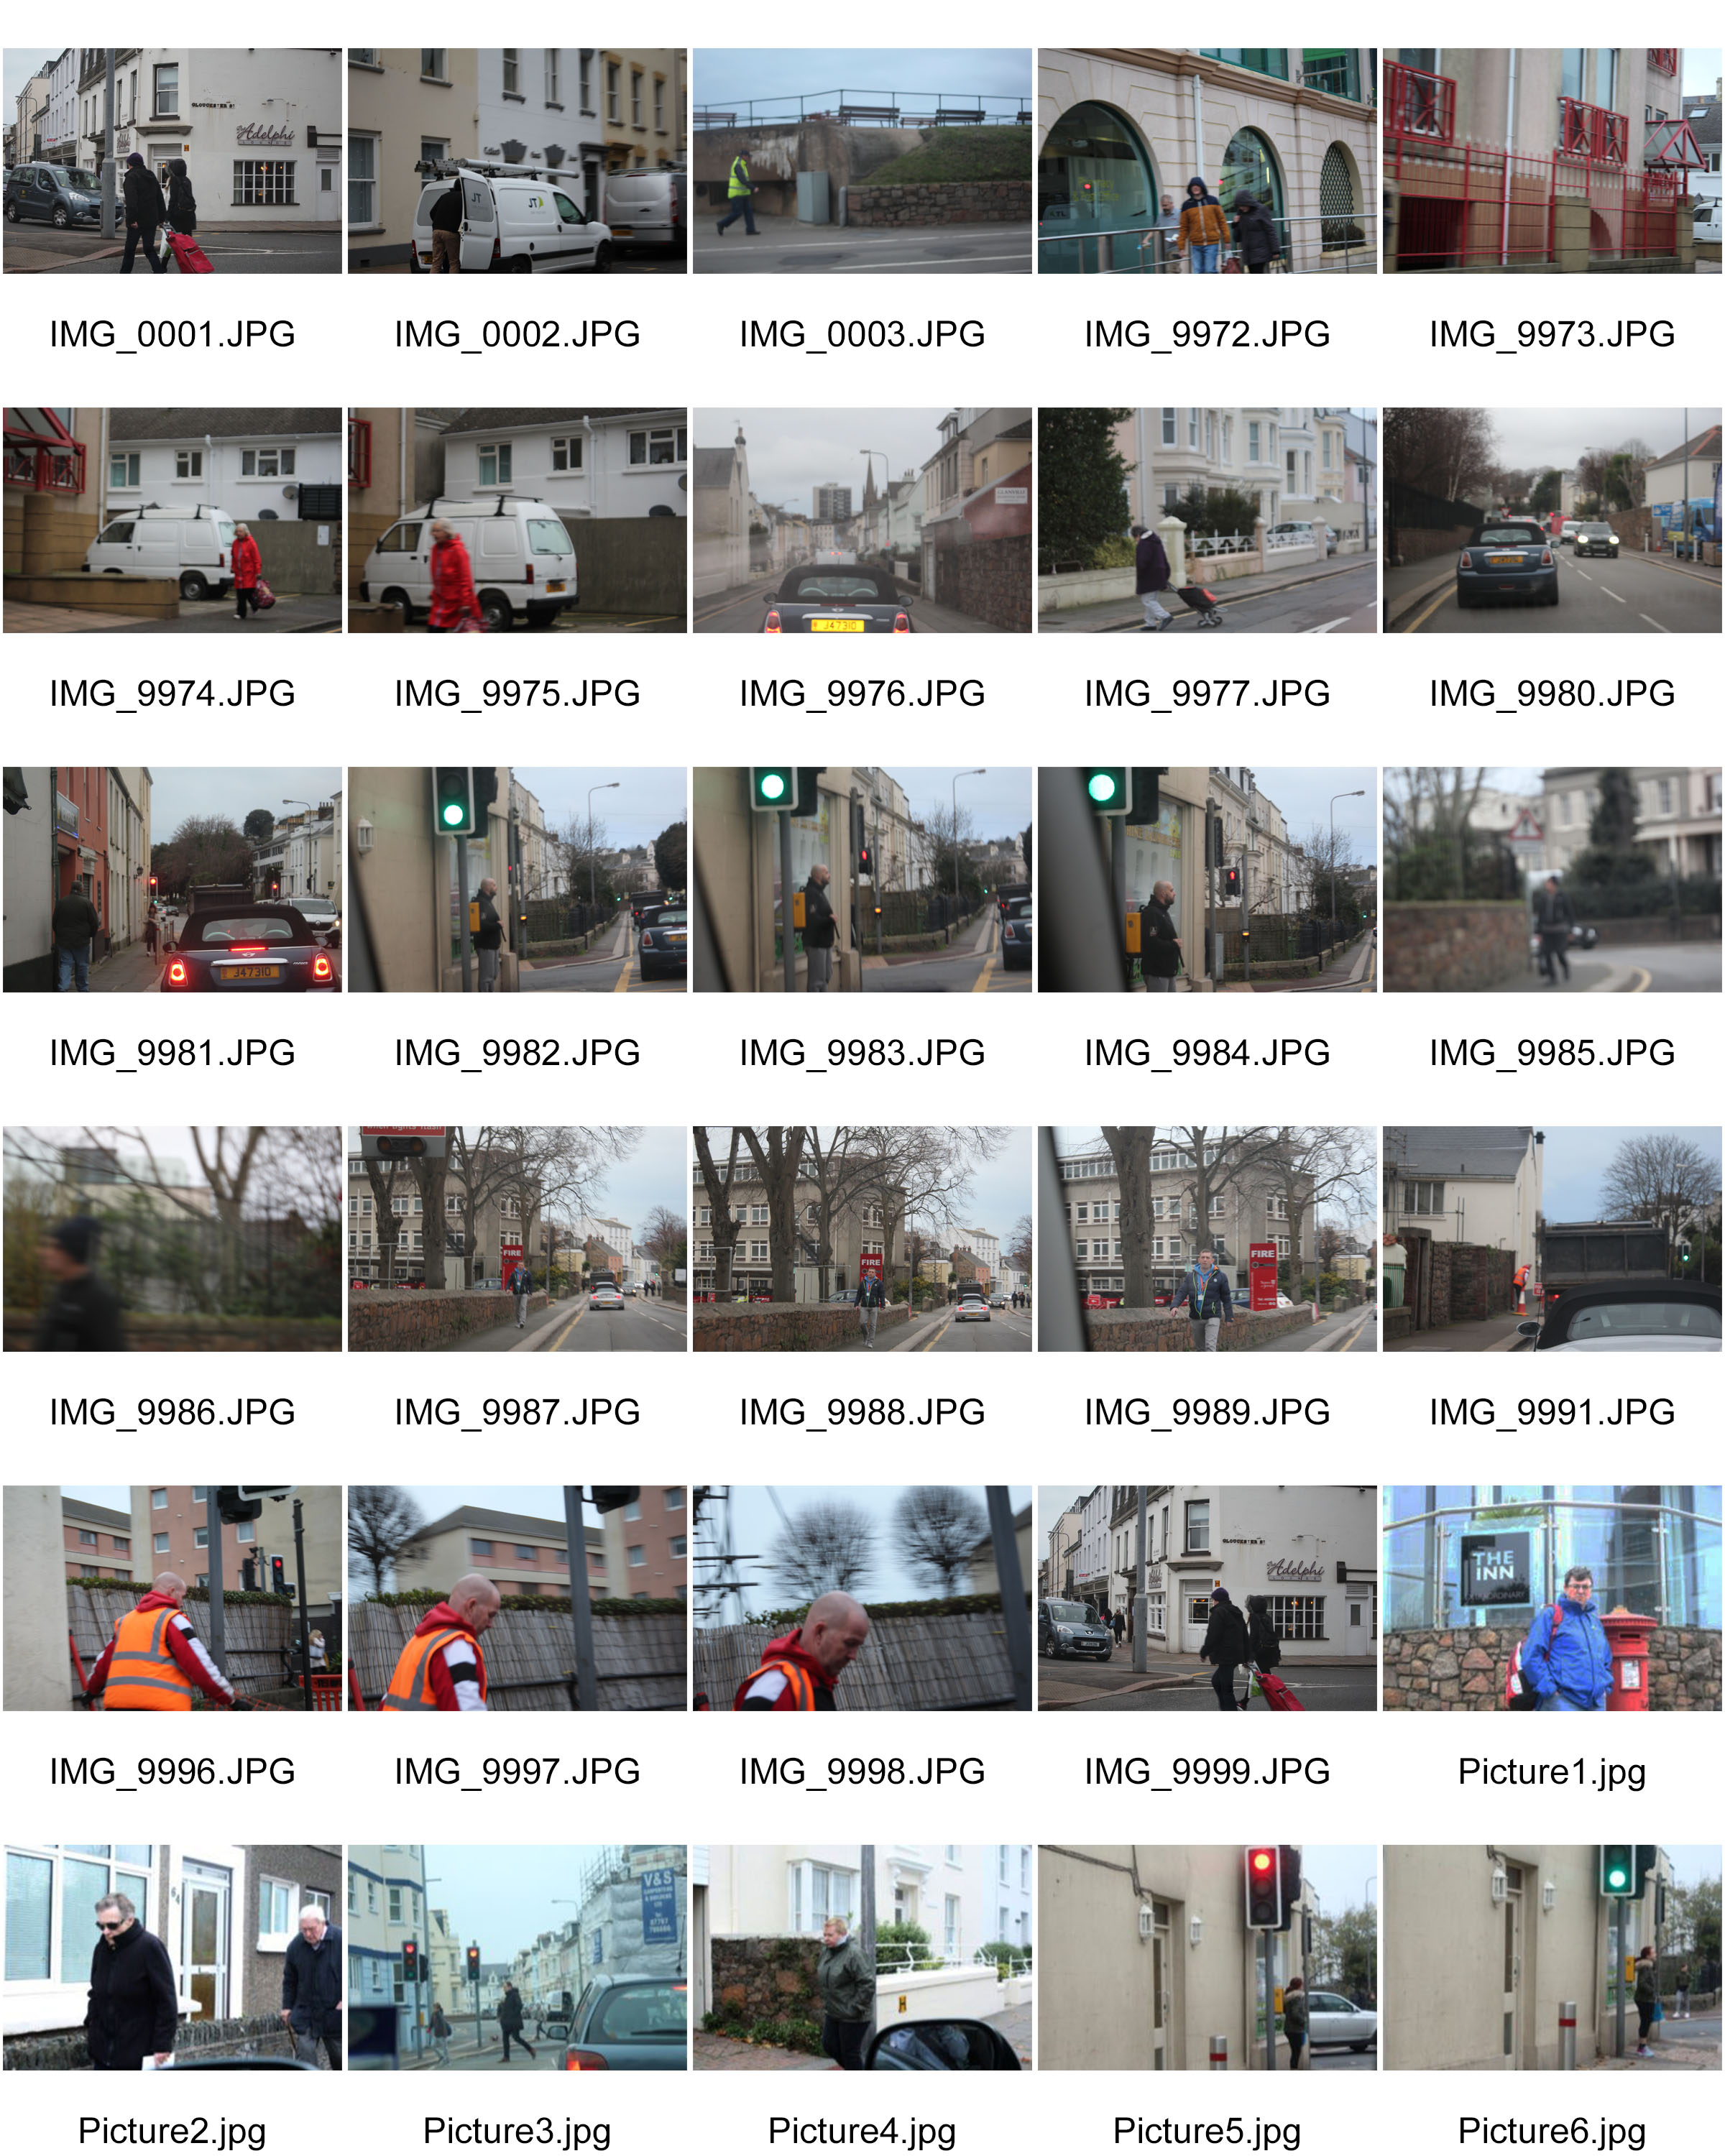
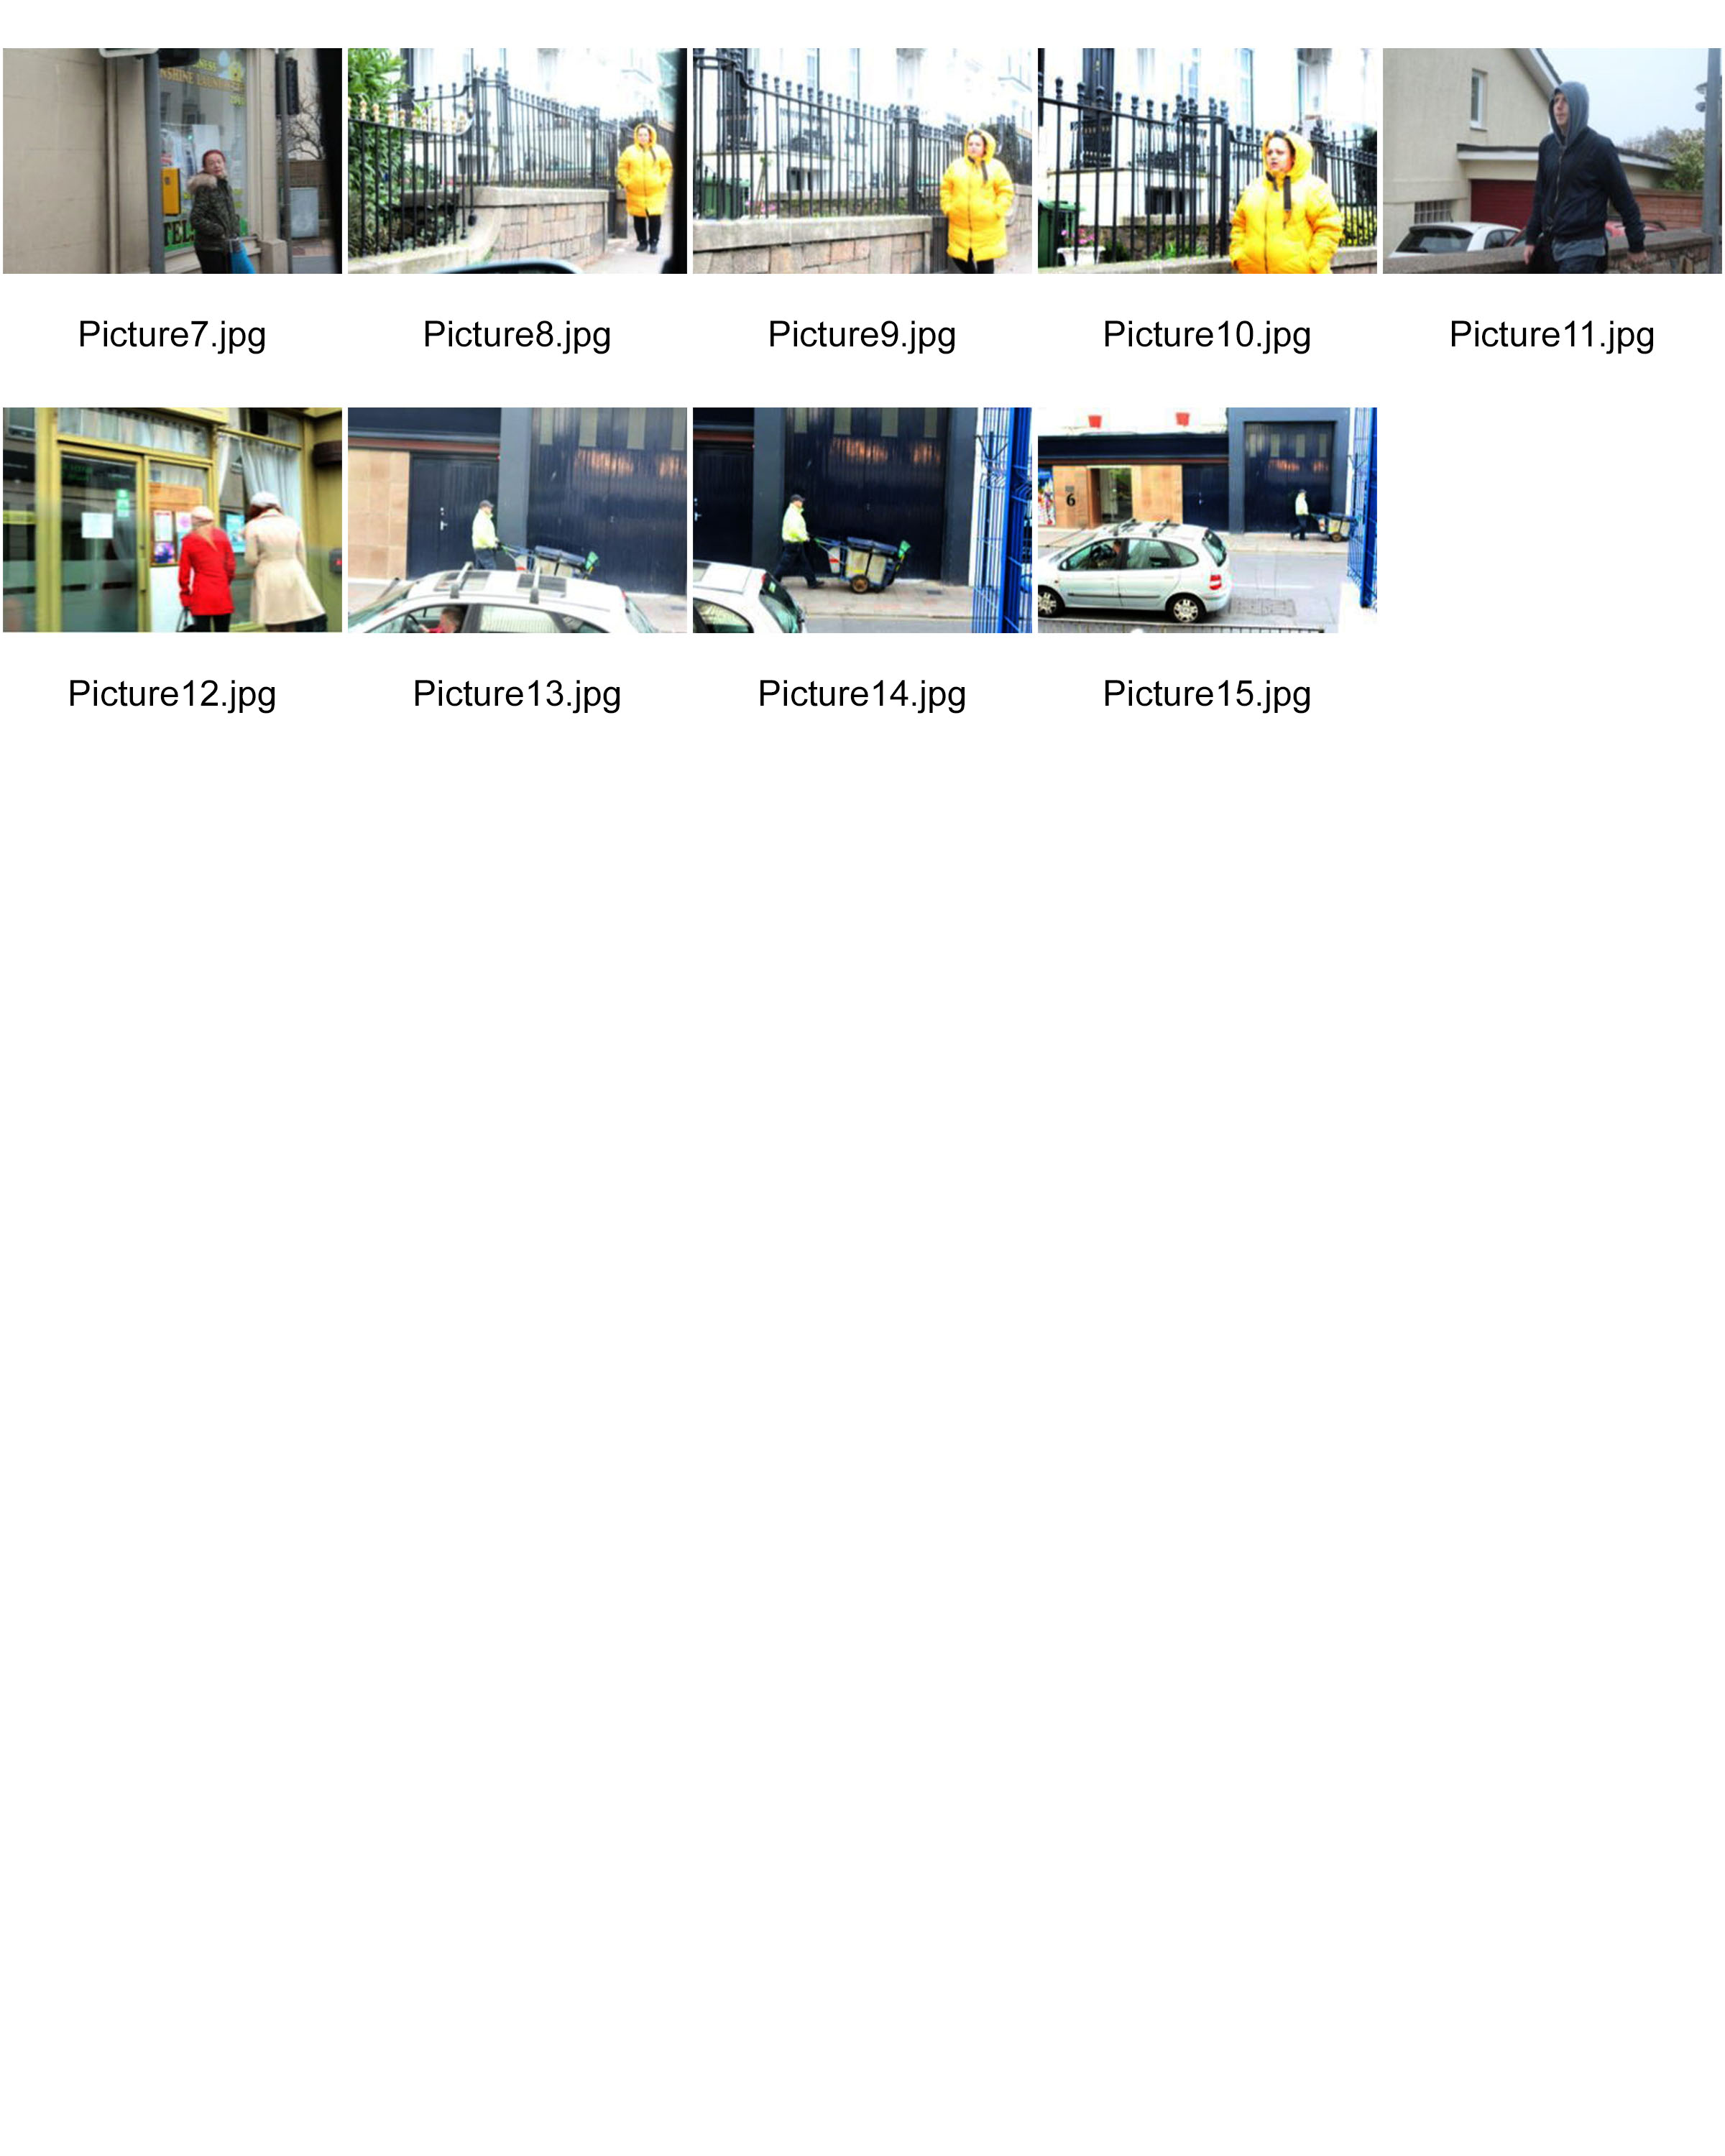
I will be capturing my ‘ Street Photography’ images in town during the late afternoon. I will be walking around looking for interesting characteristics. The lighting will be natural and i will keep my camera setting on a manual focus due to wanting to have a quick shutter speed so i can take many images. I plan to be very discrete so i can capture people unaware and just doing the tasks they would normally carry out. I will also do this same plan in the passenger seat of a car.

Contact sheets

Best outcomes

Technical analysis 

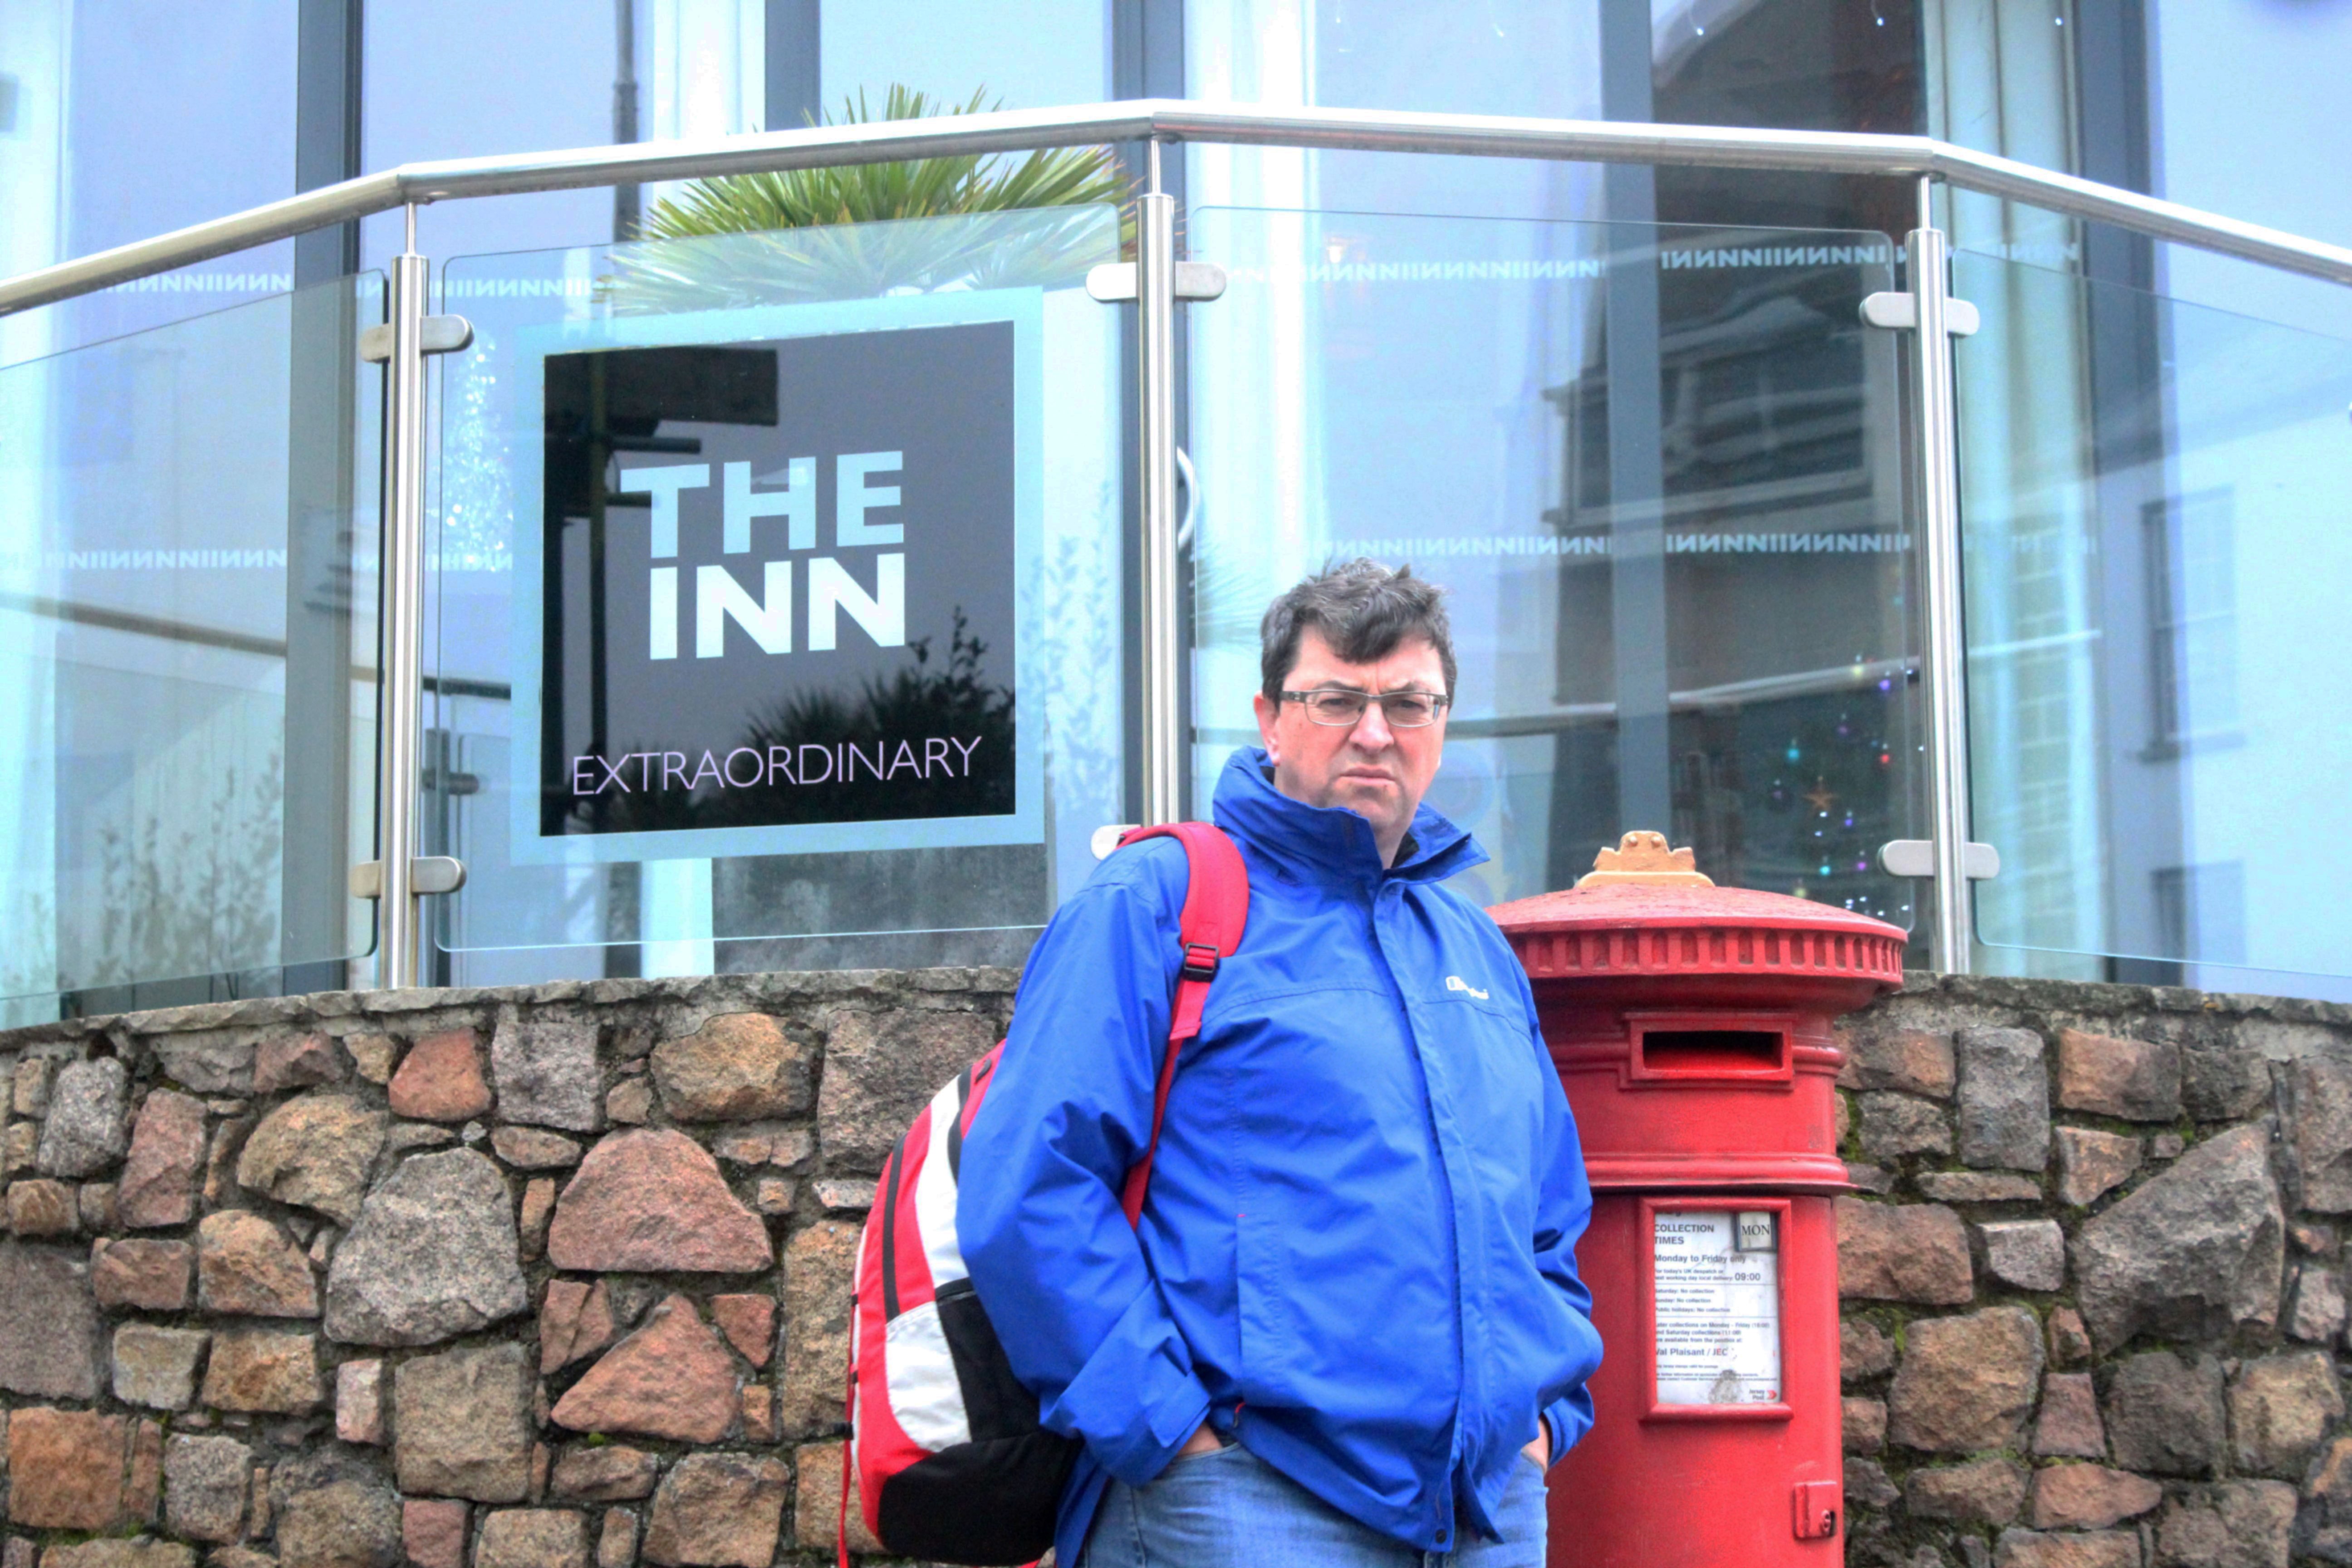
In this street photography experiment, i used a  Canon EOS 1300 D and the image was taken in Manual Focus. Using Manual focus allowed me to change the white balance to cloudy as this image was taken in natural light, as well as being able to change the shutter speed to 1/250 and experiment with the zoom lens.

Visual analysis

Visually we can see that the man seems to be waiting for something as he has his hands in his pockets. He also seems a little annoyed that he see’s a camera pointing at him which we can tell by his frowned face.


WEEK 4- EXPERIMENTING WITH STUDIO LIGHTING

Experimenting with different lighting 

I carried out a photo shoot, dedicated to different lighting techniques which were explained in my previous blog post.

The lighting techniques i carried out in this photo shoot were..

  • One point lighting
  • Two point lighting
  • Three point lighting
  • Ring lighting


Plan

When carrying out this shoot, i decided that i wanted to explore different angles with all the lighting techniques i was going to explore.

One point lighting- When exploring one point lighting i wanted to angle the one light used correctly on the models face so that there was a slight chiaroscuro effect created. I aim to have the model use different head angles during this shoot.

Two point lighting- When carrying out the two point lighting shoot, i plan to have one of each light slighting in front/ to the side of the model in order for the image to have an even lighting on the skin. I will have the model looking directly to the camera.

Three point lighting- When conducting the three point lighting shoot, i will have a light directly in front of the model, and one either side of the model being slighting in front of her. This will provide enough lighting so that the model is fully lighten.

Ring light- When using the ring light for a shoot i plan to have it directly in front of the model in order to create a slight shadowing behind her on the plain white background.

Contact sheets

One point lighting 


Two point lighting


Three point lighting


Ring light 

Best outcomes

Analyzing and editing

Technical 

For this image i used a shutter speed of 1/60 seconds and the ISO was at 6400. These two setting helped me get the perfectly exposed image. In this image i used one lighting source which was a soft box and this was places on the left hand side of the model in order to create a soft shadowing on one side on the face.

Visual 

I think this image is a visually good image. I like the way that the model is a little of center and that there are no unnecessary background props. Due to my aim being to capture the shadowing on one side of the models face, i used a plain black backdrop so that the shadowing blended in with the background.


Technical 

For this image i used a shutter speed of 1/60 seconds and the ISO was at 6400.  Using these setting helped to get the picture perfectly exposed. In this image i used one lighting source which was a ring light which was placed directly in front of the models face. I also used a plain white background in order to create a shadowing from the model behind.

Visual 

I think this image is visually good as i really like the position that the model is in, as well as her being directly in the middle of the image. Due to my aim being to create a slight shadowing behind the model, i used a plain white background in order to create this.


WEEK 3- STUDIO PHOTOGRAPHY

Studio lighting

What is studio lighting?

Using artificial lighting can create very unique photographs. The light also allows you to experiment with..

  • Size and shape of light
  • Distance from subject ( creating hard/ soft light)
  • Angles and direction
  • Filtered light
  • Reflectors and diffuses
  • Key lighting, full lighting, back lighting, 3 point lighting
  • Soft- boxes, umbrella lights, spot lights and floodlights
  • Chiaroscuro and Rembrandt lighting

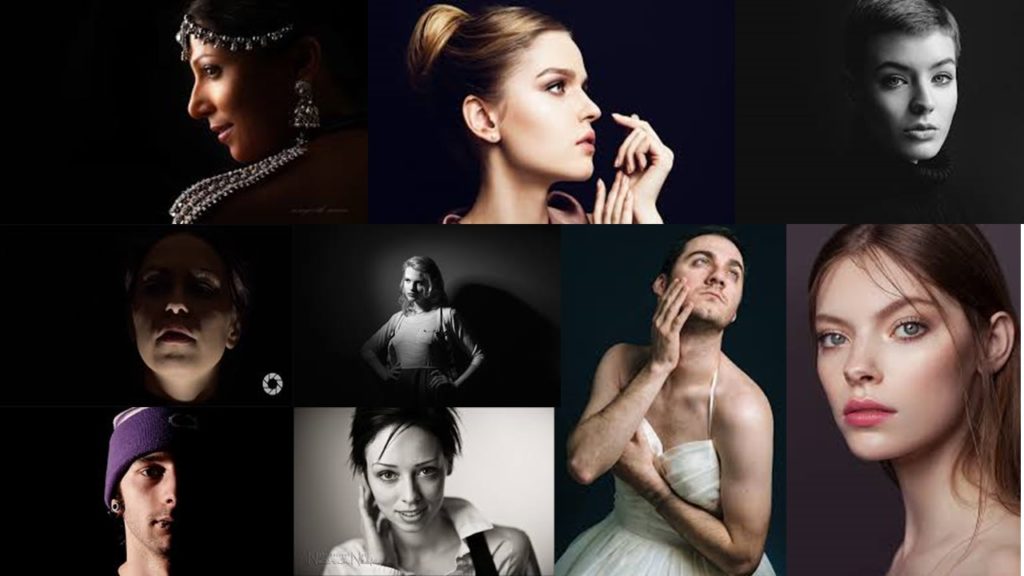
Example of studio lighting..

not my images

Why studio lighting is used 

By using studio lighting we are able to have full control with the lighting unlike you would with natural lighting which ensures were going to get a better final outcome.When doing studio photography the artificial lighting that is used is very important. Using artificial lighting allows the focal point of the image to be a lot clearer. It is also very important due to it adding temperature to the photo making the image seem more cheerful/ sad depending on the type of temperature used. During studio photography there are four different types of lighting which are used, as well as three ways these lighting can be used.

Types of studio lighting 

Flat light- When you have your light source facing directly at the front of your subject, meaning your subject is well lit and you are unable to see any shadow along their face.

Split light-  A type of side lighting as it hits your subject from the side, leaving half of the subject being lit and the other half in shadow.

Back light- Light that comes from the back and behind your subject to create semi-silhouettes which let the light be in the frame a little which creates a contrast.

Flash light-  Flash units offer a range of possibilities in both low and high lighting scenarios. The types of flash we will explore will be..

Ways these lights can be presented 

One point lighting– A single one point lighting looks two dimensional or flat, this rarely hits people straight on, so it creates shadowing.

Two point lighting- Two point lighting is good to use when you want people to stand out in 3D as it adds dimensionality. There is potential for shadowing if the model turns their head in a opposite direction.

Three point lighting- The three point lighting technique is a standard method used in visual media such as videos. It is simple but versatile system which forms the basics. If you have 2 lights, one is the key and the other is either the fill or the back light.

Exploring studio photographers 

John Rankin 

John Rankin is a well known British photographer who takes images of celebrities in a studio. His work appeared in his own magazine which he used to promote his images as well as appearing in Vogue.

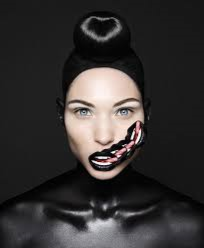
This is an image which was apart of Rankin’s destroy series. This was when he would take images of celebrities in the costume and the makeup they wanted with a desire to capture celebrities emotions and personalities through the costumes etc.. Once he did the photo shoot he would let the model draw on the image in order to express their personality.

When first looking at this image, i am drawn into the drawn on  large mouth as well as the models eyes being so stern when looking directly into the camera lense which could mean the models emotional state could be very stern and she may be shocked about something. The use of the plain black background supports this idea of feeling stern as the black represents blankness like she doesn’t know what to do. The body pained black as well could also be considered that something is trapping her due to her blending in with everything around her.

The lighting used to take this image seems to be a one point lighting which has been set up directly in front of the model due to there being no other lighting shown in the photo except for on her face. The ISO used to take this image is likely to very low due to there being no noice within the image, as well as the shutter speed being fast as it is compleatly in focus. There is a large depth of field used in this image due to the models face being the only part of the image which is fully viable which also suggests the model does not want to be seen. In this example of Rankin’s work we can see that the original lips have been copied and extra 3 times adding a sense of confusion to the image as the tongue in the middle of the teeth could also suggest she is trying to think of an evil plan. This could be due to some emotional trauma. This photograph is presents in colour which eliminates the tonal regions and contrasts in the image.

Plan

In this photo shoot that i will be conducting, i will use the inside of the schools photography studio as my location. I am going to mostly be using a black background, however there will also sometimes be white. The lighting will mainly be used by the soft box. For my camera setting is will be in a manual focus with my shutter speed on 1/100 and my ISO being around 400. I will also use the ‘ tungsten’ white balance. When taking my images i will be looking at the different lighting techniques which were mentioned earlier on. The editing of the images at the end will be very simple.
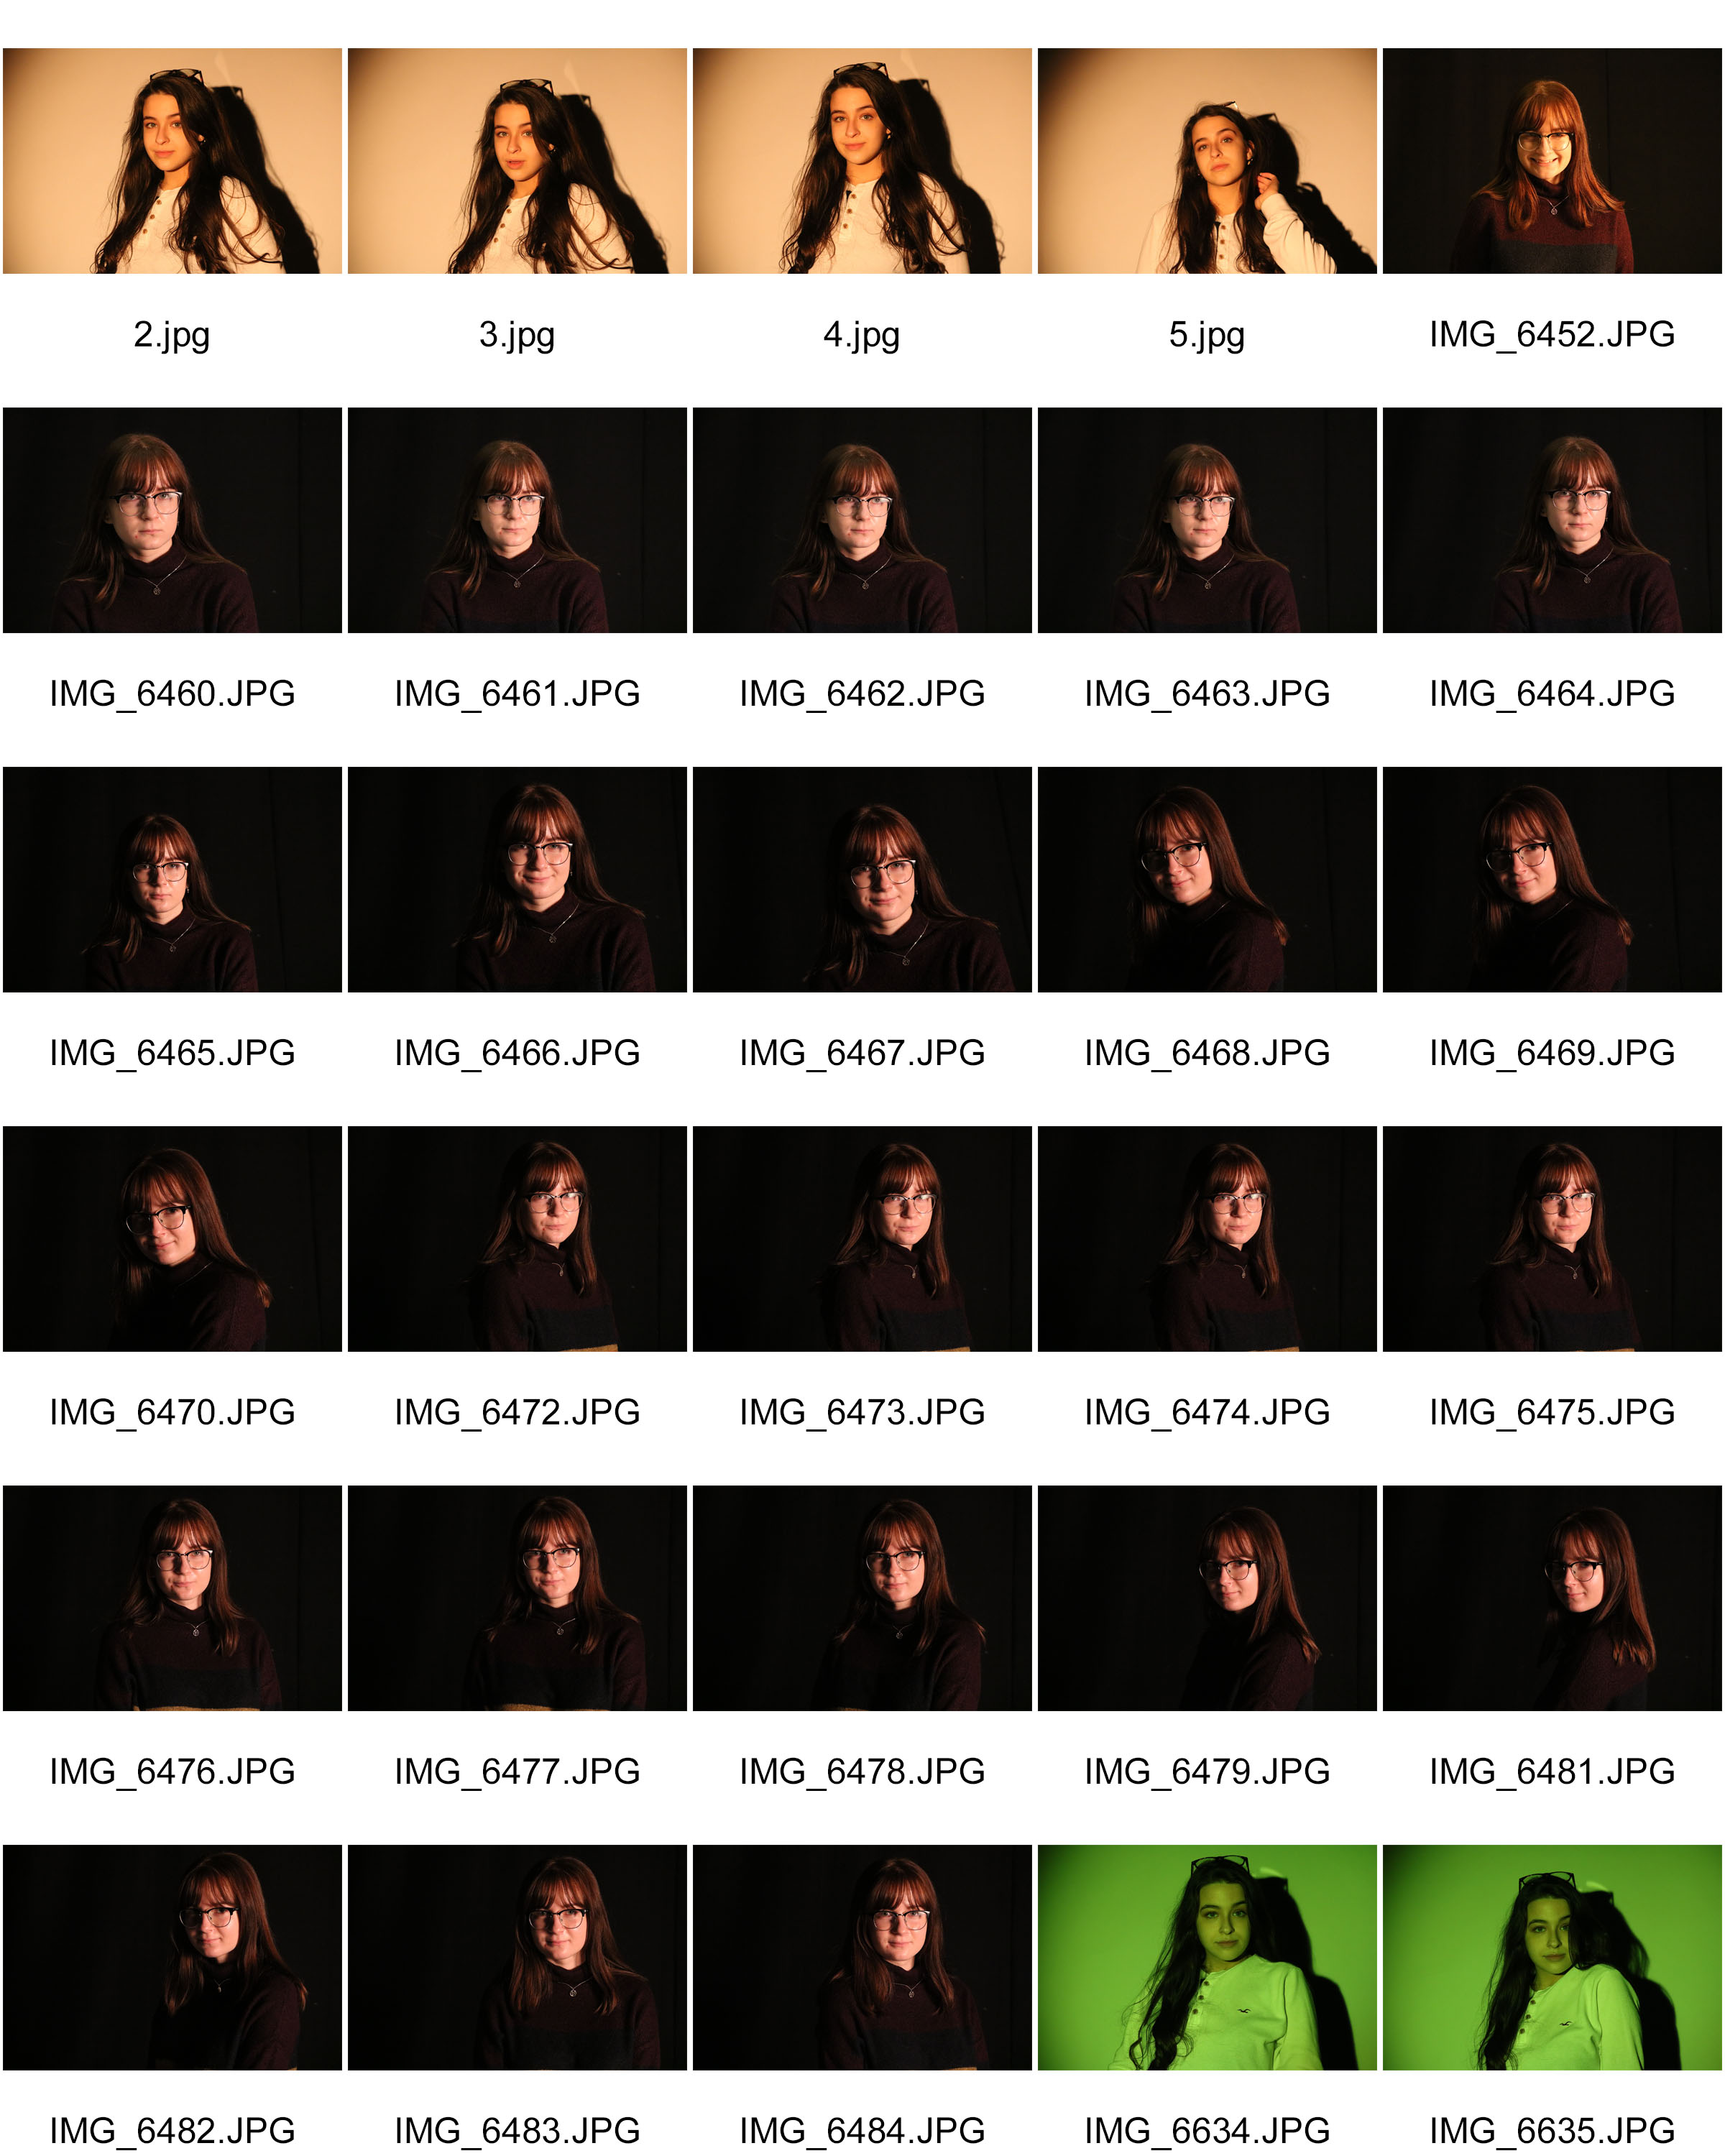
 

Contact sheets 

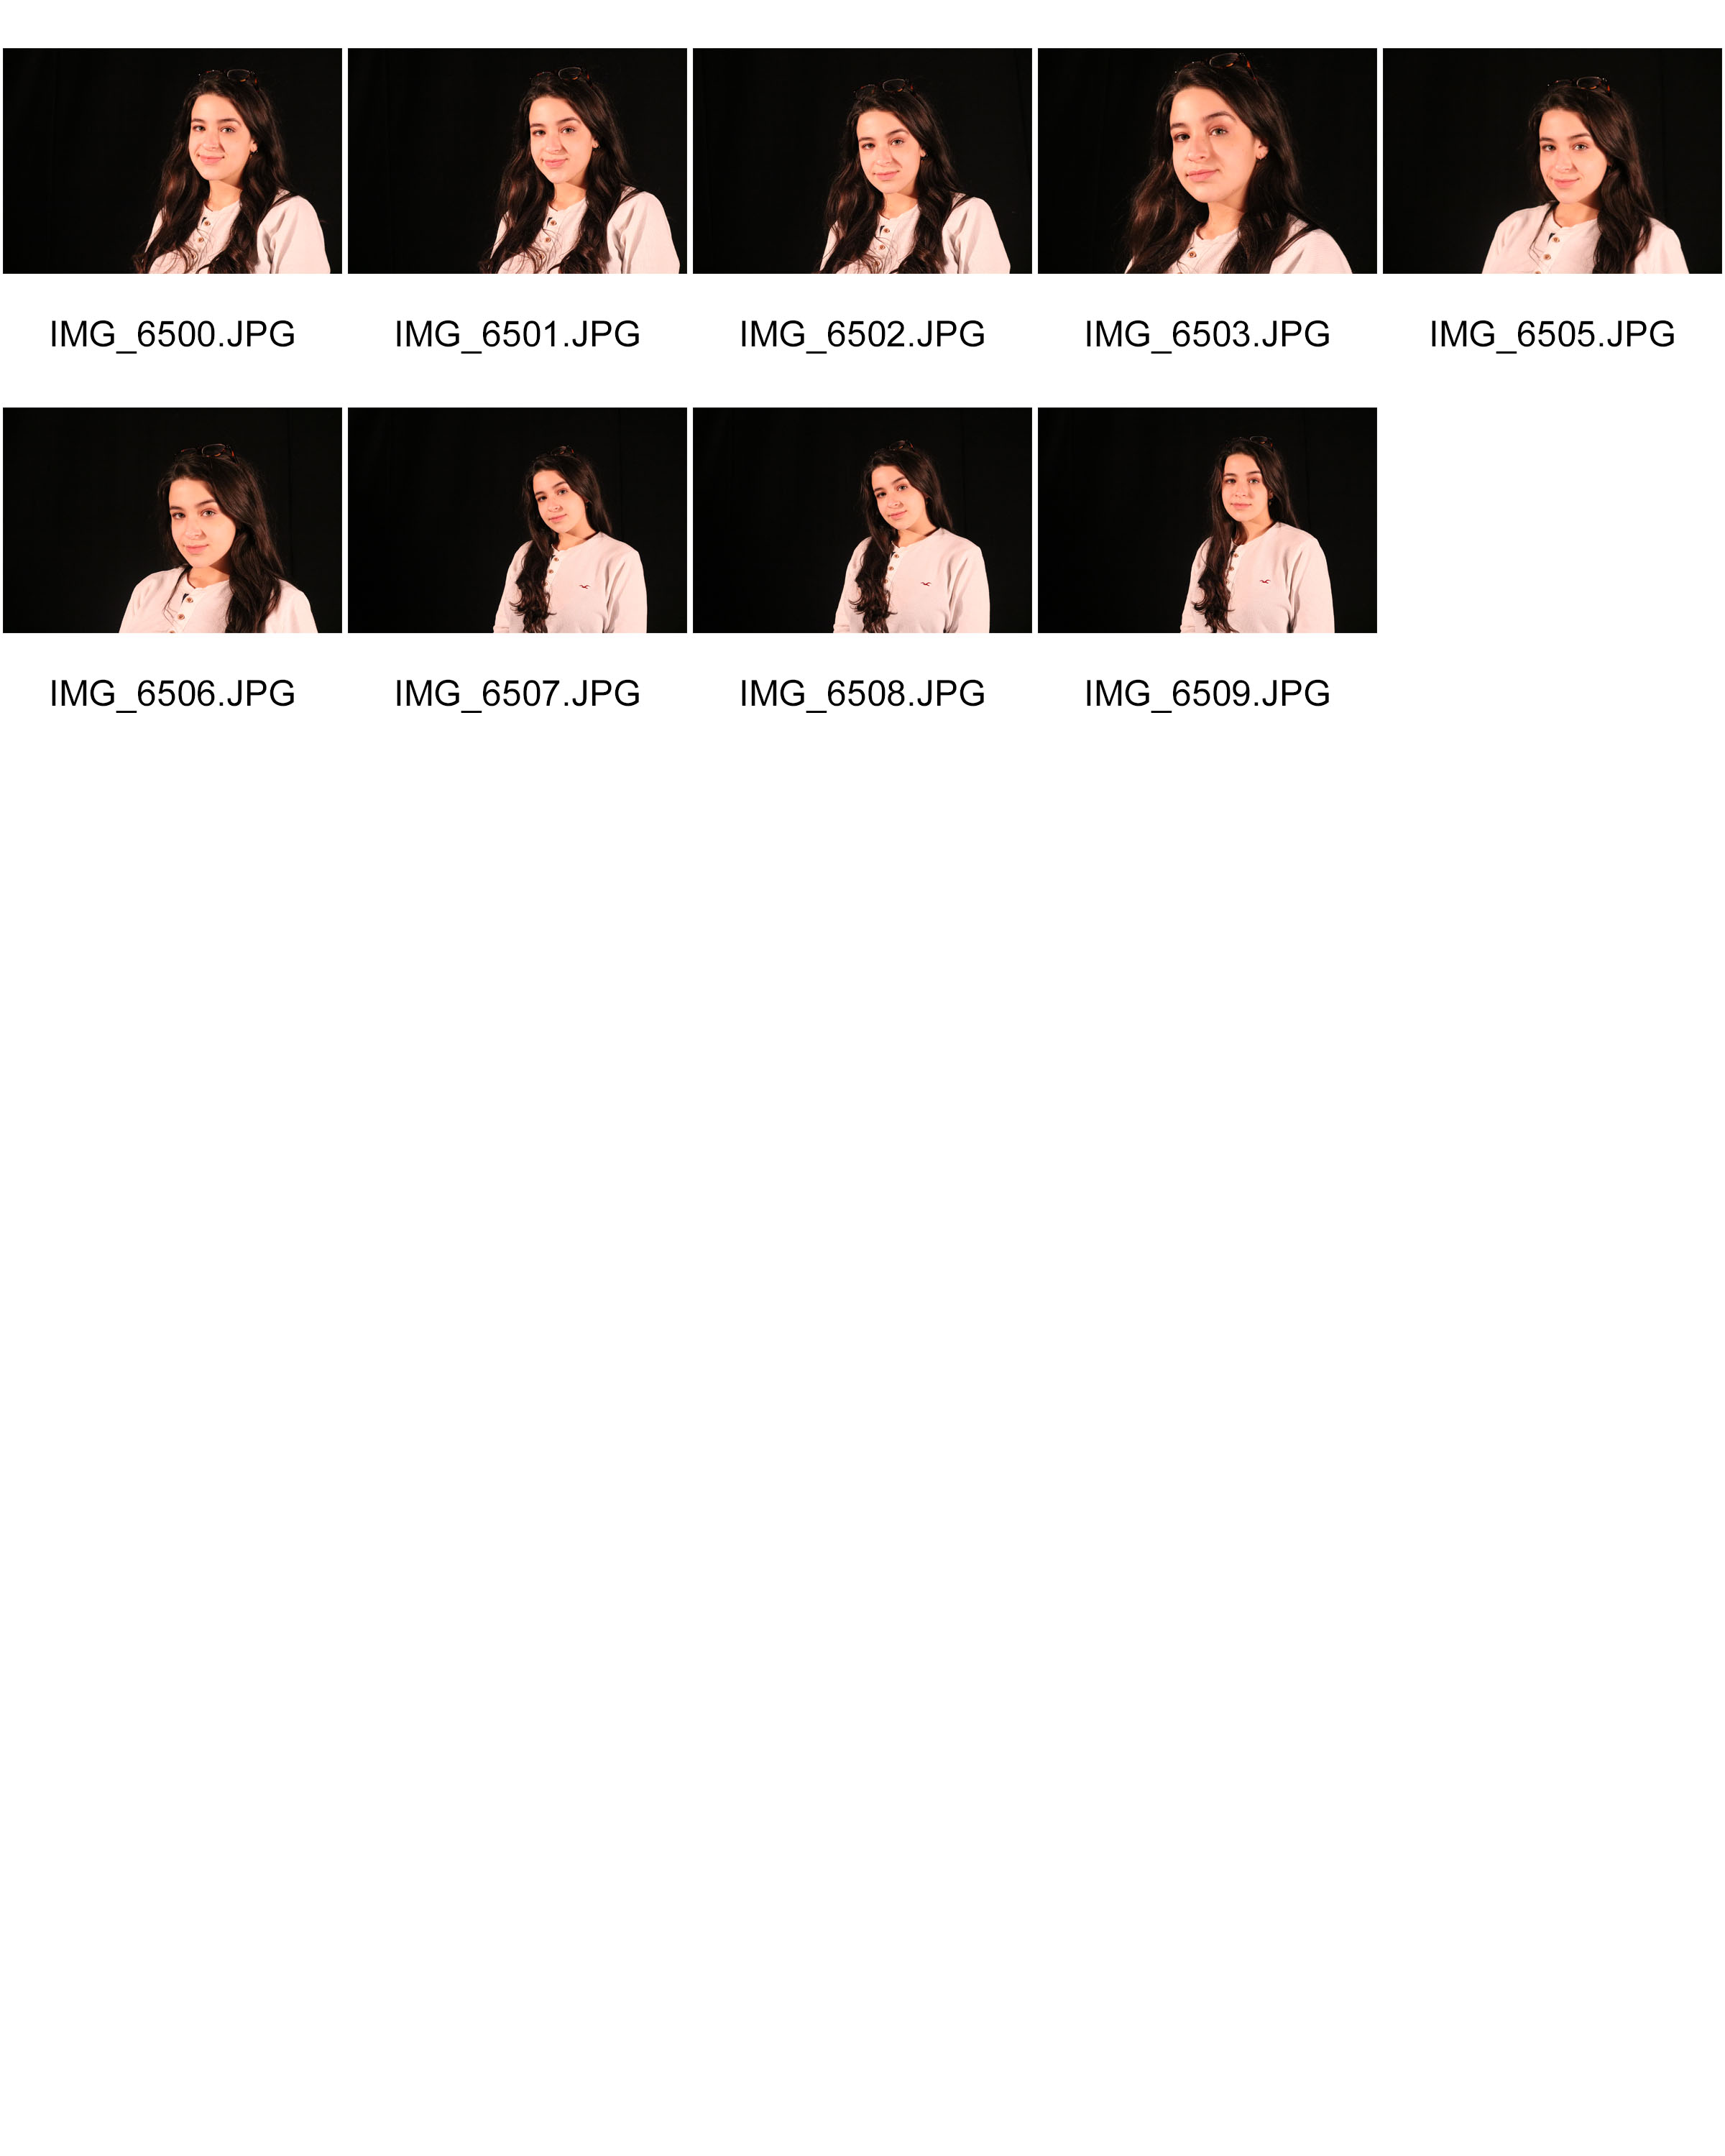
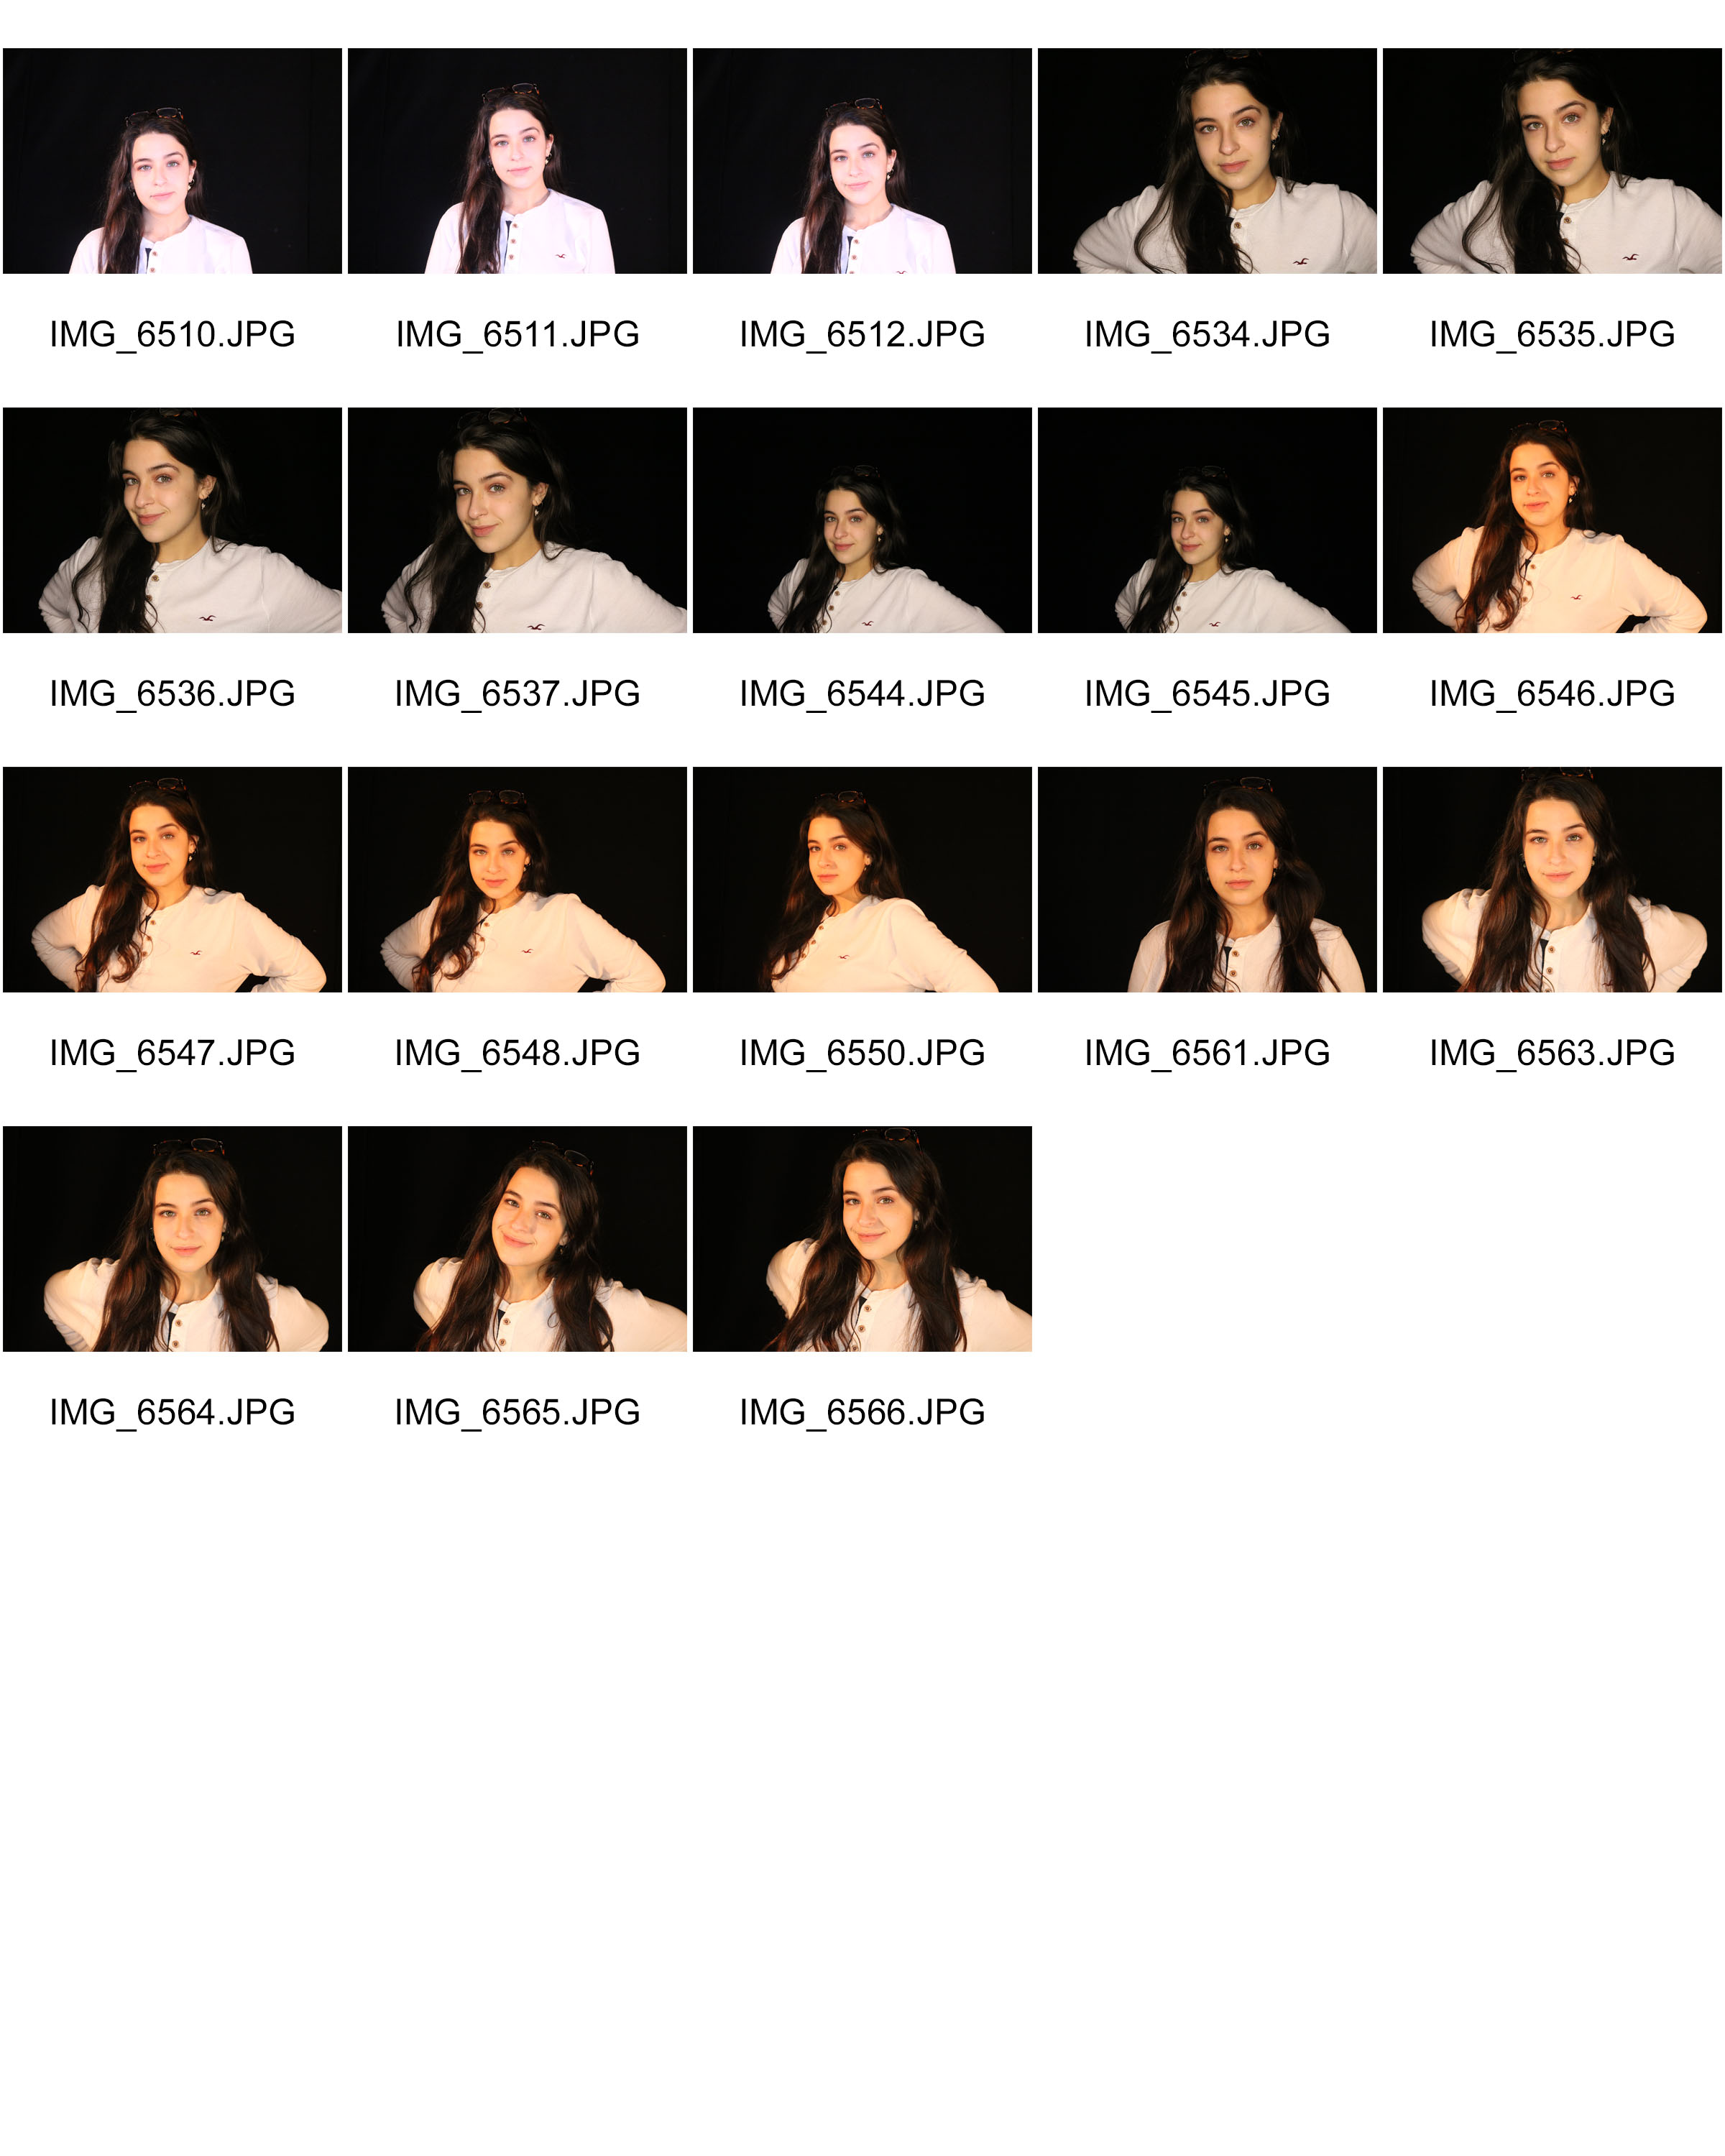
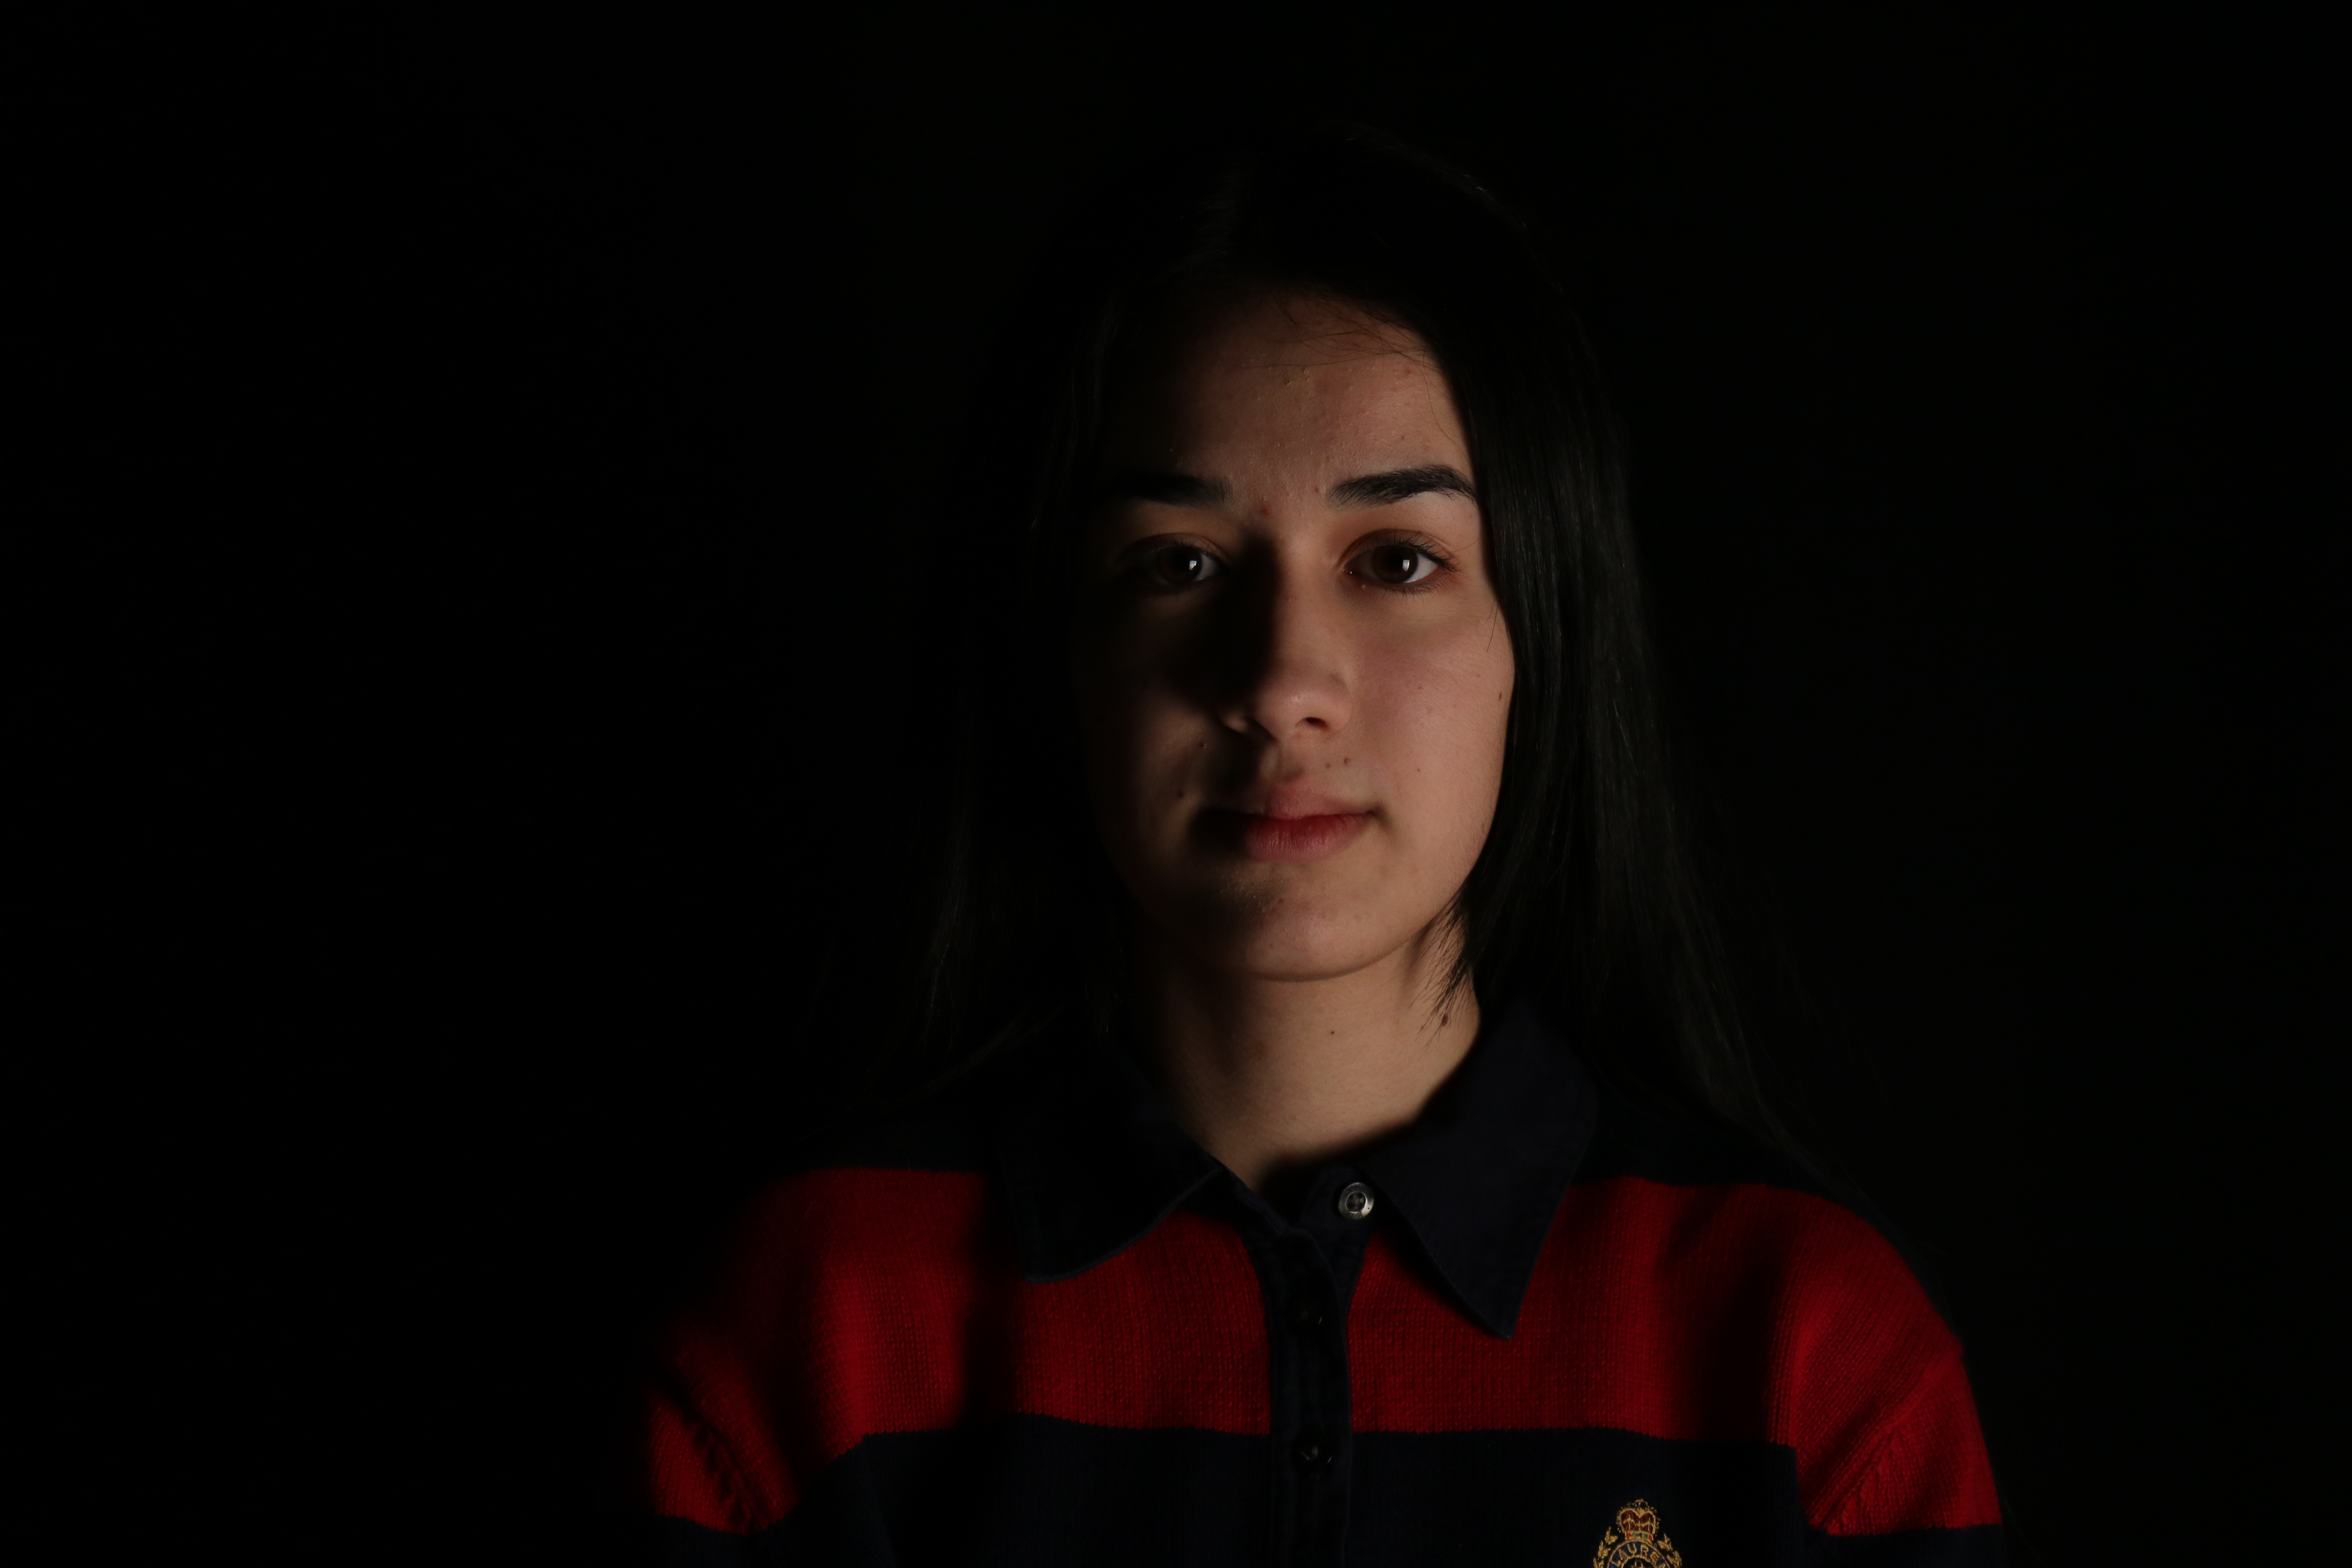
When doing this photo shoot i used the ‘ Chiaroscuro lighting’ technique where there was a light on one point of the models face and the other side being left dark.


Best outcomes

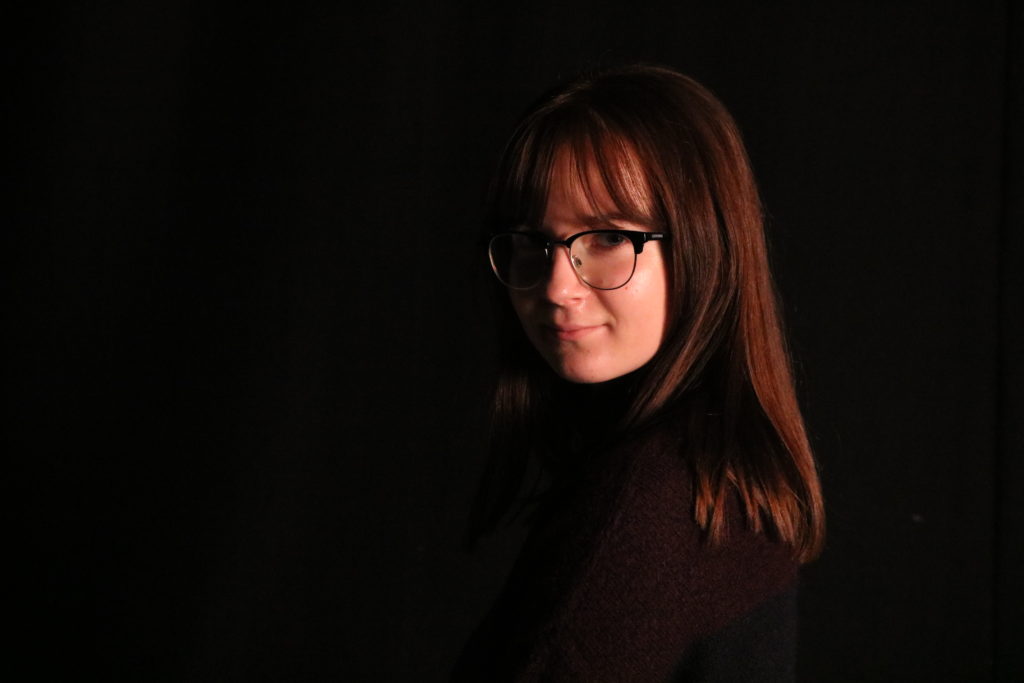
I think this image is one of my best outcomes due to the clear shadowing on the left hand side of the models face which shows there is a Chiaroscuro lighting technique being used.

I also think this is one of my best outcomes, again due to the darker shadowing on the left hand side of the models faces. I also really like how there is a small blue effect all over the image due to a transparent blue sheet which was placed over the only light source by an assistant.