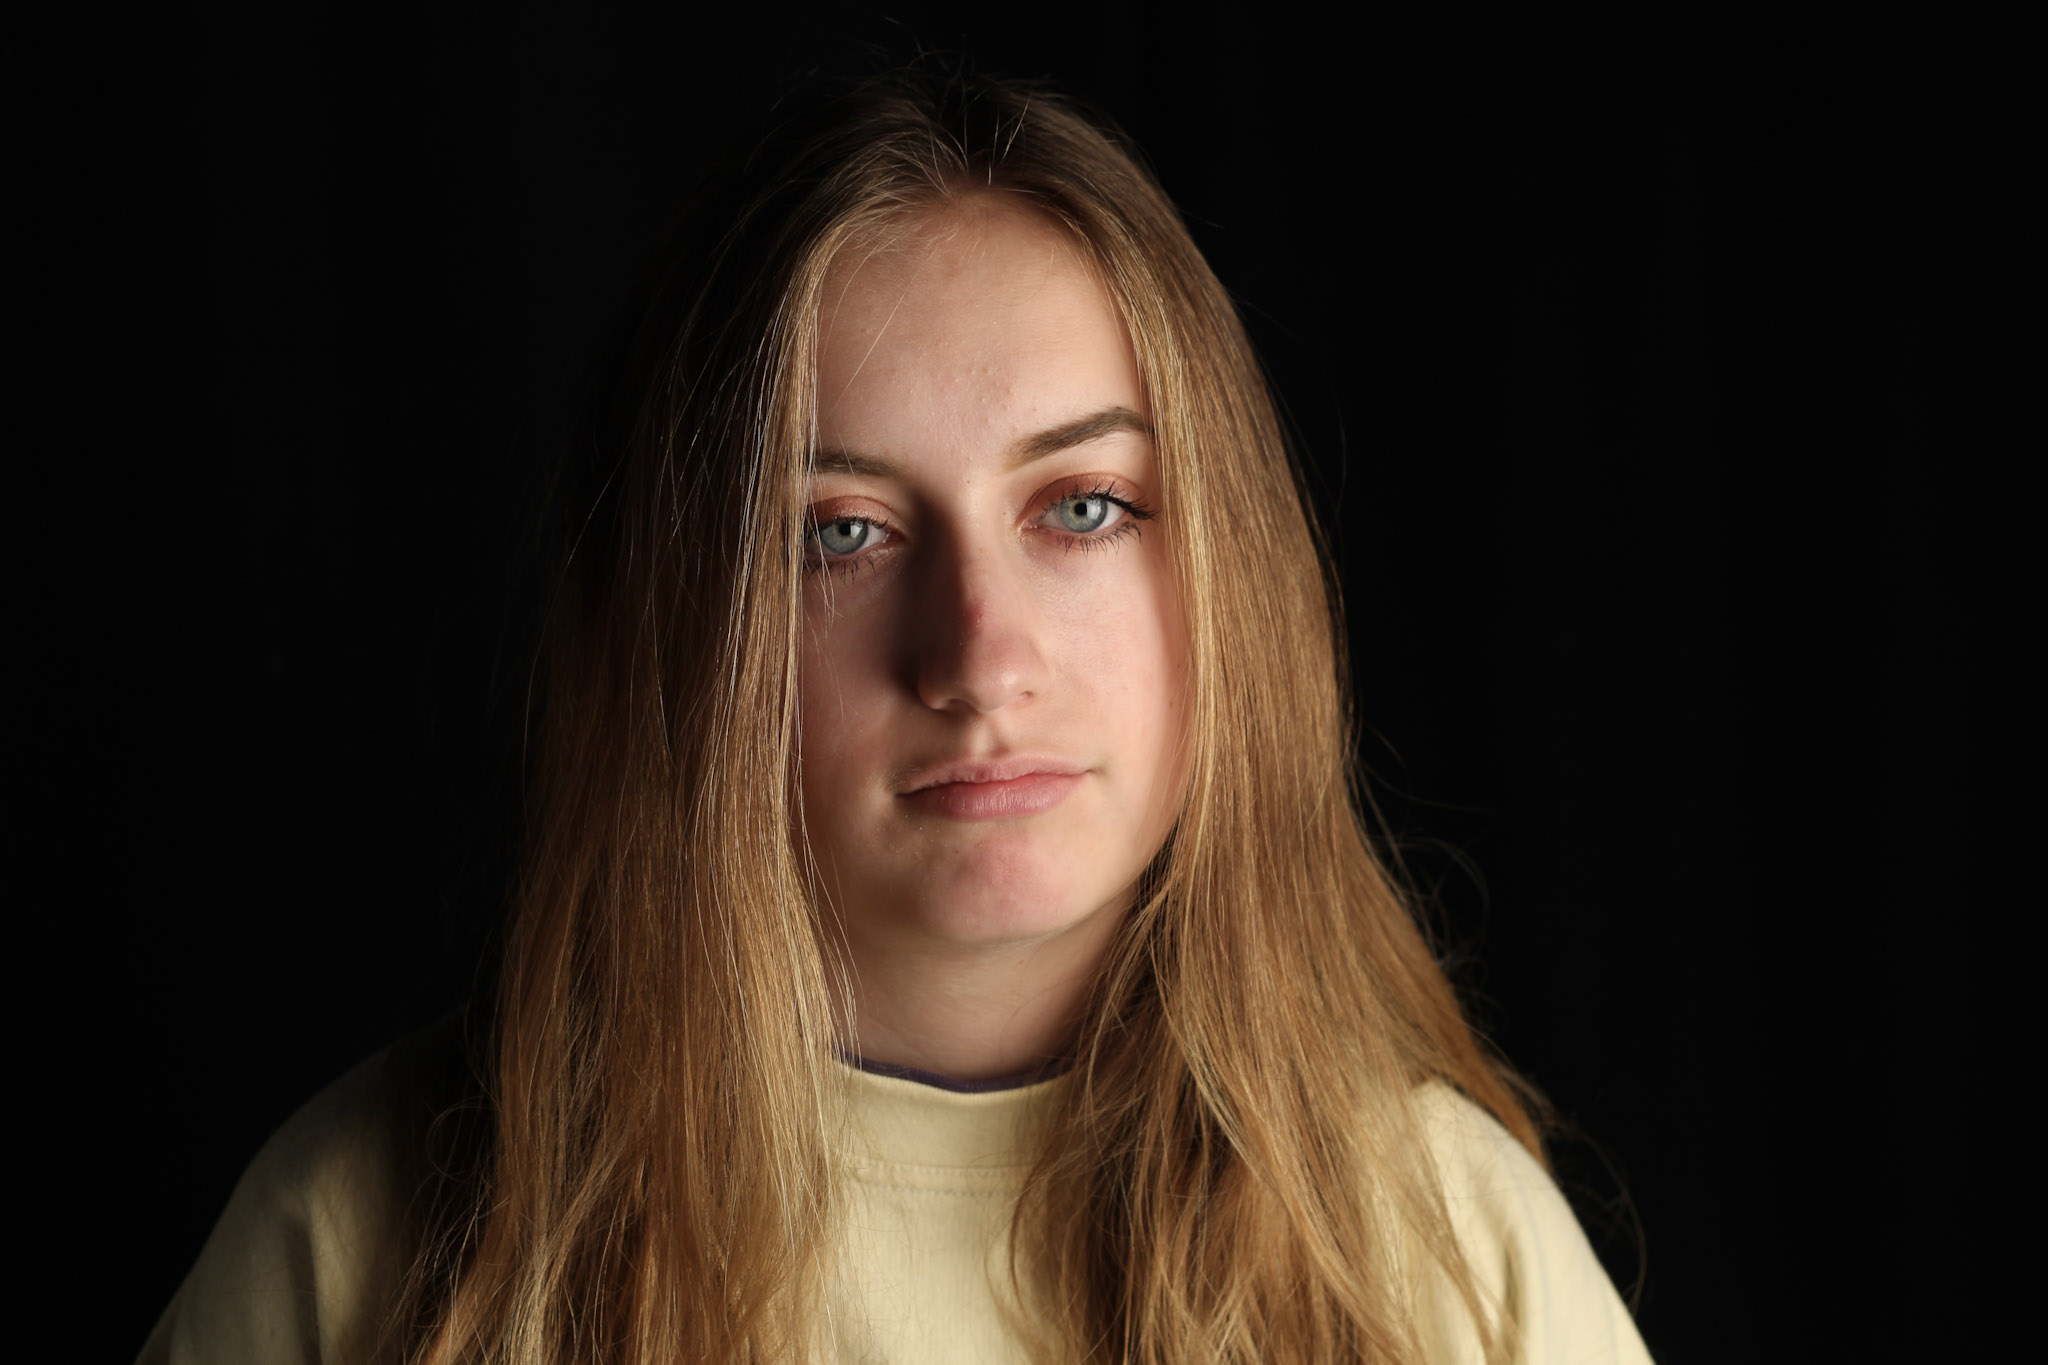
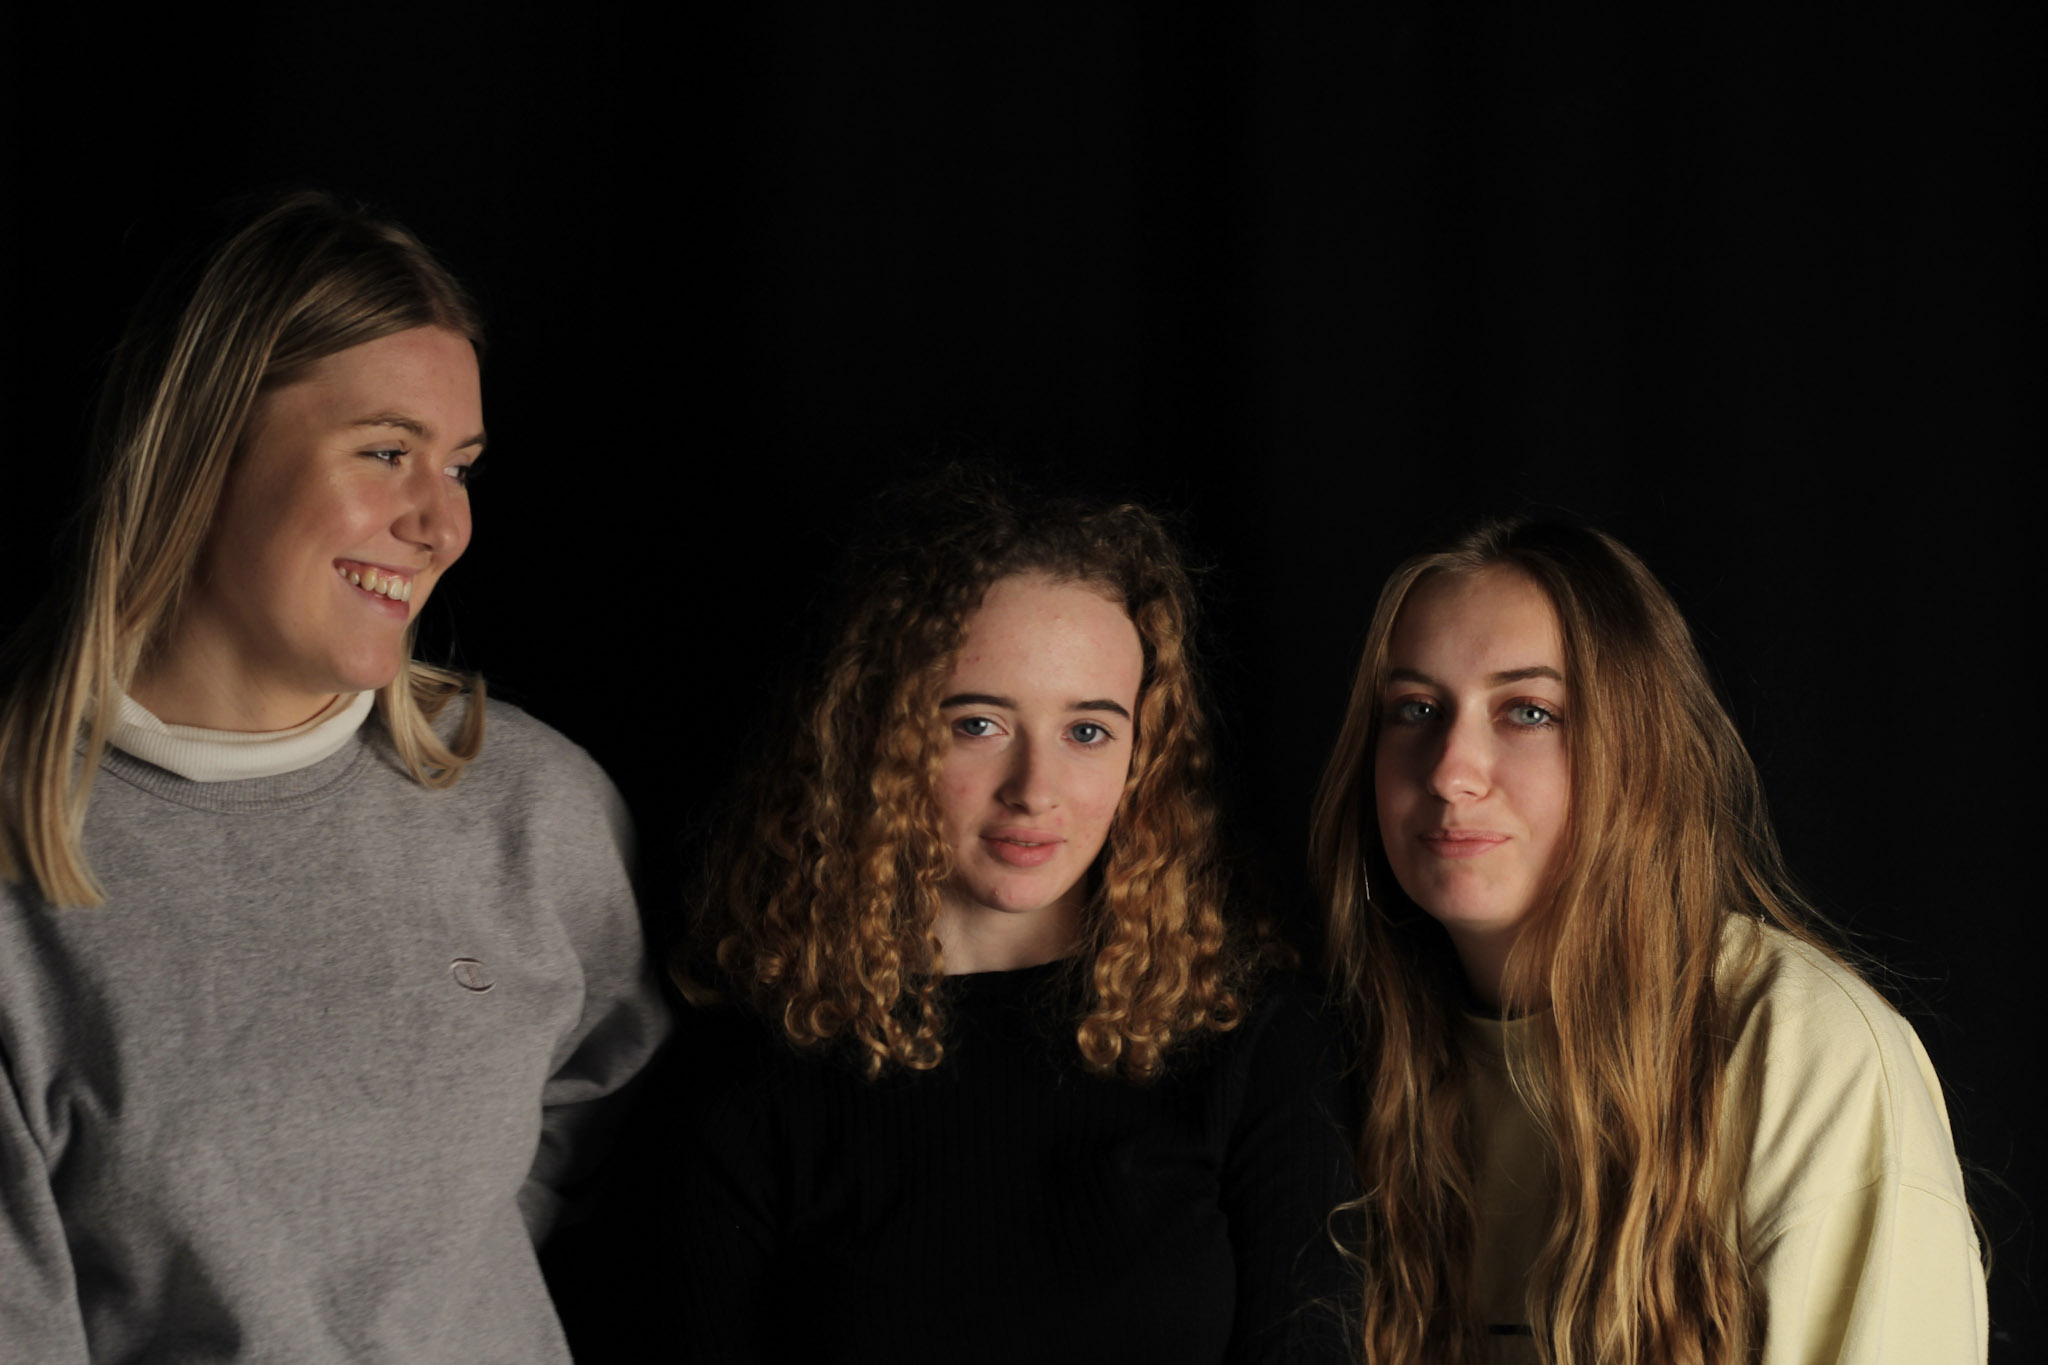
All posts by Emelia S

Filters

Author:
Category:

The Occupation Of Jersey

 The Channel Islands were the only part of the Britain Isles to be occupied by German forces in WW2. The five-year occupation came to an end on 9 May 1945.
 The German Occupation of Jersey began one week after the British government had demilitarized the island fearing for the safety of civilians should there be any conflict. The codename for this was “Operation Green Arrow” and the initial German Air Force reconnaissance flights mistake civilian farming lorries for troop carriers. On the 28th of June , the German Air Force, not knowing of the demilitarization, bomb and machine gun multiple sites on the island. The attacks killed ten people and wound many more. A few days later on the 1 of July 1940 General Richthofen, The Commander of the German Air Forces in Normandy, dropped an ultimatum from the air demanding the immediate surrender of the island. White flags and crosses were placed in prominent positions, as stipulated by the Germans, and later that day Jersey was occupied by air-borne troops under the command of Hauptmann Gussek.  

https://www.jersey.com/discover-jerseys-occupation-story

 
At 7.15am on 9 May, on the quarter deck of HMS Bulldog, Second-in-Command for Guernsey General Siegfried Heine signed the Instrument of Surrender on behalf of the German Command of the Channel Islands, effecting their capitulation. On completion of this, General Heine was then ordered to “immediately cause all German flags and ensigns now flying in the Channel Islands to be lowered”.  At Midday an overjoyed Bailiff Coutanche accompanied a German delegation led by the island Commander, General Major Rudolf Wulf, aboard HMS Beagle anchored in St. Aubin’s bay, where the separate surrender of Jersey was to take place. Arriving at the same time in St. Helier’s harbour was a small naval inspection party sent to report on the health of the islanders, who were promptly overwhelmed by an enthusiastic crowd delighted at seeing their first liberators landing on Jersey soil.

https://www.jersey.com/discover-jerseys-occupation-story

IDENTITY AND PLACE MOCK EXAM FINAL IMAGES AND PRESENTATION:

MY FINAL IMAGES:
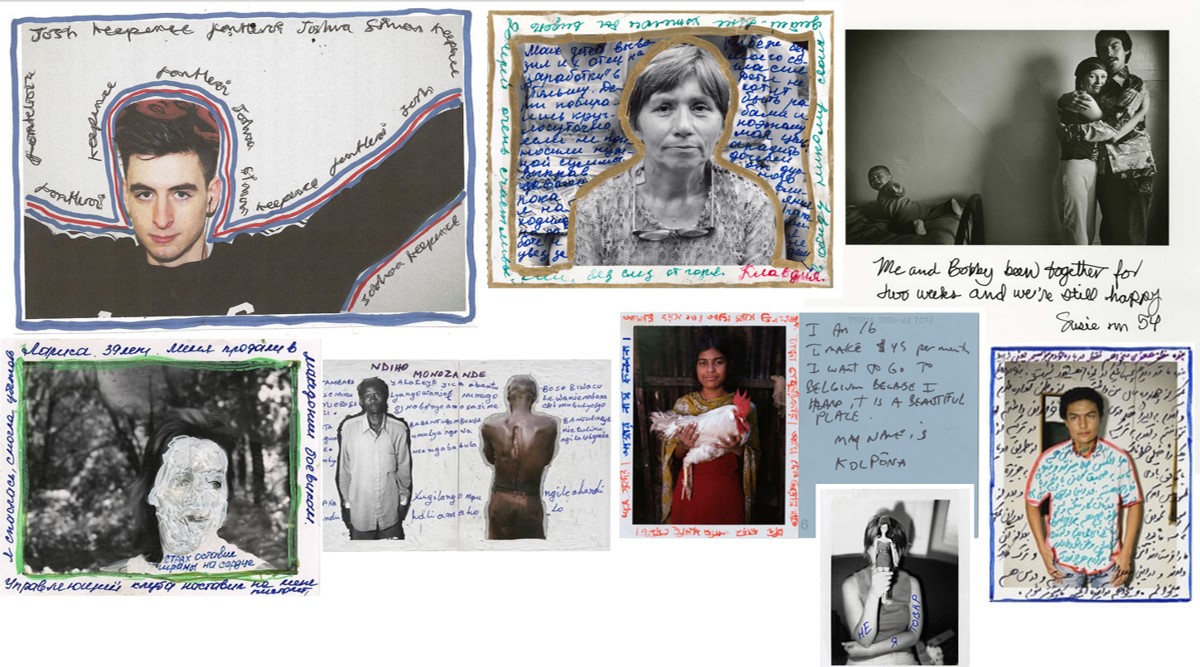
After manipulating my images, these are the images that I want to send off to be printed. I will then rework them when they're printed off. I will rework the images by writing text on them, my idea is to ask the subjects what they think about that moment of time an write it on the image. I was inspired by Jim Goldberg's work, so I thought I would also re-work my images by adding both text and drawings into my work.

THE PRESENTATION:
To present my images I will be placing them on foam board because the crop of the images makes them different sizes, which wouldn't look very aesthetically pleasing on a mount. I will also be reworking into the images by hand-writing text onto them. I will also be hand-drawing outlines that i think will also make the images look more interesting. 
Another reason why I think having my photographs on foam board is a good idea is that I will have flexibility on how and which order I can arrange my images in. I can have them up as individual images in multiple locations or I can have them set out as a series. As the originals are printed out photographs, in real life photos are arranged in various orders, such as photo albums or in photo frames around the house/premises. Therefore, by having the flexibility of having the images on foam board replicates the flexibility you have when you have your photos printed out.


IDENTITY AND PLACE MOCK EXAM EDIT/SELECT

SELECTION AND EDITING:
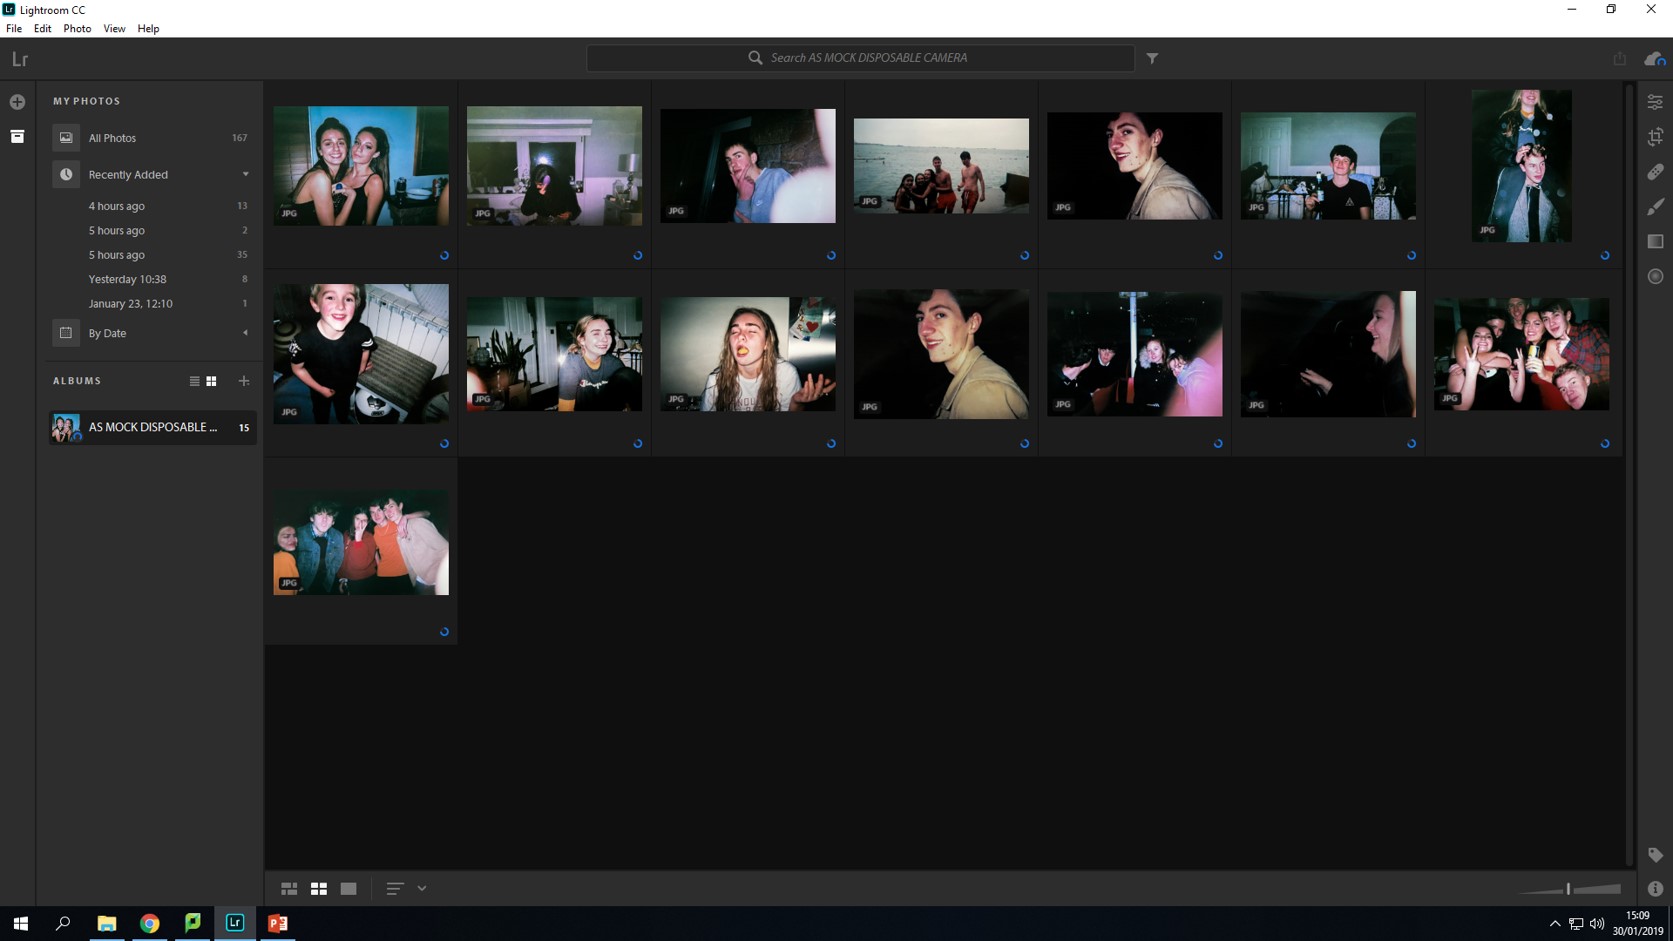
After already making a selection of the images, I looked at them much closer on Abobe Lightroom. I then selected which images were the clearest/most suited to be edited. Throughout my whole editing process I used Adobe Lightroom. The first thing I did to the images was crop them to what I thought was fit. I wanted to remove any negative/uninteresting space. I then increased the contrast in most of the images to make the subjects more prominent. I also adjusted the highlights, shadows, whites and blacks until I though that the image was aesthetically pleasing. I also adjusted the tint on some of the images where I thought that the white balance was a little off. I then increased the vibrancy and saturation of many photos to make the subjects a little more eye-catching. To many of the images I also slightly increased the sharpness and noise reduction to make the image clearer. The images on the computer are actually a picture of the photograph seeming as it was all taken on film and printed out. During the process of me photographing the images the reflection showed the lights of the room i was in, my phone and my hands. Therefore I used the healing tool in Lightroom to try to remove as much of it as possible to try and stay true to the original image. 

After editing the images I then made a selection of what I thought would be the best to be used for my final images and to printed to then be further worked on. Here is a screenshot of my edited photos in Adobe Lightroom:


IDENTITY AND PLACE MOCK EXAM PHOTOSHOOT

THE PHOTOSHOOT:

I took my disposable film camera to multiple locations such as in my garden, my bedroom, to the beach on Christmas day, to town, in my friends car, to my friends hot-tub and to a New Years Eve party. By taking my camera to multiple places enabled me to capture a variety of subjects and moments. After the film ran out, I took the camera to the shop to be developed. Then I selected the photographs that I thought were best suited to my project. I then took pictures of the photographs on my phones camera and then transferred it to the computer. Here are the images:
I decided that because I had already made a selection of images that I should edit, I should look at them closer up on Adobe Lightroom and make a further selection on which of the images are the clearest/most suitable for editing.

IDENTITY AND PLACE MOCK EXAM PLAN

ACTION PLAN: 

I am particularly inspired by both Elaine Constantine's work, especially her concept of focusing on the youth culture's social interaction and Jim Goldberg's work. Therefore I am going to base my photo shoot on a teenagers social interactions among their friends. I want to especially focus on their careless and carefree attitudes and behavior. I don't want to completely stage my shoot as I want my images to look as natural as possible. Therefore, I am going to photograph my friends just hanging out and will casually be taking photos spontaneously, without them fully realizing and being able to pose themselves properly. I will be using a cheap Boots disposable camera because I feel that you take more spontaneous images with them, which have a more natural care-free look and feel to them. I will be using the natural lighting of the room however I will mainly be using the flash on the disposable camera to ensure that my images are clearer and easier to see. 

Once my images are edited and printed out on A4 paper, I will rework into my images by adding text and outlining some of the people/objects in the photographs. This idea came from Jim Goldberg's work. I will ask the subjects what they want to say about the image and add that text onto the image. I will also add the time the the images were taken onto the photographs. I will hand-draw and hand-write onto the images.

Identity and Place Mock Exam MOOD BOARD AND ARTISTS

MOOD BOARD:

IDENTITY:
The definition of identity is: the fact of being who or what a person or thing is. 
However, there is a difference between being an identity and what it means to have an identity. What it means to have an identity is the strong characteristics, definitions and quirks that makes the person individual. To have a strong sense of identity is often thought as having a thorough understanding of oneself's thought patterns, strengths and weaknesses, traits and preferences. Every individual have different levels of self identity, whilst some have an incredible strong sense of individuality, some require time to discover themselves. Our identity is what makes us unique and not one person has the same identity.
ARTISTS I’M INSPIRED BY:
ELAINE CONSTANTINE:

https://www.theguardian.com/film/2015/feb/05/elaine-constantine-interview-northern-soul
https://www.theguardian.com/theguardian/2007/may/24/features11
Elaine Constantine is both a filmmaker and photographer who has a talent of capturing the British youth culture. What I love about Constantine's work is that I feel she really captures the carelessness and how reckless teenagers/young adults can be, and she especially captures their joy and excitement. 

Constantine tends to use flash when she captures her images which I believe adds an extra vibrancy to her photos, which also adds to the concept of the vibrancy and excitement her subjects have. Most of the pictures that Constantine takes are staged, as she directs the models. One of her most famous images of the girl feeding a seagull was directed as Constantine asked the model to hold out a chip to feed the seagull, however the model had to close her eyes as she flinched when her eyes were open when she fed the seagulls. Therefore, Constantine told the model to close her eyes when feeding the gulls and caught the image. 

Constantine's ability to capture the youth'joy and excitement also displays the variety of identities that are displayed in the images. The way they dress and present themselves can reveal how the young adults want the audience and others to view and interpret their identity. Also their facial expressions and body positions is another way of being able to identify and interpret their personalities, and identities. 

JIM GOLDBERG: 
Jim Goldberg is a photographer who combines mediums such as photographs and text. Goldberg's work reflects his deep and meaningful collaborations he has with the ignored and neglected out-of-mainstream subjects. He uses his text to tell the stories and points of view of the subjects in the images. The text is written in multiple languages, most of the time by his subjects. Goldberg also integrates his art by drawing and outlining some of his images in different colors. Goldberg typically applies a documentary style to capture his images, with his straightforward approach.  His ability to story tell through the use of photography aids in revealing his subjects identities and situations. Their added commentary assists in giving an insight into their minds and what is really going on in their lives. Goldberg's ability to expose multiple bodies of self is what I draw inspiration from.
Goldberg, Jim
https://www.artspace.com/artist/jim_goldberg

Natural Light Experimentation

Definition:
Photographic lighting: is the illumination of scenes to be photographed. A photograph simply records patterns of light, colour, and shade; lighting is all-important in controlling the image. In many cases even illumination is desired to give an accurate rendition of the scene.

https://en.wikipedia.org/wiki/Photographic_lighting
The Shoot:

Manipulated Images:

Analysis:
For this photoshoot, I got my model to stand next to a window to use the natural light to create a soft chiaroscuro. I also used a reflector to reflect some of the light lost from reaching the face. I then used adobe lightroom to manipulate my images, adding from presets and then adjusting contrast, highlights, shadows.


Tableau and Staged Reality

Definitions:
Tableau: Tableau is used to describe a painting or photograph in which characters are arranged for picturesque or dramatic effect and appear absorbed and completely unaware of the existence of the viewerhttps://www.tate.org.uk/art/art-terms/t/tableau
Staged Reality:  a celebration of images that were made consciously.
http://staged-photography.tumblr.com/
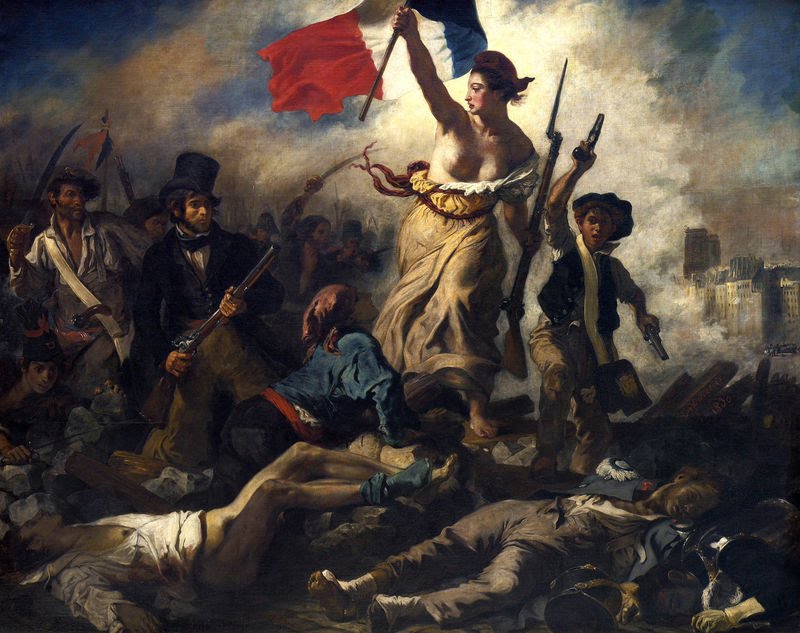
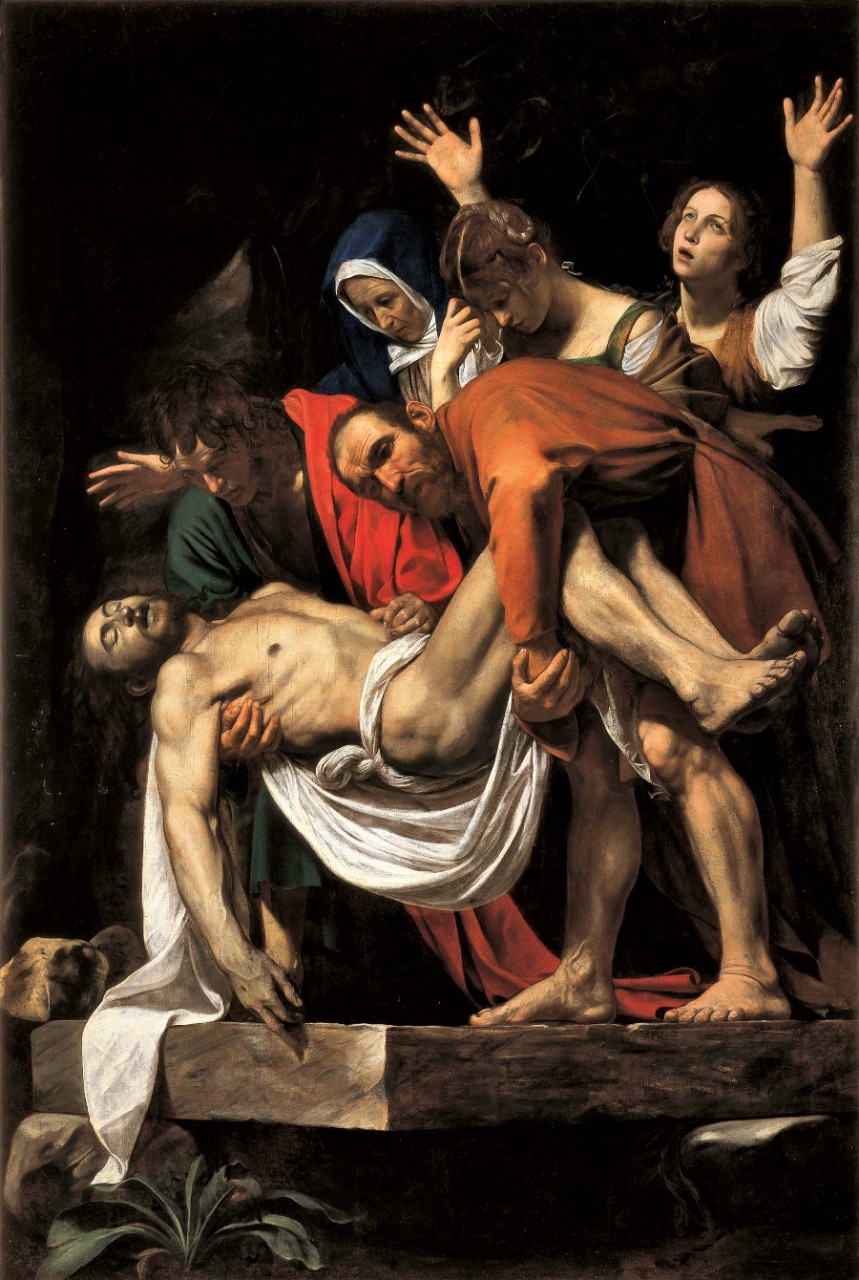
Three Images I’m Inspired by:
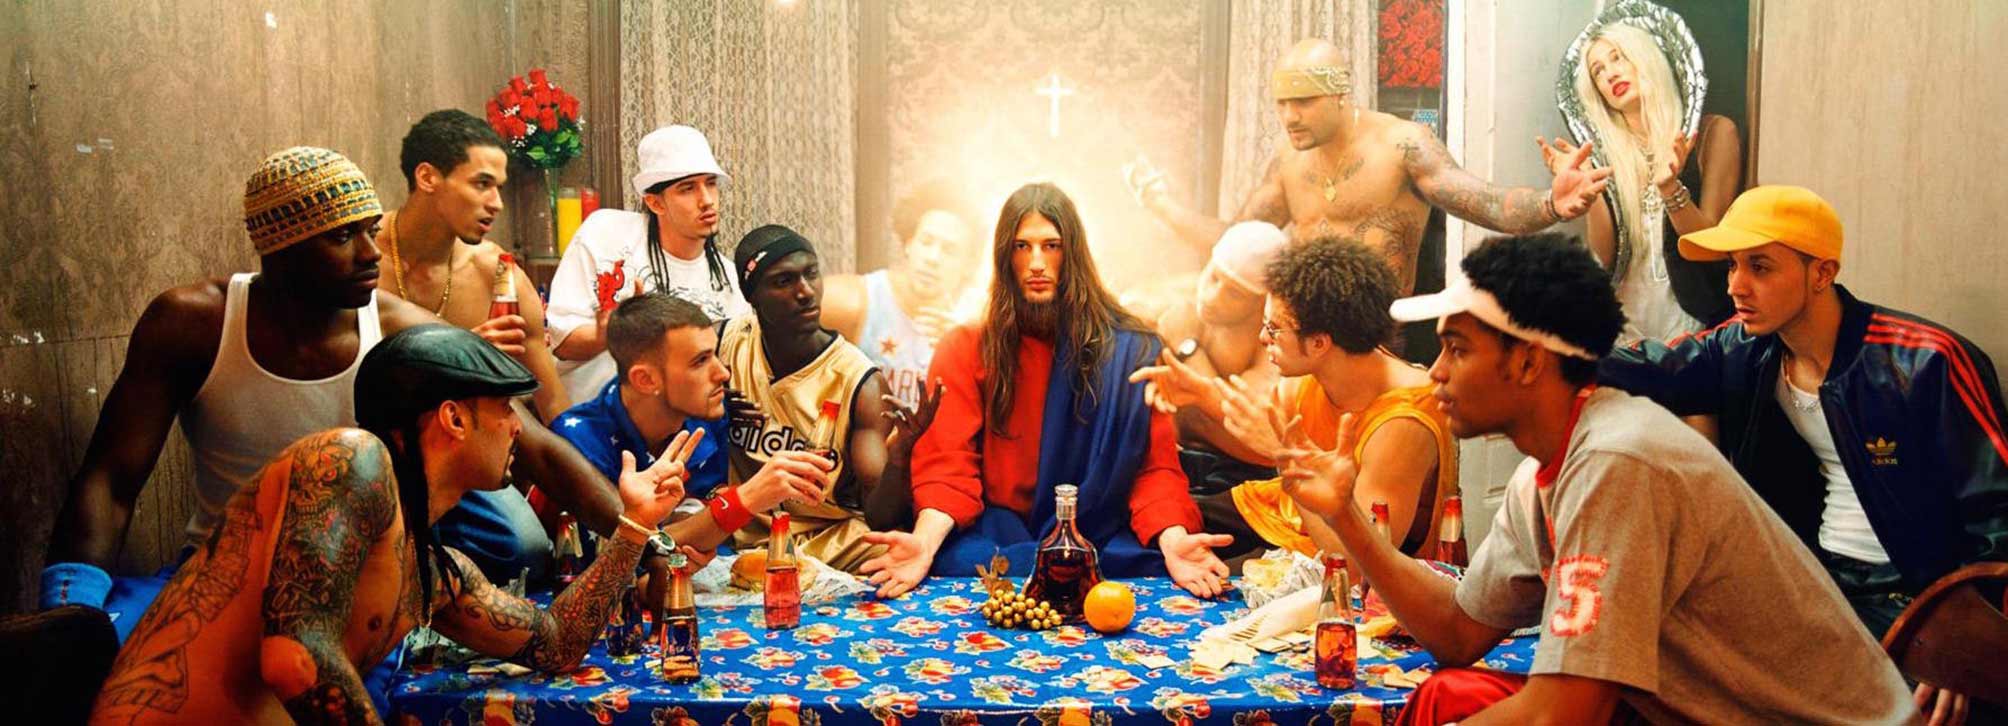
David La Chapelle's 'Jesus is my homeboy'.

Eugene Delacroix's 'Liberty Leading the People'.

Caravaggio's 'Deposition'.
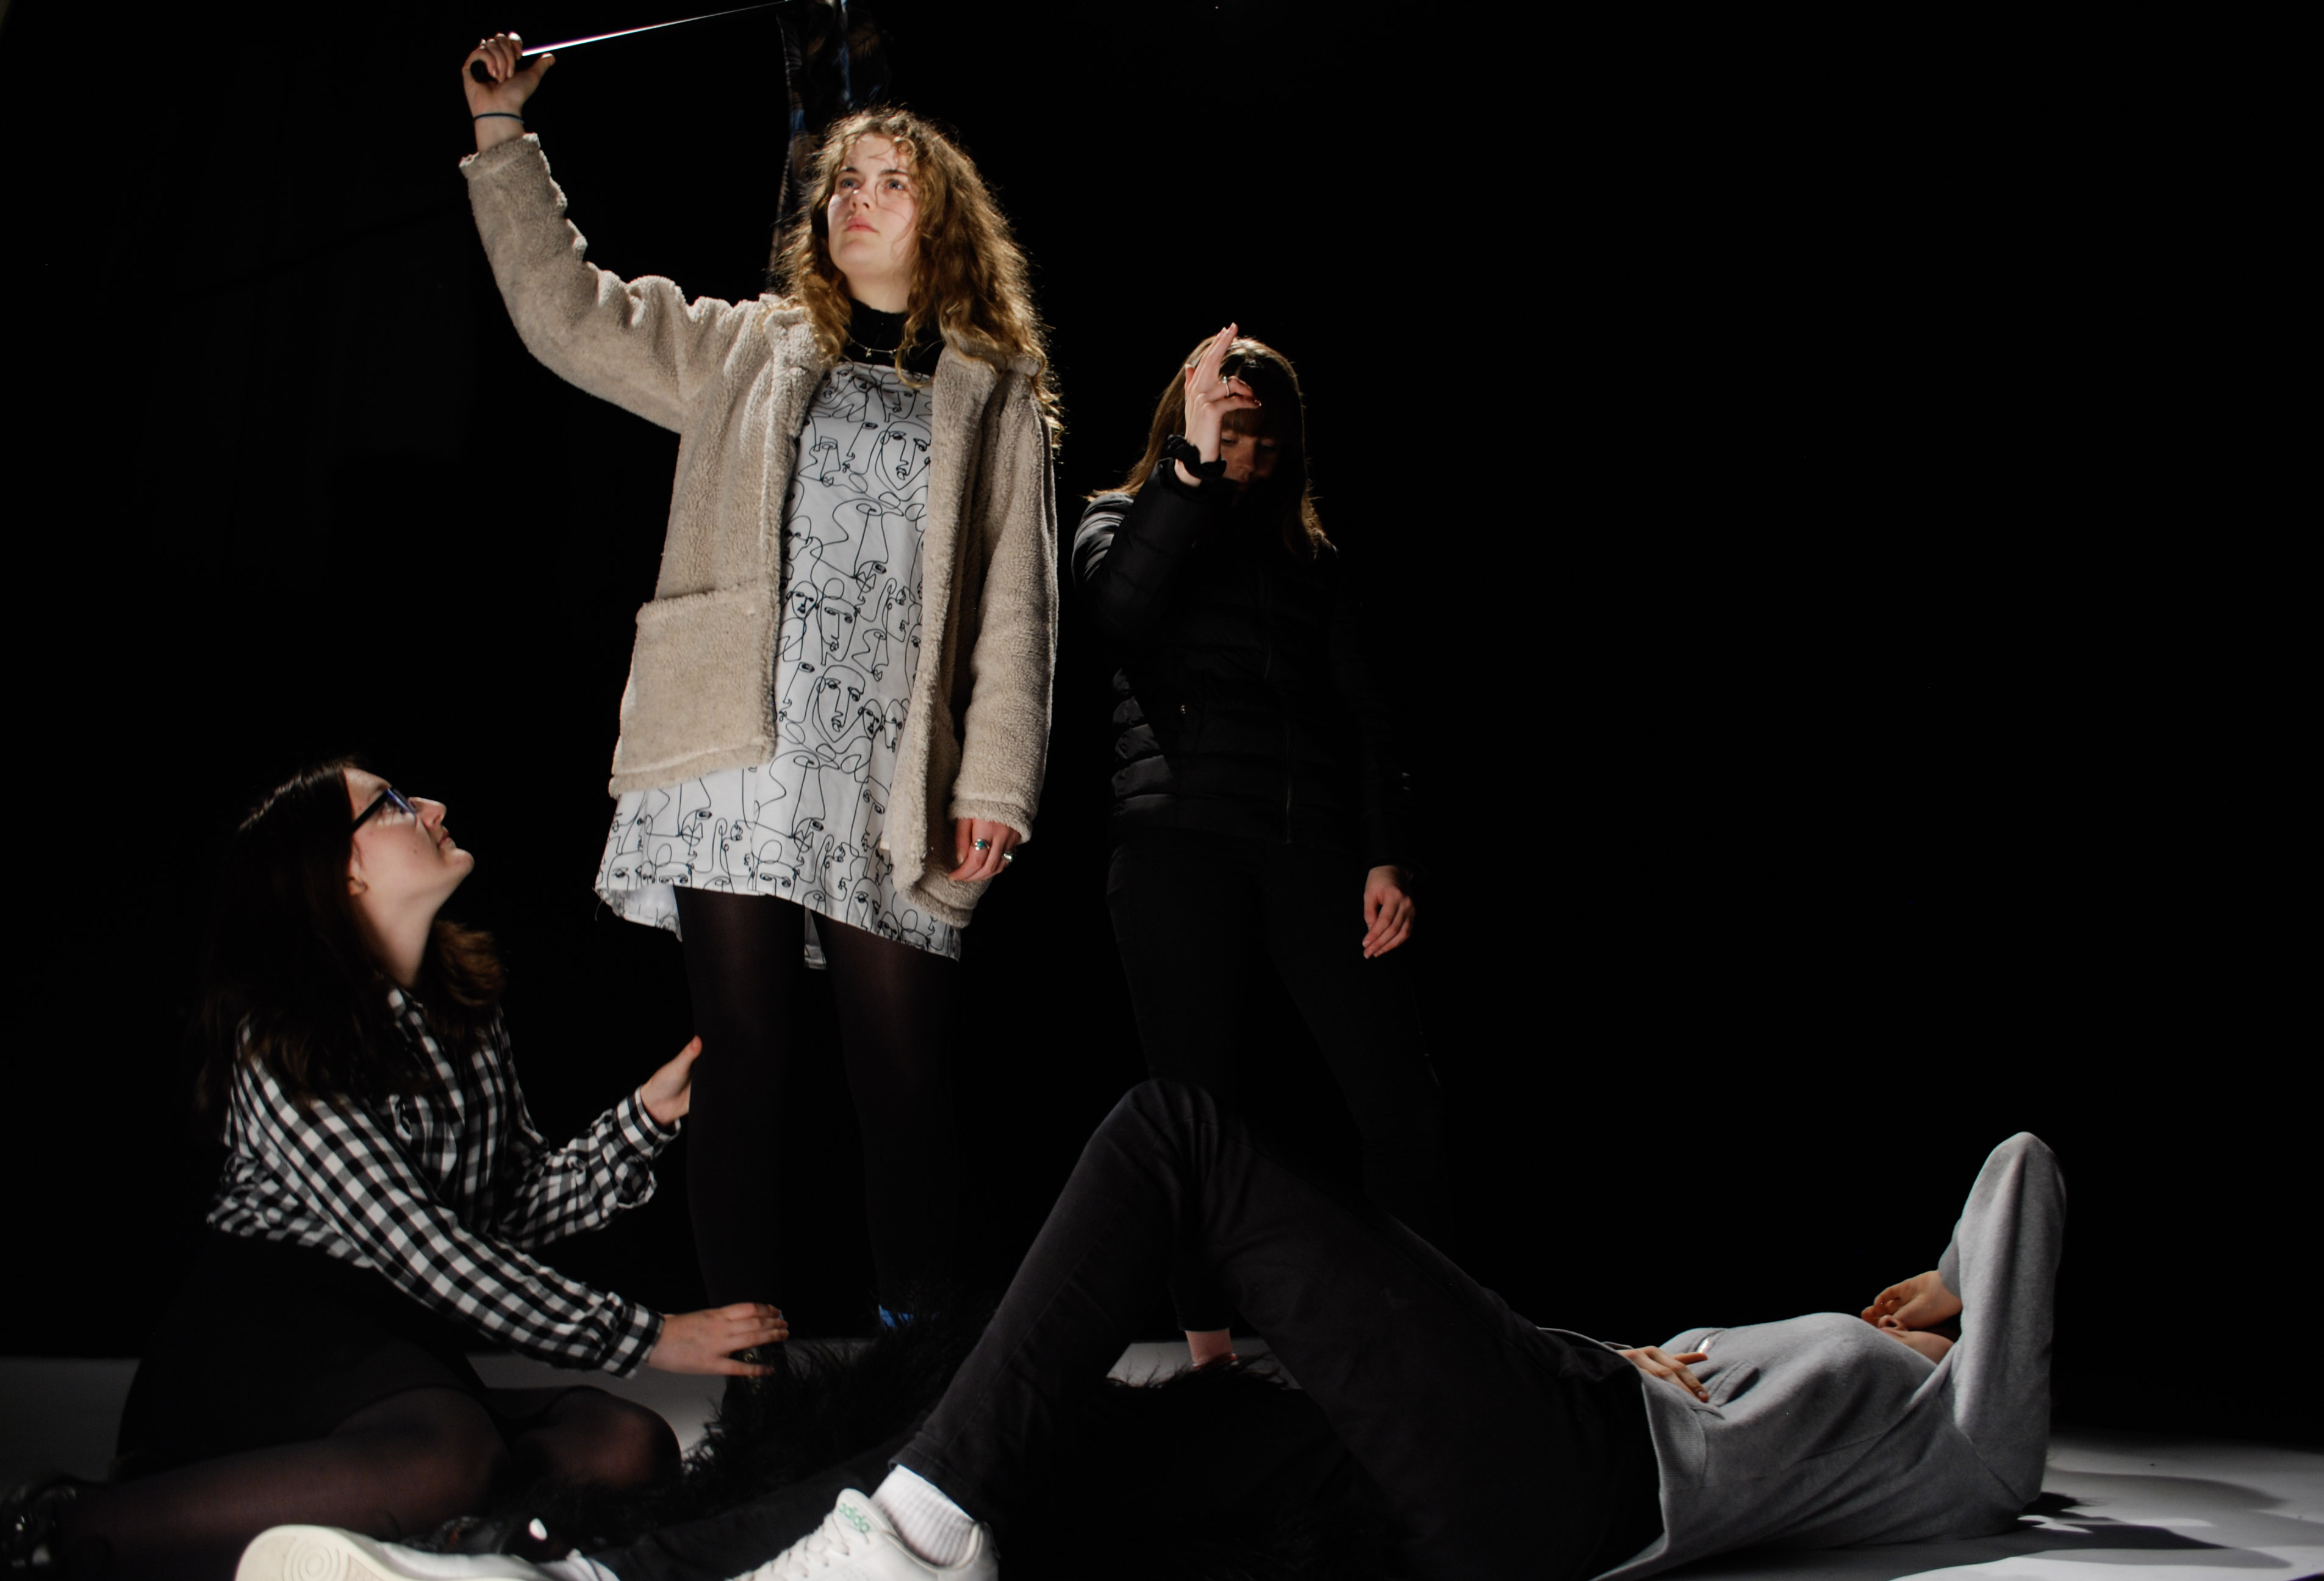
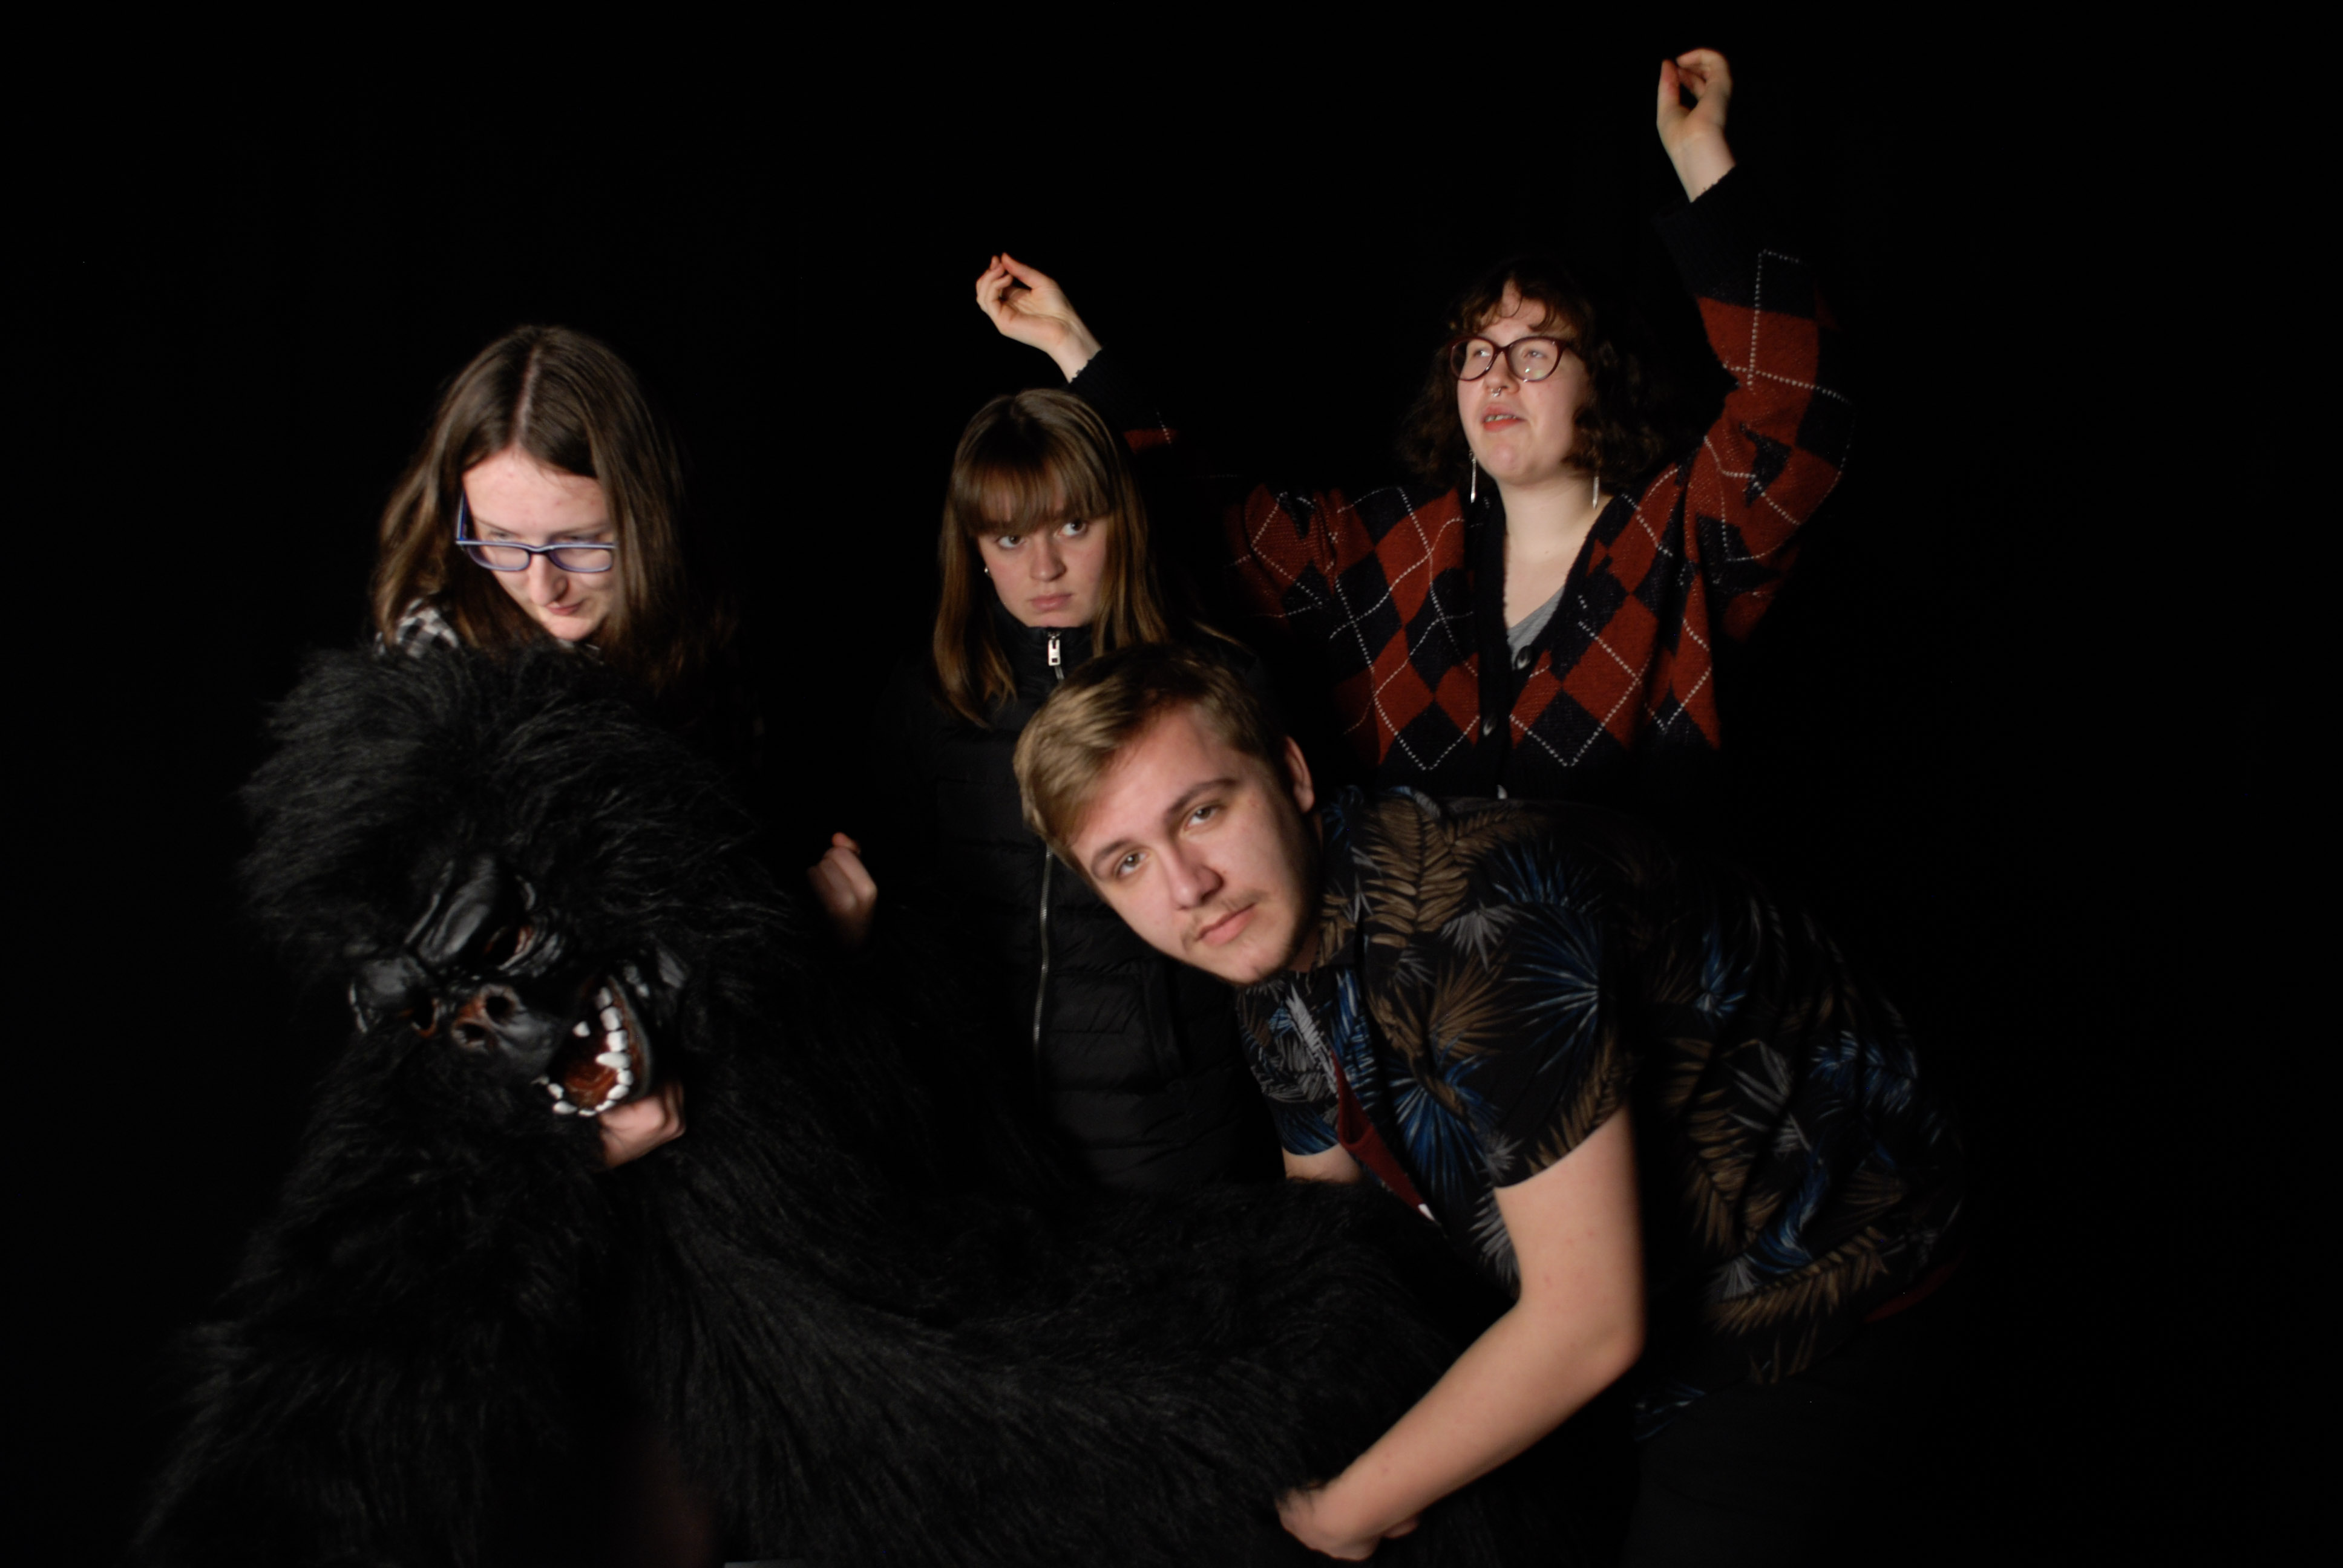
Class Tableau Inspired Shoot:

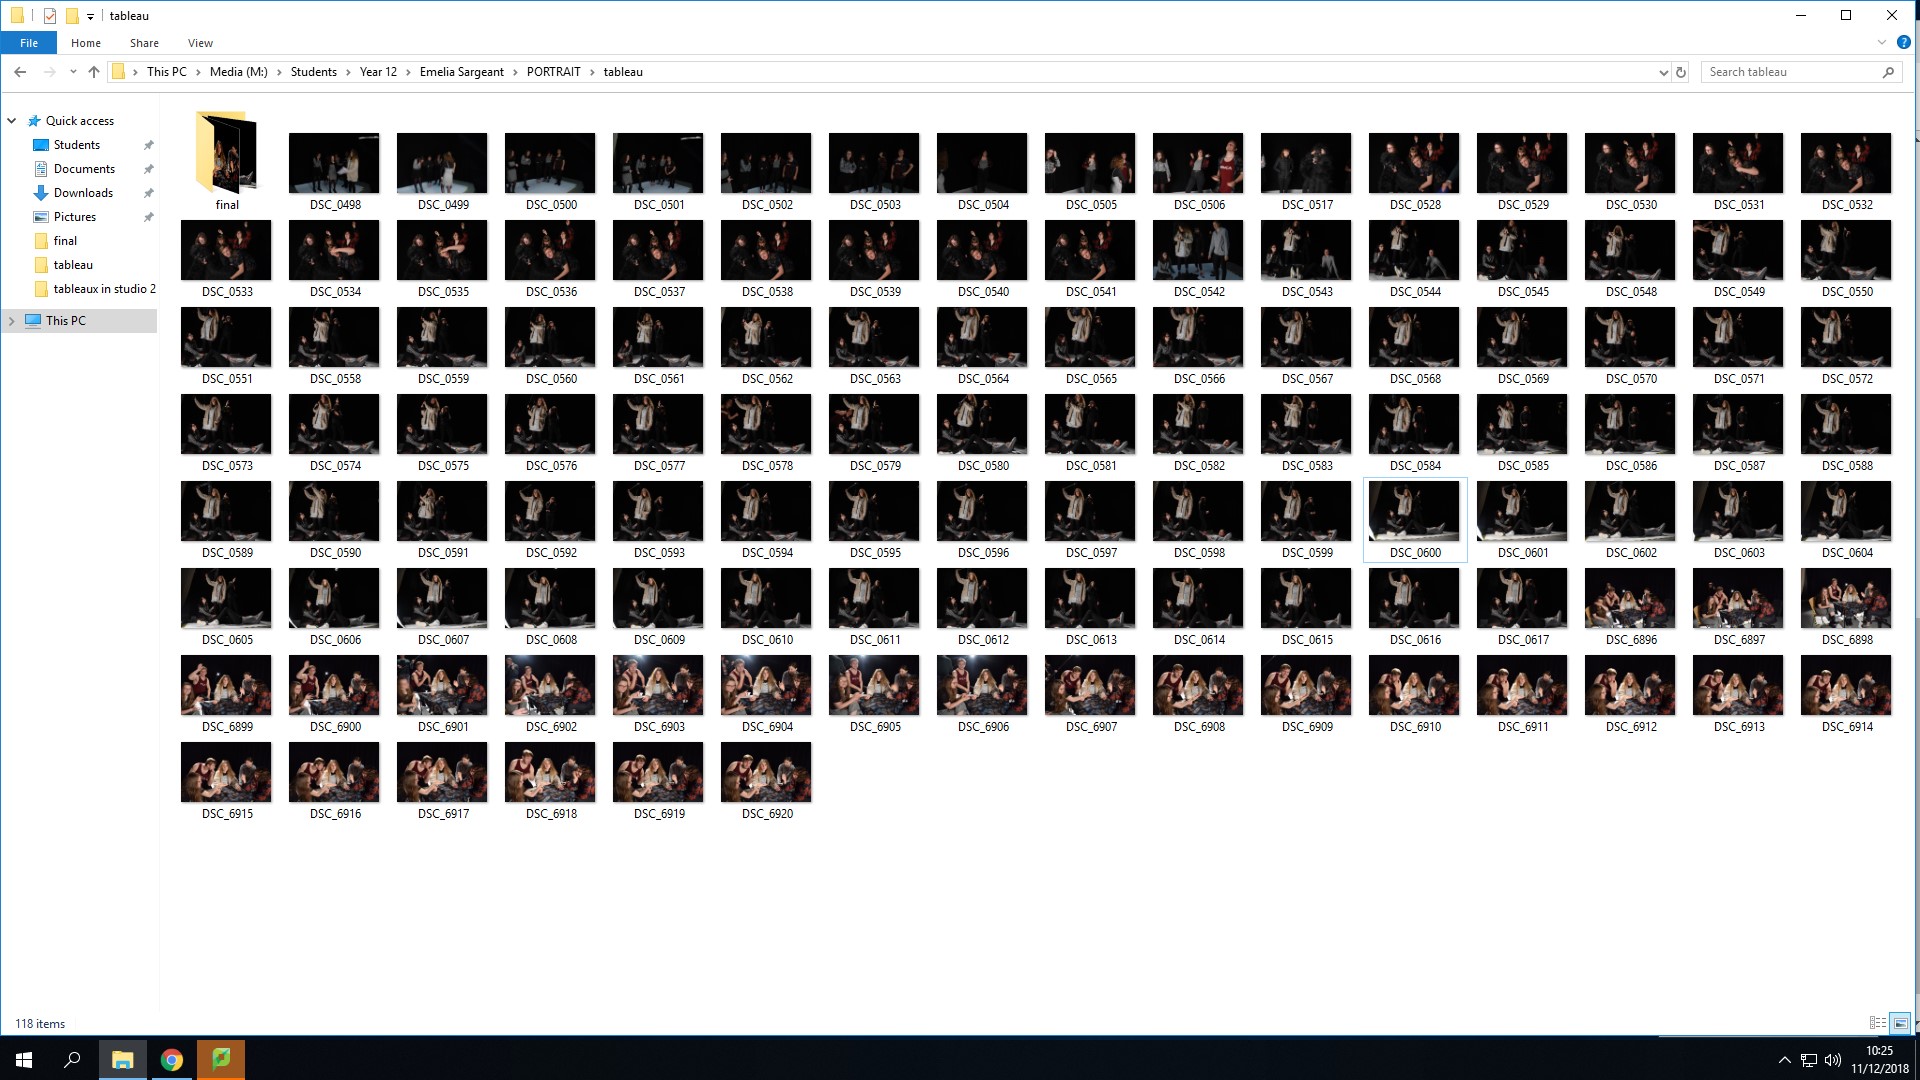
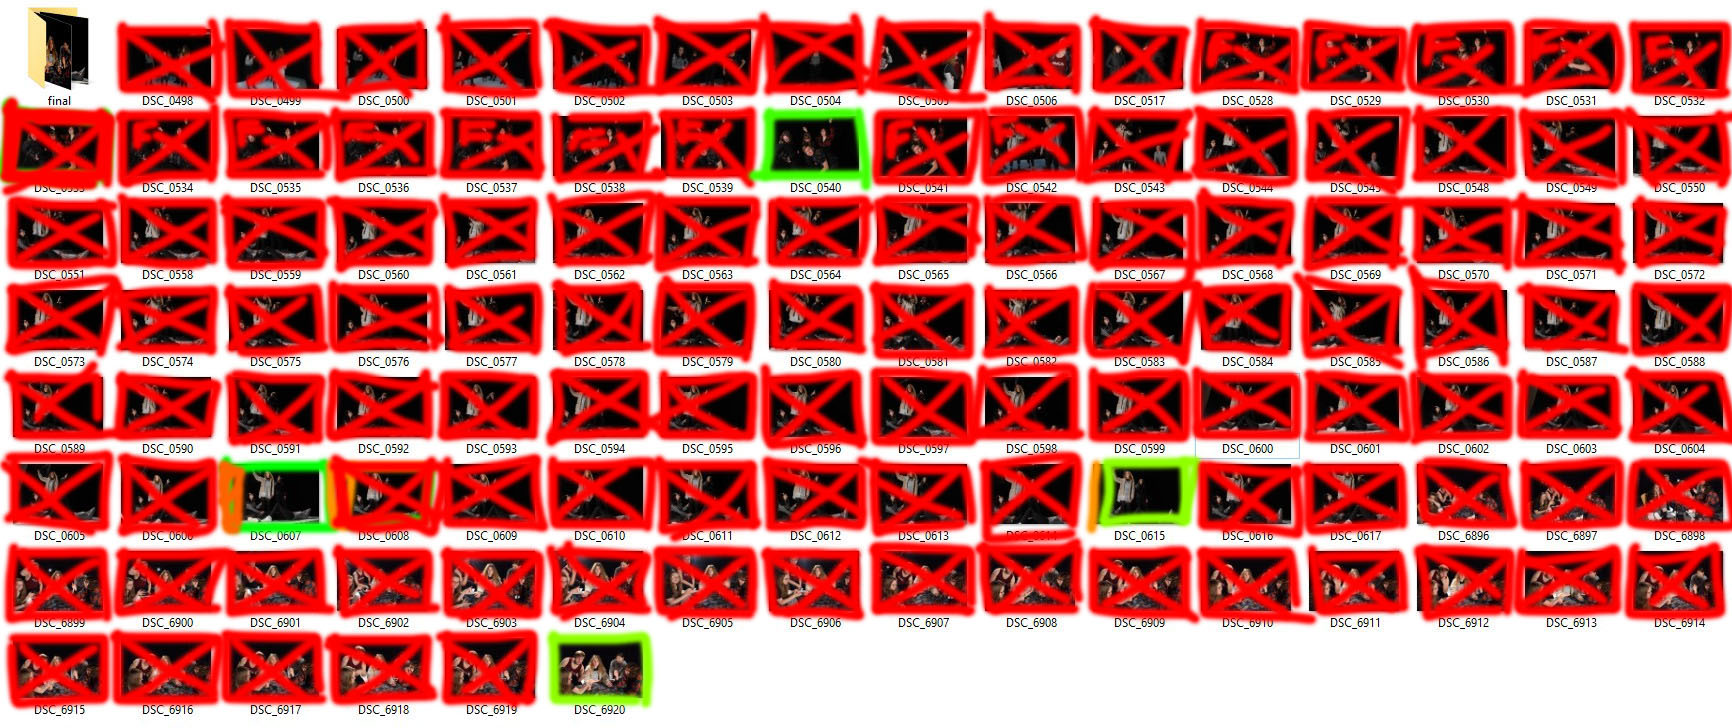
Contact Sheet:

Manipulated Images:

Studio Lighting Shoot 1 – Experimentation

What Is Studio Lighting:
When lighting a studio setup, dramatic lighting is important. Create dramatic lighting by producing a lot of contrast. This means that dark areas are just as important as light areas. Dramatic lighting requires a number of light sources placed in a way to create very light and very dark areas.

The most basic studio lighting arrangement uses a key light (1), a fill light (2), and a back light (3). This is the most common lighting arrangement for standalone characters and objects in the studio. A three-point setup will give good results right away and is an excellent starting point for creating special effects. Spotlights are useful because you can control their direction and hot spot to give the scene drama.

http://docs.mcneel.com.s3.amazonaws.com/flamingo/nxt/help/en-us/lighting/studio_lighting_basics.htm
Basic 3 Light Set Up:
Key light: The key light is the dominant light in the scene. It sets the mood, provides direction, shows dimension and texture, and creates the darkest shadows. 
Fill light: The fill light is placed just above the lens on the opposite side from the key light. Its purpose is to reduce contrast and bring out detail in the shadows by simulating light reflected off nearby objects. The key light and fill light may be of equal intensity for a low-contrast result, but the key light is usually brighter and harder than the fill light. The fill light should not introduce any more dark shadows into the scene.
Back light:  The backlight effect is subtle but can define the edges of objects in the scene and add depth by preventing objects from blending into the background. Backlights are usually placed behind and above the object and are pointed toward the camera. The effectiveness of backlights depends in part on the reflectivity of the surfaces they are lighting.

http://docs.mcneel.com.s3.amazonaws.com/flamingo/nxt/help/en-us/lighting/studio_lighting_basics.htm
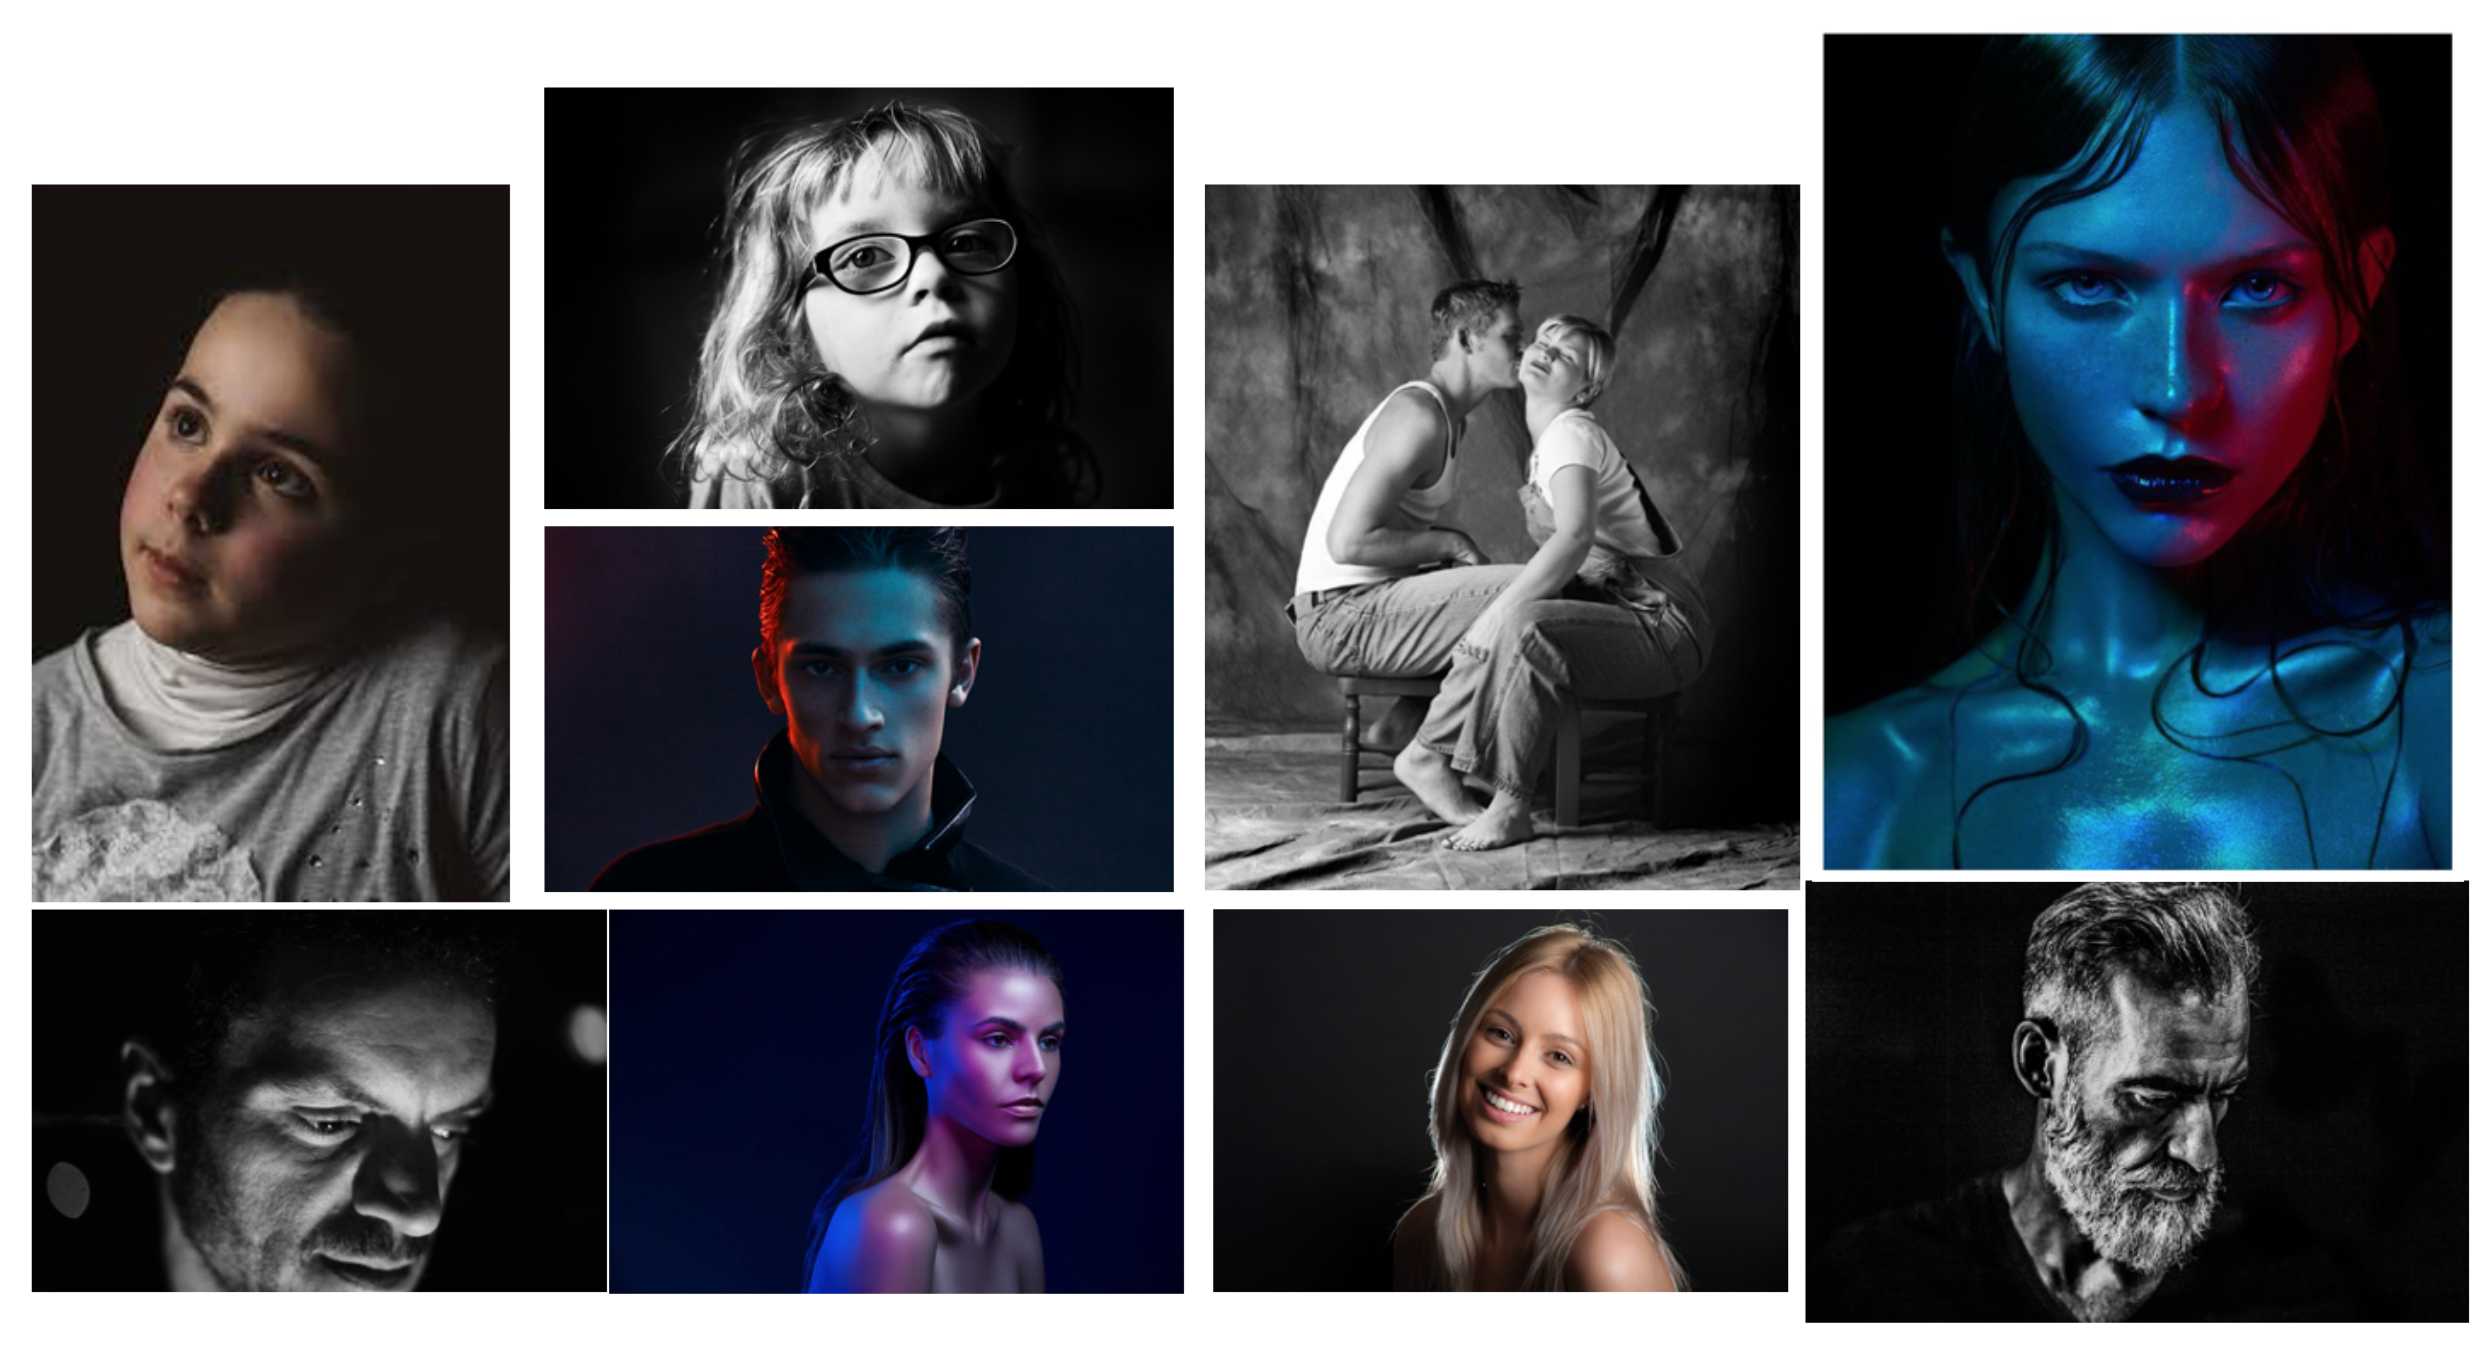
Mood Board:
Action Plan:
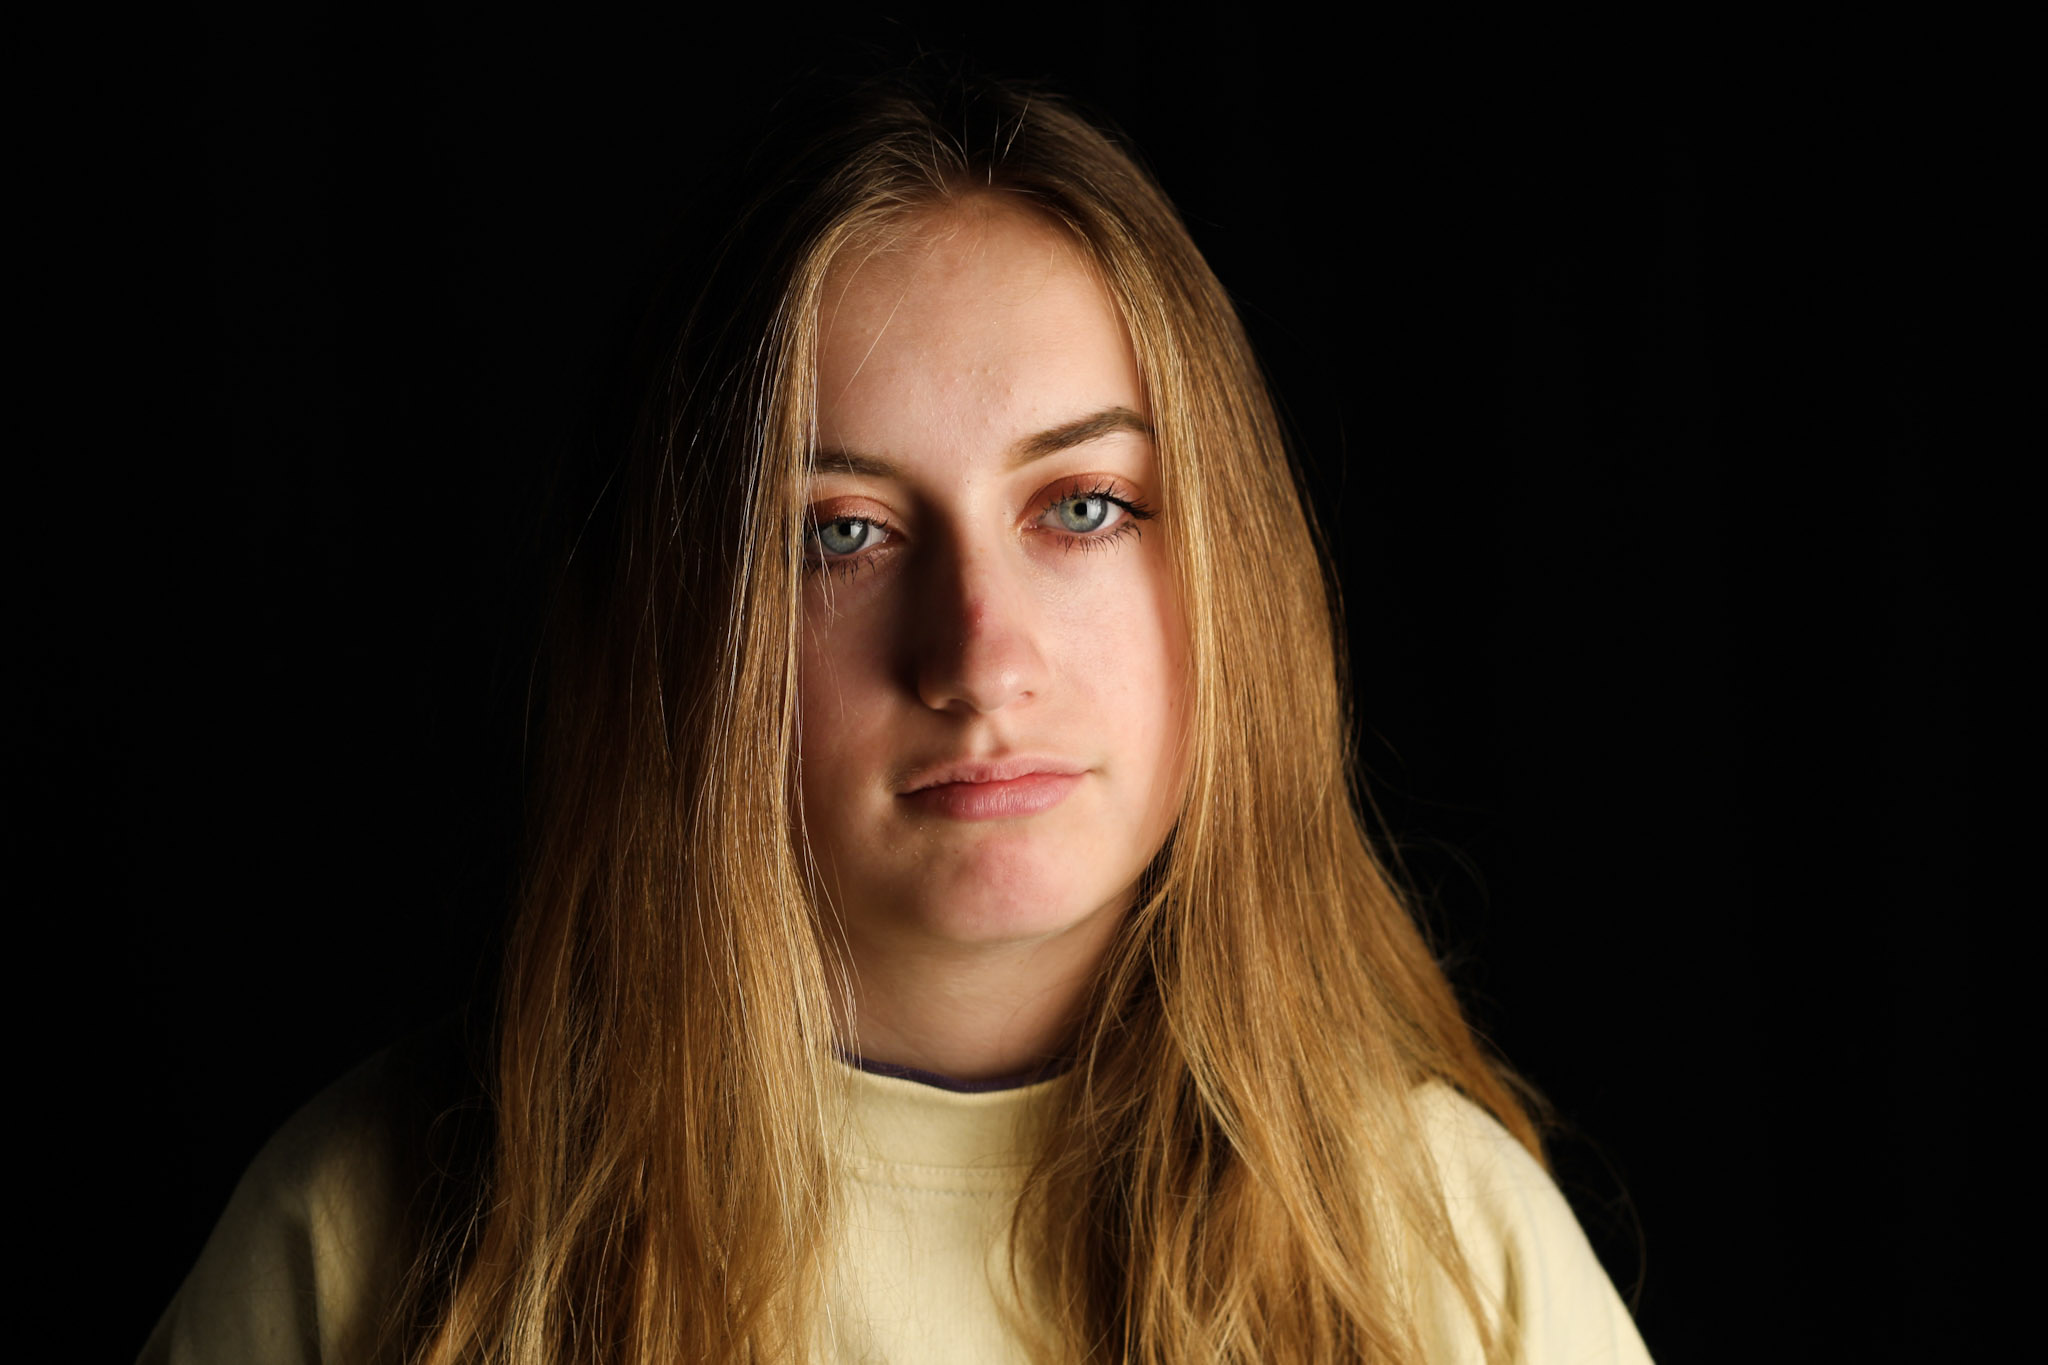
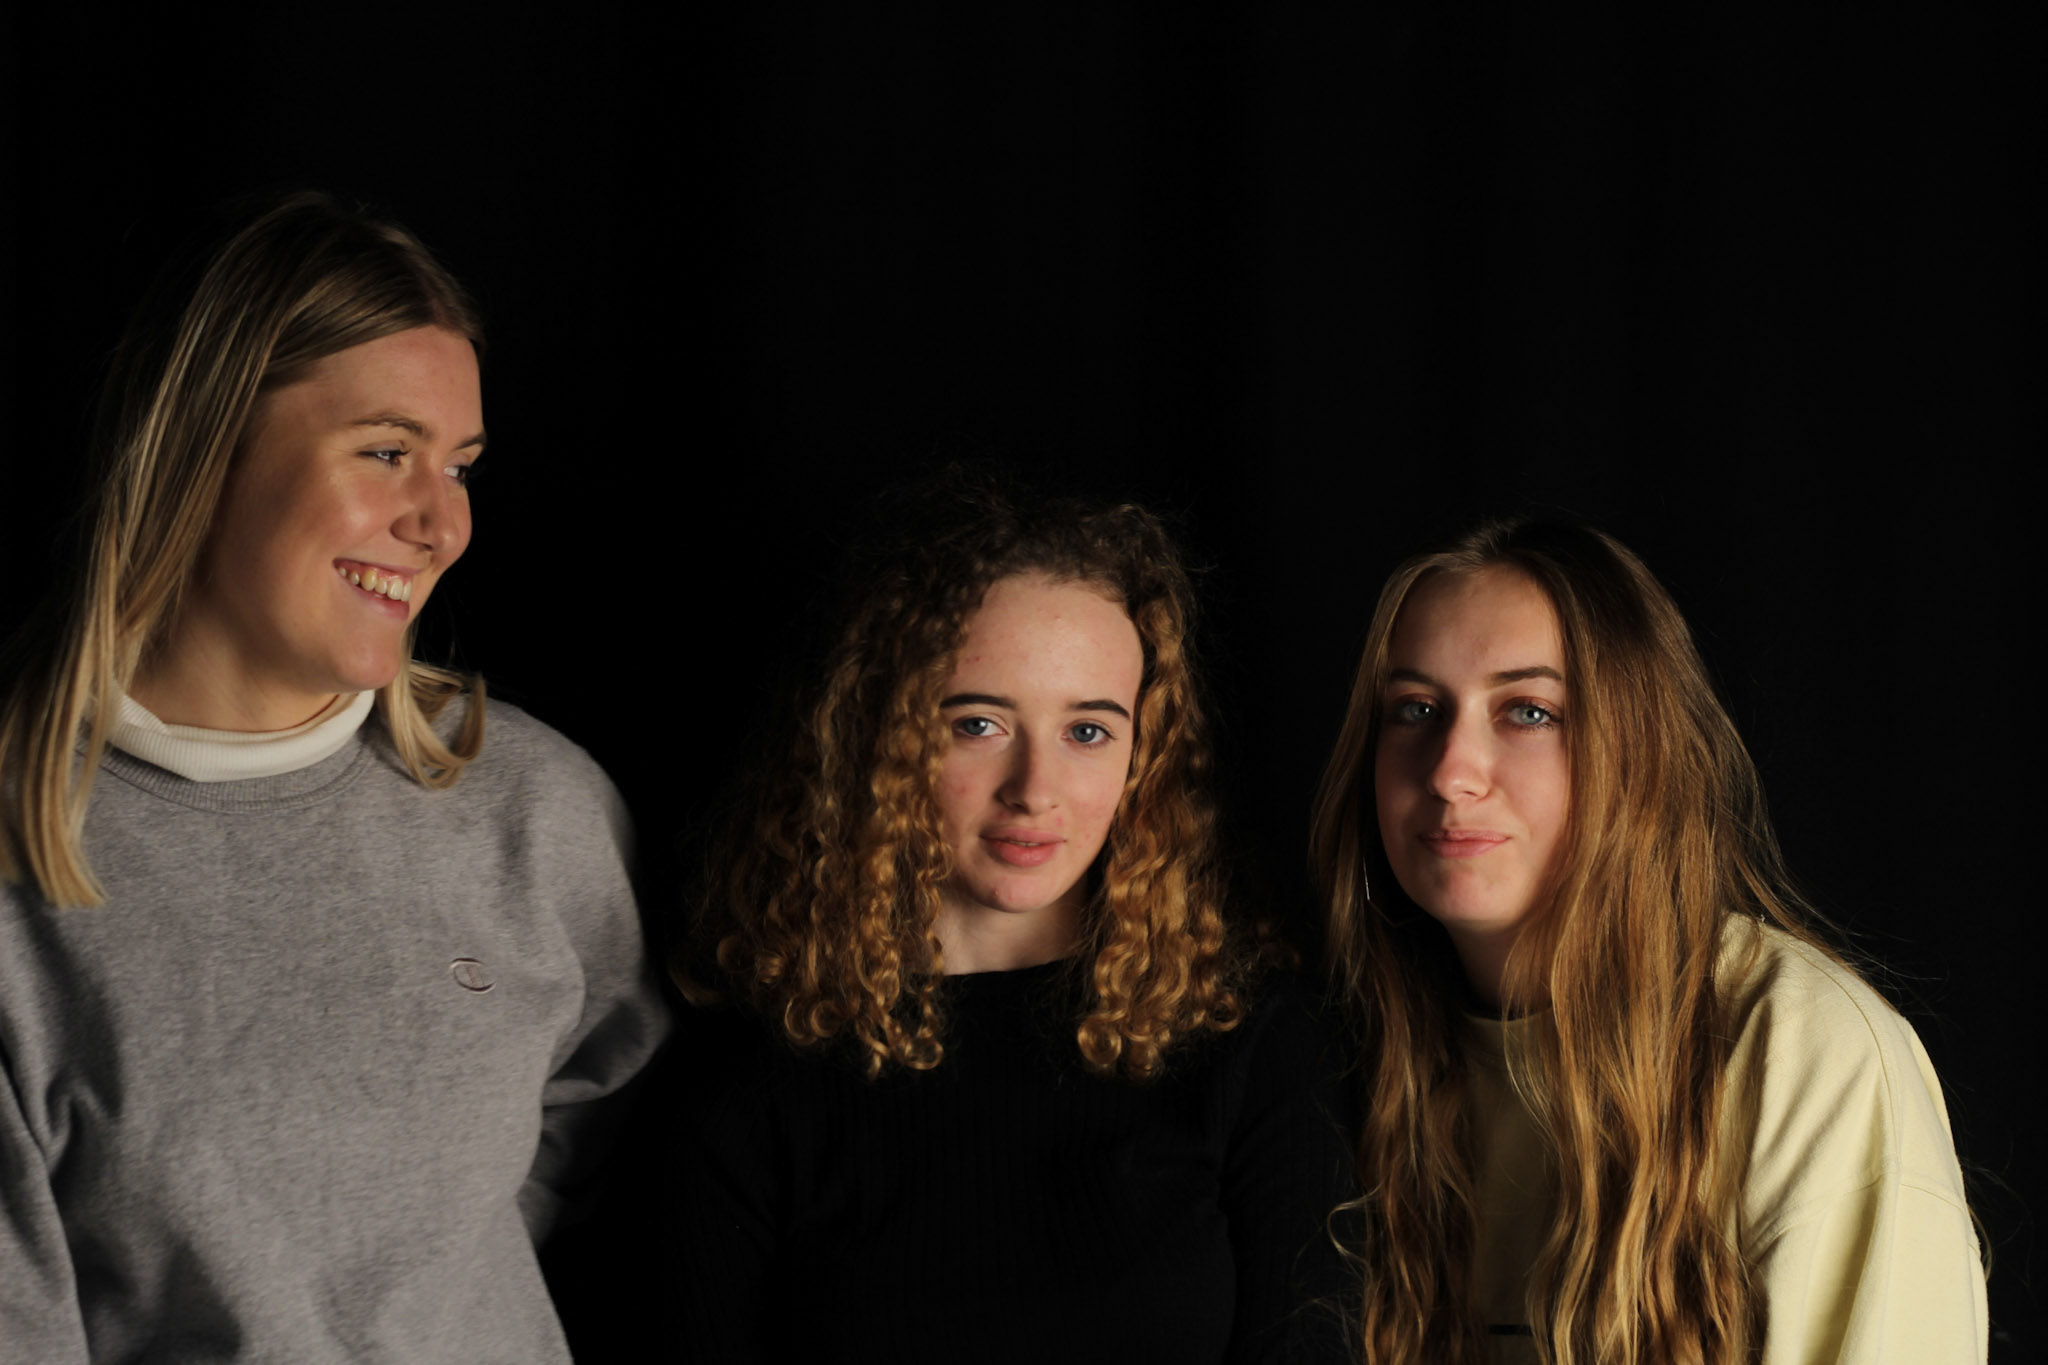
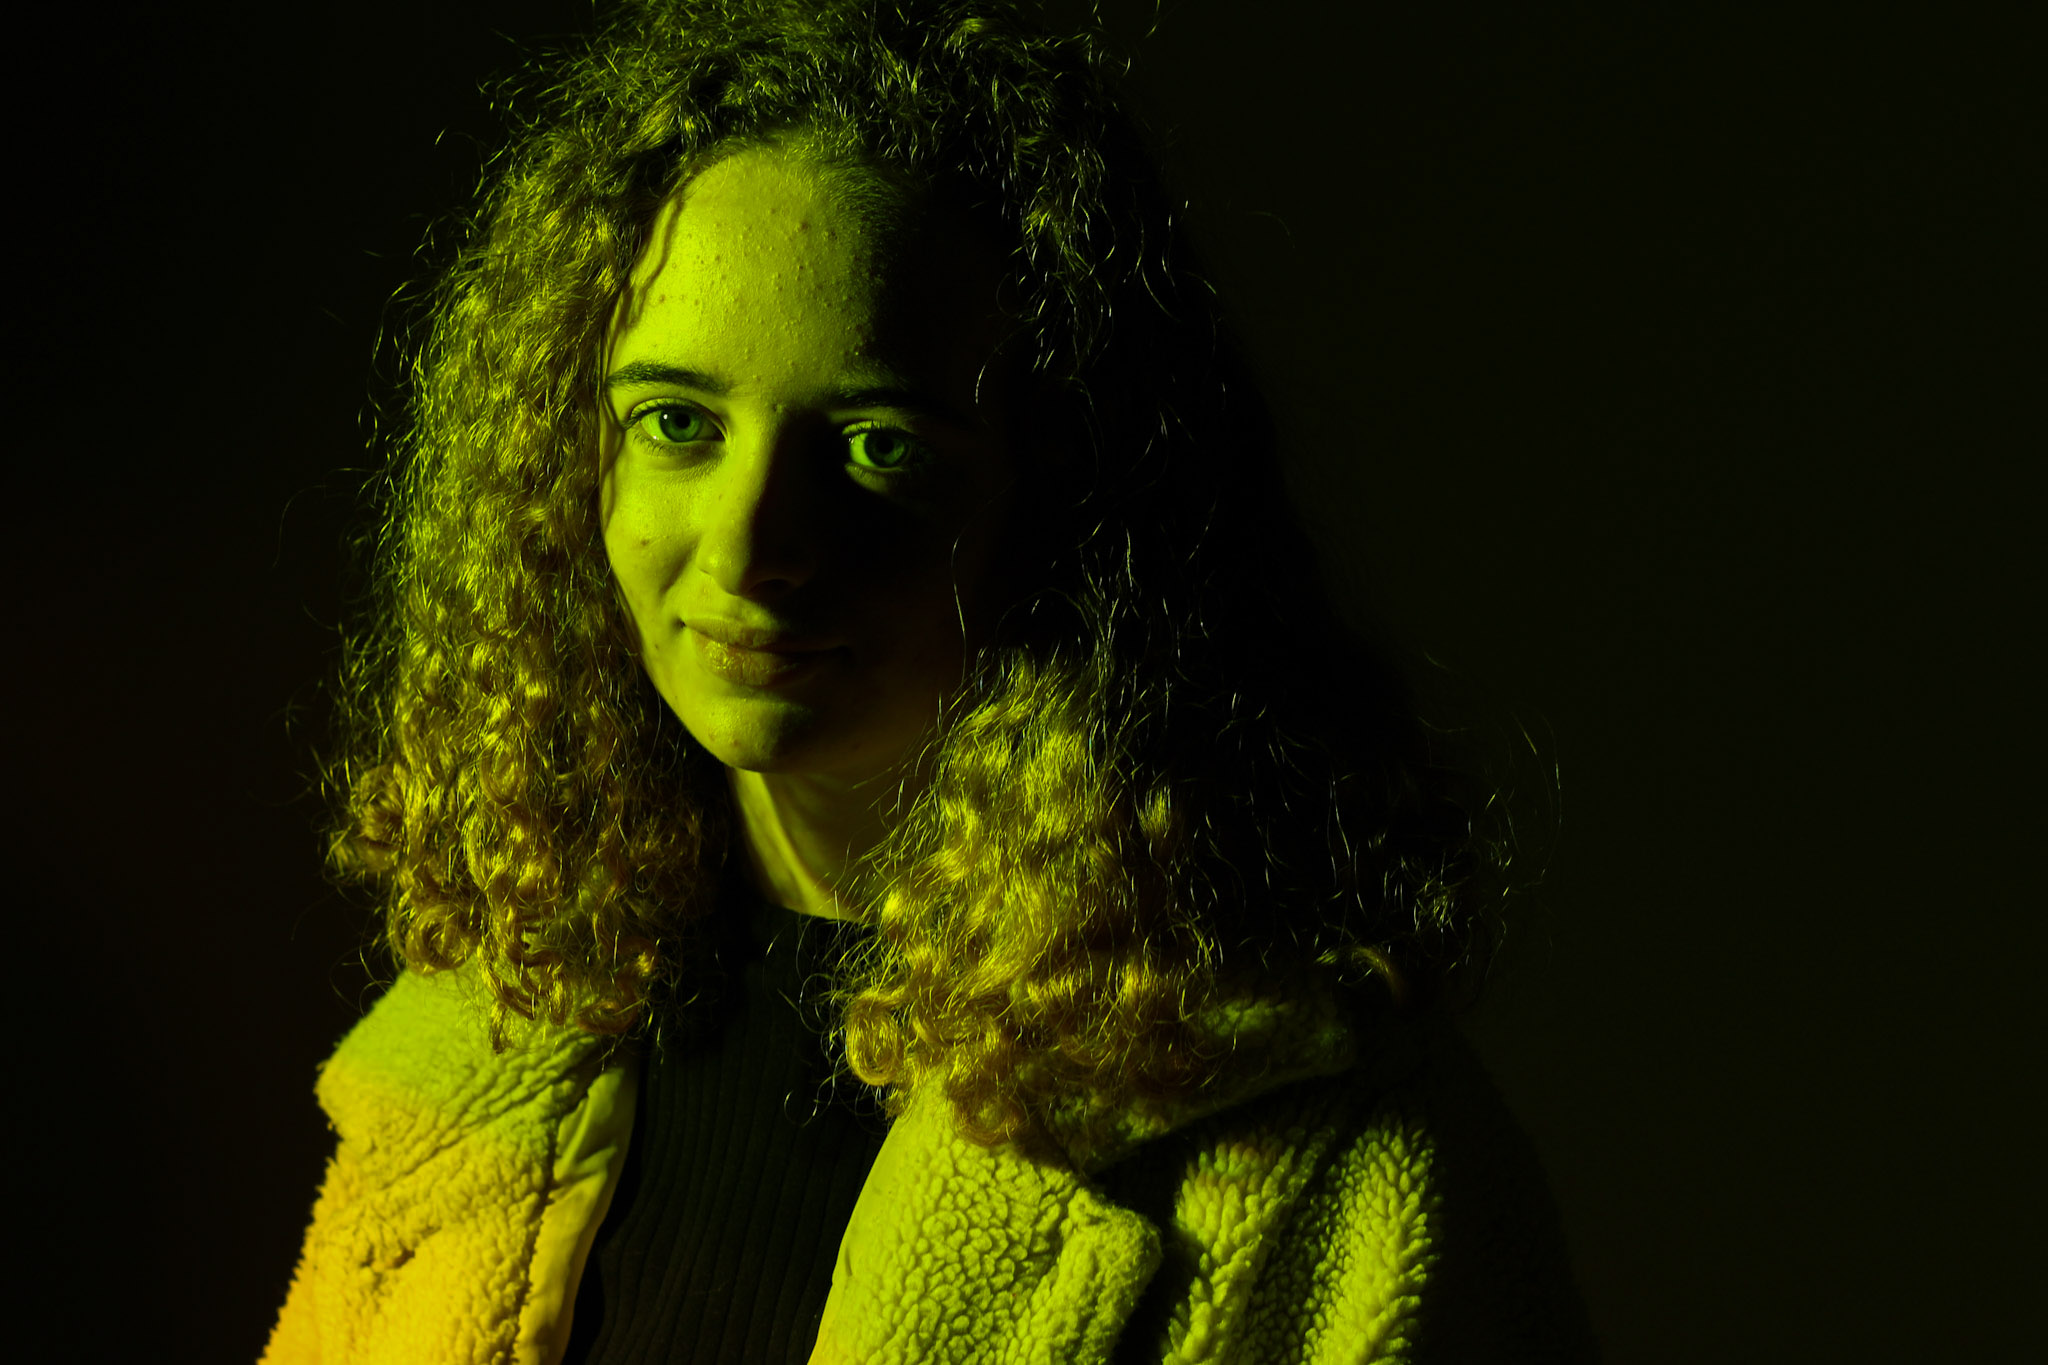
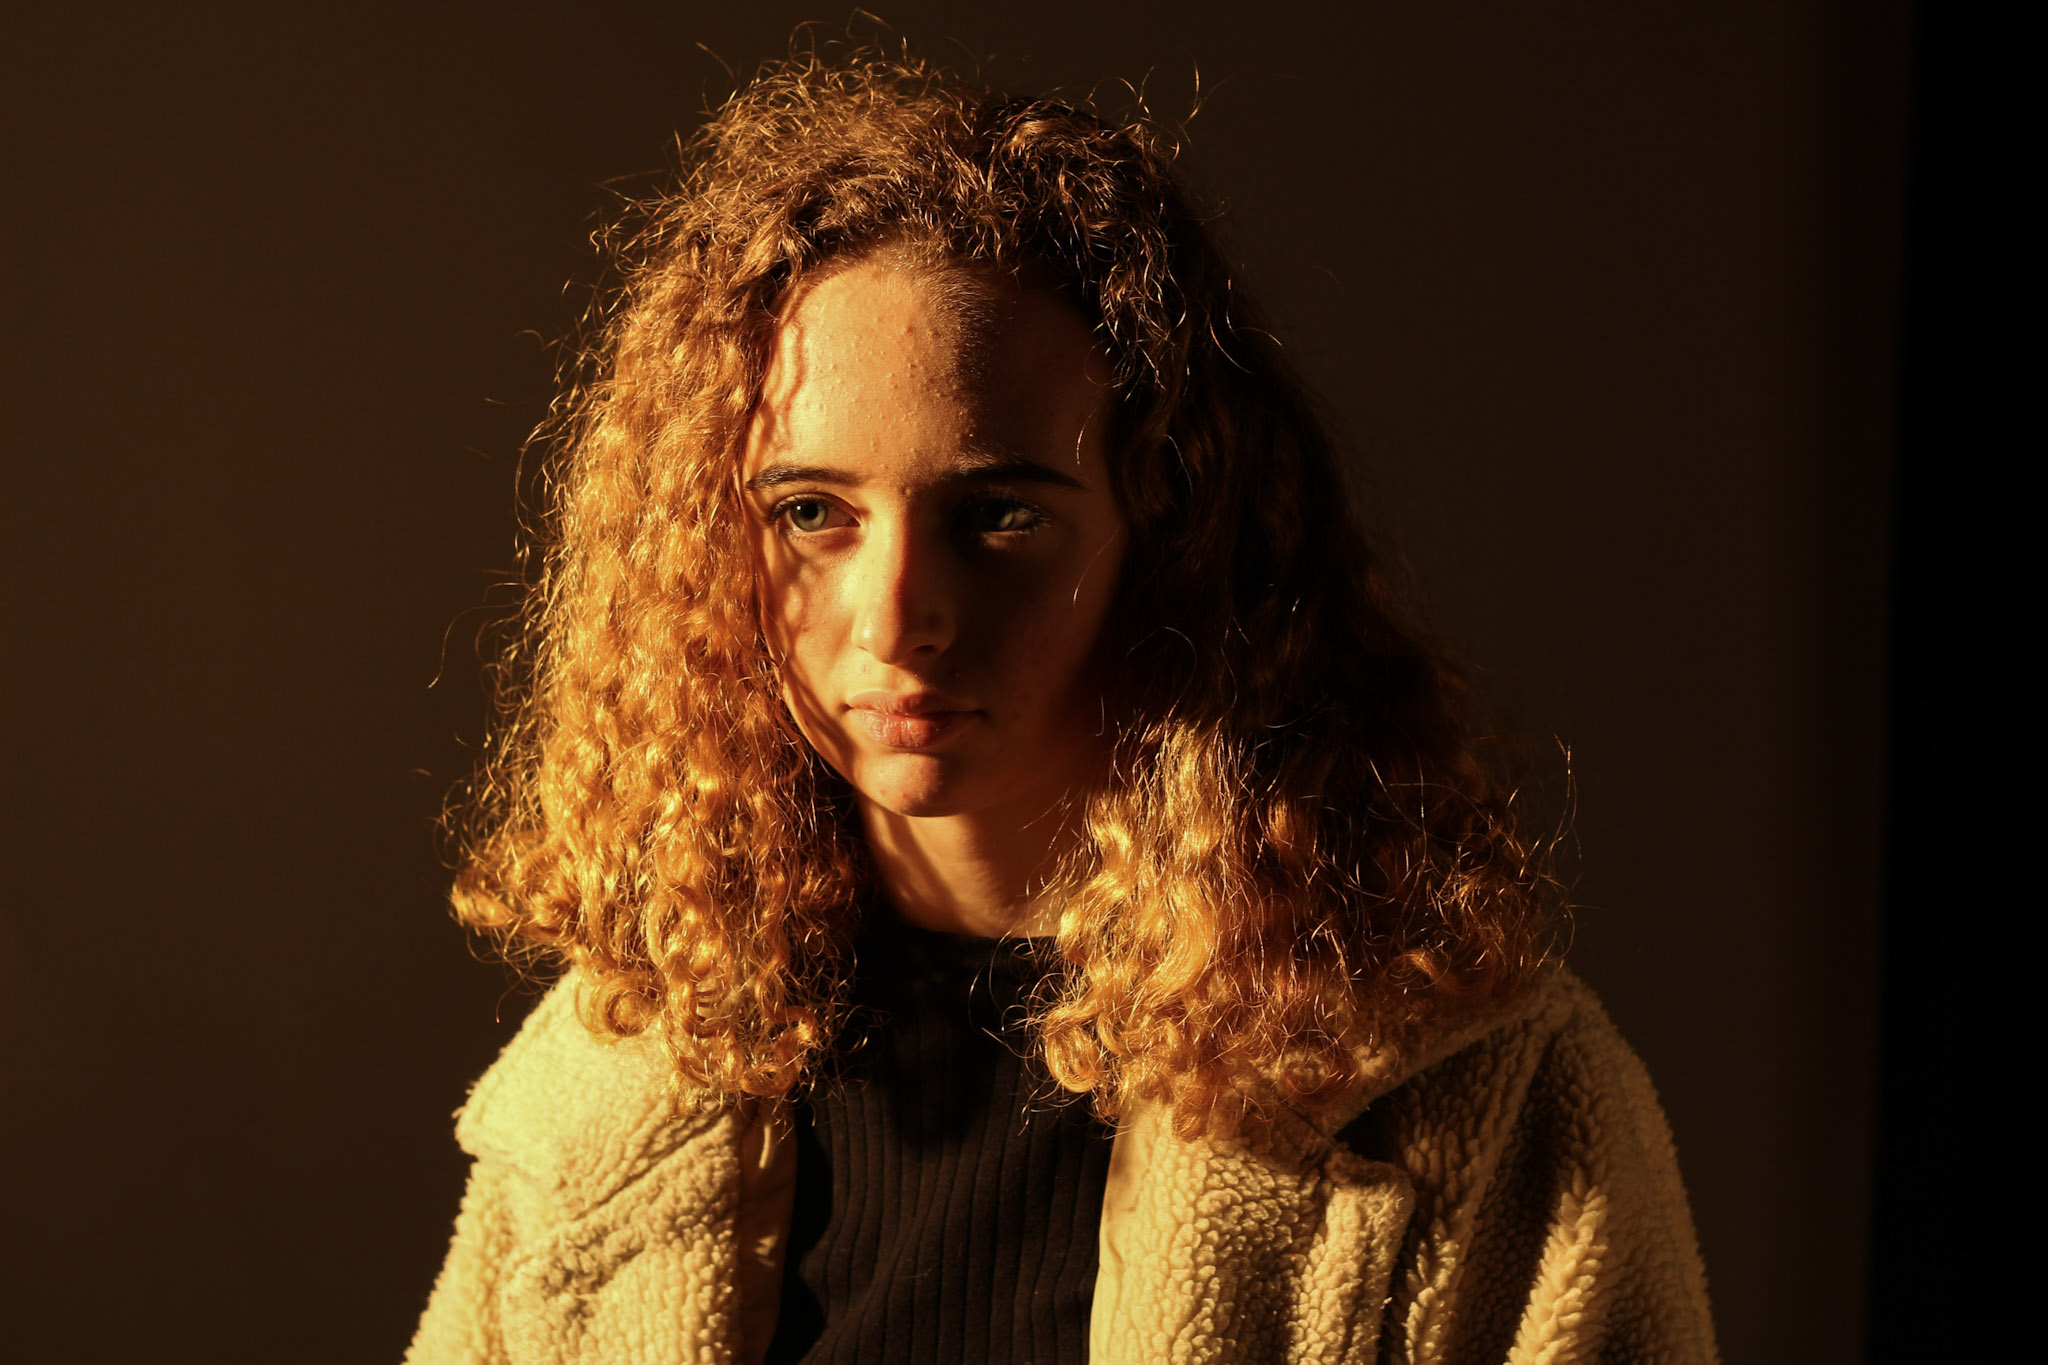
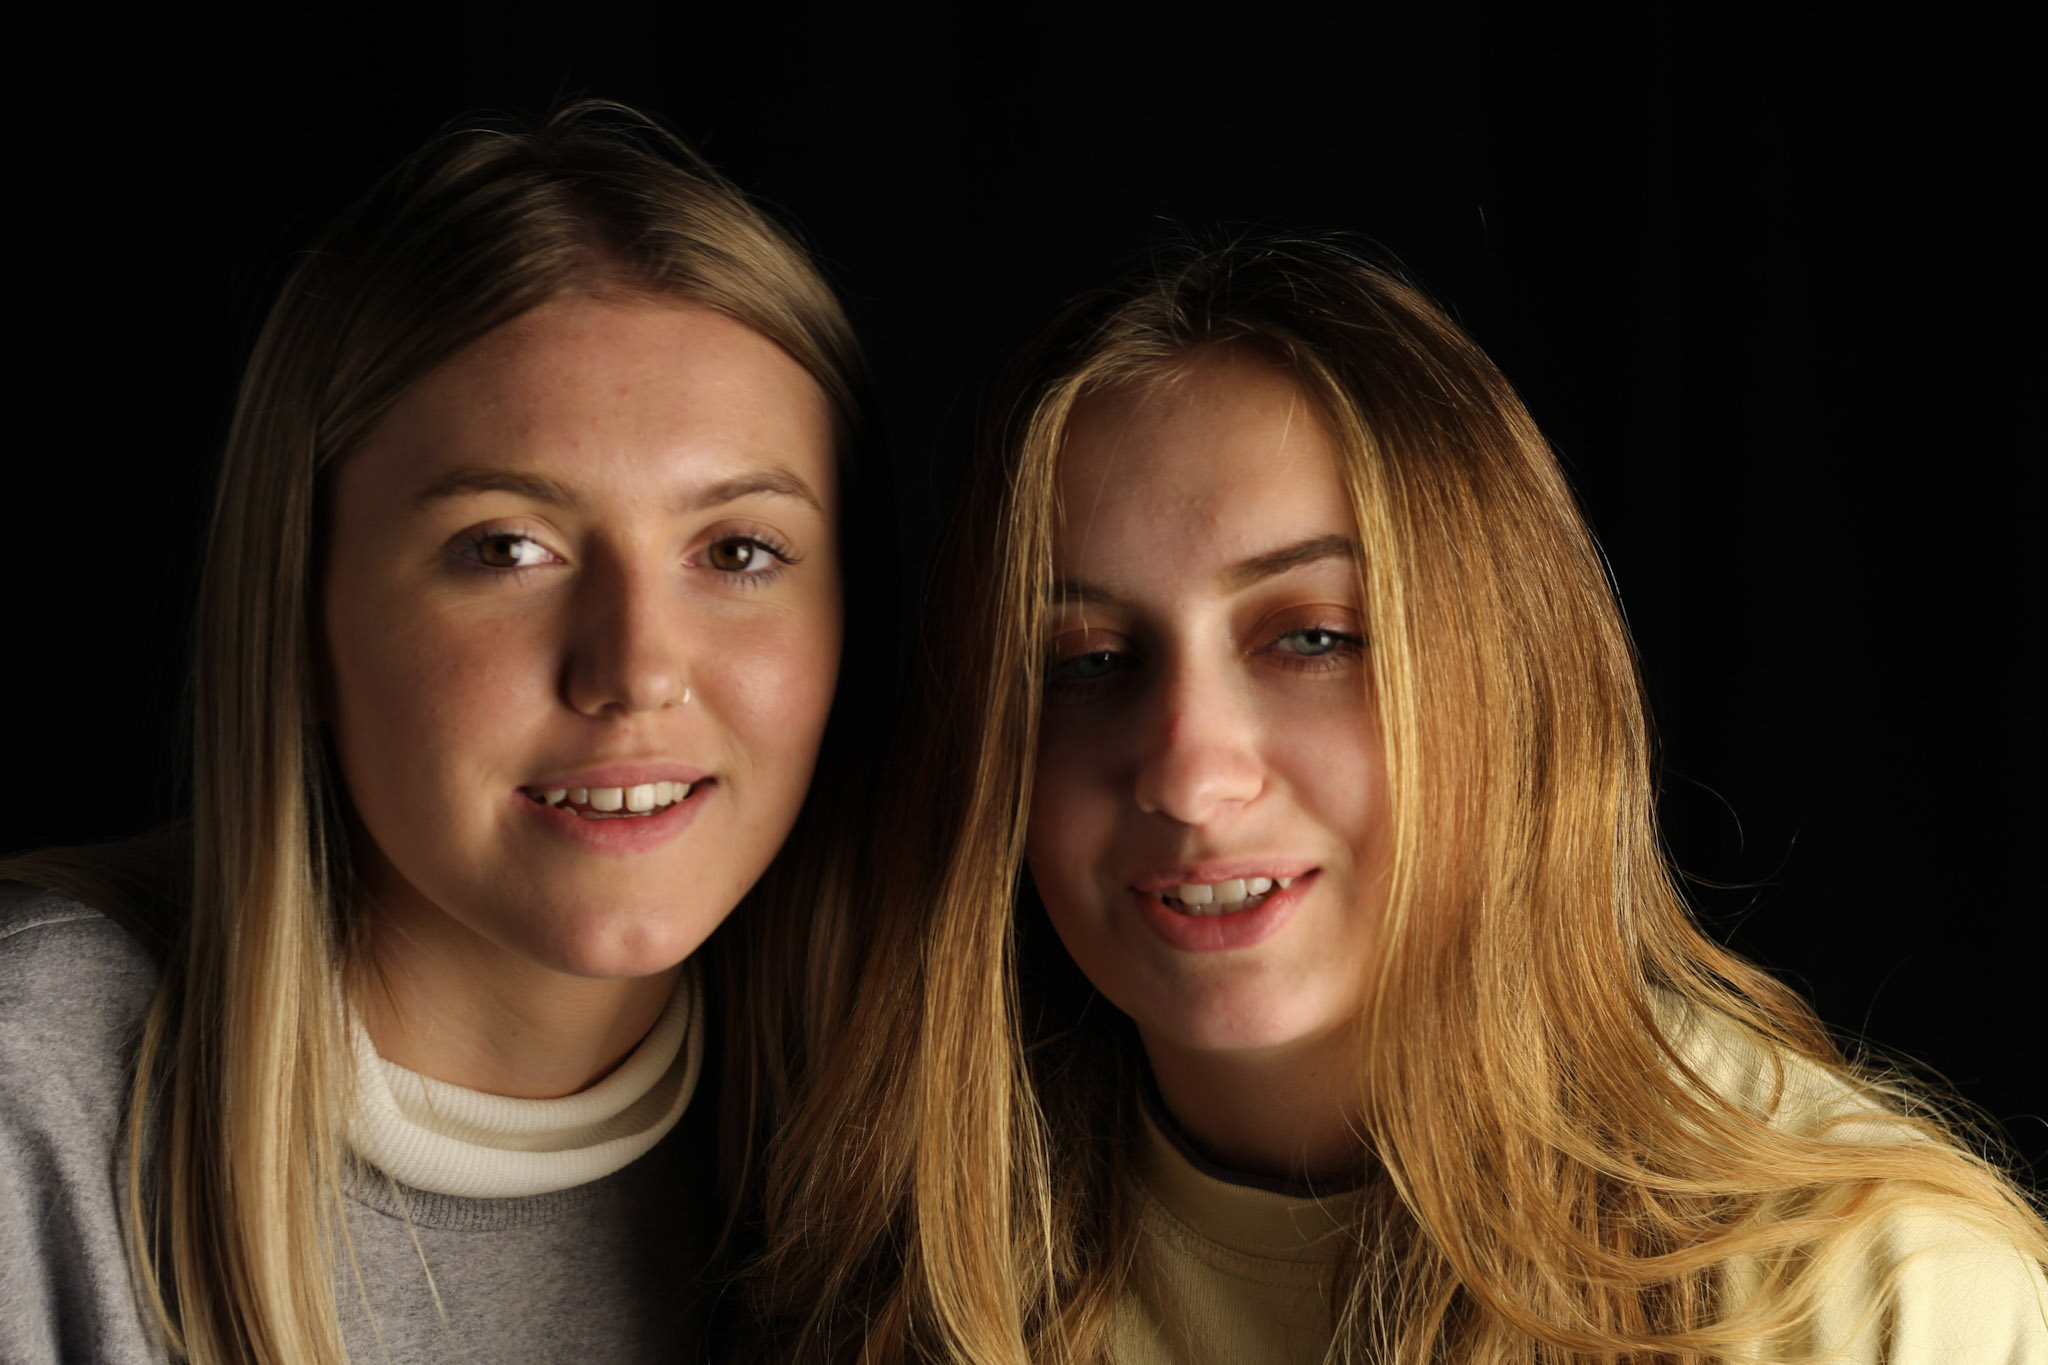
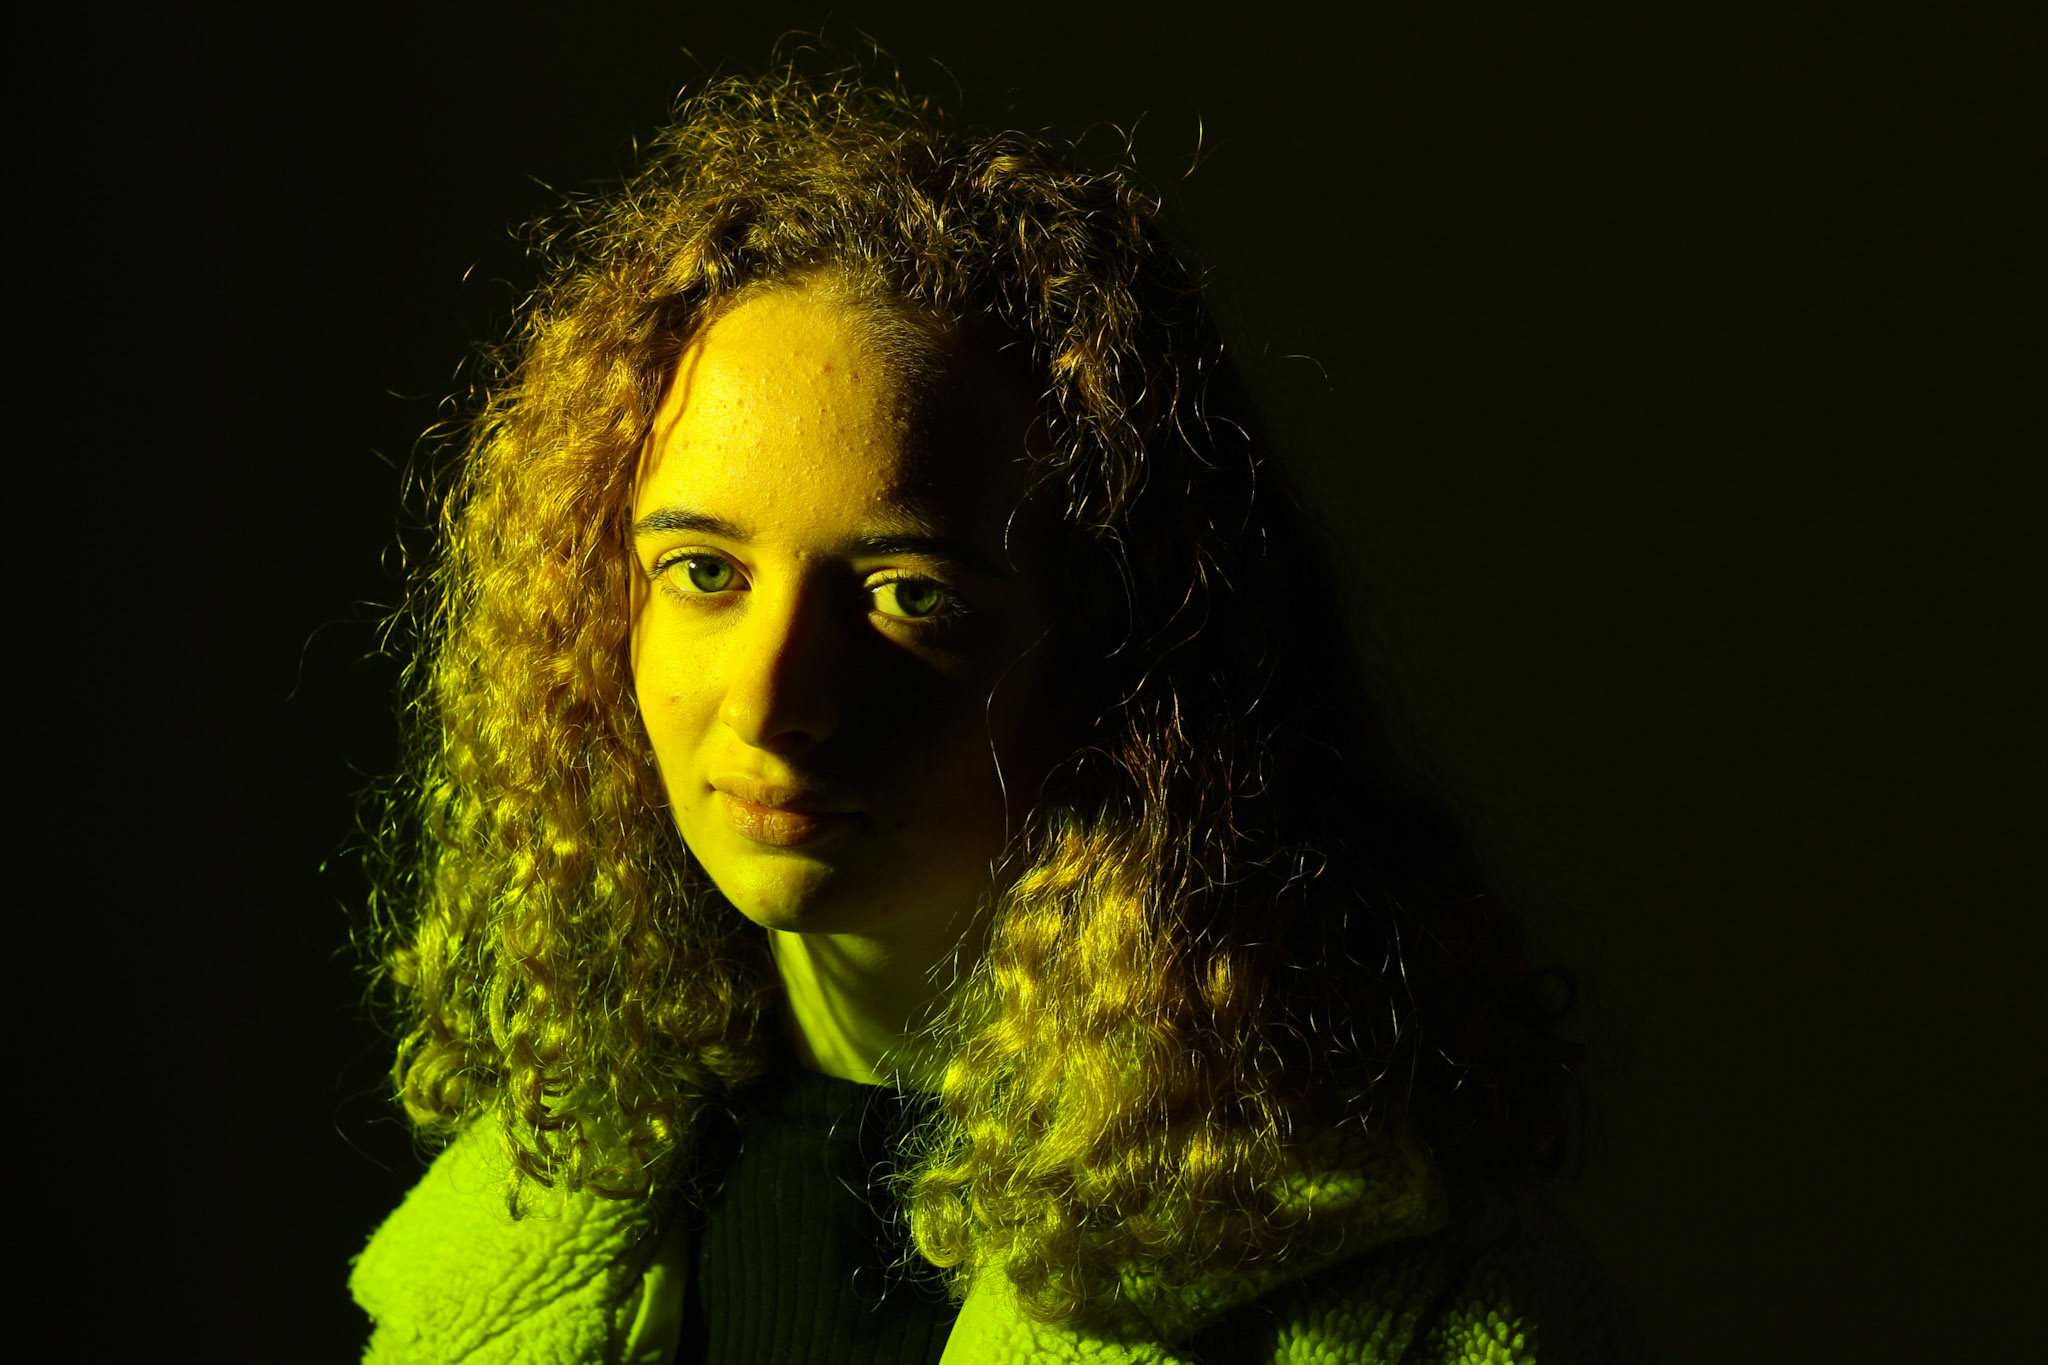
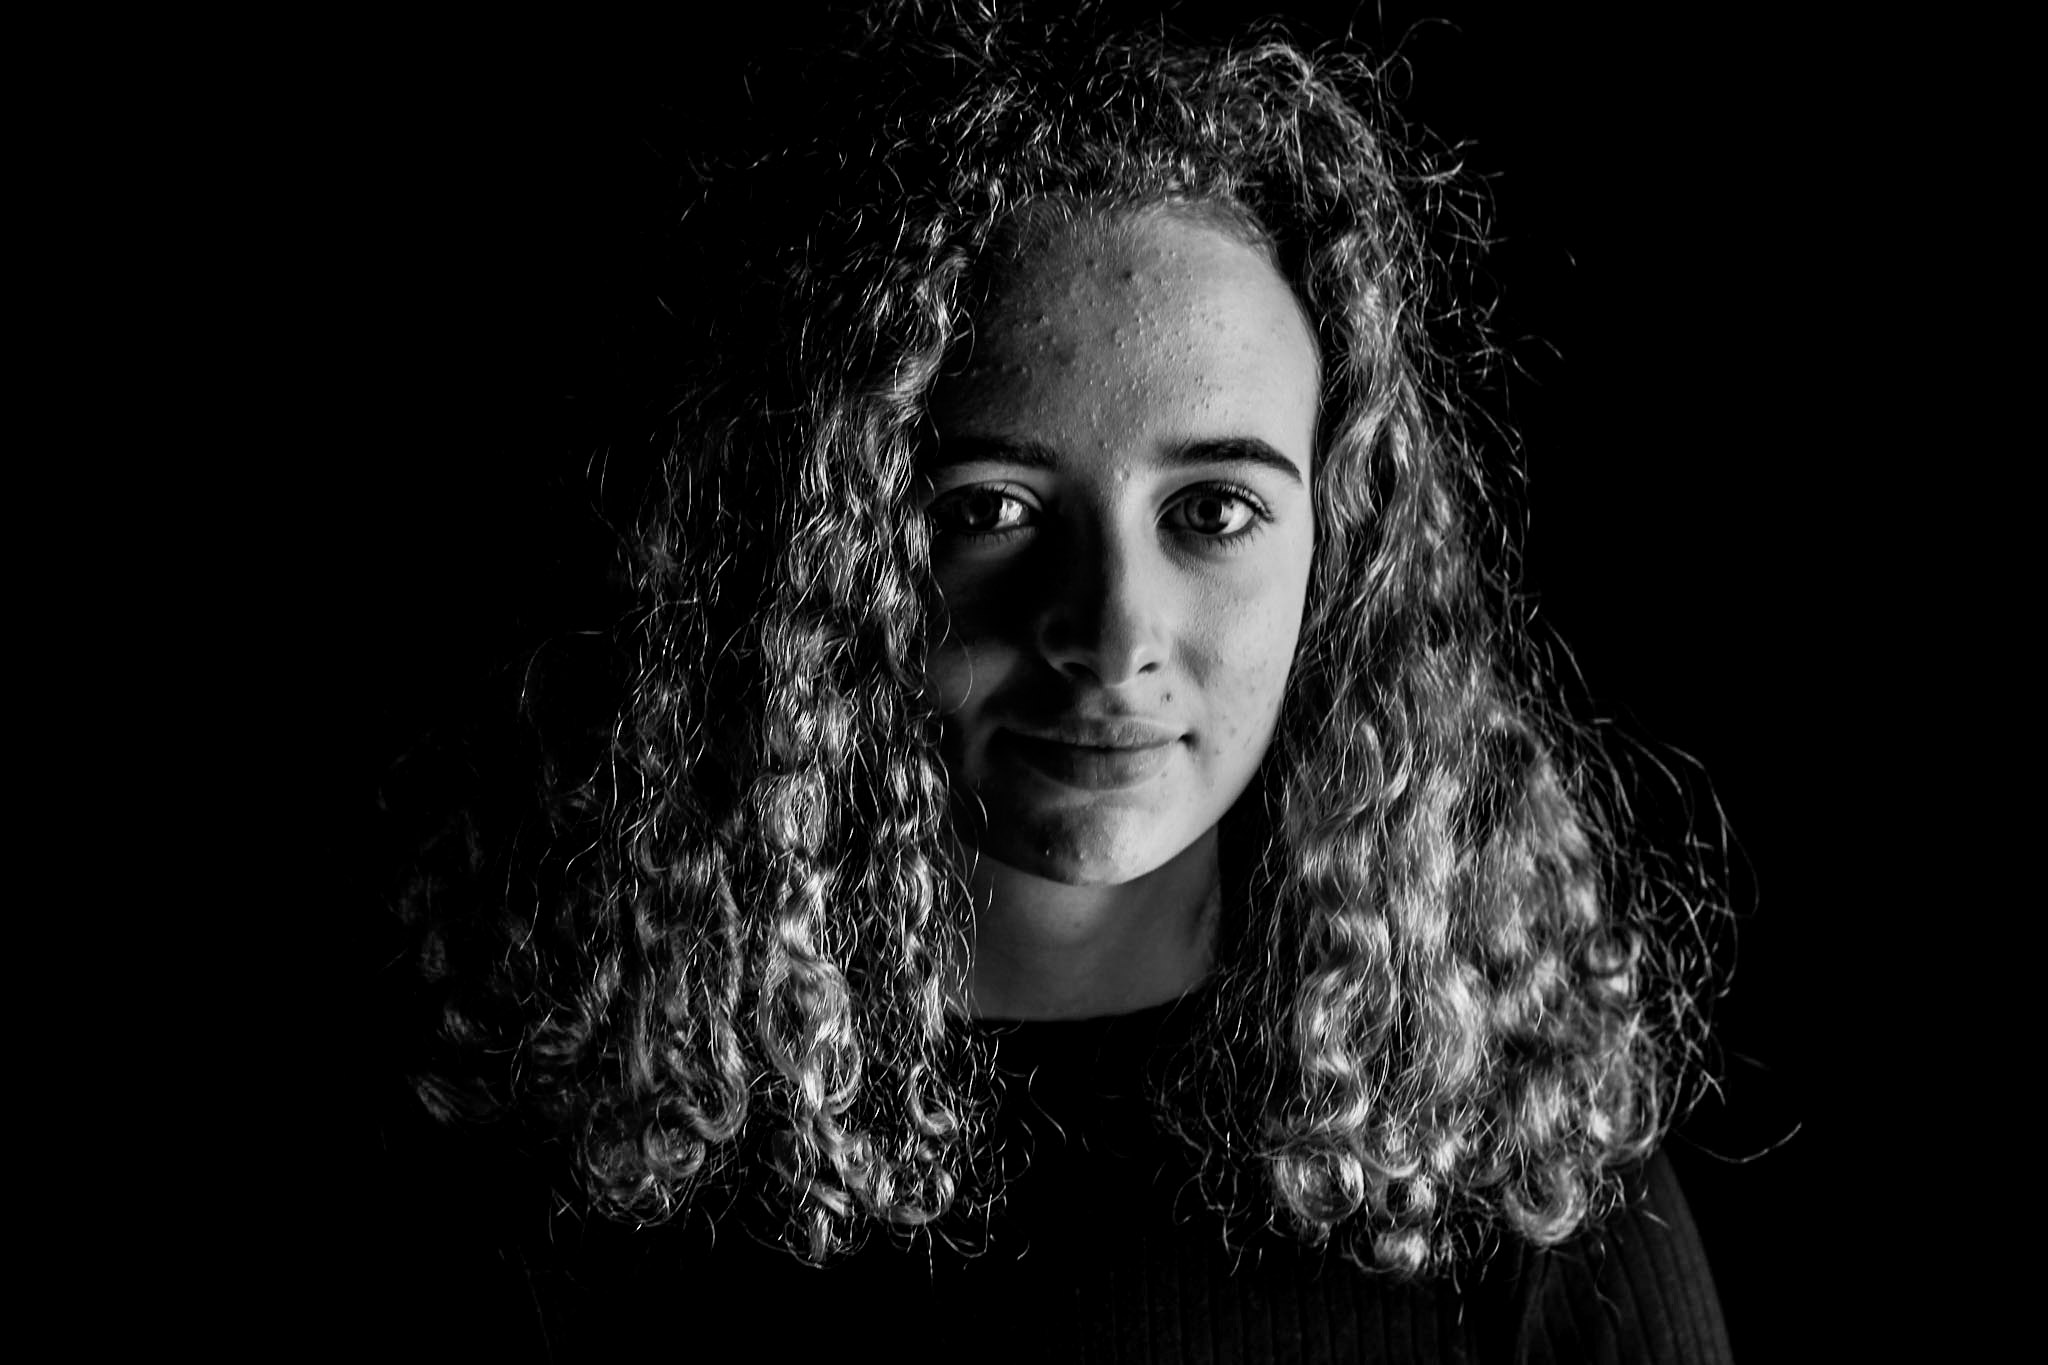
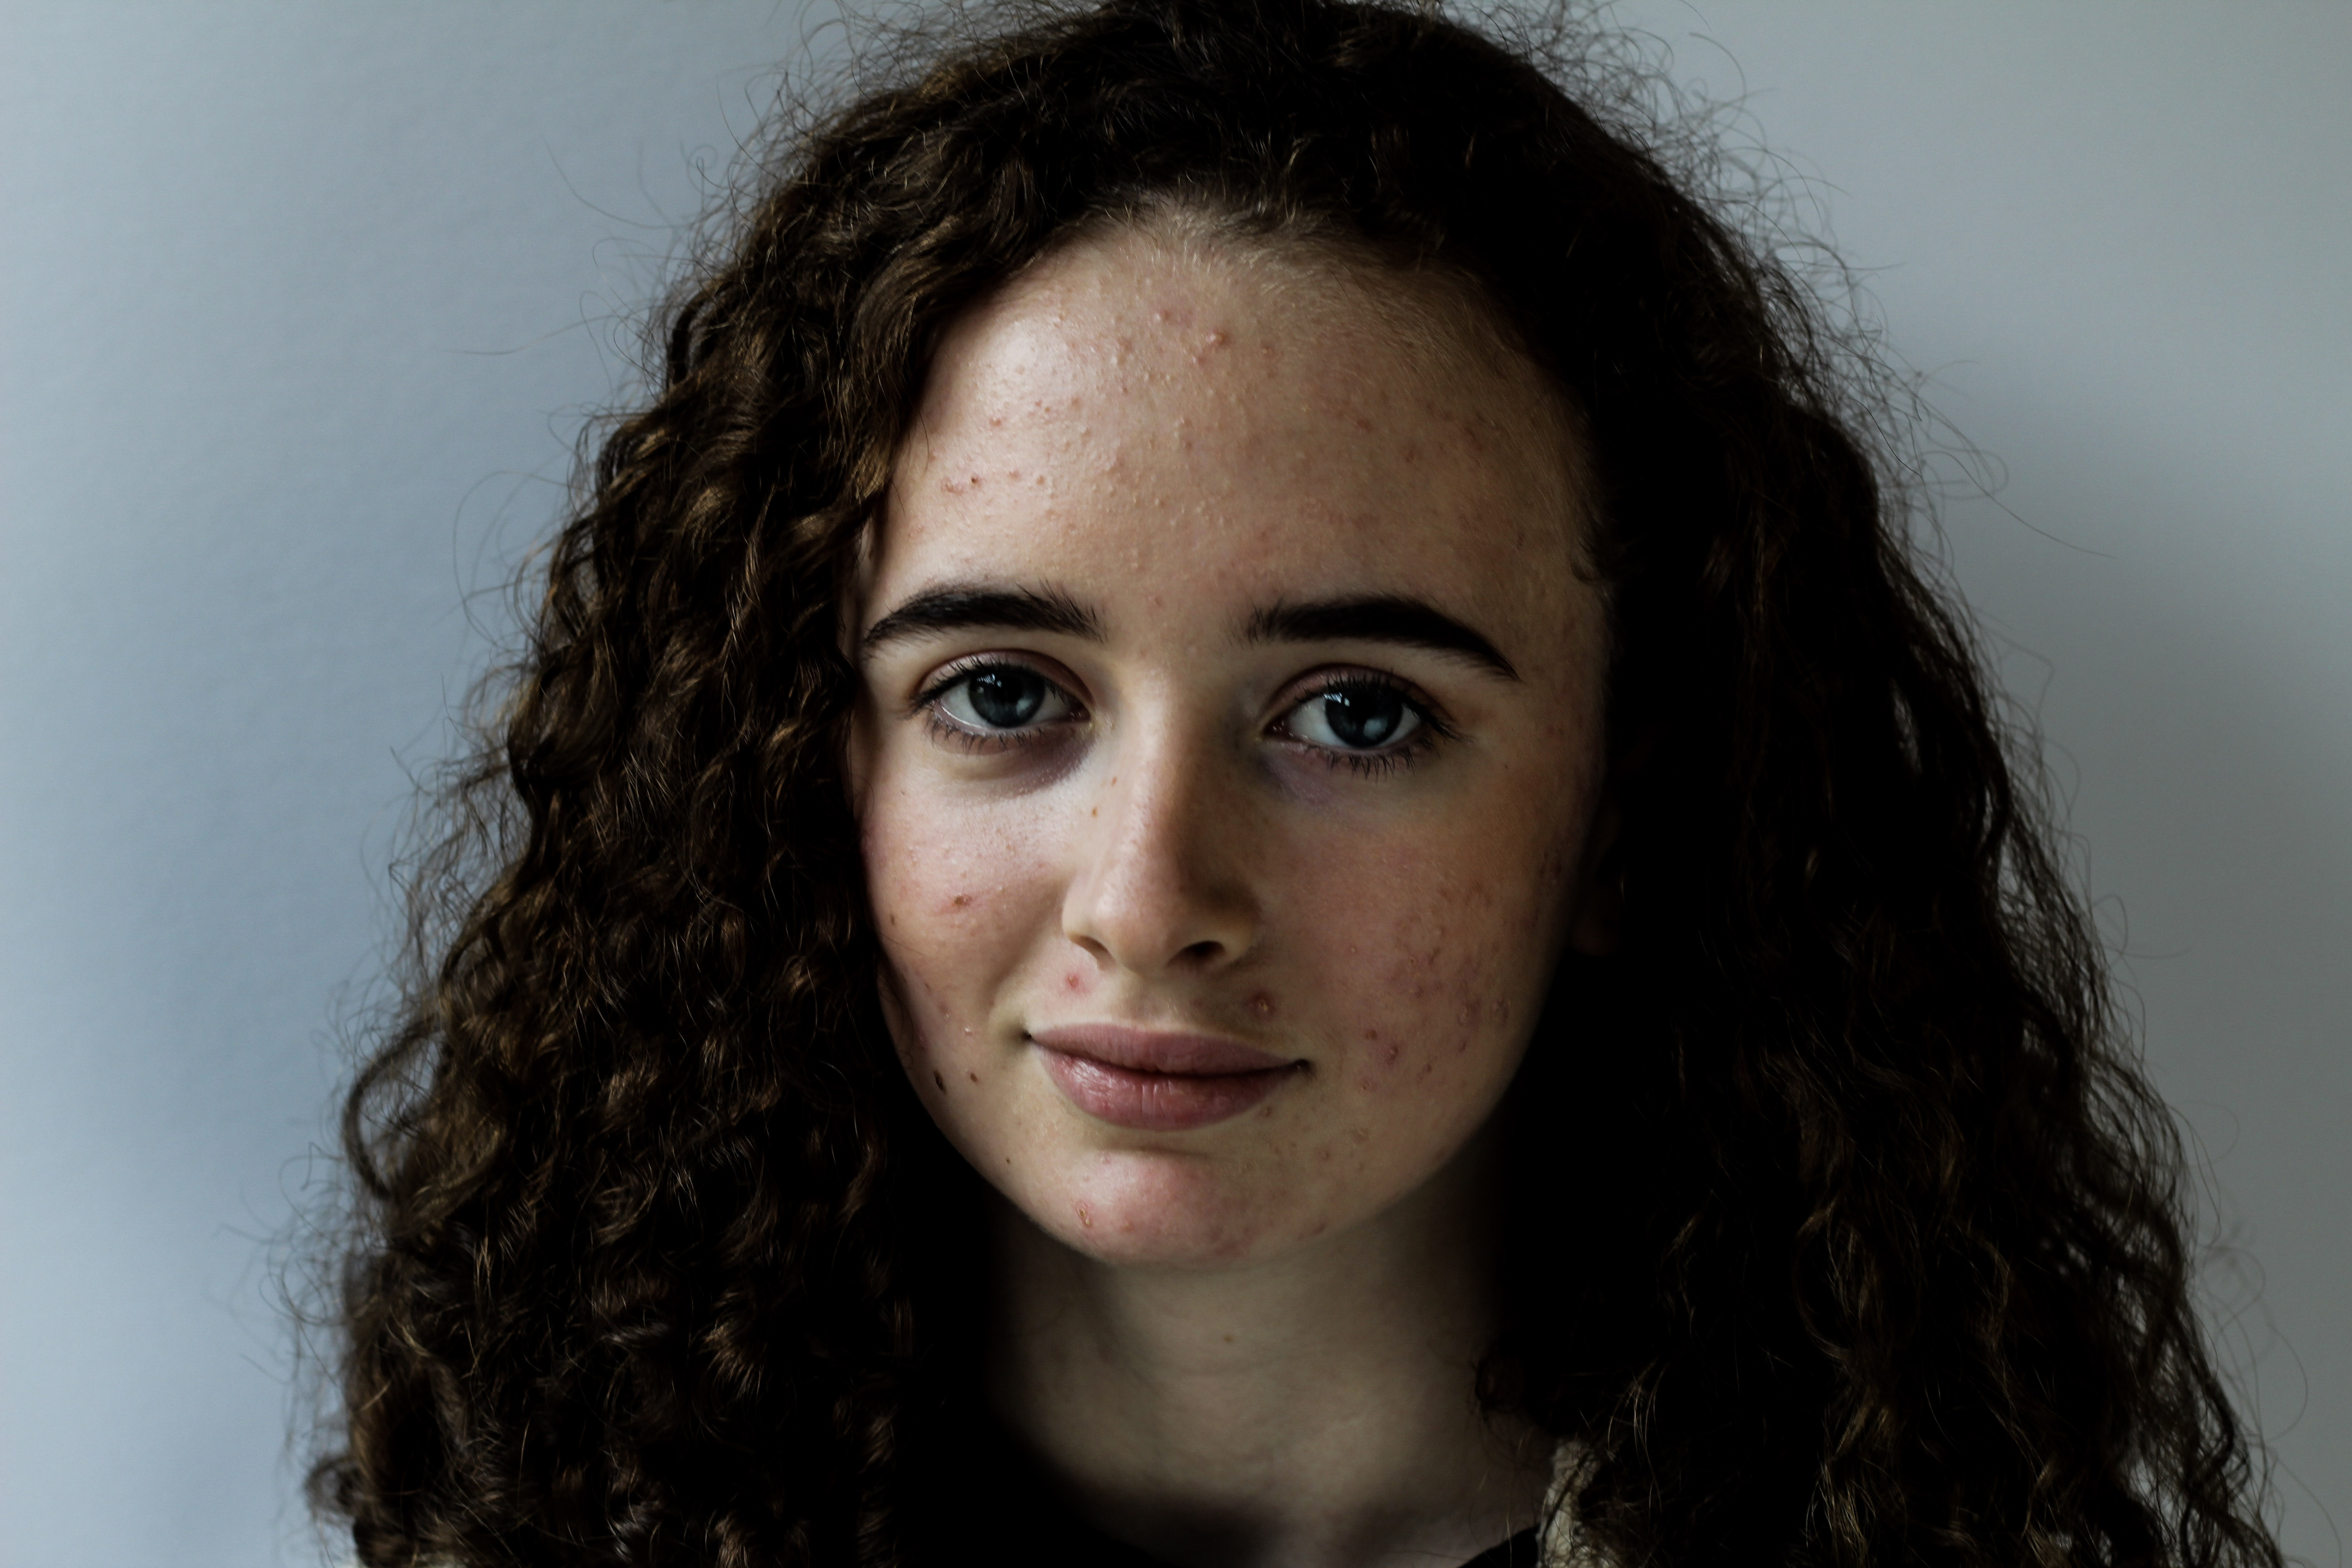
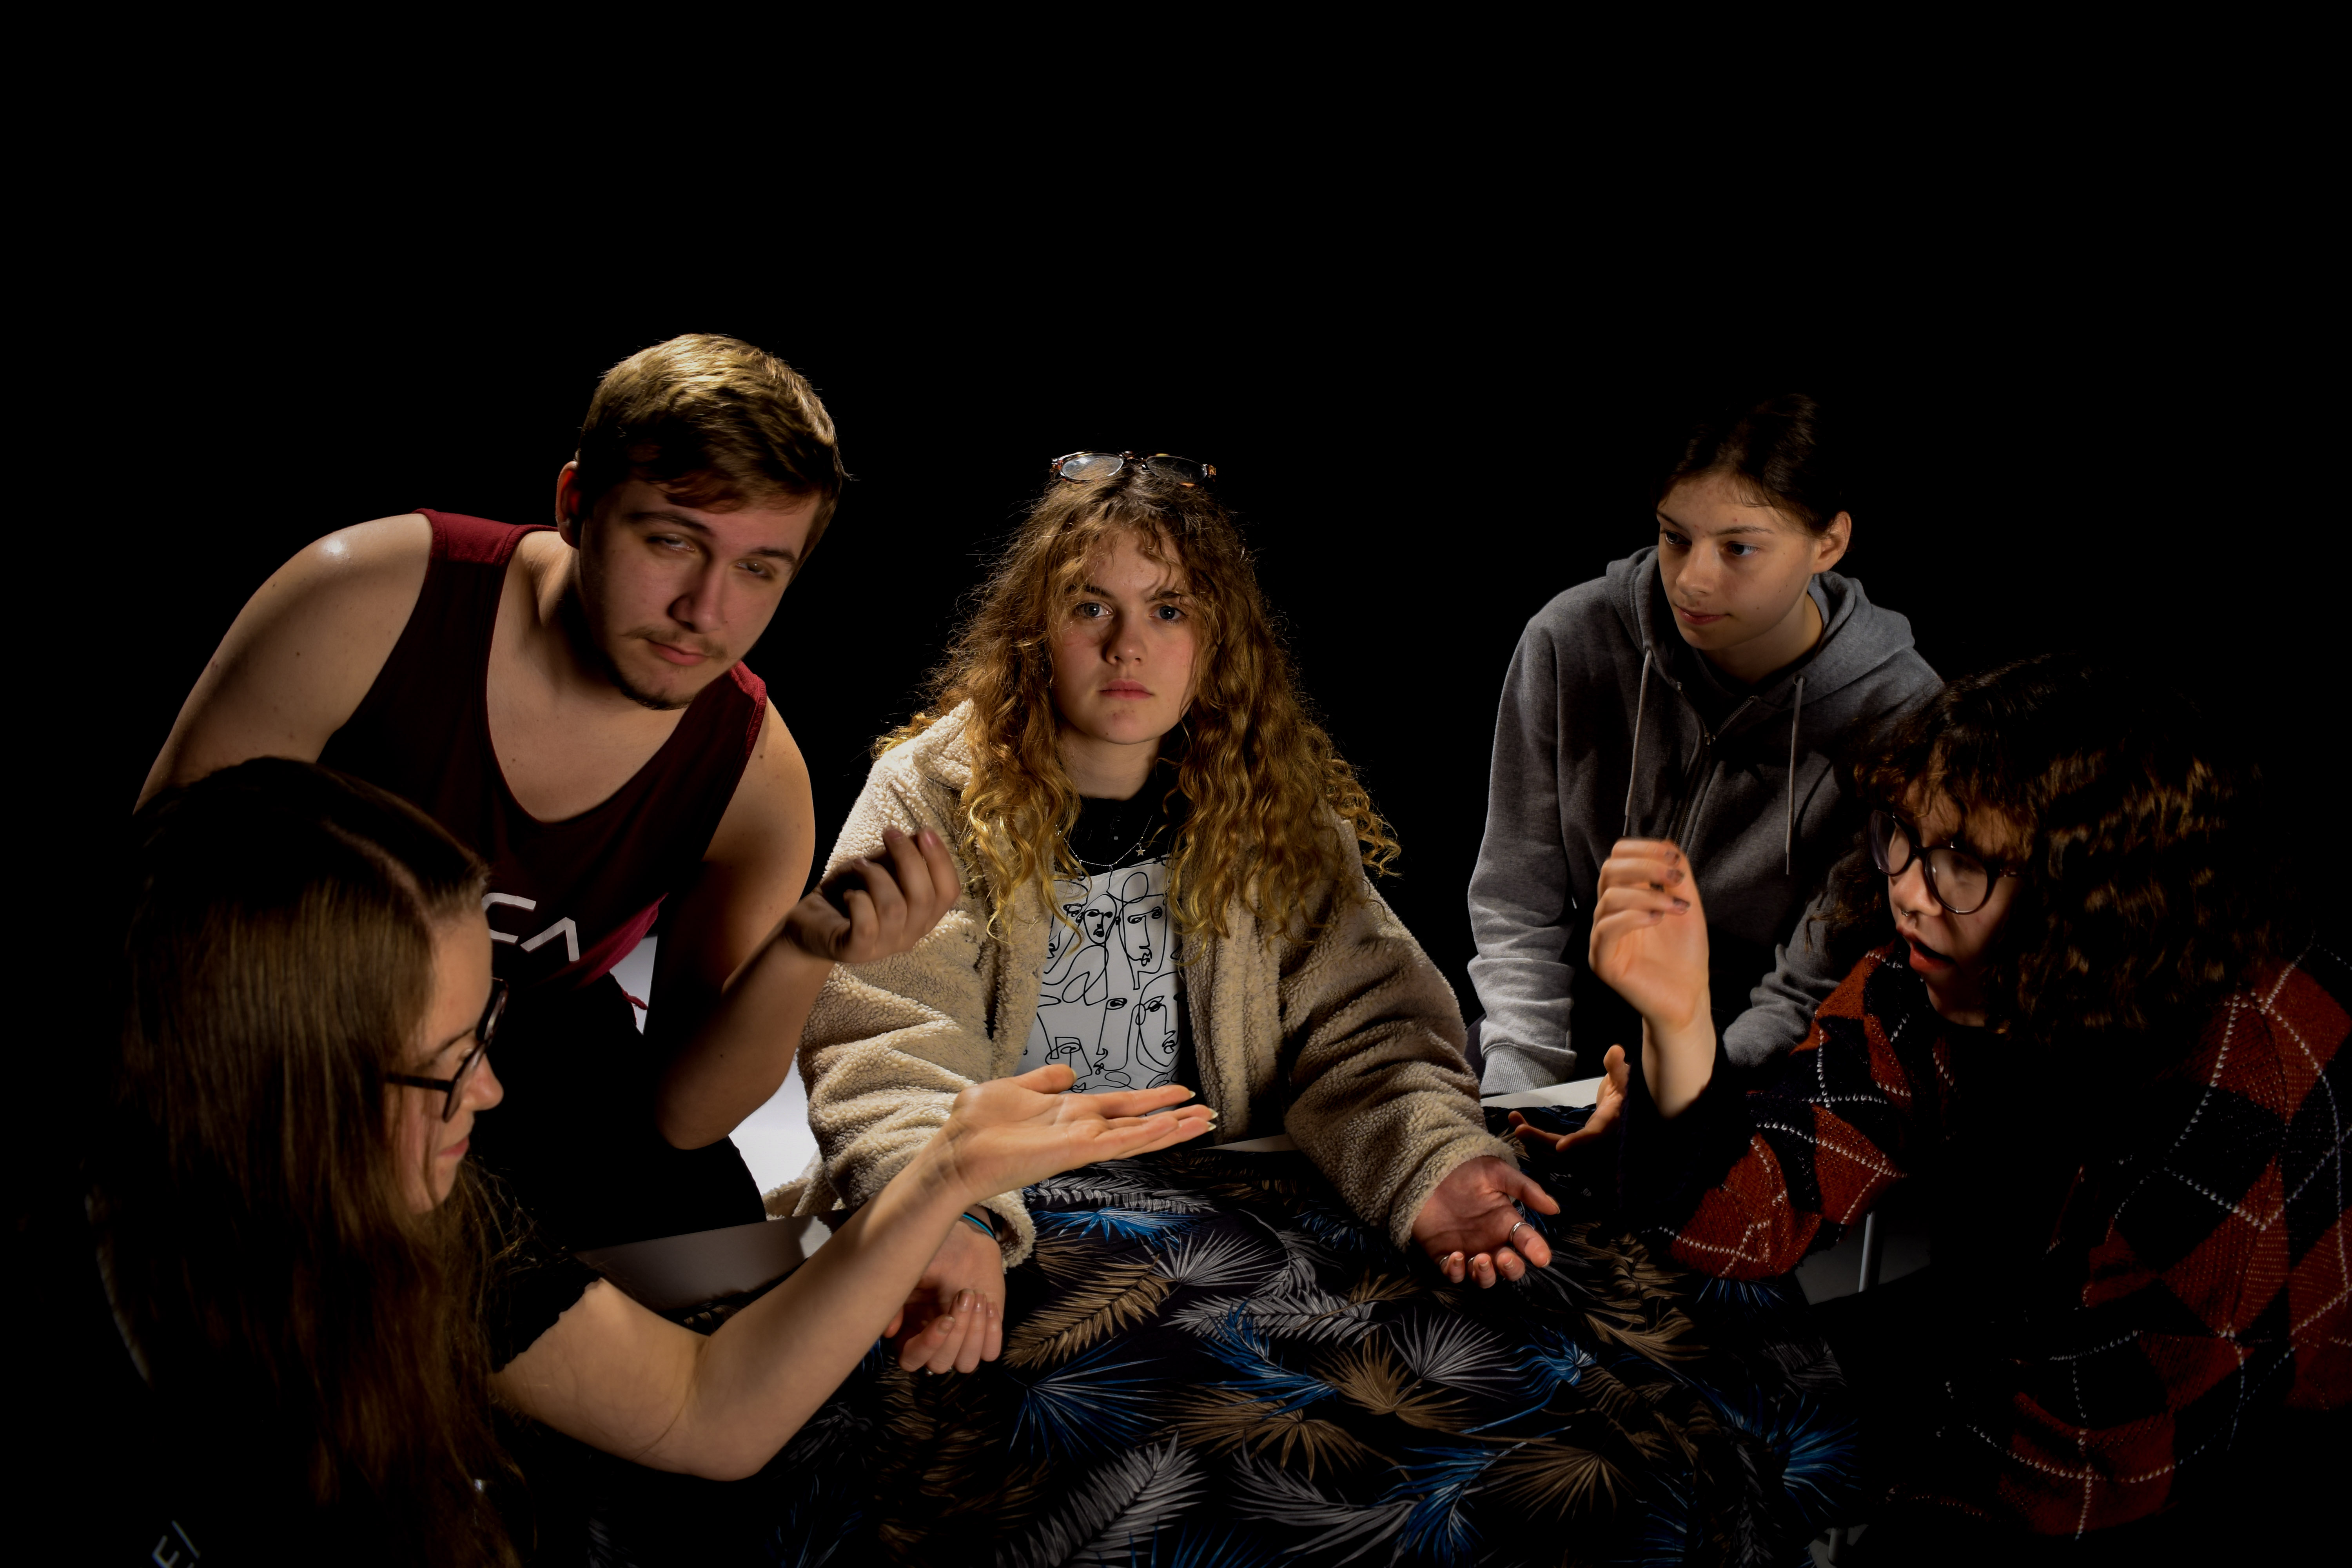
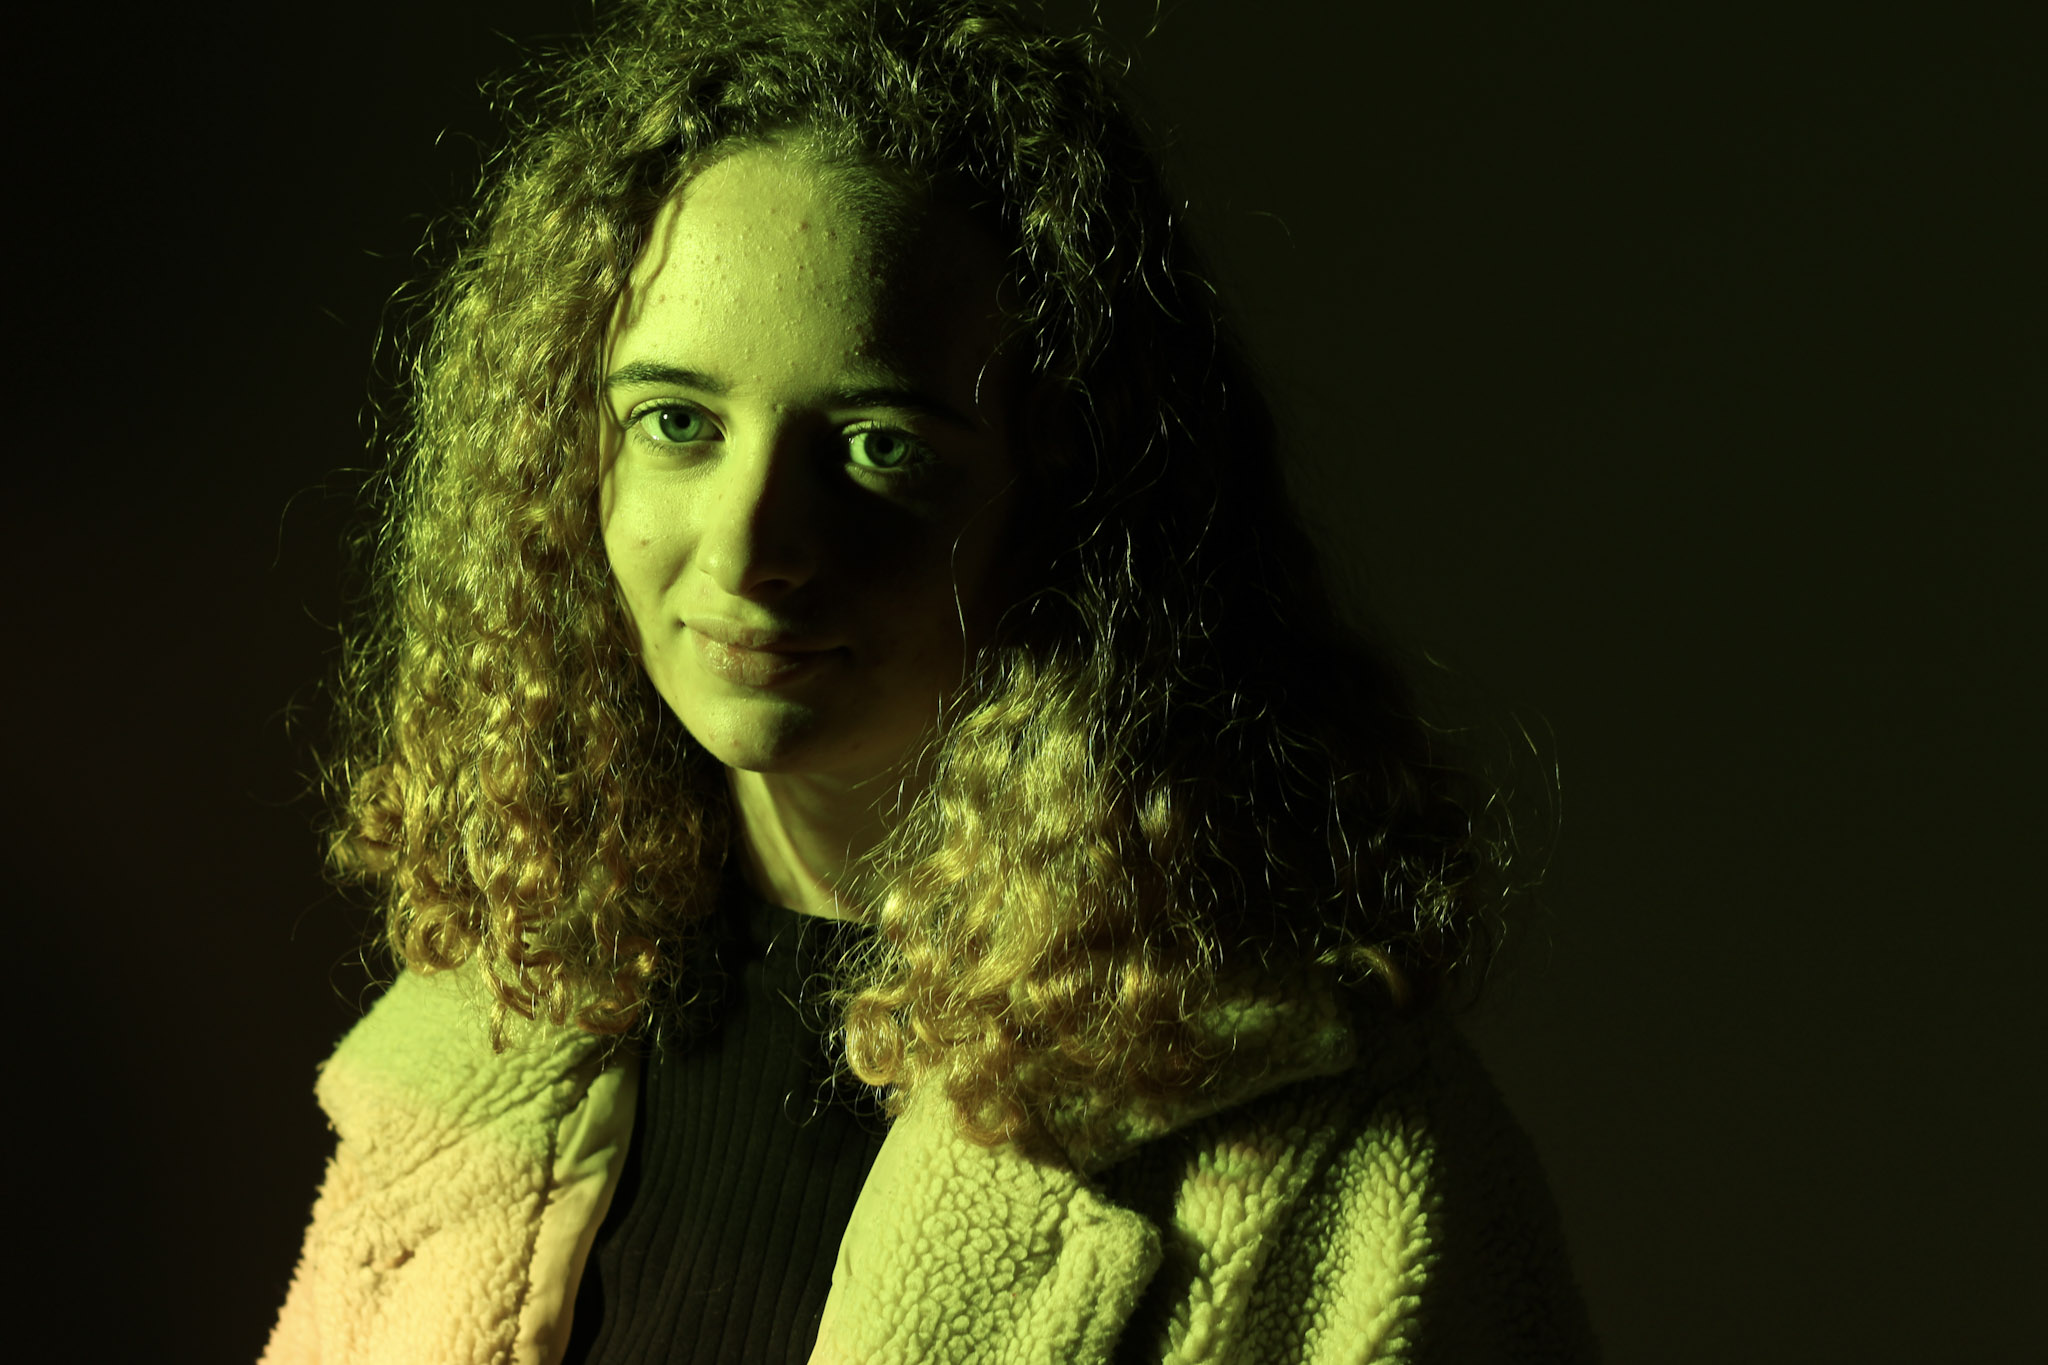
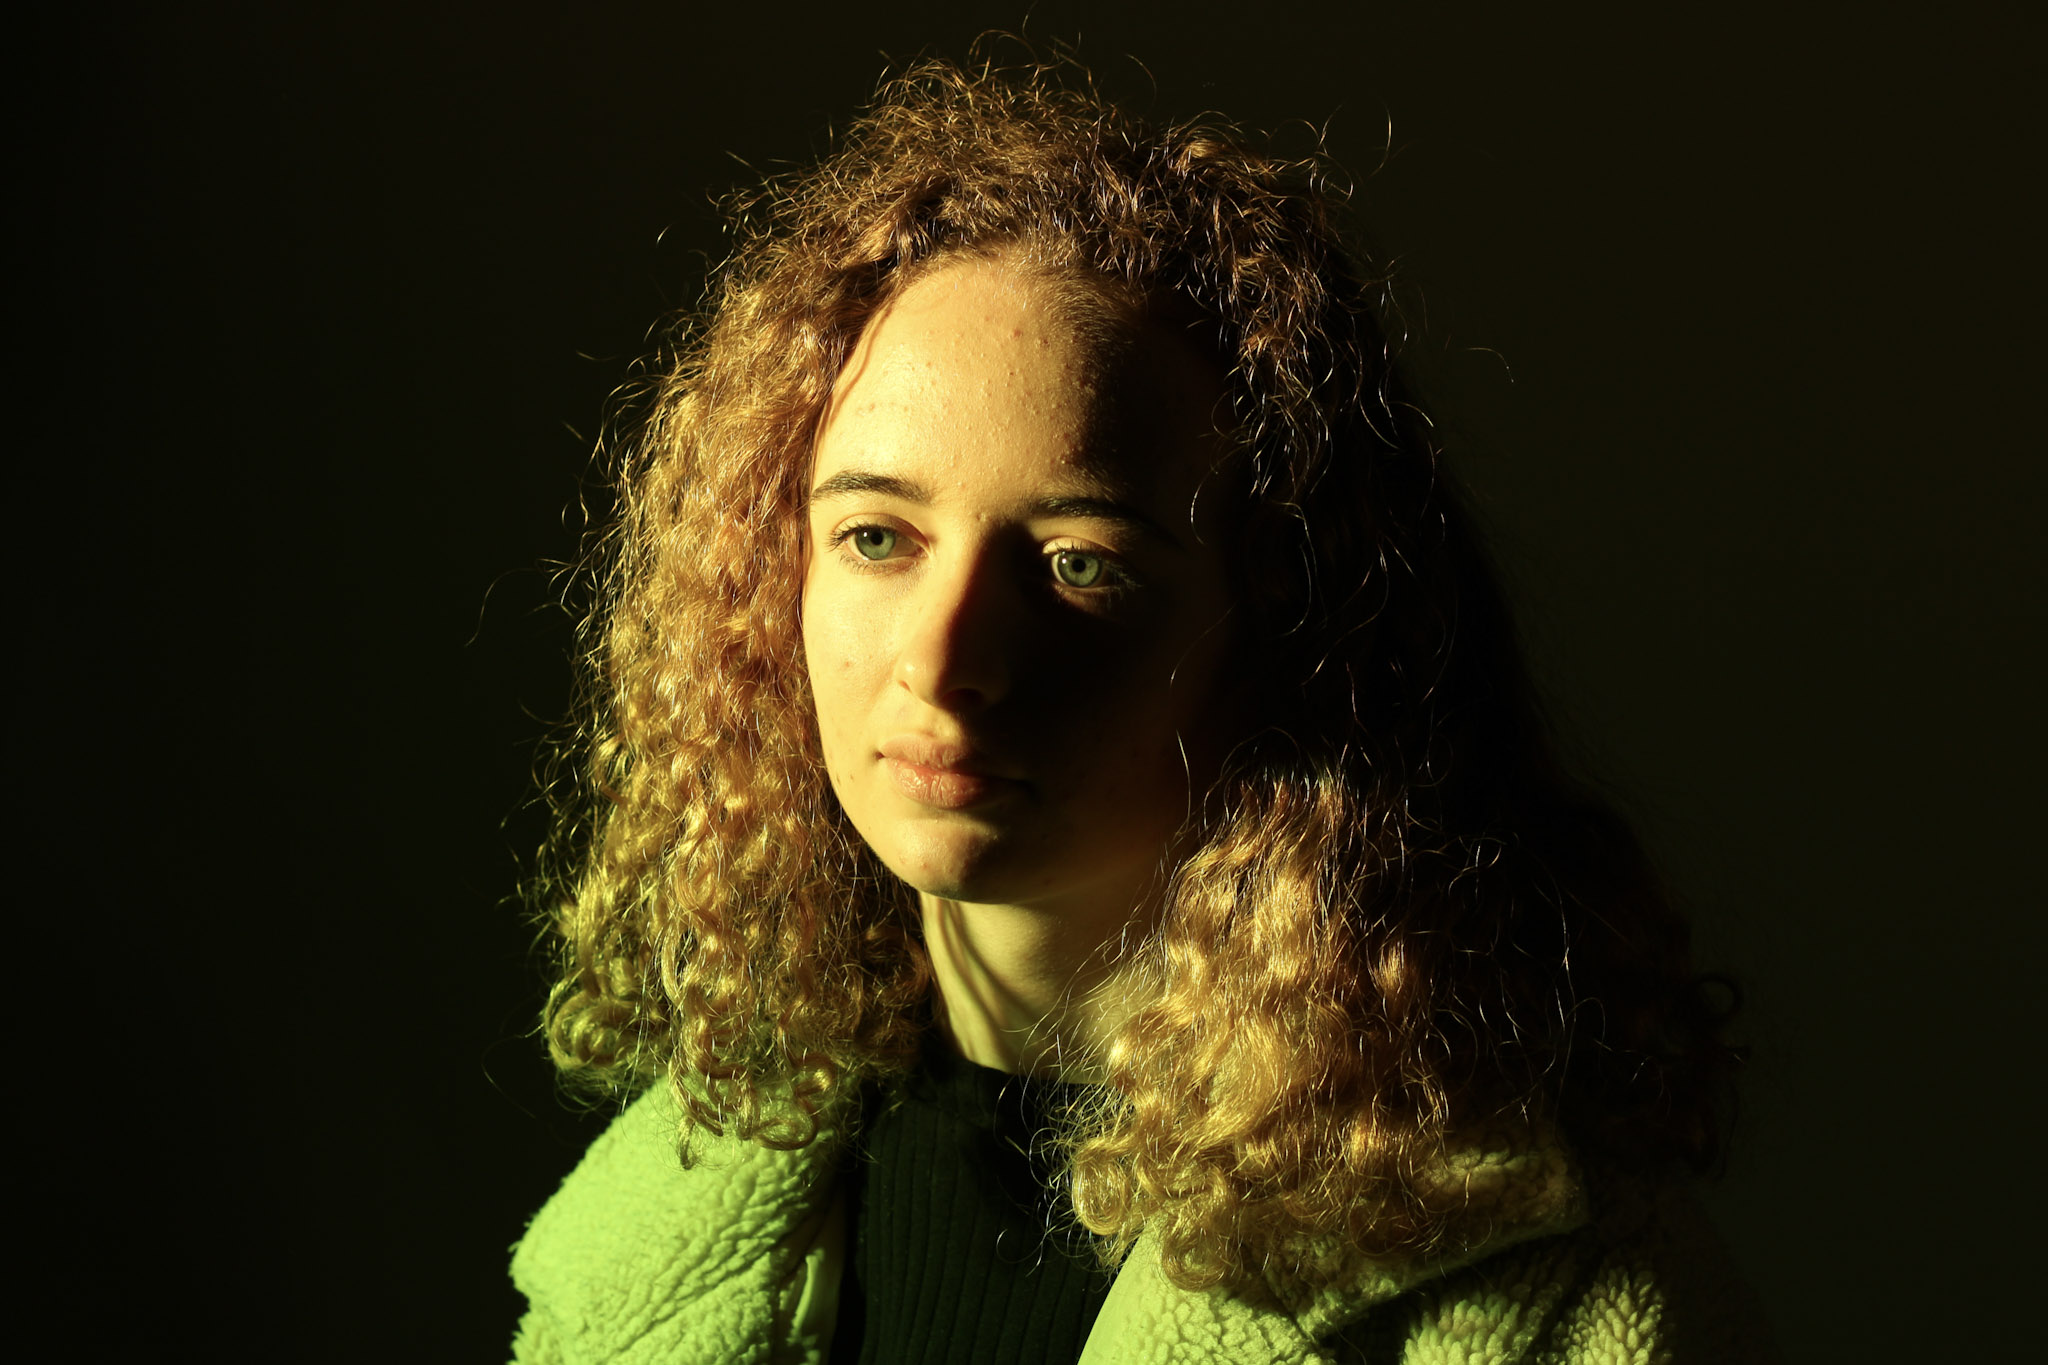
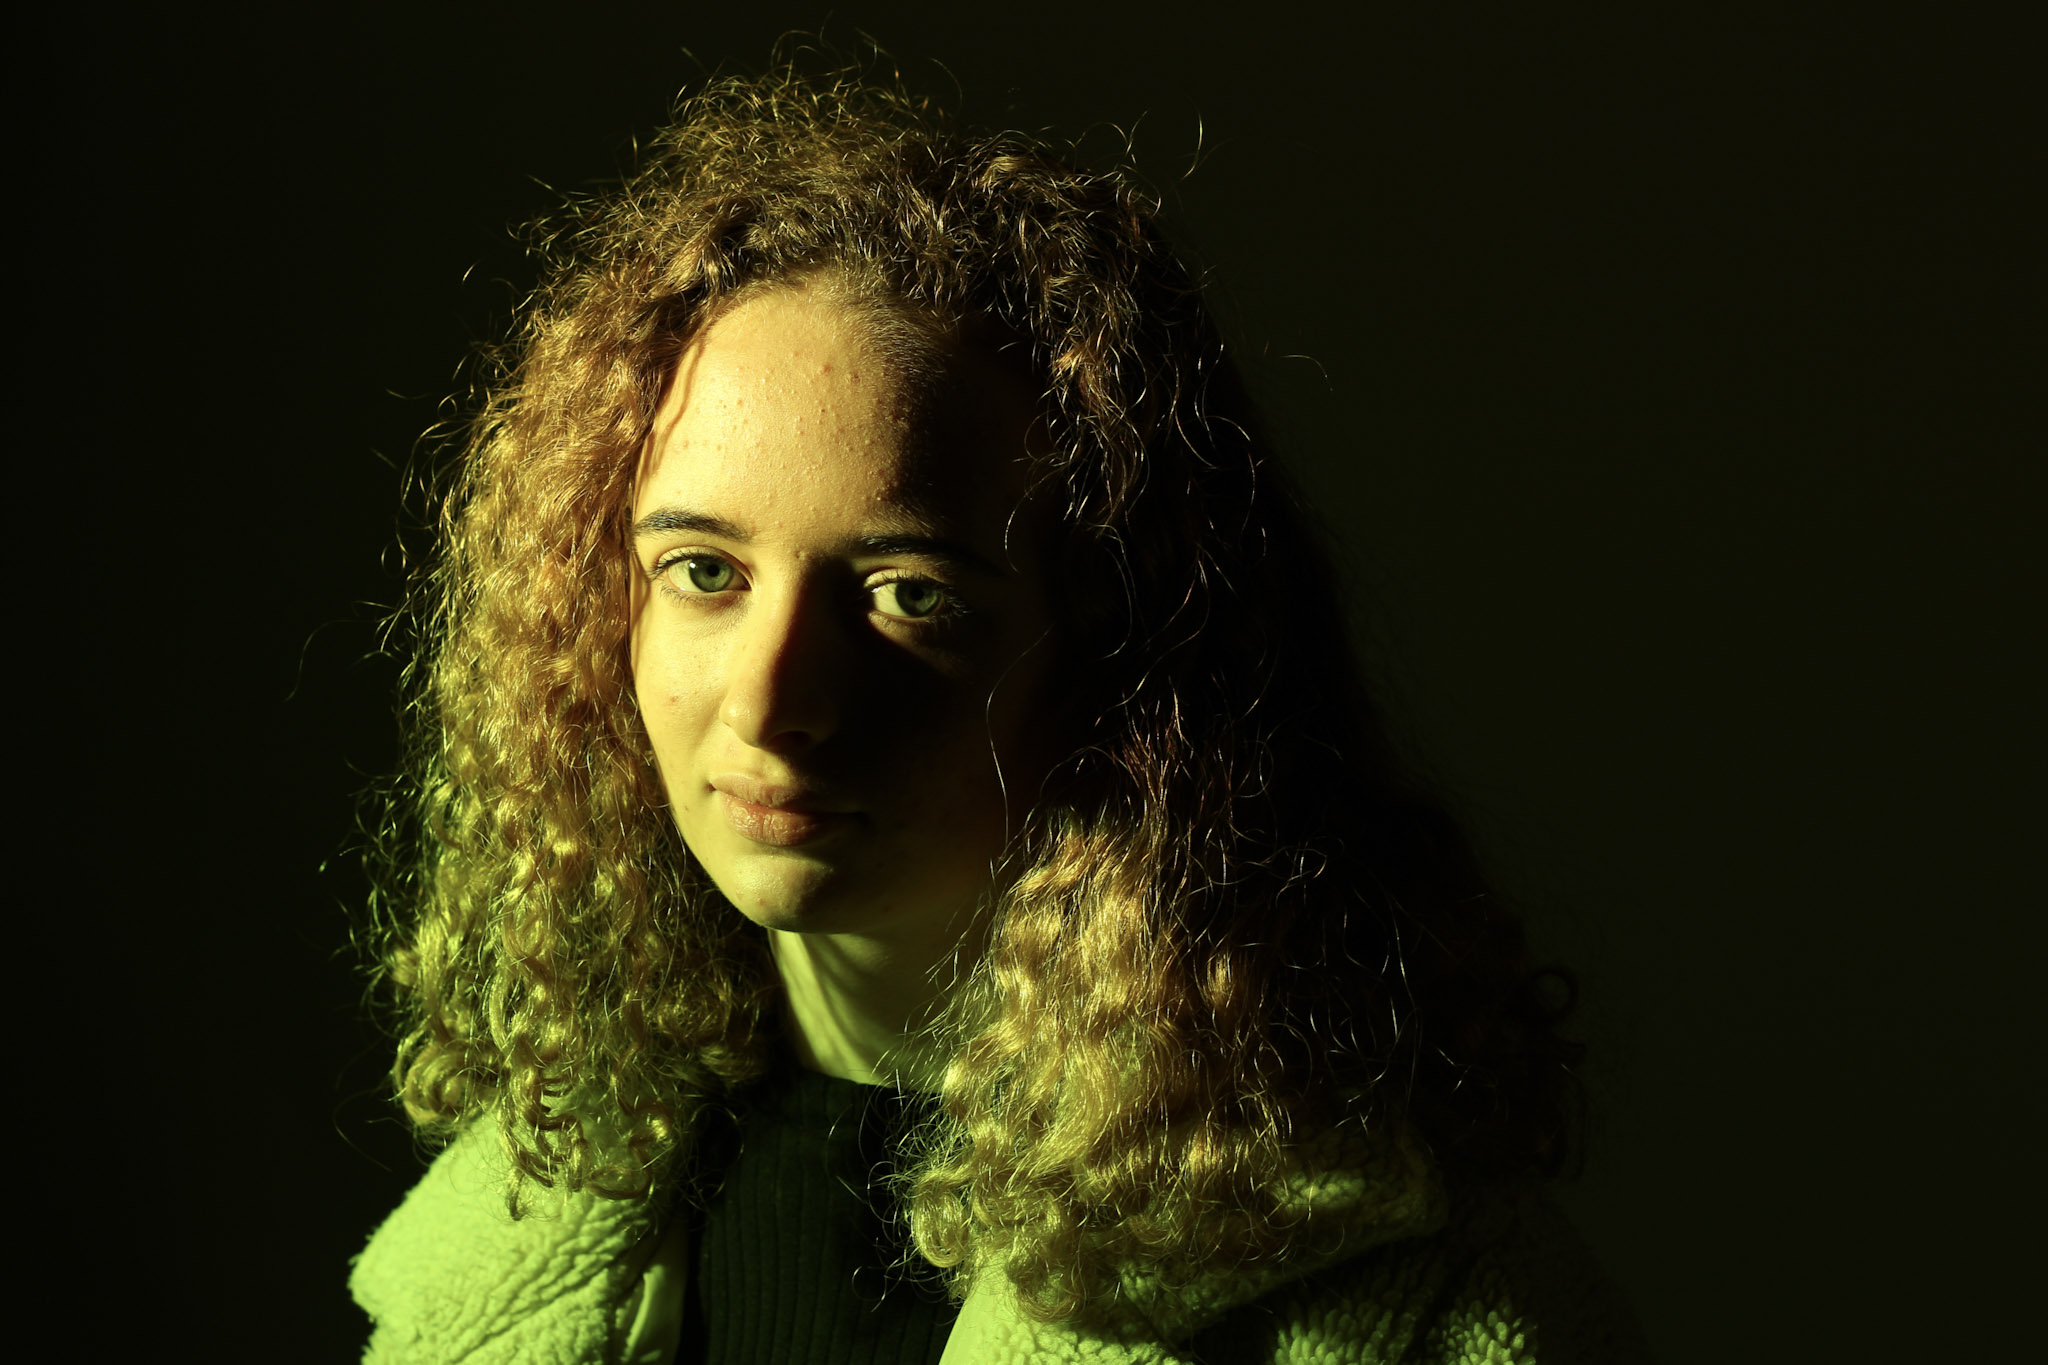
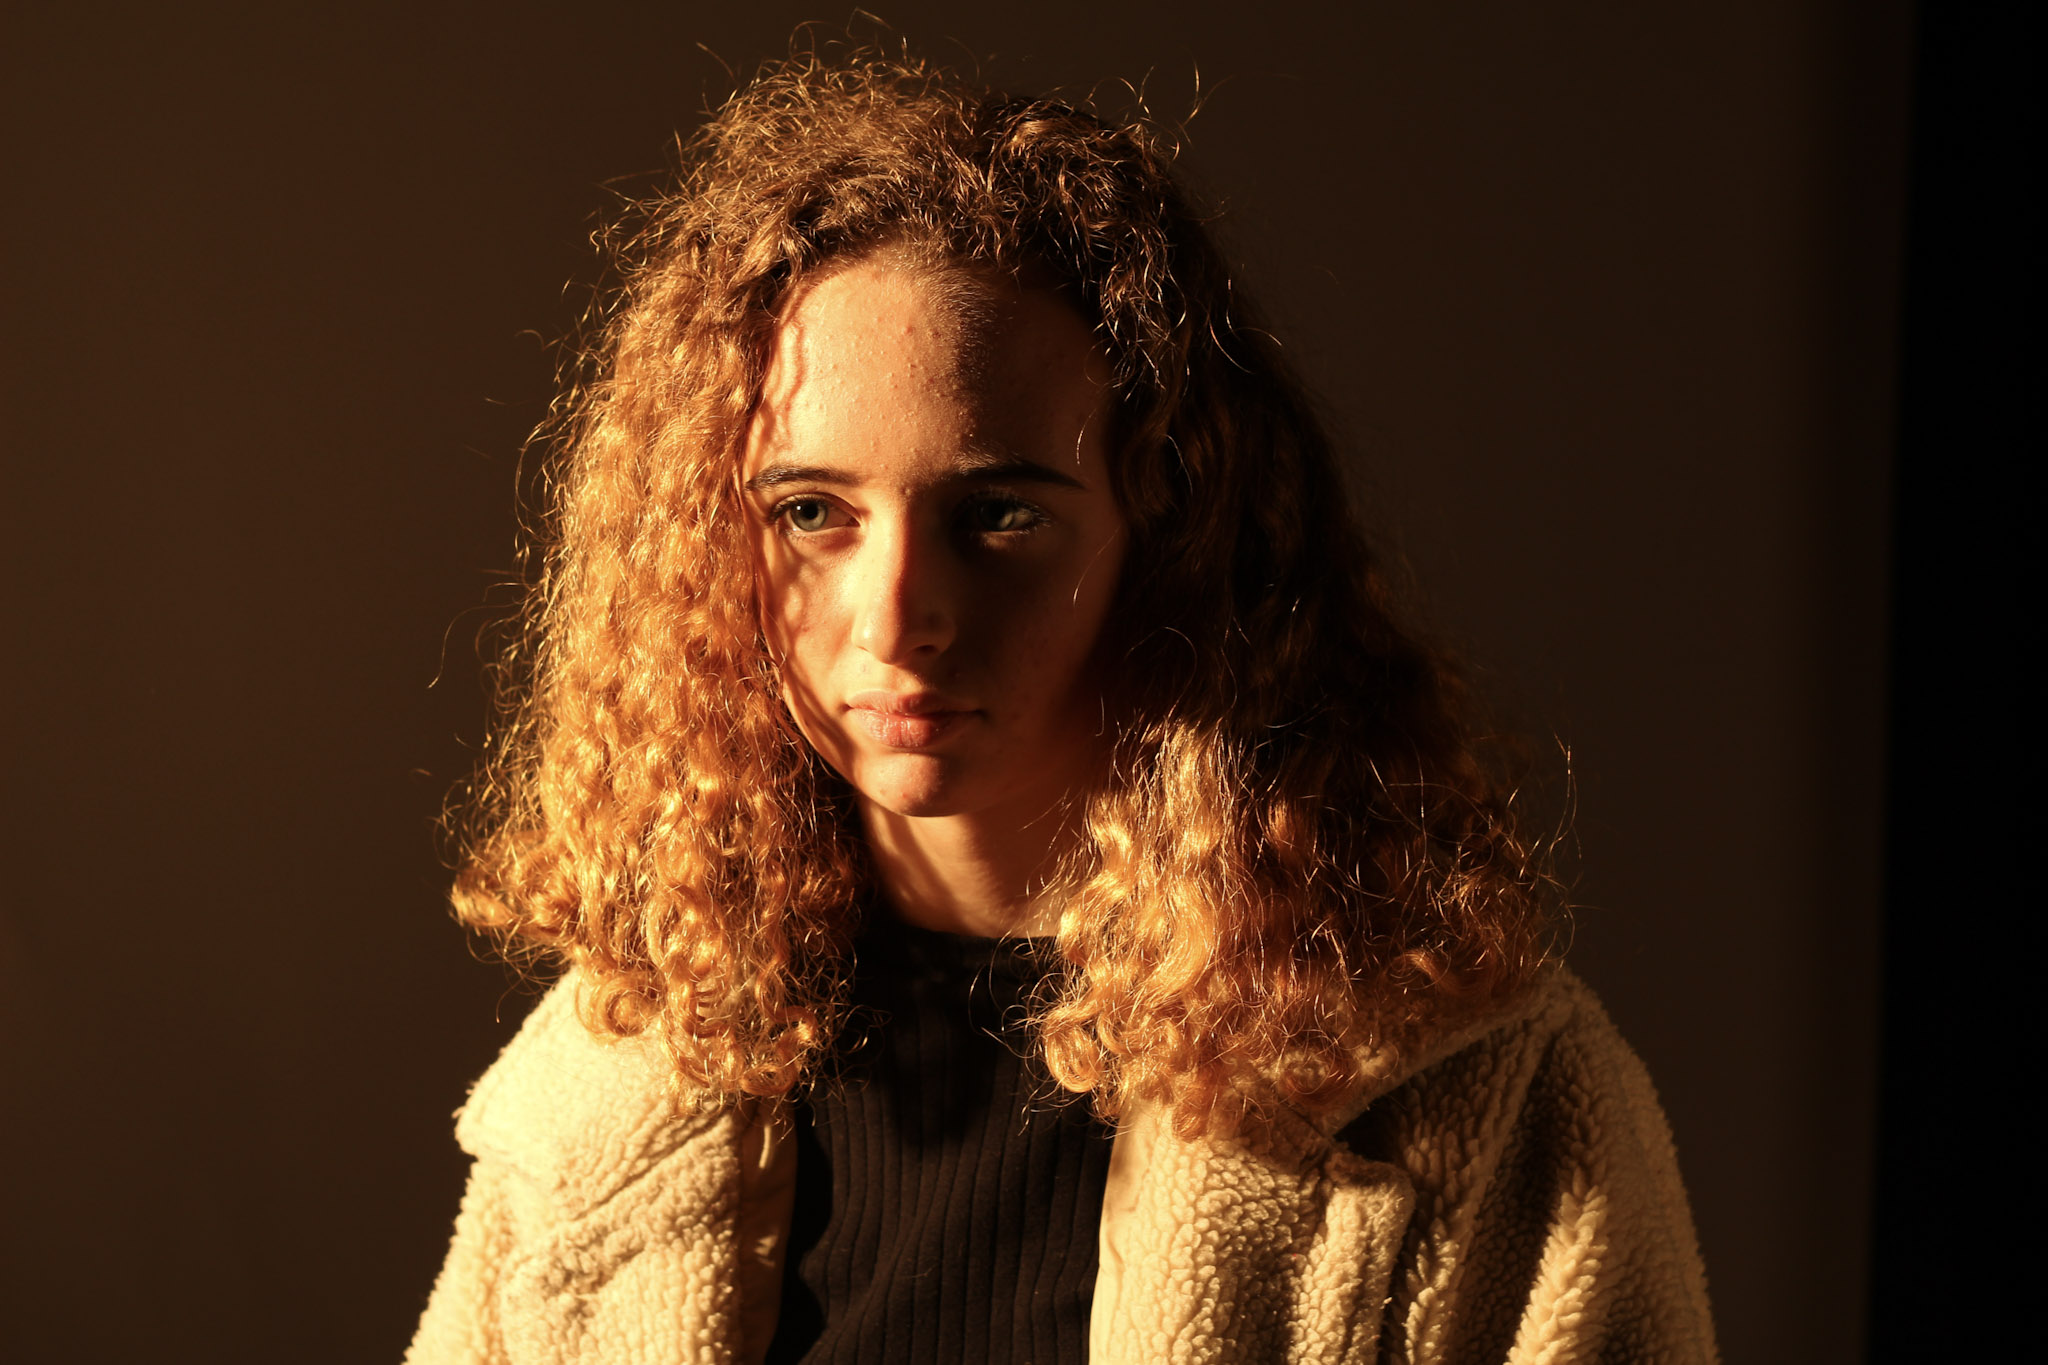
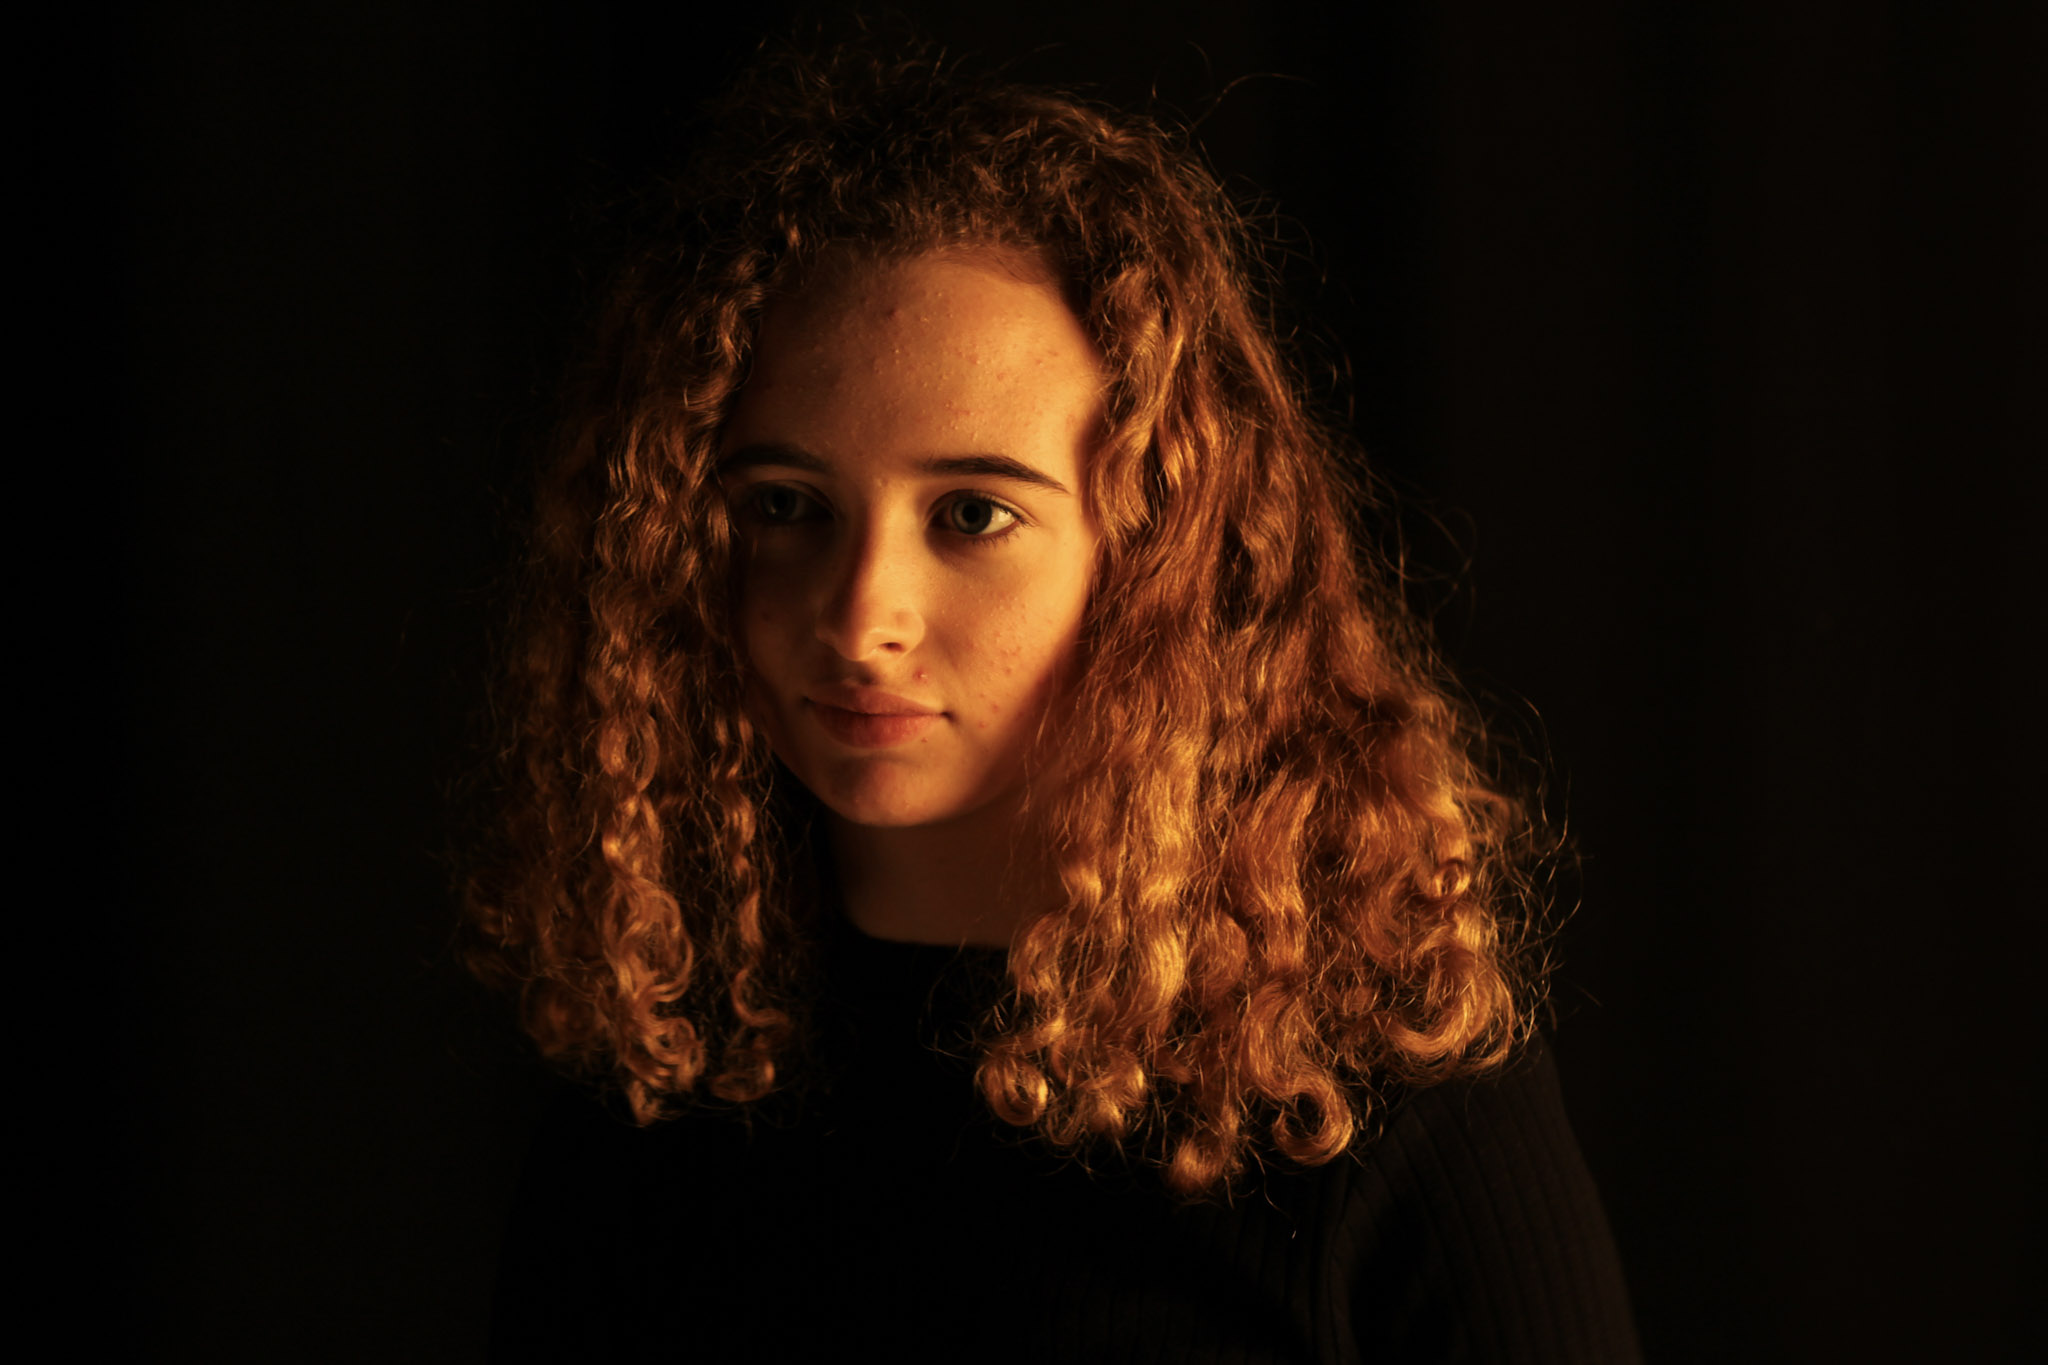
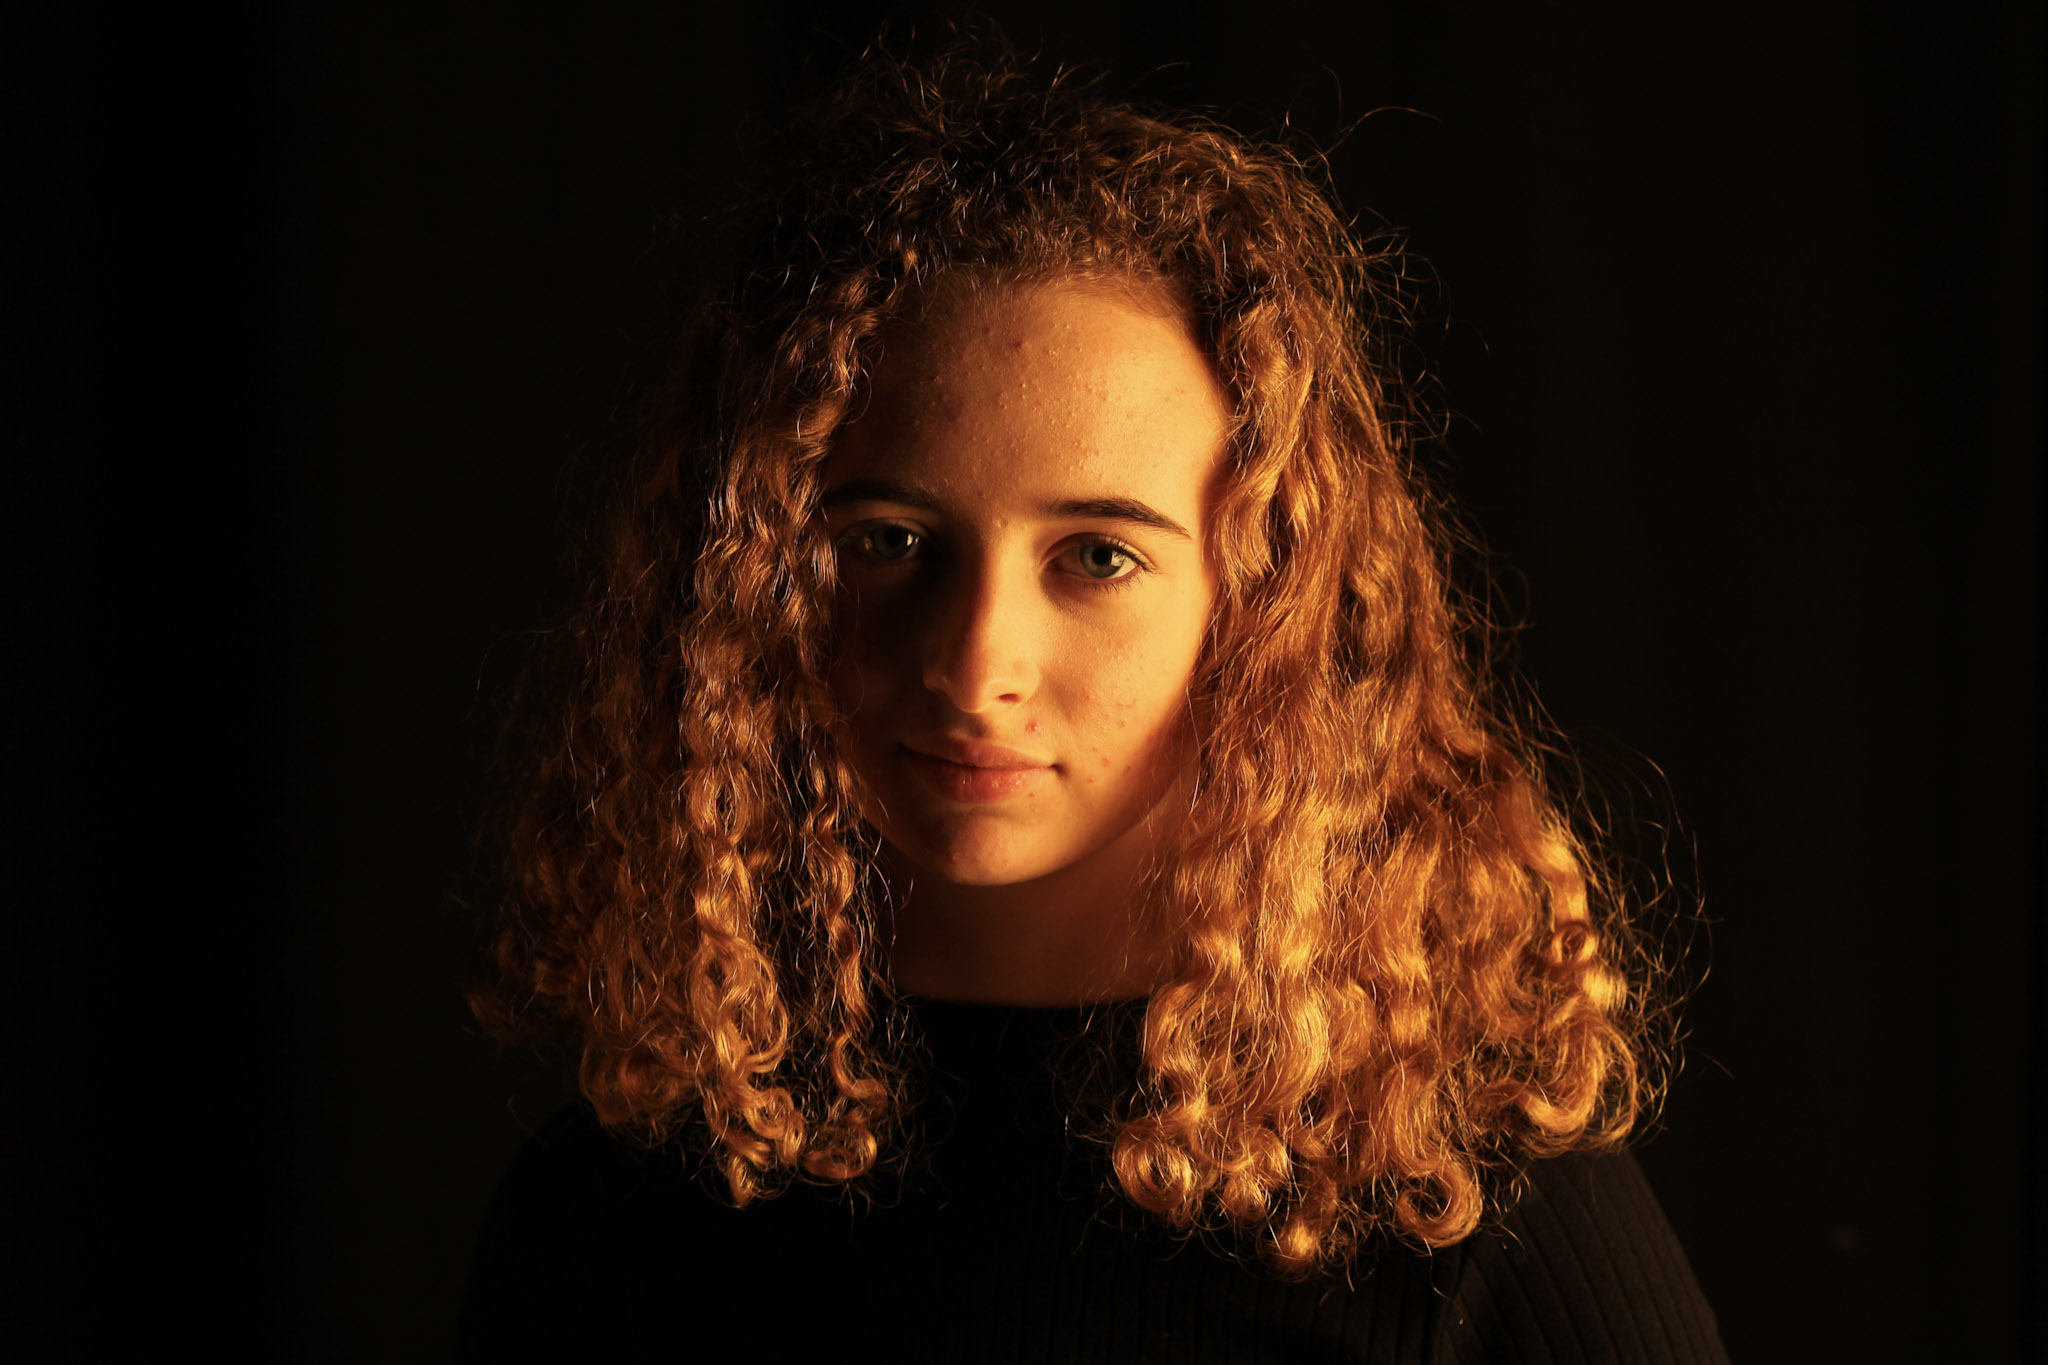
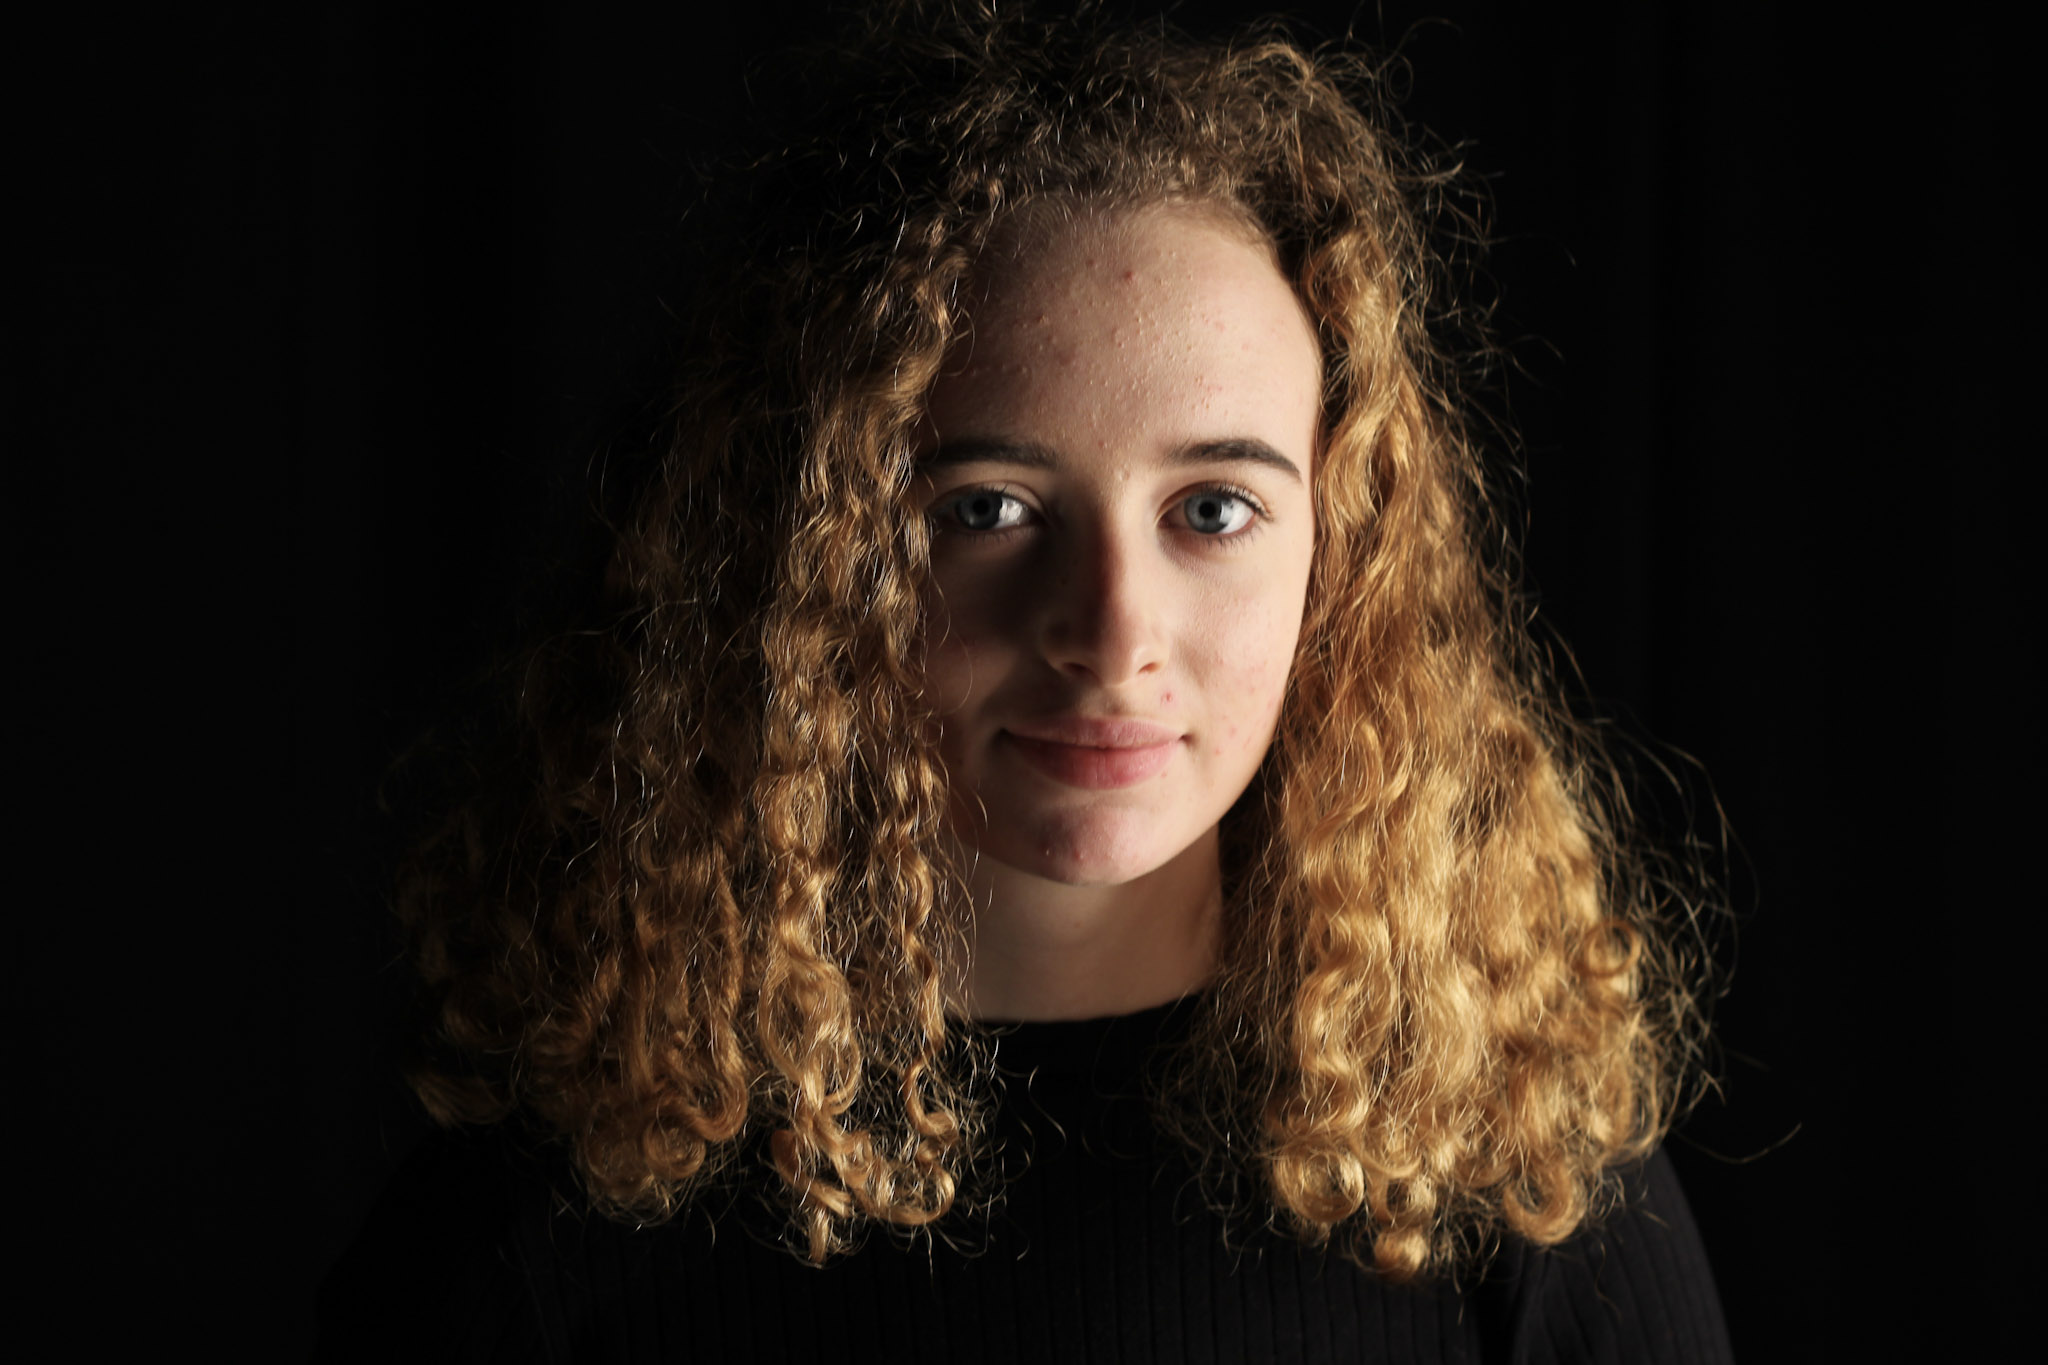
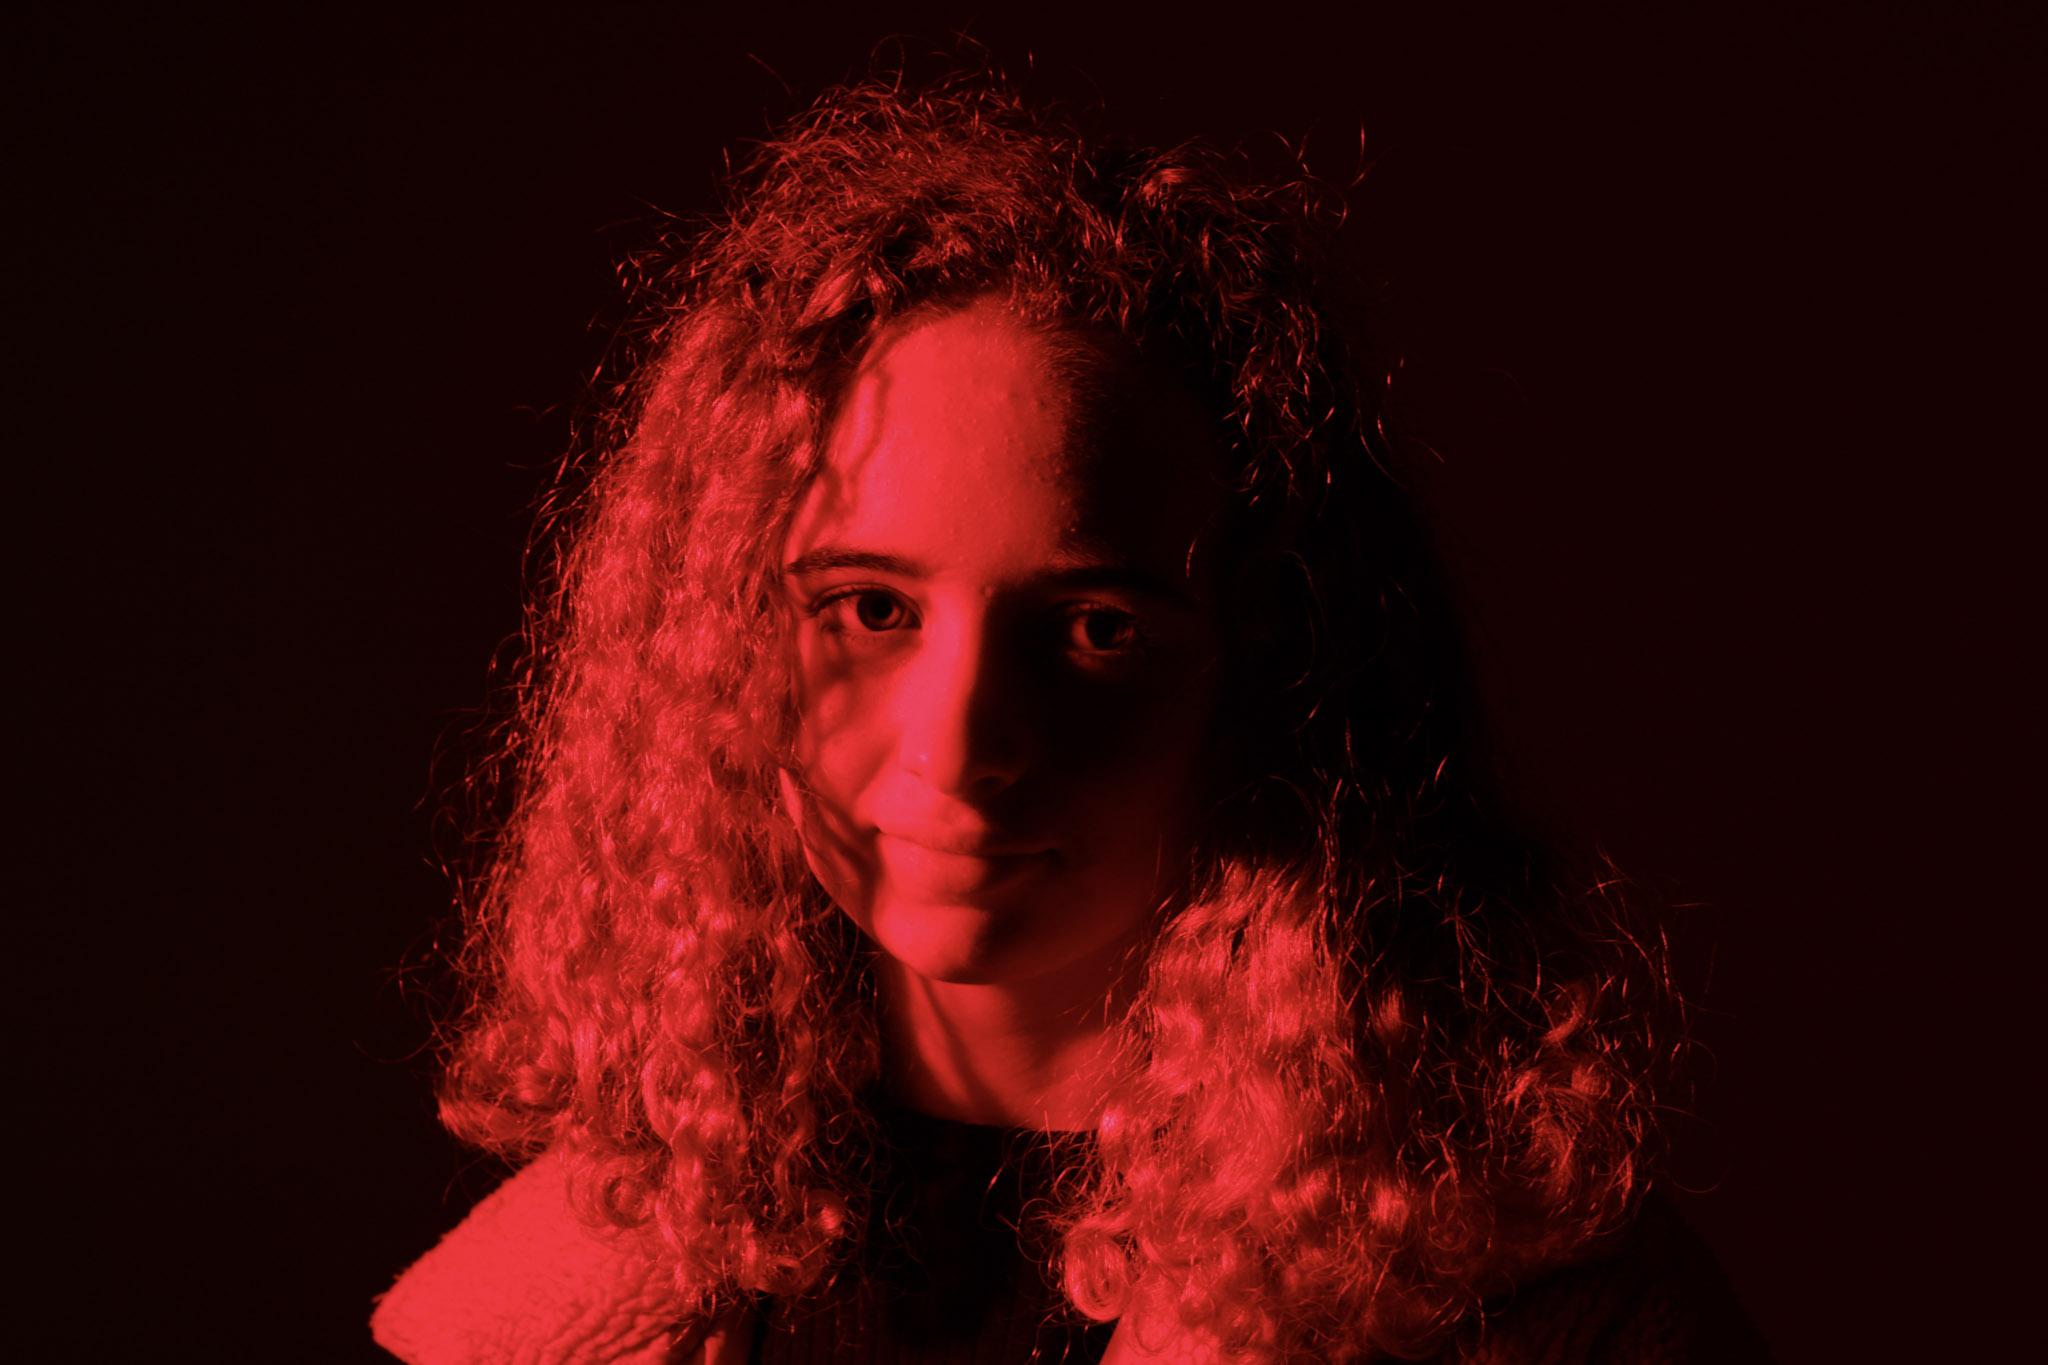
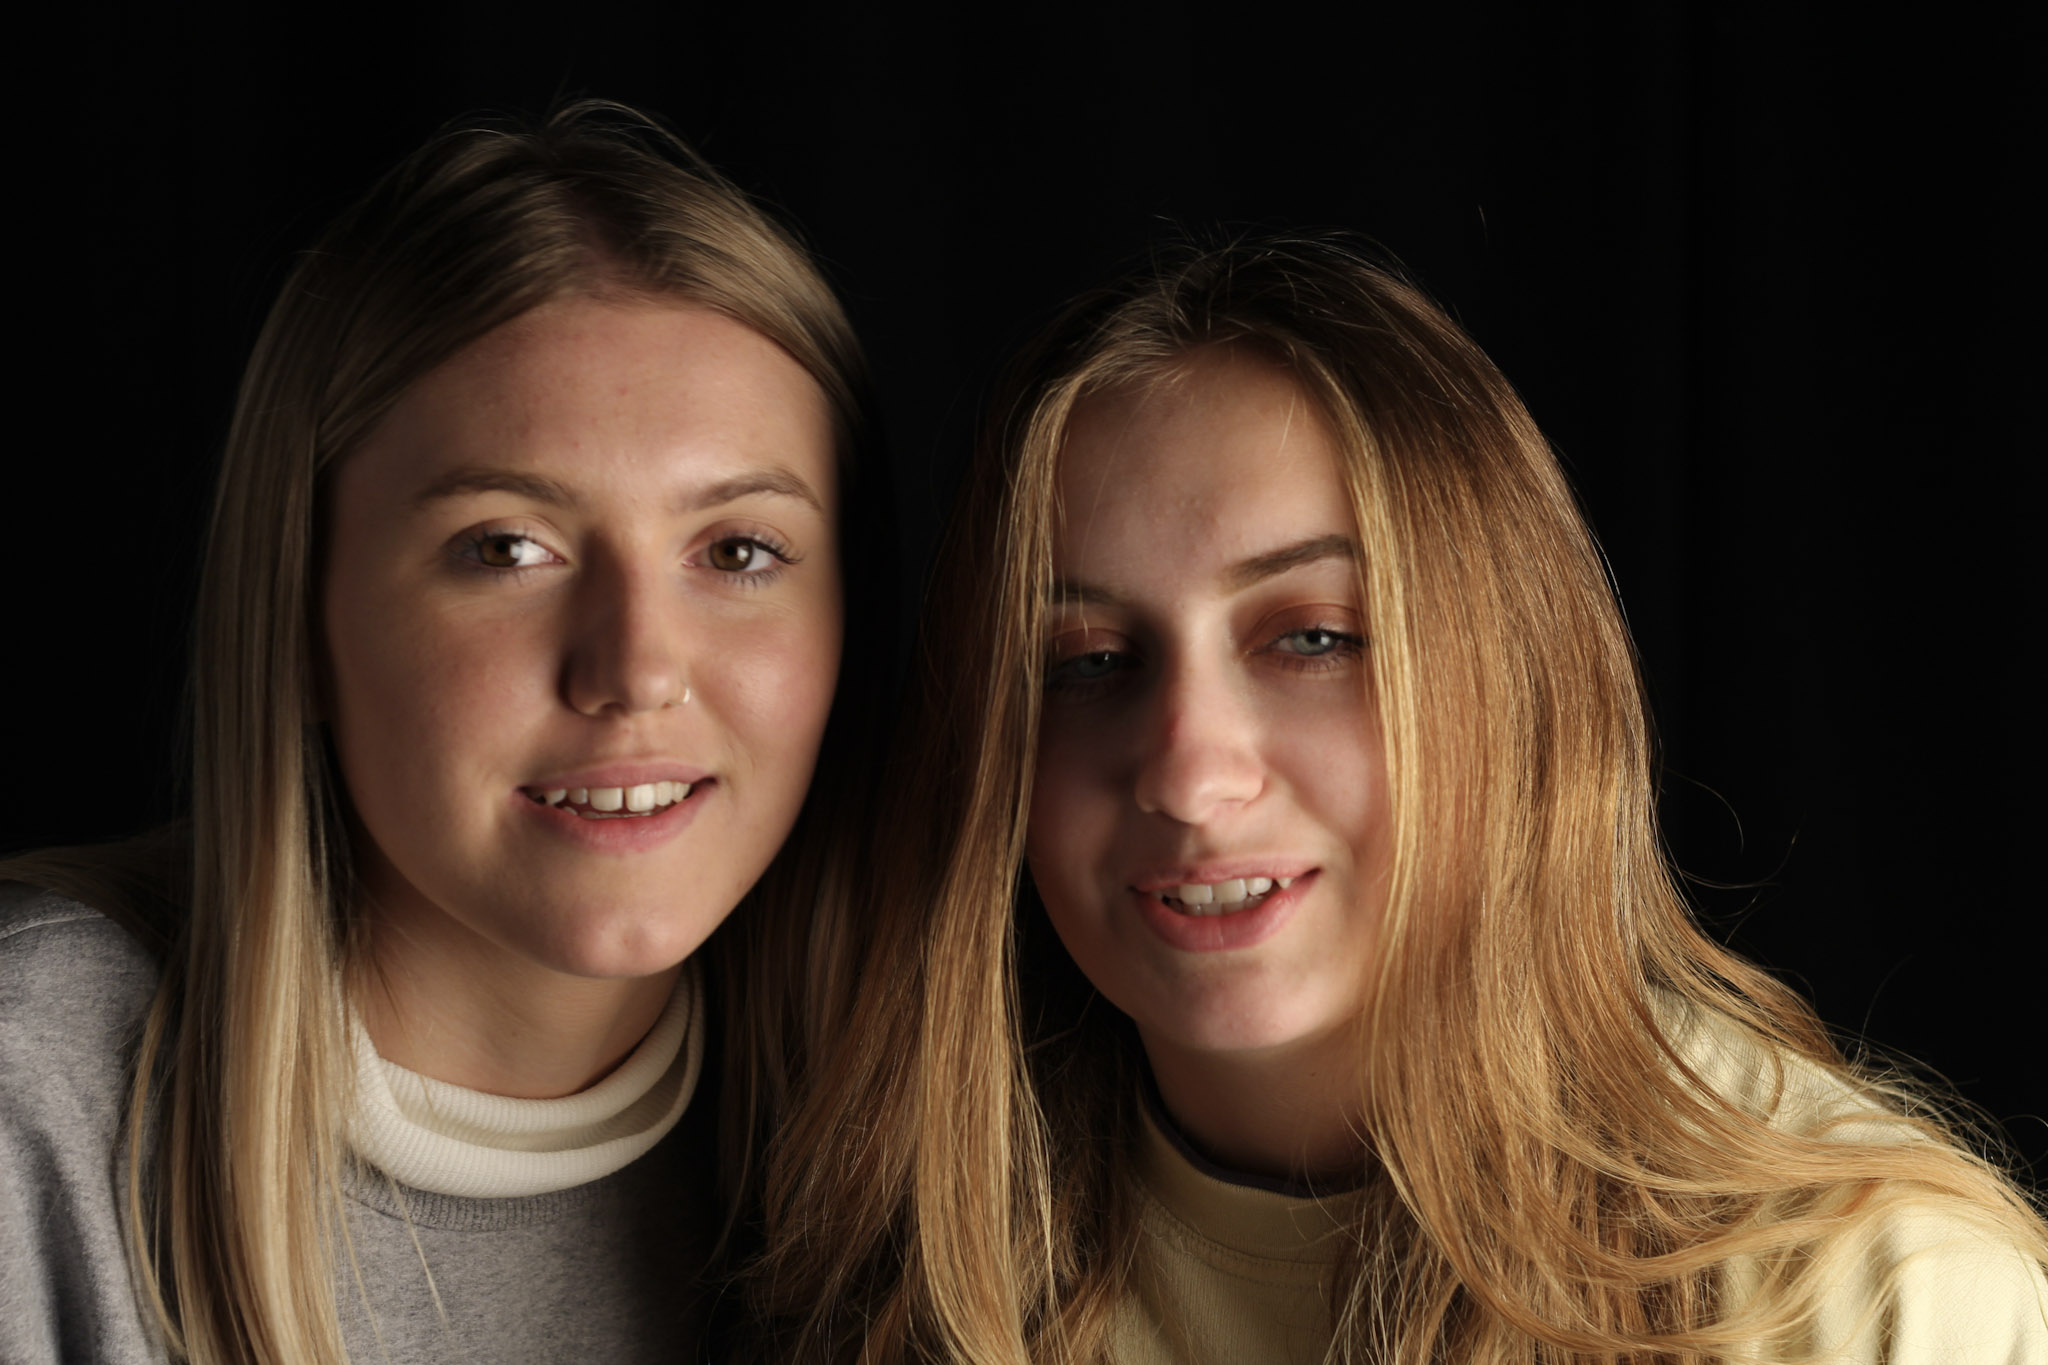
In my first studio lighting shoot I am going to try to create both contrast by having one half of the face with the light, and the other half with a shadow. I am also going to experiment with filters and using two lights on either side of the face. I will also experiment with shooting onperson, two people and then three people to see how the light works with numerous people. There are two lights that I am going to switch between my images, a light with a soft box and a redhead light. With the red head light I also placed coloured filters over to experiment with.
The Photoshoot:
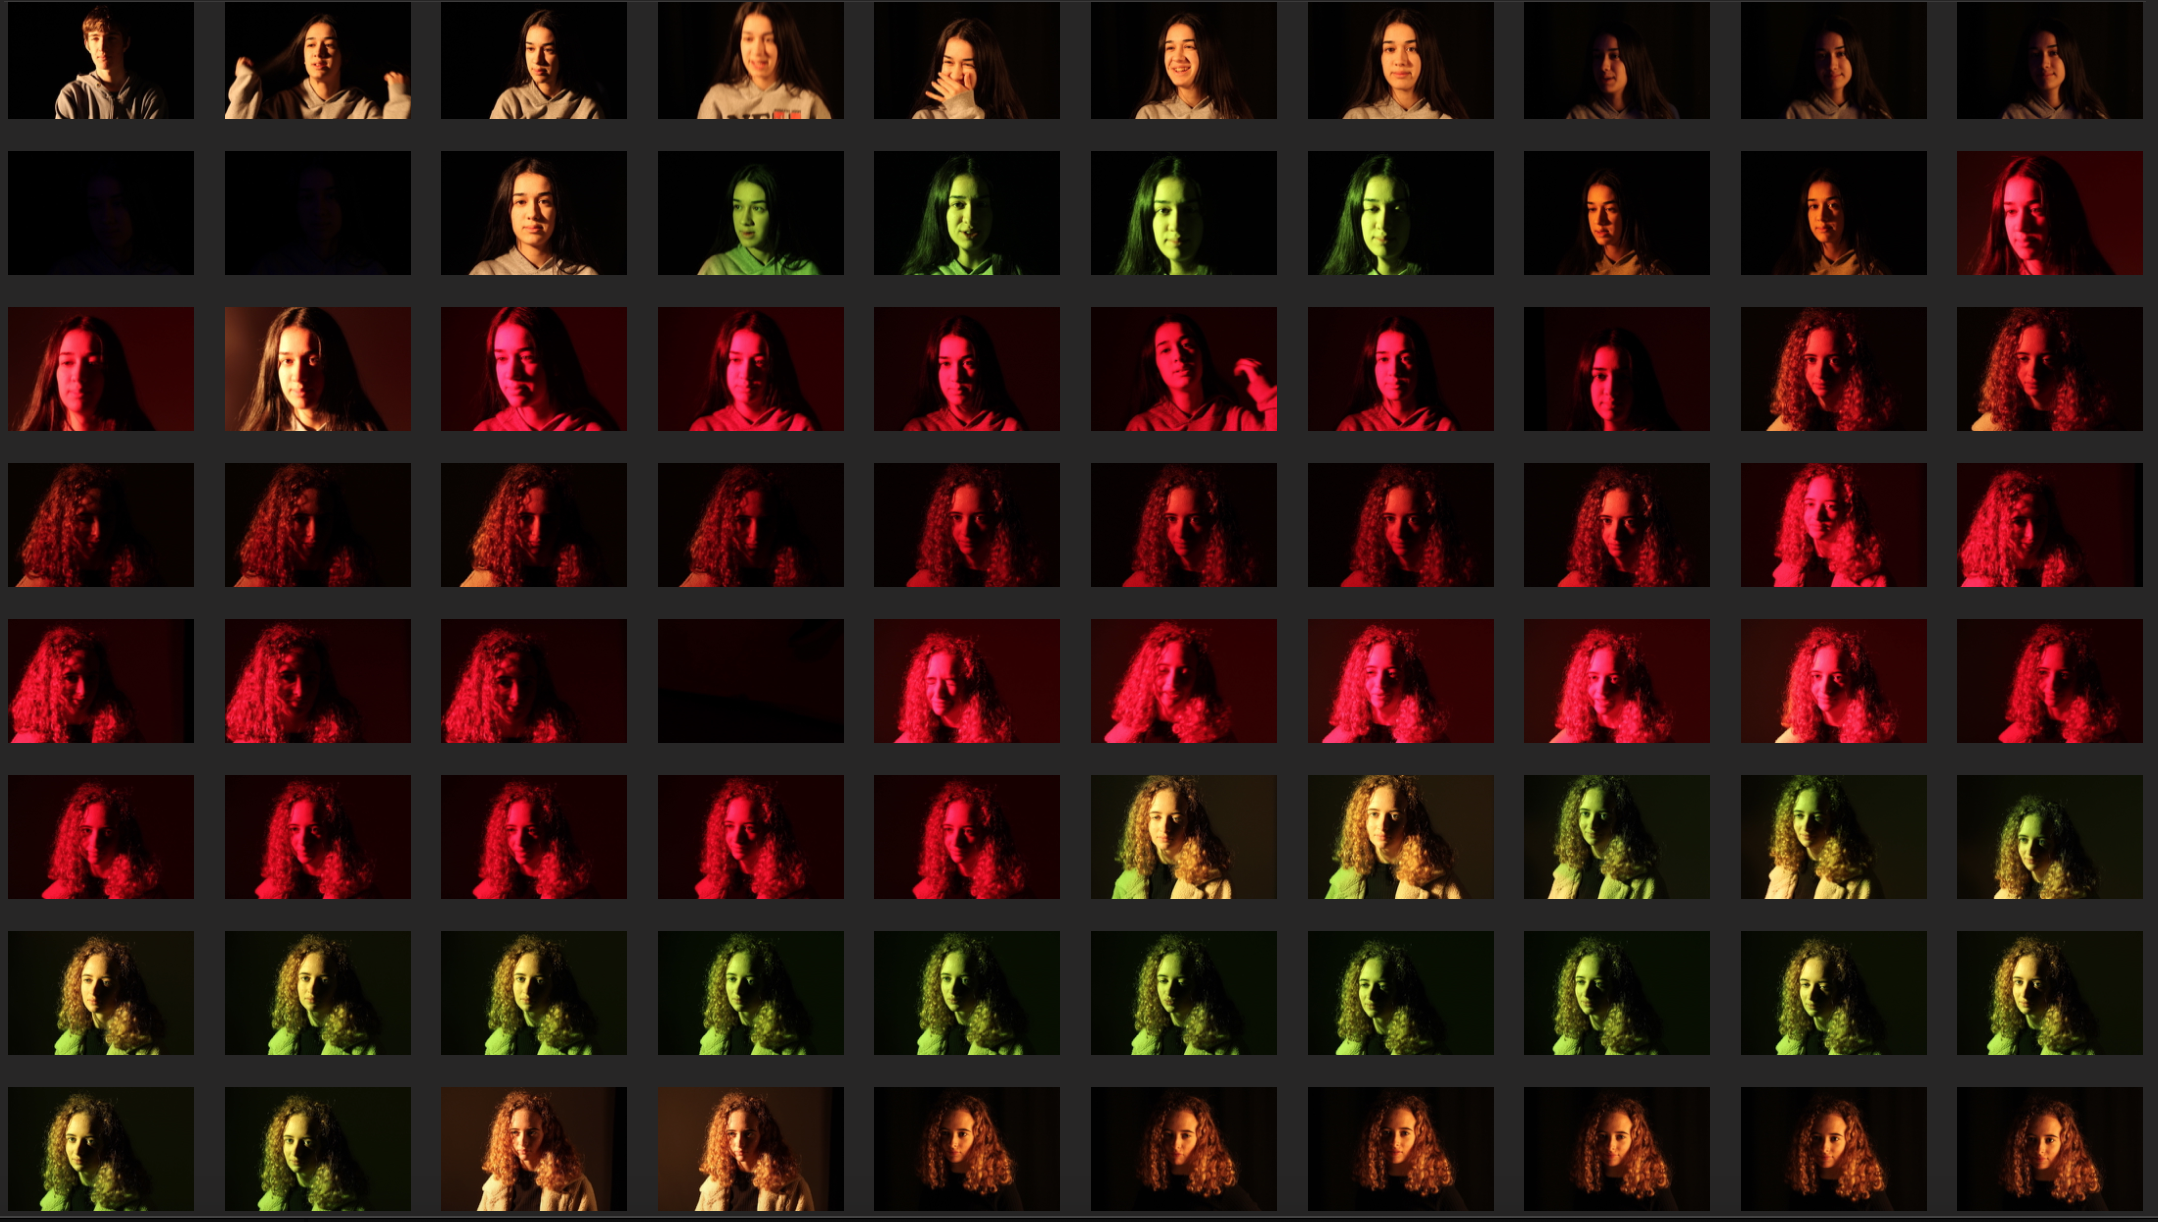
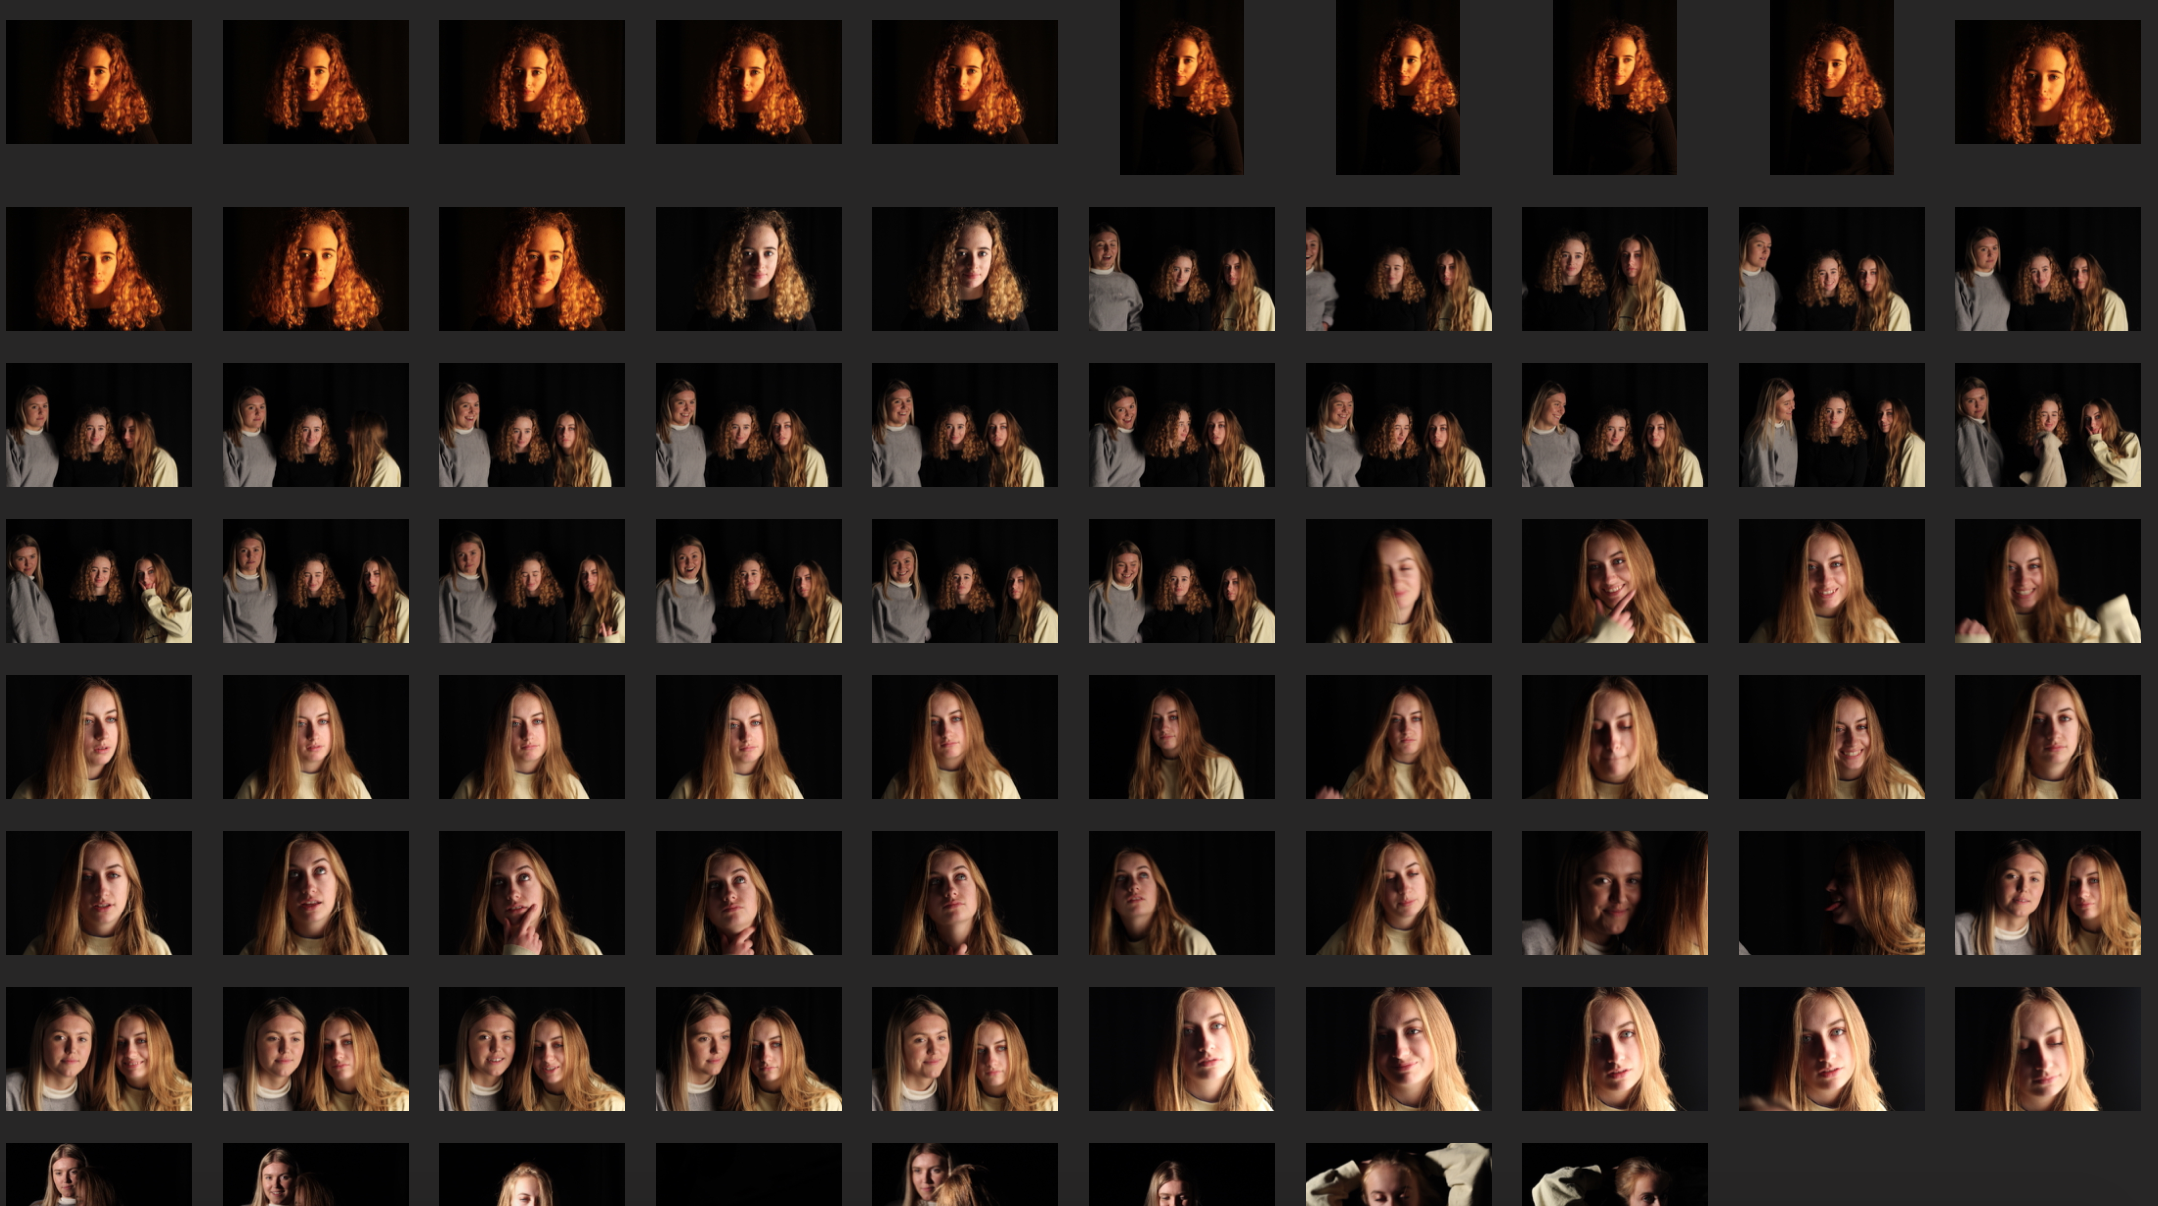
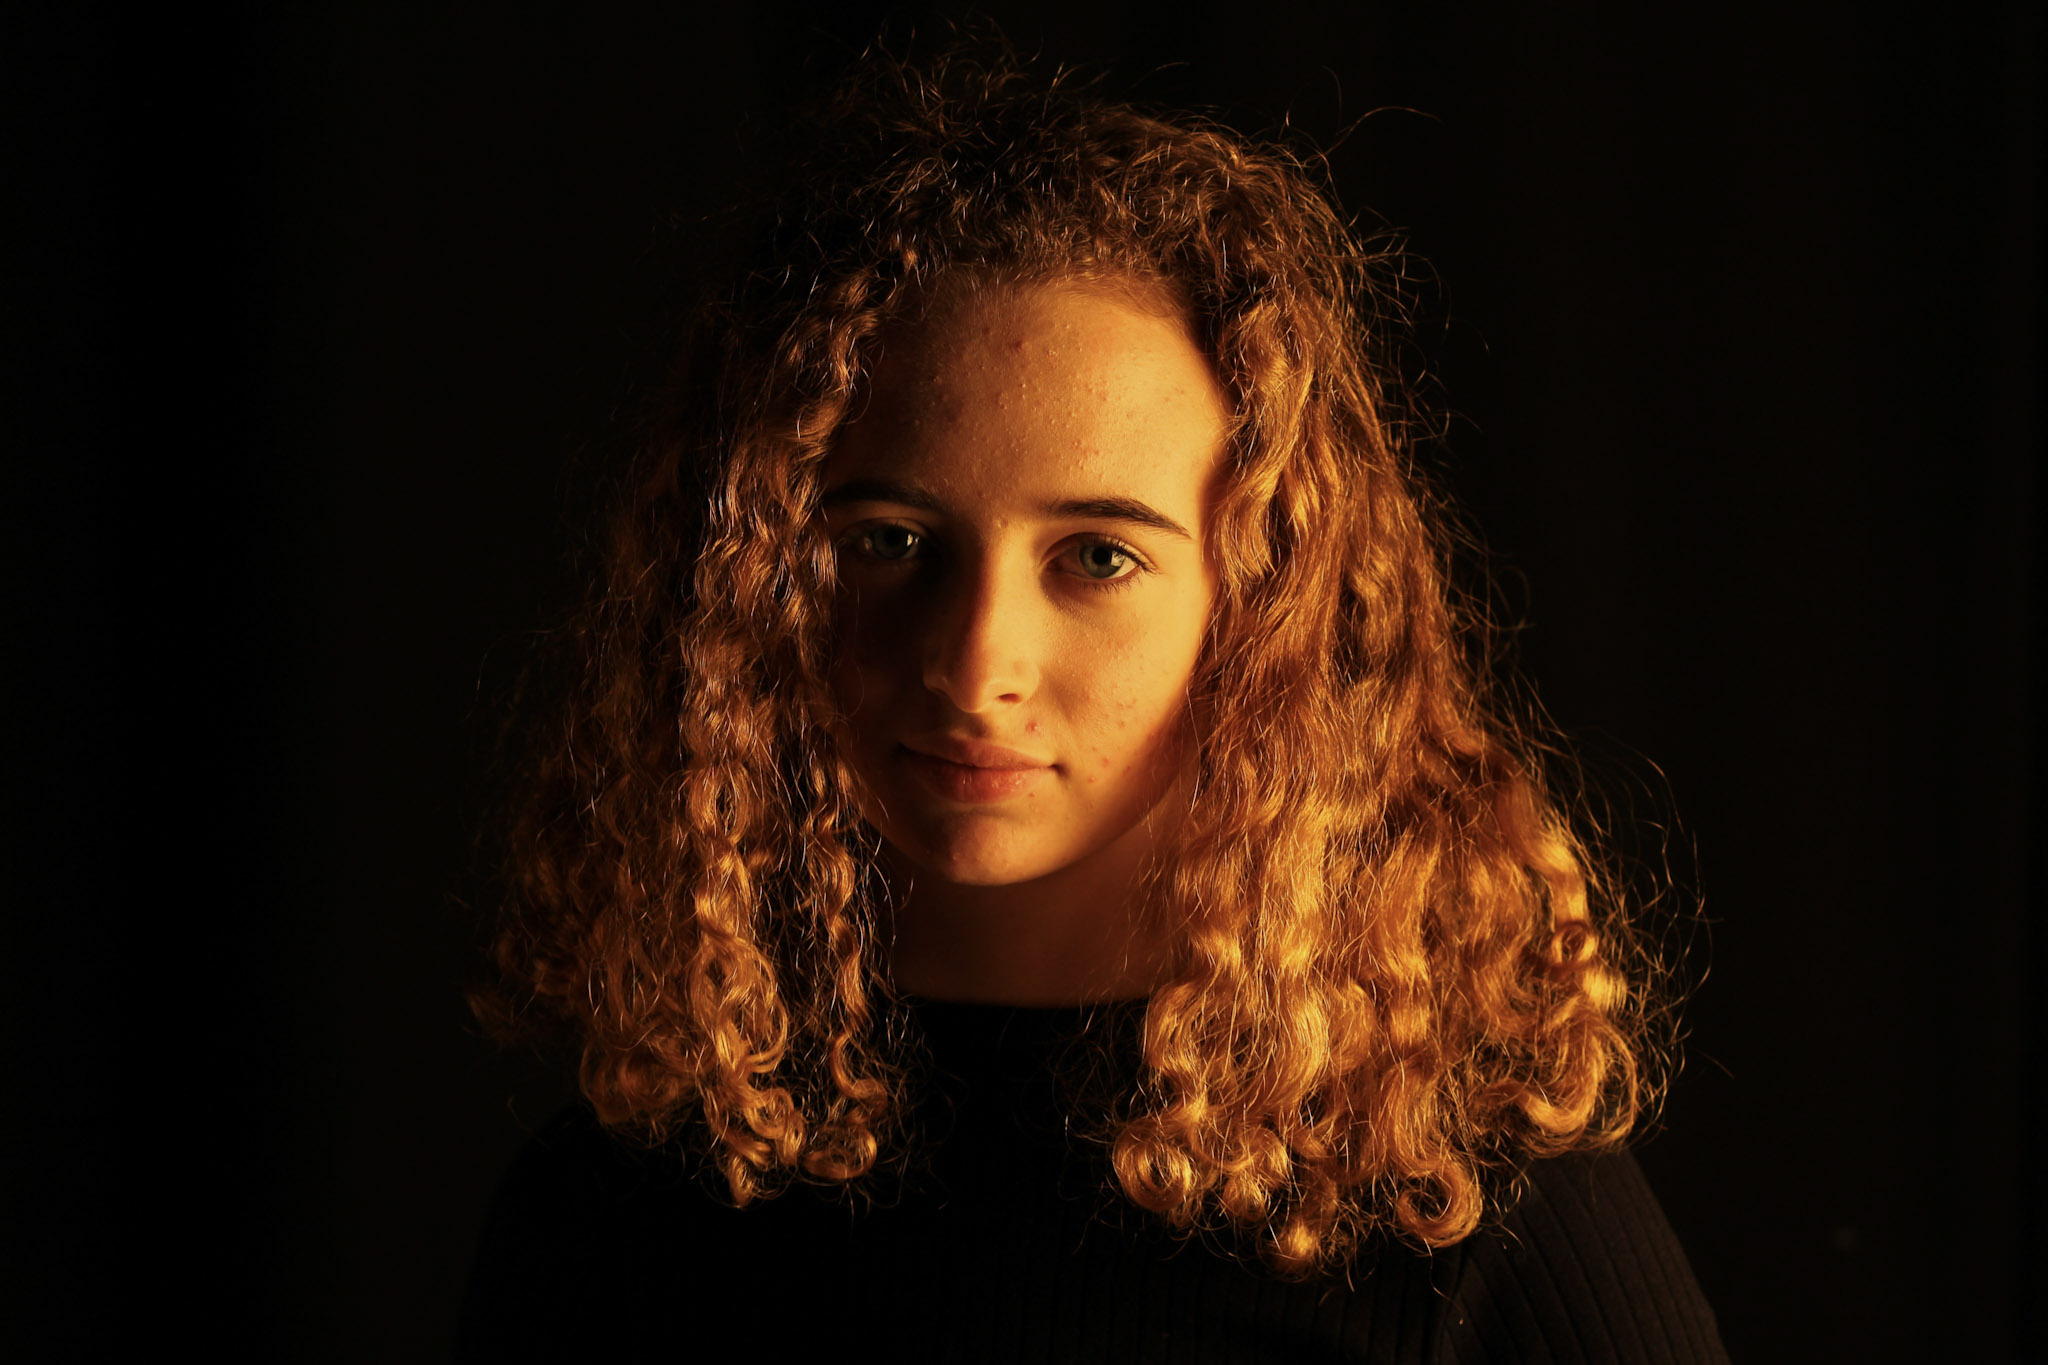
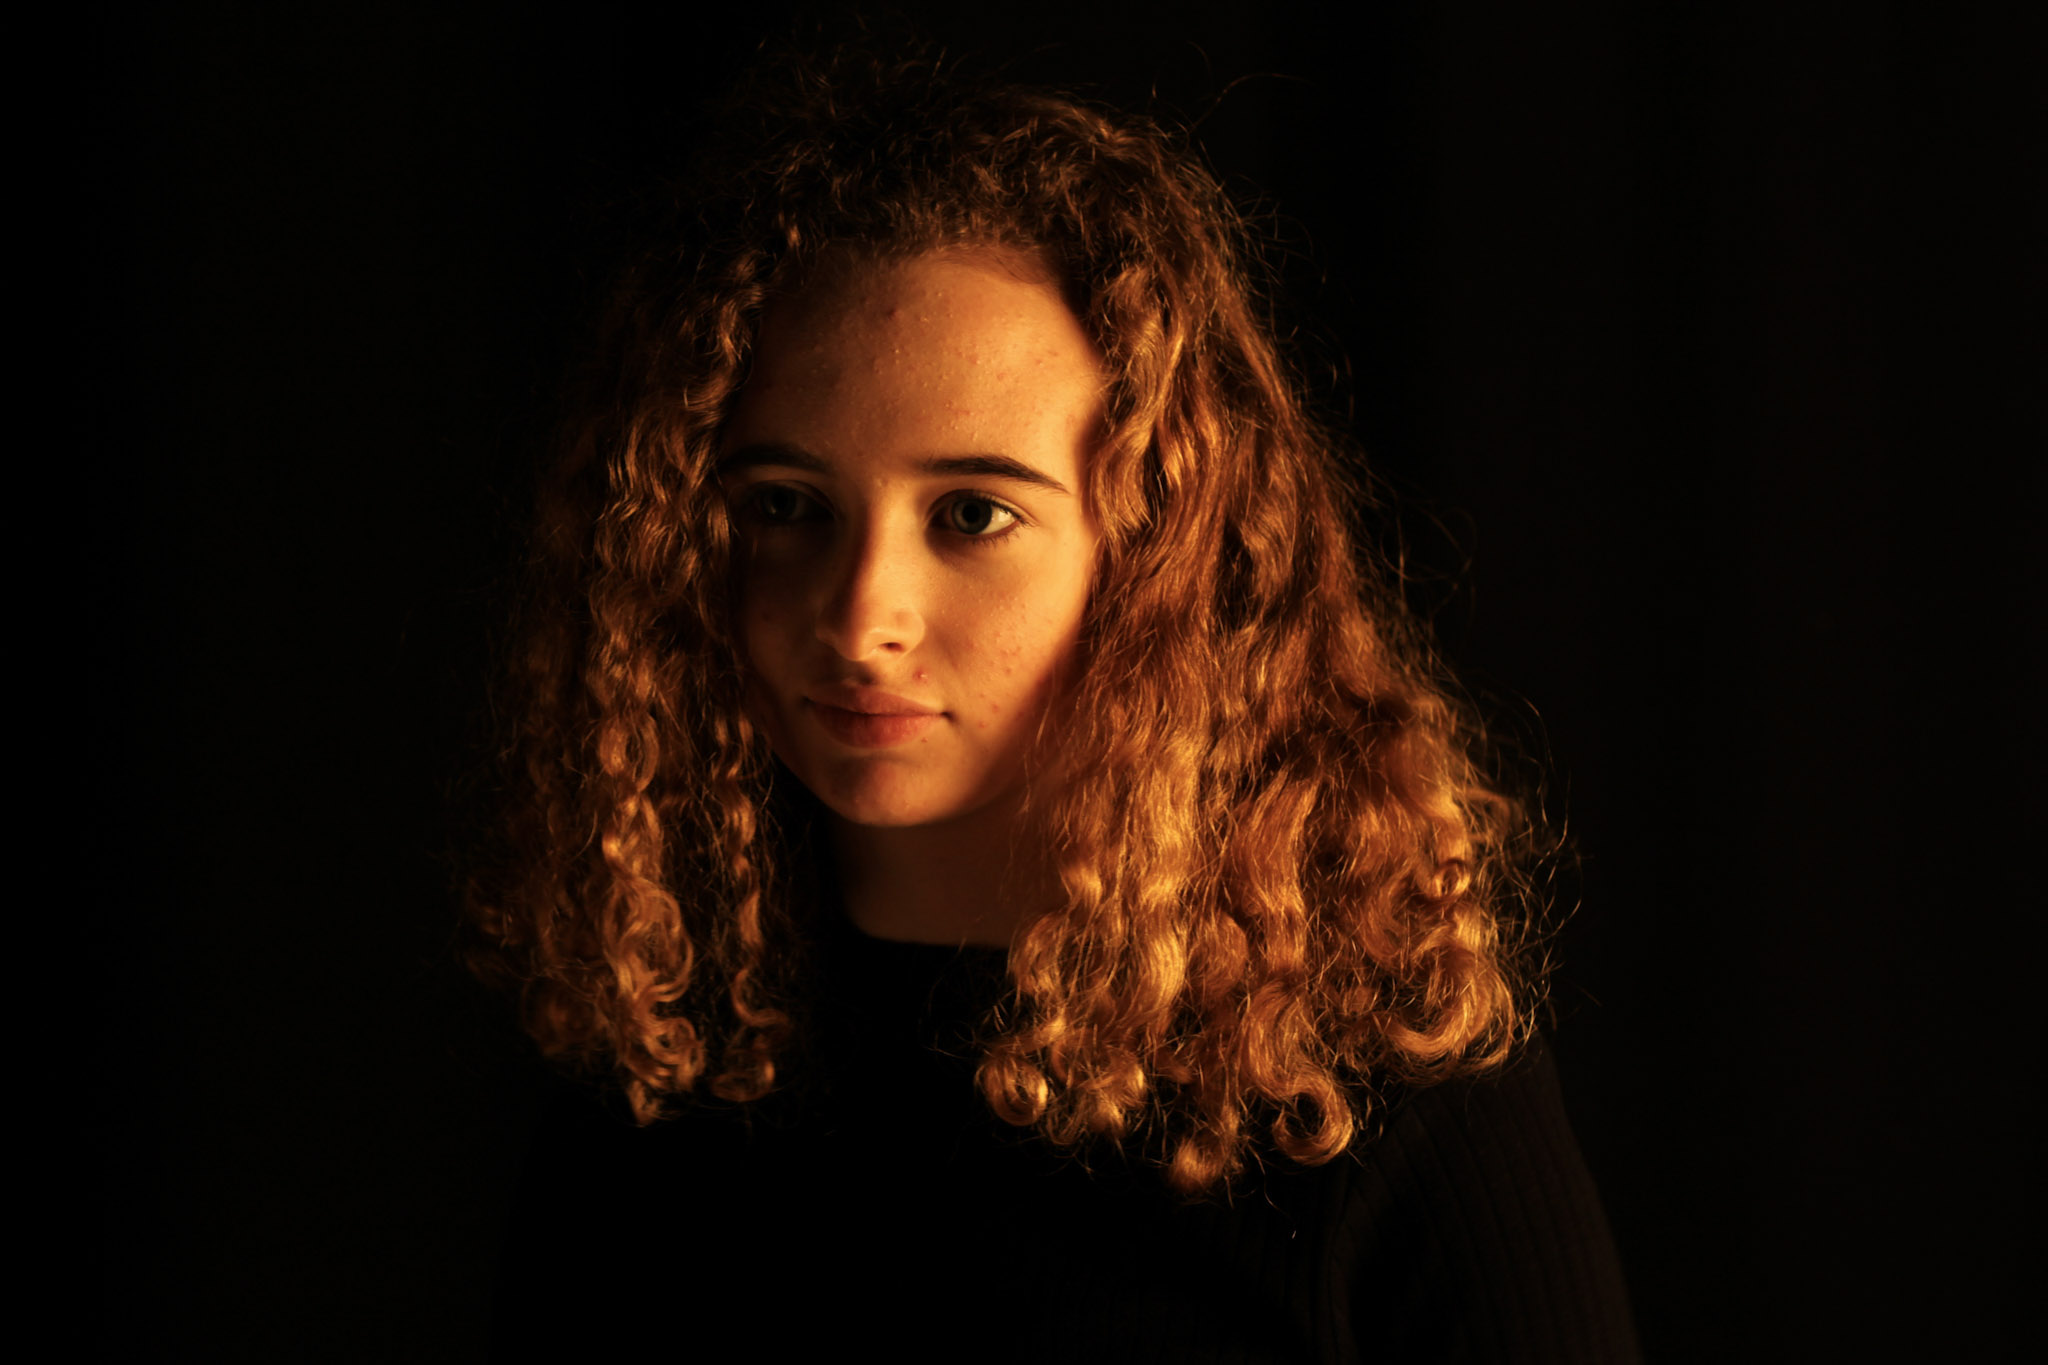
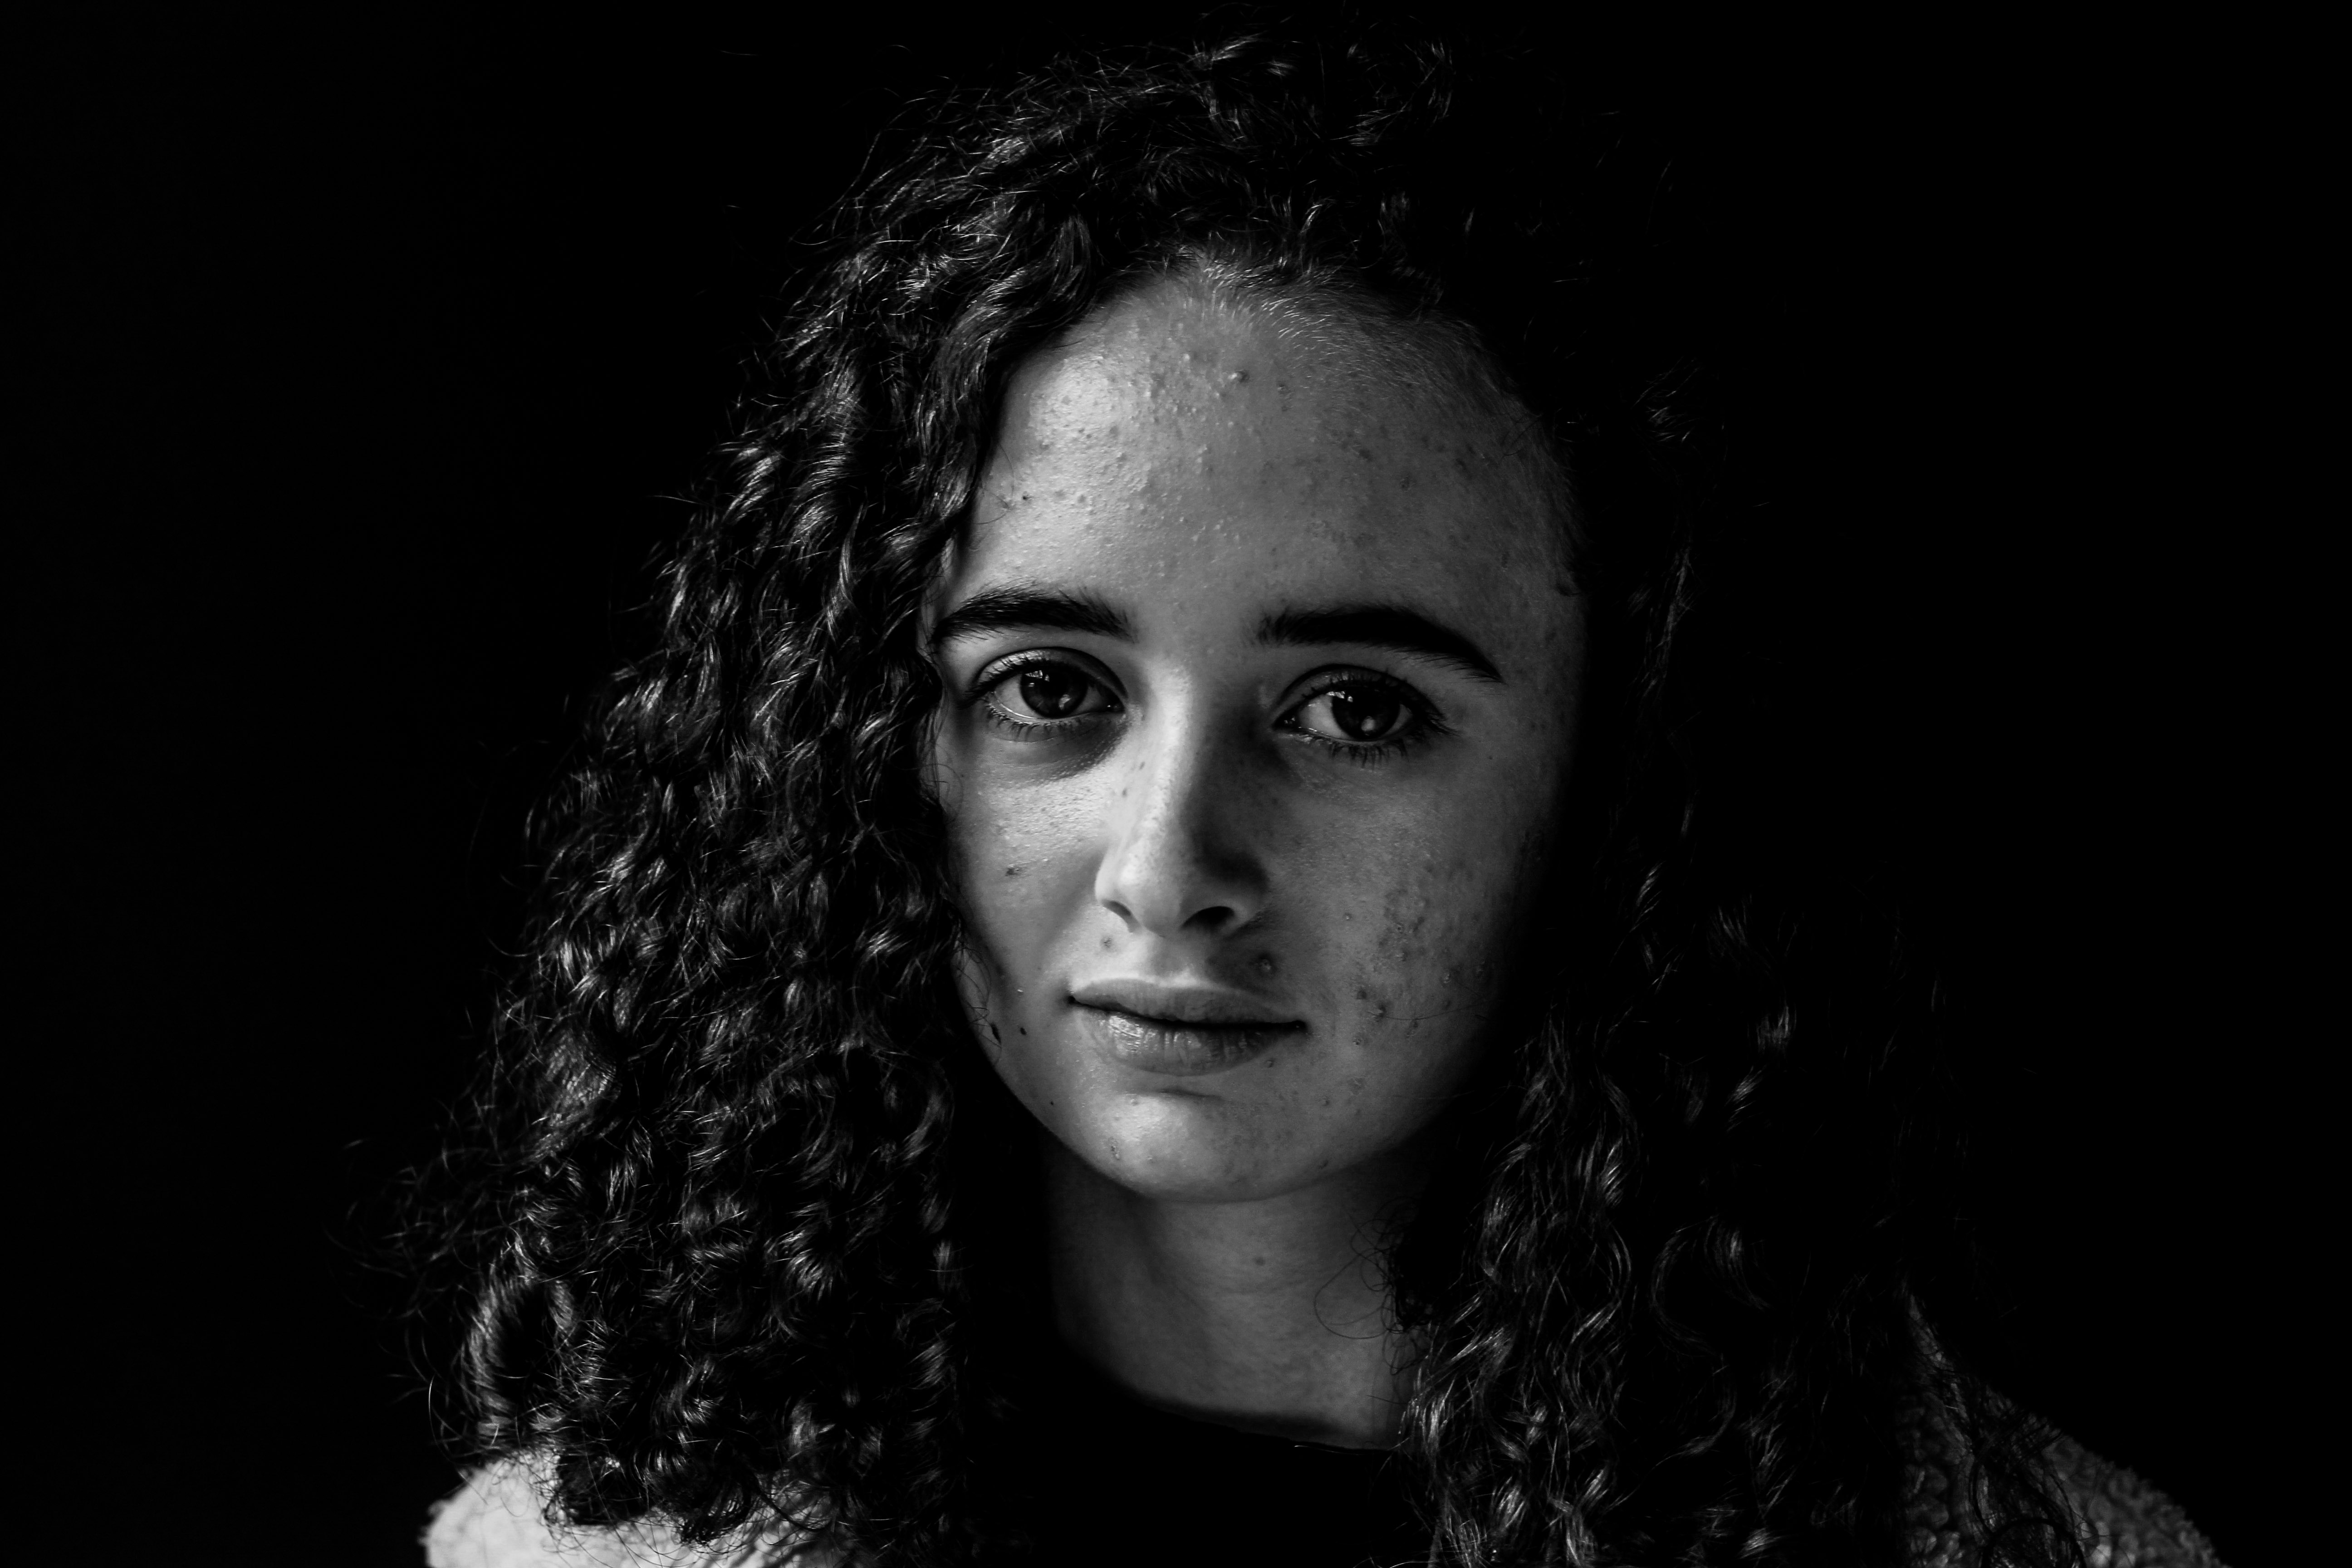
As you can see I experimented with soft light, hard light, colour filters and multiple people. I also experimented with different white balances, creating a warm tone in some images. The shadowing of the soft box creates a contrast across the face betwen light and dark. It adds mystery and depth to the image. I stood fairly close to the models while taking the images however I also wanted to include the black background in the image because I feel it makes the models stand out more.
Images to Manipulate:

I chose to manipulate these images because they were the most focused and aesthetically pleasing images. I feel that the curly haired model Aimee has very photogenic eyes which make the image more interesting.
Manipulated Images:
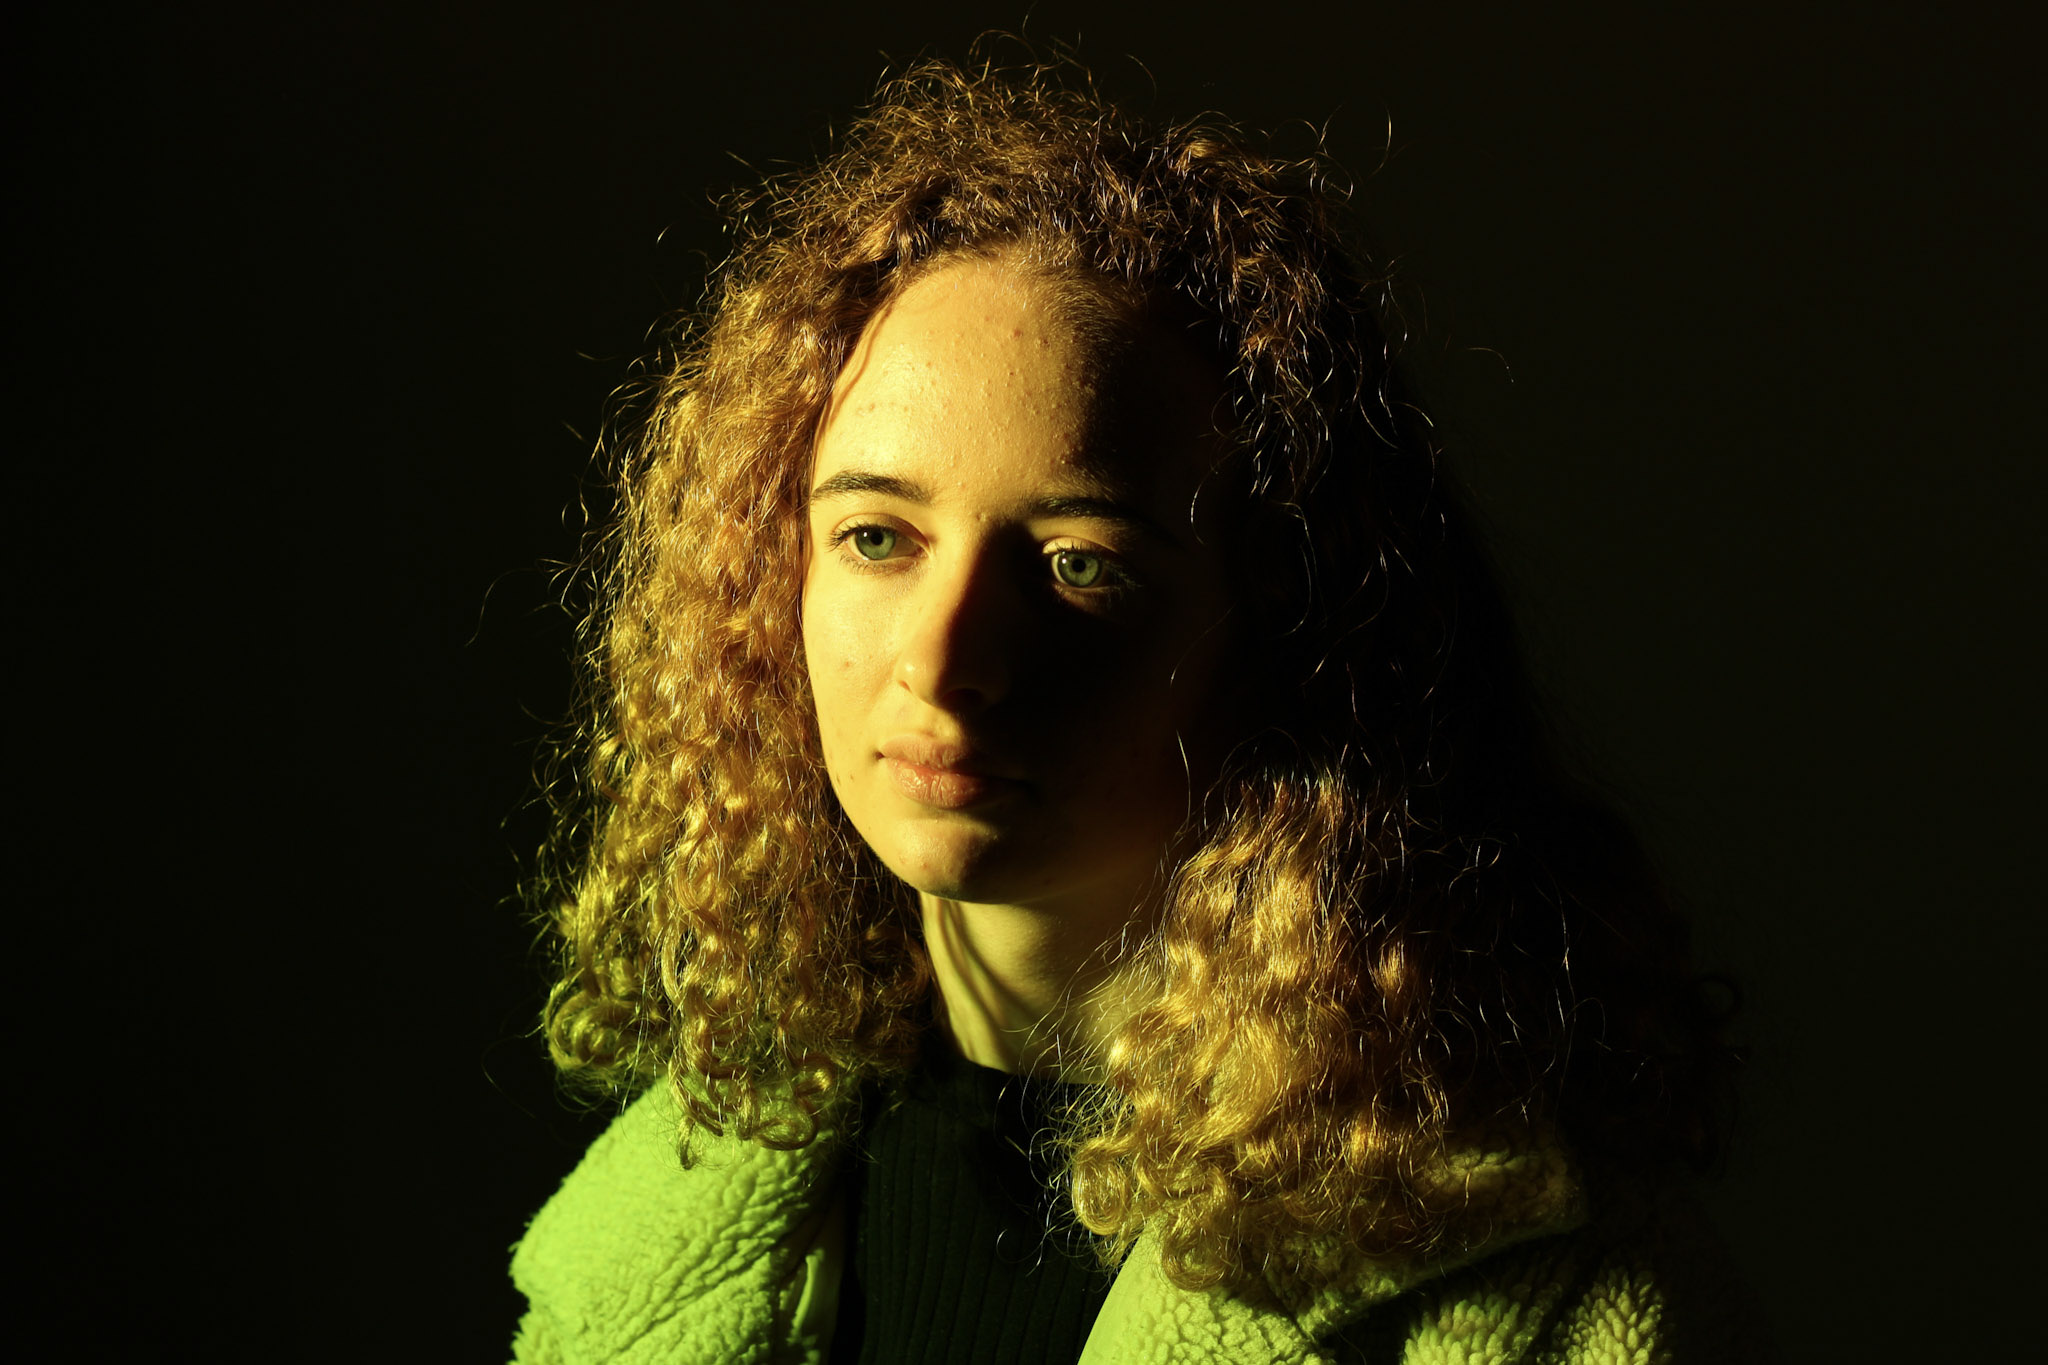
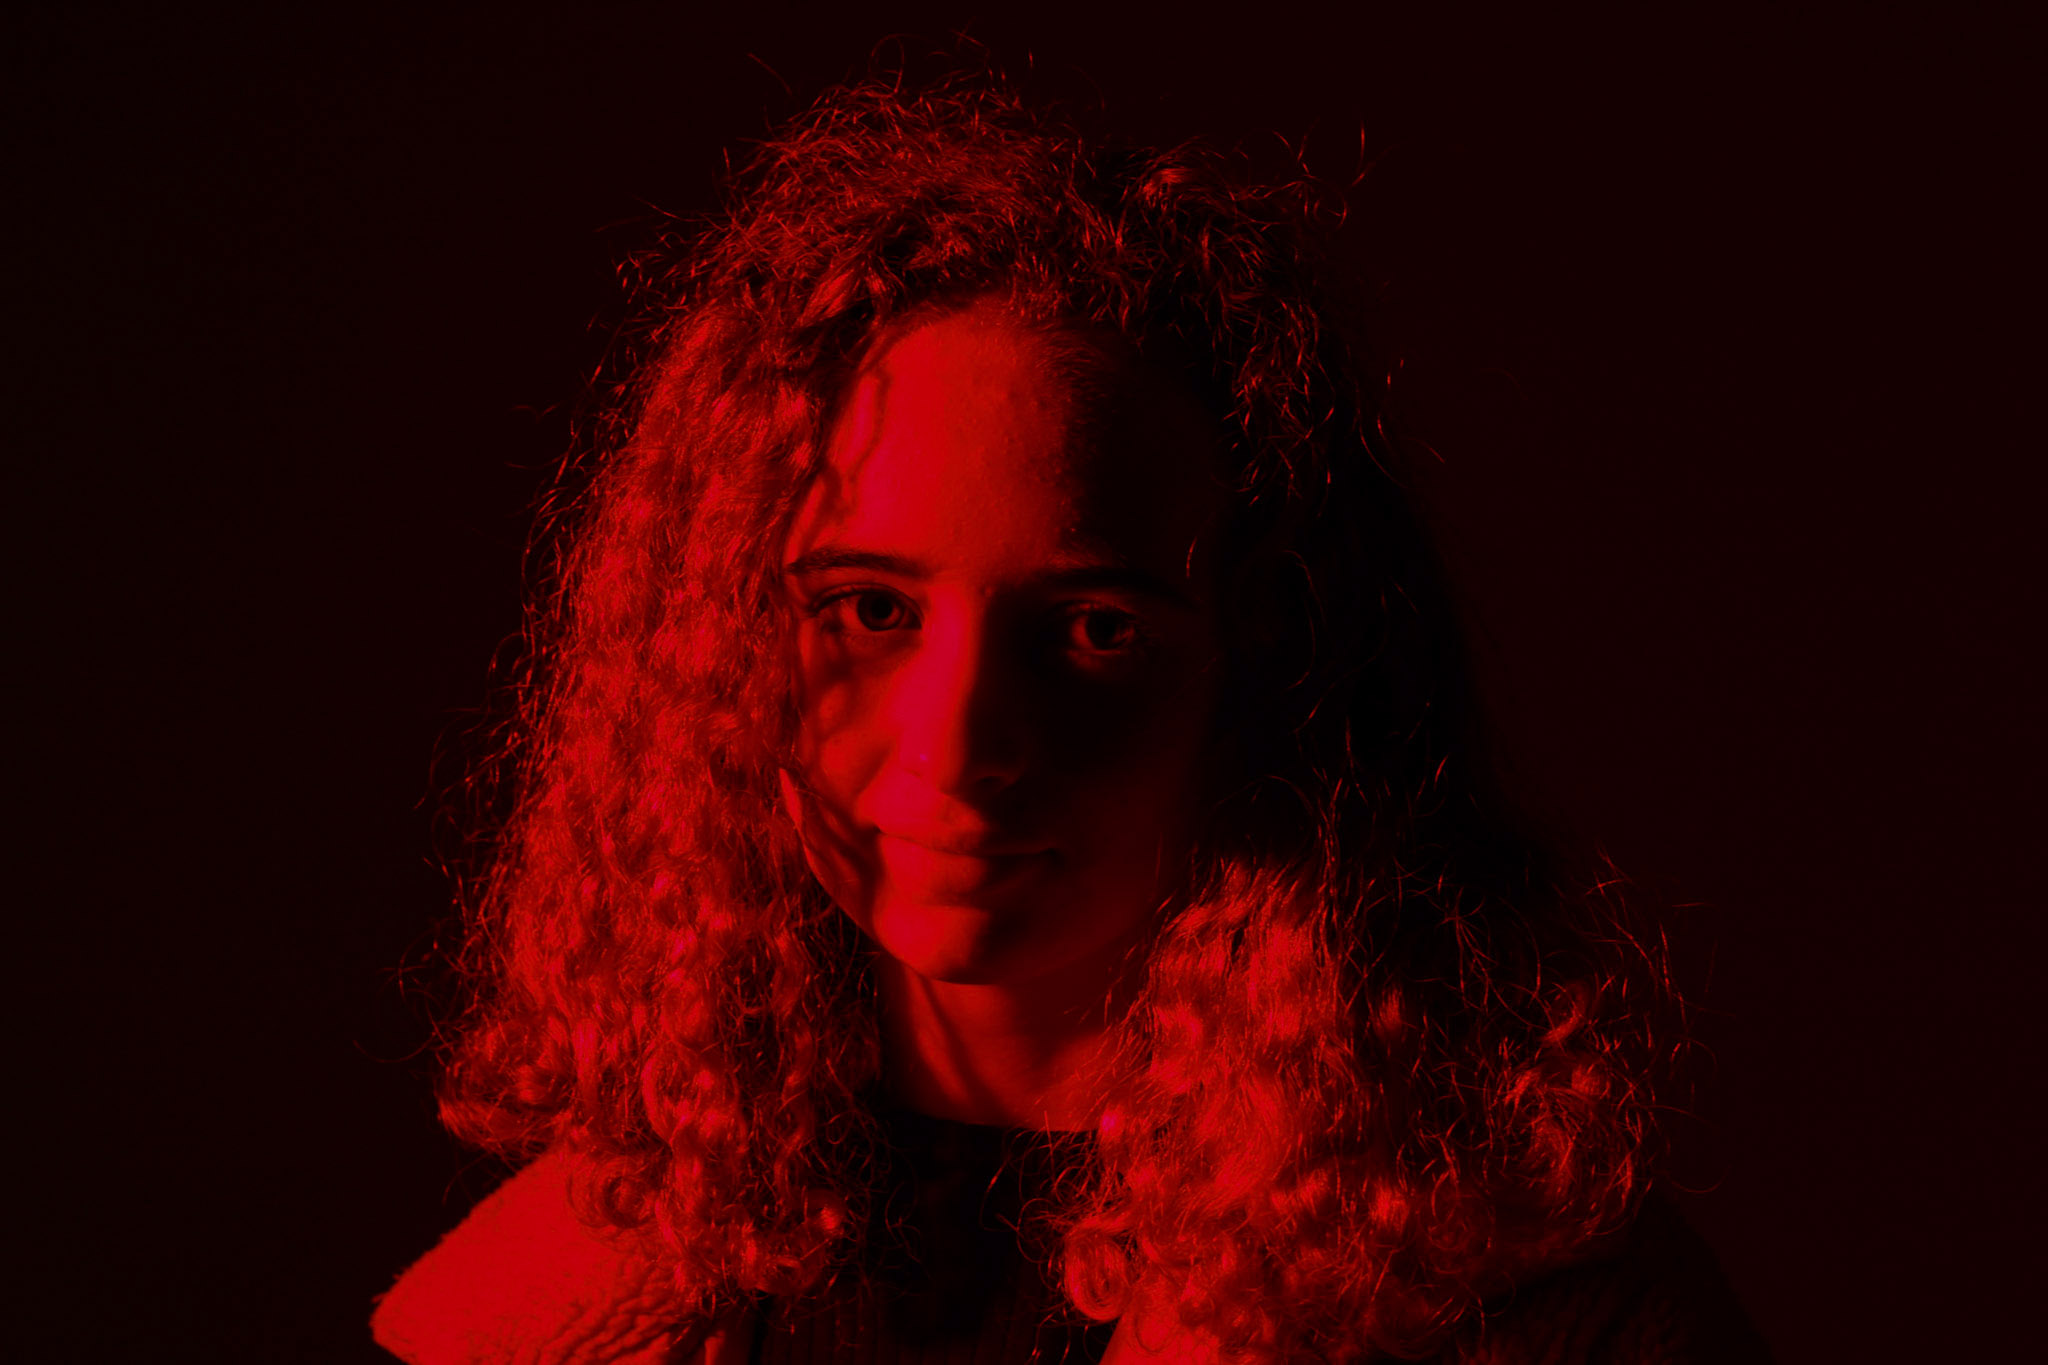
I manipulated all of these images using adobe lightroom. I adjusted general settings such as contrast, highlights, shadows, exposure, vibrance, saturation and clarity. However, with some images I also experimented with presets. For example, my image of my friend Aimee in black and white was applied with the black and white filter "punch". I then slightly adjusted the exposure, highlights and contrast.
Reflection:
Overall I did like the outcome of my images. Once again I need to perfect my focusing skillsbecause some of my images are still slightly blurry. I also need to experiment with different lighting techniques such as using two lights at once. I would also like to experiment more with composing my images to make it look more interesting and maybe using male models aswell so I can compare and see if I have to take my images any differently.