All posts by Emily C

Filters

Author:
Category:

Week 4 Homework Photoshoot – Uta Barth

I have produced a photoshoot using some of the camera a skills that I have developed on during the first few weeks. After taking time to learn and practice skills such as depth of field, exposure and focus, I have incorporated these skills into my shoot, and have take inspiration from my chosen artist, Uta Barth, in order to produce a photoshoot that uses abstraction, as well as the other camera skills.

Uta Barth

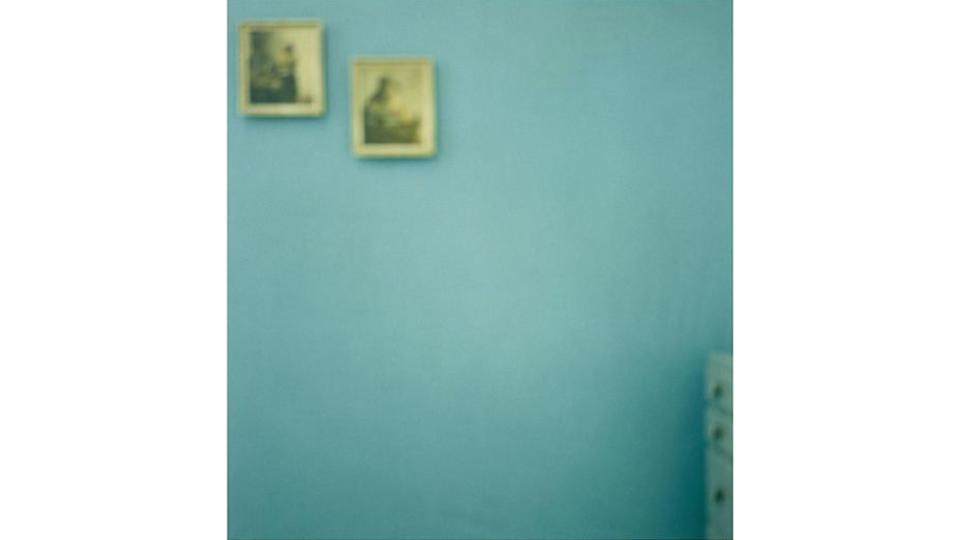
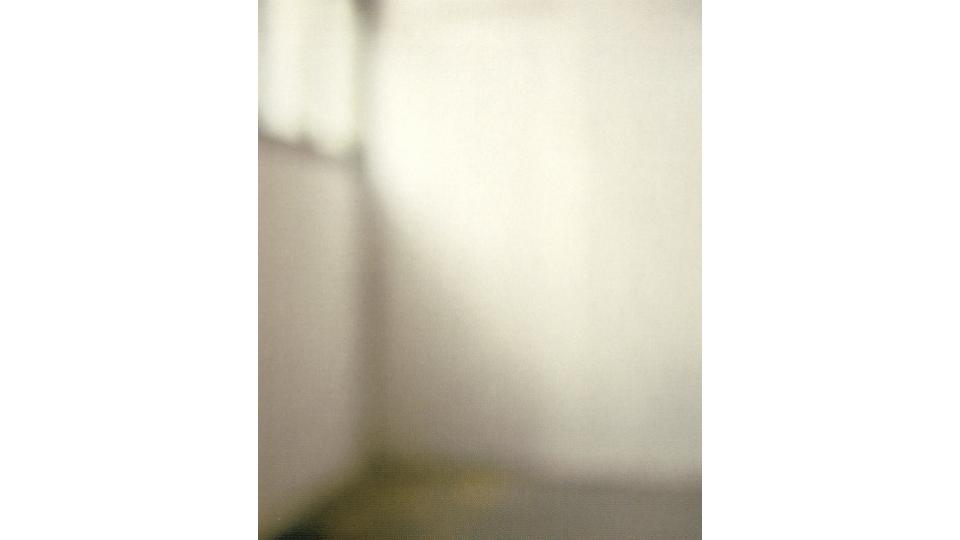
Uta Barth is a contemporary photographer living and working in America, who focuses her photography on separating the subjects used in the photograph, from the photograph itself by using a mixture of blurred images, and bright light in her photographs, allowing the colours of her image to blend into one another, further distorting the image and creating an abstract effect. Barth often takes a minimalist approach to her work, using subjects such as walls, windows and bland natural scenes, in order to draw more attention to the light and colours used in her work. Barths work incorporates a mixture of minimalism and abstraction, and she combines this with a bright but simple colour theme to draw attention to the fact that her work goes against what many people consider to be good art.
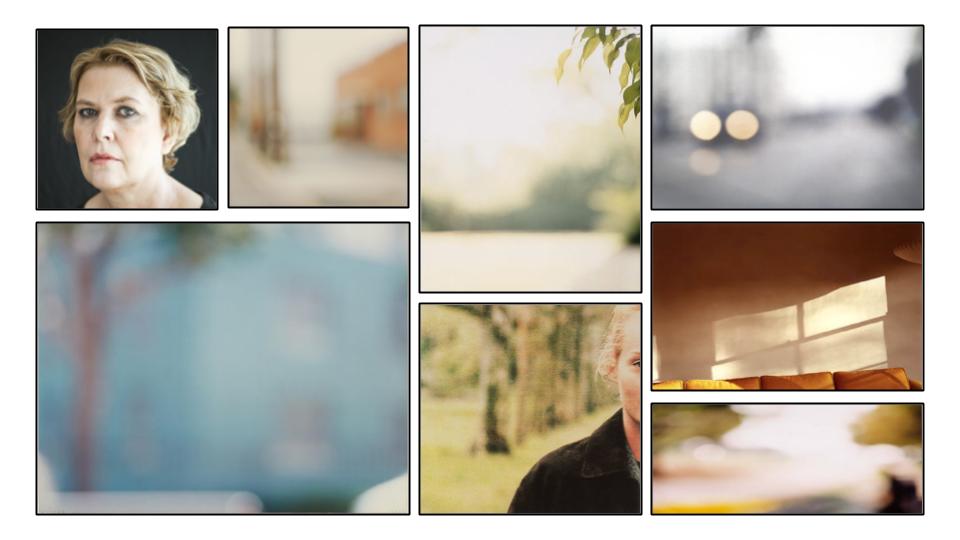
I have chosen Barth to be my inspiration, as I believe that her work makes good use of colour, light and interesting subject matters, while also taking a minimalist approach to a lot of her photos, making them more unique, and allowing them to stand out.
My Response:

For my photoshoot, I took inspiration from Barth when it came to the type of subjects I used, and the lighting I used. For my camera settings, I made use of the manual focus, making sure that the image I was taking was out of focus to create the same effect as Barth. As well as this, I experimented with the exposure of my photos, in order to mimic the bright light used in Uta Barths work.

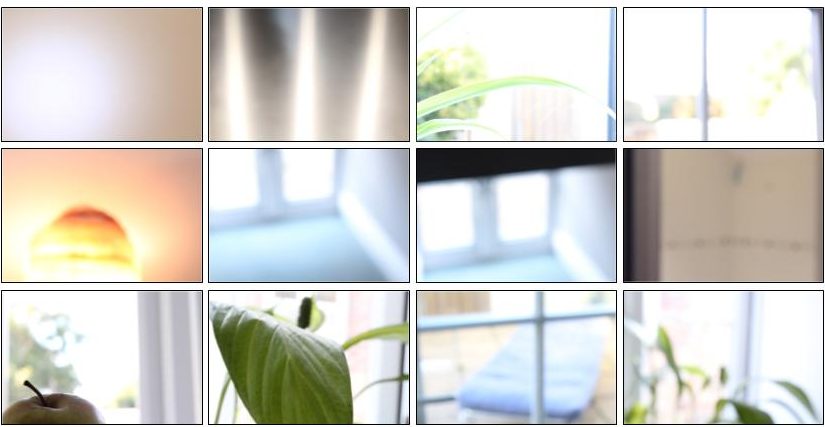
The following is a contact sheet containing images from my photoshoot:

These are the photos that I was able to take after taking inspiration from Barth, and using the same techniques and processes as her. I made sure to focus on making sure the lighting resembled Uta’s work, and changed my camera settings to do so.
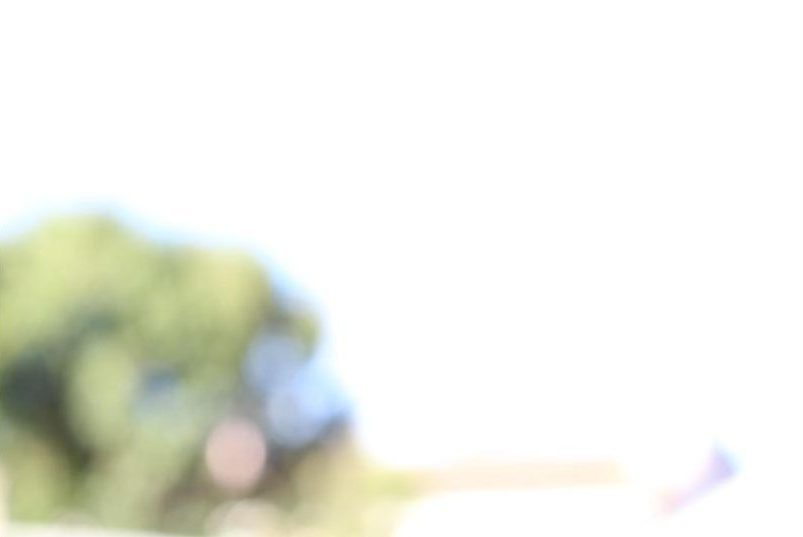
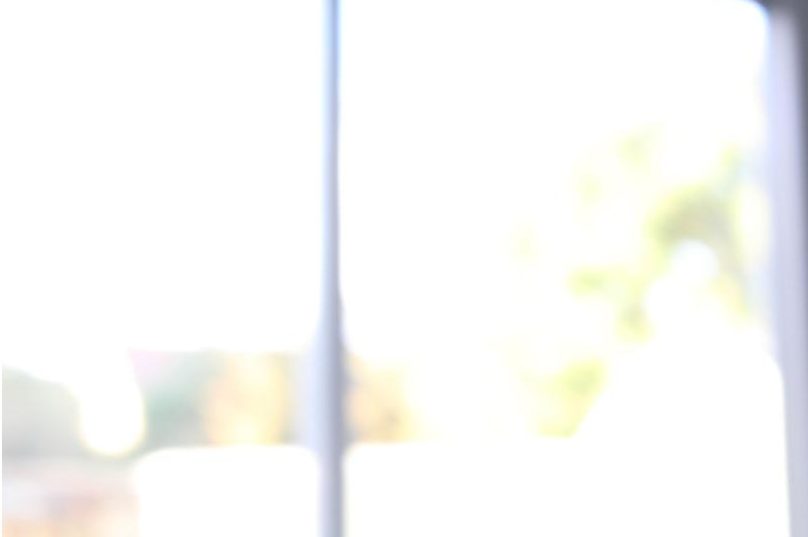
The above image is a good example of the different camera settings and techniques I used. For this image, I adjusted the manual focus of my camera so that the background was completely out of focus. I then adjusted the ISO setting to a high number (1600). By doing this, I was able to maximize the amount of light that the camera allowed, and because of this the image I took was extremely bright and light, which mimics the work of Uta Barth. By using this combination of out of focus images, with a high ISO setting, I was able to create images similar to that of Barth.

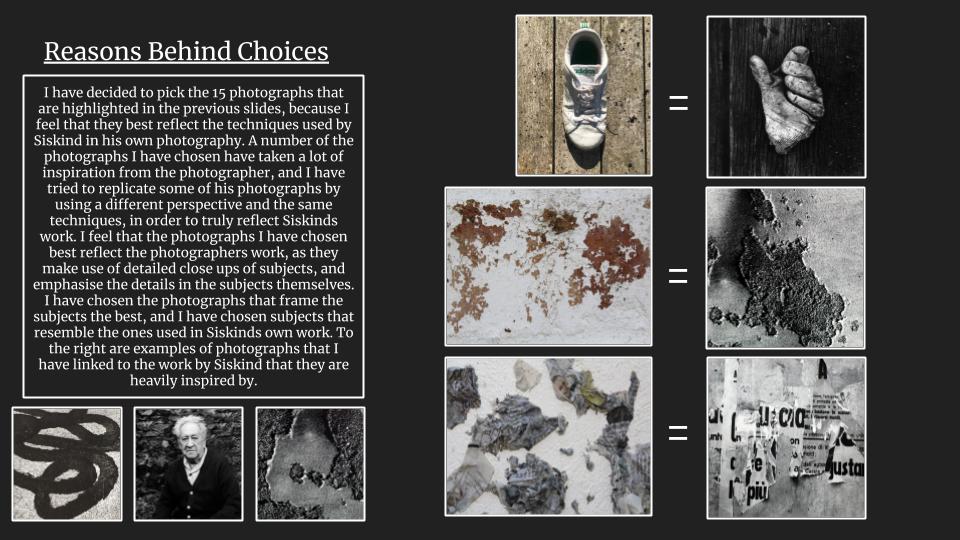
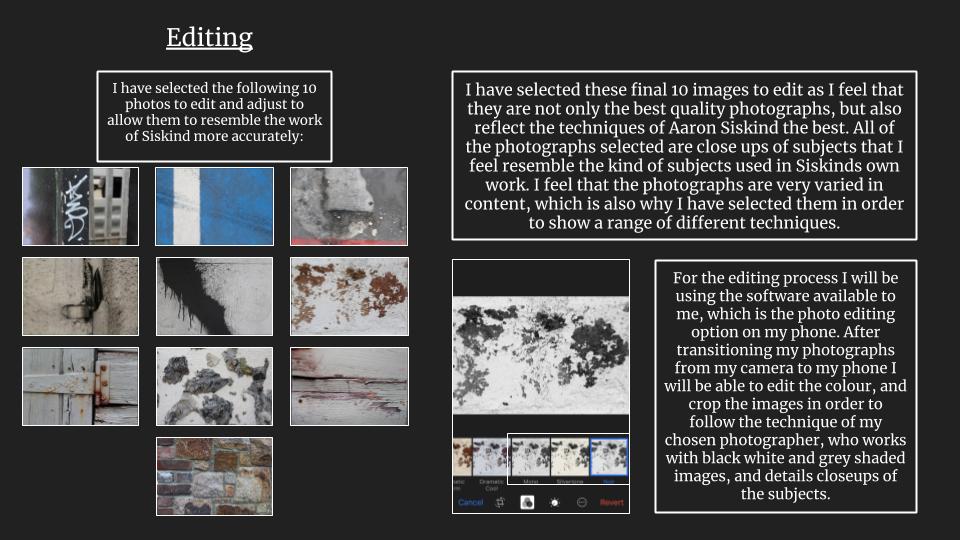
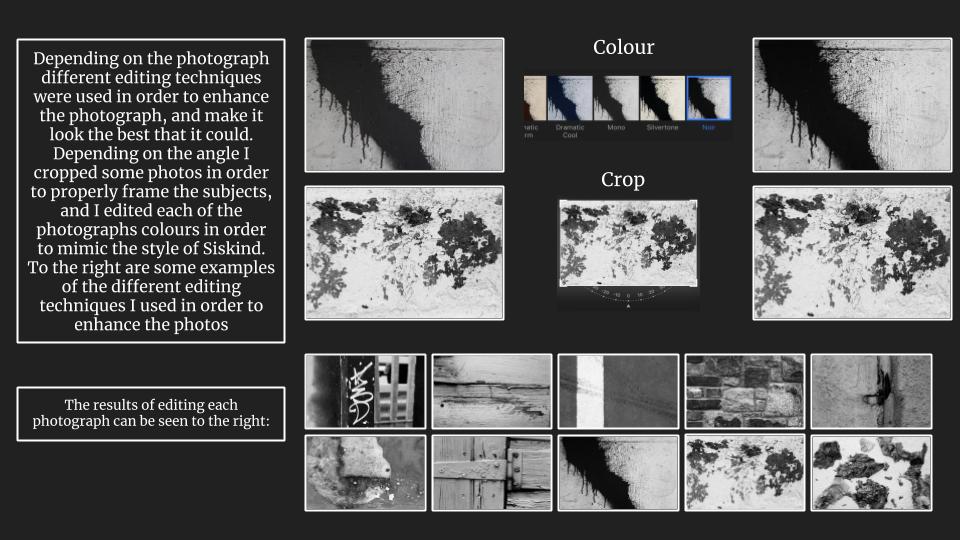
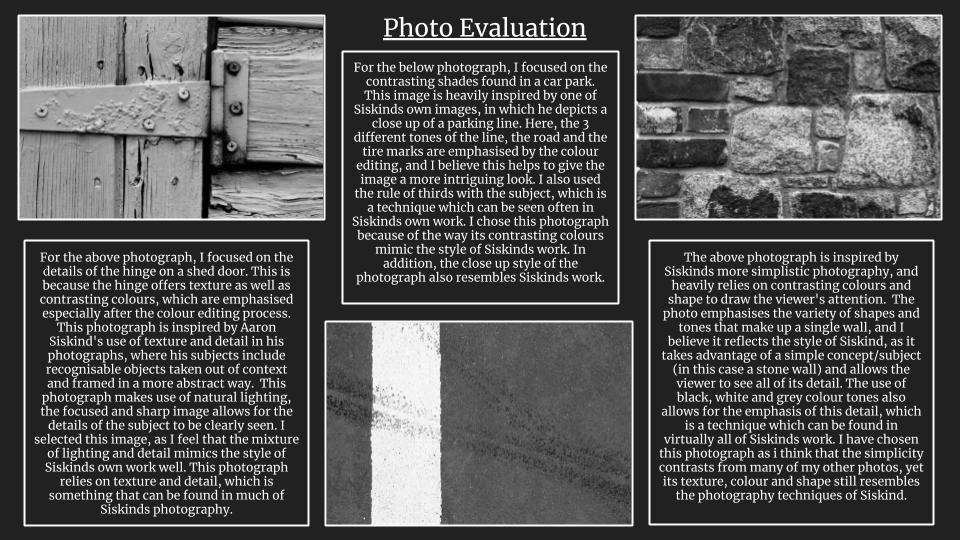
The following images are those that I have decided are the best from my photo shoot:

All of these images use the skills I developed after analysing the work of Uta Barth, including manually putting the camera out of focus, and adjusting the ISO setting to a higher number so that the images included the most light possible. All of these images used an ISO ranging from 3200 to 6400, and I manually adjusted the focus so that the subjects were as out of focus as possible.

I tried to take most images of naturally lighter spaces, as well of adjusting the ISO, these places included outside, and out of windows, to mimic the very light effect that Barth’s images give.
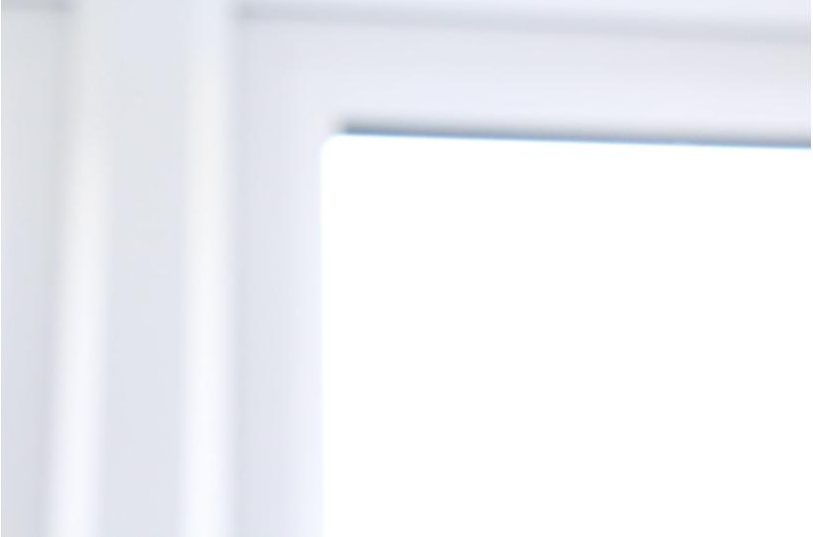
The subject of the above image is the corner of a window, and I zoomed the camera in so that I was only framing the top corner, abstracting the window. A lot of Barths work centres around using subjects such as windows that produce natural light, to maximise the amount of light in the image.
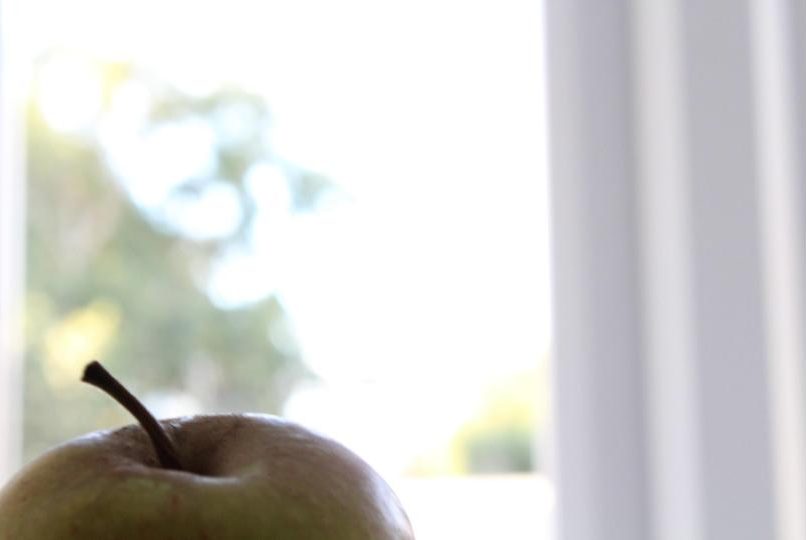
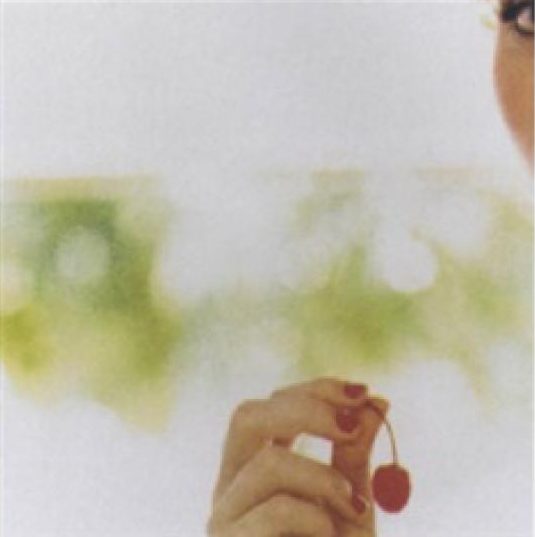
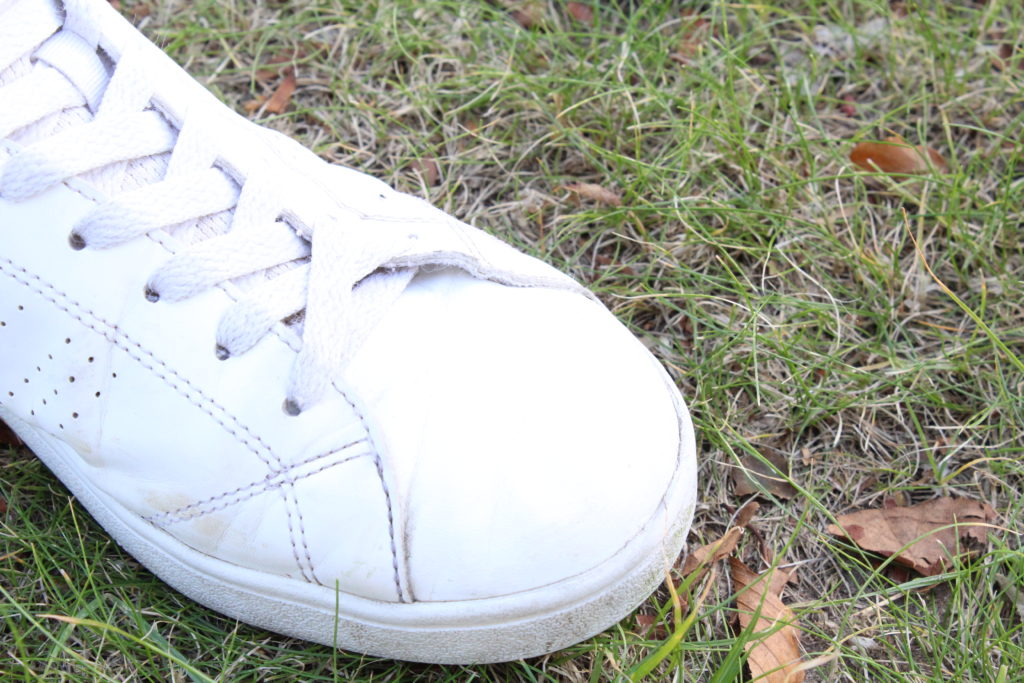
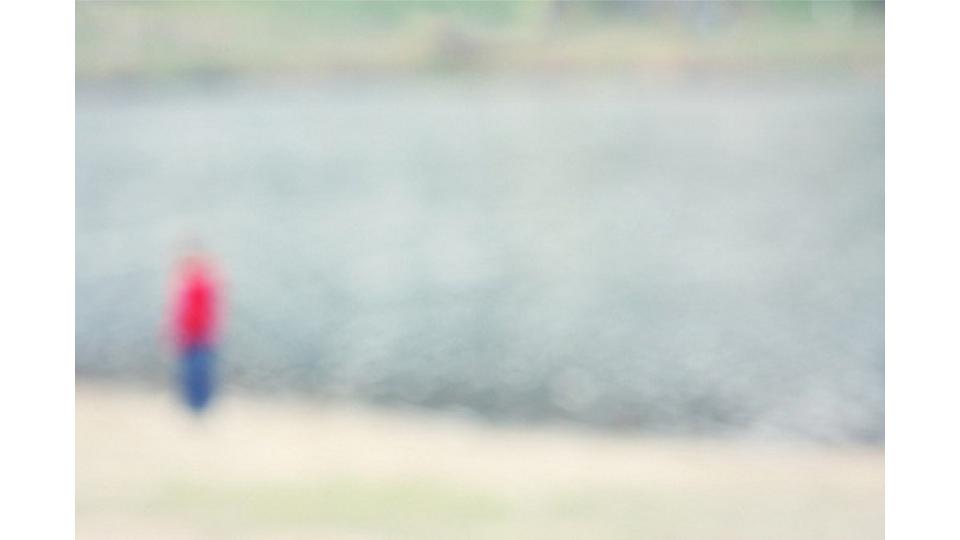
Barth sometimes uses subjects in her work that remain in focus, while throwing the background out of focus to draw maximum attention to the abstracted subject. The first image is my own, while the second is Barth’s, from which I took inspiration. This technique makes the image interesting, as it provides the viewer with a point to focus on, while also allowing them to remain curious about what is in the background.


ISO Experimentation

By changing the ISO setting of a camera, the camera sensitivity to light changes. By increasing the number on the ISO setting, the camera becomes more sensitive to light, and so photographs can be taken in darker areas without the need for flash.

ISO is useful for taking photographs, as rather than using flash, and making the image seem more artificial, ISO makes use of the natural light already in the scene, and so makes the photograph look more natural.

However, using a high ISO setting can also add to the noise of the photograph, lowering the quality of the image overall. That is why it is important to carefully decide how high the ISO is set, depending on the setting that the photograph is being taken in.

For my experimentation, I used the same subject, while changing the ISO setting. In order to allow each photograph the same amount of light, I changed the shutter speed as I increased the ISO.  The results of 5 different photographs, ranging from ISO 400-6400 can be seen below.

As I raised the ISO, the photograph became darker, and so to counteract this I also gradually decreased the shutter speed, from 1/10 to 1/100. This allowed for the same amount of light in each image. 

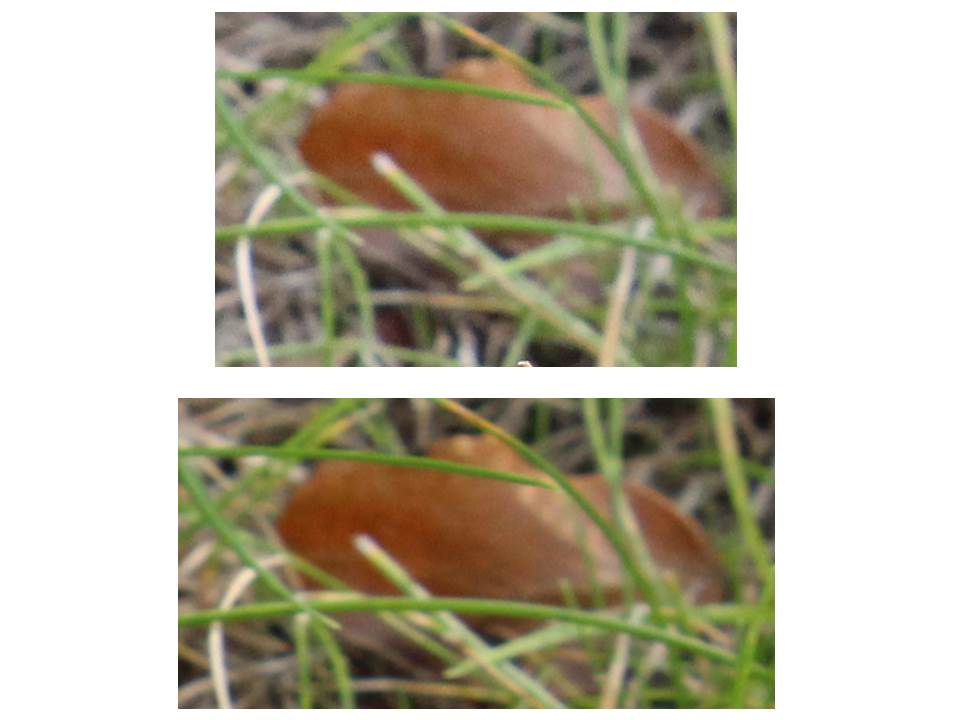
In the above 2 images, the difference between the ISO was large (the first one had an ISO of 400, and the second of ISO 6400). The bottom image is clearly more sensitive to light, as it has made the image brighter without the use of flash, whereas the image above is less sensitive to light, and so the image appears to be darker.

The above images were both taken of the same leaf, yet the first image clearly has more noise than the second. This is because the first image was taken using ISO 6400, and the second taken using ISO 400. Although using a higher ISO allows for for camera to become more light sensitive, the amount of noise in the photographs taken with this higher ISO makes the image seem blurry and low in quality due to the extra noise produced.

White balance Experimentation

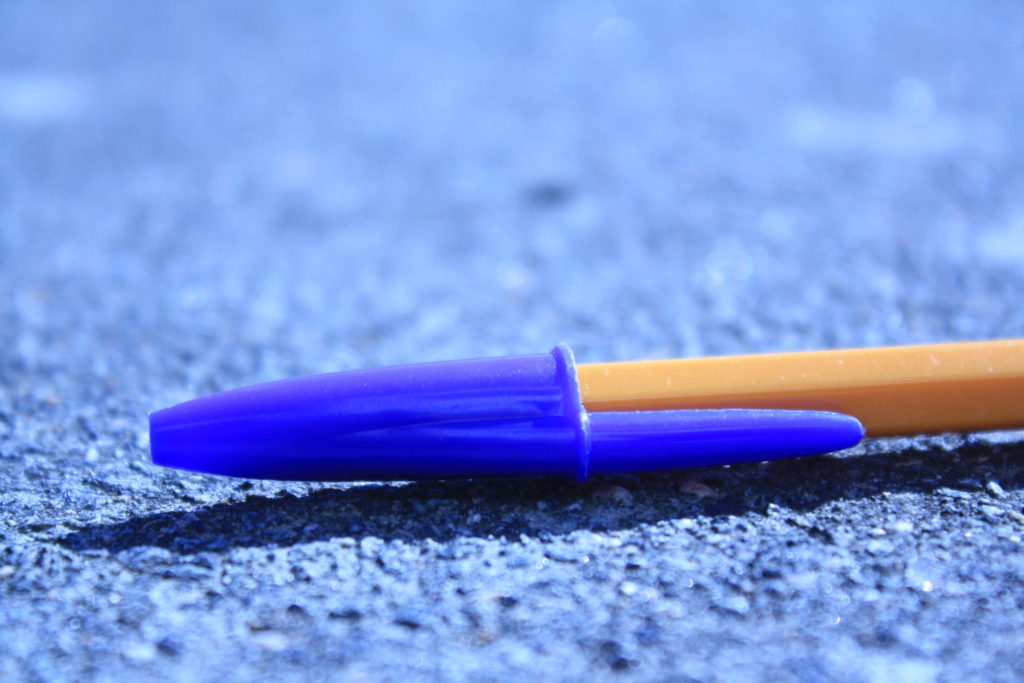
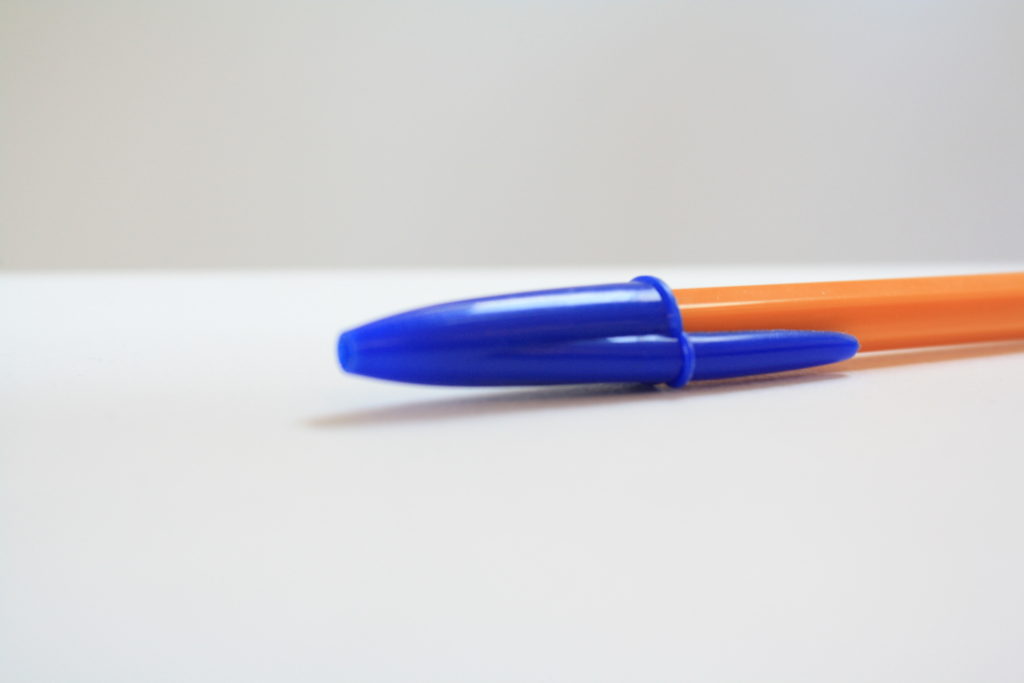
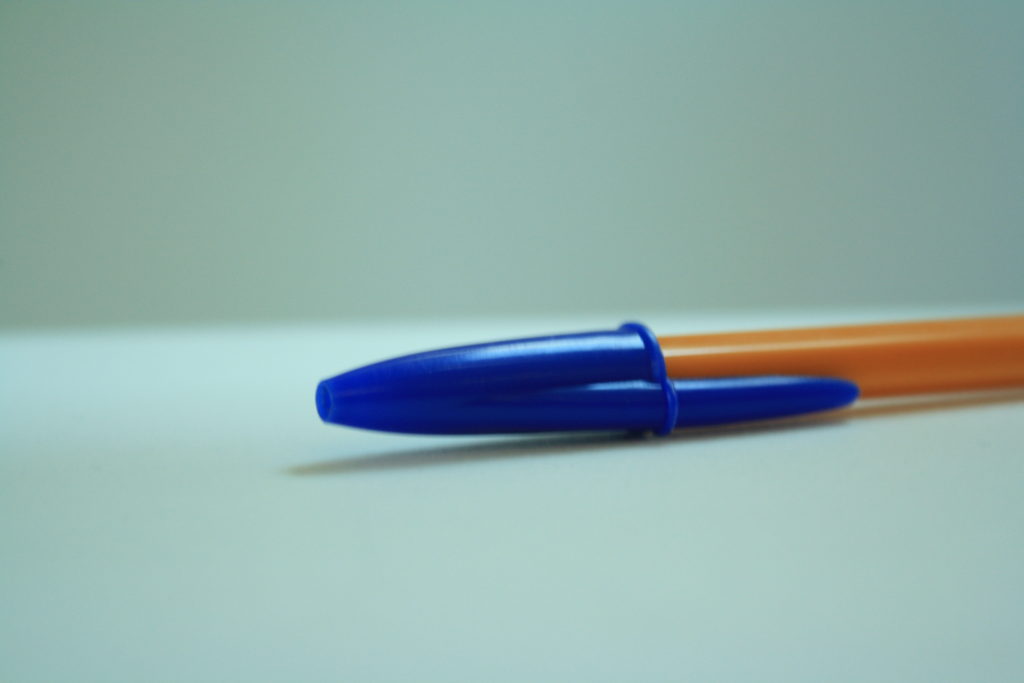
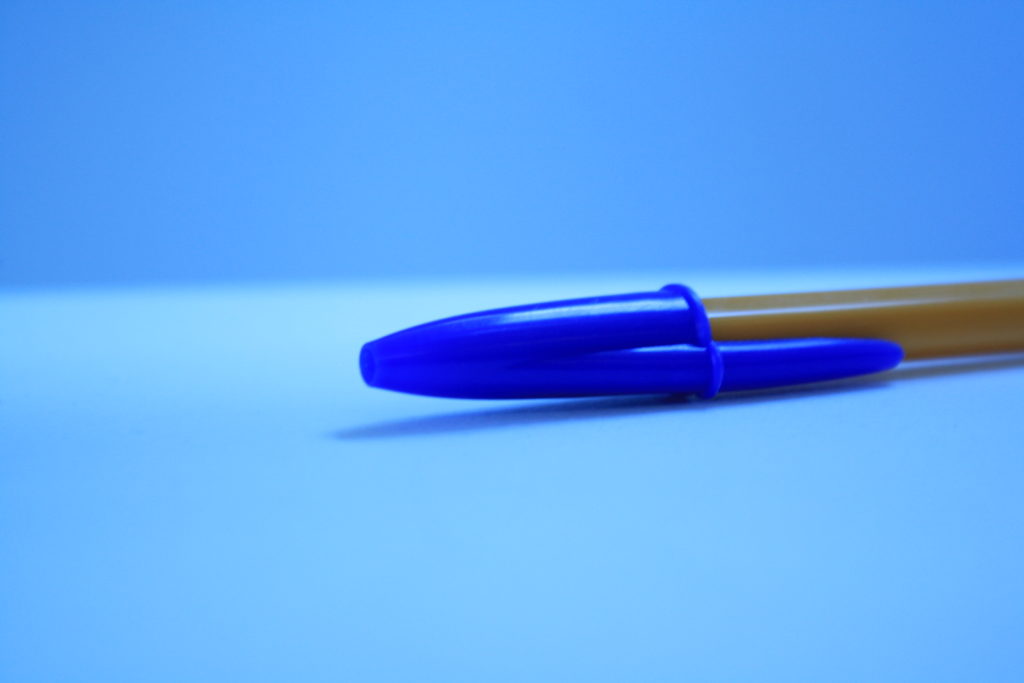
For my experimentation into using white balance with a camera, I used the same subject in 2 different scenarios: inside and outside, and then used the white balance setting to change the temperature of each of the images.

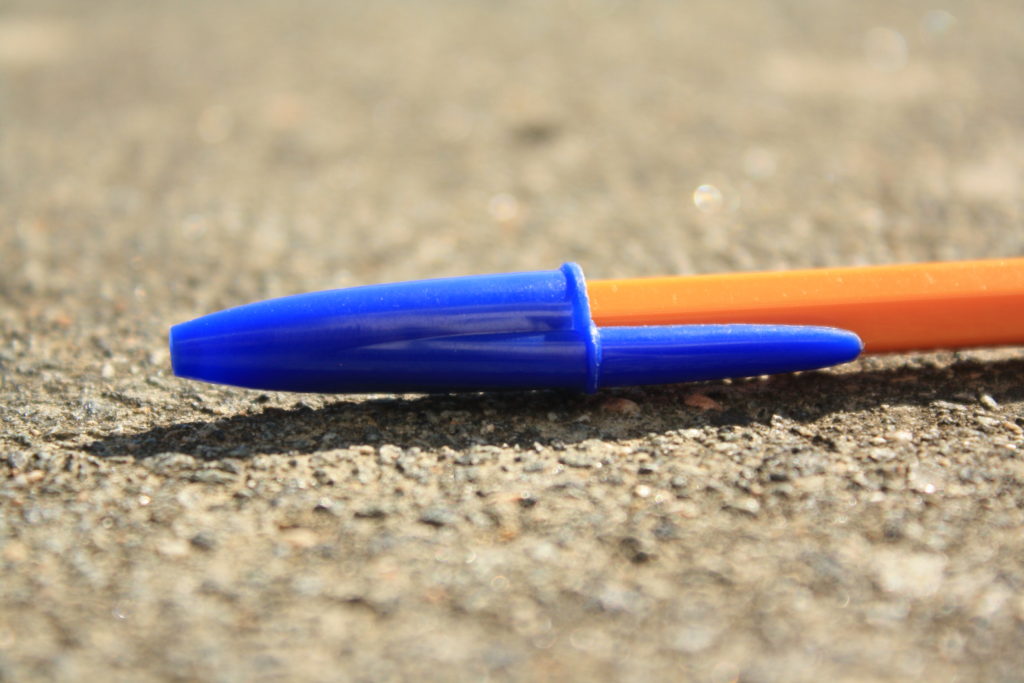
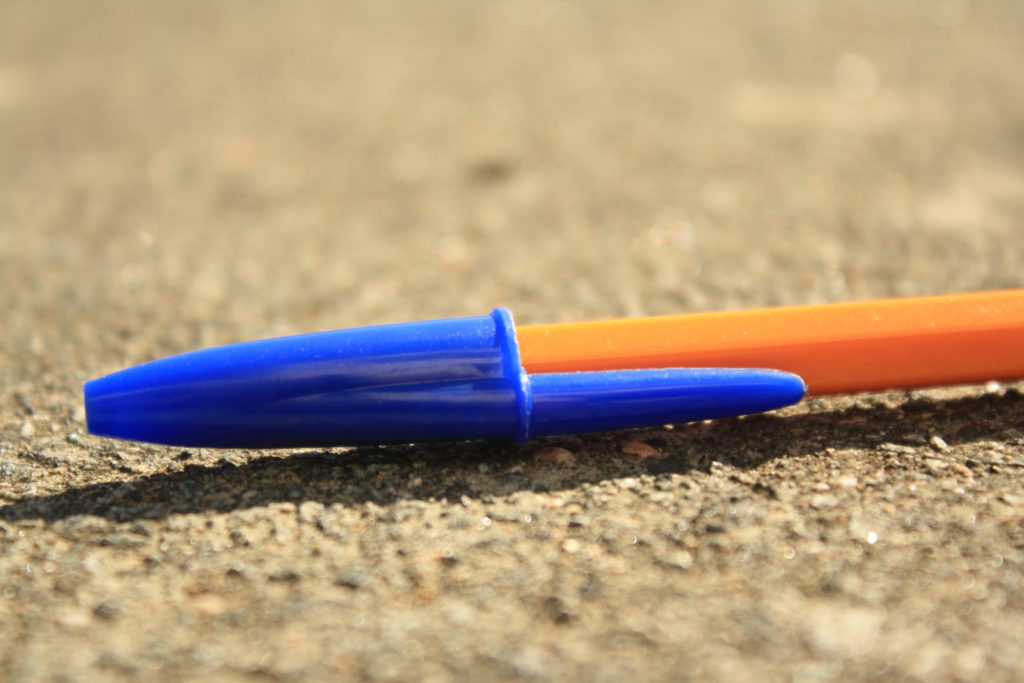
The above set of images were taken outside using natural light, and each image has been taken using a different white balance setting, such as daylight and tungsten light. Each of the images has a different temperature because of the different white balance setting I used.

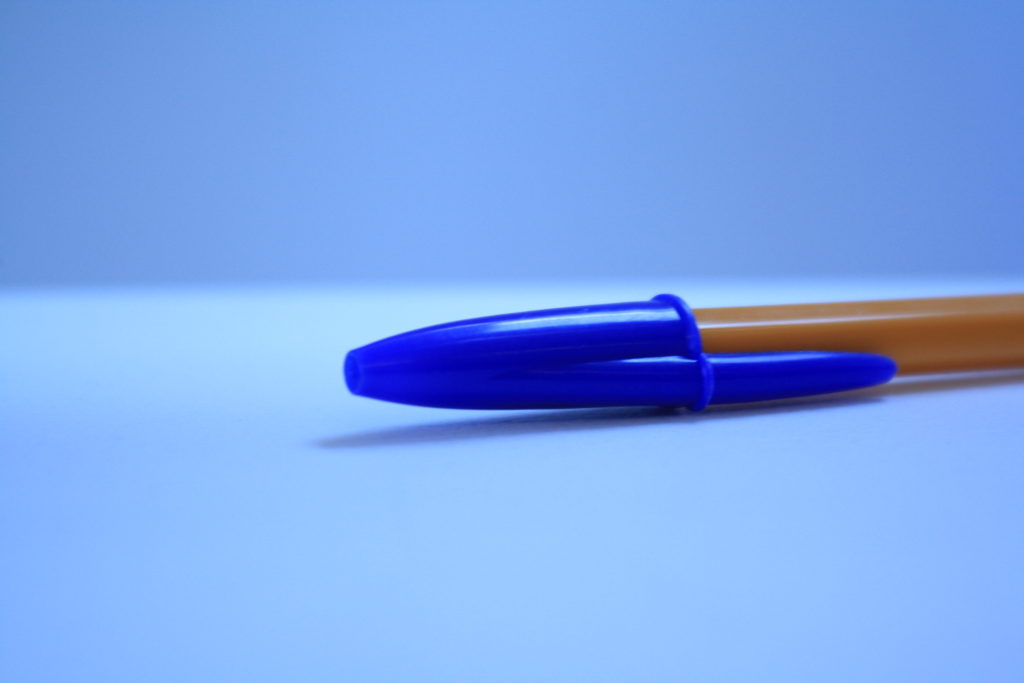
The set of images above are pictures of the same subject (a pen) taken inside, also using 7 different white balance settings. These photographs used artificial lighting, and the contrast between the 2 sets of images can be easily seen.

The white balancing used in the first set of images, along with the use of natural, bright lighting, helped to make the images more clear, whereas the artificial lighting on the second set of images, made the images seem more clinical and staged.

The white balancing gave each image a different temperature, adding to the effect of each image, and giving it a different colour theme.  The different white balancing setting can be used in different situations, to create the best image possible by altering the colour scheme in the image, and I will use the white balancing setting to alter images in the future.

Contact Sheet Research and Experimentation

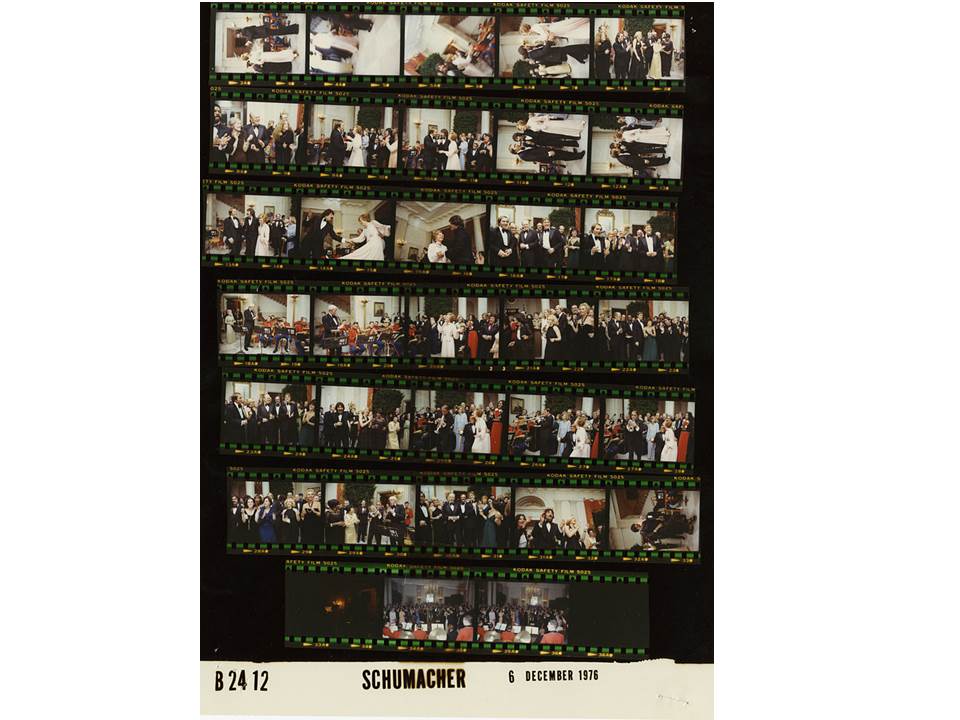
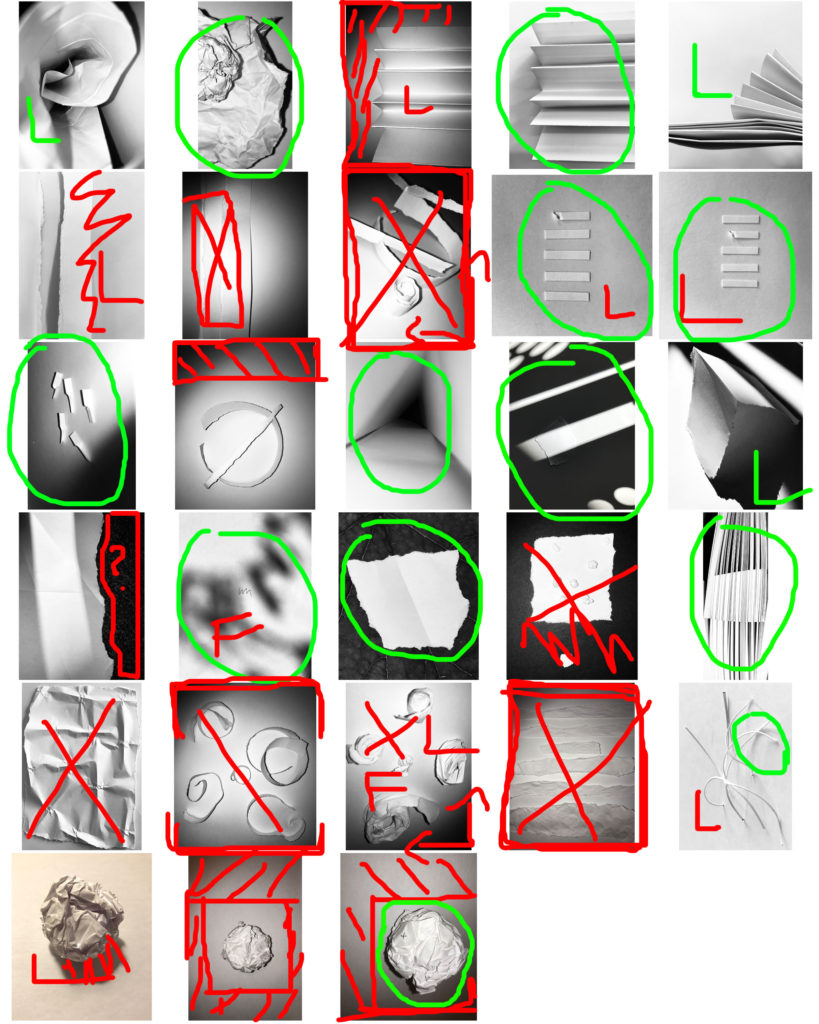
A contact sheet was originally a piece of photographic paper, on which all negatives from a  photo shoot would be contact-printed. This would give both the photographer and potential buyers of the photograph, a chance to see the photographs printed before they were published in full size and full resolution.

The above image is an example of a contact sheet, containing all of the negatives from a particular photo shoot.  Contact sheets were once necessary to see the photograph before the image was printed properly, as it gave a less expensive, smaller sample, that the photographer could use to chose their best photos from the shoot.

The development of digital cameras led to contact sheets becoming less essential, as photos can now be viewed on the screen of a lot of cameras. However, contact sheets are still used in many instances where a photographer wants to be able to provide a potential buyer with a physical copy of the photographs, and can also be useful when a photographer is trying to build an idea of which photographs they do and do not want to use.

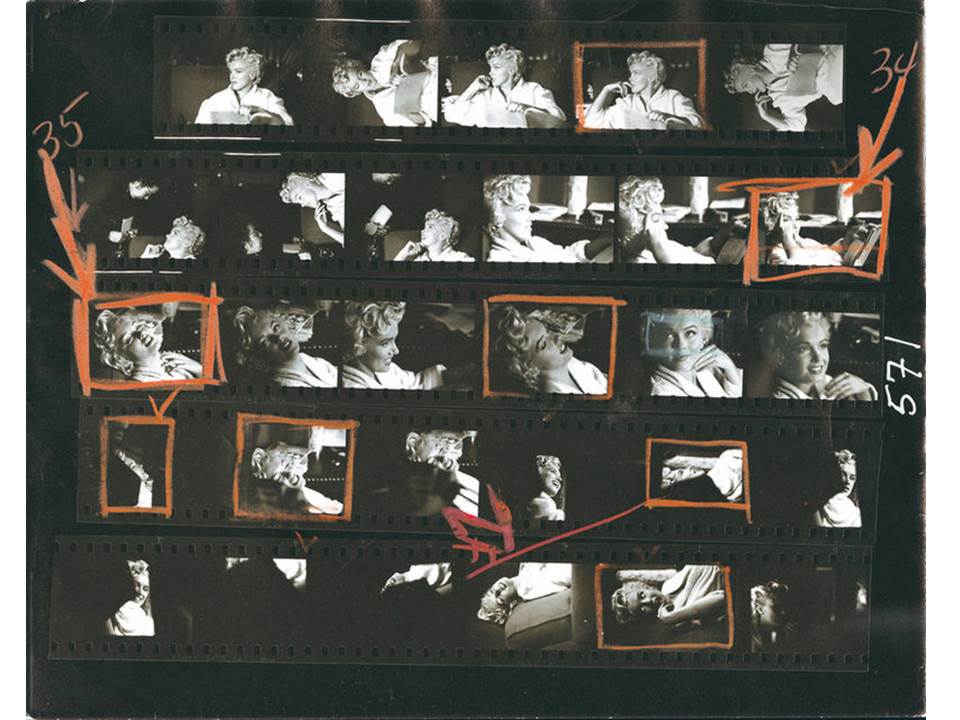
A contact sheet can be edited to make the photographers selections more obvious, and to shot their thought process when deciding on their best photos. The above image shows the selection process of the photographer, as they have clearly used different colour to indicate different selections and choices. Unfortunately a key hasn’t been provided, and so the different colours and shapes can’t be differentiated.

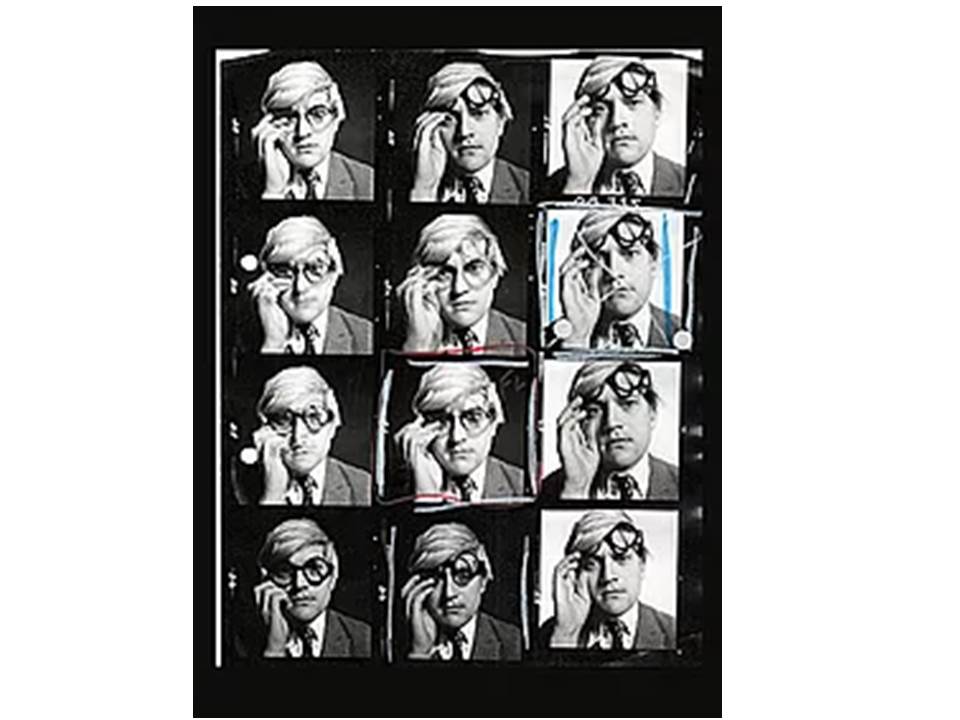
Some contact sheets can show multiple selections, as well as images that the photographer doesn’t want to work with (which are normally crossed out). More than one image can be processed into the editing phase, before a final selection is made.

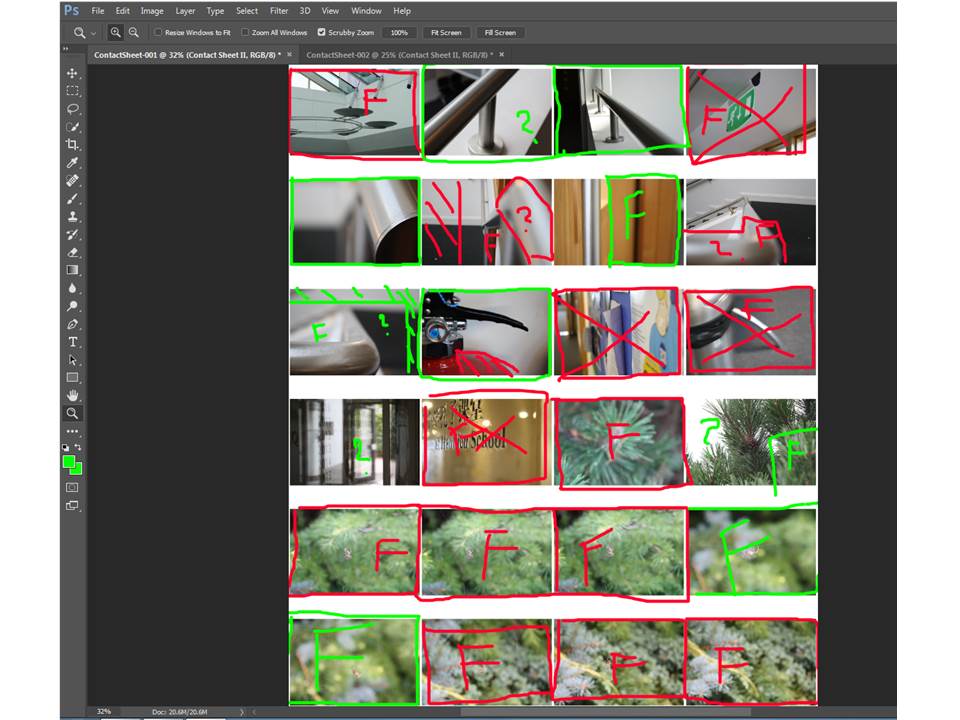
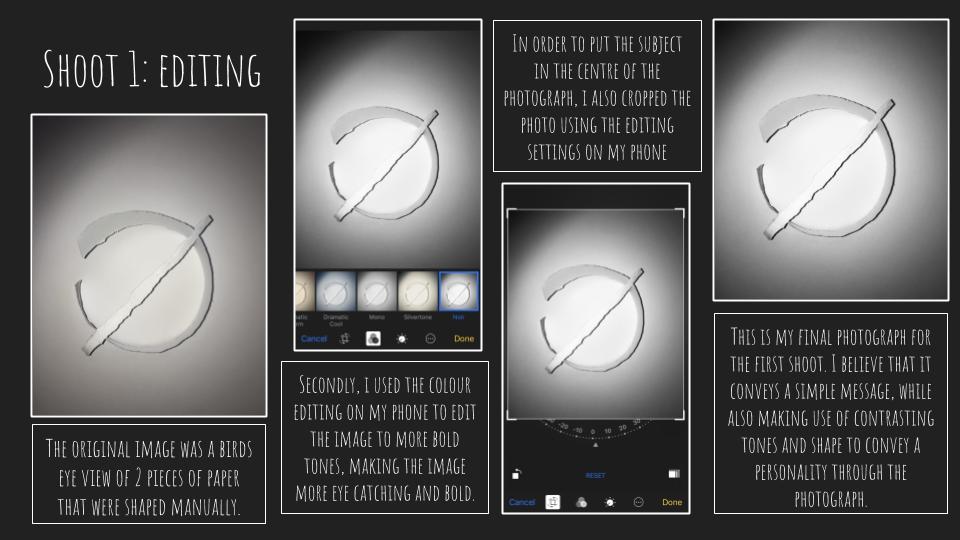
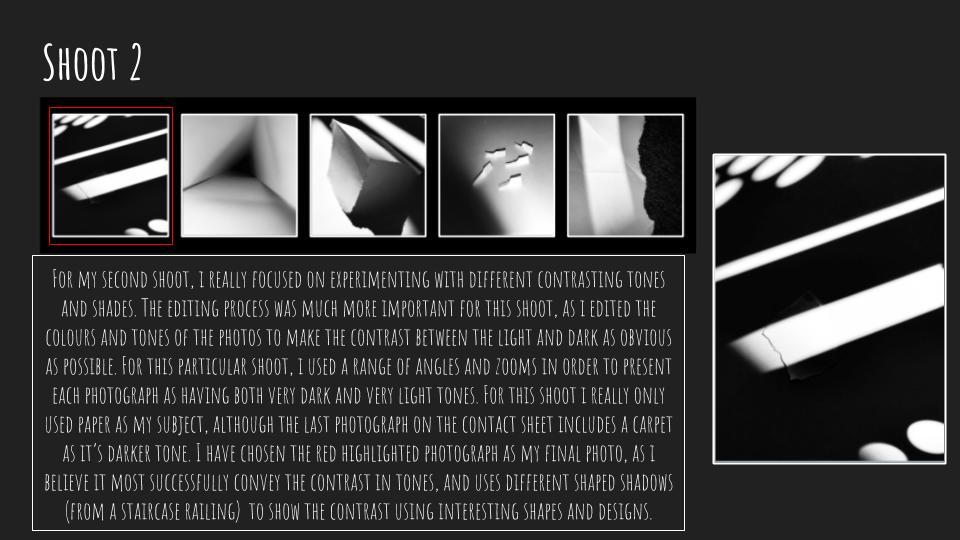
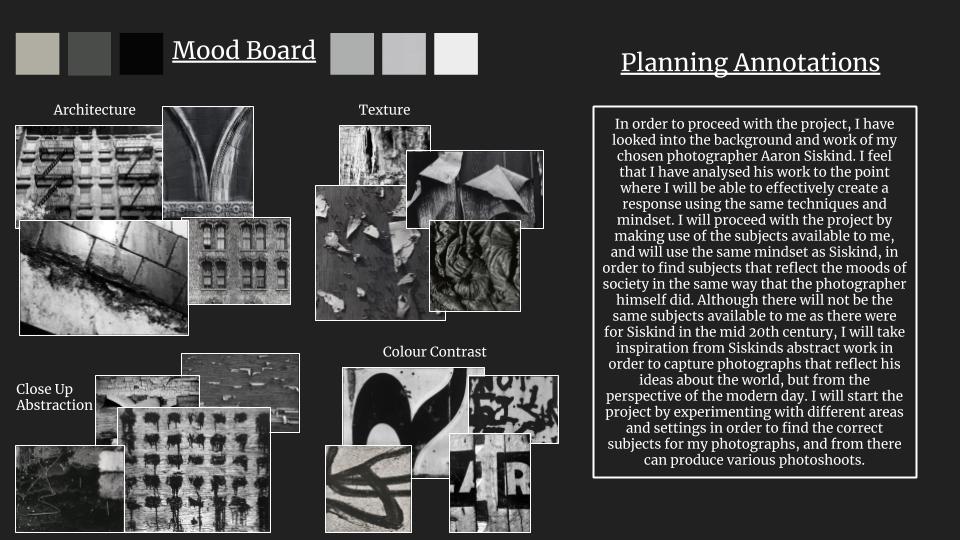
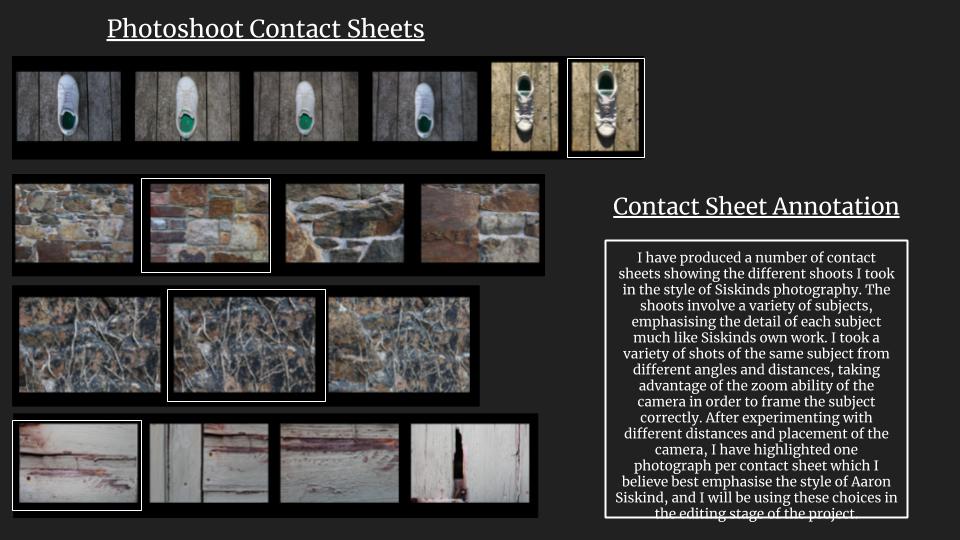
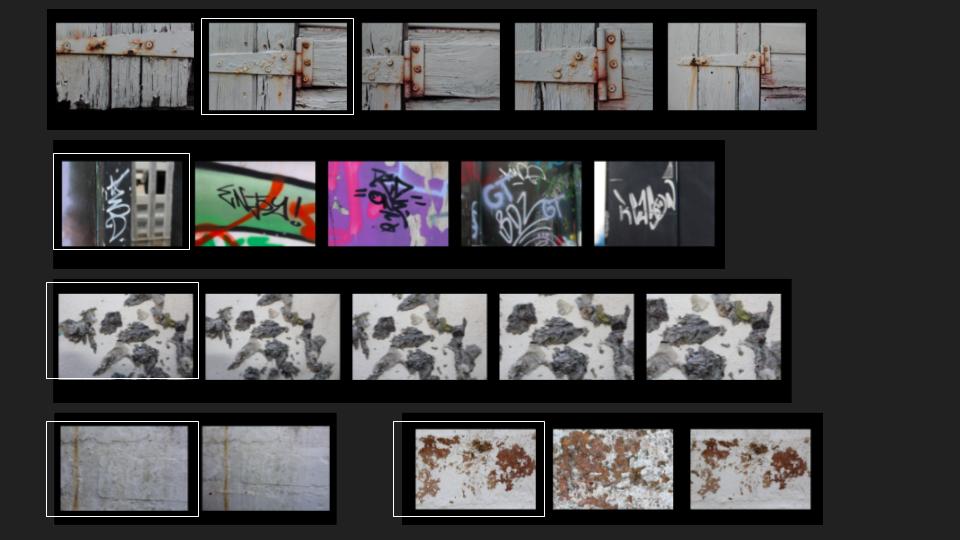
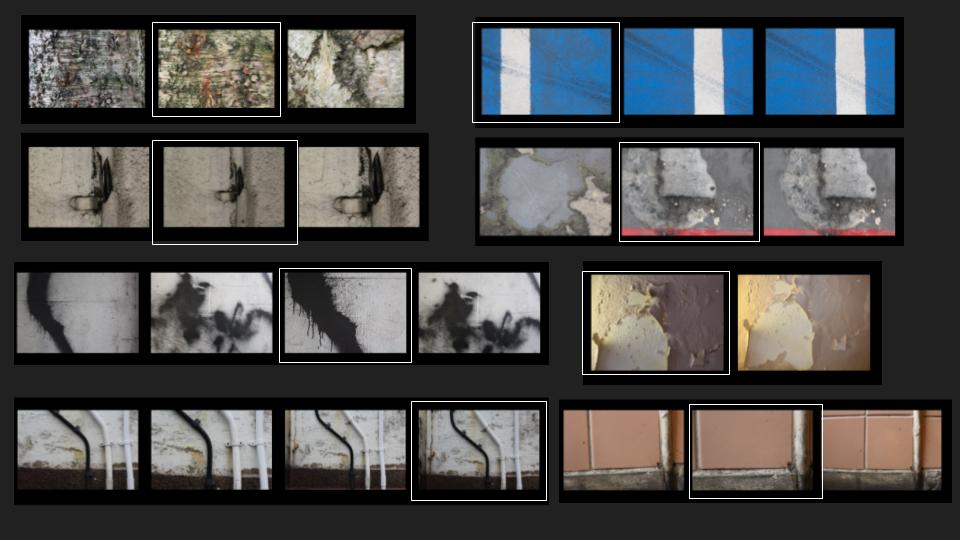
Above is an example of a contact sheet I created for my Paper Project, in which I took images from the photo shoot I completed, and used the software Adobe Bridge to create a contact sheet in Photoshop. From there, I edited the images using different colours and shapes to show my thought process, and I clearly stated which photographs i would be most likely to use in my final selection.

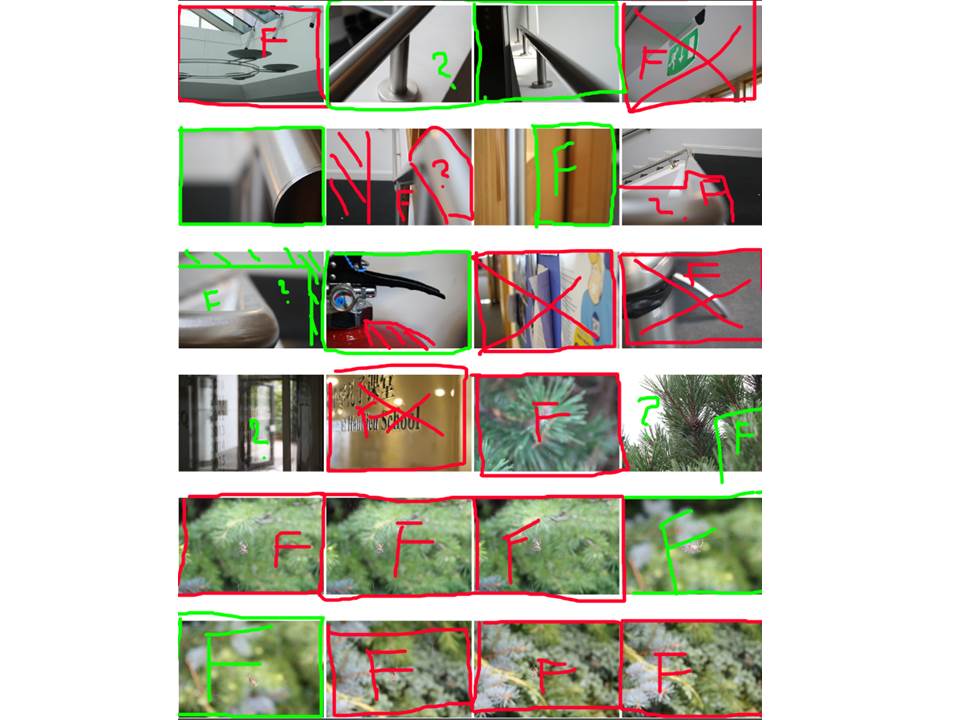
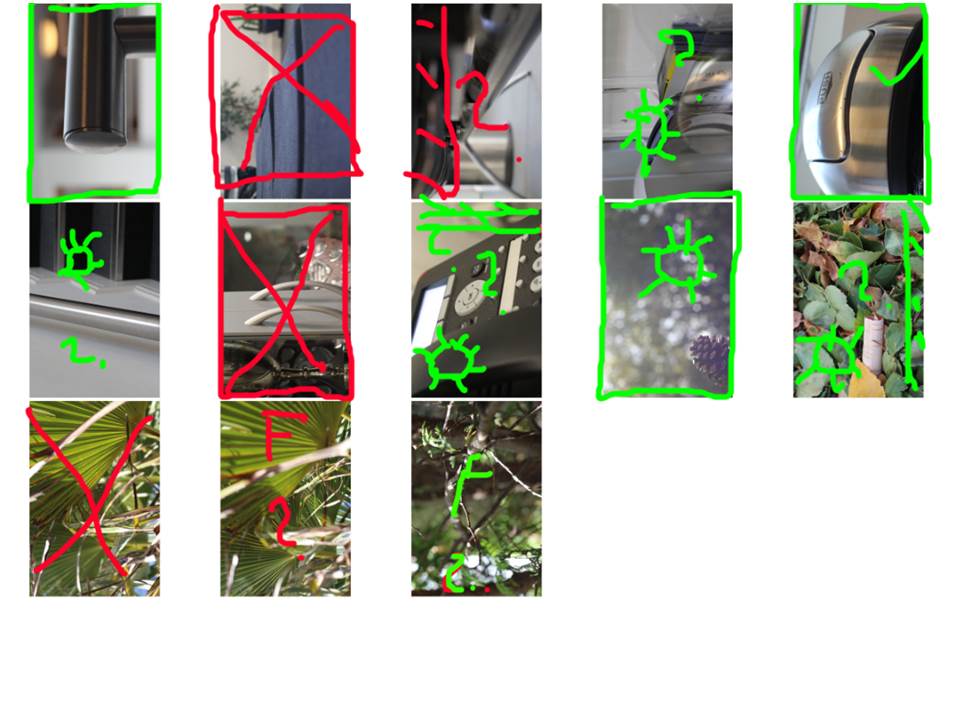
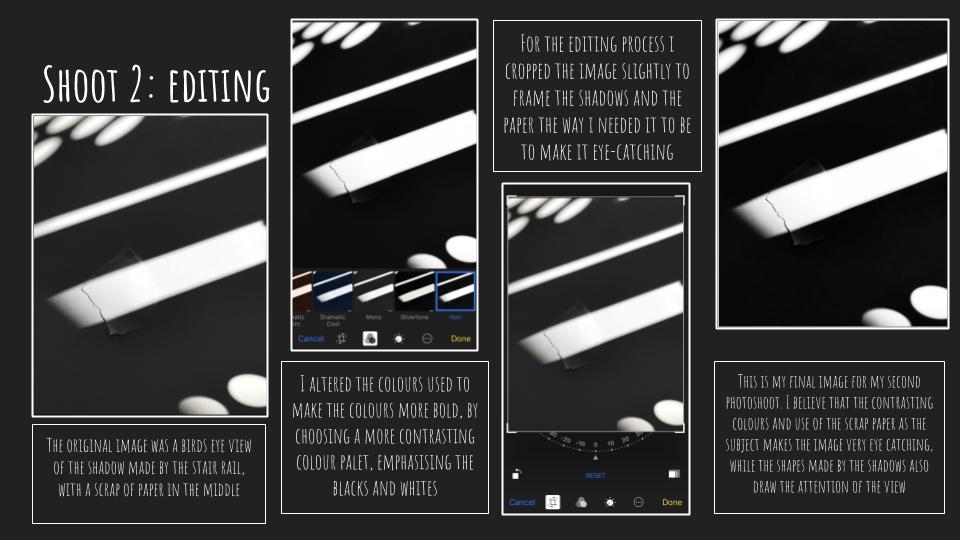
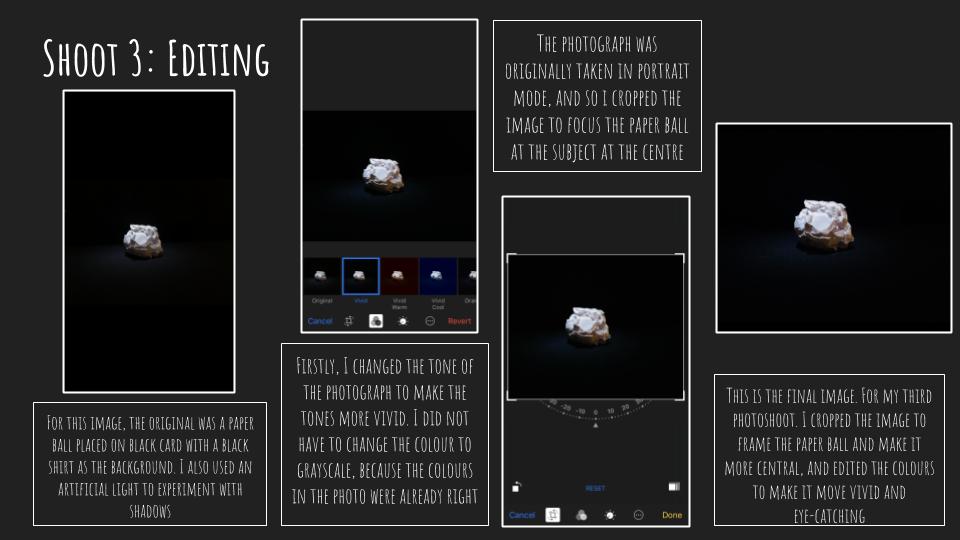
By uploading the photos taken in the photo shoot to Adobe Bridge, I then went to the Tools option, and the Photoshop option. After I selected Contact Sheet 2, a contact sheet was automatically created in Photoshop, and I was then able to edit my selections. The above image is an example of another contact sheet I created for my Camera Lens Experimentation.

Camera Lens Experimentation

Explanation:

The first contact sheet has photographs taken with a normal focus lens, which allowed me to vary my camera setting between very detailed and not detailed. This allowed me to decide the focus points of the images much more easily, as i could adjust the zoom and focus settings with ease. I therefore produced a wider range of photographs, with a wider range of focus points.

Explanation:

For the second contact sheet, I used the long focus lens.  This allowed me to zoom into subjects in the distance, while still maintaining focus on them. This lens was useful for taking abstract photos of the ceiling, and zooming into subjects to make them more abstract.

Explanation:

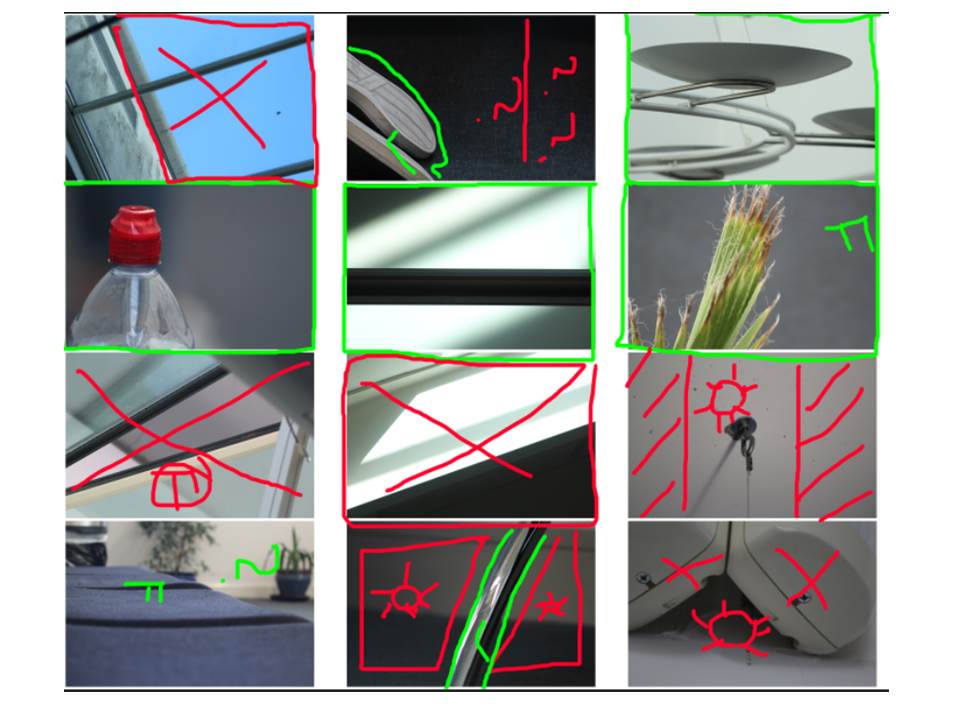
The last contact sheet has photographs taken with a portrait lens, which allowed me to really focus on close up subjects, while blurring out the background to draw the viewers eye directly to the subject. This lens was useful for taking close ups, as I had to physically move the camera closer, which allowed me to maintain a clear focus.

Key:

Red cross: don’t want to use – Red F: Out of focus – Red box – Needs cropping – Red question mark: unsure – Red sun: lighting/shade issue – Red outline of subject: don’t like this subject

Green question mark: unsure how to proceed with improvement – Green sun: change tone/small lighting issue – Green outline: small cropping issue – Green box around photo: Like/want to use

Photograph analysis:

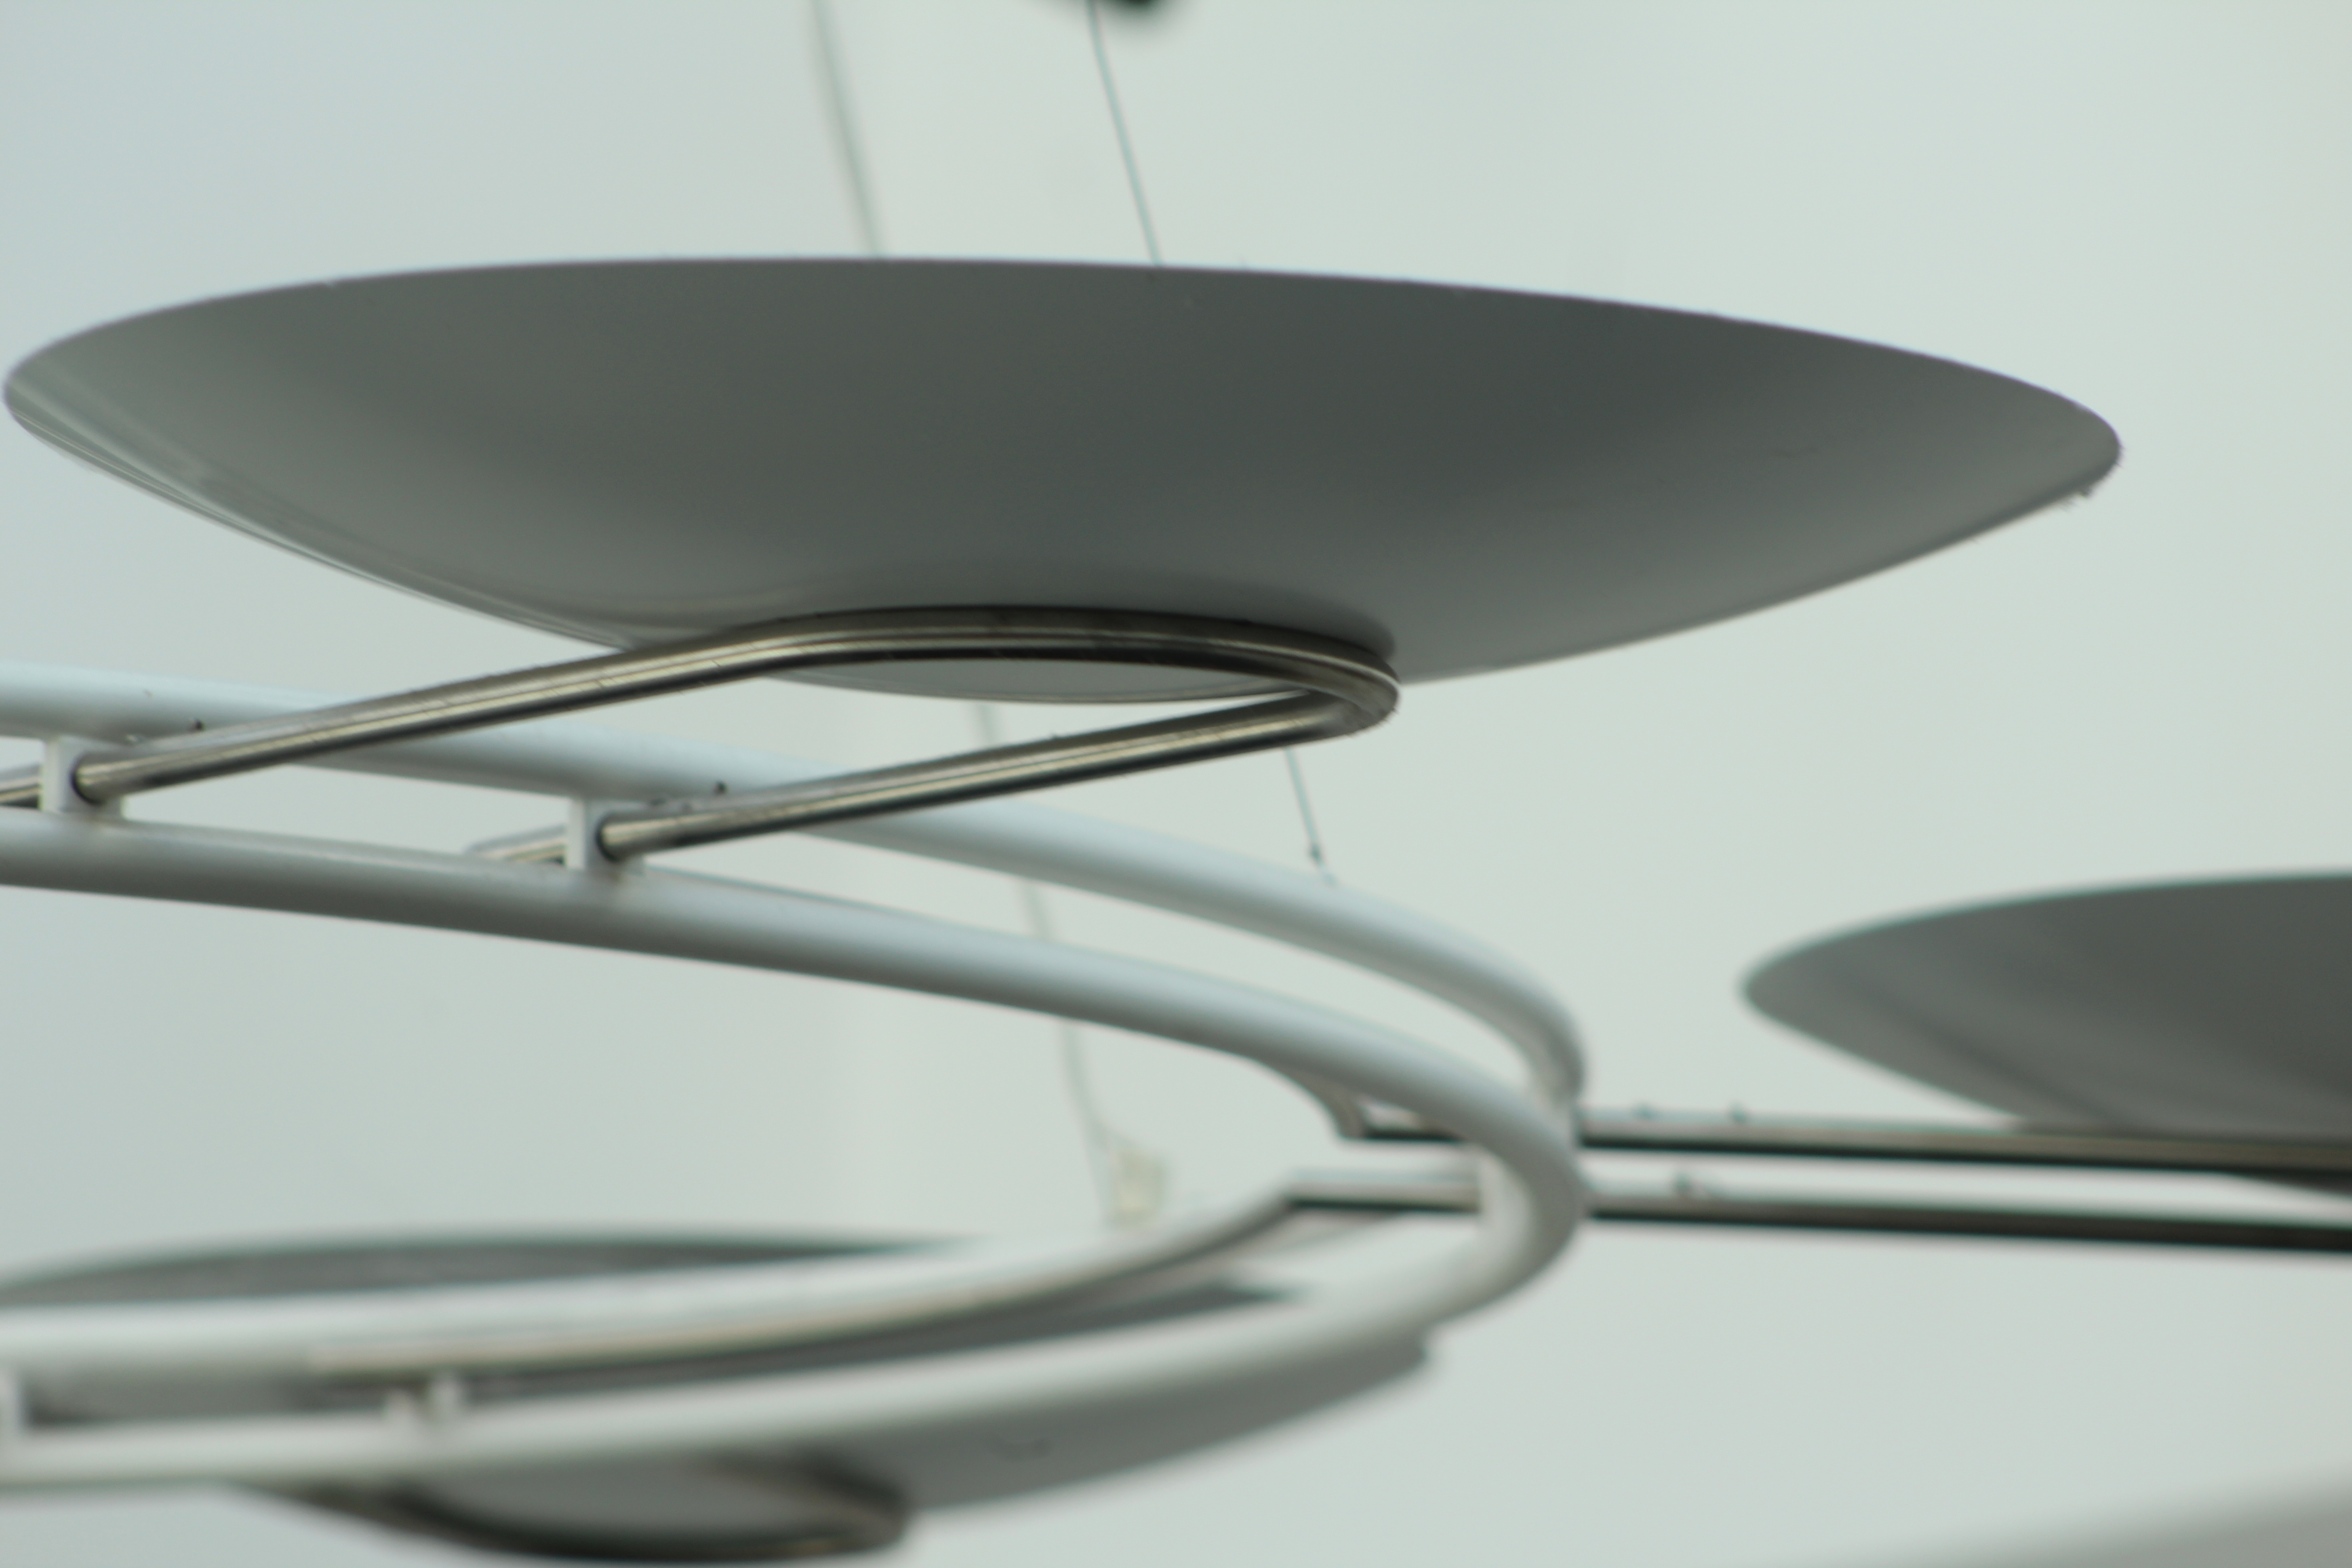
The above photo was taken using a long focus lens. This light fixture was attached to the ceiling, and so in order to zoom in far enough and make sure the fixture was still in focus. I used a long focus lens. As shown, the focus of the camera is on the metal bar holding the light in the middle of the photograph, and it is in focus despite the long zoom.

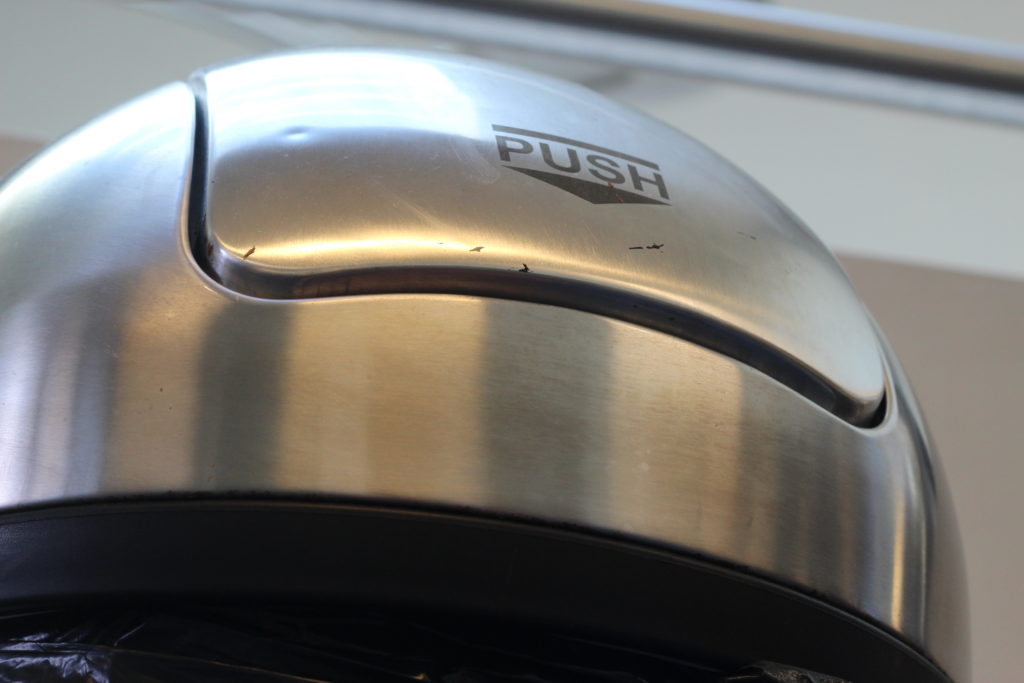
For the above photo, I used the portrait camera lens. By using this lens, I was able to zoom right into the bin, while maintaining a good focus. This is different from the long focus lens, as it gave me more control over the positioning of the camera, and allowed me to experiment with the lighting more freely, producing the above photo as a result.

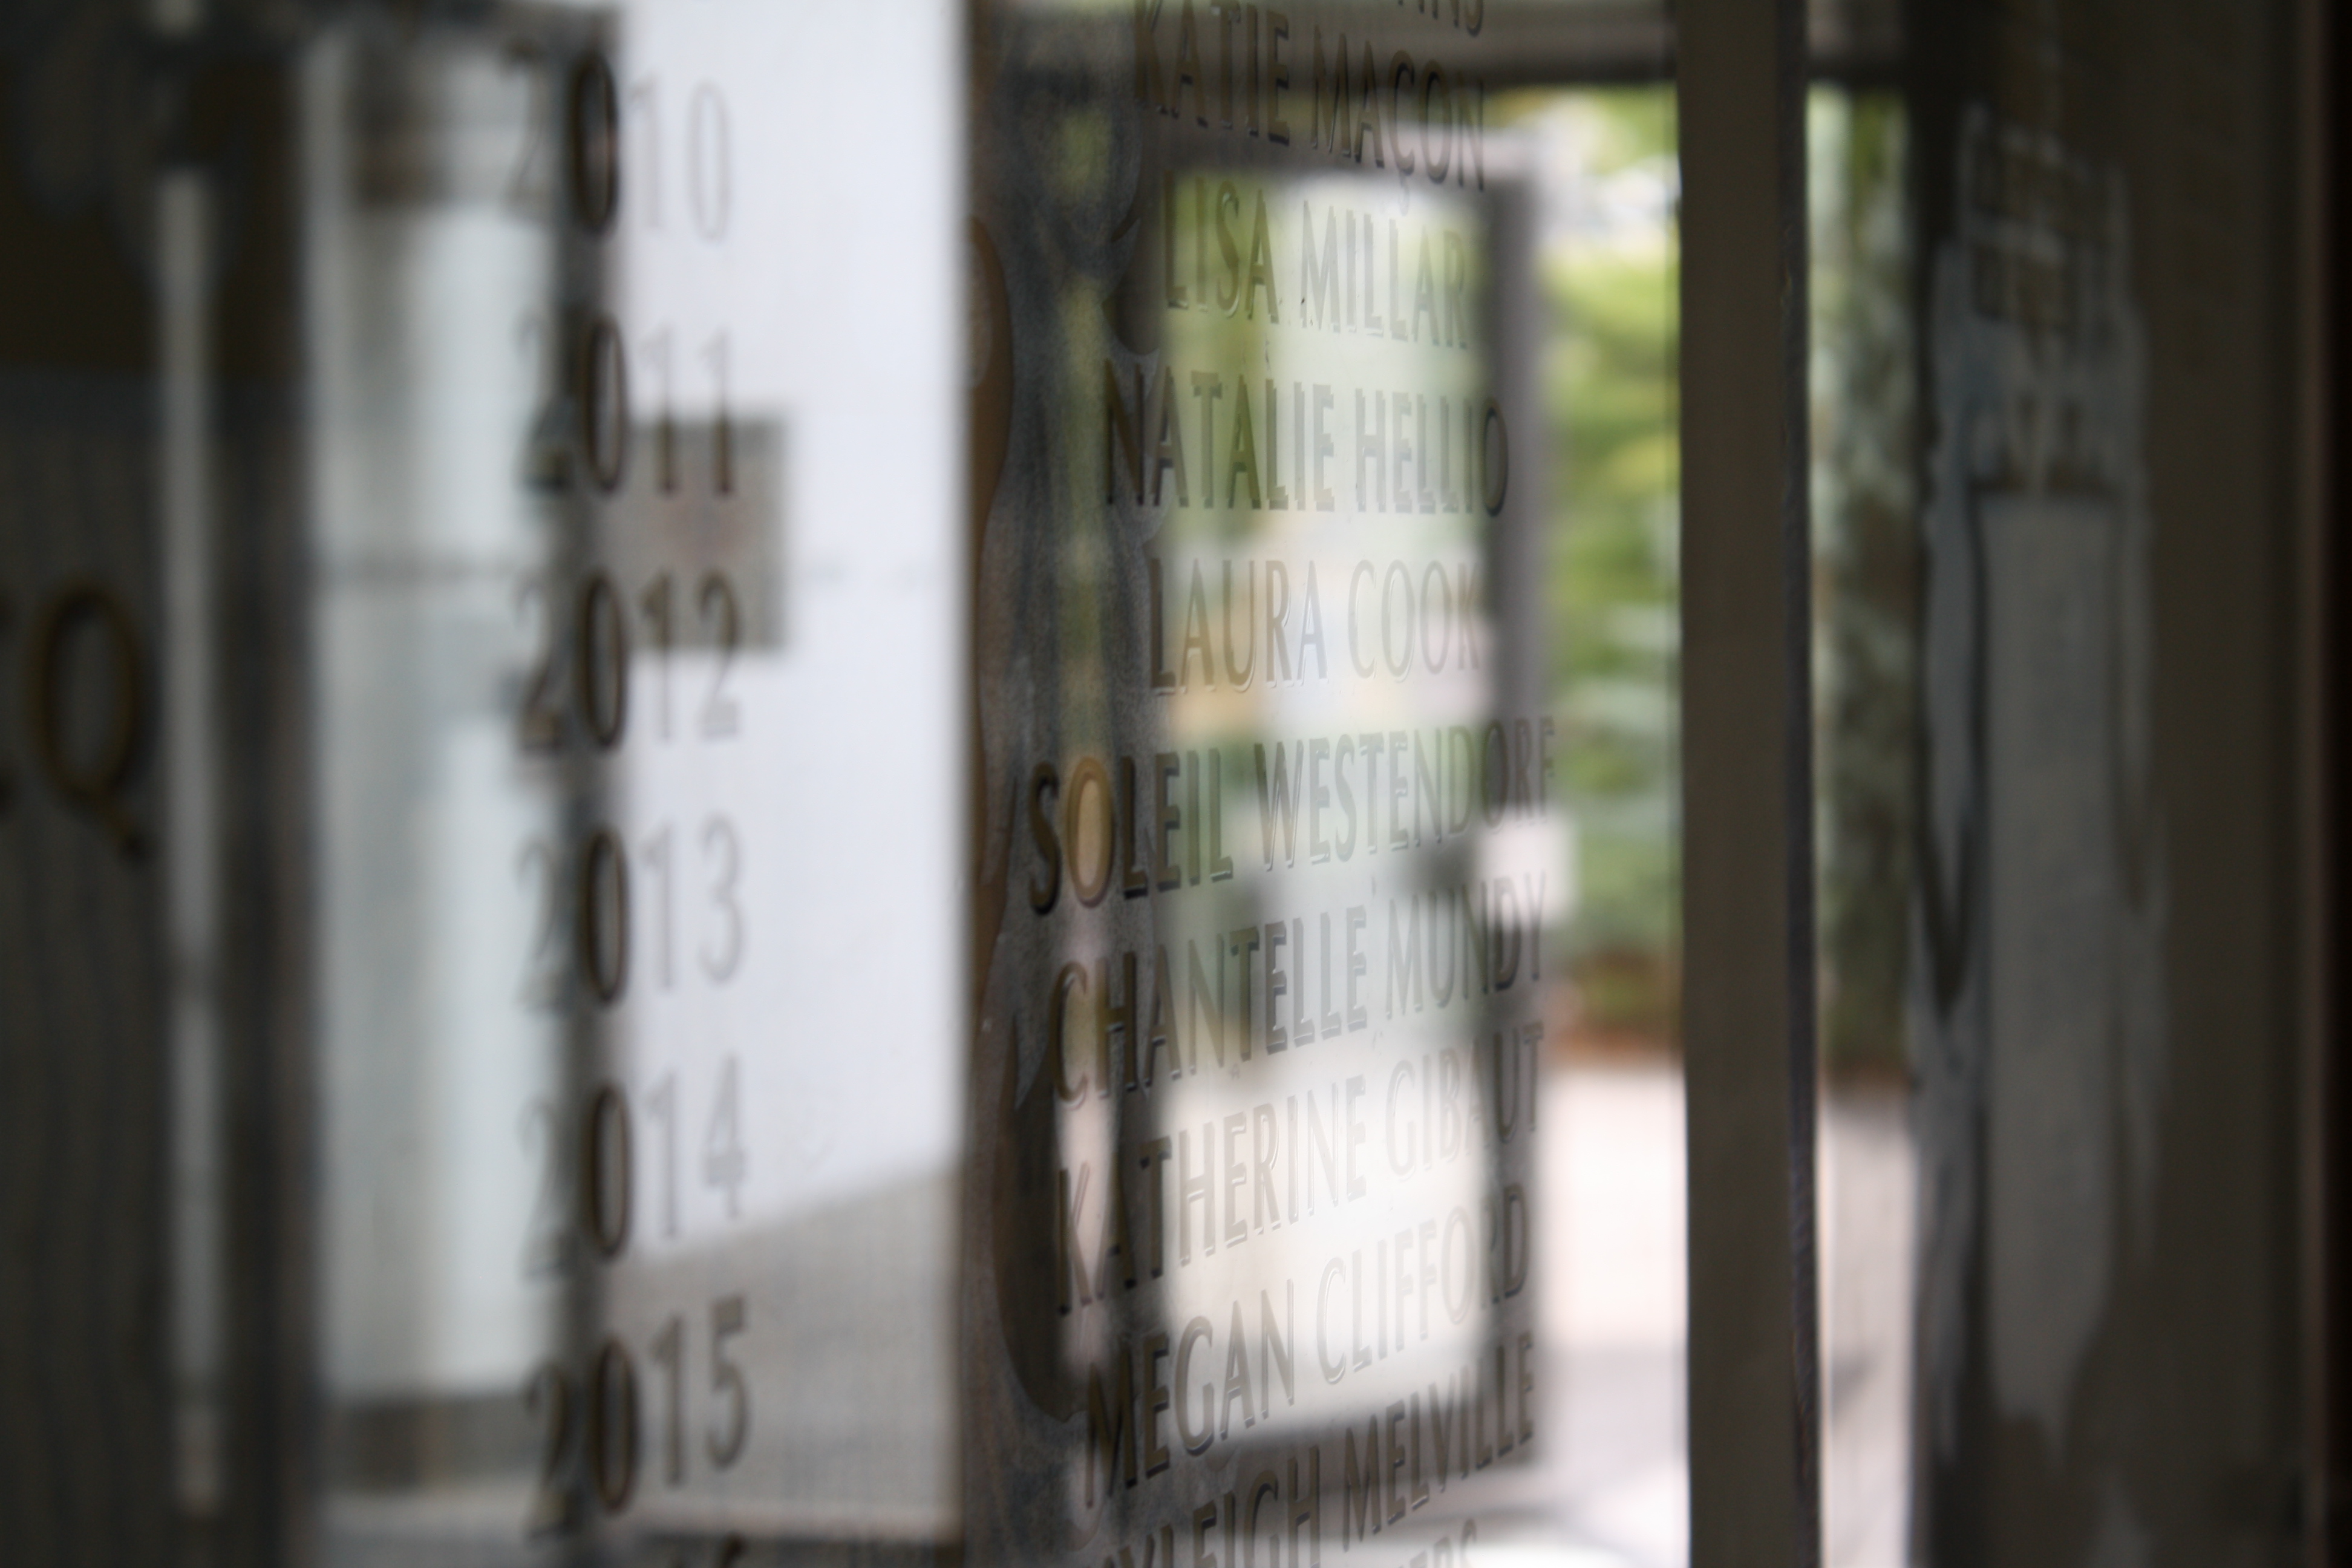
The photograph above was taken with a normal camera lens. I was able to focus more on the writing on the foreground, and have the reflection more out of focus, which allowed me to make an eye catching and slightly confusingly angled image. This effect would not be possible using, for example, a portrait lens, due to the difficulty with altering the focus and zoom manually on that particular lens.
Claude Cahun and Clare Rae Exhibition Analysis

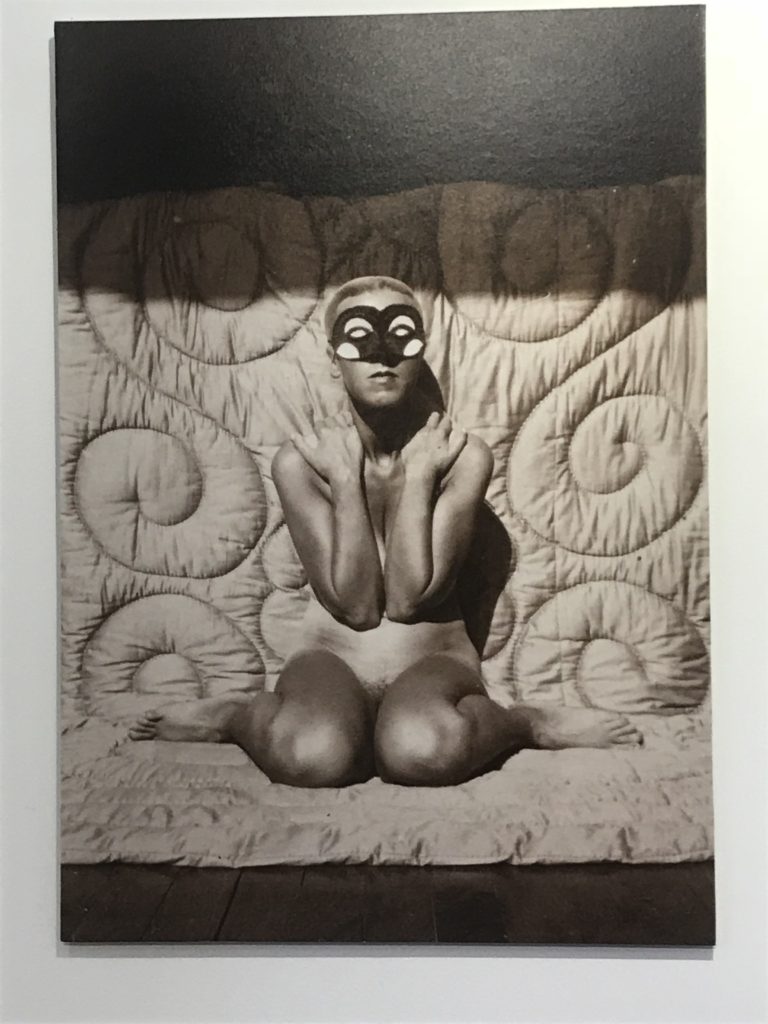
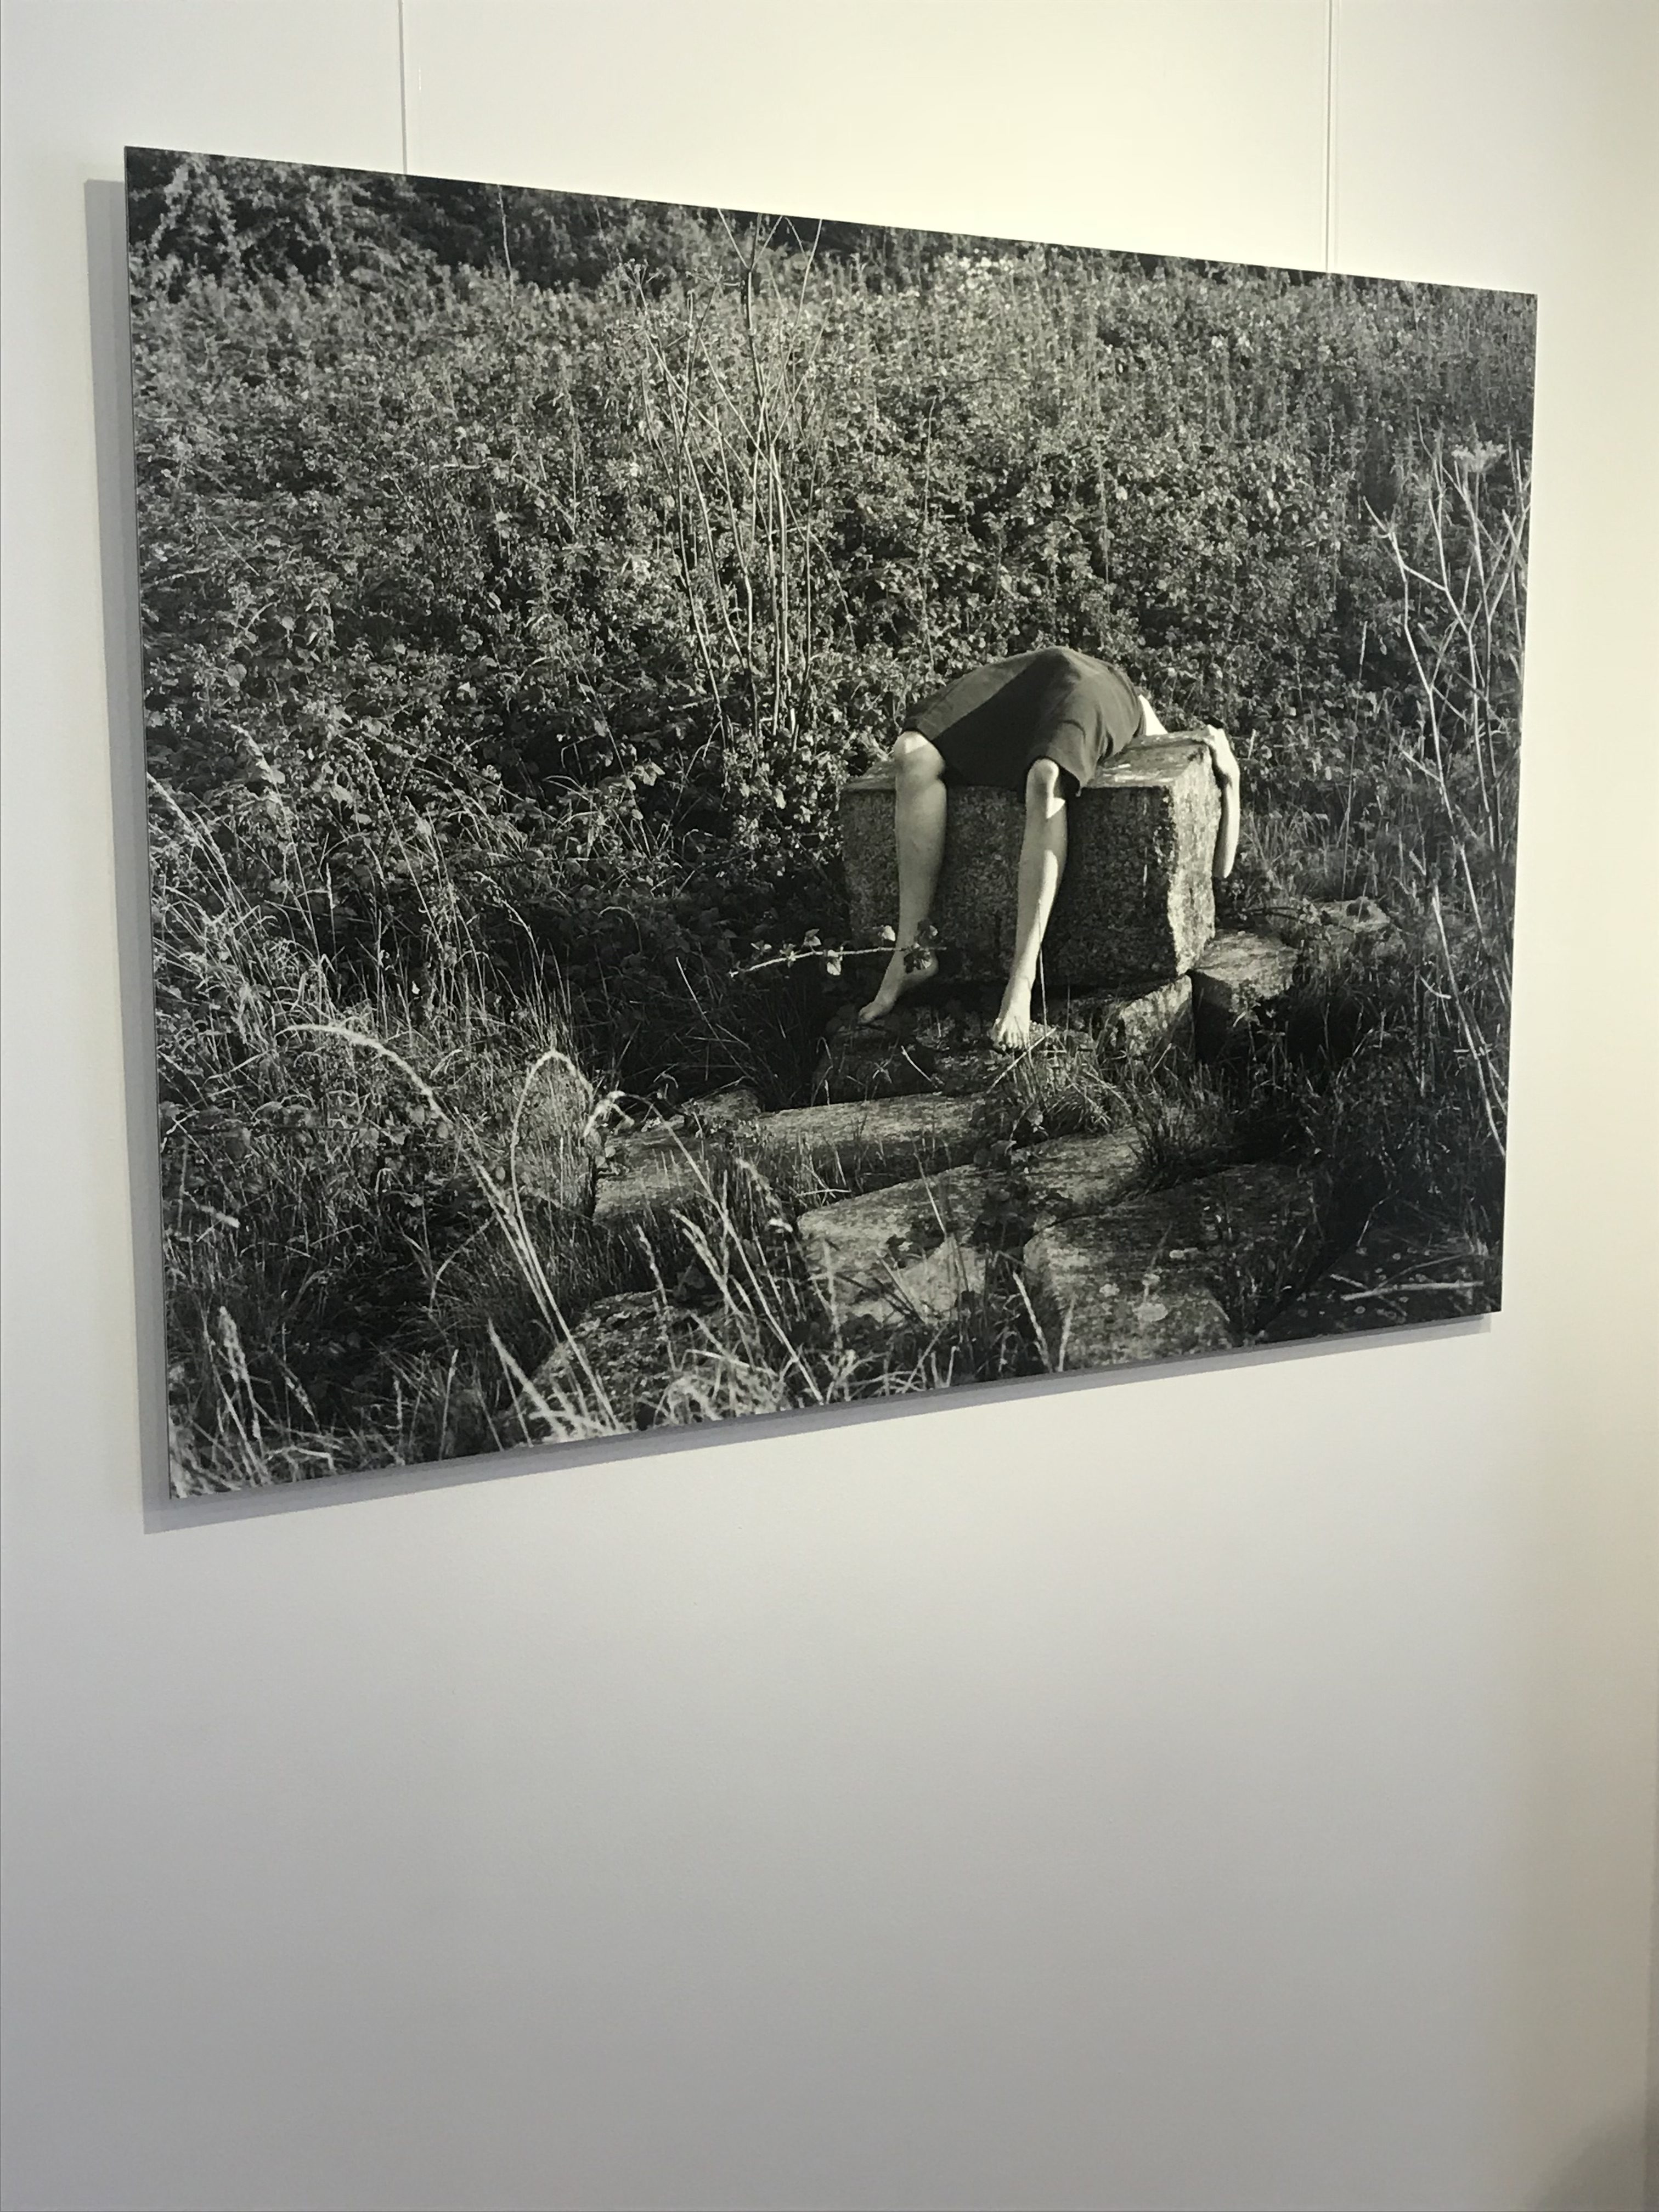
The exhibition showed the different ways that Australian photographer Clare Rae, the resident artist in Jersey, responded to the work of Claude Cahun, a French photographer who specialized in creating surreal self portraits, which often focused on topics such as gender and identity. The exhibition made it easy to compare the two artists work, and the influence that Rae took from Cahun was made obvious. Both Cahun and Rae have presented their photographs using black and white contrasting colour themes, which is the most obvious similarity between the two artists work.

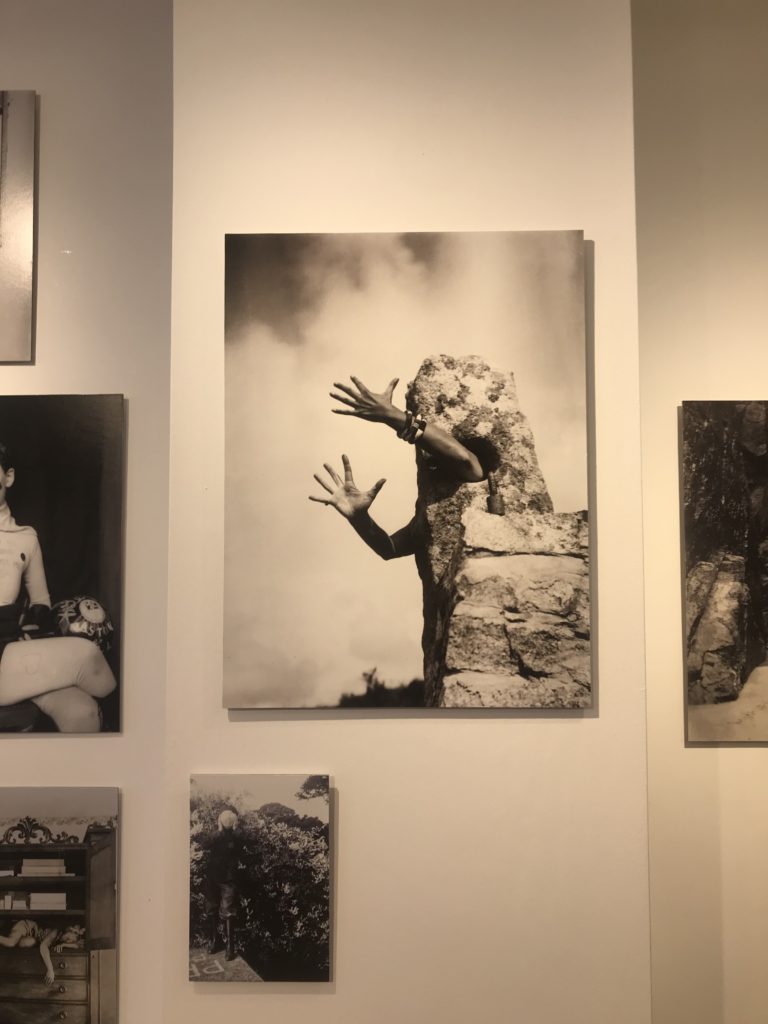
The following example is of a photograph taken by Cahun. This photograph explores the theme of identity, as the hands reaching out from the stone allow the viewer to question who the hands belong to, and so the missing identity of the subject makes the photograph more thought provoking. The use of the gesture the hands are making displays an emotion, but that emotion cannot be immediately recognised due to the lack of any other body parts that would usually be used to judge the emotions of a person. An unusual camera angle (facing slightly upwards) has also been used to add to the abstract and surreal theme of the photograph as a whole. In this image, Cahun has removed the identity of her subject, and has placed it in a surreal, abstract location in order to make her

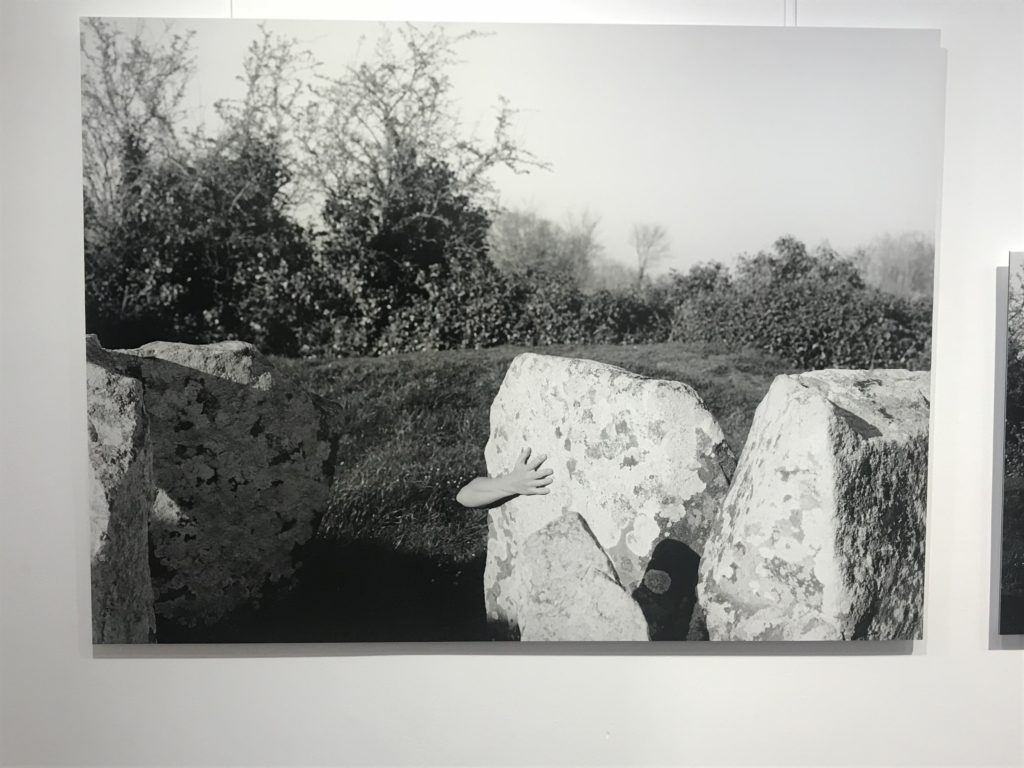
The following image was taken by Clare Rae, and was directly influenced by the photograph above taken by Cahun. For this image, Rae has been inspired by Cahoons theme of identity, and has responded by creating a photograph of a human arm in an abstract and surreal location (behind a stone). For this image, Rae has placed the subject (the arm) coming out from behind the rock. This makes the  viewer question the emotions and motives behind the positioning of the arm, in the same way that the open gesture of the arms in Cahun’s work makes the viewer question the emotions that the subject is showing. Because the viewer of Rae’s work has no way to know why the arm seems to be coming out from behind the rock, they are left to wonder the identity of the subject, and so Cahun’s abstract and surreal style of photography can be seen to influence Rae’s.

The way the exhibition was organised allowed for the viewer to clearly see the similarities and differences between the two artists, by placing their work in two separate but connected rooms. The exhibition provided a wide range of both Cahun and Rae’s work, so that the way that Rae had been influenced by Cahun could clearly be seen in multiple pieces of work. The exhibition was organised and presented well, and showed the work of both artists using a simple and effective layout.