All posts by Andreia D S

Filters

Author:
Category:

Chiaroscuro Part 2/ Studio Lighting

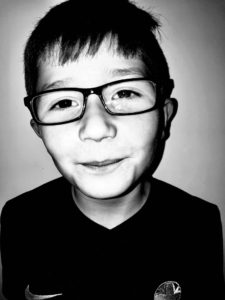
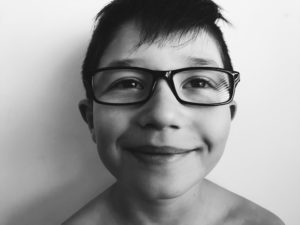
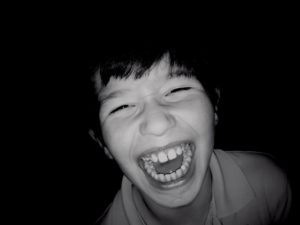
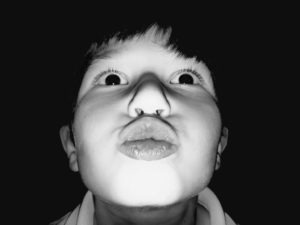
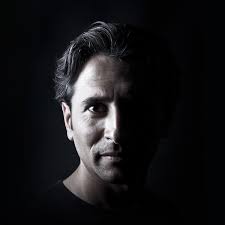
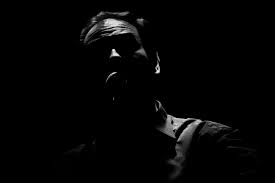
Studio Lighting Attempts:
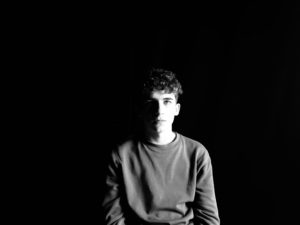
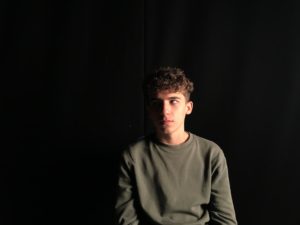
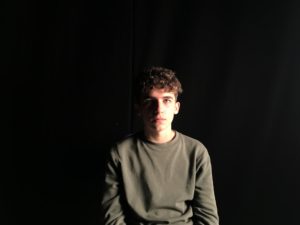


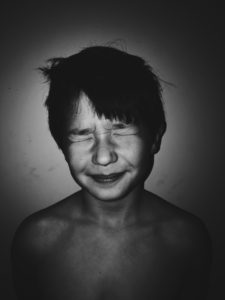
The reason i have chosen to put these images in black and white is because I like the colour contrast it creates highlighting features that should normally be highlighted but with an extra touch of softness. Chiascuro doesn’t have to limit itself to black and white images as back around the time of the renaissance they wouldn’t have limited everything to shades but added colours like darker shades of brown.

Chiascuro photography cannot work without lighting special effects. Having tried this in many different places light rooms, dark rooms, average to darker lighting then having played with the shades that appear in the images I have managed to touch on areas that perhaps wouldn’t have appeared so dark on just the camera image.
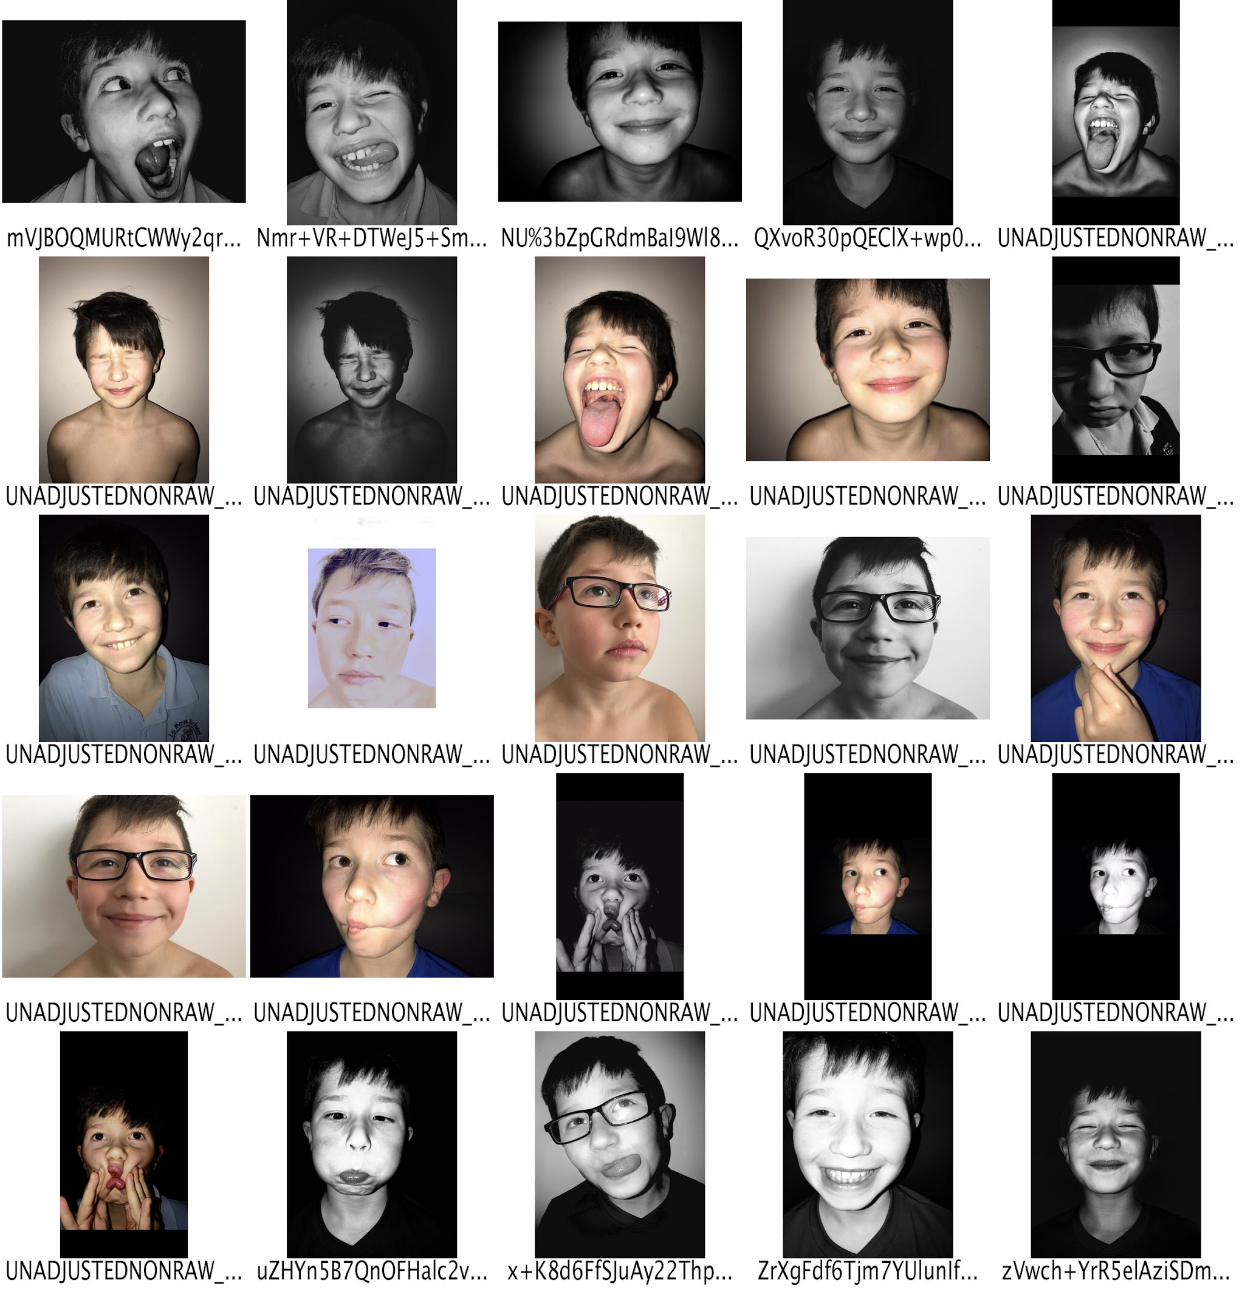
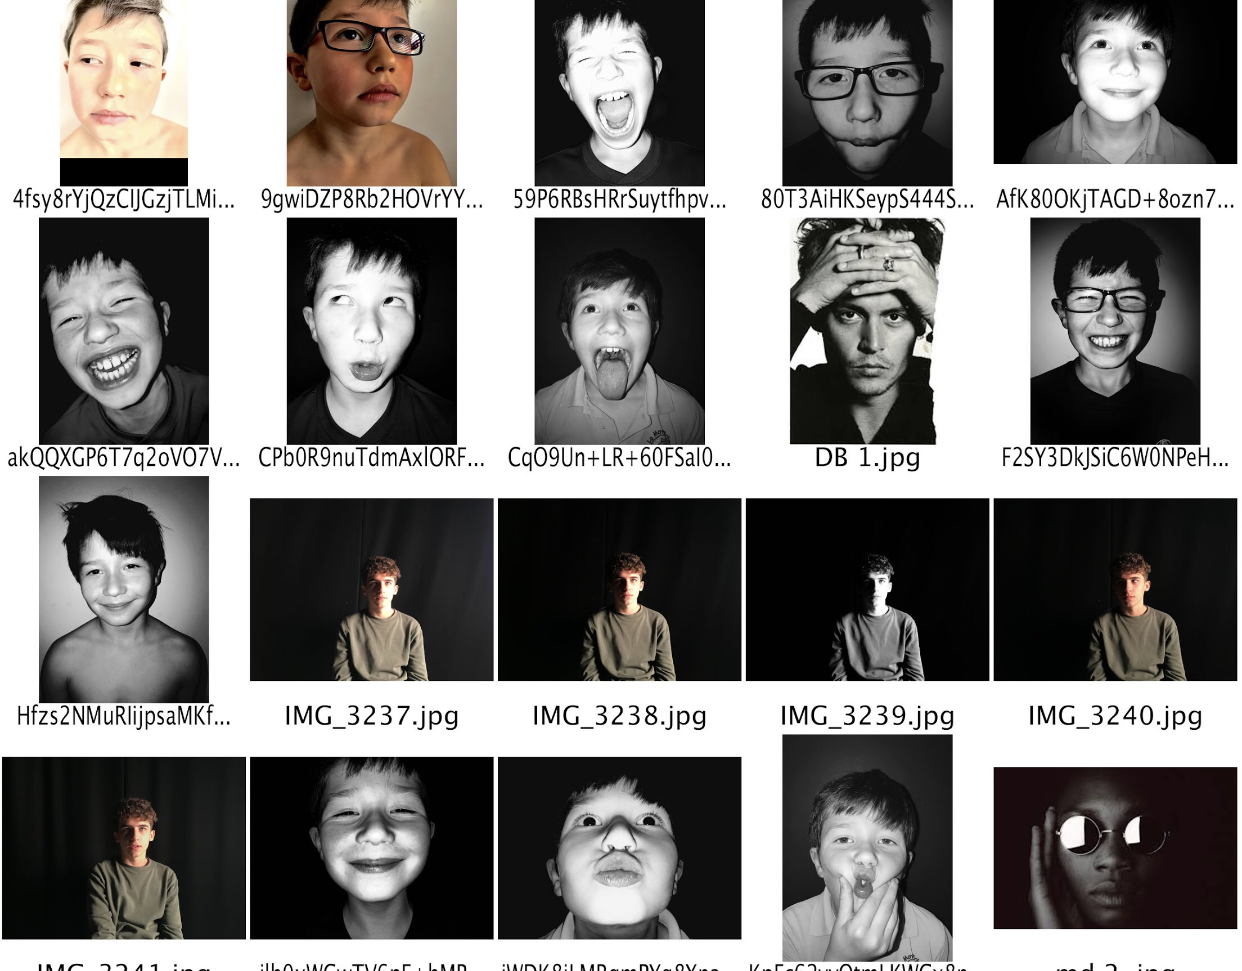
Some of these images were easier to capture than others. In terms of lighting and working to achieve Chiaroscuro the main part of the image should be extremely dark.  I have worked with achieving chiaroscuro not only in taking pictures but drawing it as well some of the images i decided to leave in color because even though there isn’t a big element of darkness there are features that you normally would not be able to see. it highlights areas and features of the face that make the image 10 times more interesting to look at due to the high level of detail.

My thought process for these images, due to them being taken at home was harder for me as i find my brother quite a good model as he usually pulls expressions that i couldn’t make my friends do because of it being too ’embarrassing.’ These images (most of them) were actually taken in my room either using natural lighting and flash or a low exposure with a low brightness setting. I also decided to change the background because having a white background when trying to create a chiaroscuro effect might not work in my favor, therefore i used a black sheet of A5 paper and blue tacked it to my wall and simply made my brother stand in front of it. I think this worked well in my favor for some of my images.

The images themselves don’t have a lot of texture apart from some areas of high detail on the faces. The lens focus perfectly on the area that i was aiming for which was more a less the center of the face.  The white balance of the image is focused on the right setting for most, obviously there will be the odd that’s either to over exposed or too under exposed but most of them came out the right temperature.

The Lighting Technique
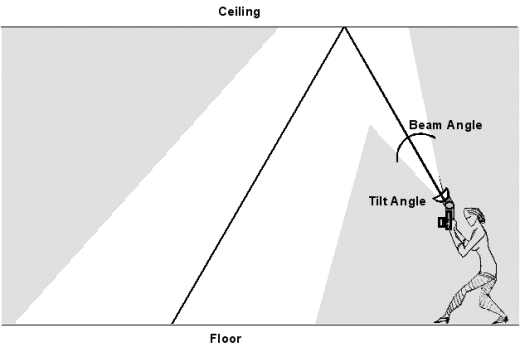

Image result for bouncing the flash

An example of bouncing the flash to soften the effects and create a larger fill area this can be used when there is white ceilings\ wallsImage result for 1 2 3 point lighting
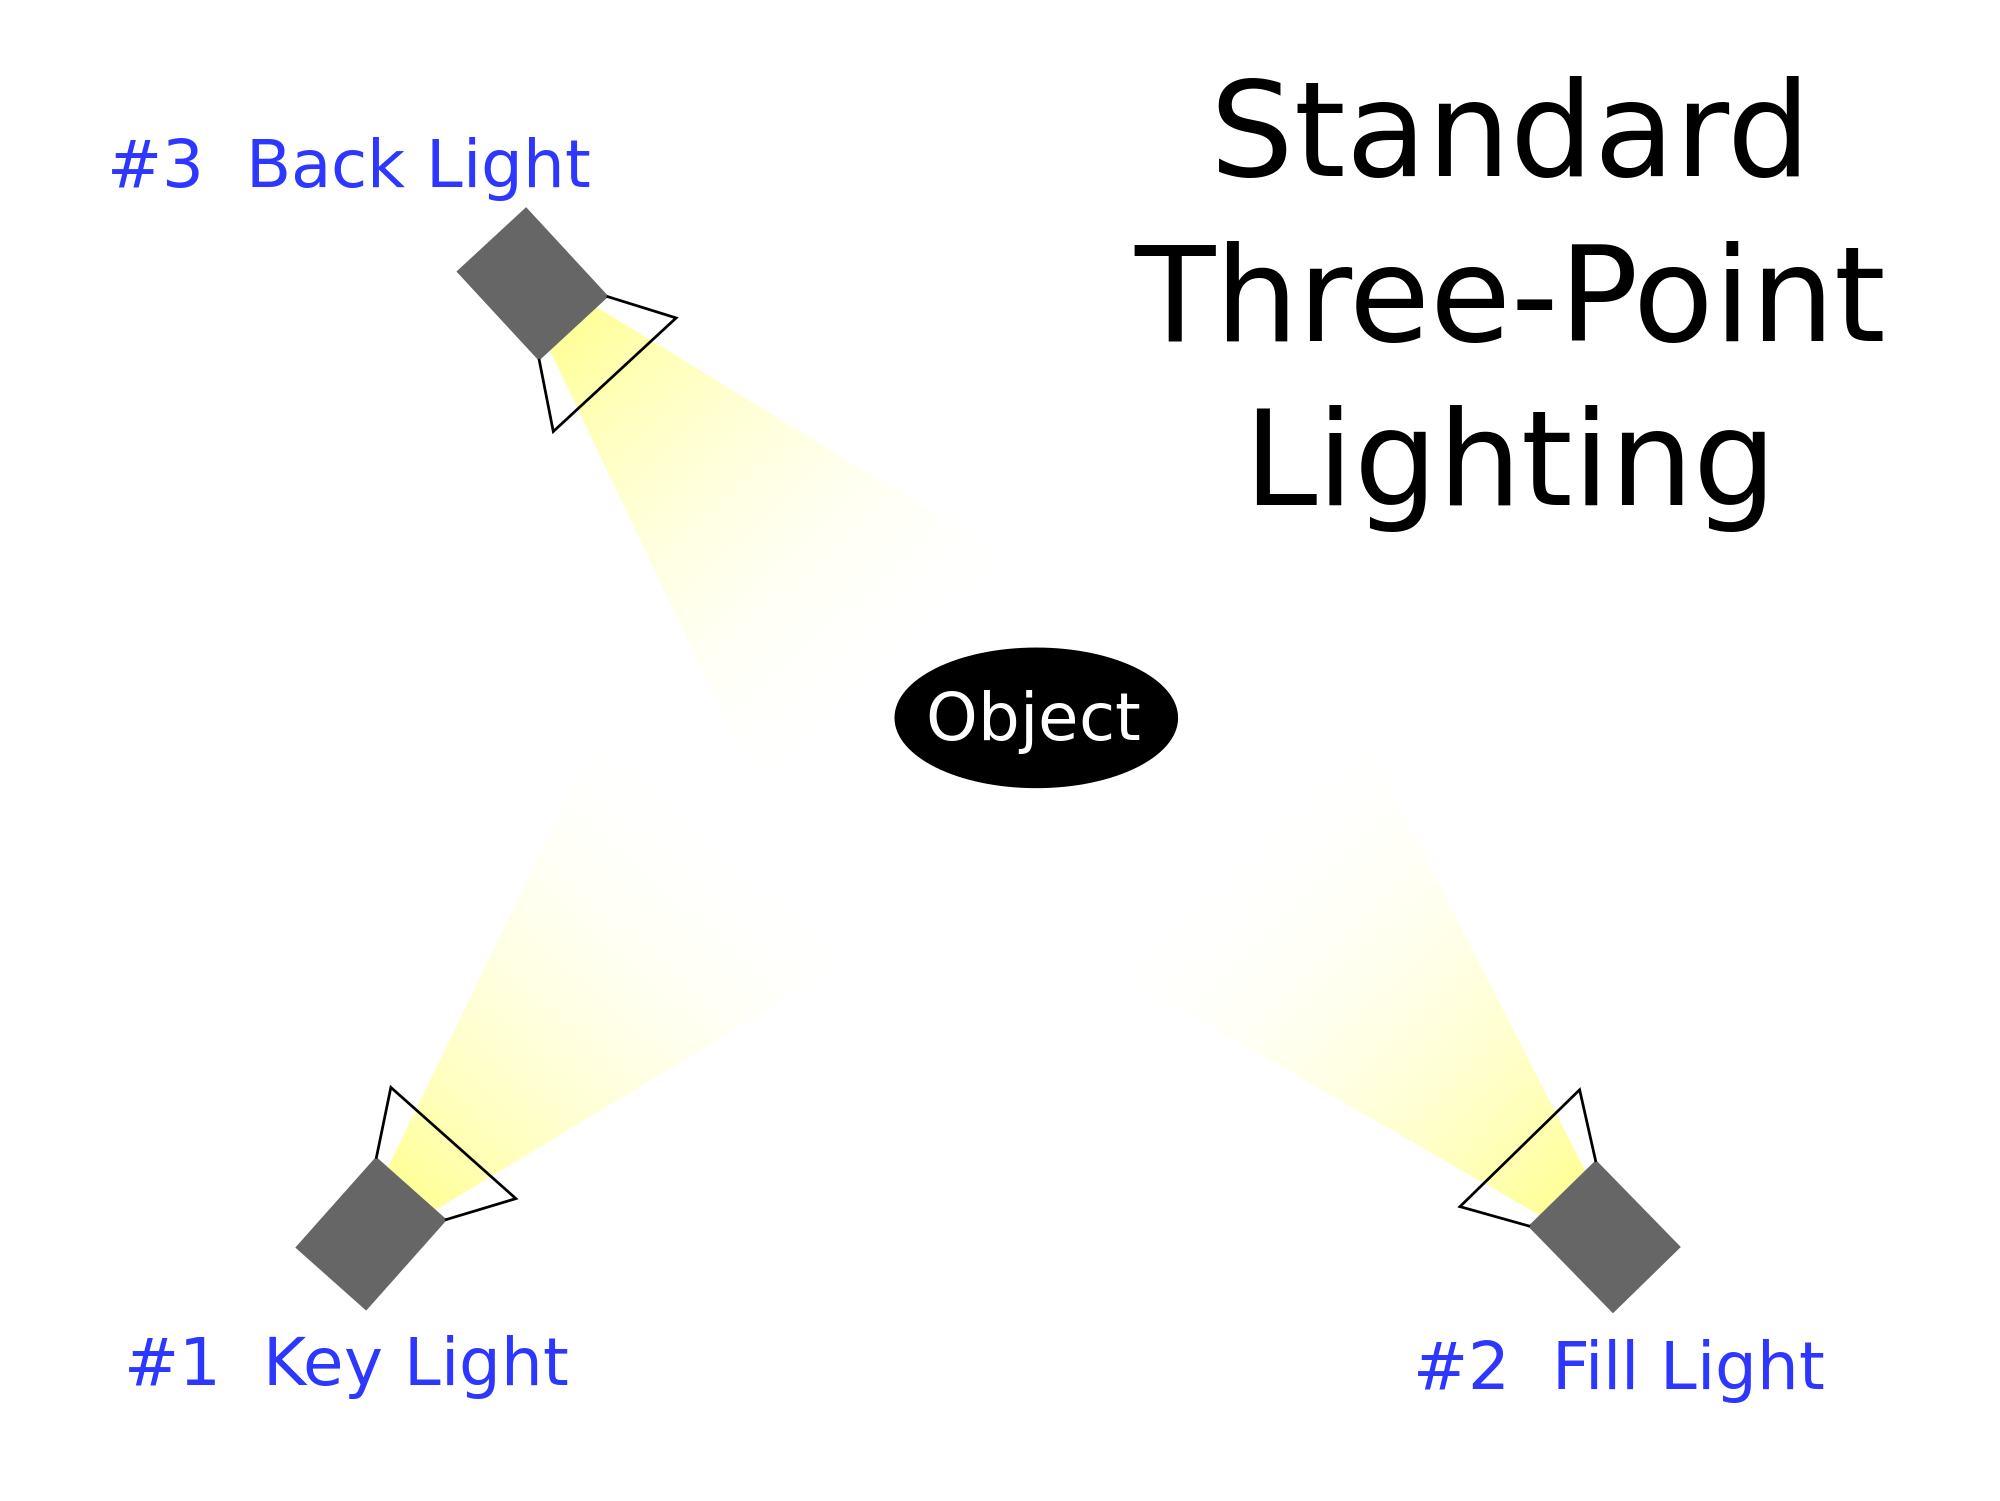
In the video below it shows a way to set up 1,2,3 point lighting and what its job purpose is and what it solves.

https://www.youtube.com/watch?v=w3xYPOiPtE4
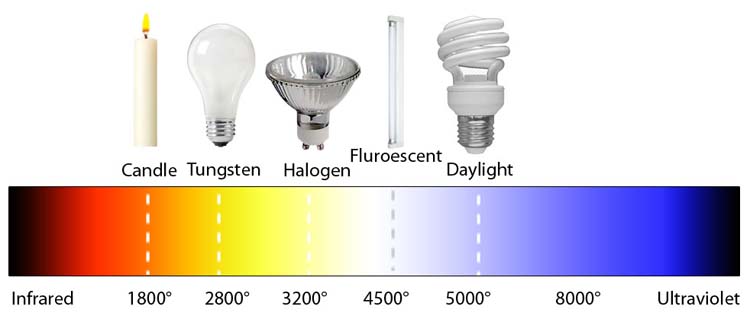
Image result for temperature of photography light

Temperatures used to gain any specific lighting.

However if not having access to studio lights which is the case for most unless in a school studio. lighting techniques can be improvised like using natural lighting or using natural lighting that contains patterns, using the flash, holding multiple phone torches to the aimed area being photographed, using led lights or even fire lighting.

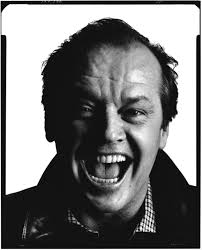
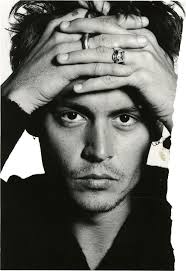
David Bailey

David Bailey 


David Bailey was a Biritsh Photographer, born in Leytonstone, London, United kingdom. He was born on the 2nd of January in 1938 currently being (80 years old).  David Bailey being on of the many photographers to have a chance to photography famous people, from Johnny Depp too David Beckham

Bailey developed a love for natural history which them developed his love for photography.  Bailey suffered from undiagnosed dyslexia which resulted in him having to be home schooled.  However, having this happened Bailey claims to have only attended over 30 times which then led him to wanting to drop out of school at the age of 15.

in 1959 Bailey became an assistant photographer to John French, in  1960 he was a photographer for John Cole’s studio Five, which led onto Bailey being contacted by British Vogue Magazine where he worked for about 15 years, first on staff and later as a freelancer. He also freelanced for other magazines and newspapers.

Bailey’s fashion work and celebrity portraiture, characterized by stark backgrounds and dramatic lighting effects, transformed British fashion and celebrity photography from chic but reserved stylization to something more youthful and direct. His work reflects the 1960s British cultural trend of breaking down antiquated and rigid class barriers by introducing  a working-class or punk look into both clothing and artistic products.  He is thought to have inspired the role of the photographer, Thomas, in Michelangelo Antonioni’s film Blow up 1966.

Bailey also directed television commercials and produced a number of books and documentary films. In 1972 he began publishing the fashion and photography magazine Ritz. Although he continued to photograph celebrities for publications such as Harper’s Bazaar and The London Times throughout the 1970s, ’80s, and ’90s, he began to turn his attention to television commercials.

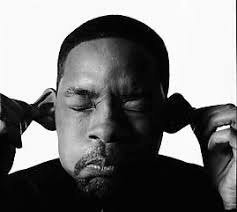
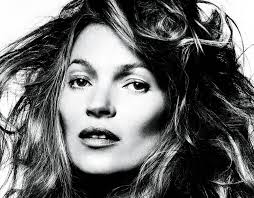
Here are some examples of his most famous portraits:

David Bailey relies on heavy lighting and works particularly well with high intensity on shading.  This effect works well as it captures only certain features of the individuals faces.  however with the technique of chiaroscuro artist usually tend to put the shading in the background and brining it into the face, but with Bailey’s work the background tends to be a lighter colour meaning that all tones of darkness and greyness are all focused on areas like the hair and some patches of the models face.

Chiaroscuro

CHIARSCURO


What is It and when was it first used:

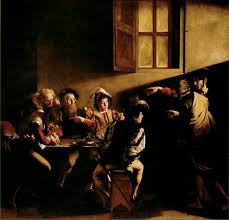
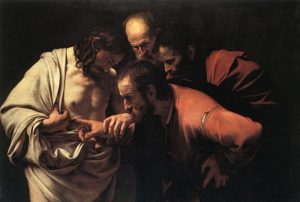
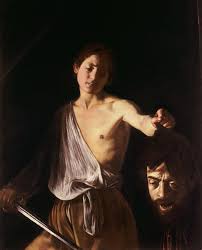
Chiaroscuro, in art, is the use of strong contrasts between light and dark, usually bold contrasts affecting a whole composition. It is also a technical term used by artists and art historians for the use of contrasts of light to achieve a sense of volume in modelling three-dimensional objects and figures.  Some evidence exists that ancient Greek and Roman artists used chiaroscuro effects, but in European painting the technique was first brought to its full potential by Leonardo da Vinci in the late 15th century. Like photographers and cinematographers centuries later, painters realized that the contrast between areas of light and dark heighten the impact of an image. As the Renaissance gave way to the Baroque, a style that emphasised drama and emotional intensity, some artists developed an exaggerated form of chiaroscuro known as tenebrism, from the Italian word tenebroso, meaning gloomy or murky.

Here are some examples of artists who rely on this technique to produce some of their amazing outcomes.

  • Caravaggio
  • Georges De La Tour
  • Leonardo Da Vinci
  • Joseph Wright
  • Henry Fuseli
  • Rembrandt
  • Ralph Gibson

These are 3 examples of Chiascuro from a long time ago:

This is how we interpret Chiaroscuro in the modern day world, baring in mind to make these shadows is a lot easier than it would have been for Artist like Caravaggio.

I have learnt about using this technique when I was doing my art GCSE. Having looked at Baileys work before I chose to adapt my work to make it sort of similar to his. I did this because when it comes to taking photos in black and white that has always been my strong point.

People use this technique because not only do they like the contrasting effect it makes they also believe it intensifies certain feature that you wouldn’t be able to see as much having the image being taken in just natural lighting.
The principal and lighting technique of chiaroscuro ^

Street Photography Part 2:

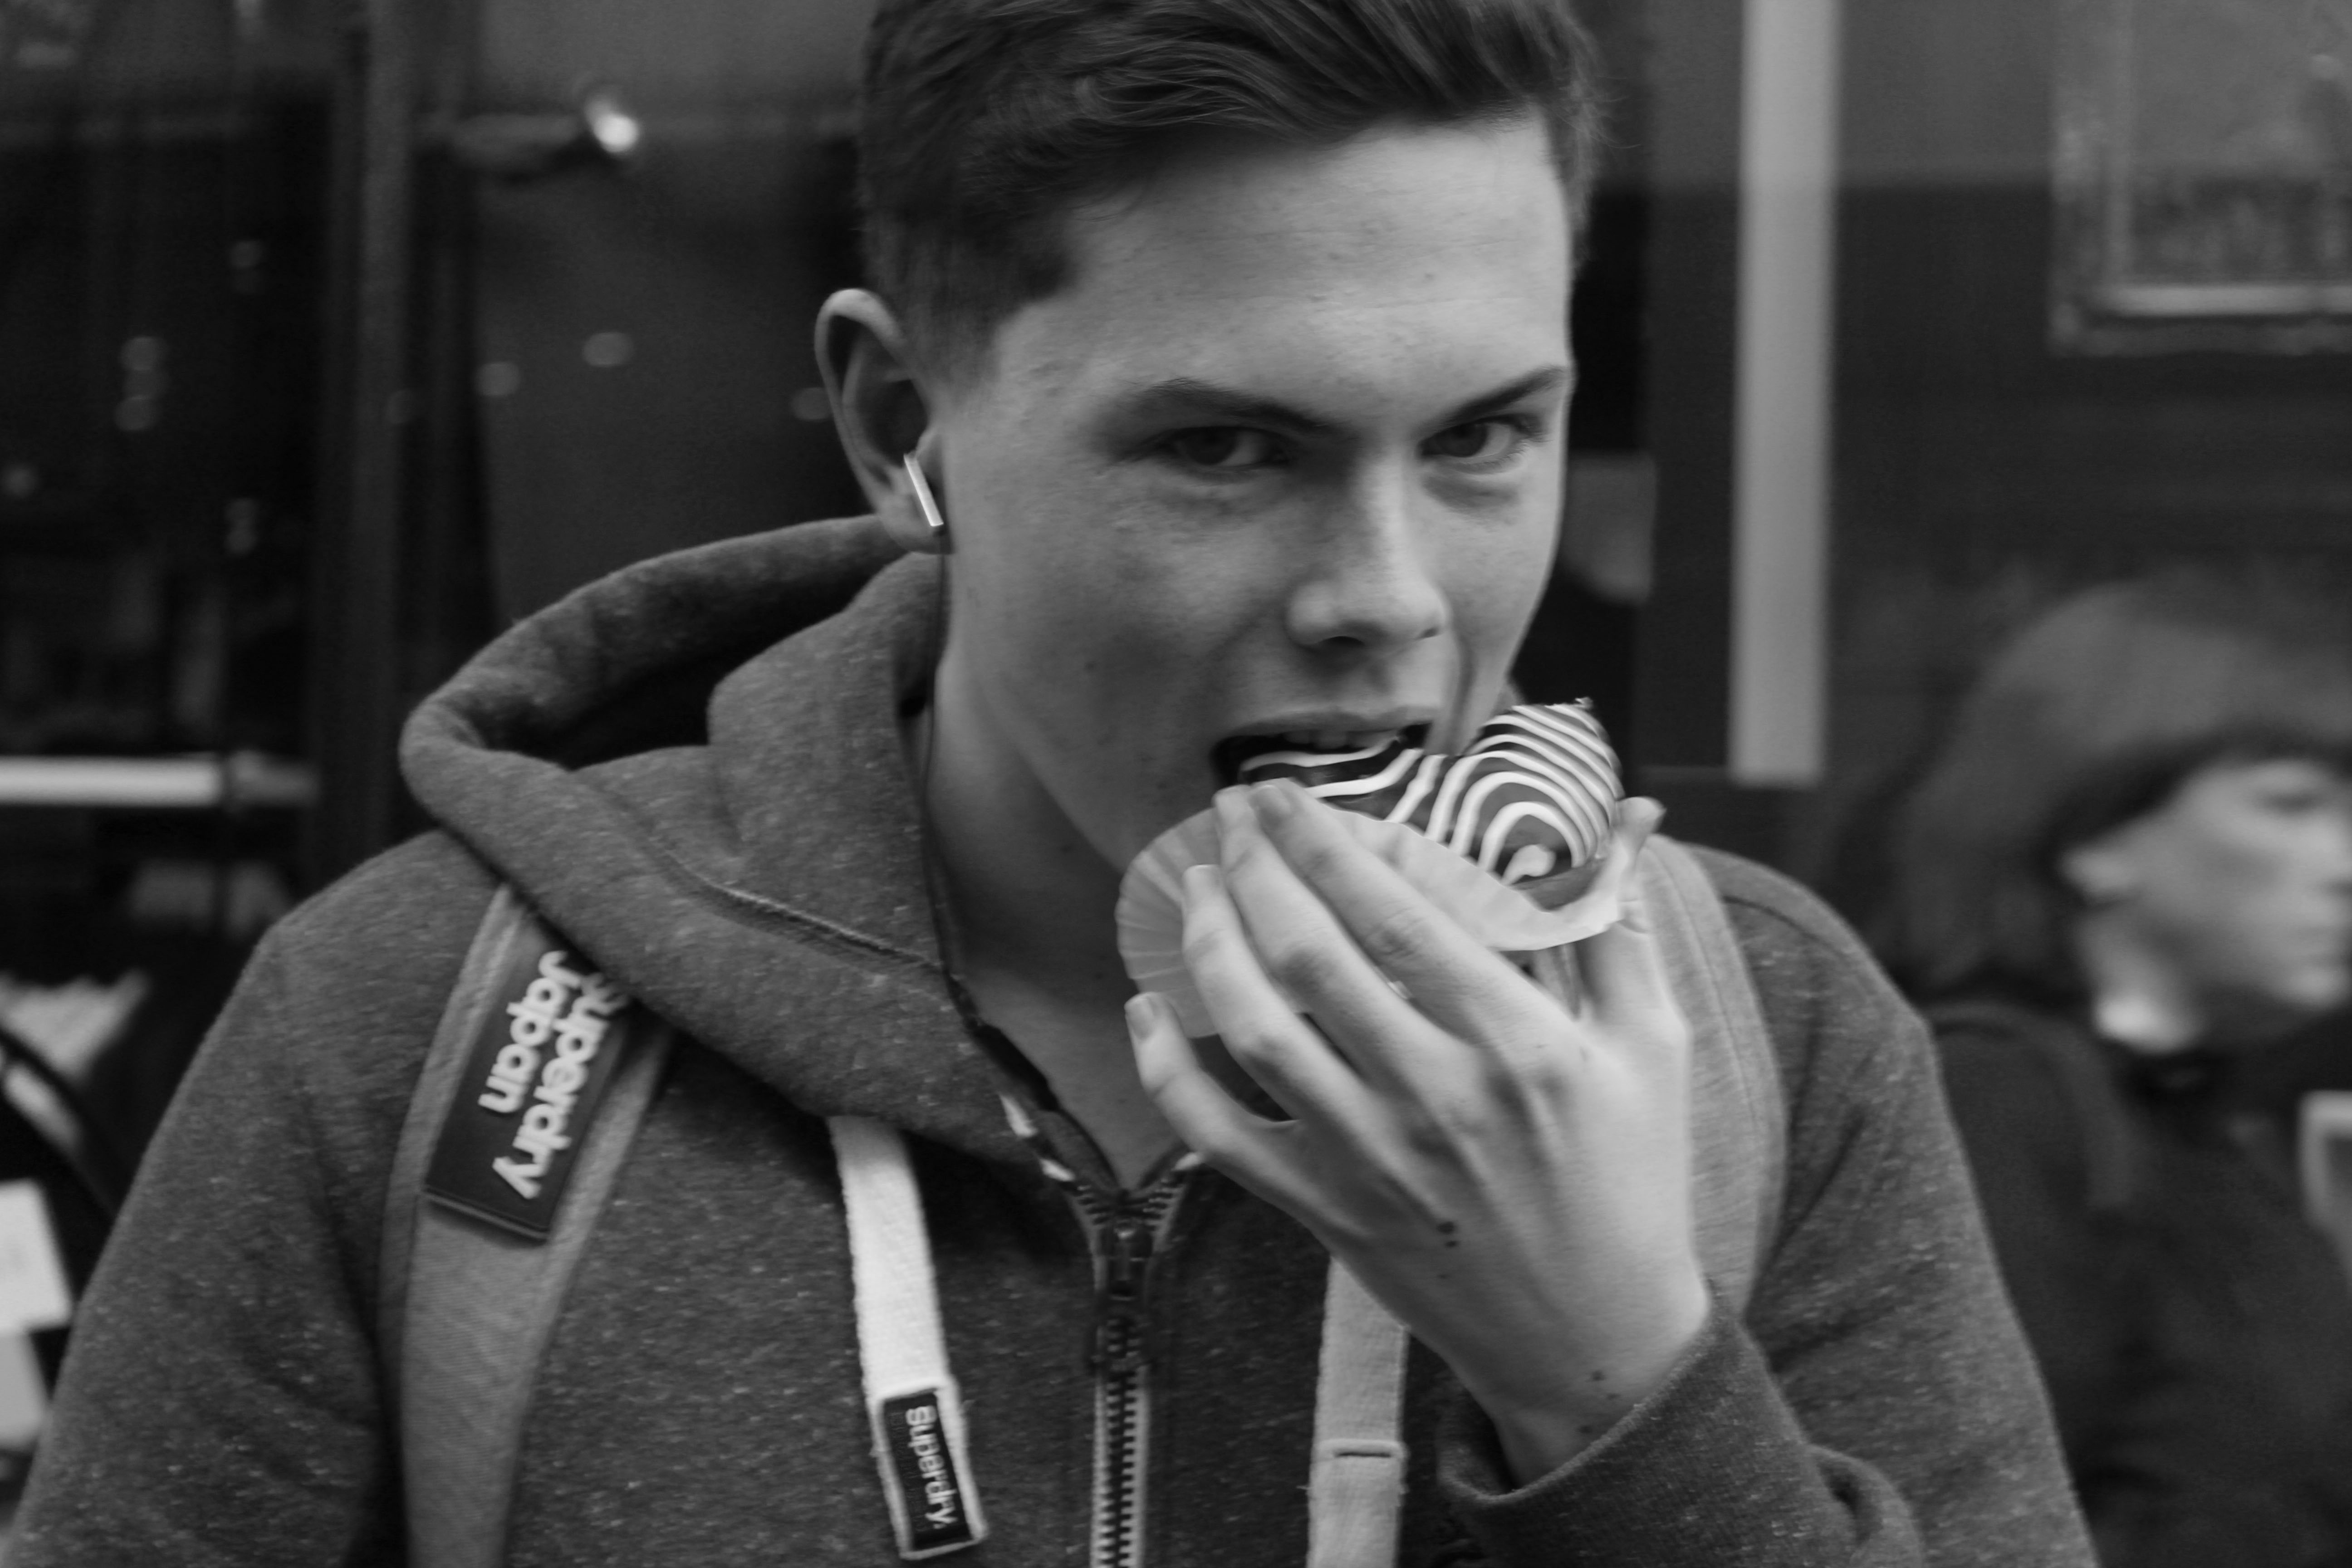
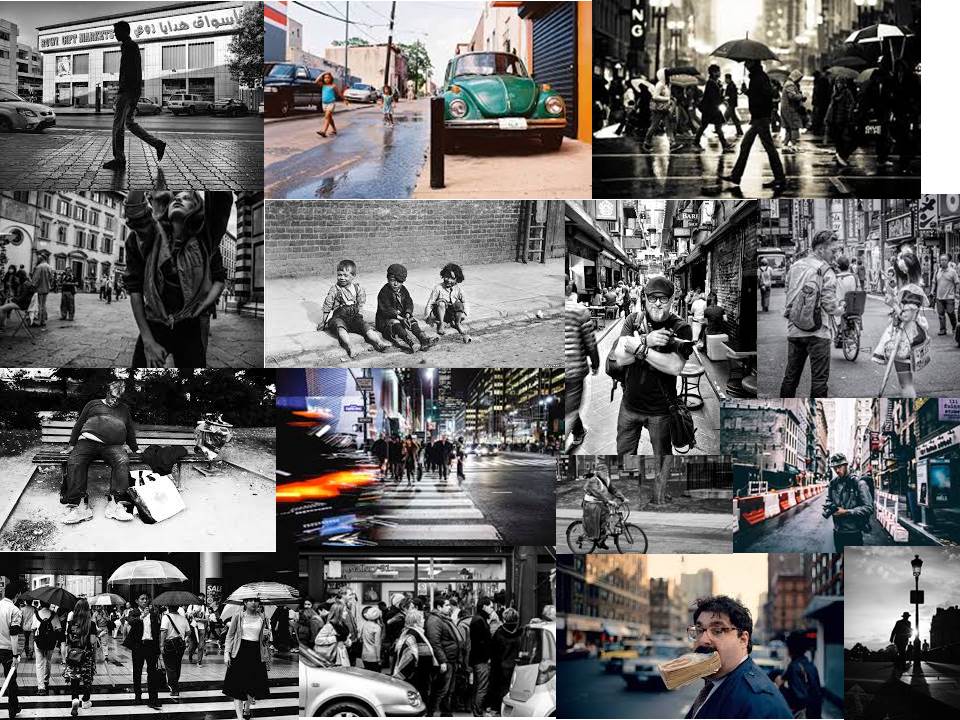
These are a couple of examples that I took for street Photography:

This is the original image
Another final outcome that I am happy with

These are my contact sheets from the street Photography trip

contact sheet 1&2

From this trip if I have learnt one thing is that confidence is key, which is something that in this trip I was lacking too do. Simply because I had watched videos on some of the reactions that famous people received when just photographing random strangers. However having analysed my contact sheet even further I can notice that most of my images are quite blurry, this could have been becuse my shutter speed was too low so the camera was unable to capture the pictures I was after. when I was on this trip in town no comments were actually made so most people I photographed the worst thing that came out of it was sometimes an evil look but nobody actually asked what was going on which also surprised me.

My technique for this trip was simply to sit on benches, lean against shop windows or just simply stand in corners and photograph people  as they continued through there everyday life.  this actually worked sometimes at my own expense apart from there are just some images of buildings instead of people but it was all part of the fun .  Another thing that I have noticed from these images are that there is  quite a lot of backs turned away from the camera, which again was partially my fault for not having tried to capture the front of them but as I was looking at them I realised that even getting 3-5 perfect images would have been great as most photographers will take between 200-500 images and only select 5 or so to actually be published which in this case is what I have done.

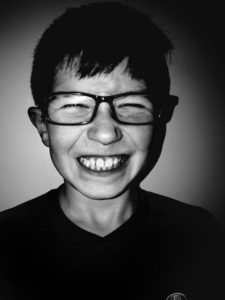
Out of all my images there are not very many that I would say worked. The two images at the top of the post are both from people I know but they weren’t 100% sure what I was doing.  I feel like the top image is well focused on the idea that that is how some people approach the idea of portraits as the boy on the right is smiling but seems also confused as to why there is a camera in his face whereas the boy on the left does not seem very happy with what was going on.  furthermore, as I said earlier its warpped around the idea that it is unknown what your going to capture. when I was walking down to go to this trip I was nervous but excited and what I was going to see and capture but not through my eyes but through a camera lens and doing something where your out in a public place sourrounded by people most of the time poeple do become confused but rather smiley as soon as a camera is pointed right to them. (unless they’re just generally grumpy)

Street Photography

Street Photography


What is street Photography?

Street photography, also sometimes called candid photography, is photography conducted for art or inquiry that features unmediated chance encounters and random incidents within public places.  The images captured when taking photos in the street are immediate and happen often quite quickly no member of the public stands there and stages this out therefore all images happen by fate.

For me there are a few ways of interpreting the way someone takes photos under the theme of ‘Street Photography’ In these examples some of the images were taken a long time ago.  For street photographers they have seen,through images,changes in clothes, appearance and just the way individuals have interacted with one another for the past hundred years or so.

There are many artists that are linked to street photography here are just some examples:

  • Bruce Gilden
  • Henri – cartier Bresson
  • Garry Winogrand
  • Weegee
  • Robert Doisneau
  • Vivian Maier

These are some quotes that photographers have said or wrote whilst out and about photographing the streets and whats inside it.

“Photographers mistake the emotion they feel while taking the photo as a judgment that the photograph is good.” – Garry Winogrand

“I love the people I photograph. I men they’re my friends. I’ve never met most of them or I don’t know them at all, yet through my images I live with them”- Bruce Gilden

“Don’t wait. the time will never just be right” –  Napoleon Hill

Below is a video on some more examples of street photography :

Arnold Newman

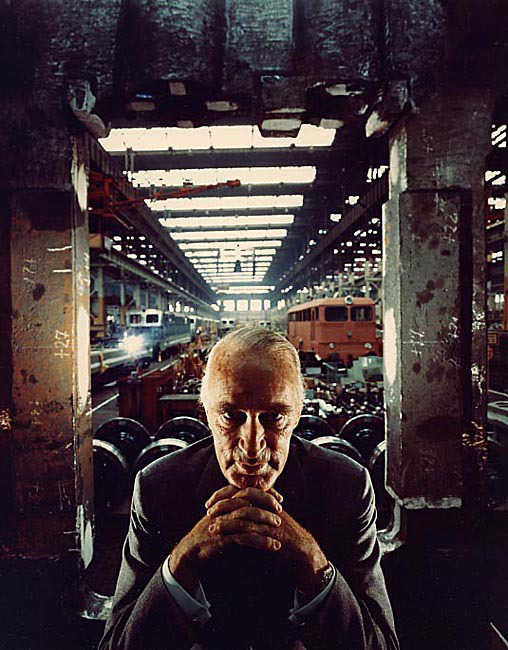
Arnold Newmans Photograph of Alfred Krupp (1963)


The context behind this image is Arnold Newman essentially was asked to photograph Alfred Krupp (by himself). However when Alfred found out that Newman was Jewish he no longer wanted to be photographed him. Newman insisted of Krupp looking at his portfolio before making any final decisions. Finally Krupp just agreed and the photo was taken and published in 1963. This image was taken in front of whats believed to have been a train factory which was used to deport Jews off to concentration camps. Krupp allegedly used slave labor to make weapons and help the Nazis with the extermination of Jews. However it is believed that Krupp ended up in jail because of his un-thought actions.

Having first looked at this image without knowing any of the background knowledge i wasn’t too keen on it.  I didn’t like it because there’s quite a lot of elements going on in the photo in terms of objects wise. additionally the photo being under exposed also makes me not like as there’s quite a lot of dark and tones you wouldn’t normally see if the image was a happy image.  Looking closely at the mans face he looks like hes scheming something it looks sinister.  Having further investigated the image i can now see that Alfred was actually trying to make himself look evil and that make out to be quite powerful.

The color of the image is quite rusty and dark, by using this effect on the picture it allows the focus to be directly in the middle of the mans face.

Arnold Newman –

Recognized for his incredible ability to capture the spirit and personality of his subjects, Newman is credited for his work in environmental portraiture and having countless world leaders pass before his lens.  Born on March 3, 1918 in New York, Newman began studying painting after moving to Miami with his family.

Newman’s career quickly escalated as he explored the idea of photographing his subjects in their own personal environments. He first began photographing artists, often with their own work, and quickly moved on to photographing some of the world’s most prominent figures. With careful composition and dynamic design, his environmental portraiture managed to evoke a sense of the person’s inner spirit. Newman explained, “I am interested in what motivates individuals, what they do with their lives, their personalities, and how I perceive and interpret them.”


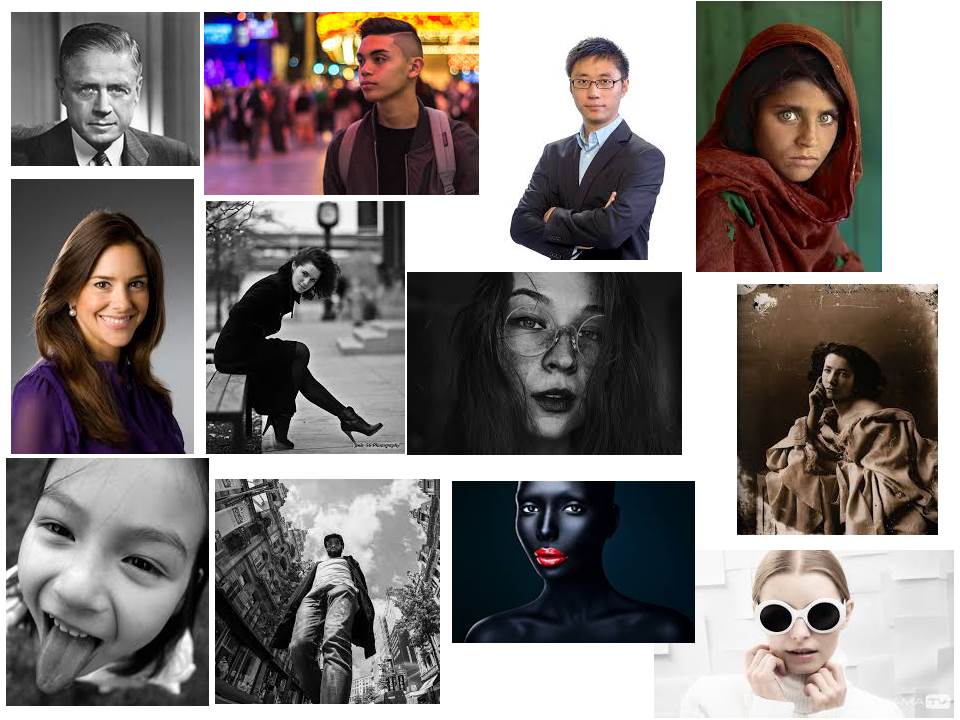
Mood Board Portraits

Portraiture


Portrait photography or portraiture in photography is a photograph of a person or group of people that captures the personality of the subject by using effective lighting, backdrops, and poses. A portrait picture might be artistic, or it might be clinical, as part of a medical study.

These images are not mine they are from the internet (from google images)

Every one of these images:

  1. formal
  2. informal
  3. candidate
  4. High angle
  5. Low angle
  6. Headshot
  7. futuristic
  8. high key
  9. colour
  10. black and white
  11. half body
  12. Full body
  13. natural
  14. posed

Environmental Portraits

Image result for famous environmental portraits
Arnold Newman

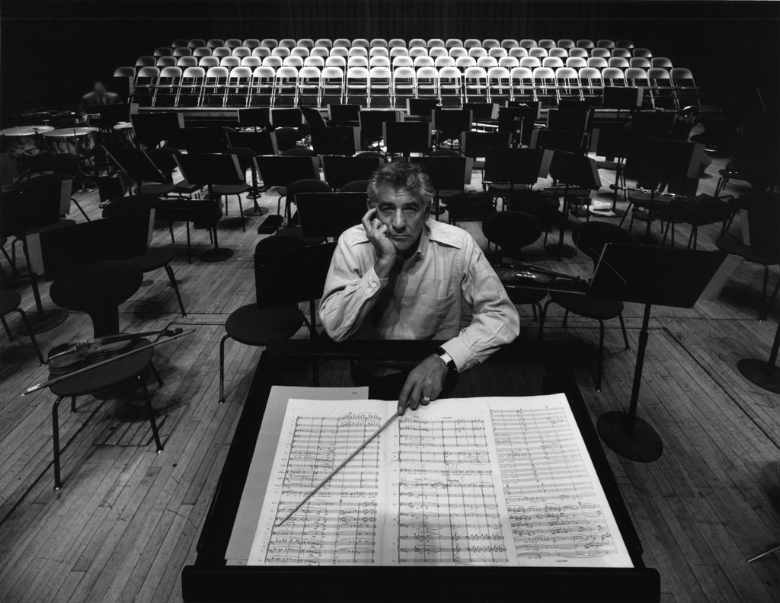
This is an example of an environmental portrait.

The lighting and exposure of the images is quite low however it highlights the focus on to the man who is wearing white. As shown in the image the man is engaging with the camera, unlike street photography where the person being photographed usually isn’t aware environmental portraits is the opposite and encourages the person to be looking at the image.

Arnold Newman began taking images that were based around on who the person actually is. For this man it looks like his background is something along the lines of being a musician so therefore he’s trying to capture part of his identity. This captures the idea of environmental as its trying to portray the idea that this what they do day to day.

Edits and Ideas For Final Prints

Final Edits- Prints A5

These are my other final 3 images suit the topic of abstract photography. I was inspired to look at rock works and the way they form and overlap one another. This also links to texture and surface  which in these images although all the detail is there the image tone and colour is quite neutral and the lighting is quite dim despite being on a medium brightness setting. I’m using these as my A5 images and I’m having them set like a story board as a set of 3.

I decided to change the setting on my images to make them black and white. I also edited the image by changing the brightness, exposure, black point, highlights, brilliance and the amount of shadow that is coming through the image.


Double Exposure

Double exposure


The repeated exposure of a photographic plate or film to light, often producing ghost image.

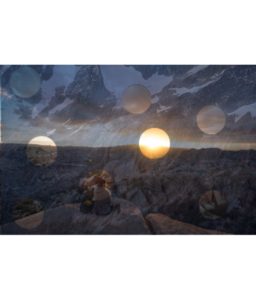
Here are some examples of my first attempts with just some random images I had found on my phone.  For this image as I was at home and my laptop makes me pay for Photoshop I downloaded this app called PicShop. on this app all the settings were similar to those of photoshop so having tried it in the lesson and failed miserably I decided to  try working on double exposure again as I wish to use this editing technique for my portrait edits when we move to that project.

These images I thought worked well over layered because theres quite a high contrast of darkness from the background and then a light just peaking through immediately drawing all attention to it.

There are many artists that use or have used double exposure when developing their images as sometimes they use it to create a story or an idea behind it that some people might not understand.  over layering like this can also be called double exposure which some artist take an form an image with a double meaning.

I have decided to chose an artist and try out different examples of their work but with my images.

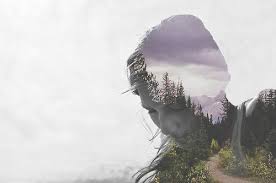
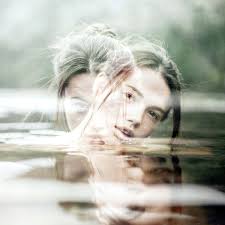
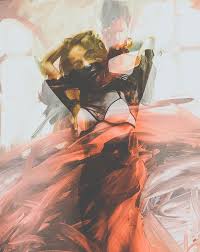
Here we have some examples of Luke Gram’s Abstract photography work.

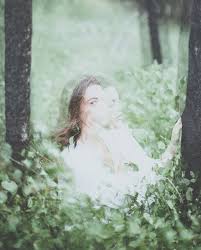
these are just a few out of hundreds of images that Grams has taken. These are the ones that I thought suited abstract photography more as here we can tell he has mixed abstract photography with portrait to create doubling meanings of humans being connected to nature through elements of water, fire,sun and wind. These images stood out to me as I interpret these as images he has focused on creating a story when a person is looking at them closely.  He has not only bought in different patterns and texture he has managed to fade objects around the image but still being able to visualise the woman face. I think this is significant because without the portrait side of it the images may have began to look a bit disorientated as there would have been to much going on around those images.
Luke Gram Bio-He is not only a abstract photographer but he photographs people aswell. His images are taken according to him to capture the “serenity and power of life. He does this by placing humans in natural habits like i.e. the forest in the image above. His over lays are also natural places like the ocean, beaches and tree’s .He was about 18 years old when began taking photography seriously. He earned degrees in psychology and history from the University of British Columbia. He previously worked in the Canadian Oil Sands

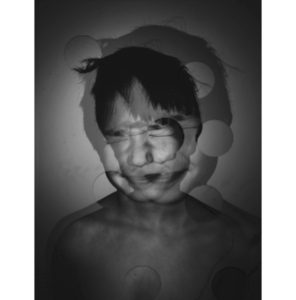
I was inspired by Luke grams work but decided to only have two layers of the same image overlapping one another. However instead of me creating both images to be very visable I made them both quite dark and heavy on shading which then allows the small circles to show elements of the image from underneath.

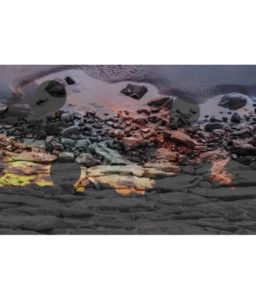
I tried also at doing another attempt using the images I’ve chosen as my final prints.

For the image above I used the same app called PicShop which allowed me to use my final image of the rocks and one of my landscape works that I used for art and used one of the effects called Hue on number 59 to be able to get the colors as bright as I wanted.

Having worked on these images, I have gained a wider understanding on different ways and ideas on developing my images to make them stand out and not just sit with my basic black and white edits which I chose to do for my abstract final images. Additionally I think  that all these ideas and images have been successful at presenting the theme of abstraction. Each image I have created has different shapes which order out in a unique way, in which I have used to reveal certain aspects of the image. By doing this it has allowed the public to look at certain parts of the image which they may not have originally noticed because the image would have been on such a larger scale. It also allows the main focus point of each edit to be more visible and easier to identify.

Due to the edits being the way they are there’s a bit of negative space that I could have cropped out, however I like the negative space because it gives a sense of space and doesn’t make the image look all cramped together. I am very happy with the way these edits have come out as they clearly show development of my understanding of abstraction.