
The Process
Analysis
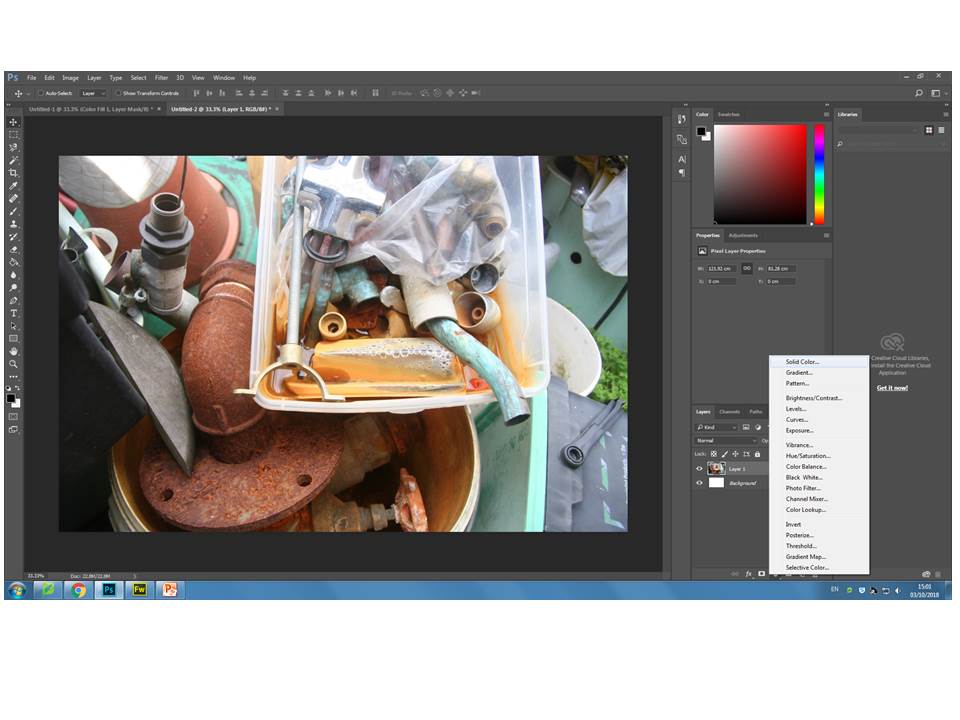
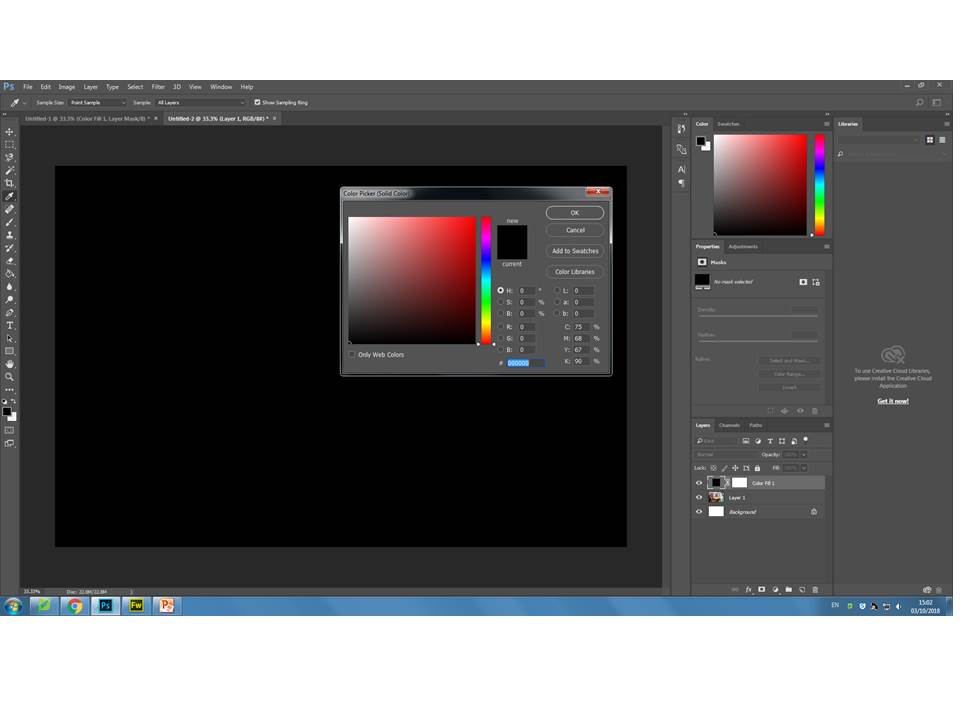
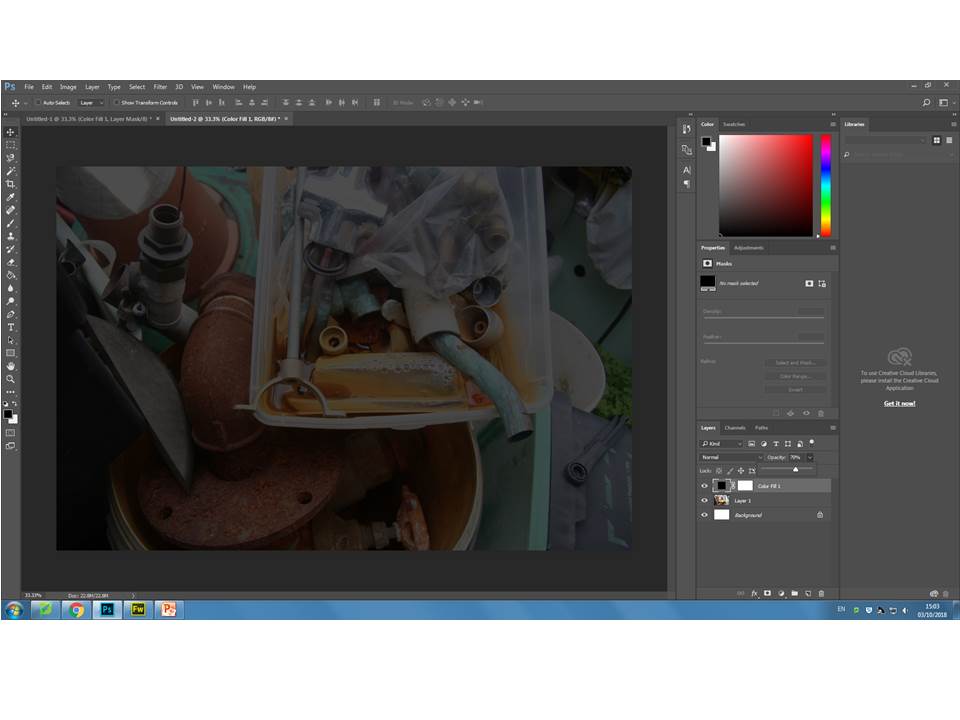
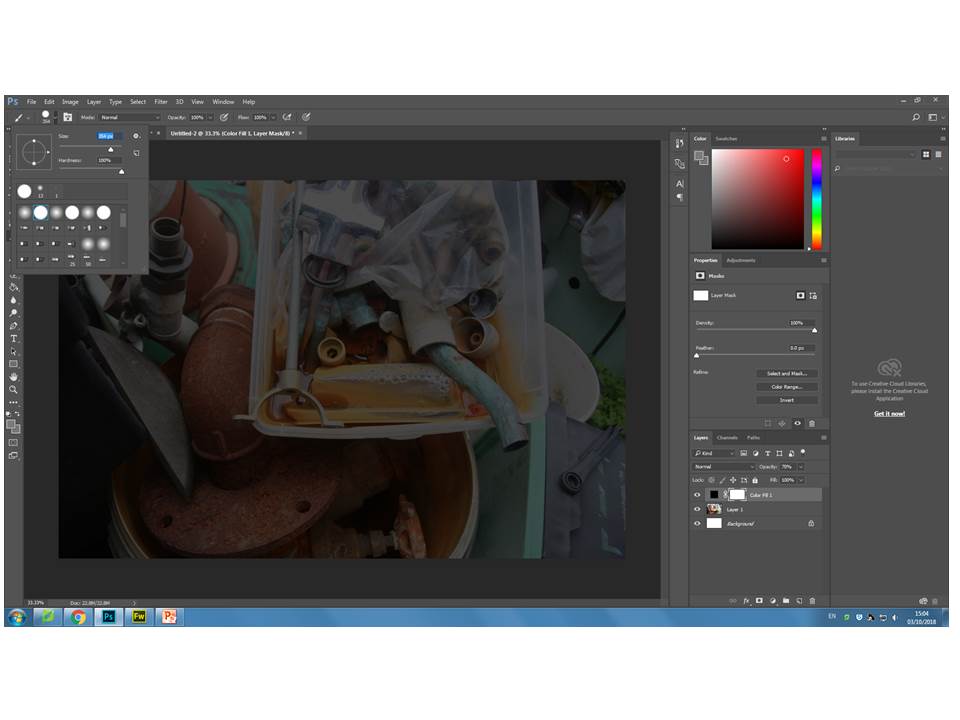
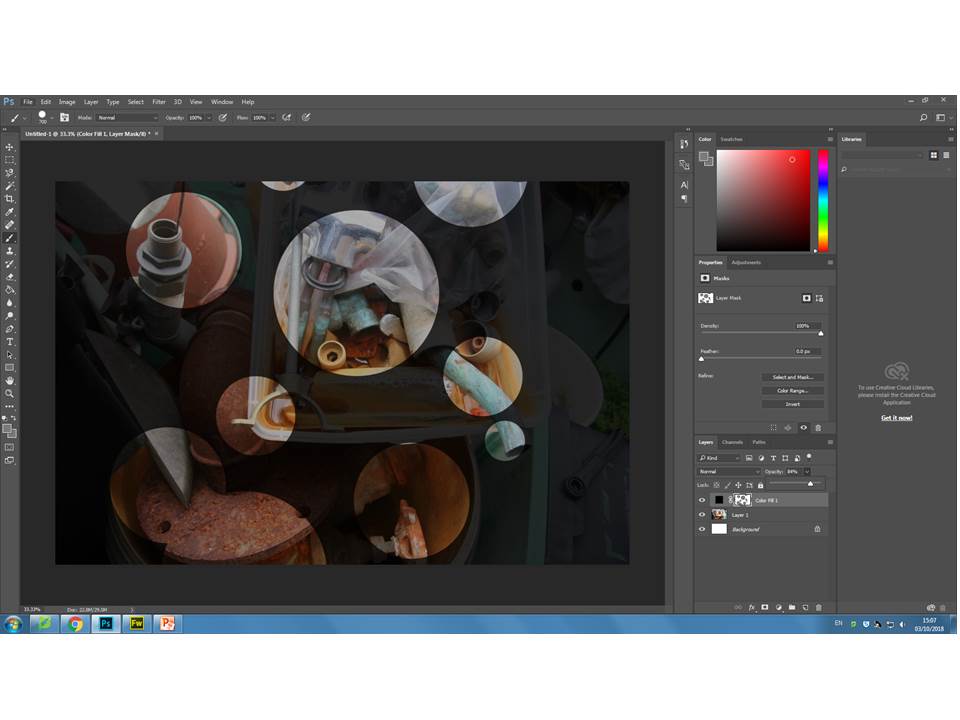
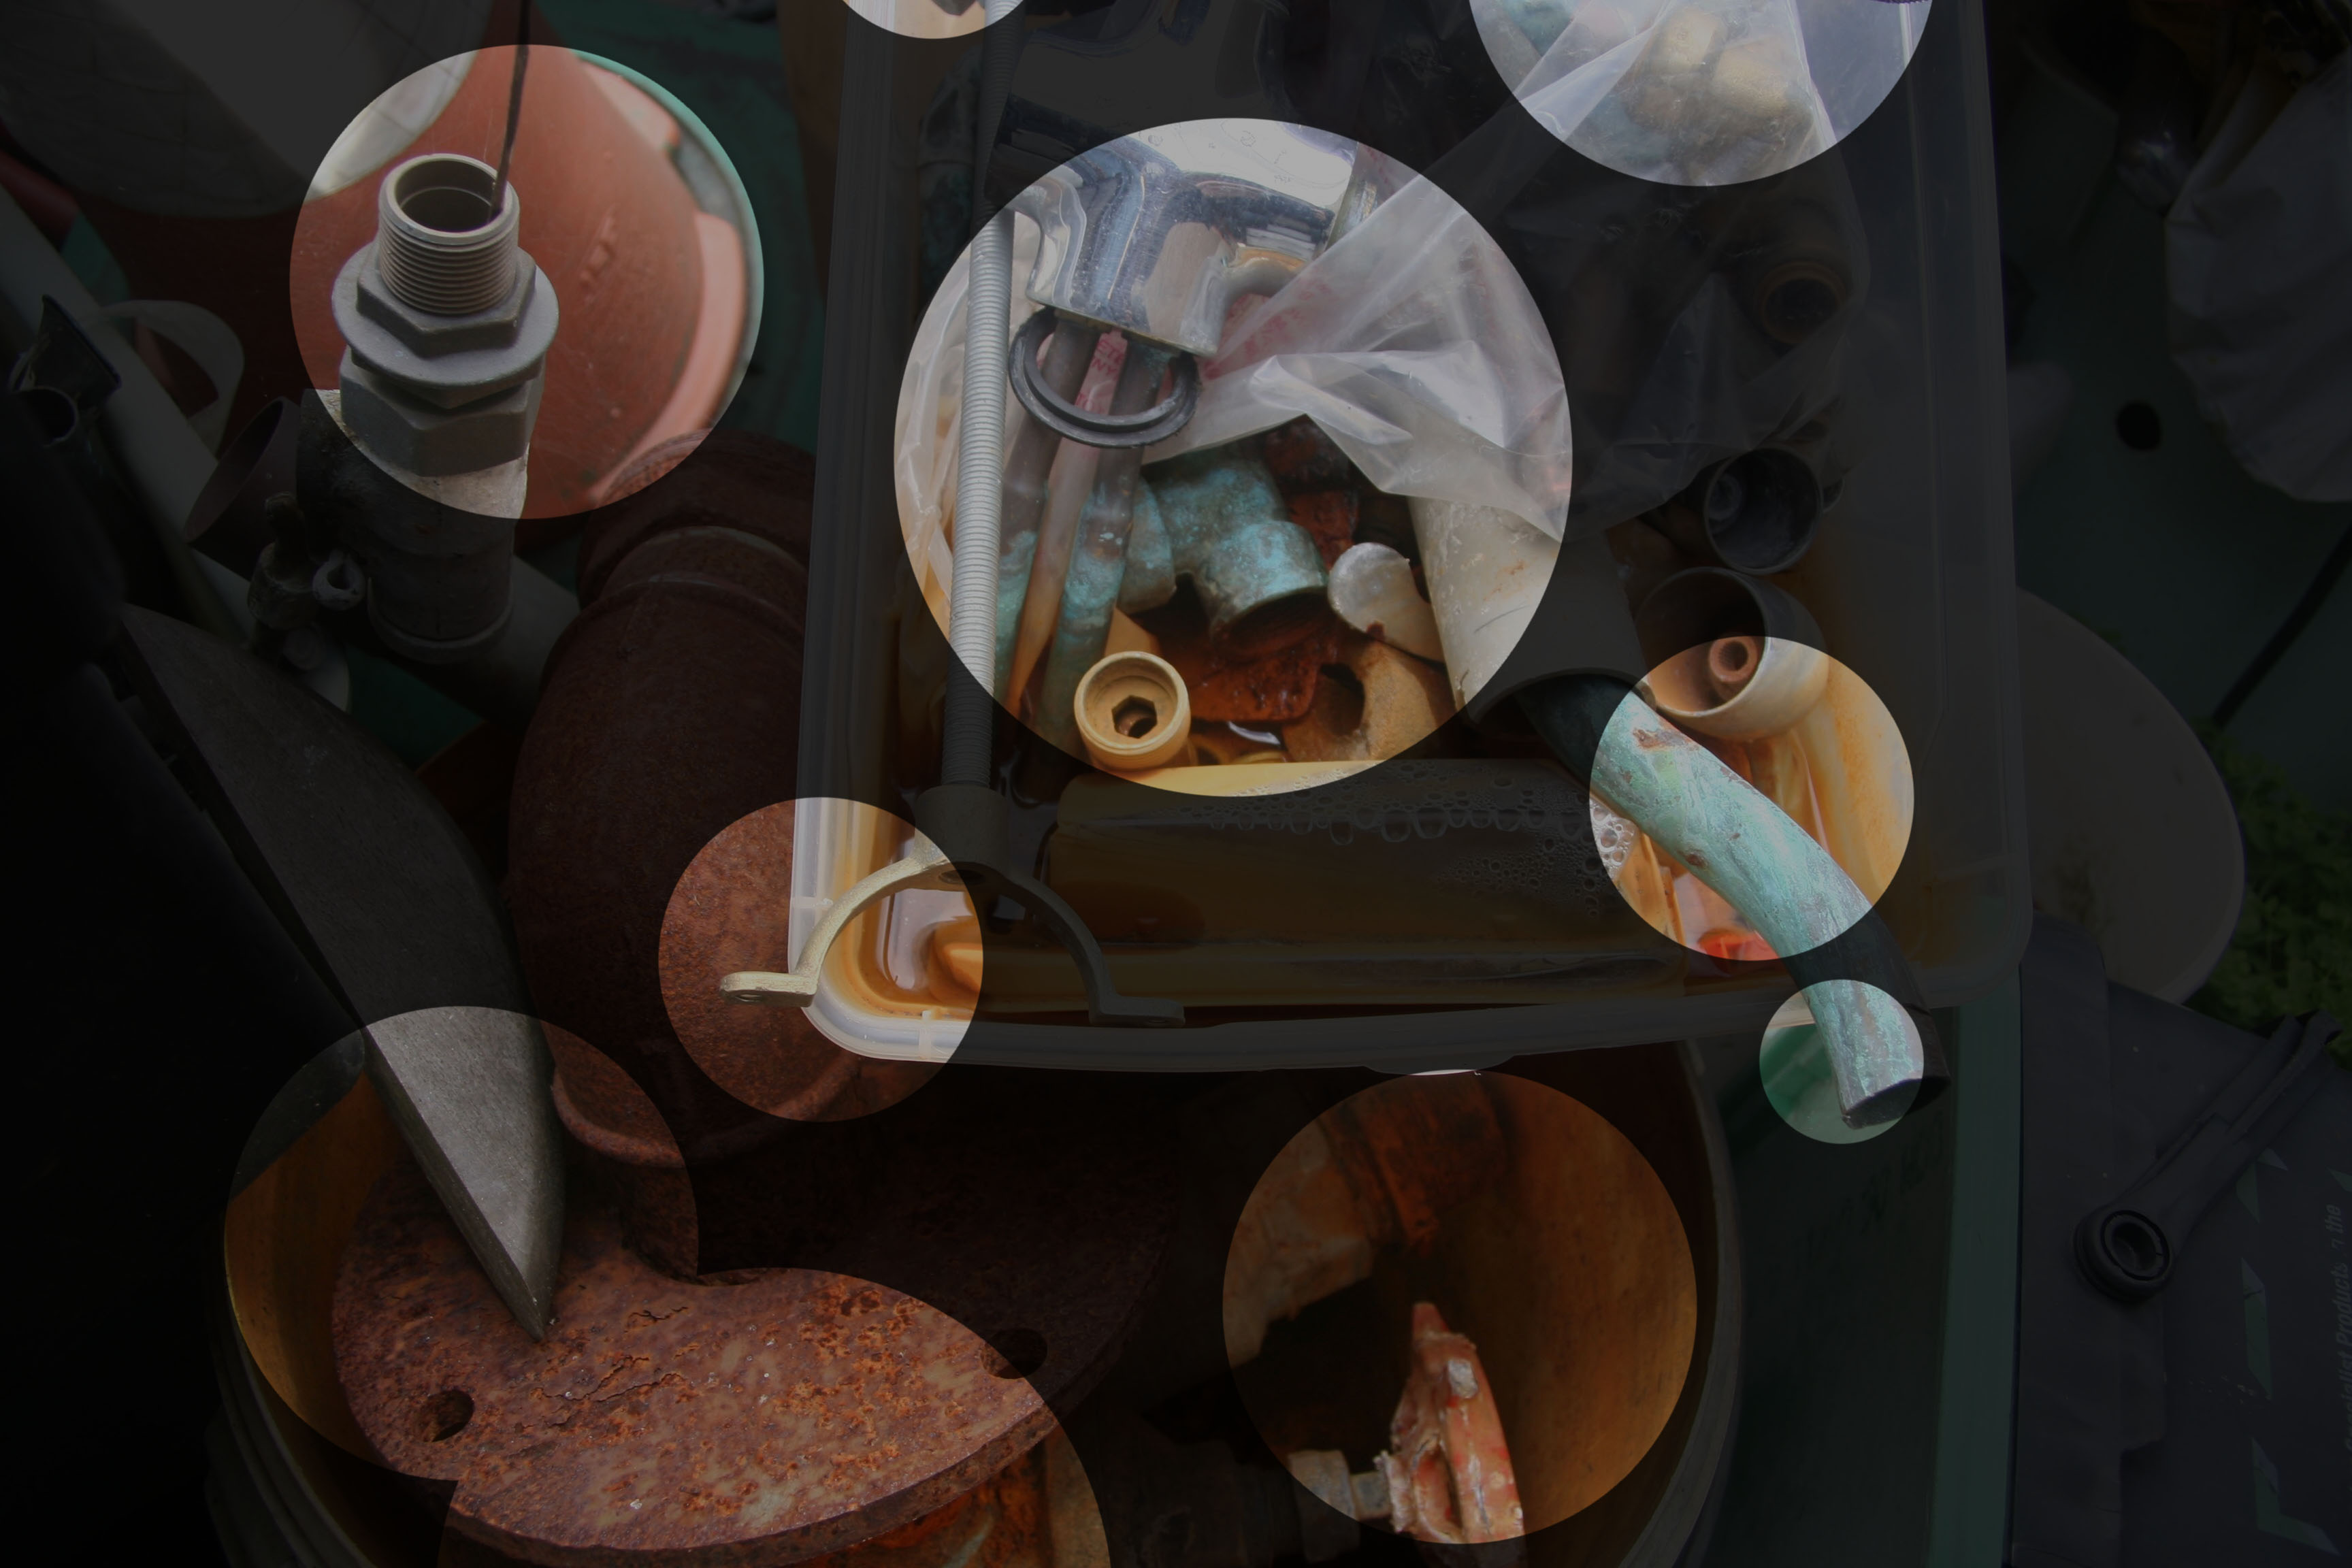
The process to create my final image was relatively simple to complete and is now something I can use more often in my work. I reduced the opacity in a way which the ‘concealed’ area of the photo became visible, but ensuring the ‘revealed’ was more prominent and vibrant to extenuate the colour of the pipes. If I was to do this exercise again I would have used a photo with more colour in order to create more contrast between the dark ‘concealed’ areas and the bright ‘revealed’ areas. I ‘revealed’ the area with the sharpest focus and most depth, for instance the bottom left hand corner had detailed rusting and was displayed well in the natural lighting. The texture of the picture varied between rust and cooper residue, which adds a sense disorganization which fits well with my ‘revealed’ circles because they displayed the areas where most is going on, not the tidier areas of negative space in the background. The pipes are all in 3D form, this adds more depth to the photo with shadowing as displayed in the bottom ‘revealed’ circles.