A contact sheet was originally a piece of photographic paper, on which all negatives from a photo shoot would be contact-printed. This would give both the photographer and potential buyers of the photograph, a chance to see the photographs printed before they were published in full size and full resolution.
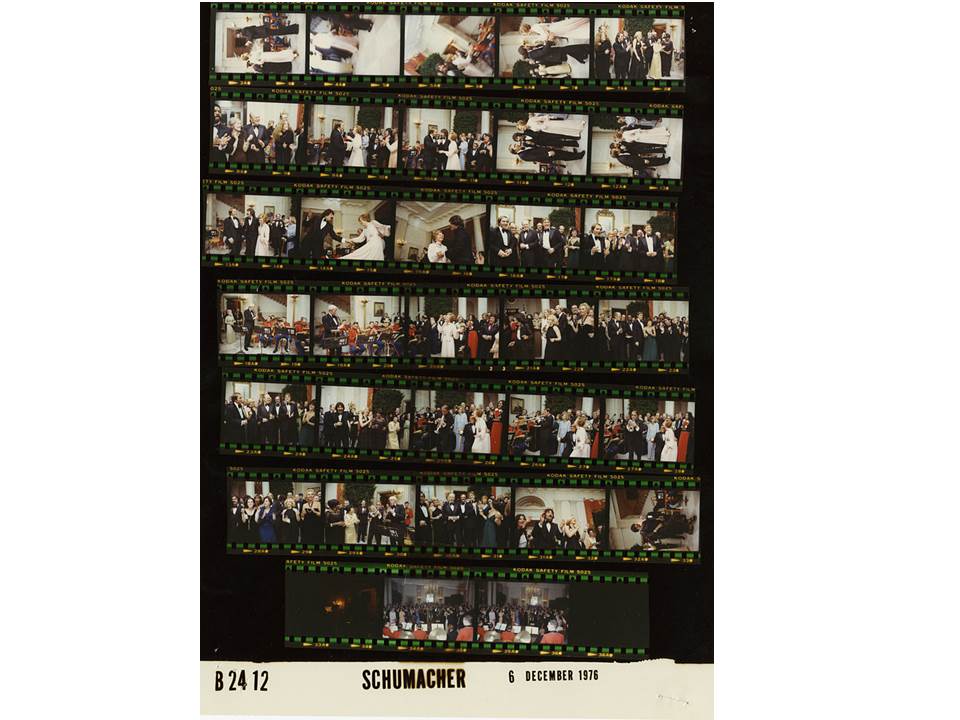
The above image is an example of a contact sheet, containing all of the negatives from a particular photo shoot. Contact sheets were once necessary to see the photograph before the image was printed properly, as it gave a less expensive, smaller sample, that the photographer could use to chose their best photos from the shoot.
The development of digital cameras led to contact sheets becoming less essential, as photos can now be viewed on the screen of a lot of cameras. However, contact sheets are still used in many instances where a photographer wants to be able to provide a potential buyer with a physical copy of the photographs, and can also be useful when a photographer is trying to build an idea of which photographs they do and do not want to use.
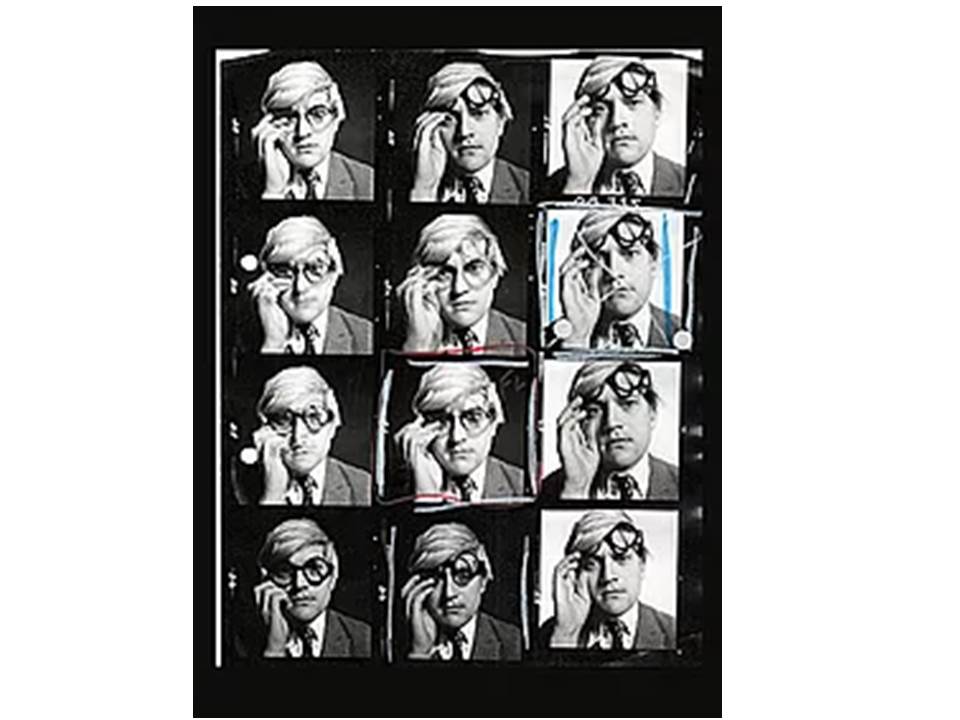
A contact sheet can be edited to make the photographers selections more obvious, and to shot their thought process when deciding on their best photos. The above image shows the selection process of the photographer, as they have clearly used different colour to indicate different selections and choices. Unfortunately a key hasn’t been provided, and so the different colours and shapes can’t be differentiated.
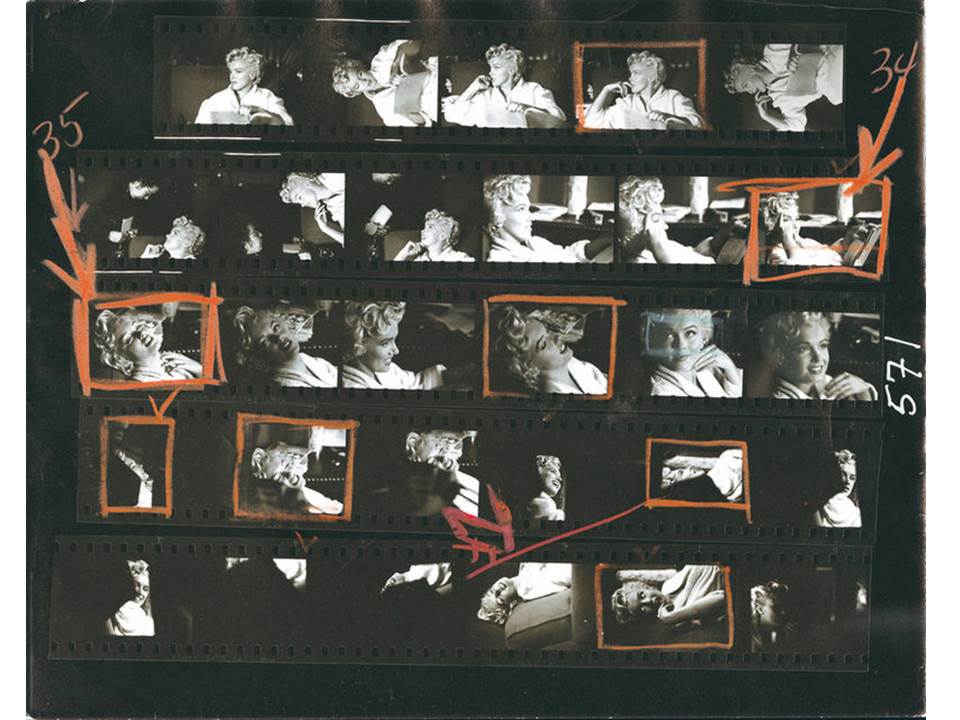
Some contact sheets can show multiple selections, as well as images that the photographer doesn’t want to work with (which are normally crossed out). More than one image can be processed into the editing phase, before a final selection is made.
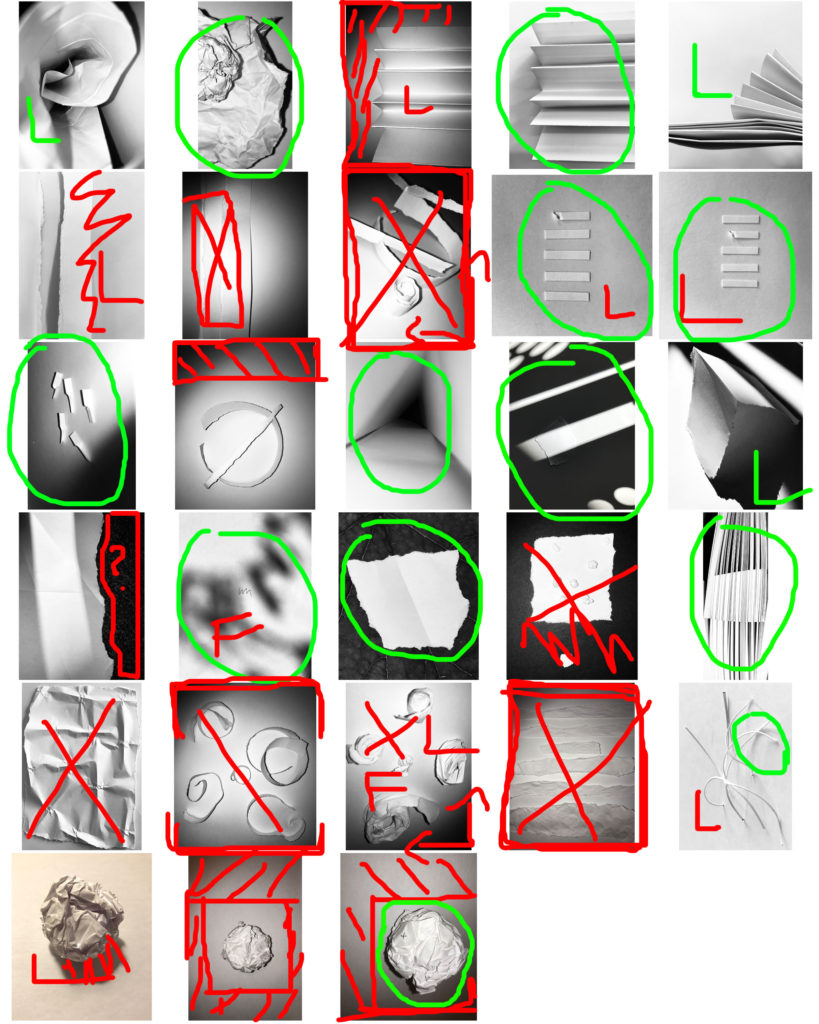
Above is an example of a contact sheet I created for my Paper Project, in which I took images from the photo shoot I completed, and used the software Adobe Bridge to create a contact sheet in Photoshop. From there, I edited the images using different colours and shapes to show my thought process, and I clearly stated which photographs i would be most likely to use in my final selection.
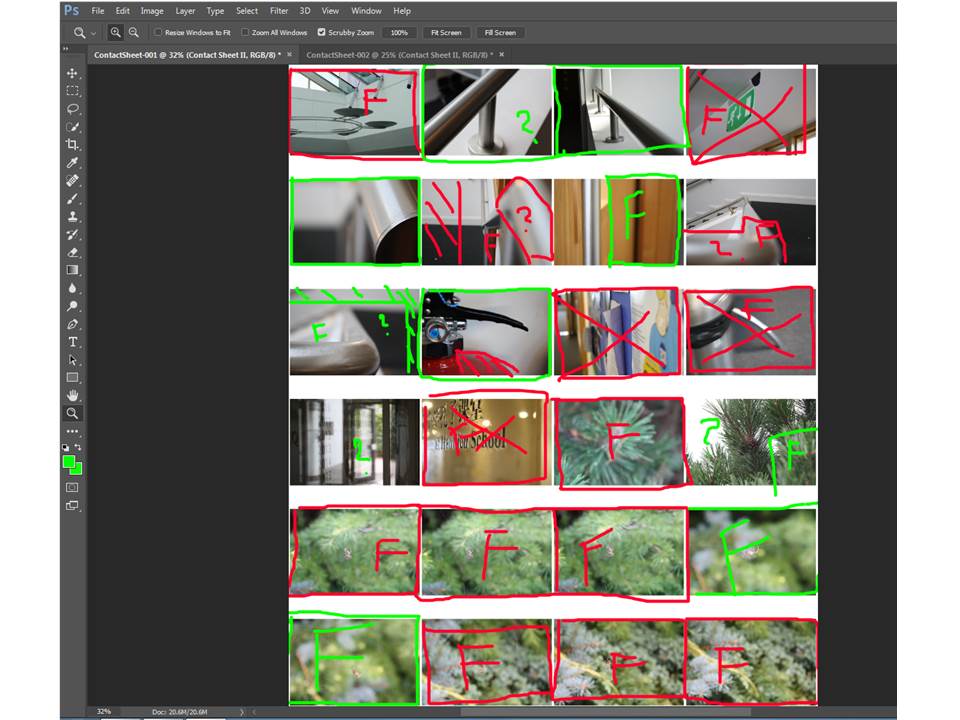
By uploading the photos taken in the photo shoot to Adobe Bridge, I then went to the Tools option, and the Photoshop option. After I selected Contact Sheet 2, a contact sheet was automatically created in Photoshop, and I was then able to edit my selections. The above image is an example of another contact sheet I created for my Camera Lens Experimentation.
