Planning my Photo shoot
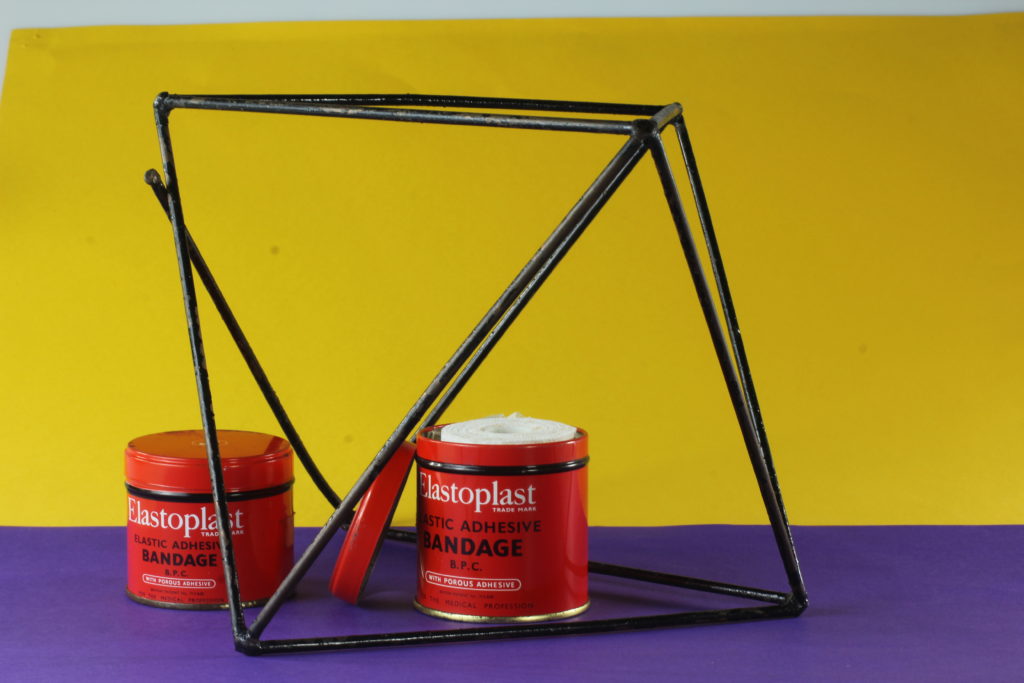
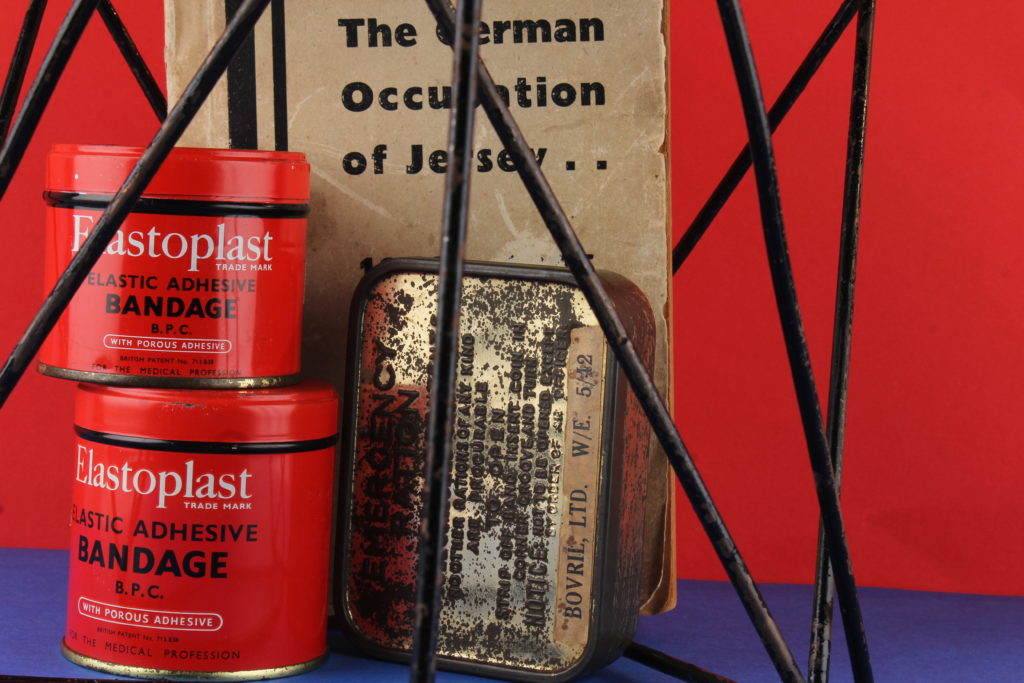
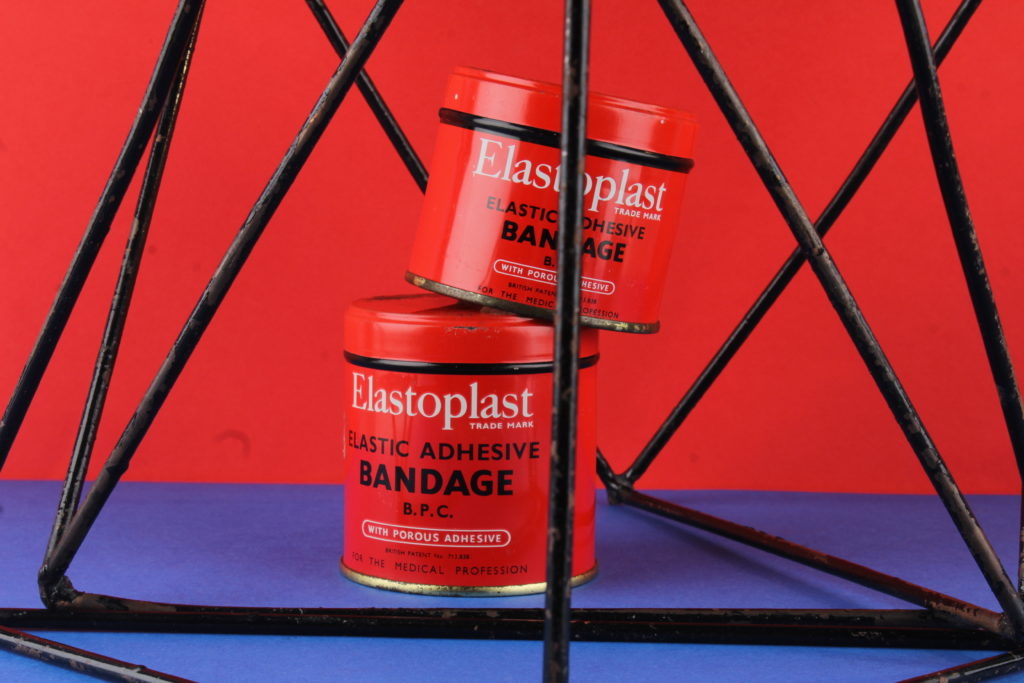
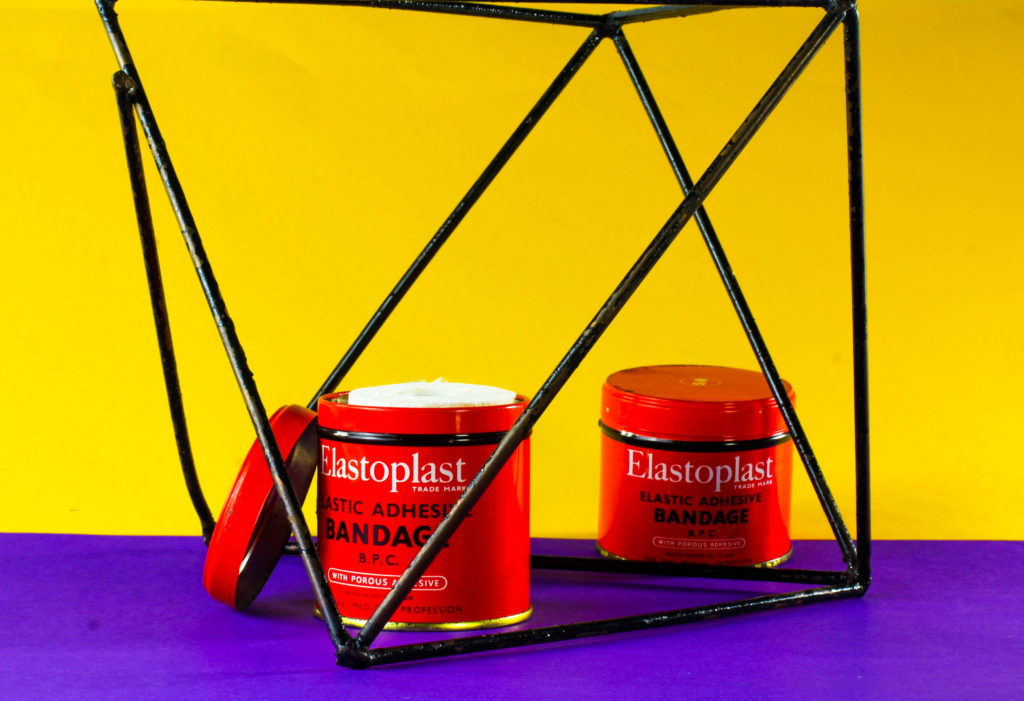
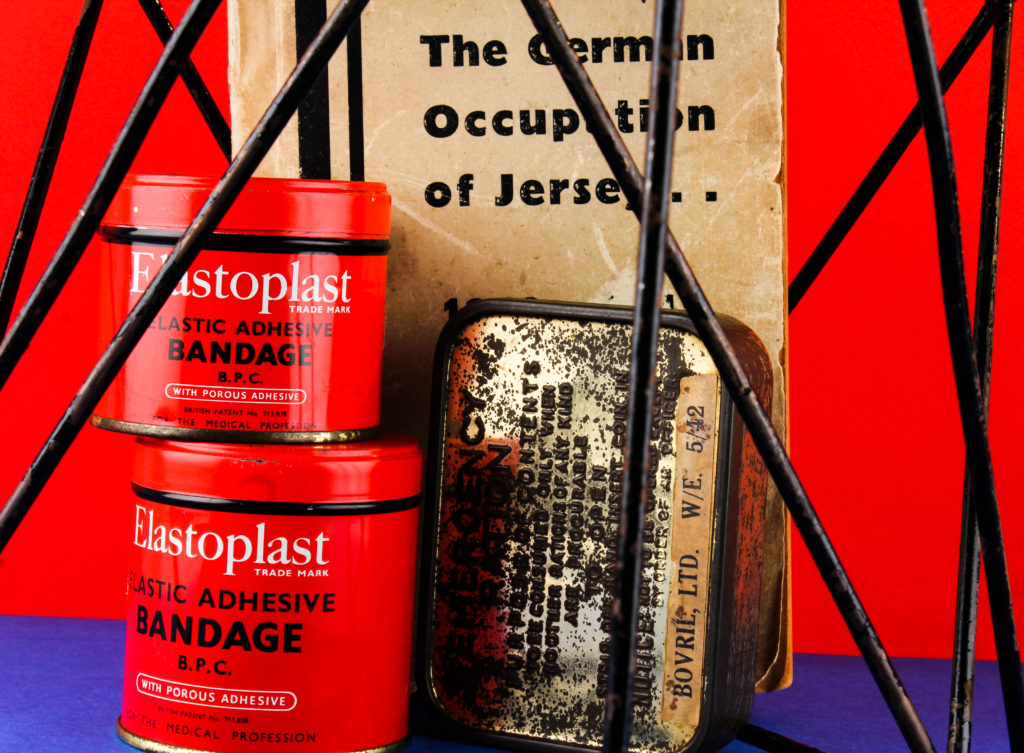
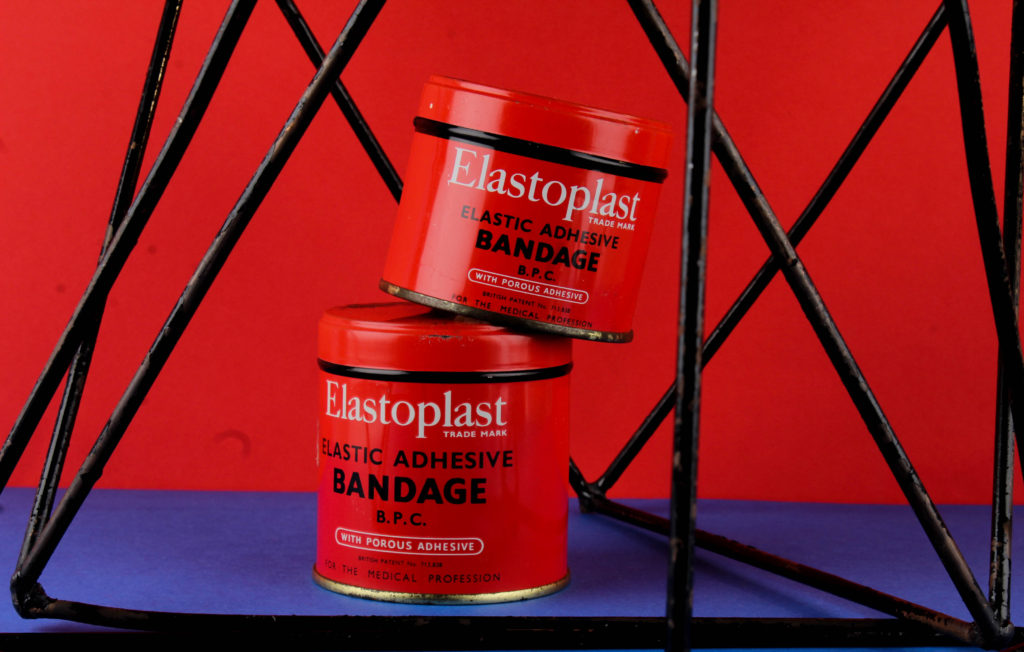
For my photo shoot, i am going to be taking images which have been inspired my Rafal Milach. This style includes bold coloured backgrounds, geometrical shapes as well as objects. I will use his influence of the coloured background as well as the geometrical shapes. These elements will be used to show off the occupational objects, provided by Jersey Archive. These objects will be things such as books on the occupation, old bike lights, bandages, and emergency ration pots.
I also plan to use a Canon Camera on a Manual Focus, set the ISO to 100, as well as the aperture to F16. These settings will allow me to adjust the depth of field, giving me more freedom with my photography. The white balance was on the daylight setting to allow more light in, as well as the shutter speed for the shoot being 0.6. The camera will also be connected to a transmitter which will set off a flash on the two soft box lights, positioned to each side of the objects.
Process of Elimination
Planning my Editing Process
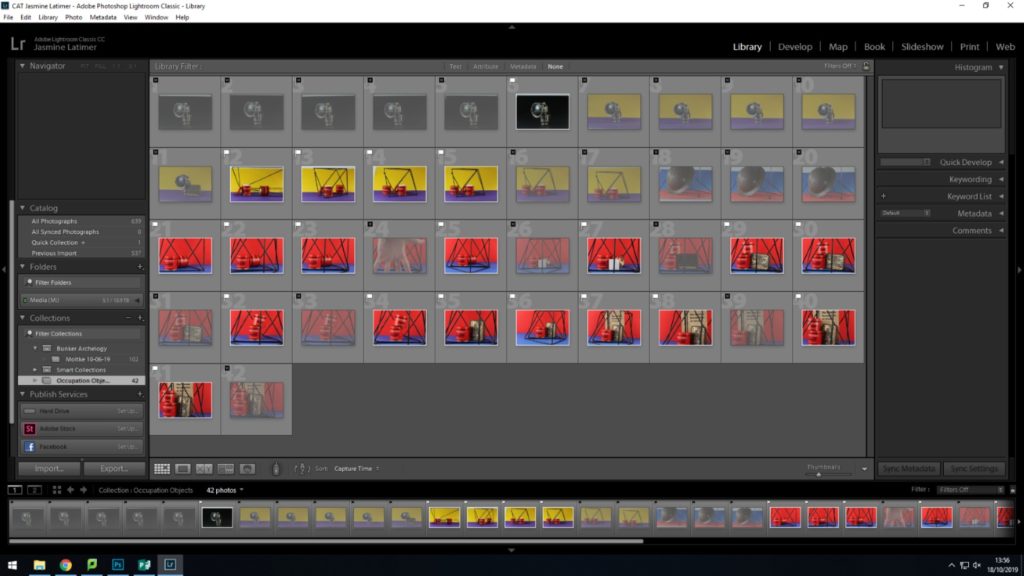
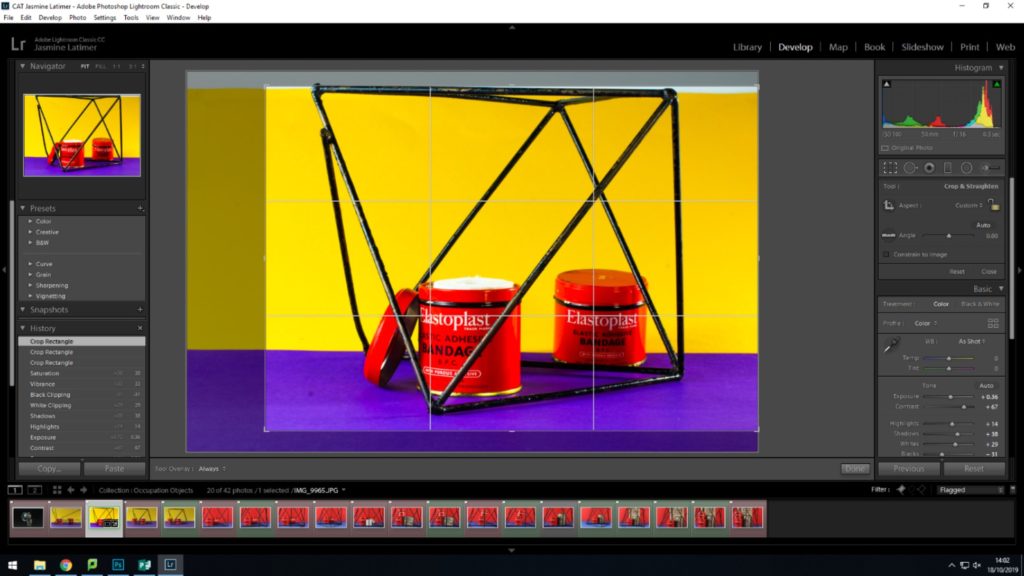
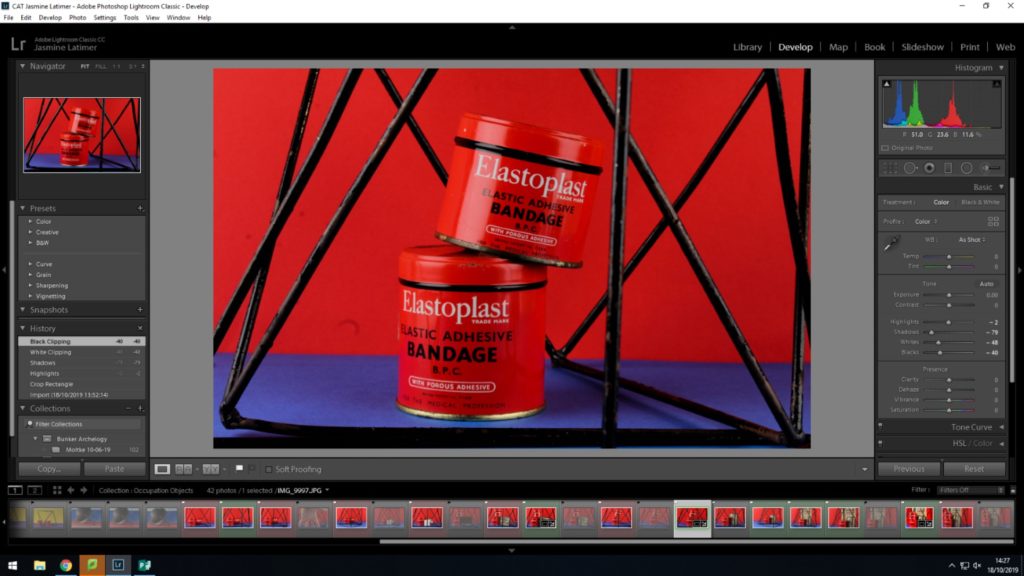
I am very happy with how my images turned out. However i do feel as if their are elements such as the placing of the objects, and how vibrant the images are needs to be edited in order to make a strong image. I will use Adobe Lightroom Classic to edit my images and will do simple edits. Screenshots of my process will also be shown.
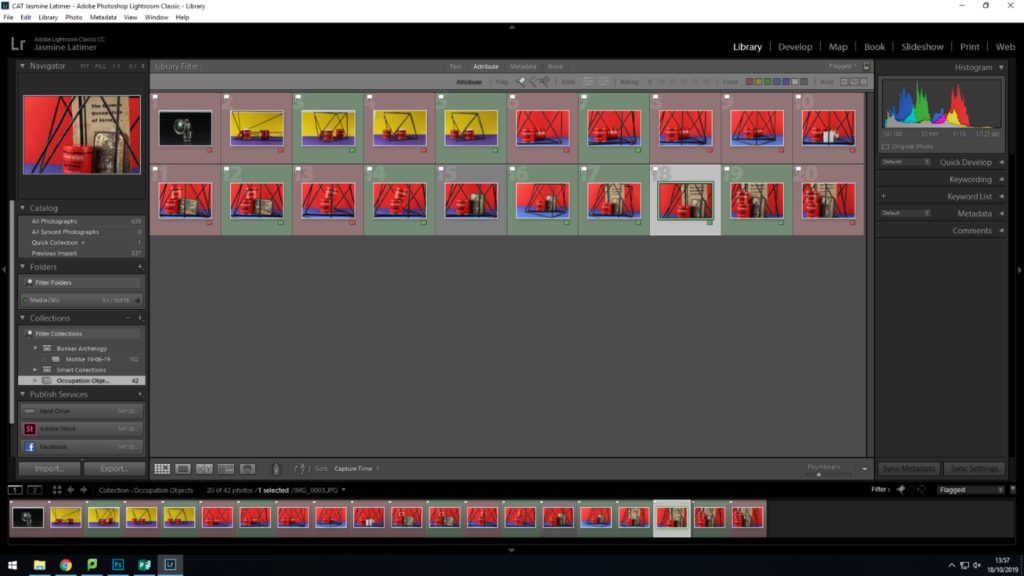
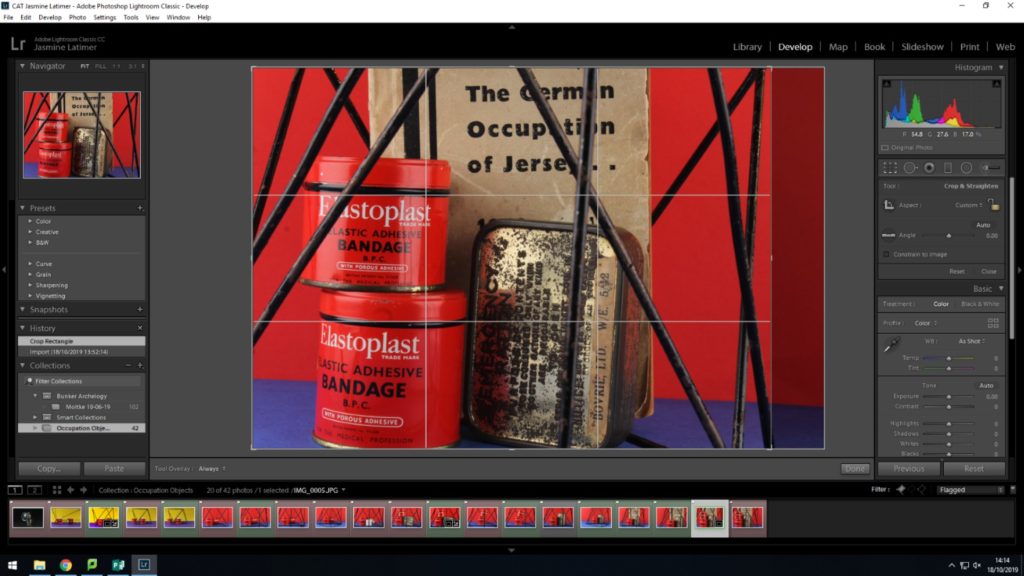
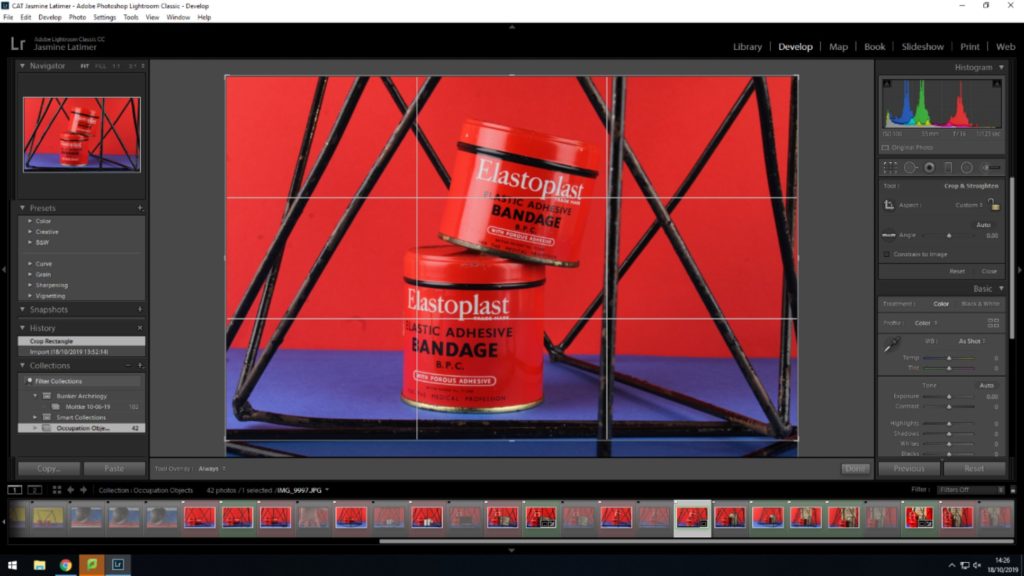
Editing my Images


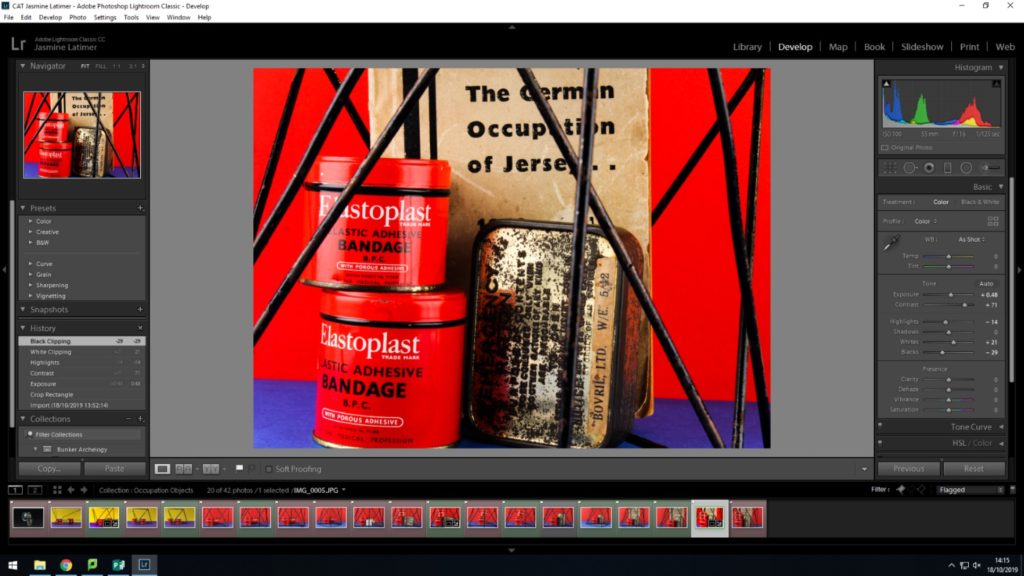


Best Edited Images
Technical Analysis- I used a Canon Camera on a Manual Focus, the ISO to 100, as well as the aperture to F16. These settings will allow me to adjust the depth of field, giving me more freedom with my photography. The white balance was on the daylight setting to allow more light in, as well as the shutter speed for the shoot being 0.6. The camera was also connected to a transmitter which set off a flash when i pressed the camera setting, allowing the objects to retain light.
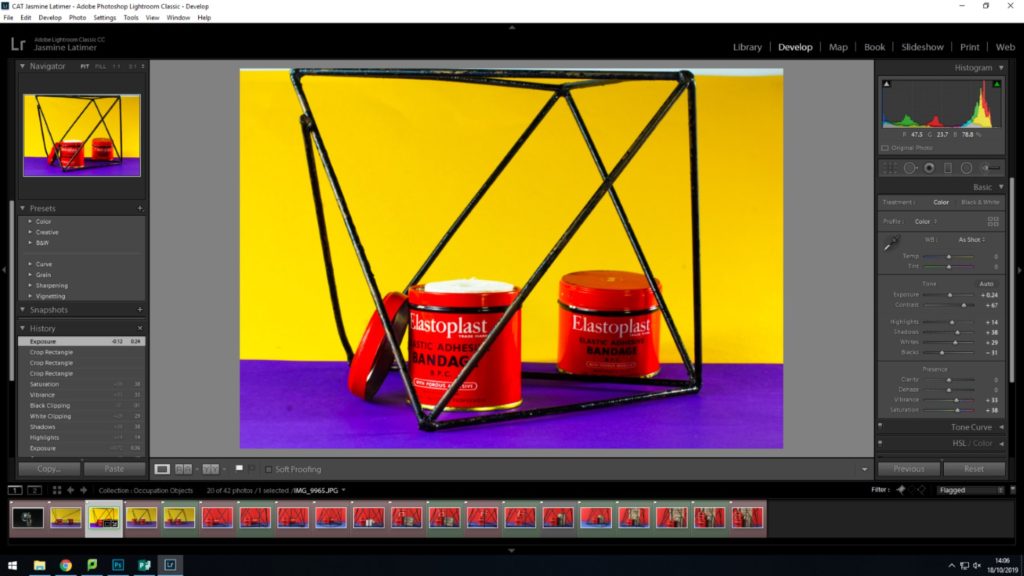
Visual Analysis- Visually we can see that the bold coloured colour background has been used which is a typical representation of what Milach used in his photos. Geometric grids have also been used to again show the influence of Milach’s style and they helped add detail to the image. We can see the objects from the occupatin have been edited so that they are seen to be in the middle of the pictures.
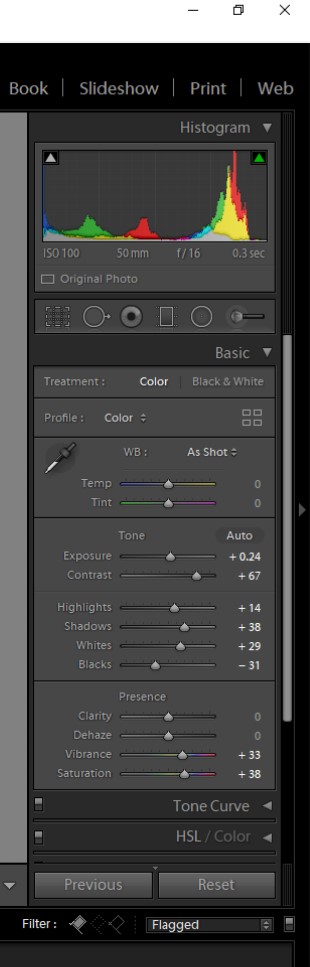
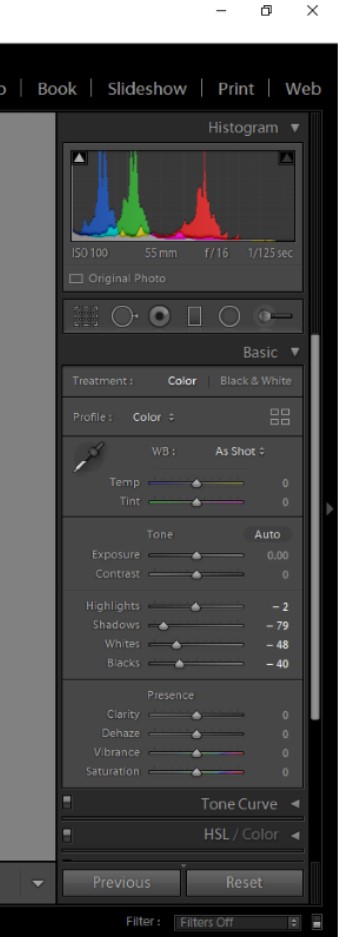
Edits- When editing the images, i ensured that the main focuses were in the middle of the image by using the cropping tool on Lightroom. I also changed simple elements such as the Exposure, Contrast, Highlights, Shadows, etc, in order to ensure that the picture was vibrant enough to be symbolized as a look a-like of Milach’s.
Comparing Unedited and Edited Images