Elements to include in Studio Shoot
In order to be fully prepared to take my images successfully in the photo studio, i am going to briefly look into the elements needed for a good image.
- Lighting– Different lighting points could be played with in order to get the image you are looking for. The lights used could be a soft light, spot light, ring light, hand above light etc..
- Recording- When recording/taking the picture, it should be taken from different angles so that you capture different view points of the object. Different angles could include from above, right side, left side, front, back.
Planning my photo shoot
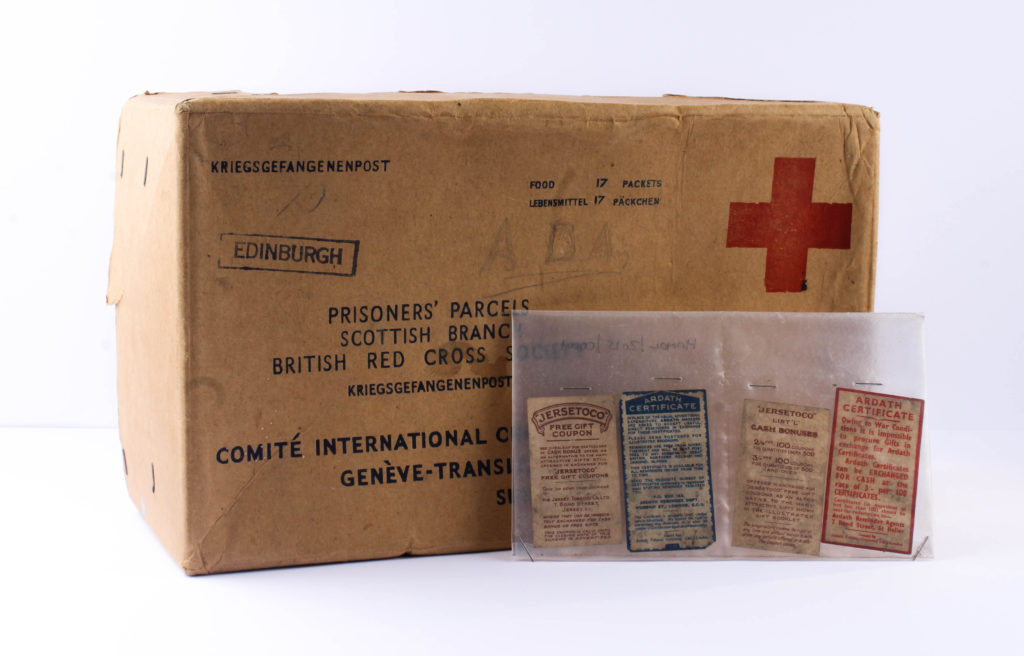
In this photo shoot I plan to take images of object from the Occupation in Jersey which has been gifted by Jersey Archive. Their are many objects to take images of and I will chose a few which stand out to me and which i find interesting due to them symbolising elements in the war. I will use two set ups for my photos, one for flat objects which will be done from a birds eye view, as well as a 3D objects which will be photographed straight on. The set ups will require different lighting points. The overall camera settings I have used is my camera is to be put to Manual focus, the ISO to 100, as well as the aperture to F16. These settings will allow me to adjust the depth of field, giving me more freedom with my photography. The white balance for both will be on the daylight setting to allow more light in, as well as the shutter speed for the 3D shoot being 0.6 and the birds eye being 0.5.
Straight on Angle Lighting Set Up
For this set up I used a fill light illuminating object with an extra tungsten light in order to reduce shadowing and to show the object clearly. I also used a continuous light set up which helped all the elements work together. I used a tripod also with a 50mm lens.
Birds Eye View Lighting Set Up
For the birds eye view set up, I placed two box lights on either side of the table, facing slightly towards where the objects would be sitting and used these as two flash headlights with a 2.0 power output. I used a transmitter on the camera which triggered the flash in the box lights to illuminate the object and capture my image. I was advised to use a pilot light to position my frame and cannot be seen in the image as it is hiding behind one of the box lights, and is located at the back of the table. This didn’t effect the colour of the image. I also used a tripod to hold the camera which I adjusted when needed.
Process of Elimination
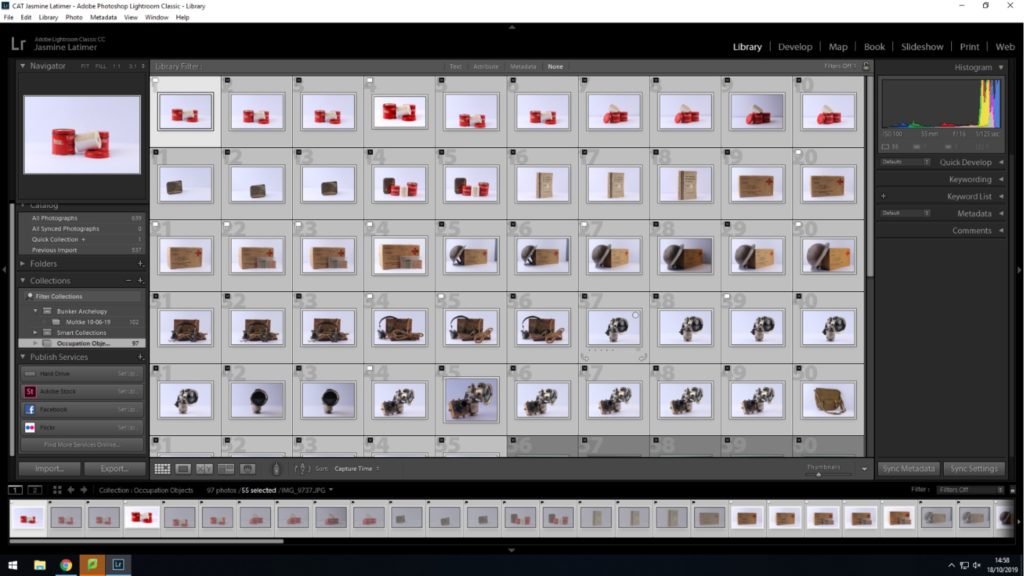
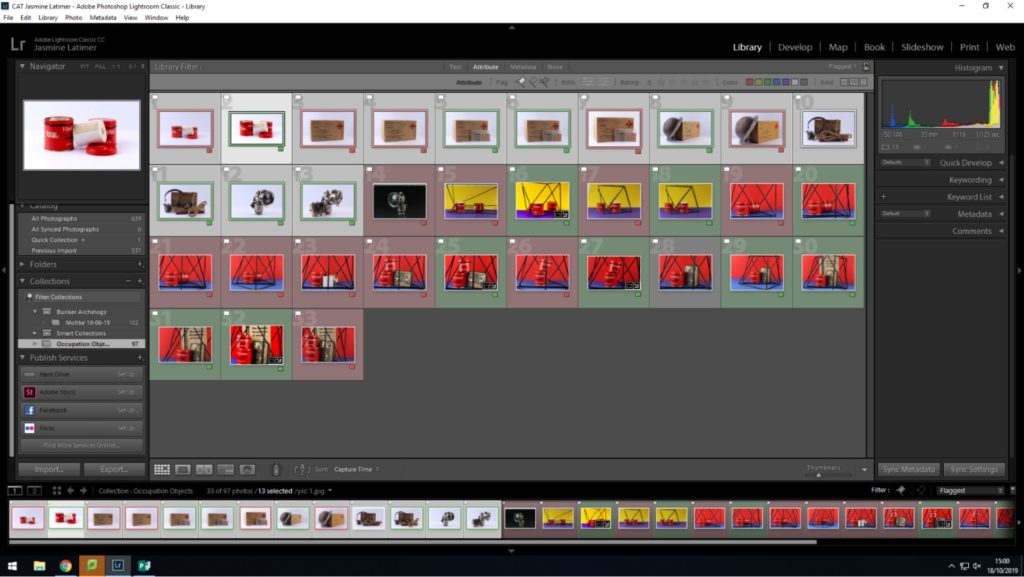
Planning Editing Process
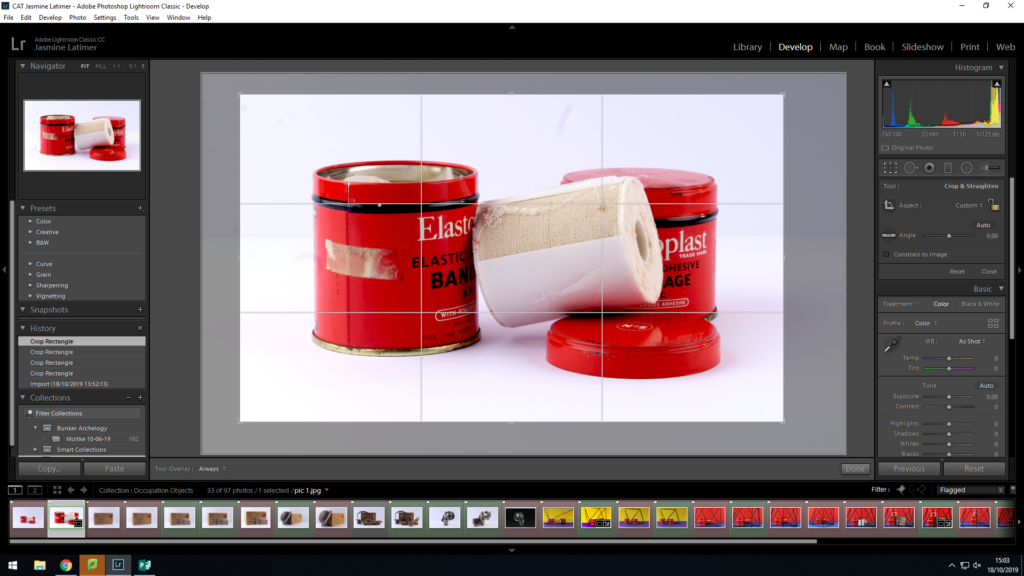
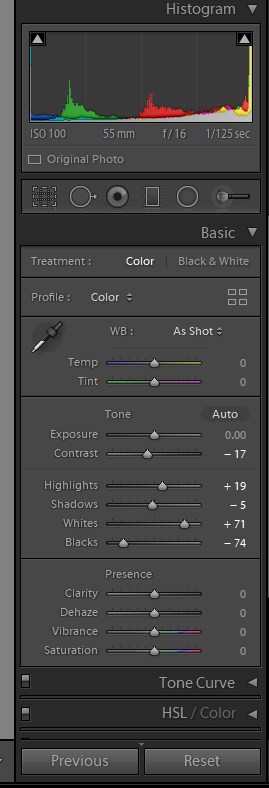
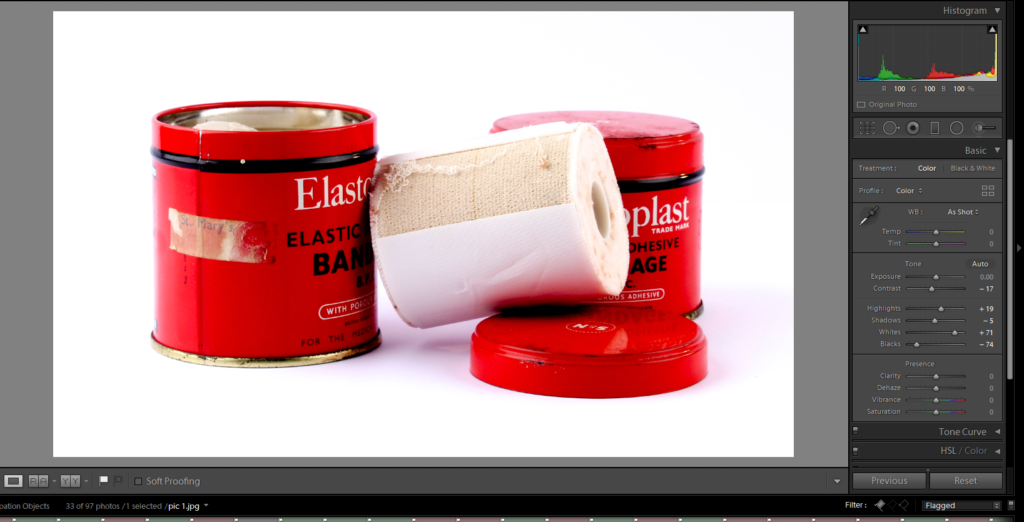
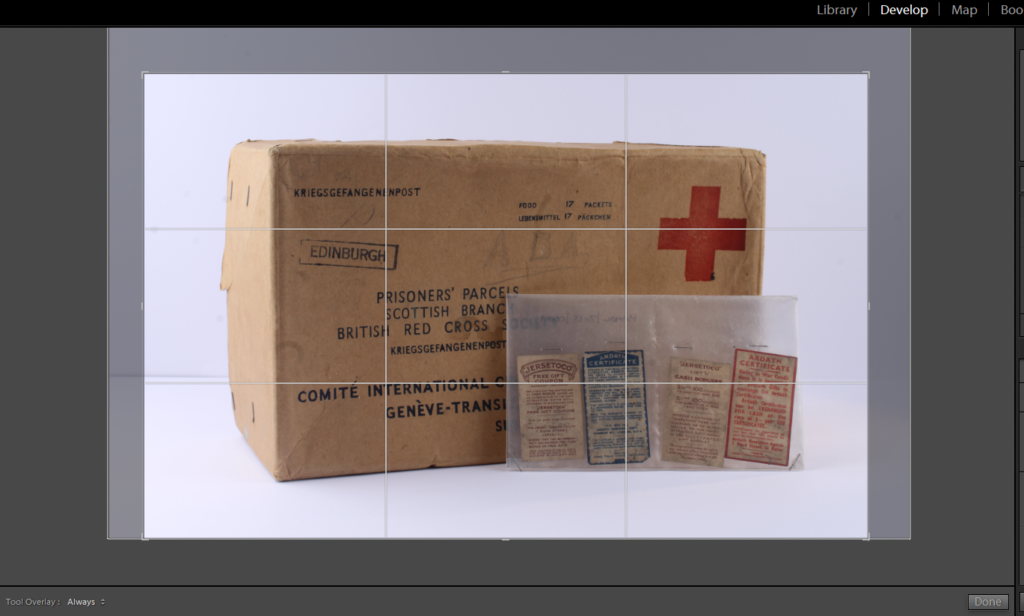
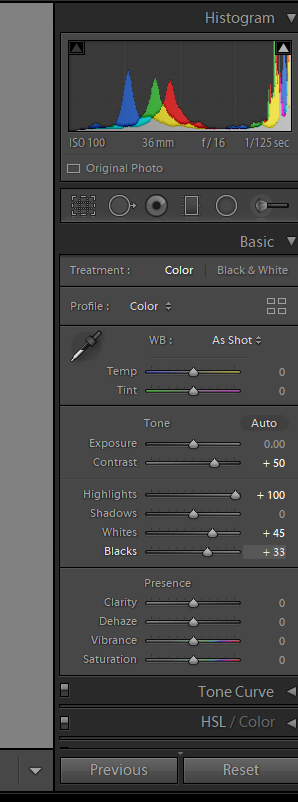
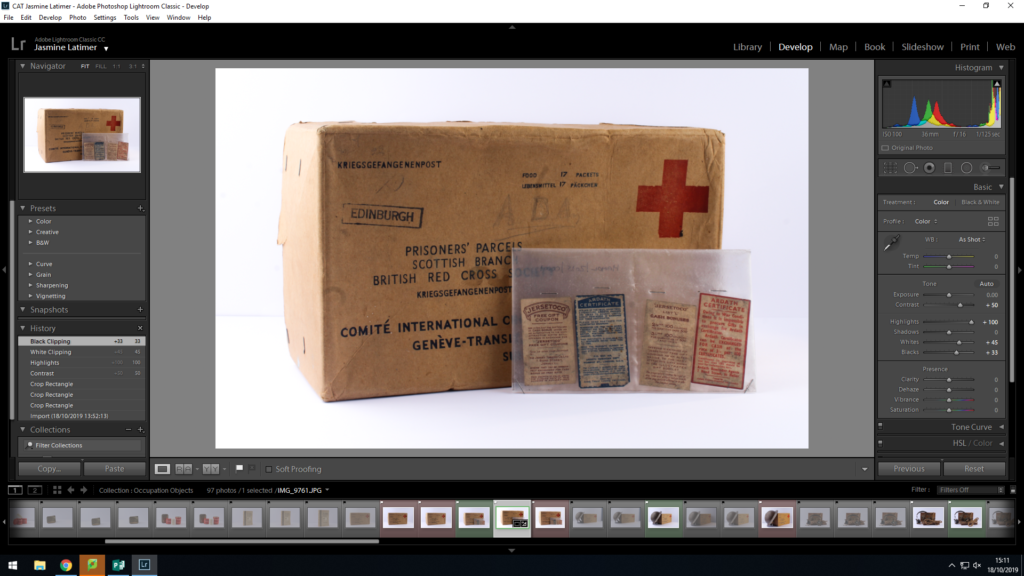
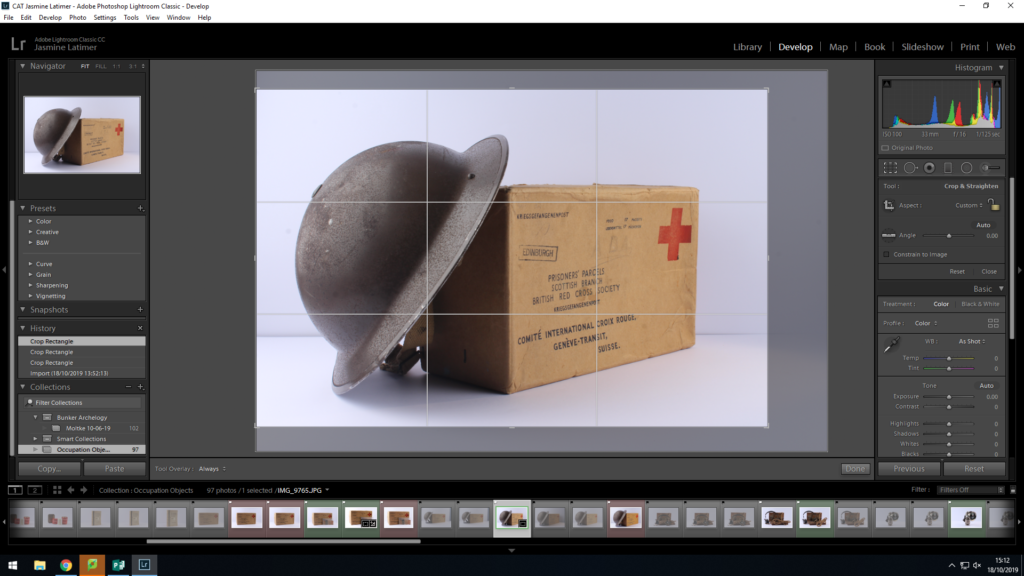
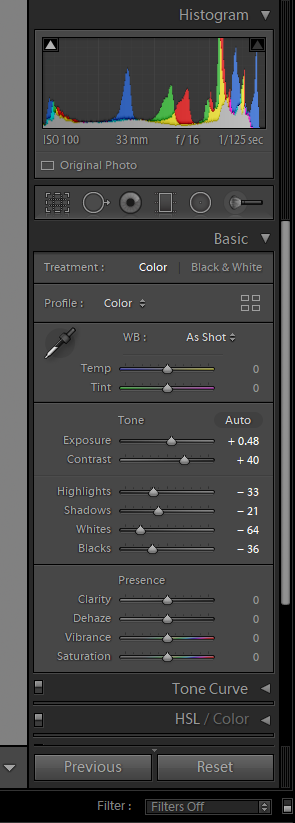
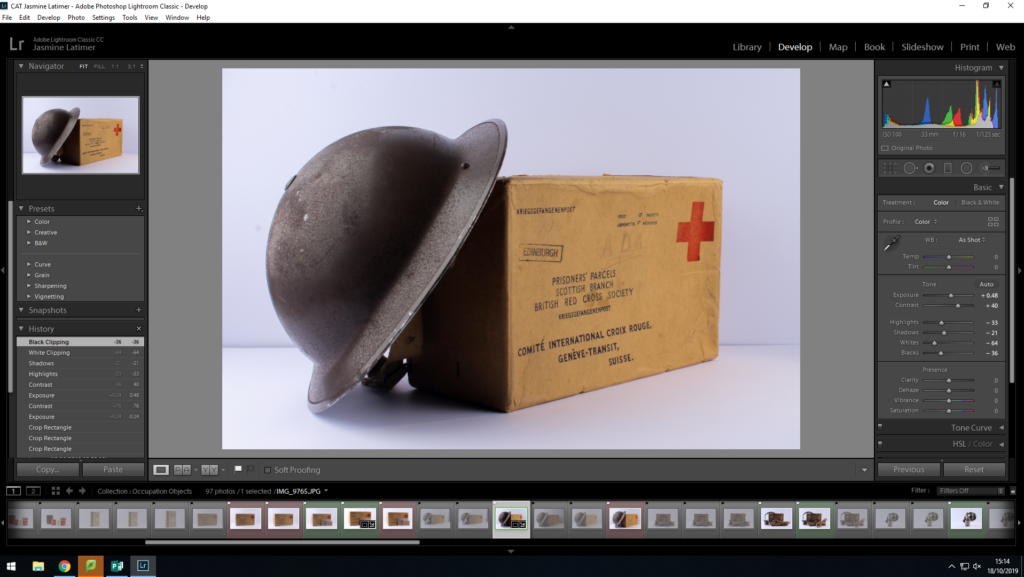
Through my editing process, i going to try to make as little edits as possible in order to ensure the pictures don’t look overally edited and still looks realistic. Therefore the edits i used were simple such as editing the contrast, highlights, cropping the photos etc.
Editing my Images

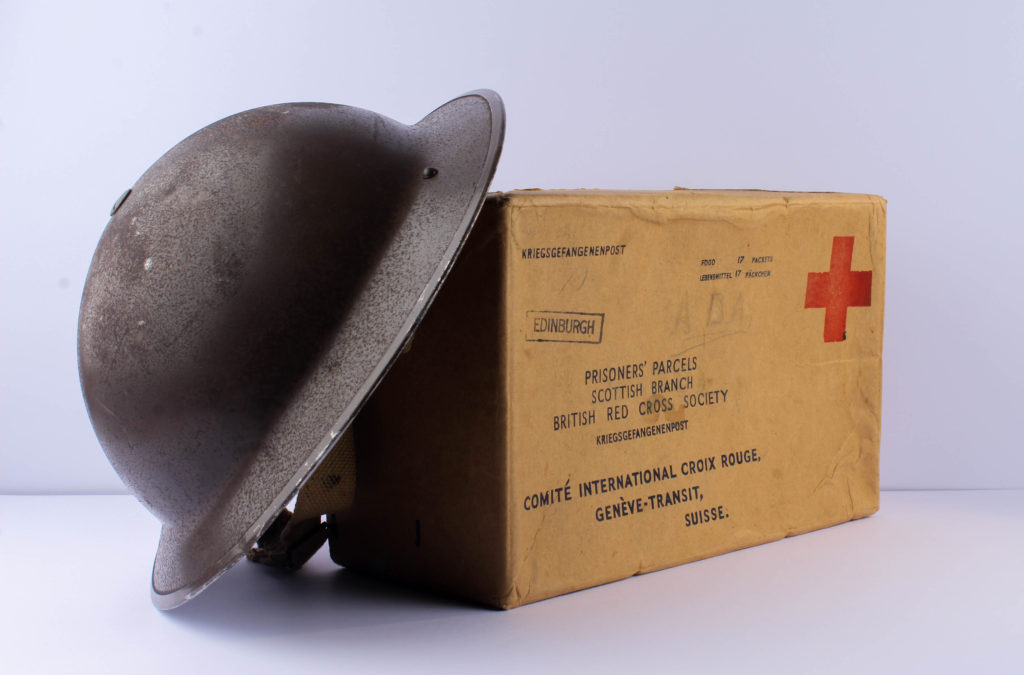
Best Finished Edited Images


Technical Analysis (X3 Images)- I used a Canon Camera on a Manual Focus, the ISO to 100, as well as the aperture to F16. These settings will allow me to adjust the depth of field, giving me more freedom with my photography. The white balance was on the daylight setting to allow more light in, as well as the shutter speed for the shoot being 0.6. The camera was also connected to a transmitter which set off a flash when i pressed the camera setting, allowing the objects to retain light.
Visual Analysis- Visually we can see that the objects photographed have been positioned into the middle of the photograph with the help of the cropping tool on Lightroom. There has been a plain white background used, helping the objects to stand out, and this works well with the flash of the soft box lights as it helped to create an aesthetically pleasing image.
Edits- When editing the images I ensured that the images still looked as if they were real objects and weren’t overly edited. This meant that I kept editing on a low and only cropped the image and changed simple elements such as the Exposure, Contrast, Highlights, and Shadows.
Comparing Unedited and Edited Photos
comparison
