For my homework into capturing the interior and exterior of my home and the area in which I lived, I experimented with a range of different locations and places in order to best present the place in which I lived, and to best show the personalities, attitudes and lives of the people I live with/around through presenting their houses and what is included inside/outside of them. I captured a range of photographs, ranging from my street to the inside of rooms and houses, in order to encompass both the “interior” and “exterior” aspects of the project.
Below my contact sheets can be found where I have made a selection of images to bring forward to the editing process:
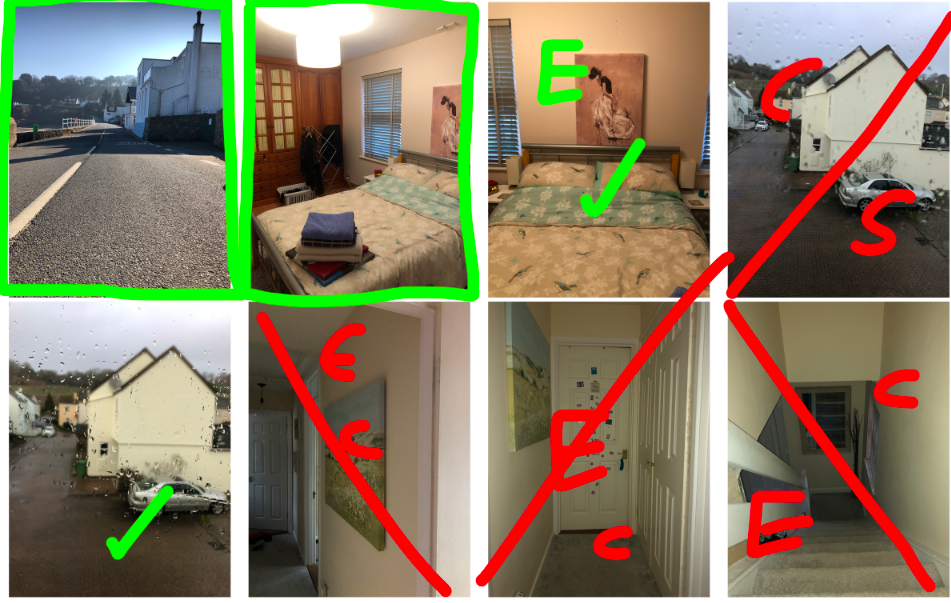
RED: line = rejected image, E = too over/under exposed, C = issue with the positioning of the camera/focus/technical issue

RED: line = rejected image, E = too over/under exposed, C = issue with the positioning of the camera/focus/technical issue
After selecting the images I wanted to use, I moved onto Photoshop to experiment with the editing of the images:
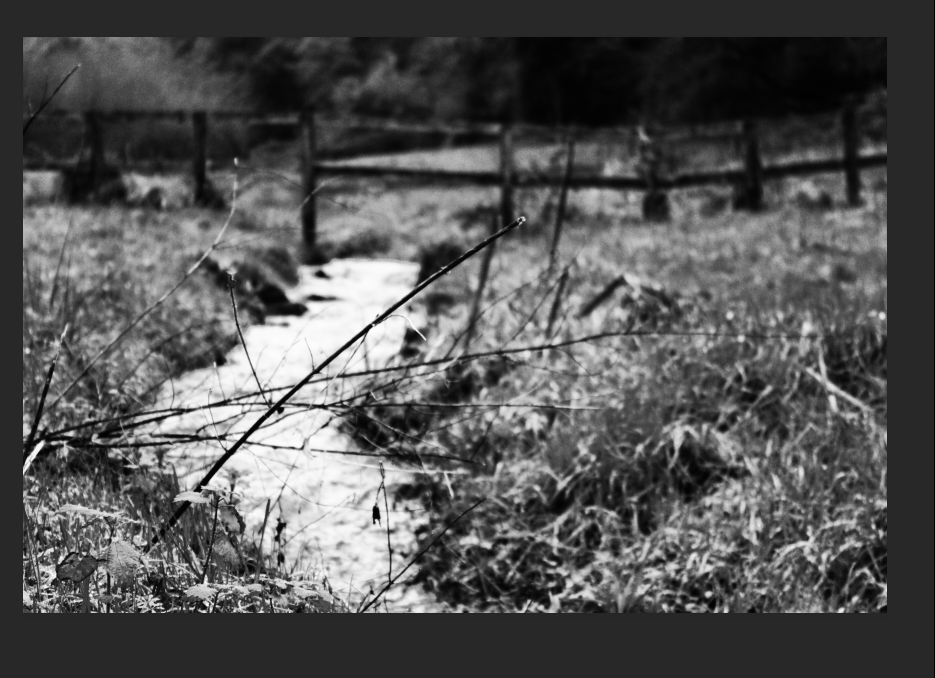
For this first image of the exterior of where I live, I decided to make the initial version of the image black and white as this gave the shapes and textures of the image more emphasis. After turning the image mono-chrome, I decided to further experiment with the image by adding a small amount of colour.
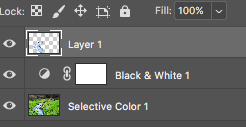
I used the lasso tool to cut around the water of the image, and copied this onto a separate layer so that I could edit the water and the background separately.
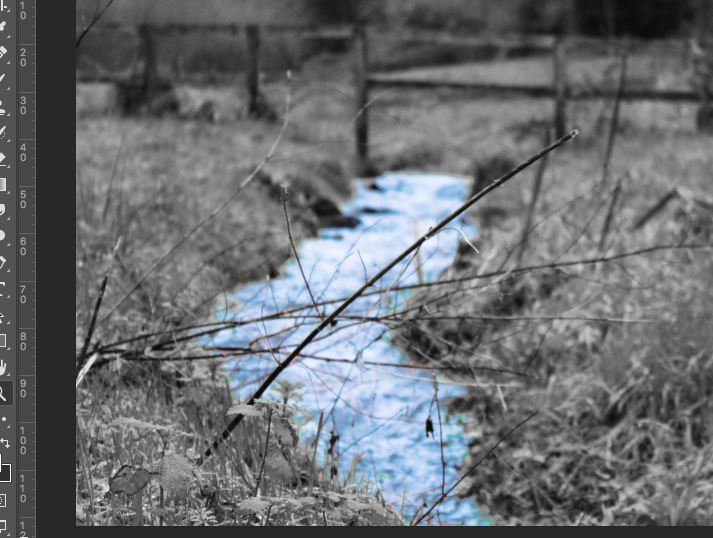
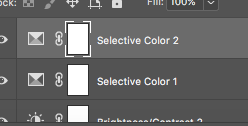
After separating the 2 components of the image, I used the “selective colour” tool to increase the cyan and blue colours of the image, giving the water a heightened colour which contrasted the monochrome background.
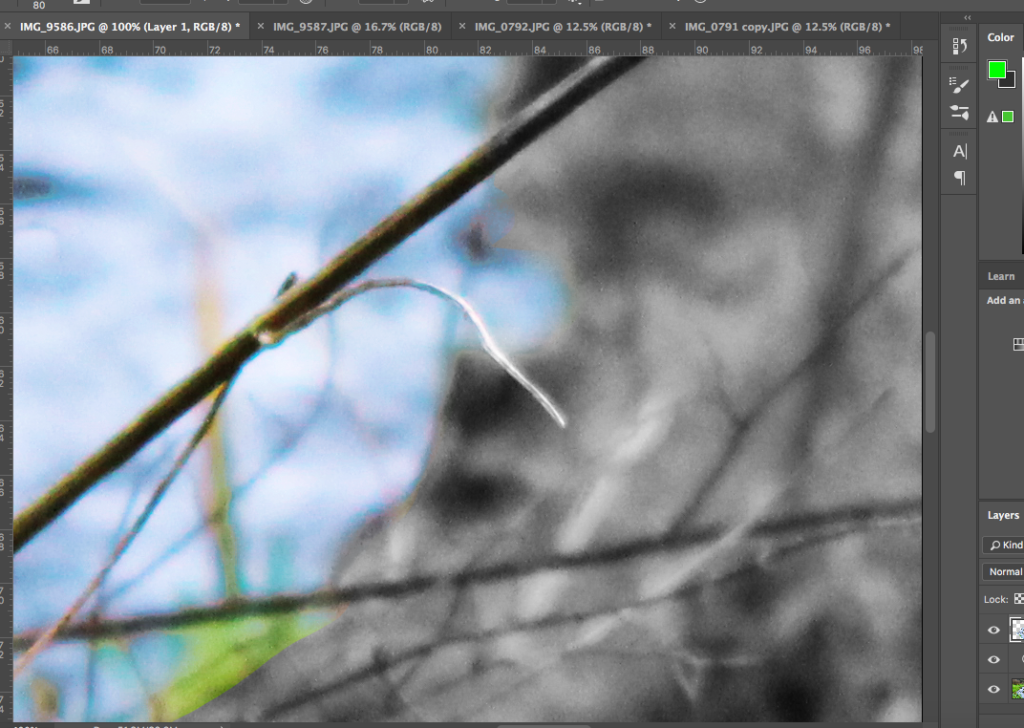
I then went around the edges of the water layer with a soft eraser tool to soften out the edges of the water, allowing them to blend more with the edges of the background. I also used the eraser tool to erase the green plants that I had accidentally included in the layer, which meant that the only thing left in colour was the water. I feel like this gave the image a cleaner look, with the blue water looking more “natural” as opposed to simply being cut and pasted over the background.
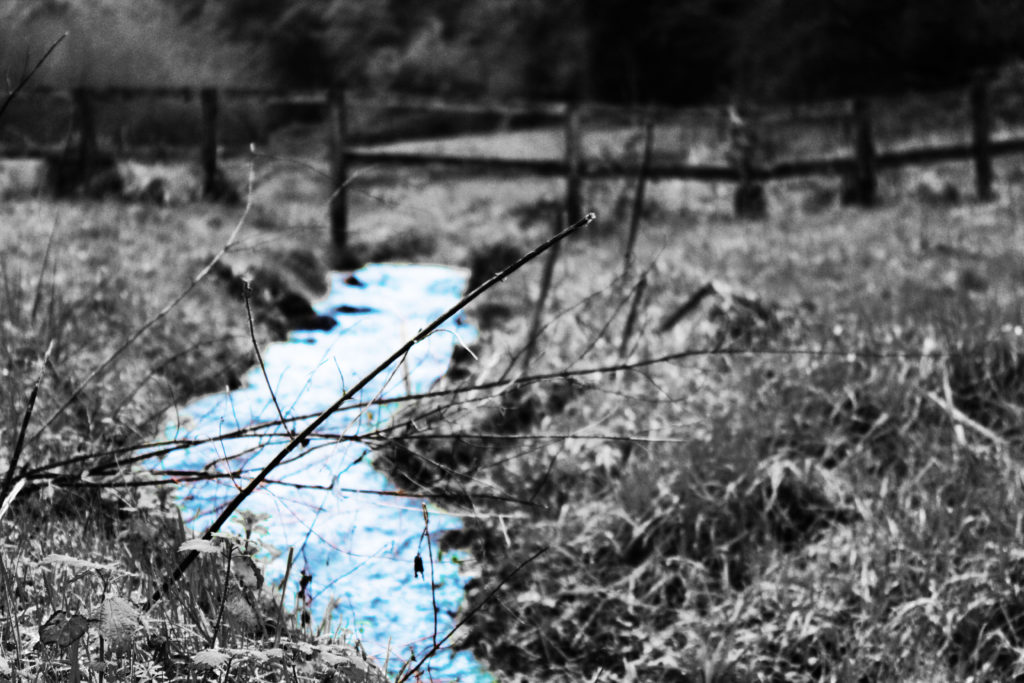
After heightening the contrast of the whole image after I had finished editing the water, the above was my final result. I feel like experimenting with the flash of colour in the water allowed for me to compare the 2 versions of the image, and in turn I was able to decide whether I felt the pop of colour was effective at drawing attention to the image or not.
Above are the 2 possible outcomes. After comparing the 2 visually, I decided that my final image would be the purely monochrome image. I found that experimenting with colour allowed me to gain a better understanding of what worked for the image, and I concluded that the simplicity of the monochrome image allowed for more attention to be drawn to the texture, shading and shapes of the surrounding without distracting the viewer with unnecessary colour.
After editing this first image, I went on to use the same sort of process (increasing contrast, using selective colour editing or using monochrome) to edit the remaining images. Below is an example of one of the interior images I used:
In order to create this image, I increased the contrast of the image, and used the selective colour tool to increase the brightness of the white in the background:
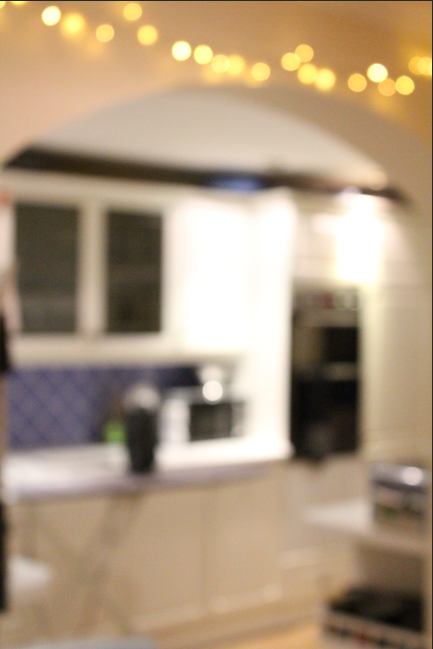
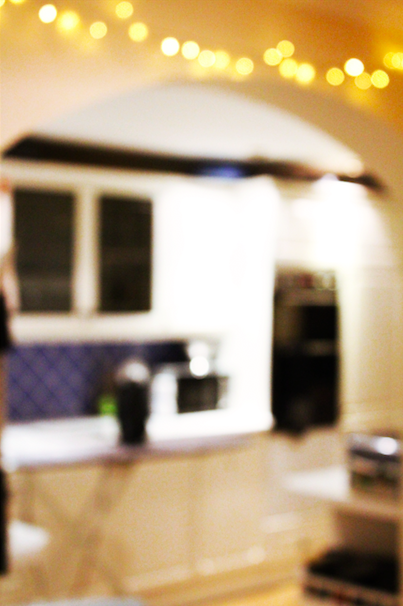
I decided to use this blurred image, as I felt it gave an intimate view into the interior of an individuals private life. The lack of focus allows for the interior to retain some privacy, and draws attention to the fact that the viewer is looking into the most private aspect of an individuals life; their home. I feel like although this image does not stick to the norms when it comes to its visual and technical layout, the concept behind the image fits the title of the project well, and therefore I decided on it as a final image or this reason.
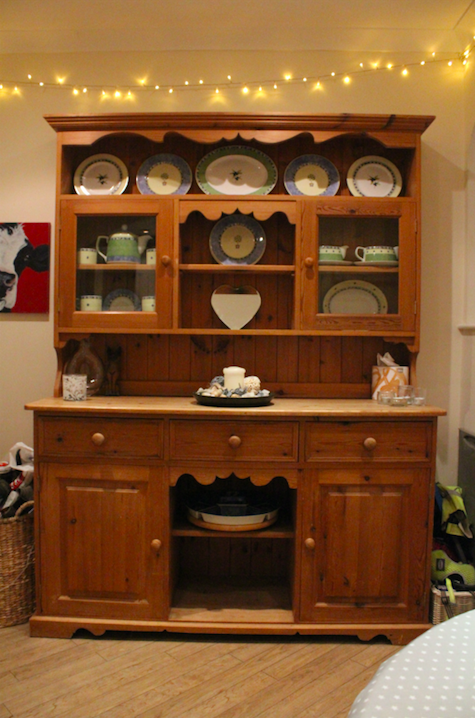
I then decided to edit the image which I originally decided had an issue with its perspective. I used the photograph of the bookcase which I had initially taken using a handheld camera, and thus the image came out with the bookshelf appearing uneven and lob-sided, as shown underneath:
I took the image to Photoshop, where I turned the image monochrome (as I disliked the yellow tint to the image and felt the textures could be best emphasised using black and white) and then proceeded to alter the perspective of the image using CMD-T in Photoshop:
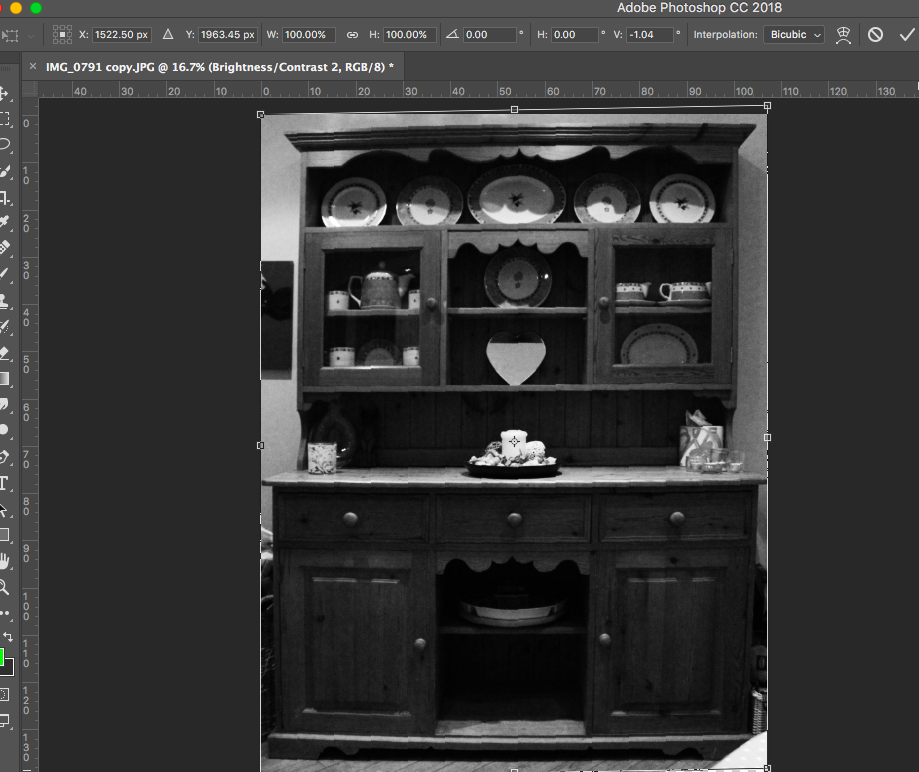
This allowed me to better straighten the cabinet, and thus I created a much more in-line, symmetrical image.
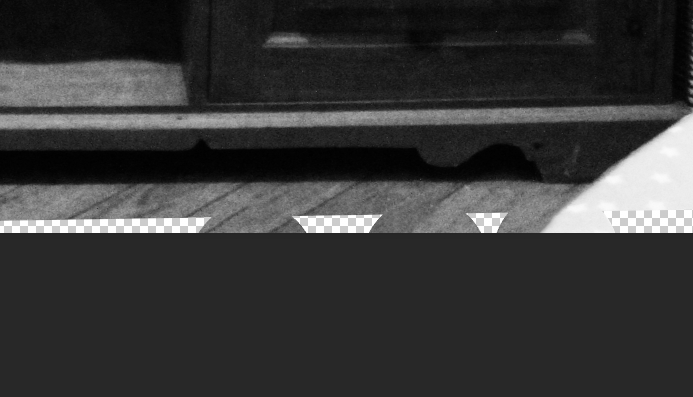
I then had to fill in the gap at the bottom of the image, left from where the image had been lifted due to the perspective change. To fill this, I used the spot healing brush tool, and allowed the software to fill the gaps in:
I then decided to remove the table corner in the bottom right of the image which distracted from the cabinet itself, and to do this, I also made use of the spot healing brush tool:
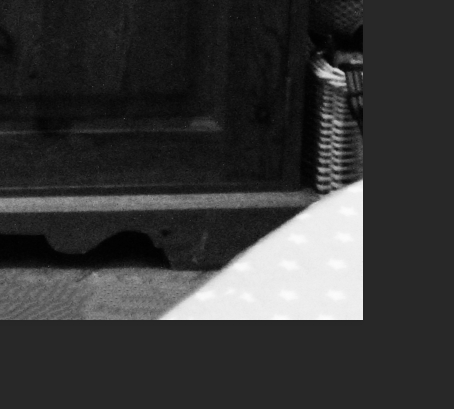
Before 
After
After this editing was complete, this was my final product:
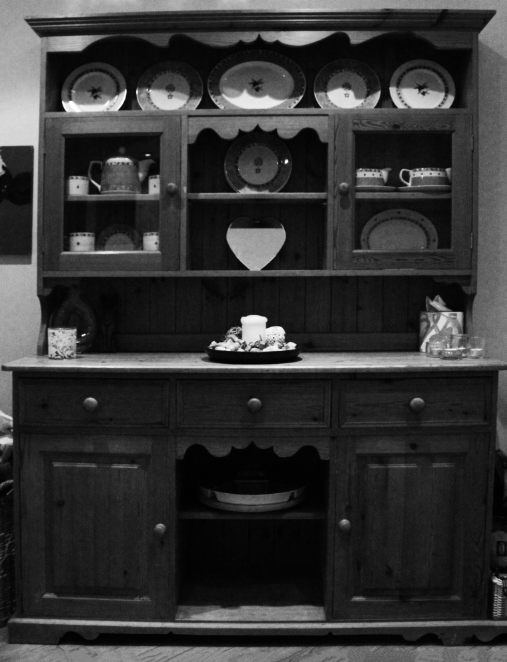
I followed the same sort of process for the rest of my images, and developed the following as my final images:
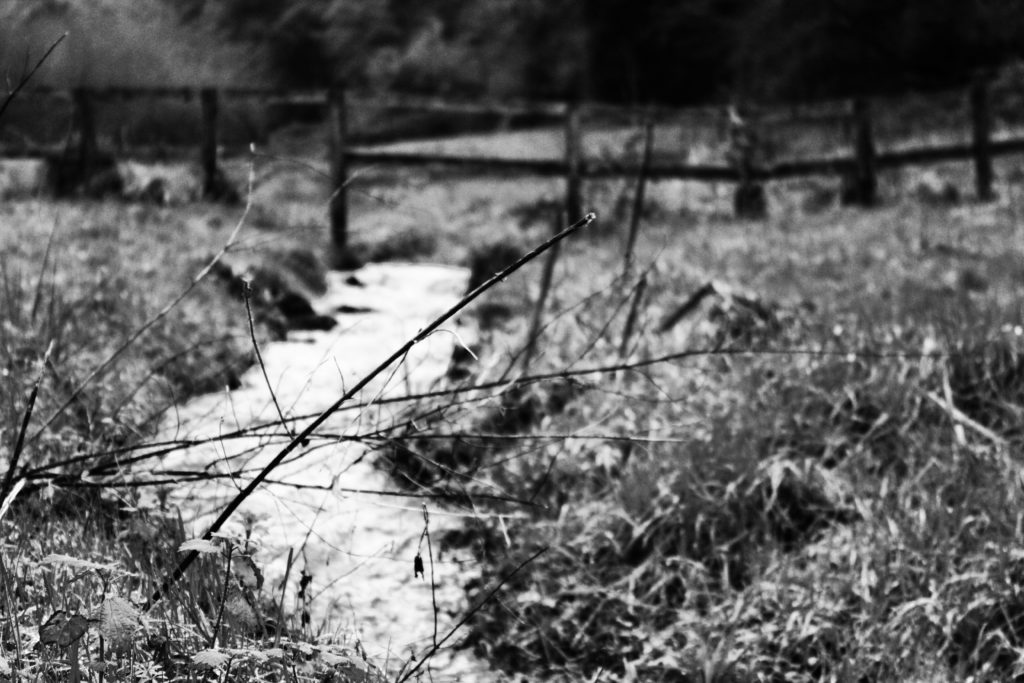


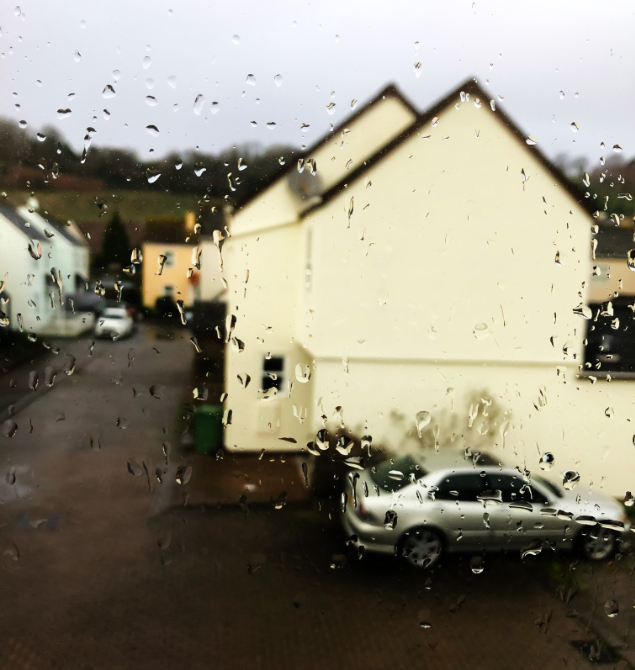
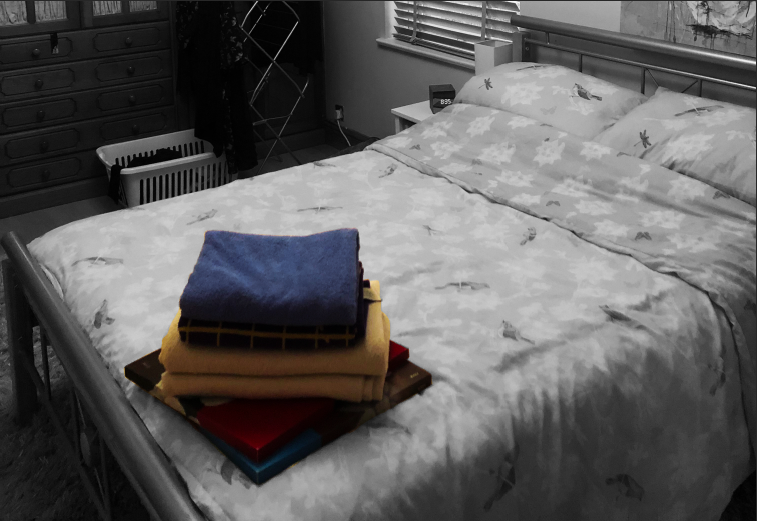
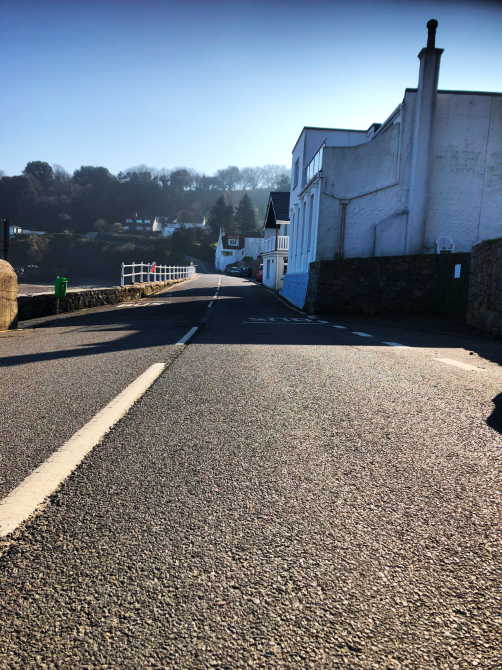
I feel like my final images for this project reflect the meanings of both “interior” and “exterior” well, with a range of images for each criteria. I feel like my final images give a feel and understanding to the viewer of the public and intimate aspects of the lives of individuals living in the houses and areas that I photographed, and the intimacy of rooms such as the bedroom and kitchen allow for the viewer o gain an understanding of the personality of the people living inside and around these rooms. I feel like the editing process allowed me to emphasise certain aspects of the images, and downplay others, which I felt was an effective method for drawing attention to certain components of the image which helped to better convey the meaning of the image.

