
Before going into the studio to take photographs of still-life objects that originated during Jersey’s Occupation, we were first given an explanation of how the lights, set and studio itself was to be laid out, along with the camera settings we would need to use to compliment the lighting.
Firstly, we documented the layout of the set, which consisted of a curved white sheet of reflective plastic propped up by a frame. The sheet was curved in order to blur any possible corners so that the background looked like a single toned white background, therefore making sure not to divert any attention away from the subjects, and to make sure there was no cut/line in the background.
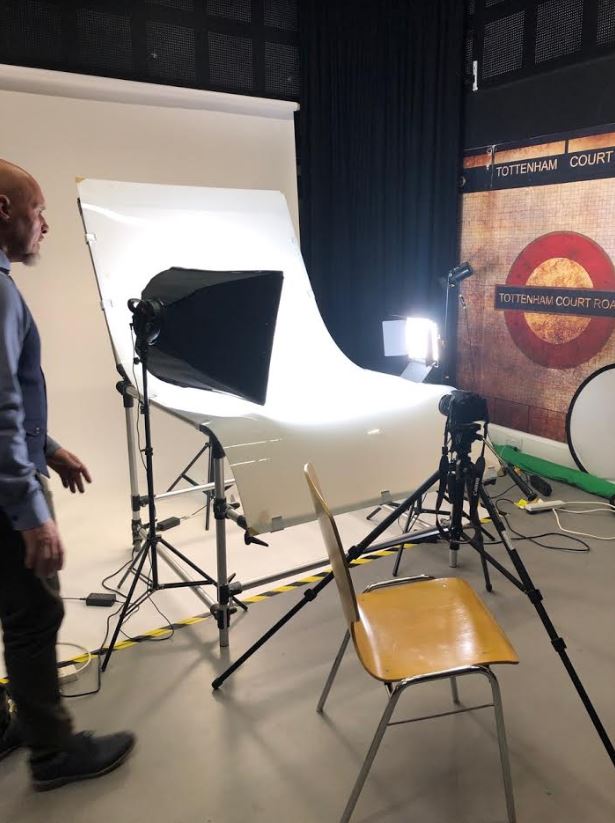
3 lights were used to light the subject in the centre; a filler light, a key light, and a back light. The key light was the most important light, as it highlighted the form and dimension of the subject, and provided a basis for all other lights to be added on afterwards. The filler light was used to reduce the sharp shadows created by the key light, and therefore reducing the harsh contrast and making the subject seem more realistically lit. Finally, a back light was used to slightly highlight the subject from behind to allow for an increase in depth in the image.
The camera was set up on a tripod to ensure that I did not create a blurred effect on the image due to camera shake, and a remote switch was plugged into the camera in order to take the photo while not having to touch the camera itself (meaning the camera remained as still as possible).
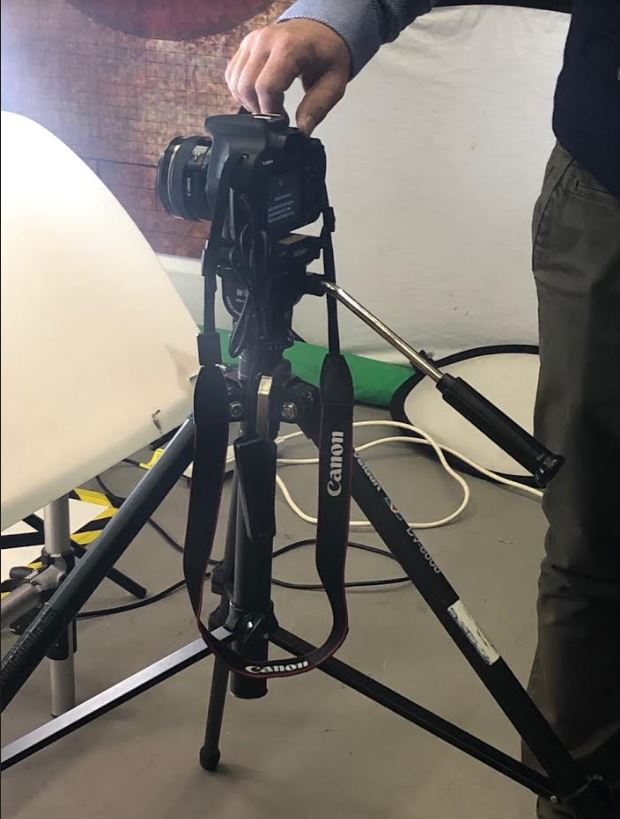
The camera settings were altered to give the best possible outcome of the image. The camera was set to manual (to allow for manual adjustments of zoom and focus) and the white-balance was set to Daylight, in order to compliment the blue-light setting of the filler light. The IOS was set to 100 due to the light intensity of the studio, and the shutter-speed was set to 1/4th of a second (although after a number of attempts, this was altered to 1/2, 1/8 and 1 in order to see the difference in the images). Finally, the aperture was set to F16, in order to slightly reduce the amount of light coming into the lens (due to the intensity of the light in the studio itself),and the shutter-speed was set to 0.5/0.8 (depending on the reflection of the objects).
After the camera settings were adjusted, it was possible to take the photographs of a range of subjects and objects loaned from the Jersey Archives, including many items originating from 1935-45.
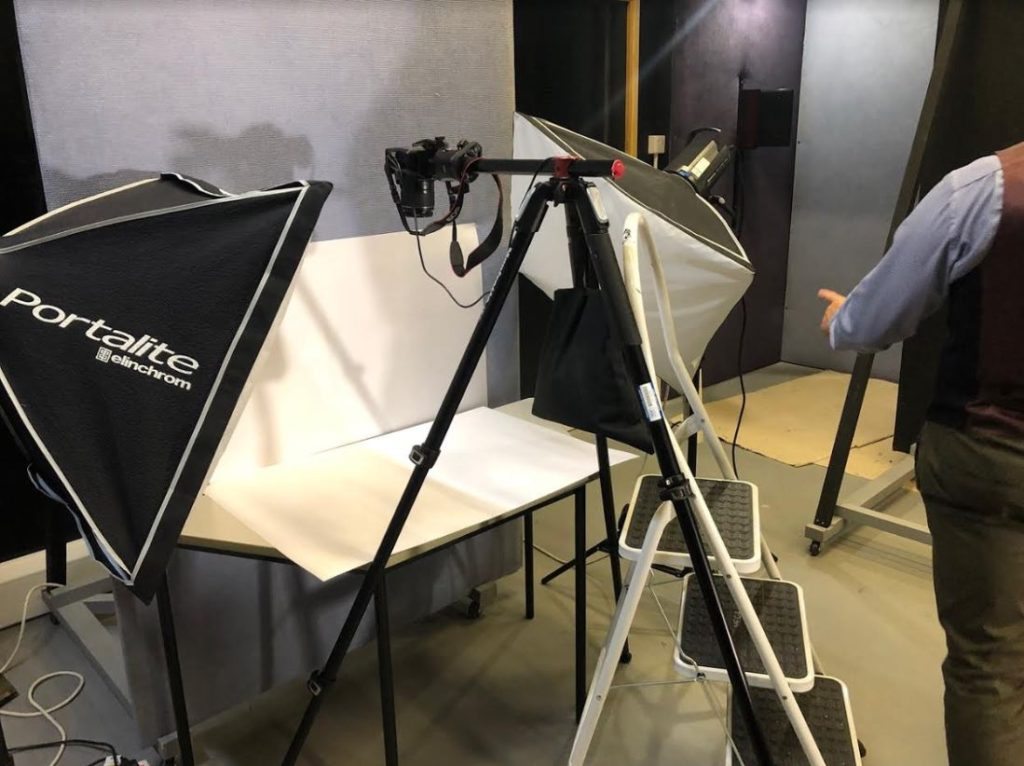
For the second setup, a tripod was positioned horizontally over the objects (placed on a white table) in order to give a birds-eye-view image of the objects straight on (this was a better option for images with slightly with less depth (such as books and ration coupons). A weight was used on the other end of the tripod in order to balance the structure, and the images were also taken using a remote in order to keep the camera as stationary as possible during the photo.