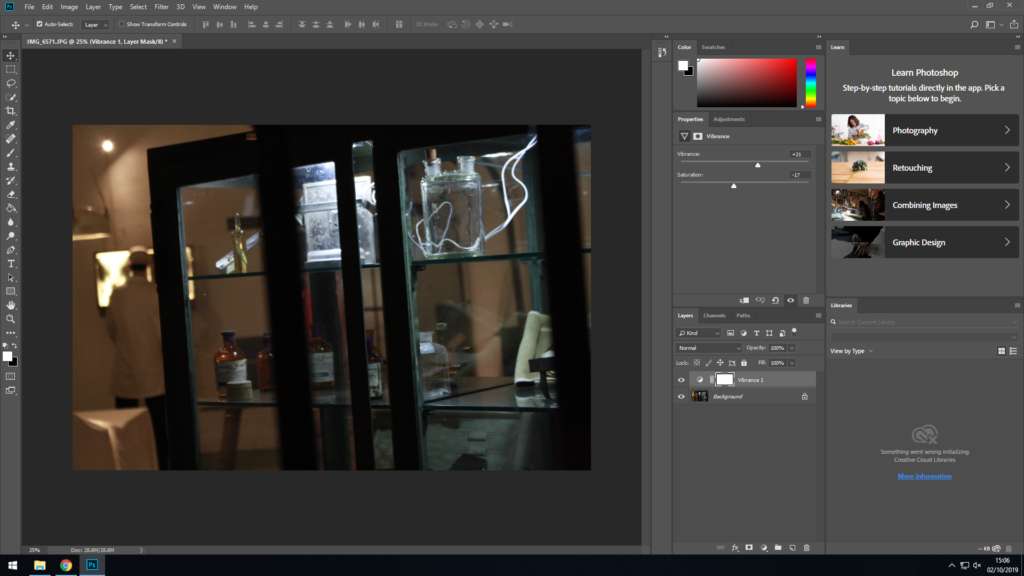
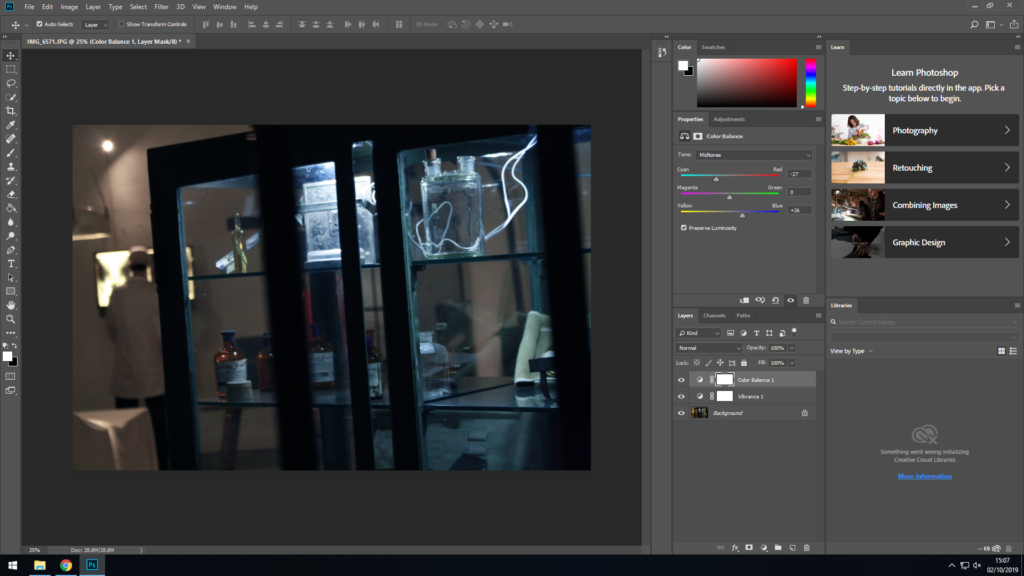
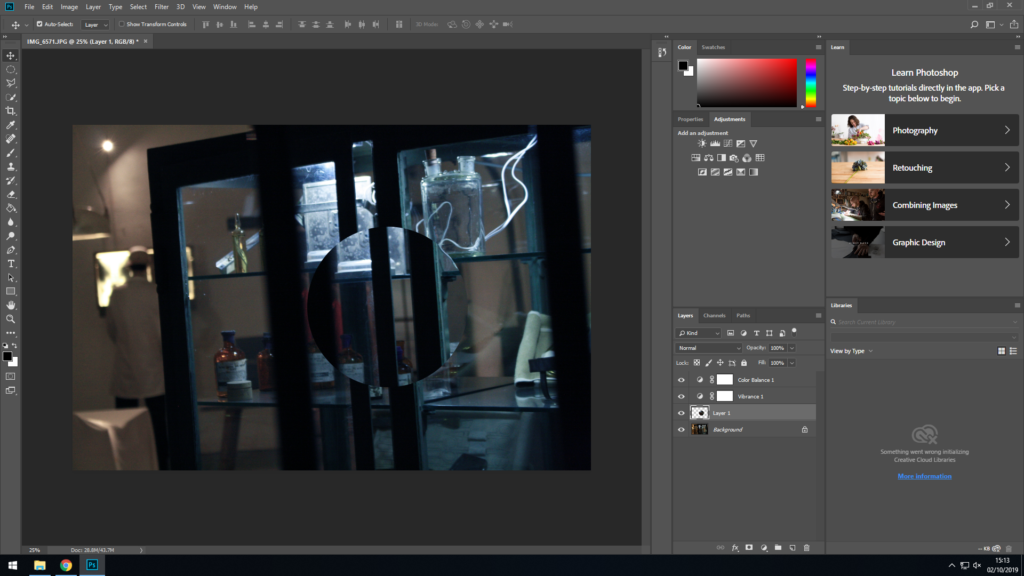
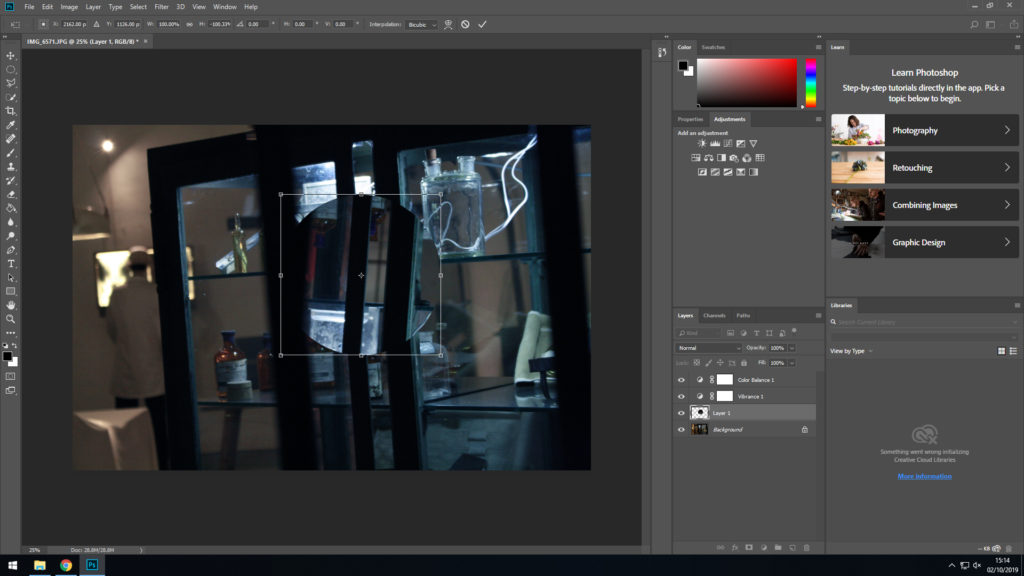
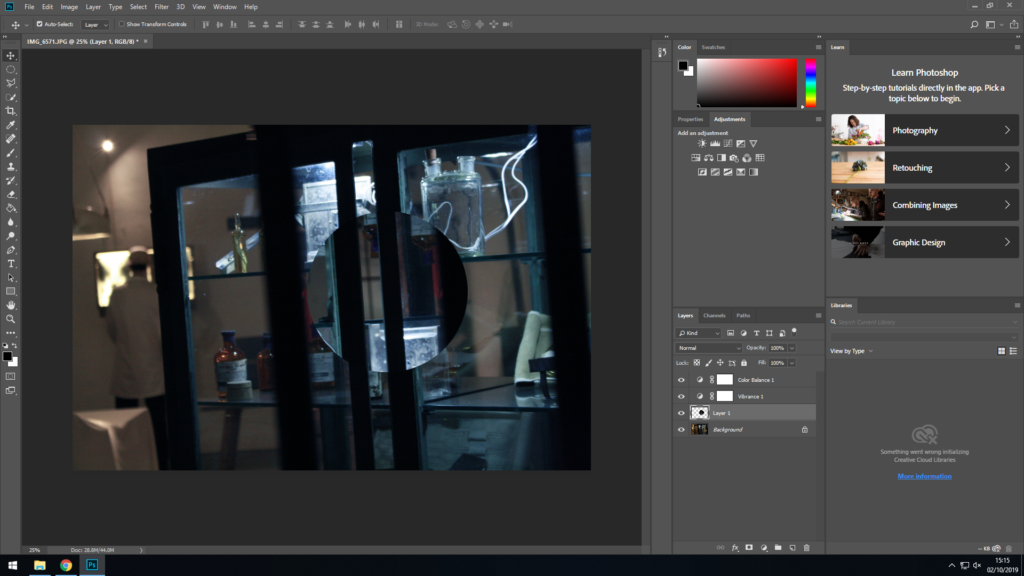
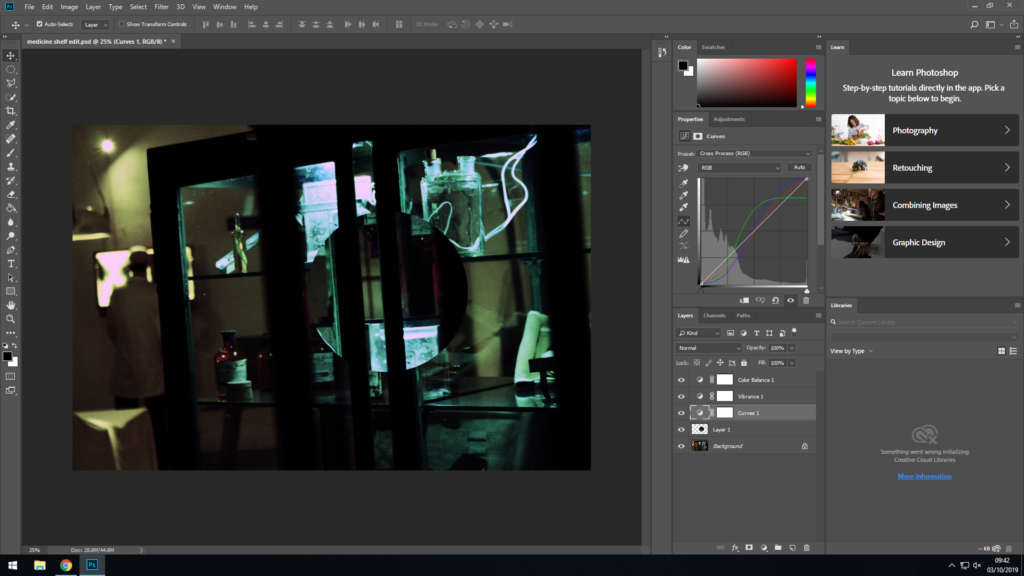
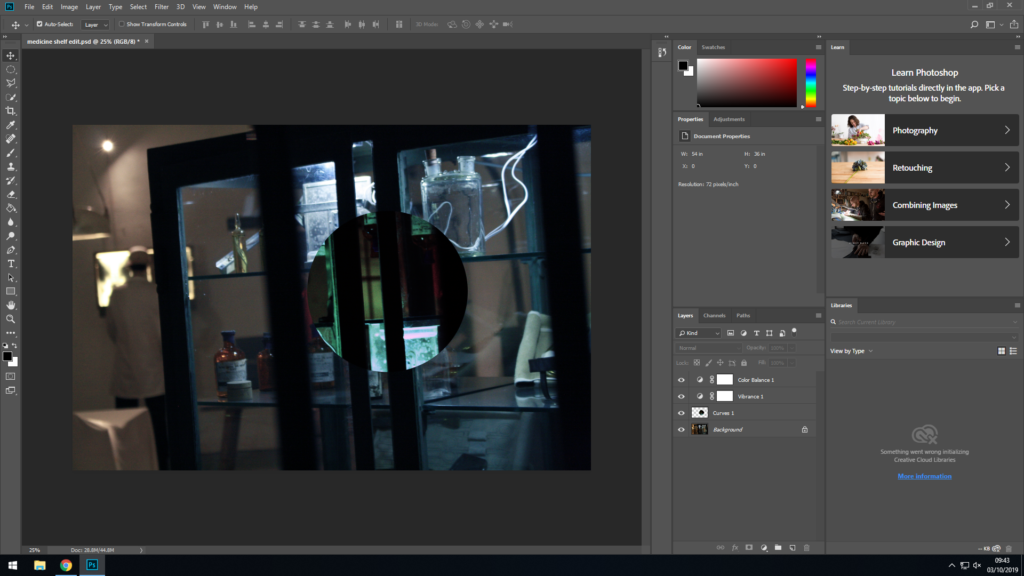
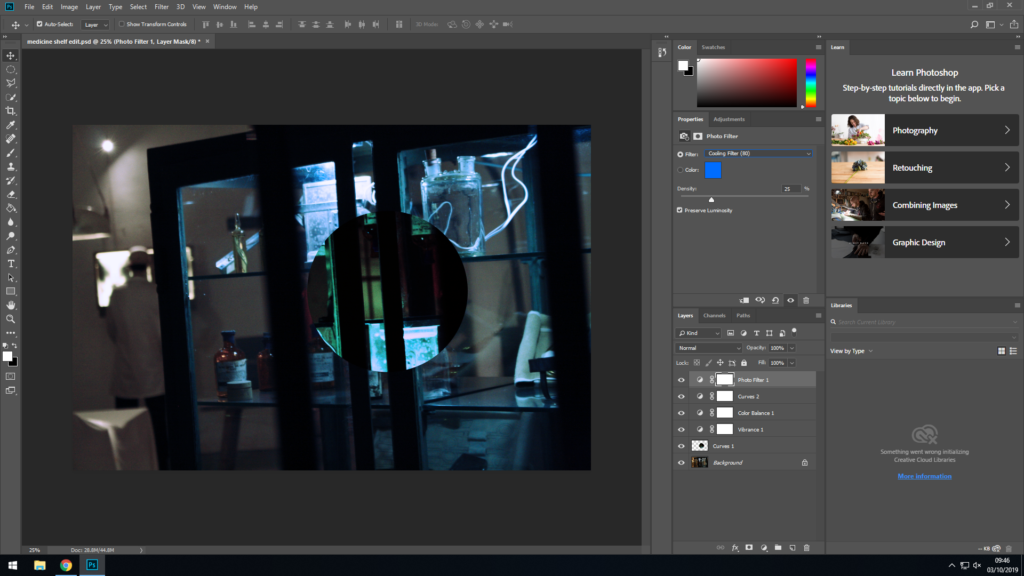
This is the photo before any editing.First I applied the Vibrance filter where I increased the vibrance and lowered the saturation.Next I changed the colour balance, I changed the balance more towards cyan than red, and more blue than yellow; leaving the magenta-green balance untouched.Here I have selected a circle using the eliptical marquee tool.Then I copied the selected area and created a new layer. I kept it in the same place, only moved it for this screenshot in order to help visualize the selected area.In these two screenshots I have flipped the selected area horizontally, then vertically.It was important to flip the area in both planes in order to keep the strong lines of the shelf going in the same direction as in the rest of the image.Next I applied the Curves filter and selected the ‘Cross Process’ preset. This gives the photo a sinister effect which I am looking for.Next I merged the filter and the layer of the selected area in order to only apply the filter to that area.Here is the effect once the layers were merged.Next I applied the Curves filter and selected ‘Cross process’ again, but this time set it to a low opacity (at 15%) and applied it to the whole image.Finally I applied a cool (blue) photofilter to the image, which helps set a serious tone to the image.This is the final image after I finished editing it.