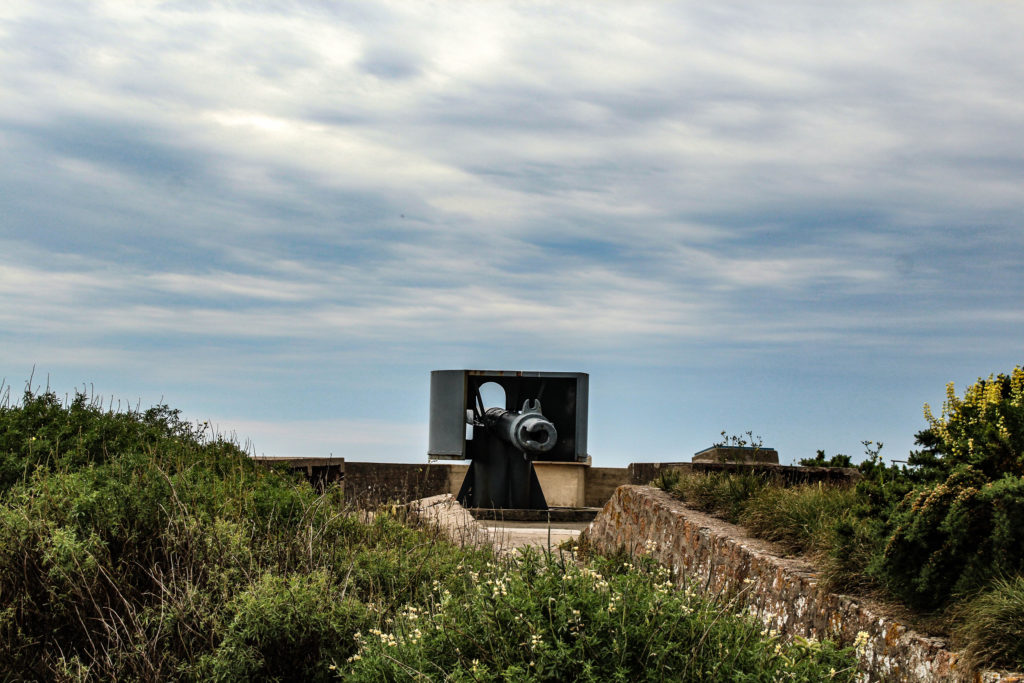
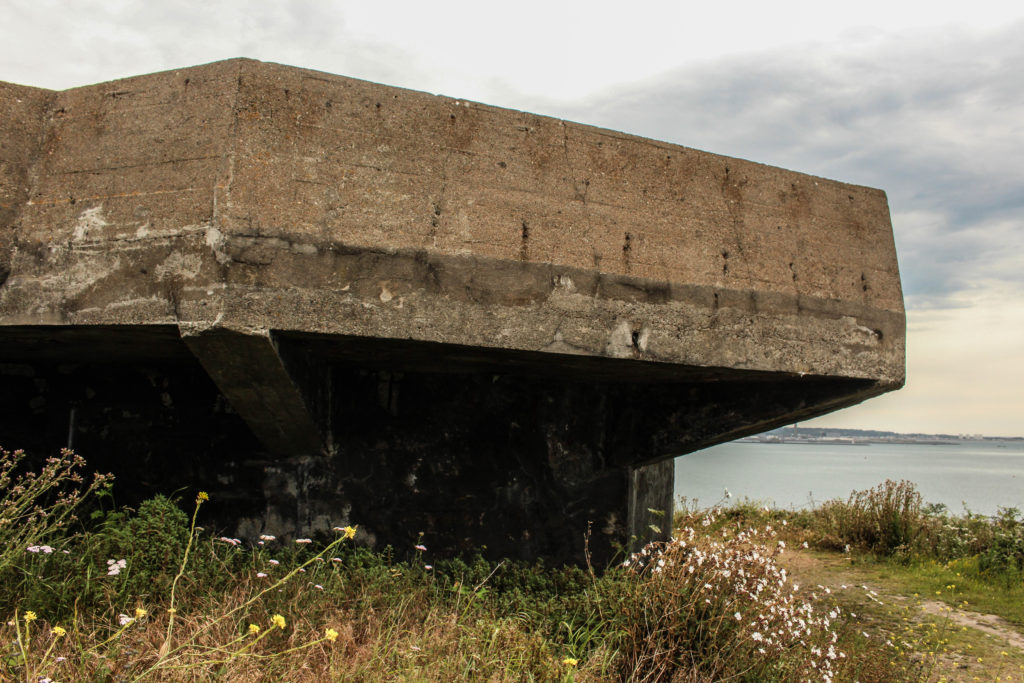
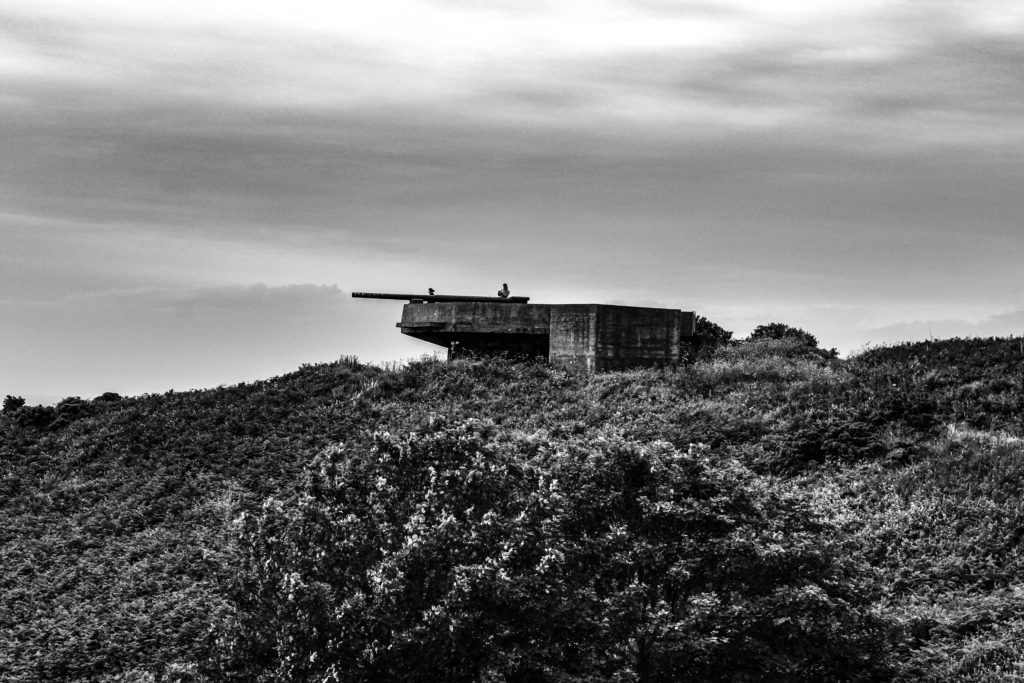
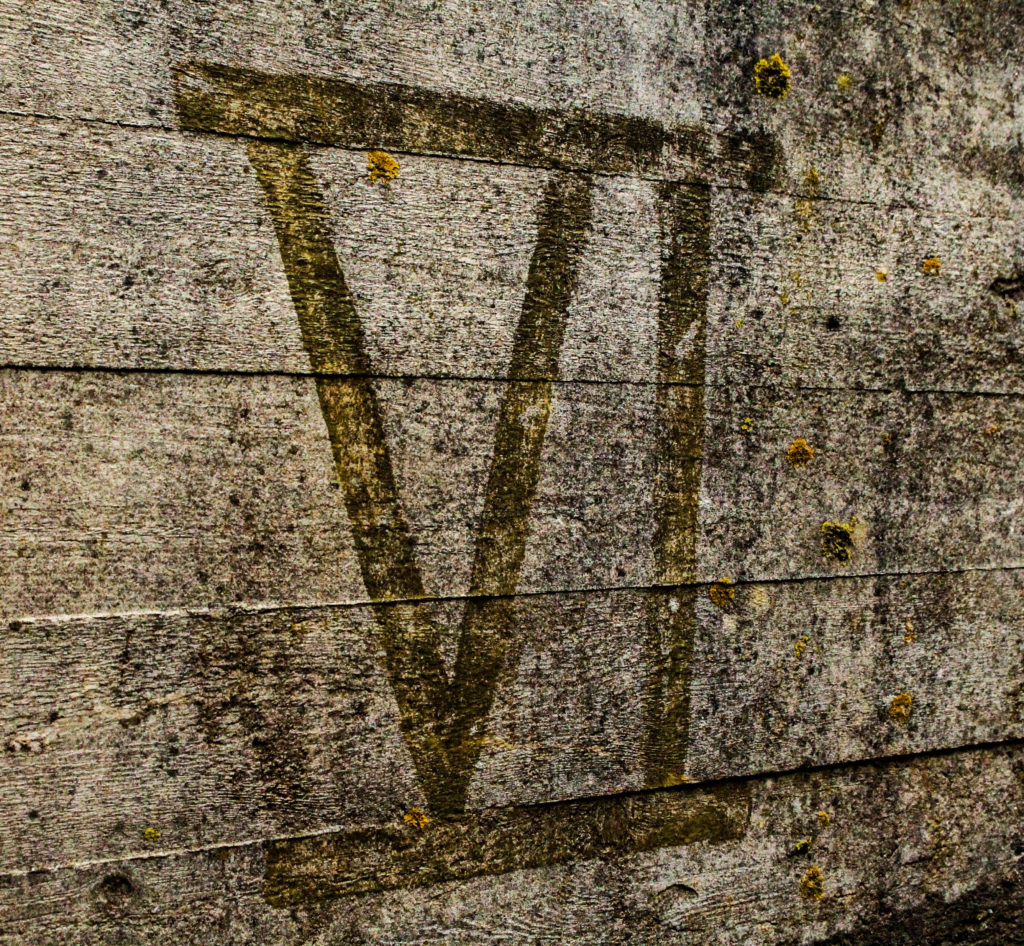
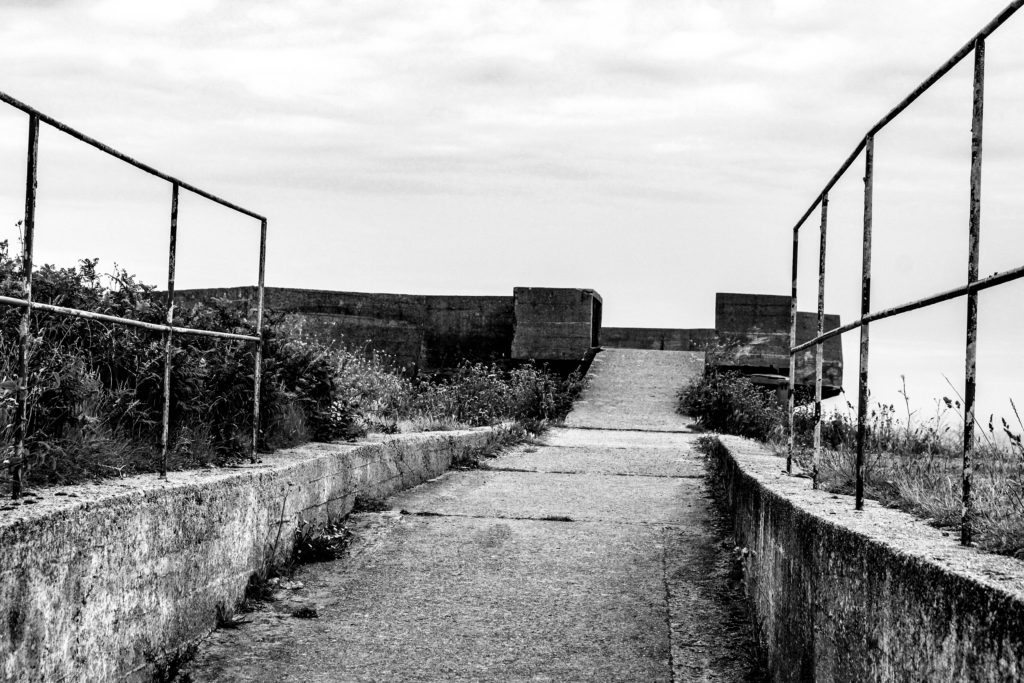
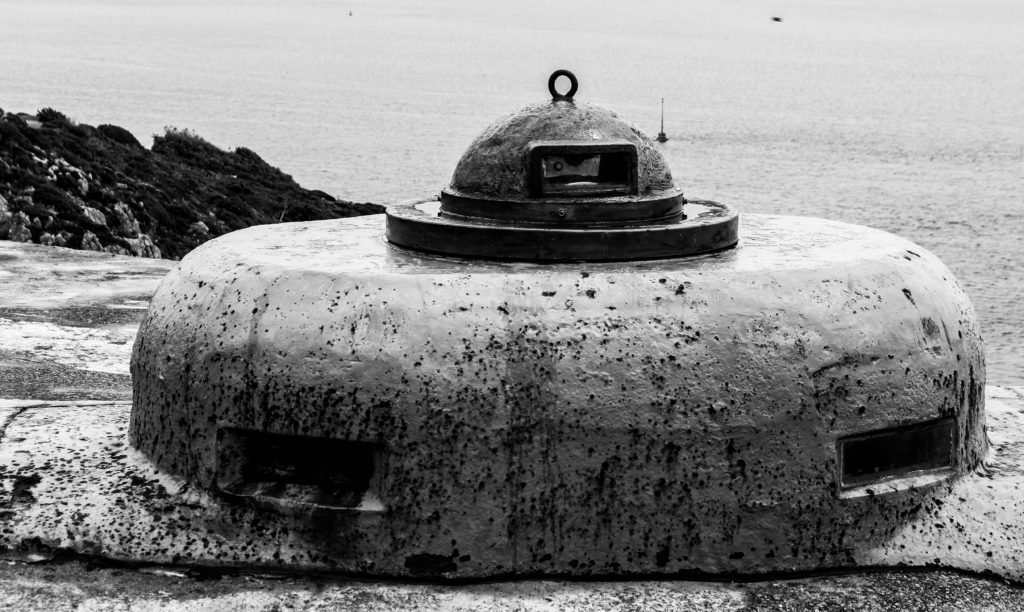
With school, we went to visit the WW2 bunkers at Noirmont. Tony Pike guided us around the bunkers and told us information about how the bunkers were made and the specific uses that everything had. We were then given an hour to go around by ourselves and explore the bunkers. We then went inside the bunker that has been restored and looked at the objects and infrastructure of the bunker at Noirmont. After I then went outside and climbed around the cliff to photograph the outside of the bunker that faces out to the sea.
My Photoshoot
About The Shoot
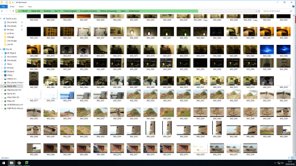
My photoshoot consists many aspects such as the exteriors of the bunkers, the interiors of the bunkers, objects inside the bunkers, the surroundings of the bunkers and photographs that were inside the bunkers. I wanted to take a wide spectrum of images for when I created my zine, I have as many choices as possible to create a certain narrative.
My Manipulated Images
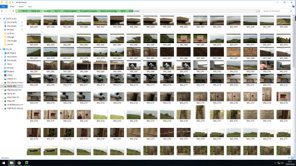
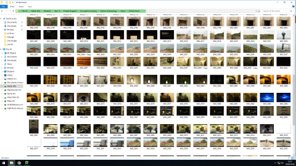
To manipulate my images, I rated all my photographs with a certain number of stars, 5*= the best and 1*=the worst. I then selected my images from 3* and above to then go through them and colour coded them. Green=the best and red=the worst. I manipulated all of these images and then went through them again and re-colour coded them.

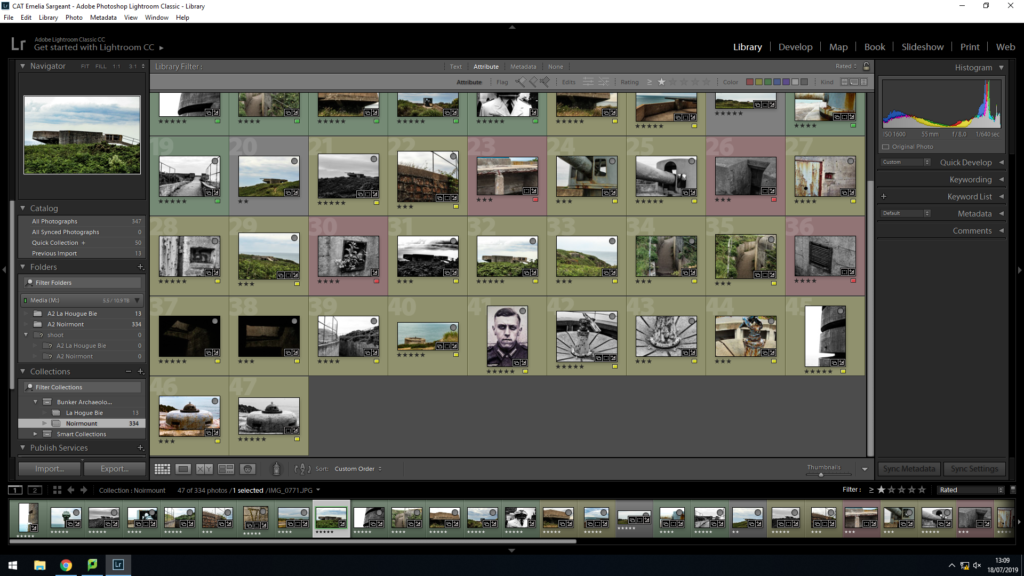
The Colour Coded Selection
Here are my colour coded images. I also considered the yellow images as they had potential. By colour coding my images meant I was able to make a more concise selection of what images I wanted to use in my zine.

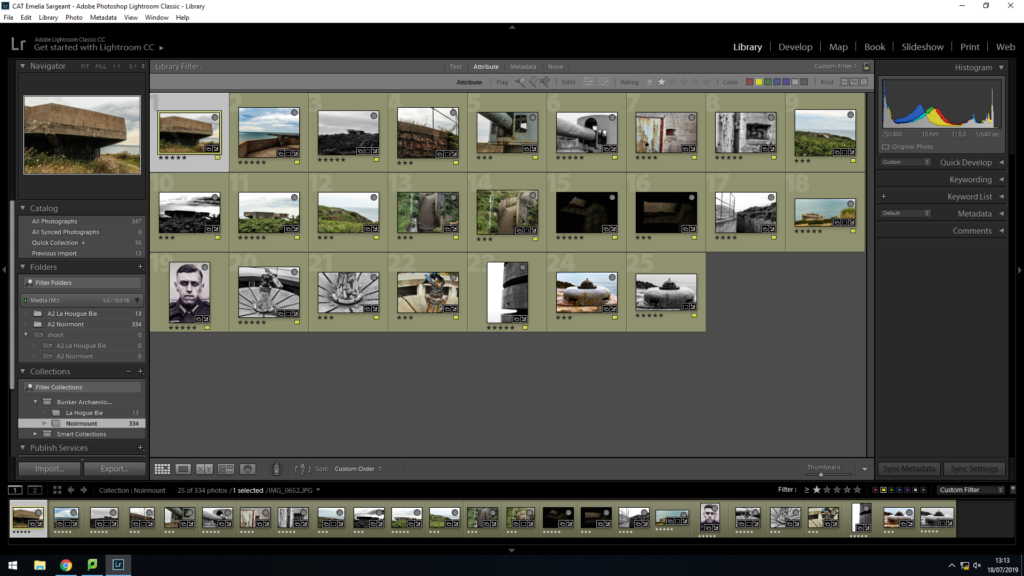
My Best Manipulated Images
To manipulate my images I used Adobe Lightroom Classic. I adjusted settings such as highlights, shadows, whites, blacks, clarity, contrast, vibrance, adjusted the white balance and I also cropped some of my images. After using the rating and colour coding system I decided that these would be the images that I will use in my zine.