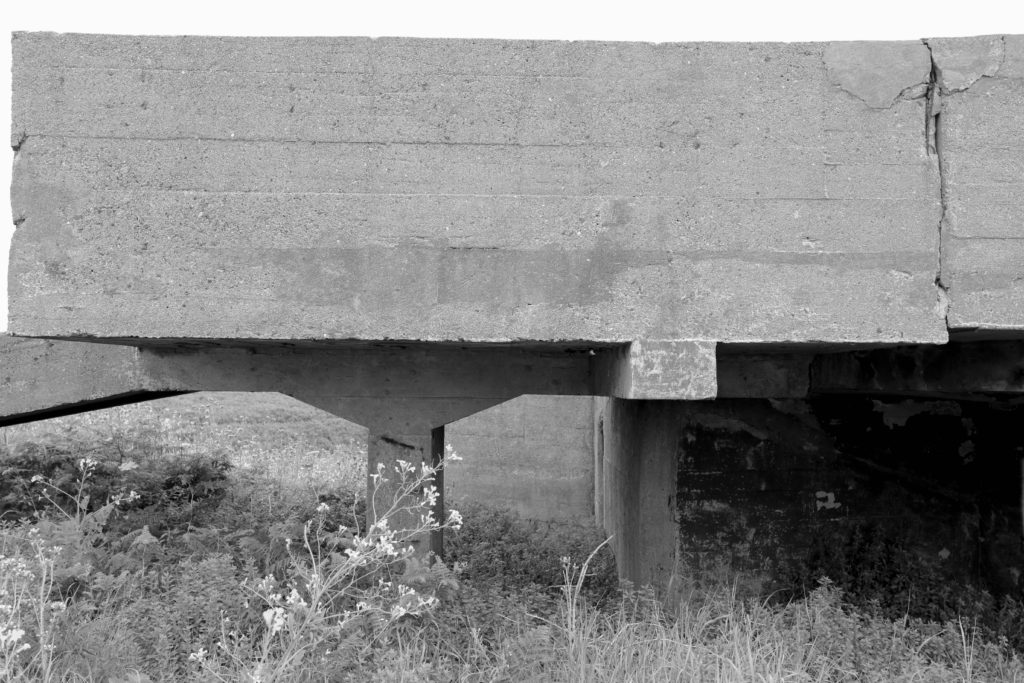
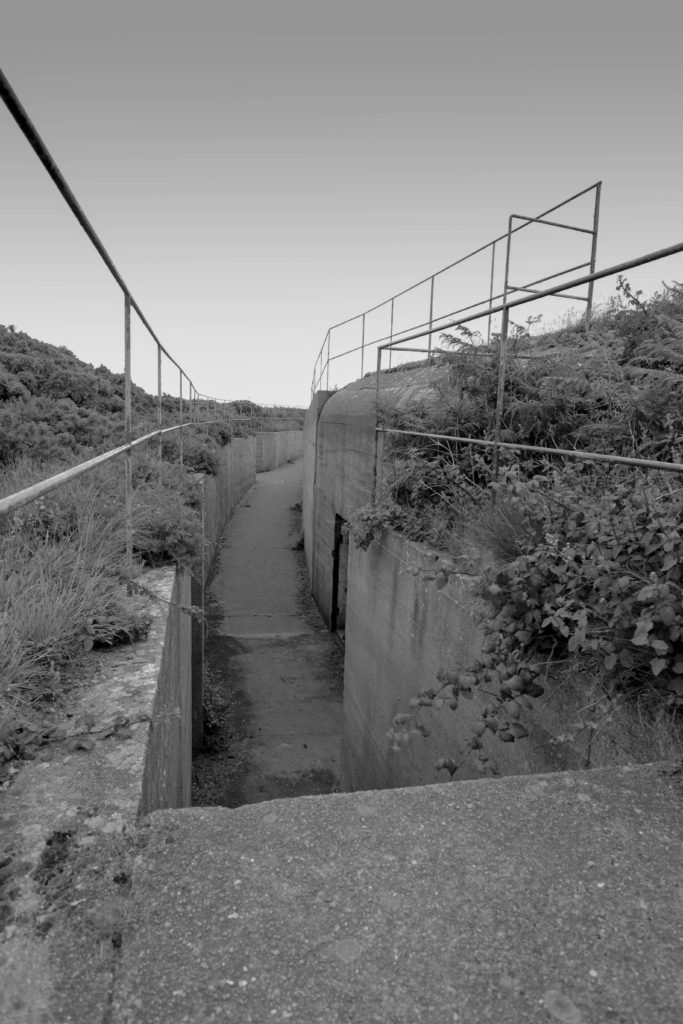
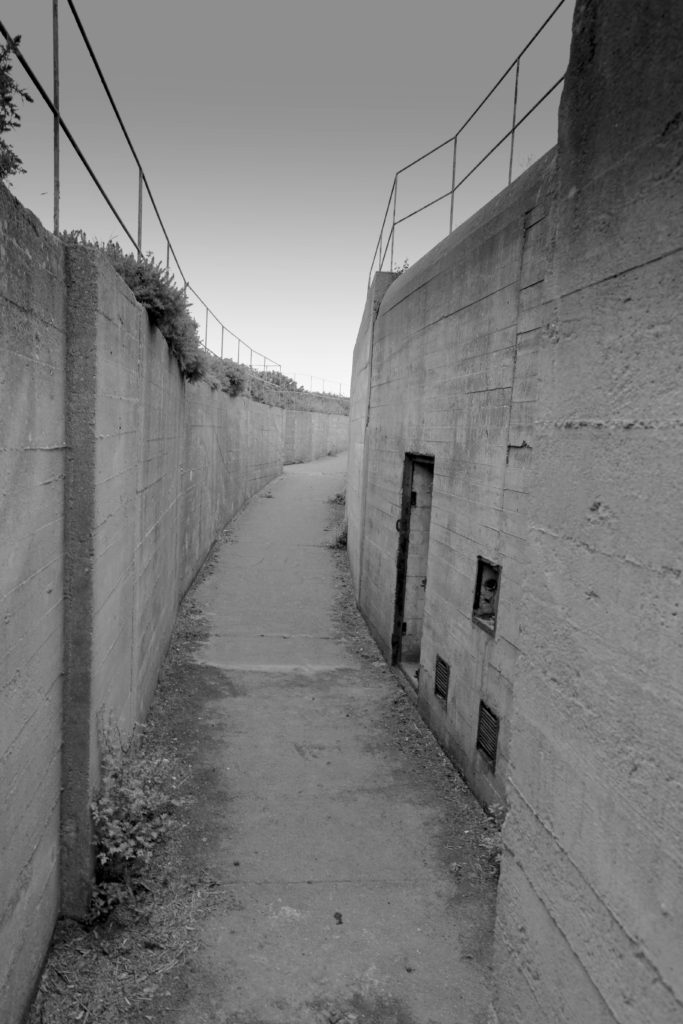
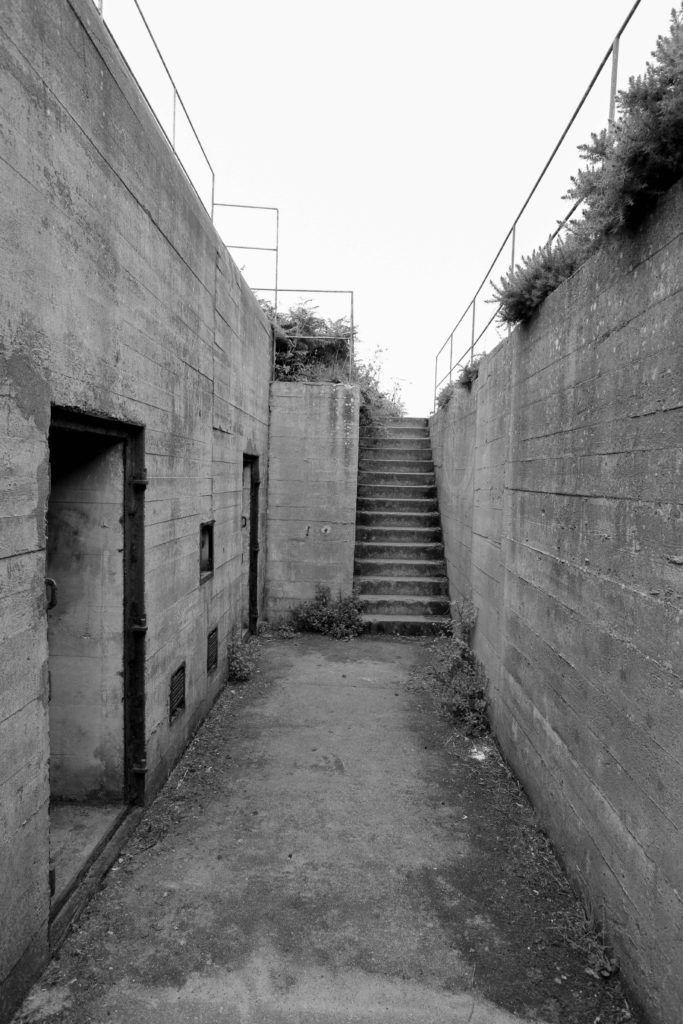
With the photos taken at Noirmount I then used light room to edit them and adjust the settings. I then finally decided to change them into black and white as I feel the images look better. These are the steps I took to edit my photos
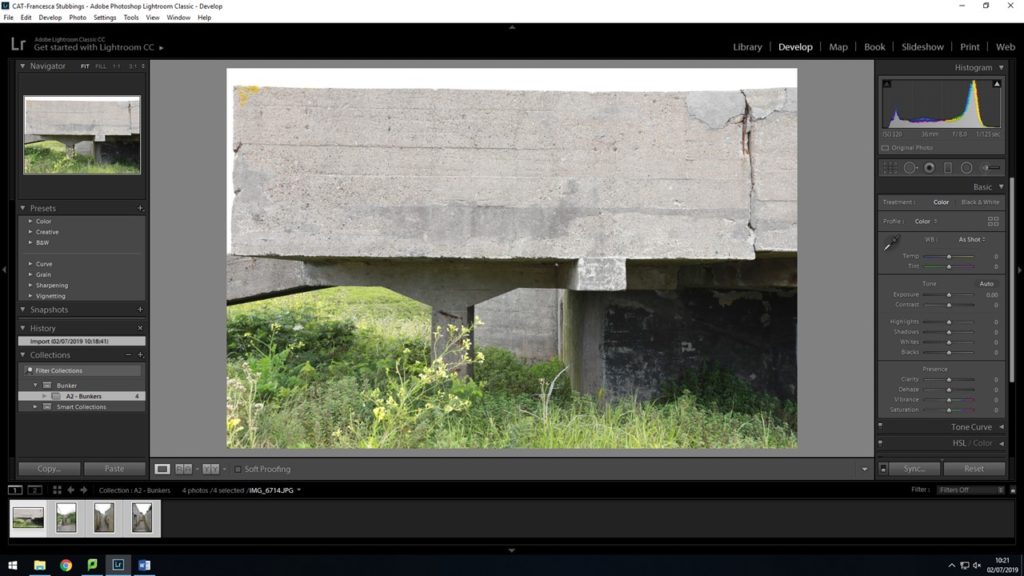
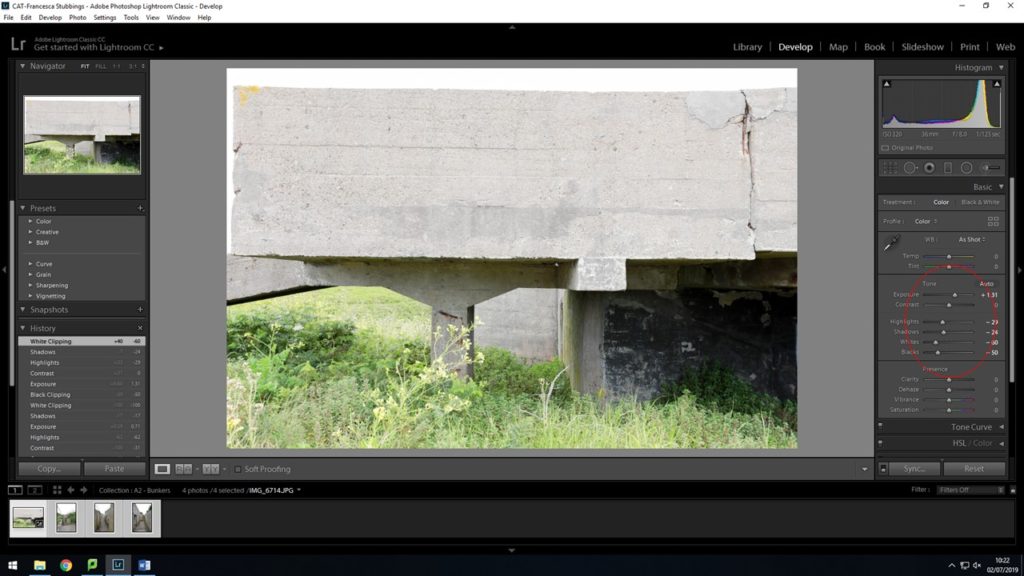
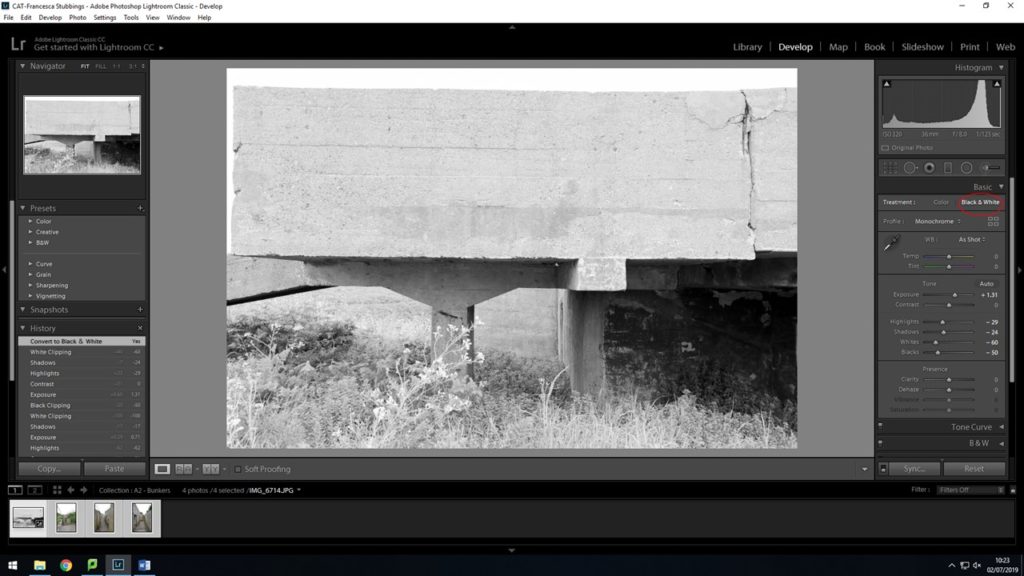
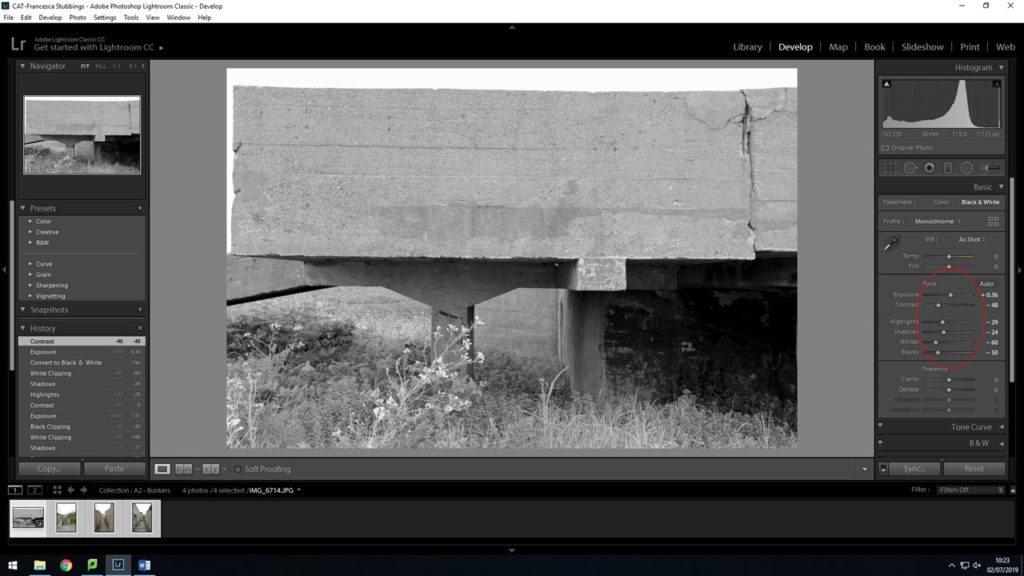
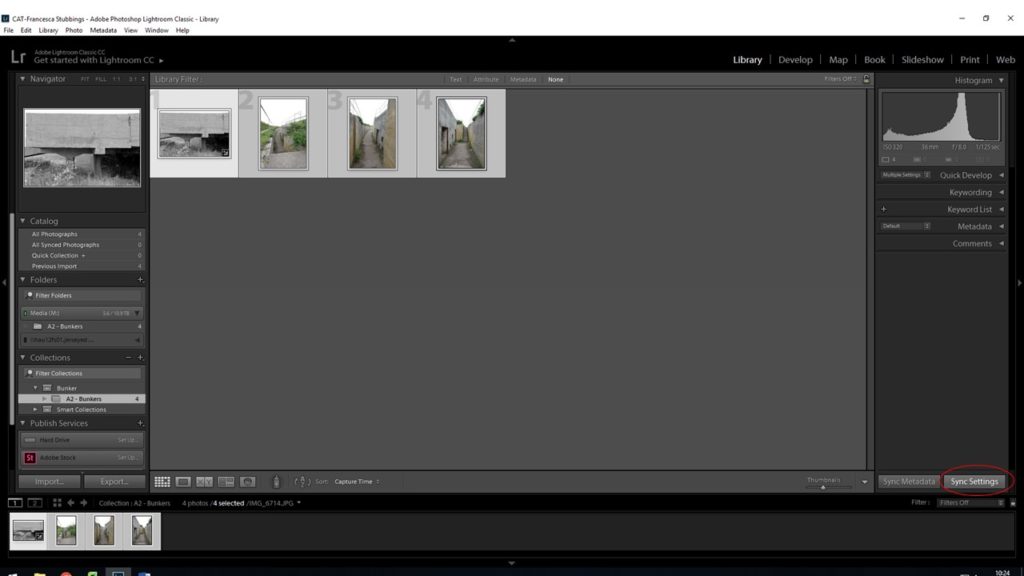
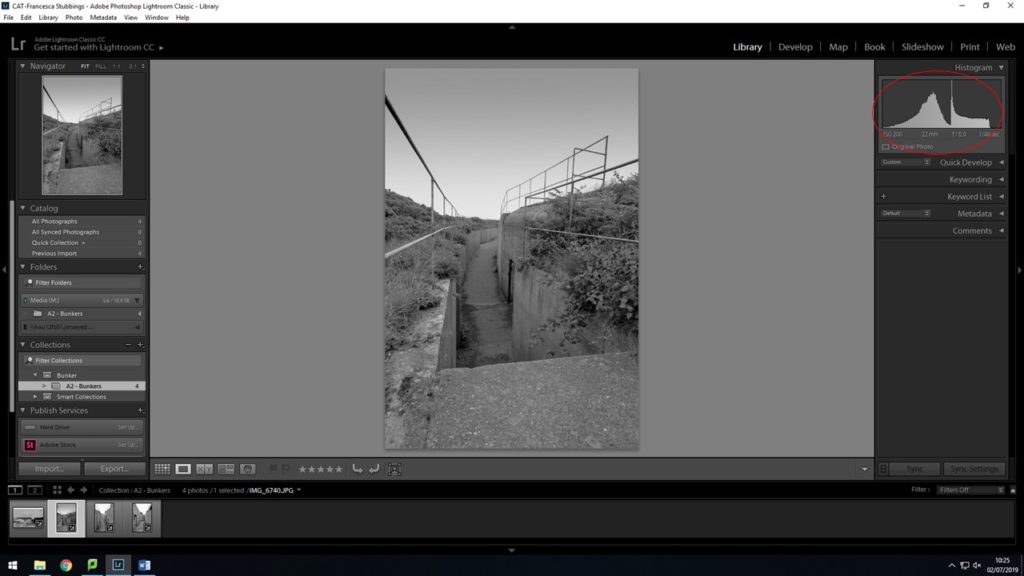
After editing my first image, I then when back to the ‘library’ view so I could see all my images, I then selected them all and clicked on the ‘sync settings’ button in the bottom right hand corner. This allows me to change all my photos into black and white, along with the same exposure, contrast, highlights, etc as the first photo I edited.
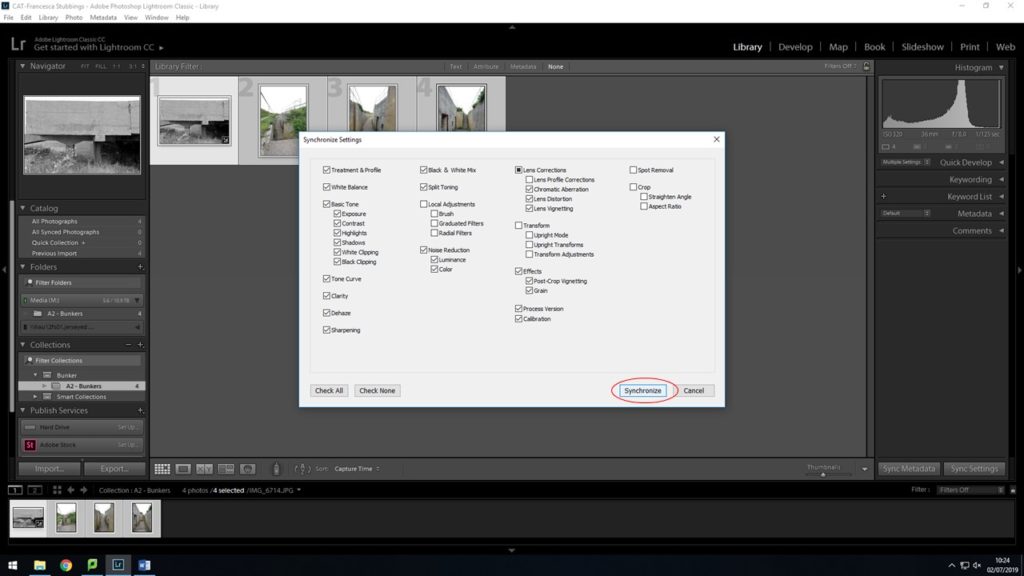
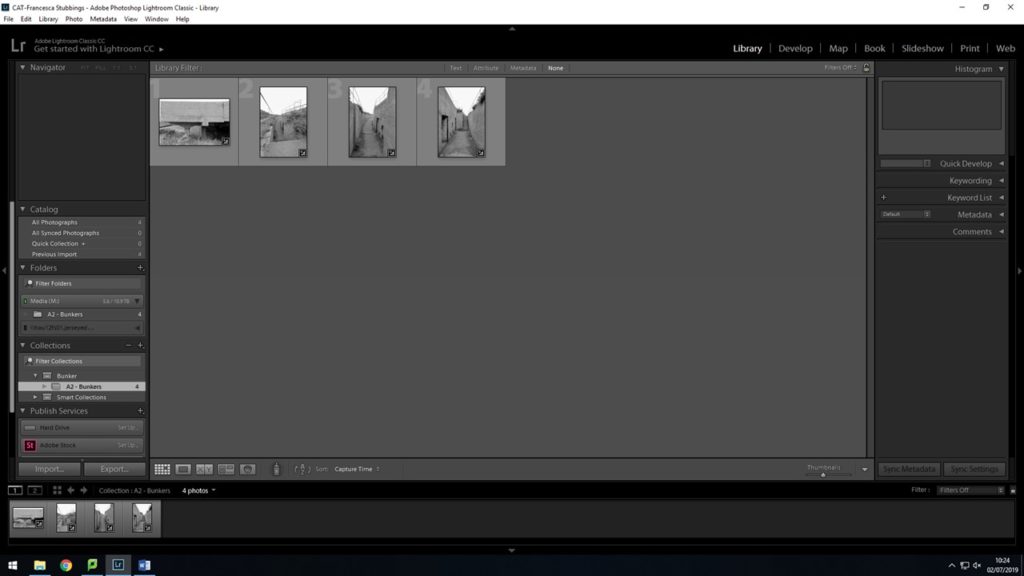
After confirming to synchronize my settings to all the same, my images are now all in black and white. But when going through them some of them look over exposed, but I can still go in and change the settings of that one image, without it then changing the rest of them.
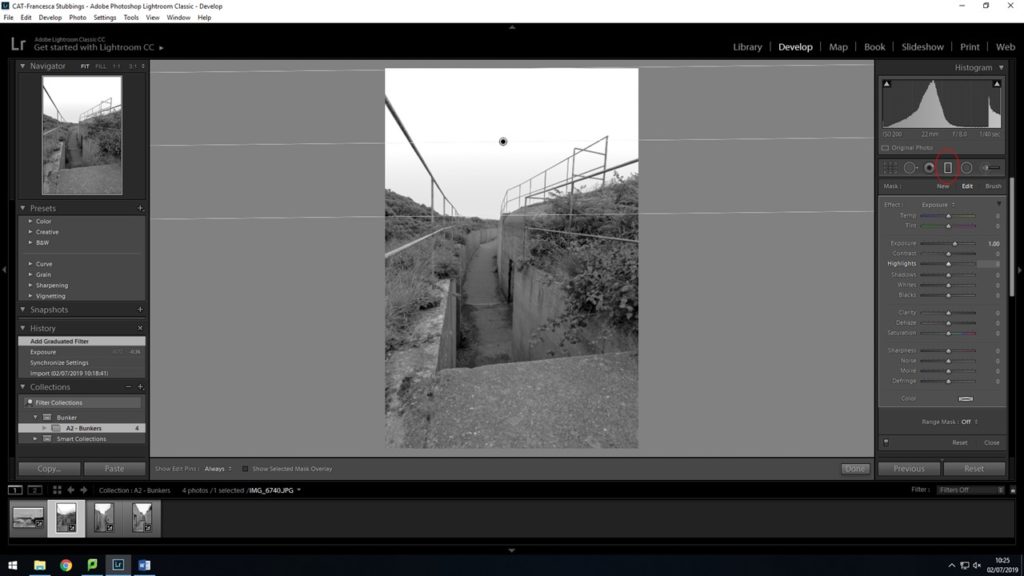
Here using the gradient tool, and dragging down from the top of my image and stopping about half way, this allows me to select that part of my image and then only edit that specific part. I changed the exposure of the sky and made it a bit darker to give it more of a unlit look and the darker sky fits the bunker and environment I have photographed
After editing my images in lightroom, I then had to export them as a JPEG in order for me to upload them to the blog. Overall I think editing my images made a massive change in the way I now look at them. They come across as more deep and strong as they were before I edited them. These are my final images;
