
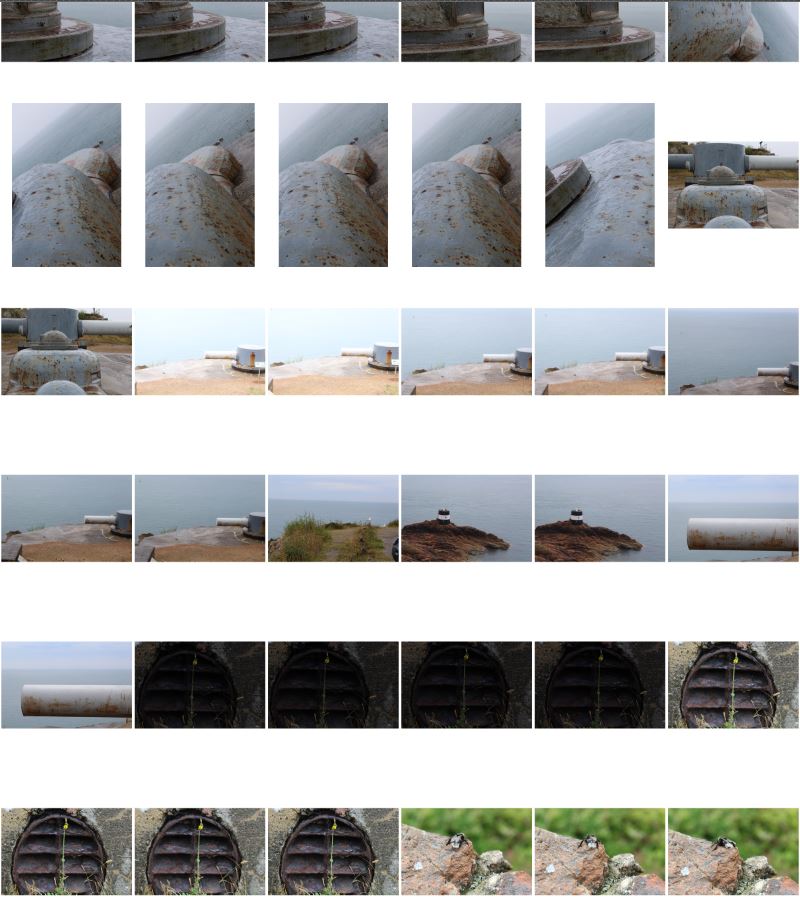
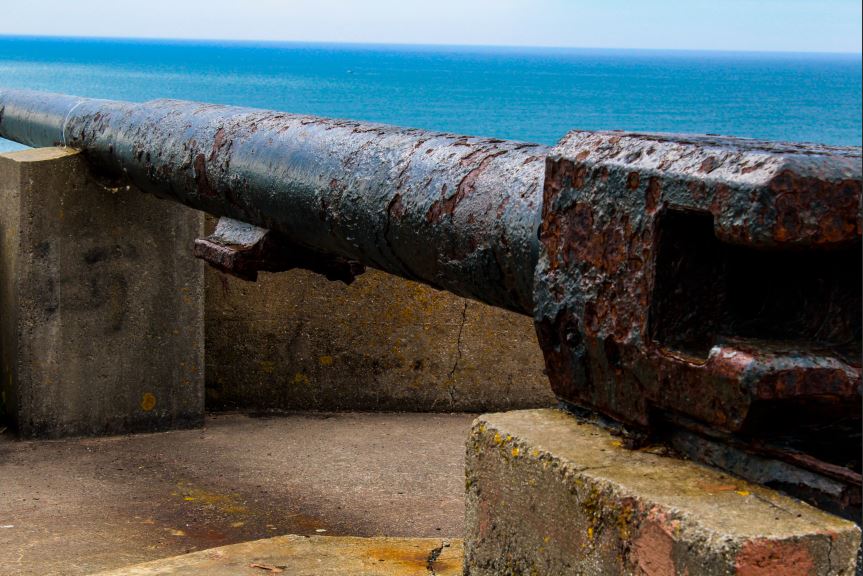
To start on the bunker archaeology project, I took a series of 400-500 images at a location known for it’s German bunkers. The site at which I took my images had a wide range of WW2 German military architecture, which had been renovated by the States of Jersey in order to preserve the memory of the occupation. The following are a selection of images that I took on the day:

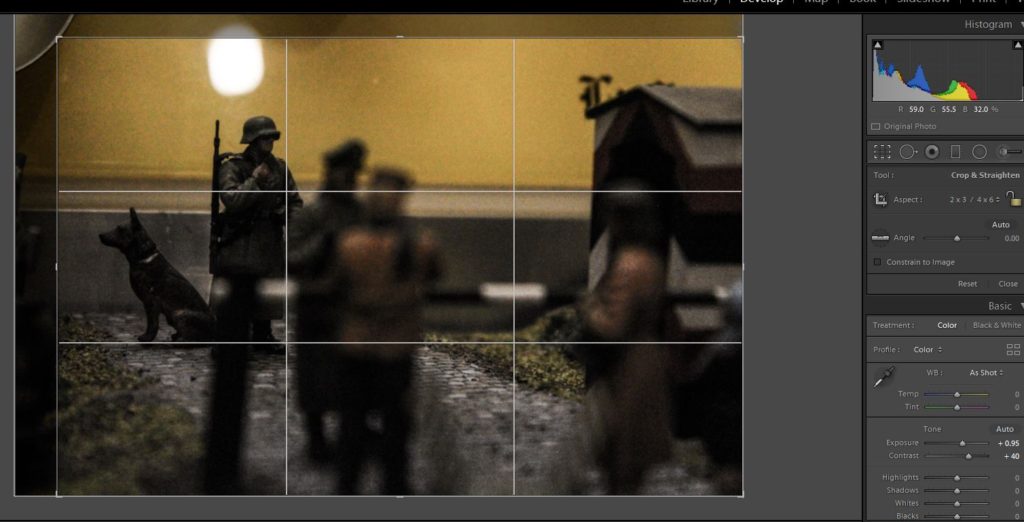
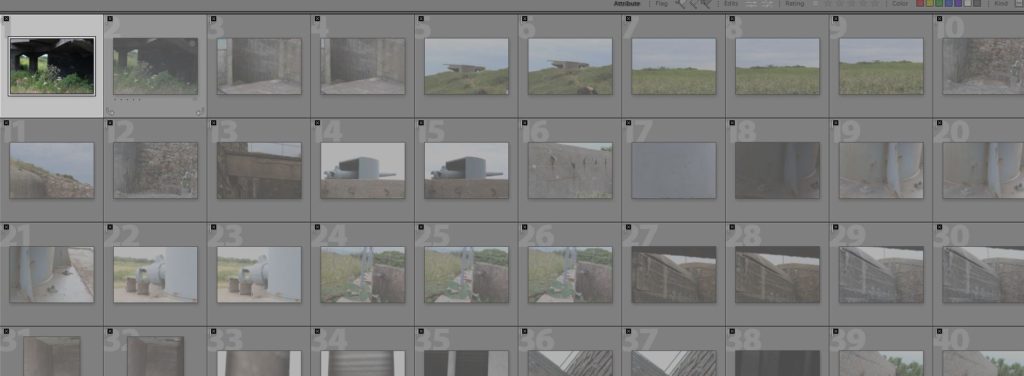
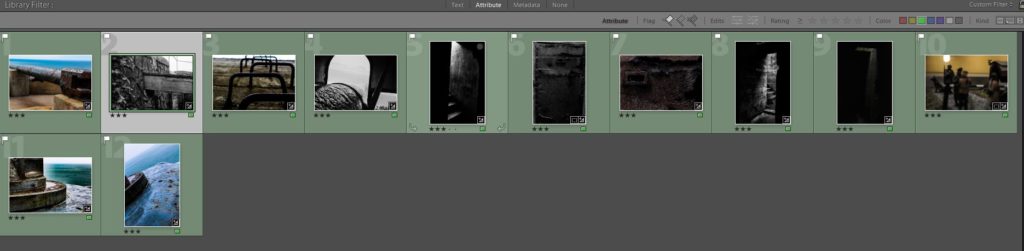
After taking the initial images, I imported all of the images into Adobe Light-room in order to pin down my selection of images, and to edit the images before exporting them back into my “Final Images” folder. I used a process of rating and colour coding in Light-room in order to nail down my images to ~10 final selections (these were the ones that I was going to put time into editing). Below is a series of screenshots of the editing process in Light-room:
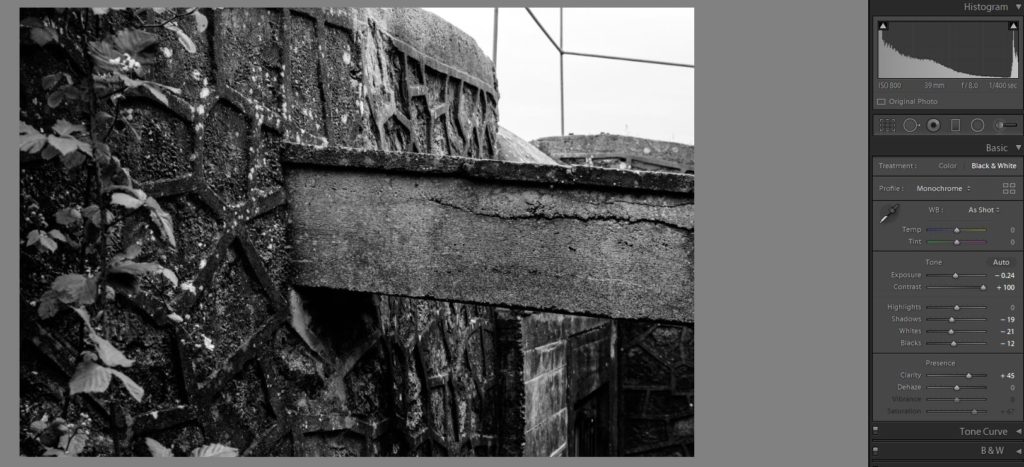

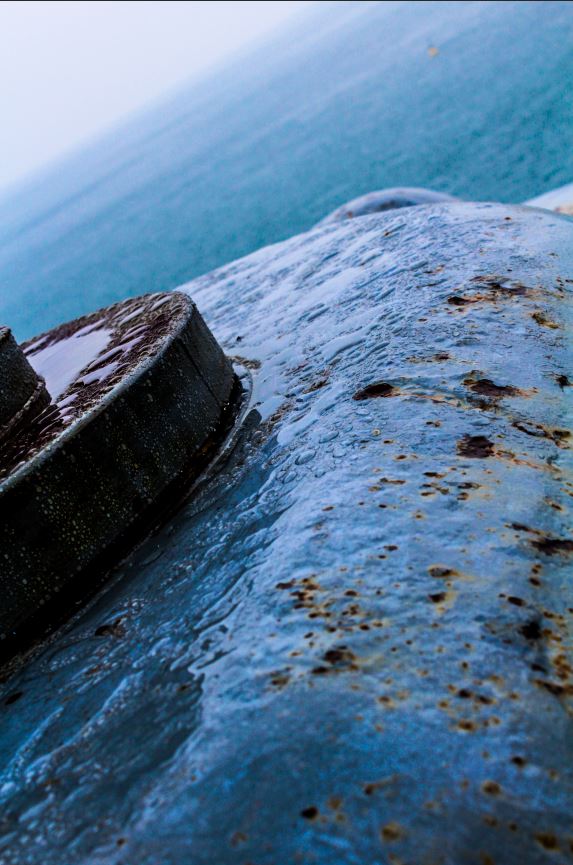
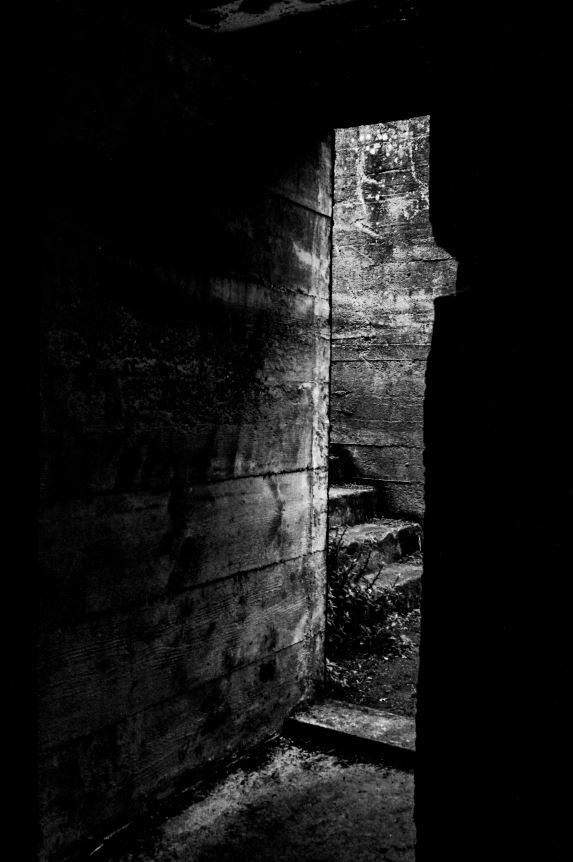
After selecting my final images, I was able to edit these images, changing some of them to black and white, and increasing the contrast of others in order to emphasize the contrasting shadows, shapes and textures. The following images are my final images from this particular photo-shoot:

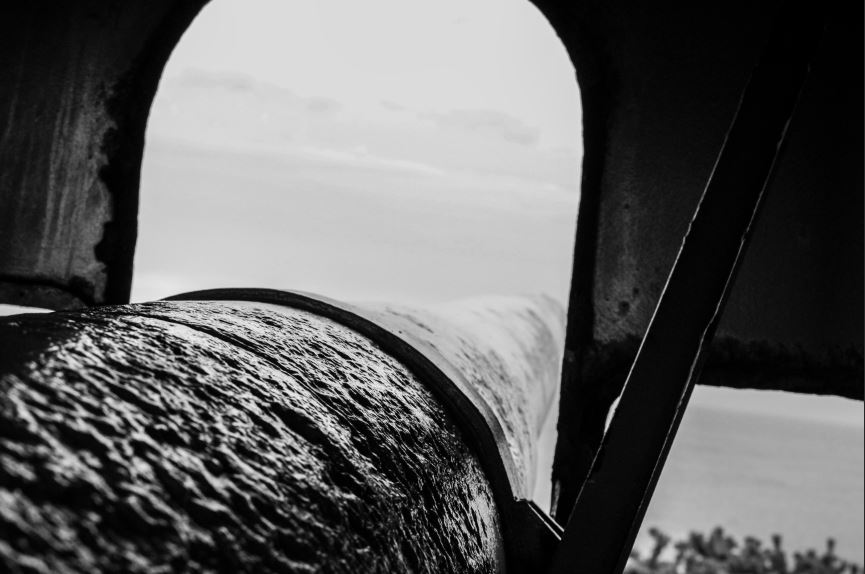

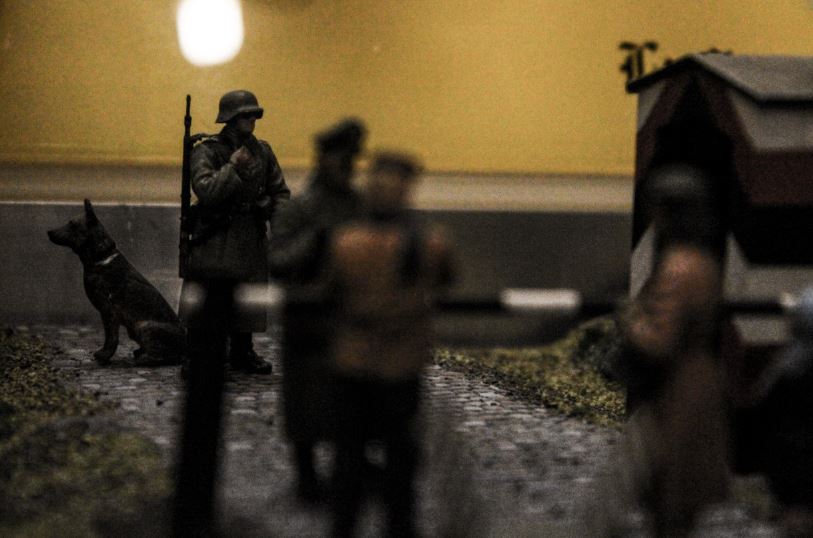
As these are my final selected images from this shoot, I will be further editing them in order to use them in my photo-montage experimentation and further final images and creations for this project.