USE OF SUPER TIME LAPSE:
Time-lapse photography is a technique whereby the frequency at which film frames are captured (the frame rate) is much more spread out than the frequency used to view the sequence. When played at normal speed, time appears to be moving faster and thus lapsing. For example, an image of a scene may be captured at 1 frame per second, but then played back at 30 frames per second; the result is an apparent 30 times speed increase. In a similar manner, film can also be played at a much lower rate than it was captured at, slowing down an otherwise fast action, as in slow motion or high-speed photography.
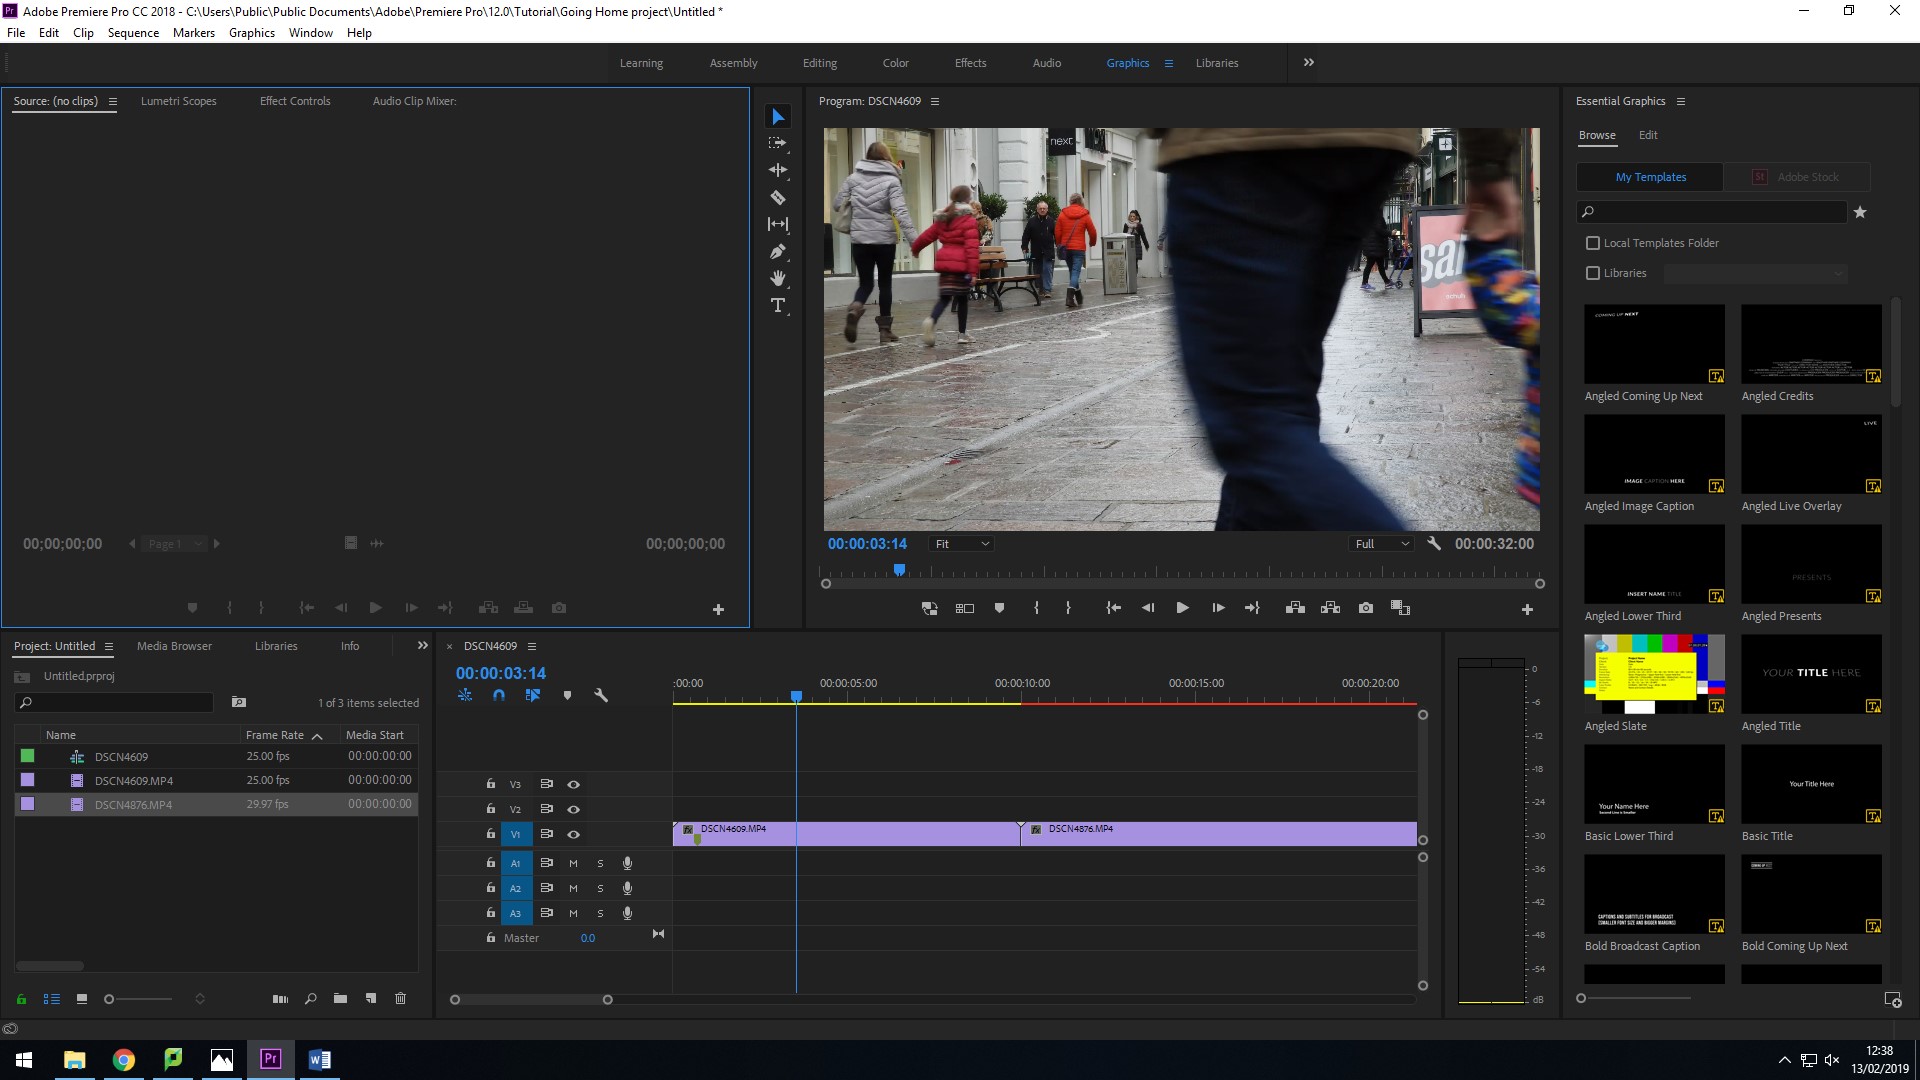
In order for me to create my video montage, I felt it was necessary to use time lapse videos of the environment I was in. I felt that is was essential that I captured the sheer scale of the amount of people who aimlessly wonder through the streets of town. Speeding up the video I felt was able to illustrate this well withing a short time frame. I set up my camera in the middle of town where it was busiest at mid-day. I used the super time lapse setting on my camera which captured one frame every second. During this process I used a tripod as I wanted the film to be as steady and stationary as possible. I felt that motion disturbance would have ruined the overall effect of the video.

USE OF FAST MOTION FILM:
Fast motion is the opposite of slow motion, in which the action shown on screen appears to be moving faster than the normal speed. This is done by filming the action at less that normal speed on the camera and then playing it at a normal speed.
This technique allows the audience to see actions or events that would usually take a long time to happen, or it allows the viewers to see actions or events in a manner that would typically bore the viewer if played at a standard speed. It can be used for a tense scene as it can help raise the suspense of the scene, however it can also be used as a comedic effect and placed alongside music.
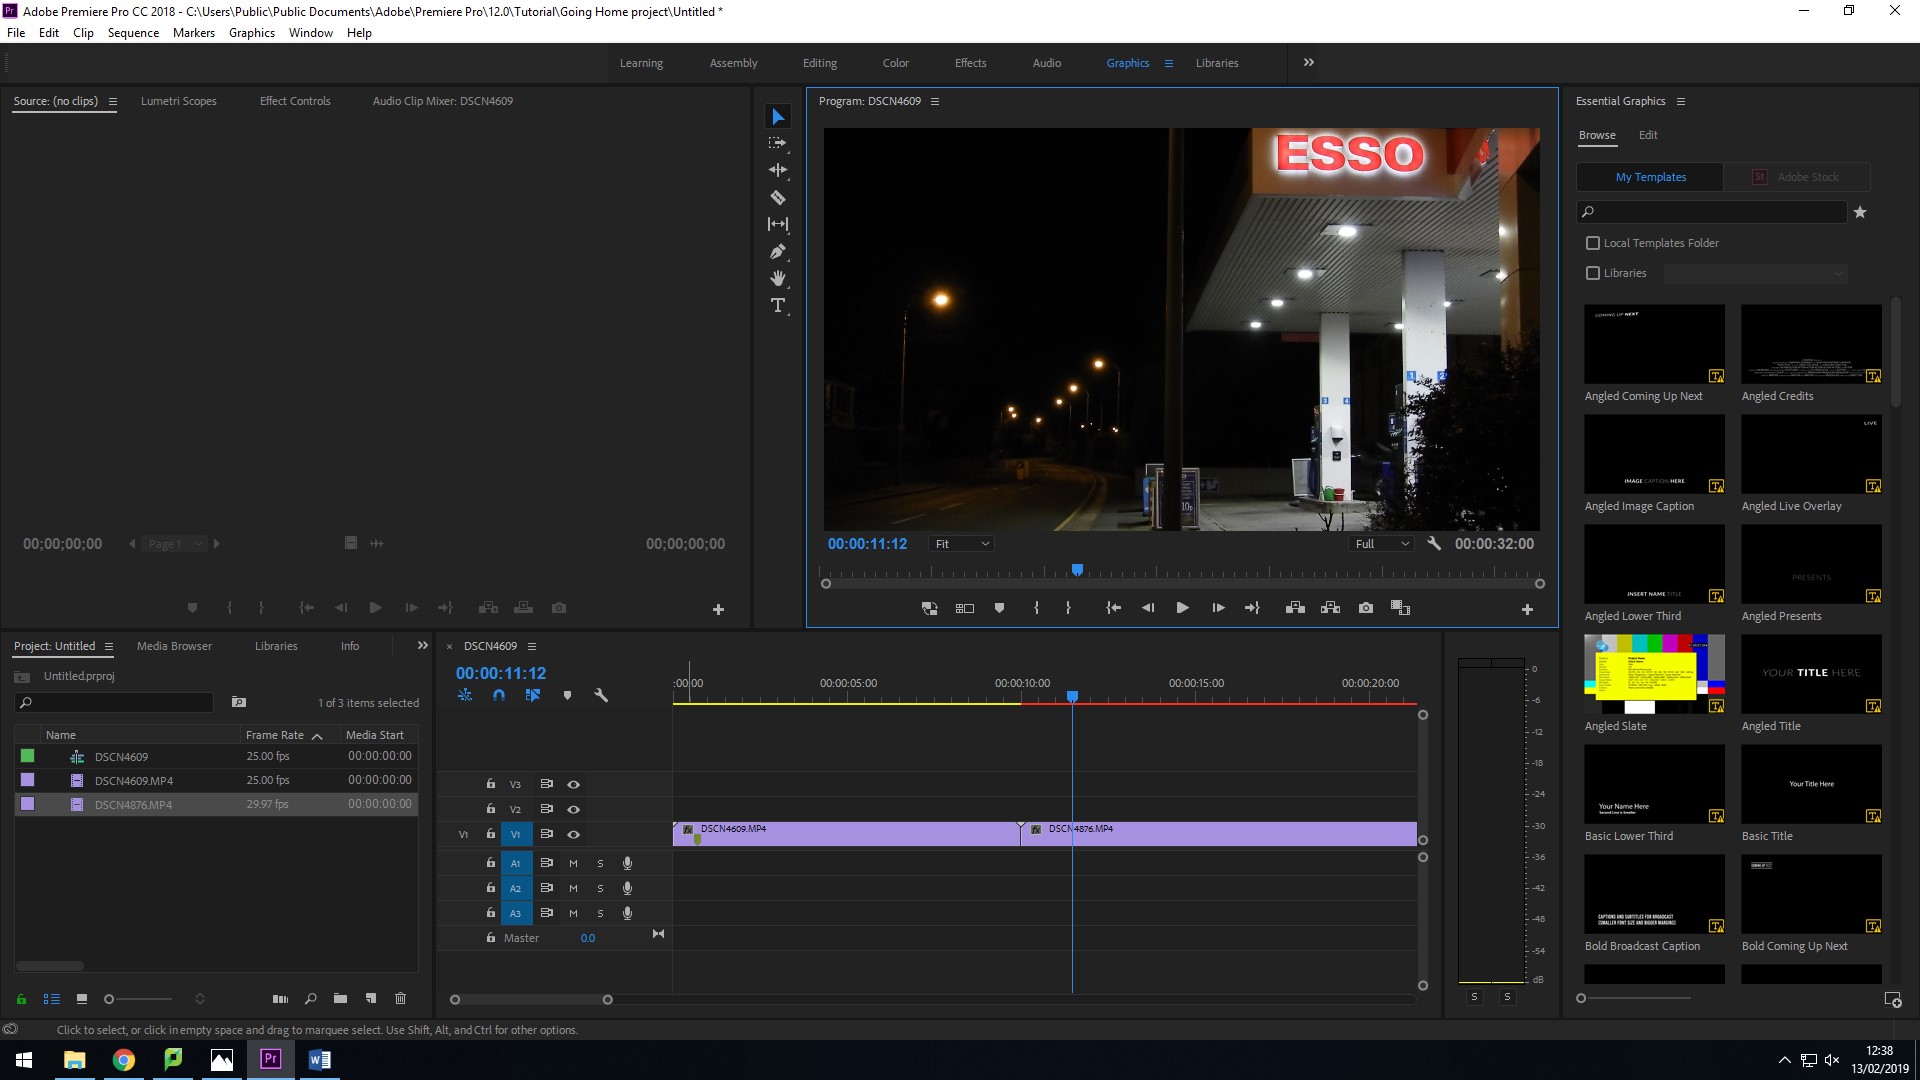
As with the time lapse video, I again used a tripod in order to capture my video. It was a particularly difficult video to shoot as the weather conditions were very windy that night. In order to combat this, I placed a weight on the bottom of my tripod to give it as much stability as possible.

TYPES OF VIDEO CUTS:
1. The Standard
The hard cut is the basic type of cut in editing. This type of cut is utilized when you want to cut from clip to clip without any type of transition, or where you cut from the end of one clip to the beginning of another.
2. Jump Cut
The jump cut is a technique which allows the editor to jump forward in time. We see an early version of this technique in Eisenstein‘s Battleship Potemkin, where the battleship fires a mortar round and we watch the destruction as various angles jump cut from one to another. In this very early version of the jump cut, contemporary audiences were introduced to a new way of time passage in film.
3. L Cut & J Cut
What L Cut means is that you are hearing the audio from the previous shot, even though we’ve moved on to another shot. So, the audience is is looking at clip B but still hearing audio from clip A.
A J Cut is essentially the opposite of the L Cut. Here we hear the audio before we see the video. So, the audience is is looking at clip A but still hearing audio from clip B.
