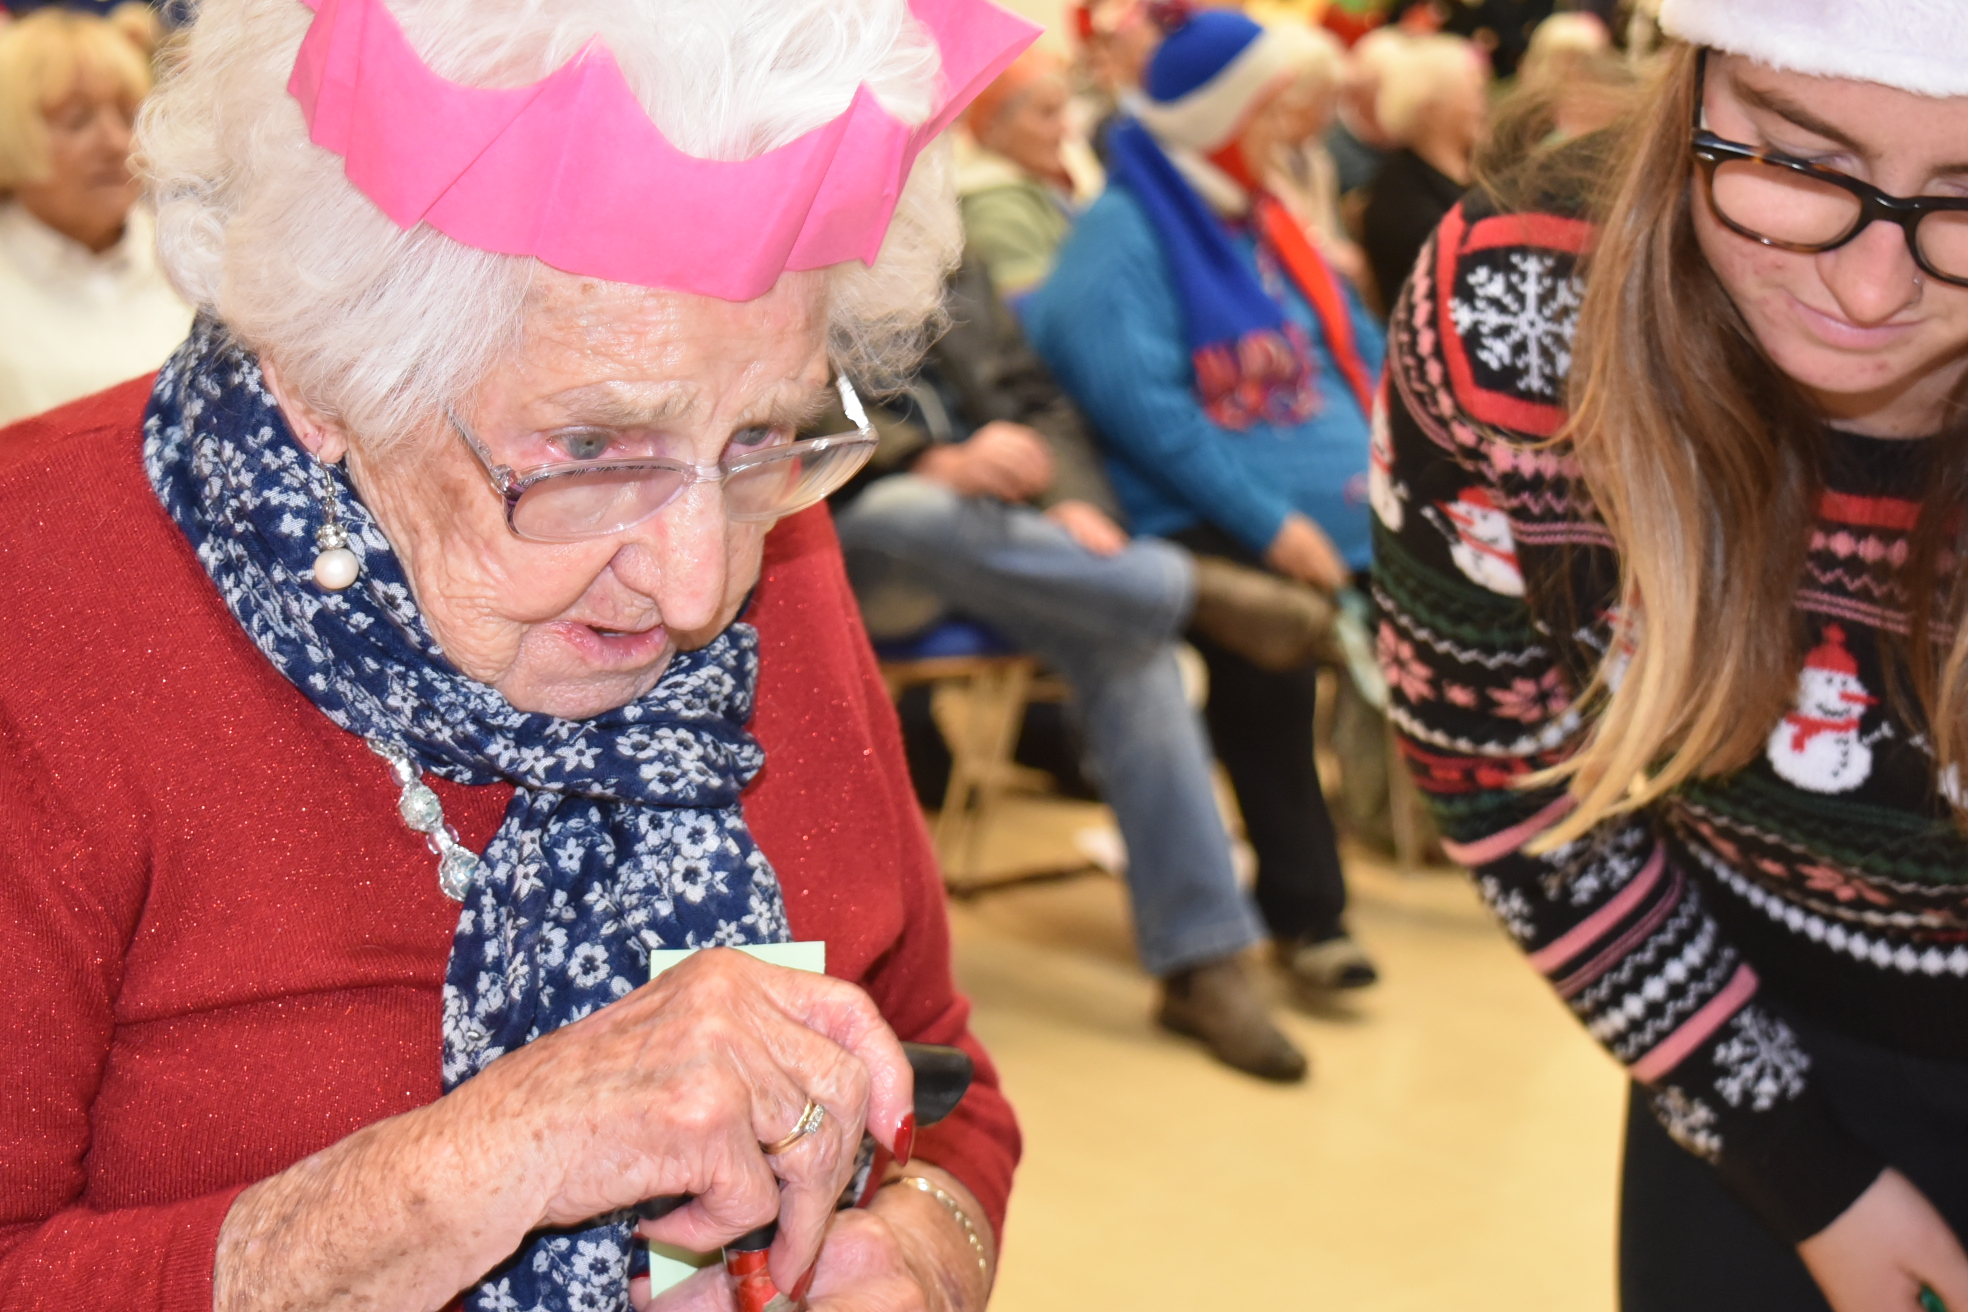
This is the first image that I chose to edit – totally unedited. I chose to edit this photo as this was the eldest lady that attended the senior meal – at 99 years old. She had just won a prize and was full of happiness and personality.
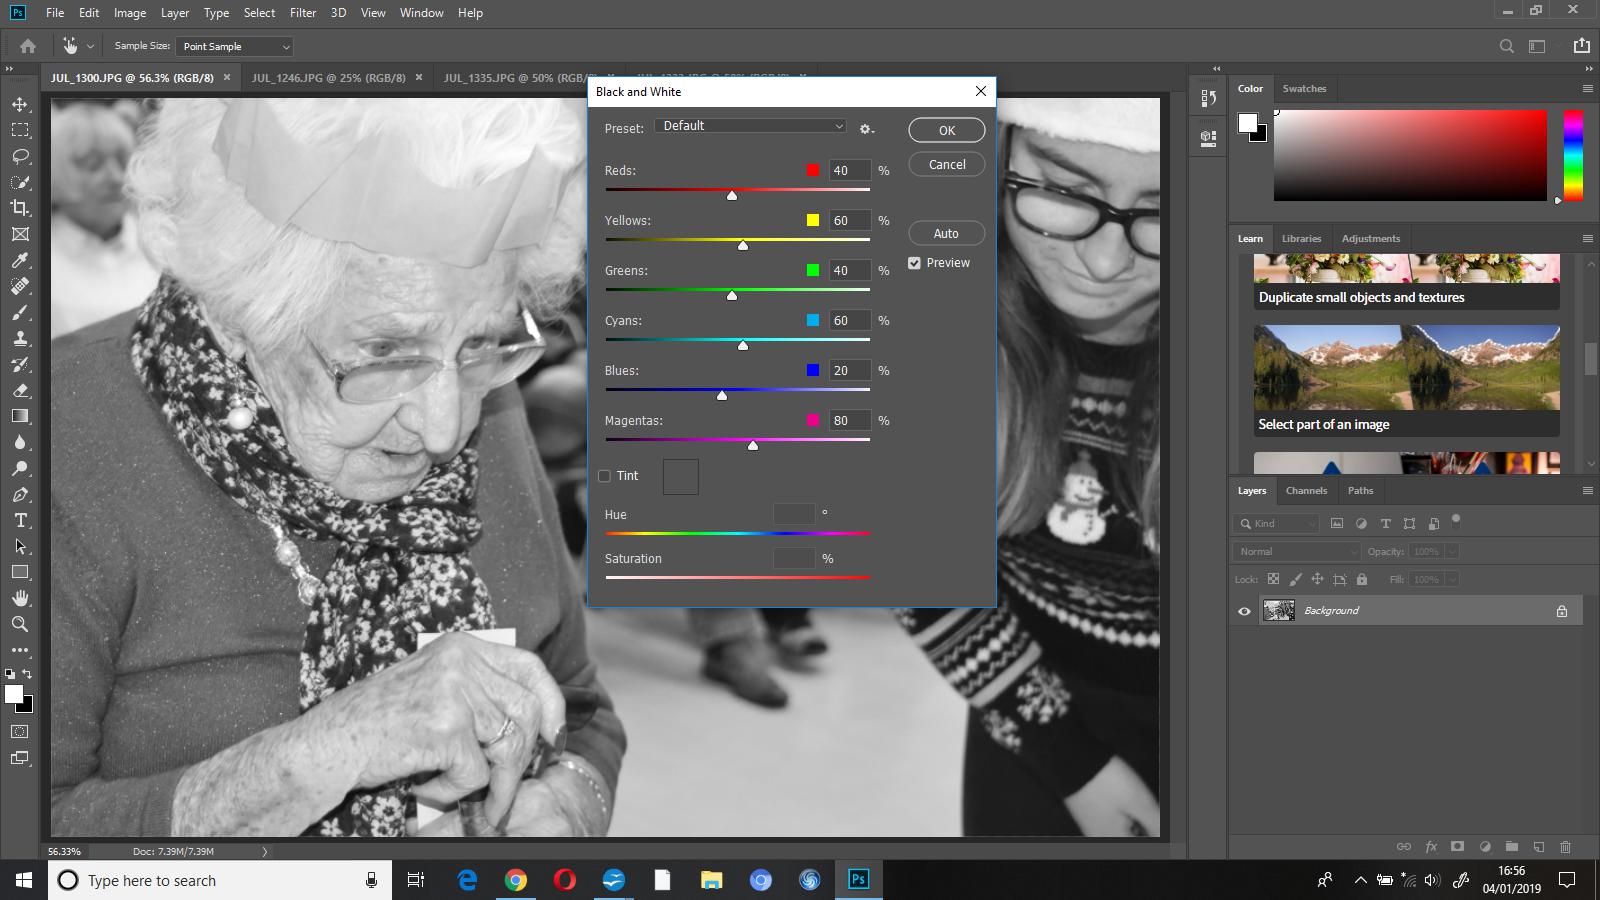 The first thing I did with this photograph was edit it into black and white, I did this as I wanted to make the subject the only focus of the image on while editing a little bit later on.
 I then used the ‘history brush tool’ to ‘colour’ her back in, the history tool will reverse the part of the image you select to how it was originally, so in this instance, it brought the subject back to colour while keeping everything else totally black and white.
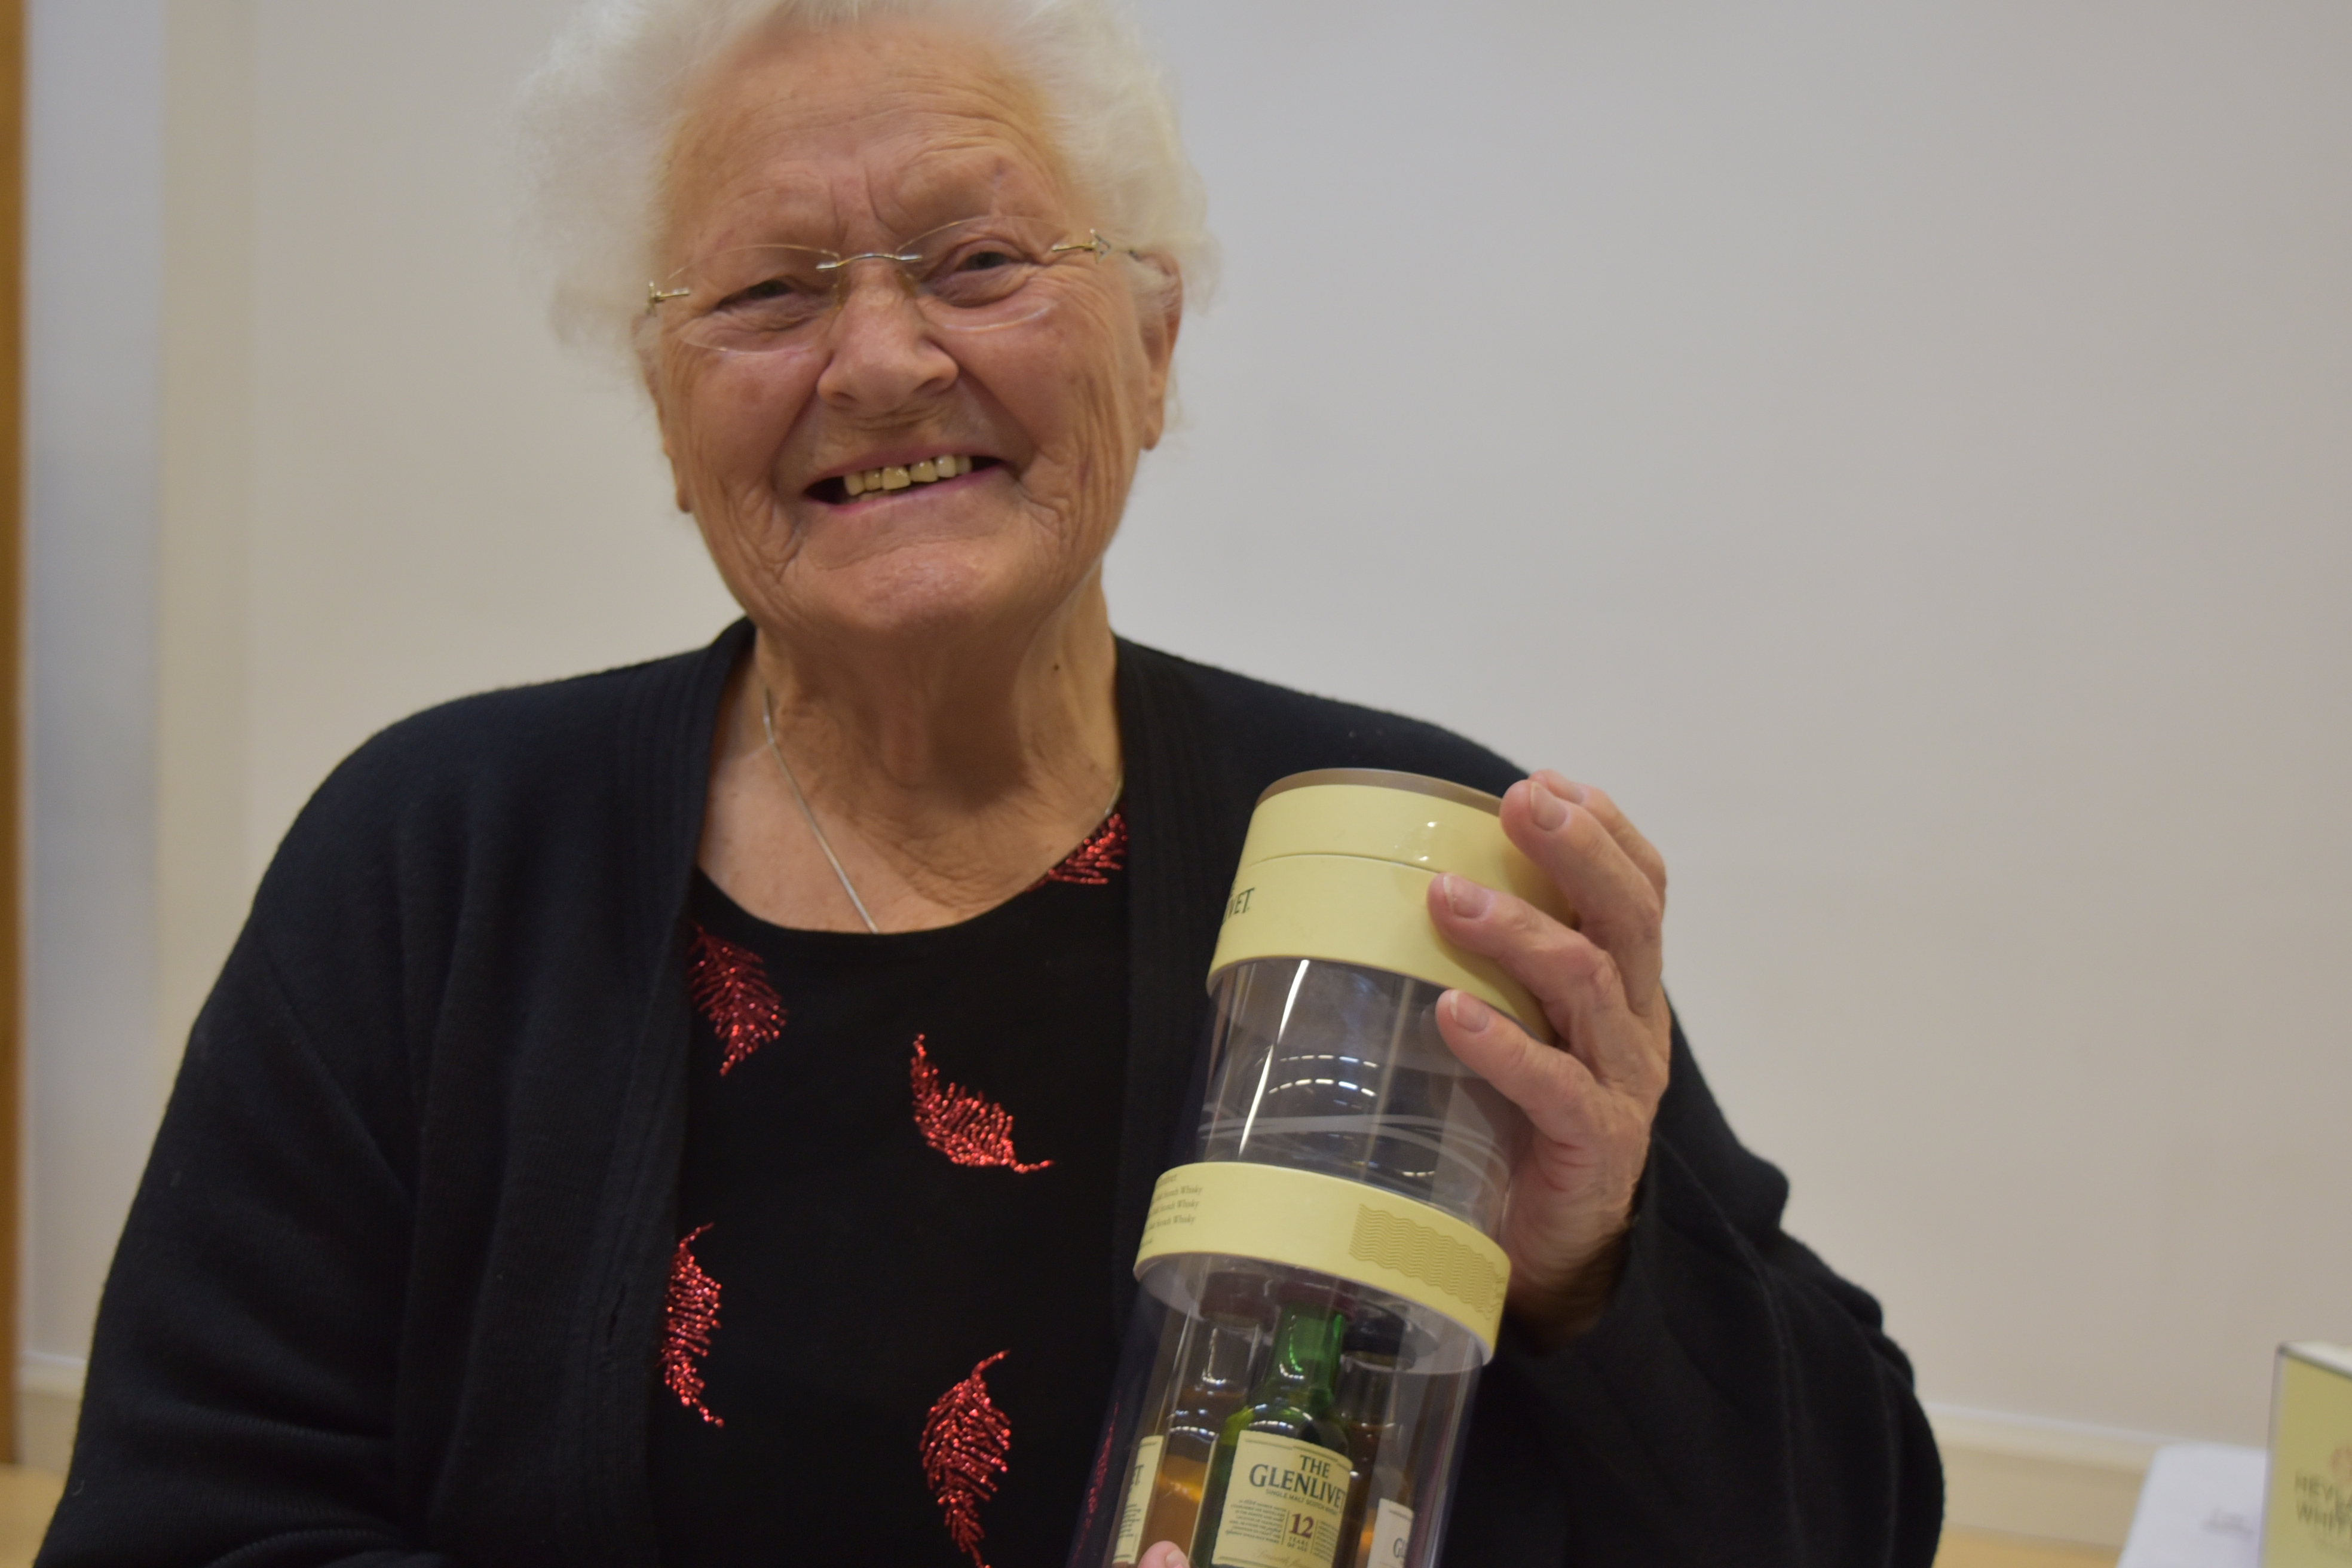
This is the second photograph I chose to edit, this woman had just chosen her prize, and as you can see, was extremely happy with it. I chose to add another photo onto this one and merge them together.
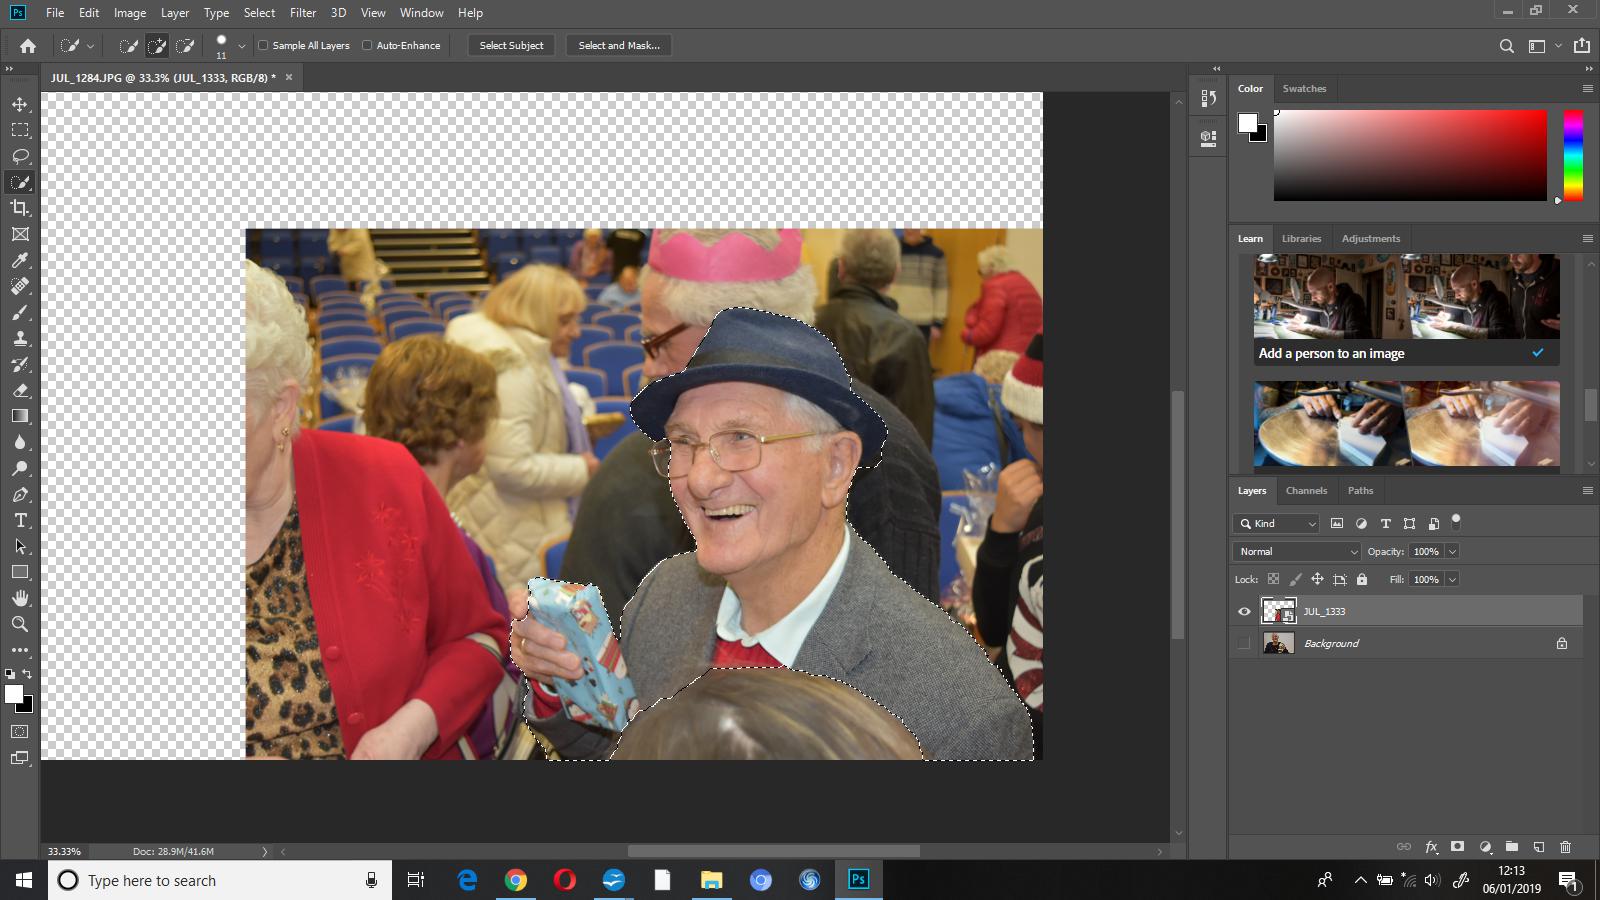 First I went to file – place embedded and added a second image, this adds an additional image onto the canvas that you’re already working on as an additional layer. I then used the ‘quick selection’ tool to select the part of the photo that I wanted to add onto the original image that I’d chosen to edit.
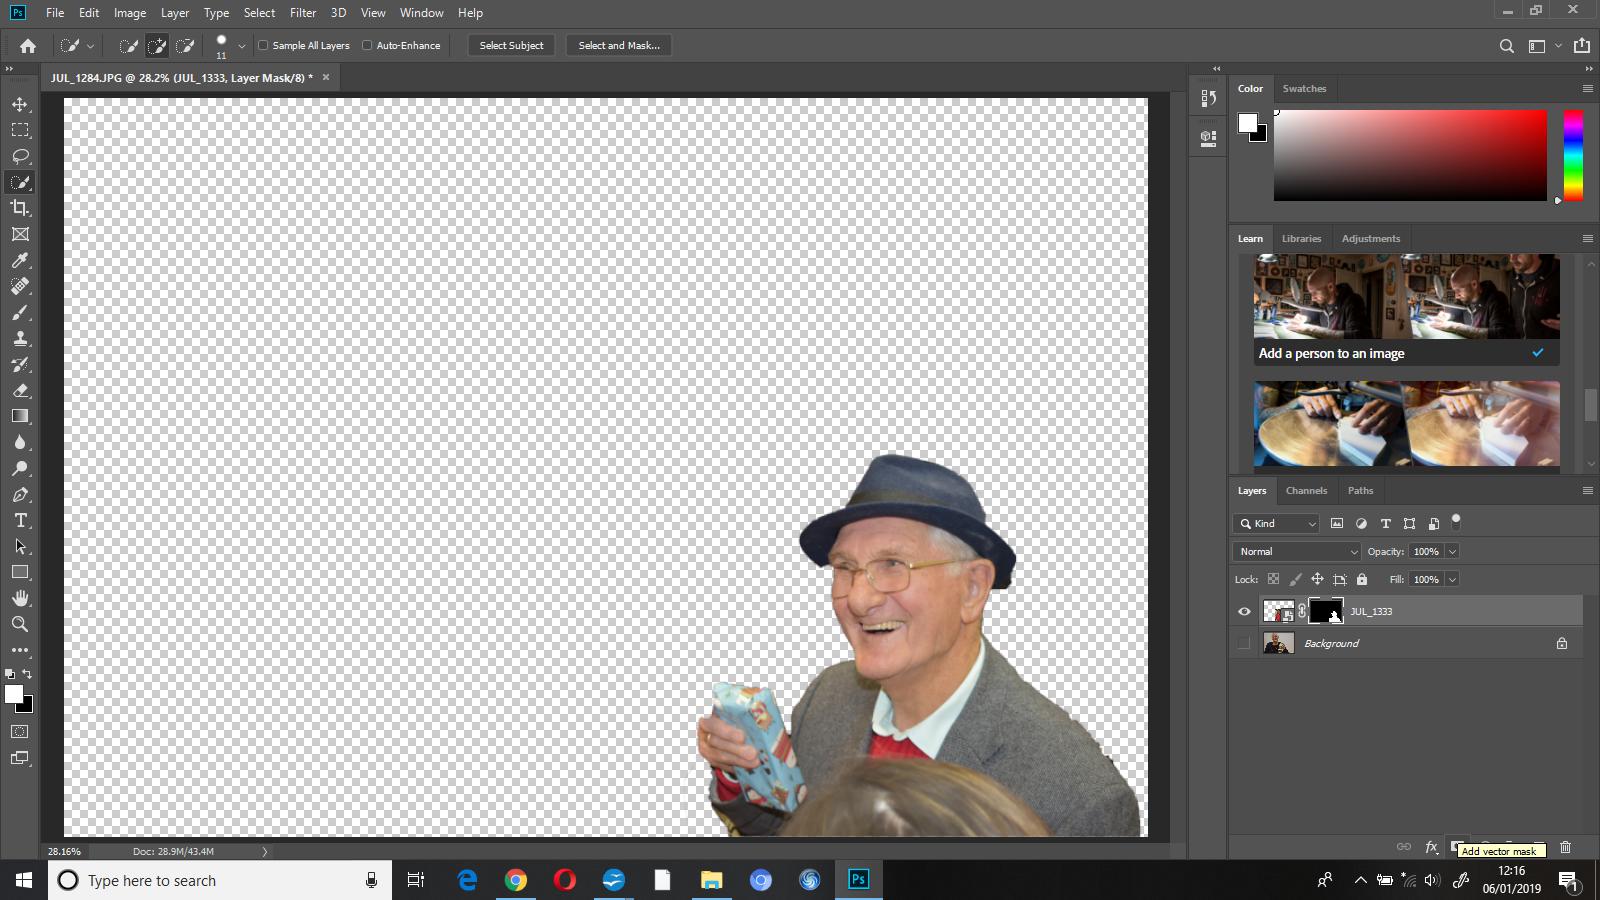
 I then masked the layer which showed me which parts I’d selected and hid the rest. I pressed show layer on the original image and this added my masked layer on top so that I could see it all put together.
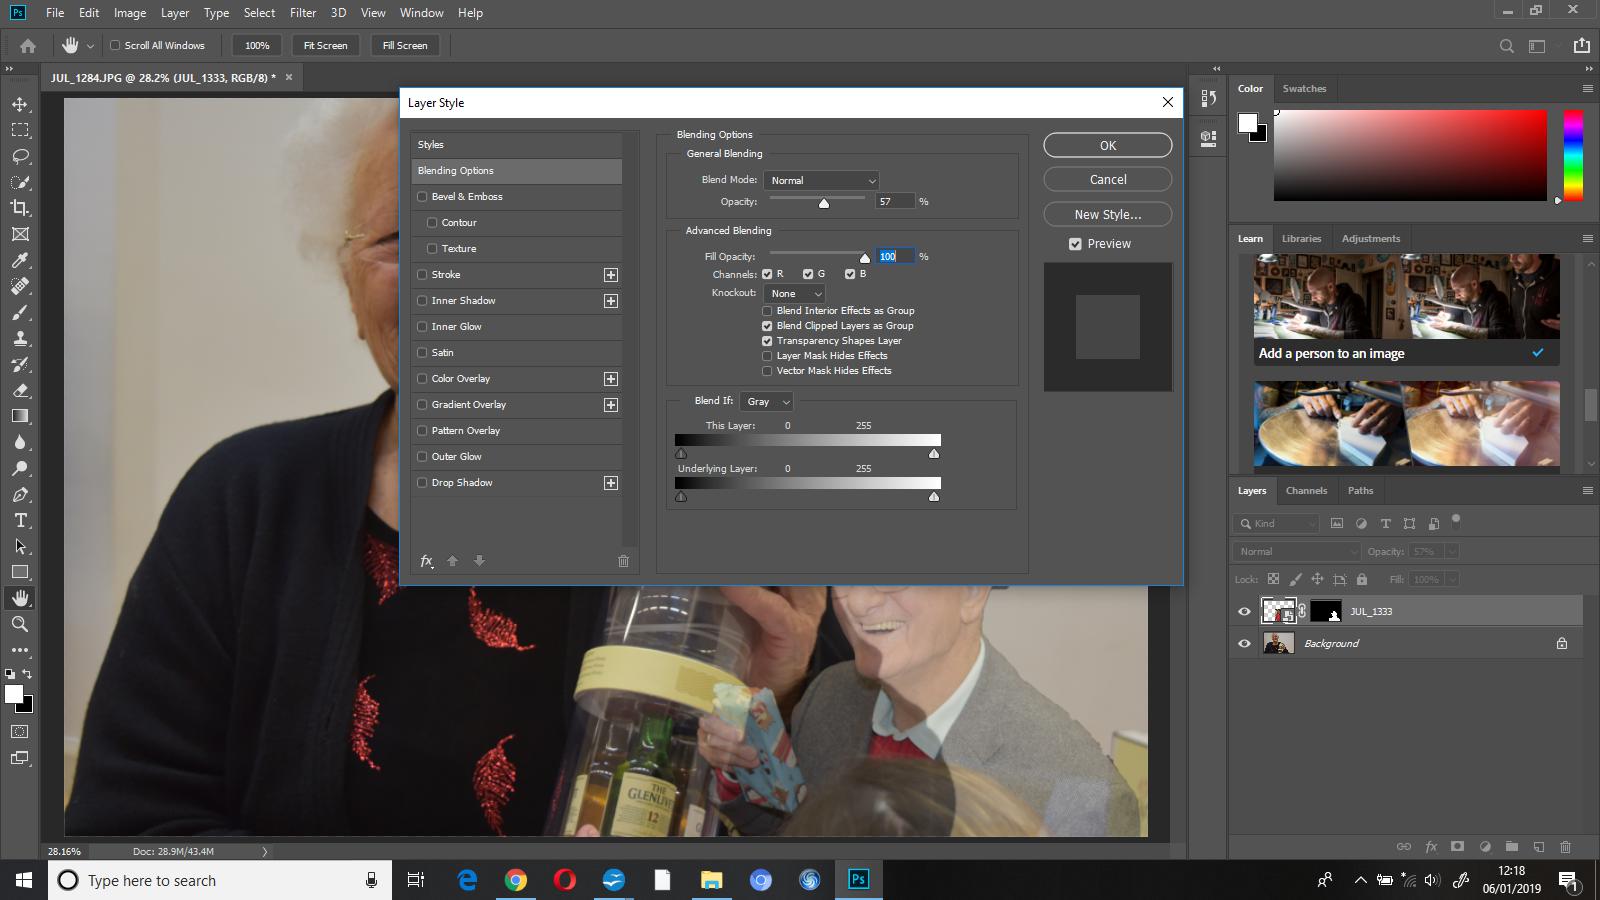 I reduced the opacity of my masked layer to 57%, I did this so that attention went to the primary image beforehand.
