
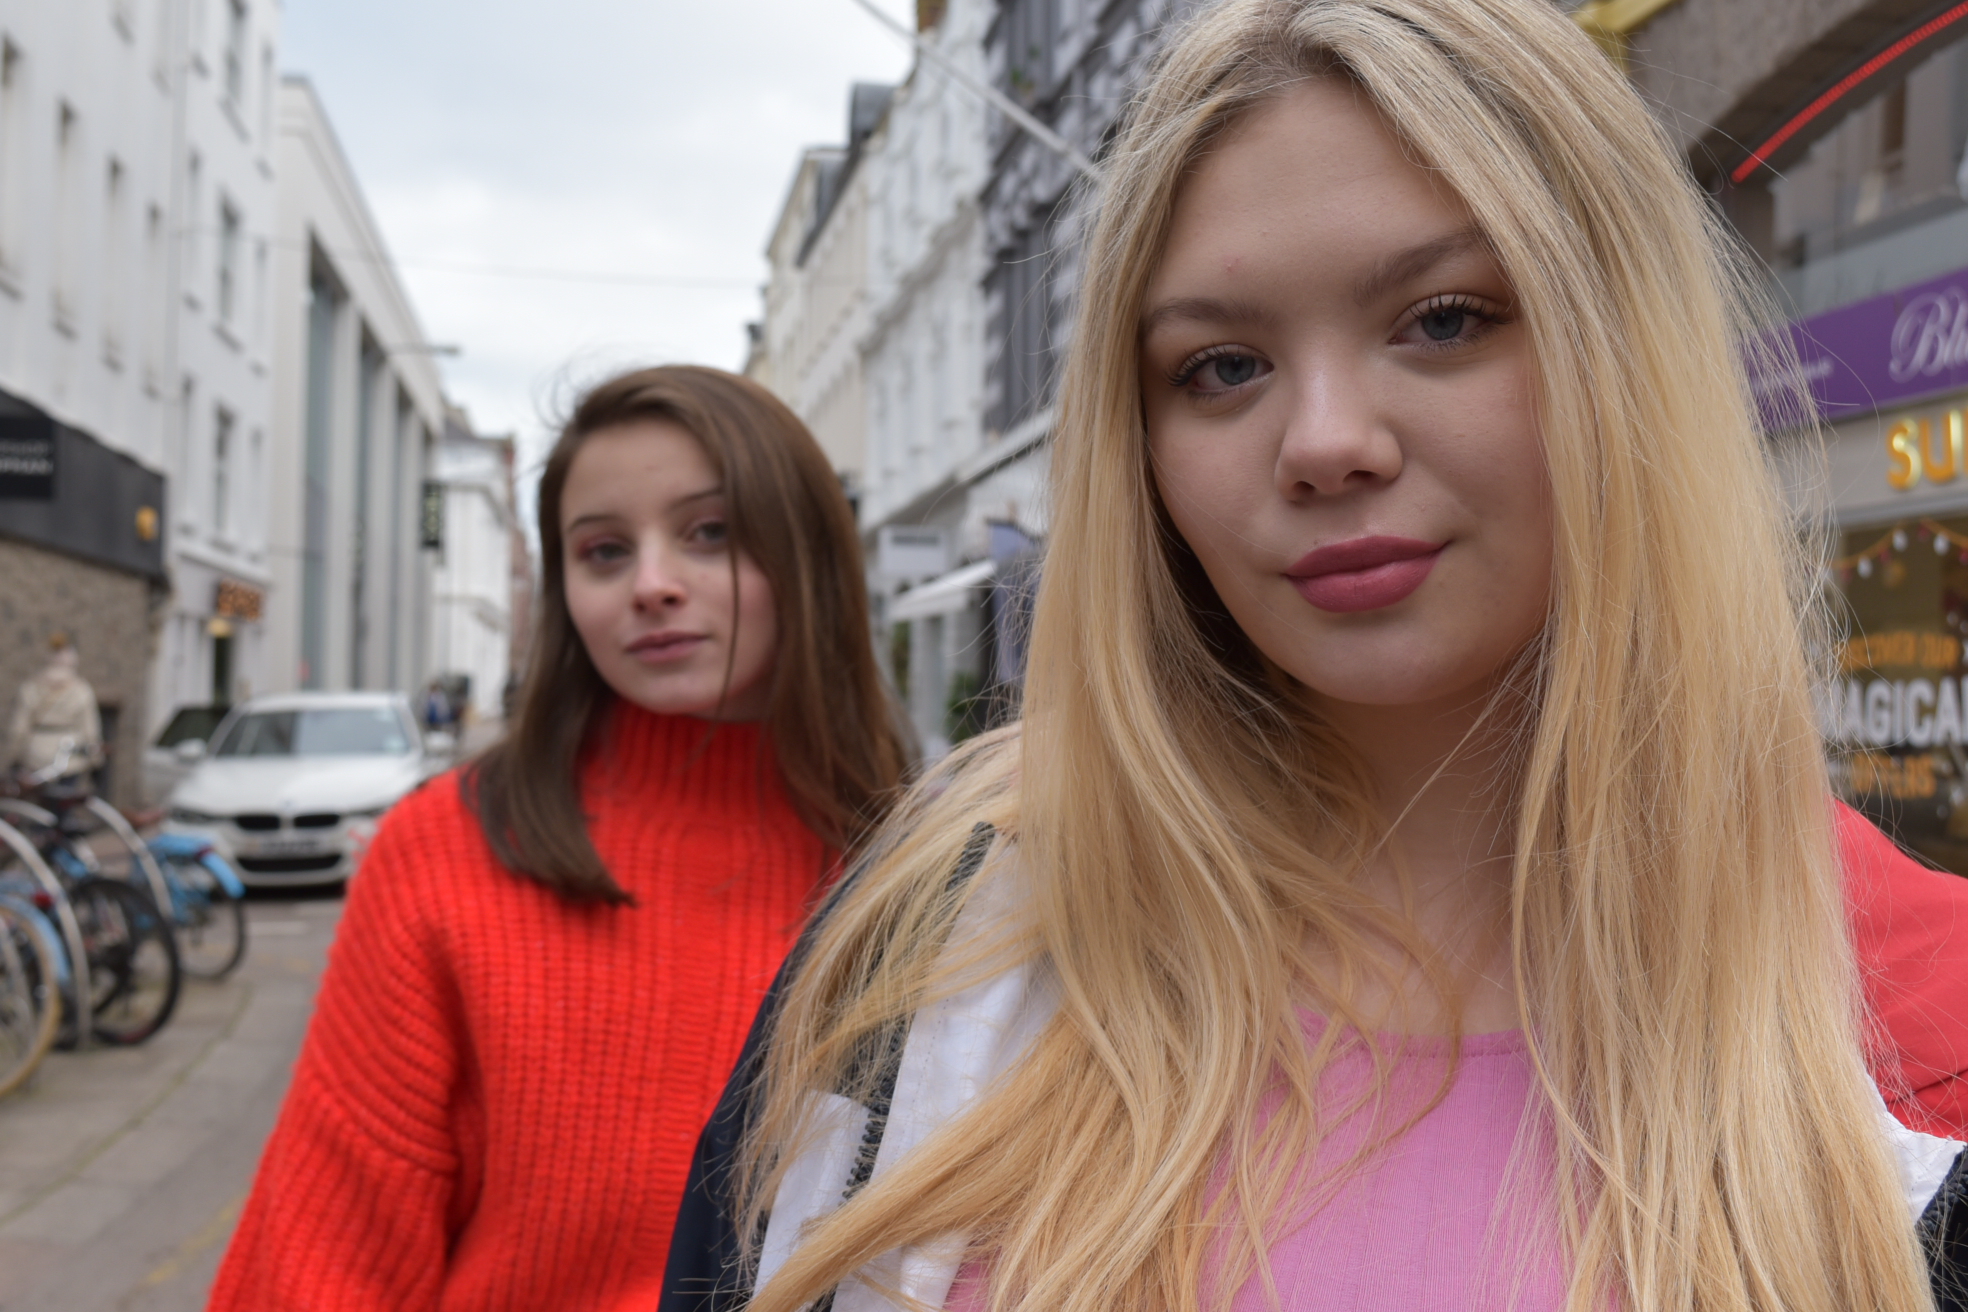
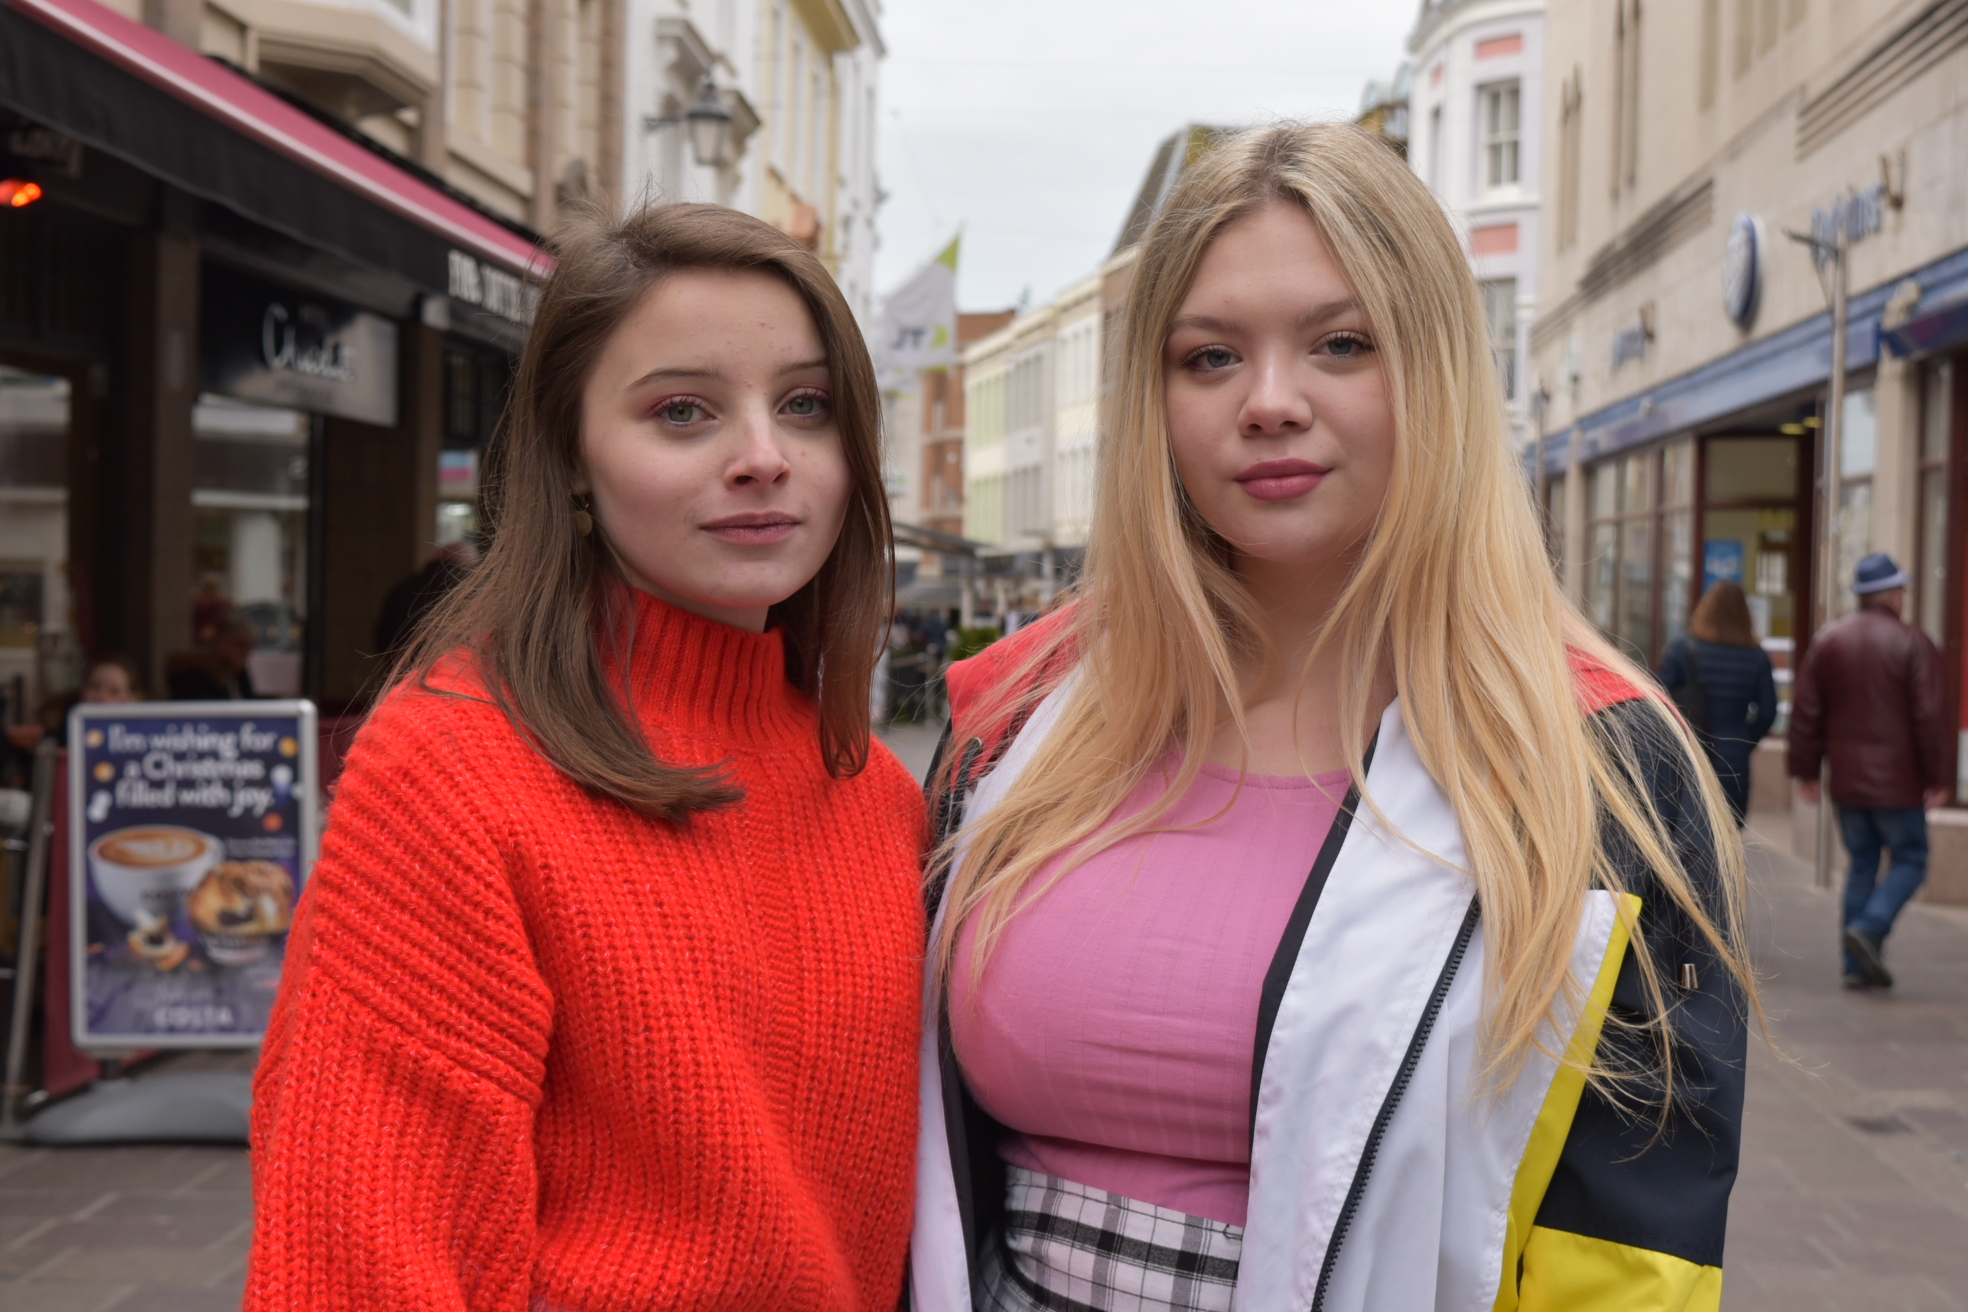
I chose to edit this photograph as I liked that because of the depth of field each model was in a different amount of focus and the model standing in front catches your attention straight away.
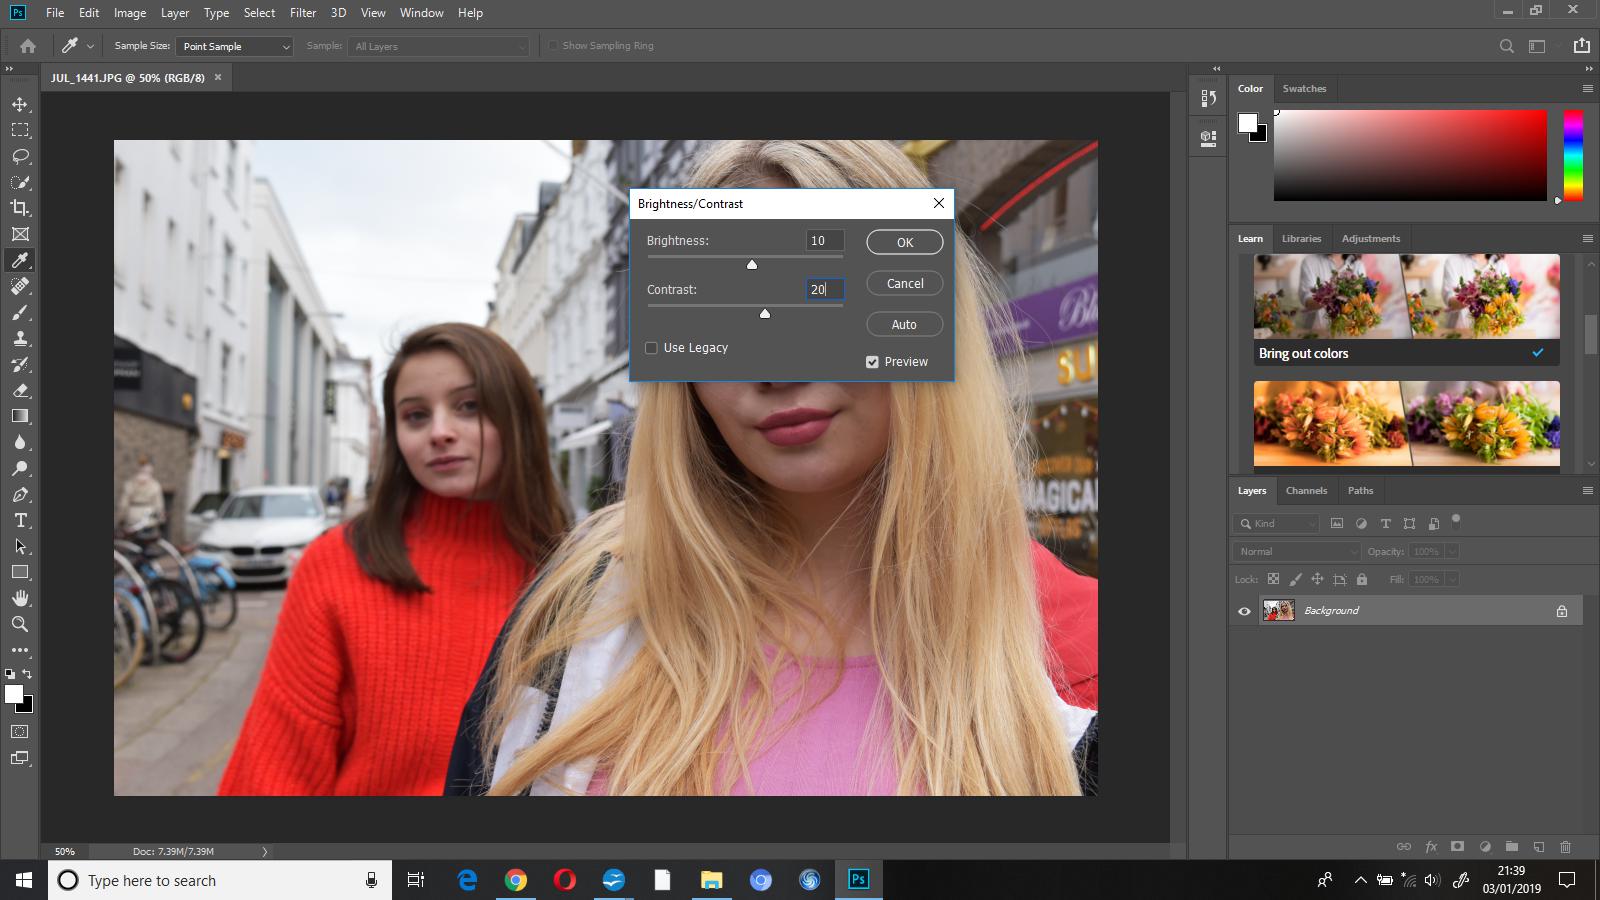
Once I’d opened this photo up in Photoshop the first thing I did was adjust the brightness to +10 and the contrast to +20, I did this to bring out some of the vibrant colours. Doing this helped to bring out the colours as the brightness affects the highlights, and increasing the contrast made the lighter colours in the photo lighter and the darker colours darker, ultimately making them stand out more.

I then went to image-adjustments-vibrance and increased the vibrance to +35 and the saturation to +2 to add to the pop of colour I was going for in this edit.
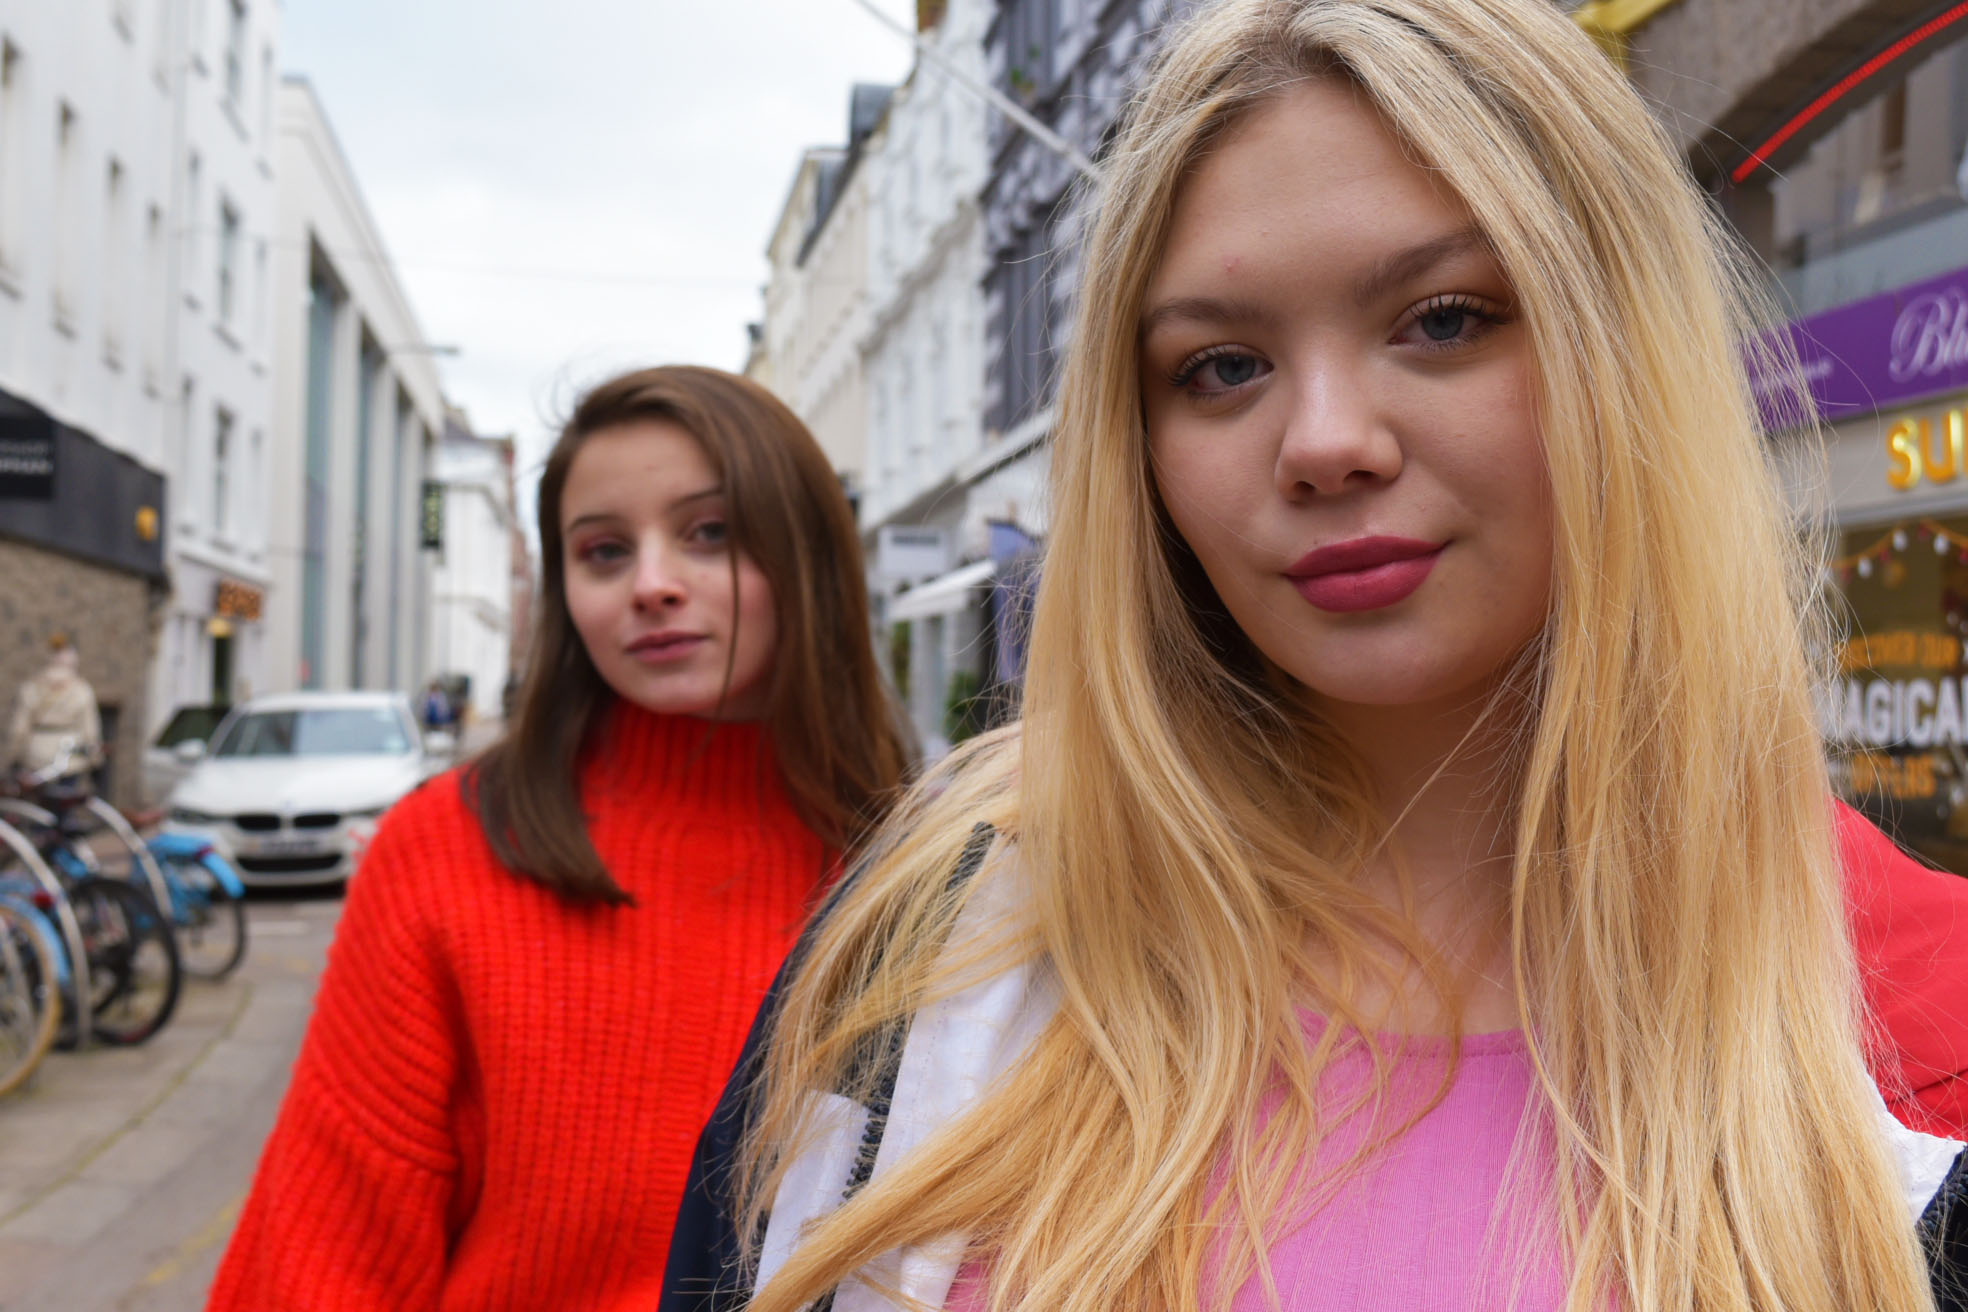
As you can see, after making these adjustments the model in the foregrounds hair appeared very warm toned. I went to image-adjustments-colour balance and changed shadows (-20,0,+15), midtones (+10,0,+5), and highlights (+8,5,+12) and this gave the image an overall cooler tone.
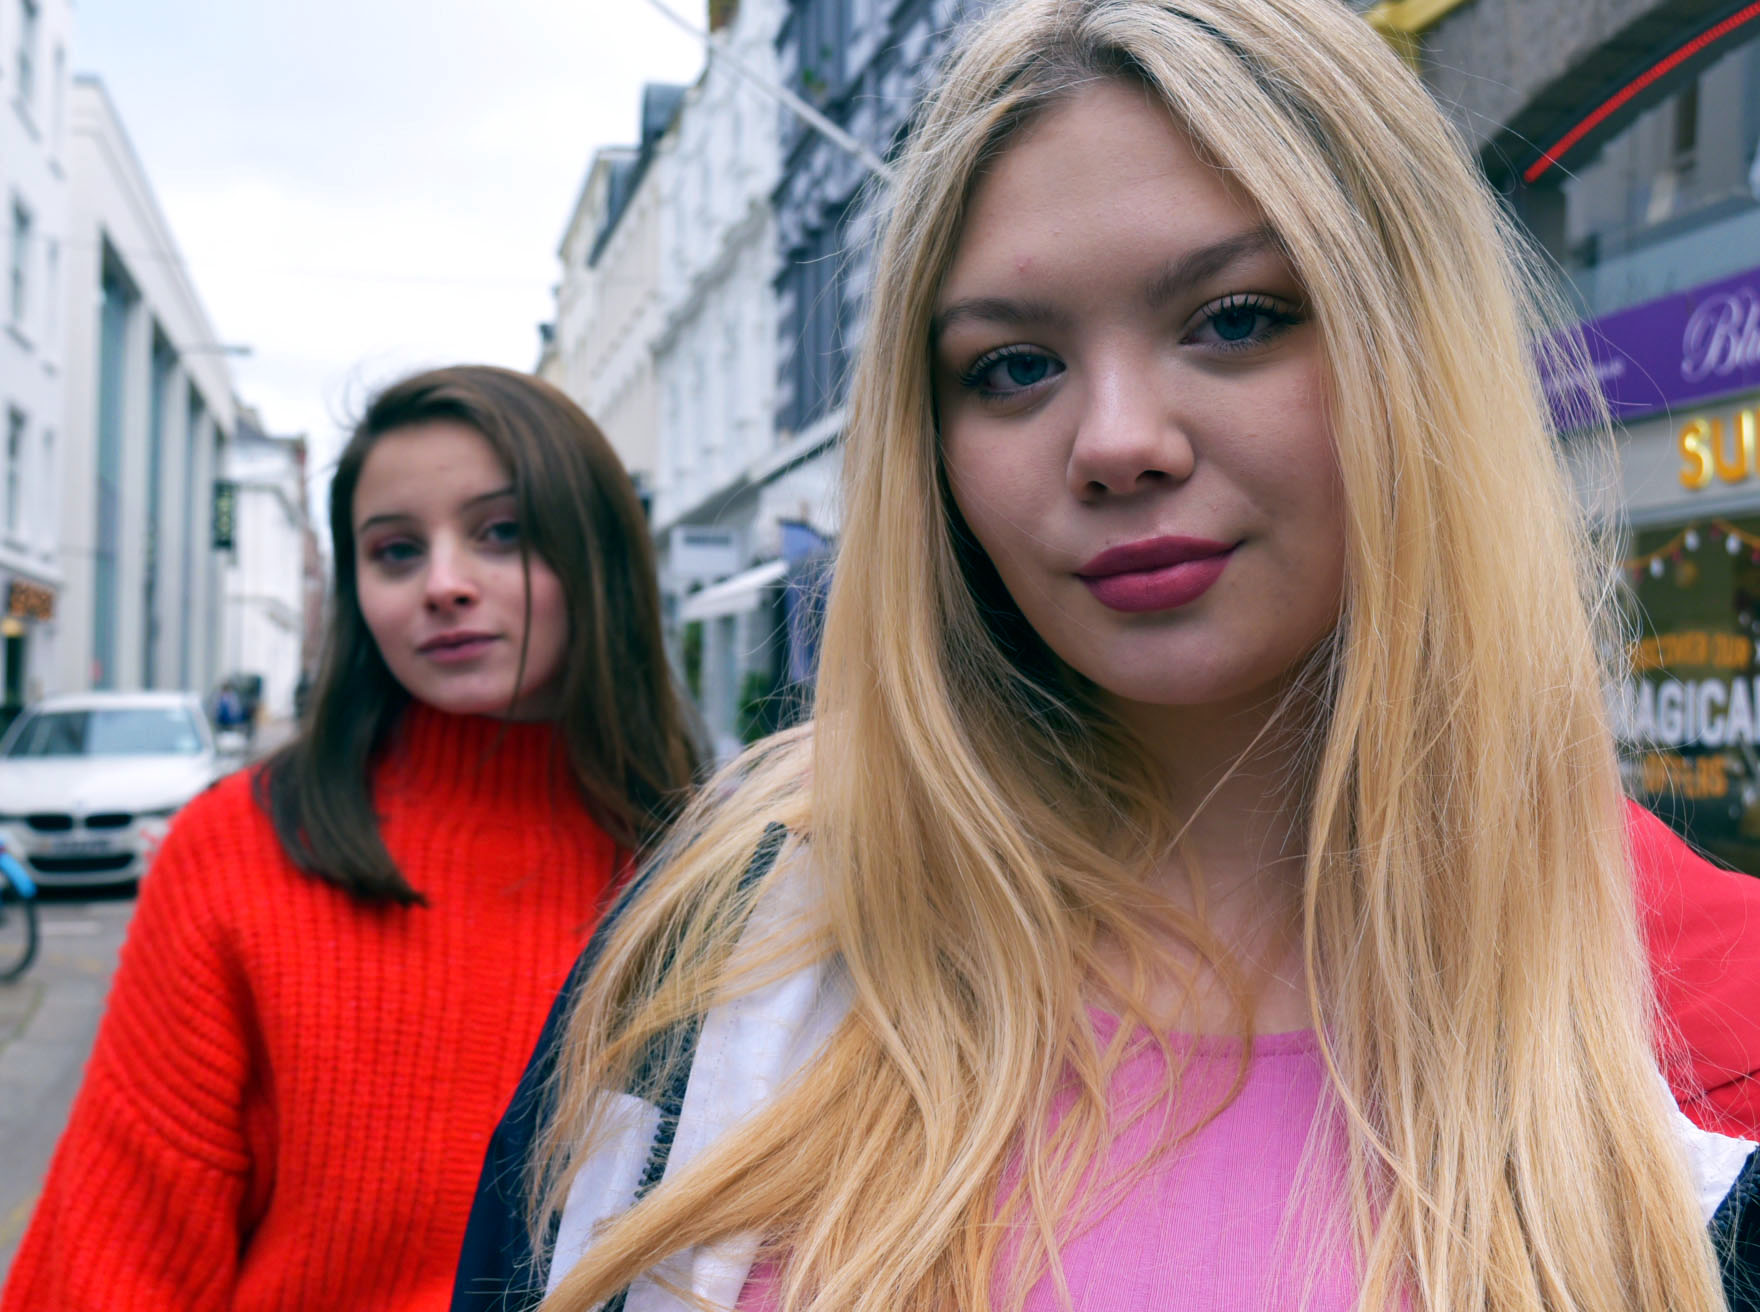
To finish off this edit I cropped out the bicycles from the left side of the photograph, to both make the photo less busy and cluttered, and keep the focus on the subjects.
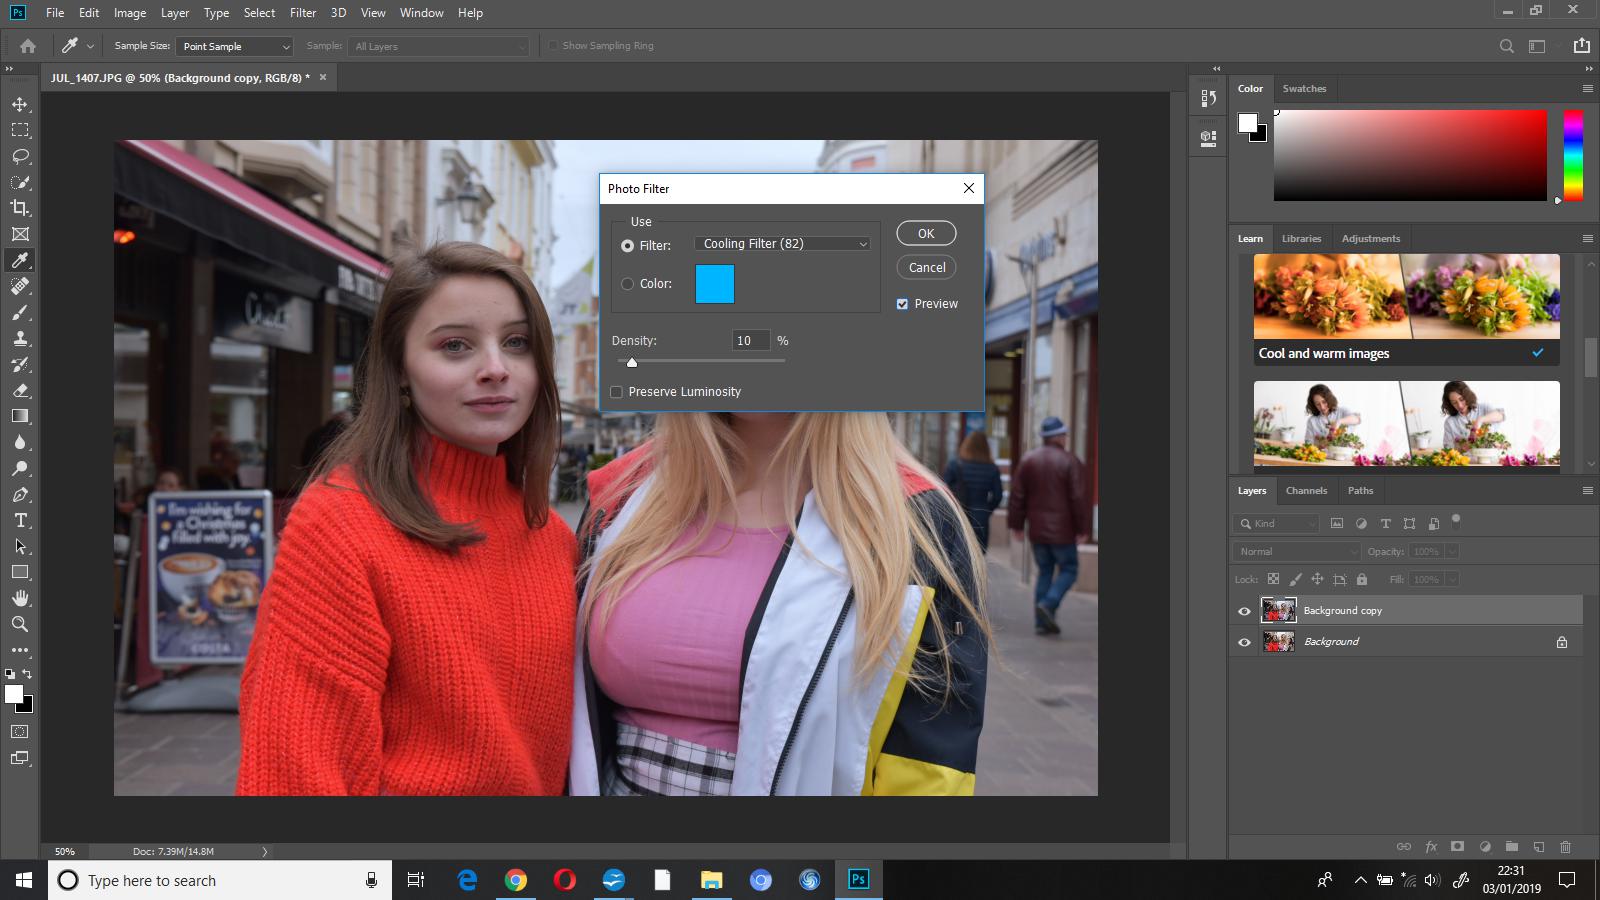
The first thing that I did when beginning to edit this photo was add on the ‘cooling filter (82)’ at a density of 10%, this made the photo cooler toned. I experimented with the density a little bit before deciding on 10% as I did not want the photograph to look as if it had a blue coloured overlay.

To finish this edit I increased the brightness to 5 and the contrast to 15, I did this to just enhance some colours while still enabling the edit to look somewhat natural.