When using the studio to take portraits there are 4 types of light you can use; red-head (soft/harsh light), ring light, spot light and flash light. I experimented with all types of lighting and came to a conclusion that I prefer flash lighting and lighting formed by red-head lights.
CHIAROSCURO – USING HARSH & SOFT LIGHT
Chiaroscuro is an Italian term for ‘light-dark’ Artists who are well-known for the use of chiaroscuro are Leonardo De Vinci, who gave vivid impression of three-dimensional figures. The effect started off in paintings and photographers slowly got inspired by the effect and brought it to photography. The ‘Mona Lisa’ is a prime example of the chiaroscuro effect.
:max_bytes(150000):strip_icc()/Mona_Lisa_by_Leonardo_da_Vinci_from_C2RMF_retouched-5960da925f9b583f180c106b.jpg)
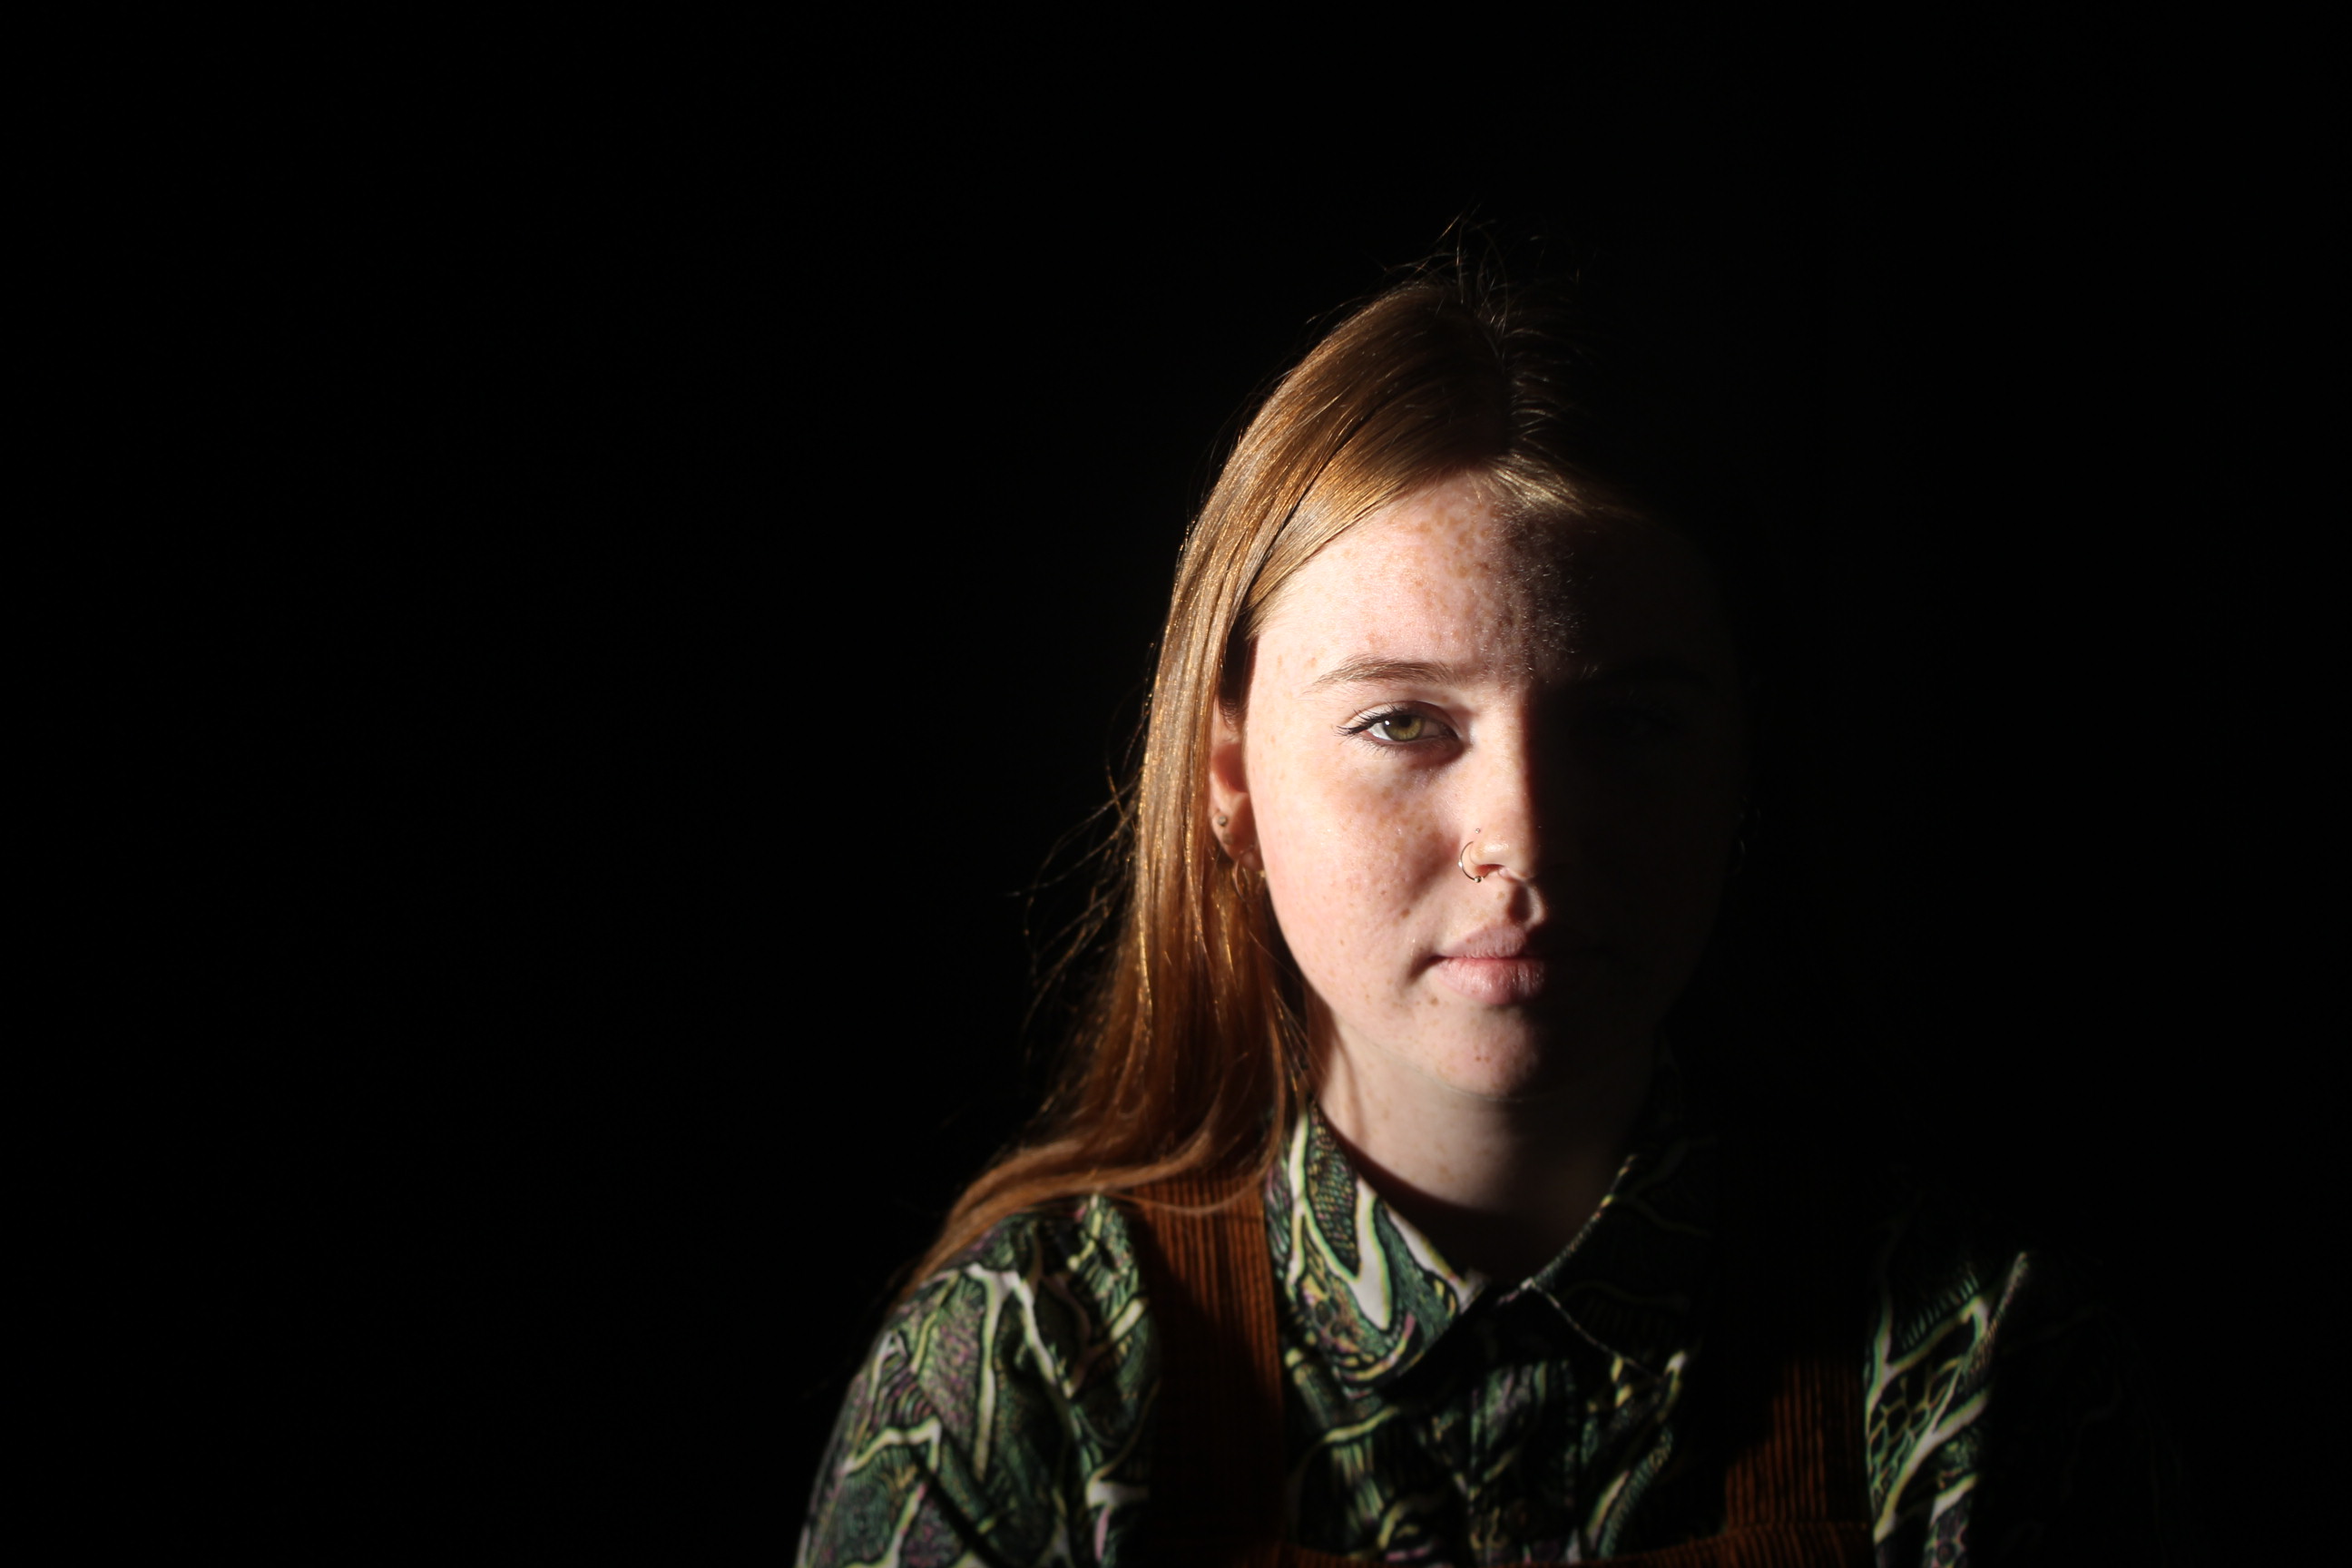
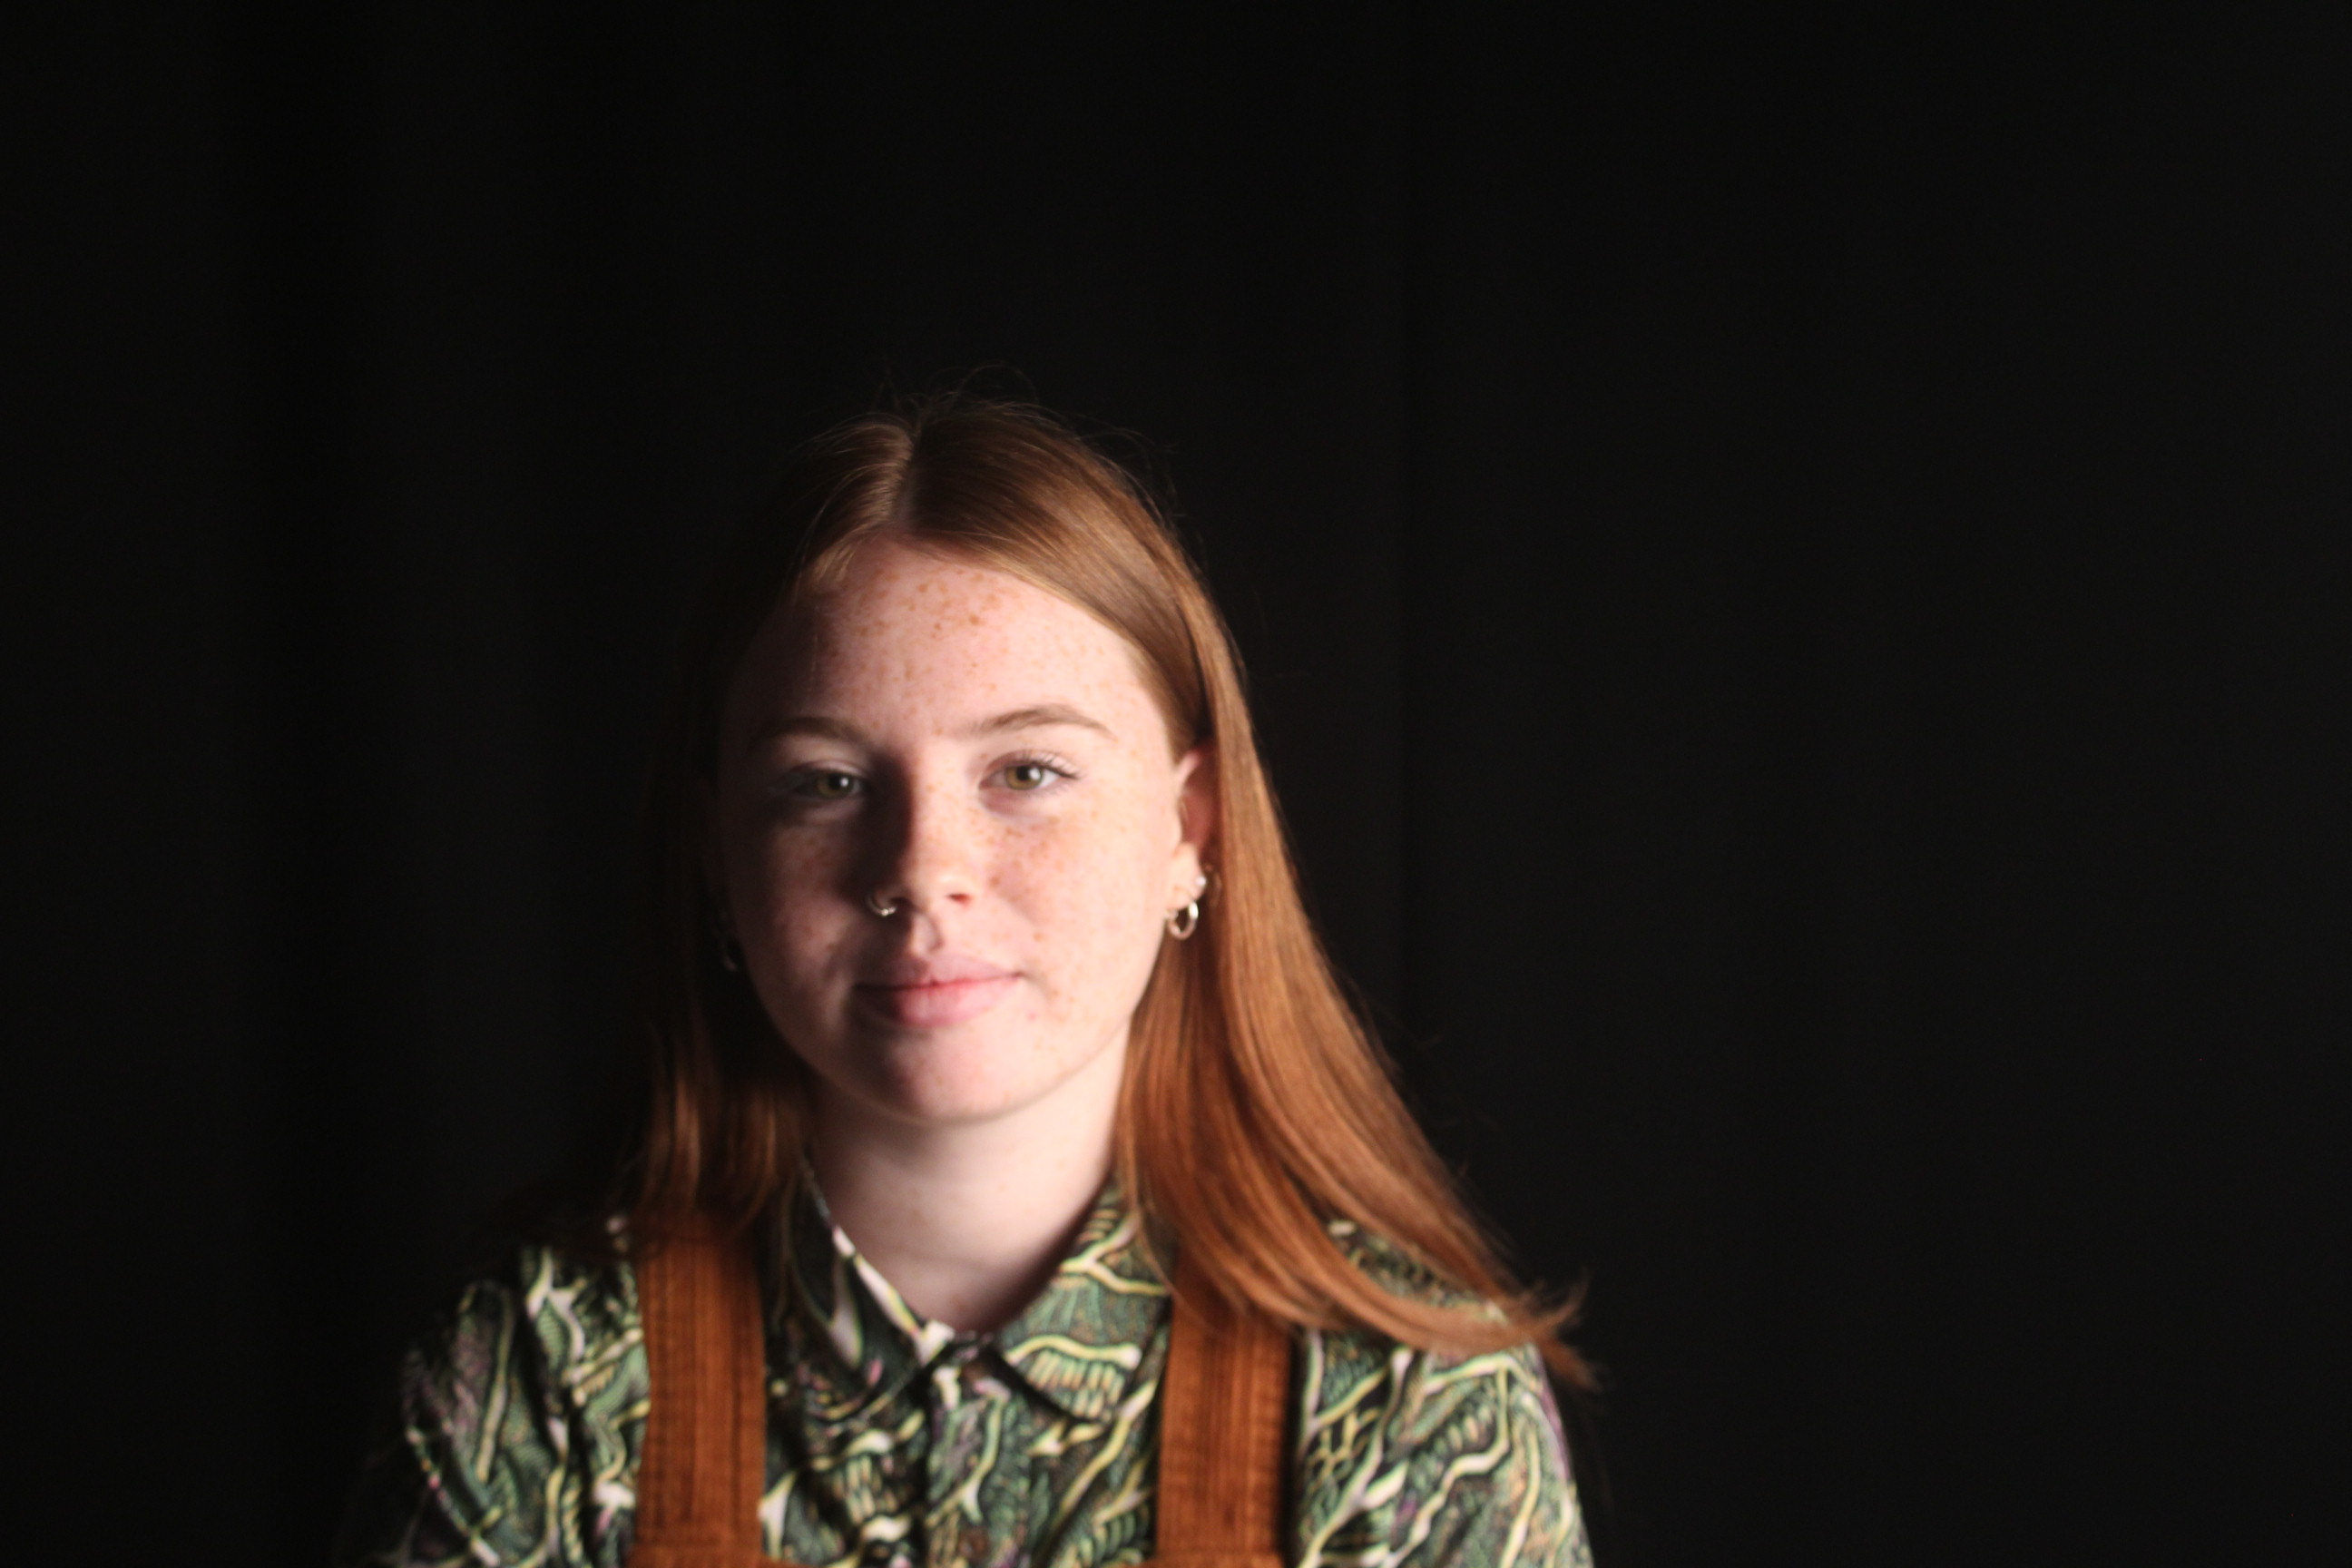
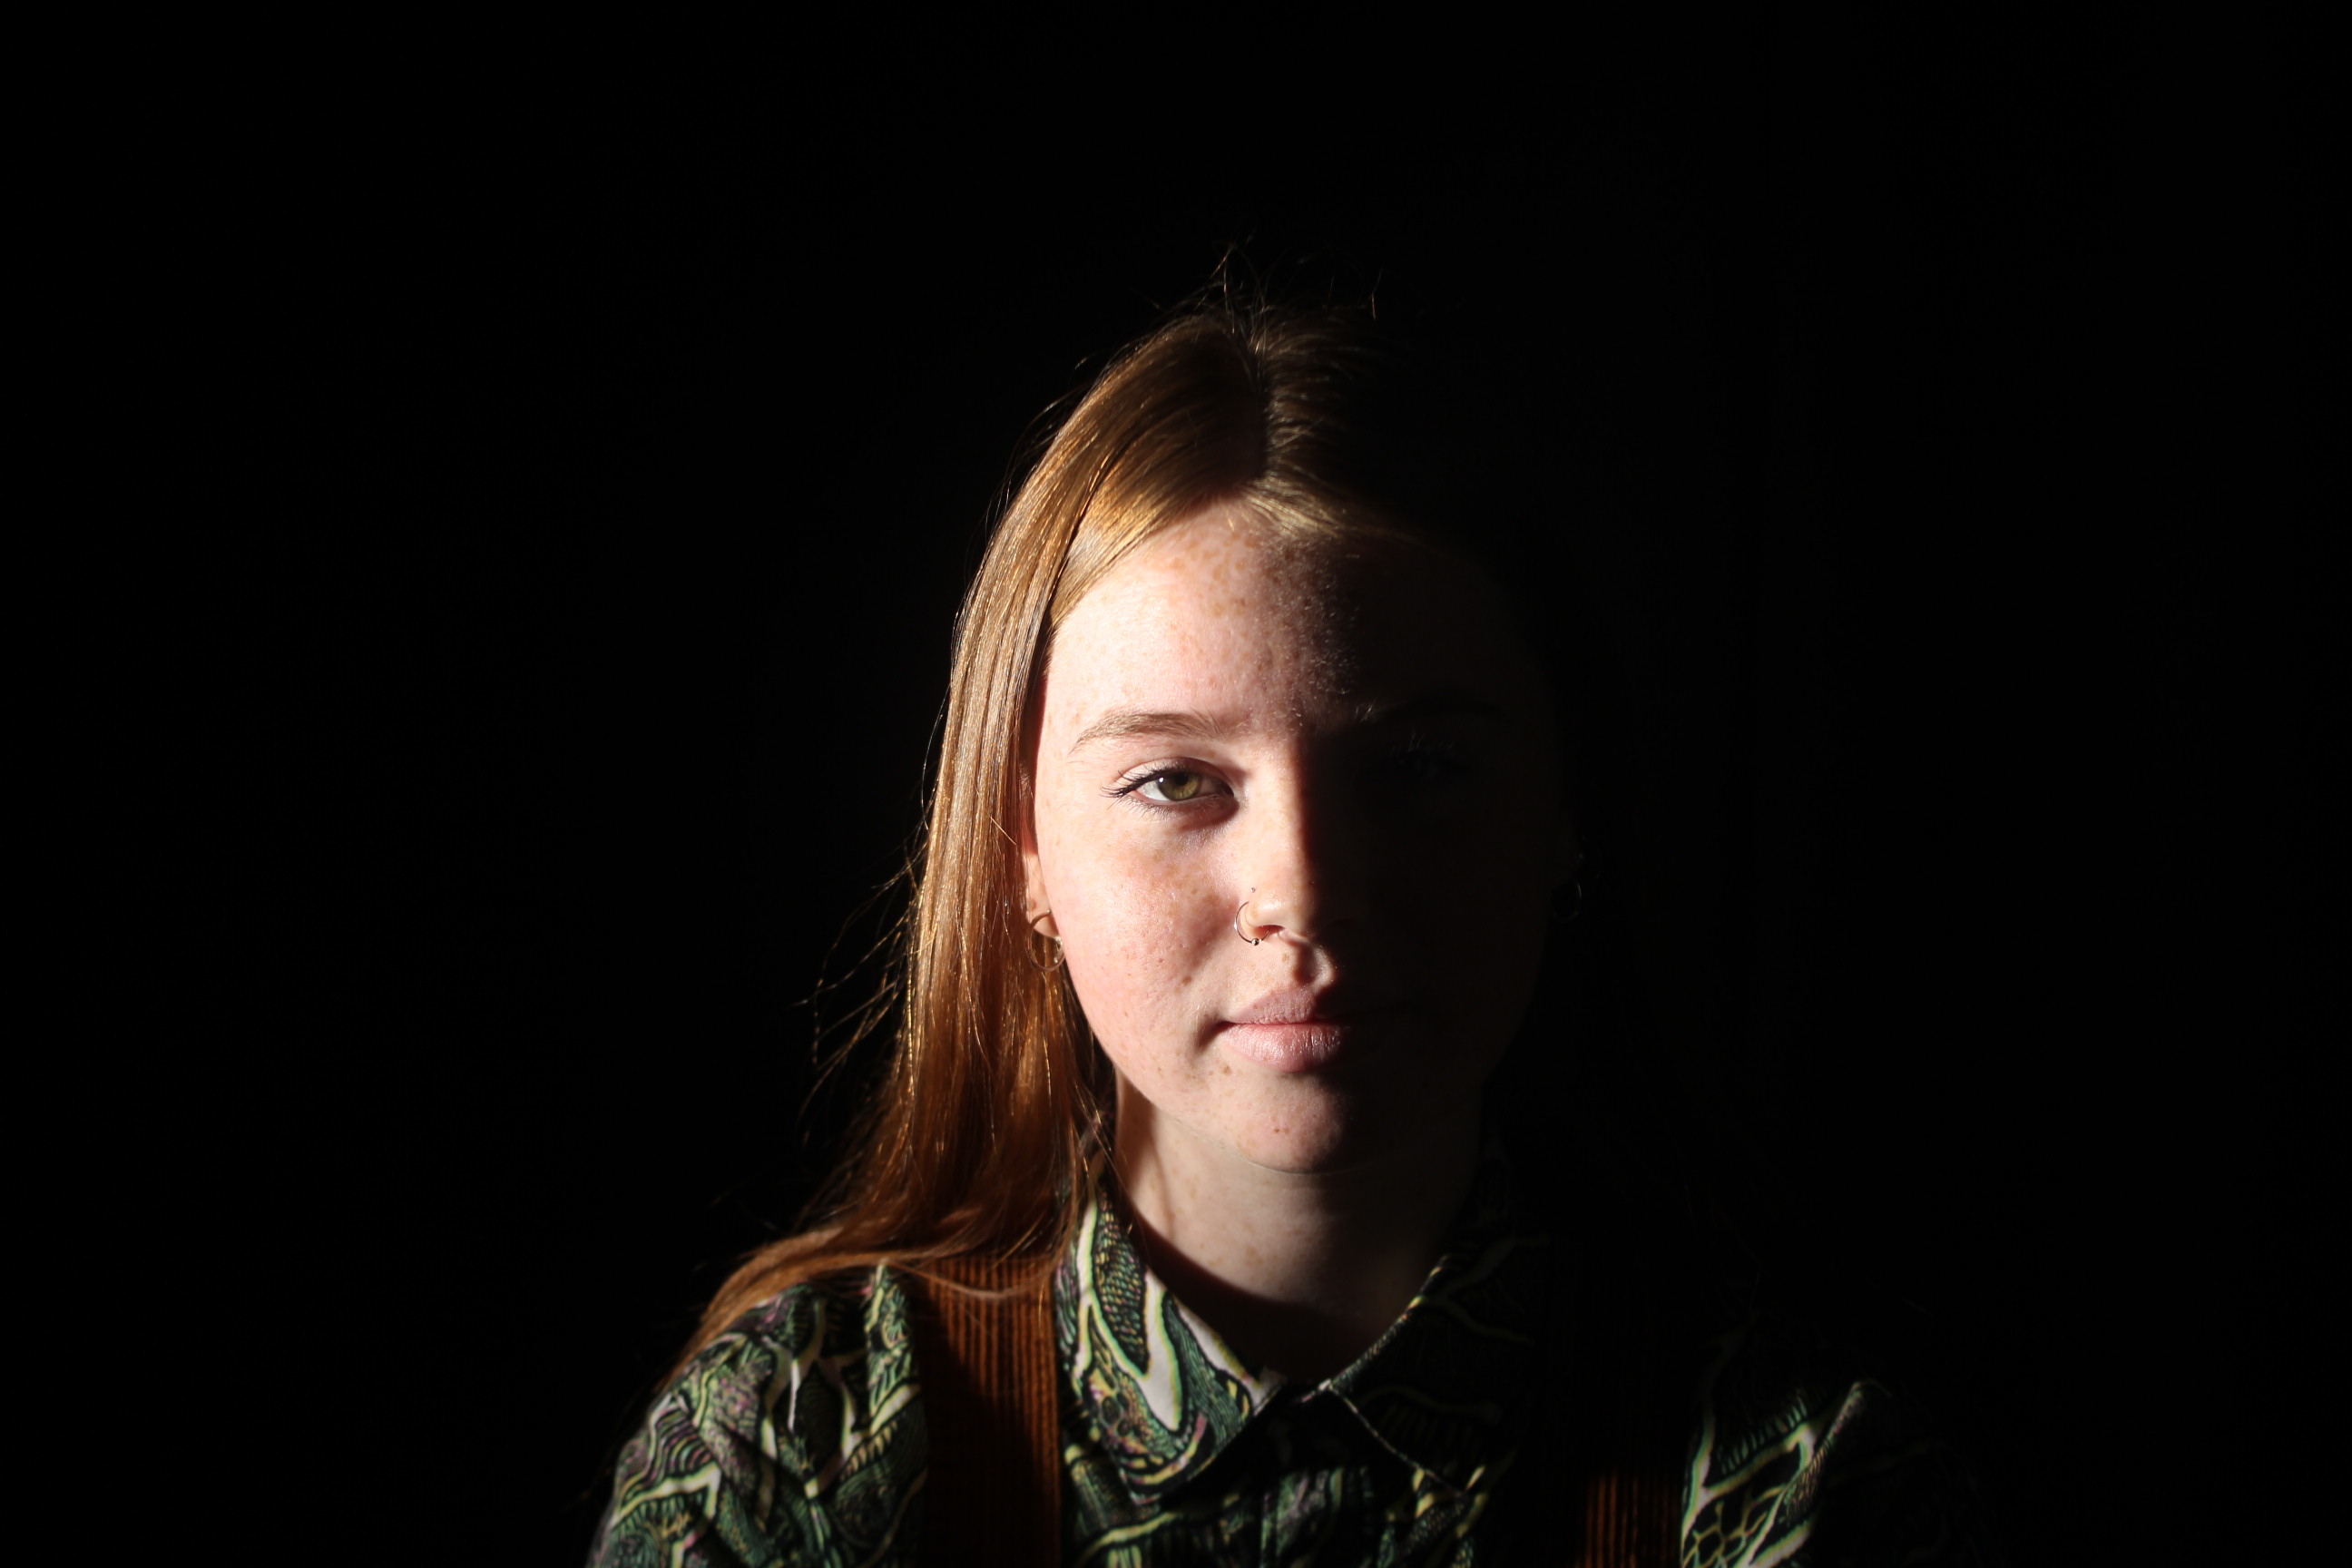
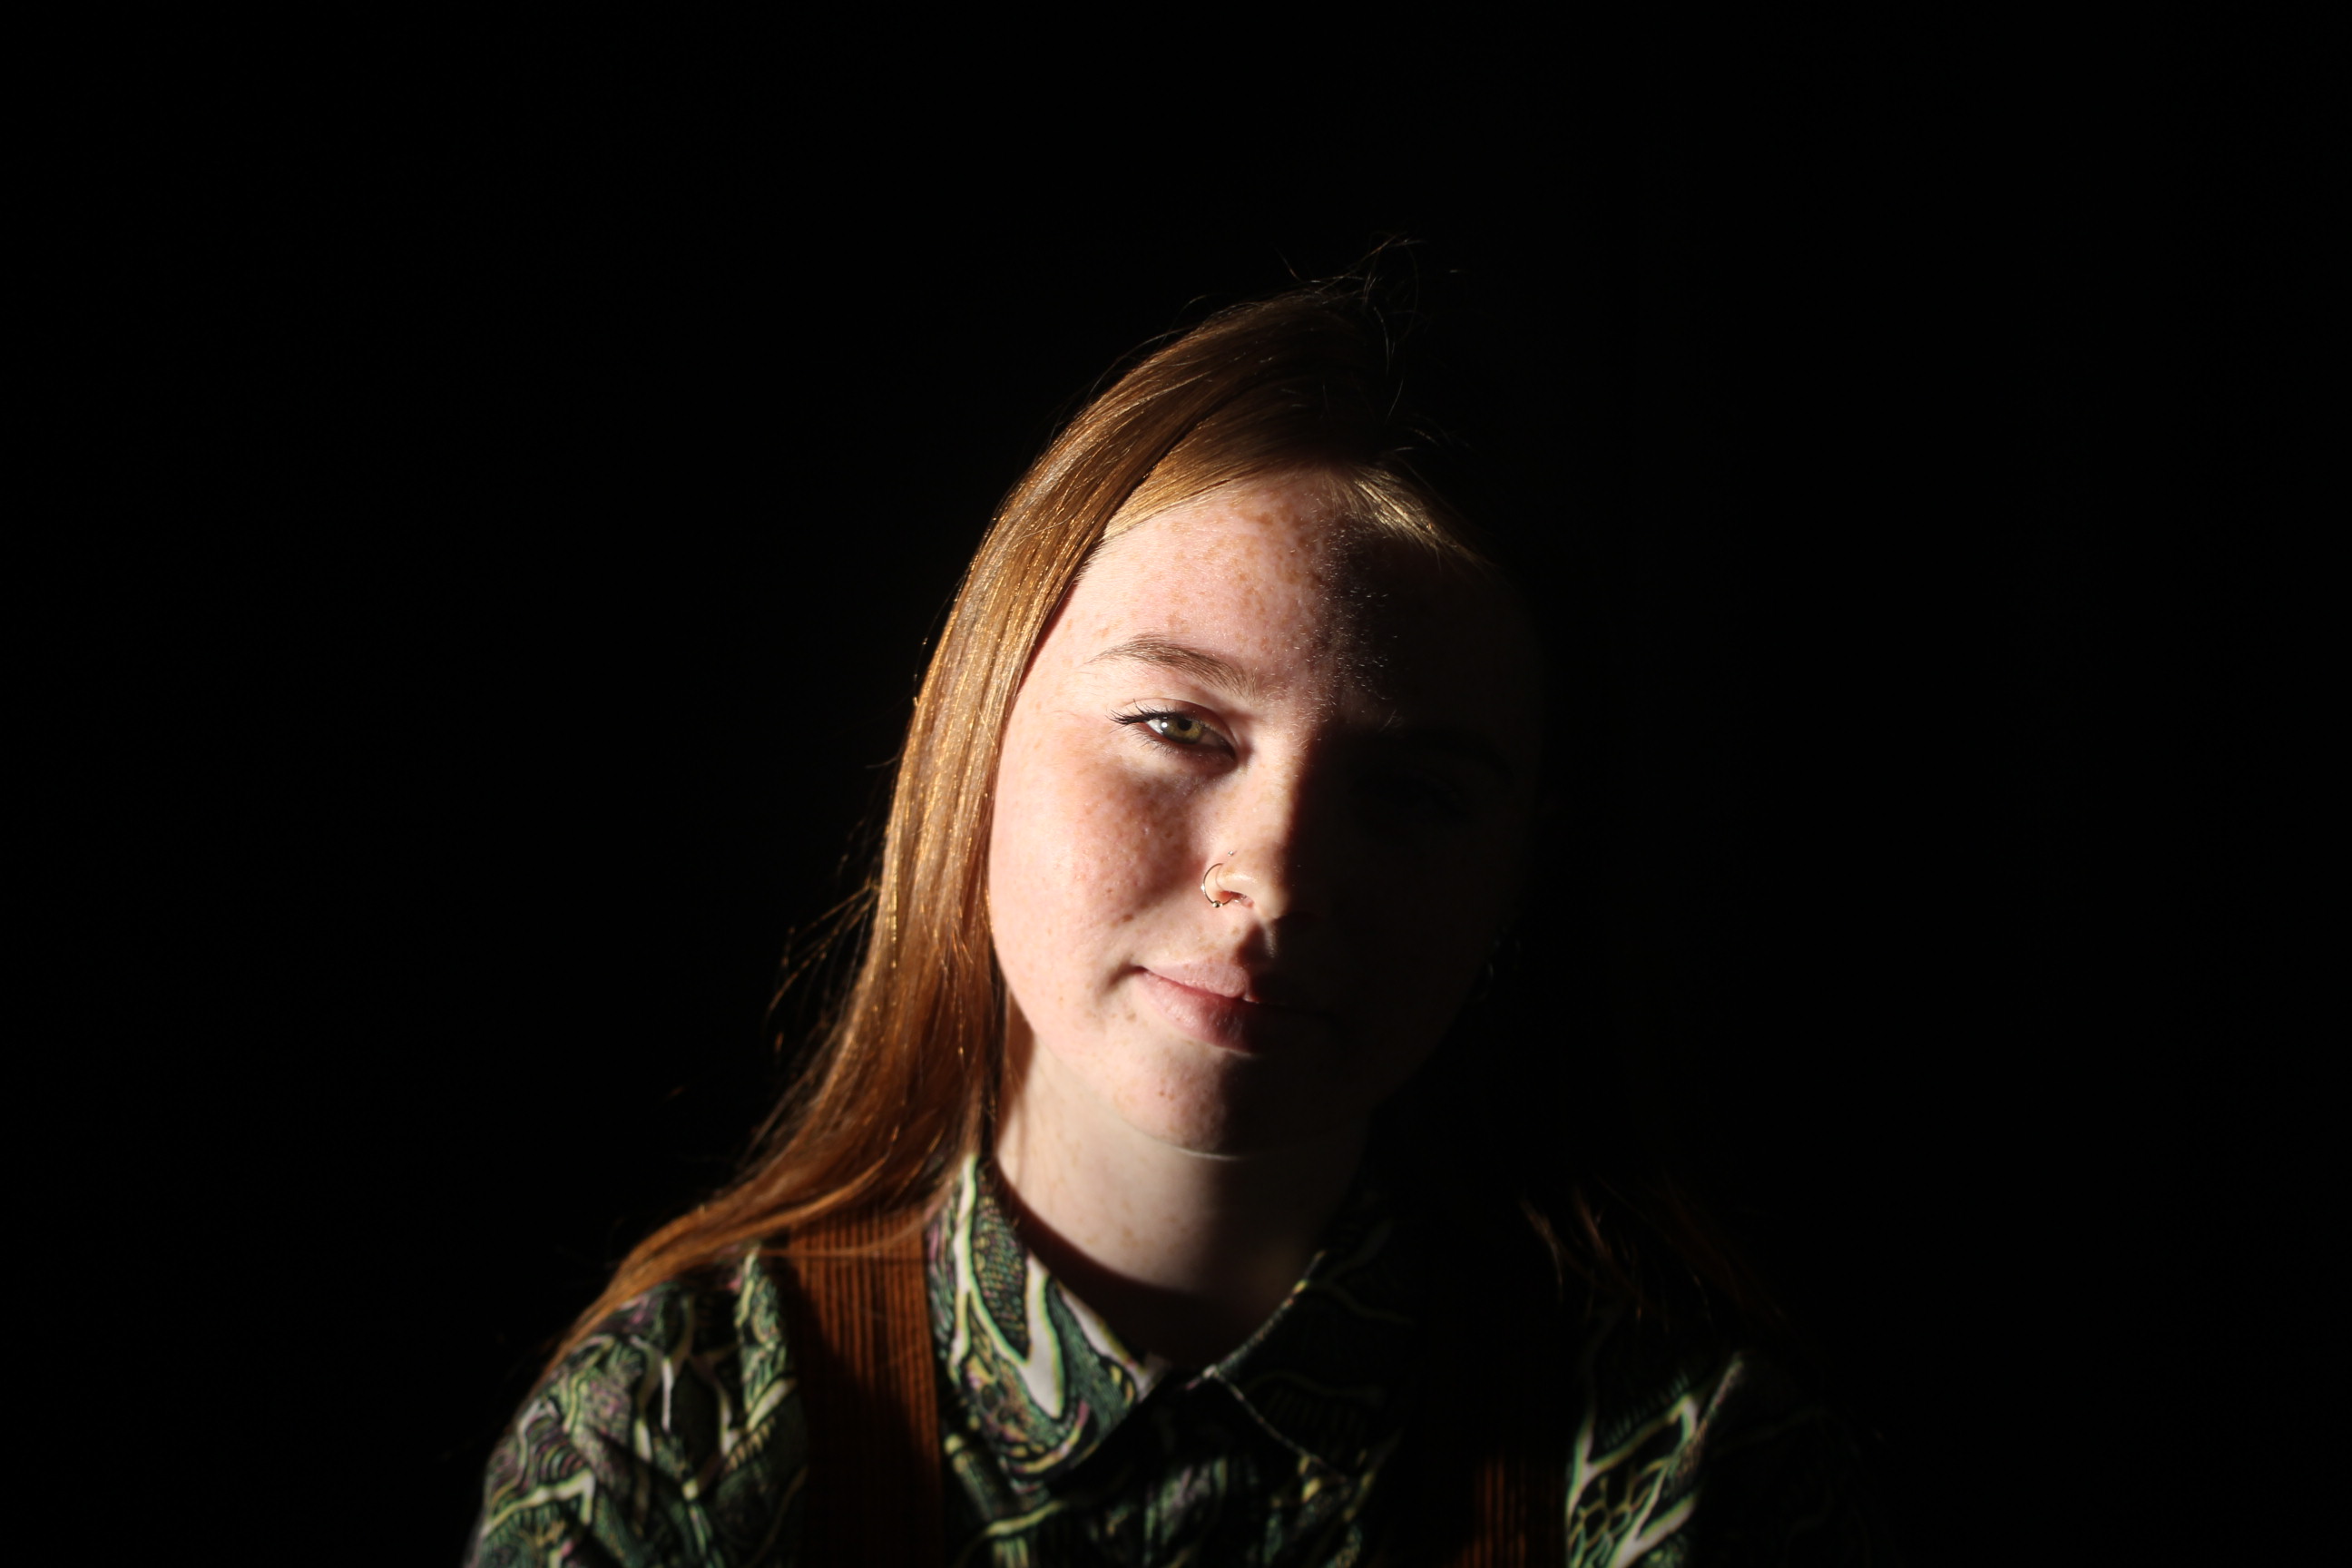
When experimenting with the chiaroscuro affect, I mainly had to focus on the contrast of light and dark, these types of photo give off a sense of volume and boldness through the photo. The image tends to have one side of the face lighten up by a studio light, which tends to be harsh to the face, which then causes the other half of the face to hide in shadow. Here are a few examples of chiaroscuro portraits.


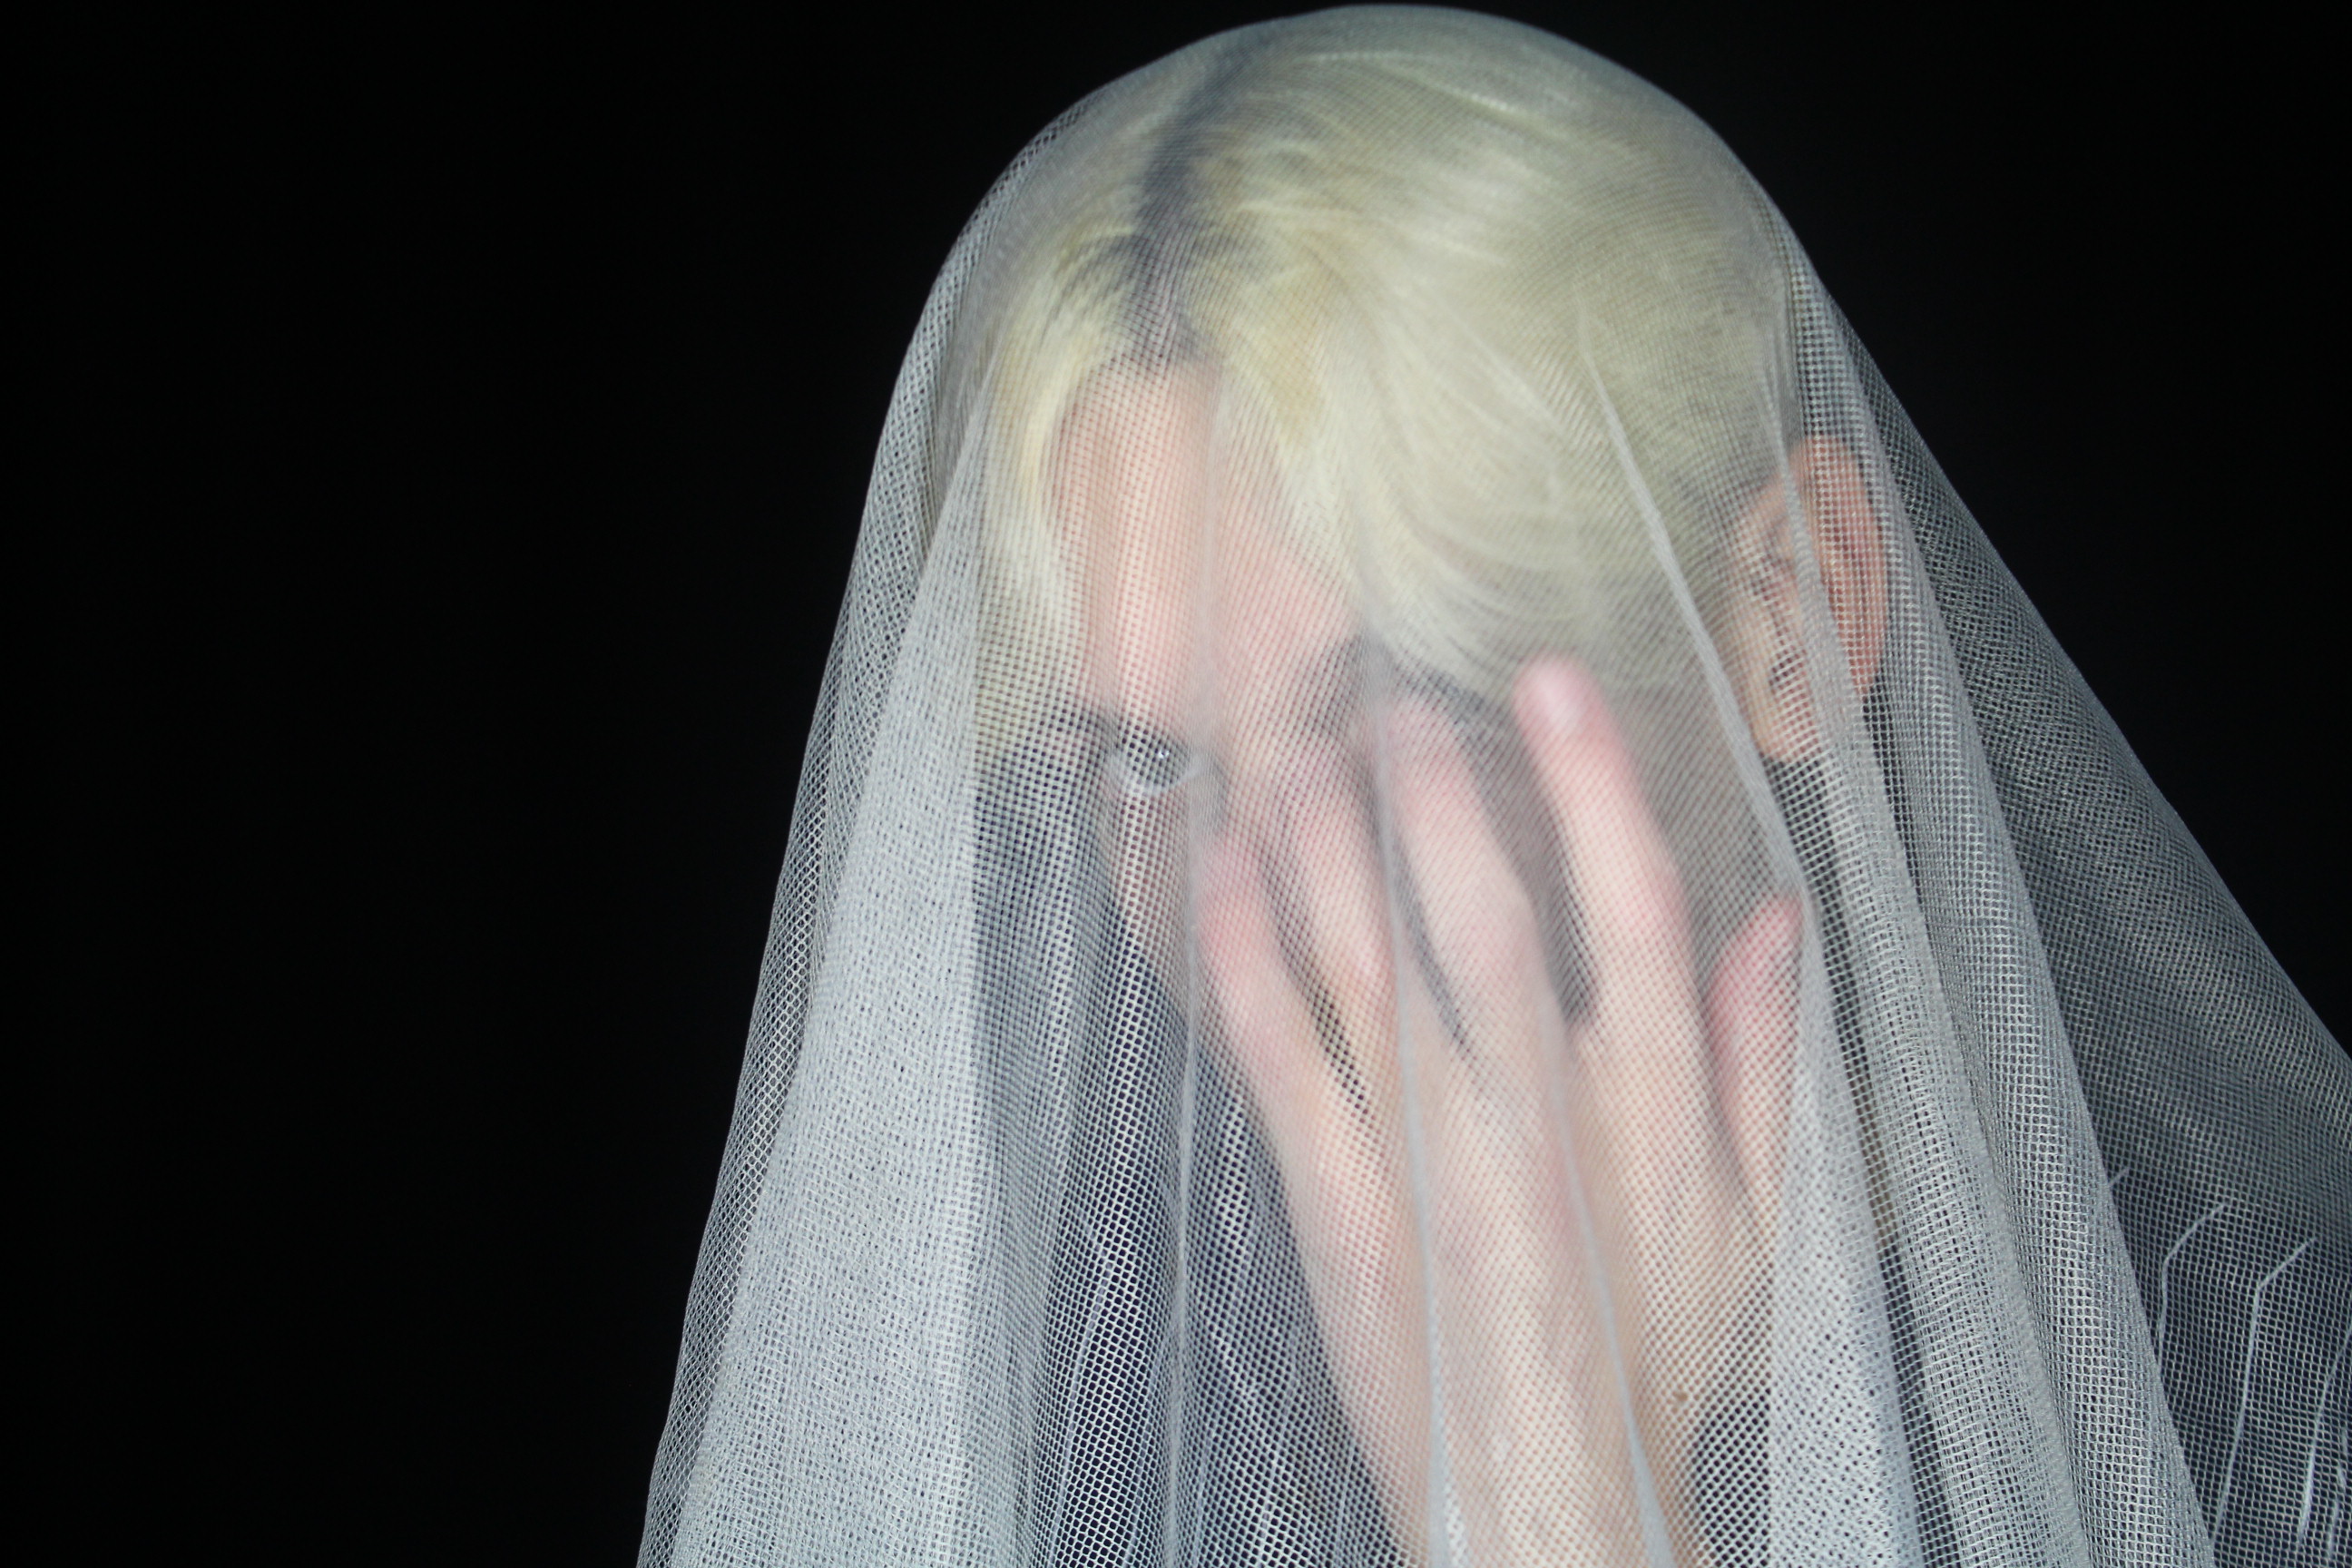
MY RESPONSE

EVALUATION
To get this style of photo I shined a soft light, to the side of the girls face and I used a black background so the chiaroscuro effect would be more defined and bold. I took these photos using a manual setting, I had the shutter speed at 1/200, this is so the camera wouldn’t take in all the light that was available and I had the ISO on 100 so the camera wasn’t too sensitive too light, otherwise my images would’ve been over exposed and too white. I feel that using a stronger more harsh light shows the chiaroscuro effect more. The strong light creates a bold shadow on the other half of the face making you focus in on the side that is lit up and in center focus on the image.
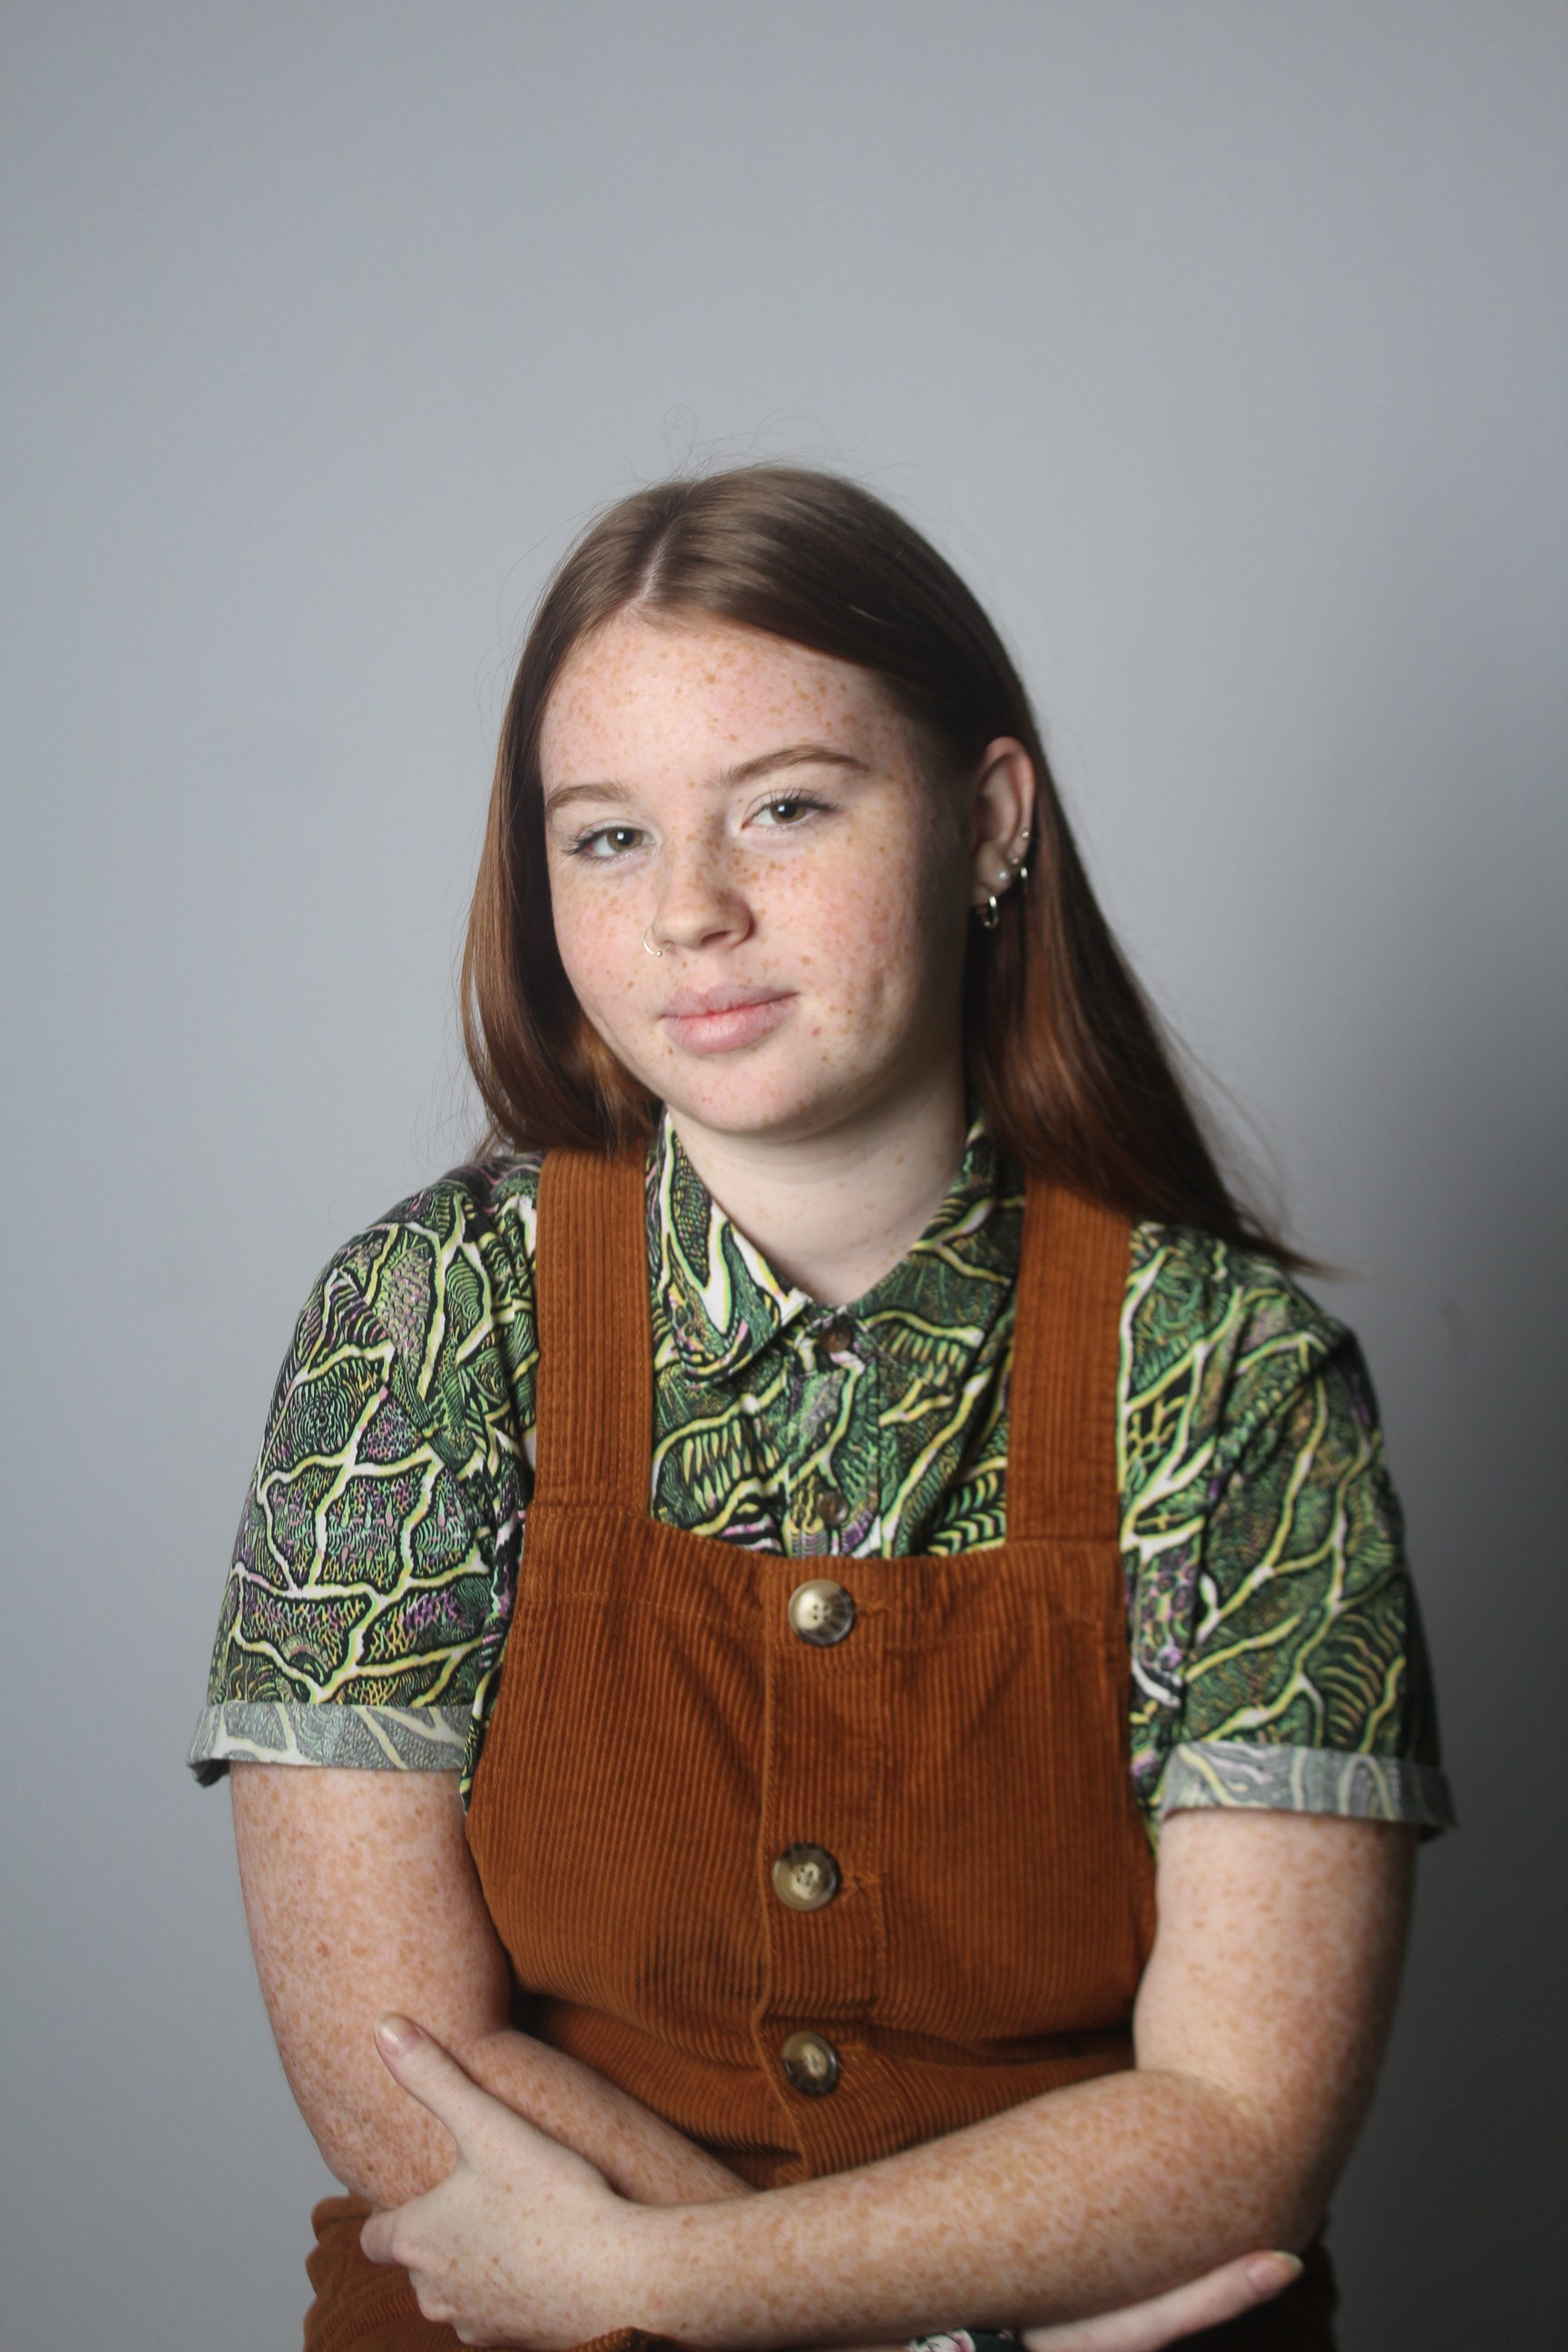
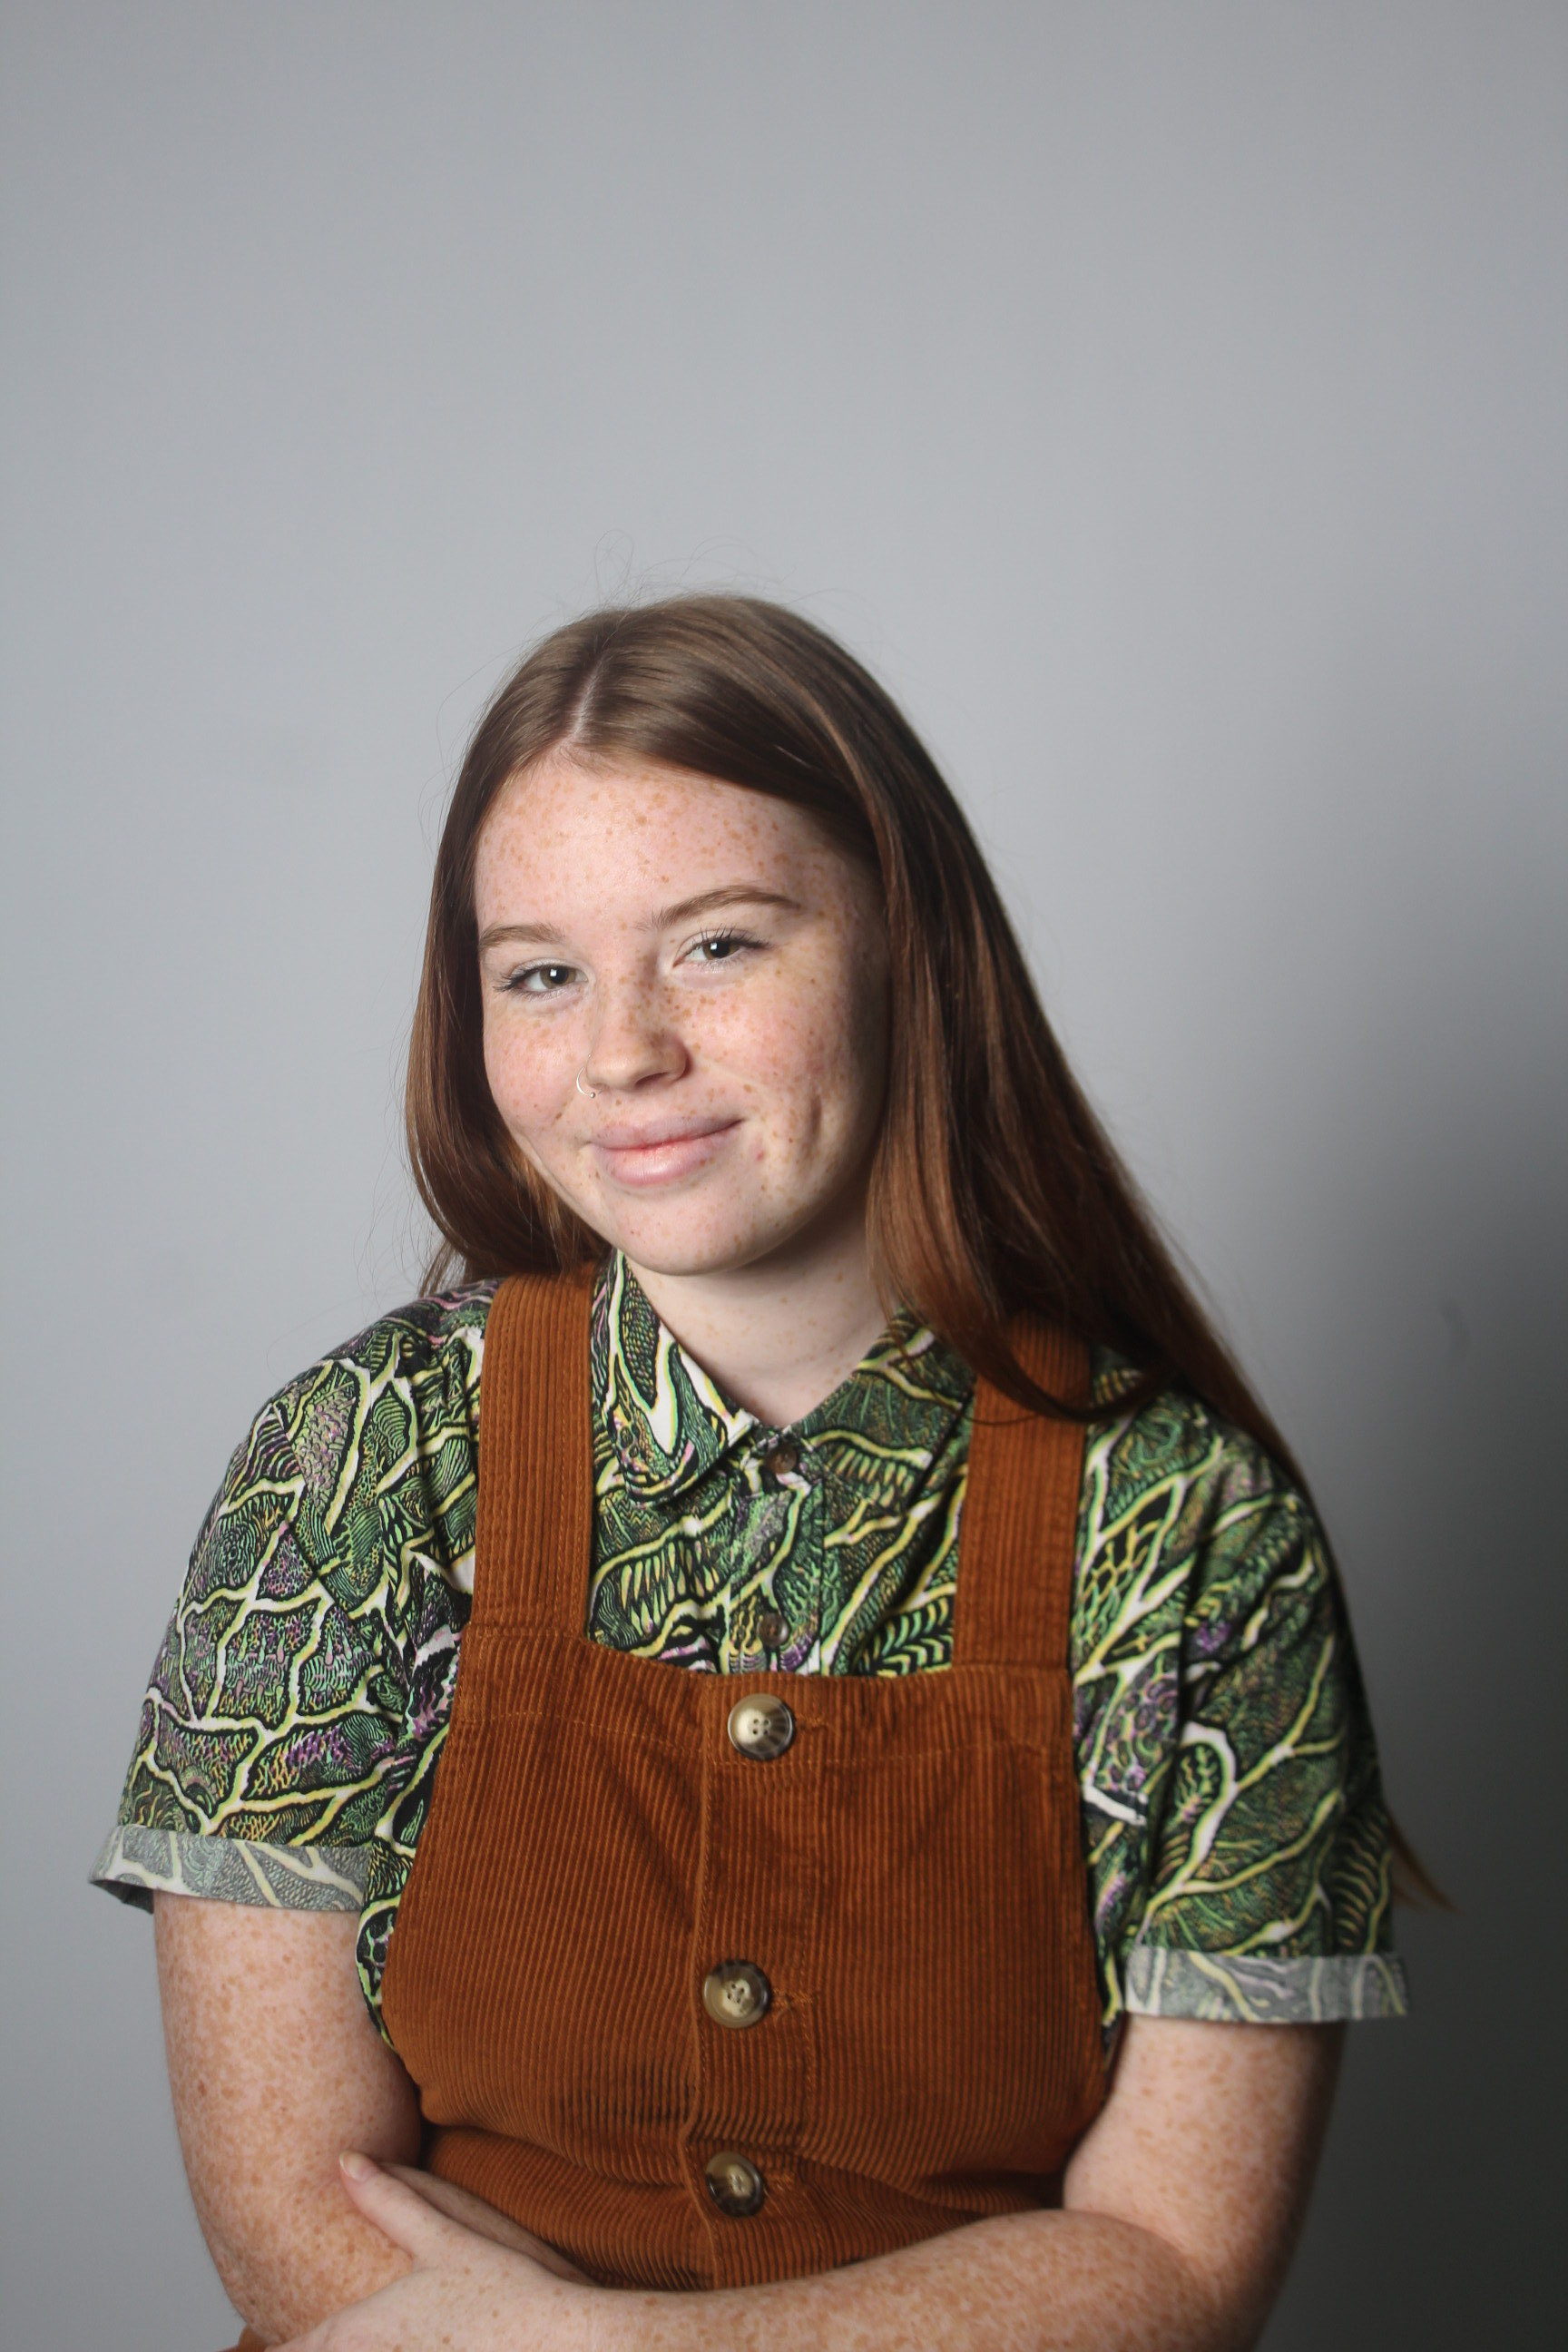
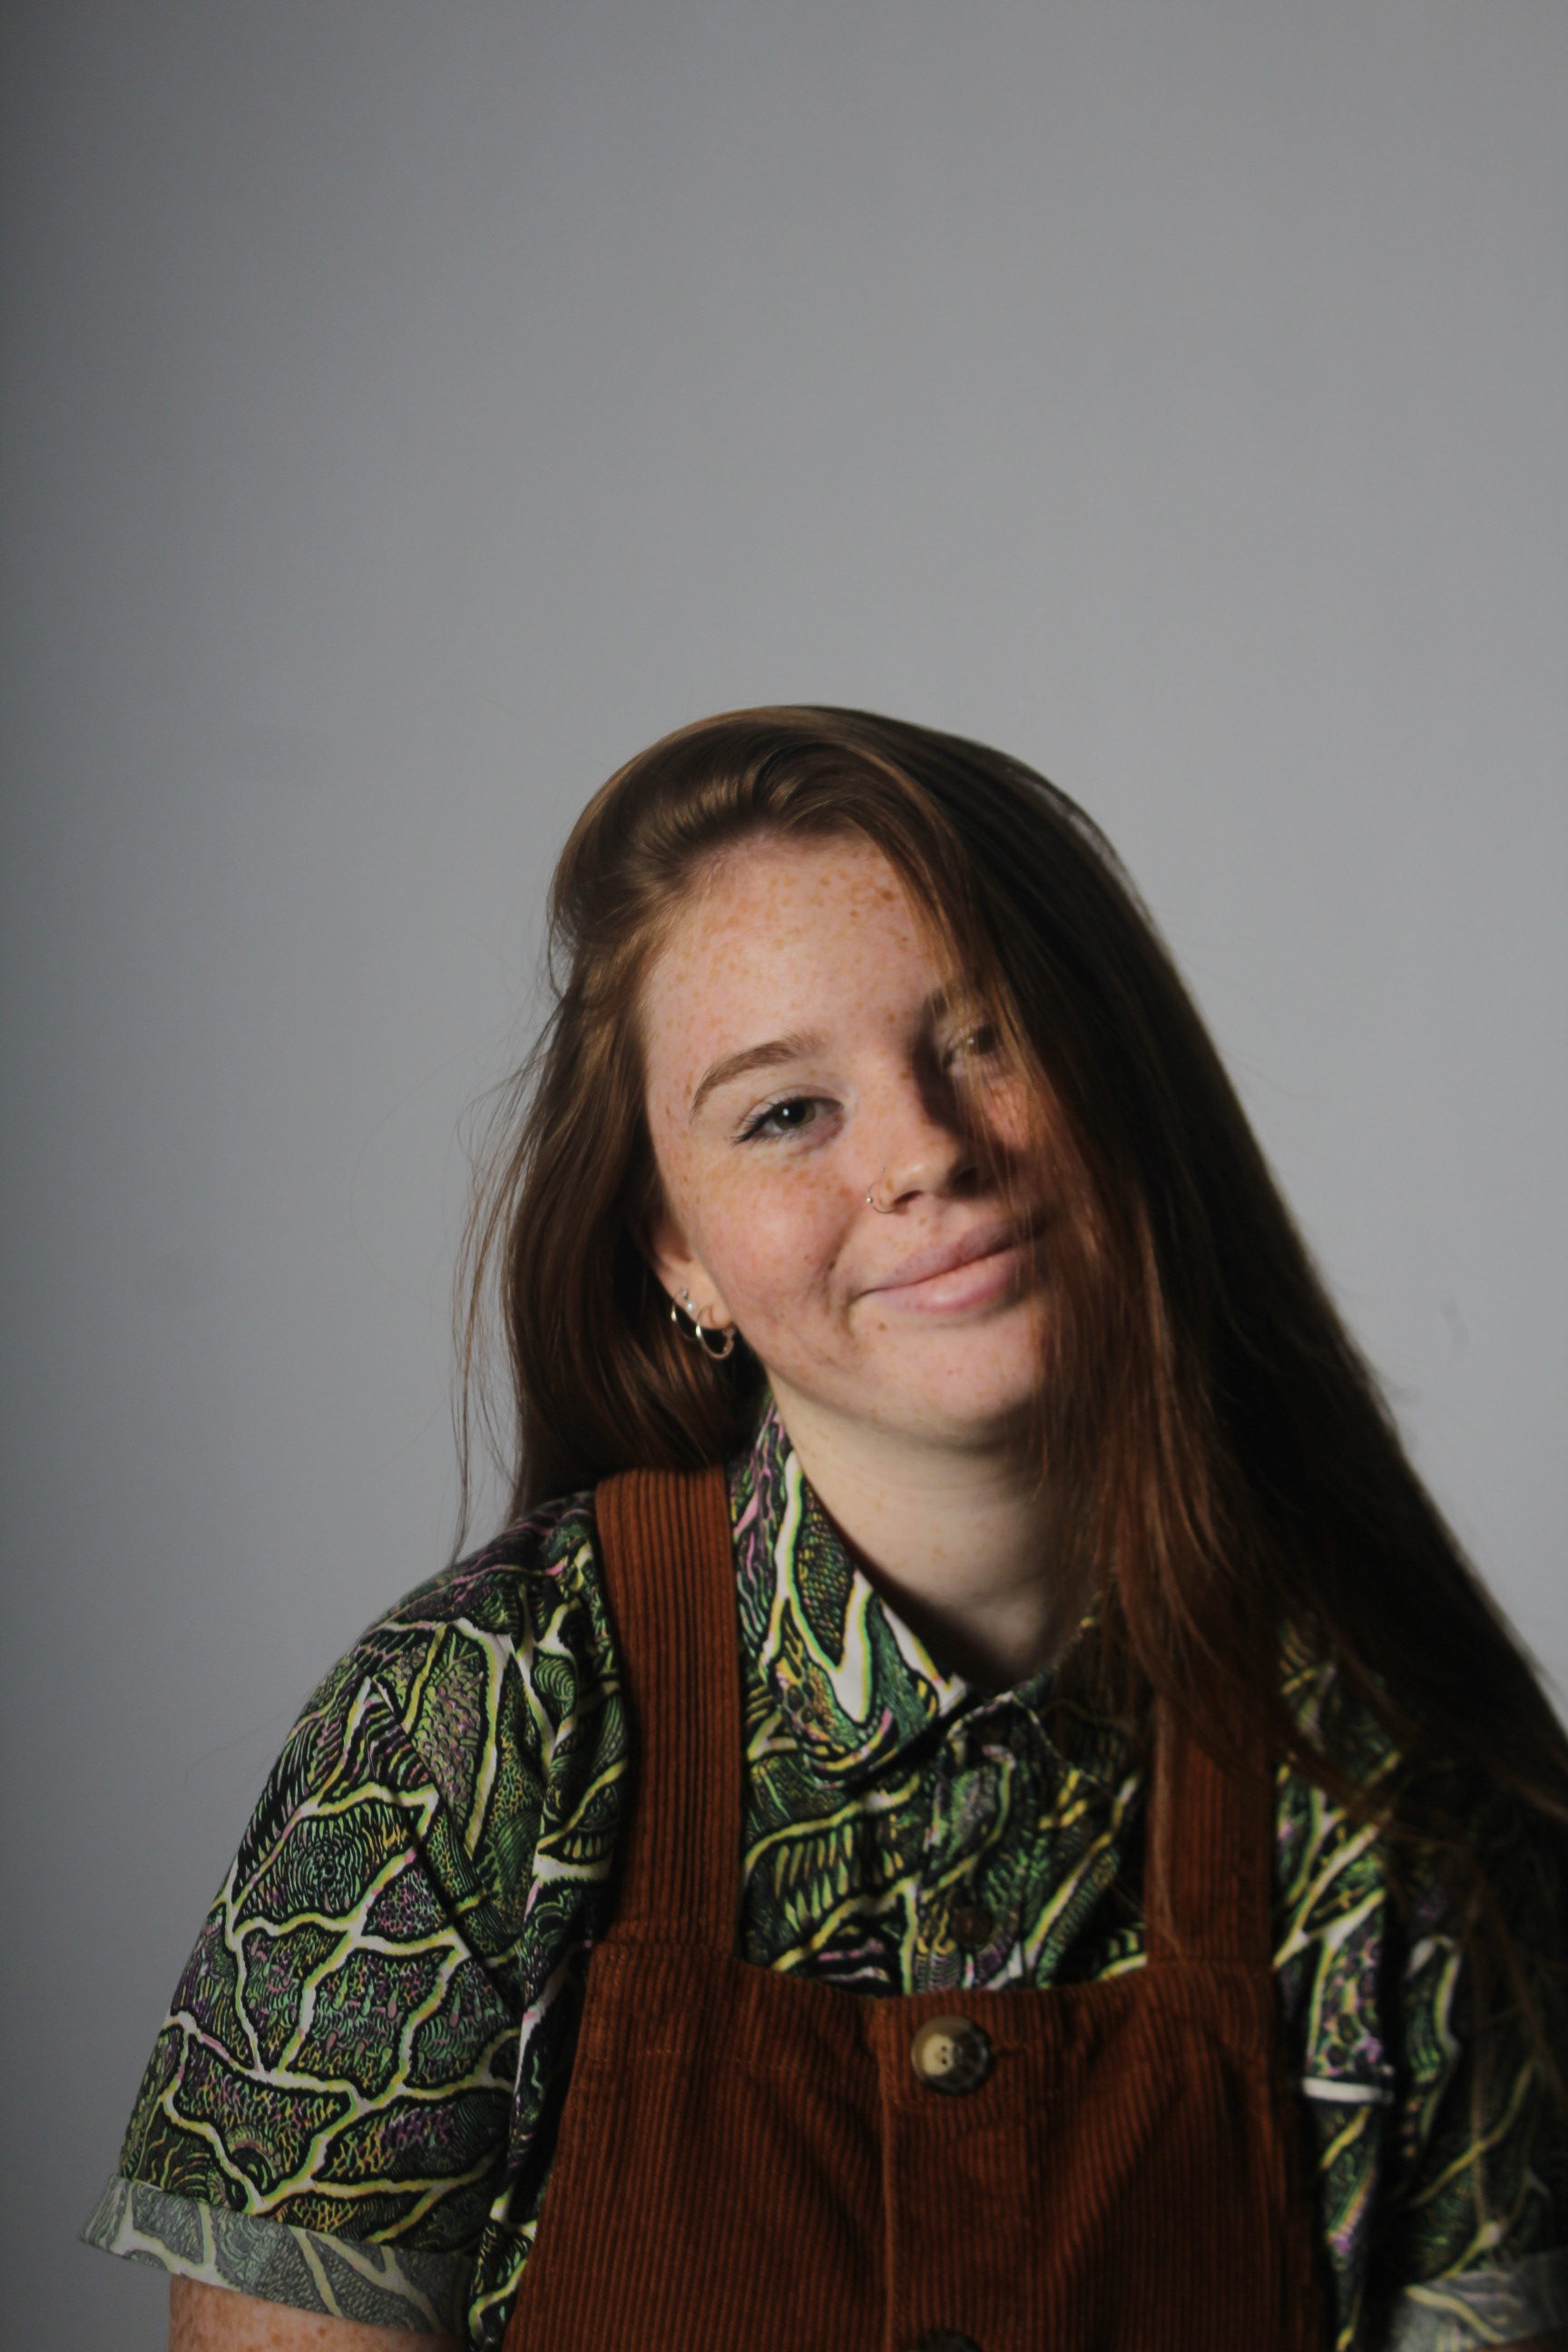
RING LIGHITING
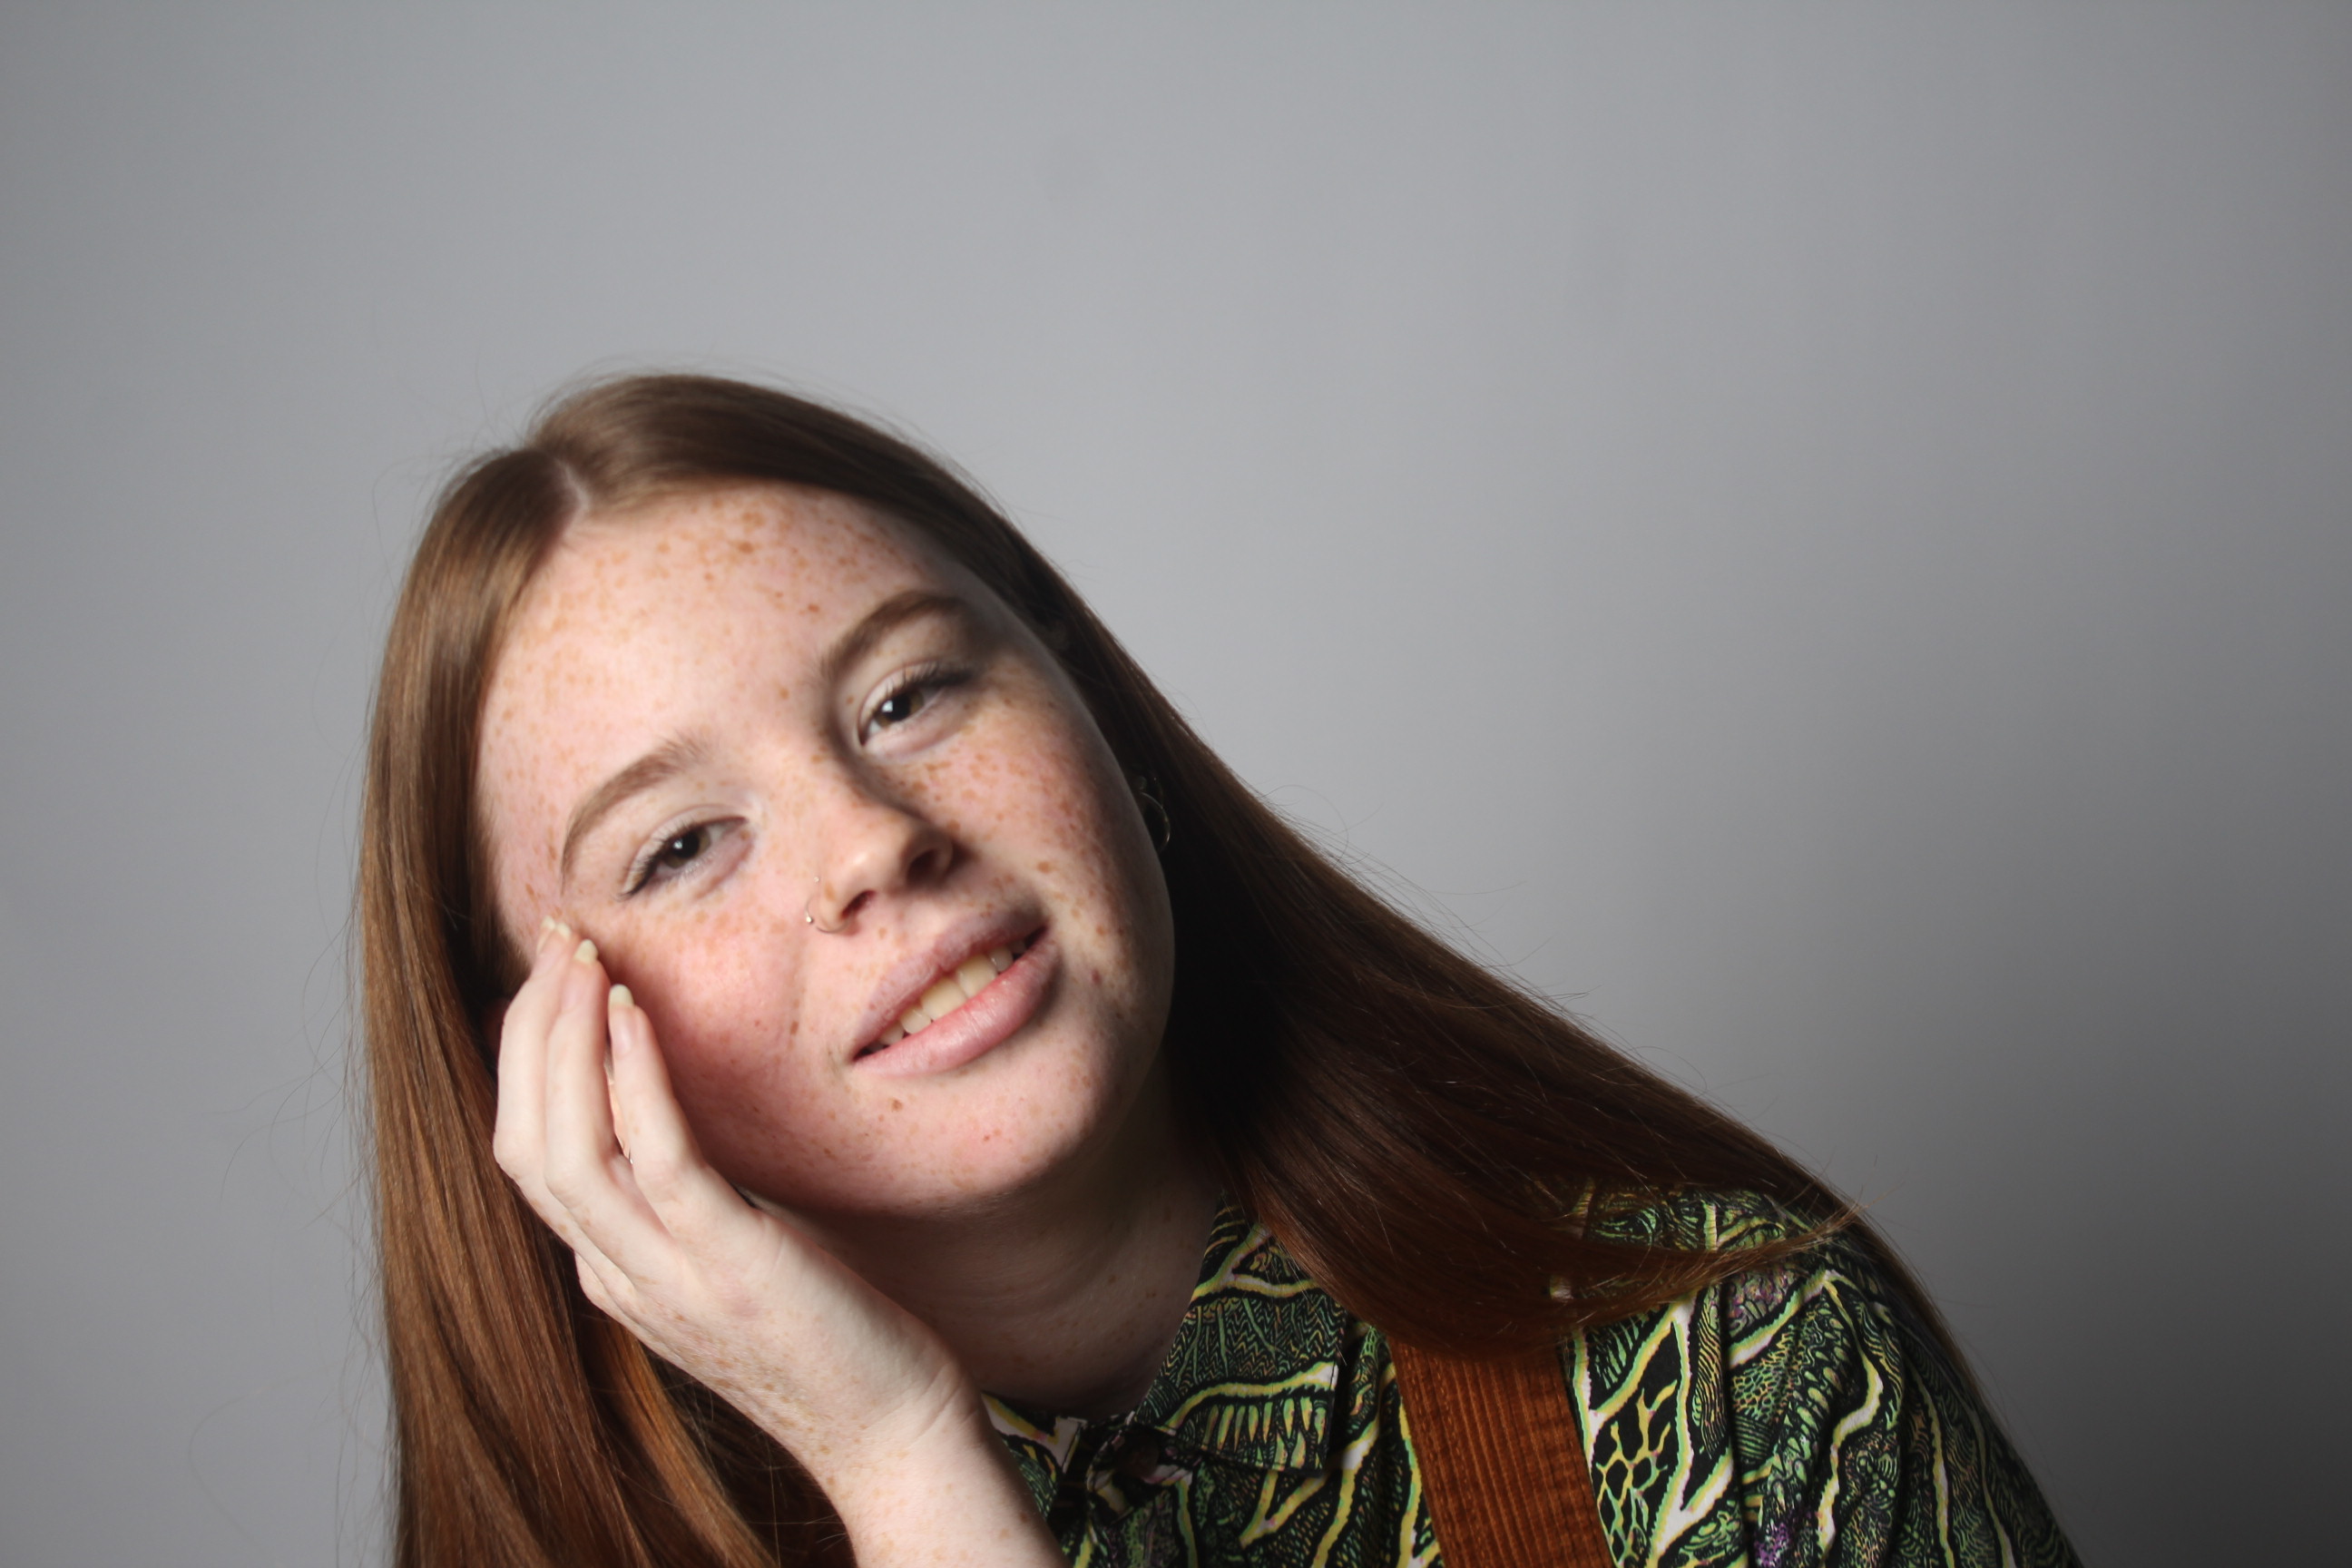
Ring lighting allowed me to really focus on the detail of facial features. I could sit the camera in the middle of the ring, which allowed me to get stability so my photo wouldn’t be blurry and I could get the persons face in the center of the image.
The ring light could be adjusted by a dimmer, making a stronger or weaker light. I prefers the stronger light as it made a more powerful image. When photographing using the ring light, I again used manual focus, had my ISO on 100 so the camera wouldn’t be to sensitive to the bright light and my shutter speed on 1/400, this allowed me to get a sharp image that wasn’t over exposed due to the lighting. Here are a few results of using ring lighting;

EVALUATION
This type of lighting is one of my preferred because it highlights the area you want to focus on. The strong lighting creates a soft tone on the skin. With the white background it makes the subjects pop and become the center of focus. Ring lighting can be used in many different ways, to get your concept across to the viewers, these images where just experimental for the next time I shoot with a concept. The images have a sharp focus to them, that is clear for viewers to understand what is in the image.
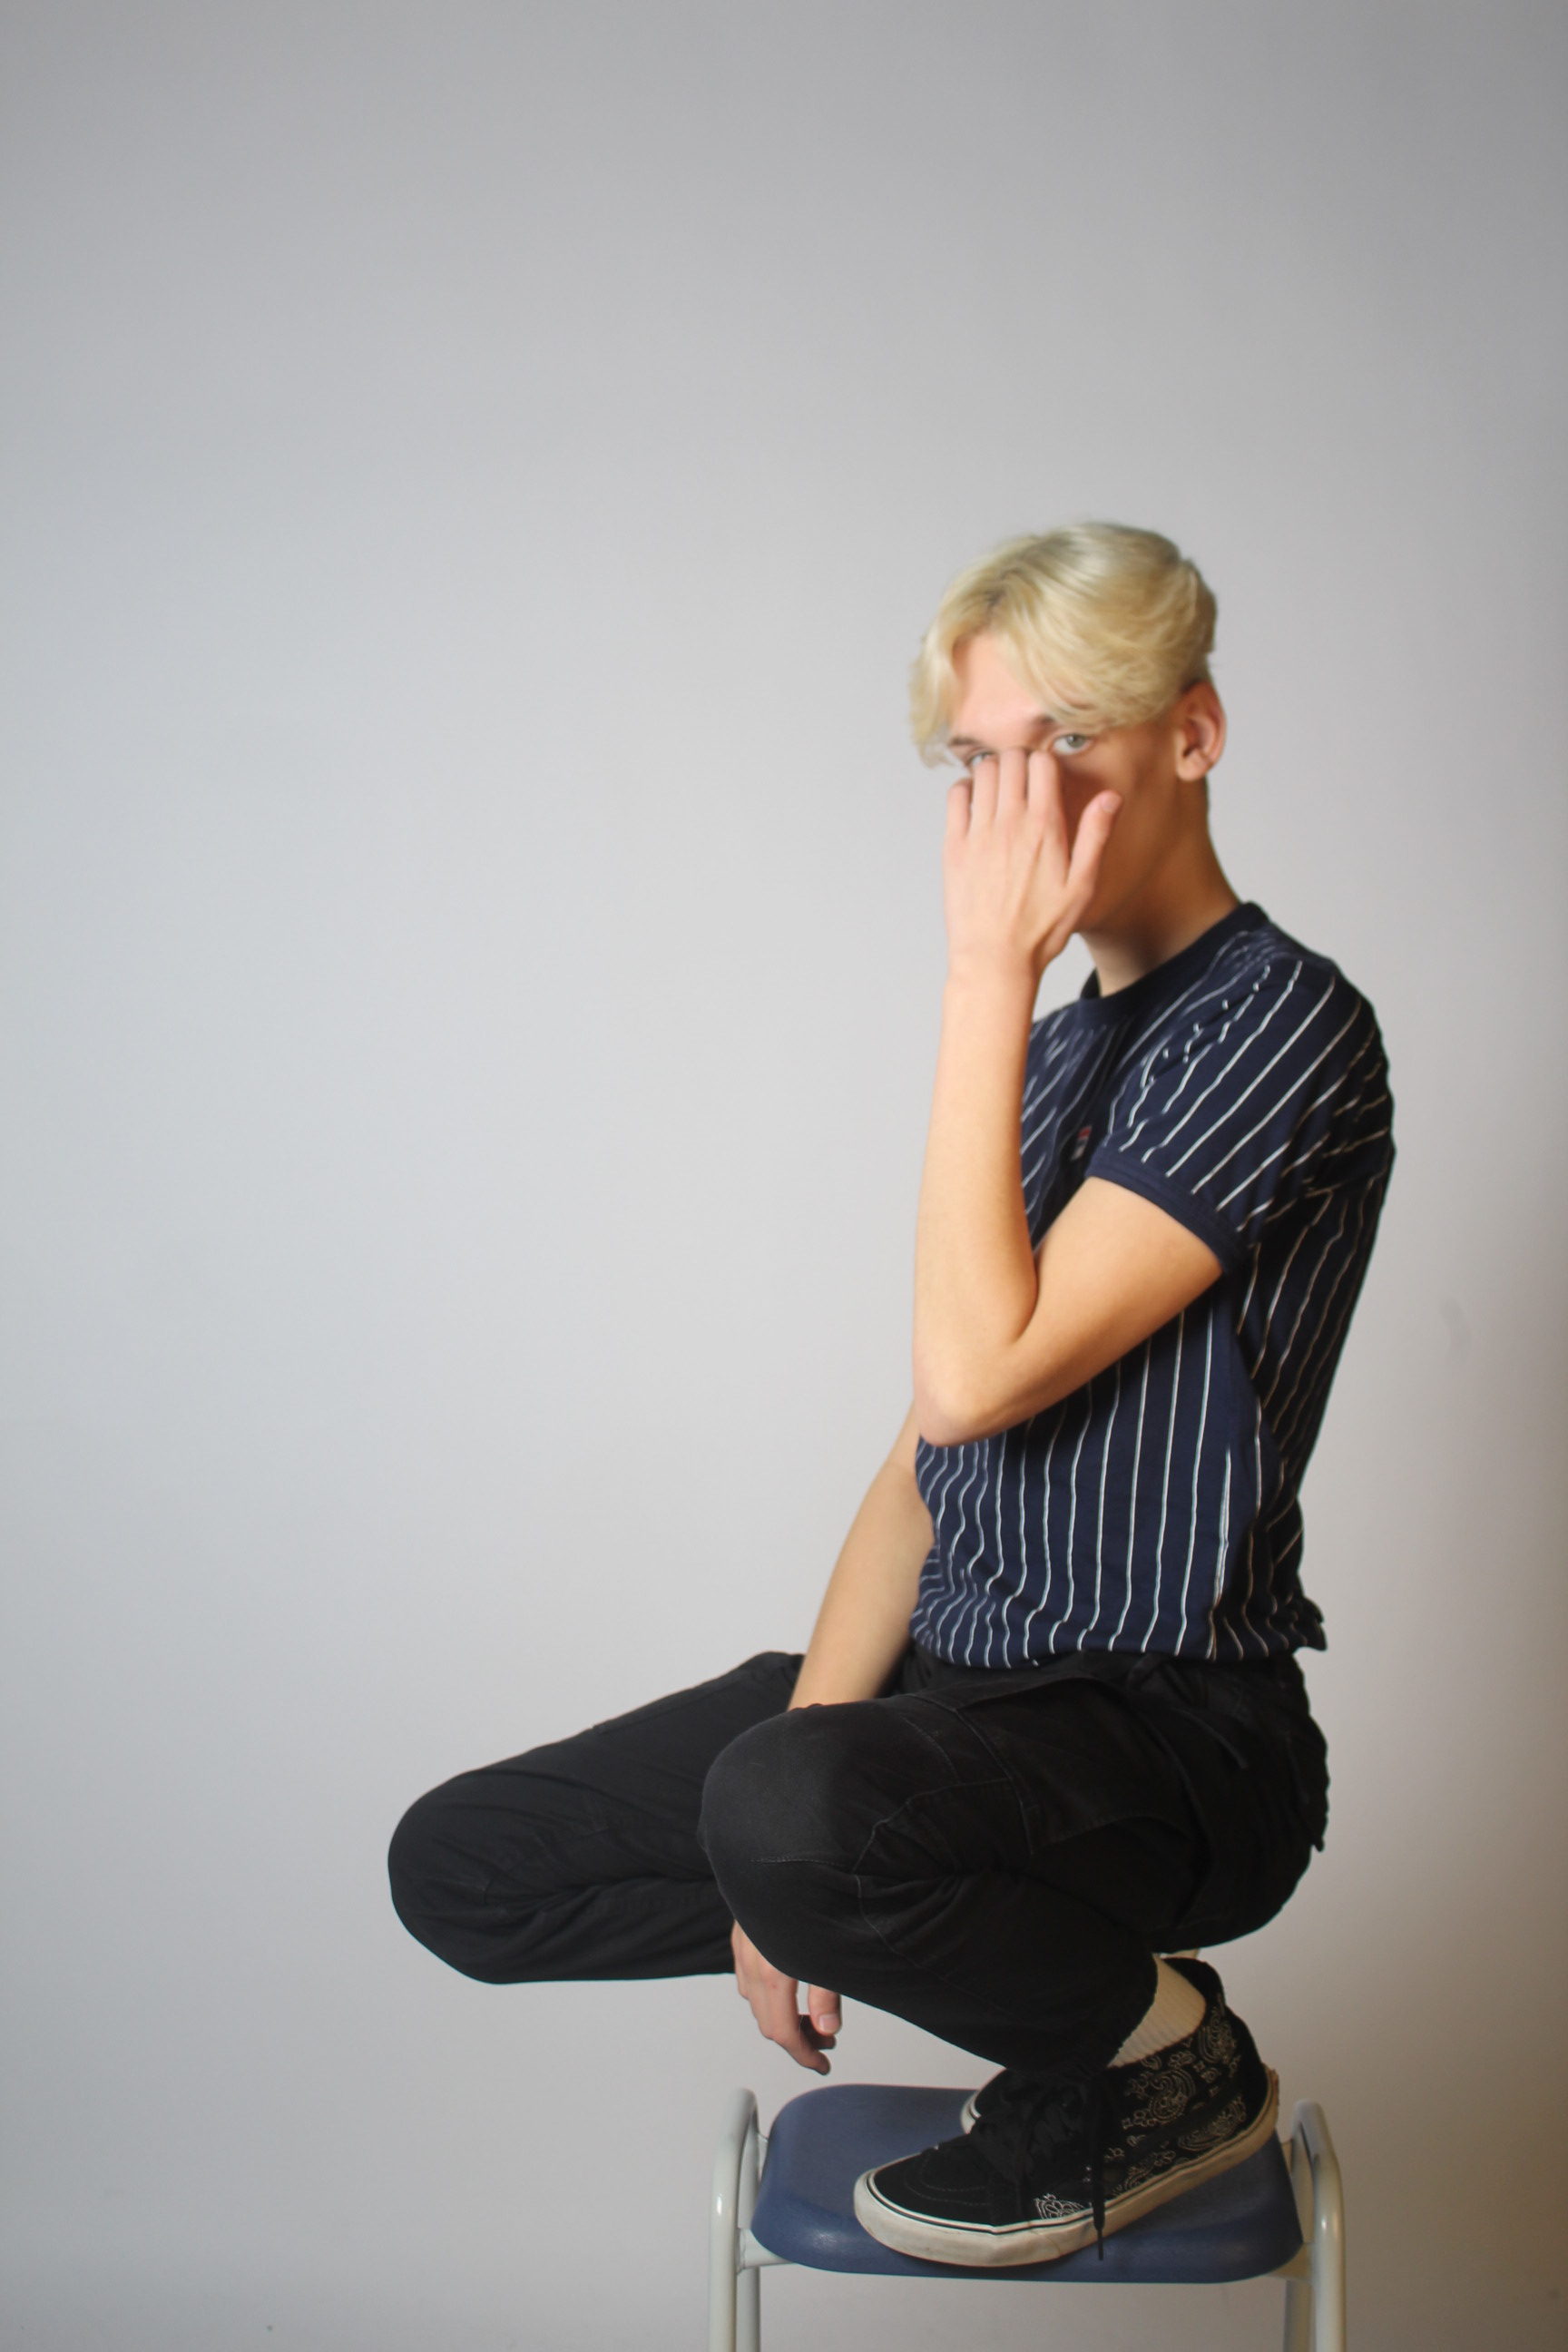
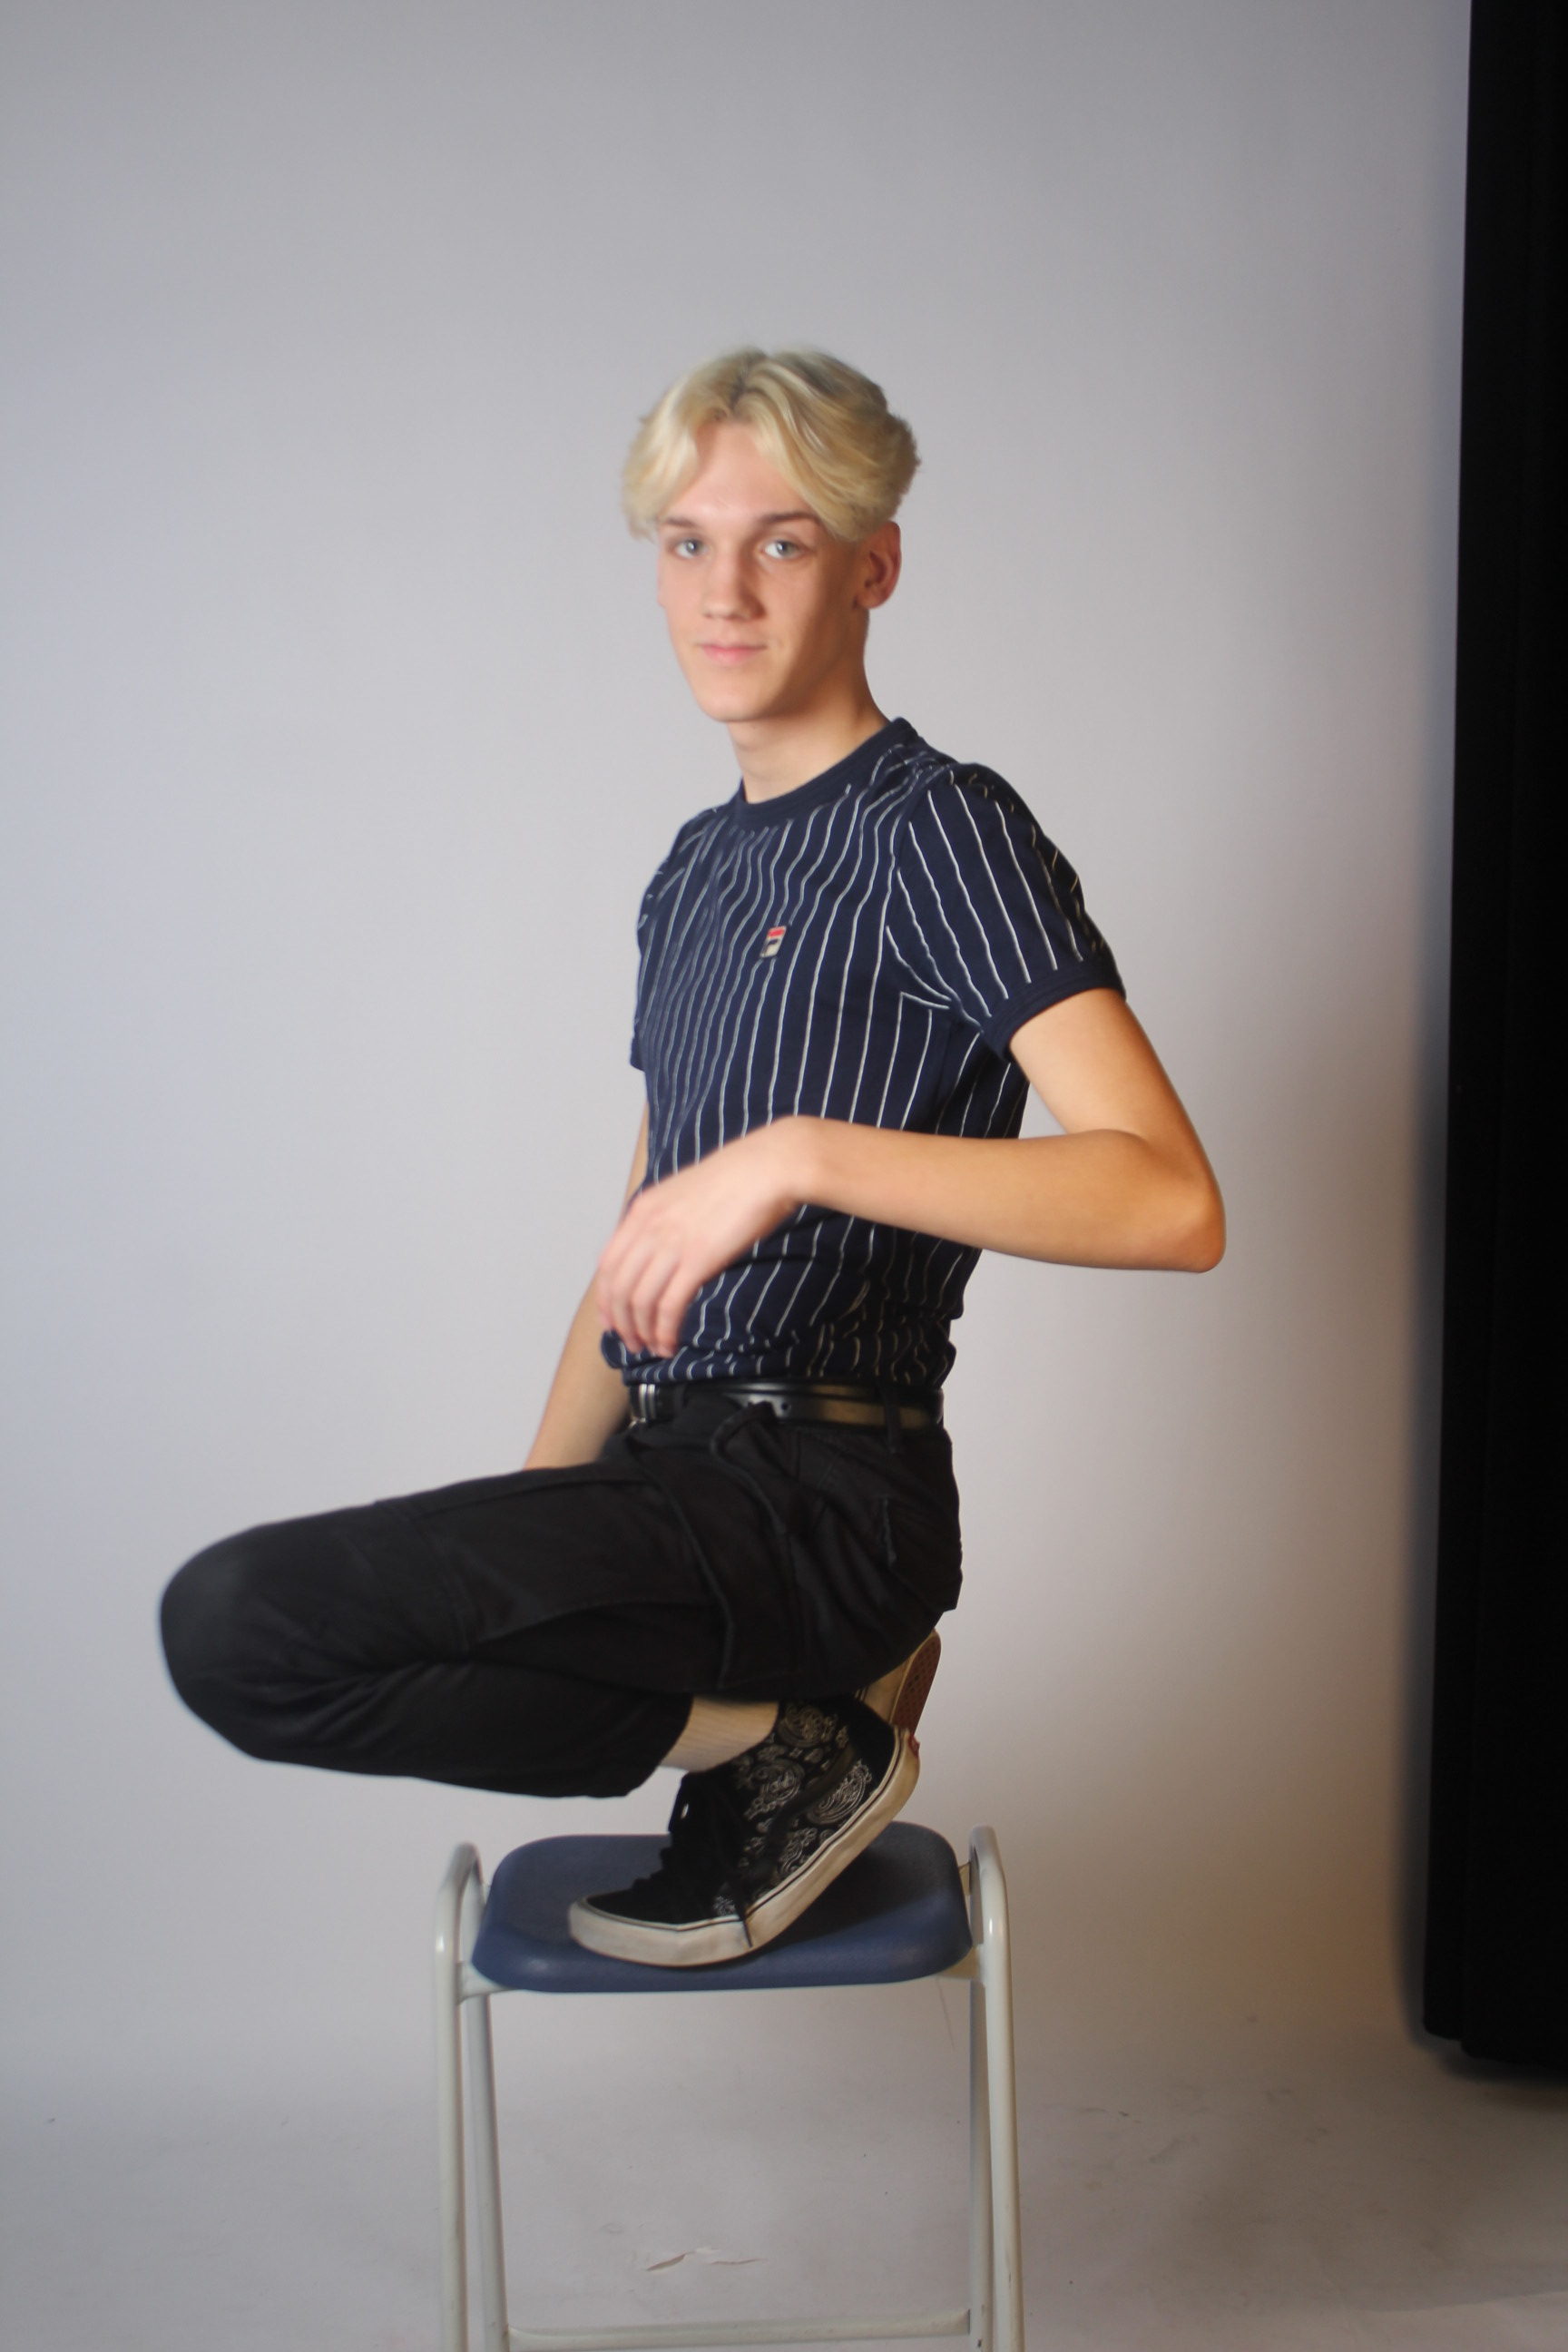
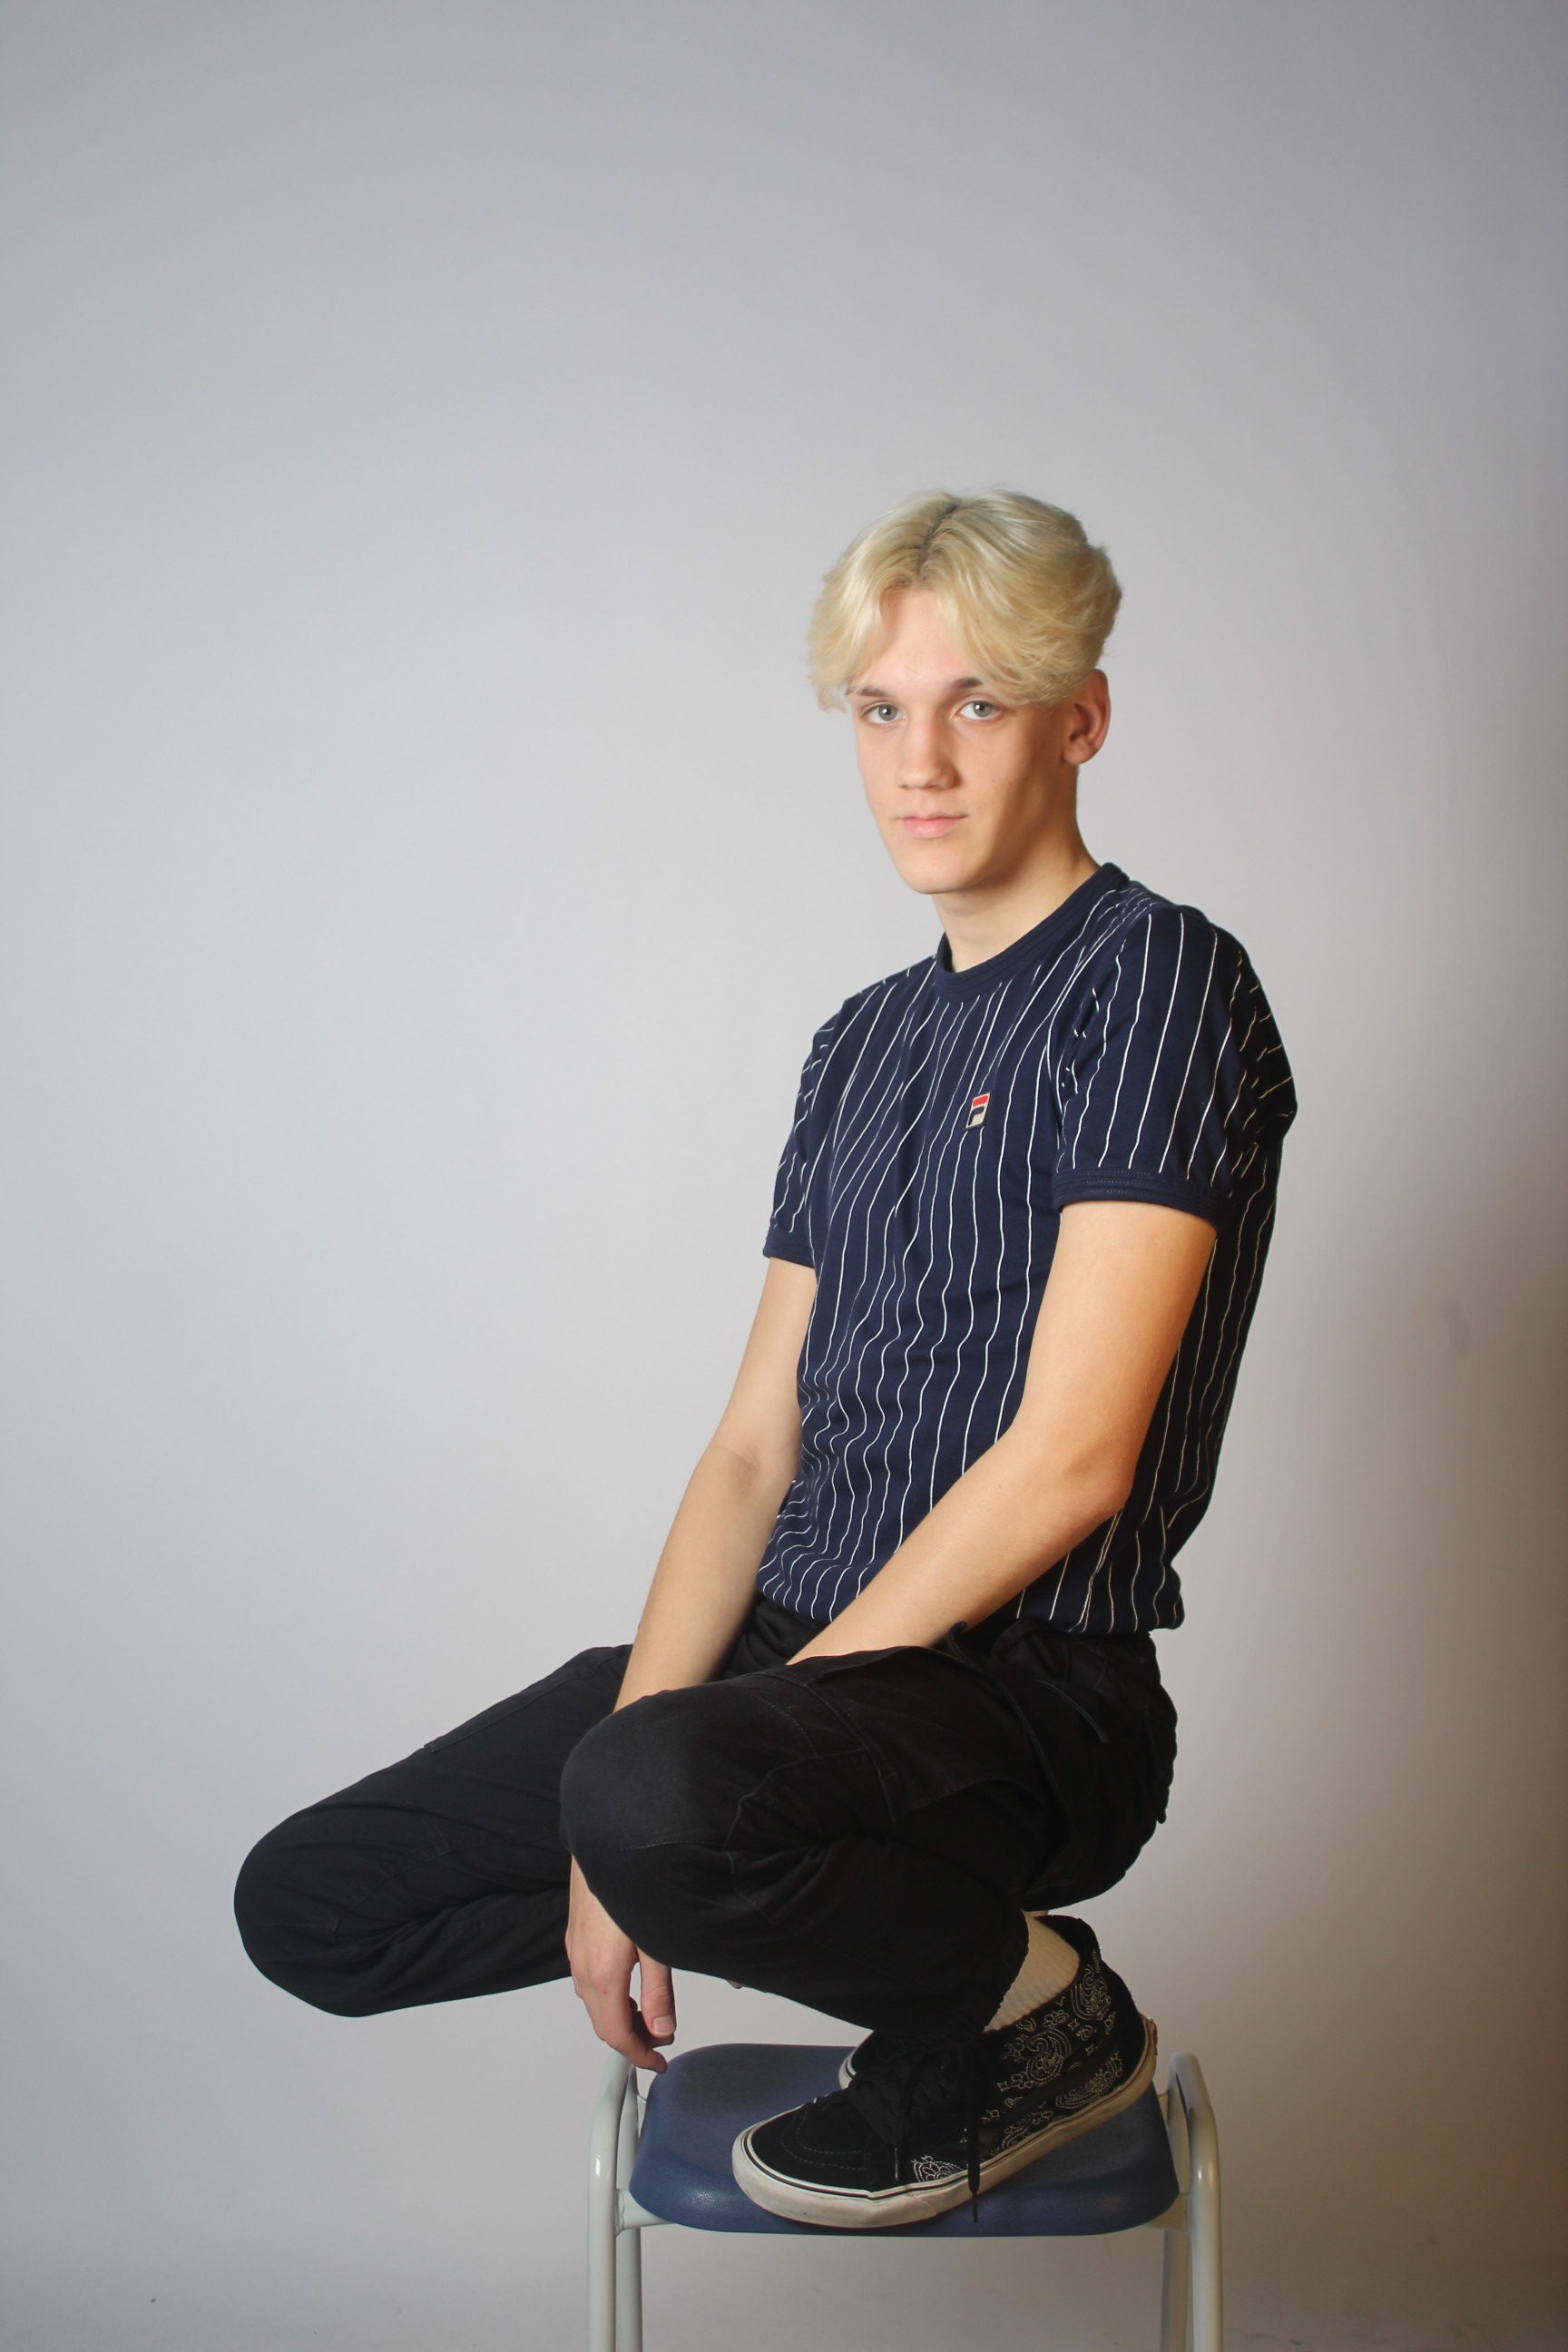
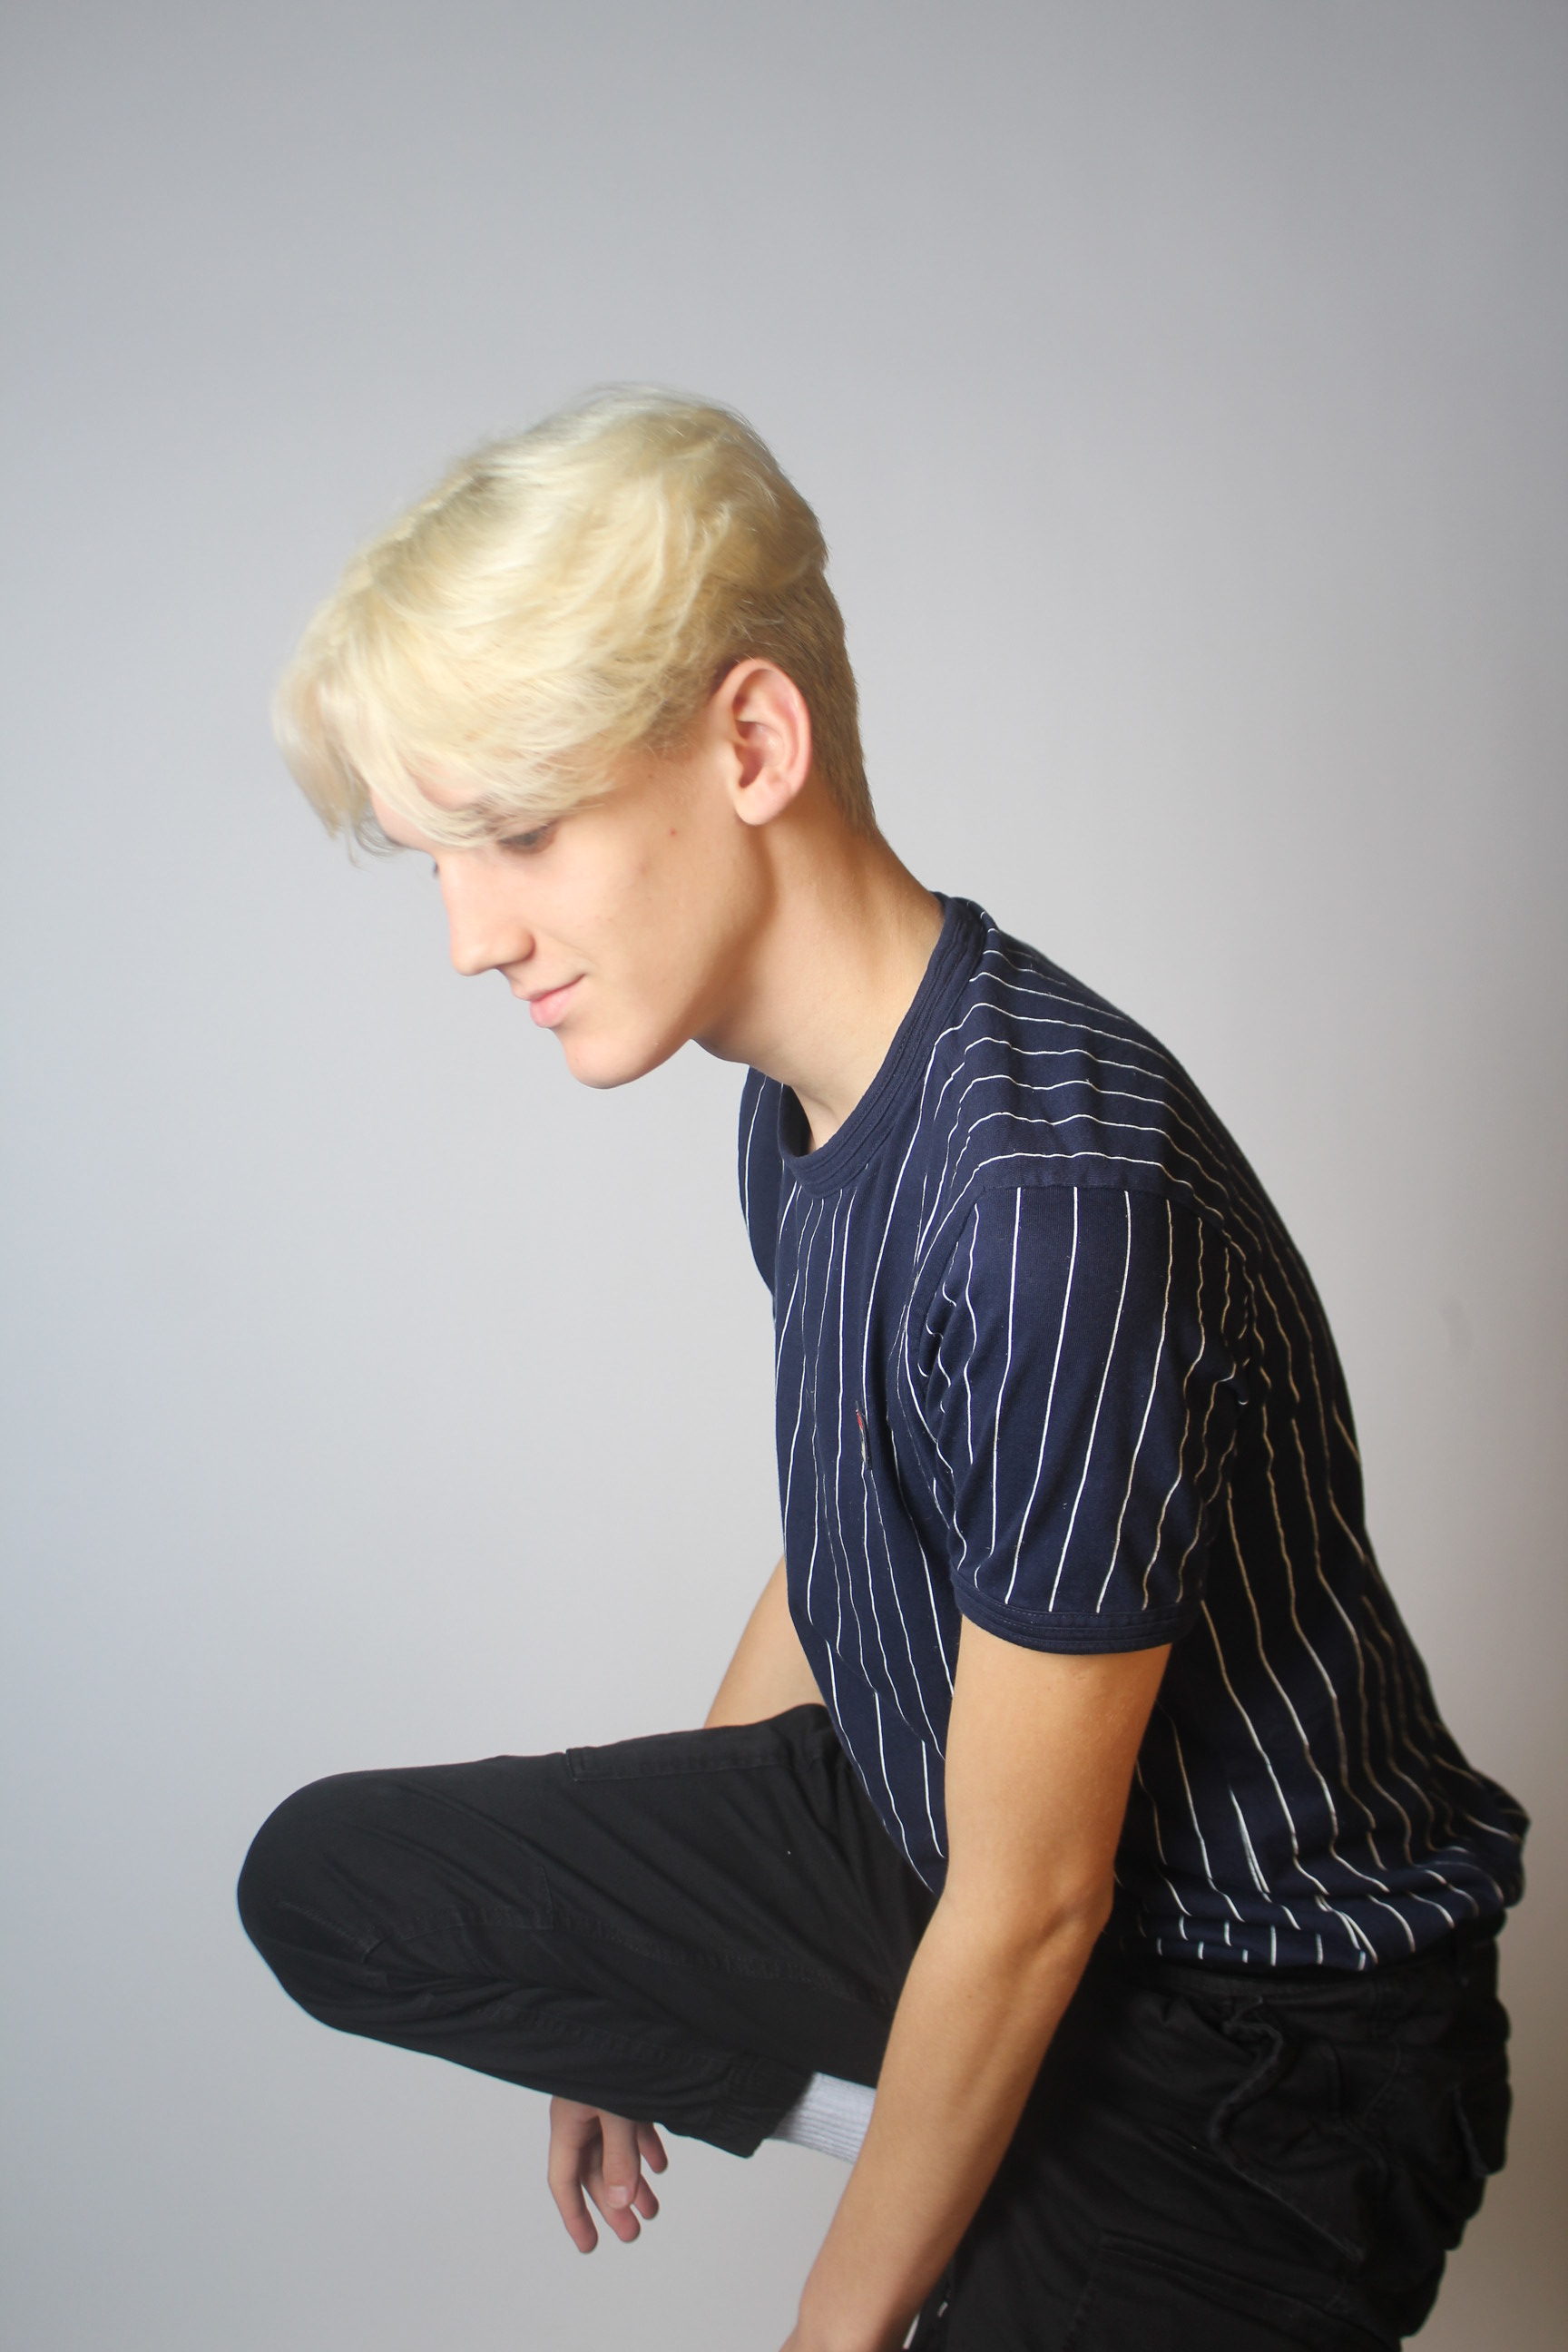
FLASH LIGHTING
Flash lightening tends to be used when photographers take school photos, or family portraits.
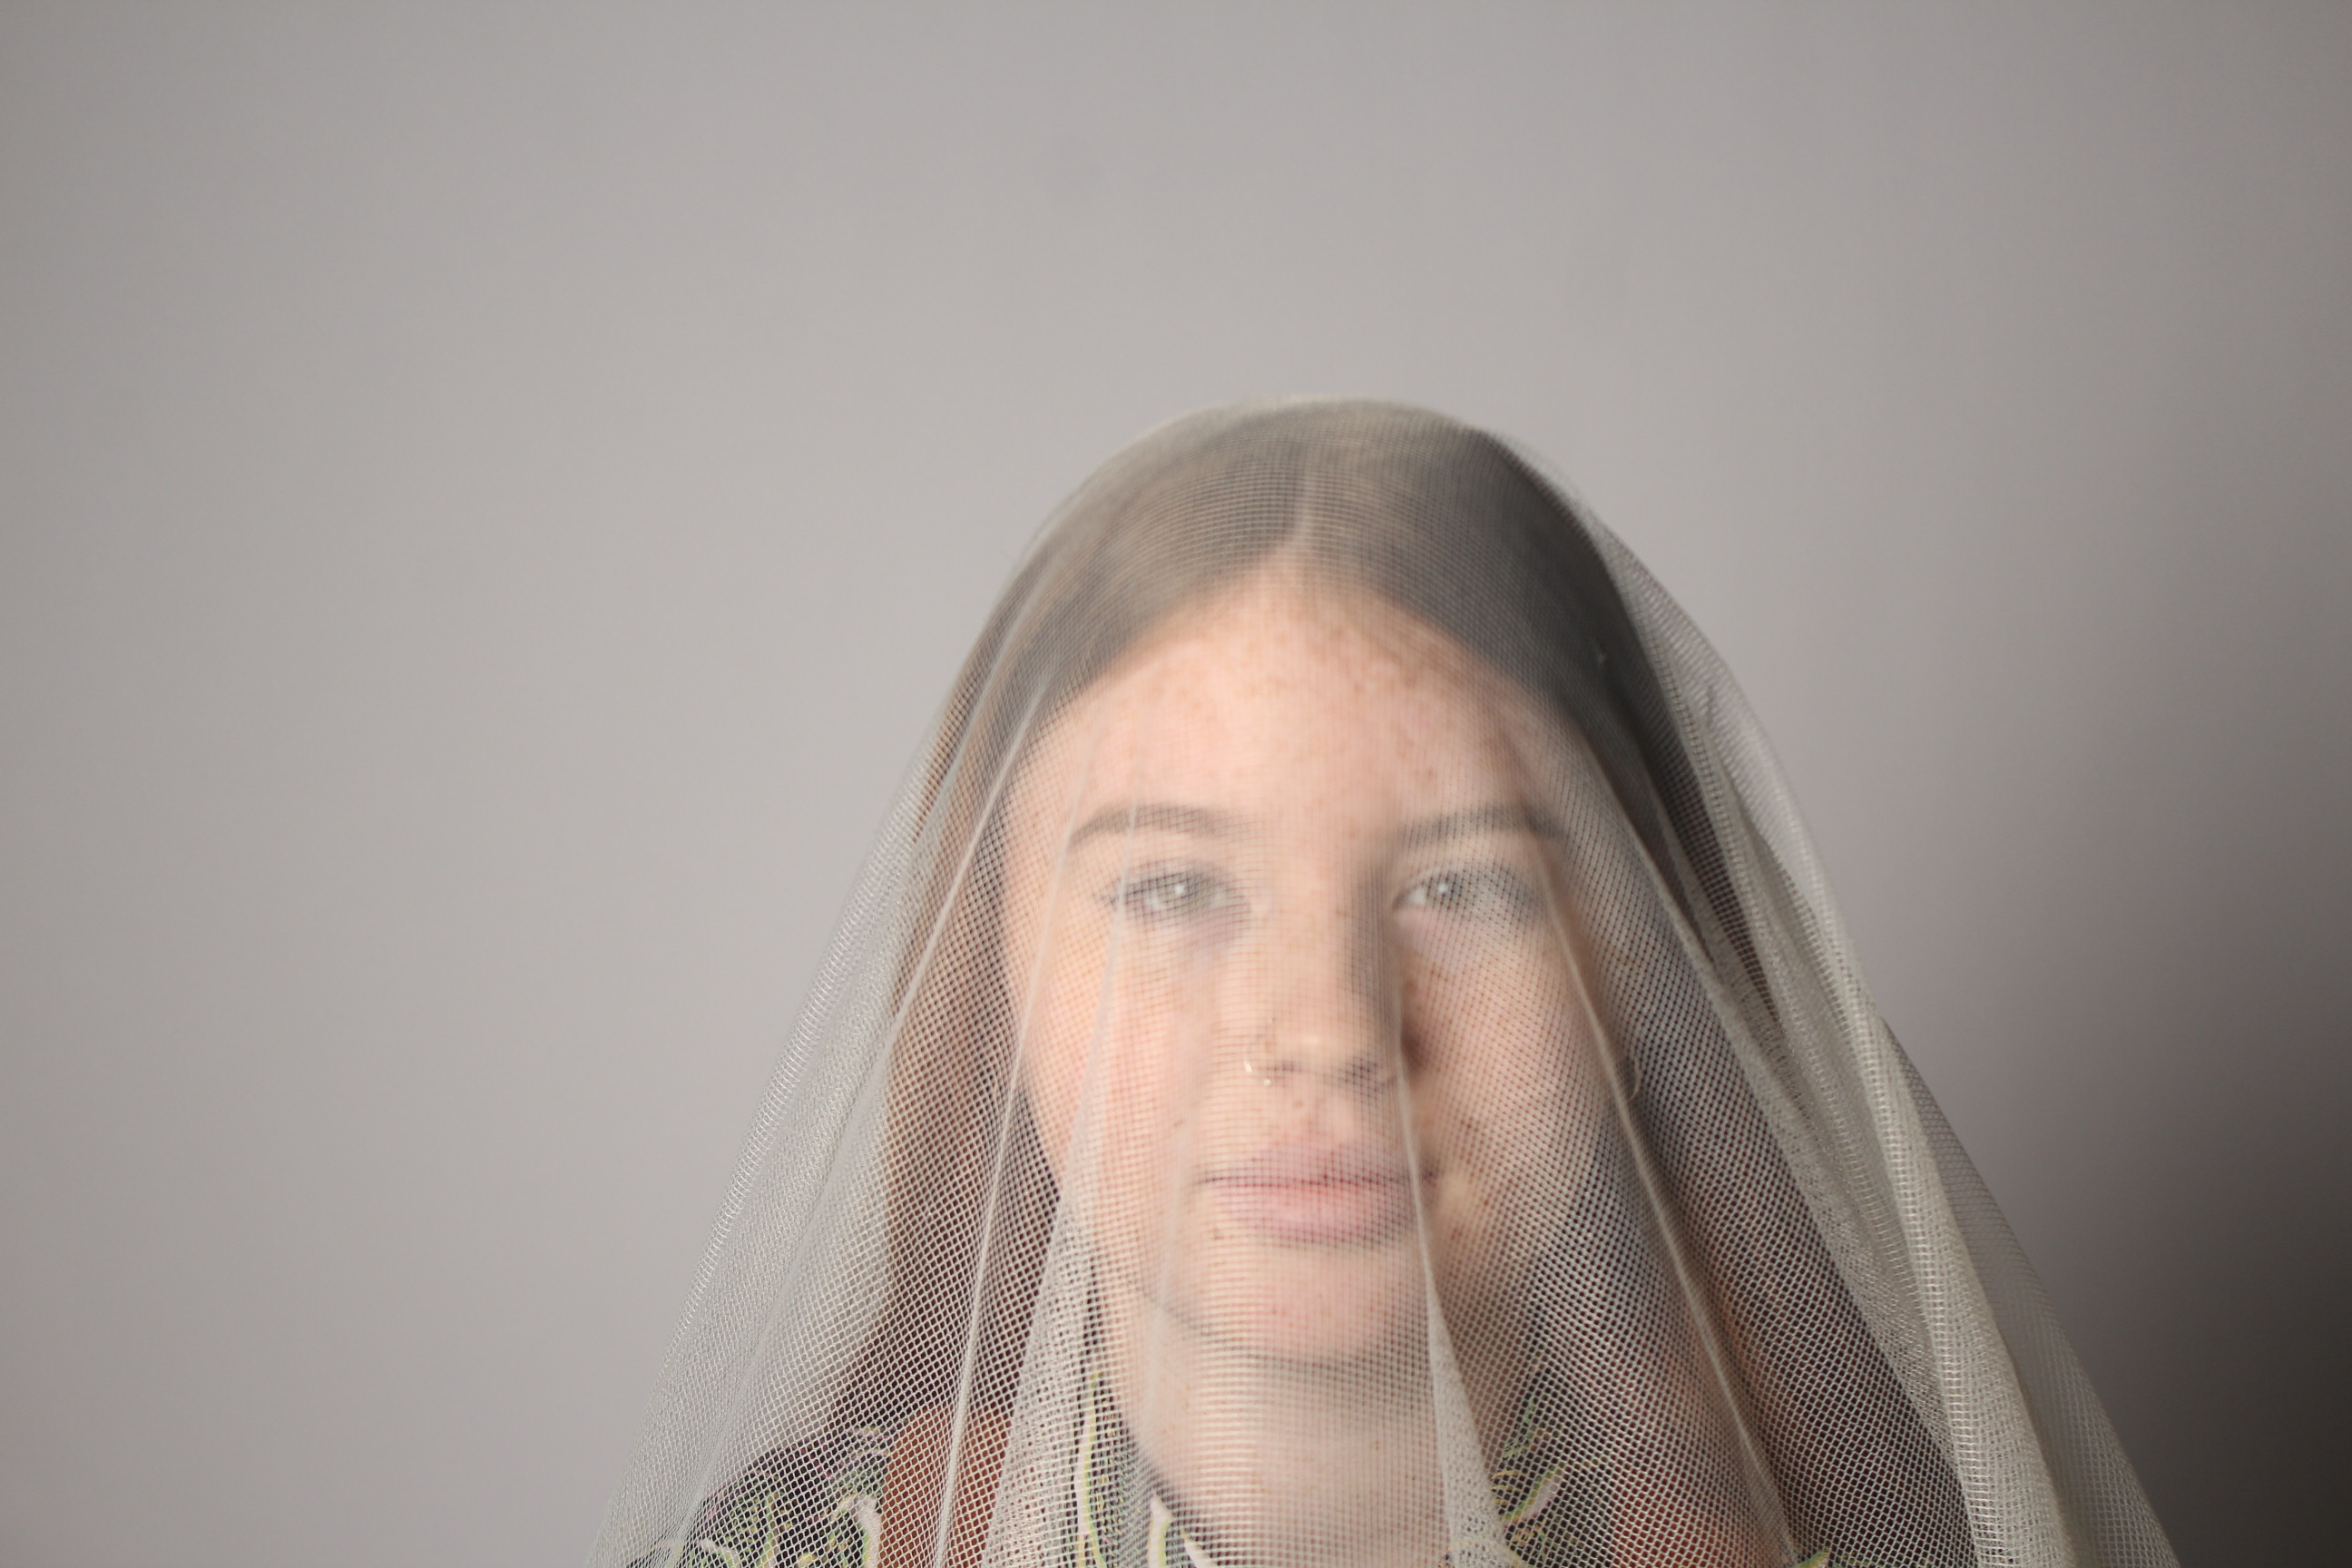
This light is covered by a cover to make the flash softer on the skin when the image is taken. A device is put on top of your camera and then is connected to the light, which controls the flash, so that when you press down the capture button it sets of a flash so that the subject is captured in a sharp light. Some of the images I produce with this lighting are; 
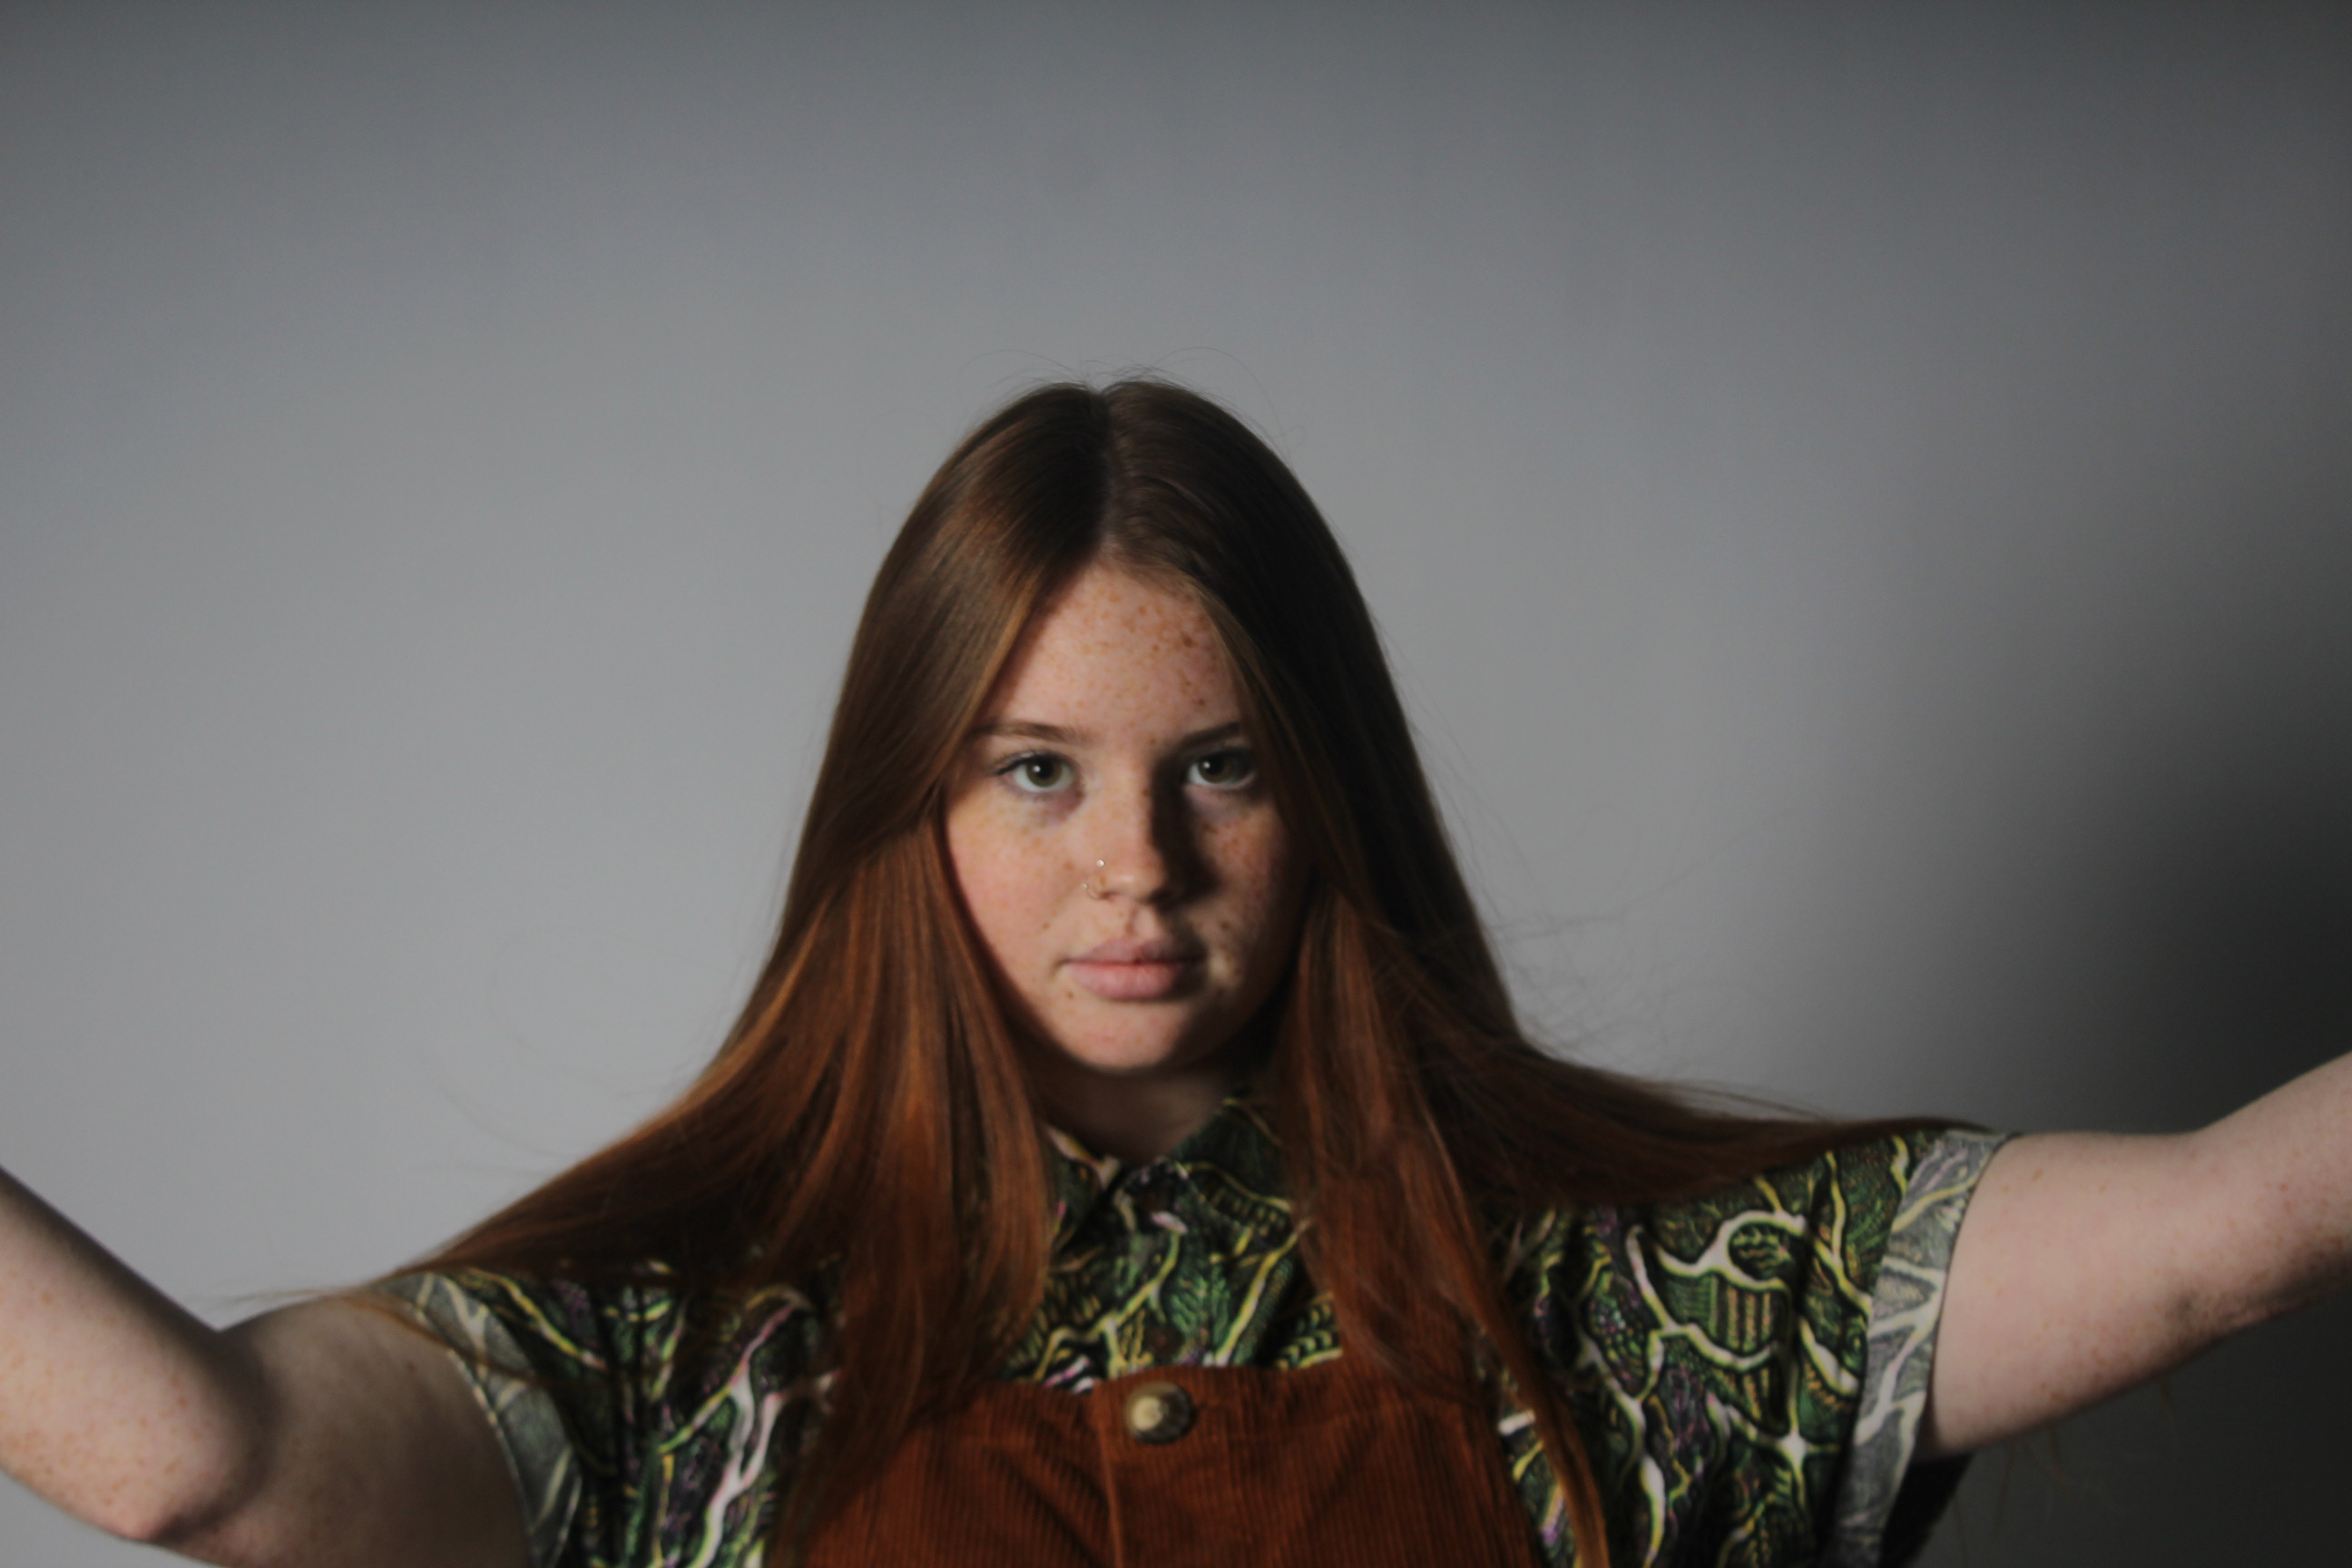
EVALUATION
This lighting allows you to capture your image how you want it. It creates a soft tone throughout the image and with the white background it makes the images look sharp and fresh. This type of lighting is my favorite.
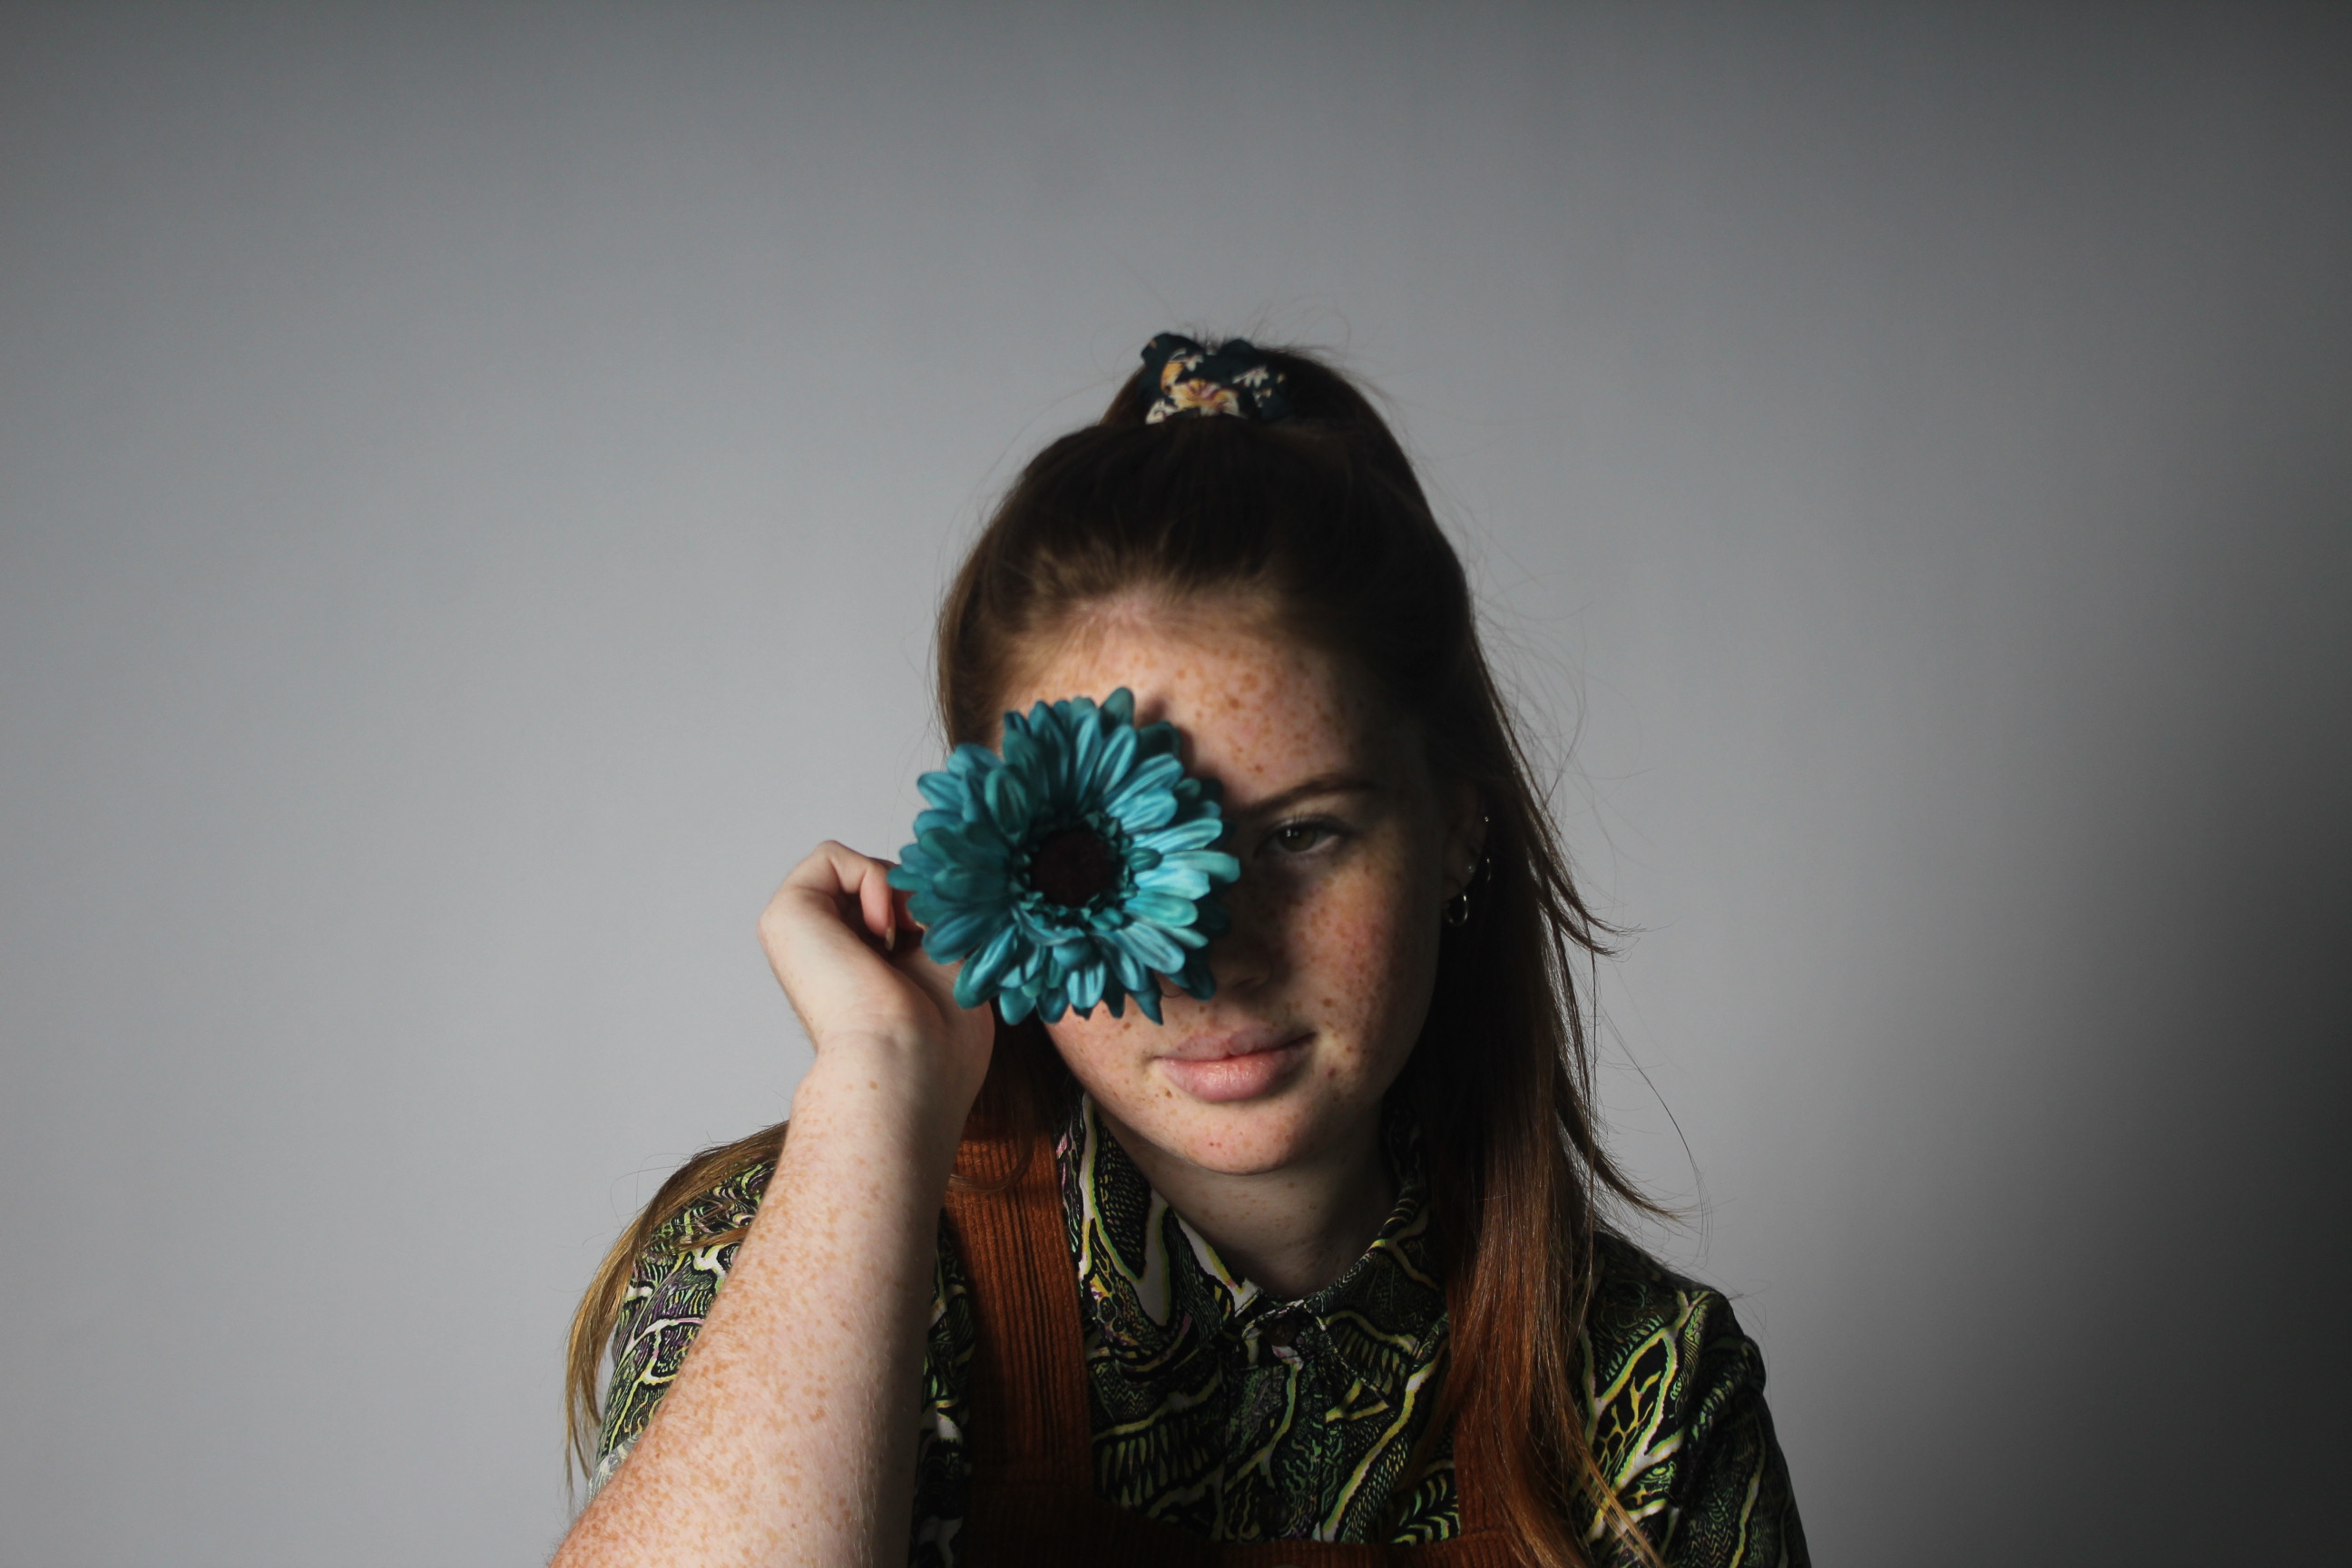
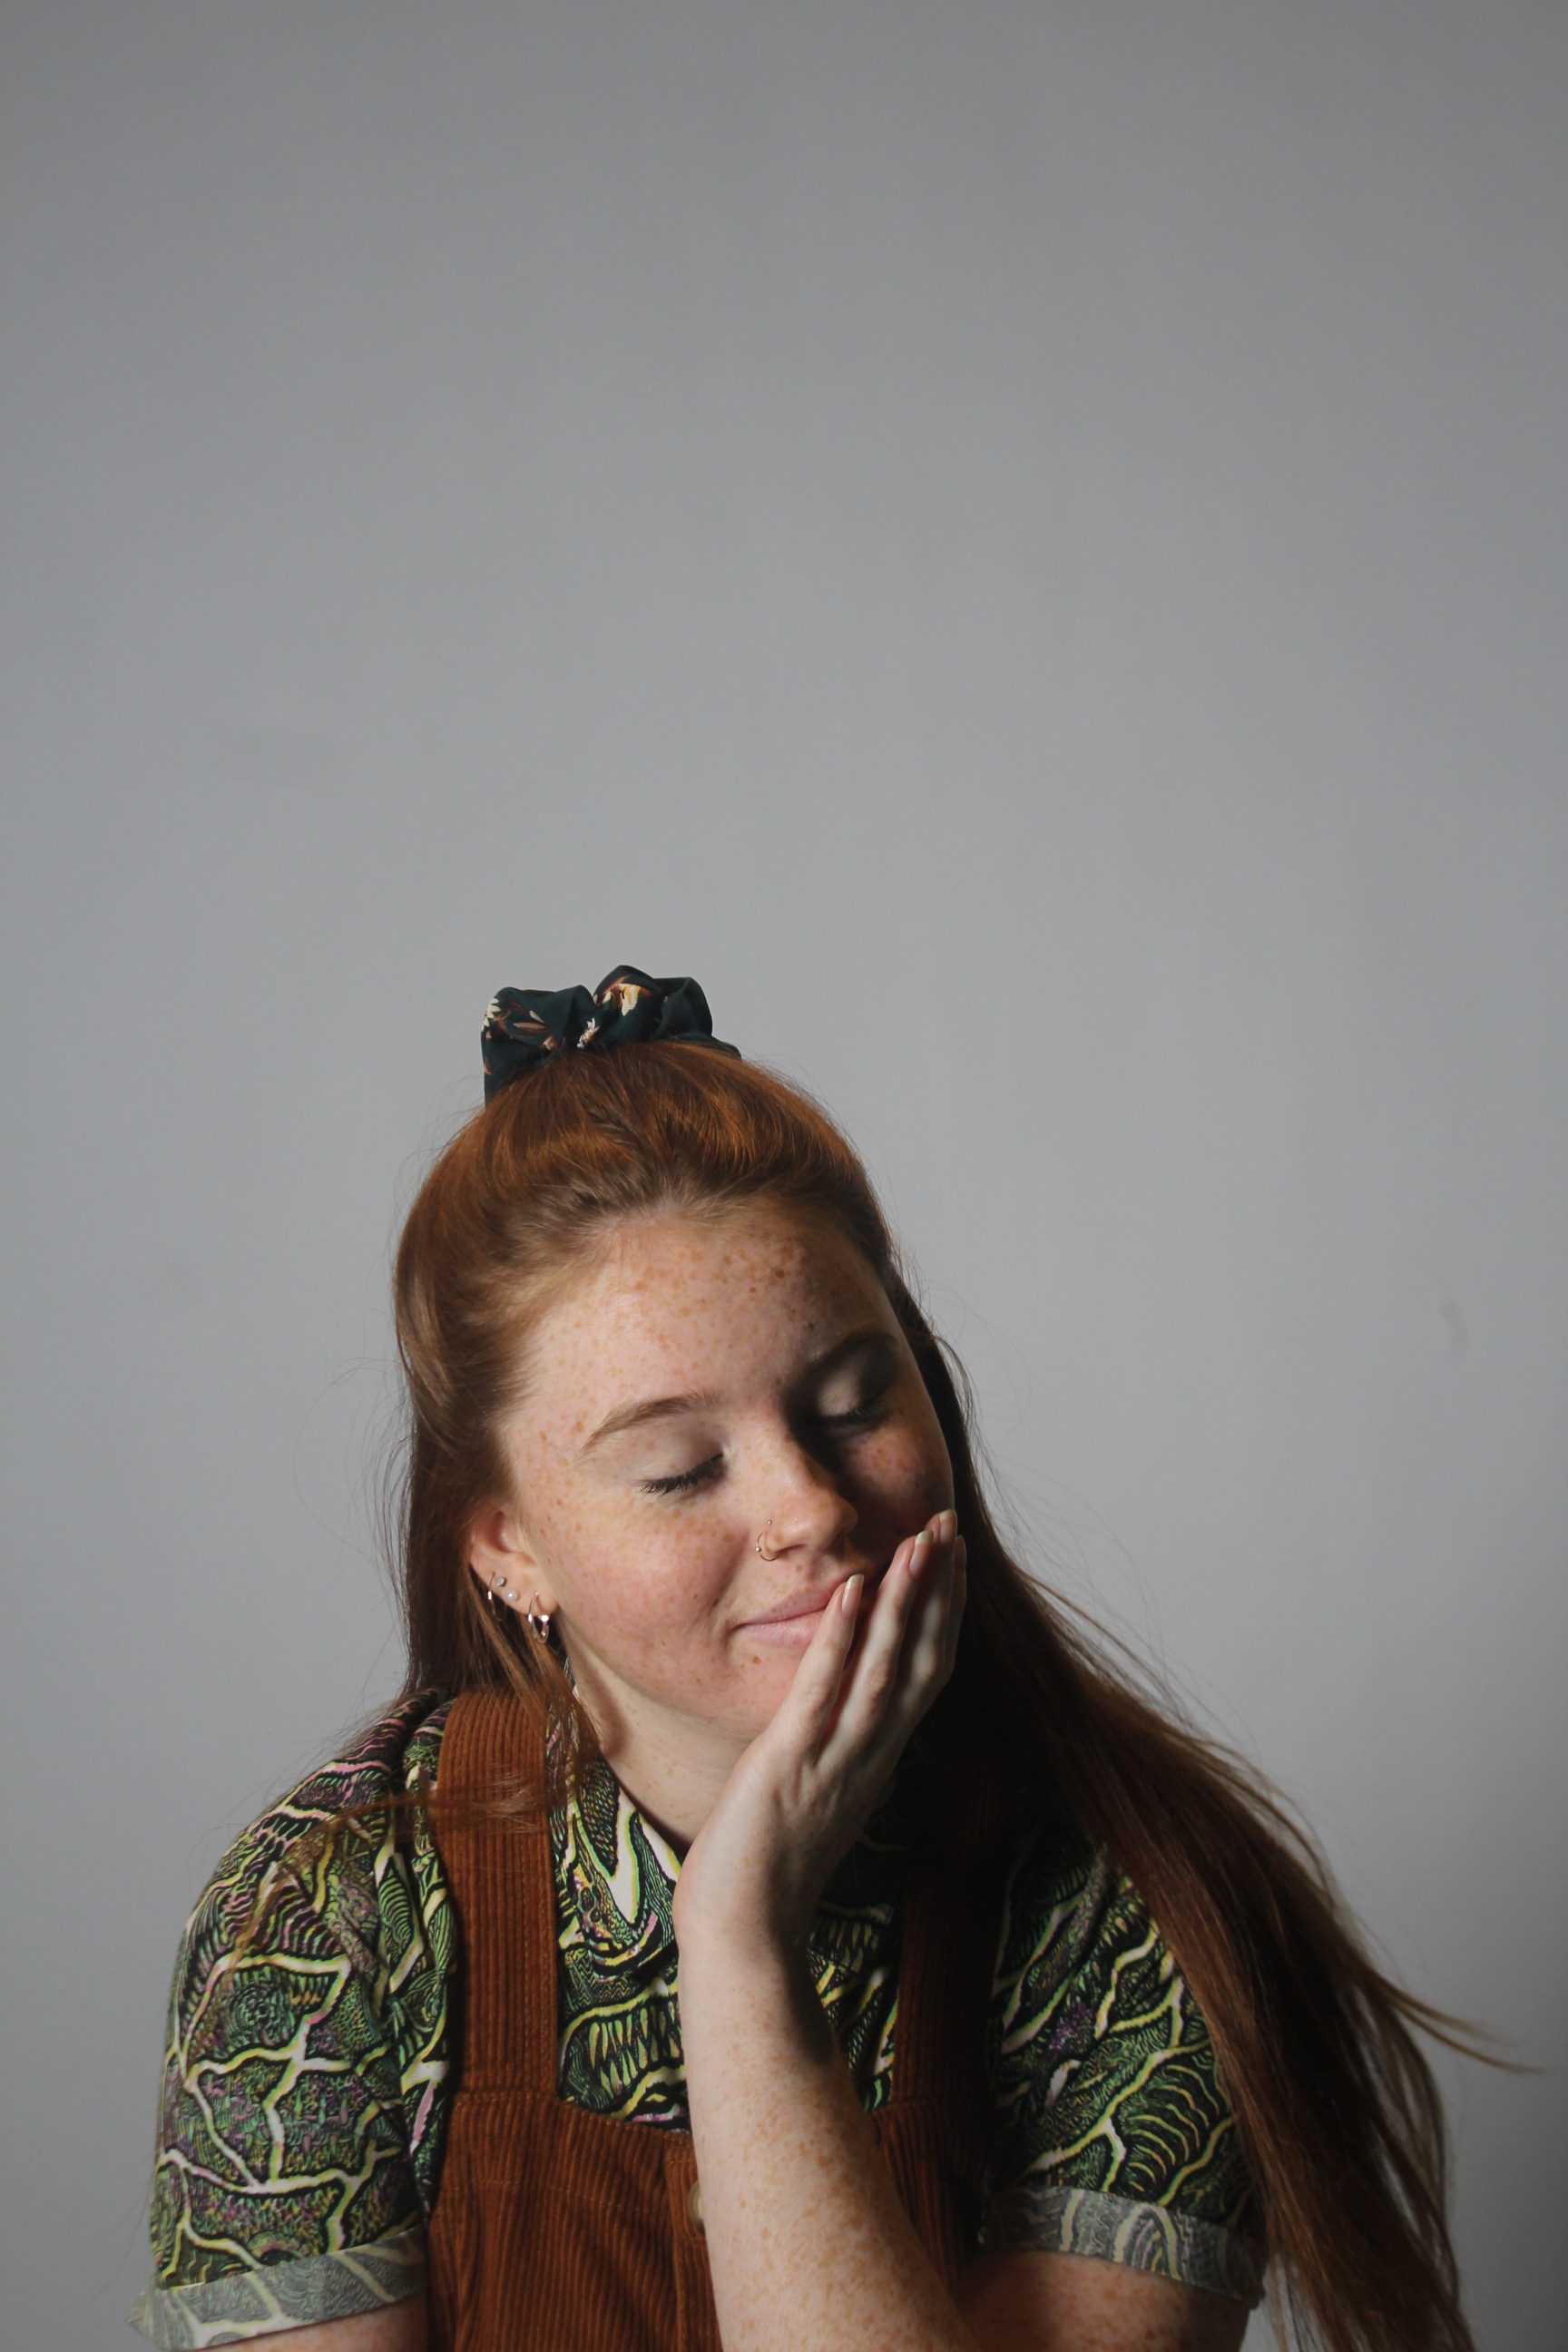
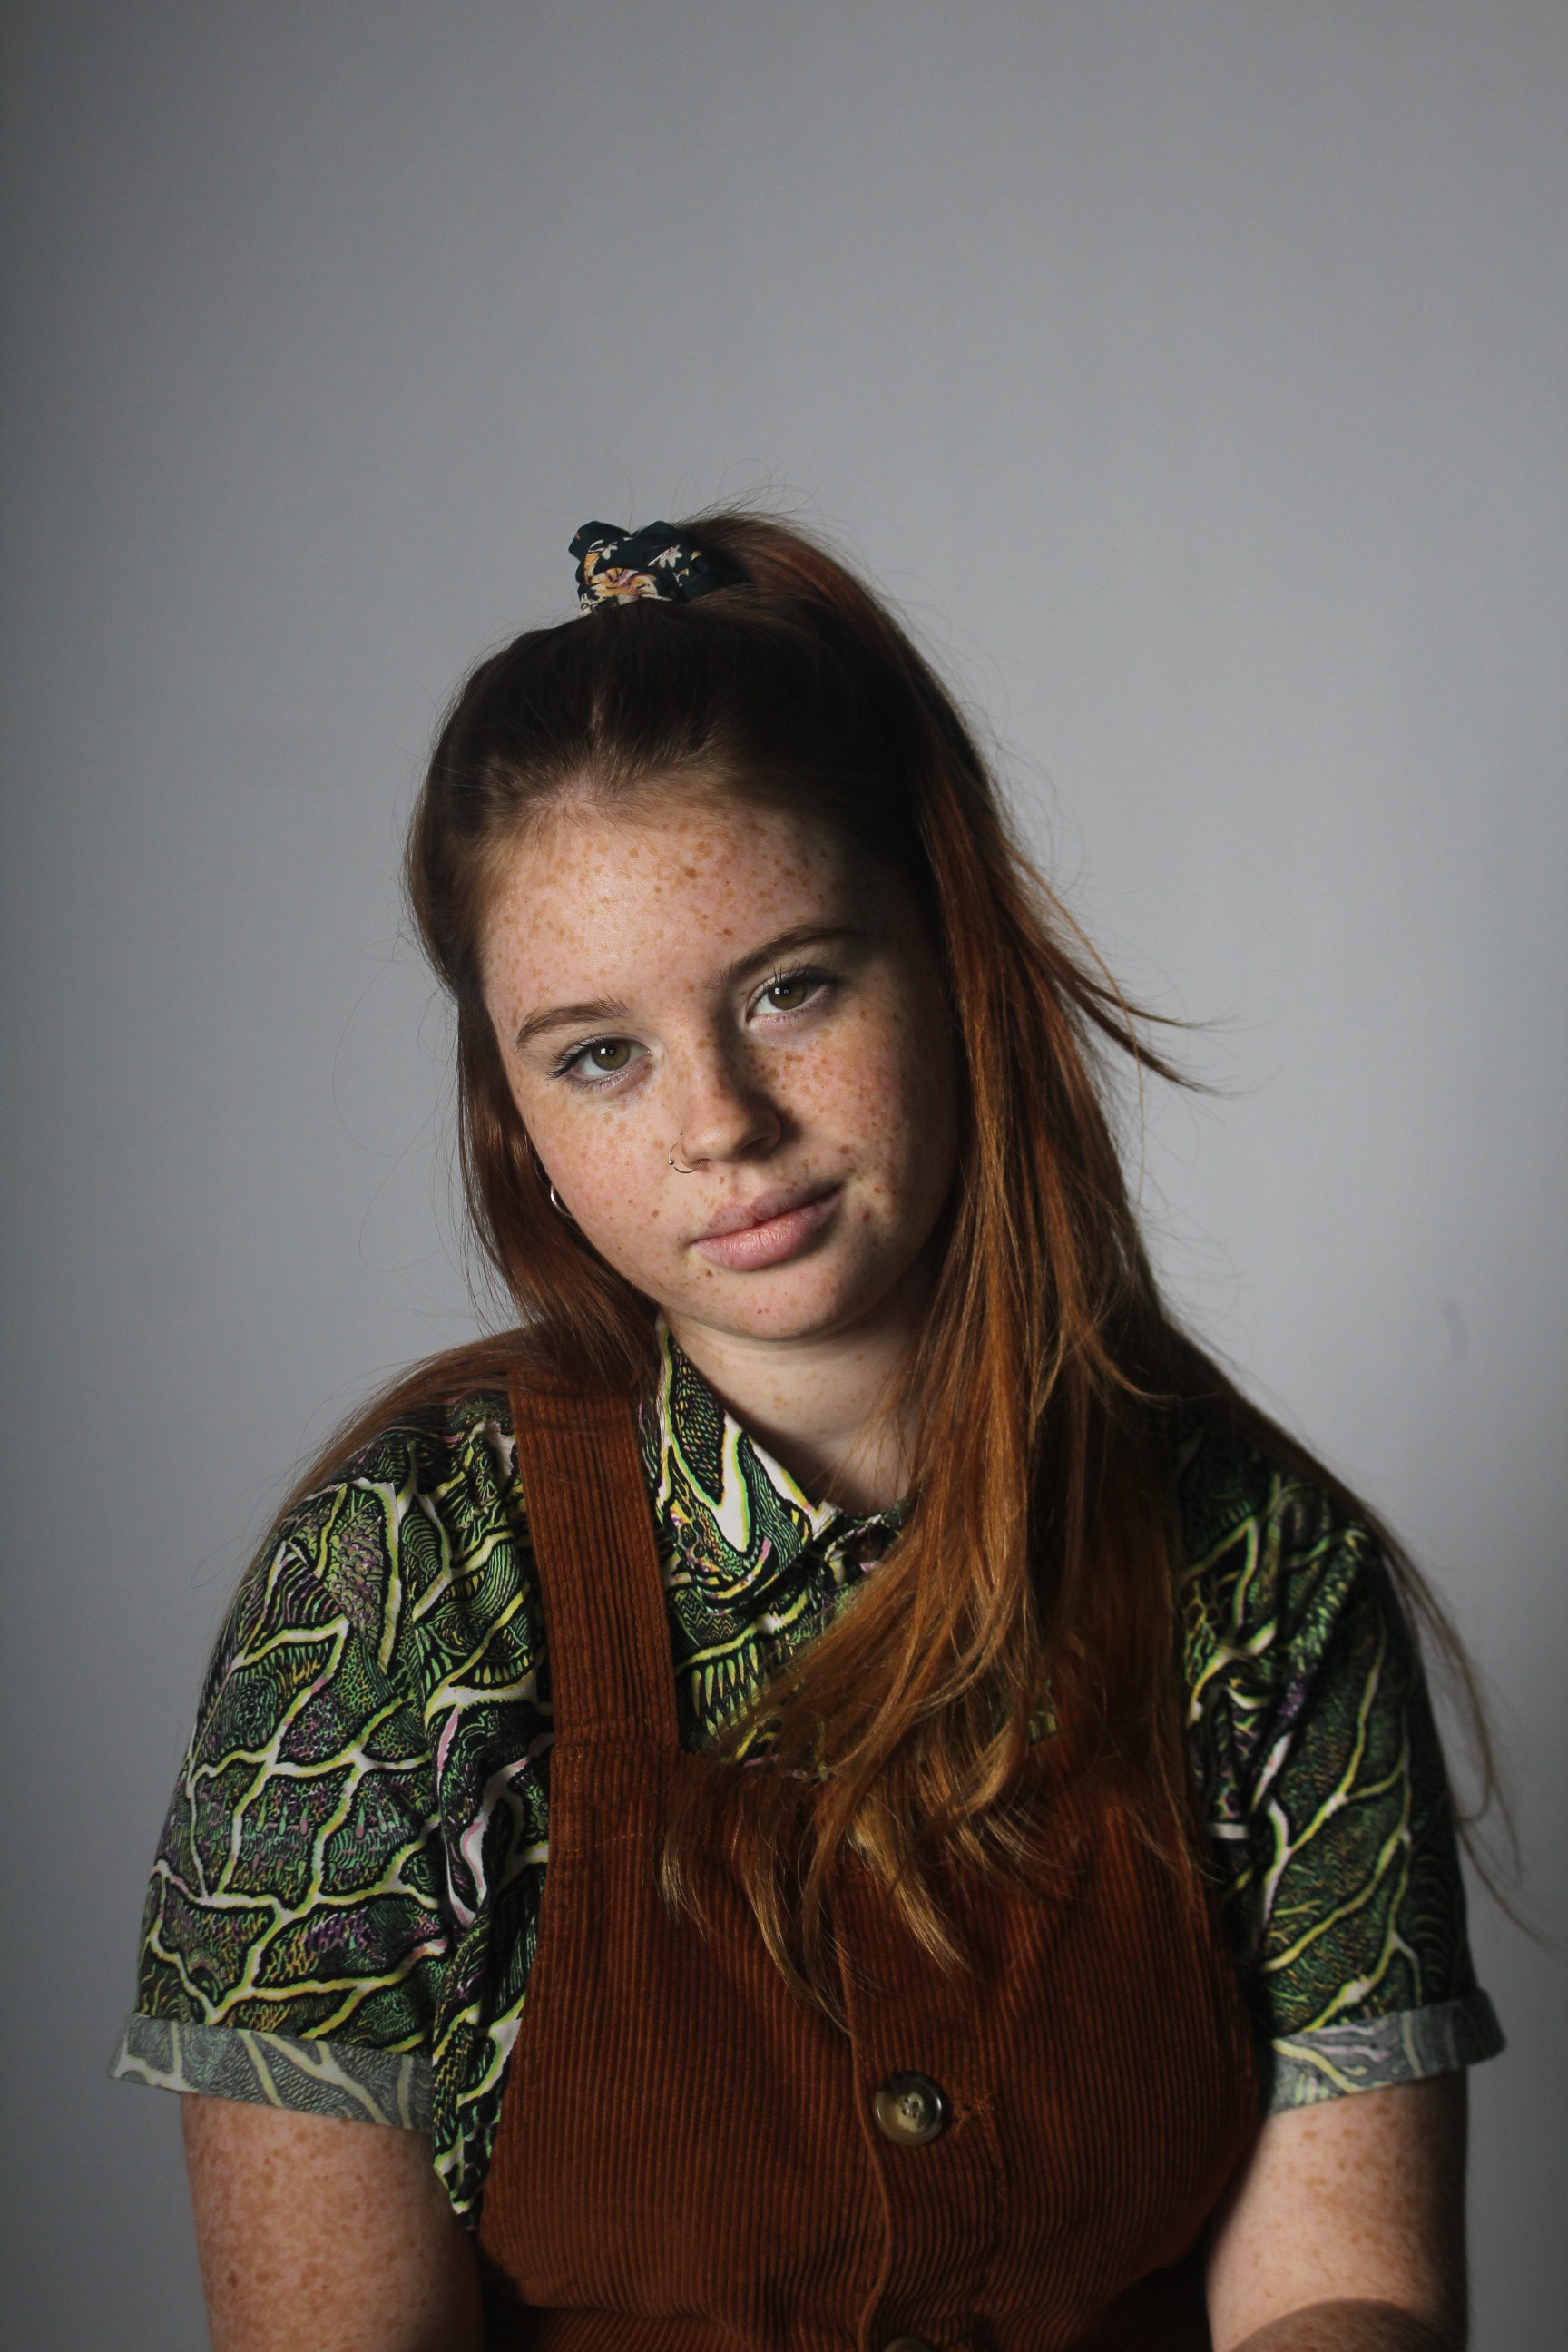
FINAL IMAGES
These images are my favorites out over the 3 shoots I have done in the studio using different types of lighting. With experimenting with the different types of lighting and how to adjust my camera to the different lighting I feel I can now apply it to when I am photographing in the studio again but next time having a concept behind my images can make them more connectable to the viewers.