
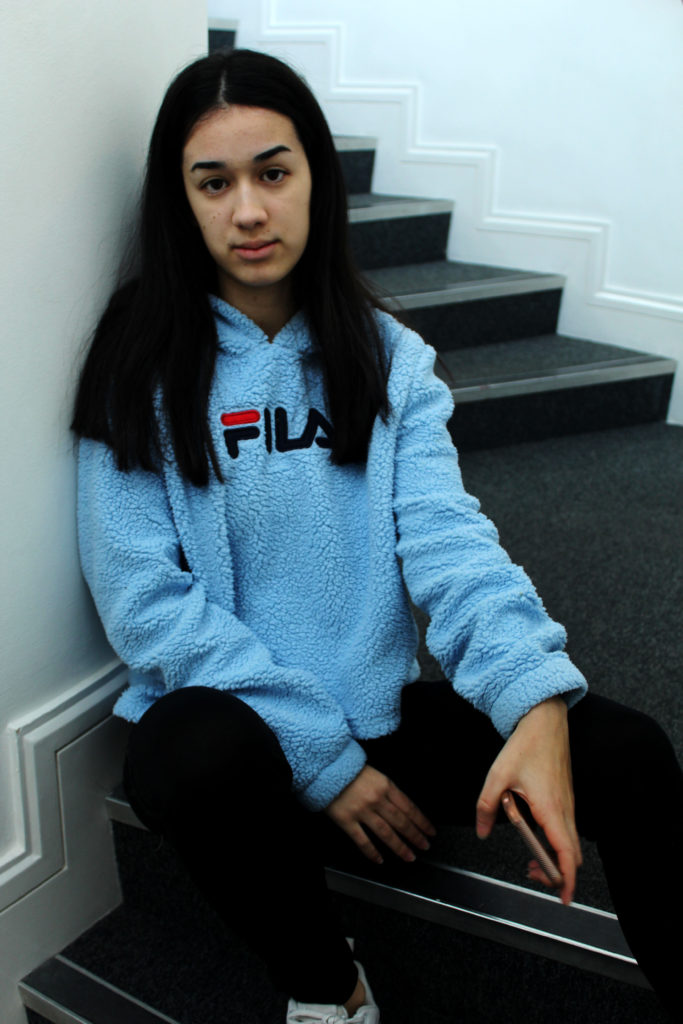
In contrast to studio photography, where there is artificial lighting used, we can used a natural source of lighting to light up the subject of the photograph. In this case we used windows around the school to light up the model. Instead of using three point lighting, we used reflectors which help to light up the opposite side of the model which is darker, to eliminate a contrast in tonal regions. For this photo shoot I used a quick shutter speed, a low ISO to reduce the noise found in the photograph, a large aperture and had a large depth of field. With regard to editing I am going to focus on leveling the images and adjusting the curves, making the edits simple like the idea and aim of this photo shoot.
- Intensity of the light – An intense lighting source is very harsh, and allows the subject of the photograph to be illuminated. If using a one point lighting rig with intense lighting, we are able to choose what parts of the subject to light up.
- Direction of the light – Changing the direction of the light helps to illuminate different areas of the subject. Having the light at the back creates a silhouette surrounding the subject, making them stand out from the background. The light at the front will usually light up the whole of the subject. A light source from the side of the subject will only light up one side of the subject creating a chiarascuro effect. Finally we can position the light up towards the ceiling which will diffuse the light and scatter the light back down on the subject
- Temperature of the light and white balance – The temperature of the light is used to help create an emotional response between the viewer and the subject. A cold light is usually more of a white light, the white balance to be used is likely to be cloudy which warms up the photograph but you can change this if you want to stay with the cold effect. and a warm light is a more of a yellow light. The white balance to go with this is likely to be florescent
- Using reflectors – A reflector is used to reflect the light source onto a part of the subject. With regards to natural lighting we use reflectors to make the subject equally lit.
- Using diffusers – Diffuses are used to make a harsh light much softer. To diffuse the lights we can use tracing paper, colored gels or purchasing a diffuse.
- High Key / low key lighting – High key lighting is essentially trying to over expose things. The ISO is likely to be higher and the white balance is altered in order to make everything lighter. To achieve this the lighting is usually harsh and cold.This works well on a white background. In contrast, low key lighting consists of a lot of contrasts and shadows. and its usually dark. The lighting is usually softer and use diffuses, typically this works well using a black background.
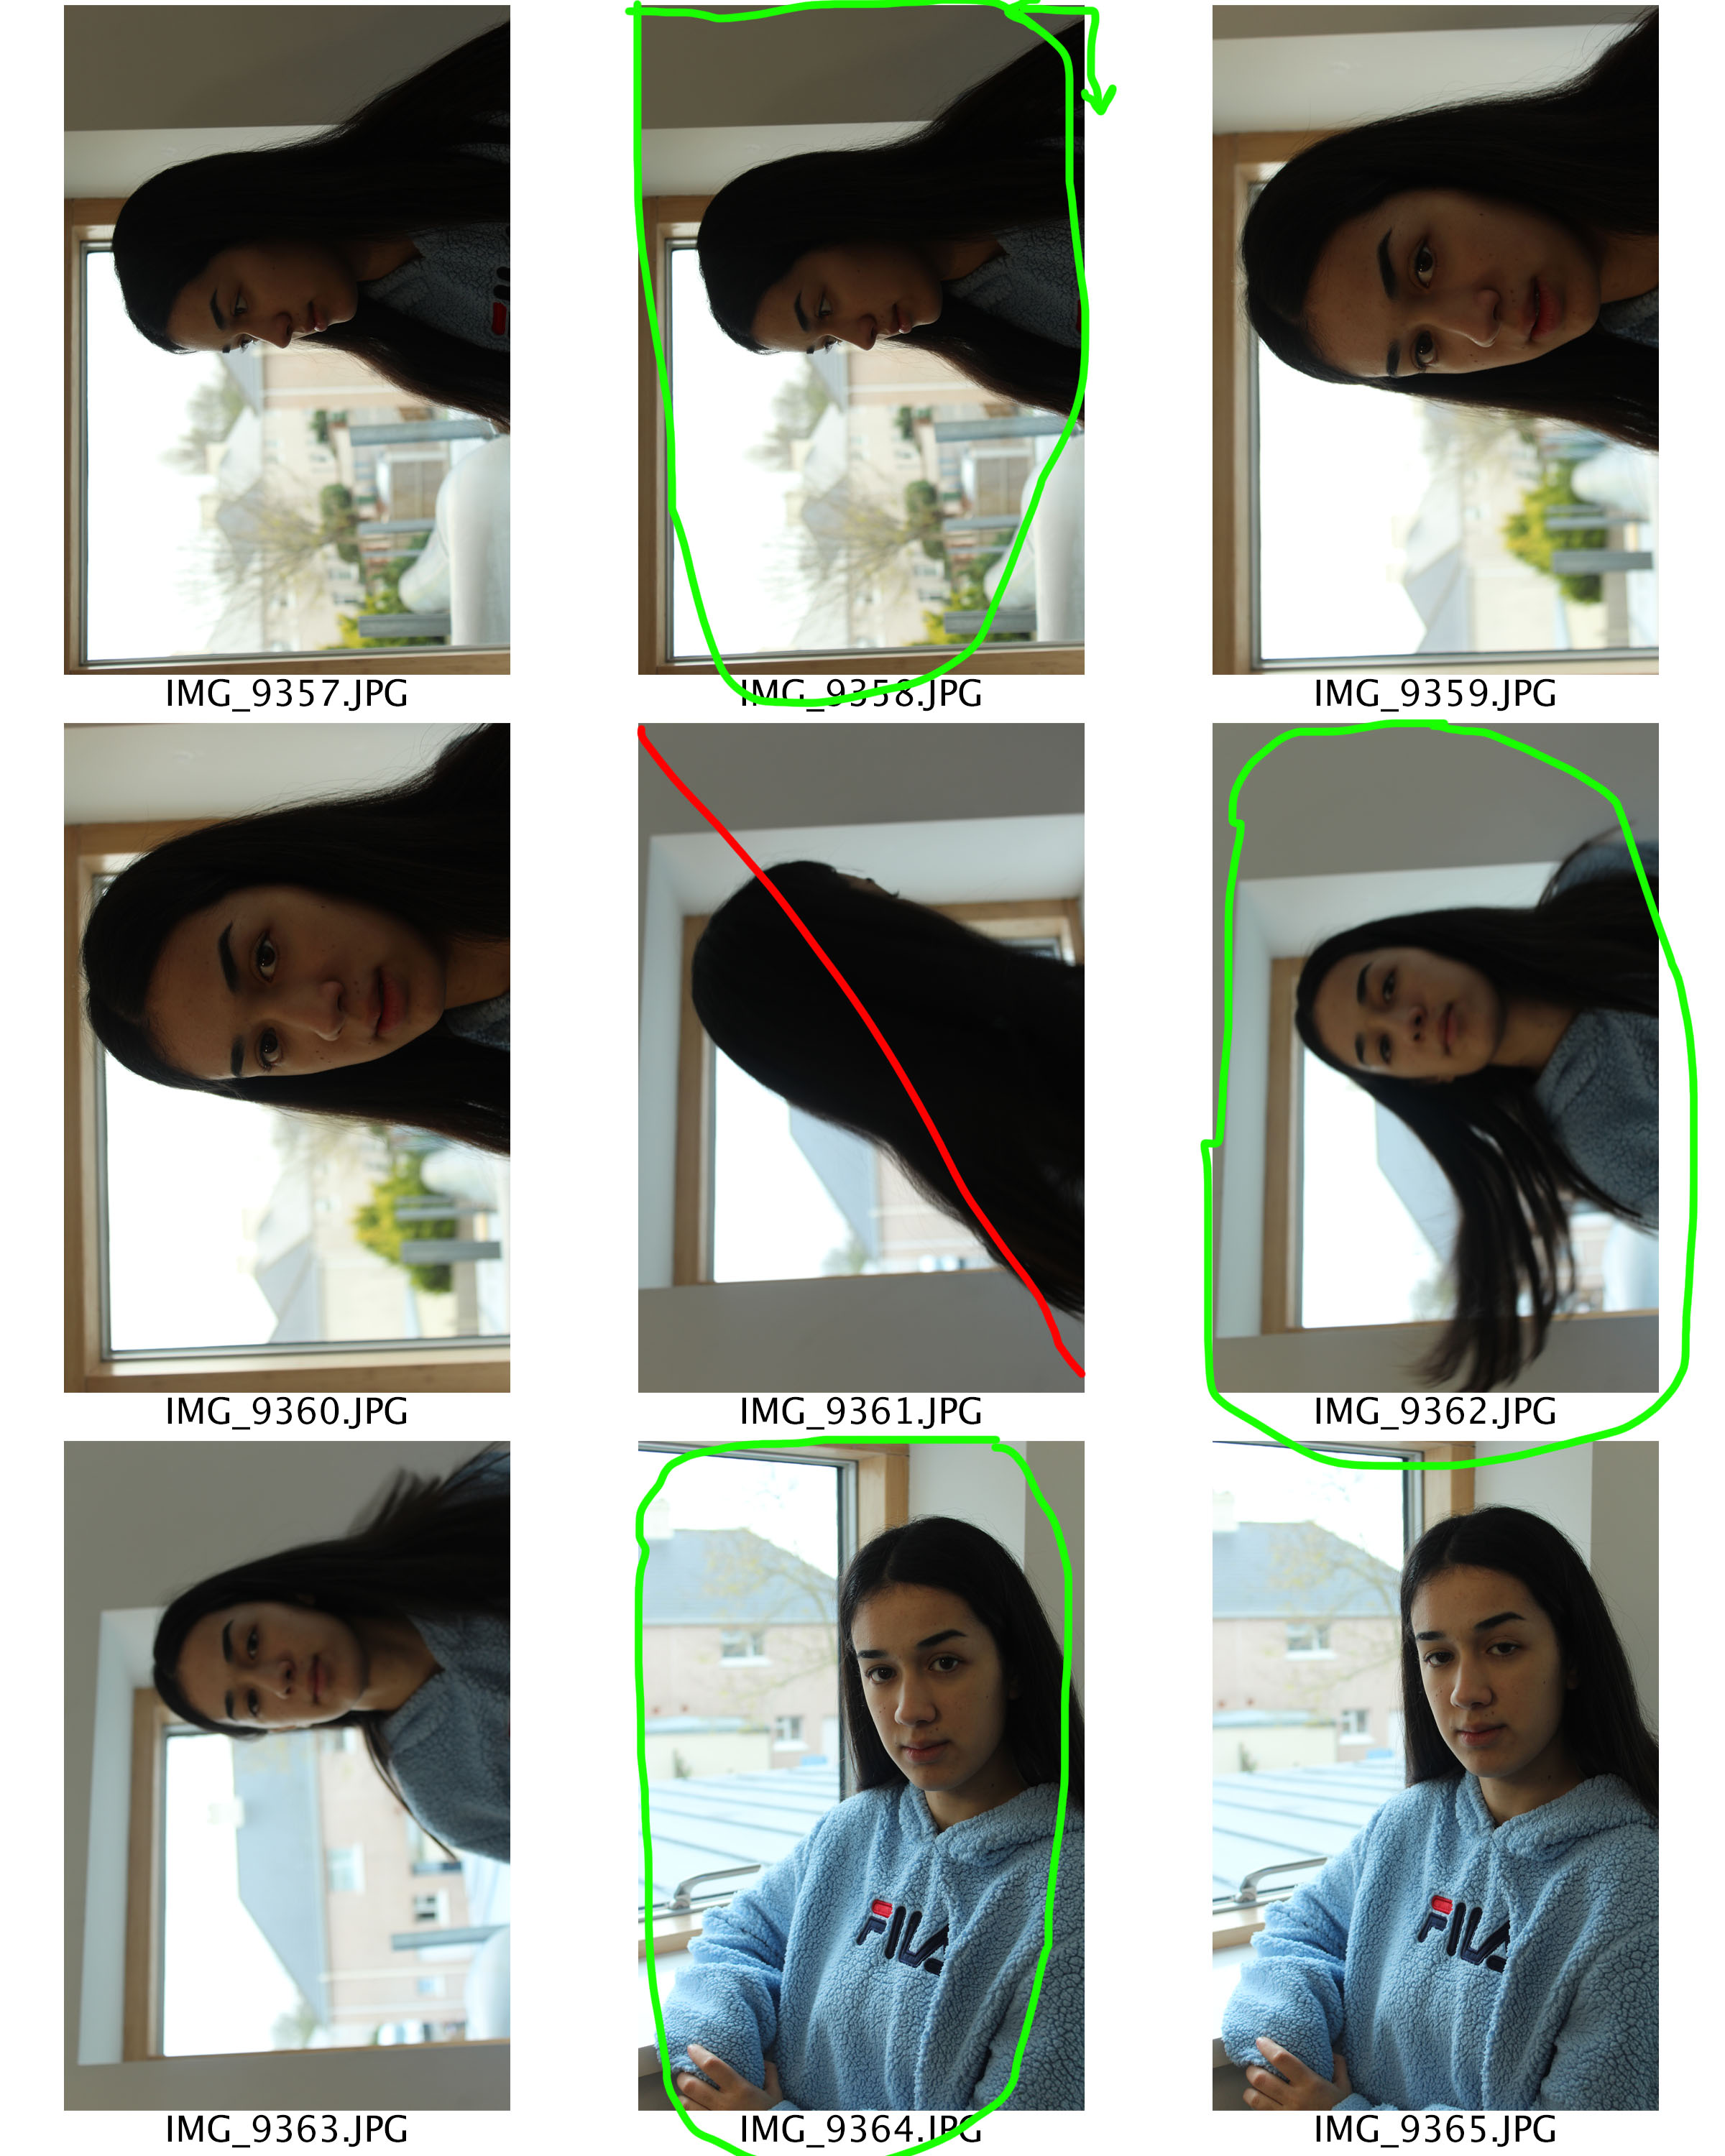
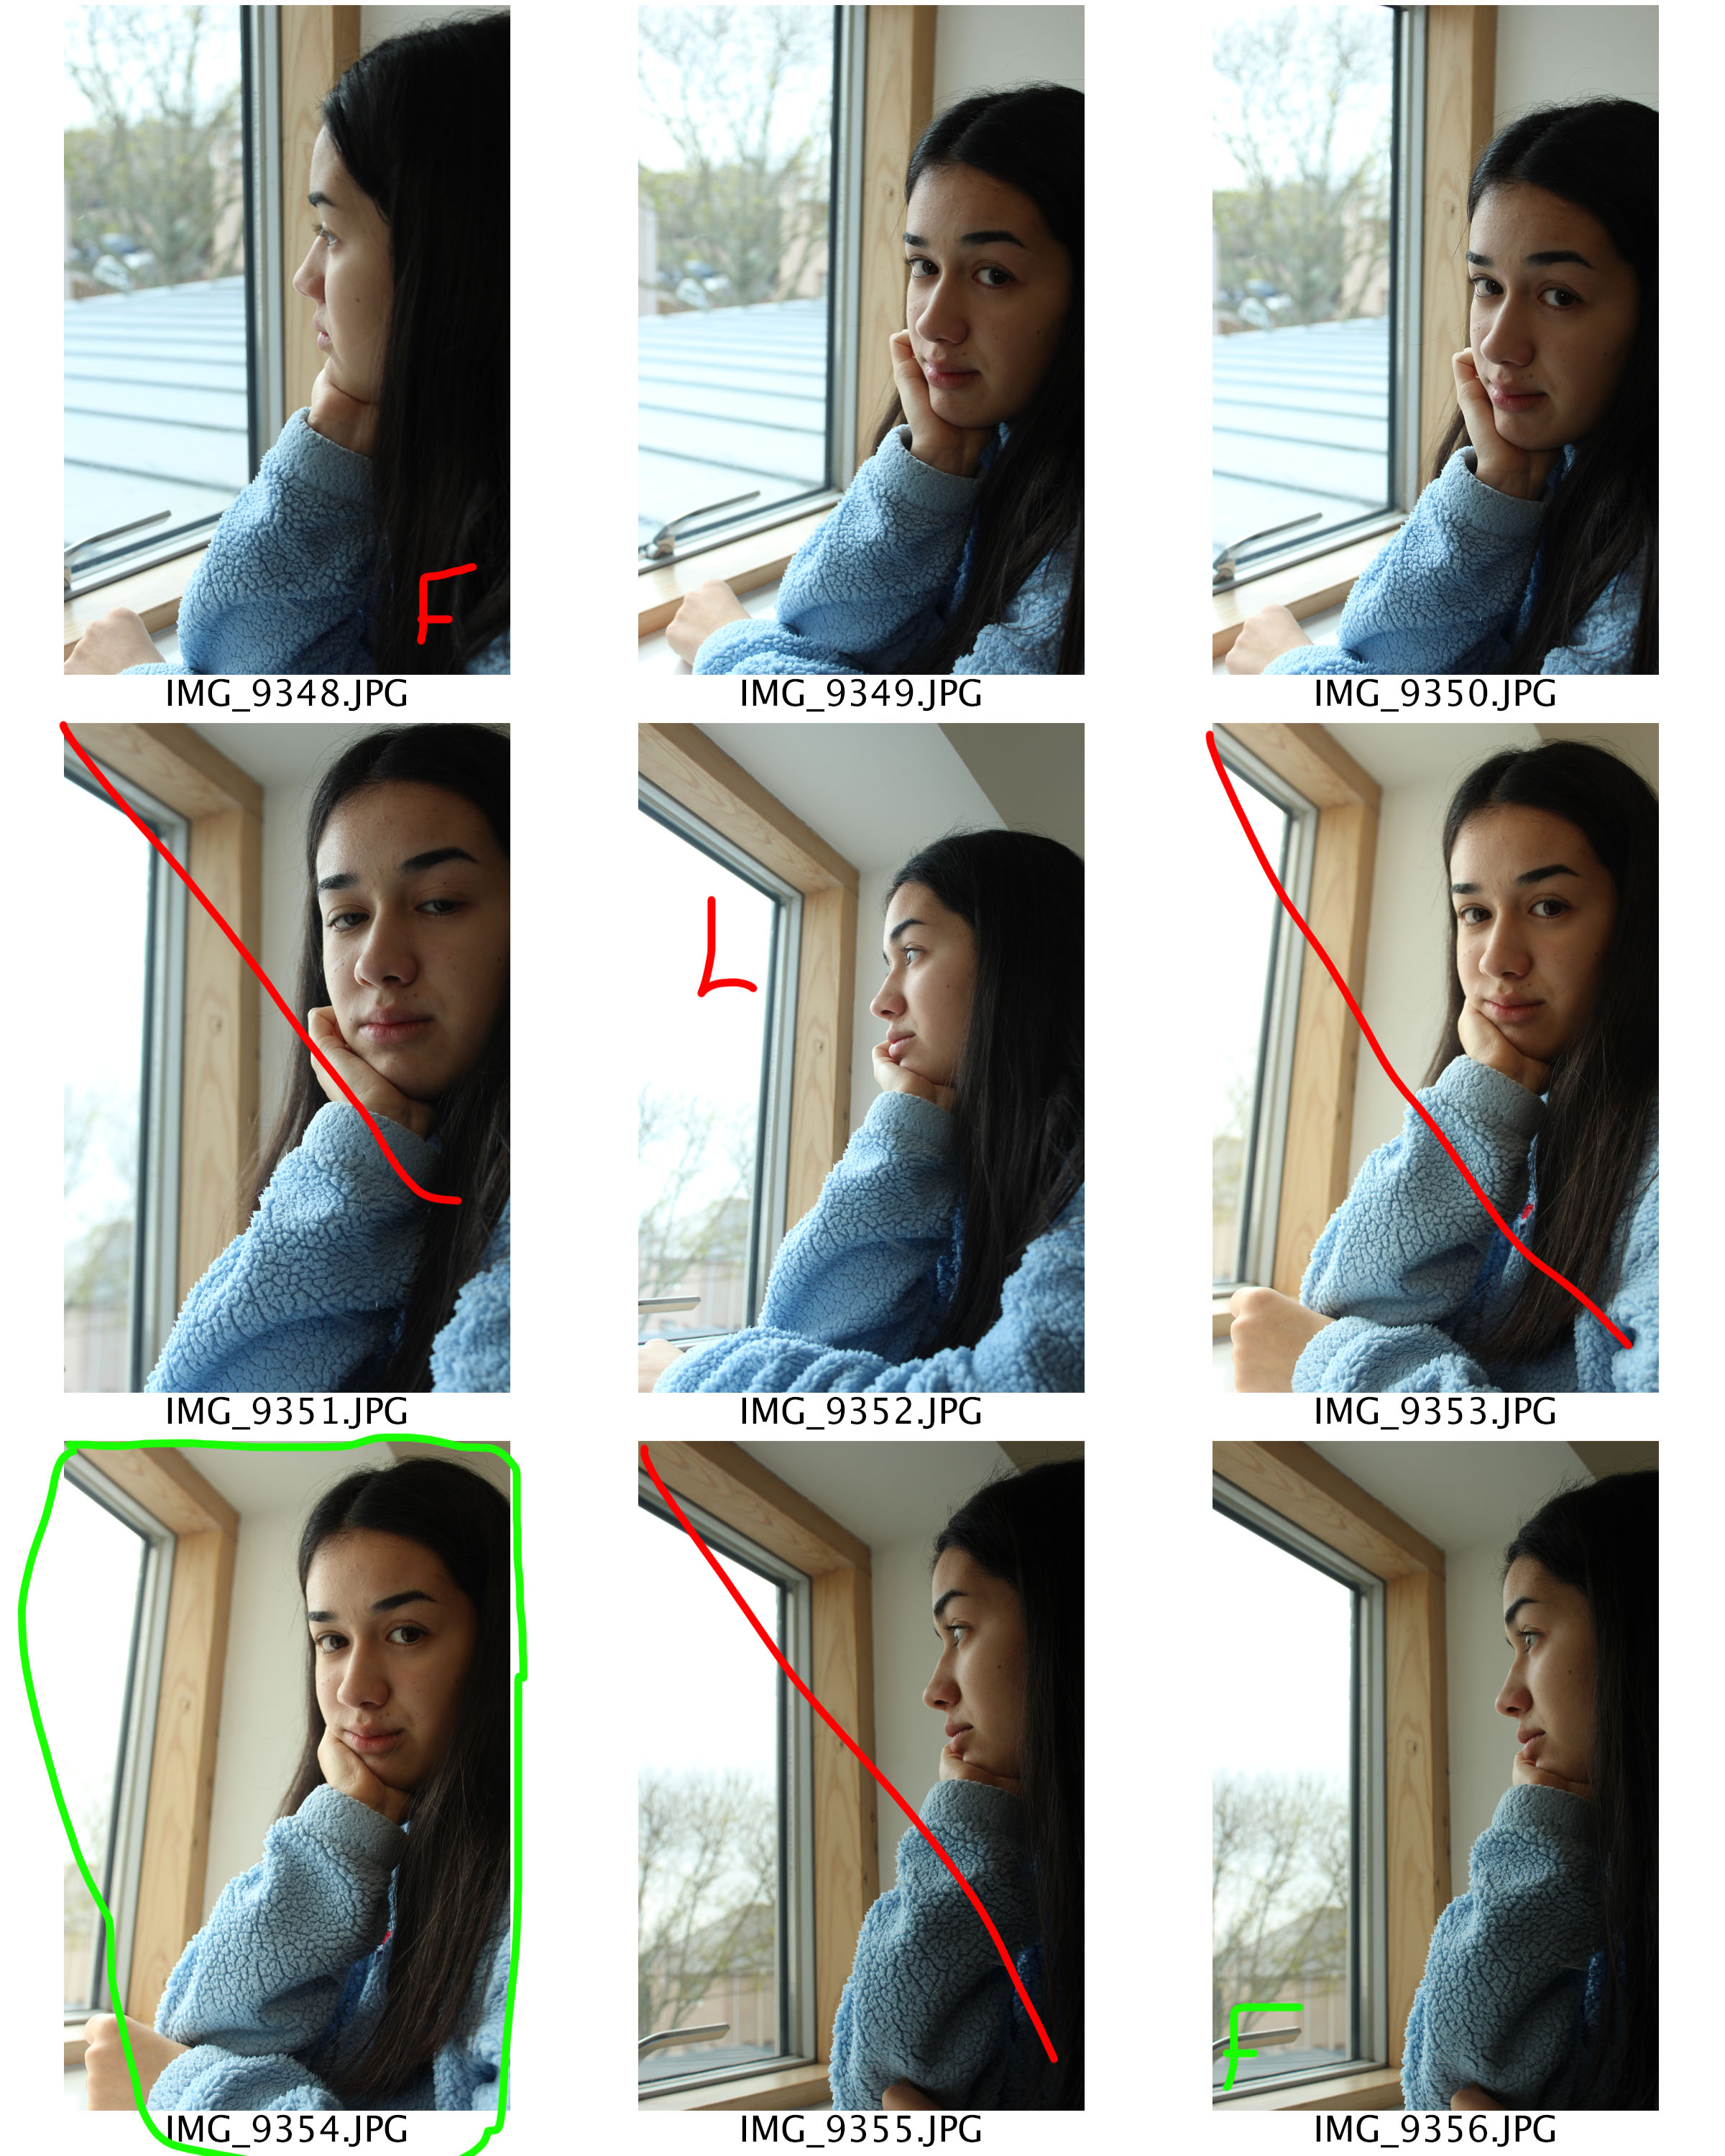
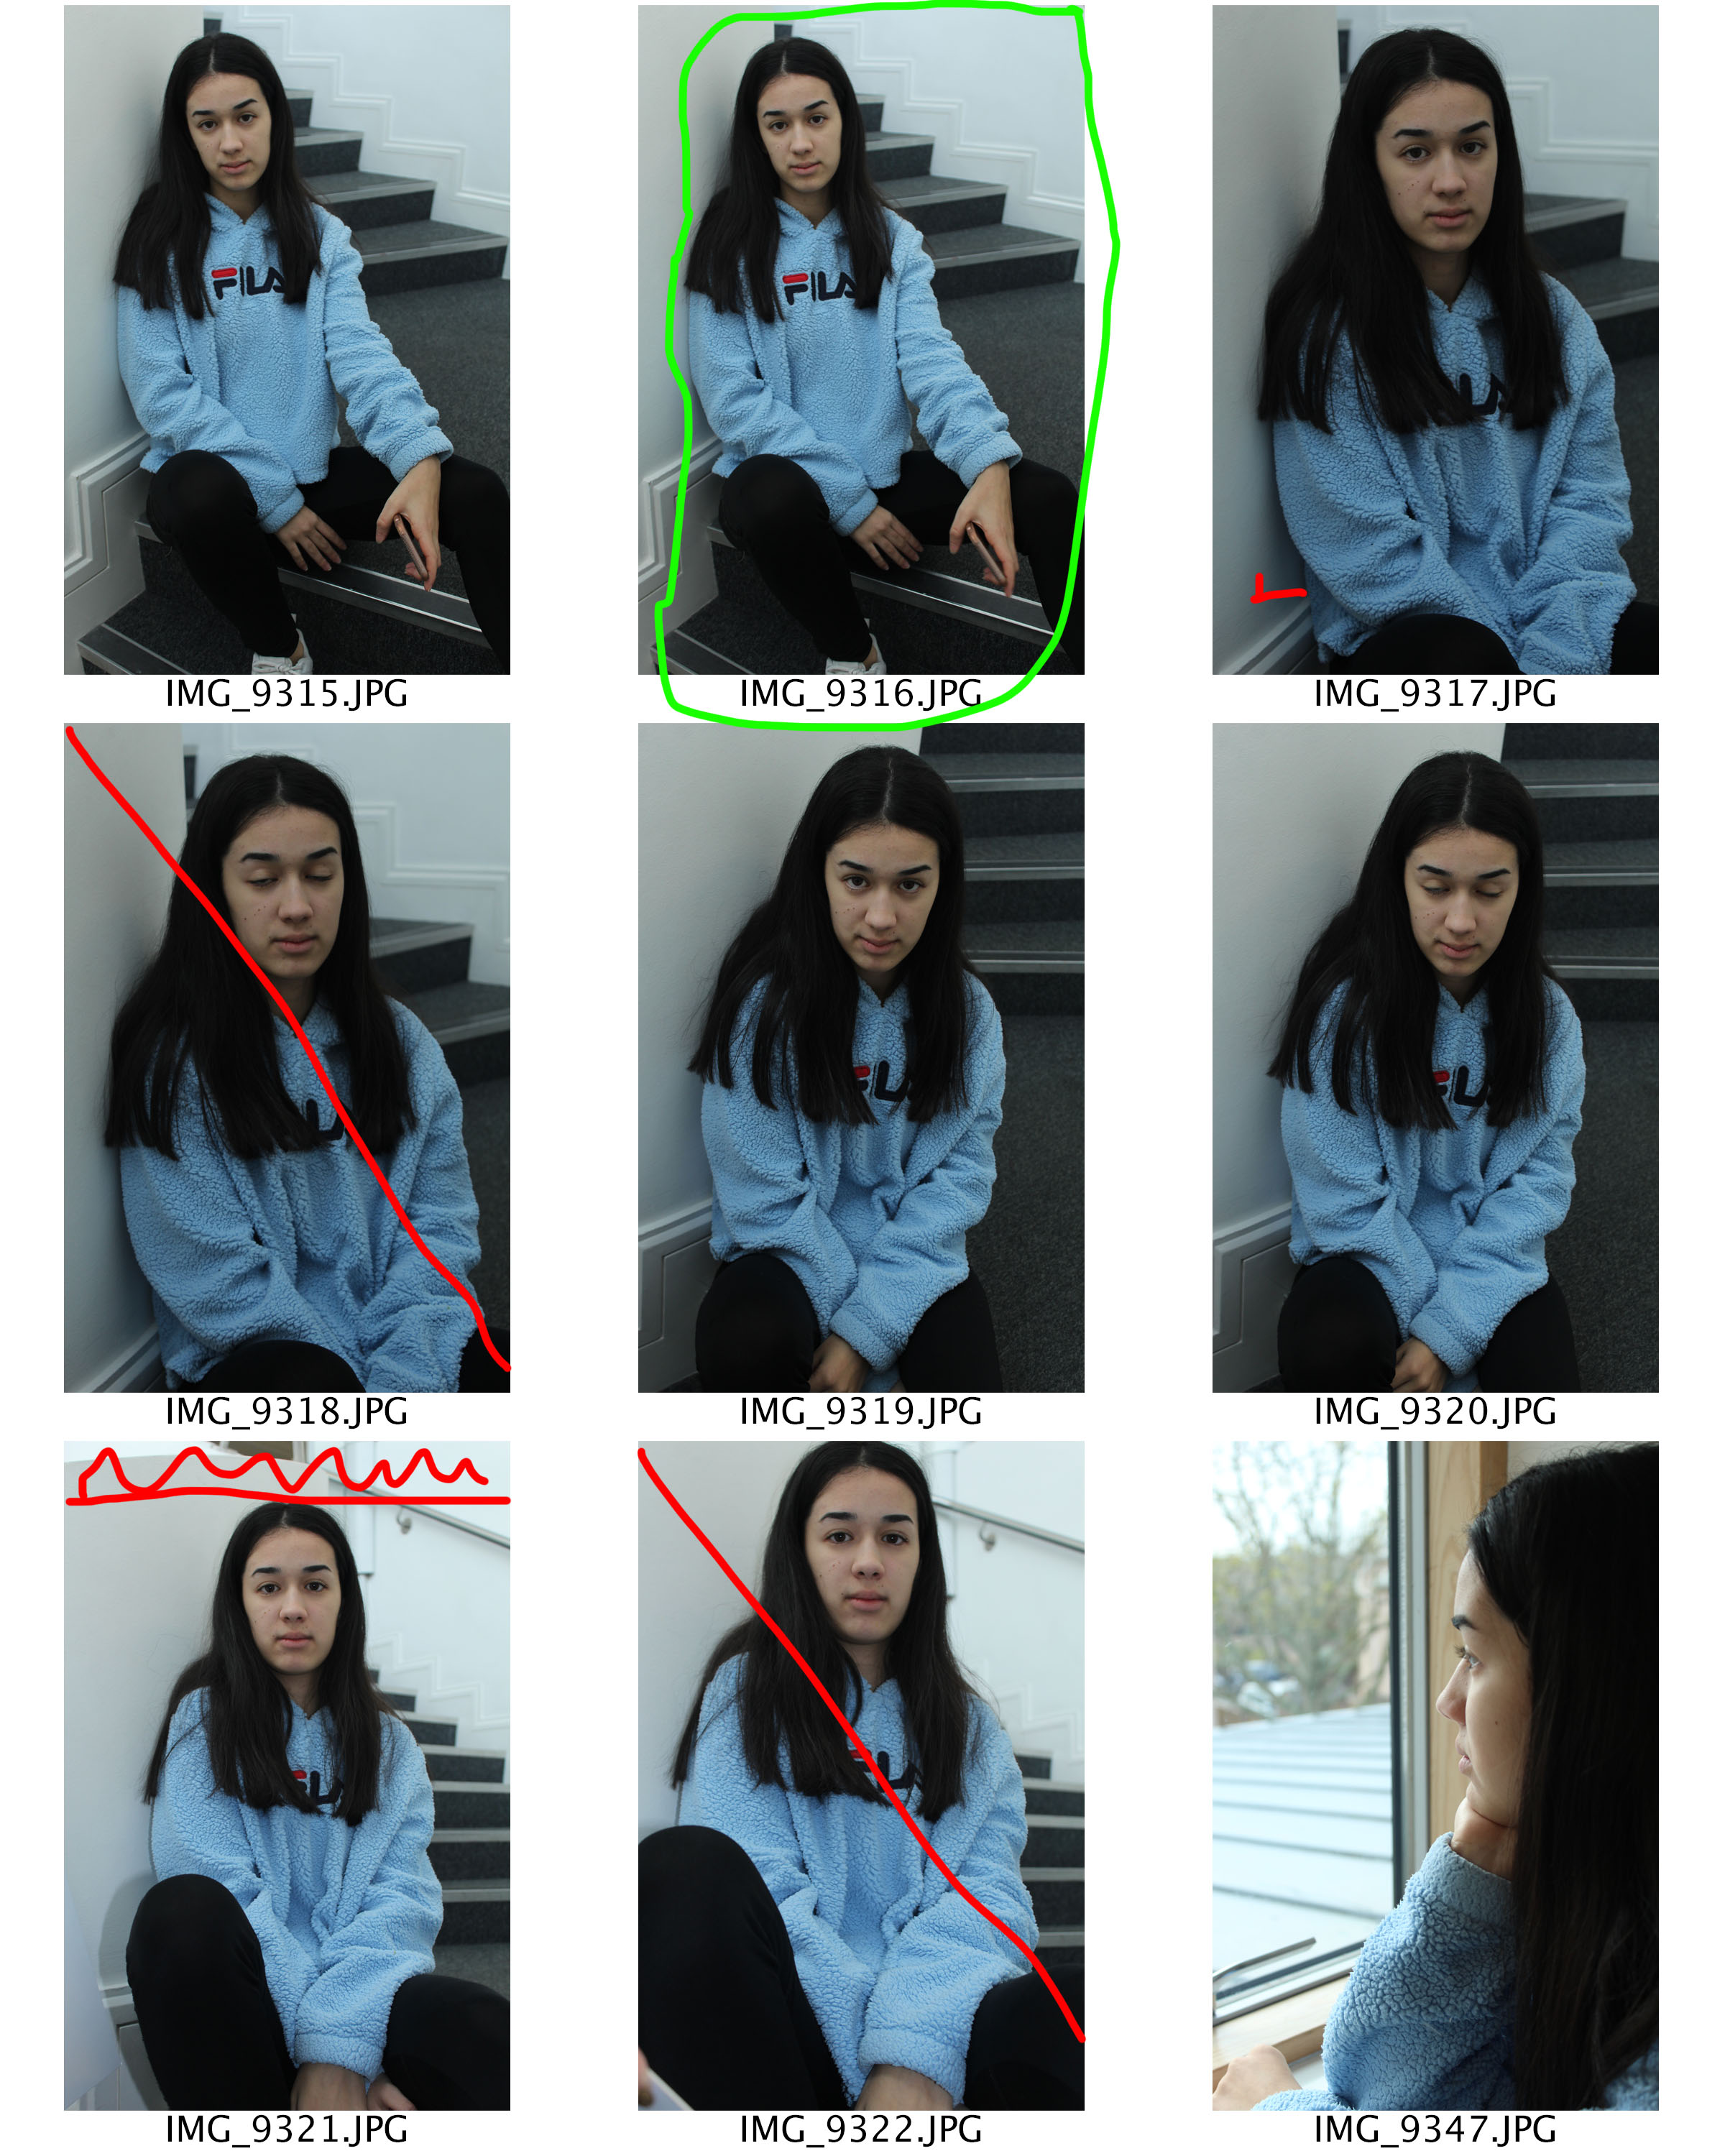
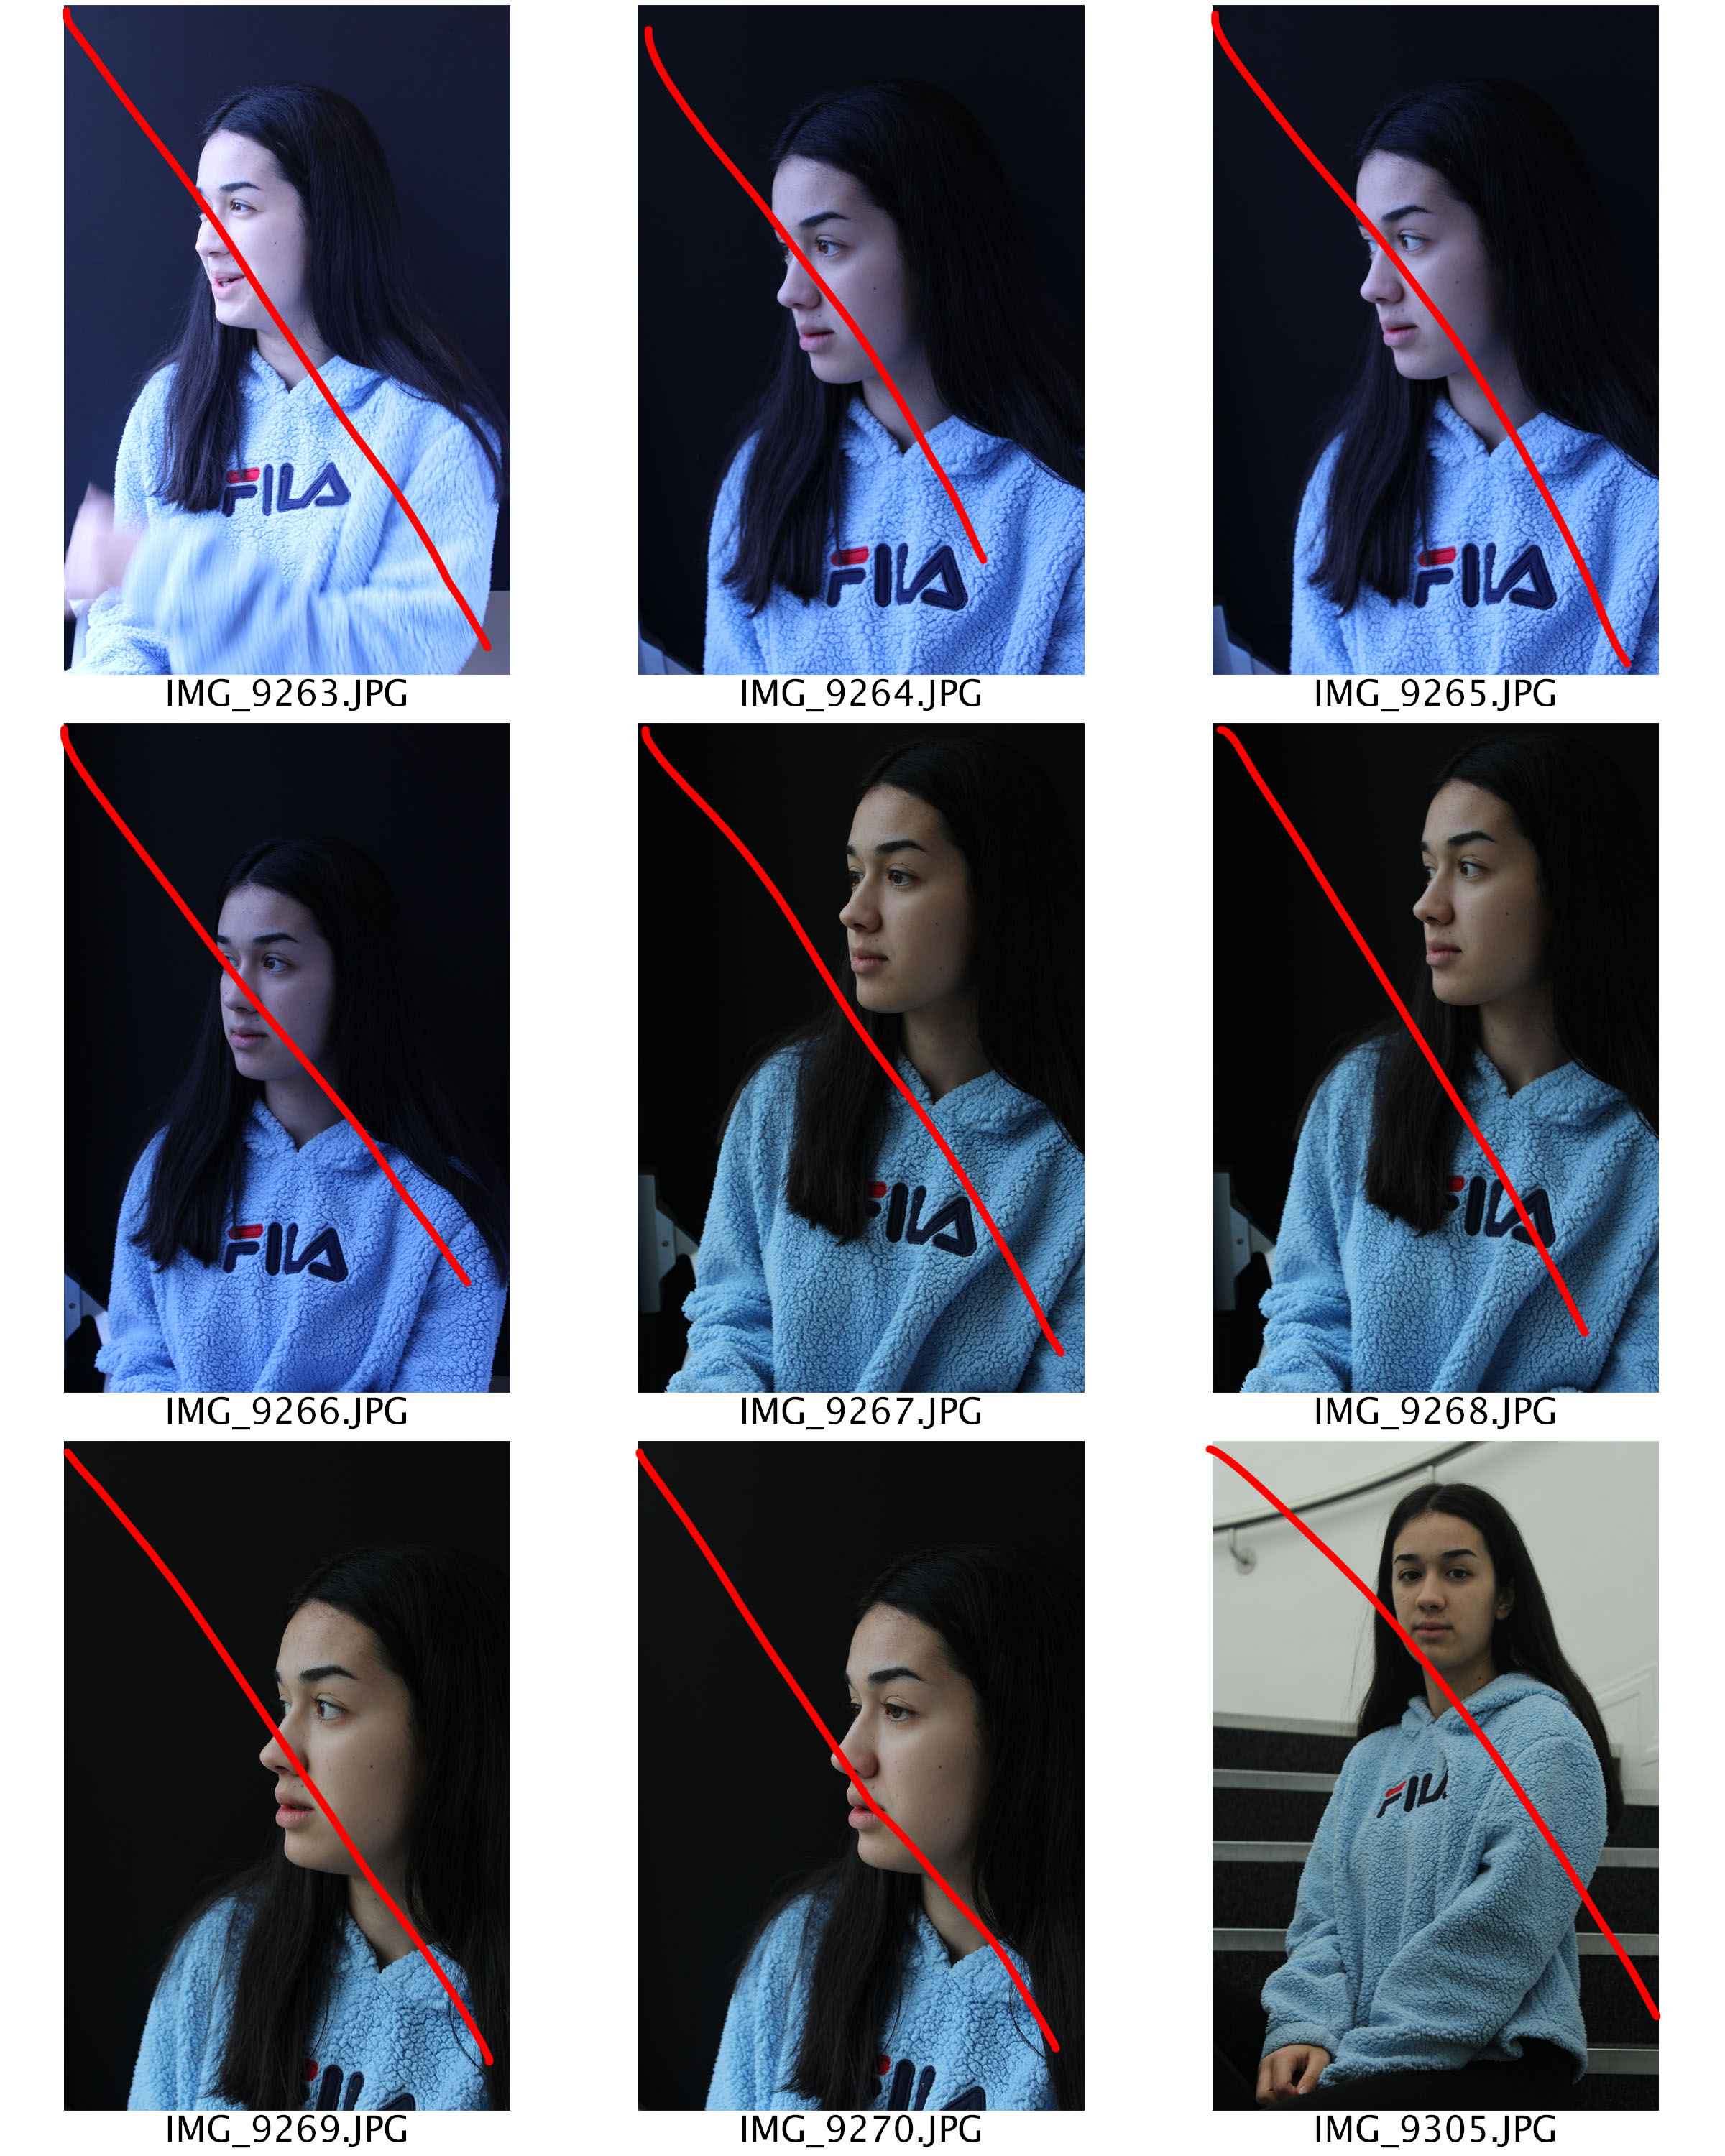
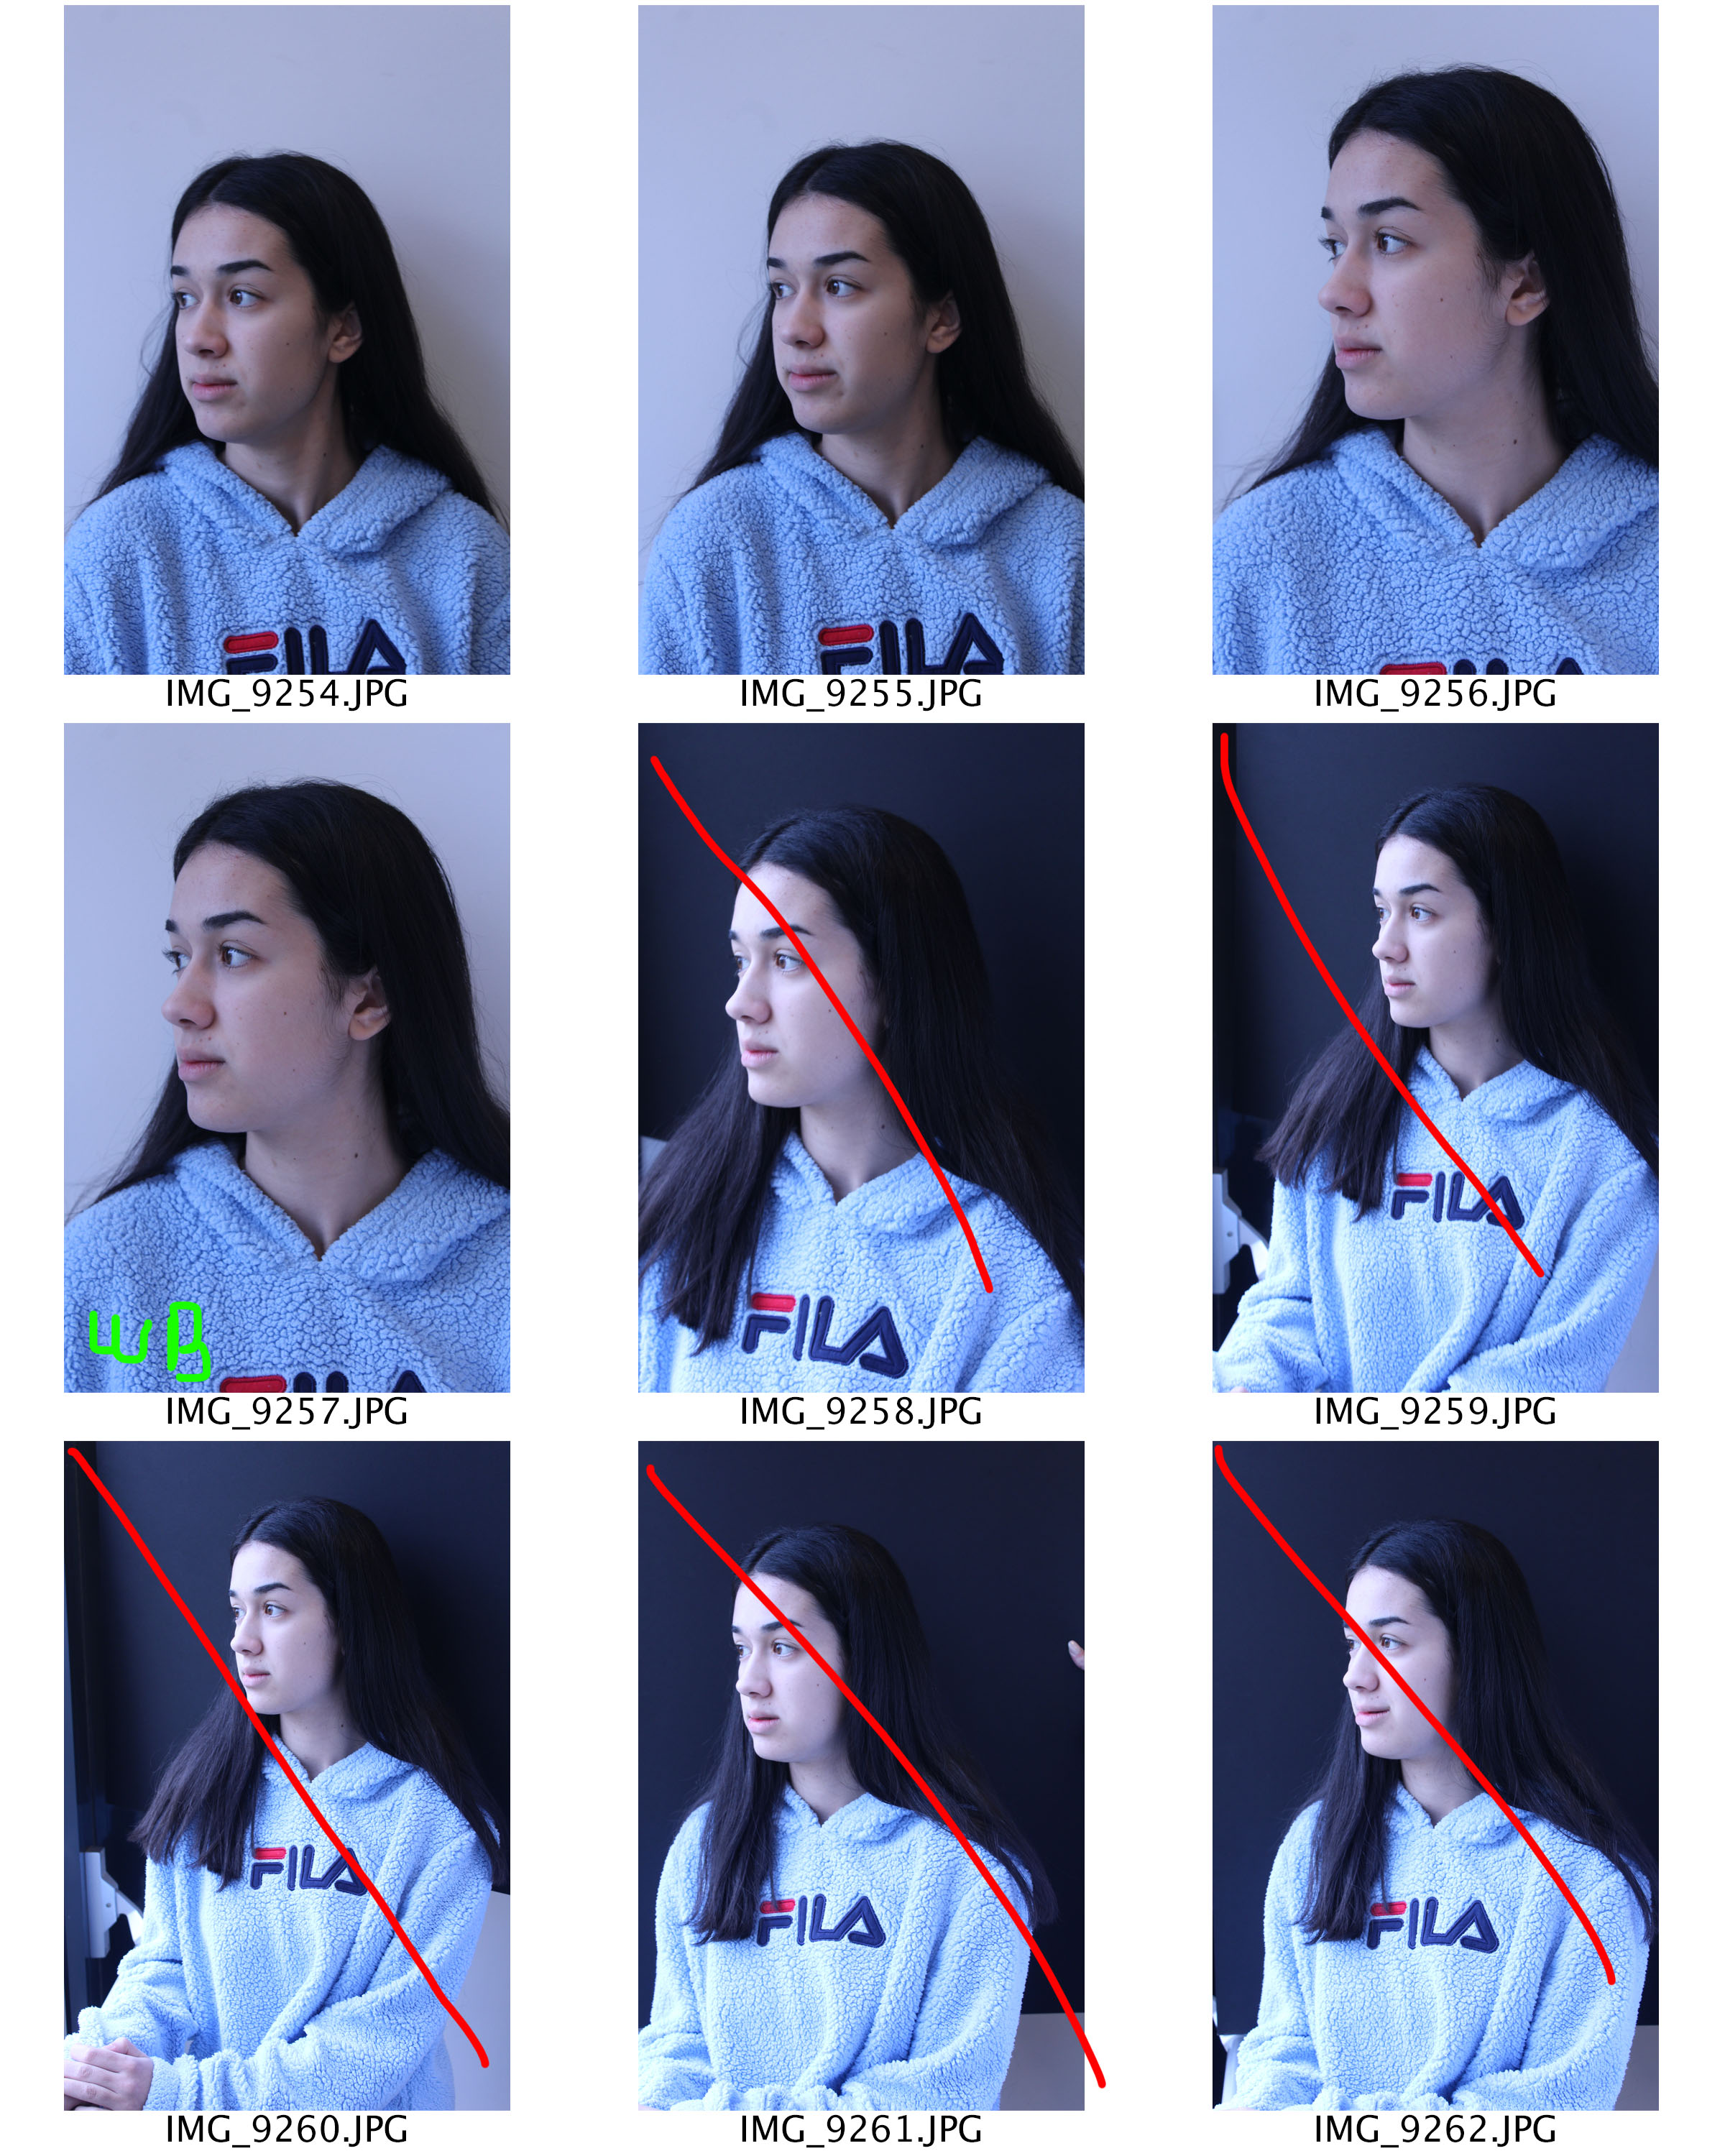
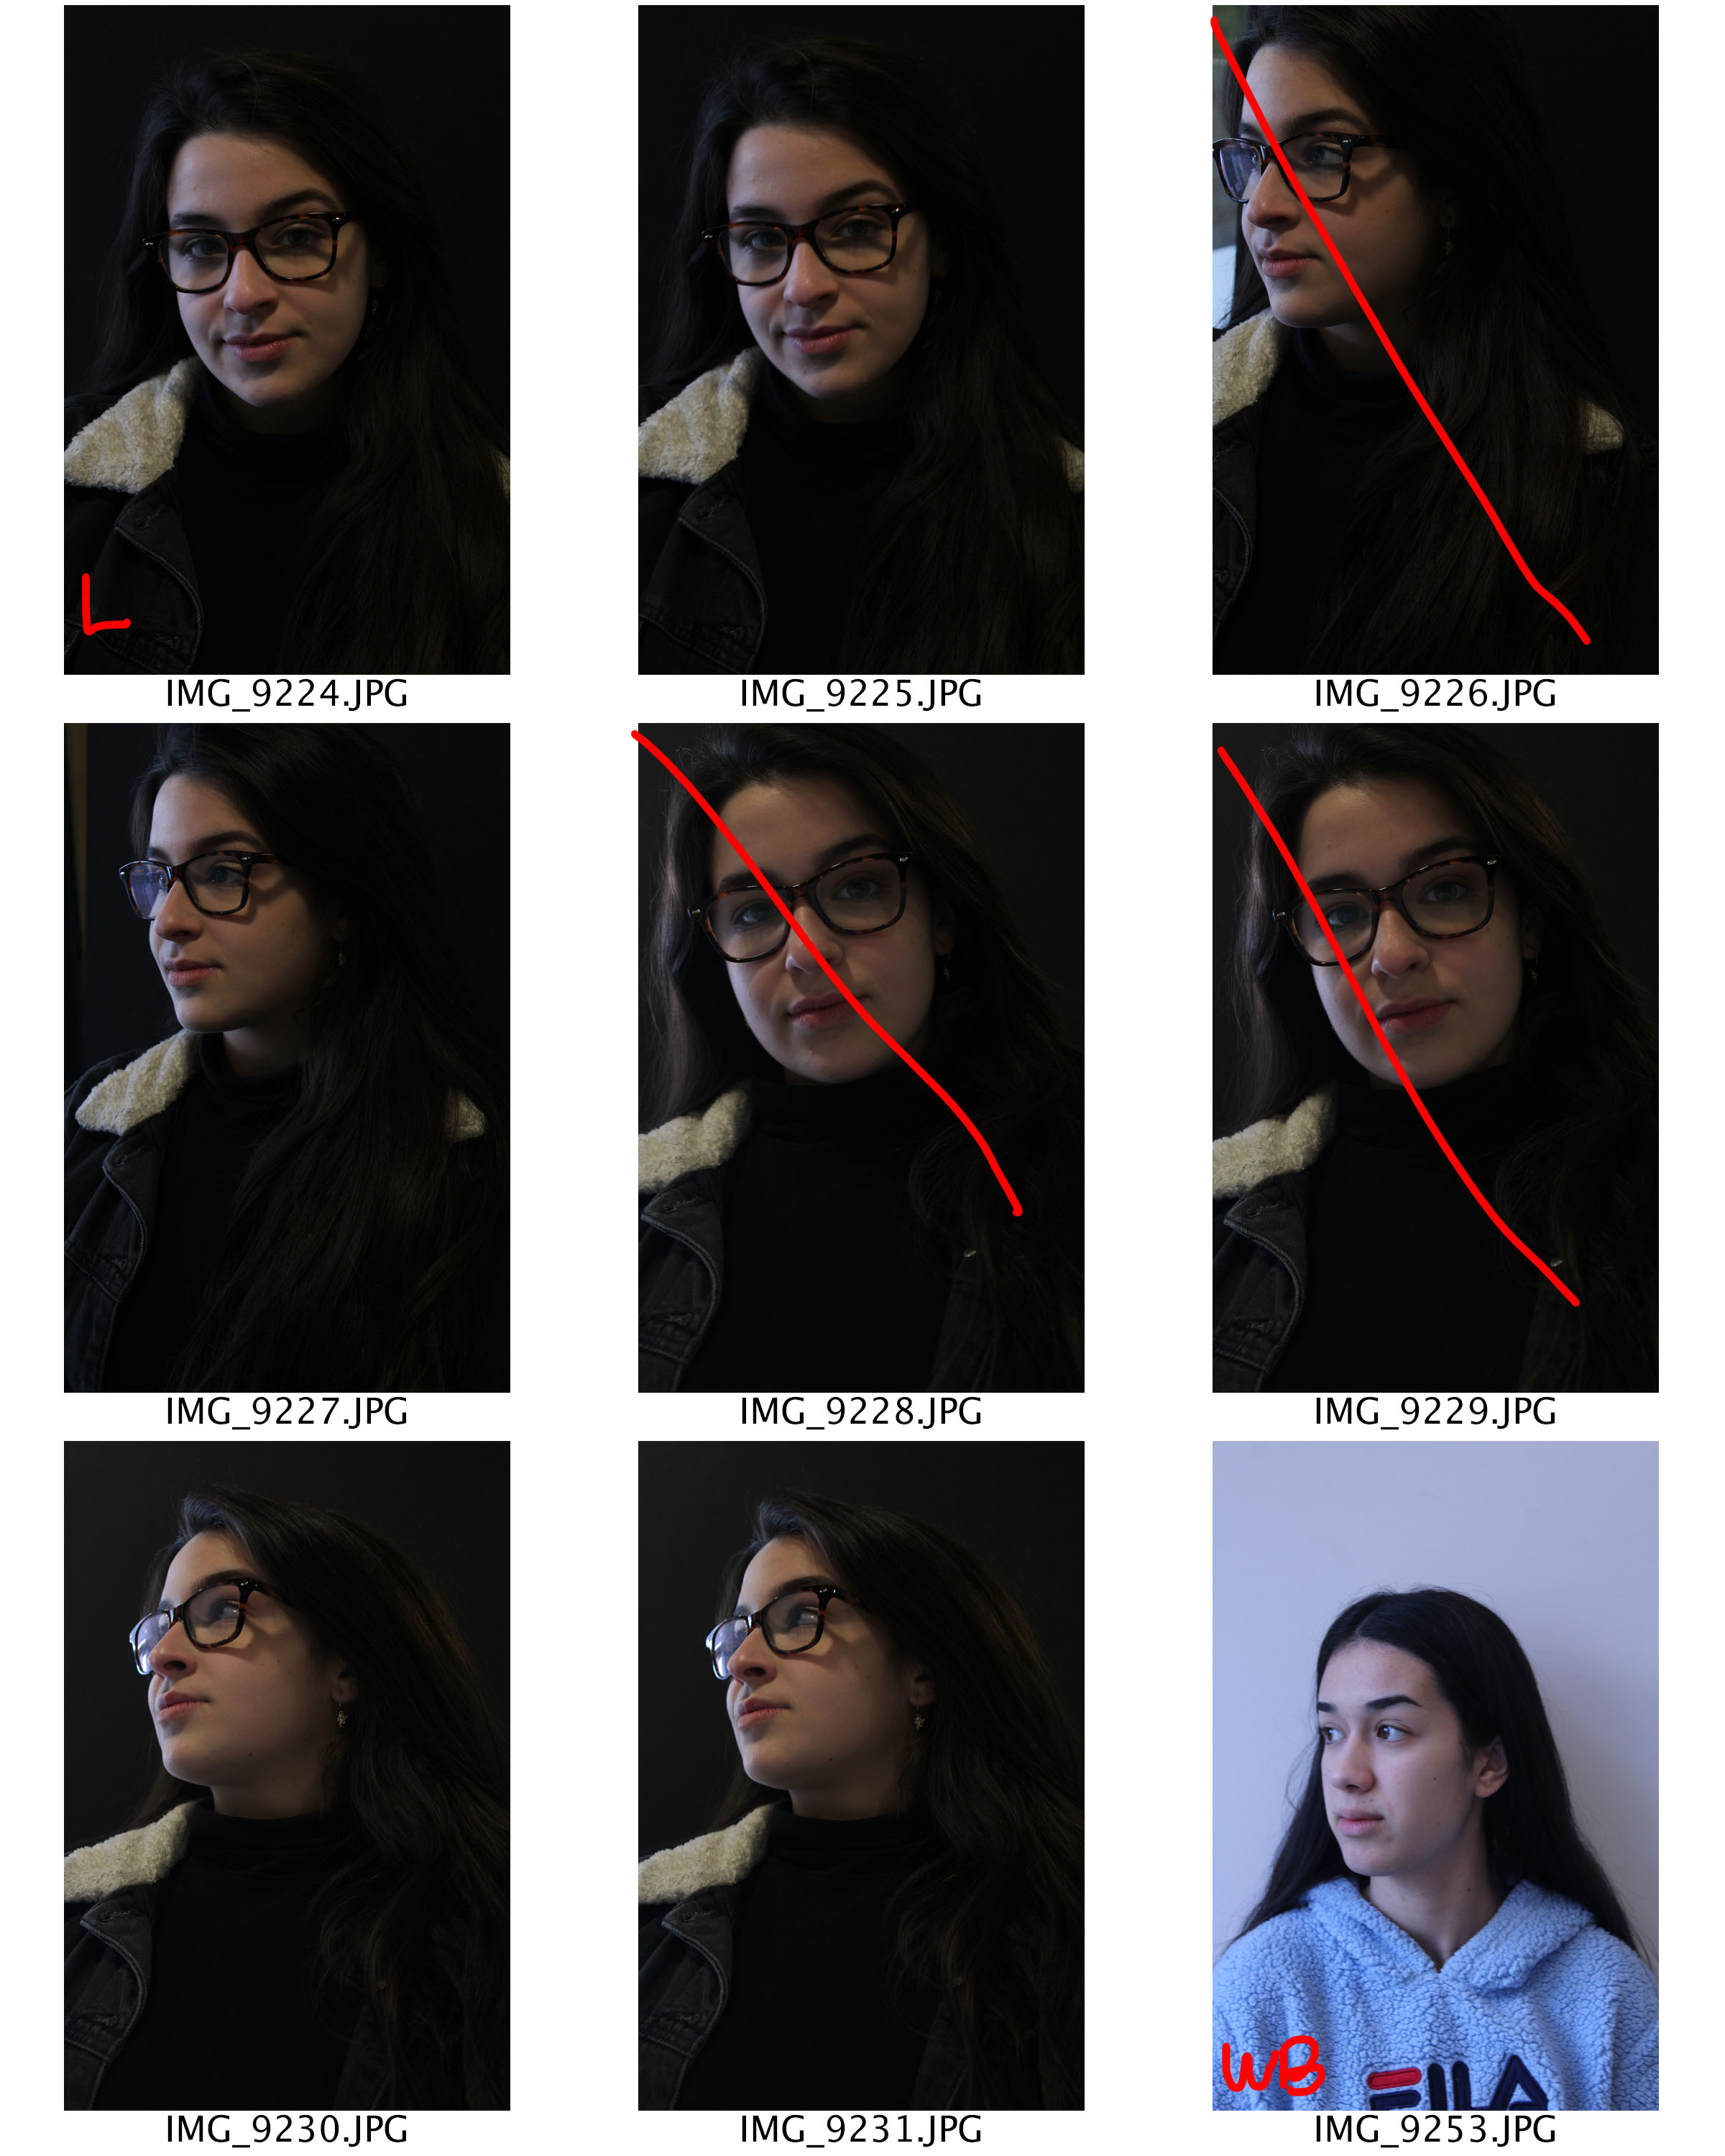
Contact Sheets

Edits
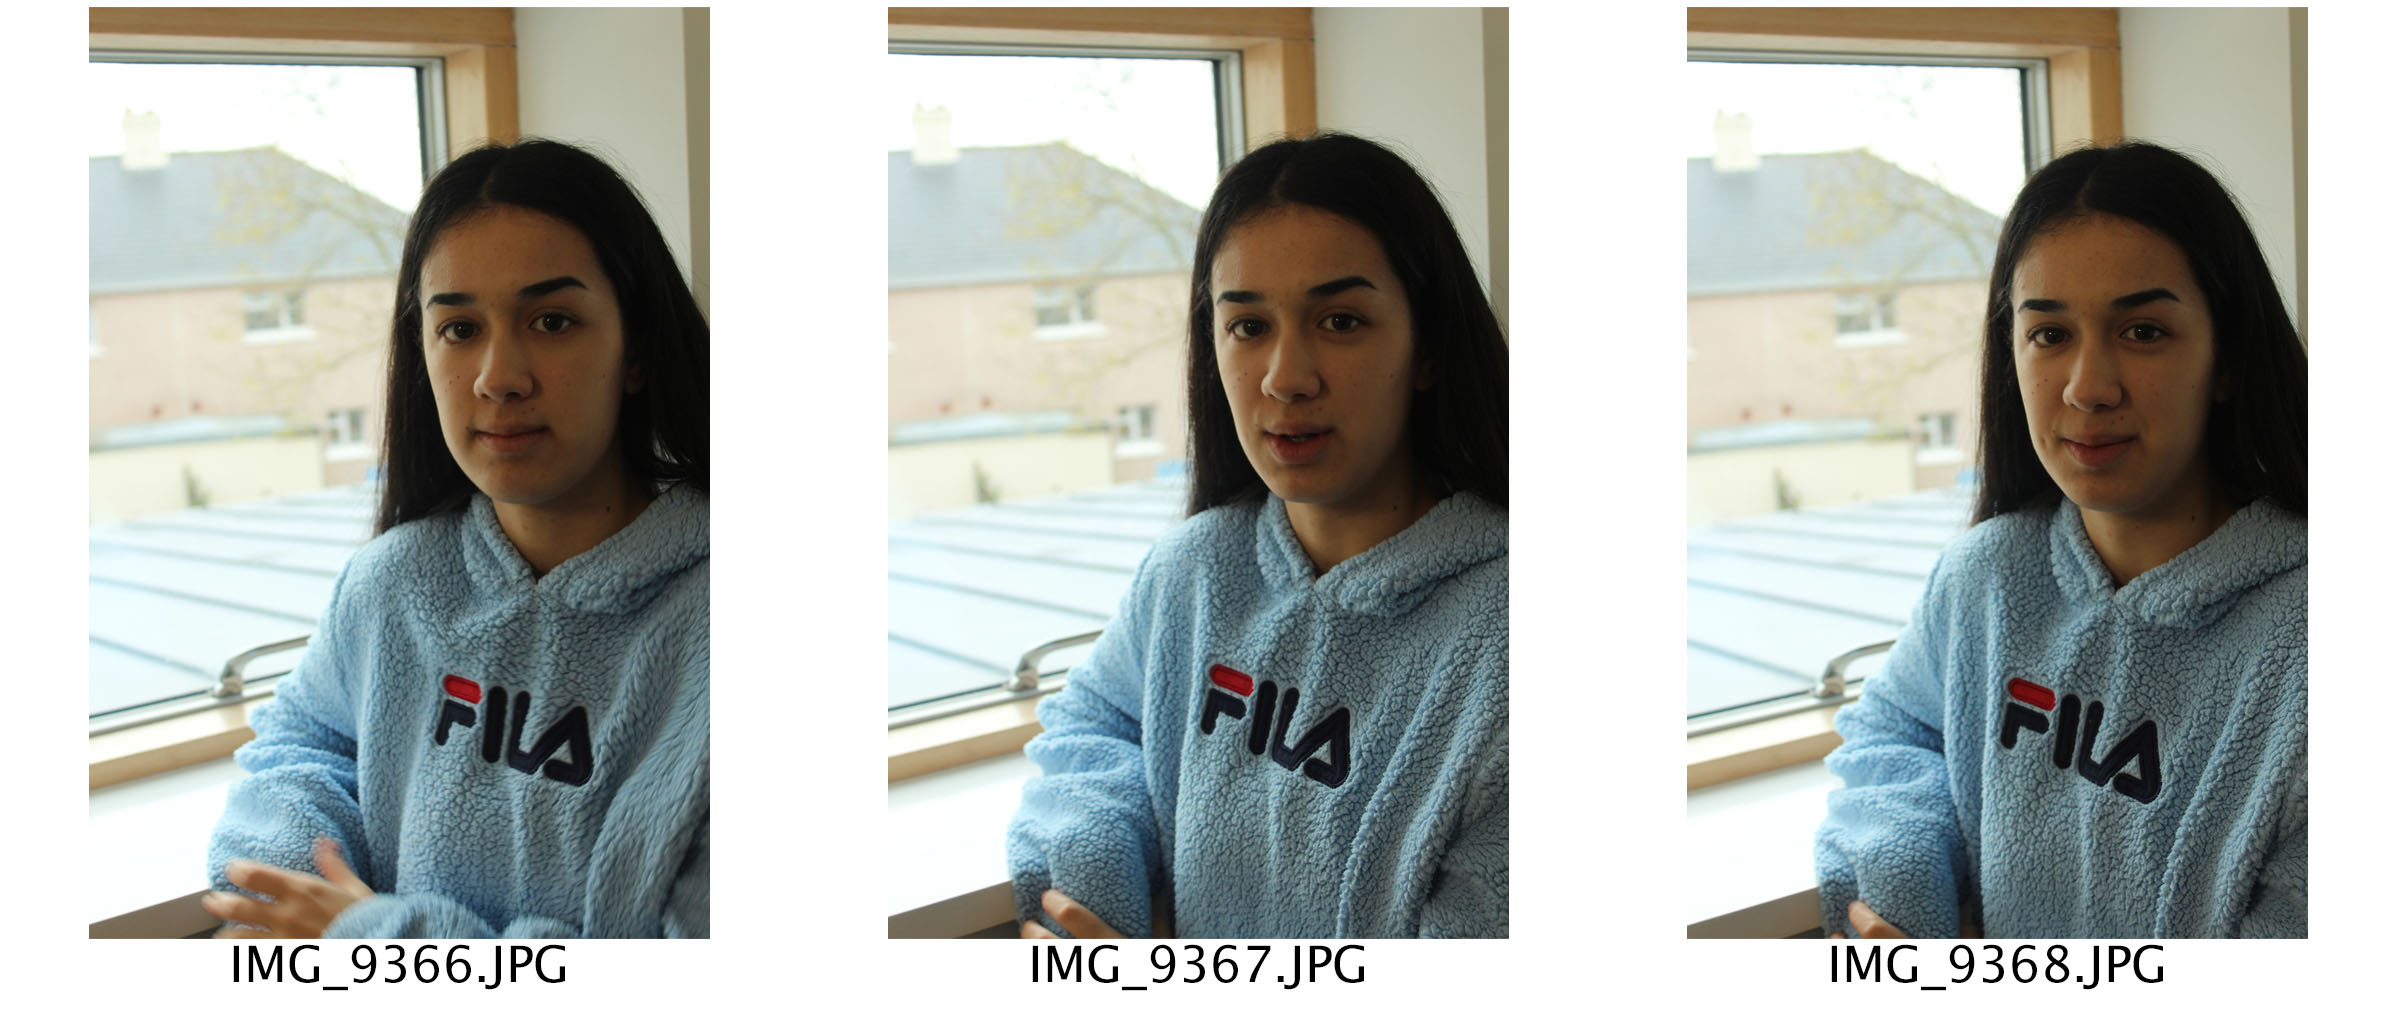
These three photographs I would consider to be the top images from this photoshoot. I have been able to use a natural light source in order to capture these images. I have also be able to use a reflector to help light up the other side of my models face.
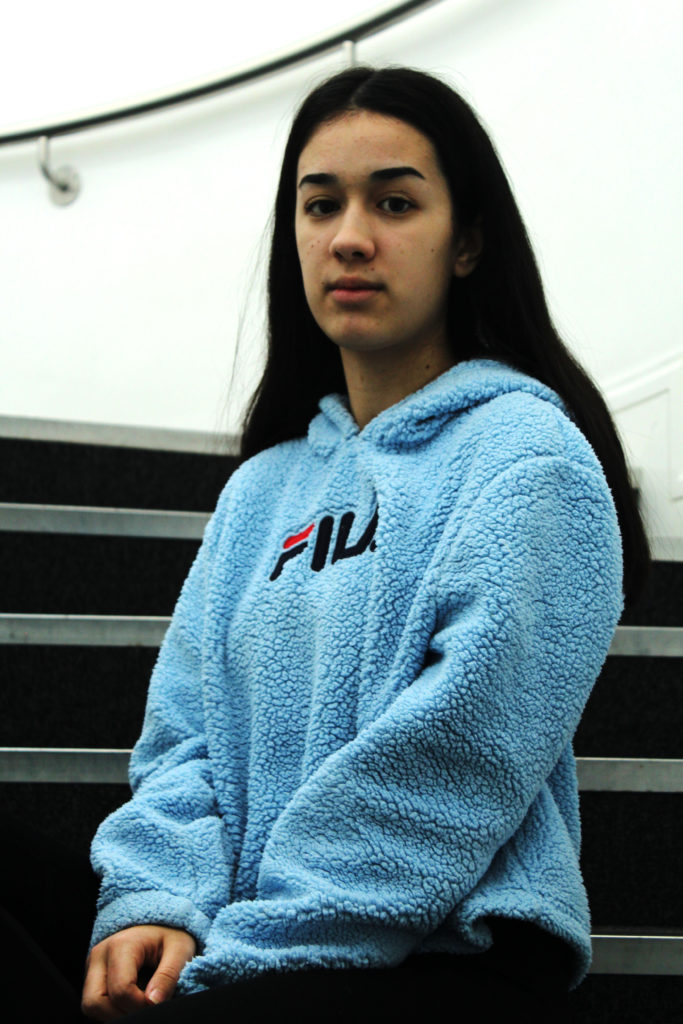
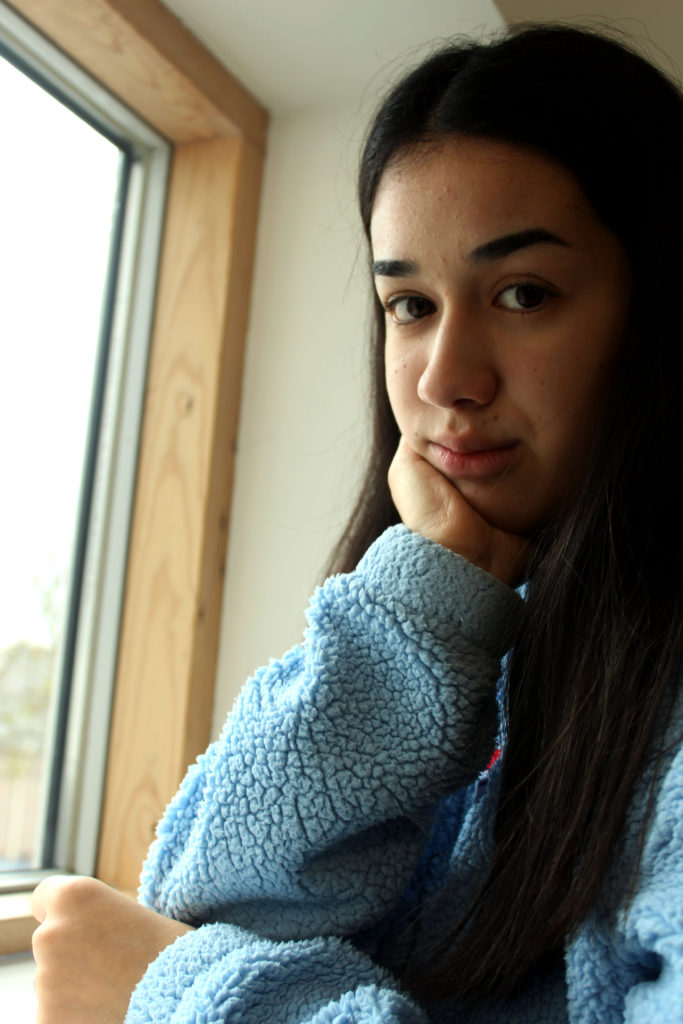
This photograph was taken at a window, where the most light was found within the school. The main focus point of the photograph is the model who is located on the right side of the frame. The left side of the frame is slightly out of focus meaning the depth of field is smaller and and aperture was low when taking the photograph. I wanted the viewers to still be able to see the background as I felt that it added context towards my image. In this image a reflector was not used which means the left side of her face is lit up and the right side is slightly darker, creating a contrast in tonal areas. The formal elements which are clearly presented are texture, found on the models clothes and hair, and space as negative space is found in the background of the image. The model is looking directly at the lens with a neutral facial expression, her right hand is supporting her face. This creates an emotional response, it shows that she is bored or trapped and that she is next to the outside world that she potentially can not get to. This photograph I would say is my most successful image as it allows the viewers to make their own opinion about why the model is the way she is, making them involved with the image. Moreover I believe it clearly illustrates my skills of natural lighting photography and provides a contrast between studio and natural photography.