
Studio lighting
What is studio lighting?
Using artificial lighting can create very unique photographs. The light also allows you to experiment with..
- Size and shape of light
- Distance from subject ( creating hard/ soft light)
- Angles and direction
- Filtered light
- Reflectors and diffuses
- Key lighting, full lighting, back lighting, 3 point lighting
- Soft- boxes, umbrella lights, spot lights and floodlights
- Chiaroscuro and Rembrandt lighting
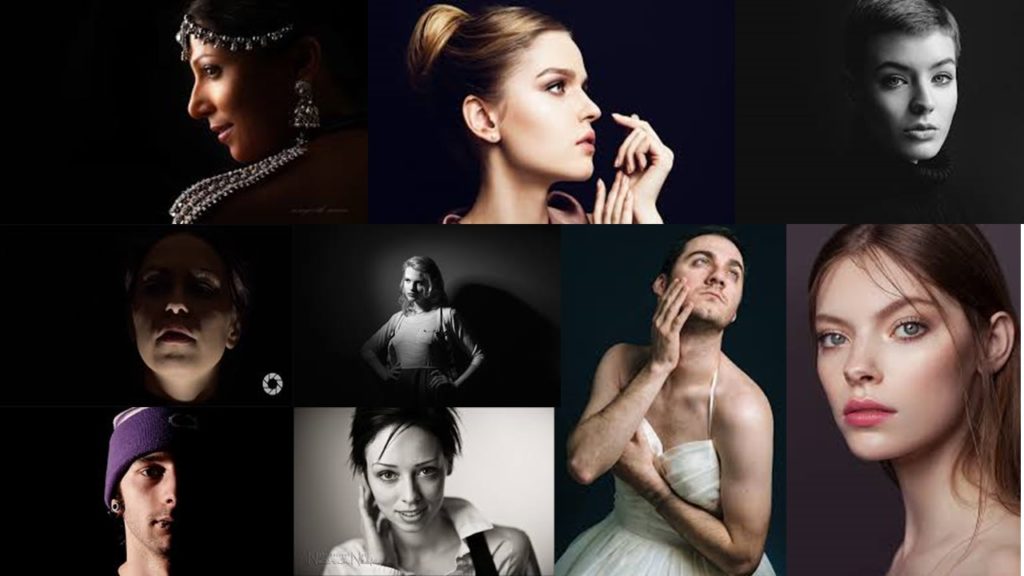
Example of studio lighting..
Why studio lighting is used
By using studio lighting we are able to have full control with the lighting unlike you would with natural lighting which ensures were going to get a better final outcome.When doing studio photography the artificial lighting that is used is very important. Using artificial lighting allows the focal point of the image to be a lot clearer. It is also very important due to it adding temperature to the photo making the image seem more cheerful/ sad depending on the type of temperature used. During studio photography there are four different types of lighting which are used, as well as three ways these lighting can be used.
Types of studio lighting
Flat light- When you have your light source facing directly at the front of your subject, meaning your subject is well lit and you are unable to see any shadow along their face.
Split light- A type of side lighting as it hits your subject from the side, leaving half of the subject being lit and the other half in shadow.
Back light- Light that comes from the back and behind your subject to create semi-silhouettes which let the light be in the frame a little which creates a contrast.
Flash light- Flash units offer a range of possibilities in both low and high lighting scenarios. The types of flash we will explore will be..
Ways these lights can be presented
One point lighting– A single one point lighting looks two dimensional or flat, this rarely hits people straight on, so it creates shadowing.
Two point lighting- Two point lighting is good to use when you want people to stand out in 3D as it adds dimensionality. There is potential for shadowing if the model turns their head in a opposite direction.
Three point lighting- The three point lighting technique is a standard method used in visual media such as videos. It is simple but versatile system which forms the basics. If you have 2 lights, one is the key and the other is either the fill or the back light.
Exploring studio photographers
John Rankin
John Rankin is a well known British photographer who takes images of celebrities in a studio. His work appeared in his own magazine which he used to promote his images as well as appearing in Vogue.
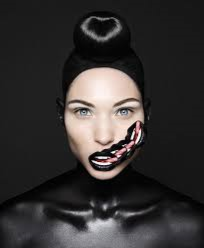
This is an image which was apart of Rankin’s destroy series. This was when he would take images of celebrities in the costume and the makeup they wanted with a desire to capture celebrities emotions and personalities through the costumes etc.. Once he did the photo shoot he would let the model draw on the image in order to express their personality.
When first looking at this image, i am drawn into the drawn on large mouth as well as the models eyes being so stern when looking directly into the camera lense which could mean the models emotional state could be very stern and she may be shocked about something. The use of the plain black background supports this idea of feeling stern as the black represents blankness like she doesn’t know what to do. The body pained black as well could also be considered that something is trapping her due to her blending in with everything around her.
The lighting used to take this image seems to be a one point lighting which has been set up directly in front of the model due to there being no other lighting shown in the photo except for on her face. The ISO used to take this image is likely to very low due to there being no noice within the image, as well as the shutter speed being fast as it is compleatly in focus. There is a large depth of field used in this image due to the models face being the only part of the image which is fully viable which also suggests the model does not want to be seen. In this example of Rankin’s work we can see that the original lips have been copied and extra 3 times adding a sense of confusion to the image as the tongue in the middle of the teeth could also suggest she is trying to think of an evil plan. This could be due to some emotional trauma. This photograph is presents in colour which eliminates the tonal regions and contrasts in the image.
Plan
In this photo shoot that i will be conducting, i will use the inside of the schools photography studio as my location. I am going to mostly be using a black background, however there will also sometimes be white. The lighting will mainly be used by the soft box. For my camera setting is will be in a manual focus with my shutter speed on 1/100 and my ISO being around 400. I will also use the ‘ tungsten’ white balance. When taking my images i will be looking at the different lighting techniques which were mentioned earlier on. The editing of the images at the end will be very simple.
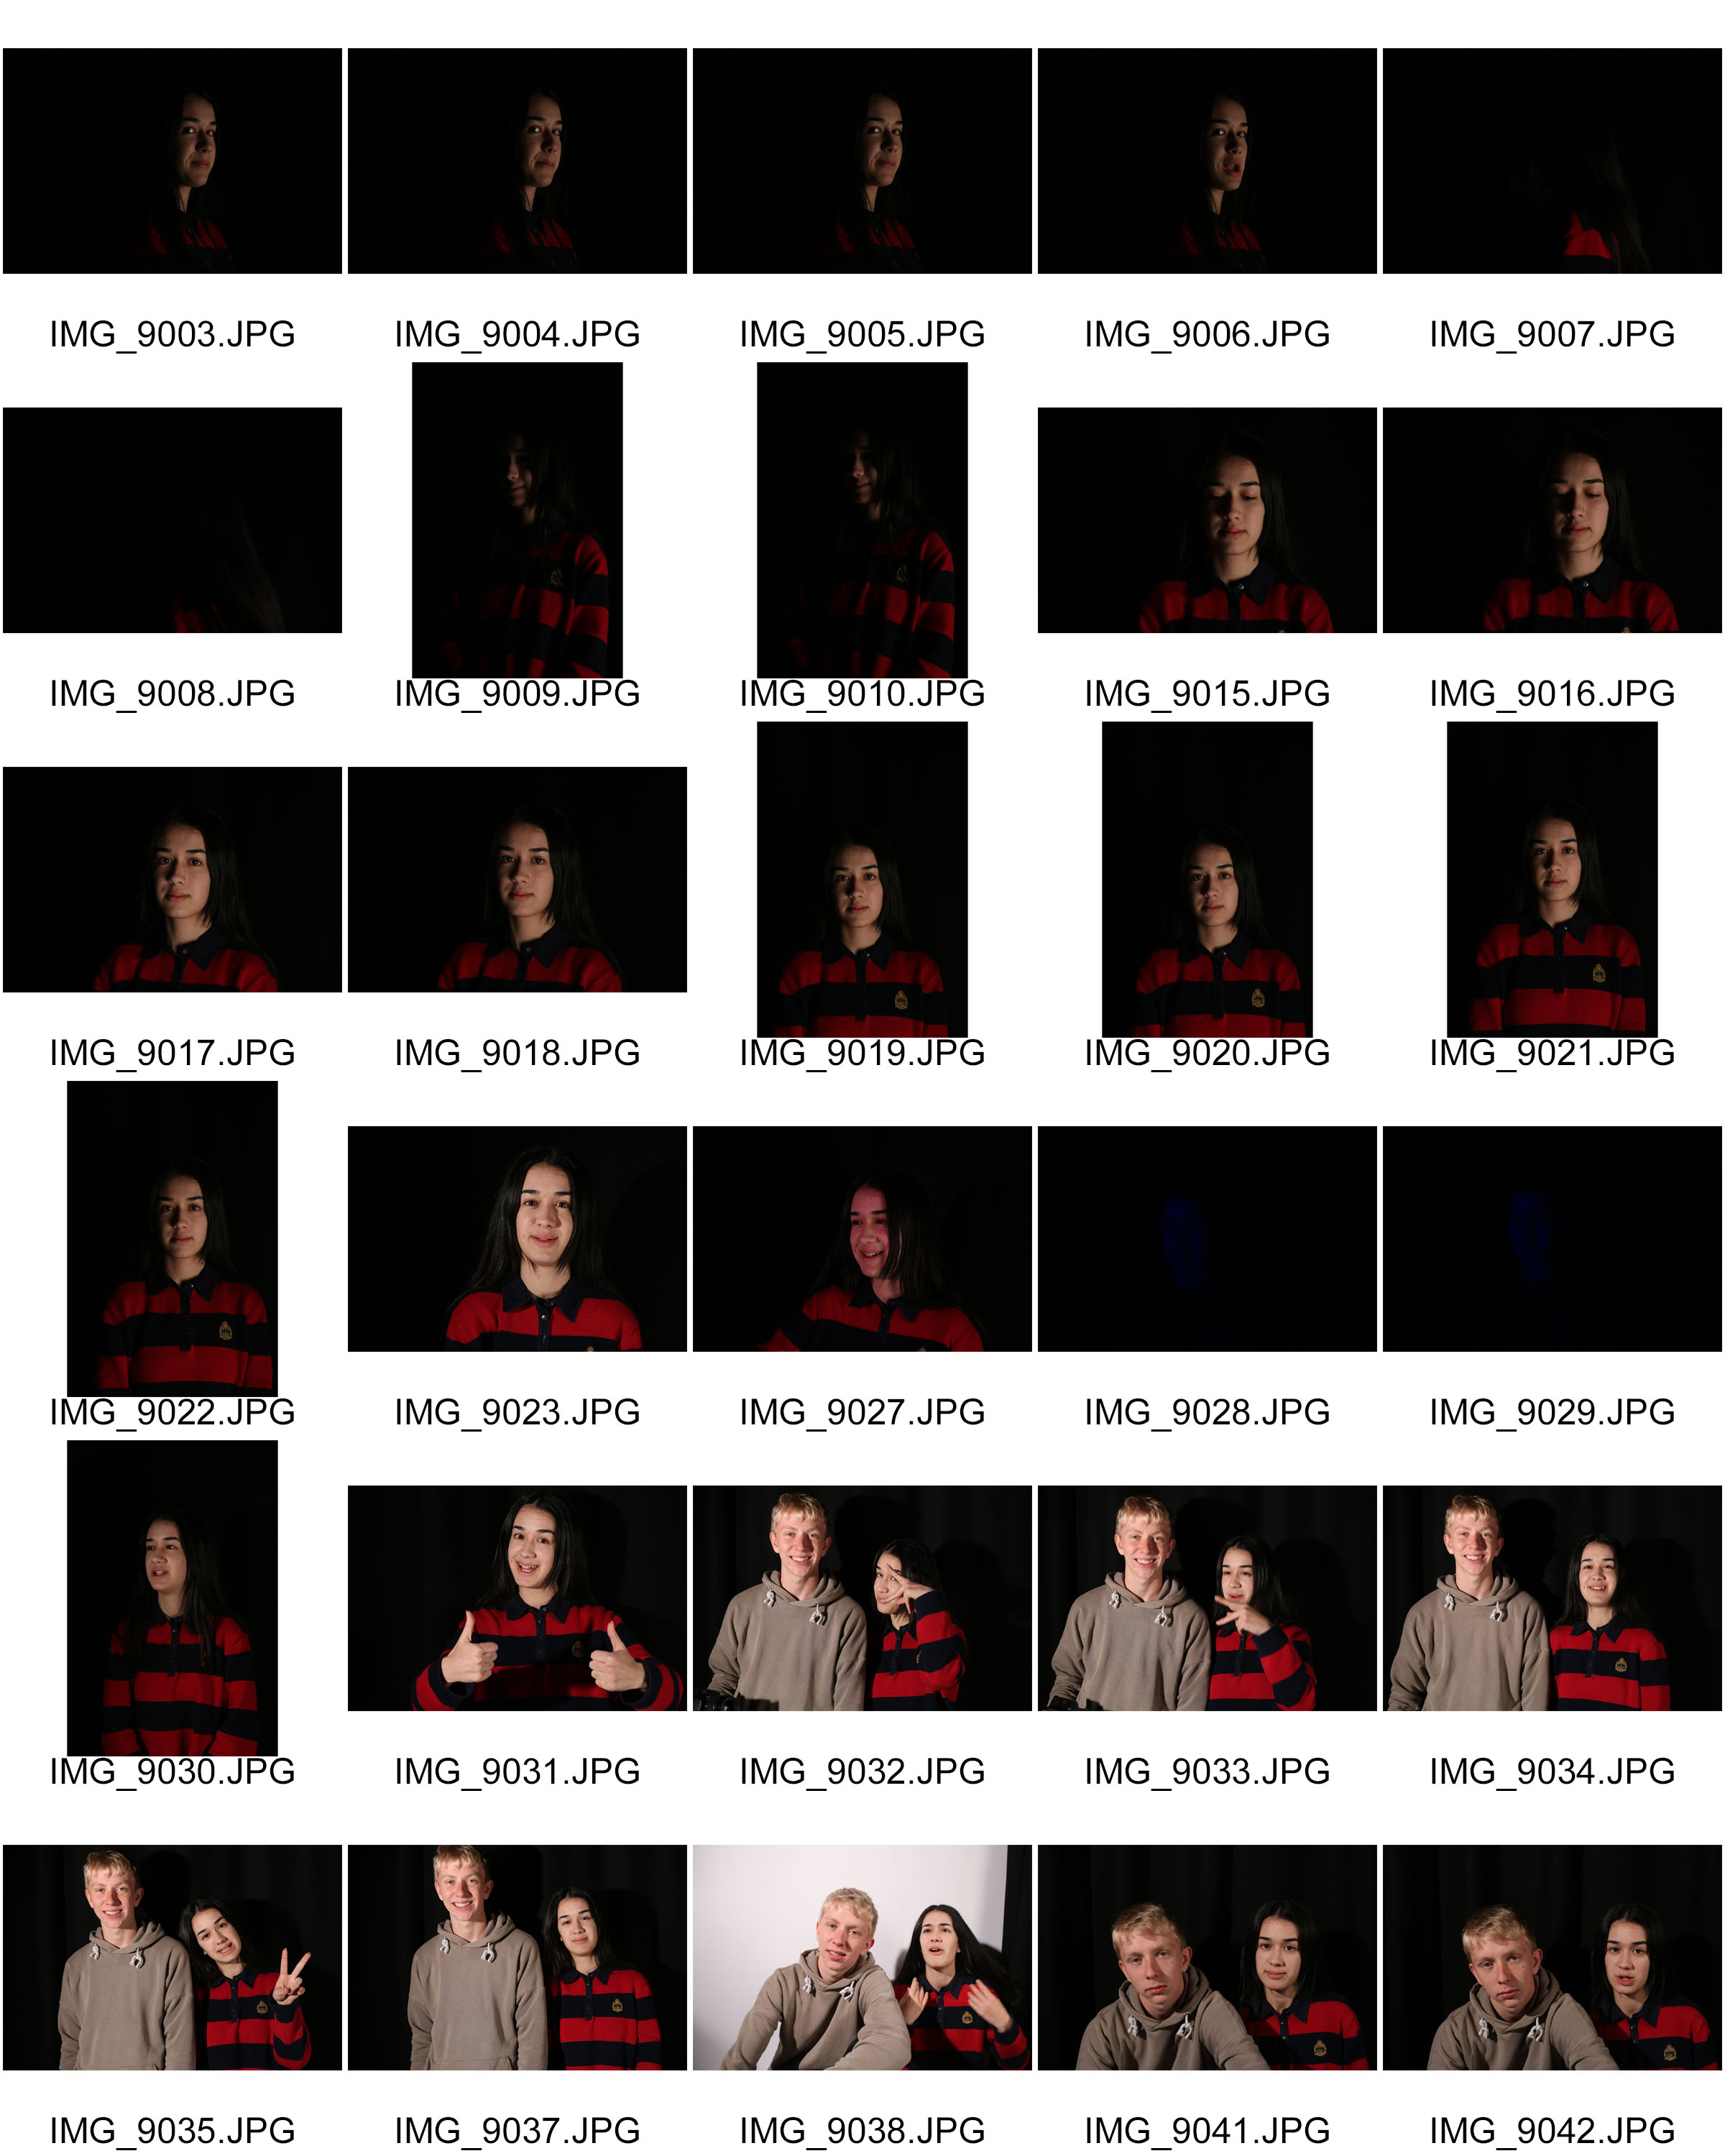
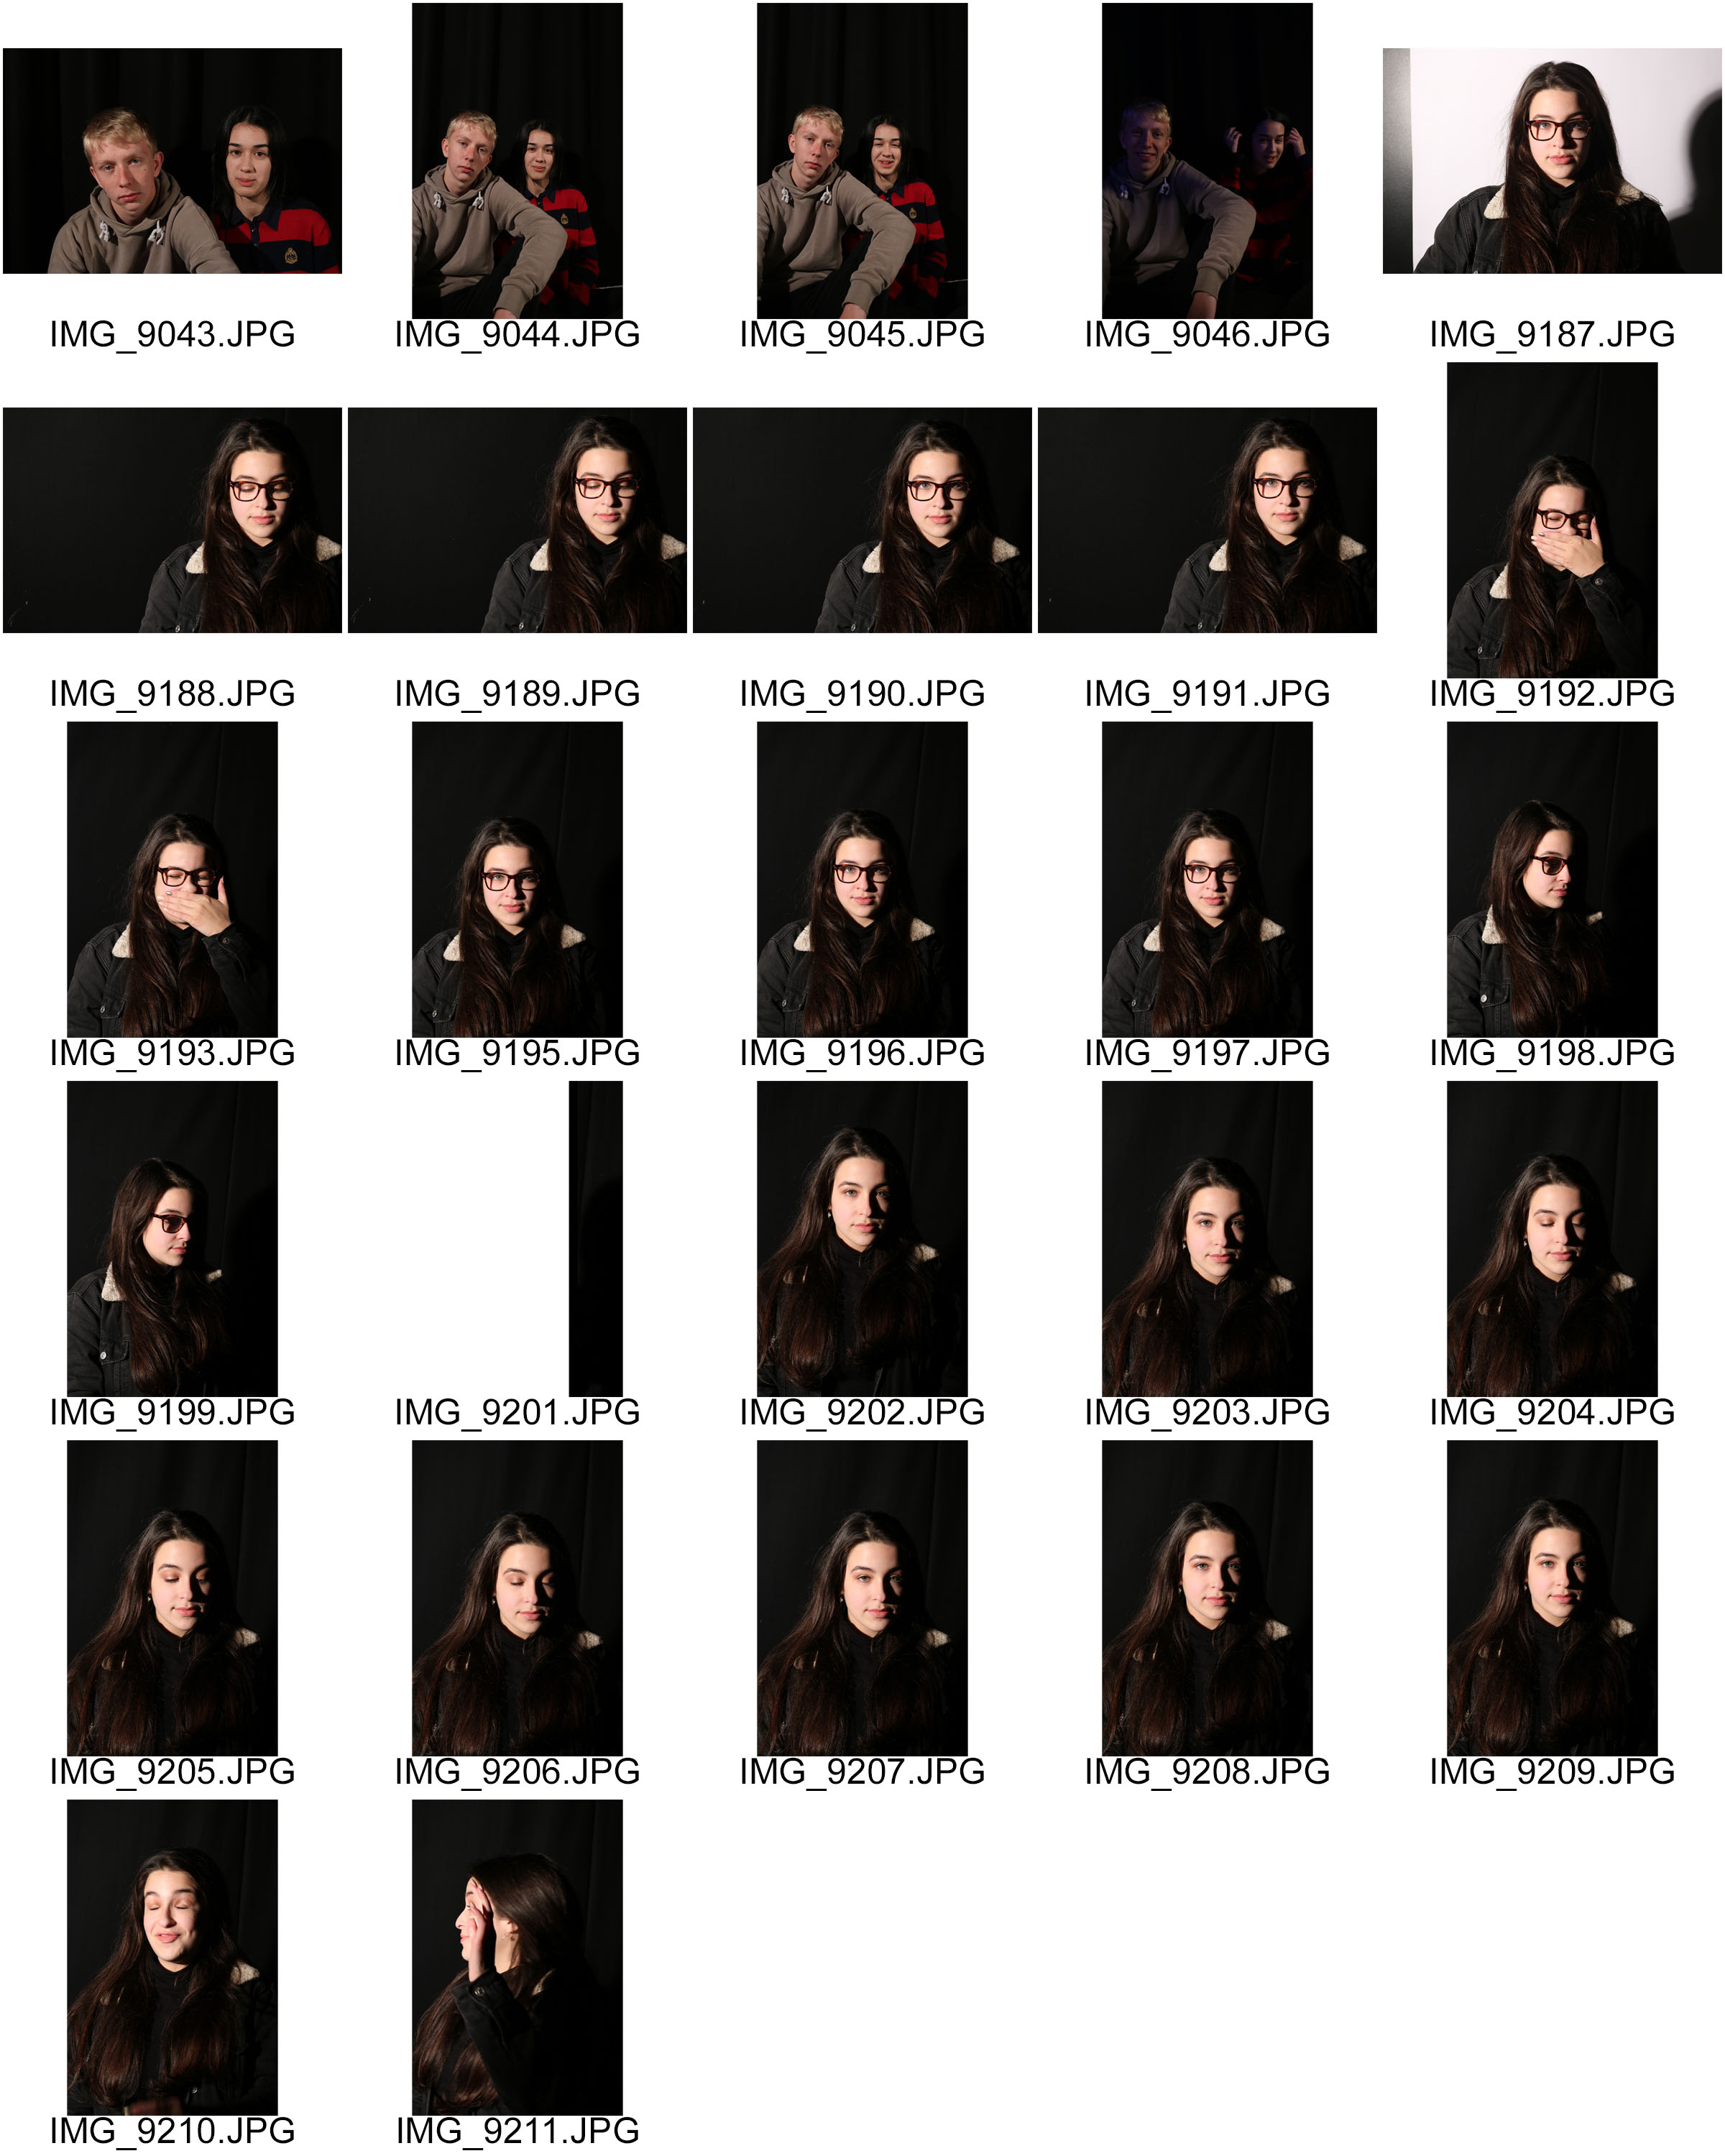
Contact sheets
When doing this photo shoot i used the ‘ Chiaroscuro lighting’ technique where there was a light on one point of the models face and the other side being left dark.
Best outcomes
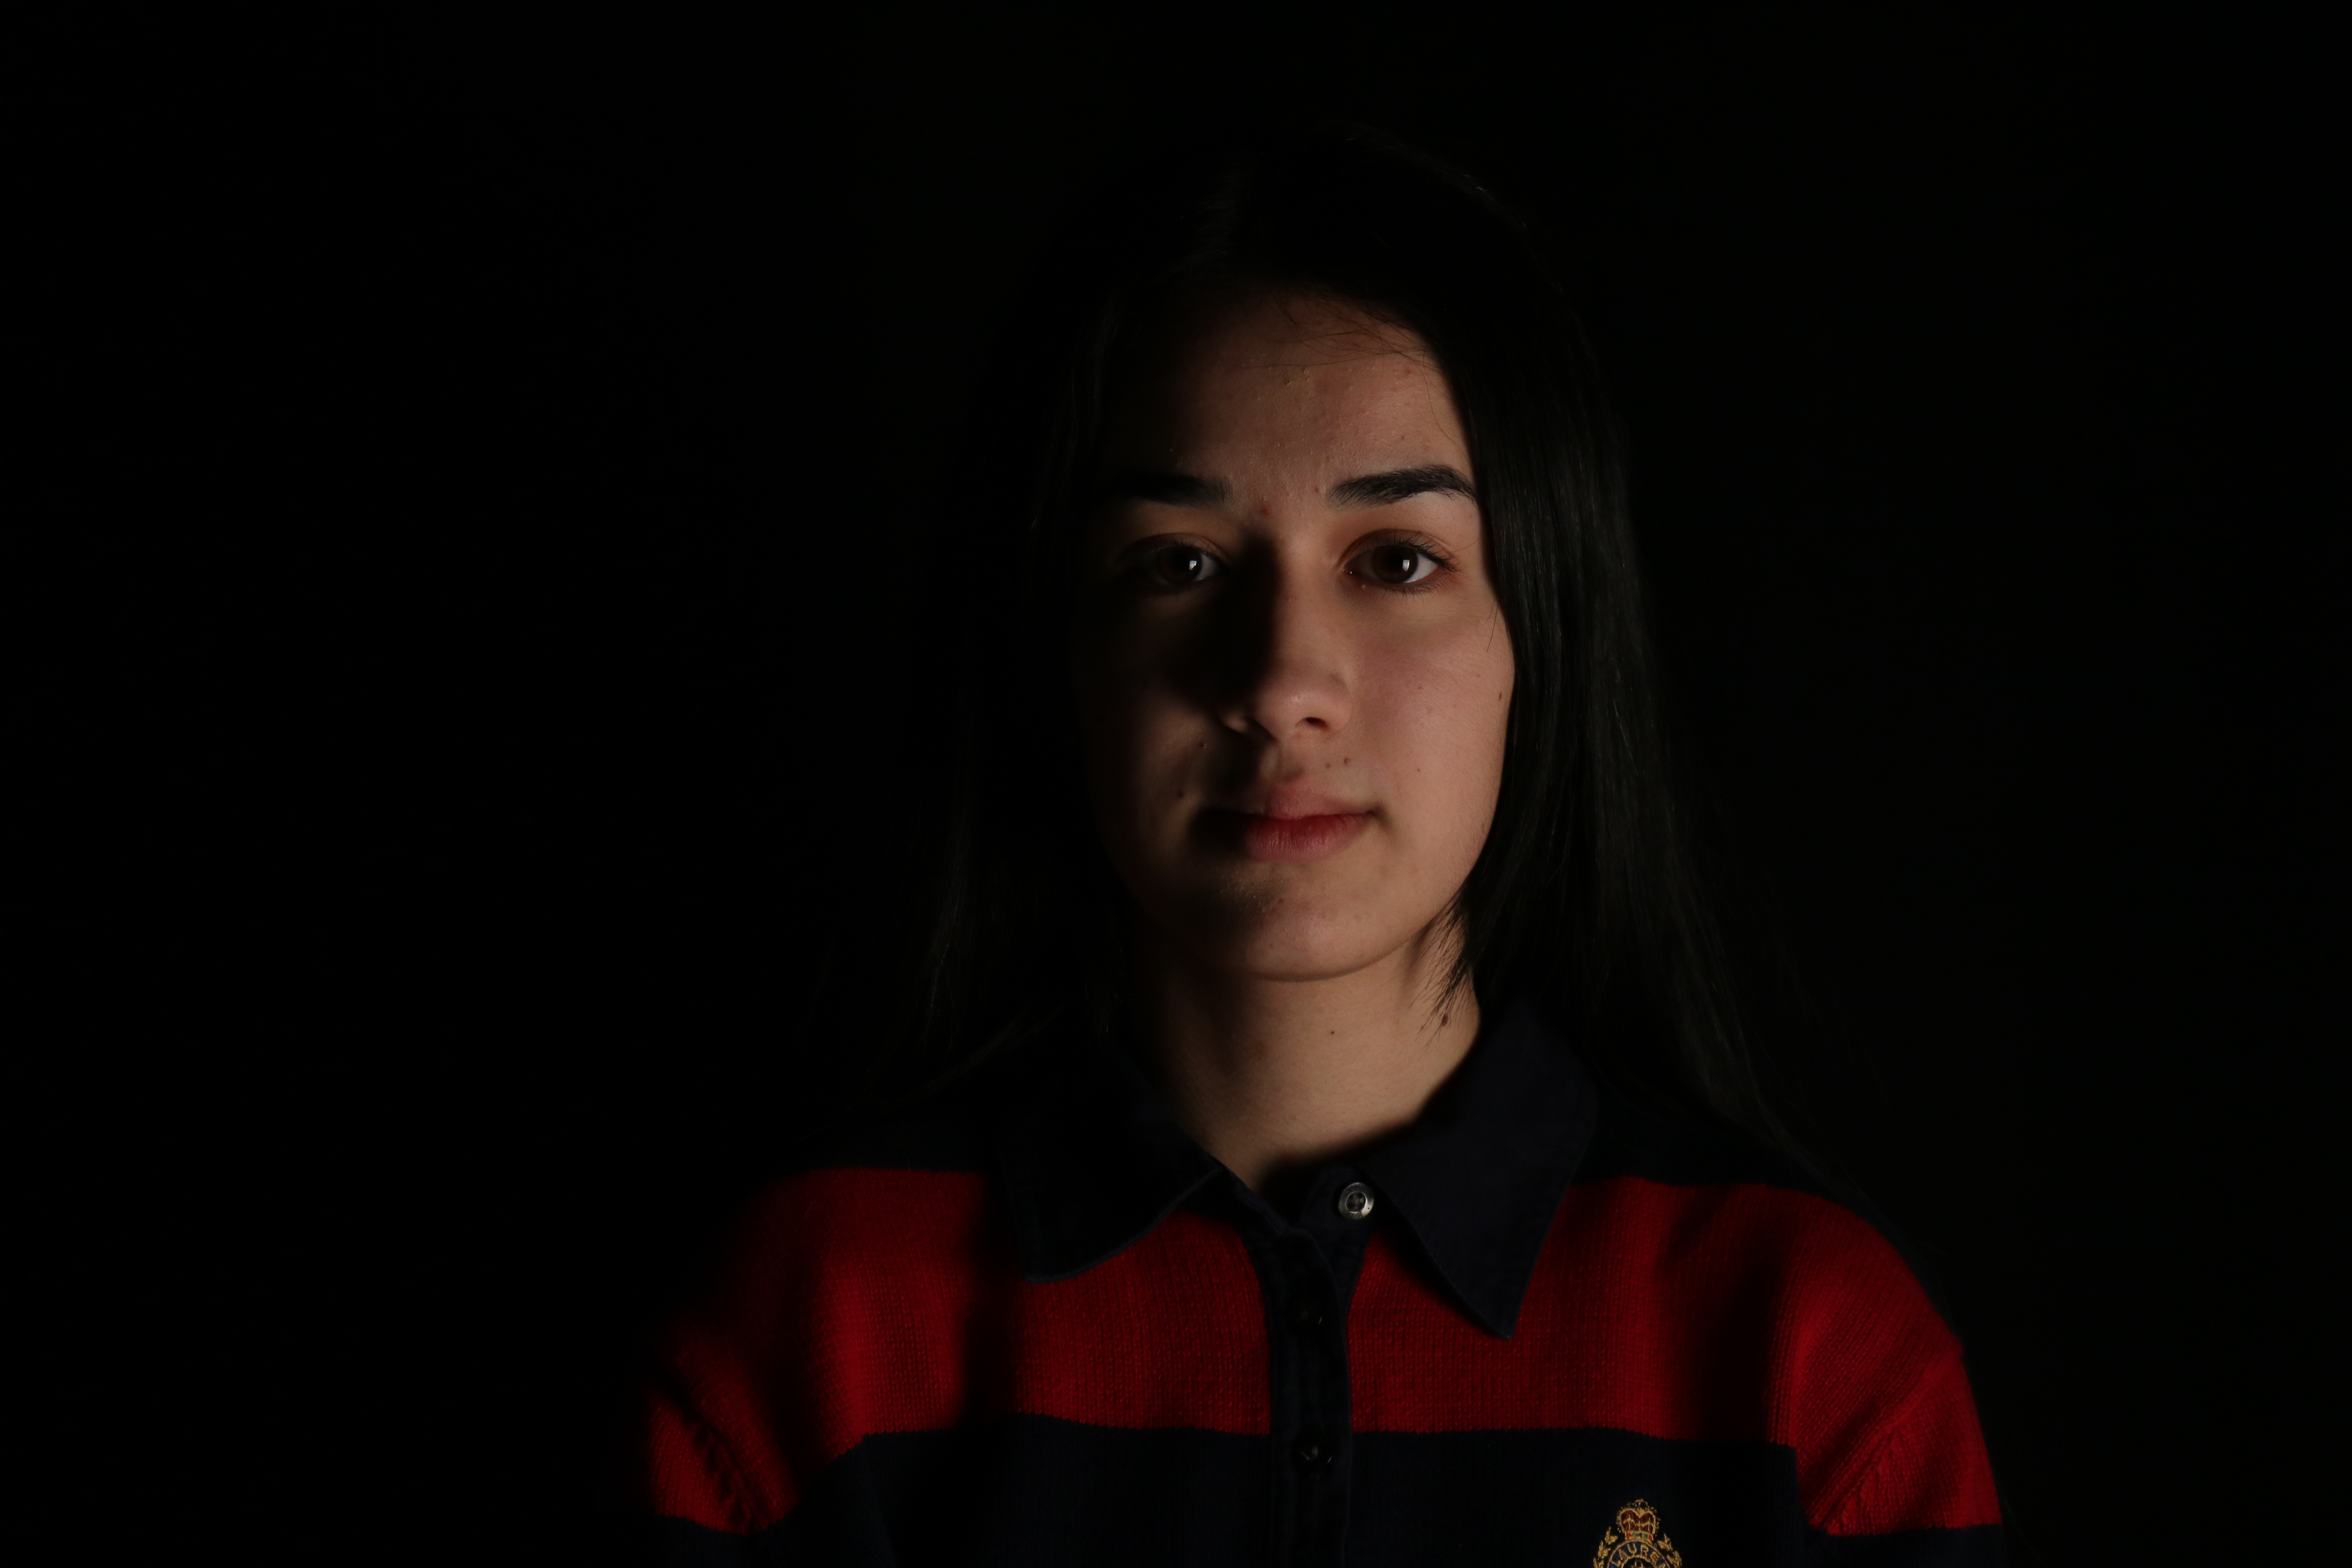
I think this image is one of my best outcomes due to the clear shadowing on the left hand side of the models face which shows there is a Chiaroscuro lighting technique being used.
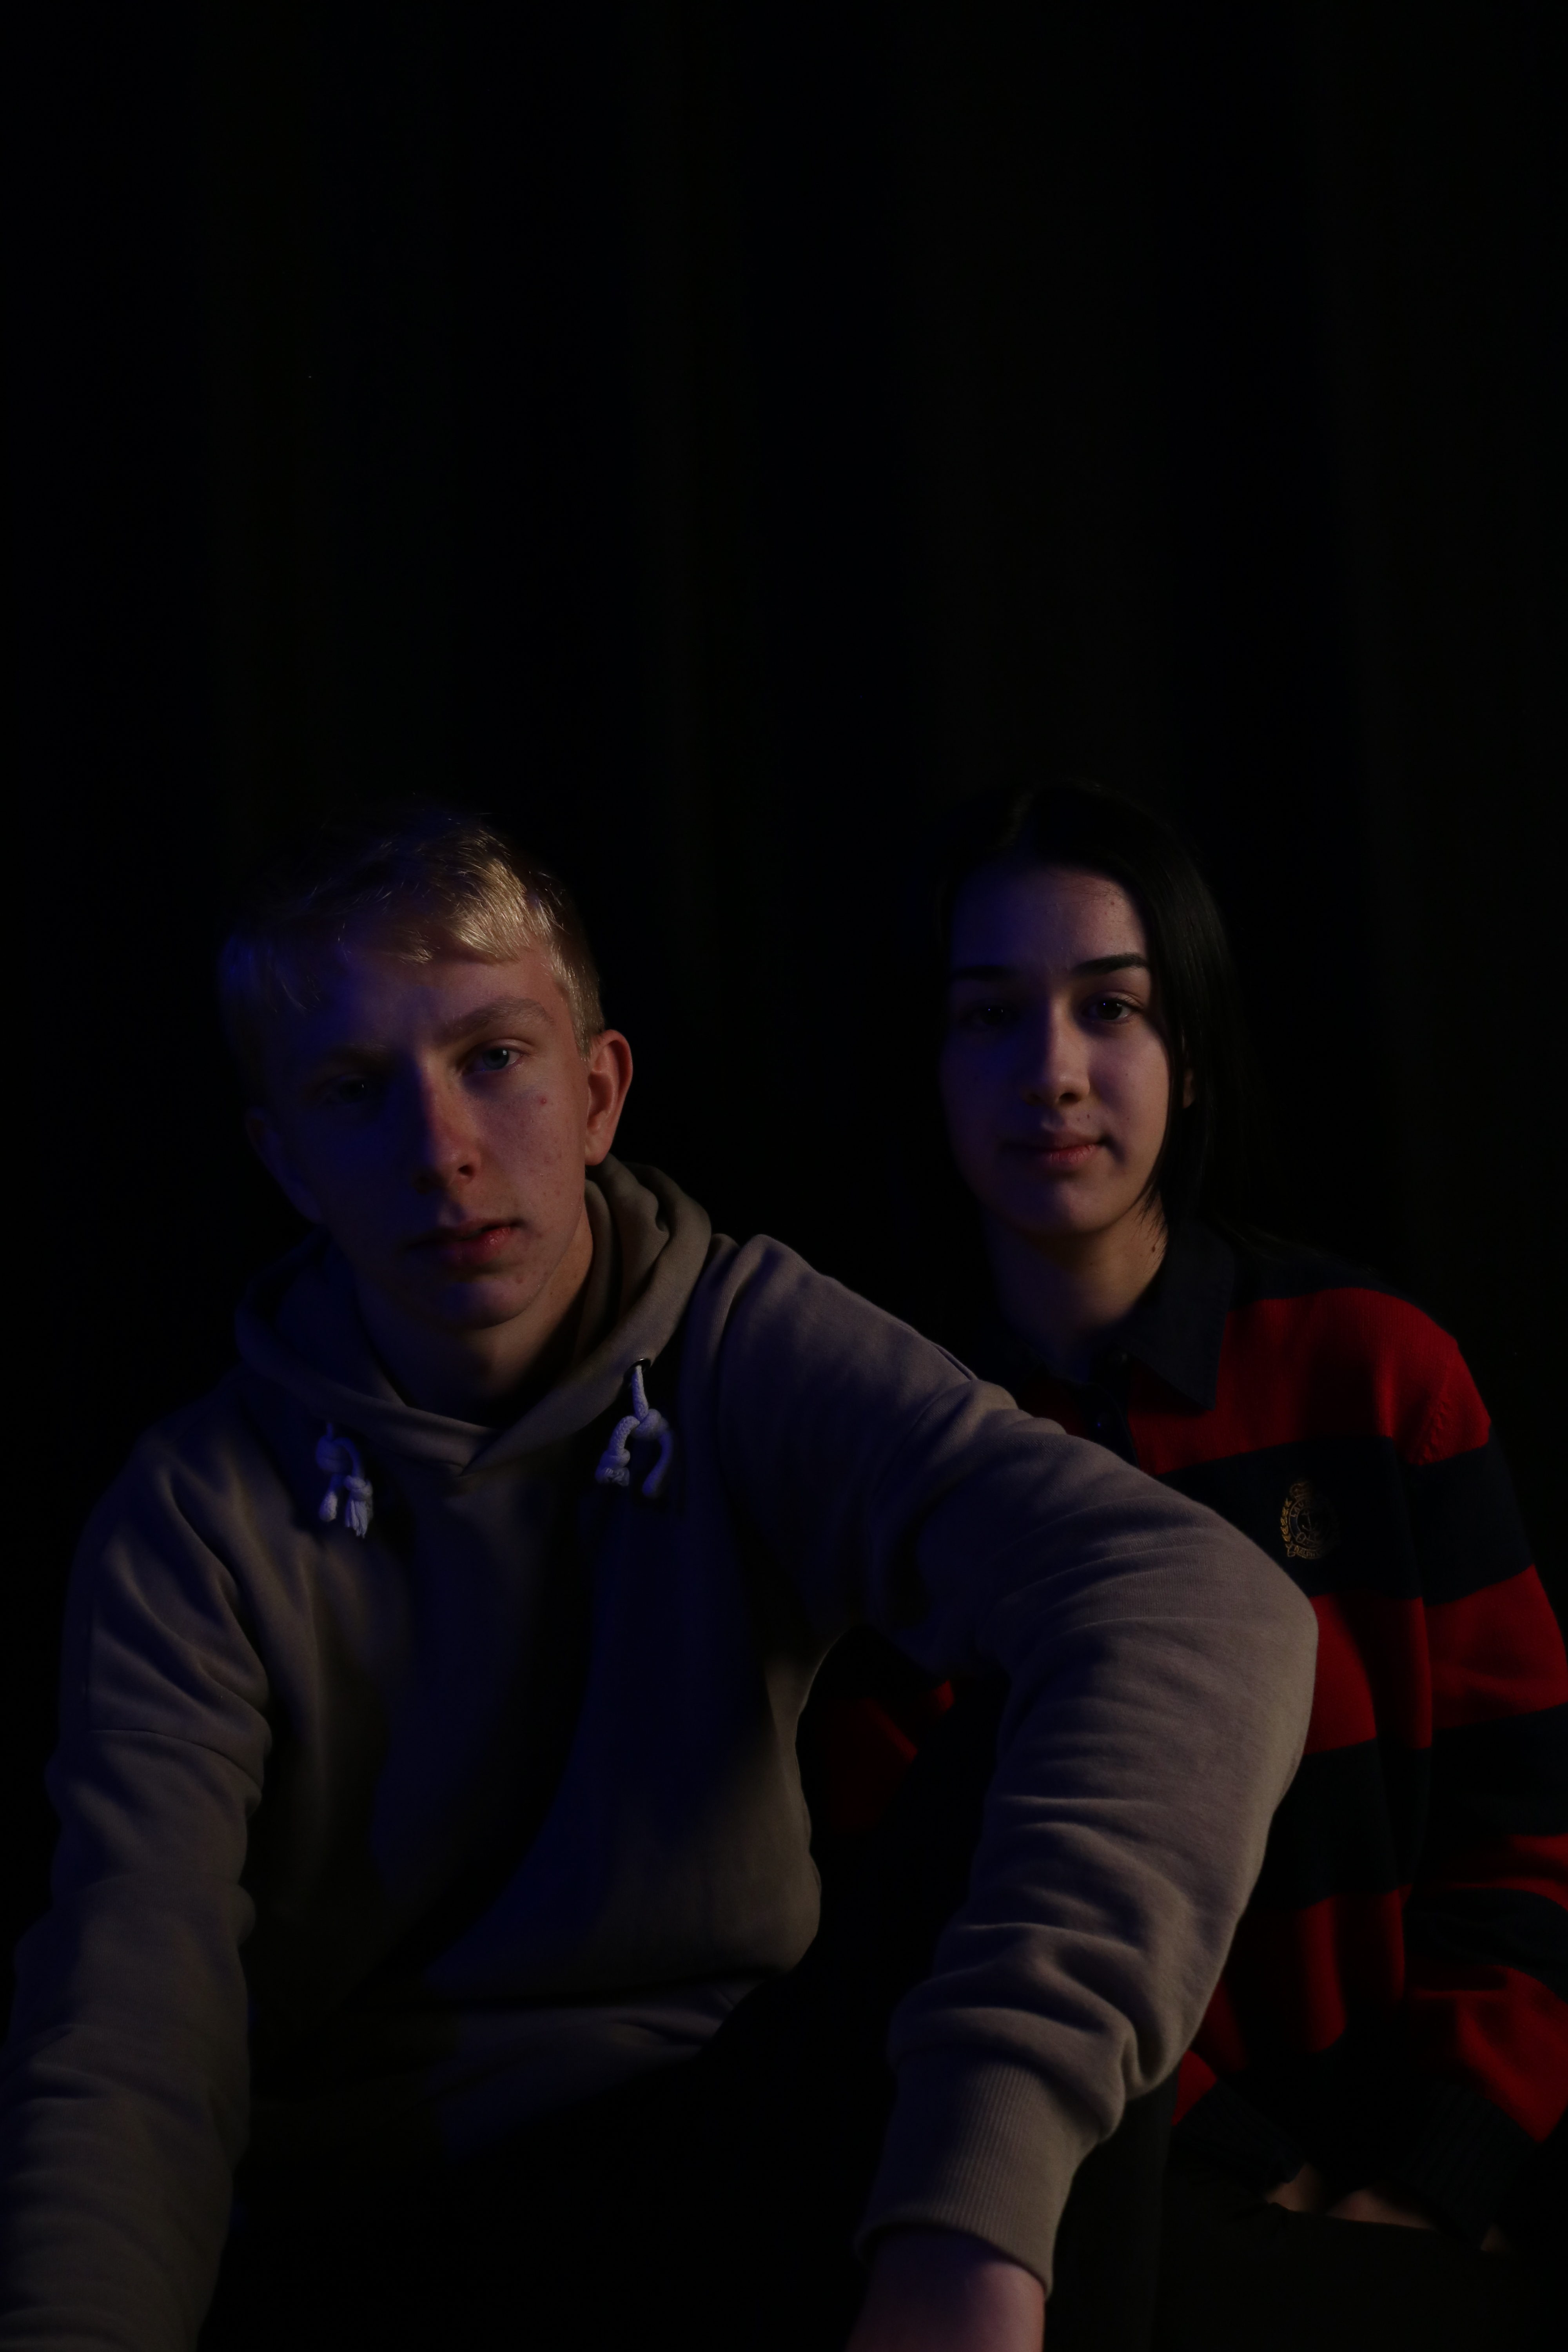
I also think this is one of my best outcomes, again due to the darker shadowing on the left hand side of the models faces. I also really like how there is a small blue effect all over the image due to a transparent blue sheet which was placed over the only light source by an assistant.