
Natural lighting
What is natural lighting?
Natural light is like which comes from the sun. In most cases natural light is used to take a range of photos. However, there are different types of natural light and in order to capture a good image you have to take into consideration..
- The intensity of the light
- The direction of the light
- The temperature of the light and white balance
- If u]you should use reflectors
- High key/ low key lighting
- Front/ side/ back lighting
- Shadows/ silhouettes
Example of Natural lighting.. (NOT MY IMAGES)
Case study (not my image)

When first looking at this image, i was immediately drawn into the smiling girl who is directly looking into the camera lense. The blurred greenery around the model is implying that this little girl is in a park and could of just been playing. By putting both together, the reason that the girl is smiling could be that she is enjoying where she is. The photographer has used a narrow depth of field so that all the focus is on the girl which leaves the girls background story of her smiling open for debate. The image is perfectly focused which means a fast shutter speed has been used in order to take the image. The natural light source is found to be on the left hand side of the image which we can tell from the shadowing on the girls right hand side of the face which could have been fixed with a reflector to get an even amount of sunlight on the face. From this case study i have learnt that in using a reflector will be very helpful in order to decrease the chance of shadowing on the models face. I have also noticed that a good outdoor portrait should be in colour.
Natural Lighting photo shoot (contact sheets)
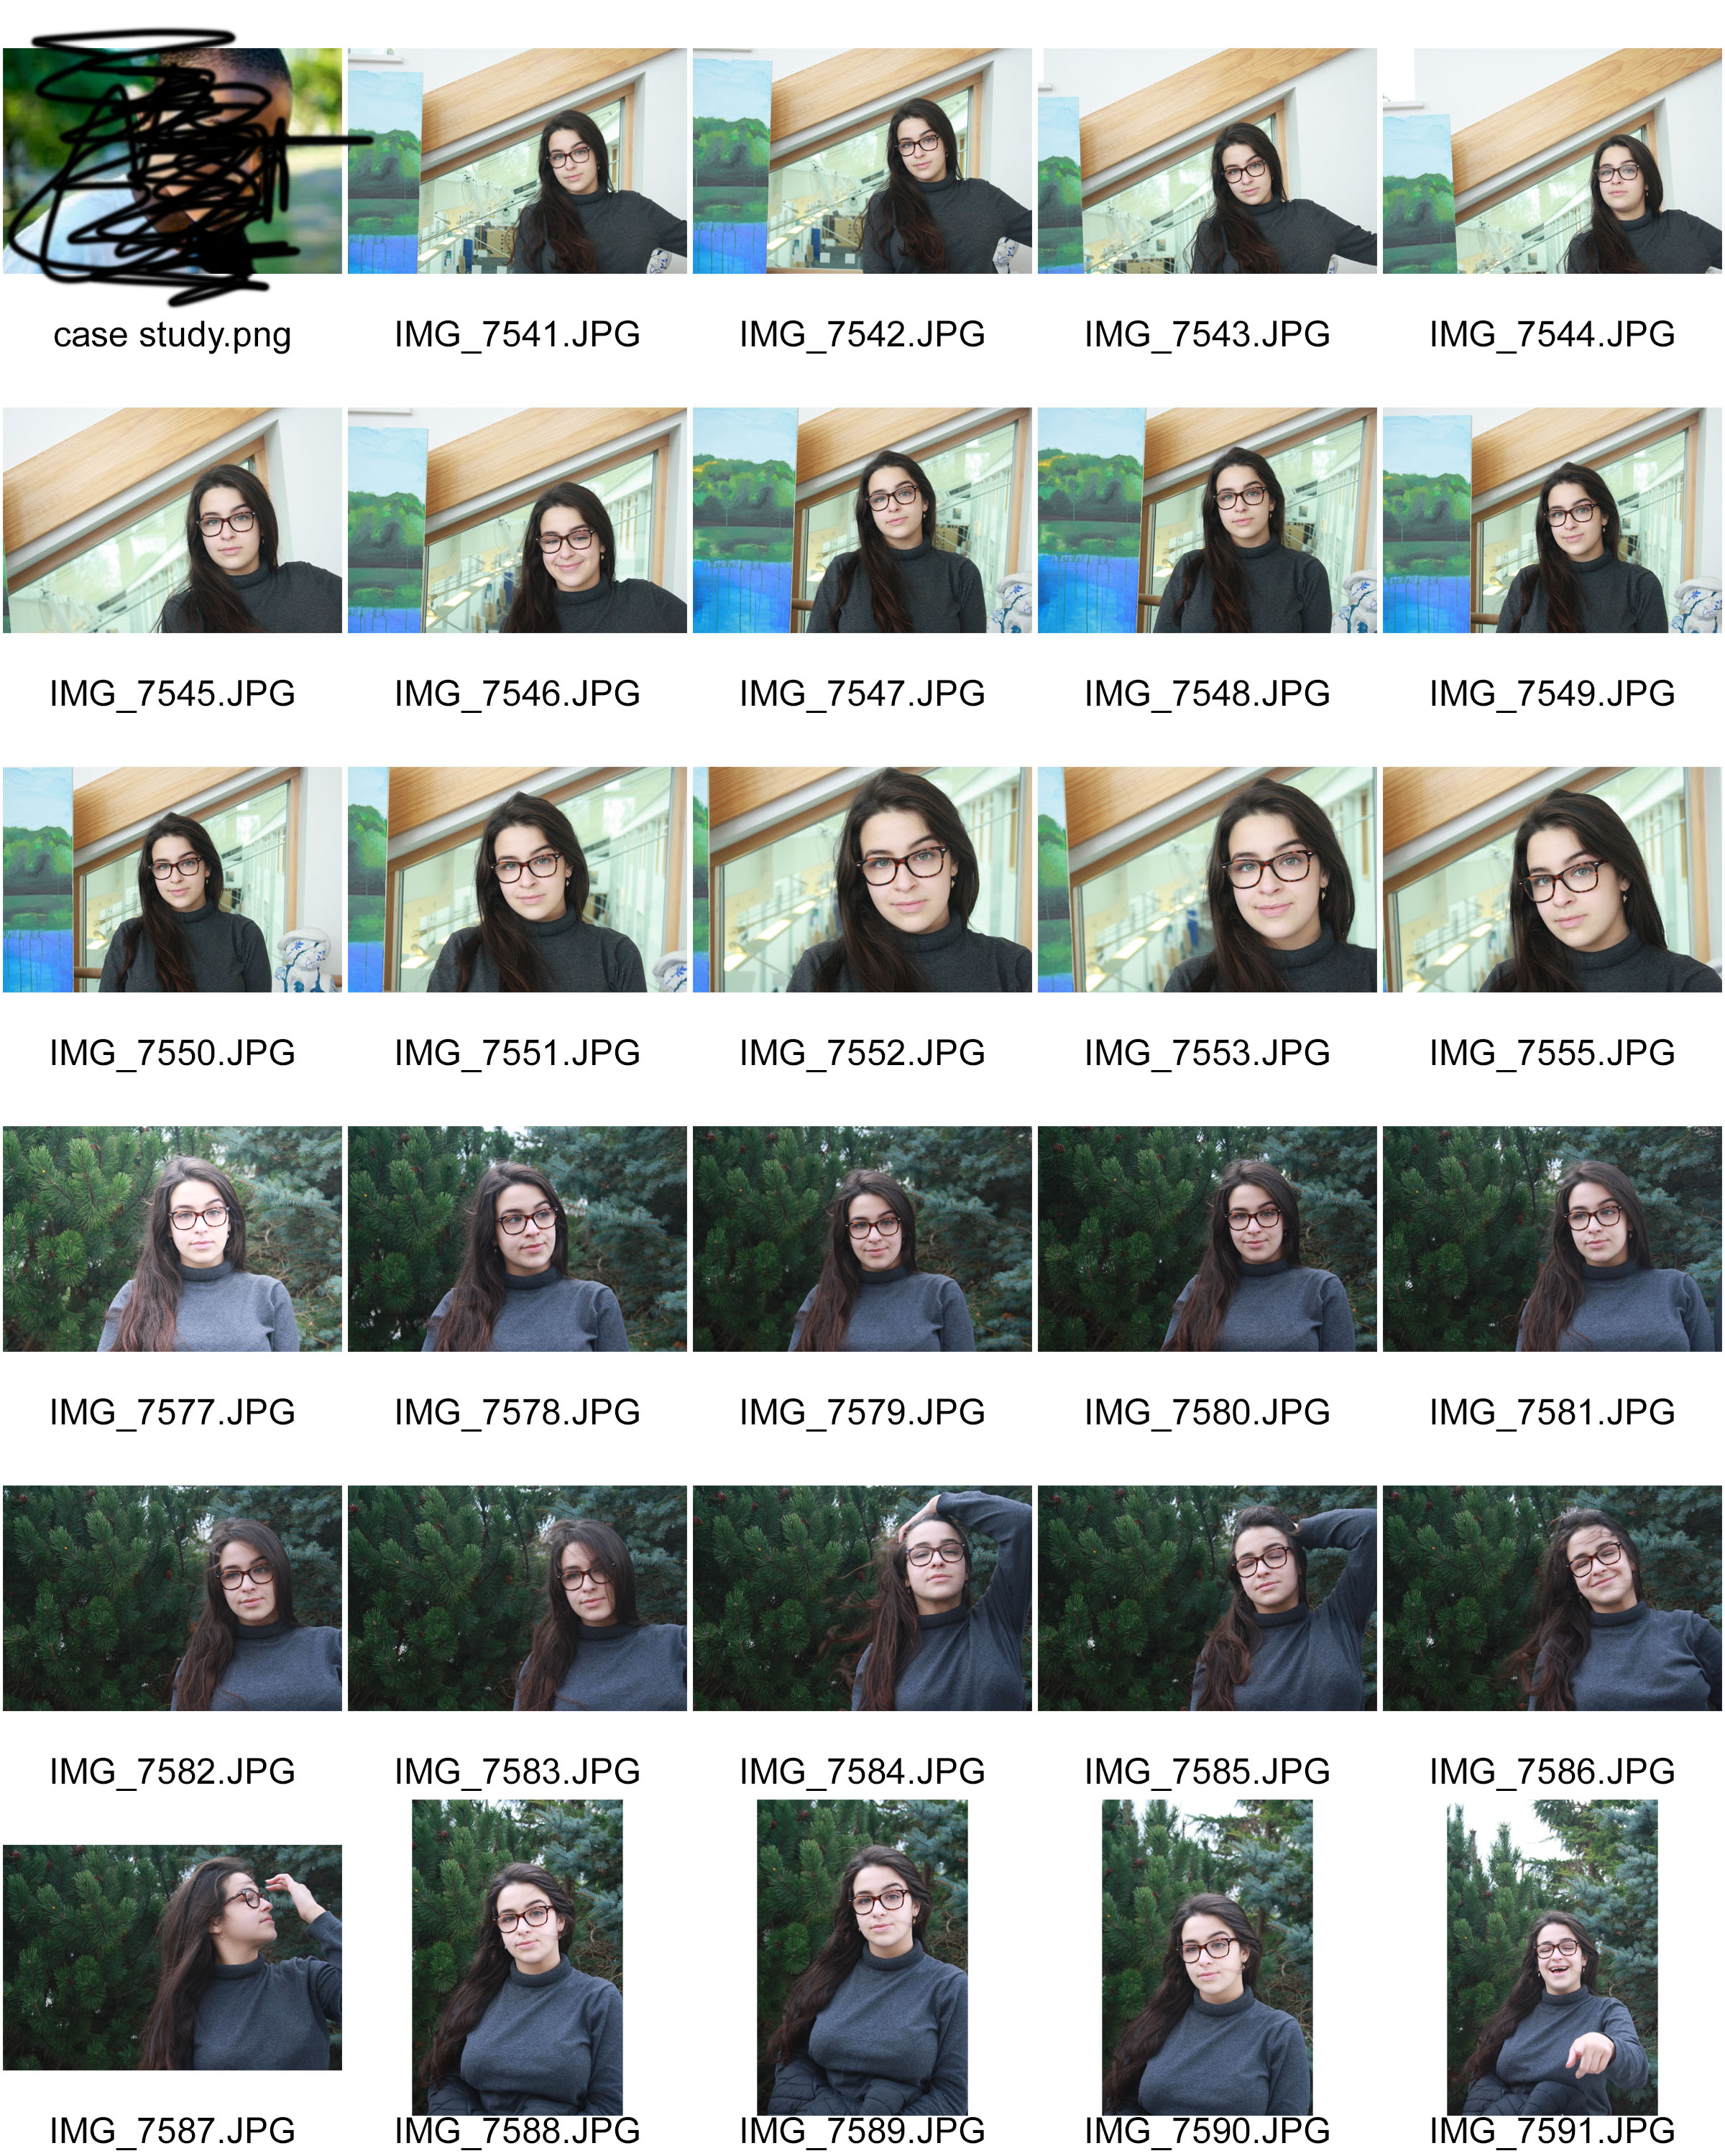
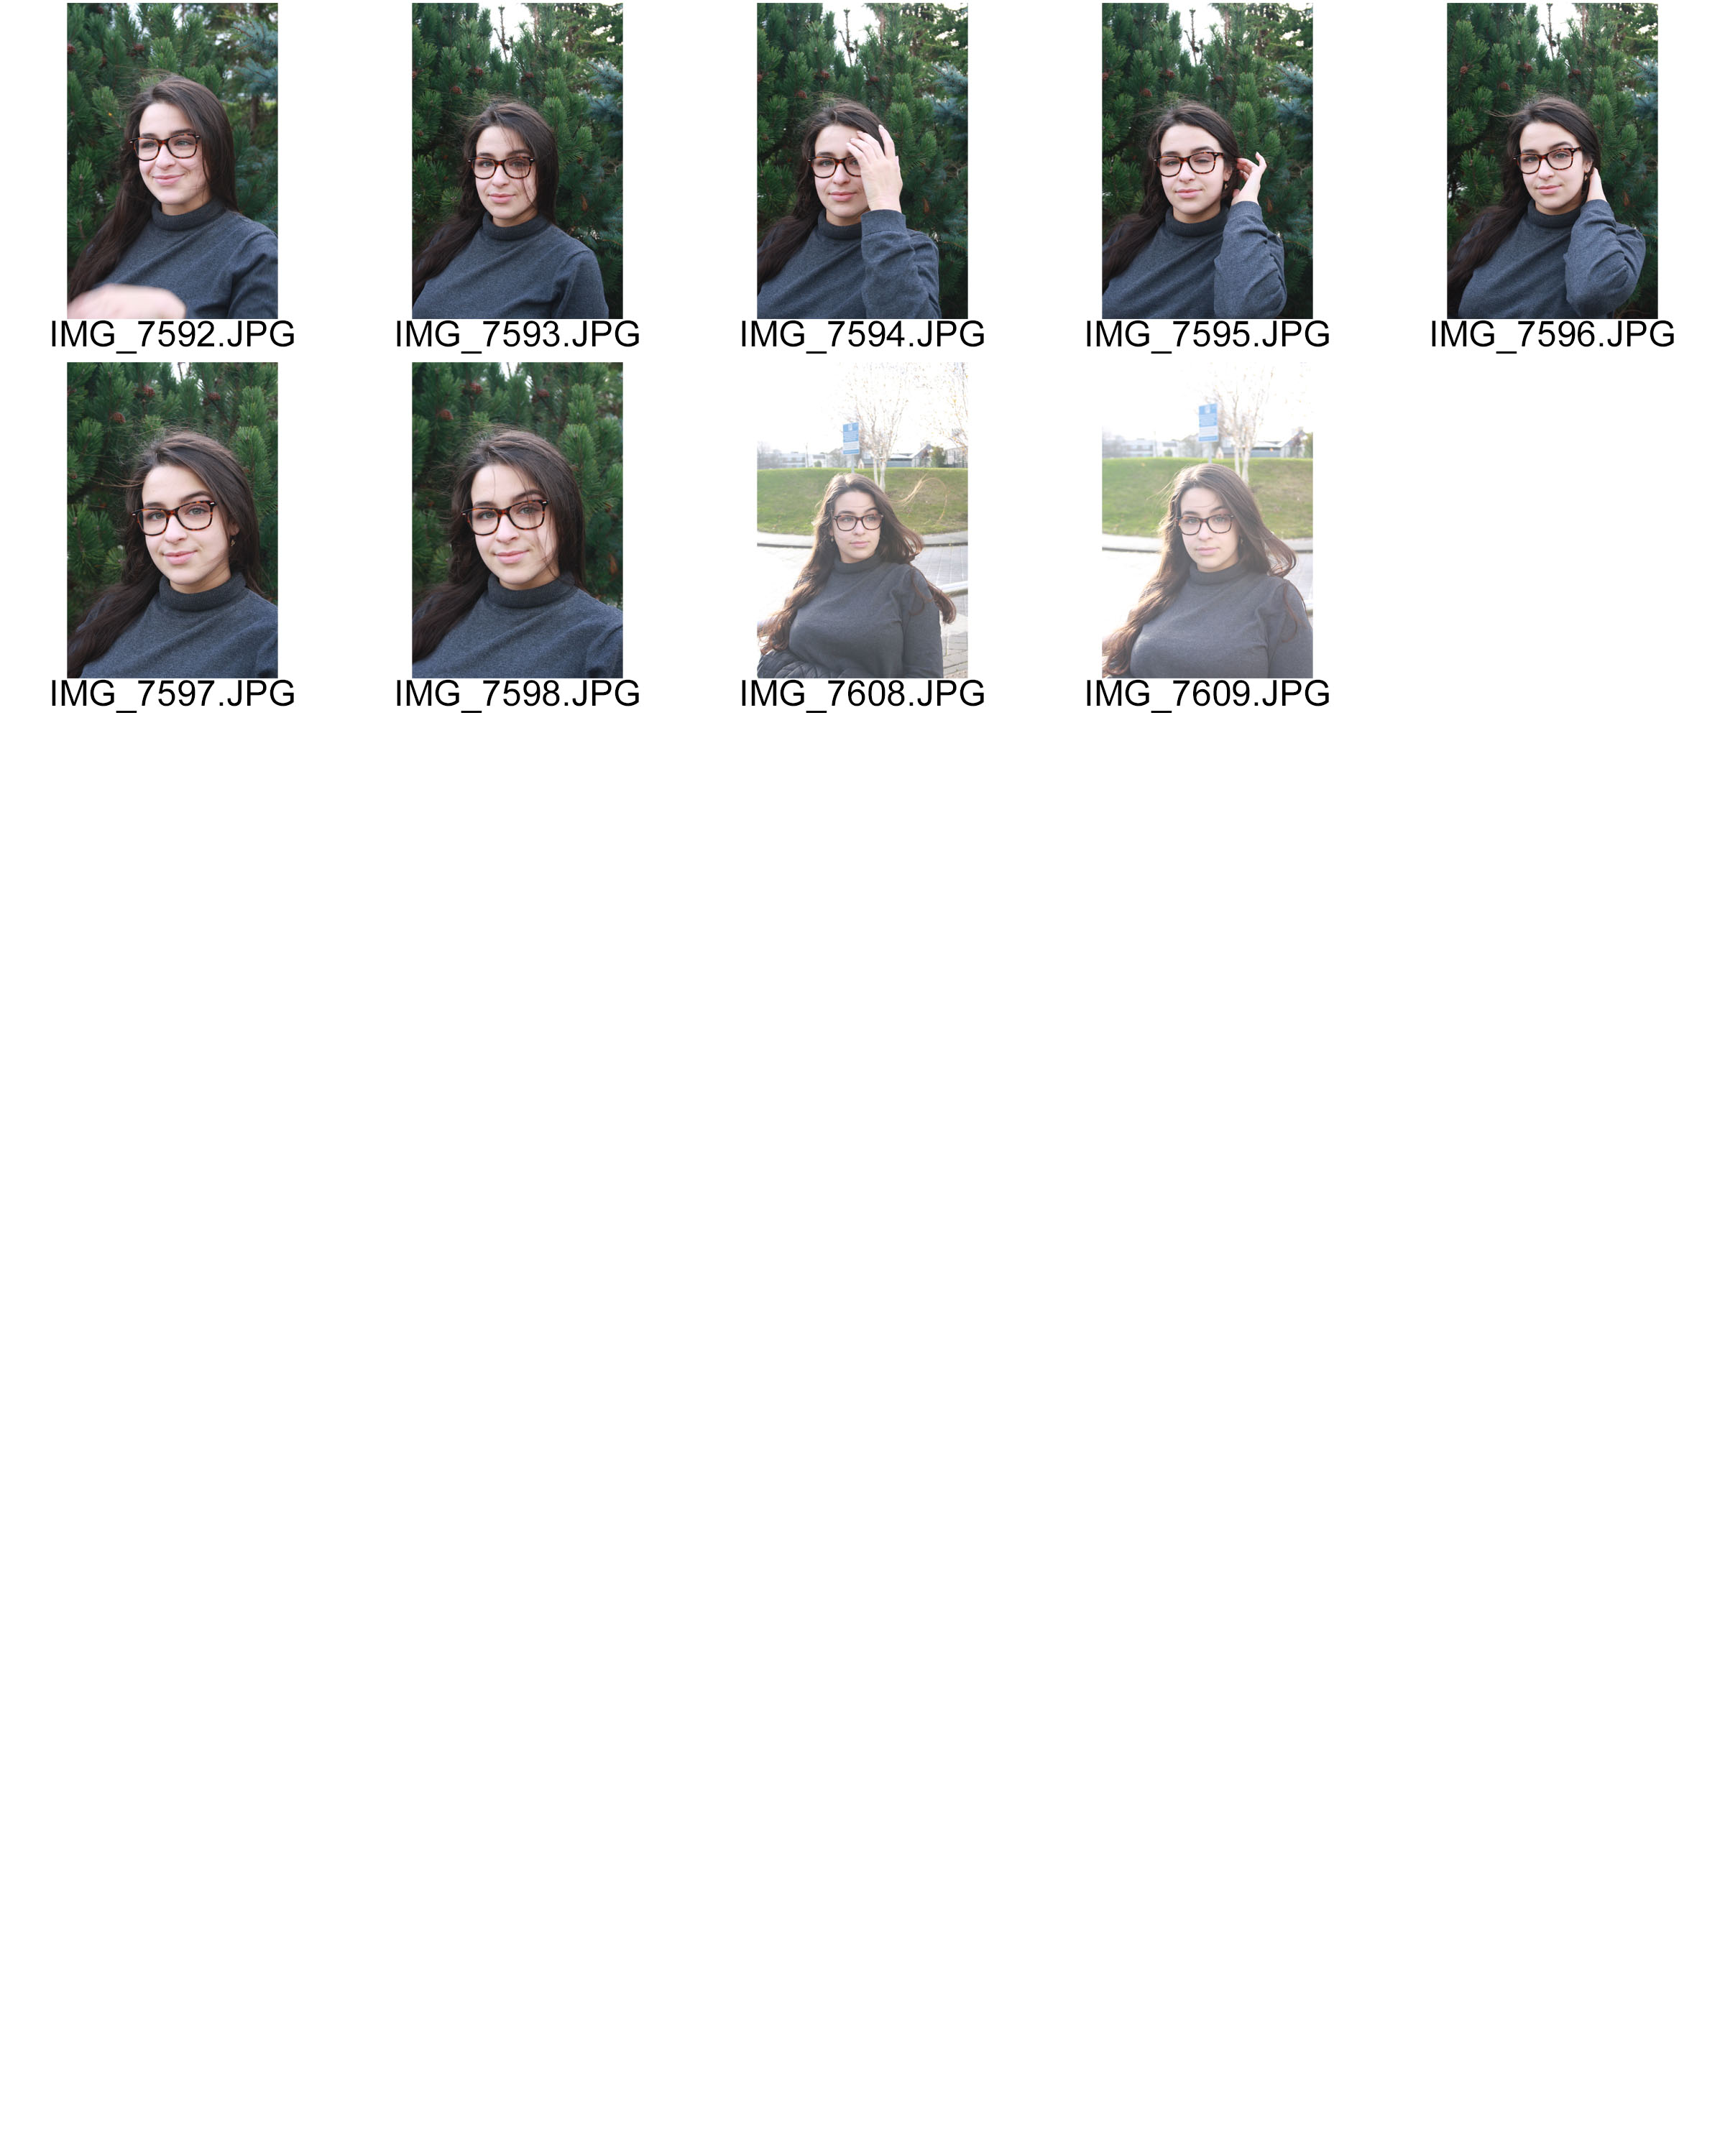
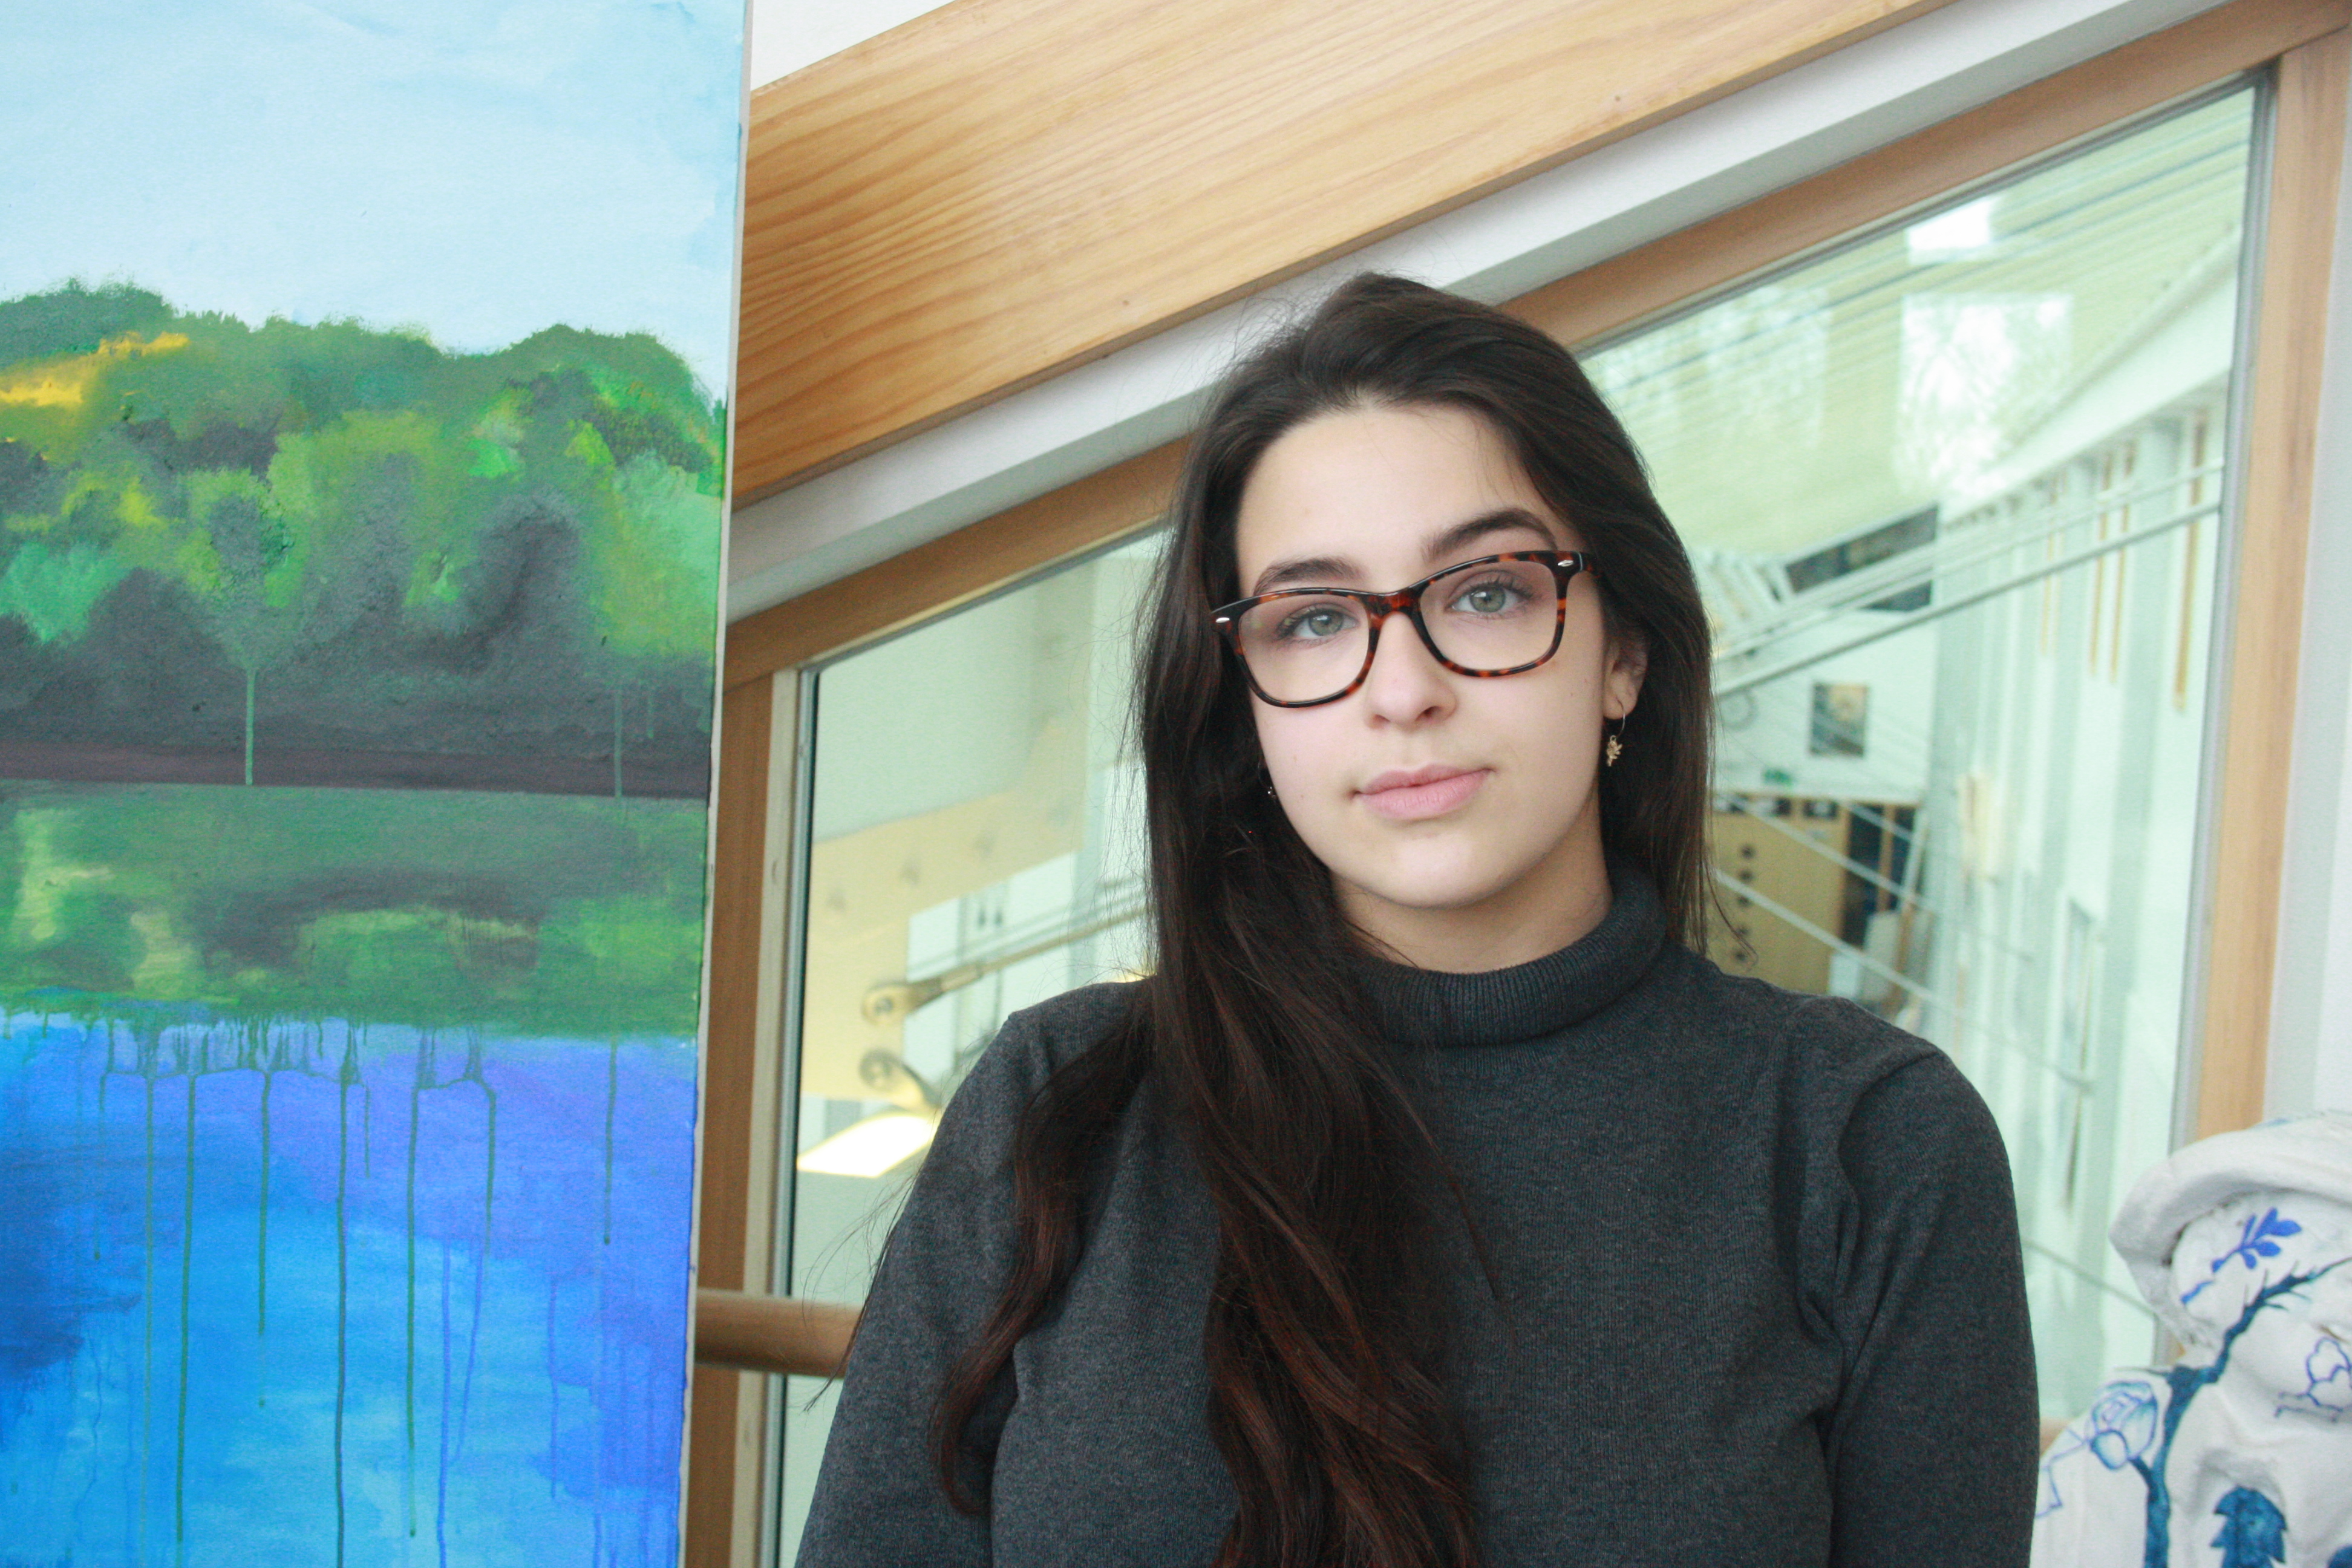
Best outcomes
These portrait photos were taken in ‘natural’ sunlight, either that being outside or directly in front of a window. I used a reflector when needed which decreased the shadowing on the models face.
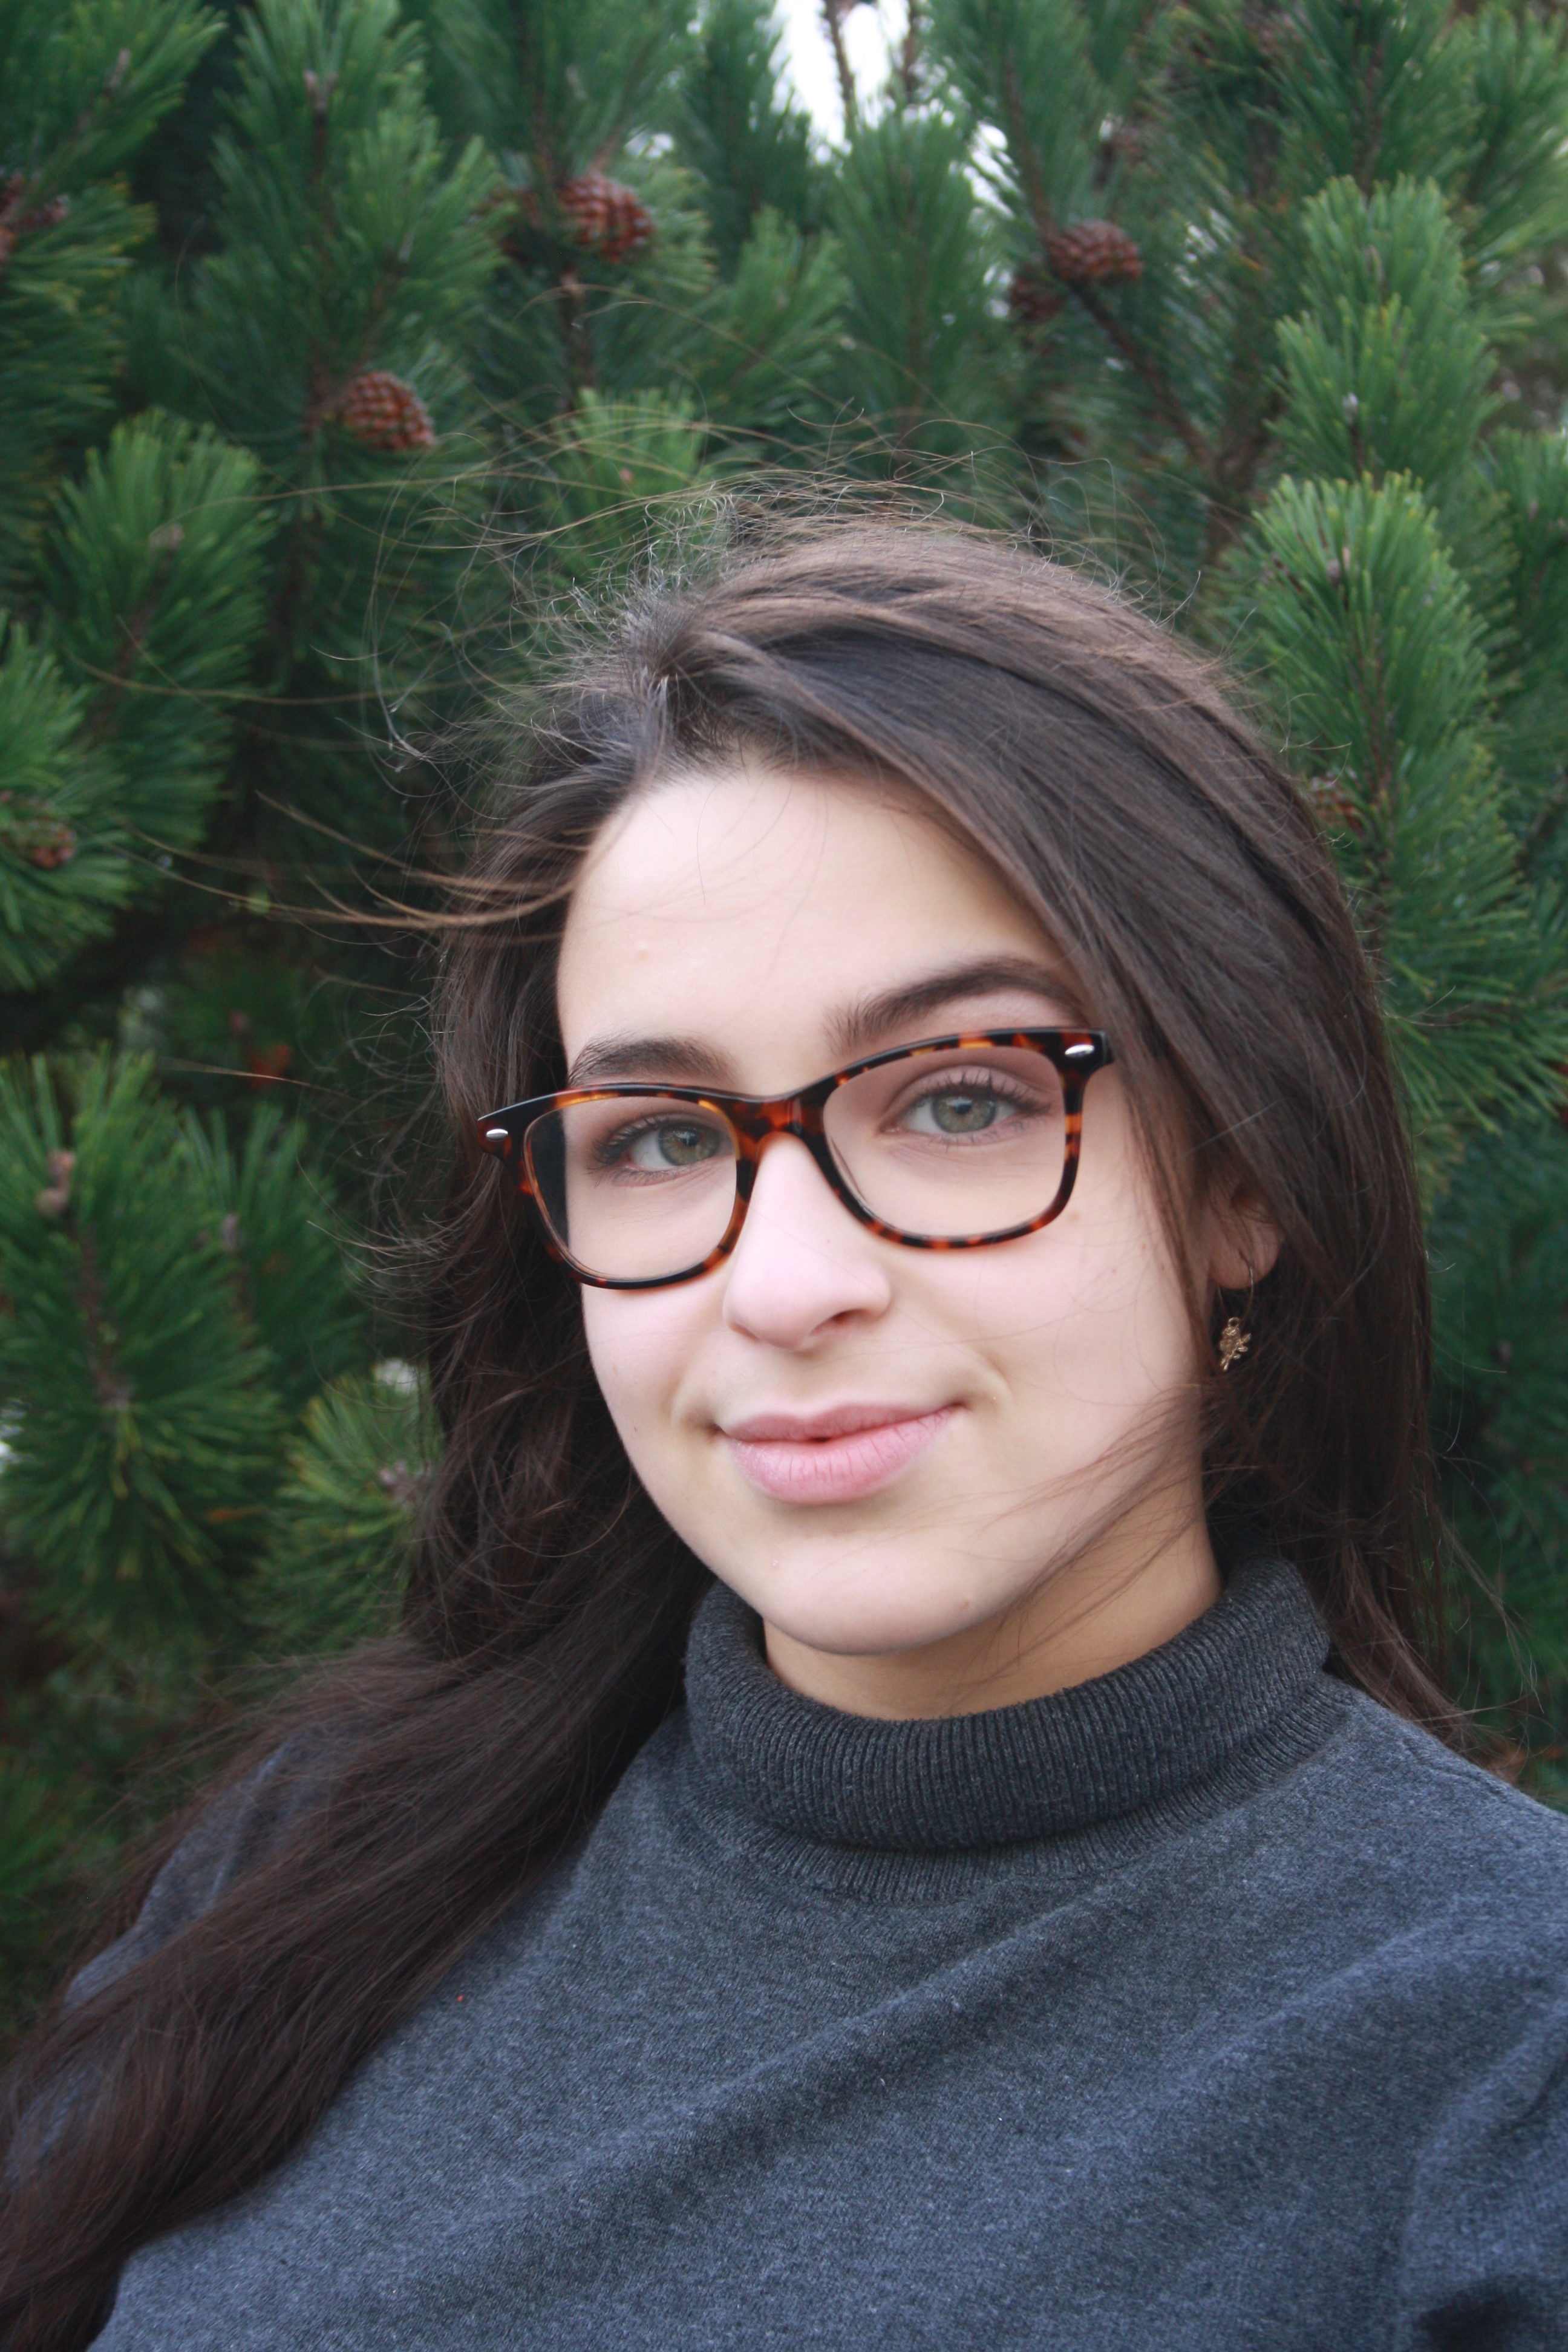
Technical response
When taking this natural lighting portrait I used the manual focus setting so I was able to adjust the ISO setting to 300 and the shutter speed to 1/250 so my image didn’t turn out under or over exposed. I used the ‘daylight’ white balance due to being in an outdoor location, this setting also ensured the picture had the right colouring.
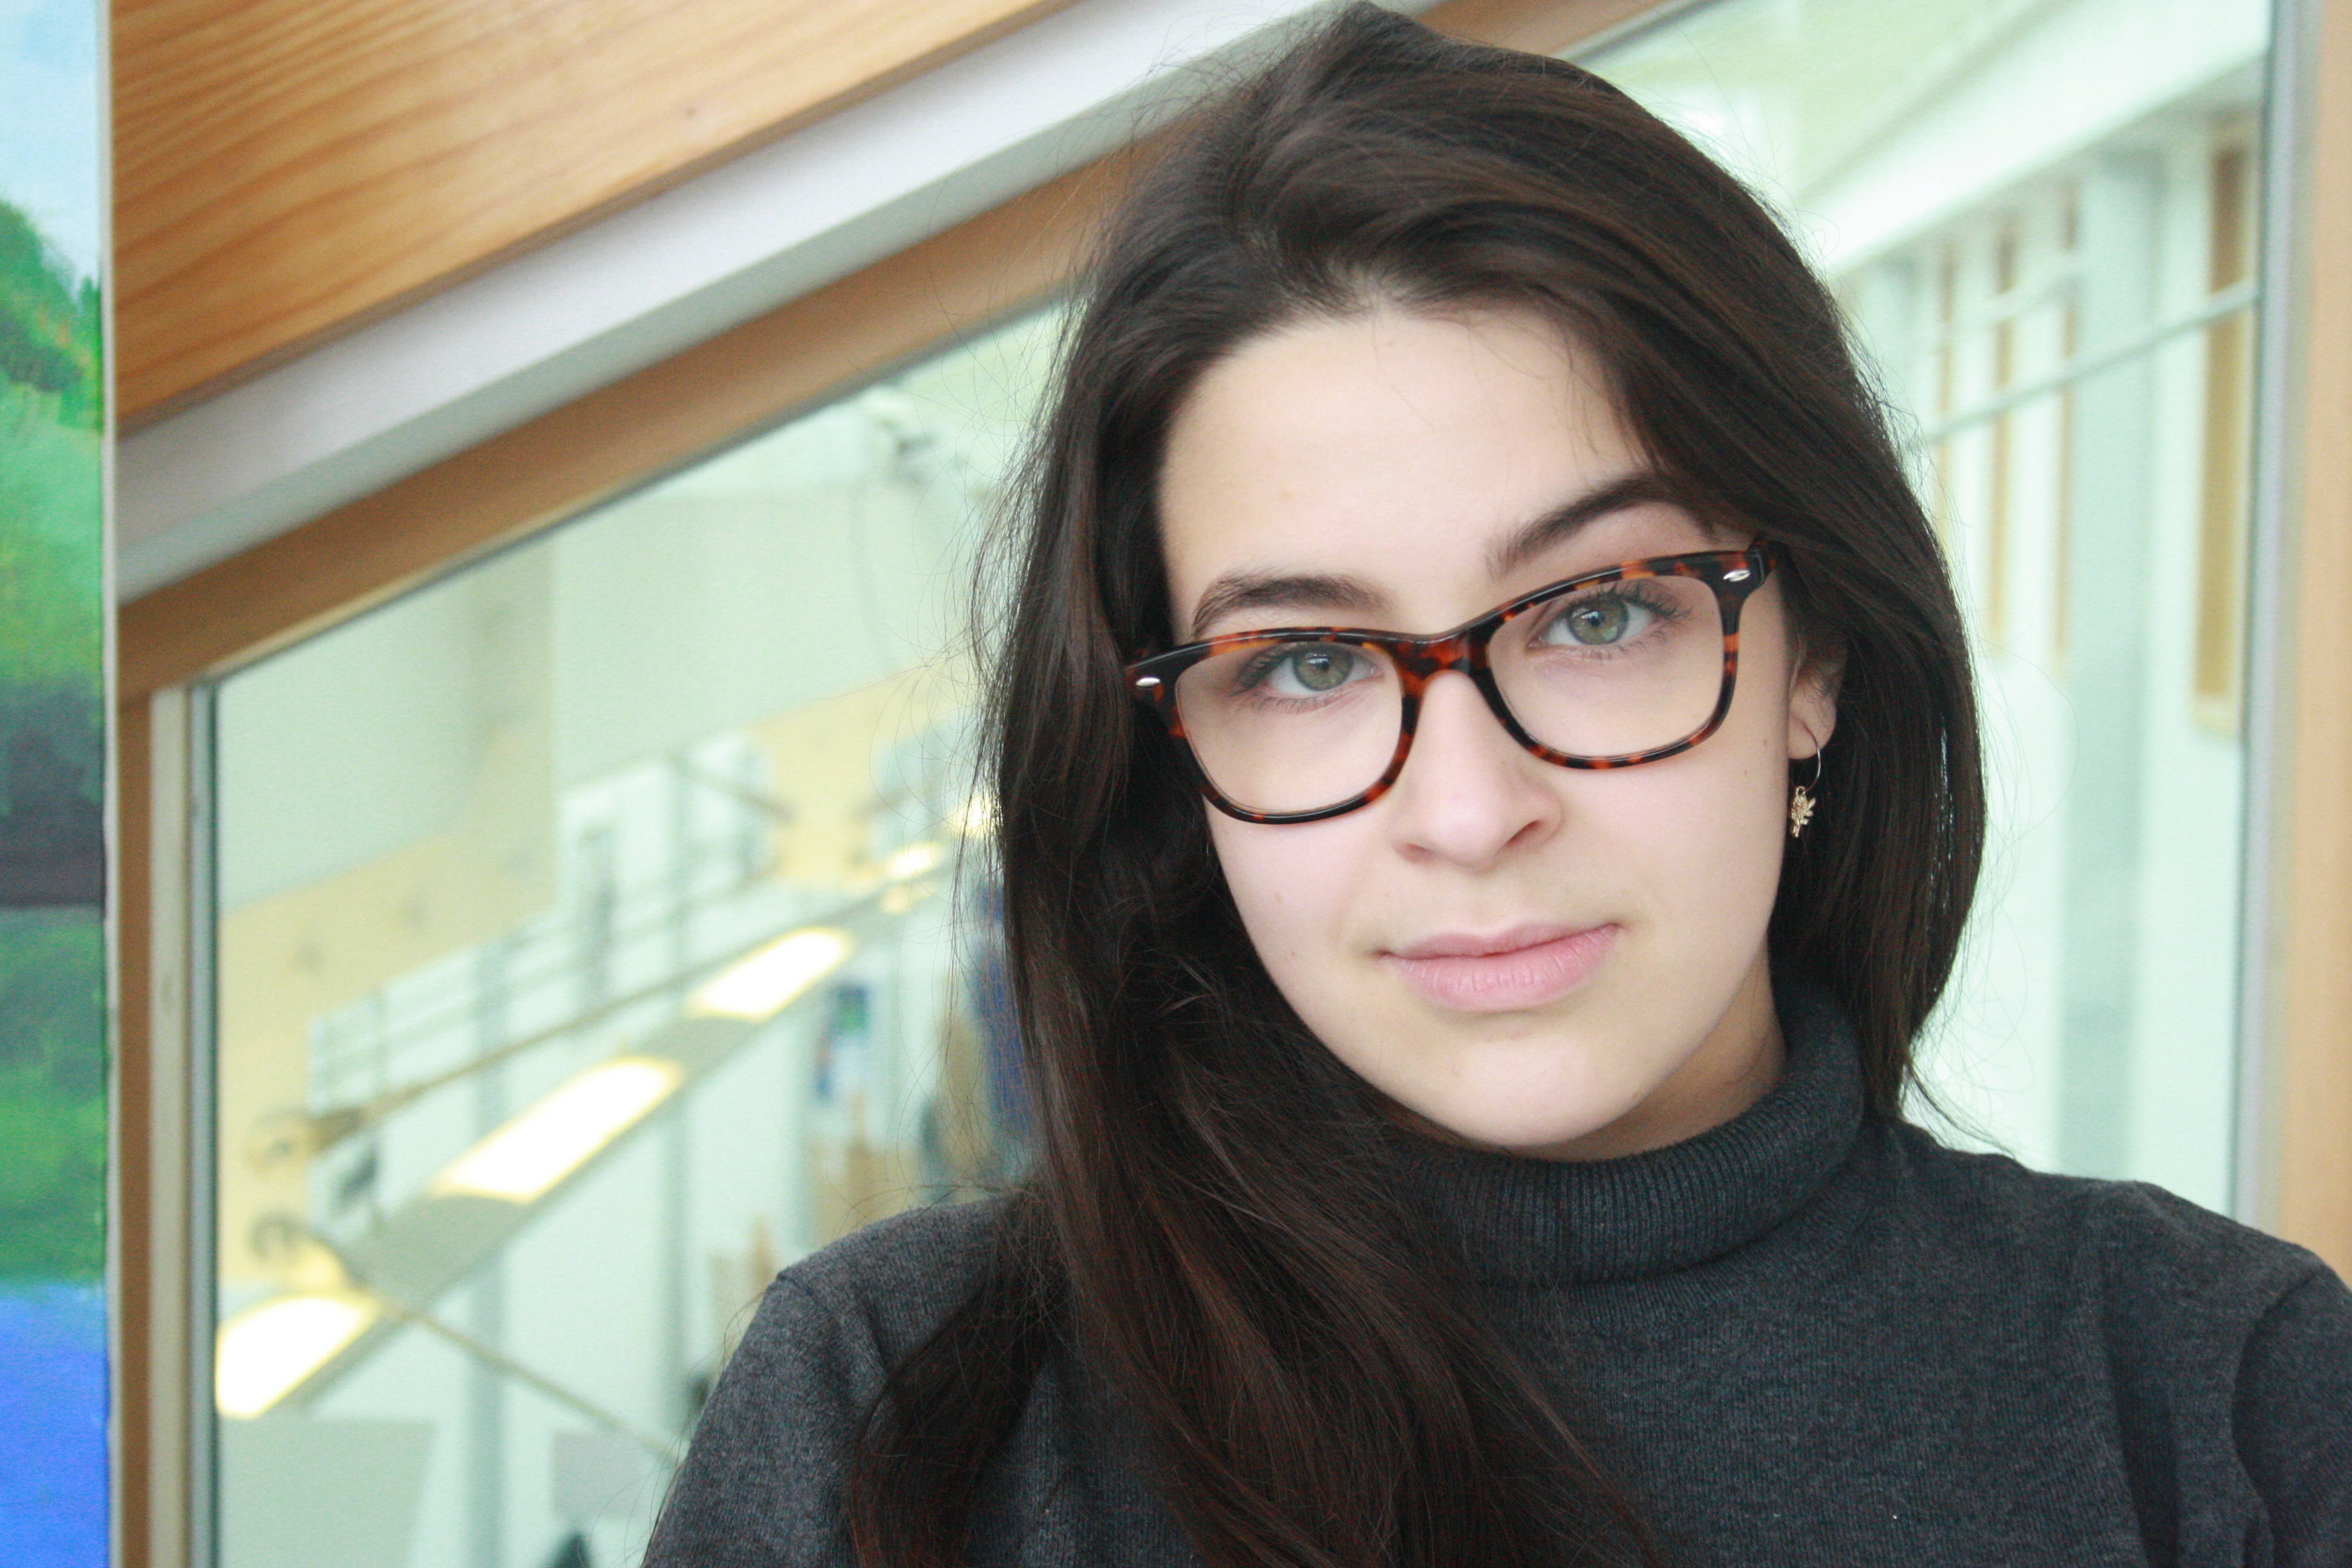
Technical response
When taking both of these portrait images I used the manual focus setting on my camera so that I could adjust the ISO setting to 400 and the shutter speed to 1/250 to ensure that the images weren’t too under or over exposed. I also used the ‘daylight’ white balance setting so that the colour balance was correct. This image was also taken inside however directly in front of a very large window which let in a lot of daylight.