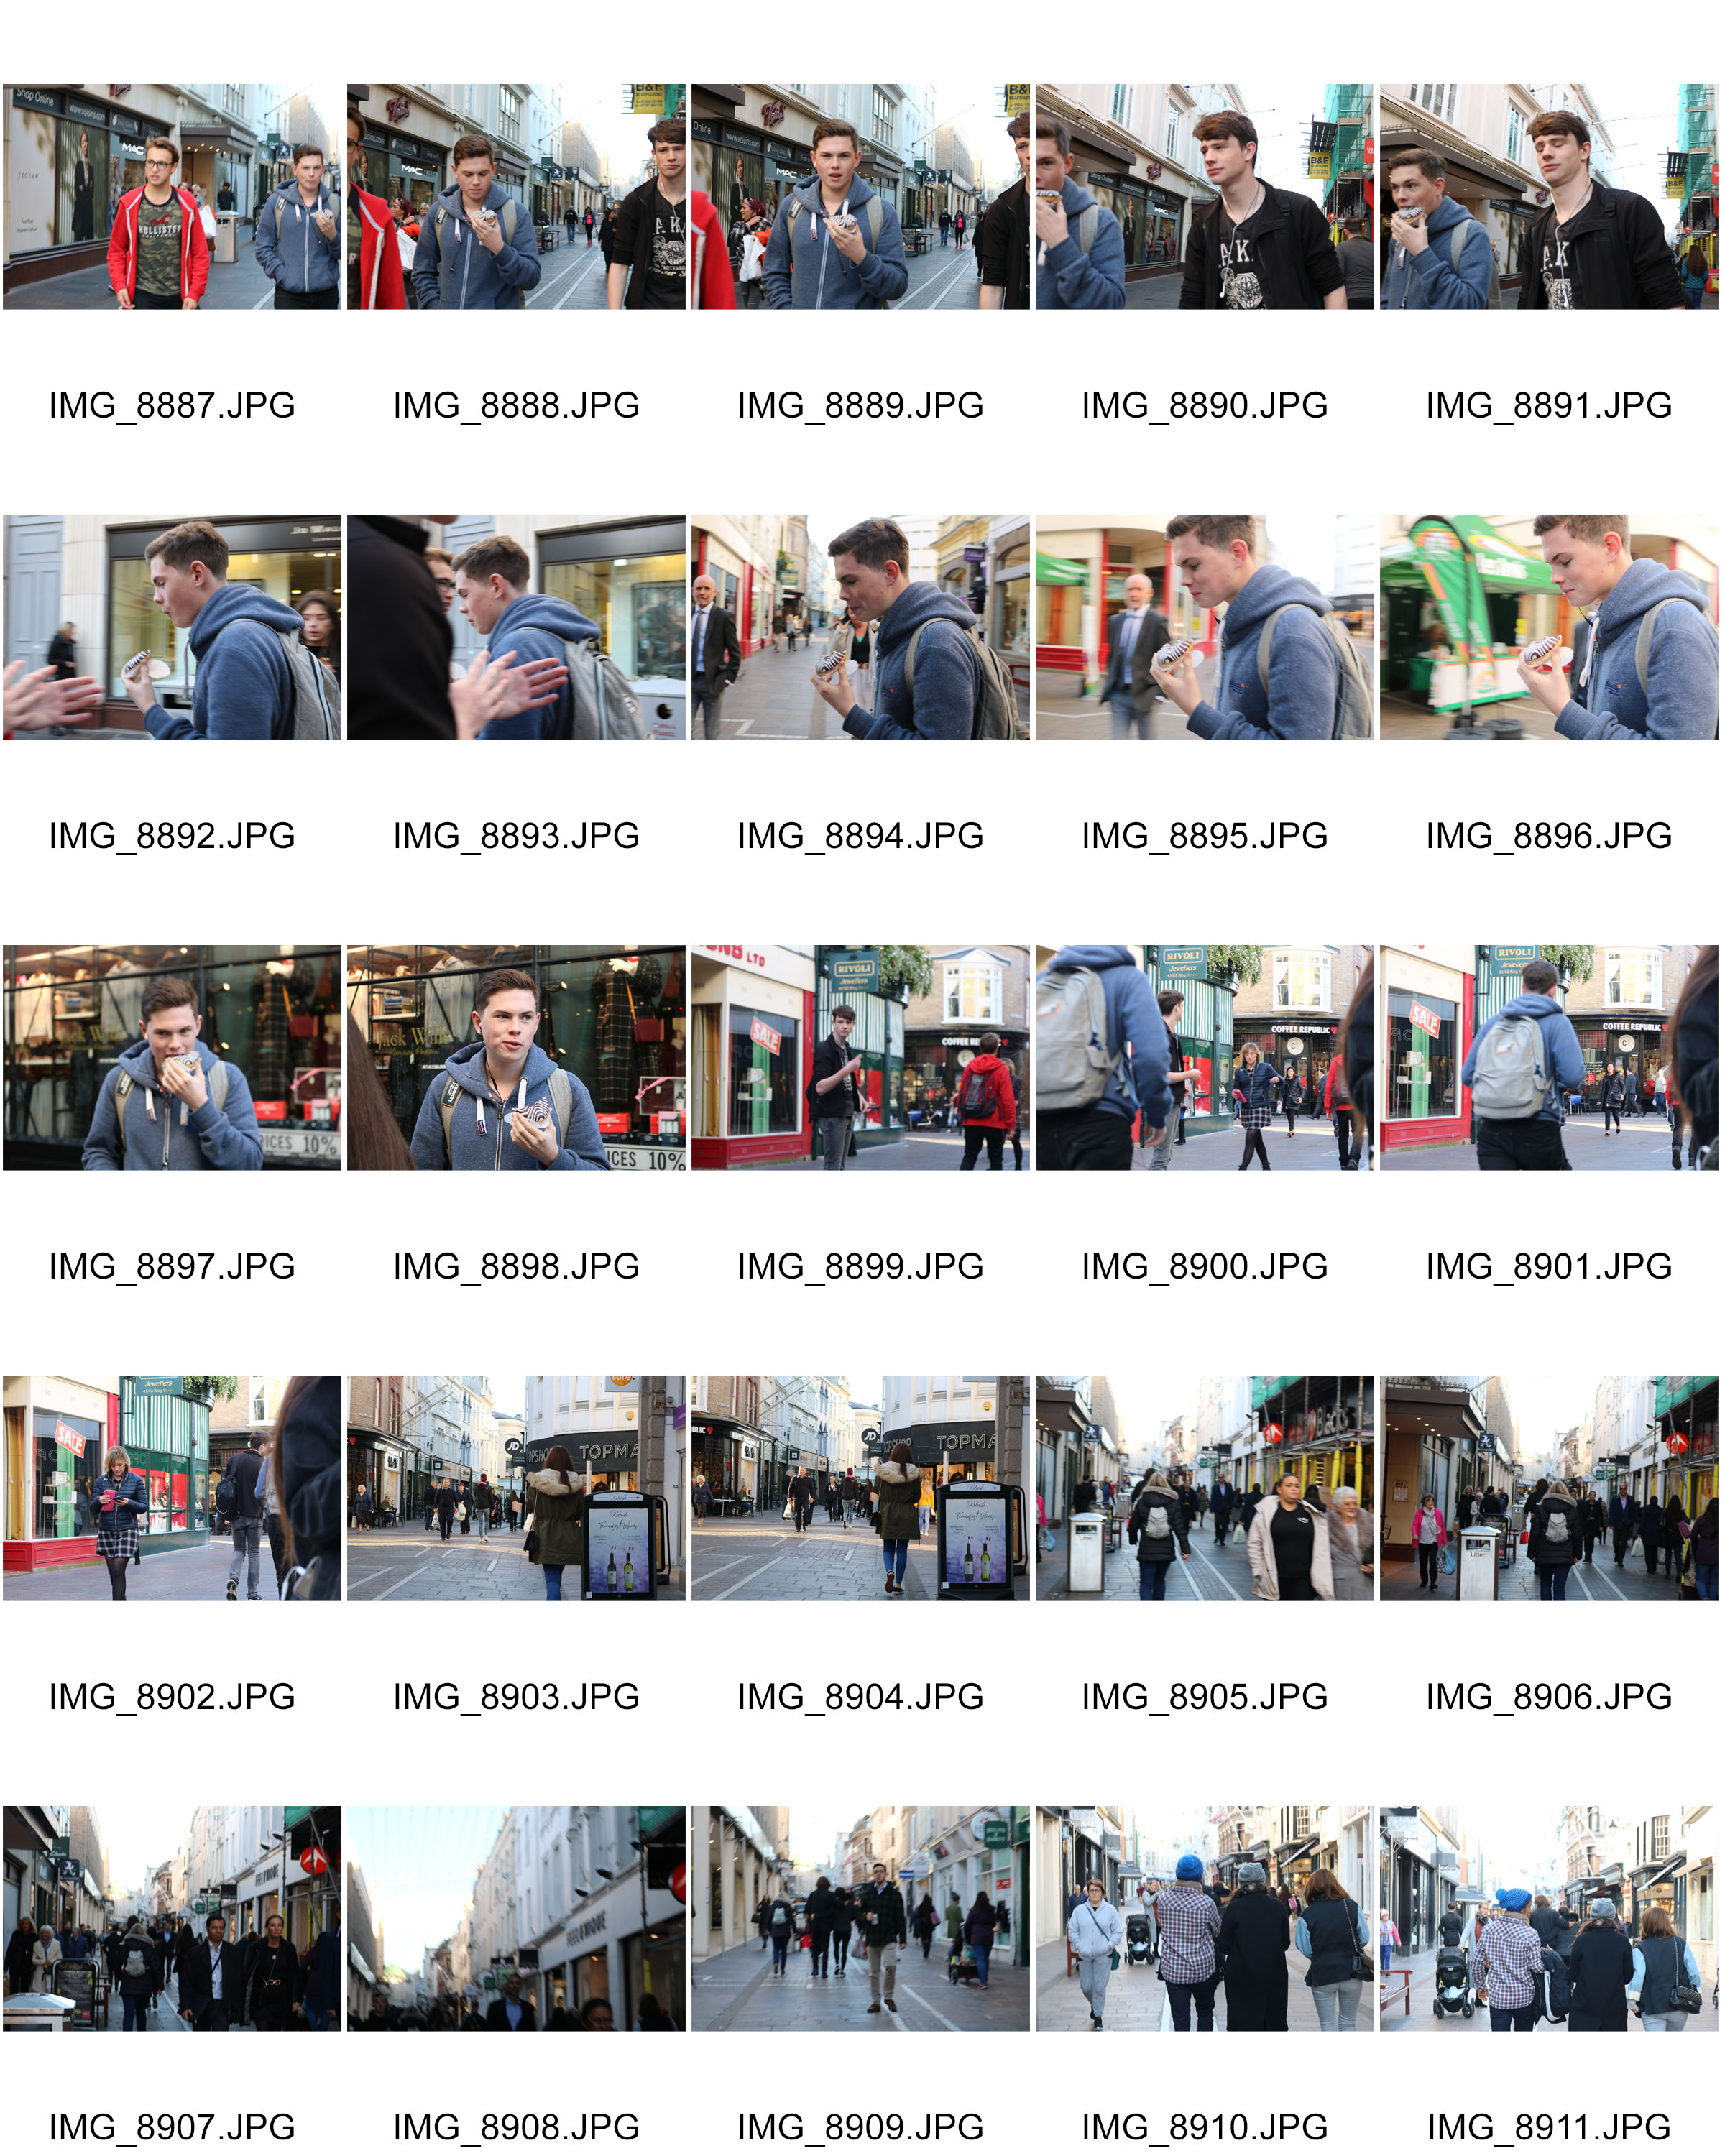
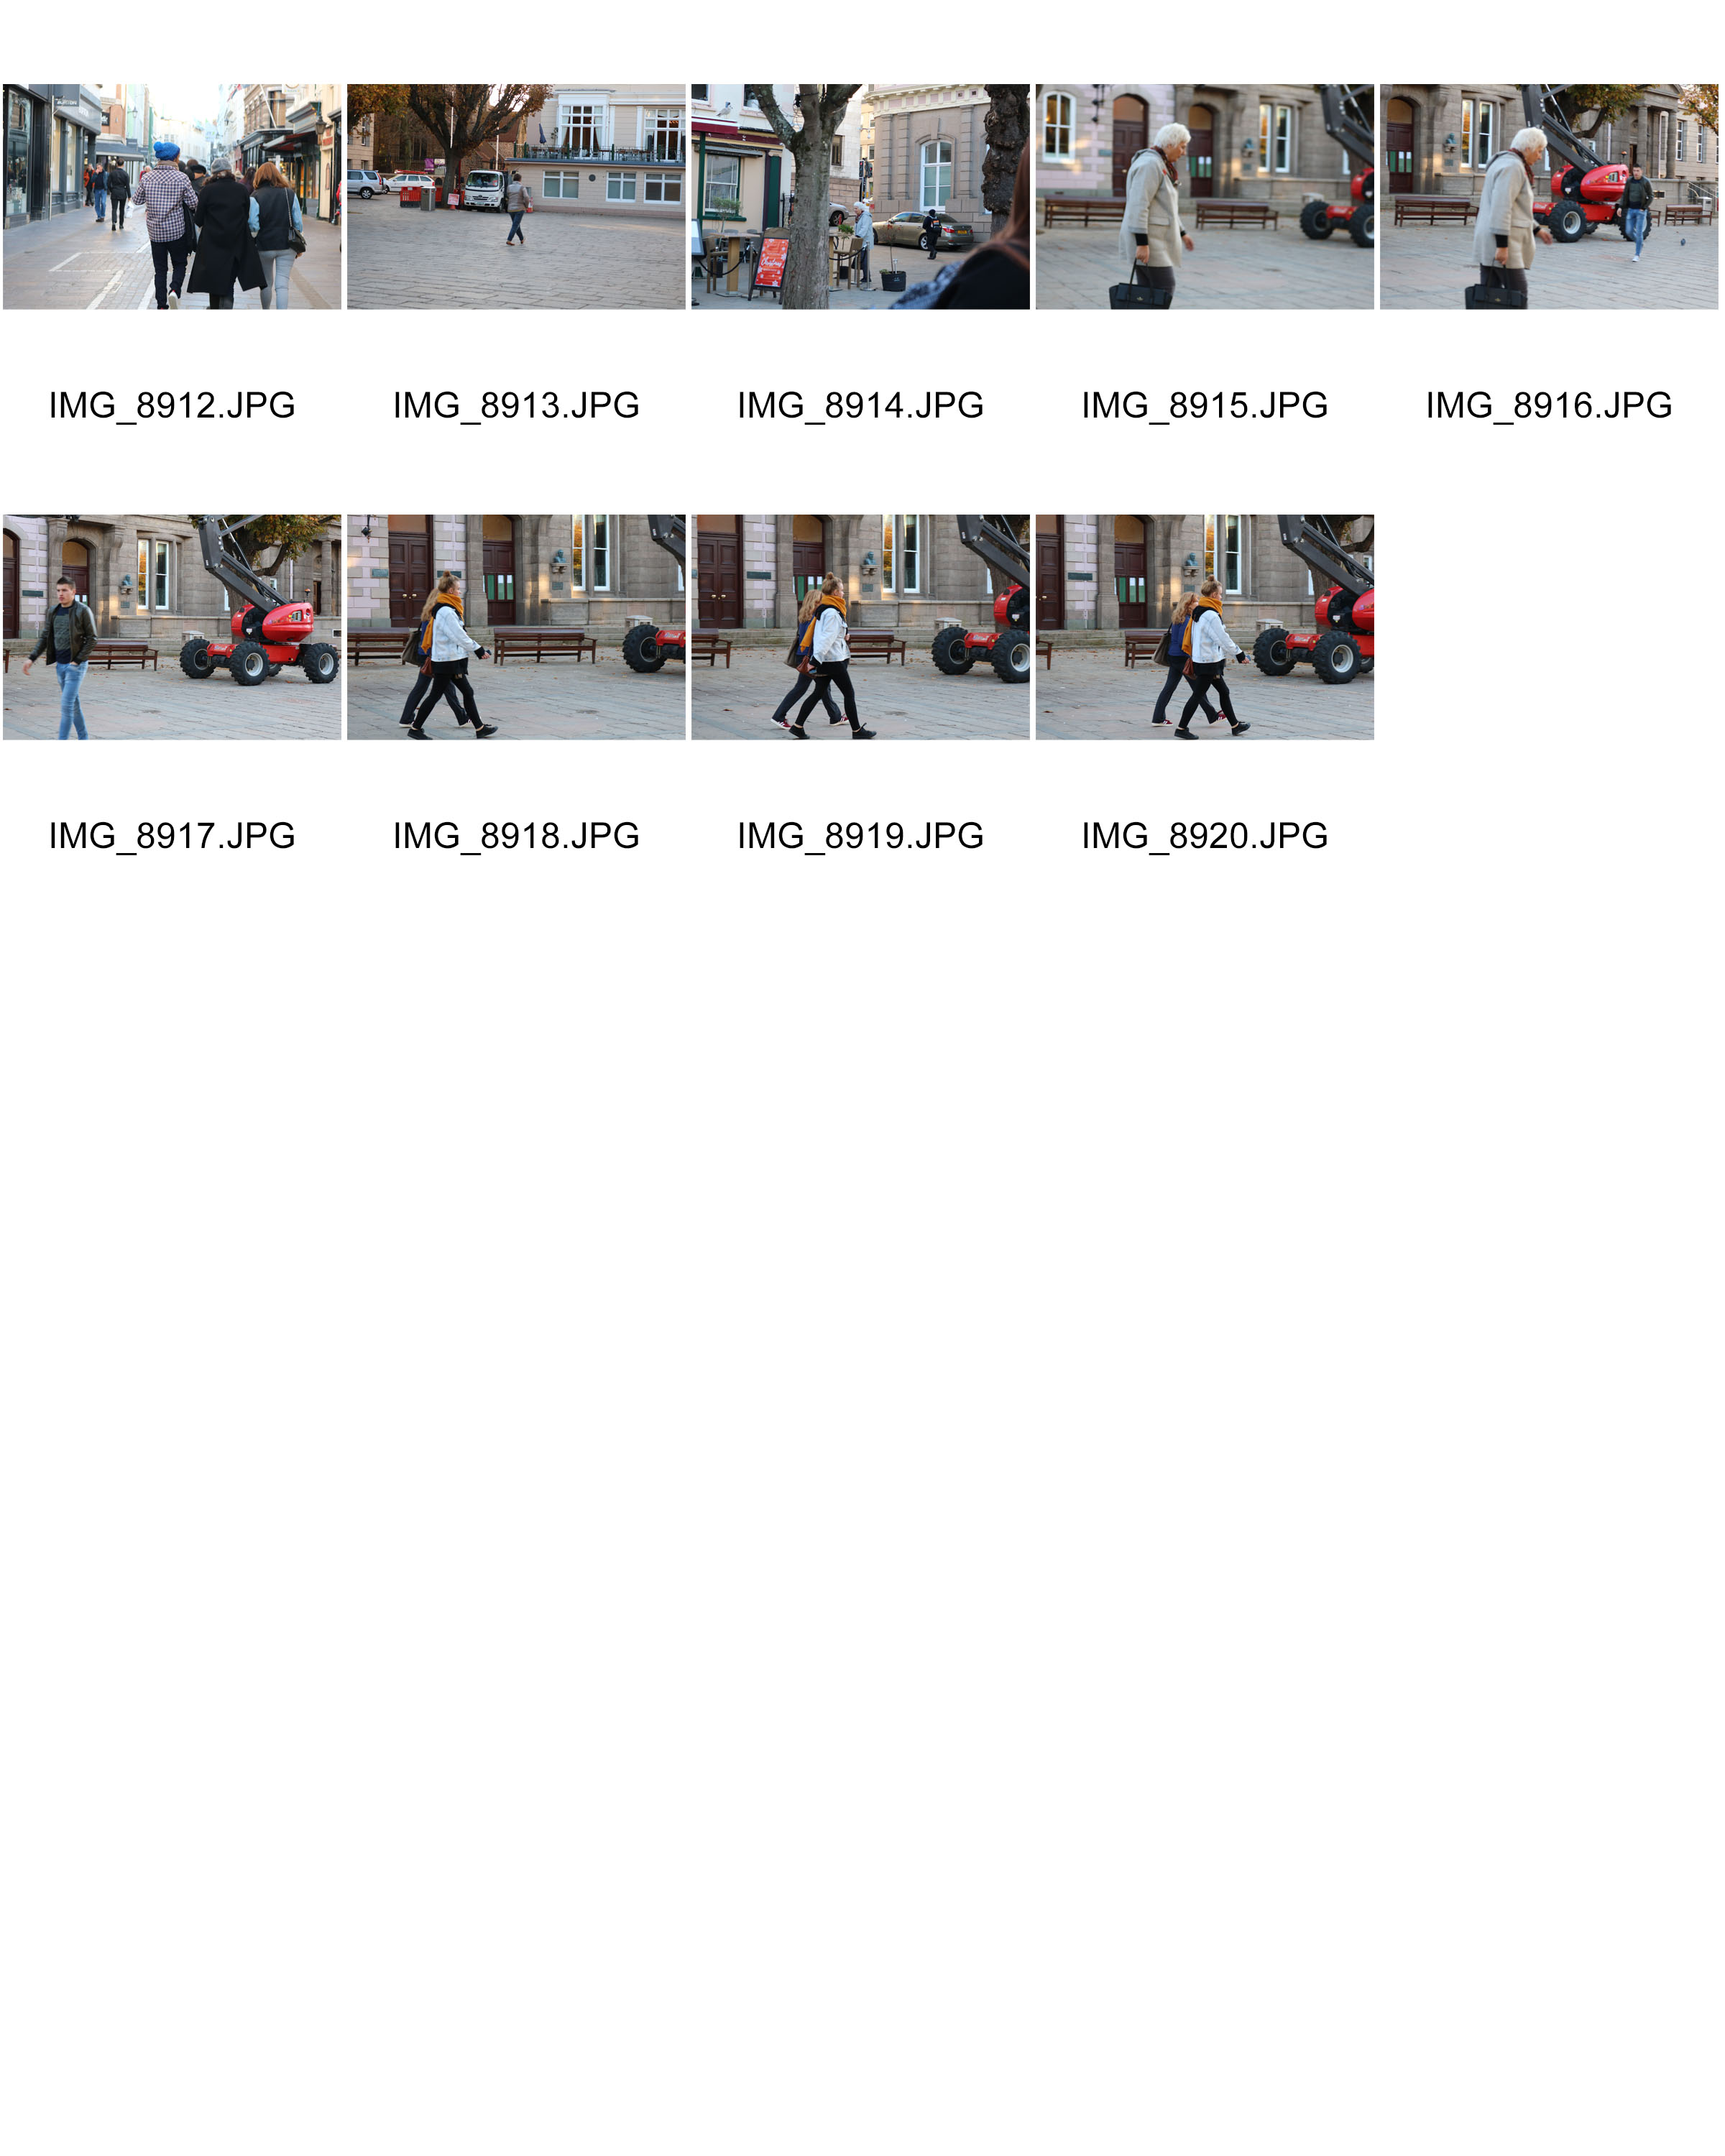
Contact sheet

Best outcomes
Editing
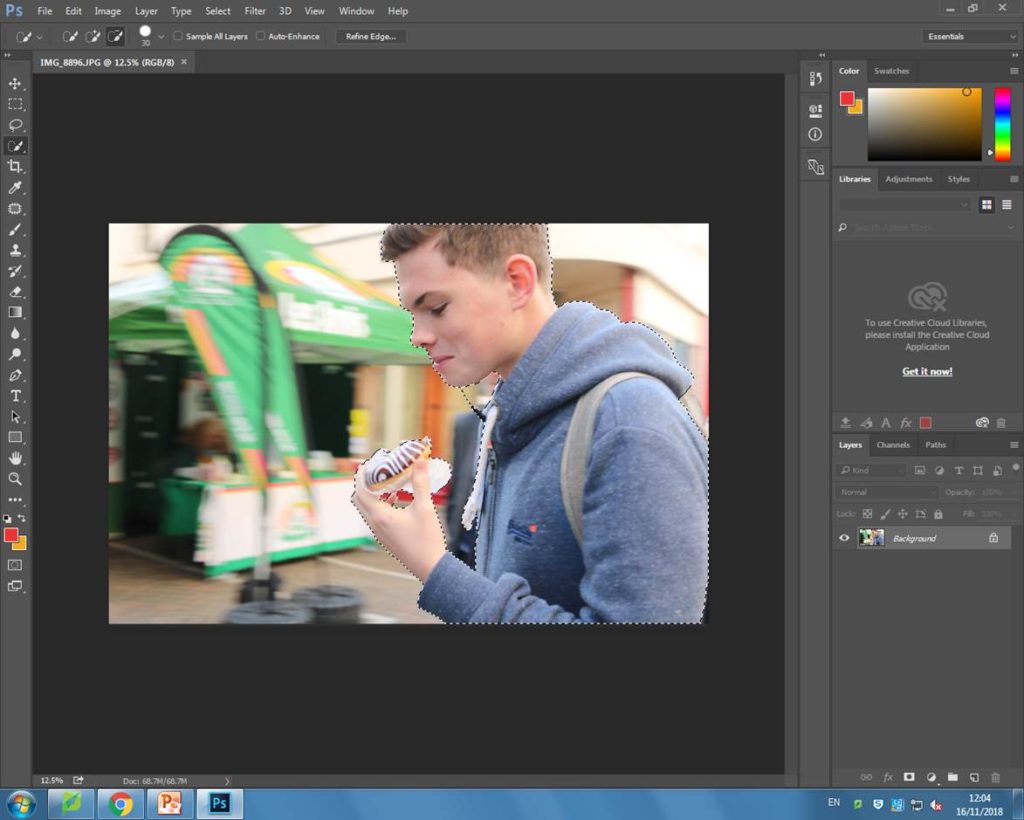
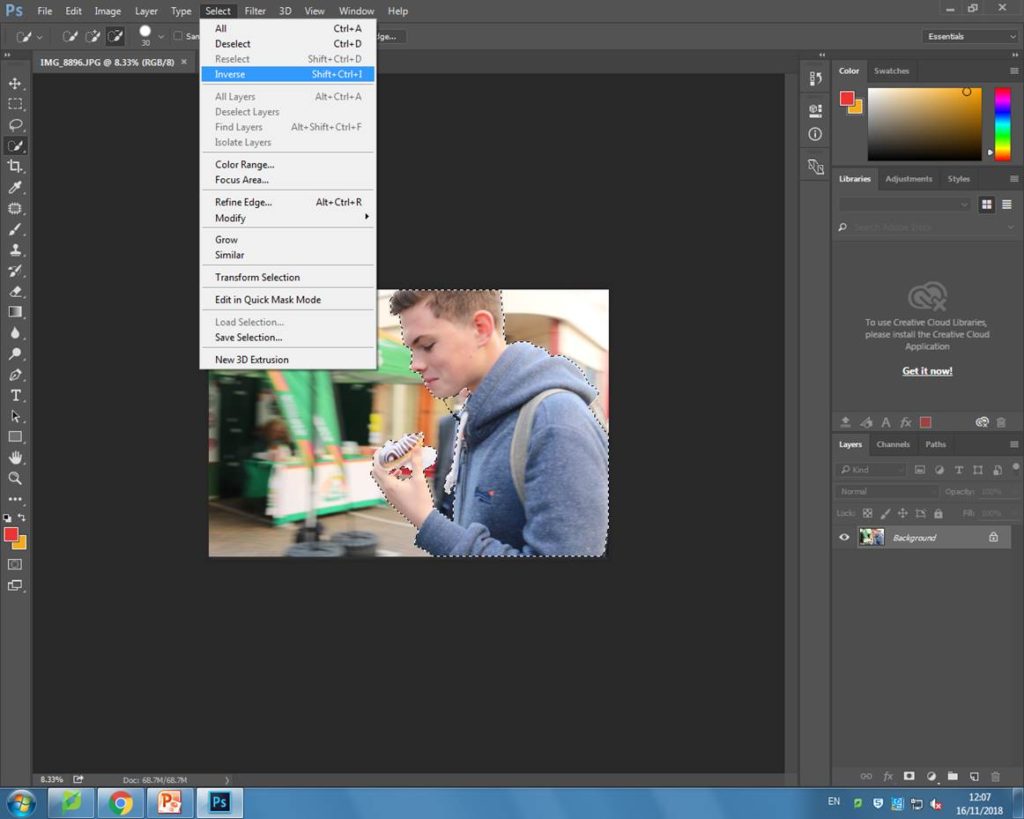
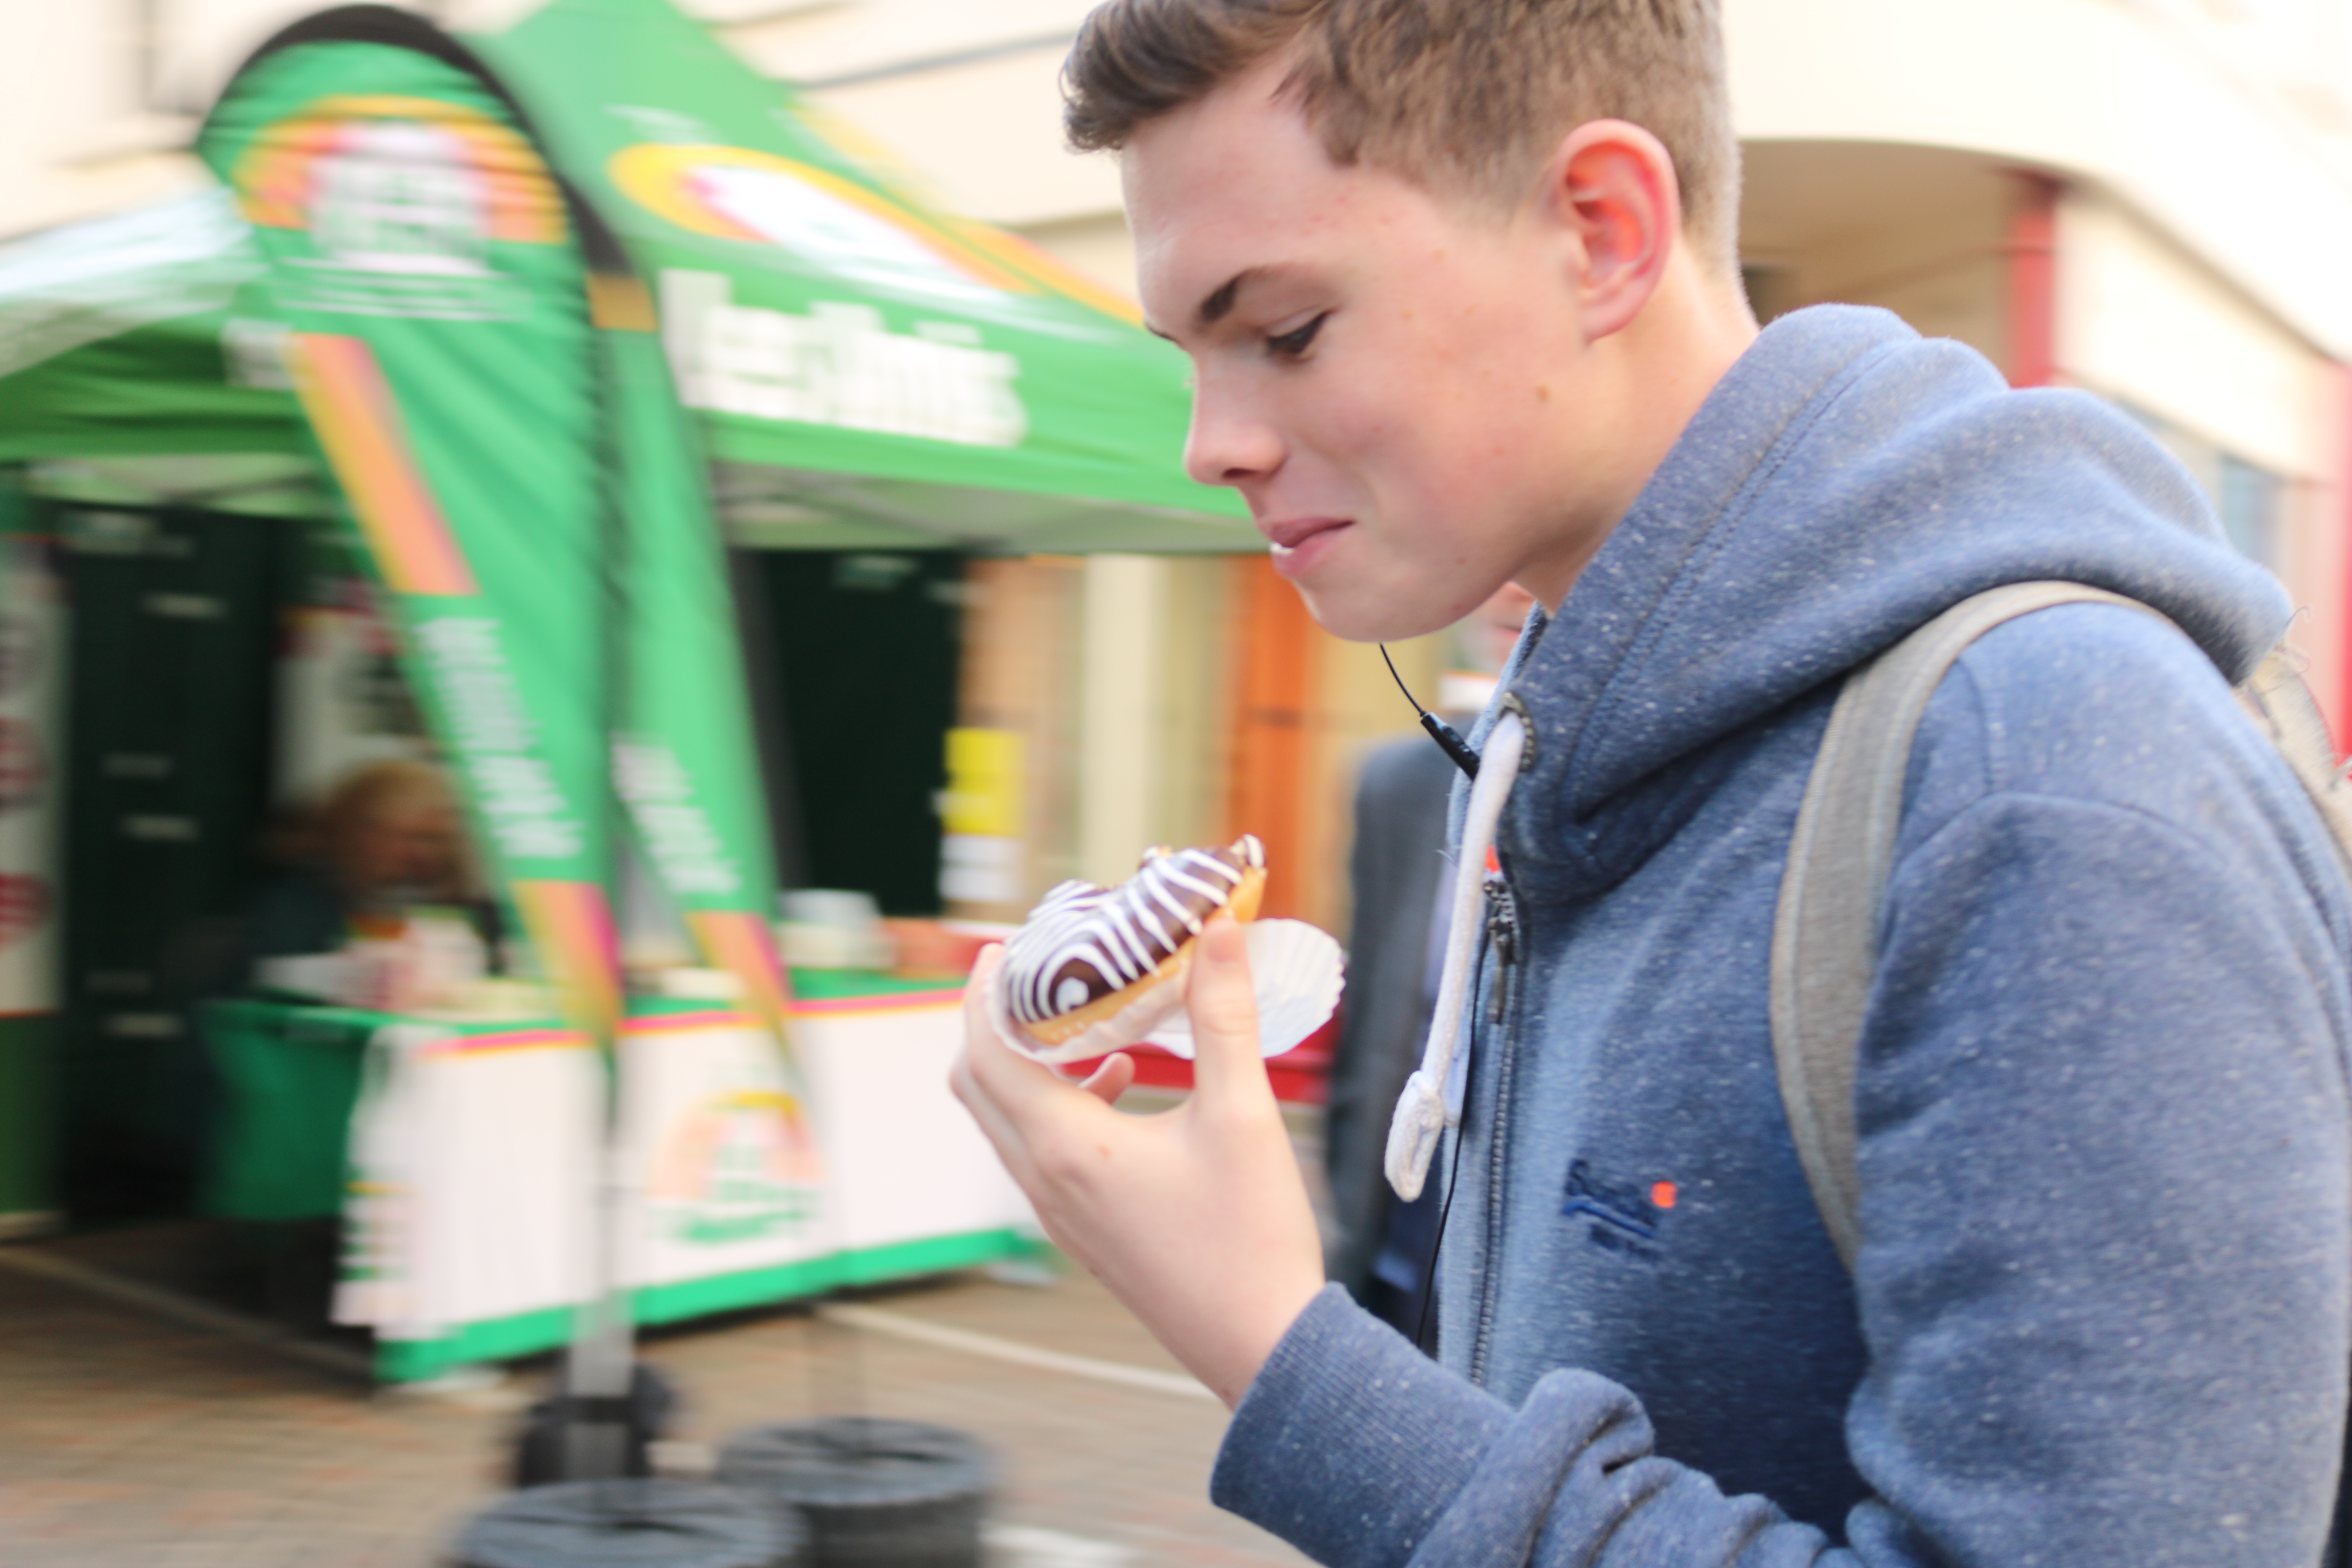
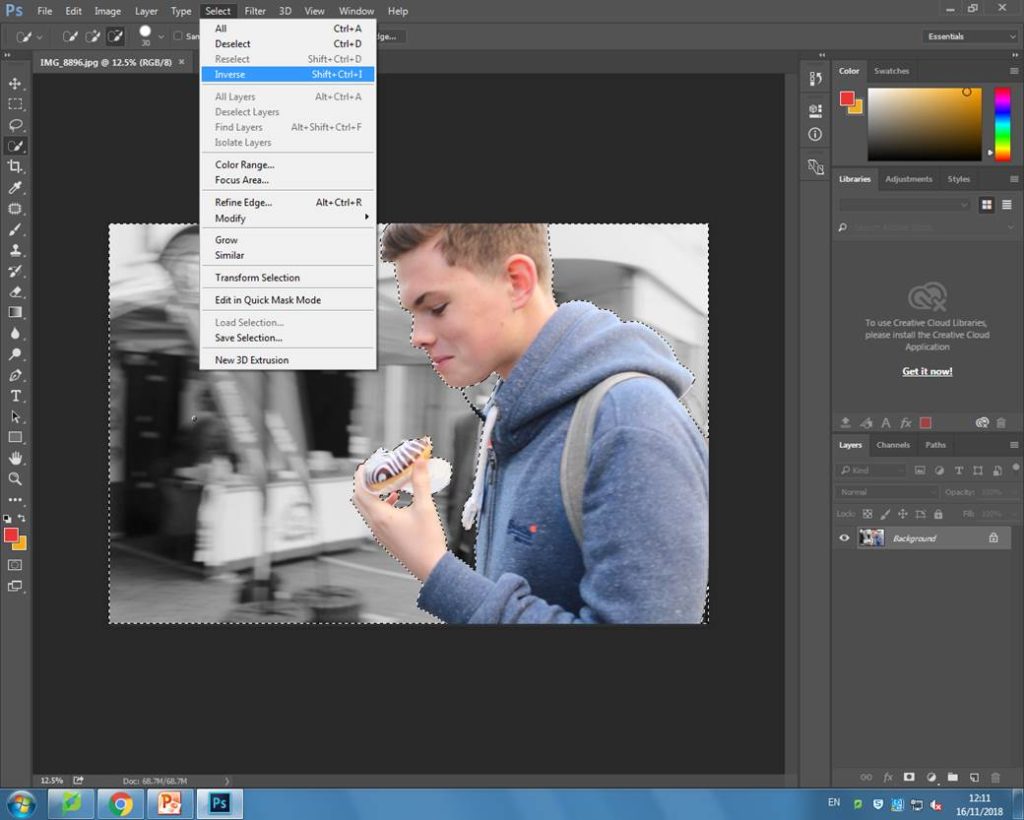
Firstly, I used the quick selection tool to select the person in the image. I then inversed it so that the entire area around his was selected instead. After, I turned the hue and saturation right down while also decreasing the brightness a tiny bit. Below is my final outcome:
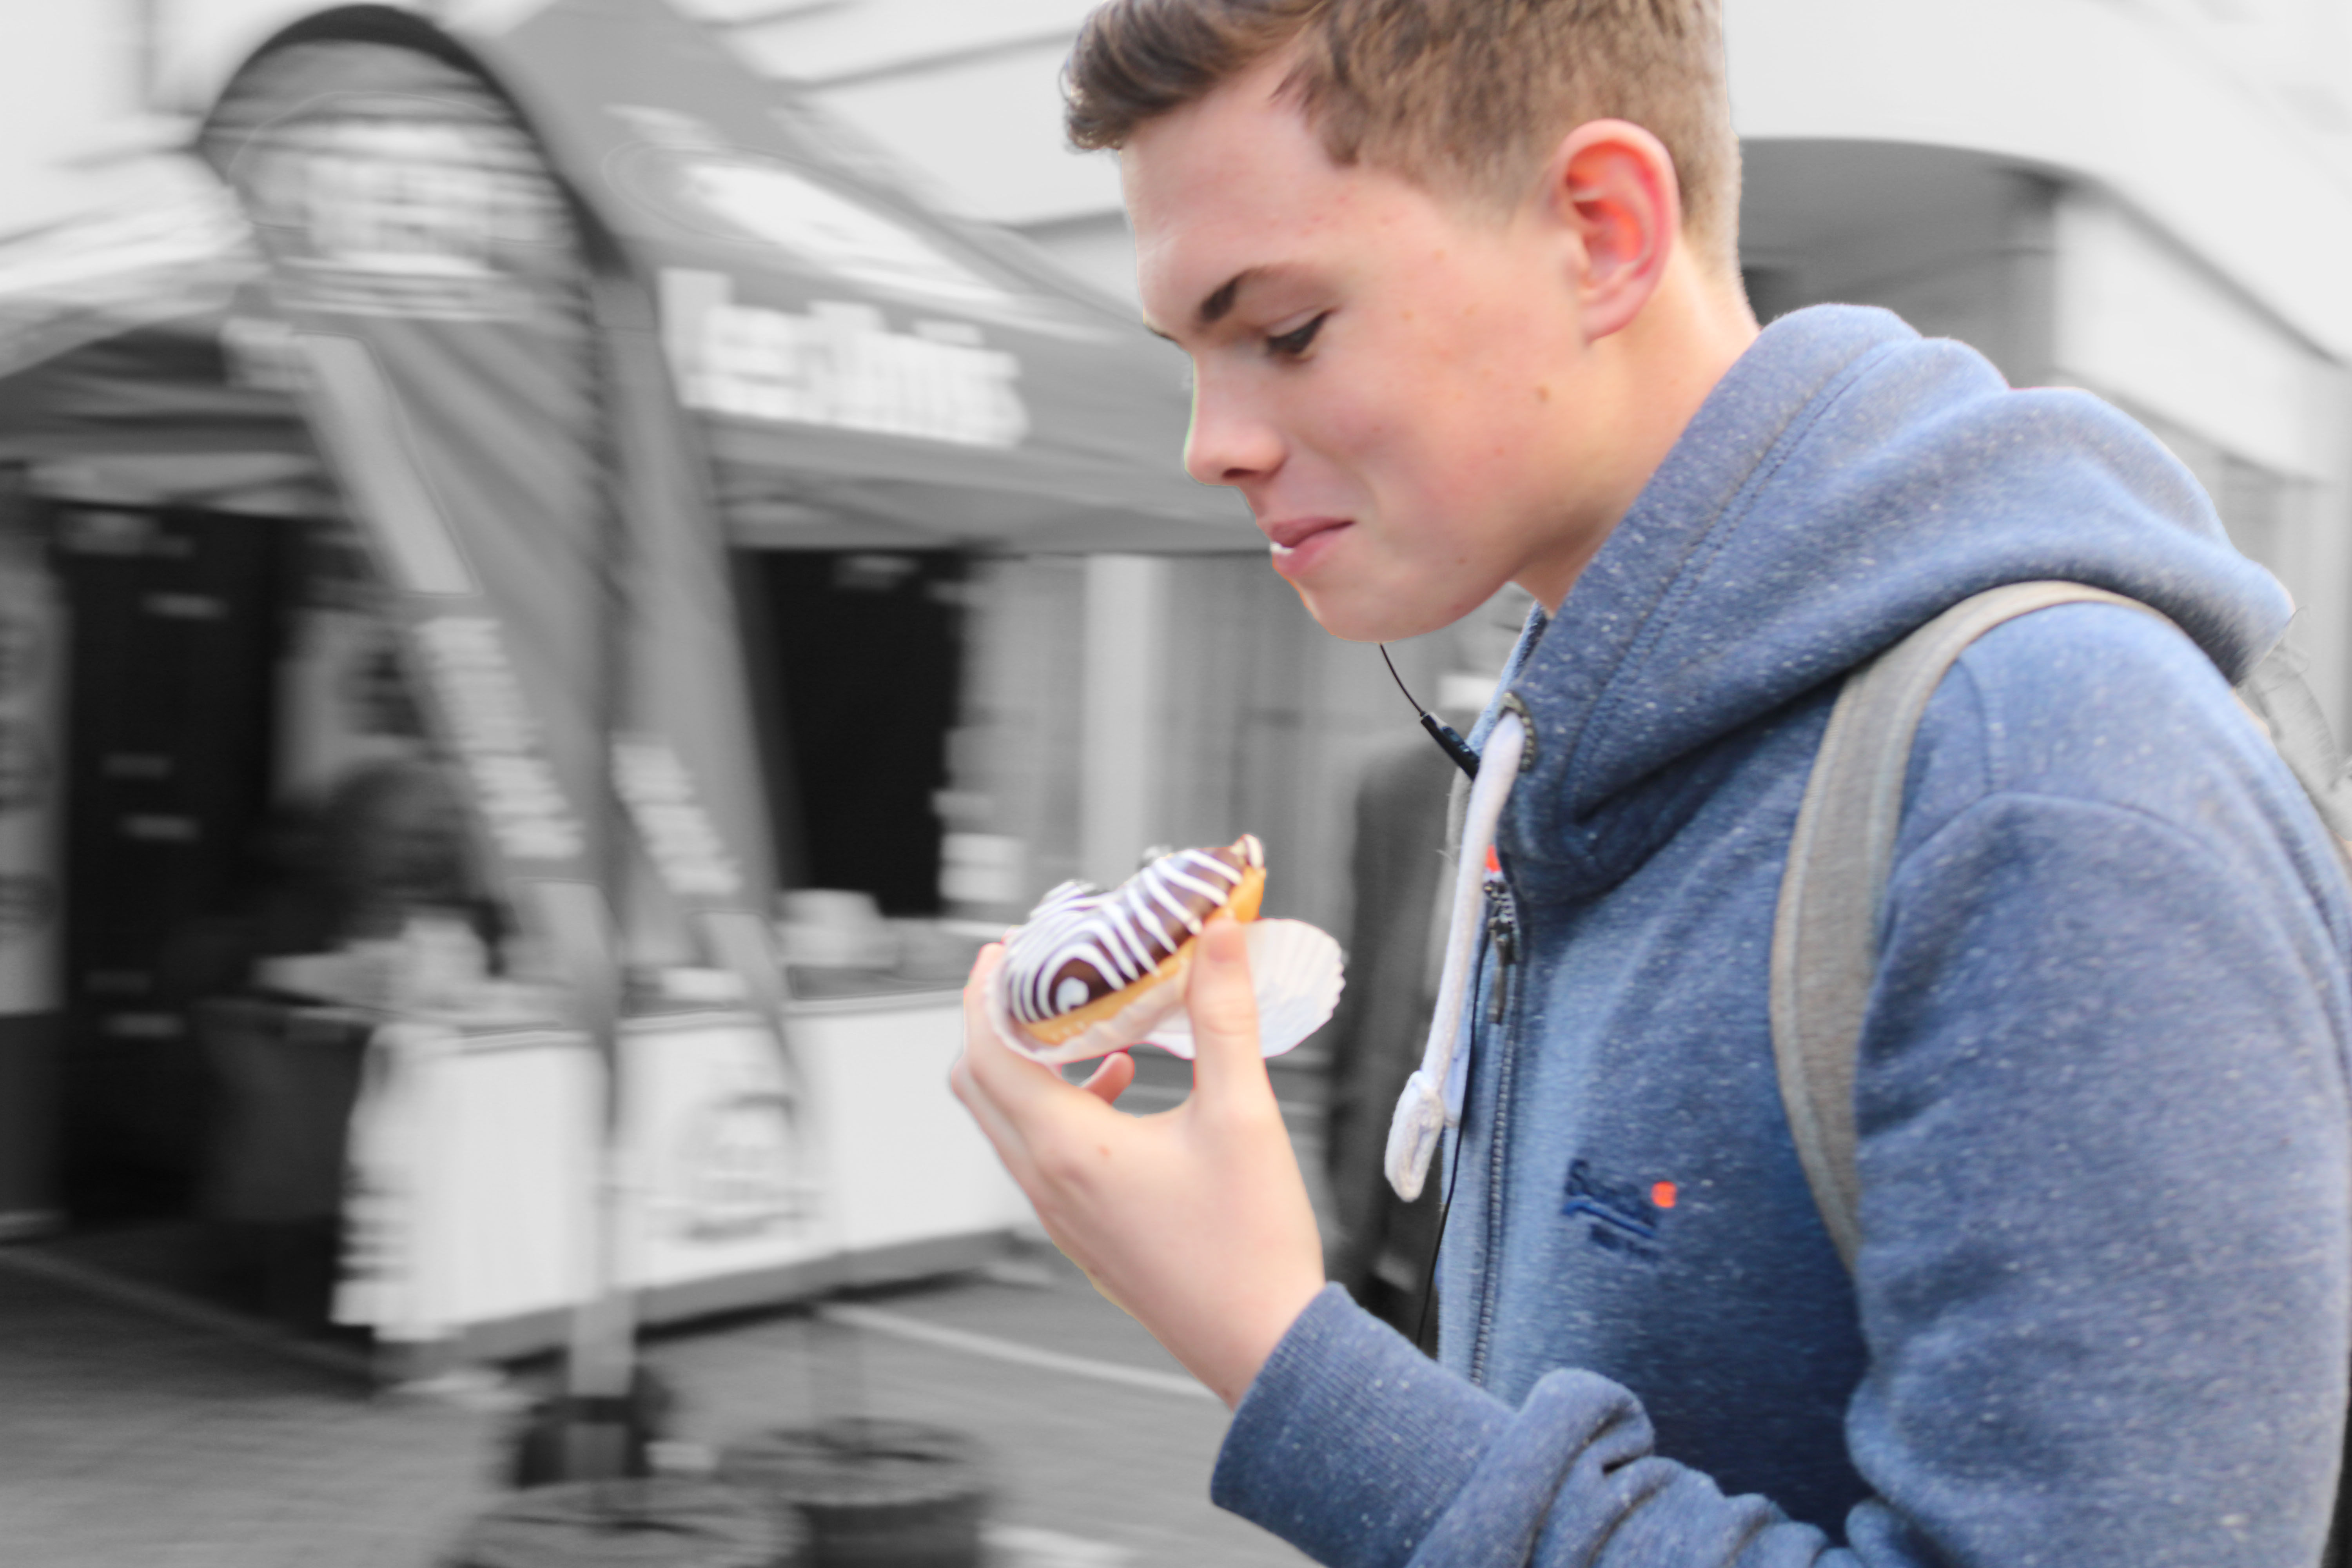
The reason that I thought I would do this is because it would make the person stand out more against the plain background. I thought this would be a good idea because it would help to bring out people’s personalities and individuality out a lot more as that is what I personally thinks makes street photography interesting.
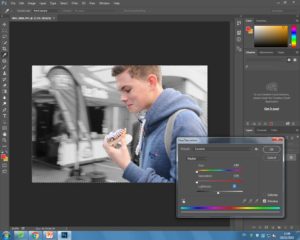
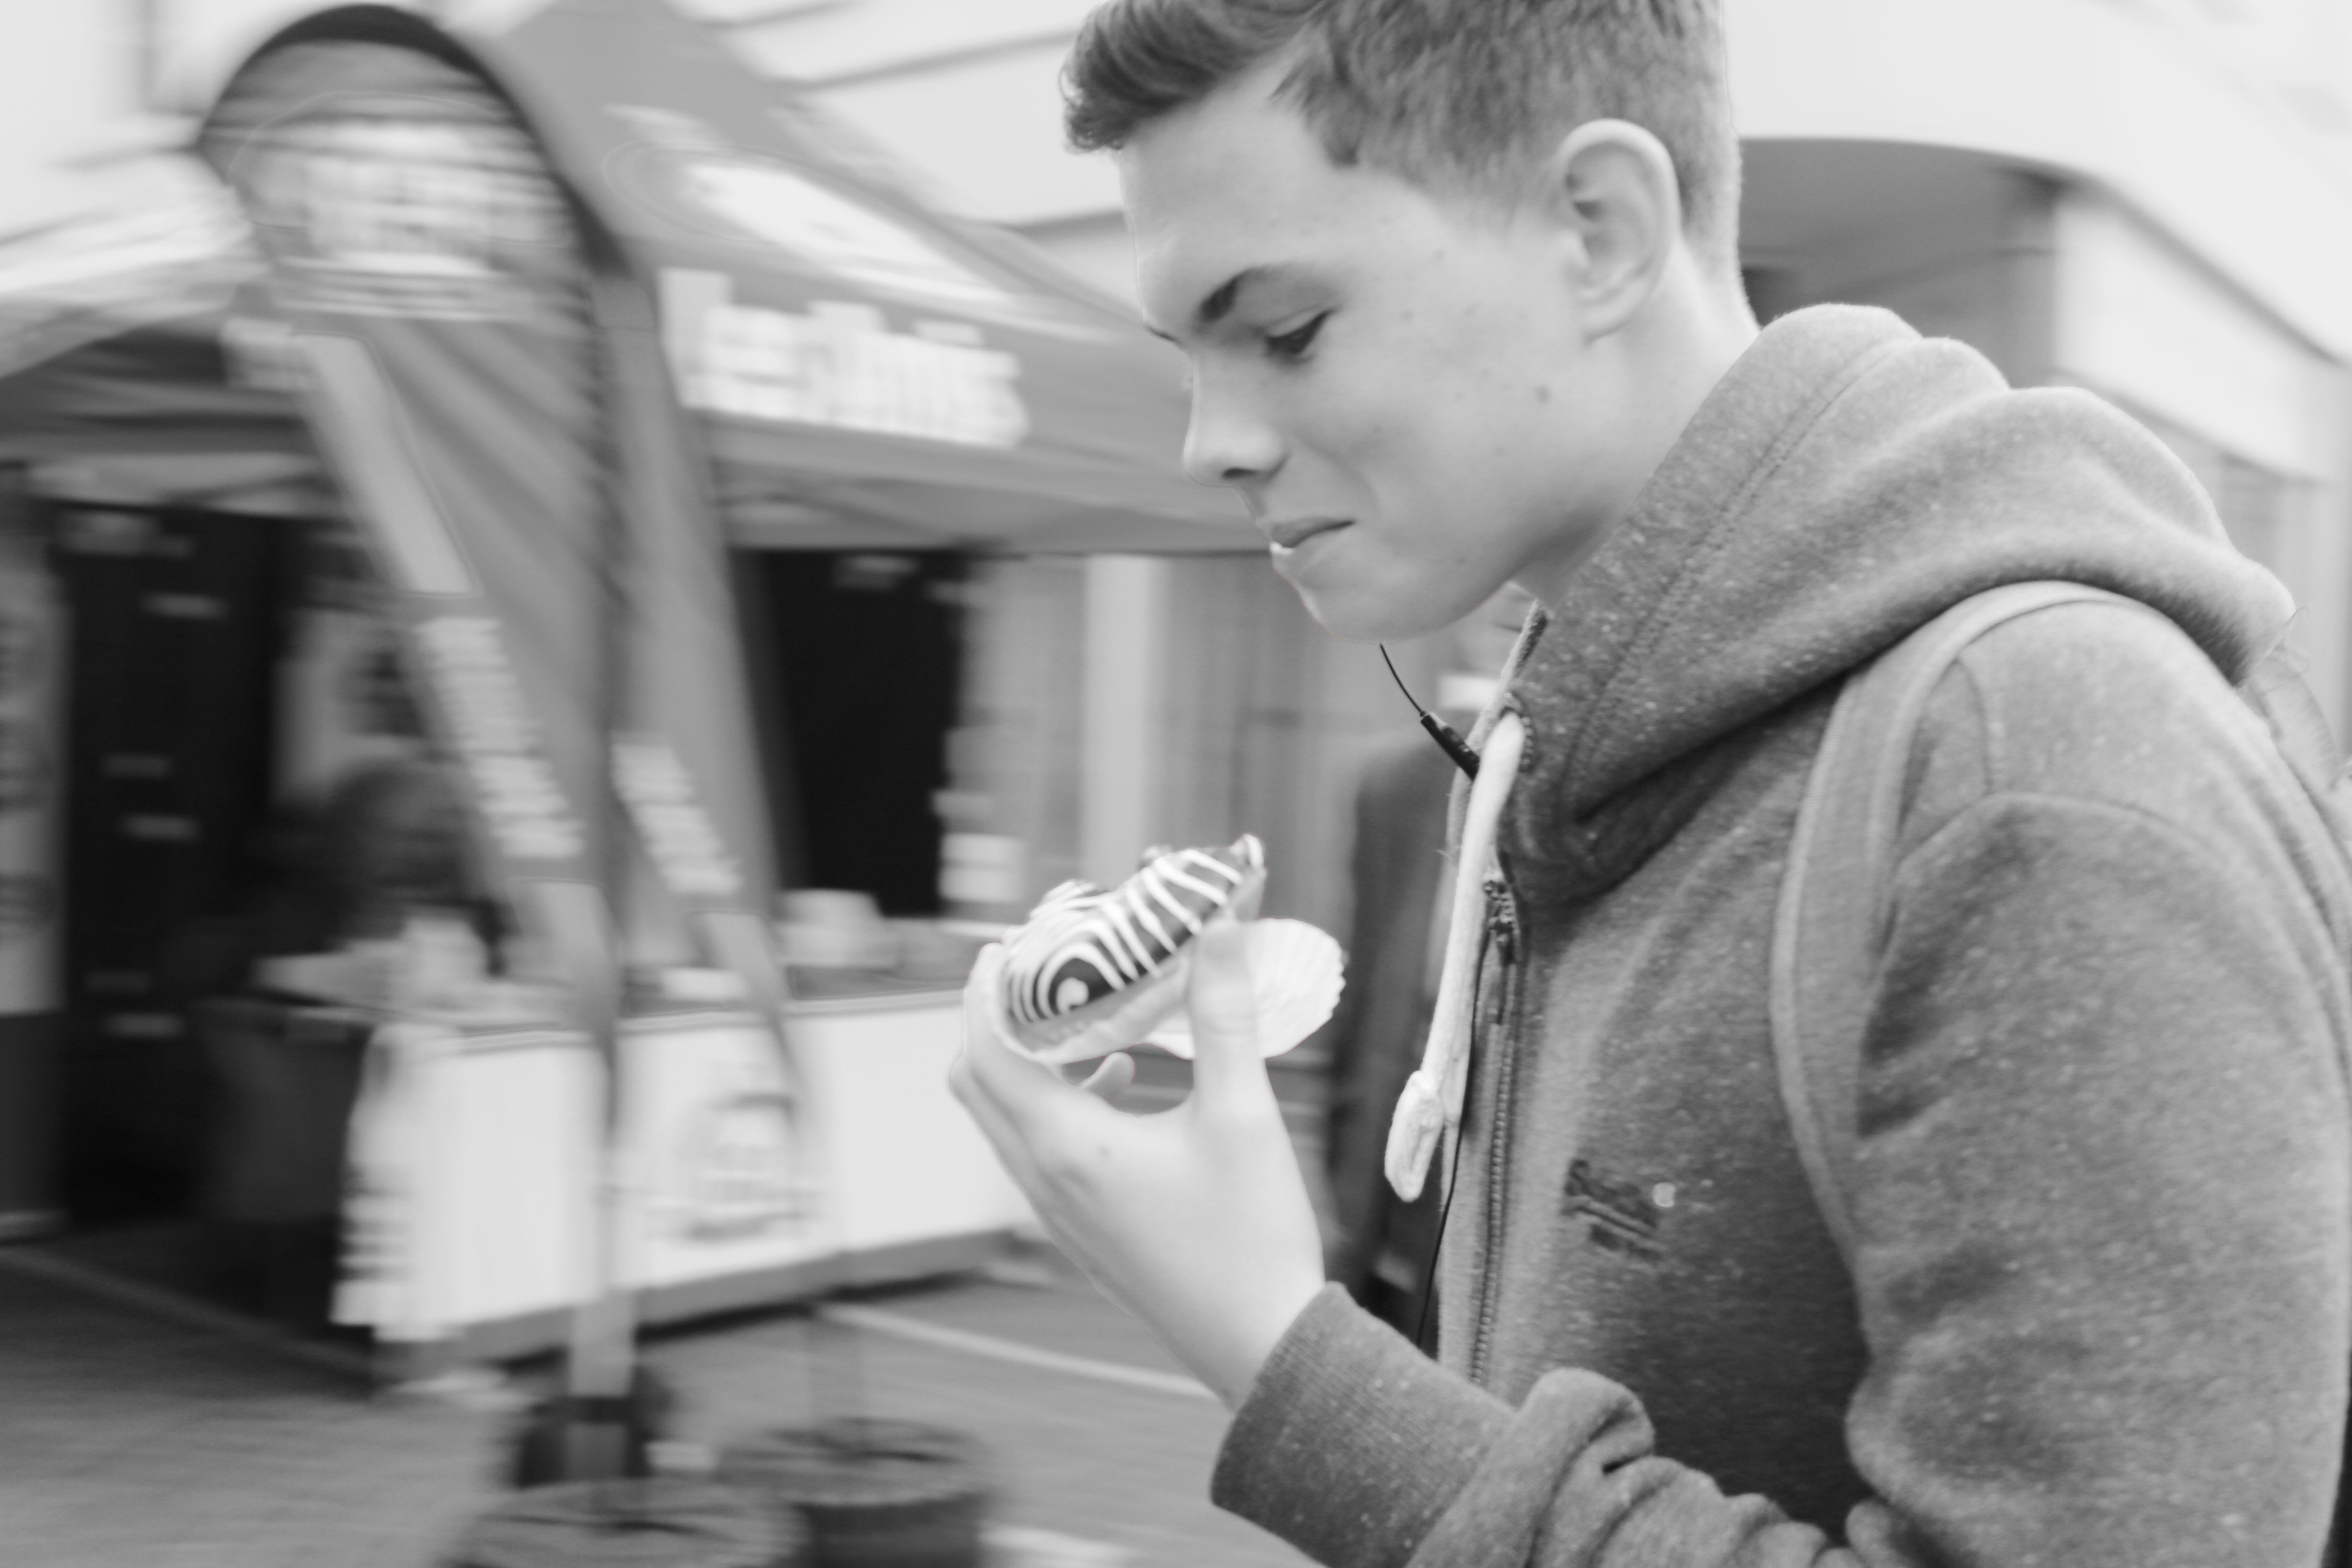
I also wanted to experiment with making the entire photo black and white also as I thought this could make my image look more like the ones Sander took. To do this i inversed the selection again, so that it was around the person and turned the hue and saturation right down. I kept the brightness at 0 so that the person would still slightly stand out, but not as much as before.
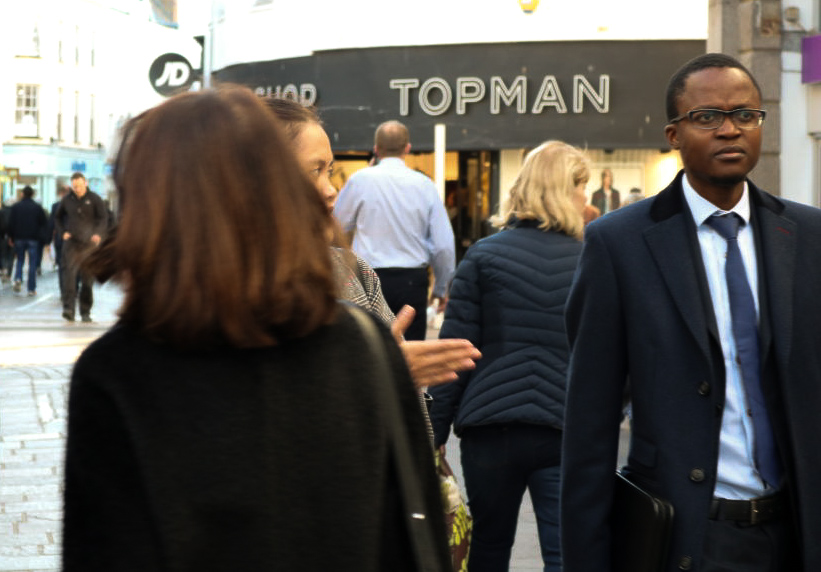
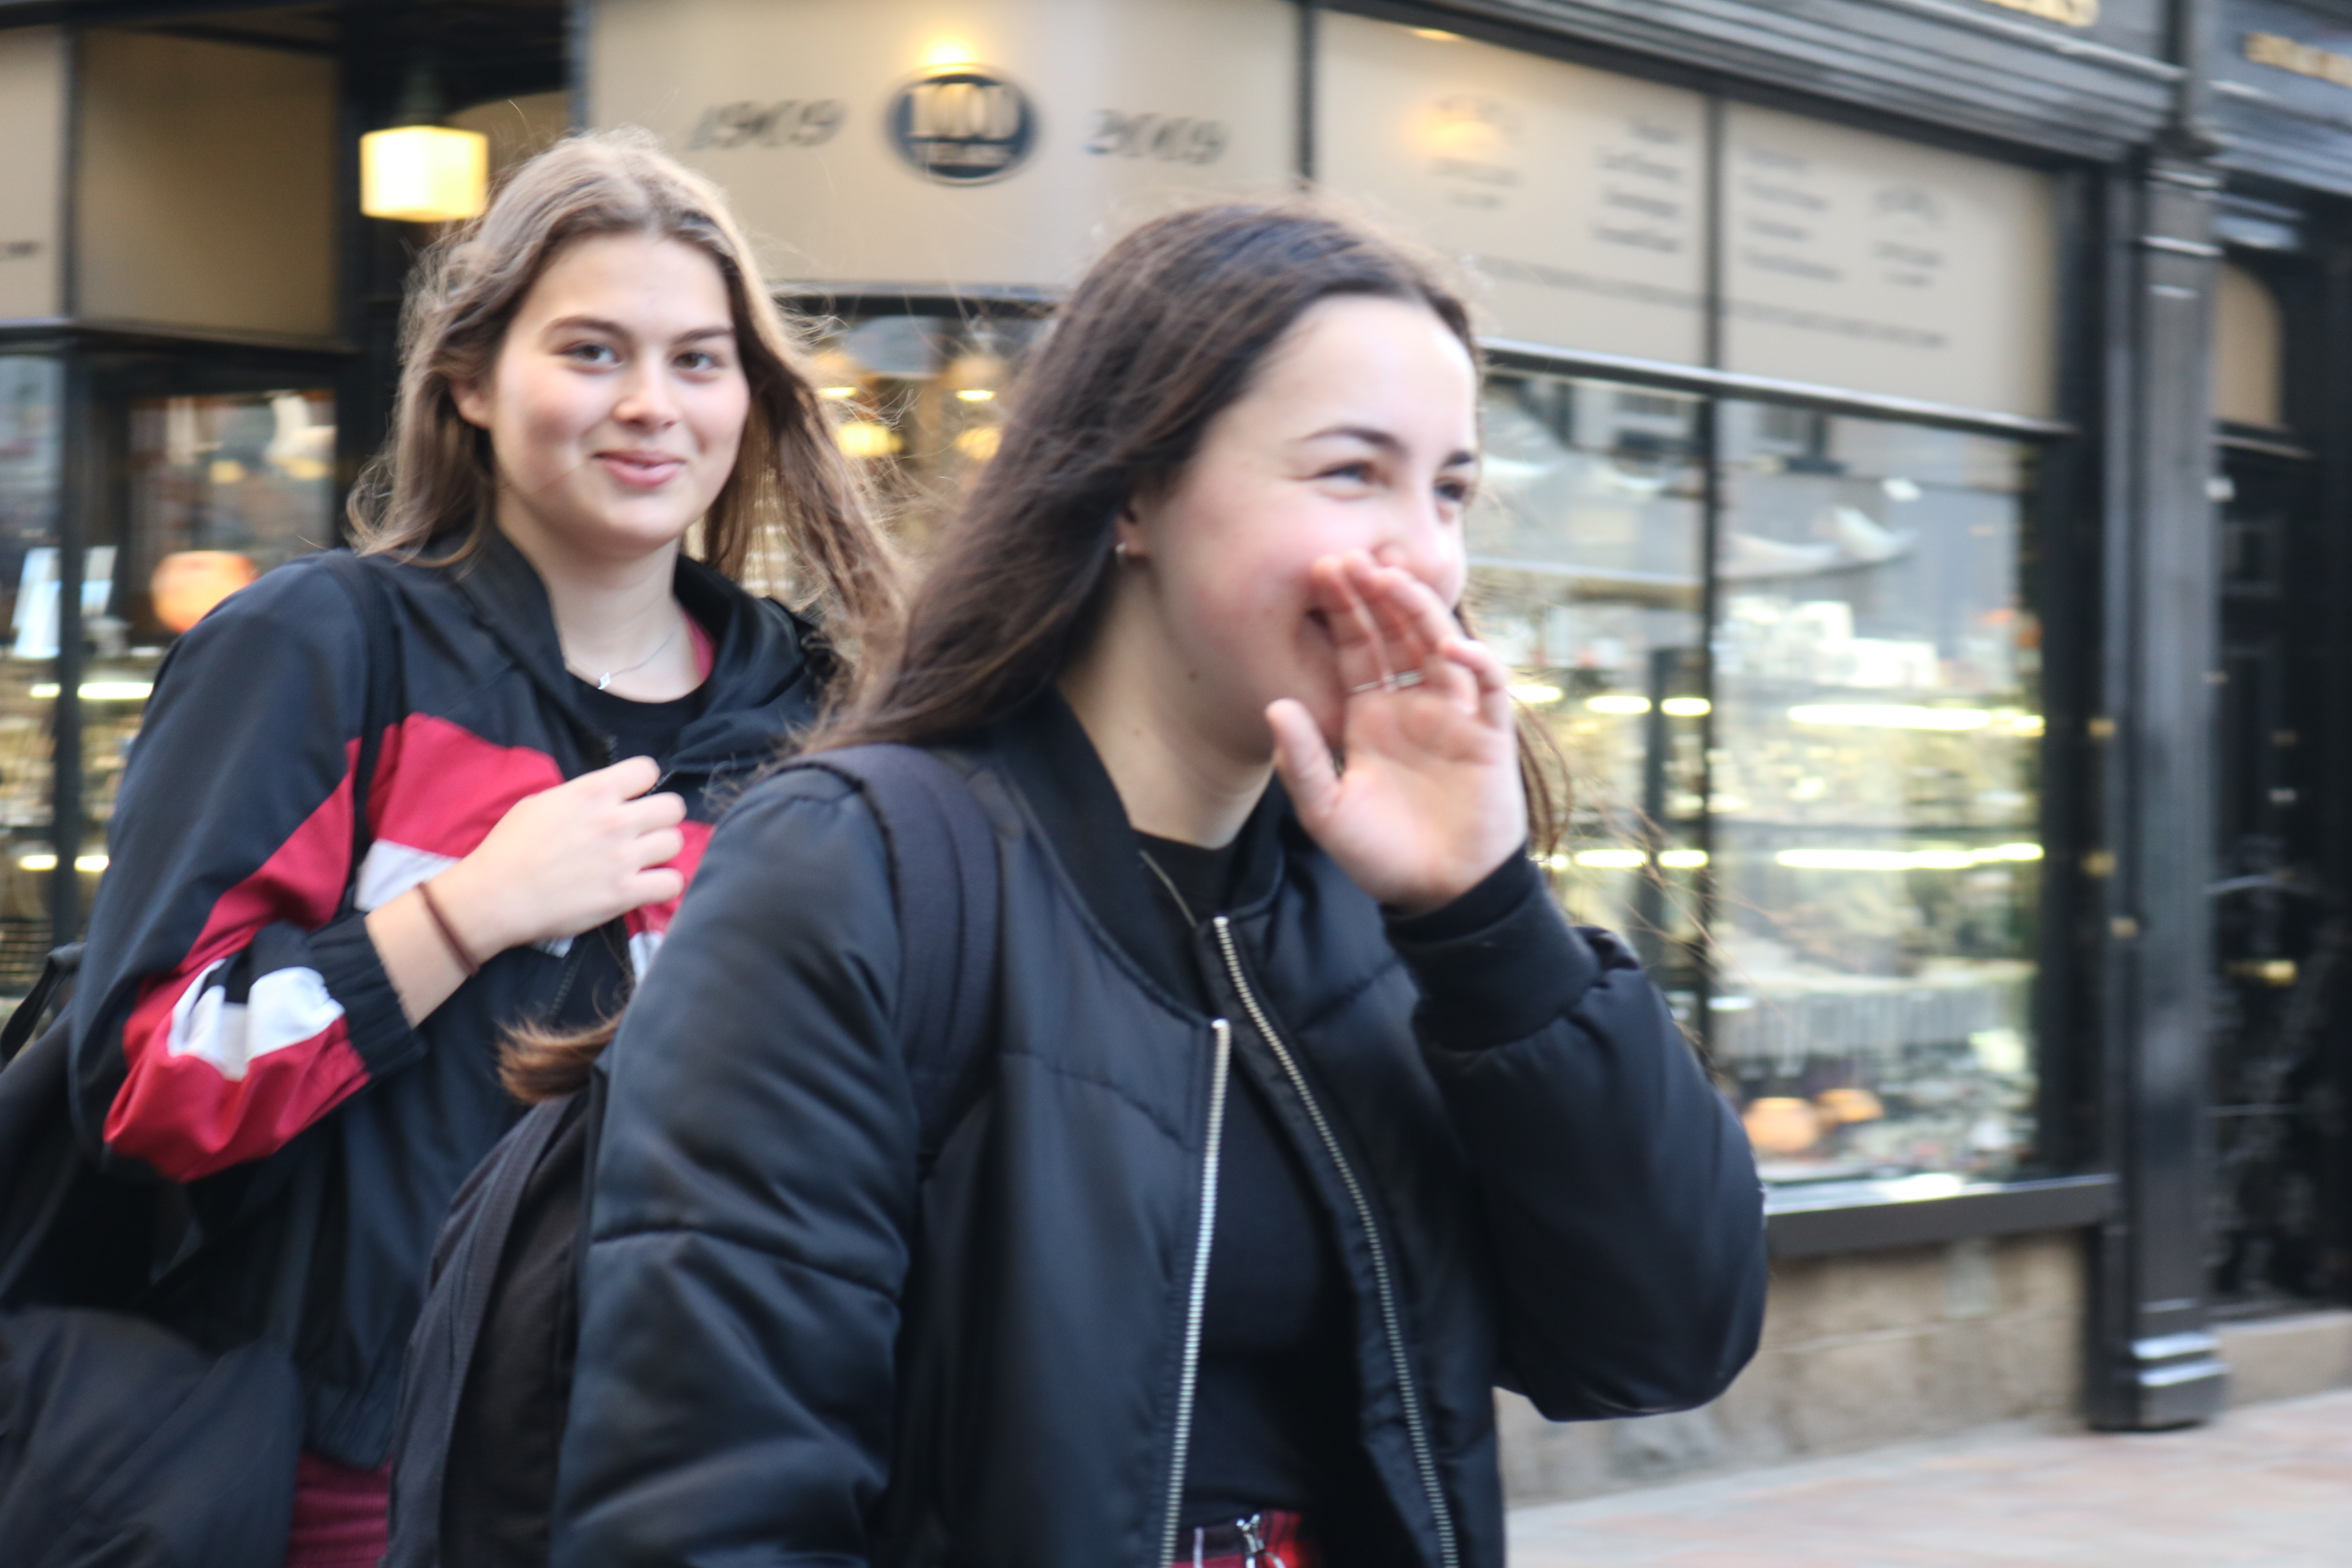
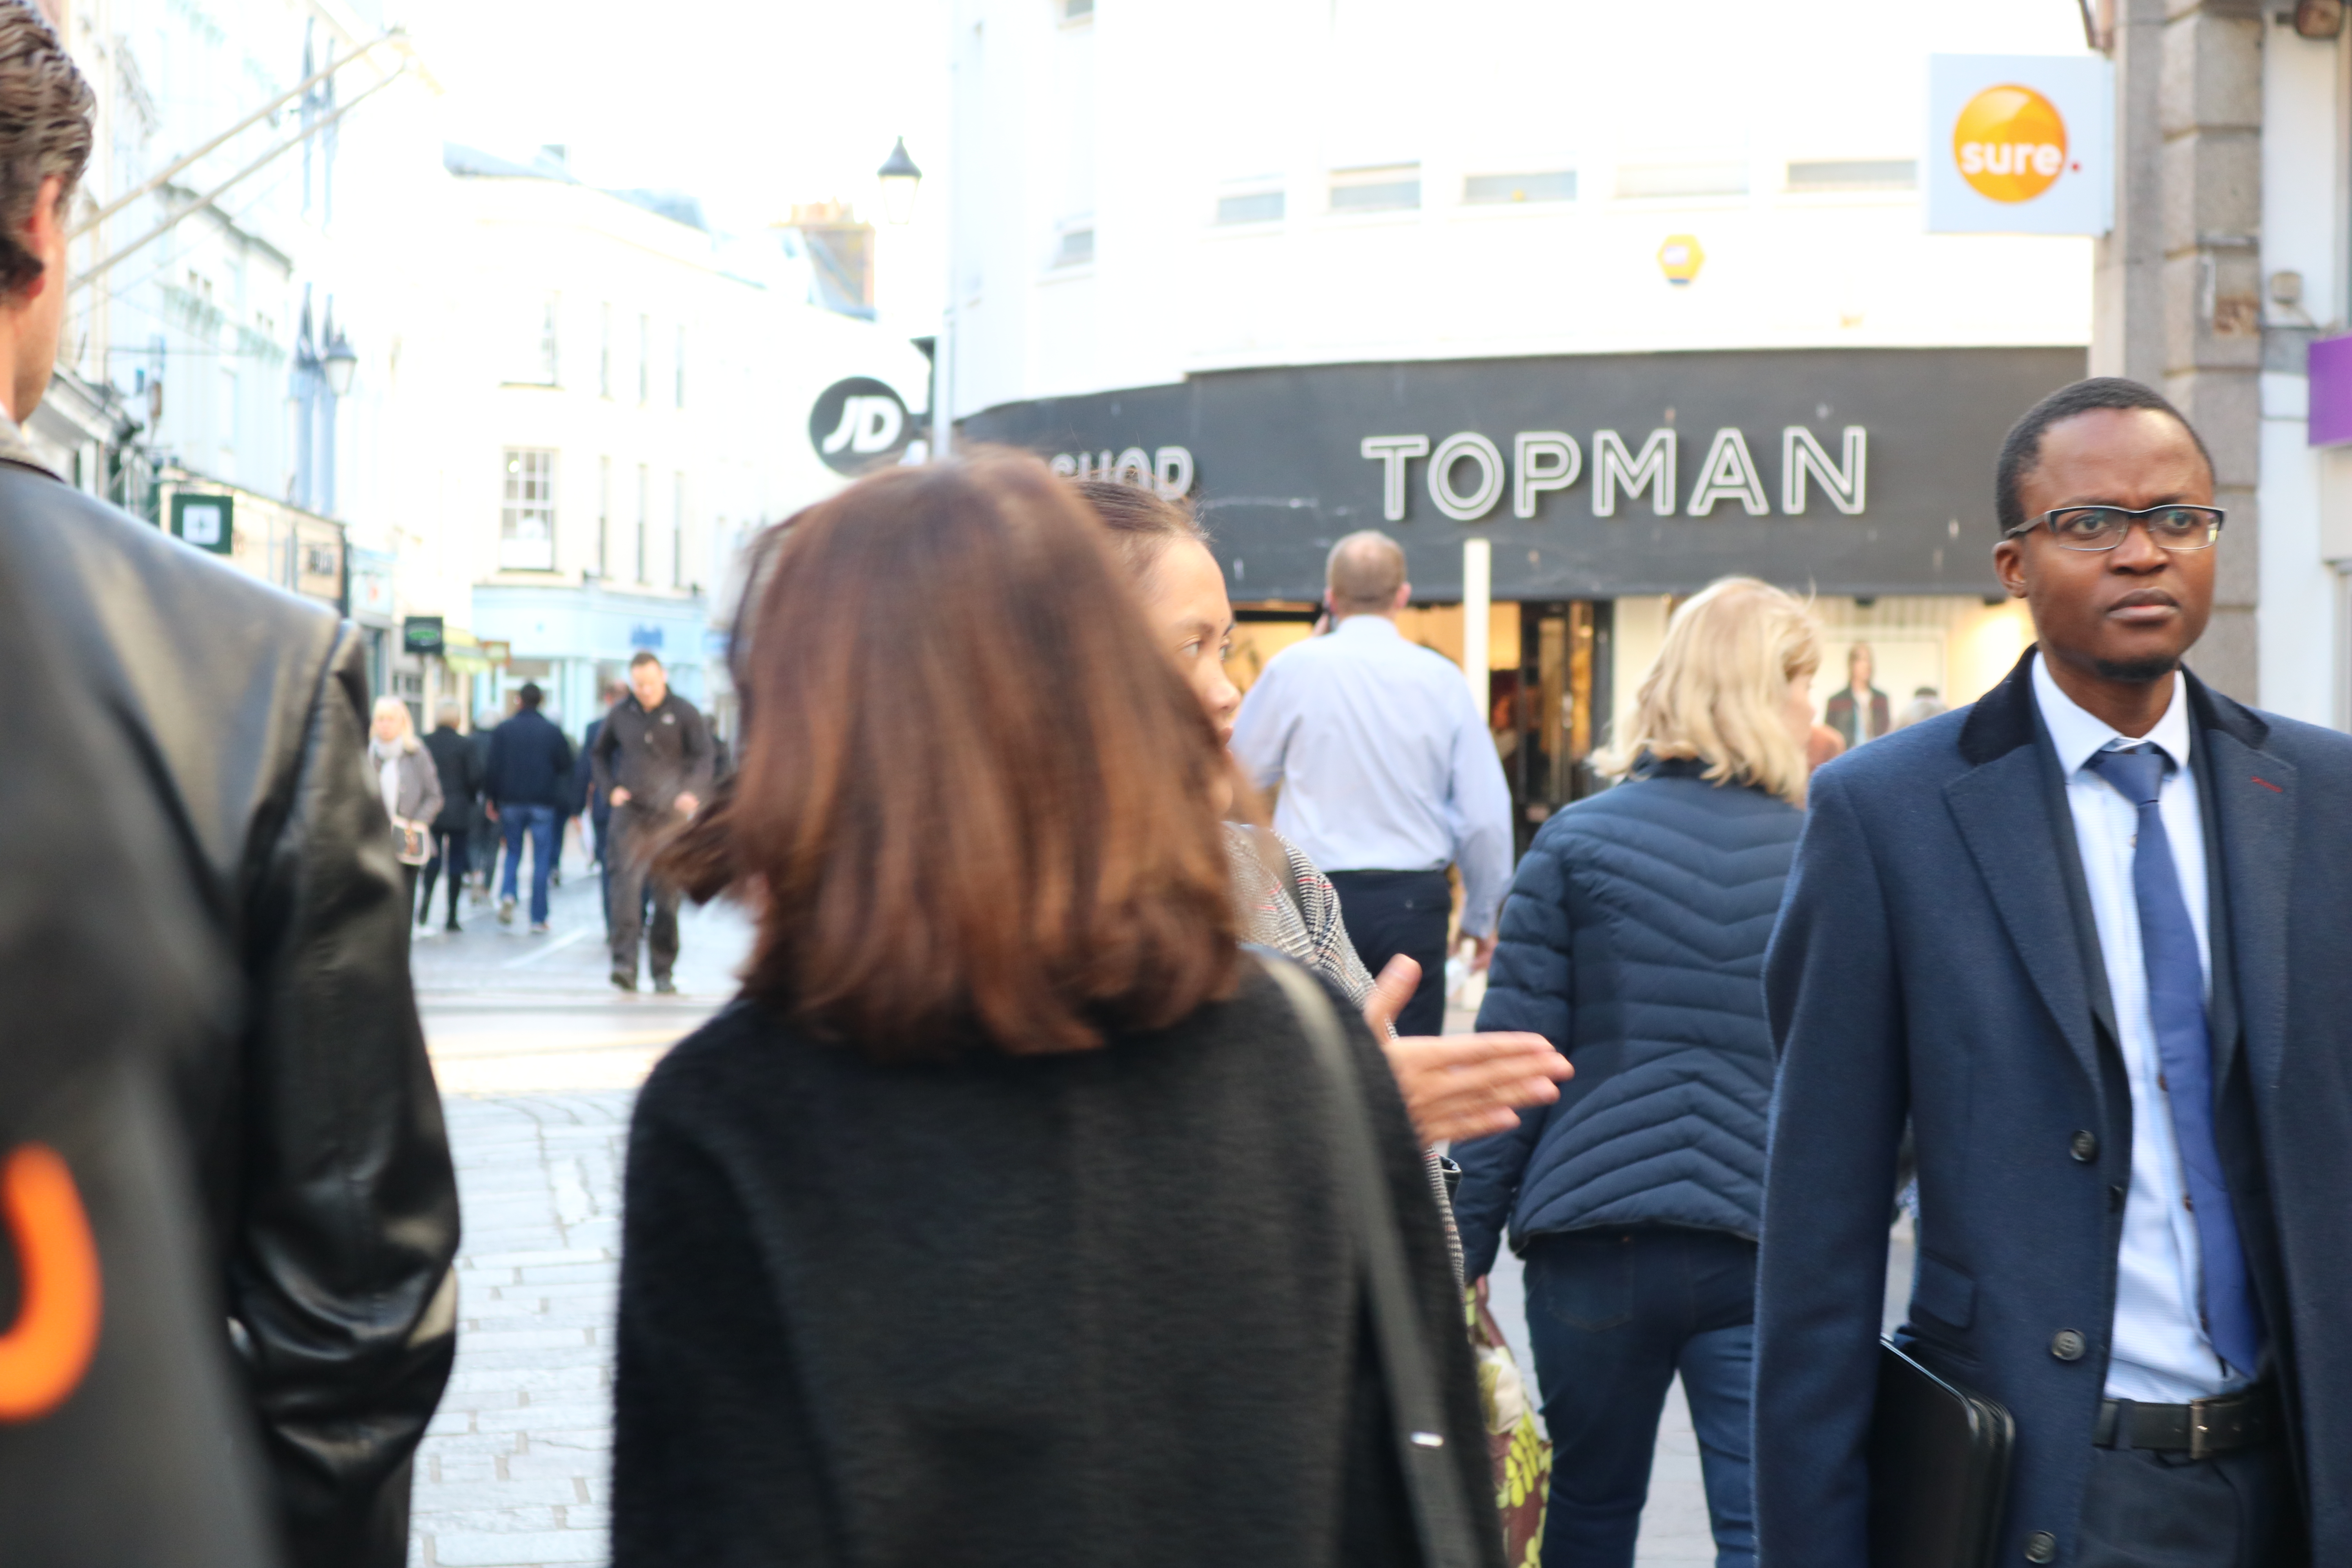
Editing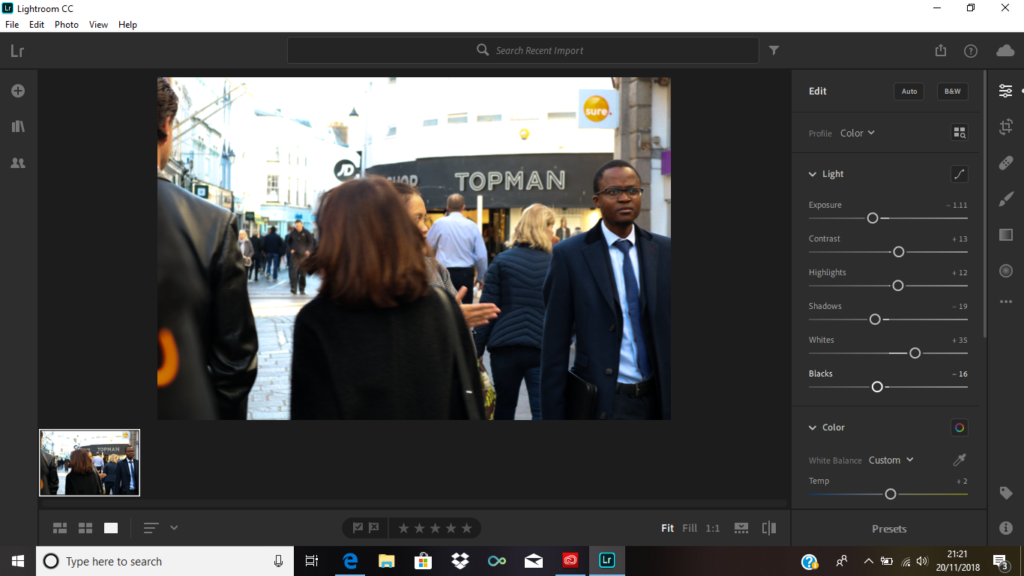 I edited this image using Lightroom. As the image was overexposed along the top, I lowered the exposure, shadows and black shades and increased increased the contrast, highlights and whites. This helped not make the people in the image too overexposed.
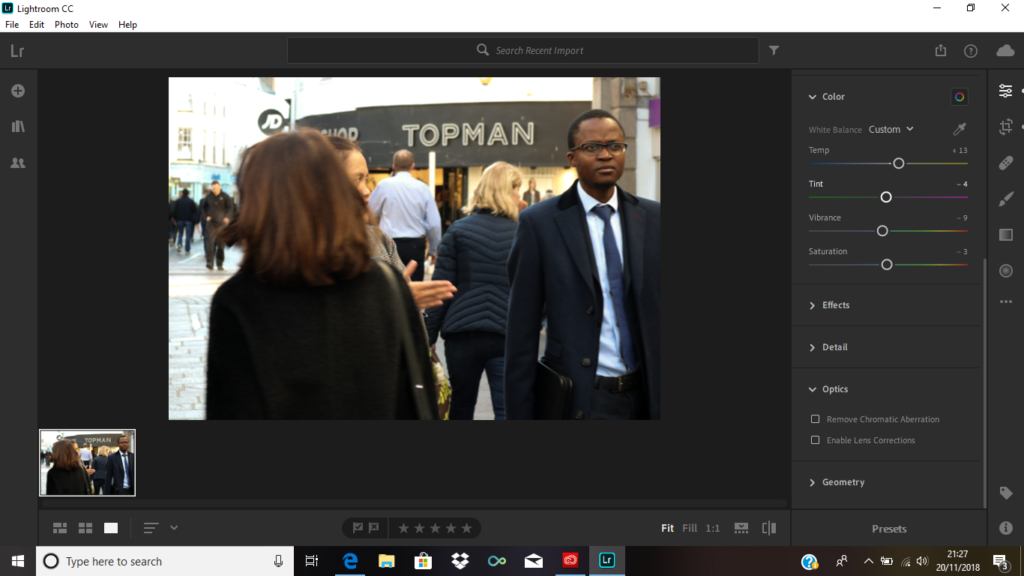 Lastly, I cropped the image to get rid of the left part as I thought it was quite unnecessary since it was quite distracting. This way you’re able to notice the main subject of the image more.