
In this blog post I will be showing you my favorite and final abstract photos. I had to chose a few photos of my favorite abstract photography that I had taken and place them in a file to be sent off to print. We had to choose photos to be printed in A5, A4 and A3. I didn’t chose an A3 picture as none of my photos showed enough colour, boldness, enough abstract, or textures/shapes.
But I feel like the 2 photos for A4 and the single photo for A5 are good enough for their size.
These photos were chosen for my A4 printing.
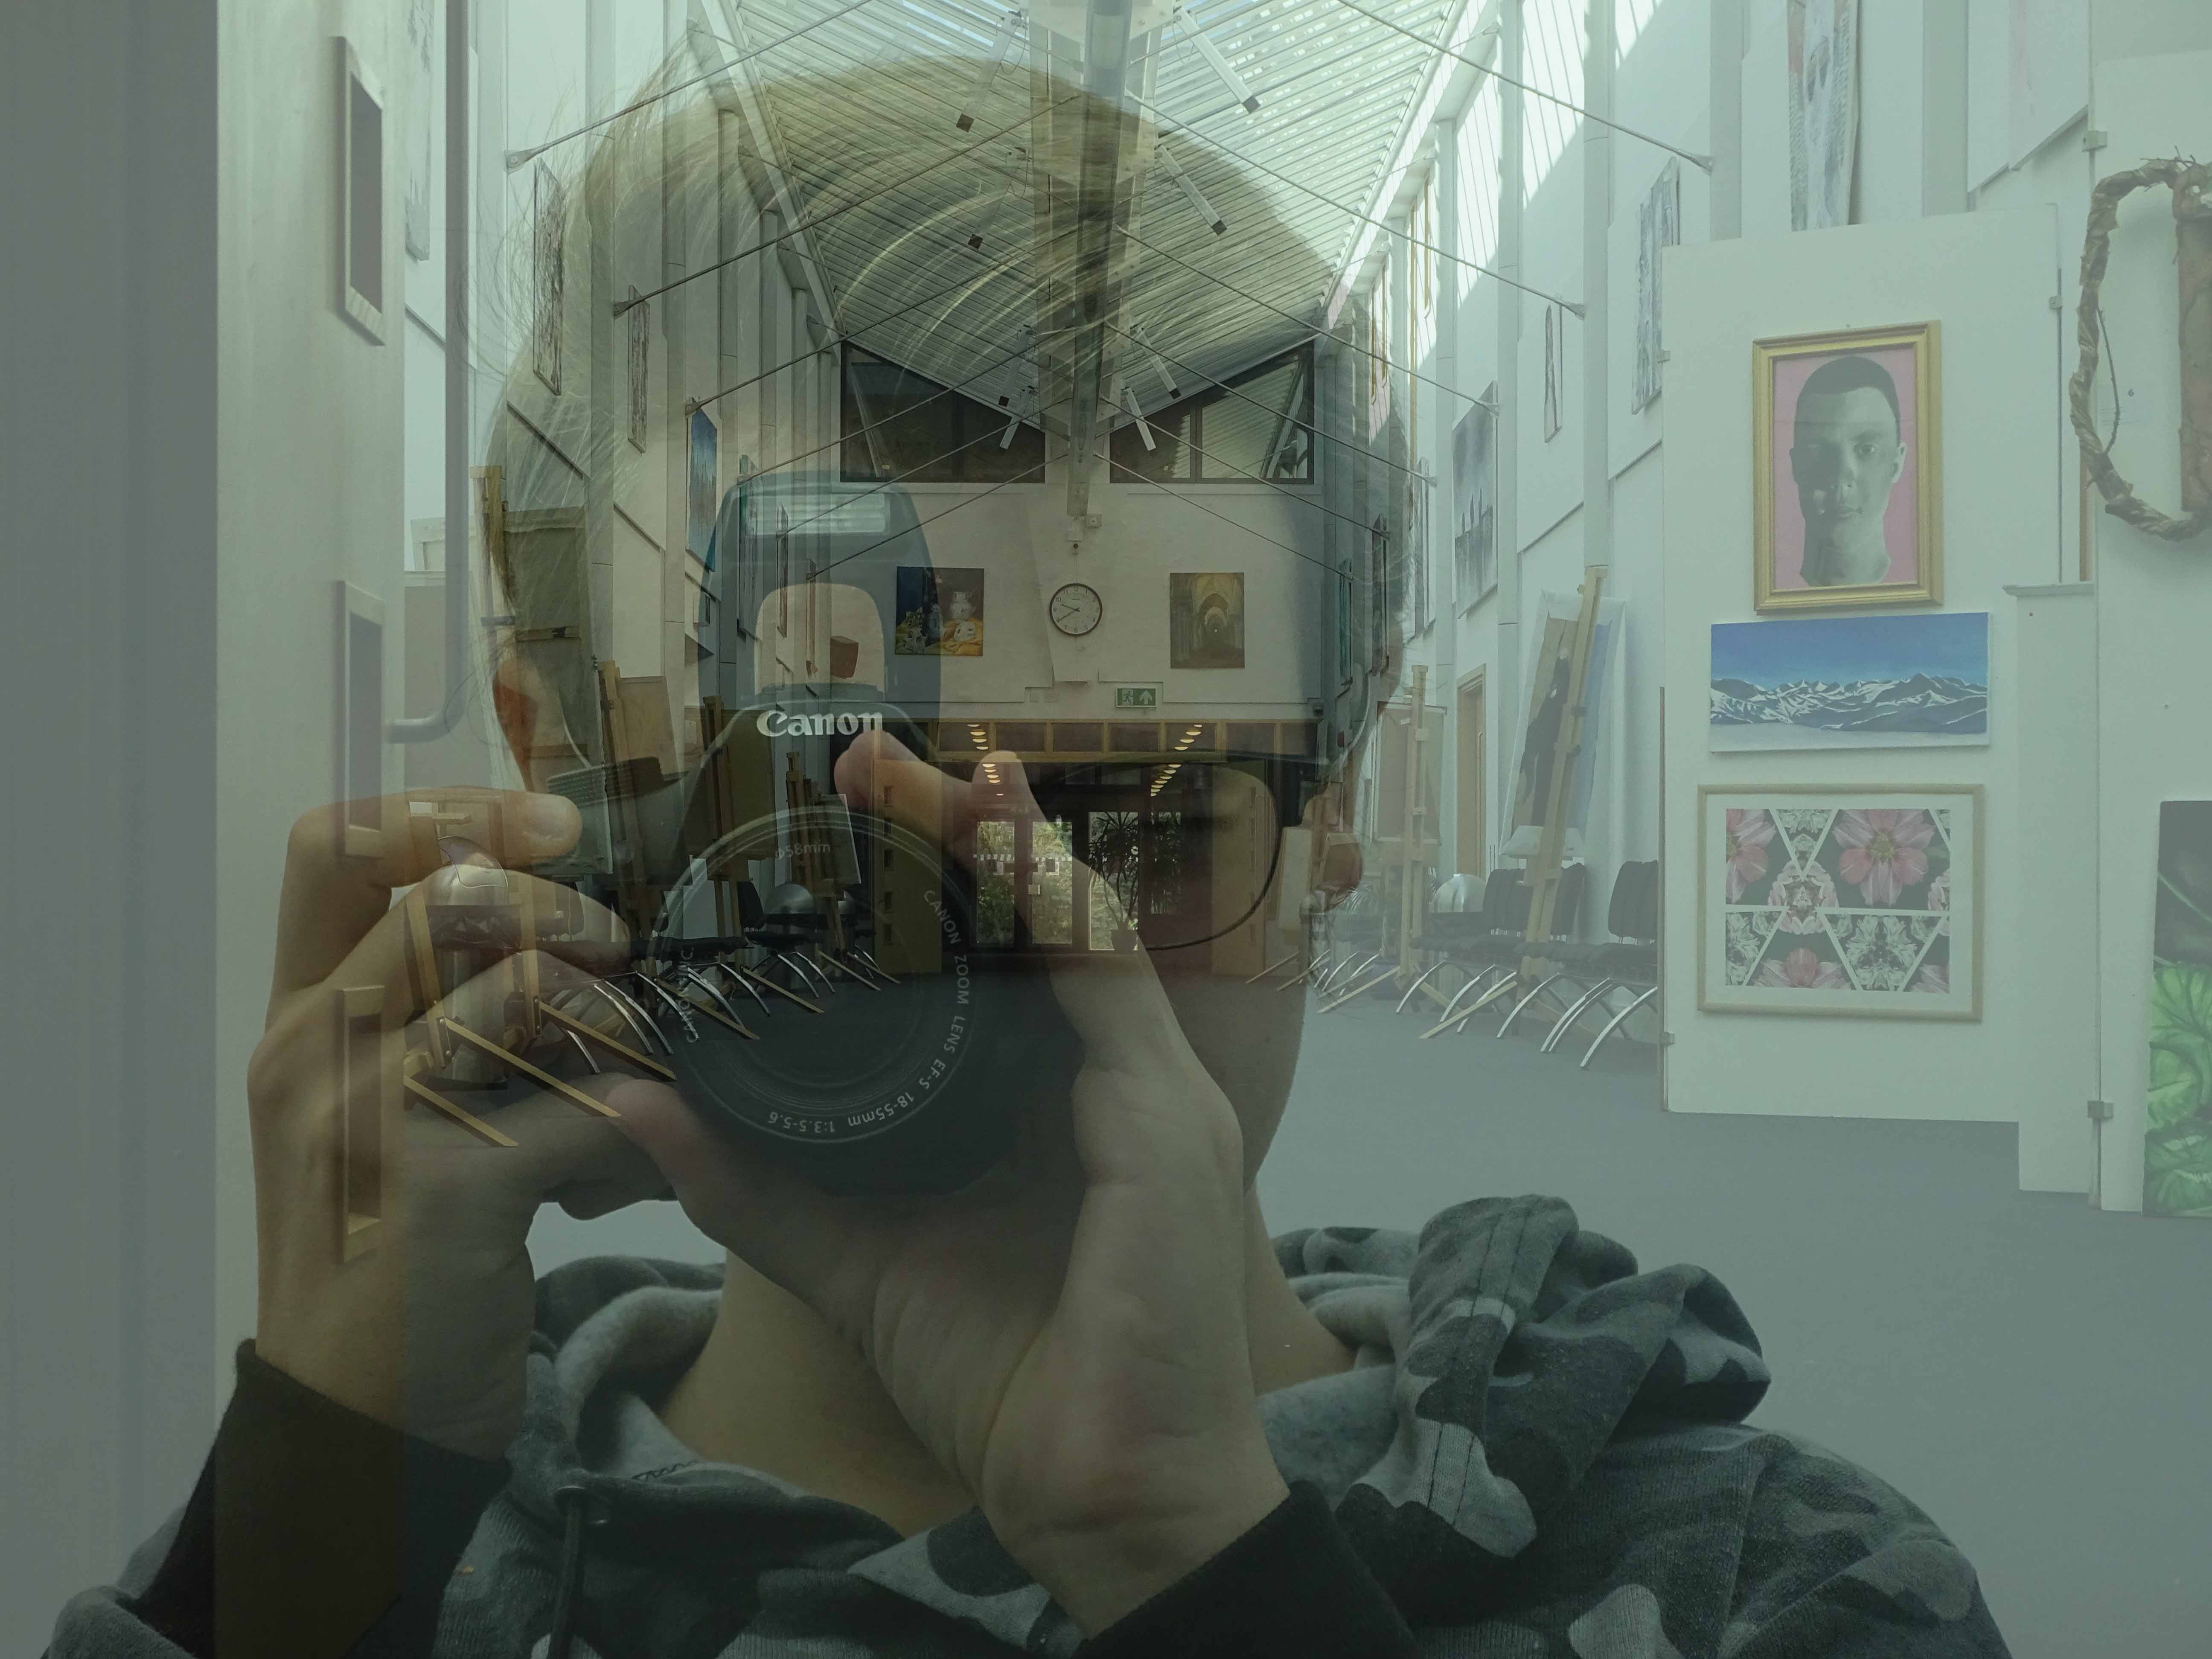
I really like these photos, because it shows good camera skills of portrait but also shows my ability of using Photoshop to create a double exposure effect. On the first photo I used a double layering effect to create the black and white but also to create a more deeper black and to show off the white a bit more.
On the second photo I kept the photos original without changing them, but I created the double exposure in a way which made it look like the person taking a photo of a school hallway with a reflection of glass. I created this effect by changing the opacity levels so that the portrait photo was slightly higher than the background photo of the school hall.
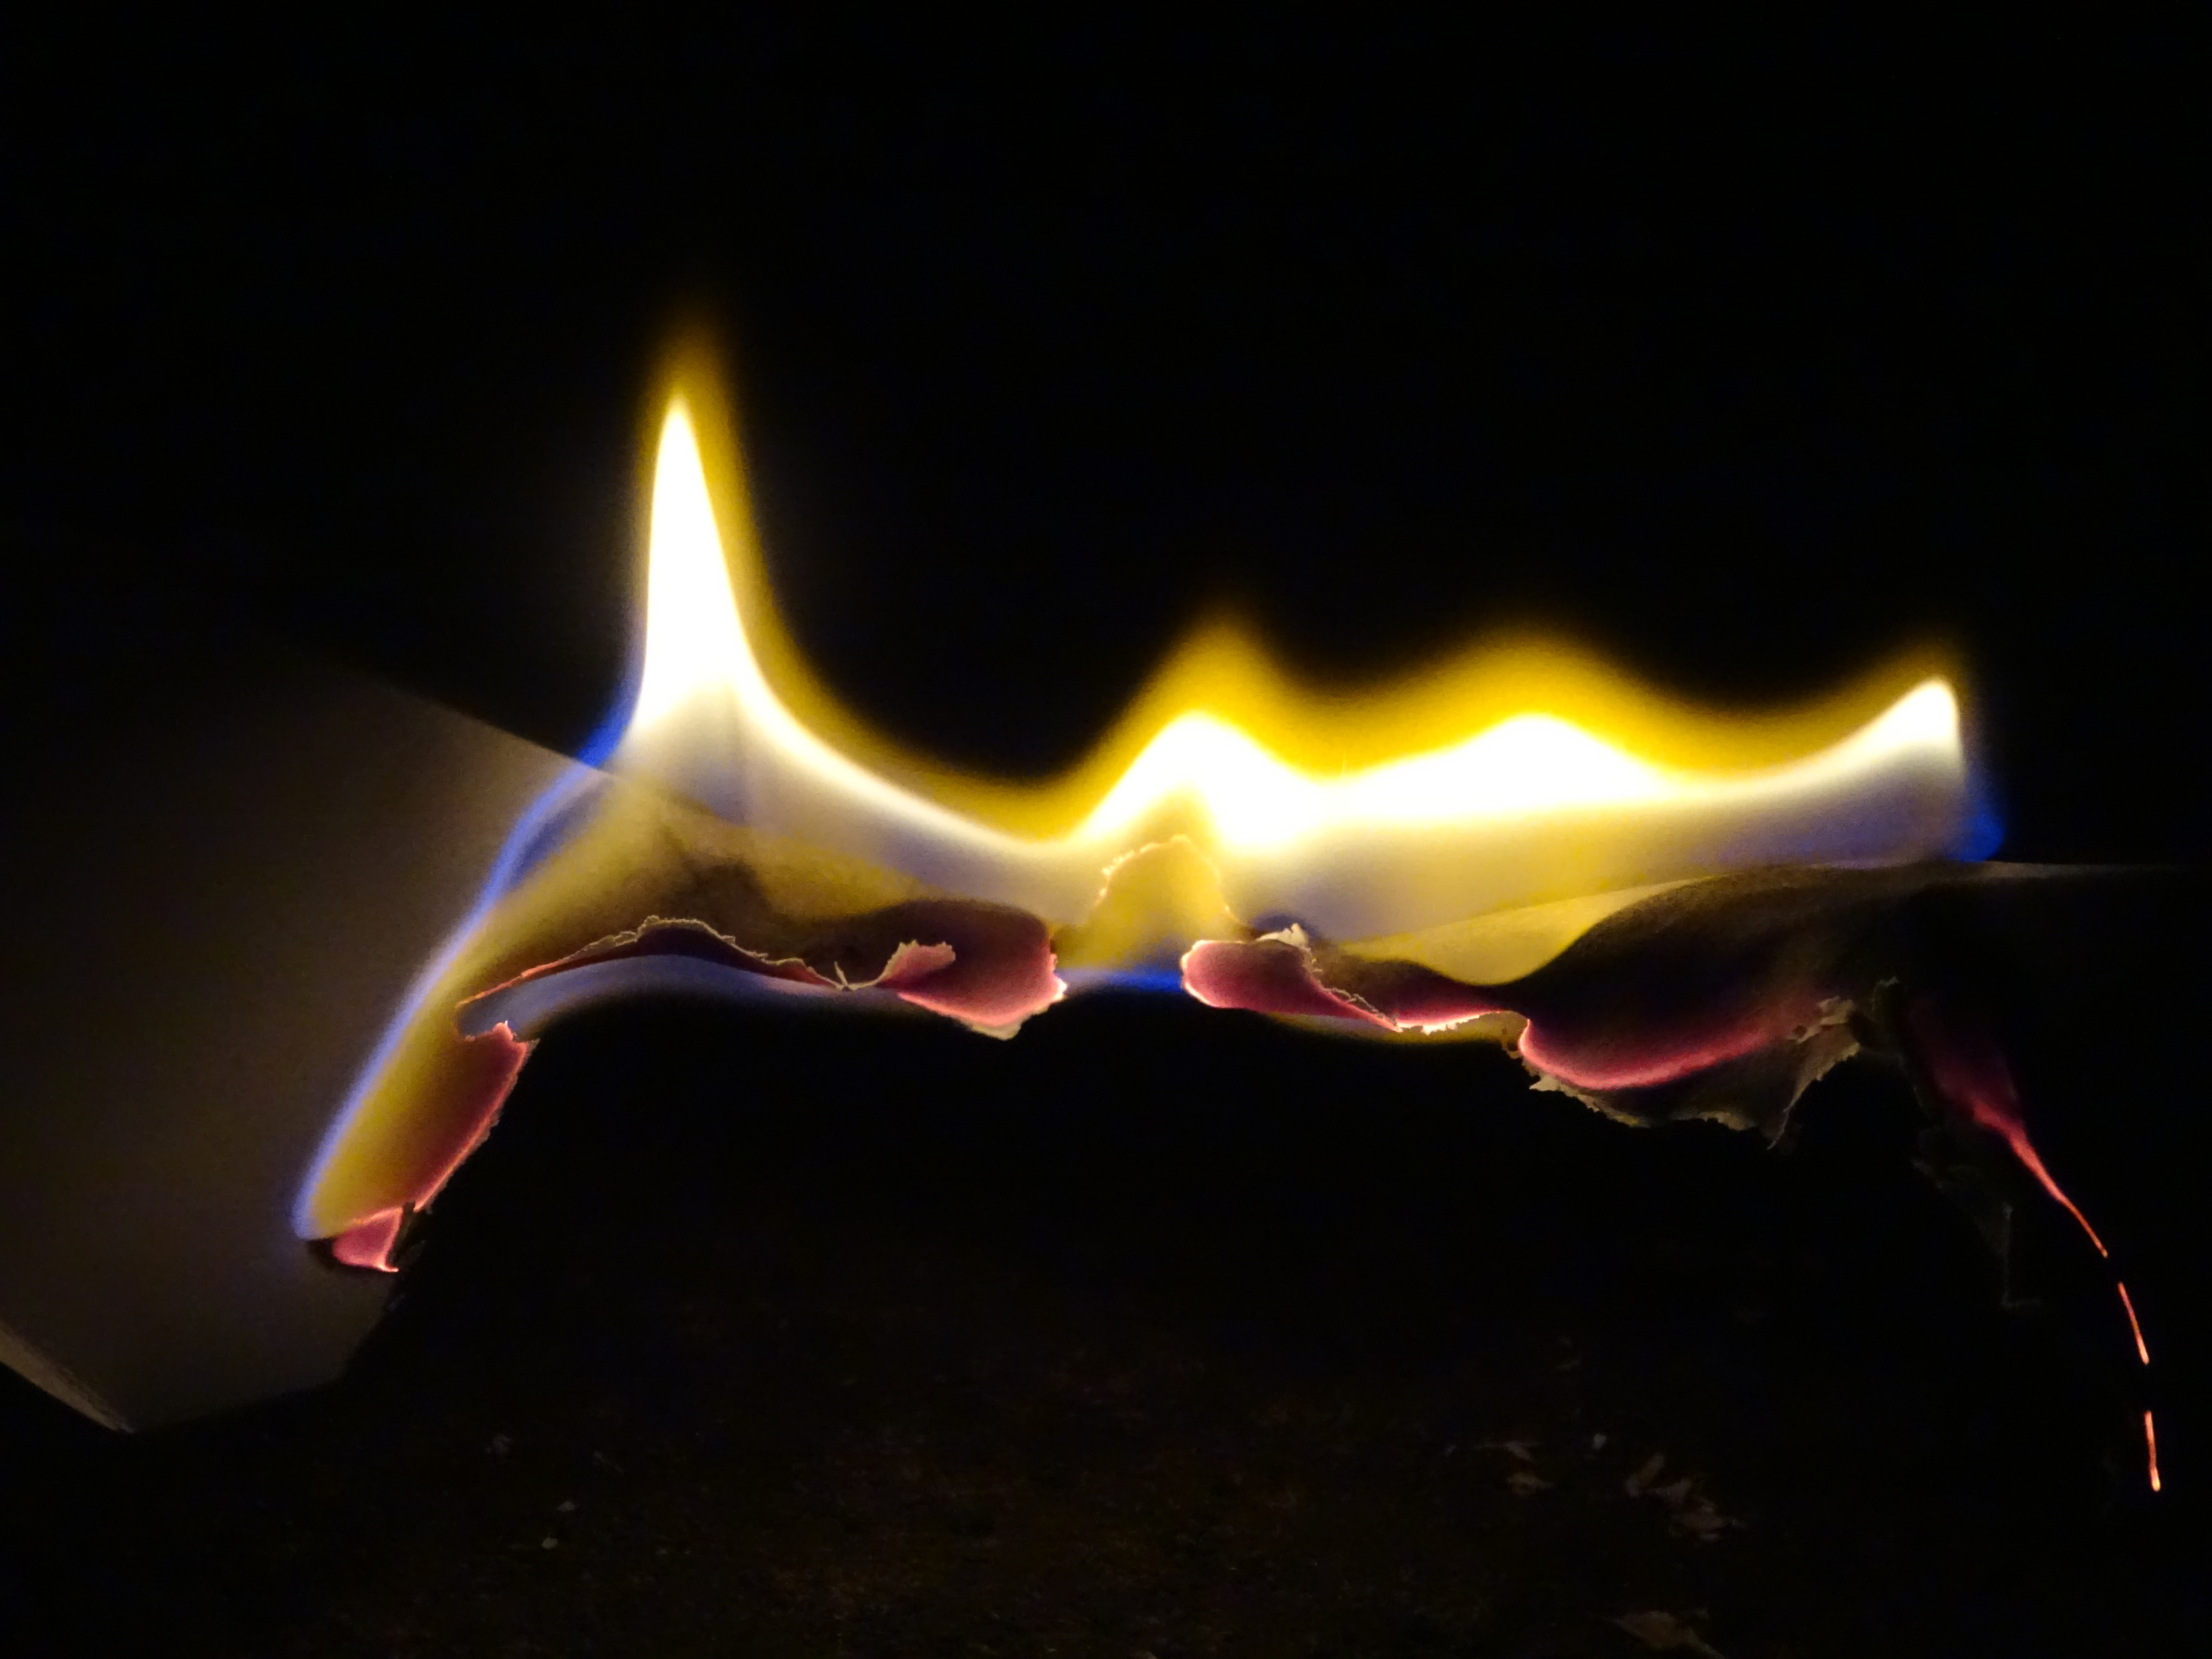
This next photo was one which I put forward to be printed in A5
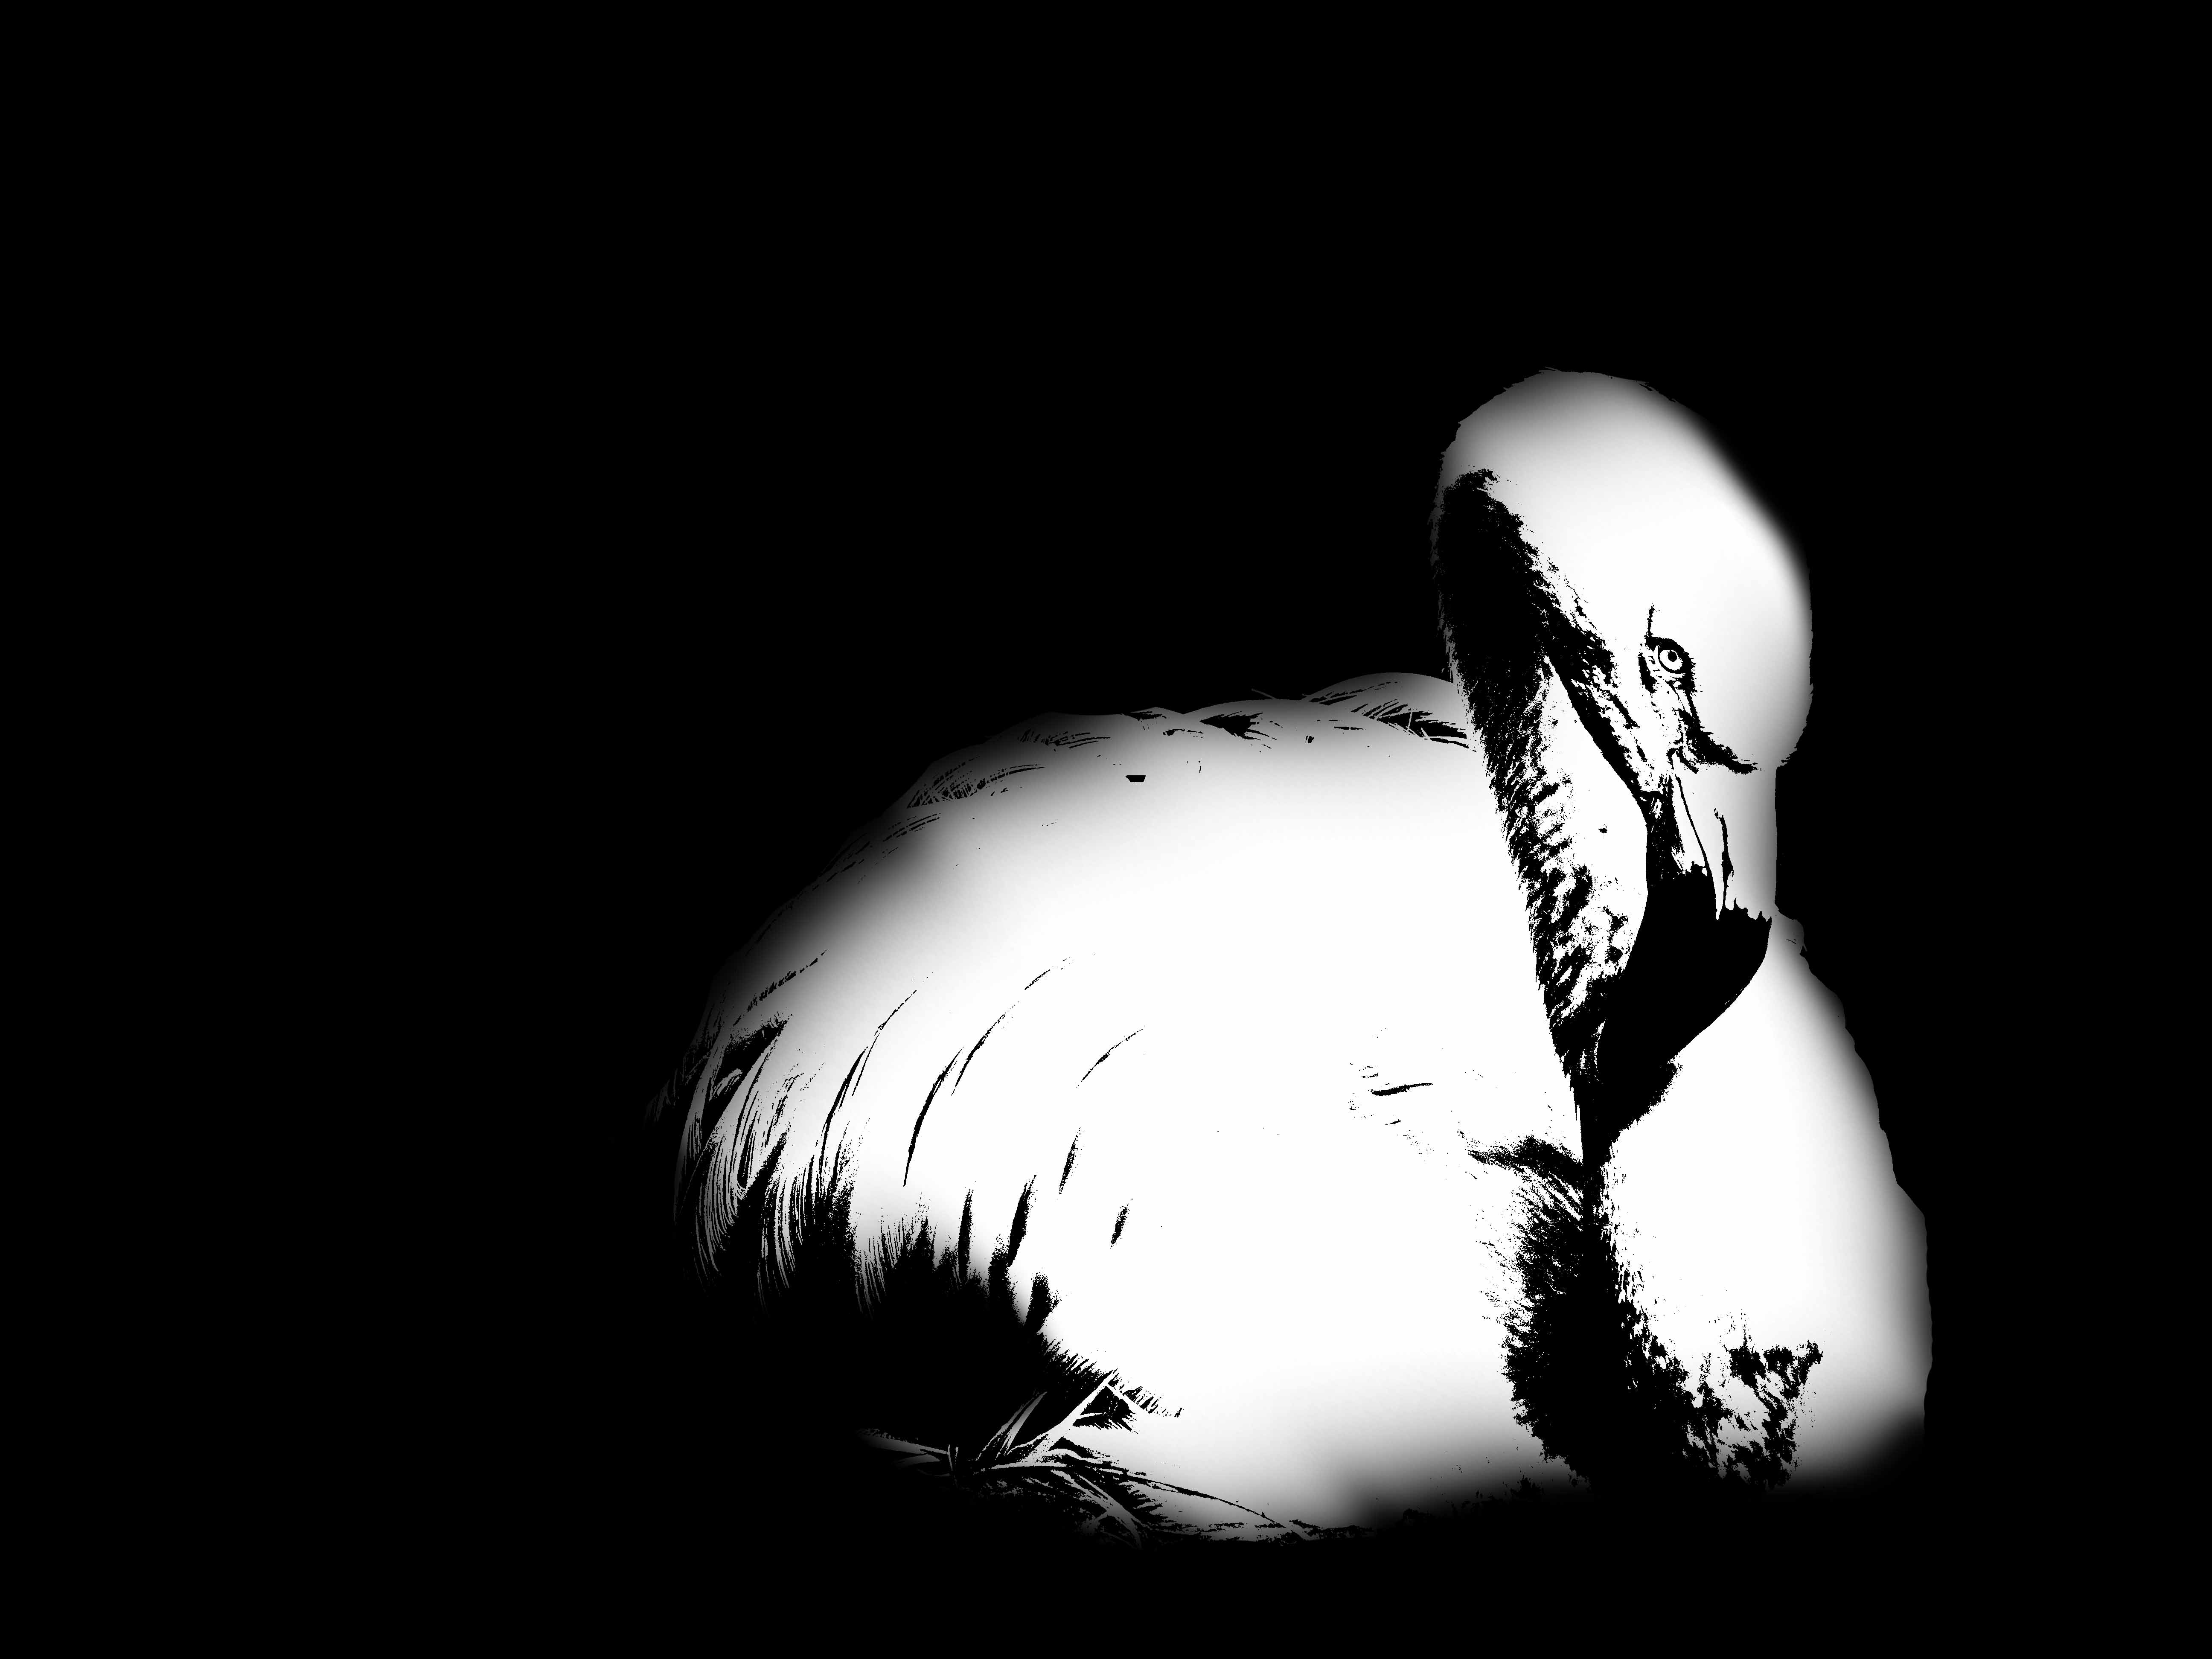
I like this photo as it again shows my ability level on Photoshop. With this photo I have used the different thresholds, and adjusted them to what I thought looked good. I have also used the paint brush tool to create an effect of the photo blurring into the black background.
I thought this photo was suitable for an A5 as it isn’t a big photo worthy as it doesn’t show that much abstractness with colour, texture and shape. But due to the use of the threshold adjustment I thought it would still be suitable as a final printed abstract photo.
These next photos were photos which I never really took to, but after having a closer look at the photos I realized that without editing they looked like nice final abstract photos.
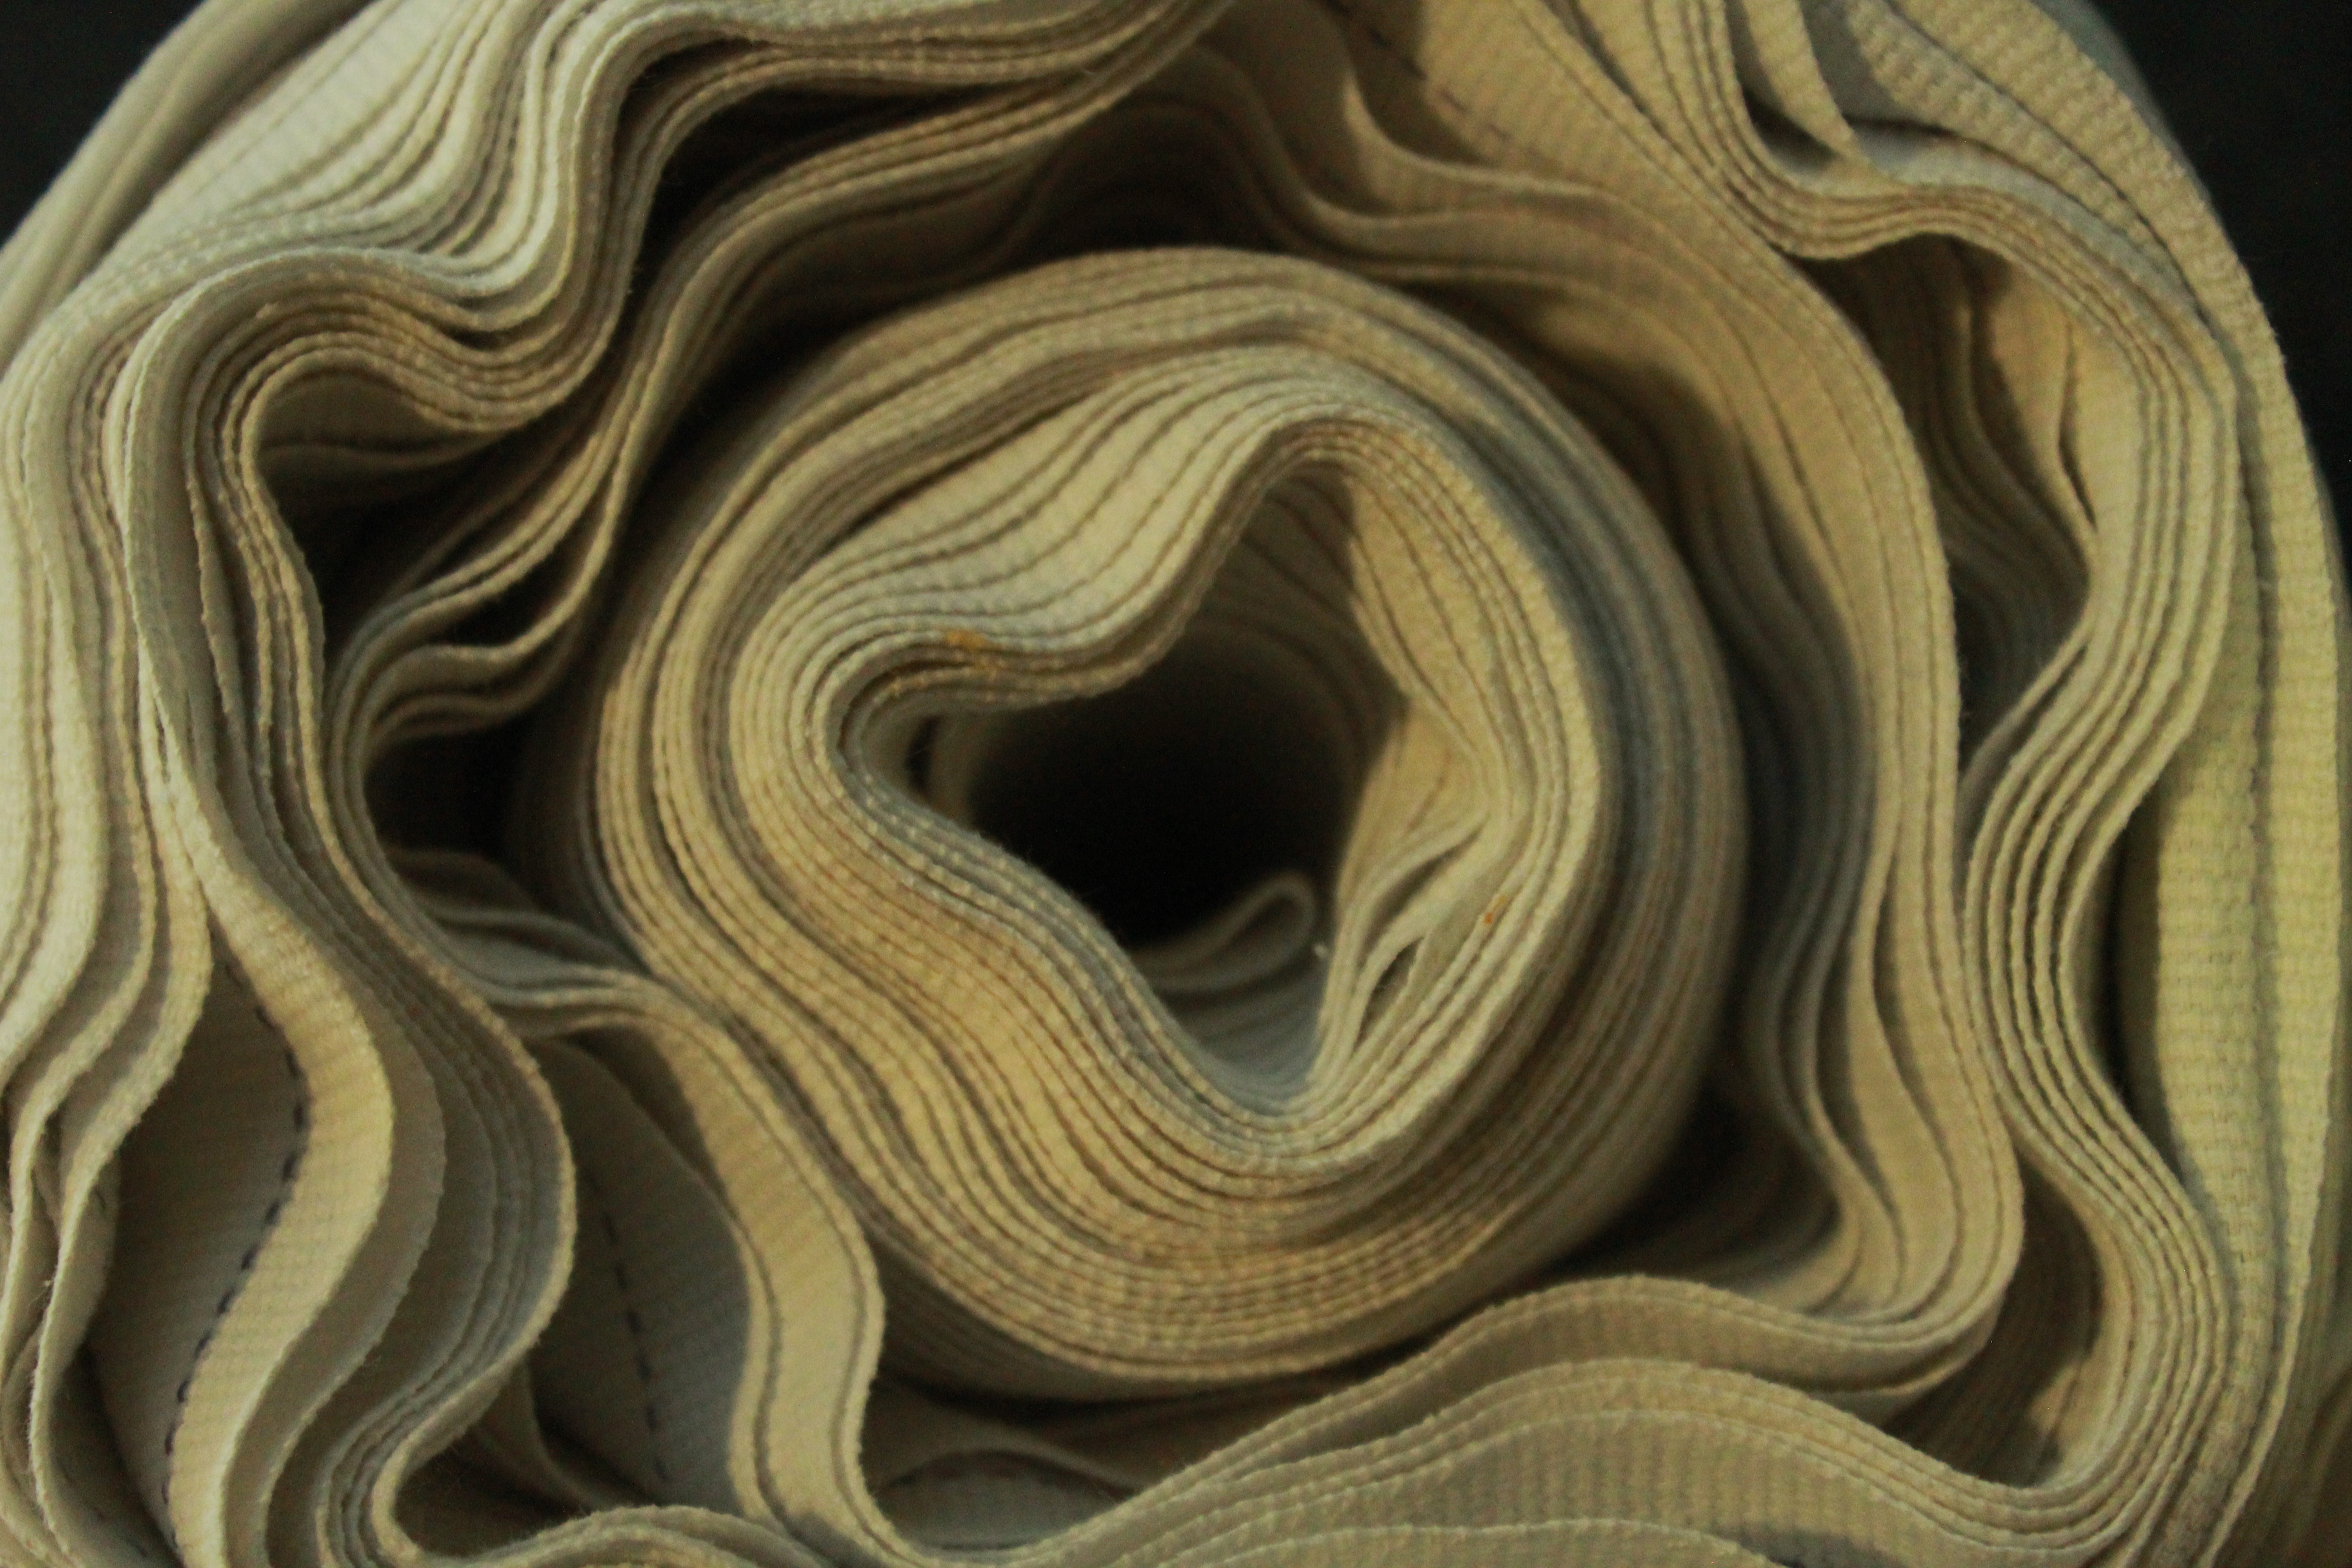
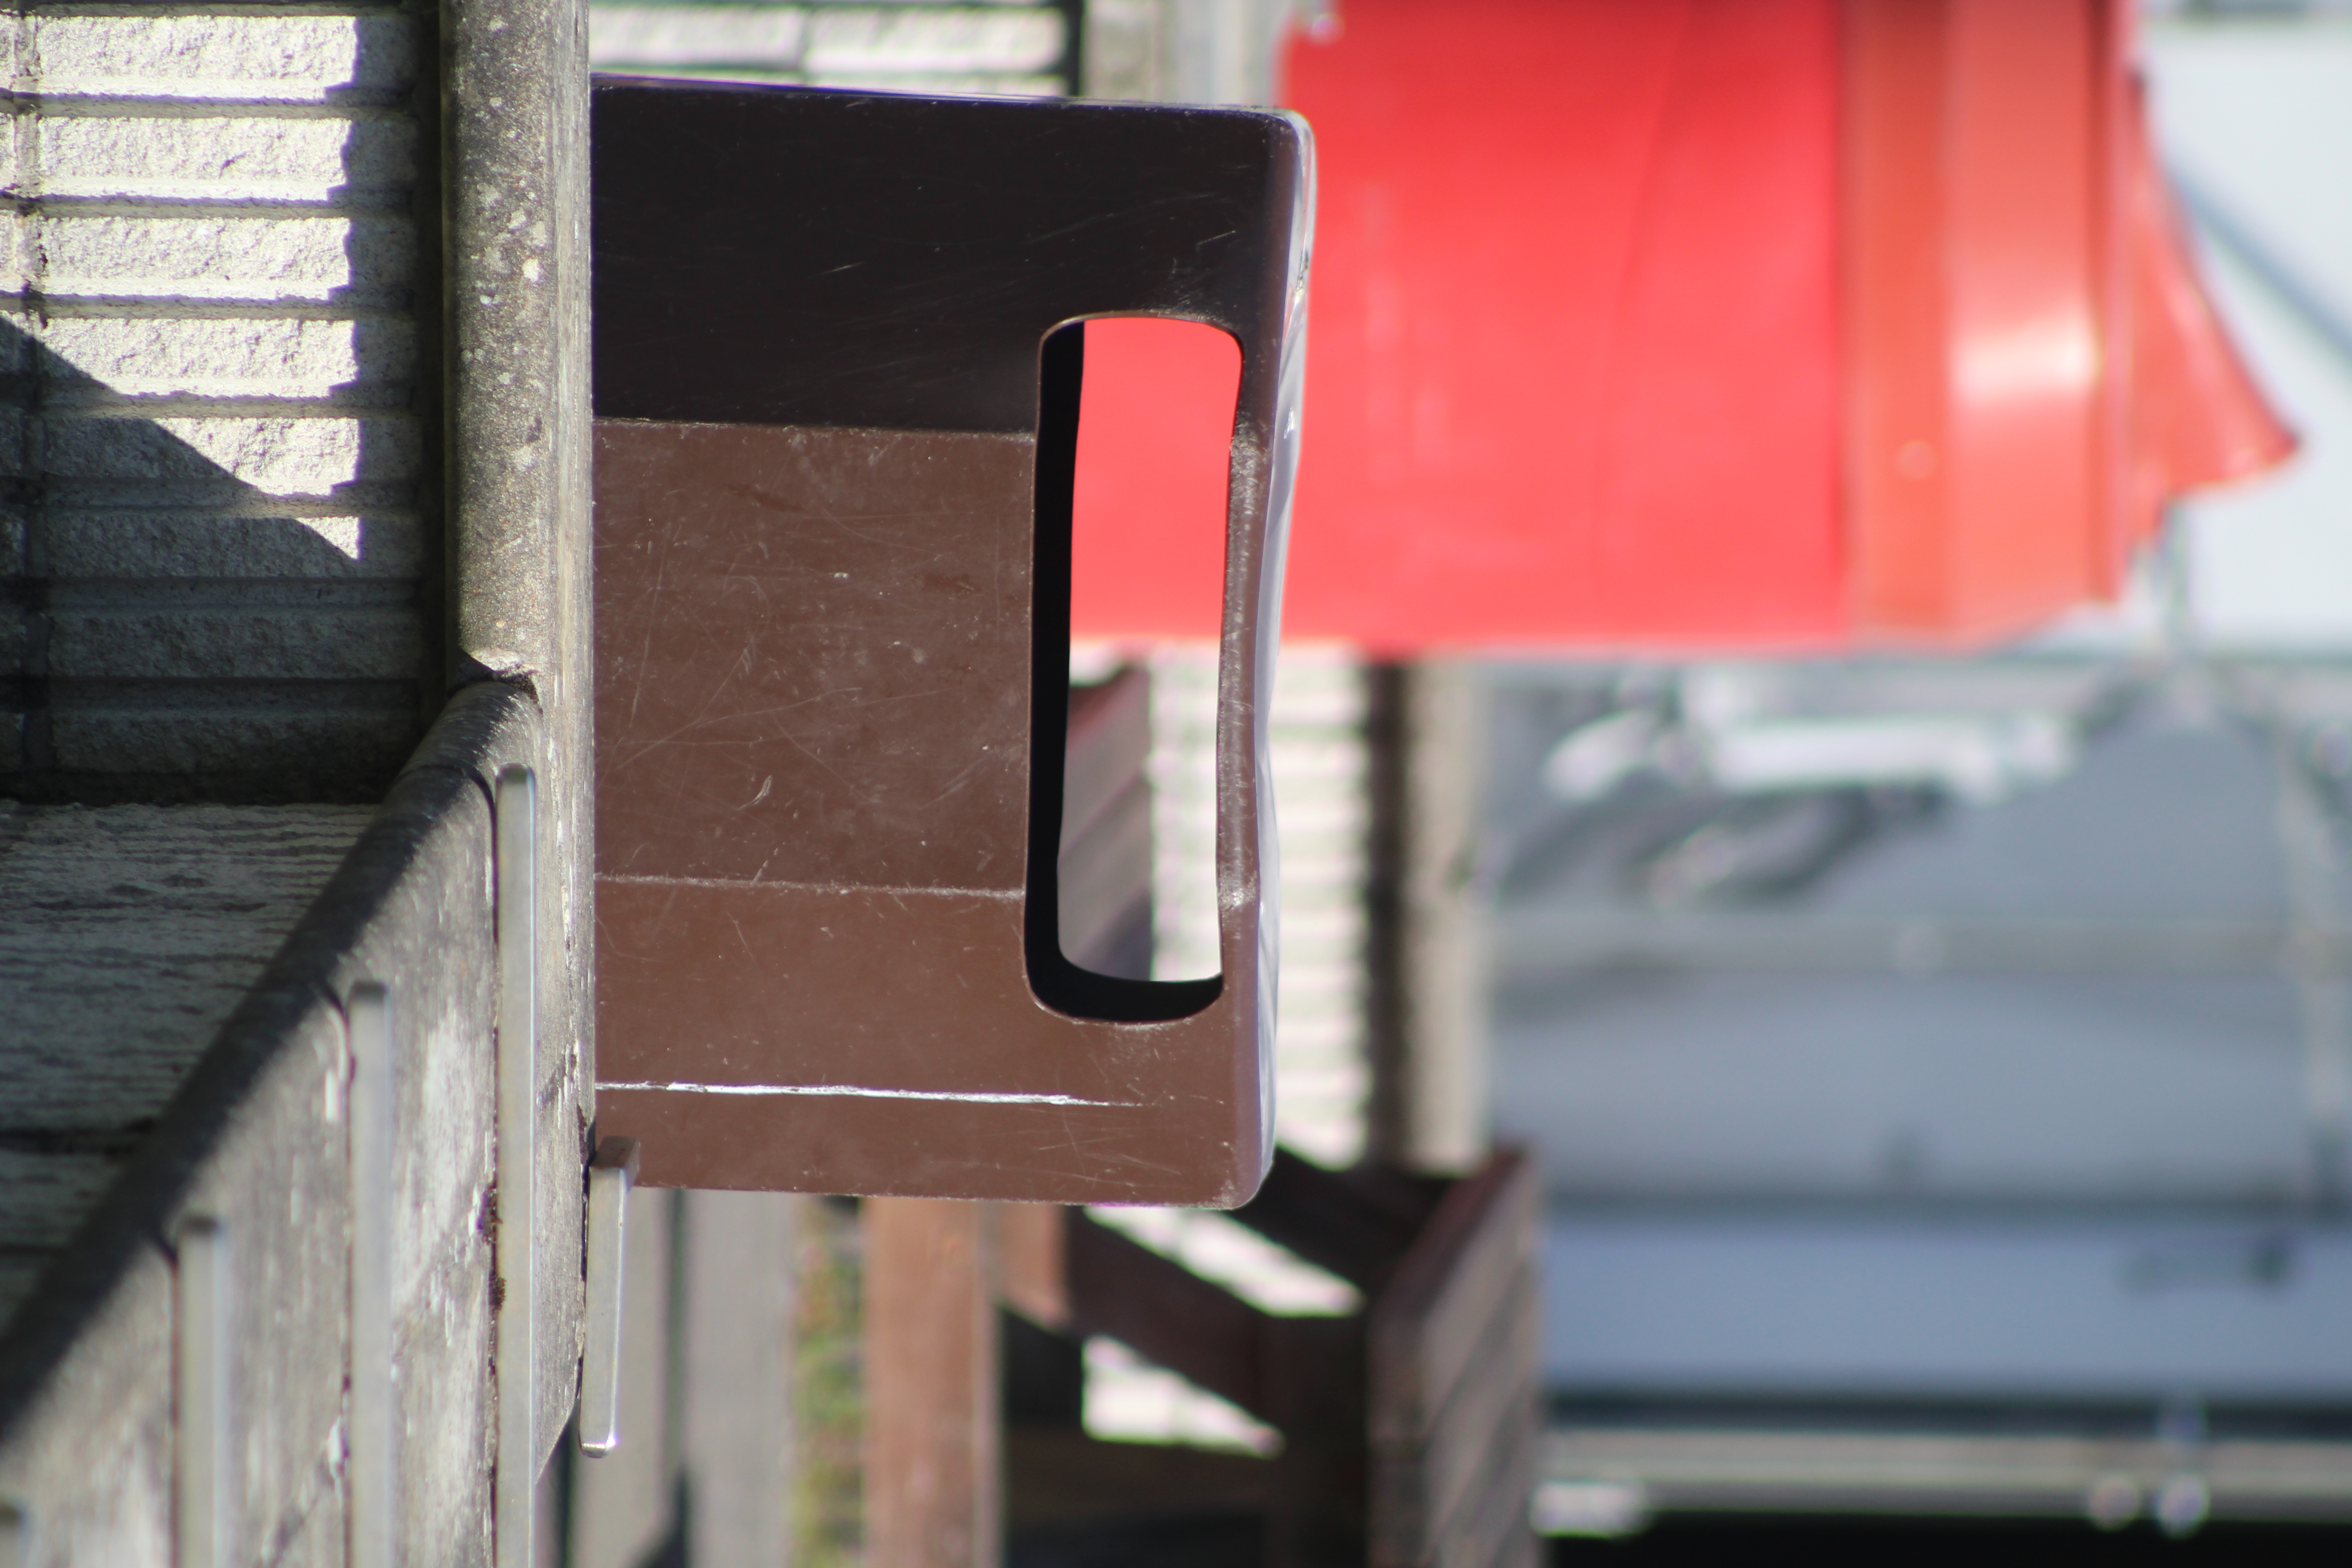

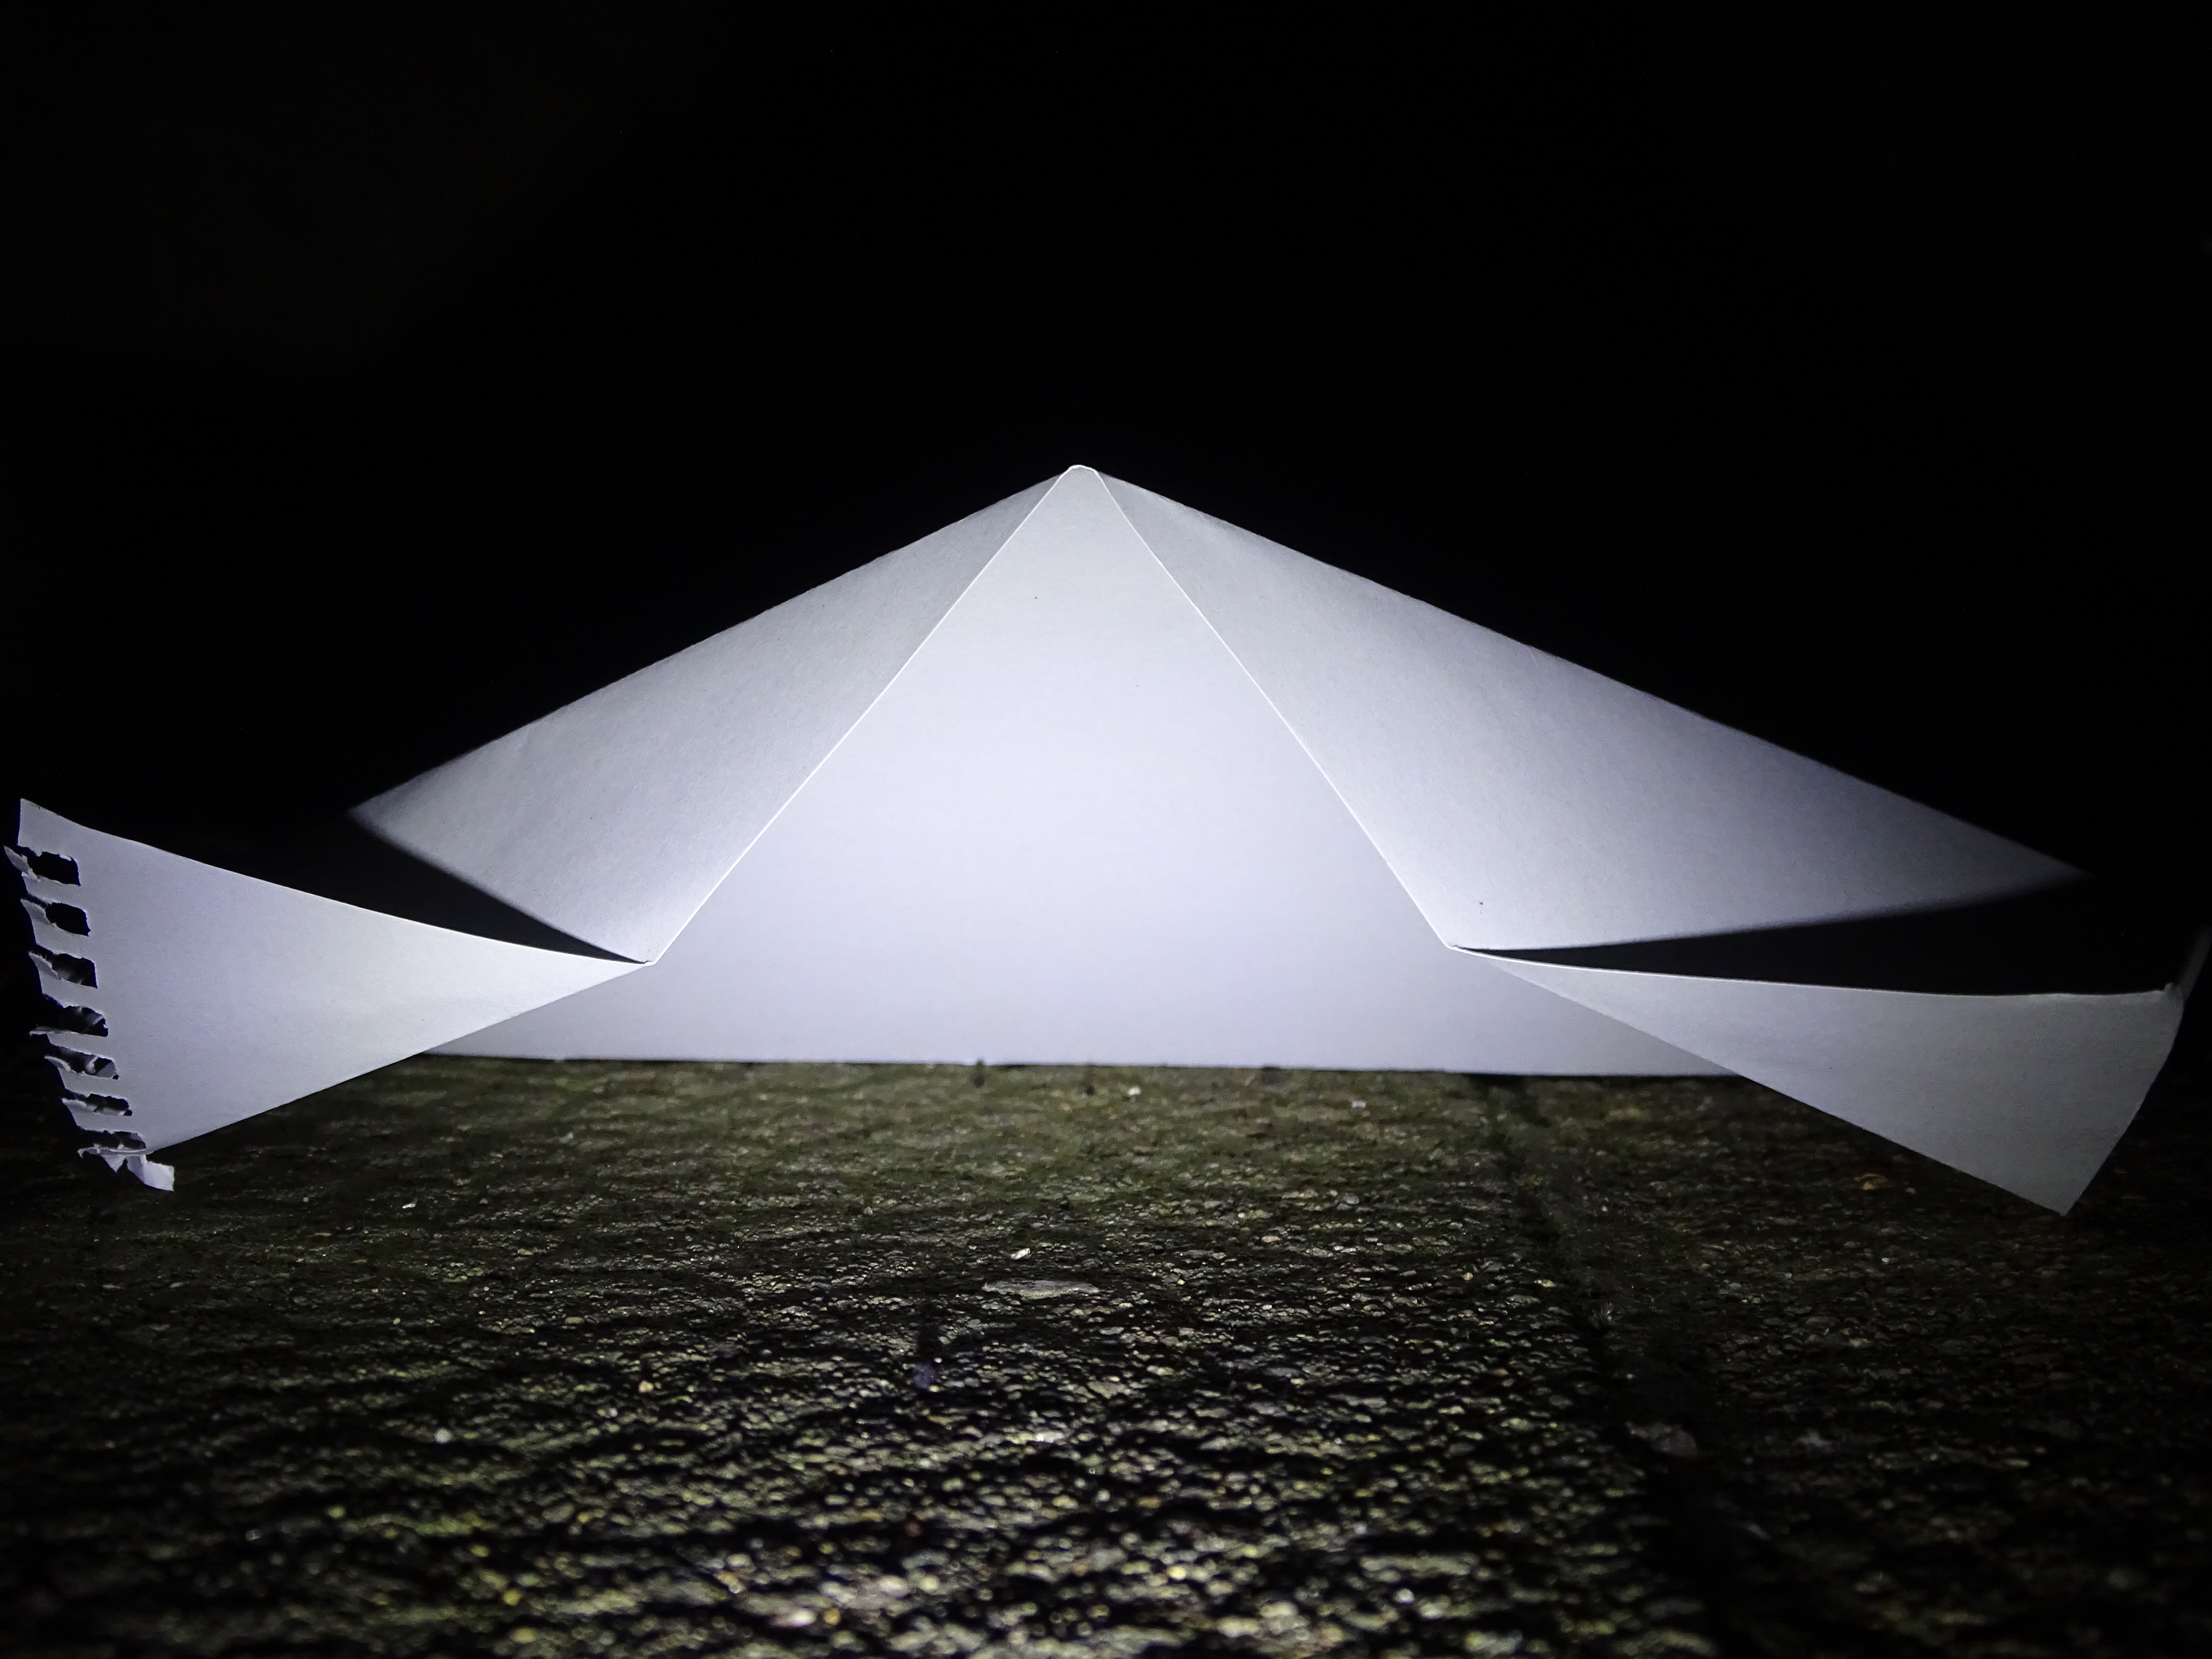
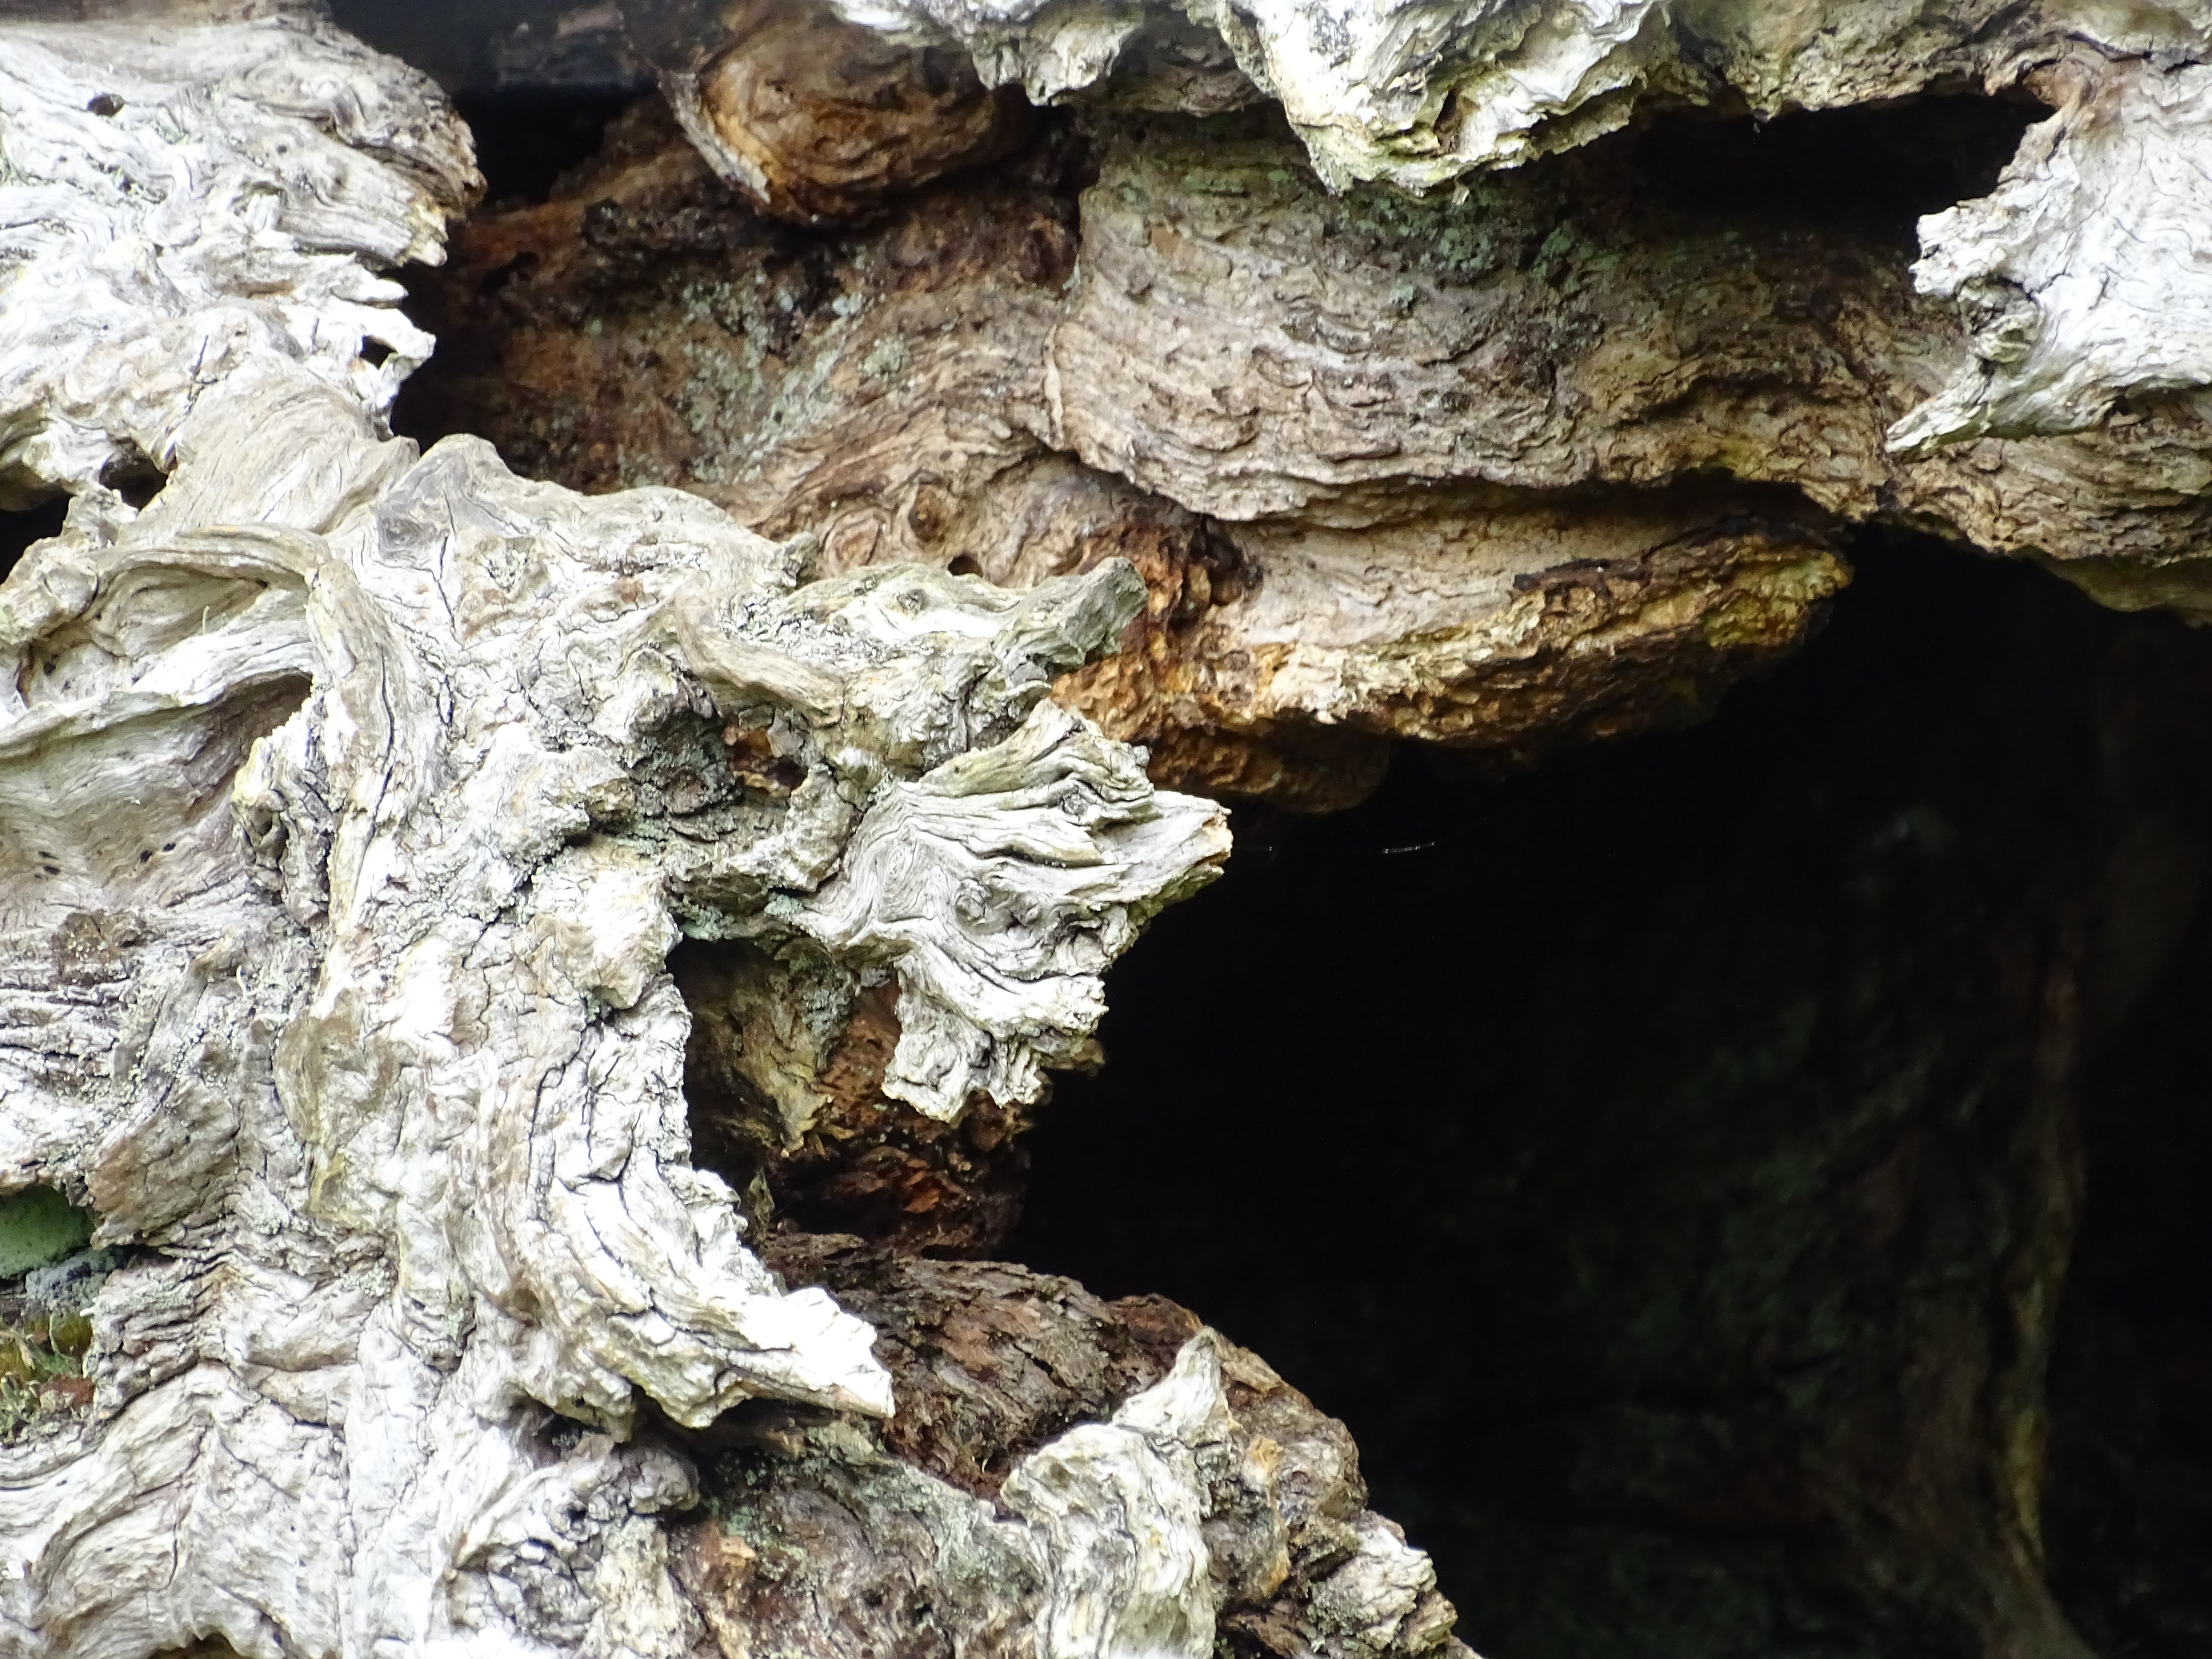
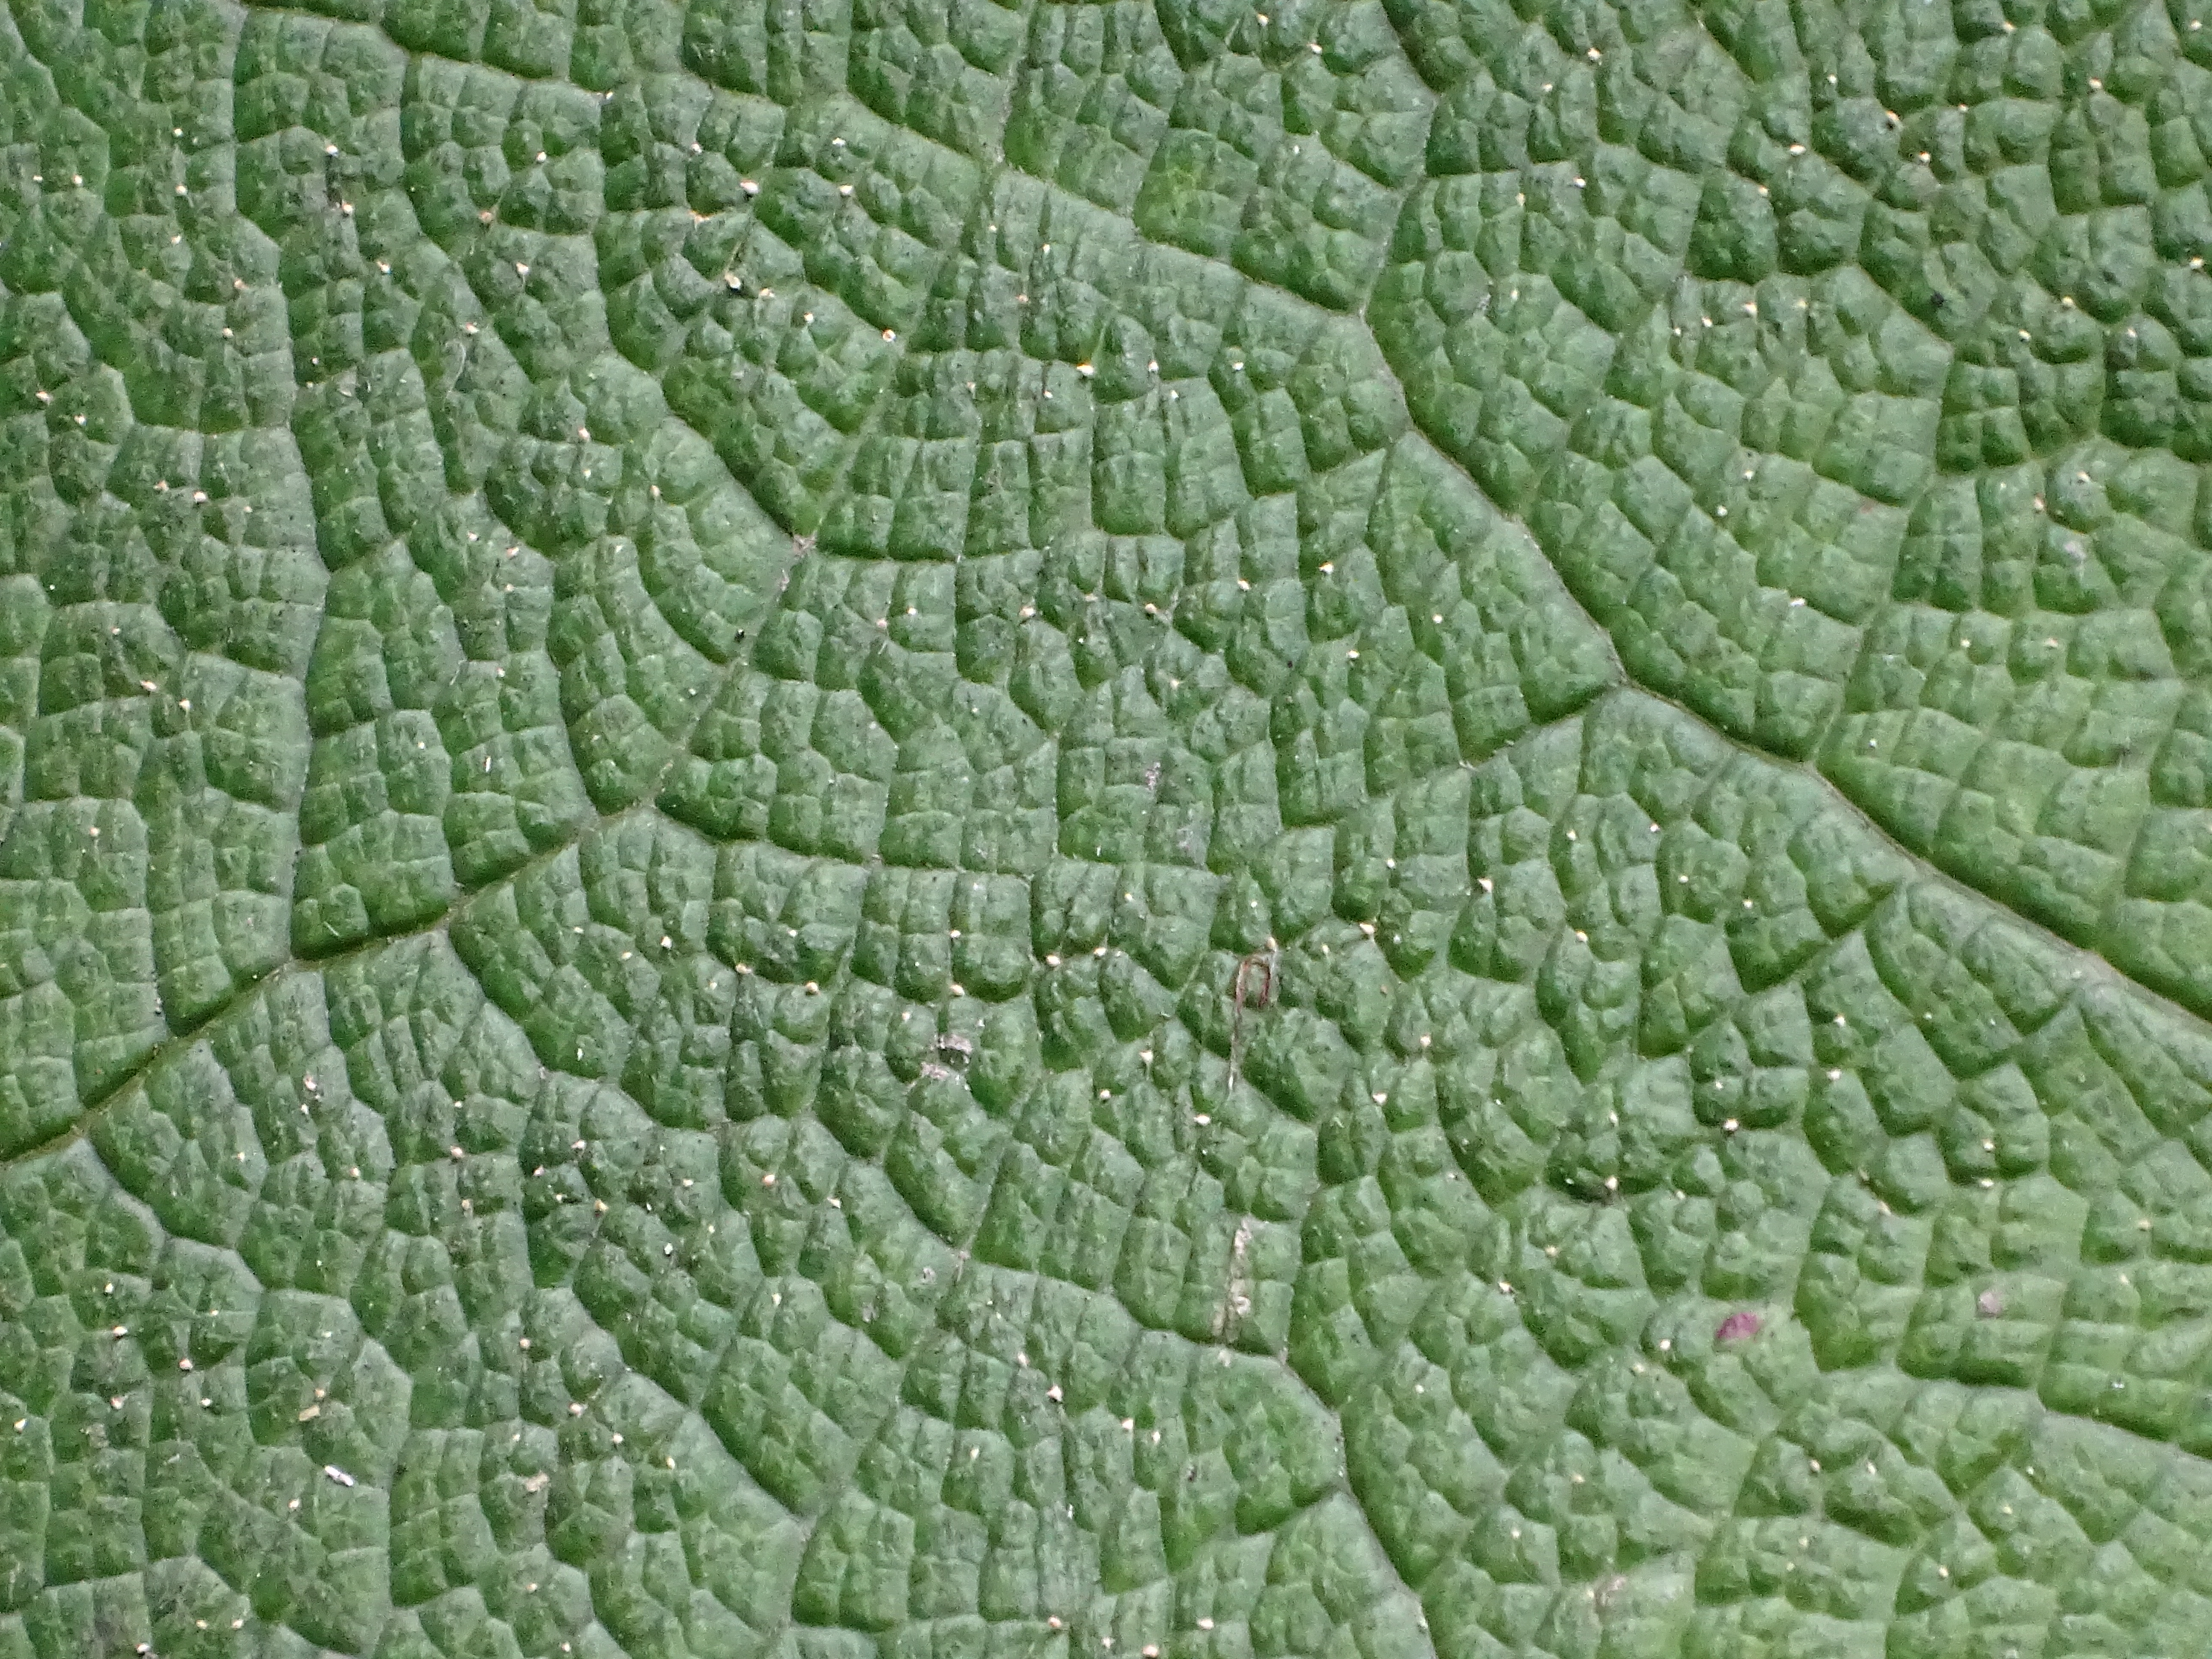
I really like these photos as they show different versions of abstract. With zooming in really close to pick out minute detail, using a variation of depth of field to focus in the fore-ground and blurring out the background, to experimenting with light and dark, by staying up till the early hours of the morning and using a bike light to shine against paper, causing the sharp dark lines of the paper.
Please complete the ABSTRACT UNIT with the expected blog posts detailed below…
Moodboard (AO1) x 1 blog post
Mindmap of ideas (AO1) x blog post
Artist Reference / Case Study with IMAGE ANALYSIS (AO1) x 1 blog post
Action Plan (AO3) x 1 blog post
Photo-shoots + contact sheets (AO3) x 1 blog post
Image Selection (AO2) x 1 blog post
Image Editing/ manipulation (AO2) x 1 blog post
Presentation of final outcomes (AO4) x 1 blog post
Compare and contrast to your artist reference (AO1) x 1 blog post
Evaluate and Critique your final outcomes (AO1+AO4) x 1 blog post