Unit 1 – Abstract Final Images
Approaching the end of the Abstract Unit, we are choosing our final images to sent off and printed professionally so that we can mount and display them ourselves. To choose my images I went through my most successful photos and selected the best. After this I edited them if they needed to be edited and also dividing/putting the images together. I also changed the image sizes and resolution so that my images would look the best they could. High Resolution JPEG files (4000 pixels on height).
1 x A3 print + 1 x A4 print + 1 x A5 print
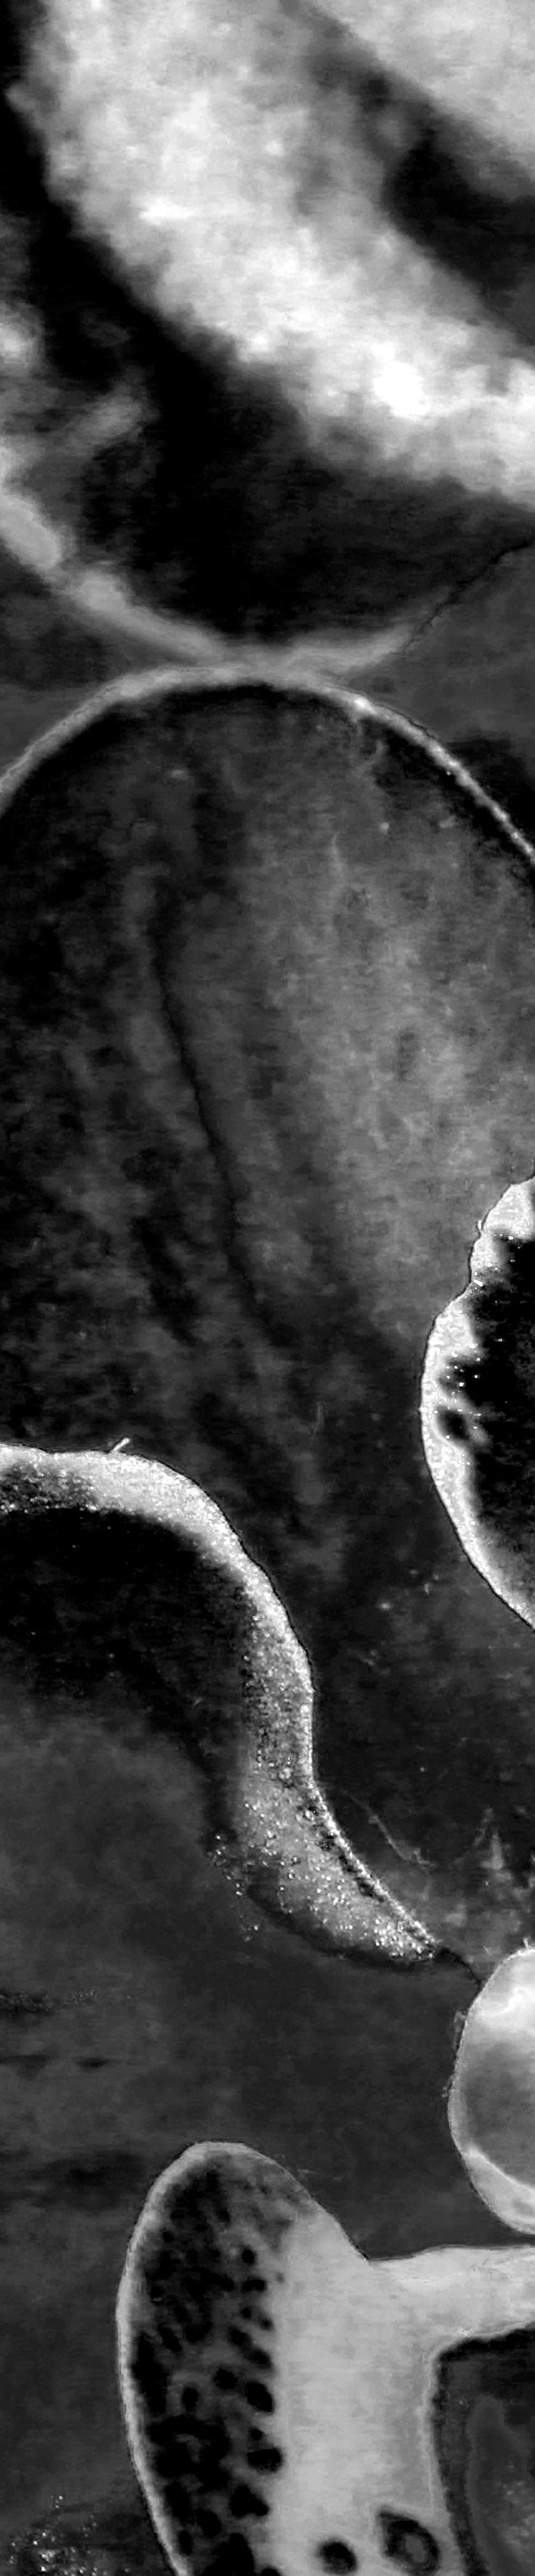
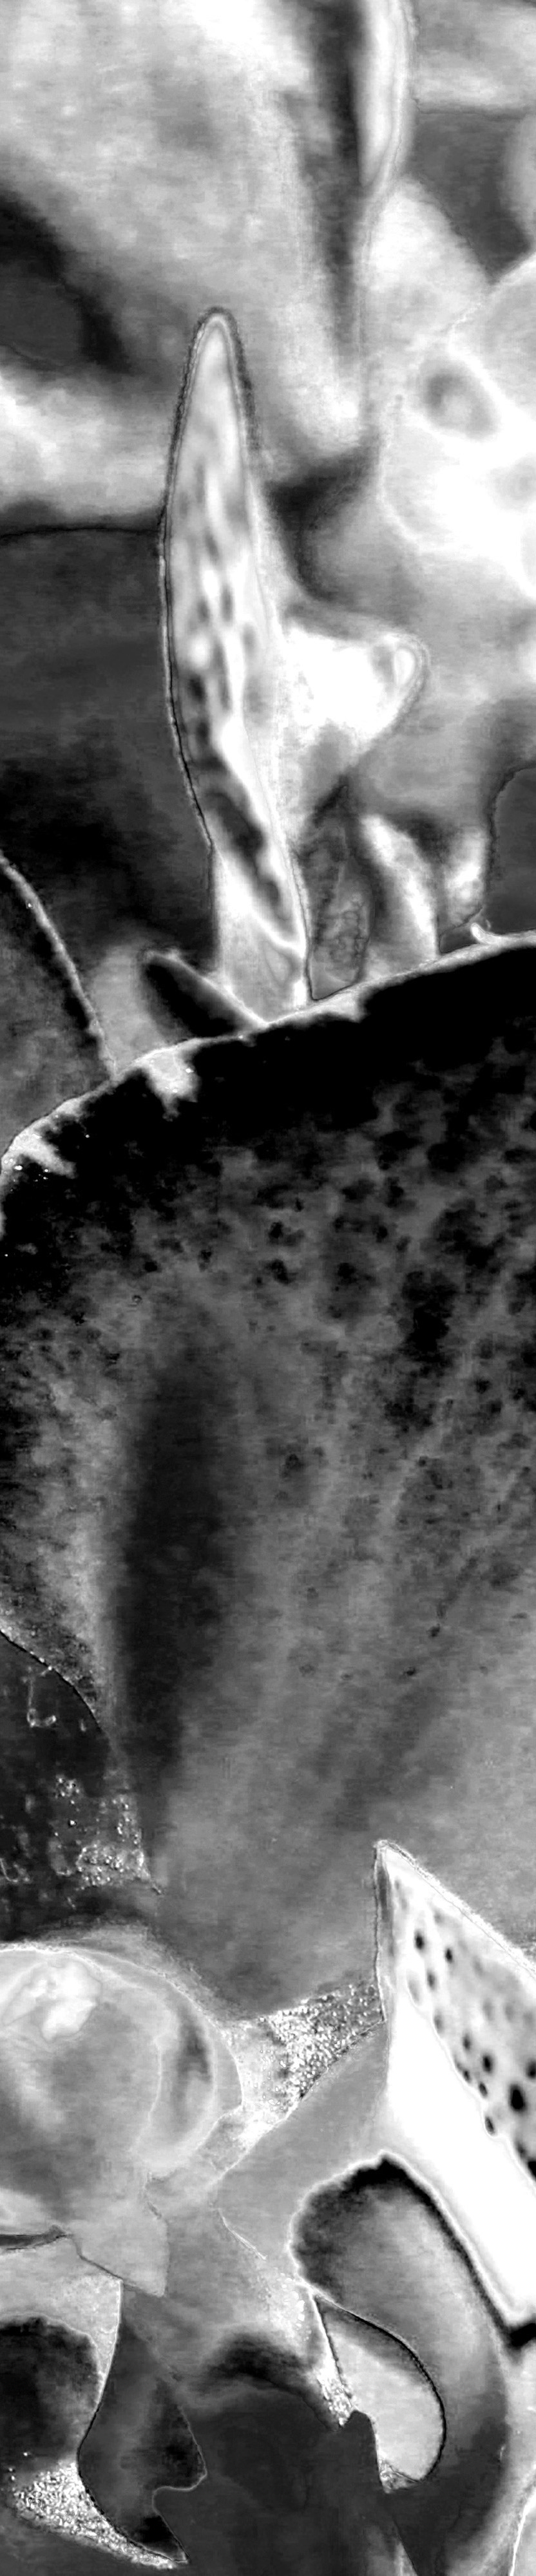
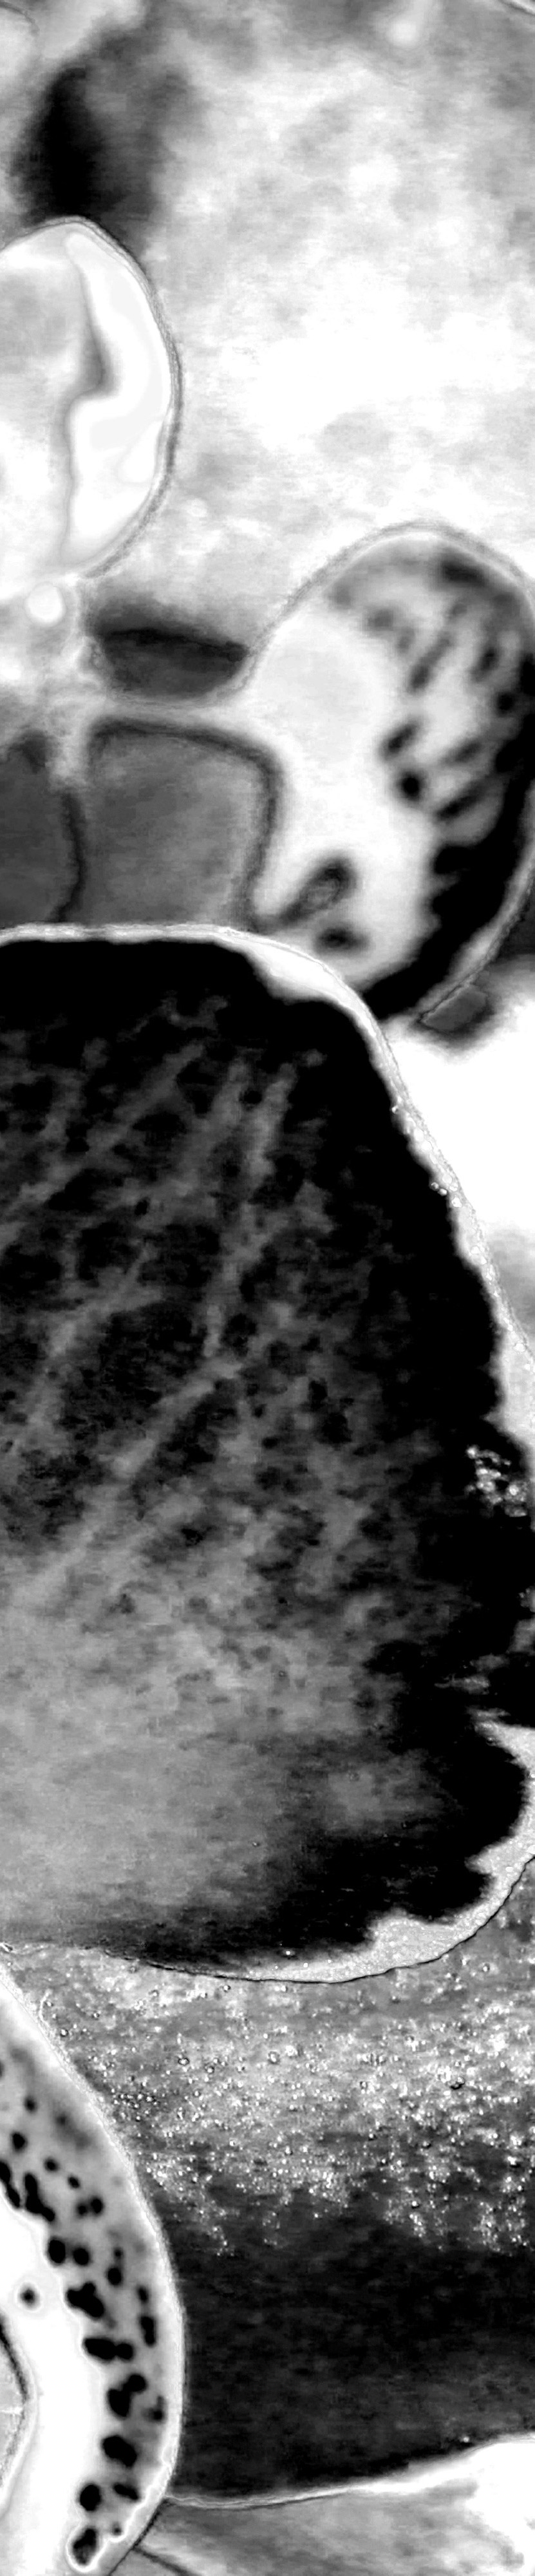
A3
For my A3 print I wanted to do use an abstract photo of an orchid which I took as part of the aperture task. I edited the image in Photoshop to make it black and white and also zoomed in. I decided that just the image on its own was not enough so I divided it into 3 equal vertical sections.
This is my A3 Final Image.
A4
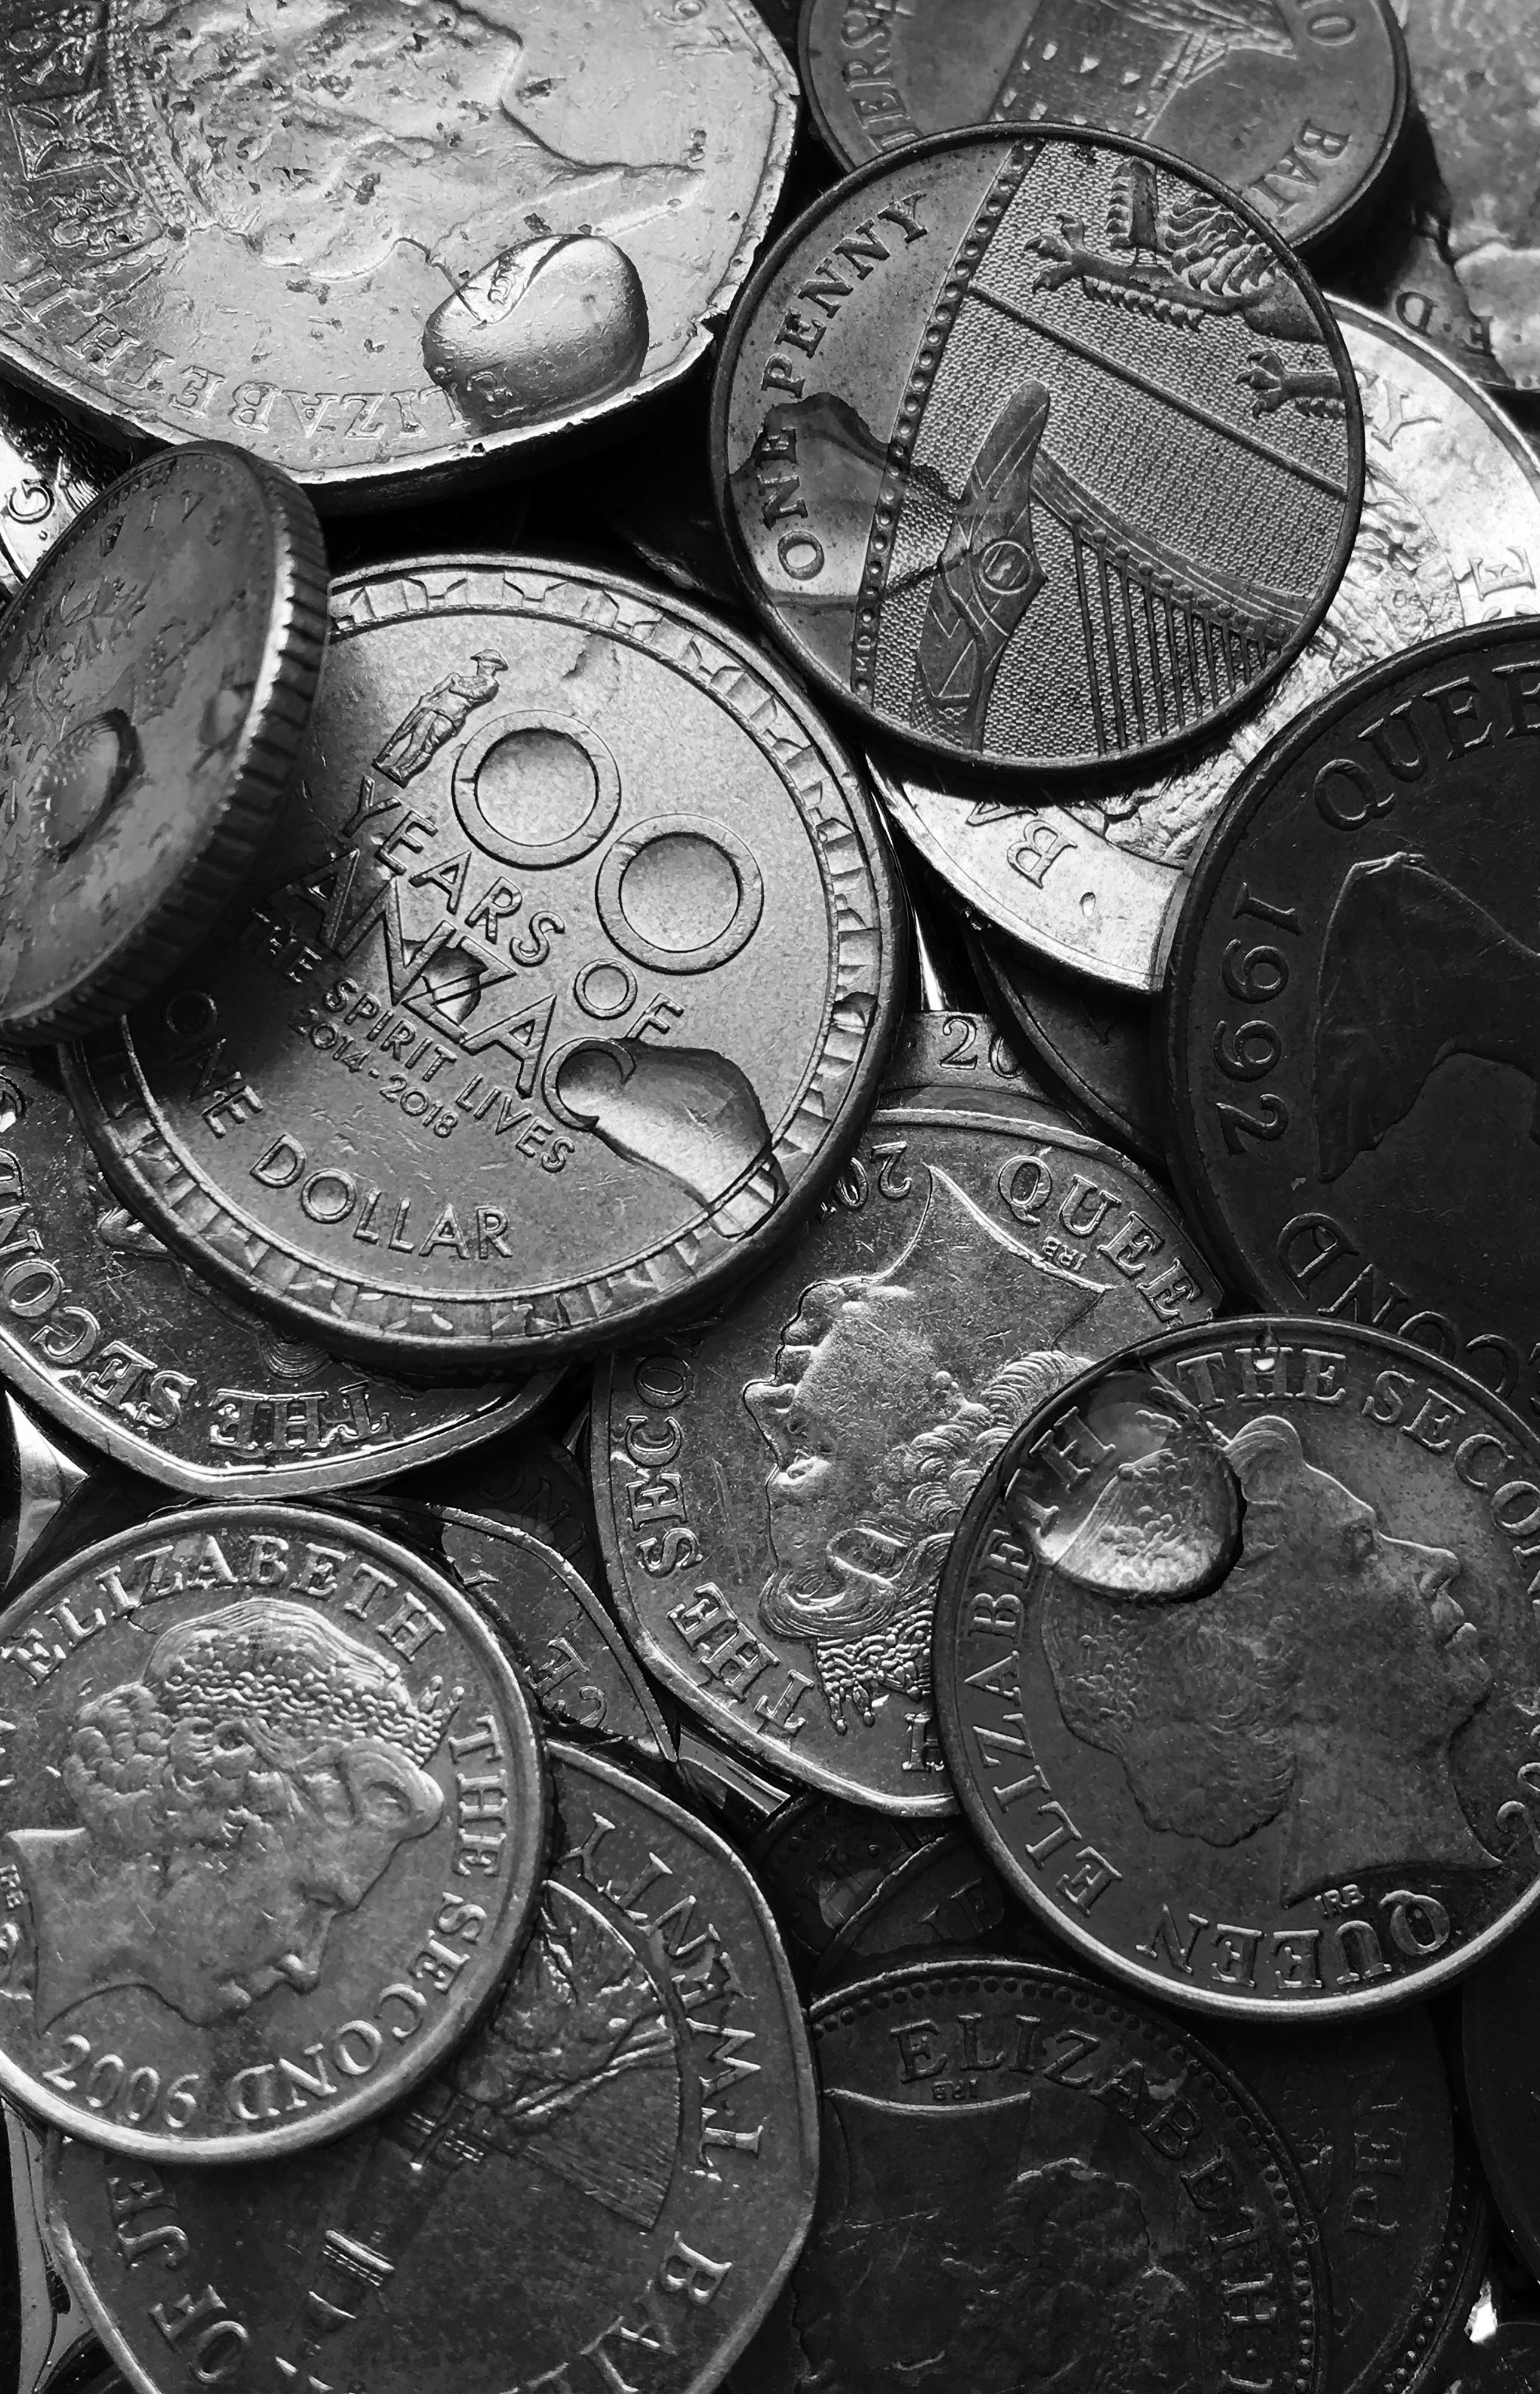
For the A4 image I wanted to use a photo from my summer task because I thought they were good. I used a zoomed in picture of a spill of coins with water droplets over them. I cropped the image and zoomed in a little bit more. I thought the image on its own was enough so I decided not to split it into sections or add more than one image.
This is my final A4 image.
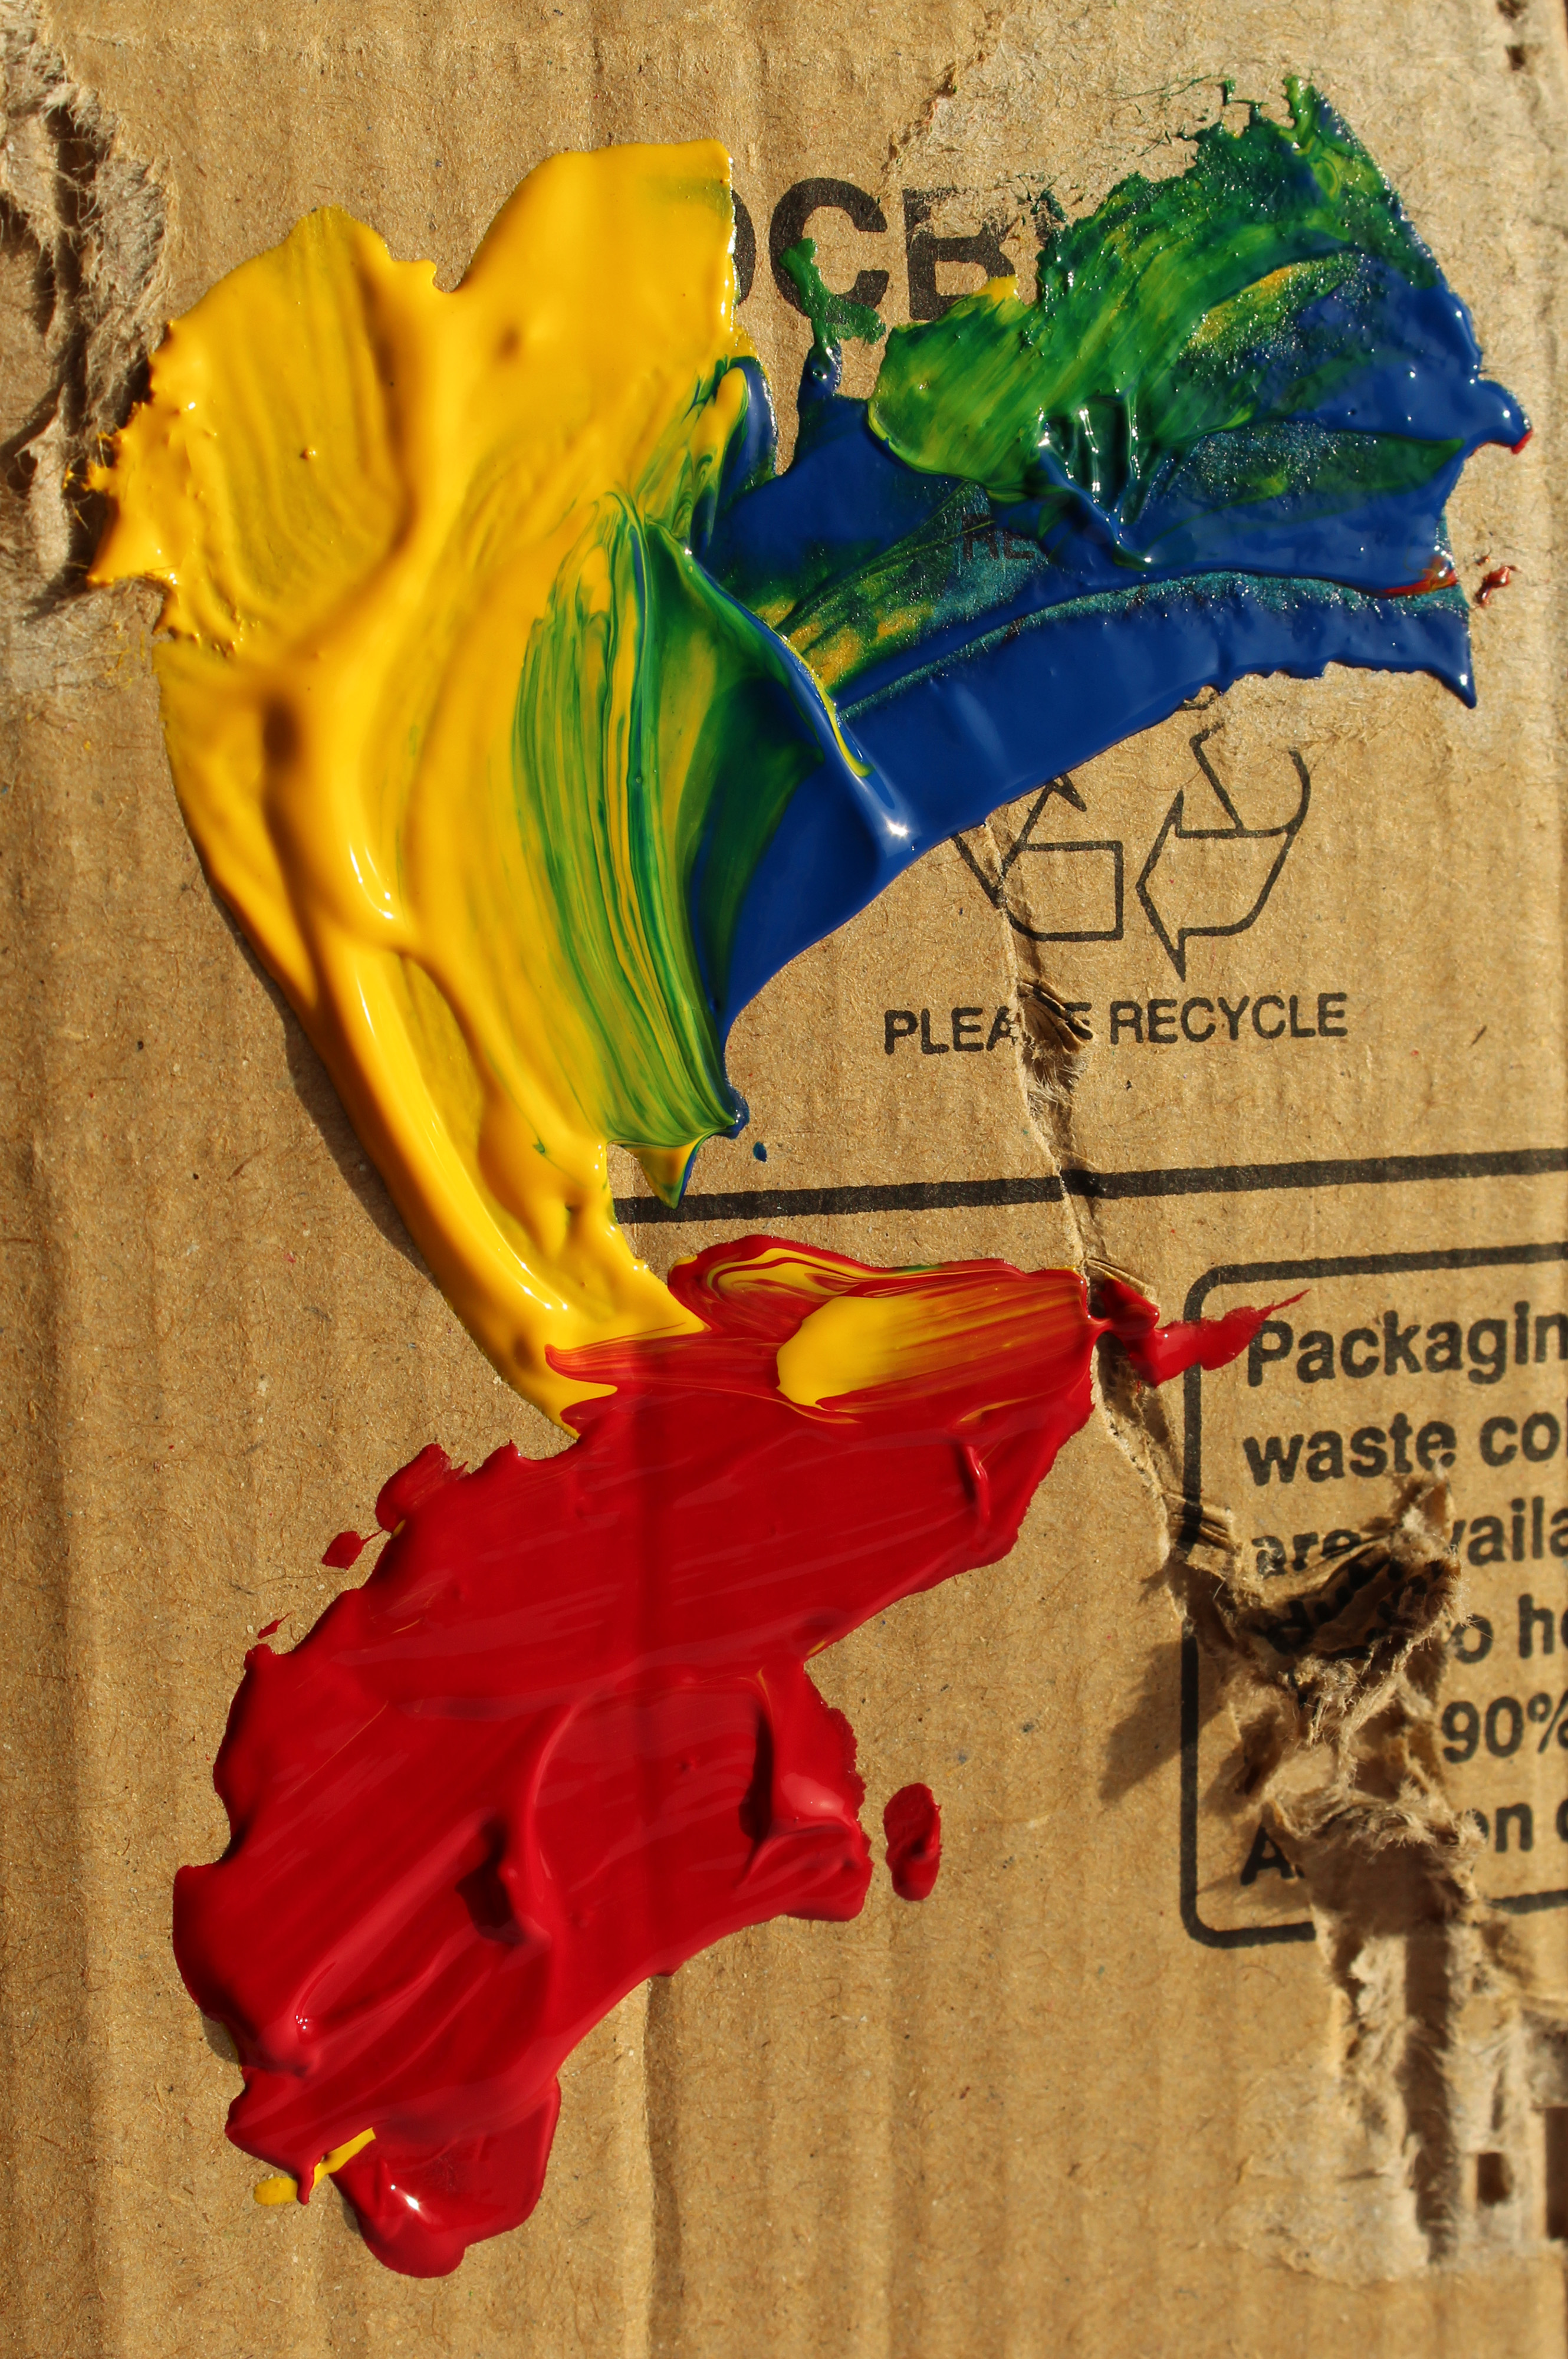
A5
My A5 print is of a picture from the colour and texture homework. I wanted to include some colour in my final images so i used this one because the colours are very vibrant. Also I think the contrast between the ripped cardboard and the smooth paint is interesting as they juxtapose each other.
This is my final A5 Image.