
Now that I have narrowed down my favorite images for printing, I will do the lasts bits of editing and present how I want them to be displayed.

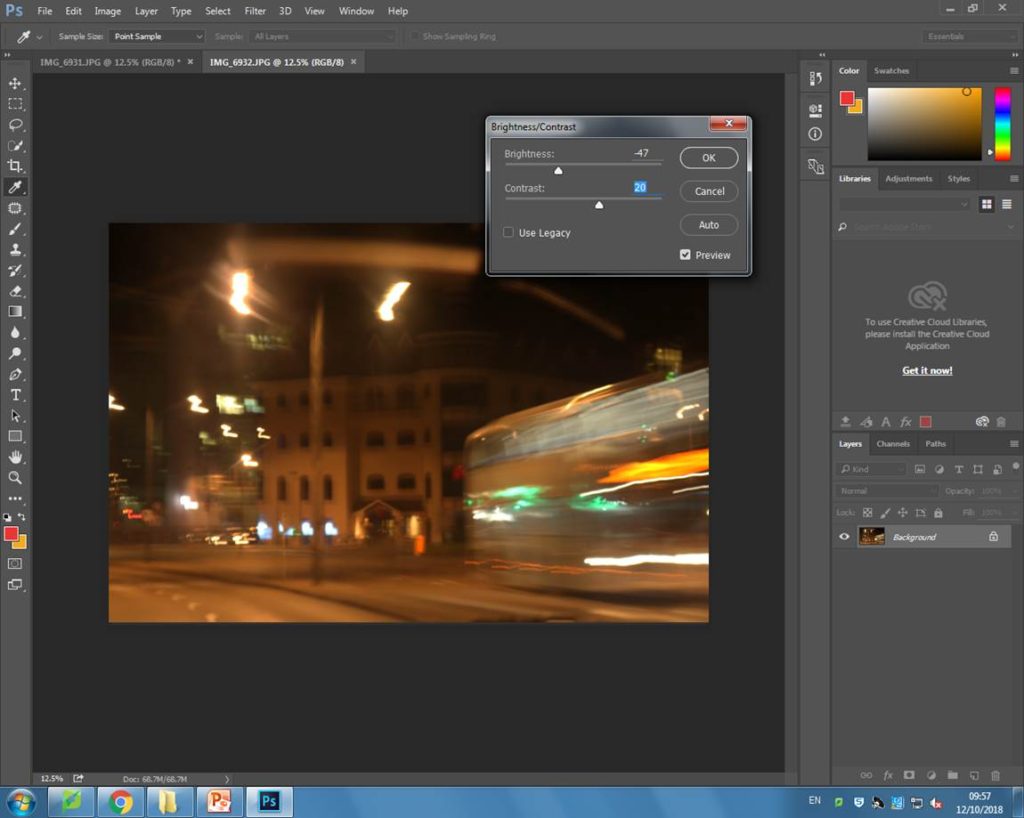
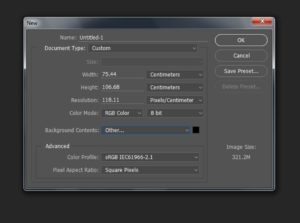
Next, I opened a blank document and set the width and length to make the page A3 size. I also set the background as black instead of white because I wanted the lights on the images to stand out more and this would only work on a dark background.
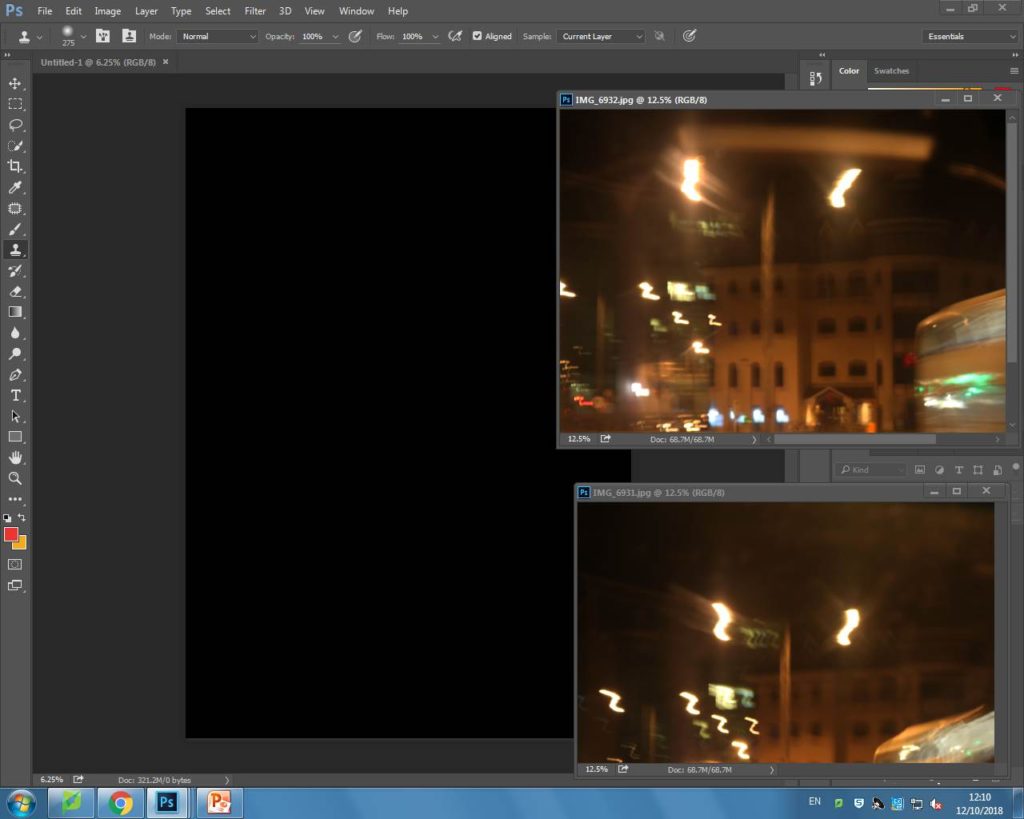
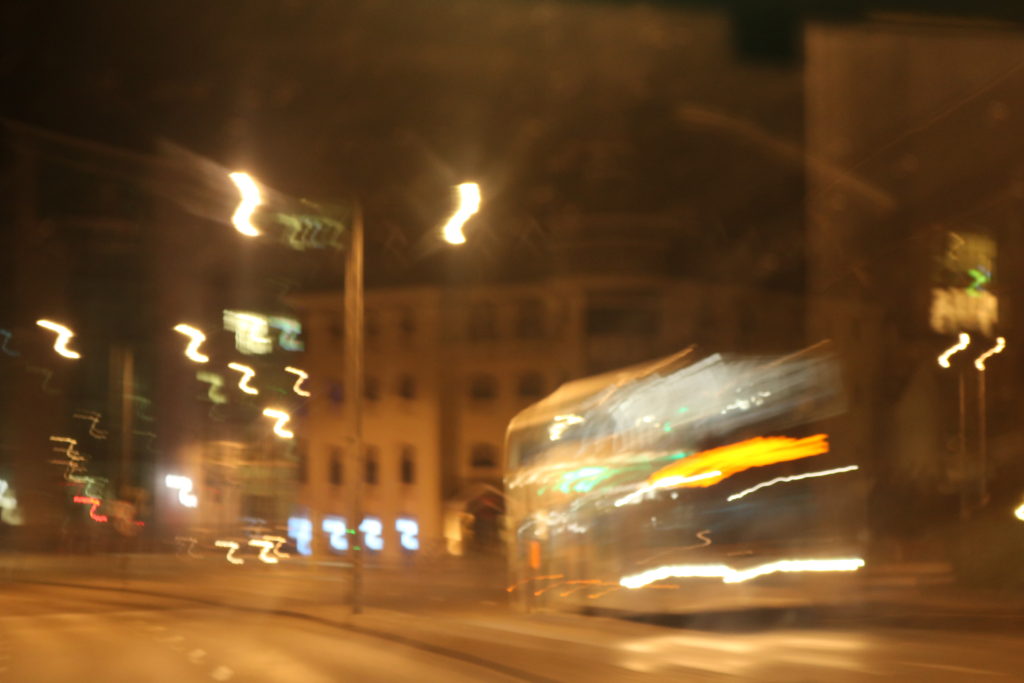
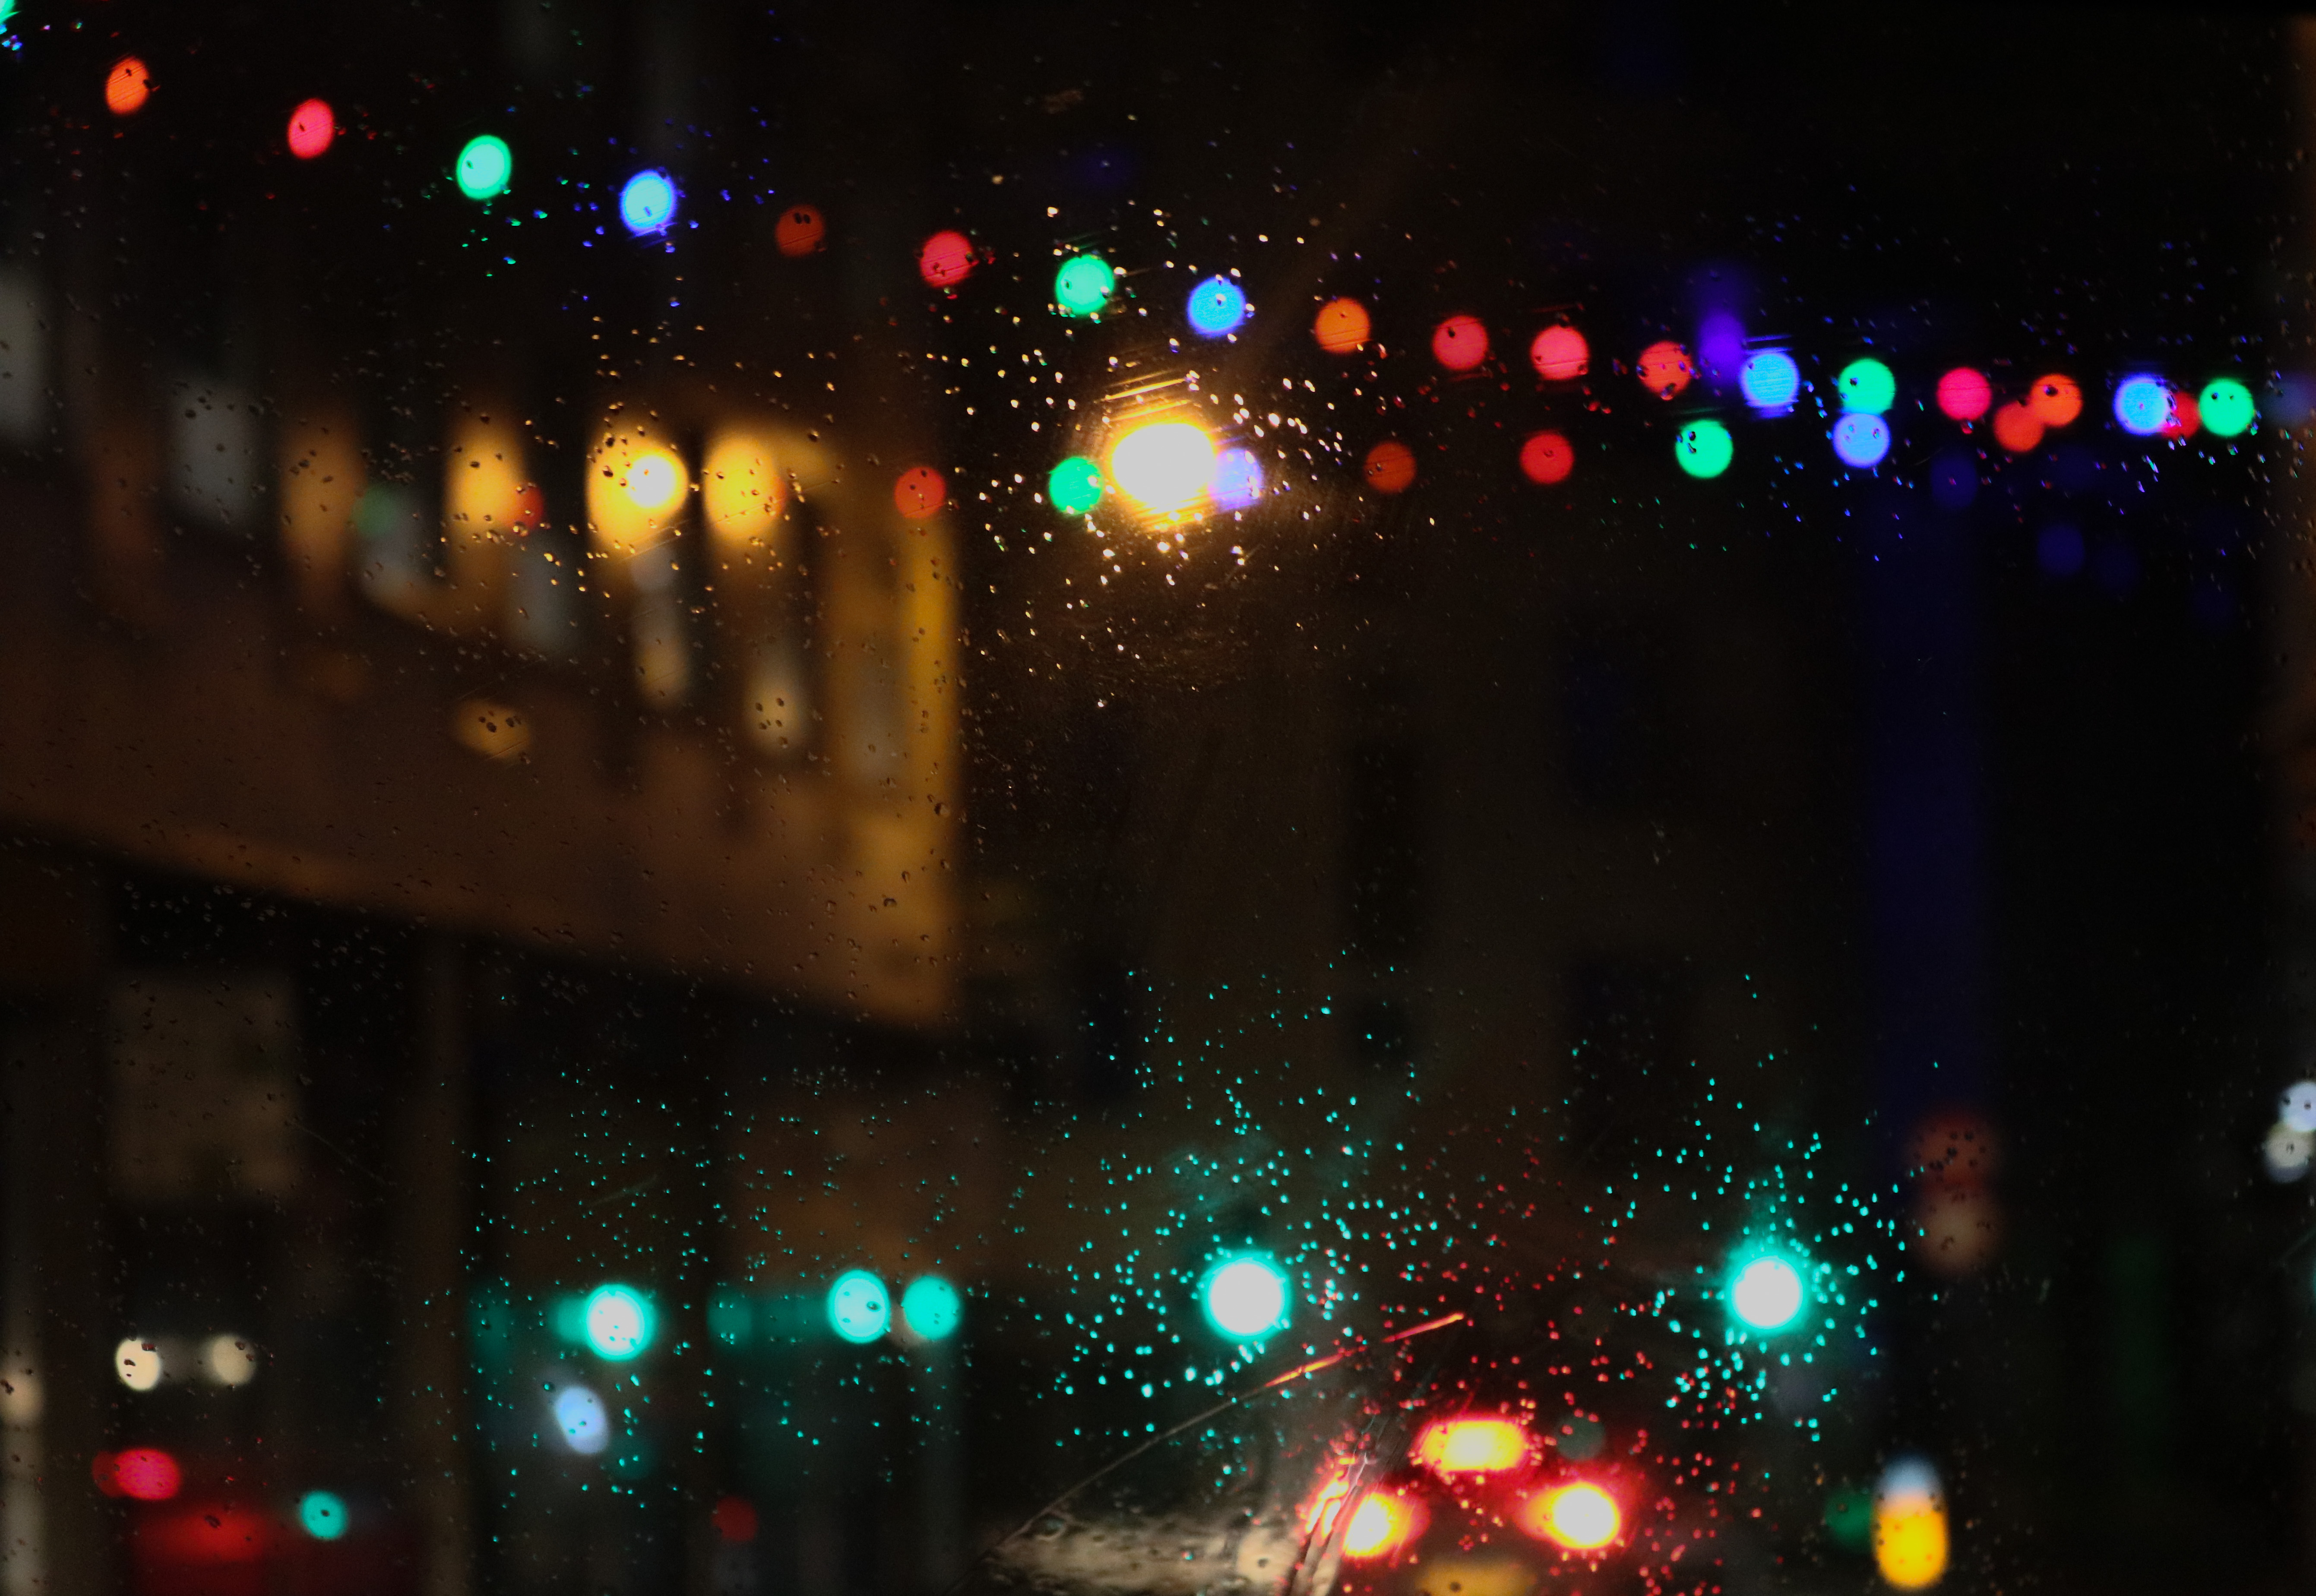
After, I opened up both the images I wanted to display together and I positioned one above the other on the black background in the order that I took them in. Below is my outcome:
My A3 image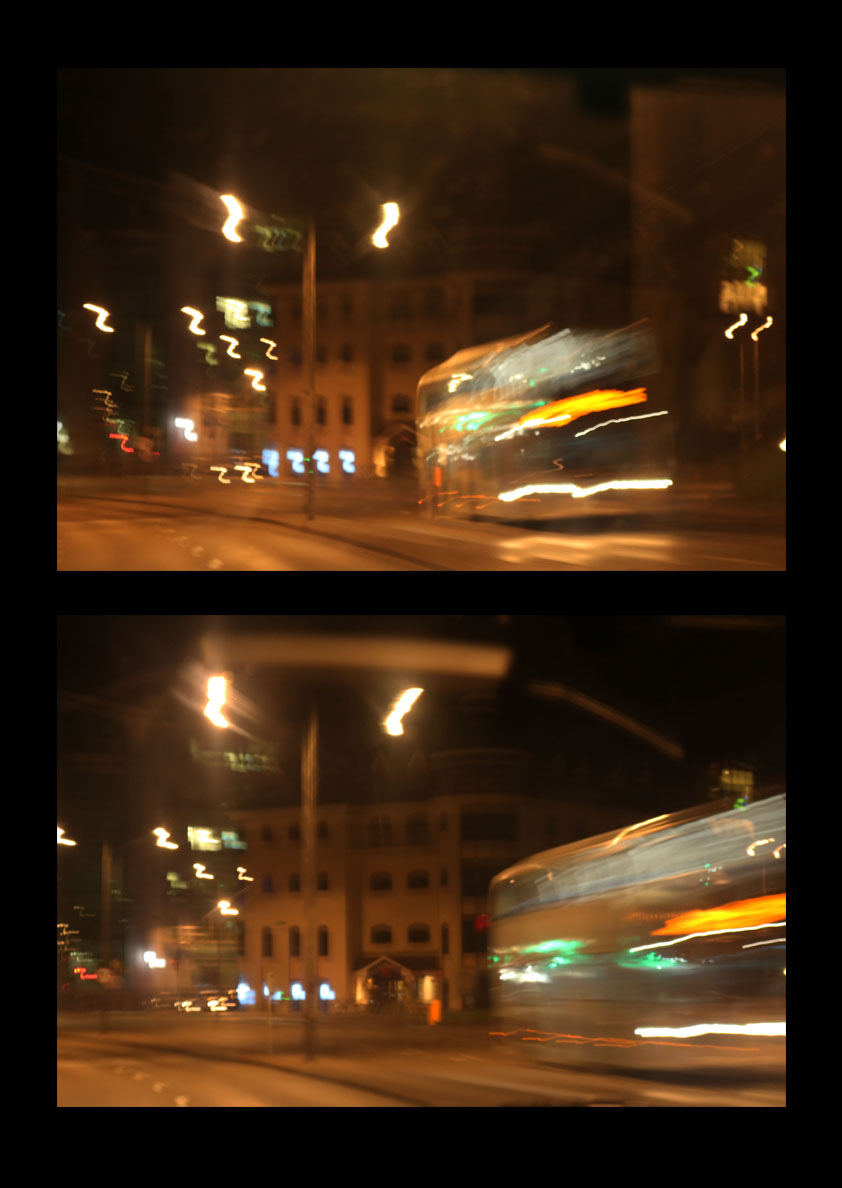
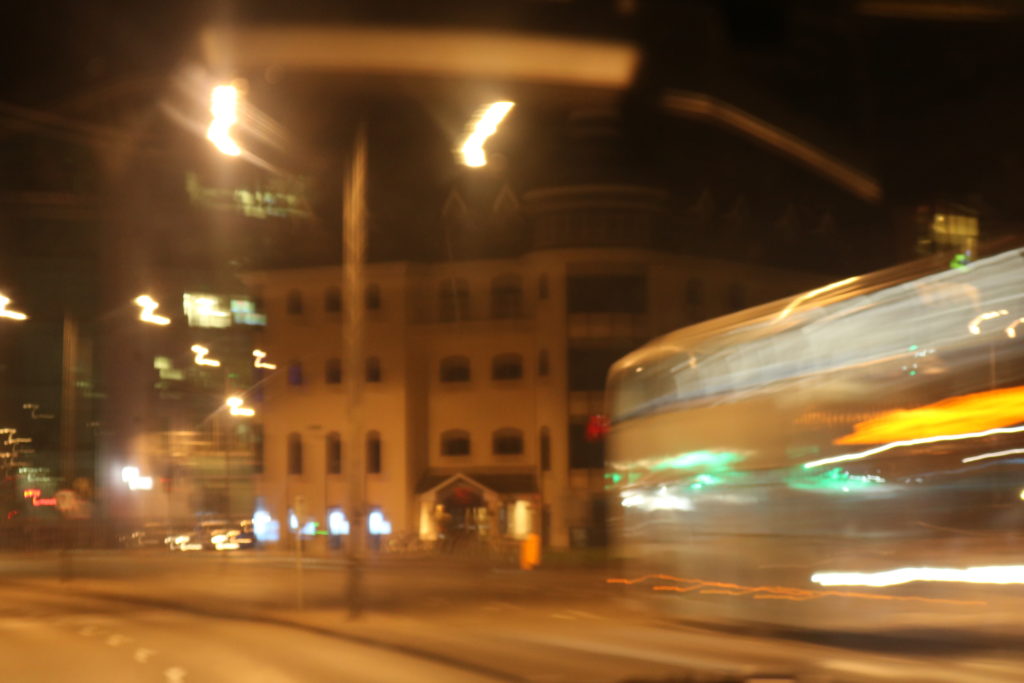
My A4 image
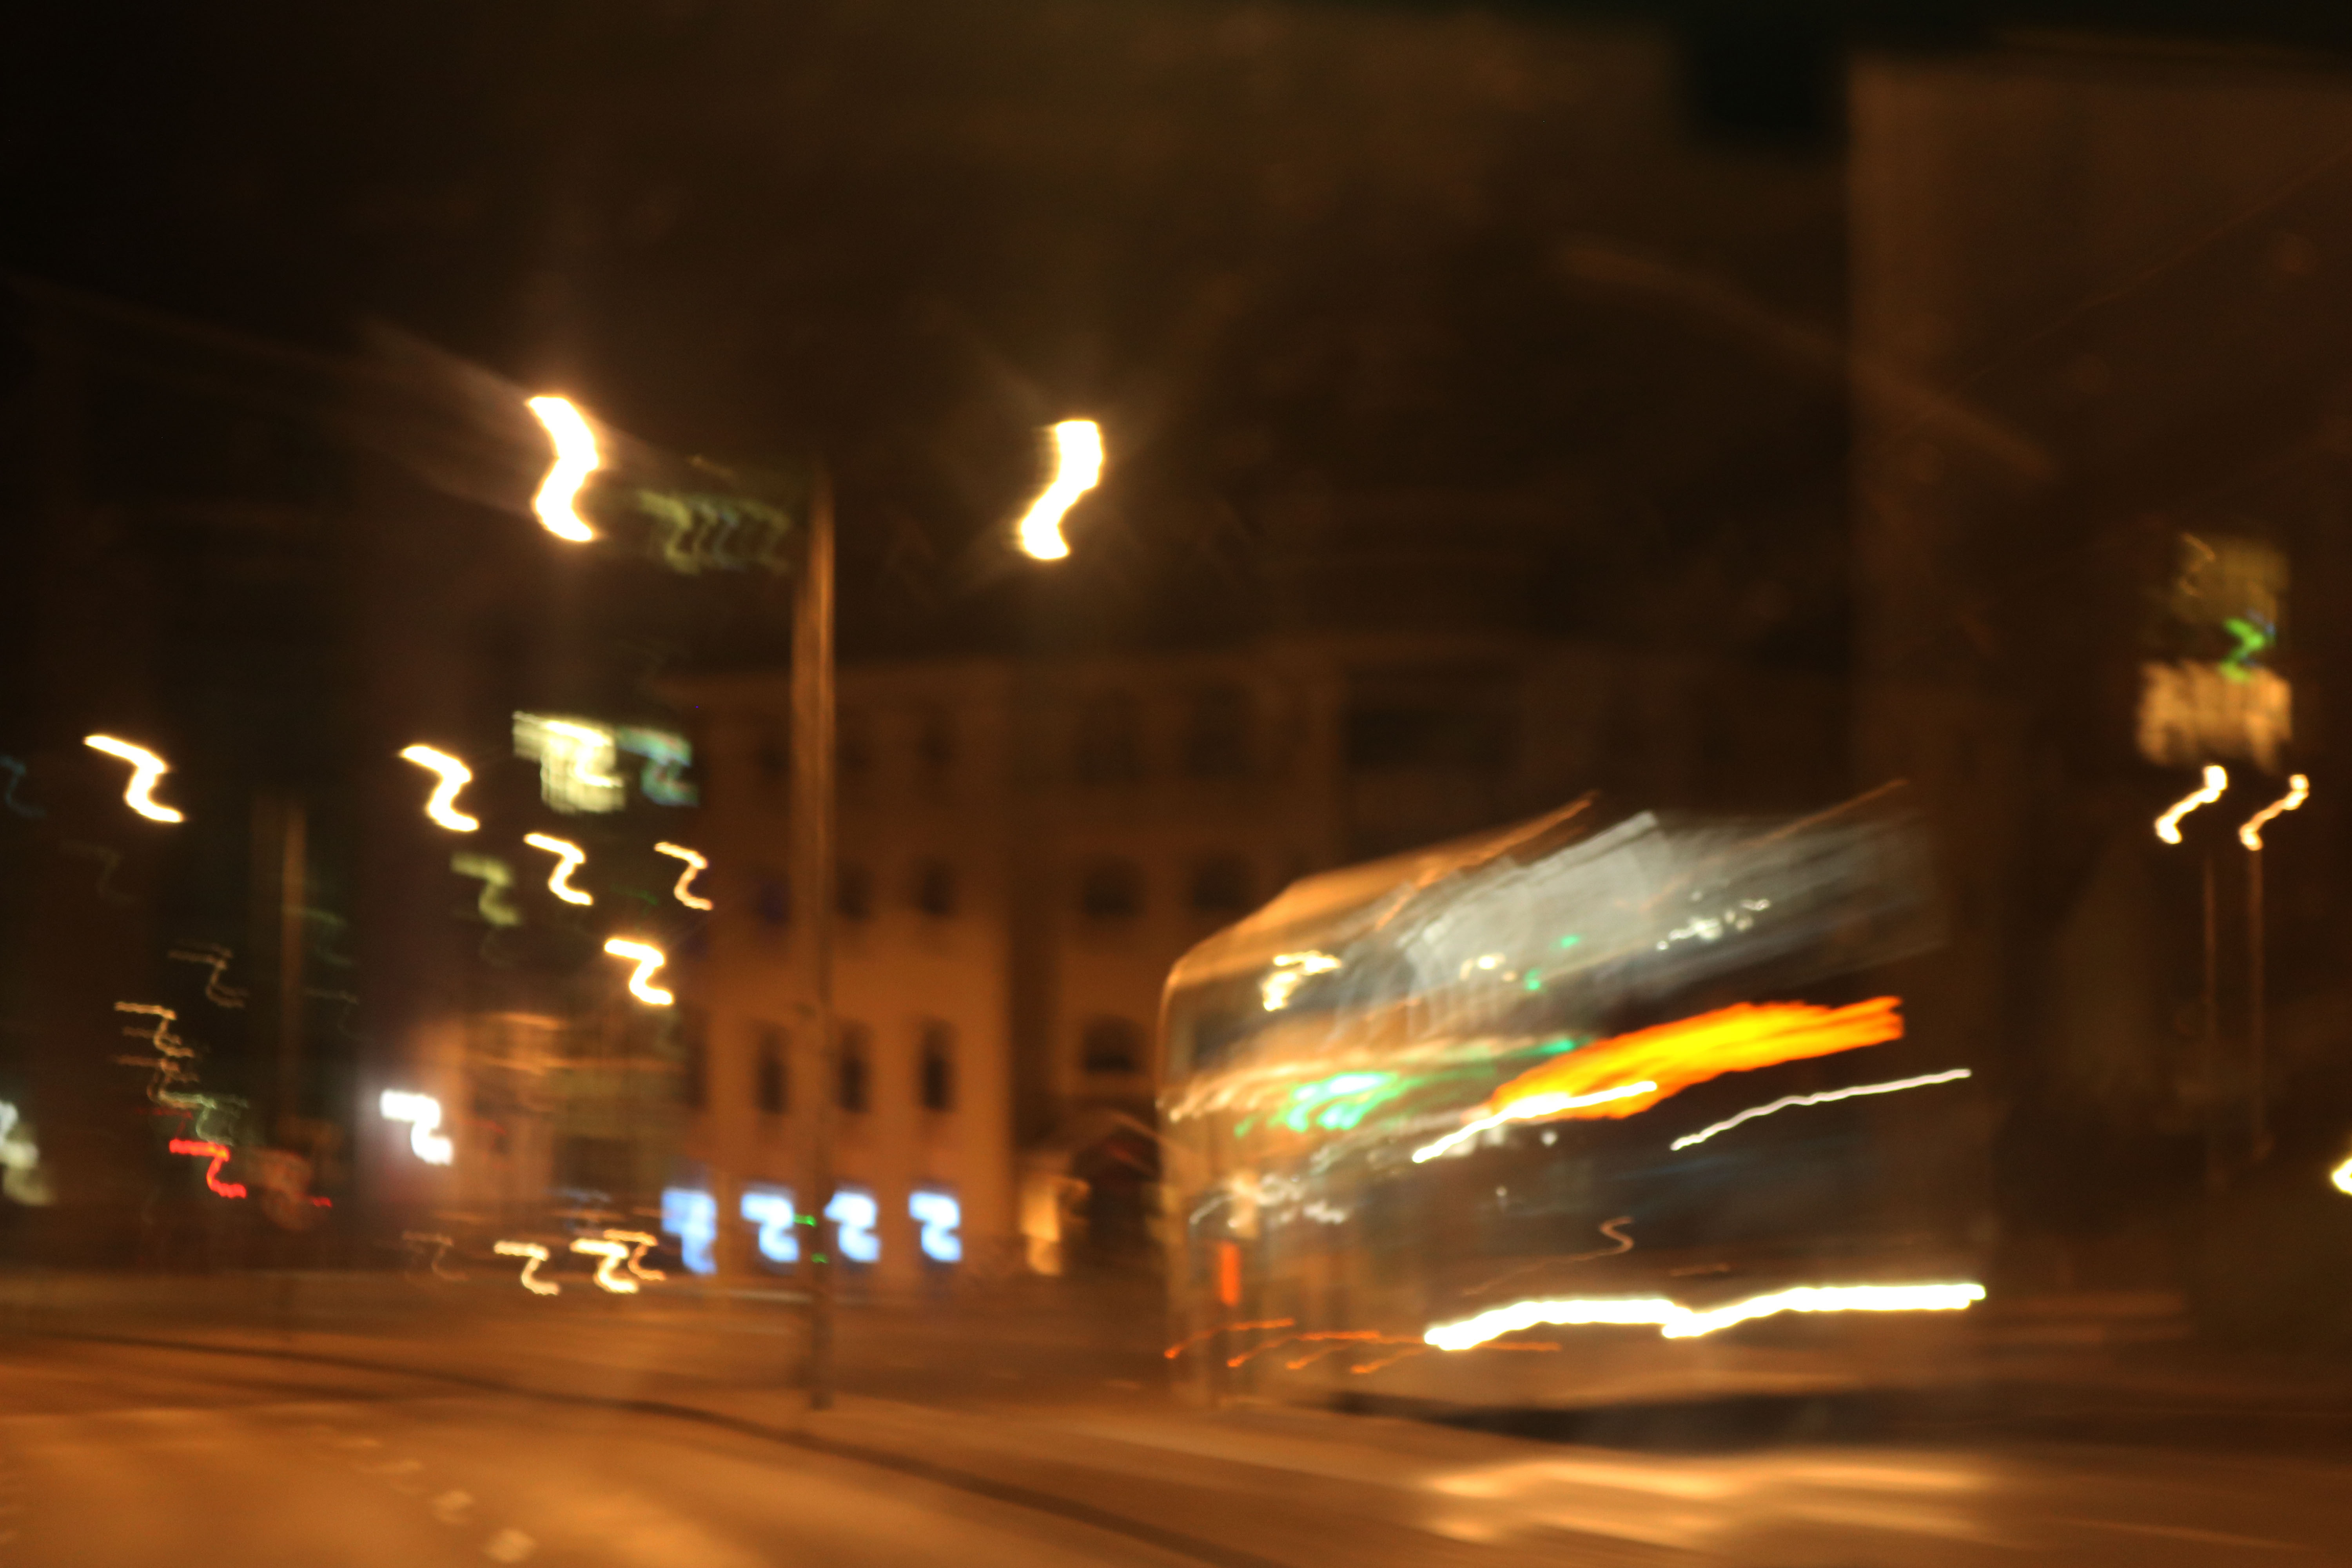
My A5 image
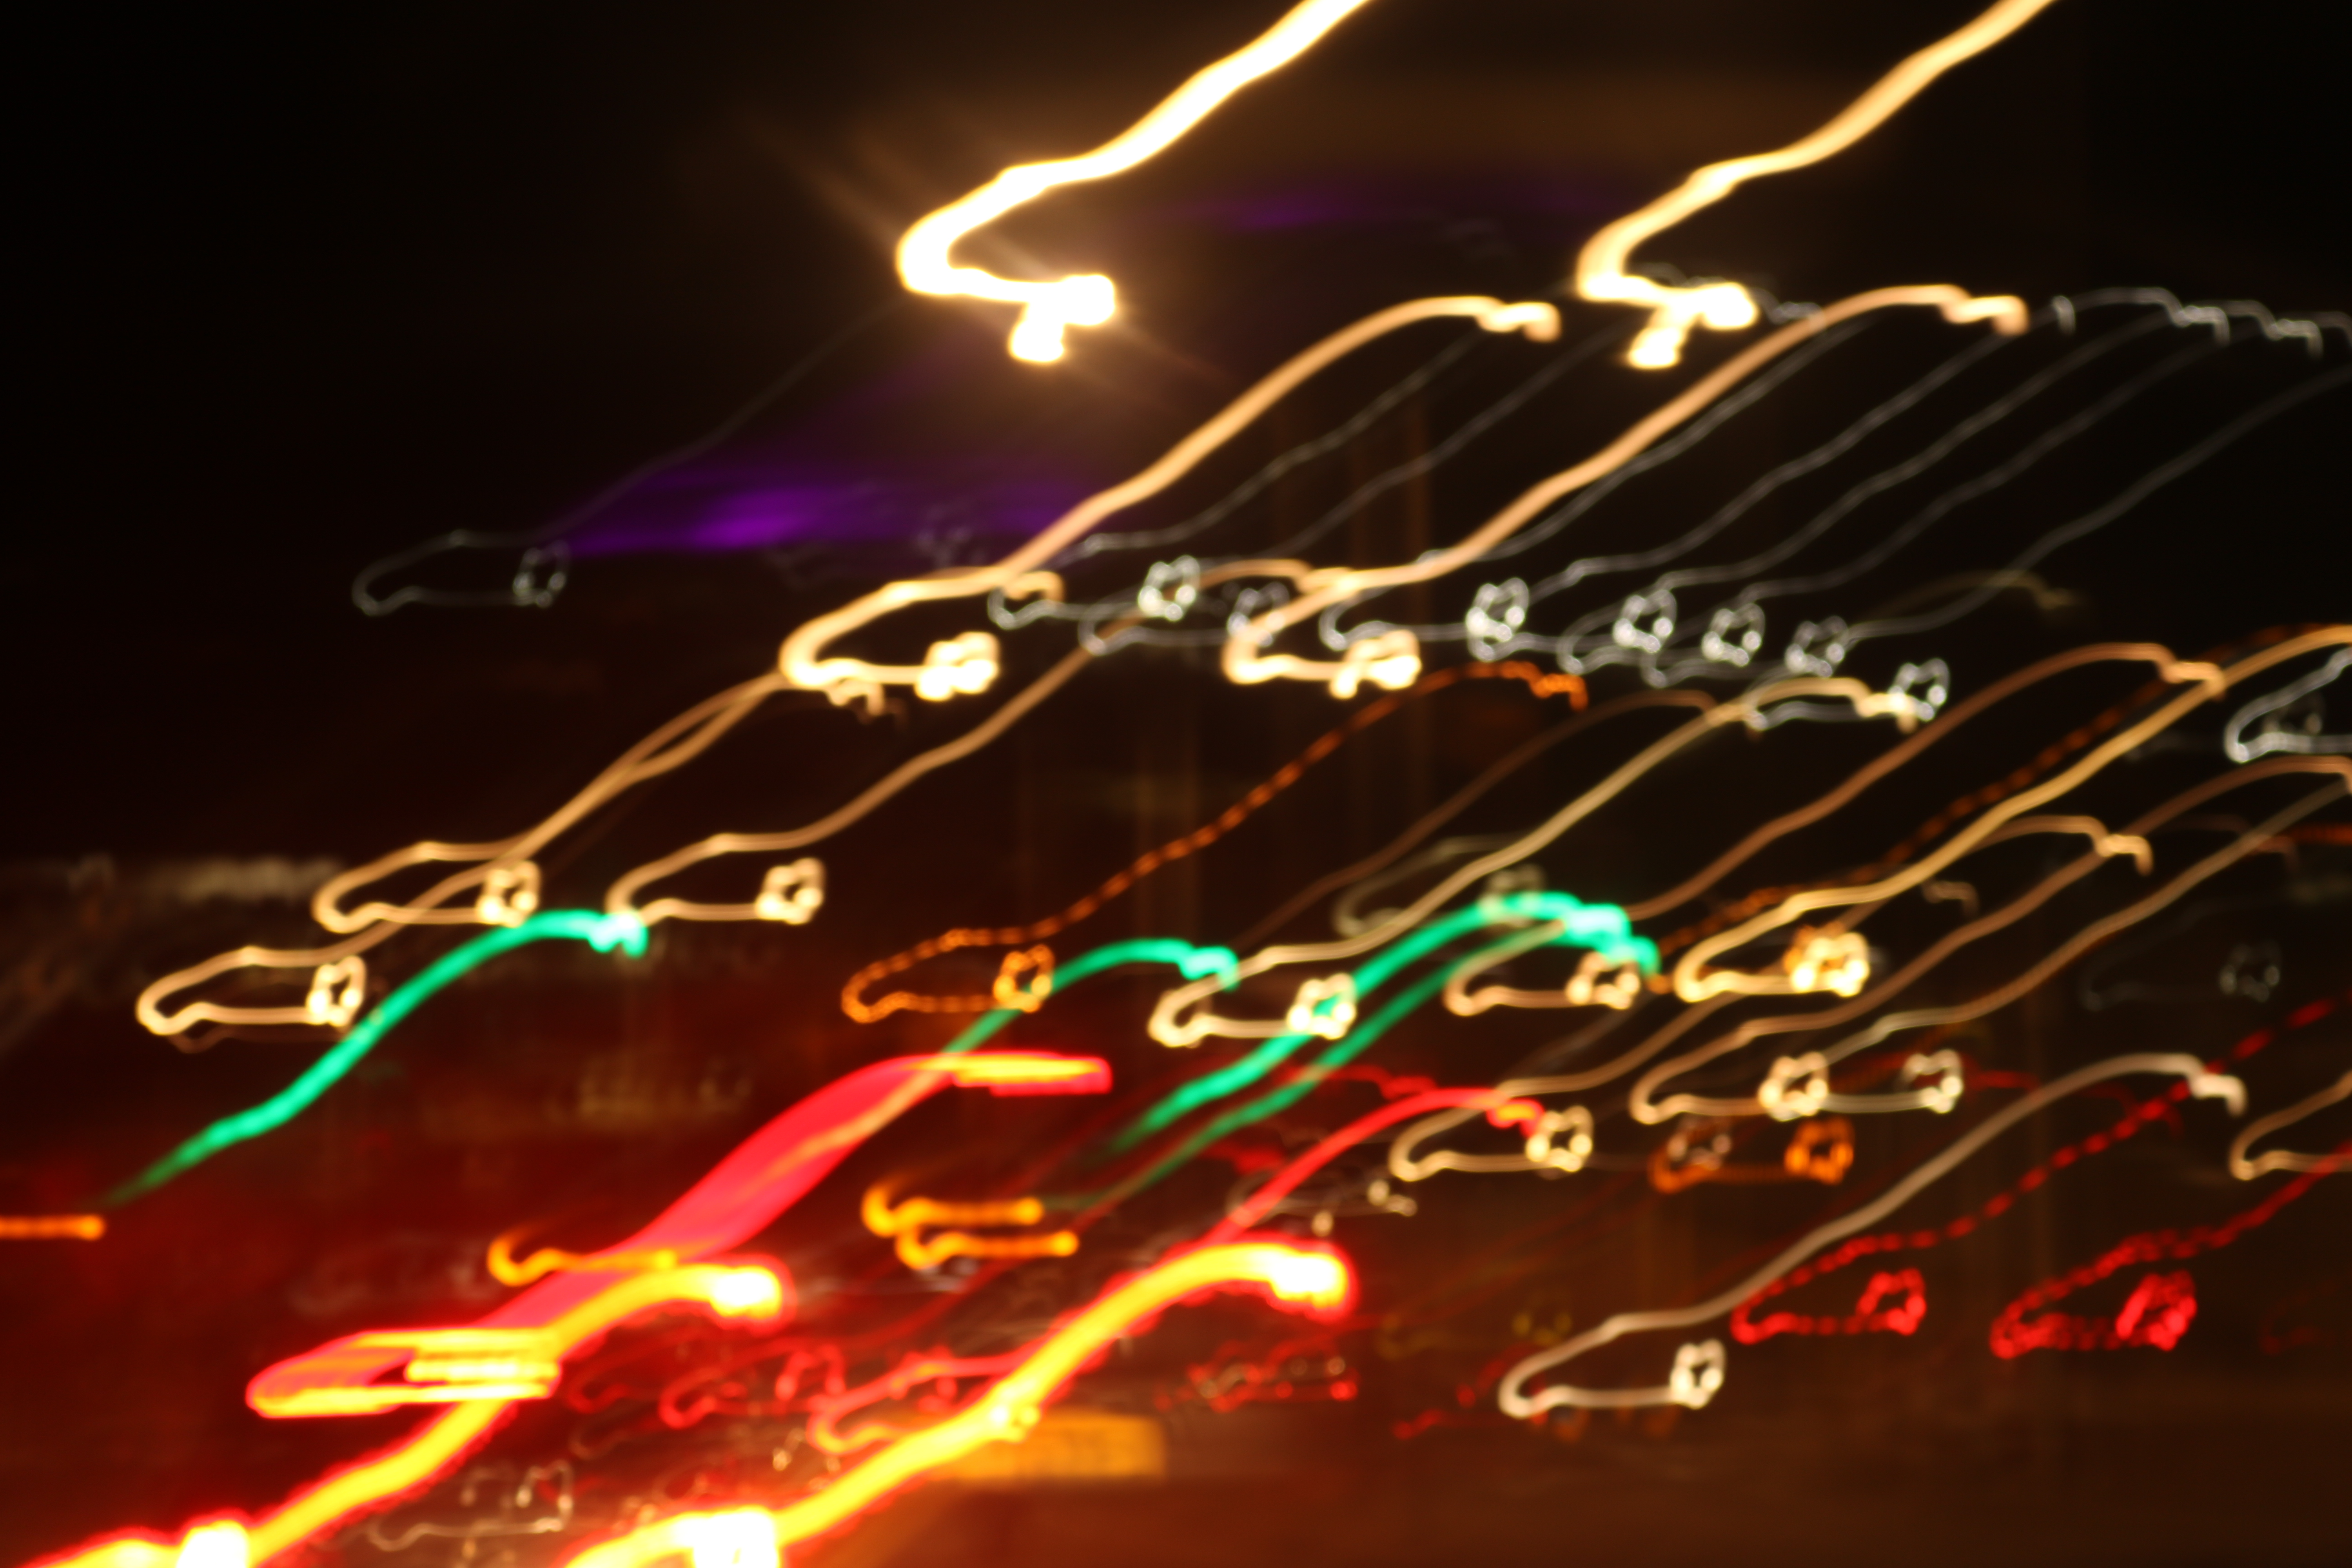
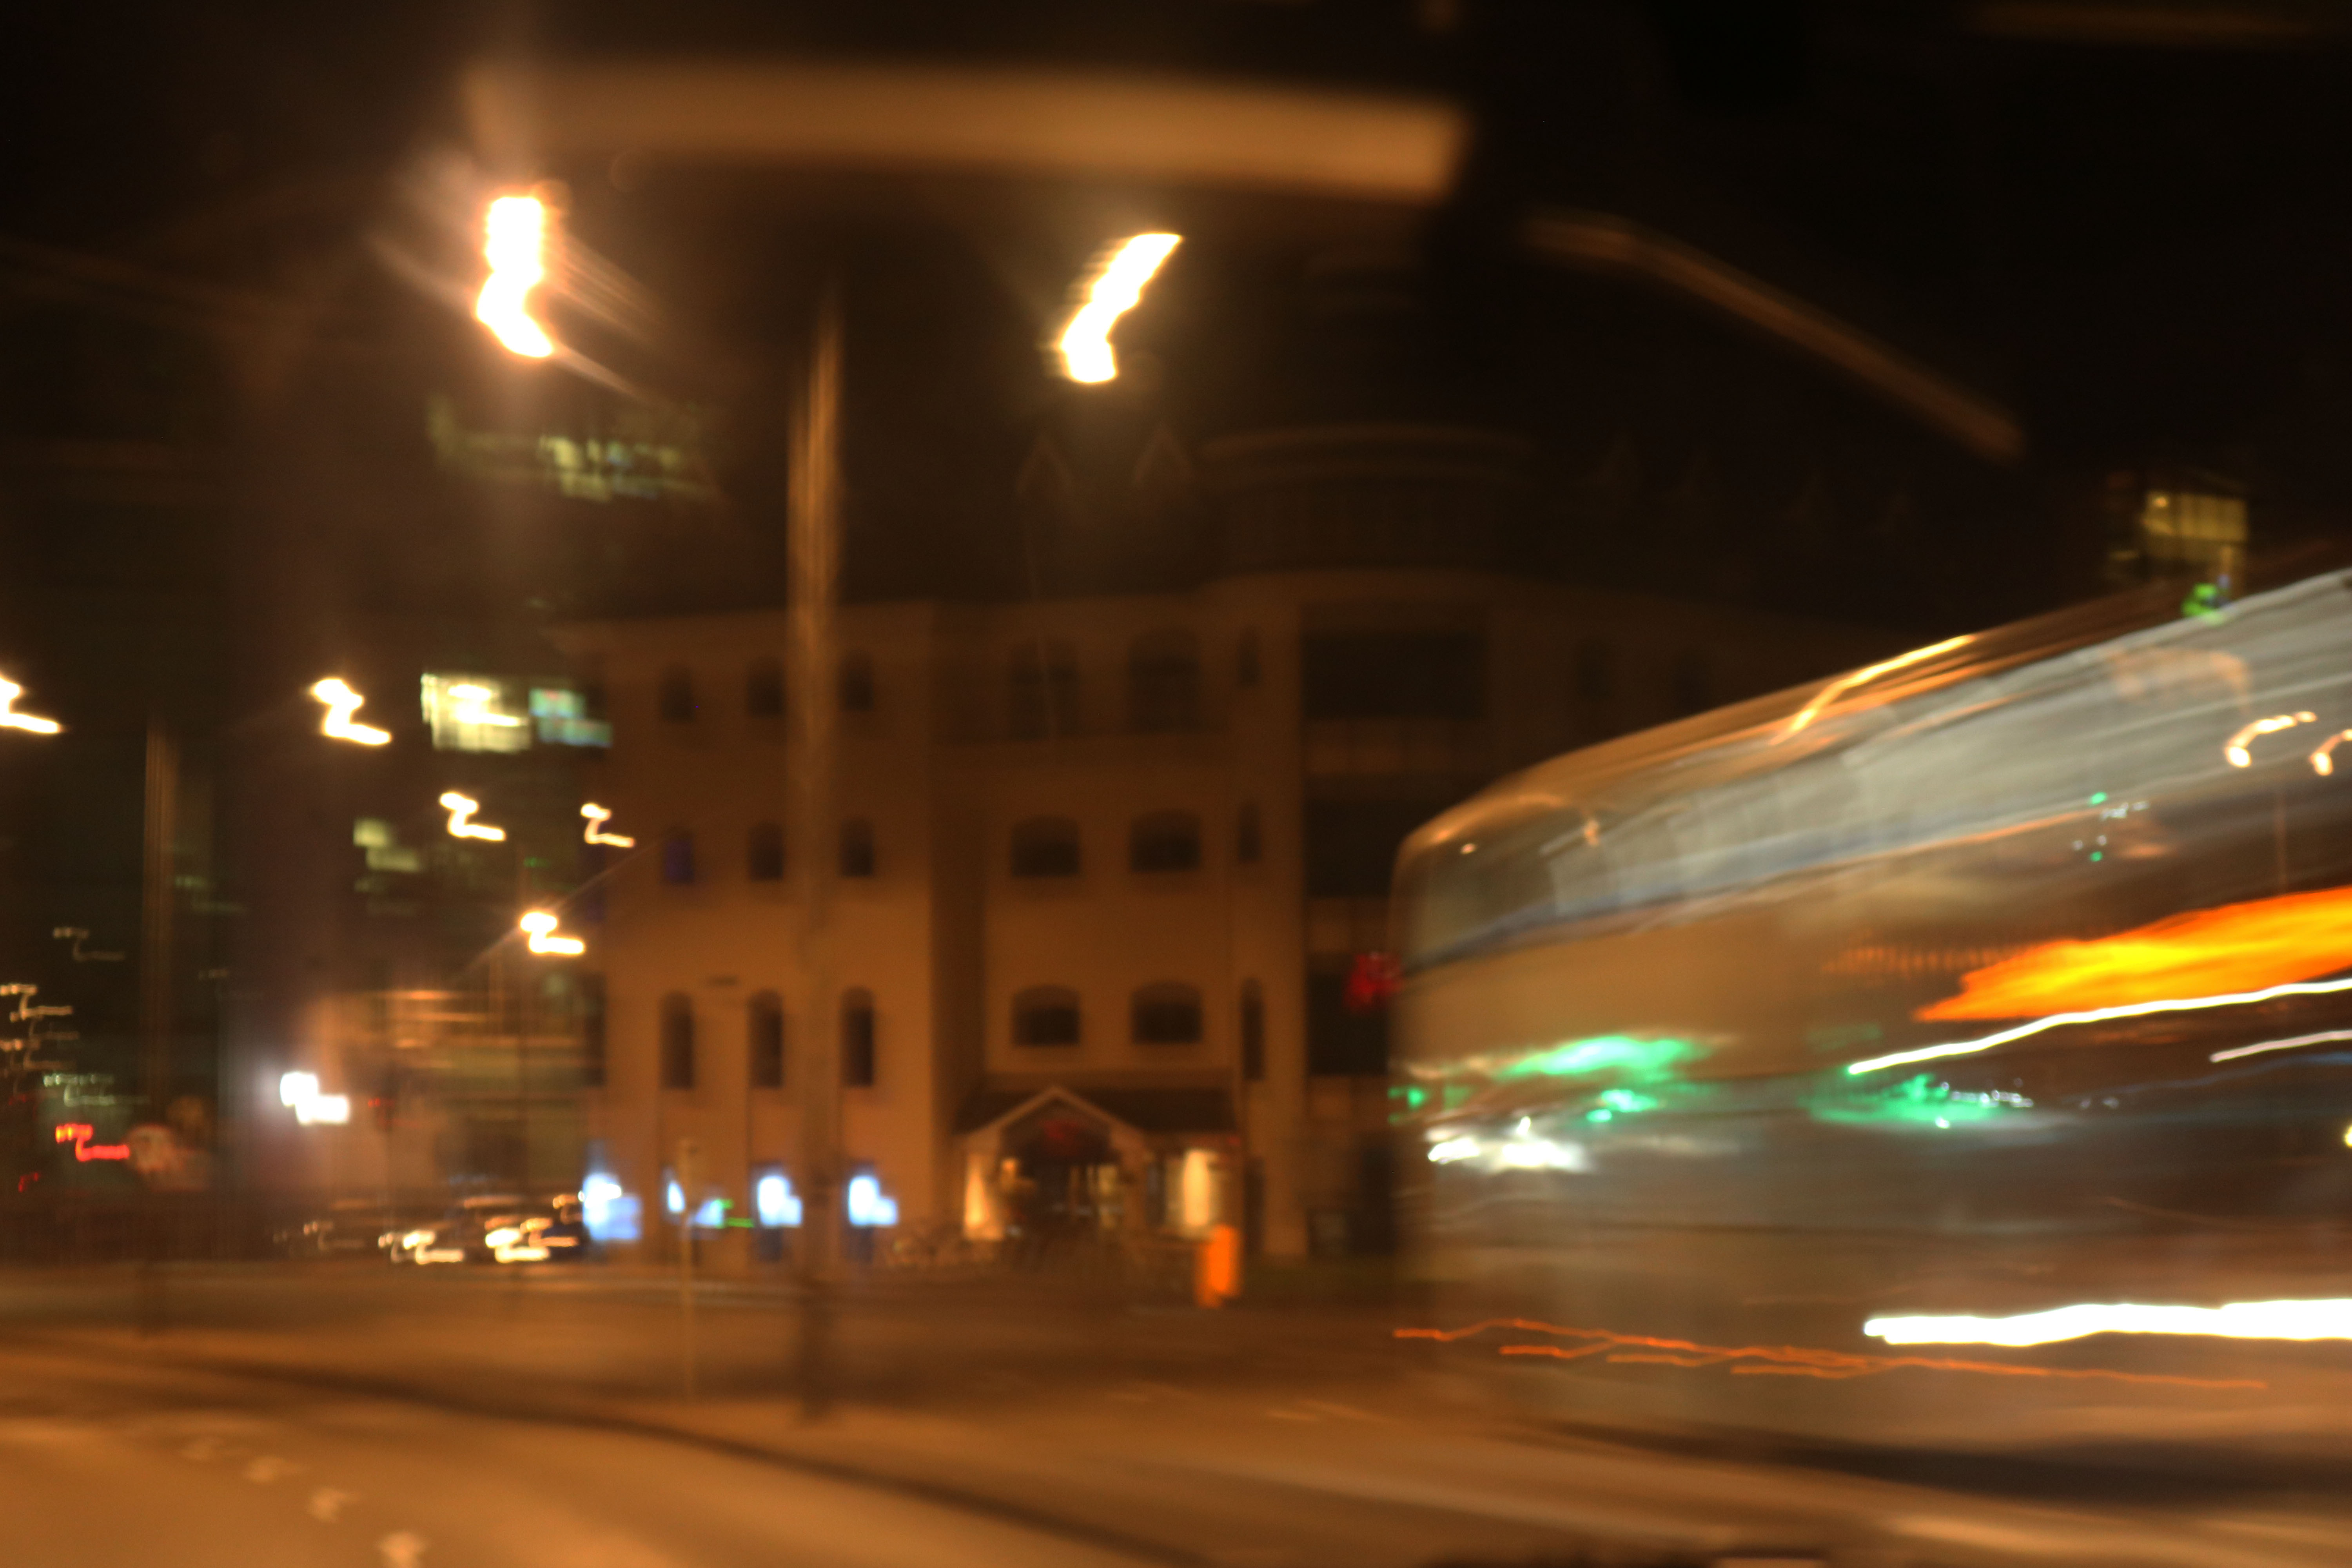
I felt that my other two images would work well by themselves and they didn’t need any more editing to be done. The reason I chose these particular images together, was because they all incorporated some sort of light in the frame, either captured using a bokeh effect or with slow shutter speed.