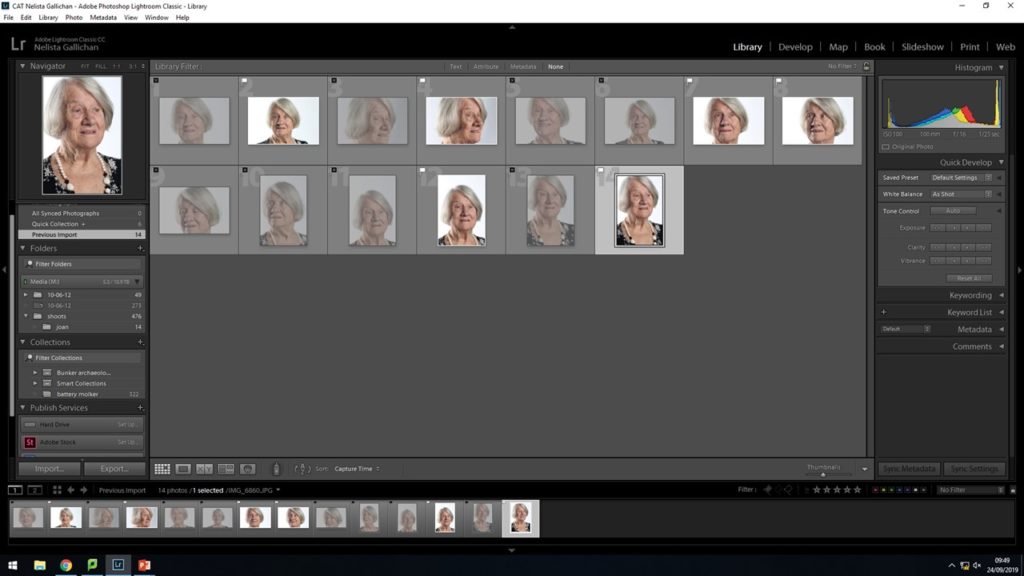
I imported all the images i took into light room classic CC. At this point i can see all the images back to back ans see which ones i like and which ones that i am going to discard. Also i can actually see how many i mages i took in the shoot.
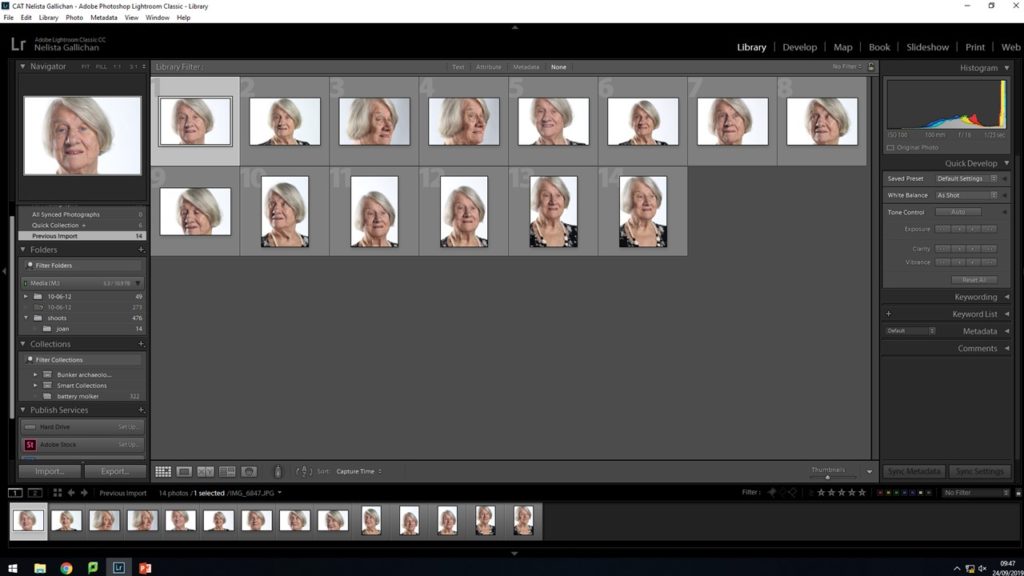
Using the X and P keys on the key board I can Flag The images that i want to keep with the P tool and Discard the images I don’t want with a black flag using the X key. This highlighting meaning i can get an initial idea of how my images that i want to take on the edit look all together as a collective.
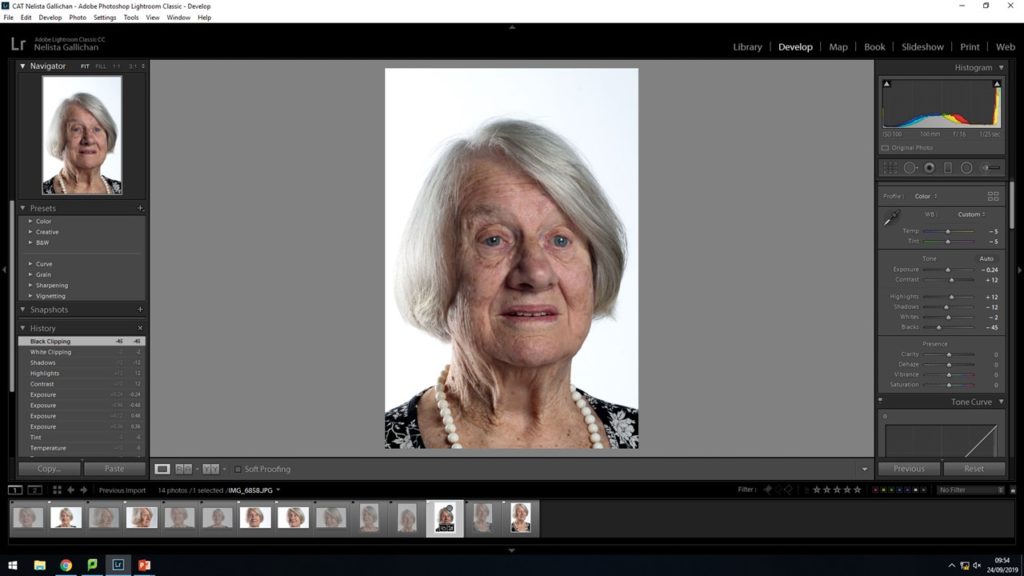
Then i went on to use the develop settings withing lightroom classic cc changing the sharpness , depths of tones within the images , cropping them so the is less background to get the final result desired.