Editing Paris Trip Photos

I have documented the process of editing one of the photos I have taken on the trip to Paris. The goal was to achieve a lightly faded retro style.
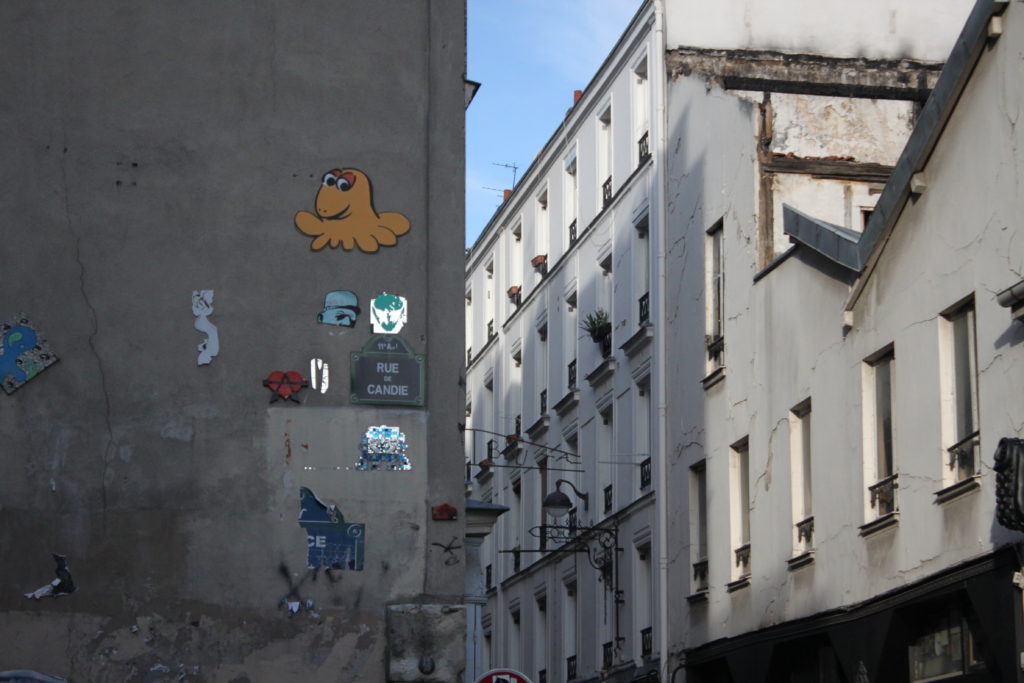
This is the original image, before editing.
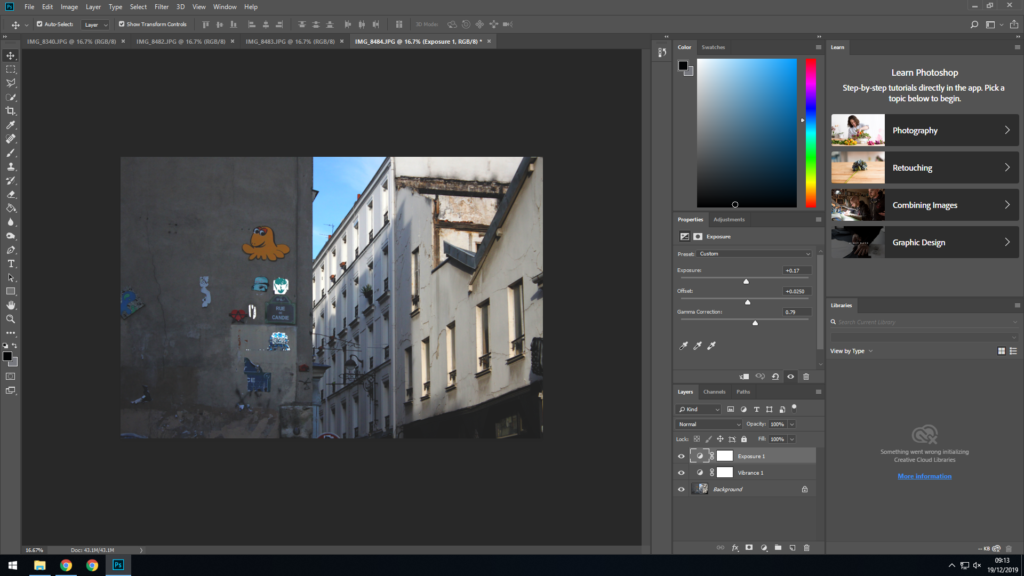
First I applied vibrance and exposure adjustments to the image. The vibrance adjustments help bring out the colours in the image and make it ‘pop’ more, whilst the exposure adjustments I have applied help make the image look faded as it softens all of the dark tones in the image.
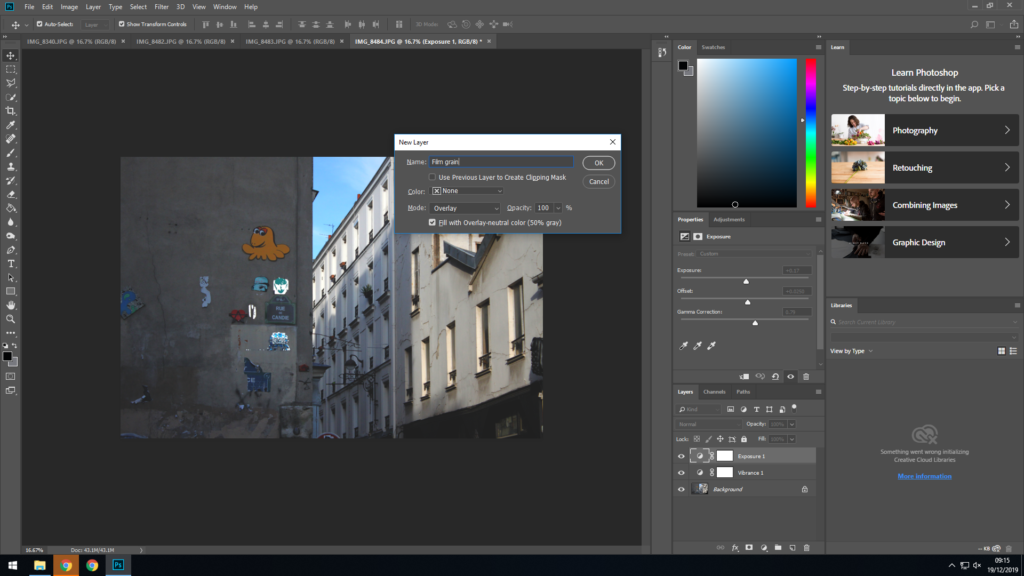
Next I created a new layer. I used this layer to add noise later on so I set the blend mode for this layer to ‘Overlay’ and applied a neutral 50% gray layer mask.
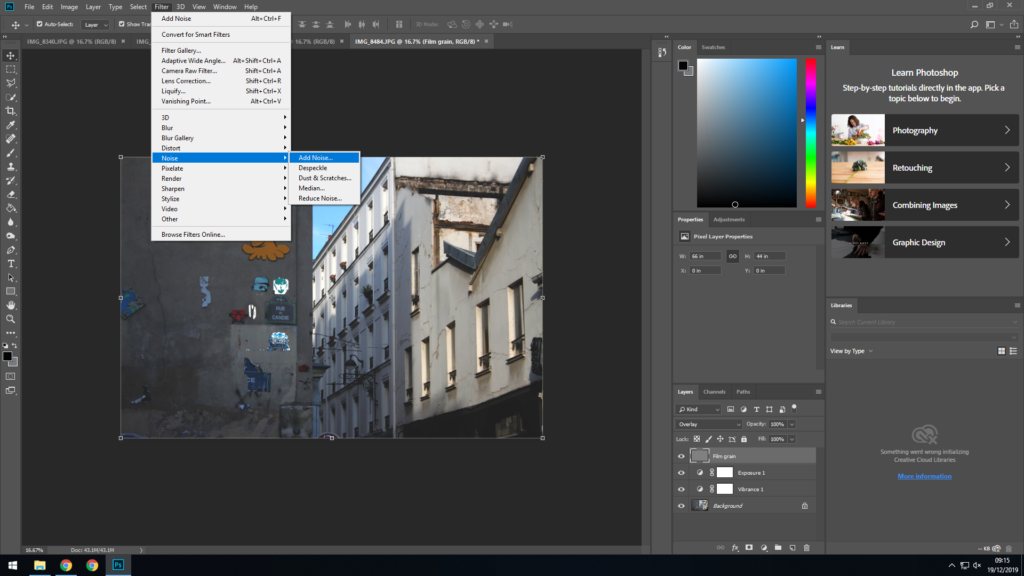
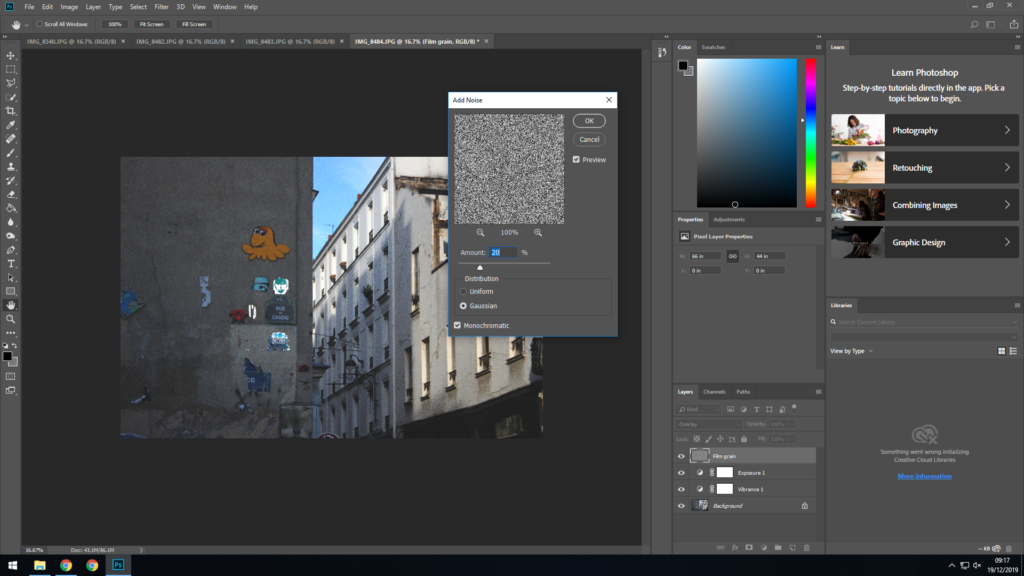
Then I added noise to the new layer.
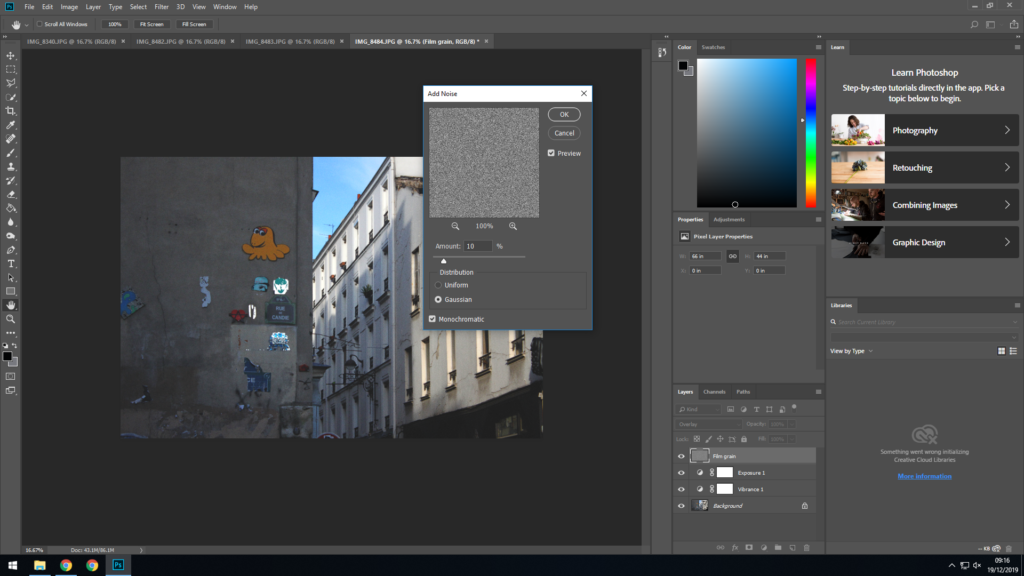
I set the density to 10% as I didn’t want the noise to be overwhelming. I also selected Gaussian noise over Uniform as it helps make it look more natural, I made the noise monochromatic as well.
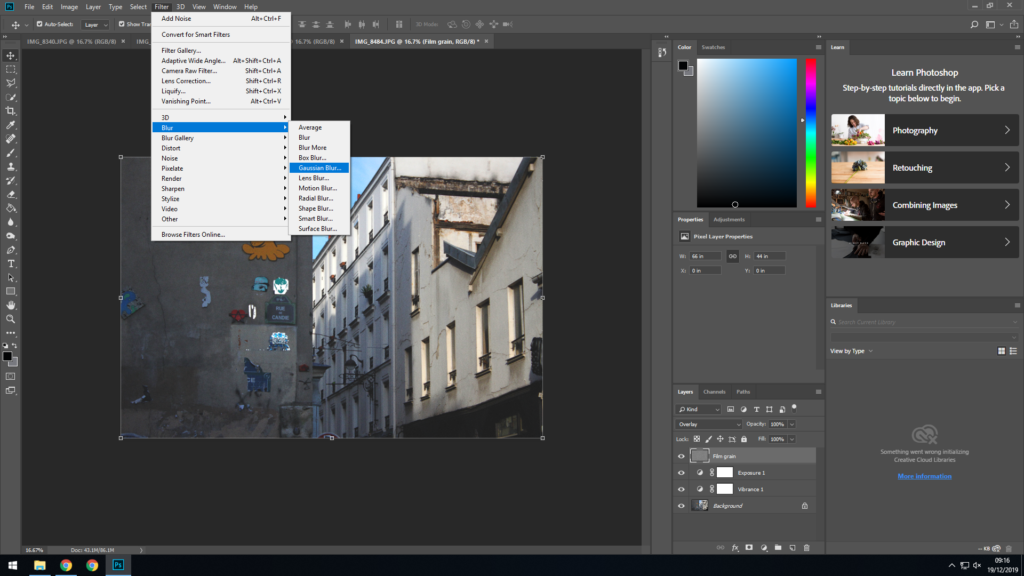
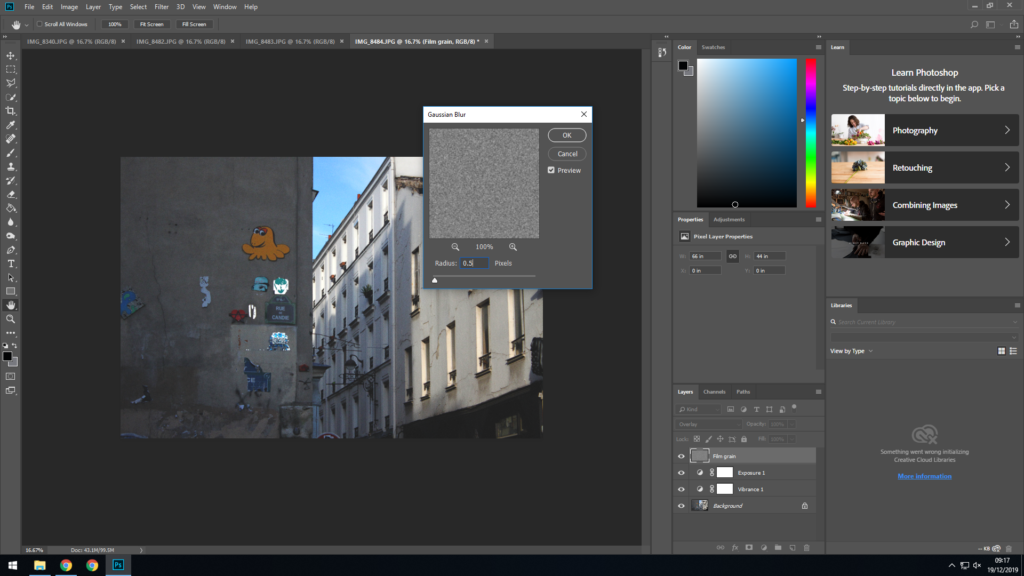
As I didn’t want the noise to be too overwhelming I then added Gaussian blur on top of the layer; this helps blend the noise in a small bit.
I set the radius to 1 pixel as I wanted the blur to be very subtle.
I then went back and added an extra layer of noise as the previous layer was barely visible. This time i set the density to 20% as I wanted this layer to be more visible.
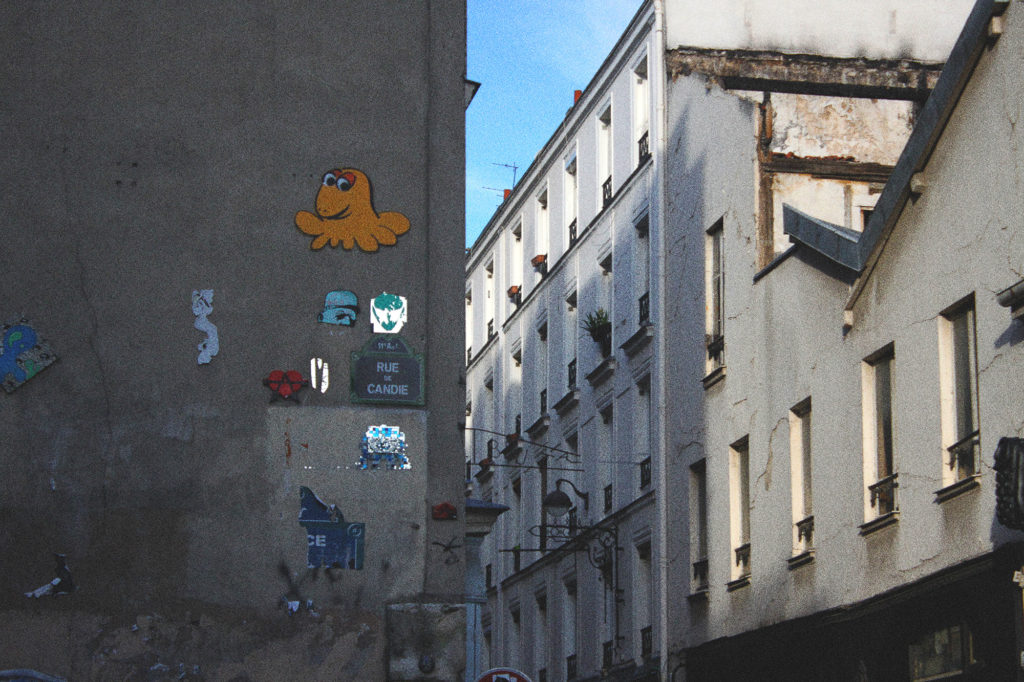
This is the final result.