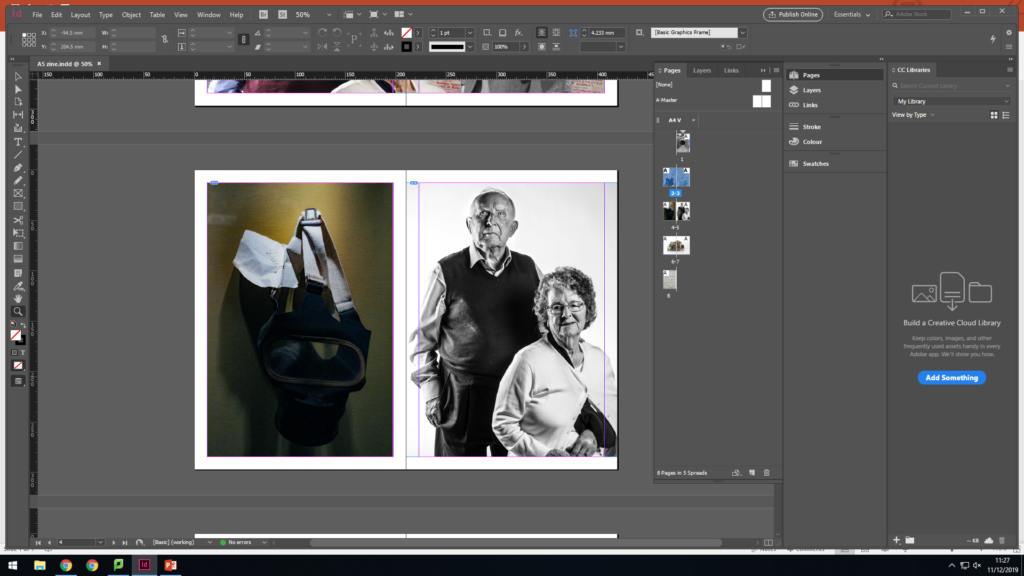
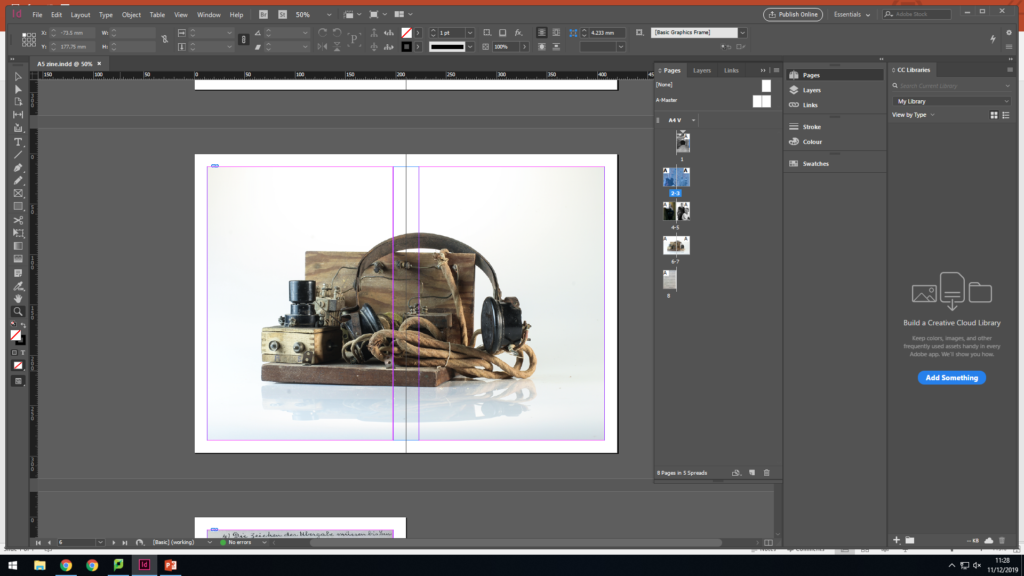
Zine Layout:
For my zine I want to do a single selection, because I feel that with my selection of images, it would feel stronger and I would be able to portray the message behind the images I have taken.


For my zine I want to do a single selection, because I feel that with my selection of images, it would feel stronger and I would be able to portray the message behind the images I have taken.
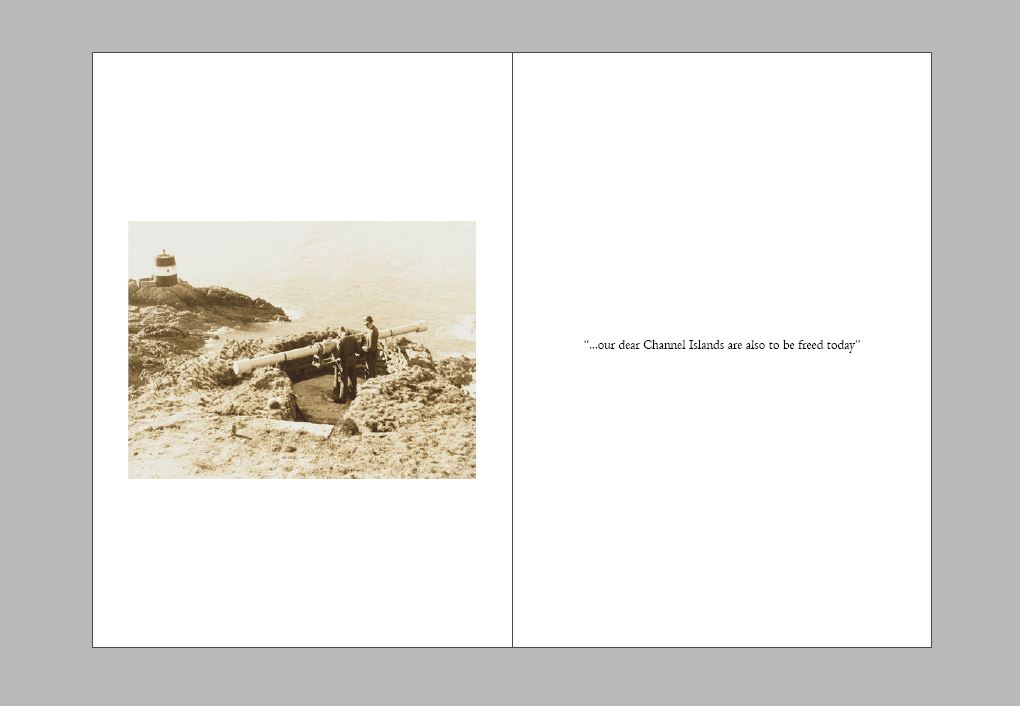
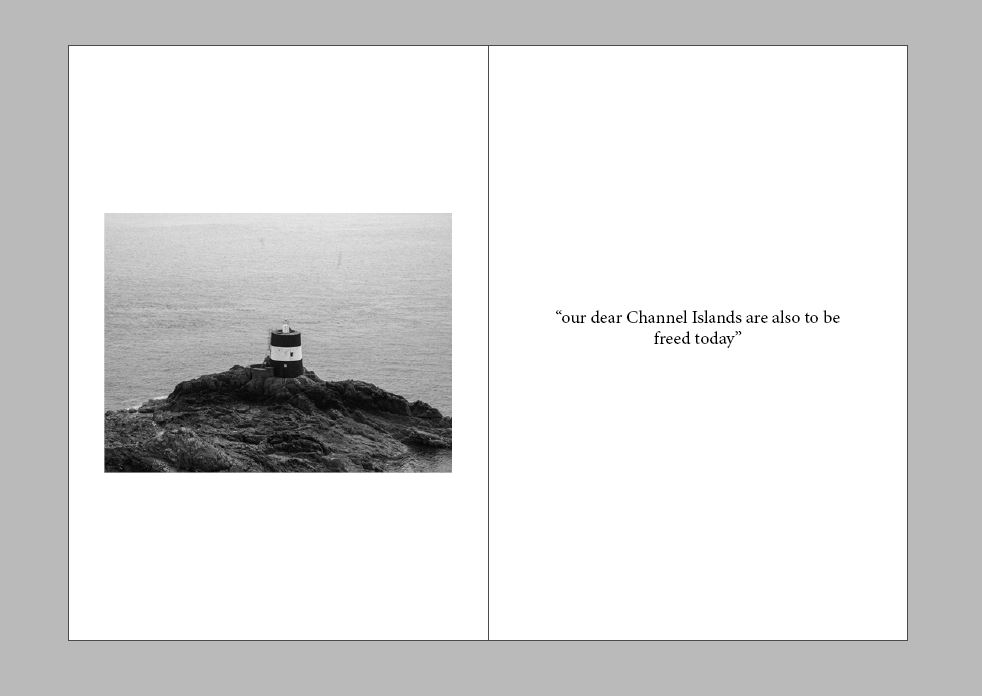
While studying the topic of Occupation vs Liberation I looked into the three areas of Landscapes (Bunker Archeology), People (Occupation Babes) and Objects (Archival objects and photomontage). The overall process of the project taught me how to link and develop archival materials, both photographs, objects and writings, into my own work and photographic outcomes. Using the archival material also helped me to develop an understanding of how to go about finding and searching for the right archival material from the help of the Societe Jersiaise archive as well as the Jersey Archives. The use of archival material is something I feel would be useful to develop into my personal study as I feel it can add something to the already developed photographs, as well as the historical ones I feel creating a sense of context as well into the photographs which is something that I feel would be useful and enjoyable into the personal study.
The act of producing portraits in the studio inspired me the most as I enjoyed the simplicity of creating the photographs and the stillness and simplicity of the outcomes. The portraits portion of the project helped me to develop my skills with photographing people who I have just met and understanding the importance of getting to know them and having time taken out to speak to them and listen to them talk as to gain a better understanding of them as a person and who they are, which will eventually lead to a better portrait being taken and better final outcomes. This I feel really helped me as previously I had taken portraits of people in a character however this was speaking and photographing a real person and getting to know them I feel really helped the photographs not be so static of them just of a person. Making them, however, a lot more personal.
I feel the objects section taught me the most skills that I would want to try and incorporate further in my personal study. The objects portion of the project was able to teach me about new techniques that I previously did not know about. The use of specific object photographing tables and how to produce the right lighting around this, as well as how to photograph flat objects with my camera raised and flat above the objects.
The landscapes portion of the project was something I struggled with inspirationally however I feel the end outcome of the zine was most successful. Learning to work in different weather conditions which produced continually changing lighting was something I found difficult and the idea of framing images and what was going into frame I found harder with landscapes rather than portraits and objects. Landscapes is something I would be hesitant to reach into again in the personal study unfortunately.
The overall end outcomes from these mini projects, my zine’s I feel did turn out successful and has given me good insight into how I can go forward to develop my photo-book at the end of the personal study.


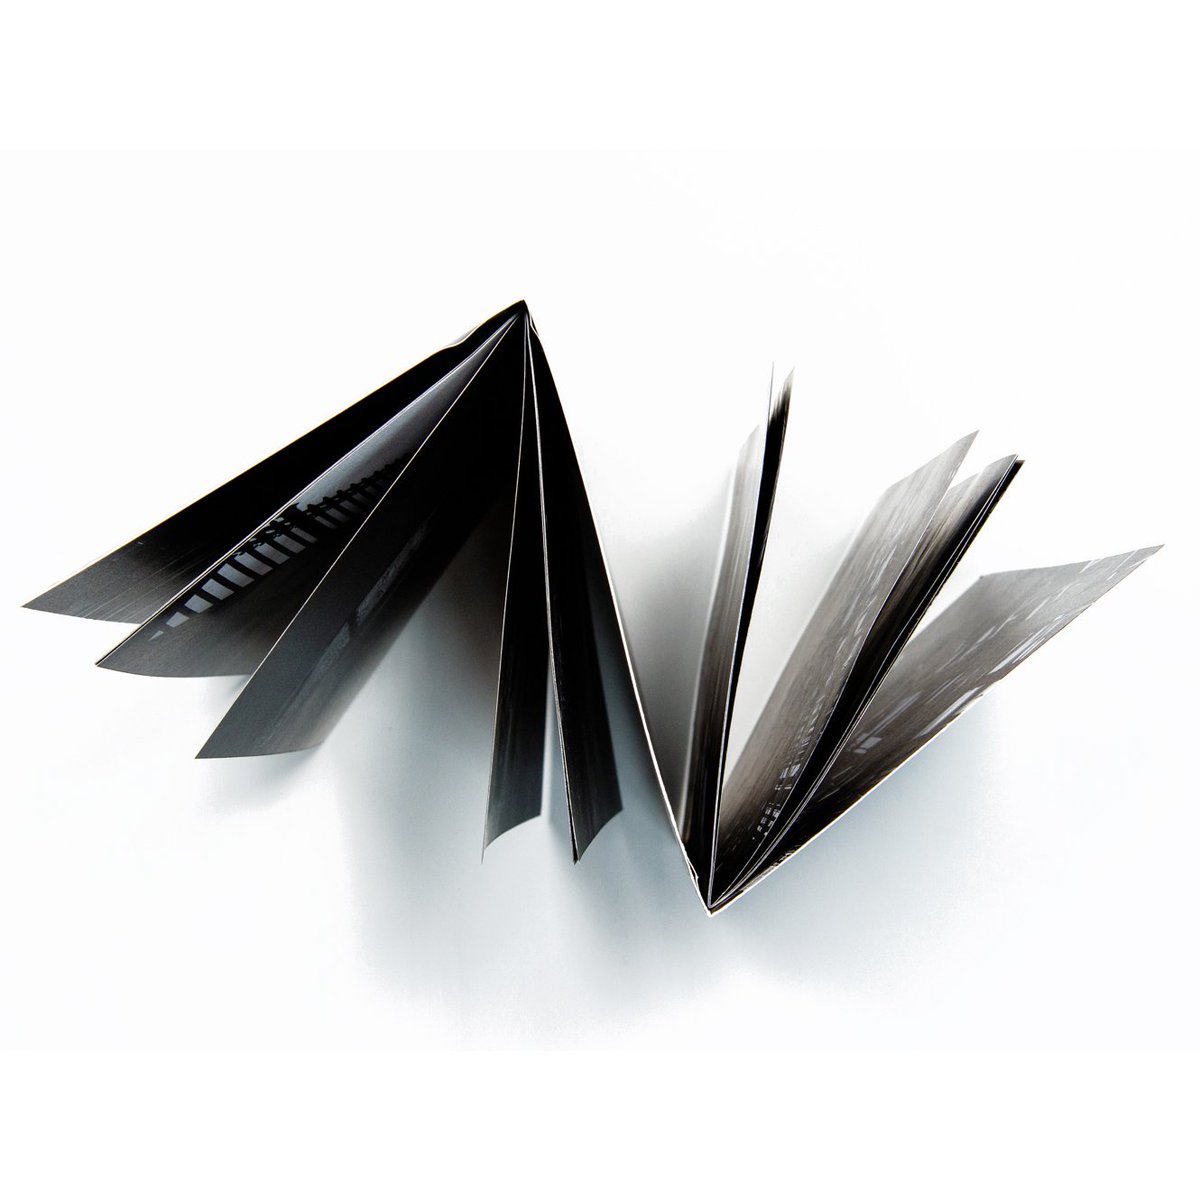
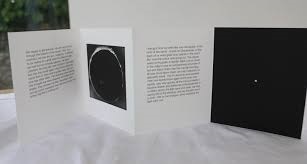
This will be my A5 zine. I will insert the smaller zine on the outside and within some of the pages of the A5 zine.
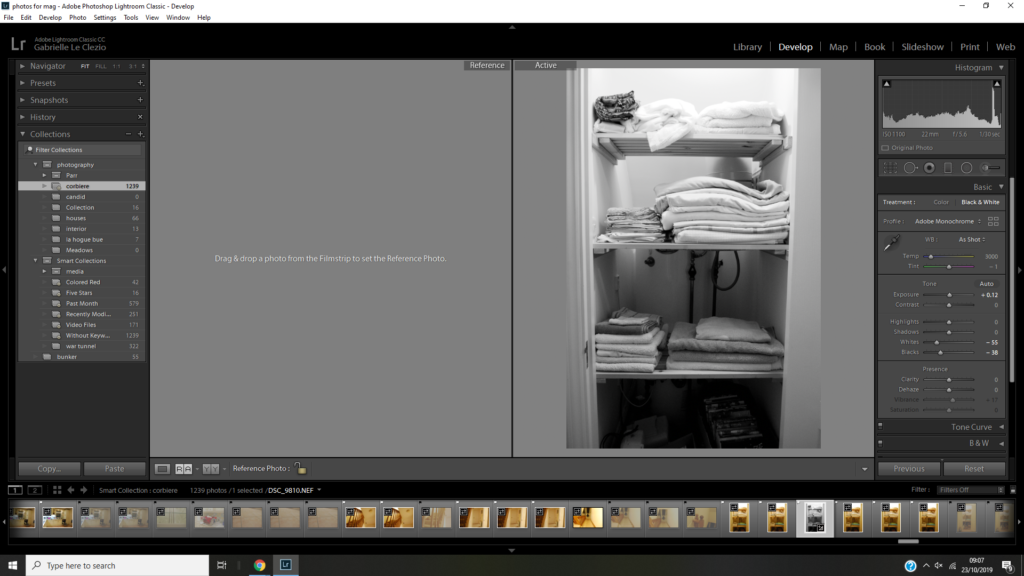
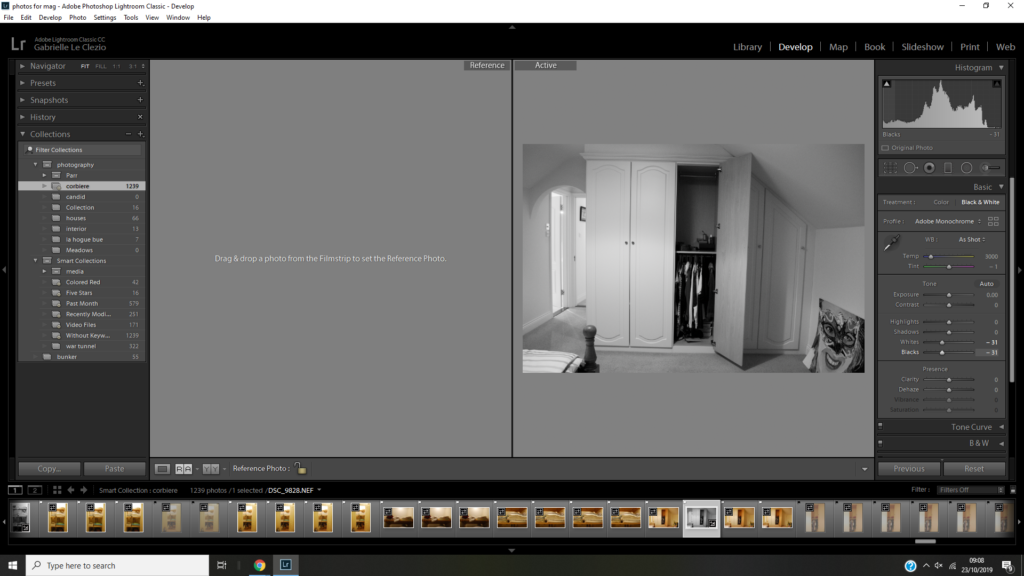
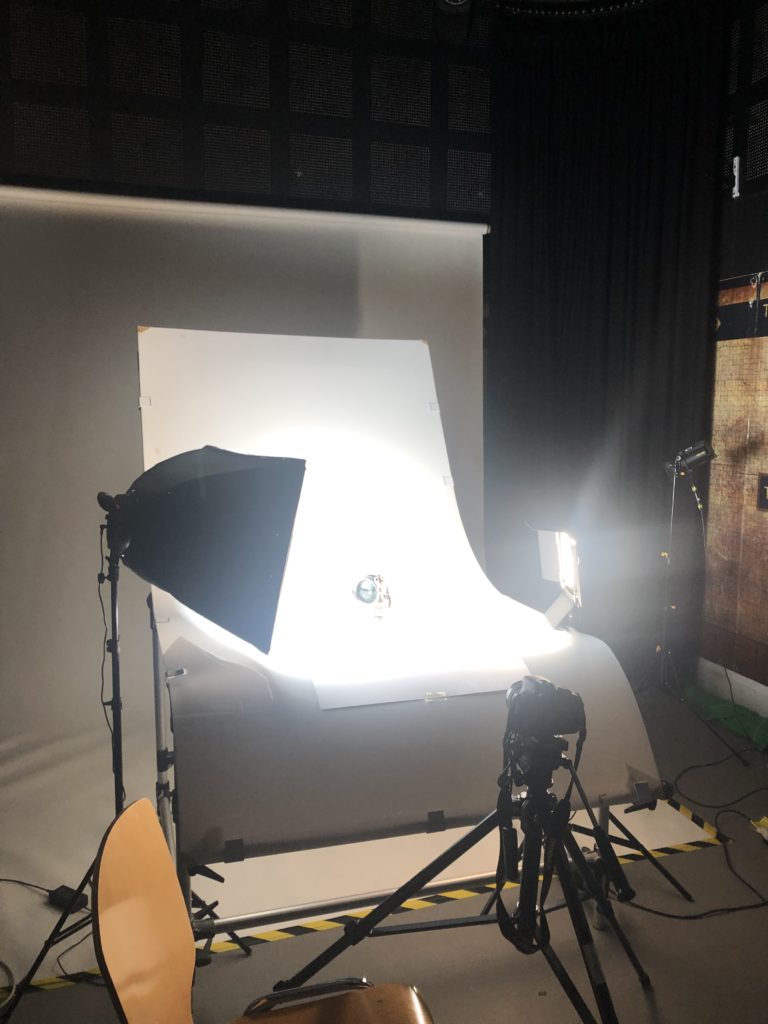
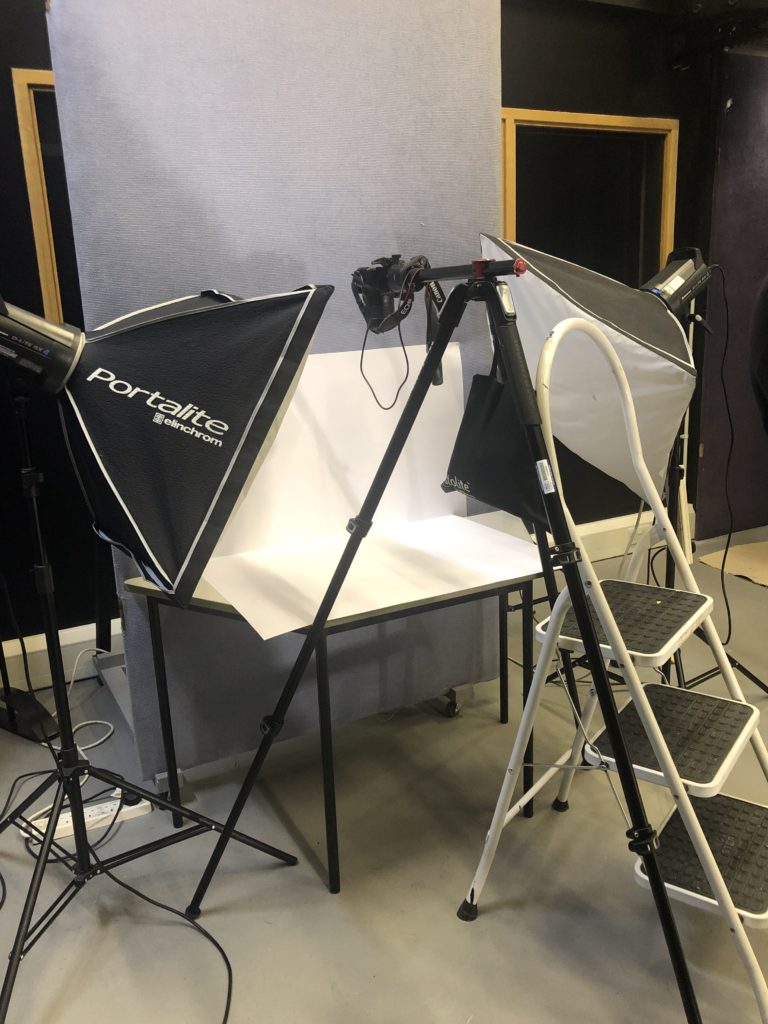
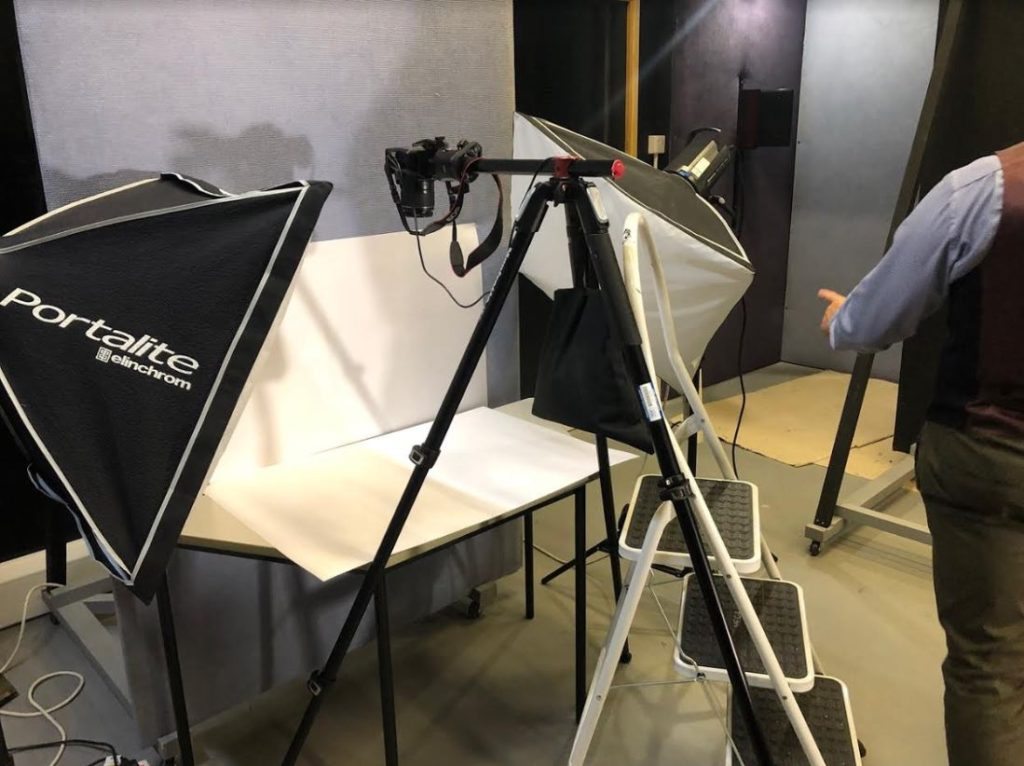
Before going into the studio to take photographs of still-life objects that originated during Jersey’s Occupation, we were first given an explanation of how the lights, set and studio itself was to be laid out, along with the camera settings we would need to use to compliment the lighting.
Firstly, we documented the layout of the set, which consisted of a curved white sheet of reflective plastic propped up by a frame. The sheet was curved in order to blur any possible corners so that the background looked like a single toned white background, therefore making sure not to divert any attention away from the subjects, and to make sure there was no cut/line in the background.
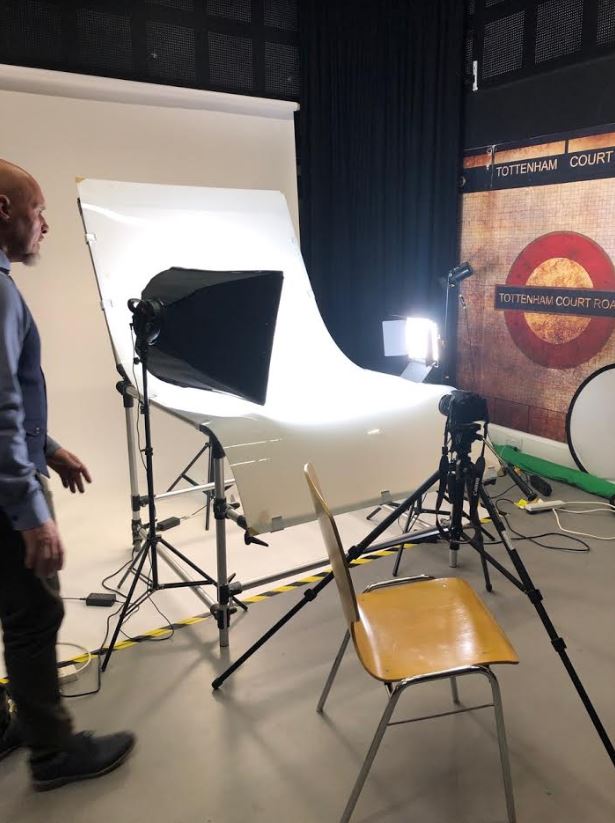
3 lights were used to light the subject in the centre; a filler light, a key light, and a back light. The key light was the most important light, as it highlighted the form and dimension of the subject, and provided a basis for all other lights to be added on afterwards. The filler light was used to reduce the sharp shadows created by the key light, and therefore reducing the harsh contrast and making the subject seem more realistically lit. Finally, a back light was used to slightly highlight the subject from behind to allow for an increase in depth in the image.
The camera was set up on a tripod to ensure that I did not create a blurred effect on the image due to camera shake, and a remote switch was plugged into the camera in order to take the photo while not having to touch the camera itself (meaning the camera remained as still as possible).
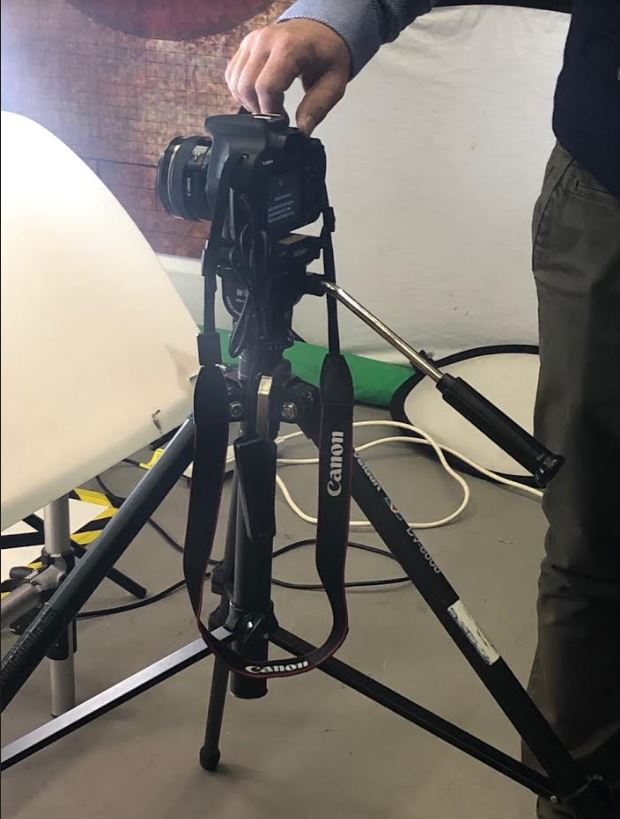
The camera settings were altered to give the best possible outcome of the image. The camera was set to manual (to allow for manual adjustments of zoom and focus) and the white-balance was set to Daylight, in order to compliment the blue-light setting of the filler light. The IOS was set to 100 due to the light intensity of the studio, and the shutter-speed was set to 1/4th of a second (although after a number of attempts, this was altered to 1/2, 1/8 and 1 in order to see the difference in the images). Finally, the aperture was set to F16, in order to slightly reduce the amount of light coming into the lens (due to the intensity of the light in the studio itself),and the shutter-speed was set to 0.5/0.8 (depending on the reflection of the objects).
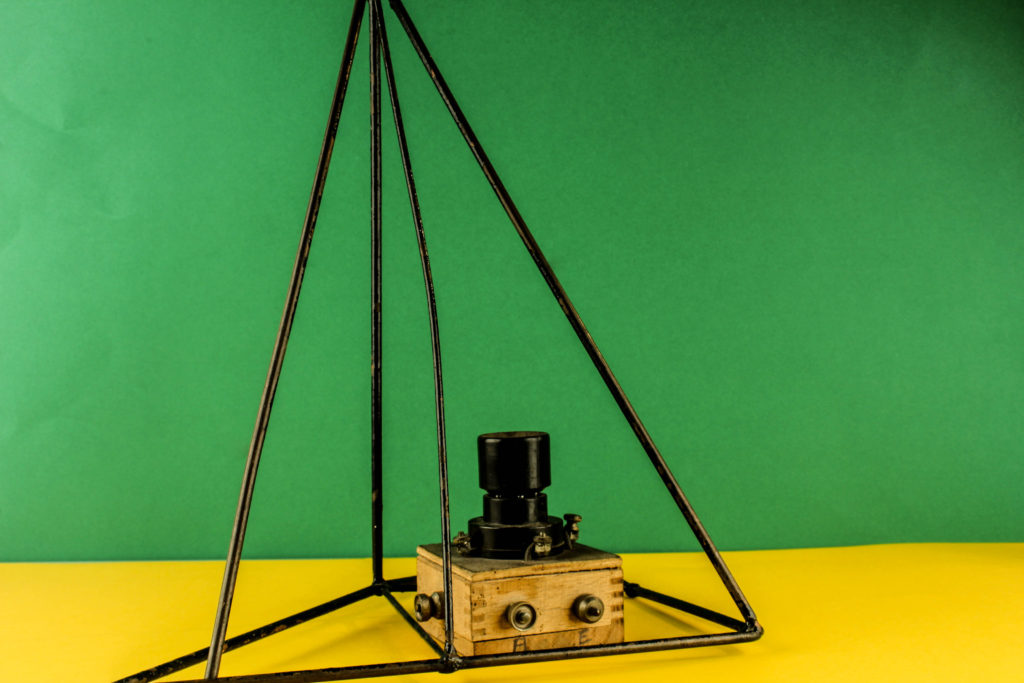
After the camera settings were adjusted, it was possible to take the photographs of a range of subjects and objects loaned from the Jersey Archives, including many items originating from 1935-45.
For the second setup, a tripod was positioned horizontally over the objects (placed on a white table) in order to give a birds-eye-view image of the objects straight on (this was a better option for images with slightly with less depth (such as books and ration coupons). A weight was used on the other end of the tripod in order to balance the structure, and the images were also taken using a remote in order to keep the camera as stationary as possible during the photo.
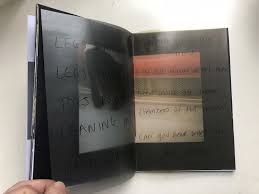
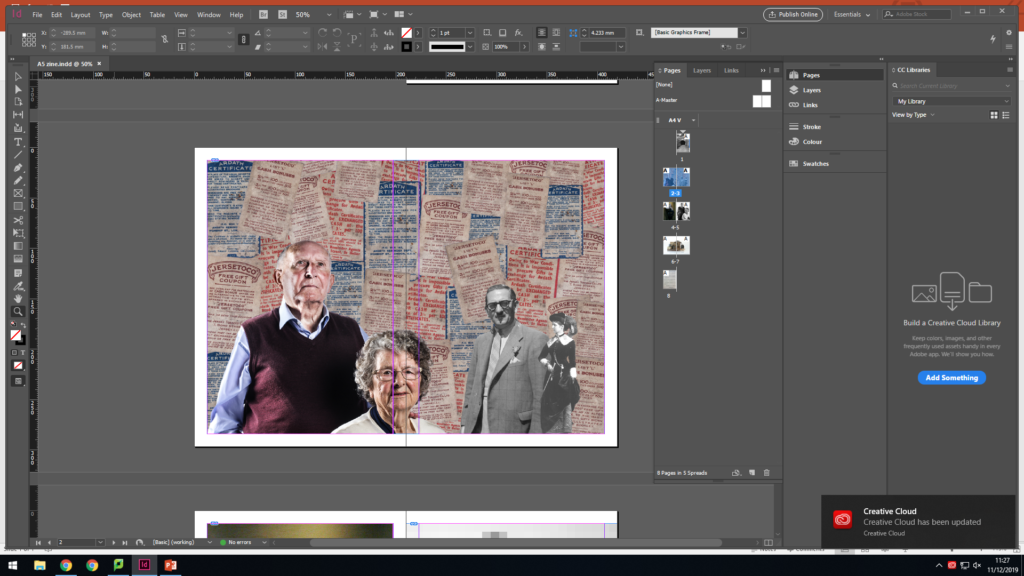
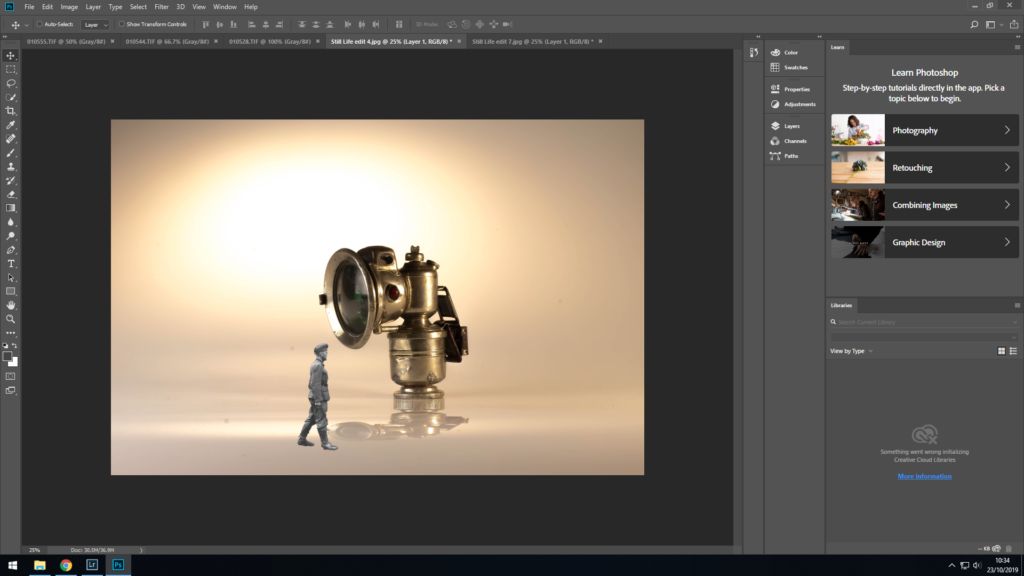
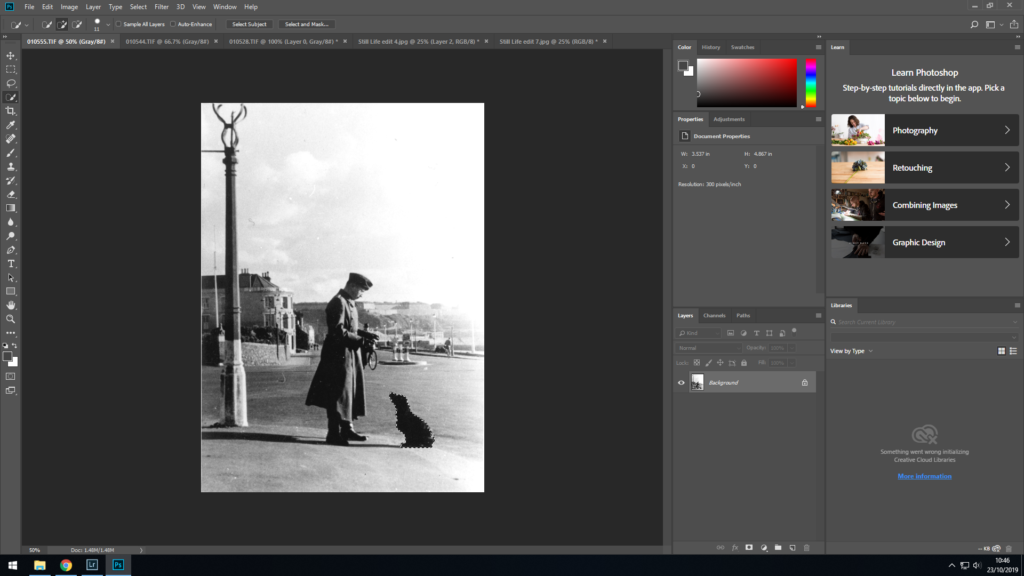
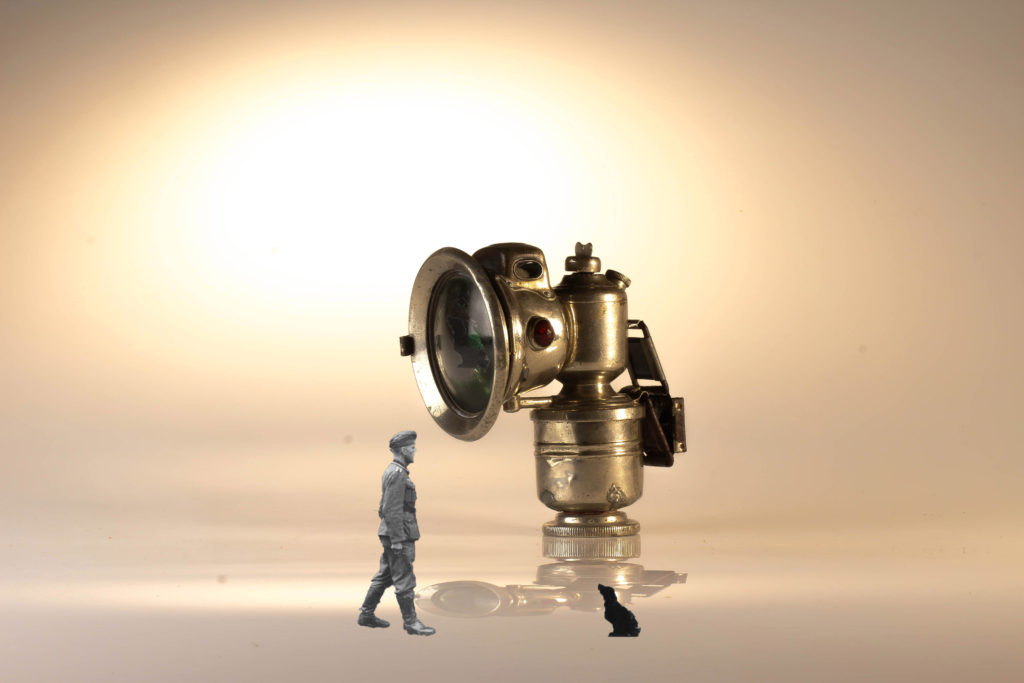
Heres are the images I am going to montage

I am also going to use some archive images and use some of them to overlay on the images I have selected to montage

Zine Layout
For my Zine, I hope to achieve a ‘Dos a Dos’ layout with virtually 2 Zines attached to each other with a zig-zagged card. In one zine, i will have portraits and montages that oppose and in my second zine, I will have my archival and object shoots that relate to more of the occupation side of the project.