JErsey war tunnels visit

The Jersey War tunnels, Also known as the German underground hospital is a tunnel complex located within the hills of St Peters Valley, Jersey. Known to the Germans as Hohlgangsalase 8, The purpose of the tunnels was as a Military hospital, Ordnance and ammunition storage as well as an air raid shelter. The word Hohlgangalase translates to Cave passage installations and HO8 was part of a wide network of tunnels across the Island, With the only complete tunnel being HO5, Loacted in St Aubins and now used to store the Le Petit Train and home to the Jersey indoor shooting club.

HO8 was constructed by organisation Todt originally as a large scale air raid shelter which would link up to other tunnel systems in the area such as HO2 and create a vast underground fortress to be used by the Germans in the event of allied invasion. However, later in the war, HO8 was converted into a hospital and it had fully functioning electricity, heating and running water. The facility has over 1km worth of tunnels with various rooms and sections such as barracks, Gas proof doors and ventilation systems as well as a fully functioning operating theater.

The tunnel was constructed by forced laborers. These were typically Russian and Ukrainian prisoners of war whom were housed in work camps in the island. Conditions among these prisoners were so poor that many died of malnutrition, exhaustion and disease. Many workers in the tunnels were also crushed to death during the creation of the tunnels by rockfalls or beaten to death by soldiers of Organization Todt. Many workers died in the tunnels during their construction.

After the Liberation of the Channel islands, Many of the HO tunnel systems were used for the storage of German equipment such as guns, tanks and barbed wire by the British forces sent over to the island to help clean up the traces of the War. During the Scrap metal drive of the 1950s, The vast majority of Tunnels were completely cleared and many sealed off. In 1962, Two schoolboys were exploring HO2 looking for souvenirs. They sadly died due to high levels of Carbon Monoxide deep inside the tunnels

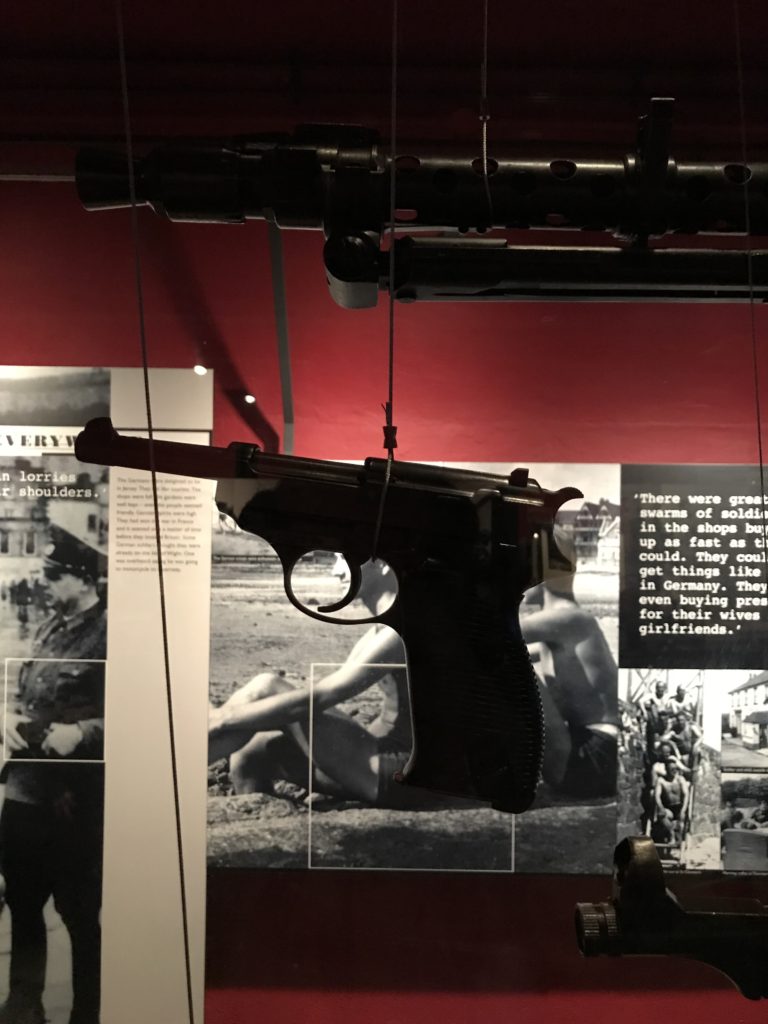
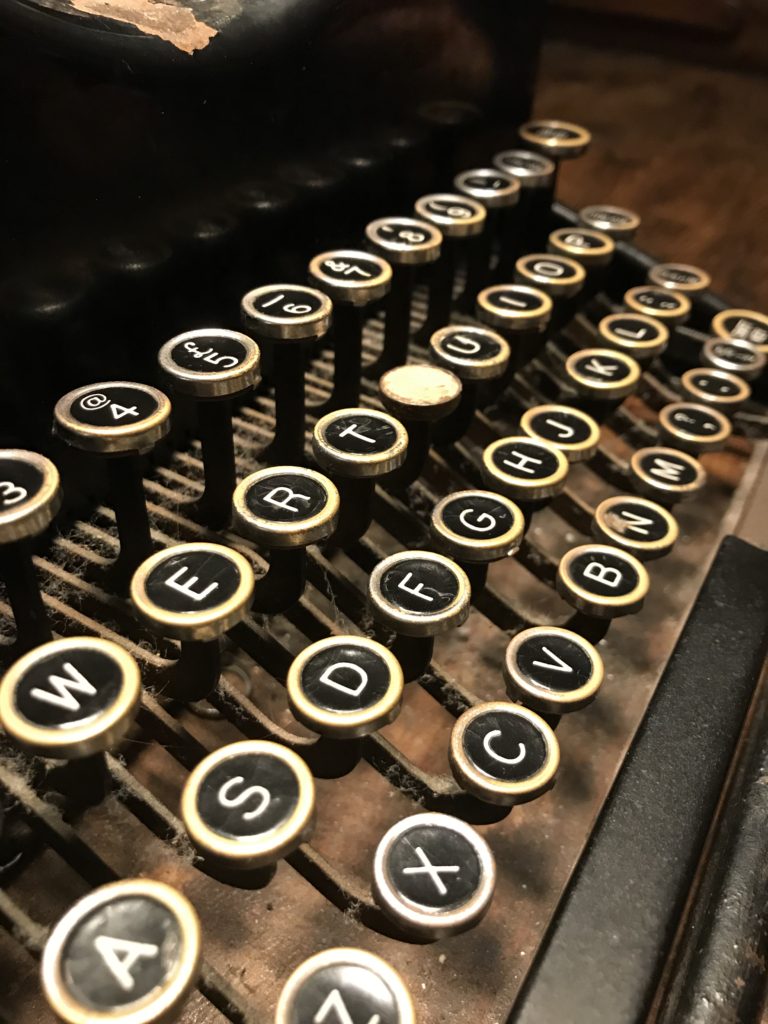
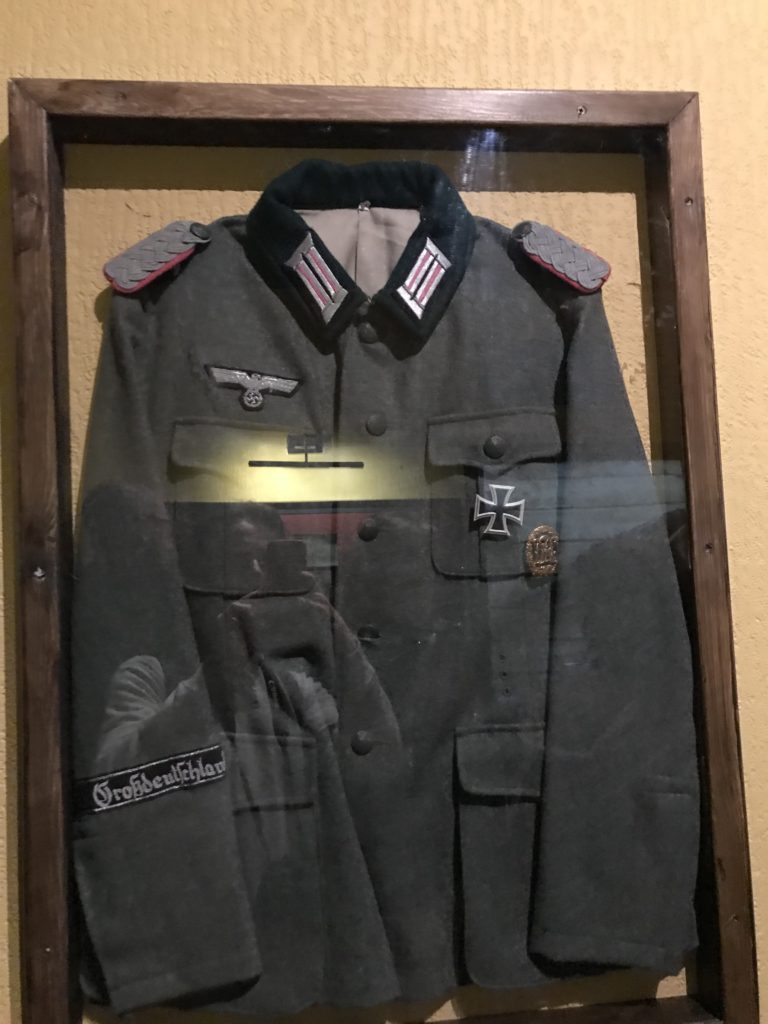
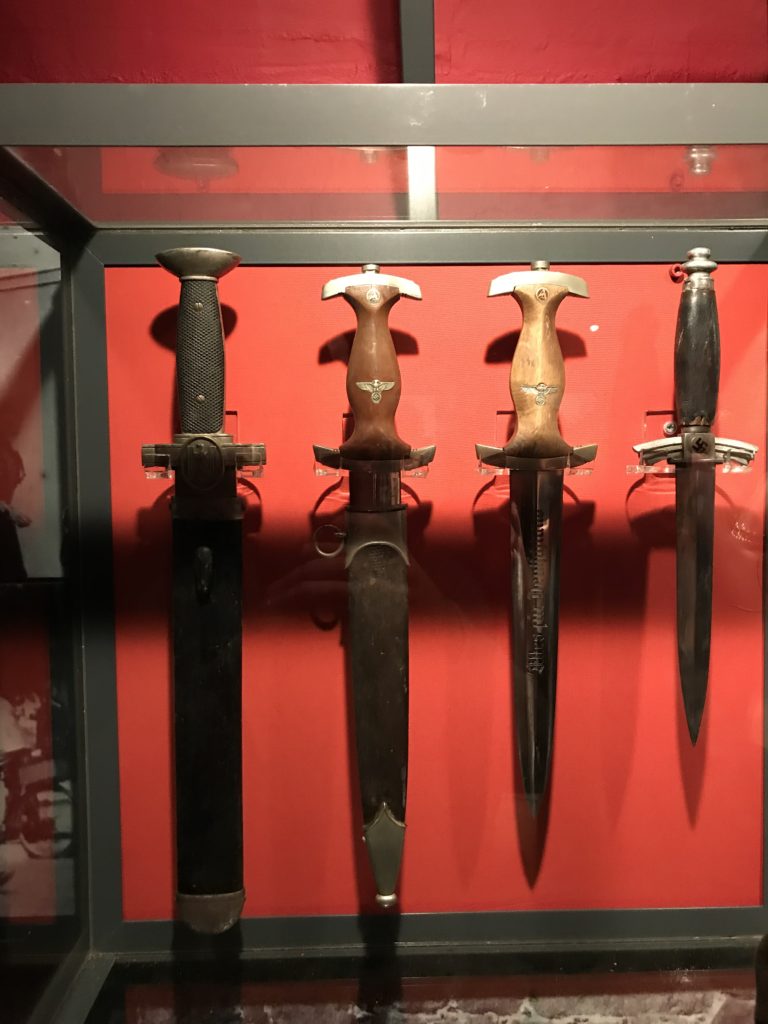
in 1946 HO8 was opened to the public and owned by the states of Jersey, However a lawsuit soon followed from the owner of the land above and the lawsuit was successful and ownership was returned to the landowner, Who converted it into a museum with many genuine artifacts and features from the war and the Museum remains open to this day

Images

An Authentic Nazi Automatic pistol on display in HO8. I like this image due to the red background, representative of blood and evil, with the lighting giving the image a dark feel
Close up of an Authentic occupation Era typewriter. I personally like the whites of the letters as they stand out and look bold in an overall dark image.
Authentic German officer uniform jacket on display at HO8. Note the Iron cross and Nazi eagle emblems. This isn’t a particularly good image in my opinion as there is a lot of glass glare, meaning
A series of German daggers on display at the Jersey War Tunnels. On two of the central daggers hilts are the Nazi eagle emblem. Once again on a red background, representative of evil and blood, giving deep context to the image

SJ Jersey Archives VISIT

The Jersey Archives were first opened in 1993 and since then, The Archives have been responsible for the collation of multiple documents of historical interest, Over 300,000 documents and images are held at the Jersey archives and the collection is ever growing, as the archive is currently undergoing an extension in order to contain the mass influx of documents.

The oldest document on file at the archive dates back to 1379 and is a charter from Richard the 3rd. The archive is home to documents provided from the states as well as private businesses and individuals, and the archive is open to the public for general research and family history projects. The computer databases are accessible along with marriage and birth certificates to name a few forms of documentation available to the public

Image result for jersey archives

The archive is home to all 30,000 original German occupation identification cards. These cards were issued by the occupying forces as a means of identification and control over the population. All islanders over the age of 14 were issued an identification card which listed details such as their name, nationality,age and any military service, past or present. Islanders of the Jewish community were issued cards that had a large cross through them as well as a label identifying it to belong to a Jewish islander.

Image result for JErsey occupation cards
Here is an Example of an Identification Card, Belonging to Charles Samson. The card lists his name, Place and date of birth and his maritial status, occupation and current adress

Emile F Guiton

Emile Guiton was a prominent Jersey photographer born in 1879. Throughout his career he was responsible for documenting Island Life as well as helping to found the Societe Jersaie photo archive, where He served on the executive committee as a joint honorary secretary and he was also the curator of the museum and the editor of their annual bulletin

Guiton noticed throughout his life that history was changing dramatically on the island and he therefore set out to document this historical change in as much detail as possible. He was one of the first early photographers to experiment with auto chrome color.

Auto Chrome Lumiere

Auto Chrome Lumiere is one of the earliest methods of colour photography and was patented in 1903 by the french Lumiere Brothers. It was the main means of capturing images in colours before the development of coloured film in the early 1930s. The original creator of Auto chrome was another french photographer called Louis Ducos Du Haron.He was the first known photographer to experiment with the technique of colour additives.

Auto Chrome Process

The Auto Chrome Process involves a glass plate, which is covered on one side by a random pattern of microscopic grains of dyed potato starch, The grains consist of red-orange, Green and blue-violet colors, Similar to the RGB of red green and blue primary colors found in the visual processors of many modern day computer screens. These colored grains of starch essentially act as colour filters, while lampblack, a type of dark material created from the incomplete combustion of fuel materials such as coal and oil, Fills the gaps while a black and white panchromatic silver halide emulsion is coated on the top as a layer.

The Auto chrome would then be loaded into the camera with the glass side of the slide facing the Lens, Meaning the light passed through the Mosaic colour layer before reaching the emulsion. An orange filter was used in the camera to block out ultra violet light as the emulsion was very sensitive to purple and blue colours. Autochromes required a long exposure time, so therefore they were not suitable for photographing moving subjects

Early Auto Chrome Images

Image result for autochrome photography
This image of a french police officer sat at a water pump in a french cobbled street was taken by a photographer employed by Albert Kahn. Kahn sent out 50 photographers armed with auto chrome cameras across the globe to photograph subjects such as the collapse of the Ottoman-Hungarian empire, The last traditional Celtic villages in Ireland and events of the early stages of the first world war. I like the image as it has a minimal amount of colour on a whole, which makes us focus more on the key element of the police officer in the foreground. I also find that the low saturation gives off quite a solemn feel, especially due to the fact that this photograph was taken in the early days of the first world war
Image result for autochrome photography
Here is another early autochrome. This image depicts a late 19th/ early 20th century car. At this time, cars were extremely expensive and seen as a luxury that only the upper class had access to. It is highly likely that this photograph was commissioned by the owners of the car. The range of colour that the autochrome could pick up is highlighted well in this image, with a vast mix of blues and greens along with some reds
Image result for autochrome photography
This image originates from early 20th century America and is a photograph of a group of young children stood watching through the bars of an elephant enclosure in a zoo. What strikes me about this image is the vibrance and range of colour on display in terms of the outfits of the children as well as the background greens of the trees and clues of the skies

Emile Guitons Works

Below are some autochrome works produced by Guiton. He mainly chose to picture flowers as he found these a great way to showcase the colour and beauty of nature as well as the fact that they were non moving subjects

Image result for emile guiton autochrome

Autochrome Photography

The first practicable and reliable method of colour photography was the autochrome process, invented in France by Auguste and Louis Lumière. They began the commercial sale of autochrome plates in the early 20th century.

Autochrome plates are covered in microscopic red, green and blue coloured potato starch grains. When the photograph is taken, light passes through these colour filters to the photographic emulsion. The plate is processed to produce a positive transparency. Light, passing through the coloured starch grains, combines to recreate a full colour image of the original subject.

The manufacture of autochrome plates was undertaken at the Lumière factory in Lyon, and was a complex industrial process. First, transparent starch grains were passed through a series of sieves to isolate grains between ten and fifteen microns in diameter. These microscopic starch grains were separated into batches, dyed red, green and violet, mixed together and then spread over a glass plate coated with a sticky varnish. Next, carbon black was spread over the plate to fill in any gaps between the coloured starch grains. A roller submitted the plate to a pressure of five tons per square centimetre in order to spread the grains and flatten them out. Finally, the plate was coated with a panchromatic photographic emulsion.

All credit: https://blog.scienceandmediamuseum.org.uk/autochromes-the-dawn-of-colour-photography/

Home sweet home shoot

For my home sweet home project, I happened to be in my grandmothers house in the Isle of Wight for Christmas. This Christmas was quite different to the many Christmases we have spent in the past at my Nans house as my Nan wast around as she is currently in a care home. With her care prices getting expensive, it is looking likely that we as a family will have to sell the house and this is a real shame for me as I have such fond memories of the place growing up and I have come to call it a second home. This though resounded throughout my family as it is my dads childhood home also. I set out to photograph the house itself as well as my family within it for my project and to highlight the feeling of home my nans house provides me and my family.

Images from shoot

Here are my images from my shoot alongside my thoughts on them

The exterior of my nans house. I have adjusted the exposure as the image was originally over exposed and this created a lot of noise and distortion within the image
The blinds in the rear bedroom of the house looking out onto the garden. I liked the contrast of the image as the silhouettes of the blinds act as a block to the light environment of the outside. I increase d the color filters and the vibrancy filterer to further enhance the color in the garden
My Younger sister playing in the back hall way with the light shining on her. I liked the candid nature of this image as my sister was unaware I took the photo so all actions in the photo are natural. The lighting is also a key element of the image
A penguin toy on the back mantle piece atop the heater. This penguin toy is significant to me as i remember it fondly growing up and it has played a key part in my childhood, adding to the atmosphere and feel of home
My sister in my aunties living room on Christmas day. In this image I was drawn to the warm light of the setting sun shining on the living room and the reflection of the decorations. To me this image has a very homely feel
My younger brother playing on his Nintendo switch. I took this photo as he was unaware I was taking it so he therefore acted naturally, making it a truly candid shot and due to the presence of the sofa in the background and the soft toy, further implying the feeling of home.

Establishing Shot – Photo shoot

Planning:

In preparation for this photo shoot I looked back at Sian Davey’s candid photography, in order to reflect on the techniques she used, so that I can implement her approach into my work. I wanted half to be highly staged, more like an environmental form, family portrait, and half naturalistic in order to showcase a true representation of my family, following more of a candid form of documentation photography. My camera setting where kept similar to the detail shot photo shoot, due to the shoots occurring on the same day.  used the AV setting, allowing me to focus on the aperture and depth of field. On the day these photographs were taken, the lighting was dull, but well lit, which meant that I used a low ISO. My f number stayed on 5.6, unless the room itself was much darker. The shutter speed was set on a quick setting and the white balance was set to the day light setting. In order for further control I used manual focus, allowing me to control the depth of field and the overall composition.

Edits:

First Edit – Flagged
Second Edit – Star Rating
Third Edit – Colour Rating

Colour:

For my colour edits, I wanted the outcomes to be kept as naturalistic as possible, so I ensure that the detail and structure was not over the top, creating soft outcomes, focusing on the conceptual reasoning, family love, to be presented within my imagery. I explored with adjusting the white and blacks and shadows in order to create outcomes which still presented tonal contrast, allowing the colours and environment and subjects to be the focus of the composition. I am pleased with the way in which these outcomes have turned out, due to me keeping the editing simple, to capture the naturalism of the photographs.

Black and White:

For my black and white outcome, I explored with an image which uses a birds eye view angle. The tonal contrast and new angle allows the conceptual meaning to be presented in a new way, which showcases this further exploration as successful. The photograph follows a candid style of photography, and presents my three subjects, with one looking at the camera, implementing an environmental stylistic feature to my work. The composition uses the rule of thirds, allowing viewers eyes to be guided around the frame. The formal element of space plays an active role with the outcome. In the frame there seems to be a lack of empty space, thus my models are in close proxemics to one another, which emphasise the conceptual representation of family love and bonding within the work. The background, is kept simplistic with not much going on showcasing my families naturalistic environment.

Technically, the photograph uses a small aperture, due to the the whole frame being in focus. The ISO used is low which is shown through there being no noise being created. This also allows us to understand that natural lighting produced by the daylight was used to capture this, and informs us that the white balance has colour accuracy and that it presents a sense of warmth, adding to the overall pleasant mood to the piece. In addition, the shutter speed is quick, due to no interned blur being presented within the outcome.

In order to achieve all of this, I kept the editing simplistic. I turned the photograph black and white and focused mainly on adjusting the black, white, shadows and contrast sliders in order to create the overall photograph.

Evaluation:

To evaluate I believe I have produced strong photographs which clearly showcases my understanding of ‘Establishing a shot’ and the ability to use candid photography in order to produce naturalistic outcomes, which explores a narrative within my work. I have reinforced my ability to have control over manual settings and shown my competence of using Lightroom in order to edit my photographs. Although I have produced strong imagery, I do not believe it is as successful as the detail shot photo shoot. However, the imagery still produced has an clear overall aesthetic and shows exploration into the home sweet home briefing.

Detail Shot – Photo shoot

Planning:

When going about this photoshoot I kept in mind the technique the Martin Parr used when he captured detailed/macro photography, in order to create an effective outcome which can hold a lot of conceptual meaning. On top of this, I also took inspiration from the mood board created on the previous blog post, in order to create new ways and approaches of capturing this style of photography. When capturing this set of photographs I used the AV setting, allowing me to focus on the aperture and depth of field, an important feature for macro style photography. On the day these photographs were taken, the lighting was dull, but well lit, which meant that I used a low ISO. My f number stayed on 5.6, unless the room itself was much darker. The shutter speed was set on a quick setting and the white balance was set to the day light setting. In order for further control I used manual focus, allowing me to control the depth of field and the overall composition.

Edits:

First Edit – Flagged
Second Edit – Star Rating
Third Edit – Colour Rating

Colour Edits:

For my colour edits I tried to explore with making the colours vibrant and over the top, to create a similar outcome as Parr. In order to do this I increased the contrast, vibrance, white and blacks. Although this worked well, I did not think that it was justifying my work, so I decided to edit them normally, as if it was a normal portrait, in order to allow the detail to clearly be showcased. To do this I subtly moved the sliders in order to correct the imagery until I gained my desired effect. I believe my colour outcomes are successful as they clearly showcase the formal elements of colour, texture, space and shape, which enables the macro photographs to meet the briefing and showcase my implementation of Parr’s work within mine.

Black and White:

Experimenting in black and white; I was a little skeptical at first as all my inspiration did not use black and white imagery to present the macro photograph. I then decided to go ahead with this idea, because I knew it would show exploration outside of my research. In order to achieve this effect, I set the image to black and white and mainly focused on adjusting the black, white, contrast, structure and shadow sliders in order to create the outcome below. I am happy that I experimented with black and white, as I believe that this is my strongest outcome from the photoshoot, with my reasoning for this being explained in an analysis of my work below.

Visually, we are presented with a landscape macro photograph of a models mouth, who is smiling showing her teeth. The frame is 3/4 full, with a sense of space on the left of the frame, presenting the technique of rule of thirds bring utilised in this outcome. The main focus point is the teeth, due to it being the area most in focus, which informs us that a large depth of field has been used when capturing the photograph. The photograph presents the formal elements of space, texture, shape and tone, which is being shown through the detail of the lower half of the models face. The photograph is presented in black and white which allows a clear tonal contrast to be showcased, making the imagery even stronger. The background is black, which enables our attention to be focused on the foreground, the face of the model, allowing the conceptual representation of happiness within a family to be clearly presented.

Technically, the photograph uses a medium aperture, due to the narrow depth of field being utilised in order to allow the focus to be on the mouth and teeth. The ISO used is low which is shown through there being no noise being created. This also allows us to understand that natural lighting produced by the daylight was used to capture this, and informs us that the white balance has colour accuracy and that it presents a sense of warmth, adding to the overall pleasant mood to the piece. In addition, the shutter speed used to capture this macro photograph was quick sue to no intended blur being presented in the overall composition.

Evaluation:

To evaluate this photo shoot, I believe that it was more successful than the previous home sweet home shoot, due to me producing stronger imagery, through more control over my camera settings. I have been able to show my competence with macro photography, as well as showing my ability to use manual focus in order to create depth of field and put different features in focus for effect. I have also shown my ability to take inspiration and implement it into my work, on top of adding my own artist style to show further exploration within my imagery. I believe that my overall outcomes are successful due to high control in my camera settings, and quality editing, making my work have a clear overall aesthetic.