Bob Le Sueur – Editing photos

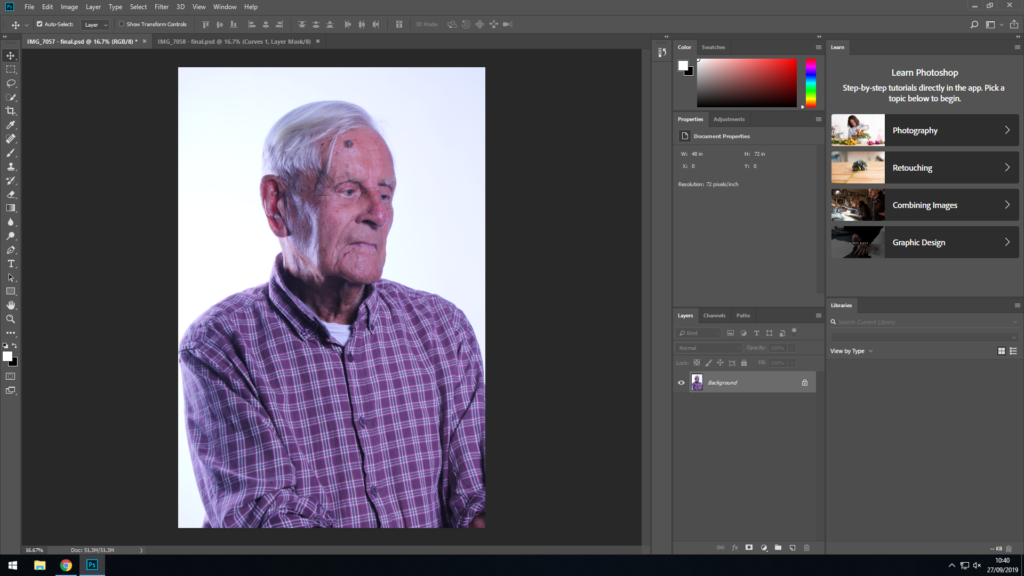
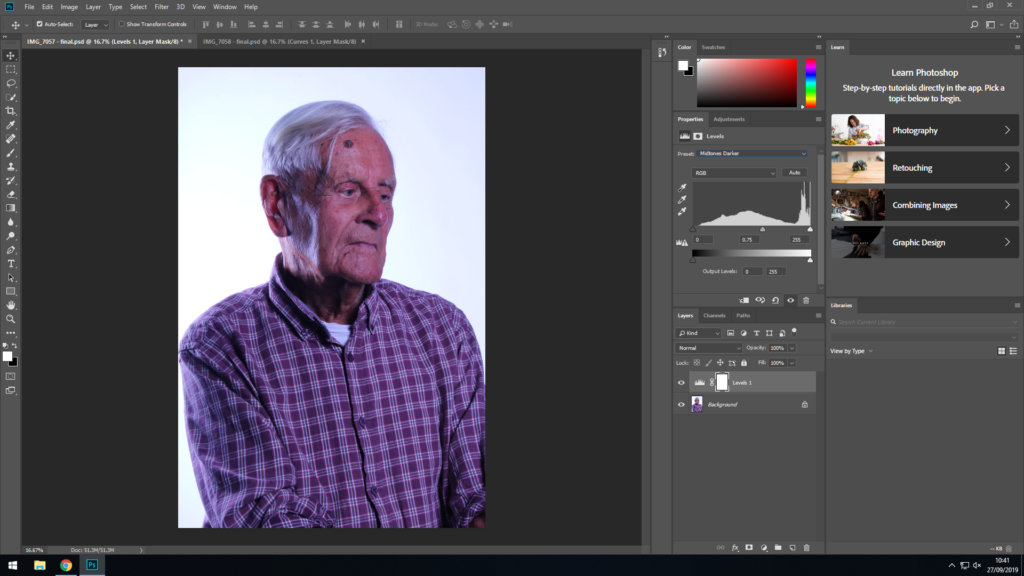
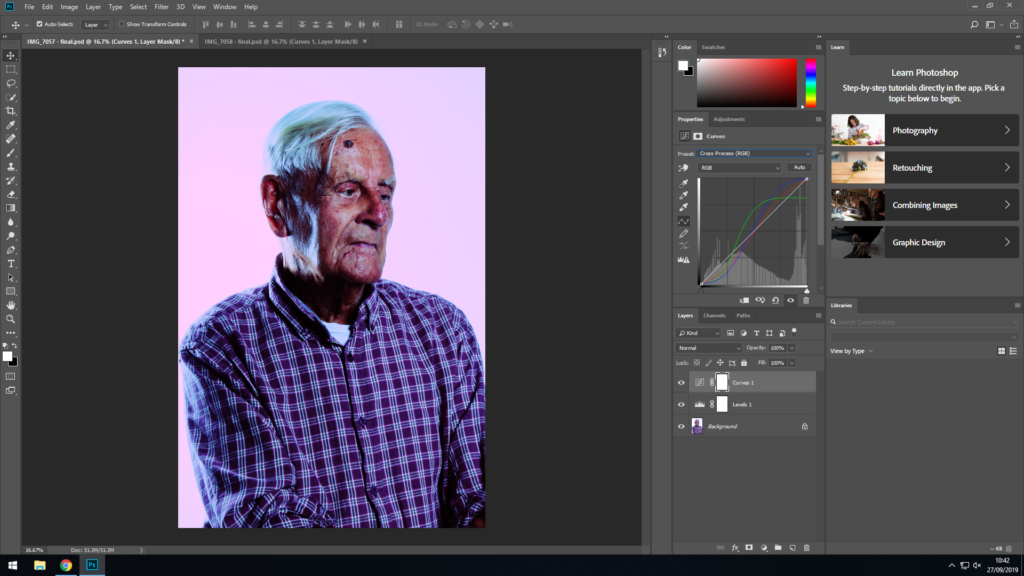
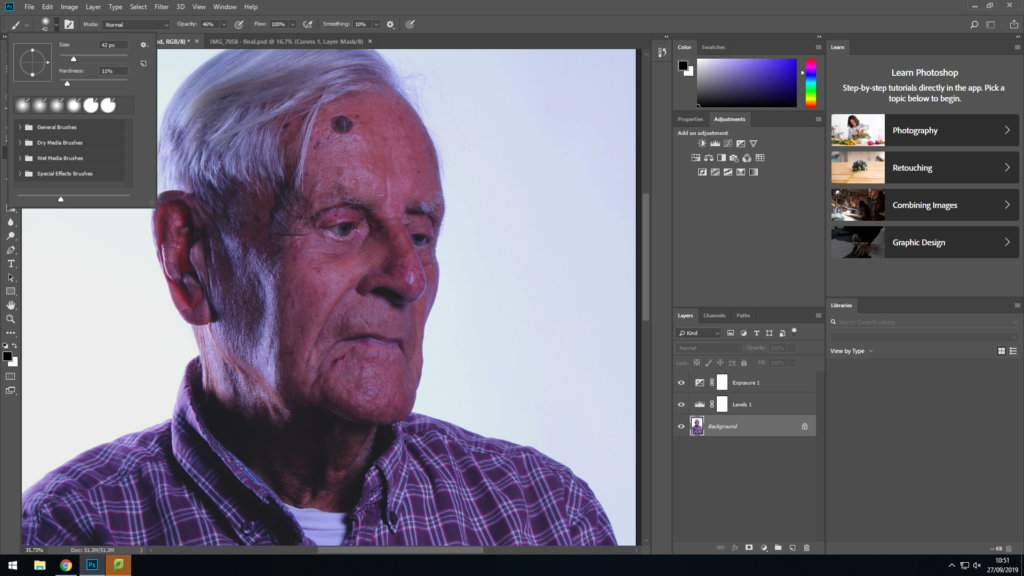
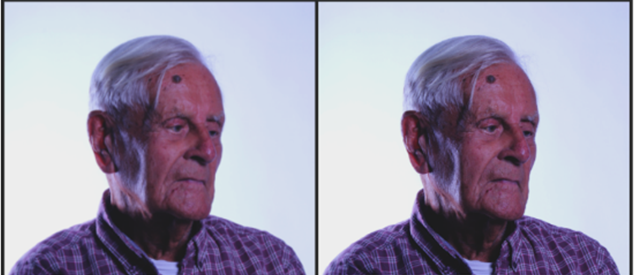
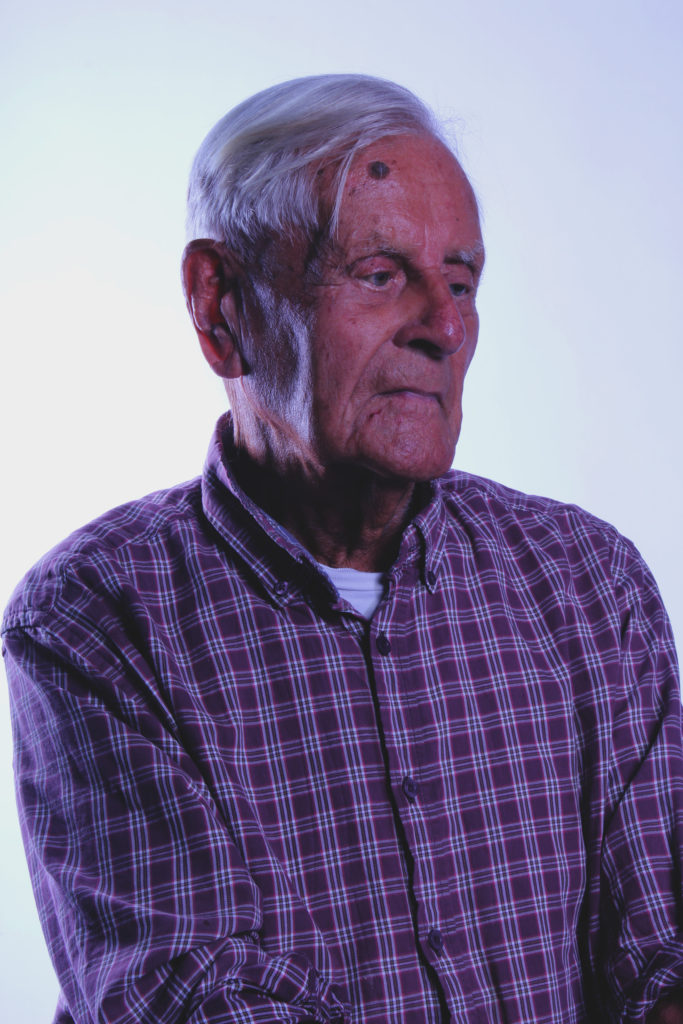
This is a series of screenshots showing the editing process of a photo I took of Bob. I didn’t include this image in my final selection as it doesn’t fit the theme I ended up implementing to the images I did choose.

This is the original photo I started out with.
First I used the Levels filter and applied the ‘midtones darker’ preset. This helps make Bob stand out from the background more.
This is an alternative edit I came across when messing around with the Curves filter. This is achieved by applying the cross process preset.
Focusing back on the editing process; I have applied the exposure filter. Here I have changed three aspects of the image; I have very slightly lowered the exposure of the image and slightly increased the Offset. I have also decreased the Gama correction in order to blend the shadows in the image more.
Here I have selected the brush tool and selected the setting shown above in order to apply some layering to make the shadows in the image darker. The brush size is relatively small with a very low hardness at 11%, this helps blend in the areas I make darker with the rest of the image. I also ended up using a much lower opacity; I used a very low opacity at just 10%.
Here is a side-by-side of a close-up of Bob’s face before and after I touched the image up. There isn’t a massive difference, however the image on the right does stand out a bit more which was the aim.
Here is the Final image after it has been edited. It stands out from the background much more than the original, and the colour palette has been managed in a way so that the image is much more aesthetically appealing now.
This is the alternative edit I came up with along the way in full size.

Leave a Reply