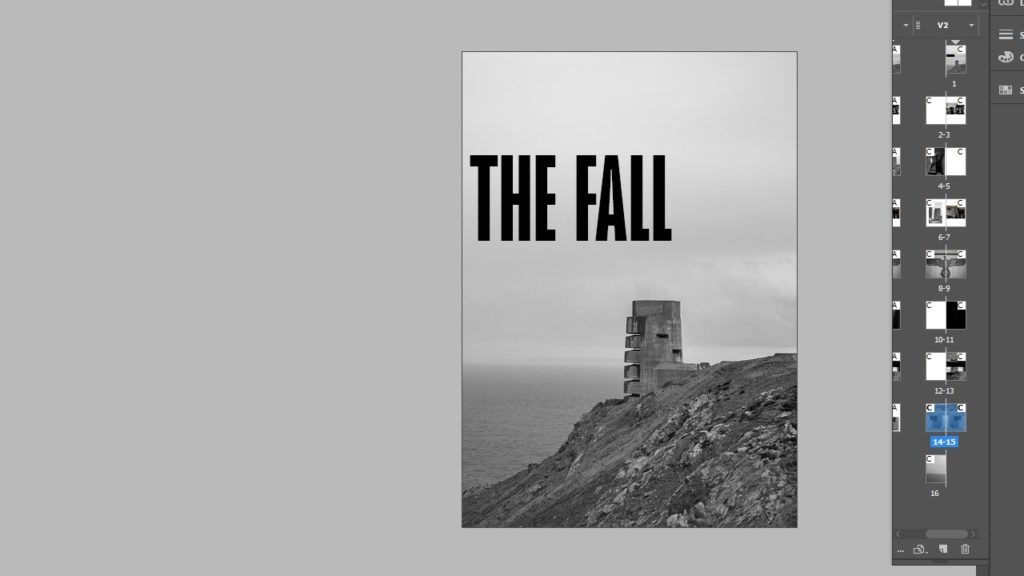
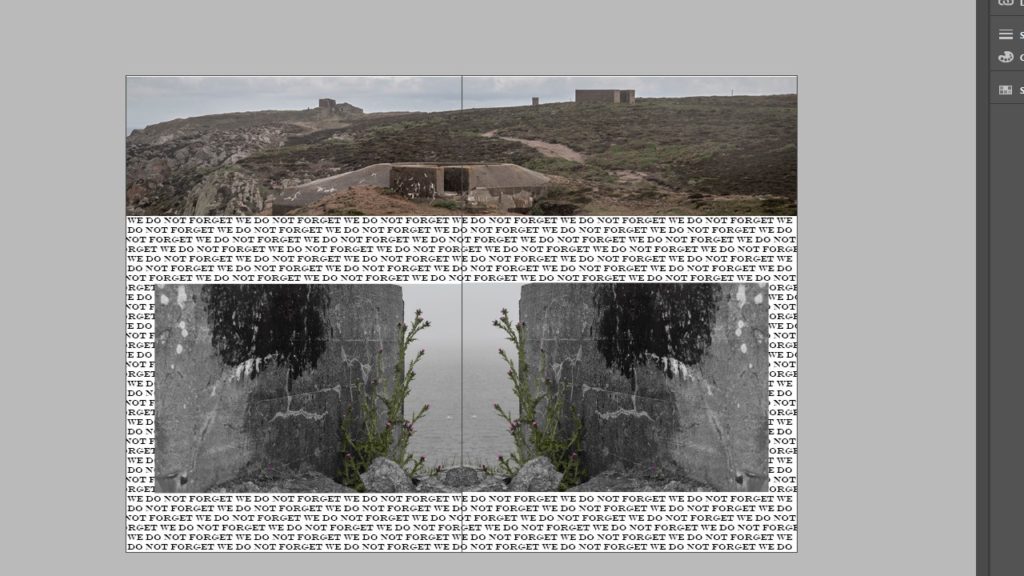
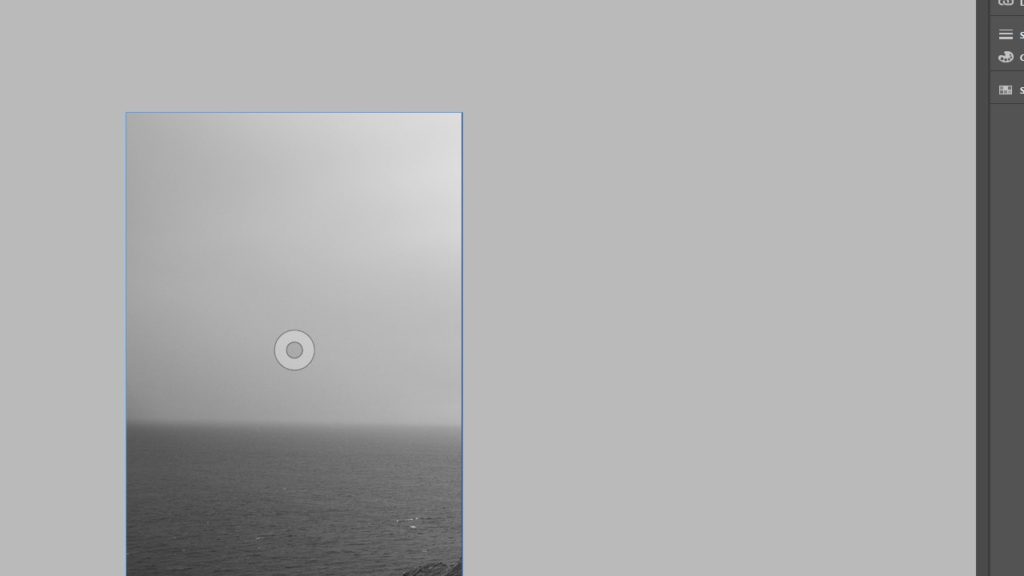
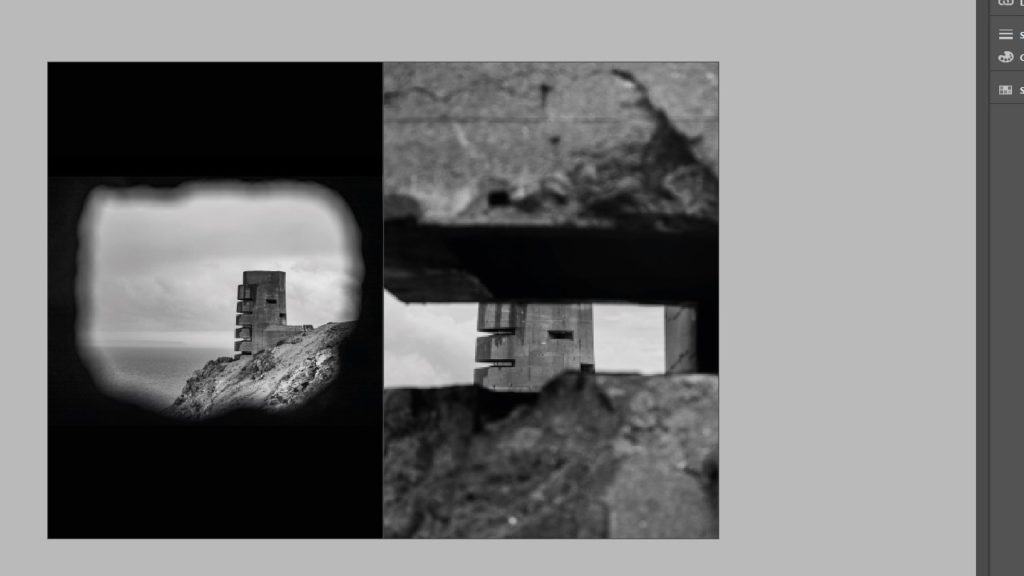
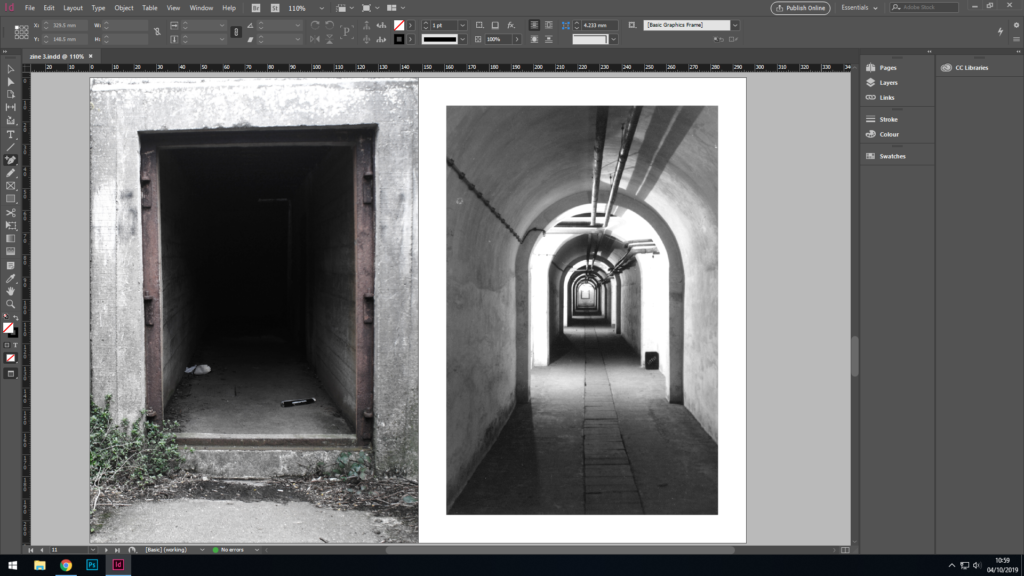
Of all the variations I have made so far, I think that variation 3 takes the best elements of the first 2 attempts and improves upon them. I liked the use of space in the 2nd variation, as it shows the isolation that some of the soldiers would have felt, however I found that the use empty space outside of the images, on the page, was not as effective as showing the images, as I wanted them to act as memories of sorts, in which the empty space acts as a hazy or uncertain memory, where as the large page spreads represent the key imagery that stood out the most both in and outside of the bunker.
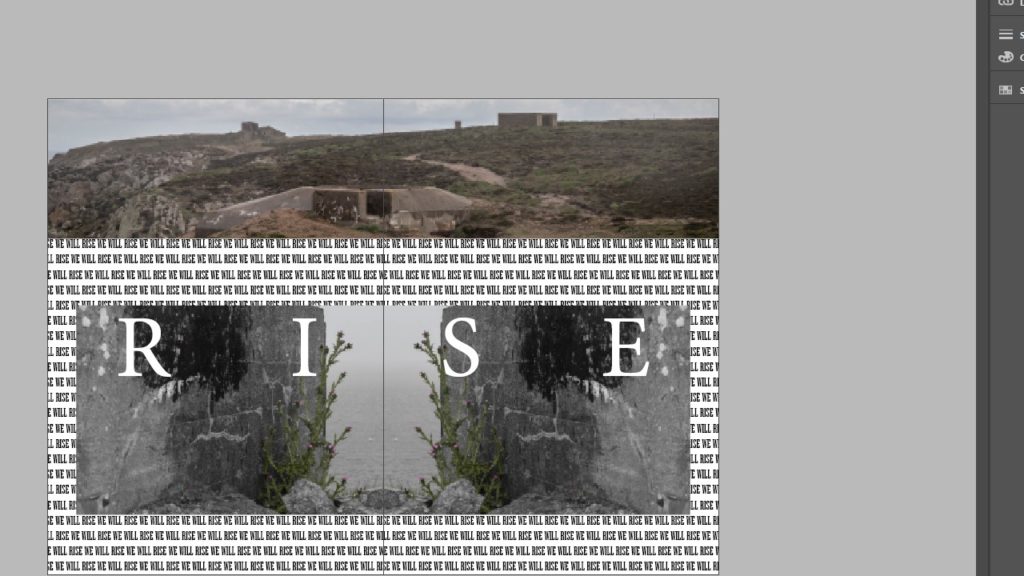
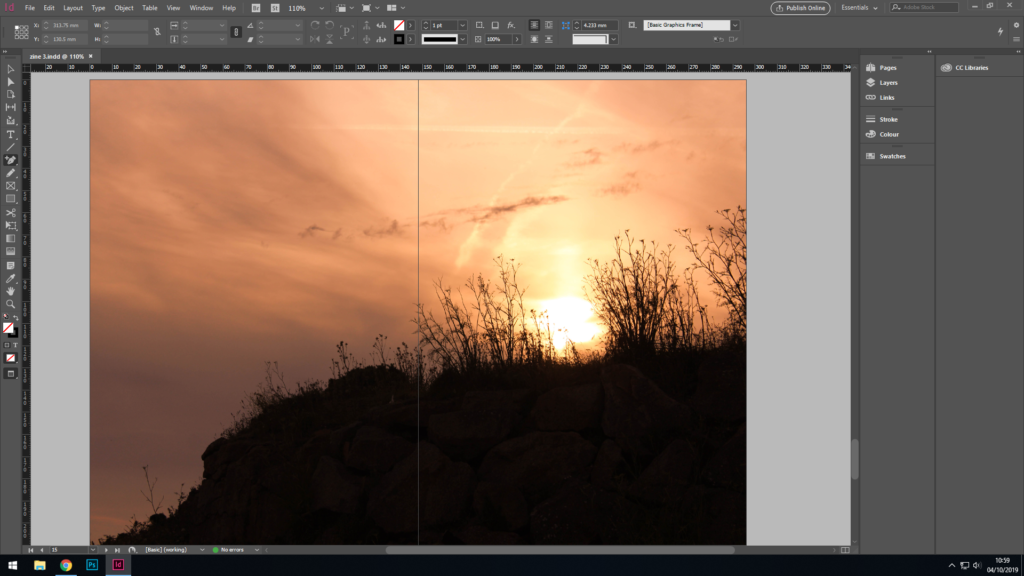
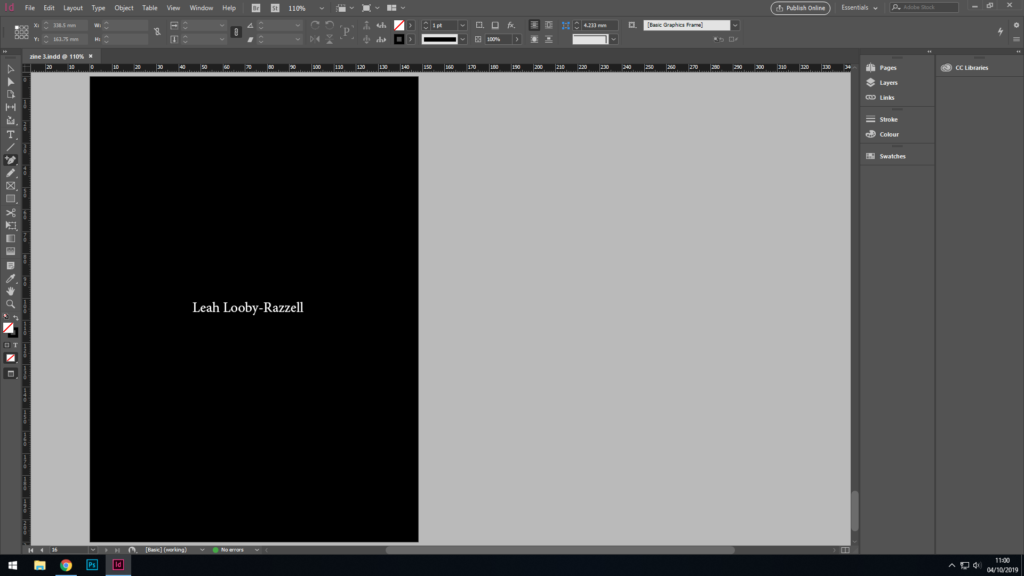
This is true throughout the zine, except for the final spread, as it represents the island taking back its own land, in which I used plants to show the overcoming of the occupation, making the German bunkers nothing more than abandoned old buildings. I will probably change the image on pg 9 as it doesn’t really keep the consistent flow of the rest of the zine. I also wanted to keep the spread of the landscape for the front and back covers as I feel it conveys the feeling of dread that I want the whole zine to have as a running theme throughout. For the final spread i also used the typography in the background to spell out “we will rise” when reading normally, but if you read each word down the page, it spells “will we rise”. I did this to encapsulate the emotions of the islanders who didn’t know if the war would be won by the British, especially towards the end of the war when there was a food shortage, and people were starving to death due to the lack of ships that could access the island due to the occupation.
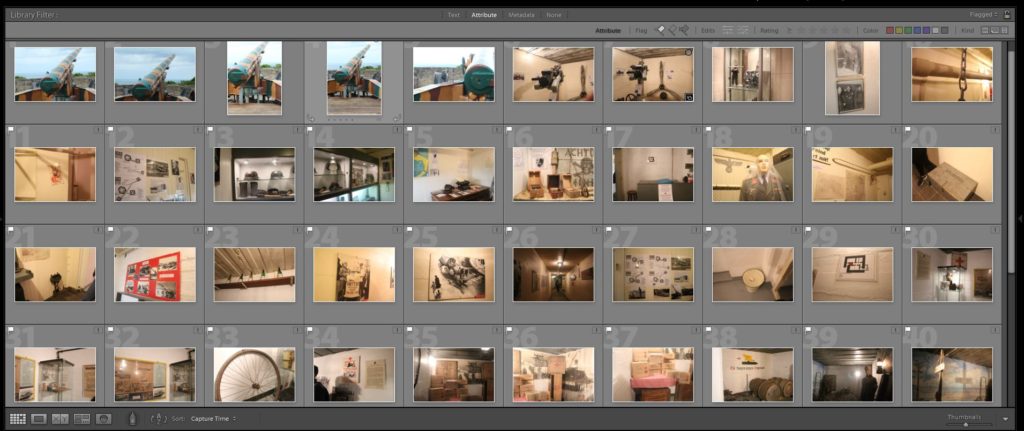
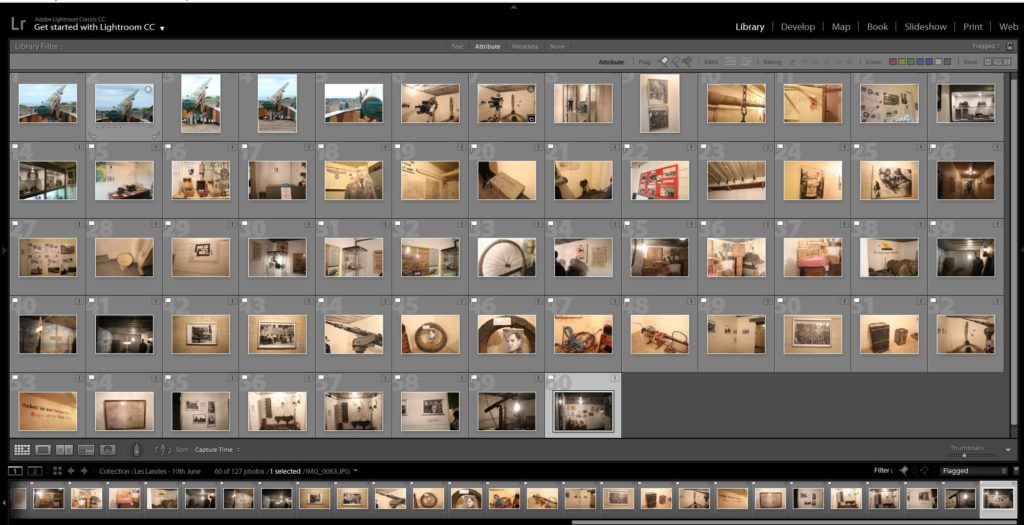
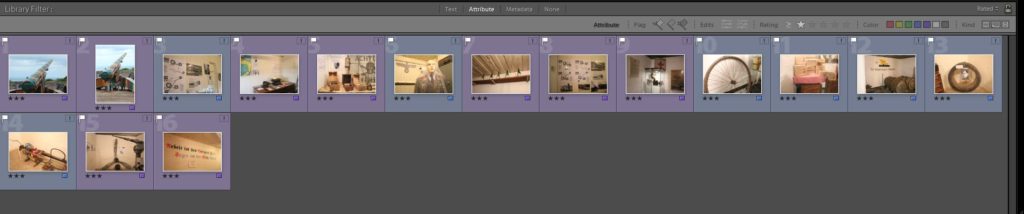
After having used Adobe Lightroom to have a look through all of my images from the Battery Moltke we went through a selection process which consisted of us flagging our images we thought had potential even after some minor editing. We were asked to star them from 1 to 5 then the images with at least 3 stars of higher would have narrowed a smaller selection of images. The final step was to simply choose to colours and have one be for yes and the other be for the no pile.
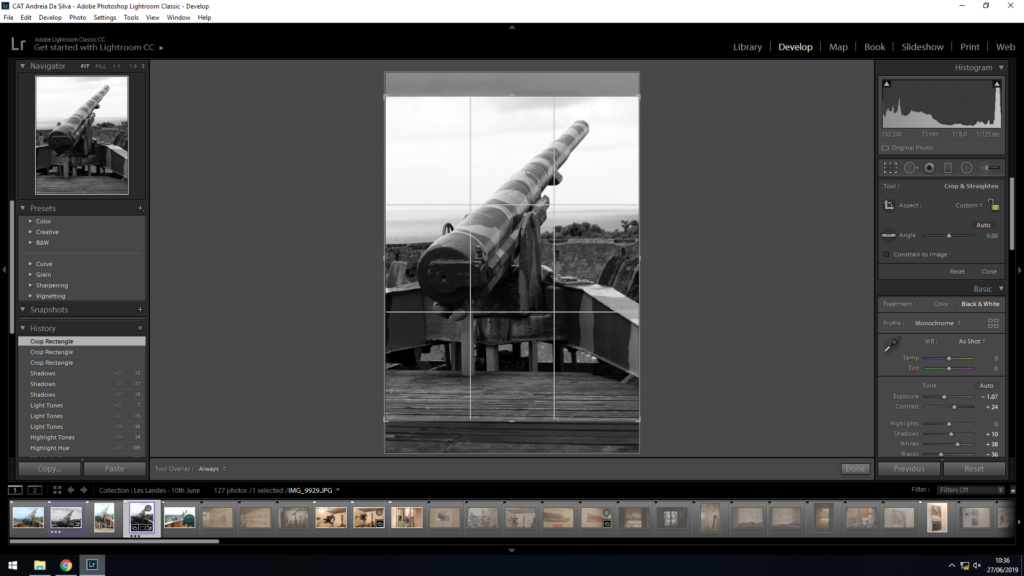
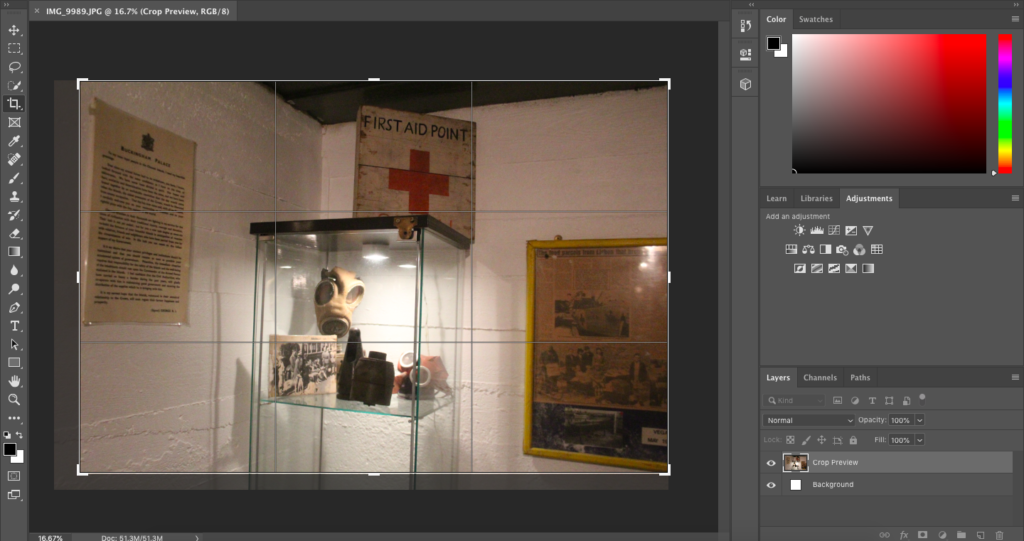
After having decided what images we would use for our final ones we then had to experiment with them by cropping them and editing there colour to black and white. We did this so we could see the way that those images maybe would have looked at the time if they were photographed then, it adds elements of antiqueness which makes the images generally more emotive to look at . Below are my experiments of cropping and editing the colour:
CROPPING EXPERIMENTS:
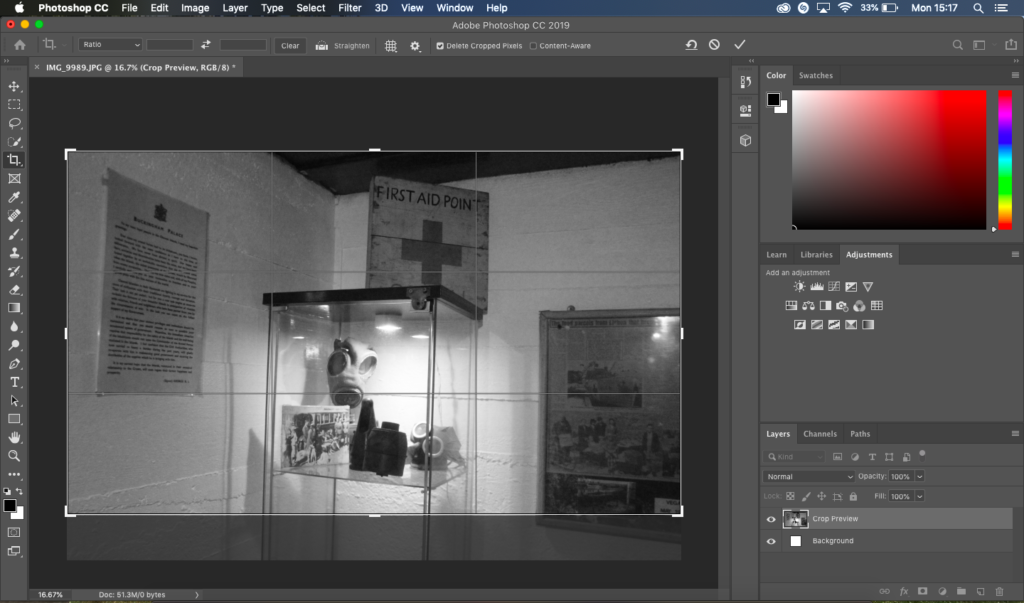
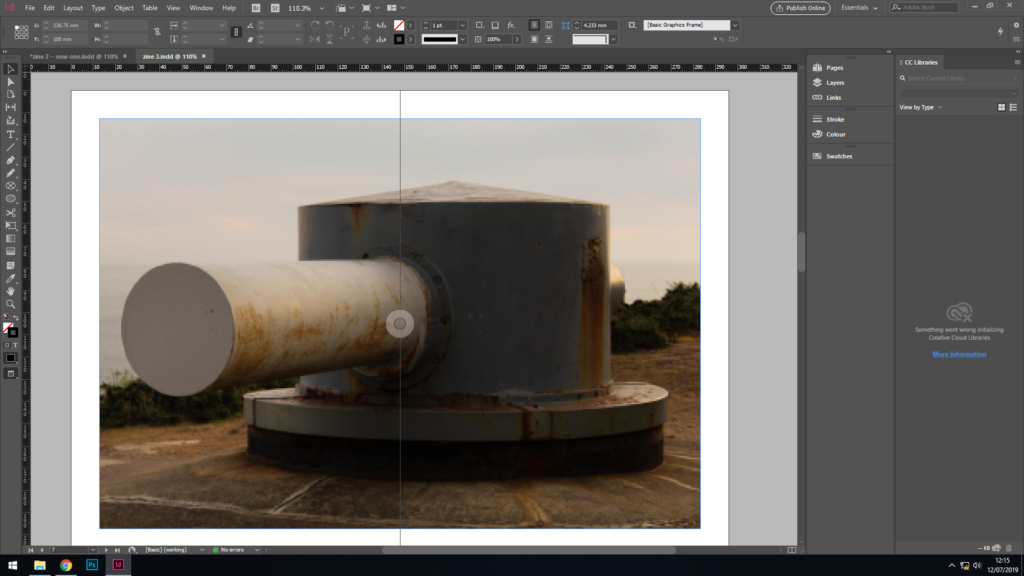
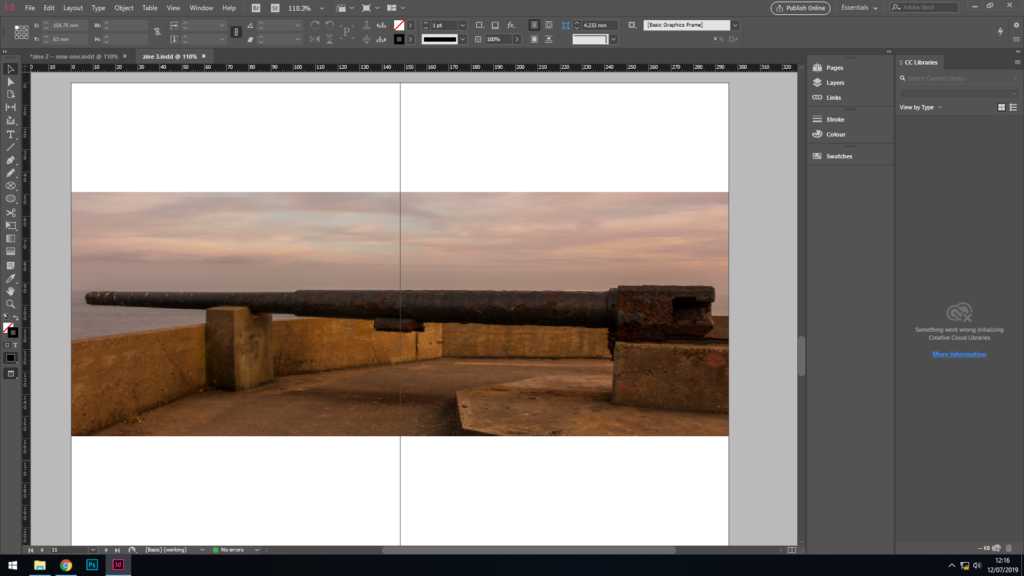
Using the cropping tool on Adobe Lightroom – This is the image before and below is the image after. I have decided to make the image smaller because I think there is too much white space in the background. I feel like the image is mainly focused on the Cannon therefore by taking the negative space away it highlights the cannon more.
I changed the image as well to black and white because as our topic is about the occupation i feel like it fits well as most people in those days would have the majority of their images in black and white. I edited things like the vibrancy of the image to have things really stand out like the camo paint on the cannon which was not originally like that. My only problem with some of my images was the lighting as i found that the day of the trip the lighting in general was quite dim as it was fairly cloudy therefore I am going to re- visit the Battery Moltke and experiment with different angles and colour exposure. I am also going to go to noirmont and capture images of different bunkers just so I have a variety of different shapes and sizes.
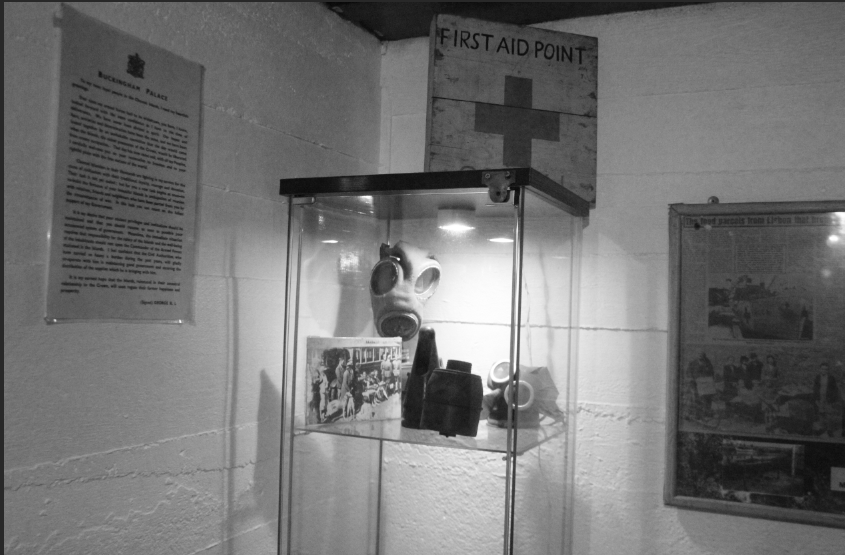
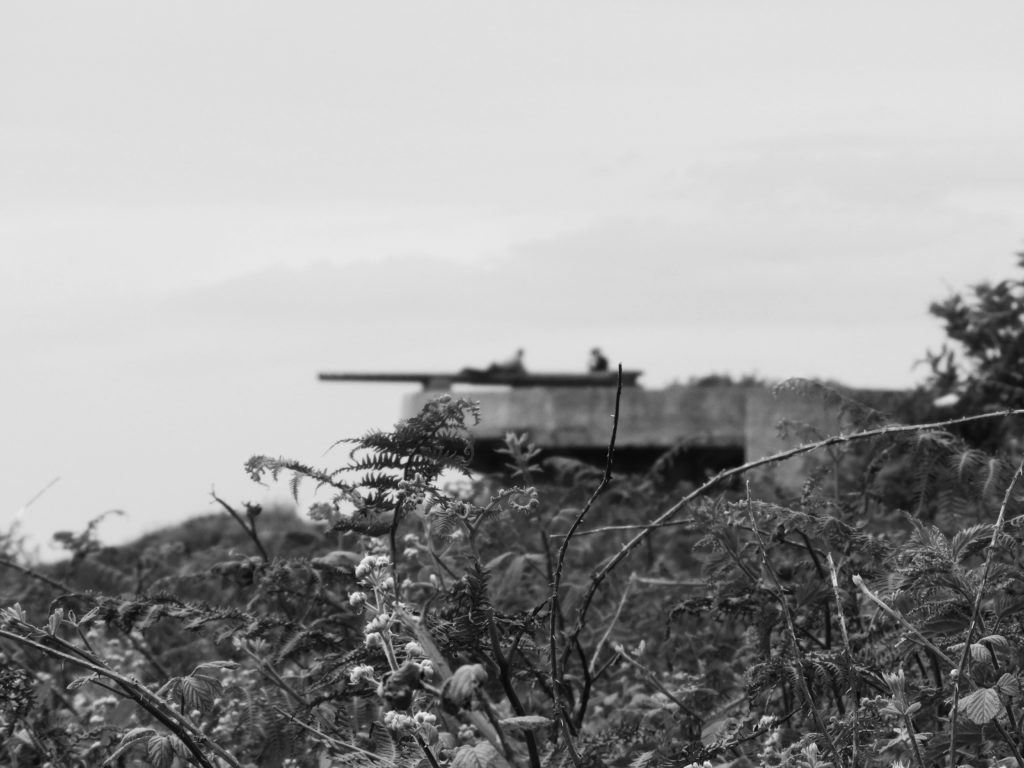
This is my second image I have chosen from the Battery Moltke is the image above. After having played around with different sizes which I am going to insert below I came to the conclusion that if I was to have displayed this onto an A4 page I would probably crop it slightly smaller to allow the background to enhance the photo which I would also position around the centre of the page.
For the concept of my zine I want to show the conflict and juxtaposition of war, this is represented by the blue and bright inverted orange of the image. They can represent the hot or cold of war, having a distinct good or bad side. I have also chosen to include on every second page a normal black and white image which represents the memory of war, or the reality of war
NARRATIVE:
In terms of narrative, I want to keep my pages blank and without any text as I feel the representation of the images speak for themselves. I will include a bold and striking title and possibly some quotes on top of some of the images.
SEQUENCING:
In terms of sequencing, I will include a title page which will be blue with an inverted middle. The rest of my zine will follow the same pattern, including one blue and orange page then followed by a black and white page. This means that the booklet will follow a clear and distinct pattern
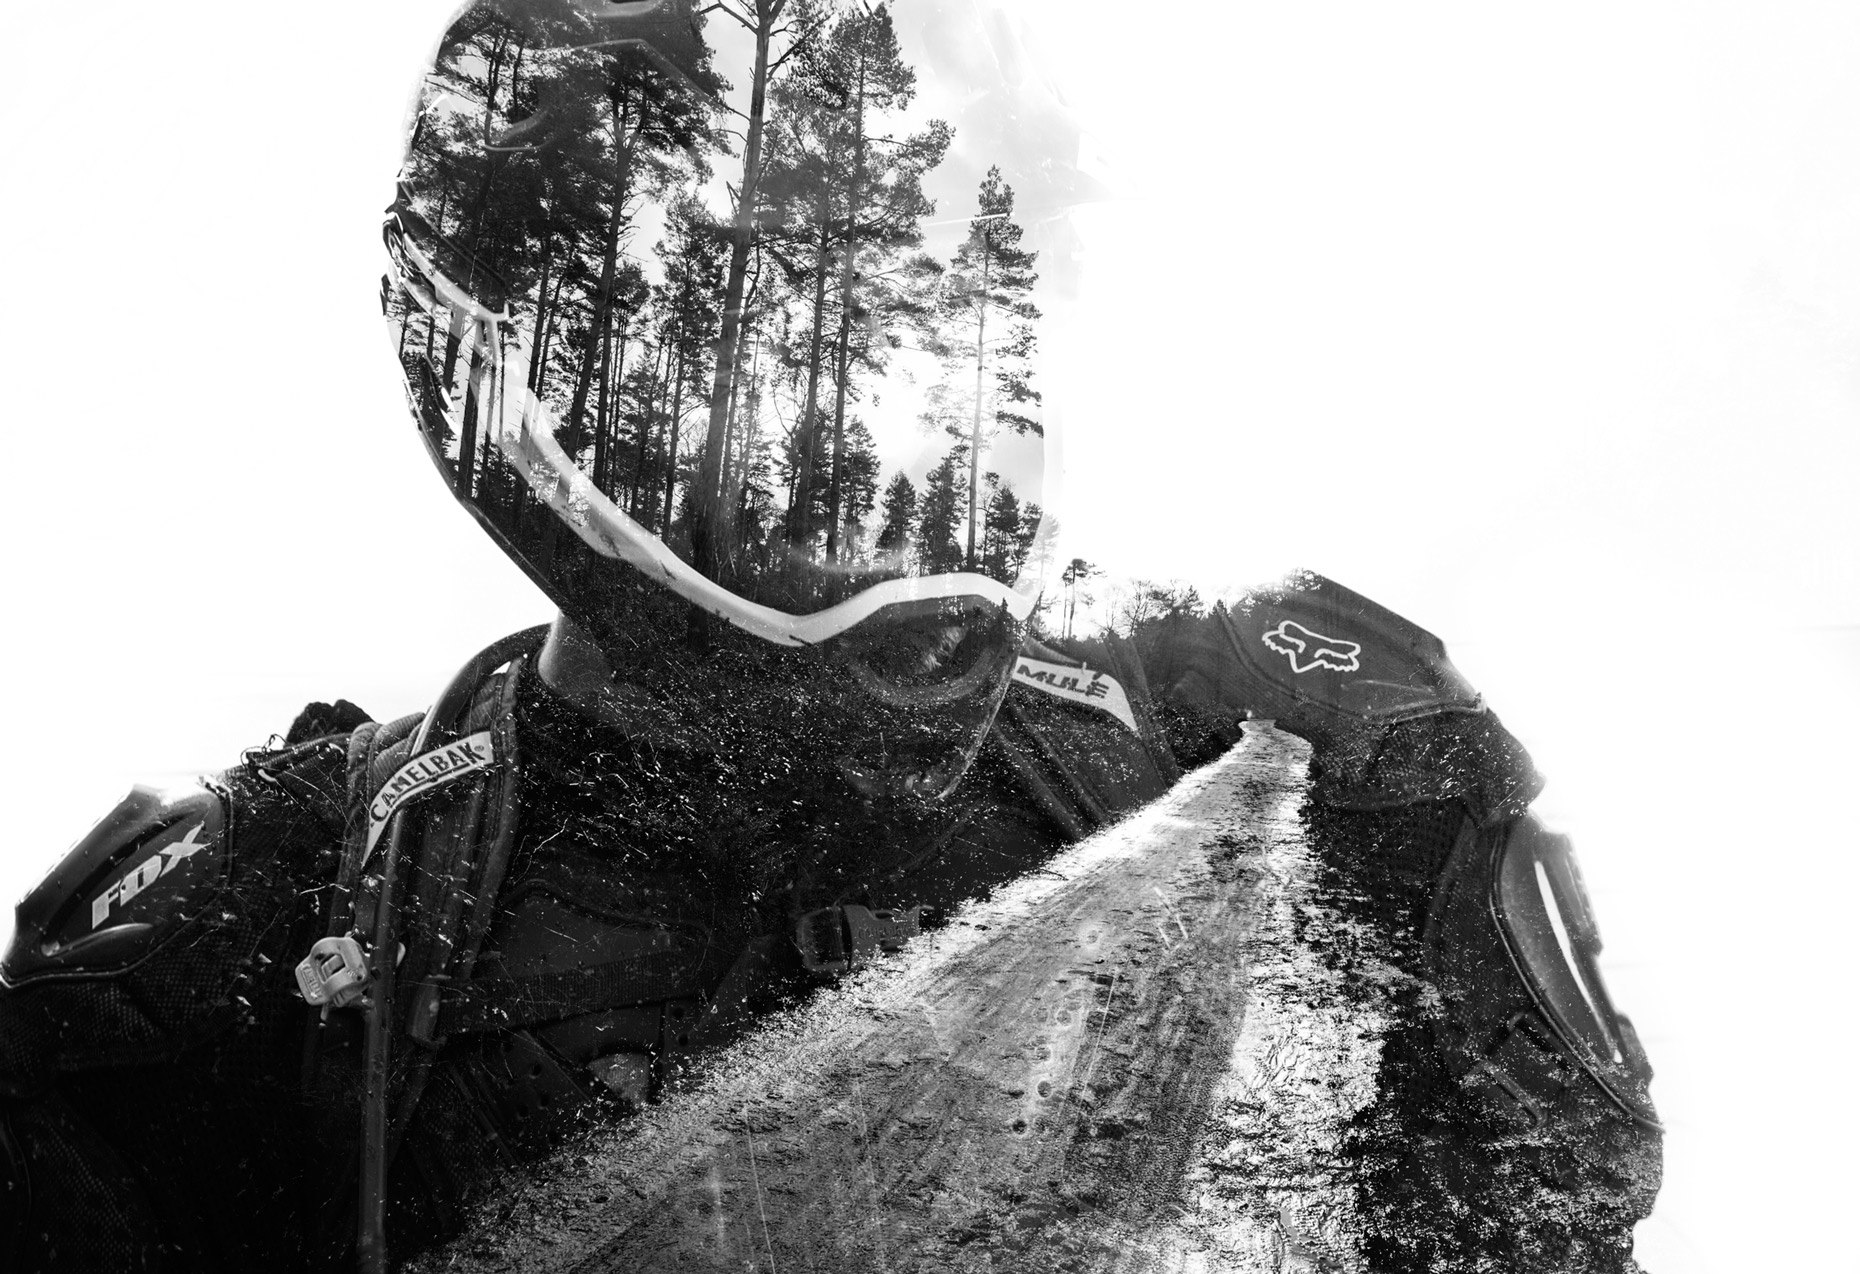
Photo montage is the process and the result of making a composite photograph by cutting, gluing, rearranging and overlapping two or more photographs into a new image. Sometimes the resulting composite image is photographed so that a final image may appear as a seamless photographic print. A similar method, although one that does not use film, is realized today through image-editing software. This latter technique is referred to by professionals as “compositing”, and in casual usage is often called “photo shopping”of the popular software system.A composite of related photographs to extend a view of a single scene or subject would not be labeled as a montage.
Photo montages vary a lot in style and design. Artists choose to use a multitude of subjects such as portraits, natural environments, natural landscapes, city landscapes and different objects which are combined together for artistic effect.
EXAMPLES OF PHOTO MONTAGE:
These are examples of modern day montages, many of which are created using the assistance of digital programmes. In contrast this task required us to create photo montages using manual techniques, taking into consideration layout, colour, tone and composition when creating the images.
MY PHOTO MONTAGES:
PROCESS/MAKING:
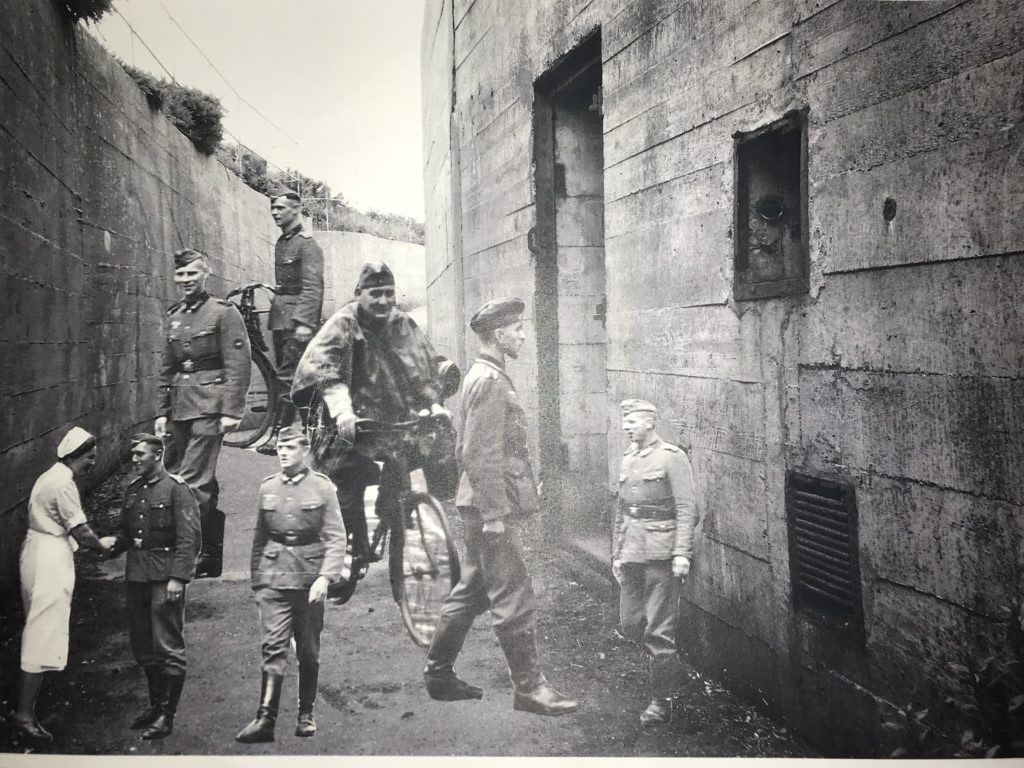
In order to create my photo montages I used various simple techniques to achieve the effects. As opposed to last time, in order to create my photo montages I physically cut out the images instead of using photo shop to stitch together the photos, this means that the montages have a more raw and real feel to them. I combined both my own imagery and photos which came from the archives, this resulted in a series of montages which combine the past and present, representing the importance of preserving war monuments. They also show how people die yet their memory lives on through the use of archives and the preservation of war memorabilia.
CRITICAL ANALYSIS:
TECHNICAL;
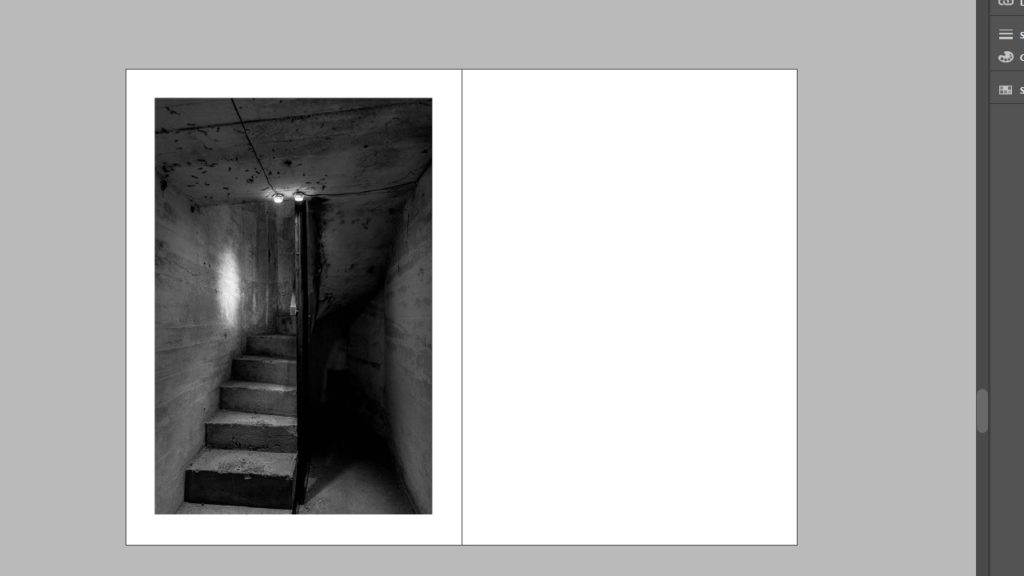
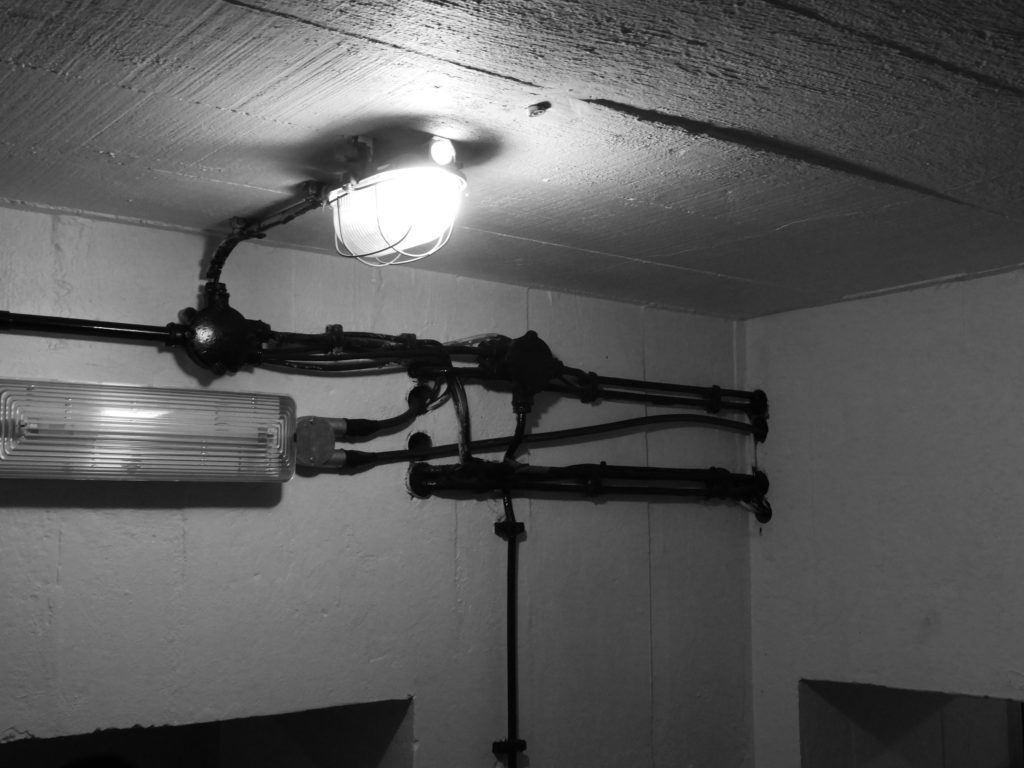
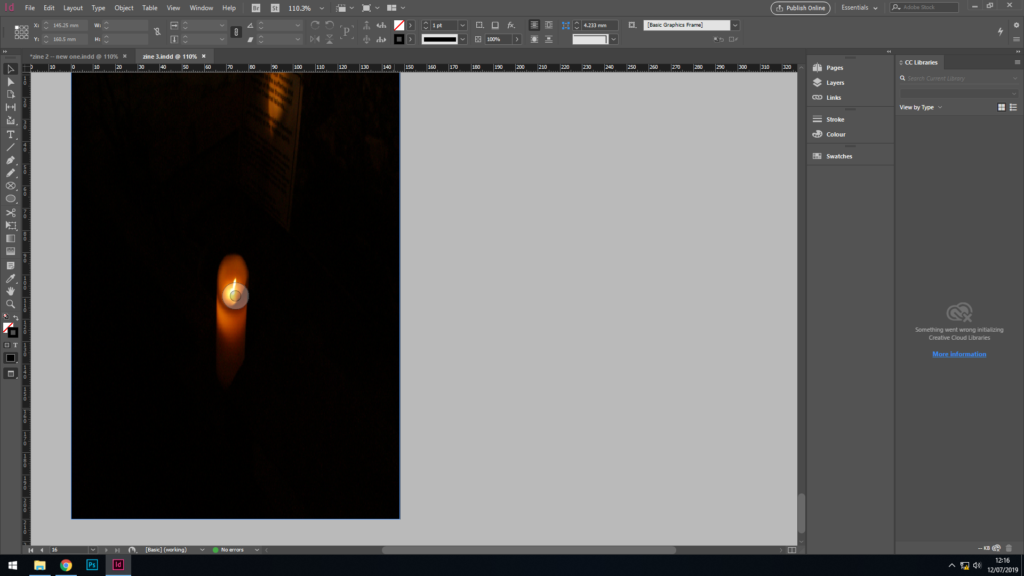
In terms of capturing my own images inside the bunker it was essential that as much light would be let into the camera as possible due to the dark nature of the environment, therefore in the manual settings I turned up the ISO to 800 allowing the images to be bright and all the items to be distinguishable. As the environment was so dark inside the bunkers, it was essential that I kept the camera as still as possible to avoid motion blur.
VISUAL:
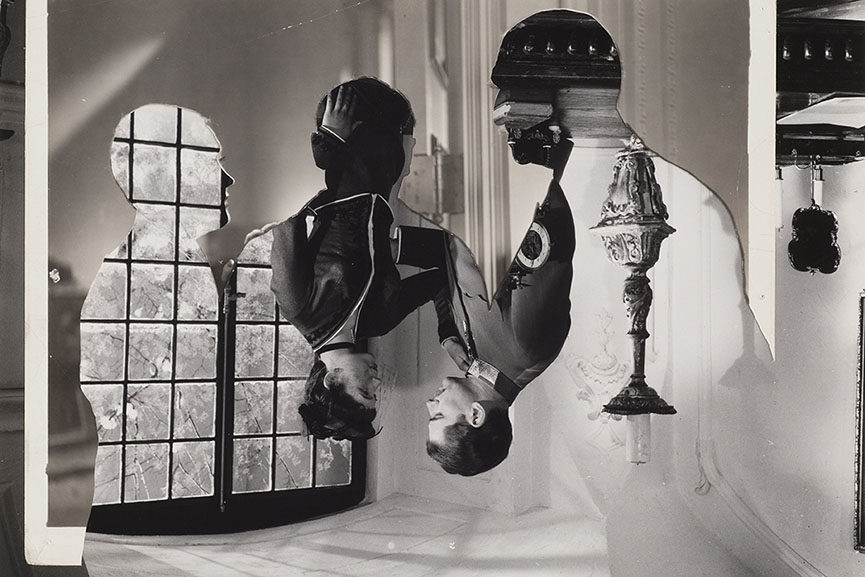
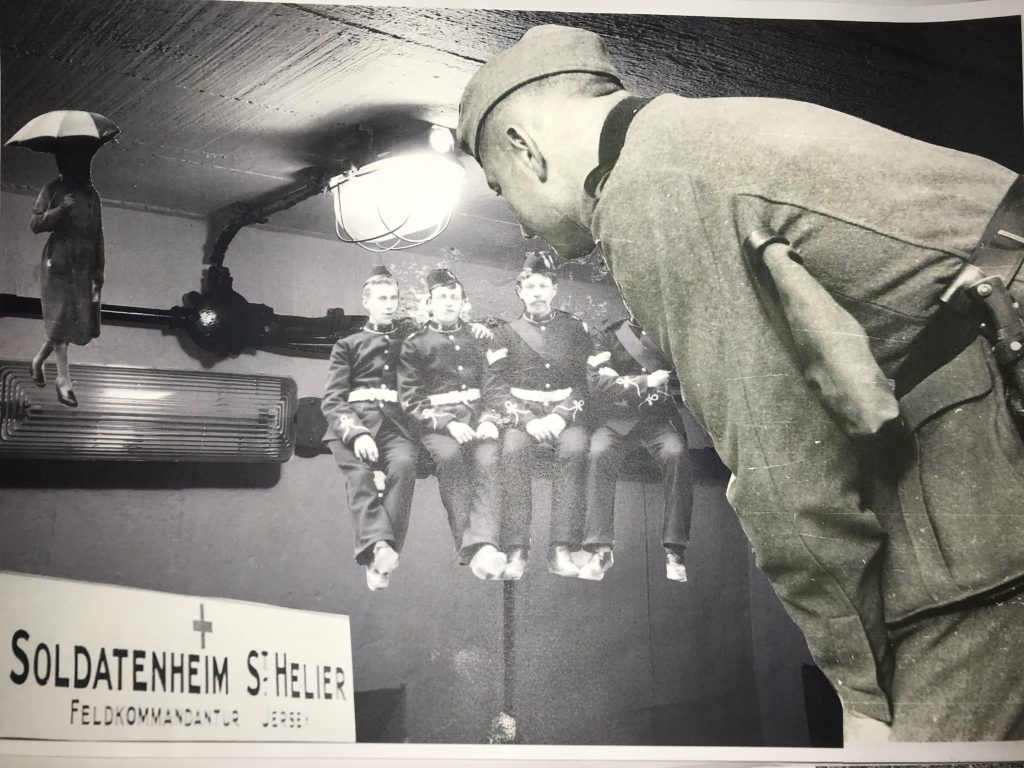
In terms of the visual aspects of the image, I purposely intended to have a very random layout of images, for example the man lurking over the top of the group of men sitting down and the woman walking across from the left hand side of the image. I used a variety of different figures and shapes in order to create a varied and interesting concept. I used a variety of different originals images from the archive which I printed out, cut out and arranged in the way which you can see below. The base image which I used for the photo montage was an original image which I took whilst our visit to Noir Mont, inside one of the bunkers.
CONCEPTUAL:
The idea behind these images is to create different variations of work from the images which came from the archives. Using simple techniques such as collaging we were able to create work which was different and unique. It encouraged us to think in a way which made us consider layout, coloraturas, tone and composition to create images which were different yet cohesive and harmonious.
CONTEXTUAL:
The Société Jersiaise is a learned society in Jersey which was founded in 1873, in the manner of similar county societies in the United Kingdom and Sociétés Savantes in France for the purposes of:
“The Publication of Local History,
The encouragement of the use of French, the official language,
The study of the ancient local dialect,
To achieve, as far as possible, the conservation of all prehistoric and historical sites,
To found a library, mainly historical and archaeological,
To collaborate with other societies with similar aims” [1]
For my own personal zine I will be making one based on the war and the sites left behind. I will be using both archive images from the war and images of my own, and will be looking to make the layout interesting and different.
First layout draft:
This is my first idea when it comes to the zine I am going to make. In this zine I have only used images which I have taken myself.
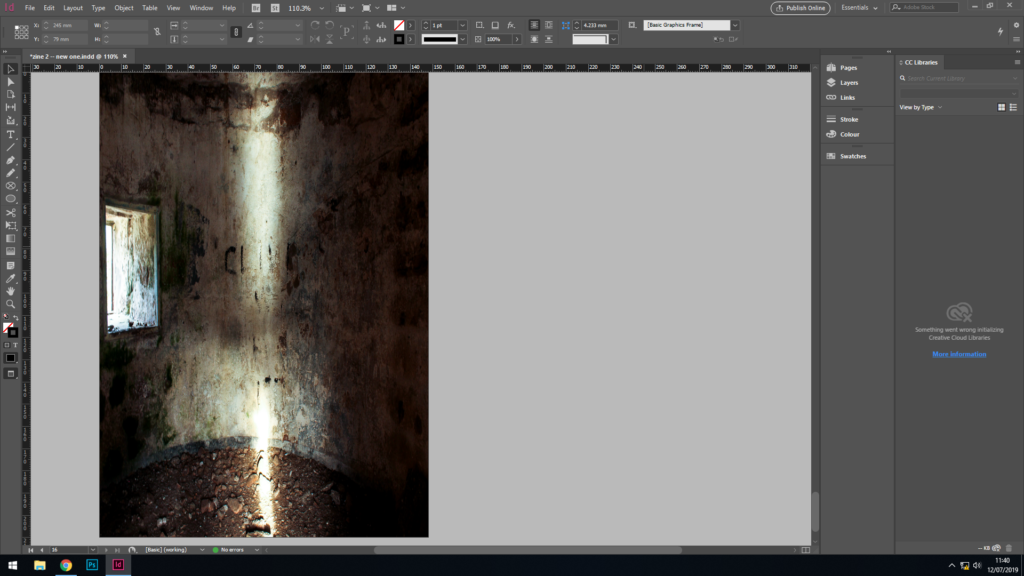
In this first draft, I stuck to my own images because I wanted to explore what was left from after the war – bunkers, cannons, ect. I wanted it to be entirely based in the modern day, with no input from images of the past because I wanted what was left of the war to tell it’s own story.
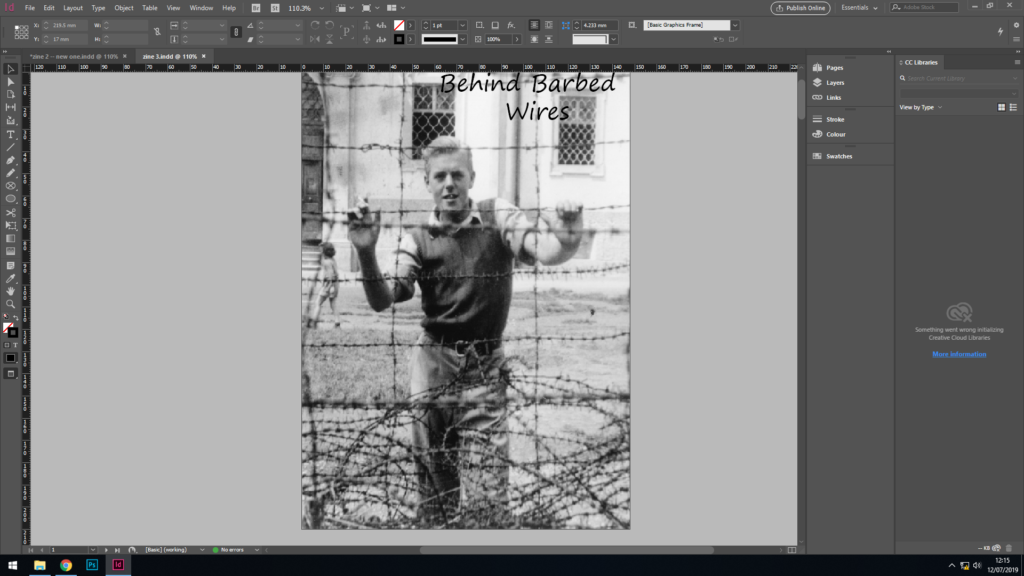
First page : Behind Barbed Wire
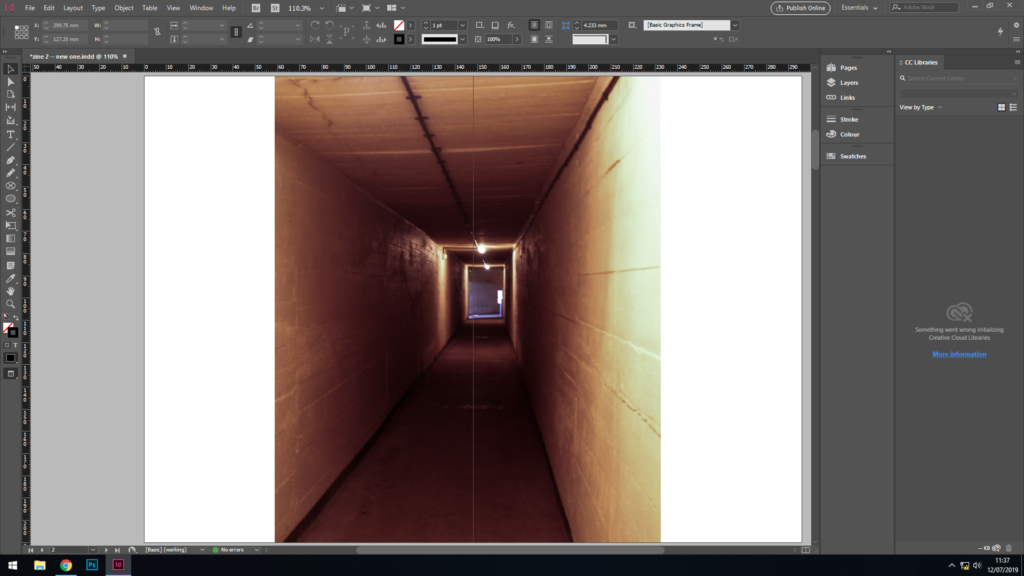
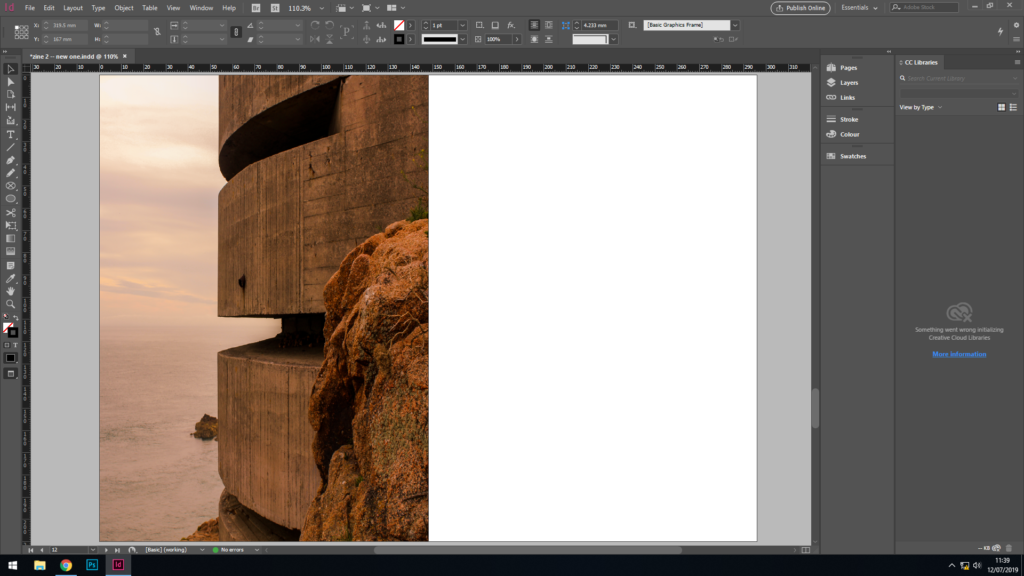
Pages 2 and 3 : My own image of underground tunnels at Battery MoltkePages 4 and 5 : My own image from a spot in the underground tunnels at Battery Moltke.Pages 6 and 7 : My own image of the view of the bunker at Noirmont from Portelet beach.Pages 8 and 9 : My own image of a cannon at Noirmont.Pages 10 and 11 : My own image of war machinery at Noirmont.Pages 12 and 13 : My own image of the bunker at Noirmont.Pages 14 and 15 : My own image of war machinery at Noirmont.Final page : My own image from inside an old building at Portelet.
Second layout:
In this layout I have taken both my own images and images from the archive, and have put them together to create a mix of different images.
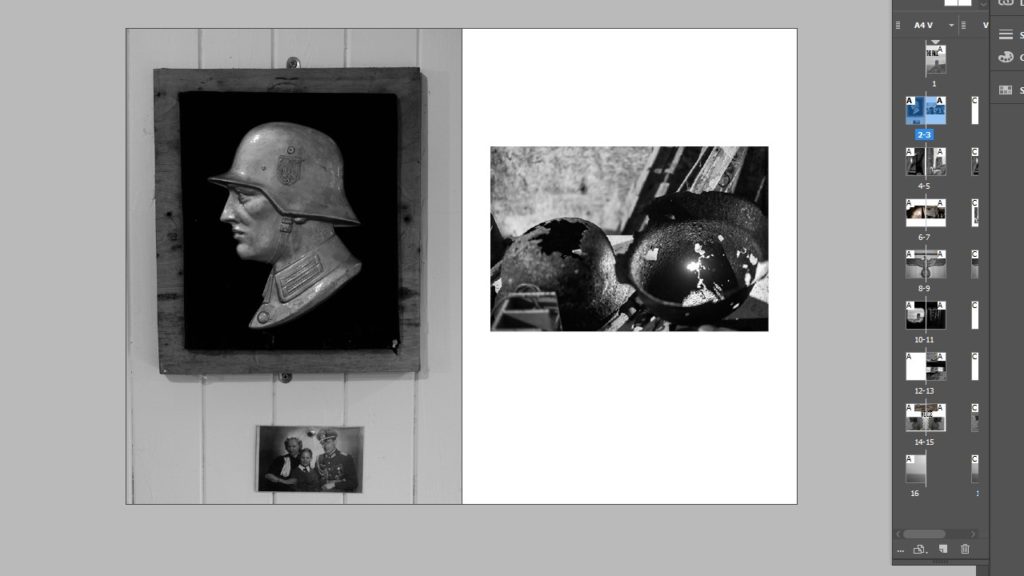
First page : An archive image. Behind Barbed Wires.Pages 2 and 3 : An archive image of a German solider and my own image from the tunnels at Battery Moltke.Pages 4 and 5 : My own image of the view of Noirmont bunker from Portelet beach.Pages 6 and 7 : My own image of war machinery at Noirmont.Pages 8 and 9 : An image of a bunker from Jersey archive and my own image of the bunker at Noirmont.Pages 10 and 11 : My own image of a cannon at Noirmont.Pages 12 and 13 : My own image of a sunset at Noirmont.Pages 14 and 15 : Archive image.Final page : My own image from the tunnels at Battery Moltke.
Third and final layout:
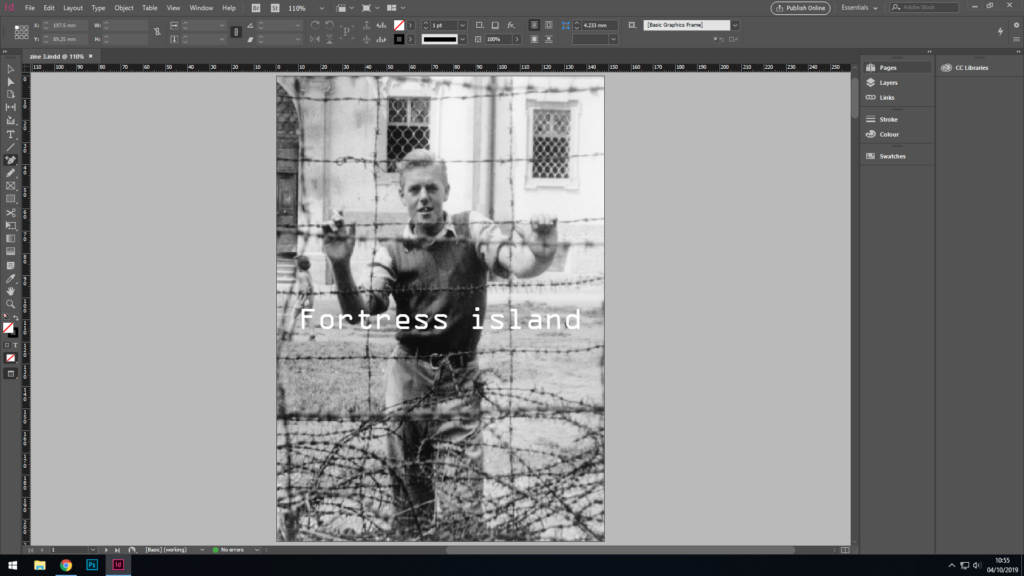
This format includes most of the same images I used in my second format, however I have changed them around and put them in different places to see how the positioning of images can change my zine. I have also decided to change the name of my zine from Behind Barbed Wires to Fortress Island, as it’s shorter and reflects more of what the island is like then my previous title.
Through this draft, I have kept a warm tone with each of the images I have taken. I have done this so it contrasts with the archive images and in a way shows how times have changed since the war. The archive images are in black and white, they seem cold and unwelcoming, how one can imagine it felt like when the island was taken over during the war. And then you look at the images which have been taken in the modern day, 74 years after Jersey was Liberated from German occupation and it seems warm and inviting.
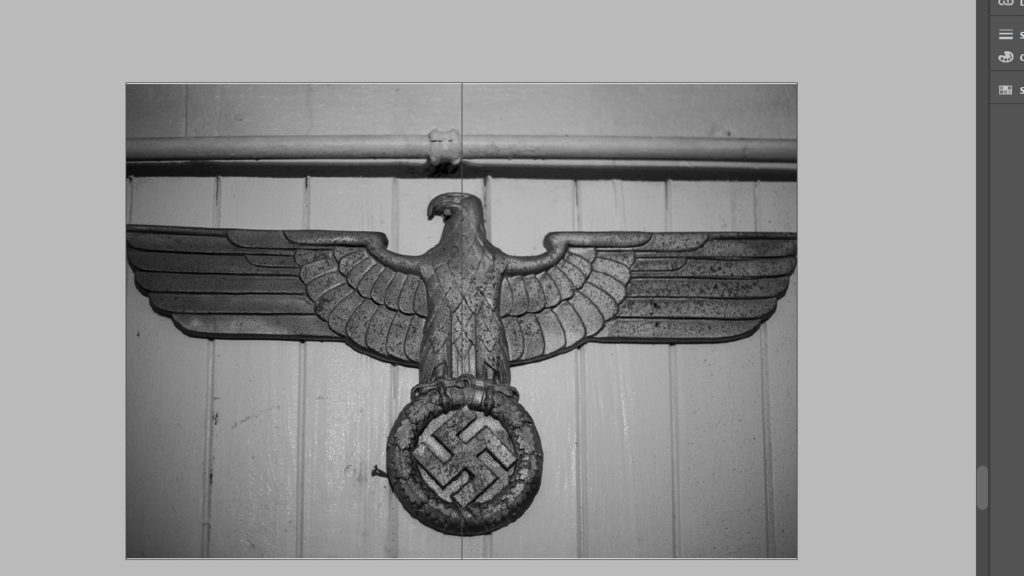
First page : Arhive image , Fortress Island.
Pages 2 and 3 : My own image of the view of the Noirmont Bunker from Portelet.
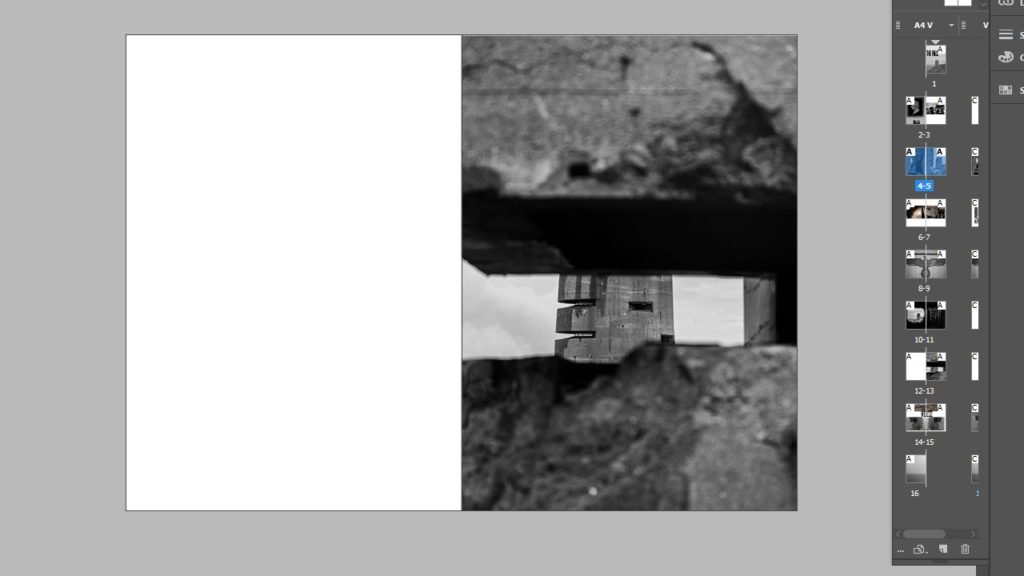
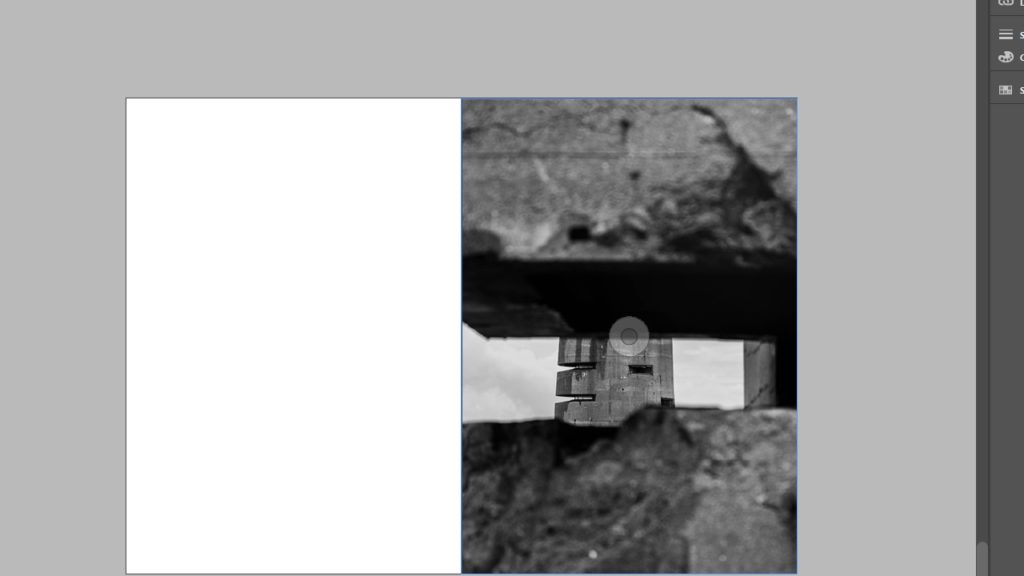
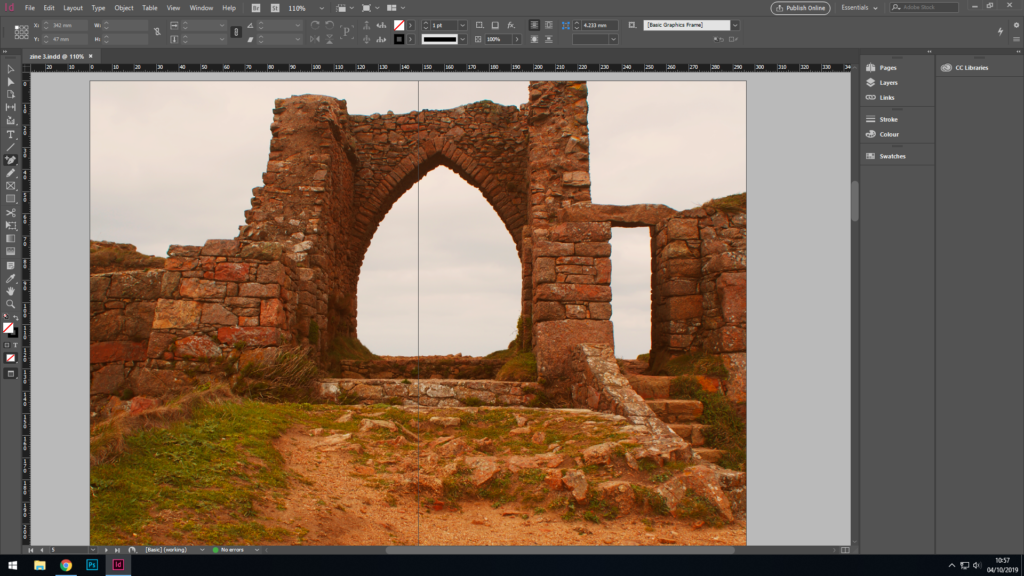
Pages 4 and 5 : My own image of the ruins at Battery Moltke.
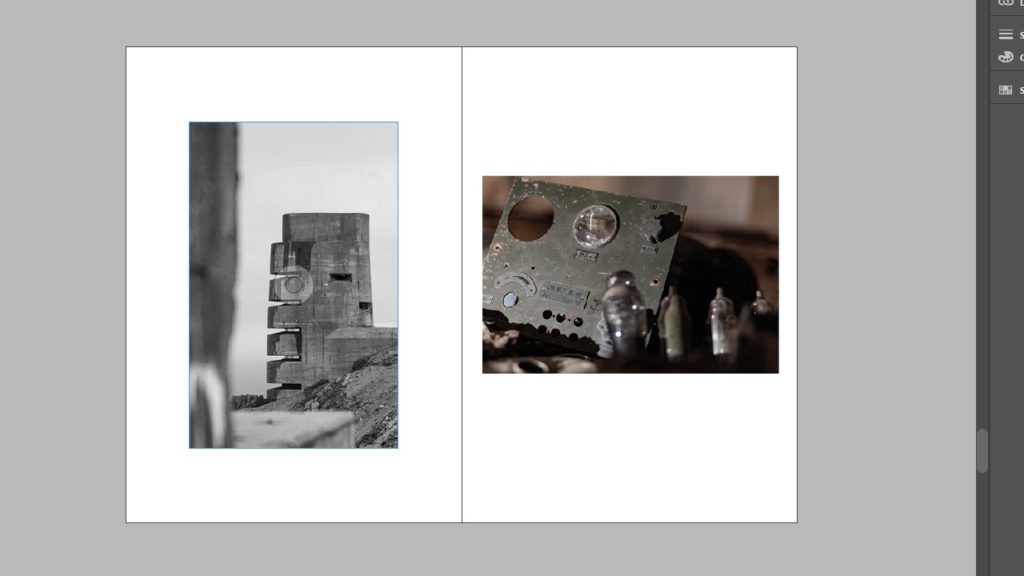
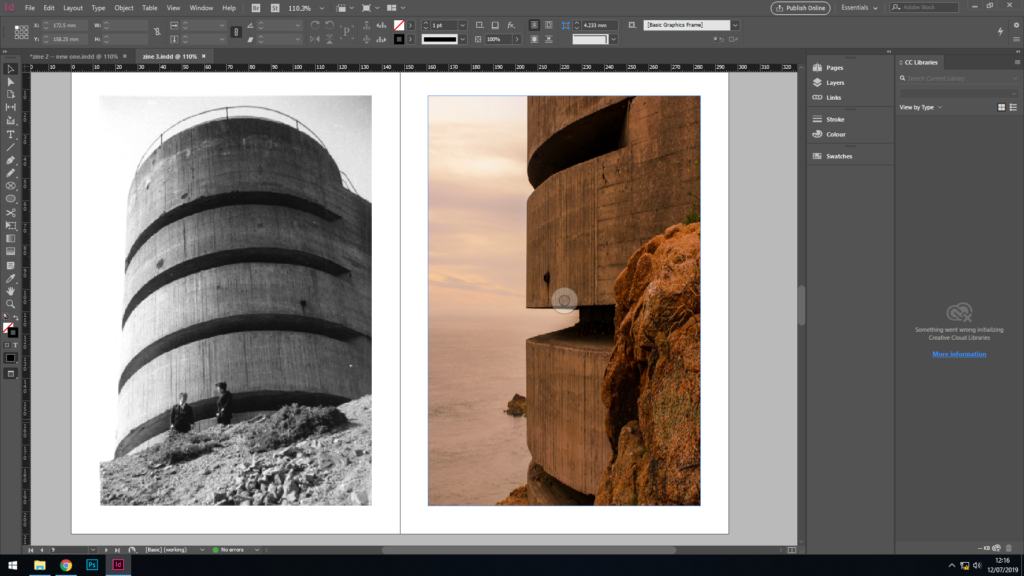
Pages 6 and 7 : An archive image of a bunker and my own image of the bunker at Noirmont.
Pages 8 and 9 : My own images of war machinery at Noirmont.
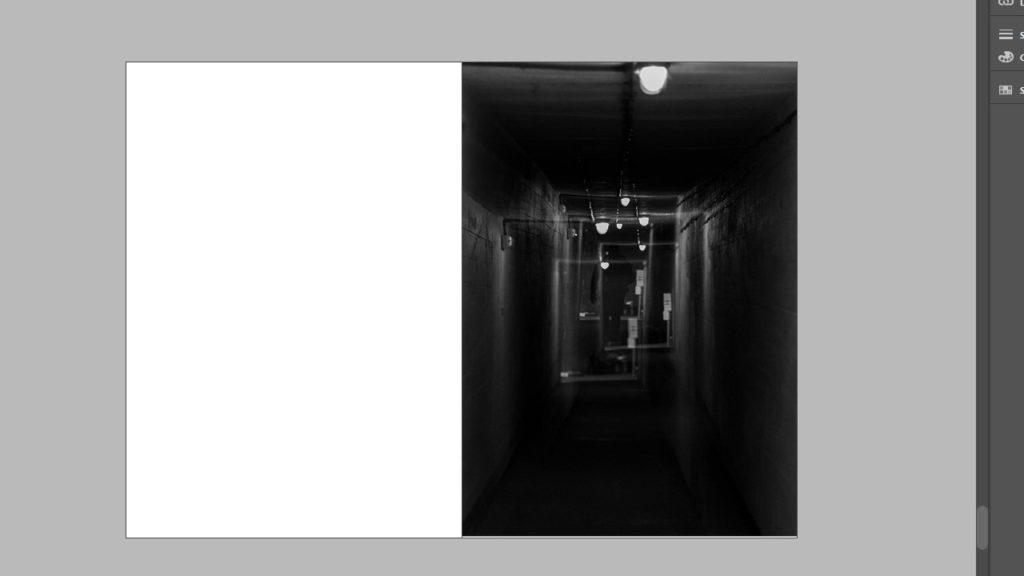
Pages 10 and 11: My own image of a tunnel at Noirmont and an archive image of the war tunnels.
Pages 12 and 13 : My own image of the bunker at Noirmont.
Pages 14 and 15 : My own image of a sunset at Noirmont.
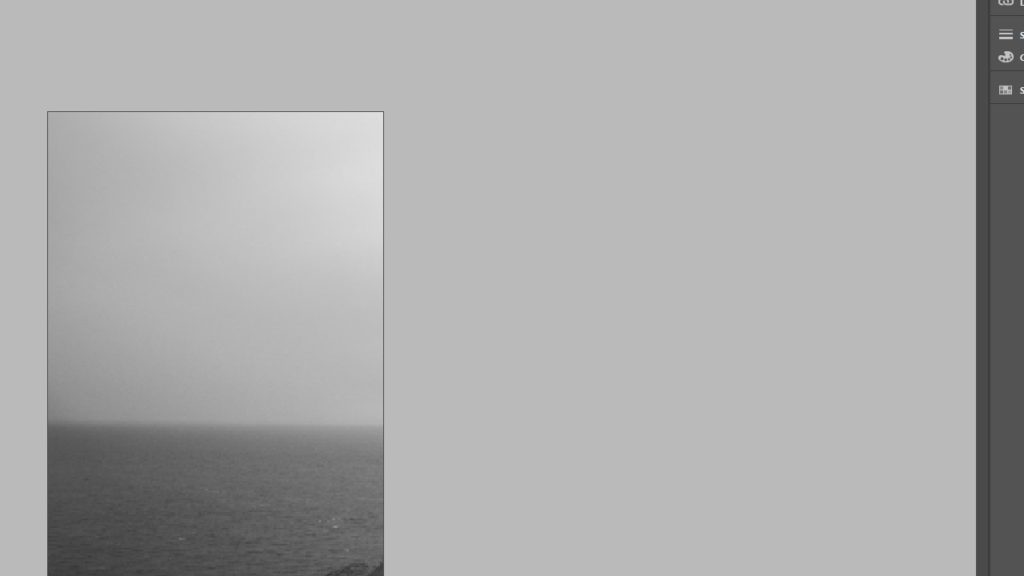
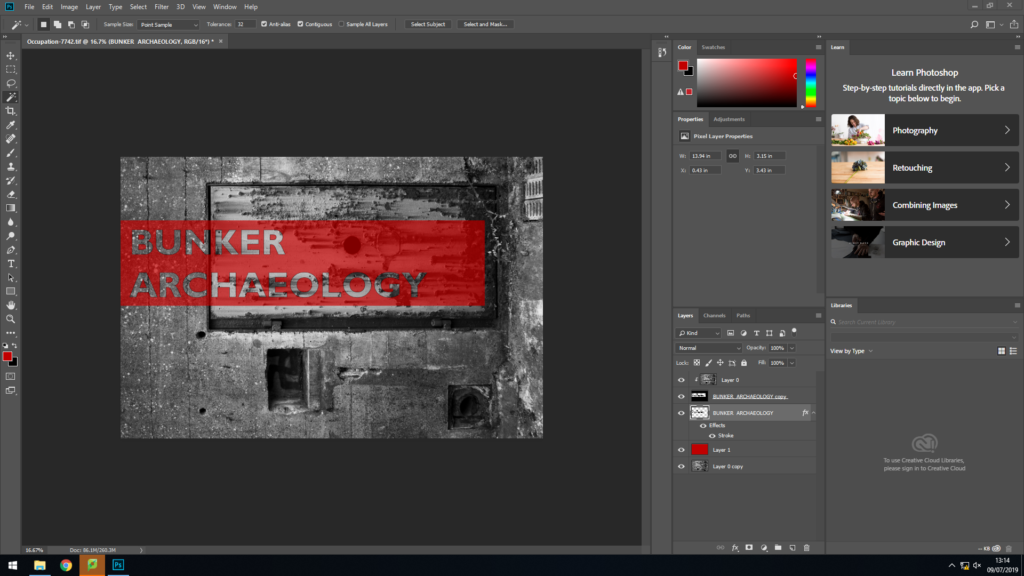
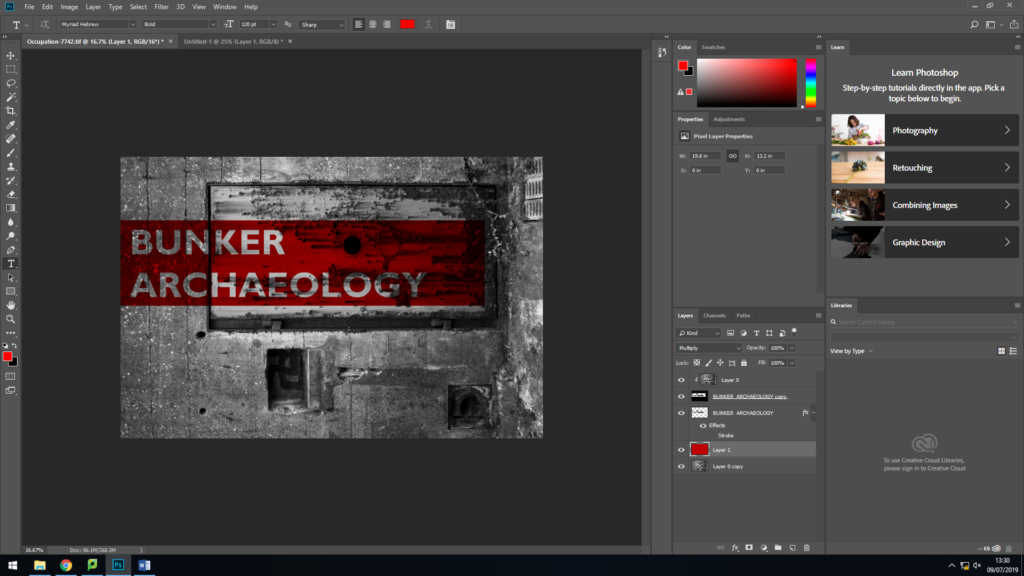
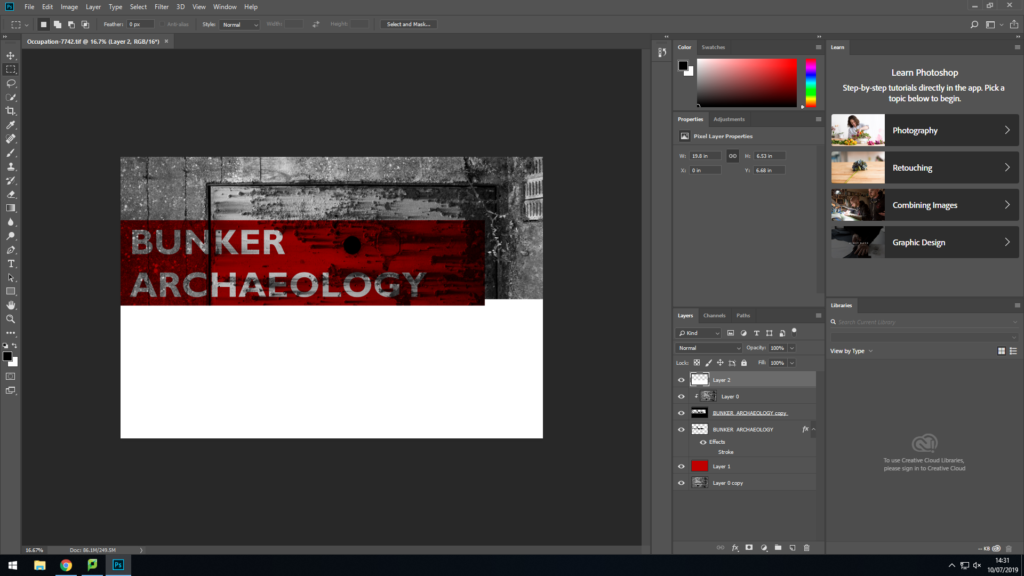
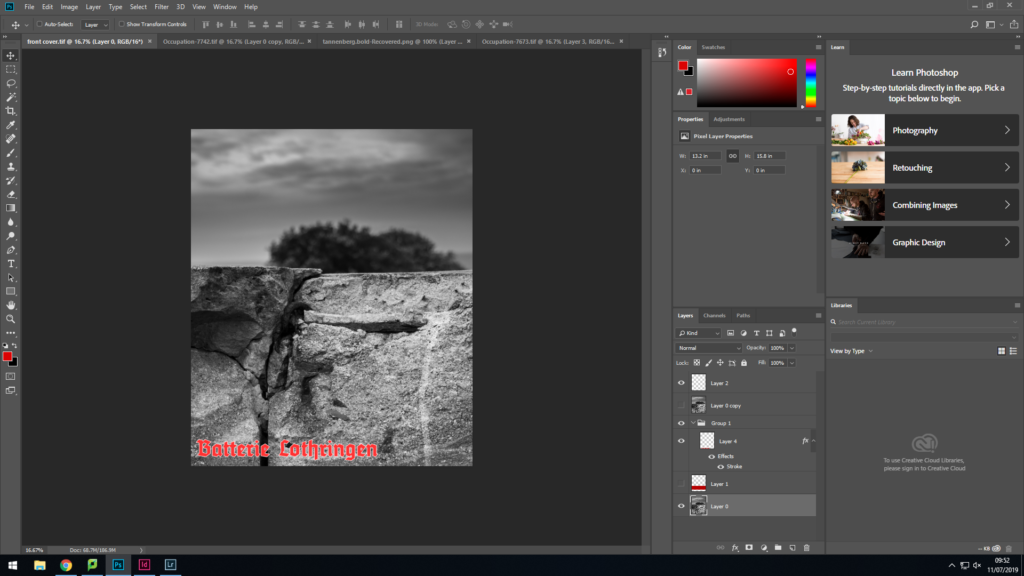
My initial ideas for the front cover of the zine involved experimentation using an overlay to add some contrast to the front cover while better framing the writing
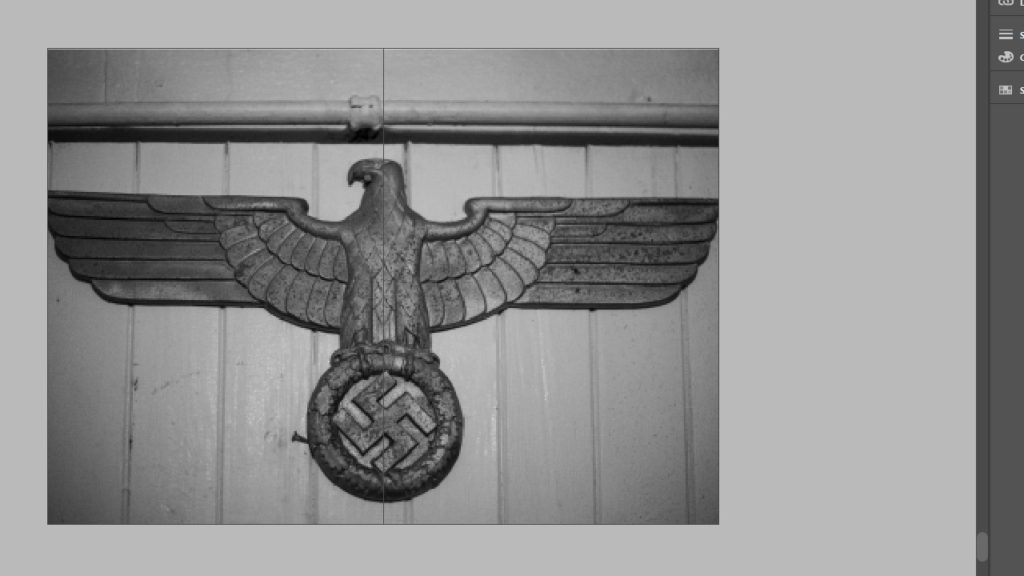
I experimented with some more solid color in order to create a harsher contrast as as well as calling back to the German WW2 propaganda posters as I am a fan of the design used and the general aesthetic.