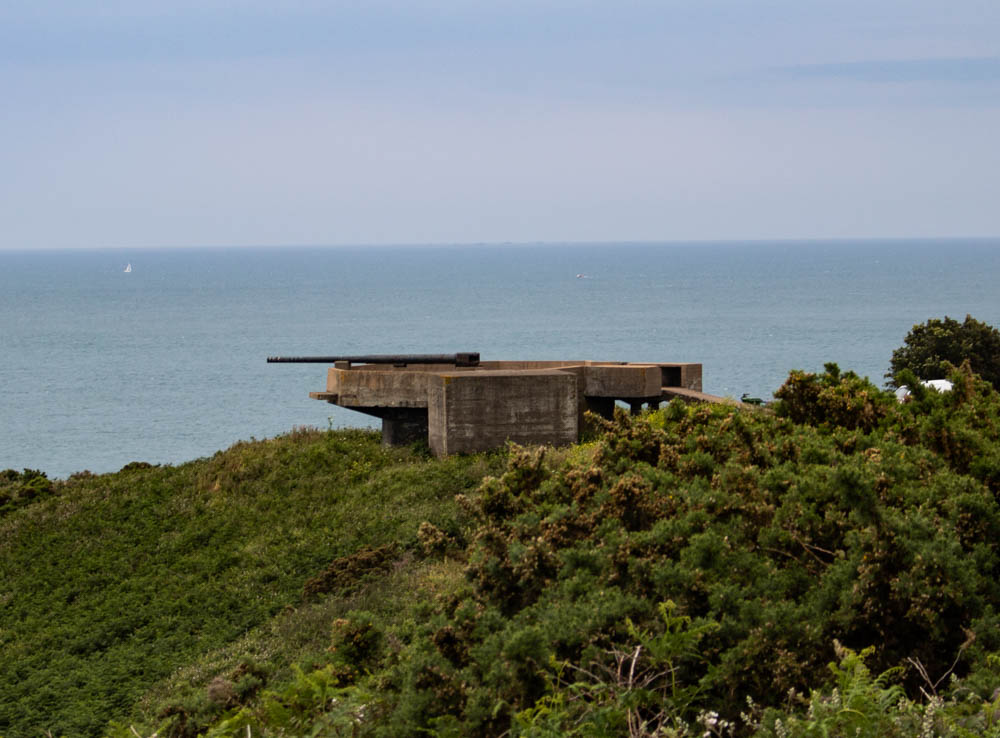
On the 18th June 2019 our photography class visited Batter Lothrigen, at Norimont, which was a battle artillery battery during the second world war and located in Saint Ouens, Jersey. Battery Moltke also known as Batterir Molke is an uncompleted coastal artillery battery that was never completed during the second world war and is located in the north west of the island. t was constructed by Organsiation Todt for the Wehrmacht for the Wehrmacht during the Occupation of the Jersey Channel Islands. The area has bunker structures with gun emplacements and a three tiered Marine Peilstand tower located on Les Landes and a costal heathland arae at the north end of St Ouen’s Bay.
On arrival we were greeted with a tour guide which would allow us to achieve a better understanding of the placement of the bunker and the strategies behind it, as well as providing us with an overall better understanding of what life was like during the Occupation of the Channel Islands in the Second World War, which I found extremely eye opening and opened opportunities for a new for the second World War. We were told some initial factors like the general purpose of the land which was for storing weapons and ammunition, giving us great detail about all the different weapons that were used. and that the and is now owned by the De Gruchey family who have kept the area as intact as possible allowing it to keep a memory of our significant history alive, and teach others all about it. Furthermore, when our guide had bought along old archival photos of what each area of the bunkers and weapons used to look like when they were in use, and helped demonstrated a clear before and after response, to me this was extremely beneficial as it provided a further understanding and historical background of the bunkers. After spending time outside the bunkers and getting an understanding of the location, we were lucky enough to be able to enter and explore the bunkers inside. This was very helpful because as well as helping us with historical factors it gave us the opportunity to practice our camera skills in dark lighting which I always deemed to be a challenge. Inside the bunkers we were guided though the tunnel paths and saw the living condition that people of that time would have experienced which added a much better contextual feeling to the experience.
The photography:
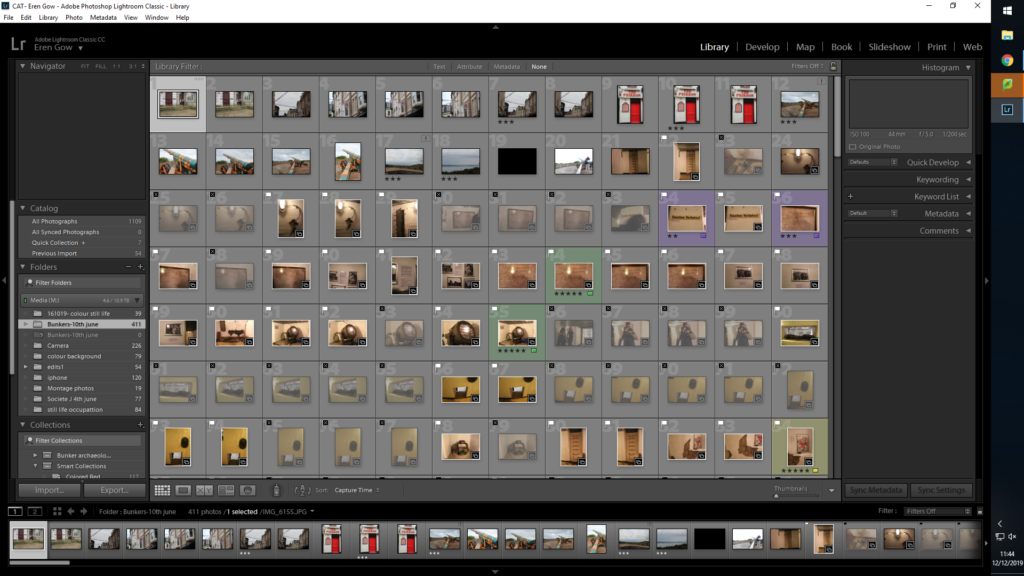
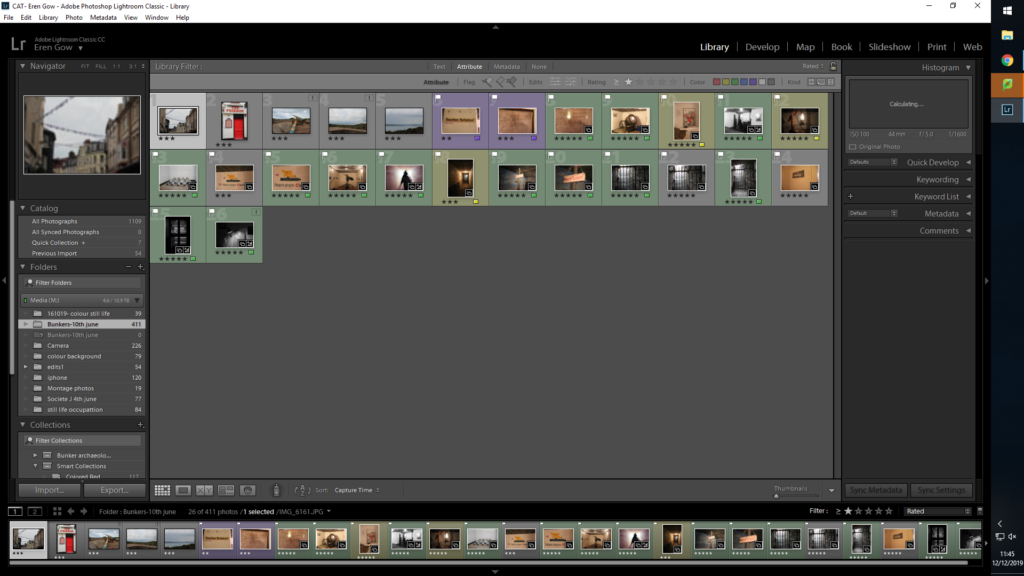
On arrival I didn’t necessarily have a plan as I wasn’t sure what to expect,to me all i wanted to do was capture as many images that i could that would help aid my project and enable me to project and portray what life really was like during the Occupation. In addition, when I arrived I started with landscape photos which a needs to make sure was in focus and that the image were actually relevant, as well as this it was important to consider my camera setting when entering the bunker as there would nit be much light, which essentially could prove difficult to capture good quality images.
Colour edits:
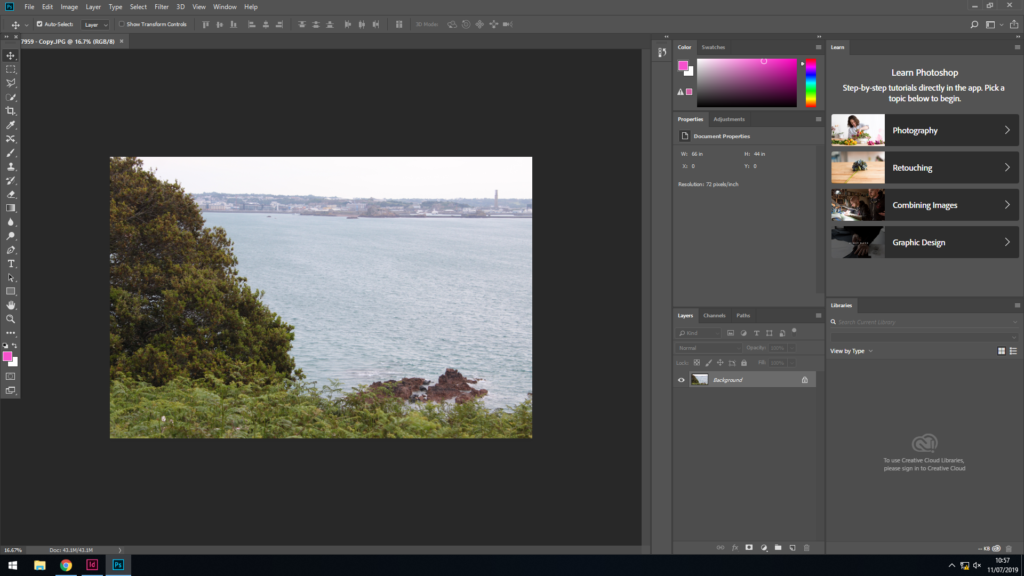
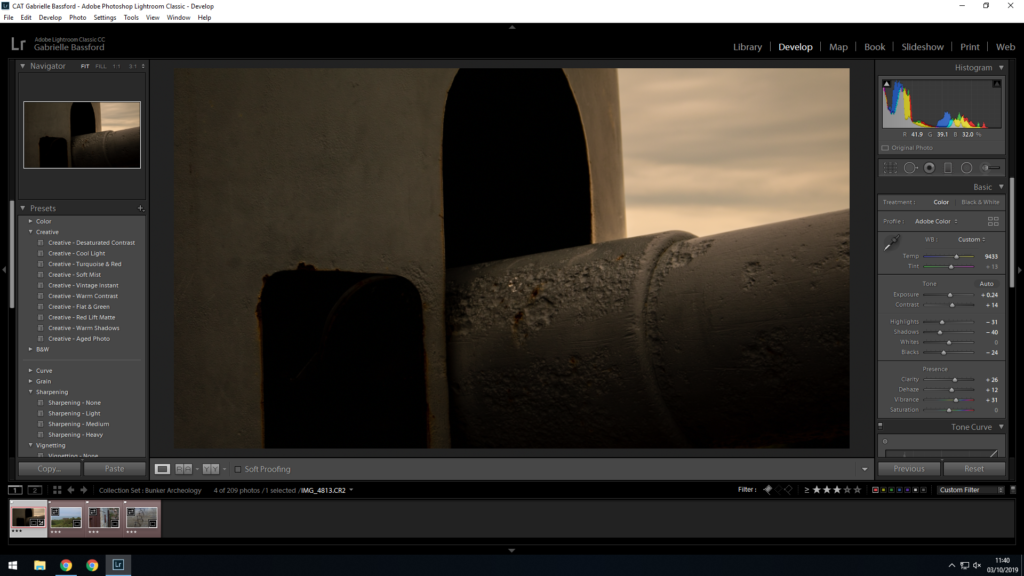
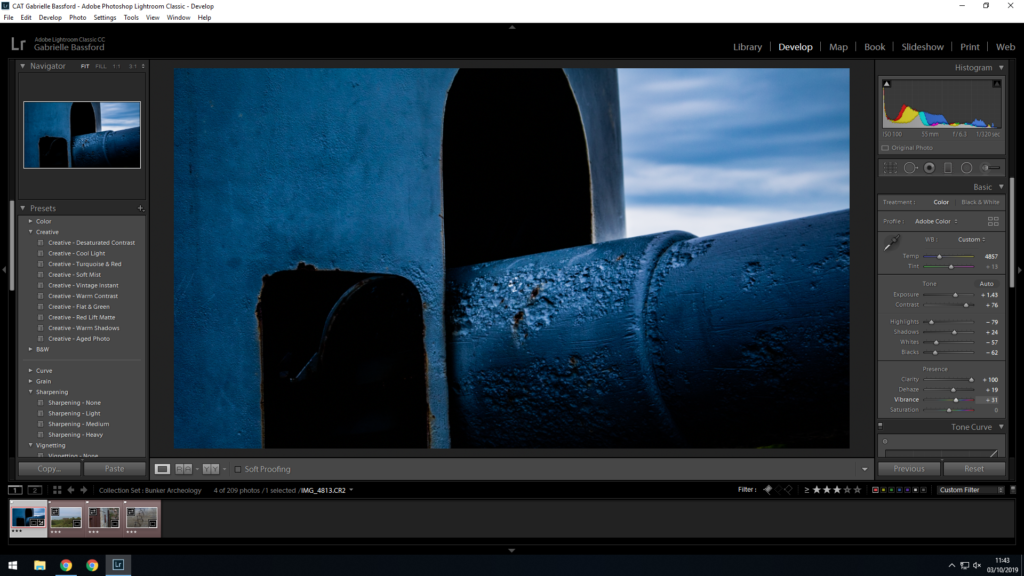
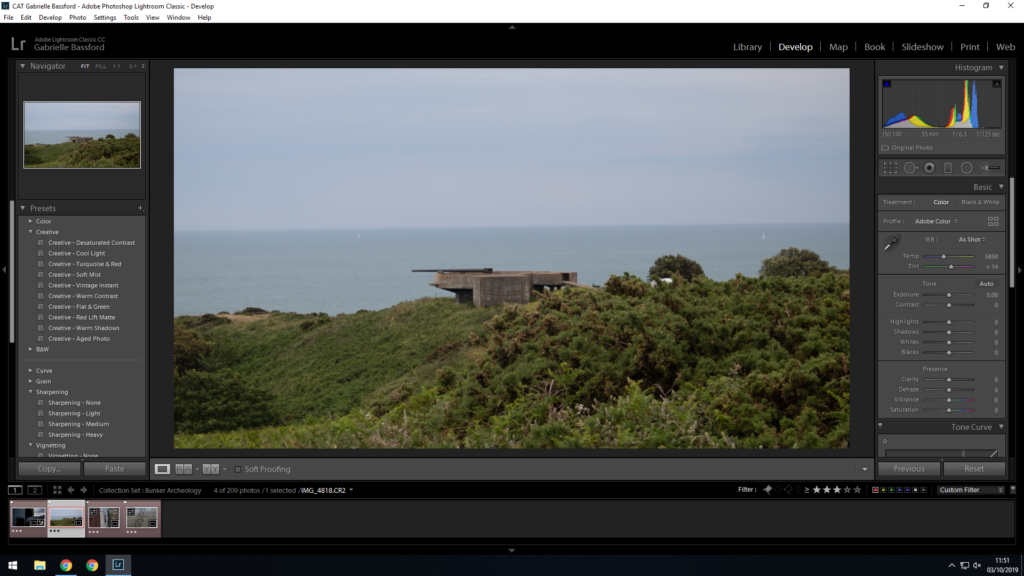
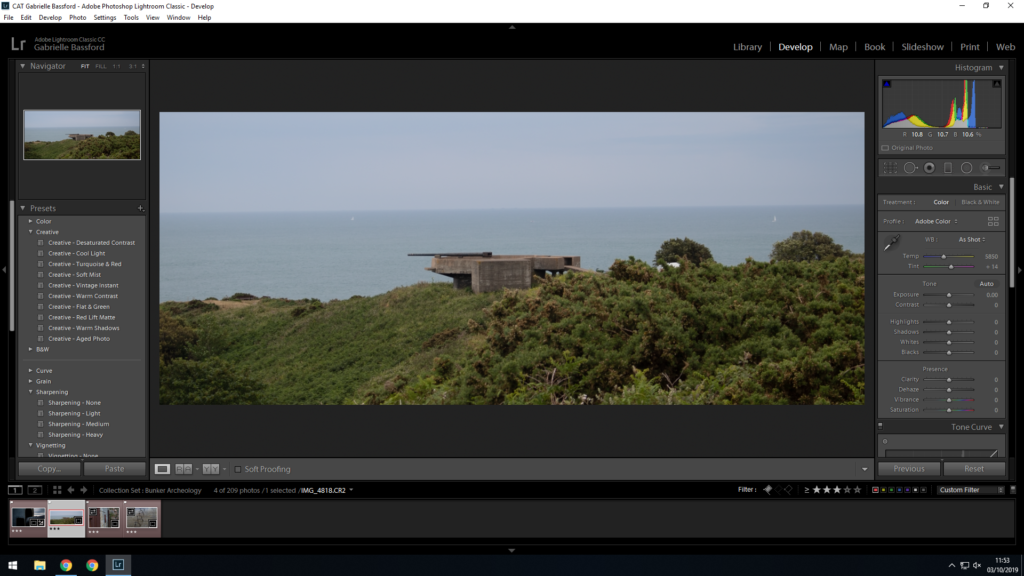
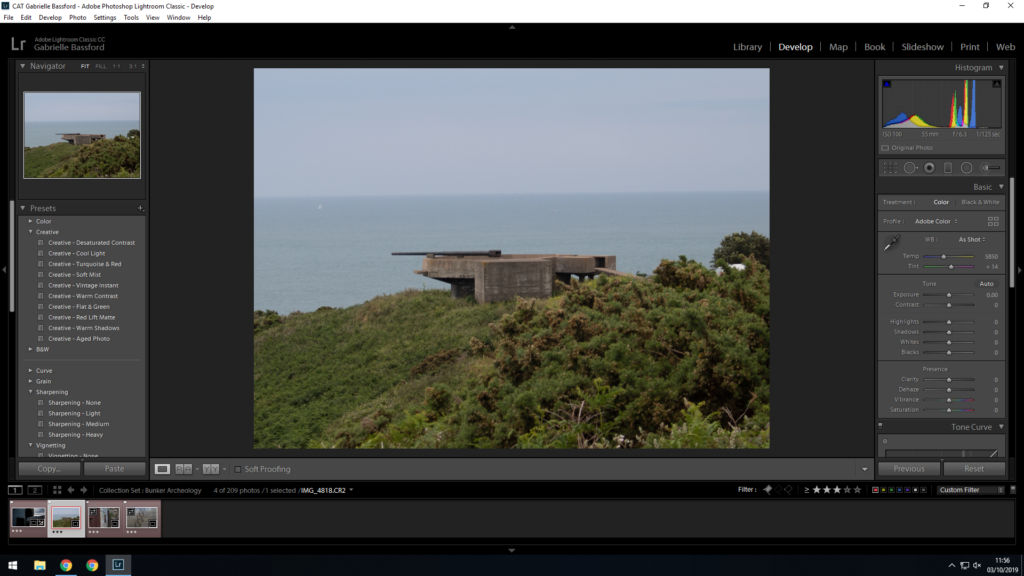
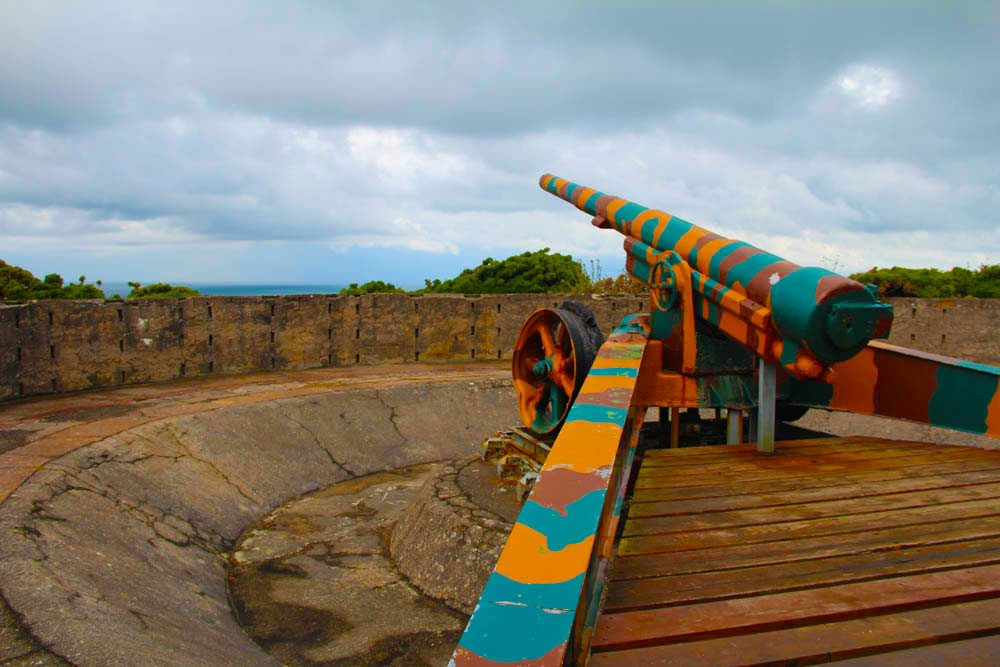
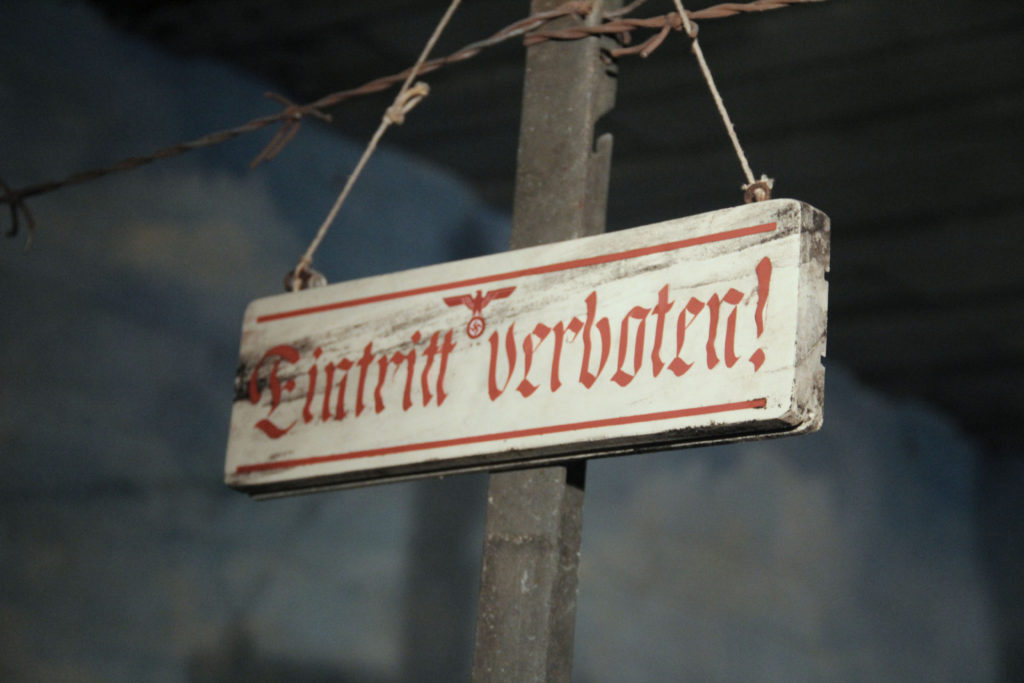
For my colour edits I wanted to express highlight significant colours that i thought were essential to help highlight the meaning of the images. I did this by editing and adjusted the clarity, shadows, blacks, whites, this aloud any issues with lighting from the originator image to be cleared and fixed. Overall I am happy with my end result as I believe i have produced a wide range of different images that all reflect different meanings and reprocesses to my experience visiting the bunkers. For my first image i wanted to highlight the different colour and show the idea of reflecting on history and comparing life to what it is now to what it was like back them. seconding i wanted to keep this next image fairly simple so i just darkened the surrounding and added a blue undertone which helped add a feeling of mystery being portrayed by the image. Finally i decided to completely contrast with my first image and try to reflect and imitate an old image from the archive in the same way but with the location being modernized after the war.
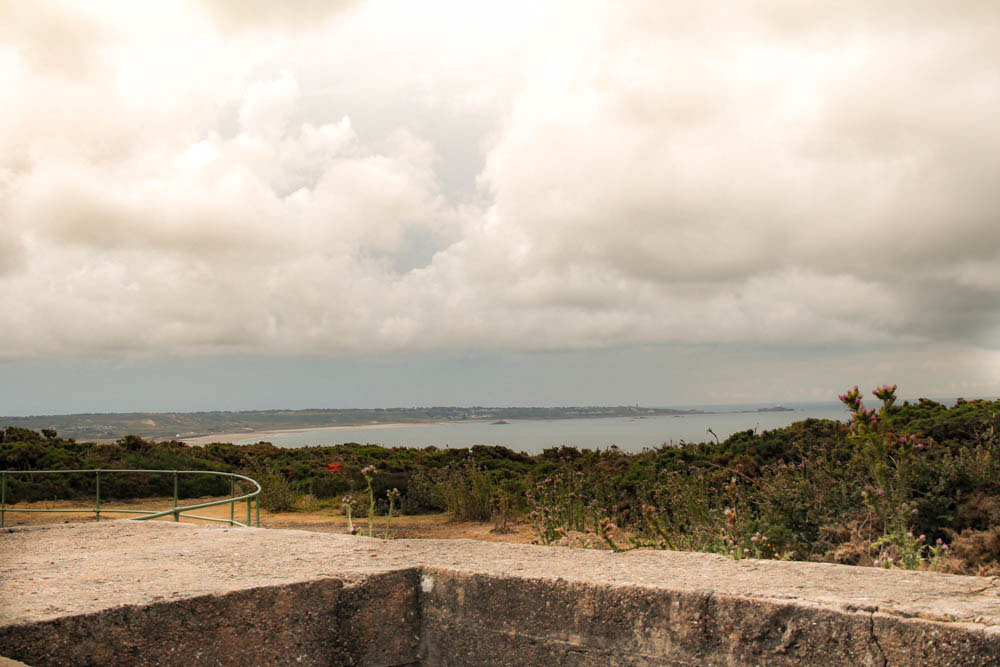
Black and white edits:
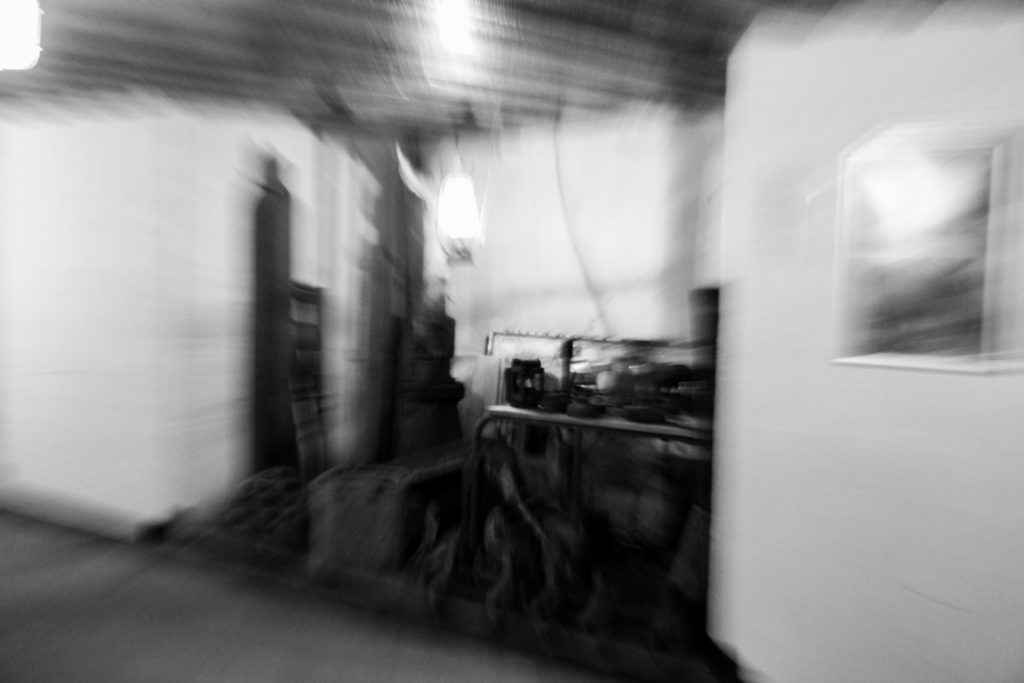
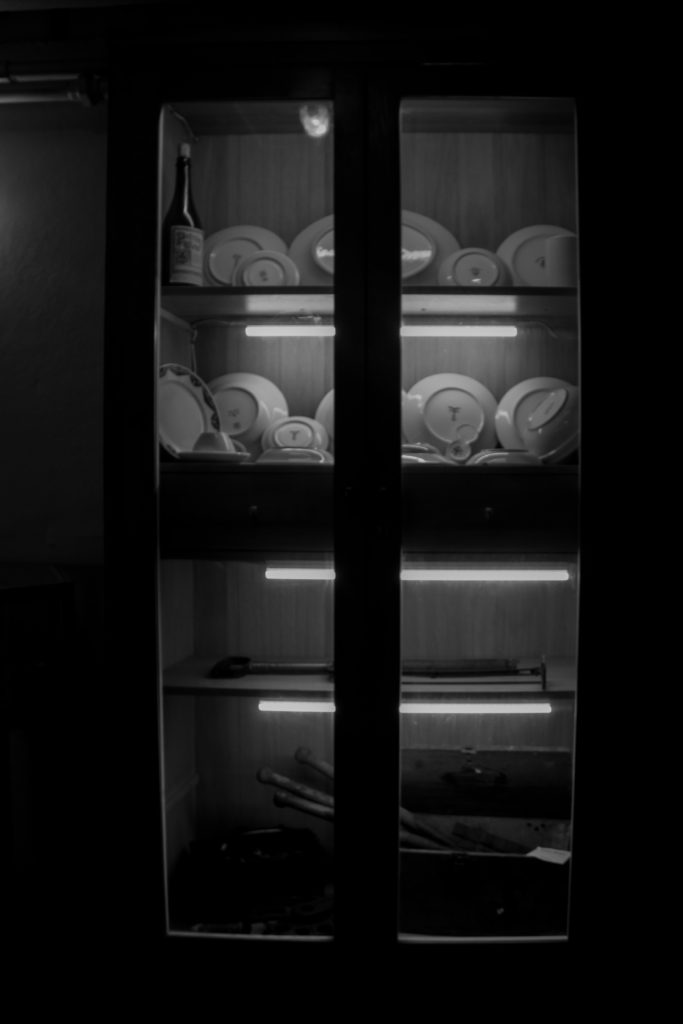
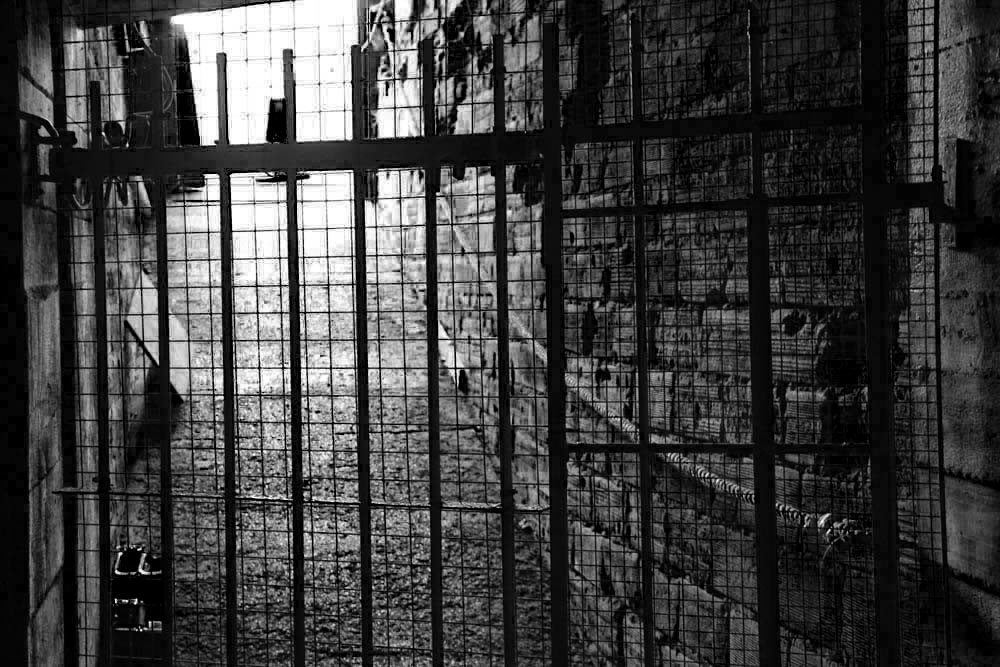
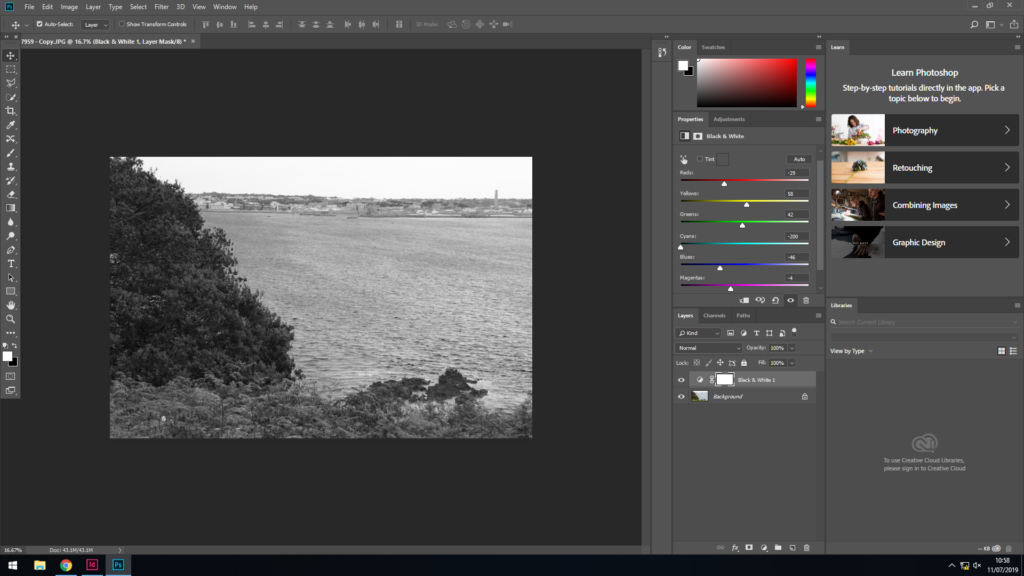
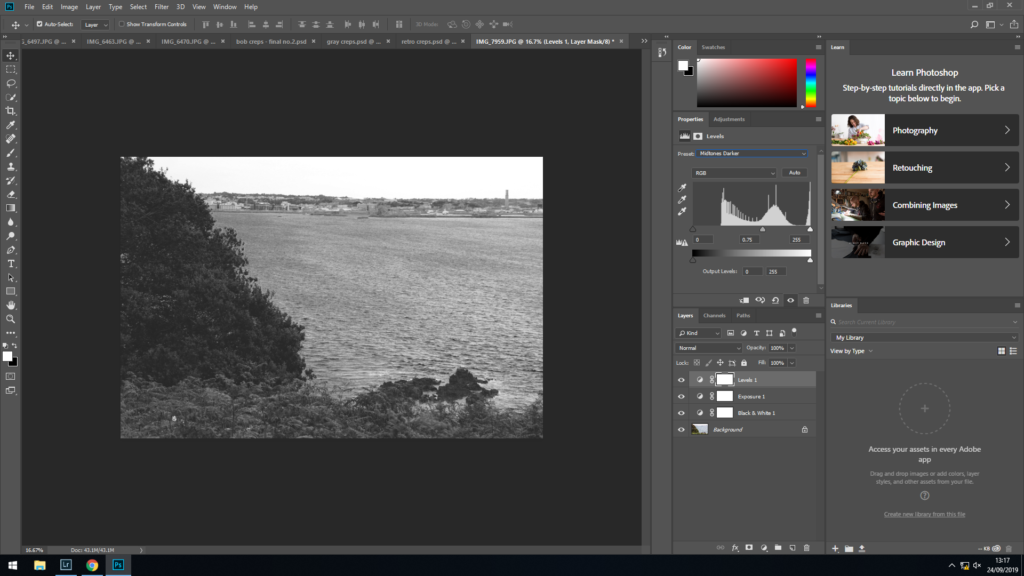
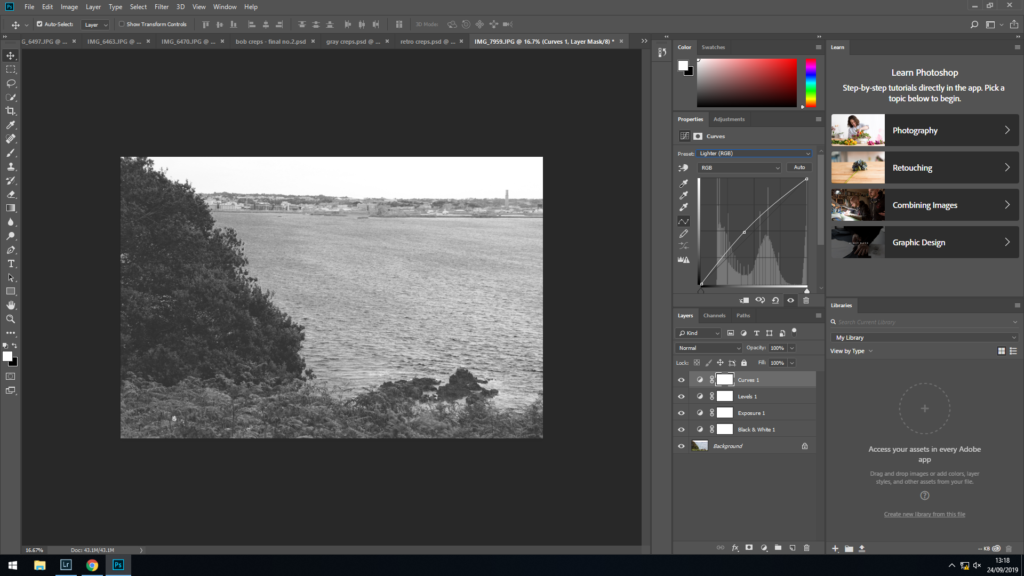
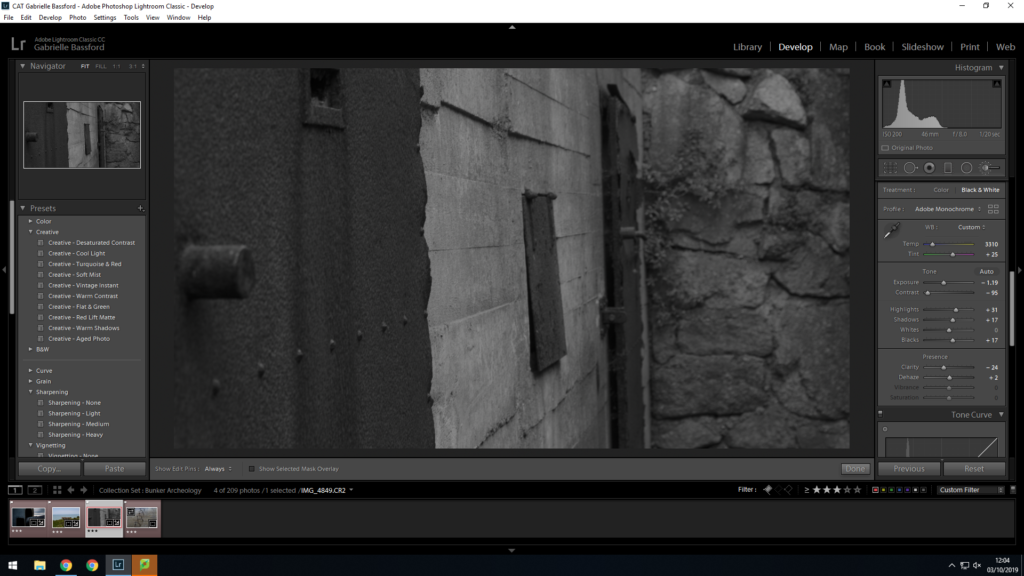
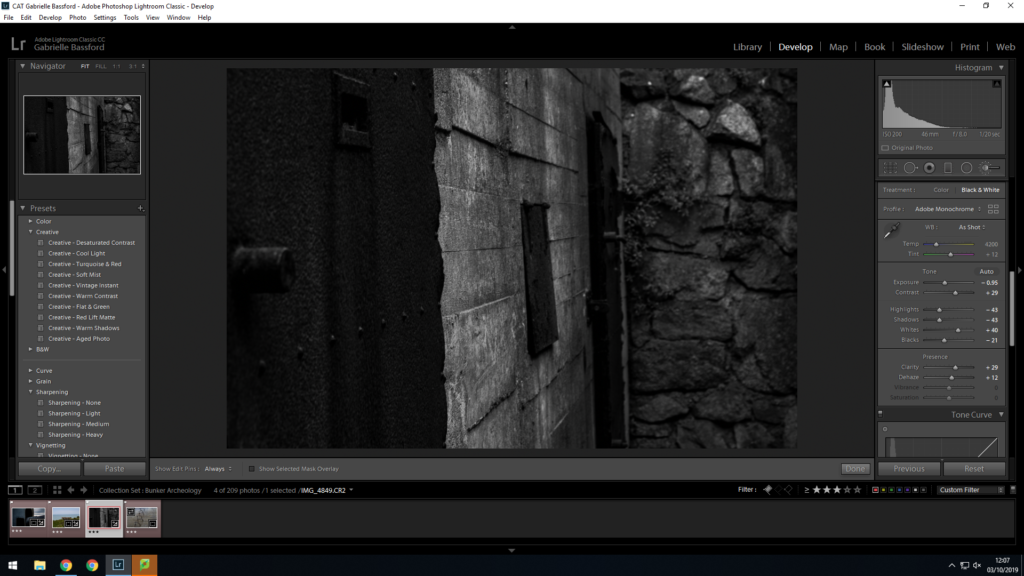
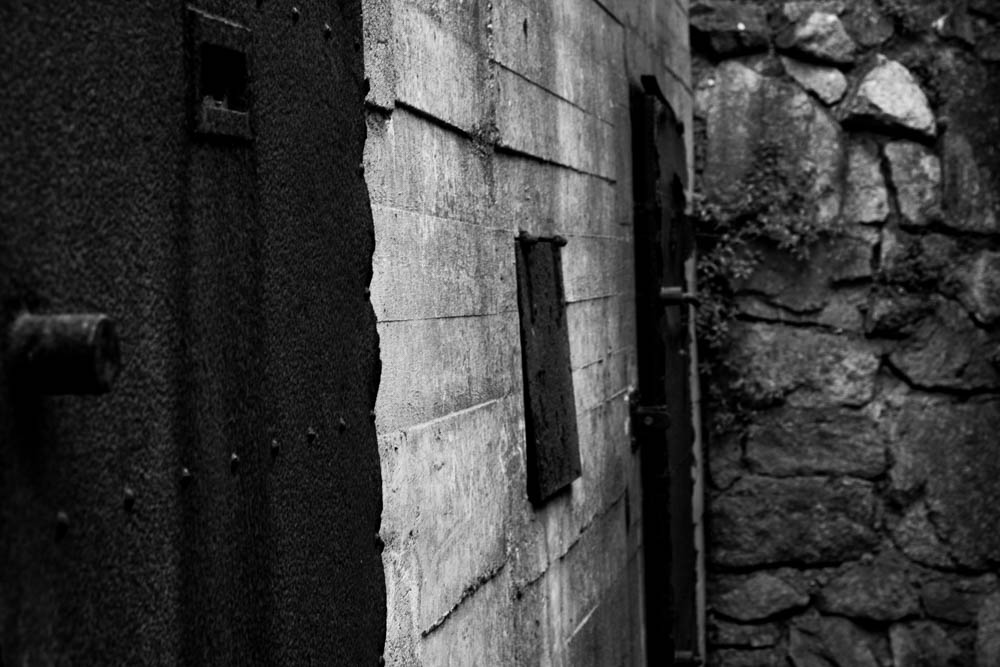
For my black and white image it was key to me that the image told and story and left a feeling of mystery and almost a cold feeling, representing the reality and true struggles of how people really lived during the Occupation. Here are my final images:
